This is a sub-page of Deltarune/Chapter 2.
Early/Unused Character Sprites#



Editor Sprites#

A new room editor sprite with an unknown purpose.
(Source: Original TCRF research)

A new "music tracker" for when events on the map have to match the tempo of the background music. So far only used for the Queen paintings.
(Source: Original TCRF research)


Clean, solid colors for dark world collision and enemy bounds, replacing the crude, sketchy ones seen in Chapter 1
(Source: Original TCRF research)
Early Cutscene Sprites#
(Partially) Unused Kris Dark Fountain Animations#


Seemingly unused animations for when Kris creates a Dark Fountain at the end of the chapter, showing more clearly that it is indeed a Fountain. (Background color for the first one added to show details.)
Interestingly, the second one is partially used in the room in Queen's mansion with the movie projector showing the Knight creating a Fountain, albeit with the top cut off.
(Source: Original TCRF research)
Pre-Giga Queen Cutscene#


The hand projected by Queen, shown flipped horizontally and holding the blade it simply summons in the final scene.

Ground damage from the Giga Queen cutscene. Revealed by VideoChess in the Chapter 2 Development Team Interview to be from Giga Queen slamming her hand onto the party's platform while laughing


Sprites of a laser swerving over something, related to this scene based on the filename. (Background color has been added to both to show the sprites on this site.) It's possible that the explosive laser from Giga Queen's wine glass was meant to dodge Noelle, as in the final scene there's a small circular cutout under her when the laser envelops the screen.
This sprite was implemented in a later version of the game
(Source: Original TCRF research)
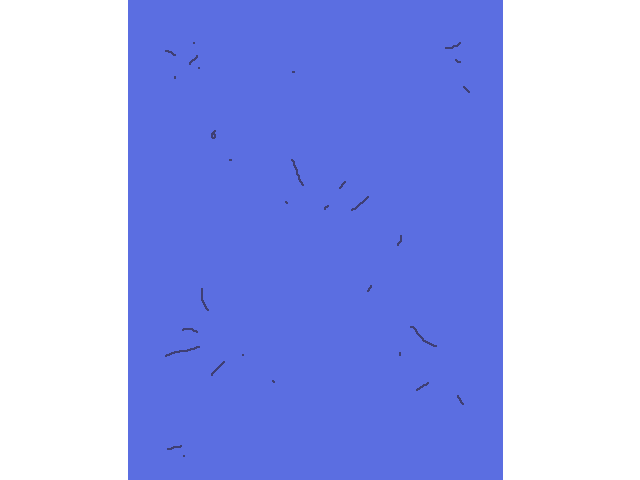
A crude sketch of a wall, meant as a placeholder for the background of rocks that rise up behind Giga Queen in the final scene.


Individual sprites of the rocks that make up a scrolling background in the final scene.
(Source: Original TCRF research)
Other Cutscenes#

A much prettier and more detailed animation of Queen's glass smashing into pieces. The last frame of the animation is empty.
(Source: Original TCRF research)

Animation of a milk bottle knocked over. Presumably meant for a carnival cutscene, but was scrapped.
(Source: Original TCRF research)

A carnival cutscene animation of notes flying from somewhere. It was probably meant to show someone singing.
(Source: Original TCRF research)


A much bigger and mightier healing orb meant for Susie's Ultimate Heal.
(Source: Original TCRF research)

The crowd in Berdly's backstory is fully animated, but only the first frame is used in-game. The animated version was later used in Chapter 3.
(Source: Original TCRF research)
Early/Unused Boss and Enemy Sprites#
Berdly (Coaster)#


Barricades meant to appear on the tracks of the first Berdly fight, with one having "Q" written on it in light blue (likely referring to Queen), and the other having a crude drawing of FRIEND, a mysterious figure (not to be confused with Spamton) that appears in Queen's basement and multiple times during subsequent chapters.
(Source: Original TCRF research)


Lightning graphics again meant for the first Berdly fight. Very obviously not finished. The first one is labeled as a warning, and would be overlaid on the affected track.
(Source: Original TCRF research)
Poppup#


Placeholder sprites for Poppup's battle.
The first sprite (spr_poppup_ad_1) features Toby's signature programmer musician art, while the next sprite (spr_poppup_ad_blank) is seemingly a template for future ad sprites. The last one (spr_poppup_ad_error) wraps it up by featuring both the well-drawn template and the poorly uniquely-drawn content.
There's also some old sprites for the 'infected' ad featuring Virovirokun, which instead feature the small Virovirokun-like bullet as seen in their attacks.
|
Early |
Final |
|---|---|

|

|
(Source: Original TCRF research)
Mauswheel#

A much fancier animation for Mauswheel's lightning orb. The used one is just a simple white circle.
(Source: Original TCRF research)
Rouxls Kaard#

An alternate version of Rouxls Kaard's boat with a mast that has the Thrash Machine duck head on it. Was likely scrapped cause it would've spoiled the surprise of the Thrash Machine's return a bit too early.
(Source: Original TCRF research)
Queen#

A sideways version of the legs that stomp you in Queen's fight.


Segments of Queen's wine shield, but with a hollow inside.
(Source: Original TCRF research)

A possibly old version of Queen's shield.
(Source: Original TCRF research)

An animation for an unused attack where a wireframe Queen head would blow spades at the soul.

An unused blinking animation for the wireframe Queen head.

A 2x scale version of the Banana. Had a low chance of replacing a spade in an early version of Queen's exploding heads attack.

A smaller, blank version of the avatars in Queen’s social media attack.


A handle, plus nonsense text in English and Japanese, for an early version of Queen's social media attack.


Sprites relating to an early "Search Window" attack.
(Source: Original TCRF research)


Sprites for a birthday surprise for Toby Fox put in by Taxiderby, submitted as a fake bug report during development.
(Source: @taxiderby, Scrade)

Obviously unfinished sprite for an unused attack pattern of the Queen fight.
(Source: Original TCRF research)

A spade with JPEG compression meant for Queen’s fight, labeled “jpegbullet” in the files
(Source: Original TCRF research)

A buffering icon for Queen's fight
(Source: Original TCRF research)
Giga Queen#

A green-tinted, animated version of the “ring particles” that emanate from the giant baseball in Giga Queen’s final attack.
(Source: Original TCRF research)
Spamton#
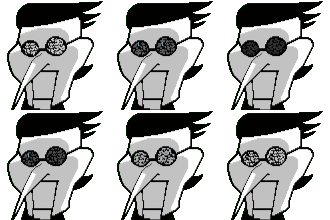
In Spamton's shop, during exactly three scenes, Spamton talks in proper grammar and dons an ominous expression, his eyes replaced with static.
In-game, it is animated, with the static gradually fading in and out. However, there are two static versions of this animation that go unused; likely examples used in testing before the animation was completed.
|
Unused |
In-game |
|---|---|
|
|
|


Spamton NEO#

A very, very rough drawing of the train rails that the player rides on for the Spamton NEO boss fight.
(Source: Original TCRF research)


Early heart graphics for the fight with Spamton NEO. Appears far more green than the turquoise colour used in the final version.
(Source: Original TCRF research)

Heart graphics associated with the fight with Spamton NEO. Notably reminiscent to Mettaton EX's heart attack.
(Source: Original TCRF research)


Unused bomb and biter attacks associated with Spamton NEO's wireheart attack. They each contain their own circle "chains", so it's likely they were to be alternative or supplementary to the wireheart attack.
The Biter also contains graphics for what seems like it taking damage.
(Source: Original TCRF research)

Lightning taken directly from Mettaton EX's fight in Undertale, which would've exploded out upon defeat in an old version of Spamton NEO's wireheart attack.


Sprites for a yellow version of the Pipis. Likely a remnant from when Spamton NEO's bullets were originally going to be colored yellow instead of turquoise, according to the code.
(Source: Underminers Discord)

A dissolving effect for the Flying Head bullets. According to the code of obj_sneo_biglaser_friendlyhitbox, these were meant to be seen when the Flying Heads collide with the big laser seen in Difficulty 2 of the Flying Heads attack. However, an exit command is placed before the whole code block that triggers this behavior, causing it to not run, so it ends up going unseen in the attack.

A rectangle with a smiley face. According to the filename, this was likely a placeholder graphic for the Flying Head bullets. This sprite is also used as the base sprite for obj_sneo_guymaker, the controller object for the Flying Heads attack, but it goes unseen in-game.
(Source: Original TCRF research)

A generic bullet sprite for Spamton NEO. This specific sprite is a duplicate of spr_sneo_bullet0, which is used as the base sprite for both obj_basicbullet_sneo and obj_basicbullet_sneo_finale respectively.


Arrow-shaped bullets relating to the Spamton NEO fight. The latter is the apparent "old" version of the former. The former arrow sprite was later used in Chapter 3 for the tutorial to the Rhythm Minigame.
(Source: Original TCRF research)


Stored near the sprites for Spamton NEO's bullet patterns are all of these... unusual sprites. Considering none of these match up with either version of the Spamton NEO fight, these were likely from an earlier version of it. They're used as throw targets in an unused ACT.


These sprites are from the same location, together with the unused Susie and Ralsei shattering head sprites. From the filenames, they're presumably related with the sprites above. Unusally, these sprites seem to be animated by Juice FX (or another unknown similar program), instead of being manually animated or having effects applied in-engine, and are likely the results of the development team experimenting with the tool.
(Source: Original TCRF research)


C-shaped barriers that would've rotated around these heads as protection, as seen in obj_sneo_cshot
(Source: Original TCRF research)


An assortment of sprites intended for the unused crusher attack.
(Source: Original TCRF research)

This is what the two Spamton head sprites look like combined.


Sprites for the unused elevator attack.
(Source: Original TCRF research)


A highly detailed electric orb, used in the same attack as the above sprites.
(Source: Original TCRF research)

A giant laser. Used in the unused Difficulty 2 version of the flying heads attack.

Despite what the filename may suggest, this isn't a laser, but rather a string. Used for the unused pendulum attack.

A hand. Used in the early version of the heart attack.
(Source: Original TCRF research)


Various grawlix that would've fired from Spamton NEO's phone in an unused attack.


A sketchily-drawn circle related to Spamton NEO. Interestingly named as "neobuster" in the files. The former sprite is used as the base sprite for obj_sneo_final_orb, which was meant to appear in Spamton NEO's final attack, but ended up going unused as well.
(Source: Original TCRF research)


An early version of the shield created by the FluffyGuard ACT. Replaced with a ball of fluff in the final game.
(Source: Original TCRF research)


Sprites for an early S-Action for Susie that would've created an auto-firing arrow that shoots mini Rude Busters at bullets.
(Source: Original TCRF research)
Unused Room Mockups#

|
To do: |
Light World#
|
Early |
Final |
|---|---|
|

|
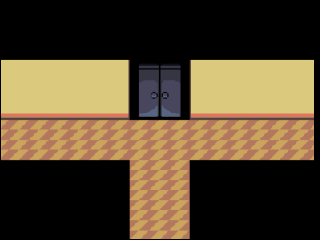
A low-quality example image of the doors of the supply closet, using simpler graphics. Although the layout looks the same, notice how the right side has a gap, and especially the slightest lower center.
(Source: Original TCRF research)
|
Early |
Final |
|---|---|
|
|
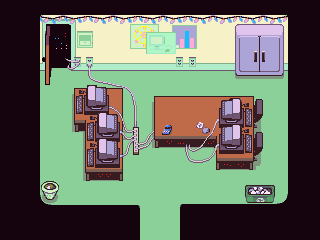
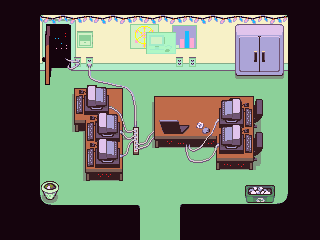
Early version of the Computer Lab, featuring a calculator that looks very similar to Queen in place of the laptop in the final version.
(Source: Original TCRF research)
Dreemurr Household BG#
After exiting the bathroom during Chapter 2's ending cutscene, the house has a few minor changes:
|
Before Bathroom |

|
|---|---|
|
After Bathroom |

|
Aside from the darker windows, the phone is higher (presumably to accommodate for Susie's use of it), the painting above the trash can is moved upwards, and the fridge is noticeably taller.
Additionally, there exists a mock-up found in the files as spr_cutscene_32_bg, shown below.
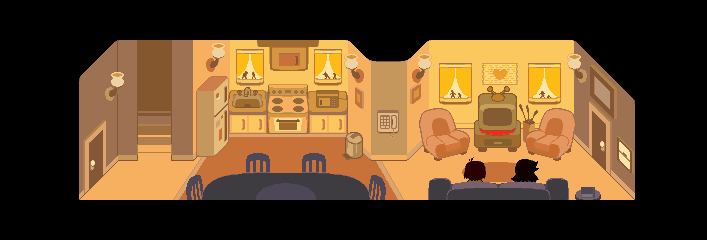
Strangely, this mockup has the changes seen in spr_cutscene_32_bg_windows_dark, but without the darker windows, and with the painting above 'Chairiel' being moved upwards to accommodate the chair's presence in the mockup.
(Source: nychell3am, Original TCRF research)
Hospital#
|
Chapter 1 |
Final |
|---|---|

|
|
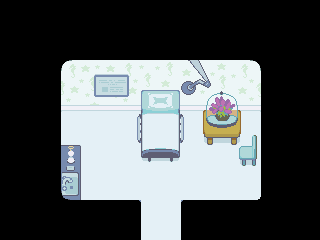
Rudy’s hospital room using its Chapter 1 design (apparent by the roses), but with an errant pink seam to the left. The final game uses a background specially suffixed “_ch2”
(Source: Original TCRF research)
Dark World#
Castle Town#
|
Early |
Final |
|---|---|
|
|
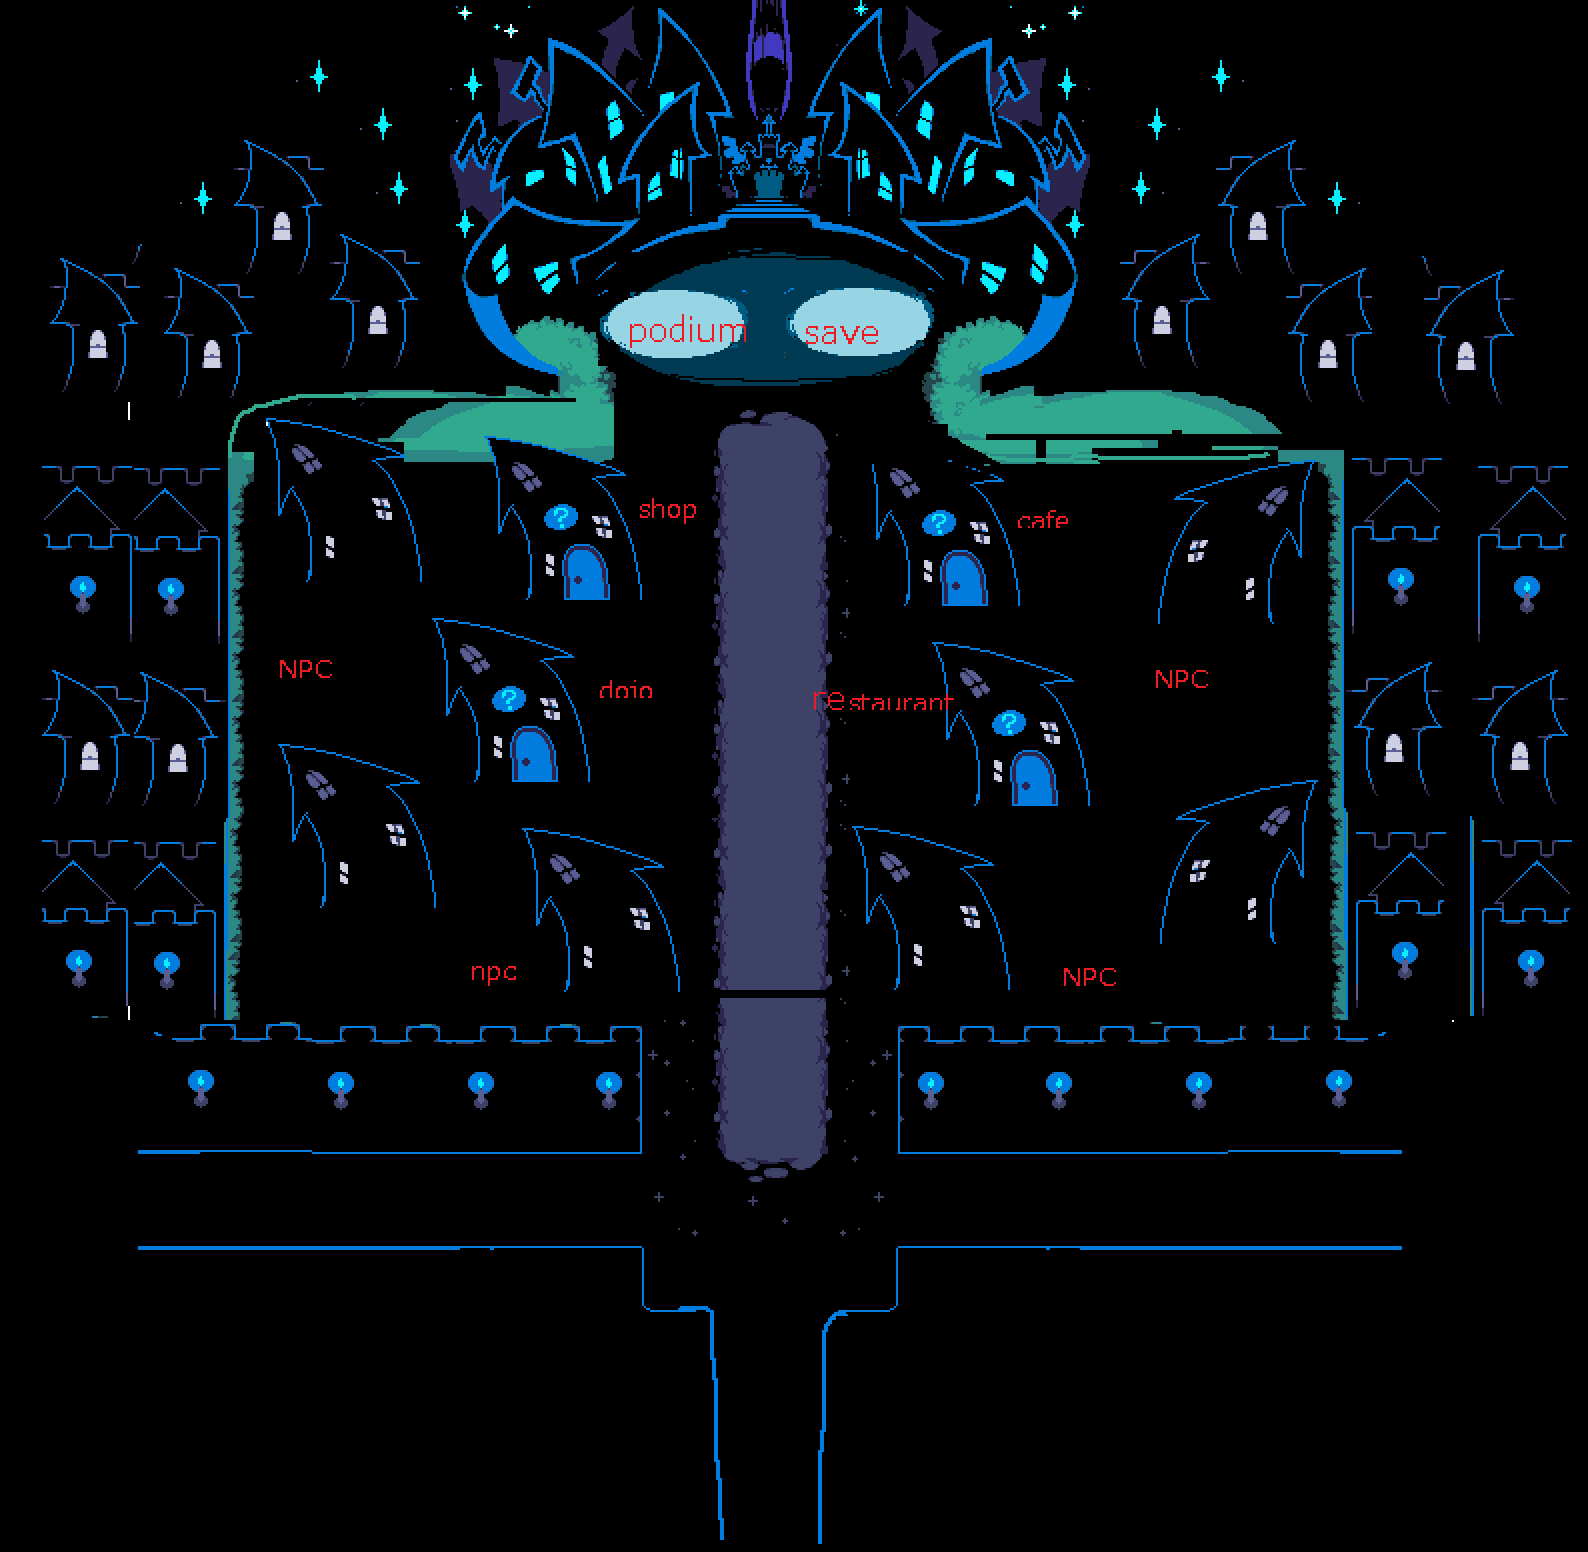
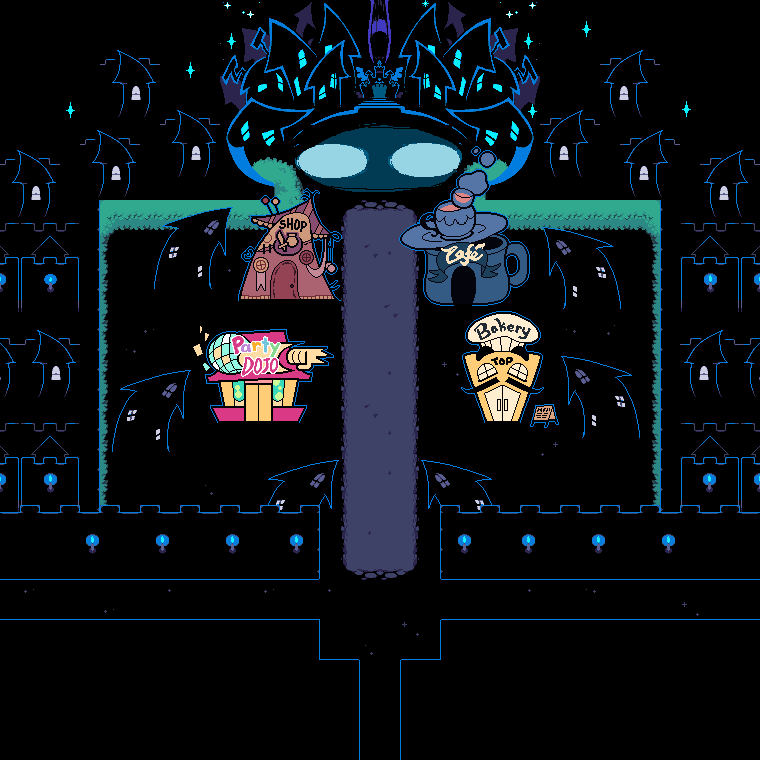
Early version of the Castle Town. Features placeholder text everywhere.
(Source: Original TCRF research)
Early |
Final |
Final (with furniture) |
|---|---|---|
 |
 |
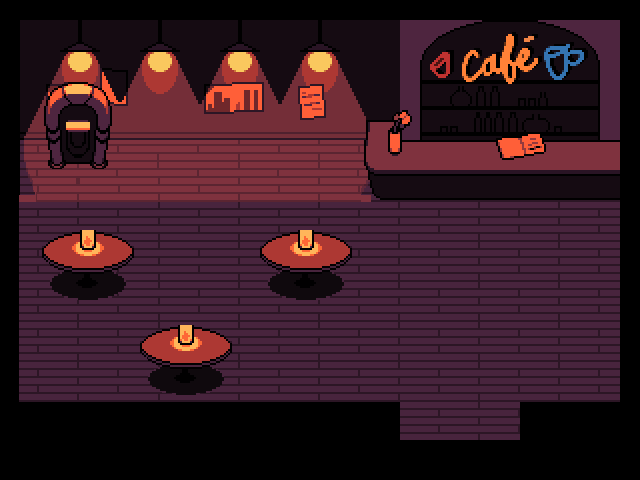 |
An early mock-up of the Castle Town Cafe, with the wall tiles at the bottom being higher up, slightly different table placements, the candles making light appear under the tables, and a removed desk with a book on it.
(Source: Original TCRF research)
|
Early |
Final |
|---|---|
|
|
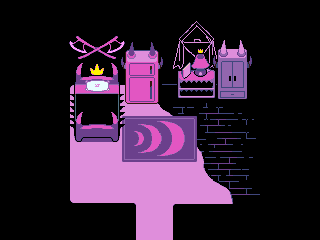
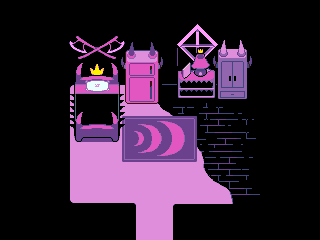
A sprite of Susie's bedroom in Castle Town, but with a window drawn in the style of Kris's bedroom in Castle Town.
(Source: Original TCRF research)
Queen's Mansion#
|
Early |
Final |
|---|---|

|
|
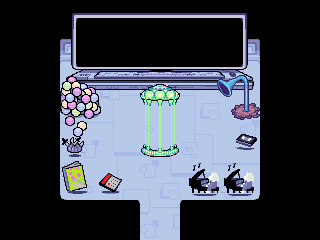
An early mockup of Kris's prison room in the Queen's Mansion. This screenshot has the exact Queen's Mansion Talking Tube that is included in this article. Even the early cage. While this room has many elements that kept in the final, there are differences shown on this picture: the wall where the monitor and keyboard is placed as well as the floor lack details, and the Talking Tube has a different color.
(Source: Original TCRF research)
Other Early Assets#
General#
spr_explosion_diagonal#

A circular explosion that goes unused.
spr_shine_white#

A plain white version of the glowshard animation that was added to the files in Chapter 2. This sprite seems to be used in later chapters, especially in chapter 4, where it is used as a marker for otherwise invisible interaction points (e.g., when jumping back onto the Titan after the Titan Spawn fight).
(Source: Original TCRF research)
UI#
spr_battleblcon_parts#


Chapter 2 introduces a new style of speech bubble that uses the 9-slice method to wrap around enemy dialogue, though the corners are cut off, giving them a blocky look. Well, there exist unused sprites for all four corner pieces, showing that they were considered and possibly tested, but decided against for some reason.
(Source: Original TCRF research)
Castle Town#

A version of Castle Town house without windows, specifically belonging to Chapter 2 assets.
(Source: Original TCRF research)


Placeholder sketches for the Party Dojo disco ball.
(Source: Original TCRF research)


An old version of the boxing ring seen in Party Dojo challenges, in various stages of polish. The final version has a cutout where the front wall would be, likely as a measure to not obscure the characters in battle.
(Source: Original TCRF research)


Unused sprites of doors to be used in the Castle Town/Ralsei's Castle area. The former would have been used as the door to Queen's room, while the latter would have been used as the door to Ralsei's room. These are used in Chapter 4.
(Source: Original TCRF research)


Tiny flames meant for Susie’s room in Ralsei’s Castle. One is pink and the other is transparent
Cyber Field#
|
Early |
Final |
|---|---|

|

|
An early version of the spinning “trees” seen in Cyber Field. This has a fully black background, and contains noticeably fewer frames than the final. Erroneously, the filename is suffixed with "transparent", while the one seen in the final game is labeled as "black".

A separate sprite for the light on top, suggesting they were meant to have a "glowing" effect.


Two placeholders for the arcade machine the Queen forces you to play; the arcade machine sprite (with "gamers" on the casing and the face from the original Susan Kare Mac icon) and the classic smoldering rubble sprite. This arcade machine sprite in the Chapter 1&2 Demo had originally featured crude "XBOX" branding that was removed in Version 1.06.
(Source: Original TCRF research)
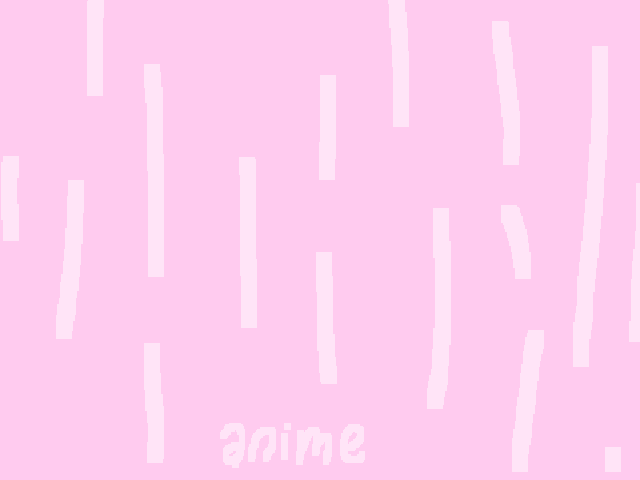
A placeholder of the background used for the 'Magical Stool Forme R' and 'Power Beast Forme S' transformation, with "anime" written on the bottom.
(Source: Original TCRF research)


Hilariously primitive placeholder for the dancer on one of the screens at the beginning of the Cyber World.
(Source: Original TCRF research)


A speaker meant to be used in Cyber Field’s keyboard puzzles. A blue variant is used in Cyber City’s “December” puzzle.


A placeholder sketch for the unused Cyber Field variant of the keyboard puzzle speakers.


Isolated screens at different sizes meant to be used in the game’s various keyboard puzzles. Only the city variant of the smallest screen is used in the final game, seen in the “December” puzzle.
(Source: Original TCRF research)

Many unused characters for the keyboard puzzles in Cyber Field. Some of these have audio clips associated with them, which can be heard here.
(Source: Original TCRF research)


Crudely-drawn versions of the teacups, named spr_teacup_back and spr_teacup_front.
(Source: Original TCRF research)

A placeholder sketch of the platform that houses the teacups.
(Source: Original TCRF research)

An unused variant of Queen’s shock cages, missing the bars in the middle.
(Source: Original TCRF research)
|
Early |
Final |
|---|---|
|
|
|


The conveyor belts found in Undertale's Hotland, which were presumably used as a placeholder for the conveyors in Cyber Field.
(Source: Original TCRF research)
The coaster building has two alternative versions left unused.
Final |
"Backup" |
Early |
|---|---|---|
 |
 |
 |
A hood is also supposed to be placed at the exit, but was cut.

Interestingly, the hood texture with the padding is double the resolution of any version of the coaster building, which means that, without resizing the sprite, it would simply not fit. This could also be a leftover of an even older version of the building that isn't in the files.
Here's how the building would look like with the hood attached:

(Source: Original TCRF research)
Cyber City#
Sprite |
Early |
Final |
|---|---|---|
Trash Bag |
 |
 |
Trash Pile |
 |
 |
Medium Trash Pile |
 |
 |
Large Trash Pile |
 |
 |
Spamton's Shop |
 |
 |
Some early versions of the garbage dumps that appear in the Trash Zone. The eggplant-shaped trashbag had its bright blue outline desaturated, the trash boxes were made darker, and the large trash pile had its size significantly increased and Spamton's shop lost some trashbags.
As a side note, in the playable demo the Fun Gang lands on the Large Trash Pile in a story cutscene, and Susie falls off a NO sign. That NO sign is actually baked onto the old Large Trash Pile sprite, and given that the gang can't plausibly land on such a tiny pile implies that this scene may have went a little differently earlier in development.
(Source: Original TCRF research)

A large trash pile that is identical to the one the Fun Gang lands on, except the "No-sign" is included instead of being a separate, distinctly colored entity.
(Source: Original TCRF research)


Various trash bags. These match the ones seen in the early sprite for Spamton's shop more than the blocky ones seen throughout the Trash Zone.
(Source: Original TCRF research)
|
Early |
Final |
|---|---|

|

|
An early version of the legs from the cars in Cyber City, with a more rough outline than the final and mostly solid coloration.
(Source: Original TCRF research)
|
Early |
Final |
|---|---|

|

|
An early version of the traffic cars you dodge with Queen’s car, somehow more polished than the crude sketches you see in the final game.

A left-facing traffic car.


Directional walking sprites for Queen’s car. They're labeled "city_car" instead of "queen_car", suggesting that it might have been a more common type of car seen around the city at one point.
(Source: Original TCRF research)

An early version of the traffic switch seen in the city.
(Source: Original TCRF research)


An unused version of the traffic lights with a horizontal beam on top, including left- and right-facing variants.
|
Early |
Final |
|---|---|

|

|
An early, more generic trash can. This is actually a recolor of the trash cans in the alleyway in Hometown.

An early version of the cat sign. Curiously, this is labeled "sprite9" in the files instead of anything indicative of the sprite's contents, notably lacking the "spr_" prefix seen on the filename for every other sprite.


Two-story variants of the windows that house the cat signs.
(Source: Original TCRF research)
|
Early |
Final |
|---|---|
|
|
|


All of these are early versions of sprites related to the Annoying Mouse Room puzzles.
(Source: Original TCRF research)

An outline decor meant for the first Annoying Mouse Room.
(Source: Original TCRF research)

Light blue arrows for the second Annoying Mouse Room.
(Source: Original TCRF research)
|
Early |
Final |
|---|---|
|
|
|


Placeholder sketches of the screens in Cyber City.
(Source: Original TCRF research)

An unused Cyber City screen that would've replaced the "DEALS" screen the Japanese version of Chapter 2.
(Source: Original TCRF research)

An early version of the info display for the mice puzzle, with fewer frames and lacking dots on the rim.
(Source: Original TCRF research)
|
Early |
Final |
|---|---|

|

|
An early version of the billboard advertising the giant Ferris Wheel, missing its supports and the animation on its lights.


Early sprites for the balloons and carnival stands in the carnival portion of Cyber City.


Early versions of the dumpsters that Spamton resides in.
(Source: Original TCRF research)

Kris Get The Placeholder Banana
(A placeholder version of the Banana used in the car minigame.)
(Source: Original TCRF research)


Sprites for girders. The game uses tilesets for those instead of separate sprites.
(Source: Original TCRF research)

A sprite for the right end of the bridge you drive over with Queen. The bridge is cut off before it "ends", so this is never used.
(Source: Original TCRF research)

An individual piece of the bridge's continuous railing.

An early sprite for the translucent foreground buildings in Noelle's monologue.
(Source: Original TCRF research)

A sign meant for a crosswalk in the city.
(Source: Original TCRF research)

A "TV pole" meant to appear in the city.
(Source: Original TCRF research)


Sprites of graffiti depicting Ice-E and Everyman that are named similarly to a used graffiti sprite of a tree. While those do appear in the Light World alley near the apartments, they are part of a single image and not separate sprites.
(Source: Original TCRF research)

Placeholder sketch of the entrance to Queen's mansion. There's some barely illegible text in the top-right corner of the sprite, which to seems to display a room name (likely room_dw_city_mansion_front, as that's where the mansion's entrance is located).
(Source: Original TCRF research)

An assembled version of the entrance to Queen's Mansion. The final game has it in separate layers, even though it still remains as one unit and never moves in parallax. This sprite gives us an extended view of the mansion, as the bottom is cut off in the final version. Missing is the "Queen" logo spelled out in red lights, with the sign containing it instead being empty.
(Source: Original TCRF research)
Queen's Mansion#


Unused sprites for the computer in Kris’ room, one with a transparent screen and one with Queen's dialogue portrait standing in for her monitor sprite.
(Source: Original TCRF research)


The early cage used in Kris' early prison room still exists in the files. The cage top and bottom have multiple frames, but there is no difference between any of the frames.
(Source: Original TCRF research)


There are two early iterations of the talking tube found in Kris' room in Queen's Mansion.
(Source: Underminers Discord)
|
Early |
Final |
|---|---|
|
|
|


"Static" versions of the floating items in Kris and Susie's personalized rooms

An early sprite for the darkbulbs used in the mansion’s light puzzles.
|
Early |
Final |
|---|---|
|
|
|


An early version of the switch used in the mansion’s light puzzles.


Sprites for a scrapped light puzzle. Possibly an early version of the last one, judging by the fact that it has the same bird shape and that the pieces do make a perfect square once stacked on top of each other.
(Source: Original TCRF research)
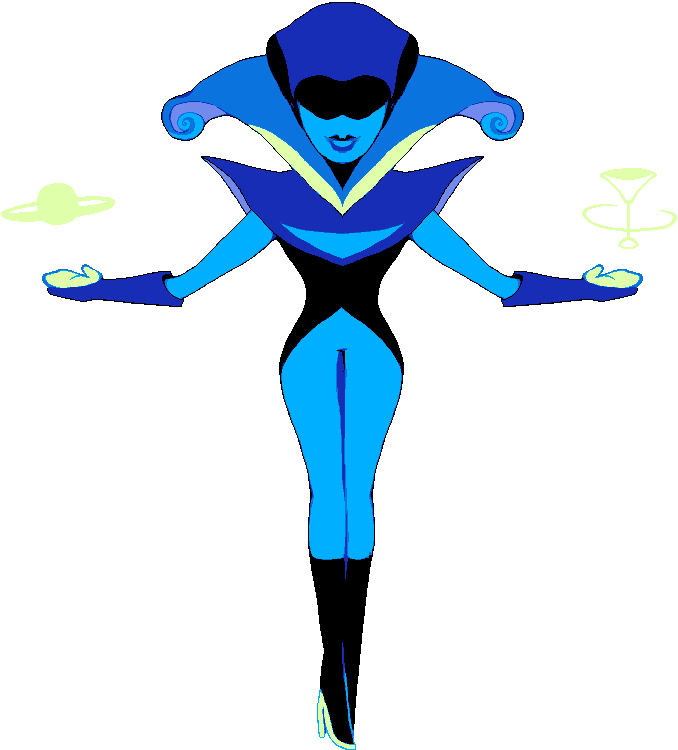
An absolutely massive sprite of a huge statue of Queen intended for the foyer, as seen by a piece of concept art. In one hand is a hologram of a planet, and in the other is a hologram of a wine glass, of course. This was probably scrapped because it seems to have been made before the idea that the statue throughout the mansion would turn out to be a mech, based on the fact that it bears little resemblance to the mech design. Also probably because it's so big, it wouldn't fit anywhere on screen.
(Source: Original TCRF research)
|
Early |
Final |
|---|---|

|

|
An early sign for the Color Cafe. The final sprite includes a door and has a much more ornate font, simply reading “Cafe”.


Seemingly early versions of the paintings in Queen's mansion. Most of them lack the ornate frame used in the final, with the chest one in particular having a slightly different positioning and background color. Notably, there's another unused Mona Lisa painting with a fiery background, and that too has an early version!
(Source: Original TCRF research)

An old version of the mansion plaque.
(Source: Original TCRF research)


Sprites for doors that lead upstairs and downstairs. The game uses tilesets for these instead of separate sprites.
(Source: Original TCRF research)

An early door meant for Queen's mansion, labeled as an entrance.
(Source: Original TCRF research)


A wall-mounted version of the lever switch for the mansion and basement.
(Source: Original TCRF research)
|
Early |
Final |
|---|---|
|
|
|

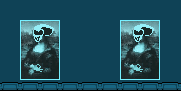


An early version of the screen that flips to reveal a row of Queen paintings. It uses the placeholder version of the paintings.
(Source: Original TCRF research)


Some early versions of the Tasque paintings seen in the Tasque painting room.
(Source: Original TCRF research)

An early sprite for the Second Floor sign in the traffic room of Queen’s Mansion.


Overhang sprites for an early version of the traffic room in Queen’s Mansion. In the final game, these are made out of tiles.
|
Early |
Final |
|---|---|

|

|
An early version of the velvet rope barriers seen after you complete the mansion's traffic room. In the final game, these are made a lot more polygonal, with an electric glow coming off of its carvings. This is in line with many other details, like the vases and curtains, found in the mansion’s original tileset which were later abstracted and made more “digital” for the final game.
(Source: Original TCRF research)

Green lights originally meant to display in the mansion's traffic room. They would’ve been placed in two rows in front of each tunnel with their animations staggered to create a checkerboard pattern. These are still present in the final room, but their layer is made invisible.
(Source: Original TCRF research)


An unused top piece for the glowing effect seen on some doorframes in Queen’s Mansion. In the final game, the doors are thin enough that the top piece wasn’t needed, as the corners could simply be put next to each other.
(Source: Original TCRF research)

This early version of the KeyGen door appears to be very similar to, if not the same as, a locked door sprite from Zelda II: The Adventure of Link for the NES.
(Source: Original TCRF research)
|
Early |
Final |
|---|---|

|

|
An early version of the wigs worn by the Mansion’s guests. This was replaced by a simpler but more iconic wig shape in the final game.
(Source: Original TCRF research)

An isolated sprite of Queen’s wine glass, originally one of the random objects that’s revealed when you lift any of the saucers in Queen’s Mansion.
(Source: Original TCRF research)


A speech bubble with the words "GREATDEALS" that had something to do with the table gimmicks in Queen's Mansion, judging by the filename of spr_ch2_gimmick_bombtext.


An assortment of platter and plate sprites. The pile of platters in the kitchen uses individual sprites, and plates like this do not appear anywhere.
(Source: Original TCRF research)

Temporary sprite for the table carried by the Annoying Dog. Most notably, it has a completely different tail that doesn't resemble the Dog's at all. Along with this, Susie and Ralsei are floating and aren't in their surprised poses, Kris is facing away from the player, and the platter isn't present.
This sprite was actually used in a prototype version of the dogtable scene made by developer Fred Wood. According to him, it was never meant to be used in the final game because it's a placeholder for the actual sprite.
(Source: Original TCRF research)
|
Early |
Final |
|---|---|

|

|
Similarly, there's an early version left over of the tables seen throughout Queen's mansion.
(Source: Original TCRF research)

There is another sprite of the Annoying Dog under a table that uses its actual design, though still with the old table.
(Source: Original TCRF research)

A sprite for a note found in an unused mansion storage room.


Early sprites for the tiles in the tiny town that appears in the mansion's acid tunnel, labeled “townSwitch” in the files.
These were later revealed in a video by Fred Wood to have been used as switches for an early version of the acid tunnel’s mouse puzzle.
(Source: Original TCRF research)

An unused whirl graphic for the acid pool.
(Source: Original TCRF research)

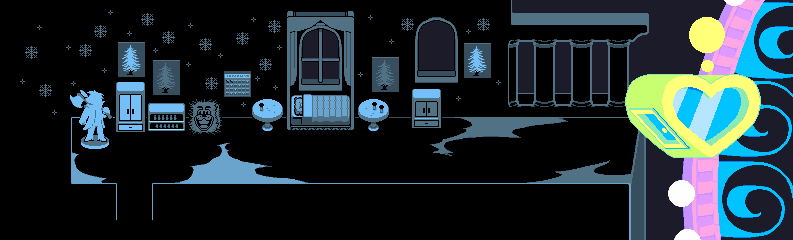
Early (ferris wheel mockup) |
|---|
 |
Final |

|
The only change made here is the door; either it looked uncomfortable or it broke theme park law regulations.
There exists a mockup of Noelle's room with this early ferris wheel. It also contains a detail that is cut from the final background graphic - pills on the tables near the bed.
(Source: Original TCRF research)


Unused sprites of the wall cutouts that house the NEO body. Interestingly, in one you can see a hand strewn across the floor. As for the latter two sprites, the cutout encasing the NEO body is achieved using tiles in the final game.

A sprite for the locked door seen in the Mansion Basement. In the final game, part of the tileset is used instead.

An early sprite for the locked door in the Mansion Basement, depicting prison bars instead.

An unused sprite for the rollercoaster tracks found in the basement. In the final game, they're much thinner and span a longer width, likely to make looping less obvious.
(Source: Original TCRF research)
Hometown#

A fanned out version of the keys seen in the Police Station. Presumably meant to sit on Undyne’s desk as opposed to the singular key seen in the final game.
(Source: Original TCRF research)
Other Graphics#
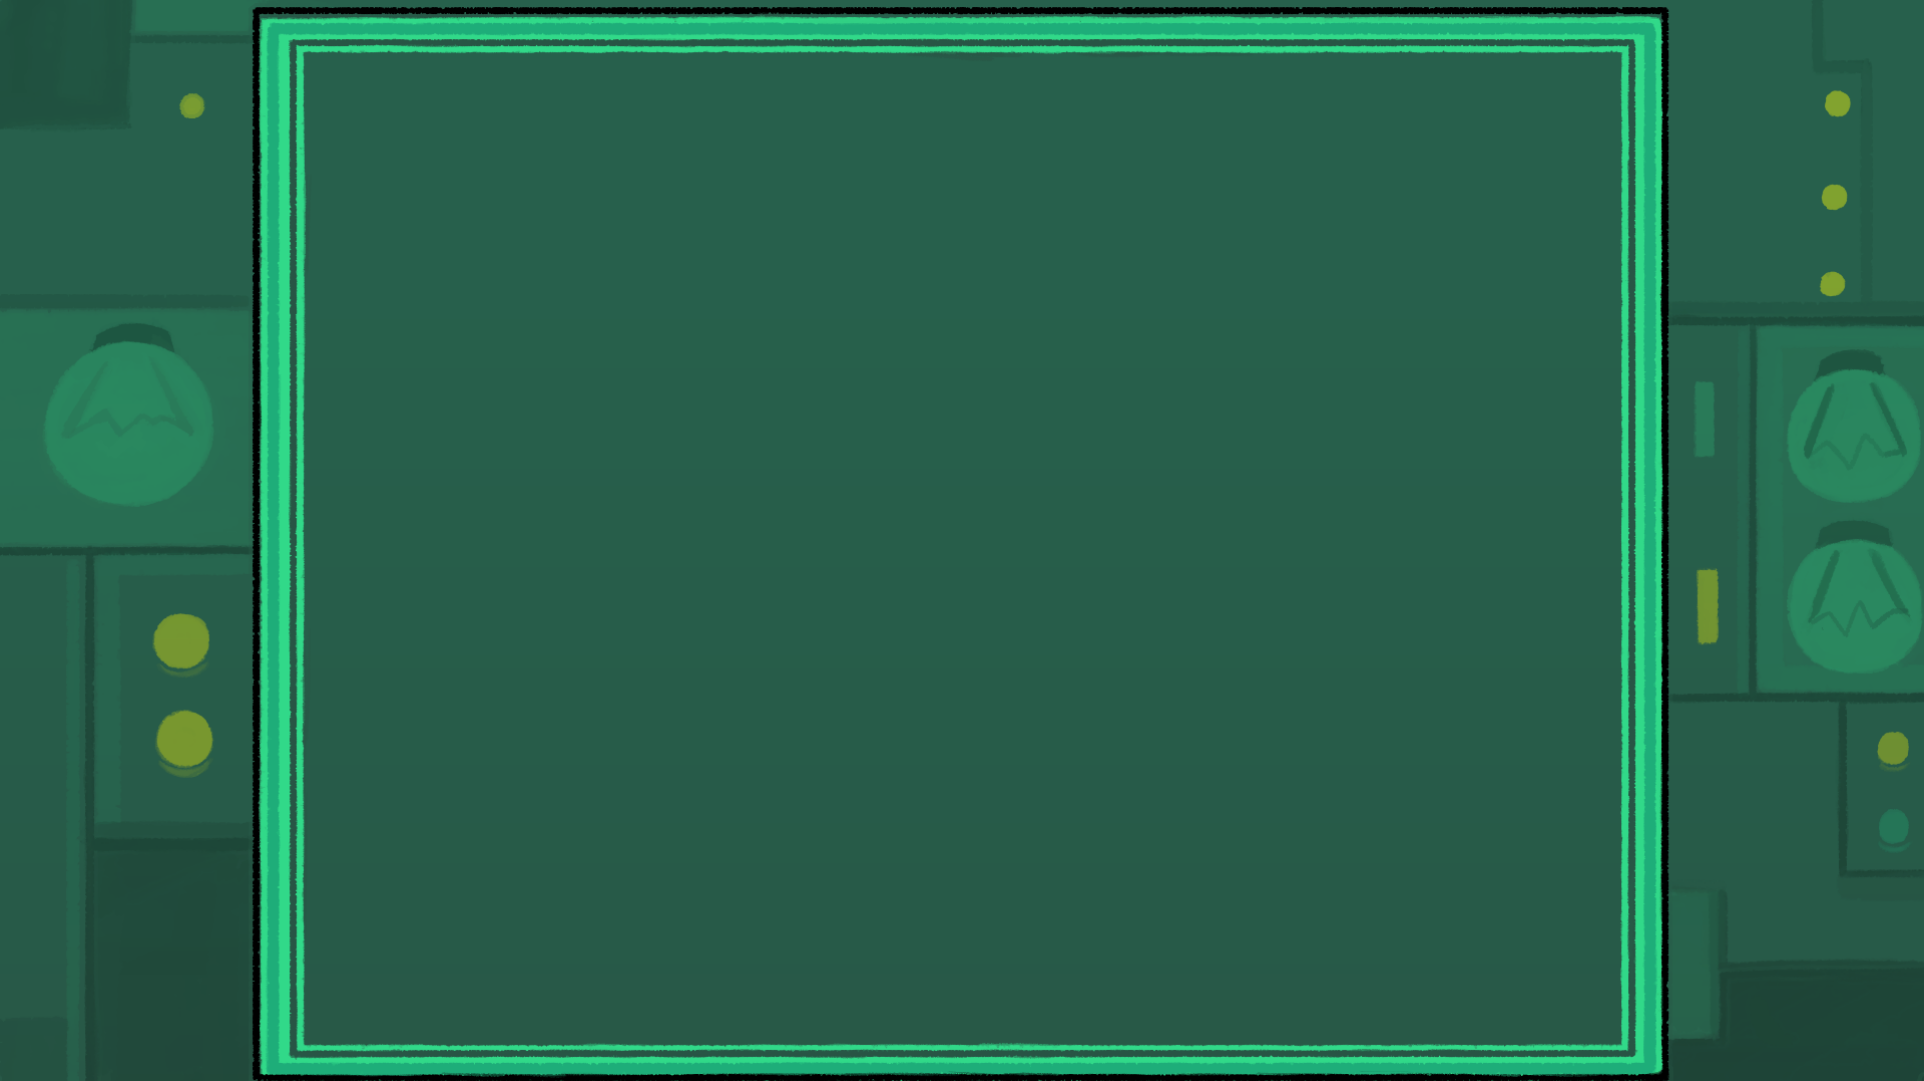
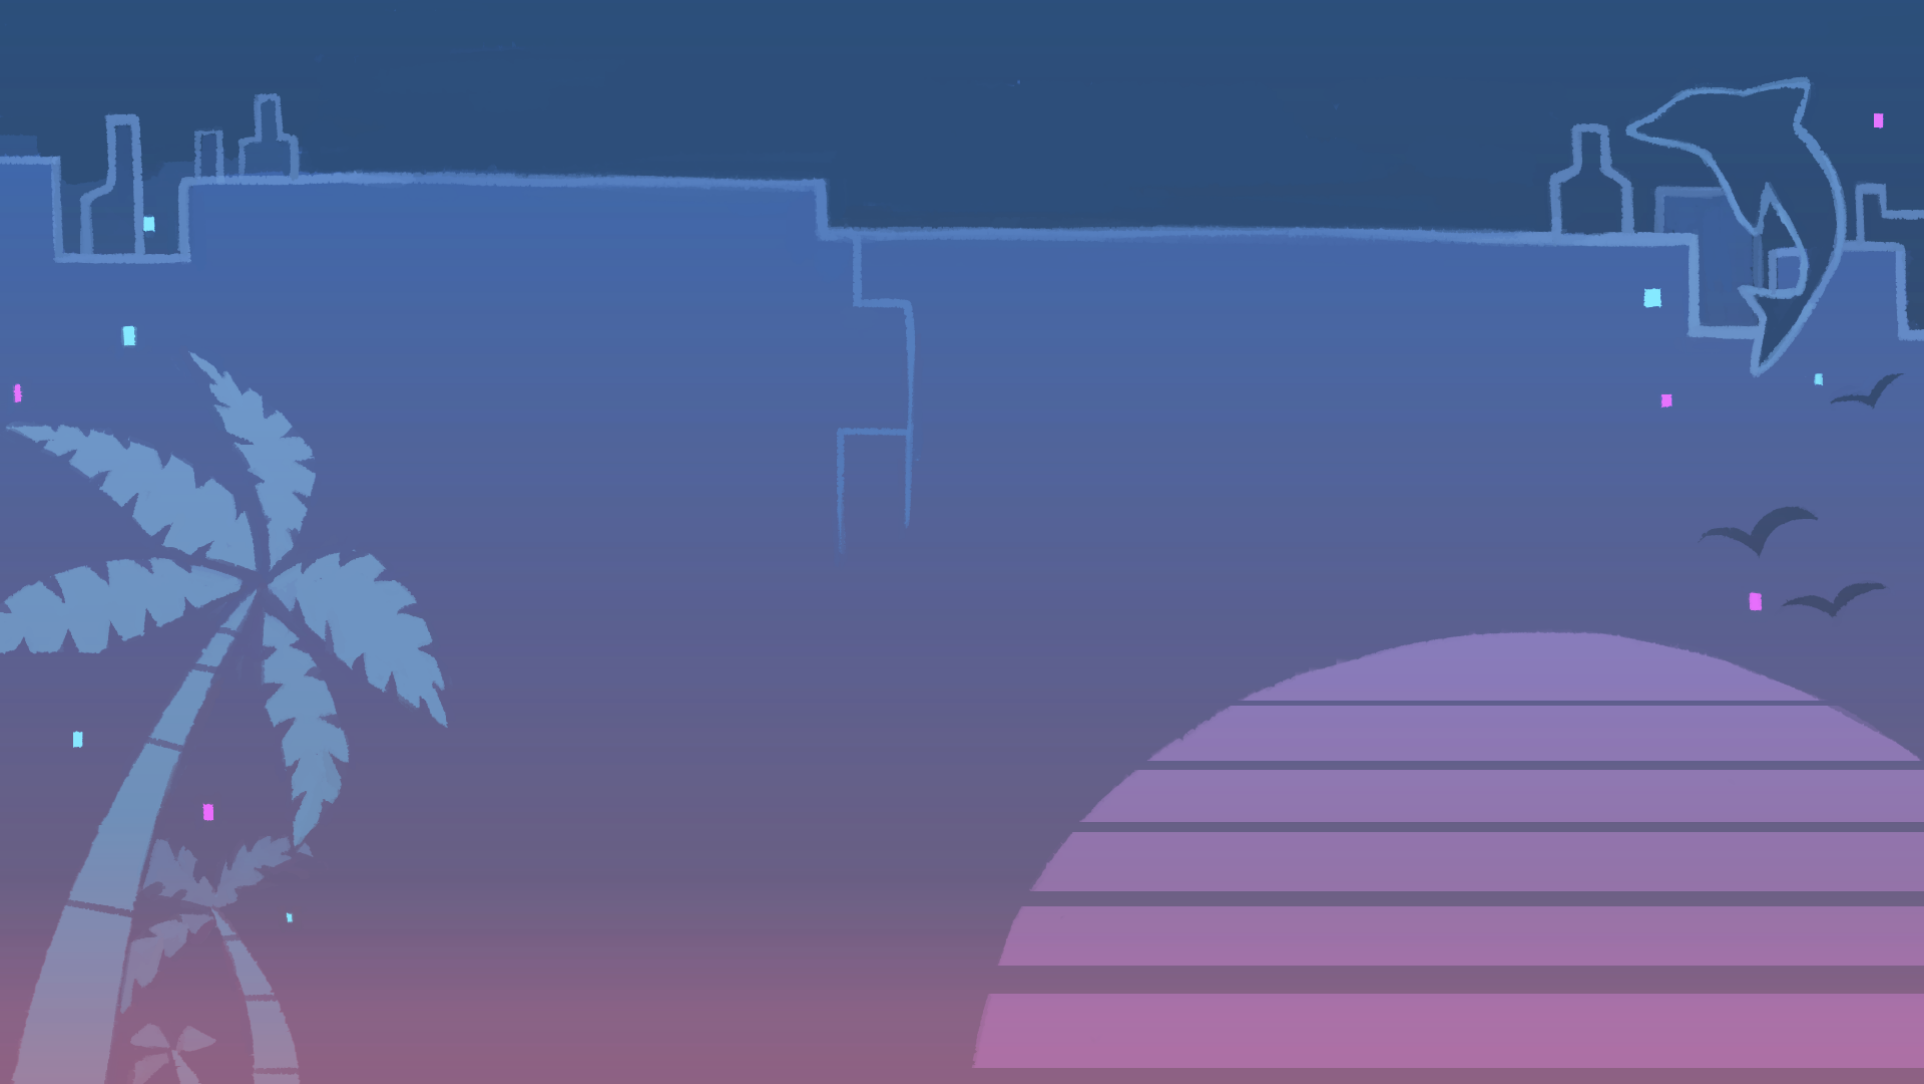
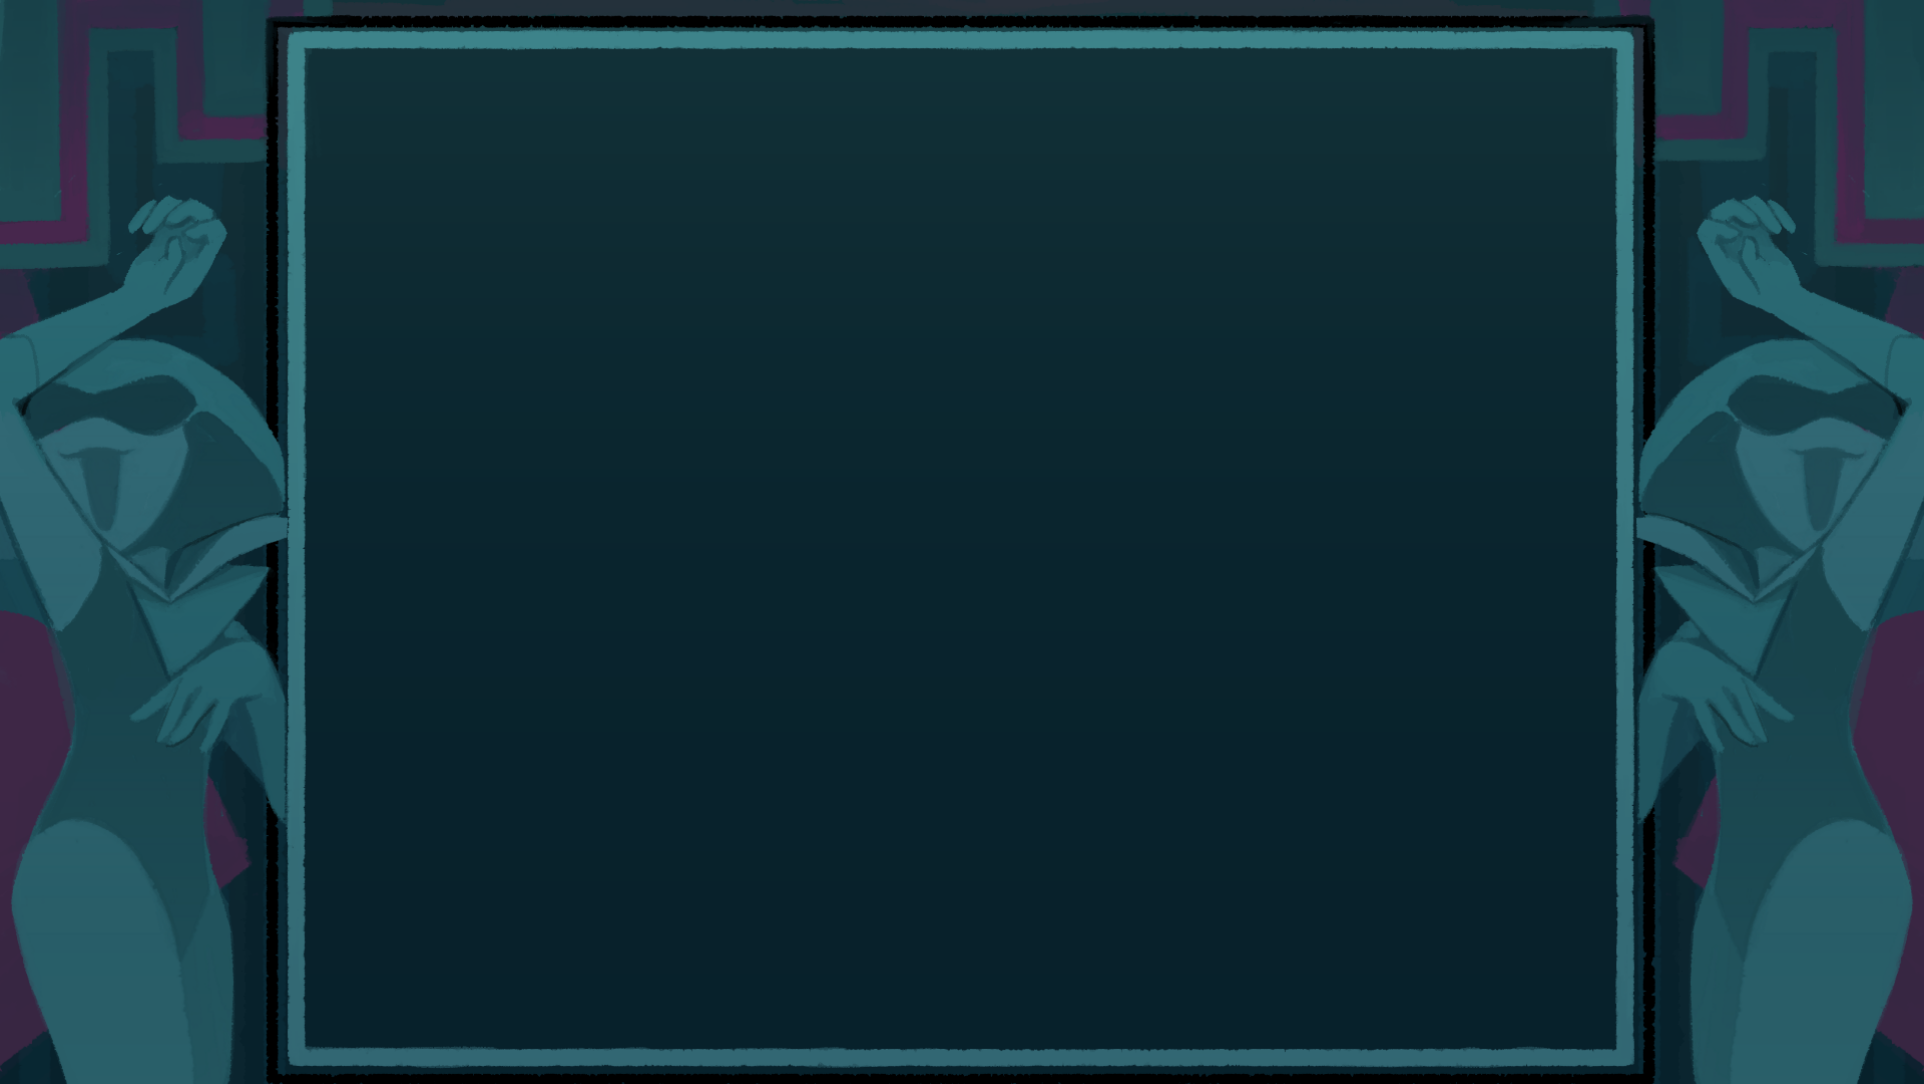
As with Chapter 1, the dynamic borders in the console release of Chapter 2 contain graphics that take up the entirety of a 16:9 screen, but because the game itself is displayed in the middle, the center areas of these designs go unseen in typical gameplay.
(Source: Original TCRF research)


Crudely drawn sprites named ch3_parallax_t_dark, seemingly meant for Chapter 3 going off of its file name. They're the only sprites in the Chapter 1&2 Demo to have a Chapter 3 prefix. What this sprite was meant to be is unknown, although it's possible it could have been a red herring to mess with dataminers, as the sprite is nowhere to be found in Chapter 3's files.
In game development, "parallax" is a word usually used in background textures in reference to the parallax effect, and Deltarune uses the word pretty consistently for its backgrounds. What "t" means here is unknown if anything, although it could be referring to Tenna. "dark" is usually used in Deltarune to mark variants of a sprite that are visually dark, or to mark Dark World variants of Light World sprites
(Source: ASmolBoy)

The "Classic" version of the iconic Magical Out-of-Bounds glass, ripped straight from Undertale. There is magical glass seen in-game if you position yourself just right for Susie and Ralsei to lag behind, but it uses a more detailed, updated sprite for this purpose. Curiously, the updated Magical Glass was in Chapter 1's files, but not this sprite.

A sprite of Five-Eight, the main character of the game LOVE. LOVE's creator Fred Wood was on development team of Chapter 2, so this may have been used as a placeholder graphic by him during development.
(Source: Underminers Discord (Lil'Alien))