 This article has a talk page!
This is a sub-page of Proto:Persona 5/December 4th, 2015/Areas.
Okumura's Palace - Unused leftover shortcut + Extended/changed fields#

|
This page or section needs more images. |

|
This needs some investigation. |
Okumura's palace also has a few changes to map layouts and shortcuts. One of the first notable things is the third safe room is actually located where it is in Persona 5 Royal rather than where it is located in the final version of vanilla Persona 5. There is a door blocked off by a laser that seems it would be where the safe room should be, though clipping over to it and opening it reveals it probably wasn't intended to ever be opened unless it's a remnant of an even earlier layout.
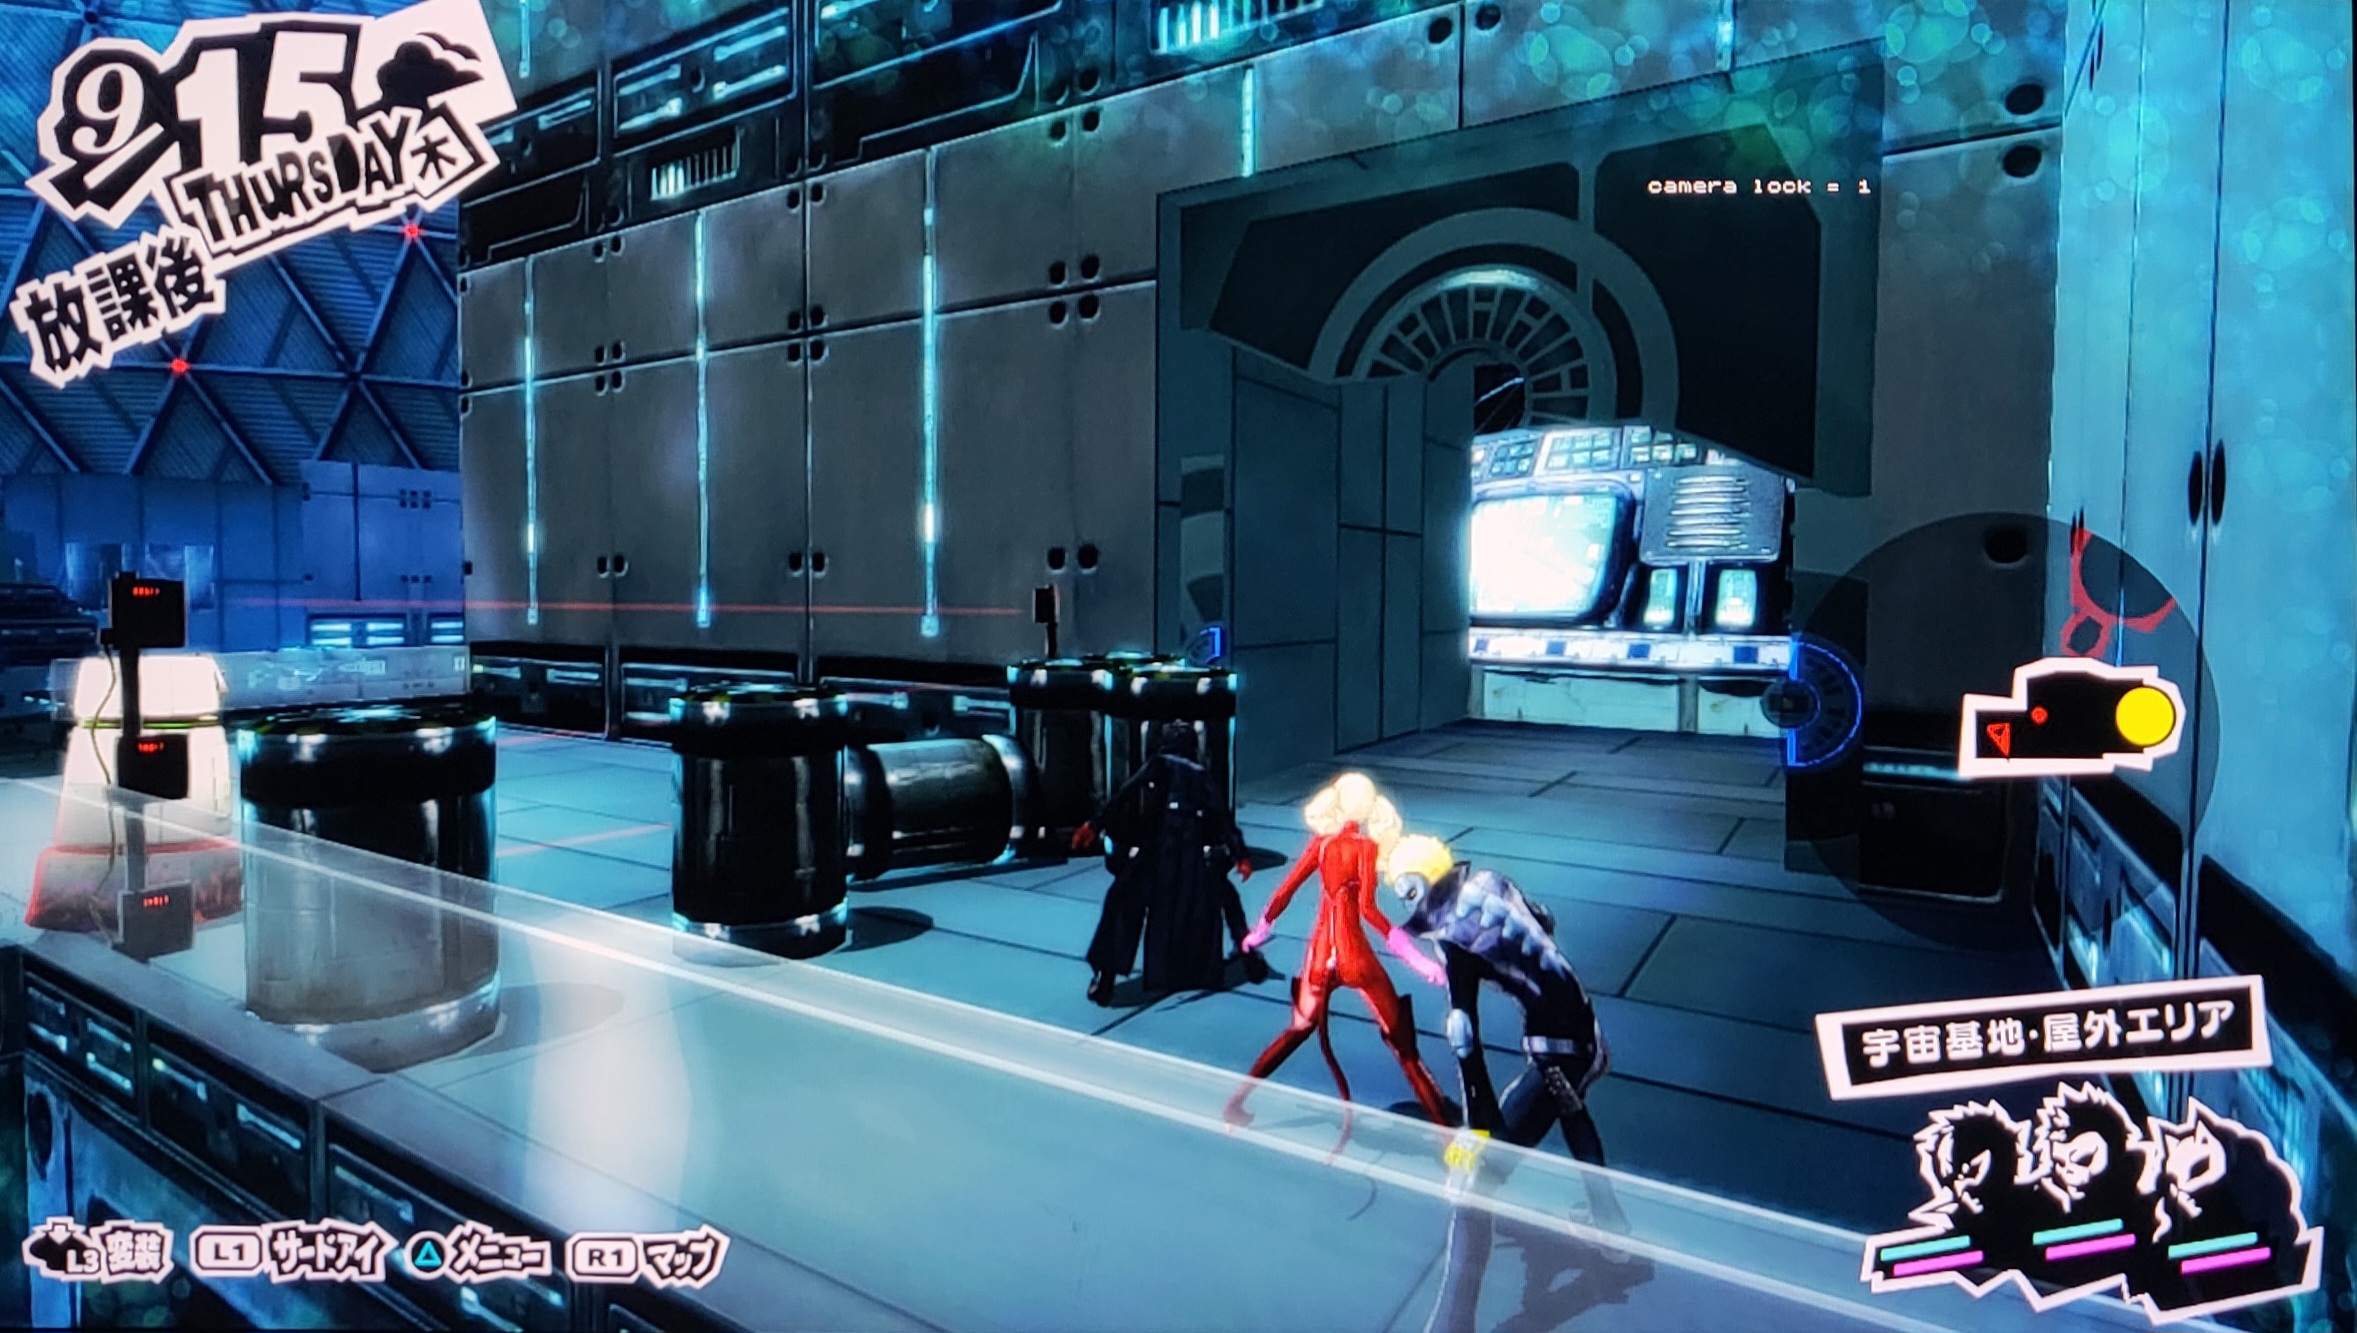
In the third trailer of Persona 5, PV03, there is a spinning disc shortcut revealed to be on the second field (at 1:58 in this video https://www.youtube.com/watch?v=wvpOwQaqRXA). This footage is from a build even earlier than this one since the map in PV03 even has the shortcut disc on it, but the field geometry already matches what is seen in the final game in this build. However, there is remnant code of the shortcut still remaining in this build, and it is still functional even if the model for it is absent. If the player makes it to the very end of this open section past all of the floating robots on the third field, there is a "check" prompt that pops up in the very center of the disc at the end. When pressing circle, even though the shortcut is missing the model for the platform, it lifts the party up into the air and slides them off screen. It then slides back into the second field with the party on top of a spinning disc and takes them right to where the platform would've been in PV03, indicating that the shortcut was axed at some point shortly before this build. This shortcut can still be seen in the final game from field 1 and field 3 of this palace if the player clips out of bounds.
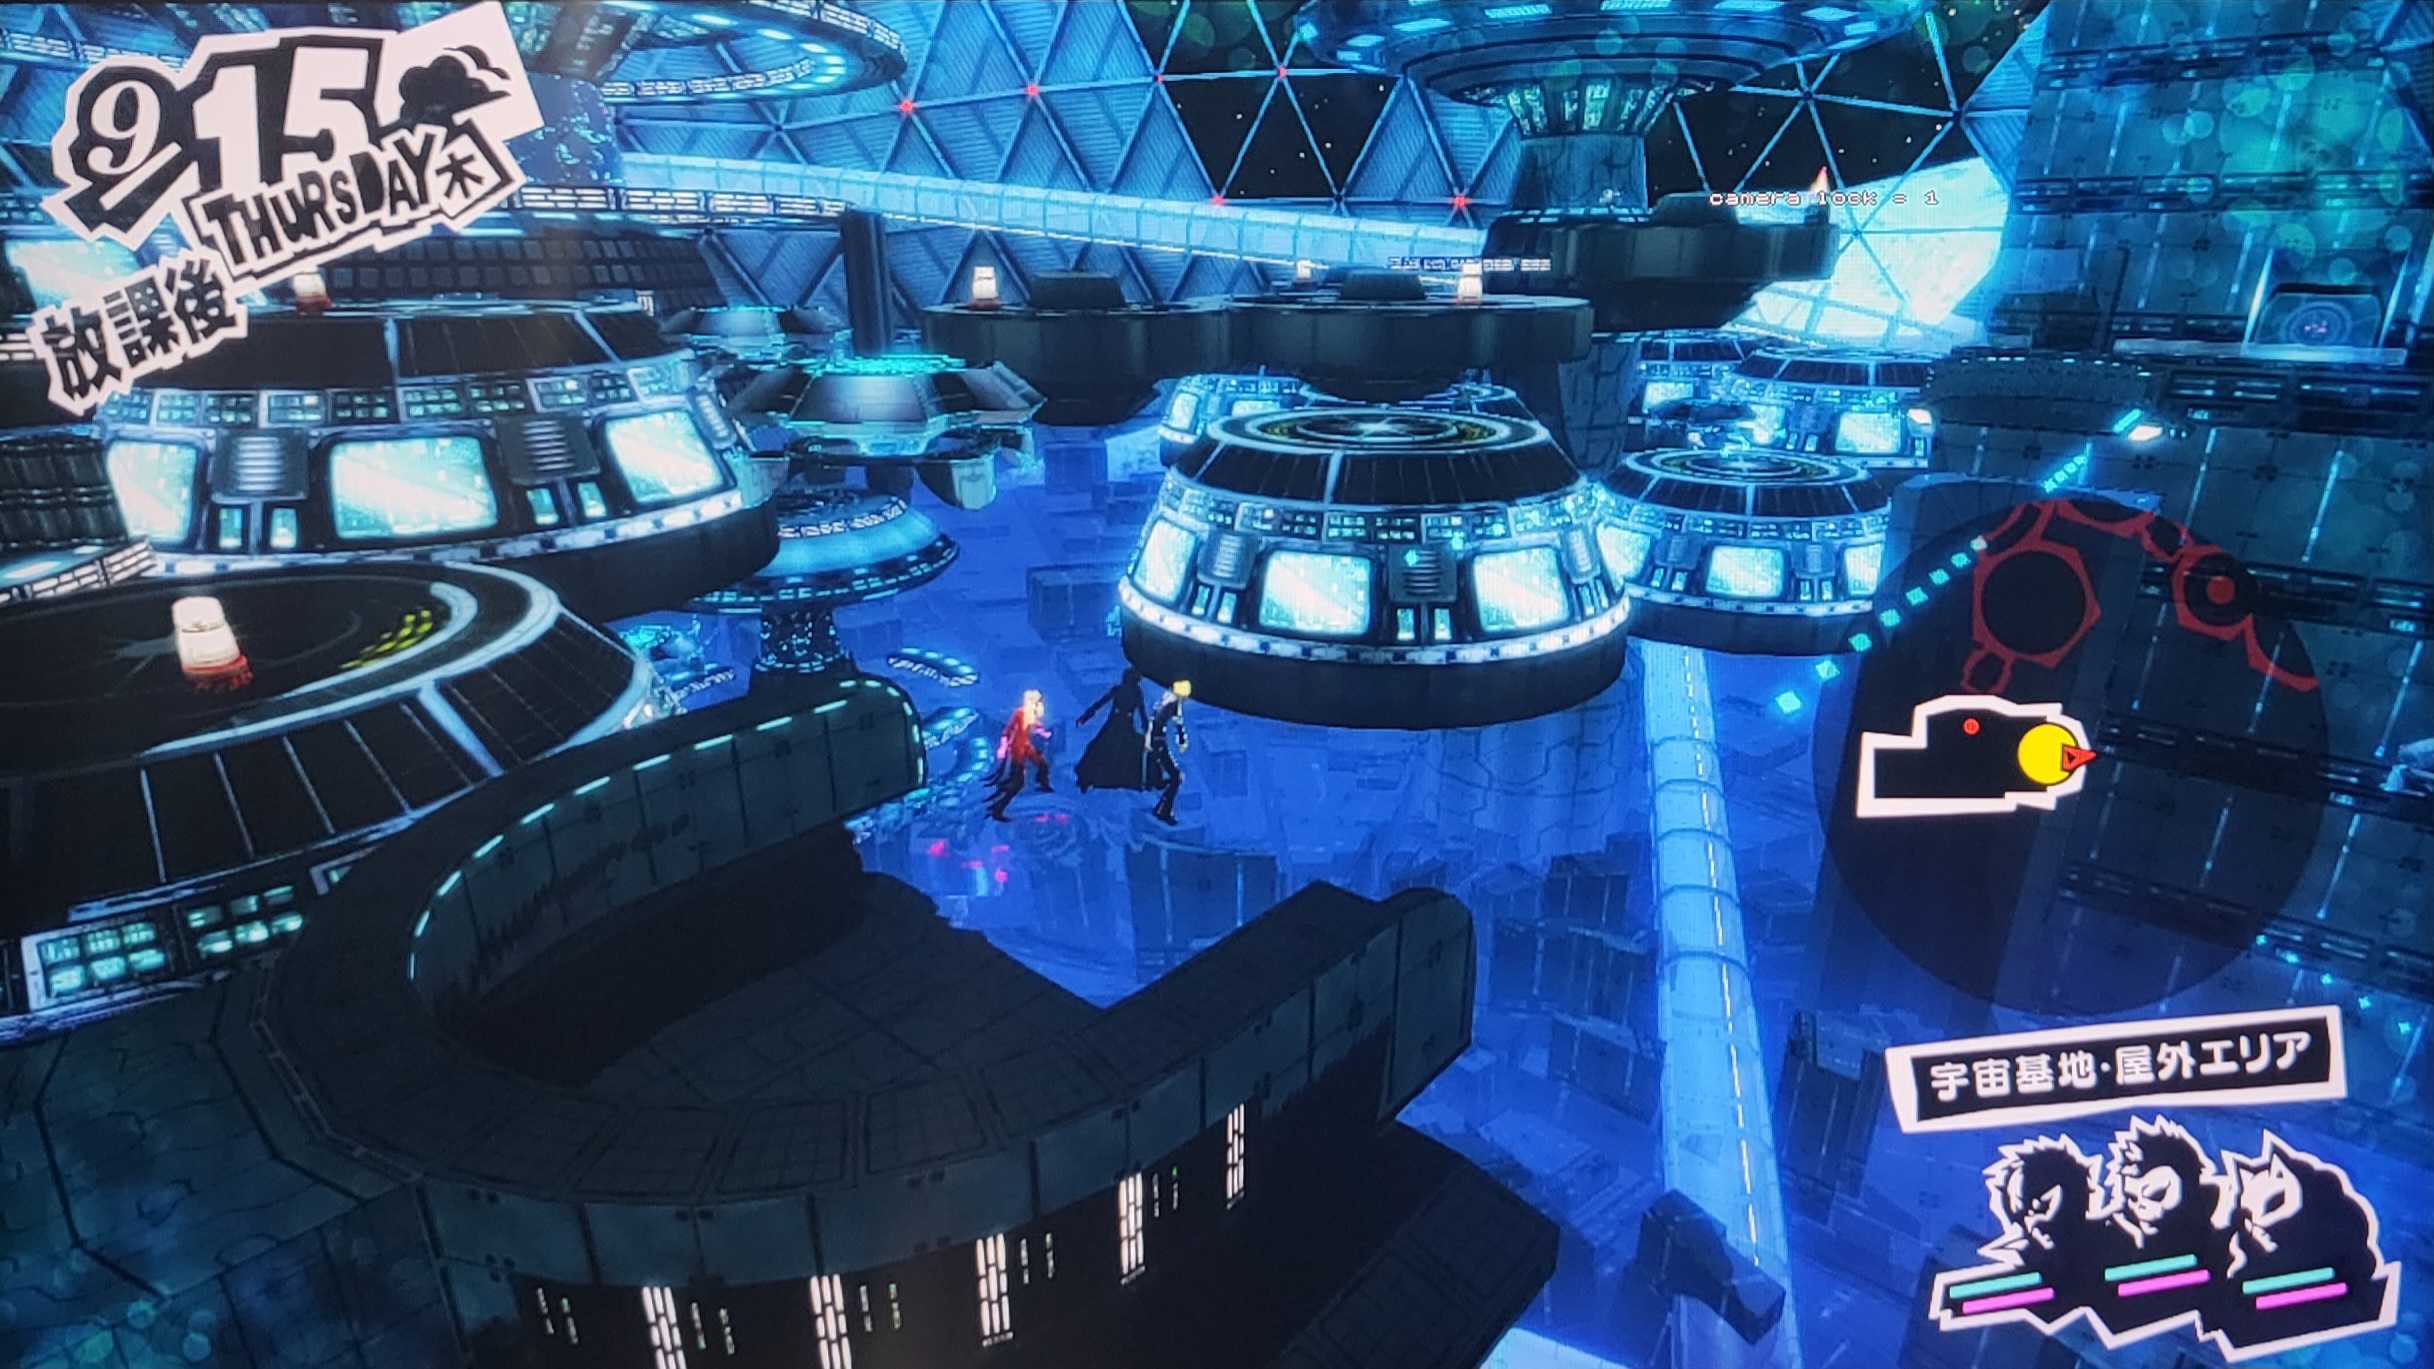
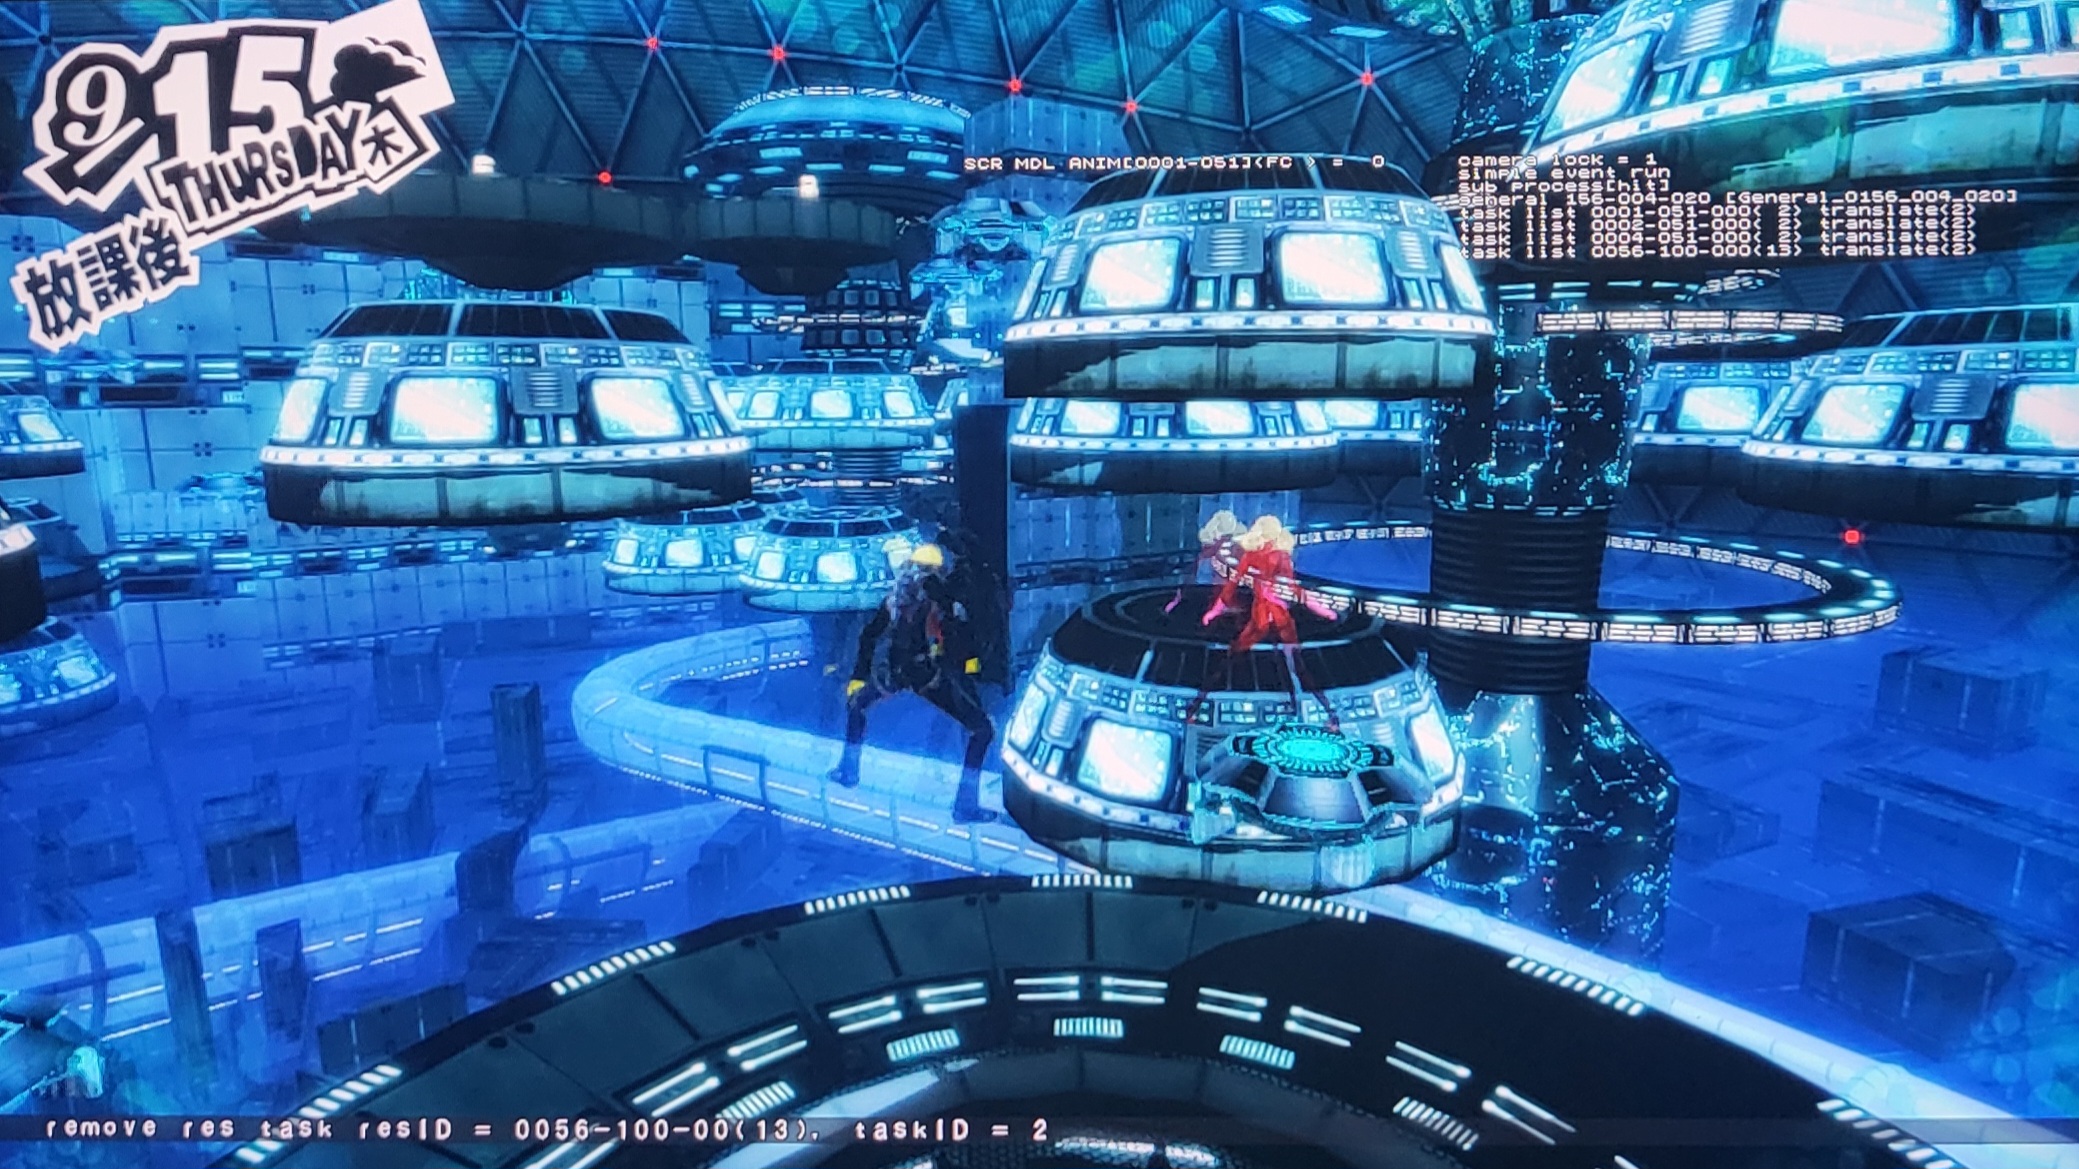
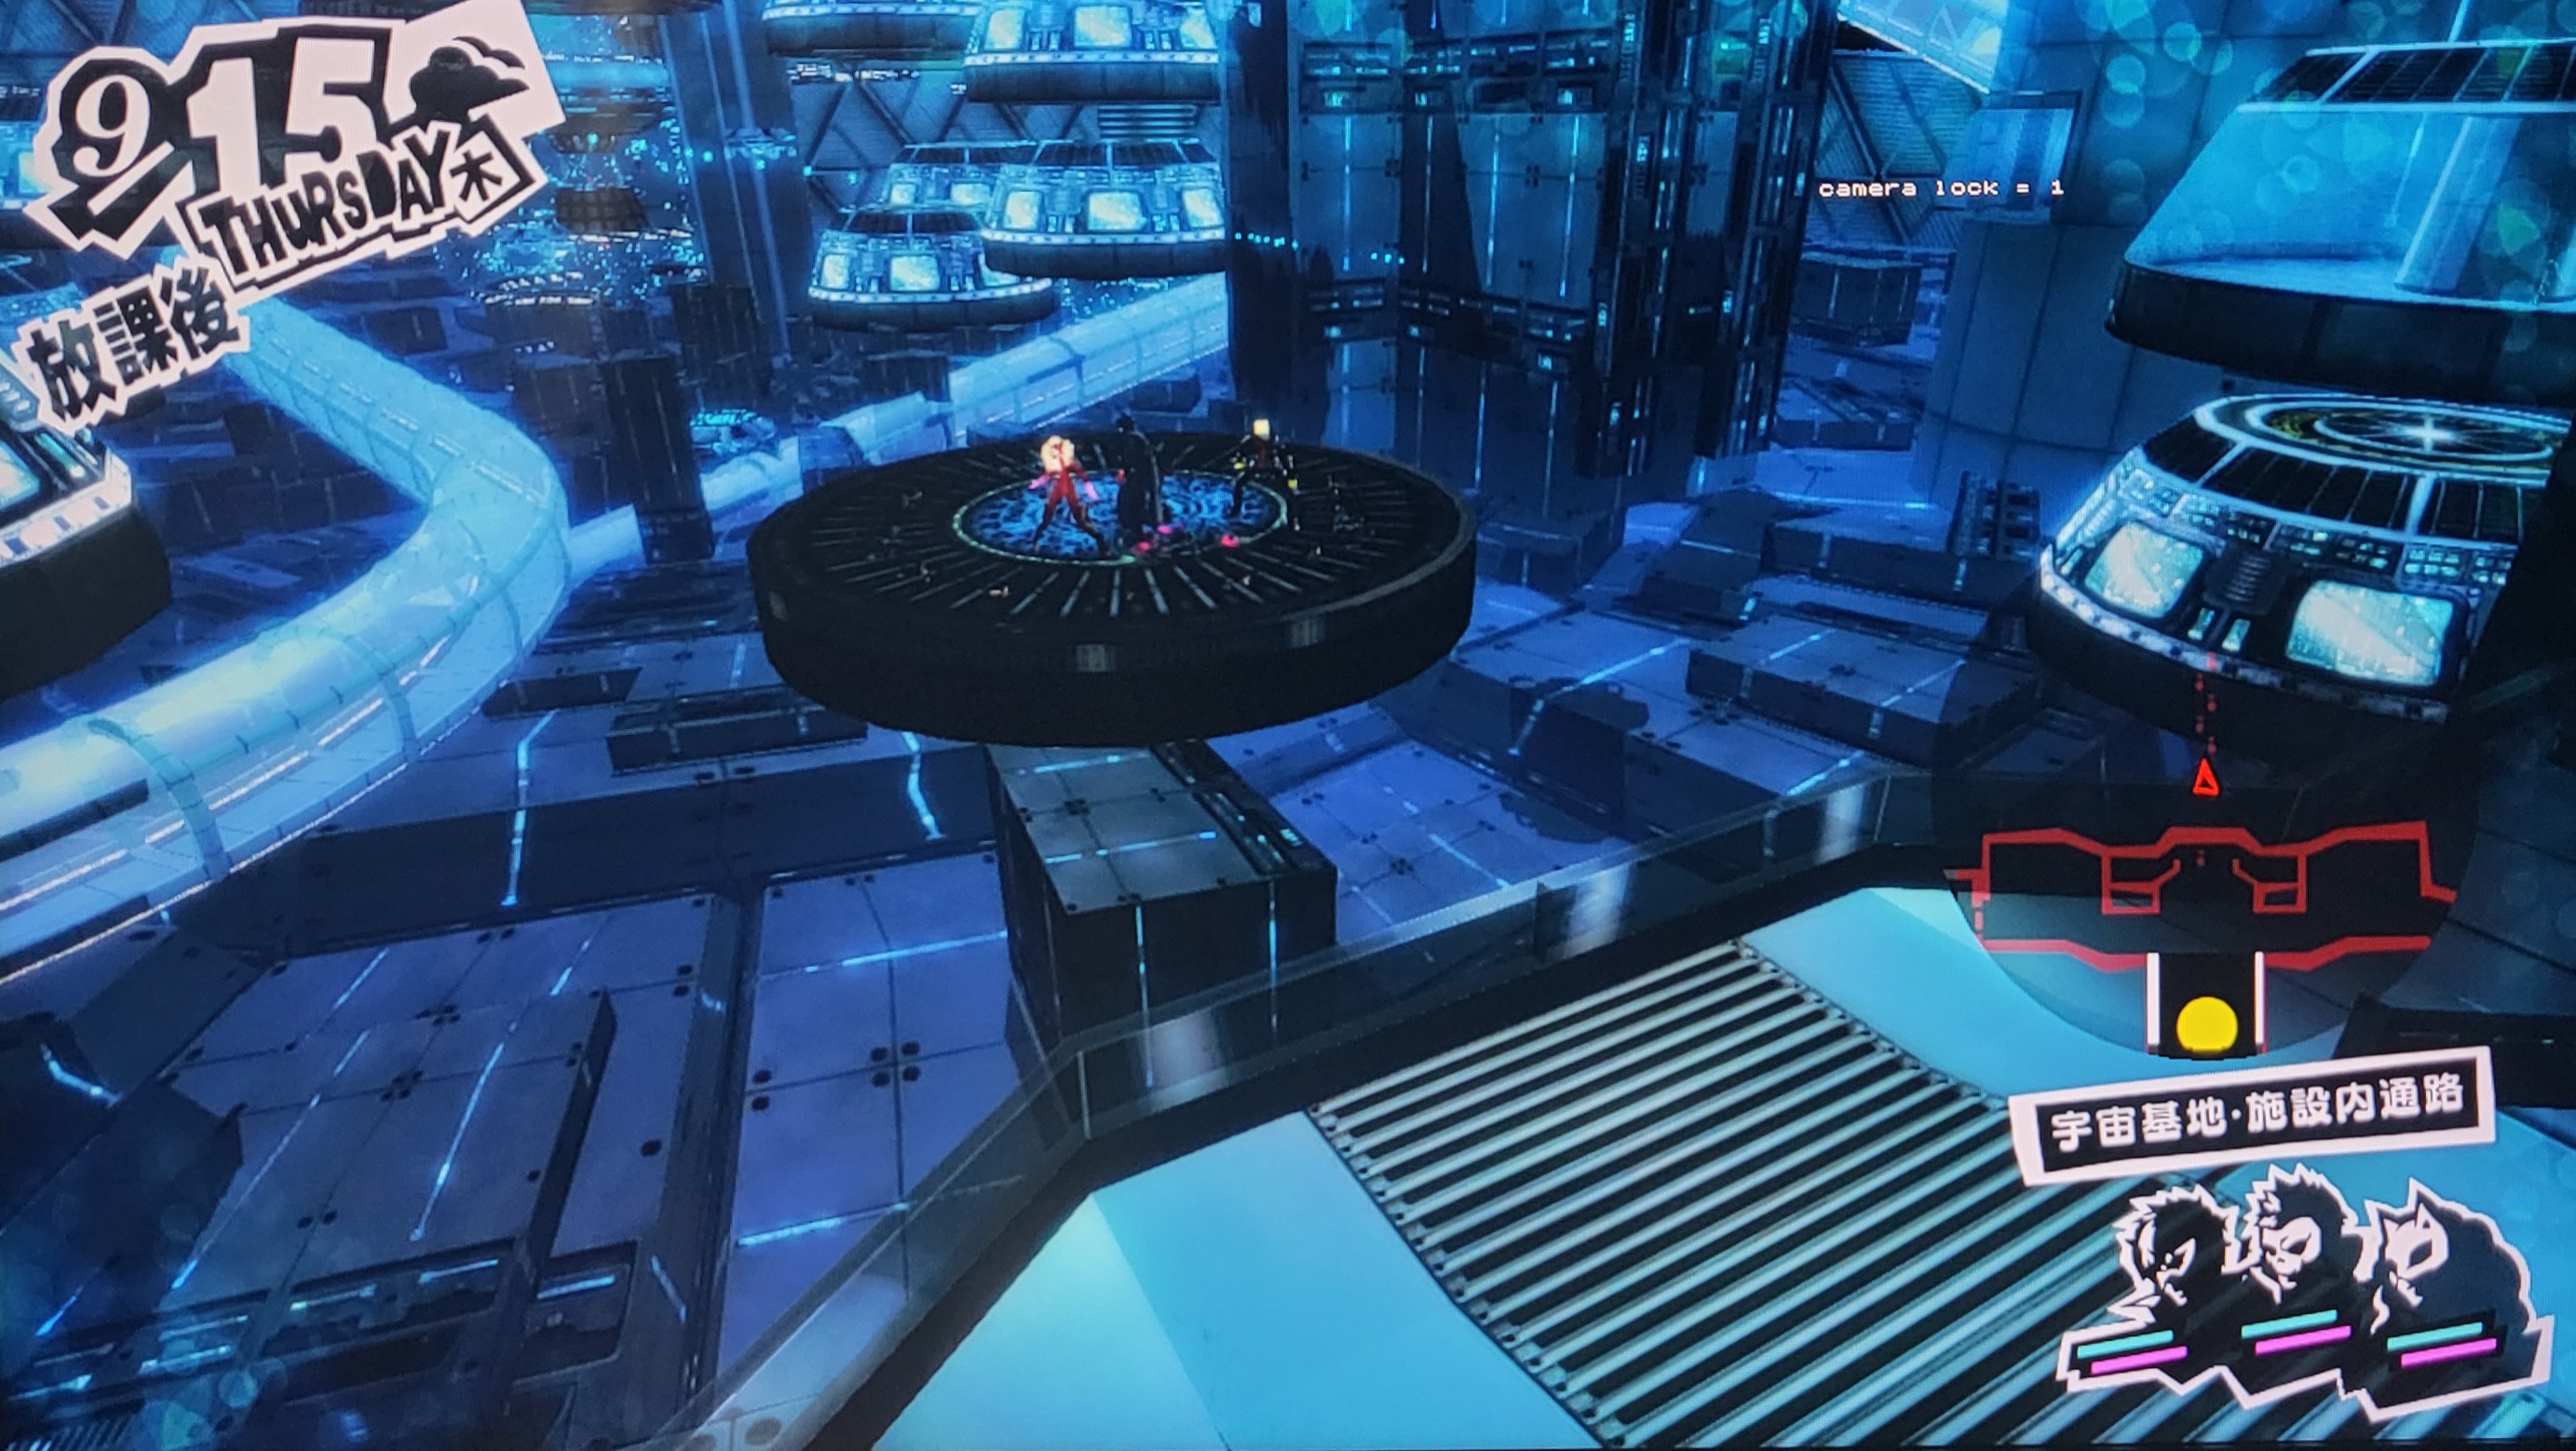
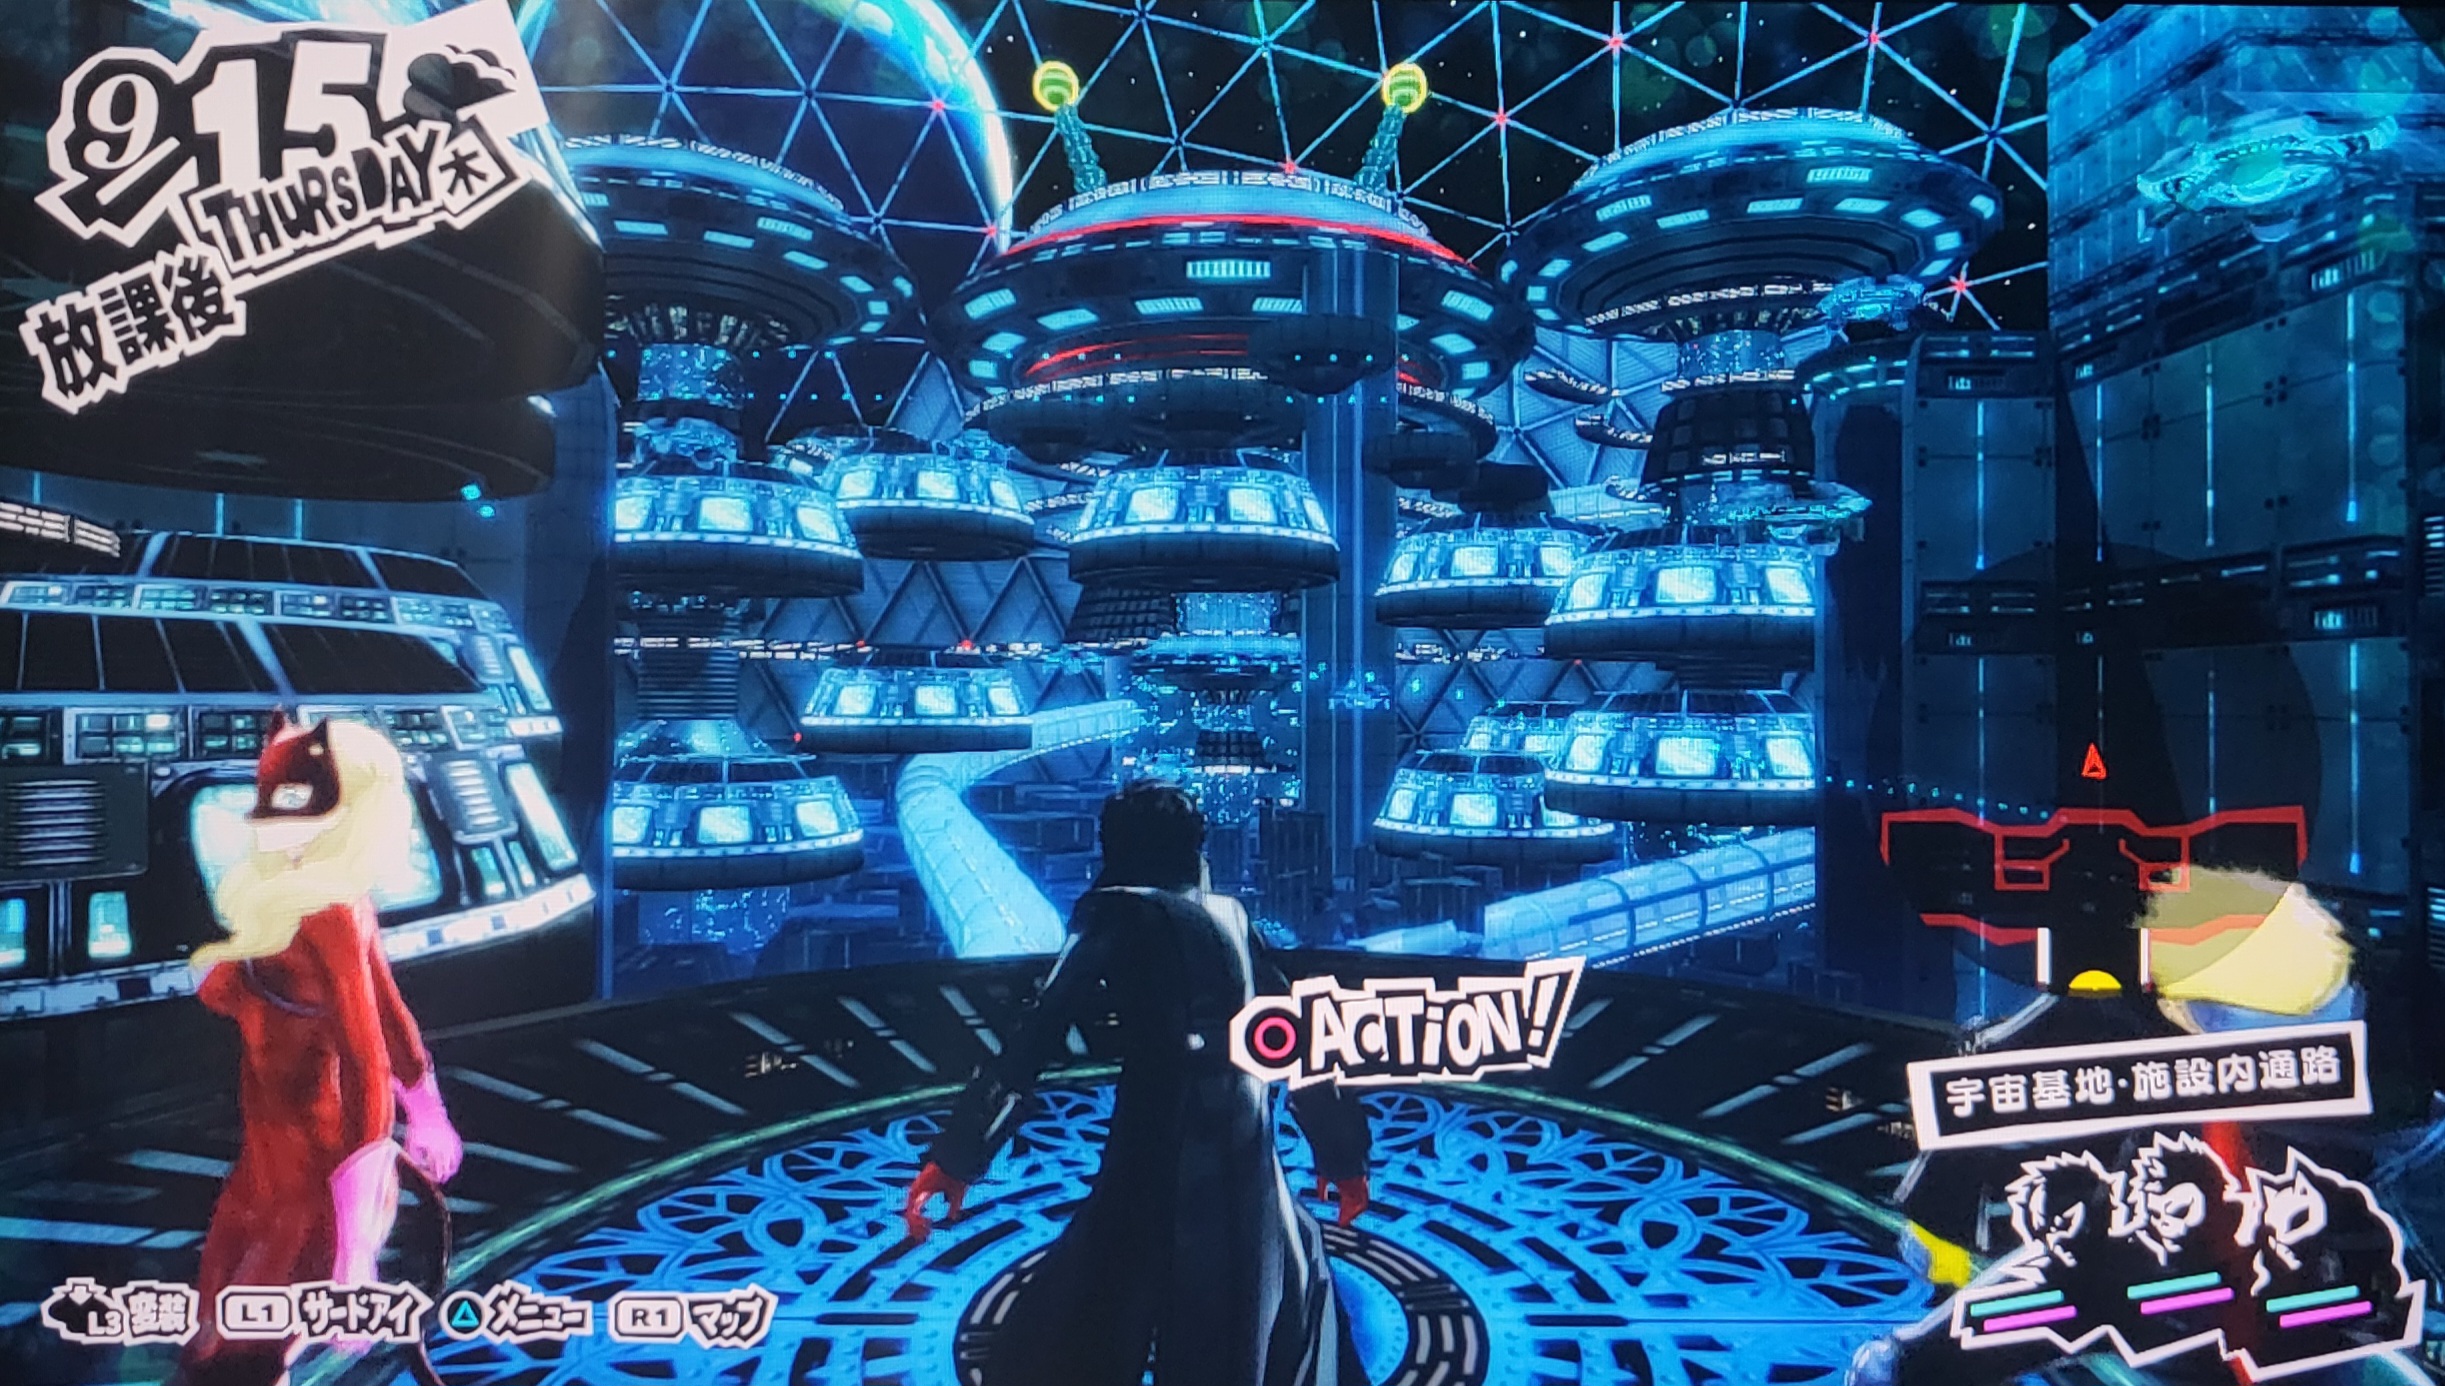
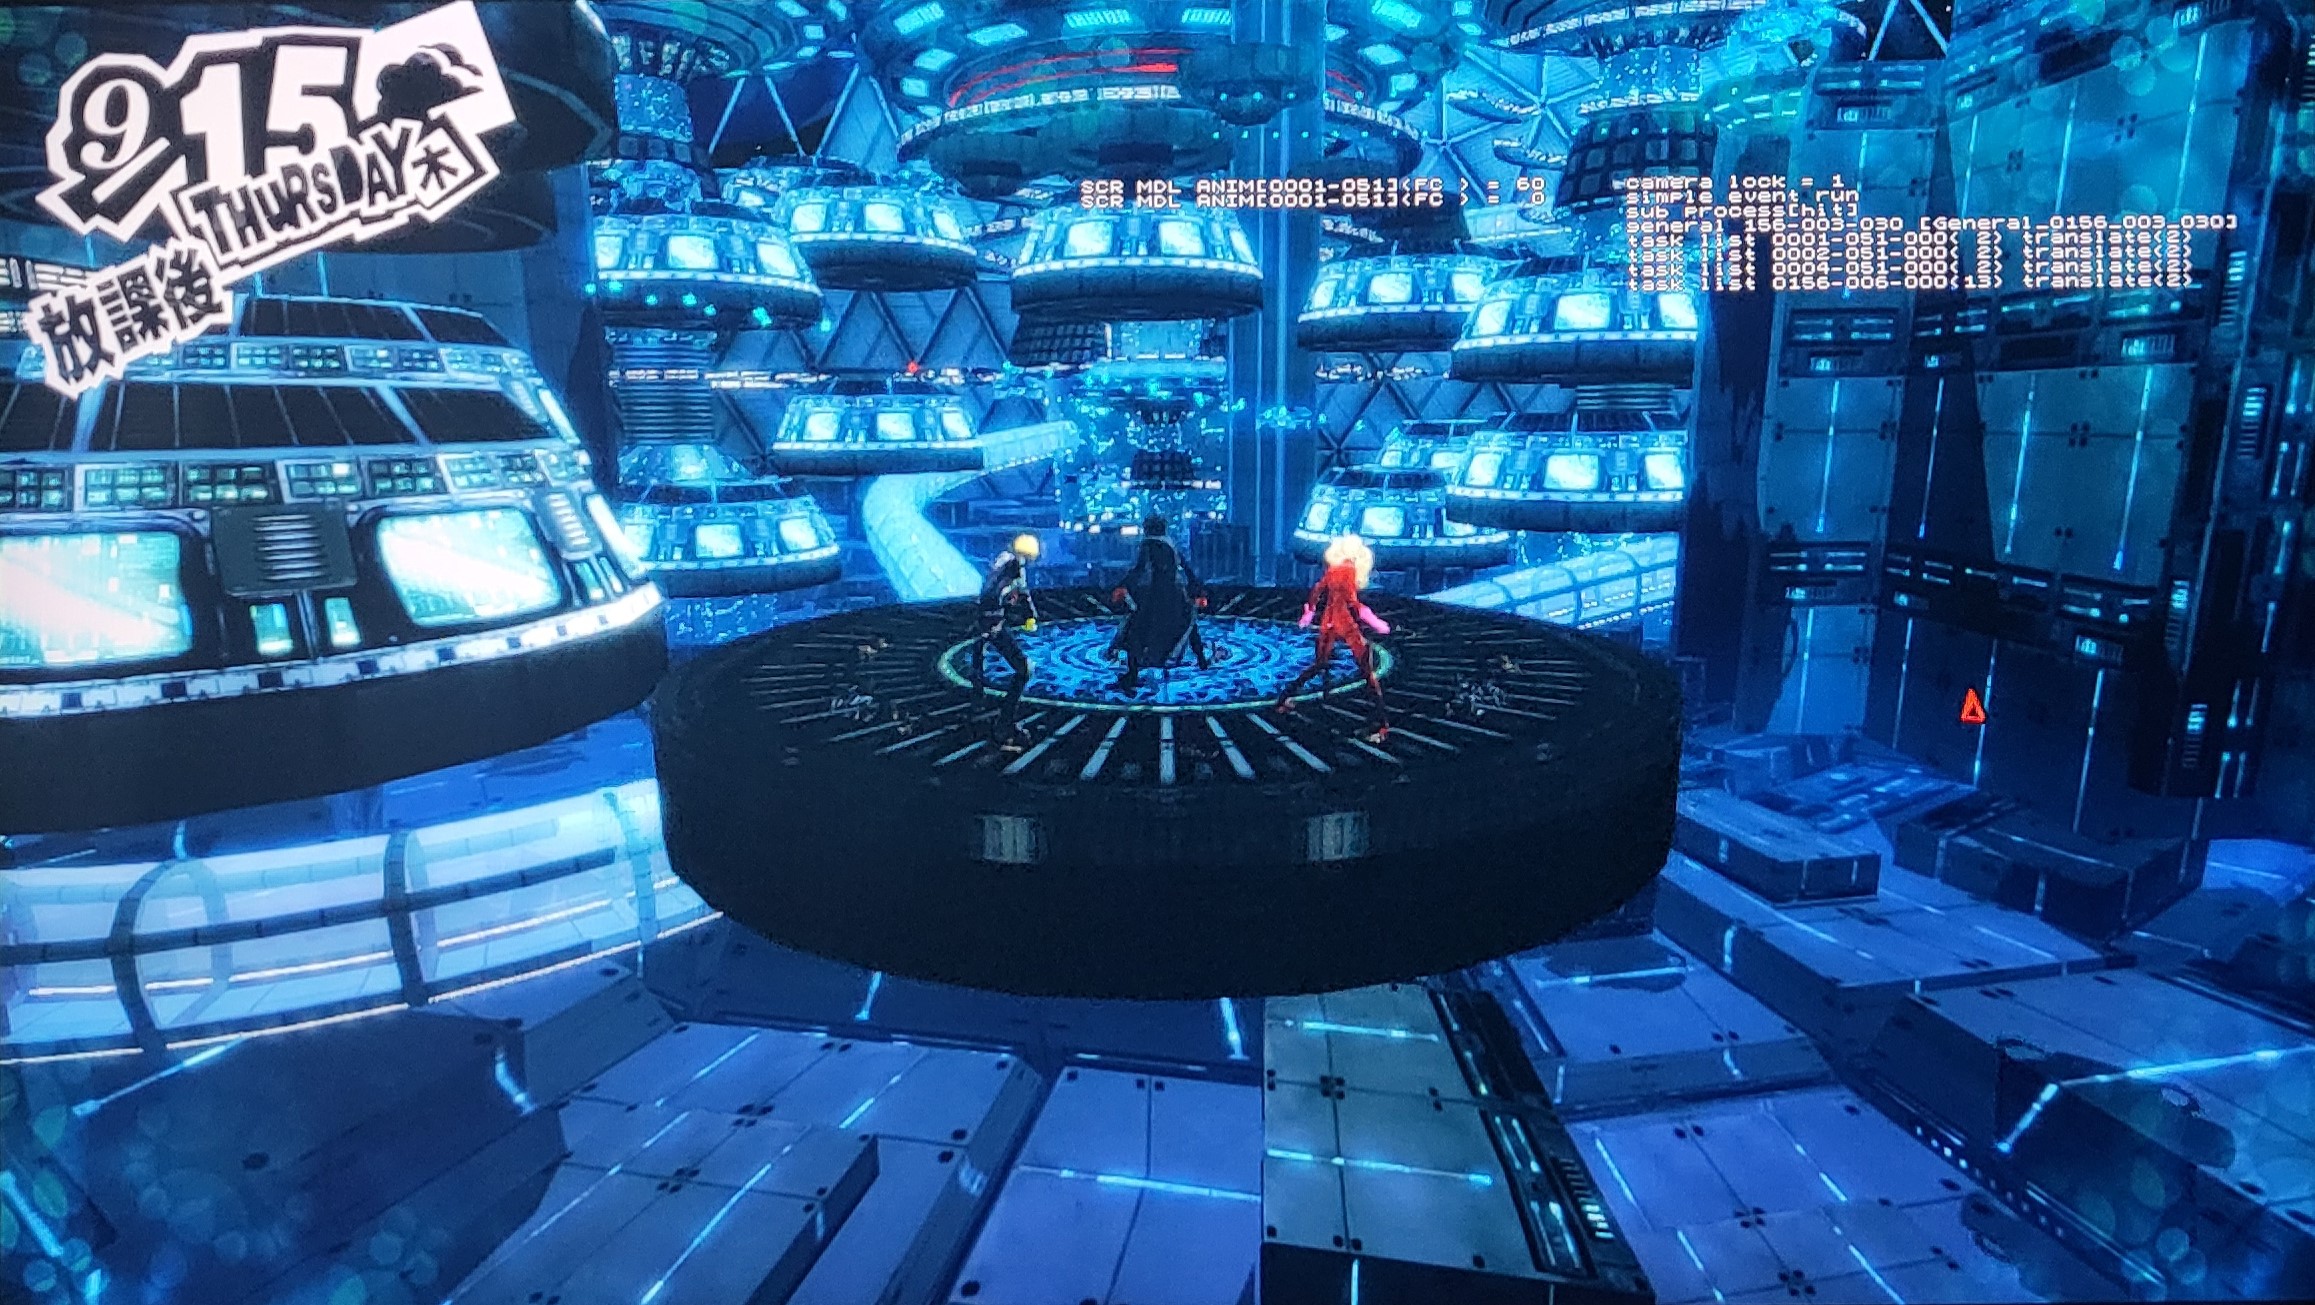
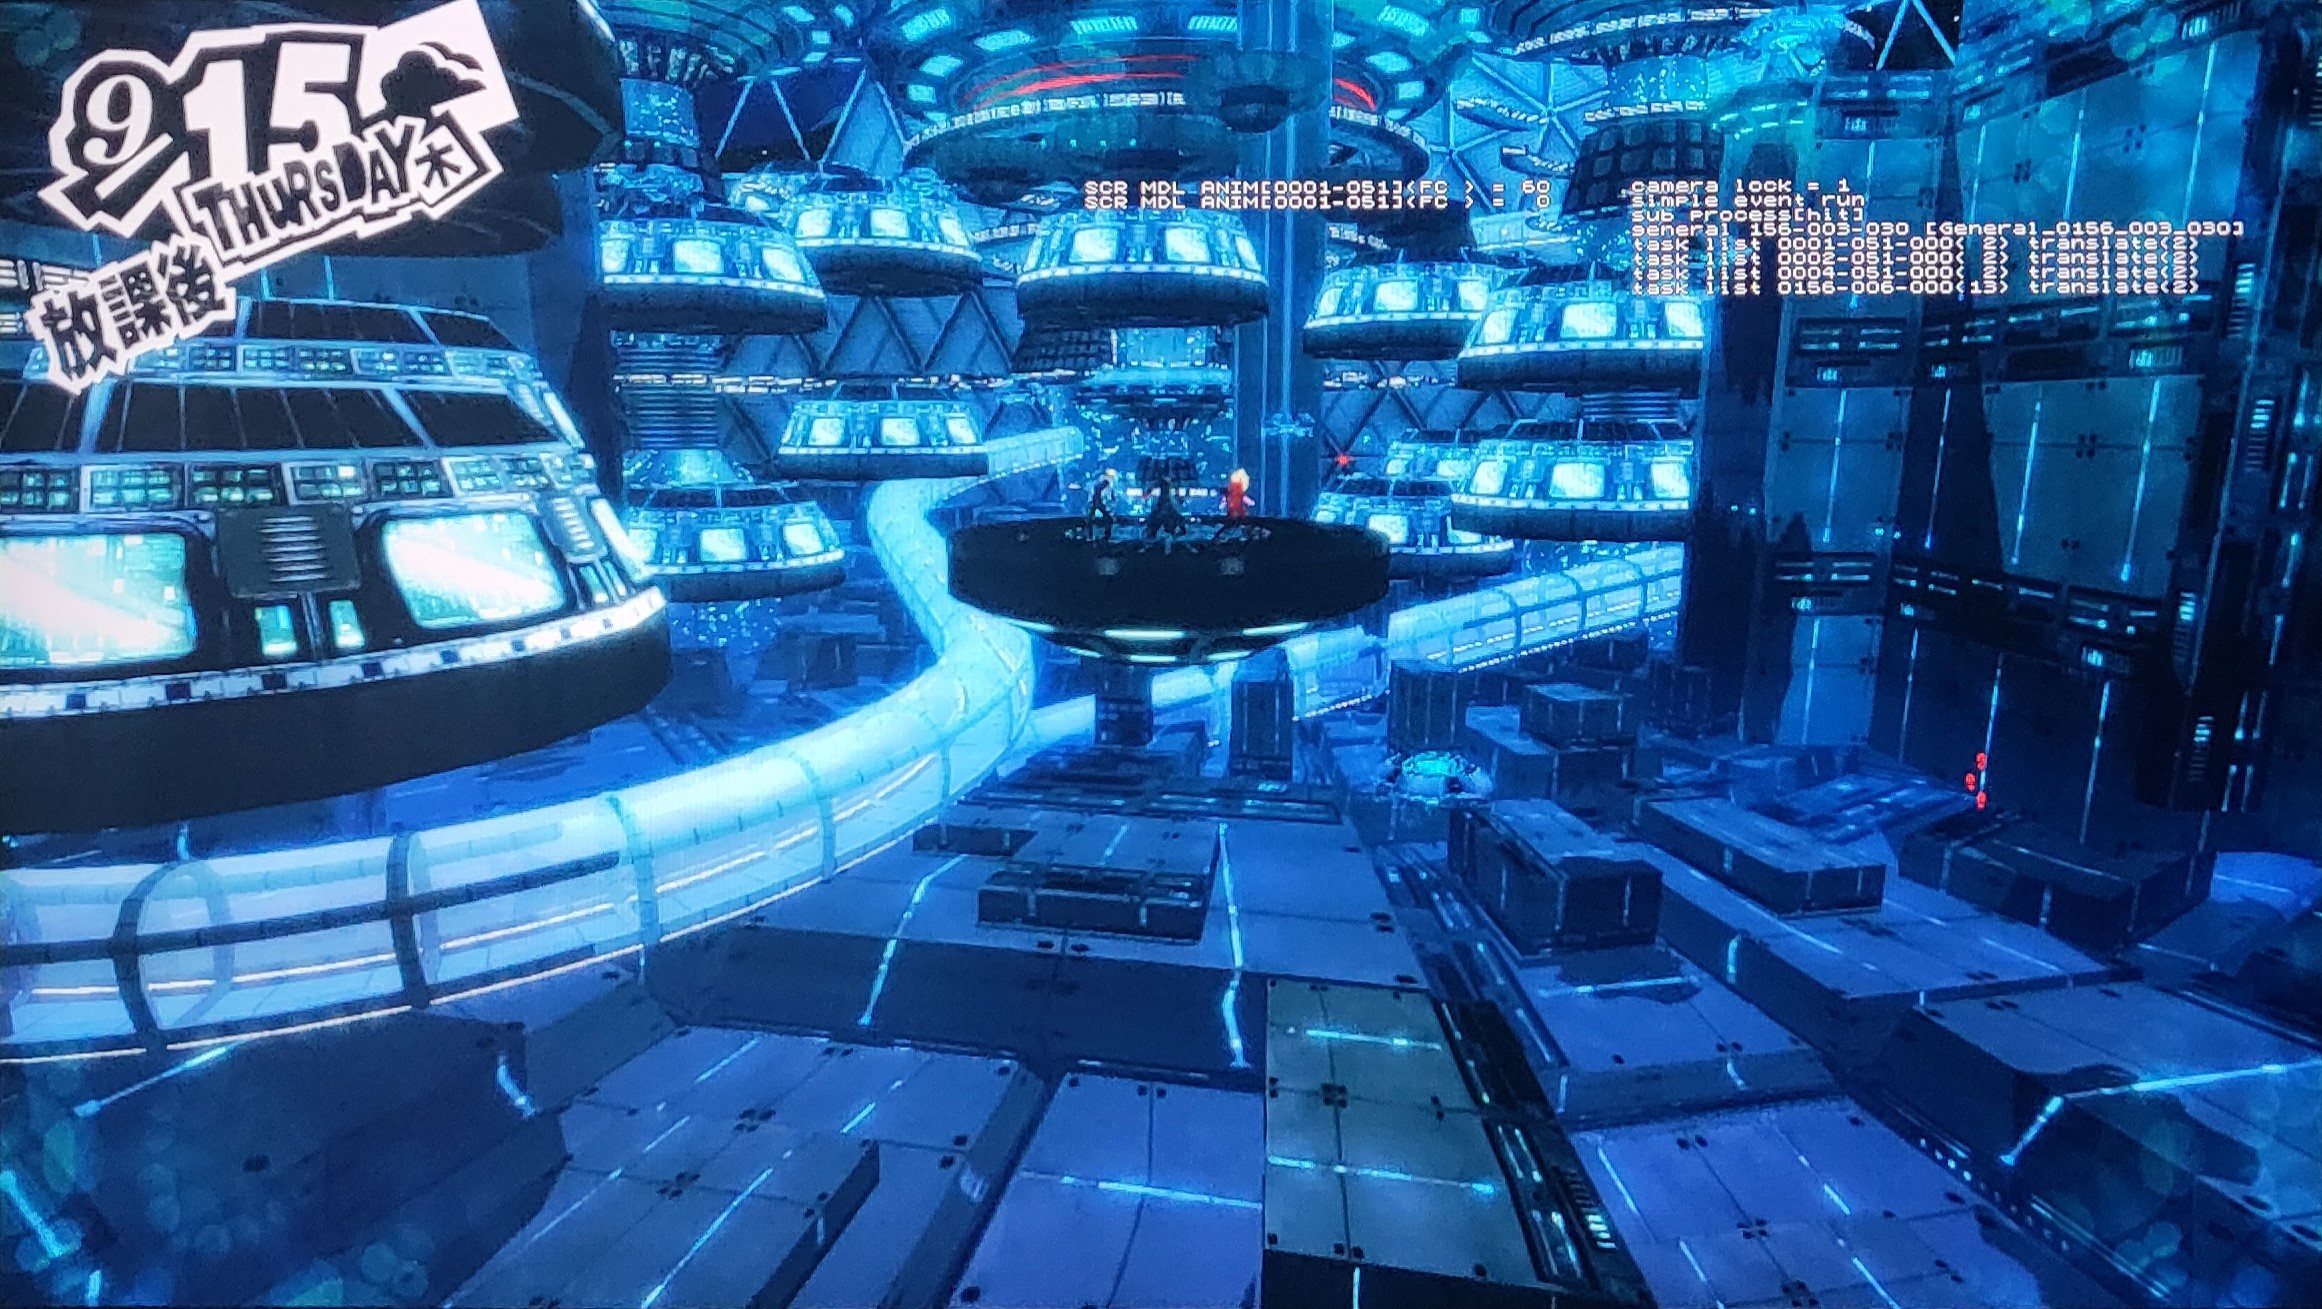
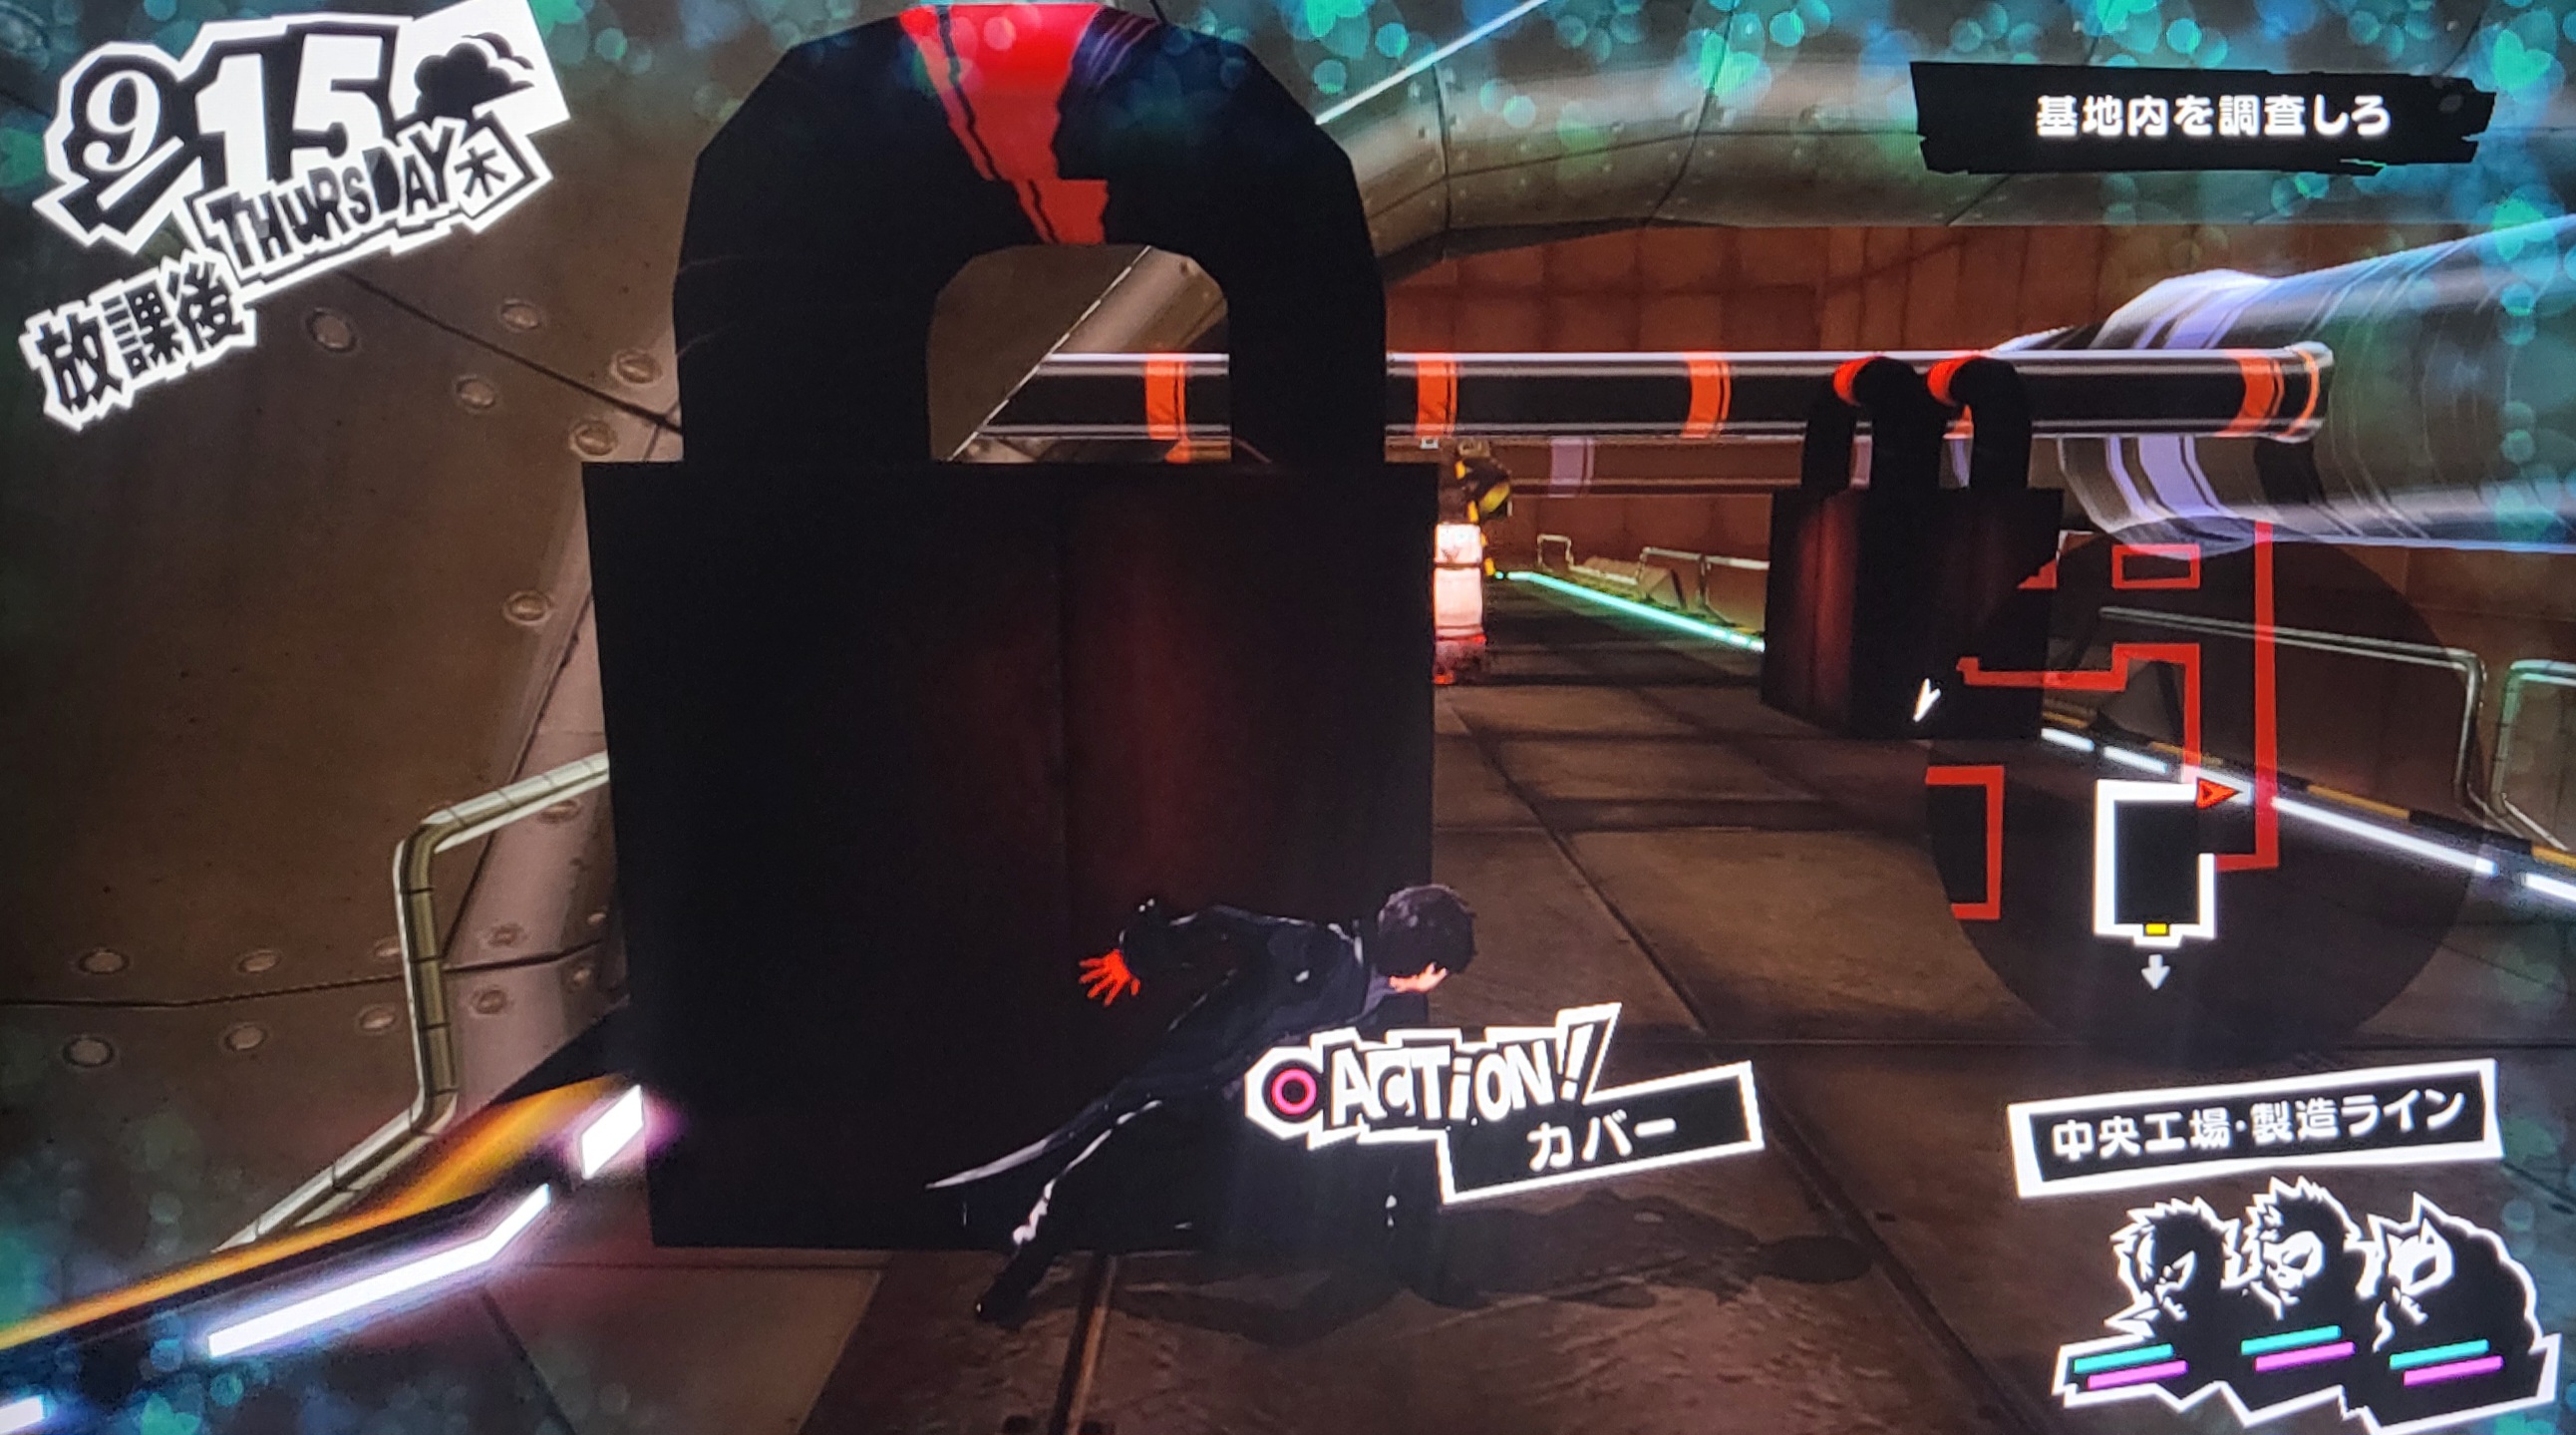
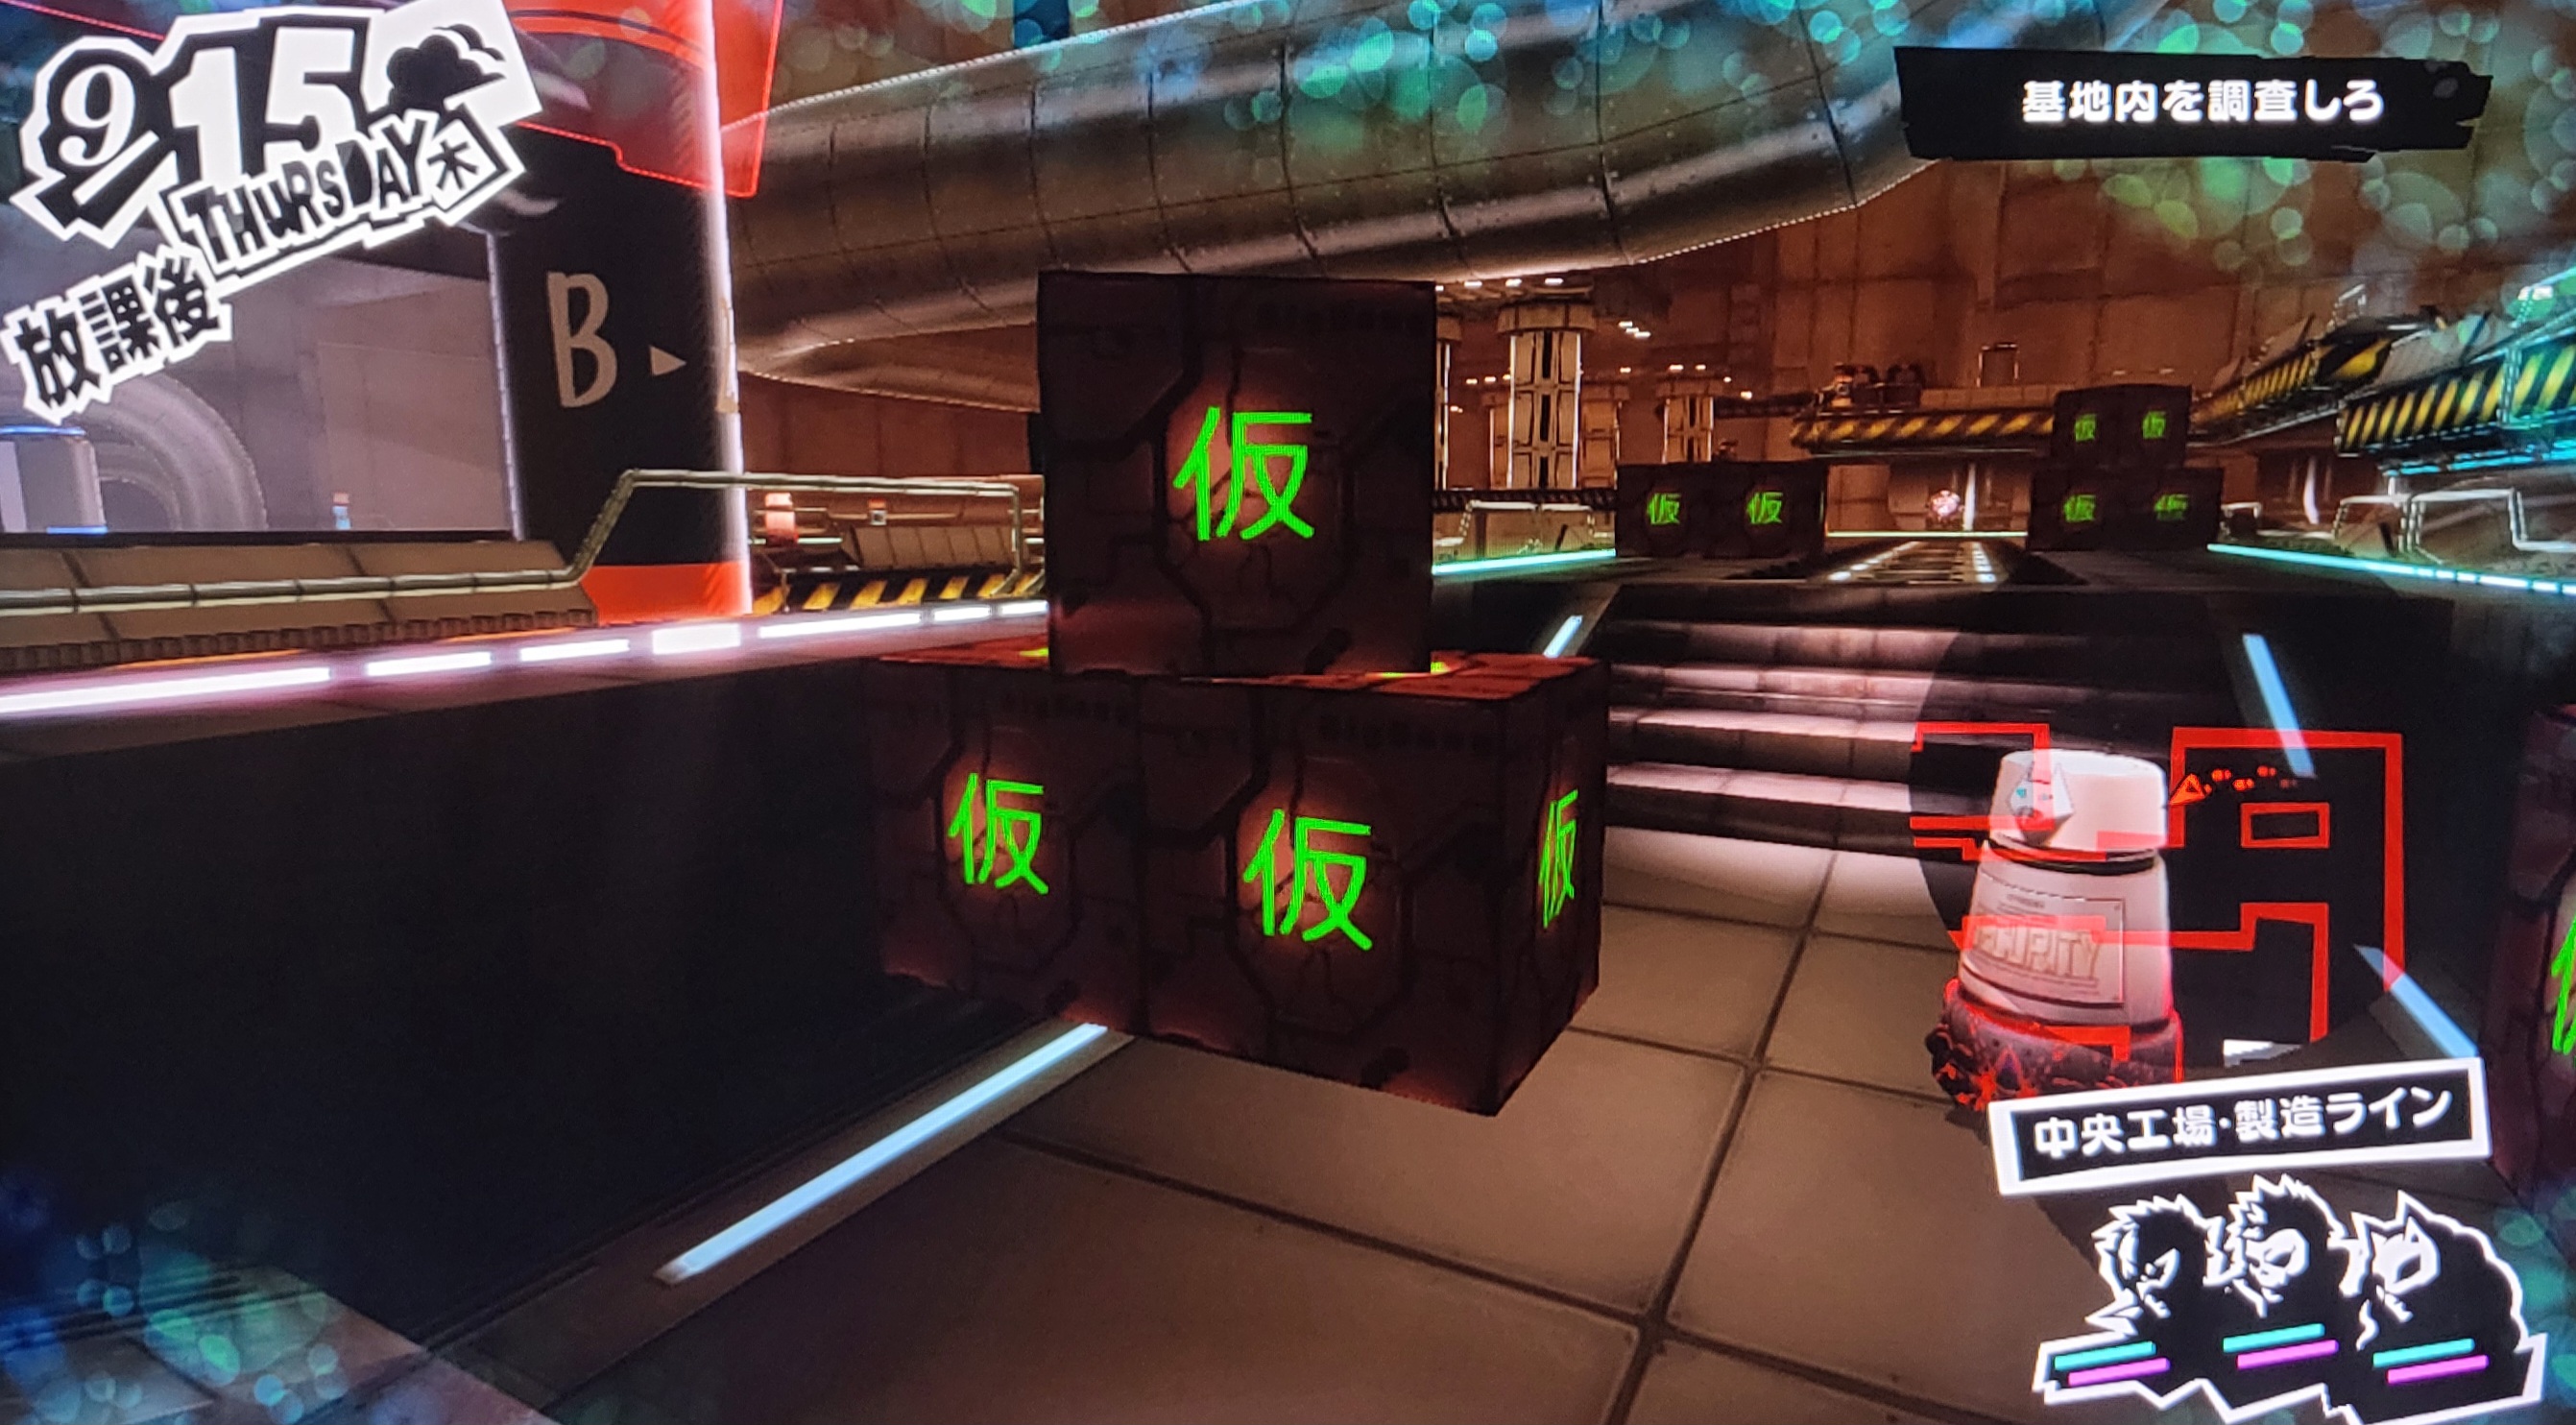
Some miscellaneous differences in this build are that the cranes in the fourth field are not yet color-coded blue, purple, and yellow. The fifth field contains giant lock-looking objects that Joker can hide behind instead of giant cubes as seen in the final. The "lunch break" terminals haven't been created yet in this build, so in their place the game reuses the crane control terminals instead. Some boxes have a placeholder texture on them, and fields three and five have broken loading zones to the next field, so it is impossible to make it to the next field via normal means. Thankfully, the saves in this build are compatible with the February build saves and the final Japanese version saves. The Disposal Line field has many lasers that the player can accidentally run into as opposed to having no lasers in this section in the final (other than the one by the lunch break terminal).
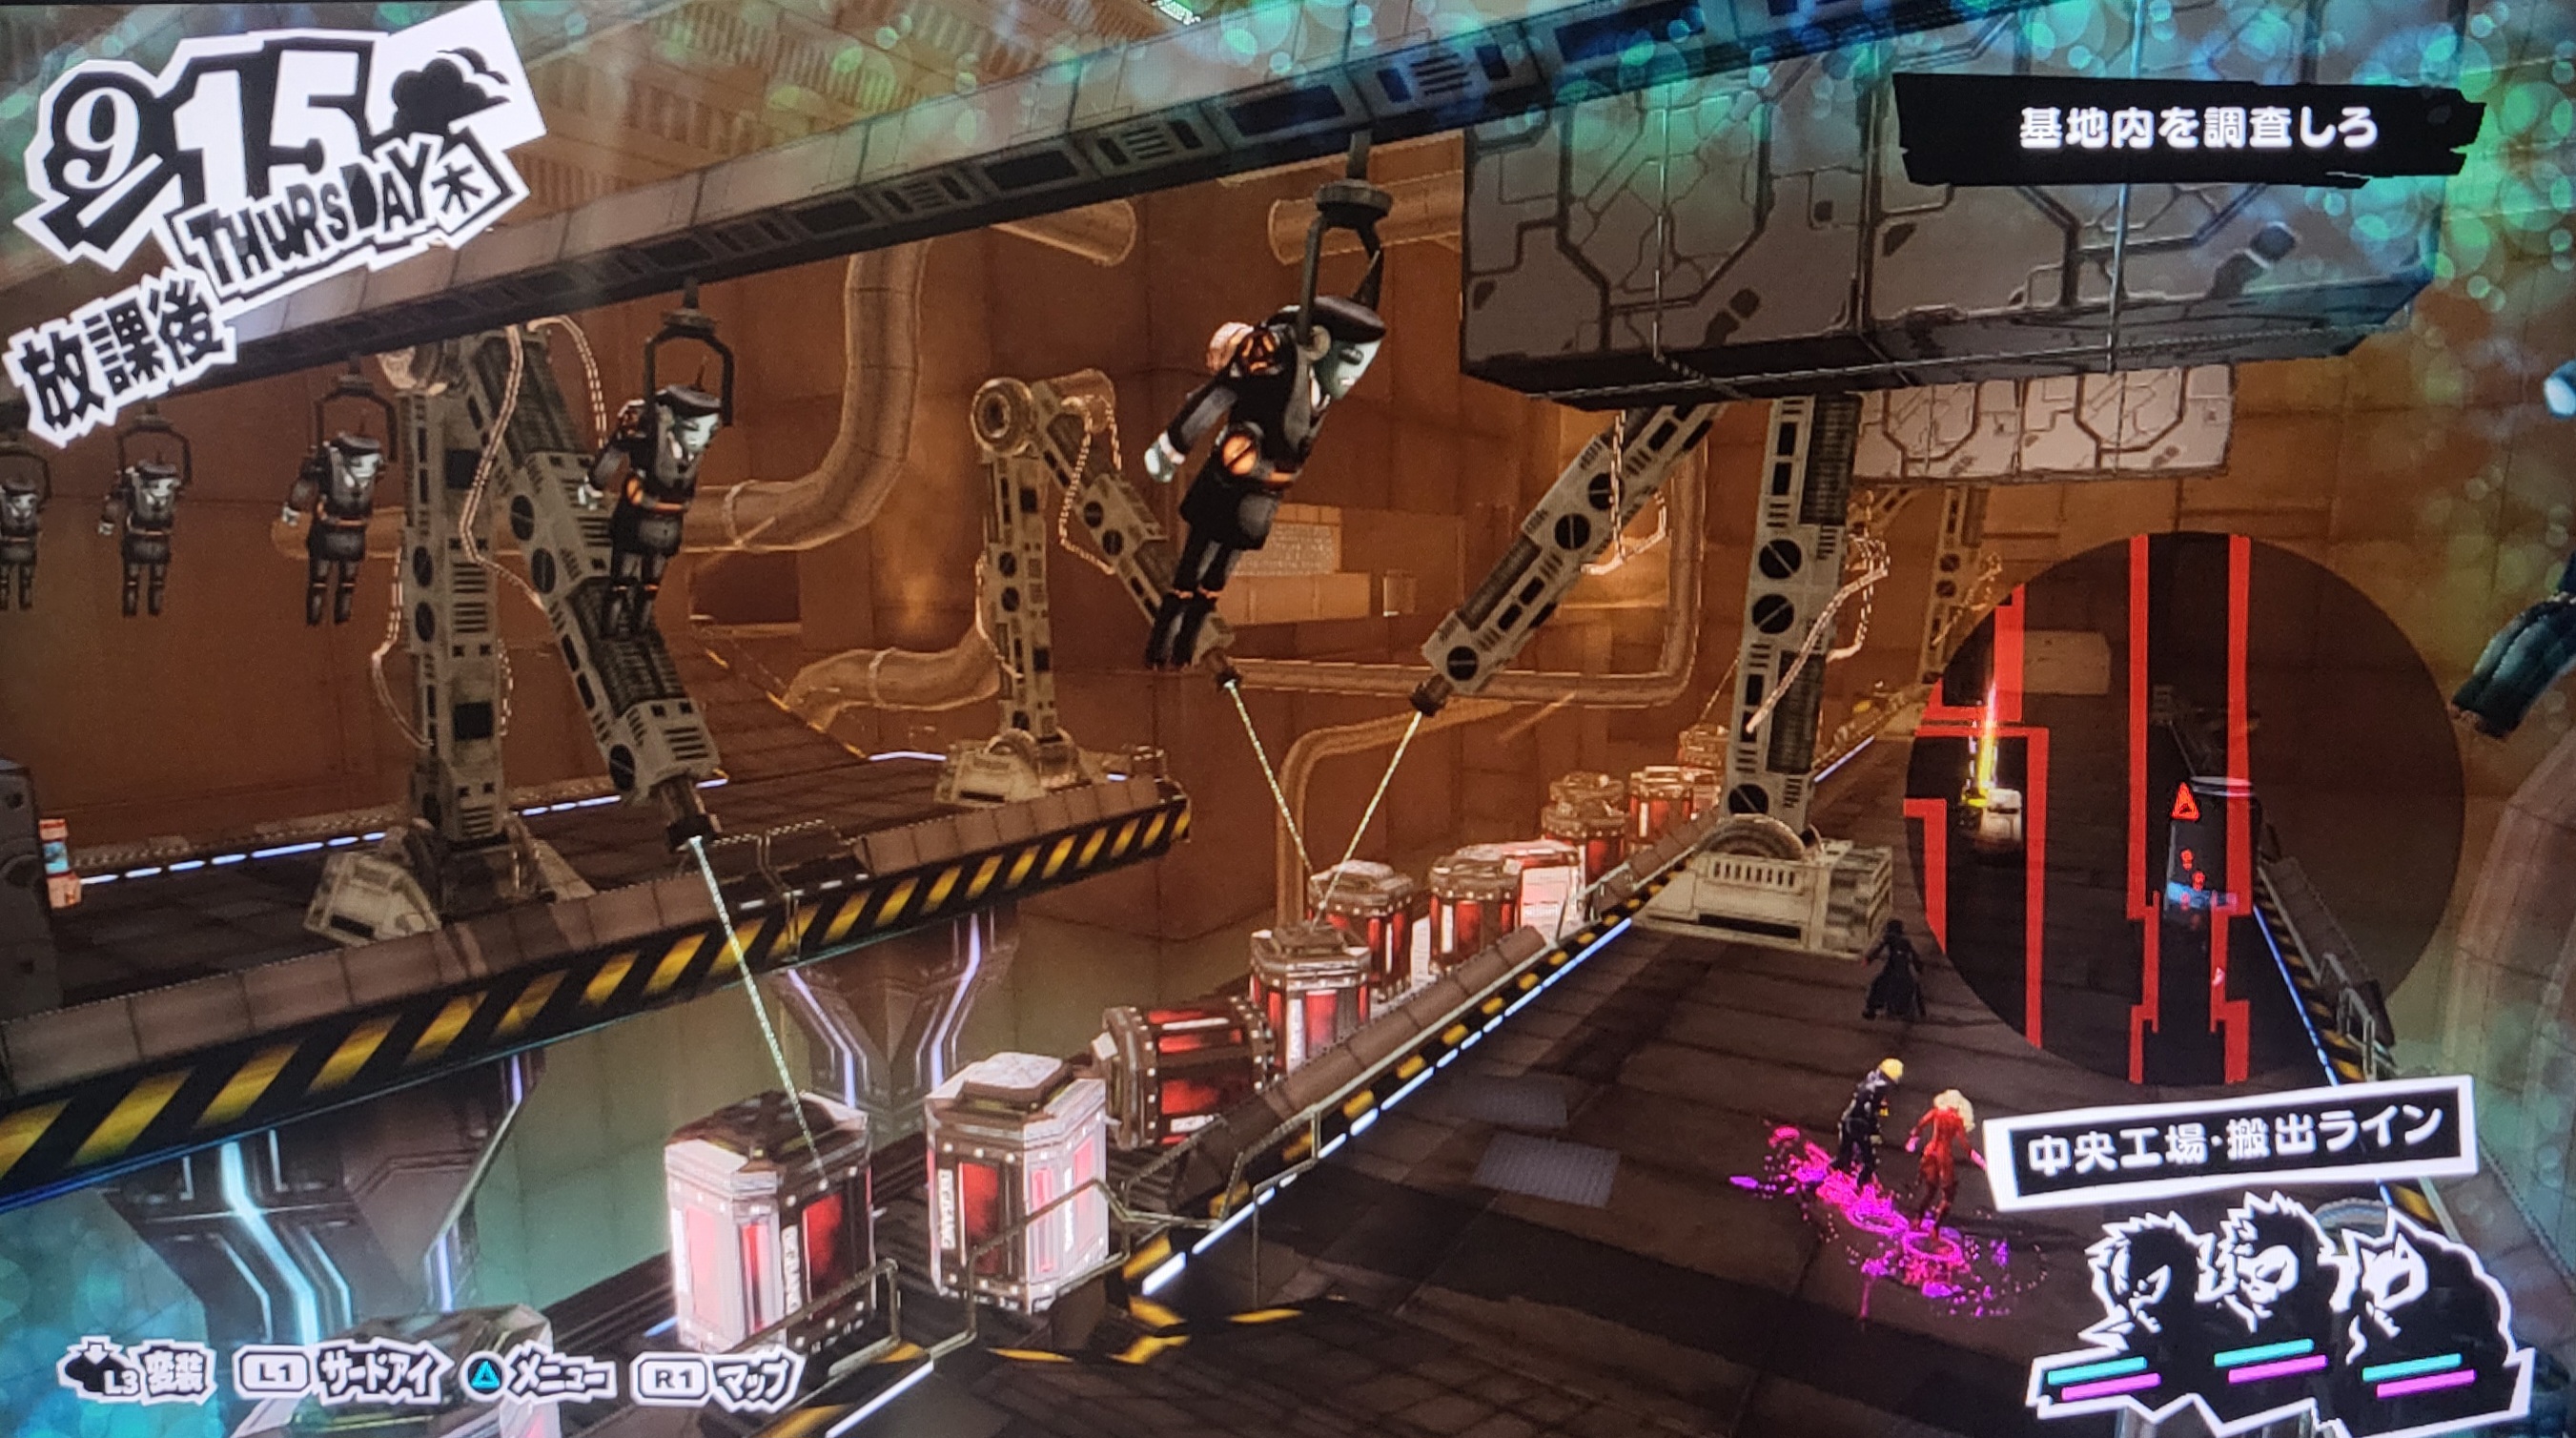
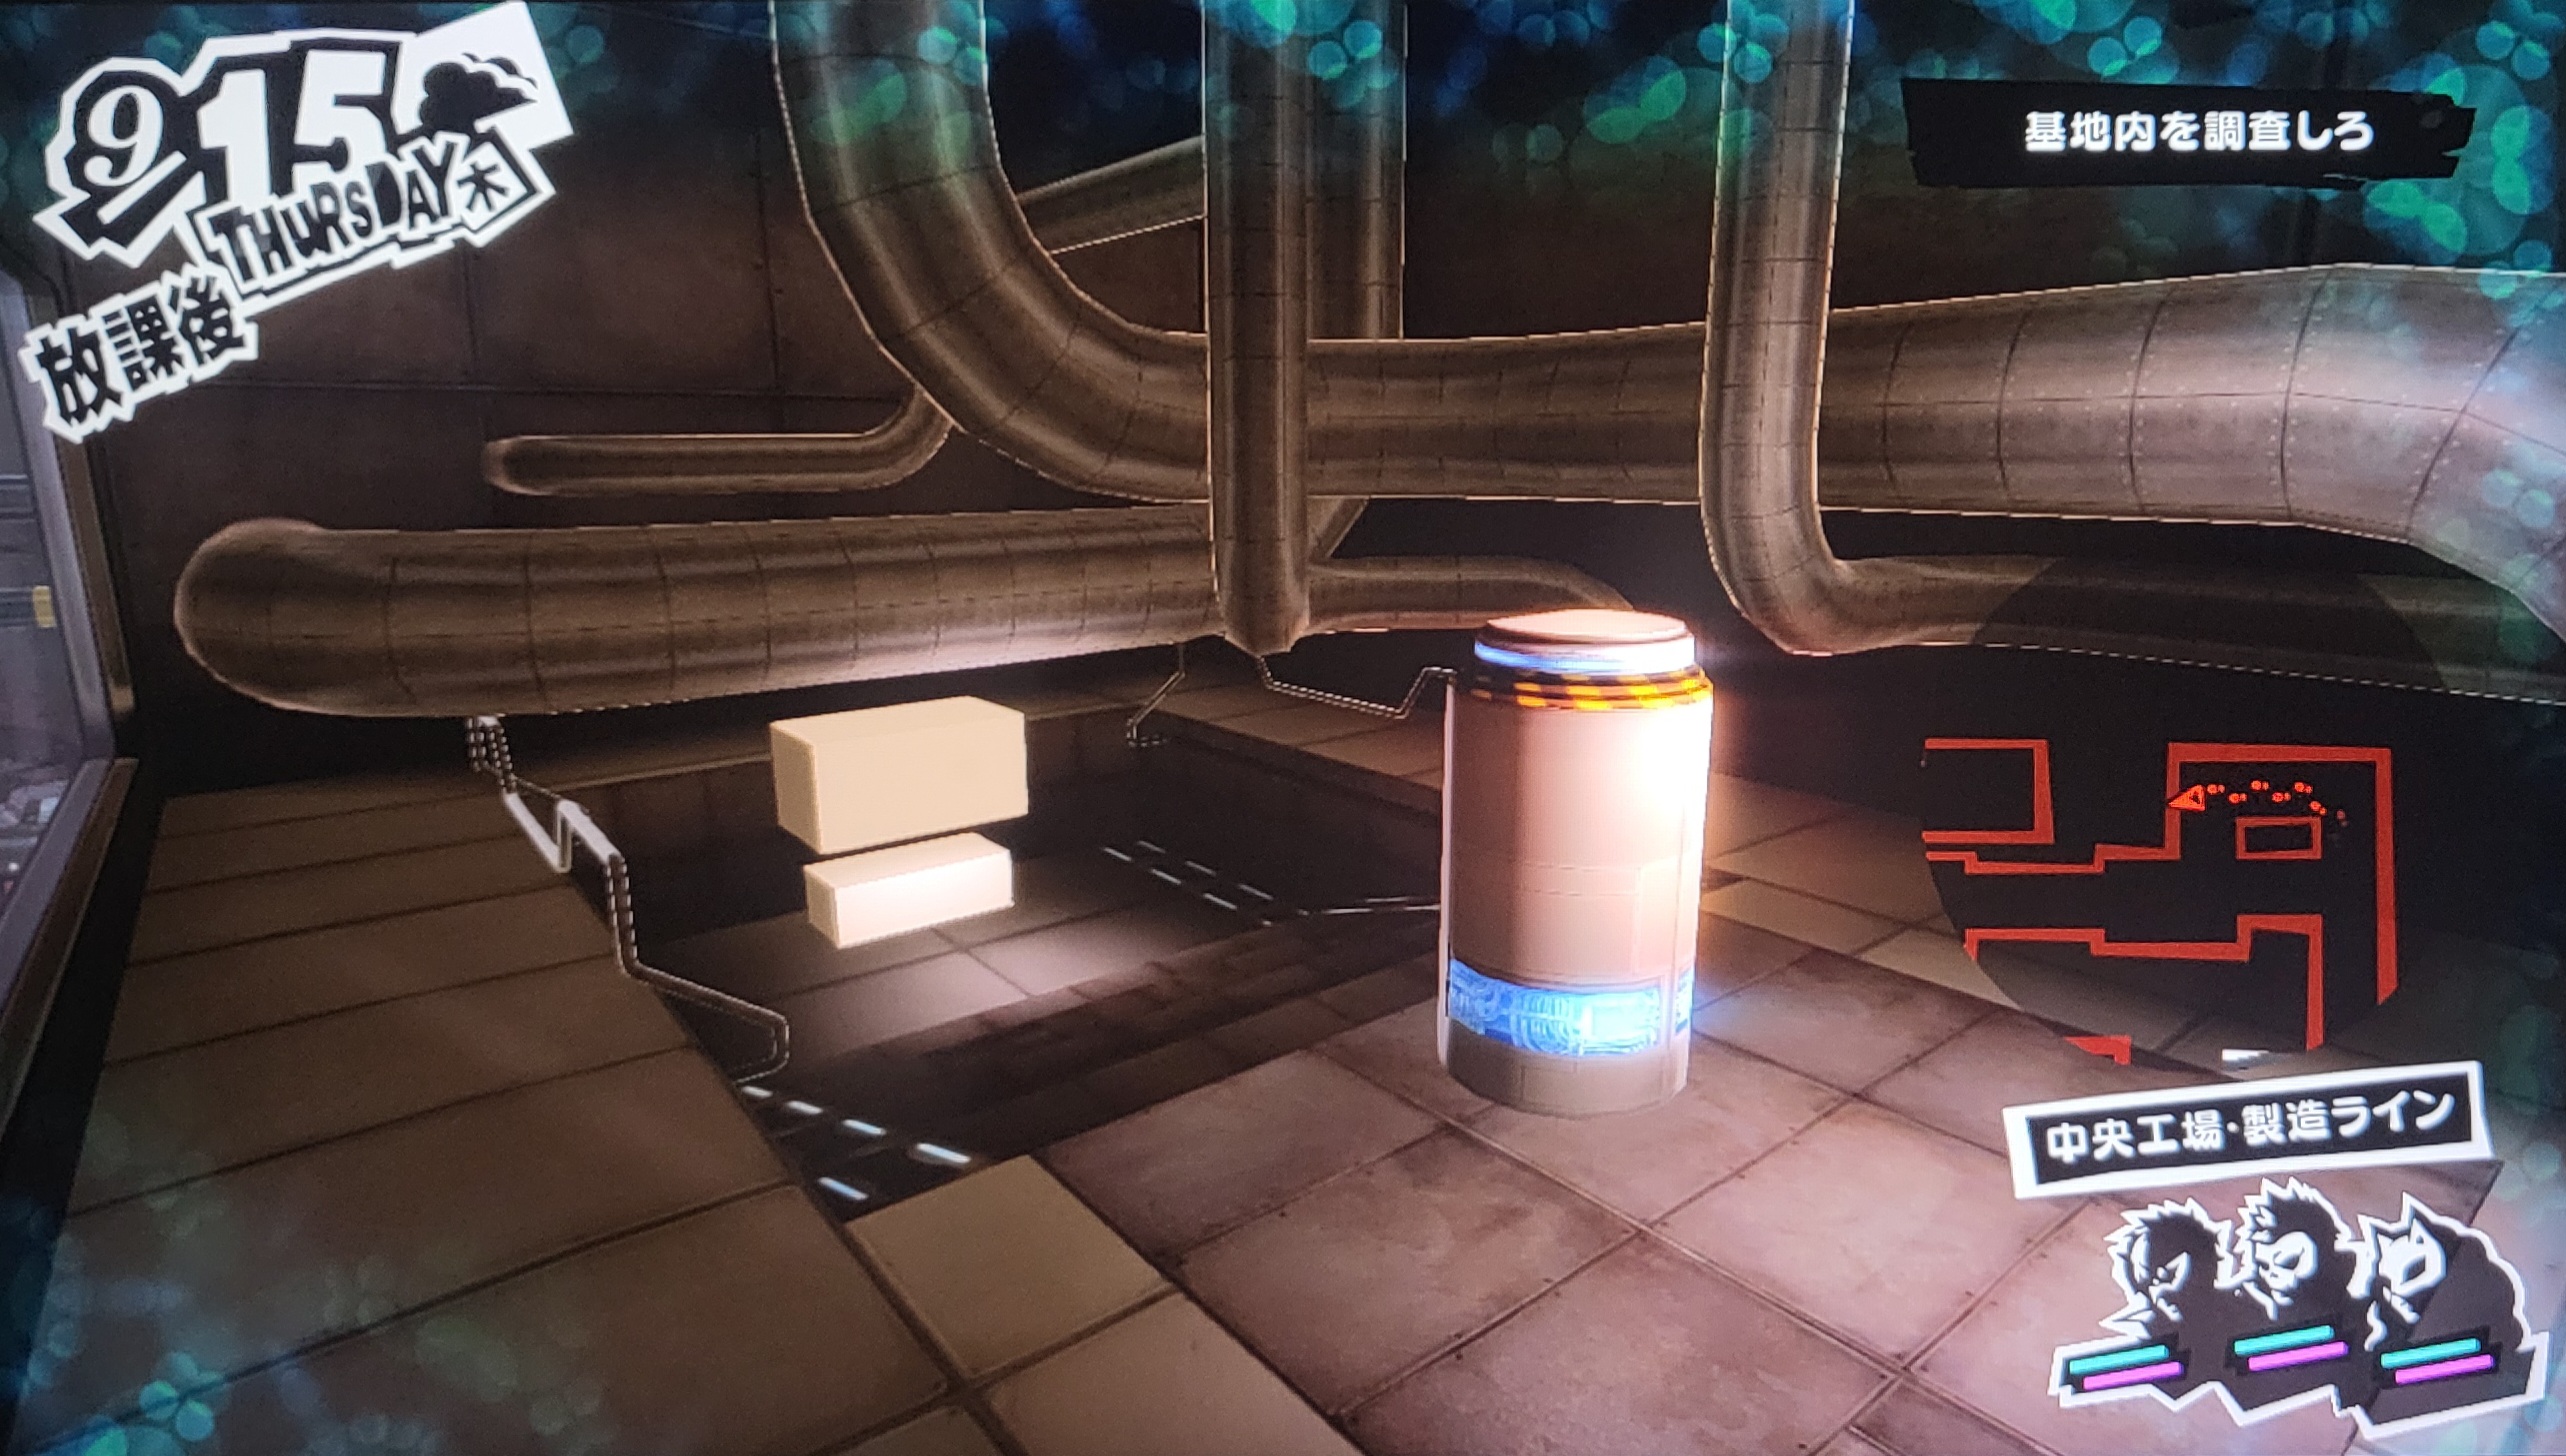
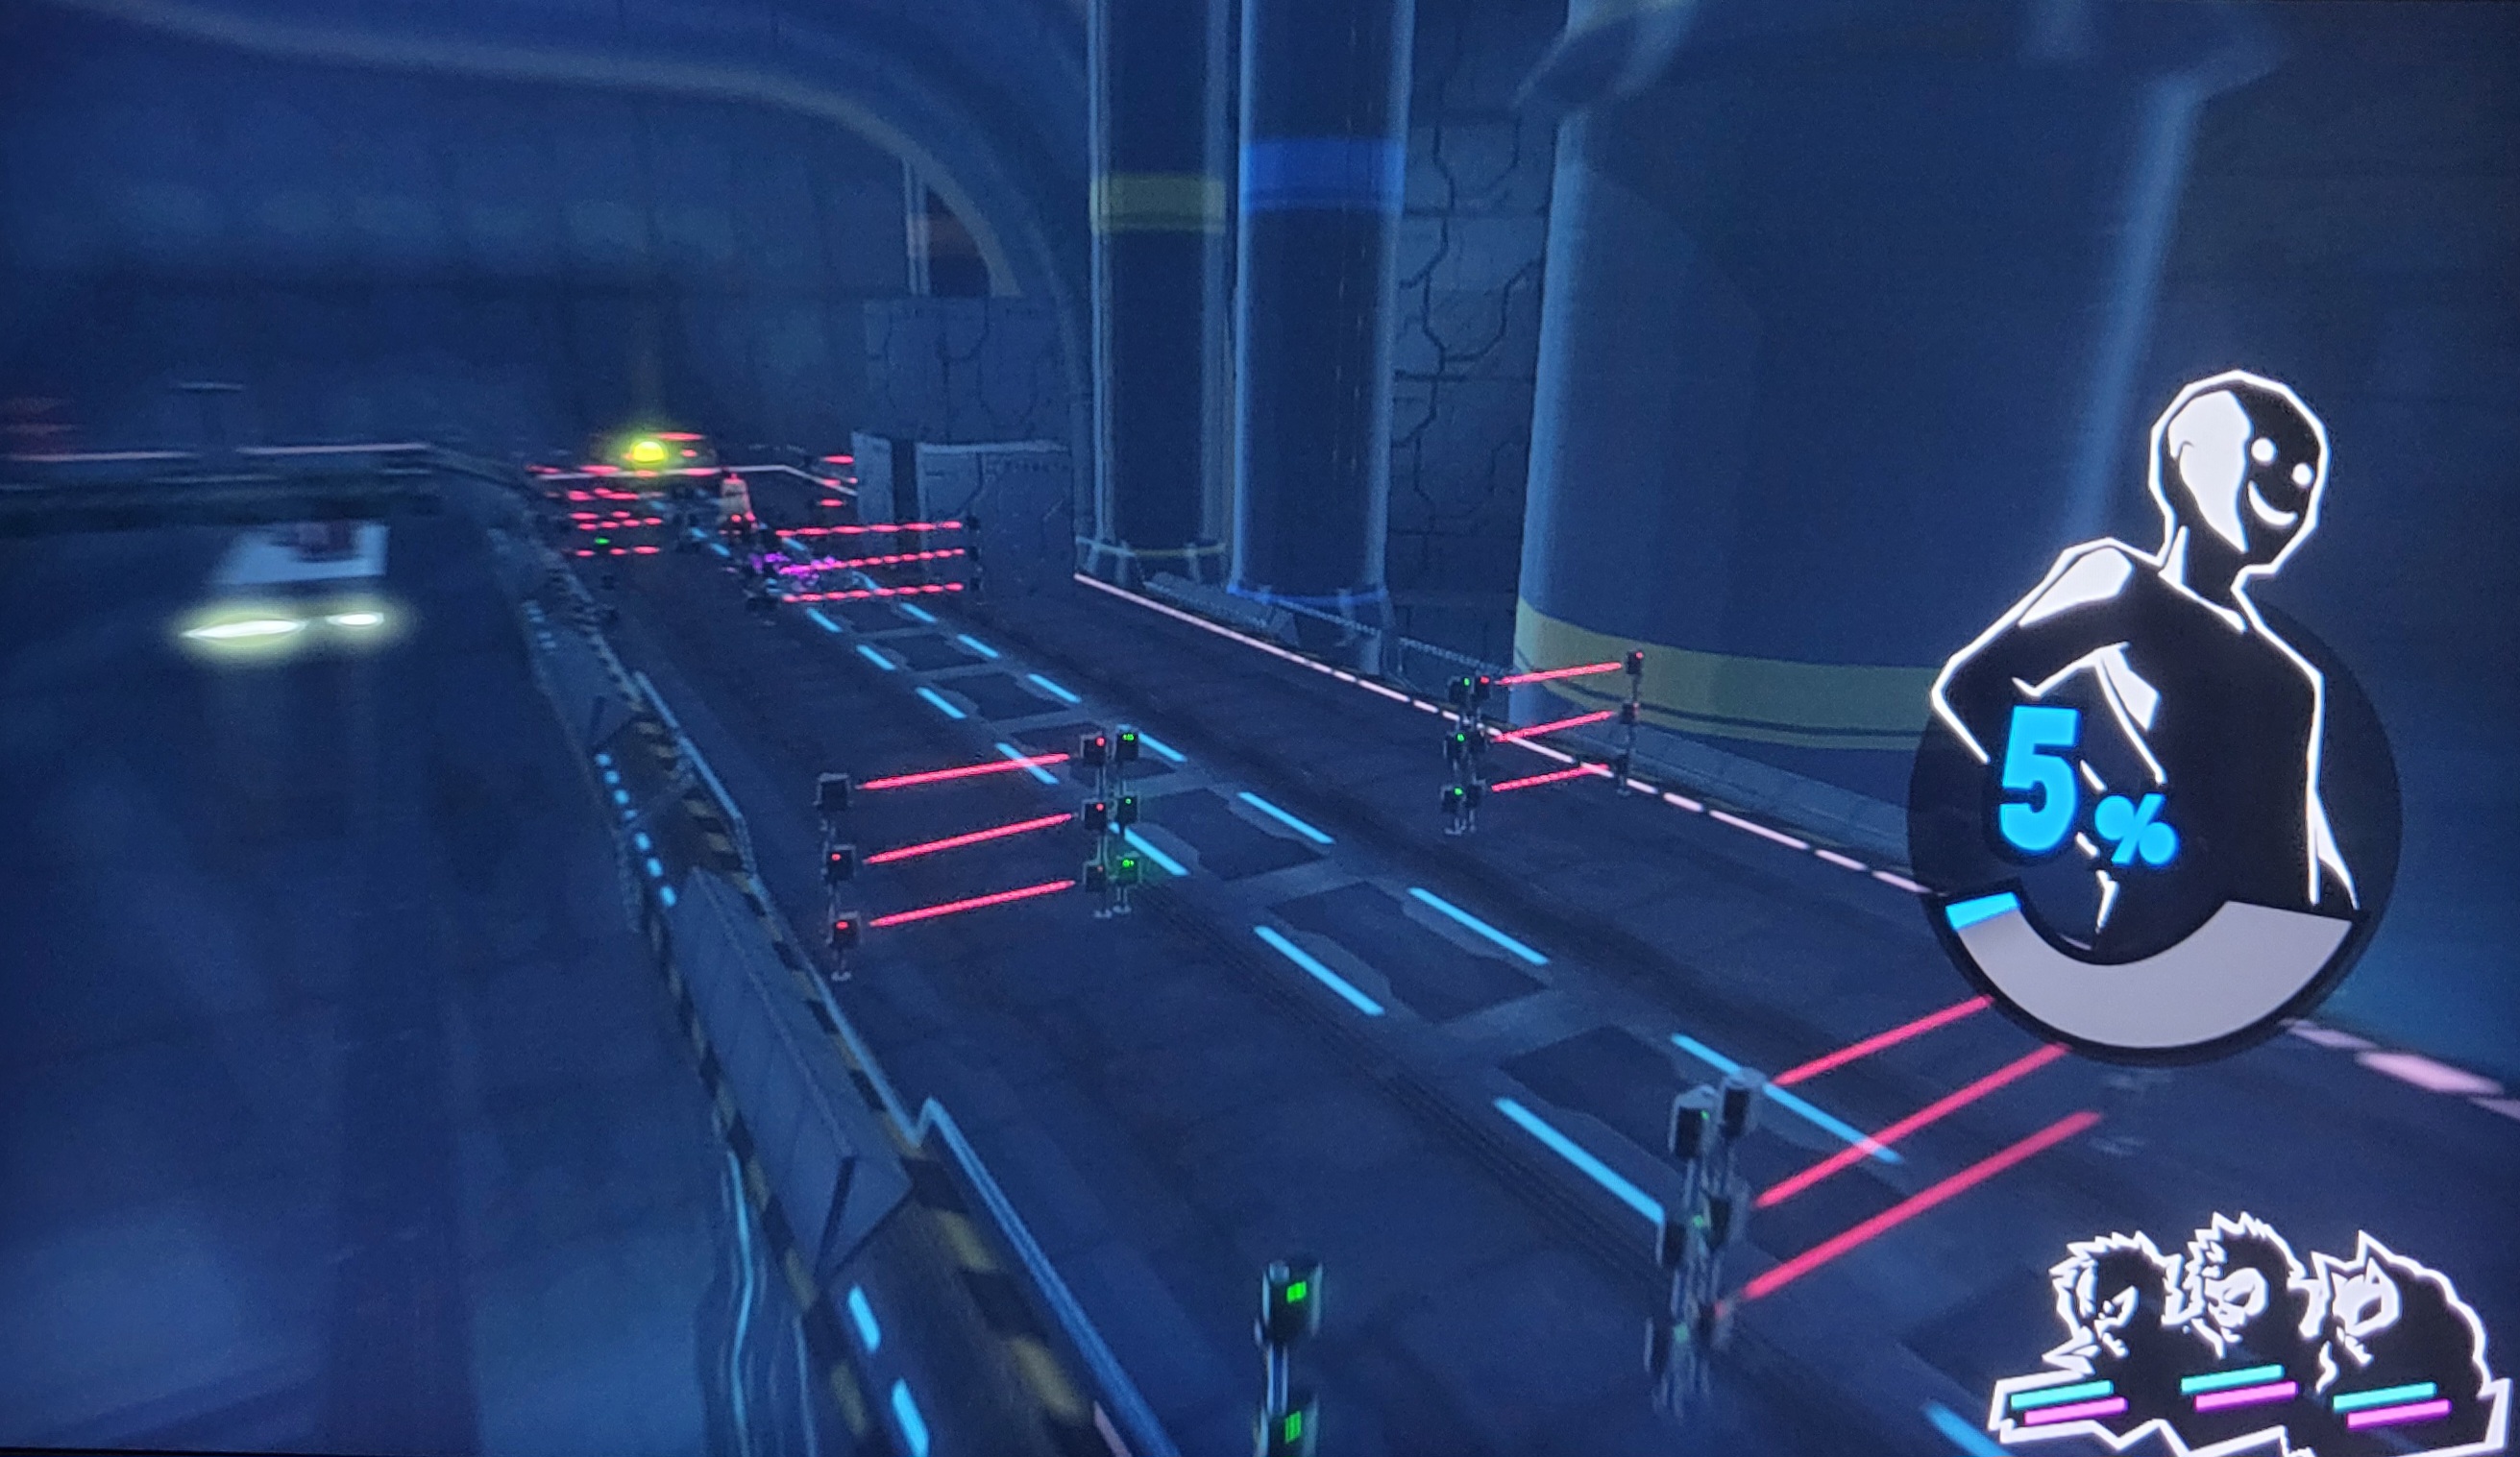
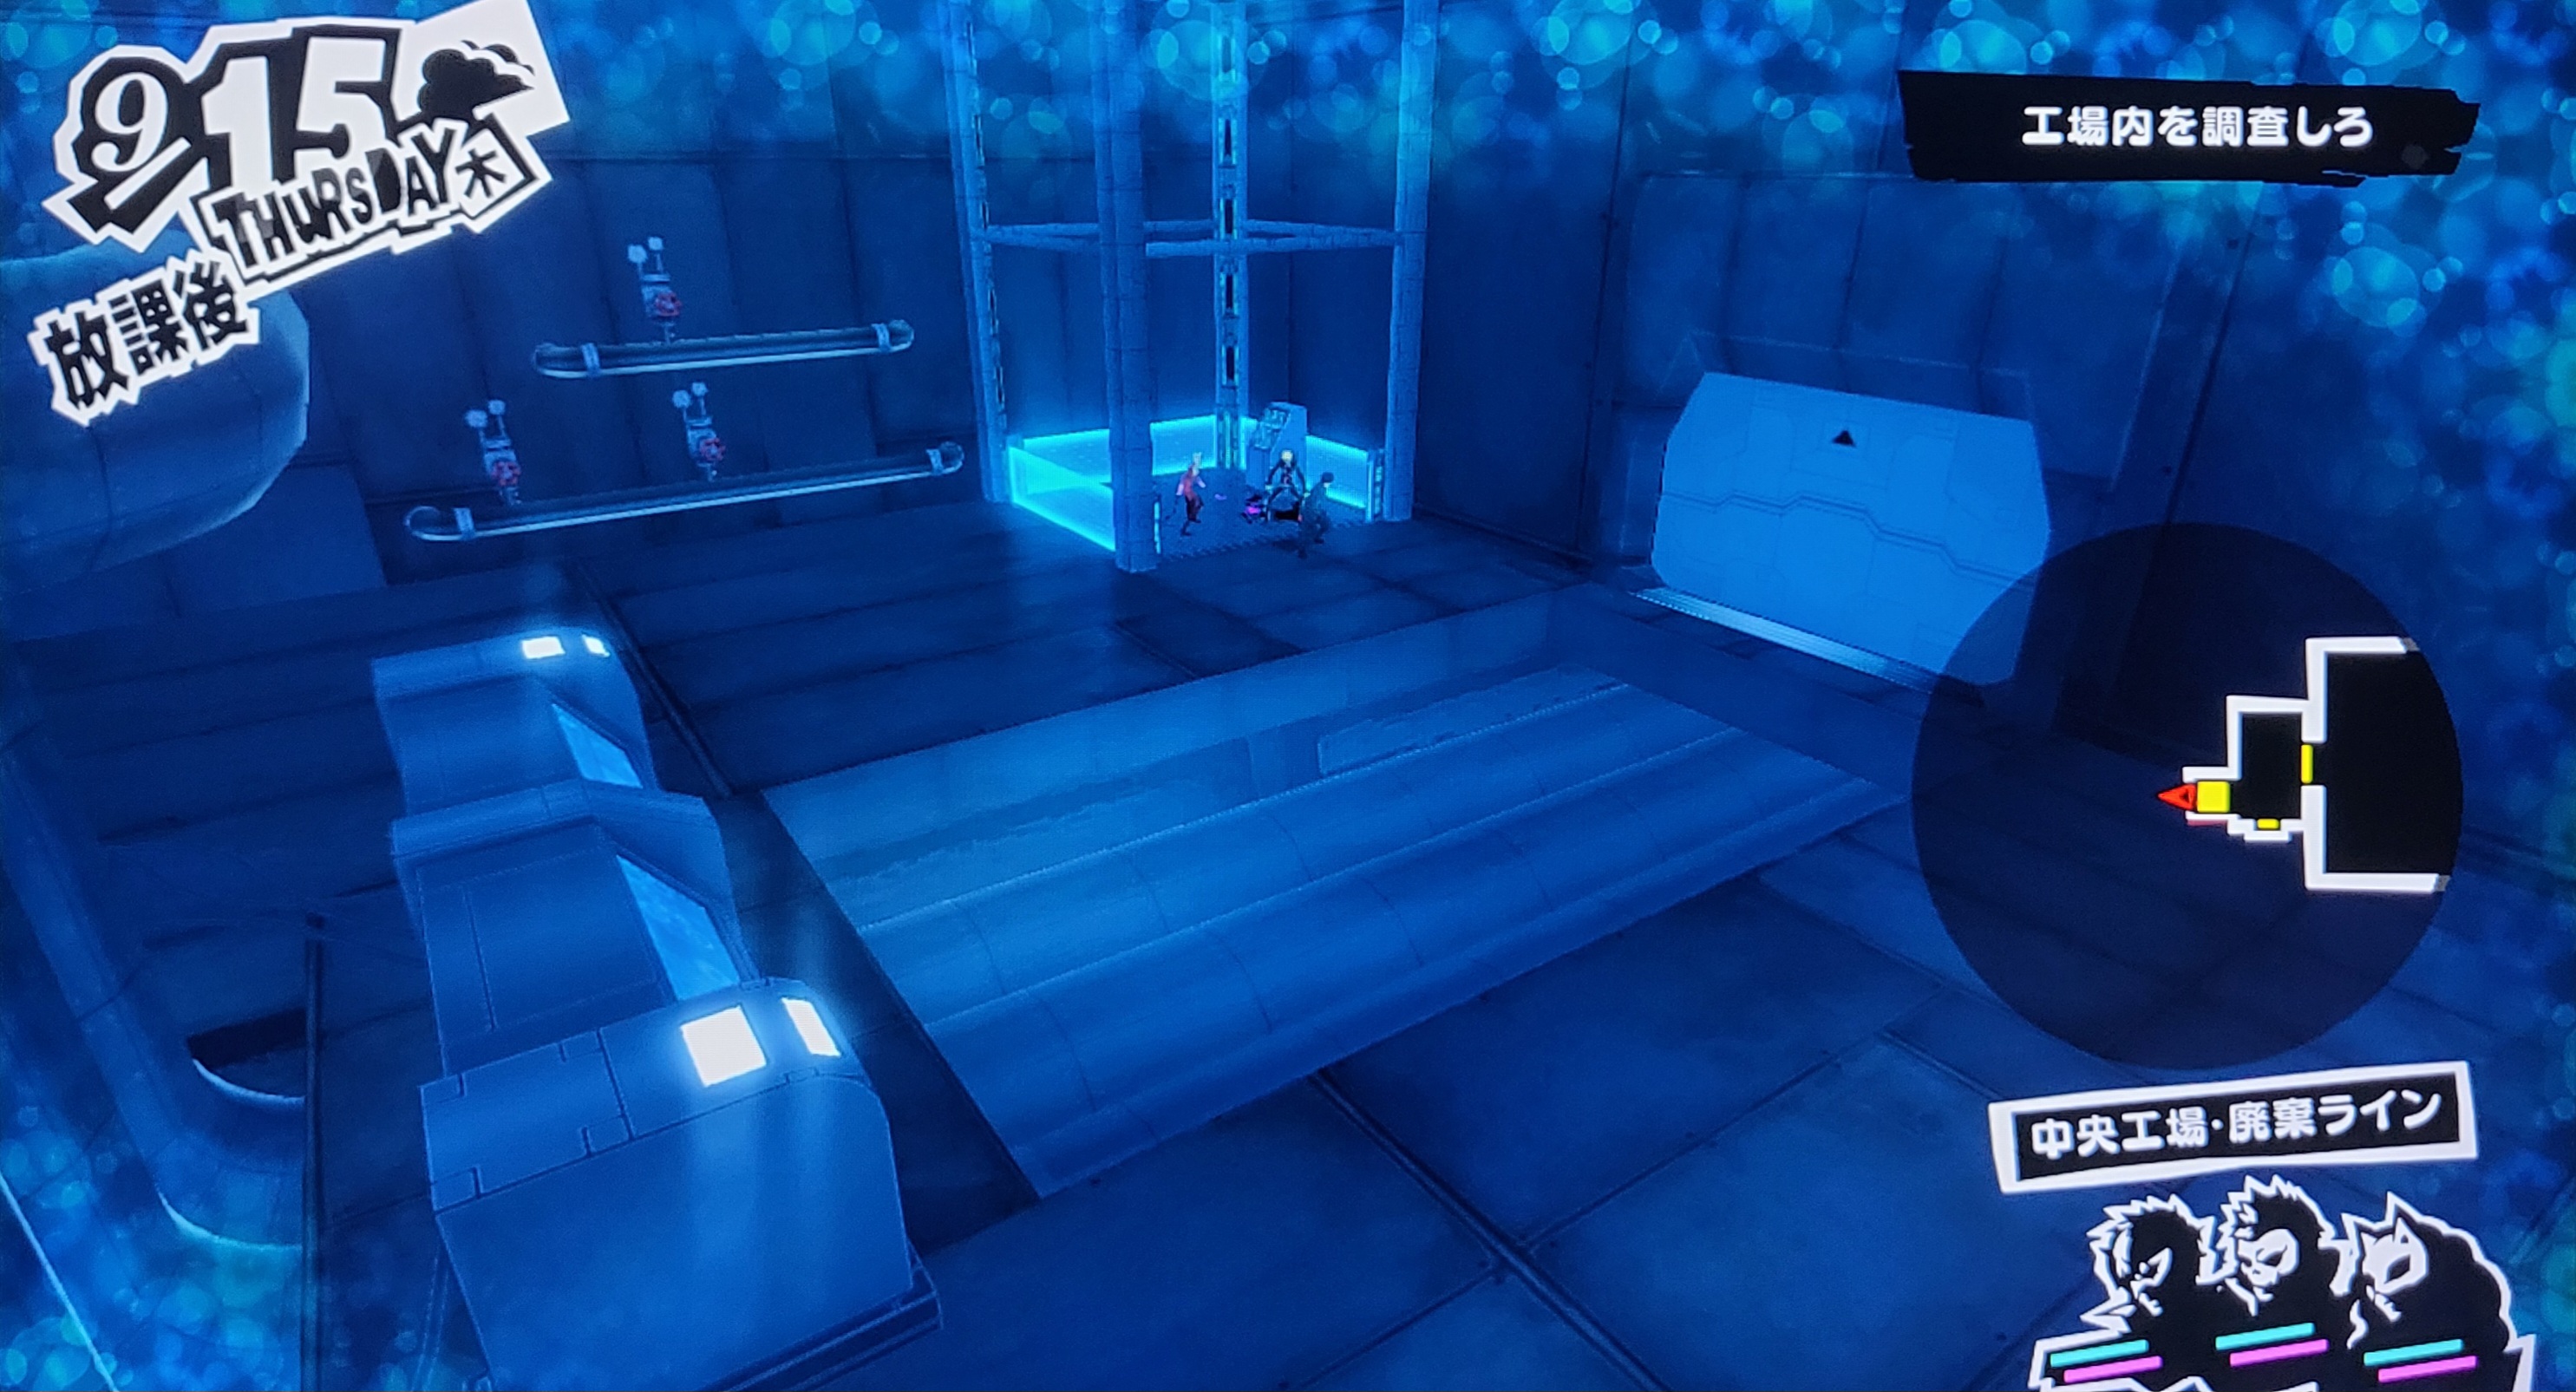
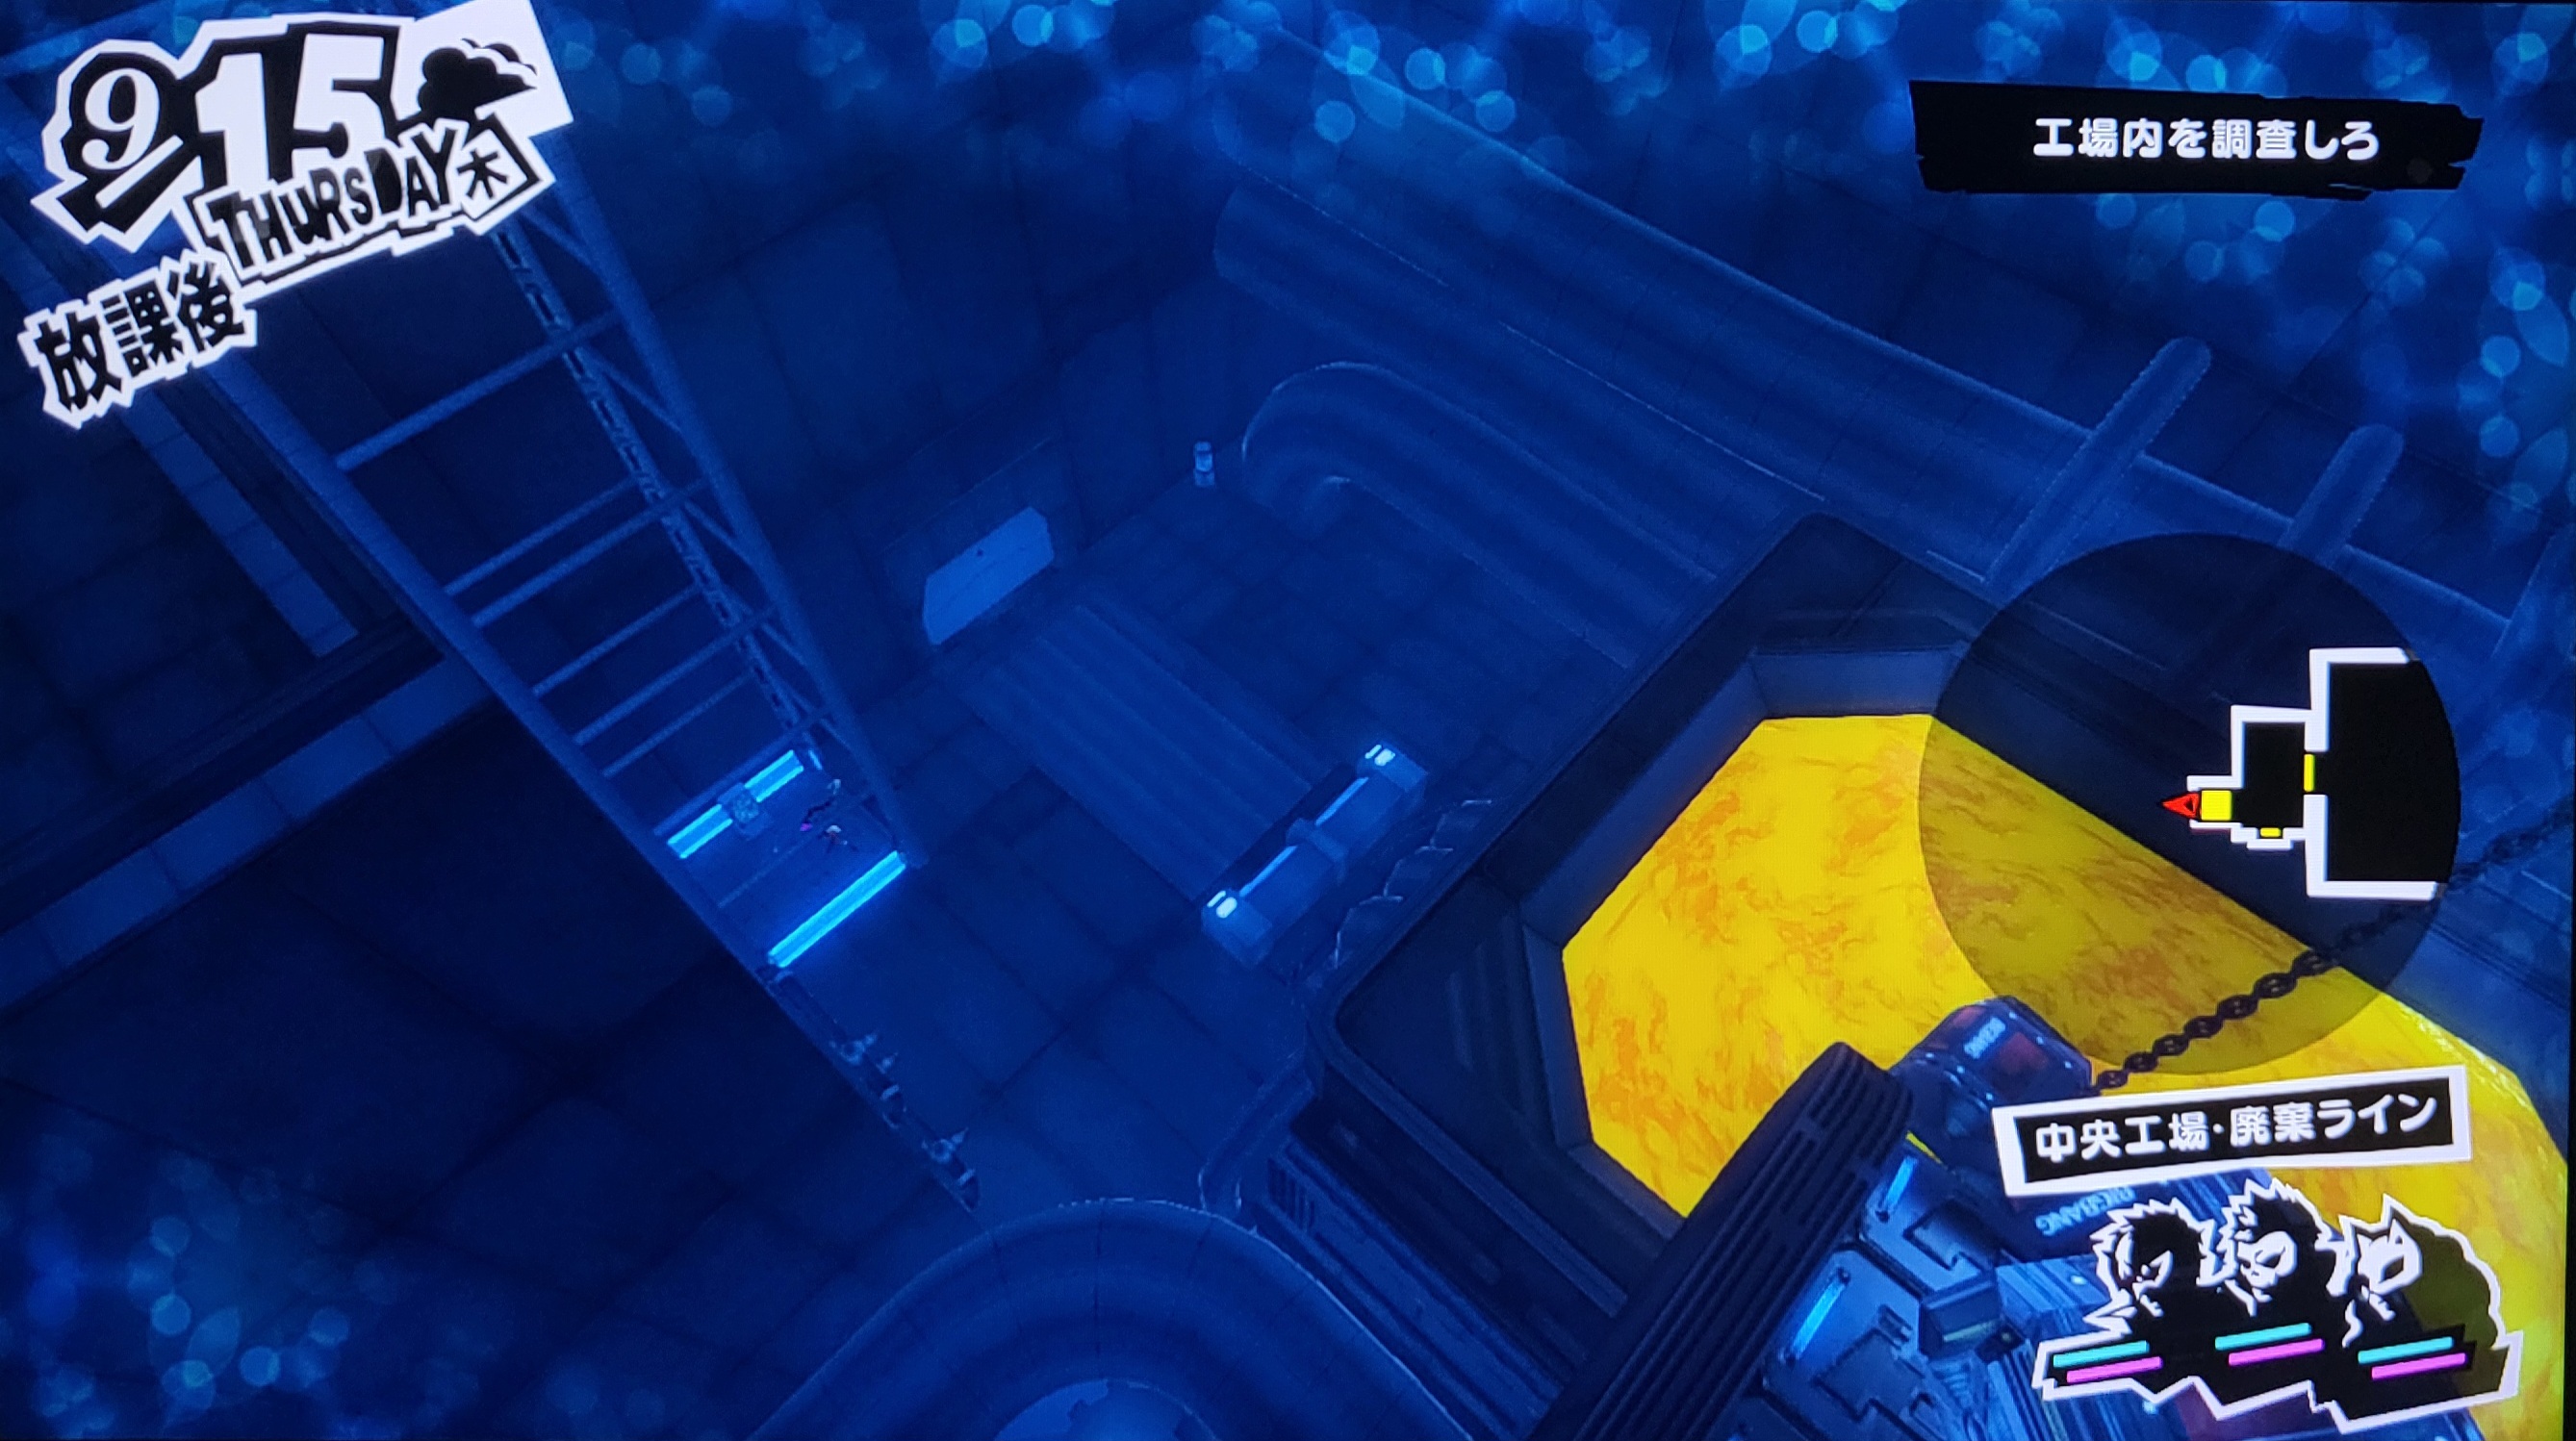
Rather than Disposal Line ending with an elevator going downwards after seeing the robots being disposed of, it keeps going. Rather than loading the next field right as the player goes down the elevator, the elevator reaches the very bottom, and the player is taken to this small area that features a few stealable objects and an interactable Big Bang Burger logo terminal. Pressing action on the prompt shuts the machine off, but it doesn't seem to do anything otherwise. Presumably, it would've halted the workers/robots being melted down in the machine above. The true door to the next field is on the wall exactly opposite of this terminal, which opens up to another elevator going upwards. All of this was scrapped in the final game. There is no terminal left, no collision, no stealable objects, and no door. There is, however, a piece of ground on the other side of the wall where the elevator used to be, but that is the sole indicator that there was ever an explorable area here.
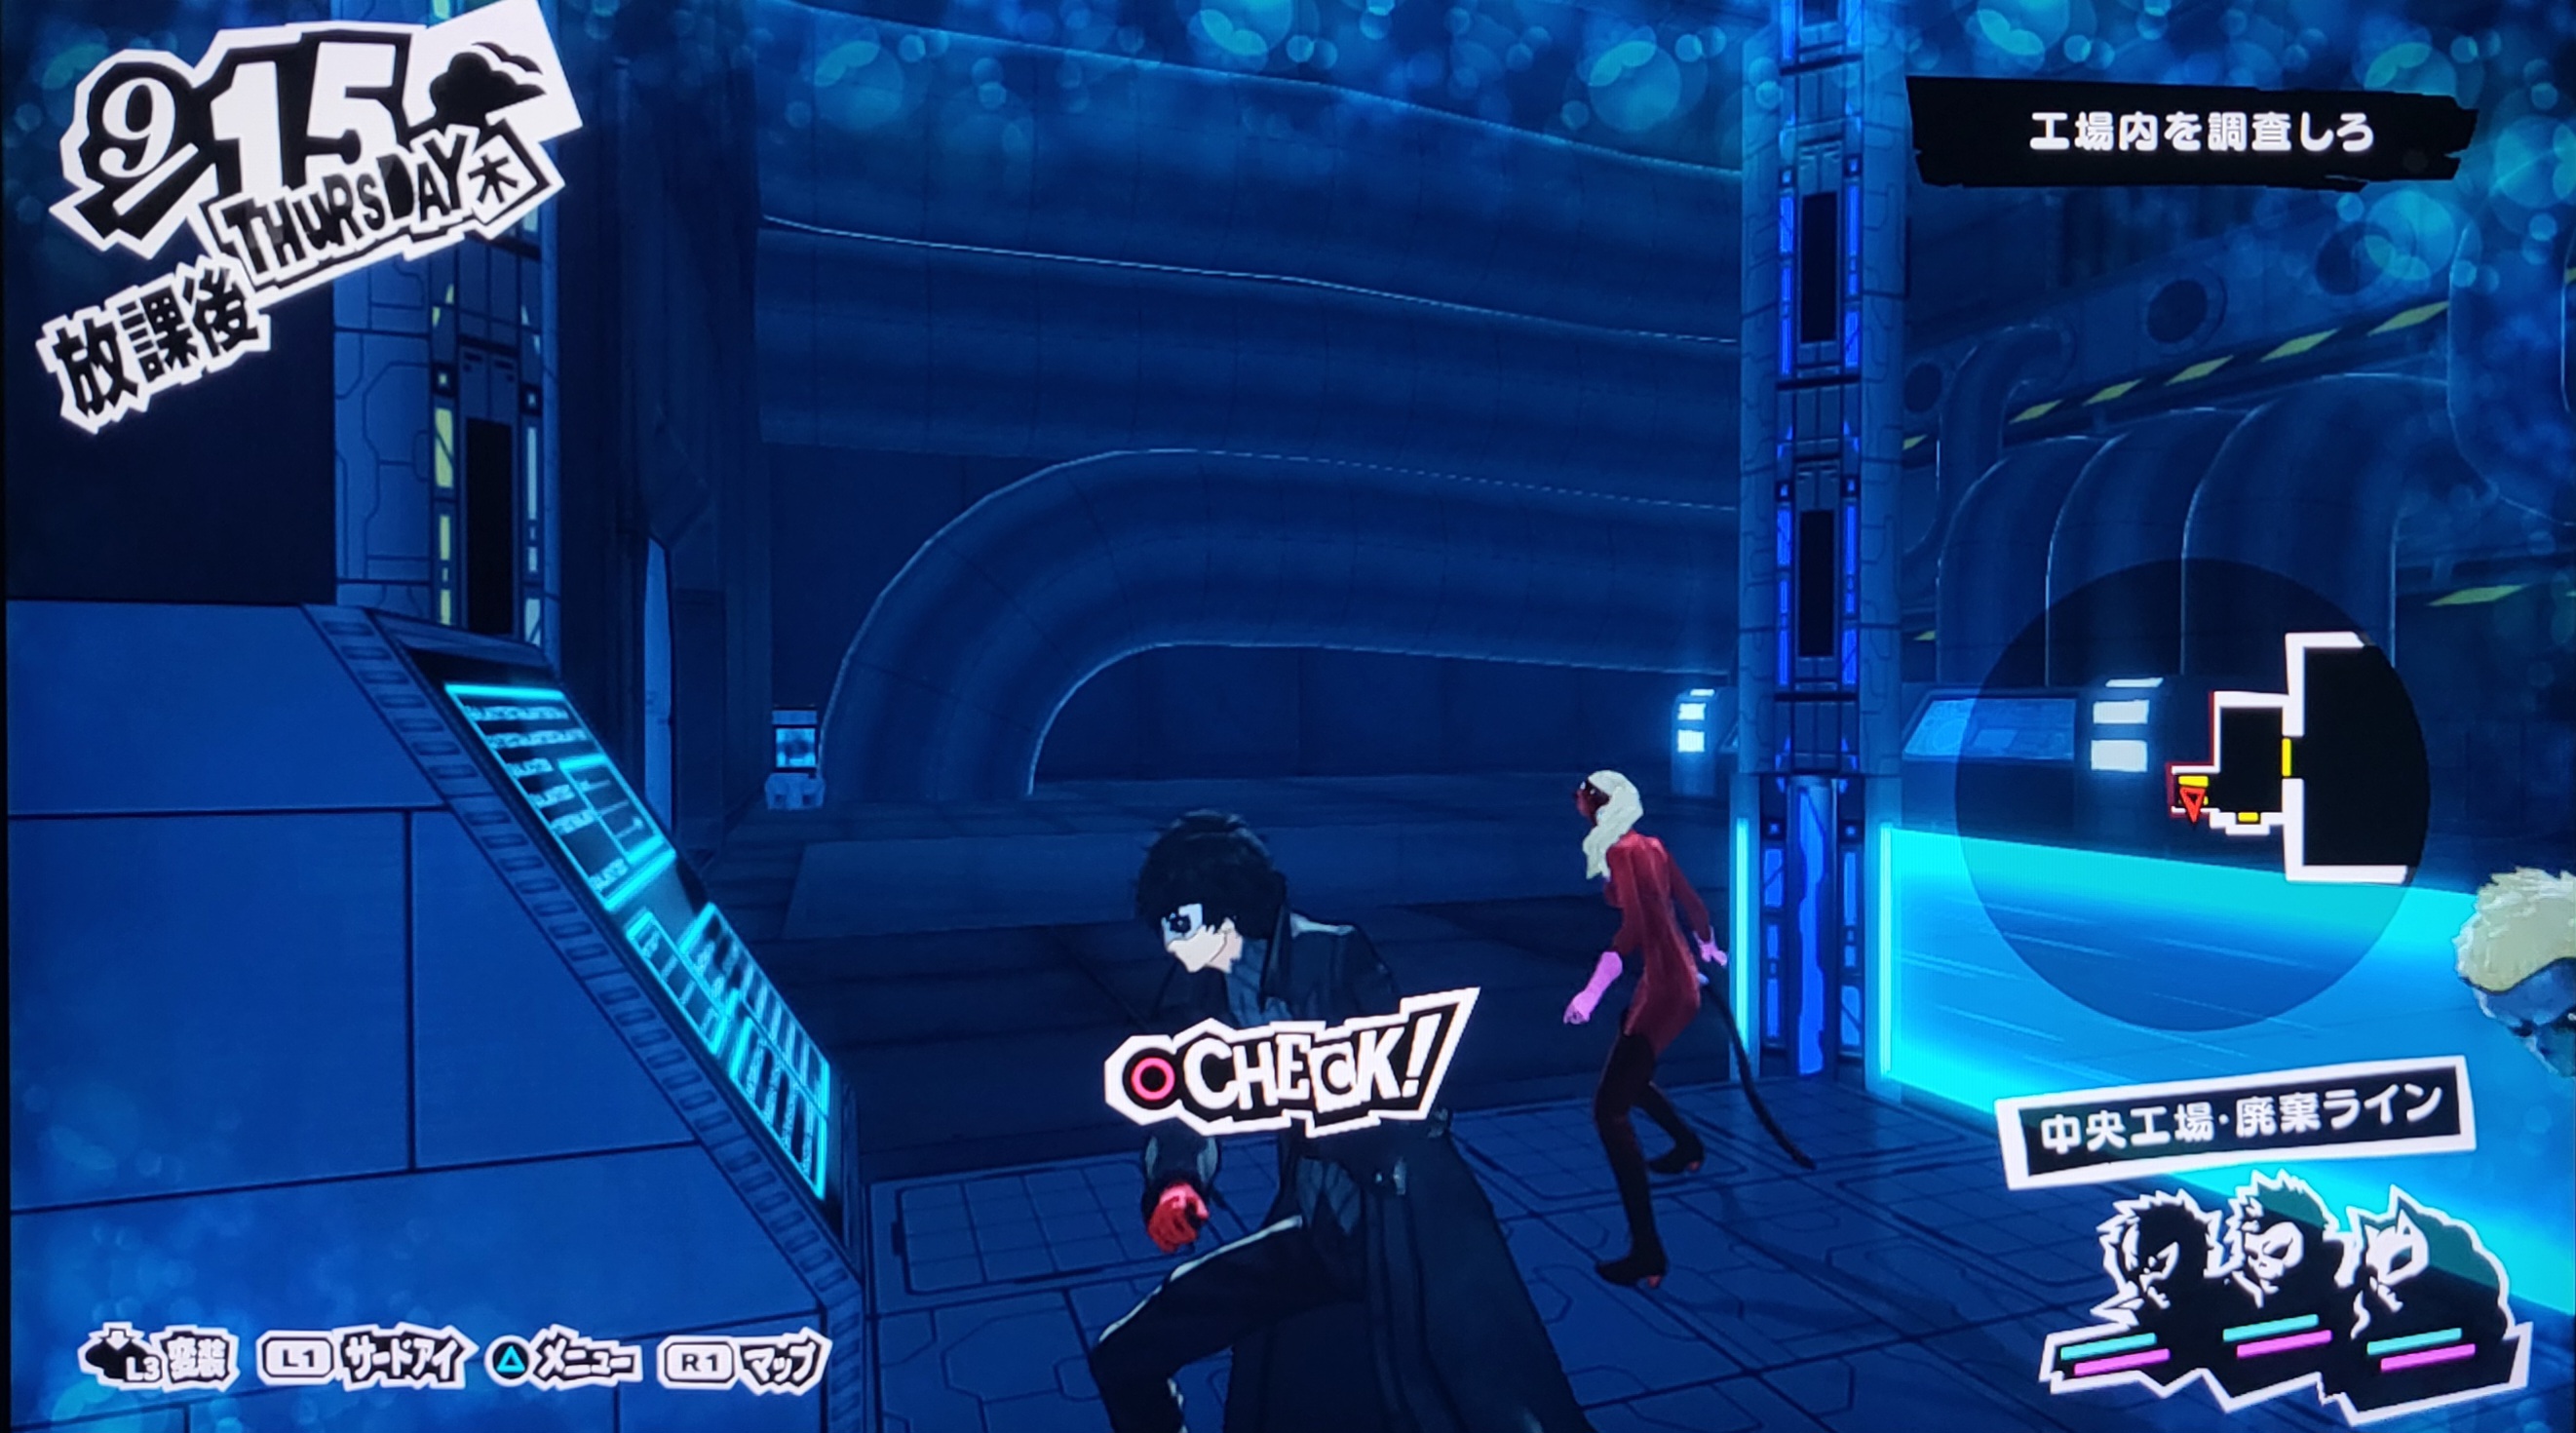
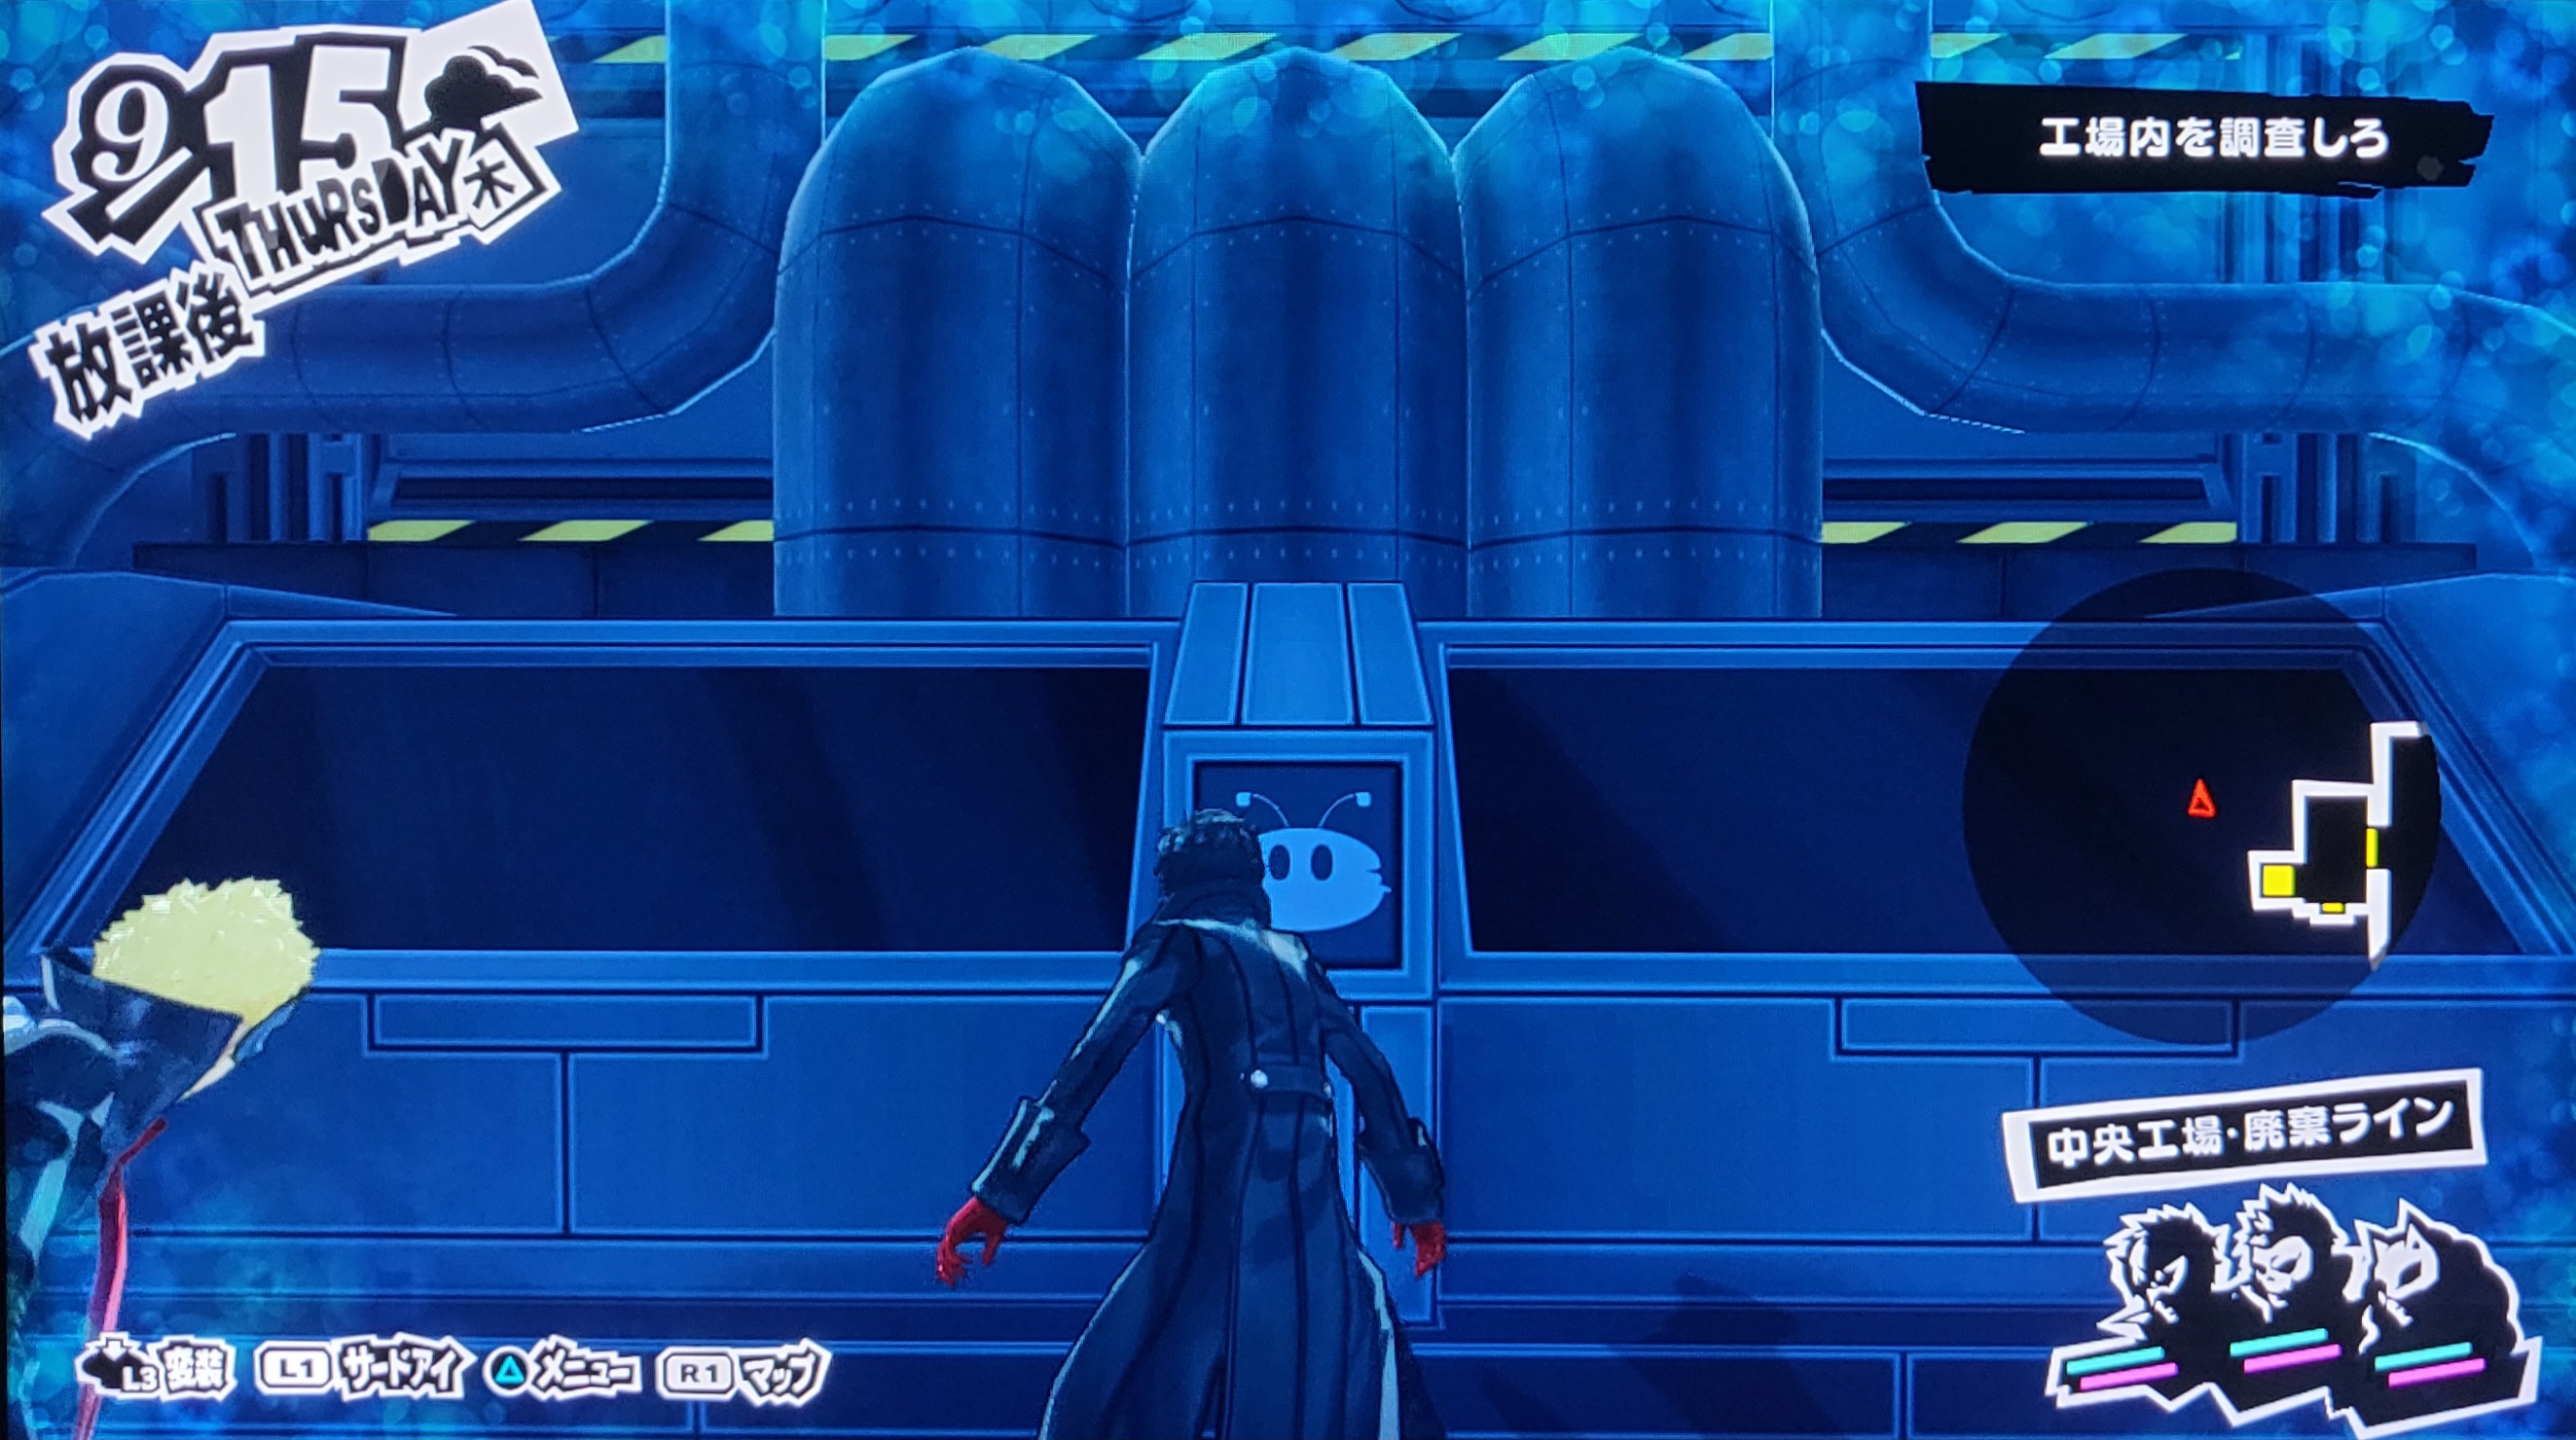
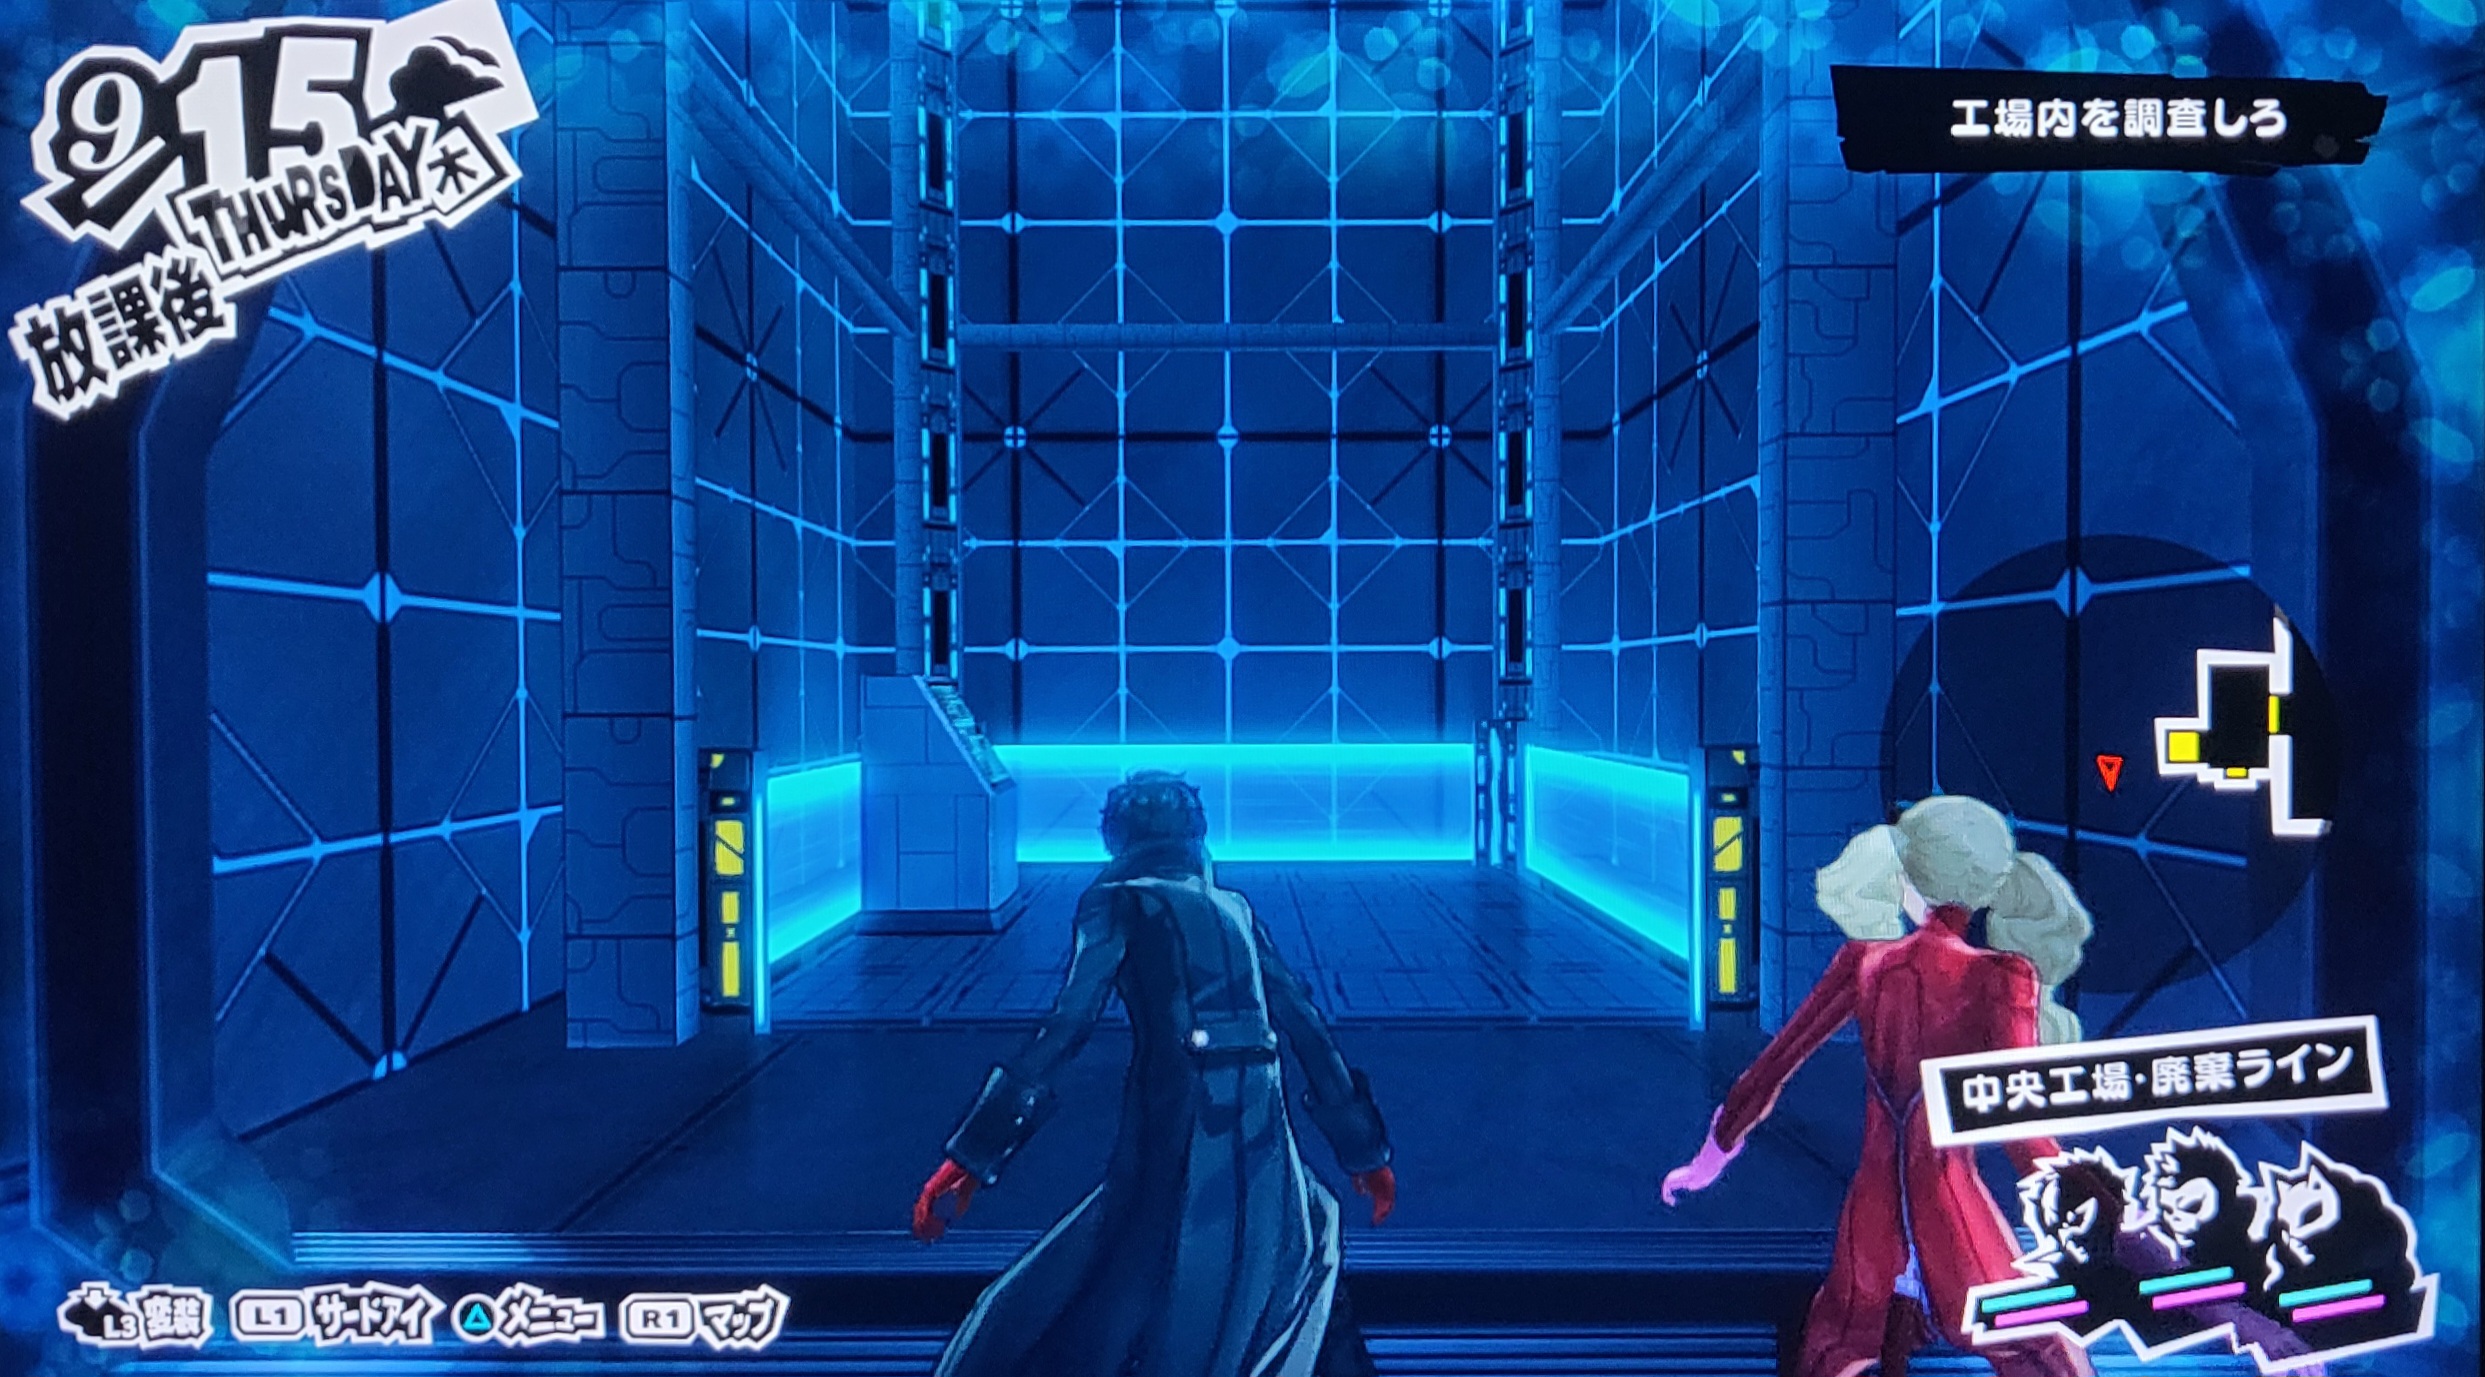
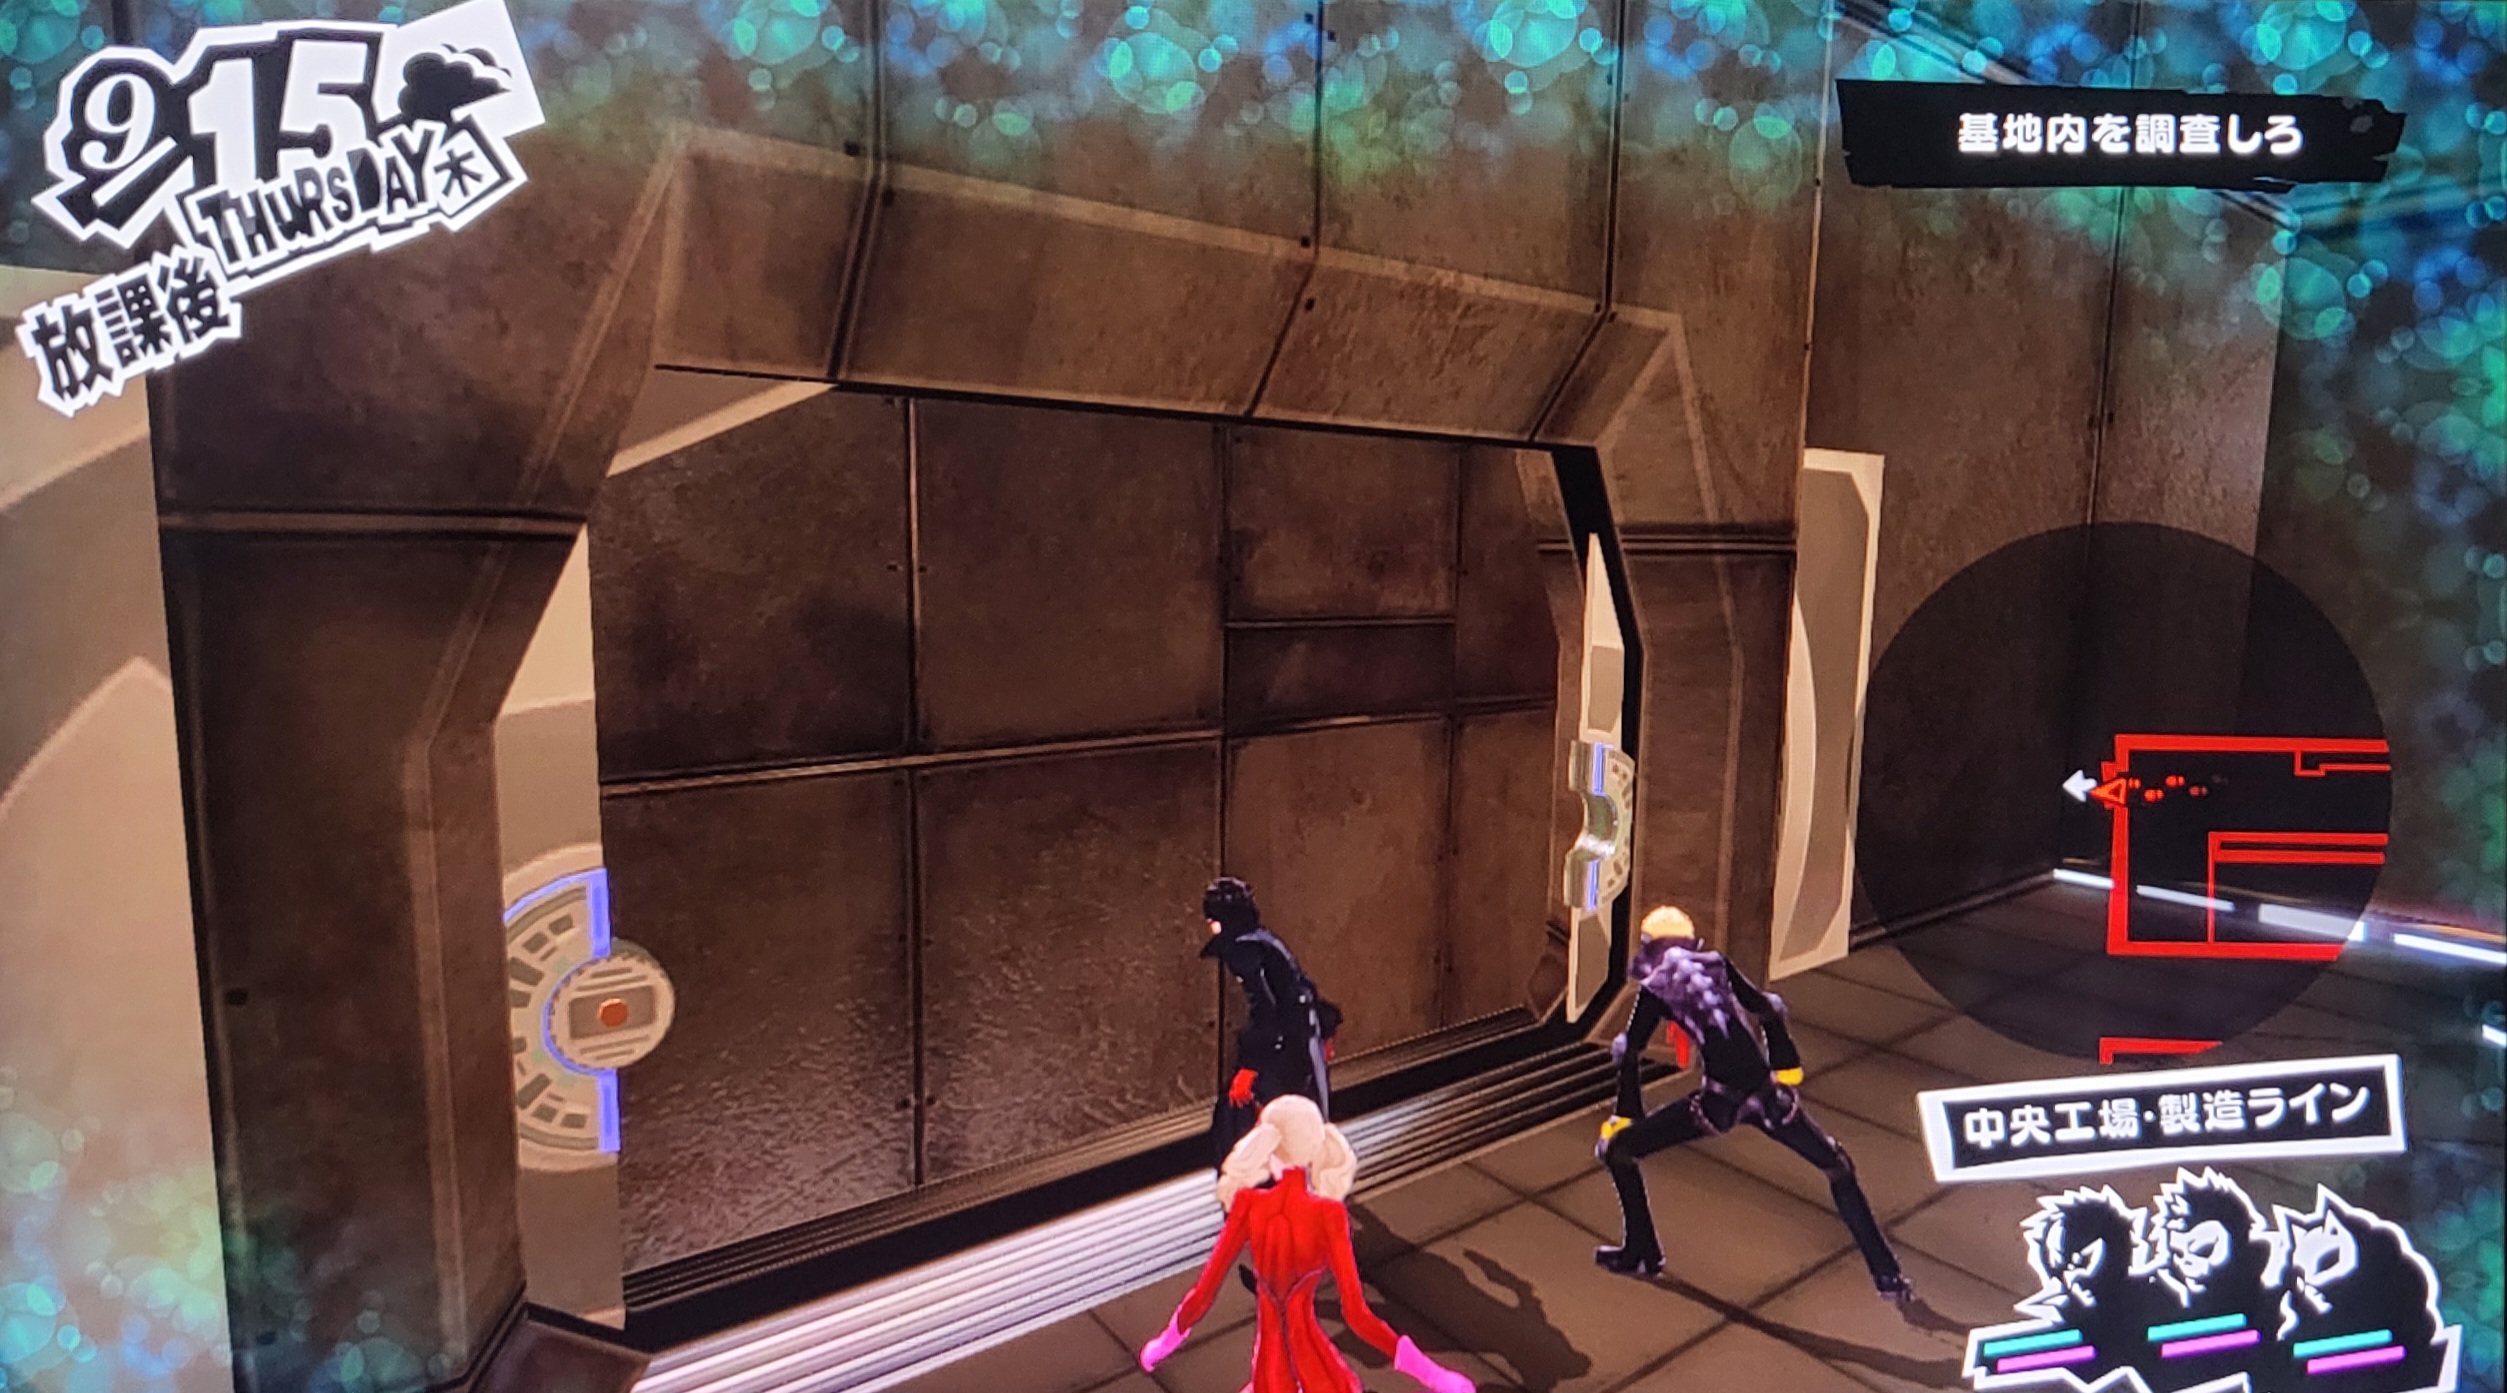
The airlock sections have a few differences. The most immediate one is there is text "Rest Room" over the first door you see. Either this means this was intended to be the safe room instead of the door to the left, or Okumura's palace would have had a literal restroom similar to how Madarame's does. On the other side, there is another door with the text "Teleport" and walking through it reveals another elevator. This one is unfortunately non-functional, however, though it may have connected to a deleted field at one point. On the last airlock field, upon opening the elevator, it reveals a bunch of deactivated robots/employees.
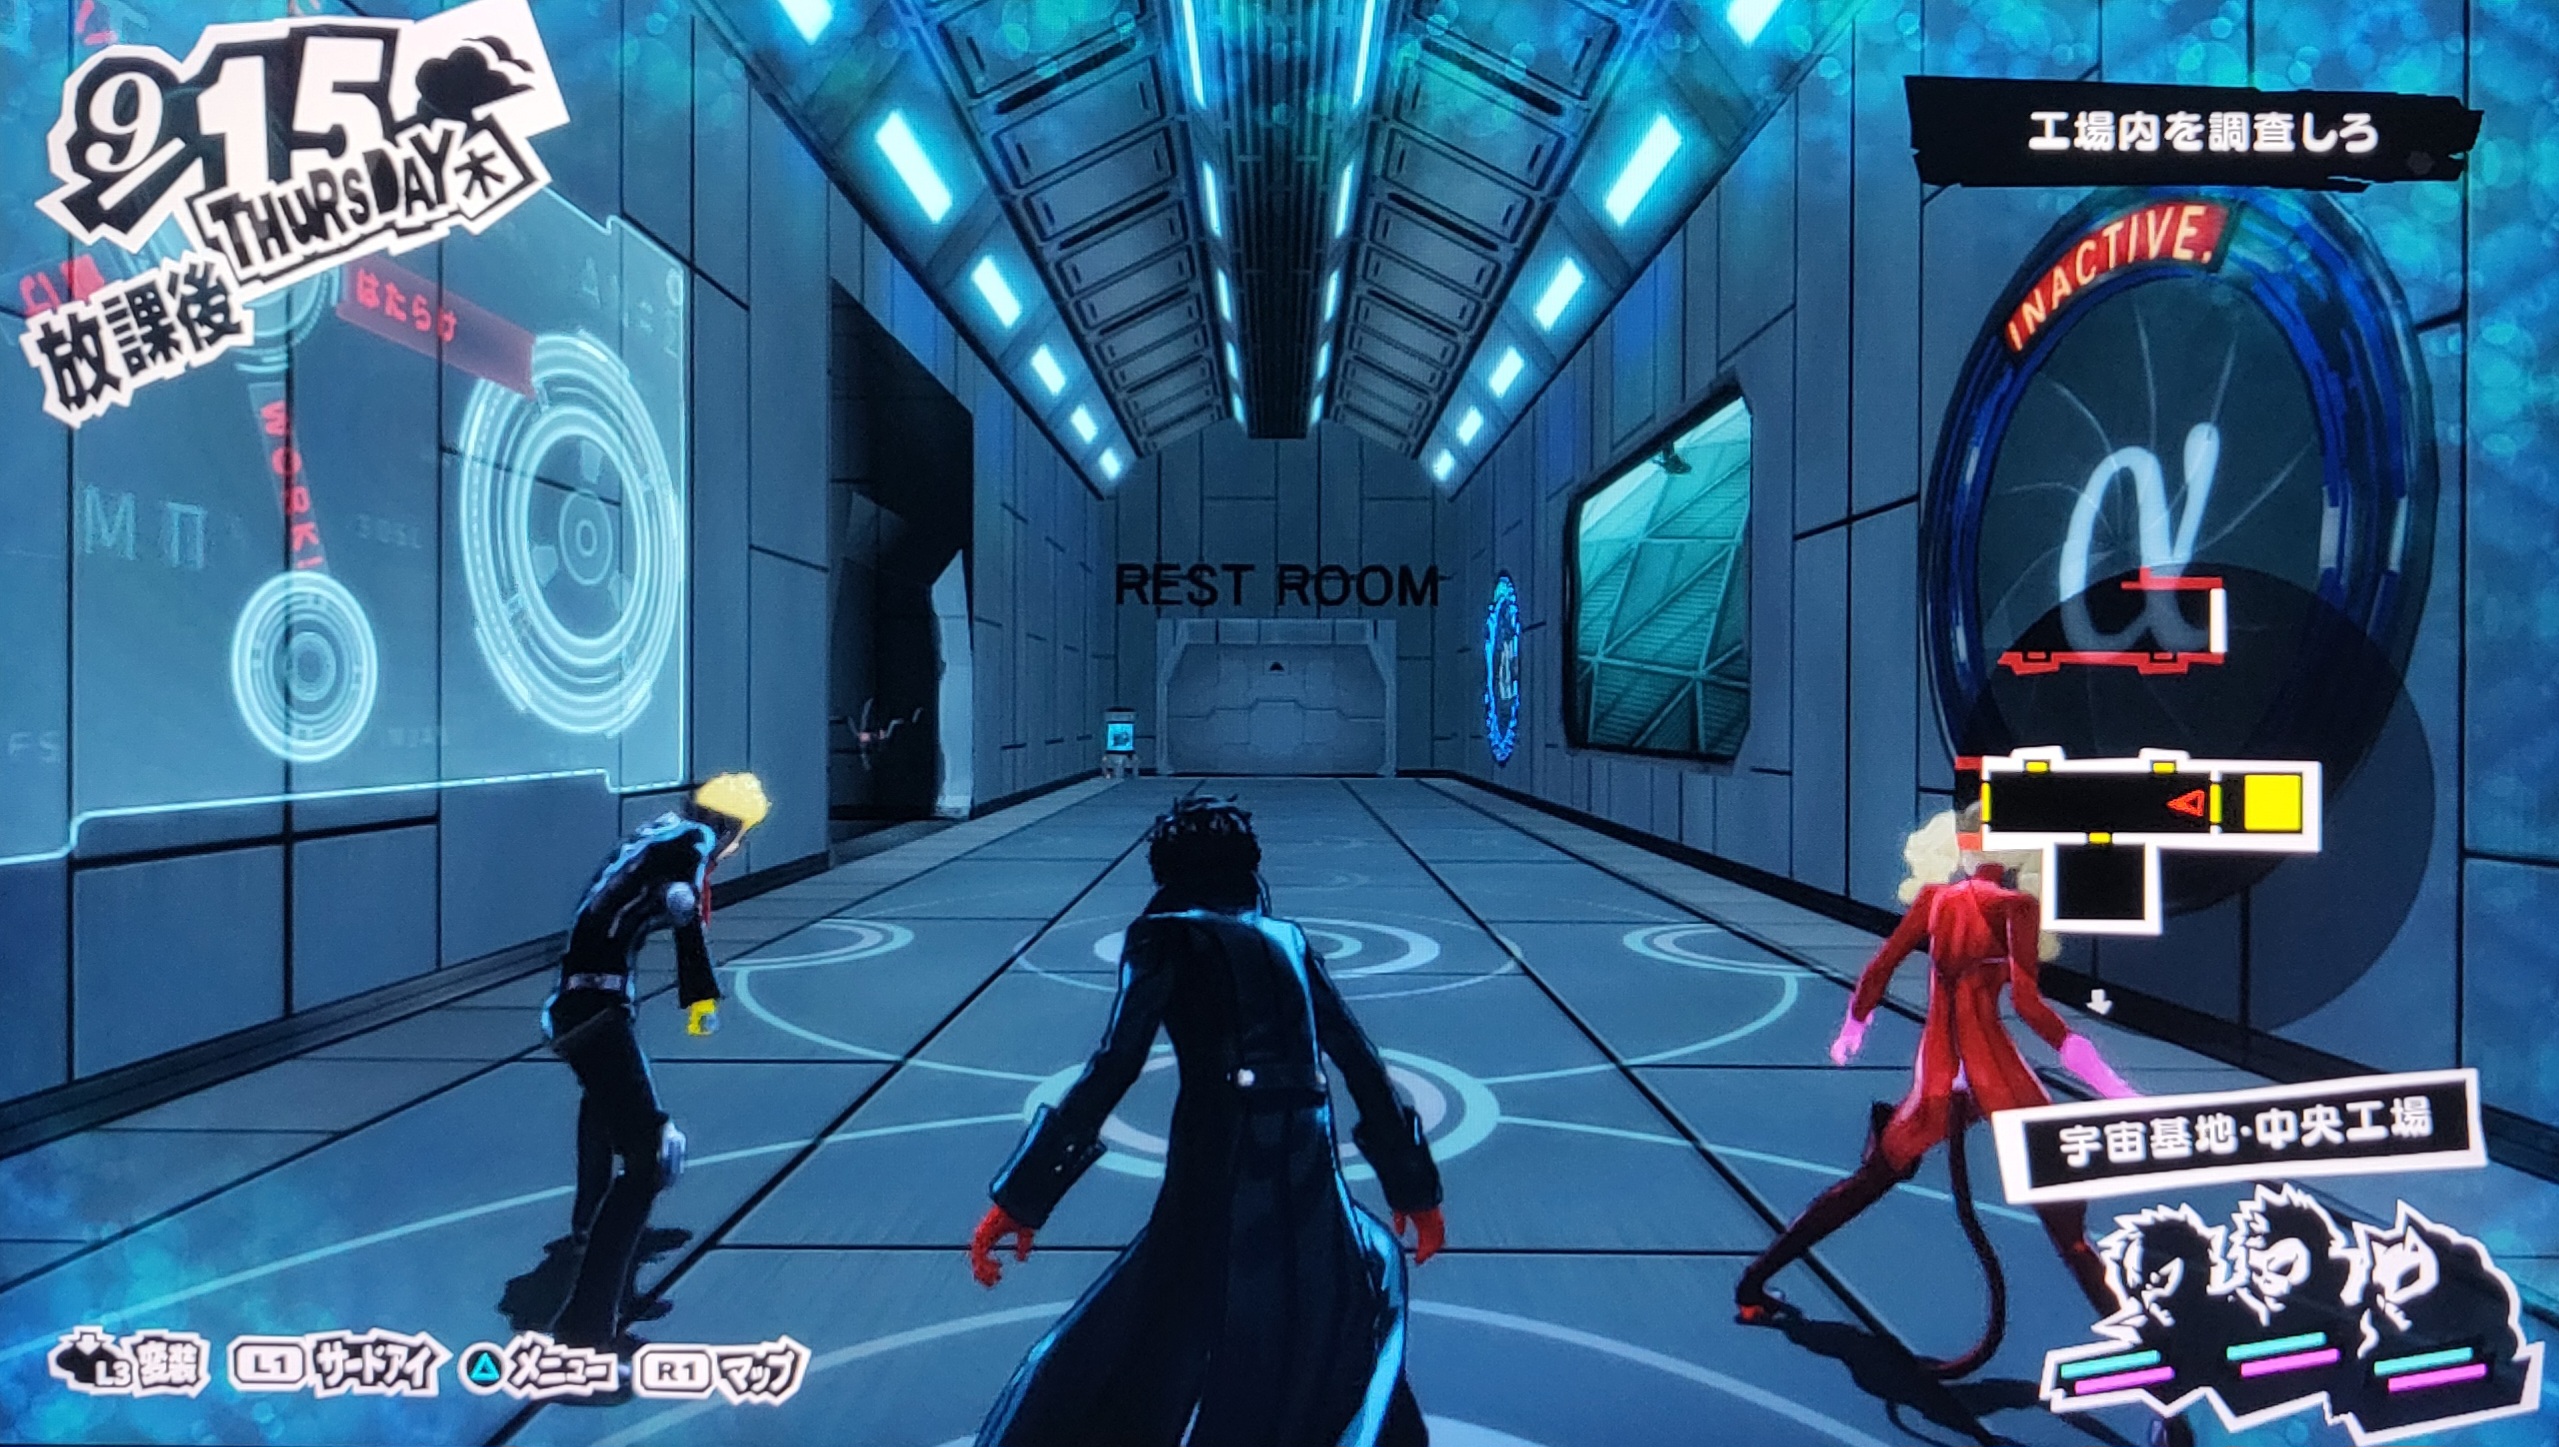
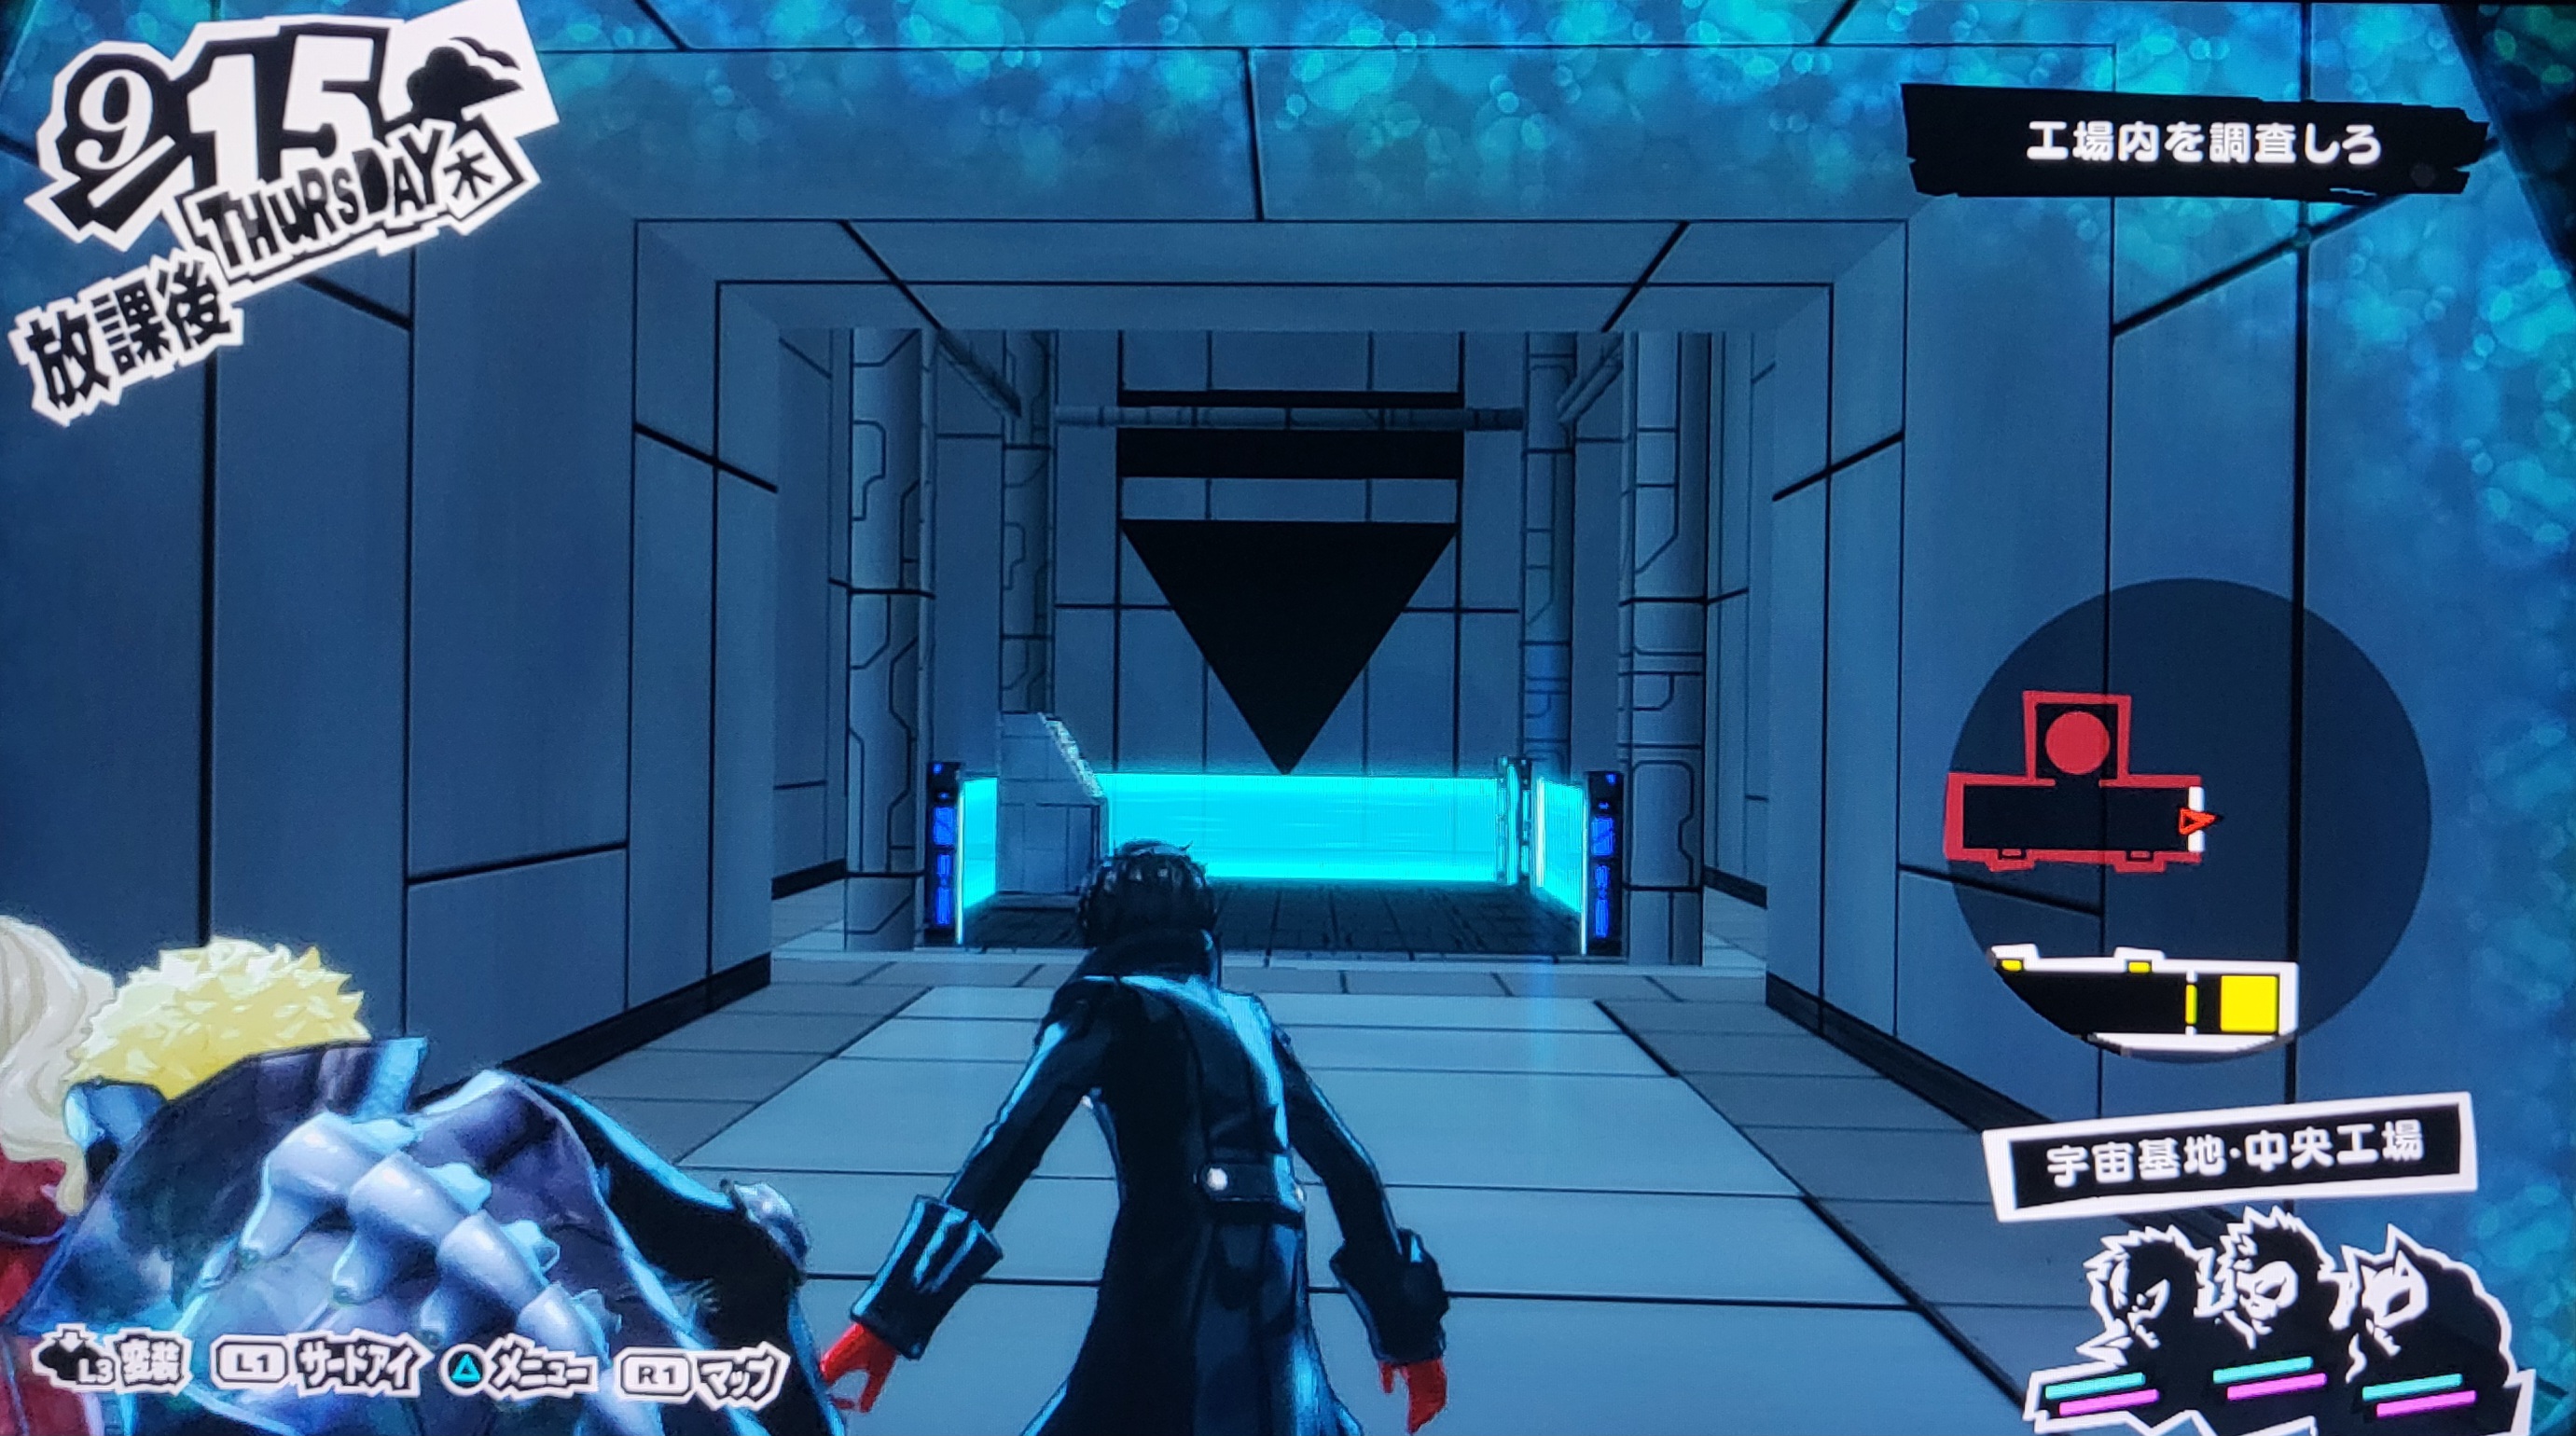
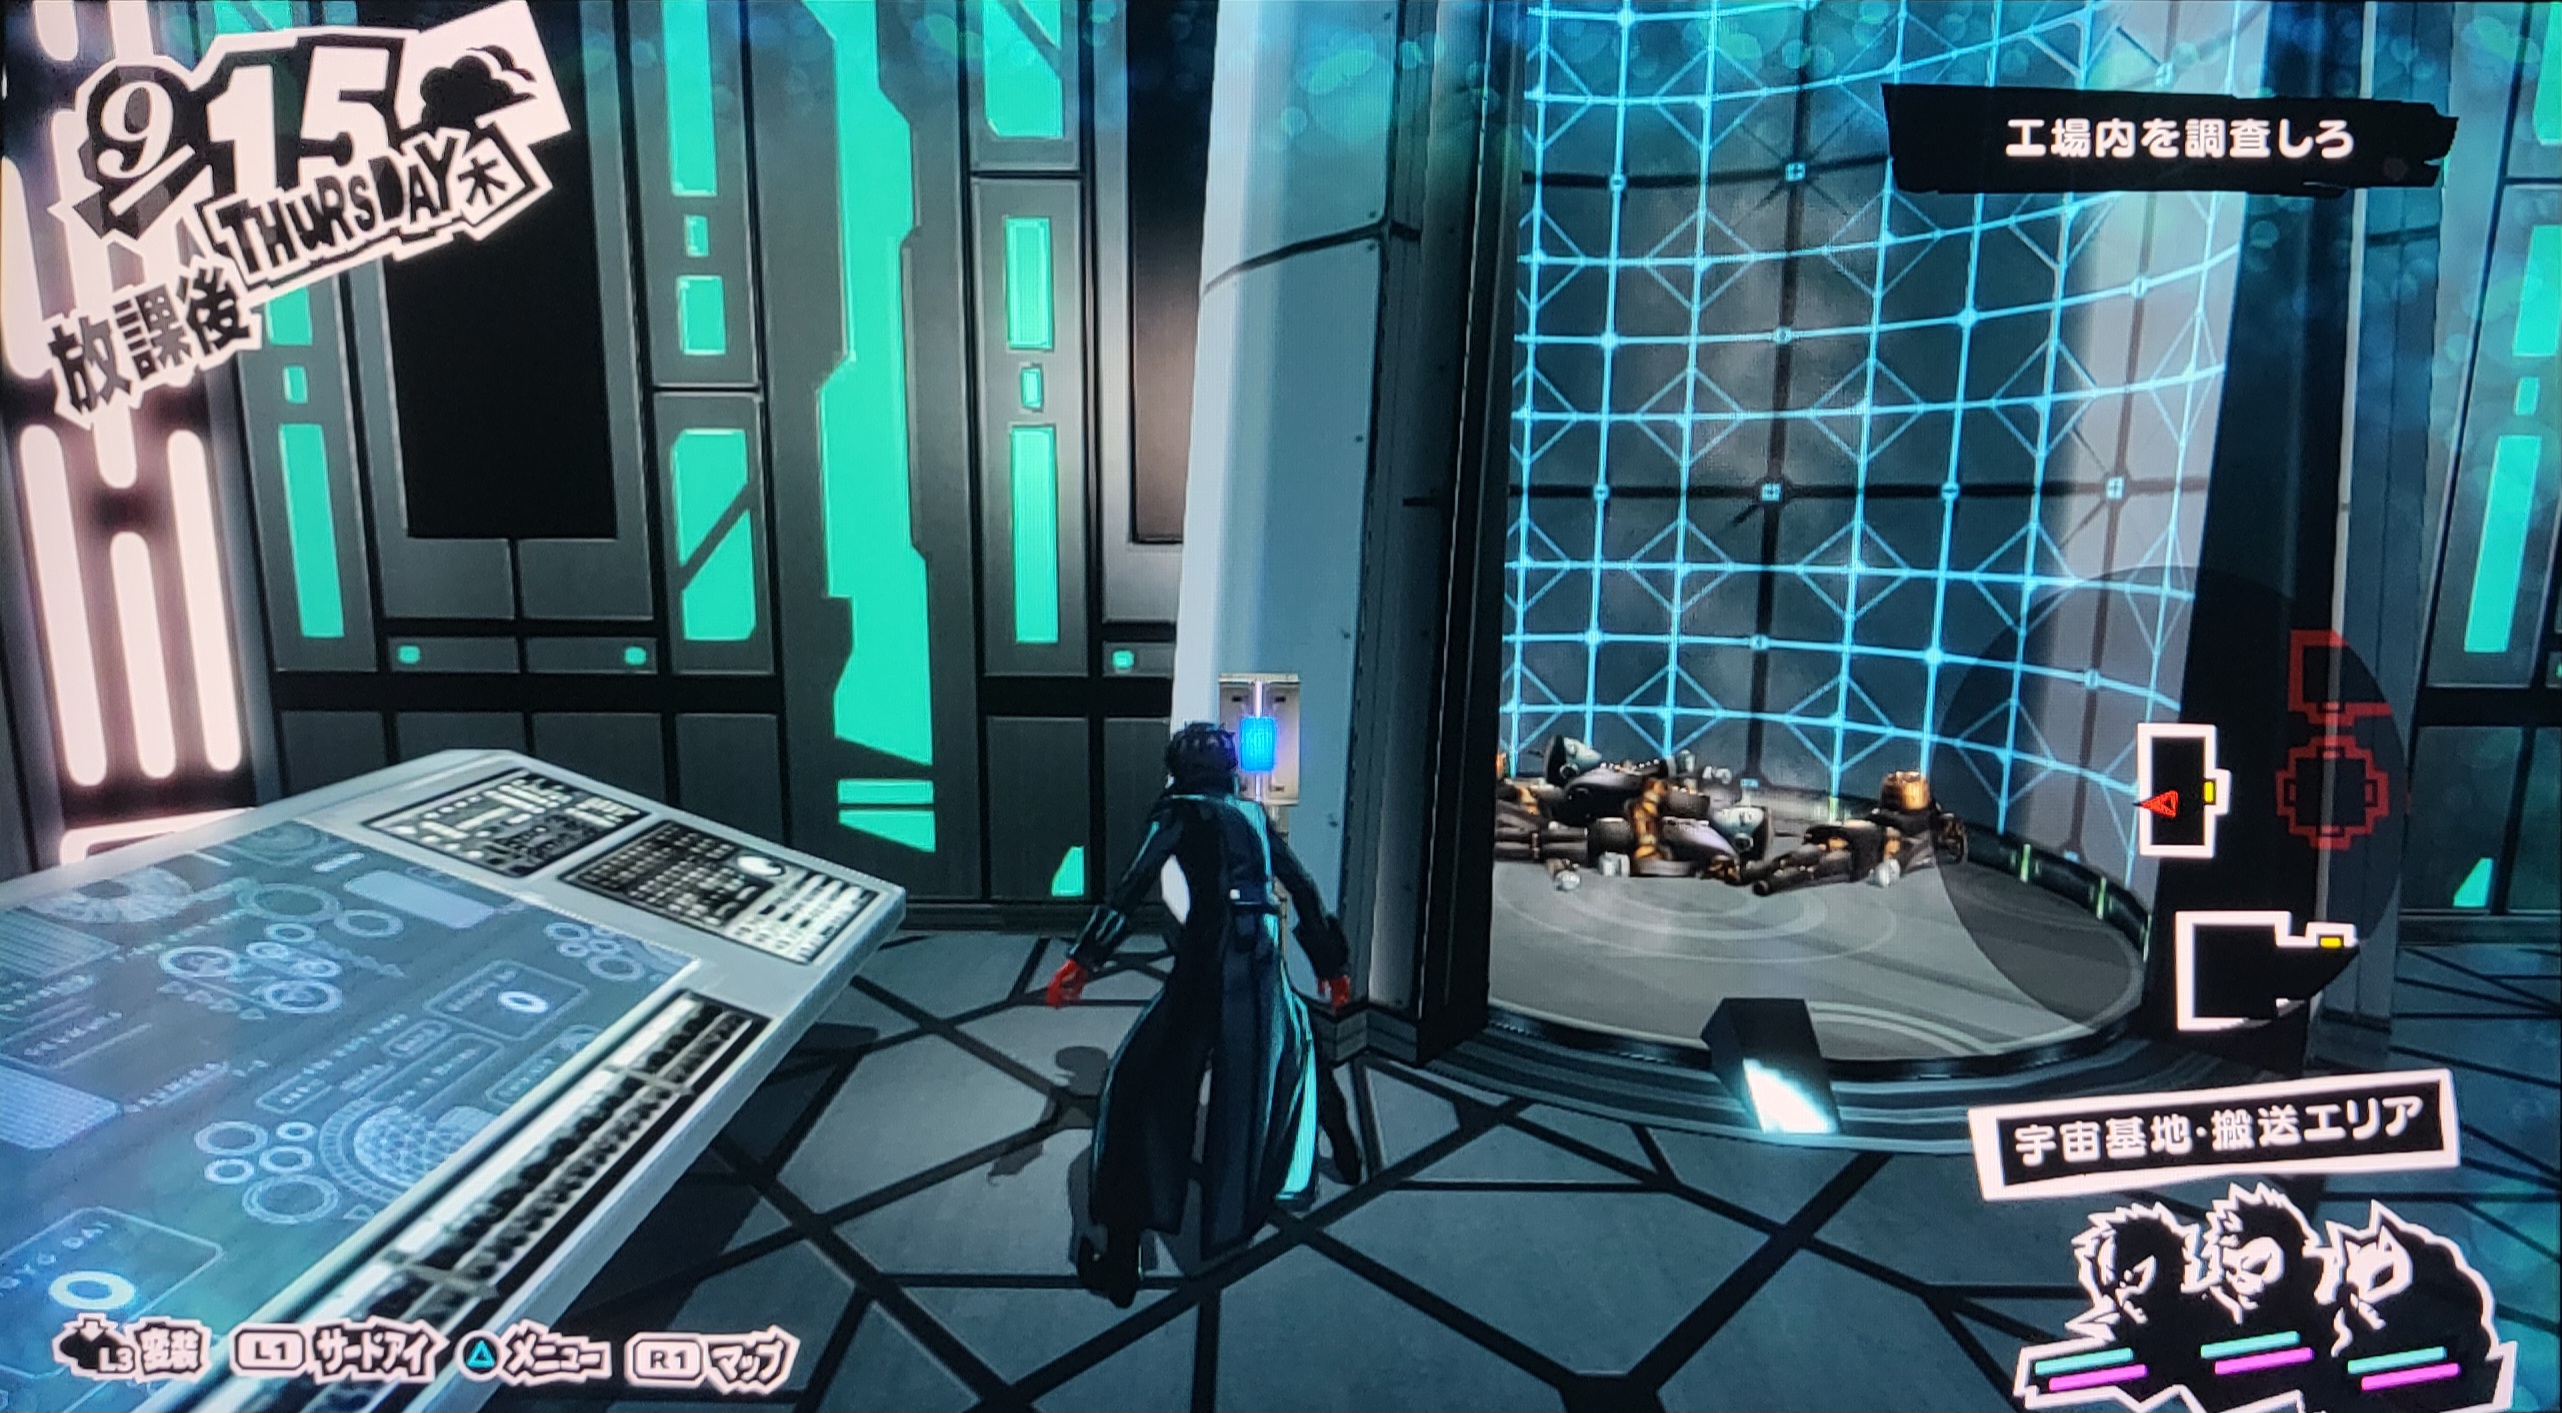
The last big differences in Okumura's palace are the fields for Weapon Production and Weapon Maintenance.
Weapon Production is very unfinished, as nearly the entire field uses the same texture. It lacks lighting and is devoid of any objects. Okumura's space ship is lacking the Big Bang Burger shutter in front of it. Instead of the drawbridge being up, a laser grid prevents the player from continuing, even though there's no floor to walk on regardless. Instead of glass railing, this section is either lacking railing entirely or has fully metal railing. There are two locked dynamic cameras used here that are never used in the final game. The first of which is when the player is crossing the beam in front of the space ship, and the next is the platform immediately after that. This field ends in a bizarre-looking door that isn't like anything seen in the final.
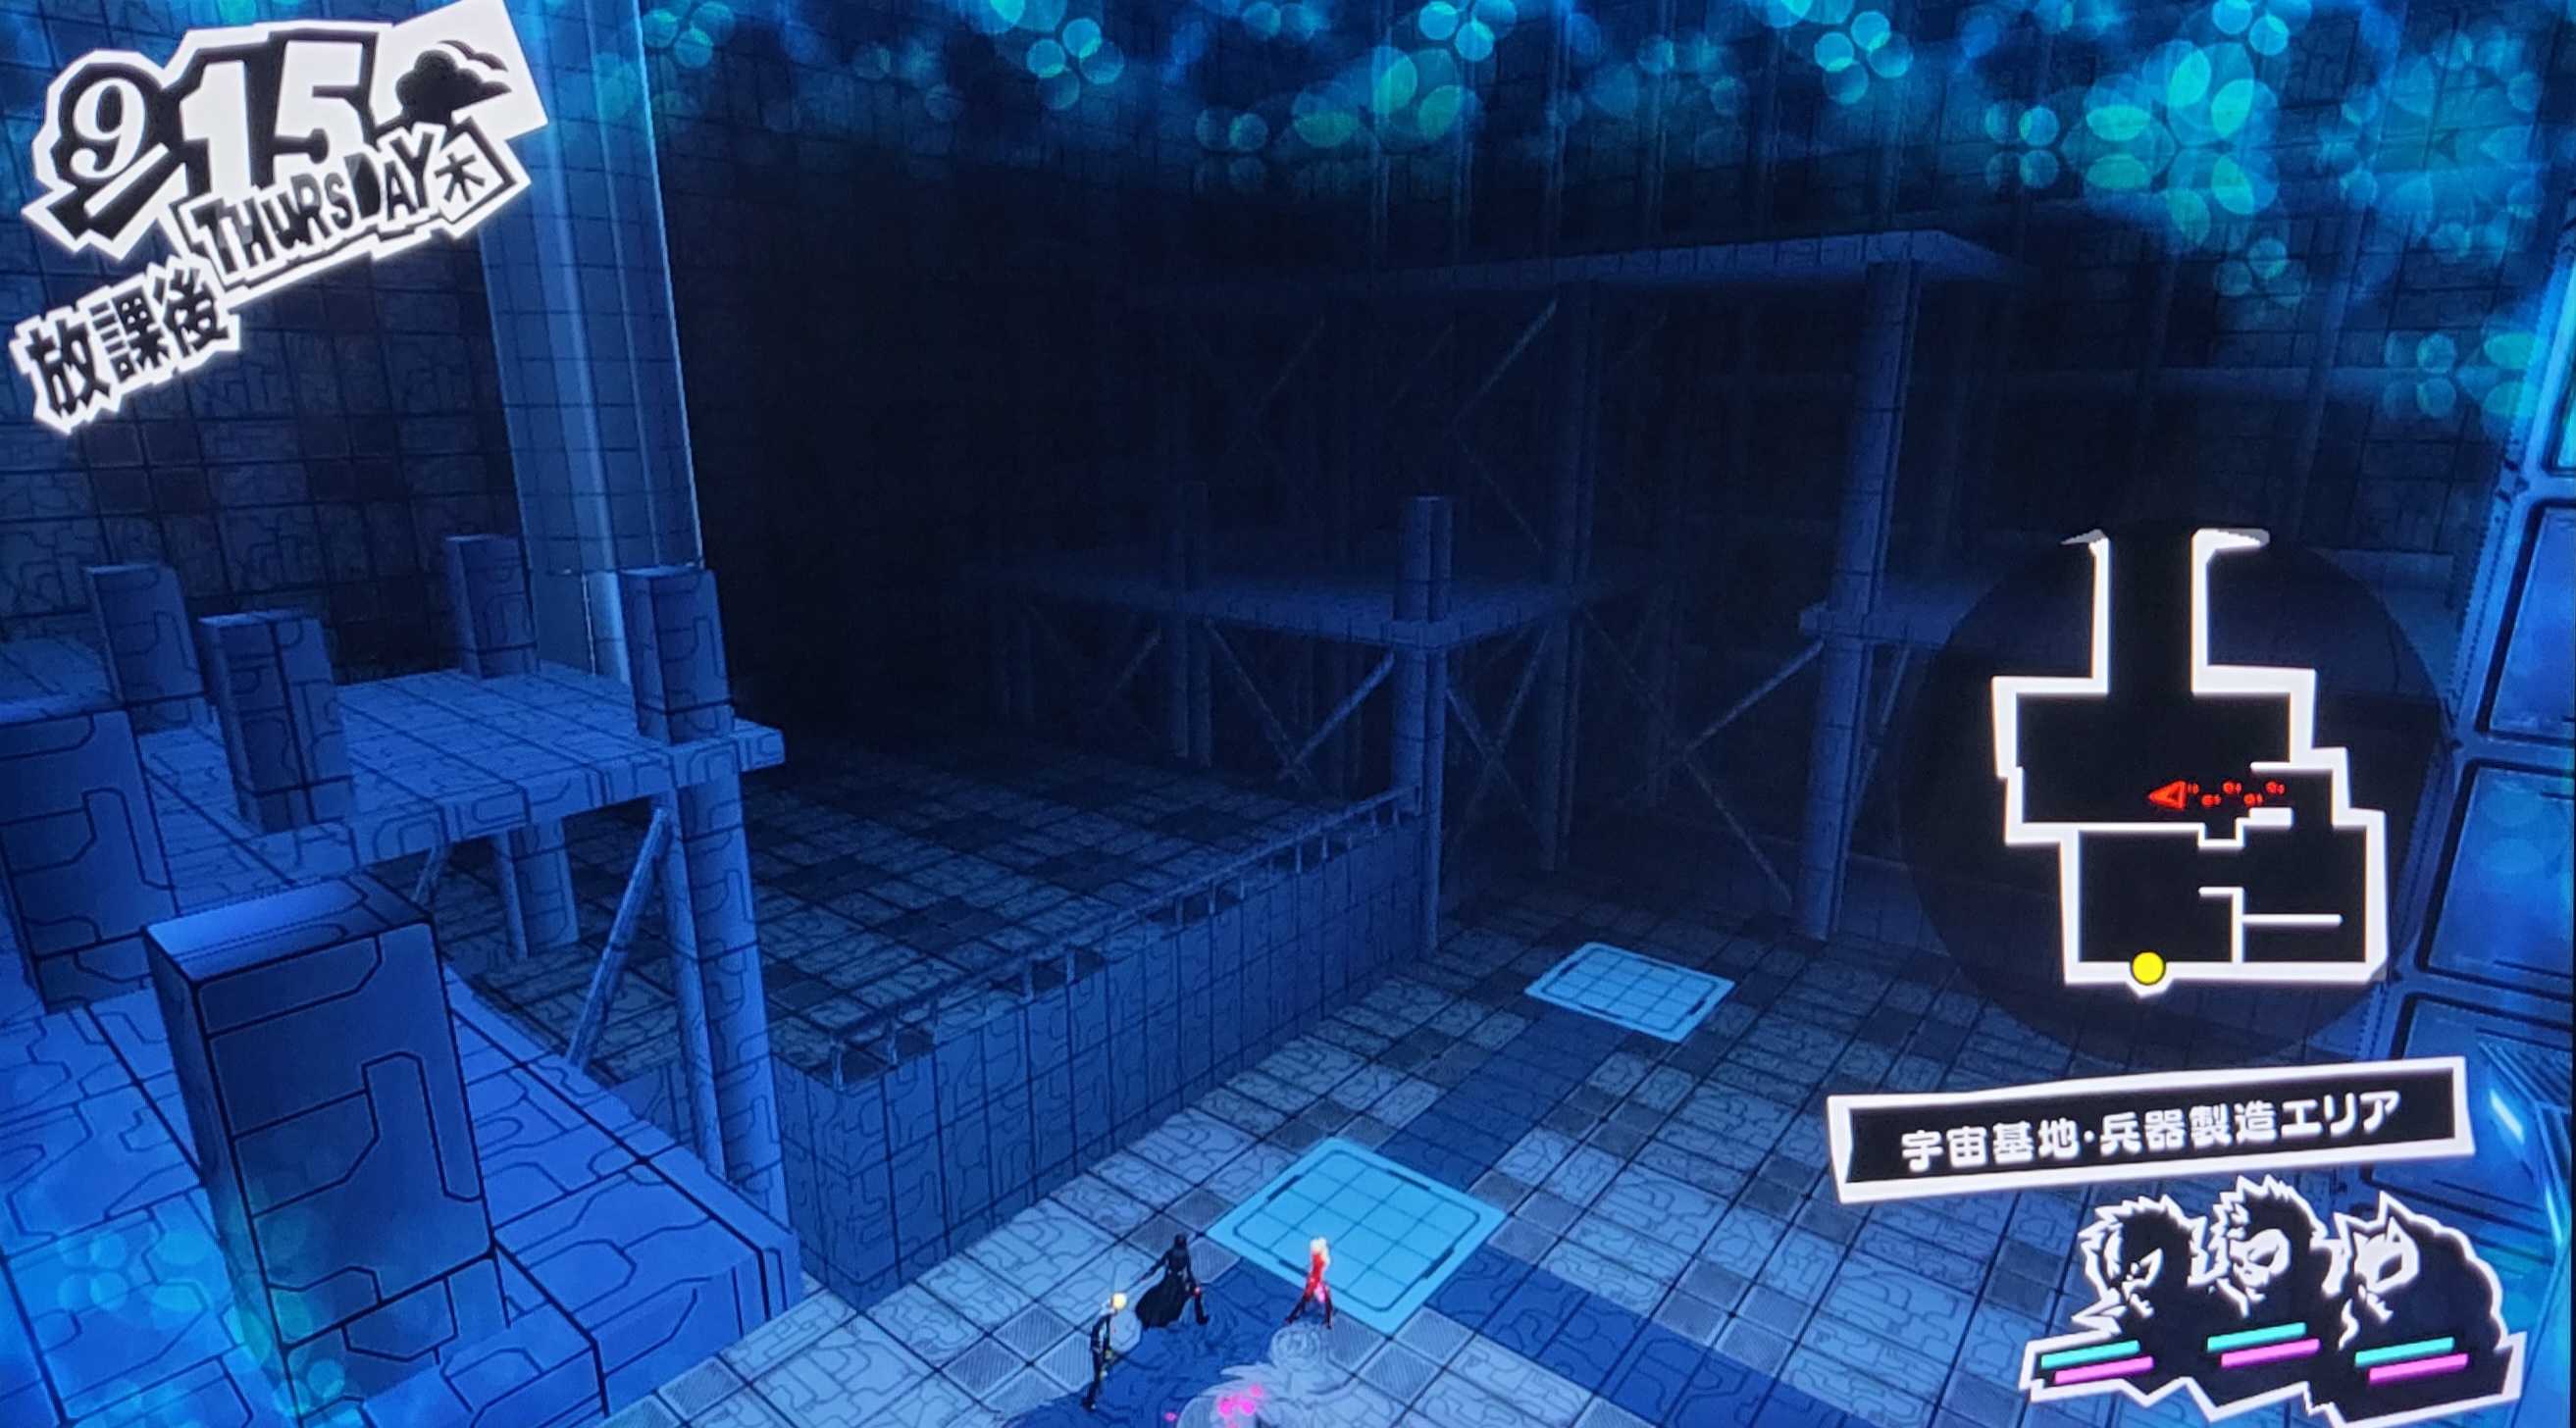
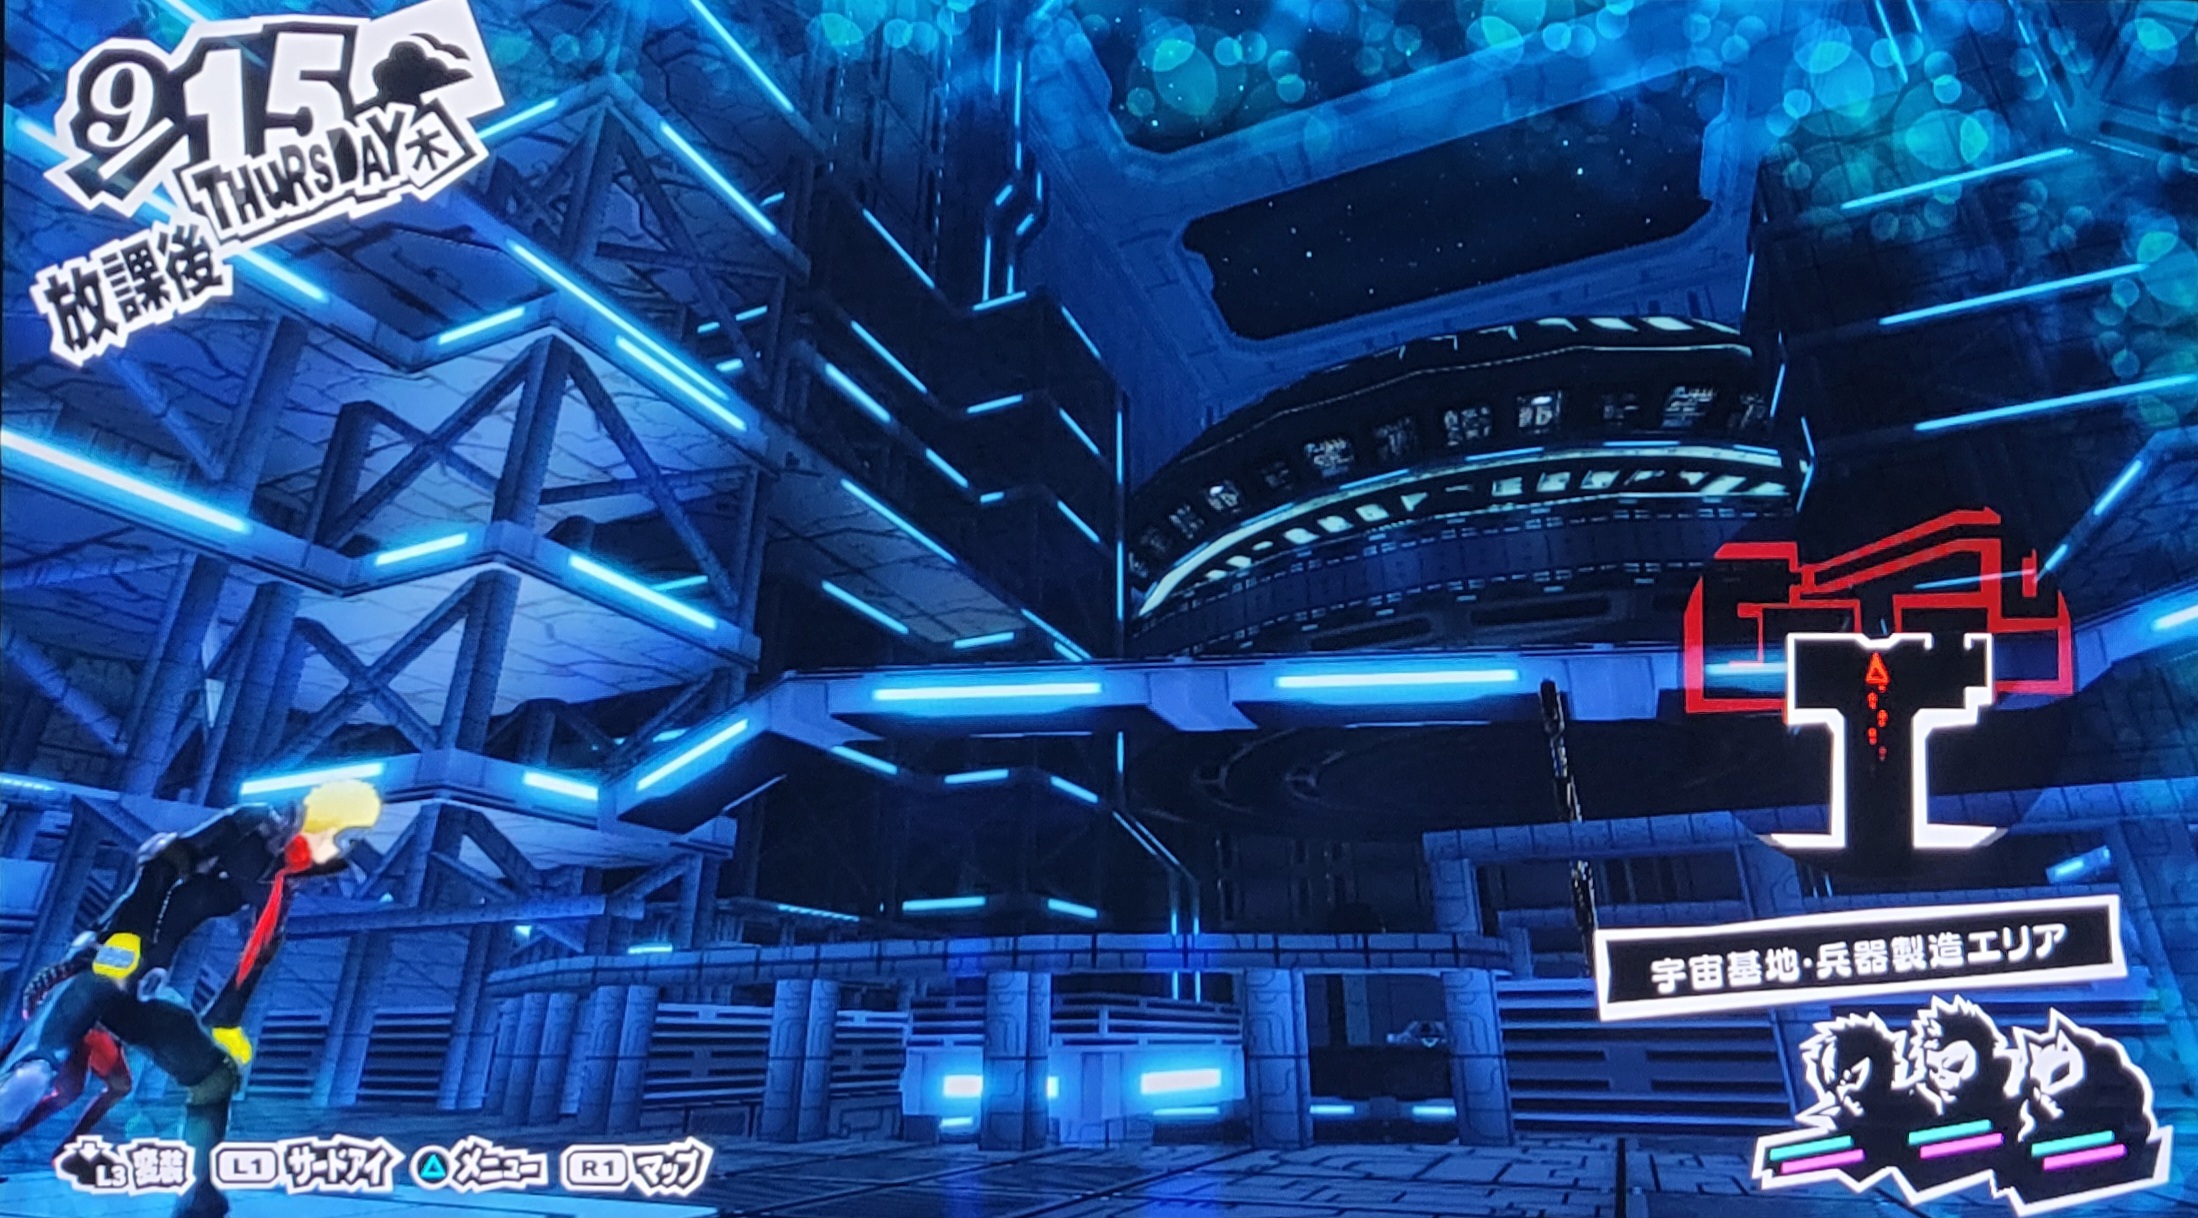
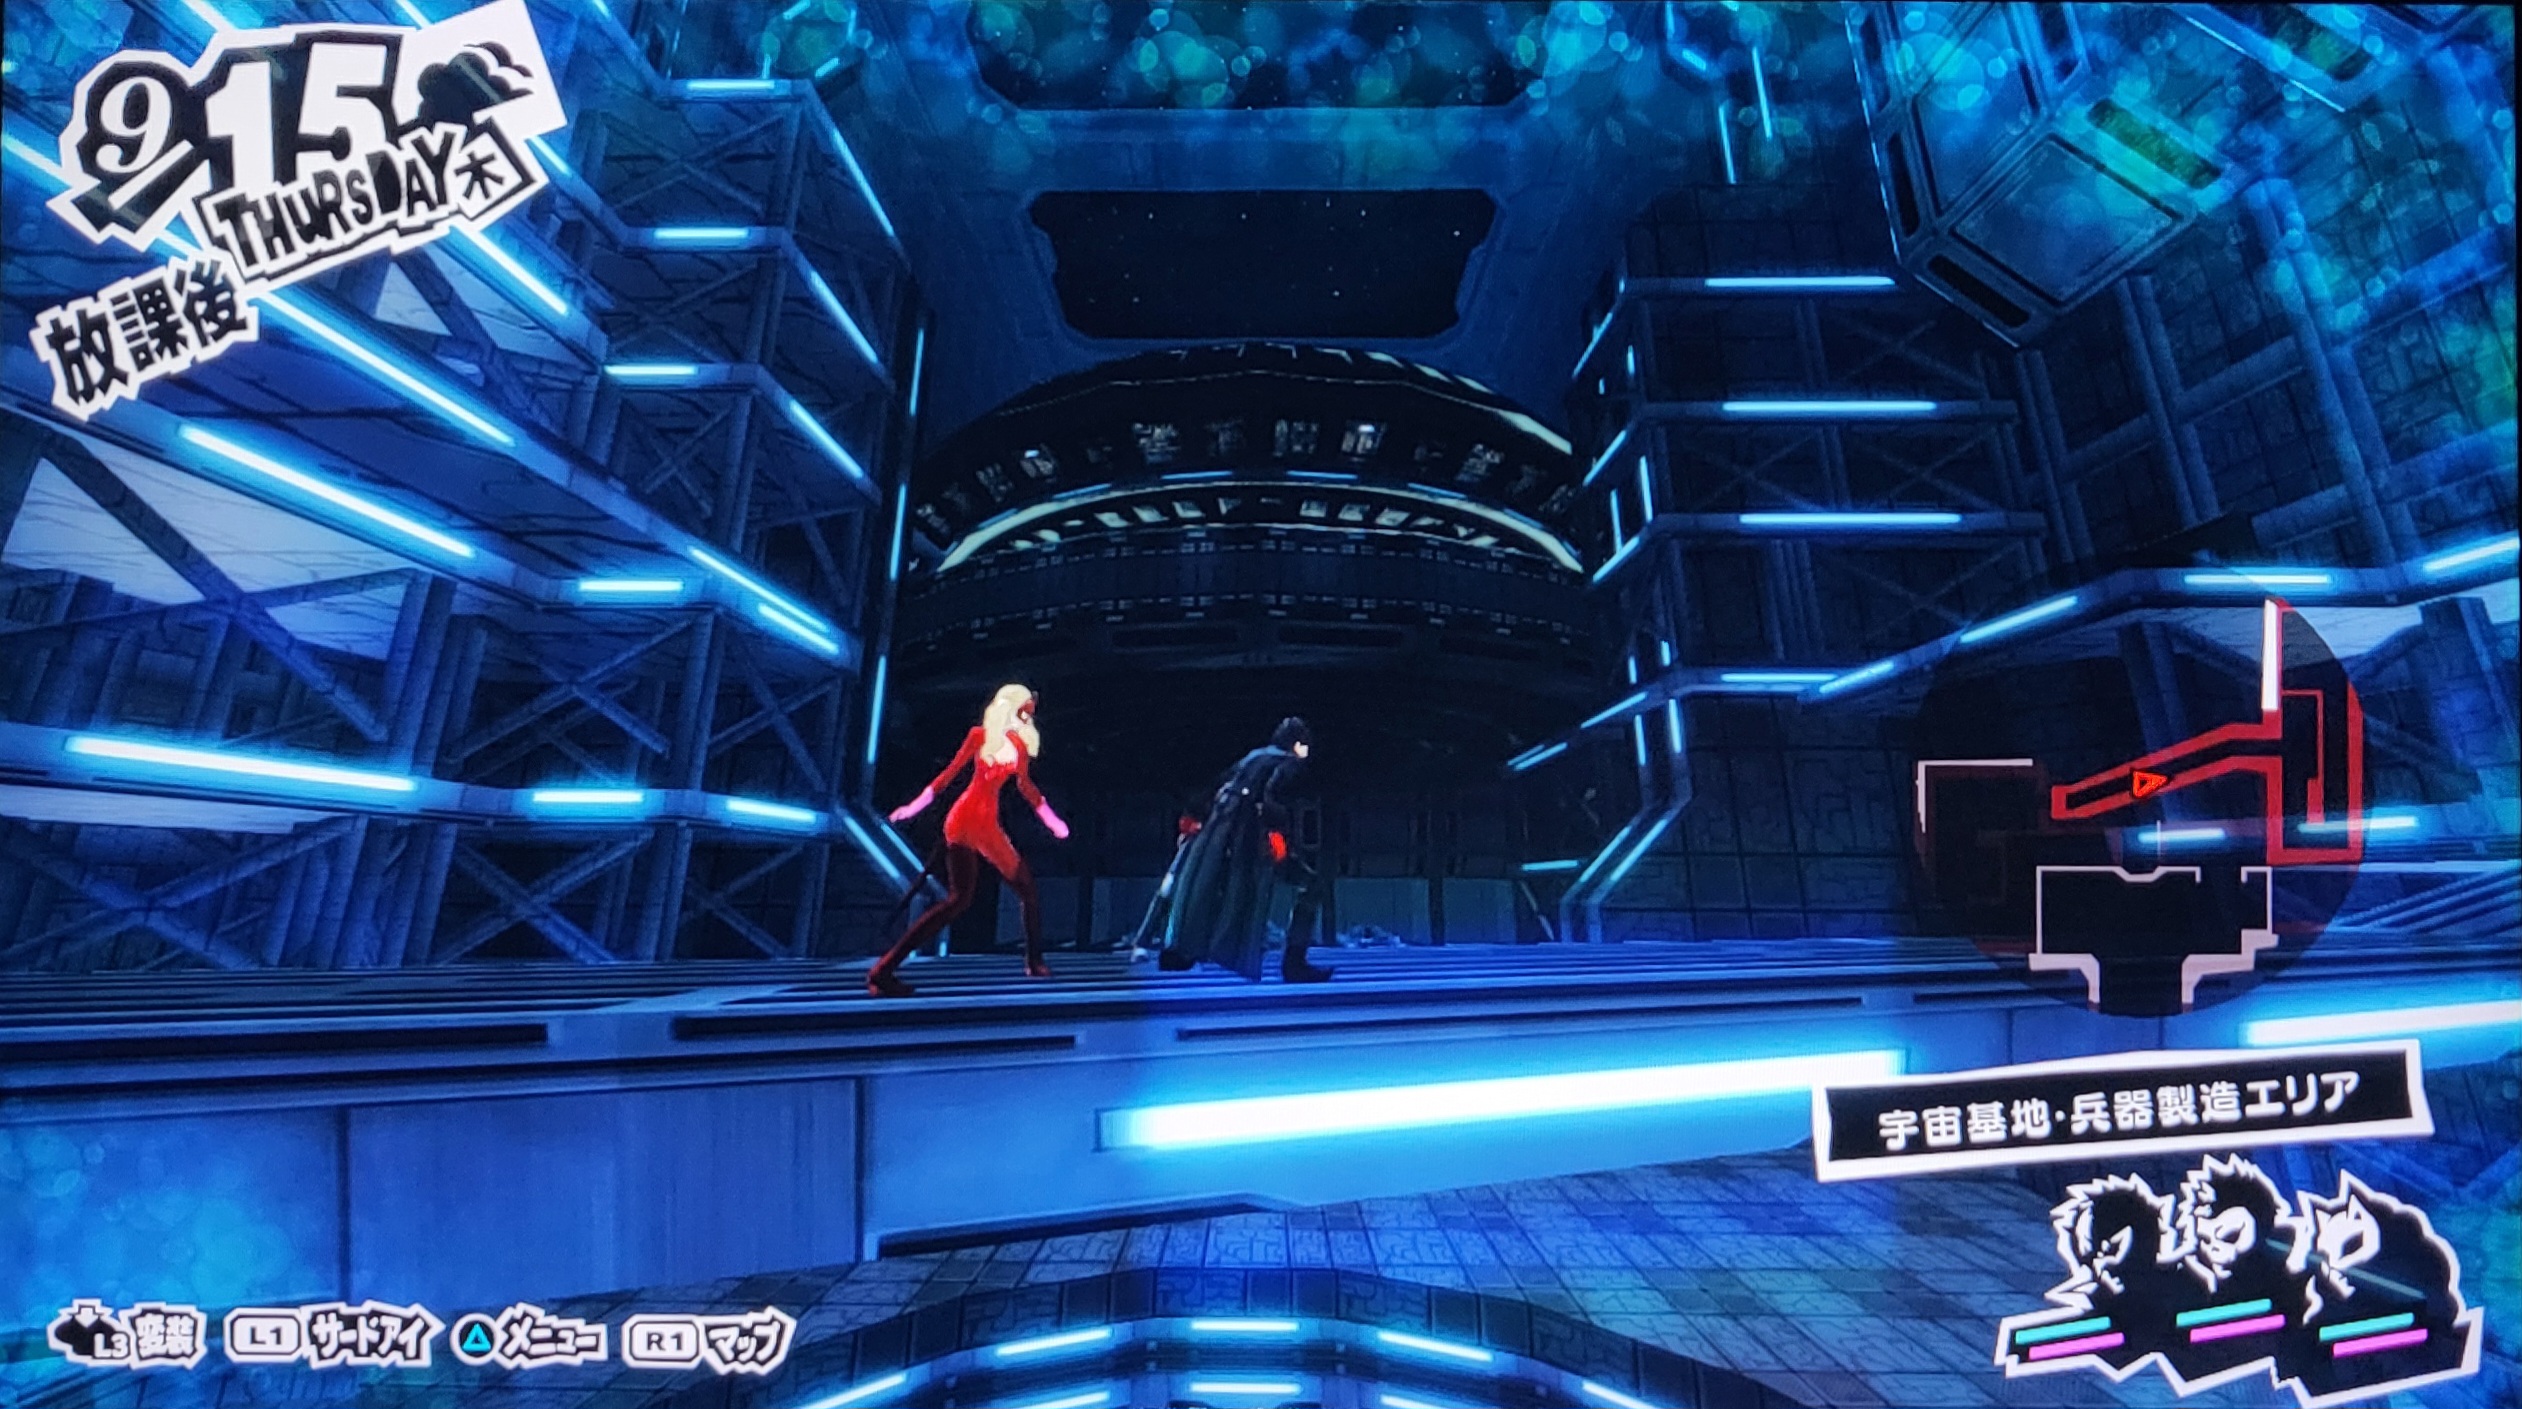
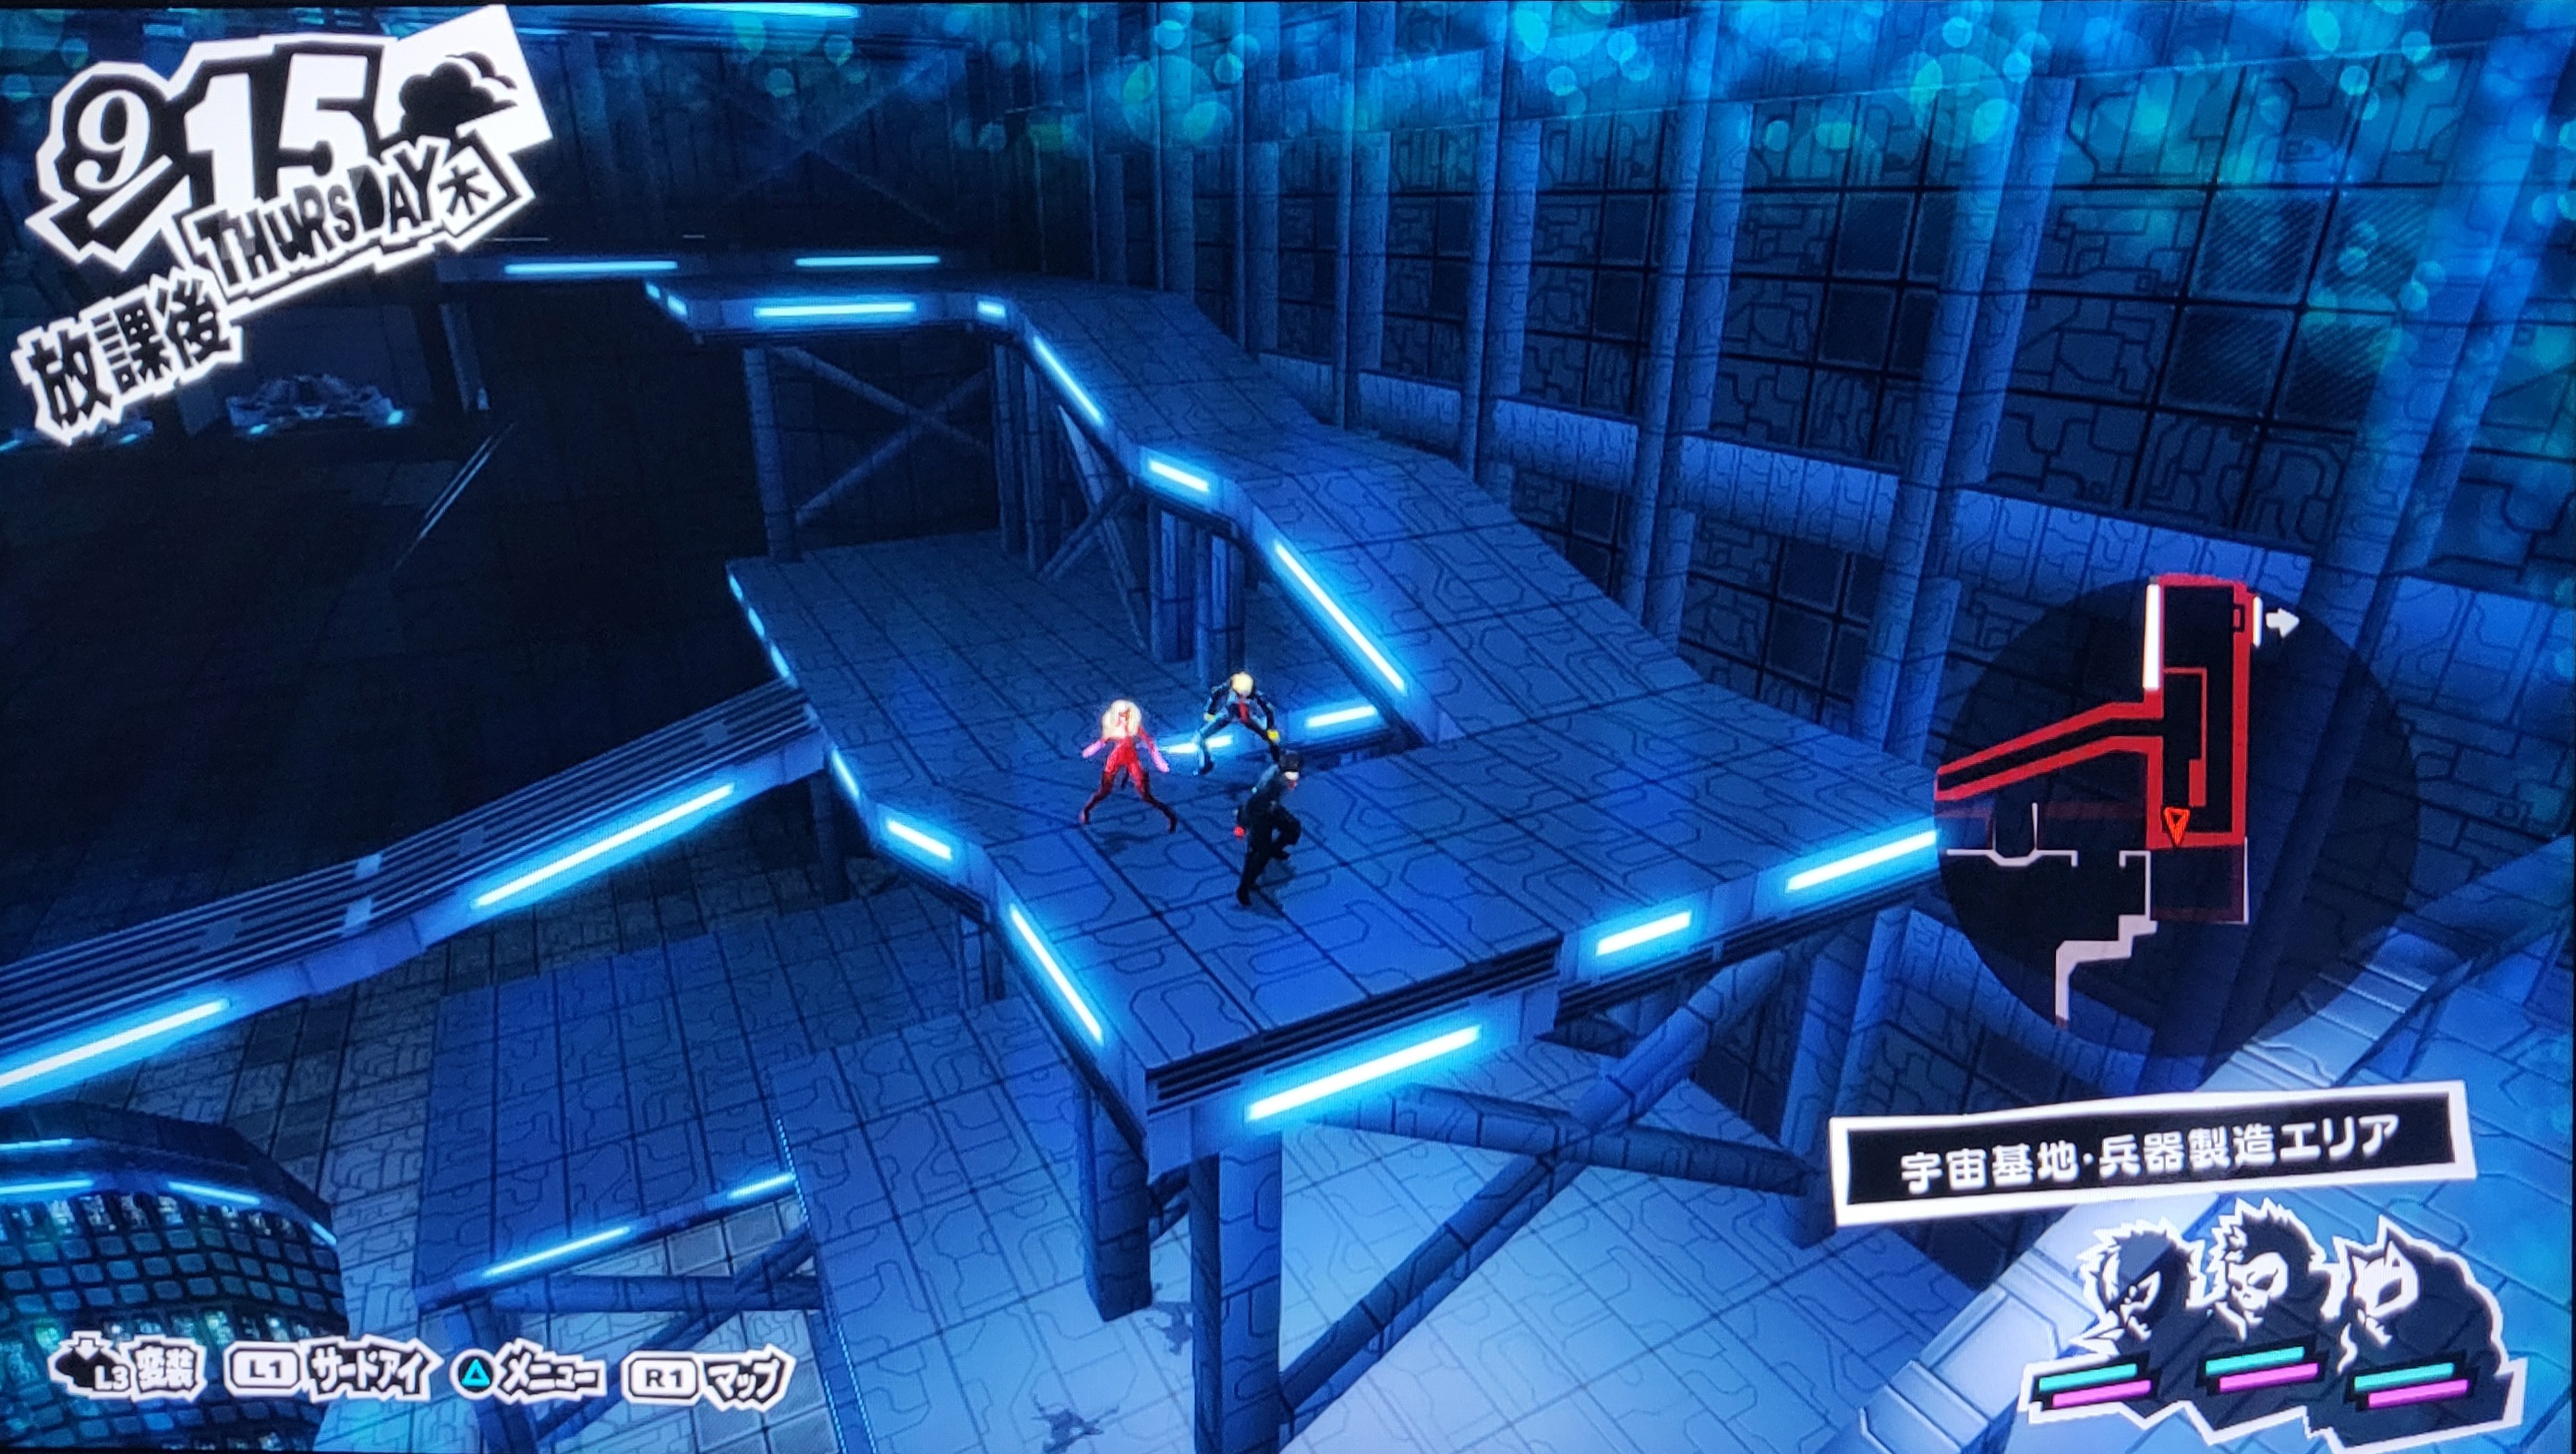
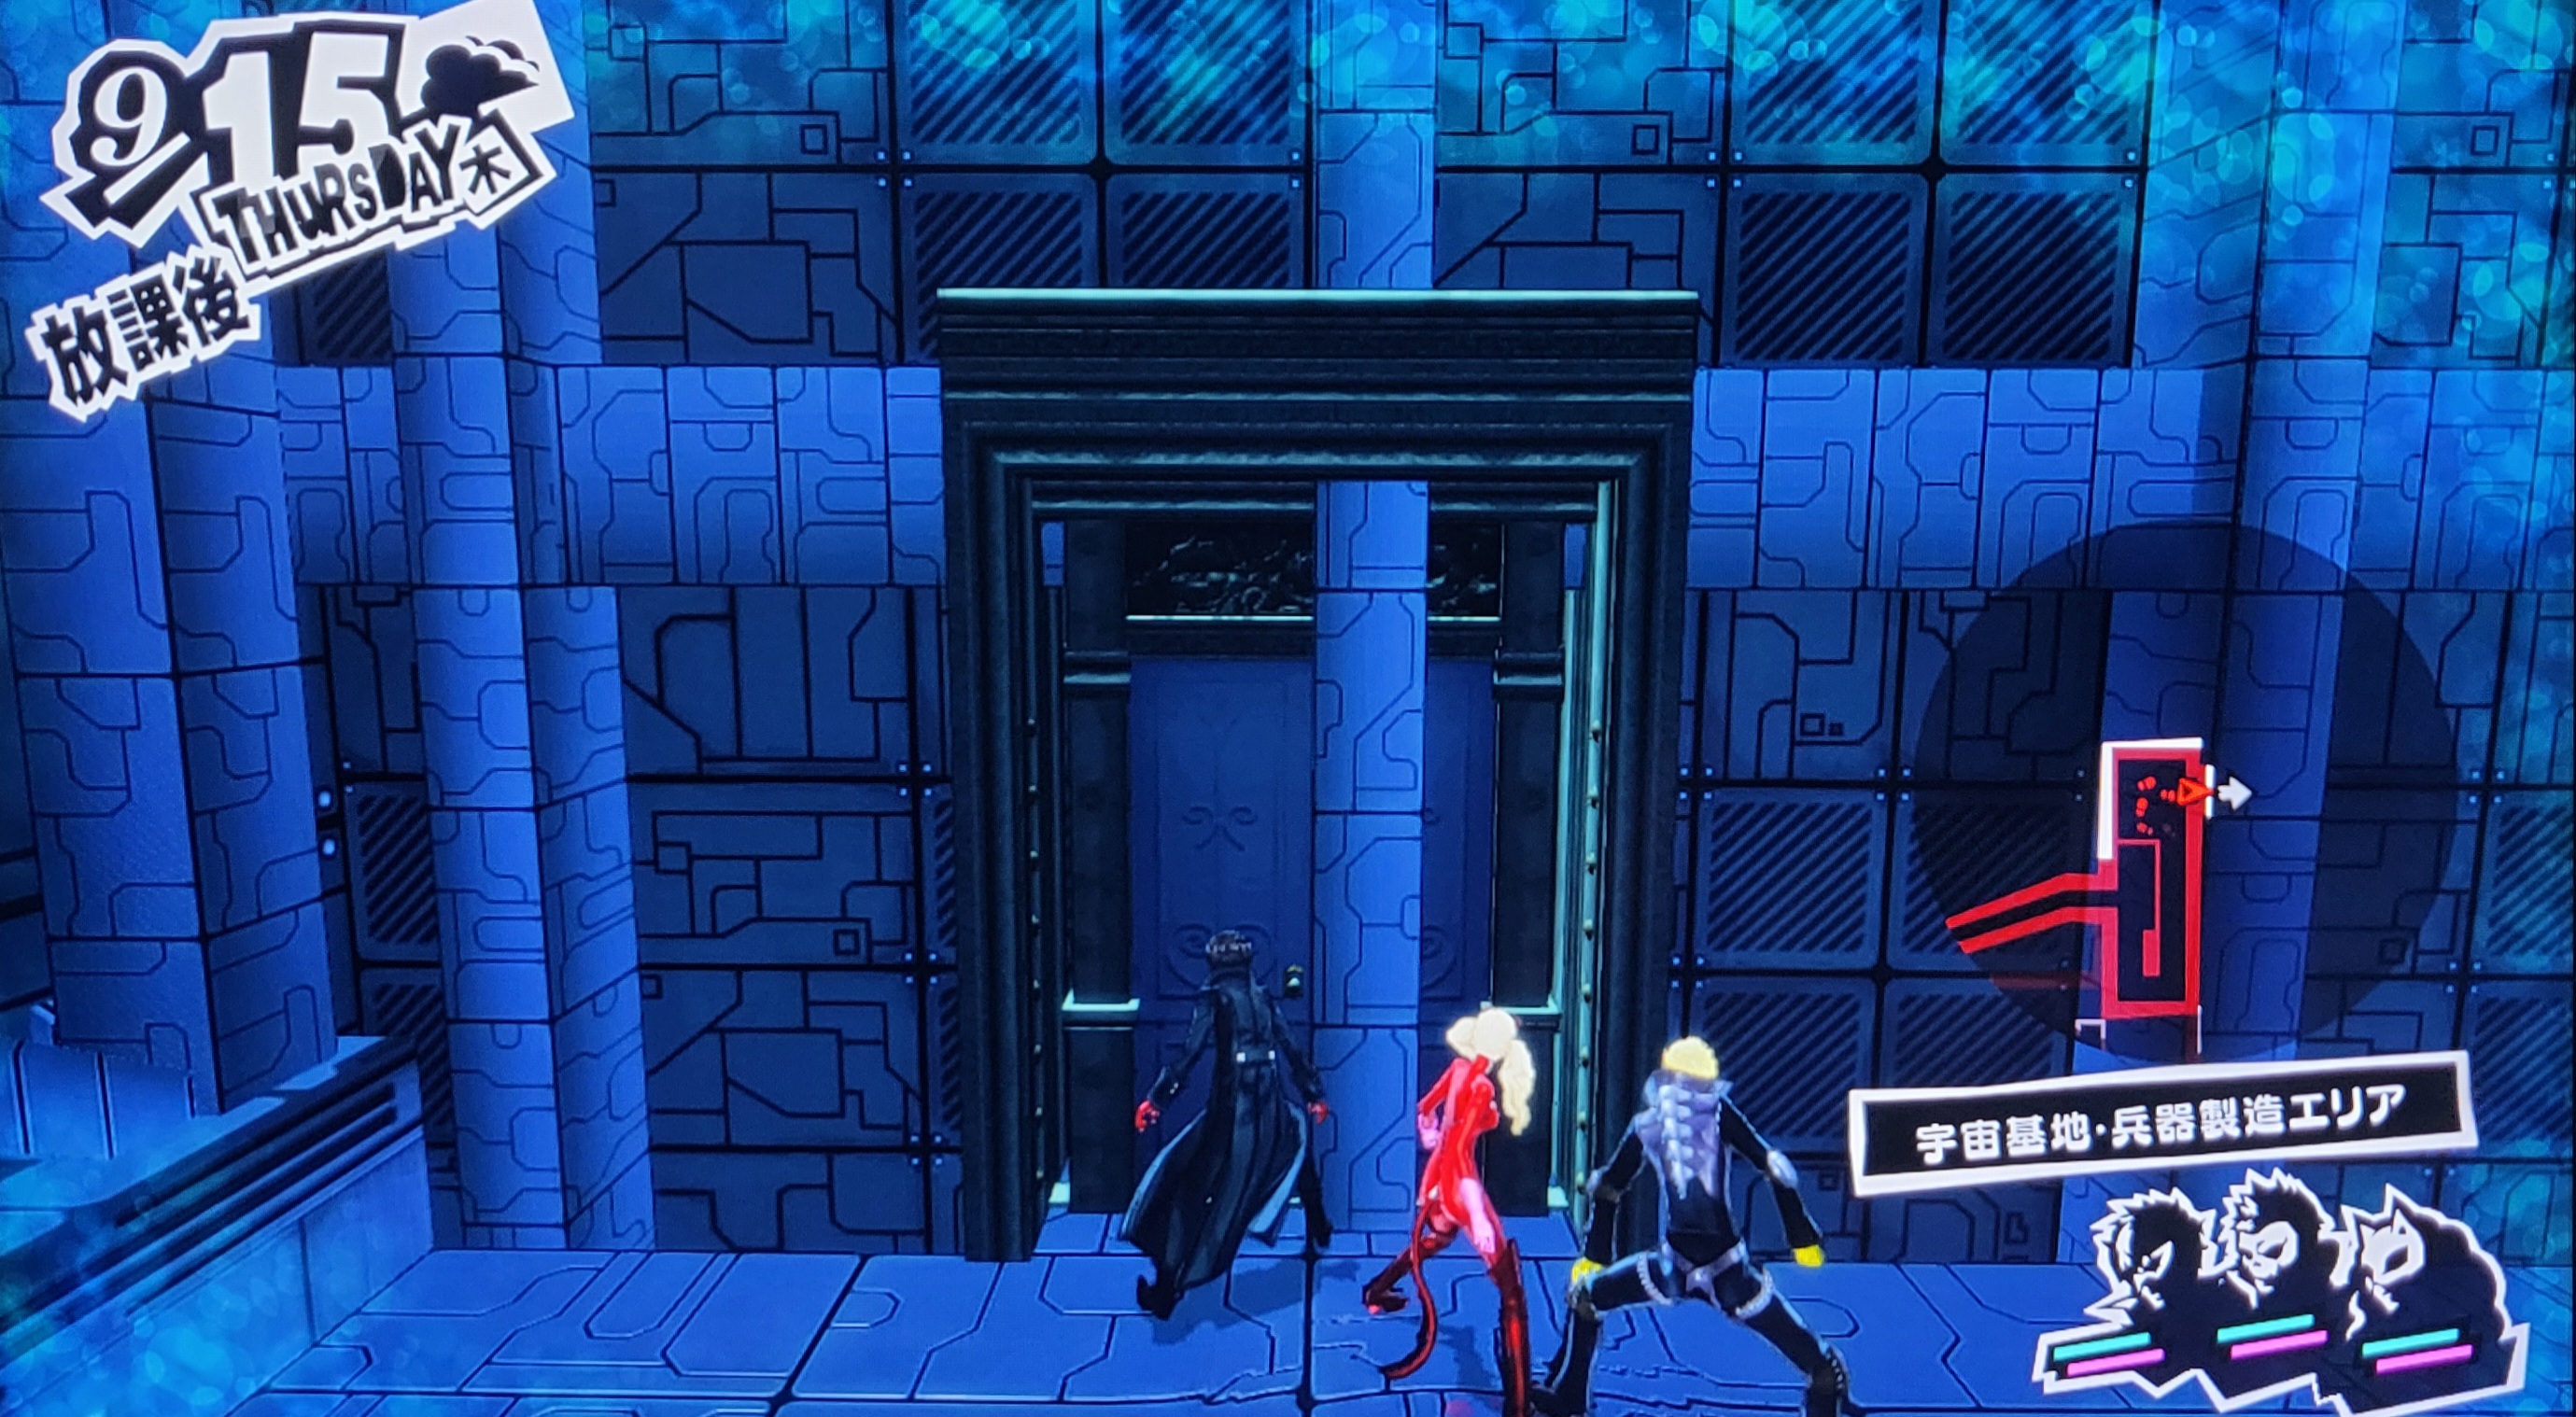
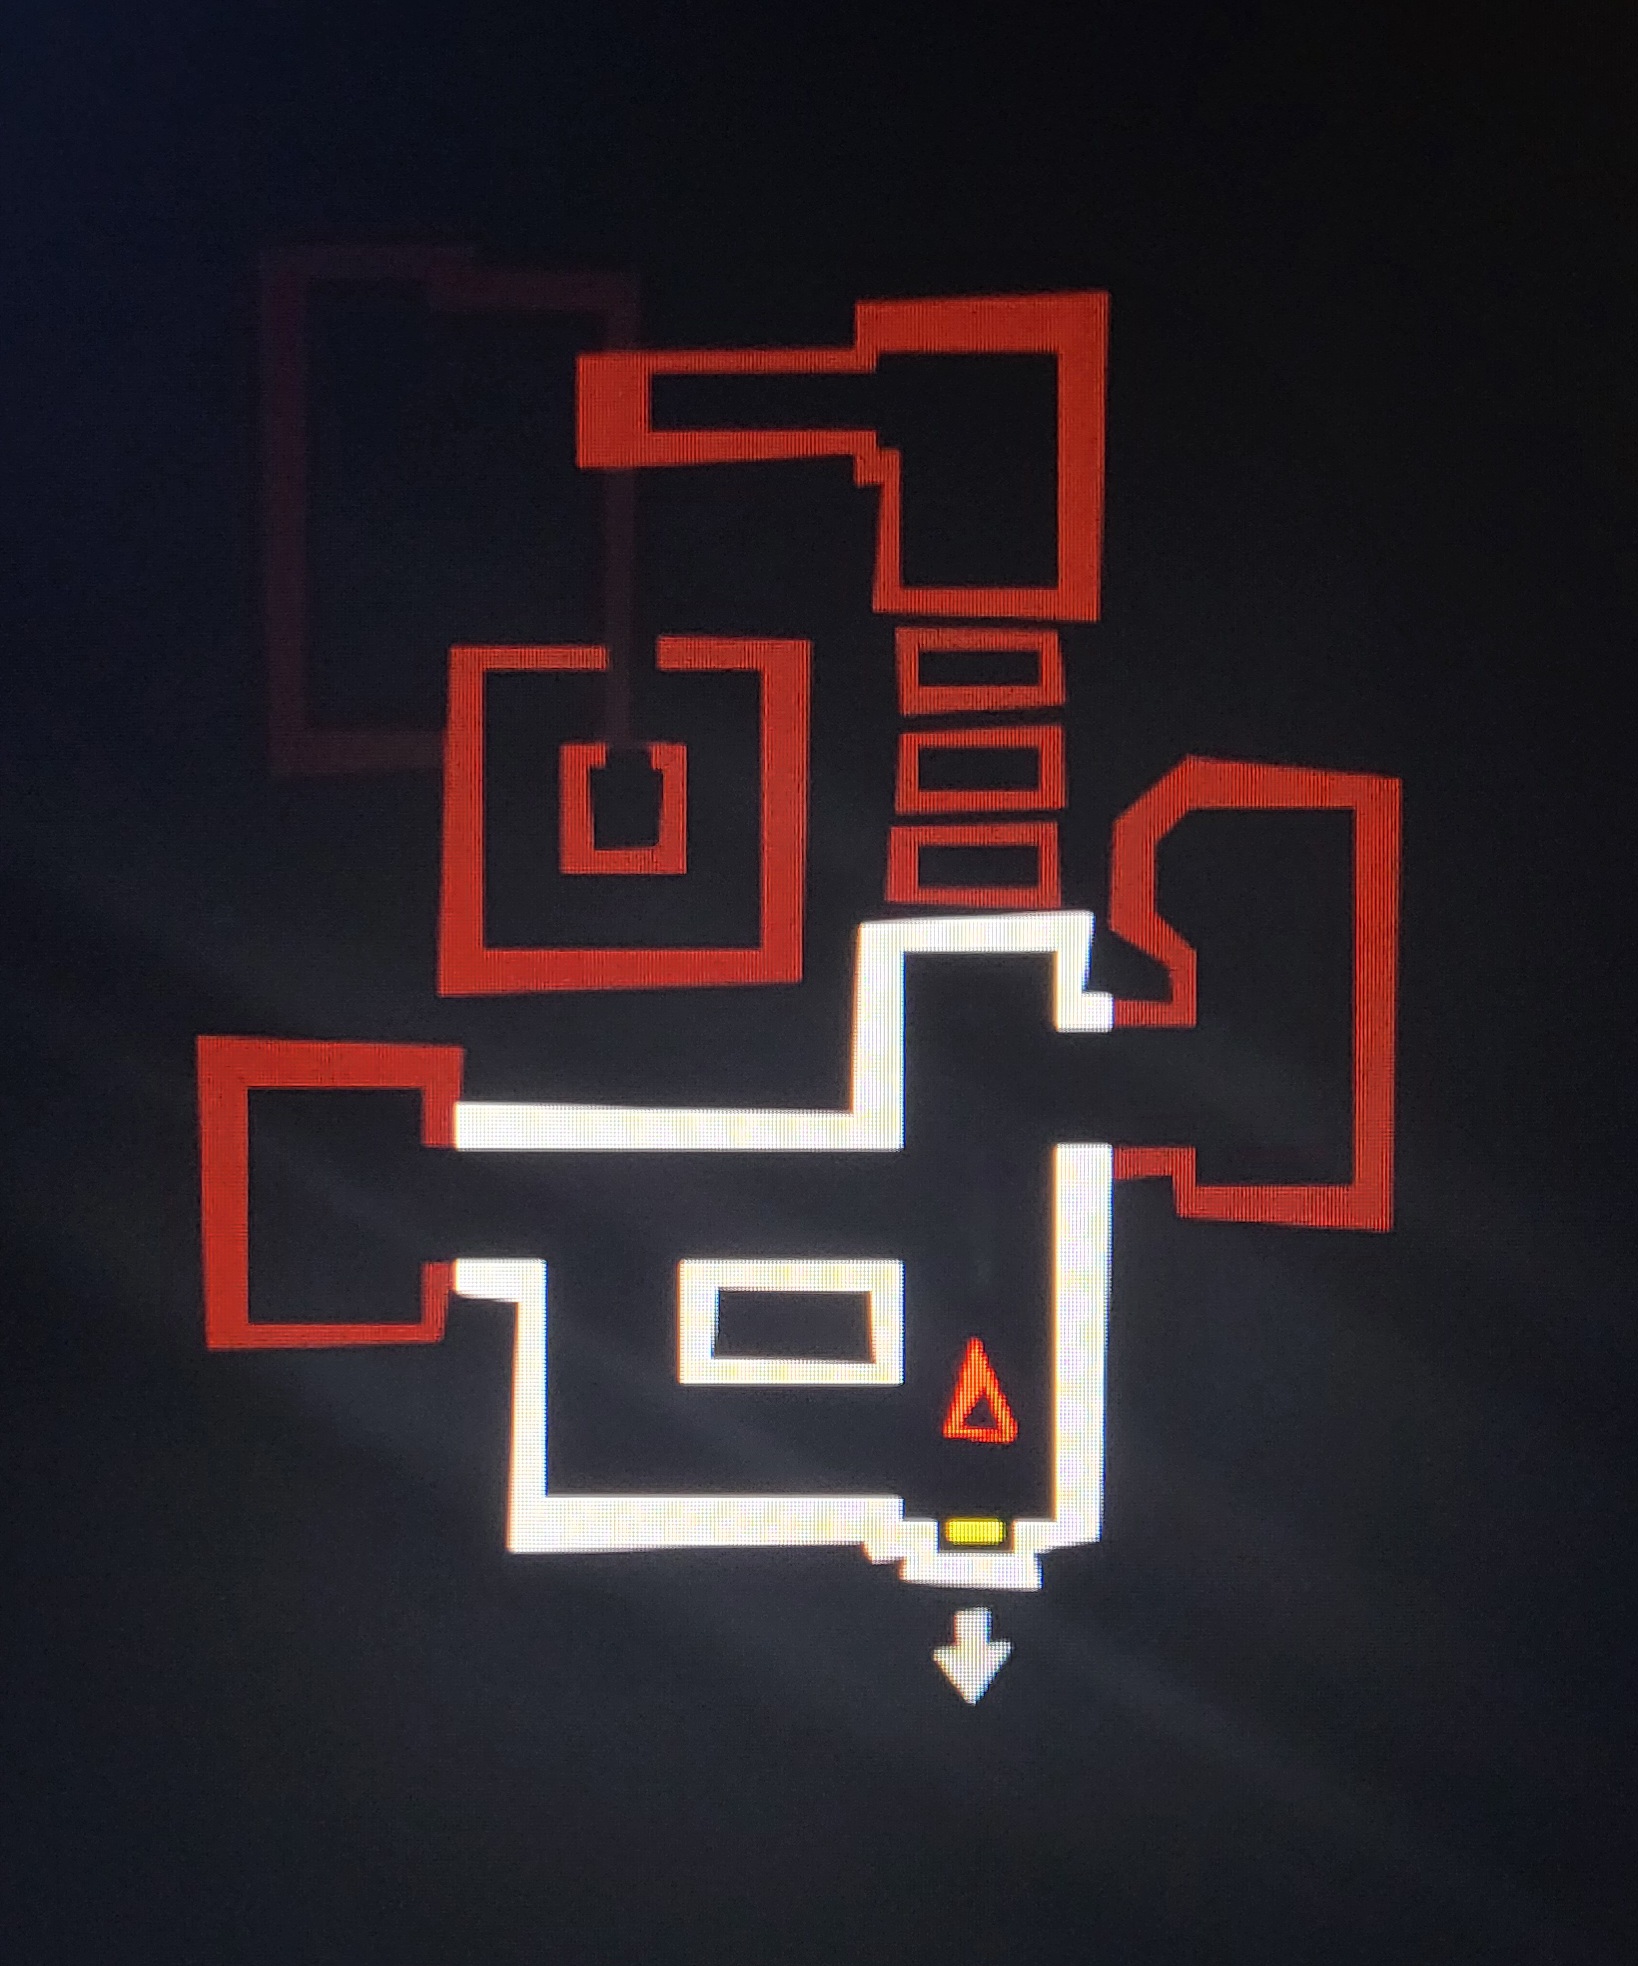
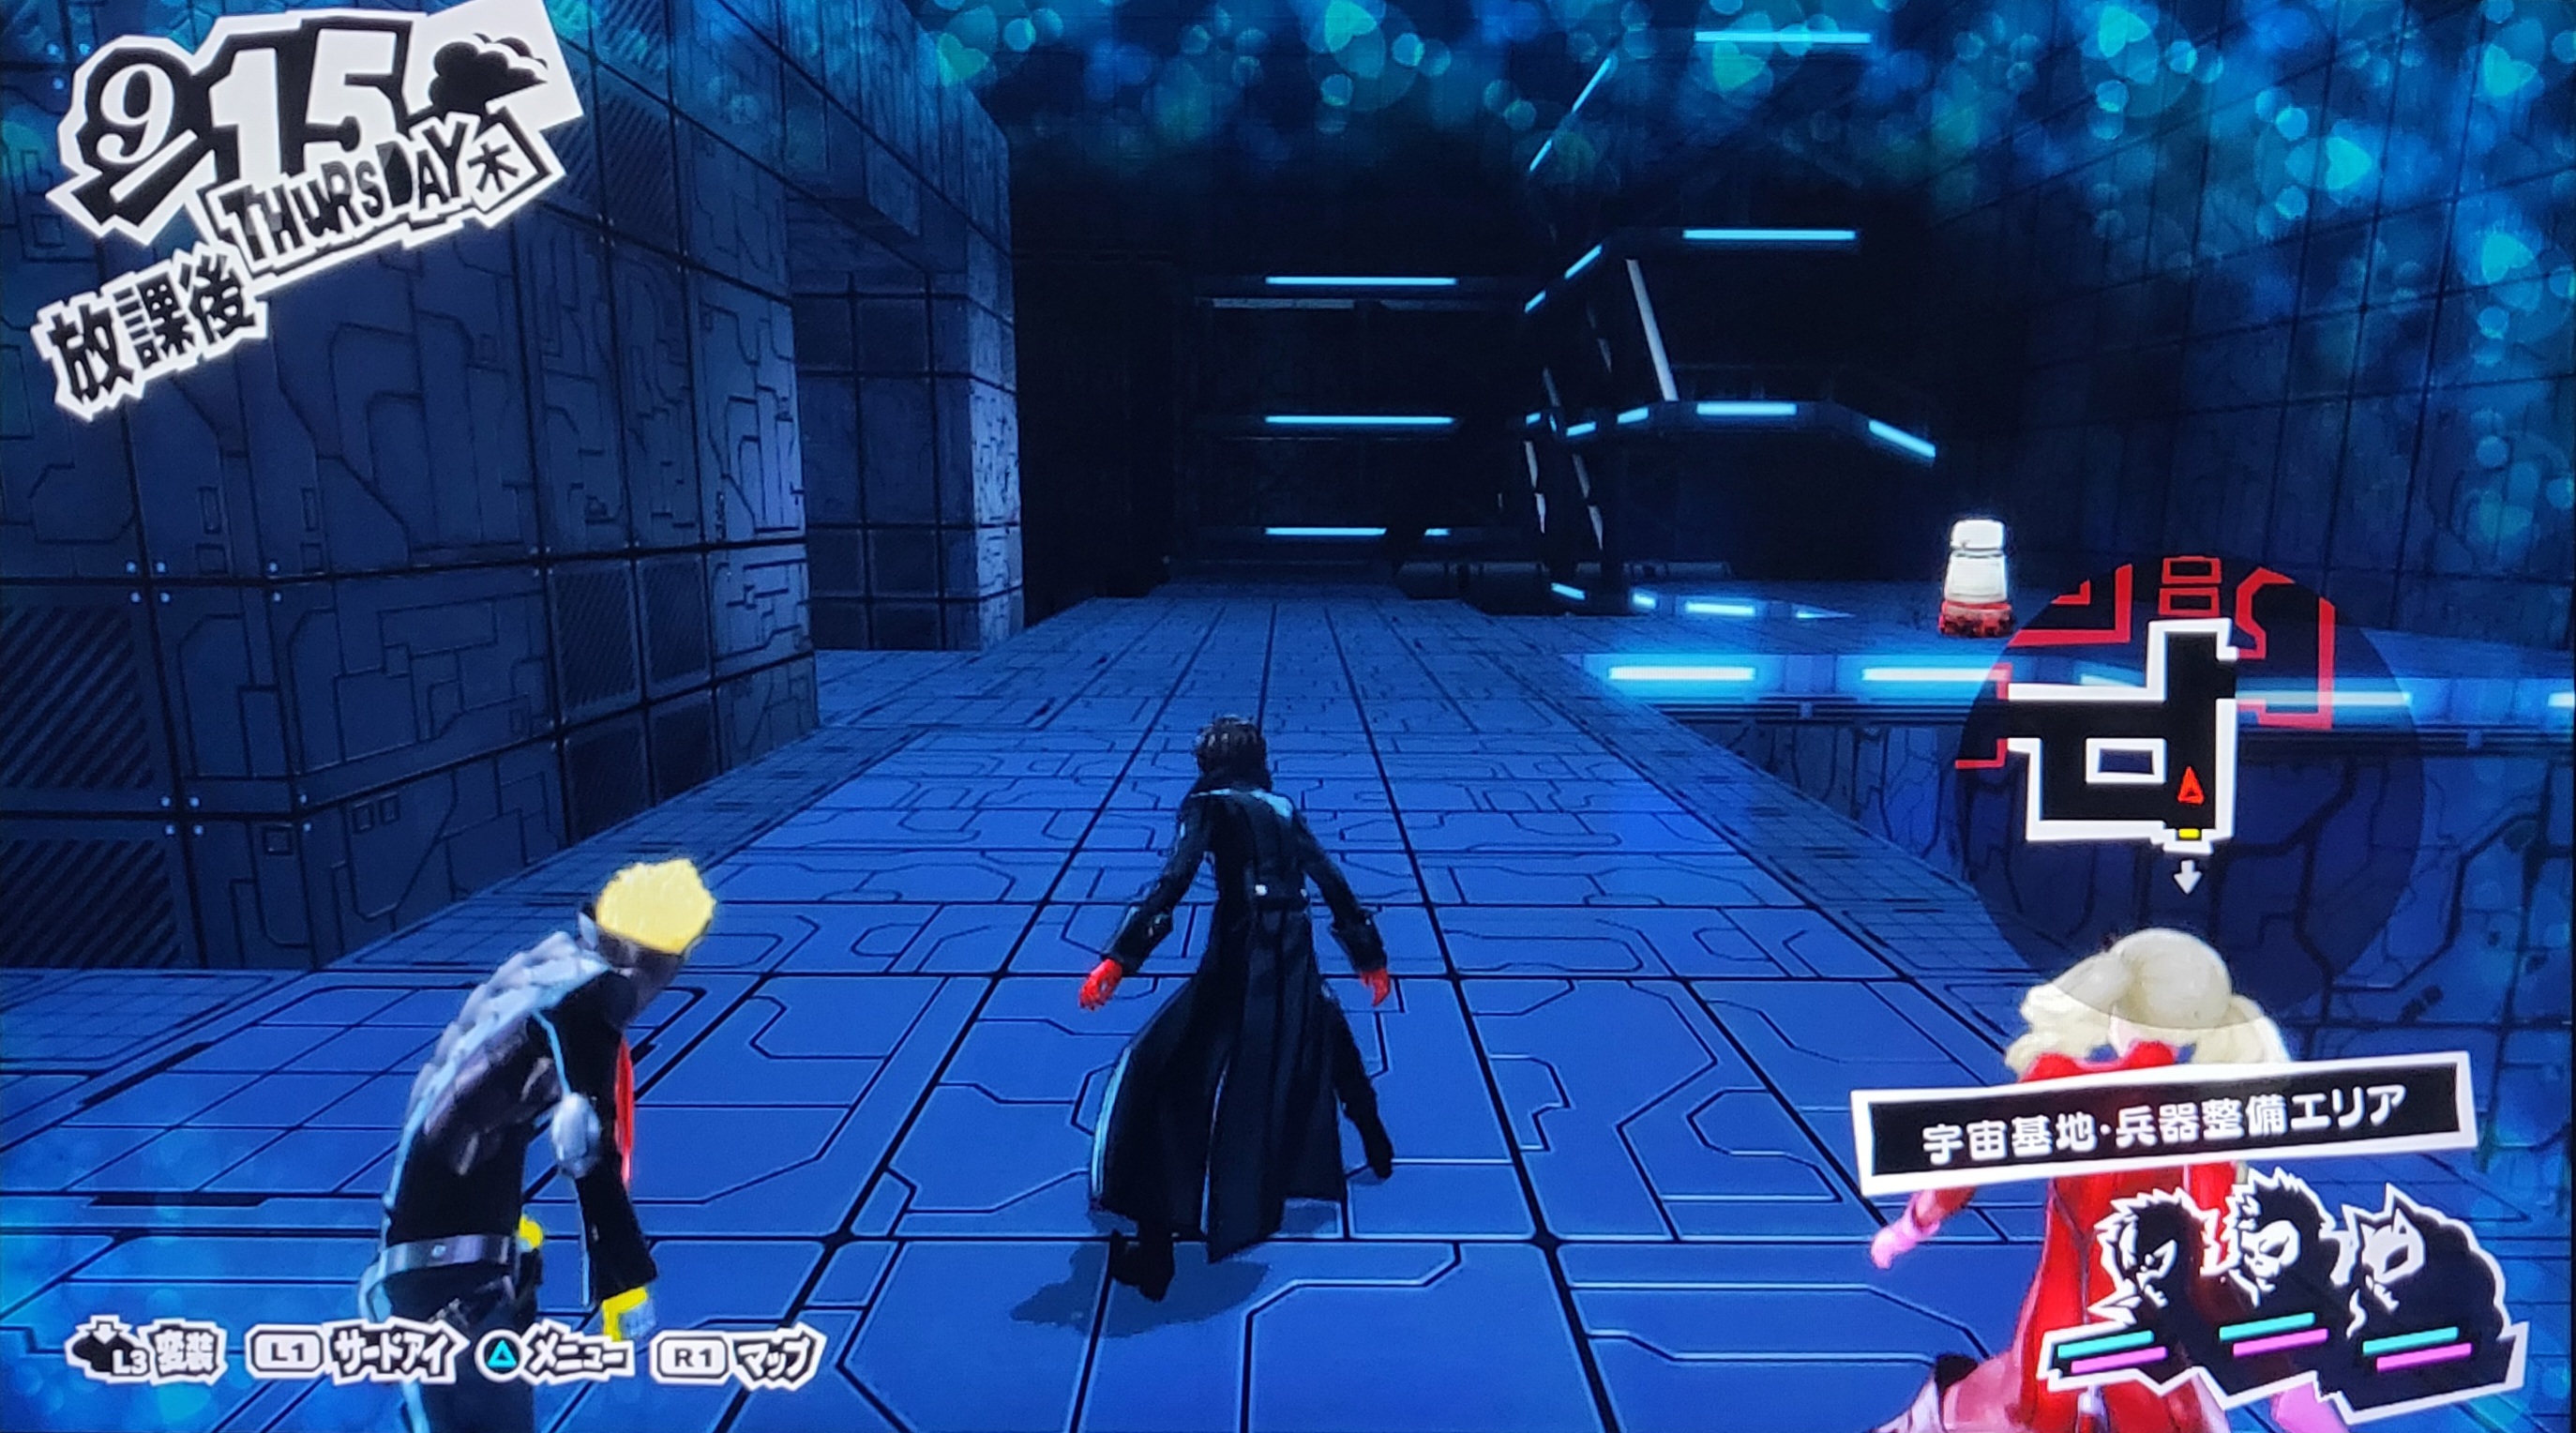
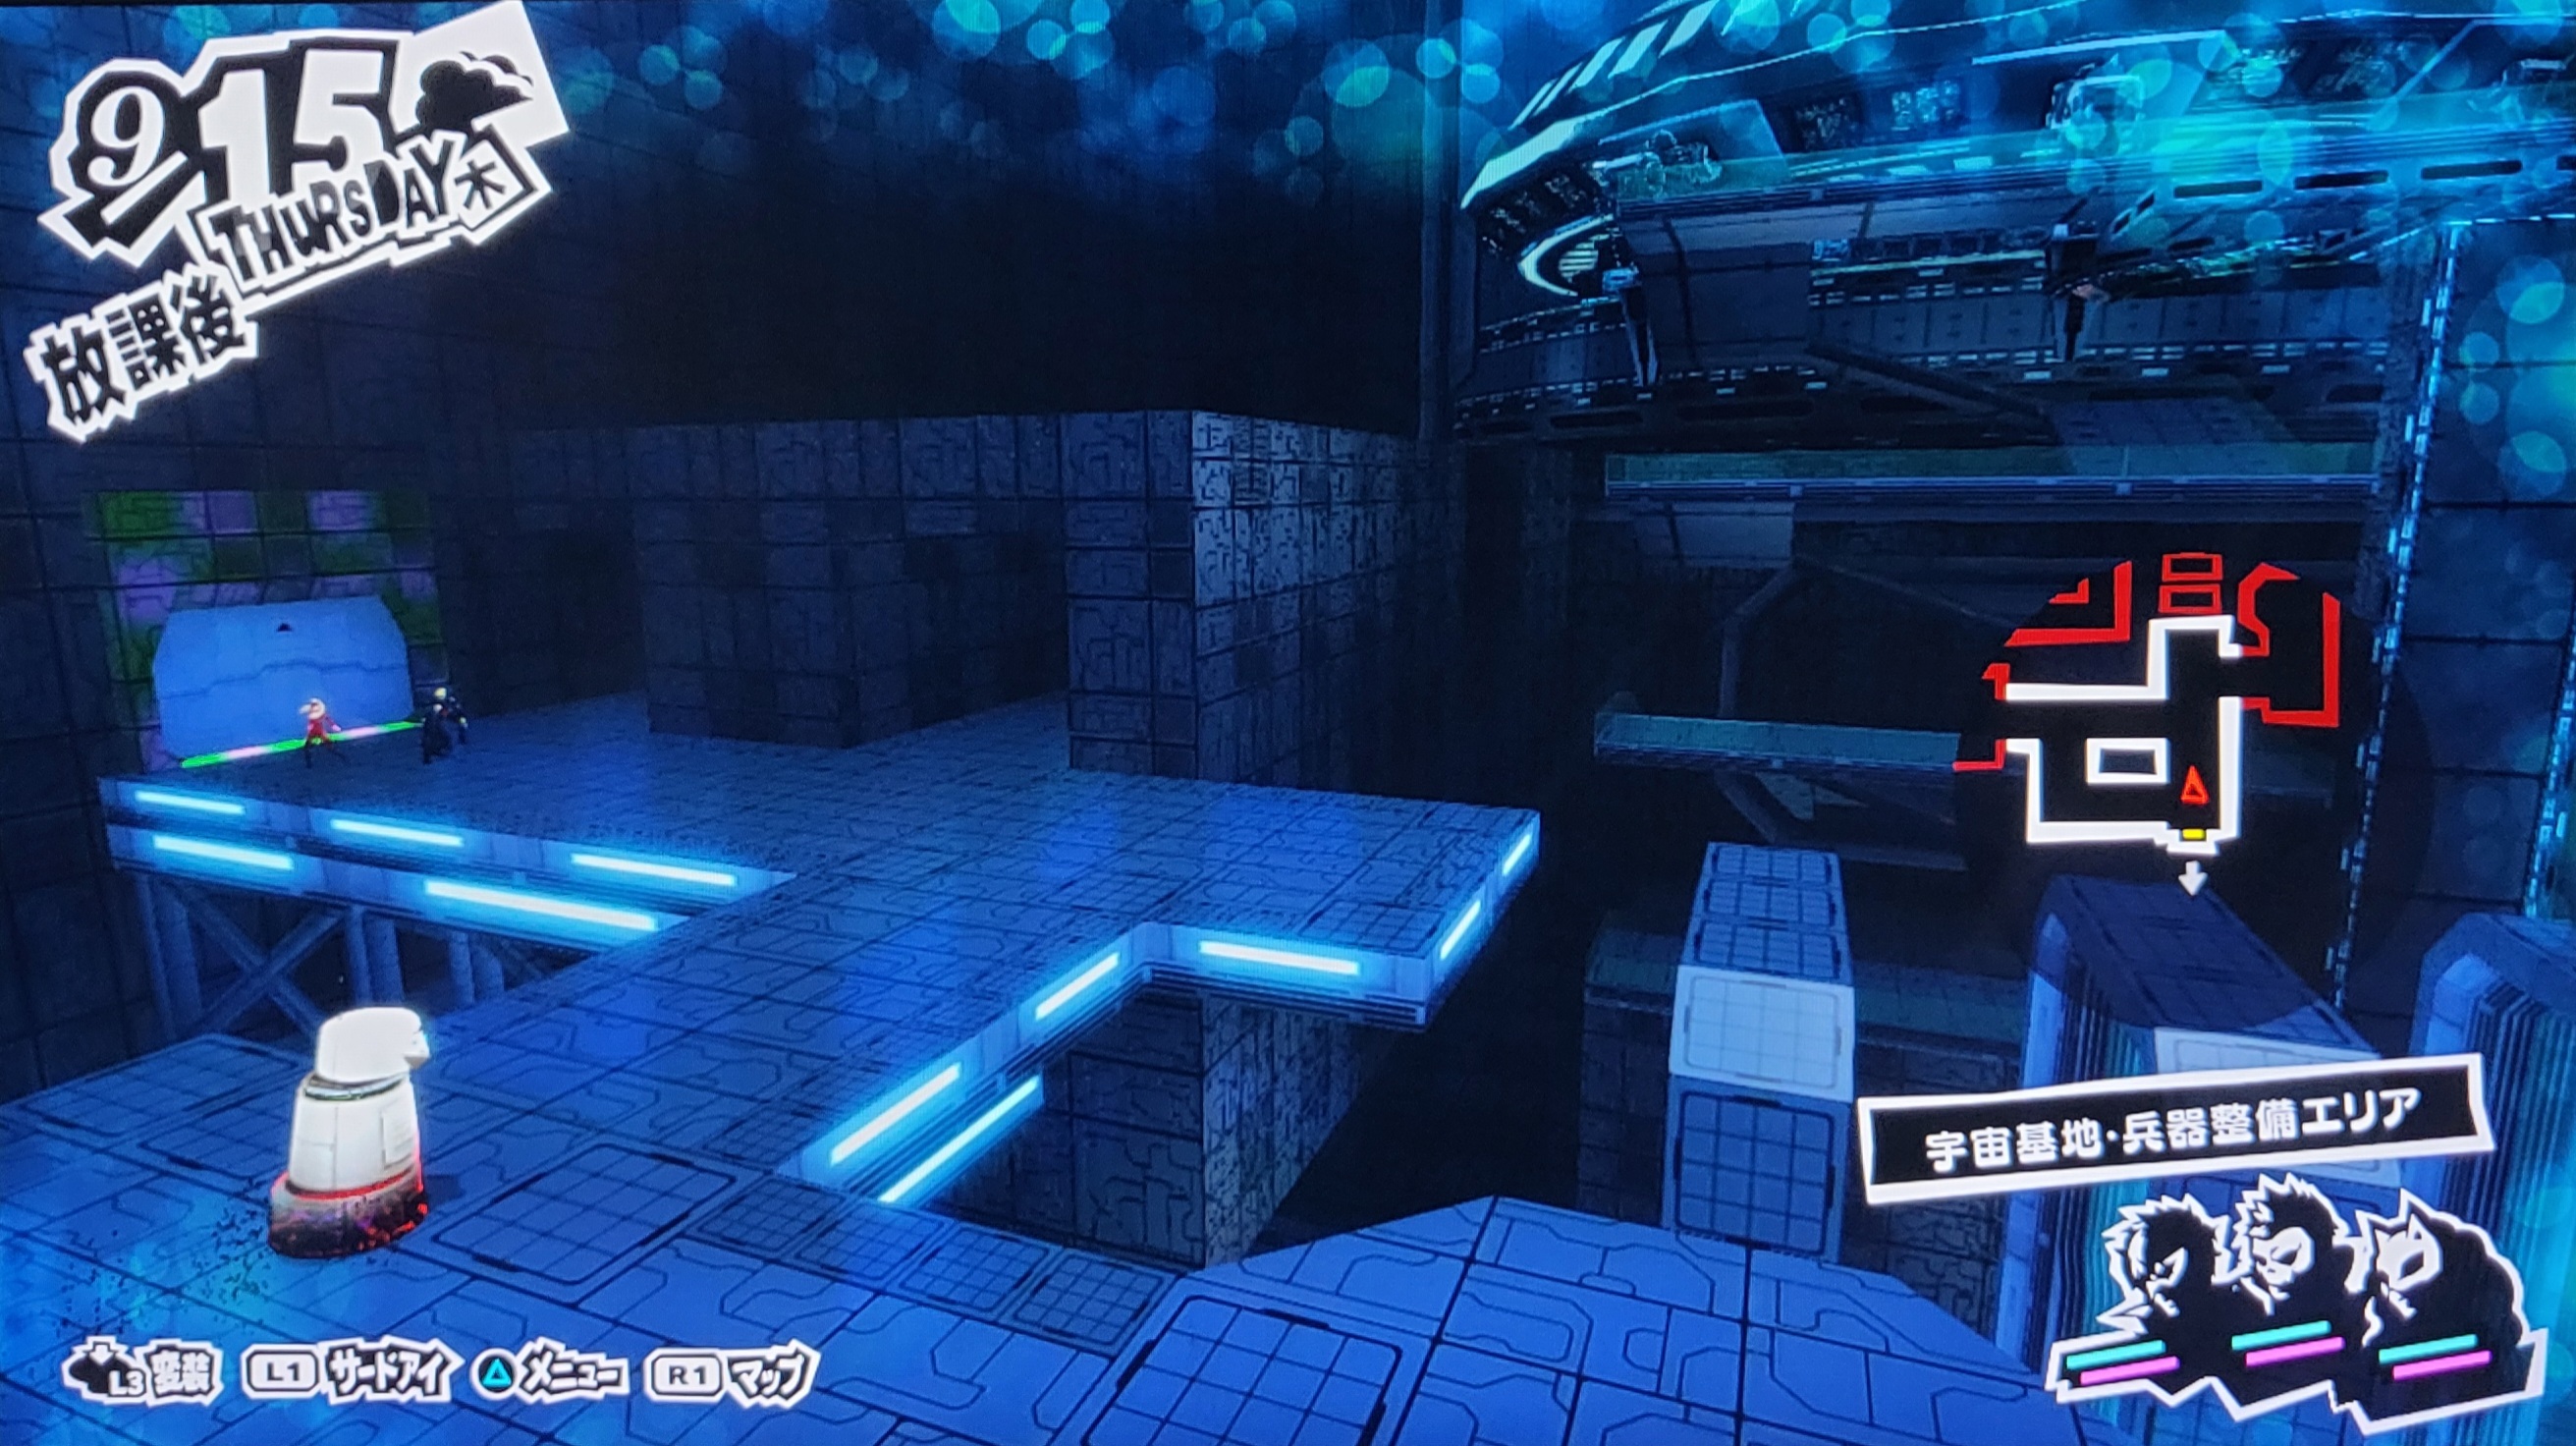
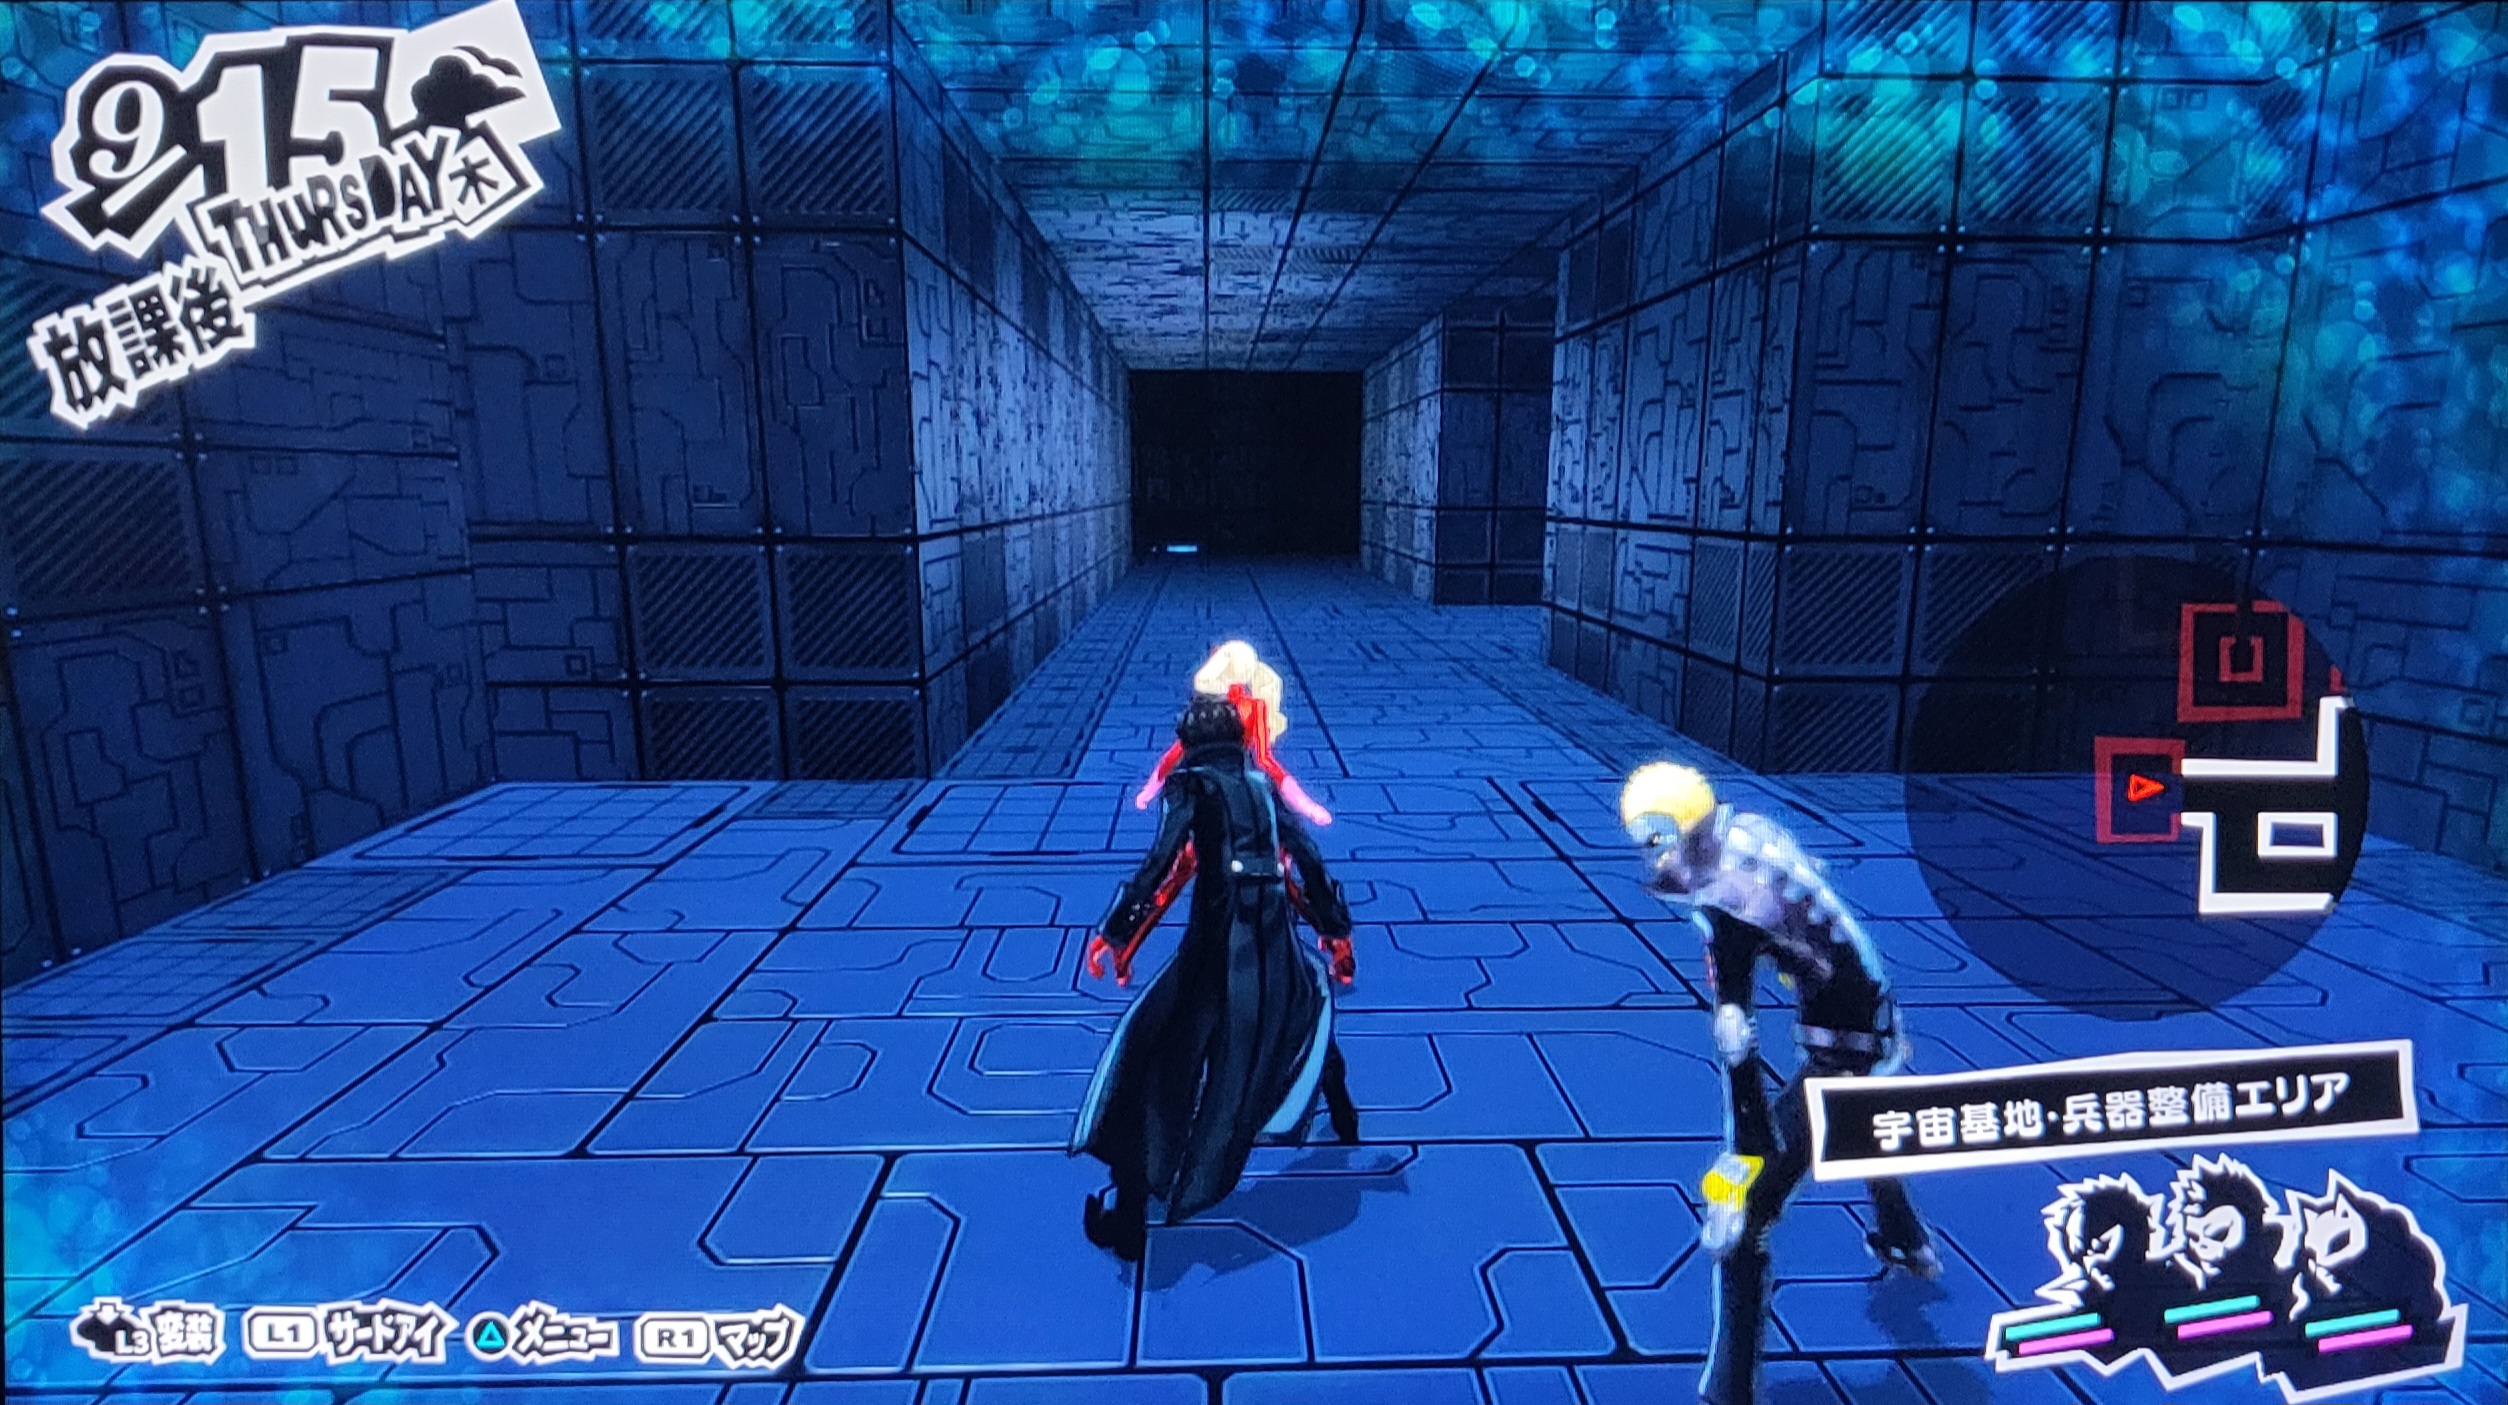
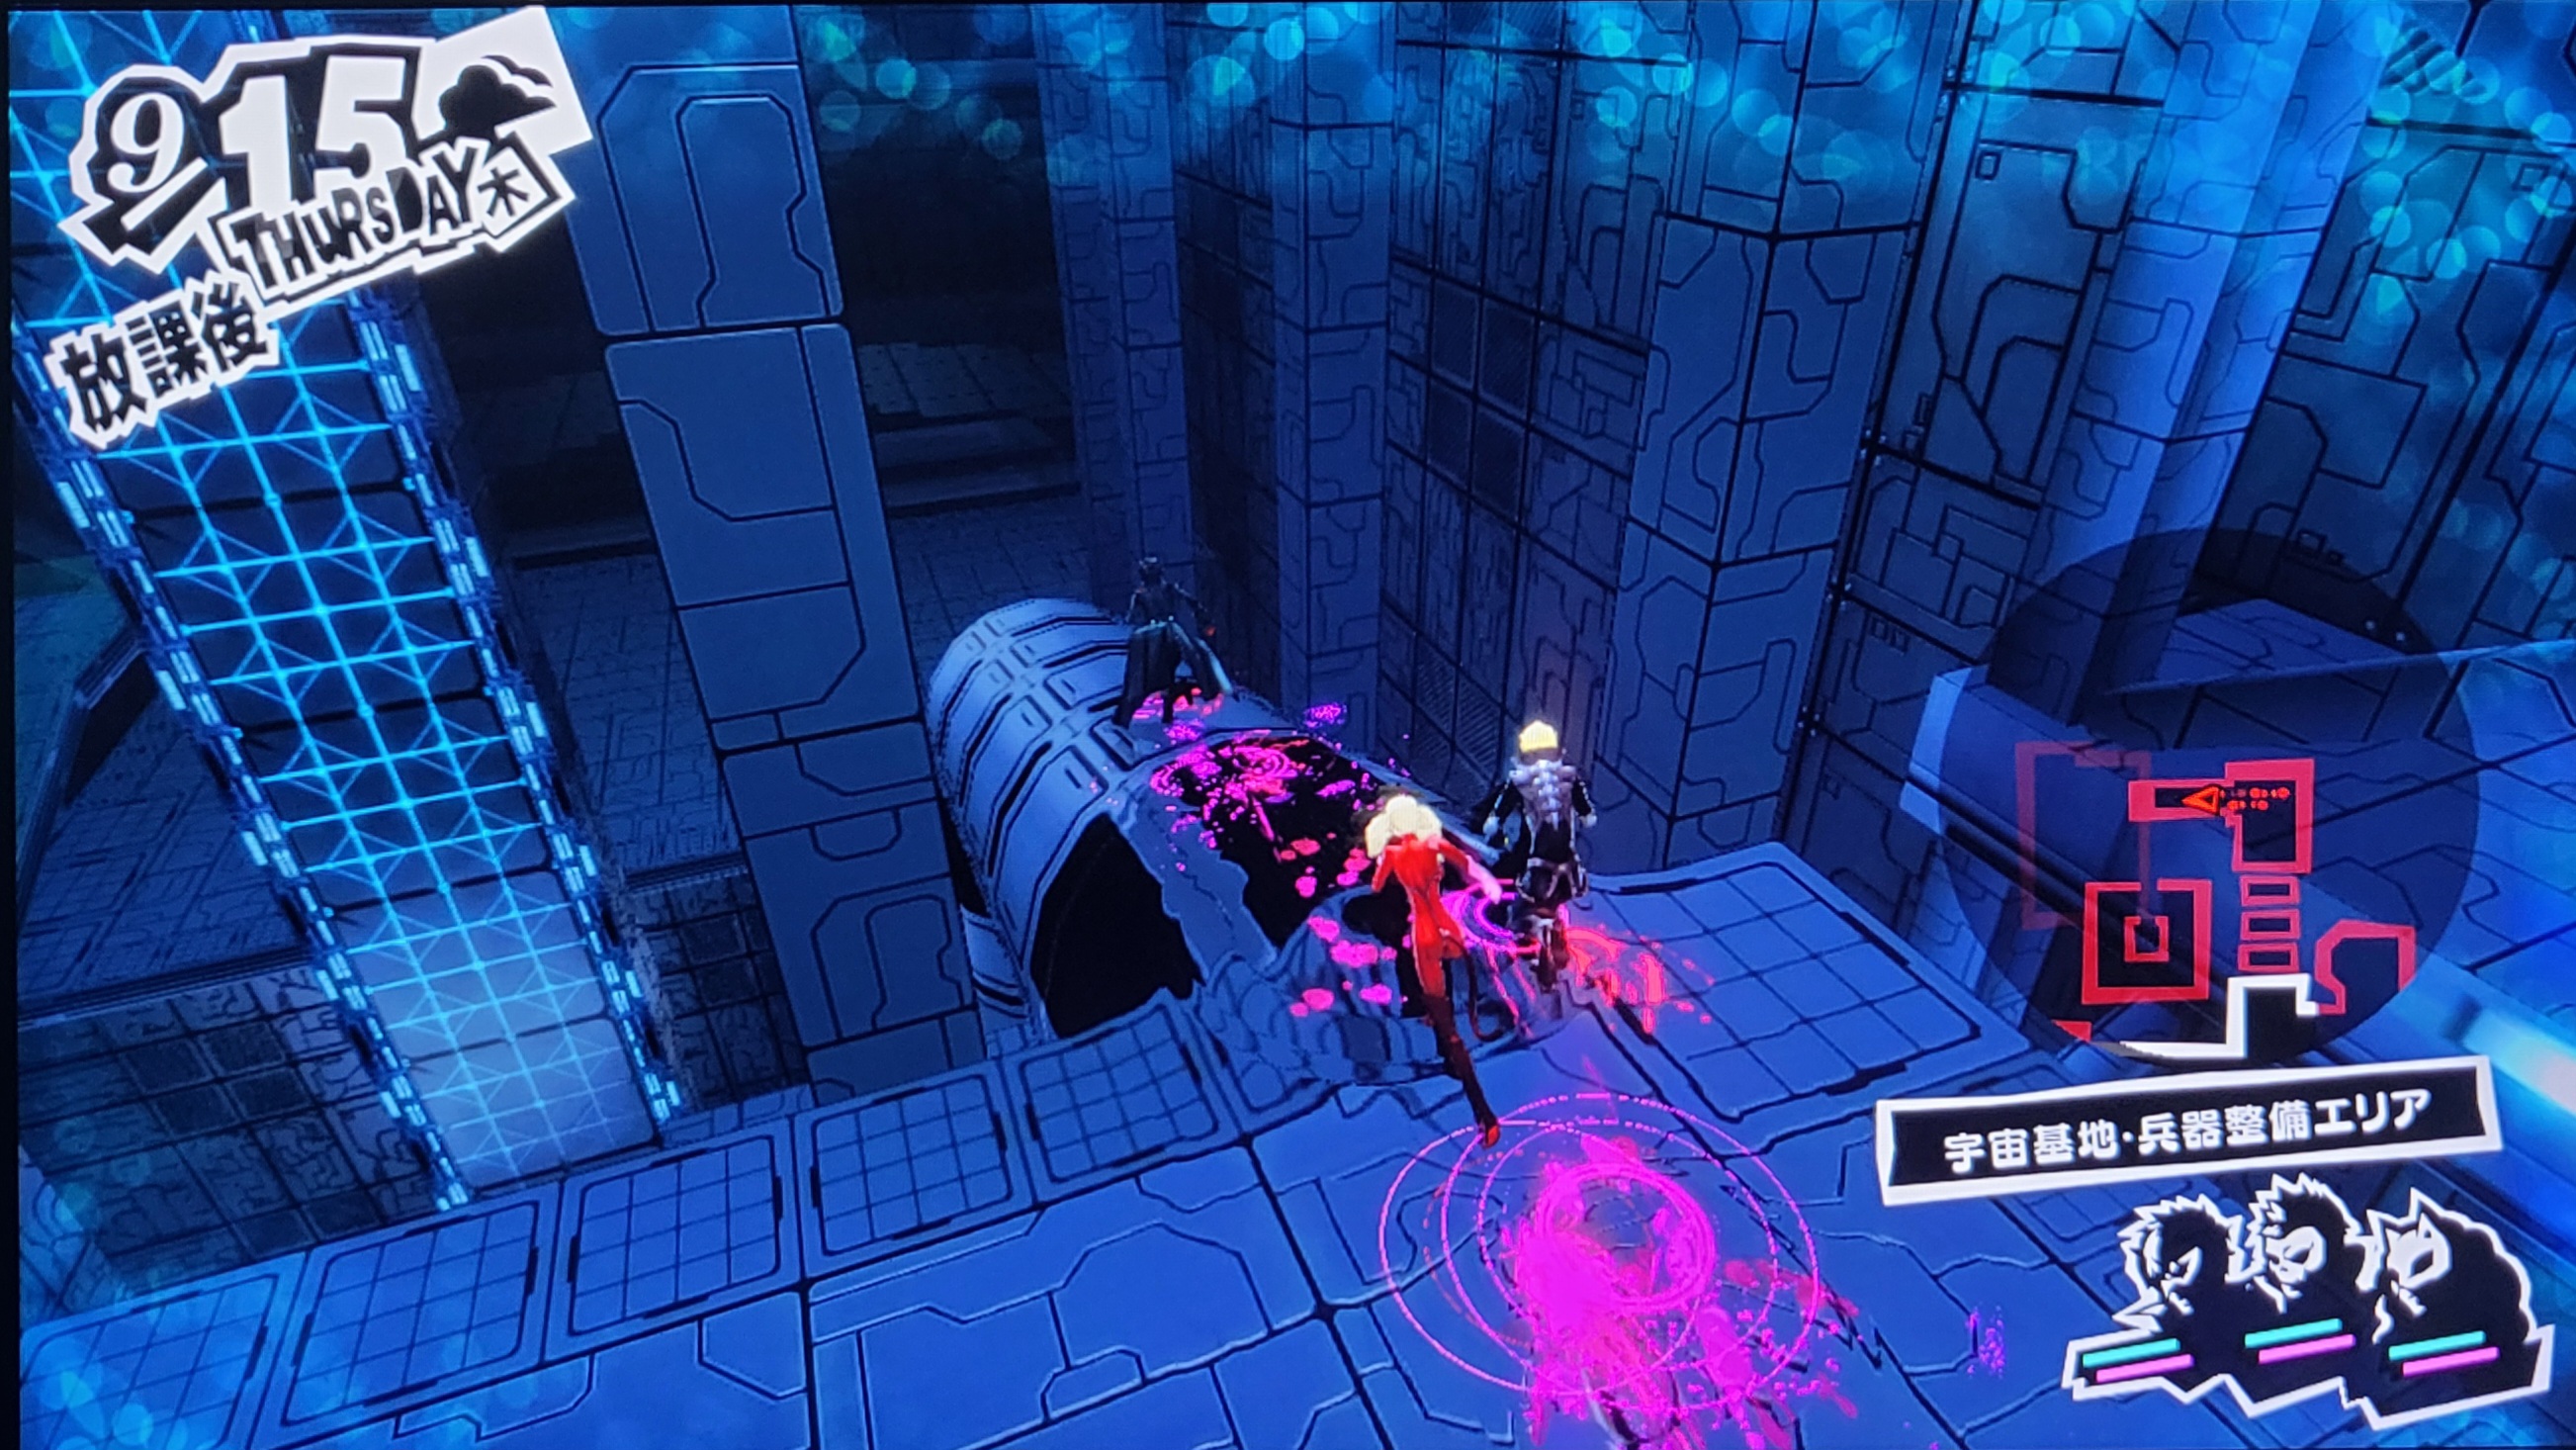
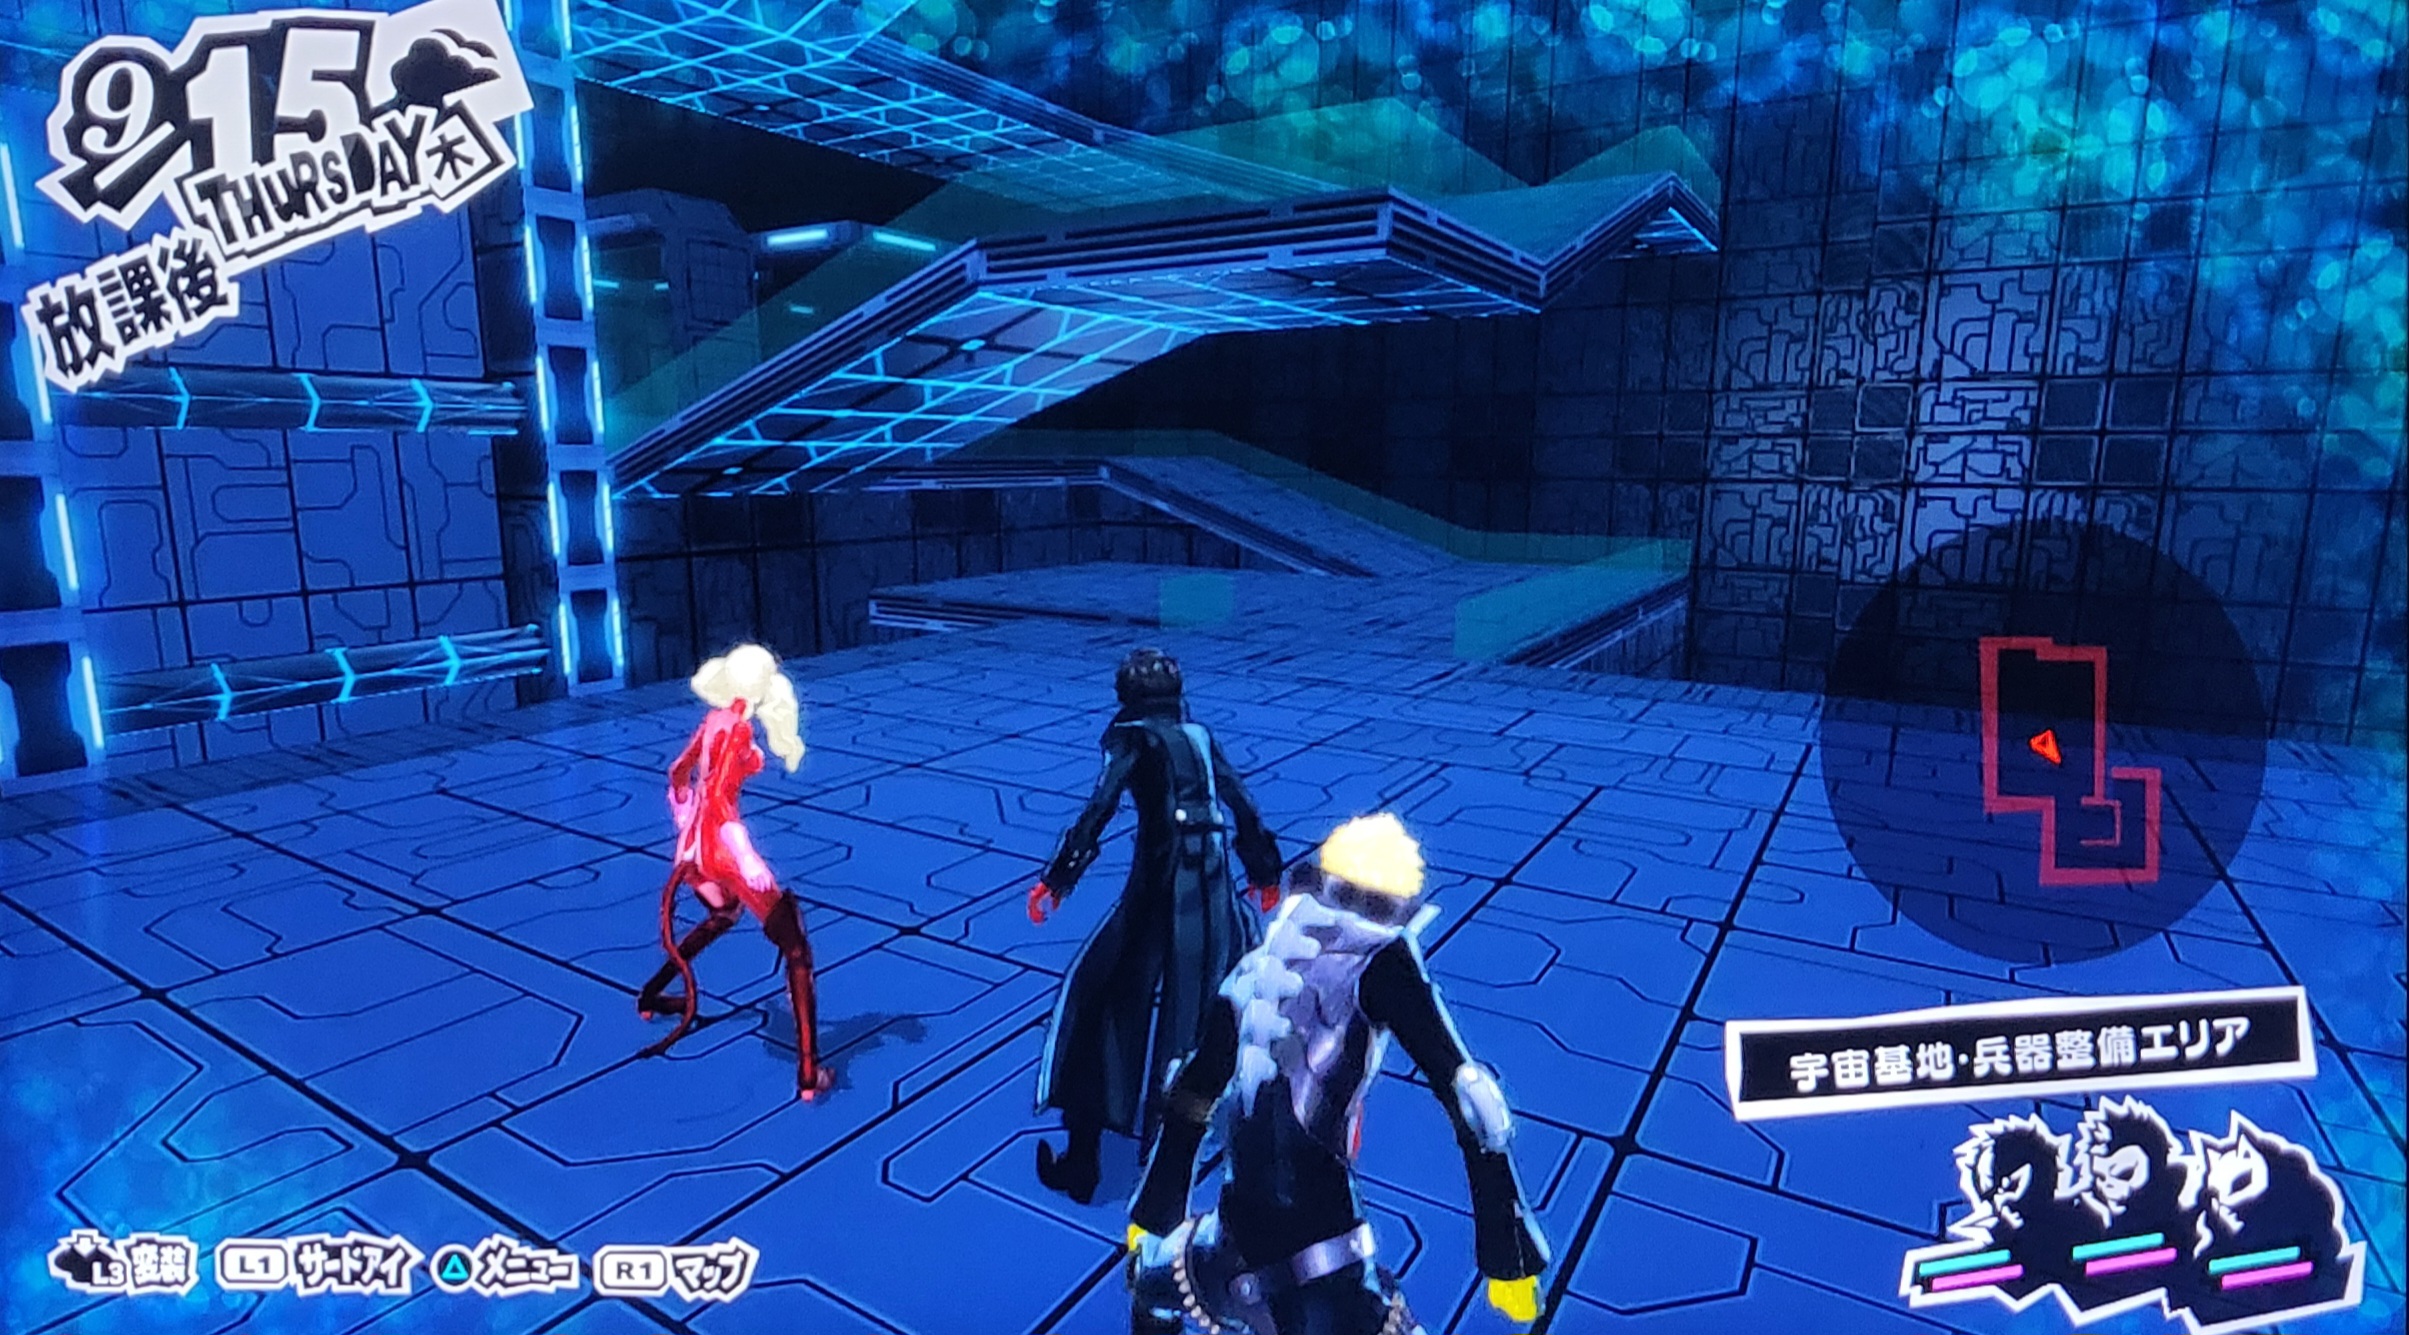
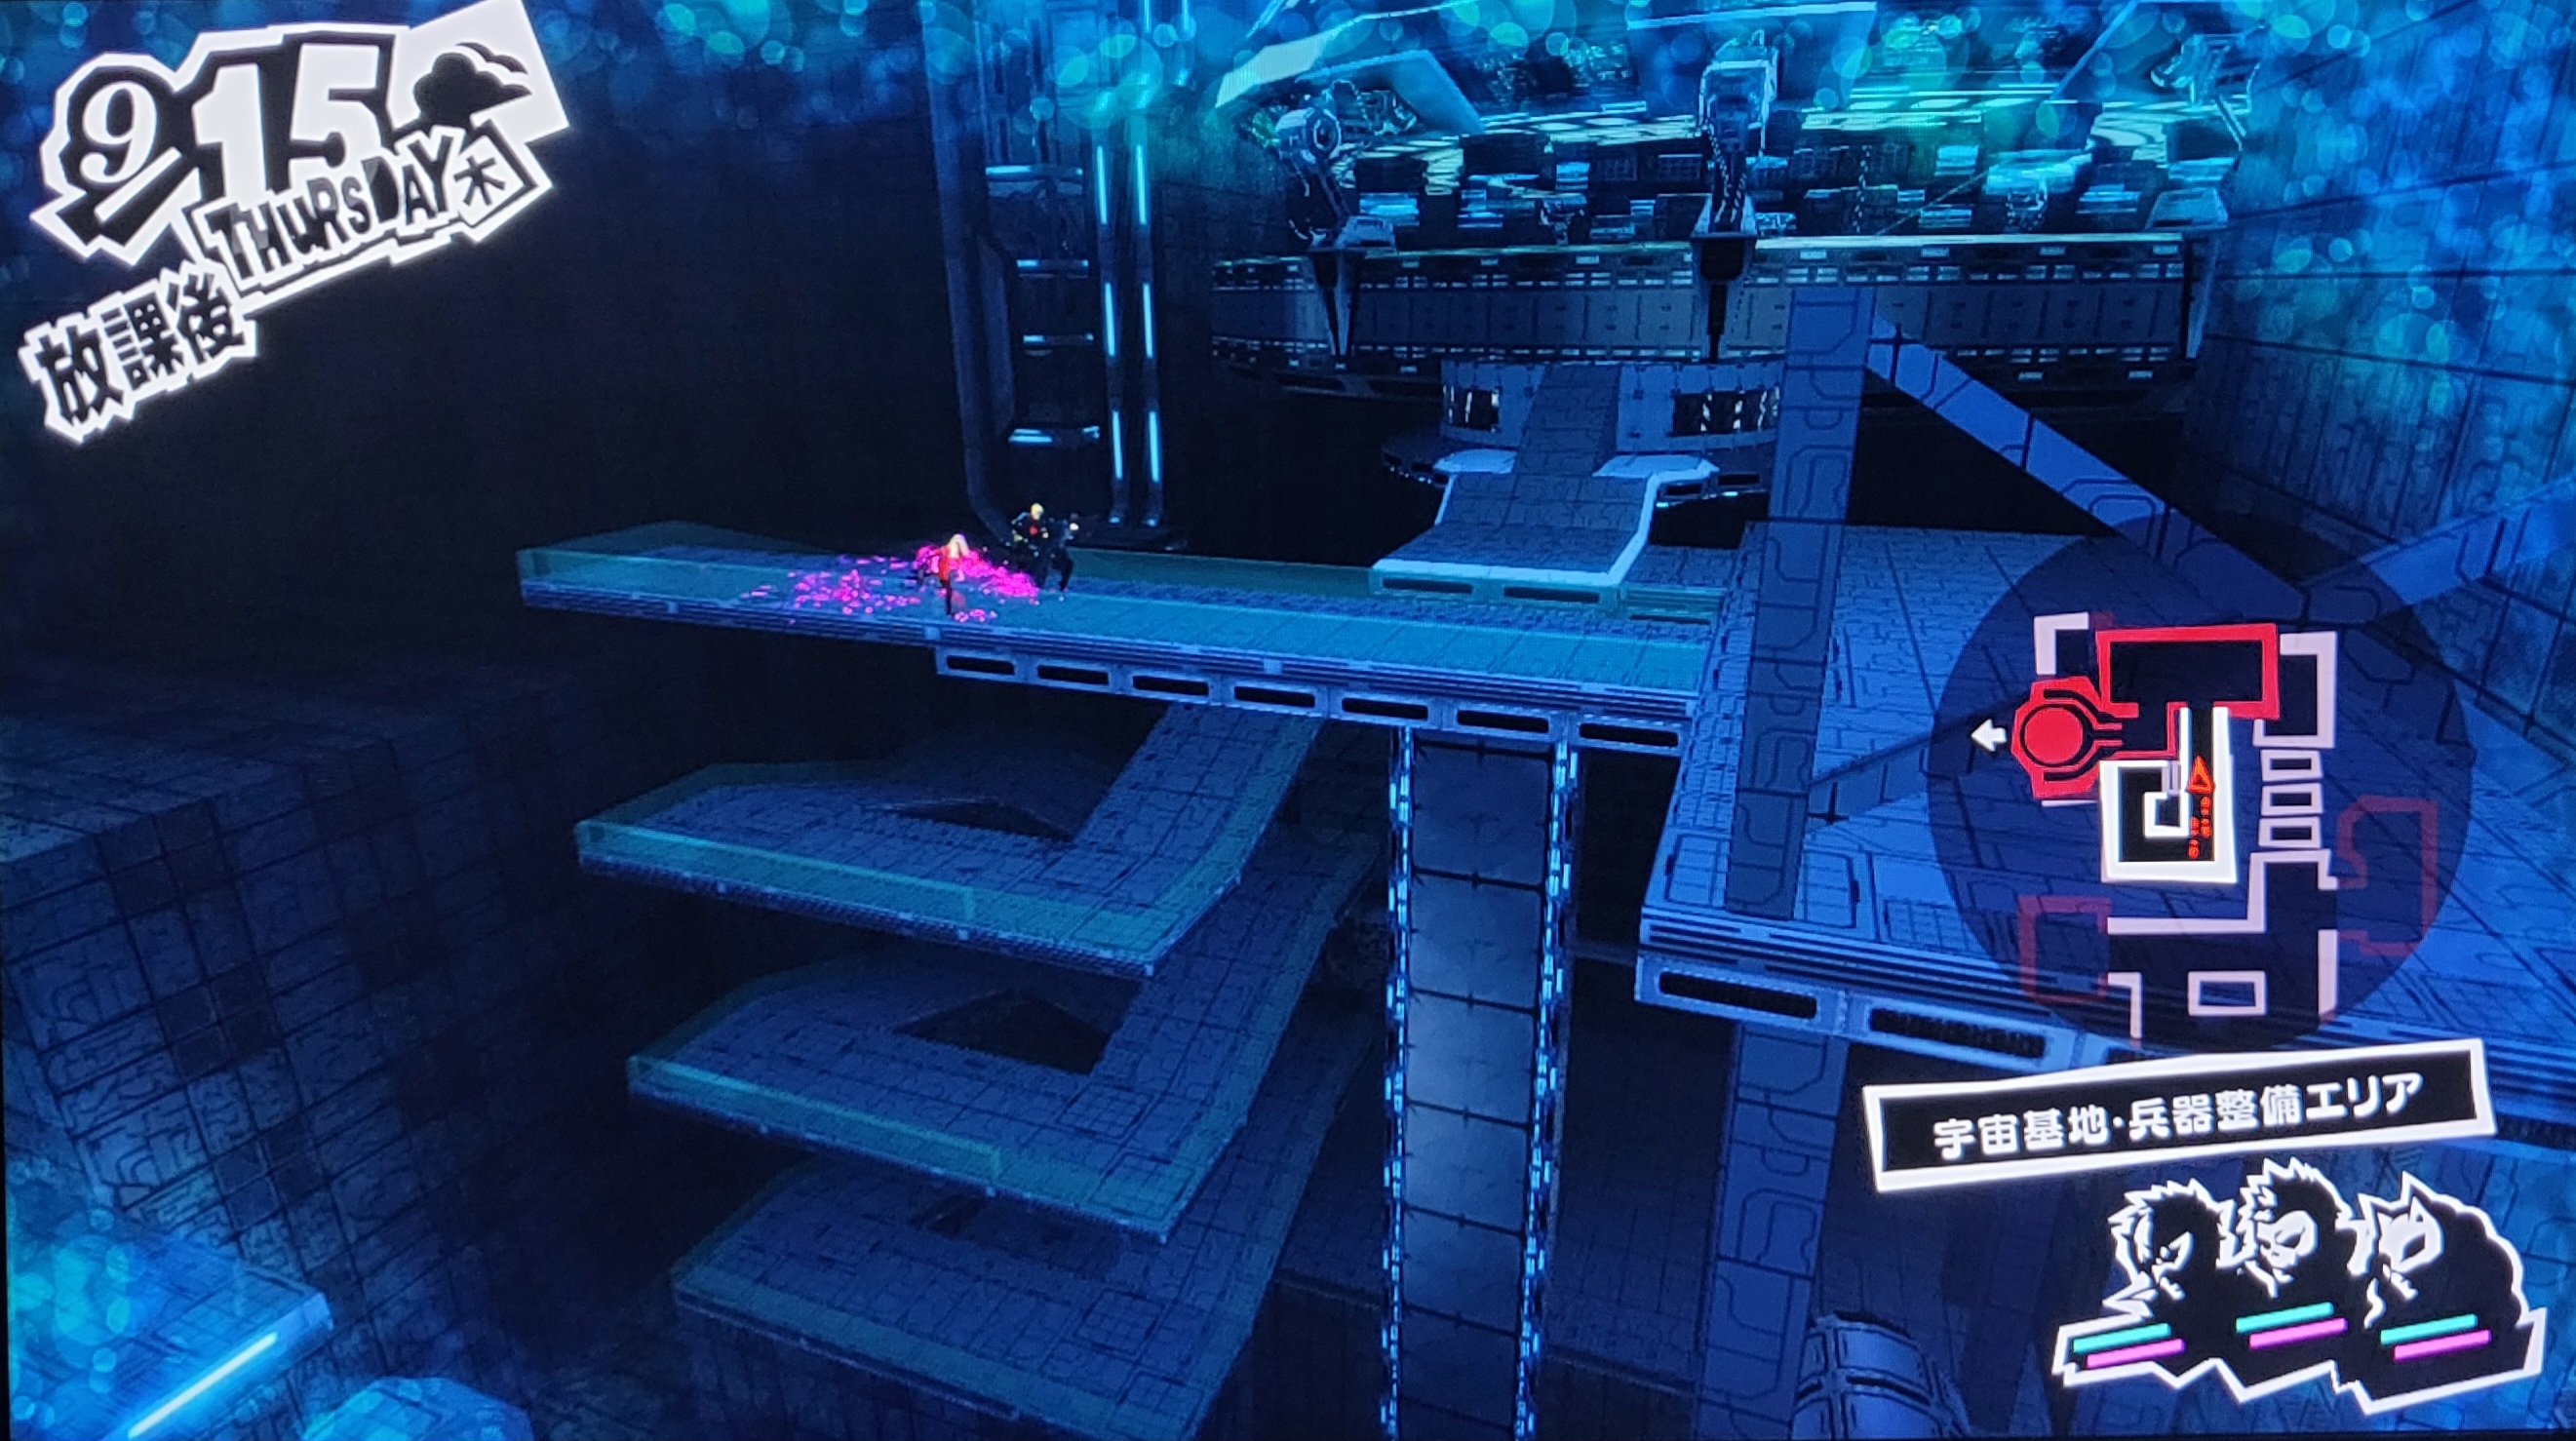
Weapon Maintenance received probably one of the biggest layout changes of anything seen in this palace. Rather than starting with a long L-shaped hallway as in the final, it loads right in to the main chunk. The player in the final version of this field simply hops a few gaps and then goes up an elevator to the disc shortcut directly leading to the Okumura boss fight, but this early version is exceptionally different. There is no hallway, the player starts out in the open area. There is a square hallway to the left ending in a little dead end, and there is another area to the right with a single enemy that also is a dead end. The player hops over the beams similar to the final, but there is no elevator. Instead, the player then needs to turn left and jump down a short pipe. There is then this long winding square staircase to the left that the player then needs to run up all the way to get to the Okumura Boss Fight shortcut.
Okumura Boss#
It's mostly the same. However, when all the robots are down you can perform an All-Out Attack. If you get a finisher, the battle ends.