 This article has a talk page!
This is a sub-page of Prerelease:Super Mario 64 (Nintendo 64).

|
This page or section needs more images. |

|
To do:
|
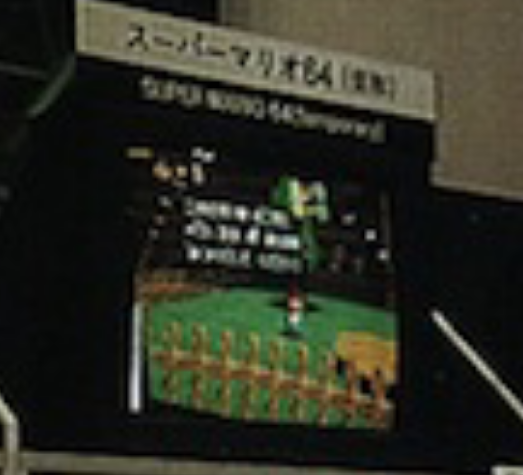
Information about Super Mario 64 was first revealed in November 1995, and a playable build was presented days later as part of the world premiere of the Ultra 64 at Nintendo Shoshinkai. At this point, the basic controls had been implemented and the game was reportedly 50% finished, featuring 32 courses, although about 2% of mapping was complete.
Being the first unveiling of Super Mario 64, these were the first assets seen by the general public. Graphics-wise, this version of the game has little in common with the final, but several levels and key gameplay features are set in stone. Players could control Mario freely in each stage and explore the castle, as well as use a stage select that used early names for levels (for example, Bowser in the Dark World was originally named "Koopa 1").
According to the developers, many players at Shoshinkai described Mario's 3D controls as "wobbly", "slippery", or "less responsive to the button inputs". Mario uses his old head/model found in the July 2020 Nintendo leak. He also starts out with 2 lives, with rumors stating that he could get an extra life if he gets 100 coins. According to Giles Goddard (programmer of this Mario's head), this build was just a snapshot of what was working at the time.
General Differences#
|
Shoshinkai '95 |
Final |
|---|---|
|

|
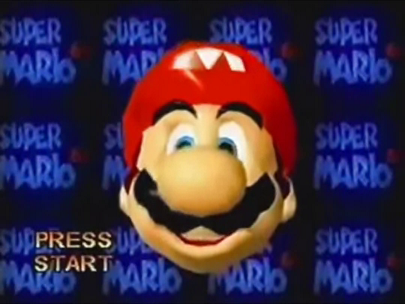
- The game starts with a simple blue Nintendo logo. This model was found in the July 2020 leak.
- The "Press Start" message on the title screen uses a more basic orange to yellow gradient and black outlined font. It's also positioned a bit higher than the final.
- On the Game Over screen, the normal blue background seen on the title screen is used instead of the red variant seen in later builds of the game.
|
Shoshinkai '95 |
Final |
|---|---|
|

|
(Source: ニンテンドウ64世界初公開当時の模様 (4:58))
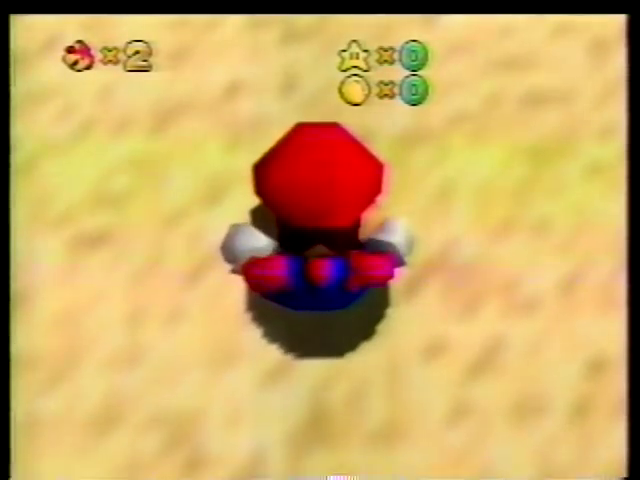
- Shadows use a jagged, aliased texture that was smoothed over for the final. This texture was was found in the July 2020 leak.
- The timing after selecting the option to exit out of a course is slower than the final.
Gameplay and Physics#
- When Mario enters a level, there is a trail of sparkles (like in the special triple jump you unlock for getting all 120 Stars) as he falls from the sky.
- Mario's triple jump causes him to twirl in the air (as if he'd jumped on a Spindrift) instead of doing a mid-air somersault. A similar ability would later be given to Luigi in Super Mario 64 DS, 8 years later.
- Mario does not pause in the air when he performs a ground pound. The camera does not pause or focus on Mario when he does a ground pound, either, unlike the final.
- Mario does not cover his head with his hands when he crouches.
- Mario, after taking large fall damage or respawning after dying in a painting world, visibly struggles to get up. This was changed in the final, possibly to keep the animation short (and less morbid); this can be seen here and here.
- While running, instead of slanting forwards towards the direction he is going, Mario runs completely straight.
- Mario doesn't jump when hit by fire.
- When Mario enters a level, the camera doesn't approach the painting.
- Mario seems to be almost always in the center of the camera.
- Mario blinks more often than in the final game.
- Mario only punches and kicks once each, instead of punching twice and kicking once.
- Mario gets up with his arms out after doing a dive jump.
- If Mario begins to move in any direction, he will turn to face said direction, instead of him taking a sharp turn like the final game.
- Mario's side flip gives him less height than the final, which is shown here in the B-Roll video.
- When Mario steps away from sidestepping a wall, he will move at top speed.
- The analog stick doesn't need to be pushed as far for the running animation to play.
- One clip shows a unique glitch with punching where Mario gets stuck in the punching animation, which he could only get out of by jumping.
- Mario begins to pant when the Power Meter is at 4 life gauges, instead of 2.
- After Mario completes the level or fails to obtain the Star, the camera angle is different, which is shown here and here.
- No invincibility frames can be seen after Mario getting hurt.
- The cannon model is different and slightly unfinished, as shown here.
- The cannon cutscene has less refined camera movements, and the camera glitches out for a few frames while switching to the aiming view.
- The aiming reticule is missing.
- No sound effects are heard when Mario is shot from the cannon (other than Mario himself), the final game adds a cannonball and wind sound.
- No smoke trail can be seen behind Mario.
- At the peak of the cannon shot, Mario begins to fly as if he had the Wing Cap.
- The flight camera is different and does not follow Mario closely.
- When Mario bumps into geometry, no particles can be seen.
- Mario needs to fall for longer to scream, about 3 seconds.
- Mario can move around with the analog stick while in water, an ability that is not present in the final game.
- When getting hit underwater, Mario doesn't get knocked backwards and the screen doesn't shake.
- Mario looks down and turns around like his idle animation while idle on a pole.
Power Stars#
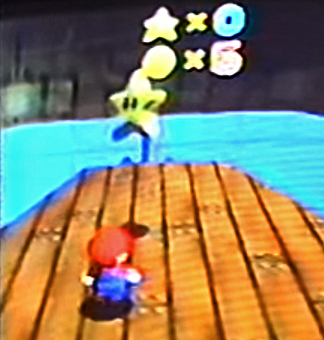
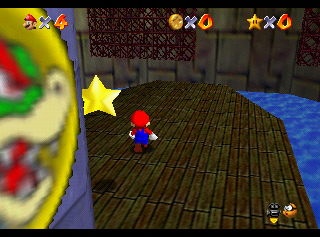
- Power Stars are 2D animated sprites in this build. The Stars here were reused in the final for the silver and red stars that float around Mario's head in the title screen and for the design of the big sliding doors.
- The Stars are free floating in certain areas within the four available levels, without any puzzles to solve to obtain them.
- Collecting a Star causes Mario to do the Star dance and exit the level, but no menus are pulled up once Mario has exited the painting. This is most likely a demo feature.
- When collecting a Star, the camera does not move away from Mario or approach his pose, staying the same as before collecting it.
- It also does not shake when Mario does the peace sign after obtaining the Star.
- When Mario collects a Star, a different dust animation plays twice.

Coins#
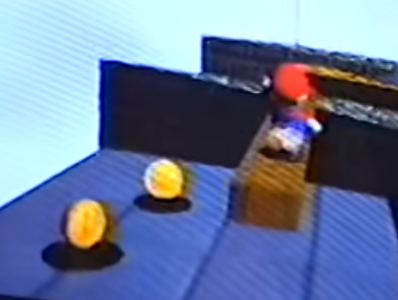
Instead of a star insignia, the coins have a rectangular indentation consistent with prior Mario titles. The coin's color is also different, being a more orange-ish yellow compared to the final game's pure yellow. Only regular coins exist in this build, there are no red or blue coins.

HUD#
|
Shoshinkai '95 |
Final |
|---|---|
|
|
|
Shoshinkai '95 |
Final |
|---|---|
|
|
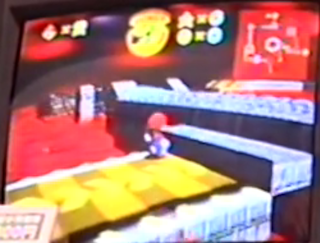
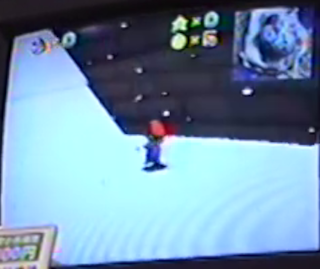
(Source: Joypad Issue 49, Page 82 (January 1996))
Minimap |
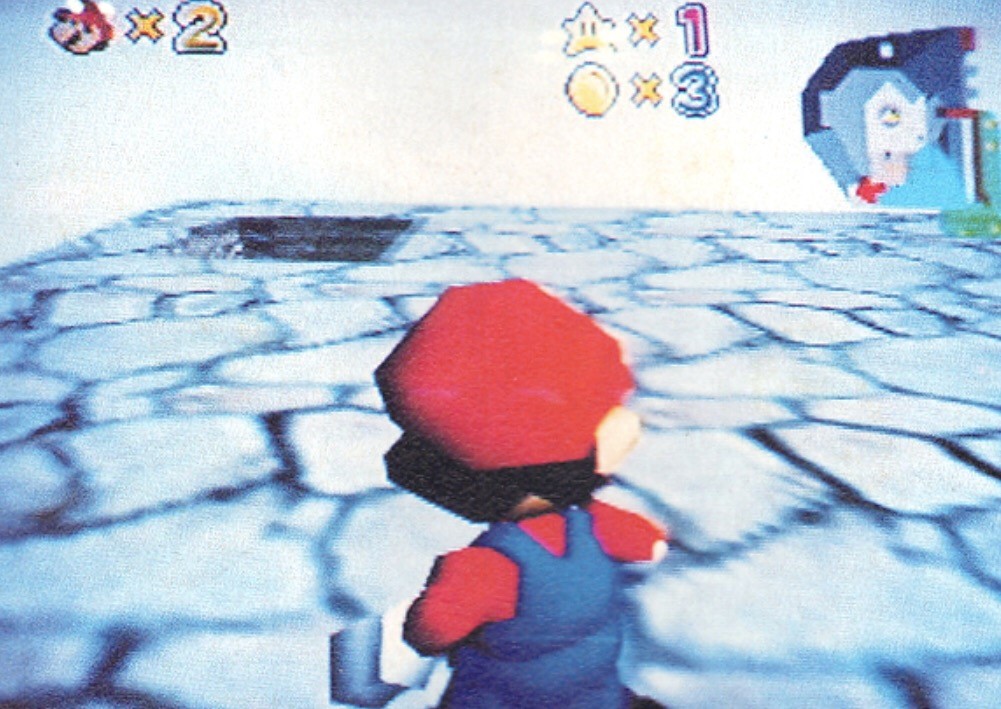
A minimap is present in the upper-right corner, similar to the one from The Legend of Zelda: Ocarina of Time. It can be toggled on or off. The larger view of a level seen when paused replaced the minimap later on in development. The minimap idea was resurrected in the DS remake, which displays a map on the Touch Screen. The arrow shows where Mario/the player is navigating. This unused texture can be found here. The minimap is a bit transparent if you take a closer look (shown here, for example). A demonstration of toggling the minimap on and off is shown here. |
|---|---|
Lives |
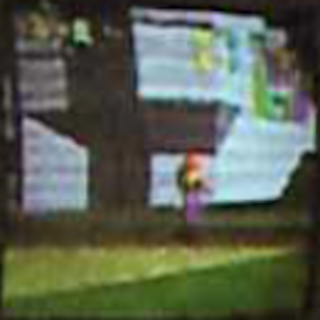
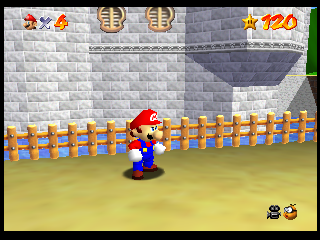
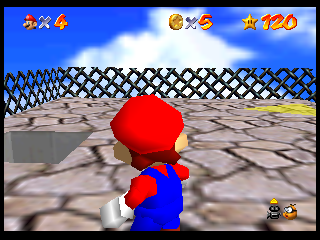
Mario's head is a flat, stylized face in profile with a large nose. The detail on this icon is fairly simple, even though there is shading on Mario's nose connecting to the mustache. In the Shoshinkai demo, the number of lives is expressed with a single digit, while B-Roll footage from an earlier build would use two digits. Mario also started with 2 lives instead of 4. |
Stars |
Like Mario's head, the Star counter is also represented by a flat sprite, located at the center-right of the screen. The Star appears to have a simple yellow color with black outlines after B-Roll, which lacks outline. Its shape has a more roundish look than the final game's sharper look. |
Coins |
Located directly below the Star counter instead of beside it in the final. This placement makes room for the minimap. The Coin possesses a circular shape with an inner contour drawn on it, facing forward, and is colored in bright yellow, whereas the final version faces in a 3/4 view to the right, has a star-shaped insignia, and is colored in gold. |
Font |
A very standard bubble font with the numbers being different colors from light green to dark green. The Xs are small and yellow, as opposed to silver to white in the final game. |
Health |
Mario's health is displayed in a dial. His remaining health is also shown in numerical form, an idea later seen in early media of Super Mario Sunshine and the final release of Super Mario Galaxy. At this point, Mario's health regenerates automatically if he is not underwater. It's also a bit transparent, and sometimes you can see the scenery behind the bar. |
Camera |
There are no visible camera options in the HUD yet, but players can still use the C buttons to move the camera around along with the zooming. |
Audio Differences#
|
|
To do:
|
Description |
Shoshinkai '95 |
Final |
|---|---|---|
Mario exclaiming "Yahaa!" |
||
Mario grabbing on ledge |
||
Mario taking fire damage |
||
Mario taking damage |
||
Mario getting a Star |
||
Single Jump #1 / Mario exclaiming "Hooh!" |
||
Single Jump #2 / Mario exclaiming "Ouh!" |
||
Single Jump #3 / Mario exclaiming "Huah!" |
||
Double Jump |
||
Climb over ledge |
||
Pickup item |
- Bowser's death sound originally played after he hit the bomb instead of when he hit the floor after hitting the bomb.
Description |
Shoshinkai '95 |
Final |
|---|---|---|
Bowser death |
||
Bowser Growl |
||
Bowser tail grab/bomb |
- The coin sound effect is a single sample, rather than a sequence like in the final game. It's also very different from the final. It was also found within the Star Fox 64 source code inside the Gigaleak, labelled as "coin.n.32.c4.aiff".
Description |
Shoshinkai '95 |
Final |
|---|---|---|
Coin Sound |
- The penguin walking sound is very different from the final version.
Description |
Shoshinkai '95 |
Final |
|---|---|---|
Title Theme |
- The title screen's music is faster, has different percussion, and uses some of Mario's voice clips.
- The music in Dire, Dire Docks uses a different instrument, taken from Digidesign SampleCell's Factory Library Disc 1, known there as Tine Piano C4. It can also be found in the Yoshi Touch & Go soundfont, labelled there as "Electric Piano".
- The sound effects for doors opening, doors closing, and walking on shallow water are different. Notably, they were later used in The Legend of Zelda: Ocarina of Time.
Description |
Shoshinkai '95 |
Final |
|---|---|---|
Door Closing |
- The bird ambience is completely different compared to the final. The audio heard in the Castle Grounds footage of the Shoshinkai builds was likely from a sound effect library which was also used by HoMedics for their SoundSpa white noise machines made from 2004 to 2012 (e.g. the SoundSpa SS-4500), notably the Rainforest sample. It is unknown what exact sound it is and how much of the sample was used in the Shoshinkai build.
Description |
Shoshinkai '95 |
Final |
|---|---|---|
Bird Ambience |
- The music for Bob-omb Battlefield is played at a faster tempo. The drum samples used are different.
- The pitch bend in the main melody in the music for Lethal Lava Land doesn't hit as hard as in the final.
Level Changes#
Castle Grounds#
|
Shoshinkai '95 |
Final |
|---|---|
|
|
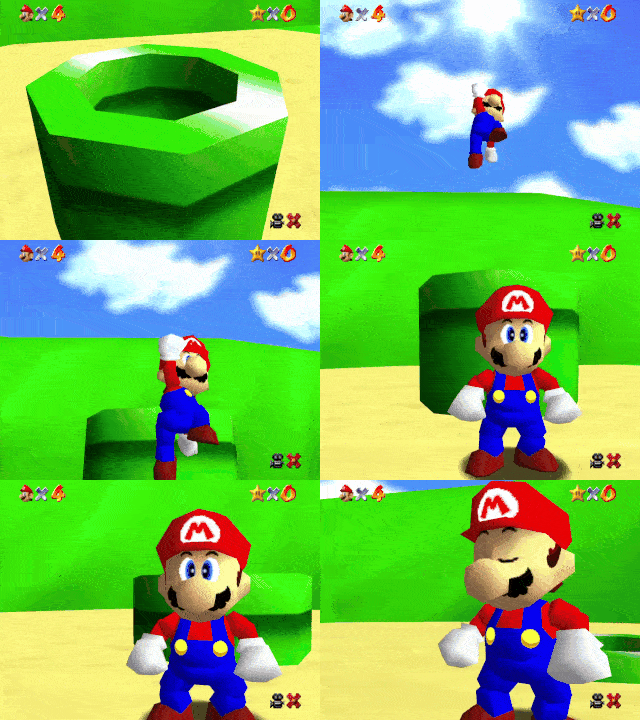
- The opening cutscene is much more basic than the final game. It simply rotates around Mario and stops once it's behind him, there's no panning around the castle or jumping out of the pipe.
- Once the camera stops behind Mario, the player is greeted with this text:
Text |
Translation |
|---|---|
|
|
(Translation: GlitterBerri)
- After closing the textbox, Mario goes into first-person mode.
|
Shoshinkai '95 |
Final |
|---|---|
|
|
(Source: ニンテンドウ64世界初公開当時の模様 (4:57))
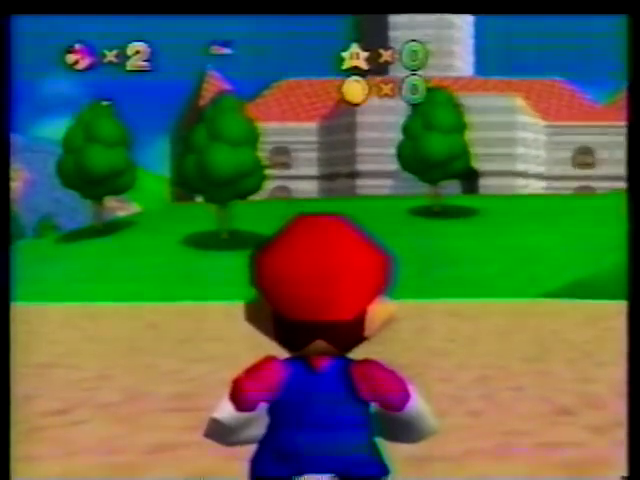
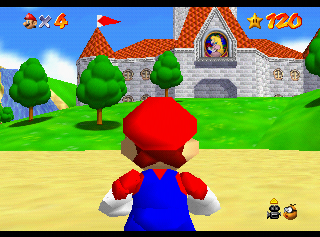
- Nearly all trees are positioned differently.
- The flags on the castle are smaller and completely static. It is hard to see in the footage but the flags feature Mario's HUD icon from this build.
- The roof of the castle is trimmed off the bottom by extruding the wall.
- The skybox looks completely different from the final.
- The "cloud" above the castle seen in the patent images has been removed.
- The waterfall is silent in this build.
|
Shoshinkai '95 |
Final |
|---|---|
|
|
(Source: Pocketneogeo's C-Band Wild Feed (0:35))
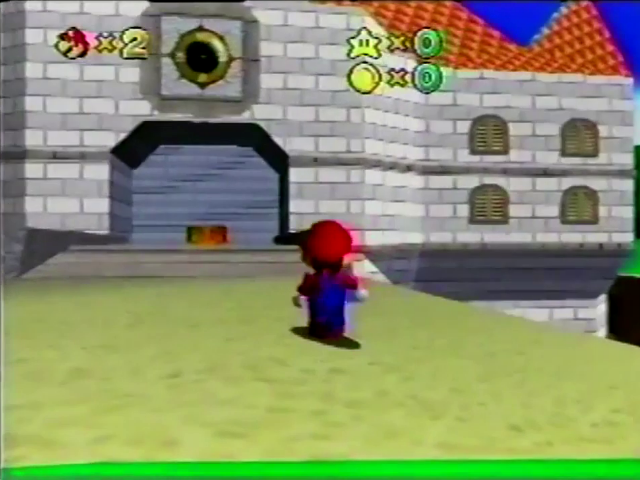
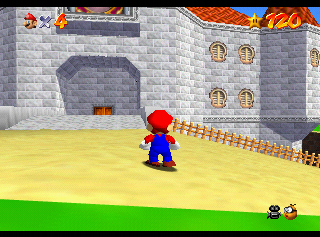
- The bridge has changed since the patent screenshots, adding guardrails and removing the stone pillars from the beginning. It still has a noticeable curve.
- There is less wooden fencing surrounding the moat.
- The clock is still present above the entrance.
- The castle archway for the entrance is shaped differently from the November 22, 1995 patent screenshots, it's the same shape as the final model.
|
Shoshinkai '95 |
Final |
|---|---|
|
|
|
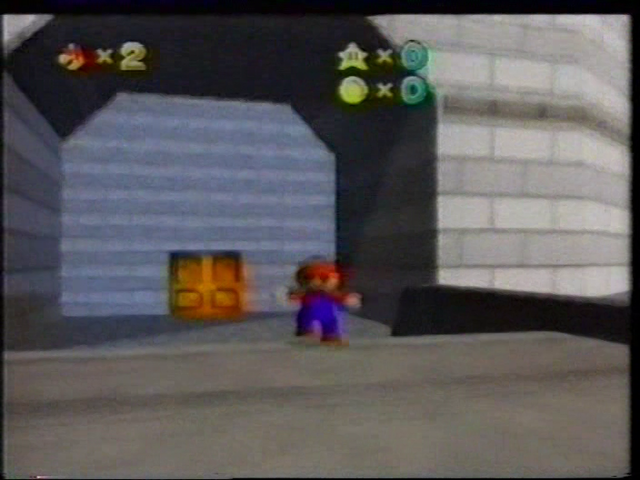
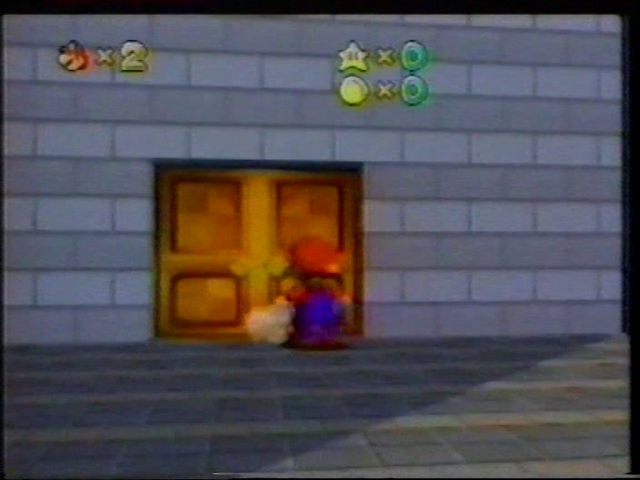
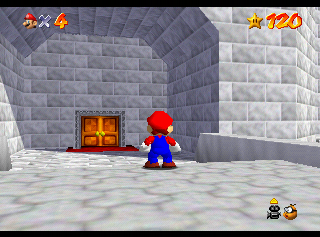
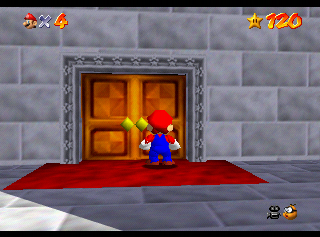
(Source: Bad Influence Series 4 Episode 11 (8:45))
- The brick texture is noticeably simpler than it would be in later builds of the game.
- The shadow at the castle entrance has a different direction from the final build.
- The border of the entrance's door is missing, and so is the carpet.
- The door model has a different knob color (an orangish-yellow, compared to the final version's pure yellow) and the knob is flat-shaded, while the final is smooth shaded. This door model can be found in the July 2020 Gigaleak.
- The brick floor on the entrance has a different texture consisting of pale pink, light green and gray colors.
Castle Interior#
Upon entering the castle, this text appears:
Text |
Translation |
|---|---|
|
|
(Translation: GlitterBerri)
|
Shoshinkai '95 |
Final |
|---|---|
|
|
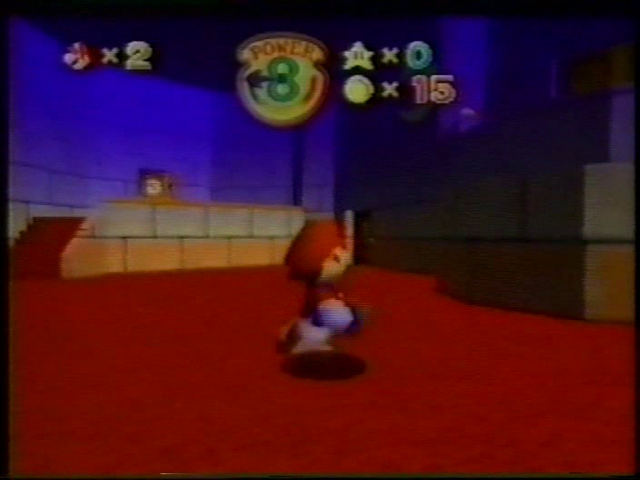
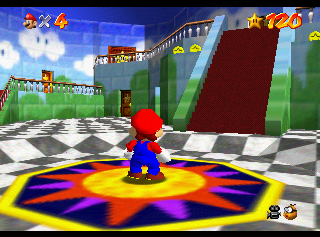
- The walls are dark blue with a star-and-moon pattern on them.
- A simple blue-to-orange color gradient decorates the bricks.
- The stairs are simply made up of two platforms, and the rest of the walkway (to two other doors in the final, nonexistent themselves in this build) on the second floor does not exist yet.
- Doors to stages display white numbers (1-4) instead of red numbers over stars. These numbers correspond to the Stage Select and are not yet Star requirements. These textures can be found in the July 2020 Gigaleak.
- The basement is not present in this version, so the two doors on both sides of the stairs only lead to the courtyard's hallway.
Shoshinkai '95 |
Final |
|---|---|
 |
 |
 |
 |
 |
 |
 |
 |
(Source: ゲームカタログ2 1995年12月02日 (7:09), ワールドビジネスサテライト 1995年12月 (8:07) Bad Influence Series 4 Episode 11 (19:20 & 9:12))
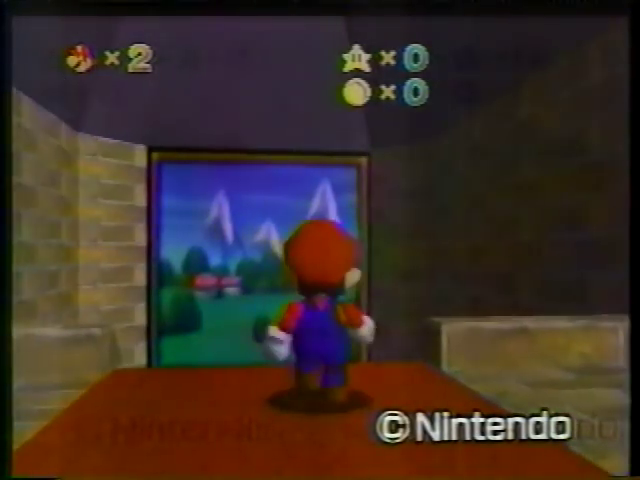
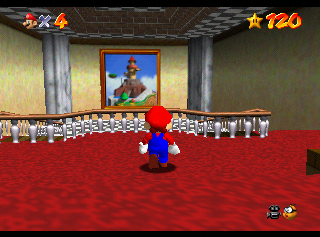
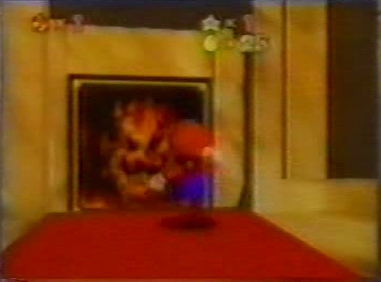
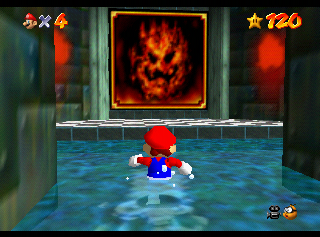
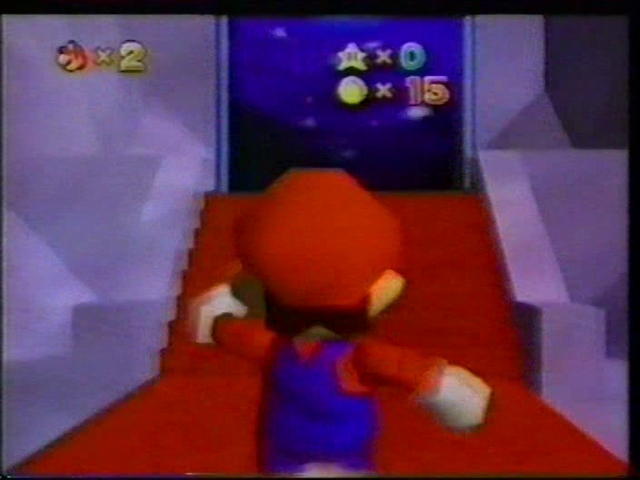
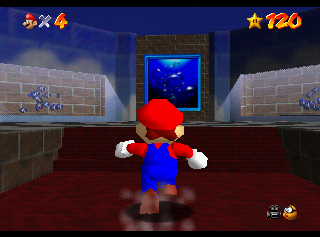
- The level placement is not final:
- Door 3 leads to the Cool, Cool Mountain room (where Bob-omb Battlefield is in the final).
- Door 1 leads to the Whomp's Fortress room (where Cool, Cool Mountain is located in the final).
- Door 2 leads to the Lethal Lava Land room (where Whomp's Fortress would be later on).
- Door 4 leads to the Dire, Dire Docks room (Jolly Roger Bay in the final).
- The second-floor Door leads to the corridor with trapdoor leading to the first fight with Bowser, rather than the upstairs.
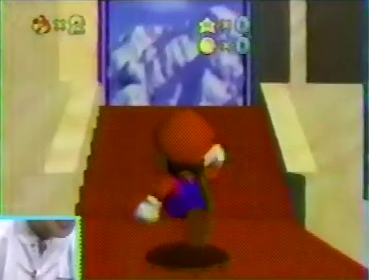
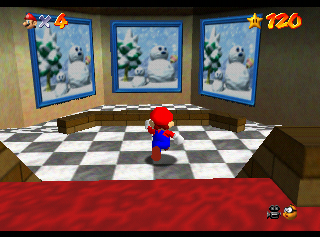
- All of the rooms are much smaller and simpler, using very few textures. They share the same general design of a red carpet in the middle leading directly to the painting, with two of the rooms having stairs that go up, while the other two have stairs that go down.
- The paintings are touching the ground, so Mario doesn't need to jump to enter them.
- All of the paintings use different, more simplitic frames, except for Lethal Lava Land's, which is identical to the final. Interestingly, Bowser's painting in the final game still uses the early frame style.
- Cool, Cool Mountain and Whomp's Fortress' paintings are completely different from the final. The former has a real picture of a snowy mountain on it instead of the stage's enemies, while the latter shows a picture of a field with mushrooms instead of the course itself.
- Dire, Dire Docks' painting uses the same design as Jolly Roger Bay's in the final Japanese release, indicating the painting was created for the former, and is likely why the painting was replaced with a more fitting one in the American release.
|
Shoshinkai '95 |
Final |
|---|---|
|
|
|
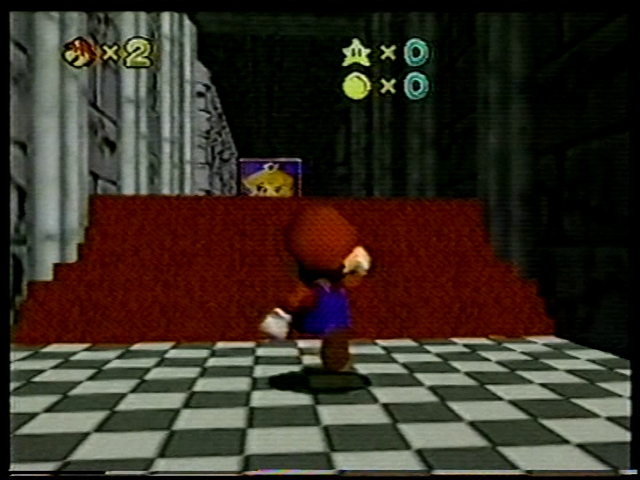
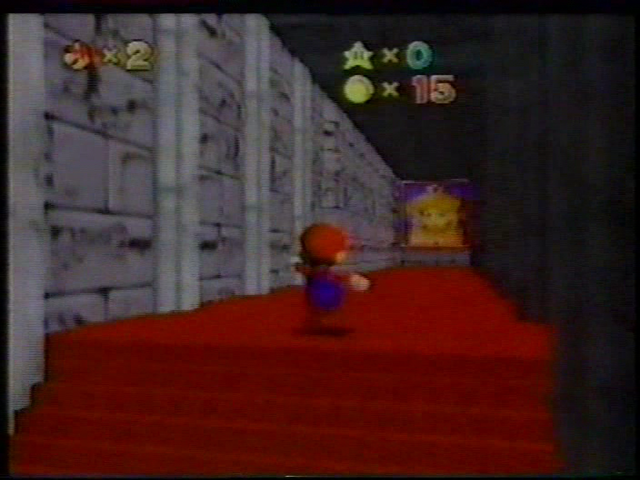
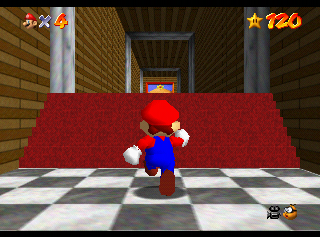
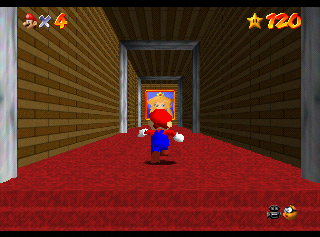
- The room with the Bowser/Peach portrait has cracked stone walls, as opposed to brick castle walls in the final.
- An unknown high-pitched shrieking noise plays in this room. The sound gets quieter as Mario approaches the portrait, indicating it may be Peach's shrieks.
- When Mario enters the trapdoor, a circle fade in is used instead of the star one.
Shoshinkai '95 |
Final |
|---|---|
|
|
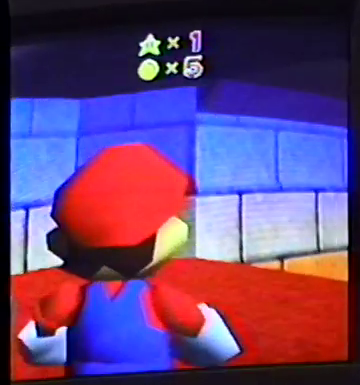
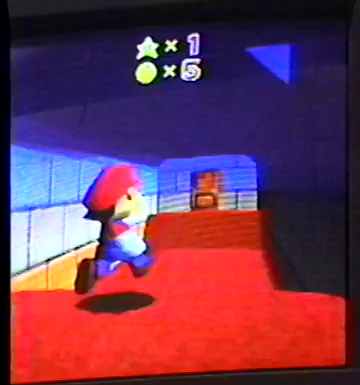
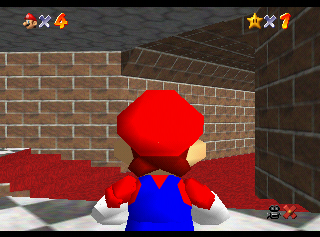
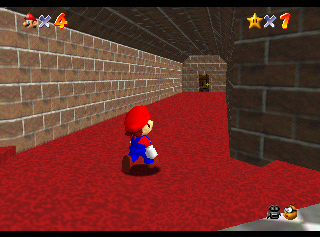
- The courtyard hallway is much shorter and uses the same gradient brick walls as rest of the interior.
- The ground dips down, then rises up again, before the door to the courtyard.
- All of the doors in the courtyard hallway use the standard, smooth wood design.
Courtyard#
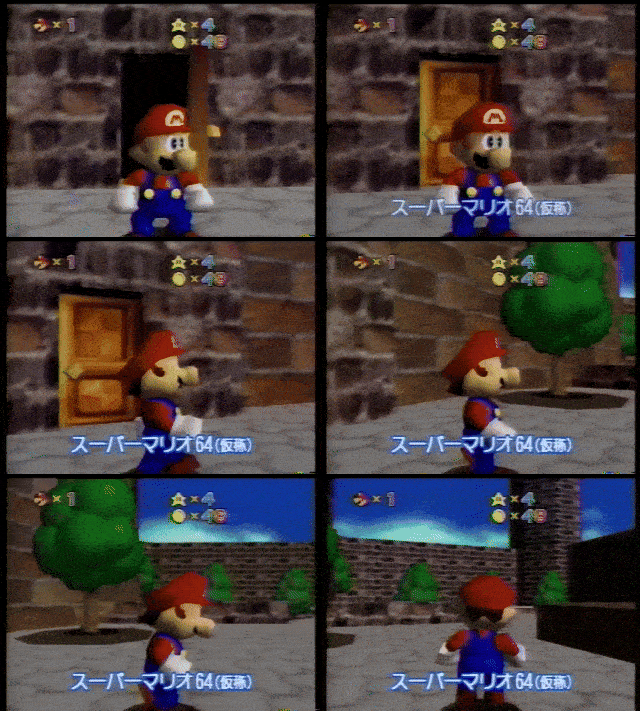
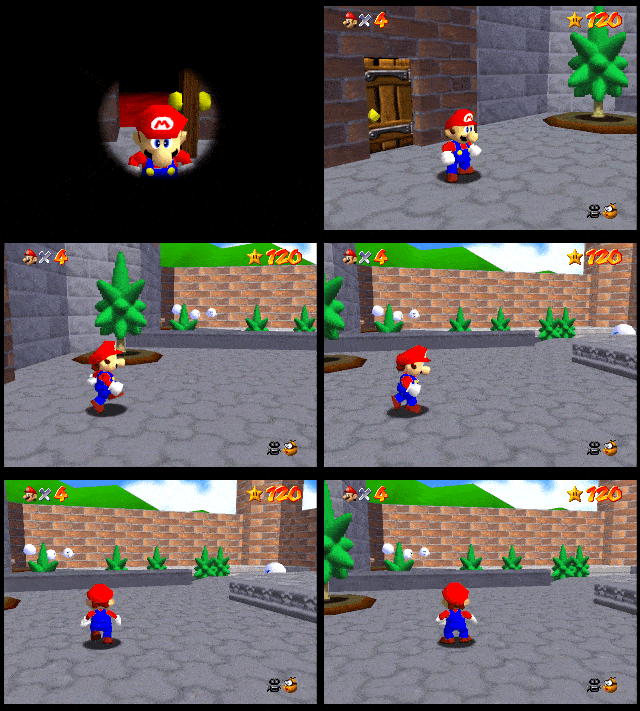
The courtyard is much smaller and contains very different texture work.
|
Shoshinkai '95 |
Final |
|---|---|
|
|
(Source: ニンテンドウ64世界初公開当時の模様 (1:37))
- When entering the courtyard, the camera starts out much closer to Mario, and rotates more slowly; this is because it uses the Big Boo's Haunt/inside Castle camera settings.
- The wall shared with the castle uses a red brick texture, instead of the same gray bricks used for the final's castle walls. This red brick texture was used for the other courtyard walls in the final game.
- Trees use the bubbly design like the Castle Grounds' trees. Instead of the raised planters with wood siding, the trees just sit flat on the ground, in the dirt.
- The inside of the wall corners contain trees, instead of signs.
- There's no hills making up the background behind the castle walls.
- Boos have much lower draw distance.
- The large Boo containing the cage that leads to Big Boo's Haunt hasn't been implemented yet.
Shoshinkai '95 |
Final |
|---|---|
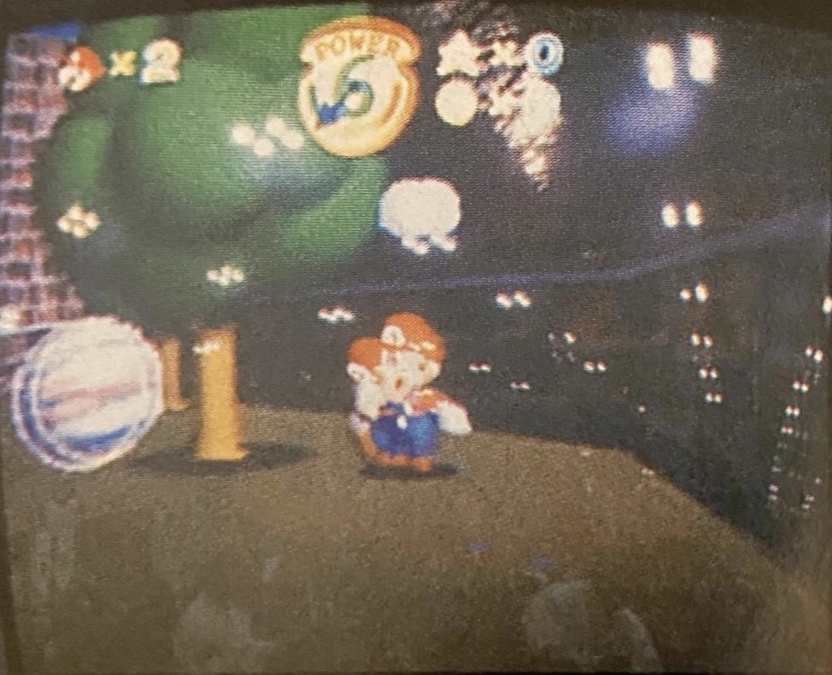 |
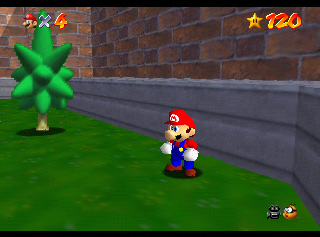 |
(Source: Dengeki Super Famicom - Vol. 3 No. 21)
- A Mr. I is present in this area, which was removed for the retail version.
- The ground texture for each side of the fountain is dark brown instead of grass.
Shoshinkai '95 |
Final |
|---|---|
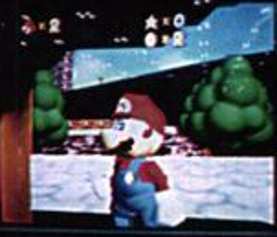 |
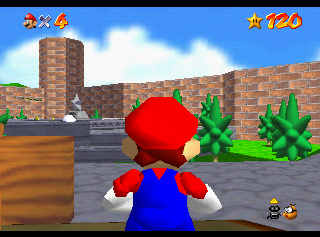 |
(Source: Game Champ (January 1996) - Page 215)
- The tree in the corner, instead of the sign, can be seen again in this screenshot. All of the other trees are also placed differently.
- The fountain is textured differently, with the same brown brick texture as the back of the castle.
- The star statue in the fountain is missing.
- The back wall is flat and the two trees next to it are missing.
Mountain (Whomp's Fortress)#
|
|
To do: |
Text |
Translation |
|---|---|
The layout is similar to the final version, but its appearance is fairly different.
- Many of the floors have circular stone textures. These textures can be found in the July 2020 leak.
- Thwomps have a darker blue color and angrier faces. They also have circular shadows. The model itself can be found in the July 2020 leak as well.
- The skybox looks completely different, with a more purple-ish sky and simpler cloud layer.
- When Mario is riding Hoot, the camera does not rotate above him and Hoot moves up slowly.
|
Shoshinkai '95 |
Final |
|---|---|
|
|
(Source: Pocketneogeo's C-Band Wild Feed (1:38))
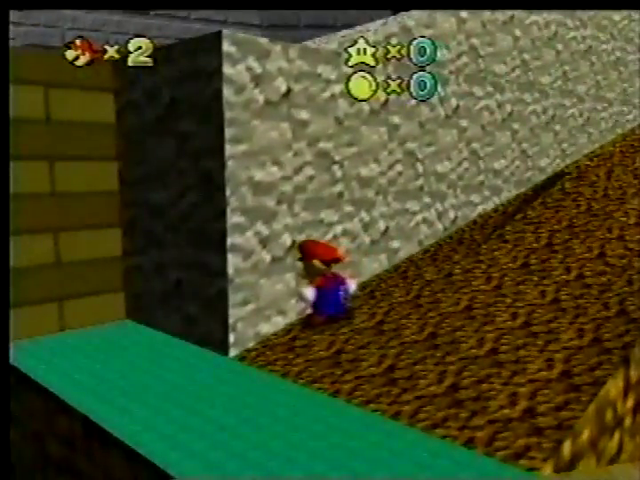
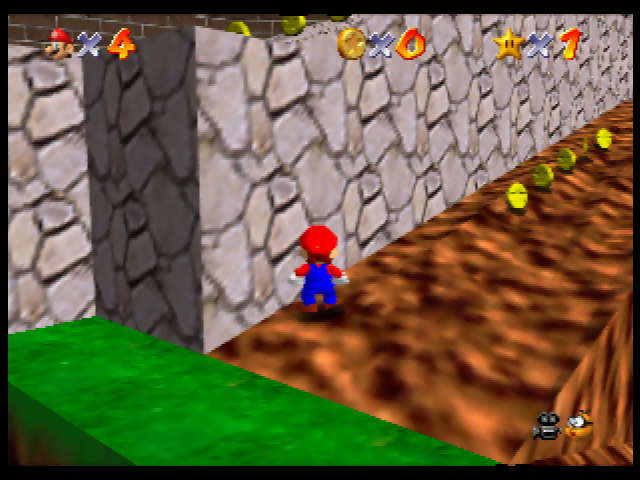
- The grass on the elevated dirt ground has different UV mapping; the texture is much smaller than the final, looking almost like a solid green.
|
Shoshinkai '95 |
Final |
|---|---|
|
|
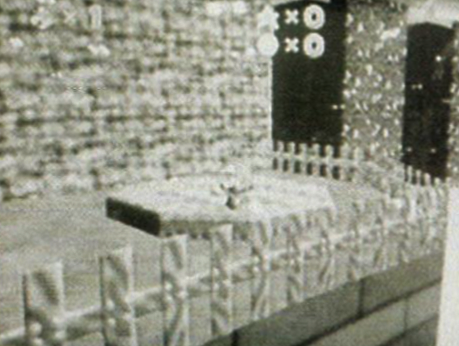
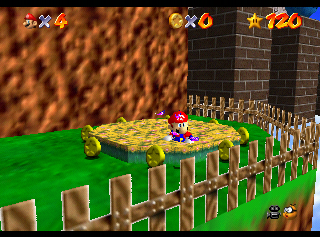
- The coin ring and butterflies around the farthest flower bed don't exist yet.
|
Shoshinkai '95 |
Final |
|---|---|
|
|
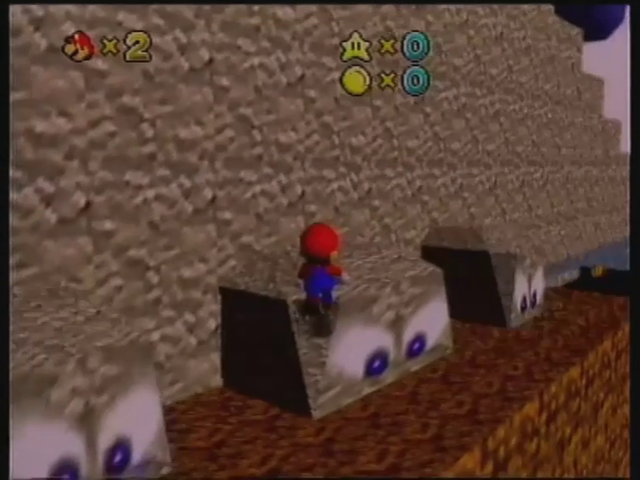
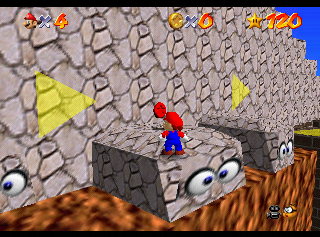
- Bomps have a different design.
- The wide Bomp has been added to this course.
- There's one coin above each of the sliding platforms.
- All of the yellow guide triangles on the walls and floors are missing, they were added very late in development.
|
Shoshinkai '95 |
Final |
|---|---|
|
|
(Source: Bad Influence Series 4 Episode 14 (9:38))
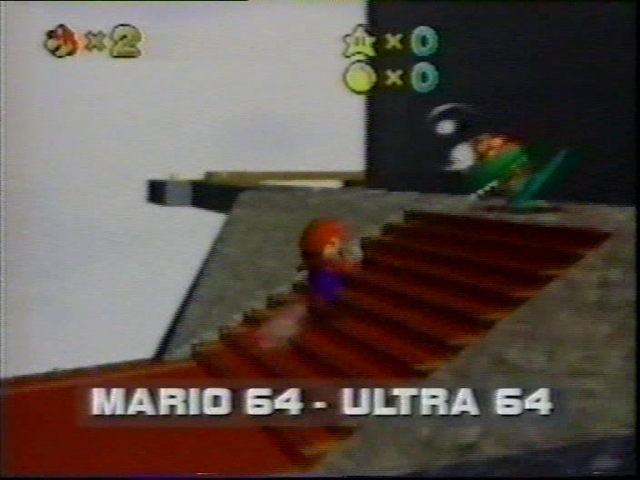
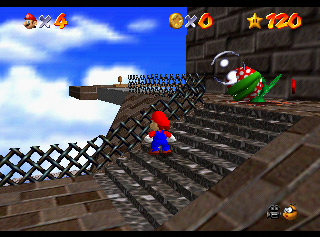
- The path before the Piranha Plant is a red carpet.
- The fence near the Piranha Plant is missing.
- Piranha Plants have completely different sound clips for biting. The animation for them sleeping also shows their teeth. The older version of the animation can be found in the July 2020 leak.
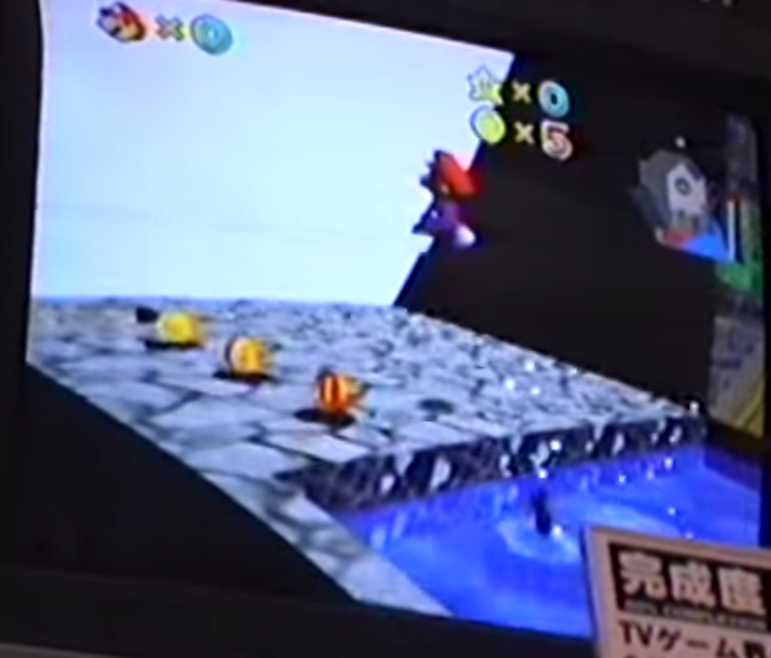
- A fish jumps out of the water when Mario jumps near the cannon. This is an early version of the fish easter egg, which was tied to an object in the level instead of happening when Mario makes a splash. The behavior for this object was found in the Gigaleak.
- One other fish resembling Bub also appear in the same spot, which was removed from the final.
|
Shoshinkai '95 |
Final |
|---|---|
|
|
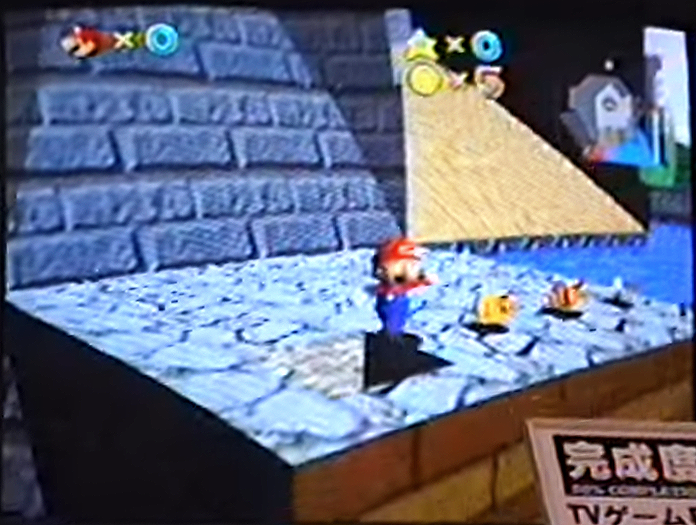
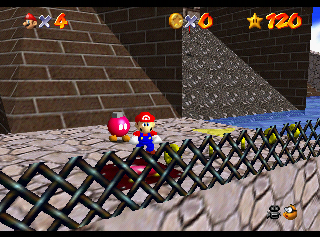
- There are no fences right next to the cannon and the Blue Coin switch area.
- The Bob-omb Buddy near to the cannon is missing, and the cannon is always open.
- There are three coins instead of five.
|
Shoshinkai '95 |
Final |
|---|---|
|
|
(Source: Pocketneogeo's C-Band Wild Feed (1:50))
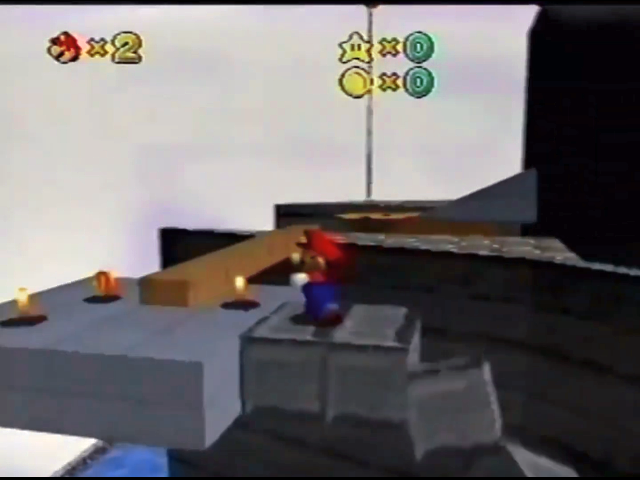
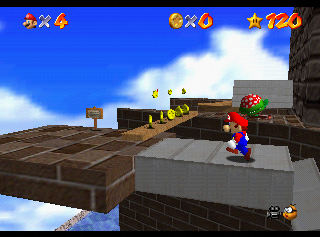
- There are three coins on the platform with the wooden plank that were later removed.
- The platform with the plank is smaller, and the sign on that same platform is missing.
- There are no coins on the wooden plank. The plank is also thicker and placed closer to the middle of the platform.
- The small hazard slope near the rotating wooden platform has a different shape.
- The giant pole is in a completely different spot and is much shorter than the final.
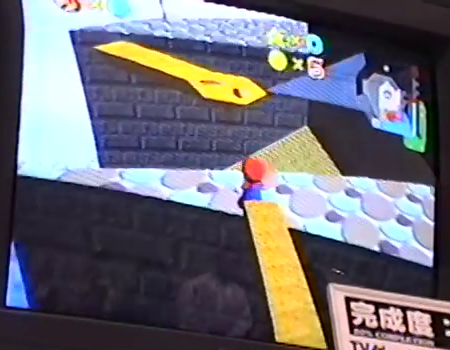
- The rotating wooden platform has eyes.
Shoshinkai '95 |
Final |
|---|---|
 |
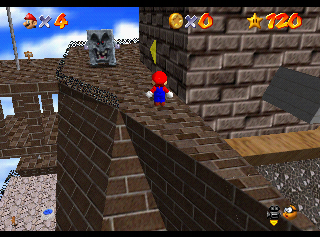 |
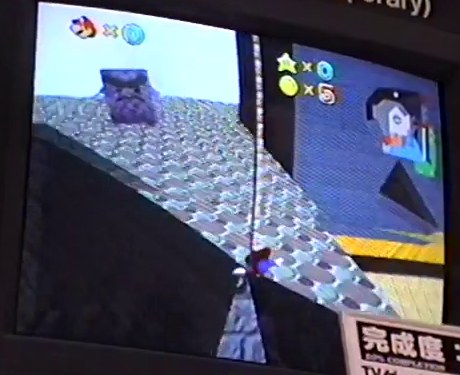
- Whomps have a completely different set of textures. This model is also found in the July 2020 leak.
- The fence near the first Whomp is missing.
- The giant pole can be seen here, at another angle.
- The "Shoot Into the Wild Blue" area isn't there.
Shoshinkai '95 |
Final |
|---|---|
 |
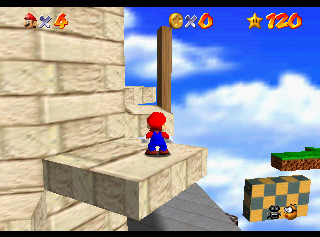 |
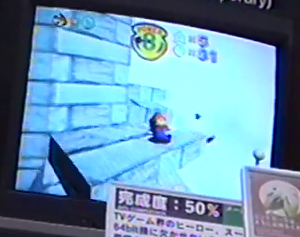
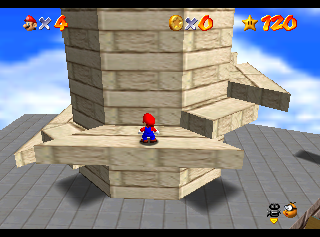
- The tower's steps are triangular instead of rectangular. Similar triangular steps from a later build are still present in the final game, unused.
- To reach the highest point of the level, Mario would climb a pole instead of the 2 rotating elevator platforms.
- The floating platforms with the red coins and the giant wooden board have not been implemented yet.
- There's a Star above a floating island that appears to be an early version of the "Fall Onto the Caged Island" Star. That Star's placement can be found in the Gigaleak
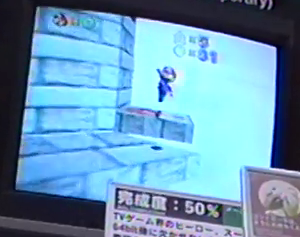
- The tower's highest platform has what seems to be a red question mark on its top surface.
Fire Bubble (Lethal Lava Land)#
Arriving at this level, the text box reads:
Text |
Translation |
|---|---|
|
|
(Translation: GlitterBerri)
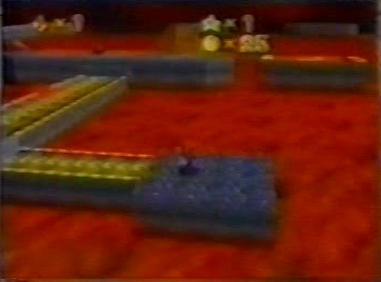
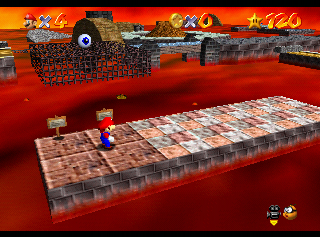
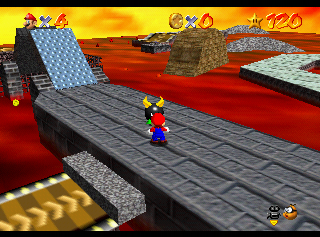
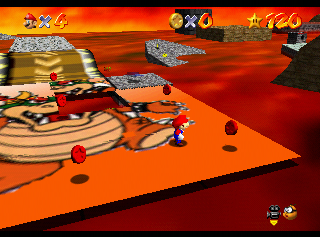
This map is mostly similar to the final. Features are present such as Mr. I, the sliding puzzle, the collapsing and tilting platforms, and the volcano exterior.
- A more menacing red-and-black skybox is used.
- The lava isn't separate from the level model, and thus doesn't move like the final.
- The volcano interior hasn't been implemented yet; attempting to enter the volcano burns Mario.
Shoshinkai '95 |
Final (Starting Platform) |
Final (Right Path) |
|---|---|---|
 |
 |
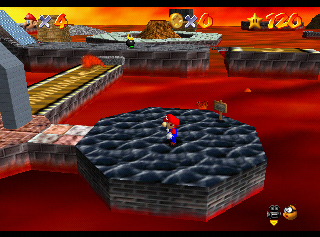 |
- Mario's starts on what is the right path in the final, as the final's starting platform doesn't exist yet. It's also longer, with a smaller, square shaped platform.
|
Shoshinkai '95 |
Final |
|---|---|
|
|
(Source: Cyberflash TV Show: Episode 32 (2:40))
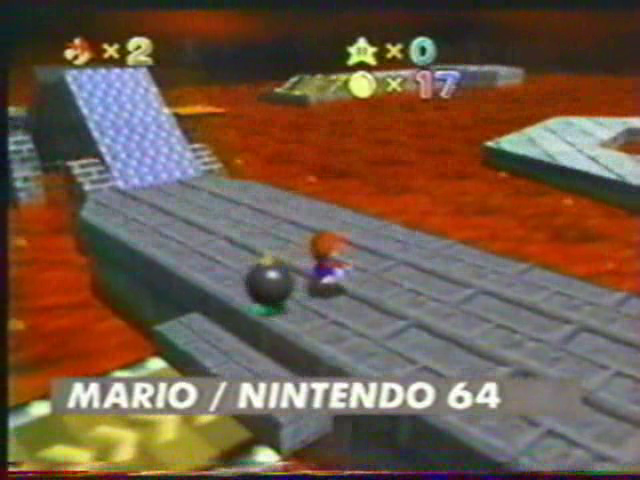
- Bullies only have one spike atop their head, like Chill Billies, instead of two curved horns. These early Bullies can be found in the July 2020 leak.
- There is no line of coins under the drawbridge.
- None of the rock structures containing 1-Ups or coins are implemented yet.
|
Shoshinkai '95 |
Final |
|---|---|
|
|
(Source: Pocketneogeo's C-Band Wild Feed (1:29))
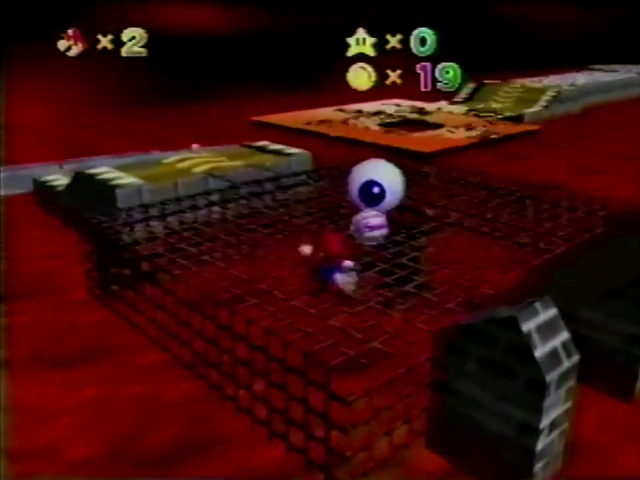
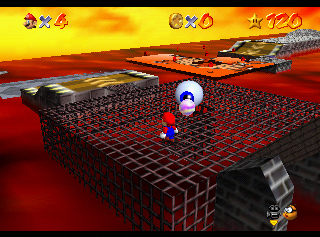
- Mr. I's bubble projectile has a different texture.
- There is no teleporter in the hole underneath Mr. I.
- There are no red coins on the puzzle.
|
Shoshinkai '95 |
Final |
|---|---|
|
|
(Source: ニンテンドウ64世界初公開当時の模様 (1:50))
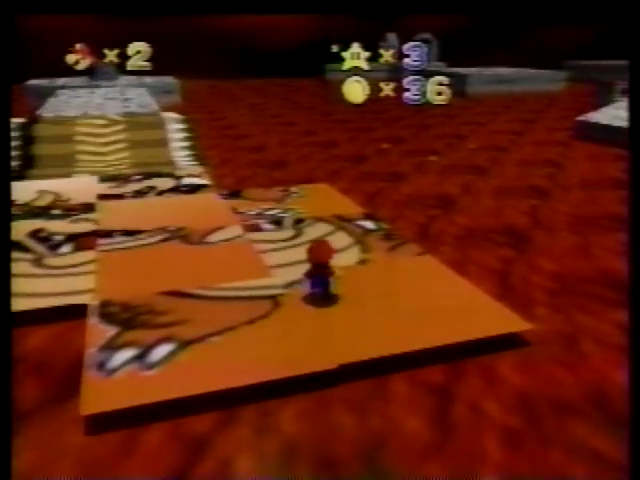
- All of the wooden platforms with arrows have different texture mapping on the sloped part.
- The hexagonal platform and Fire-Bar block have much higher draw distance than the final game.
- There is no Big Bully on the upmost platform. Instead, the Star and falling blocks are always present. That same platform has arches and a left turn that were eventually removed.
Snow Slider (Cool, Cool Mountain)#
Level intro text:
Text |
Translation |
|---|---|
|
|
(Translation: GlitterBerri)
- The music for Bob-omb Battlefield plays in the level. When Mario enters the slide, the music restarts, as both maps share the music.
Outside#

(Source: Joypad Issue 49, Page 82 (January 1996), Bravo TV - Nintendo 64 (Computermesse) (01/28/1996) (1:08))
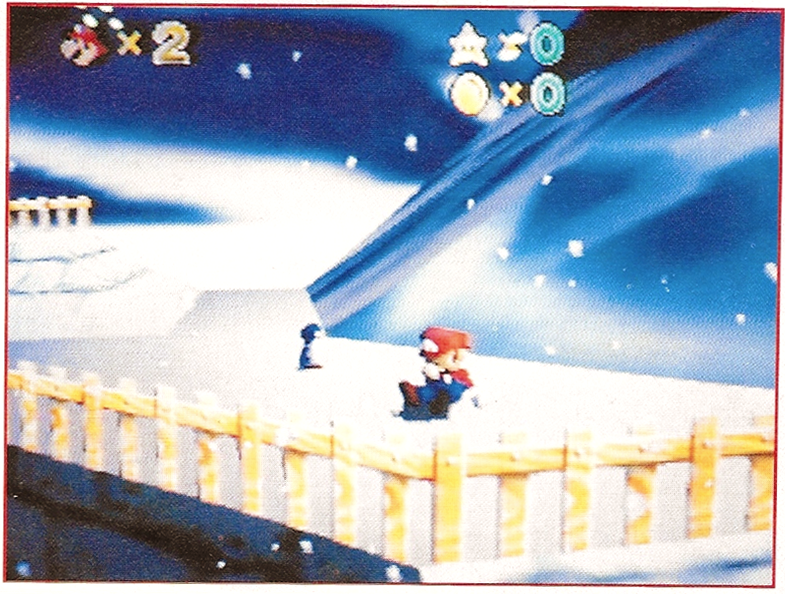
- Mario begins near the top of the mountain, which is made of ice and has a white stone texture on its side. The entrance for the slide is a hole atop a trapezoidal polygon with an igloo texture, similar to a cannon hole. One penguin is present, like the final game.
- Baby penguins don't cry when being held.
(Source: Micom Basic (マイコン BASIC) - January 1996 - Page 139, Joypad International Suplement 49 (Jan 96) - Page 7)
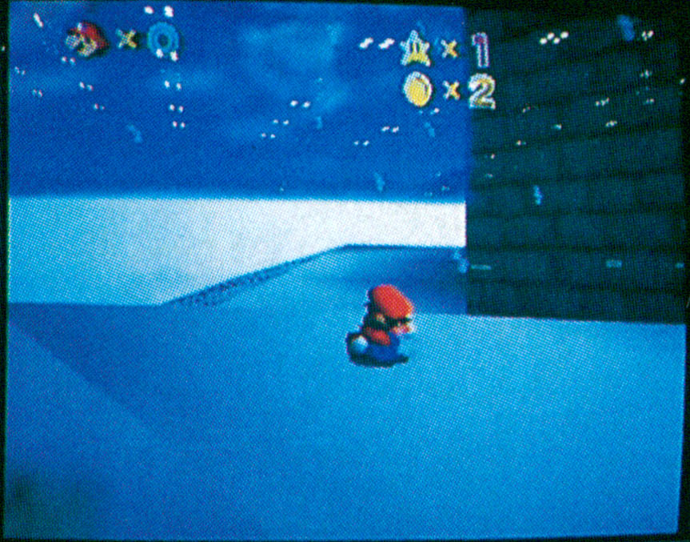
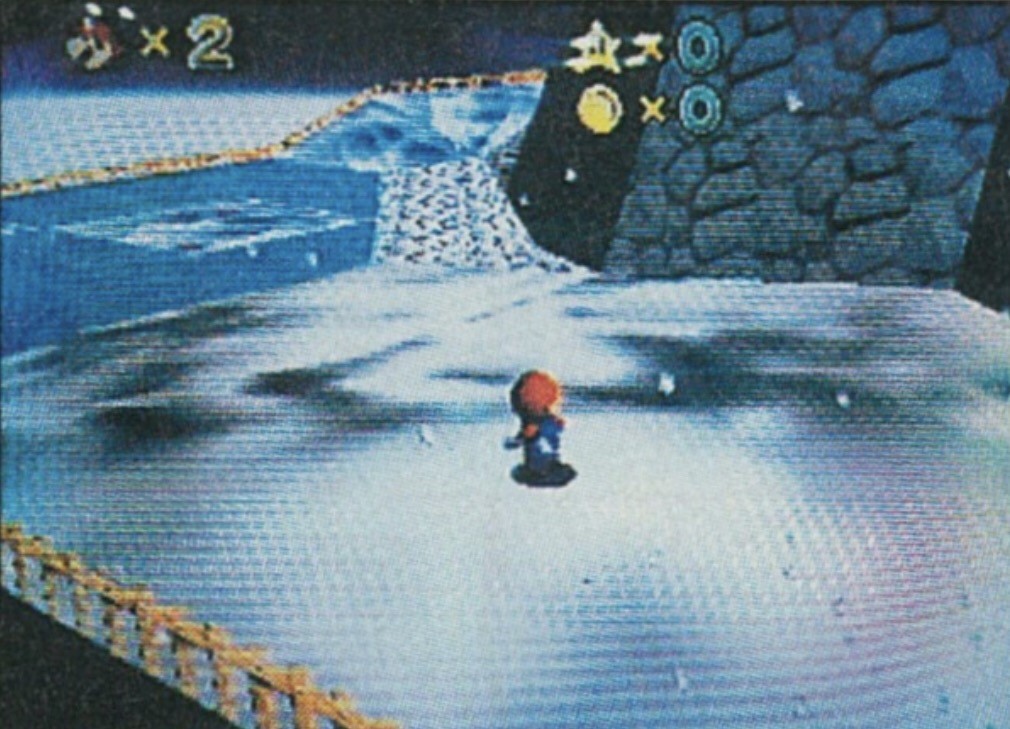
- The level appears to be much larger than the final, with the entire bottom of the level being able to be walked around.
- There don't seem to be any Mr. Blizzards or Spindrifts in this version.
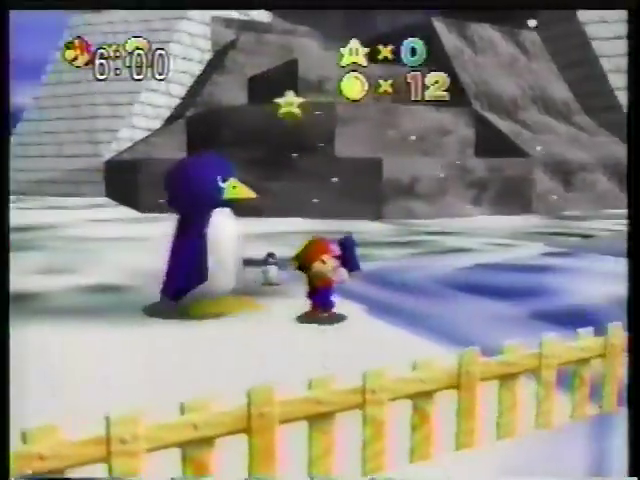
(Source: ゲームカタログ2 1995年12月02日 (0:11))
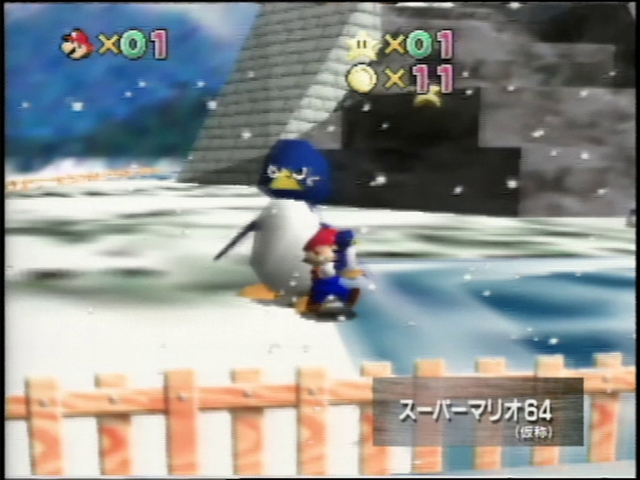
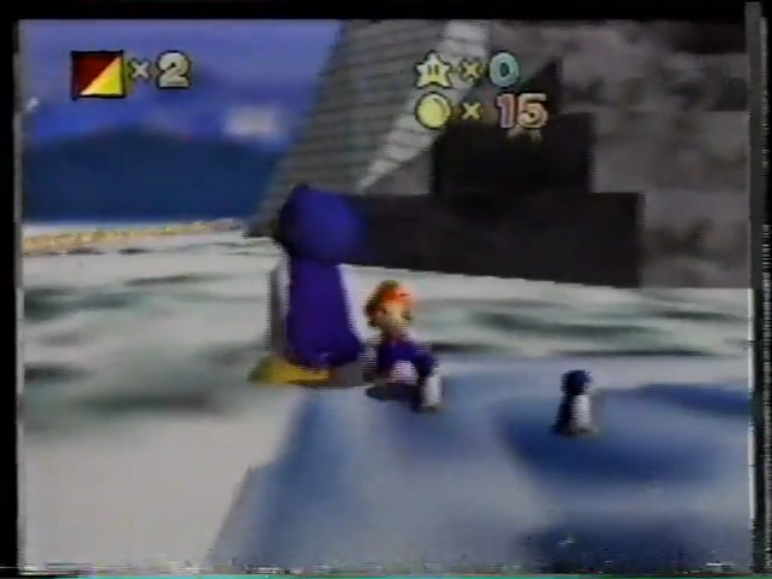
- The lower part of the course is composed of a white brick texture, intersecting with a stone pyramid structure behind the penguin area. These textures were later replaced by the cabin and other wooden structures. The flat area of the level essentially resembles the final version, with penguins, an ice pool, and a floating Star in roughly the same location as the one in Little Penguin Lost.
- Penguins use a different model with simpler looking eyes and a thinner torso. This model can be found in the July 2020 leak.
|
"POW" Build |
Shoshinkai '95 |
|---|---|
|
|
(Source: Promotional Video (Software) - Nintendo 64 B-Roll (1995) (3:45), Games World on The Computer Channel Episode 06 (1996) (5:52))
- The skybox was changed since the B-roll builds. It appears to be from the same source image, but reformatted.
Slide#
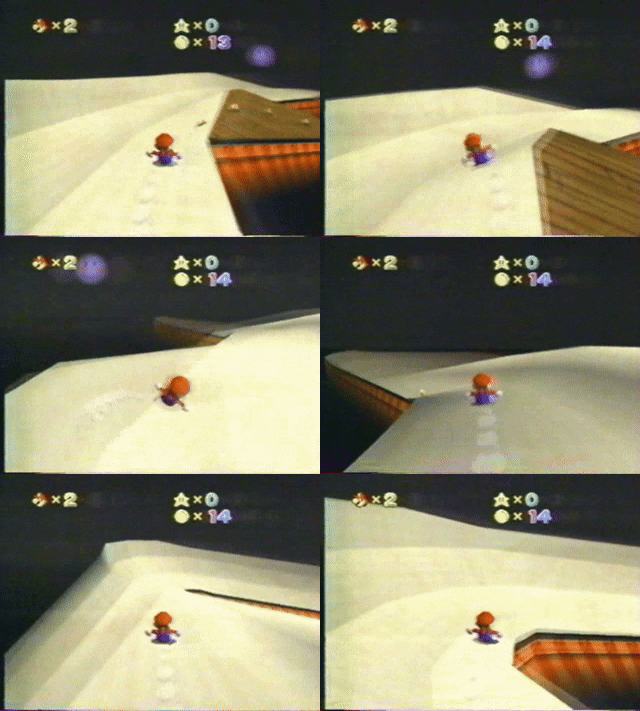
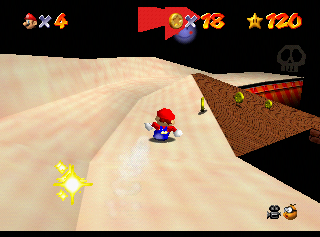
- The slide area seen in this demo would later be repurposed for Tall, Tall Mountain in the retail release.
- Mario doesn't race a penguin at all in the slide. This is interesting given that the Racing Penguin was added to the game early in development, as it is listed in stage/tag.cnf.
|
Shoshinkai '95 |
Final |
|---|---|
|
|
(Source: Cyberflash TV Show: Episode 32 (3:10))
- There's a second route in the slide that was replaced with a dead end in the final game.
- The arrows pointing to the right turn are missing, as the turn was not mandatory.
Shoshinkai '95 |
Final |
|---|---|
 |
 |
 |
 |
 |
 |
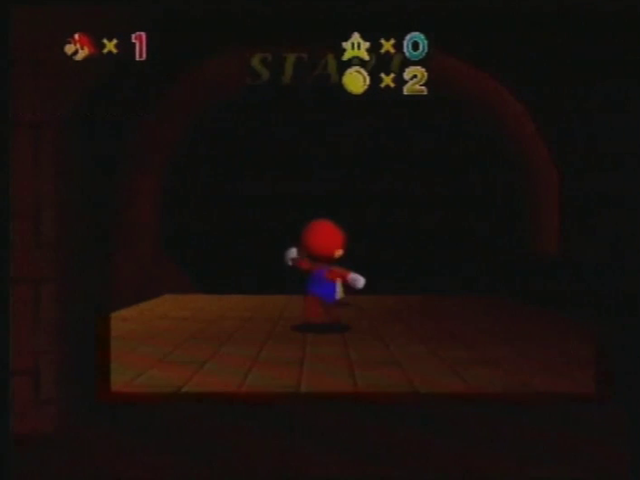
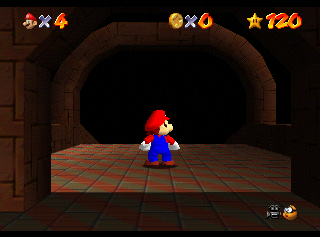
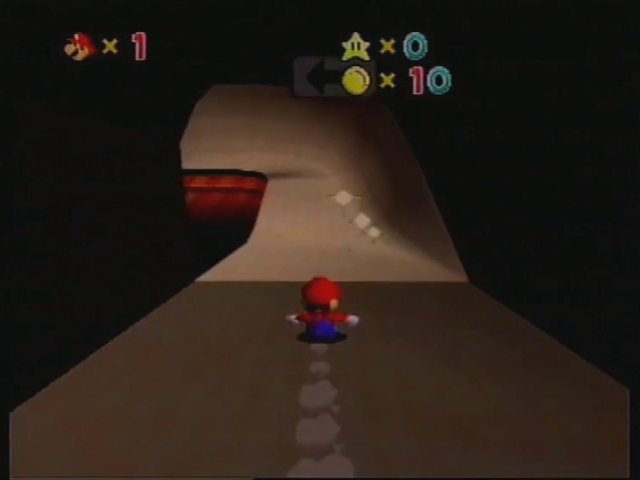
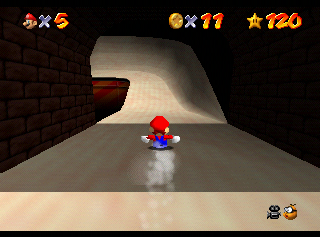
- Three guiding elements are present in the slide: START on the first arch, a left arrow sign in the first tunnel and JUMP at the very end. All of these were removed in the final game, except for the collision of the left arrow sign.
Water Land (Dire, Dire Docks)#
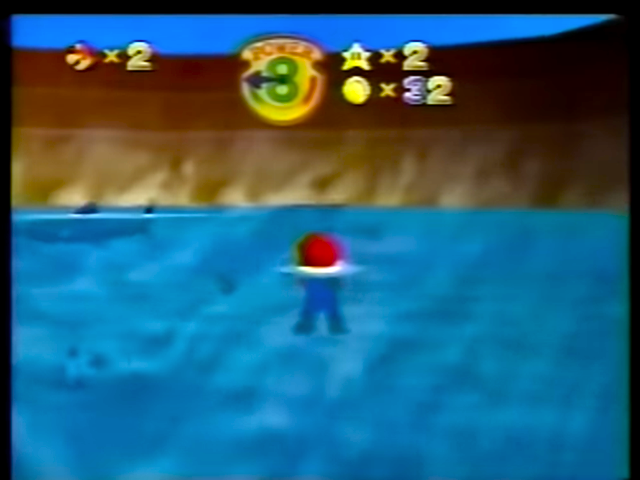
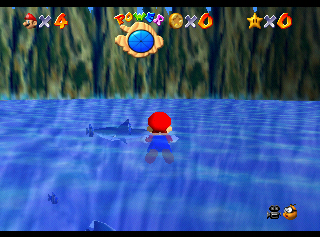
- A text box appears when Mario first falls into the water, but both instances where it's shown the text can't be made out, in one instance the text was cut out, while another is too blurry to read.
|
Shoshinkai '95 |
Final |
|---|---|
|
|
(Source: ニンテンドウ64世界初公開当時の模様 (1:58))
- The water uses a different texture that is colored cyan rather than the final's blue.
- Sushi is quite different. Its body is segmented and uses unique textures compared to the final game. The old textures and model can be found in the July 2020 leak.
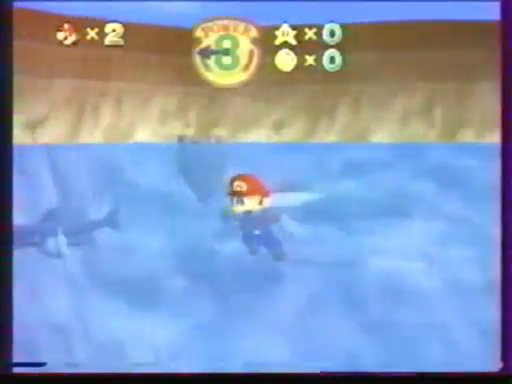
- Instead of gray, striated cliff faces, the texture on the outer walls is bricks layered on top of light brown stone.
- The skybox is solid blue with a few clouds.
(Source: Cyberflash TV Show: Episode 1 (2:45))
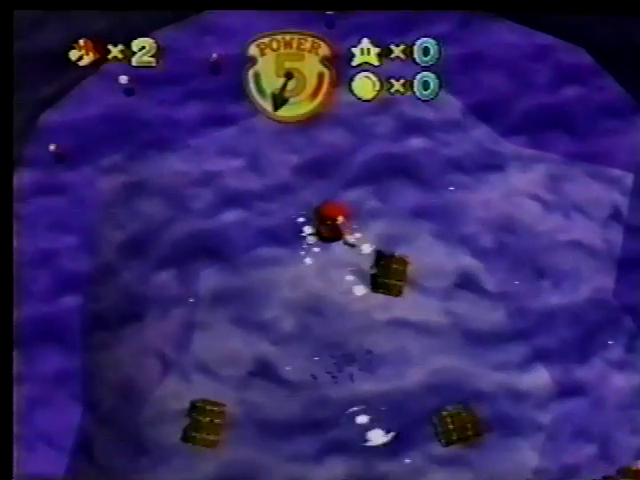
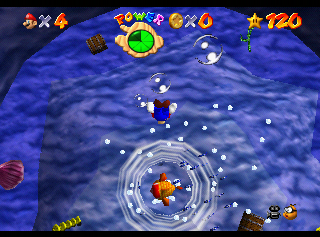
- There is a small platform at the beginning of the level that doesn't exist in the final game.
|
Shoshinkai '95 |
Final |
|---|---|
|
|
(Source: Pocketneogeo's C-Band Wild Feed (0:46))
- The chests at the beginning of the level do nothing but release bubbles. This object behavior is present but unused in the final game. The chests have a different rotation every time you enter the level.
- There are 3 chests instead of 4 and all of them are placed on the higher ground.
- The whirlpool hasn't been added yet.
- The seaweed, clam, and chests on the lowest ground are all missing, with a bunch of coins in their place. The vertical coin lines are also missing.
|
Shoshinkai '95 |
Final |
|---|---|
|
|
|
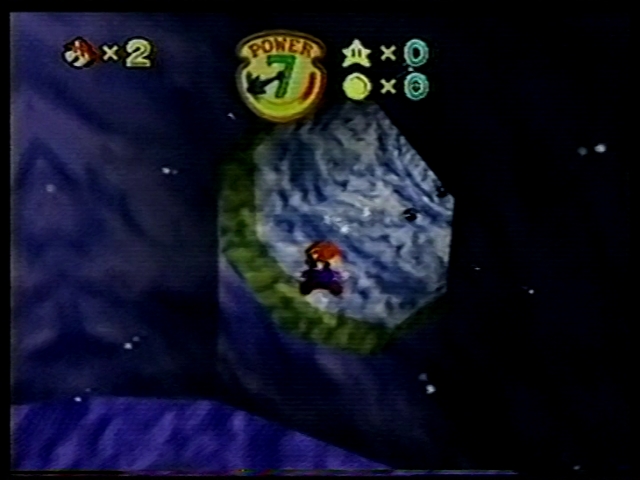
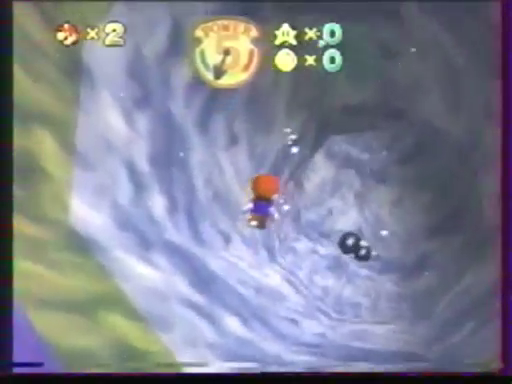
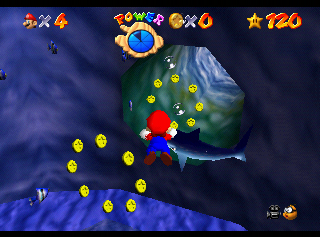
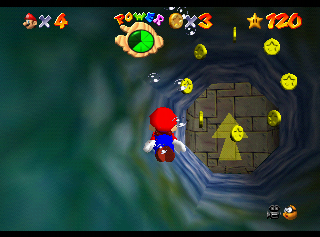
- The final's unused Water Mine is placed at the start of the tunnel.
- The entrance of the tunnel has a yellow edge.
- All of the coin rings are missing.
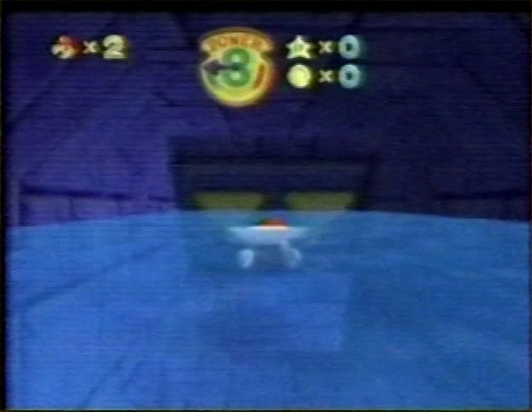
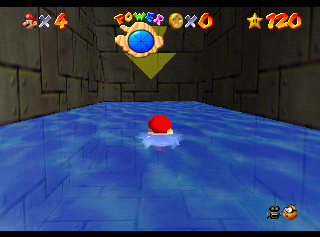
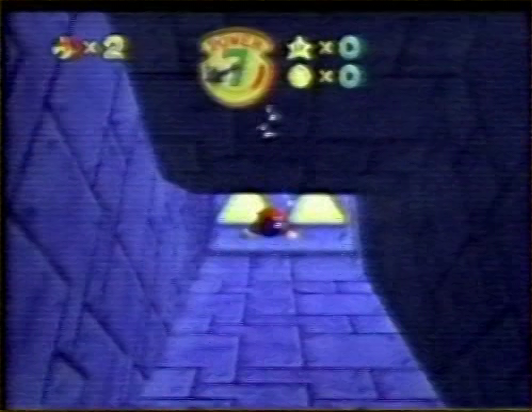
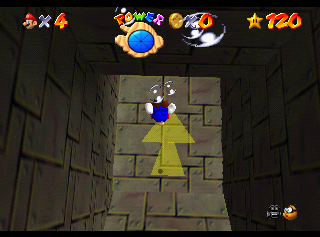
- The first ascent of the tunnel still uses the blue rock wall texture, and has no yellow arrow.
Shoshinkai '95 |
Final |
|---|---|
 |
 |
 |
 |
 |
 |
(Source: Gamesmaster Series 5 Episode 15 (21:00))
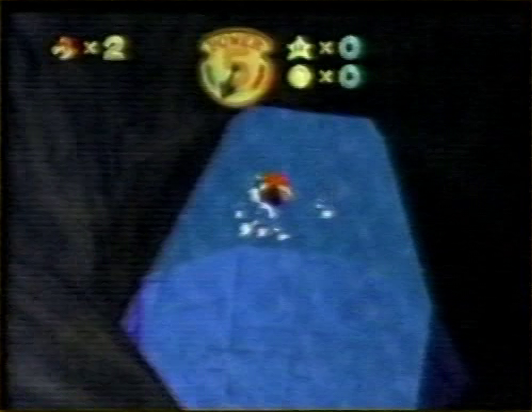
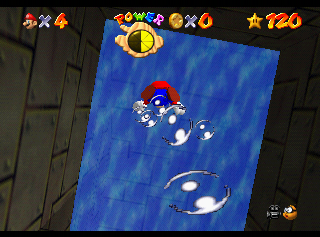
- The tunnel is more narrow and less square than the final.
- The metal plate wall texture is blue.
- Both yellow arrows are represented by simpler pairs of triangles.
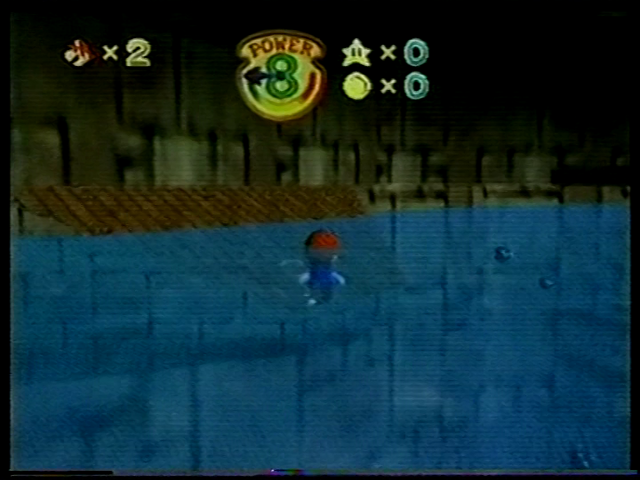
- Water mines are also scattered near the submarine.
|
Shoshinkai '95 |
Final |
|---|---|
|
|
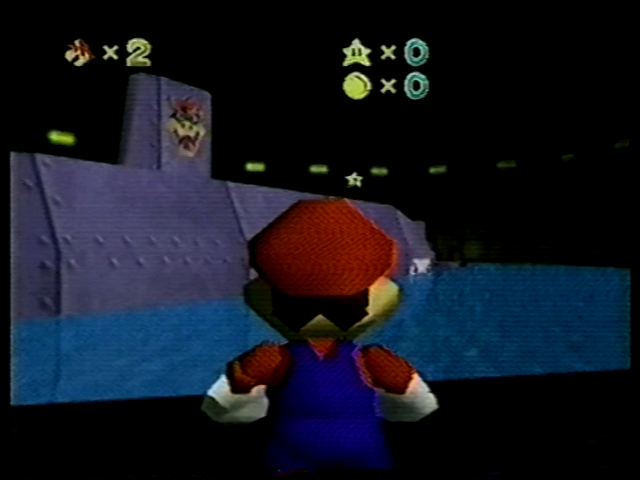
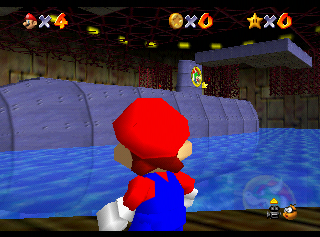
- The submarine is rotated 180 degrees, has a different Bowser symbol based on Super Mario Bros. 3 artwork, and has "KOOPA" written on the side.
- The metal plate texture on the submarine appears to be a higher resolution (64x32 instead of 32x32), with more bolts than the final.
- The gates and platforms used for the Red Coin Star don't exist yet.
Shoshinkai '95 |
Final |
|---|---|
 |
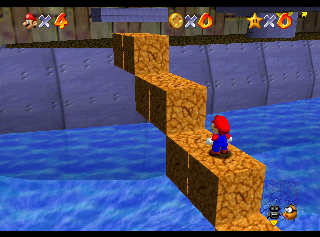 |
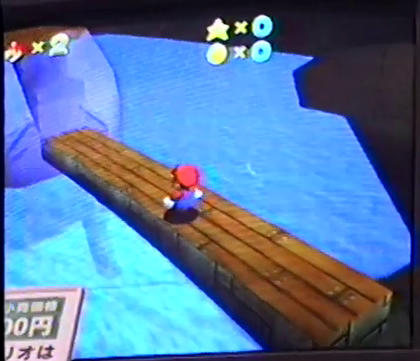
- Getting to the submarine is different, there's a bridge connecting to the front of the sub with two metal blocks to climb, while the final requires pressing a switch to spawn timed breakable boxes on the side of the sub.
Shoshinkai '95 |
Final |
|---|---|
|
|
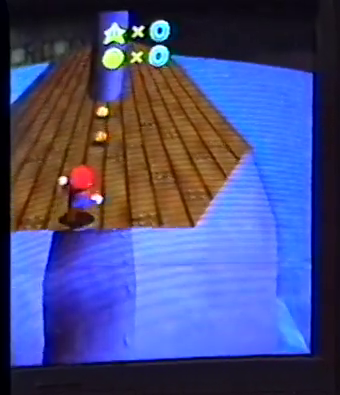
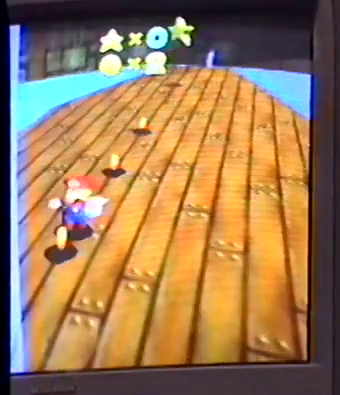
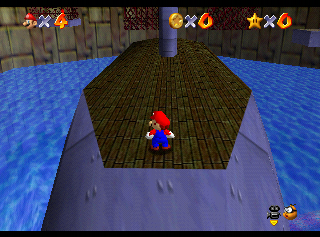



- There are a total of 5 coins on Bowser's Sub: two of them next to the climbable metal blocks, and three of the coins where the Power Star is.
- The wood texture is different.
- The Star is much farther from the conning tower.
Koopa 1 (Bowser in the Dark World)#
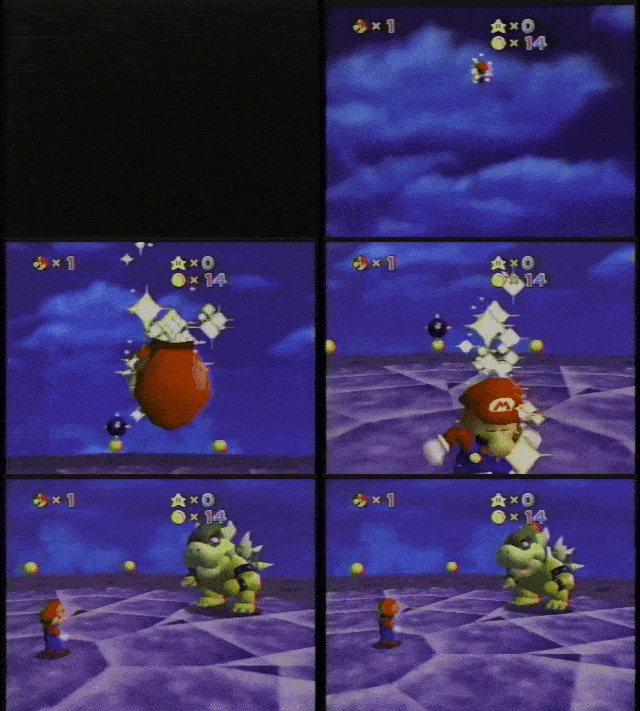
As previously mentioned, Bowser in the Dark World was originally named "Koopa 1". Only the boss area is included, as the prior platforming stage isn't part of the demo.
|
Shoshinkai '95 |
Final |
|---|---|
|

|
(Source: トゥナイト2 1995年11月27日 次世代ゲーム機 (3:19))
- The cutscene when entering the level focuses on Mario as he's falling into the stage (from much higher up), and after landing it jump cuts to both Mario and Bowser on-screen in a different angle than the final. There's no dramatic reveal of Bowser and he has no dialog.
- The skybox is completely different, featuring a dark blue sky nearly covered with clouds.
- Bowser's model and textures have been finalized.
- The camera doesn't stay stuck in first-person mode after Mario is set on fire by Bowser. The glitch from the B-Roll builds was fixed.
|
Shoshinkai '95 |
Final |
|---|---|
|
|
(Source: ニンテンドウ64世界初公開当時の模様 (2:14))
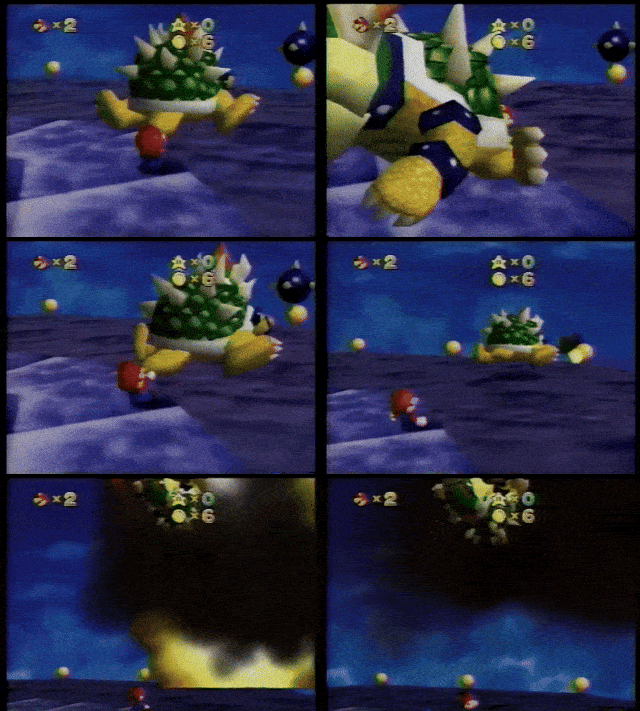
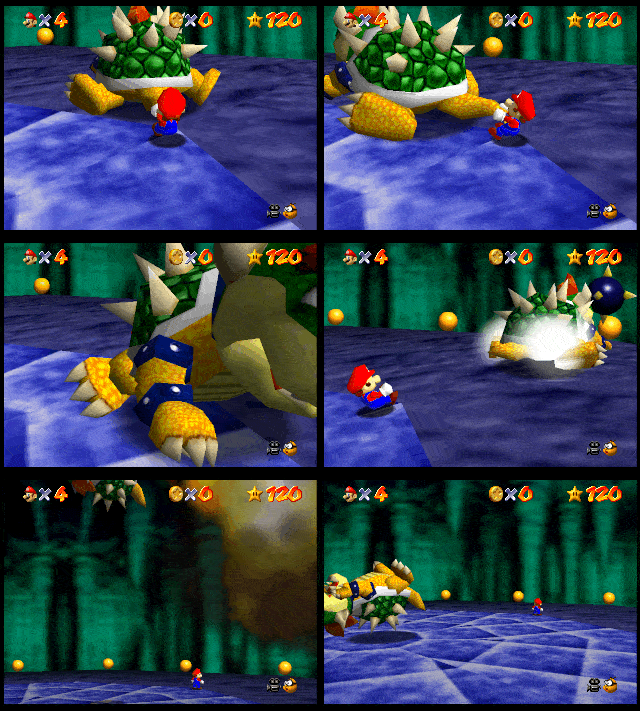
- Bowser's shadow disappears when Mario holds him by the tail. The camera is also positioned higher when Bowser is being held.
- The knockback after Bowser hits a bomb is much less aggressive.
- Bowser's eyes remain open after hitting a bomb.
- The smoke that comes out of the bomb is opaque and animated instead of transparent and static.
|
Shoshinkai '95 |
Final |
|---|---|
|
|
(Source: Bad Influence Series 4 Episode 11 (9:38))
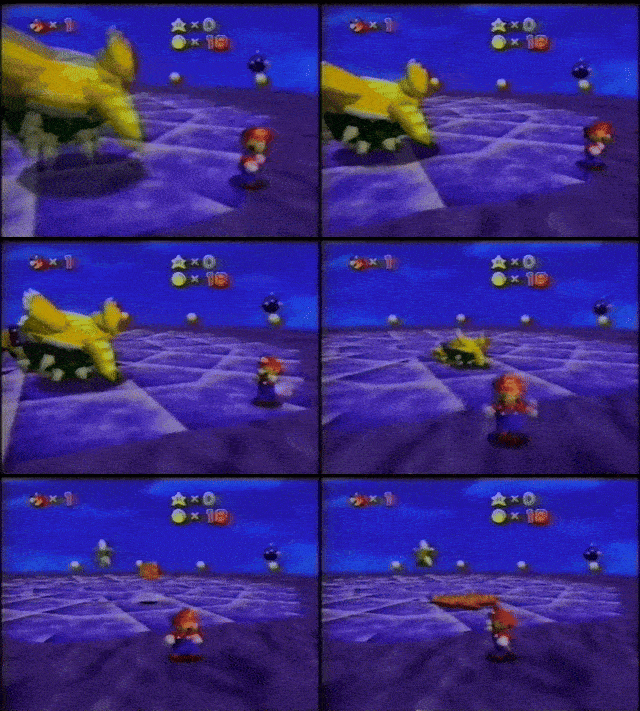
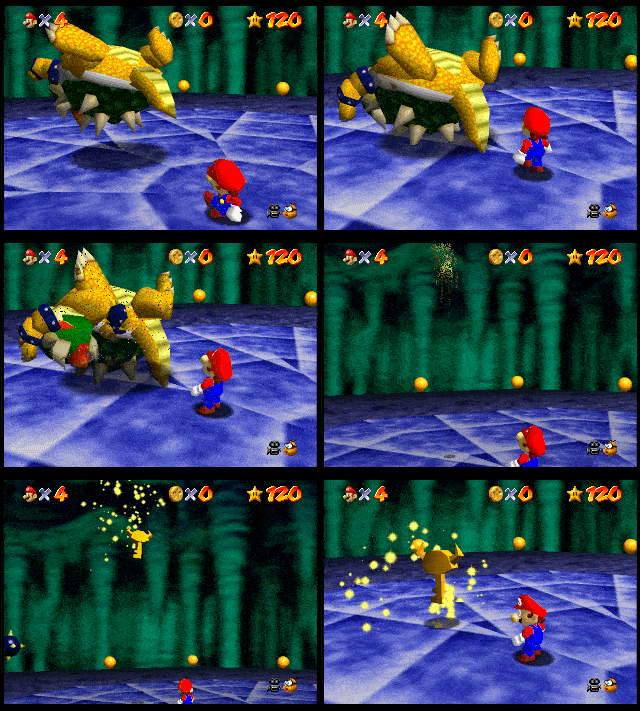
- There are no dust particles when Bowser bounces off the ground.
- After Bowser is defeated, he shrinks on the ground, drops 20 coins and spawns a Star (without any fanfare or animation), as opposed to shrinking and spinning while floating into the air and then dropping a Key. Like the opening cutscene, he also has no dialog. Even if Bowser doesn't drop coins in the final game, 20 particles using the coin model spawn from the key explosion, indicating the removal of the coins may have been a late change.