 This article has a talk page!


Resources#
 Yo-kai Watch 2 LeftoversLeftovers from a whole another time period.
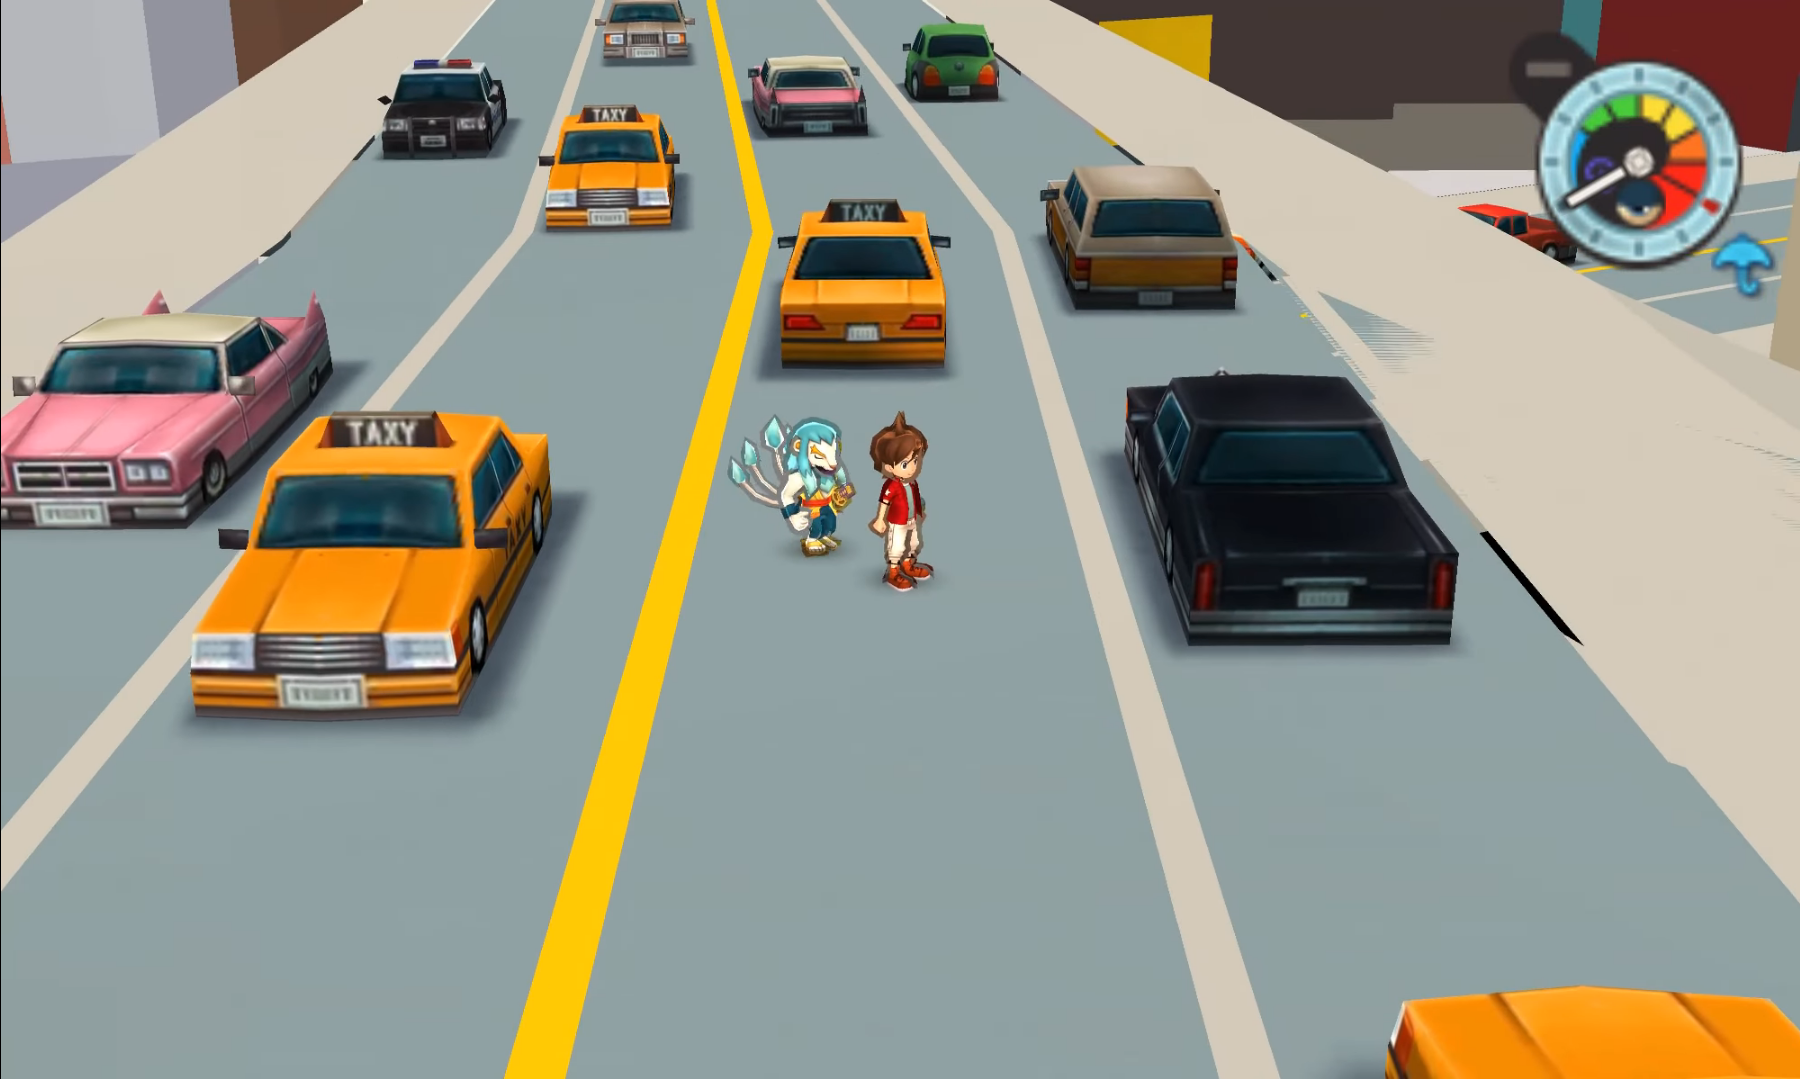 Unused AreasEverything was bigger in BBQ.
 Translation ErrorsFive languages. Few localizers. A lot of errors.
Version Differences#
 Regional DifferencesWellcome to
 Revisional DifferencesA lot of updates, bugfixes, and eventually quality-of-life elements.
Unused Yo-kai#
Sternyan (y491000)#
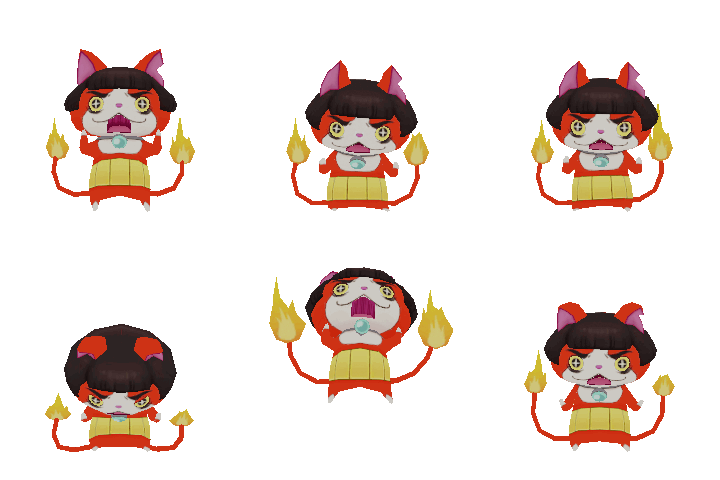
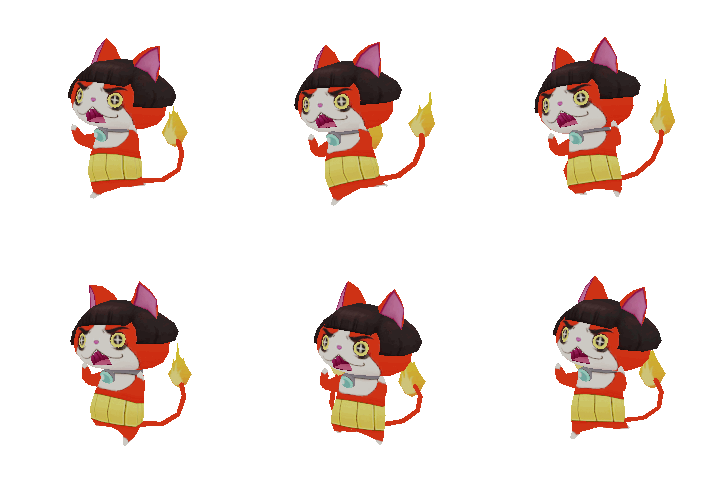
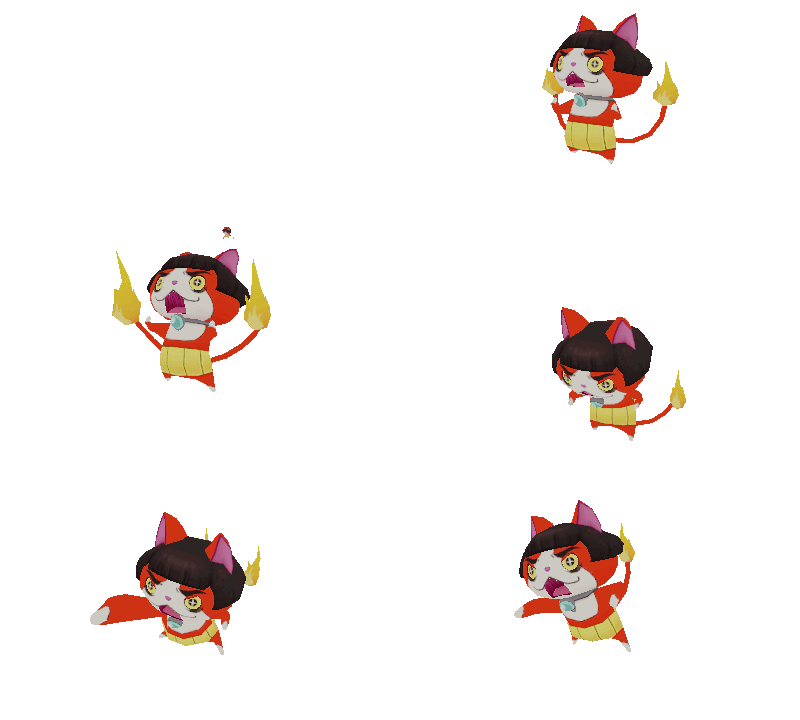
Originally added in Yo-kai Watch: Wibble Wobble, Sternyan is a Jibanyan variant with a black haircut and more erratic yellow flames. His location in the game files is y491000, between y489000 (Aristokat) and y501000 (Krystal Fox) , which means he was likely added between Yo-kai Watch Blasters and Yo-kai Watch 3. Even though he has attack and Soultimate animations, he doesn't have any stats in combat.
Unused Graphics#

|
To do: |
Placeholders#
Inside yw_a.fa/data/menu/mm_medal_d00.xa a placeholder graphic of the Team Members option can be found, compared to the version used in game the text says "探索メンバー" and has "仮" (Temporary) on top.
Used |
Unused |
|---|---|
 |
 |
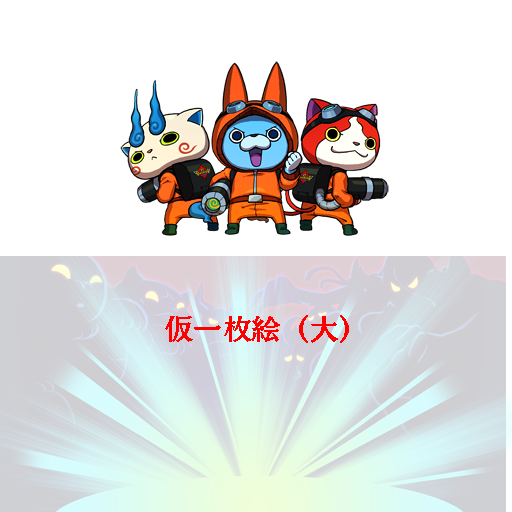
In yw_a.fa/data/event/ev_pic/kari_ev_pic_big.xa, an image of one of Yo-kai Watch Blasters cutscenes can be found, the text on the background can be translated as "Temporary image (Big)"
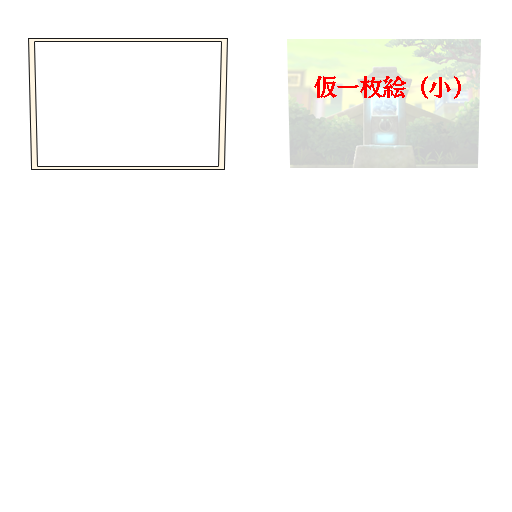
Same as the previous image, this can be found in yw_a.fa/data/event/ev_pic/kari_ev_pic_sml.xa, this image is also from Yo-kai Watch Blasters, the text on the background can be translated as "Temporary image (Small)"
t407g00 texture#
One of the only textures within t407g00 files, contain a placeholder texture for the Statue of Liberty for the scrapped New York-based location.

Early St. Peanutsburg textures#
|
|
To do: |
In the files of Testmap2 there are unused textures with a lot of early store signs, these have some... funny placeholder text.
Early |
Final |
|---|---|
 |
 |
 |
 |
 |
 |
 |
 |
 |
 |
 |
 |
 |
 |
 |
 |
 |
 |
 |
 |
 |
 |
 |
 |
 |
 |
 |
 |
 |
 |
 |
|
 |
|
 |
Testmapmask textures#
The textures from Testmapmask, these are simple textures, within the files of the map there's also a texture probably related to the skybox.


Unused Music#
bgm_T84_dummy.dspadpcm#
An exact copy of Don Spiracy's battle music, likely intended for him to appear as a boss in Blasters T mode as it shares the same file-naming scheme.
Hidden Details#
Riddle Rooms#
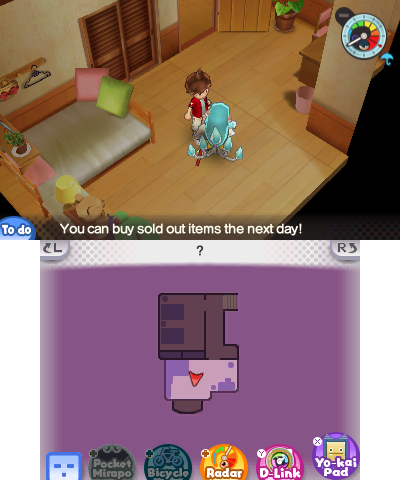
When the player visits the Gates of Whimsy, they can end up in a Riddle Room where they'll be in a first-person perspective. The full rooms have detail, which can be seen by using a save editor. When going downstairs in Katie's room, the player will be teleported in the normal house.
Cutscene-only Locations#
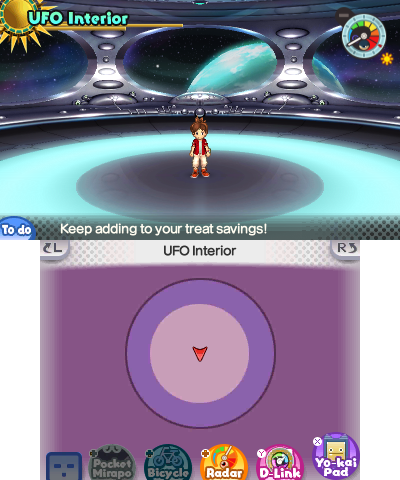
UFO#
This area is only used in a cutscene, so it can't be explored. However, teleporting inside of it reveals that is has collision and a minimap, which cannot normally be seen.


Oddities#
Internal Filenames#
- The music used in the Enma Dungeon is called "bgm_E18_Shinigami_Deamon_loop", likely meaning Shinigami Demon, but no such Yo-kai ever appears in game. The name is likely leftover from when this song, along with multiple others from the game, were originally used in Yo-kai Watch Movie: Lord Enma and the Five Tales. The dungeon theme, specifically, was first the theme for the Shinigami "Demon Okure", hence the filename.
Undocumented Localization Oddity#
|
|
To do: |
There is a peculiar regional difference involving one of the coin graphics, where the "rising sun" is changed from red to orange, while the final credits scene (also involving a rising sun) was also removed. Considering that other non-Korean localizations of Yo-kai Watch-related media kept depictions of the rising sun, this makes it a somewhat inconsistent change and suggests that a Korean localization was likely in the works, or may have been part of a new localization standard hence why Yo-kai Watch 4 introduced textless item graphics in all versions.
Locked Infinite Inferno Entrance#
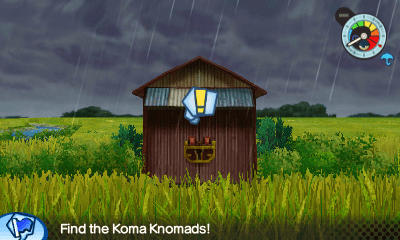
 In previous games, a locked shed that's just beyond Prayer's Peak Tunnel led to a post-game location called Infinite Inferno, which is usually unlocked after completion of the game's storyline. But in this game, the shed stays locked at all times due to another location taking its place.
If the player manages to hack into the entrance, the location will be completely empty without any collision, but the music will still play. Whether it was going to be included in any future content is unknown.
Texture Oddities#
Early St. Peanutsburg Cutscene Layouts#
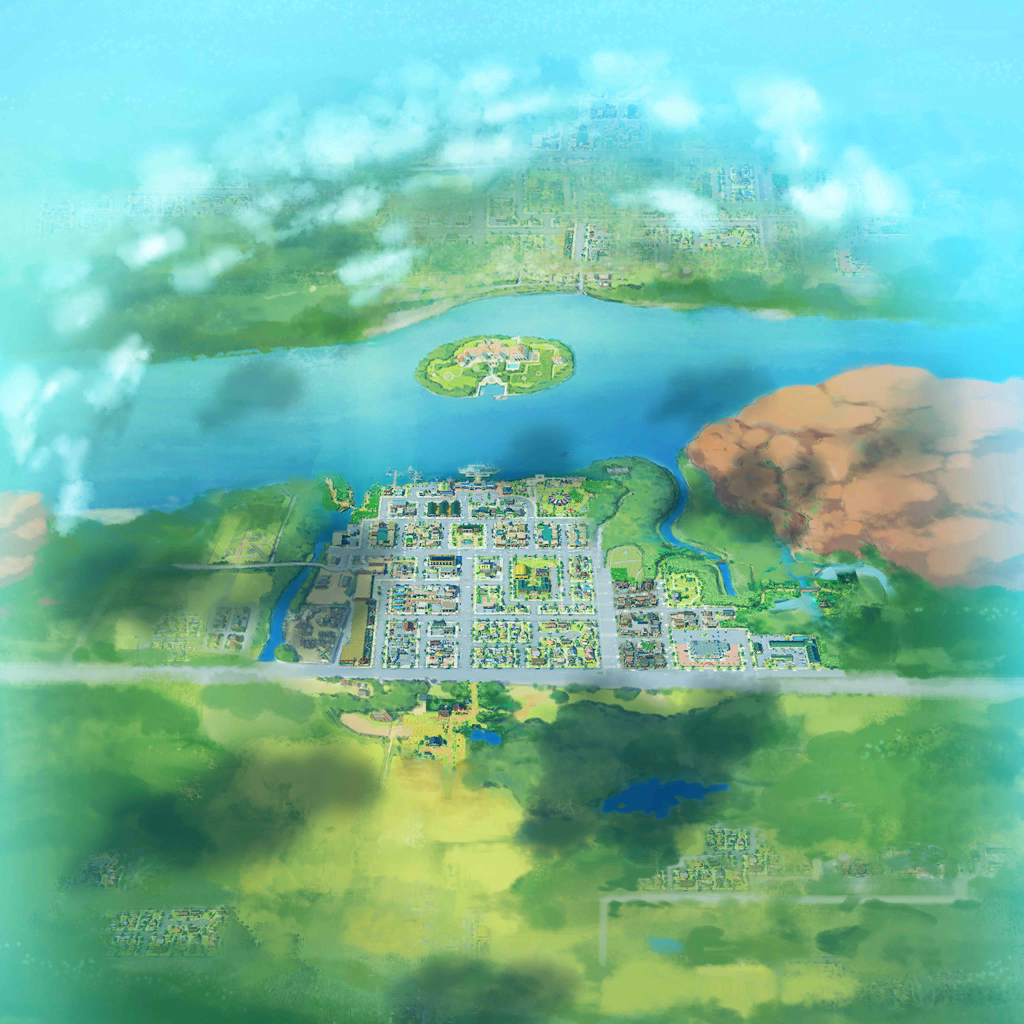
In the cutscene for where Nate rides the plane to BBQ, a slightly earlier layout of St. Peanutsburg can be seen.
Early |
Final |
|---|---|
 |
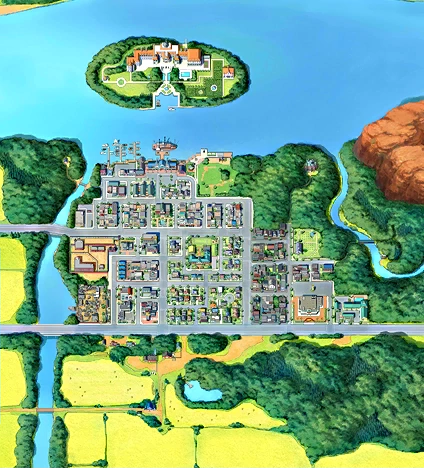 |
There are a few notable, and somewhat last-minute layout changes.
- The "outskirts" consist of cloned and copied roads from St. Peanutsburg.
- The area above the Scrapyard is different, consisting of a sort of foundry rather than some buildings.
- The building below the St. Peanutsburg Town Hall is different.
- There was no sign present in the Phantomart parking lot.
- There was no area leading to the abandoned house in East Pine.
- The Circus was present rather than being introduced in Chapter 4.
- Meadowbrooke Farm had more houses.
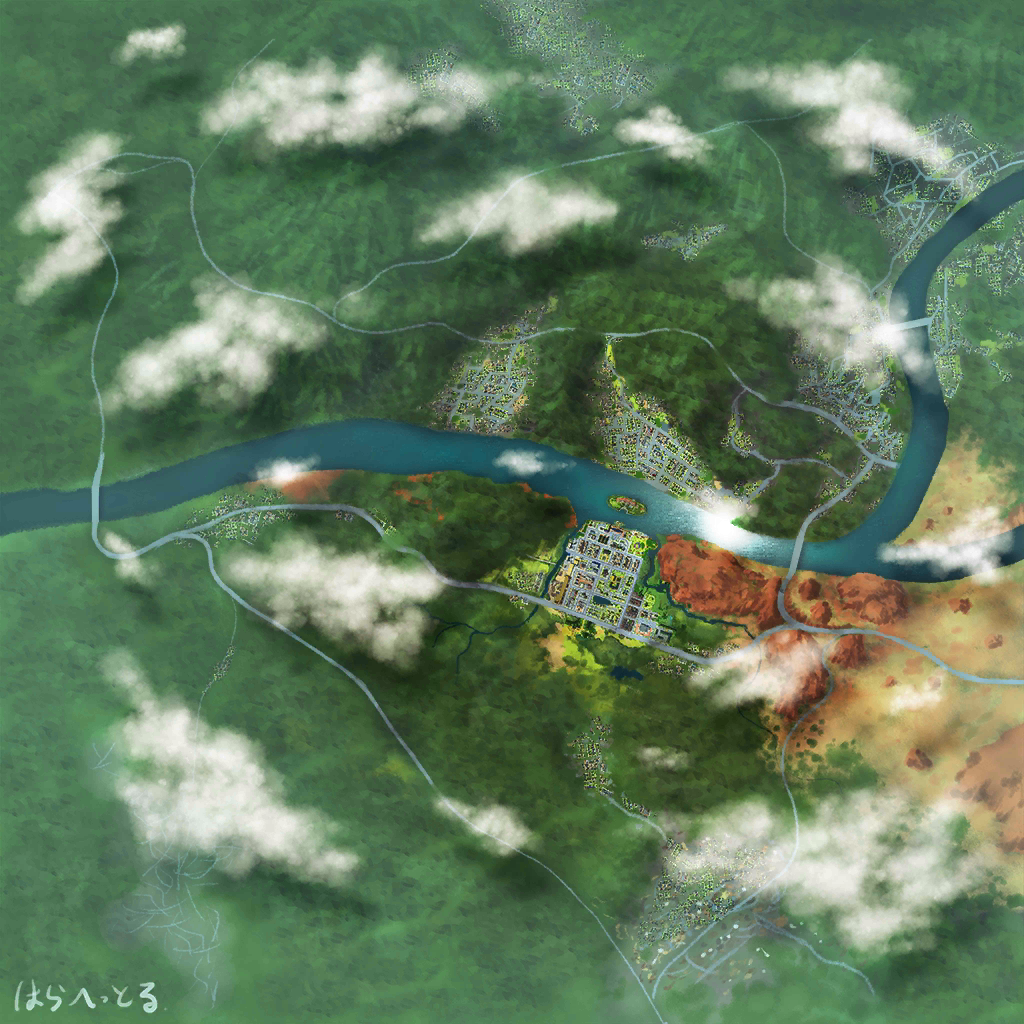
A later cutscene where the UFO crashes to Earth after the final battle with Don Spirancy shows St. Peanutsburg from above shows another varied layout;
Early |
Final |
|---|---|
 |
|
This layout appears to be slightly later in development, but they have a few notable oddities lurking;
- Erroneously, the fields surrounding St. Peanutsburg and Meadowbrooke Farm are absent in comparison to the scale size.
- Much of the surrounding areas in St. Peanutsburg appear to be crudely copied-and-pasted over with the clone tool despite most of it being covered with clouds. There's also some sloppily-drawn scribbled at the bottom-left with text saying "はらへっとる" ("I'm hungry") in Japanese.
- The river layout near the treehouse was slightly different.
Miscellaneous#
- There's a whopping total of 112 placeholder slots for regular Yo-kai appearing after Fitwit's muscular form, and a 26 placeholder slots for Boss Yo-kai. A couple of these slots would be occupied by Yo-kai introduced in Yo-kai Watch Busters 2.
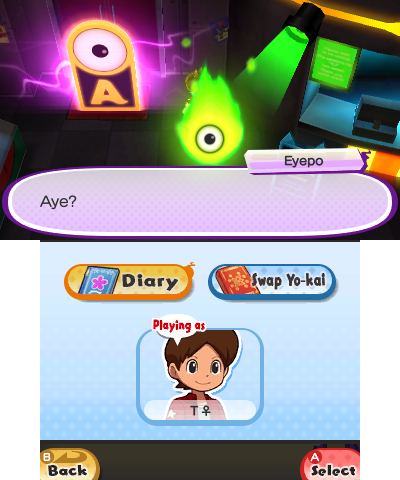
- The Eyepo Menu before you unlock switching. Which is strange that it exists as there are no accessible Eyepo before that point, so you'd have to break out of bounds to one to see this.
Unused Text#
Dream Medal/NFC Functionality Text#
Despite the international versions of the game not supporting NFC functionality, the text strings for said feature was fully translated.
ywb_lg_en.fa/data/res/text/capsule_text_en.cfg.bin
Japanese |
English |
|---|---|
画面にドリームメダルをタッチ! |
Touch a Dream Medal to the screen! |
Aボタンでドリームベット! |
Press the A Button to make your Dream Spin! |
Aボタンで妖気のチャージ開始! |
Press the A Button to start Charging your medal with Aura! |
Aボタンで妖気の解放開始! |
Press the A Button to start Releasing Aura from your medal! |
ニンテンドー3DS NFCリーダー/ライターを 接続してください。 |
Please connect the Nintendo 3DS NFC Reader/Writer. |
Dメダルでニンテンドー3DS NFCリーダー/ライターに タッチしてください。 |
Touch the Dream Medal to the Nintendo 3DS NFC Reader/Writer. |
メダルに入っている妖気:なし ドリームベットで 大当たり確率アップ! 大当たりで妖気チャージのチャンス! |
There is no Aura in the Dream Medal. Chance of winning 1st Prize increased! Win 1st Prize and you can charge Aura. |
メダルに入っている妖気: |
|
効果: |
Effect: |
すでに |
|
妖気のチャージをあきらめますか? あきらめると今回ゲットした妖気は 失われてしまいます。 |
Do you want to Cancel the Aura Charge? You will lose the Aura that you just got. |
妖気のチャージが完了するまで Dメダルをタッチし続けてください。 |
Hold the Dream Medal to the screen until the Aura Charge is complete. |
妖気のチャージが完了しました! Dメダルを外してください。 |
The Aura Charge is complete! Remove your Dream Medal. |
Dメダルを置いている場合は 外してから次に進んでください。 |
Please remove the Dream Medal from the screen before proceeding. |
同じメダルは1日1回しか使用できません。 使用回数は本体時間の朝6時にリセットします。 |
You can only use the same medal once per day. A new day starts from 0600 on the Nintendo 3DS system. |
ドリームベットで使用したメダルと異なります。 メダルを置きなおしてからAボタンを押してください。 |
This is the wrong medal. Replace it with the one used for the Dream Spin and press the A Button. |
解放に失敗したメダルと異なります。 メダルを置きなおしてからAボタンを押してください。 |
This is the wrong medal. Replace it with the one used previously and press the A Button. |
妖気を解放する Dメダルを用意 してください。 解放後にはにっきを書きます。 |
Prepare the Dream Medal for Aura Release. After releasing Aura your game will be saved. |
このDメダルには妖気が入っていません。 メダルを外してください。 |
There is no Aura in this medal. Remove your Dream Medal. |
Do you want to release |
|
まだ |
|
妖気の解放が完了するまで Dメダルをタッチし続けてください。 |
Keep your Dream Medal in place until the Aura Release is complete. |
妖気の解放が完了しました! Dメダルを外してください。 |
The Aura Release is complete! Remove the Dream Medal. |
妖気のチャージに失敗しています。 Dメダルに入っていた妖気が 失われている可能性があります。 もう一度手に入れた妖気の チャージを試しますか? |
The Aura Charge failed. The Aura in your Dream Medal may have been lost. Try and charge the Aura again? |
妖気のチャージを あきらめました。 |
You have canceled the Aura Charge. |
妖気の解放に失敗しています。 Dメダルに入っていた妖気が 失われている可能性があります。 ここでやめた場合失われた妖気は戻りません。 もう一度解放を試しますか? |
The Aura Release failed. The Aura in your Dream Medal may have been lost. If you cancel now the lost Aura will not return. Would you like to try again? |
妖気の解放を中断しました。 |
The Aura Release was interrupted. |
妖気のチャージに失敗しました。 もう一度同じDメダルで チャージしてください。 |
The Aura Charge has failed. Please try again using the same Dream Medal. |
妖気の解放に失敗しました。 もう一度同じDメダルで 解放してください。 |
The Aura Release has failed. Please try again using the same Dream Medal. |
エラーが発生しました。 Dメダルを置いて、再度やり直してください。 |
An error has occurred. Prepare the Dream Medal and try again. |
対応していないデータを読み取りました。 Dメダルを置いて、再度やり直してください。 |
Incompatible data was detected. Prepare the Dream Medal and try again. |
無線通信がOFFになっています。 無線通信をONにして 再度やり直してください。 |
Wireless communication is disabled. Enable wireless communication and try again. |
赤外線通信に失敗しました。 一度本体の電源を切って、再度やり直してください。 |
Communication via infrared has failed. Turn the Nintendo 3DS system off and on, and try again. |
NFCリーダー/ライターの接続に失敗しました。 無線通信がONになっているか確認してください。 またNFCリーダー/ライターの電源をご確認ください。 3DS本体の赤外線受光部にNFCリーダー/ライターを 近づけた状態で、再度やり直してください。 |
The NFC Reader/Writer failed to connect. Check that you have enabled wireless communication and that the NFC Reader/Writer is turned on. Place the Nintendo 3DS system's infrared transceiver near the NFC Reader/Writer and retry. |
エラーが発生しました。 NFCリーダー/ライターの故障の可能性があります。 NFCリーダー/ライターの電源を入れ直して、 再度やり直してください。 |
An error has occurred. This may be due to a malfunction with the NFC Reader/Writer. Turn the NFC Reader/Writer off and on, and try again. |
NFCリーダー/ライターの 更新の必要があります。 3DS本体のHOMEメニューの amiibo設定から更新を行ってください。 |
Your NFC Reader/Writer requires an update. Go to amiibo Settings in the HOME menu on your Nintendo 3DS system and update your NFC Reader/Writer. |
Inaccessible Yo-kai#
In the international versions, Jibanyan T and Komasan T were available as download-exclusive Yo-kai in the Nintendo eShop, but due to the closure of it on March 28, 2023, they are no longer obtainable normally without trading.
Unused Items#
|
|
To do: |
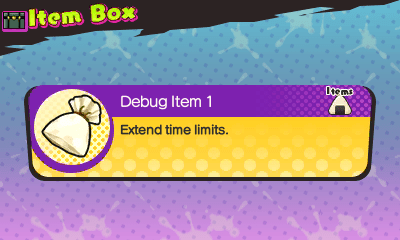
Despite their description, these items do not extend the time limit. Instead, they max out your equipment in Zombie Time. Debug Item 1 maxes out the backpack level, Debug Item 2 maxes out your Whomper and Debug Item 3 maxes out your Armor.
|
The Yo-kai Watch series | |
|---|---|
|
Nintendo 3DS |
Yo-kai Watch (Prototype) • Yo-kai Watch 2 • Yo-kai Watch 3 |
|
Wii U |
|
|
Nintendo Switch |
Yo-kai Watch 4 • Yo-kai Watch 1 for Nintendo Switch • Yo-kai Watch Jam: Yo-kai Gakuen Y - Waiwai Gakuen Seikatsu |
|
PlayStation 4 |
Yo-kai Watch 4 • Yo-kai Watch Jam: Yo-kai Gakuen Y - Waiwai Gakuen Seikatsu |
|
iOS, Android |
|