 This article has a talk page!
This is a sub-page of Proto:Portal 2.

|
'This page or section details content from theAugust 2026 Steam2 Content Server Dump.''' |

|
This page is rather stubbly and could use some expansion. |
The August 30th, 2010 build of Portal 2 has fairly significant changes from the previous build, despite it only being dated just over a month later. This build appears as version 3 of Steam Depot 852, named ValveTestApp852.
Title Screen#
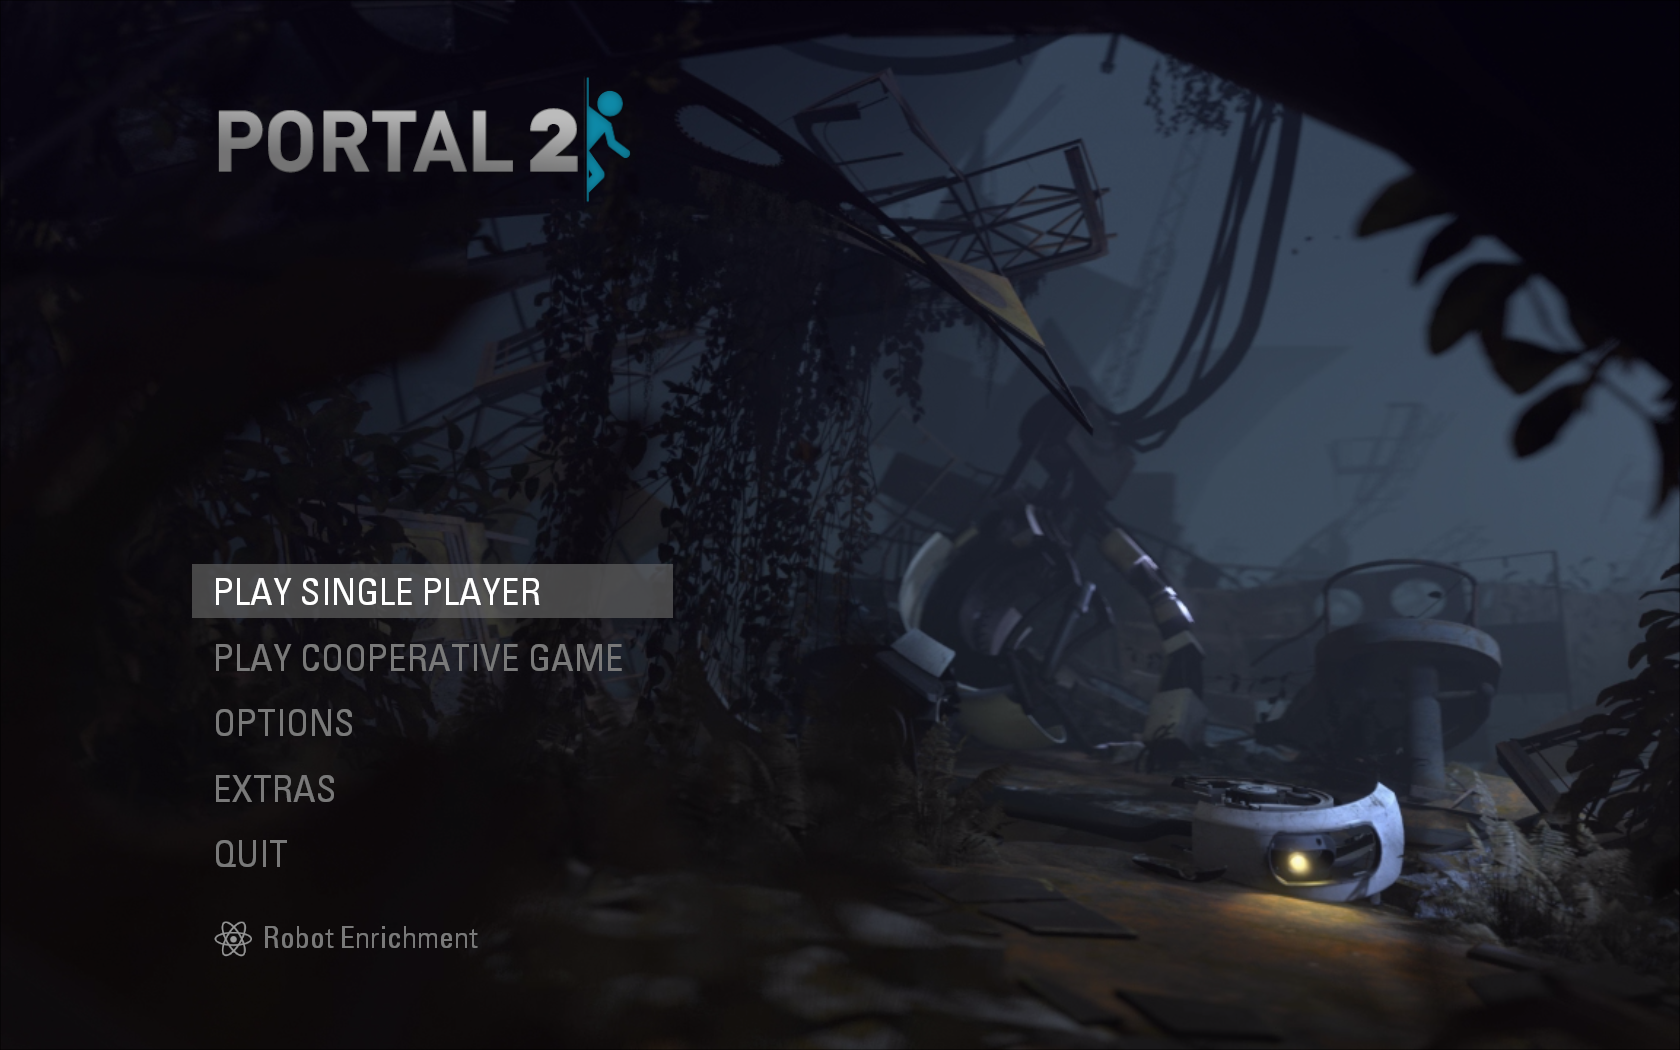
The title screen contains a prerendered video as the background, a large slightly transparent Portal 2 logo in the top right, and menu options reminiscent of Left 4 Dead.
|
August 30th, 2010 |
Final (Initial Release) |
|---|---|
|
|
|
Music#
PotatOS Lament#
This early, synthesized version of "PotatOS Lament" is heard as the player traverses the Conversion Gel pump station, hauntingly emanating from PotatOS herself in the chamber above. The backing cuts out once the chamber is entered. Spooky.
The backing track was left over in the final game, but the vocals were overwritten with a newer (but still unused) version performed by Ellen McLain, which no longer synchronizes with the backing correctly.
Audio |
Summary |
|---|---|
Vocals |
|
Backing |
|
Merged (Mockup) |
Singleplayer Campaign#
|
|
To do: |
The final structure of the singleplayer campaign is effectively in place at this point, with every final map now having a direct equivalent in this build, though a few maps would still be reordered or cut later on and the sp_aX naming scheme has still yet to be introduced. Many maps are also still very early revisions or lack voice acting, though this build does mark the first appearance of Stephen Merchant as Wheatley during the flashlight tour.
Co-op Campaign#
|
|
To do: |
This build implements a more complete version of the co-op "human artifact" storyline which was just being started as of the July build.
The calibration course has been split into three maps in this build; as the bots progress through each of them, GLaDOS notices that she isn't getting any test results and concludes that she needs humans, sending the bots behind the scenes in order to find a human scanner. When the scanner reveals that the only human nearby is Chell, GLaDOS sends the bots to retrieve various artifacts of human culture, in the hope that it will turn them human enough to generate test results.
The first of these artifacts, which was mentioned at GDC - a knock-off Garfield comic known as Dorfeldt - seems to have been the only one ever actually implemented. After completing the first course, GLaDOS will show her modifications to the comic upon the bots' return to the hub, but then the rest of the campaign will continue as it did in previous builds, with GLaDOS using mostly generic or placeholder lines.
Developer Maps#
ali_livingwalltest_flt#
A small room with a wall of pushers looping a pushing animation, most likely a test for living walls.
ali_livingwalltest_high#
Same map as above but the pushers are a bit higher.
ali_toxicliquid_test#
A simple map where you spawn on a launcher that is unable to launch you, therefore noclip is required to explore further. On either side of the map are a door and a launcher. On one side is a button to open it's door, and a button to spawn a cube right above the middle launcher. When obtaining the cube and putting it on the button to open the door, you are unable to walk out. On the opposite side of the map with the buttons are 2 observation rooms, one on the side which has a light and one directly above the door, without any lighting and a missing texture inside. Most likely used by developers to test toxic liquid.
devtest#
A leftover from previous builds and Portal, is the 'devtest' map. This map tests the main features of the game ensuring they are not broken.
devtest_stick#
A small map with a pit, a moving platform that moves across the ceiling, a cube, and an Adhesion Gel dispenser. Despite being used to test the gel, none of the walls in this map can be covered in gel. Likely used to test the effects of the scrapped Adhesion Gel.
elevator_test_end & elevator_test_start#
Small maps to test the functionality of elevators, going to the start of a level or at the end of a level, respectively.
mp_box_test#
An empty map.
mp_coop_animation_test#
A relatively medium size map with launchers, a button to return to hub at the start, and some basic test chamber objects. Could likely be used to test animations of P-Body and Atlas.
vault_door#
A map with the vault in the final game, although very early. Likely used as a test for the vault door.
world_animation_zoo_simple#
A map to test the animations of the facility moving it's walls.
zoo_foliage_01#
A map to test foliage. Contains bushes, vines, water, grass, and more.
zoo_foliage_swaying_test01#
Pretty much just the previous map but with no bushes and less vines.
zoo_giant_sphere#
A testing map with a lot of very huge laser cubes. There are lots of tests, such as weight, collision, and more.
zoo_pinchers#
A small map to test the functions of the pinchers, used in the start and end of the game by Wheatley and GlaDOS.
zoo_turret#
A map to test when certain voice lines of turrets play, such as when putting them on a launcher, setting them on fire with a laser, when another turret shoots at them, when being fizzled, and more. Also contains some tests which do not play any voicelines in here or the final game, suggesting that they were cut.
zoo_world_anims_cleanup_01 & zoo_world_anims_cleanup_02#
Used as a test for the animations of the facility repairing/cleaning up itself.
zoo_world_anims_labs_01#
A map testing the functions of the spiked crushers and the wall tiles changing colors, notably in the GlaDOS chase sequence in the final game.
zoo_world_anims_sphere_01#
A map which has testing animations for cameos of Wheatley in the test chambers.
zoo_world_anims_wake_01#
A map that tests the animations of the first few maps with GlaDOS, when she moves the tiles.
Style Guides#
These maps were used by developers as a reference when building maps with certain themes.
styleguide_bts_01#
A guide for maps where the player is outside test chambers.
styleguide_bts_02#
Similar to previous, but a lot less polished.
styleguide_cave#
A guide for maps in 1980's Aperture Science.
styleguide_destruction_1#
A recreation of Test Chamber 13 from Portal, albeit very broken down and destroyed.
styleguide_dome_01#
A style guide of inside one of the domes in 1980's Aperture. Contains an adhesion gel dispenser, and a ton of mannequins on the ground in the test chamber.
styleguide_foliage01#
A map of a copy of Test Chamber 12 from Portal, also broken down and covered in plants. There is a portal gun on a chair at the bottom of the map.
styleguide_foliage02#
Same as above, but slightly different.
styleguide_lush_foliage01#
Same as above, but slightly different and you spawn near the top of the map.
styleguide_offices_1#
A large map with a big office, and a few other medium-to-small empty offices spread around the map.
styleguide_offices_2#
Same as above but with the big office removed and you spawn on top of a small empty hallway.
styleguide_office_1970#
A style guide of an average 1970's era office.
styleguide_paint_jump_crazy_box#
Contains a test chamber with a clear gel dispenser and a jump gel dispenser. Contains a leak near the front of the chamber, and when making the jump gel splat on it, the game crashes. There is a test chamber at the top of the map, and when going out the exit door and into the elevator in the test chamber, the game puts text on the screen saying "End of Playtest". The toxic liquid does not kill you, unless you wait long enough to let it drown you.
styleguide_paint_jump_intro#
A test chamber likely to test the jump gel, it has a basic test chamber with blue gel being the main focus. Despite this and the above map being a "styleguide", they are likely playtests. This map also has the text on screen saying "End of Playtest" at the end of the chamber, supporting this. However, the toxic liquid in this chamber does kill you, unlike the previous.
styleguide_sabotage_01#
A style guide for the parts of the game while you try to escape GlaDOS with you and Wheatley. The map spawns you in a black box.