 This article has a talk page!
This is a sub-page of Proto:Daikatana (Windows)/v0.10.
0.10 contains two levels from Episode 4 in it. The first one, E4M1b, is a prototype version of the E4M2 area seen in the final game, while the second one, E4M8 is an earlier version of the final game's E4M5a level.
E4M1b#
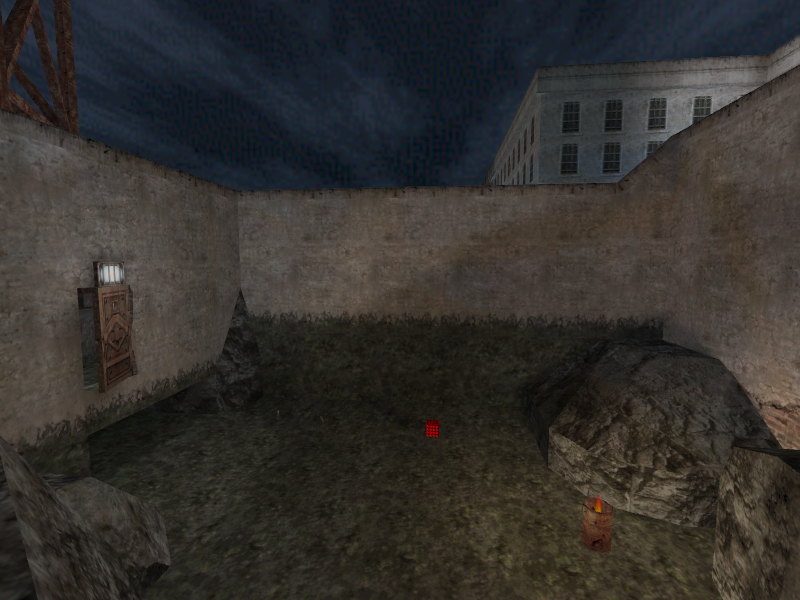
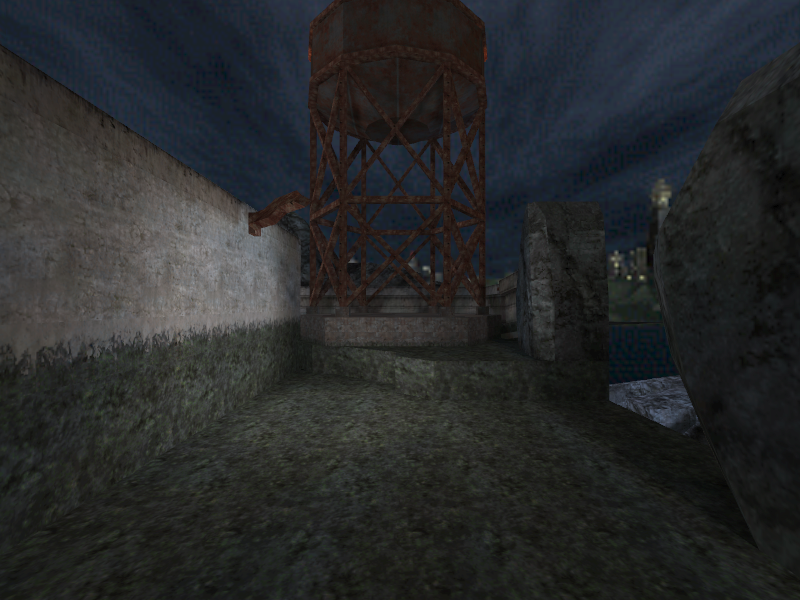
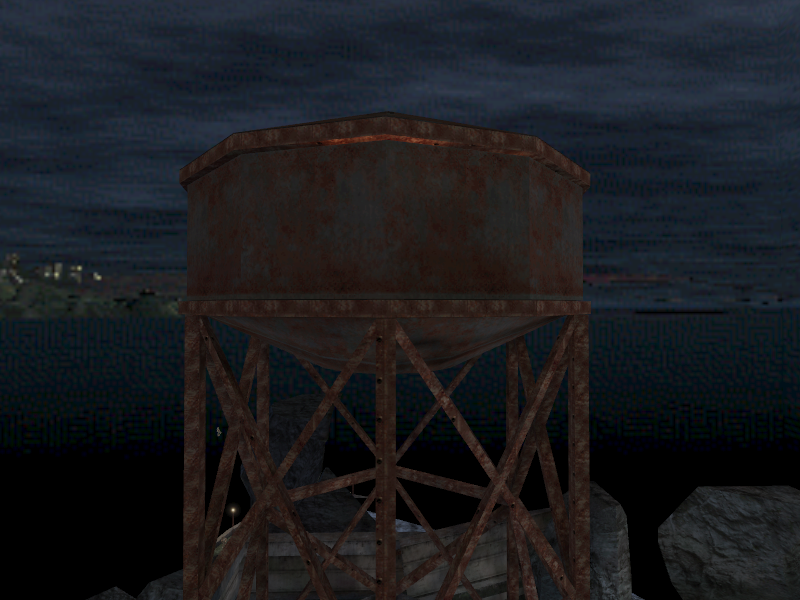
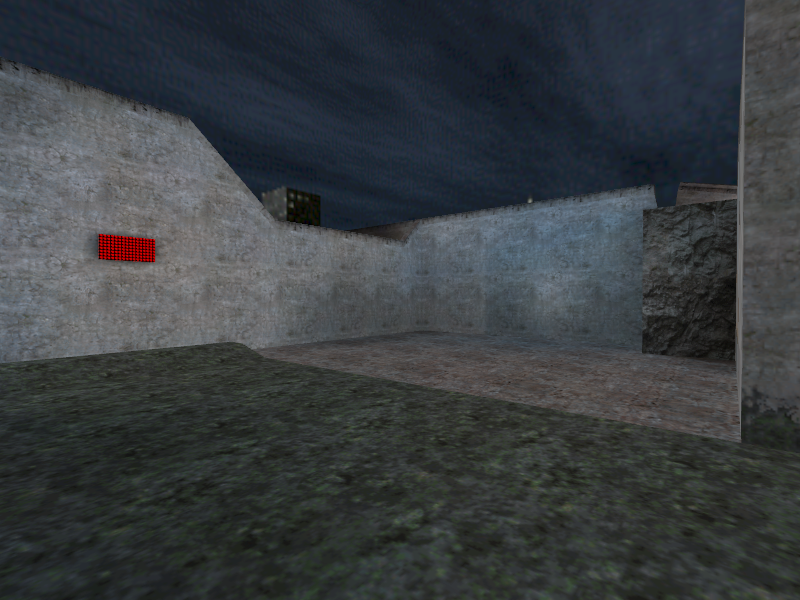
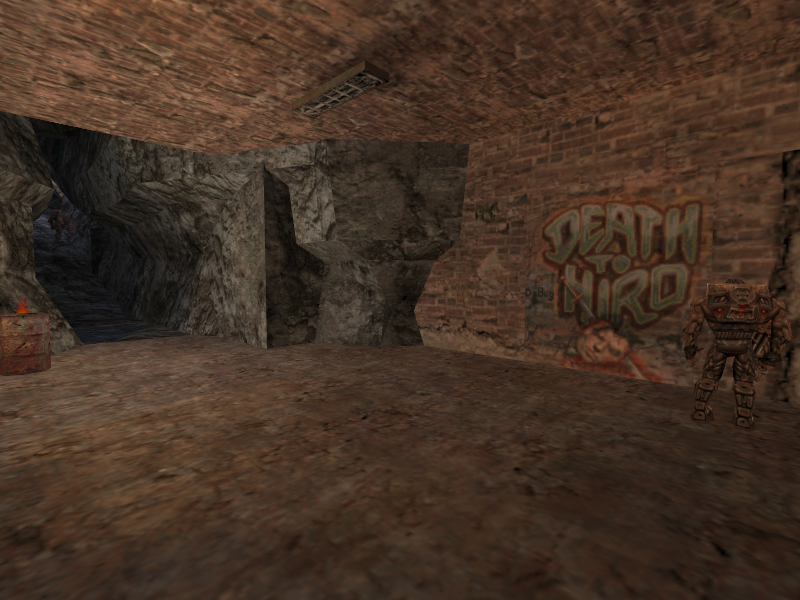
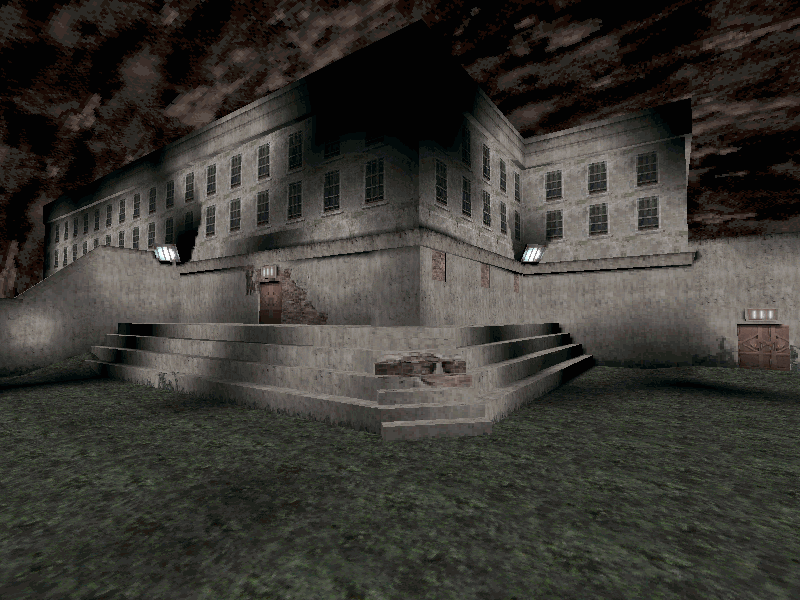
E4M1b, called “Escape from Alcatraz” in the main menu, is an early version of the final game’s E4M2 area. The name suggests that the team still considered it a section of E4M1, like in Milestone 2, instead of a completely separate area, like in the final game.
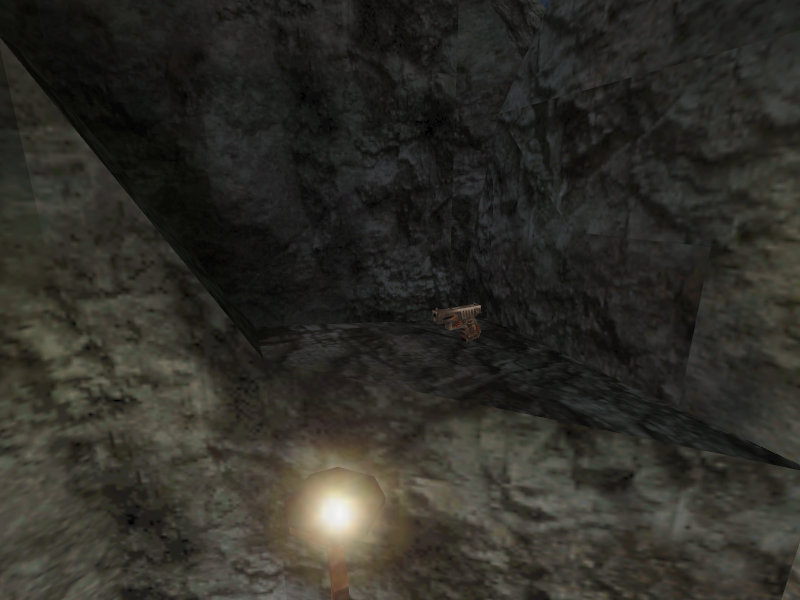
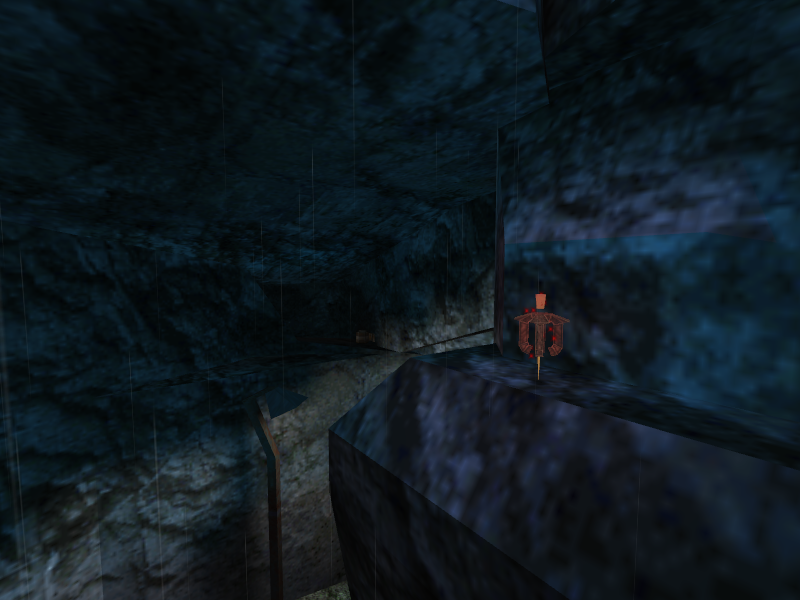
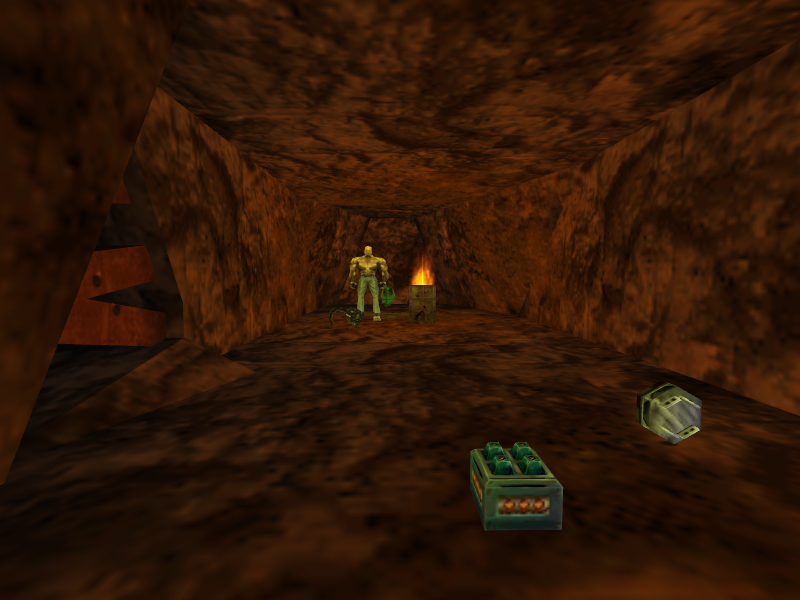
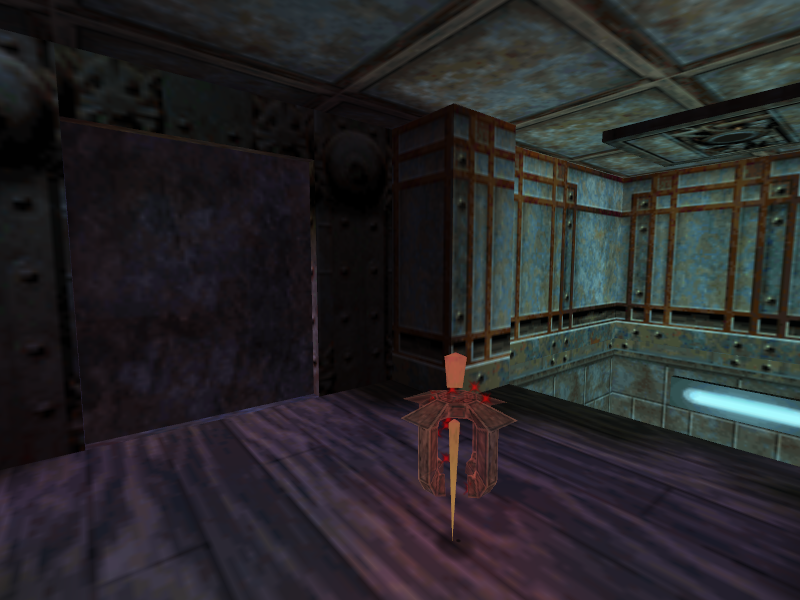
Of note is that this is the only level in the prototype that contains the Norwegian Flashlight weapon, which is otherwise not obtainable.
- Unlike the final game, all of the area is located in one level. The final game splits it into multiple levels for performance reasons.
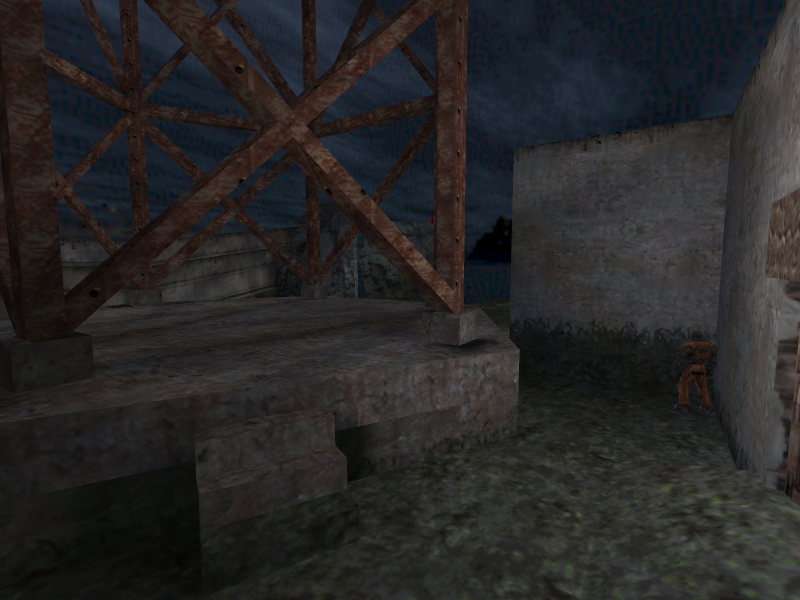
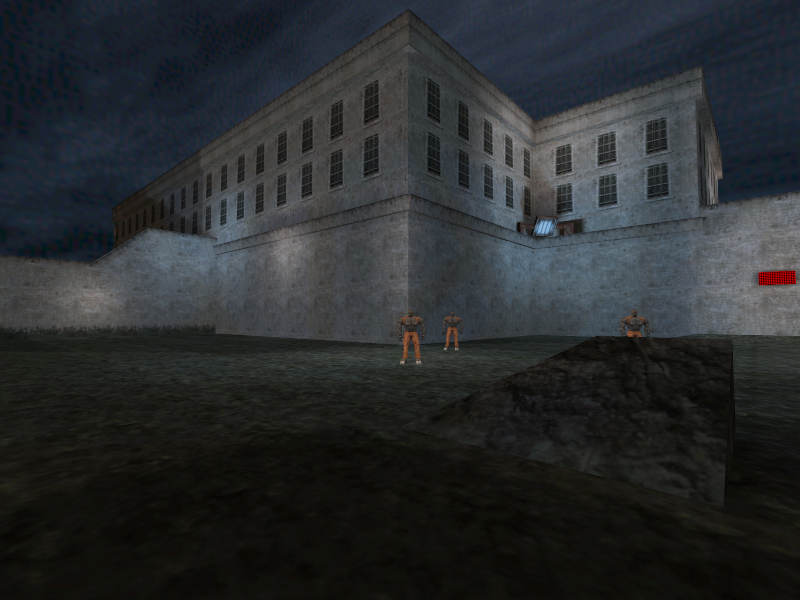
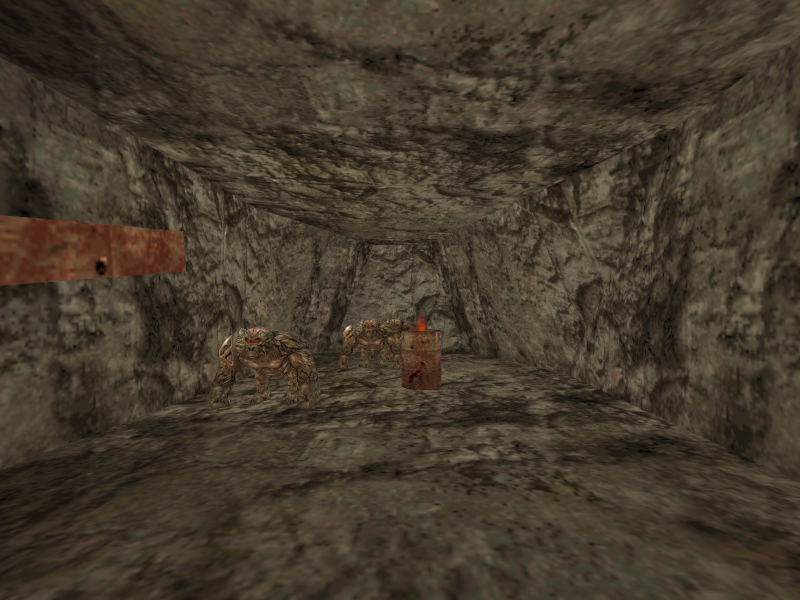
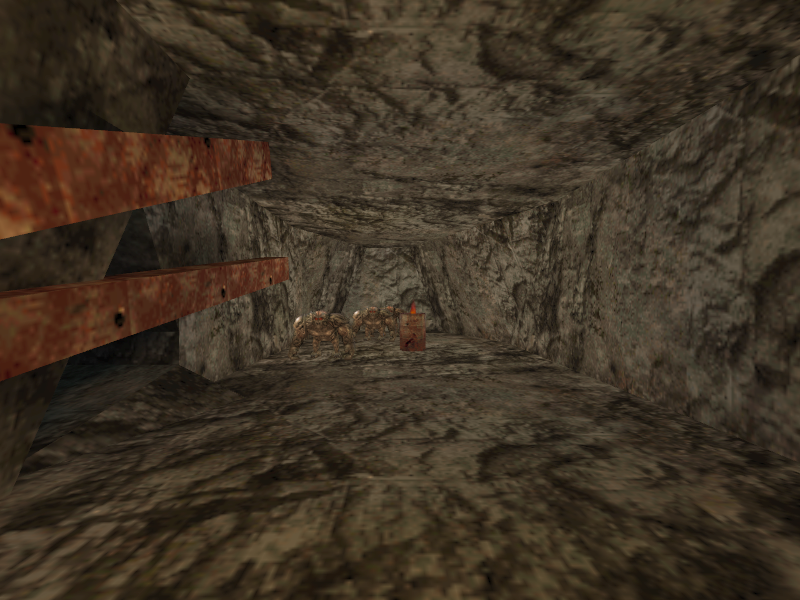
- The level appears to have a small chunk of E4M1 included with it, including several Black Prisoner enemy types. This is the only time the Black Prisoner enemy type appears in this prototype.
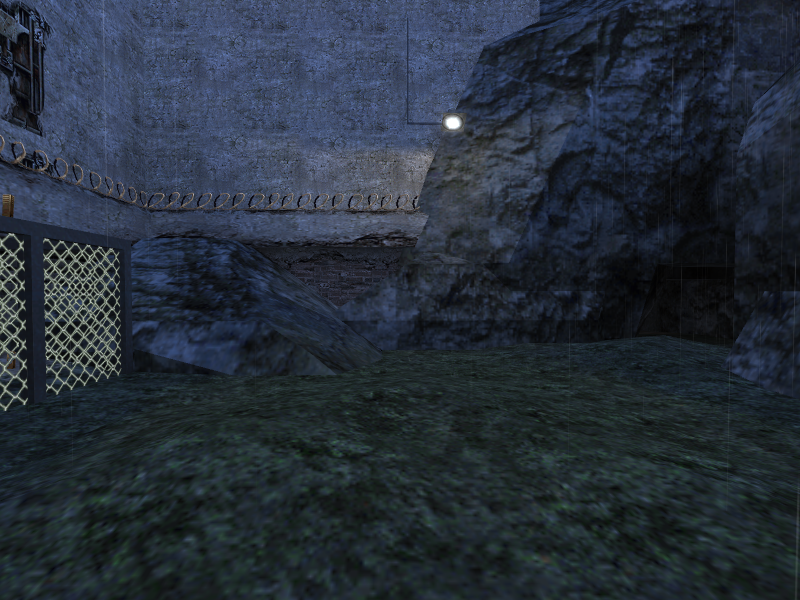
- Based on the chunk of E4M1 included with the level, the prison yard when E4M1b was split off from E4M1 uses the same layout the yard in Milestone 2’s E4M1 has.
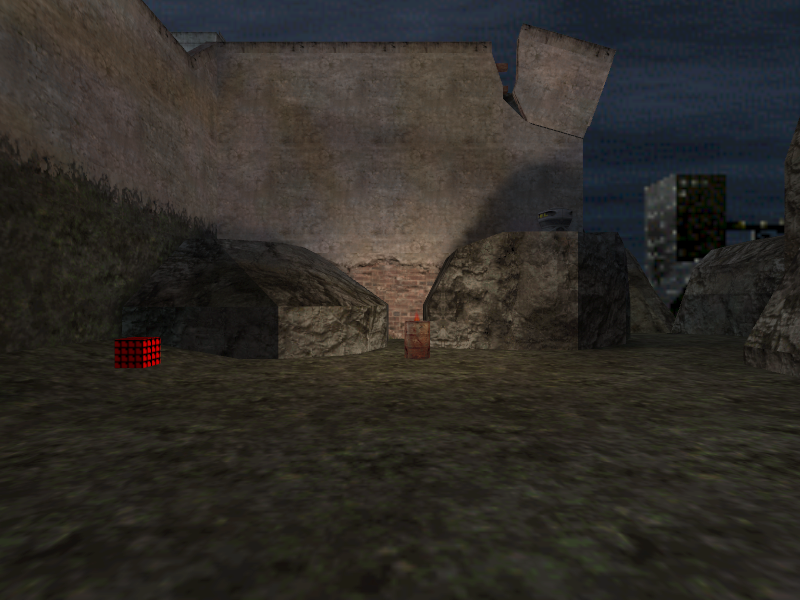
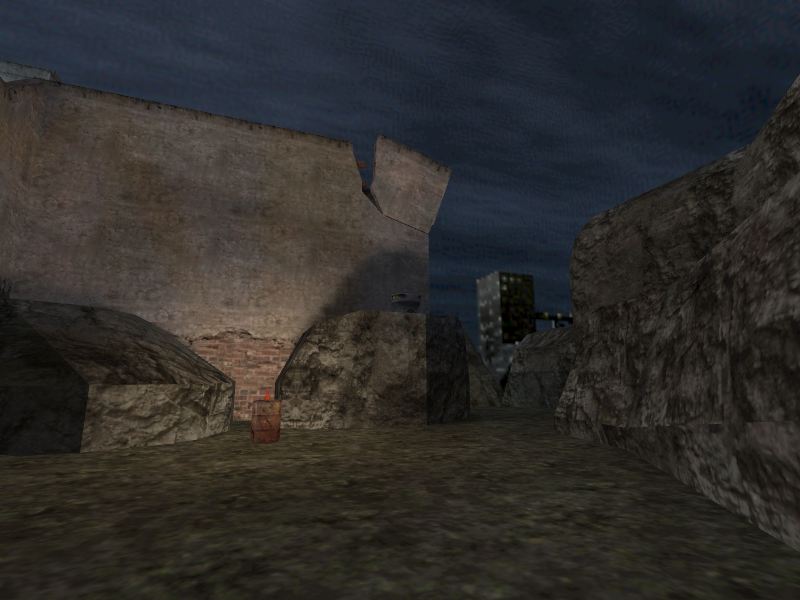
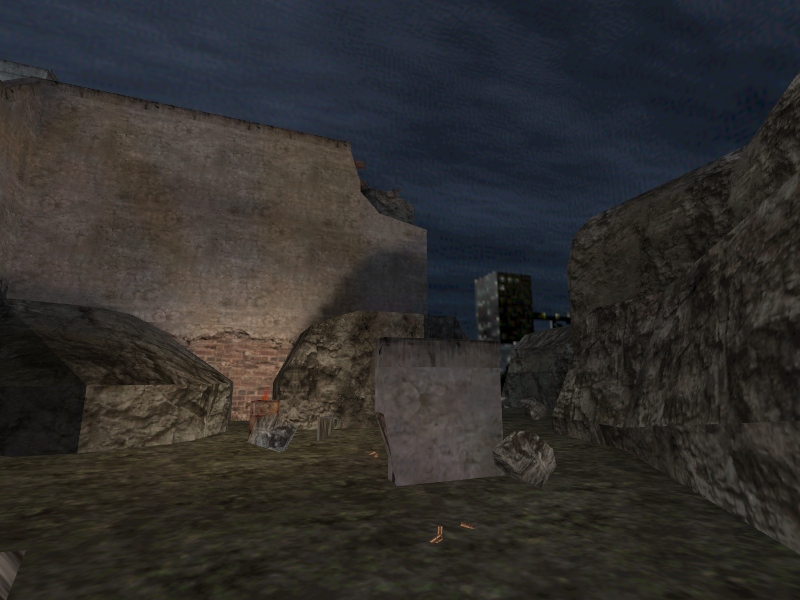
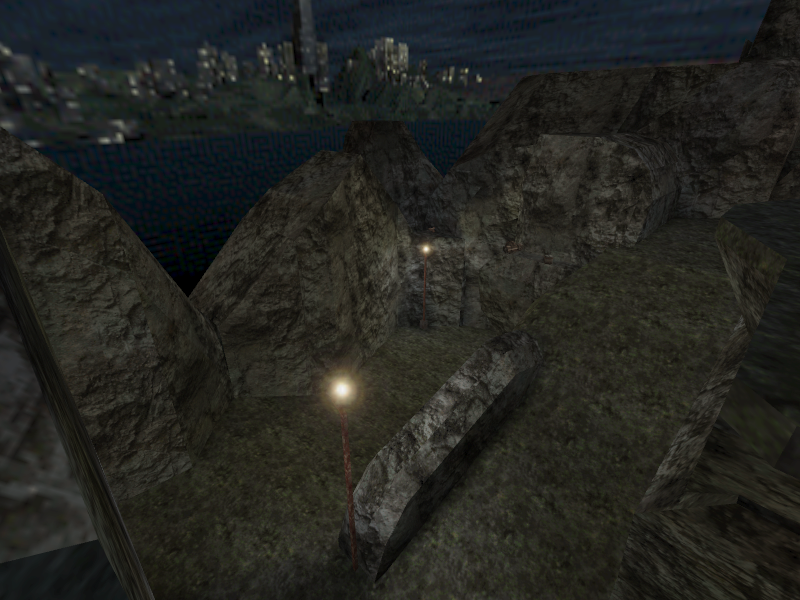
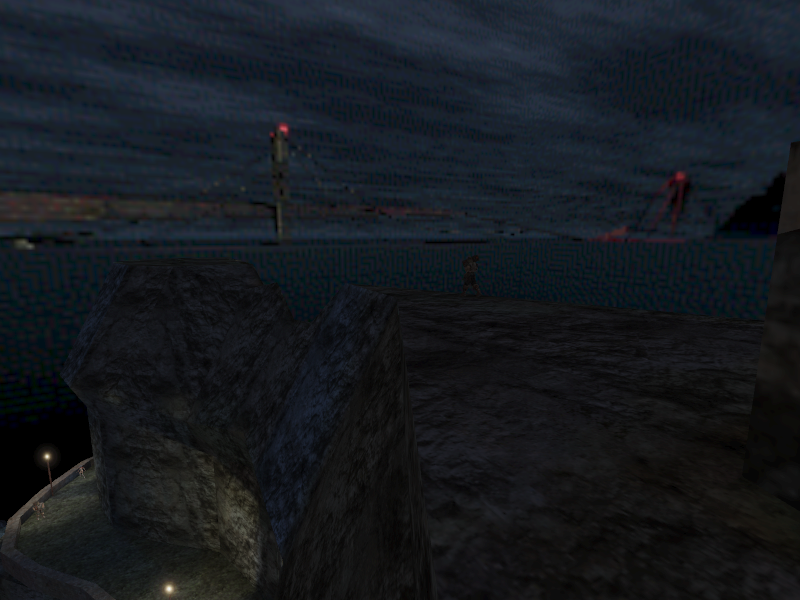
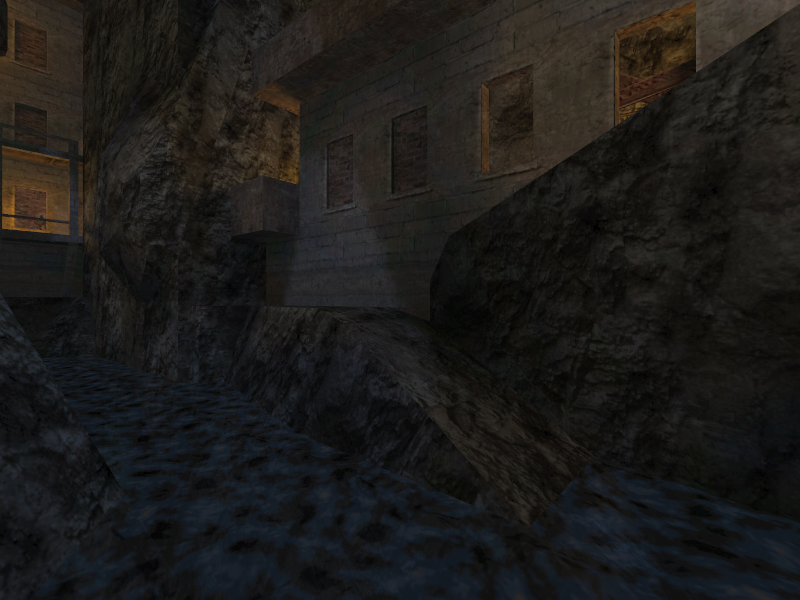
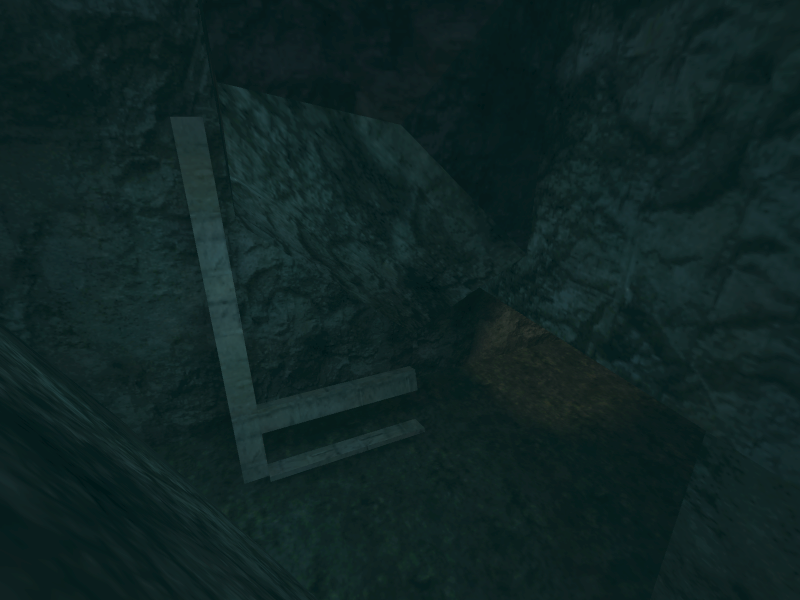
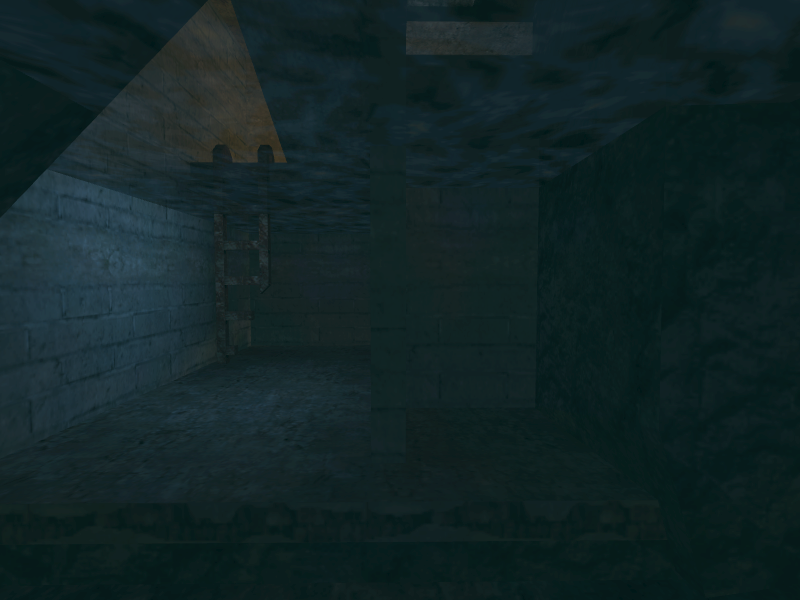
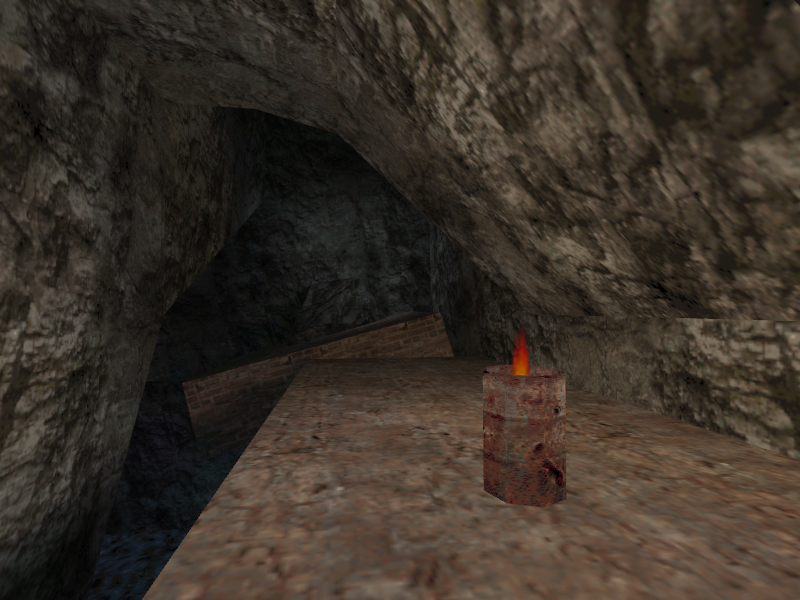
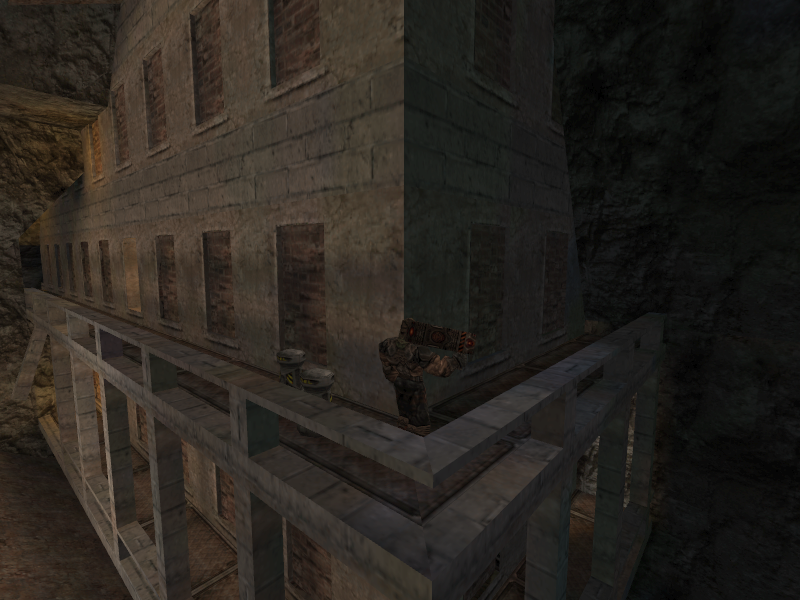
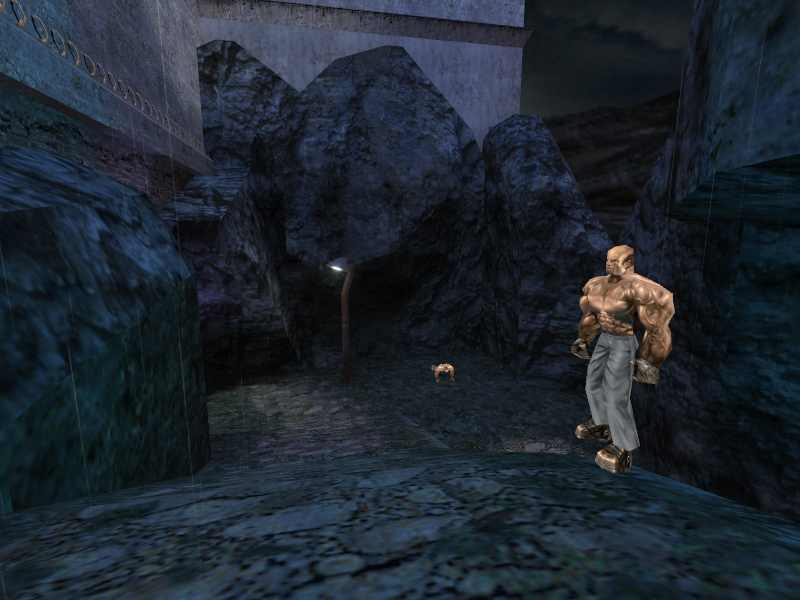
- The start of the level has an explosive barrel above a chunk of the prisoner's outer yard that is slowly falling down. Blowing it up will cause the chunk of the outer yard to explode into pieces.
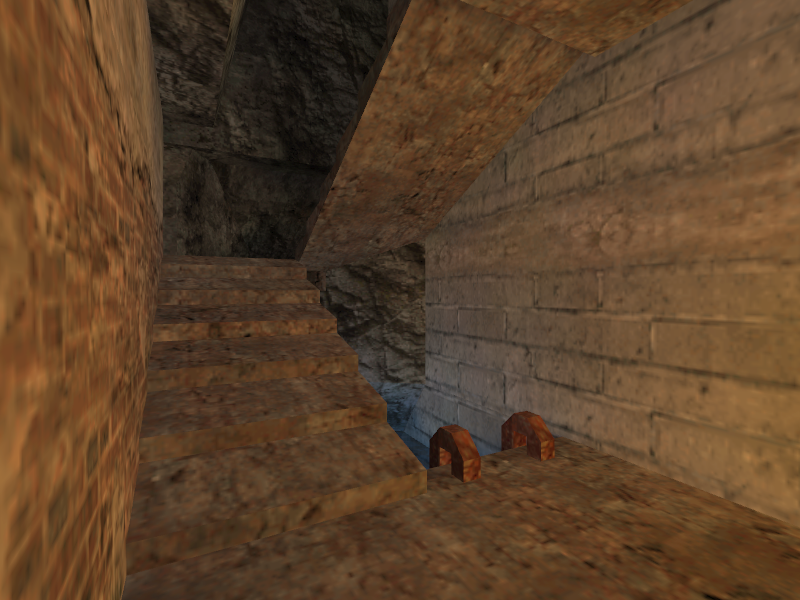
- The architecture used at the start of E4M1b is similar to the architecture found at the start of the section that would become the final E4M2 area in Milestone 2’s E4M1.
- Many of the items in the final E4M2 are nowhere to be found in 0.10’s E4M1b. The Envirosuit never appears once in E4M1b, for example.
- Enemy layout is completely different in E4M1b compared to the final’s E4M2 area. Generally, there are fewer enemies than in the final design.
- There are no sharks.
- The White and Black Prisoner enemy types cannot be found in the inner parts of E4M1b, but can be in the final game’s E4M2 area.
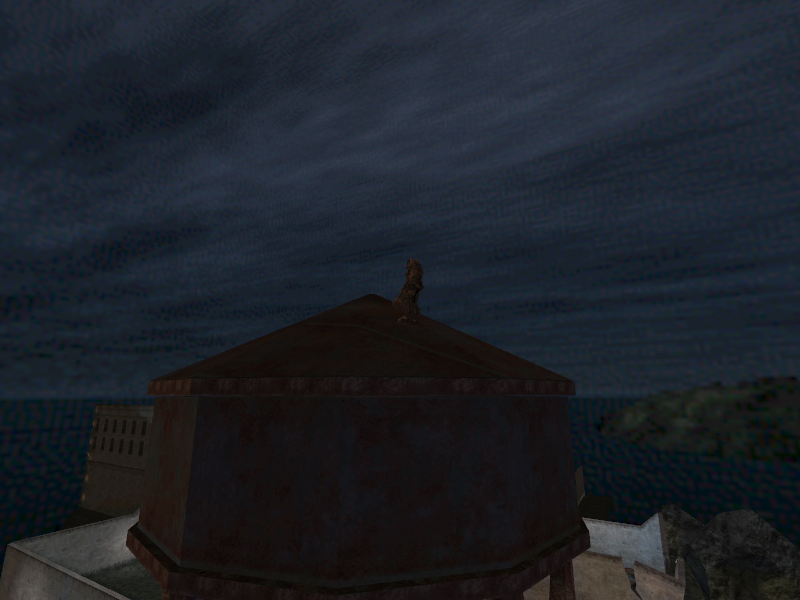
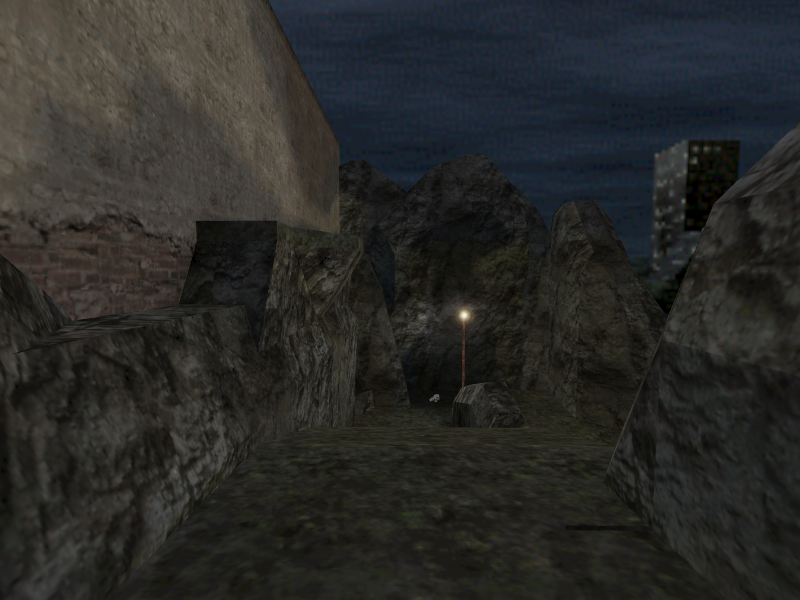
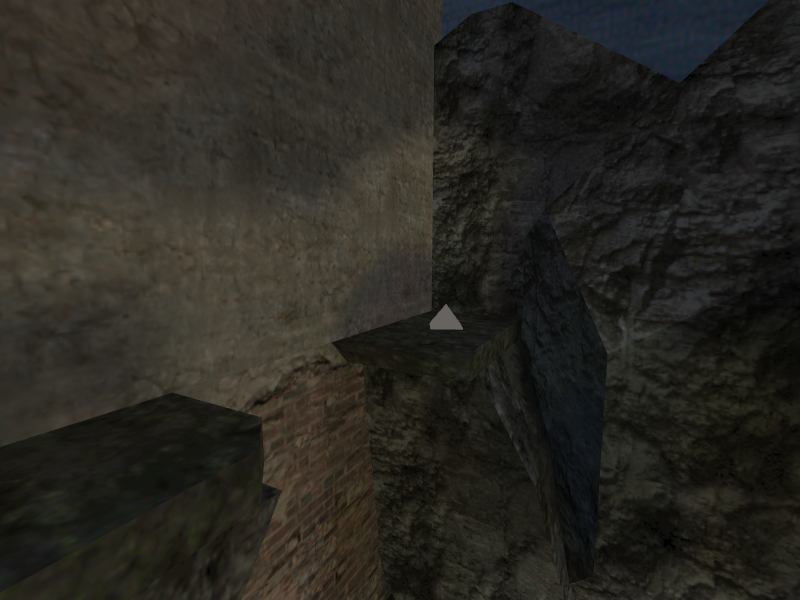
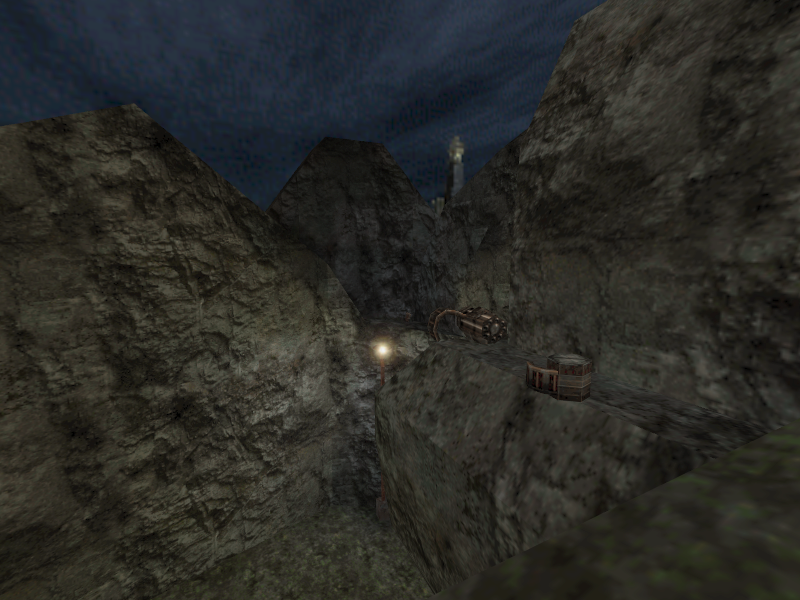
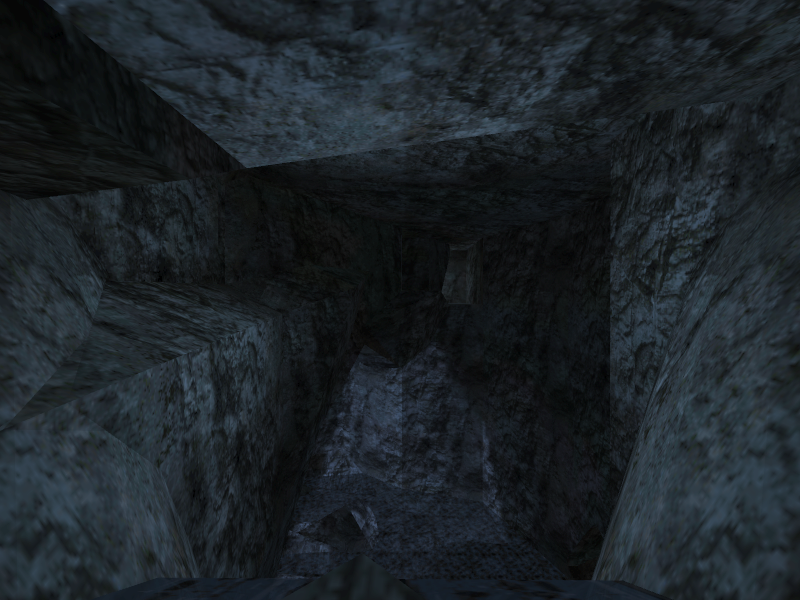
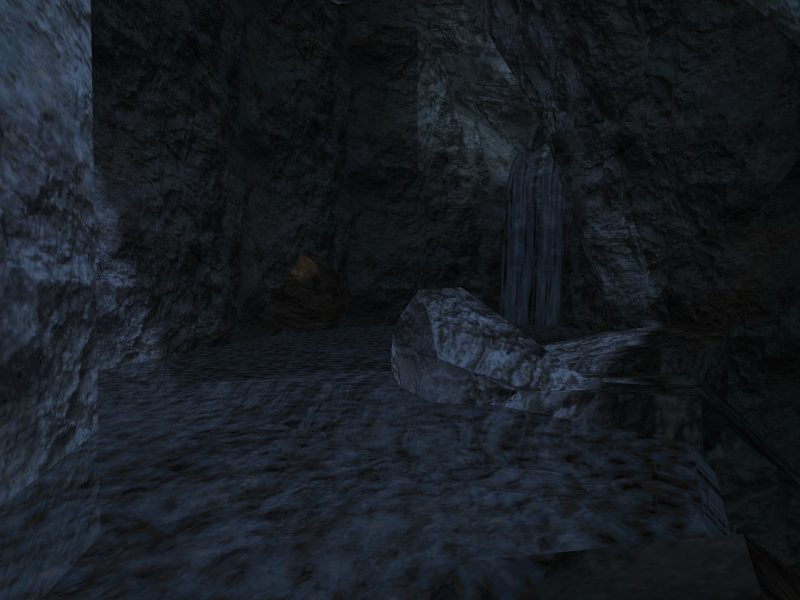
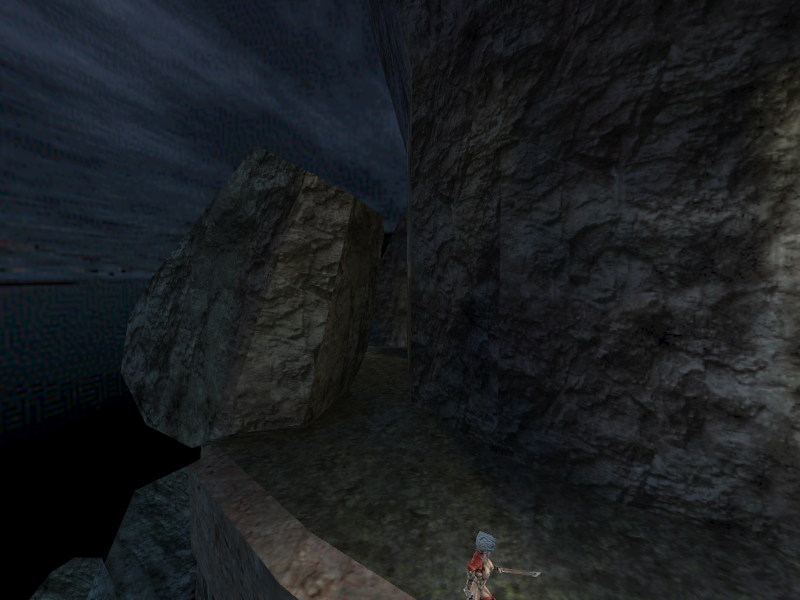
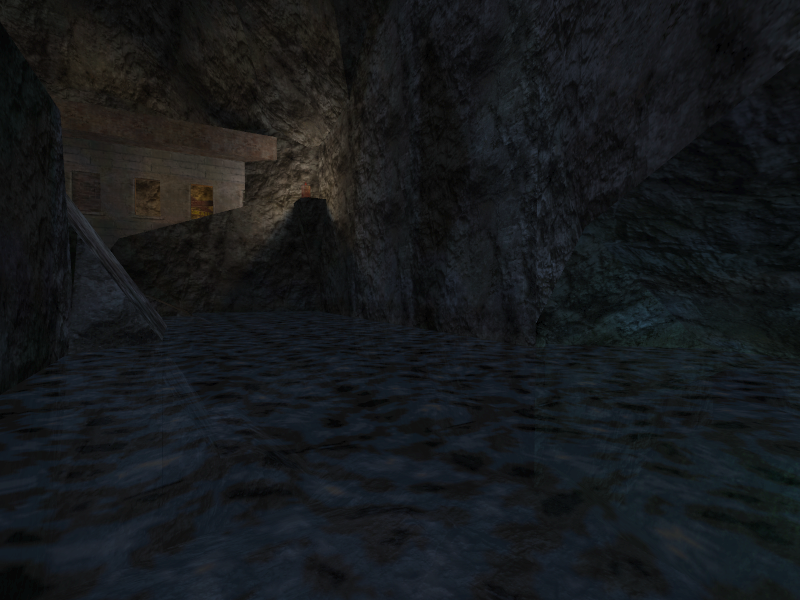
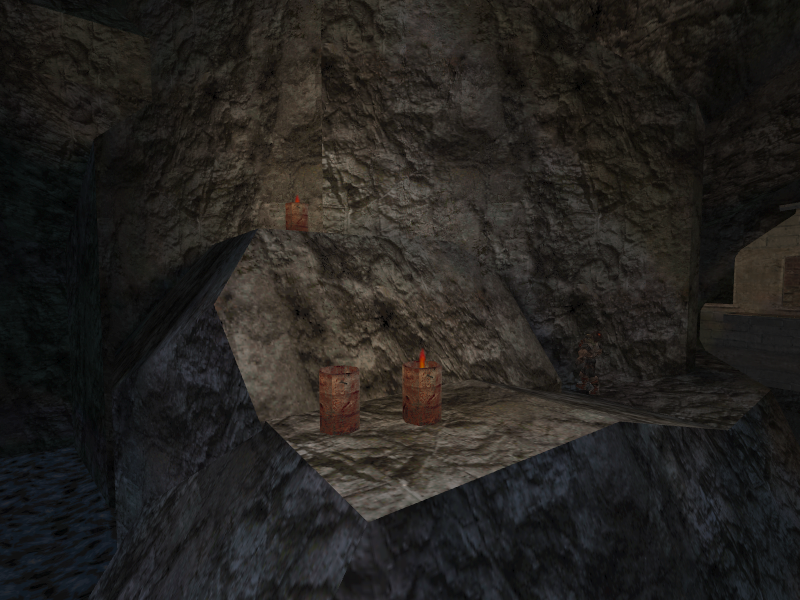
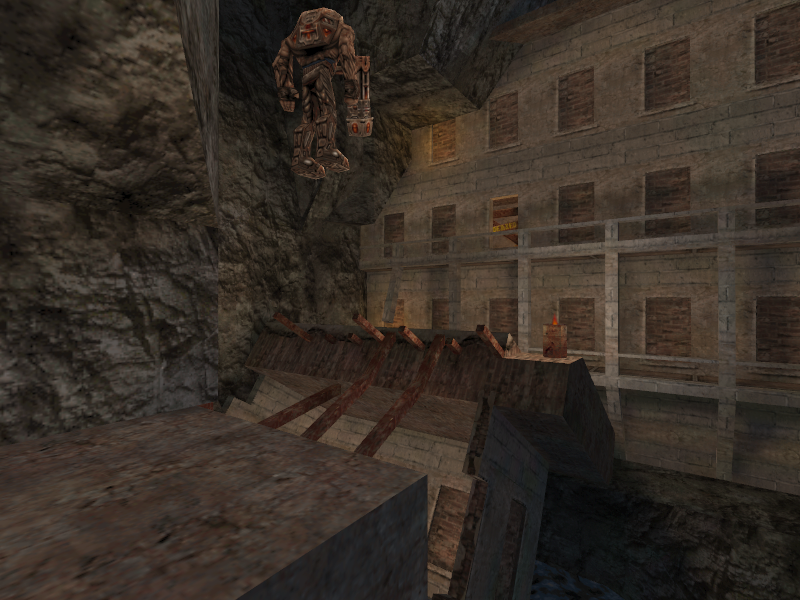
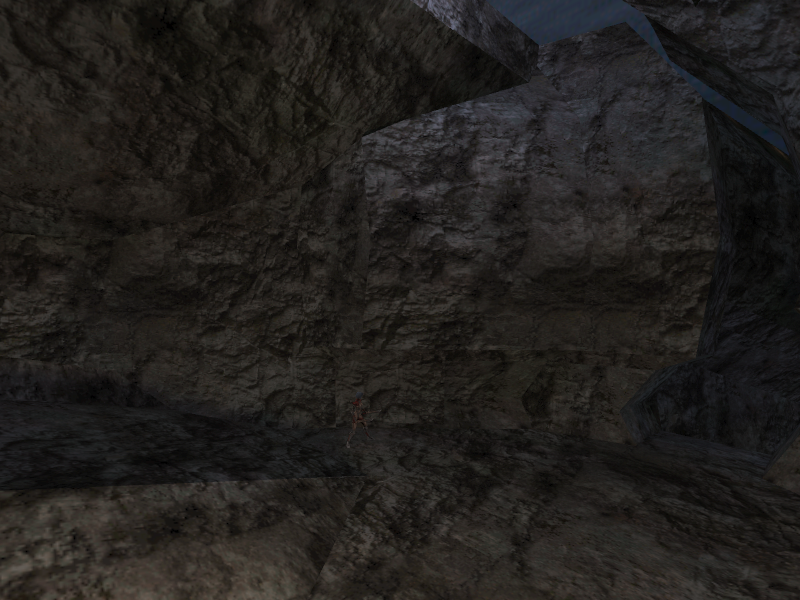
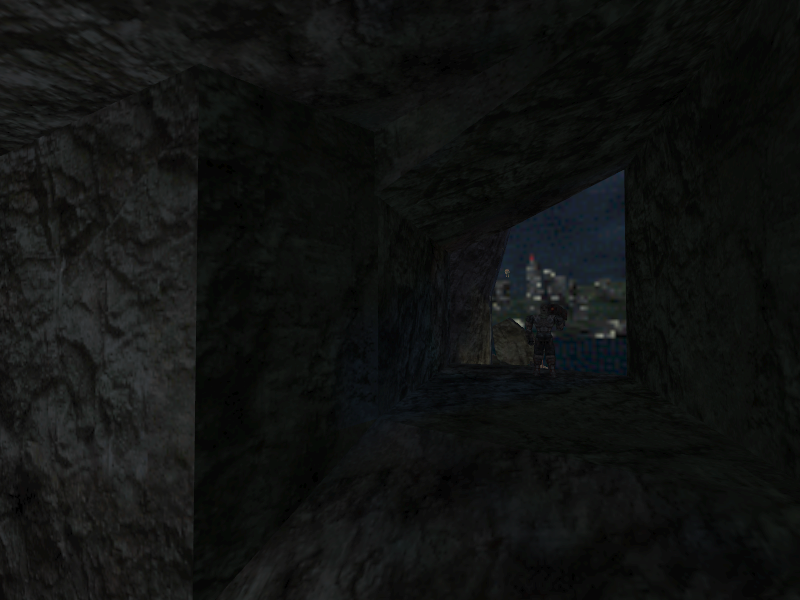
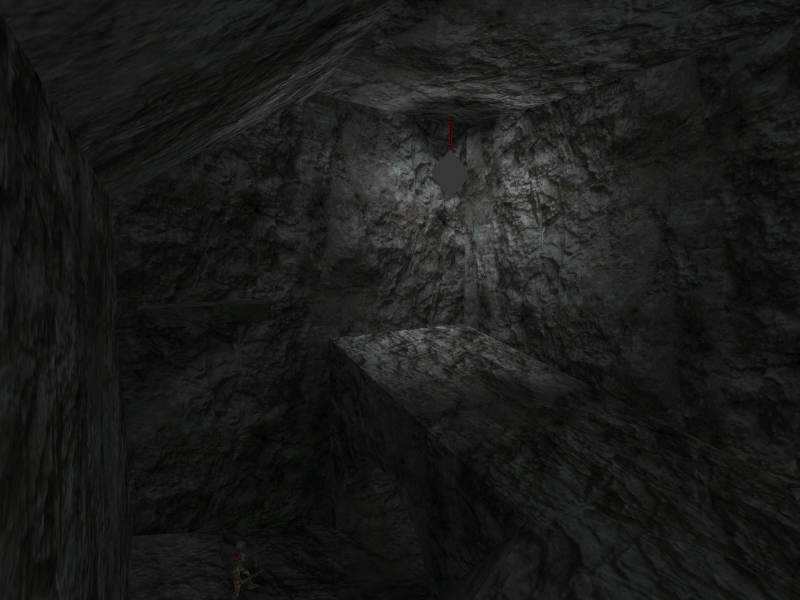
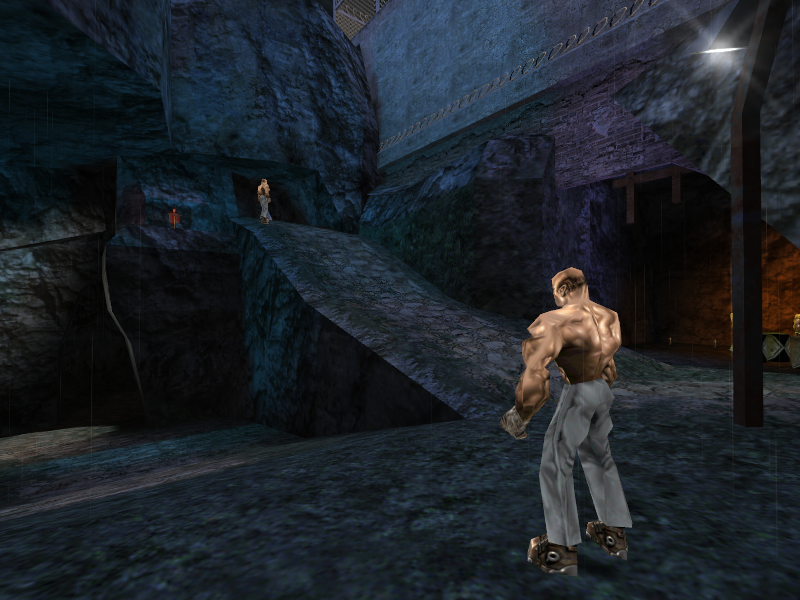
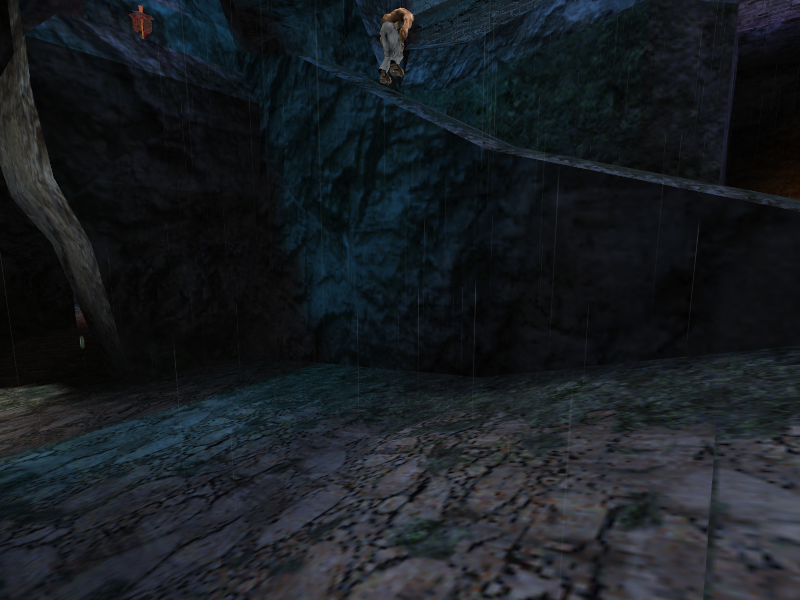
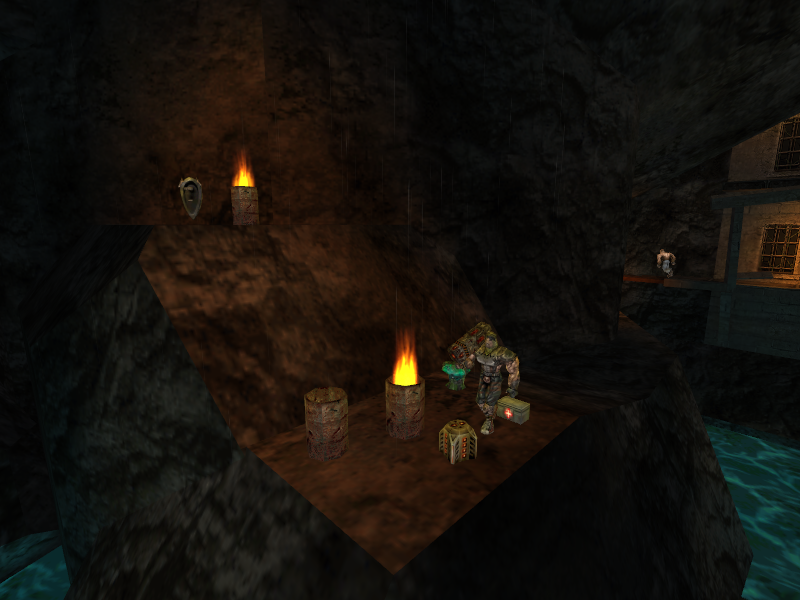
- Above the first cave in the level is a Metamaser that can be obtained by jumping from one side of the top to another. The Metamaser is removed and the architecture is changed so that the platform the Metamaser is on cannot be jumped on in the final game.
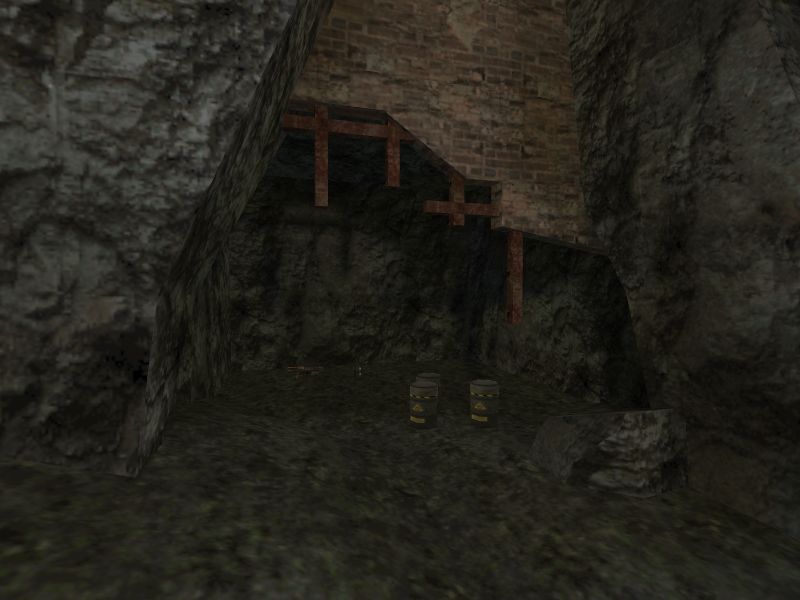
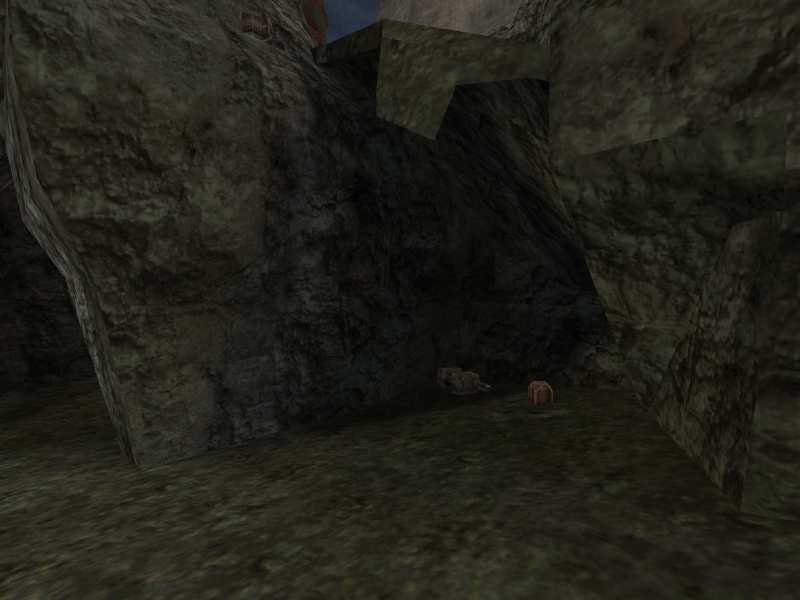
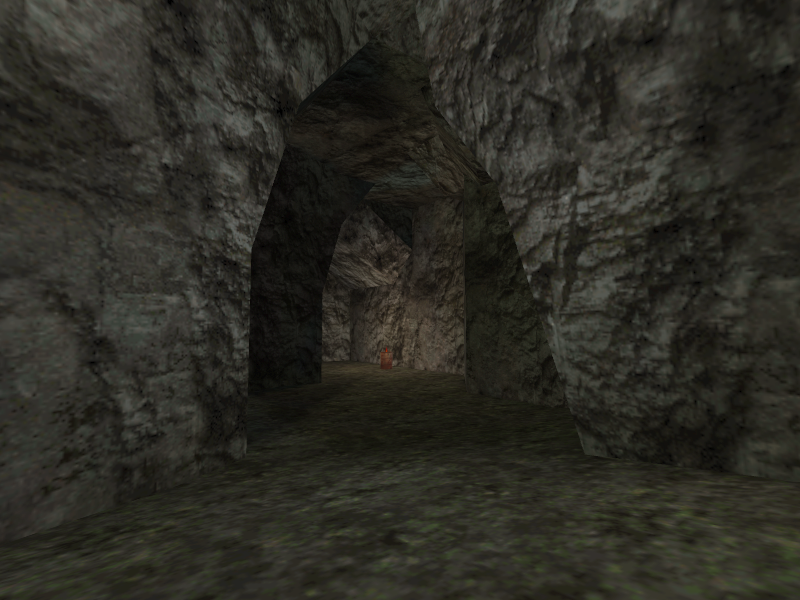
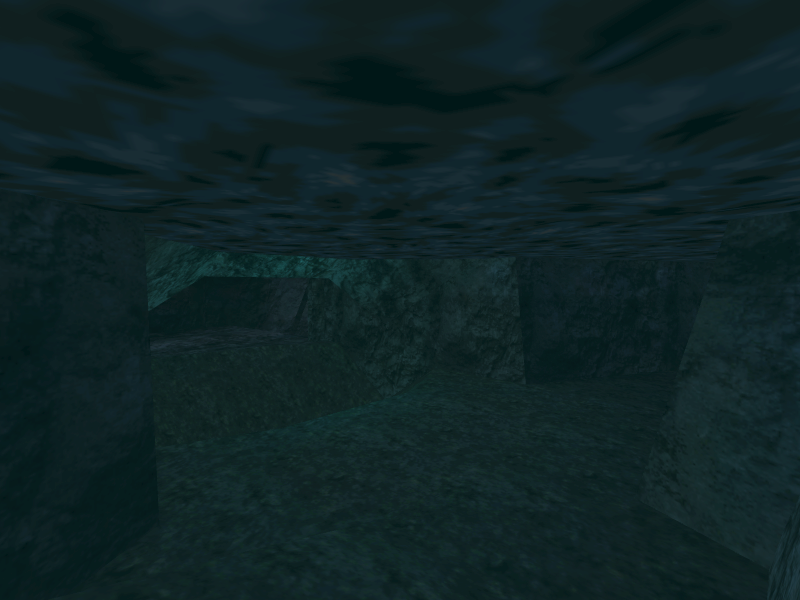
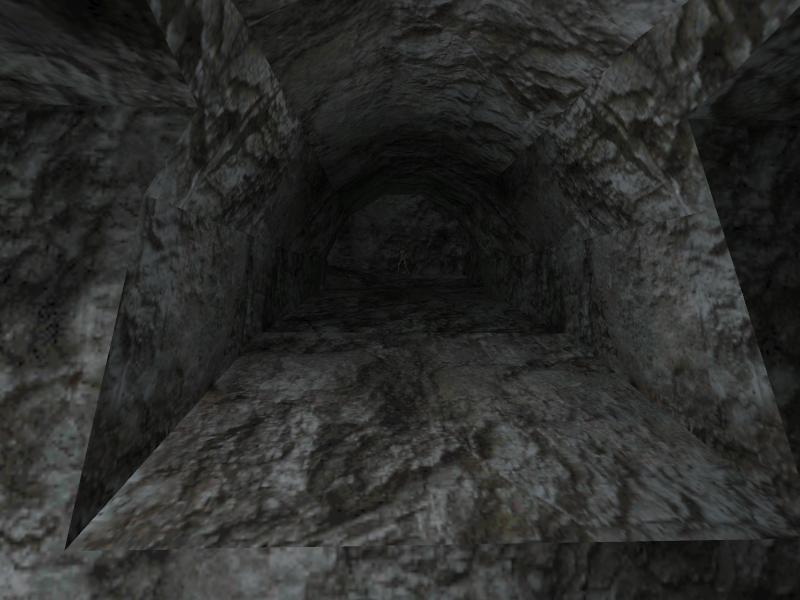
- Underneath the first slope in the level is a small opening containing a Novabeam and ammo for it. The architecture for this cave was removed.
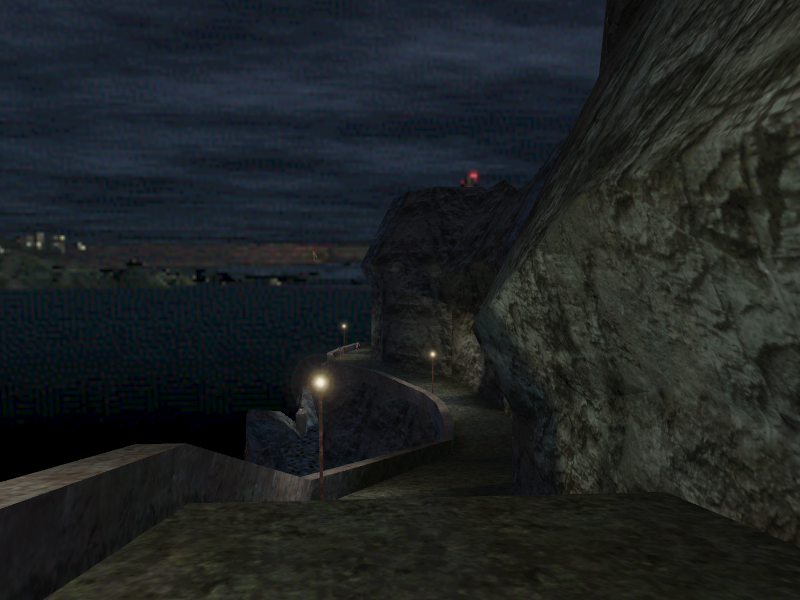
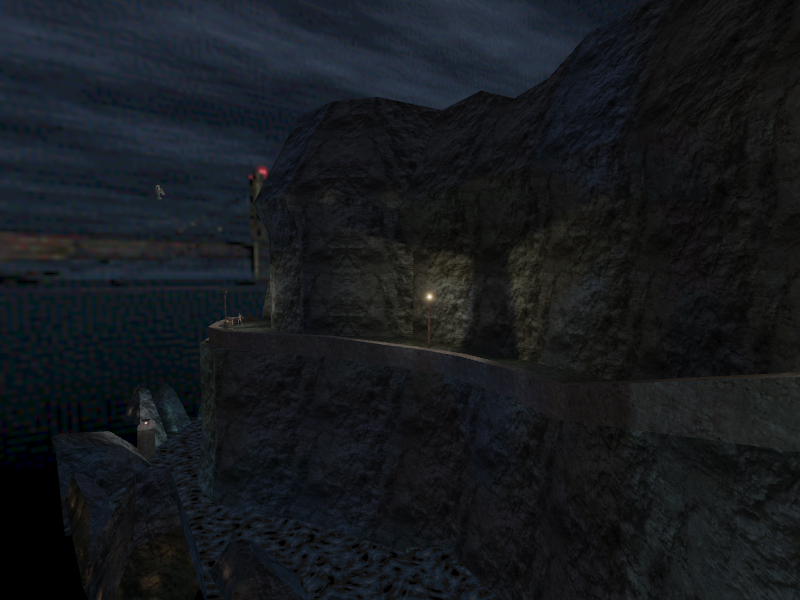
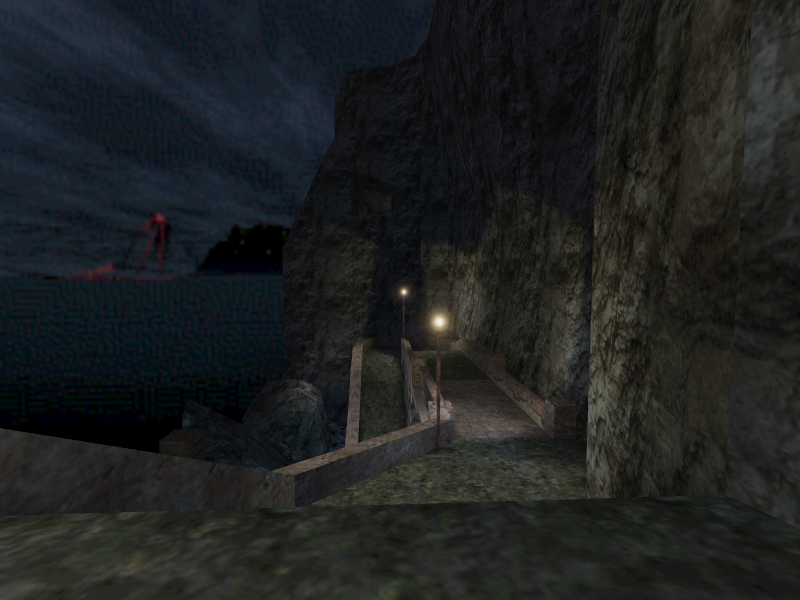
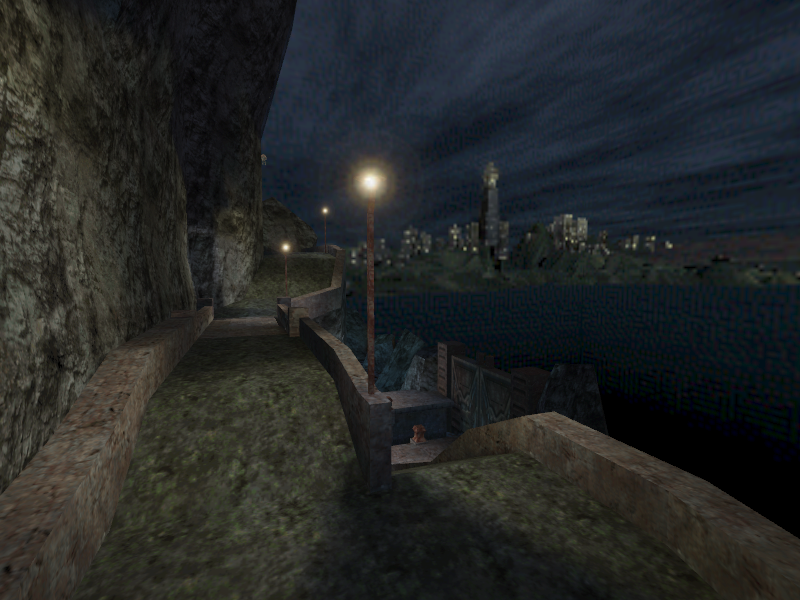
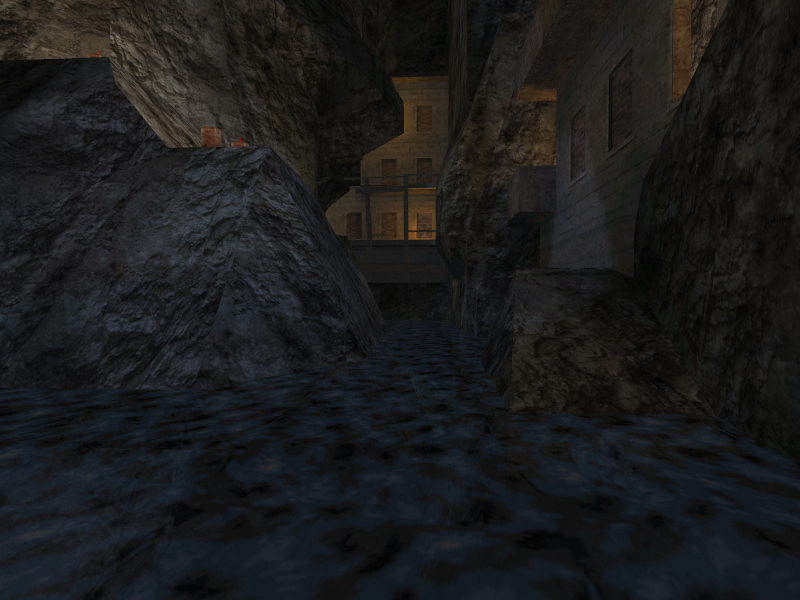
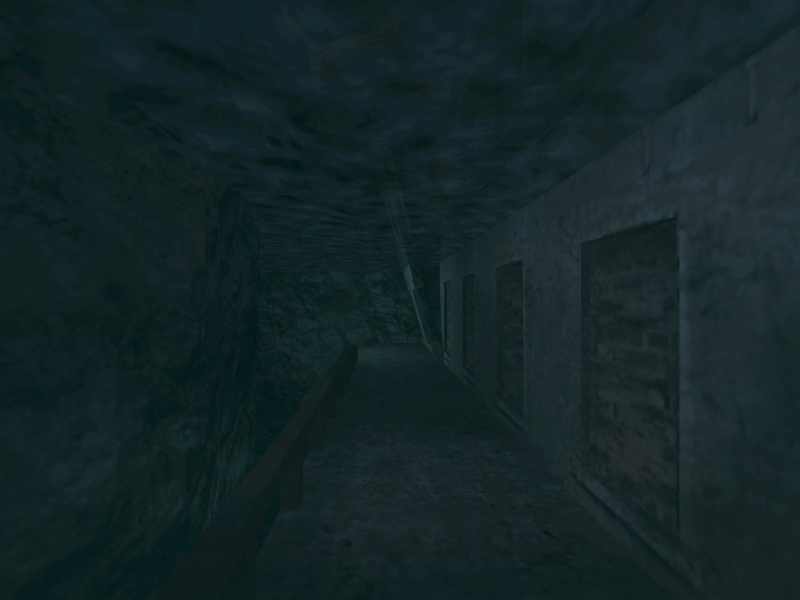
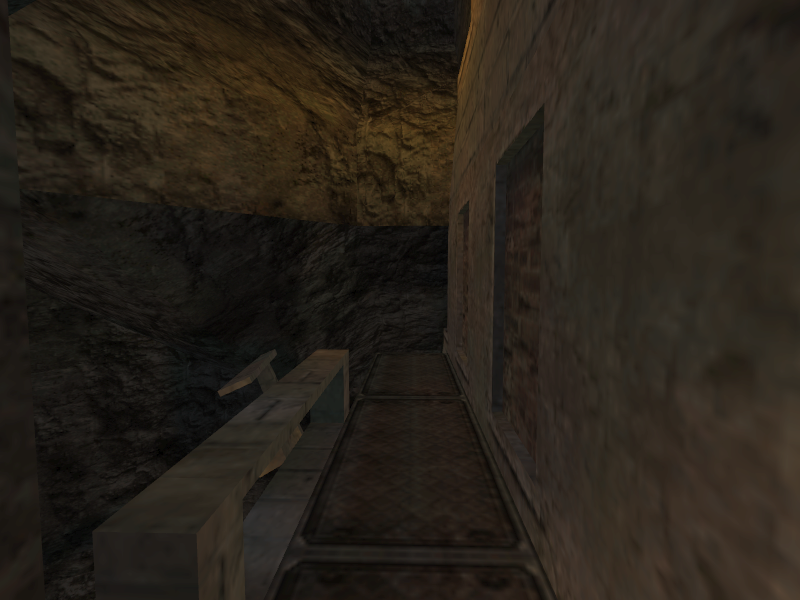
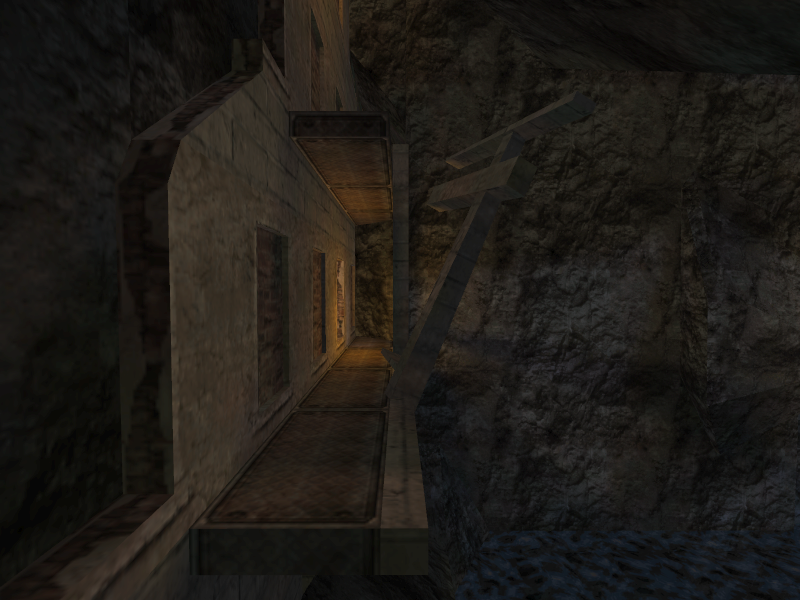
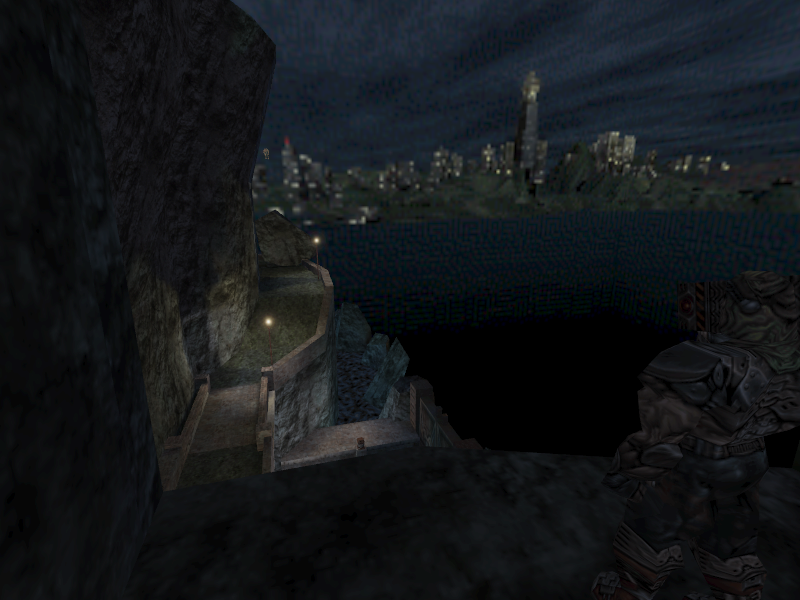
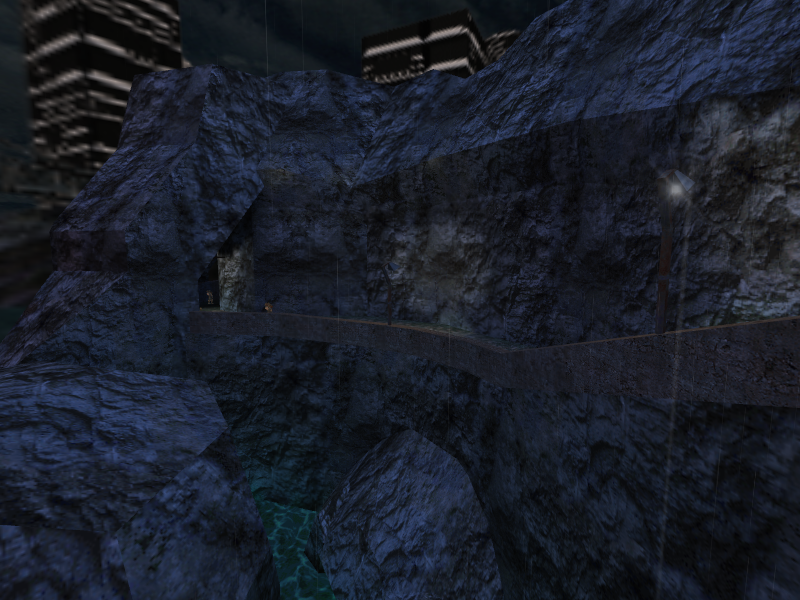
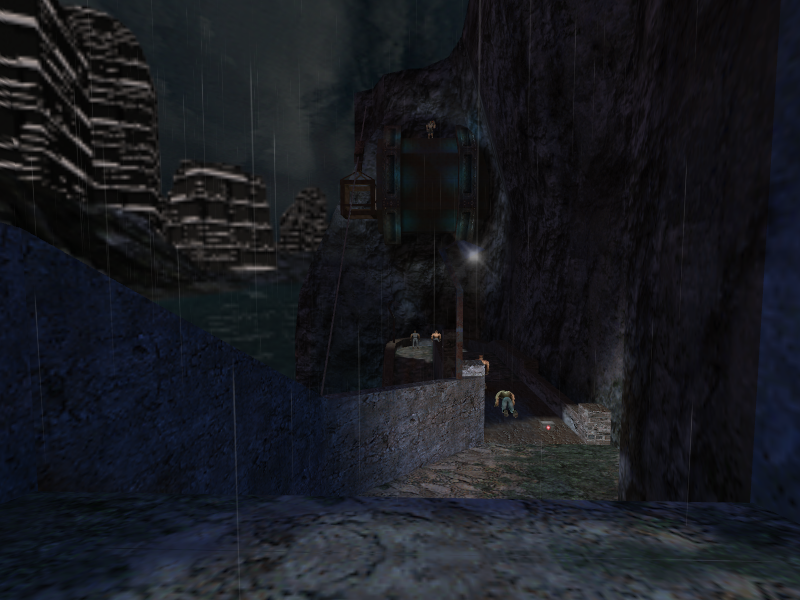
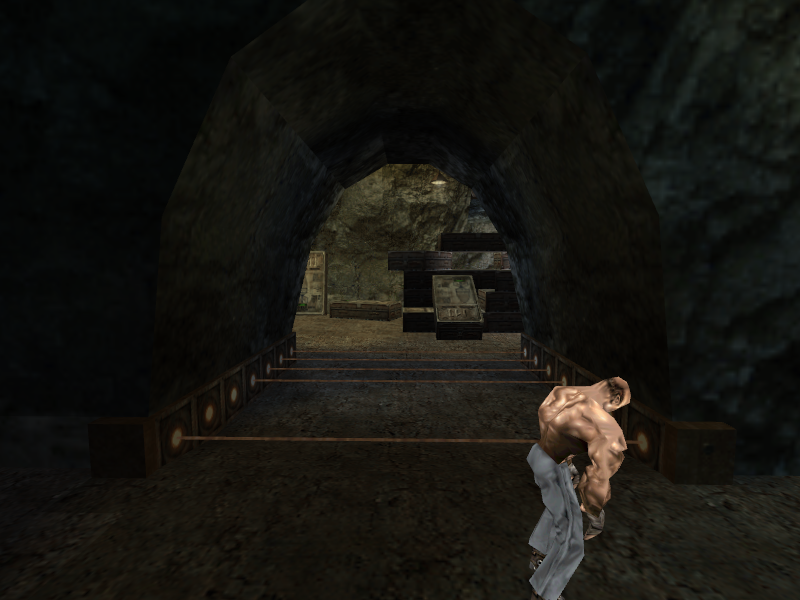
- The guard rails on the walkway on the run down the cliff side are shorter than they are the final game.
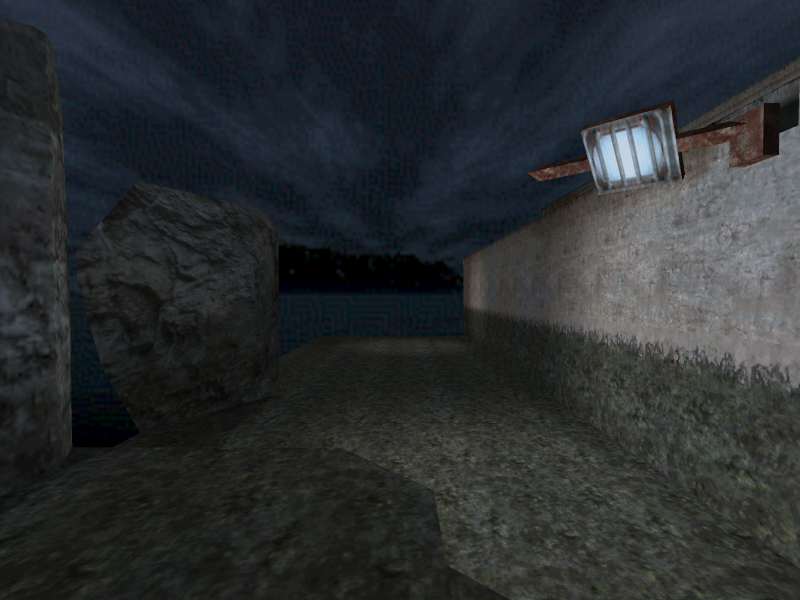
- The lights are positioned in different places in E4M1b compared to the final game’s E4M2a.
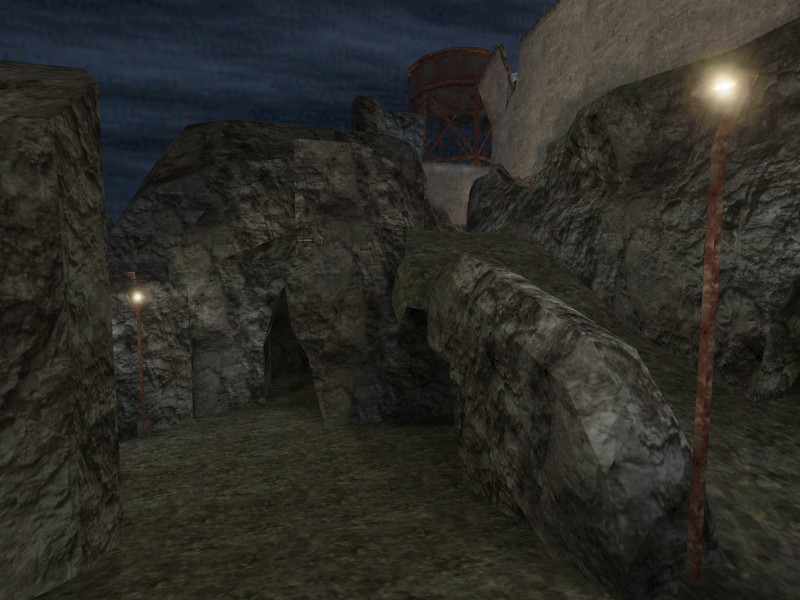
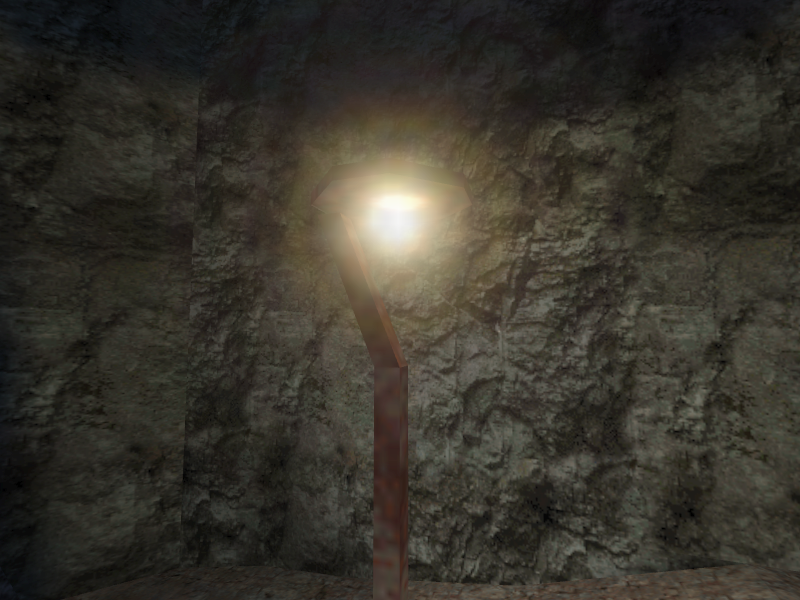
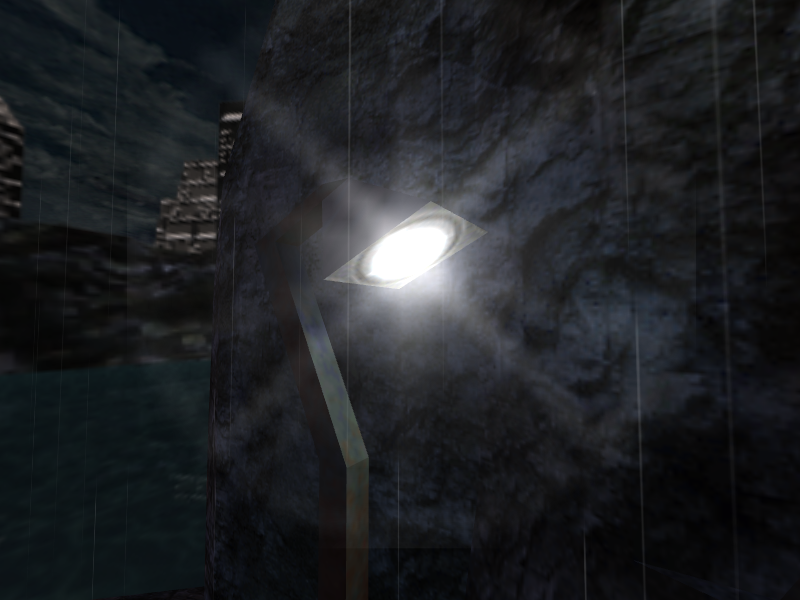
- The design for the light posts scattered throughout the run down the cliff side are simpler than they are in the final game.
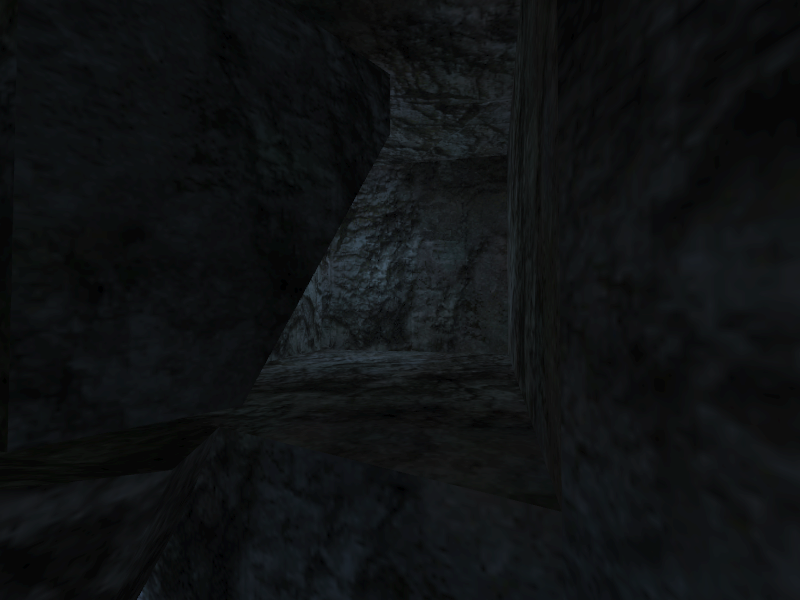
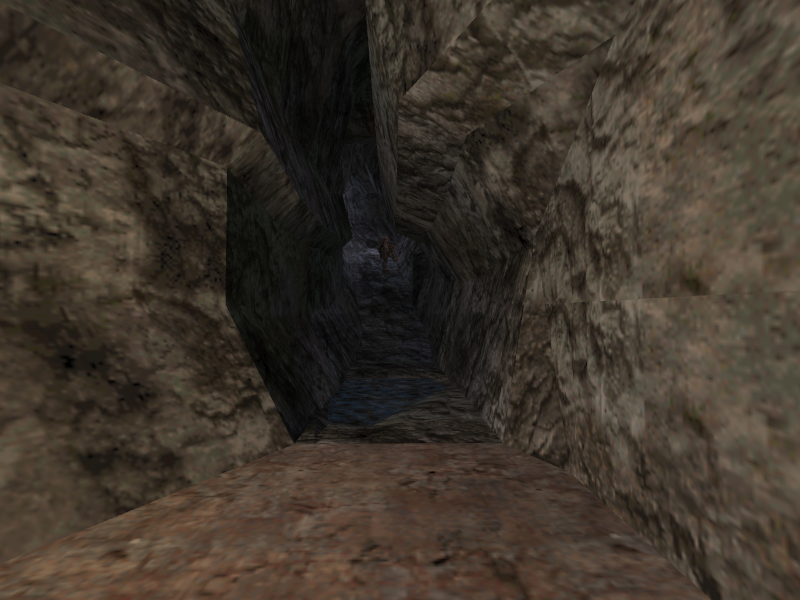
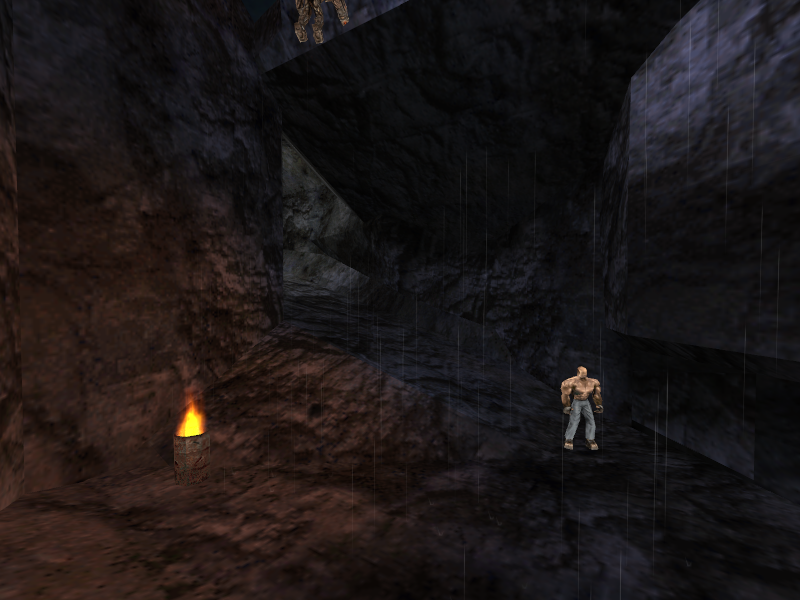
- The small cave the player goes through in the middle of the run down the cliff side does not exist in E4M1b.
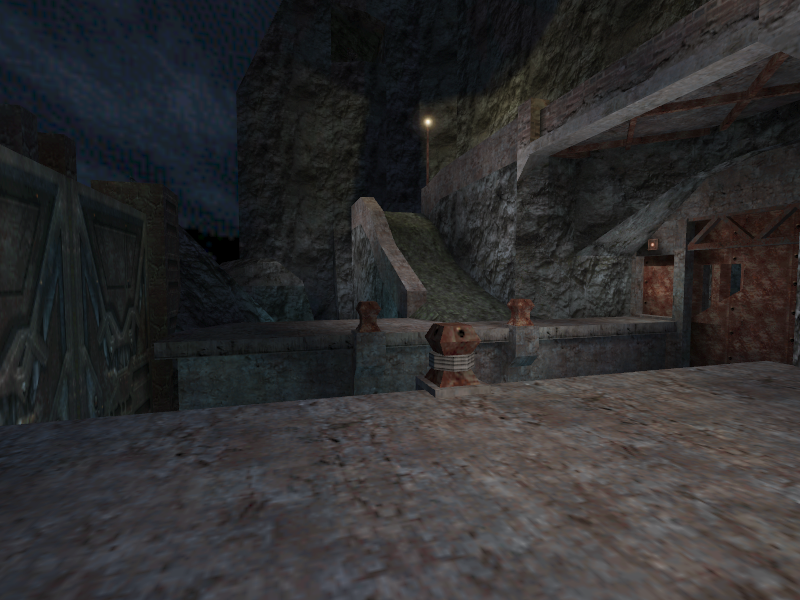
- The upper elevator level does not exist in this prototype. The cave simply ends with a Rocket Gangster overlooking it, just like in Milestone 2’s E4M1. However, jumping down it activates the door to the docks area.
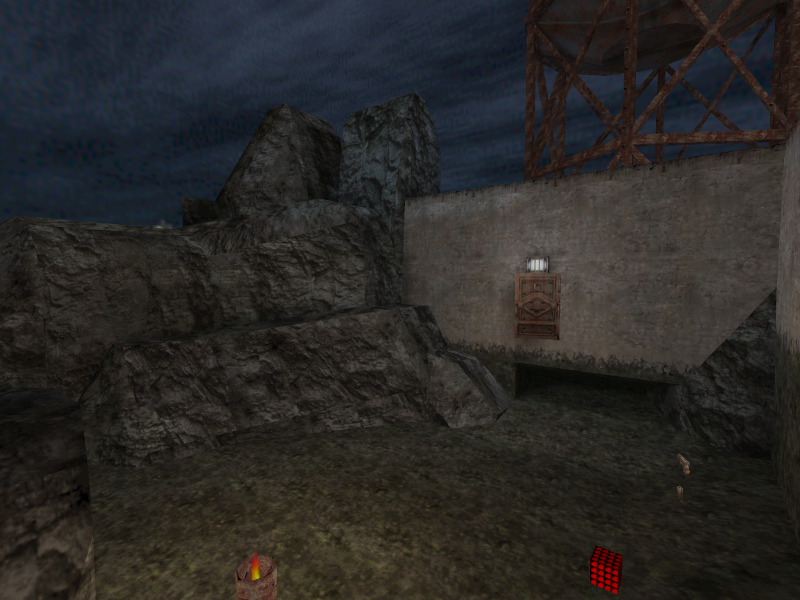
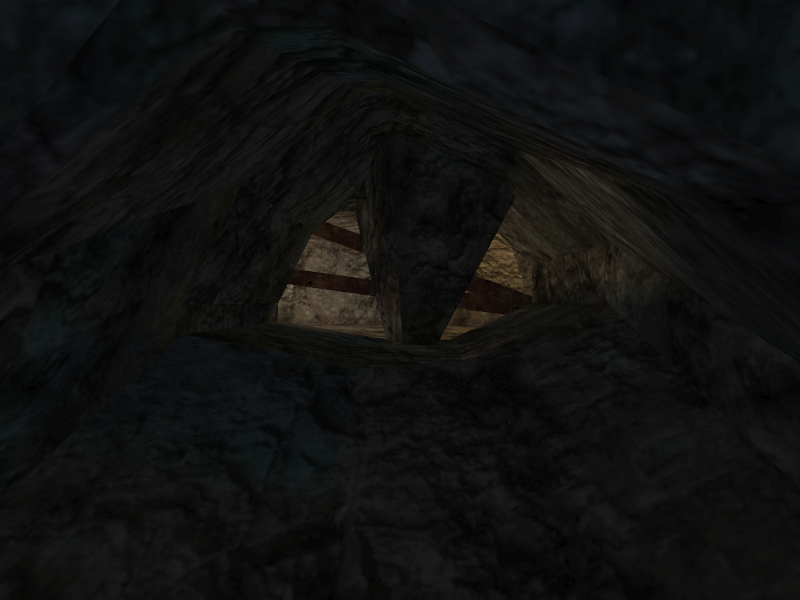
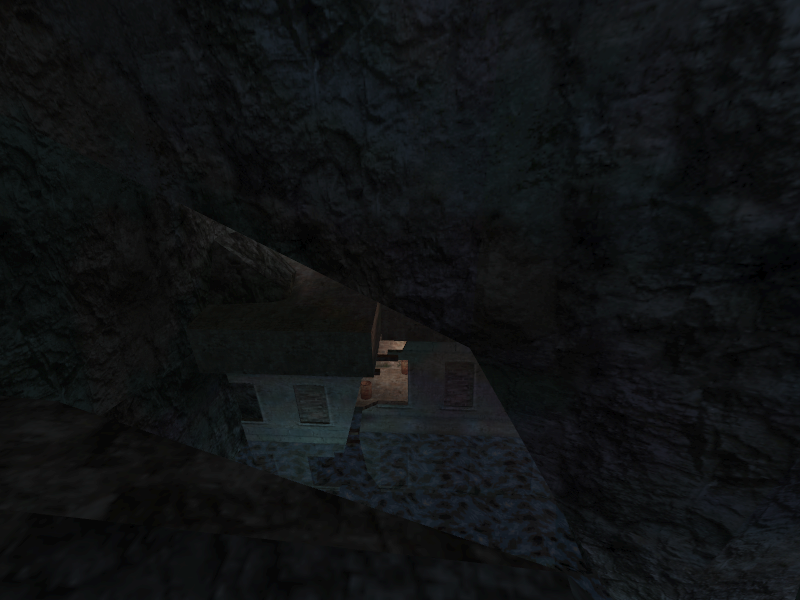
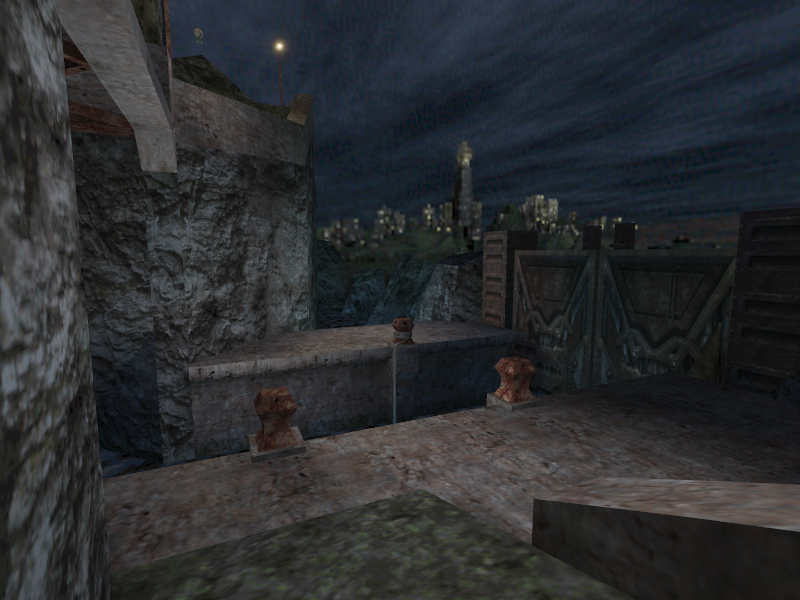
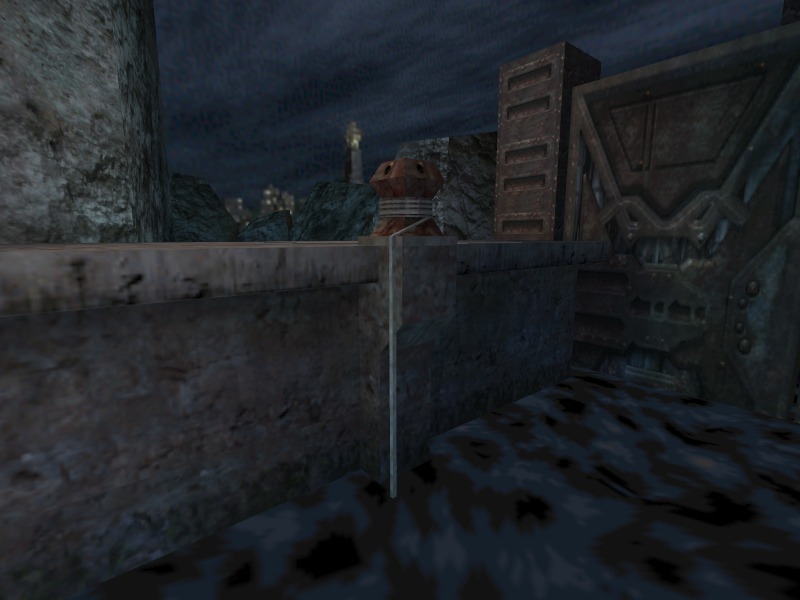
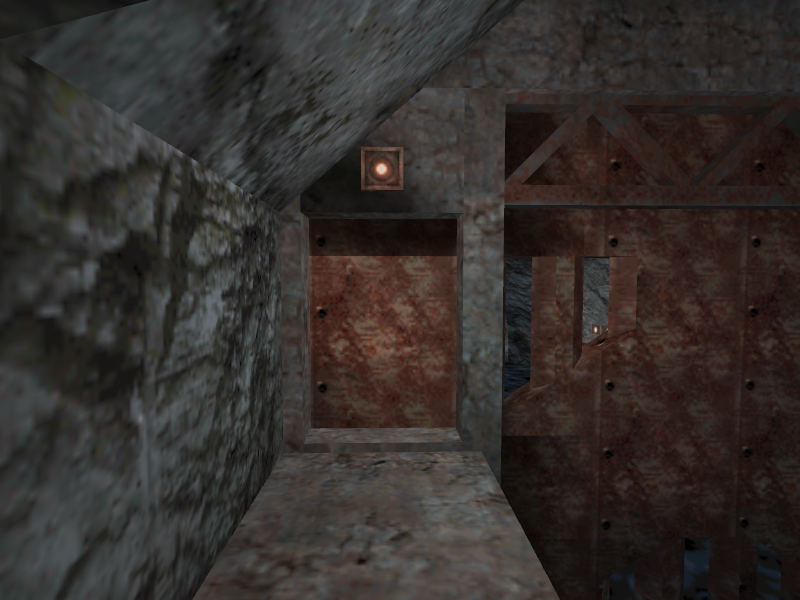
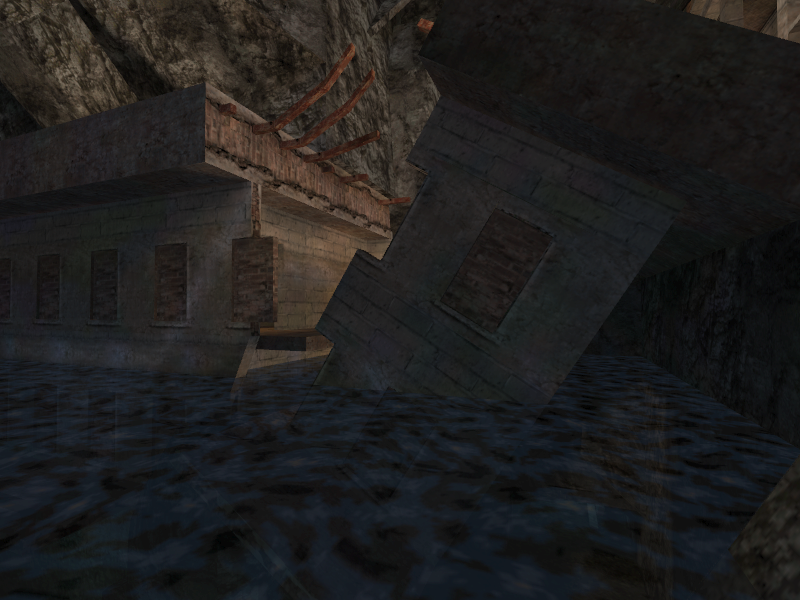
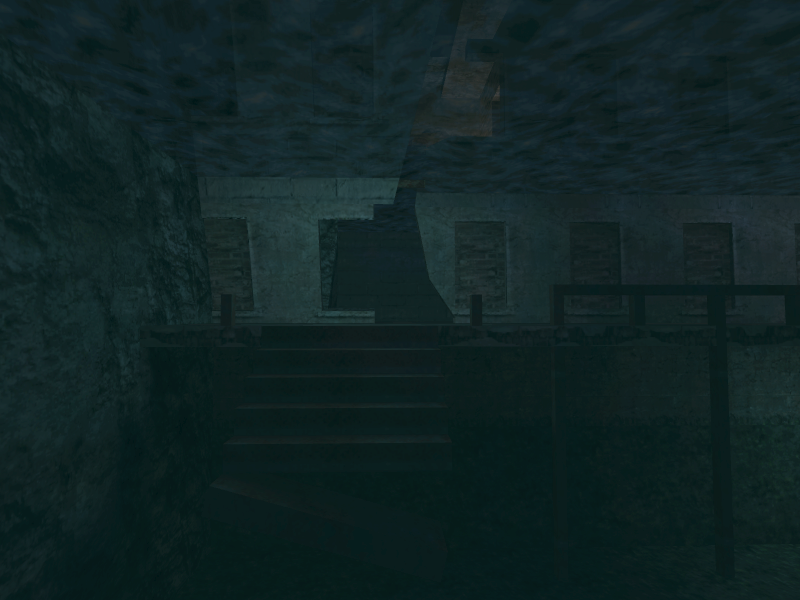
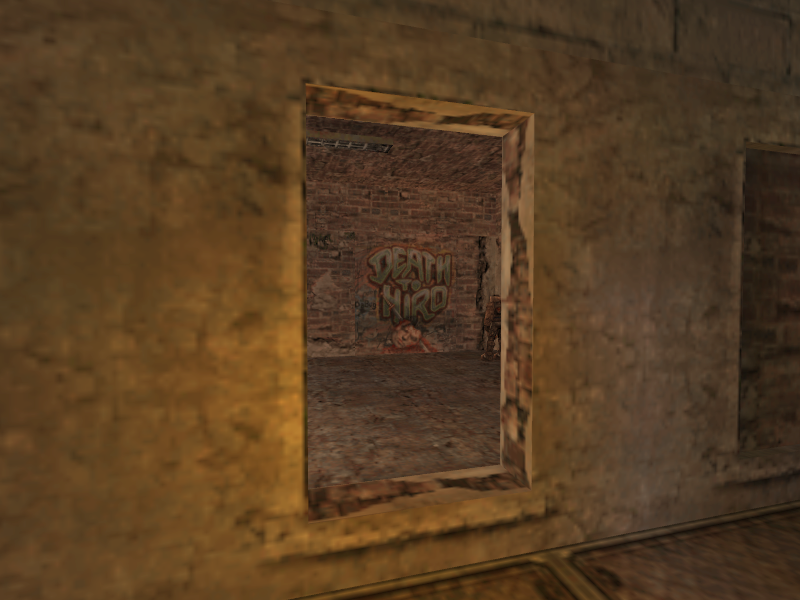
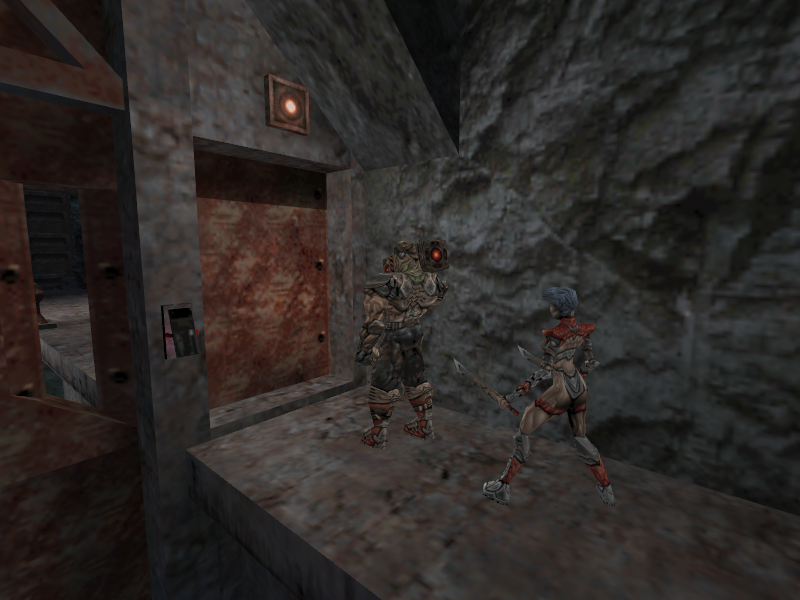
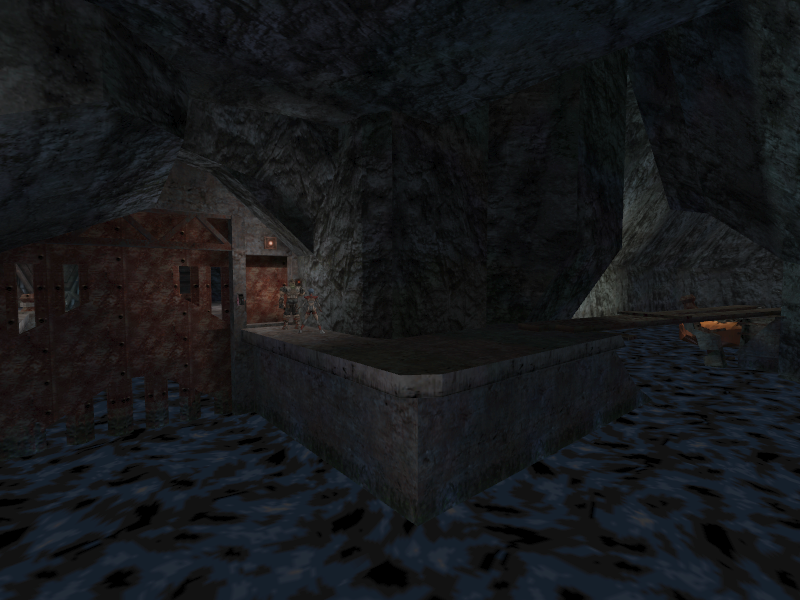
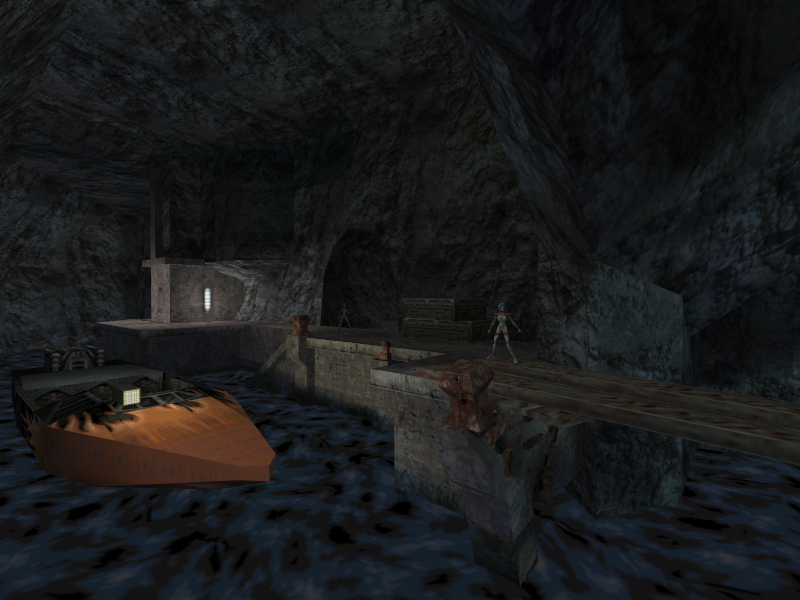
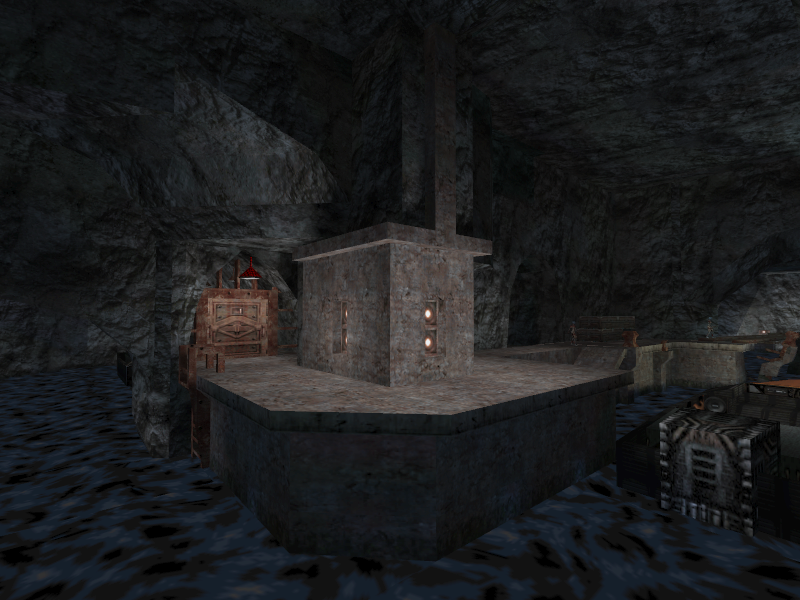
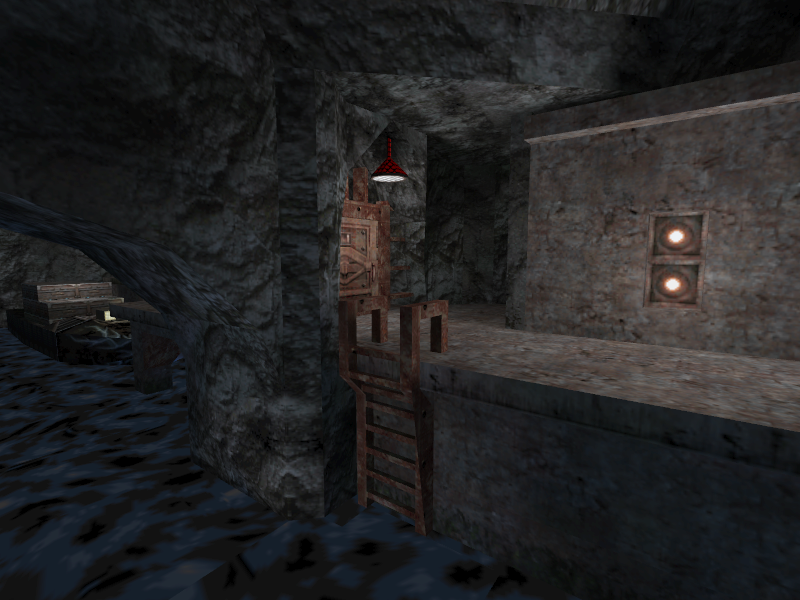
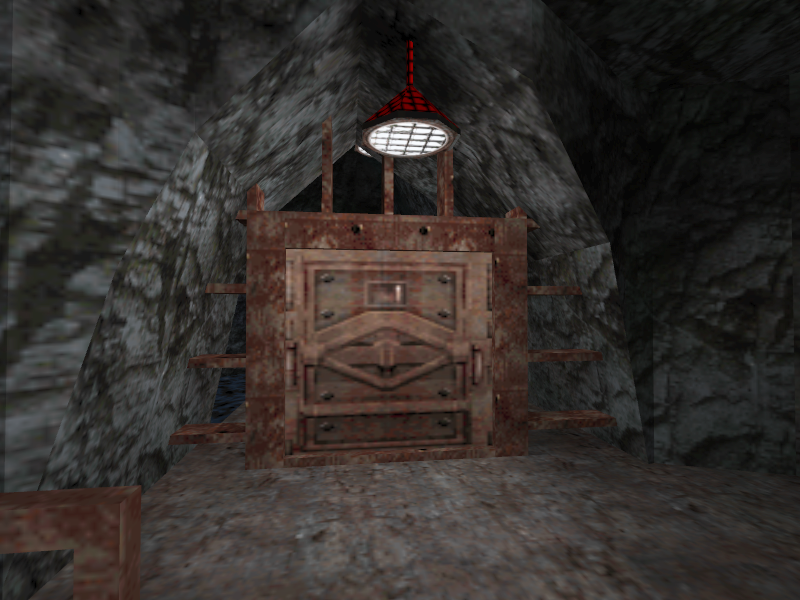
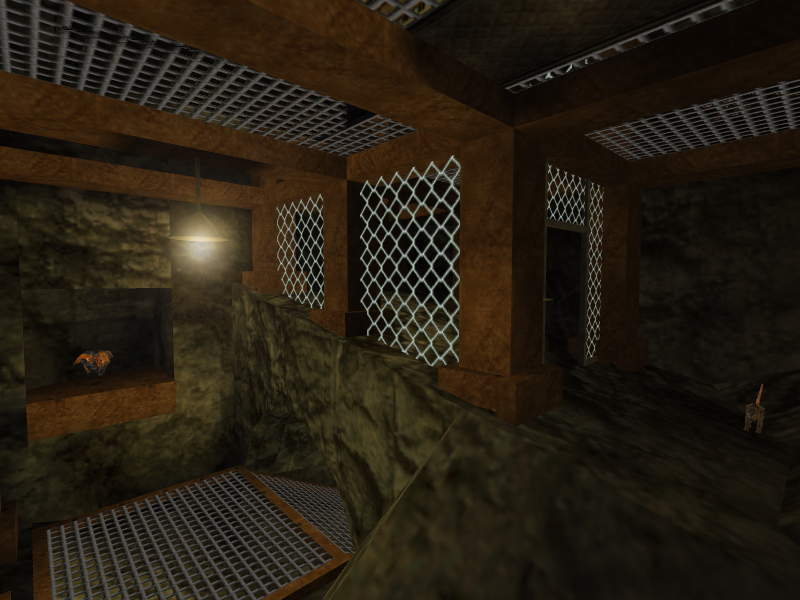
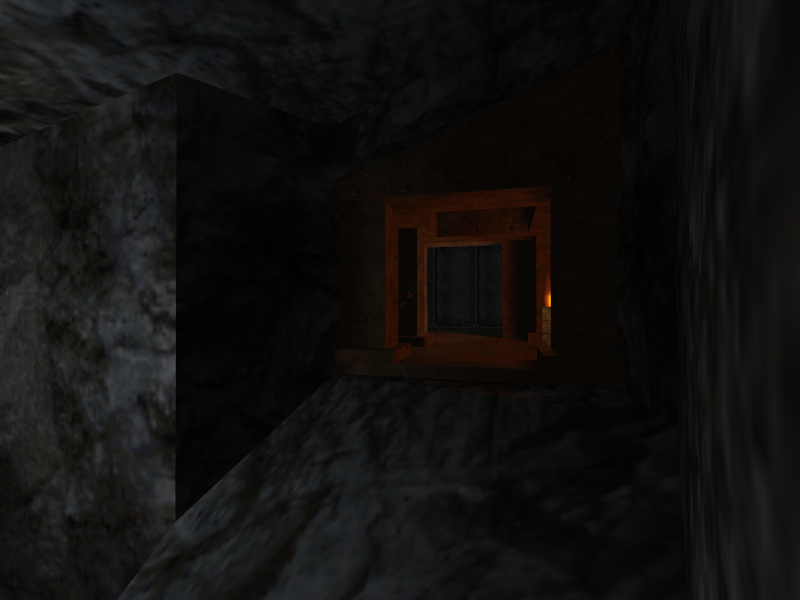
- The main dock door has a much more elaborate design in E4M1b, including windows that let the player see inside.
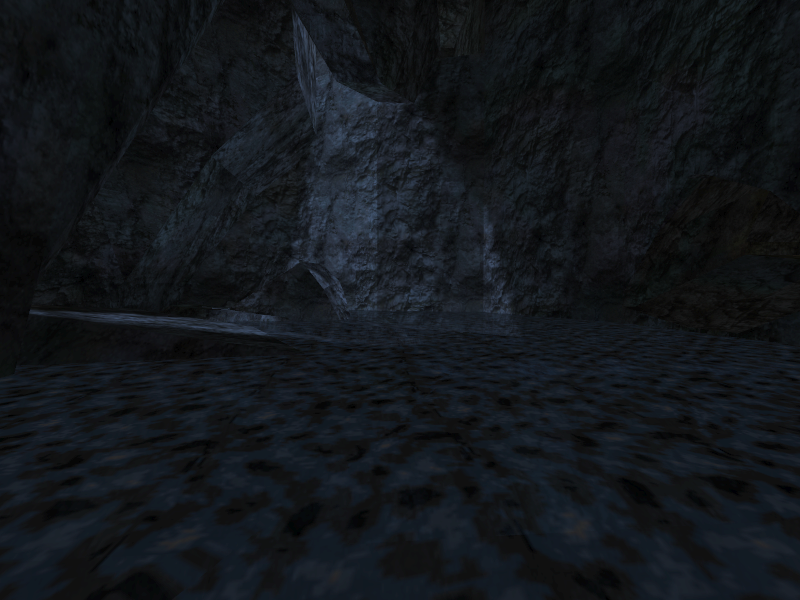
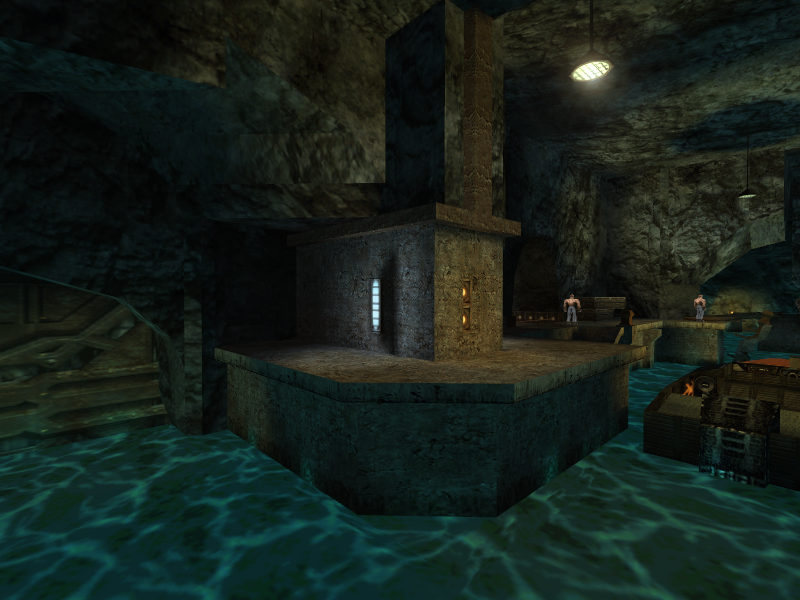
- The large pool of water past the second dock gates is absent in E4M1b.
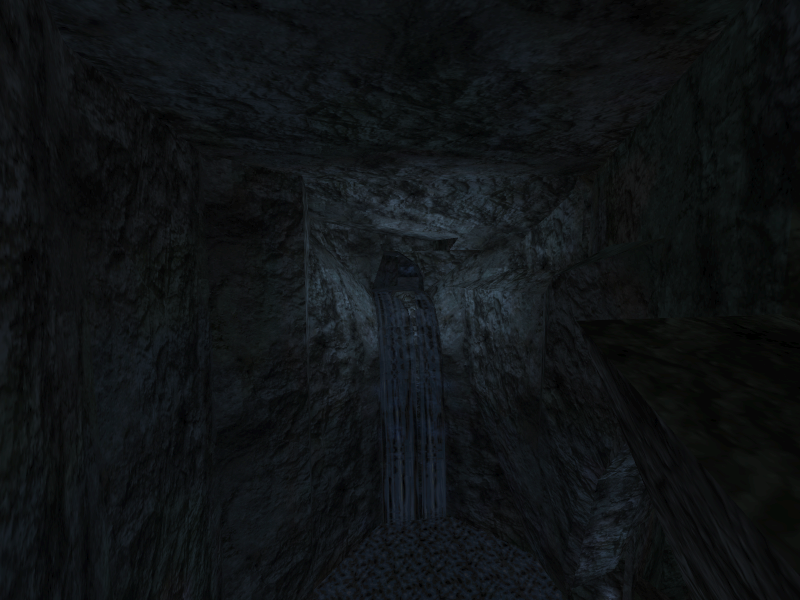
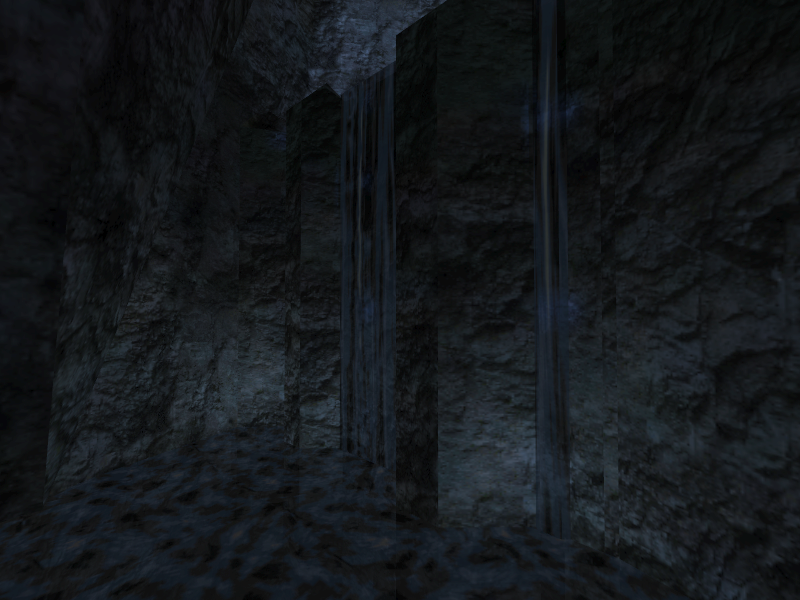
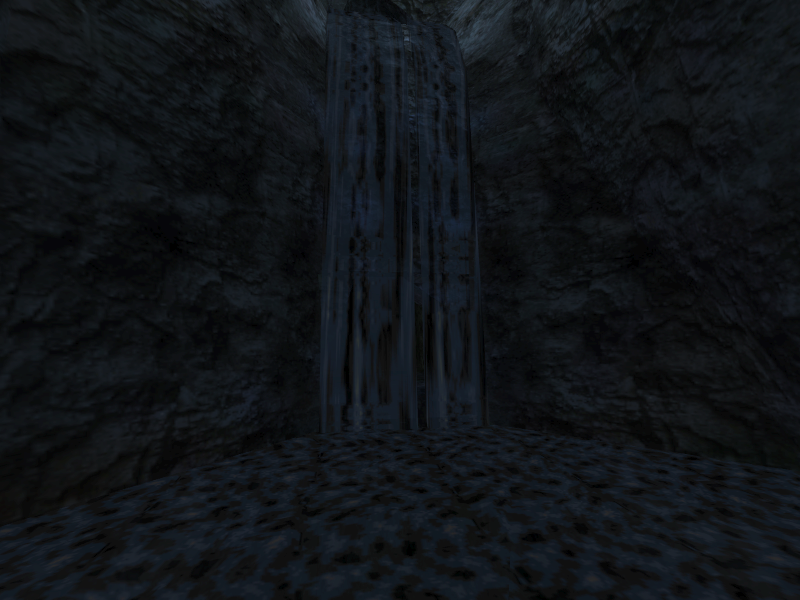
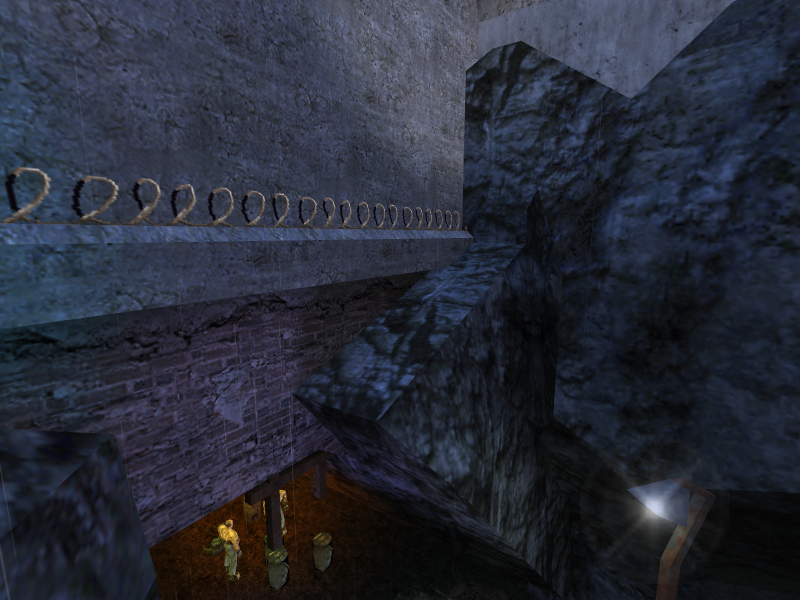
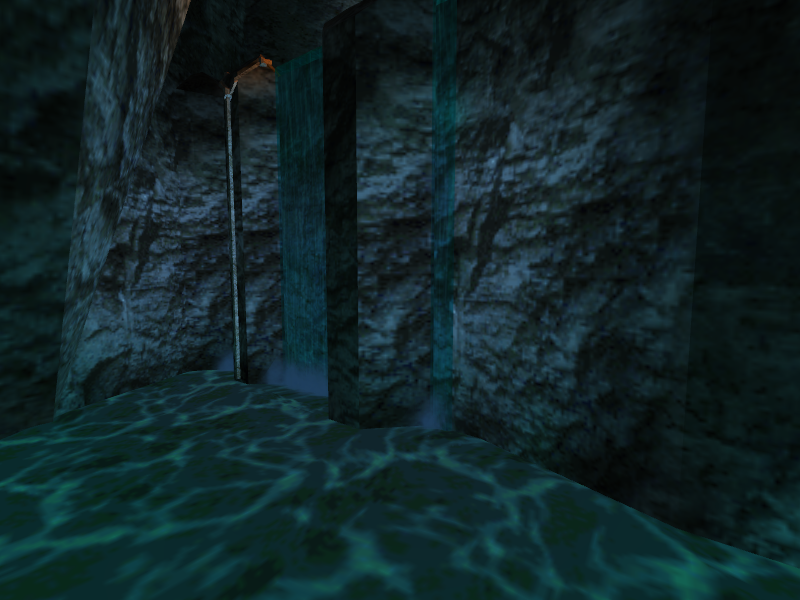
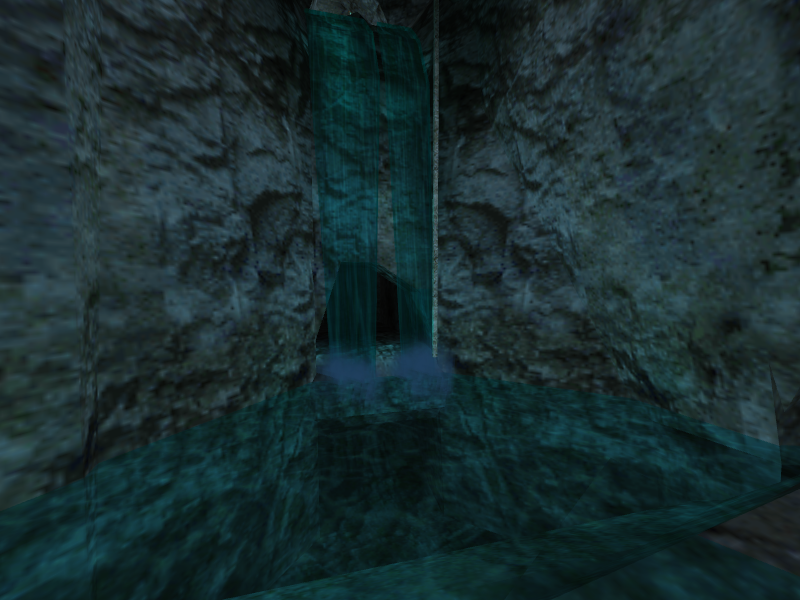
- The ropes that let the player climb up the waterfalls are nowhere to be found. As a result, the only way to enter the area the waterfall leads from is to take the alternate path down at the start of the level.
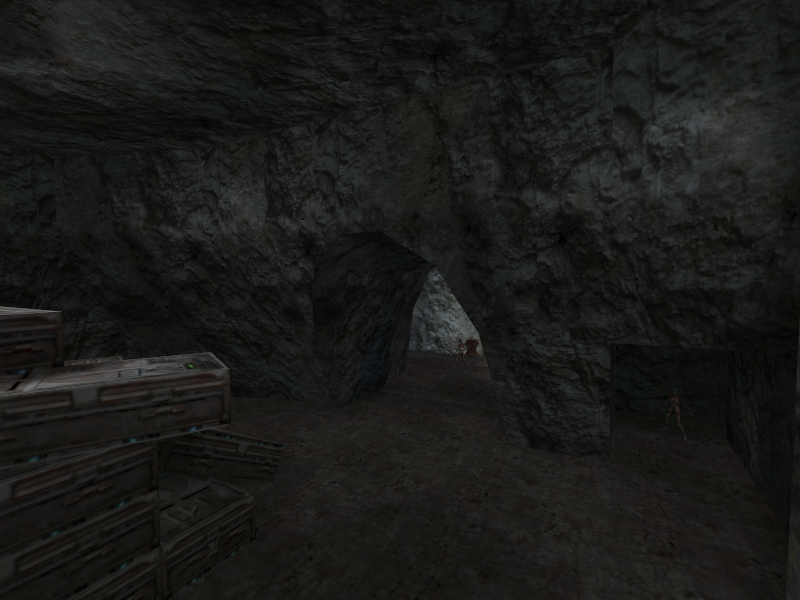
- The secret cave with the Ripgun, Attack Boost, Cordite Grenades, and White Prisoner instead has three Monkeys in it.
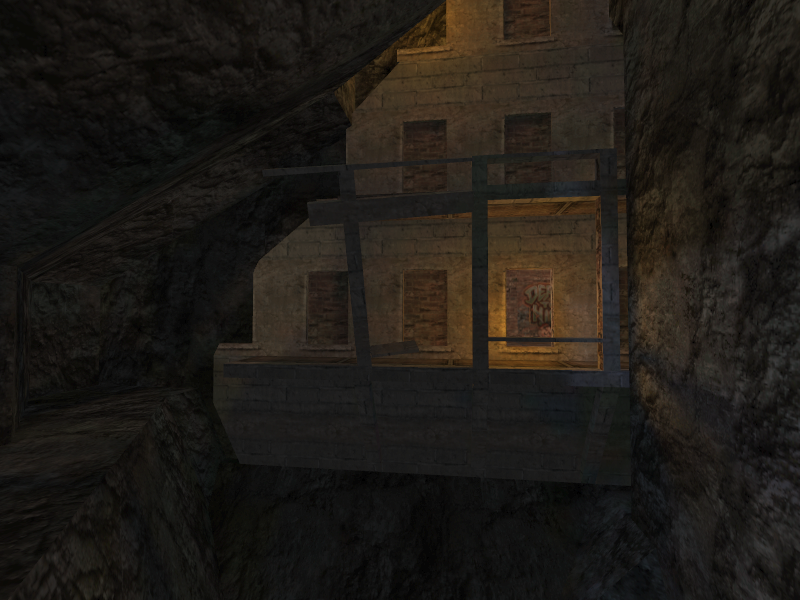
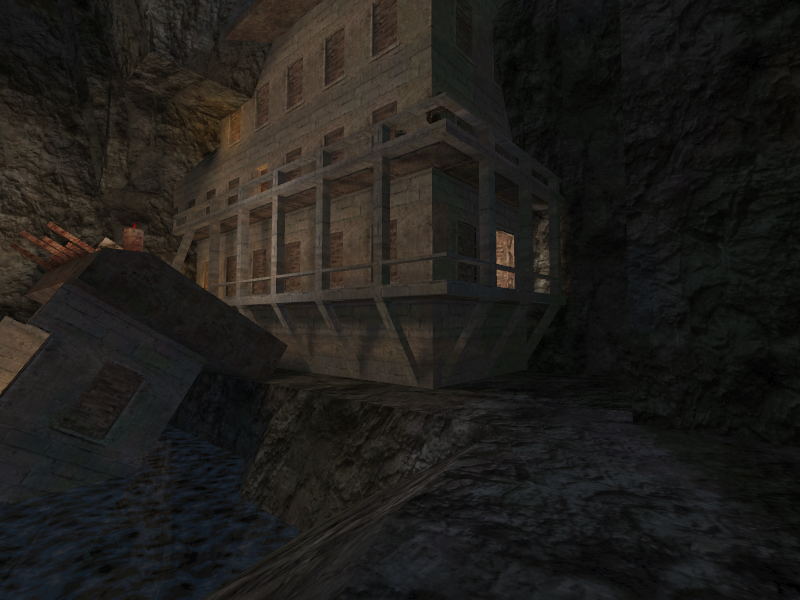
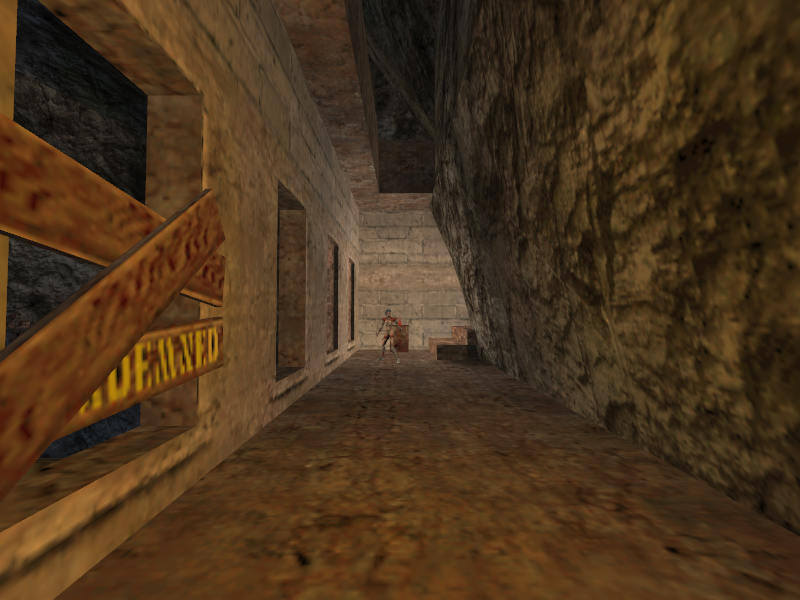
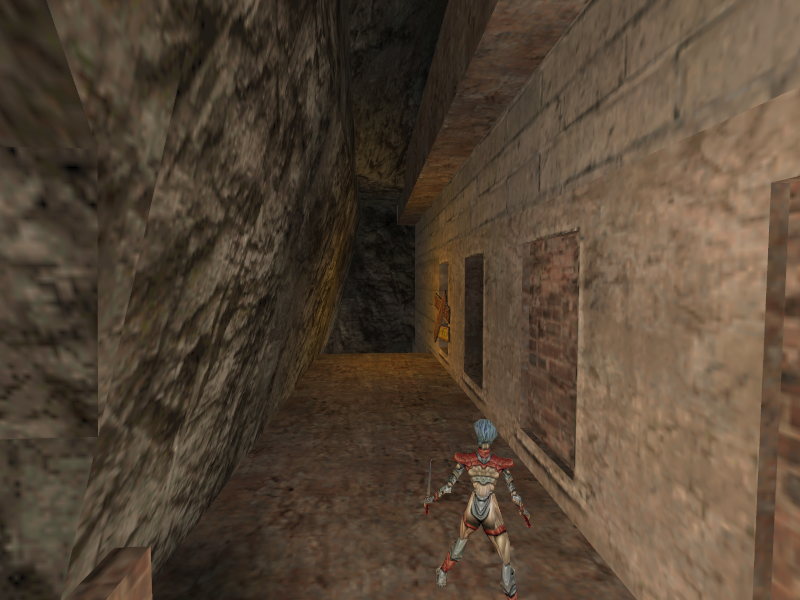
- The beams covering up the left side of the secret cave are inside the cave in E4M1b, but inside the structure.
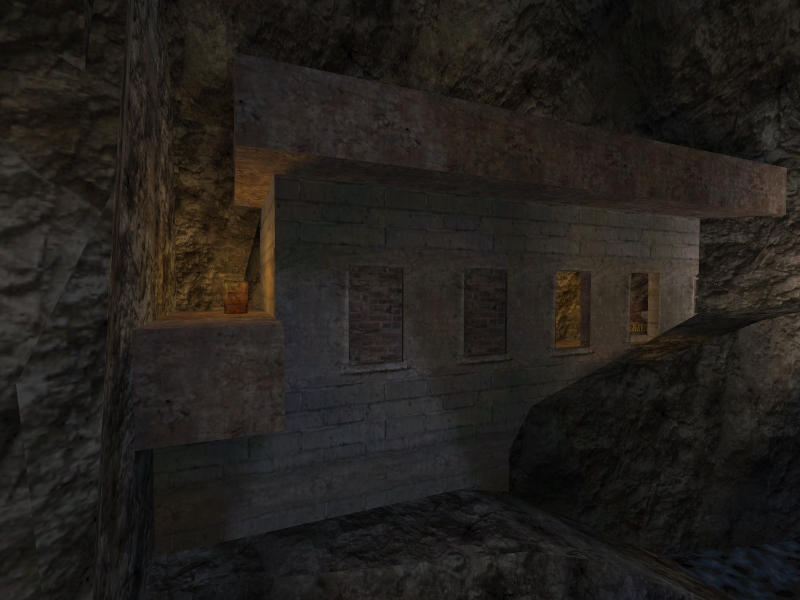
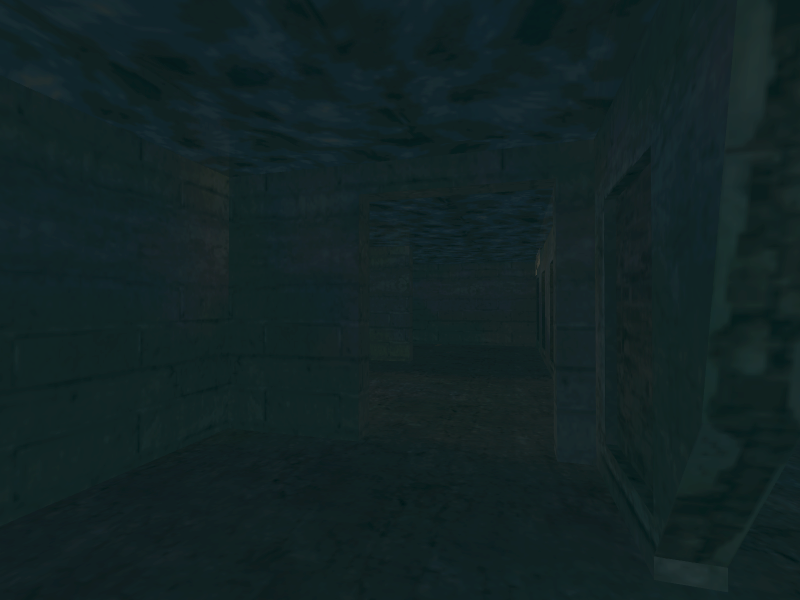
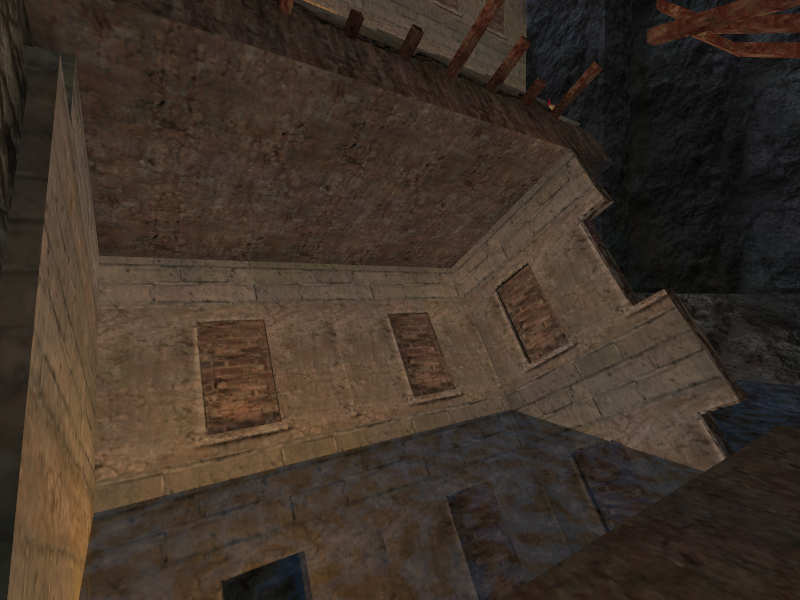
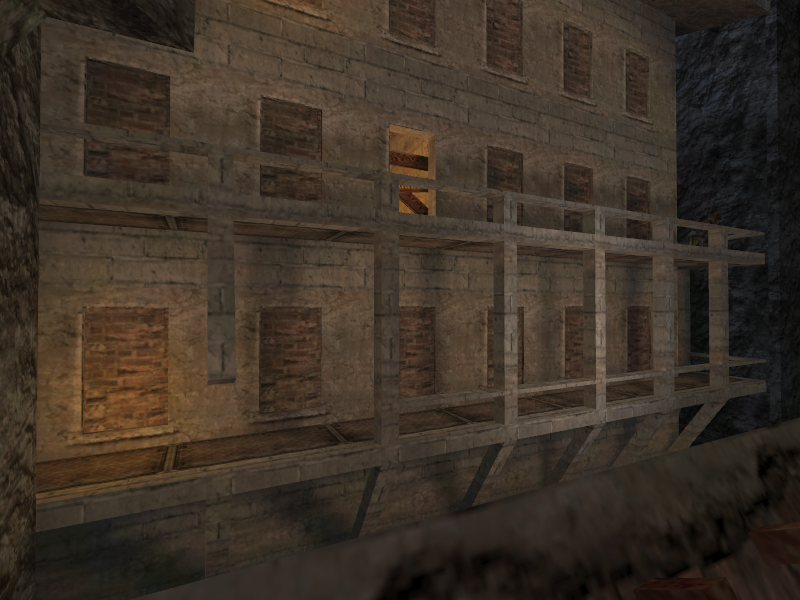
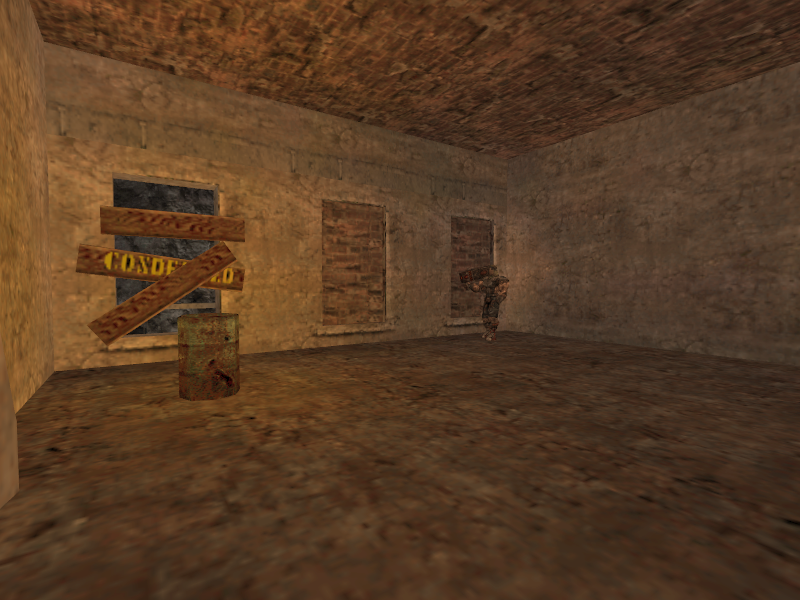
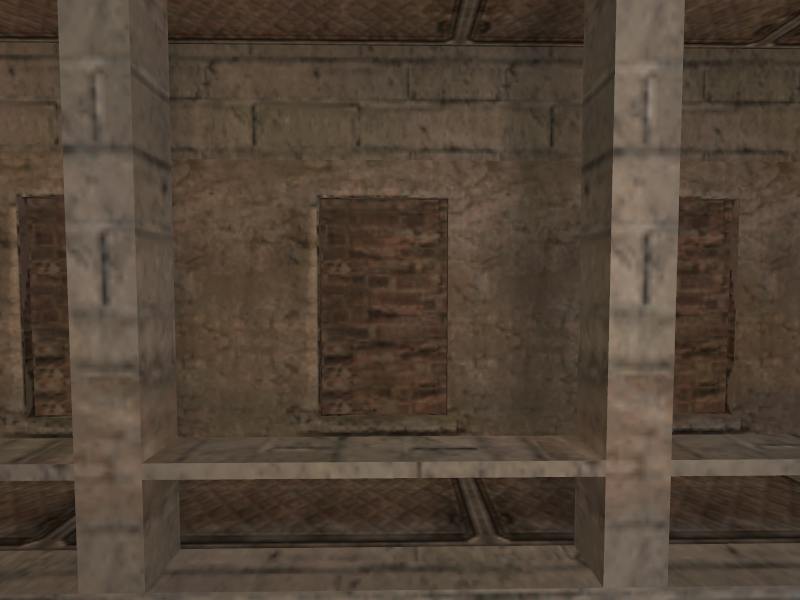
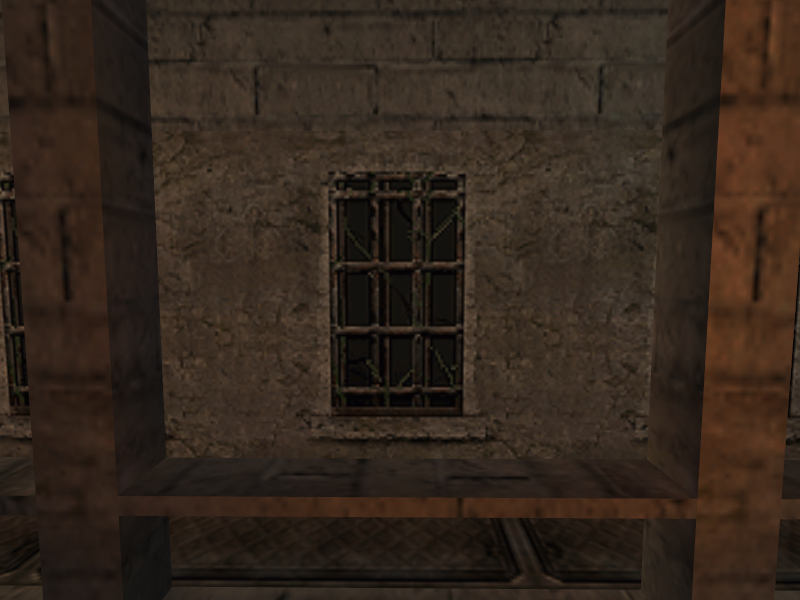
- The buildings inside the cave have their windows covered with bricks and with special indentations for the windows. In the final game, these are removed, with the windows using a flat texture.
- The secret area containing the Ripgun and other goodies behind a destroyable chunk of wall is absent in E4M1b. In fact, the wall that hides it does not exist in this prototype at all.
- There is a switch the door to the docks from inside the docks that opens or closes the door. The final game removes this.
- In E4M1b, the dock doors and side entrance move to the right when they are opened. E4M2a simply has the side entrance open instead.
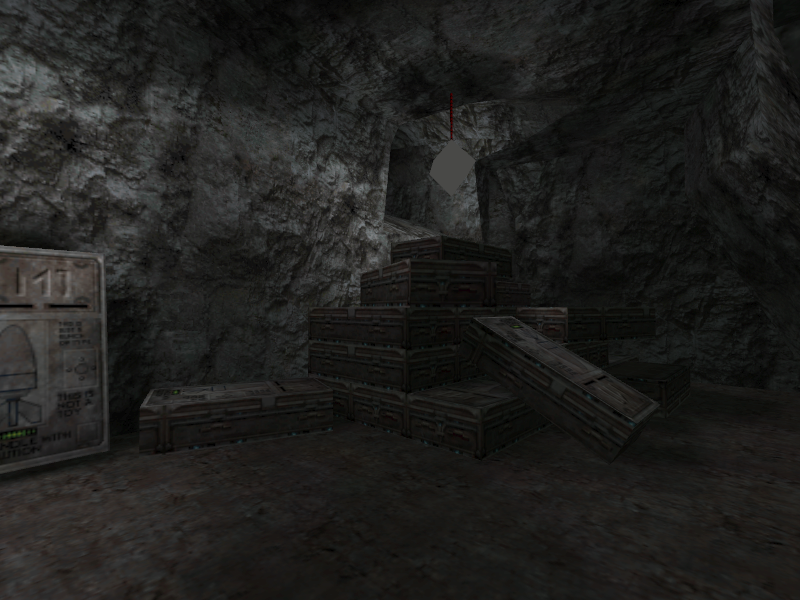
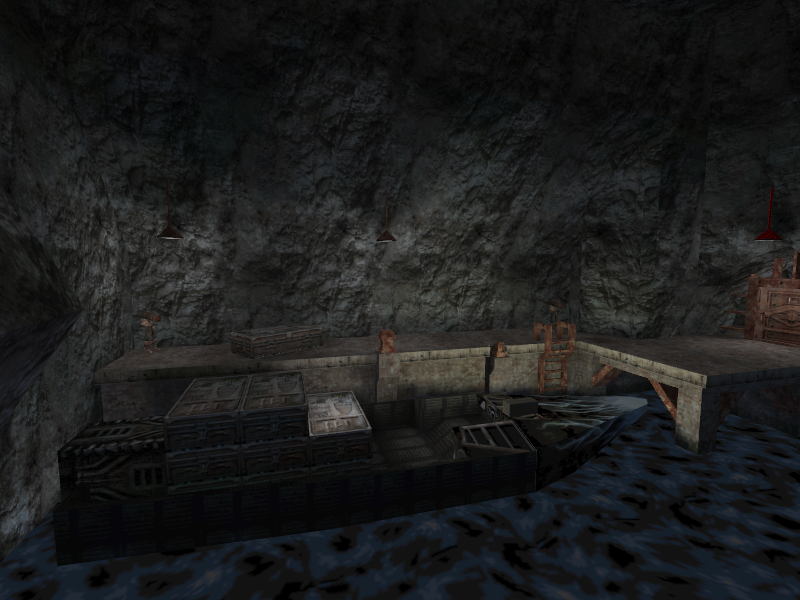
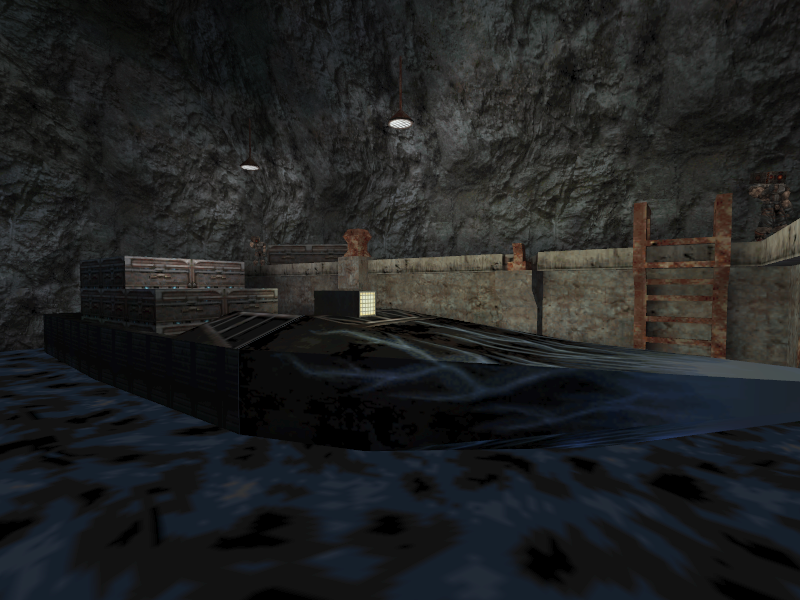
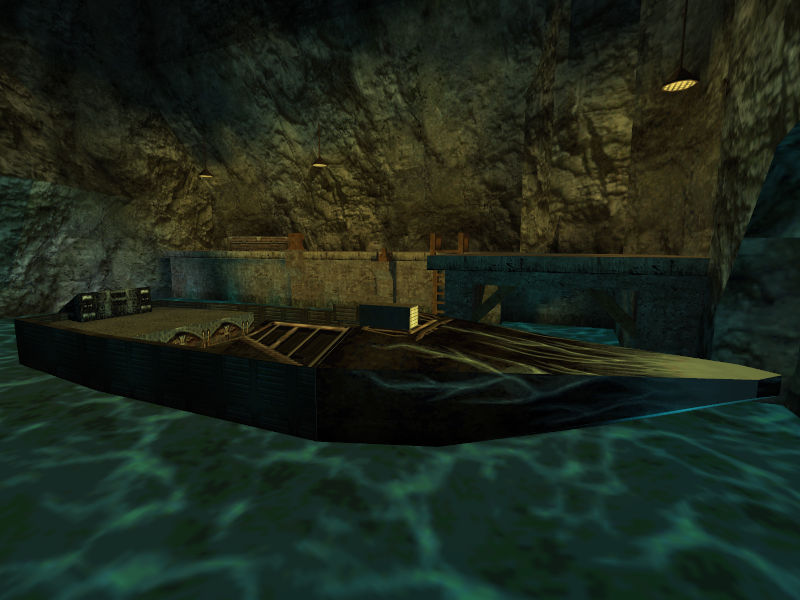
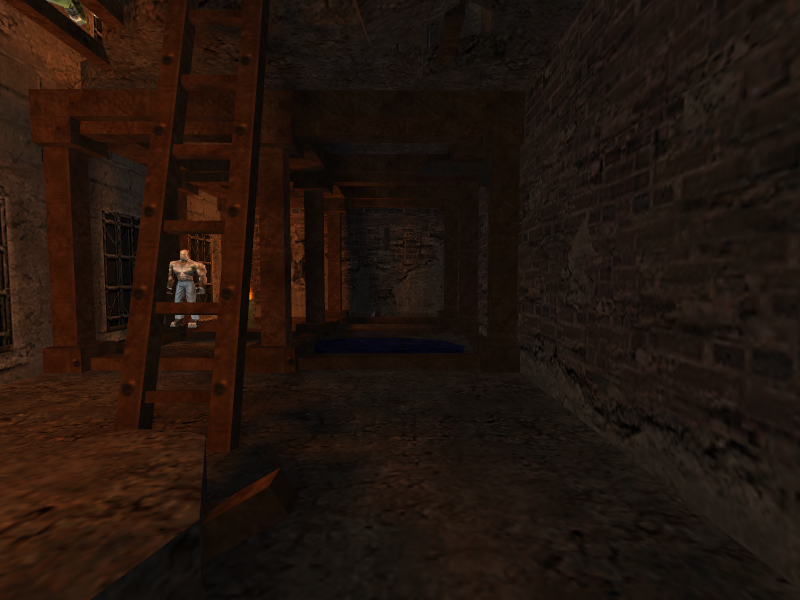
- Both boats in the level have a lot of the large boxes seen in the dock’s cave, to the point where they’re stacked on each other. The final game simplifies the boxes by having them use a smaller box type seen in the final game’s E4M3 area, and they are not stacked on top of each other.
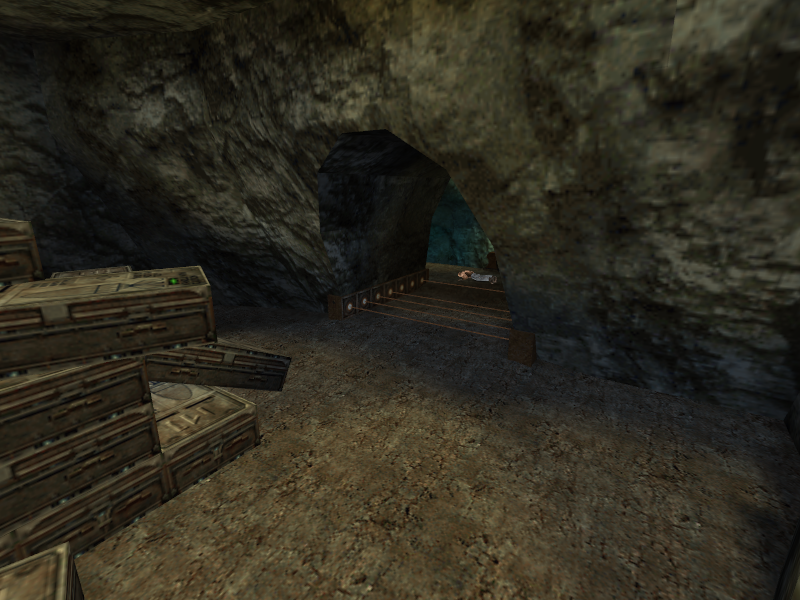
- The trap near the end of the level does not exist.
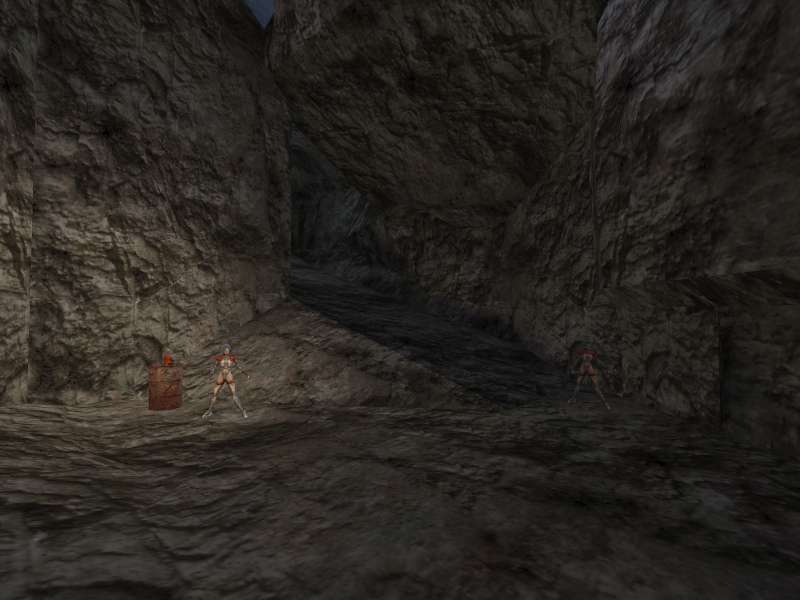
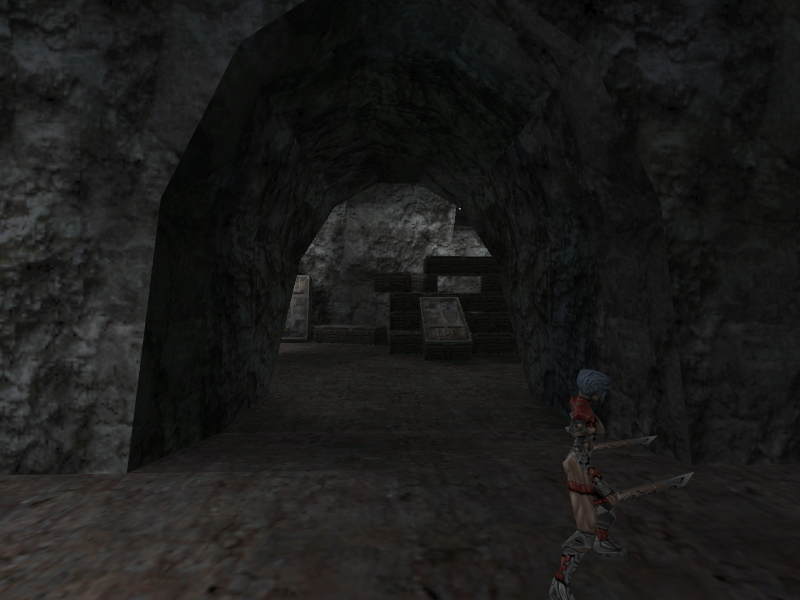
- The crane room past the trap only has the architecture for the cave floors in this prototype. Female Gangster inhabit it instead of Rats as well.
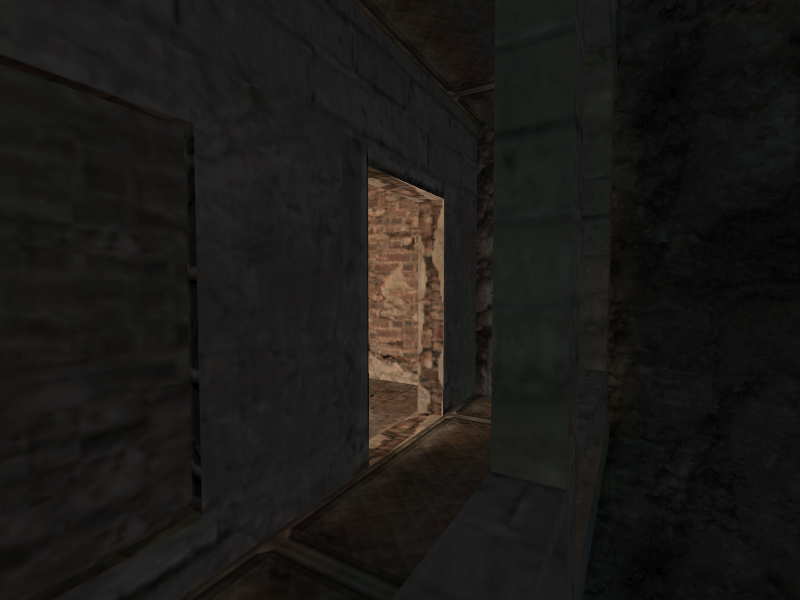
- A side door to the second boat exists in E4M1b. It was removed in the final game.
- The main door for the second dock is open in E4M1b, but closed in E4M2a.
- The second boat is much closer to the dock it's near than in the final game.
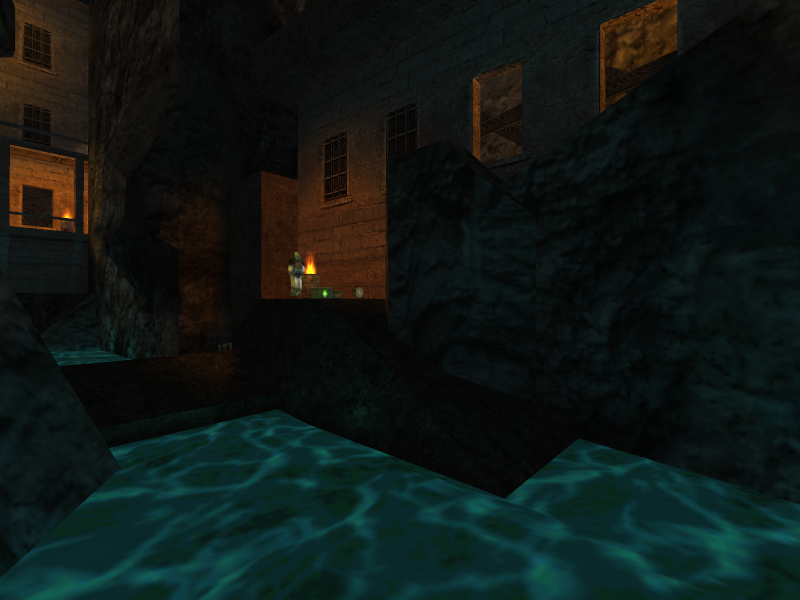
- There is a Rocket Gangster very close to the boat the gang uses to escape E4M2 in the final game, suggesting that a cutscene would not start when the player began to approach the dock containing the boat at this point in development.
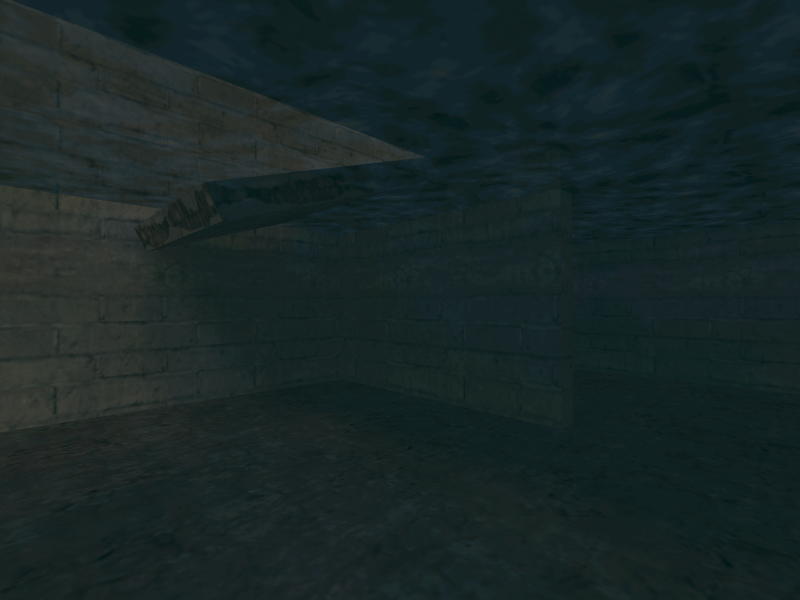
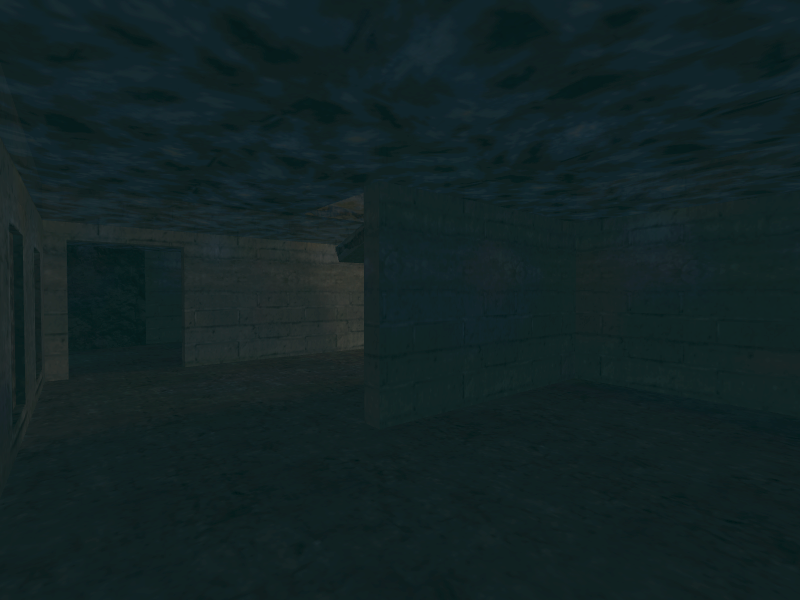
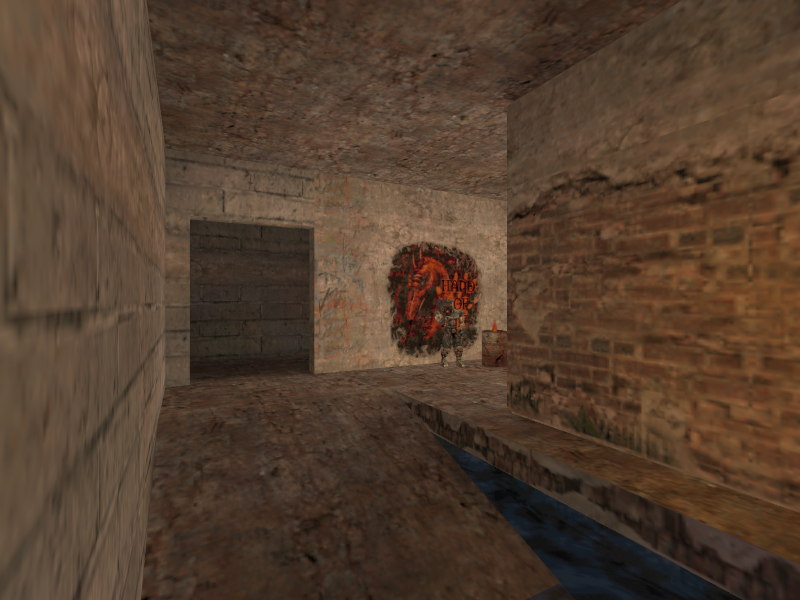
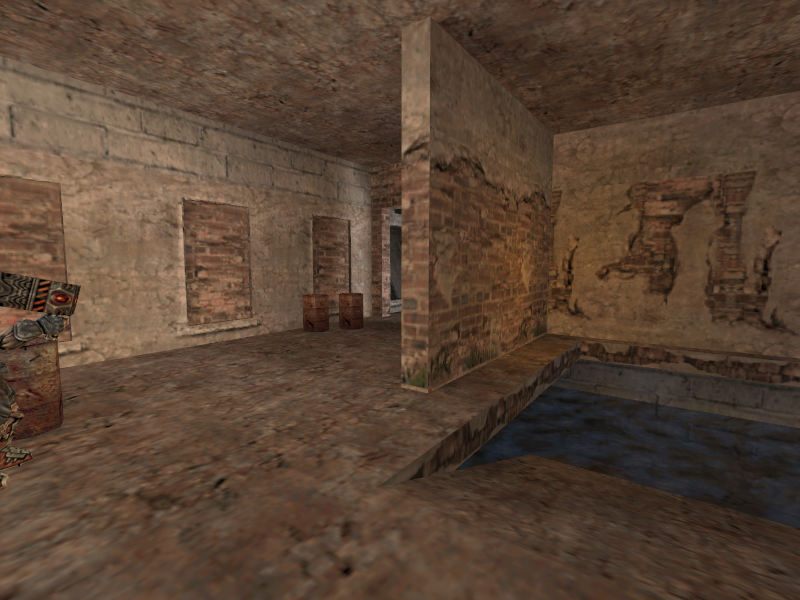
|
Prototype |
Final |
|---|---|
|
|
|
|
0.10 |
Milestone 2 |
|---|---|
|
|
|
|
Prototype |
Final |
|---|---|
|
|
|
|
Prototype |
Final |
|---|---|
|
|
|
|
Prototype |
Final |
|---|---|
|
|
|
|
Prototype |
Final |
|---|---|
|
|
|
|
Prototype |
Final |
|---|---|
|
|
|
|
Prototype |
Final |
|---|---|
|
|
|
|
Prototype |
Final |
|---|---|
|
|
|
|
Prototype |
Final |
|---|---|
|
|
|
Prototype |
Final |
|---|---|
|
|
|
|
Prototype |
Final |
|---|---|
|
|
|
|
Prototype |
Final |
|---|---|
|
|
|
|
Prototype |
Final |
|---|---|
|
|
|
|
Prototype |
Final |
|---|---|
|
|
|
|
Prototype |
Final |
|---|---|
|
|
|
|
Prototype |
Final |
|---|---|
|
|
|
|
Prototype |
Final |
|---|---|
|
|
|
|
Prototype |
Final |
|---|---|
|
|
|
|
Prototype |
Final |
|---|---|
|
|
|
|
Prototype |
Final |
|---|---|
|
|
|
Prototype |
Final |
|---|---|
|
|
|
|
Prototype |
Final |
|---|---|
|
|
|
|
Prototype |
Final |
|---|---|
|
|
|
Prototype |
Pre-release Image |
|---|---|
|
|
E4M8#
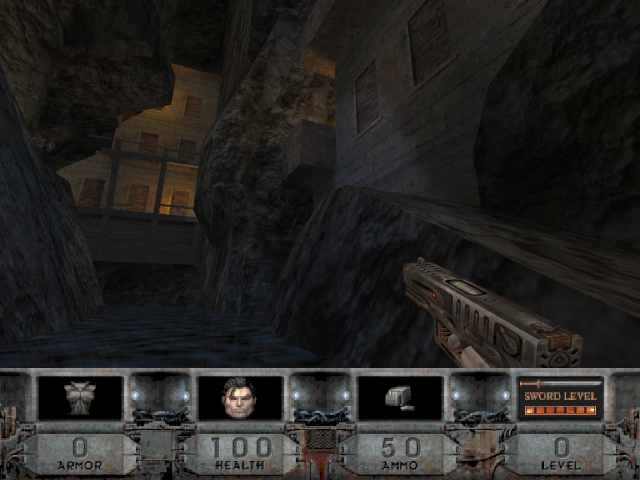
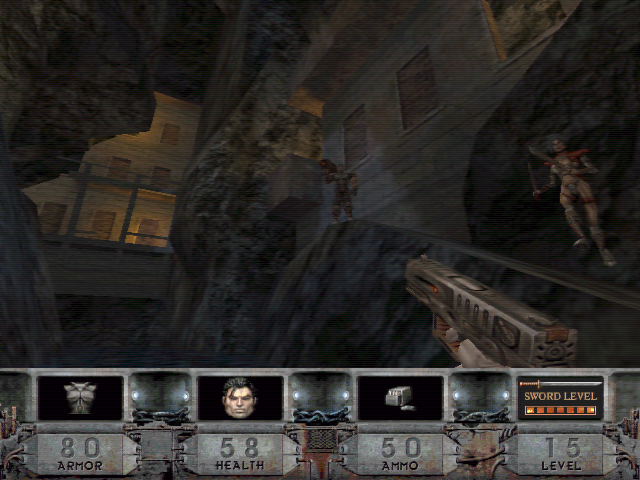
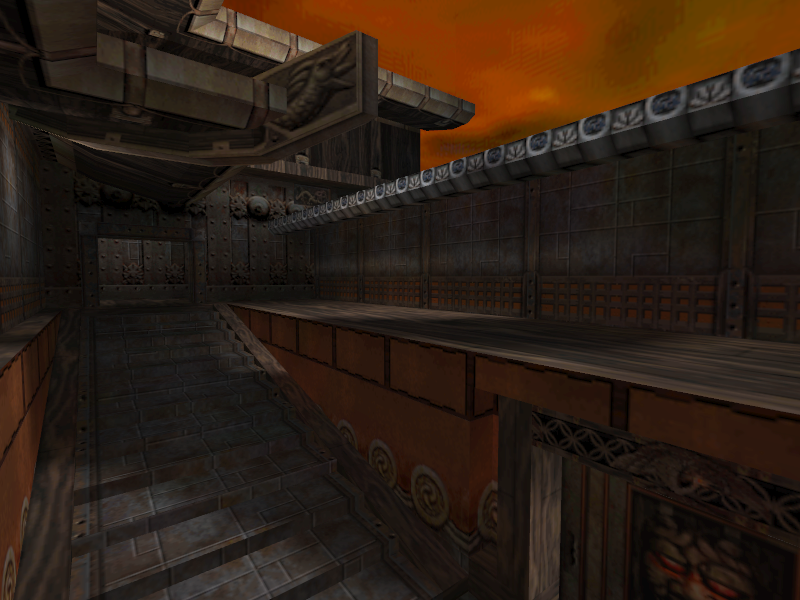
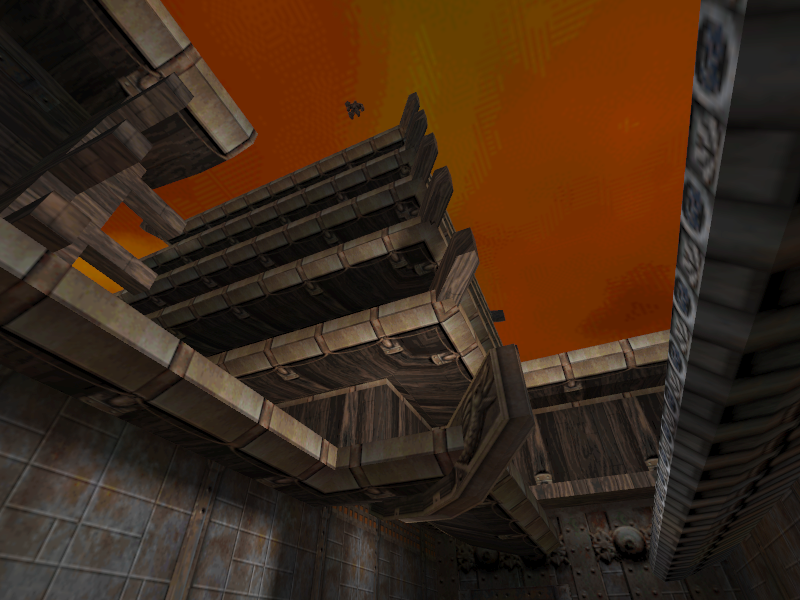
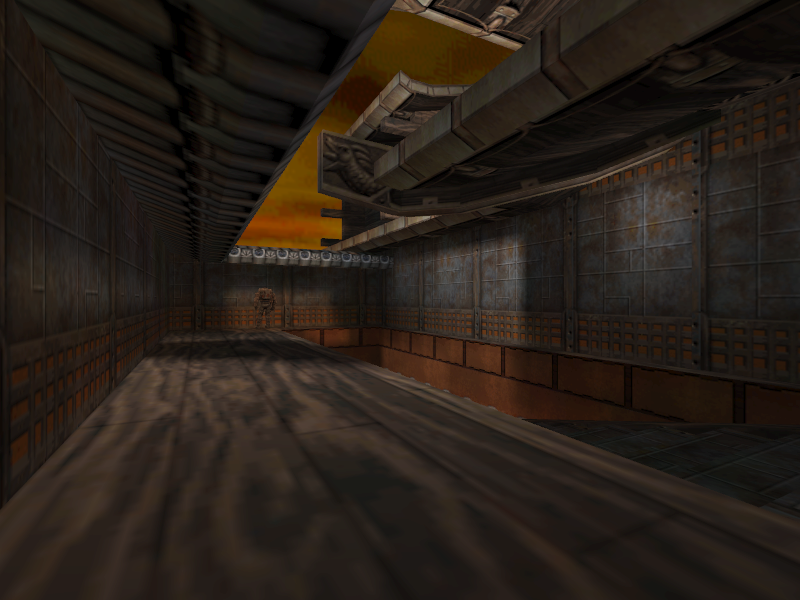
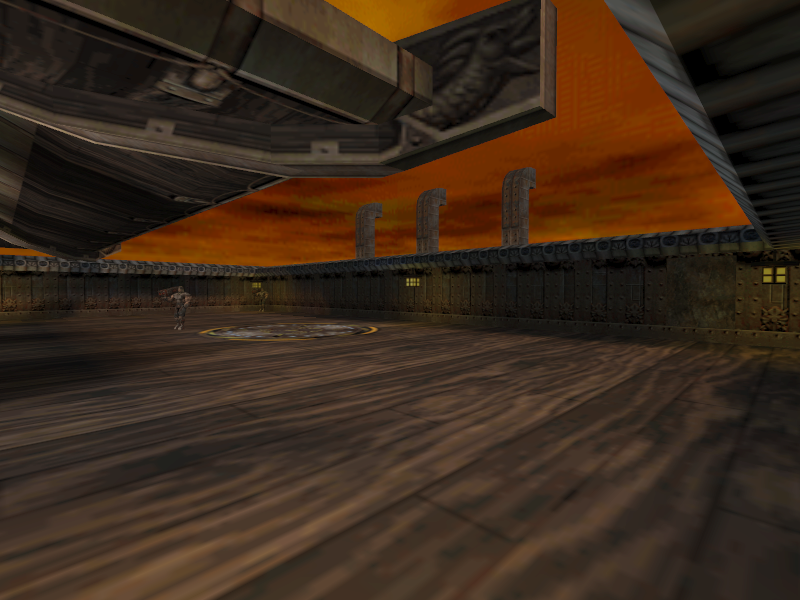
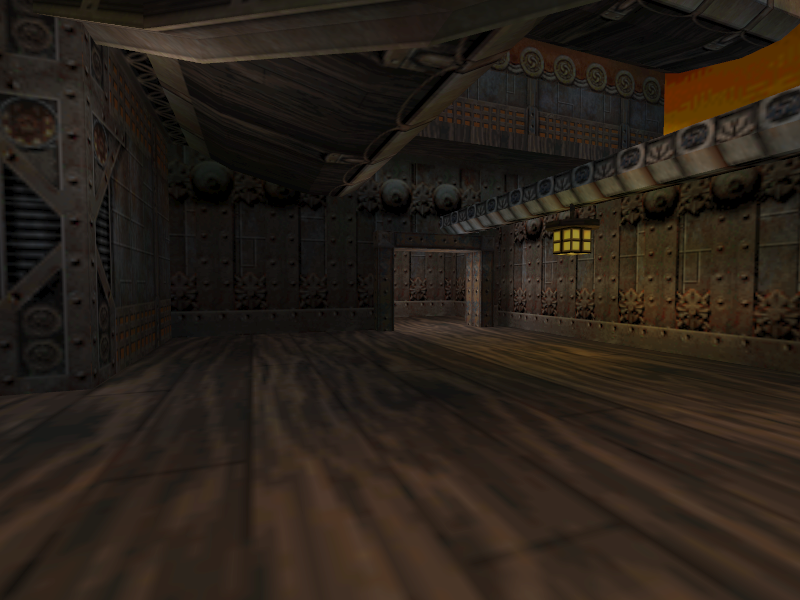
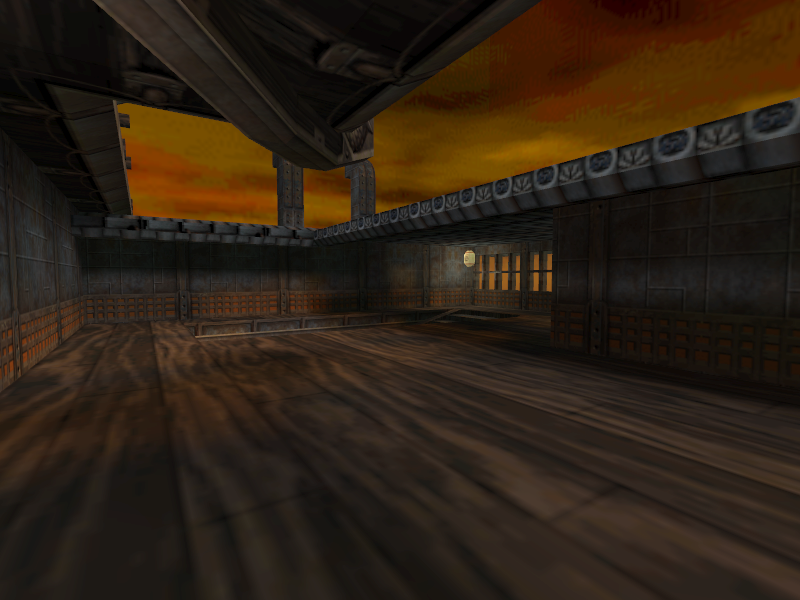
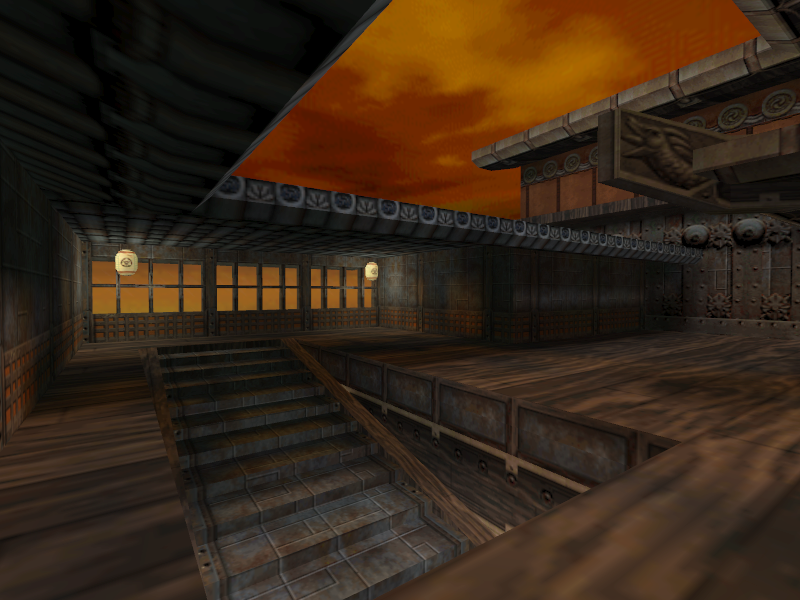
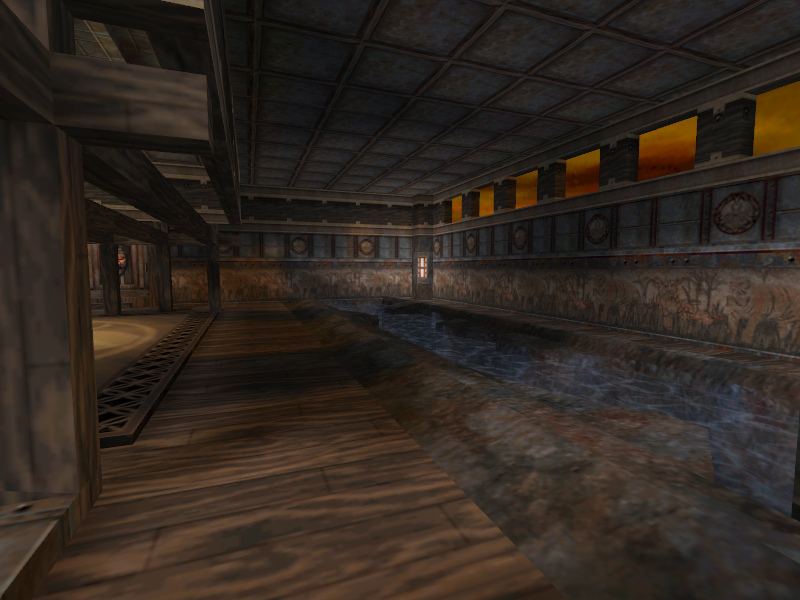
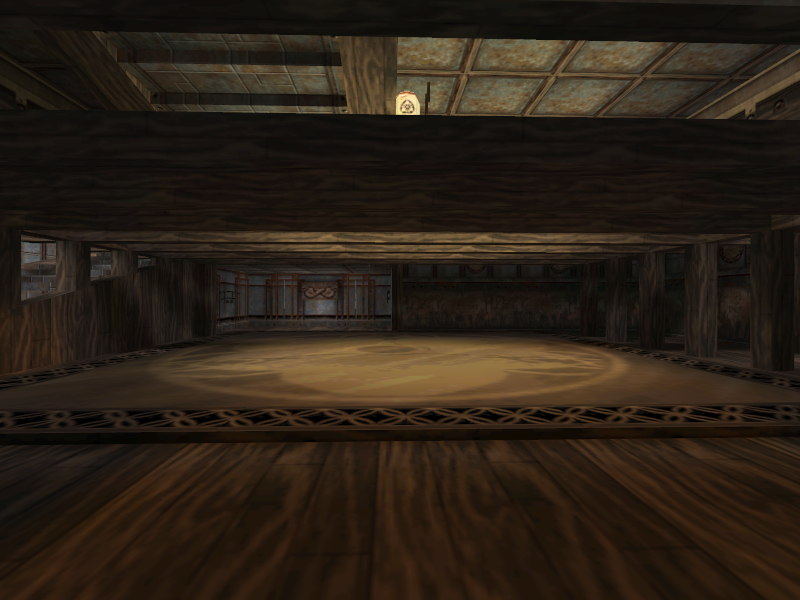
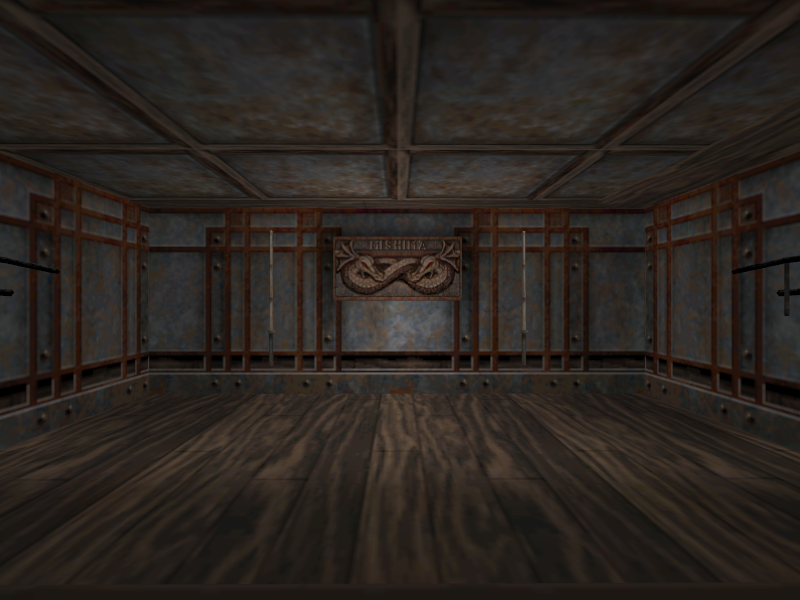
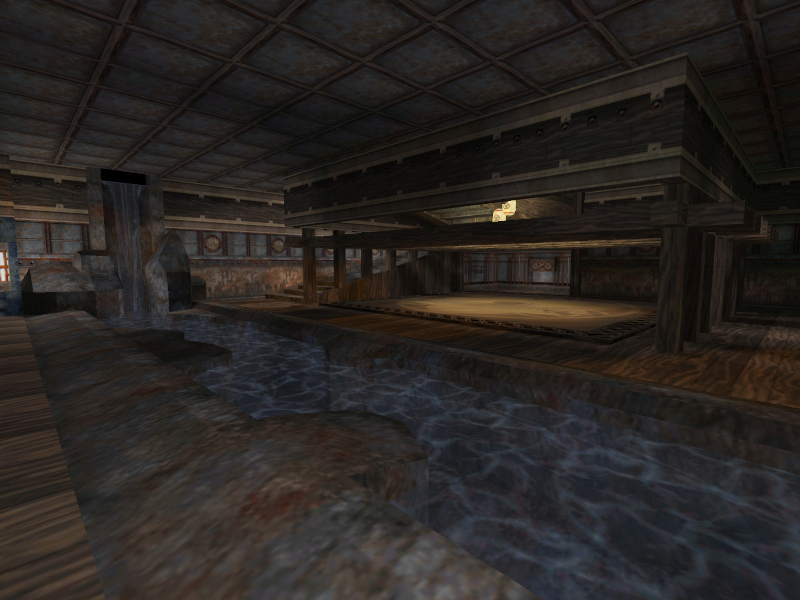
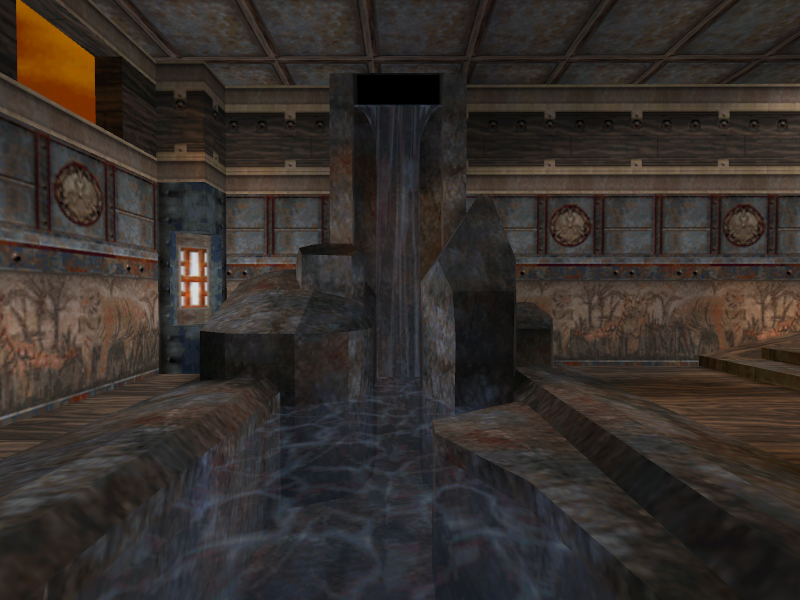
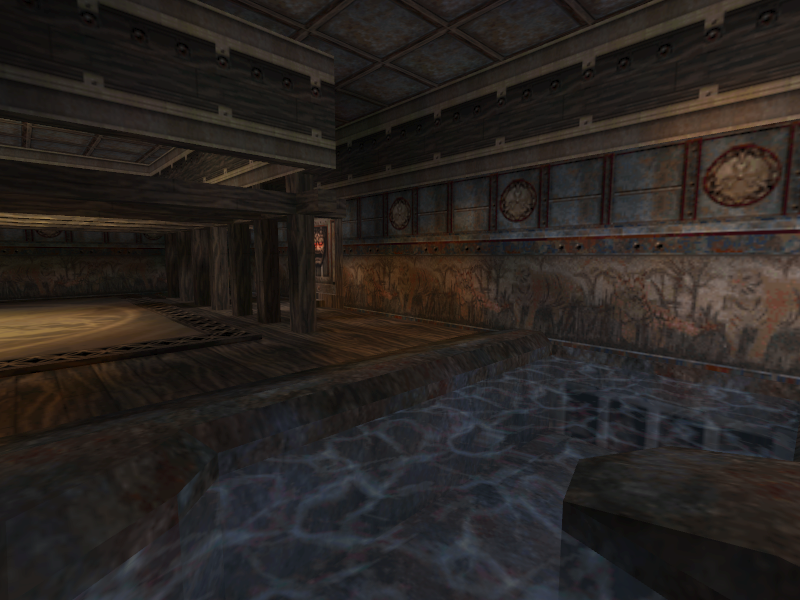
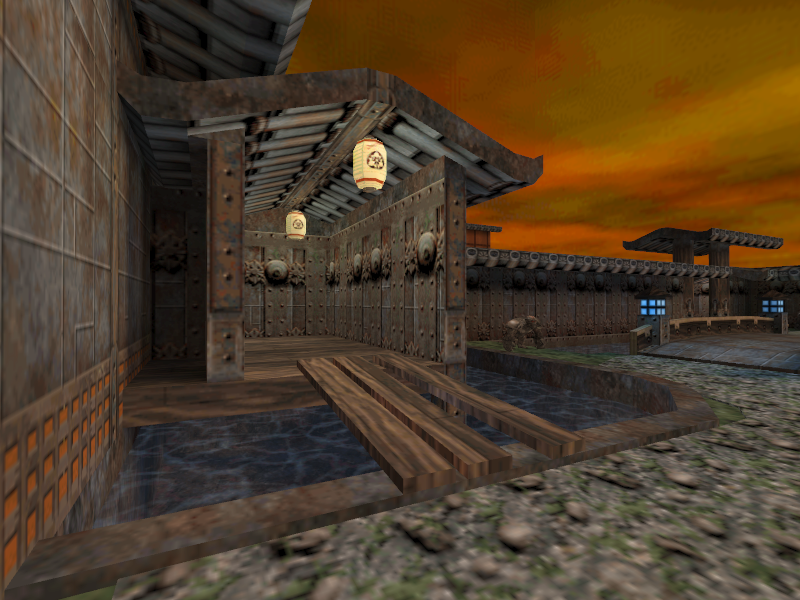
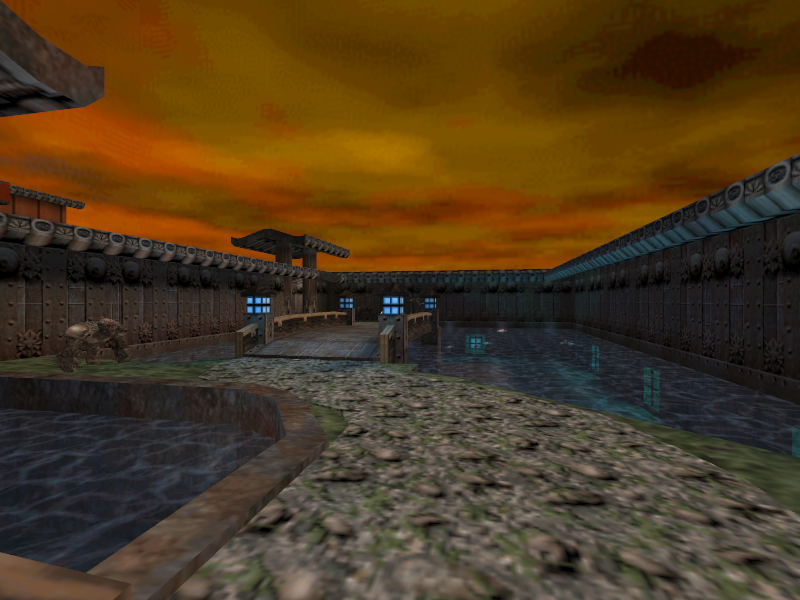
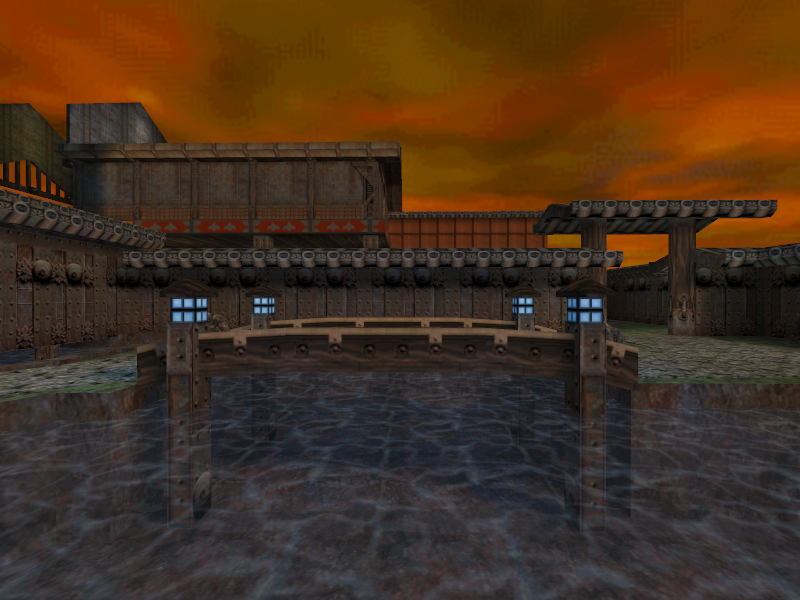
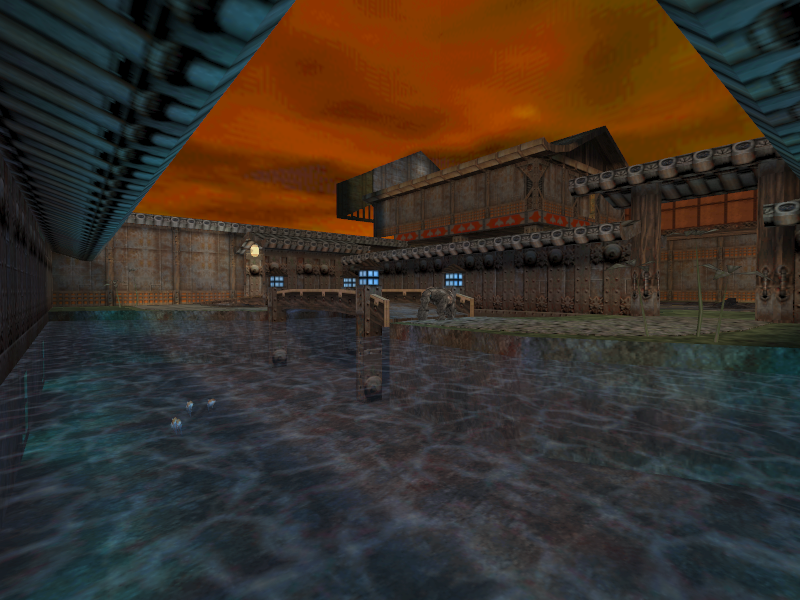
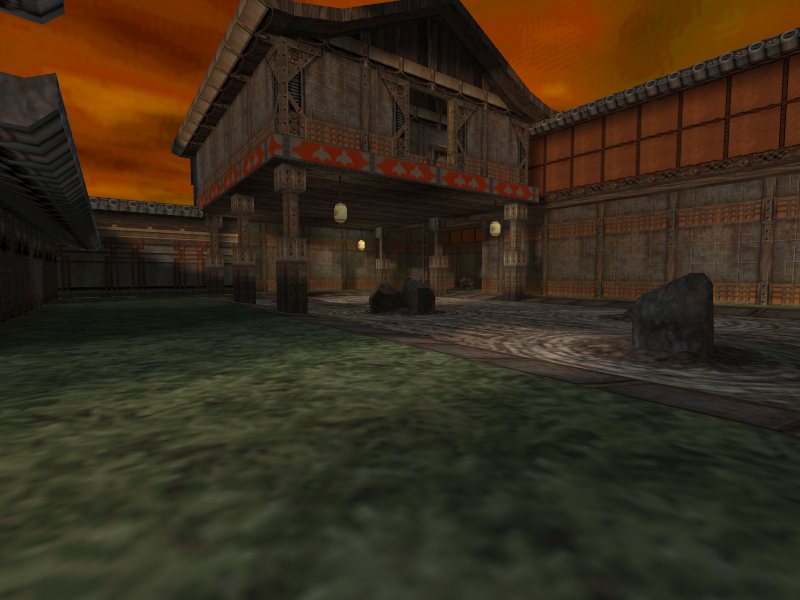
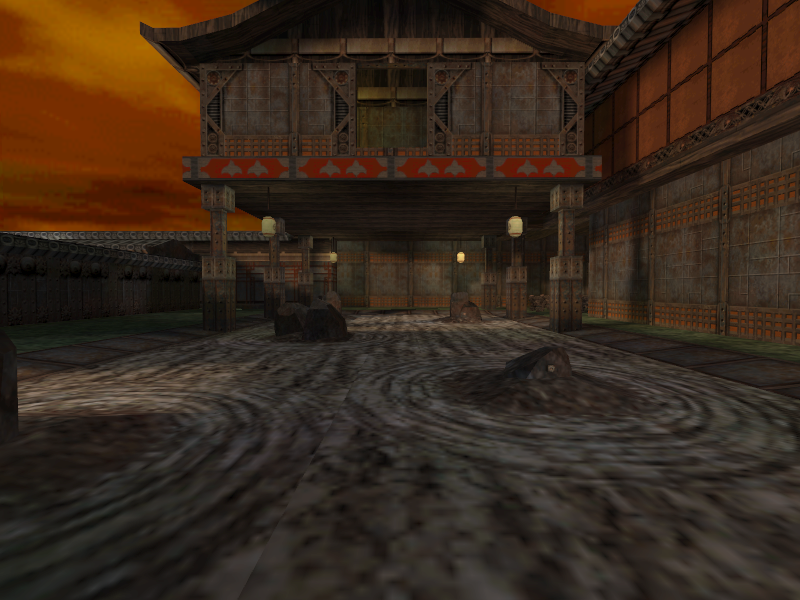
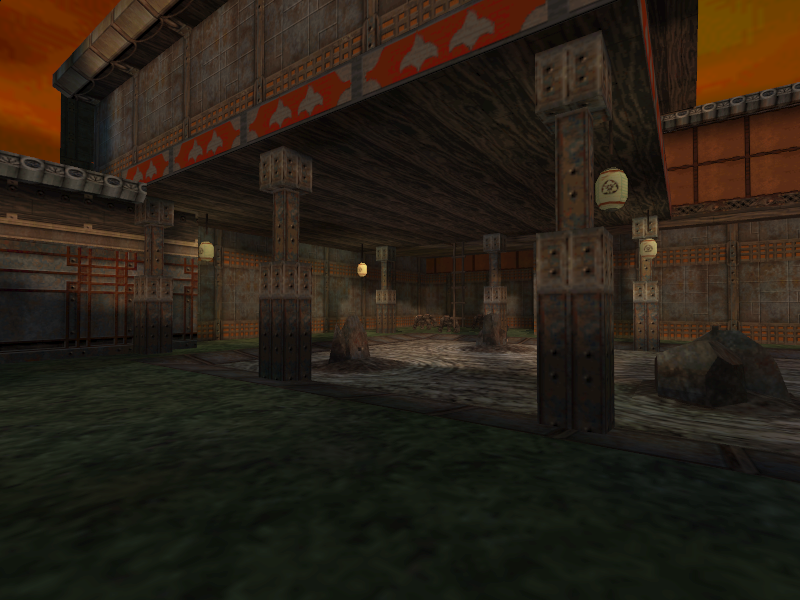
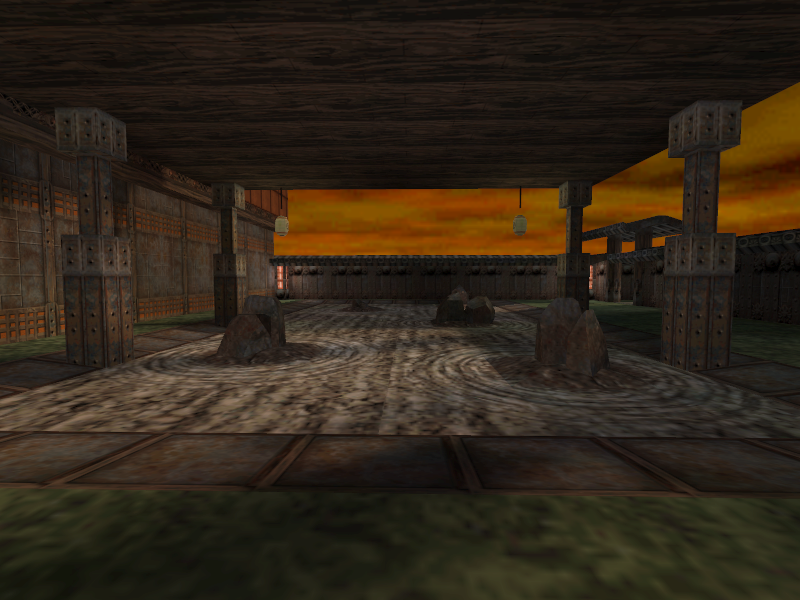
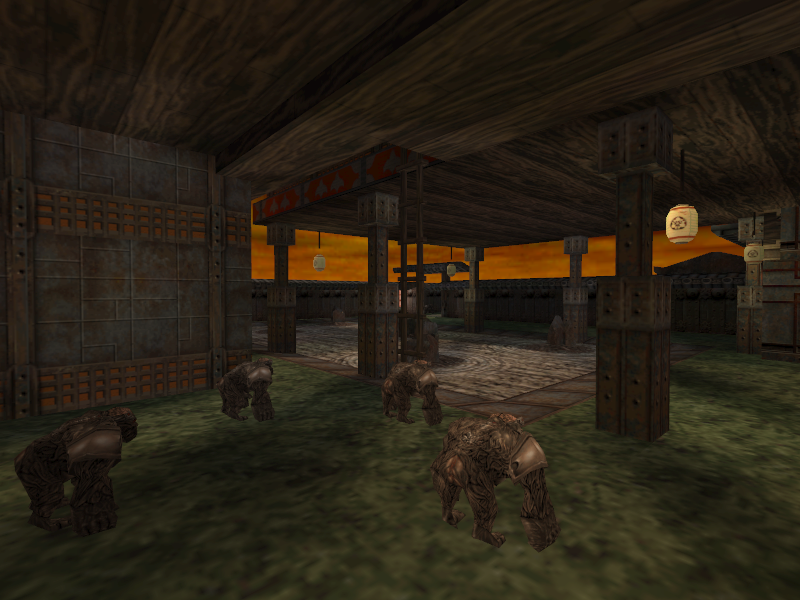
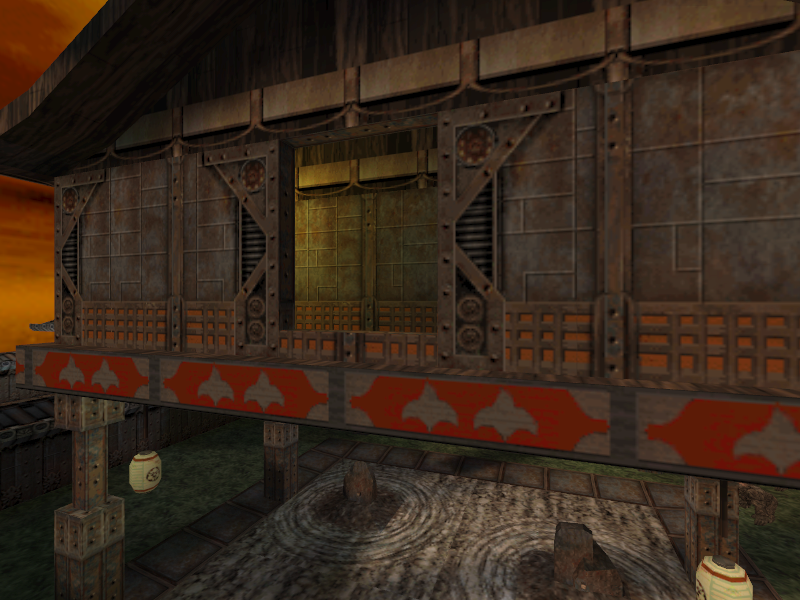
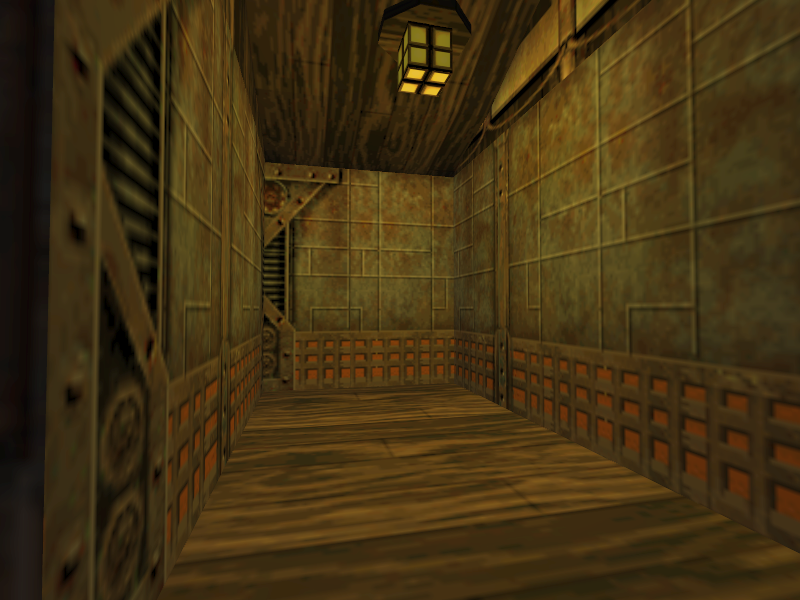
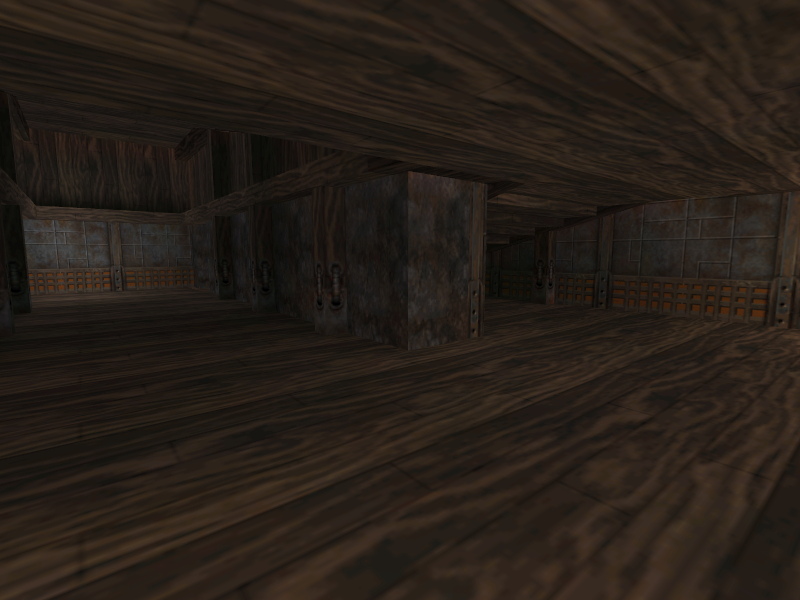
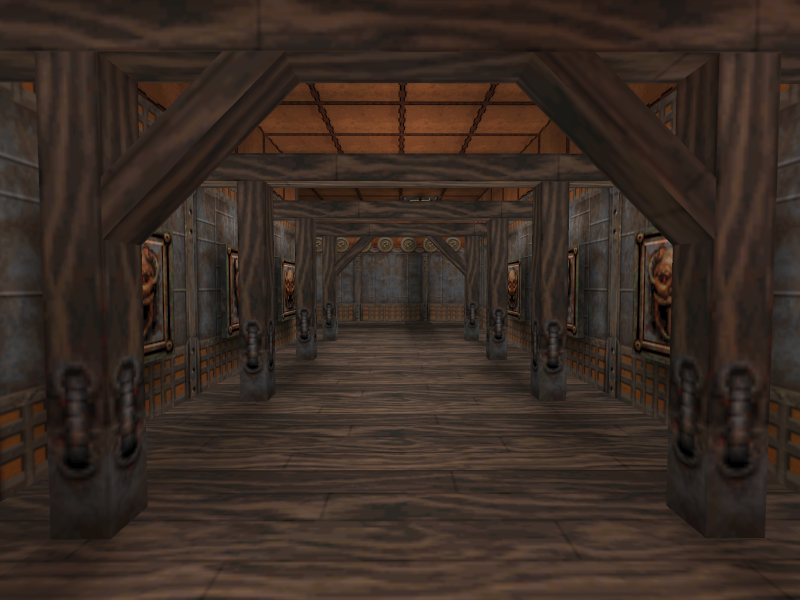
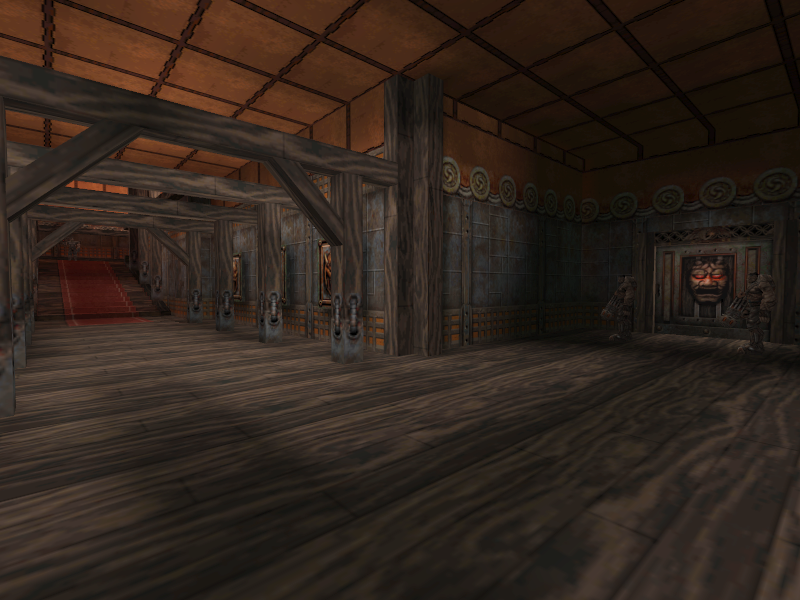
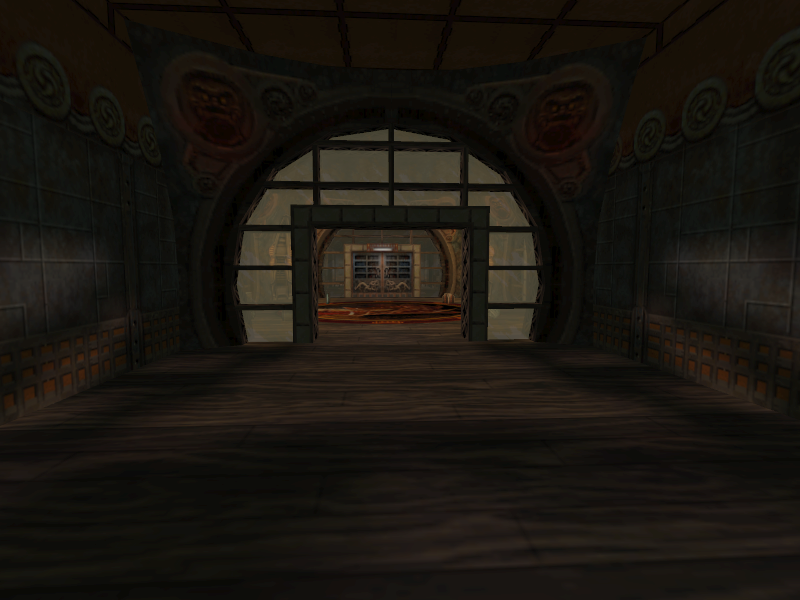
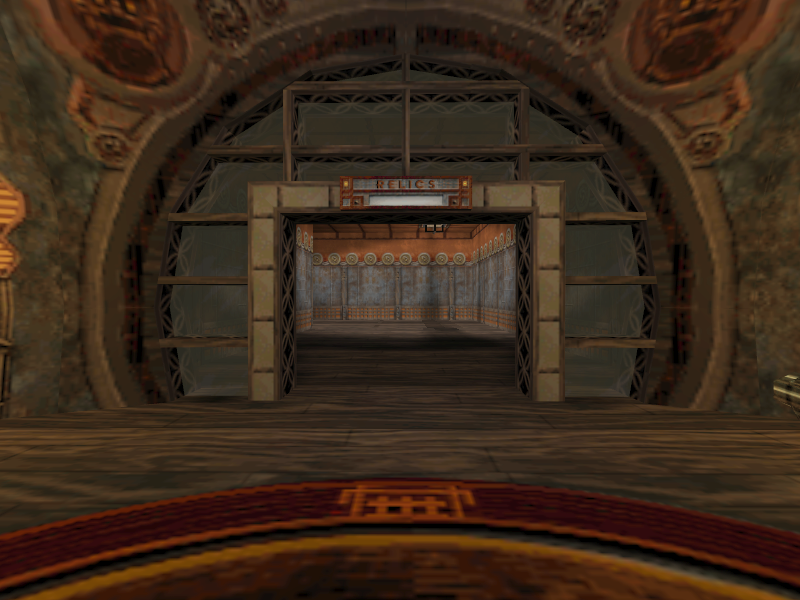
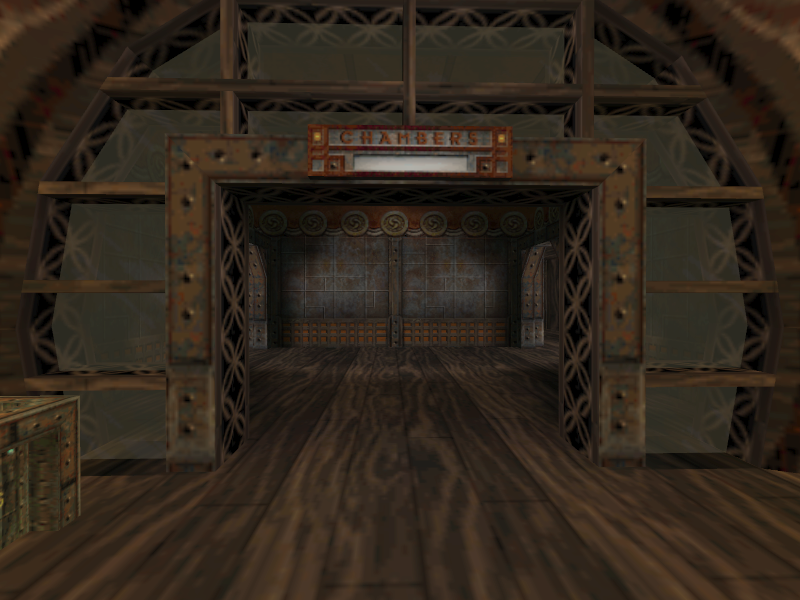
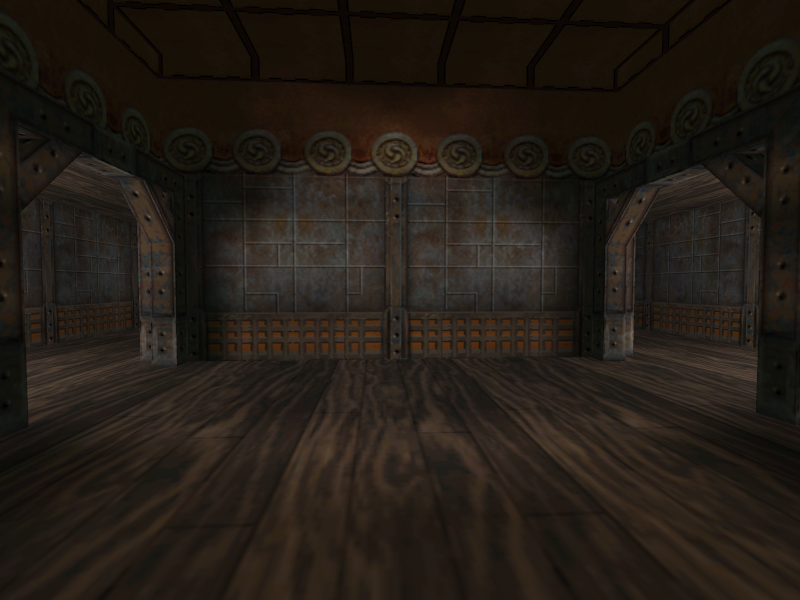
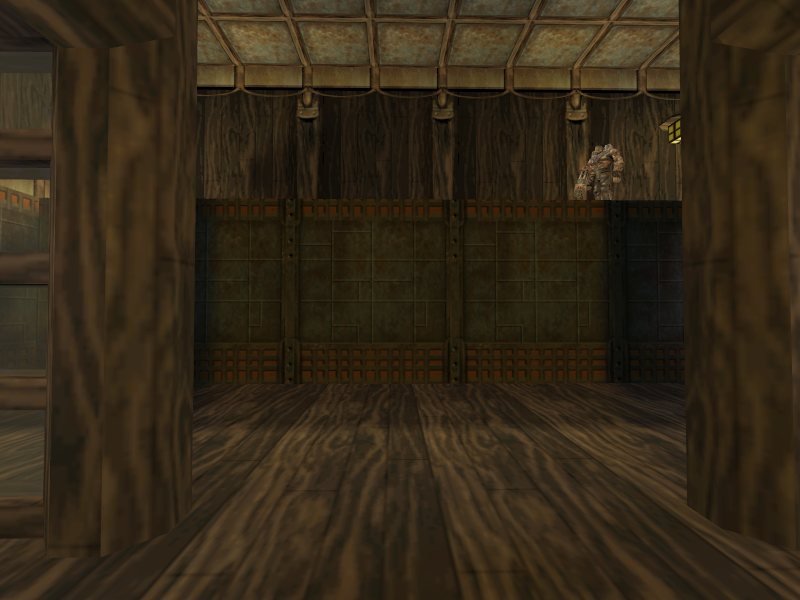
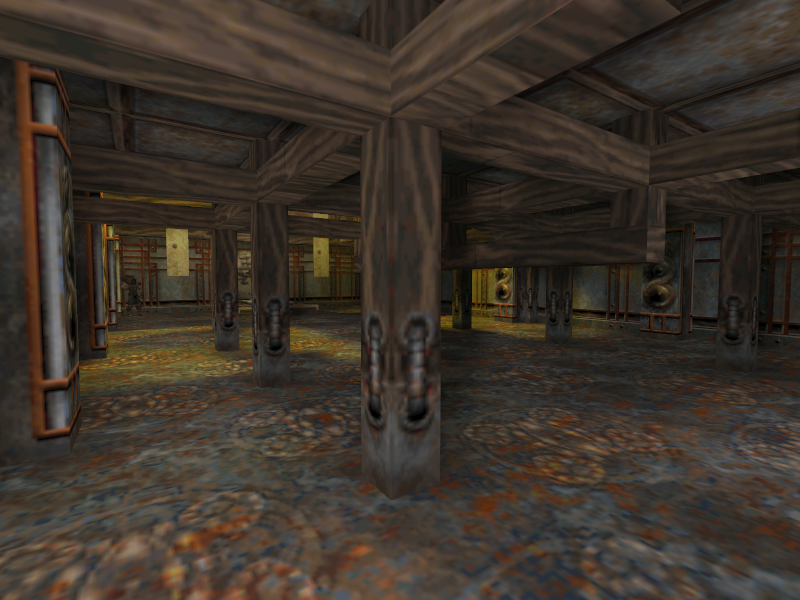
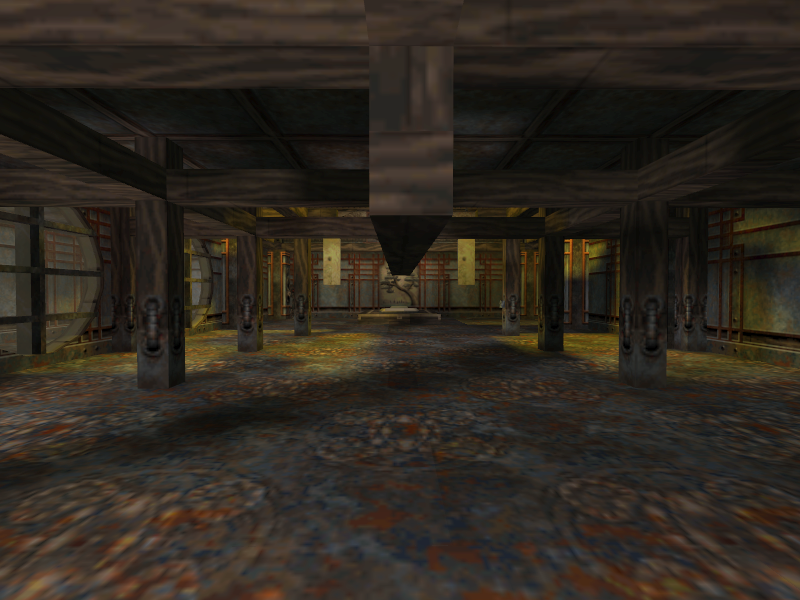
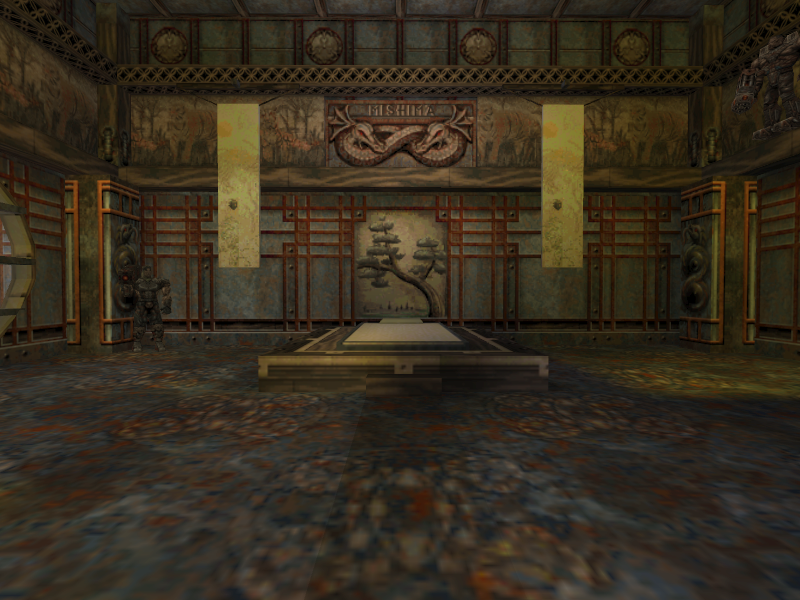
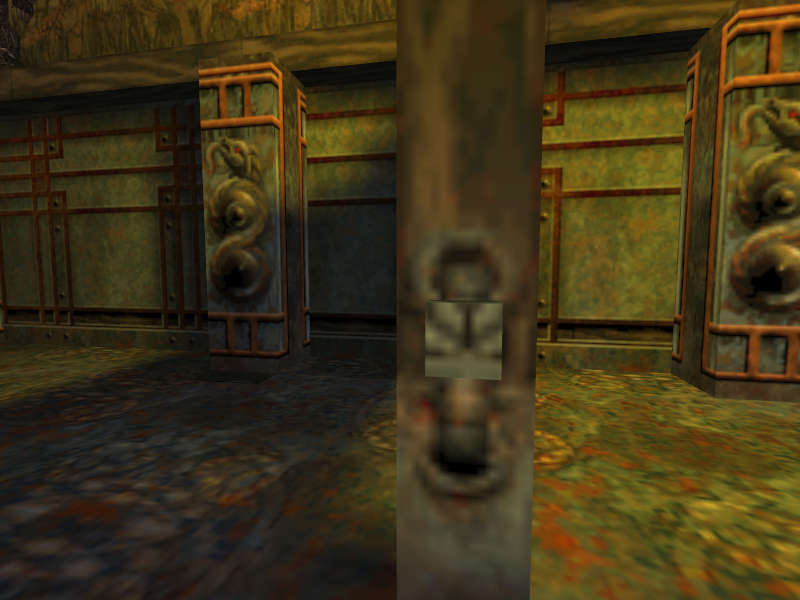
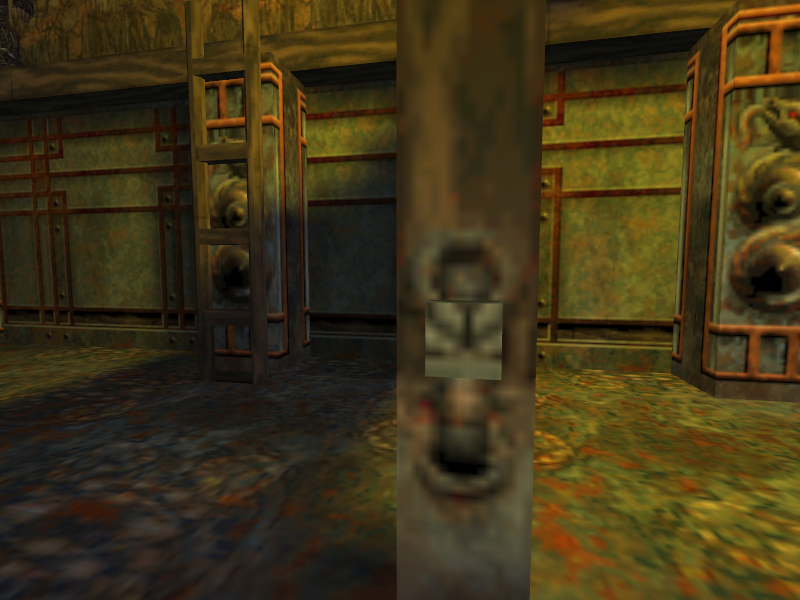
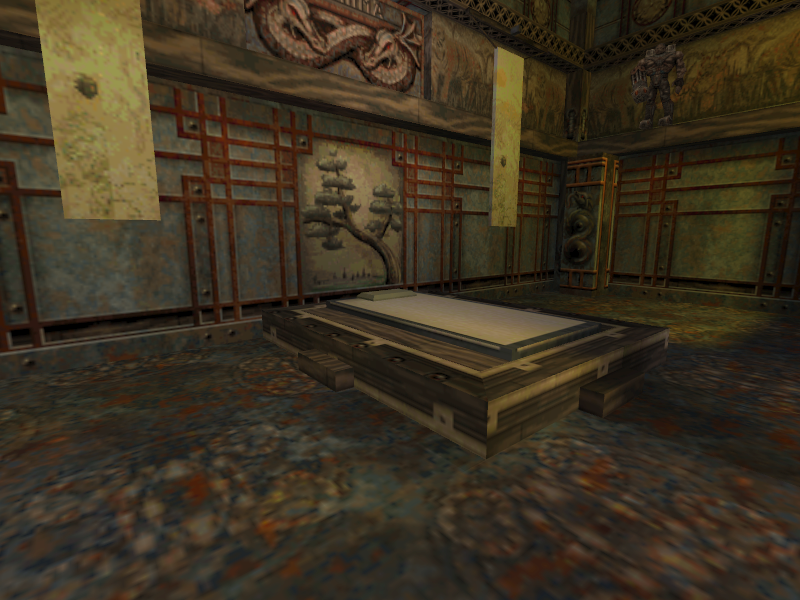
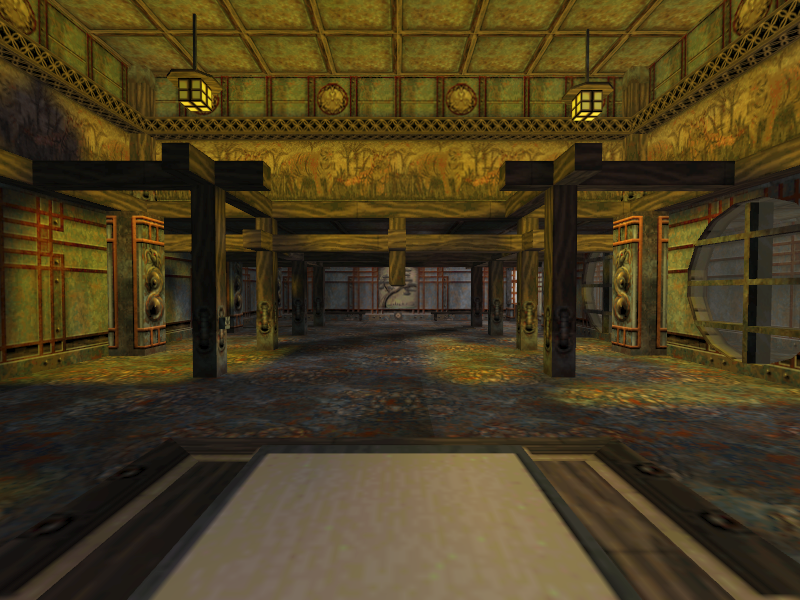
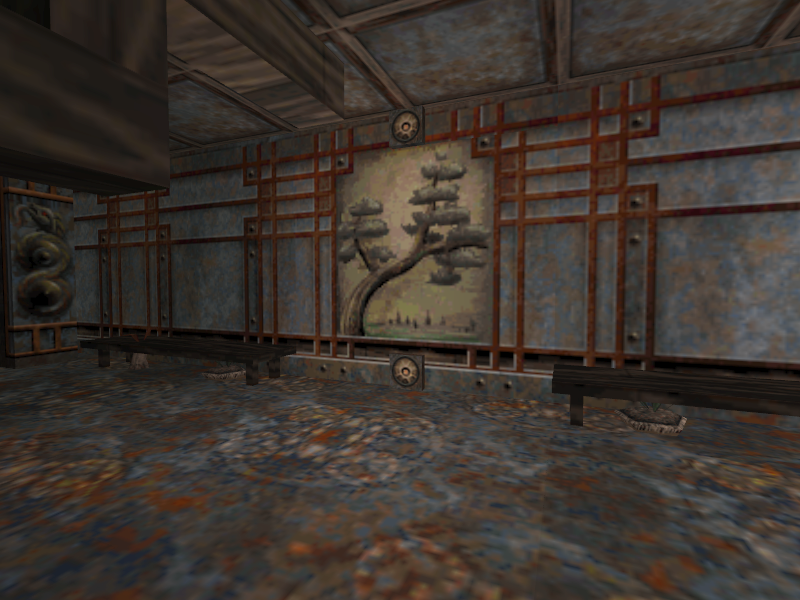
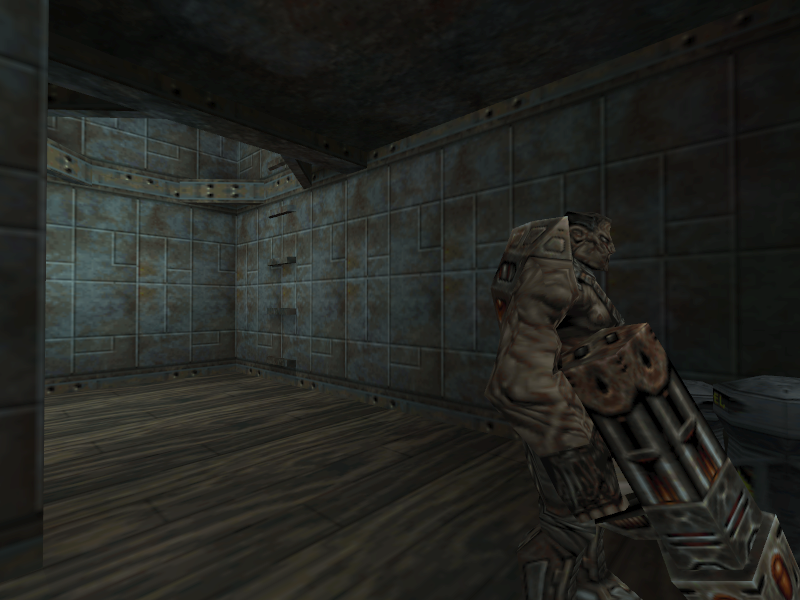
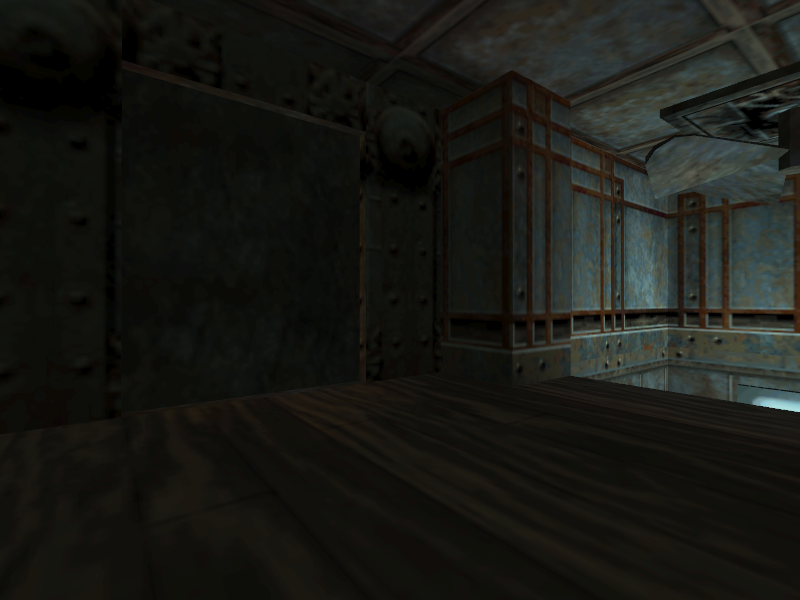
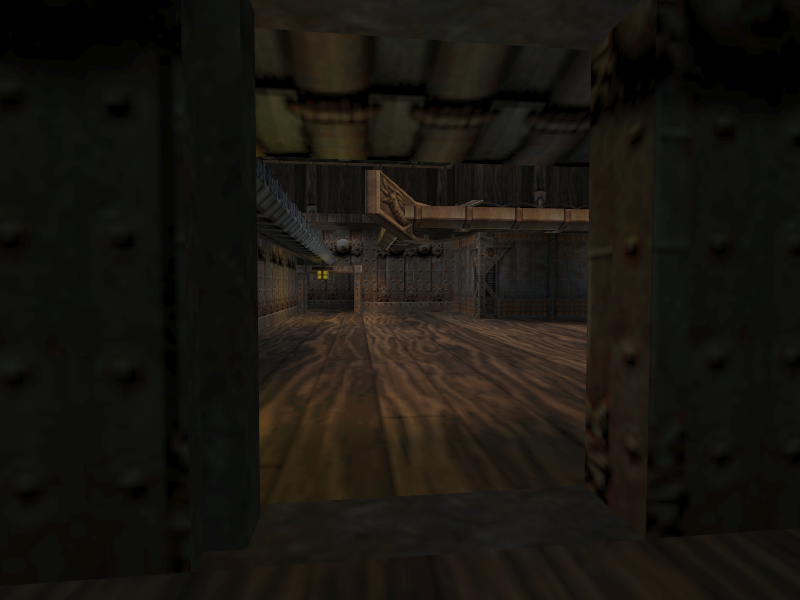
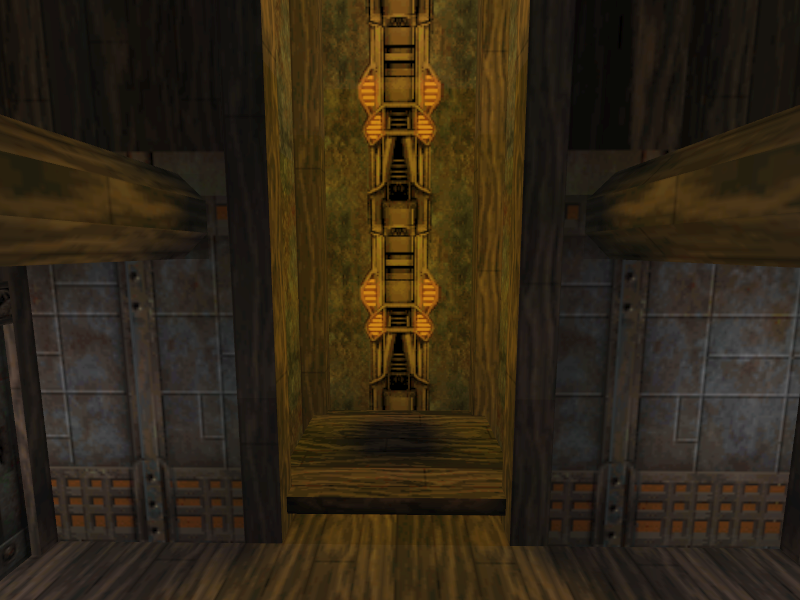
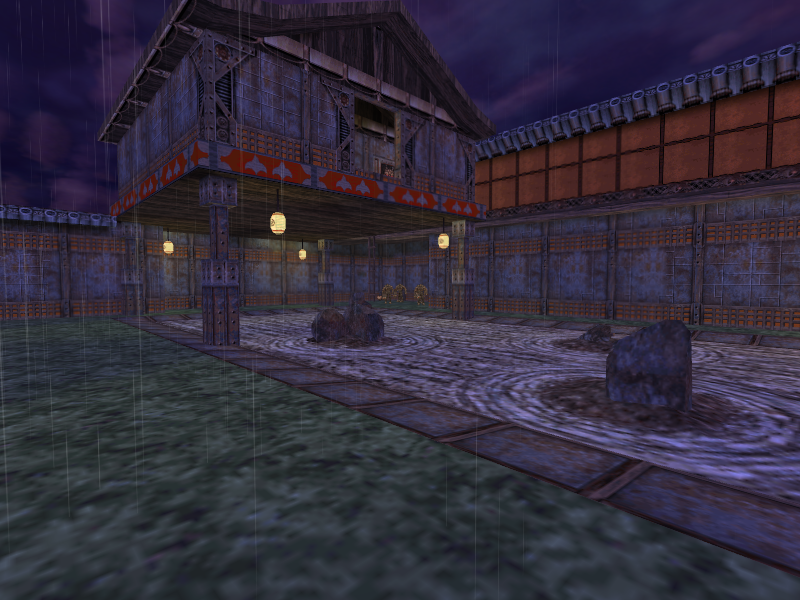
E4M8 is a prototype version of the final game’s E4M5a level. Like several other levels in this prototype, the fundamental level flow is the same as the final, but enemies are different and a few obstacles are missing in the 0.10 version of the level. The main menu calls the level “Mishima’s Hideout”, which is the same name used in the final game.
In the final game, Episode 4 ends at E4M6. But, there is an E4M8 in this prototype. This suggests that Episode 4 was longer at one point.
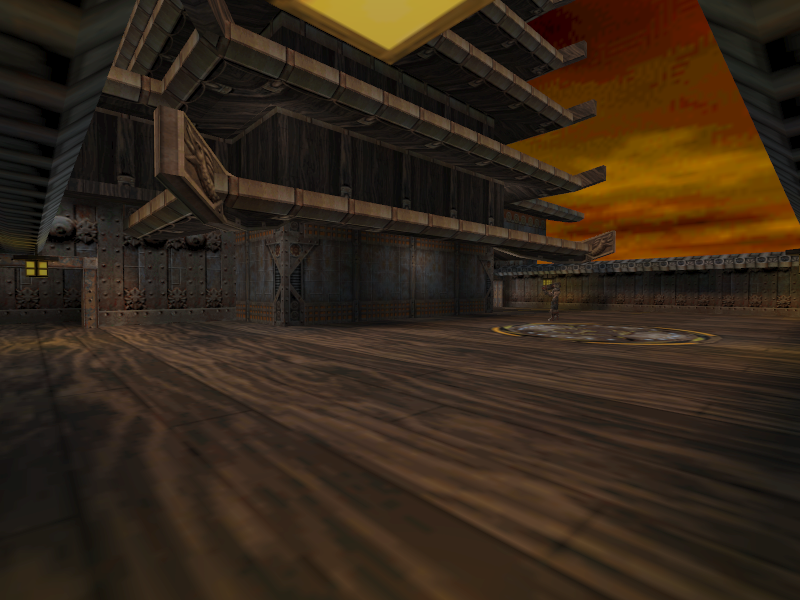
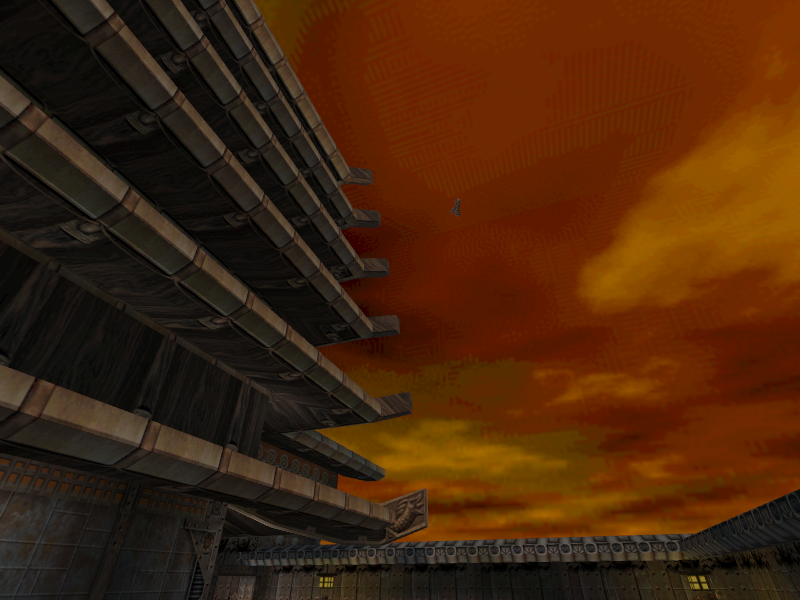
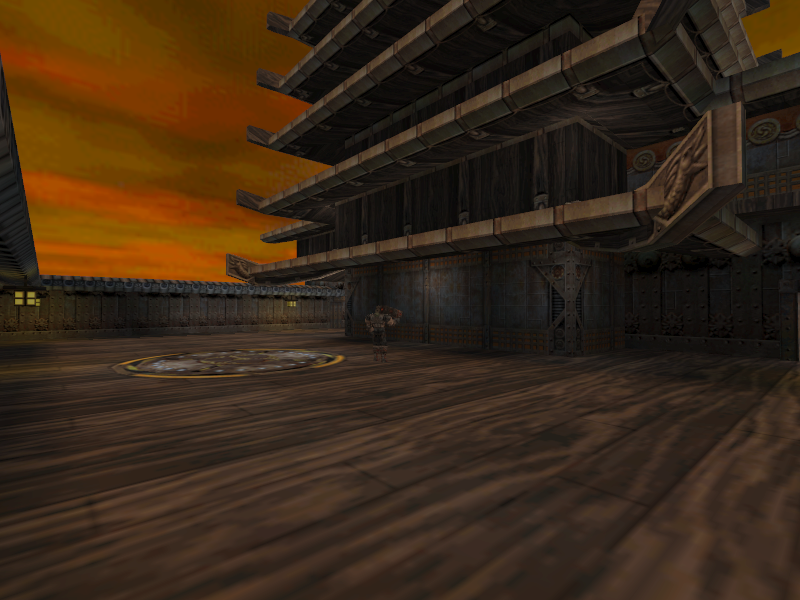
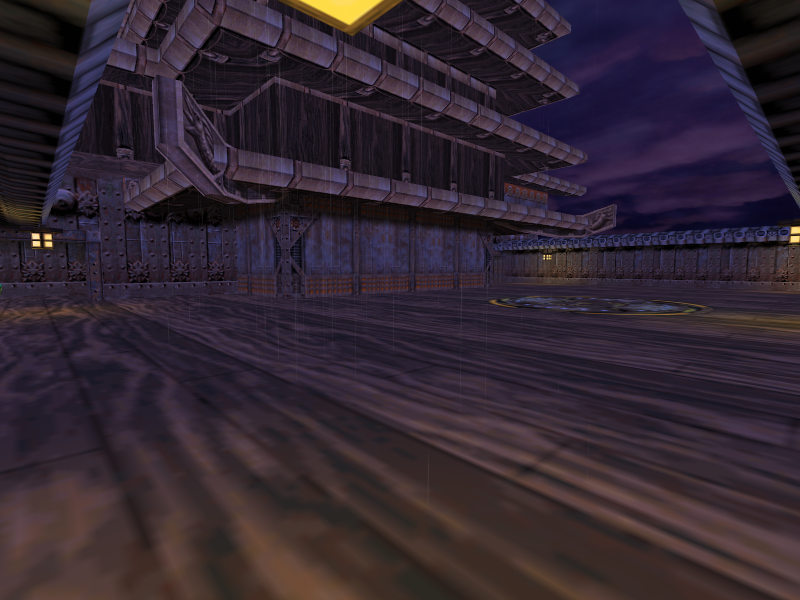
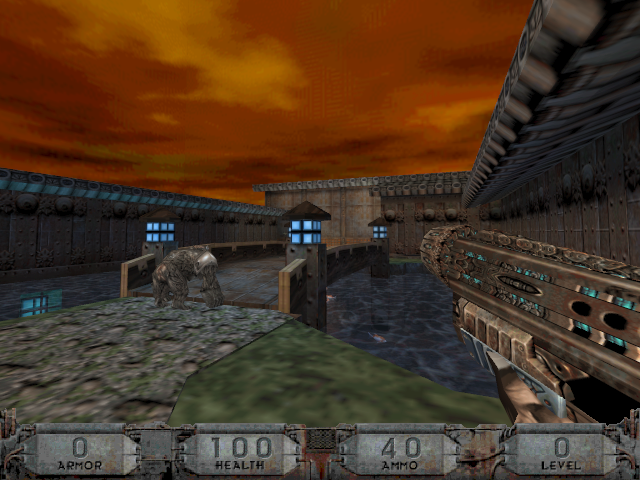
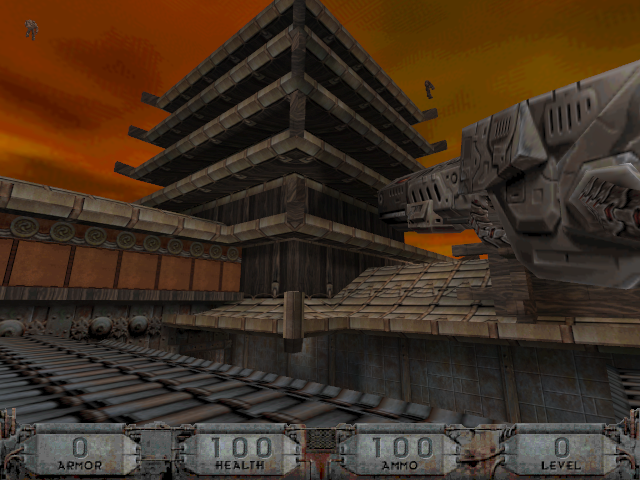
- E4M8 takes place during a sunset, while the final game’s E4M5a takes place in a storm in the middle of the night.
- The Navy MP and Navy SEAL enemies does not exist in this prototype, so they can’t be found in E4M8.
- The Female Gangster and Rocket Gangster enemies can be found in E4M8, but not in the final game’s E4M5a.
- In general, E4M8 has a lot less enemies than E4M5a does.
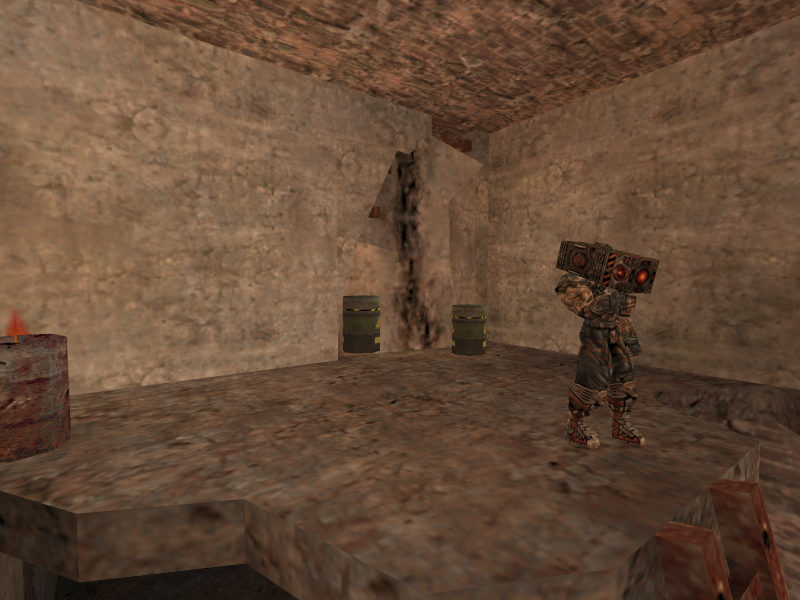
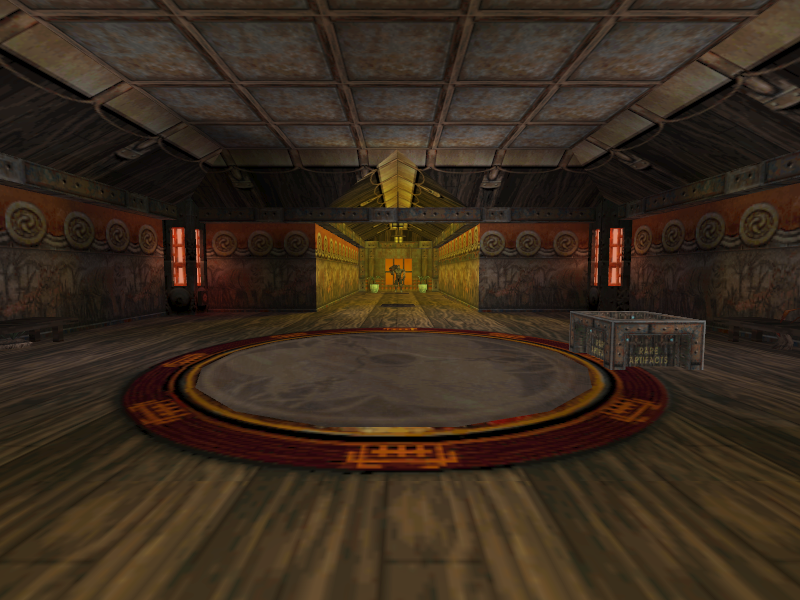
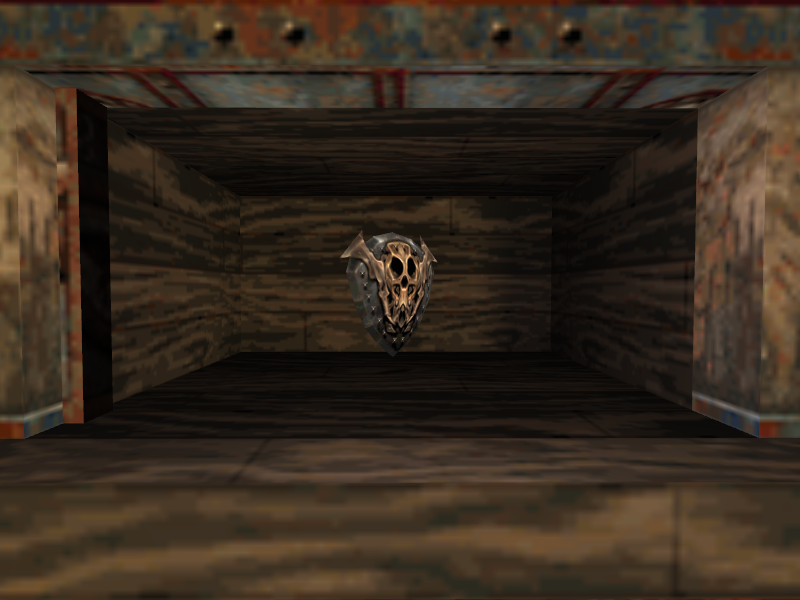
- Boxes marked “rare artifacts” can be found throughout the level. They blow up when shot and don’t seem to serve any purpose.
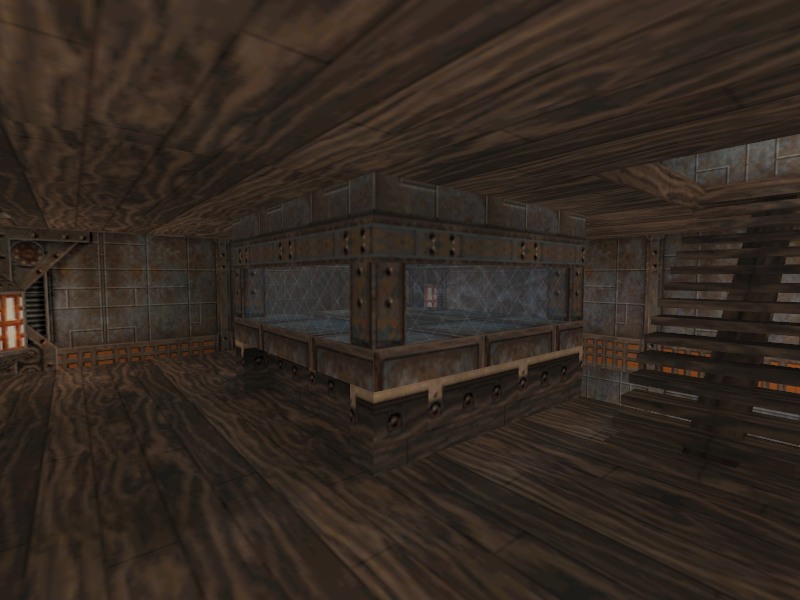
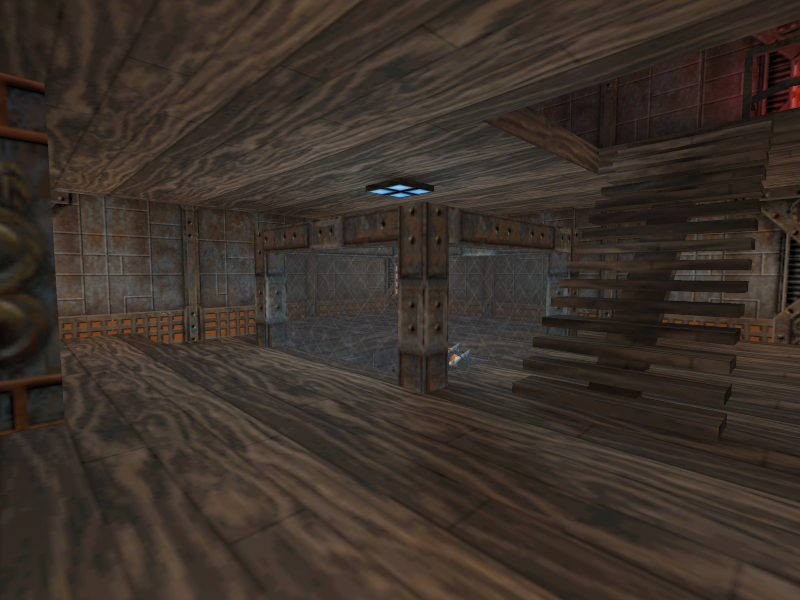
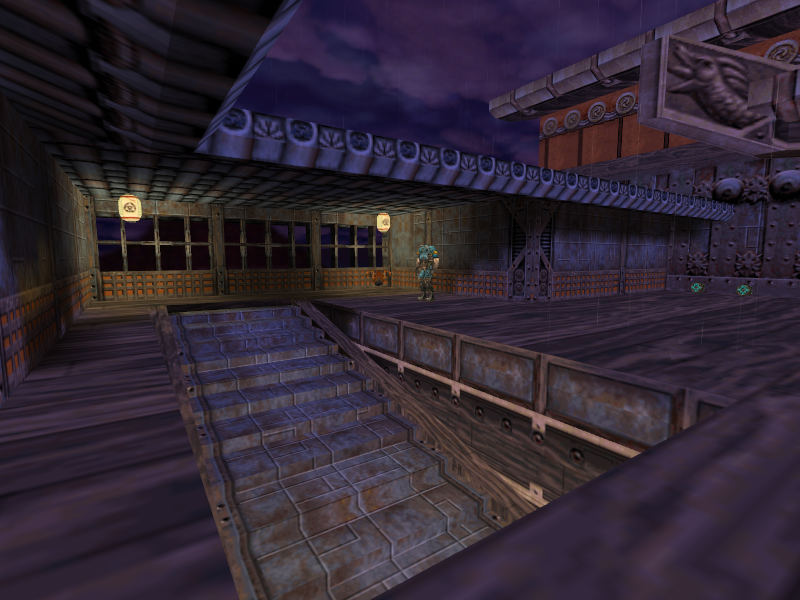
- The switch hunt that E4M5a is made up of does not exist in this prototype. All the player needs to do to reach the top of the tower is to hit the switch at the area above the main lobby. The ladders are staircases, which provide easy access to the top.
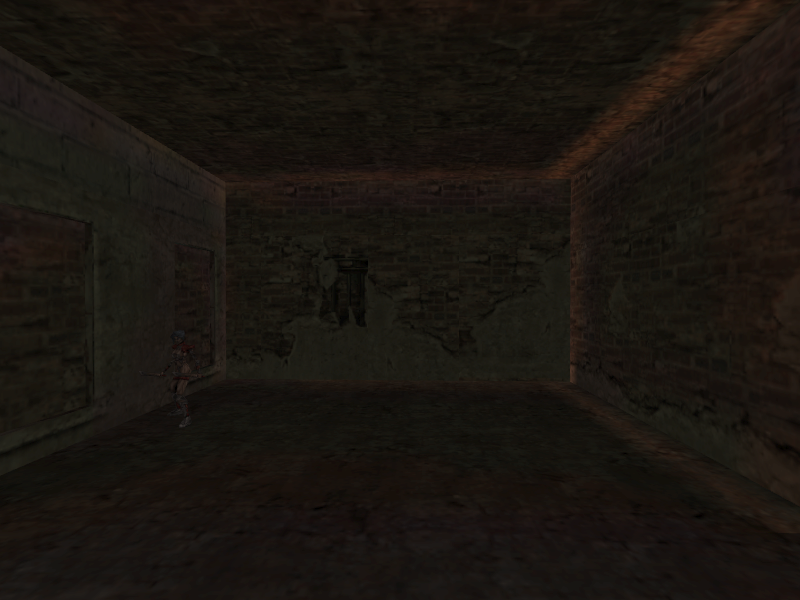
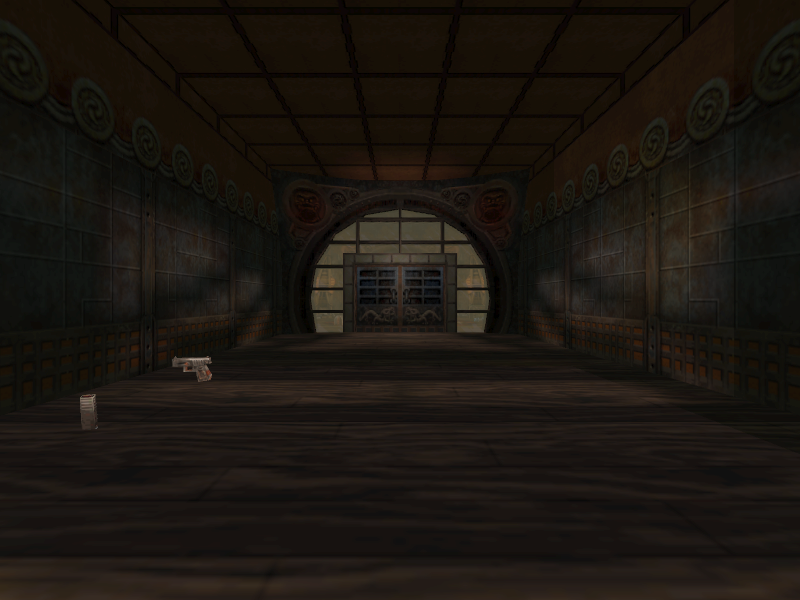
- The starting room only contains a Glock 2020 and a magazine of ammo for it in E4M8. A lot more supplies are added in the final game.
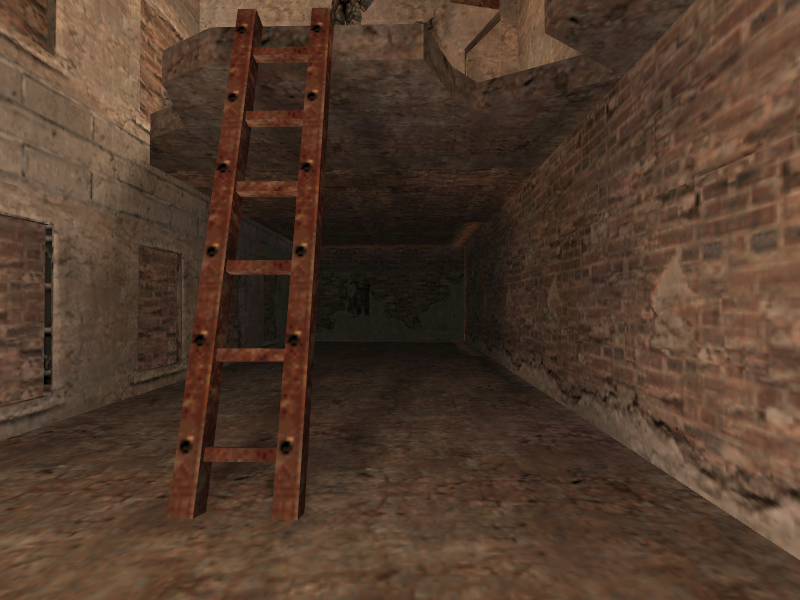
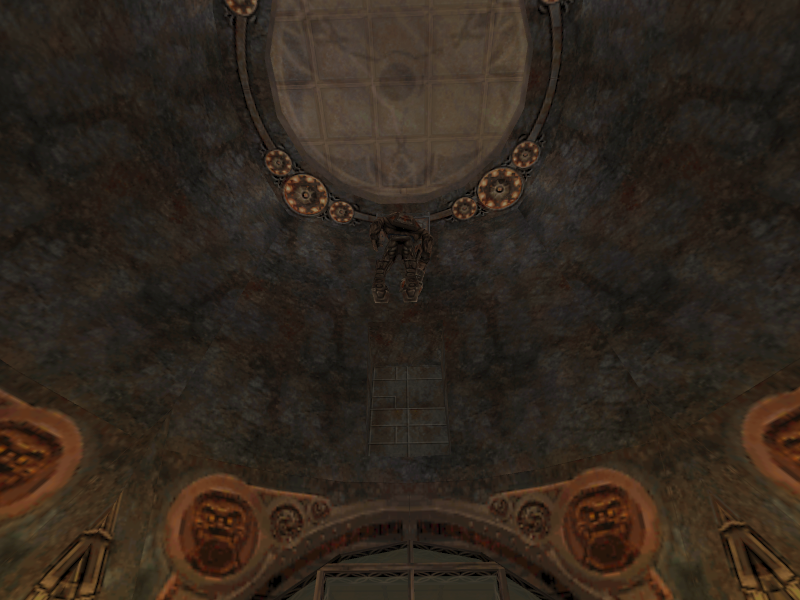
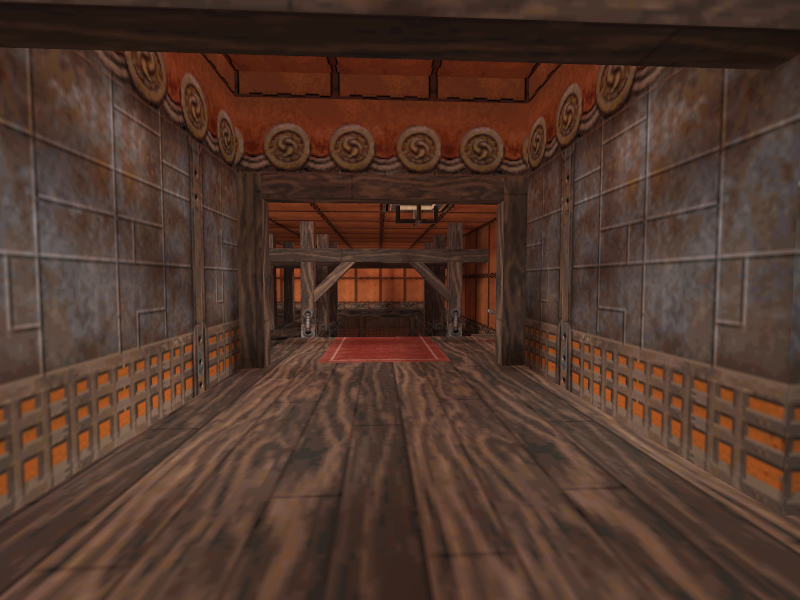
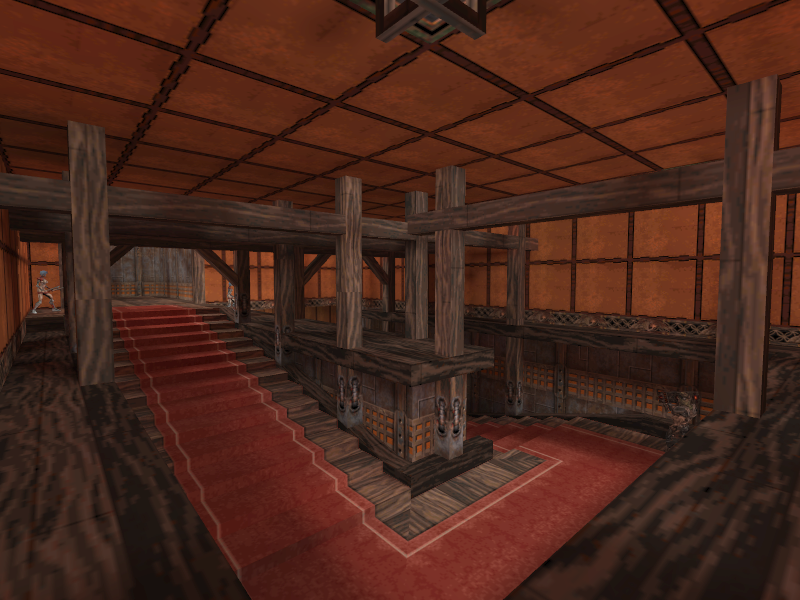
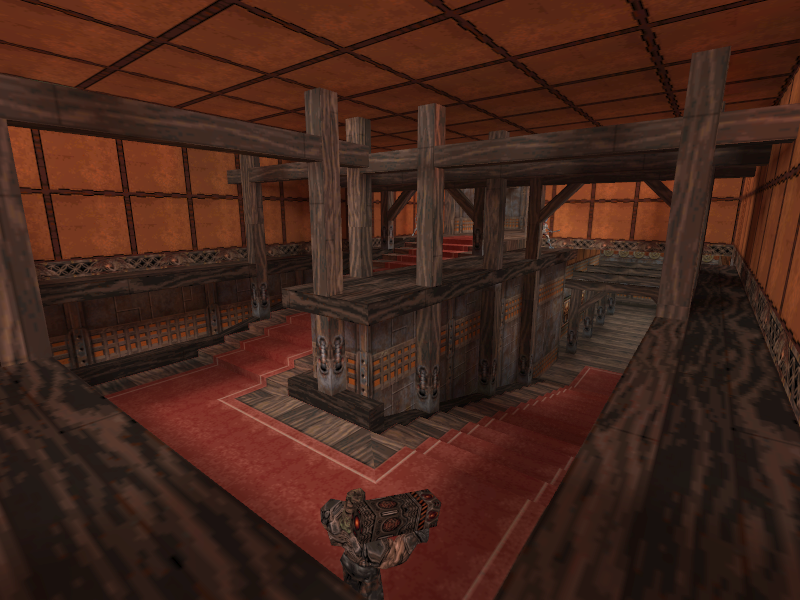
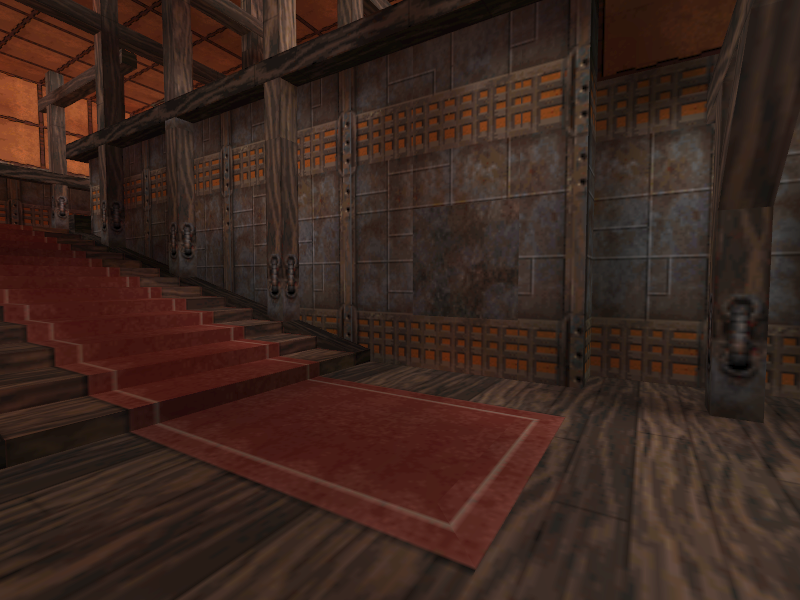
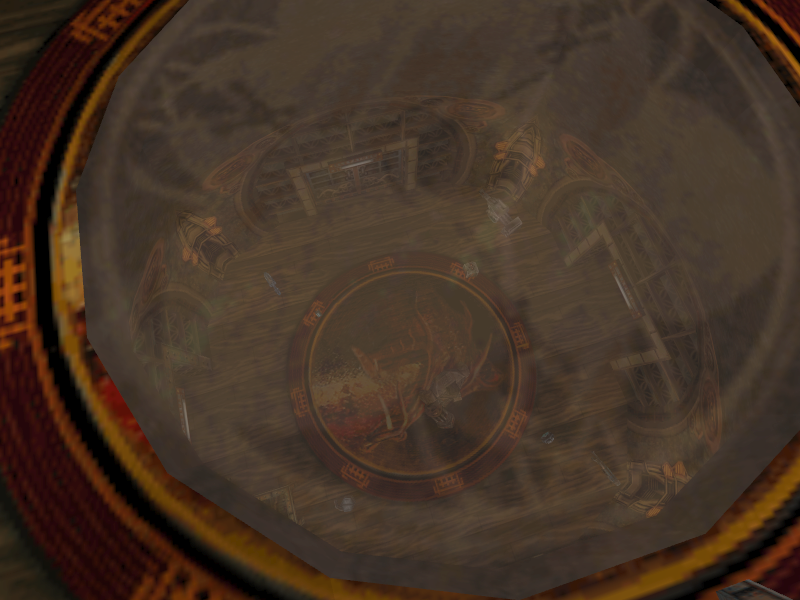
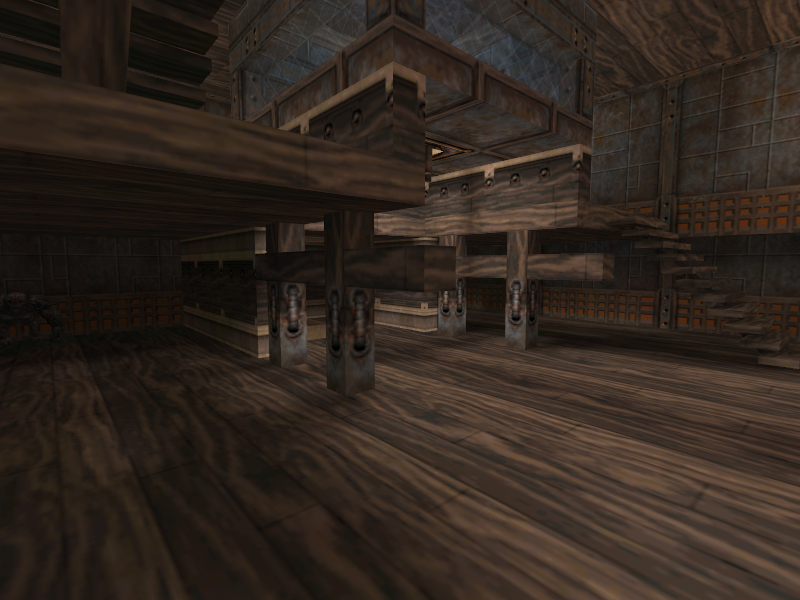
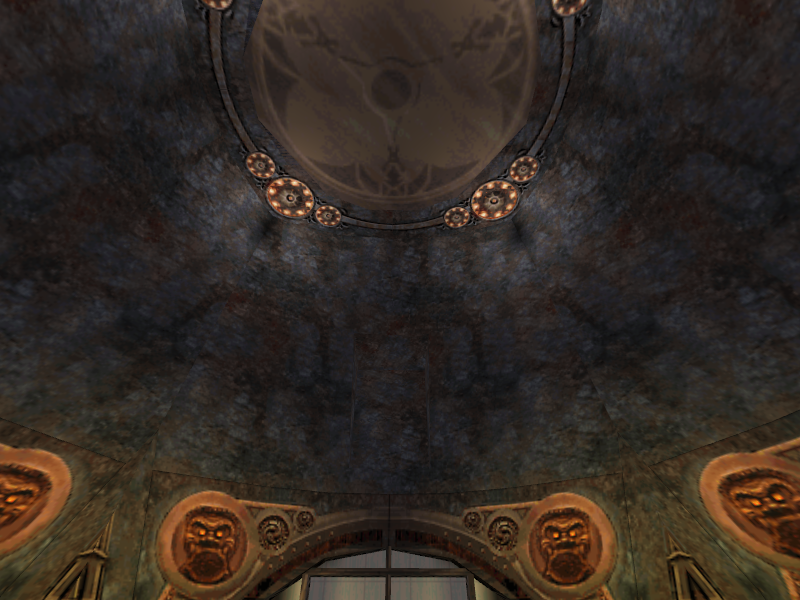
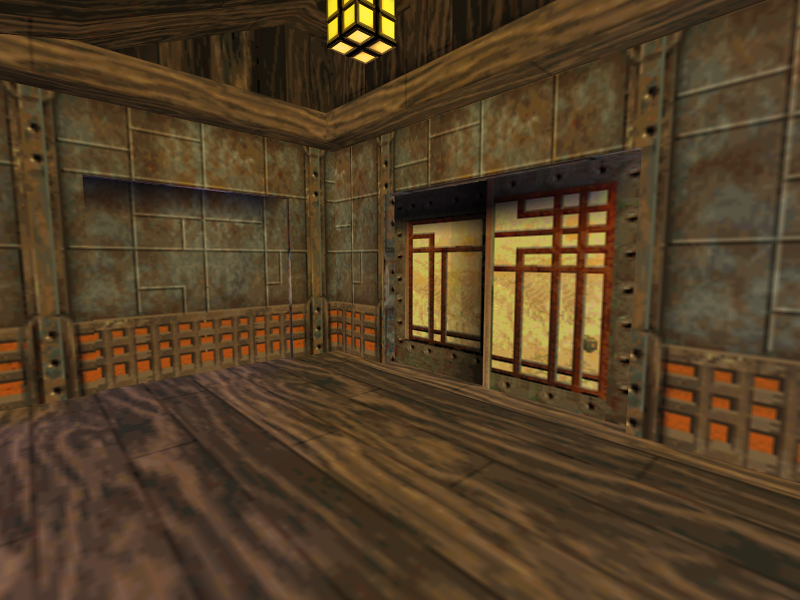
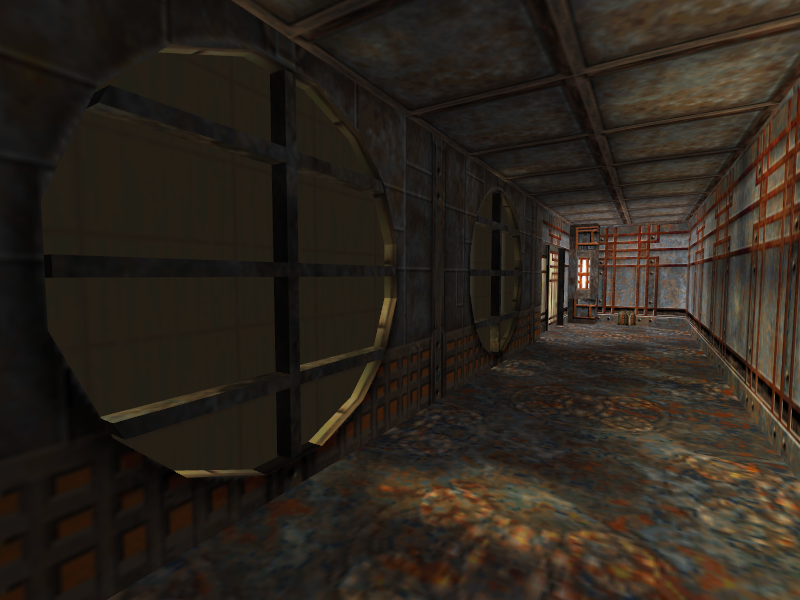
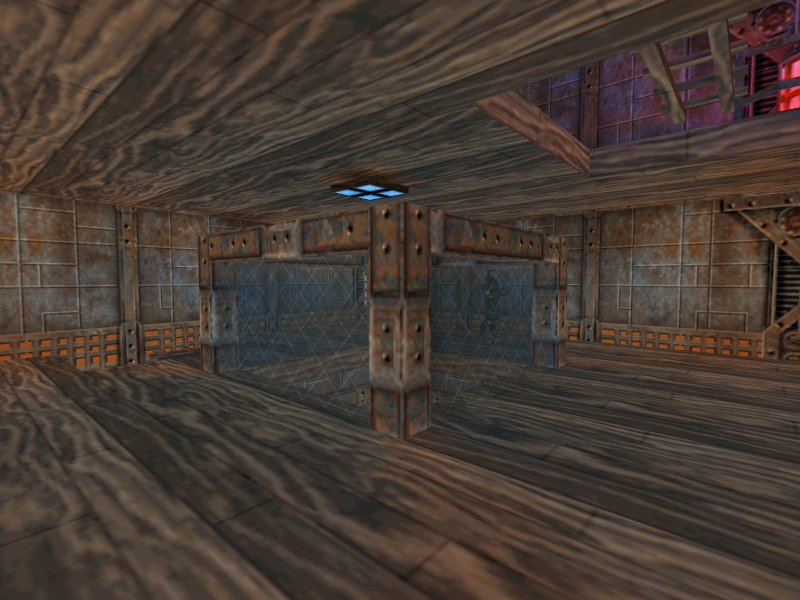
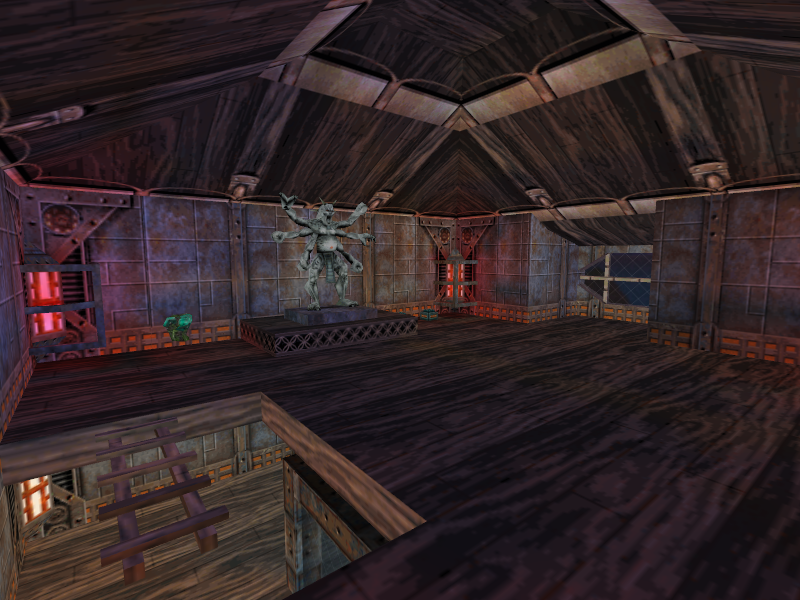
- The main lobby area has a semi-transparent top that lets the player see the area above the roof of the main lobby. This was removed in the final game.
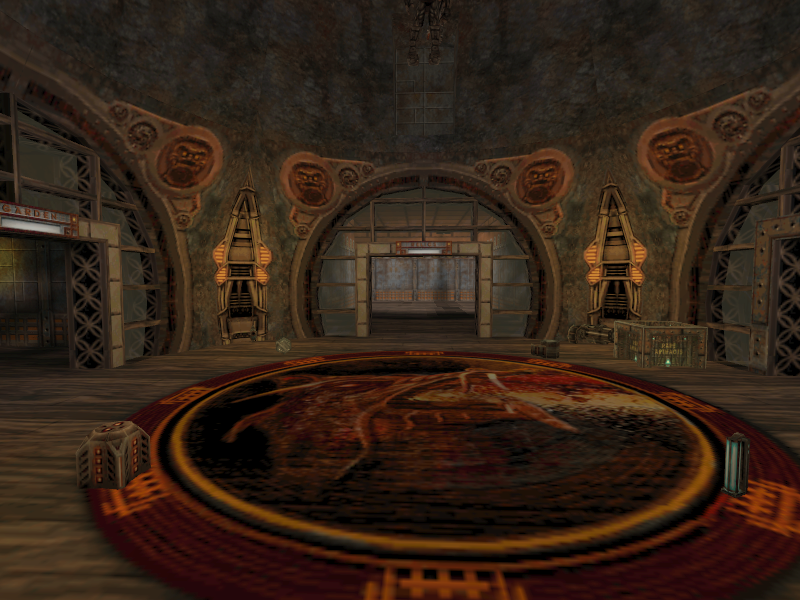
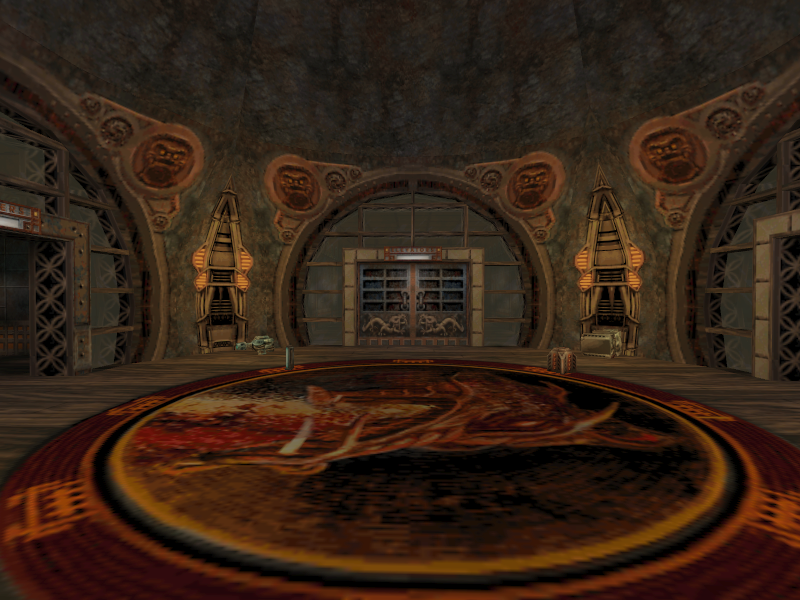
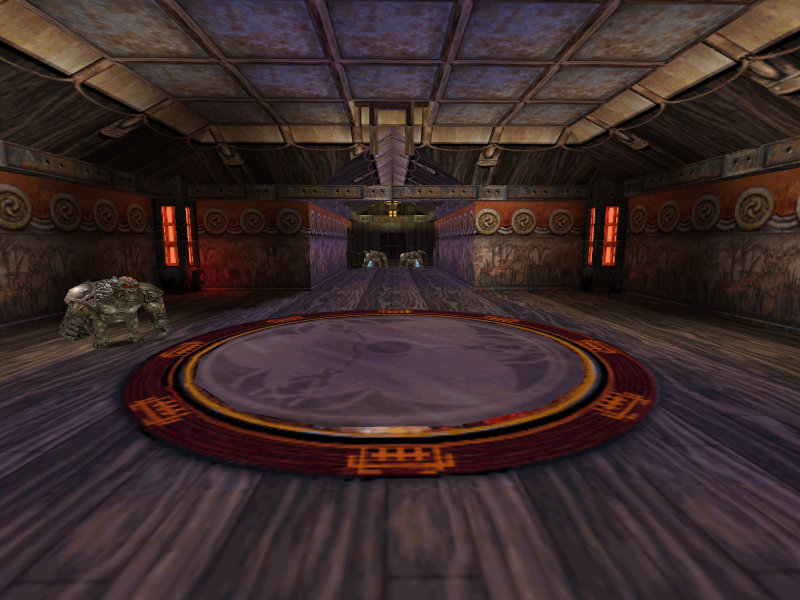
- The main lobby also contains several weapons in Episode 4 and ammo for them. The final game only has a box of ammo for the Ripper in it.
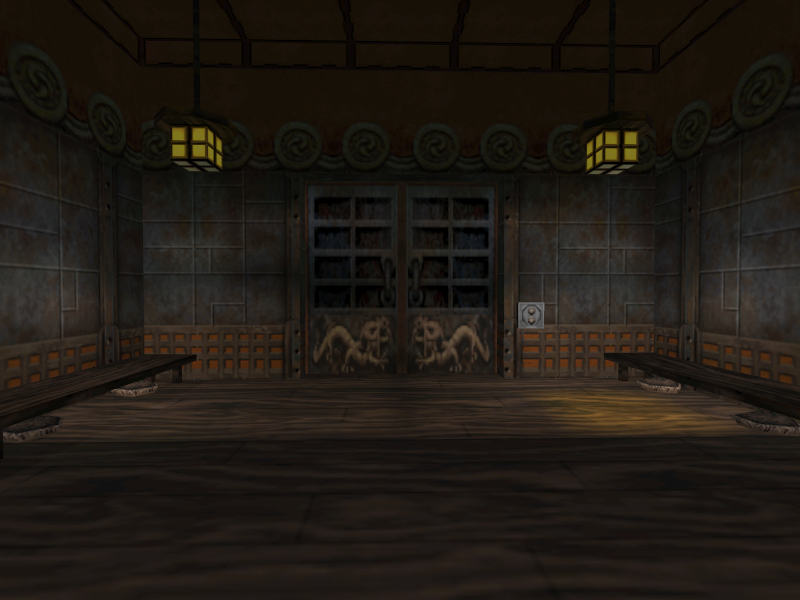
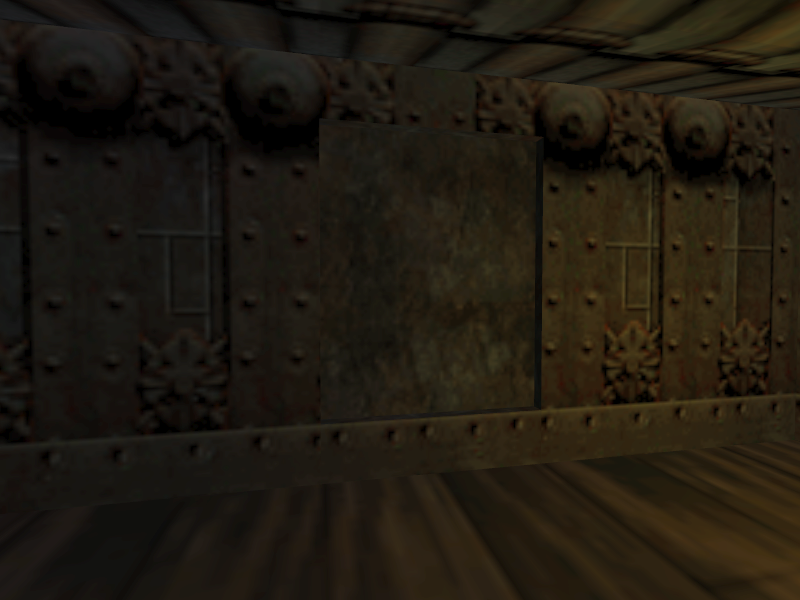
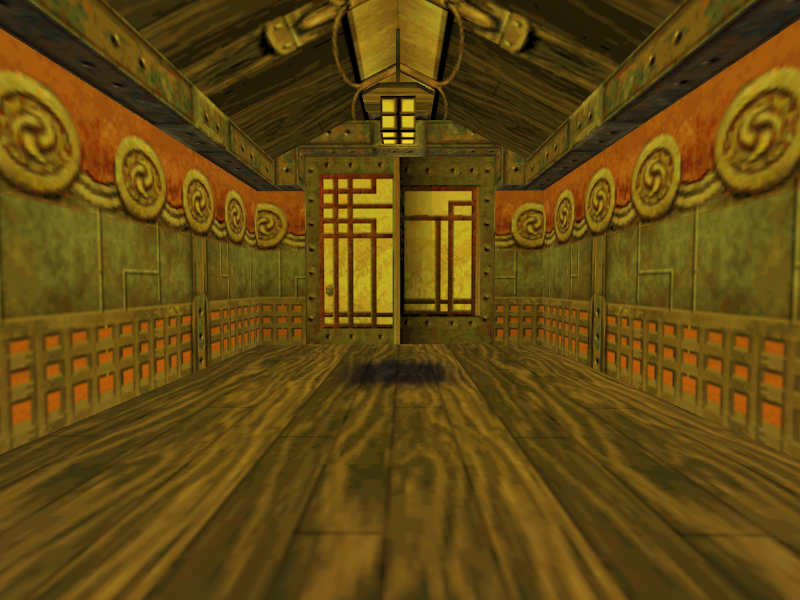
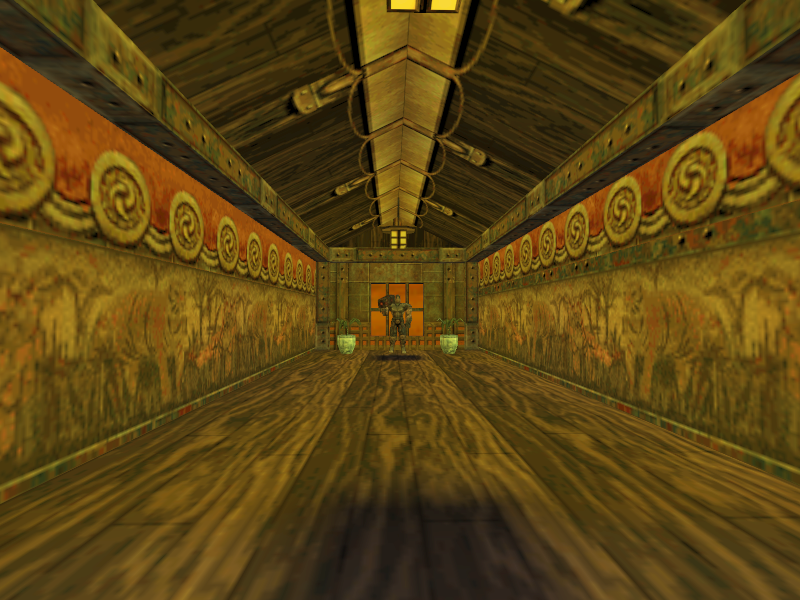
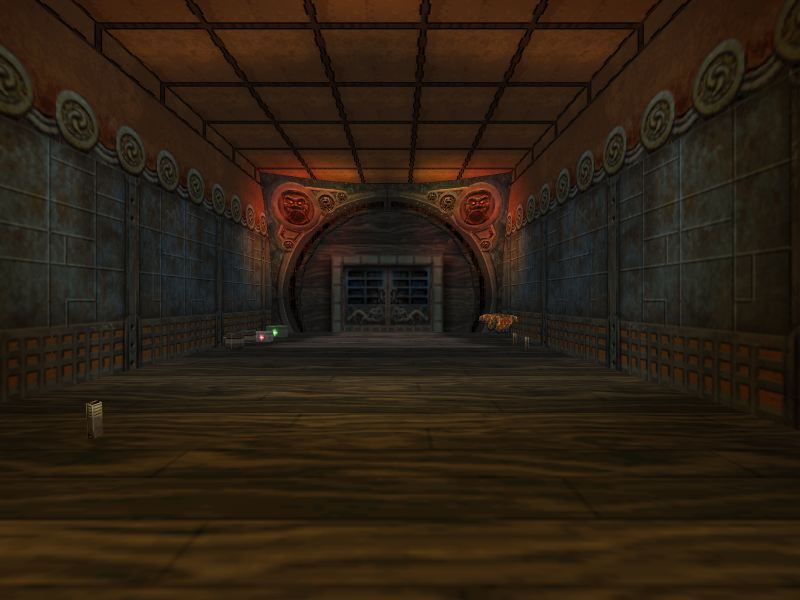
- The door that leads from the secret elevator area to the large courtyard near the pagoda uses a texture that makes it stand out from the rest of the walls in 0.10.
- Chaingun Gangsters near the pagoda area are scattered around the area, including near the top of the level, in E4M8. The final game focuses them all in the courtyard near the pagoda.
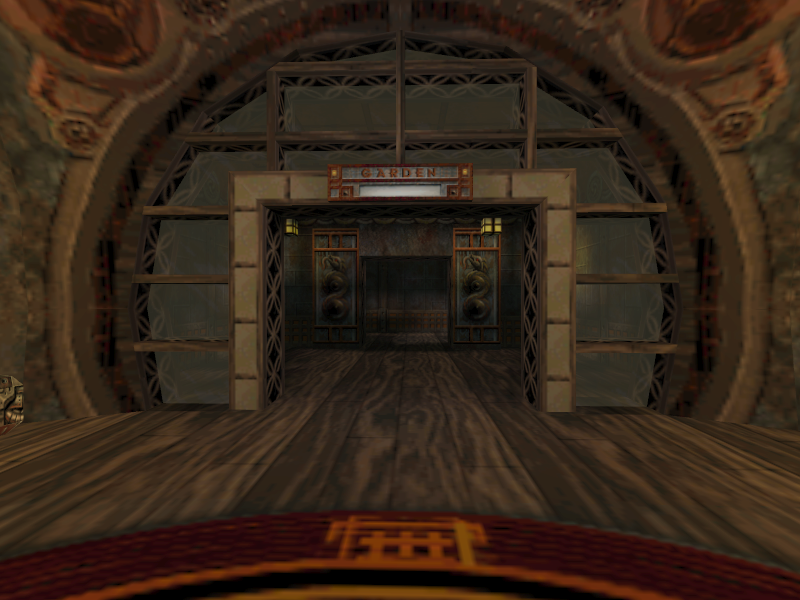
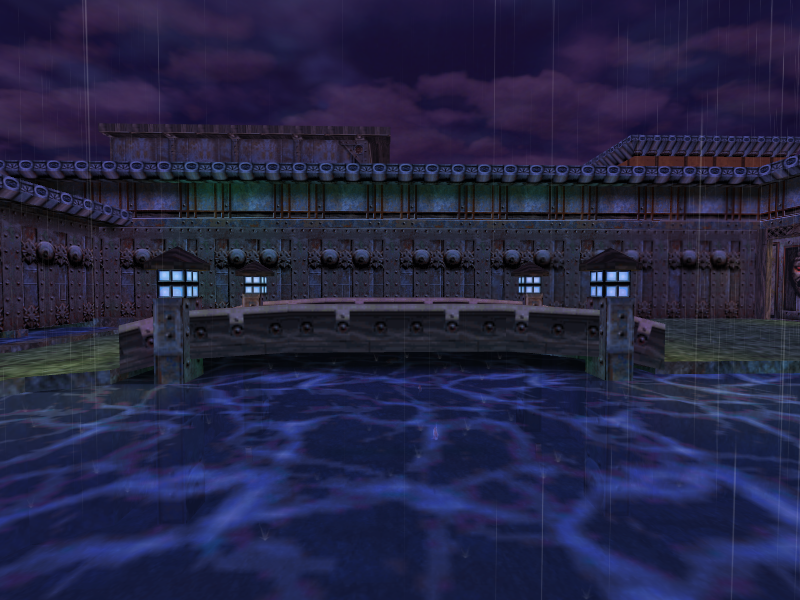
- The water and bridge area is much more straightforward. The sequence involving the player destroying a grate in the water, entering a room with enemies in it, and going through a hallway to enter the garden area does not exist. Instead, the player can head straight to the garden from an exit on the upper left-hand corner of the water and bridge area.
- The buttons in the garden area exist, but do nothing. They also come back out after being pressed, unlike the final game.
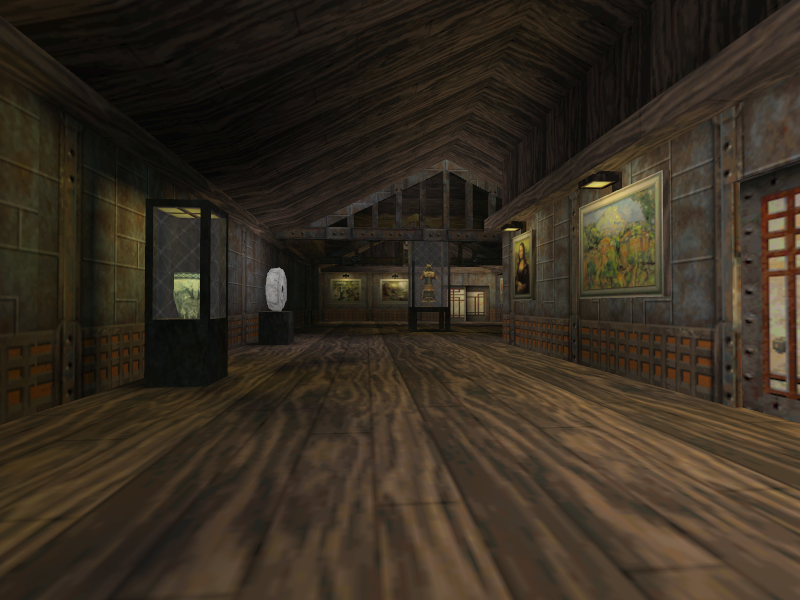
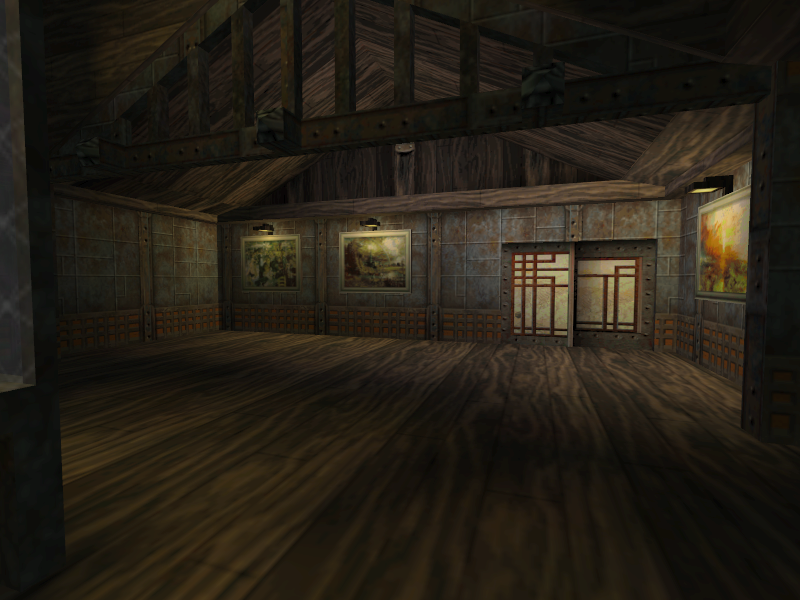
- The entrance into the museum from the garden can be accessed from both sides. The final game restricts it so that the player can only use the door from the garden’s side.
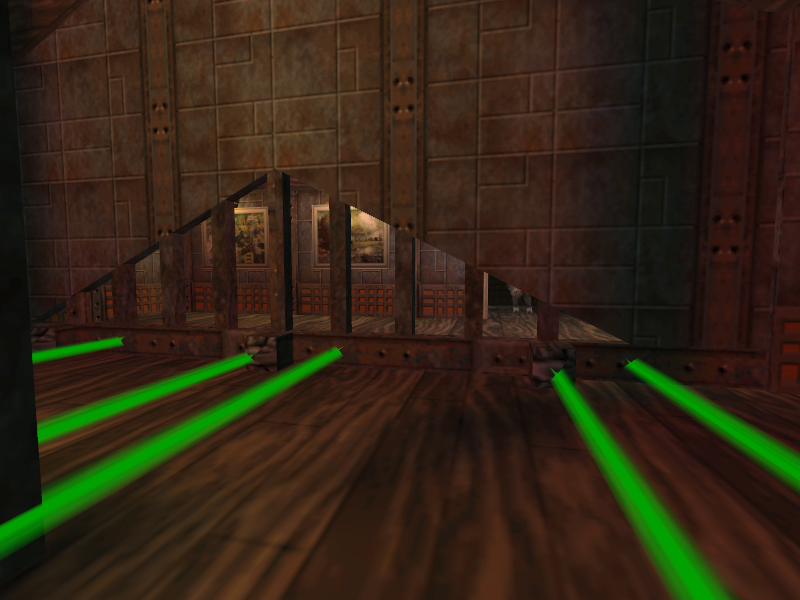
- The laser beam trap in the museum is a bit different. The trap goes down a lot faster than it does in the final game, making it impossible to avoid it with a high enough Speed stat. When the control unit is destroyed, it takes several seconds before the lasers deactivate. In the final game, the trap shuts down instantly after destroying the control unit.
- The switch past the control unit has nothing in it and does nothing when used.
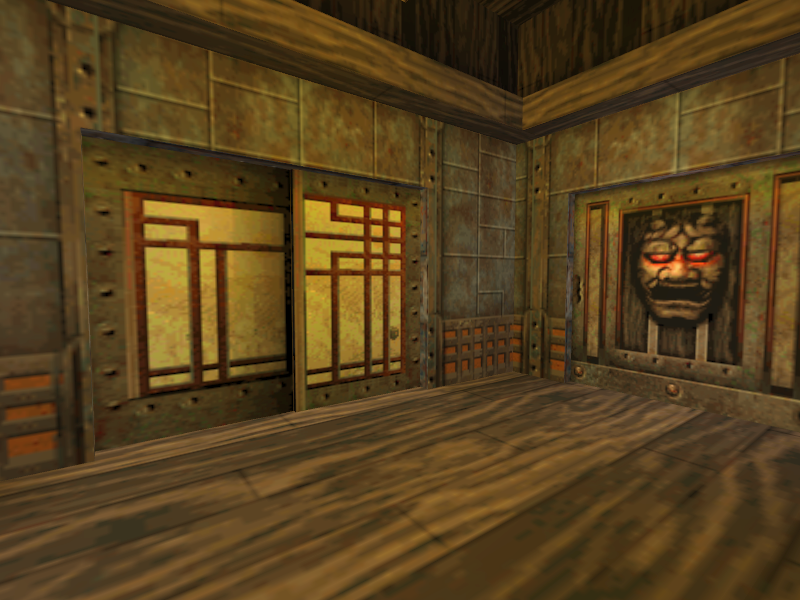
- There is an exit back to the main lobby in the back room of the museum. The door is above the lobby, so the player will take fall damage if they use this alternate exit. Interestingly, the architecture for the exit is still in the final game’s main lobby, but no longer works and has the same texture the rest of the roof has to make it blend in. The exit from the back room’s side is covered with a wall jutting out from the rest of the walls.
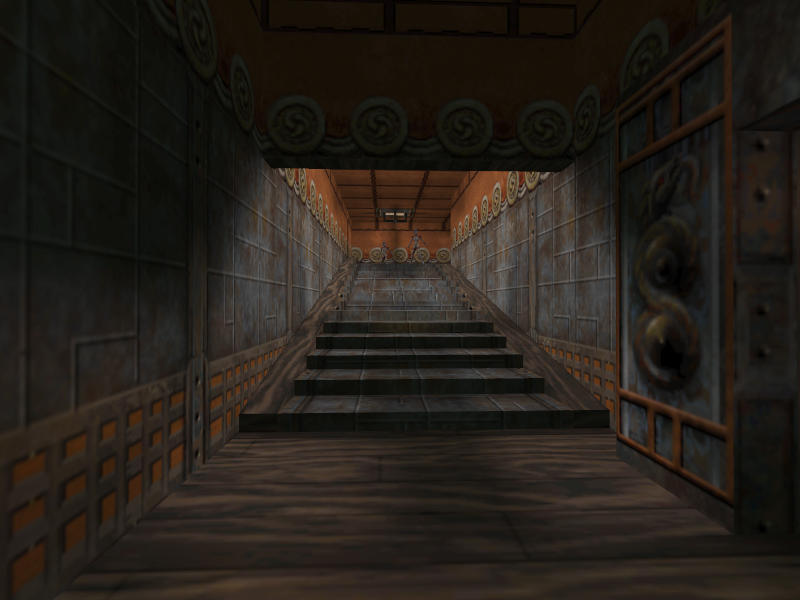
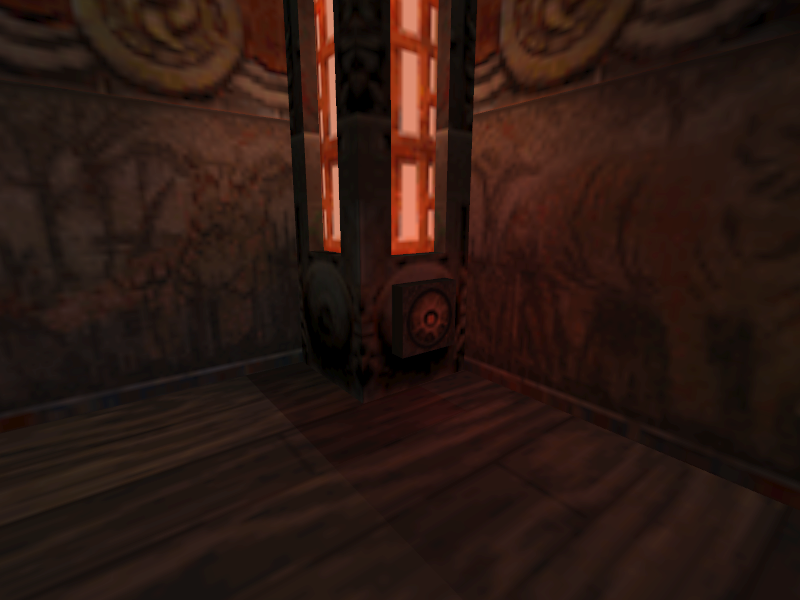
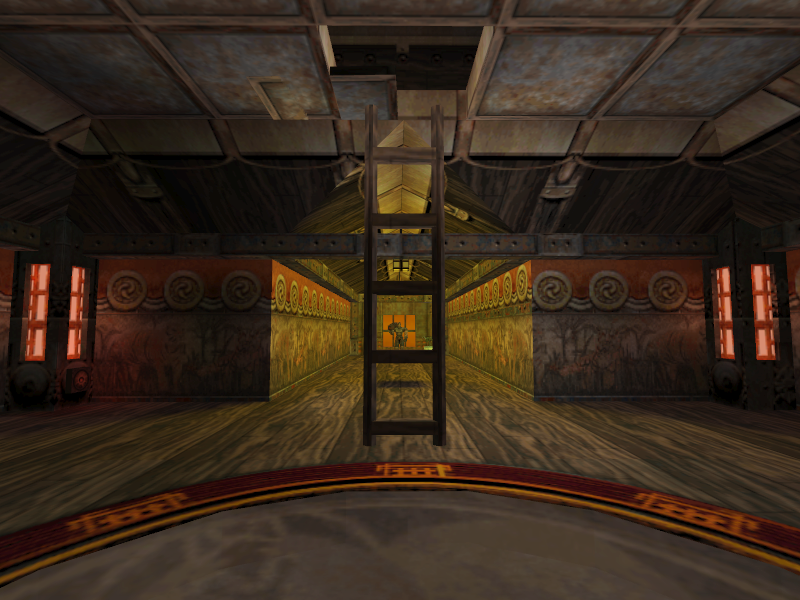
- The room before Mishima’s bedroom is a bit different in this prototype. There are no walls covering pieces of the area, and the way to access the second floor of the area is different too. Instead of hopping off the elevator that leads to the area above the main hallway, the player has to climb the ladder-shaped windows near the elevator. The way to access the second floor in the final game does not exist in the prototype.
- The windows in Mishima’s bedroom have actual glass in them instead of the breakable walls.
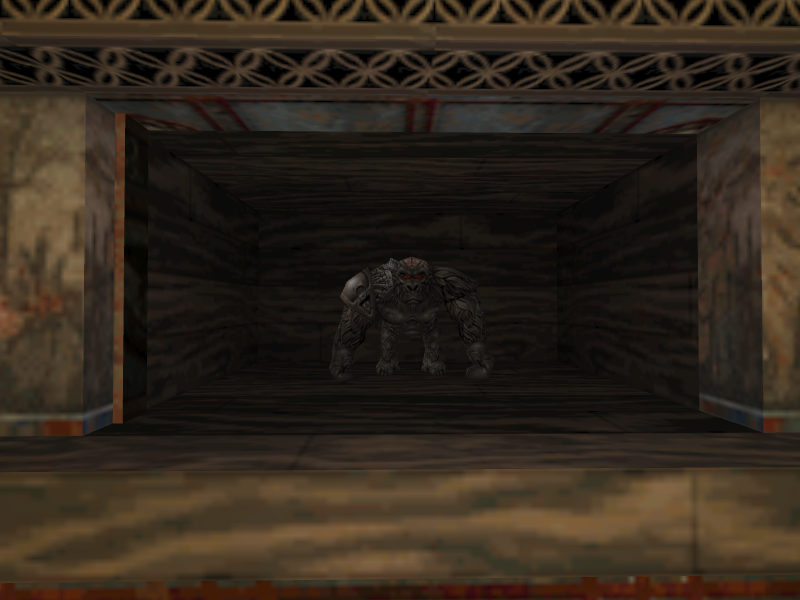
- The Megashield secret contains a Monkey instead.
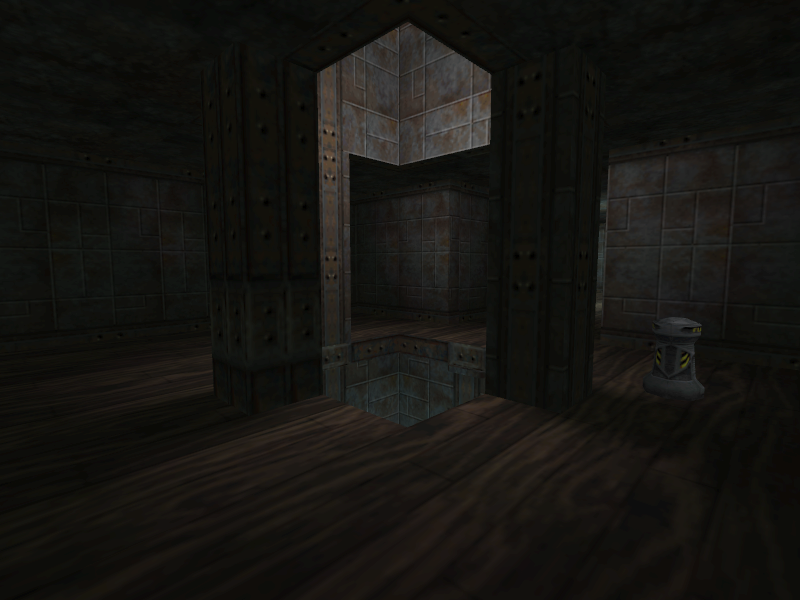
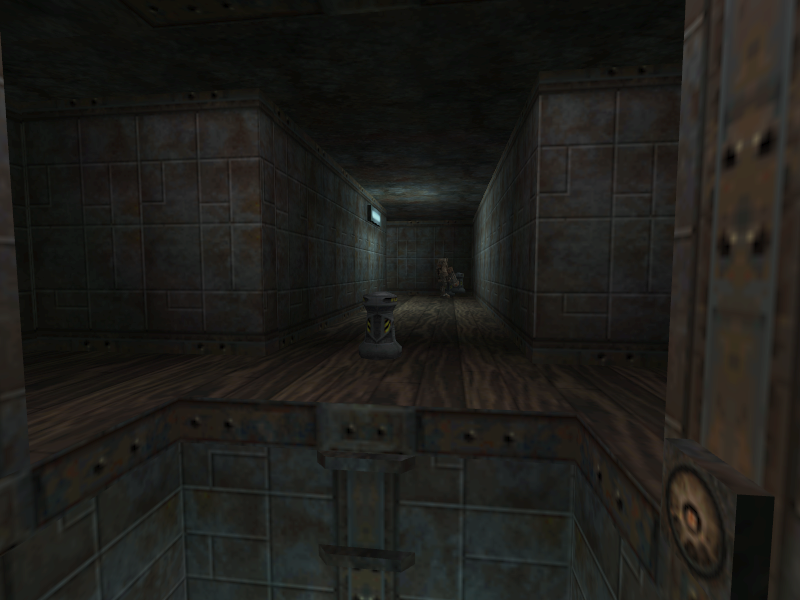
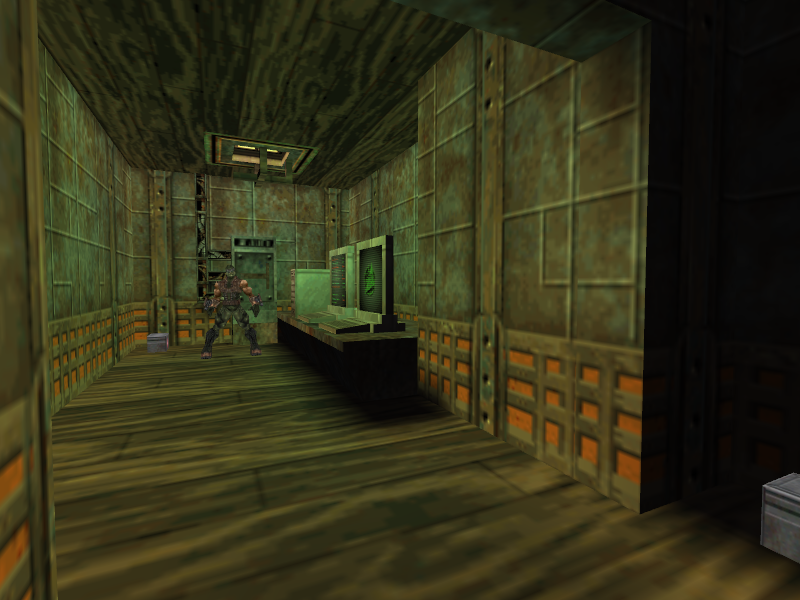
- The way to the secret elevator area is different. There are two switches above the floor that reveals the area. The one near the floor is used to summon the elevator, while a switch near the ceiling must be shot to reveal the area in the first place. The final game simplifies this so that the lower switch reveals the area and calls the elevator.
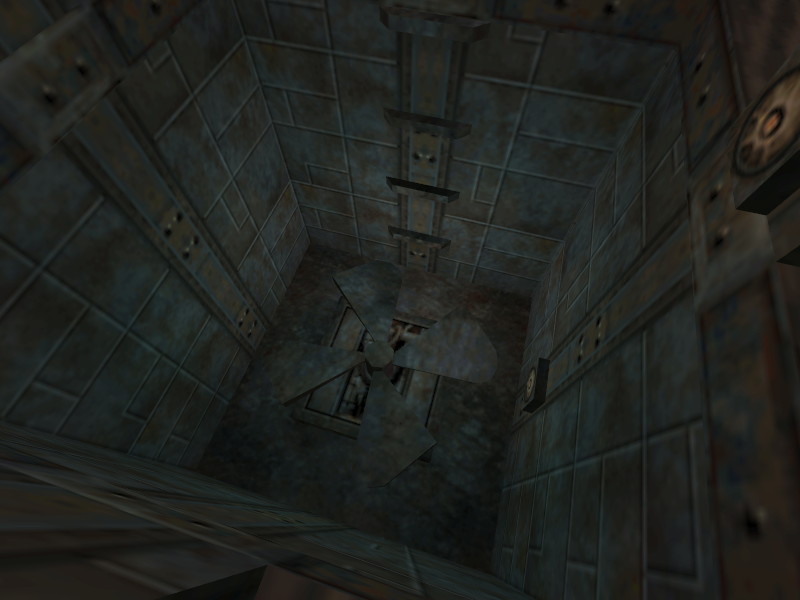
- In E4M8, there is a moving fan at the top of the ladder in the secret elevator area. The final game removes it, but the “base” texture the fan was meant to be mounted on still remains.
- The door that connects the secret elevator area to the courtyard near the pagoda is opened merely by pressing the use key on it in E4M18. The final game changes it so that a switch nearby must be used in order to open the door.
- The secret room near the staircase leading to the museum exists, but contains nothing inside it.
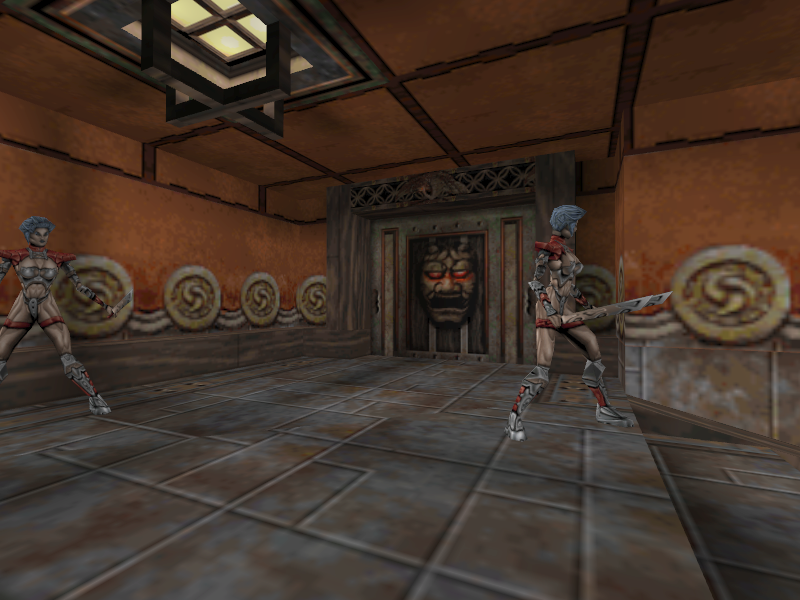
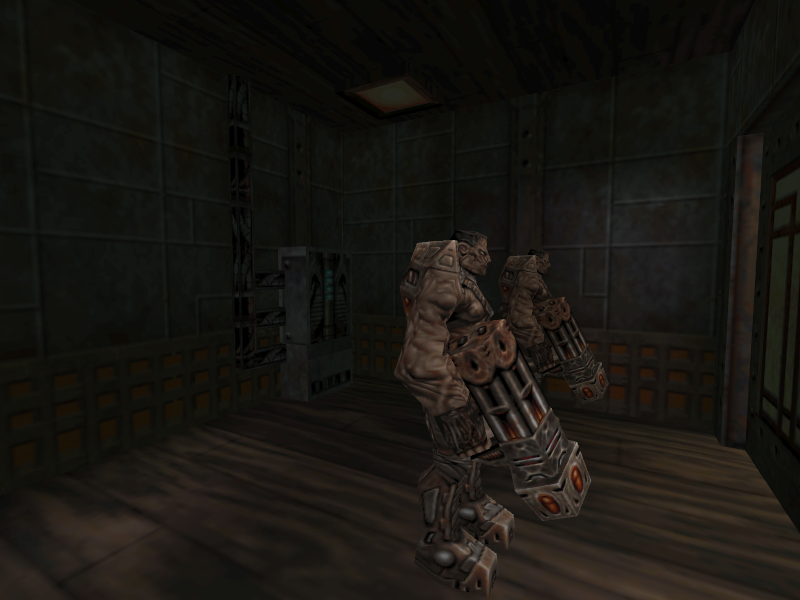
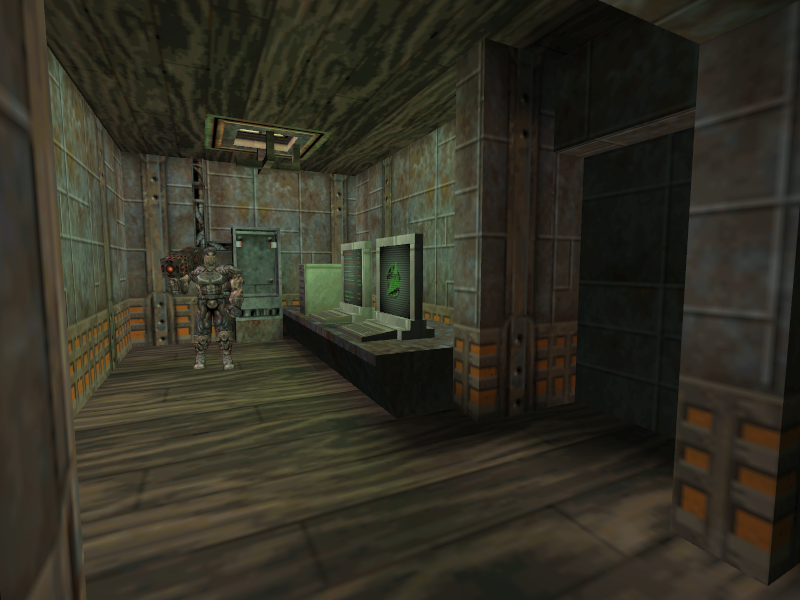
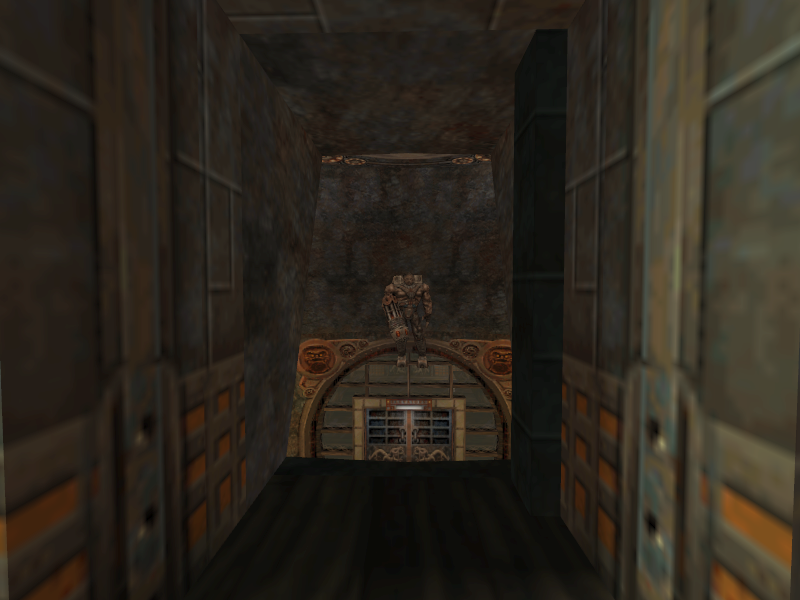
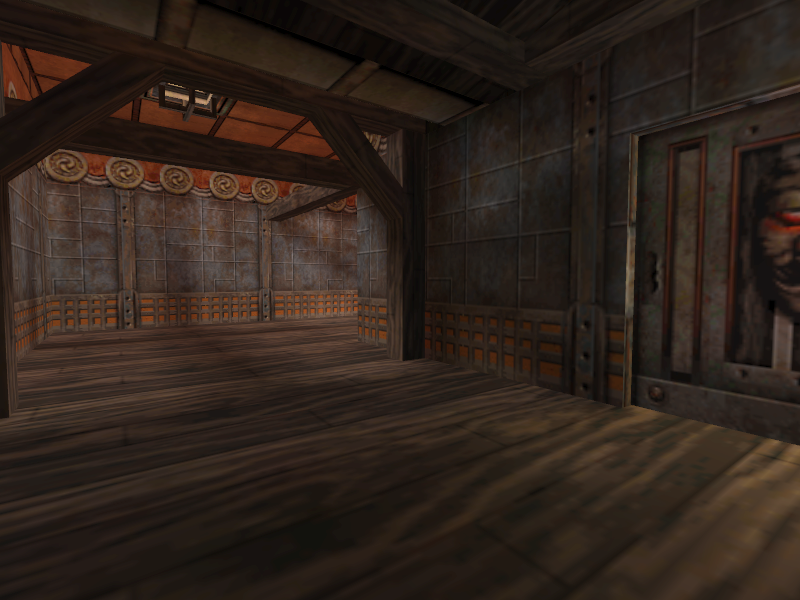
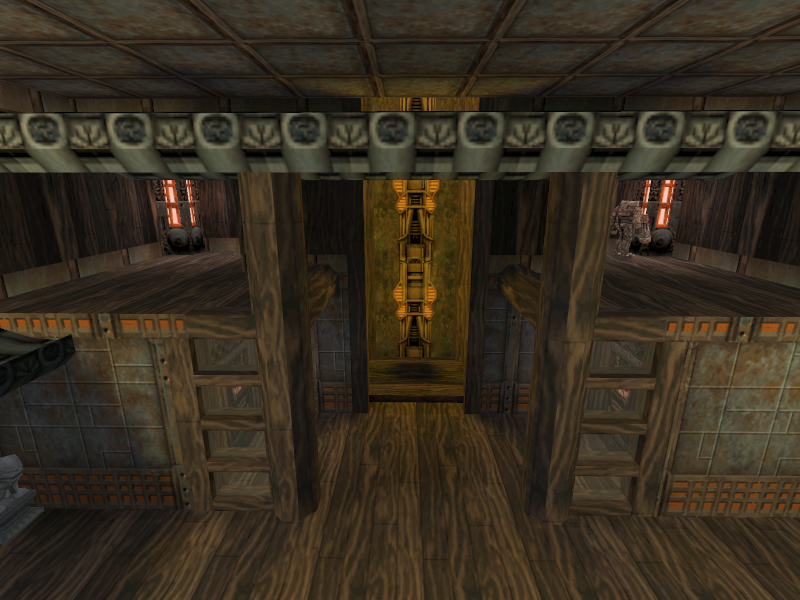
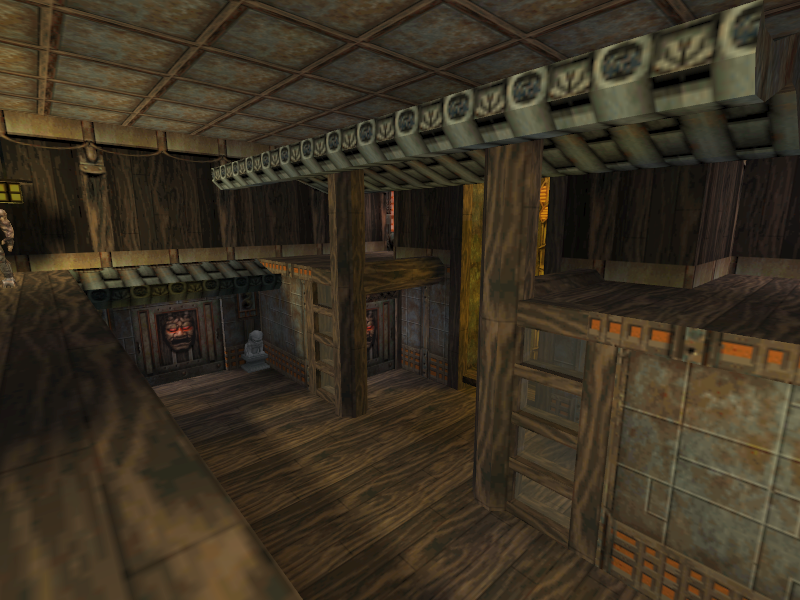
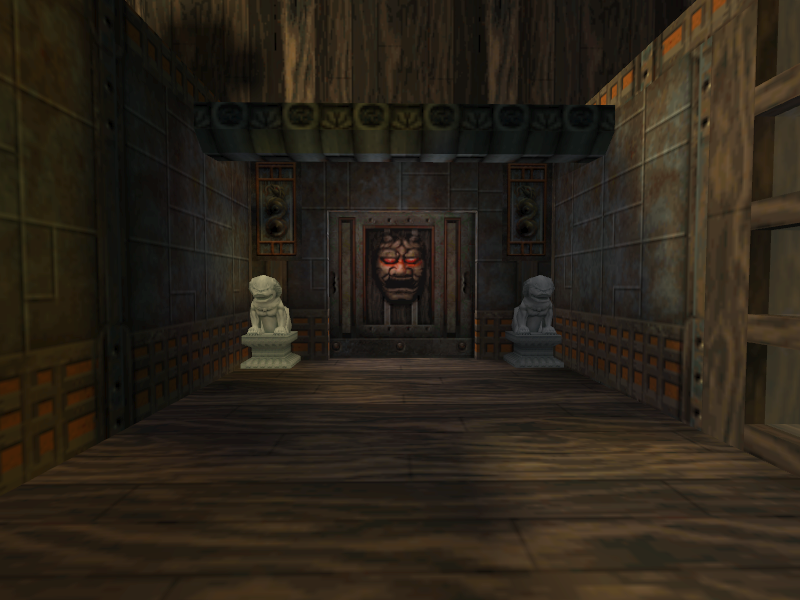
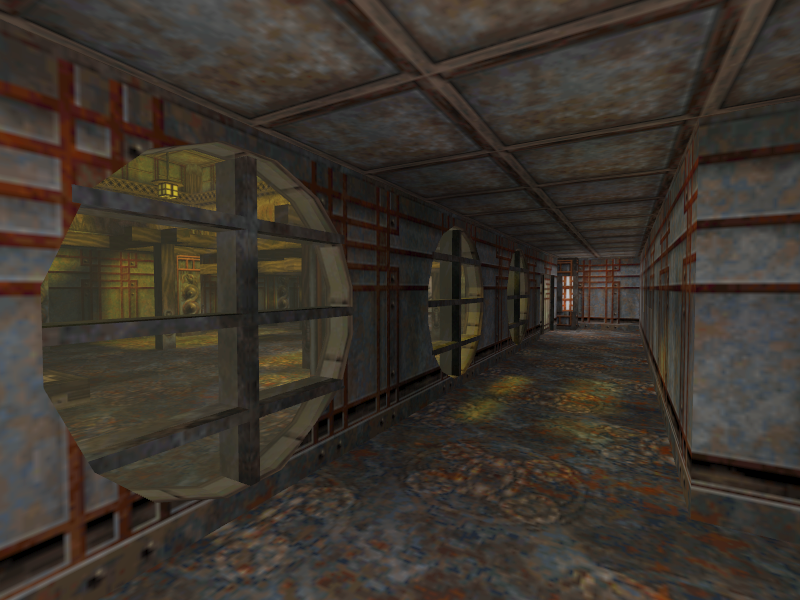
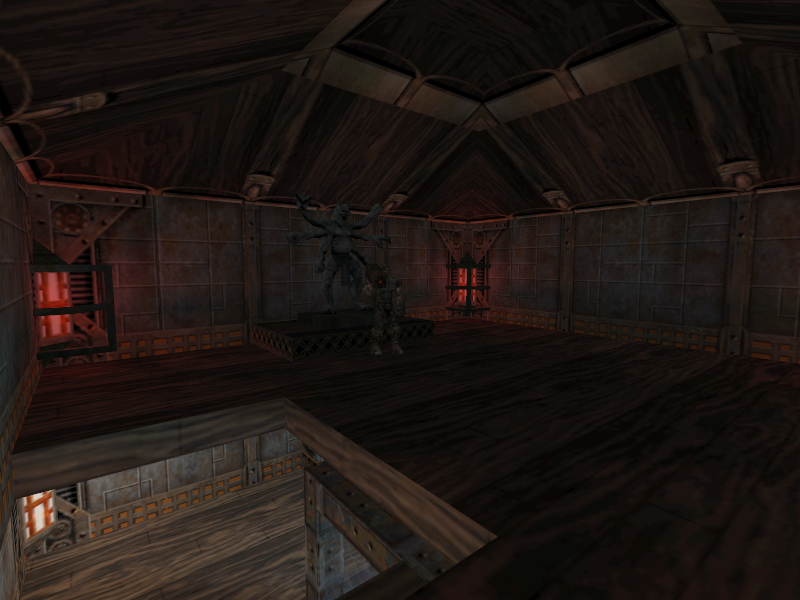
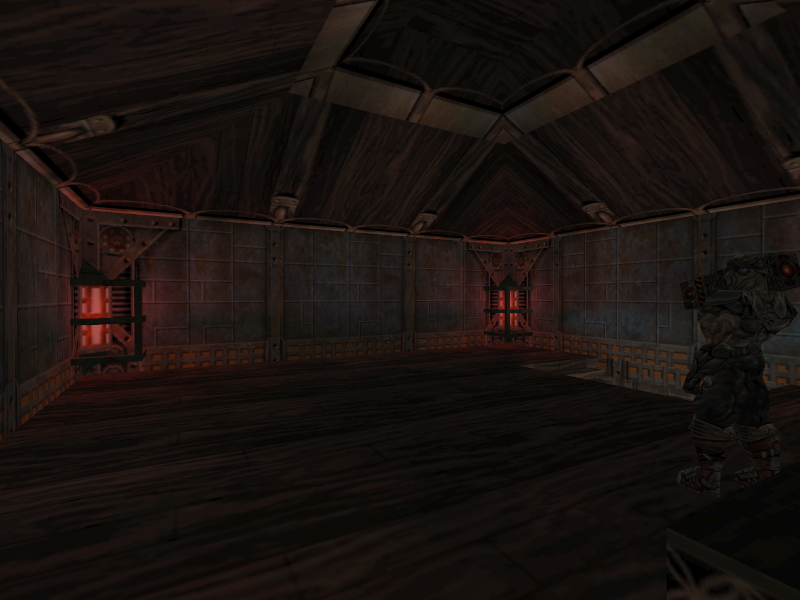
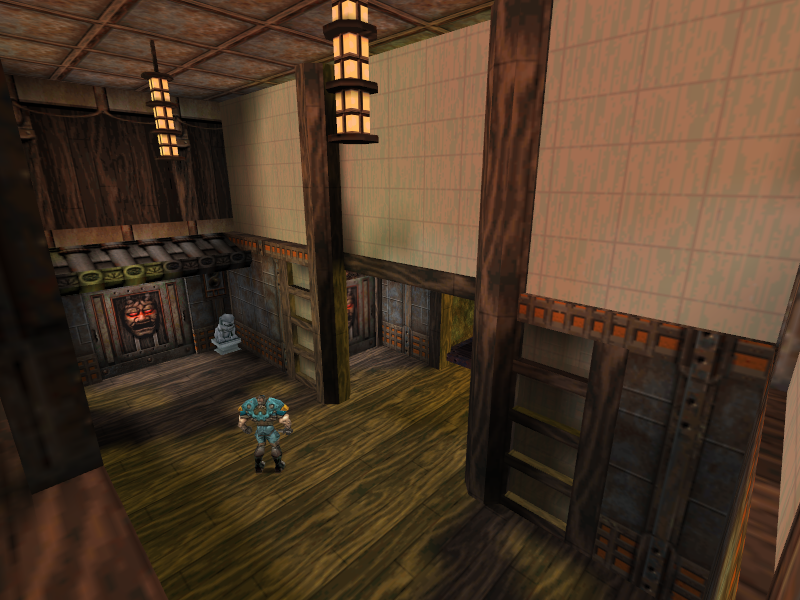
- The top room in the pagoda is much darker, lacks items, does not have a window looking out, and has a Rocket Gangster inside of it.
|
Prototype |
Final |
|---|---|
|
|
|
|
Prototype |
Final |
|---|---|
|
|
|
|
Prototype |
Final |
|---|---|
|
|
|
|
Prototype |
Final |
|---|---|
|
|
|
|
Prototype |
Final |
|---|---|
|
|
|
|
Prototype |
Final |
|---|---|
|
|
|
|
Prototype |
Final |
|---|---|
|
|
|
|
Prototype |
Final |
|---|---|
|
|
|
|
Prototype |
Final |
|---|---|
|
|
|
|
Prototype |
Final |
|---|---|
|
|
|
|
Prototype |
Final |
|---|---|
|
|
|
|
Prototype |
Final |
|---|---|
|
|
|
|
Prototype |
Final |
|---|---|
|
|
|
|
Prototype |
Final |
|---|---|
|
|
|
|
Prototype |
Final |
|---|---|
|
|
|
|
Prototype |
Pre-release Image |
|---|---|
|

|
|
Prototype |
Pre-release Image |
|---|---|
|

|