 This article has a talk page!
This is a sub-page of Proto:Daikatana (Windows)/v0.10.
Two Episode 3 levels can be found in 0.10. The first one, E3M4, was removed from the final game, while the second one, E3M5, is an early version of the final game's E3M4 area.
E3M4#
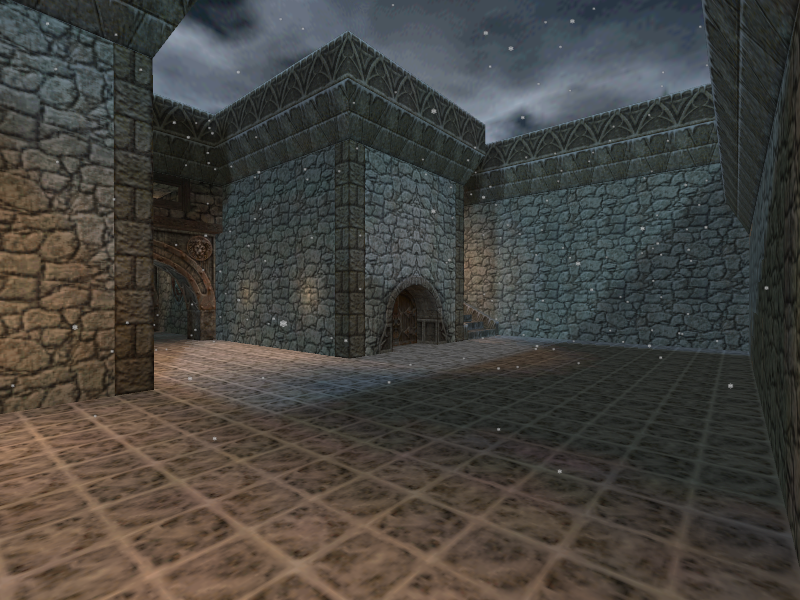
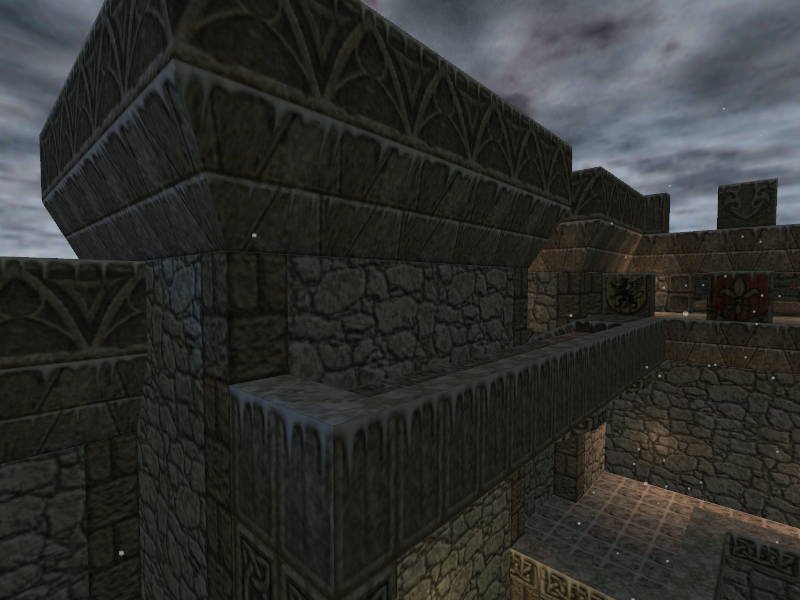
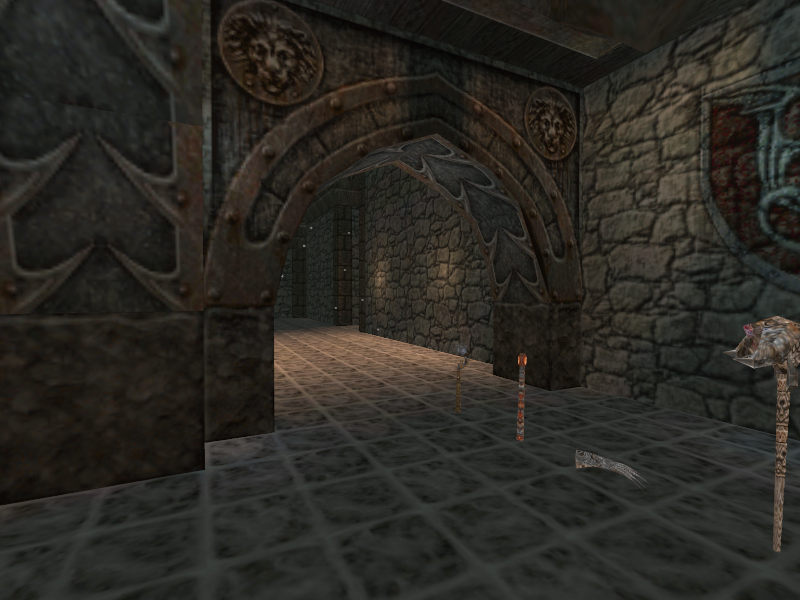
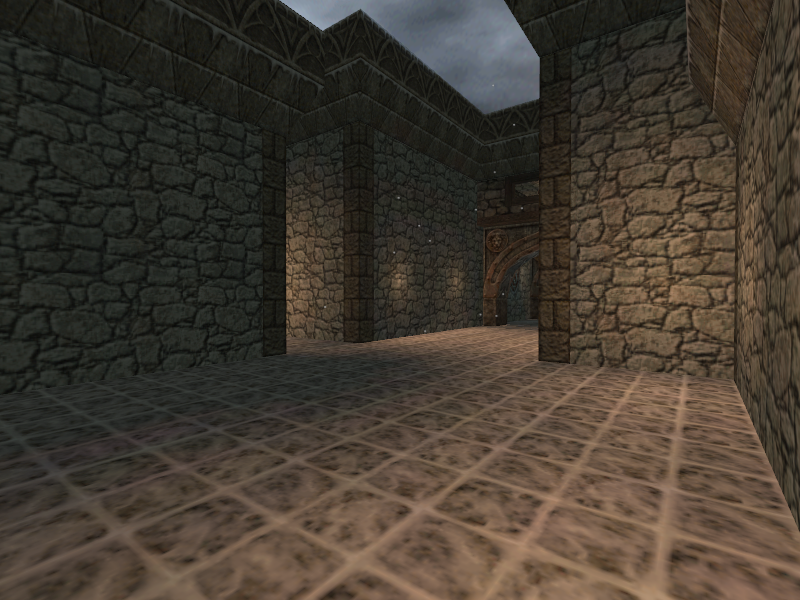
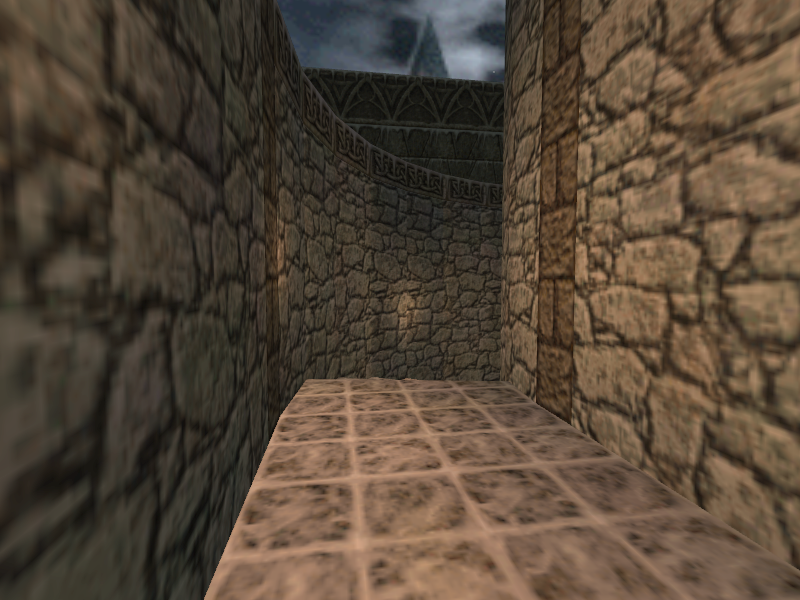
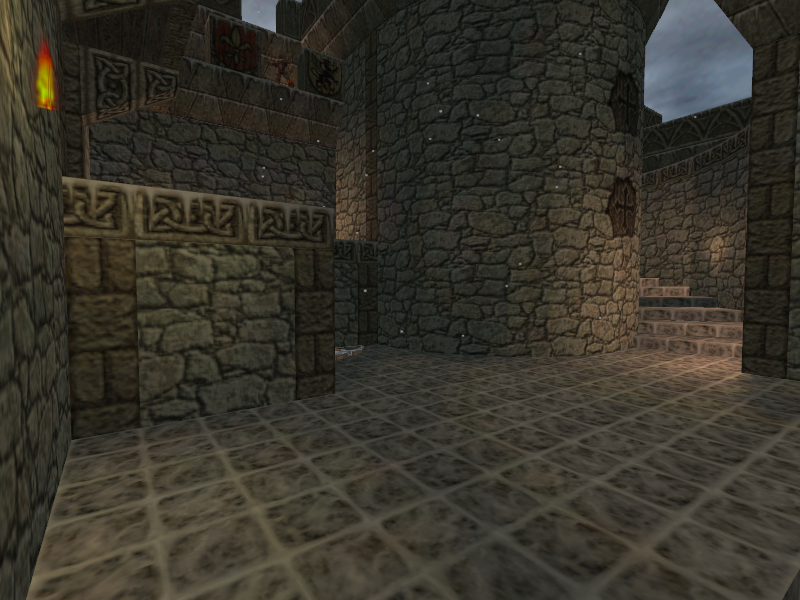
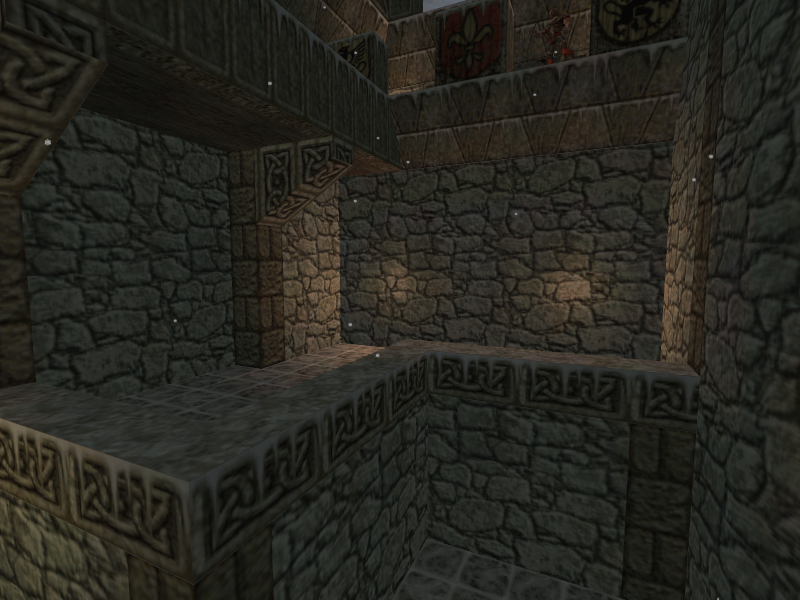
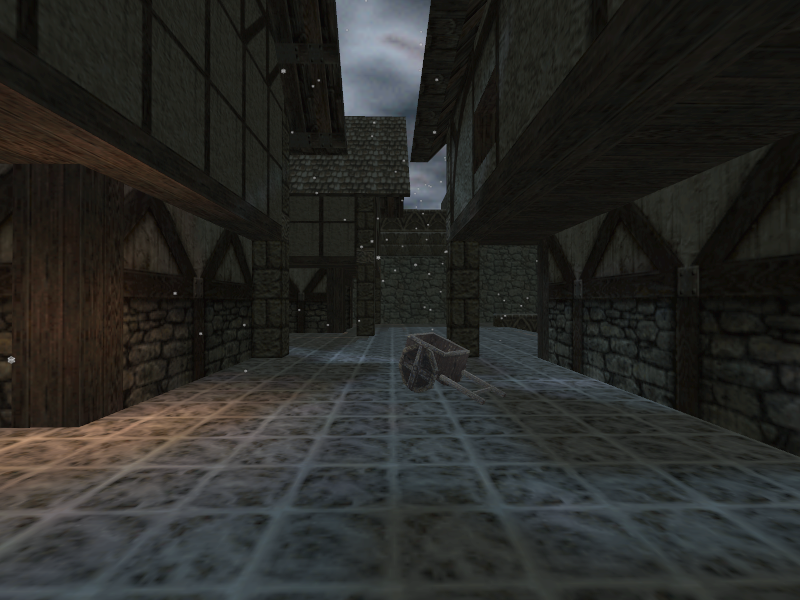
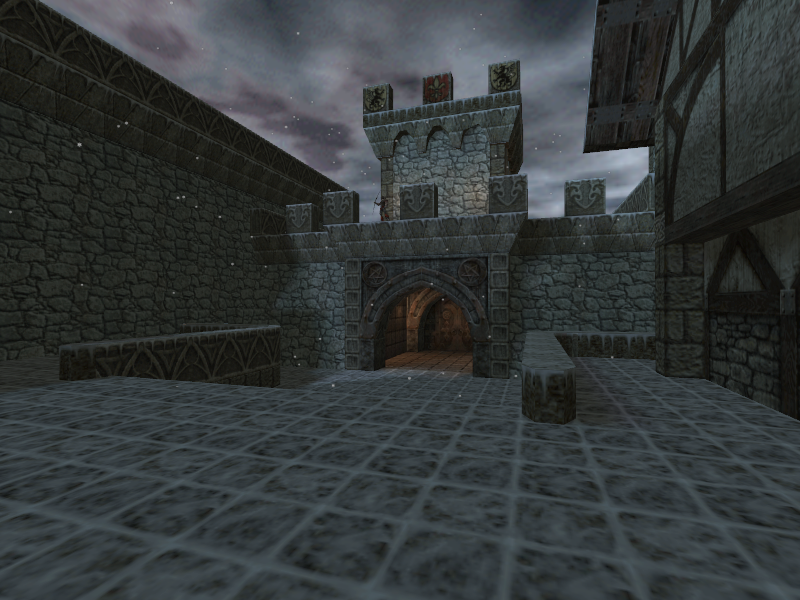
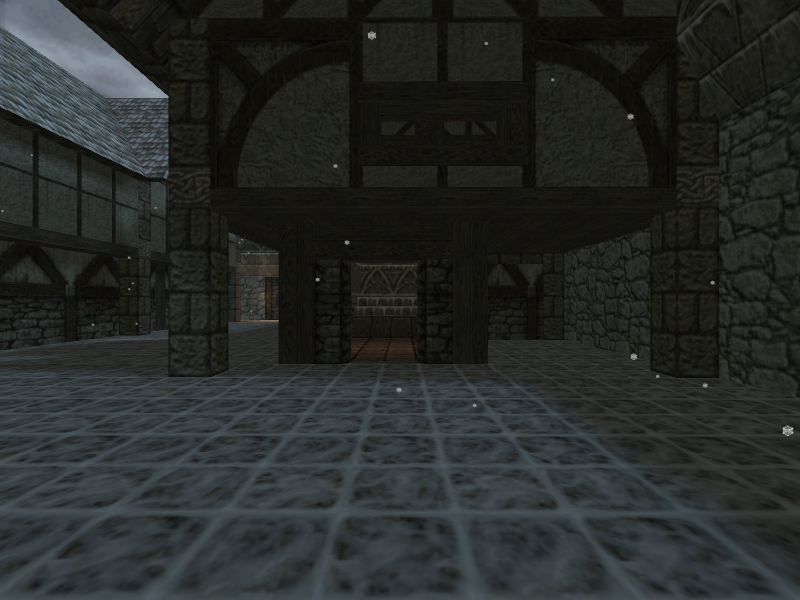
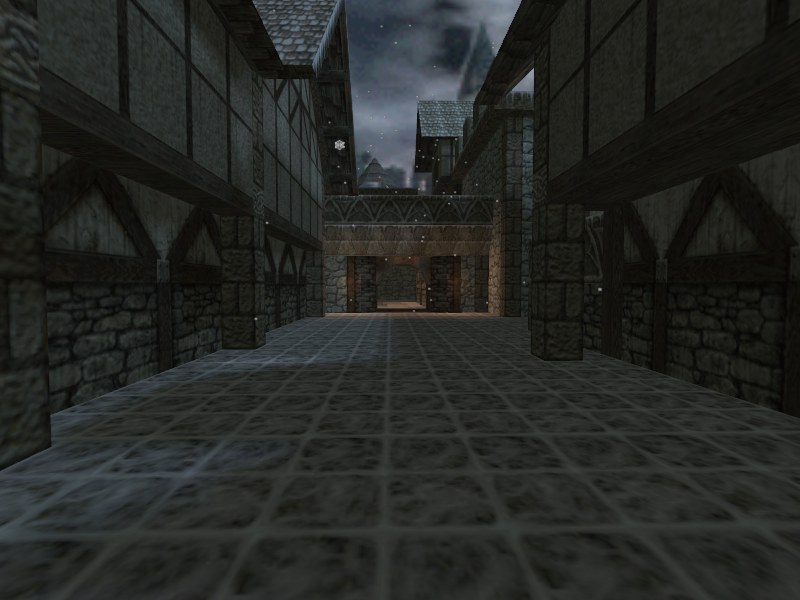
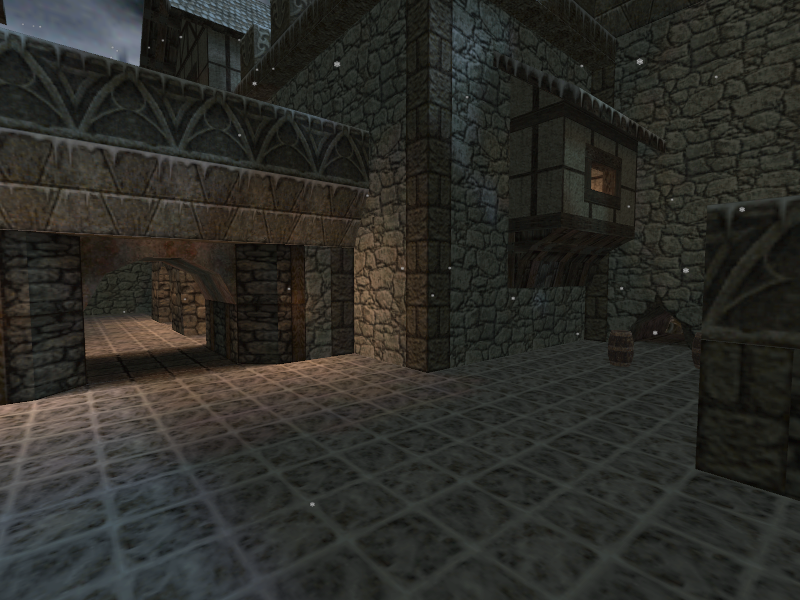
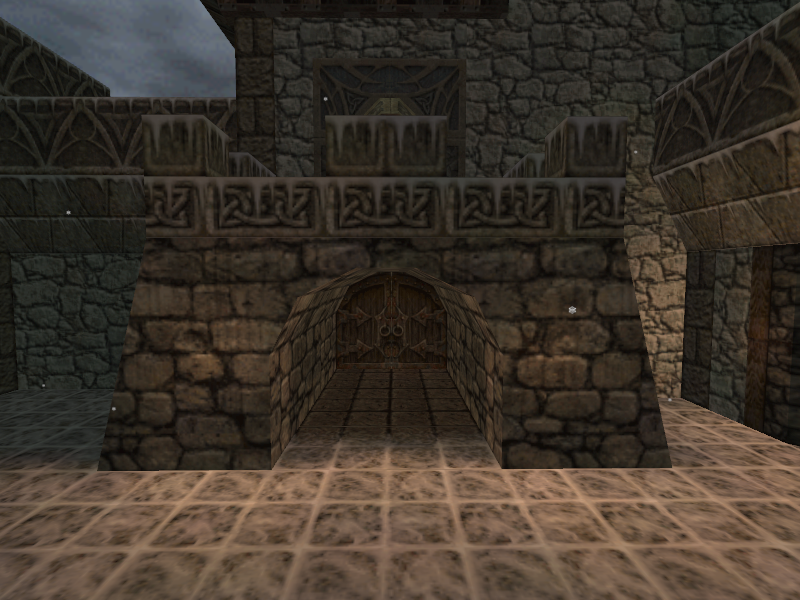
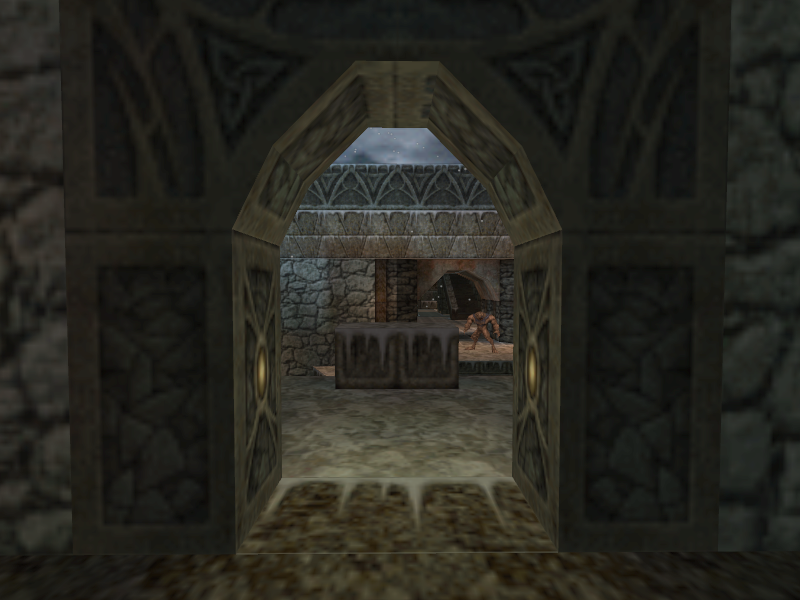
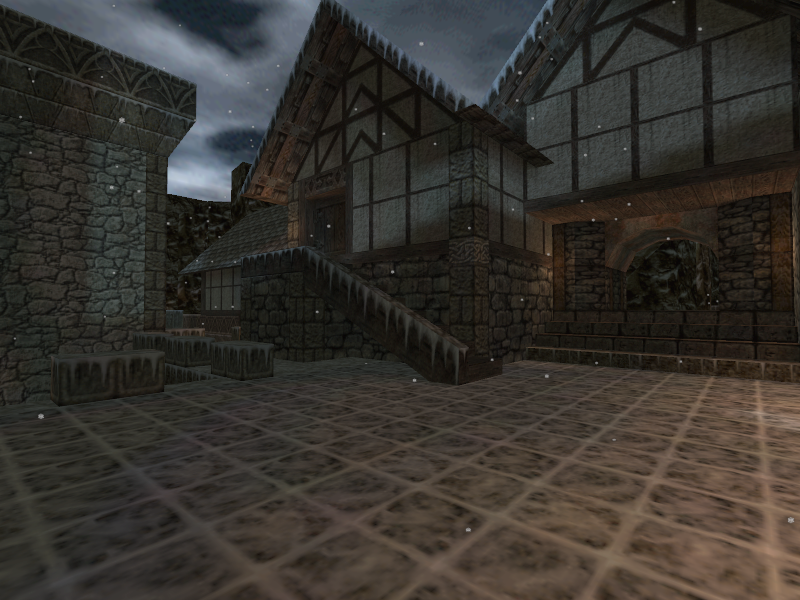
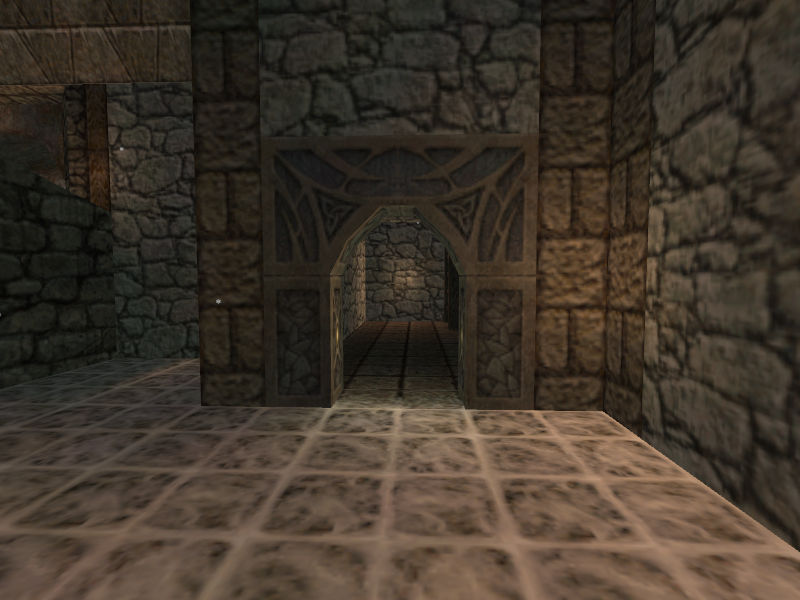
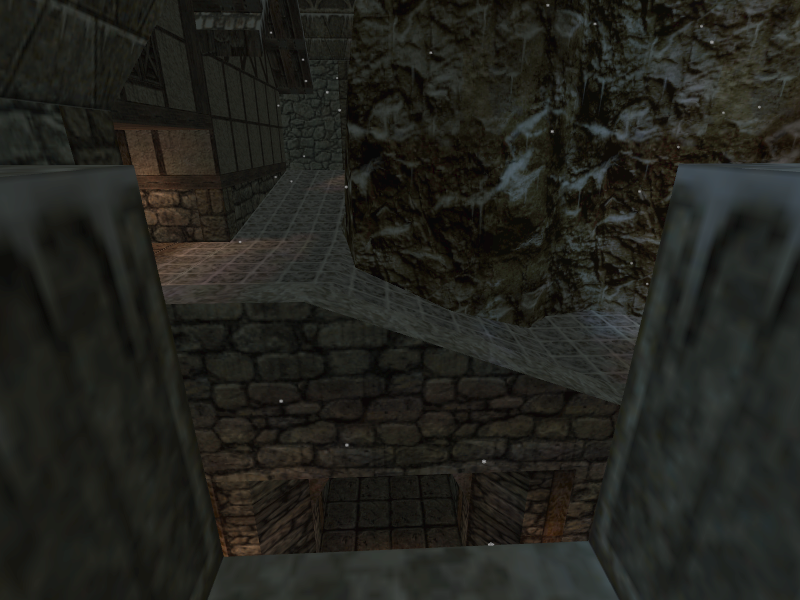
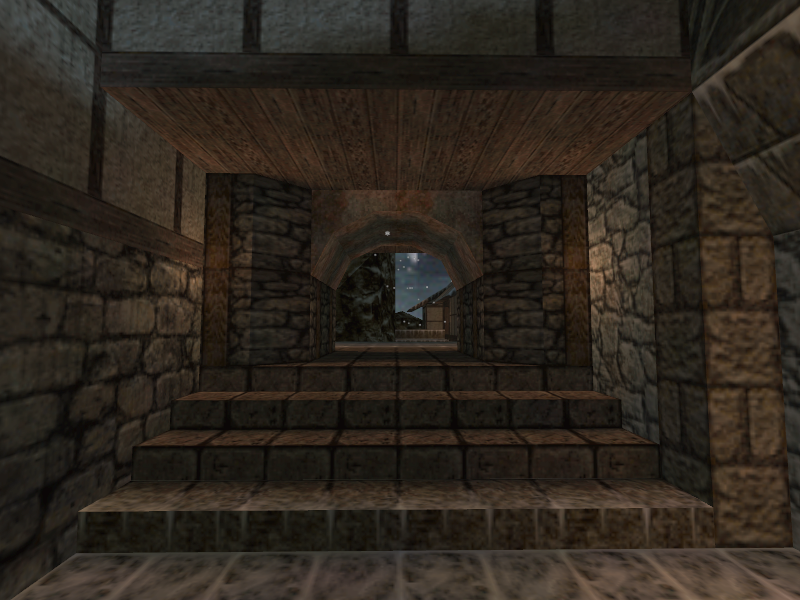
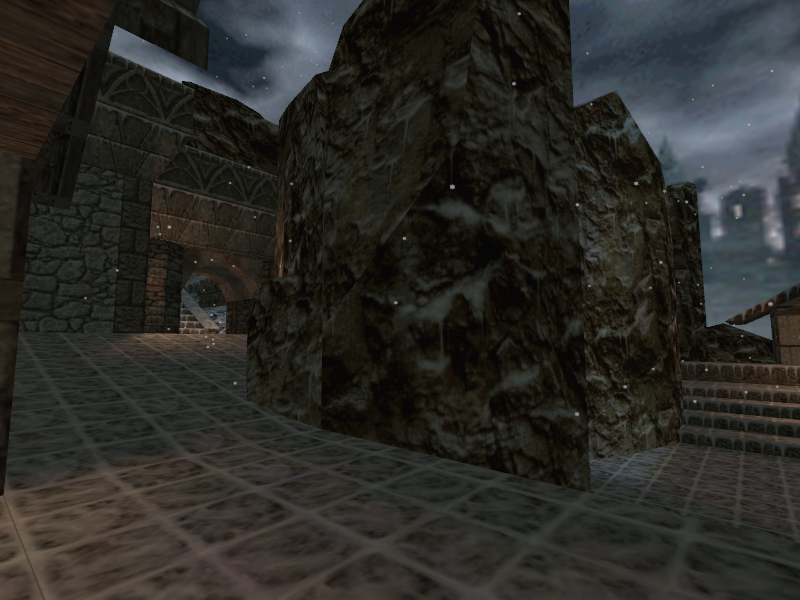
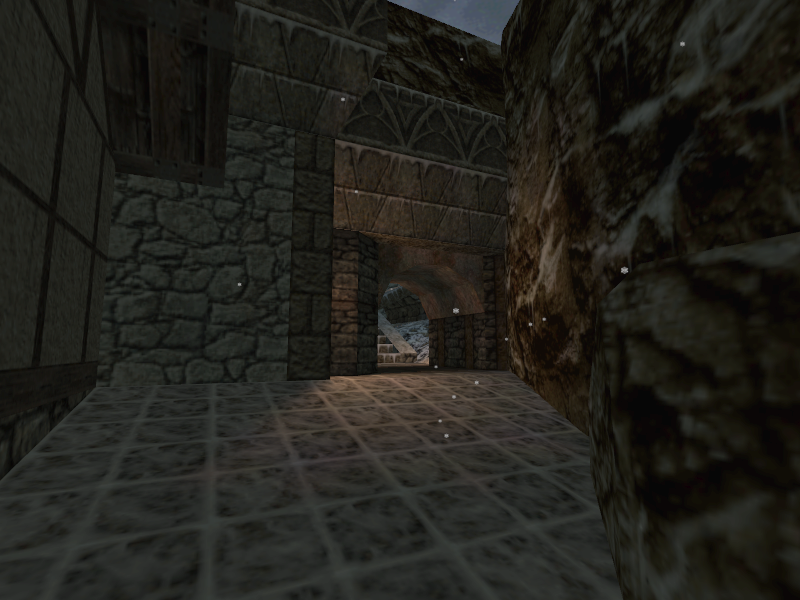
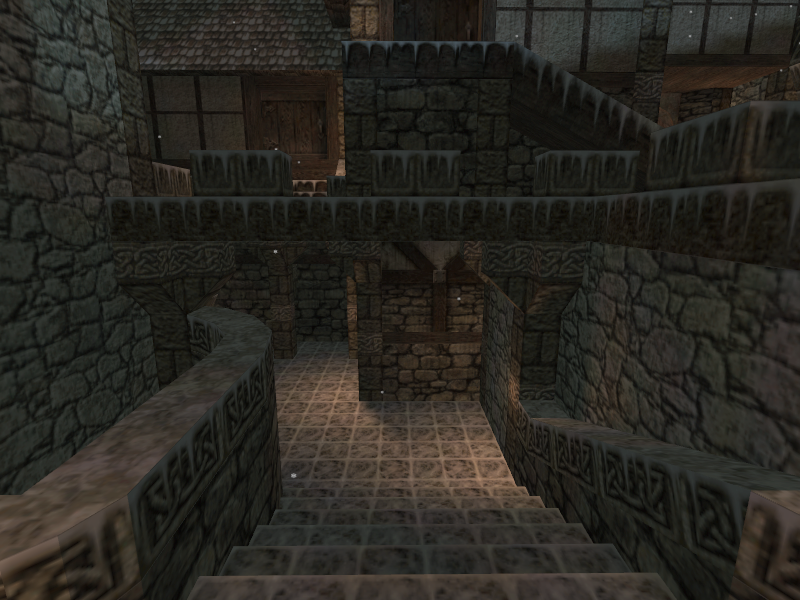
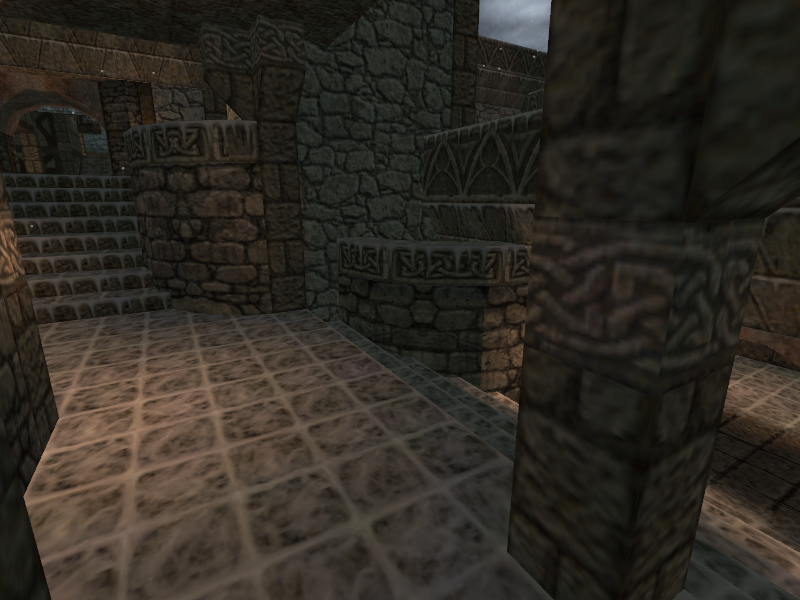
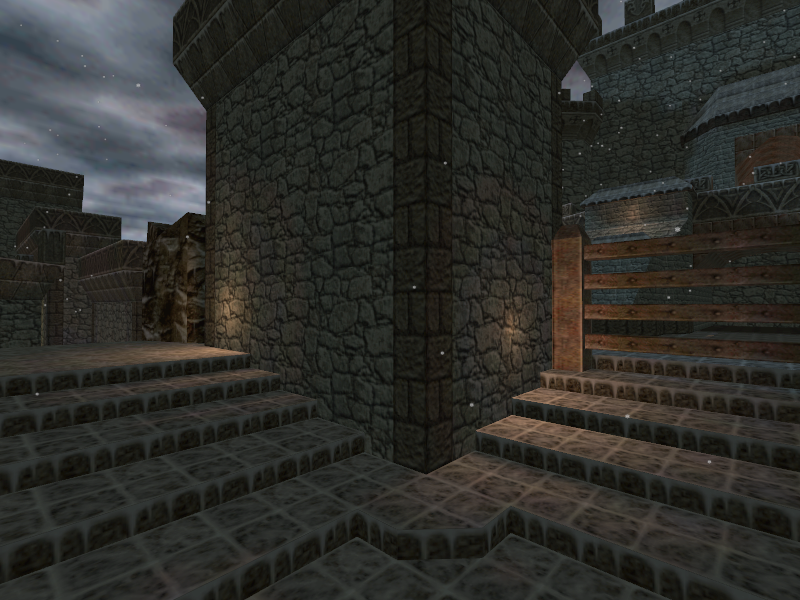
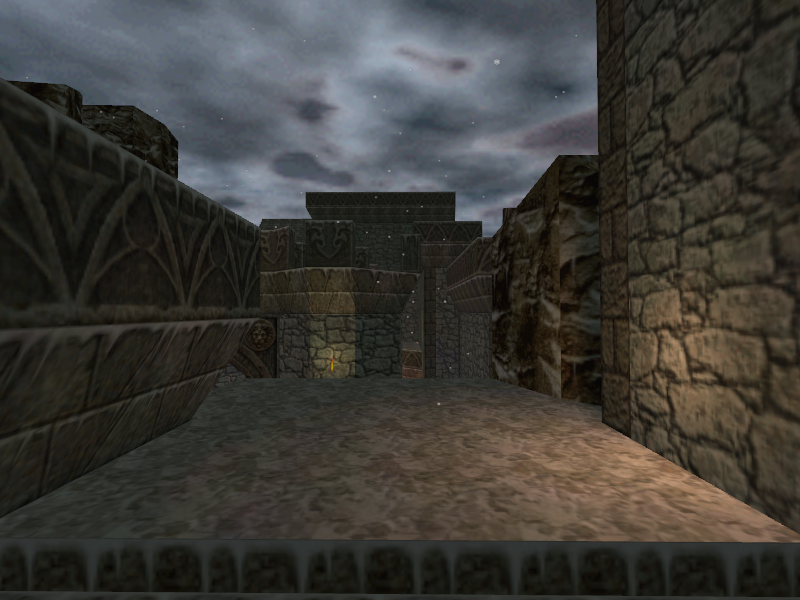
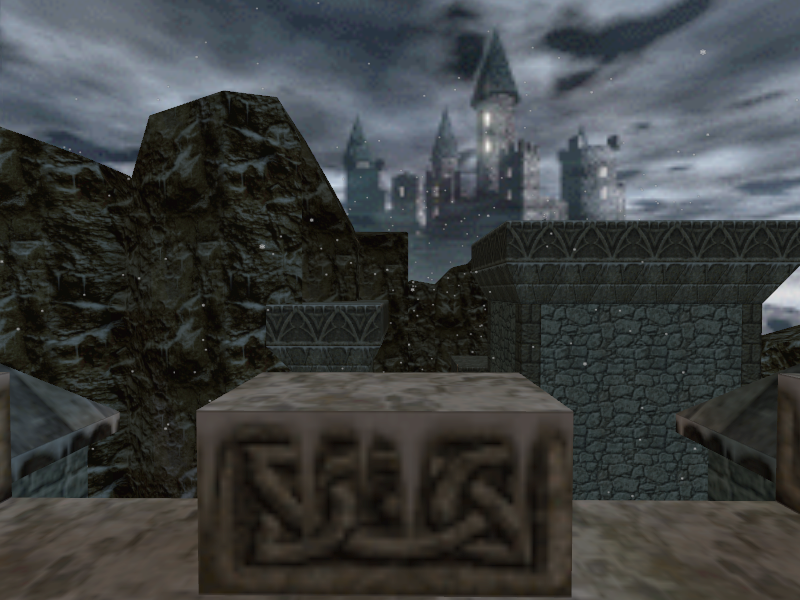
E3M4 is completely different from the E3M4 seen in the final game. It takes place in a town located past castle walls instead of Wyndrax’s tower. Some of the architecture in this level was reused for the level E3M1b in the final game. The level is called “Gharroth’s Castle” in the main menu’s “New Game” screen.
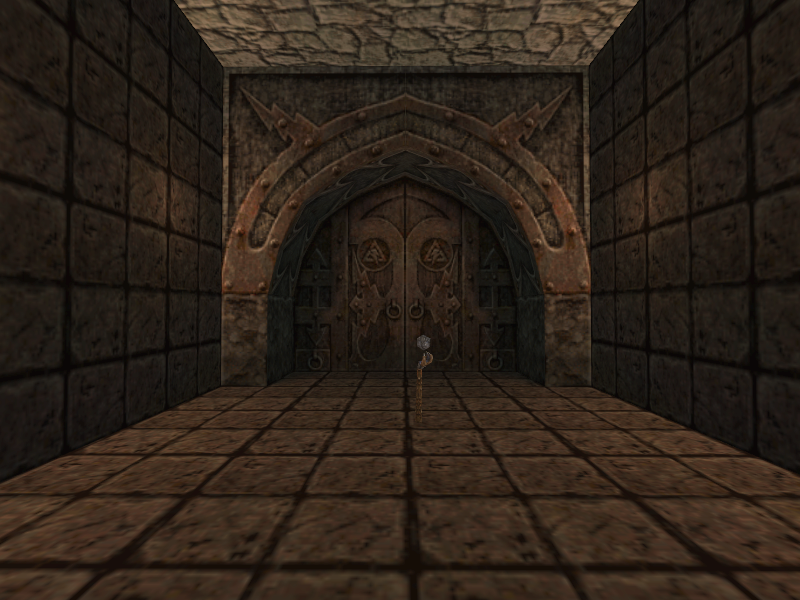
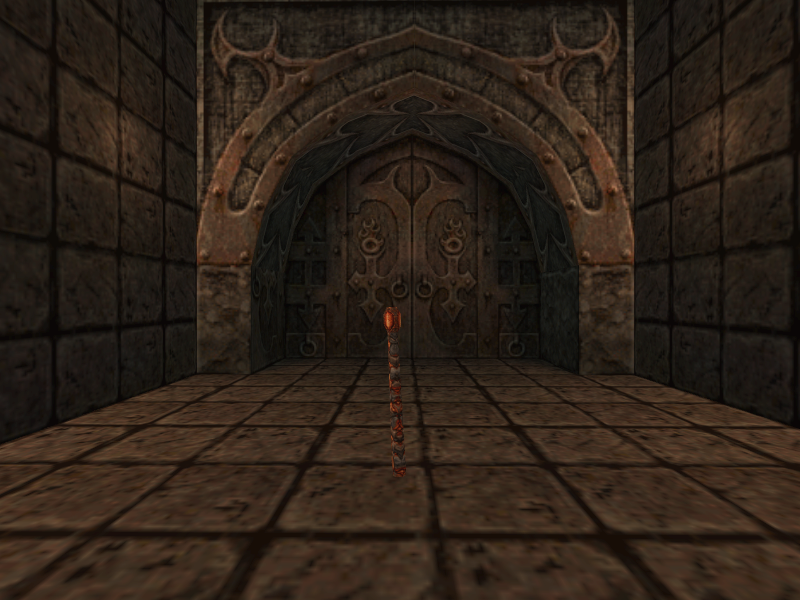
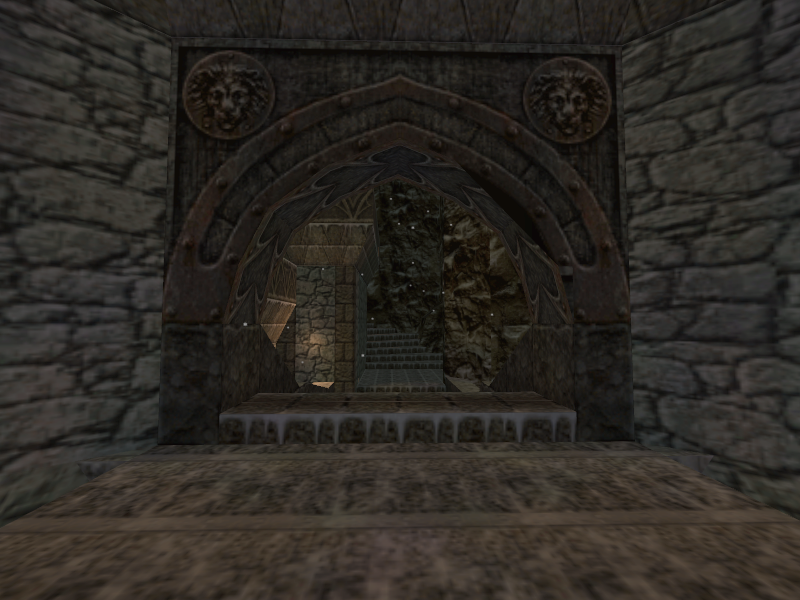
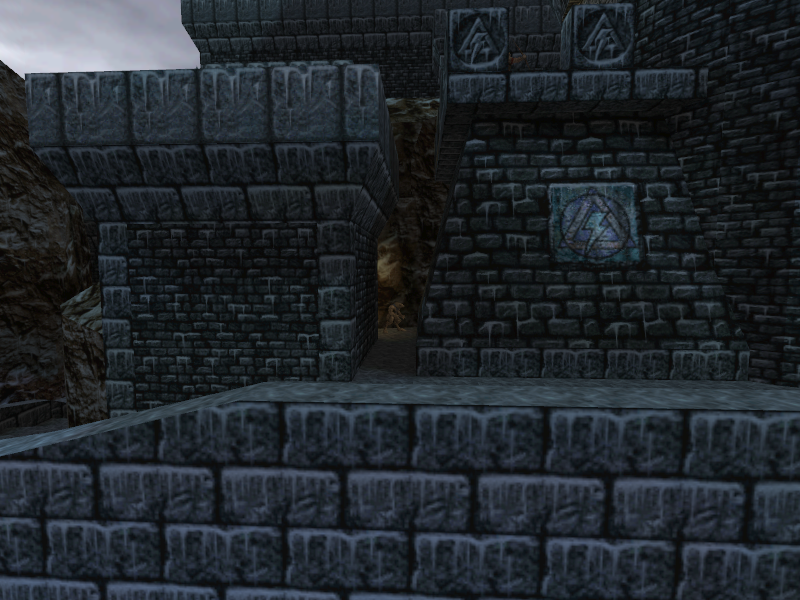
The most interesting part of it is its layout. The level appears to be laid out like a hub, with doors that have each of the enemy wizard’s markings on them scattered throughout the area. There is also what appears to be the entrance to the king’s castle, though it looks completely different from the castle seen in the final game. The intention seems to be that the player could choose what wizard’s domain they would want to enter instead of it being linear, like in the final game.
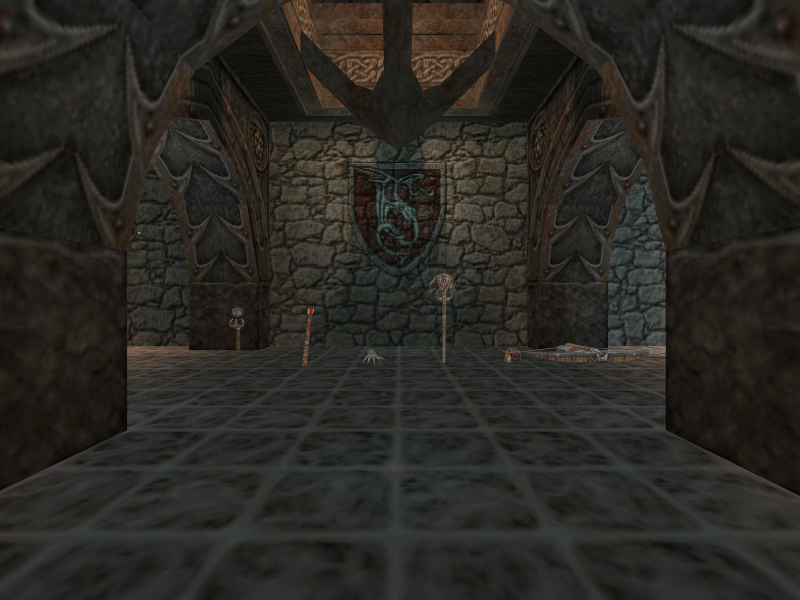
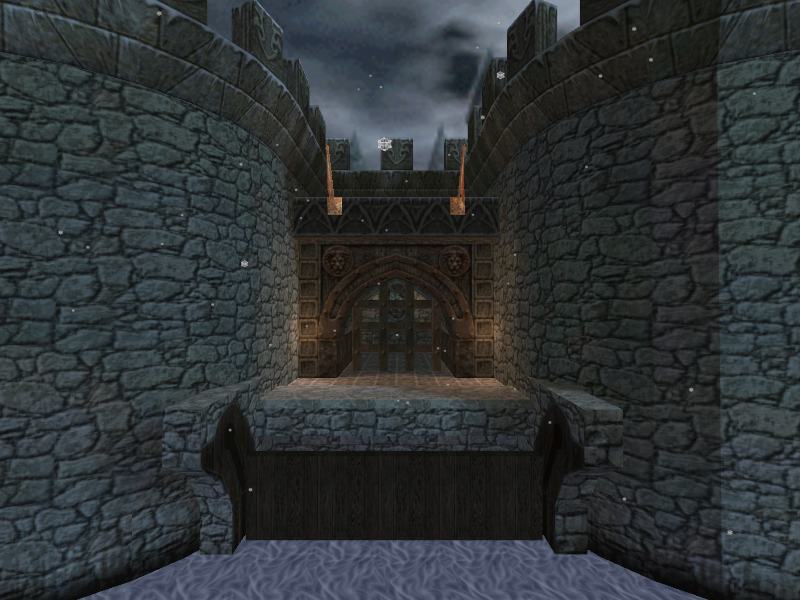
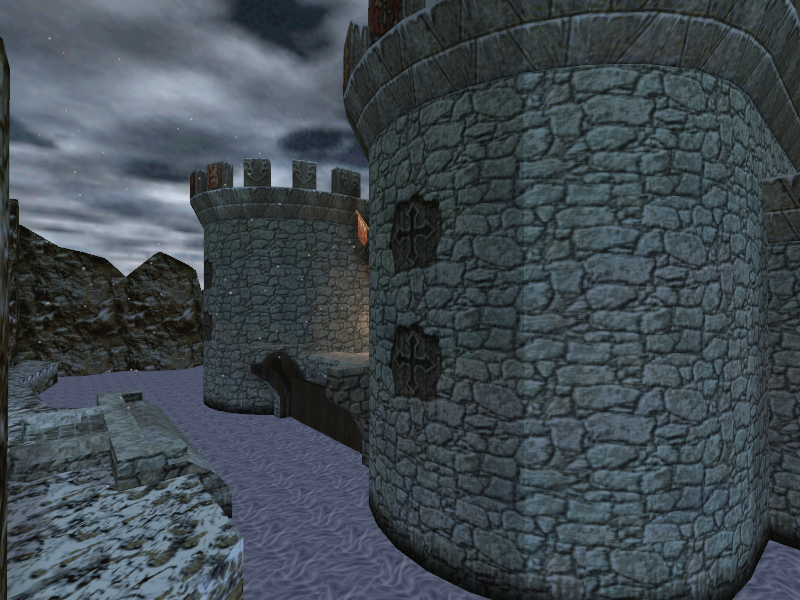
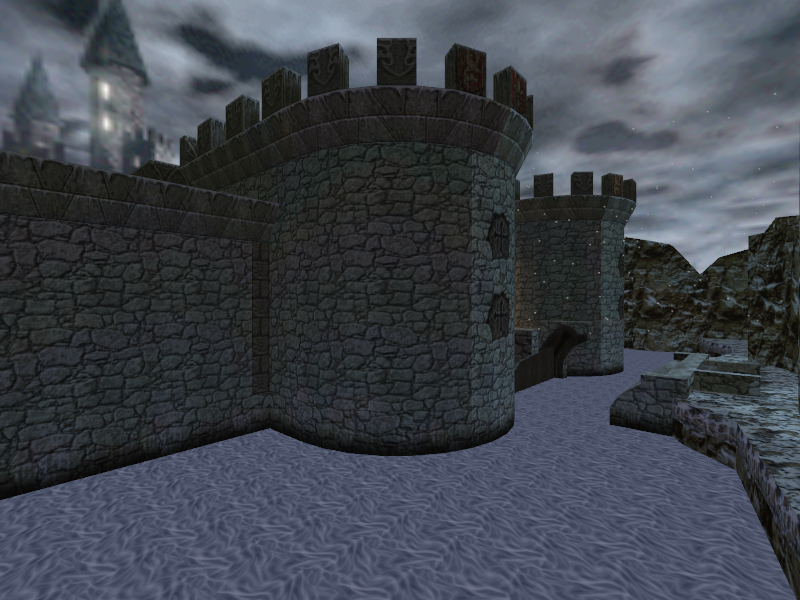
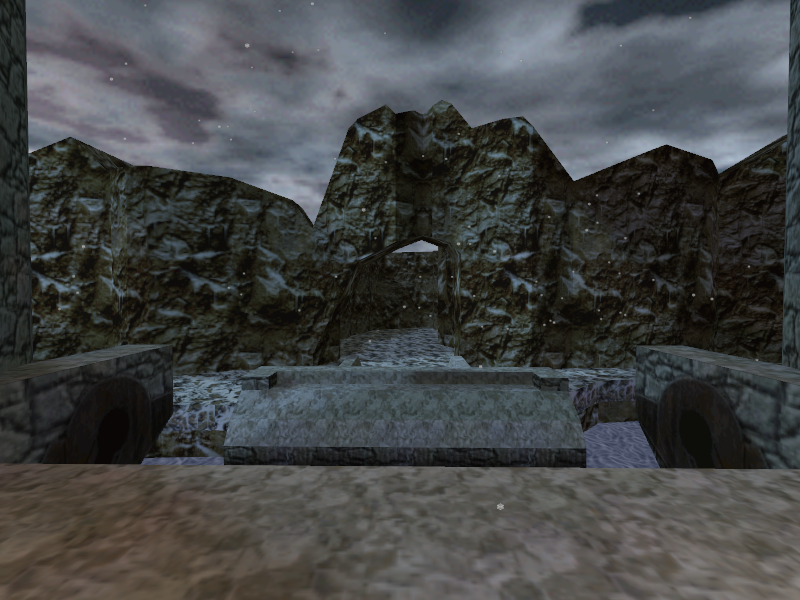
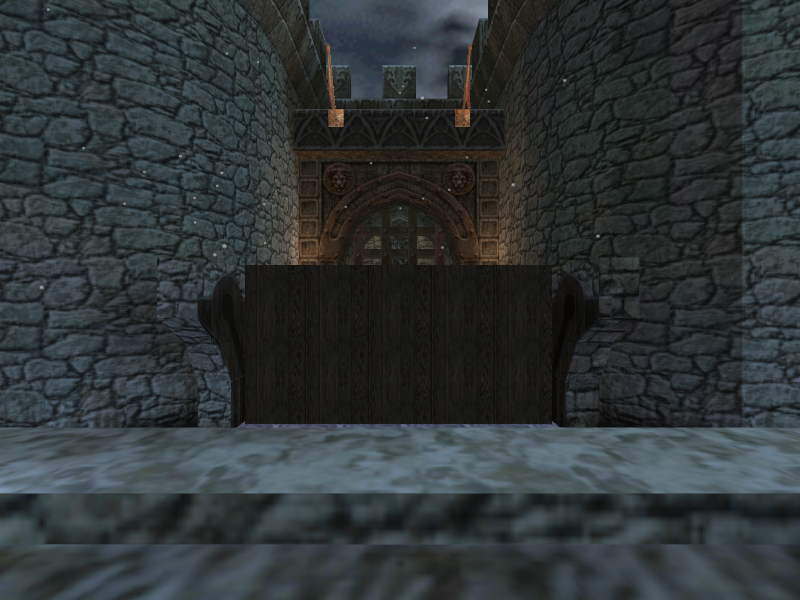
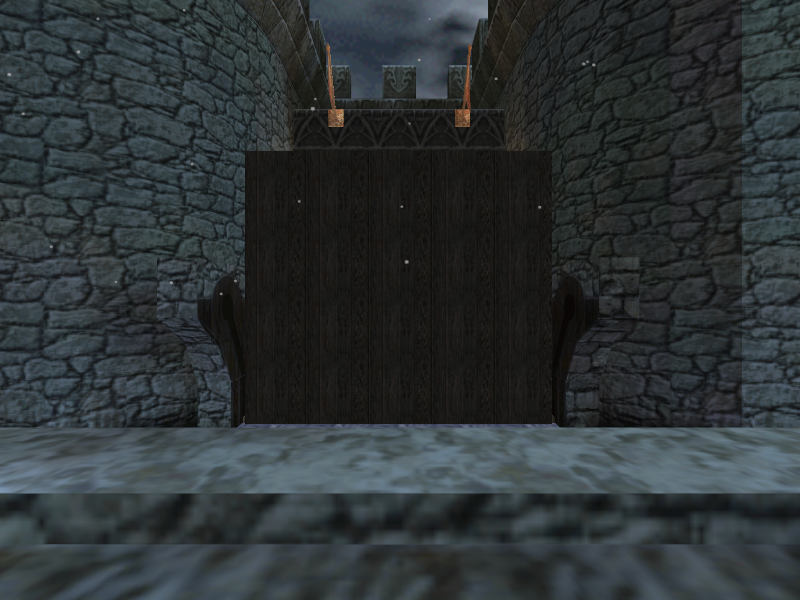
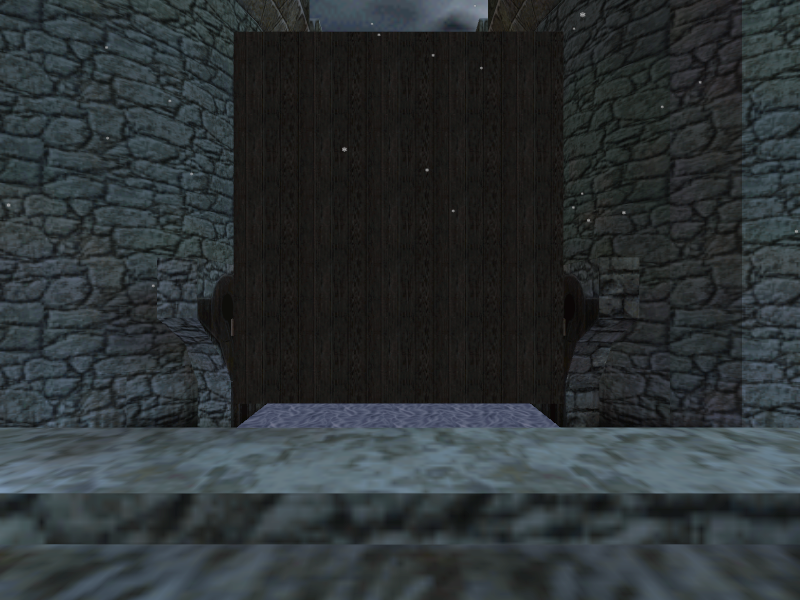
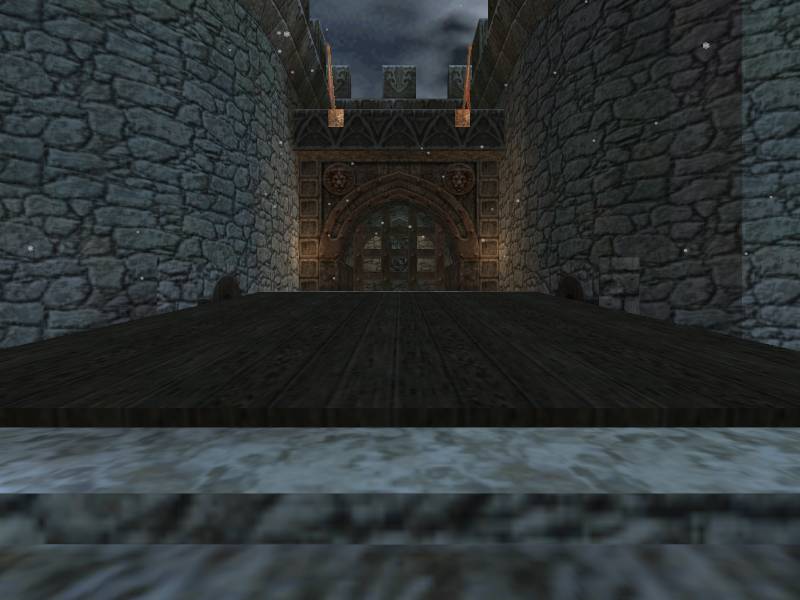
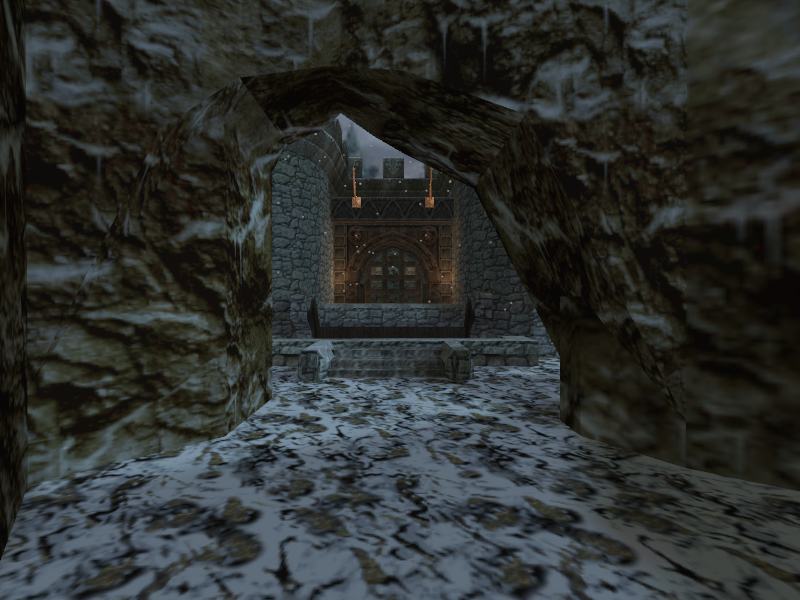
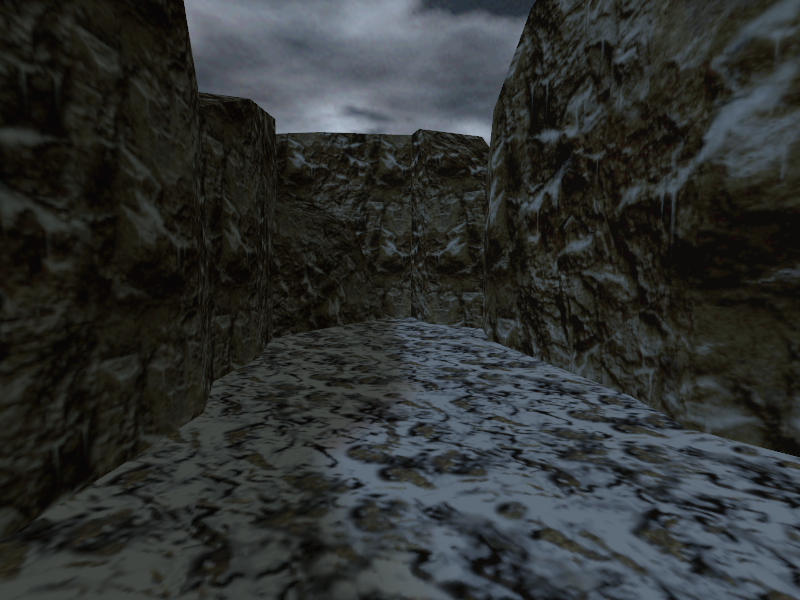
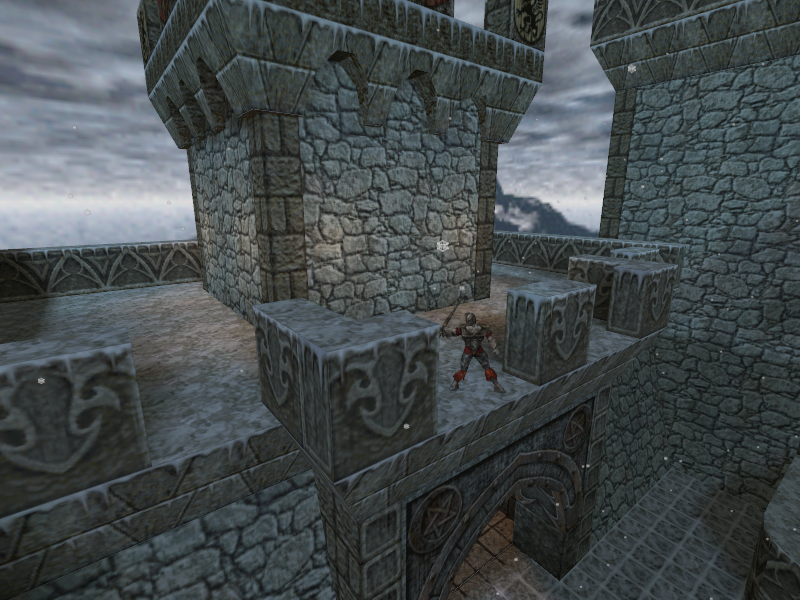
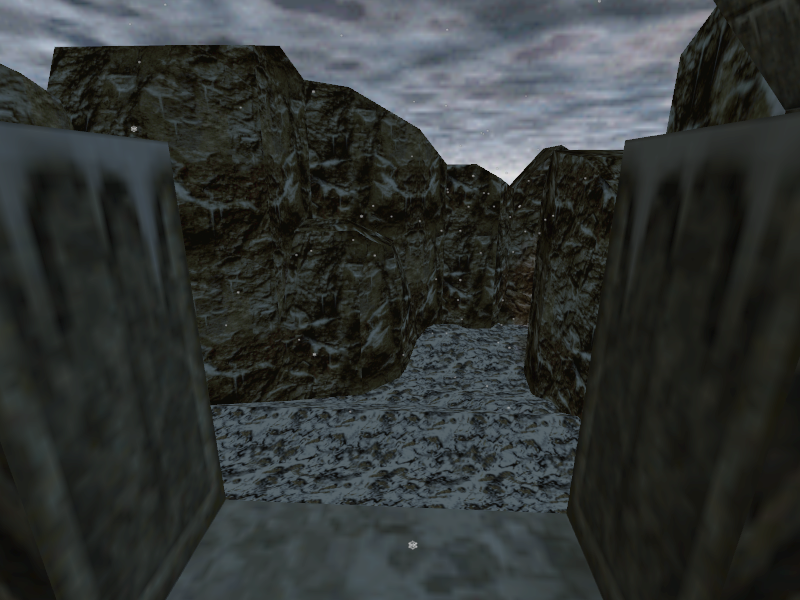
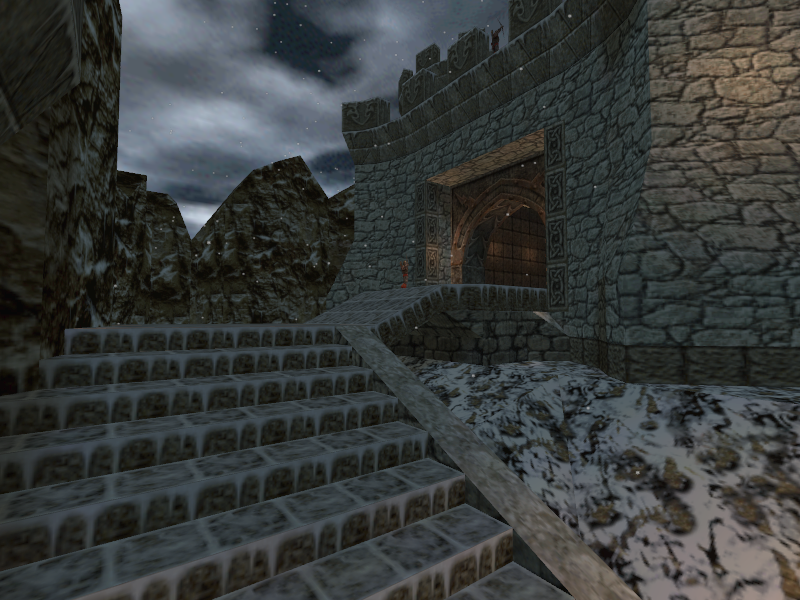
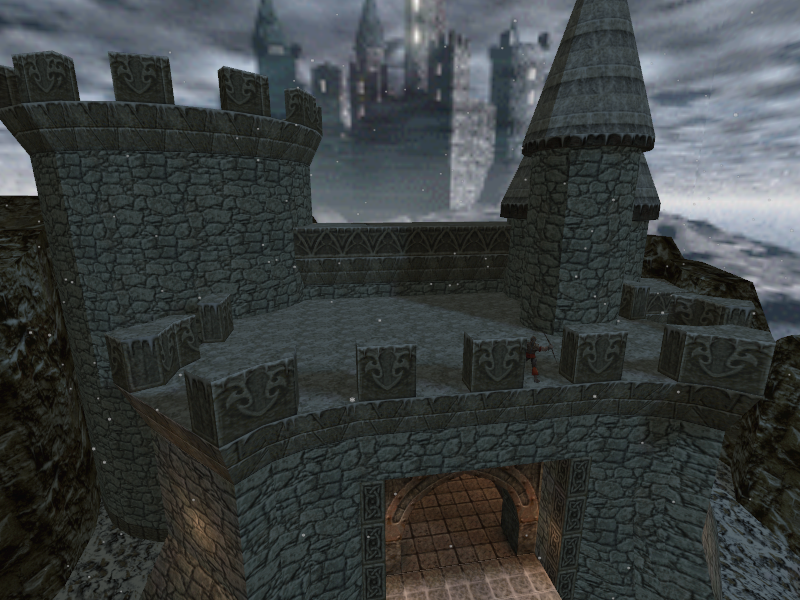
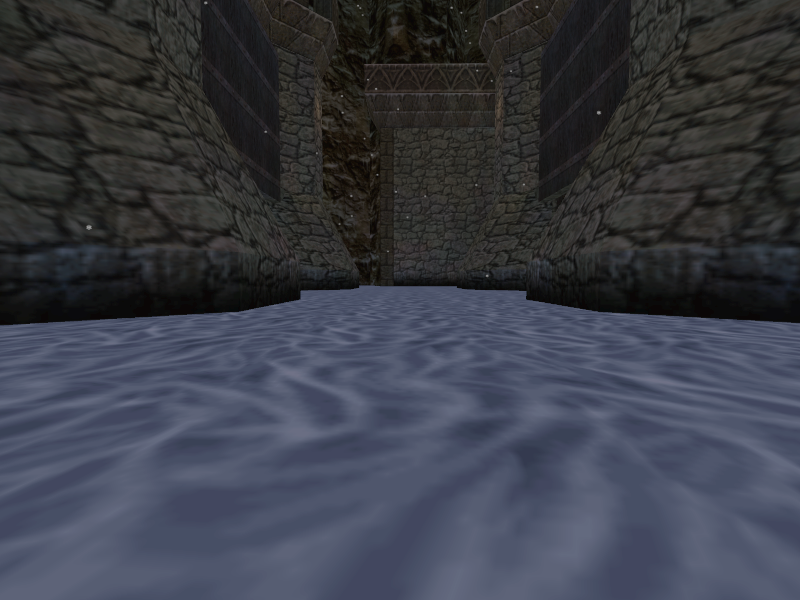
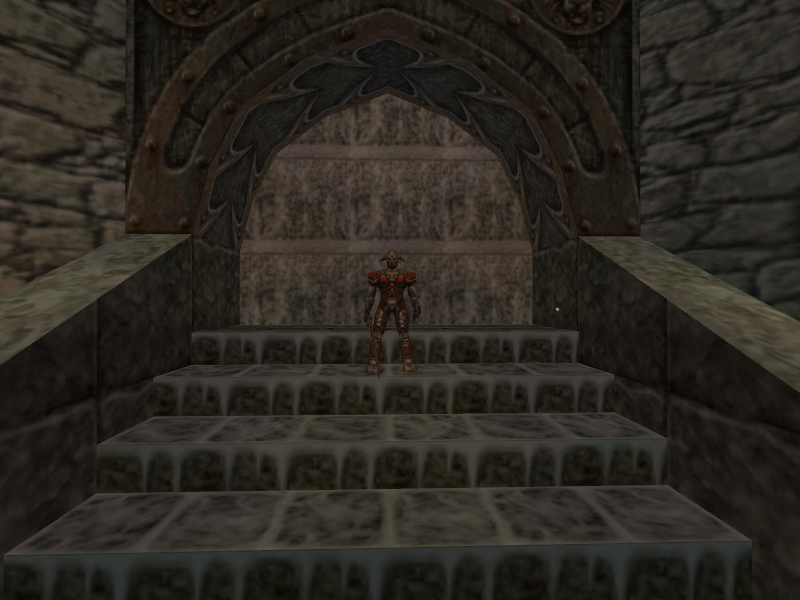
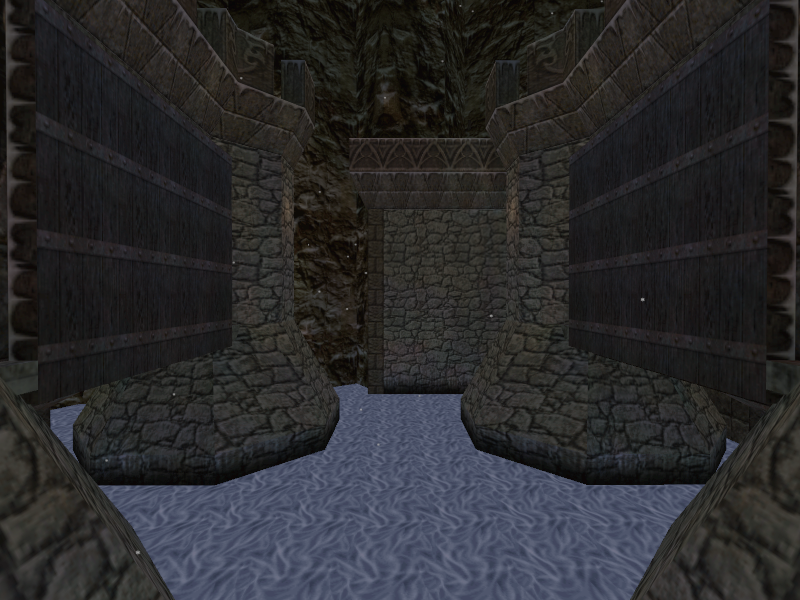
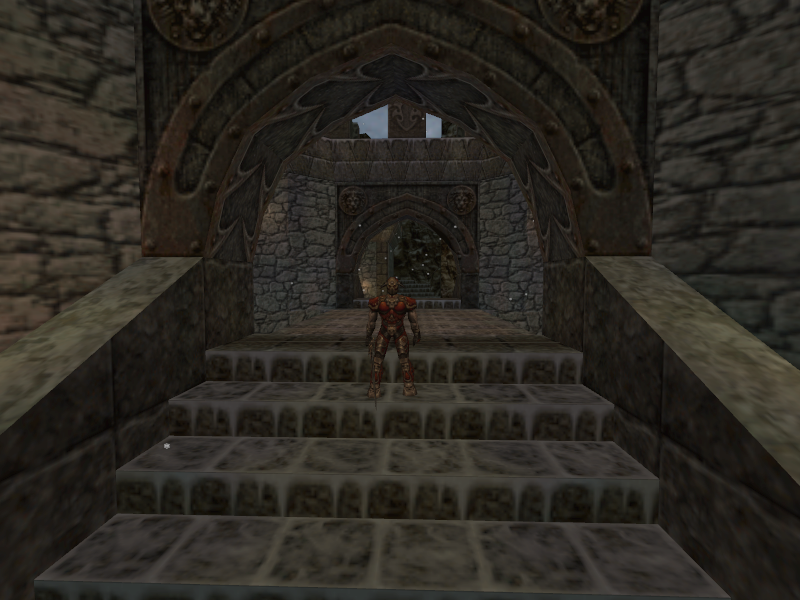
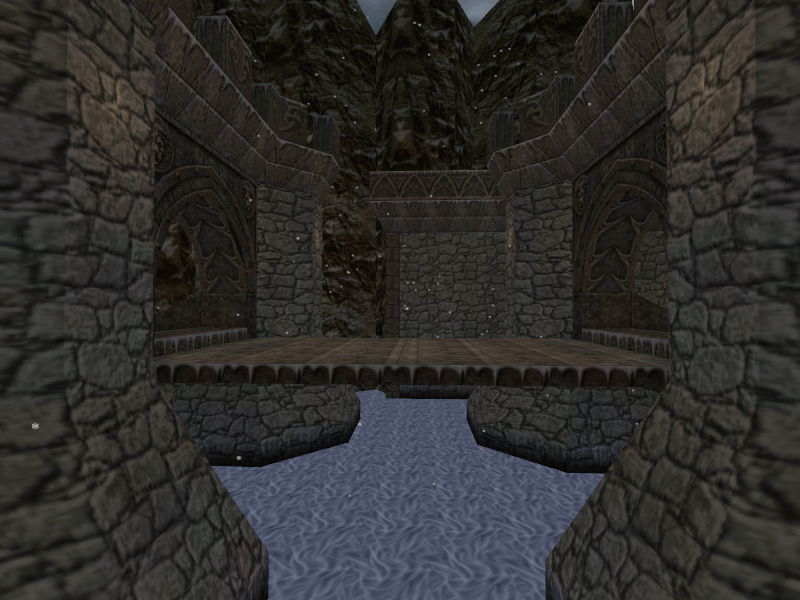
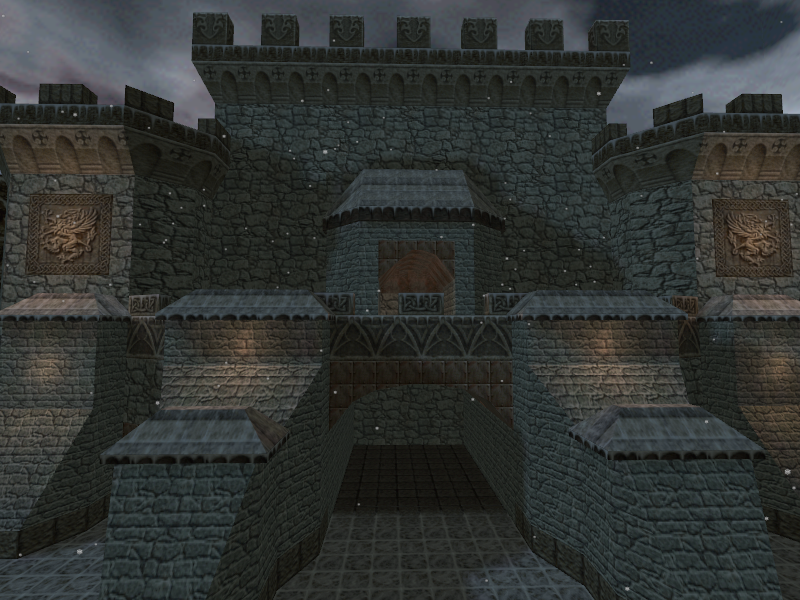
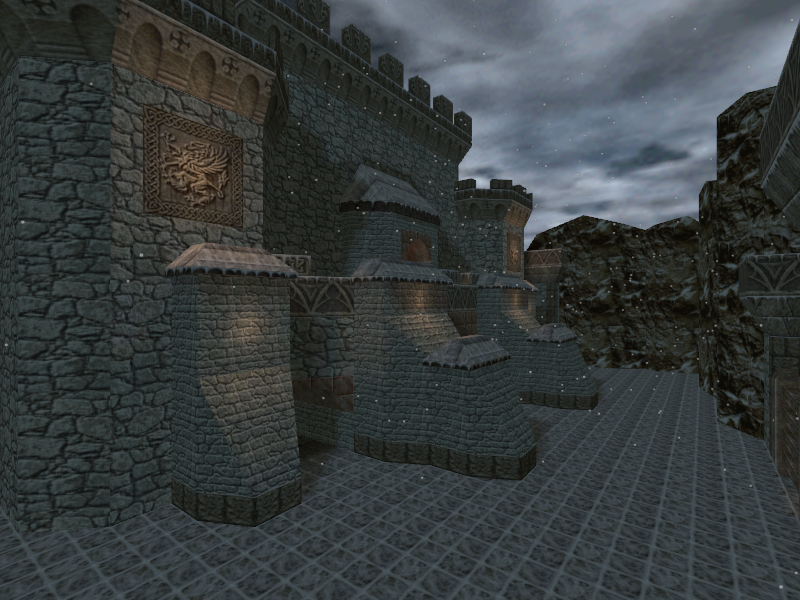
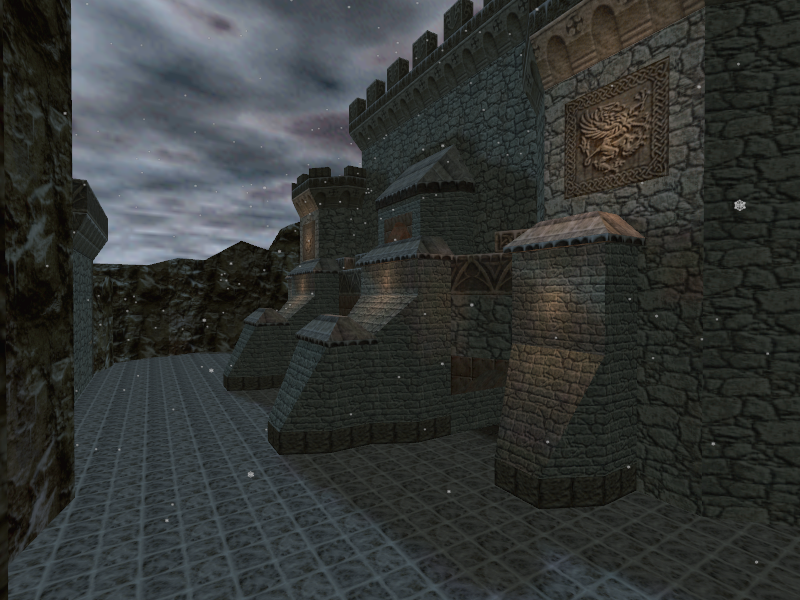
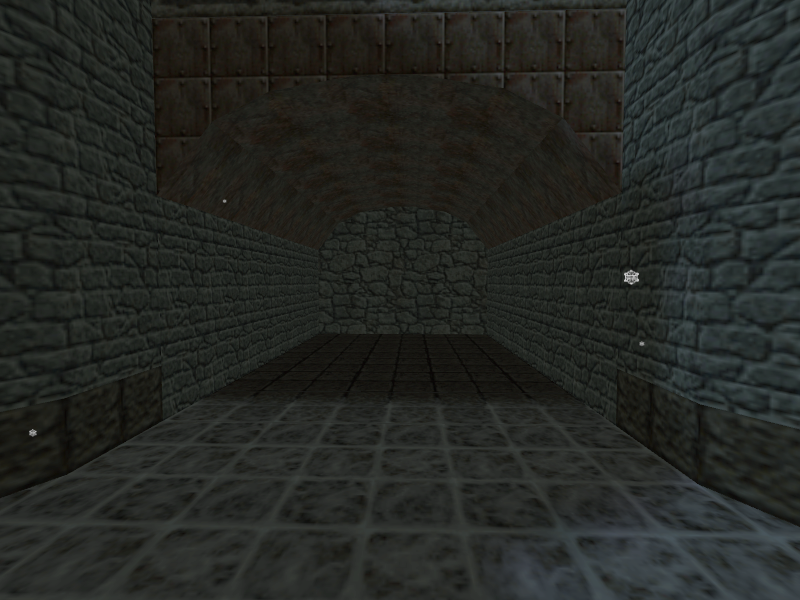
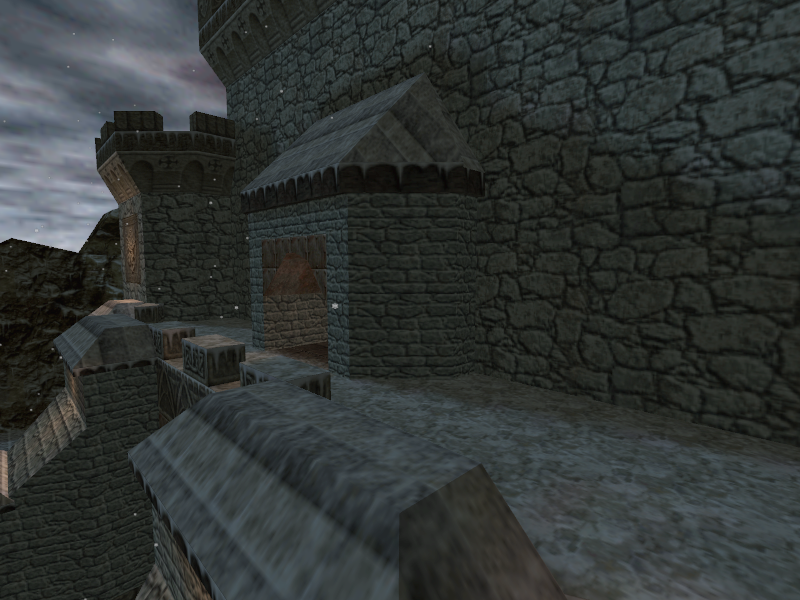
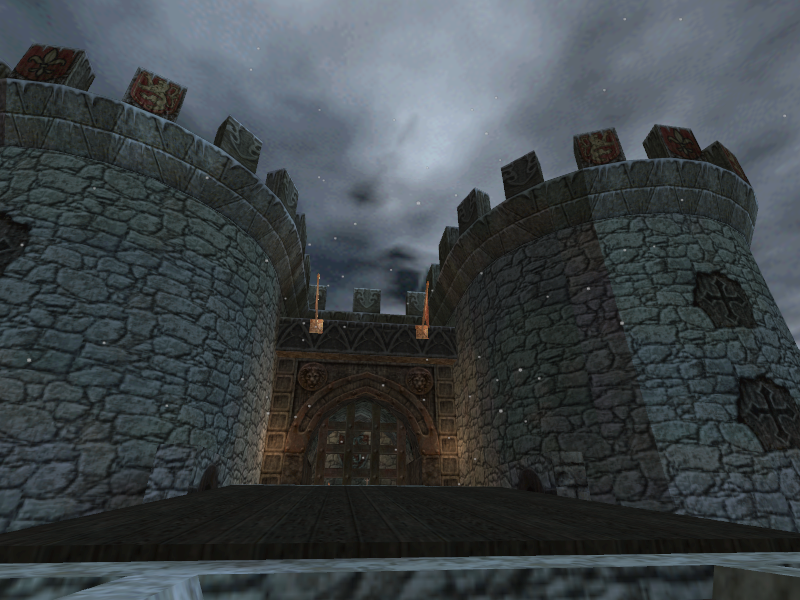
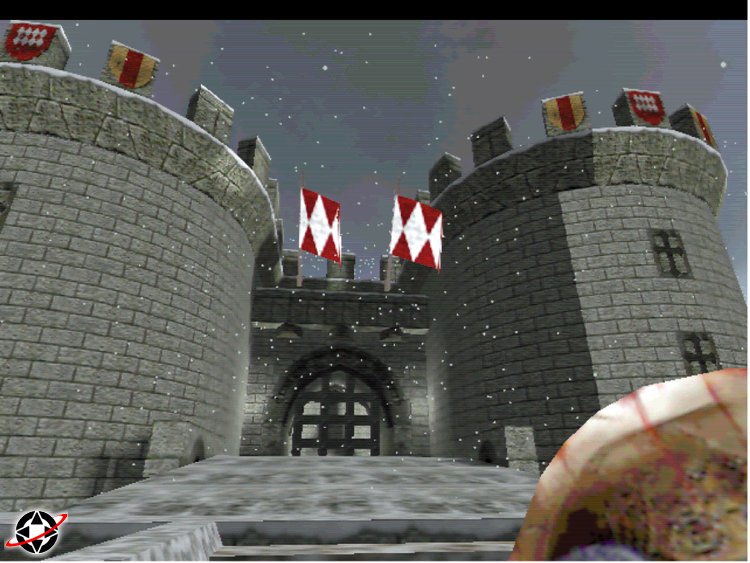
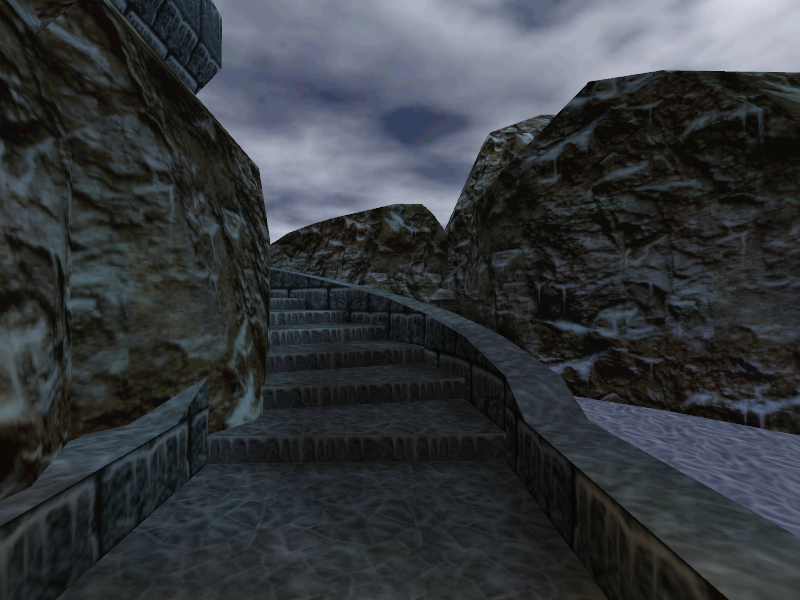
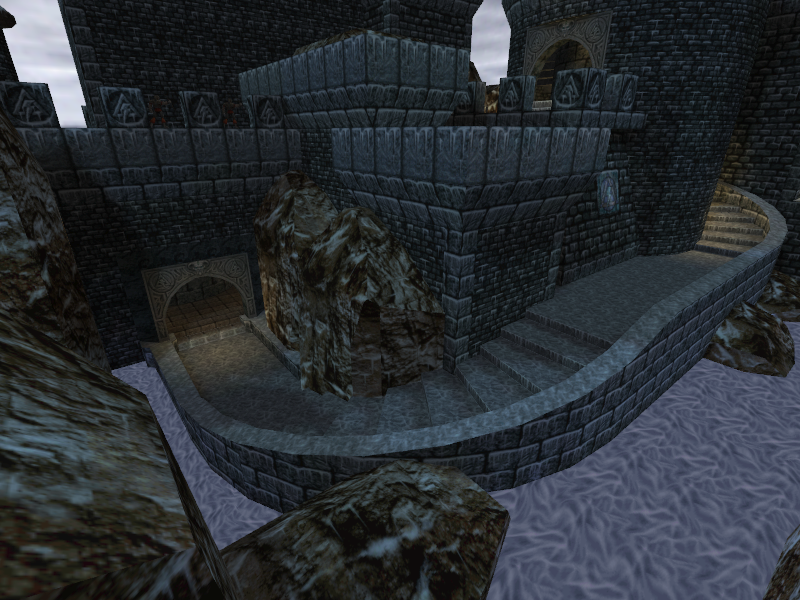
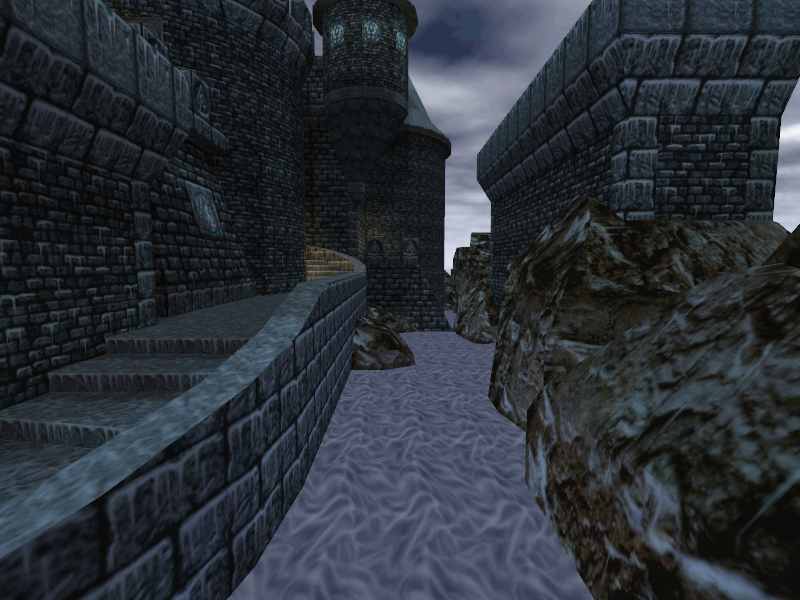
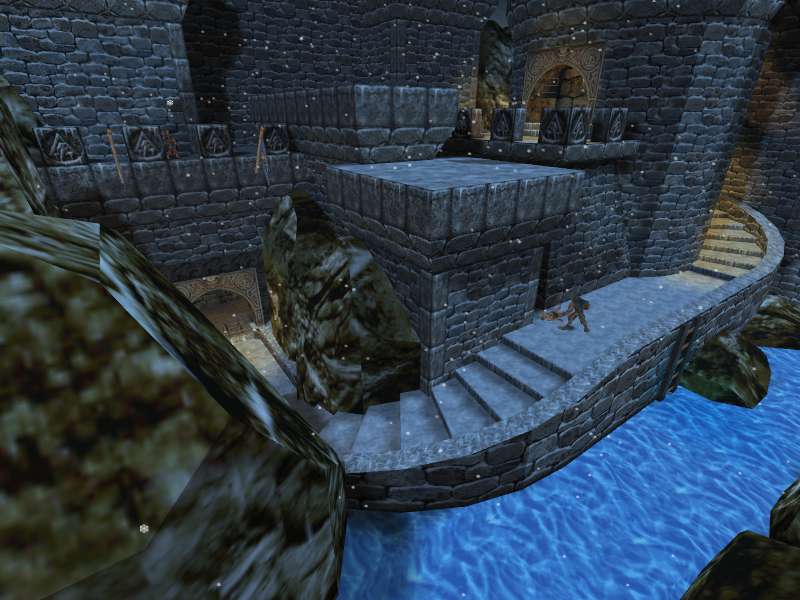
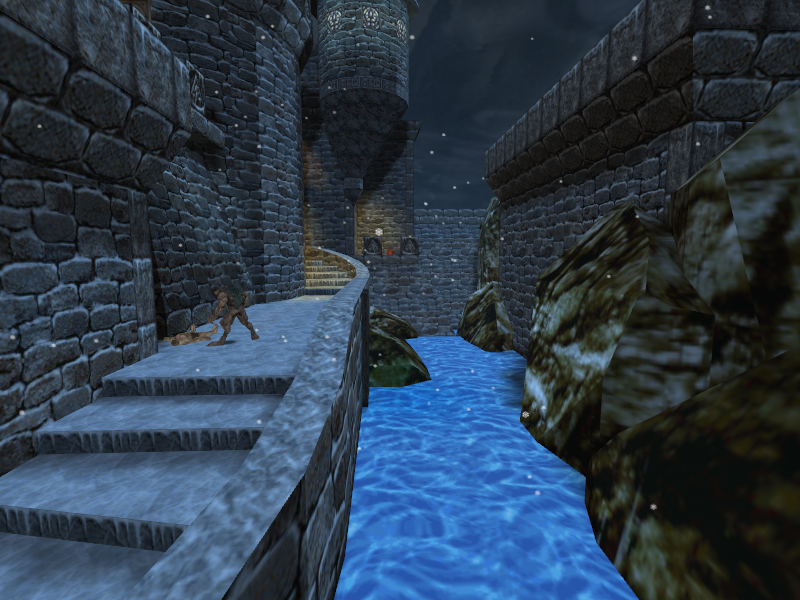
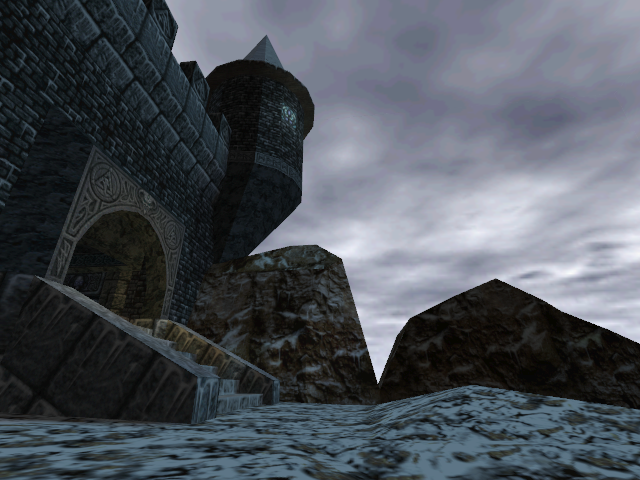
The player starts off past the castle's gates in front of all the weapons in Episode 3. The gates are closed, but with noclip, the player can explore the area before the castle. The castle’s front gates are surrounded by a large moat and the front entrance has two rounded towers to the left and right of it. The drawbridge is underwater and will raise from the water in an elaborate animation once the player gets close to the staircase on the non-castle side of the moat. Across from the castle is a path in a rocky area. The path quickly ends, though. Since the level that would connect to this level is lost, it’s likely these are the only remnants of the 1998-era E3M3 available.
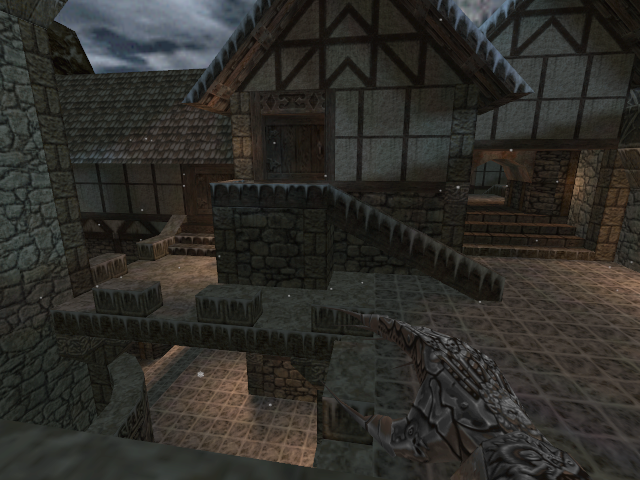
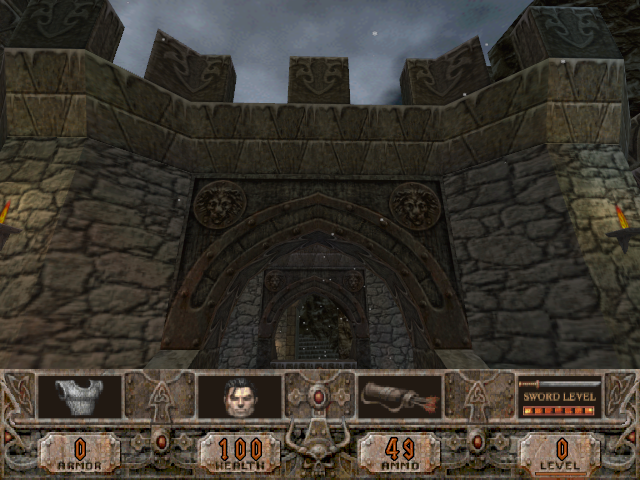
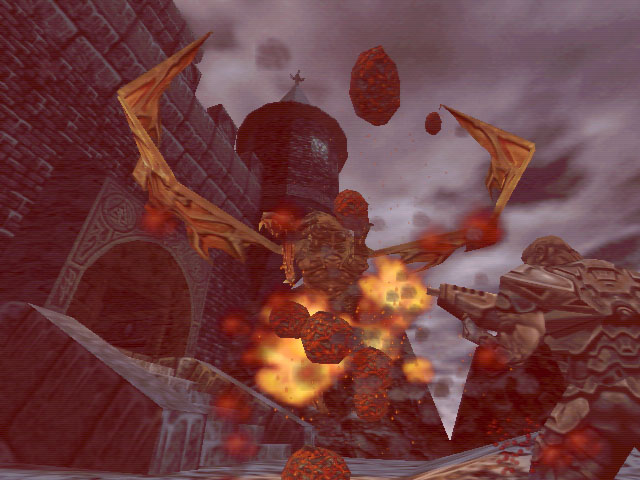
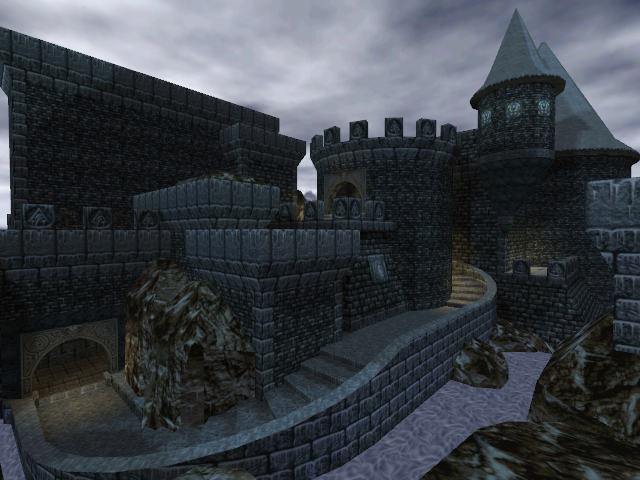
Interestingly, a screenshot made in the Quake era of Daikatana shows the outer portions of the castle wall, but with completely different textures.
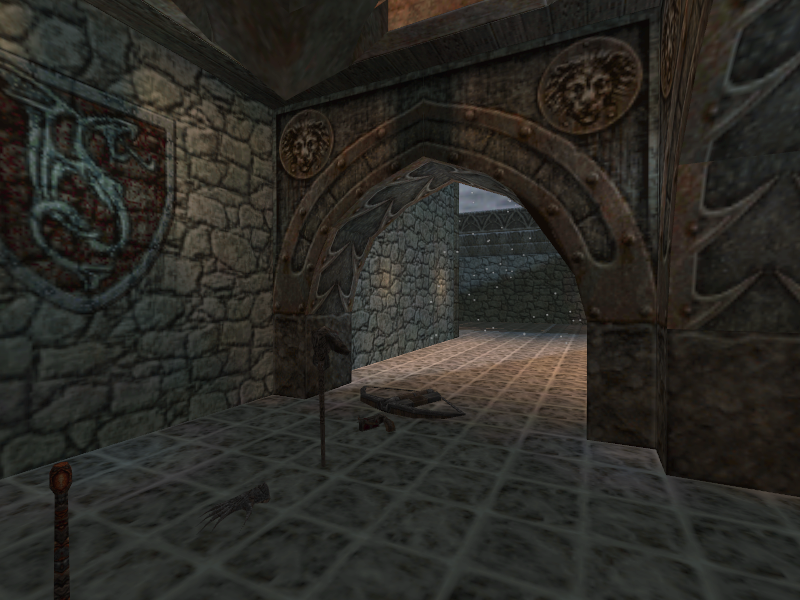
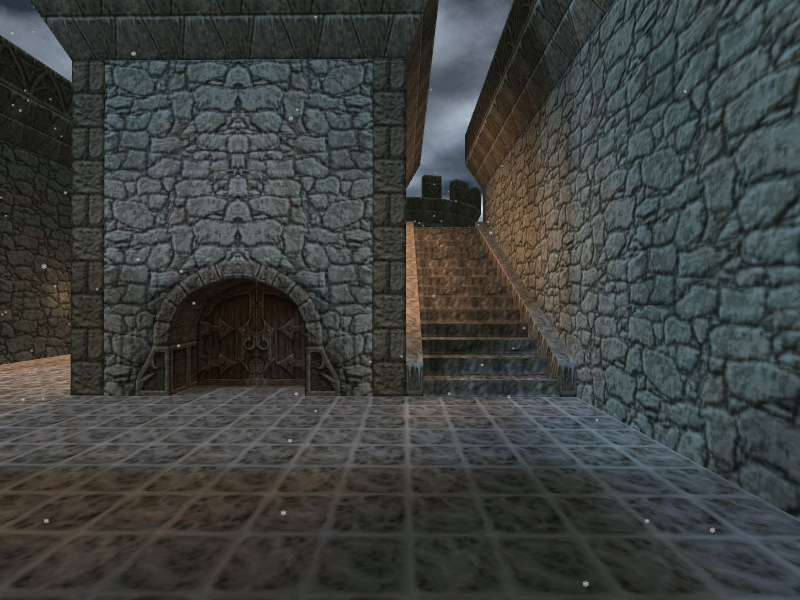
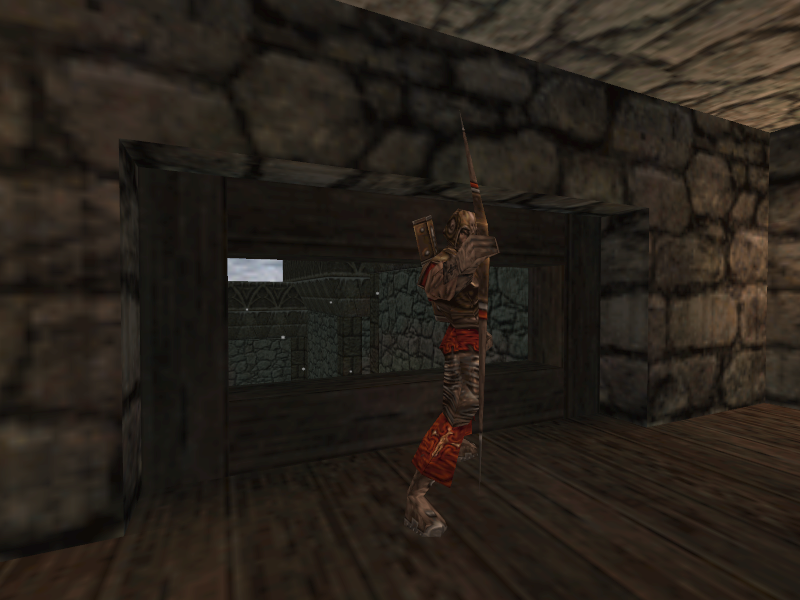
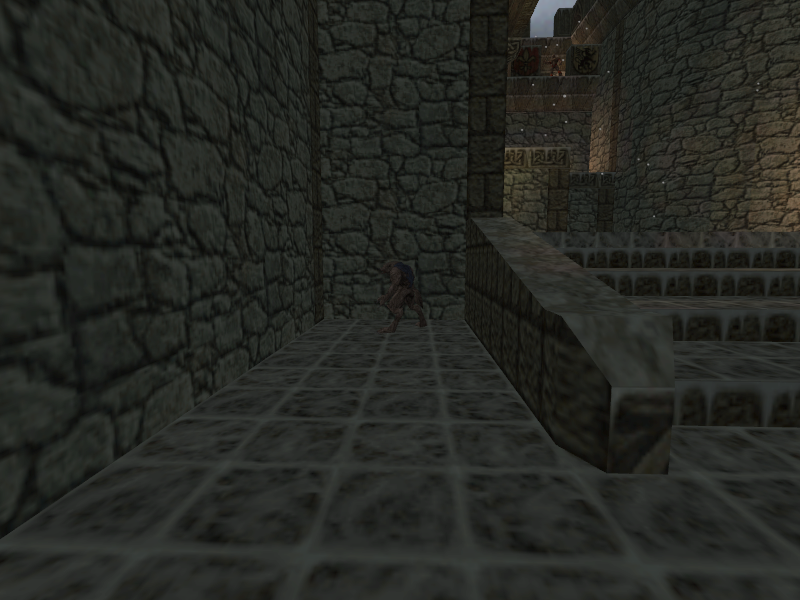
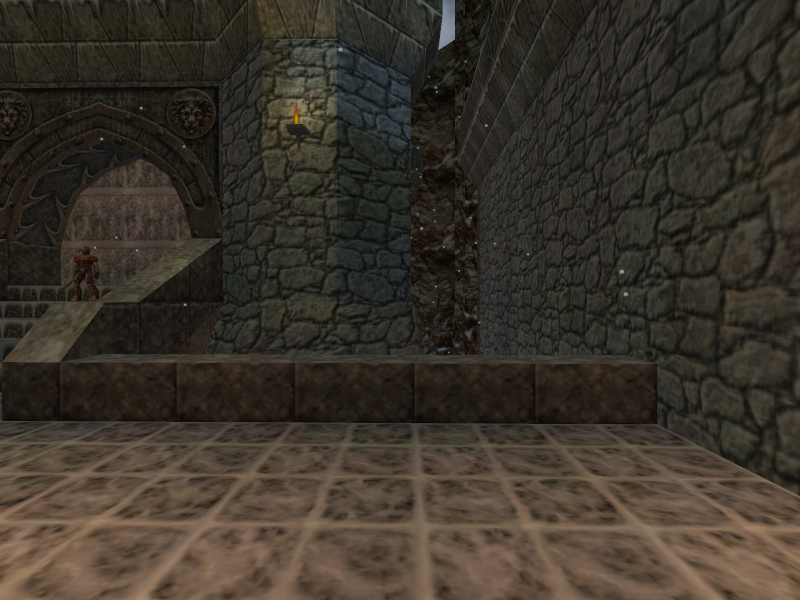
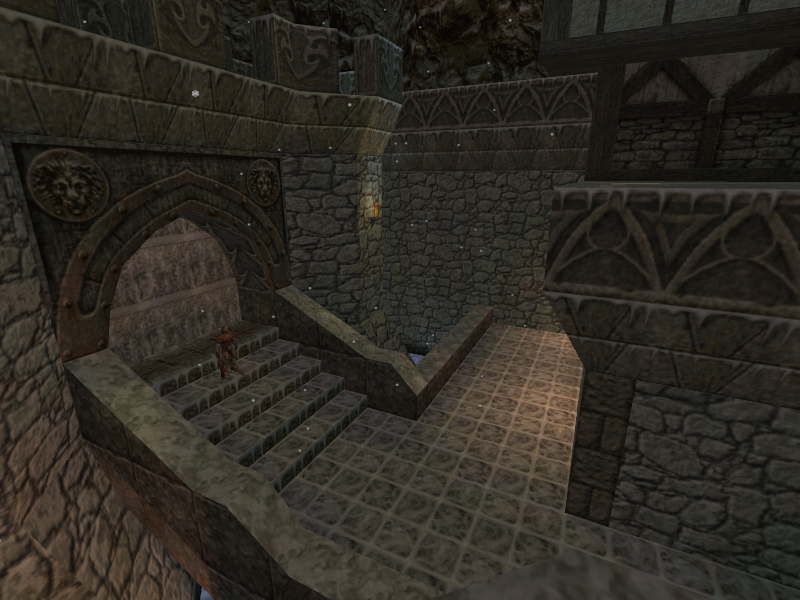
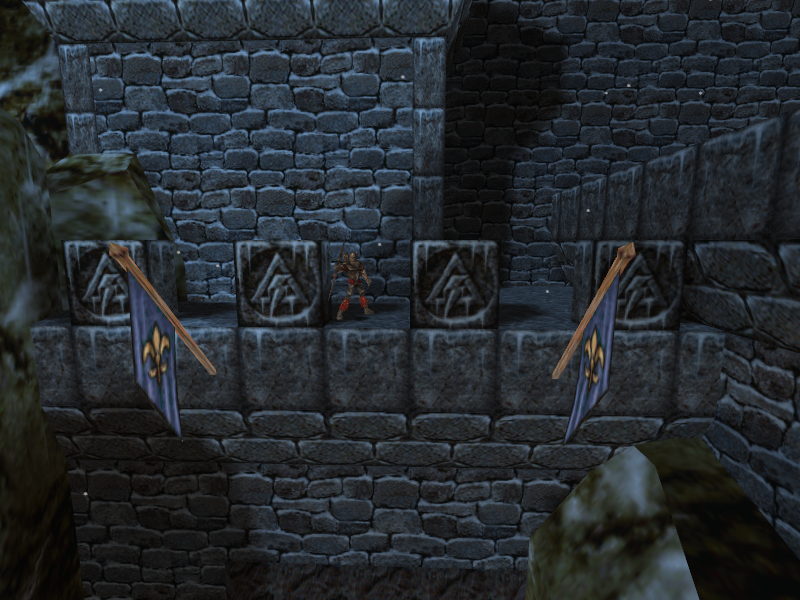
Back in the castle, the player is presented with a choice; head either left or right. Heading right will send the player to a large courtyard with a door and a staircase on the left side. The door leads to a room containing ammo and a Silver Claw. The staircase leads to an area filled with Fletchers that overlooks a location with a dragon statue. Near the overlook area is what appears to be a sniper’s nest covering the two paths at the start of the level, each one with a Fletcher stationed in them.
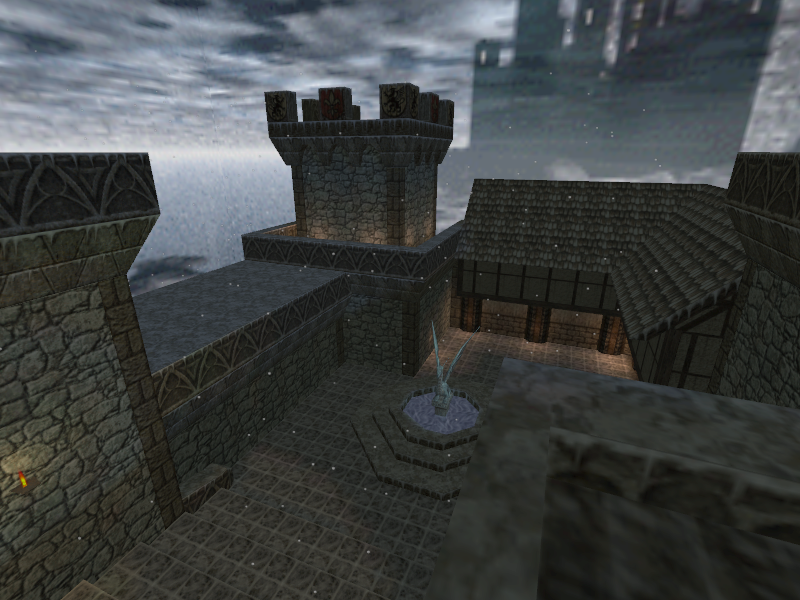
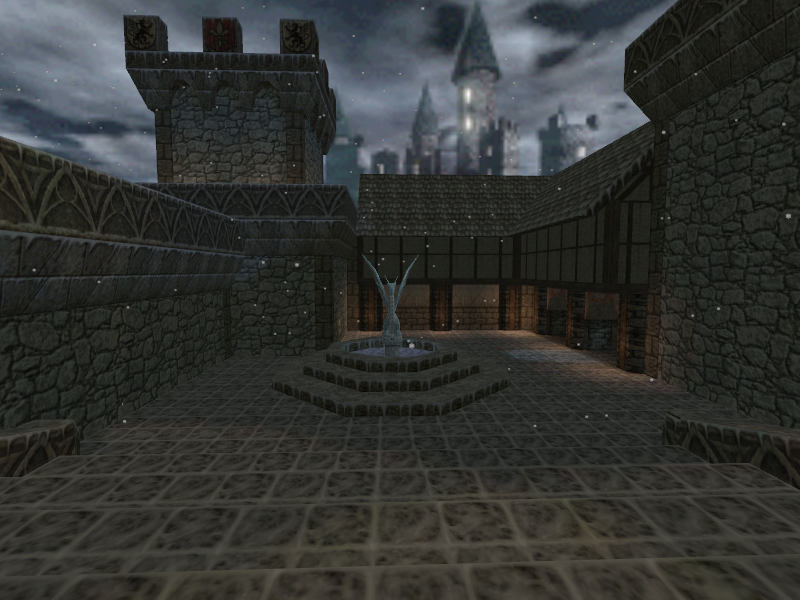
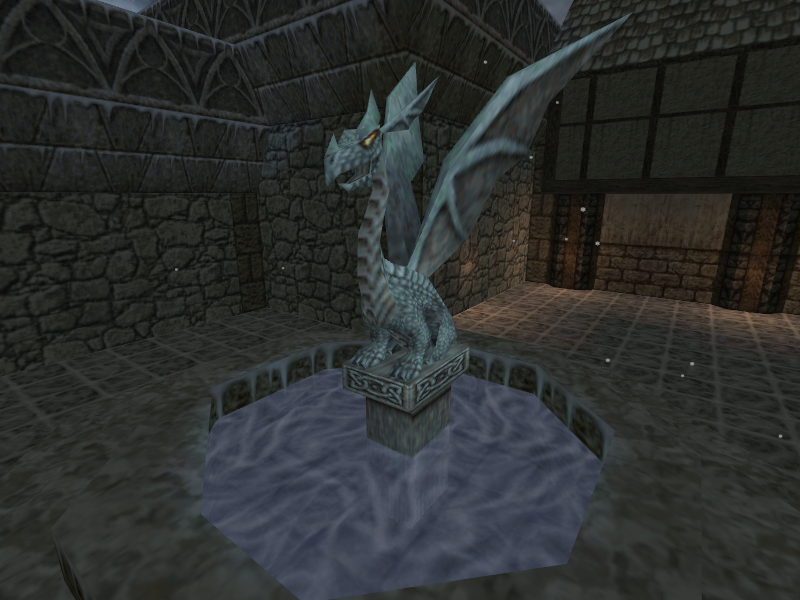
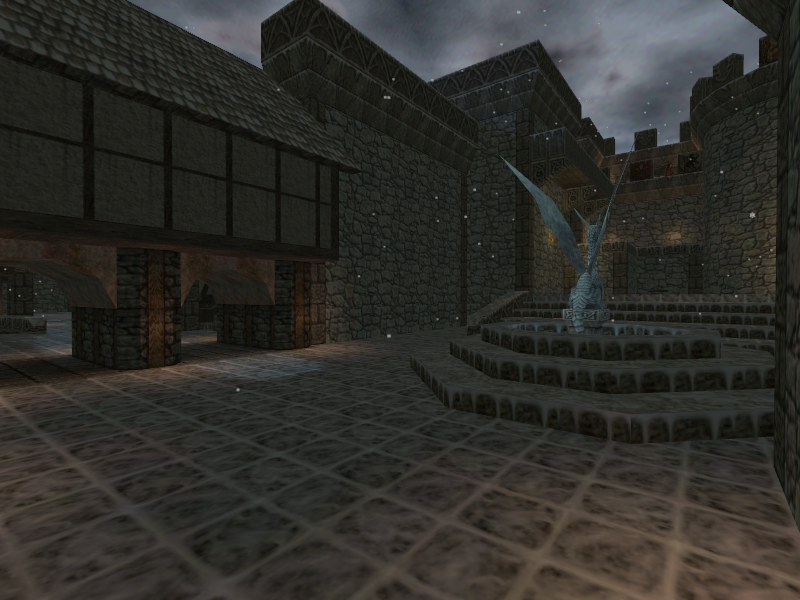
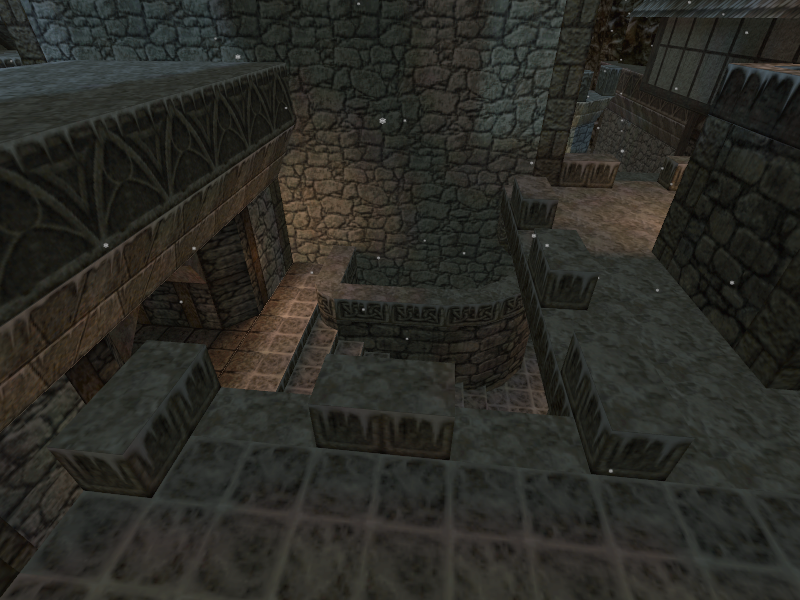
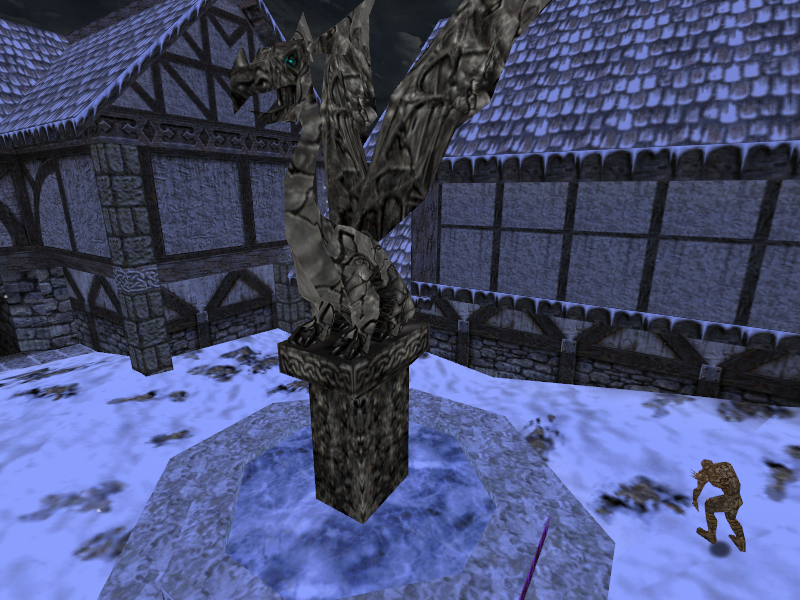
With the right path covered, the next place to go is the left path. After heading down a staircase, the player will end up near the dragon statue seen earlier. The statue is surrounded by water, just like the dragon statue in the final game’s E3m1b. However, the area underneath the water cannot be destroyed nor is it as deep as it is in the final game.
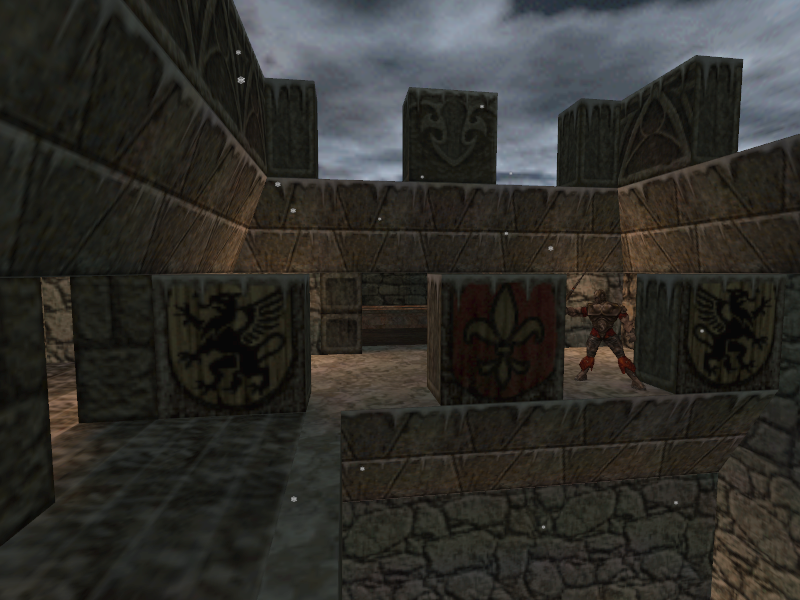
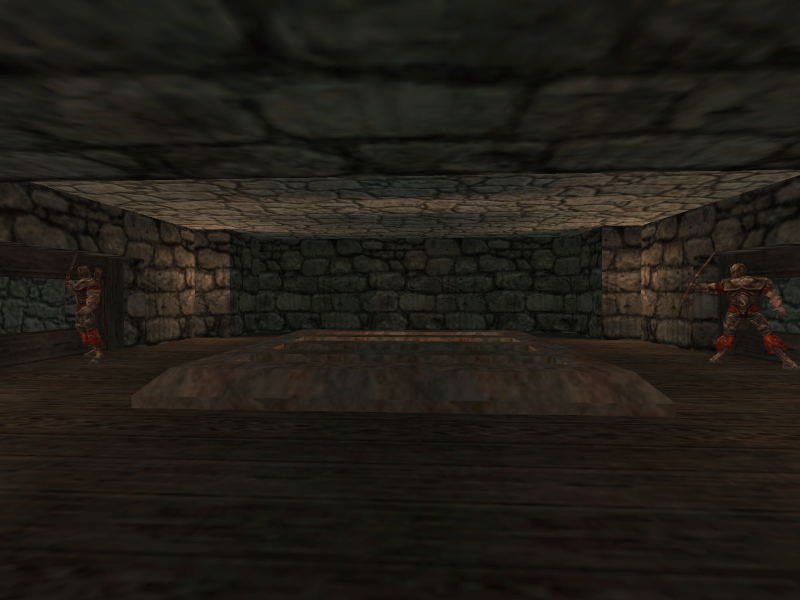
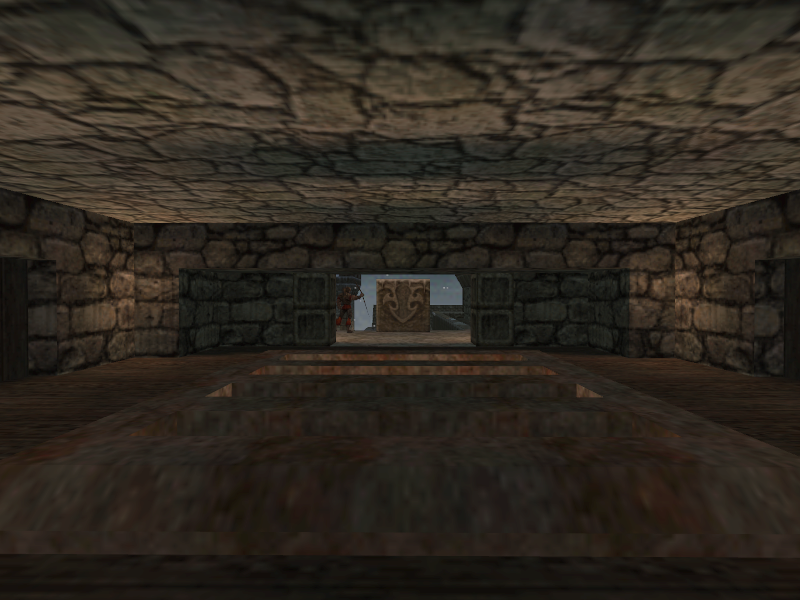
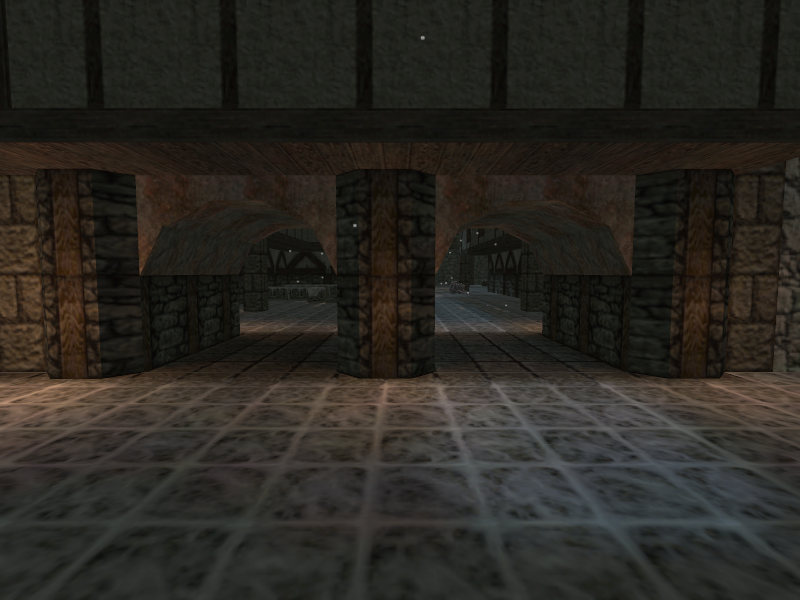
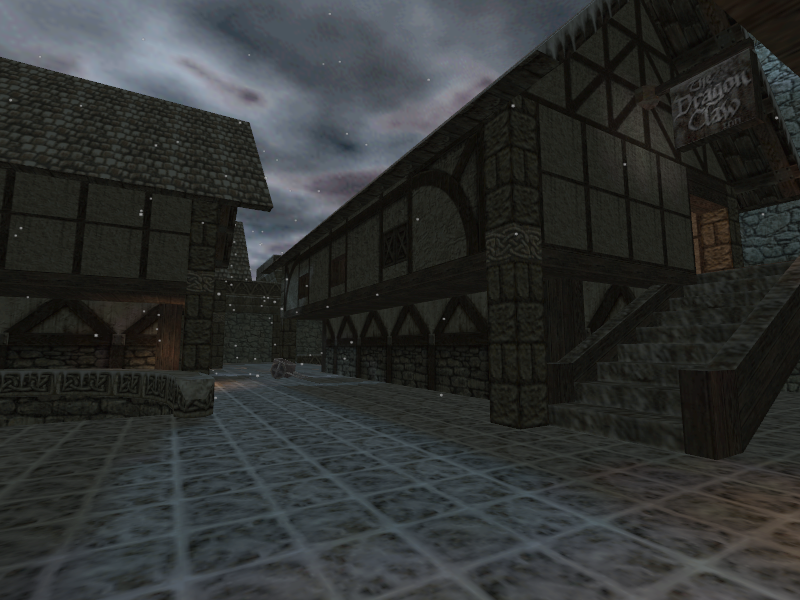
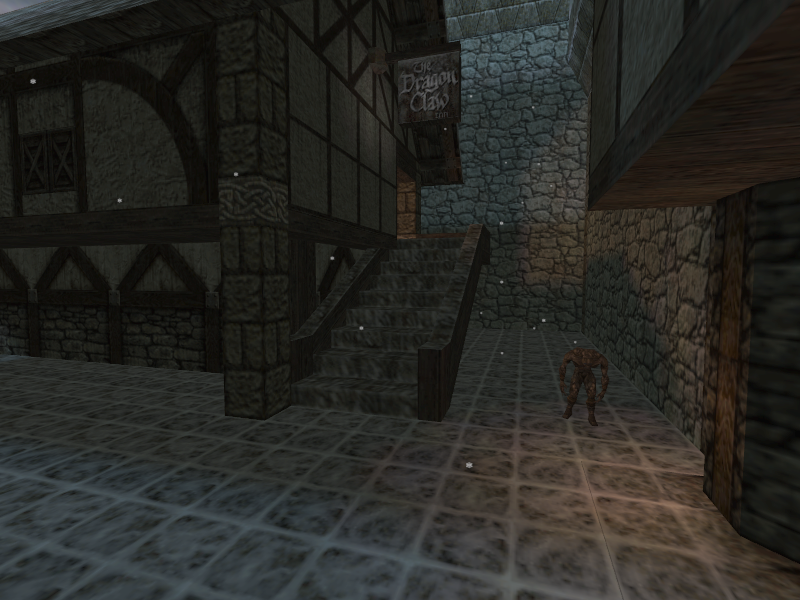
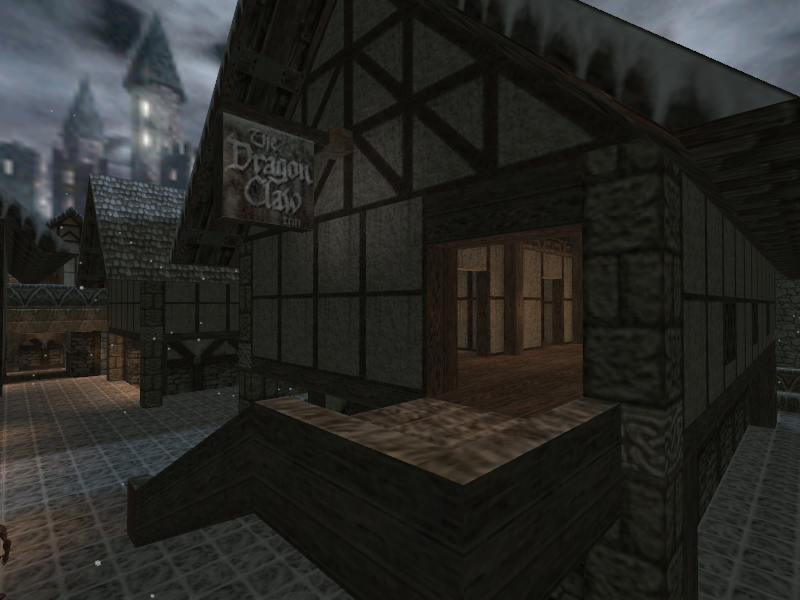
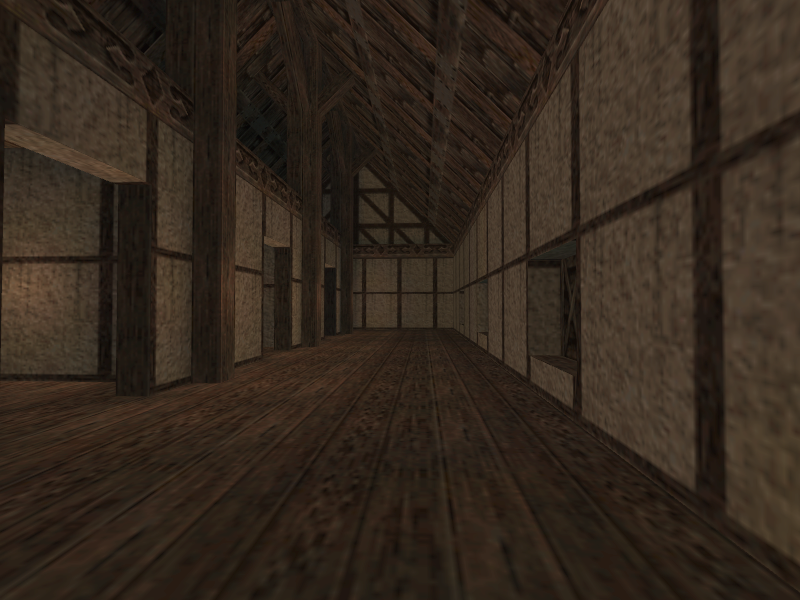
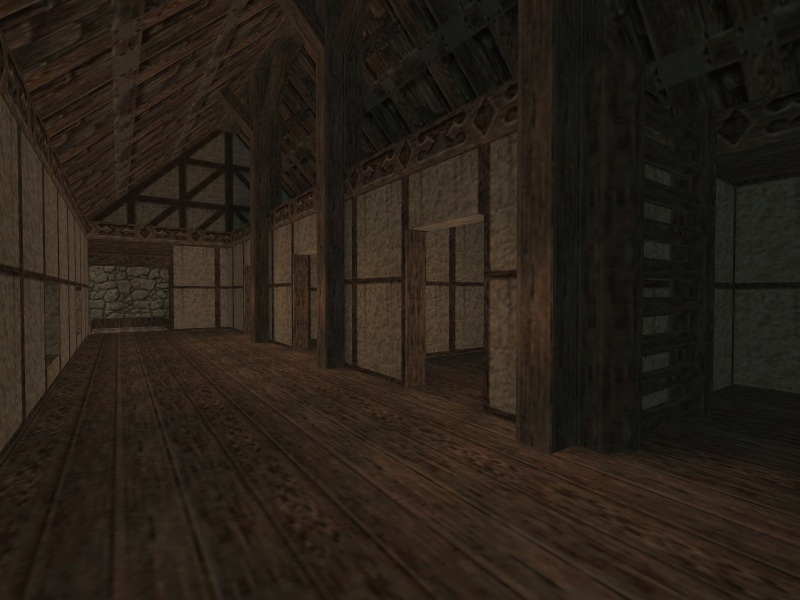
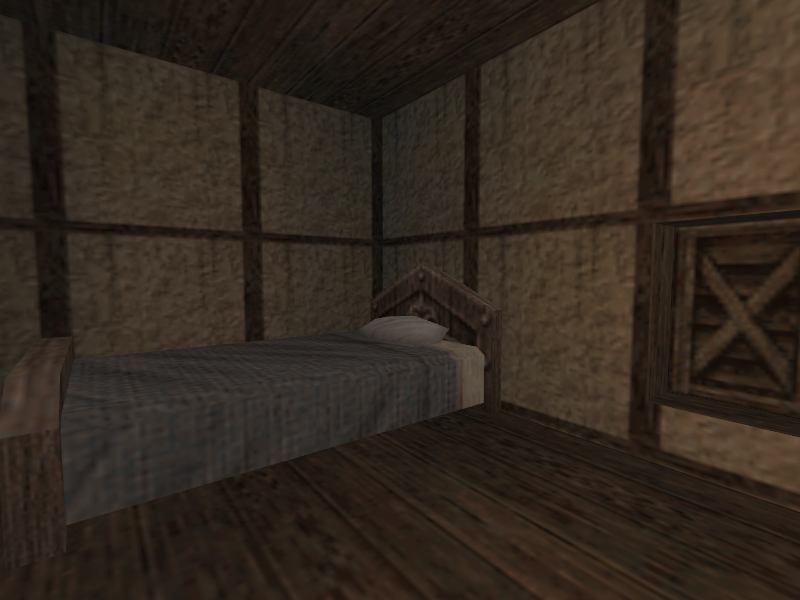
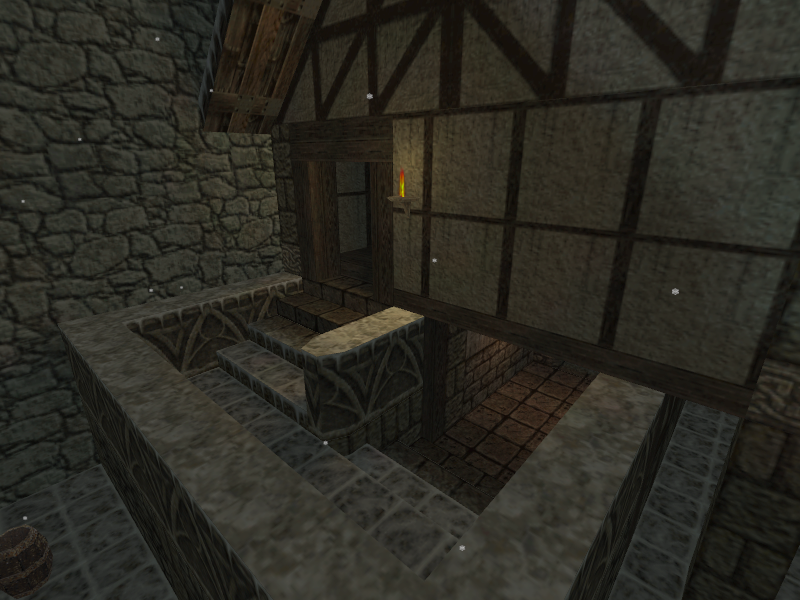
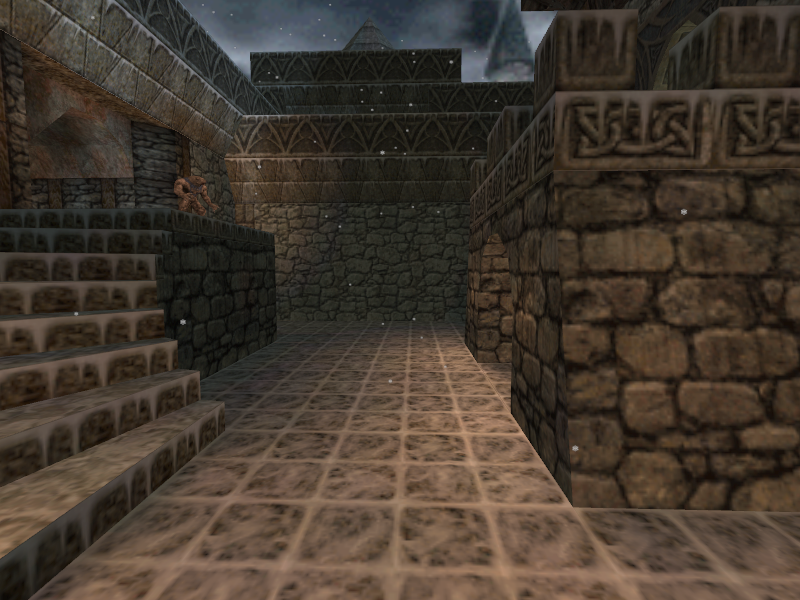
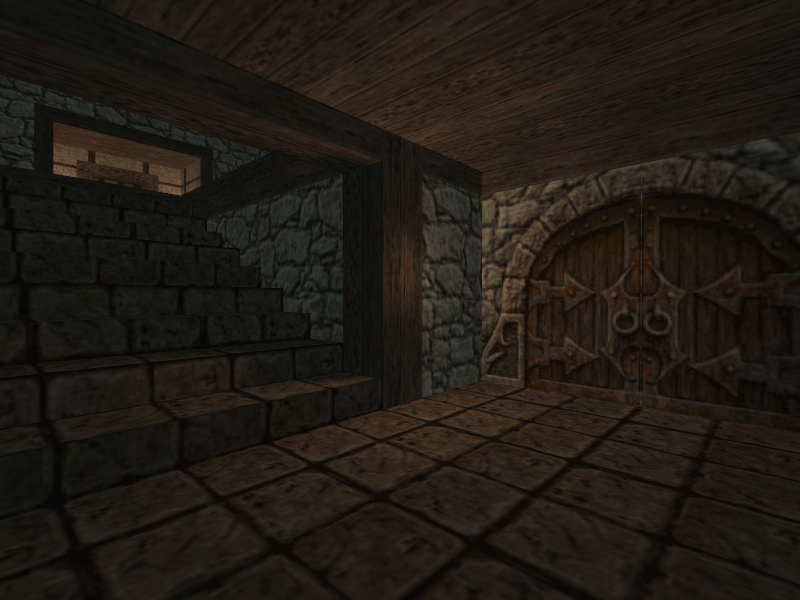
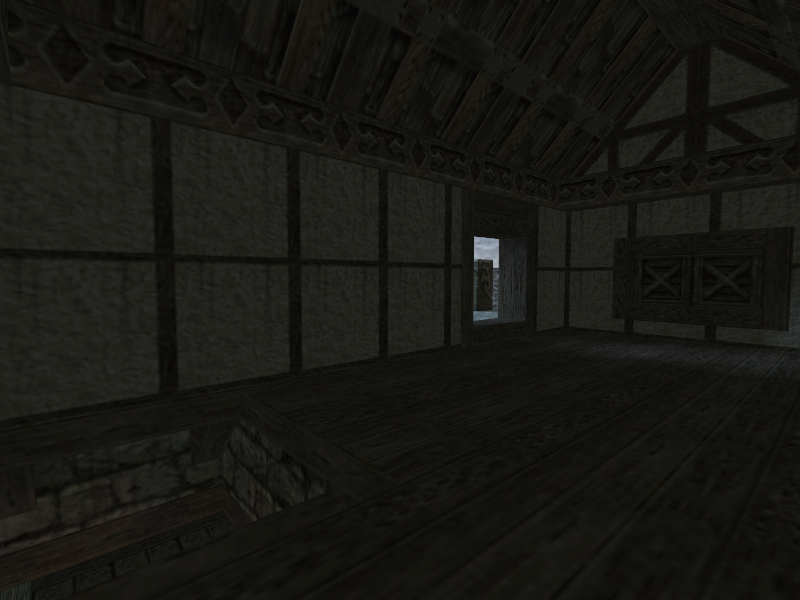
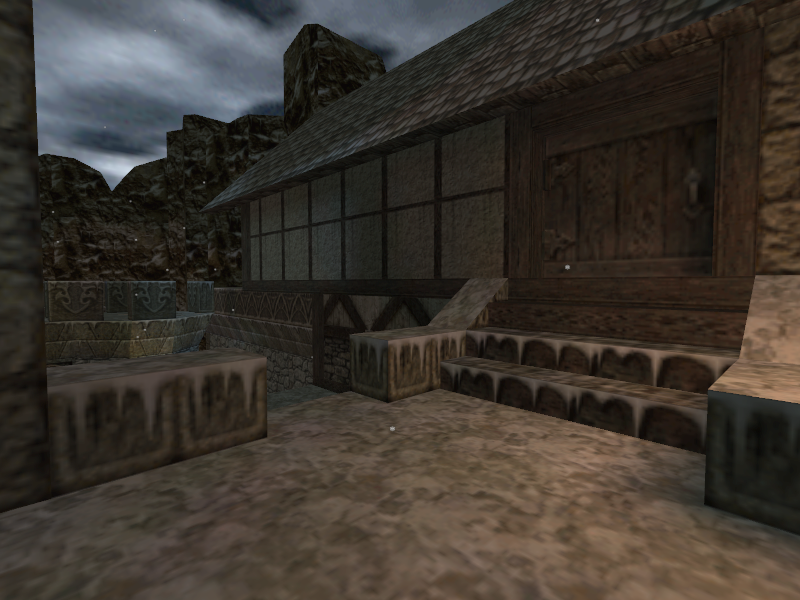
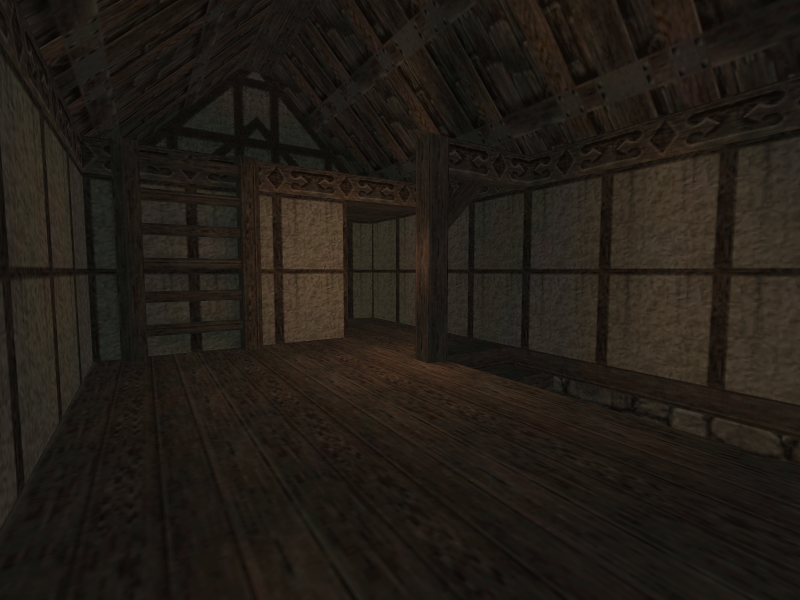
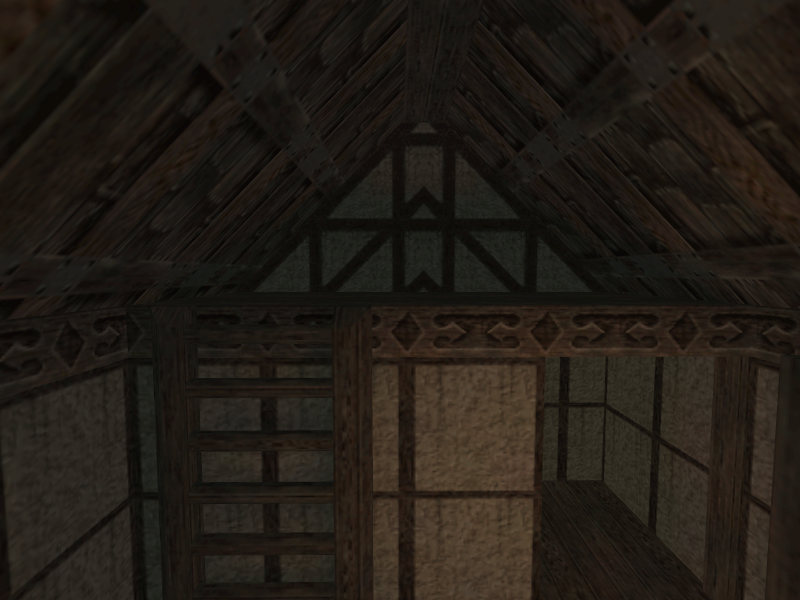
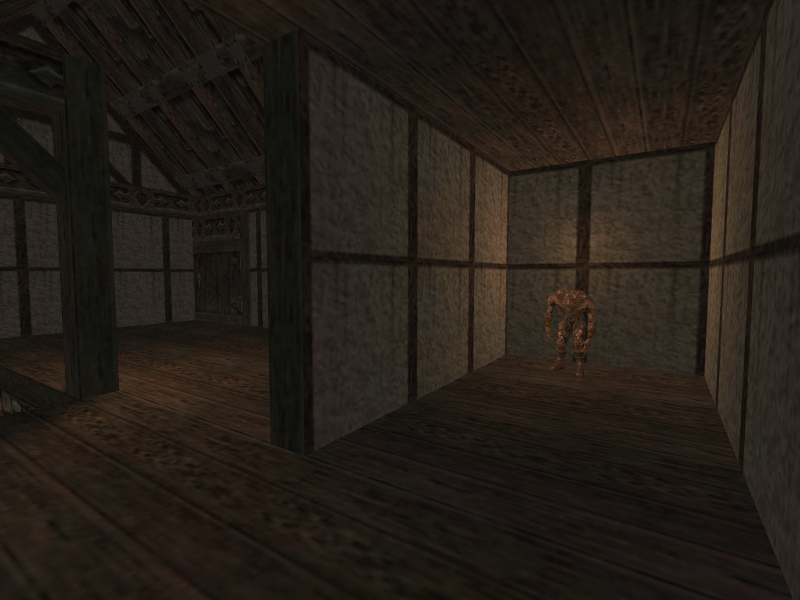
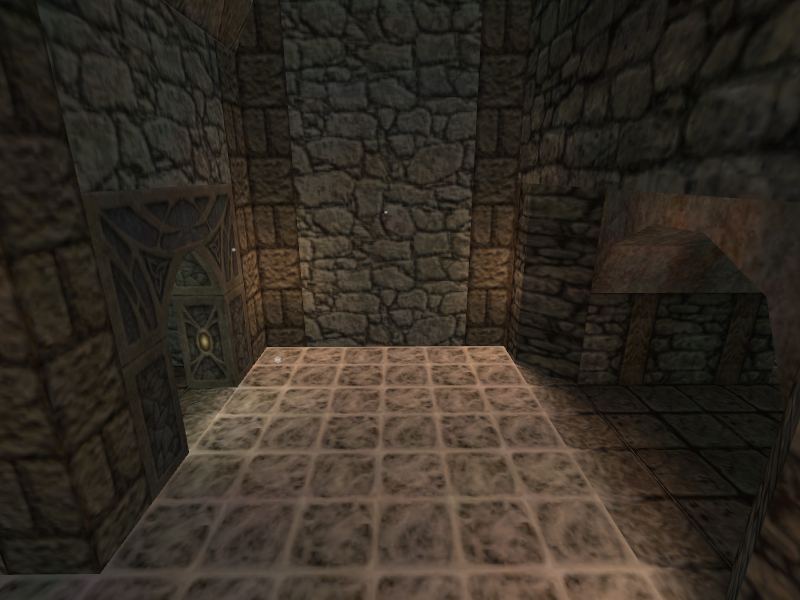
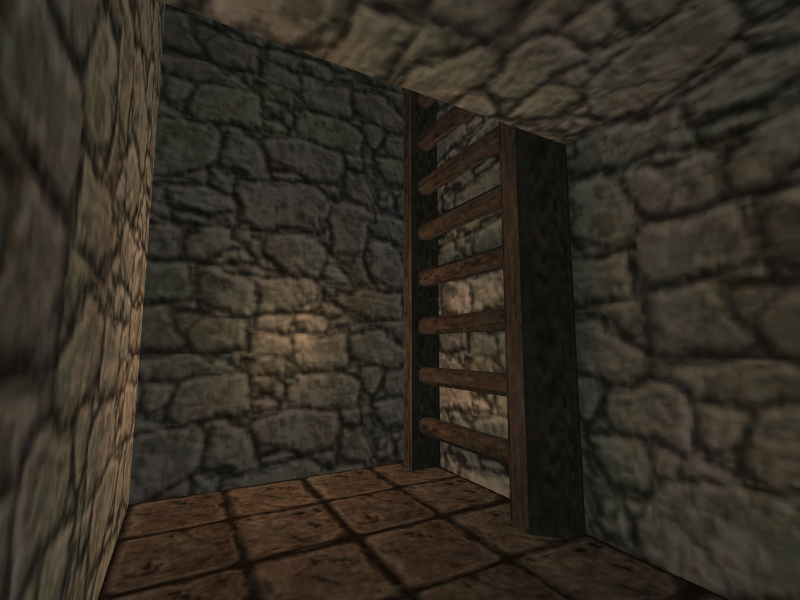
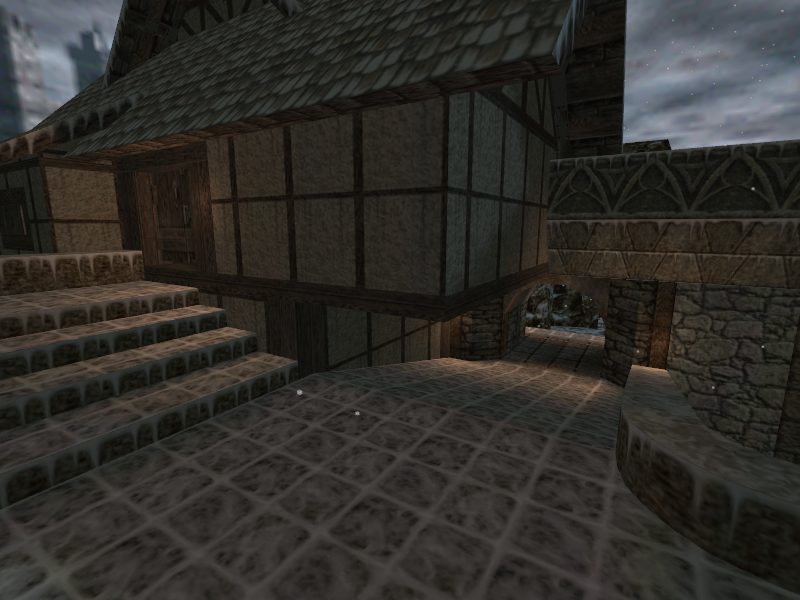
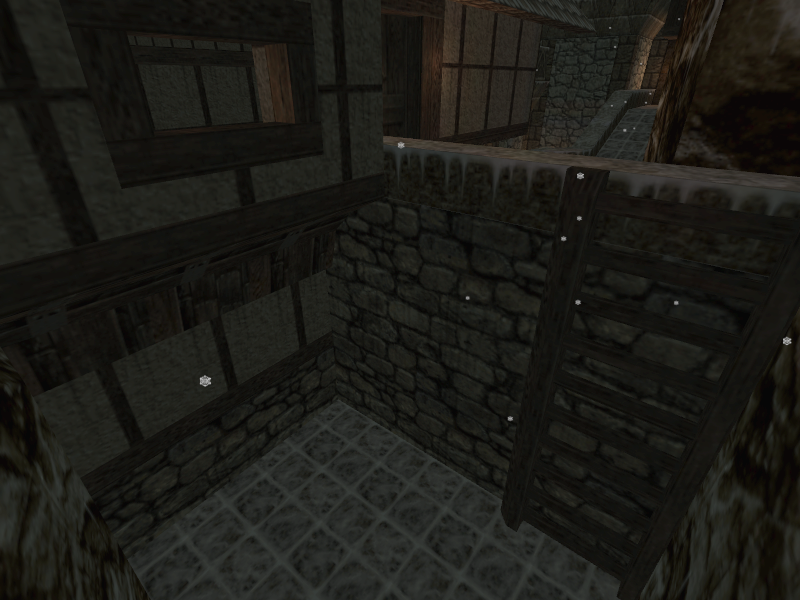
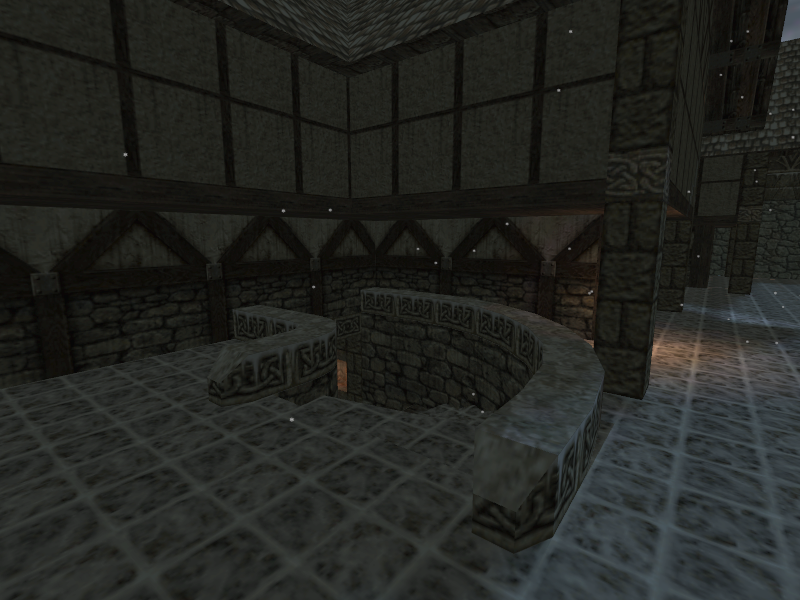
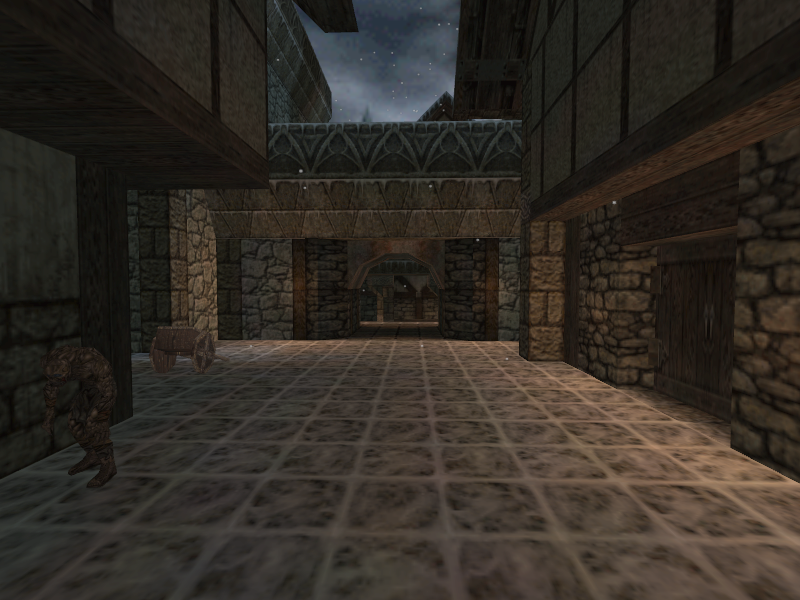
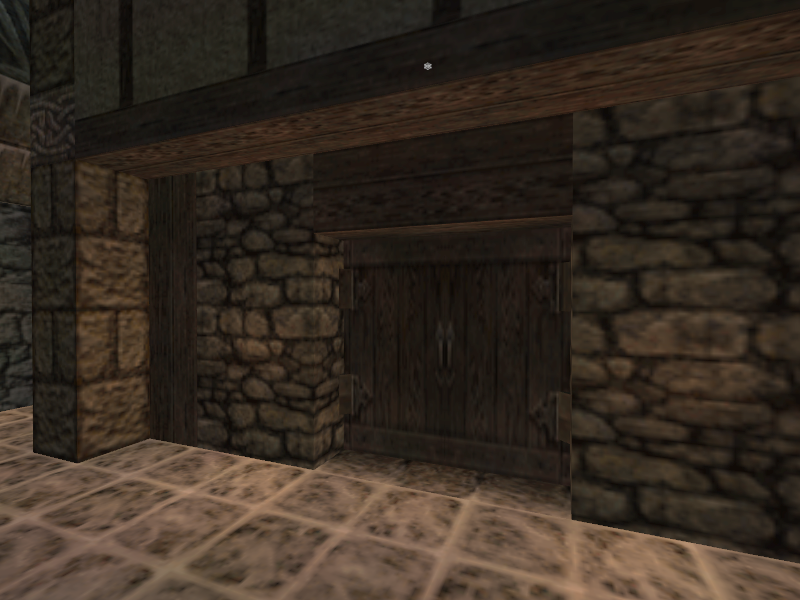
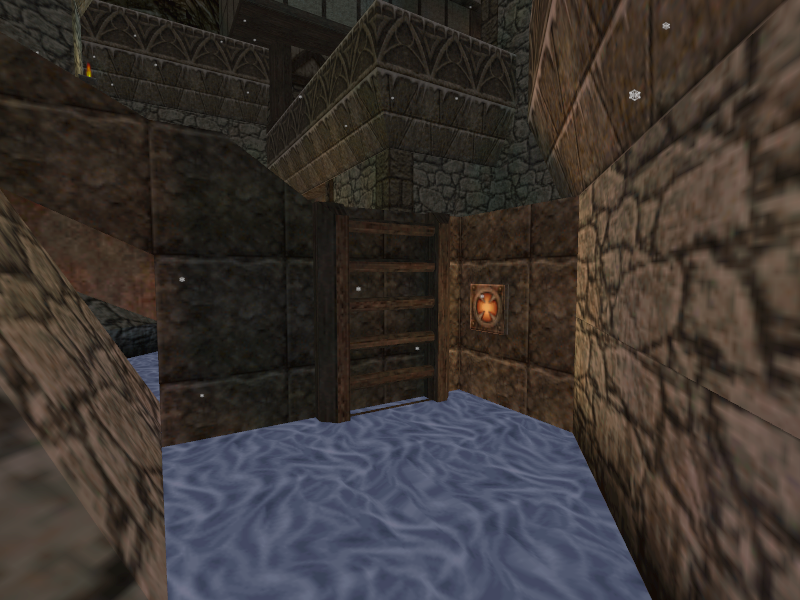
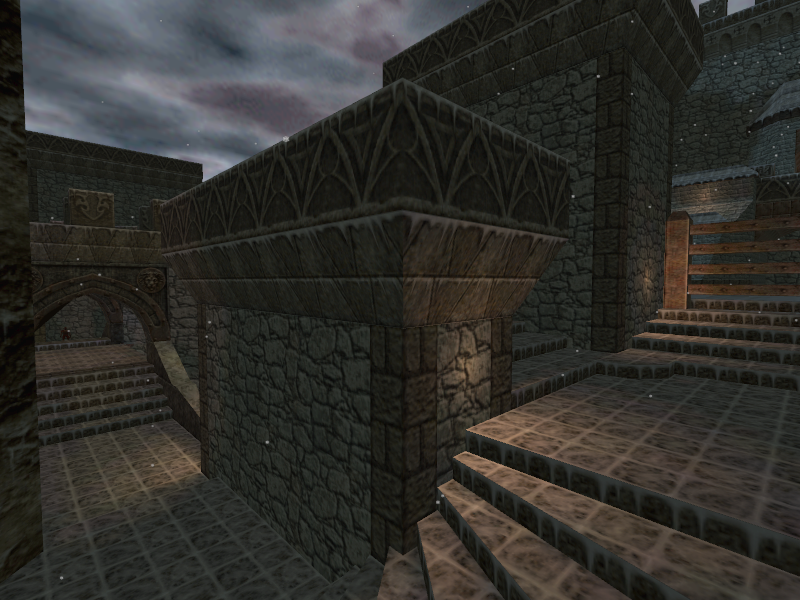
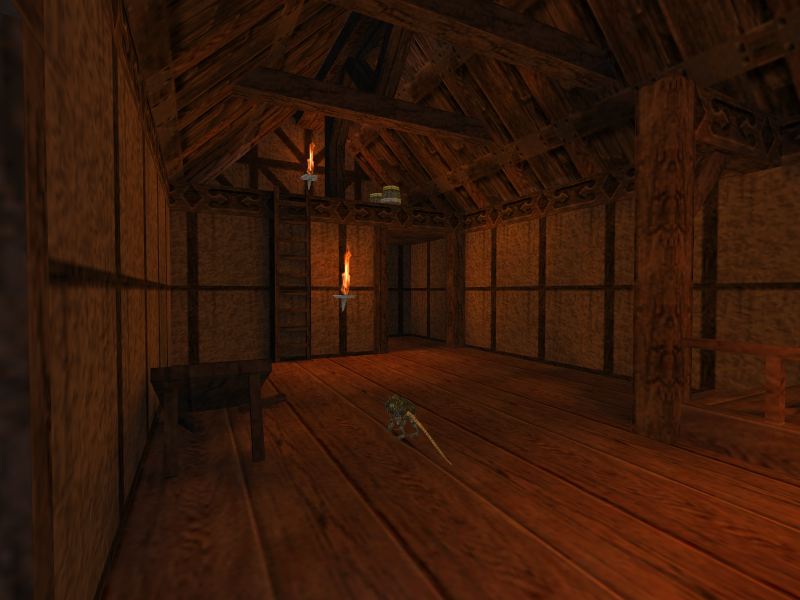
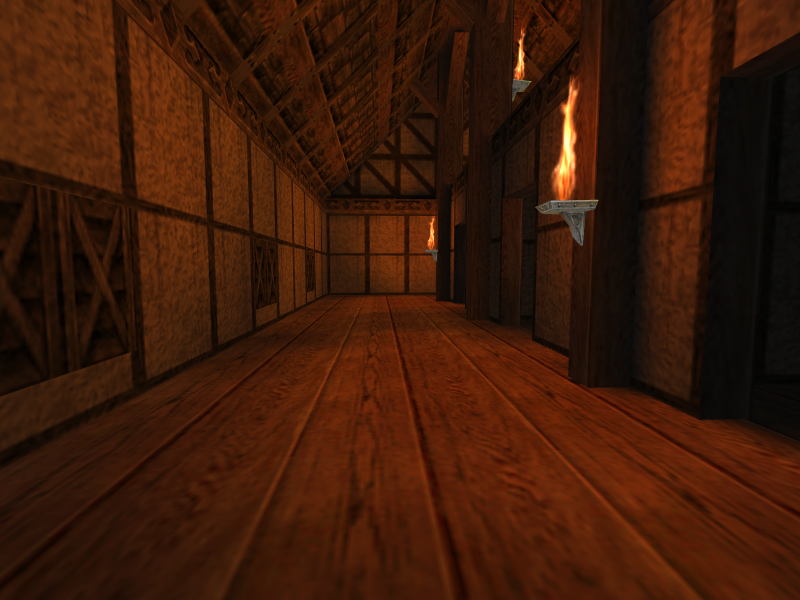
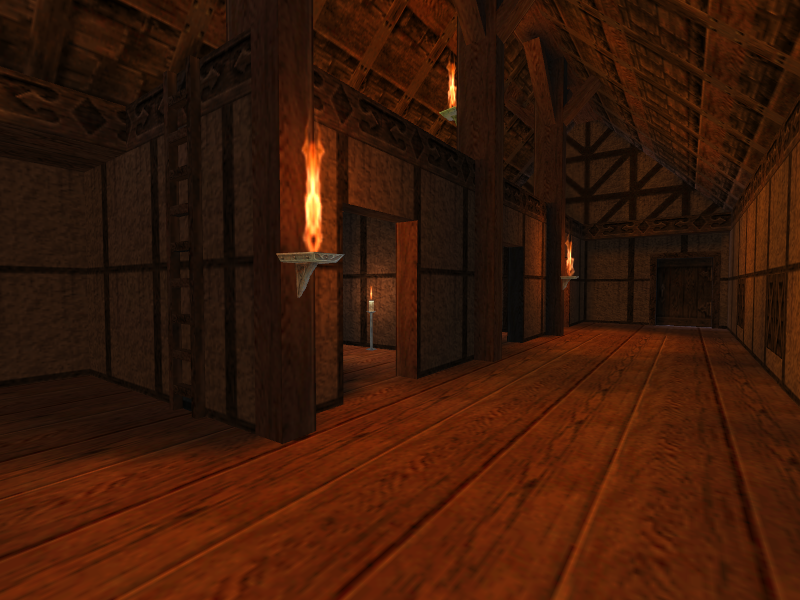
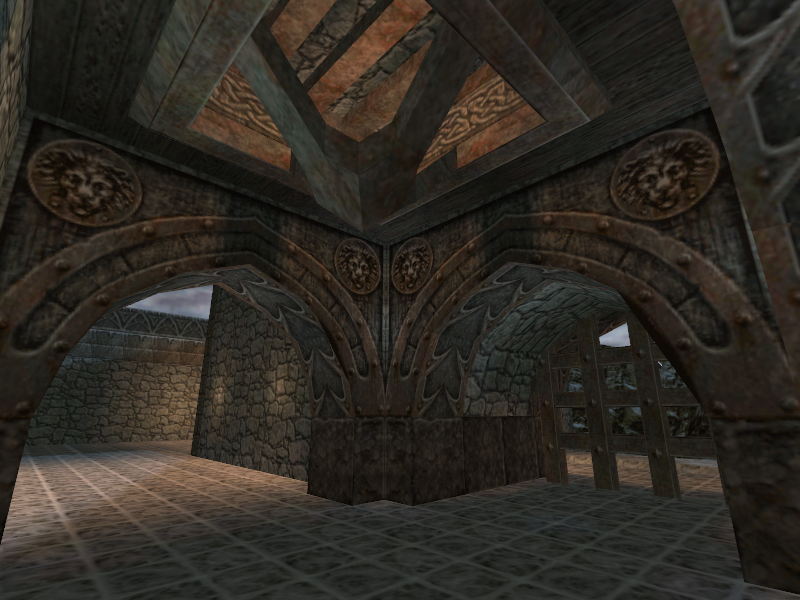
To the right of the statue are two entrances to the major split in the level. This split consists of a path on the left, a staircase leading downwards, and one forwards. On the right of the area is a hotel. The only thing in it is a bed and a ladder, but the most interesting thing about it is that its architecture was mirrored and used in the final game’s E3M1b.
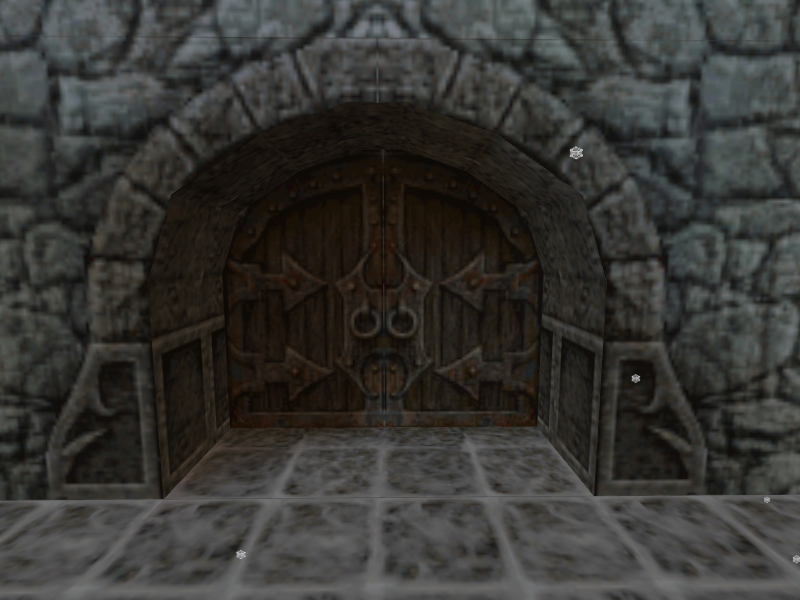
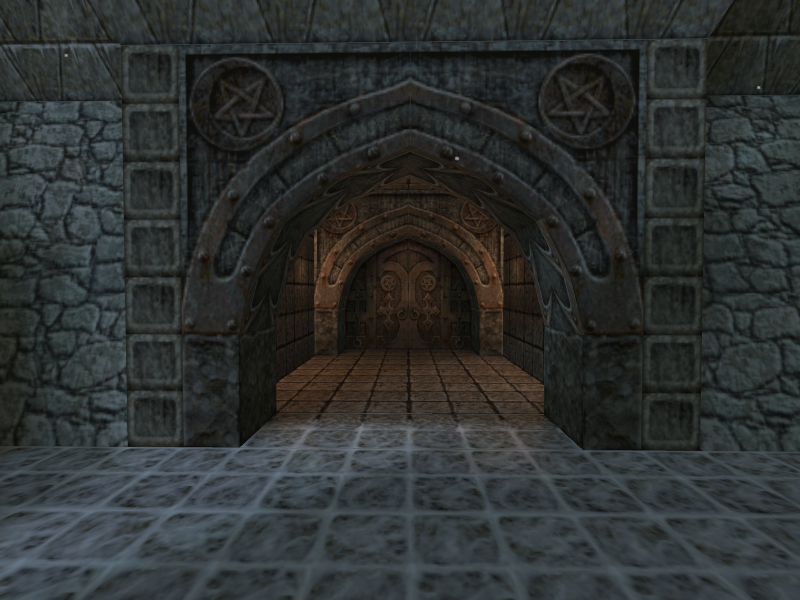
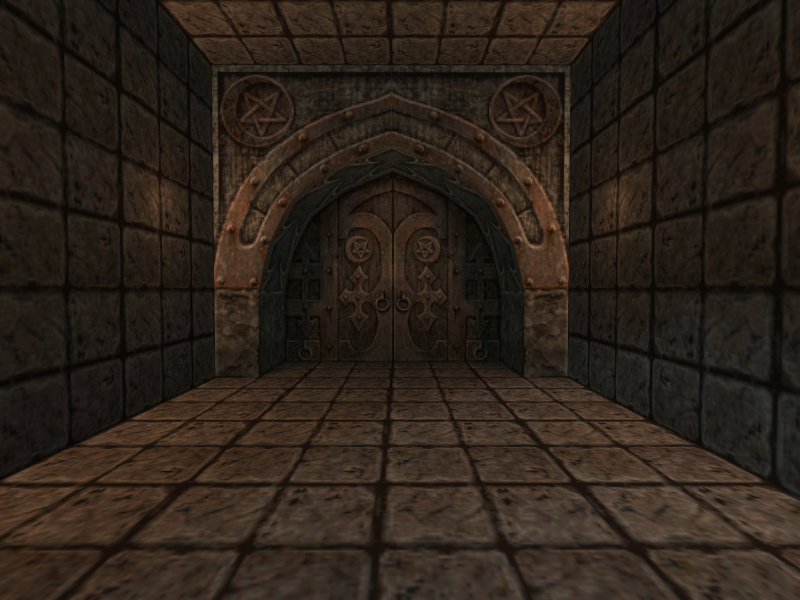
By taking the forwards path, the player will end up at a split between left and right. Heading right will have the player facing a set of doors with a pentagram and a Fletcher above the entrance, shooting arrows at the player. Since a pentagram is the symbol for Nharre in the final game, its possible that this was meant to be the original way to enter his lair.
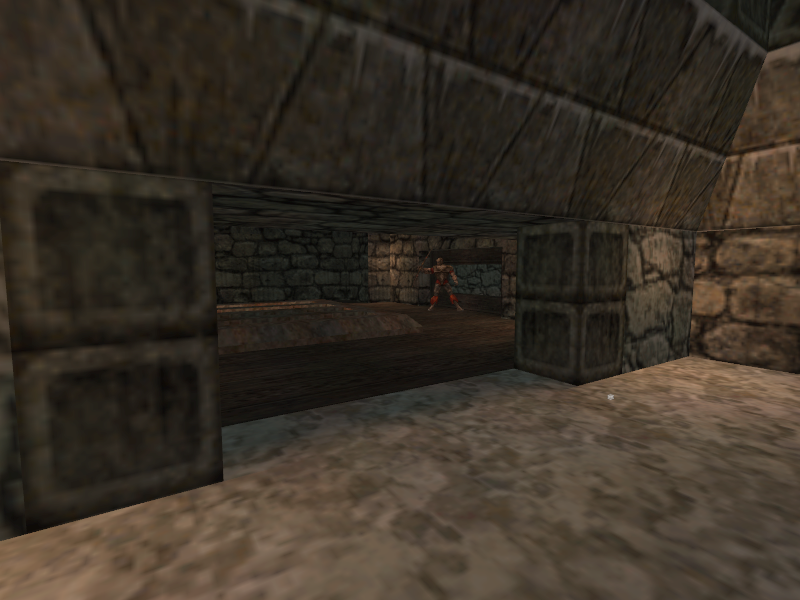
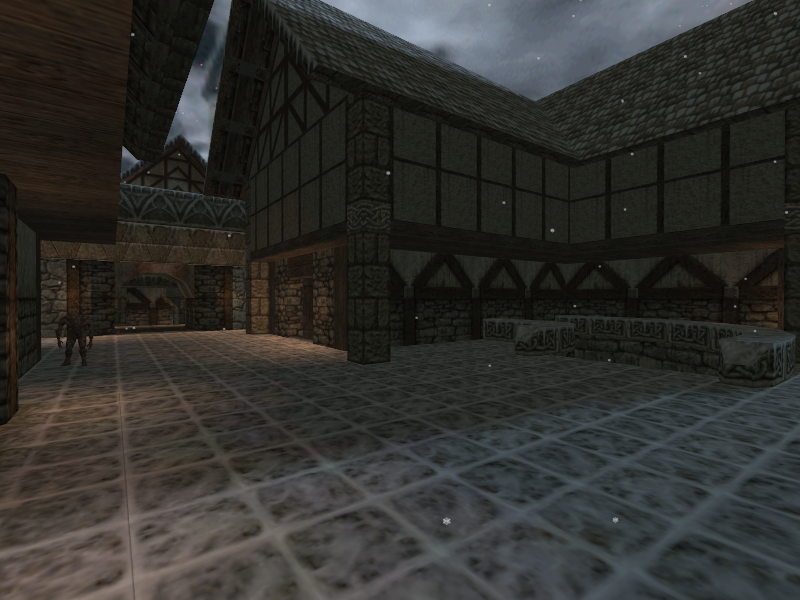
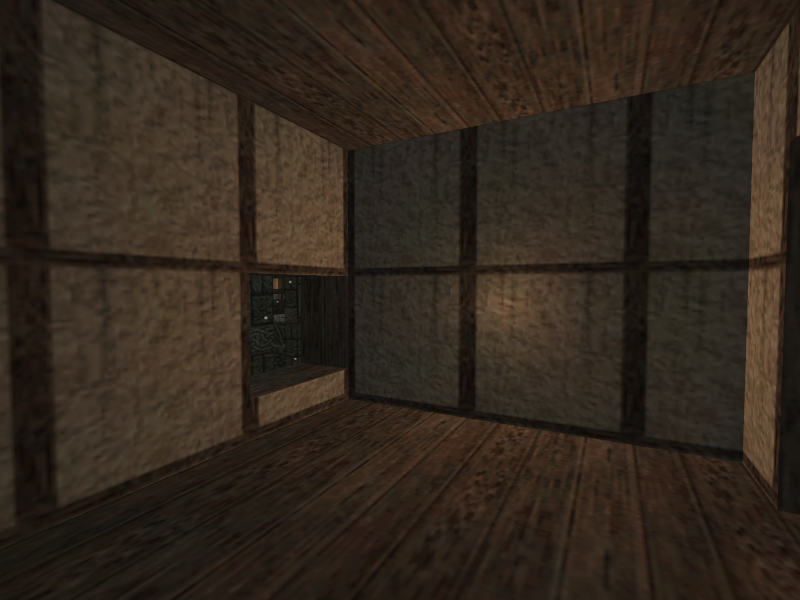
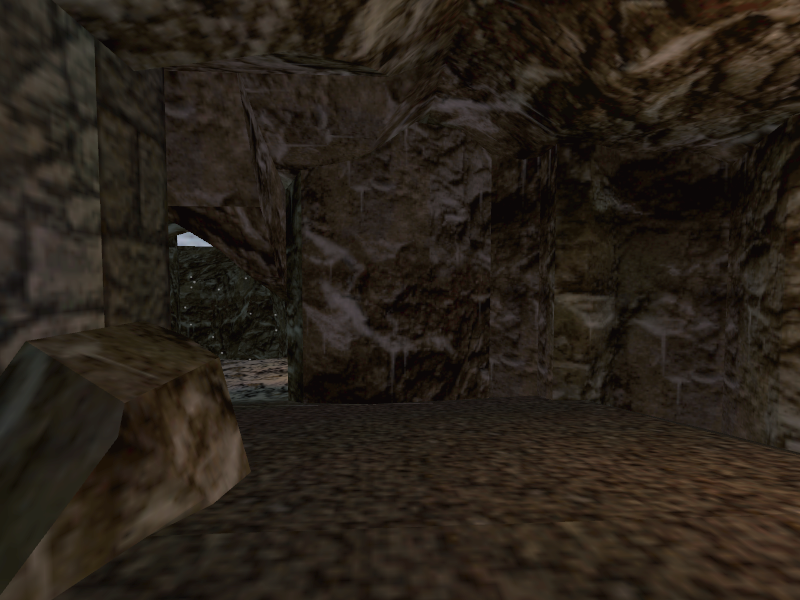
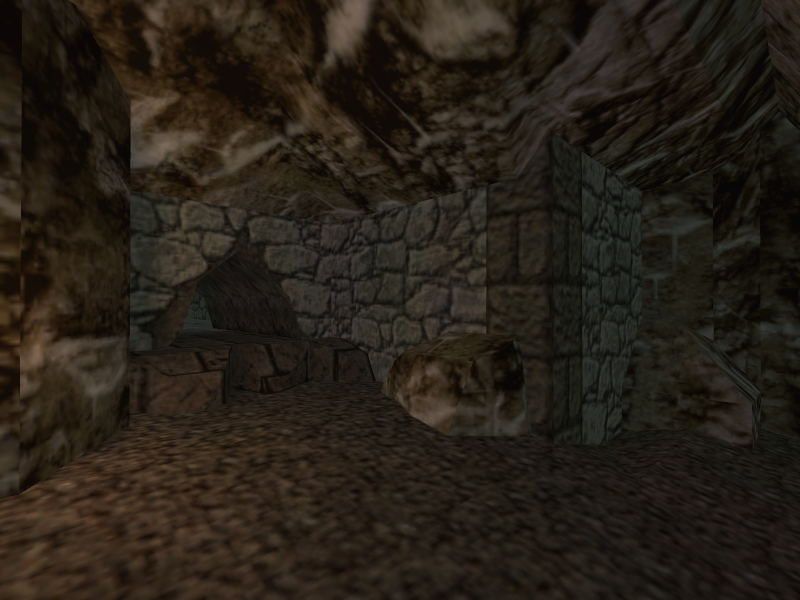
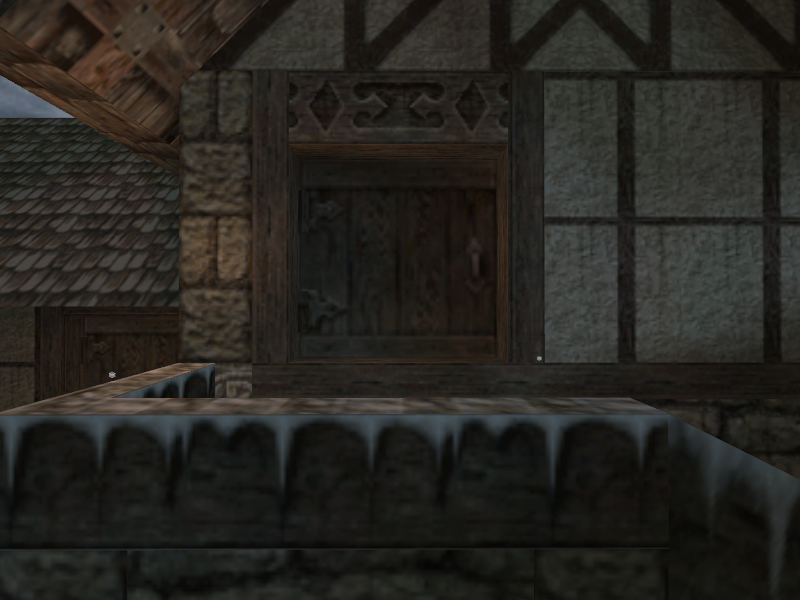
On the left is a house and a path beyond it. There is nothing inside the house, but sandwiched between the path and a gateway to the next area is a crack in the wall. Crouching underneath it will send the player into a small cave that ends with the player overlooking what seems to be Stavros’ lair, a location that would otherwise be found much later. There are also explosive barrels near the crack, suggesting a connection between them and the crack.
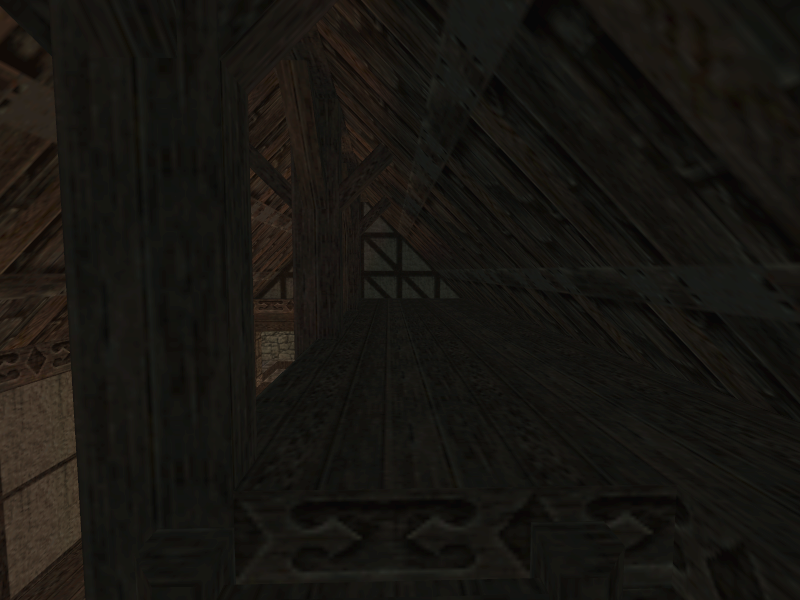
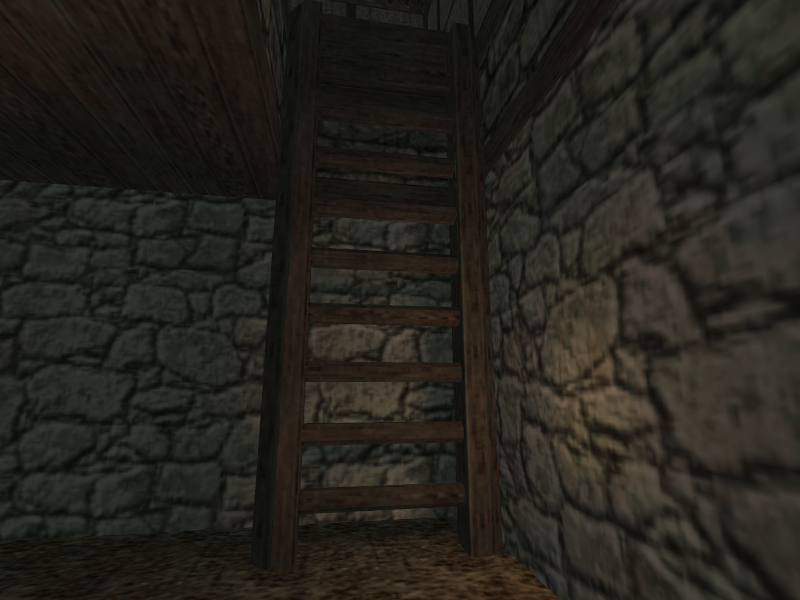
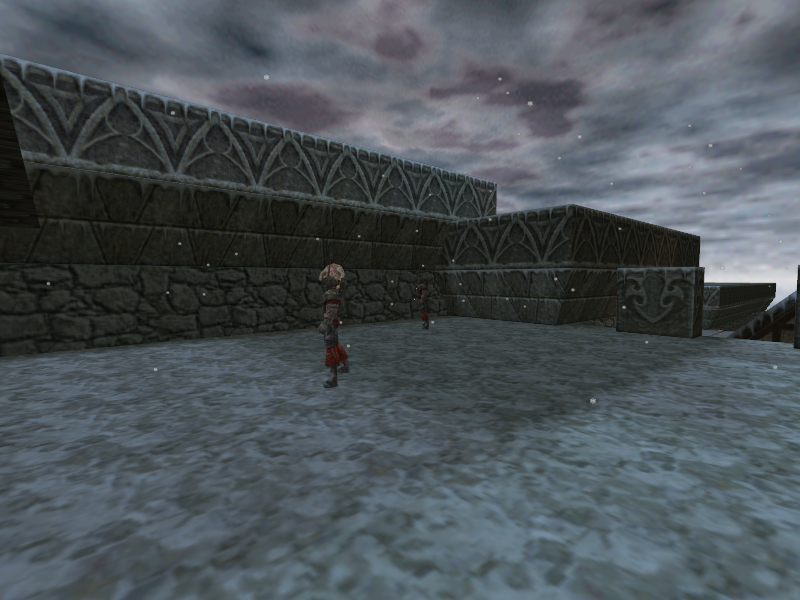
Past the crack is a gateway leading to the next area. On the left is a staircase, and on the right is a door. Opening the door, the player will find a set of stairs with ammo, an exit, and a ladder at the end of it. The exit leads back to the area the player was in before, but climbing the ladder sends the player to a rooftop with two Fletchers and a Nharre’s Nightmare on it.
With the door area explored, the player can head up the staircase to the next location. Again, another split. The player can either enter the two houses across from where the player enters the area, or take a right to go through another doorway.
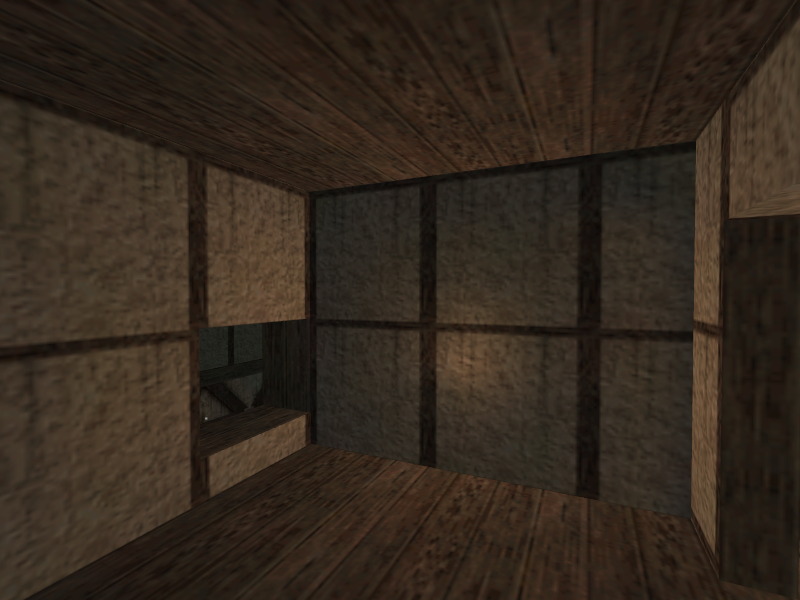
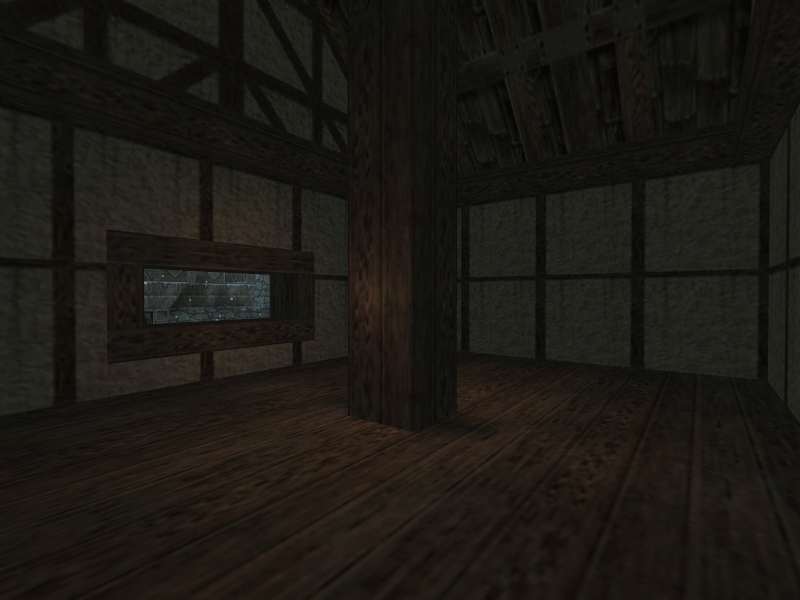
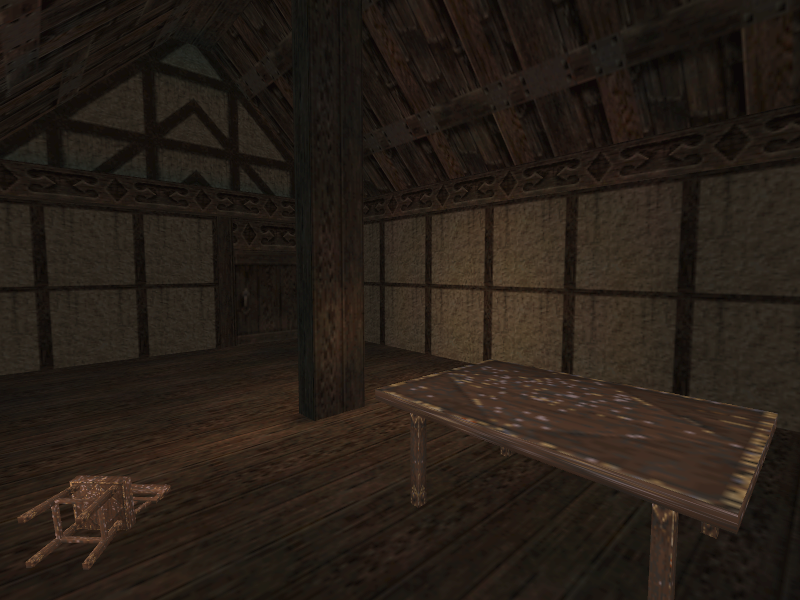
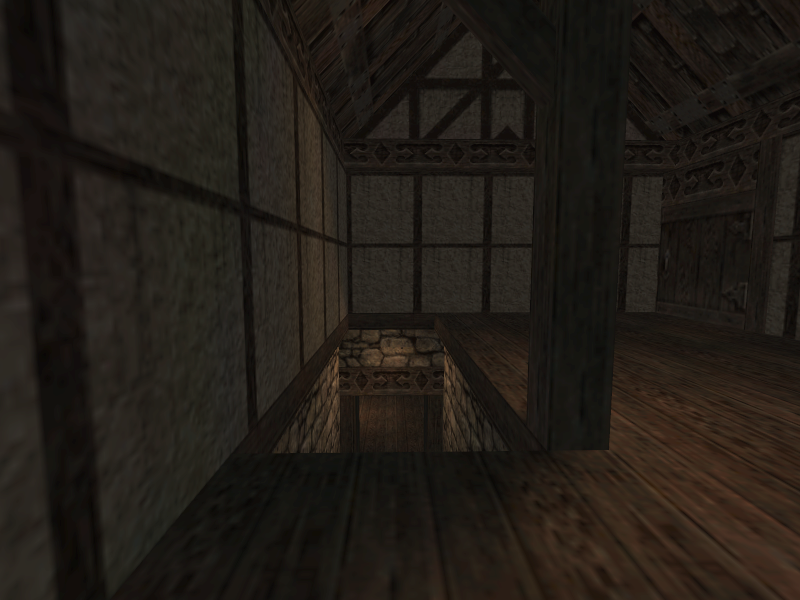
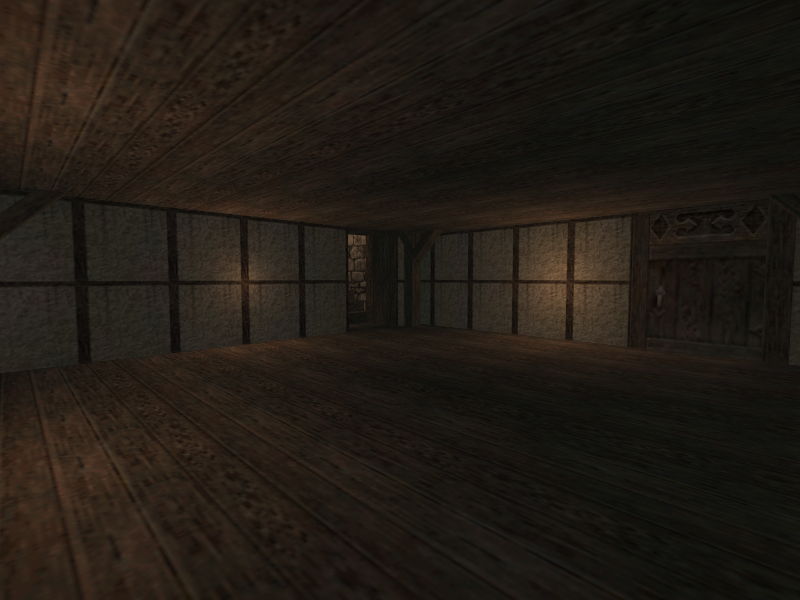
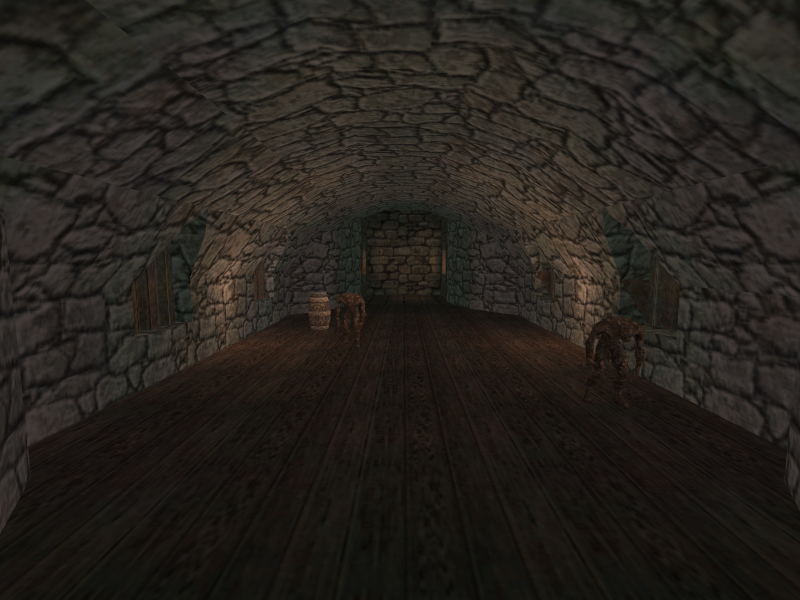
Heading into the first house reveals a room with a table in it and nothing else. The second house has a lot more of interest in it. It contains a cellar, a room with a Buboid in the back of it, and a staircase leading downwards. The staircase leads to a basement area that has a door. Past the door is a small area that has a room with a ladder on the other side of it. Going up the ladder will send the player to an area overlooking the location accessed from going right instead of exploring the houses. This ends the houses area.
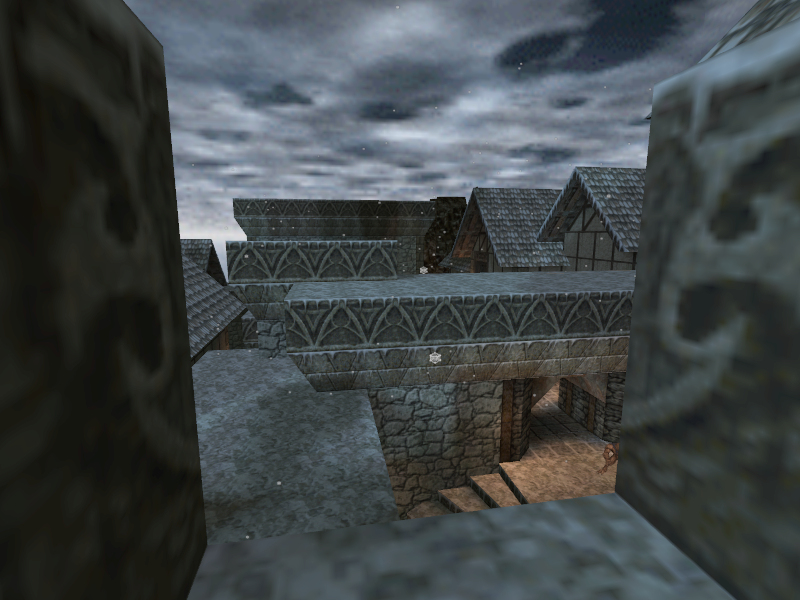
Heading back to where the houses started, but taking a right this time will send the player to yet another split path. This is the location the end of the house path was overlooking. The player has a choice to either head left, go forwards into a house, or take a right and go down.
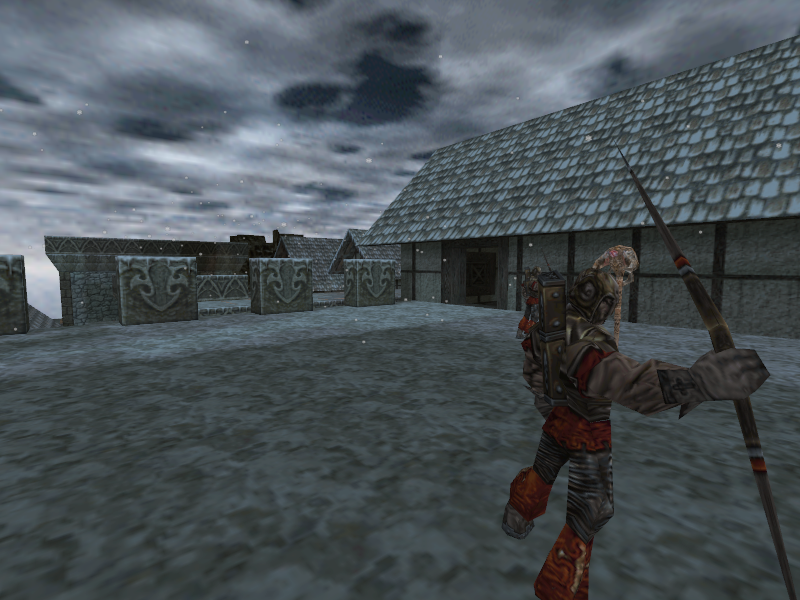
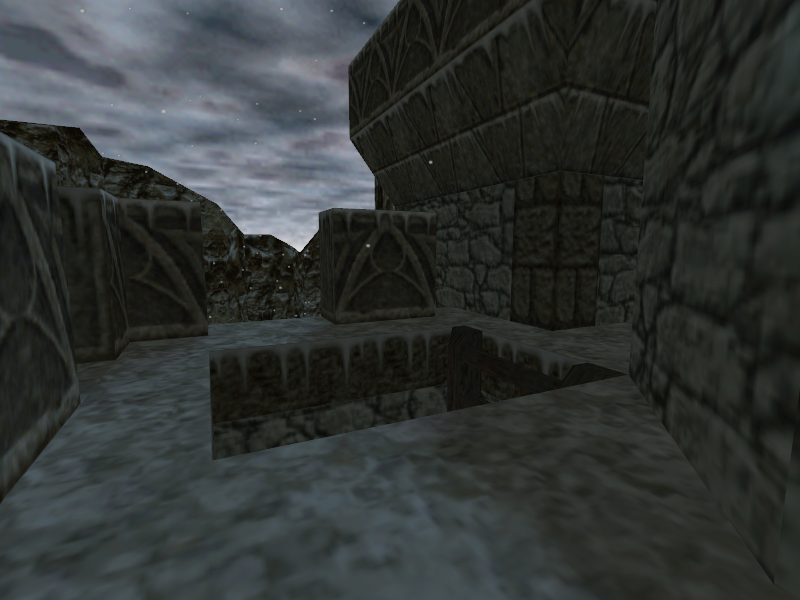
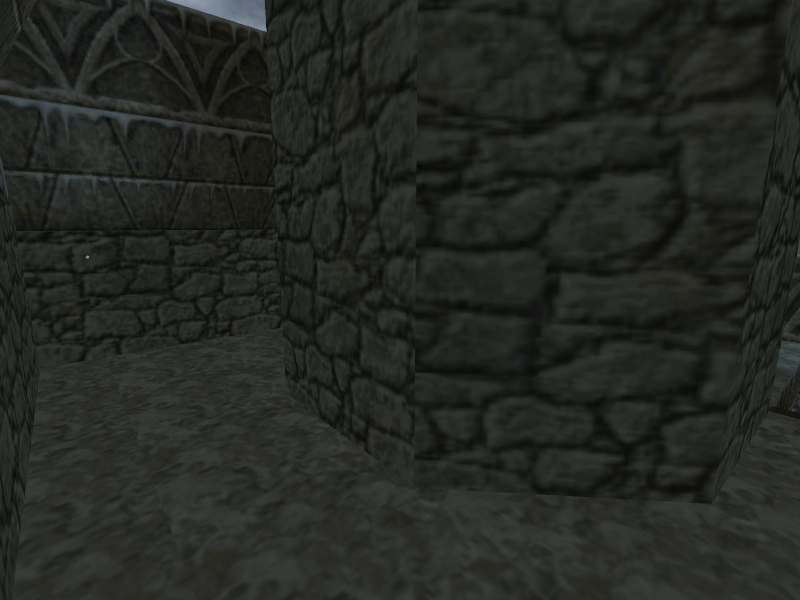
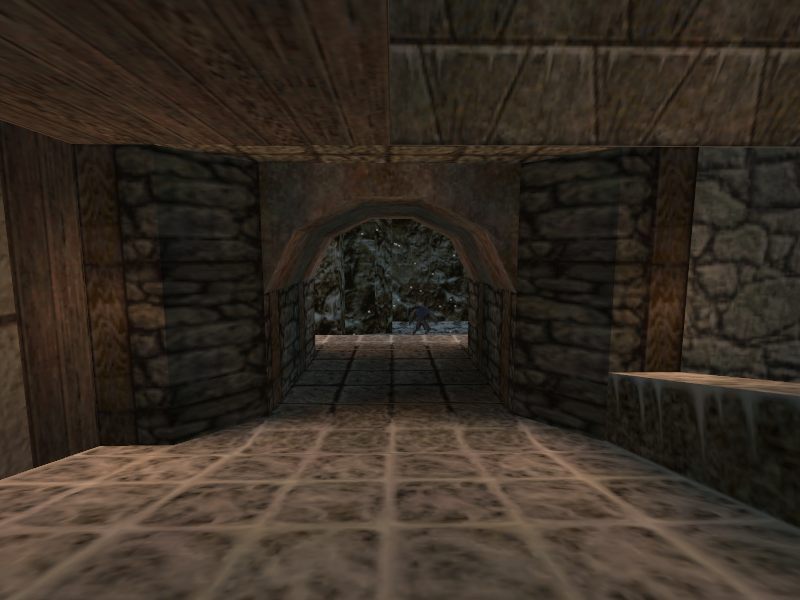
Taking a left will send the player to a snowy area with a small, castle-like entrance at the end of it. The doors inside the castle-like area have a lightning bolt, which is used as Wyndrax’s symbol in the final game. It seems likely that this was the original way the player would enter Wyndrax’s Tower. There are also a few Fletchers in the area, but that’s it.
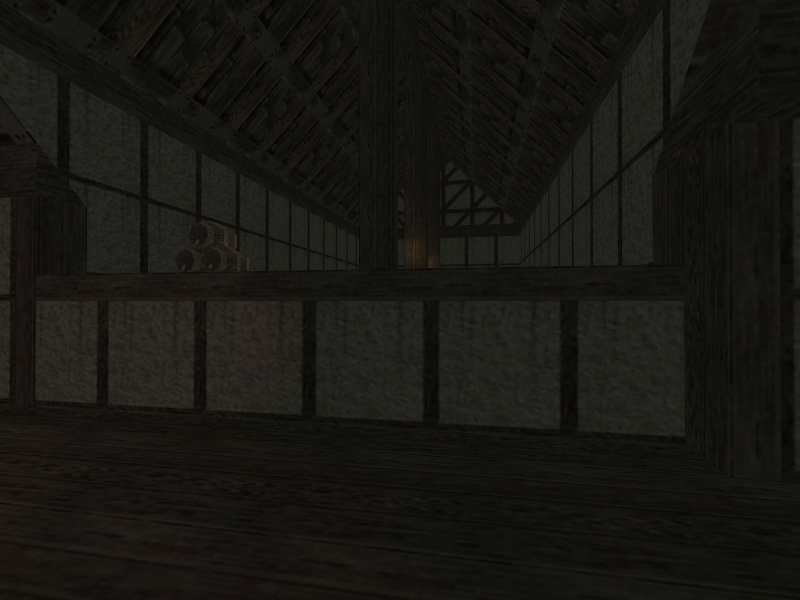
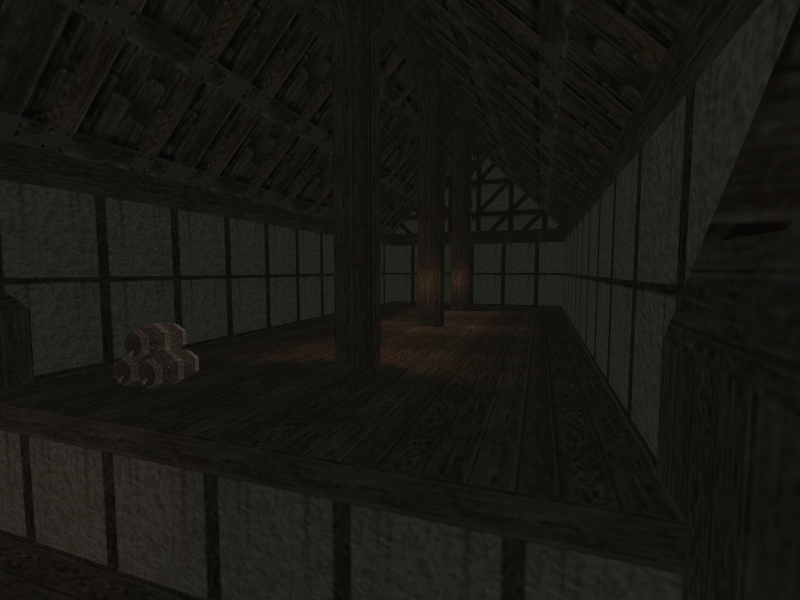
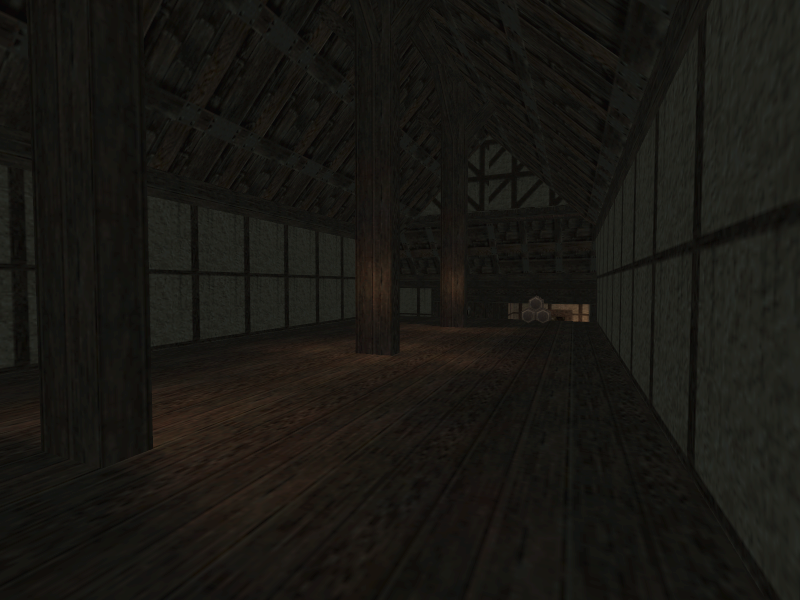
The house contains a stack of barrels on an elevated portion of the house that can only be accessed with noclipping or a rocket jump, but that’s it.
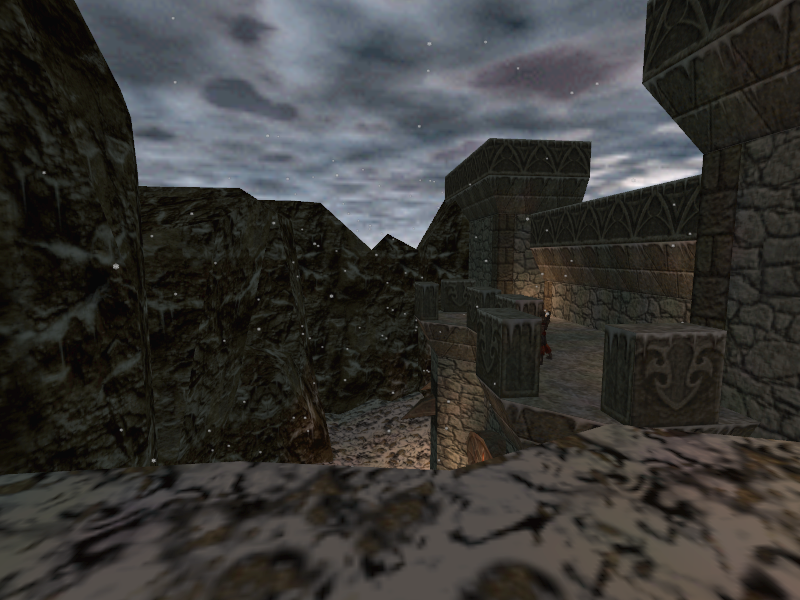
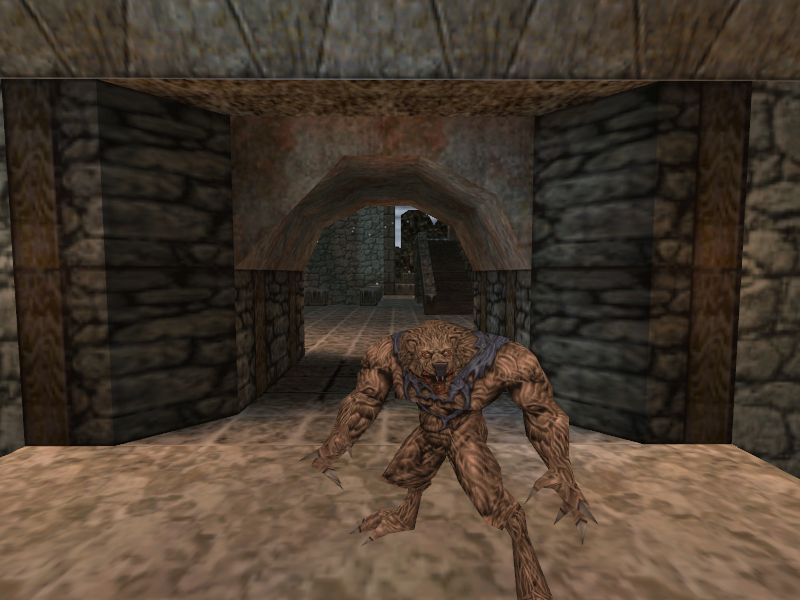
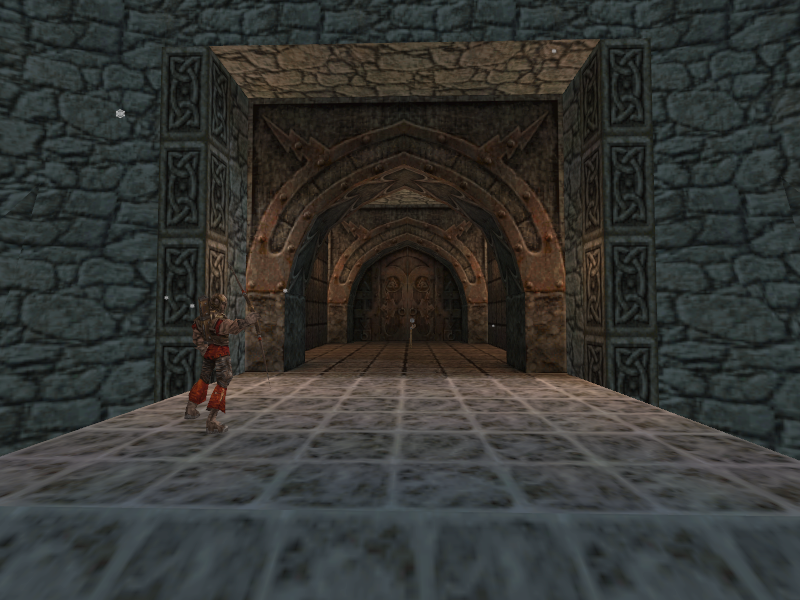
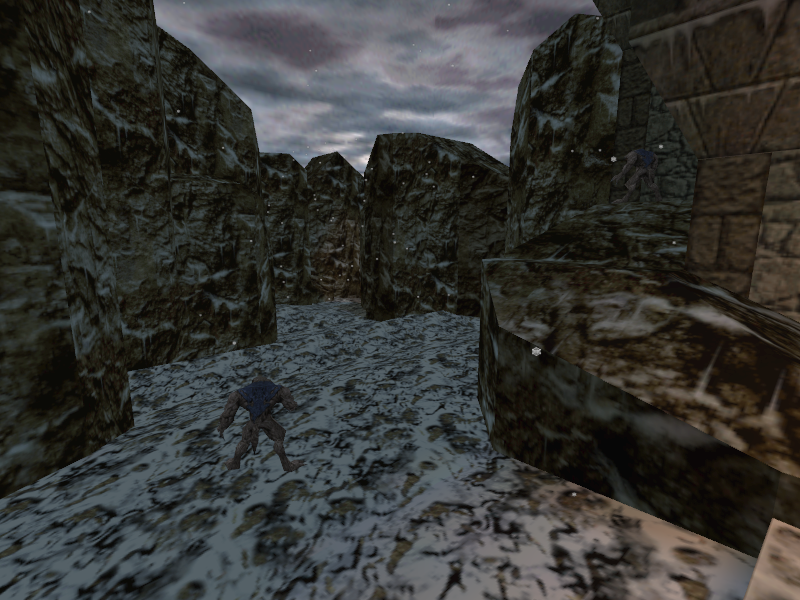
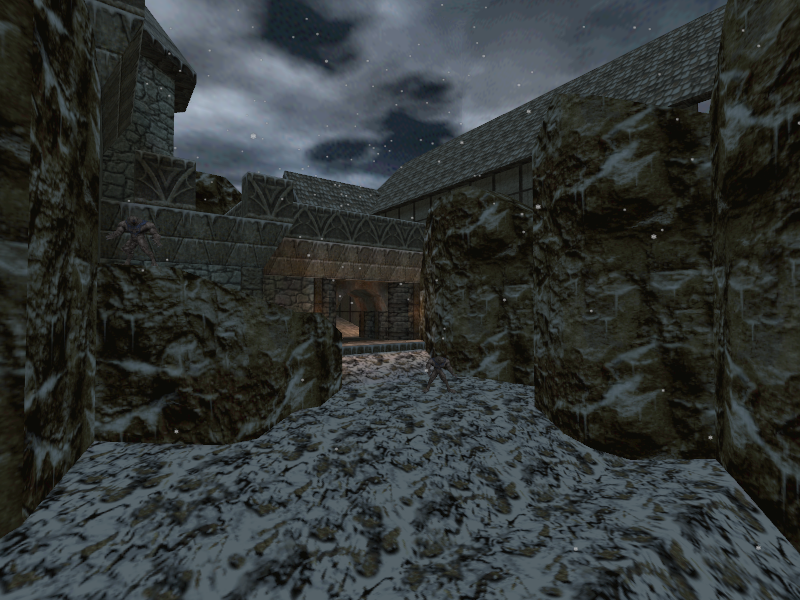
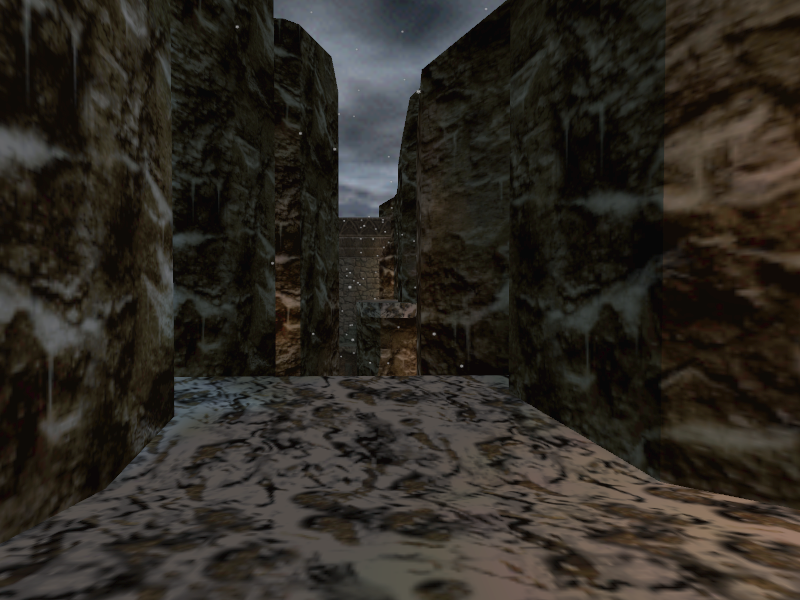
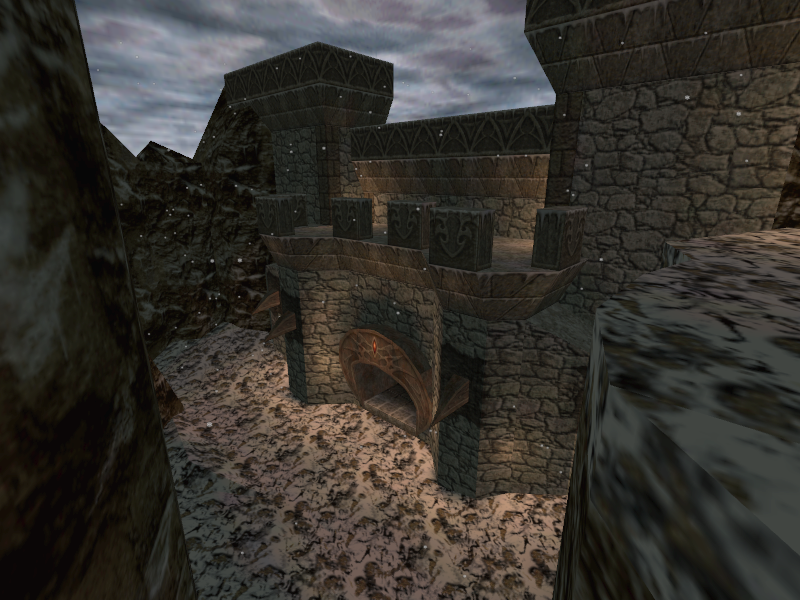
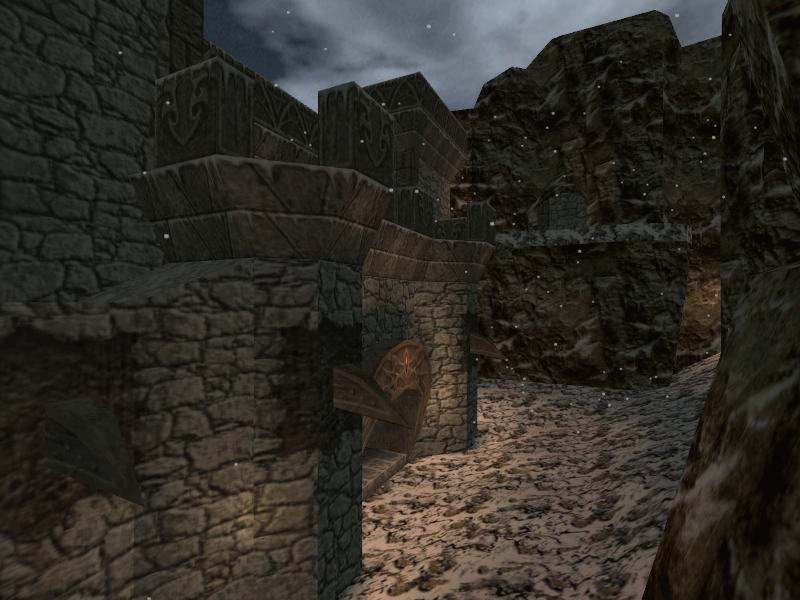
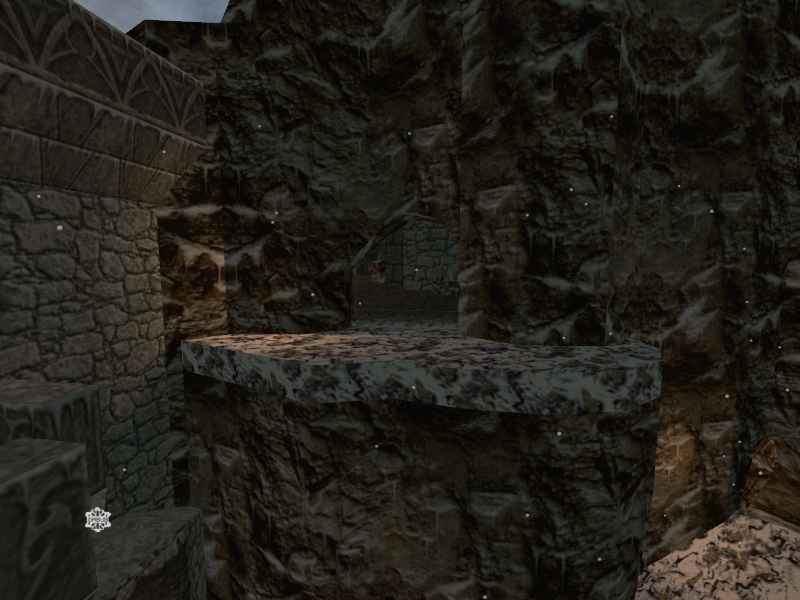
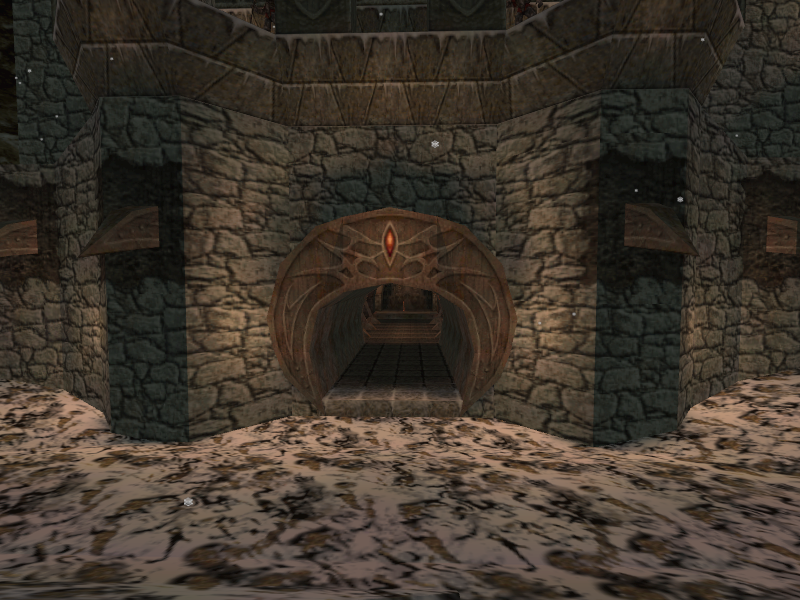
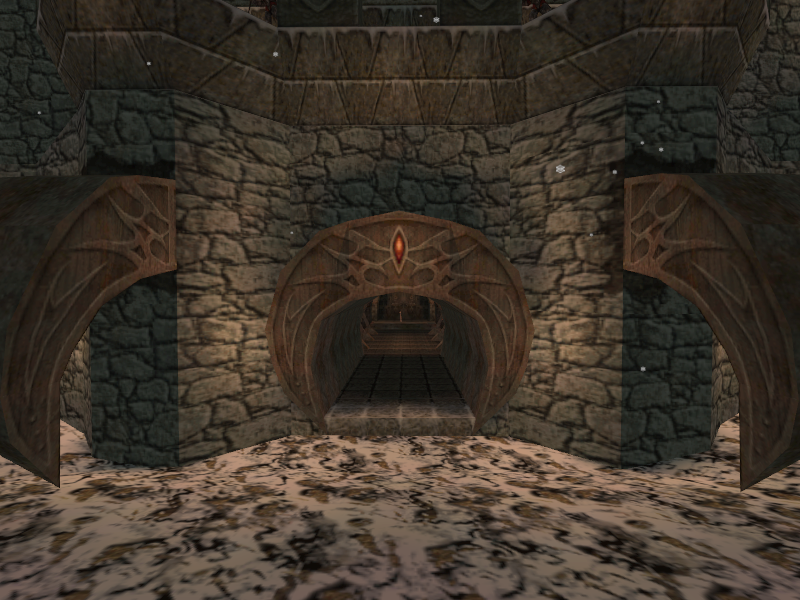
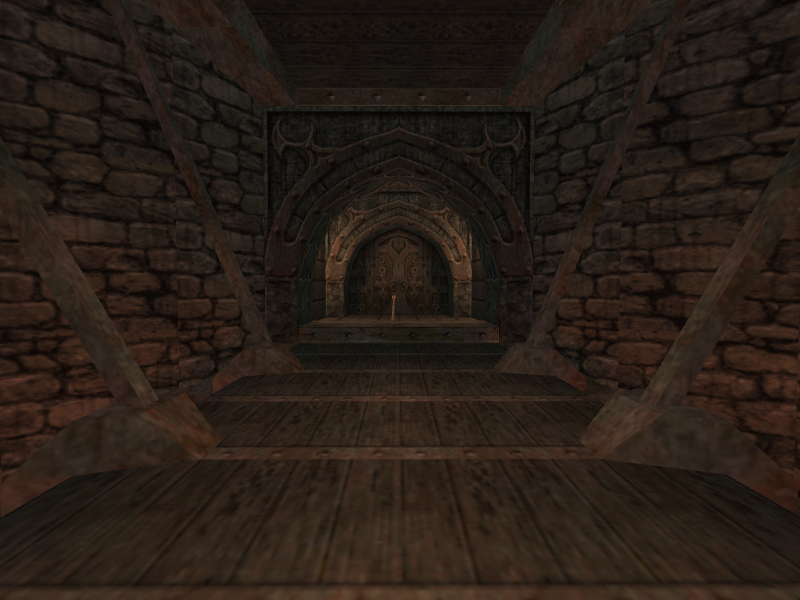
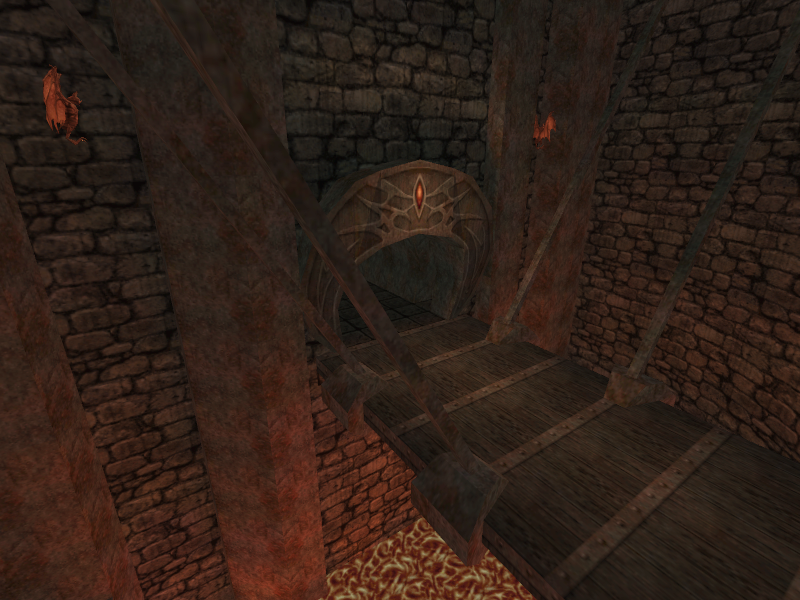
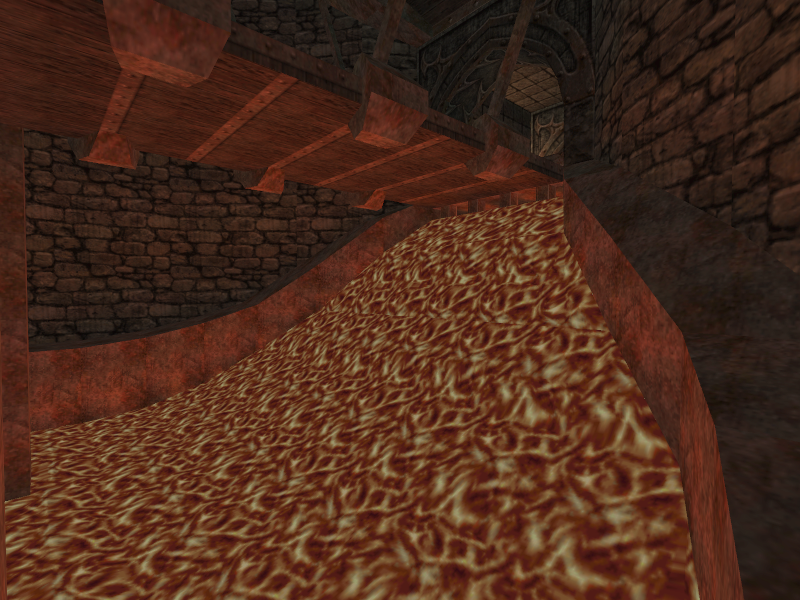
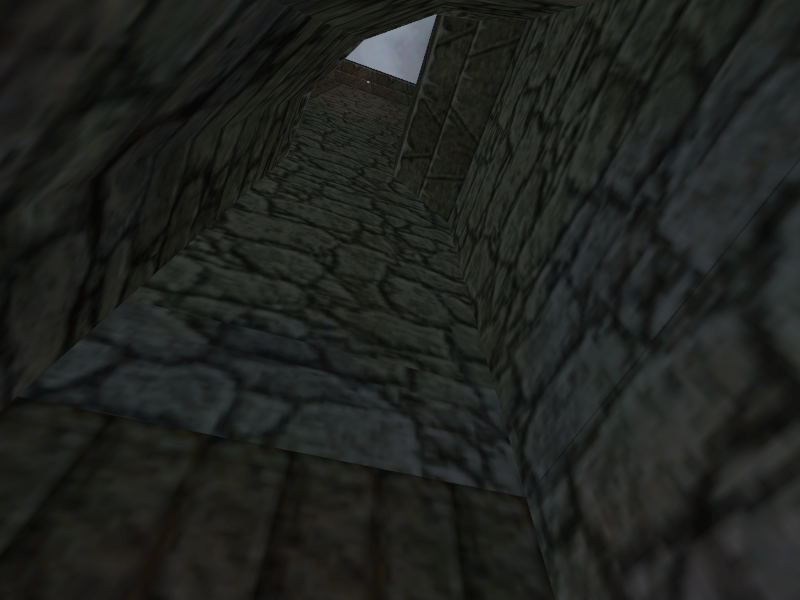
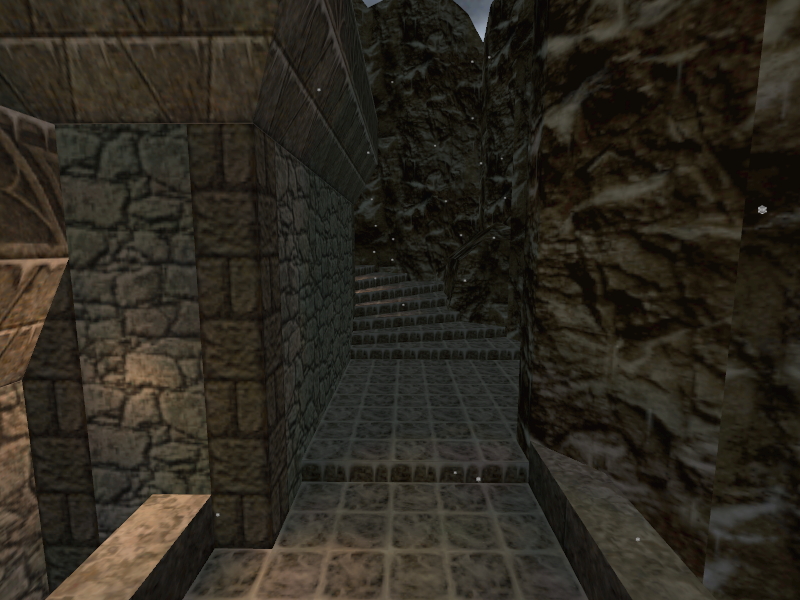
The right path takes the player into another snowy area. The path leads into a canyon area that has two Lycanthirs at the start of it. The end dumps the player in front of a large, castle-like area. Overlooking the castle area on the right side is the side entrance to this location found earlier in the level. When the player approaches the front, claws will spring from the sides of the castle, a neat detail not seen anywhere in the final game. Beyond the entrance is a river of lava heading downwards with a bridge over it and two Doombats posted past the entrance. At the end is a door with a fire symbol and Stavros’ Stave. It’s easy to guess that this area was meant to be the original entrance to Stavros’ lair.
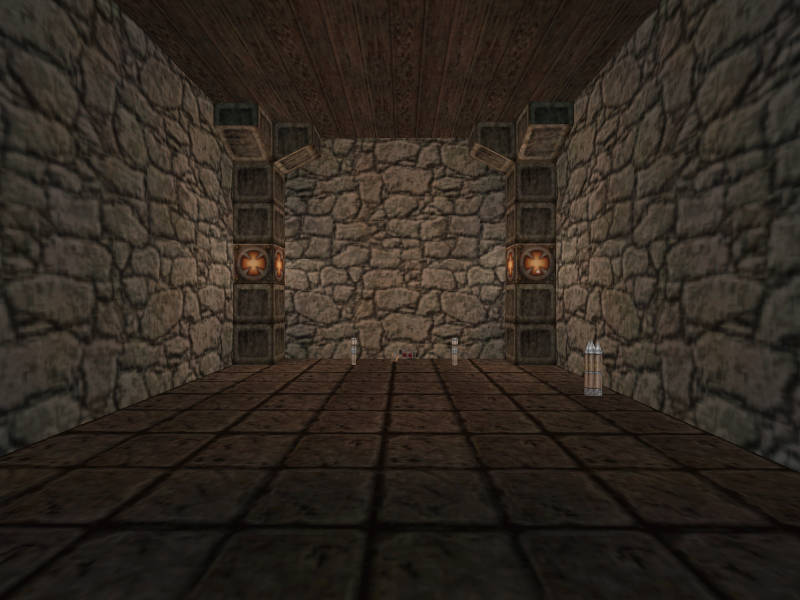
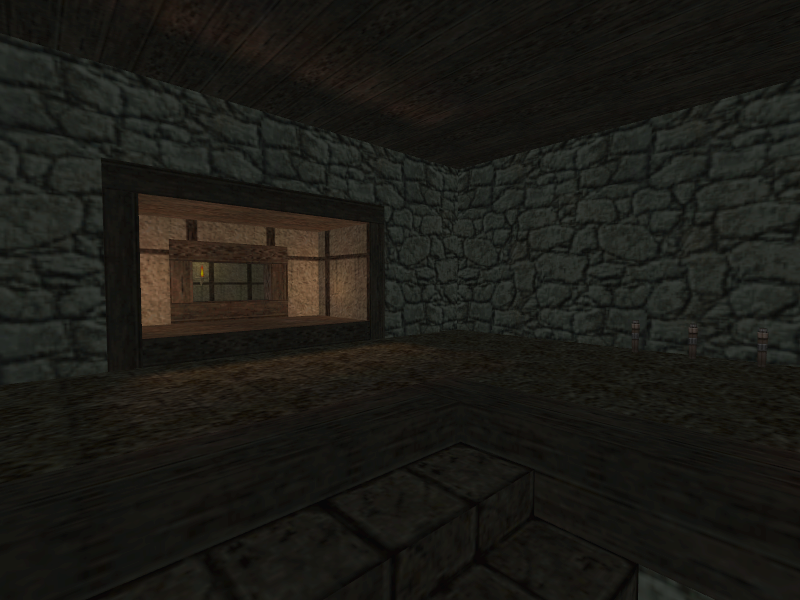
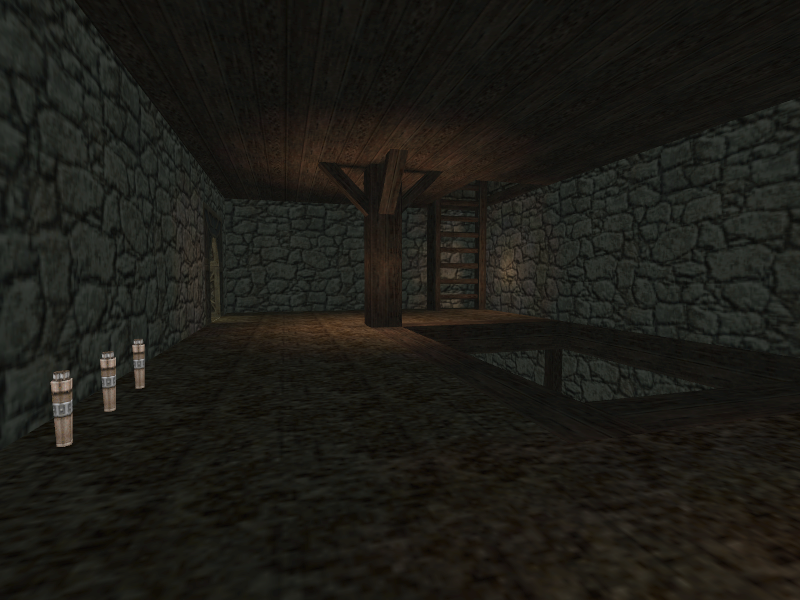
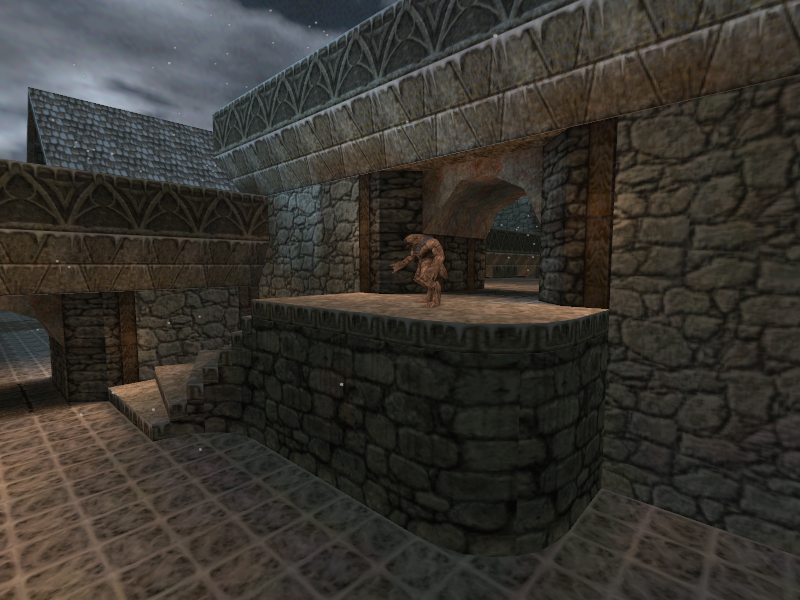
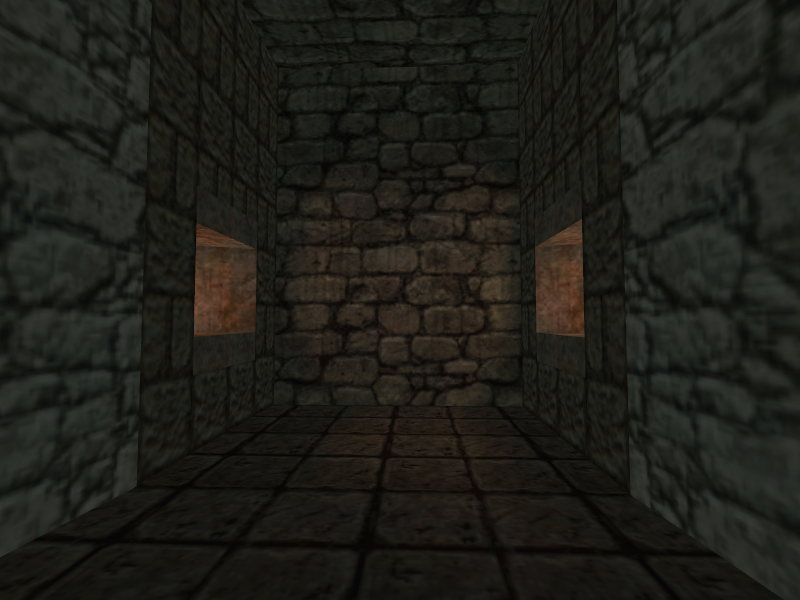
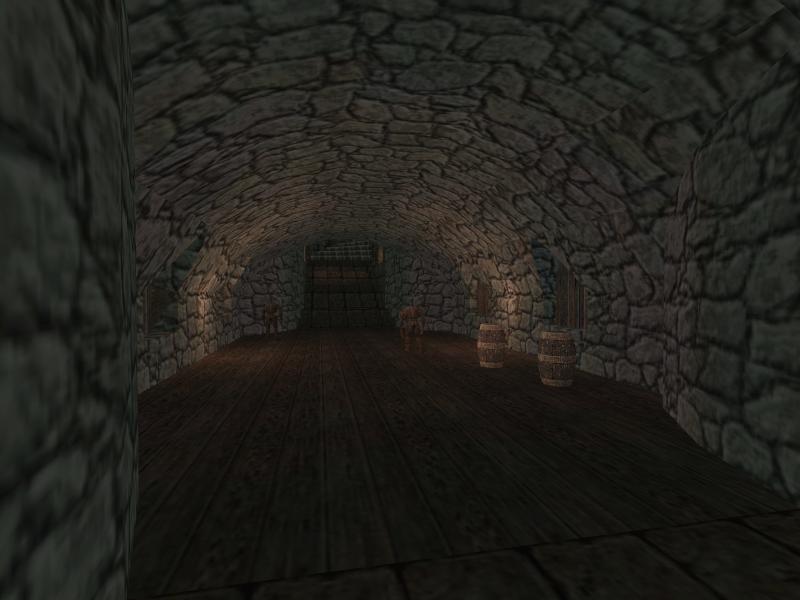
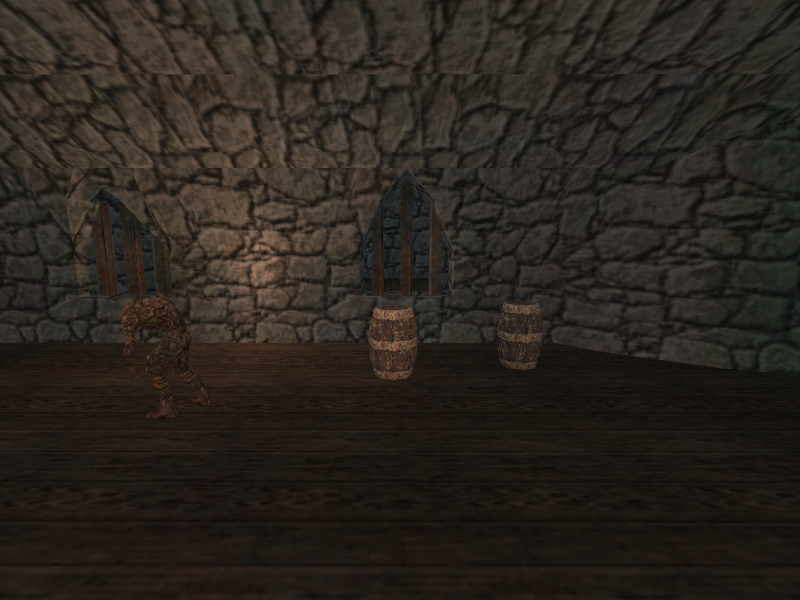
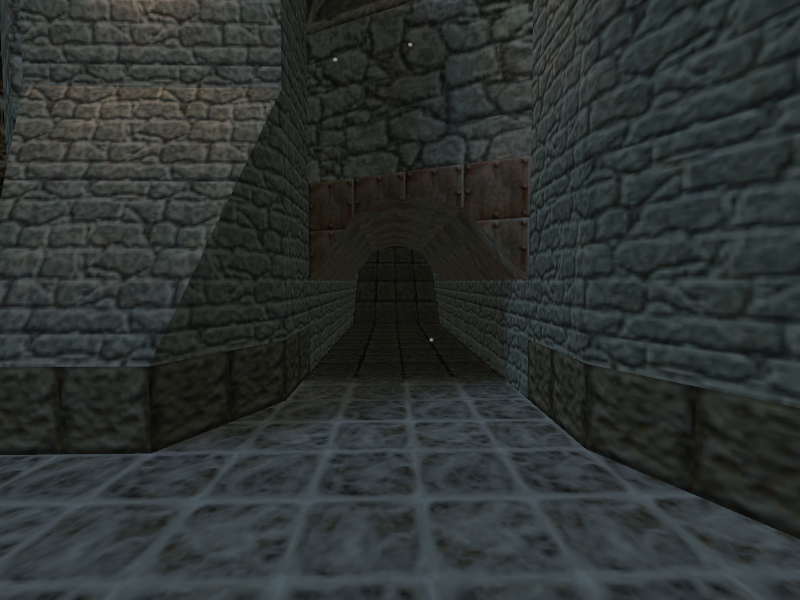
With the forward path explored, the next place for the player to head to is the downward path. The downward path starts at a staircase heading down on the other side of where the inn is. The staircase leads to a rectangular area with Buboids, explosive barrels, and a dead end. However, not all is lost.
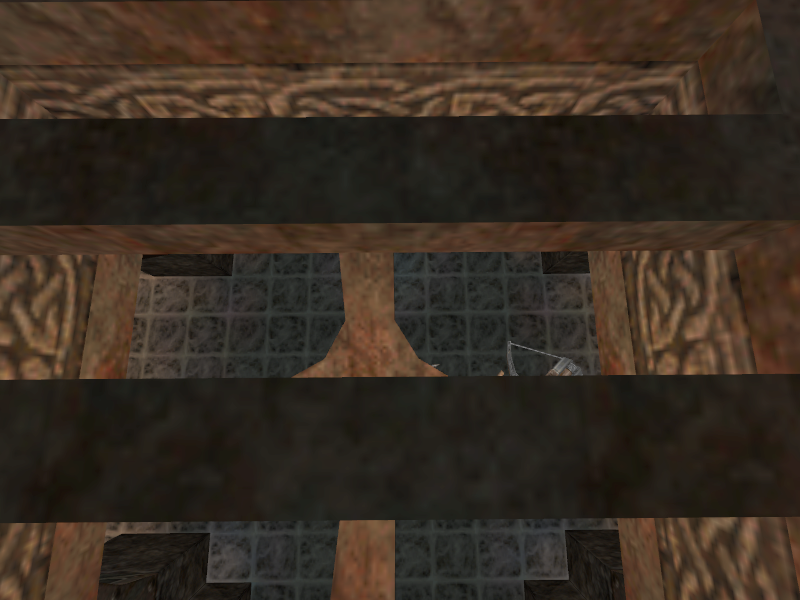
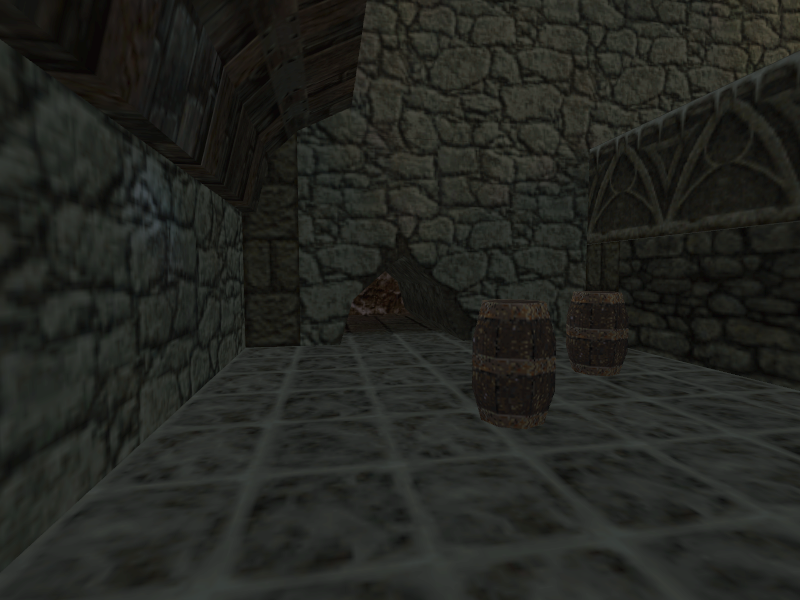
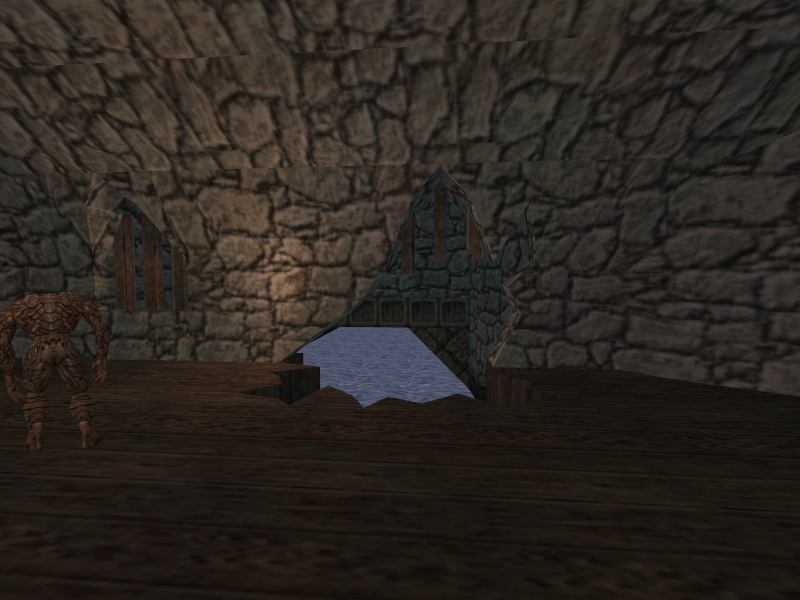
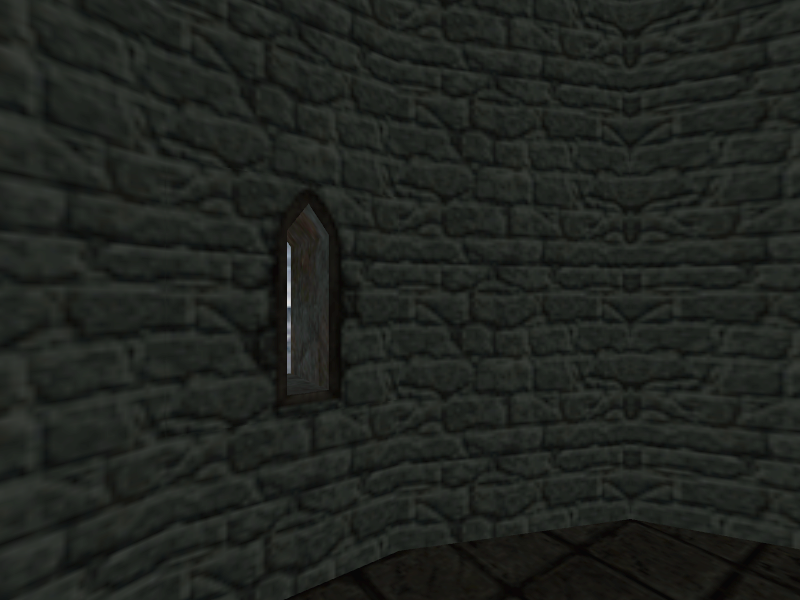
The window near the explosive barrels can be destroyed with any weapon. It seems the intention was that the barrels would blow up the nearby area, giving passage to the area beyond the windows. However, the barrels will occasionally fail to blow out the window area, and will never destroy the floor underneath them. The player can “fix” this by simply shooting the area near the window and the floor underneath the barrels.
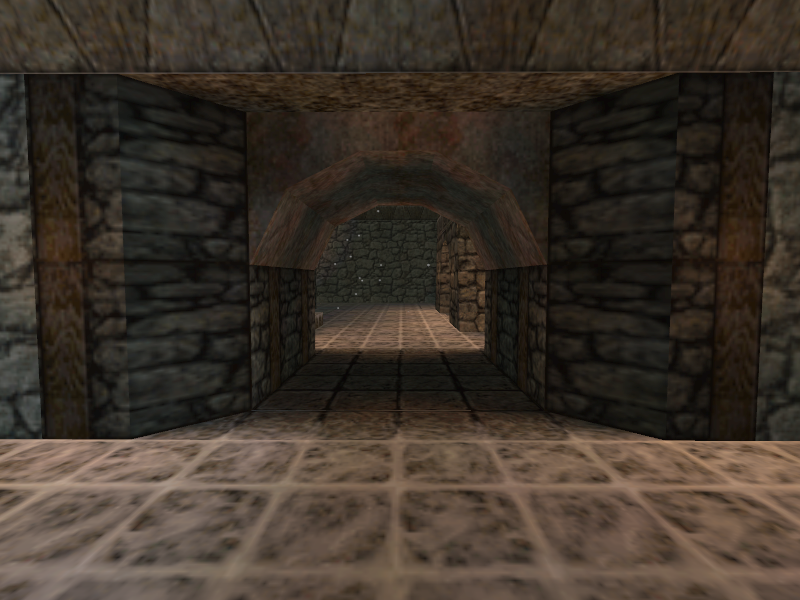
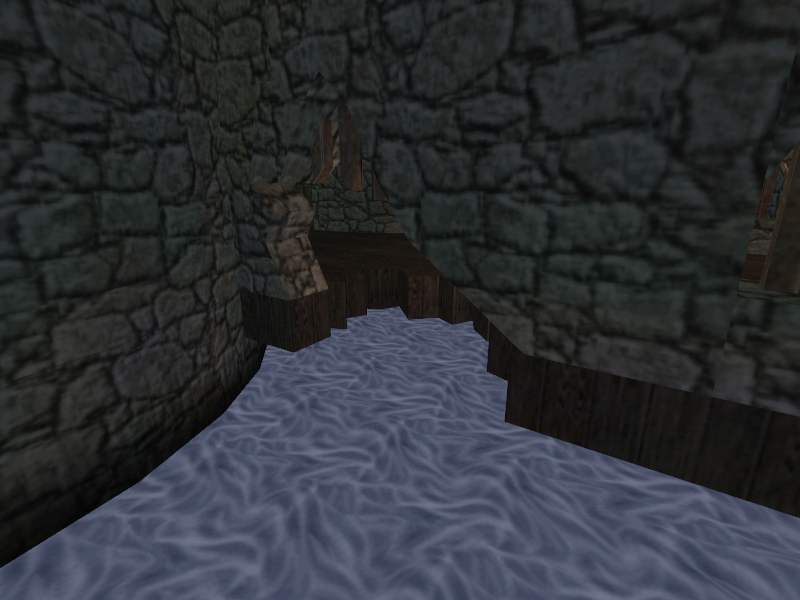
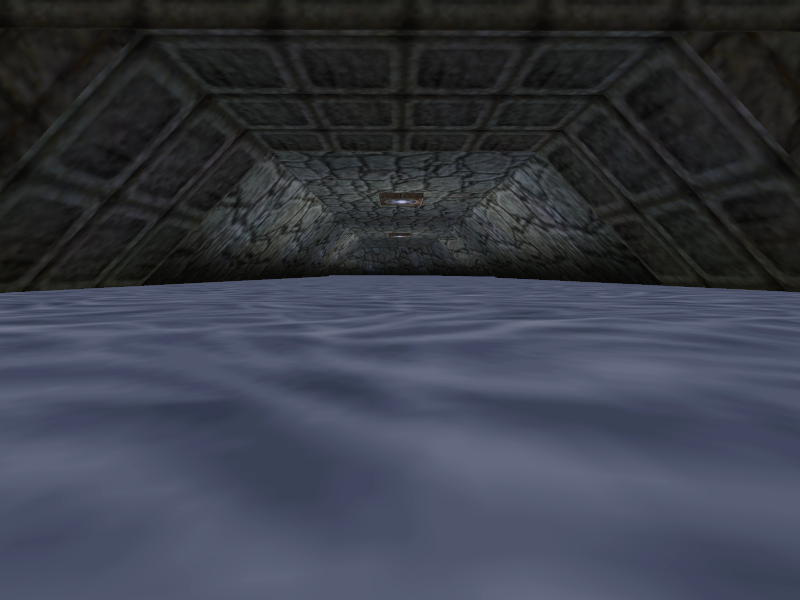
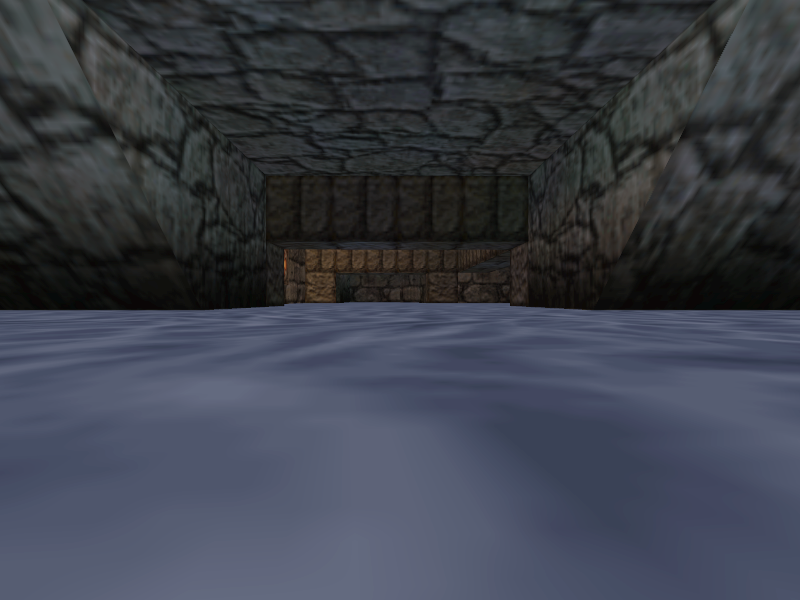
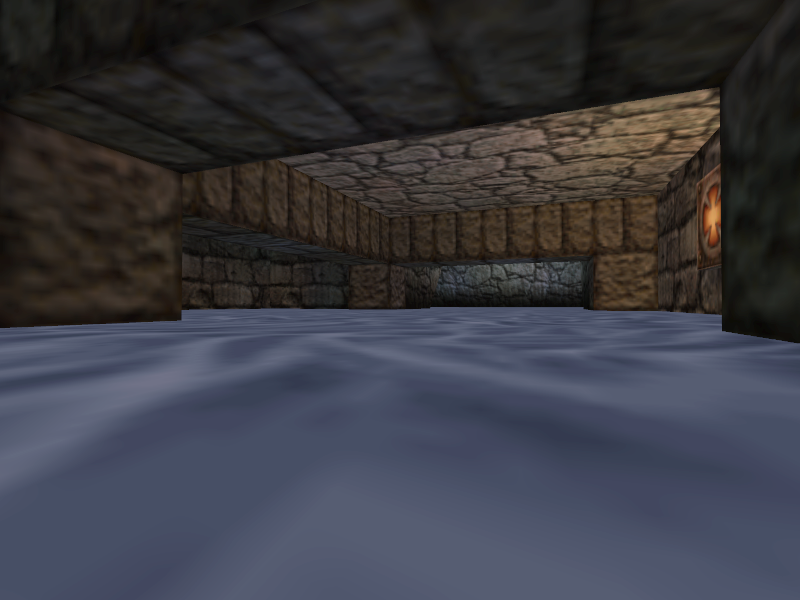
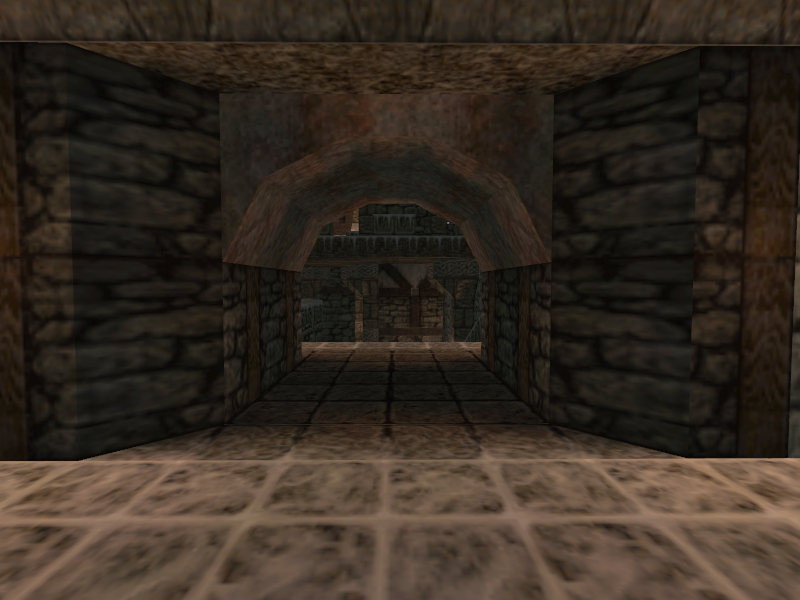
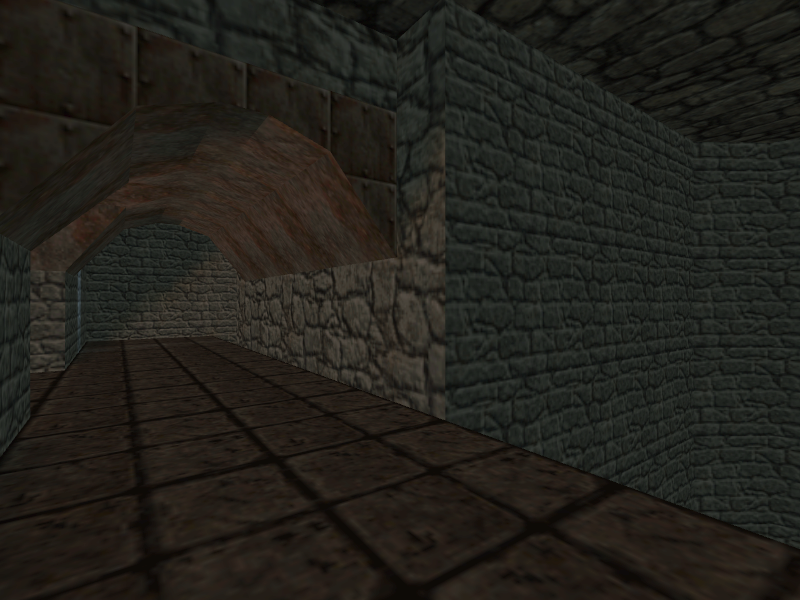
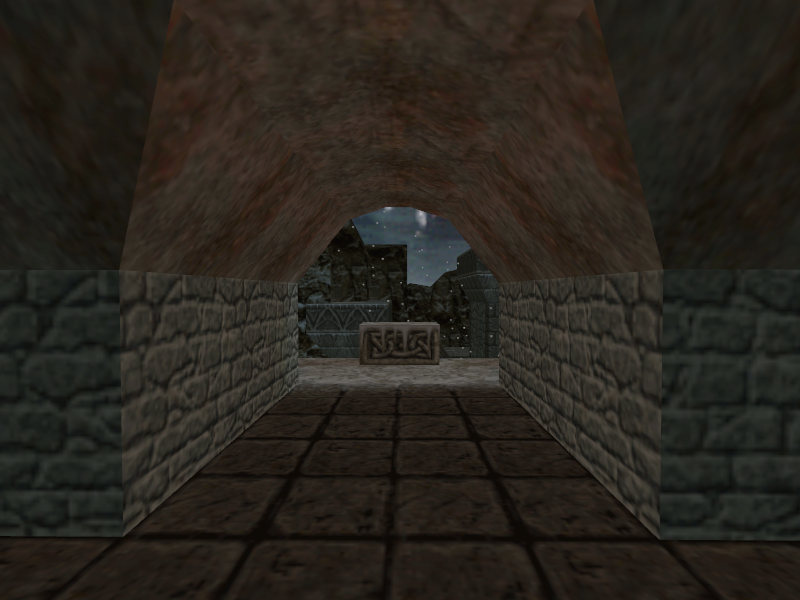
The blown-open hole leads to the sewers area. There isn’t much here, sadly. The player can explore the moat separating the king’s castle from the rest of the area and find a ladder leading to the drawbridge connecting the areas, but that’s it.
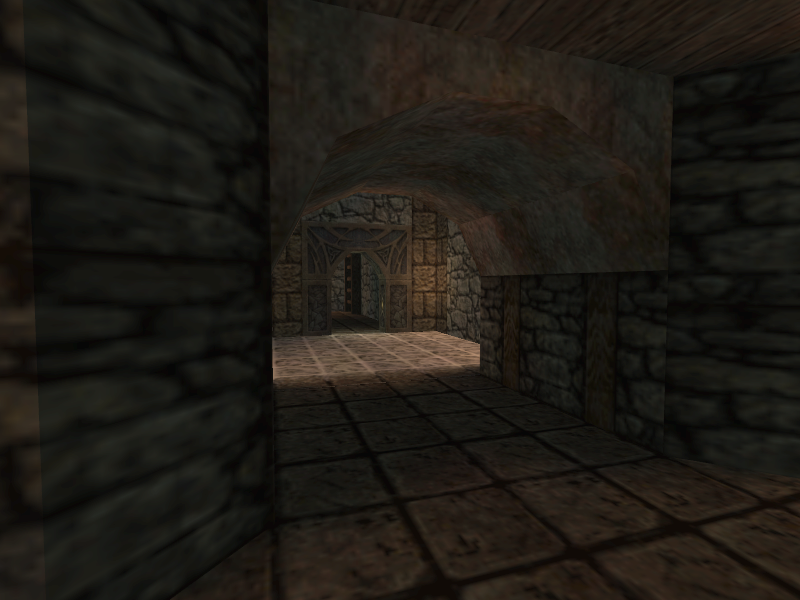
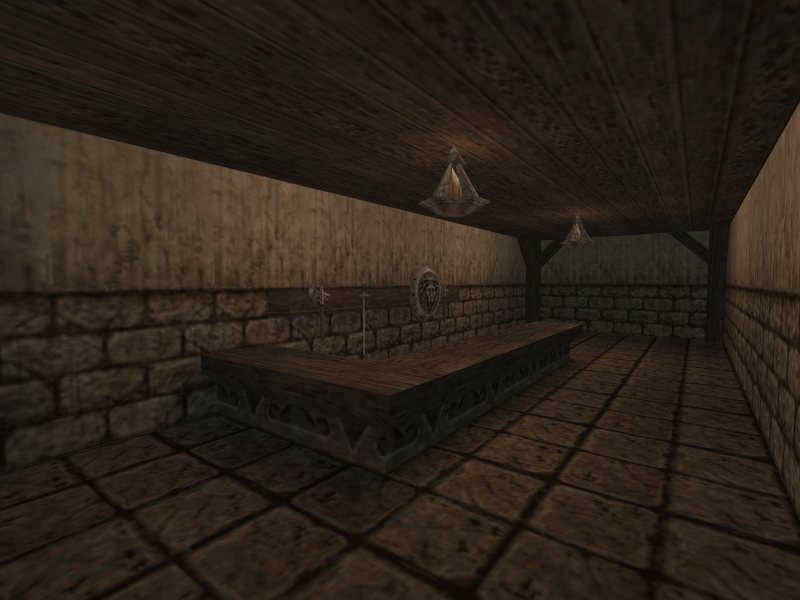
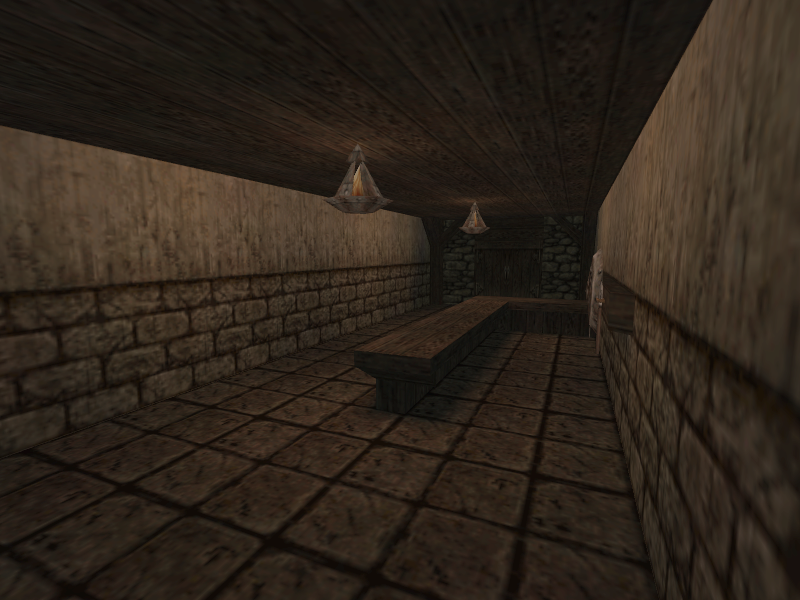
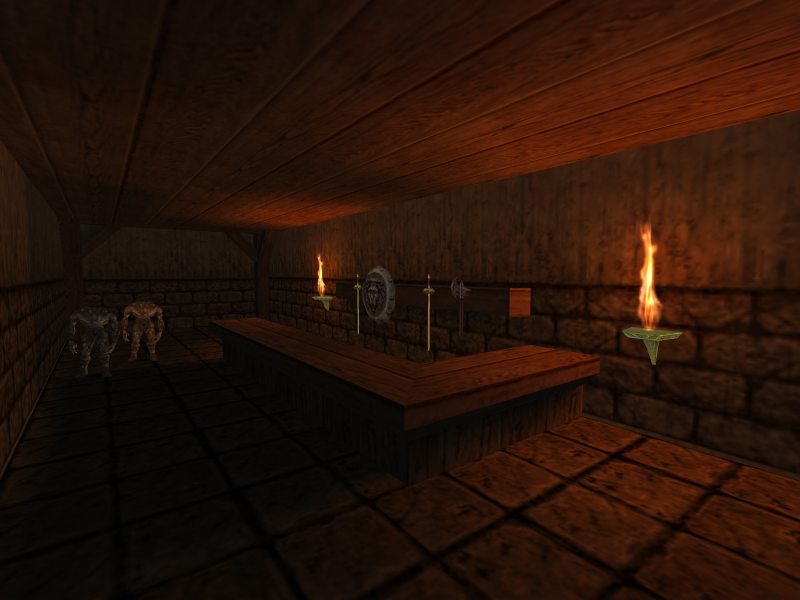
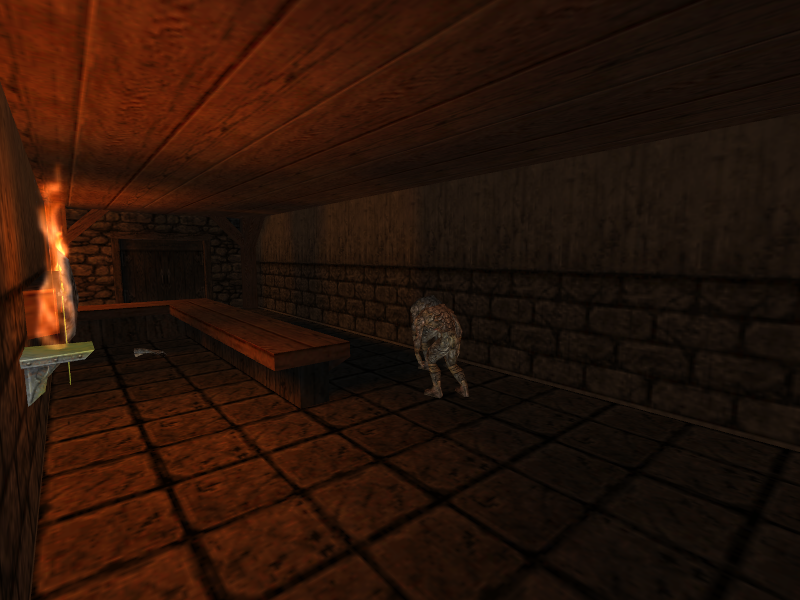
The last path to take is the left one. Just before the entrance to the left path is a door on the right side. Opening it will reveal a weapon’s shop with props in it, but no usable weapons. The final game mirrors this location’s architecture and uses it in E3M1b to store the first Silverclaw the player can find.
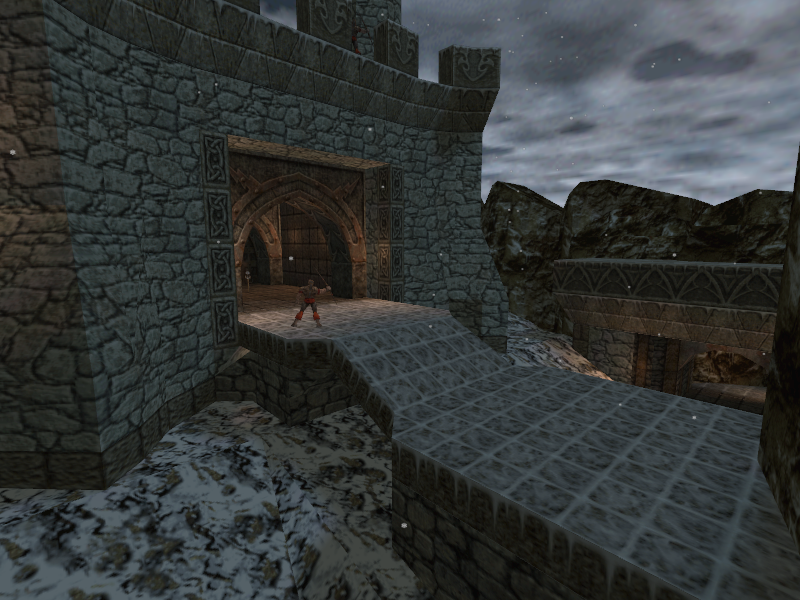
Back on the path, the player will go past a gate and climb up a staircase. At the end of it is a drawbridge guarded by a Hellfire Paladin. There is also the ladder mentioned earlier in the sewers section if one hops into the moat. The drawbridge will lower once the player gets close to it.
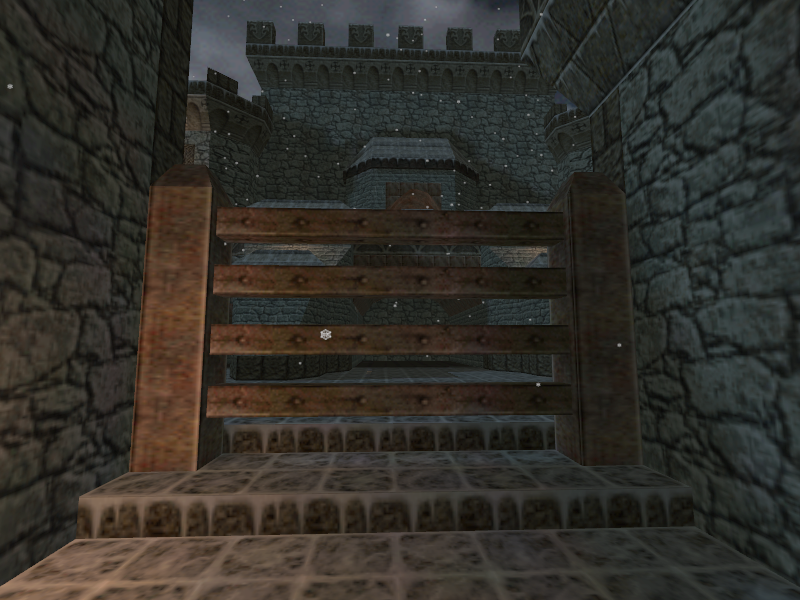
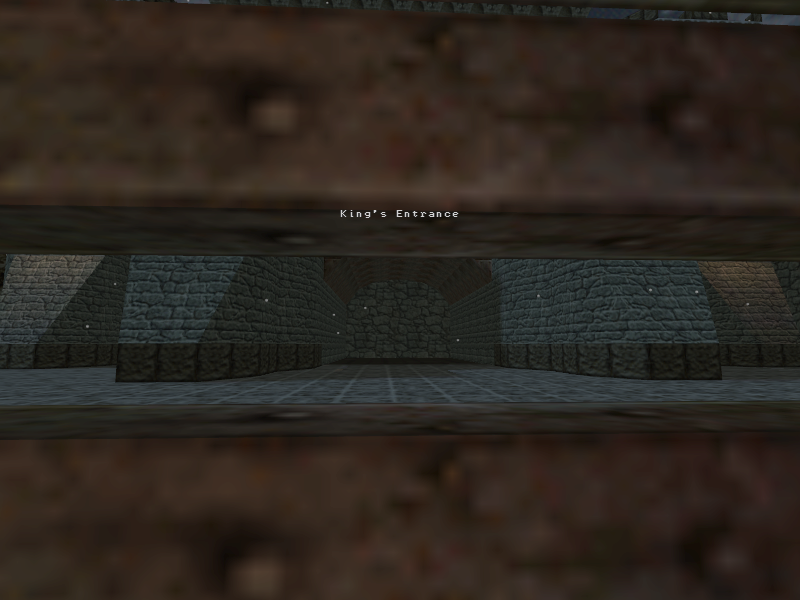
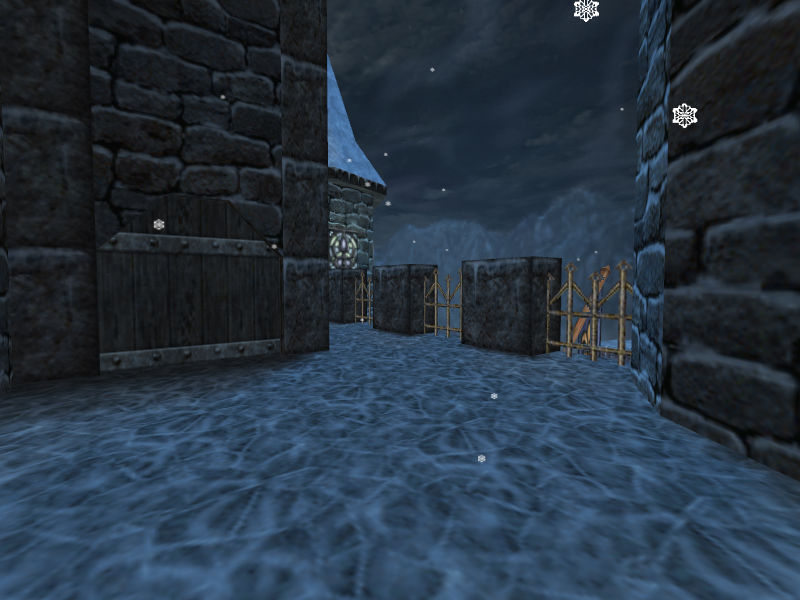
After the drawbridge is a staircase that leads up. Heading up it will reveal the last split path. Taking a left will lead to a dead end overlooking the drawbridge area. Heading forward will have the player bump into a wooden fence with a castle beyond it. When the player gets close to the fence, the message “King’s Entrance” will appear on the screen.
With noclip, the player can explore the castle area. The castle itself is large, but is made up of mostly the facade. There is an entrance in the center of the castle, but it quickly ends, leading nowhere. There are entrances on the side of the castle that lead to the upper floor. The upper floor consists of a way to an area overlooking the castle area from the castle.
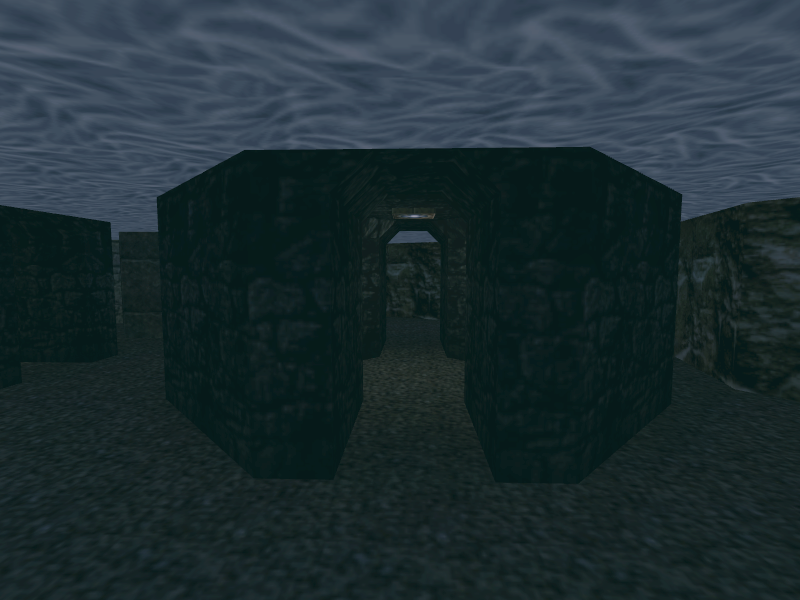
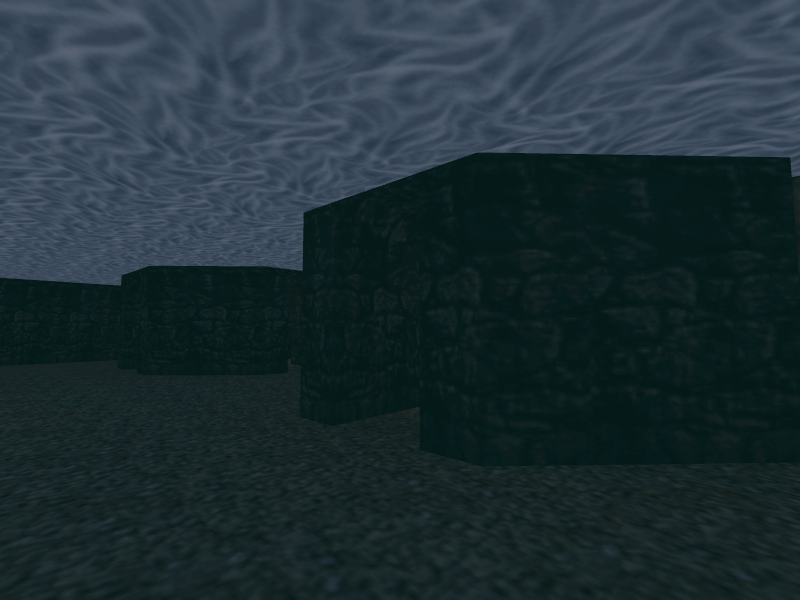
Near the castle is a large box area. This would likely be used for whatever scripting the map would need, but it contains nothing and there is no way for anything to teleport inside it.
The map has no definitive end.
|
Prototype |
Final |
|---|---|
|
|
|
|
Prototype |
Final |
|---|---|
|
|
|
|
Prototype |
Final |
|---|---|
|
|
|
|
Prototype |
Final |
|---|---|
|
|
|
|
Prototype |
Final |
|---|---|
|
|
|
|
Prototype |
Final |
|---|---|
|
|
|
|
Prototype |
Pre-release Image |
|---|---|
|

|
|
Prototype |
Pre-release Image |
|---|---|
|

|
|
Prototype |
Quake Engine Era Pre-release Image |
|---|---|
|
|
|
Prototype |
Quake Engine Era Pre-release Image |
|---|---|
|

|
E3M5#
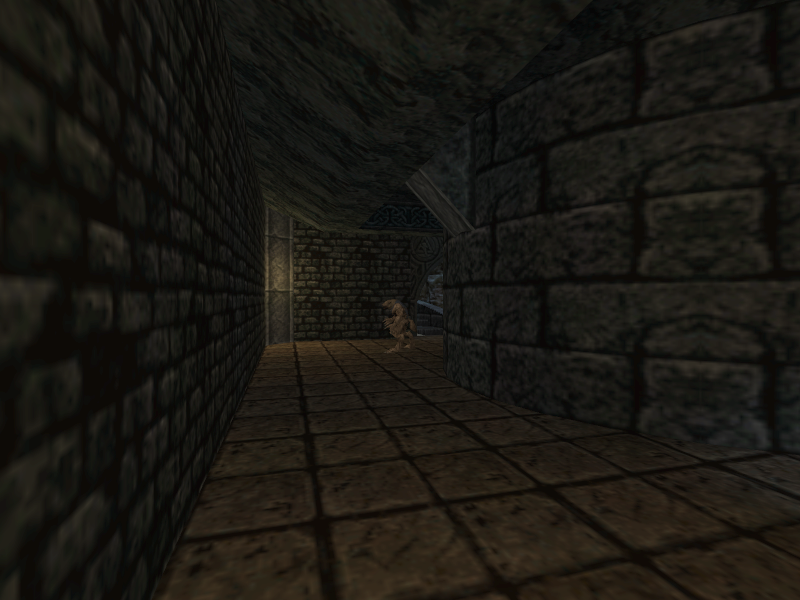
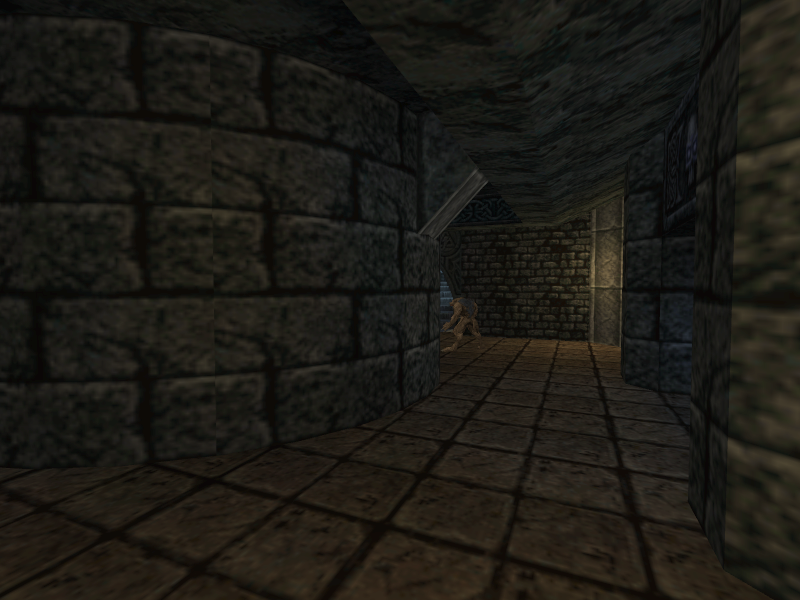
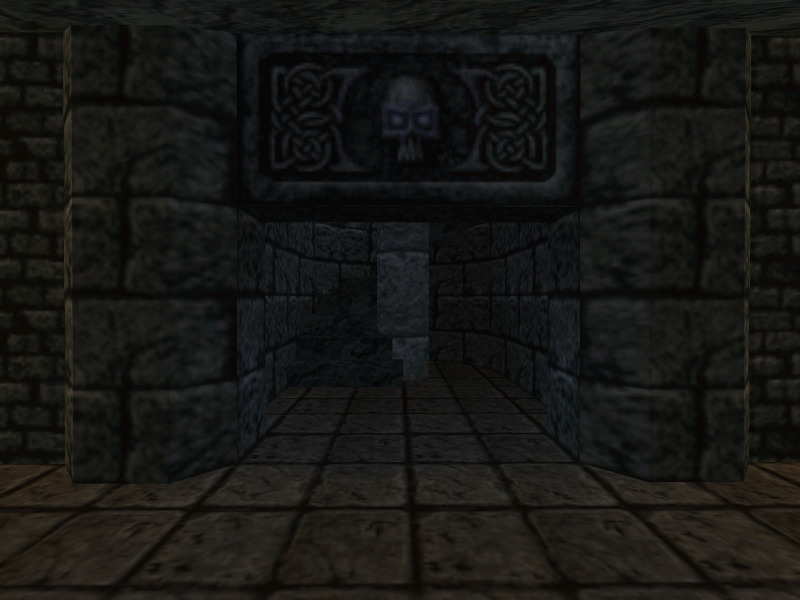
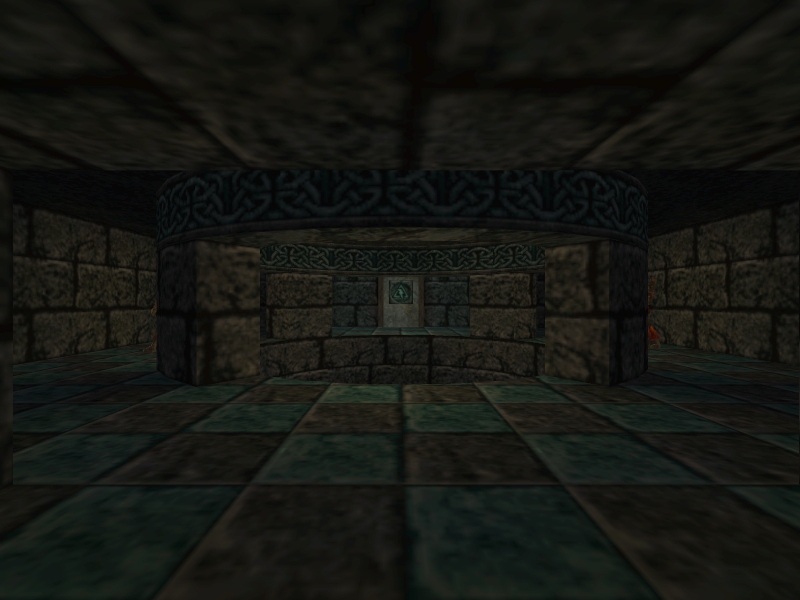
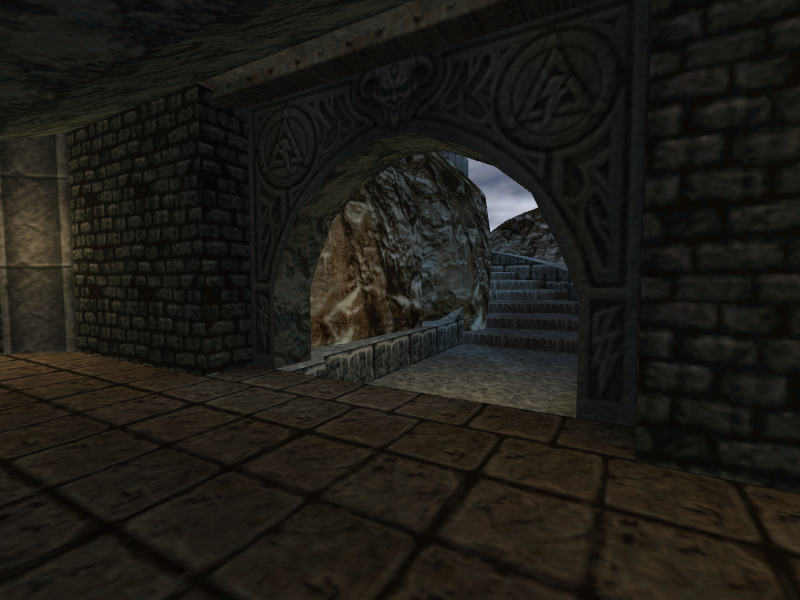
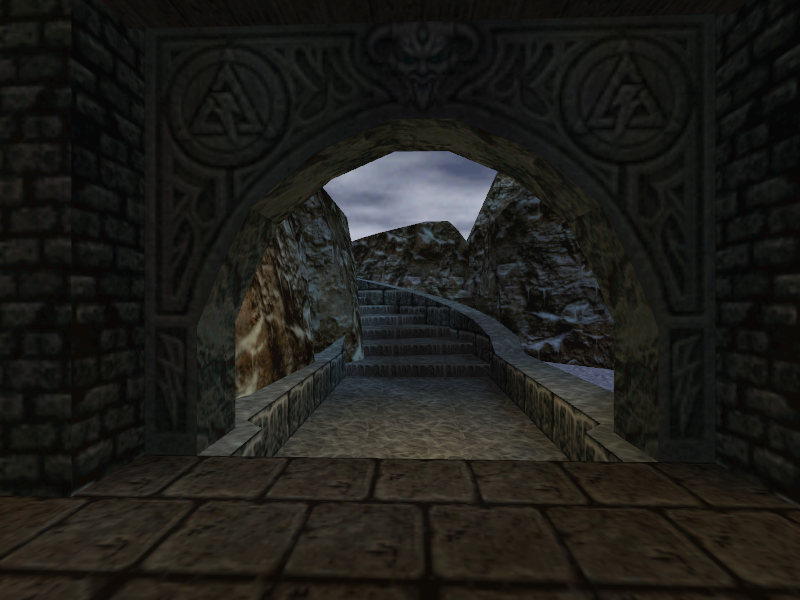
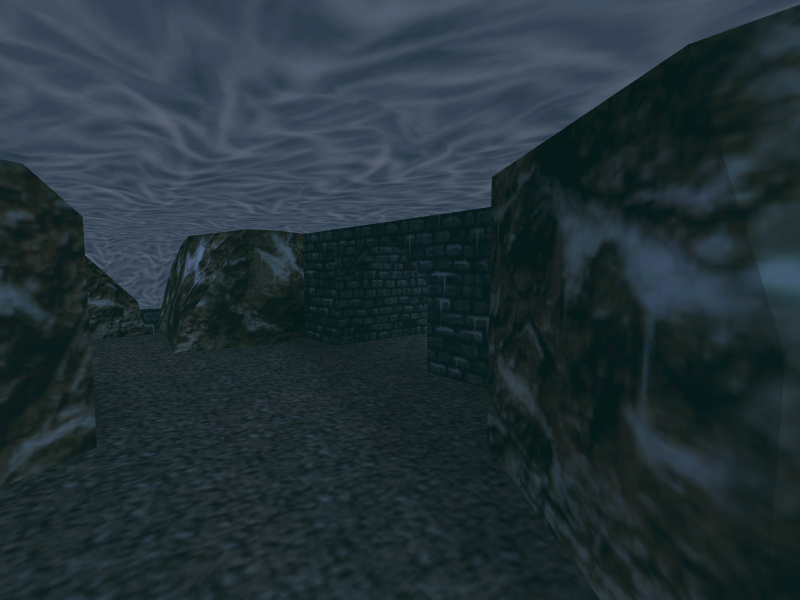
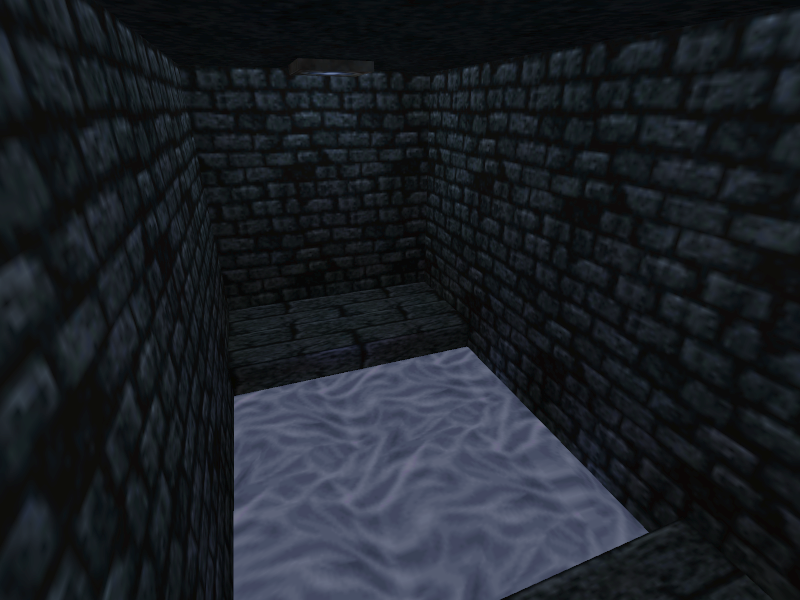
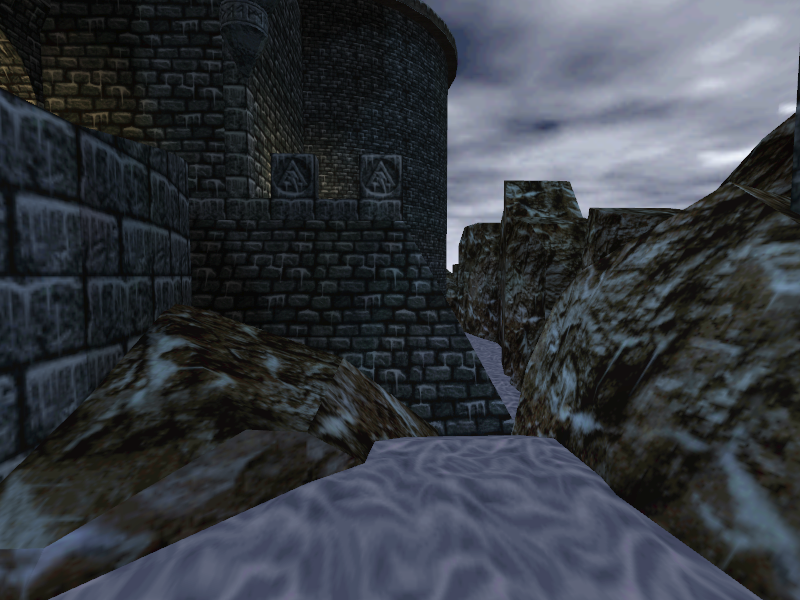
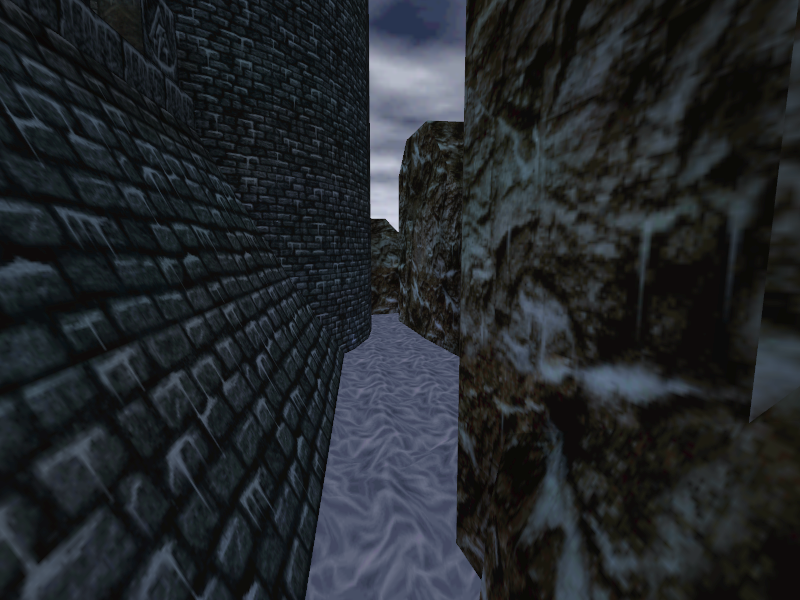
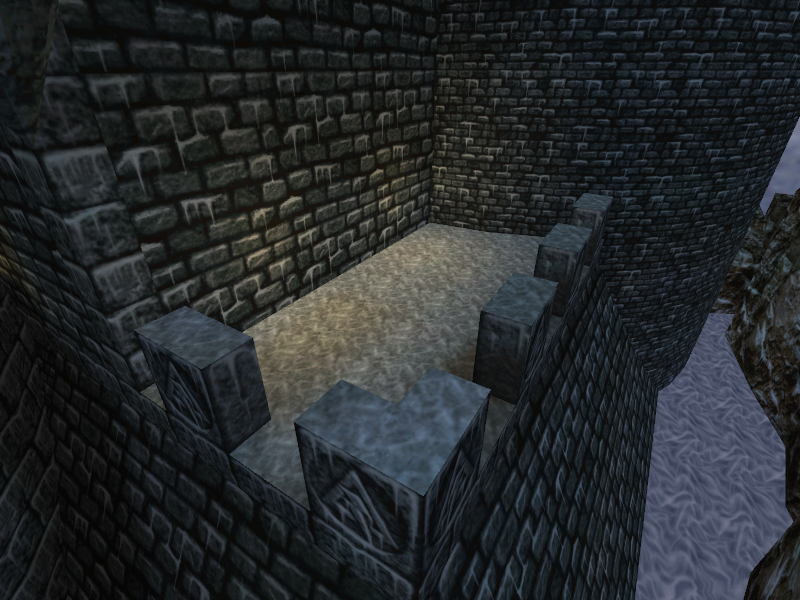
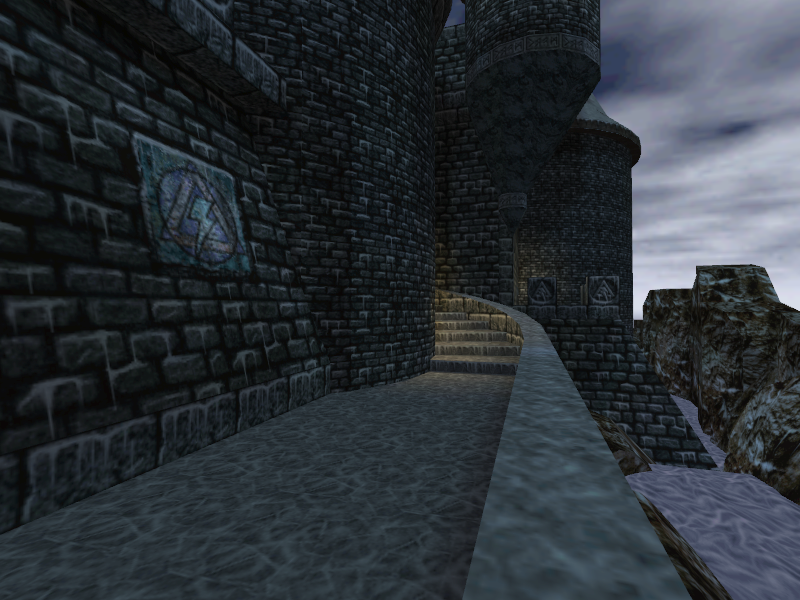
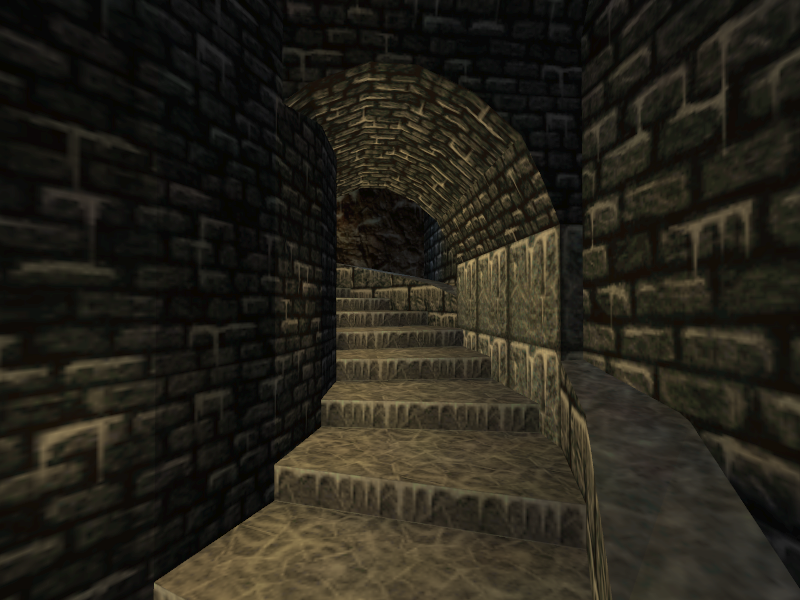
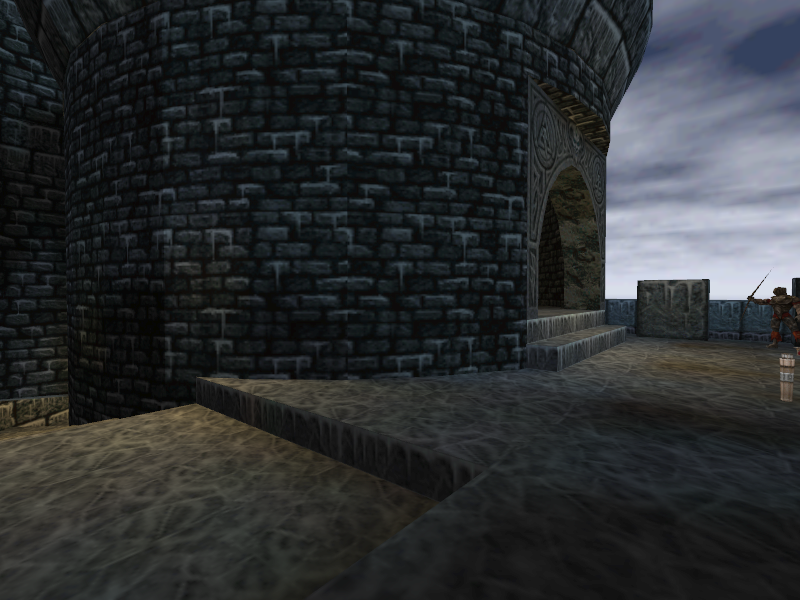
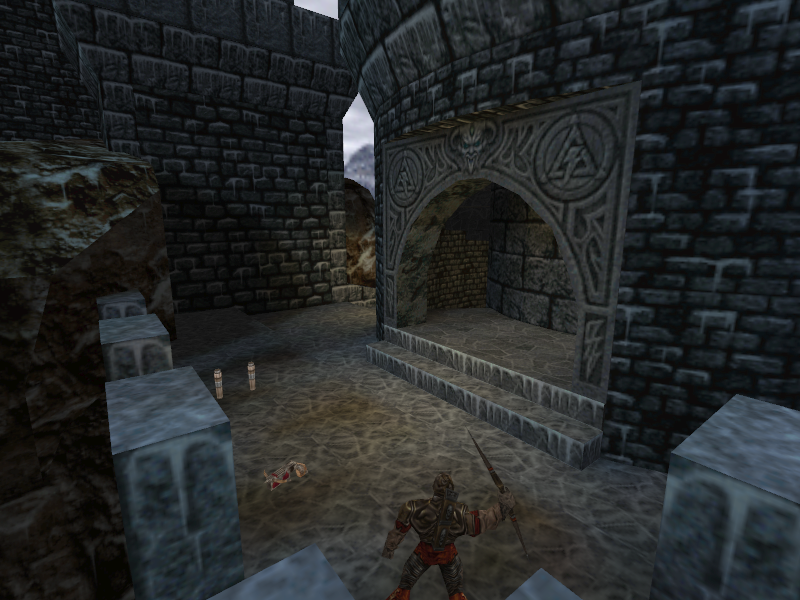
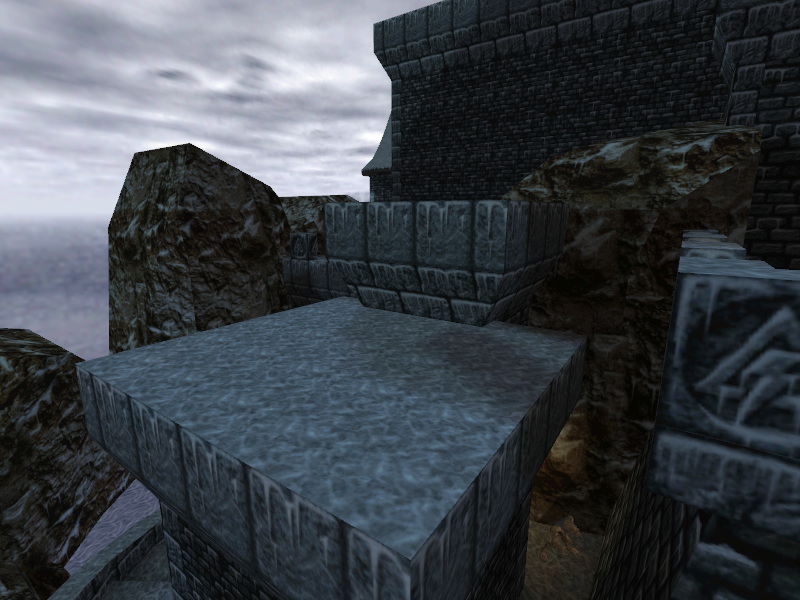
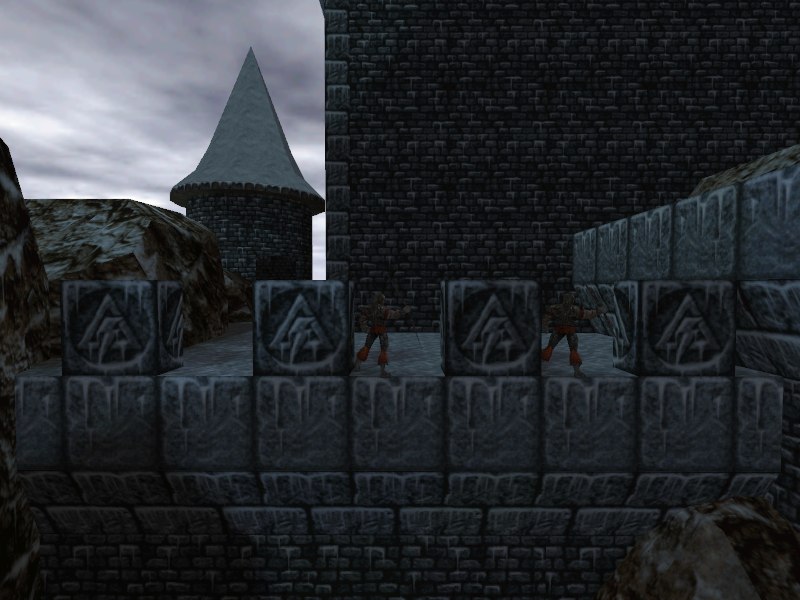
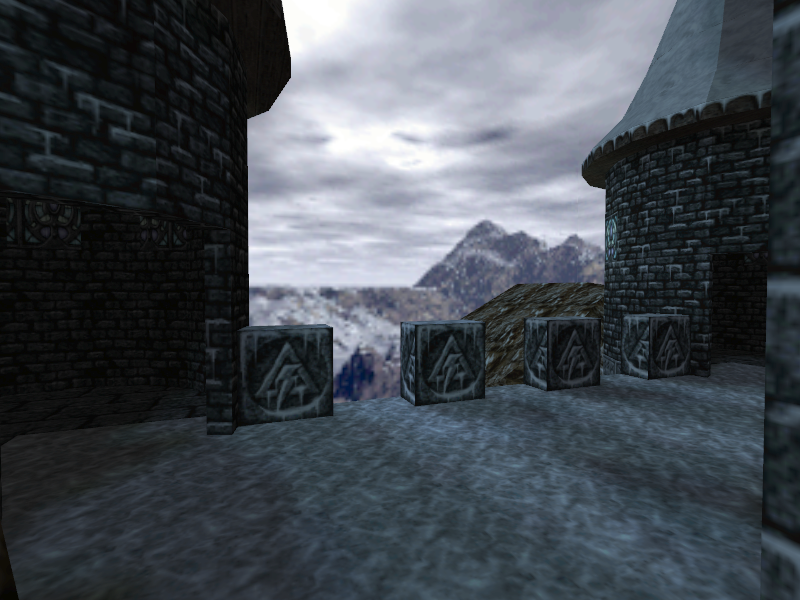
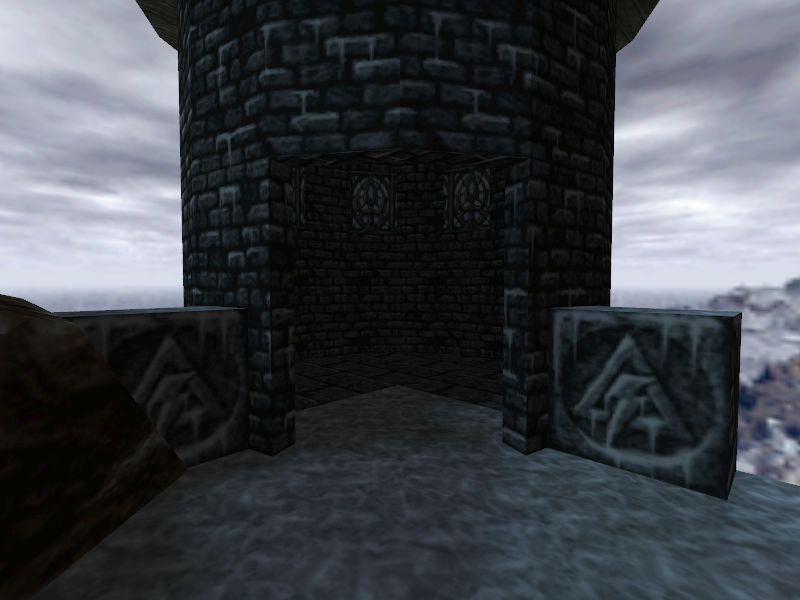
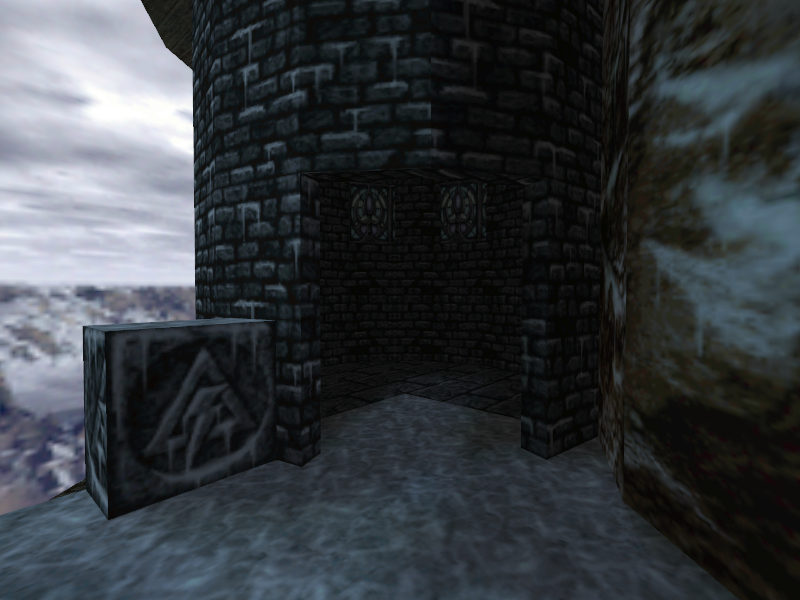
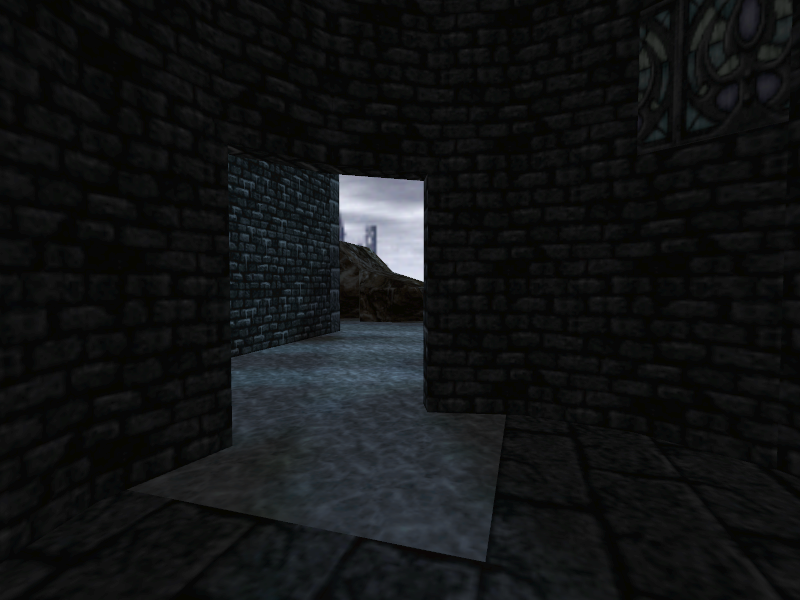
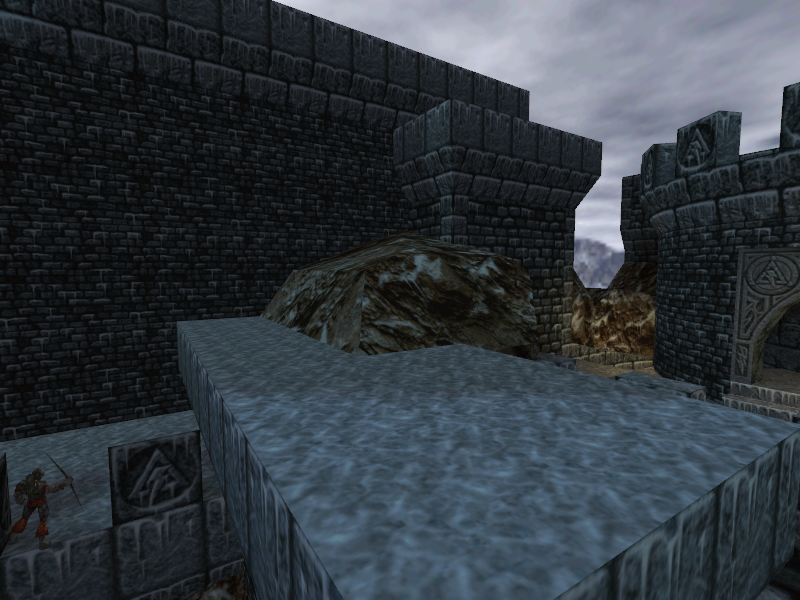
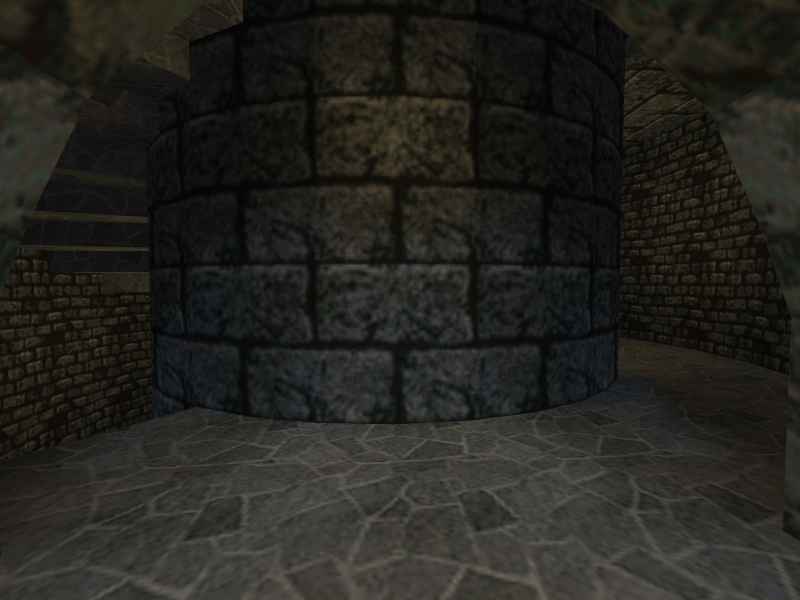
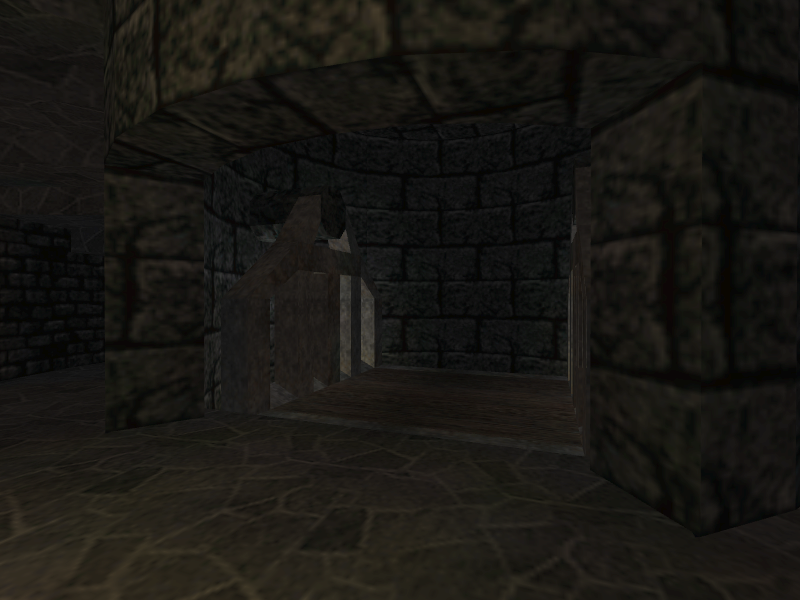
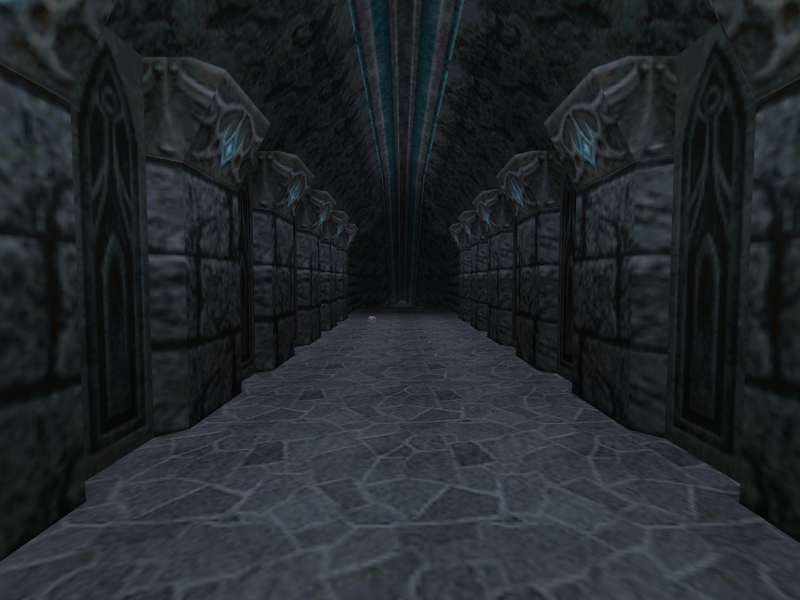
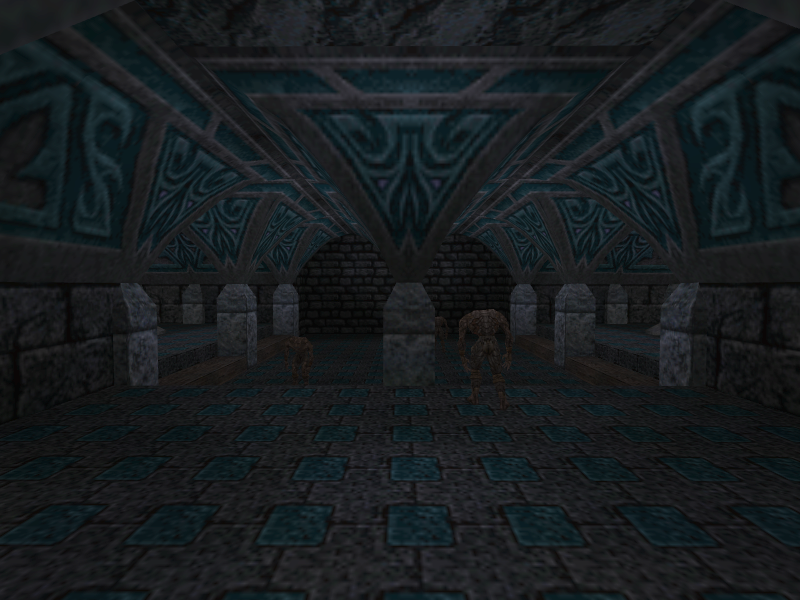
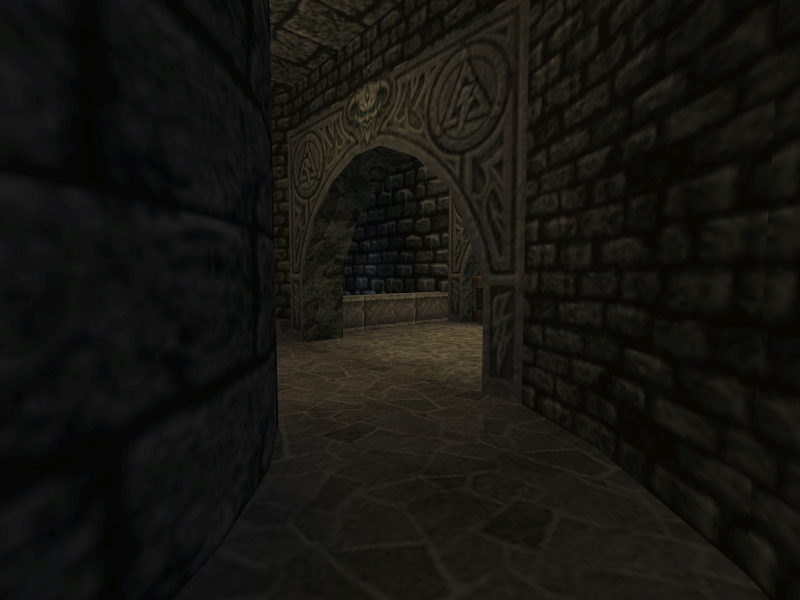
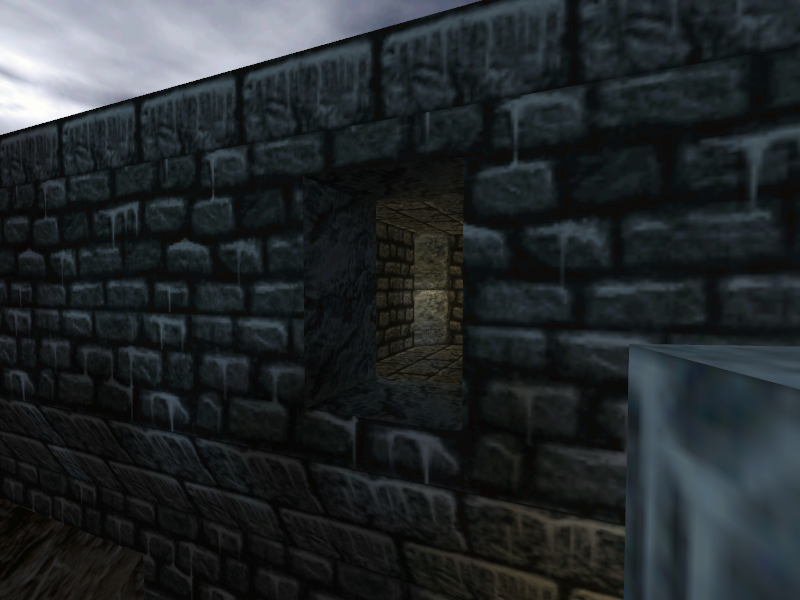
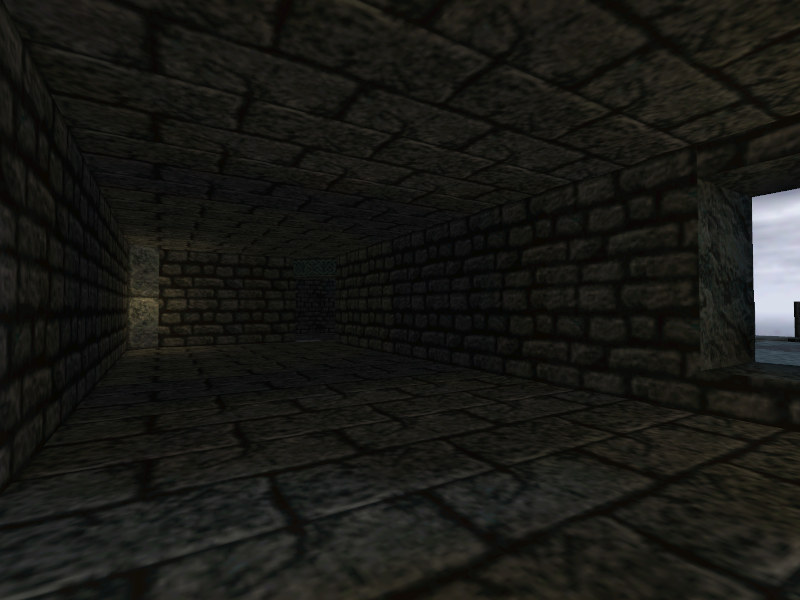
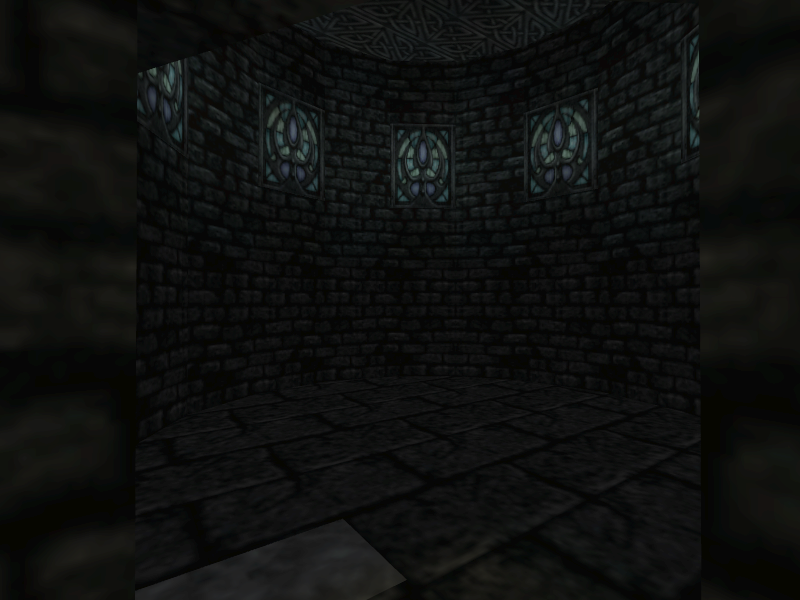
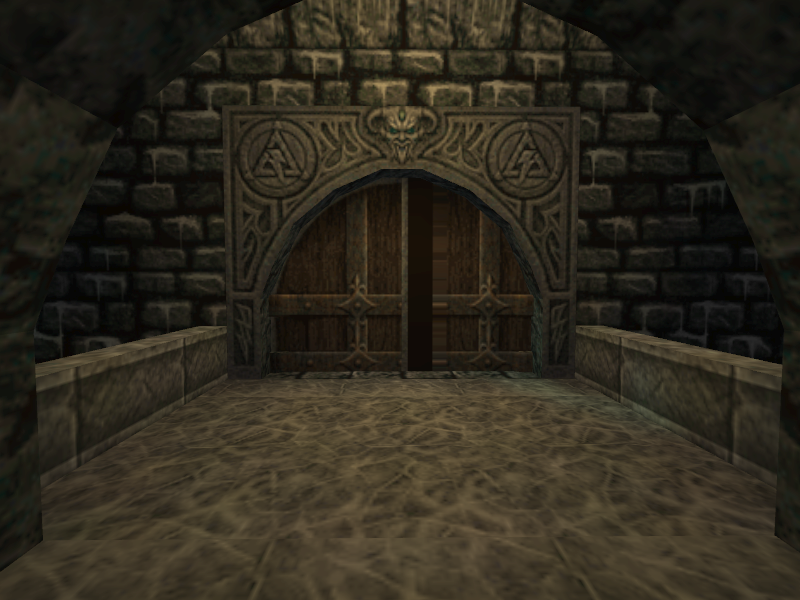
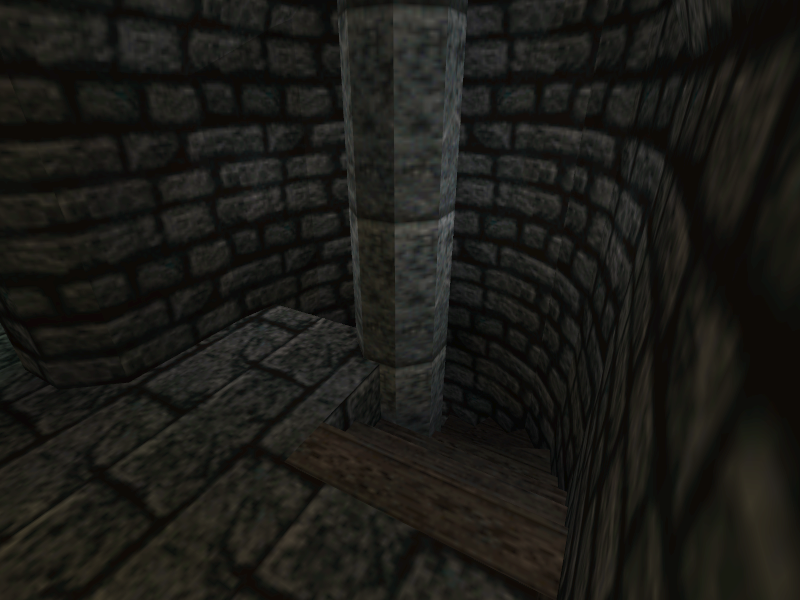
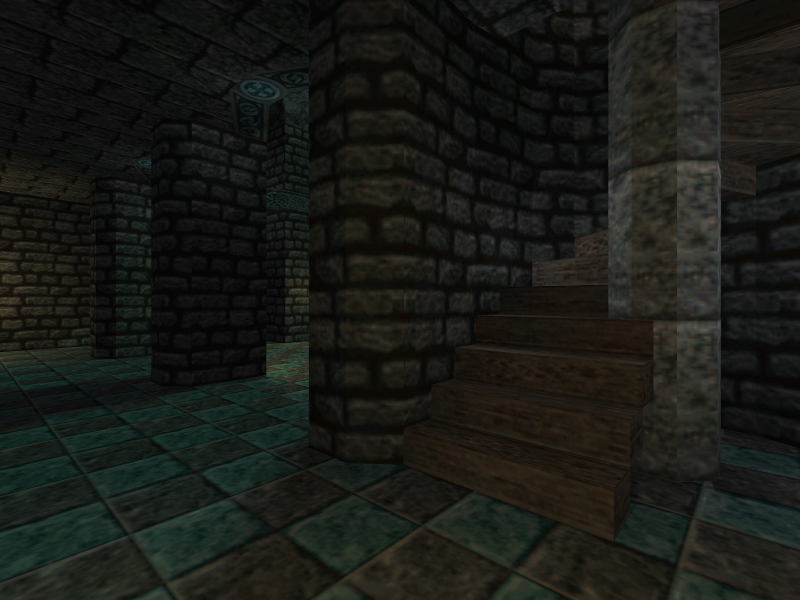
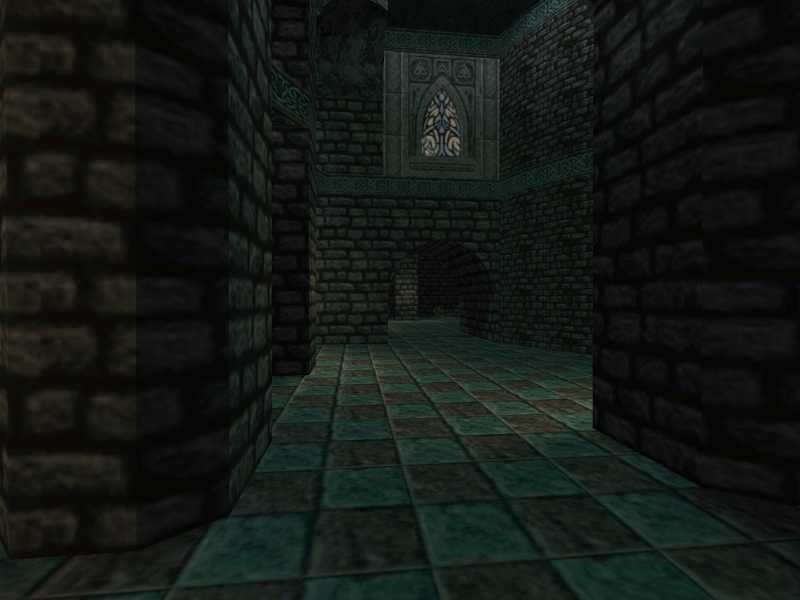
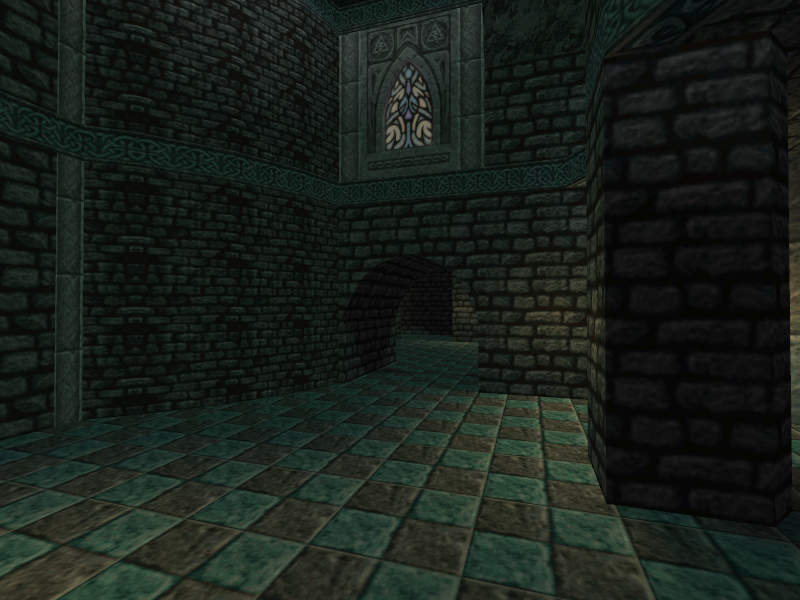
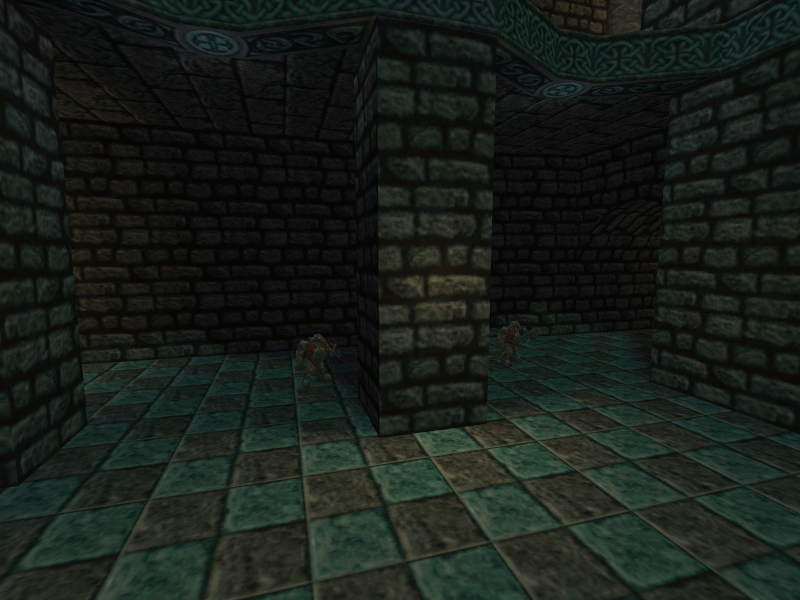
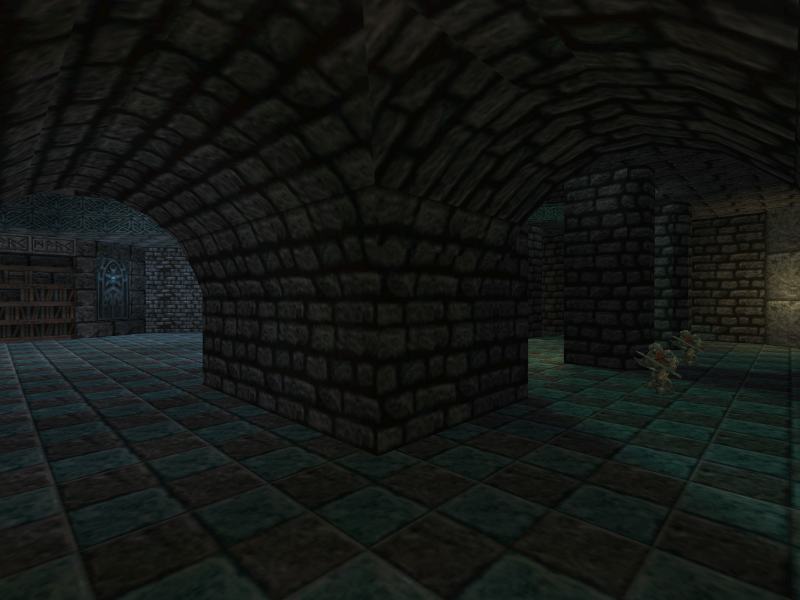
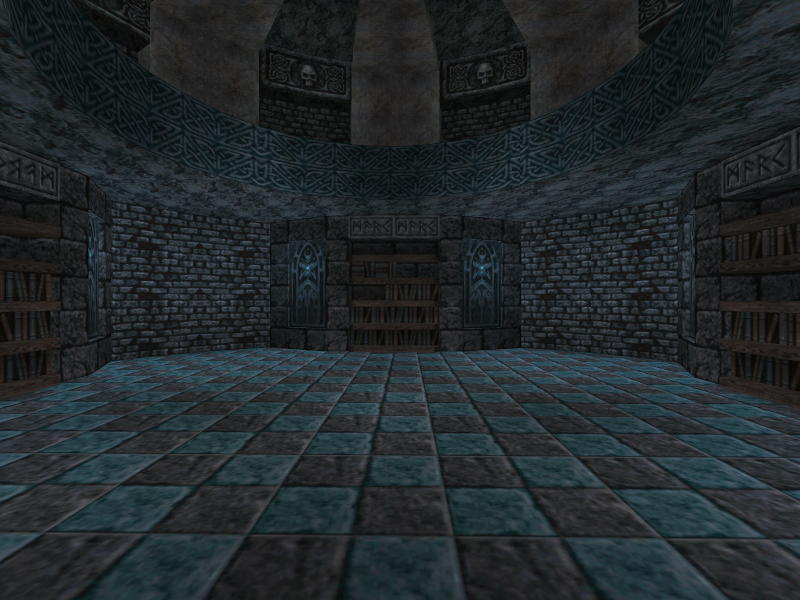
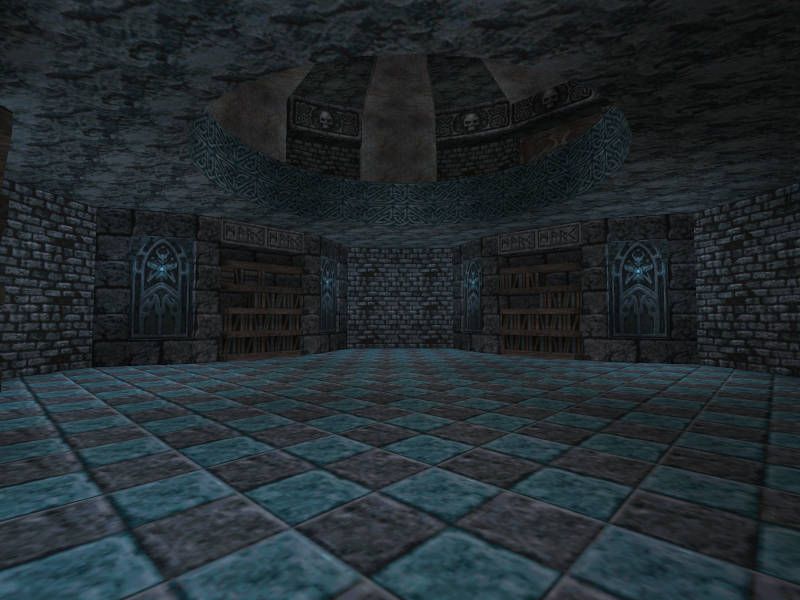
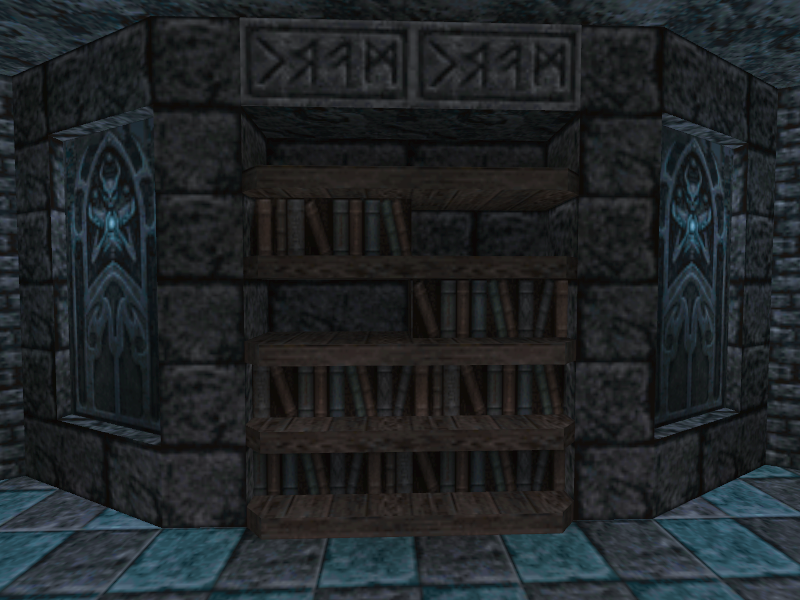
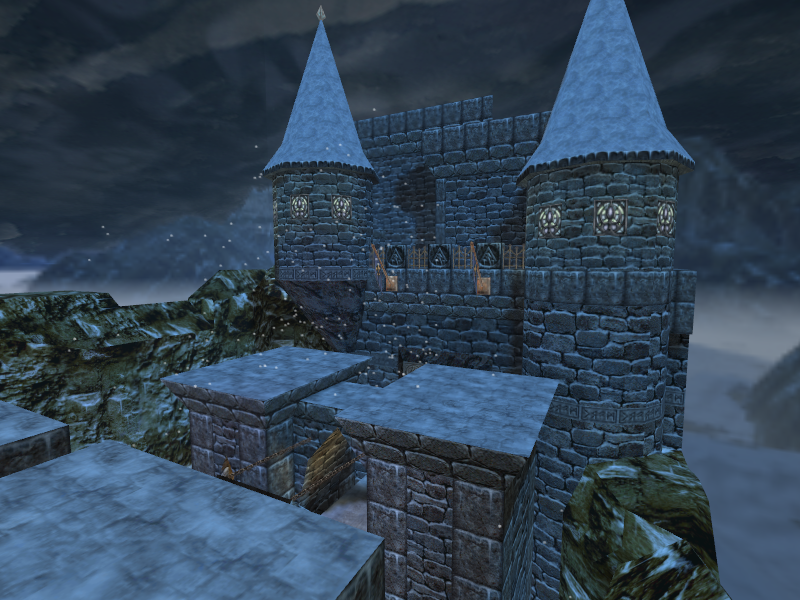
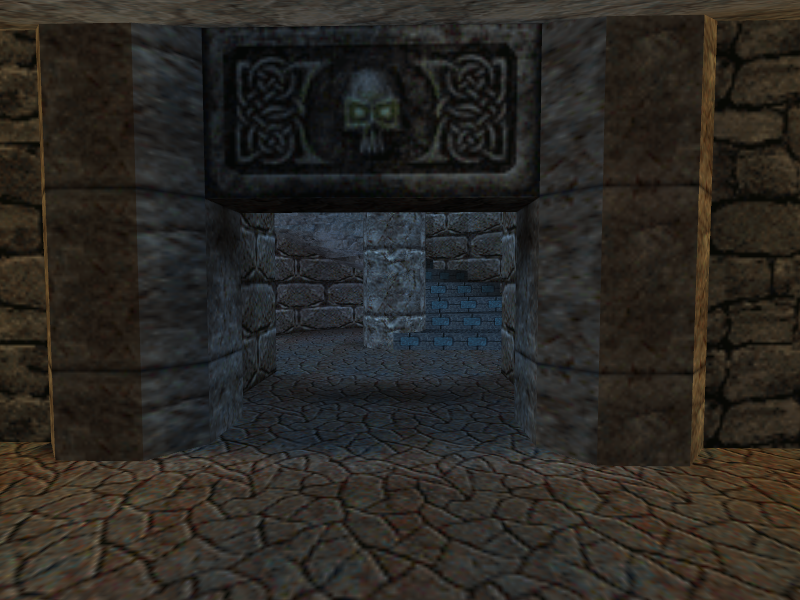
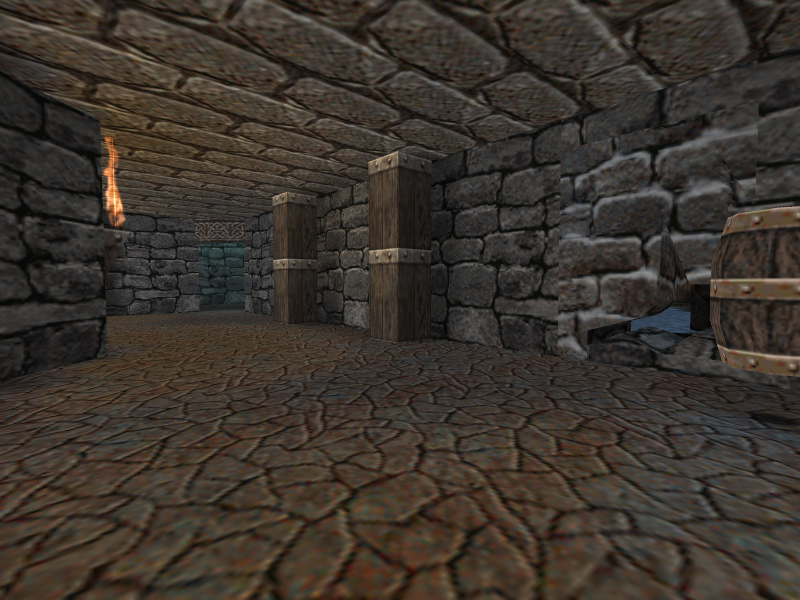
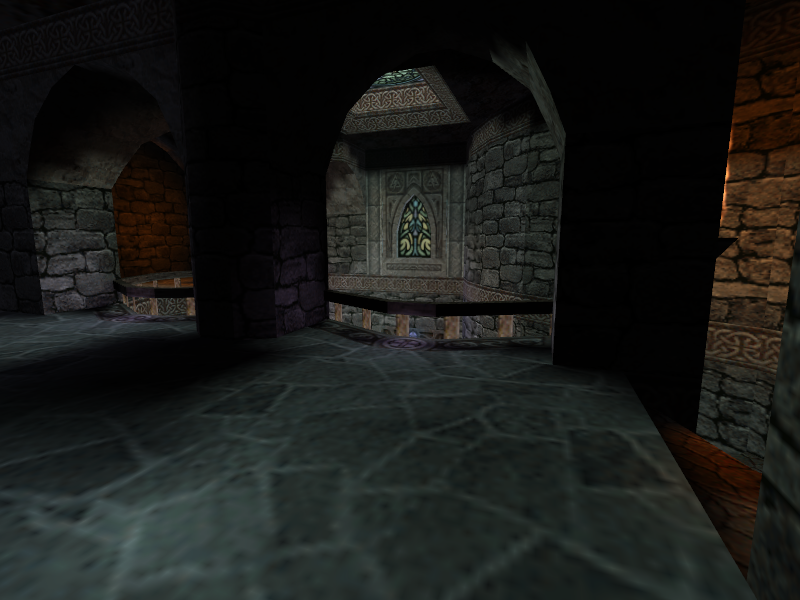
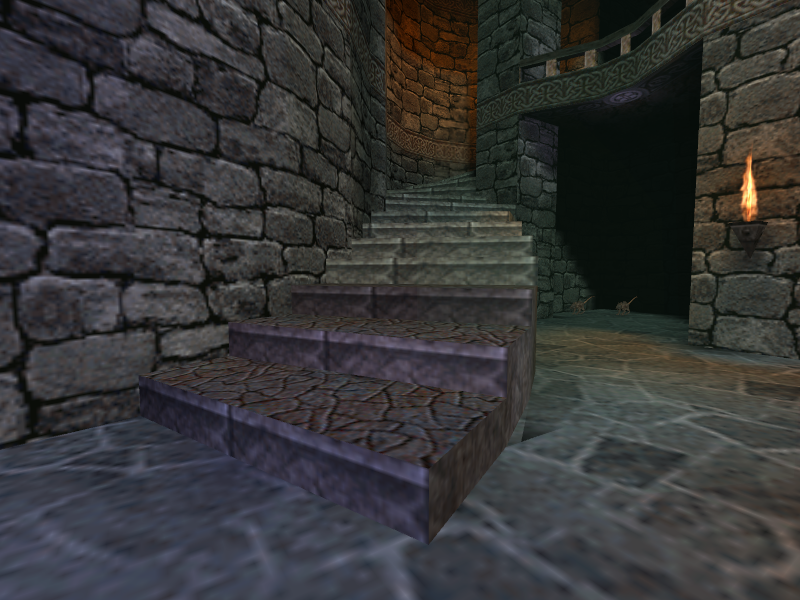
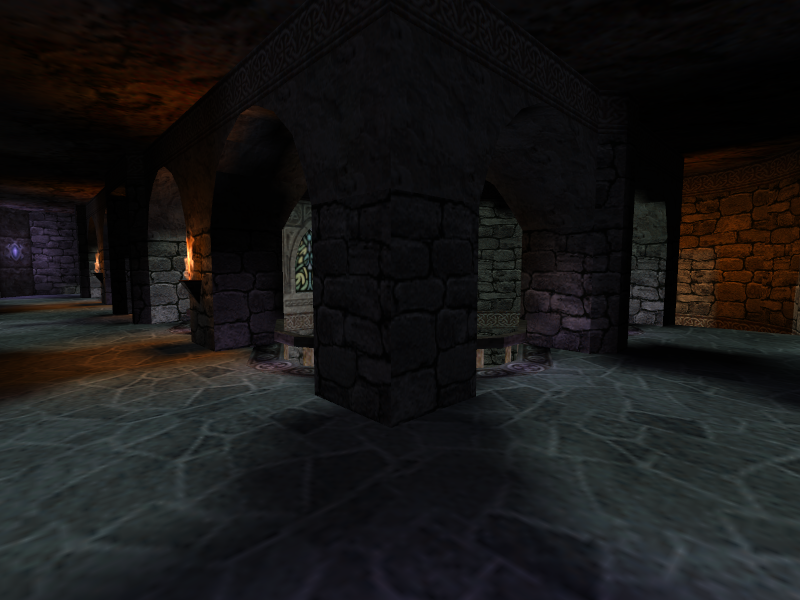
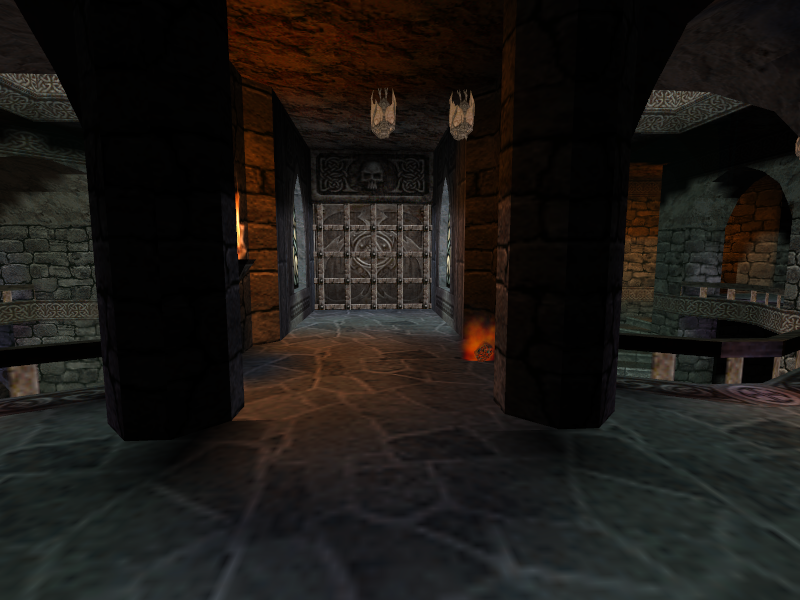
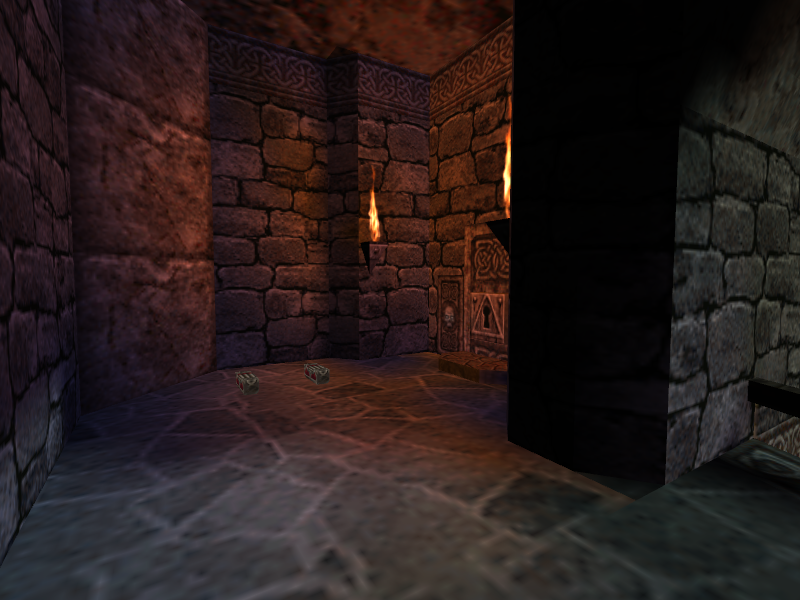
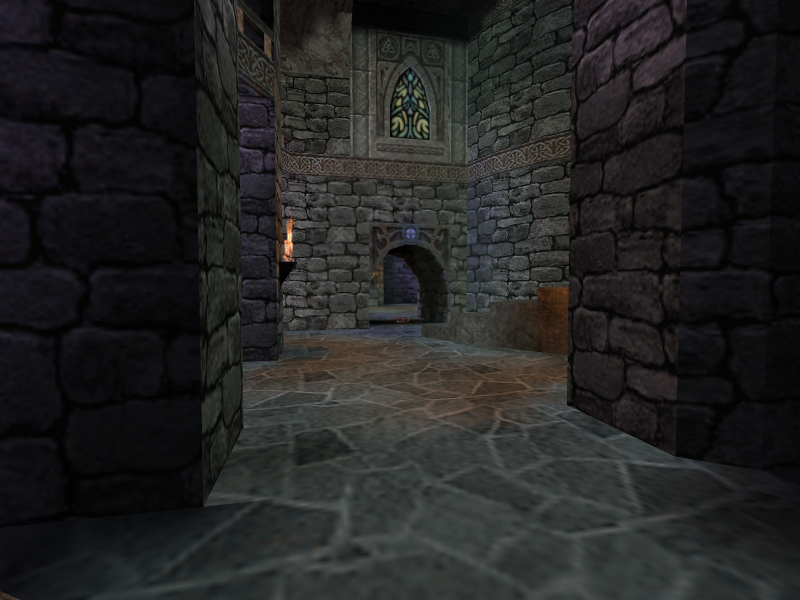
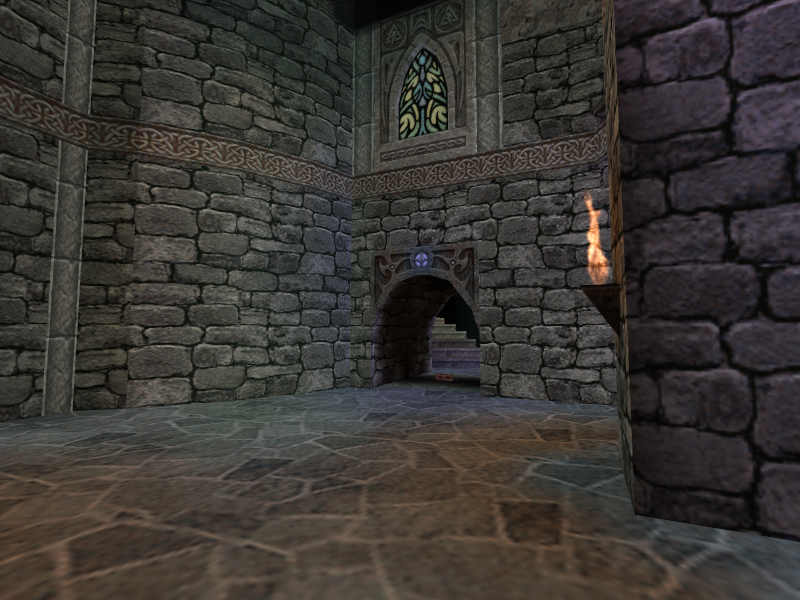
E3M5 is actually a prototype of the final game’s E3M4. Surprisingly, this version of the level contains a good amount of architecture that appears in the final game, essentially unchanged. A few fixes for optimizing and several gameplay improvements can be seen between the 0.10 E3M5 and the final E3M4, but overall, both of them keep the heart of Wyndrax’s Tower between each version.
Like the final game’s E3M4 area, E3M5 is named “Wyndrax’s Tower”.
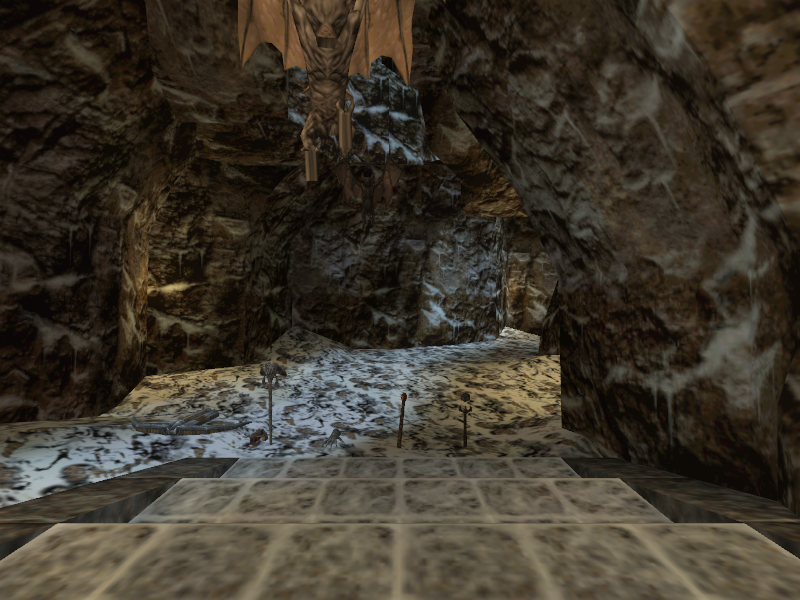
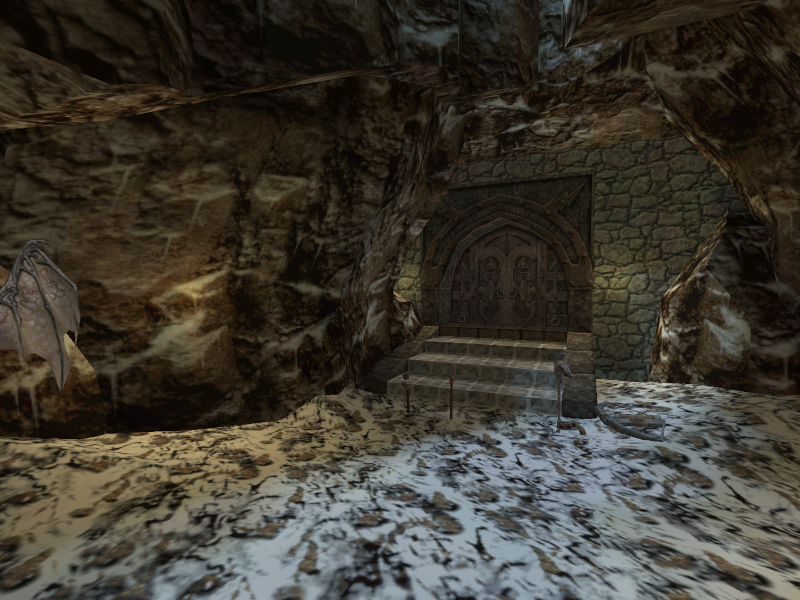
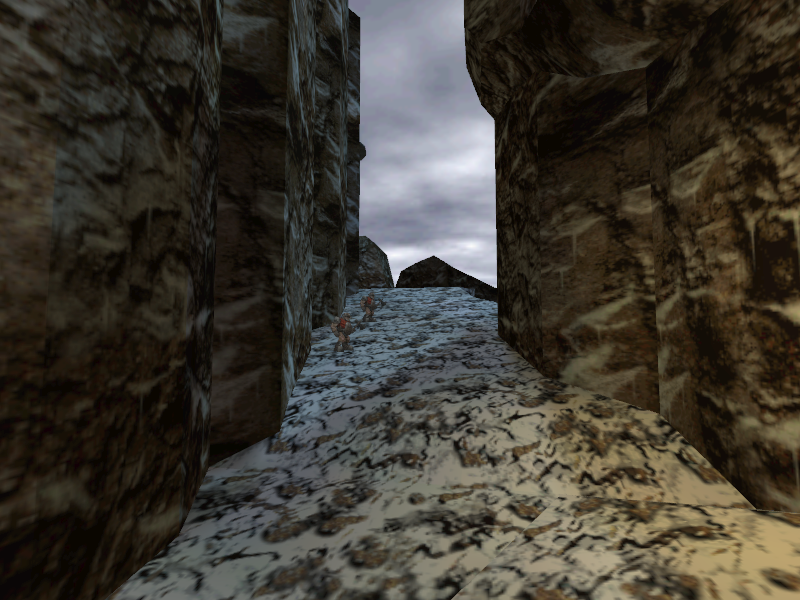
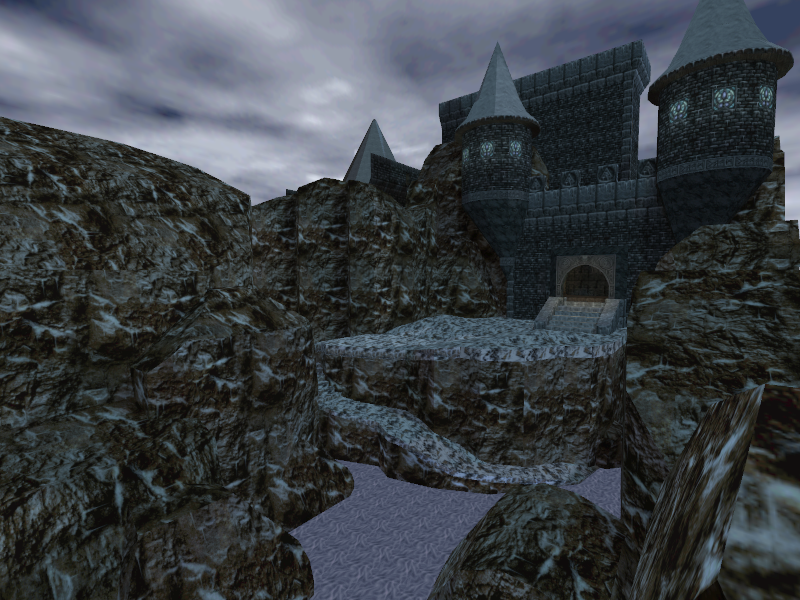
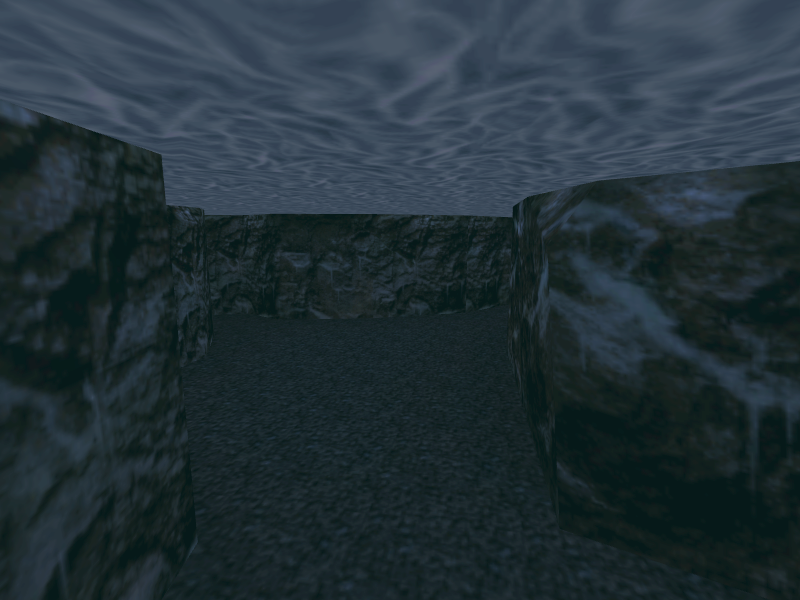
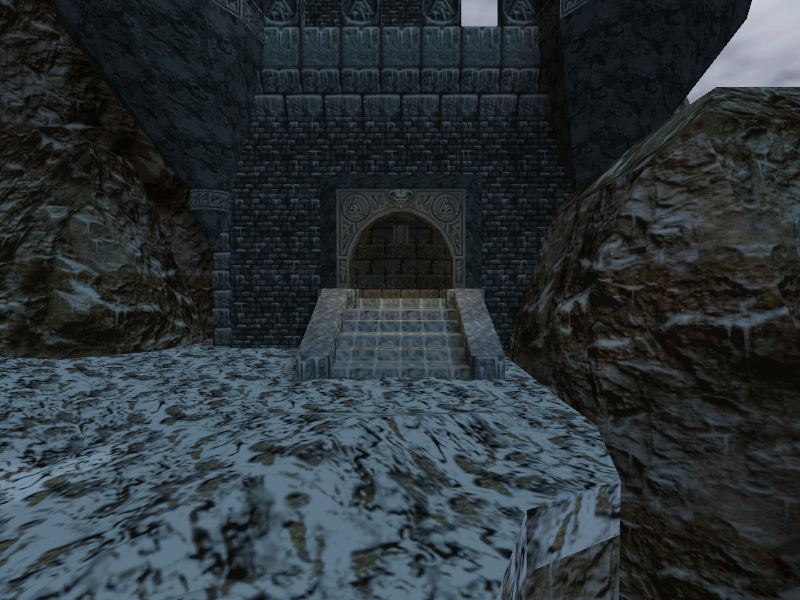
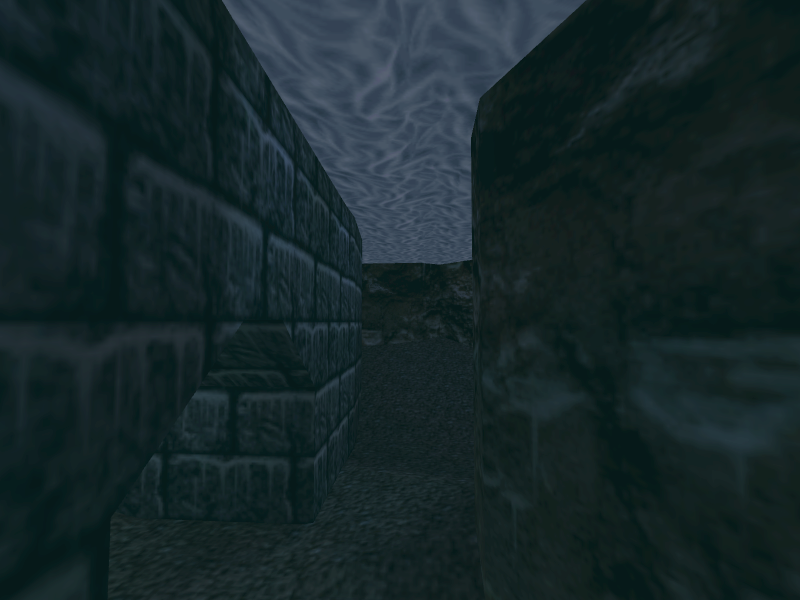
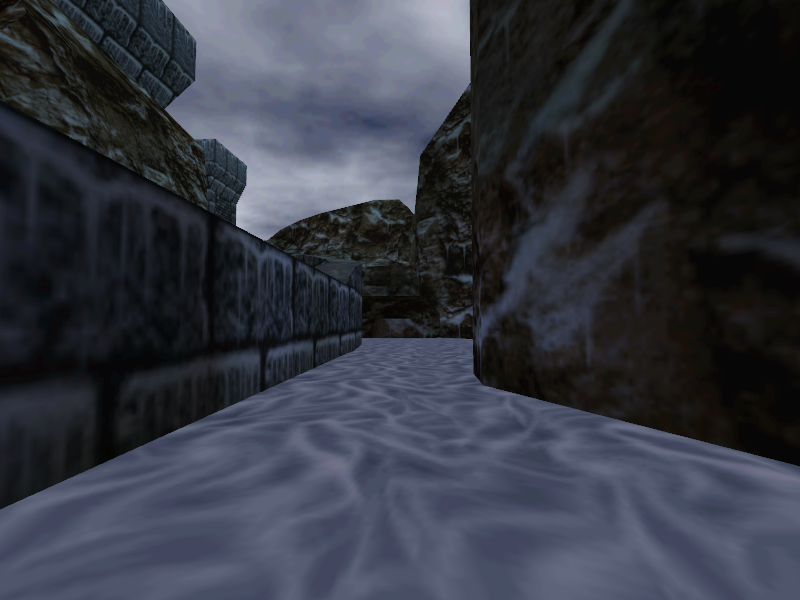
- The path to the castle’s front gates are completely different in this prototype. The player has to follow a linear road that leads right to the front door. The path has a large lake area that was cut from the final game. The lake is purely decorational and serves no gameplay purpose.
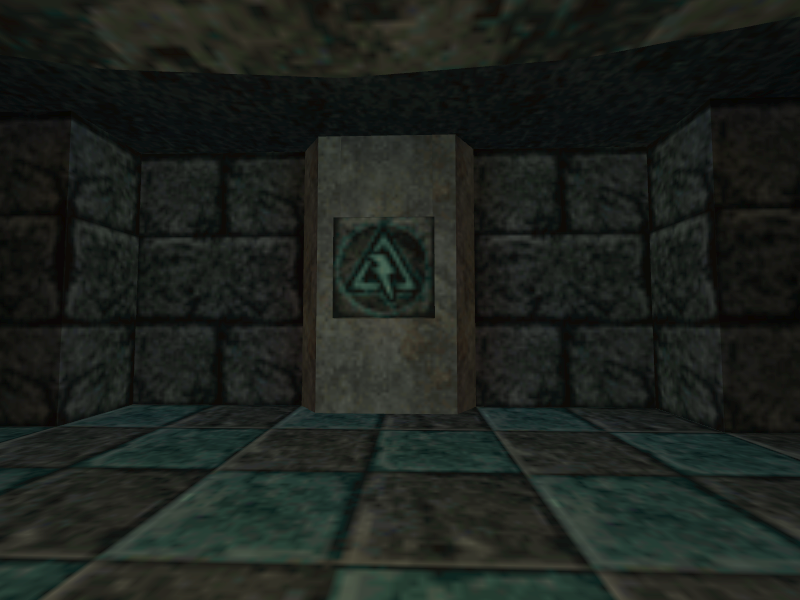
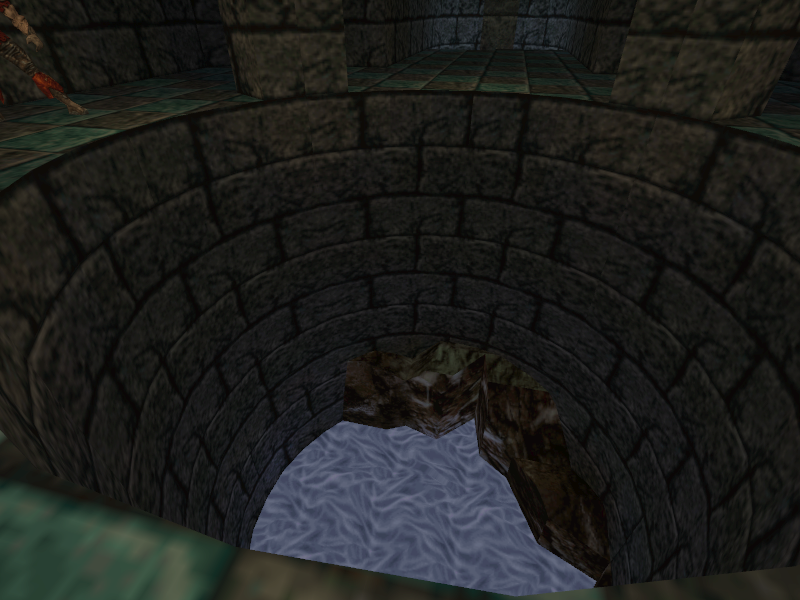
- The well inside the first room of the castle is always open. The player does not need to use a secret button in order to open the way.
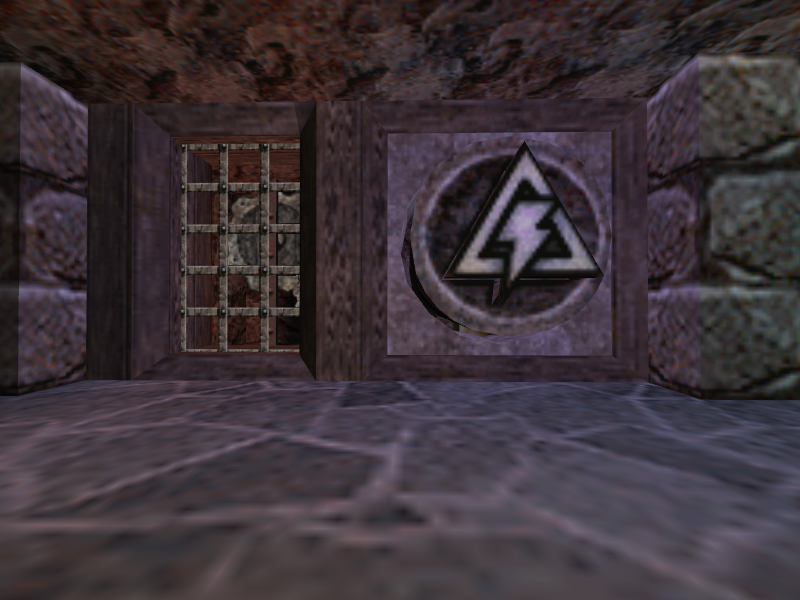
- The button to open the main door lacks the decorations seen near the button. The button itself is square instead of being shaped like Wyndrax’s lighting symbol, like in the final game.
- The corpse with the dead body while heading to the main tower in the final’s E3M4 does not exist. The Lycanthir near it is in the alley the body is in front of.
- There is no Dragon enemy floating around.
- The rotating device that’s spewing lighting on the tower at the very top of the castle does not exist in this prototype.
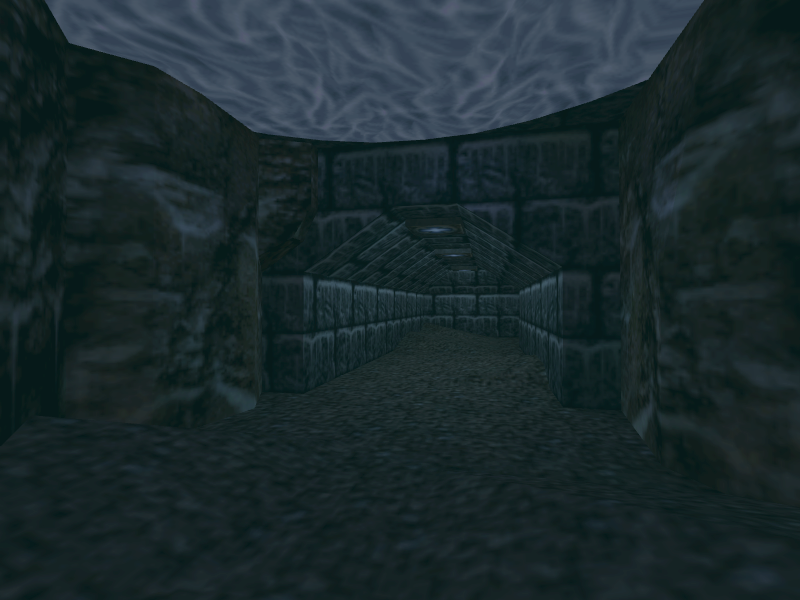
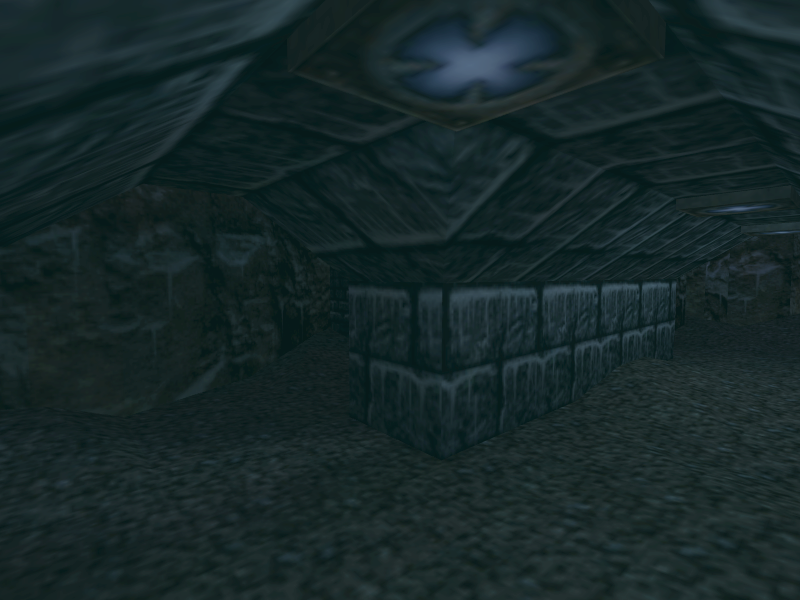
- The river secret area exists, but contains nothing.
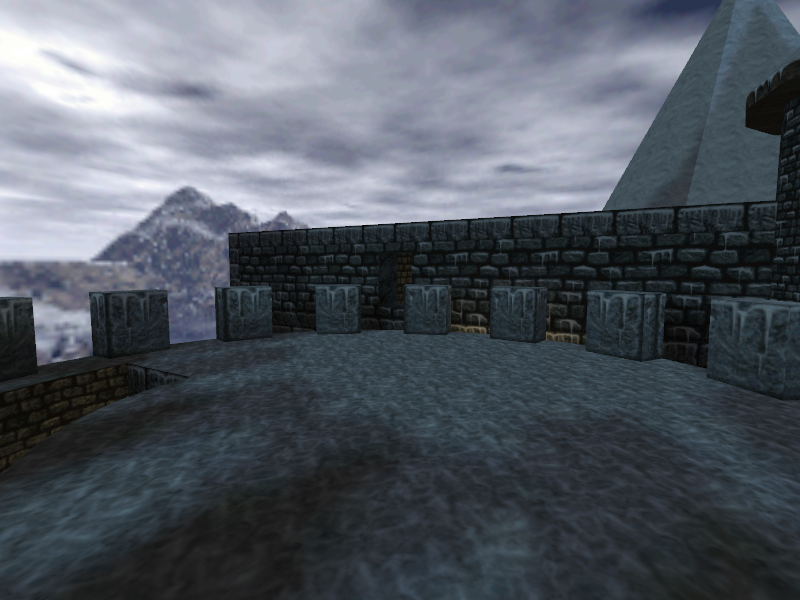
- The secret tower area that can be accessed from the area above the start of the inner courtyard is different. The player can simply walk straight to the front of the castle without having to go through a walkway. The left tower is accessible in 0.10, but is not in the final game.
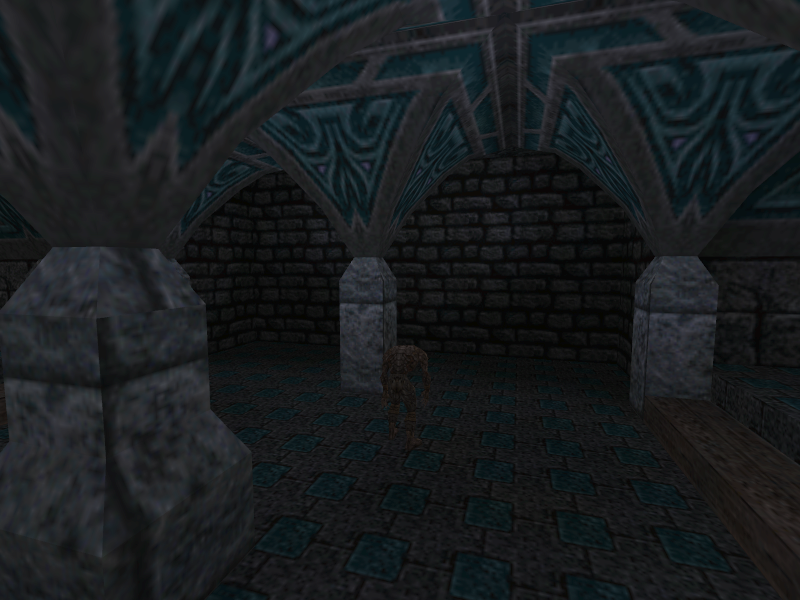
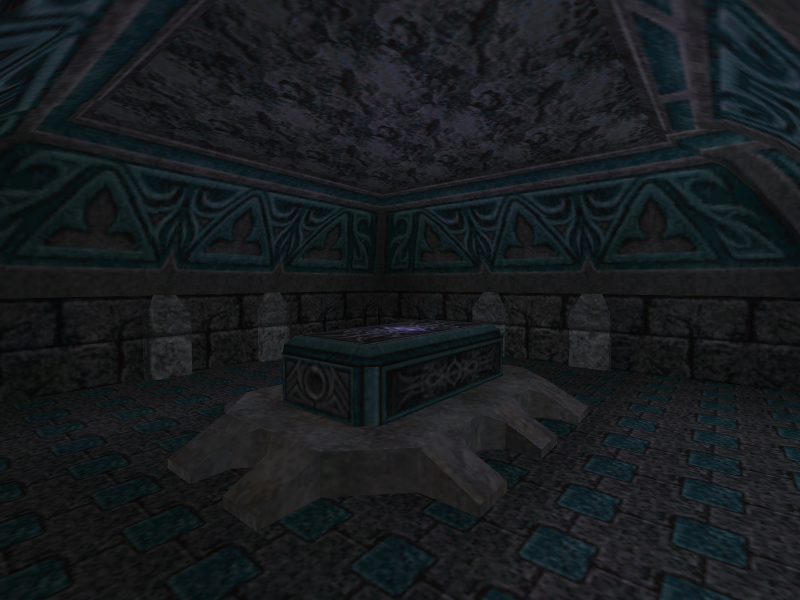
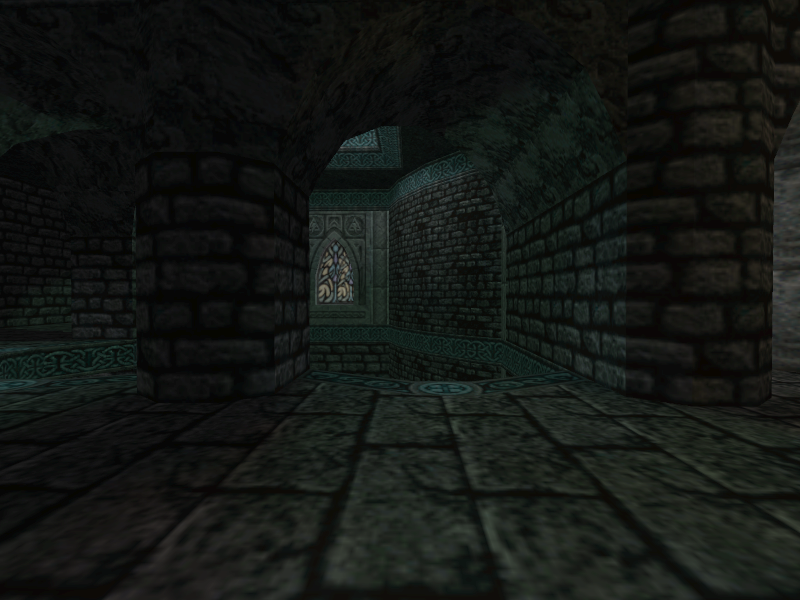
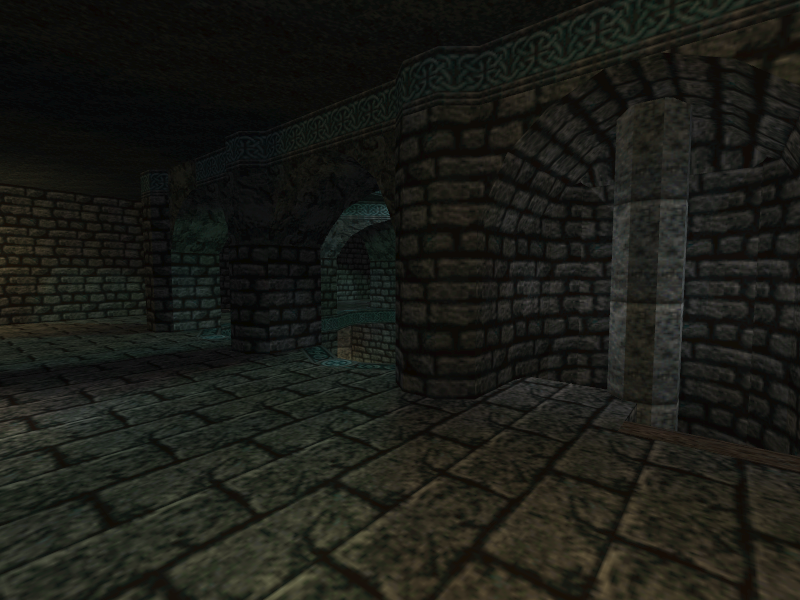
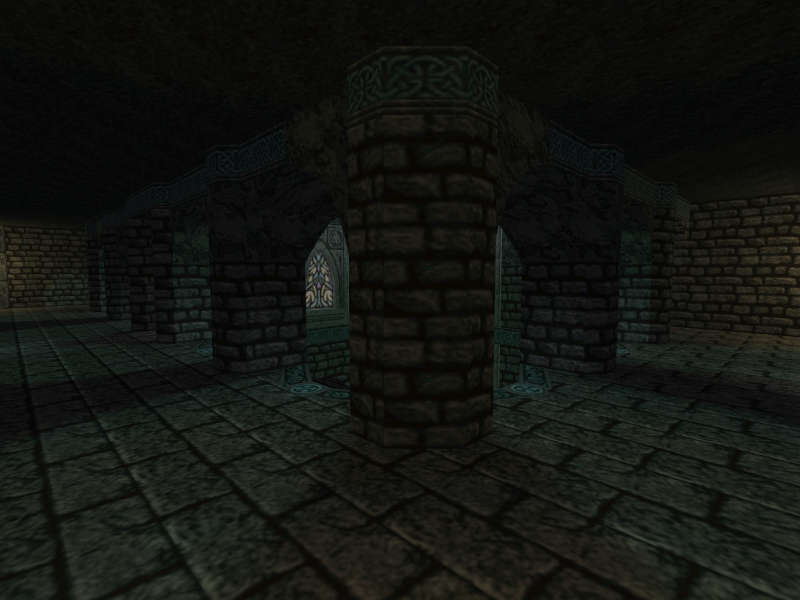
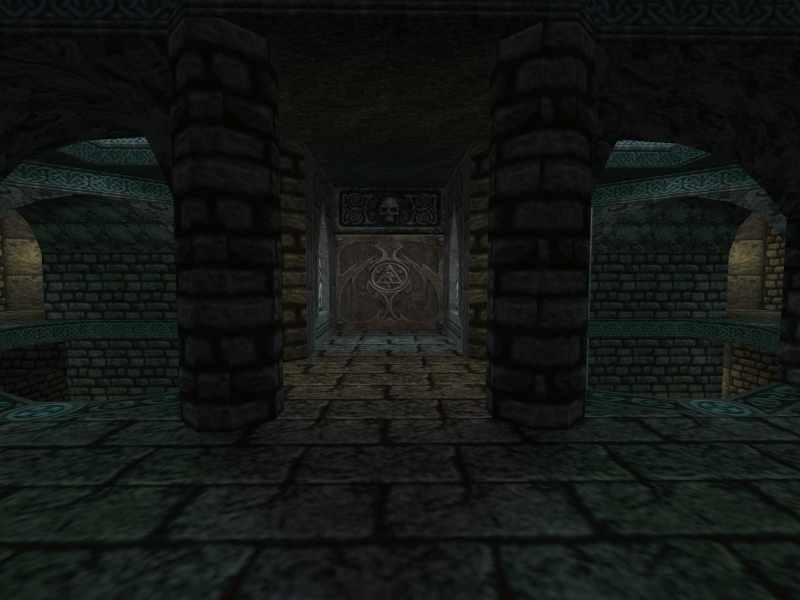
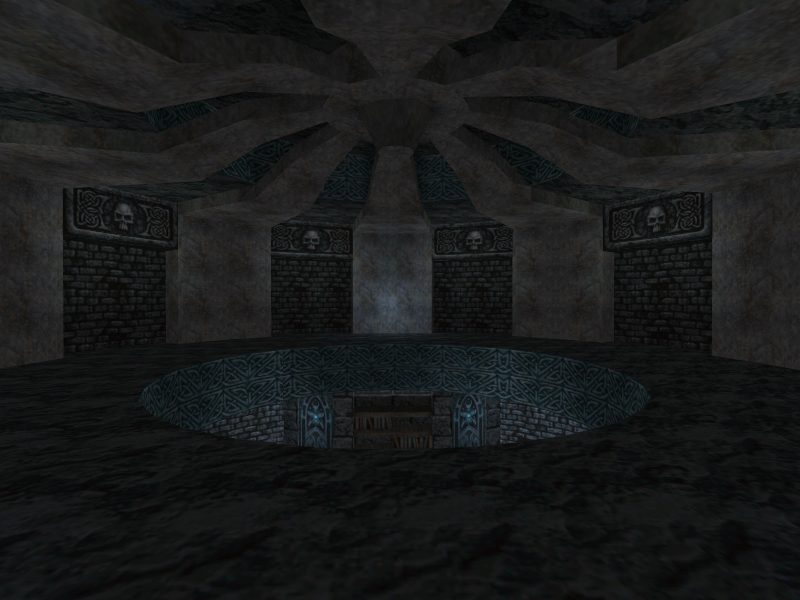
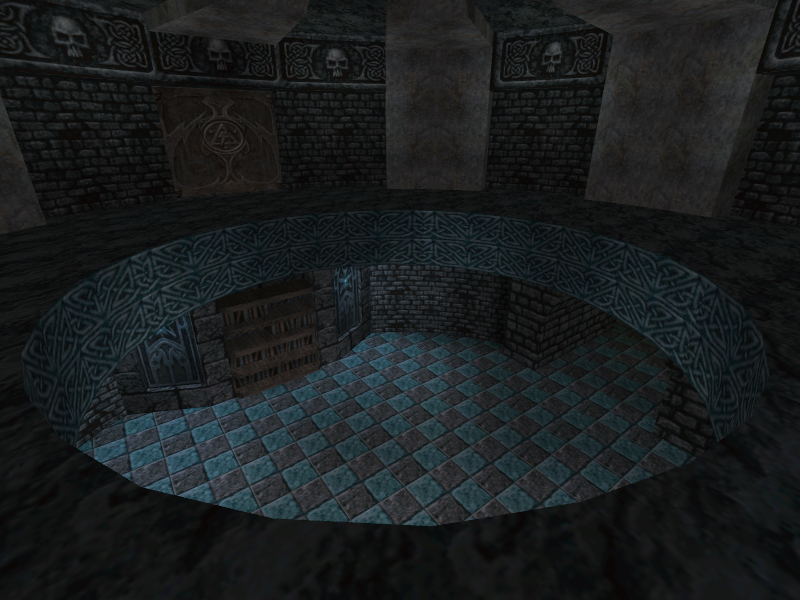
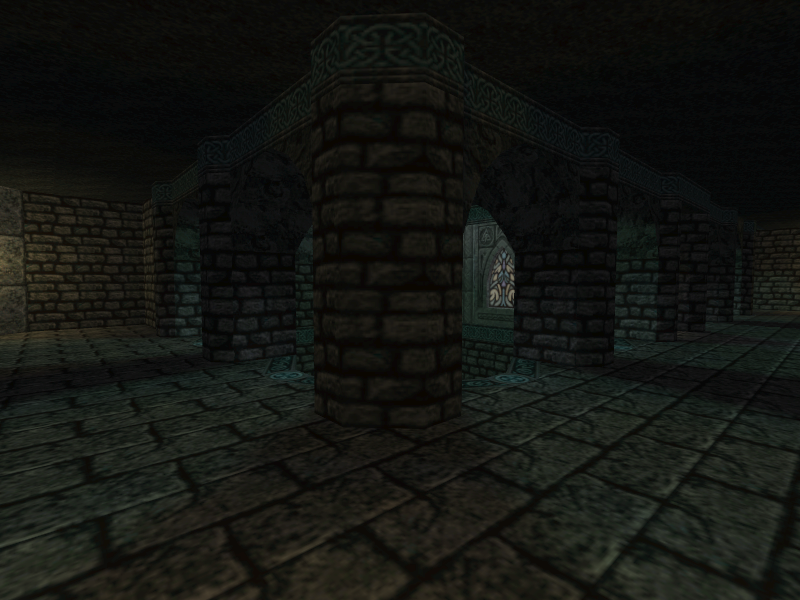
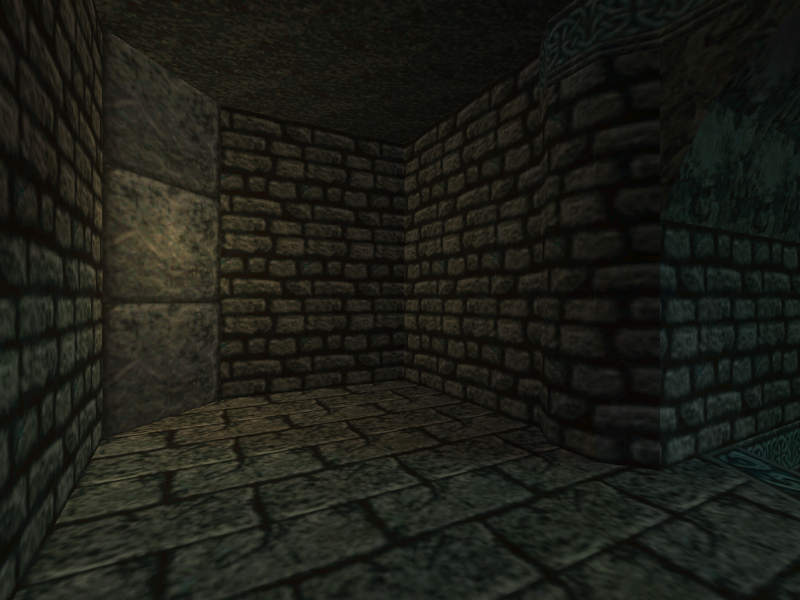
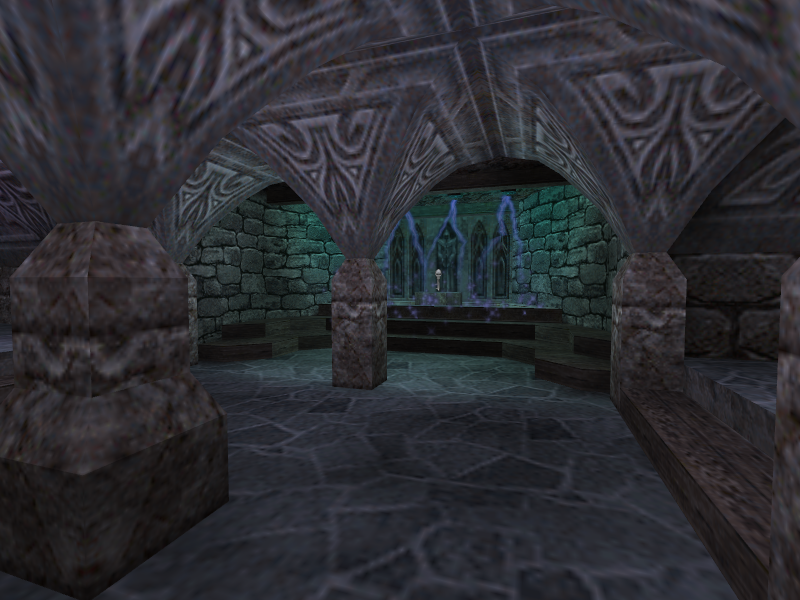
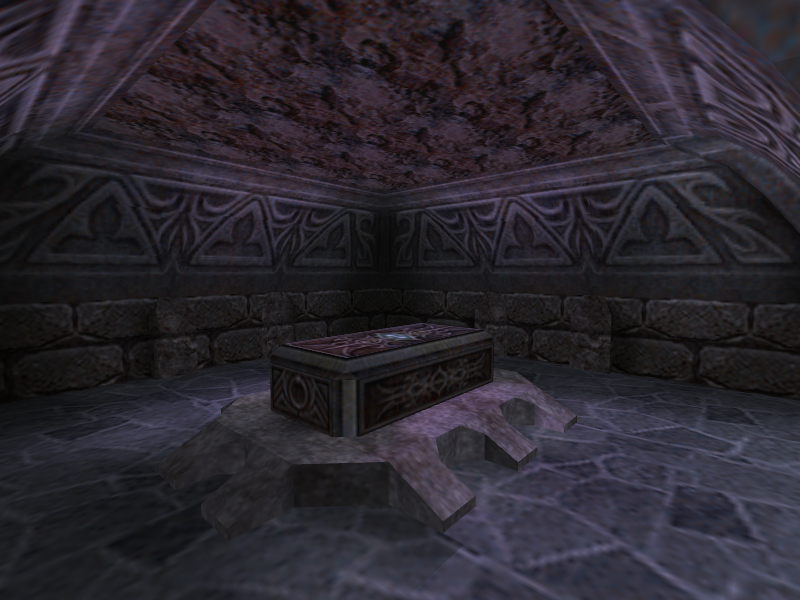
- The underground crypt area is different. The electric trap at the start of it is missing, and the crypt area does not contain a key. The coffins do not explode, revealing Buboids when the player is in the area. Instead, three Buboids are roaming around when the player enters.
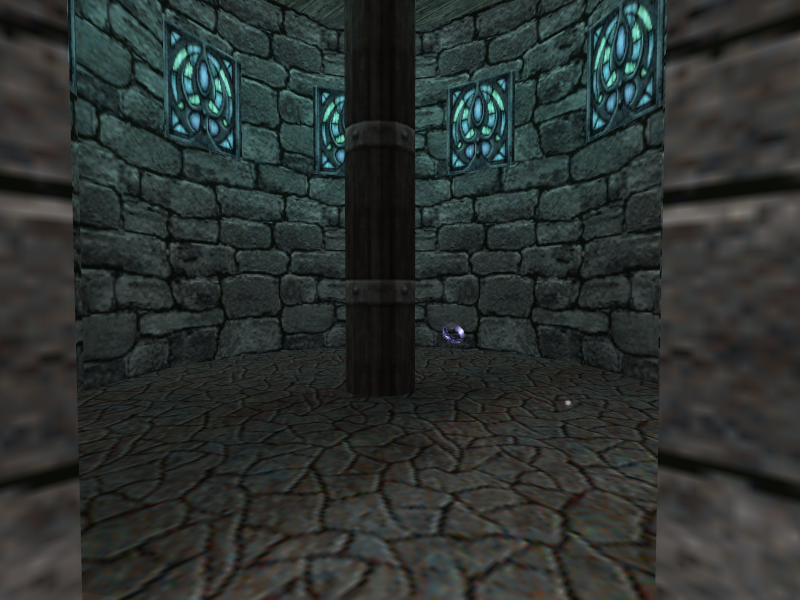
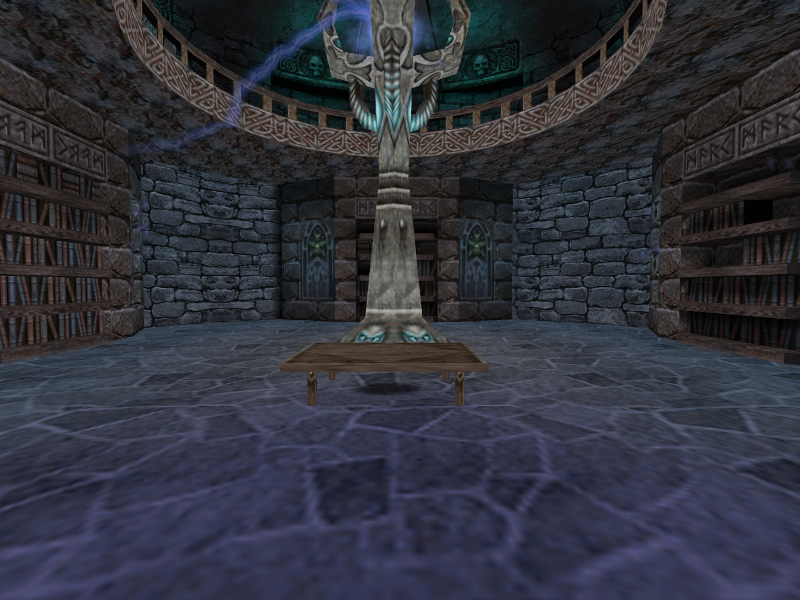
- The way to the Ring of Lighting is already open in 0.10. The tower the ring is in contains nothing and lacks the pole in the center of it.
- A part of the final’s E3M4b exists in this prototype, suggesting they were meant to be one level at one point. The E3M4b portion in the prototype is the first half of E3M4b, including Wyndrax’s initial location. The E3M4b portion is quite incomplete compared to how it is in the final game.
- The door to the upper floor in Wyndrax’s lair is not blocked by a gate.
- The upper floor itself is completely empty.
- The location where the button to insert the key in leads to a dead end in this prototype.
- The lower entrance to Wyndrax’s lair is found at the back of the first floor instead of a door near the middle of the first floor.
- Wyndrax’s lair does not contain the giant wisp he is in. The secret passage to the garden and the garden itself are missing as well. Since there is no way to summon Wyndrax, the level ends at his lair.

|
Prototype |
Final |
|---|---|
|
|
|
|
Prototype |
Final |
|---|---|
|
|
|
|
Prototype |
Final |
|---|---|
|
|
|
|
Prototype |
Final |
|---|---|
|
|
|
|
Prototype |
Final |
|---|---|
|
|
|
|
Prototype |
Final |
|---|---|
|
|
|
|
Prototype |
Final |
|---|---|
|
|
|
|
Prototype |
Final |
|---|---|
|
|
|
|
Prototype |
Final |
|---|---|
|
|
|
|
Prototype |
Final |
|---|---|
|
|
|
|
Prototype |
Final |
|---|---|
|
|
|
|
Prototype |
Final |
|---|---|
|
|
|
|
Prototype |
Final |
|---|---|
|
|
|
|
Prototype |
Final |
|---|---|
|
|
|
|
Prototype |
Final |
|---|---|
|
|
|
|
Prototype |
Final |
|---|---|
|
|
|
|
Prototype |
Final |
|---|---|
|
|
|
|
Prototype |
Final |
|---|---|
|
|
|
|
Prototype |
Final |
|---|---|
|
|
|
|
Prototype |
Pre-release Image |
|---|---|
|
|
|
Prototype |
Pre-release Image |
|---|---|
|

|