 This article has a talk page!
This is a sub-page of Proto:Daikatana (Windows)/v0.10.
0.10's Episode 1 contains two levels: E1M2 and E1M3.
E1M2#
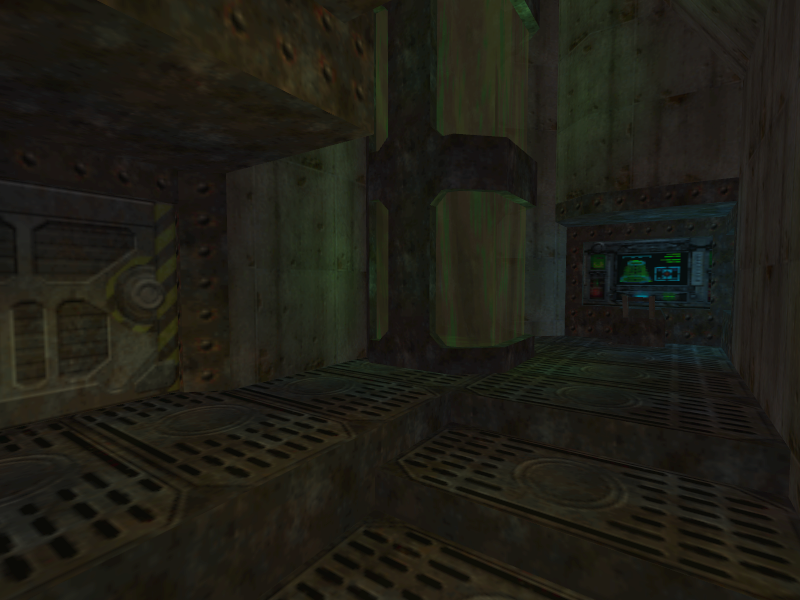
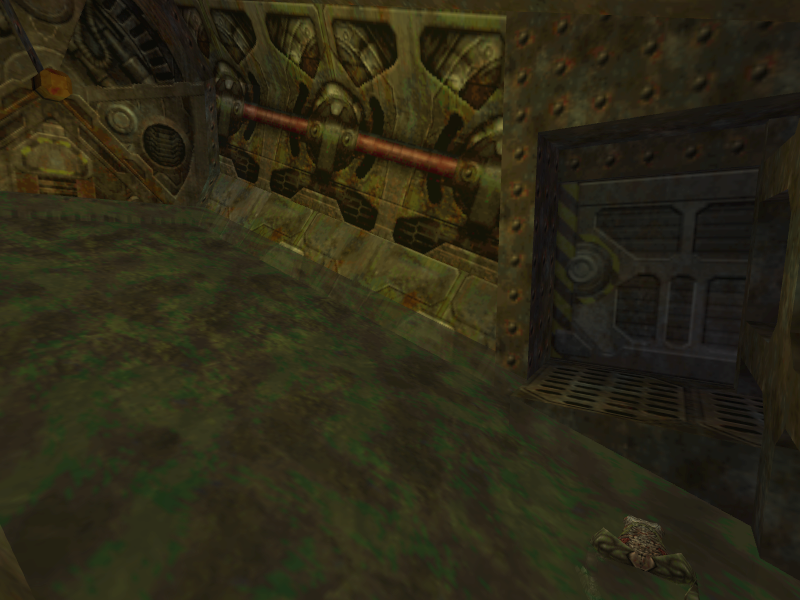
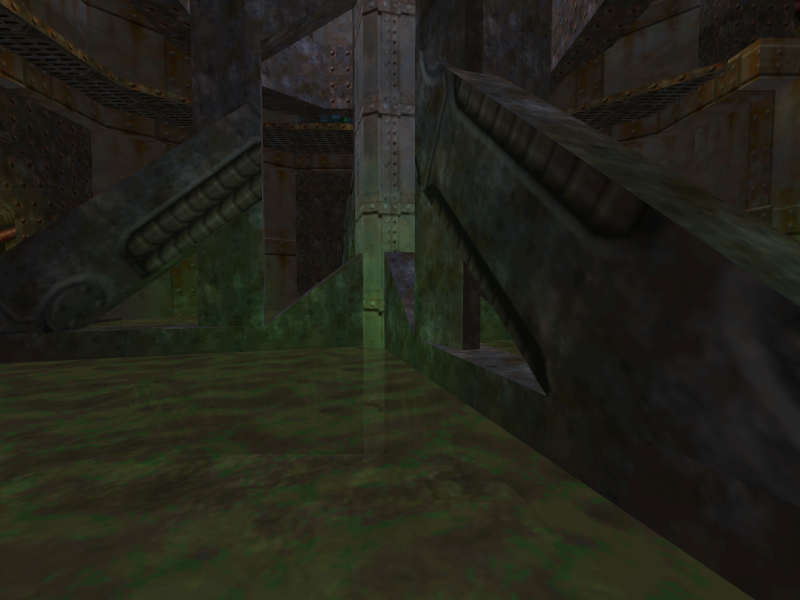
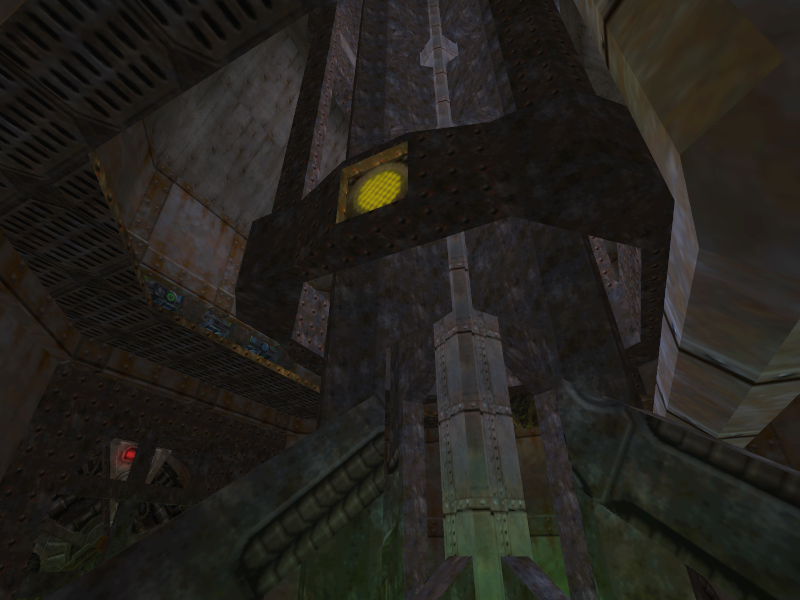
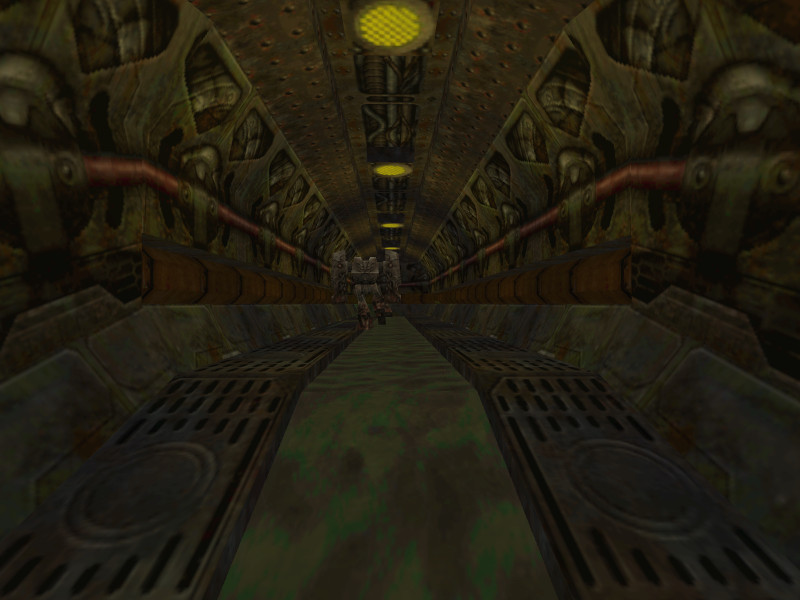
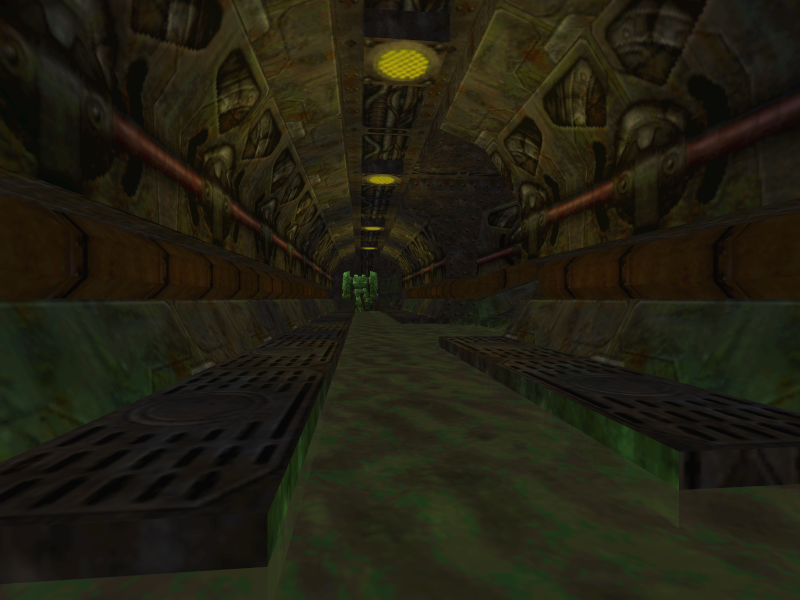
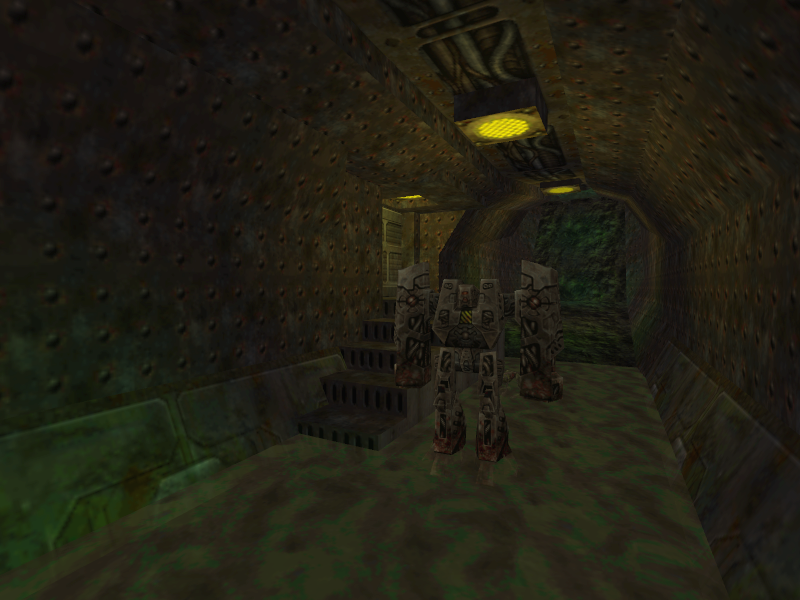
v0.10’s E1M2 is very similar to the final’s E1M2 area in several ways. The level flow is essentially the same and the architecture is close to it as well. The level heavily diverges from the final design in the last room and lacks colored lighting, but is otherwise quite similar to how it is in the final game.
In the menu, it is called “The Sewer”.
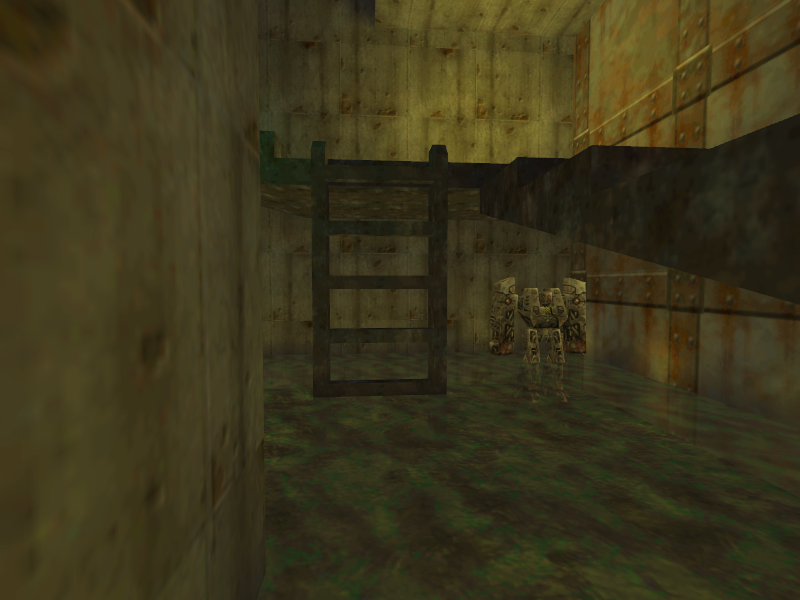
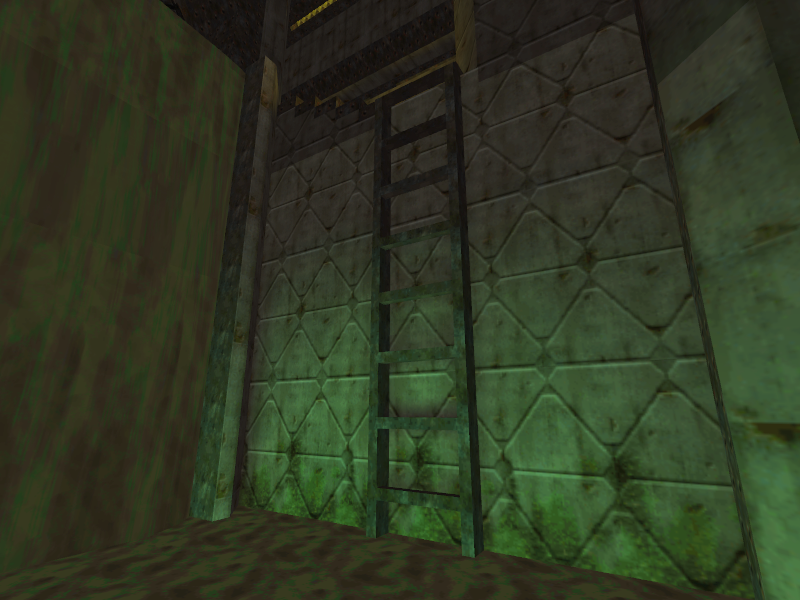
- The player climbs up a ladder to reach the area with the first switch.
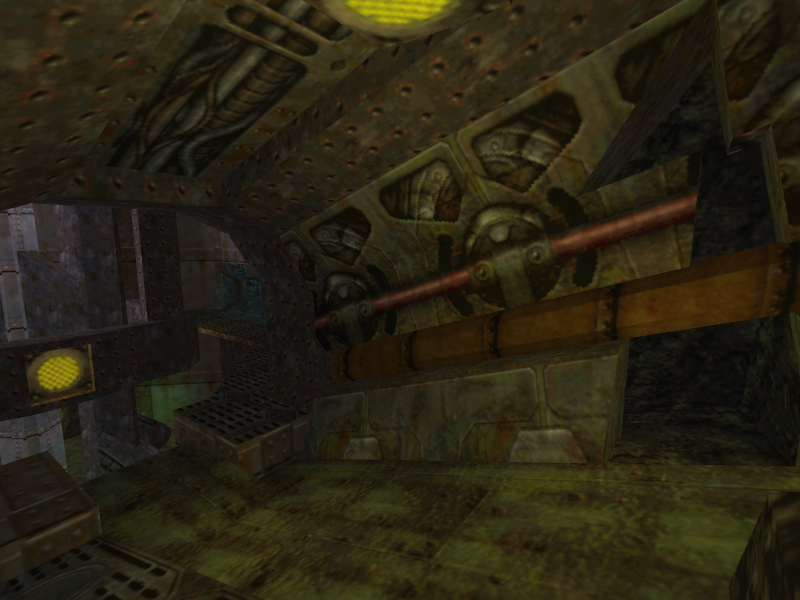
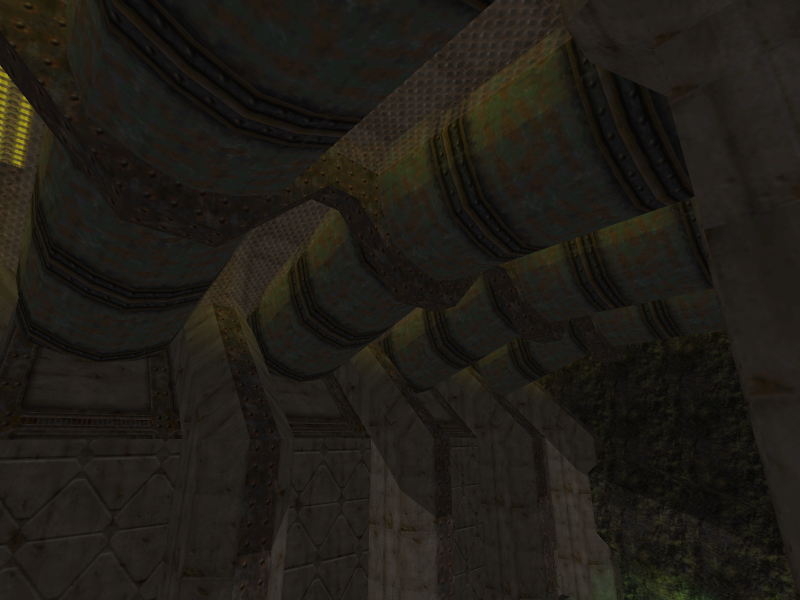
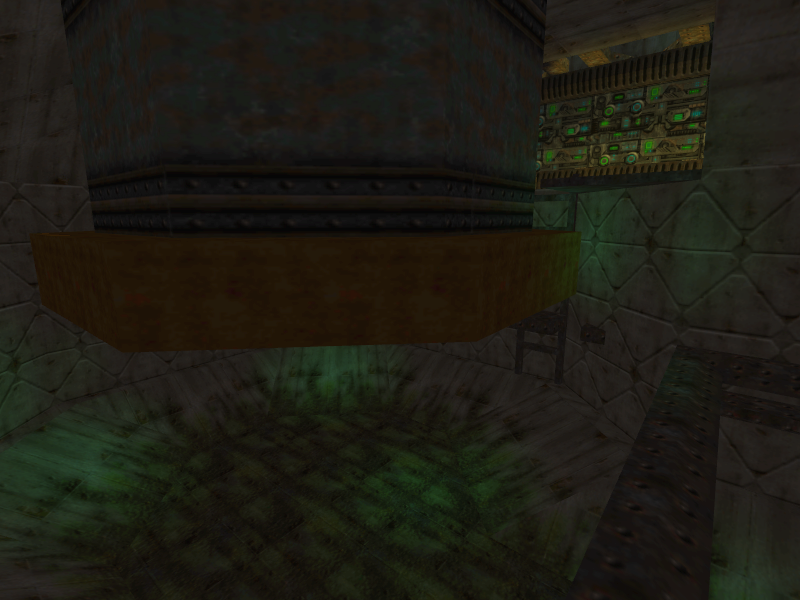
- The turbine is already active when the player reaches it, and there is no hidden area underneath it.
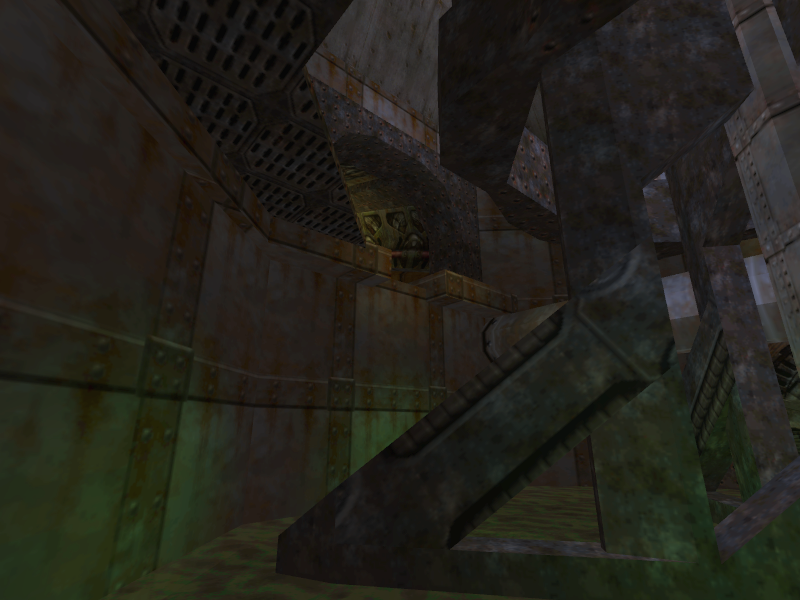
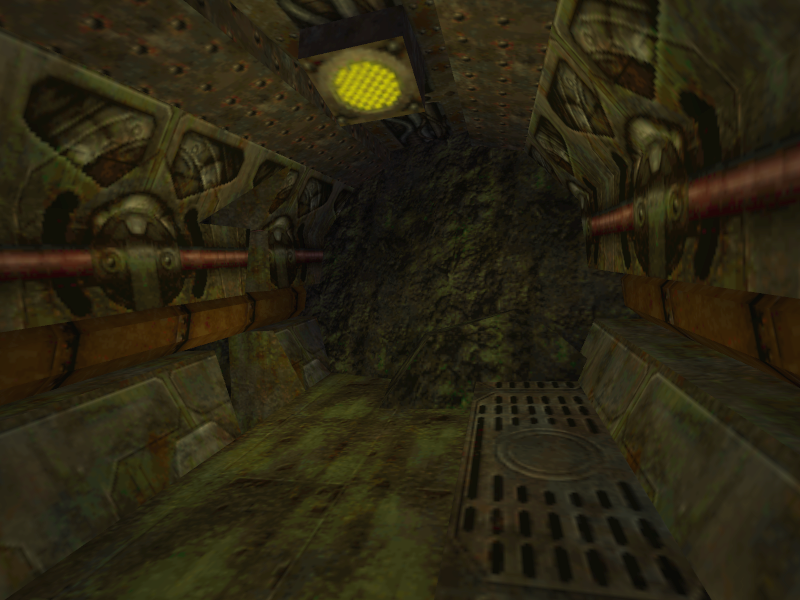
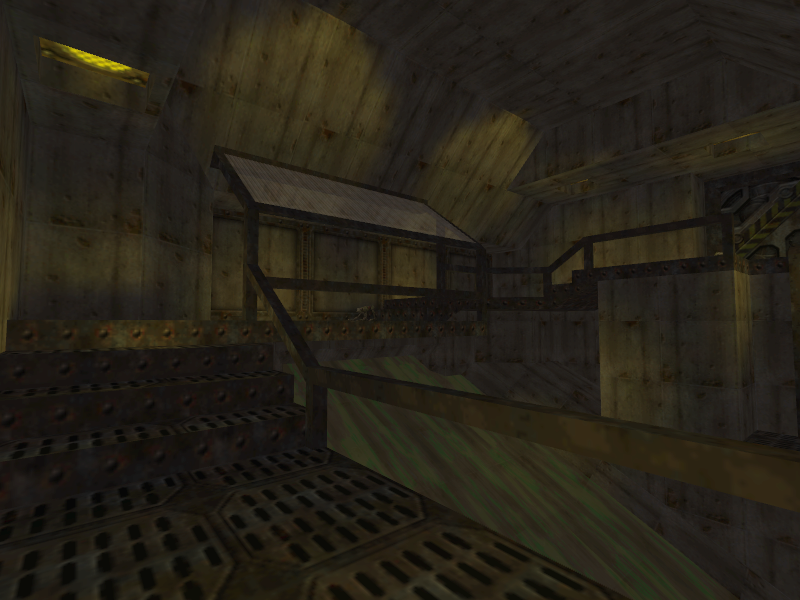
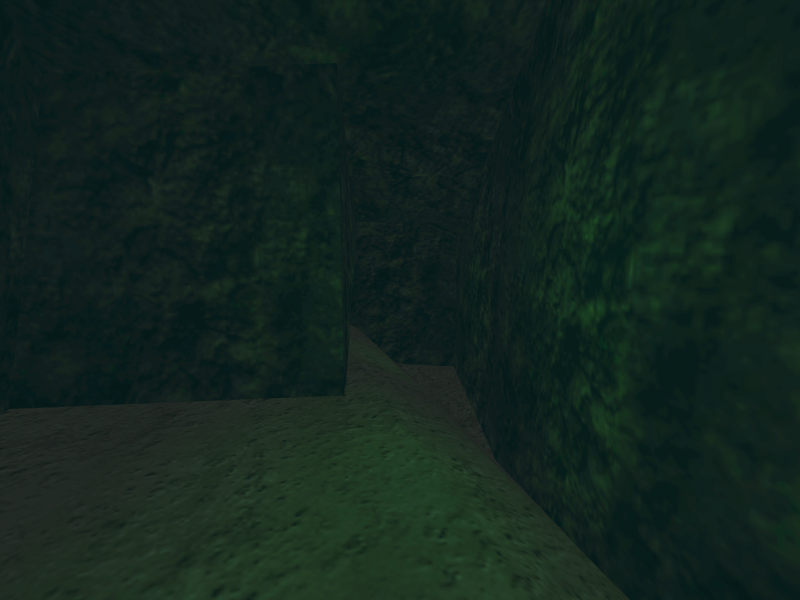
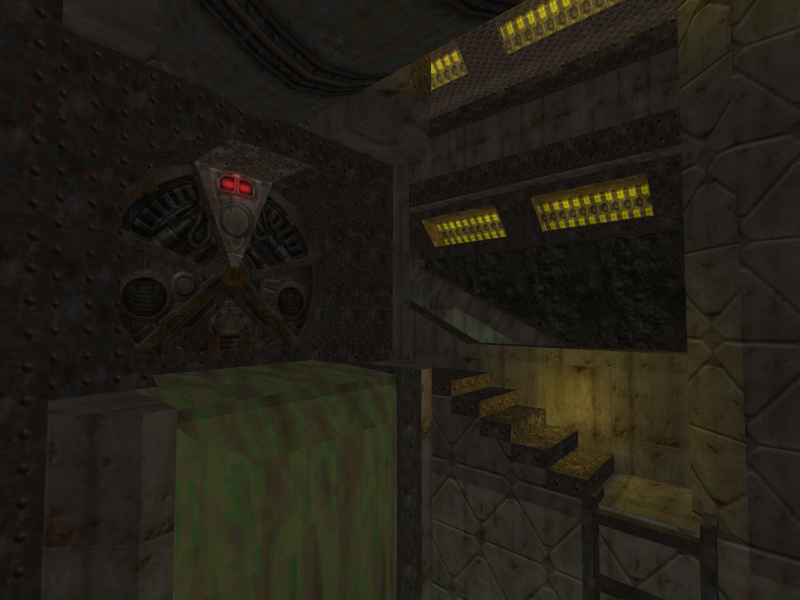
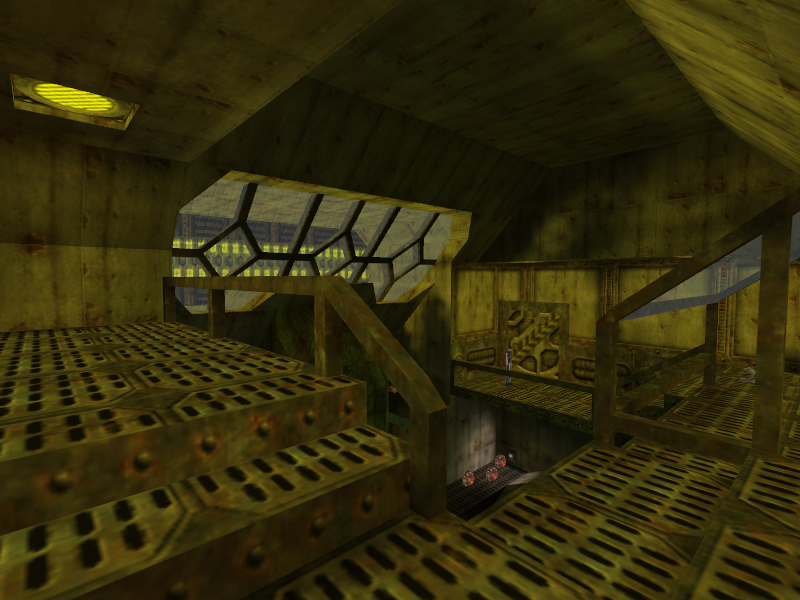
- The path to the second switch is much more straightforward in 0.10. A full set of stairs are in place of where the lift is, the player can easily reach the stairs from the water by simply climbing a ladder. The switch itself is located to the right of where it is in the final game.
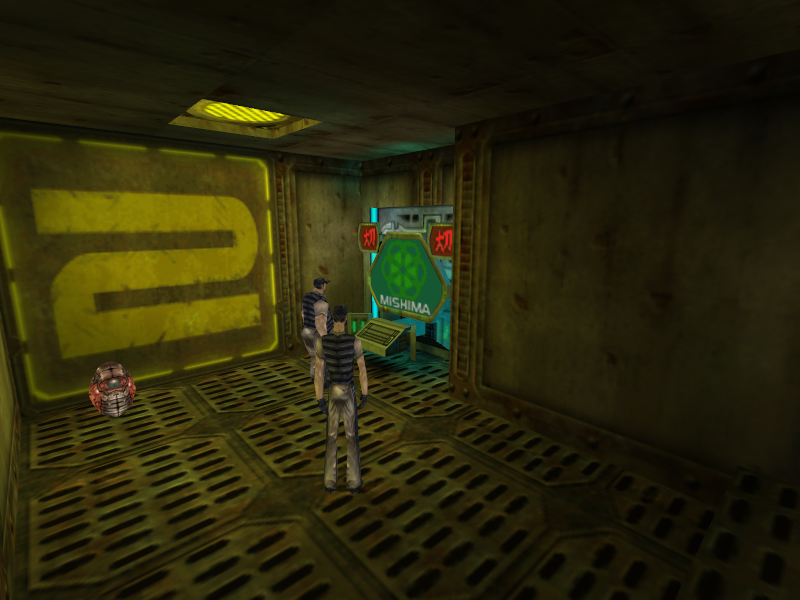
- The hidden area and details to the left of the area where the second switch is do not exist.
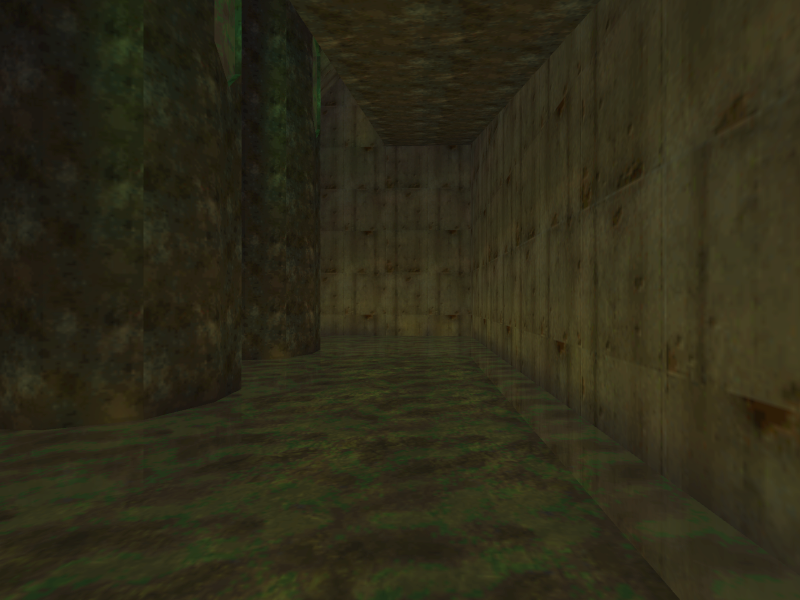
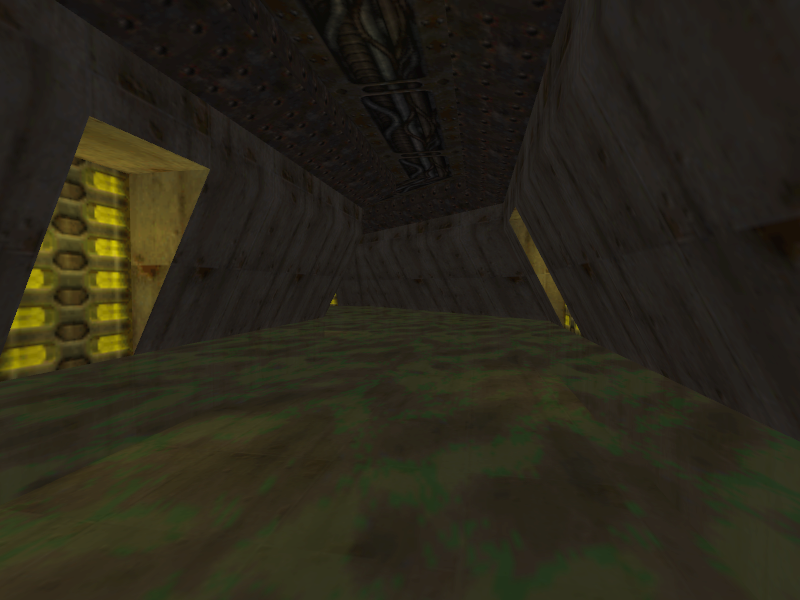
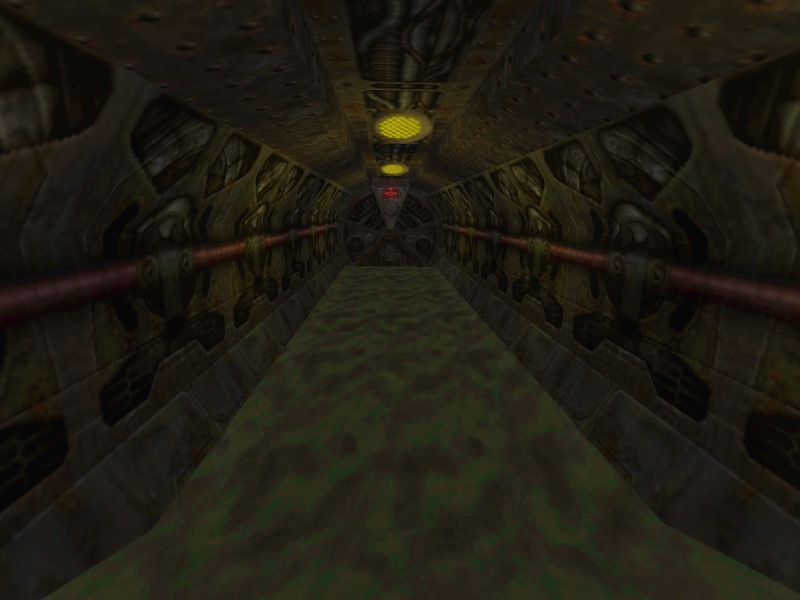
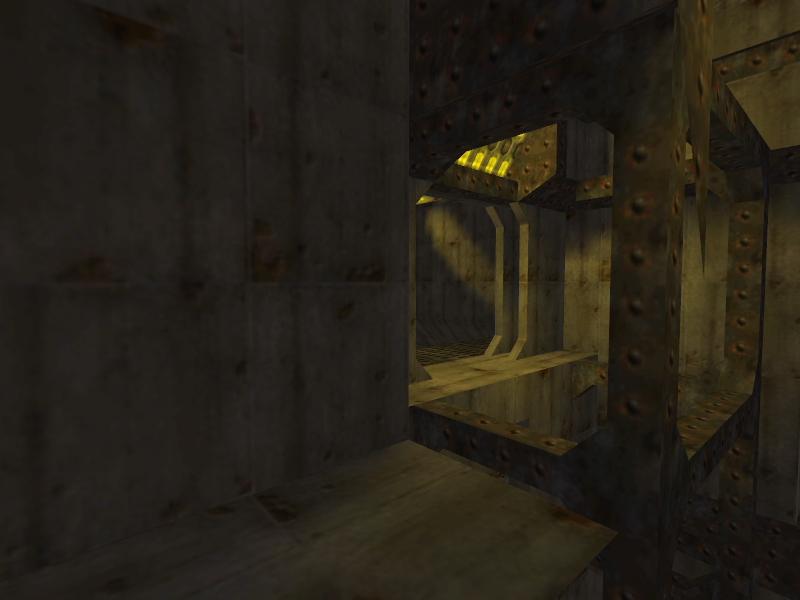
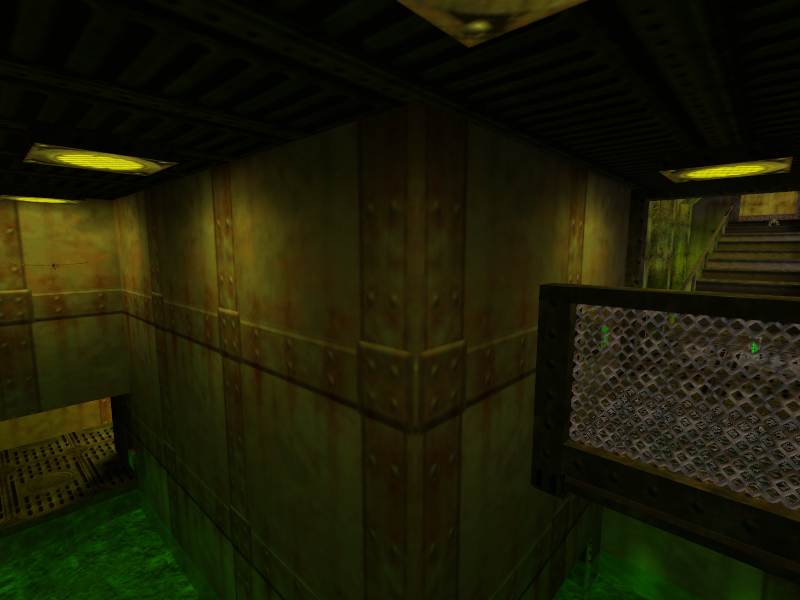
- The level features a split path that does not exist in the final game. After going through the door opened by the second switch, the player can go left or right. The left path takes the player through the route seen in the final game, but the right path shows an alternate path removed in the final game.
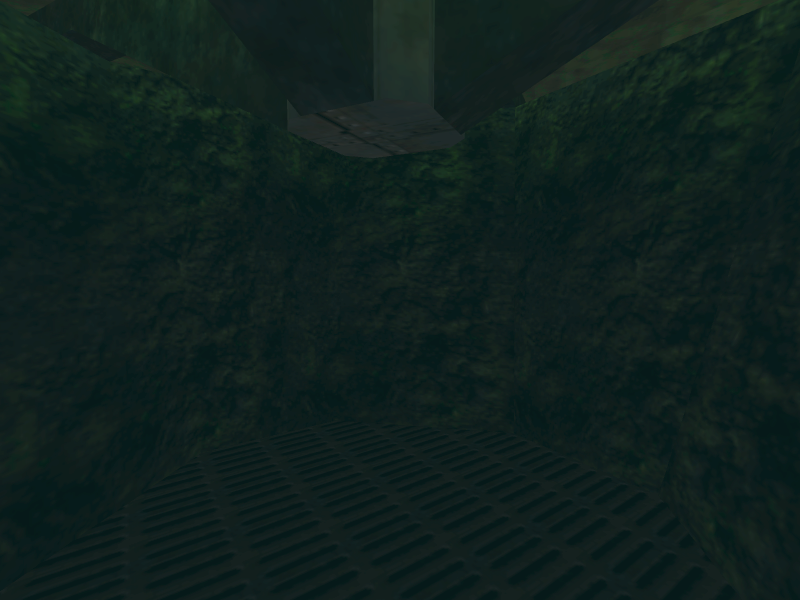
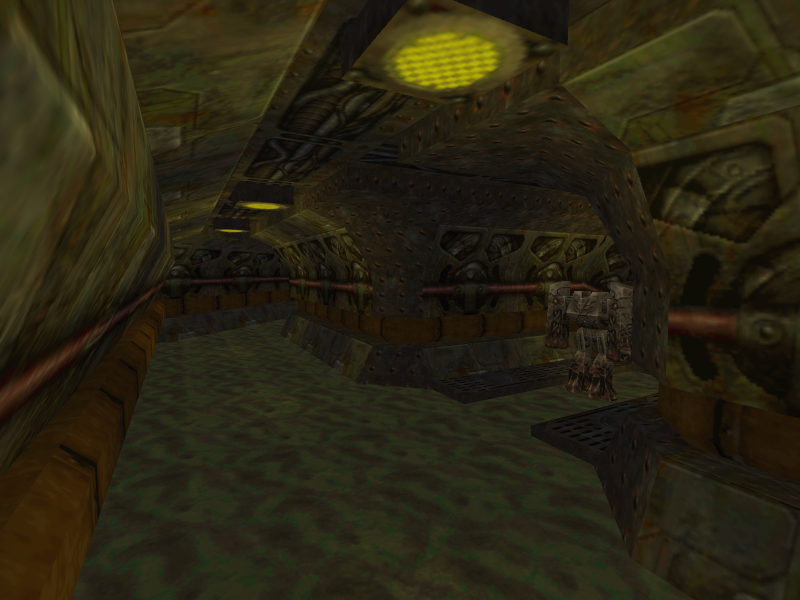
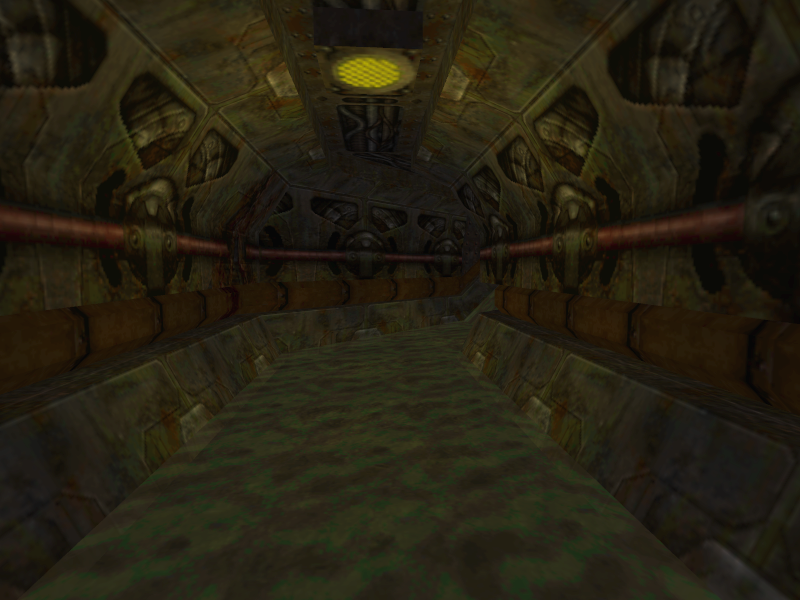
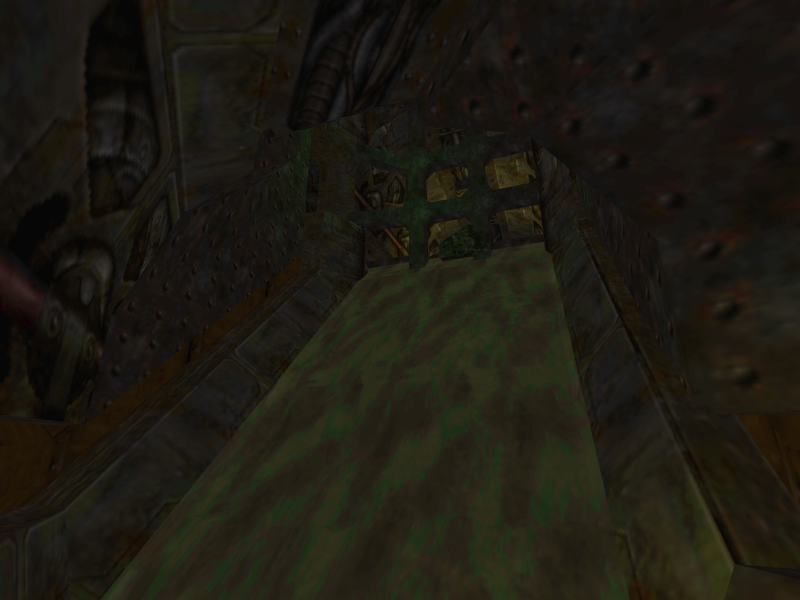
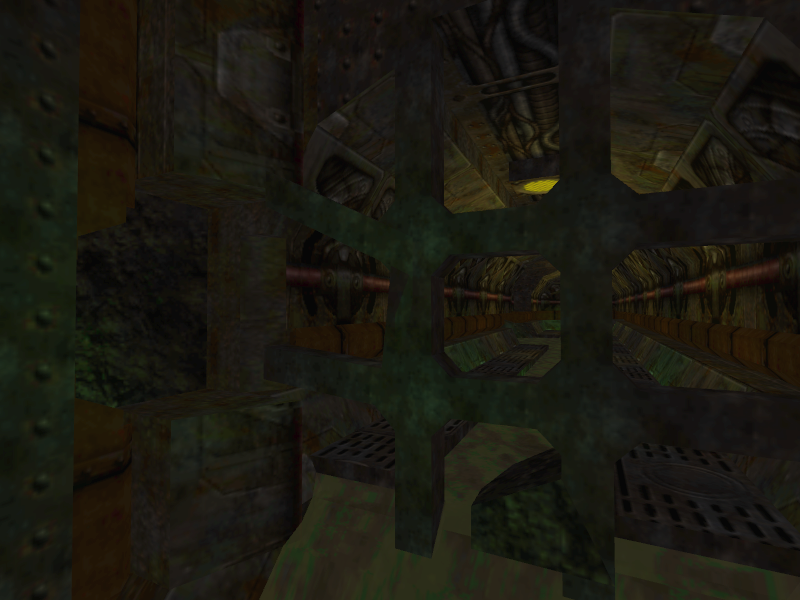
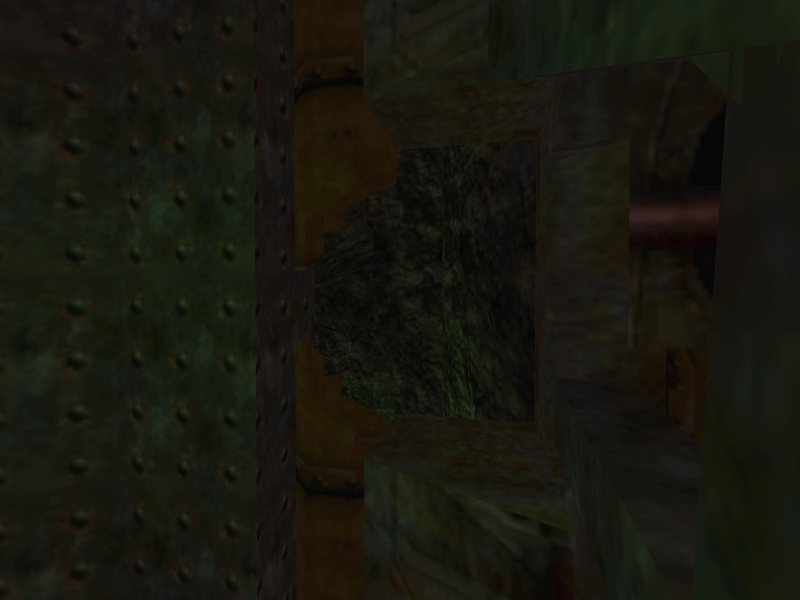
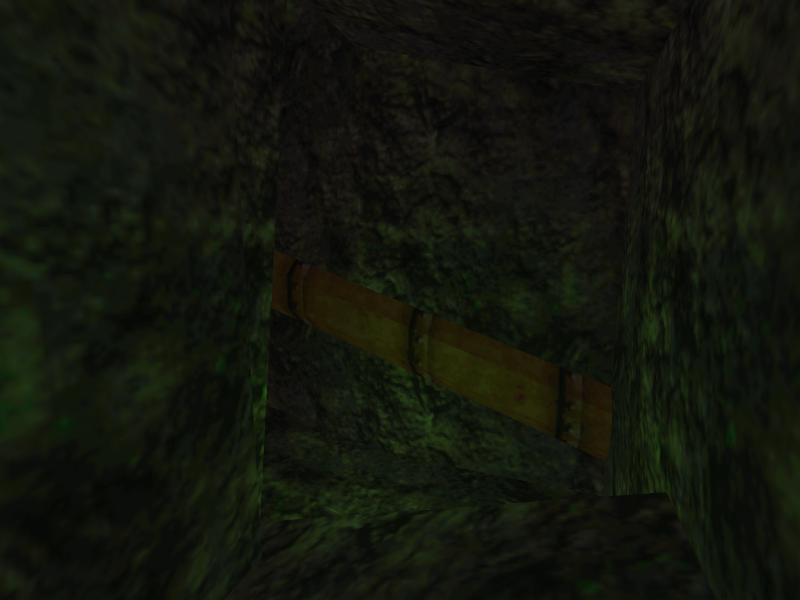
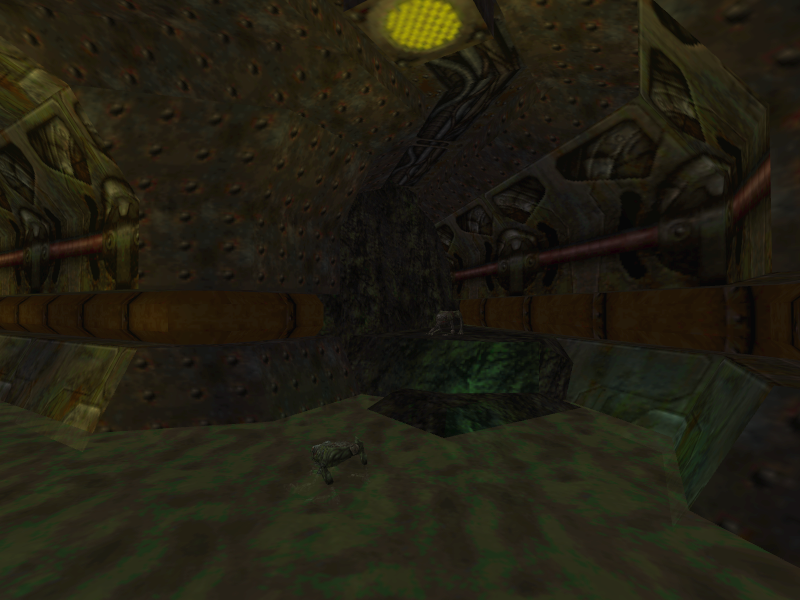
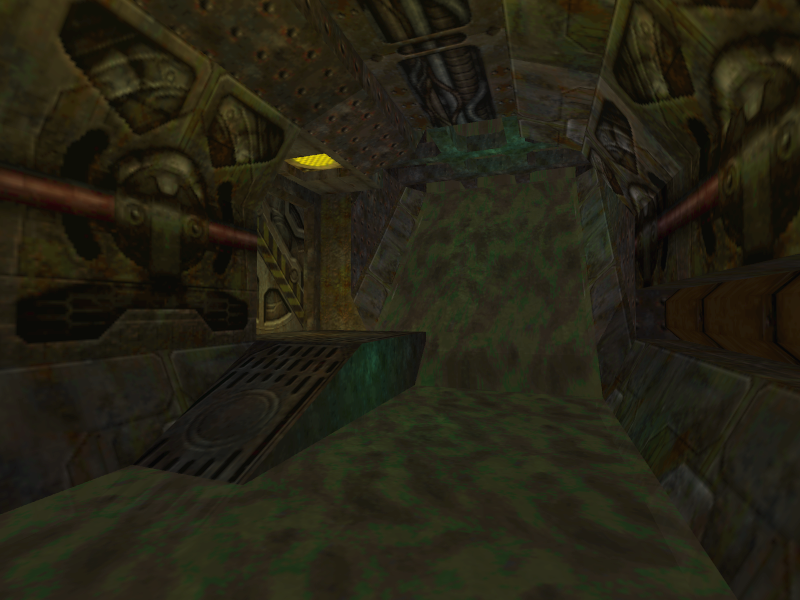
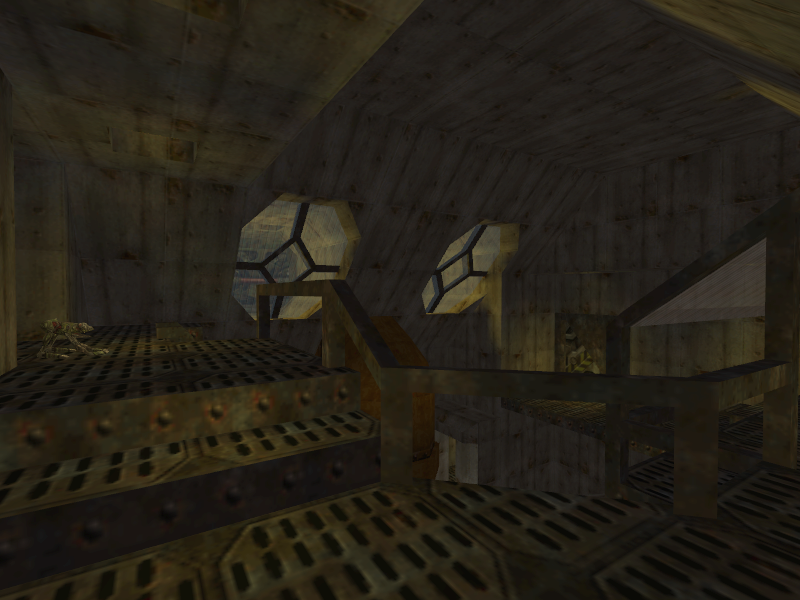
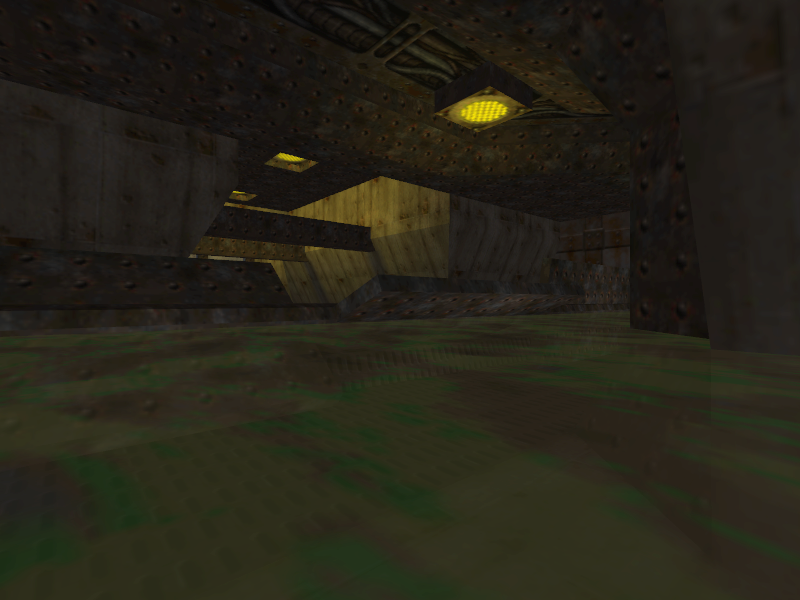
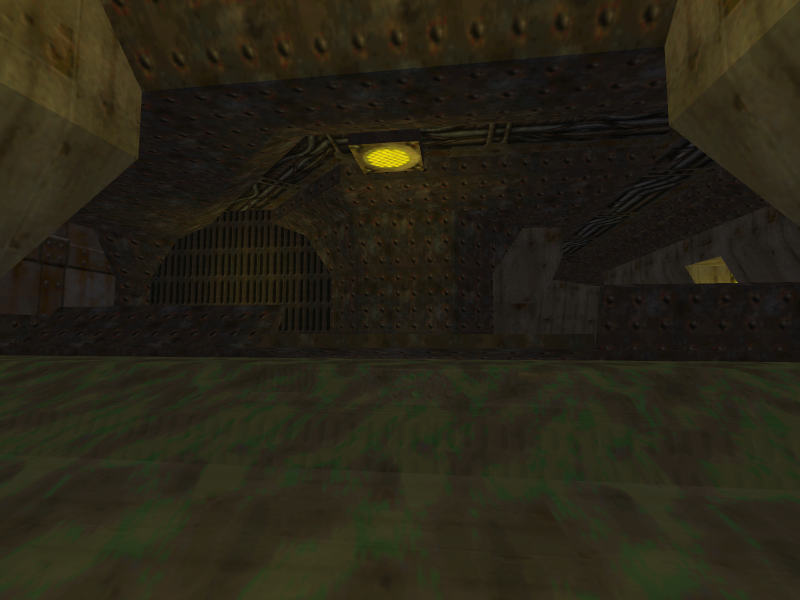
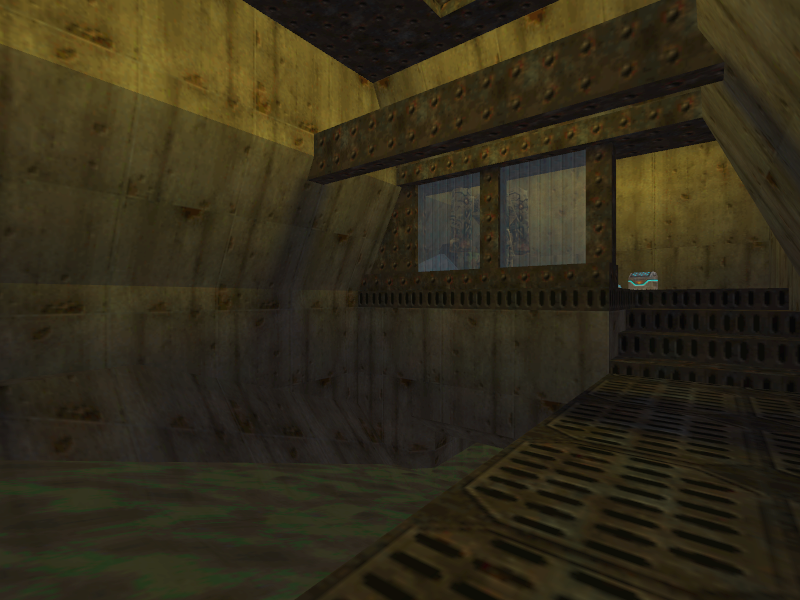
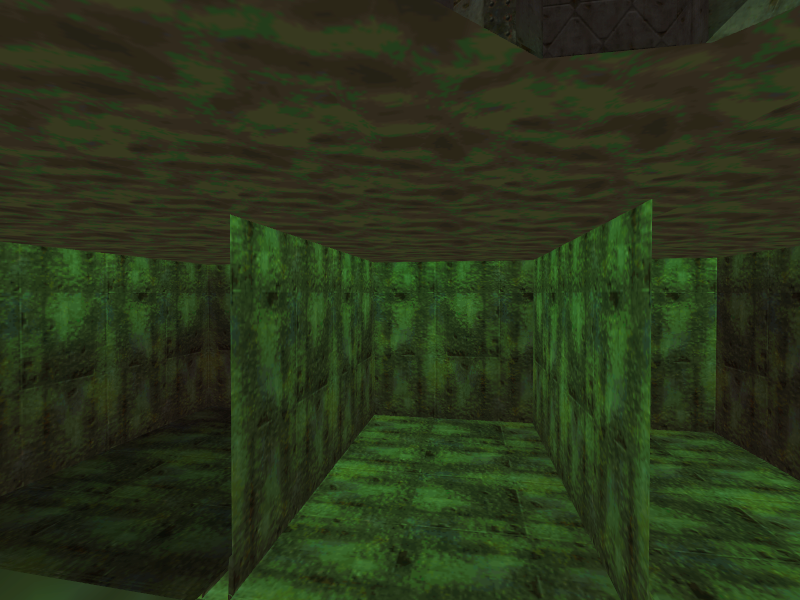
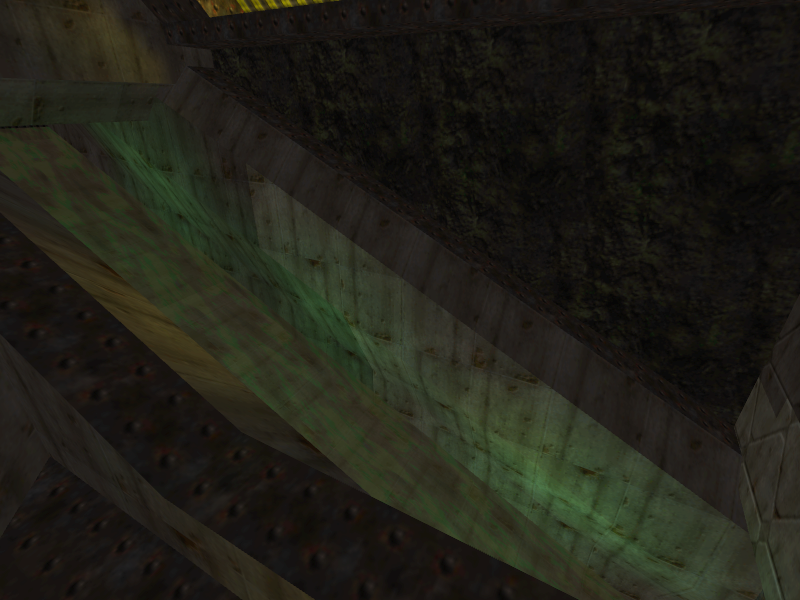
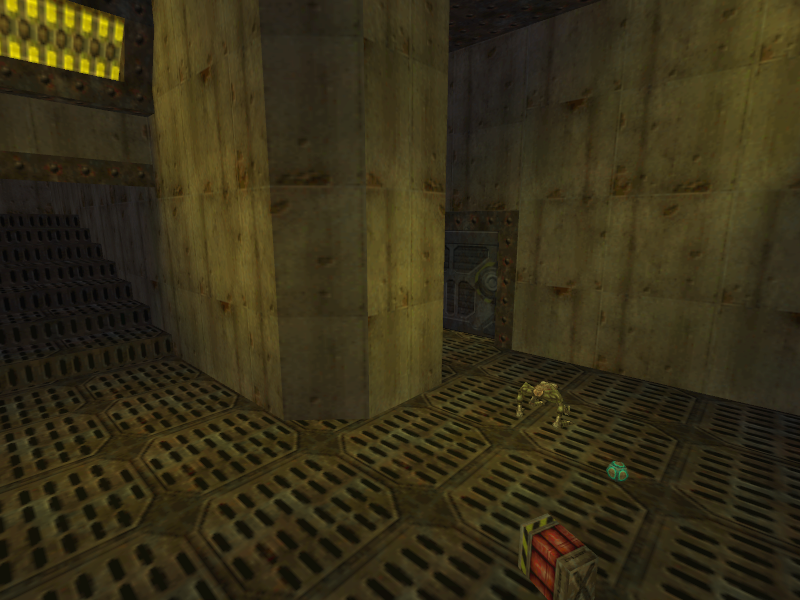
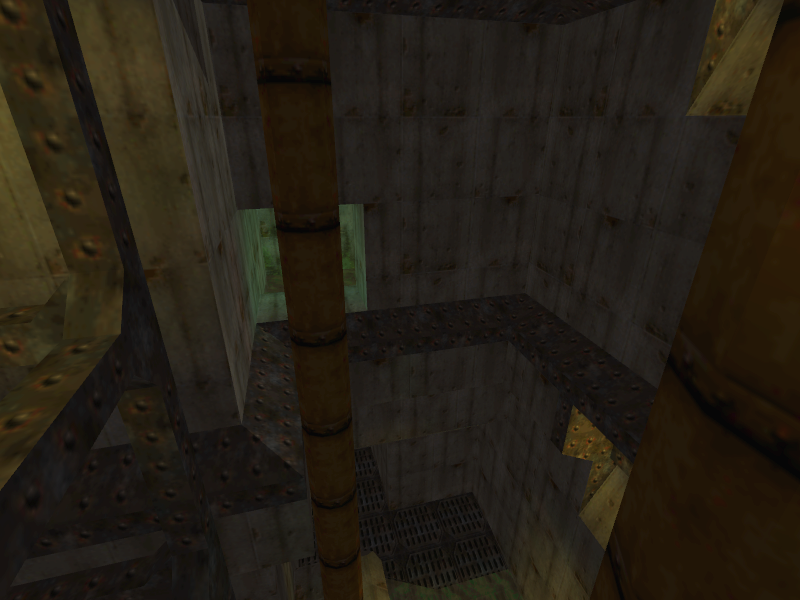
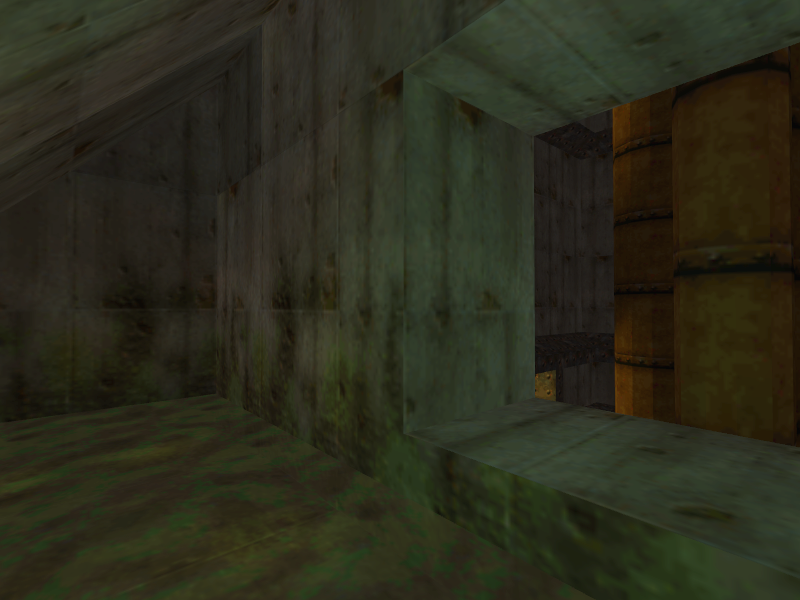
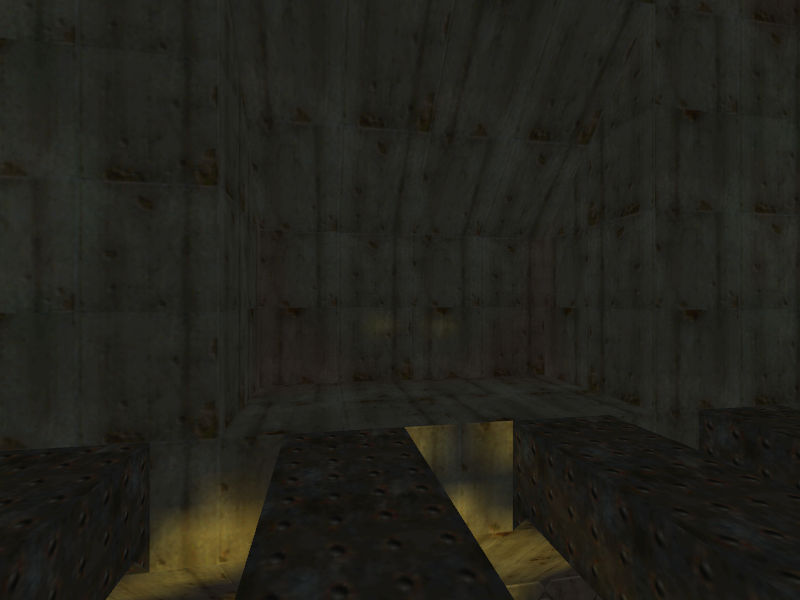
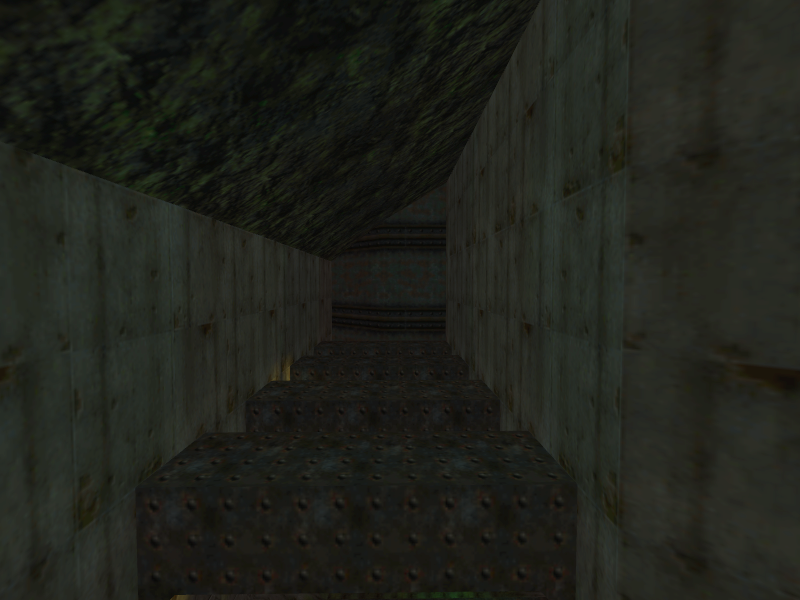
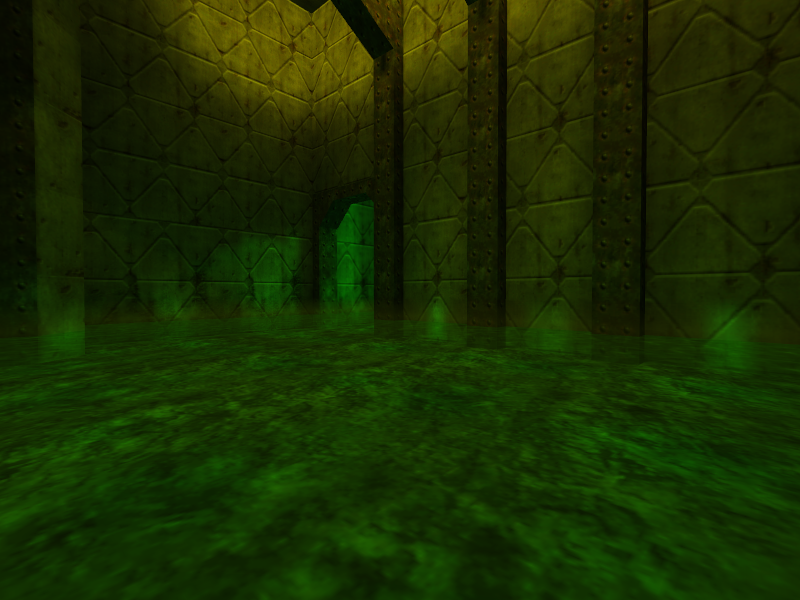
- This path starts at what appears to be a dead end near a grate. A hole can be seen near the grate, which the player can hop into. This will take the player to an area above the turbine area, which leads to a small path that dumps the player in what is the Shotcycler room in the final game. There is no platform above the water. The player can then enter the water, open the pipe door, and continue into a small path. At the end of the path, a part of the ceiling will open, sending the player to an area close to the end of the level. This shortcut skips a majority of the level. In the final game, this path was retooled into a secret room that contains both the Shotcycler and an extra hidden Dopefish. The original way to enter it was removed, with the exit instead used to enter it.
- The secret that requires the player to blow a hole in a caved-in portion of the sewers is missing.
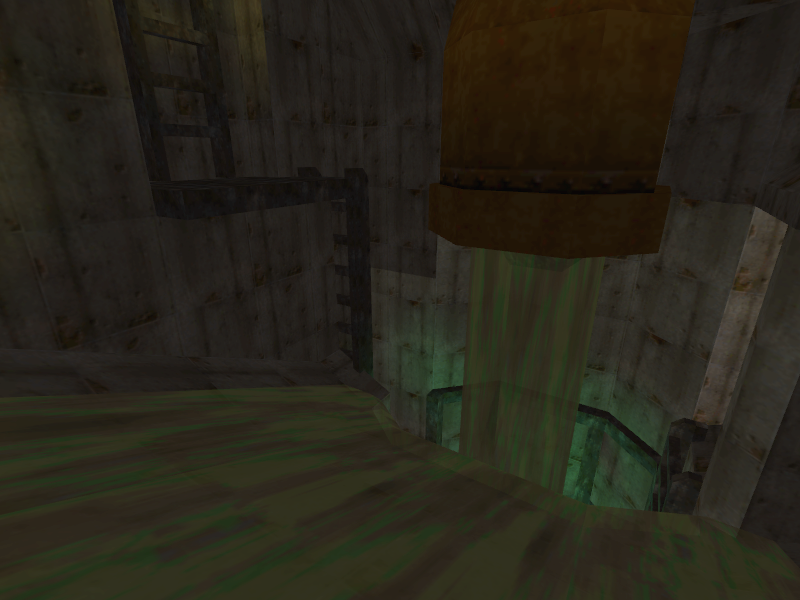
- The room with the draining pipe is different. In order to reach the part of the room that has the third switch, the player has to jump from one side to another near the pipe. Like the final pipe, the 0.10 pipe ejects boulders, and the player will be crushed if one is falling while jumping to the other side. The final game retools it to give the player an alternate path, bypassing the puzzle entirely.
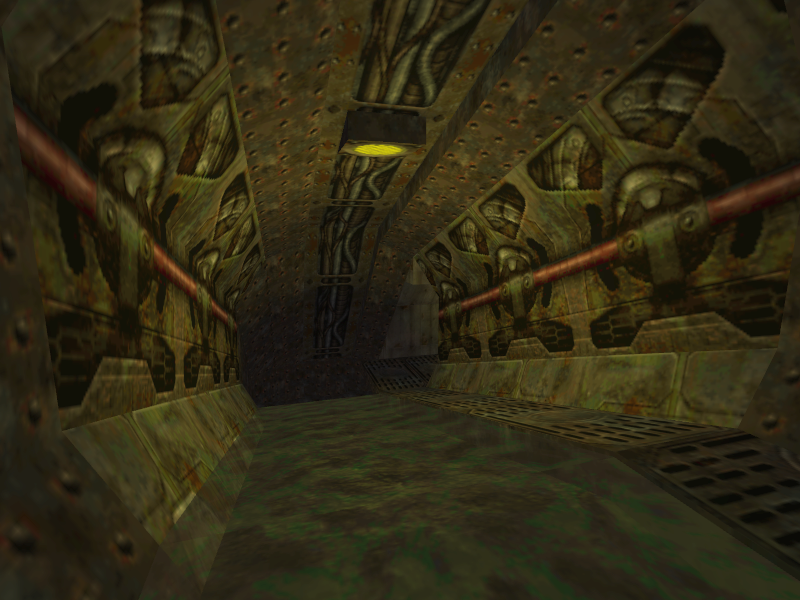
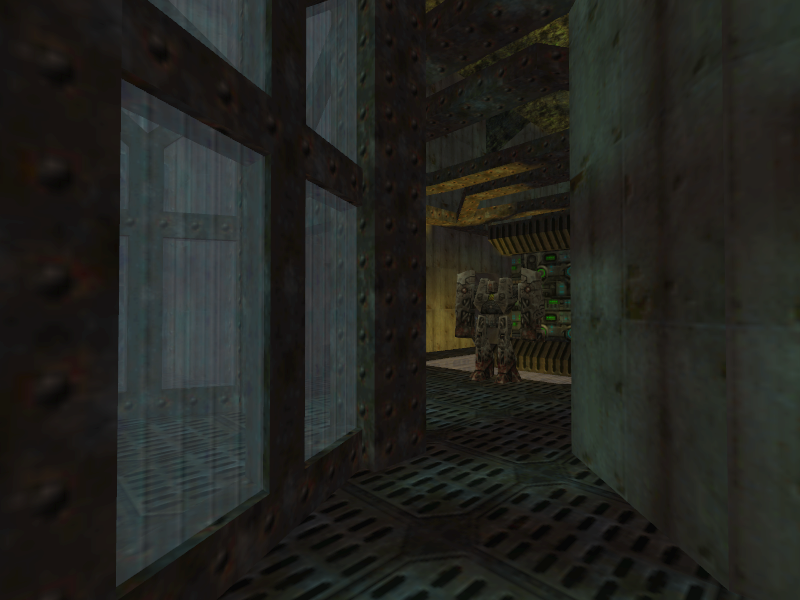
- The glass in the draining pipe room shows the hallway leading to the collapsing hallway area. The final removes this little detail.
- The ladder to climb up the pipe after the collapsing hallway does not need to be activated by a switch.
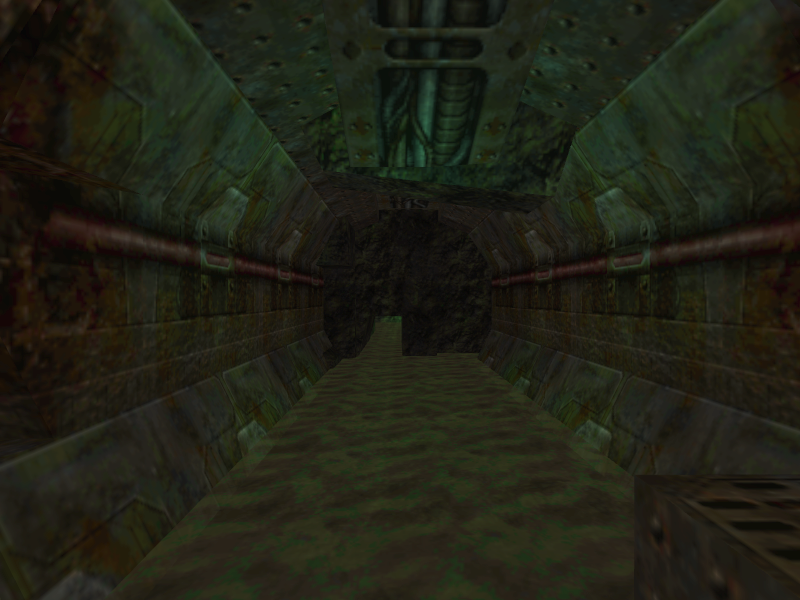
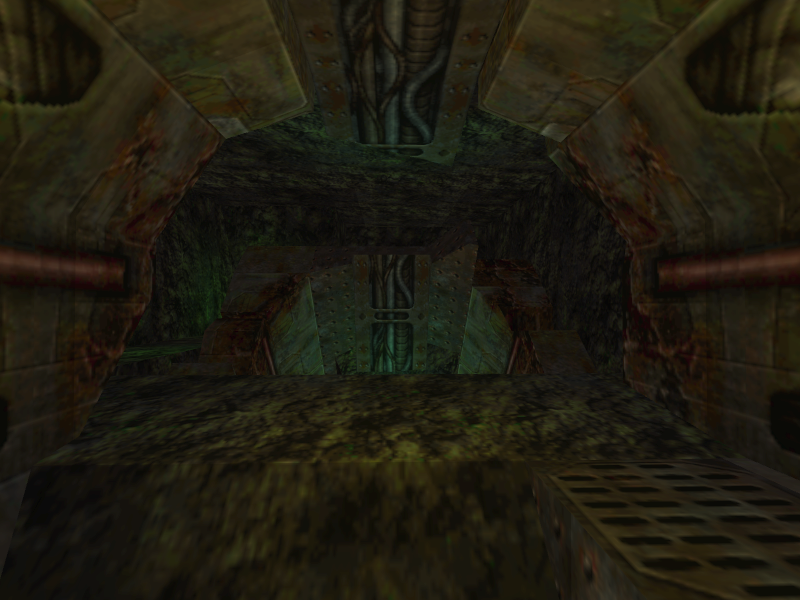
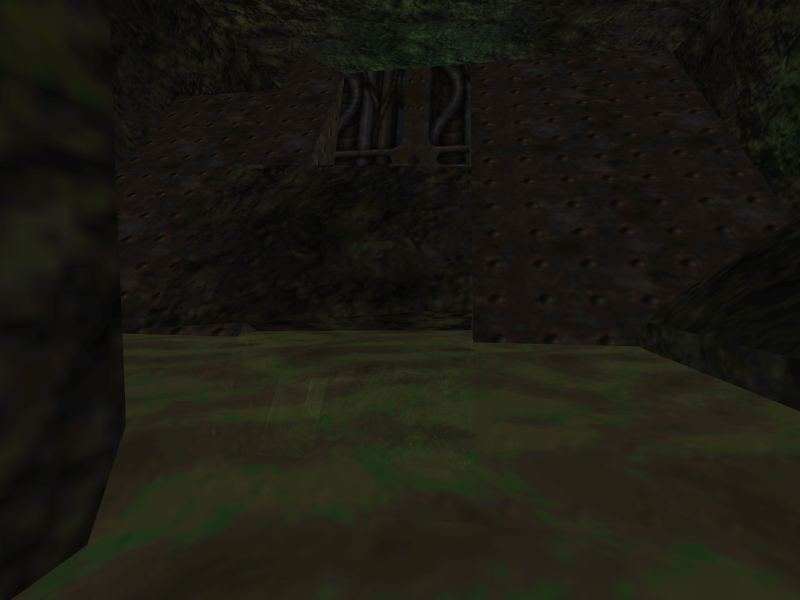
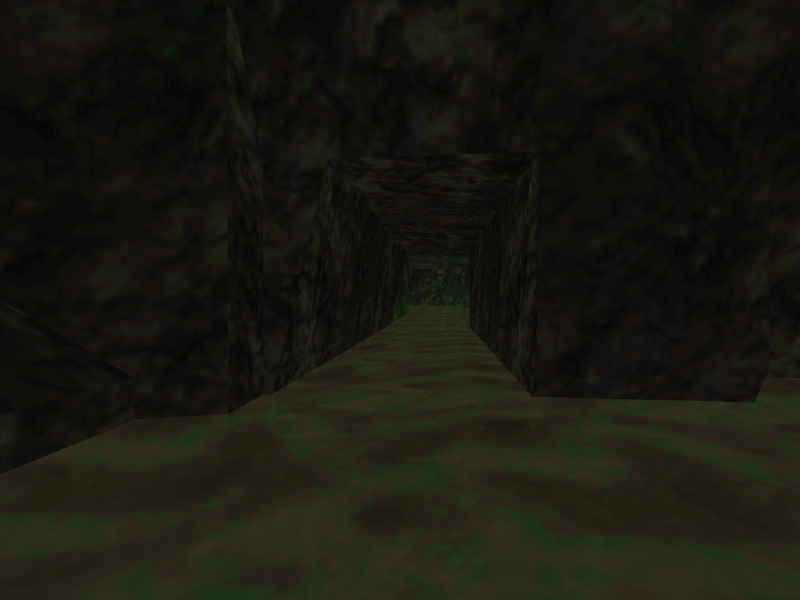
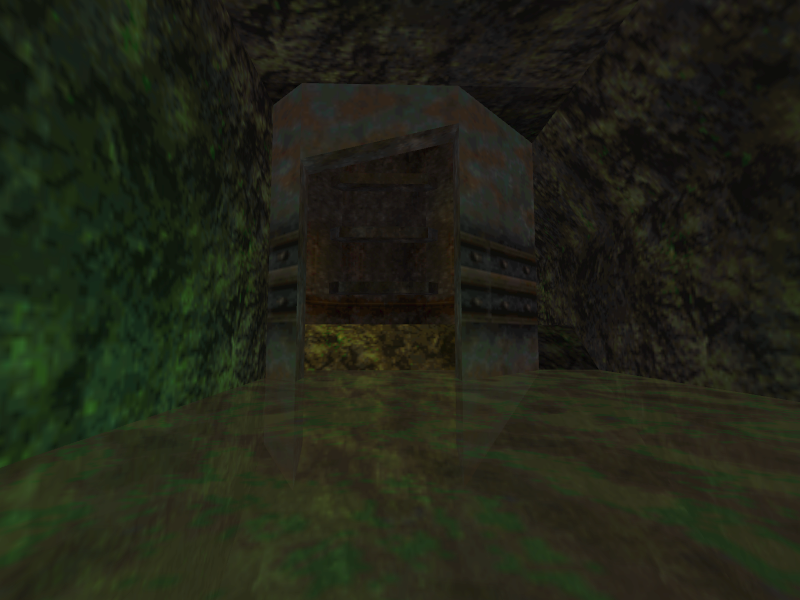
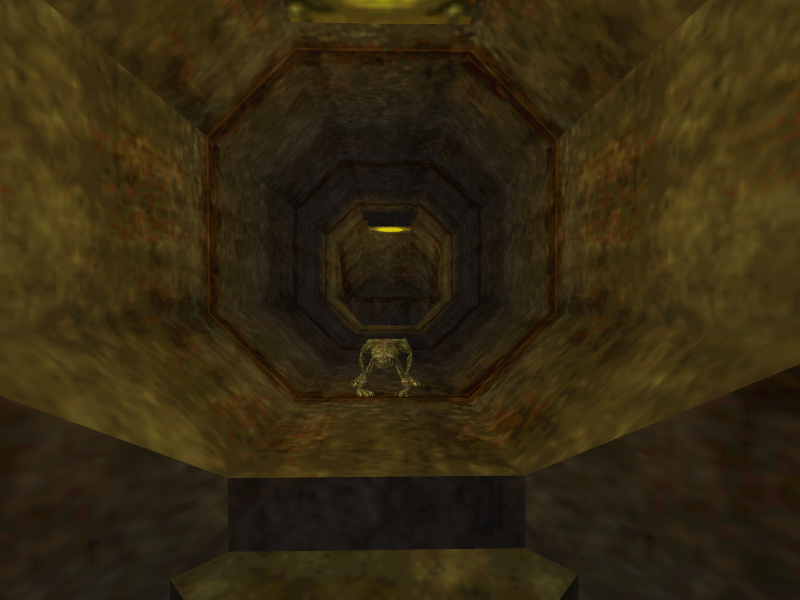
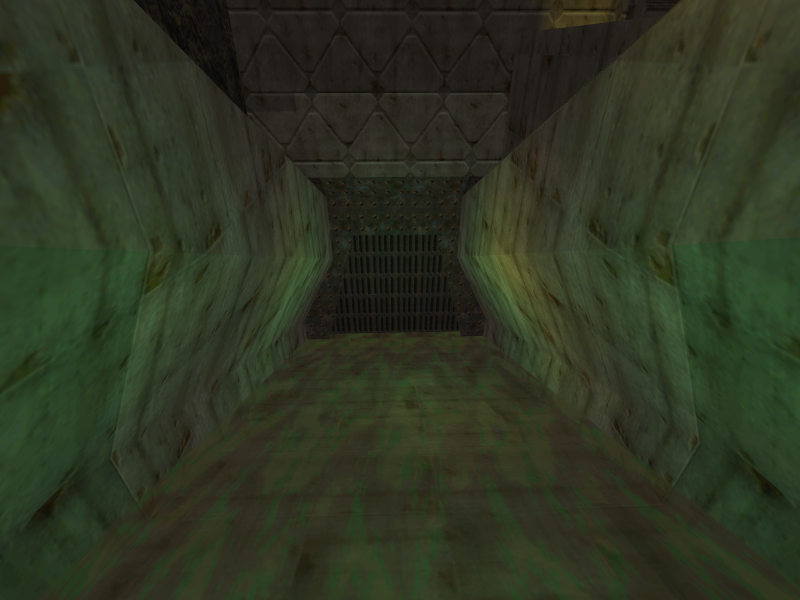
- The rocks at the end of the pipe the player starts the final’s E1M2b explode when approached, revealing the way. This is removed in the final game, with the way already shown.
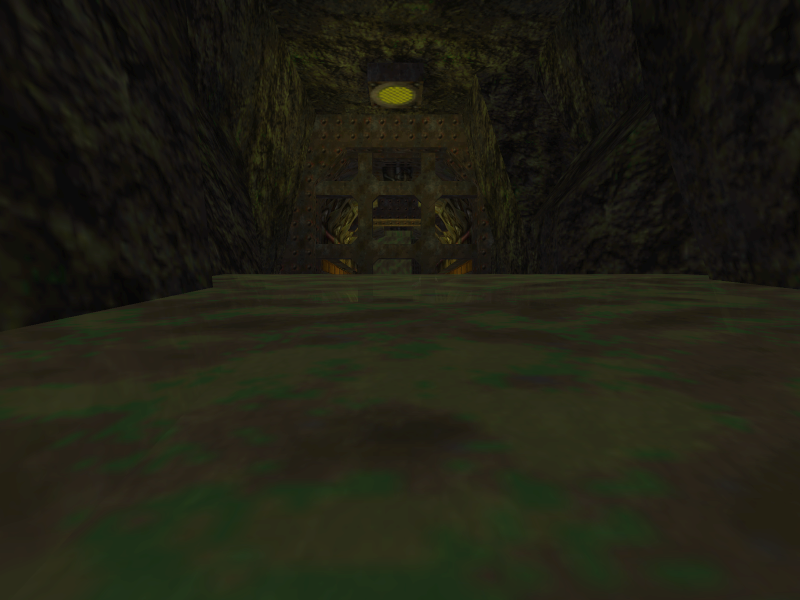
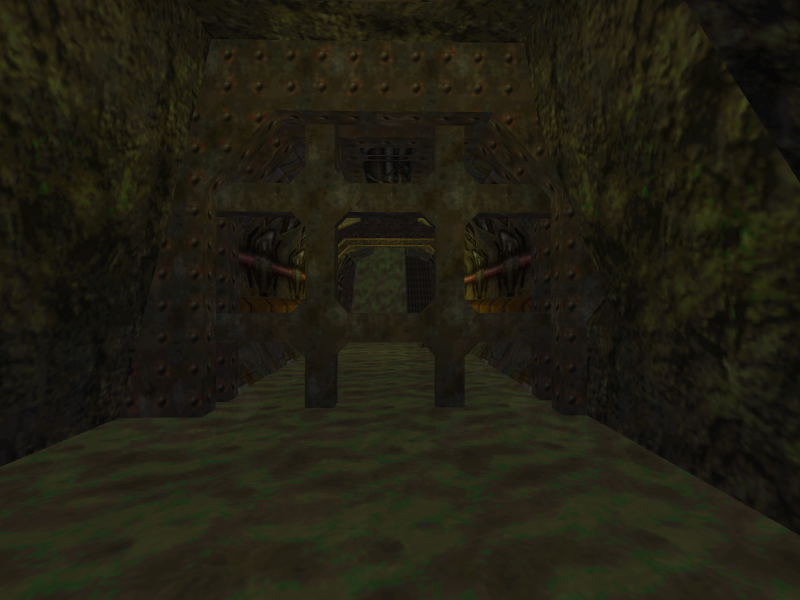
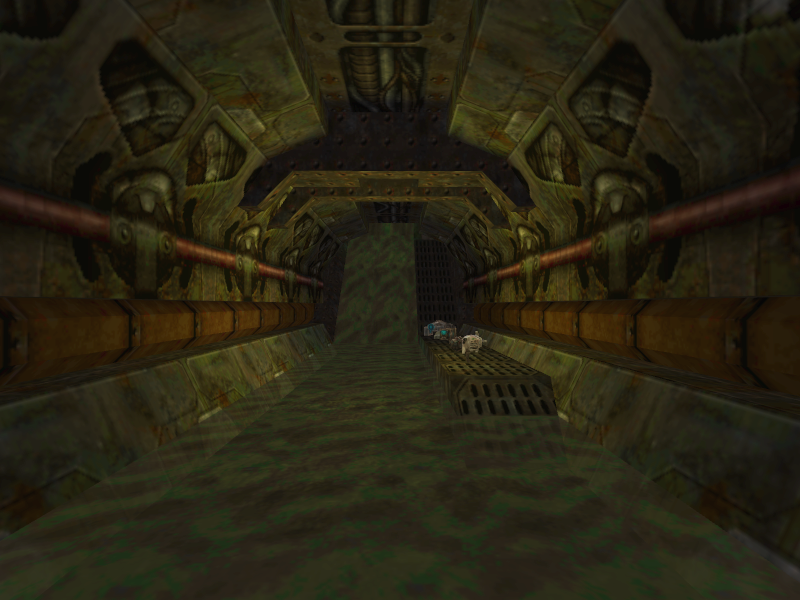
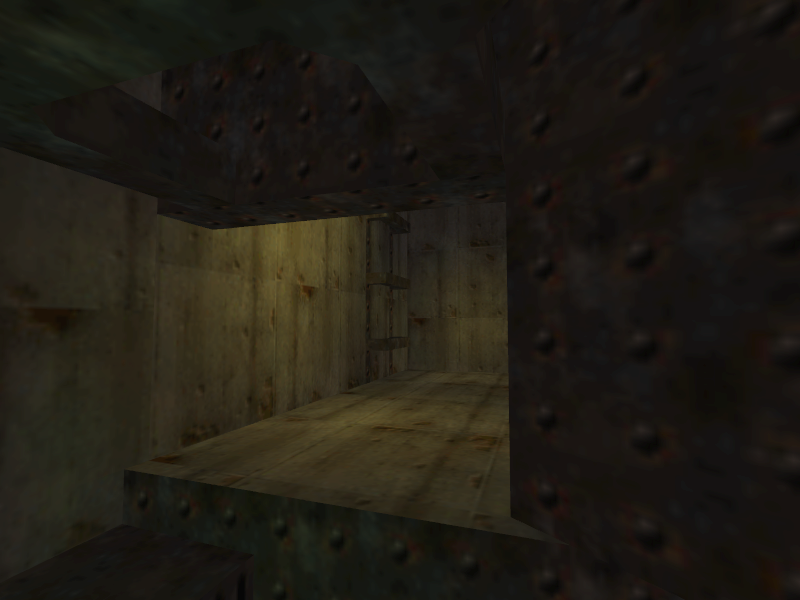
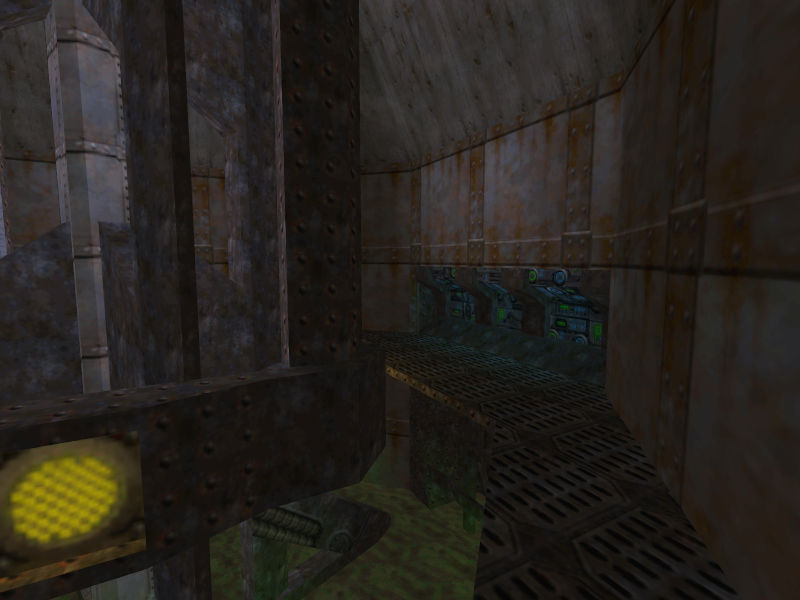
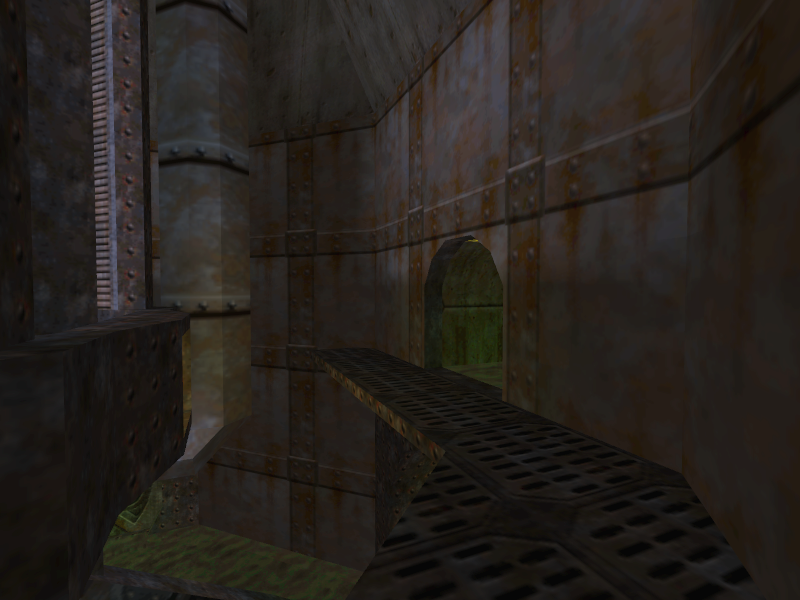
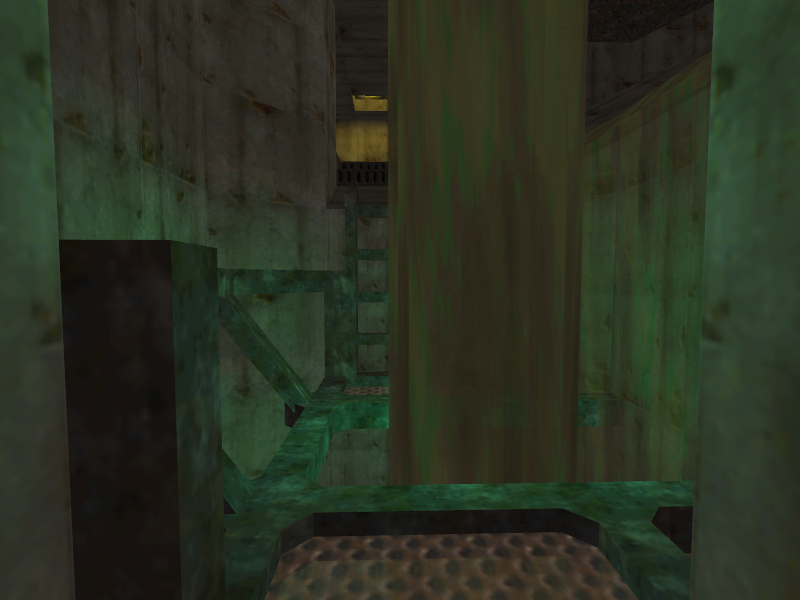
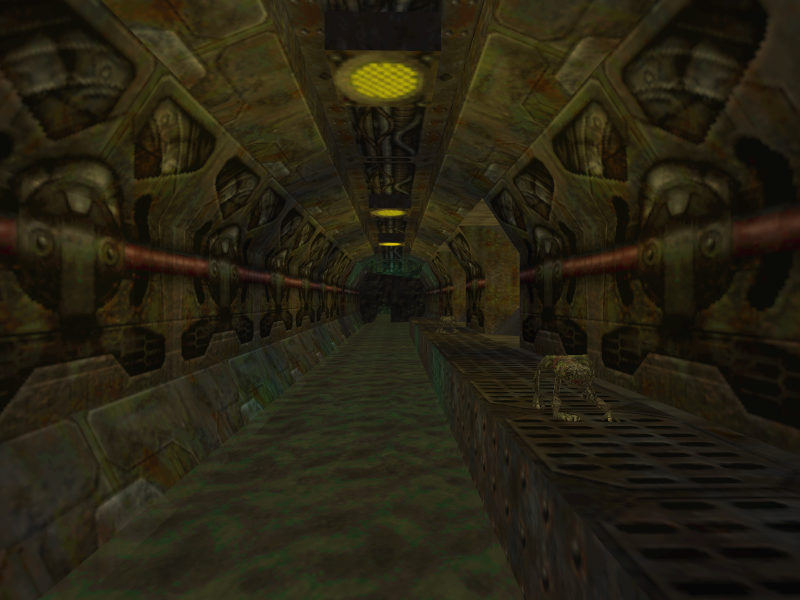
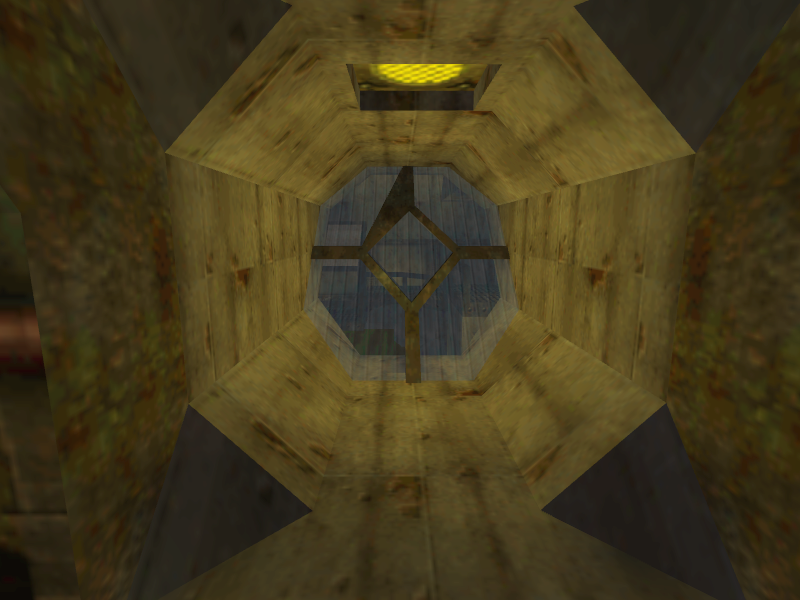
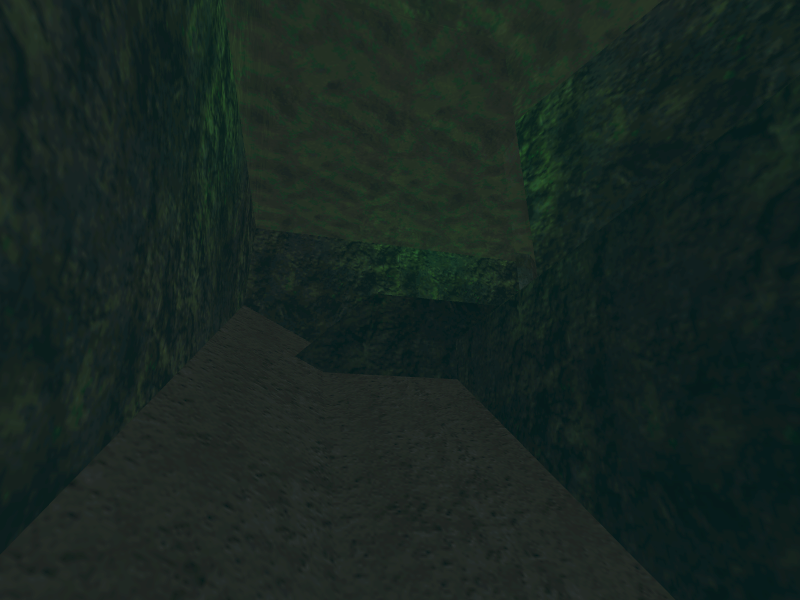
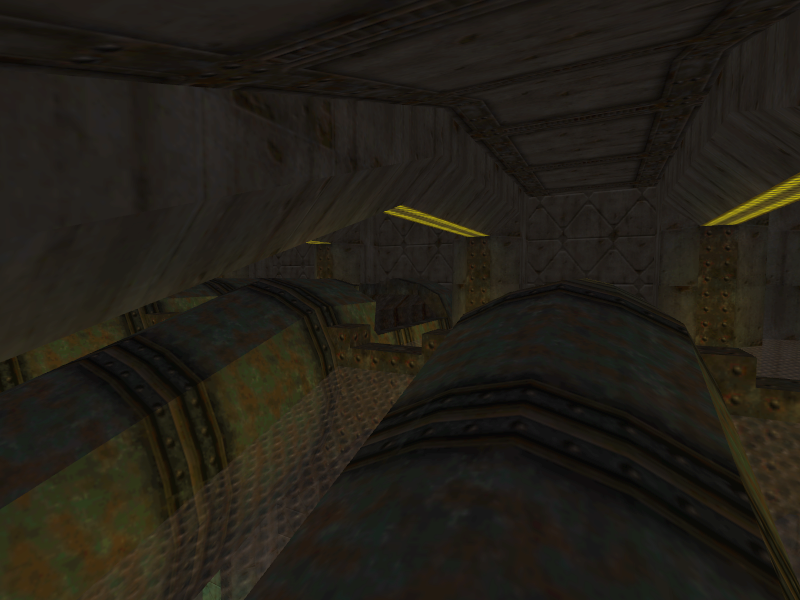
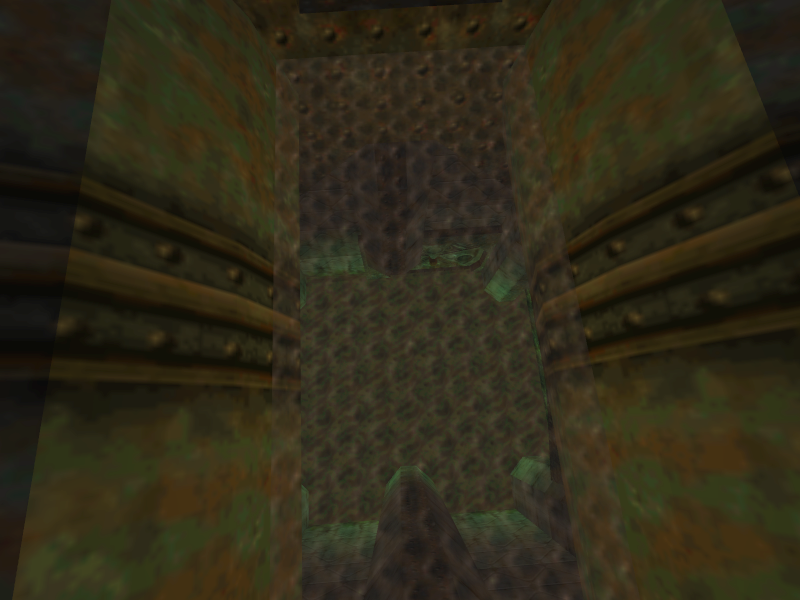
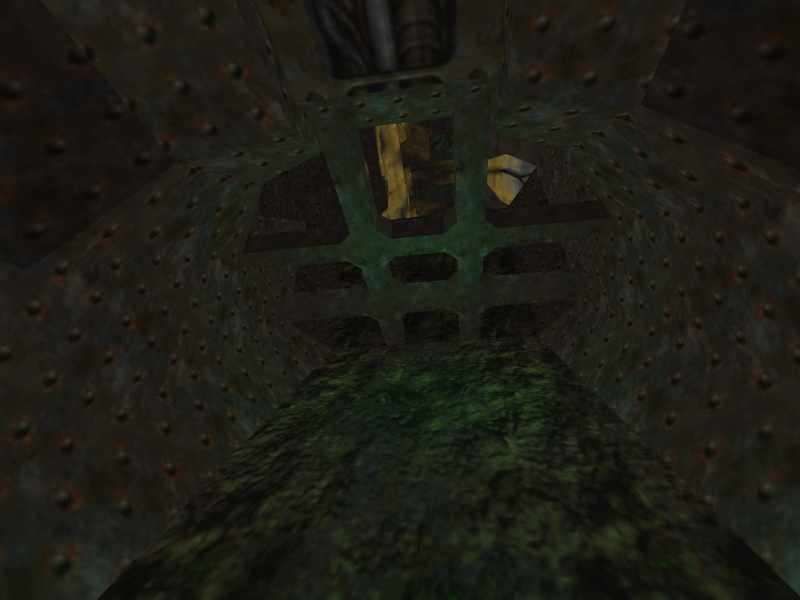
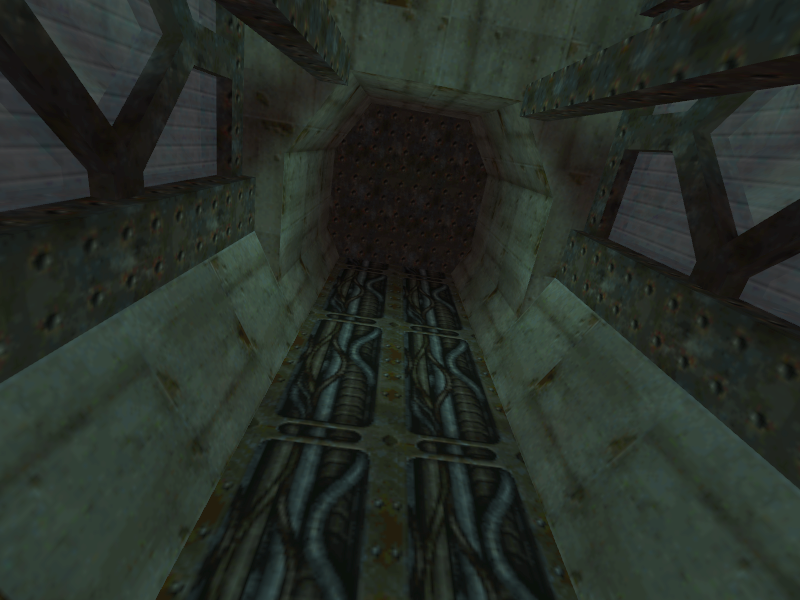
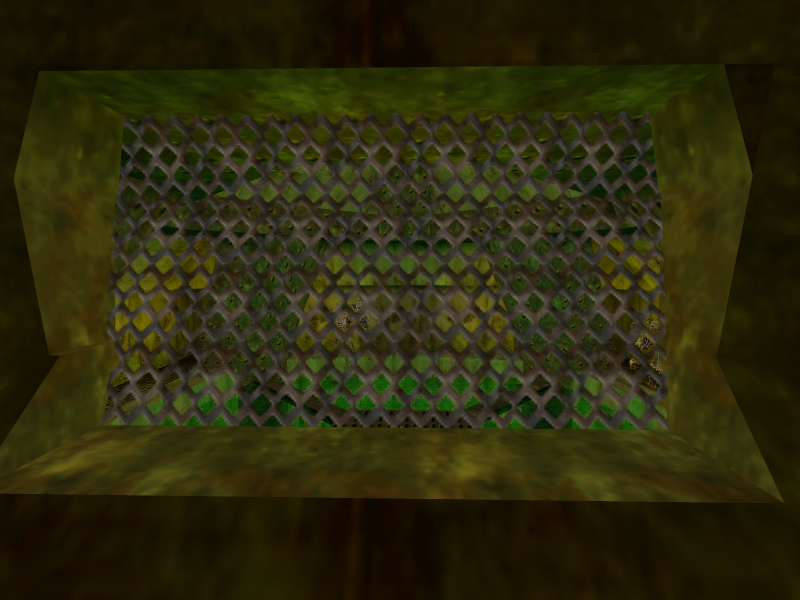
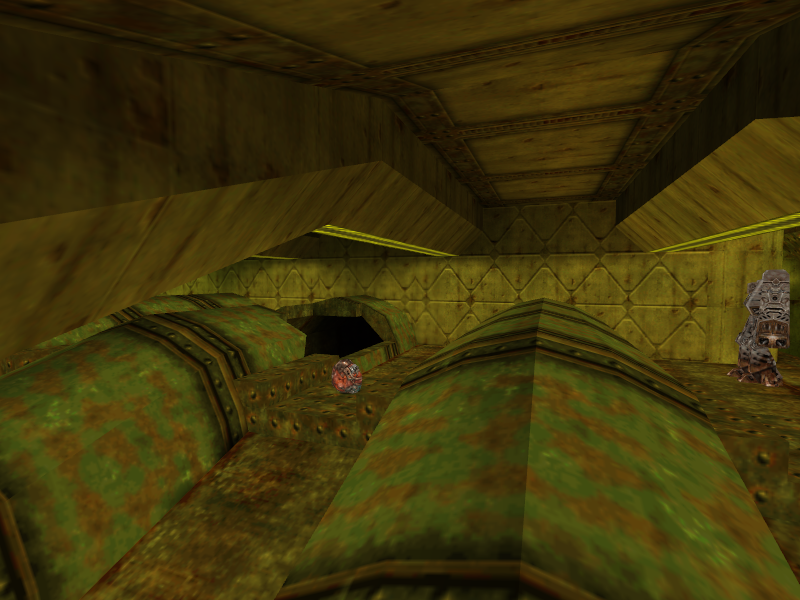
- The pipes the player traverses above at the start of E1M2b have a transparent floor between them, letting the player see the area below.
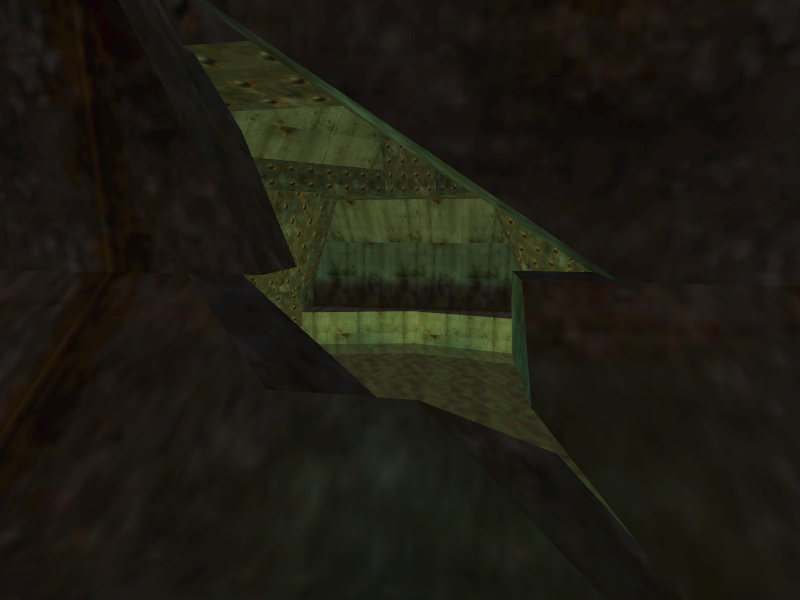
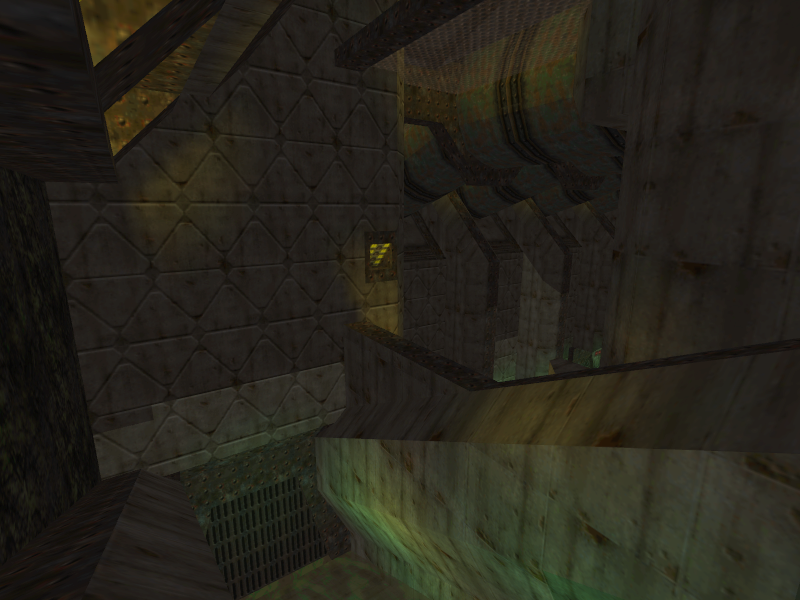
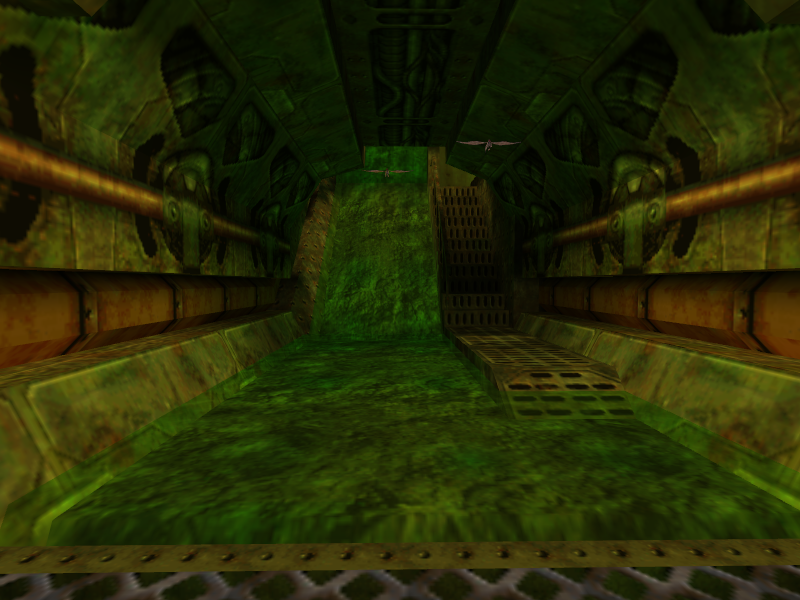
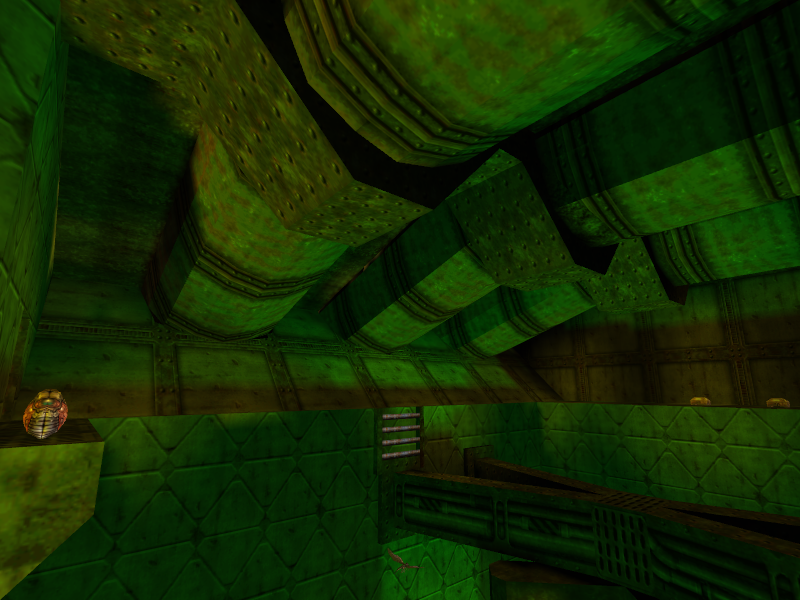
- The waterfall leading to the rotating flappers area has a large chunk of wall removed on its right side, letting the player see the area explored after going through the rotating flappers area. Theoretically, a skilled player could hop into the area from the waterfall, skipping the rotating flappers altogether.
- The rotating flappers area uses a more simple design for the button area. The flapper design itself is different as well.
- In addition, the rotating flappers puzzle itself is changed. The area is not flooded with water when the player enters, nor does pressing the switch in the area change the water level. Instead, the trick is that the player has to follow the flappers as they move underwater to safely get to the door the switch opened.
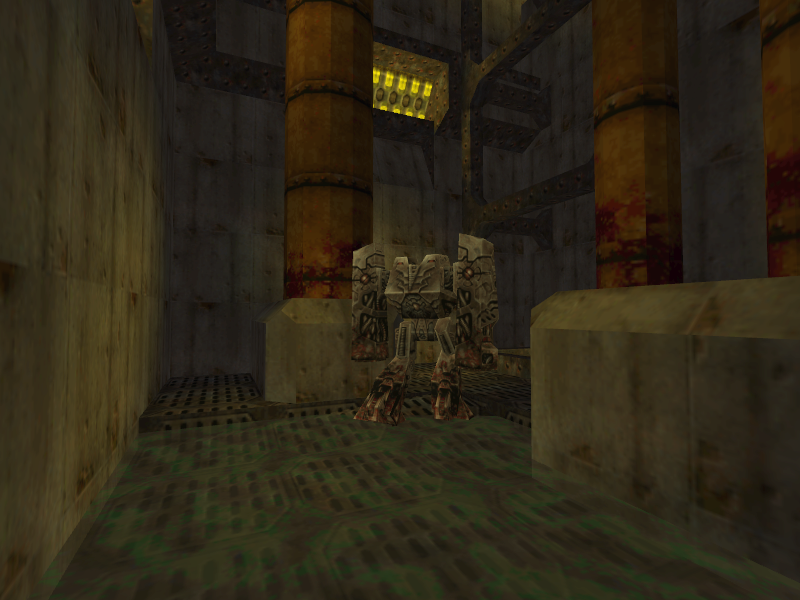
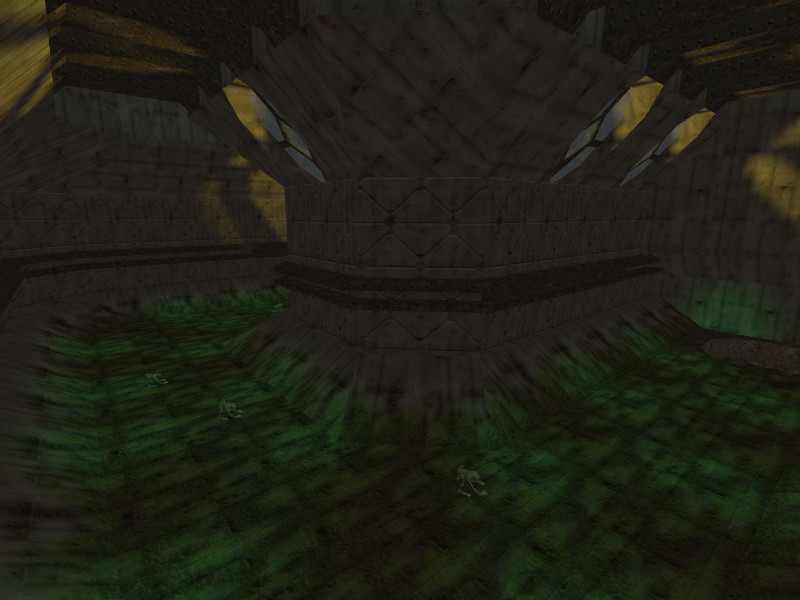
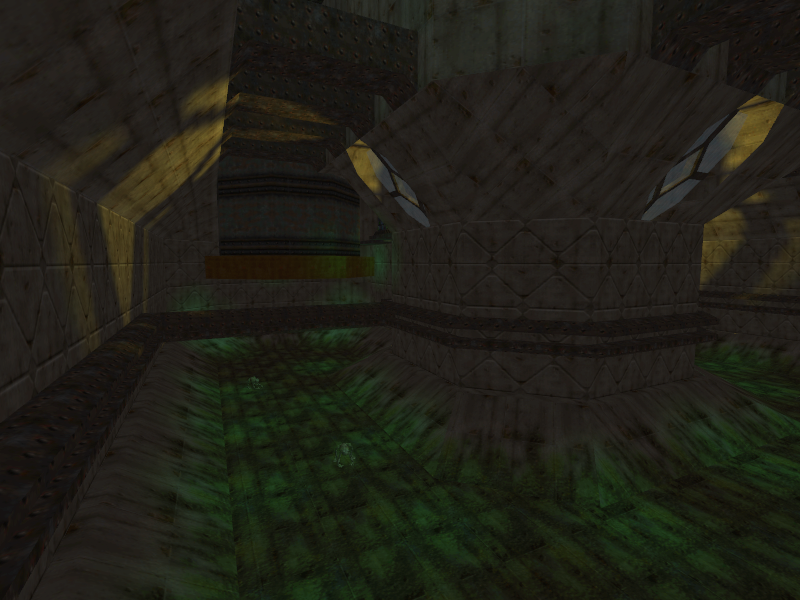
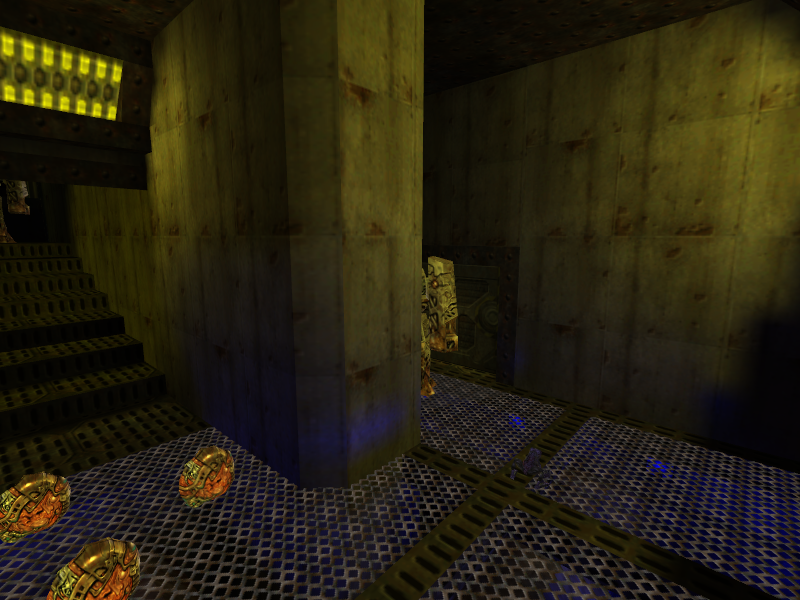
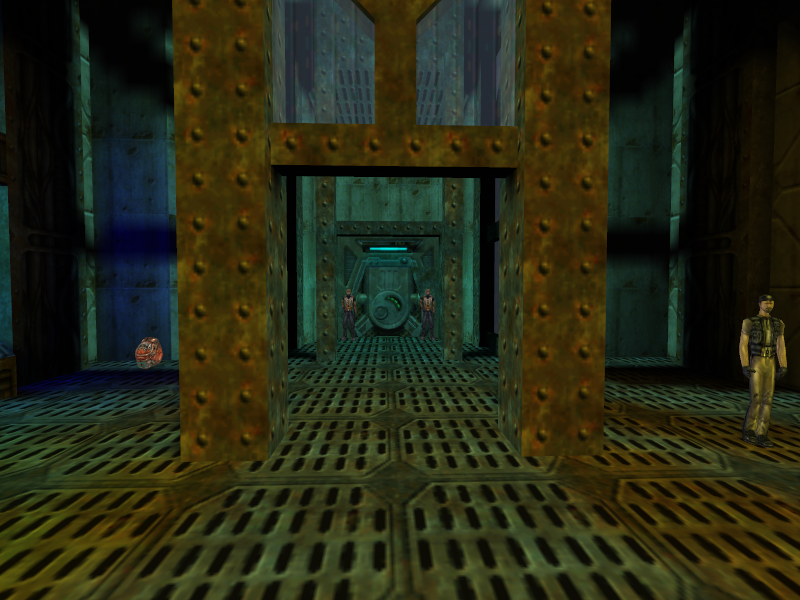
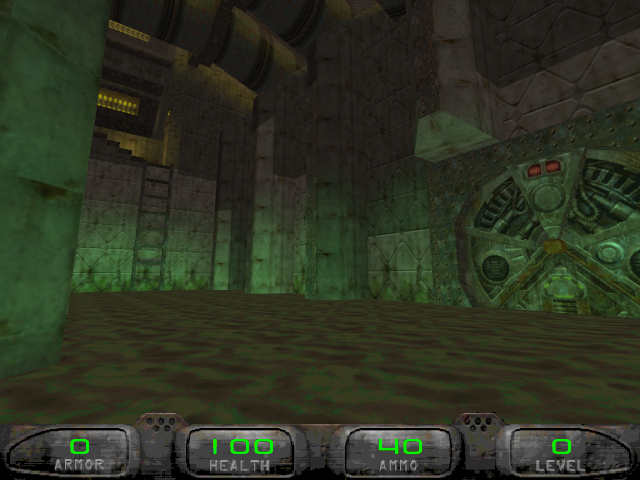
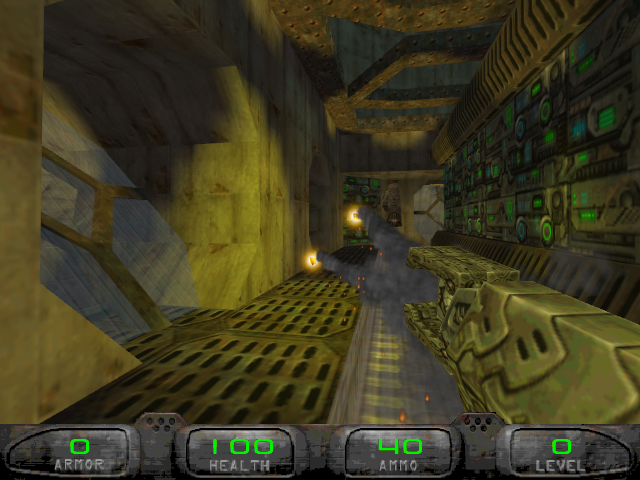
- The large room with the turbine and waterfall that is past the rotating flapper room is different. The lower section is one large area instead of being divided by a wall near the halfway point and the turbine in the second part of the lower level is missing. The Sludgeminions in the area suddenly appear from the floor as the player traverses the room instead of roaming around the turbine (which does not exist in the prototype E1M2). This design was seen in a pre-release image.
- The door to leave the turbine and waterfall can simply be opened with the use button. There’s no need to press a timed switch, like in the final game.
- The secret area that requires a pipe grate to be destroyed does not exist. Instead, the pipe shows the final area.
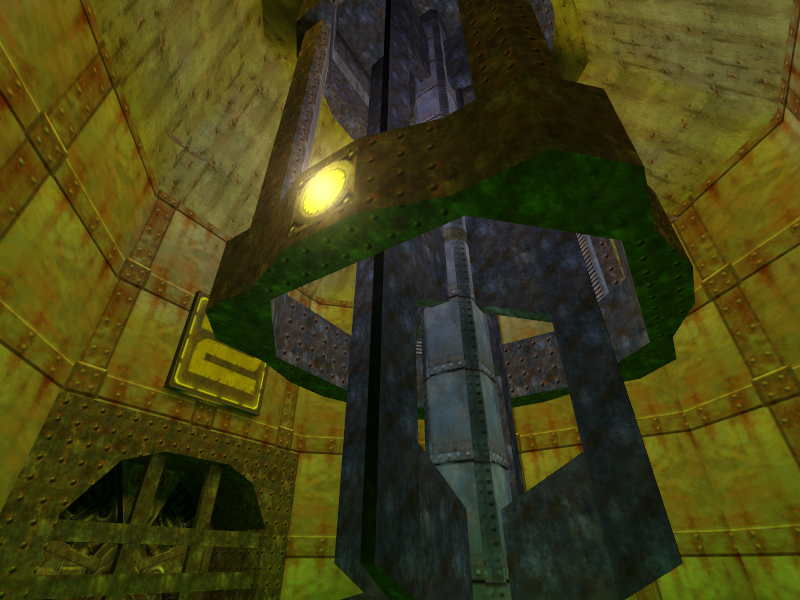
- The area with the elevator to the final area lacks the water seen in the final game.
- A secret area in the upper parts of the elevator room exists in 0.10, but not in the final game.
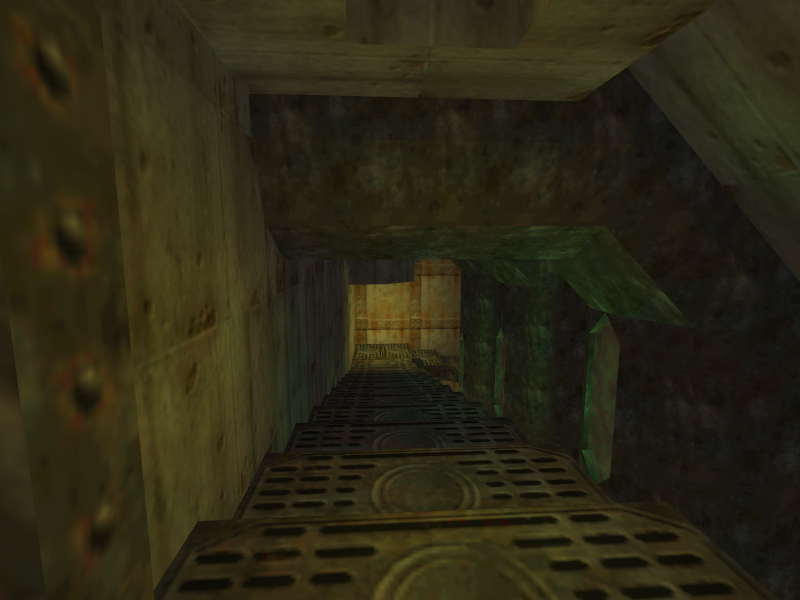
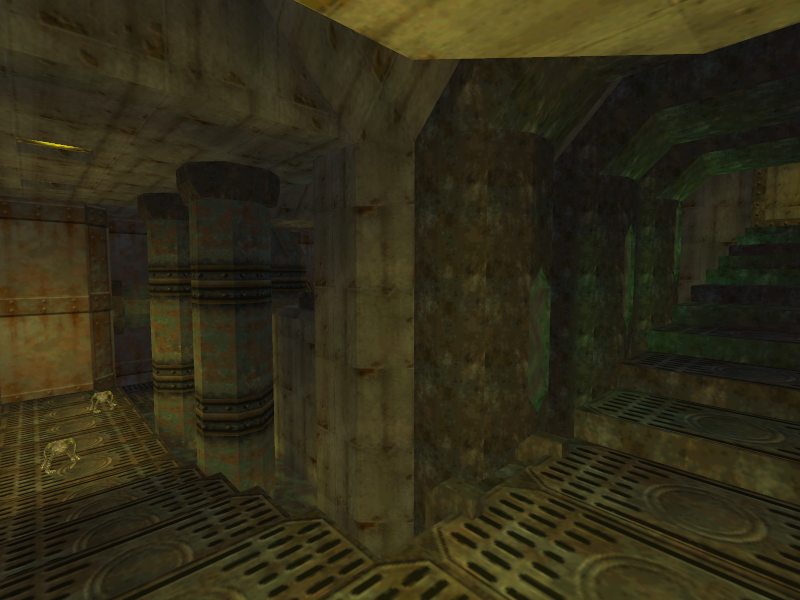
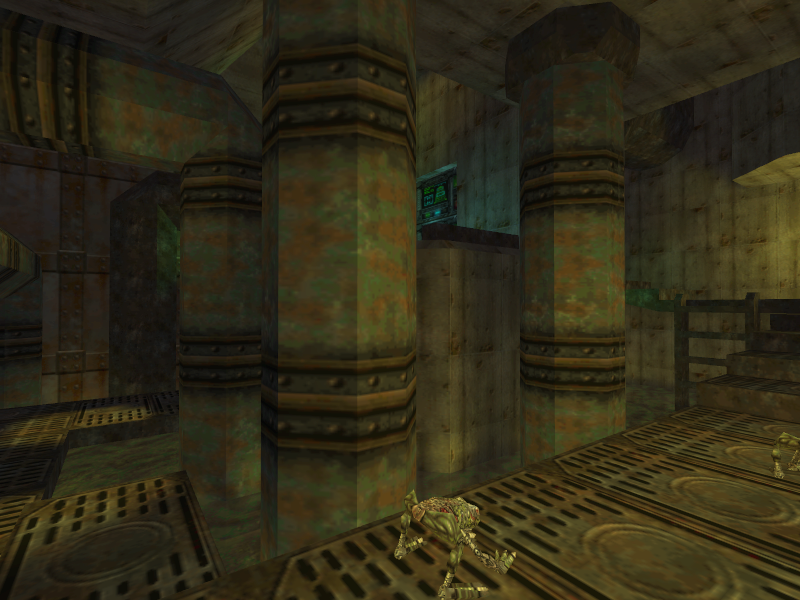
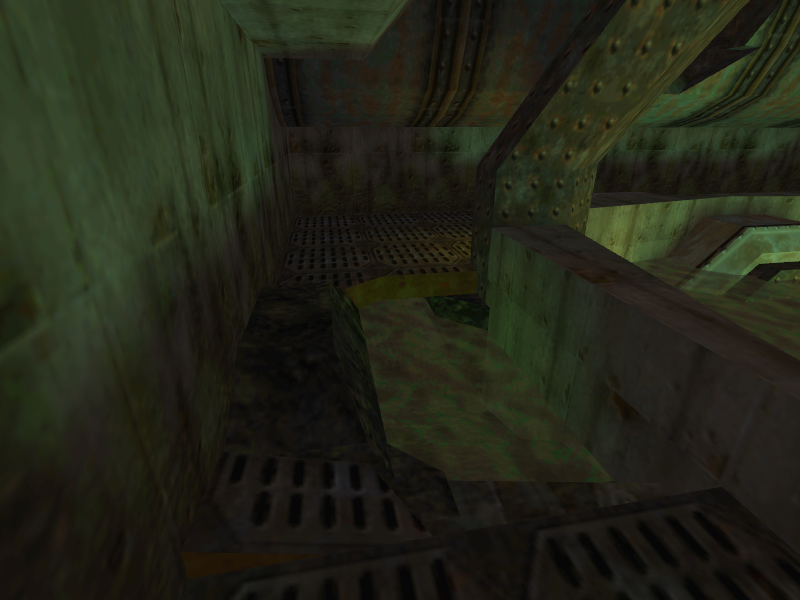
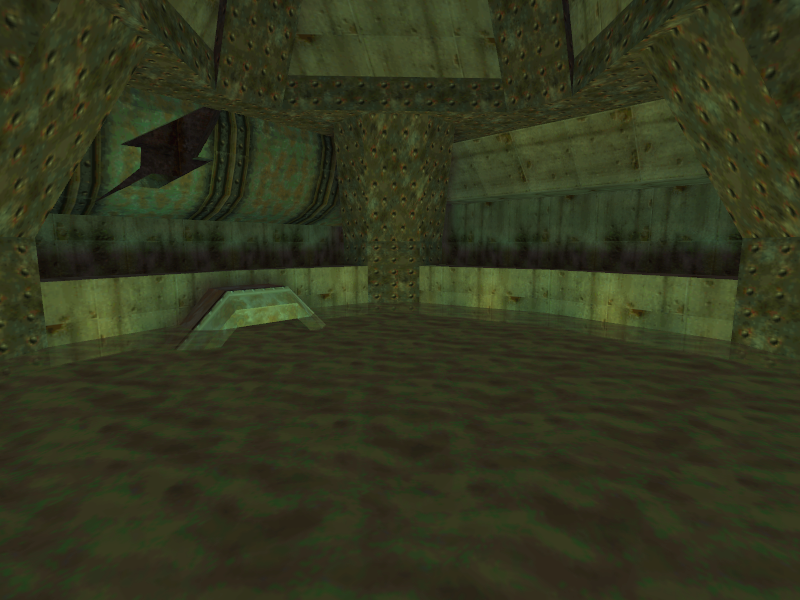
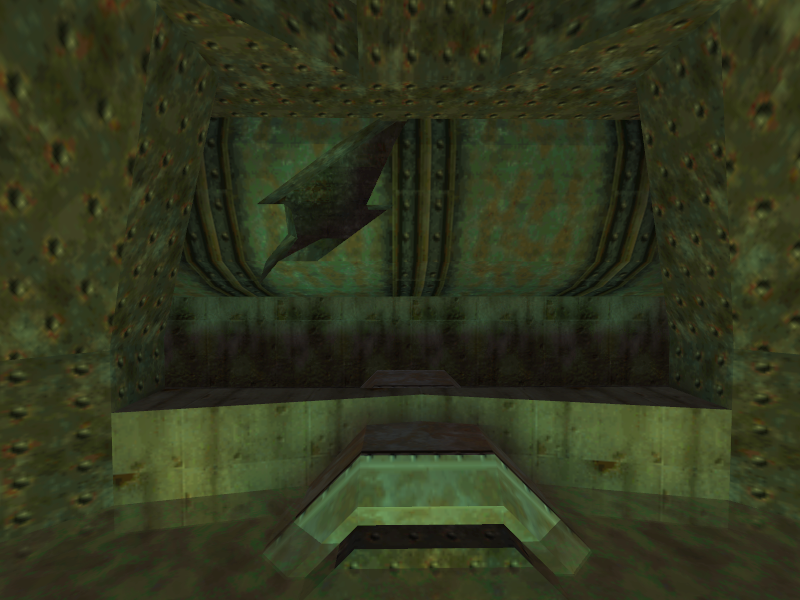
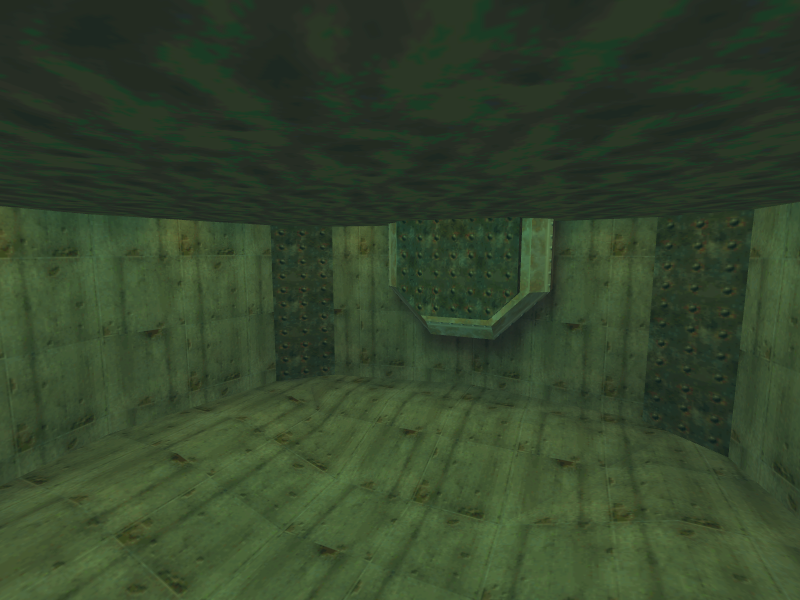
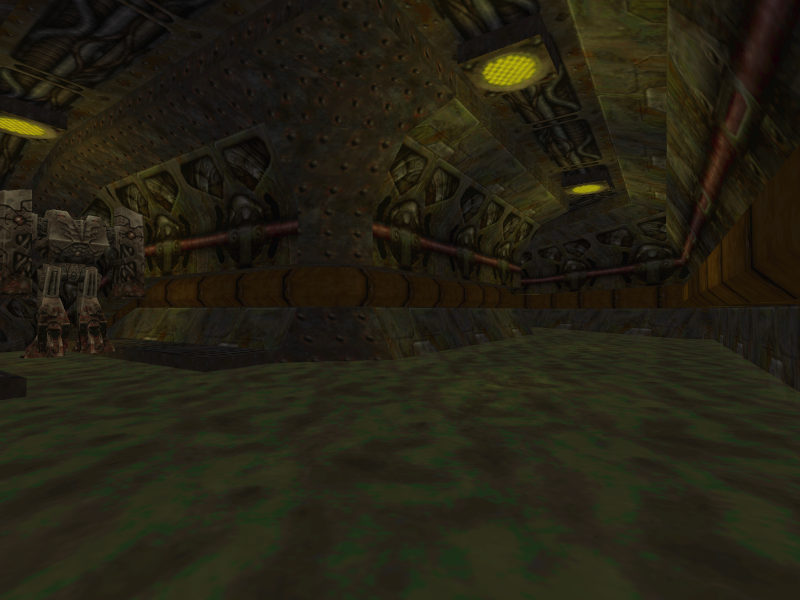
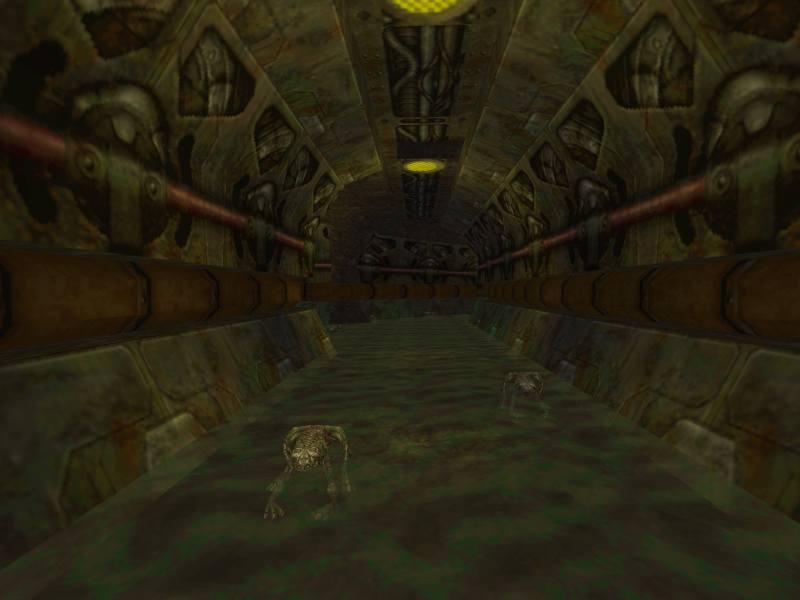
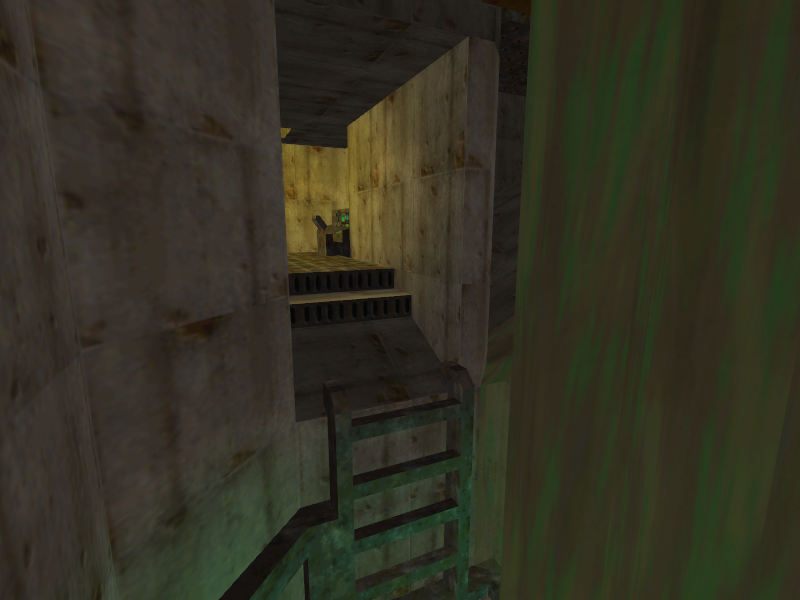
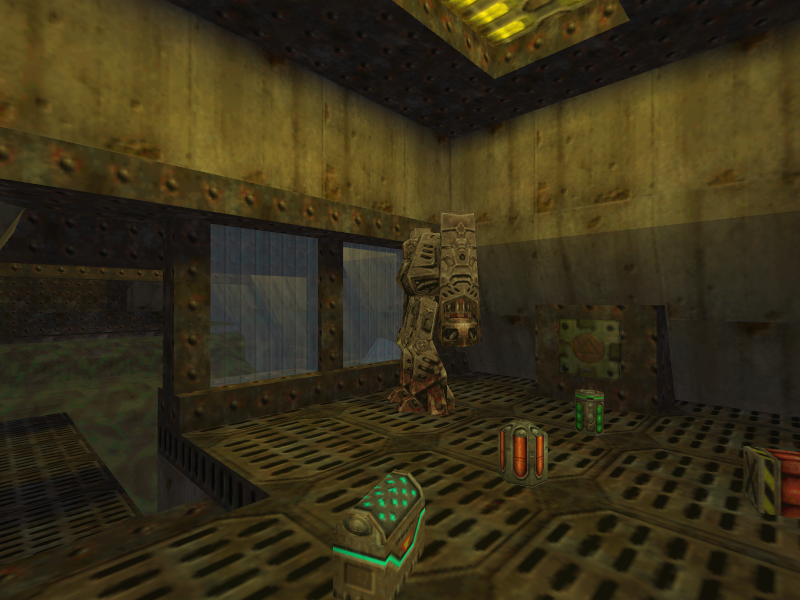
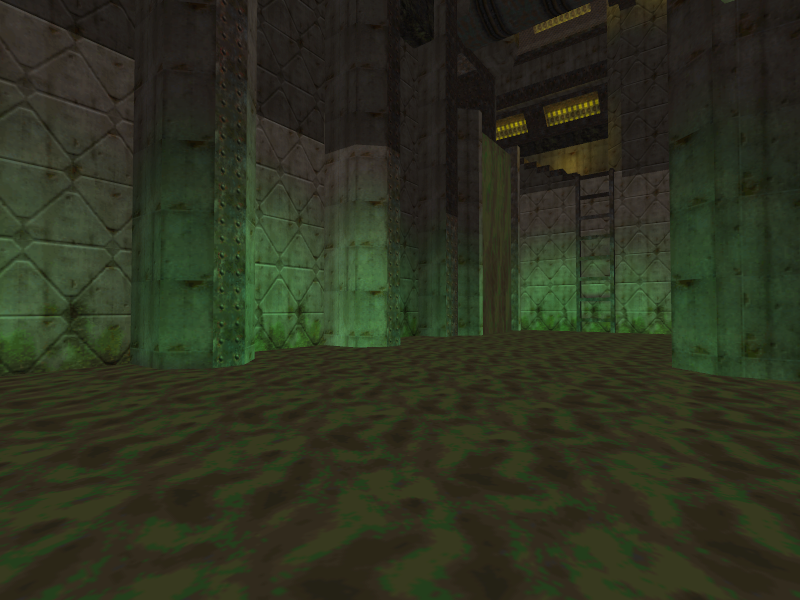
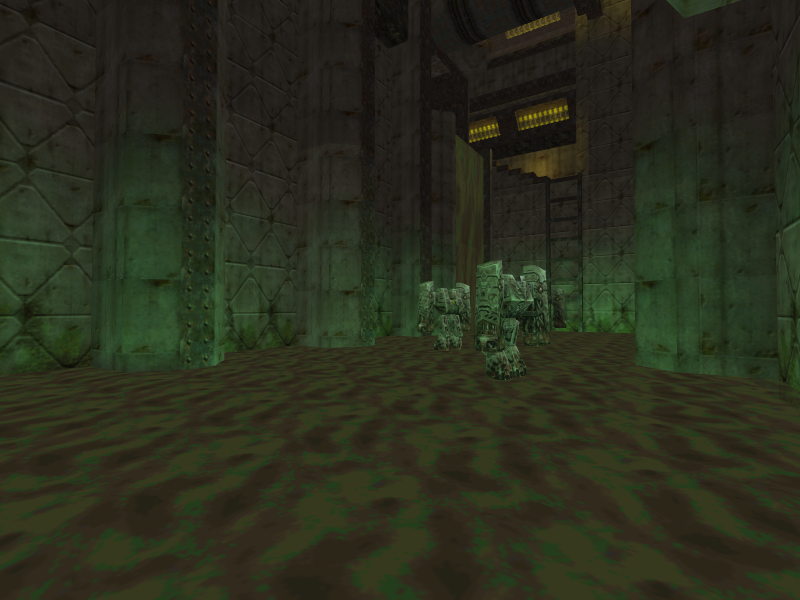
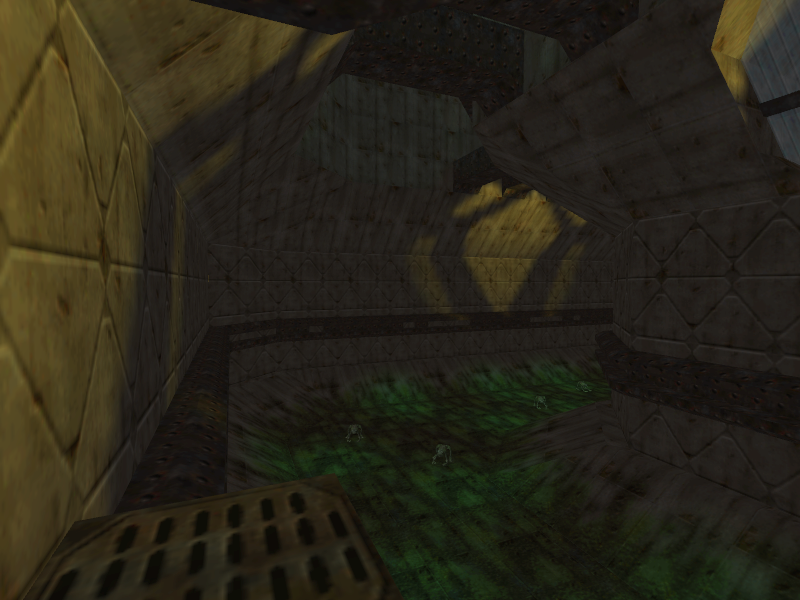
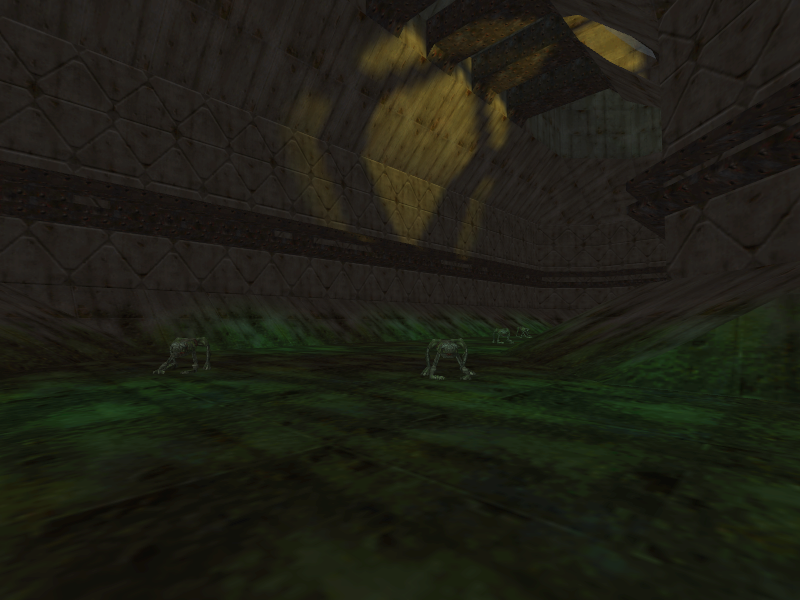
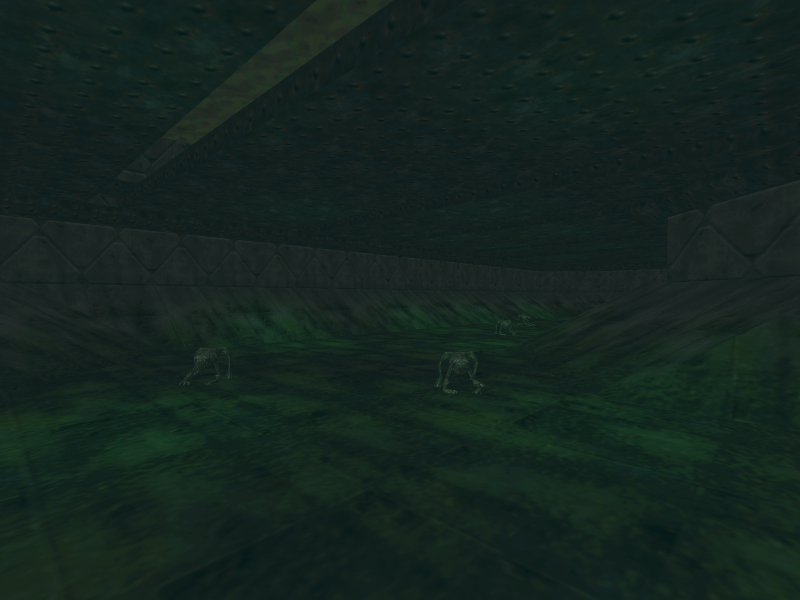
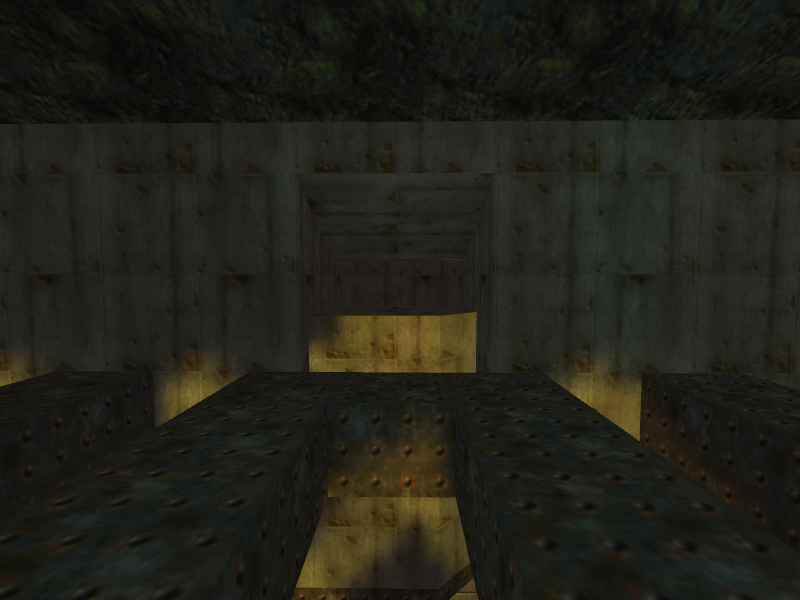
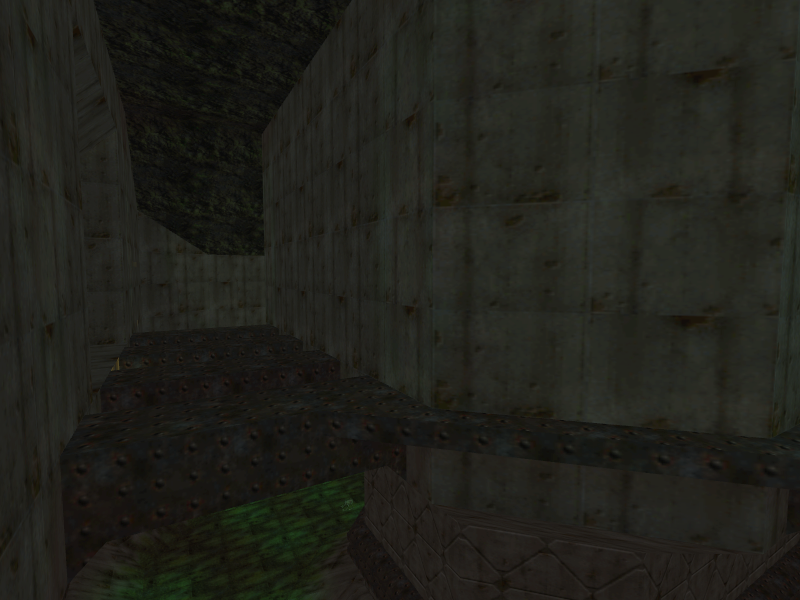
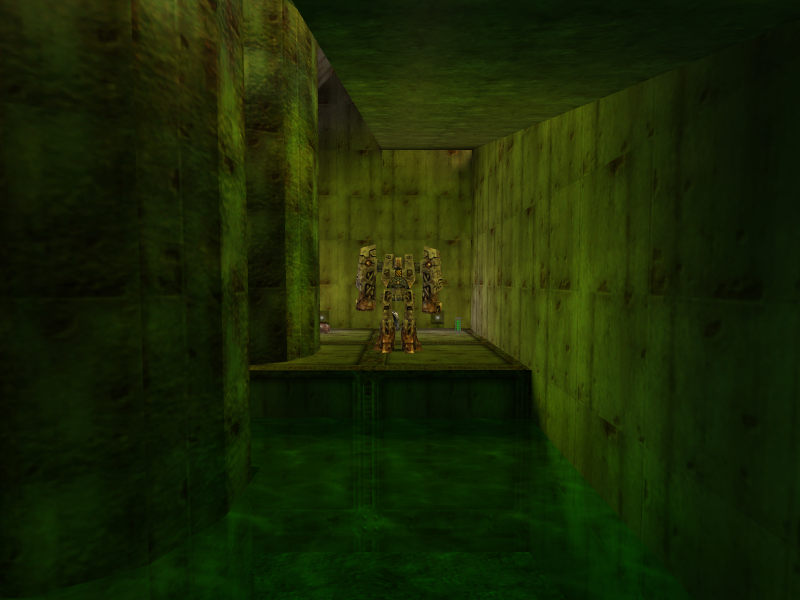
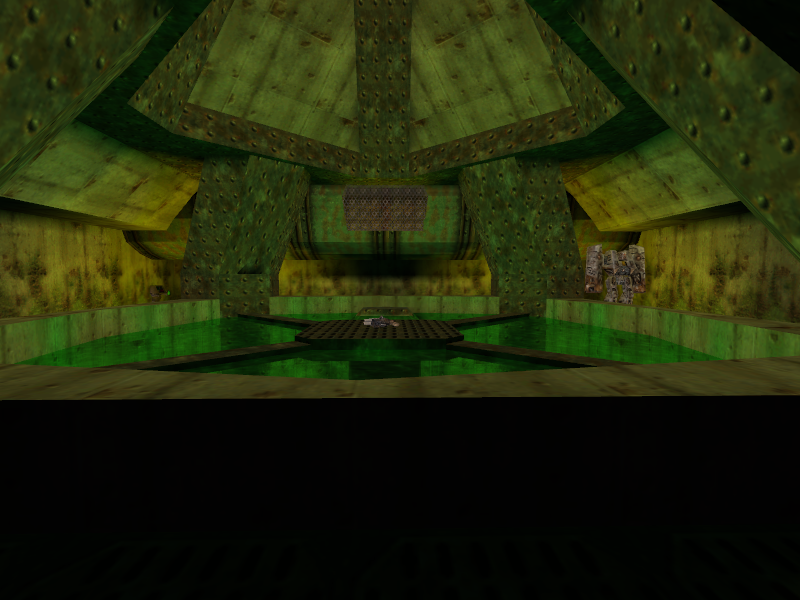
- The final area is vastly different. After getting off the elevator, the player ends up in a large U-shaped area that contains several Frogniators in it. The player is on a ledge above the U-shaped area, and the only way forward is to jump down. However, once the player walks on the U-shaped area a little bit, platforms will move above the player, and the room will begin to flood. The goal is for the player to make it to the other side of the U-shaped area without drowning while fending off Froginators. The platforms that deploy when the flooding starts prevents the player from getting air until reaching the end, so the player must hurry.
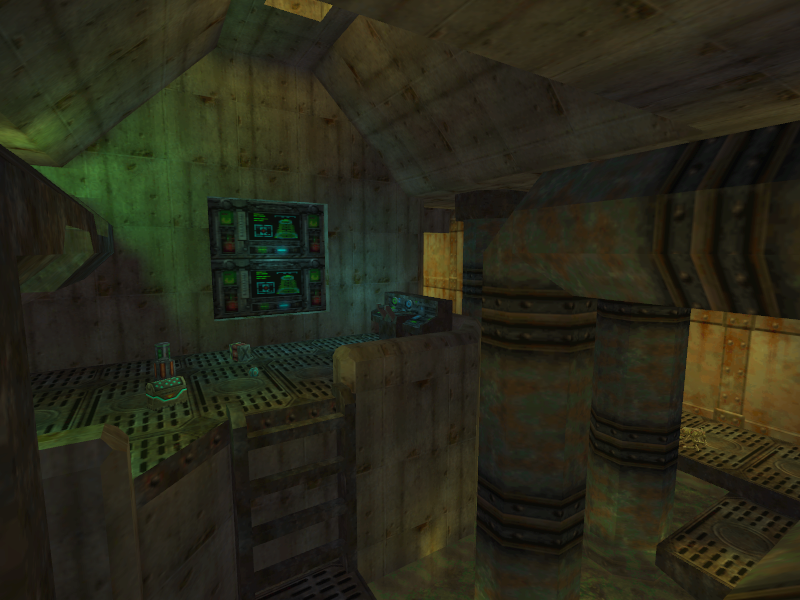
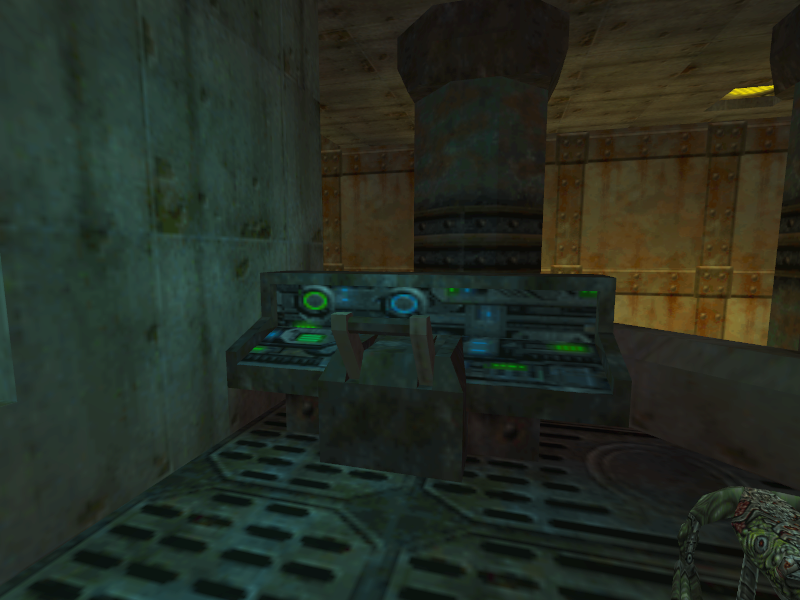
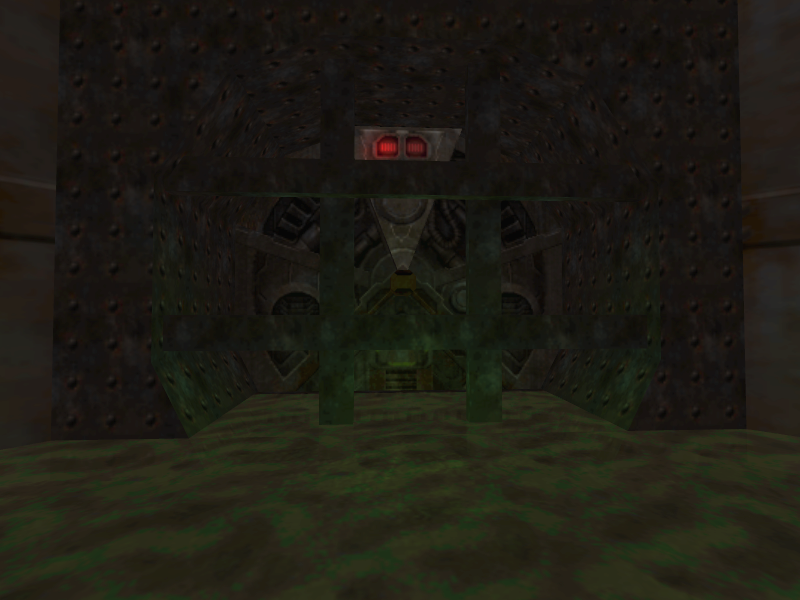
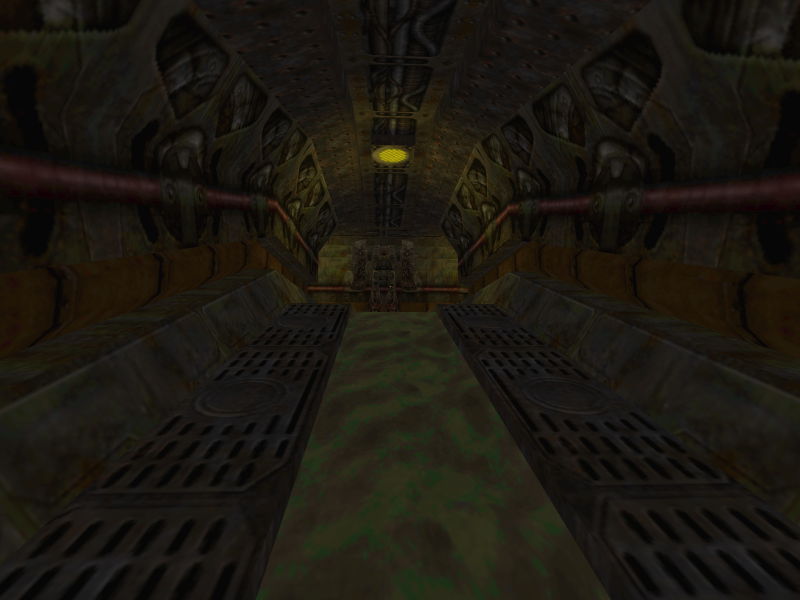
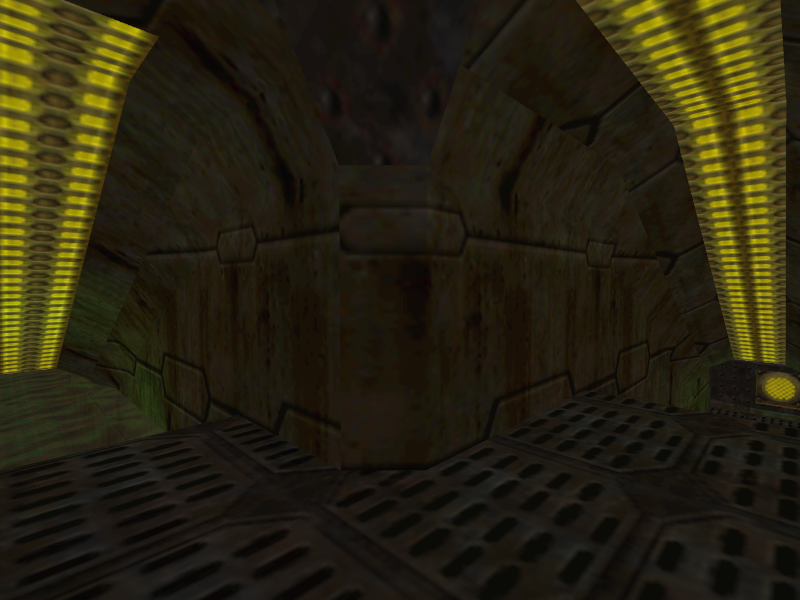
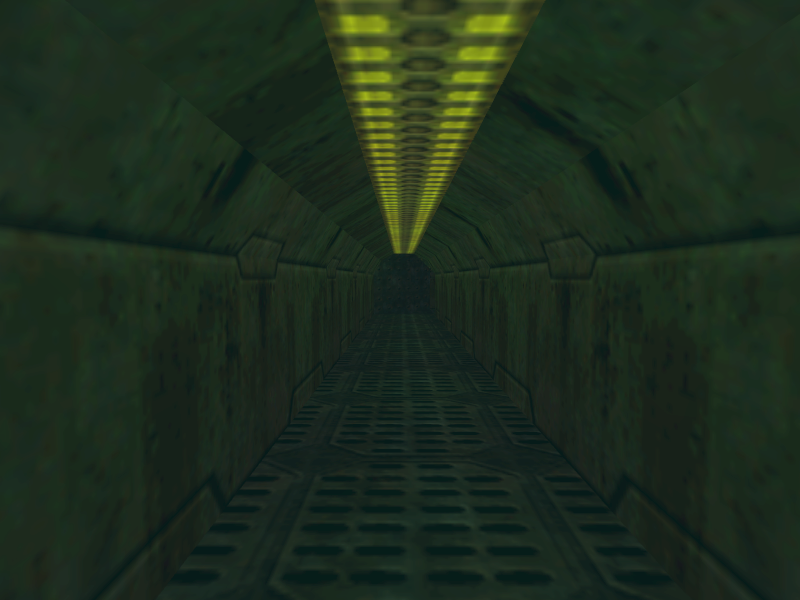
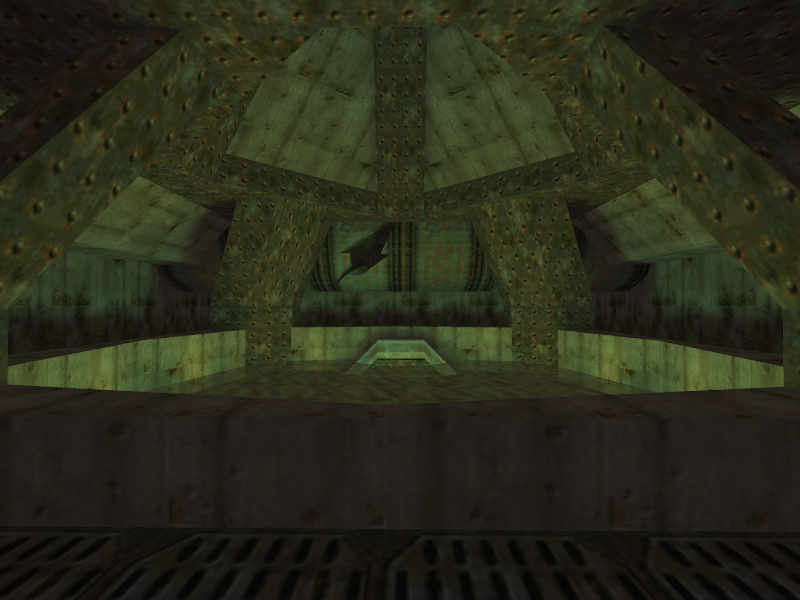
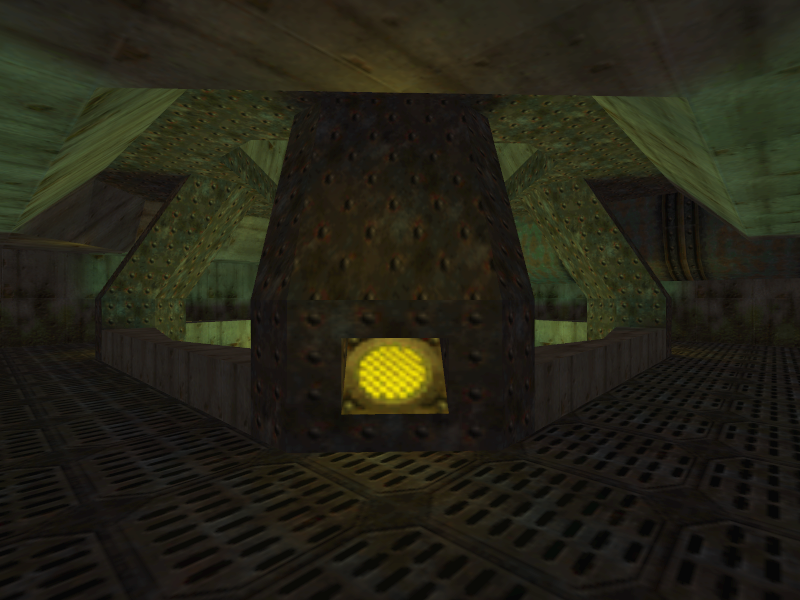
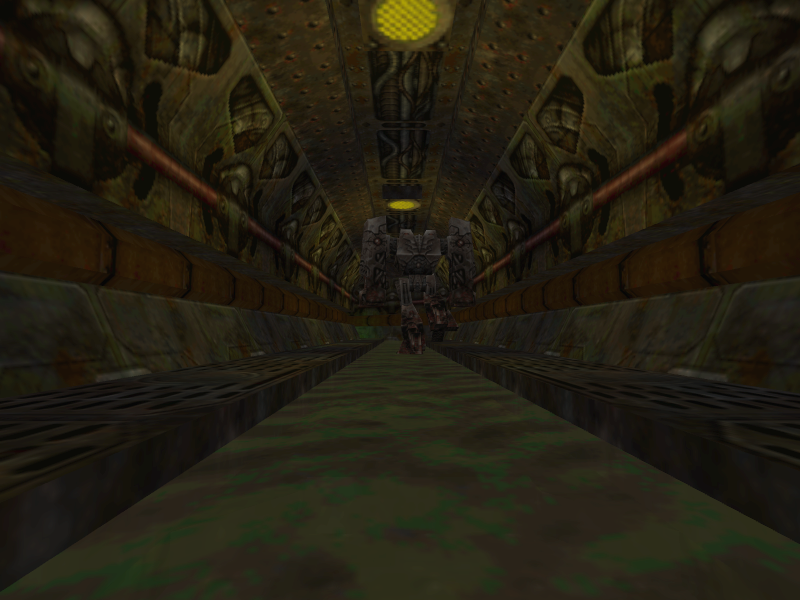
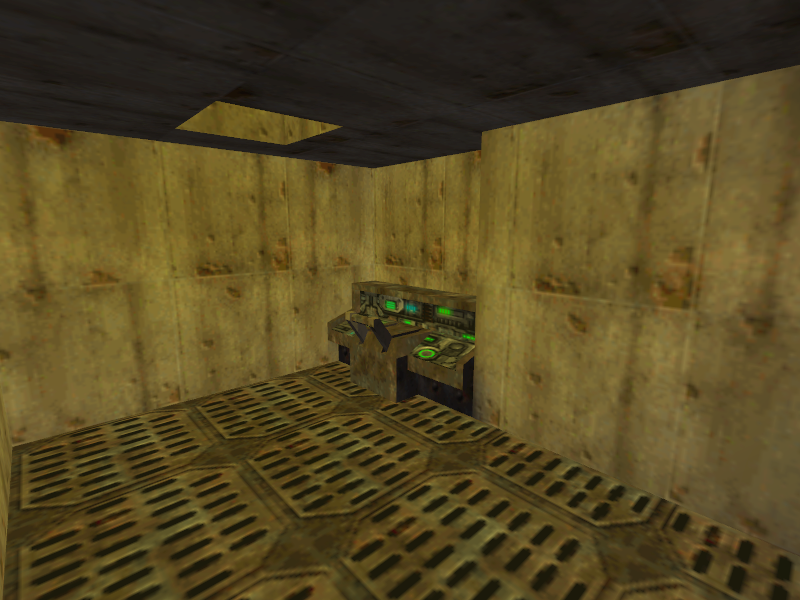
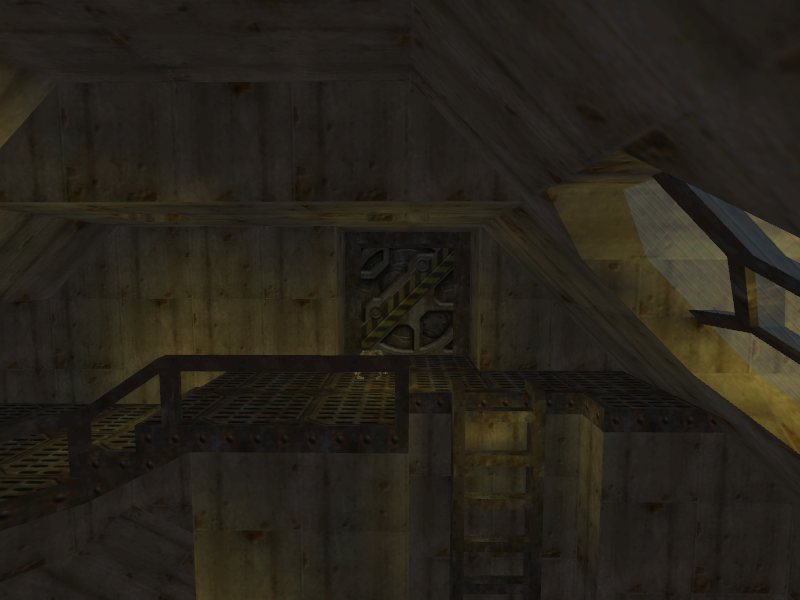
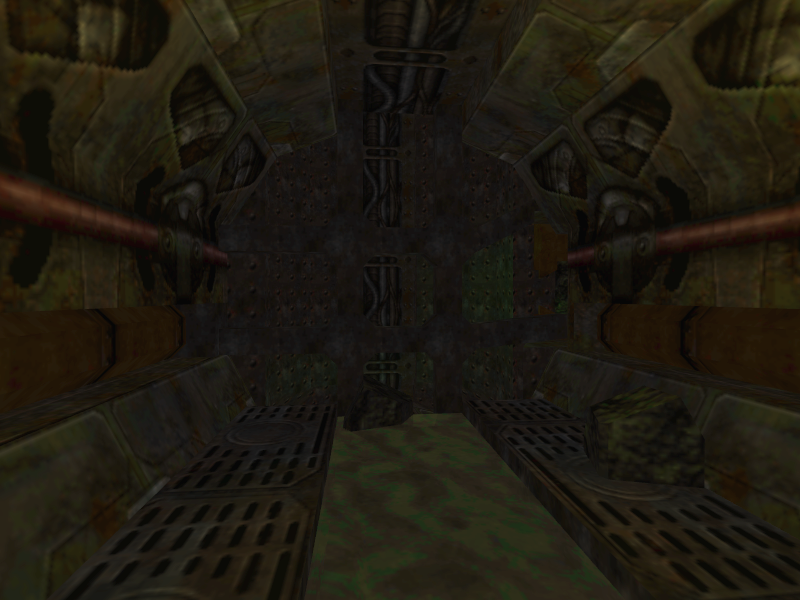
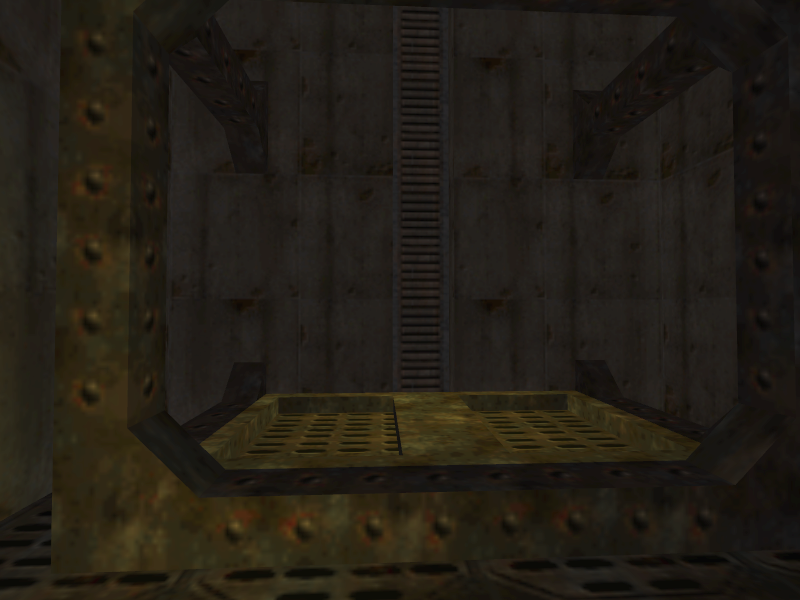
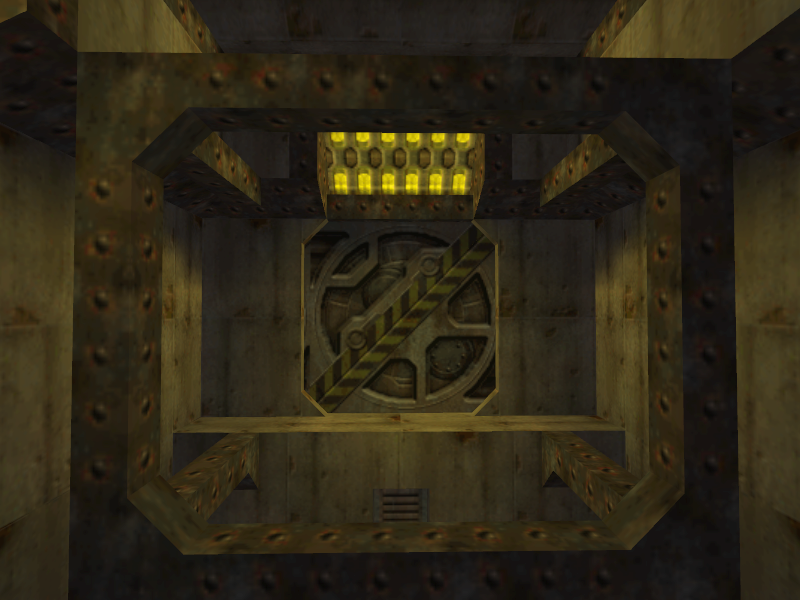
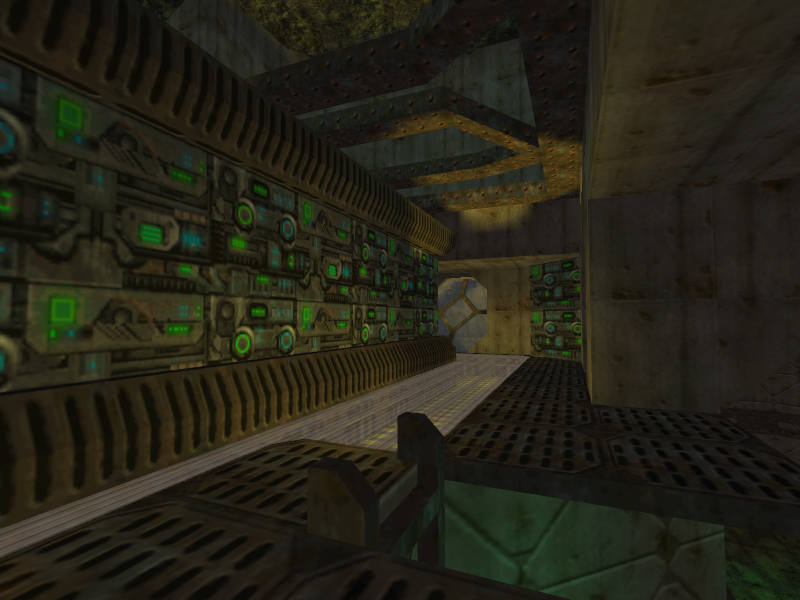
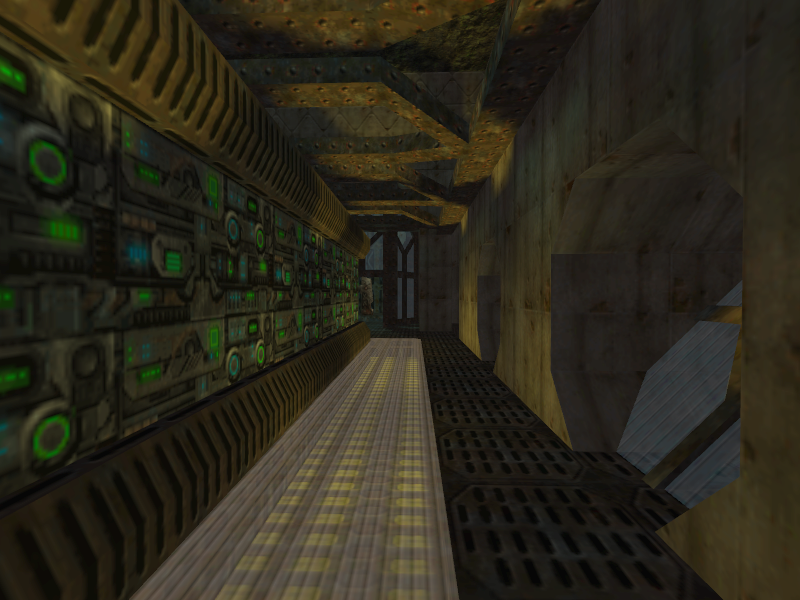
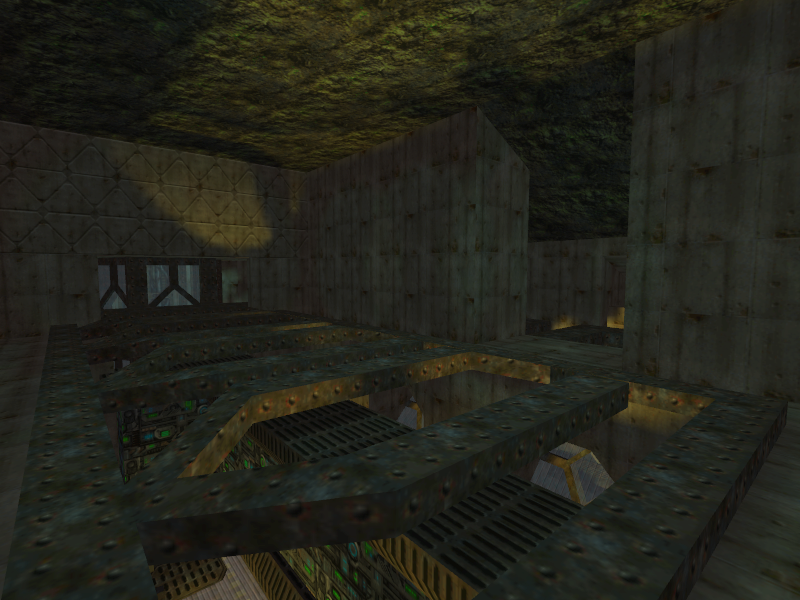
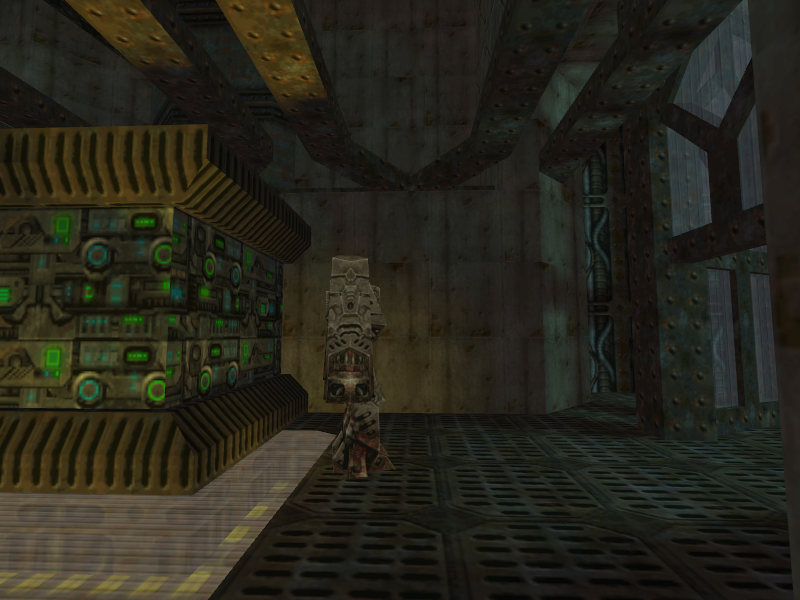
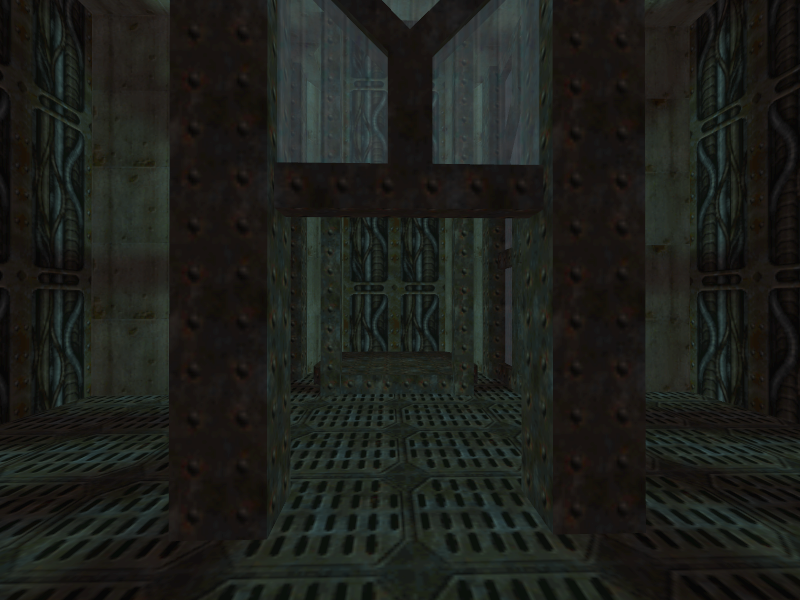
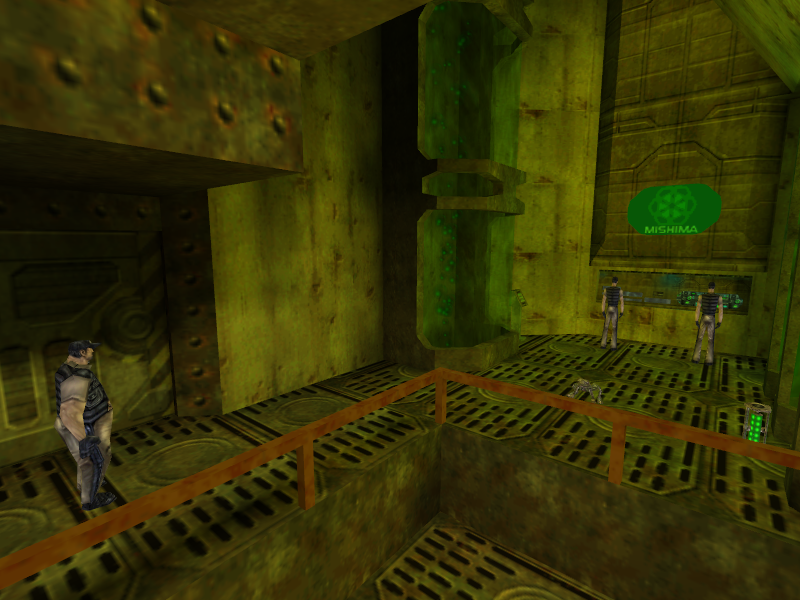
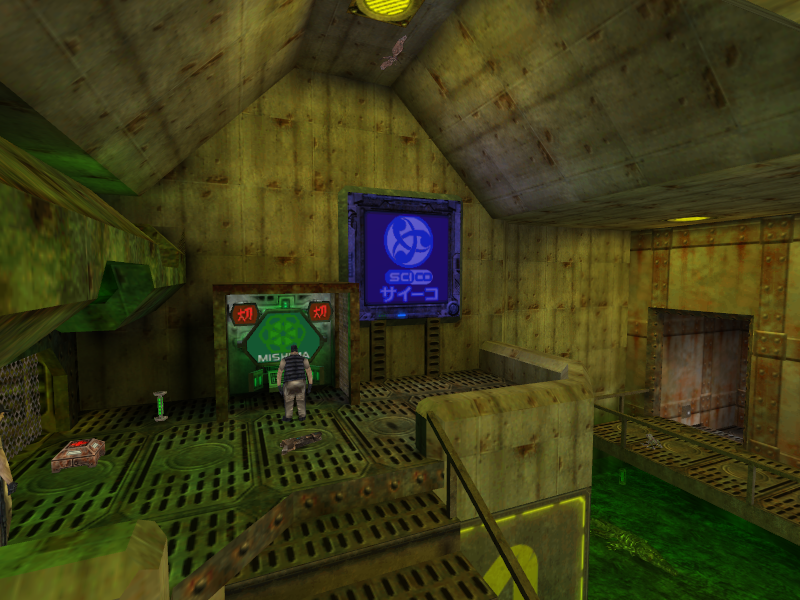
- At the end of the U-shaped area is a downwards-facing pipe that contains nothing in it and a ladder. The ladder leads to a computer room in the center of the U-shapred area that has Sludgeminions in it. At the end of the computer room is a simpler and less-detailed version of the final room in the final game’s E1M2b. The elevator can be ridden up, but it leads nowhere, ending the level.
- The final game completely removes the U-shaped room and has the player head straight to the final part of the computer area from the elevator room.
|
Prototype |
Final |
|---|---|
|
|
|
|
Prototype |
Final |
|---|---|
|
|
|
|
Prototype |
Final |
|---|---|
|
|
|
|
Prototype |
Final |
|---|---|
|
|
|
|
Prototype |
Final |
|---|---|
|
|
|
|
Prototype |
Final |
|---|---|
|
|
|
|
Prototype |
Final |
|---|---|
|
|
|
|
Prototype |
Final |
|---|---|
|
|
|
|
Prototype |
Final |
|---|---|
|
|
|
|
Prototype |
Final |
|---|---|
|
|
|
|
Prototype |
Final |
|---|---|
|
|
|
|
Prototype |
Final |
|---|---|
|
|
|
|
Prototype |
Final |
|---|---|
|
|
|
|
Prototype |
Final |
|---|---|
|
|
|
|
Prototype |
Final |
|---|---|
|
|
|
|
Prototype |
Final |
|---|---|
|
|
|
|
Prototype |
Pre-release Image |
|---|---|
|

|
|
Prototype |
Pre-release Image |
|---|---|
|

|
E1M3#
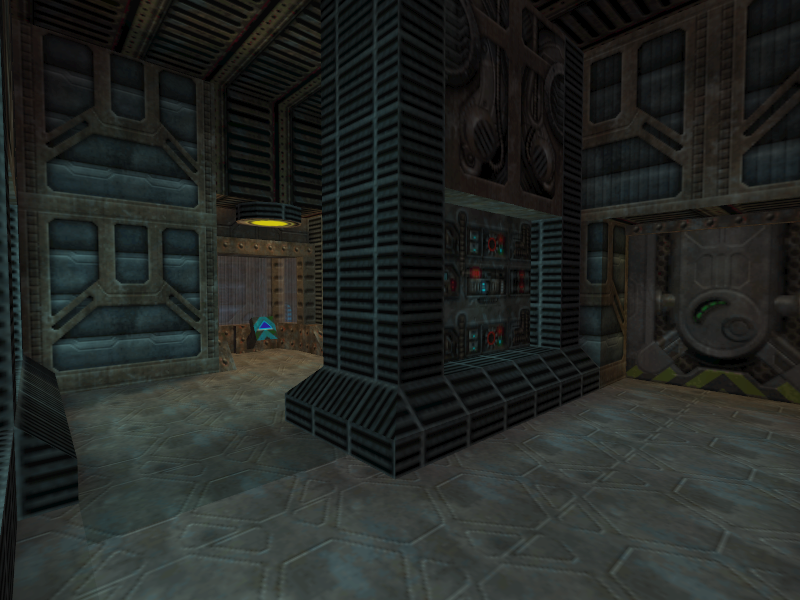
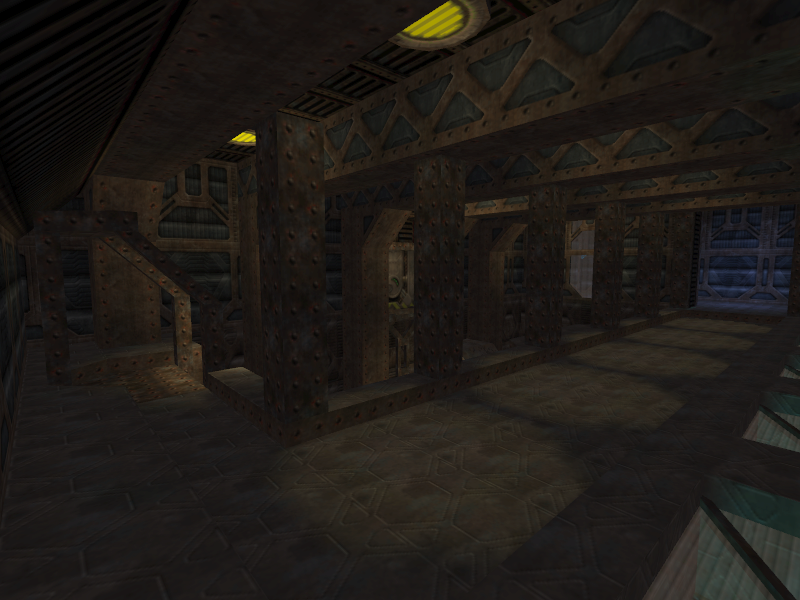
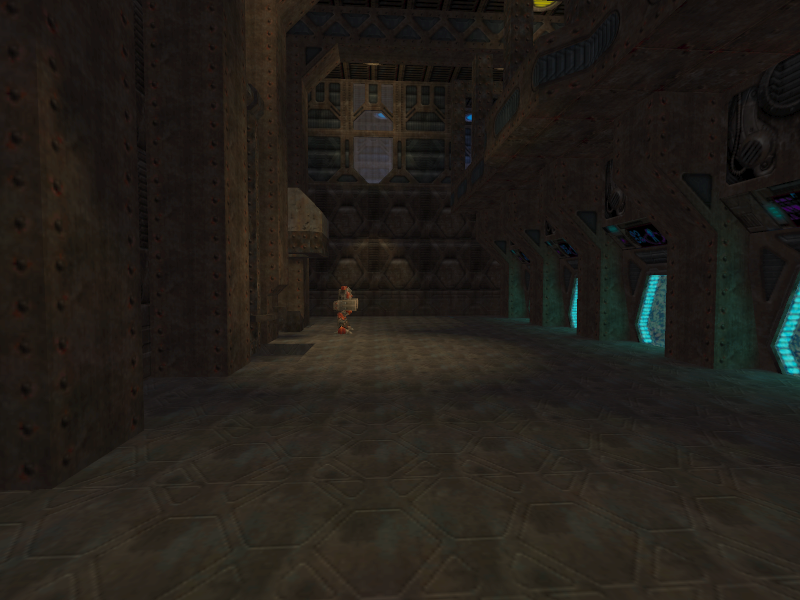
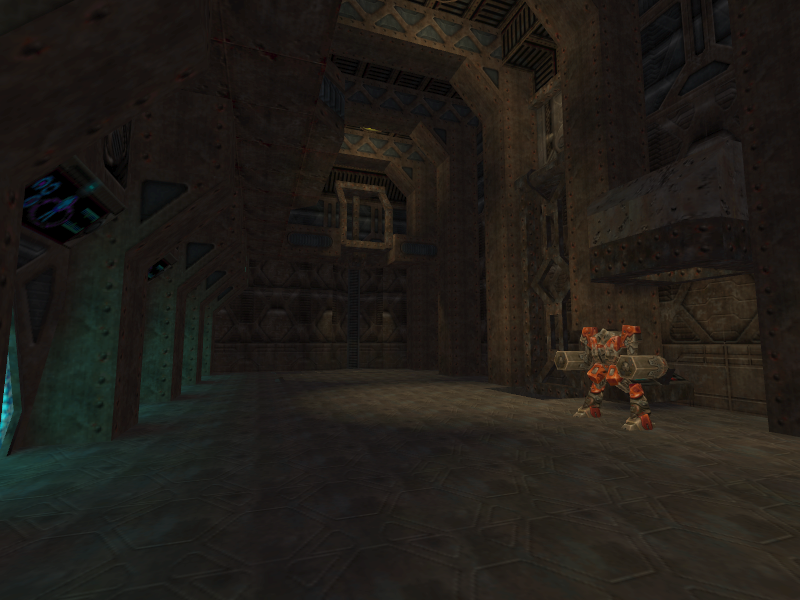
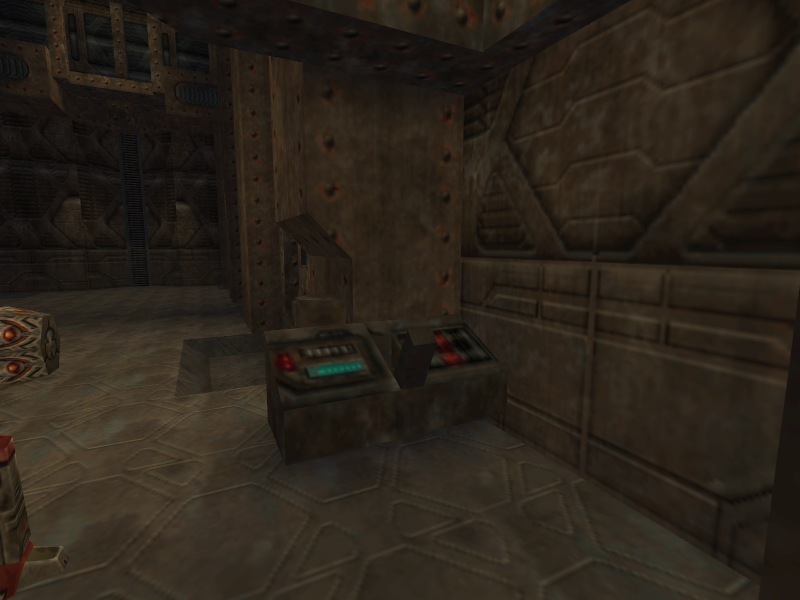
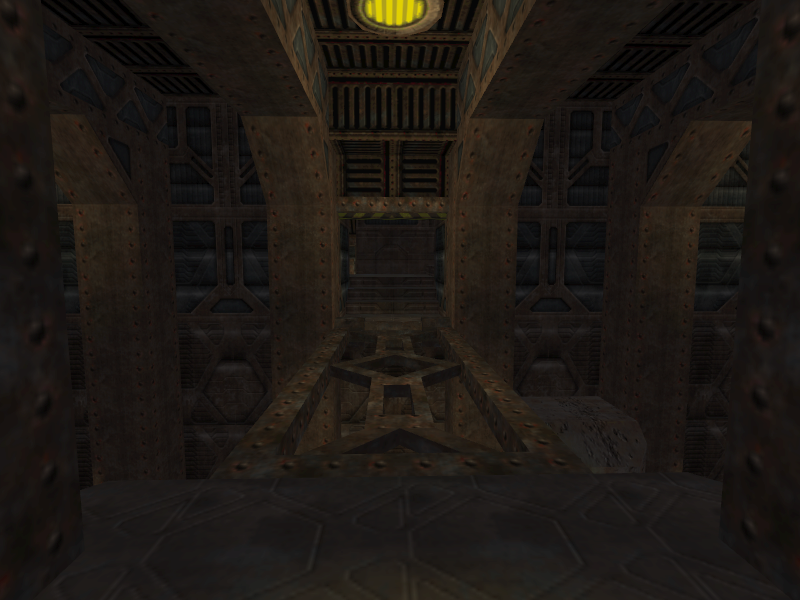
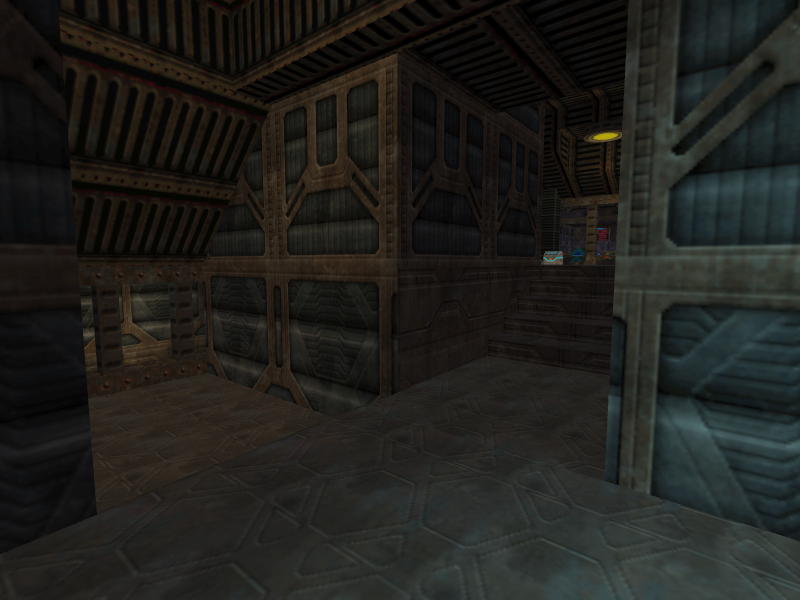
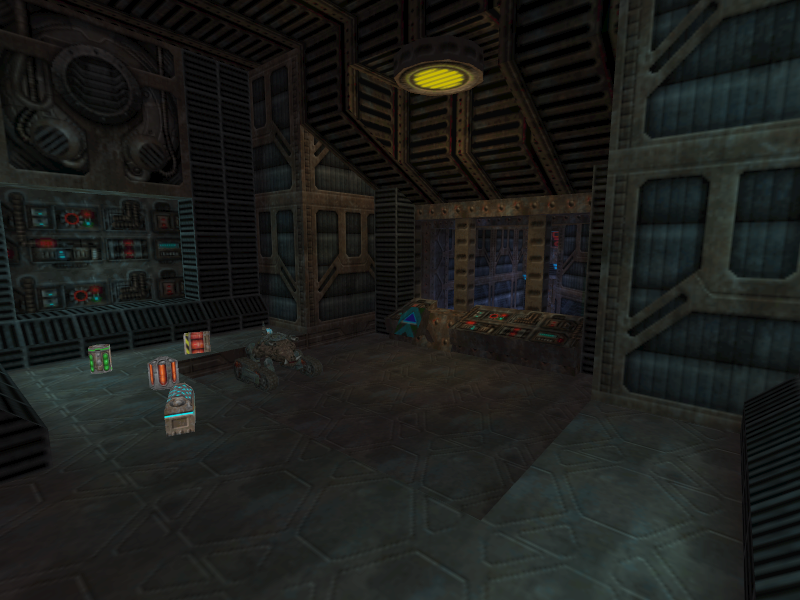
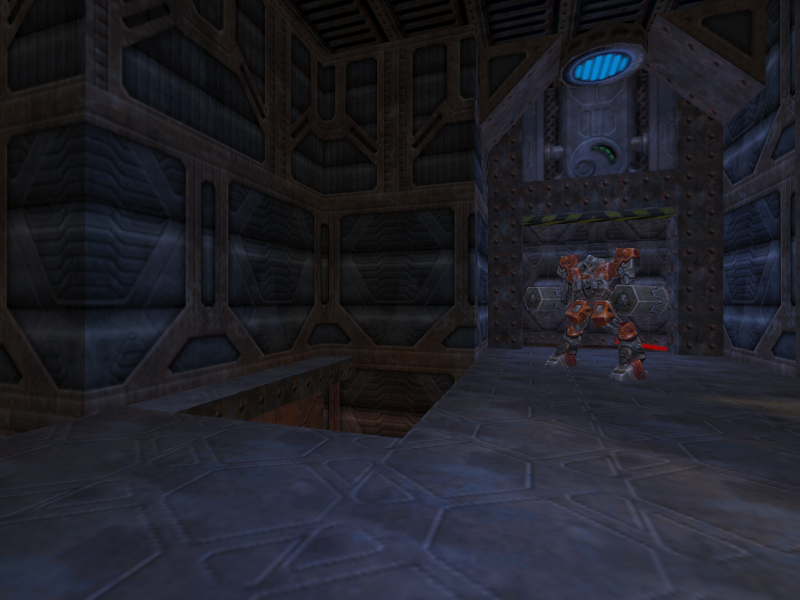
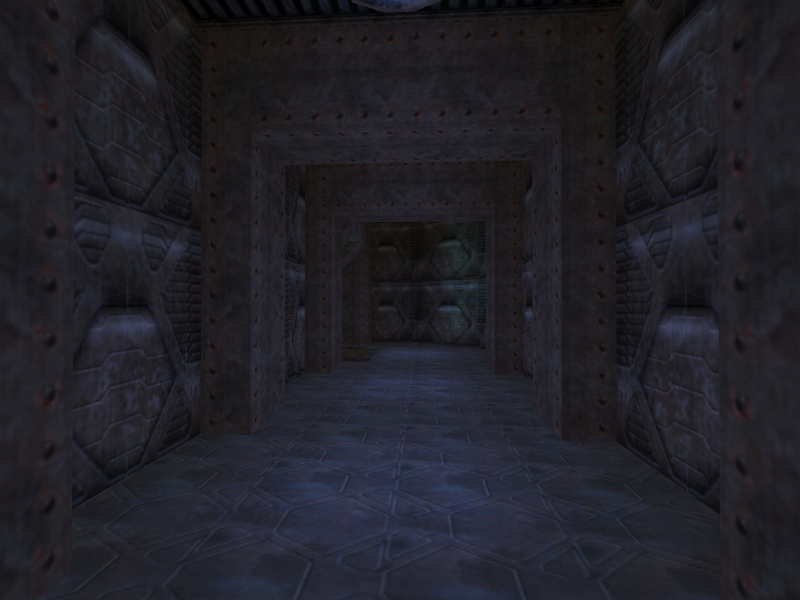
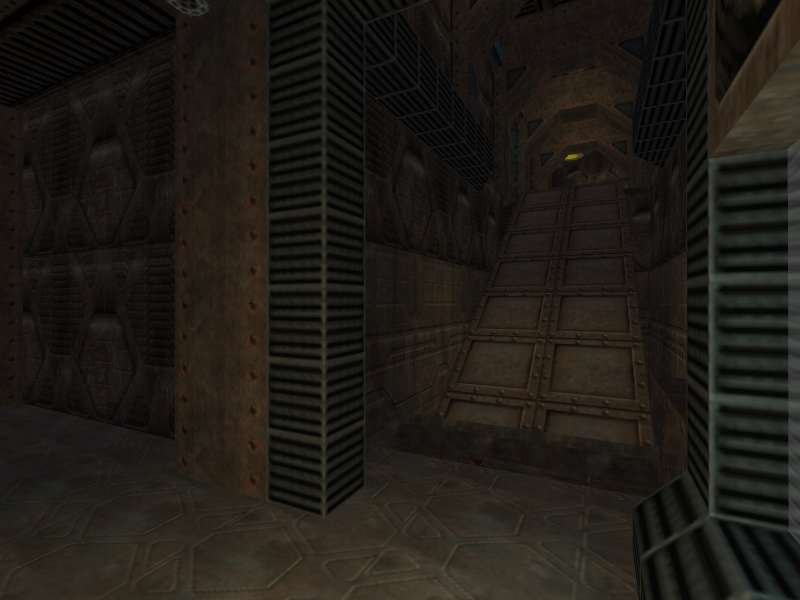
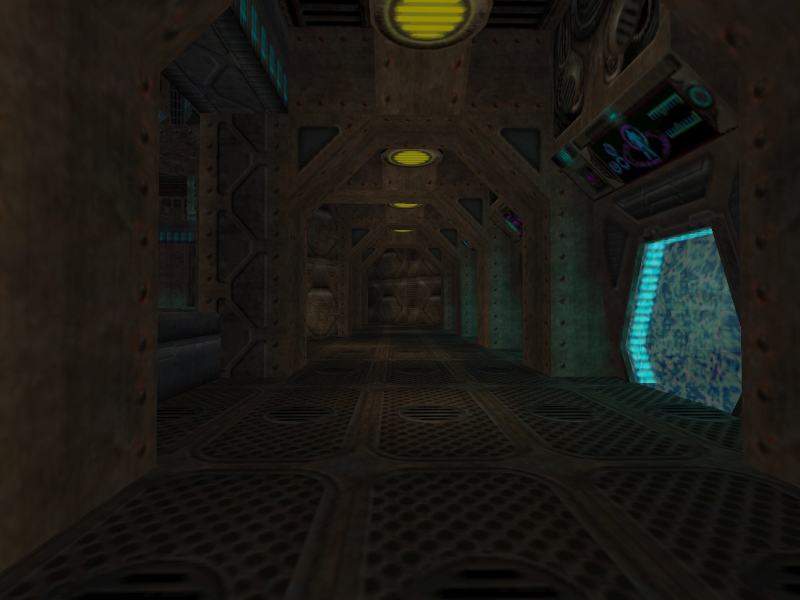
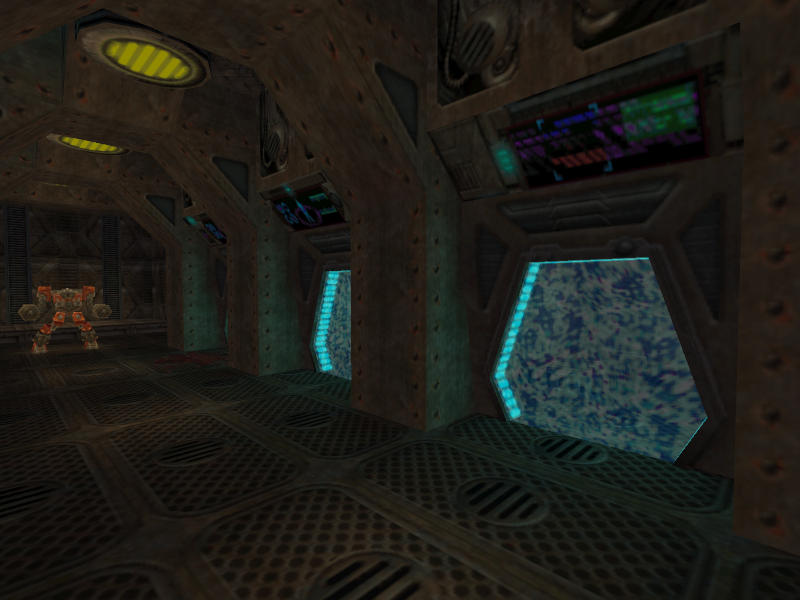
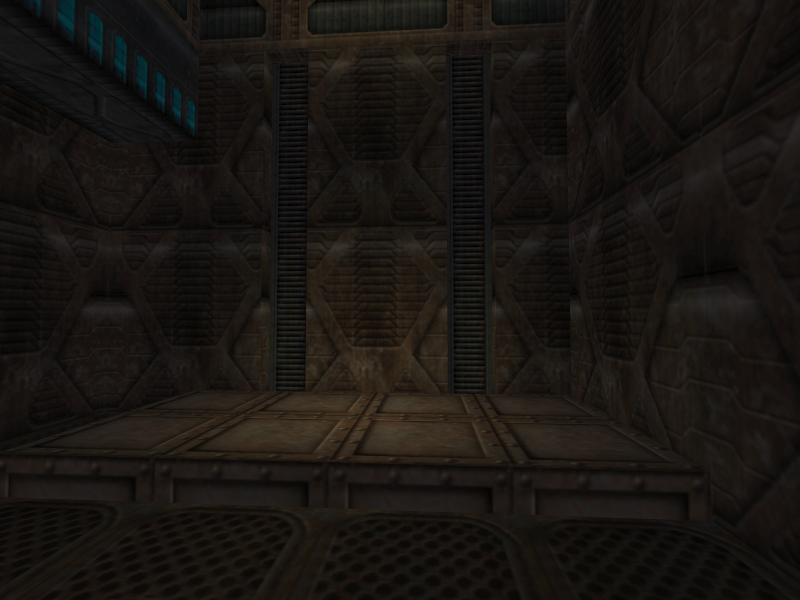
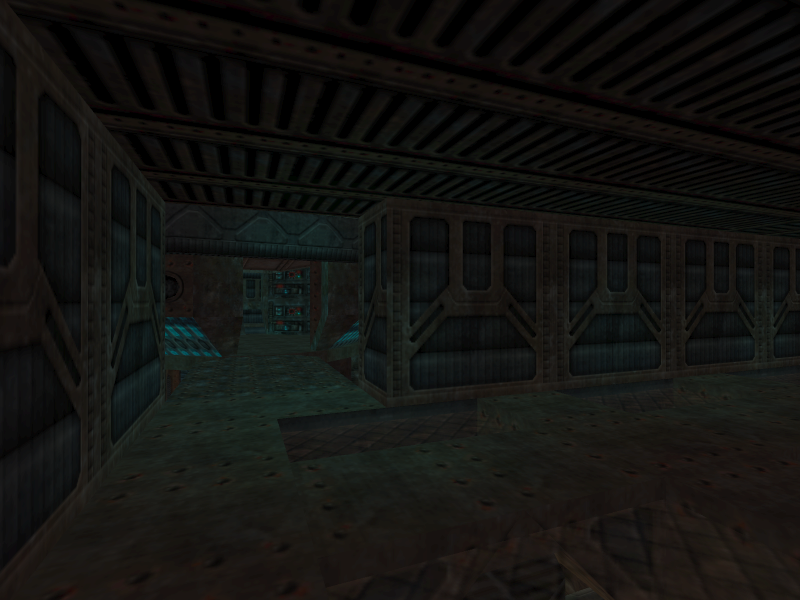
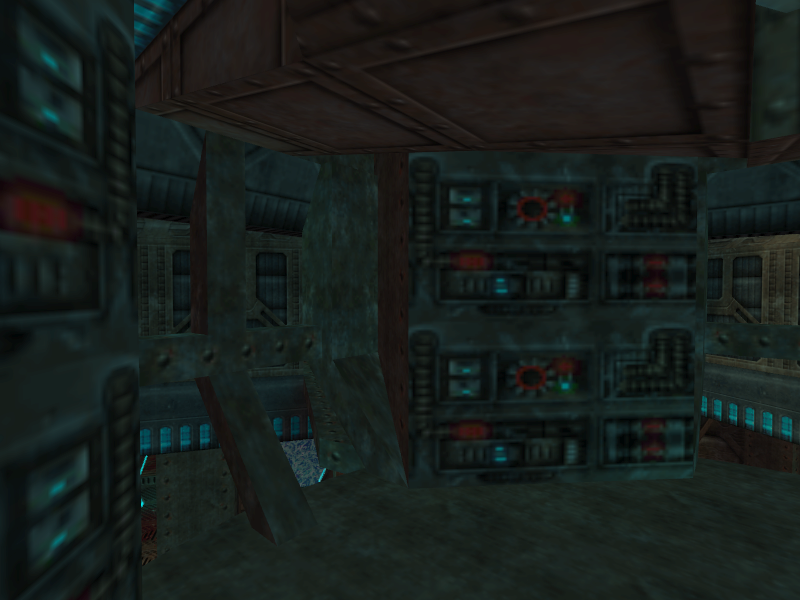
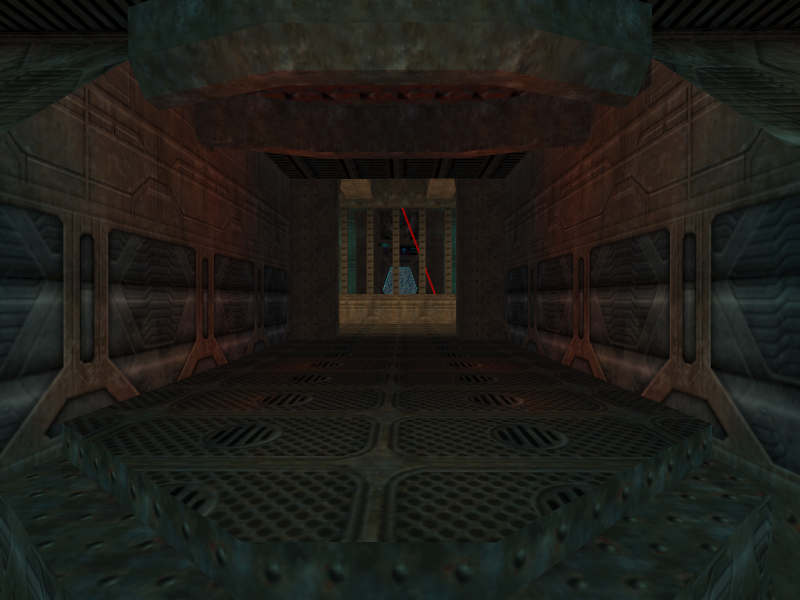
0.10’s E1M3 plays like a mixture of the final’s E1M3 area and Milestone 2’s E1M3. Many ideas form the final game’s design can be found in this version, but it also contains many refined versions of ideas seen in Milestone 2’s E1M3. The lighting is much darker than in the final E1M3, and the heavy amount of colored lighting is absent as well.
The main menu calls it “The Slammer”.
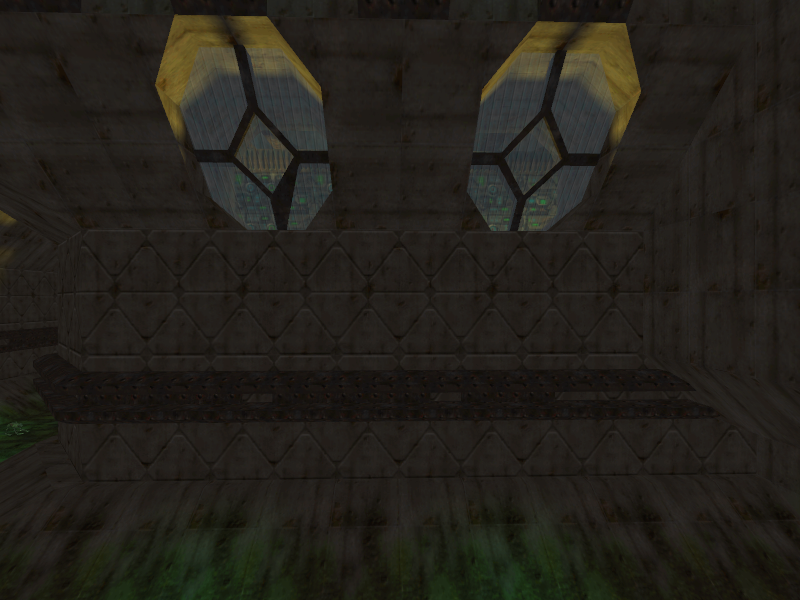
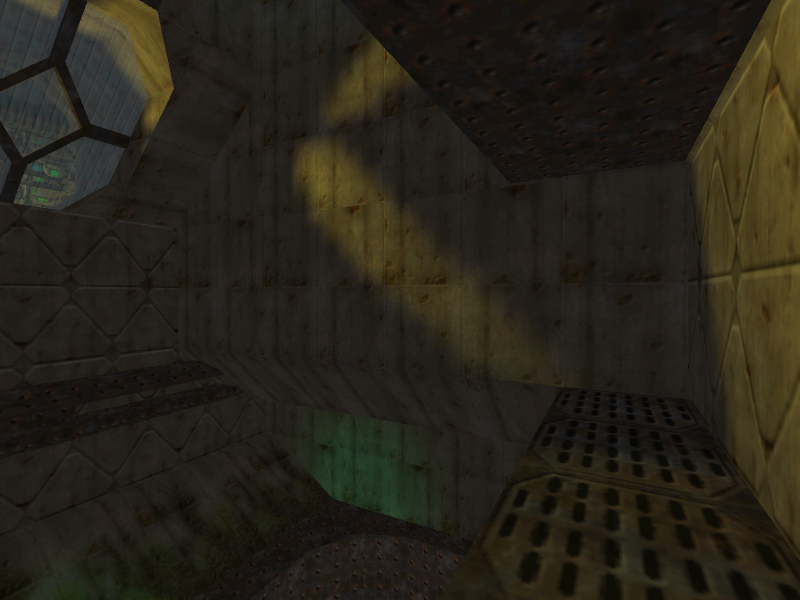
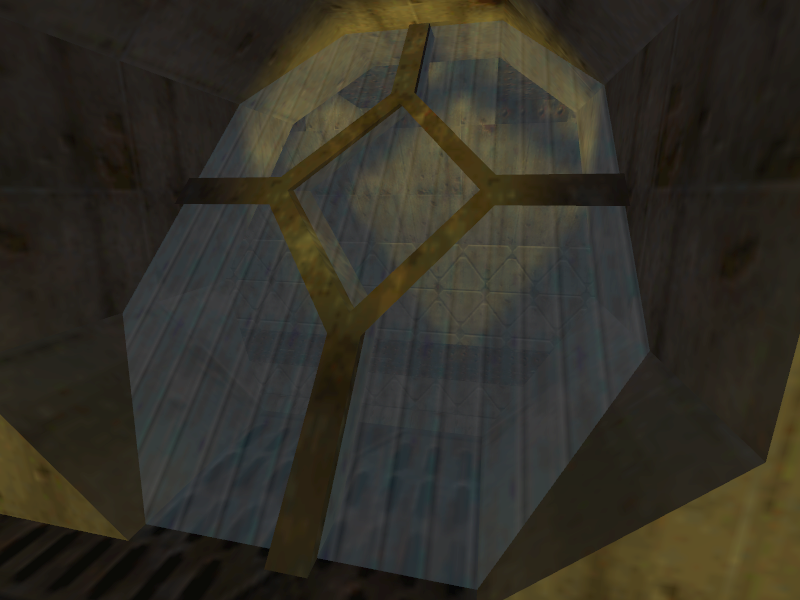
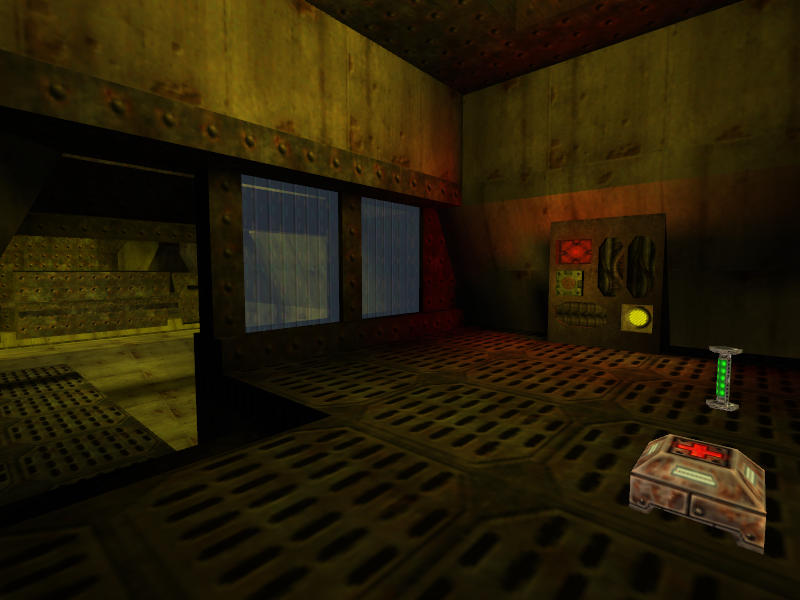
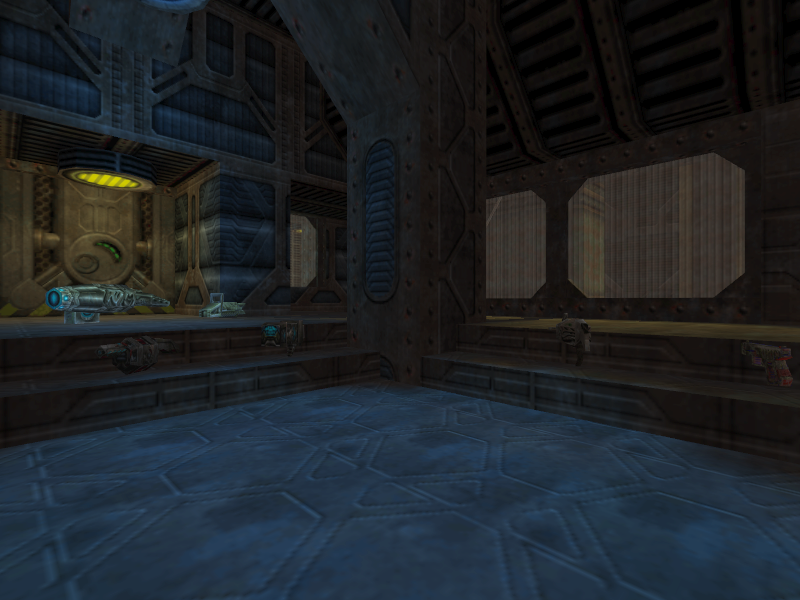
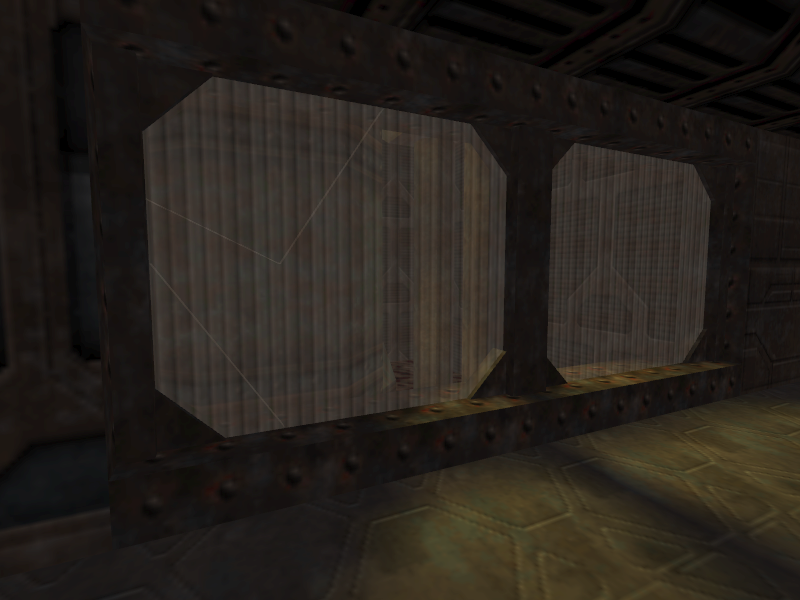
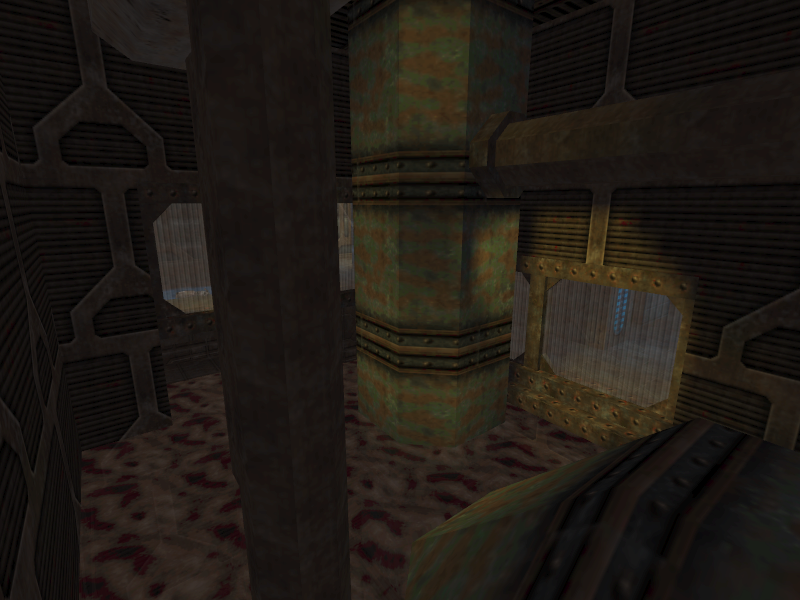
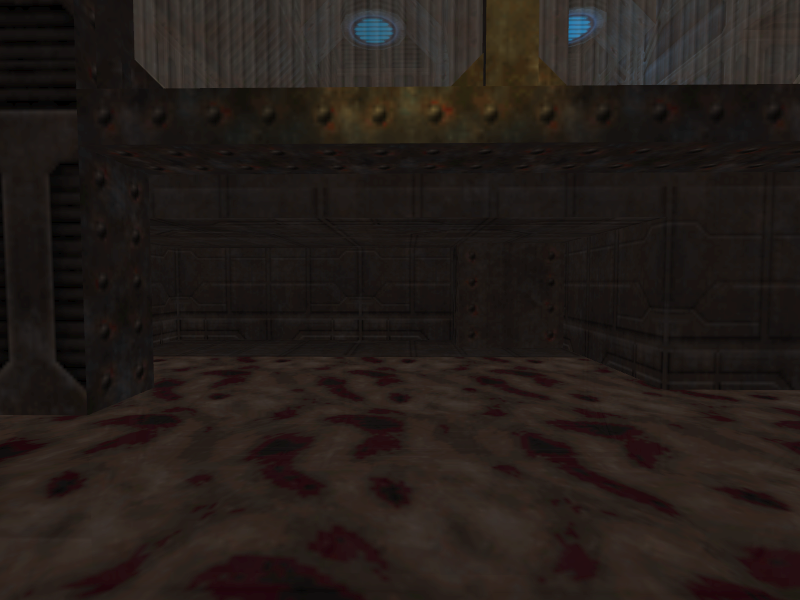
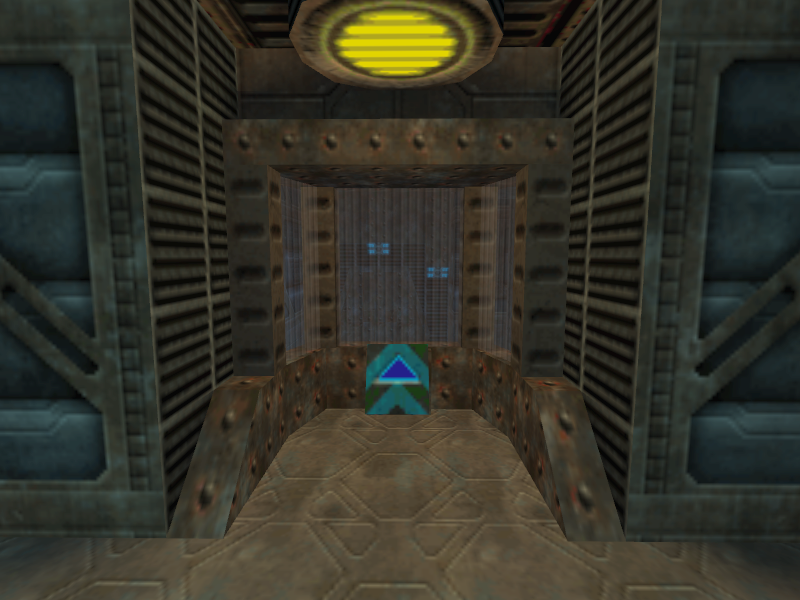
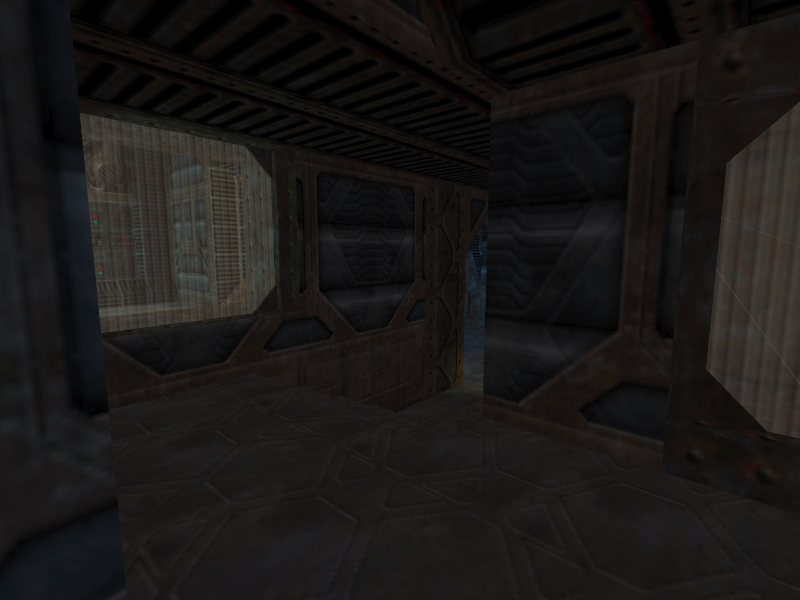
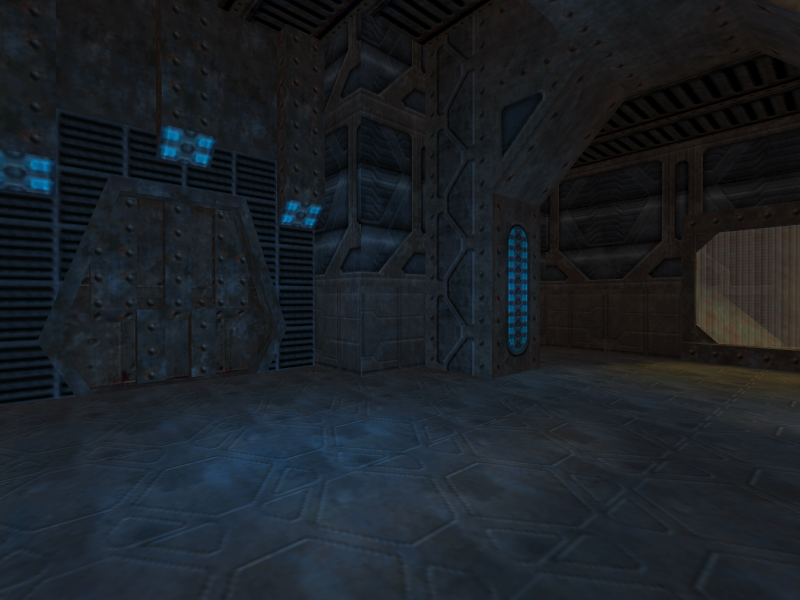
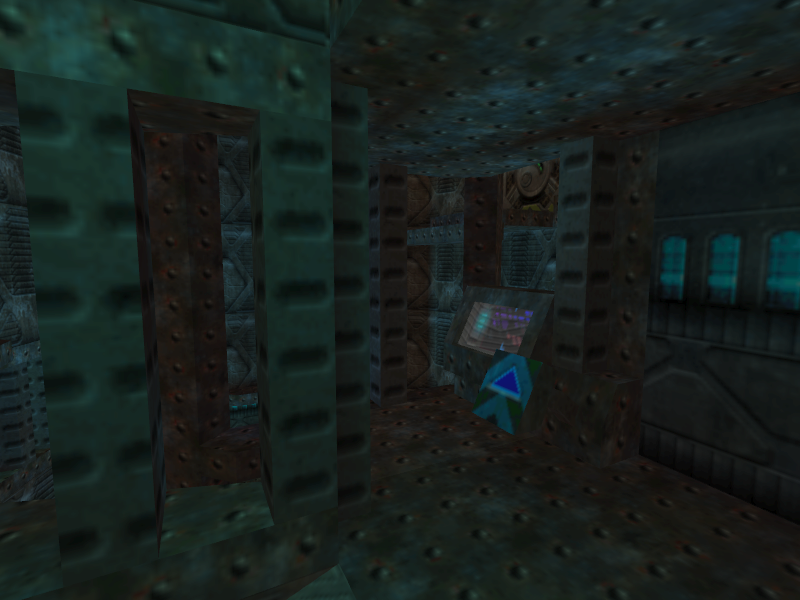
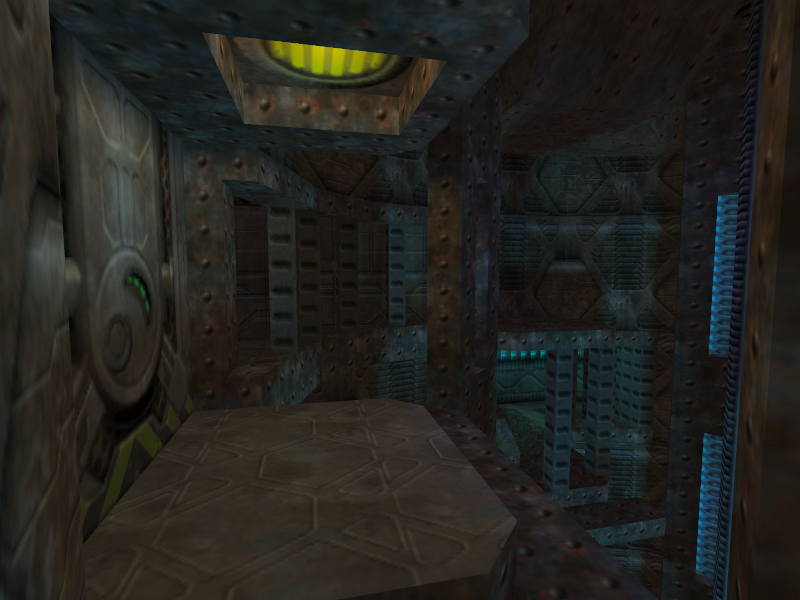
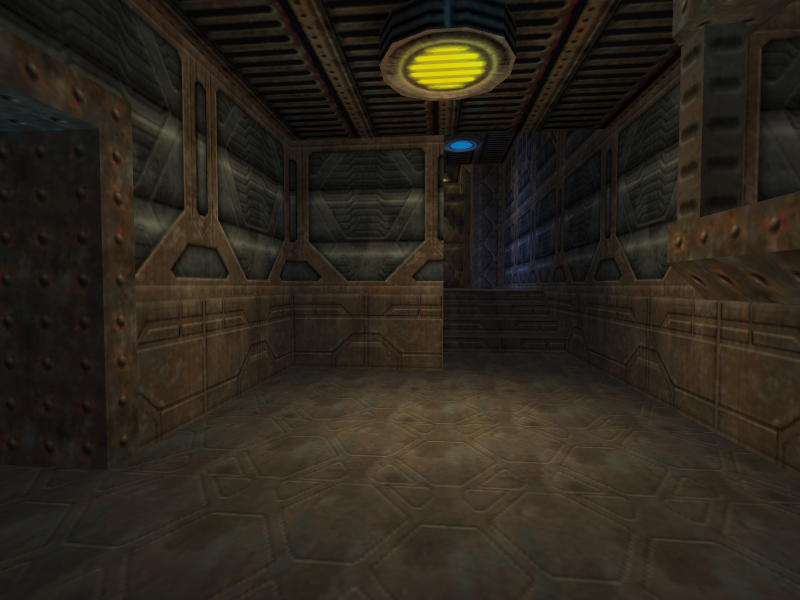
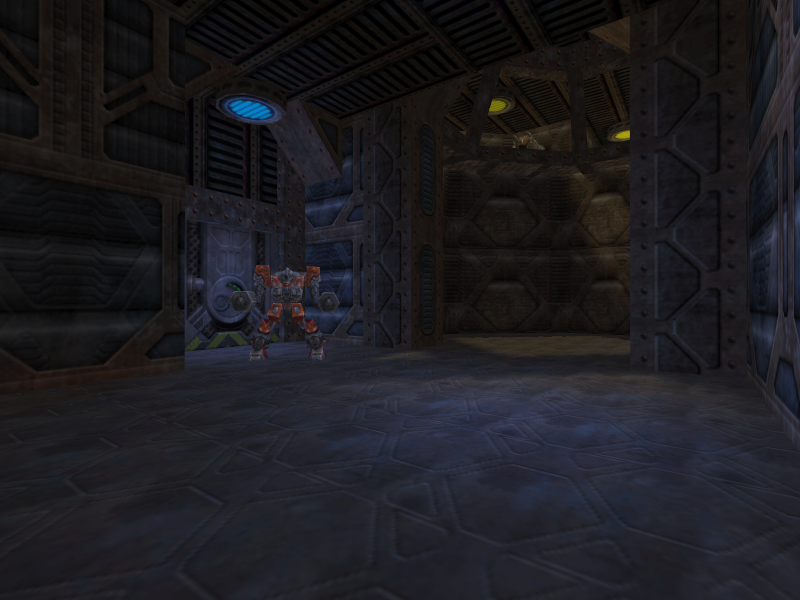
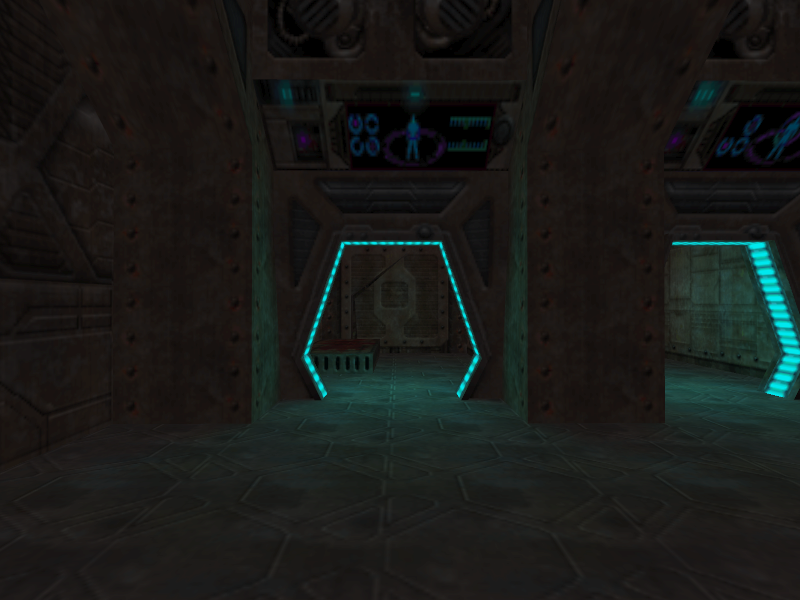
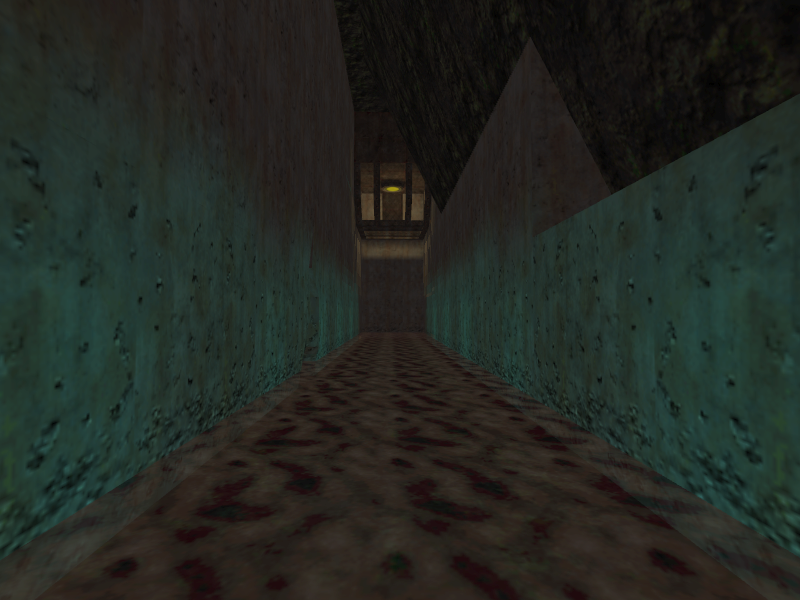
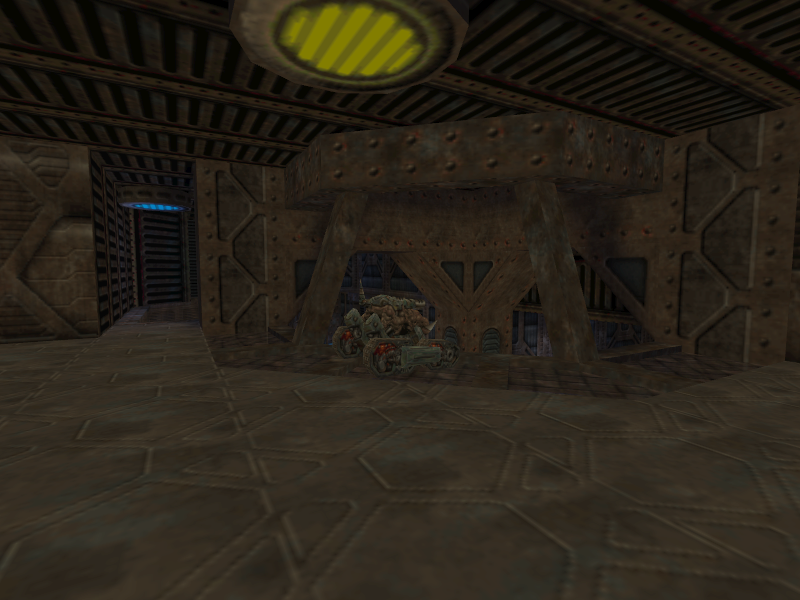
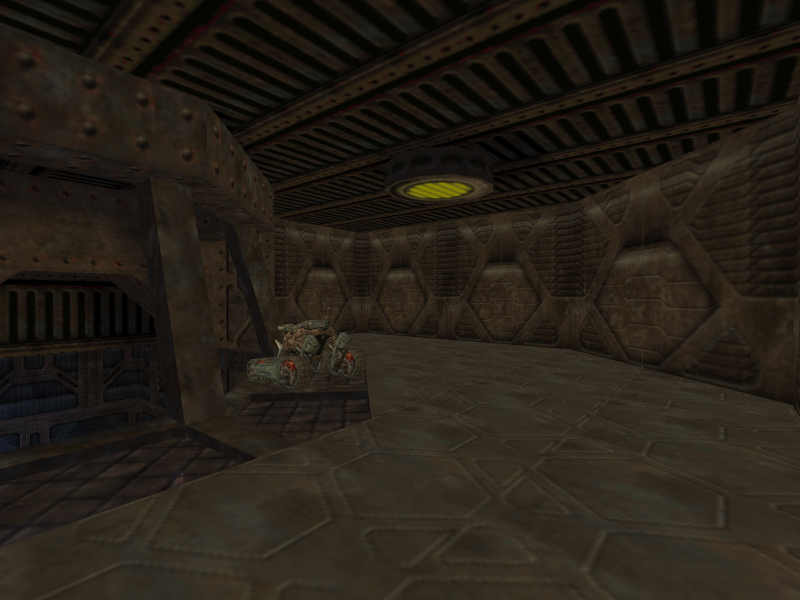
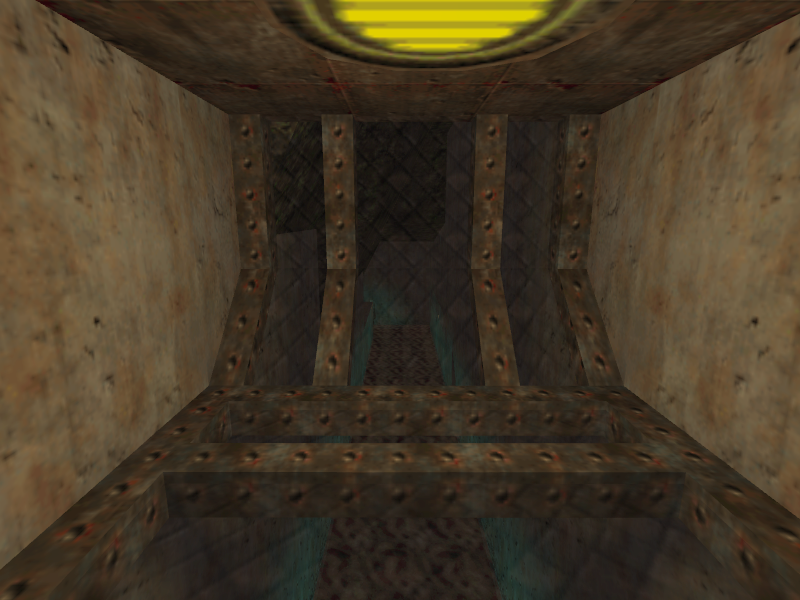
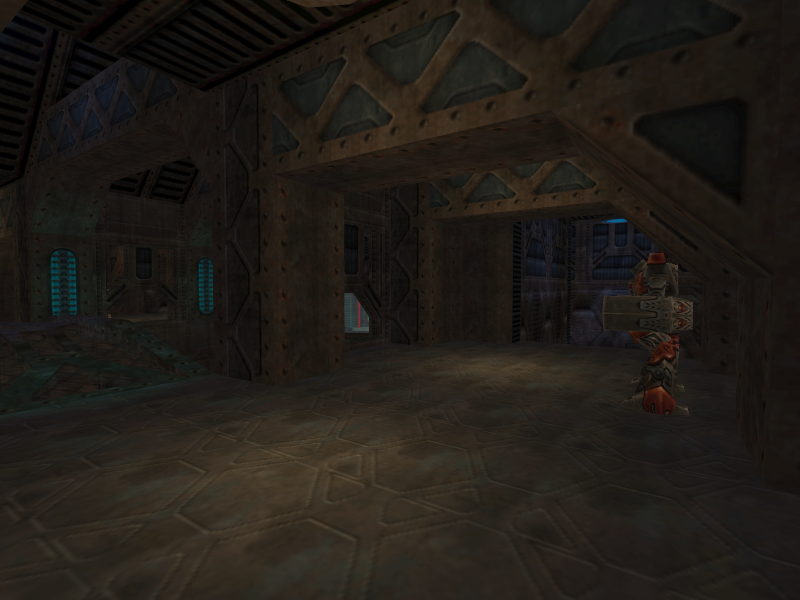
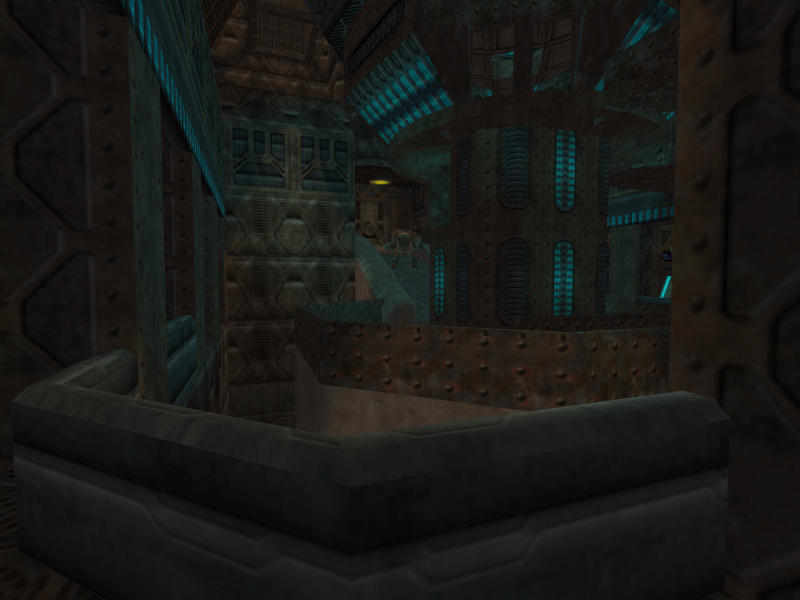
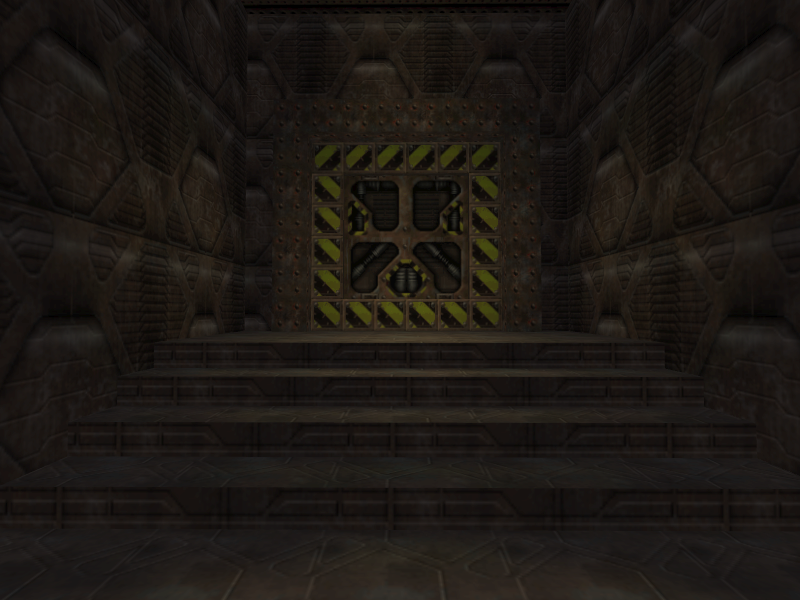
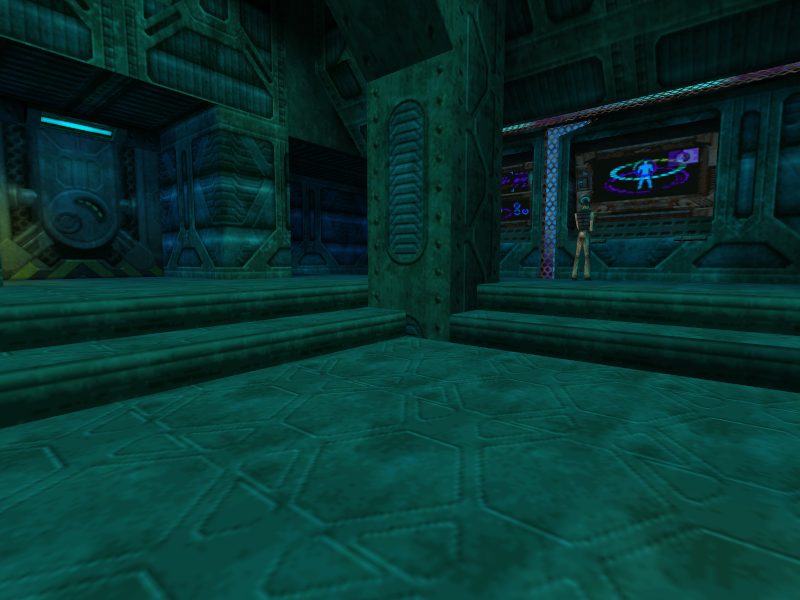
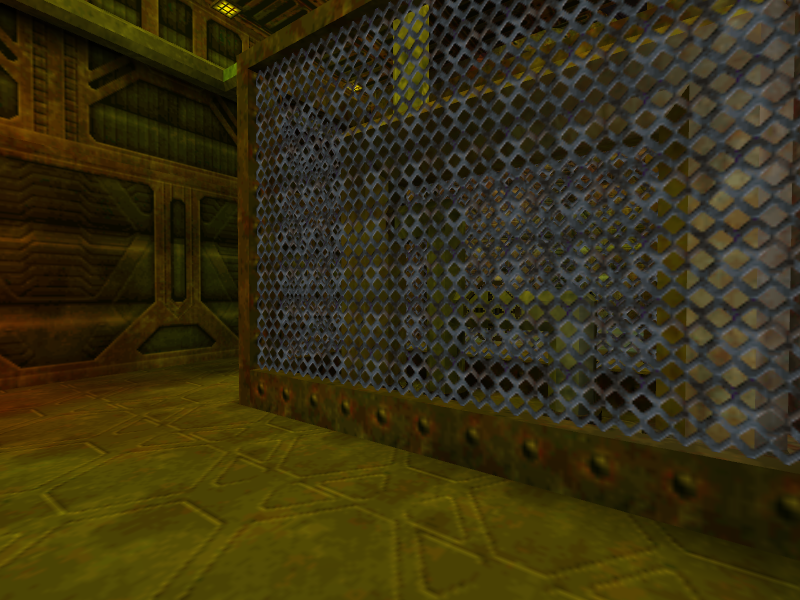
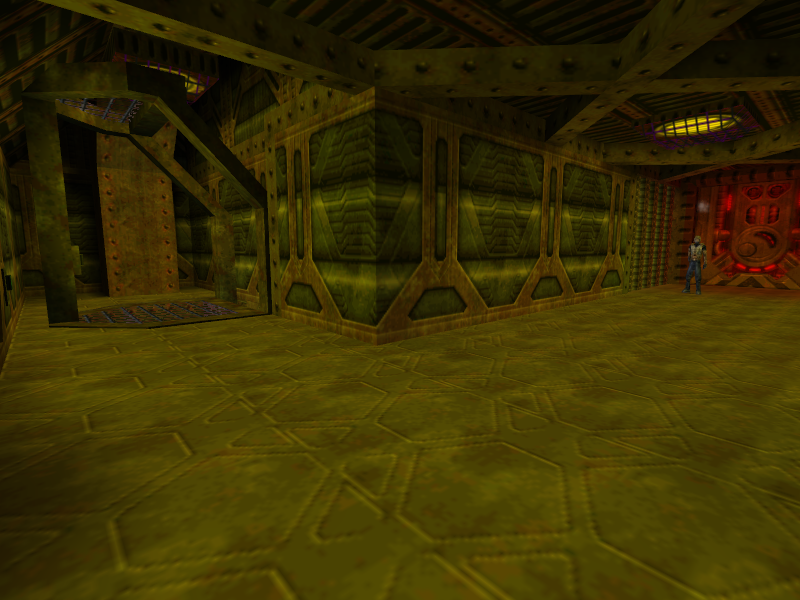
The player starts off in the same area the final’s E1M3a starts in. However, it has several differences already. Several glass windows can be seen throughout the area, some of which let the player see an area with pipes and water on the other side. This is reminiscent of the starting area of Milestone 2’s E1M3, which also has pipes near the starting area. One of the windows can be destroyed, letting the player hop into the pipe area. There is a hidden area underneath the window in the room where the player starts the level, but it contains nothing.
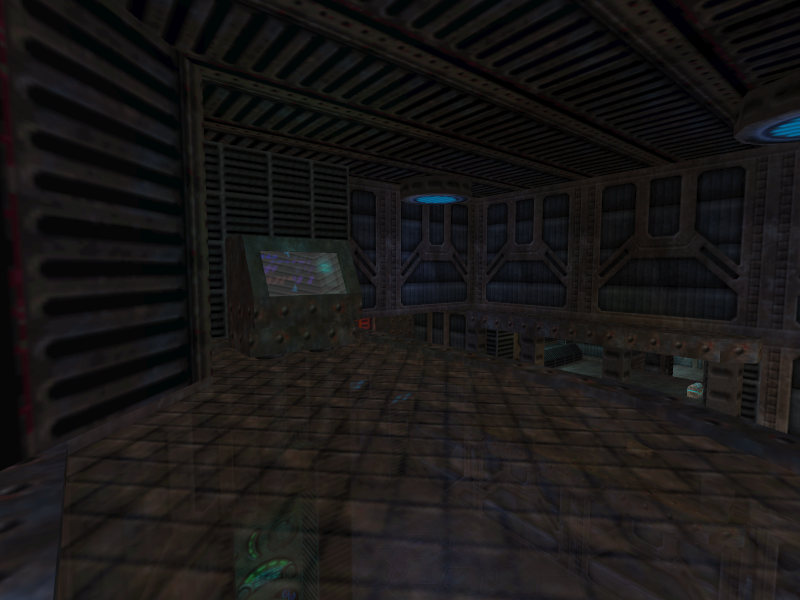
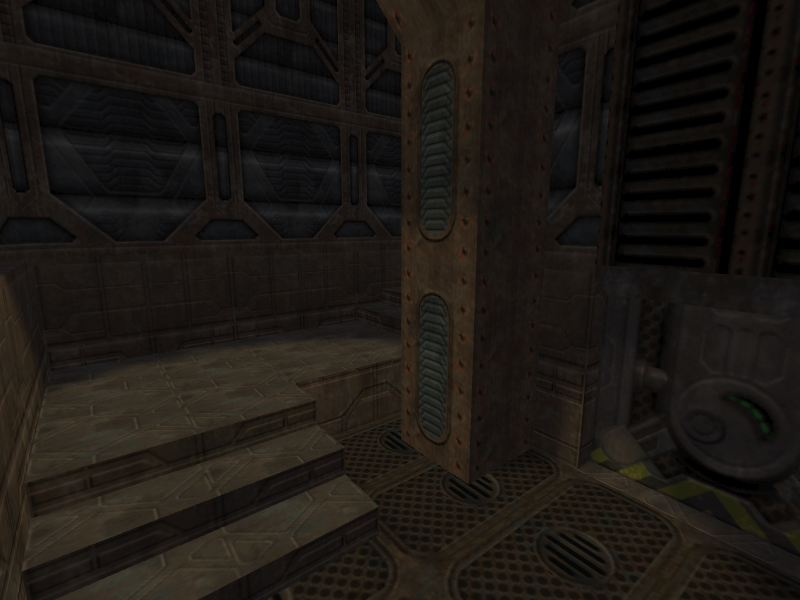
The flow for the area is the same as the starting area in the final’s E1M3a; press the switch that overlooks the door to the first cellblock to open the door to said cellblock. But, the area that leads to the switch area is much simpler and lacks any side areas or secrets. The switch itself is more primitive-looking as well.
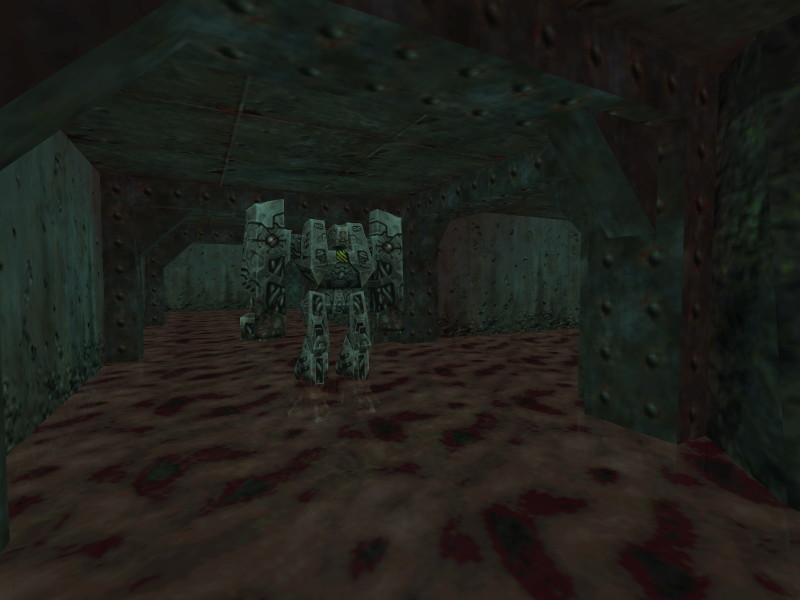
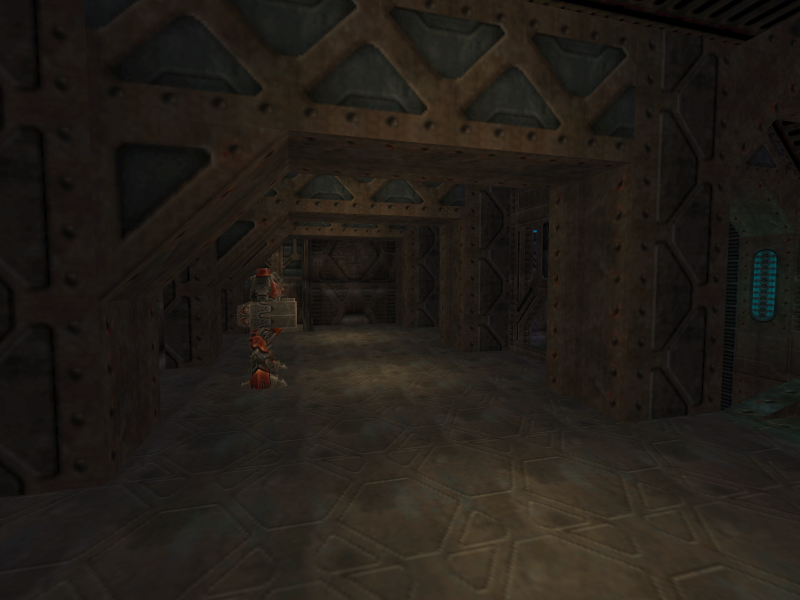
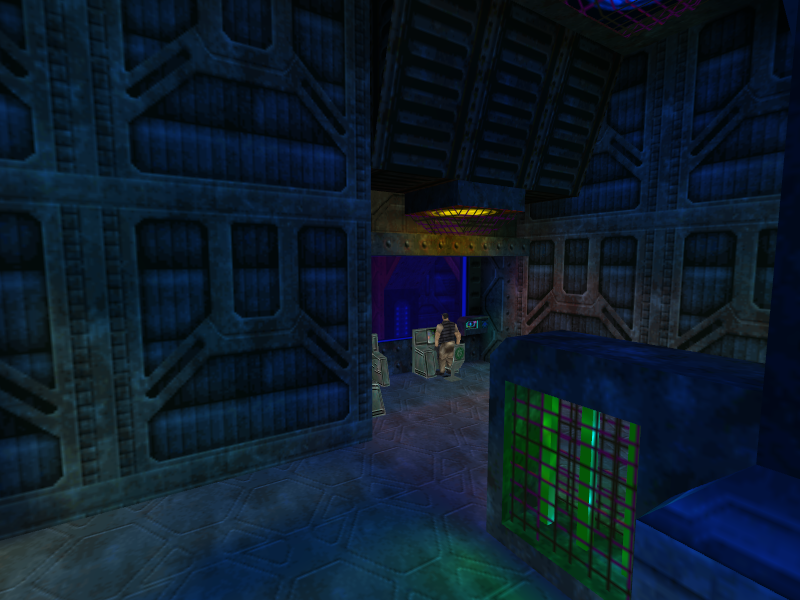
The first is quite close to how it is in the final game. There are Ragemasters instead of Inmaters (in fact, the level has no Inmaters) and the cells have no prisoners in them. One or two might have a temporary cube graphic in them, but that’s it. The major difference is in gameplay; the door to the elevator area can simply be opened with the use key. The area with the generator that has to be destroyed does not exist, nor does the trap that appears afterwards.
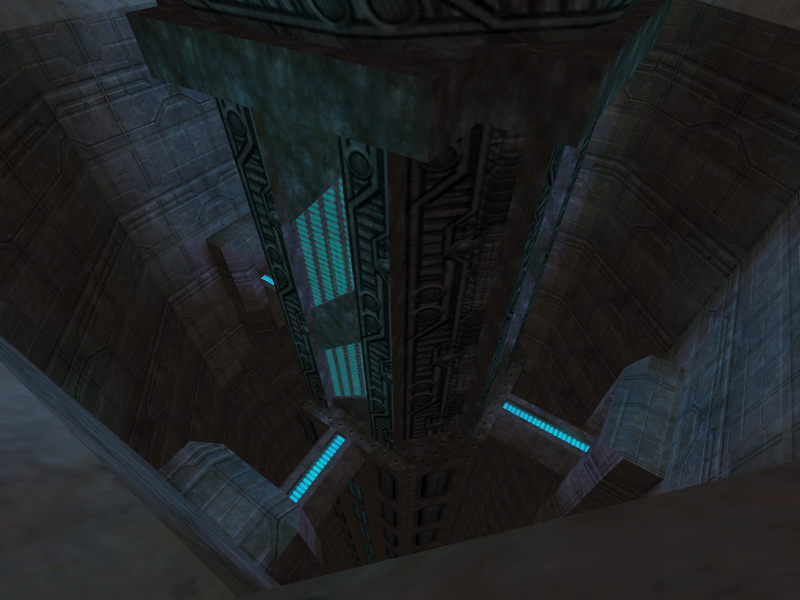
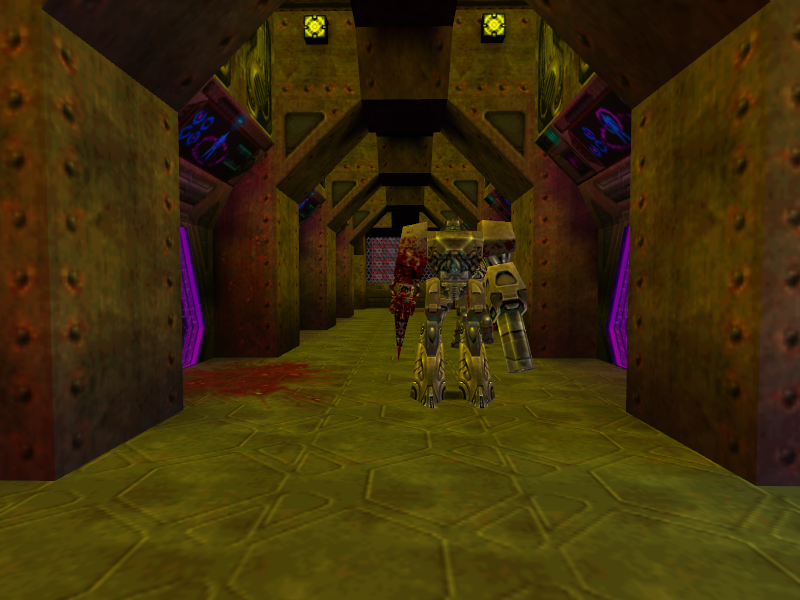
The elevator room’s gameplay is the same as it is in the final game. The path to the switch has several exits to the main elevator shaft, and the various ledges on the way do not exist. The top of the elevator shaft lacks the path to the right of the door, with a window to the right of the door instead.
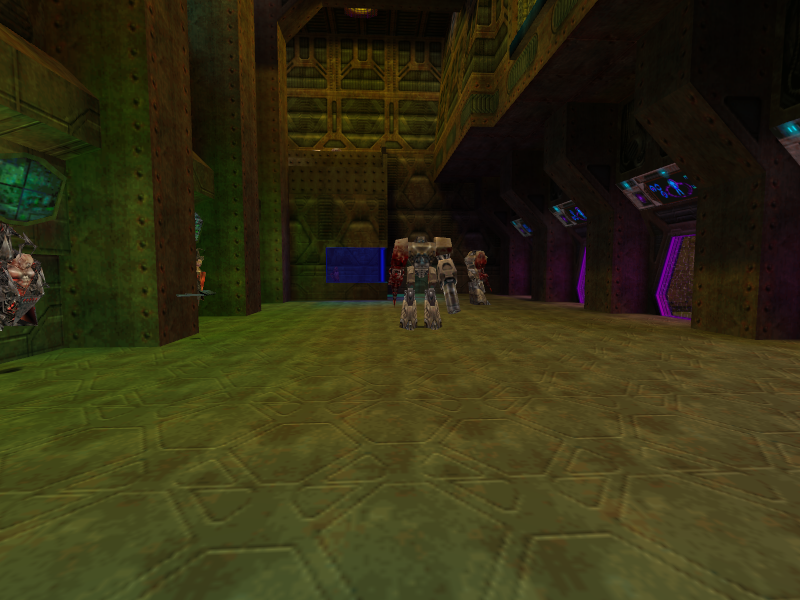
The area past the elevator room is very different. Entrances to Cellblocks 1 (2 in the final game), 2, and the laser room found at the start of the final’s E1M3b can be found in the room containing the entrance to Cellbock 1 in the final game. The door to the laser room is on the west side of the room, Cellblock 2 is north, and Cellbock 1 is east. In 0.10, this room serves as something of a hub connecting other parts of the level together, while the final game uses it as a part of a linear path. The pipes and Plasteel Armor secret found near the start of the room are missing as well, with the door to the laser room being near where they would be.
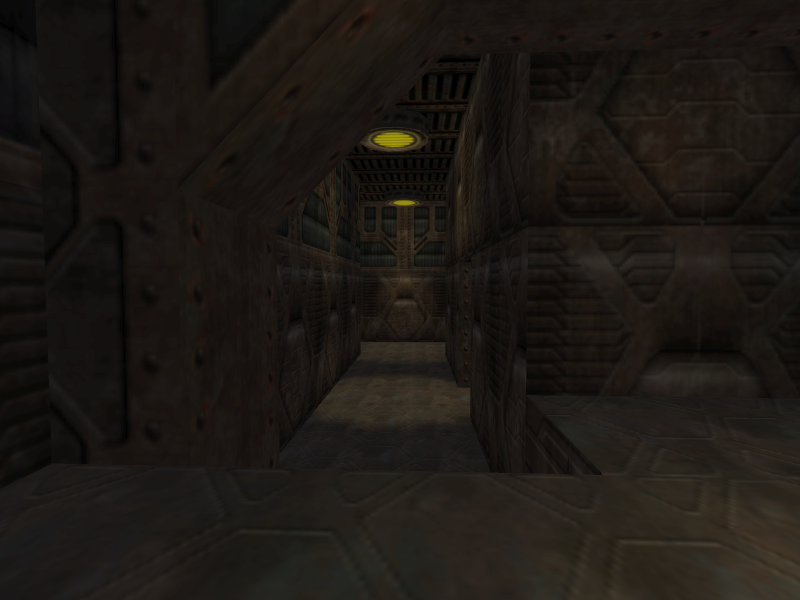
In order to access Cellblock 1, the player must blow up pipes to the left of the door, like in the final game. After going through the door, the player will immediately end up in the part that contains the cells itself. The final game forces the player to navigate through a ventilation area in order to reach the actual cells because another door (which does not exist in this prototype) is broken.
Cellblock 1 itself is mostly the same gameplay as the one seen in the final game ‘s Cellblock 2 section, but the architecture is quite different. There are semi-transparent windows near the start of the area and on the floor above the cellblocks. There are fewer walls on the floor above the cells, giving the player more angles to approach the cell room. The switch that opens the bridge leading to the other side is much closer to the bridge than it is in the final game and is not in its own designated room. The vent above where the switch would be in the final is missing as well.
The area past the bridge is a bit different. Instead of having to go through a U-shaped corridor to reach the end, the player can simply take a right. The room at the end is quite different; the switch needed to proceed is near the window instead of to the right, the elevator to head to the upper part of the hub is missing, the big sign is on the right side instead of the left, and there is no secret behind the sign.
Activating the switch deactivates the energy barriers covering the cells in Cellblock 1 in addition to opening the door to Cellblock 2. This opens up a secret cut from the final game.
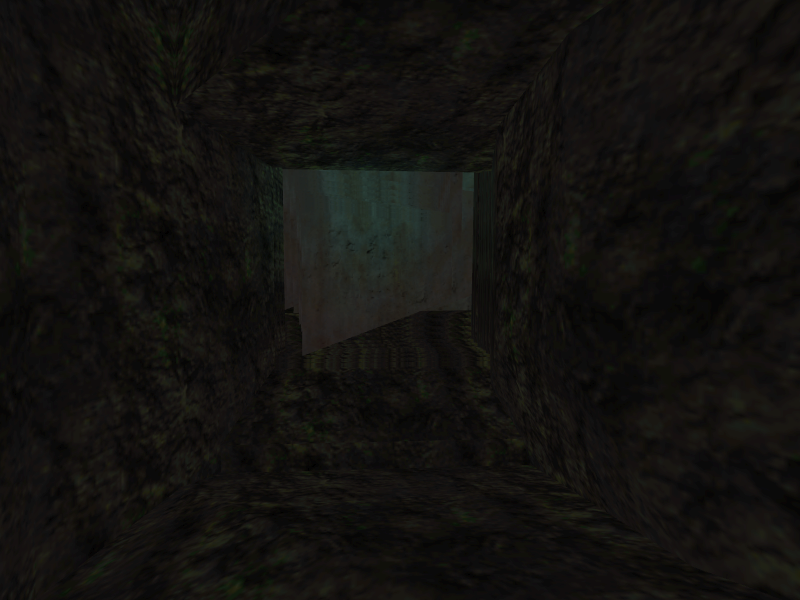
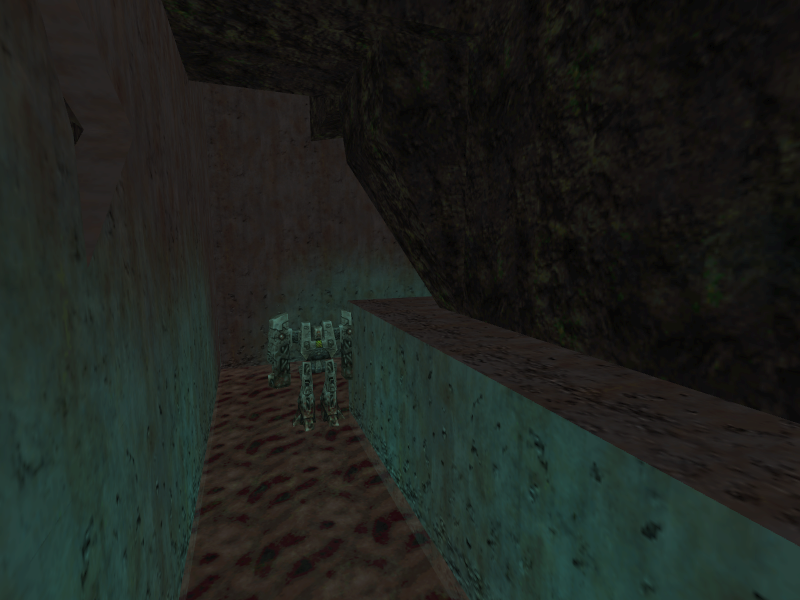
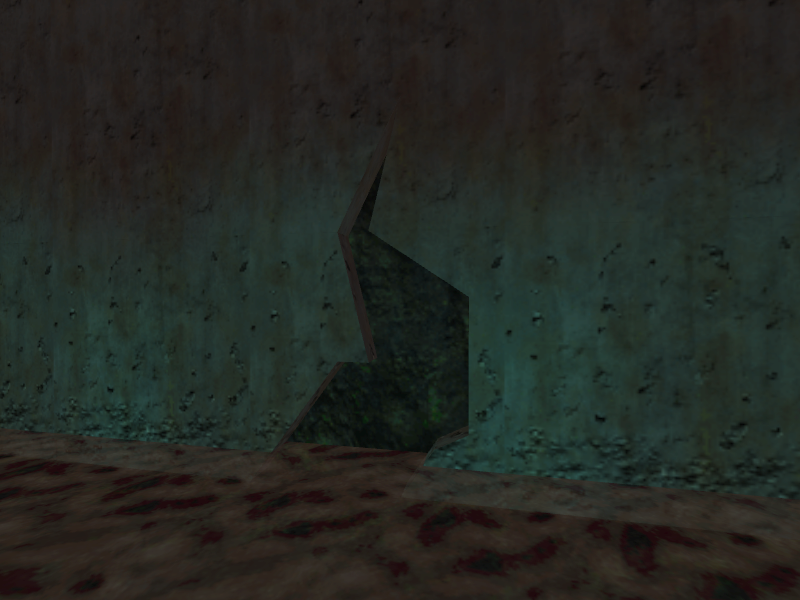
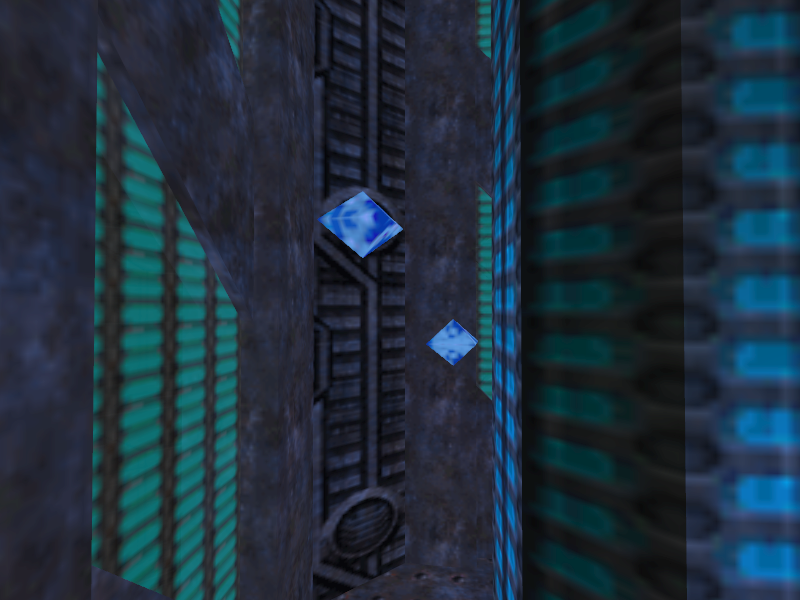
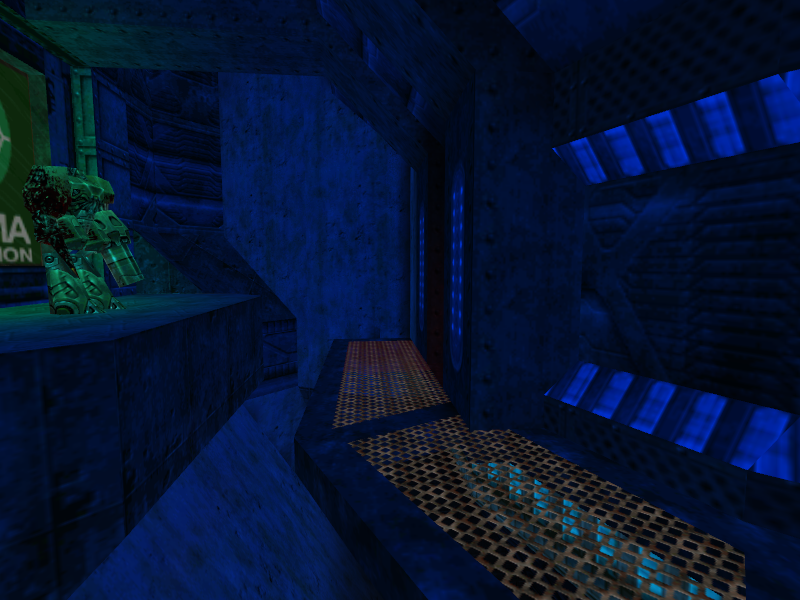
To reach the secret, the player has to go to the leftmost cell in Cellblock 1. There, one can spot a cracked wall. Shooting it will reveal a passage made out of rocks. Following the passage will have the player facing a wall with a hall of mirrors effect. Blowing it up will have the player end up in a small sewer. That contains a Sludgeminion and a platform covered in glass overlooking the area at the end. On the left wall is another crack. Destroying it will let the player access a small set of corridors with Sludgeminions in them that has an exit on the upper left-hand corner. The exit leads to two ramps, which has a switch in the area between the ramps. Walking on the switch will lower some nearby bars to access a C4 Vitzatergo.
The second ramp leads to a wall that opens up when the player gets close to it. Past the wall is an elevator. Going up it will send the player to another wall that opens, which has bars past it. The bars will retract when approaching them, which sends the player near the end of Cellblock 2.
If this sewer area seems familiar, that’s because it is. It’s the same secret area seen in Milestone 2’s E1M3, complete with it ending via a back way to Cellblock 2.
Back on the intended path, the player can access Cellblock 2 after pressing the switch at the end of Cellblock 1. As the player approaches the door, a wall on the left will lower, revealing a Ragemaster. Past the Ragemaster is an elevator that lets the player access the upper floors of the hub area. This is the only way to access these floors in the final game. The upper floors lack a way to proceed, unlike the final game, so it seems this area was intended to be a secret area at this point.
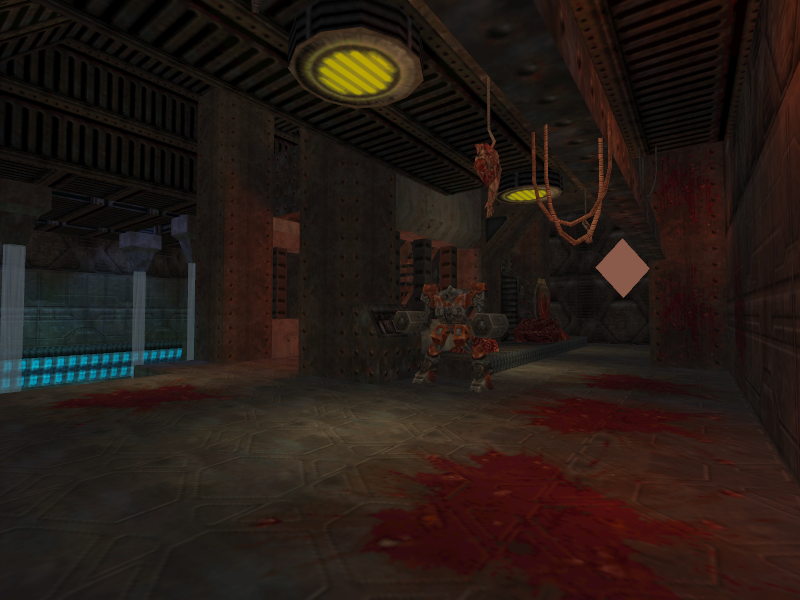
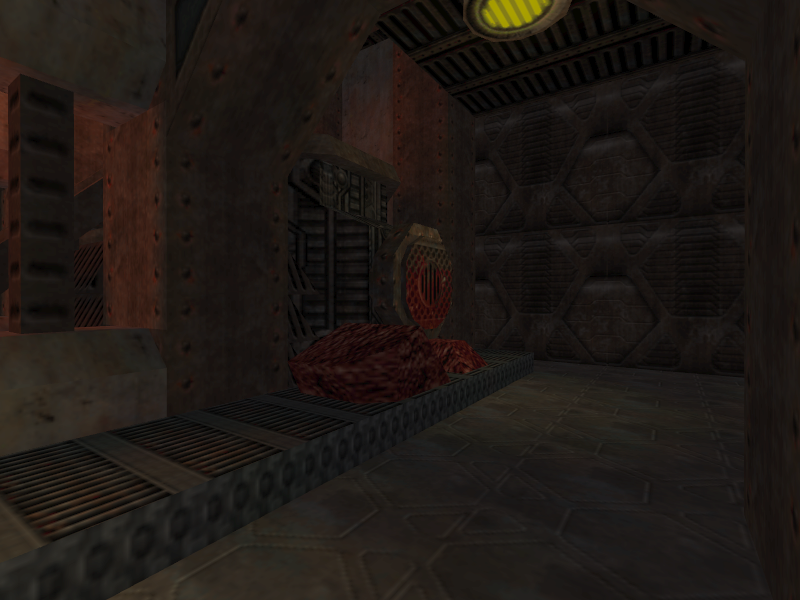
Cellblock 2 features an area completely removed from the final game. The bulk of the area is a large cellblock with cells on both sides of the area, a staircase in the back, and an office overlooking the area on the upper-left side. Some of the cells have body parts on hooks, unlike previous cells.
To the left of the staircase is a small opening that lets the player sneak underneath the staircase. It leads to the glass-covered room overlooking the secret sewer area.
Going up the stairs will lead to an area above the left cellblock. Past it is a hallway. Heading forward will send the player to a dead-end that has shelf-life objects on the left and right side. This is where the player ends up at the end of the secret sewer area.
On the right side of the hallway is an entrance to the officer overlooking the cellblocks that was seen when first entering the area. Inside it is a collection of ammo, a switch, and a teleporter blocked by lasers. Hitting the switch will deactivate the lasers, letting the player head into the teleporter, and open the door to the laser room in the hub area.
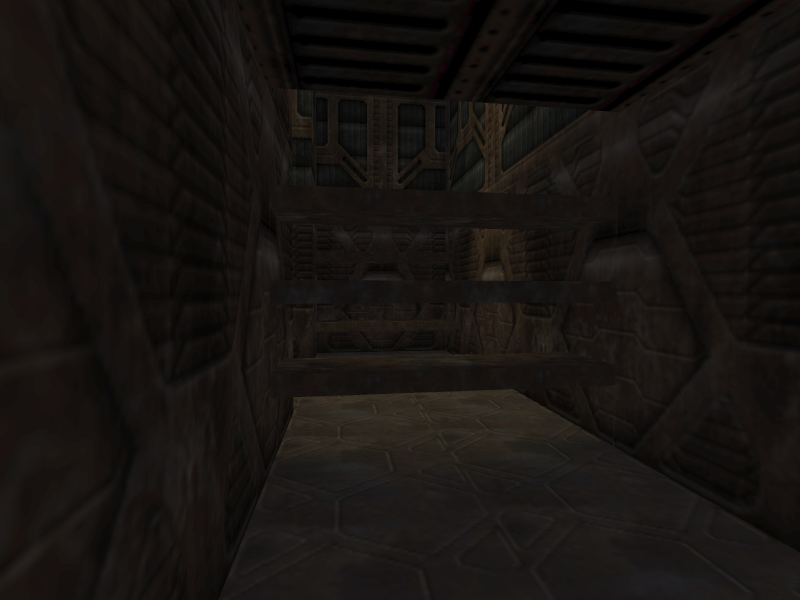
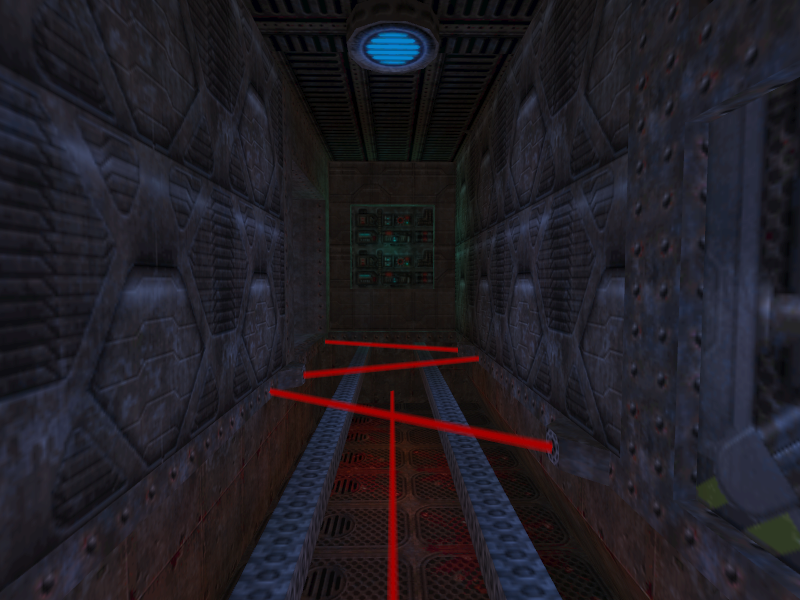
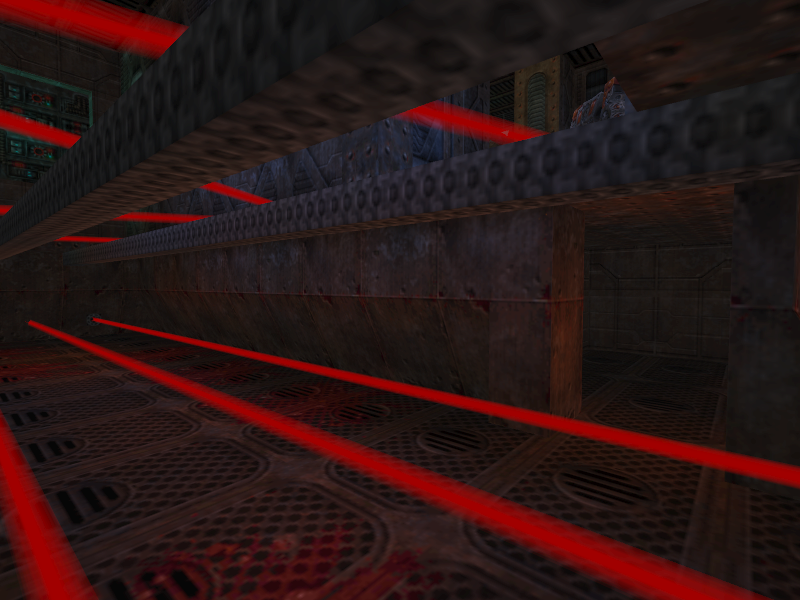
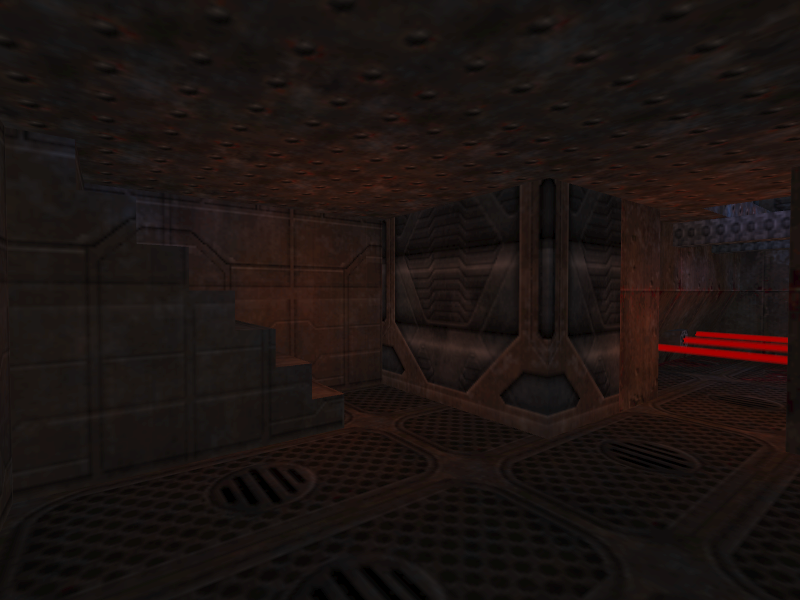
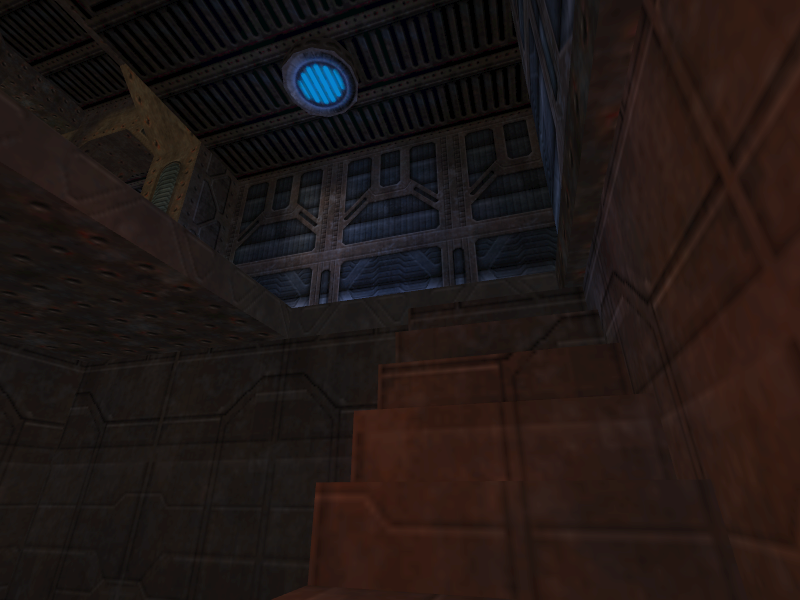
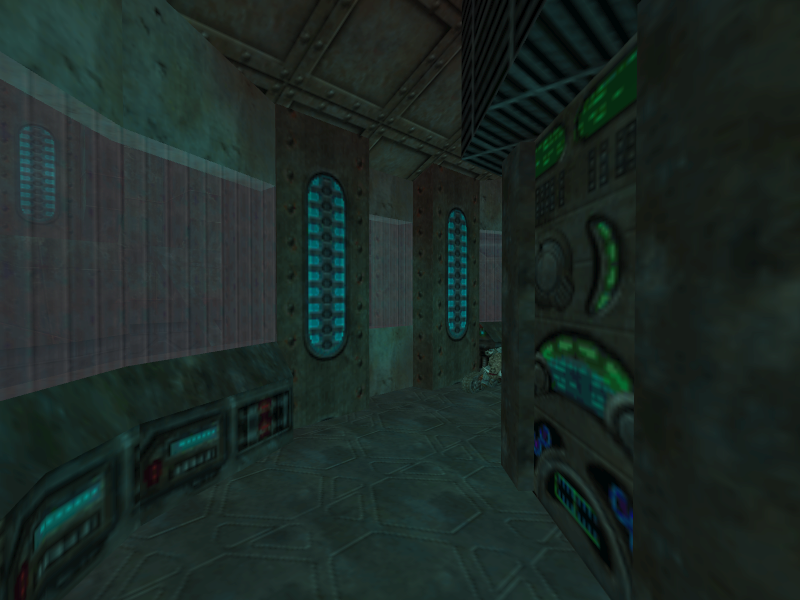
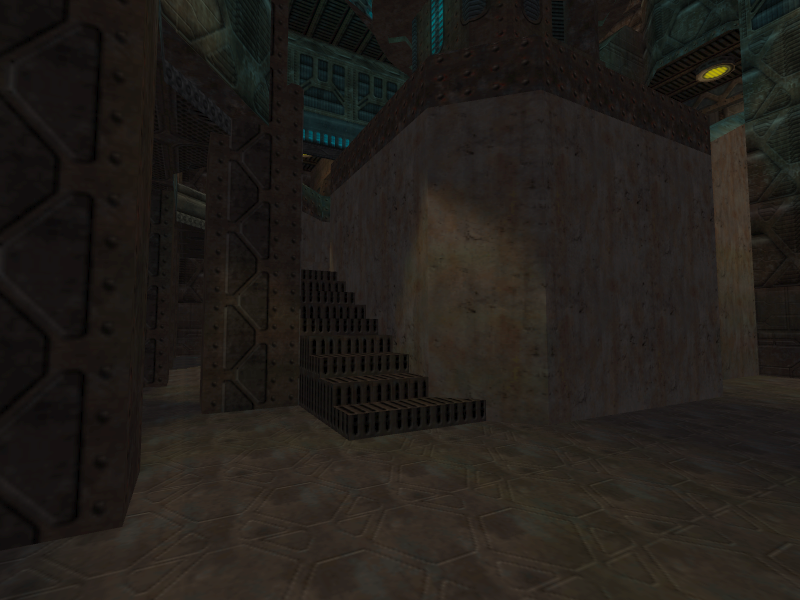
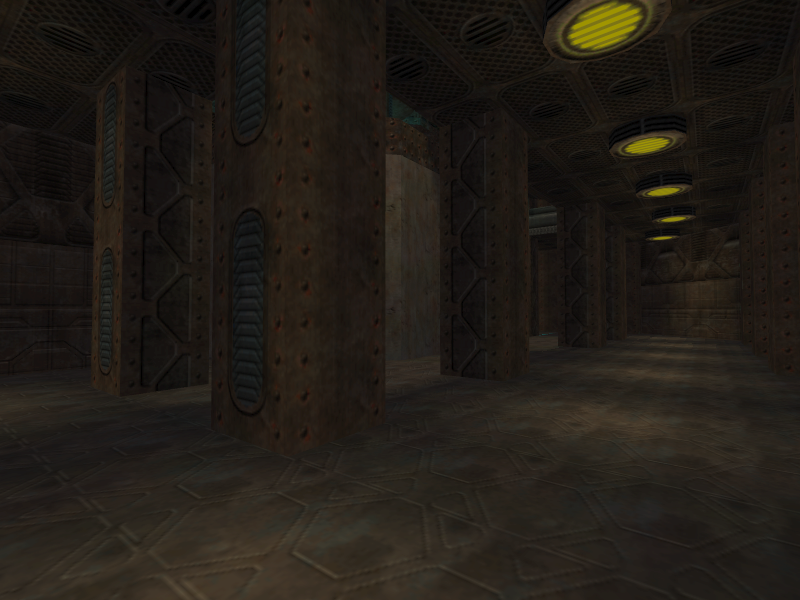
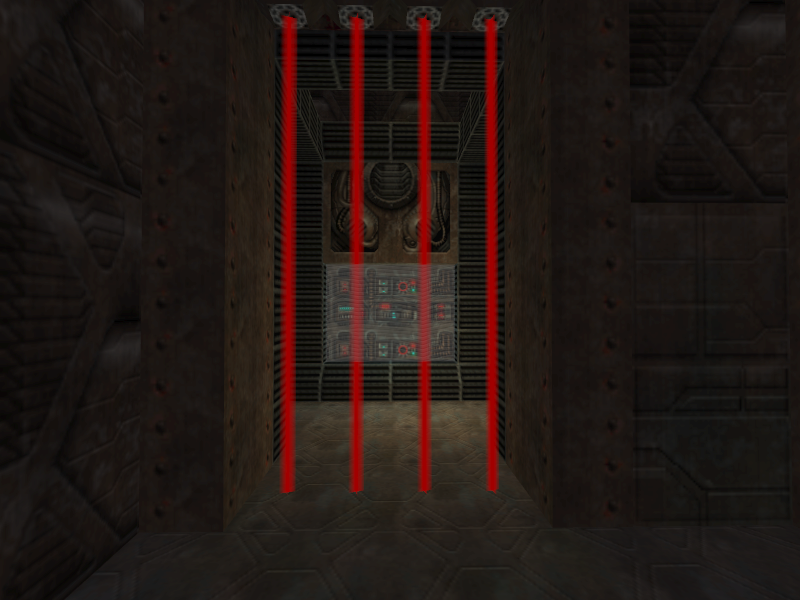
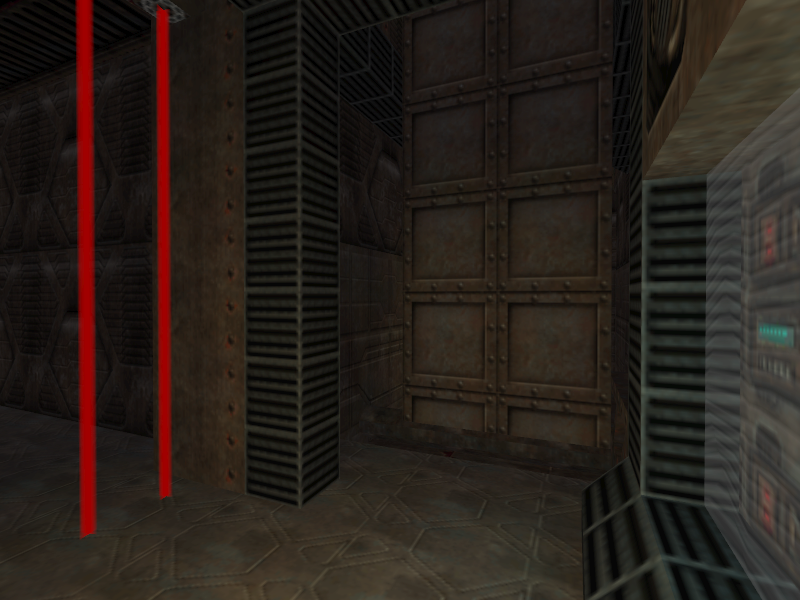
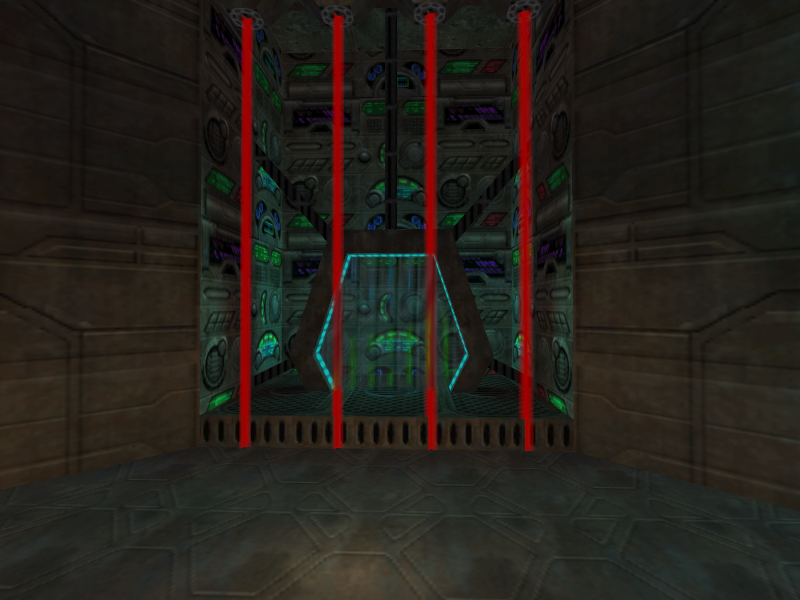
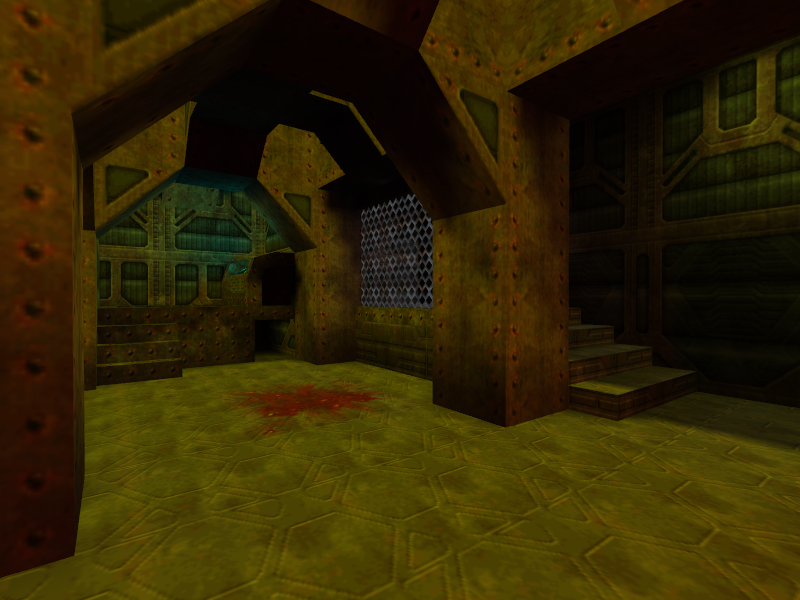
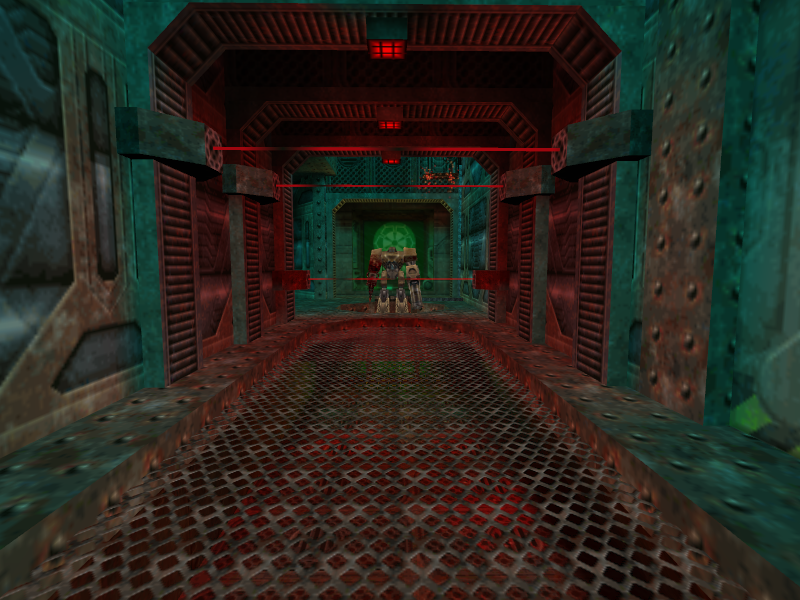
The teleporter, conveniently enough, warps the player right to the entrance to the laser room. Unlike the final game, there are no rooms before the laser room. The laser room itself has several differences in its design. It features a lot more lasers than in the final, there is no way to deactivate them, and the only room the player has to maneuver around are two small metal beams. If the player falls off and is not fried by the beams at the bottom, they can try again by entering a room underneath the start of the laser room that leads to another room. This area has a staircase in it that leads back to the entrance to the laser room.
Of note is that the bottom area in 0.10’s laser room exists in the final game, but only as a secret area accessible only after the player has destroyed the box powering the lasers.
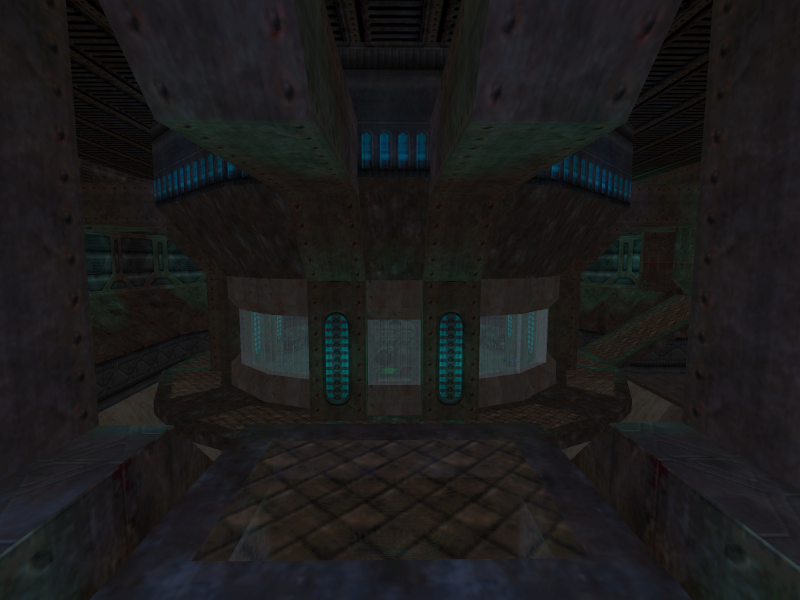
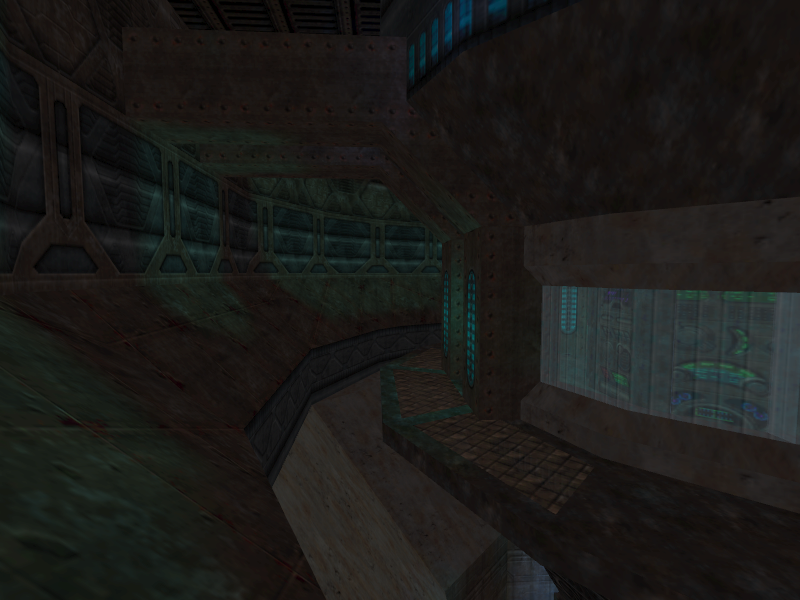
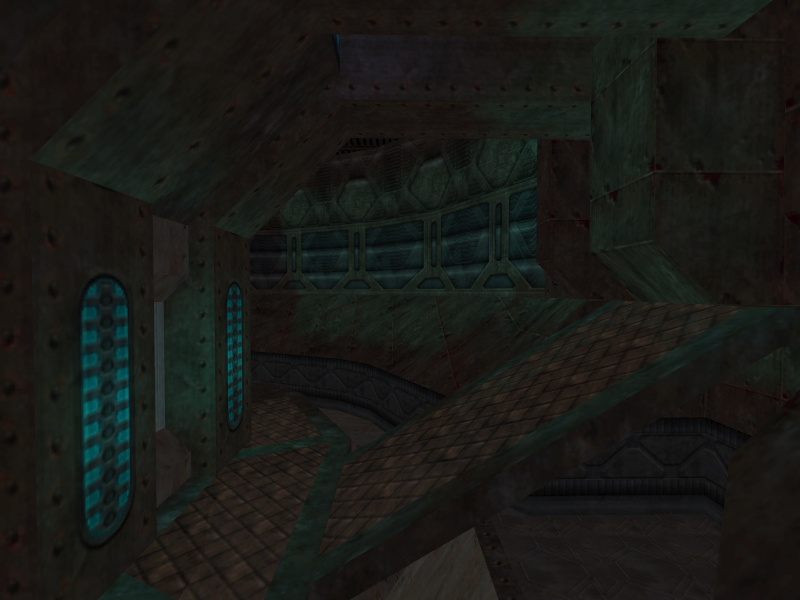
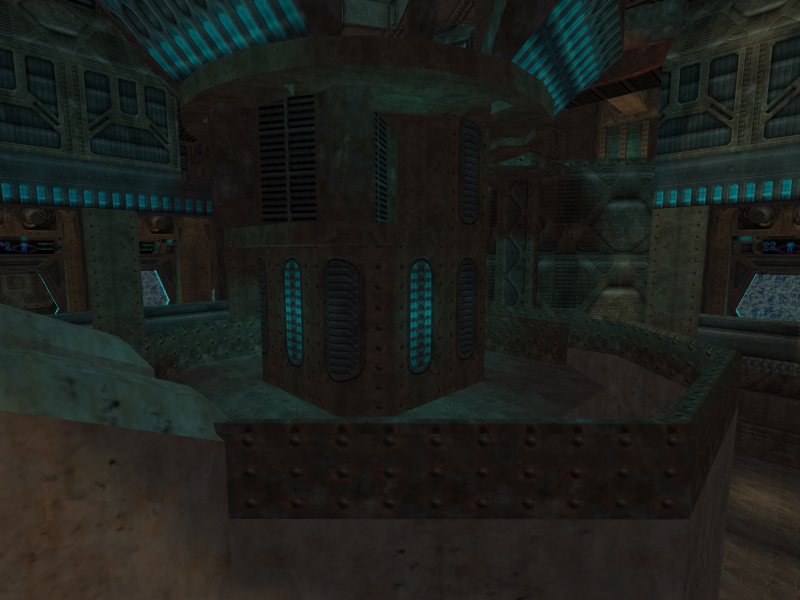
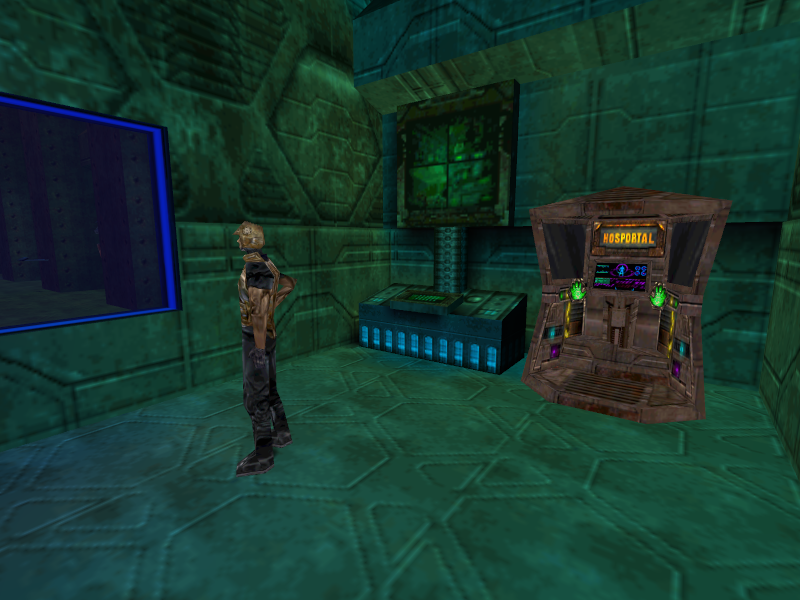
Like in the final game, the laser area leads to a large area with a round building in the center of it. But, this version is a bit different than the one seen in the final E1M3b. The round room seen in 0.10’s E1M3 serves as a hub connecting the last two bits of the level together. The lower part of the round room contains a generator with particle-like brushes moving around inside it. All of the secrets seen in the final version of the area do not exist in 0.10.
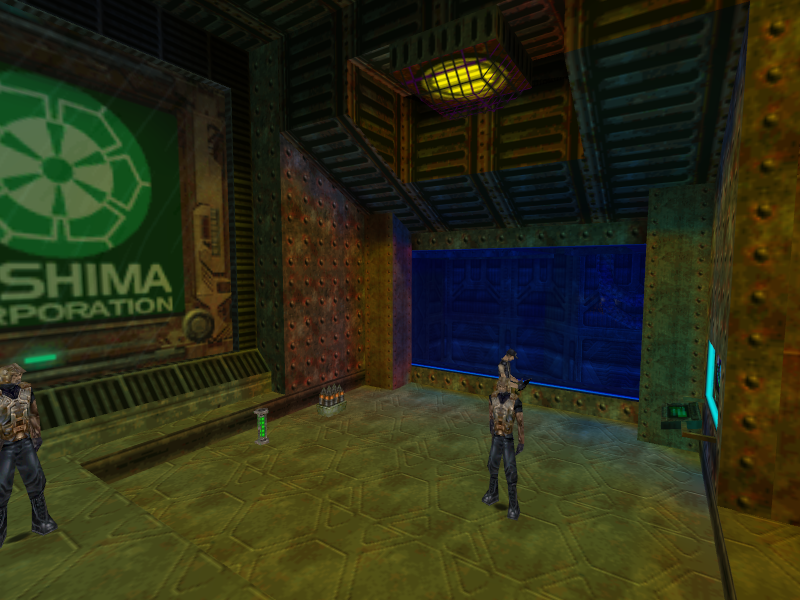
In order to proceed, the player must walk on a switch that opens access to Cellblock 3. The cellbock is blocked by the same door that blocks Cellbock 4 in the final game. Another door of the same type blocking the entrance to Cellbock 3 can be found near the one to Cellblock 3, but it can’t be opened when first traveling through the round room.
The player will end up in a room with an elevated area near the center of it after passing through the now-opened door. On the left and right sides of the elevated area are passages leading downward with doors at the end of them. Opening these doors will send the player to glass-covered observation rooms overlooking Cellblock 3.
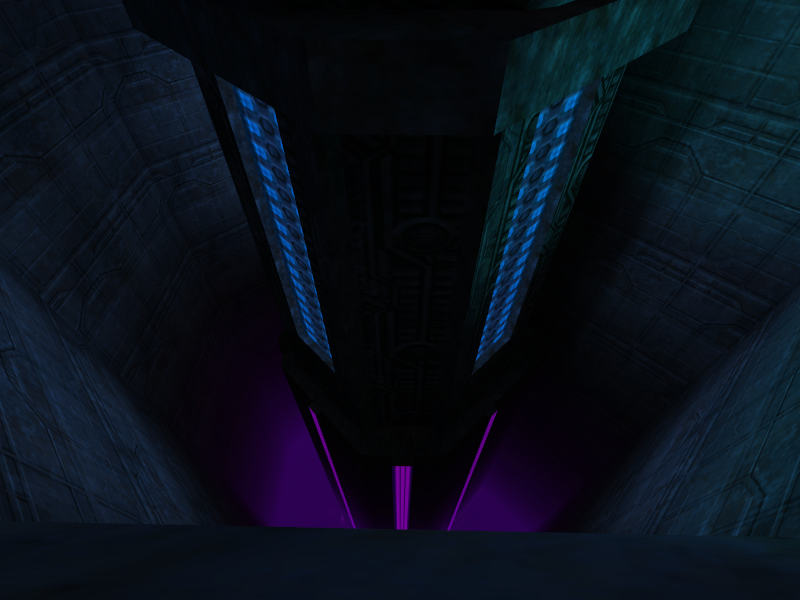
To proceed, the player must head into the elevated area and hop on the round shape in the center of it. The floor below will open, ejecting the player into an elevator. The elevator will begin to move, but the player must avoid lasers that are sweeping the area. Once the elevator reaches the bottom, the player can get off to proceed. The elevator will then head back up to repeat the process. Oddly, a part of the wall on the back of the elevated area will open once the floor in the center of it has opened. Perhaps it was meant to be used as a backdoor in case of a problem.
The player will end up in Cellblock 3 proper after the elevator trip. The cellblock is very similar to the Cellblock 3 seen in Milestone in terms of looks and has no counterparts in the final game. The cells themselves are on a walkway that cannot be accessed at the start of entering the area. In the center of it is a tower. The top of the tower constantly spins.
The player will start on a path in the middle of the room. Above the player is a rotating room. To proceed, a staircase on the right side of the walkway leading downward must be taken. This will lead to the bottom floor of Cellblock 3. Taking a left will lead the player to the next area, while the right side will lead to a dead end.
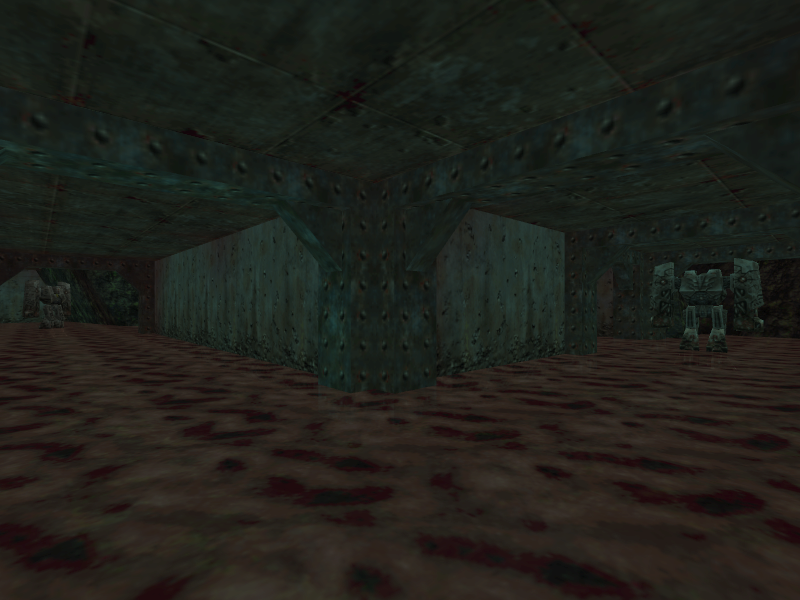
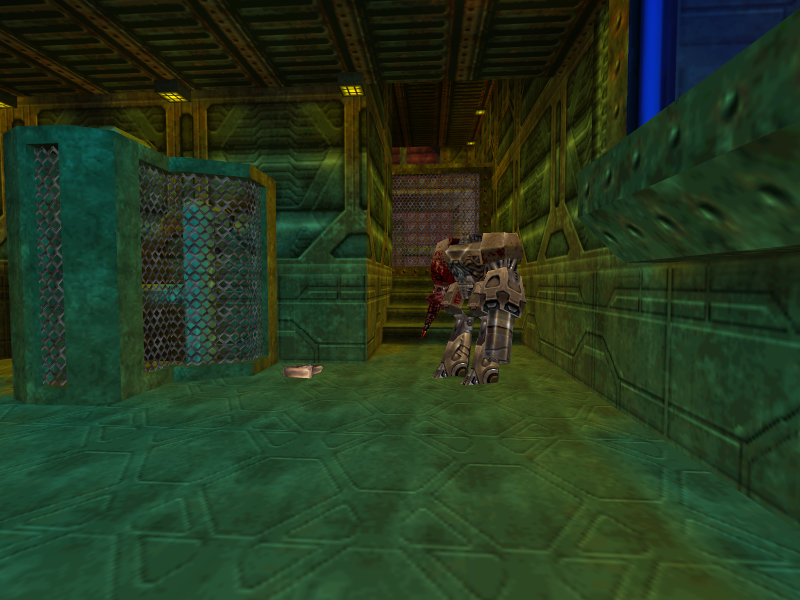
Continuing left after heading down the staircase will send the player to a prototype version of the meat grinder room seen near the end of the final game’s E1M3b. The player starts the area from the right side of the area, while the final game starts on the left side. The shafts of moving meat/blood are instead lasers. The floor underneath matches the area before the teleport room in Milestone 2’s E1M3. The left side of the meat grinder room has a set of lasers blocking the way and a ramp that must be lowered beyond it, if the player were to survive the lasers. To proceed, the player must walk up the meat grinder and jump onto a platform above the stairs to the meat grinder. There is a switch there that deactivates the lasers and lowers the ramp. The final game has some supplies where the switch is, making it an optional trip instead of required.
Heading past the ramp, the player will end up on a floor above where they entered Cellbock 3 proper. This section contains the actual prison cells. Past the last set of cells is a Ragemaster and an elevator. Taking the elevator up will send the player to an area above the cells, which leads to the rotating top of the tower seen when first entering the area. The player has to enter the top when it rotates near a walkway at the end of the area above the cells, then ride it to the exit.
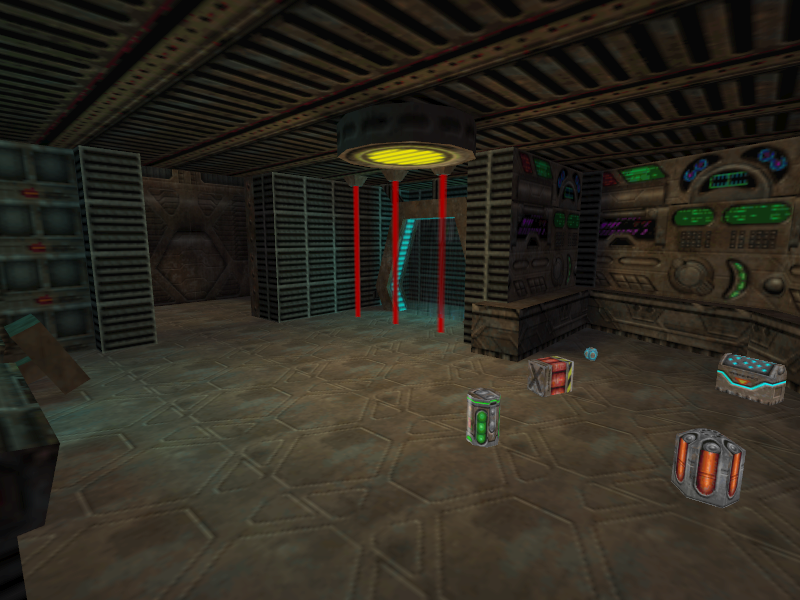
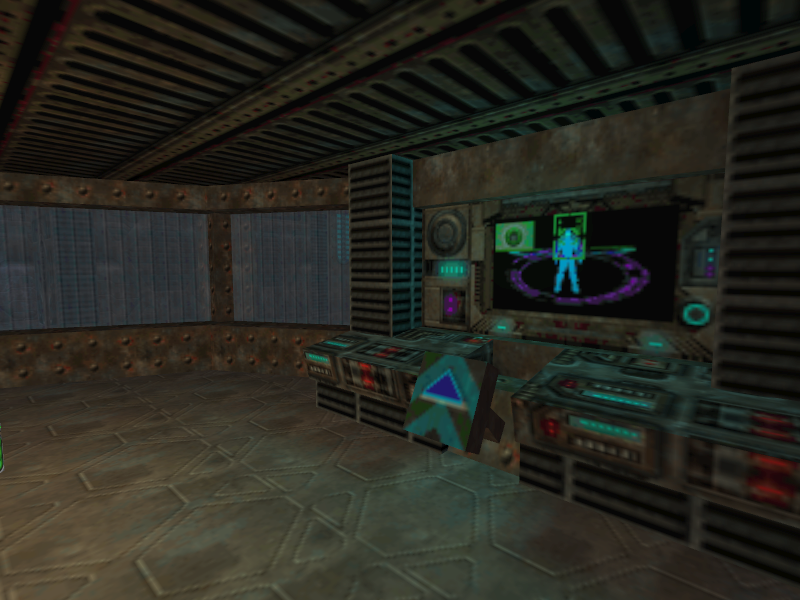
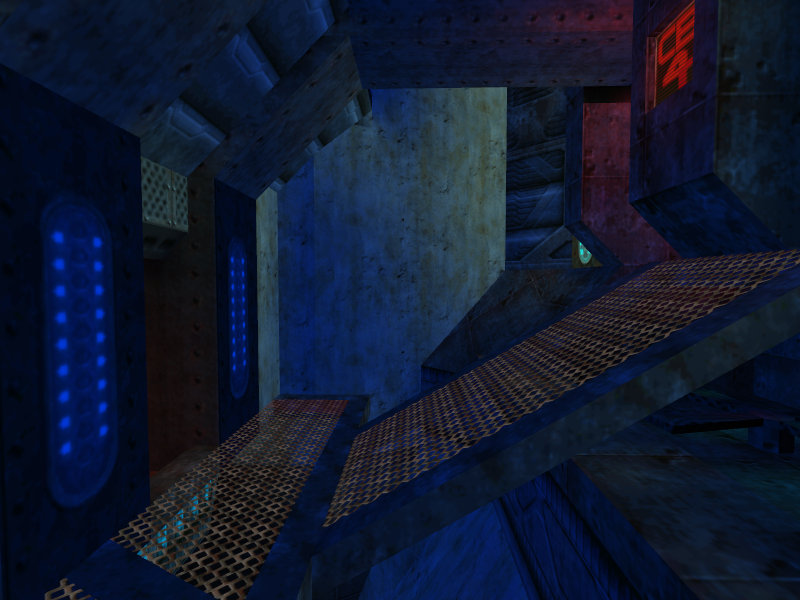
Past the spinning tower top is an elaborate room with a teleporter on the left side that has lasers blocking it, a cell block protected by a laser sweeping the area right before its entrance, and a switch and some ammo on the right side. To proceed, the player must press the switch in order to deactivate all of the lasers and the forcefield that serves as the cell’s door. The fact that this cell is located in the final cell block and the unique design it has compared to other areas suggests that this is an earlier version of the area the player finds Superfly in. However, Superfly is nowhere to be found.
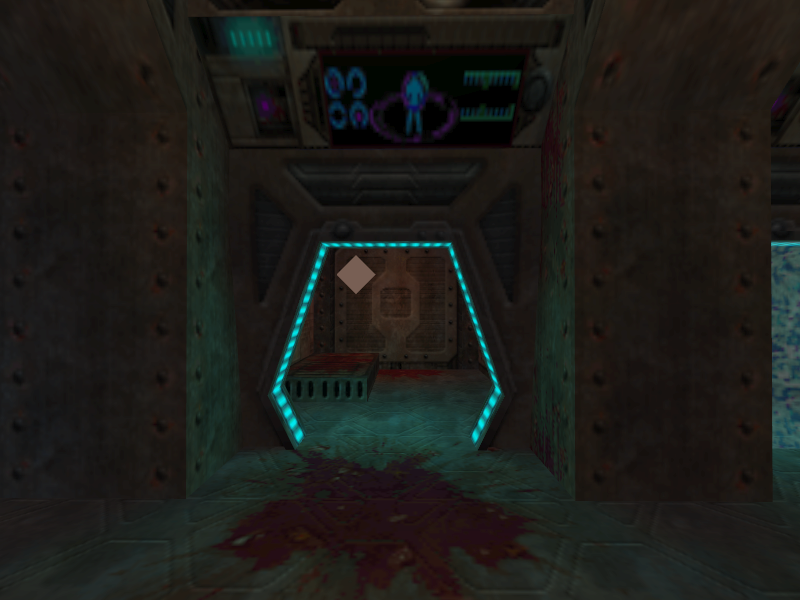
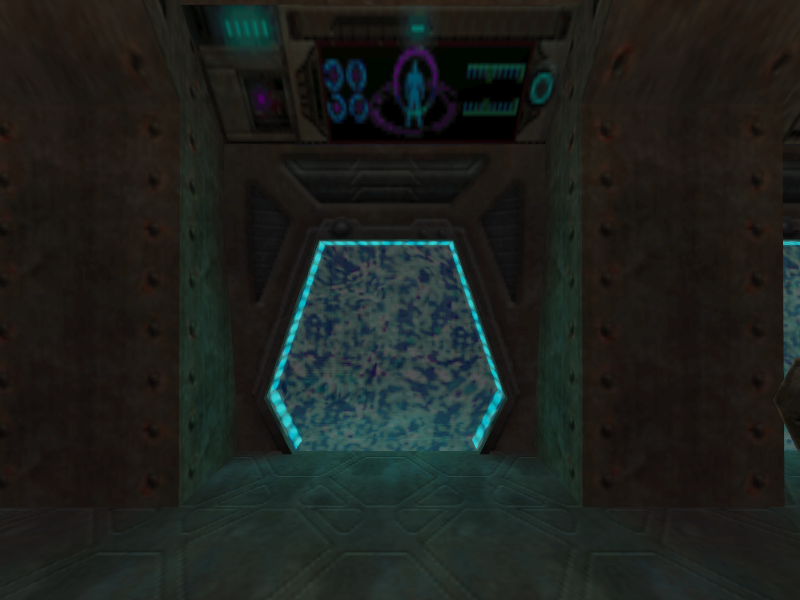
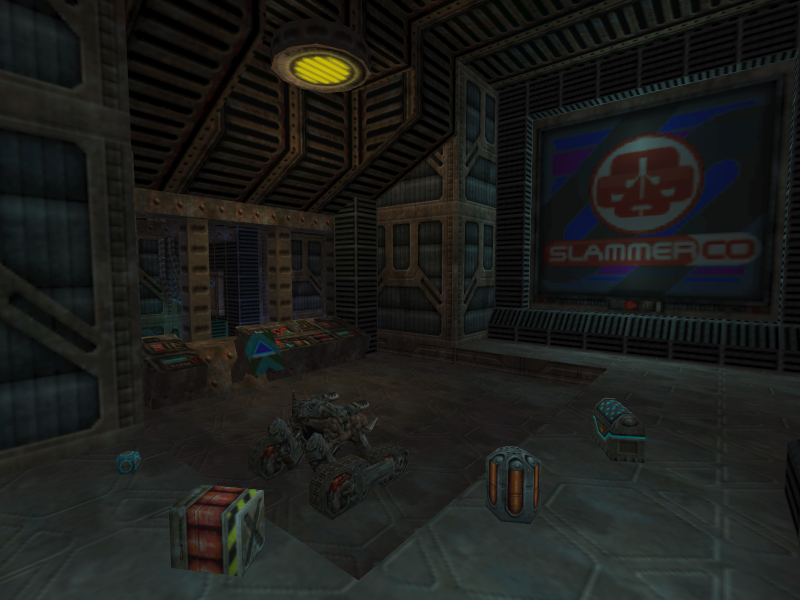
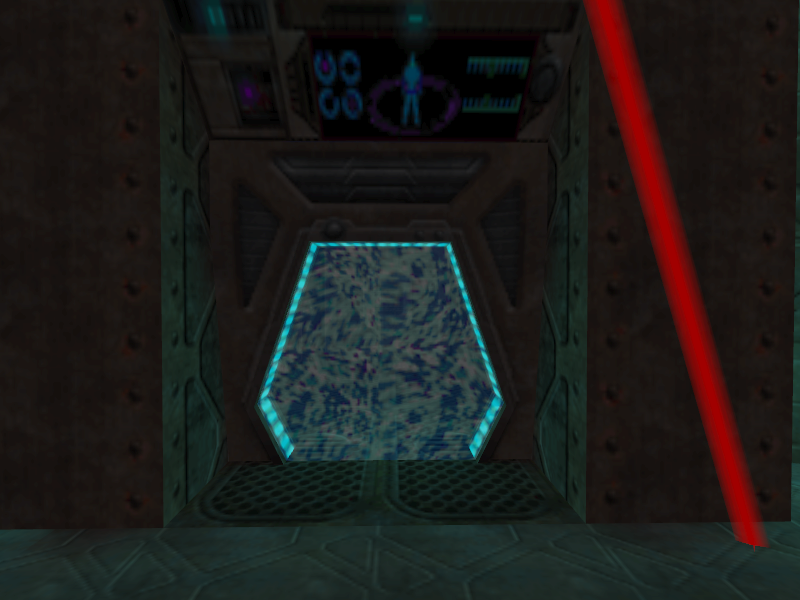
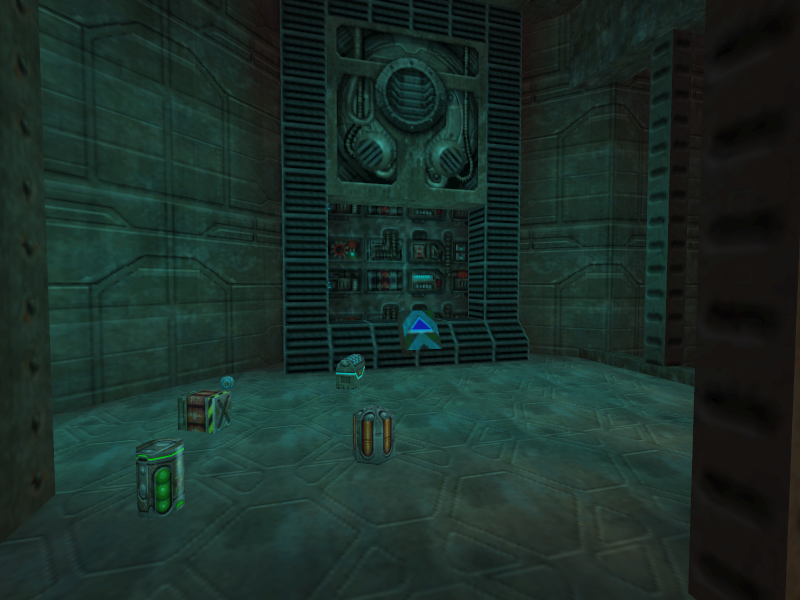
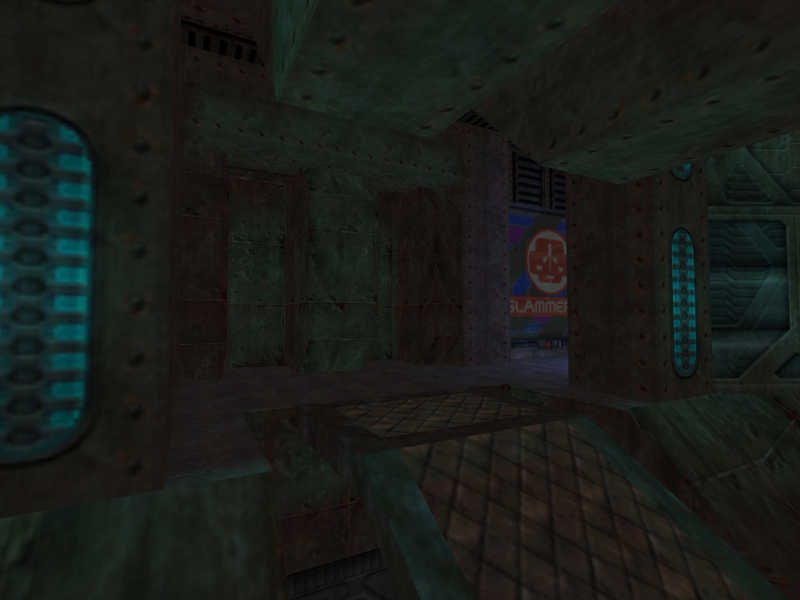
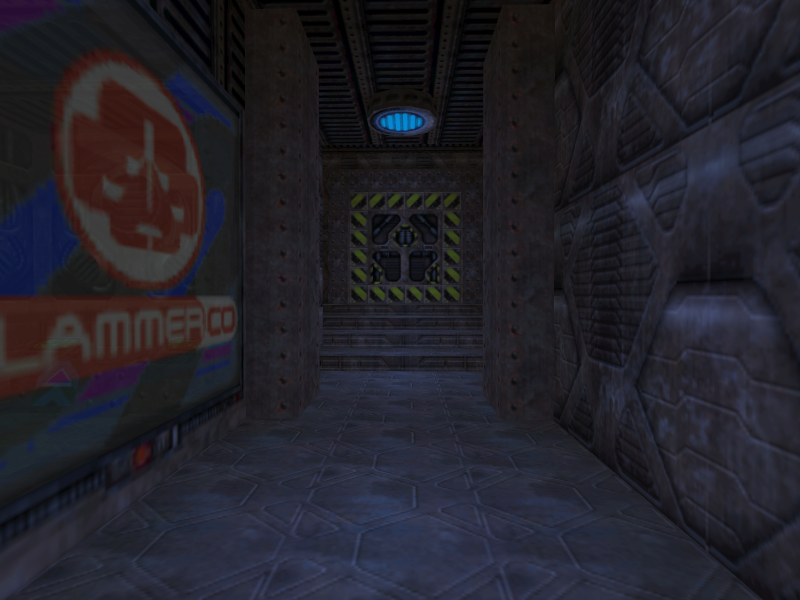
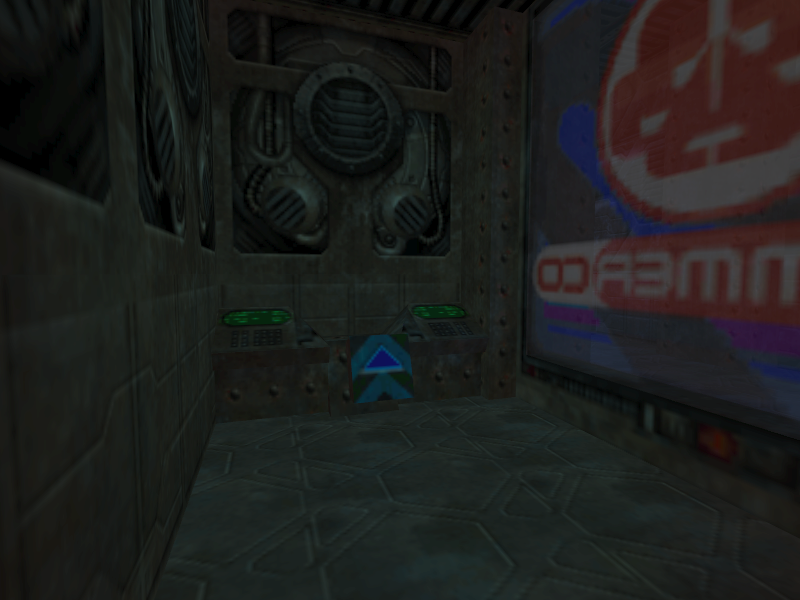
Without Superfly to rescue, the player can simply hop into the teleporter after pressing the switch. The teleporter will send the player to the other door in the round hub room, but this time it will be open. Past the door is a tight hallway with a “SlamCo” sign on the left side of it and a closed door at the end. In order to open the door, the player must destroy the Slamco logo, then use the switch past it.
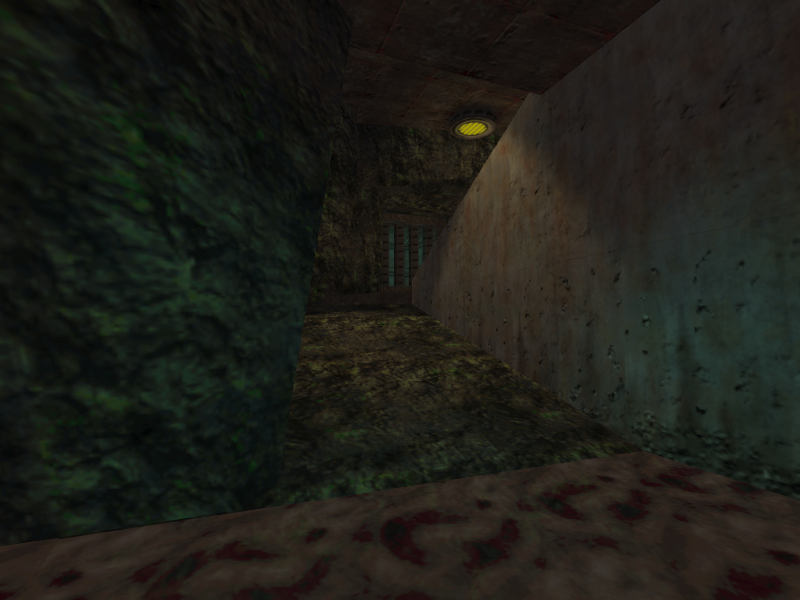
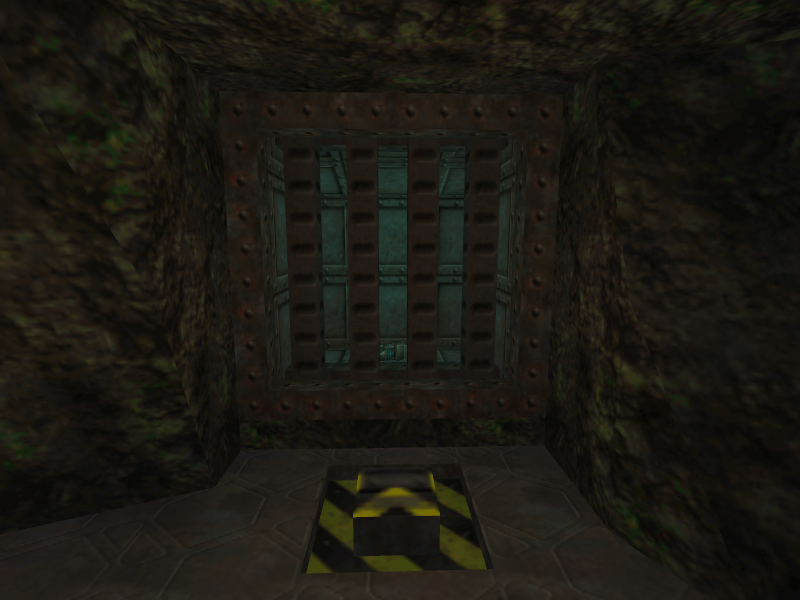
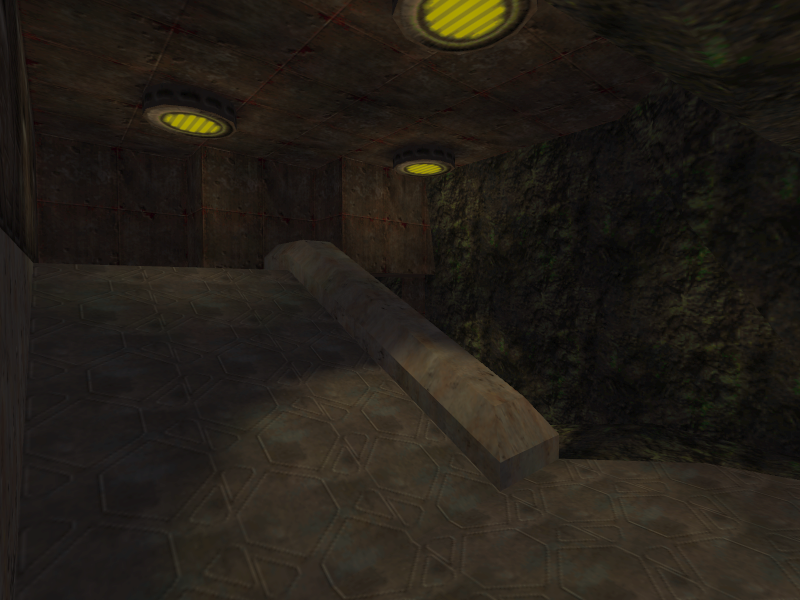
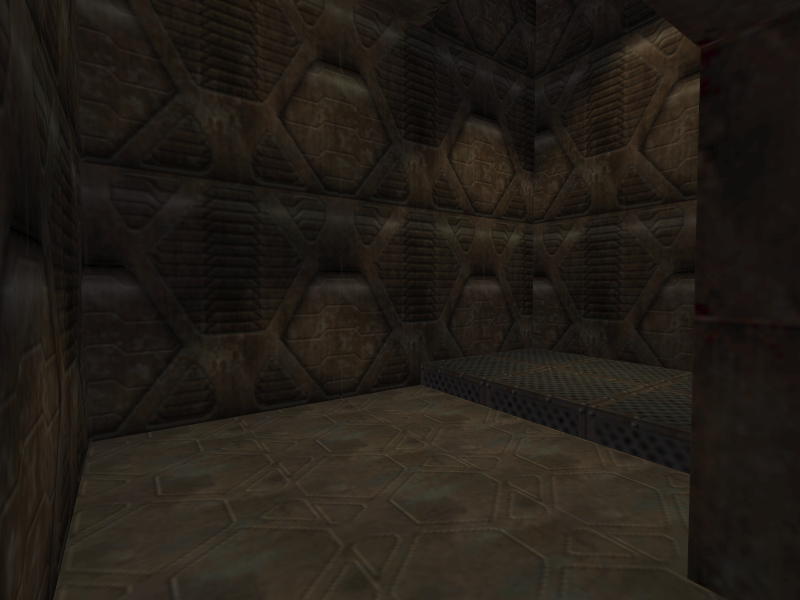
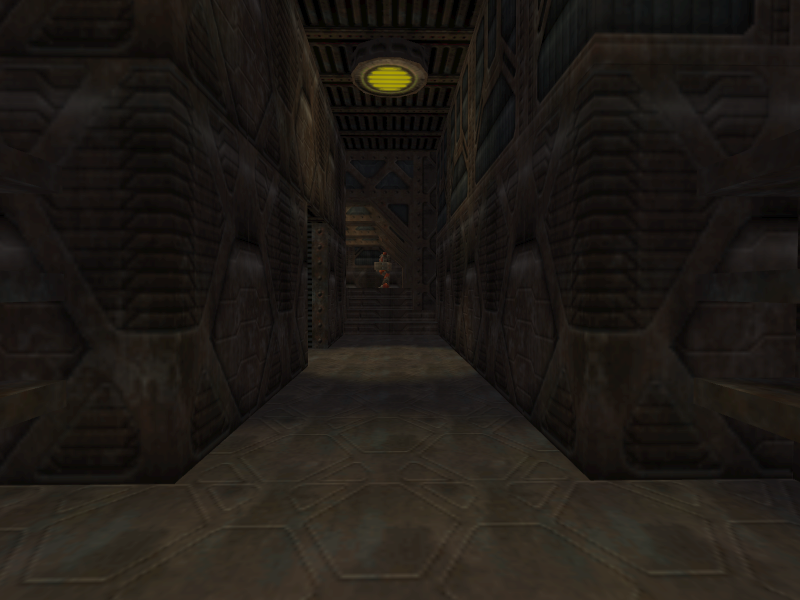
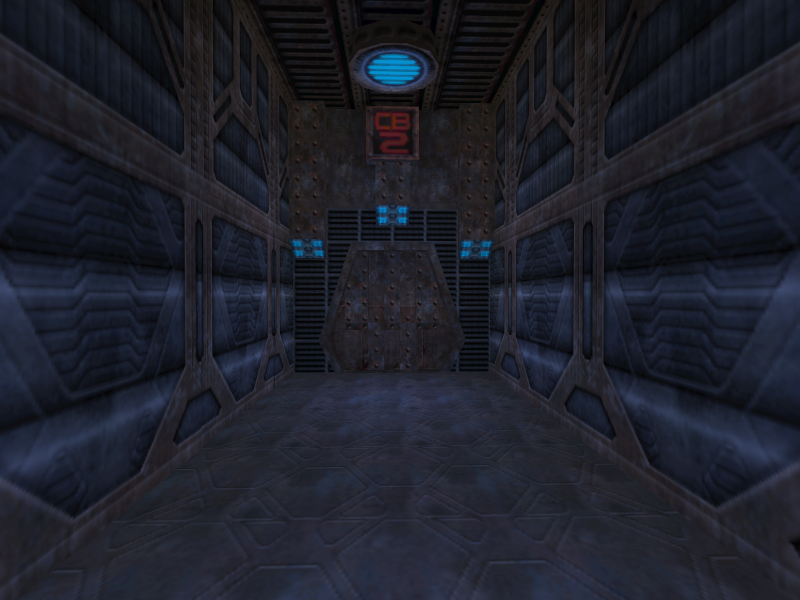
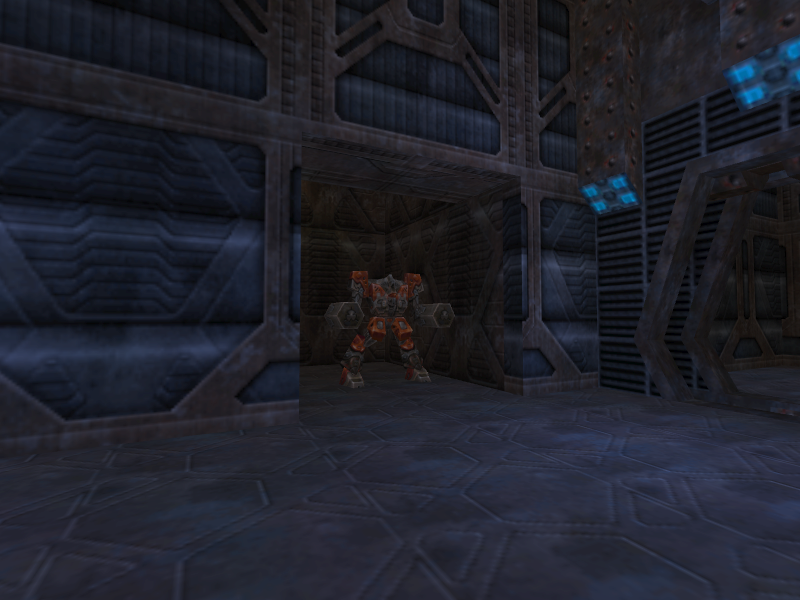
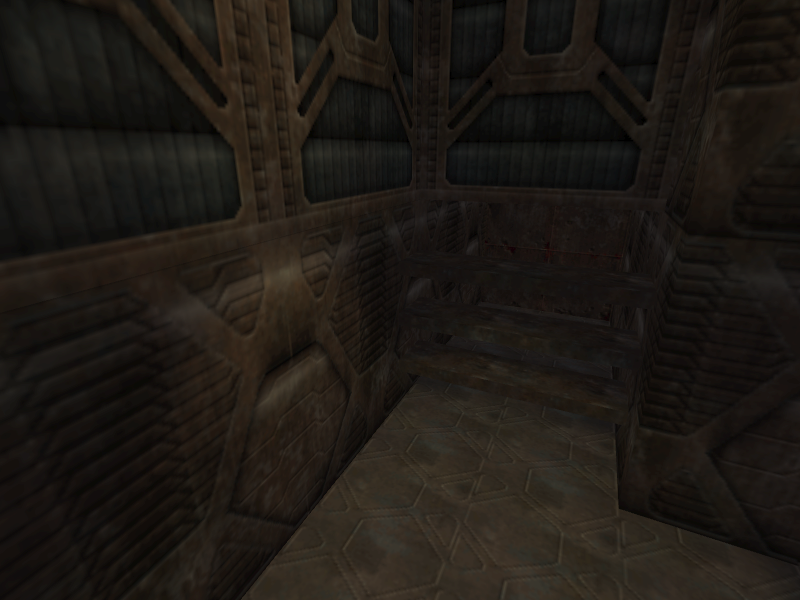
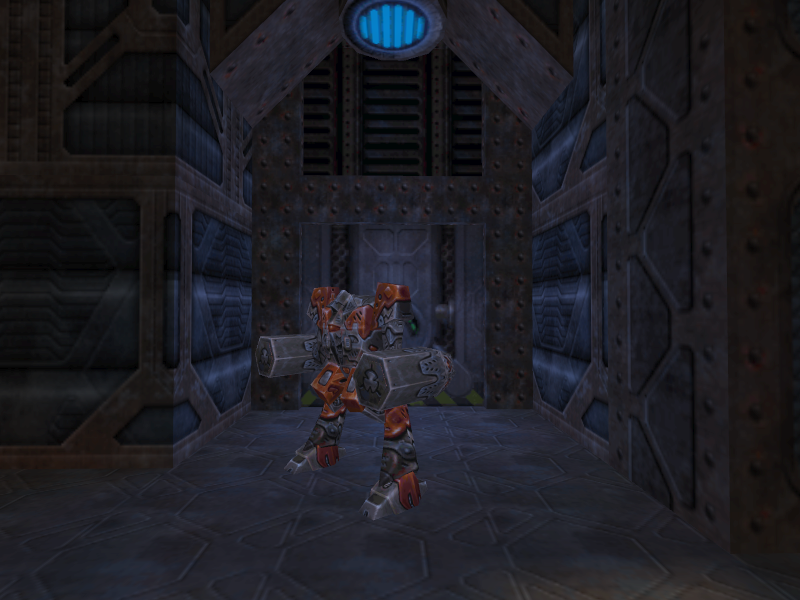
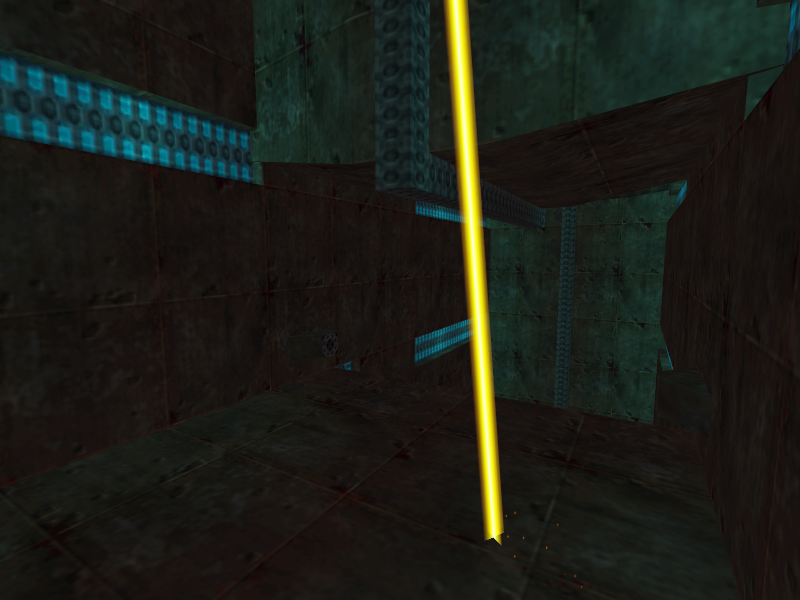
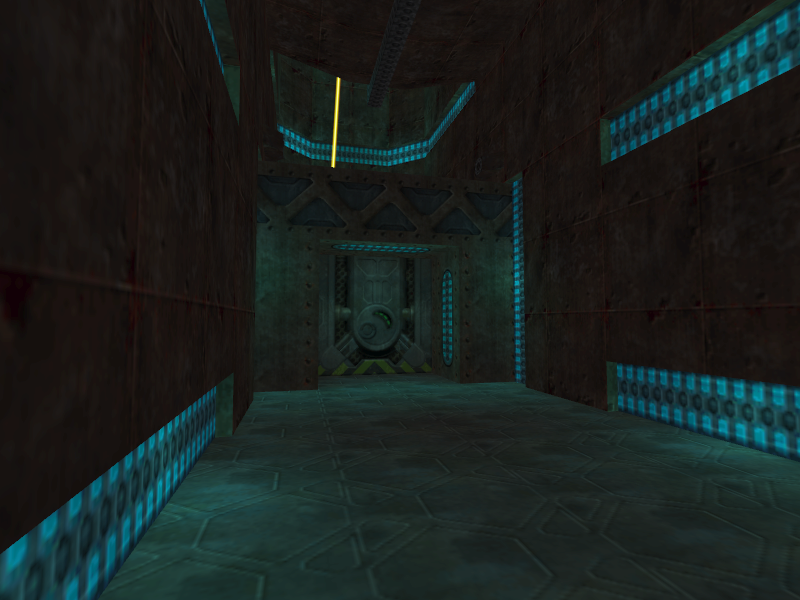
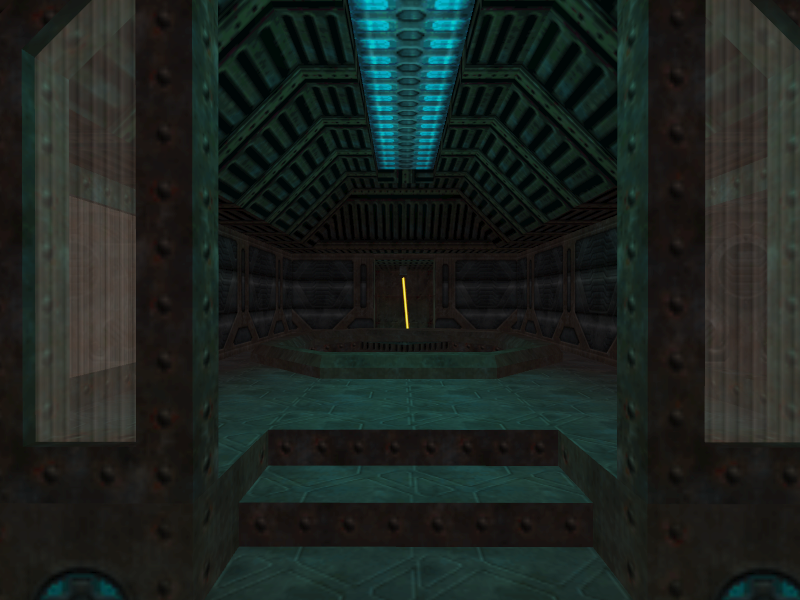
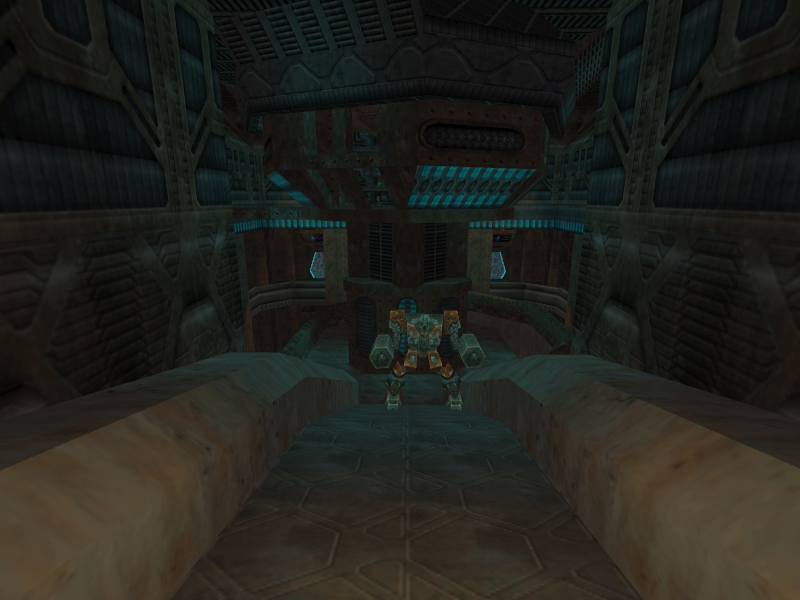
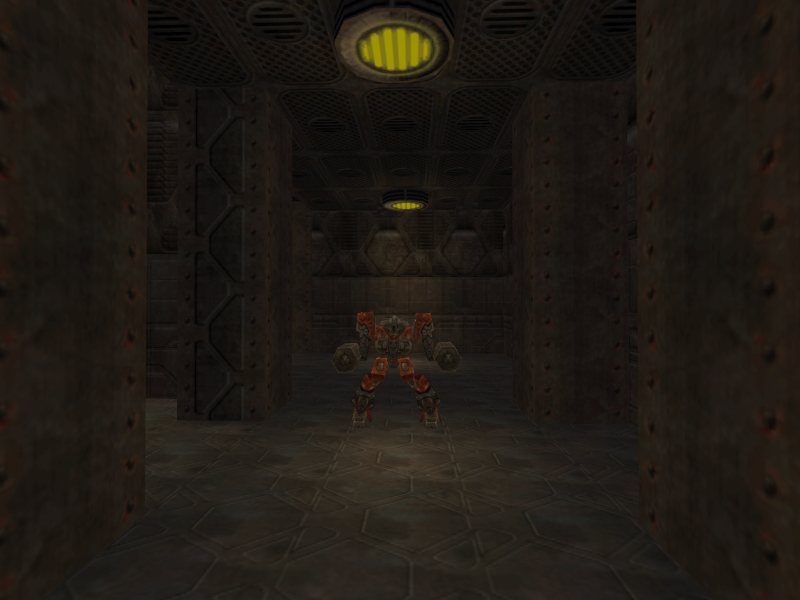
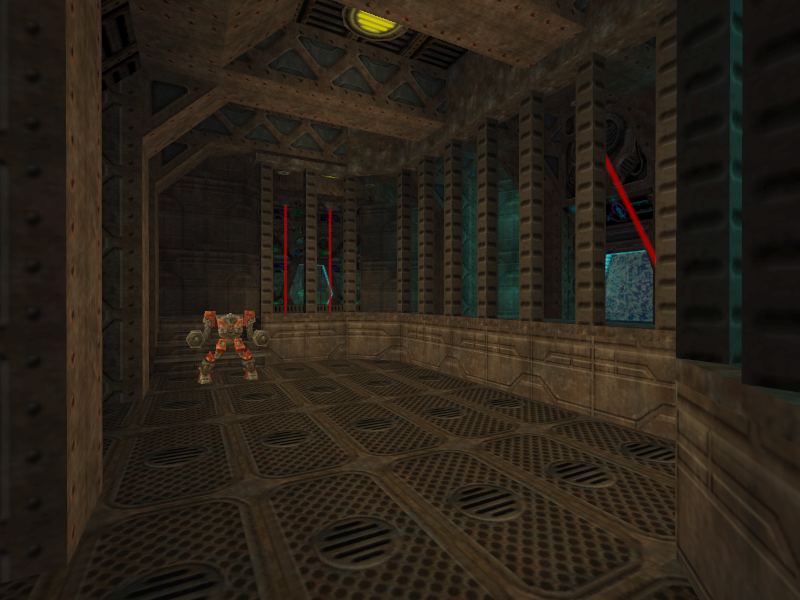
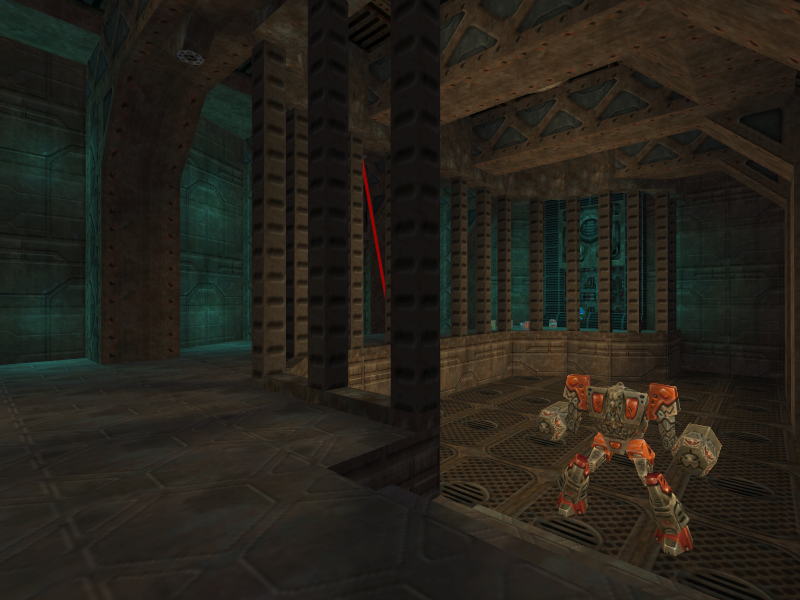
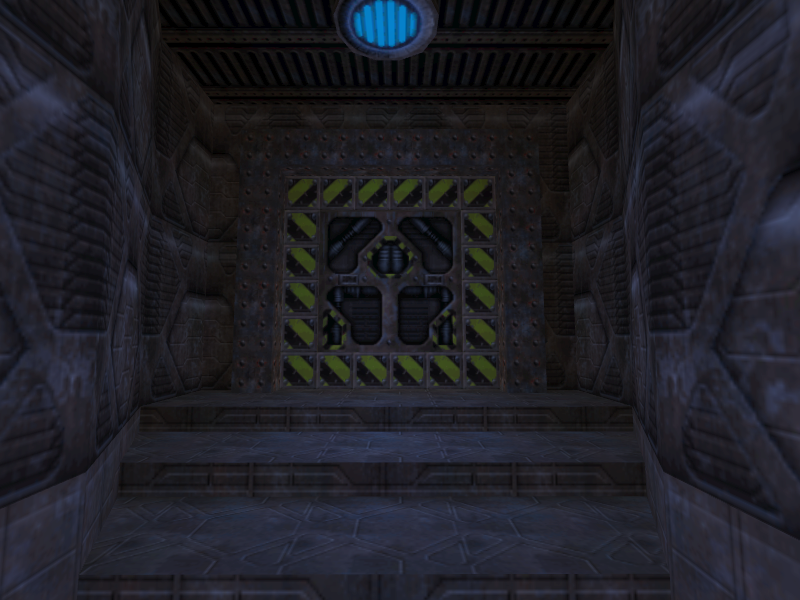
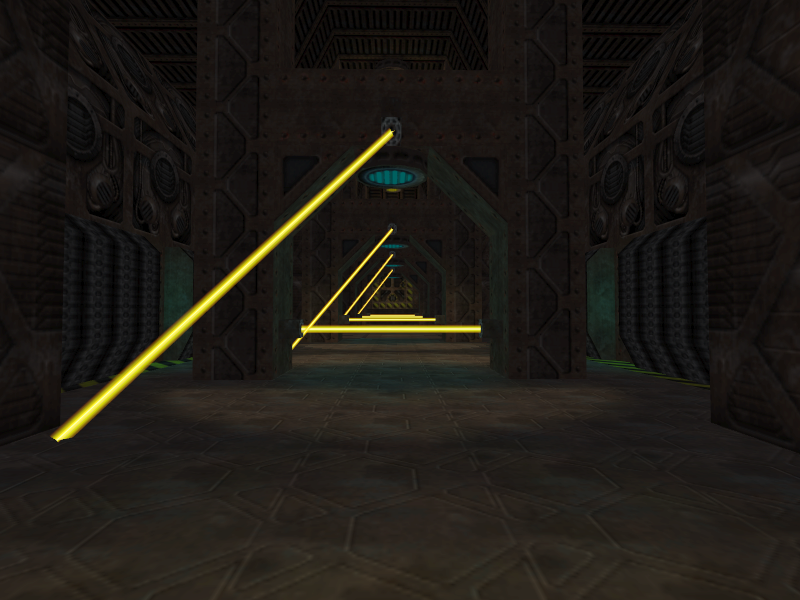
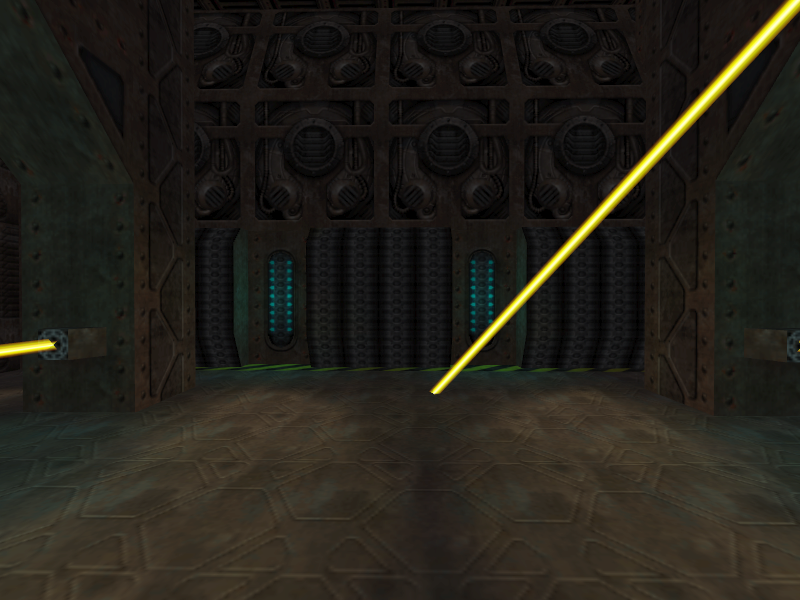
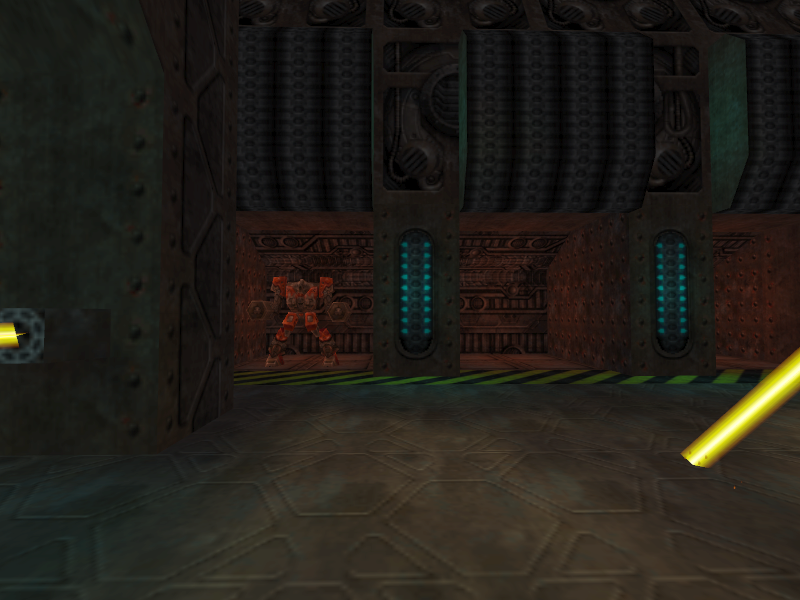
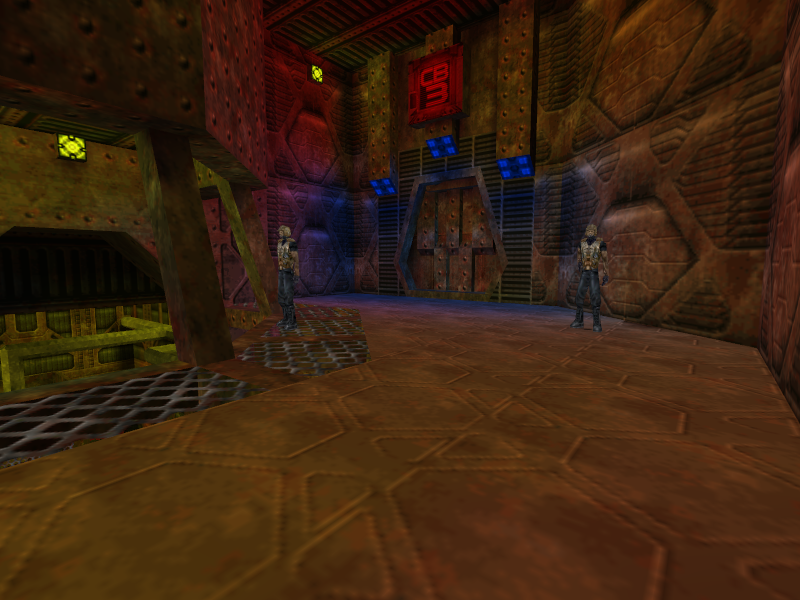
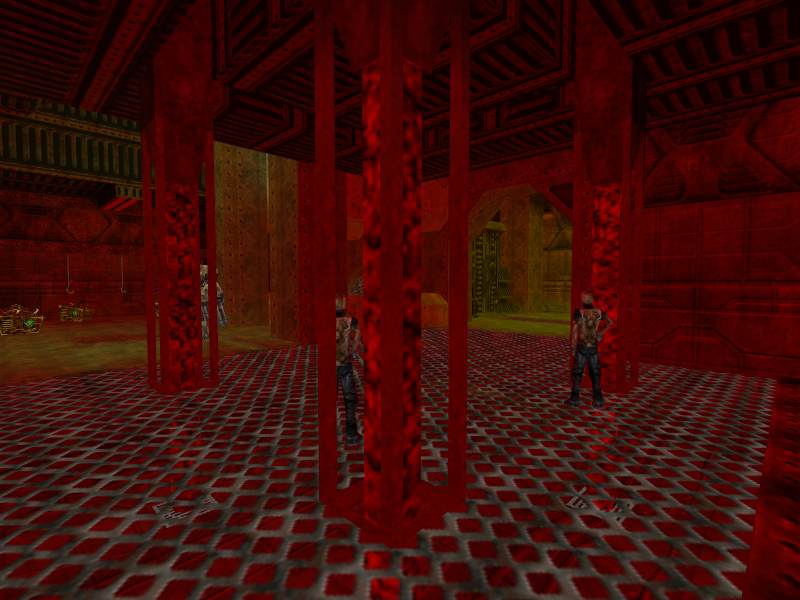
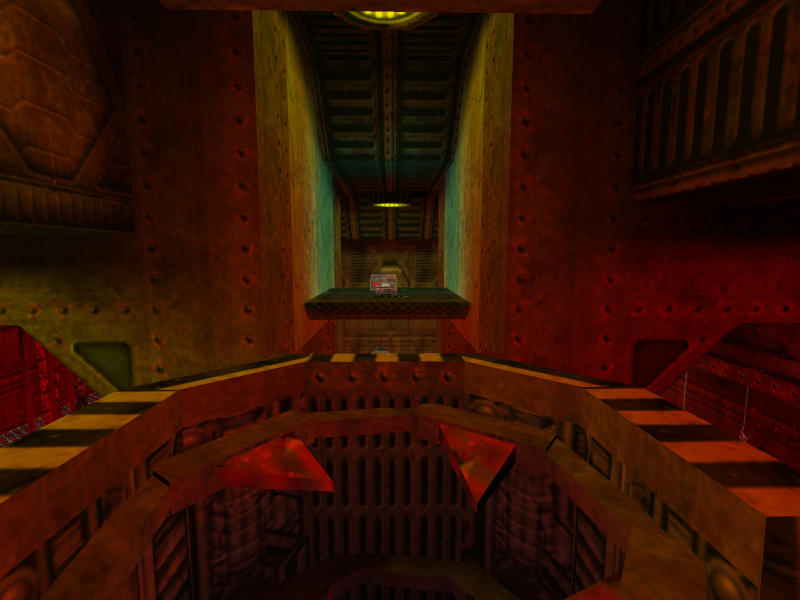
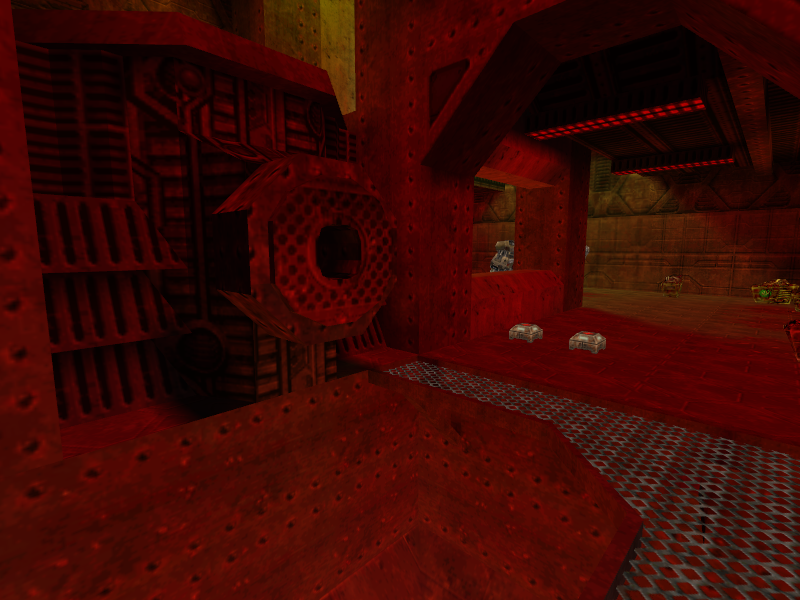
The door leads to the final area in the level. The player will be in a long hallway containing the same sweeping lasers seen in the elevator ride at the start of Cellblock 3. As the player goes through the room, walls on all sides of the area will open, with some of them having Ragemasters. The player must deal with the Ragemasters while avoiding the lasers in order to reach the end. There is a door at the end, but it cannot be opened. Noclipping past it reveals nothing behind it, making the door the end of the level.
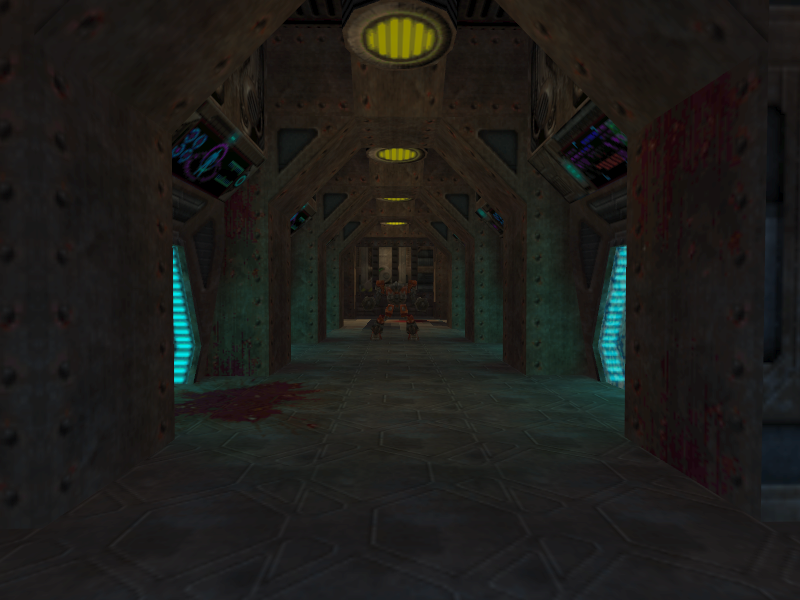
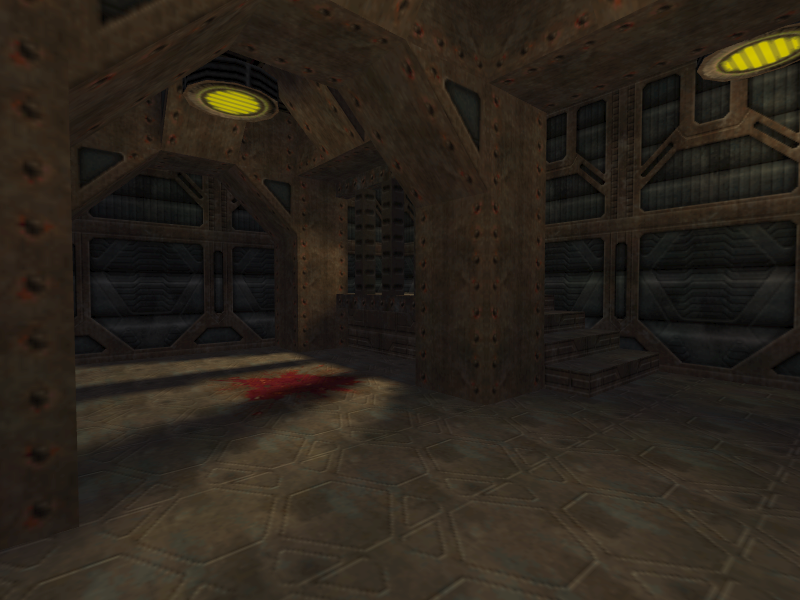
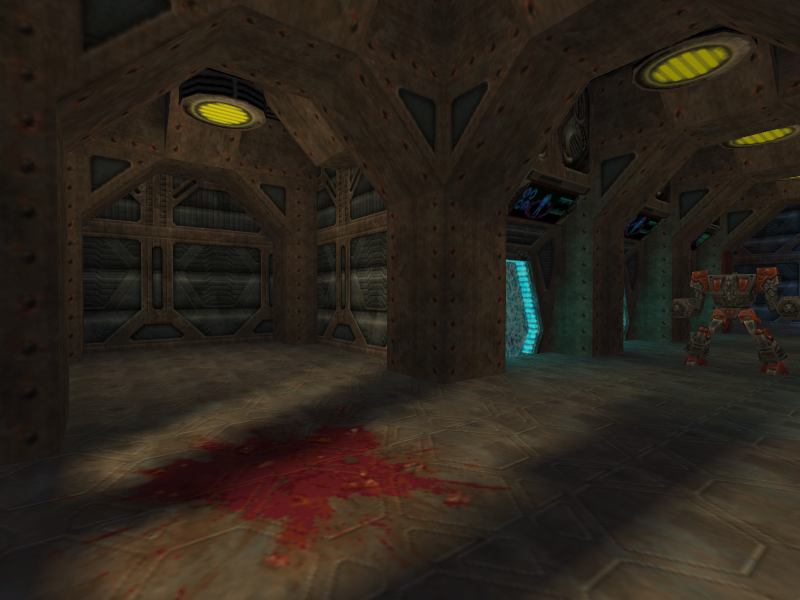
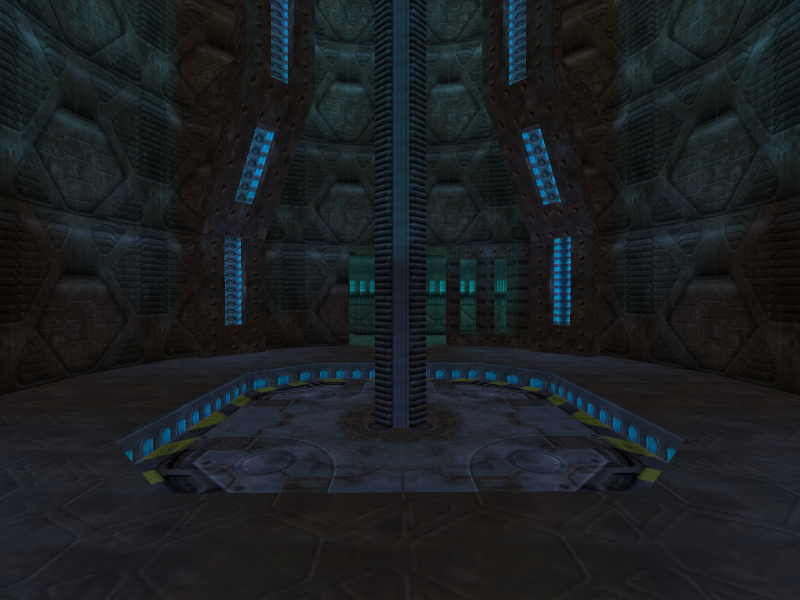
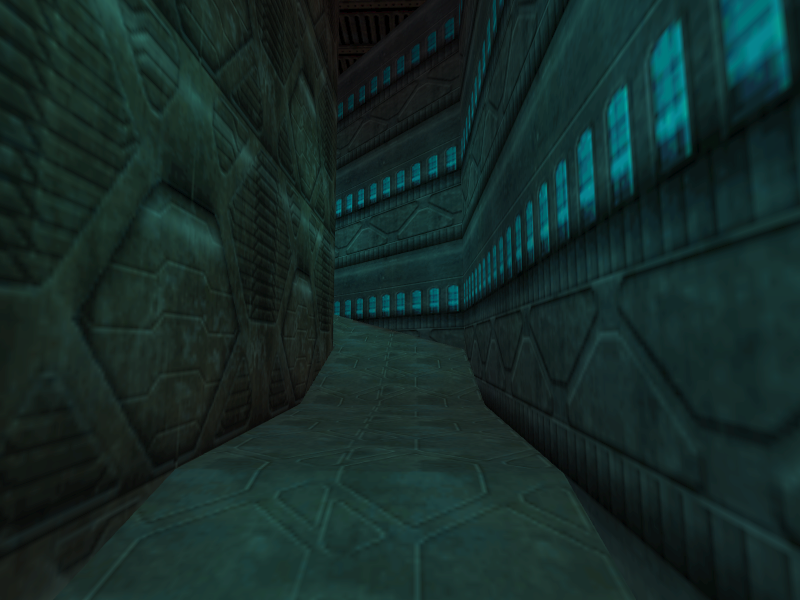
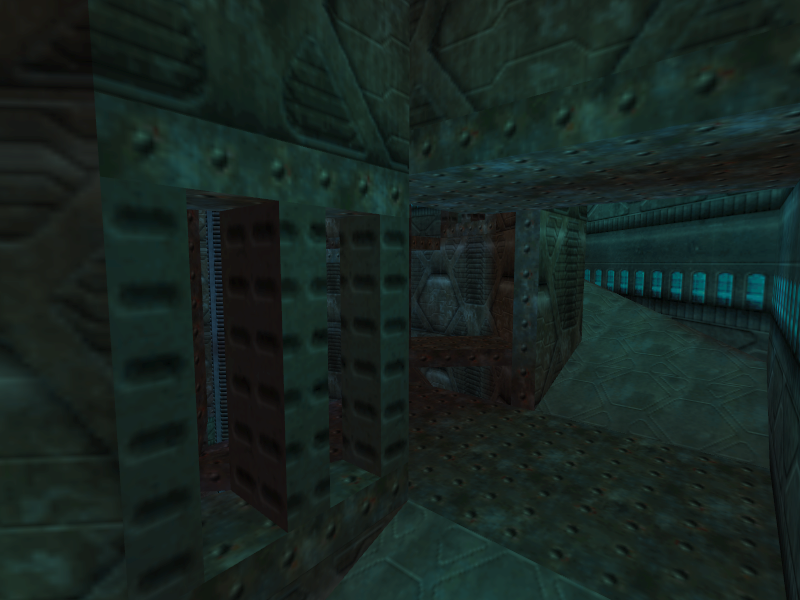
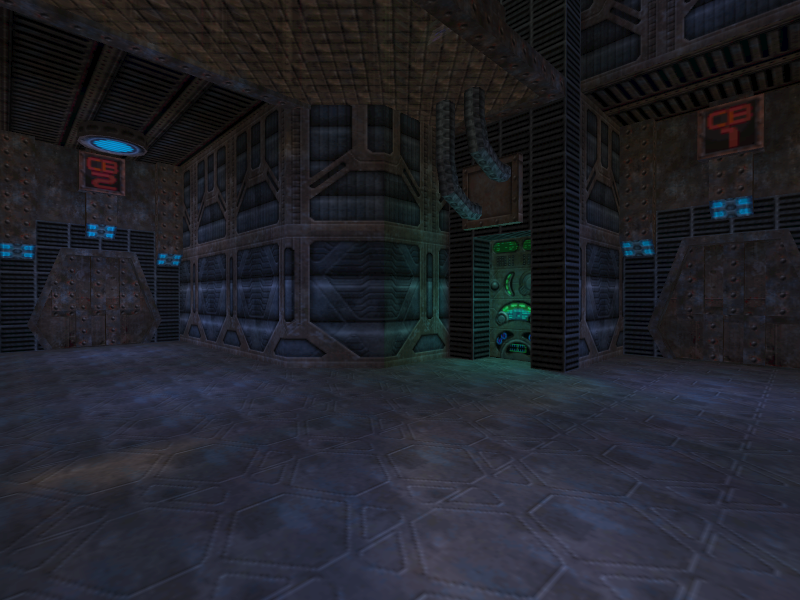
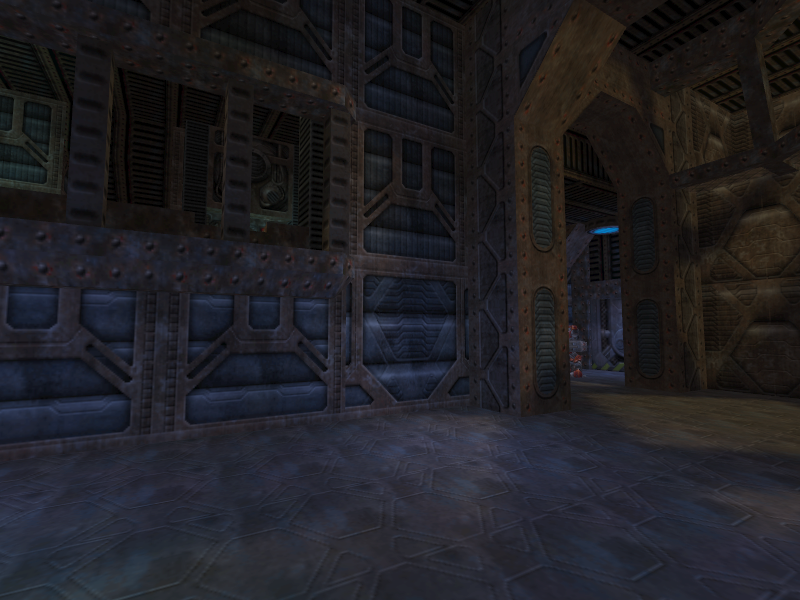
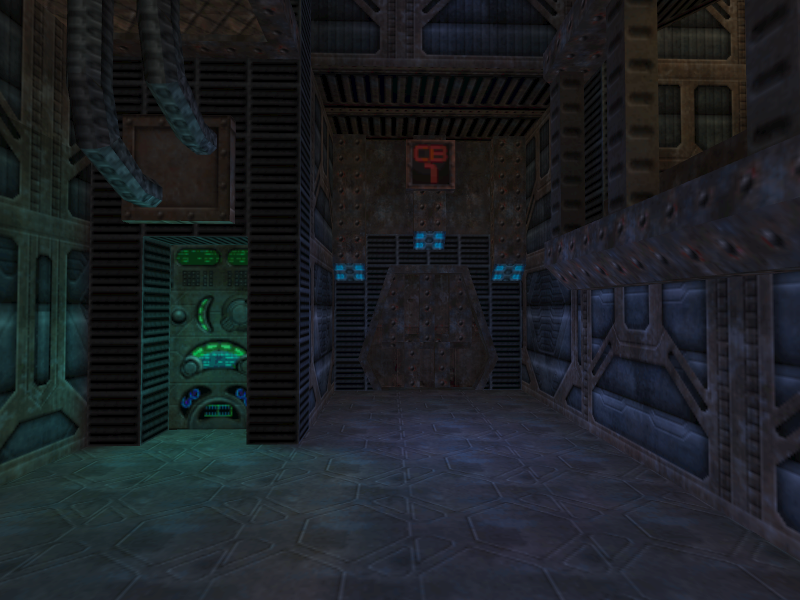
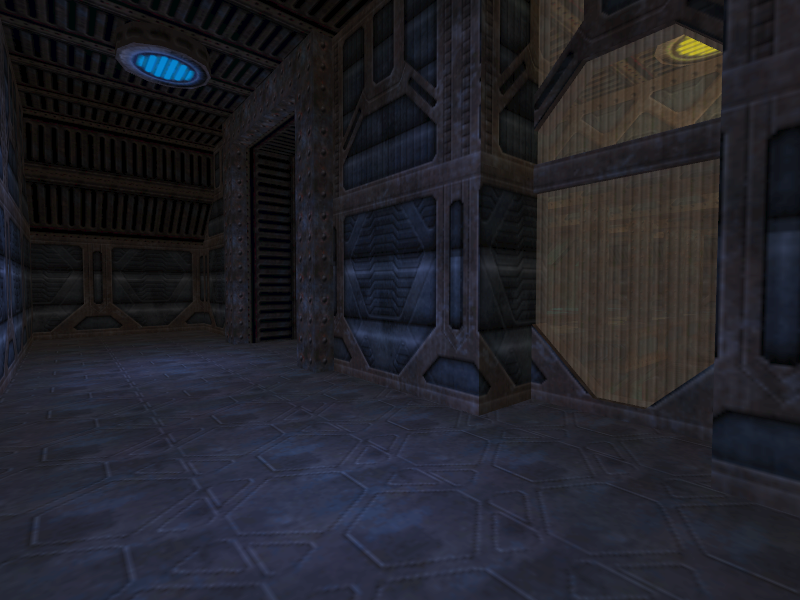
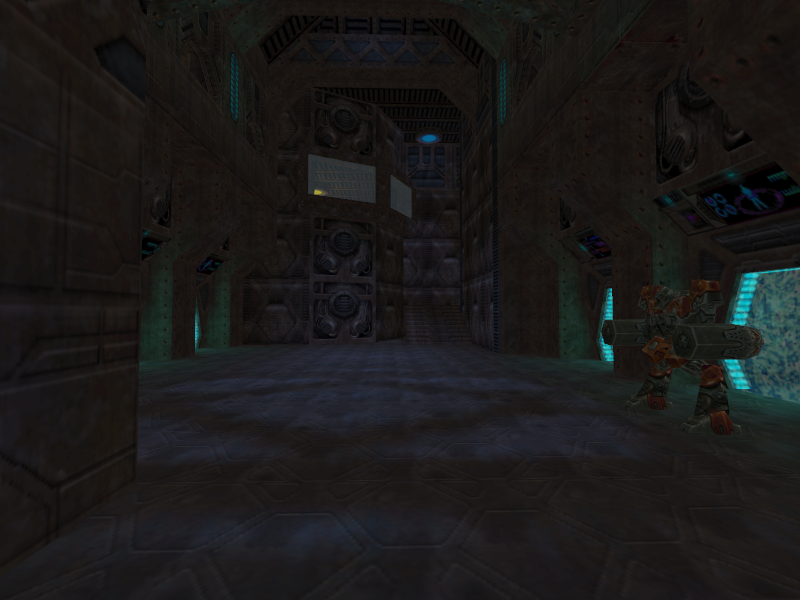
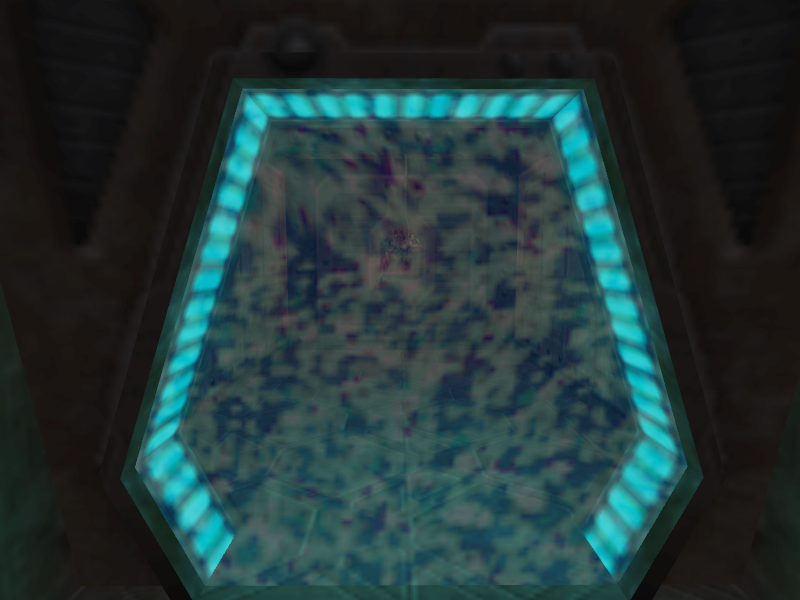
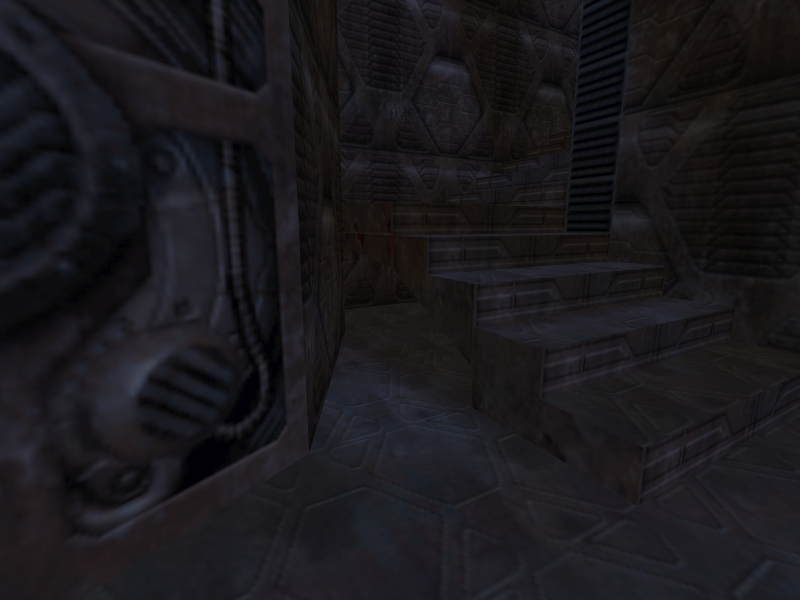
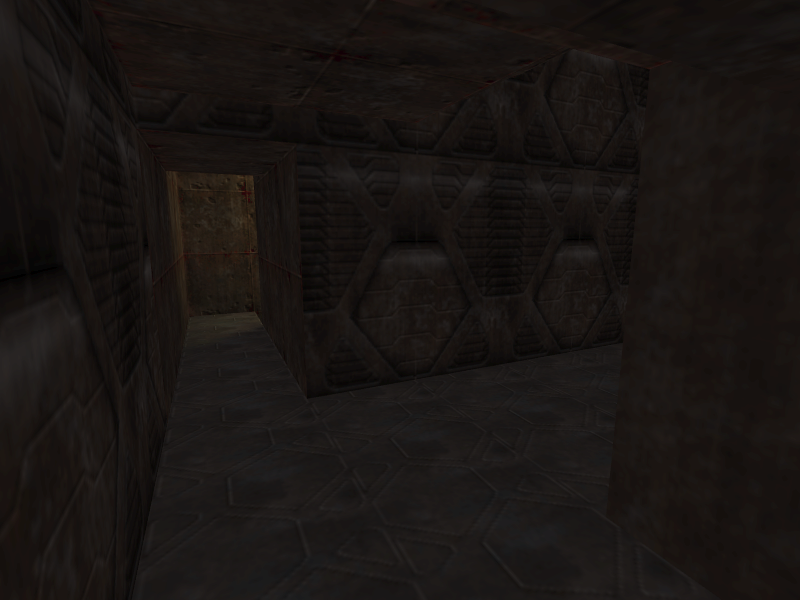
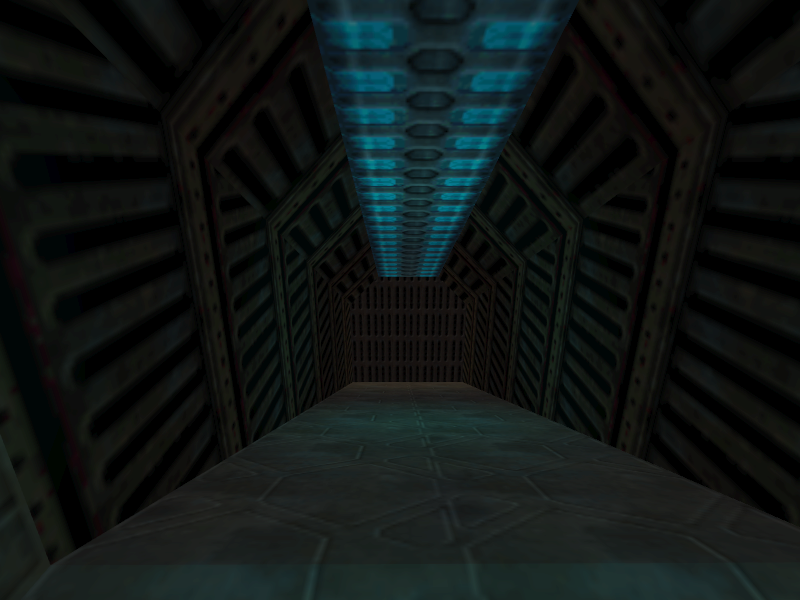
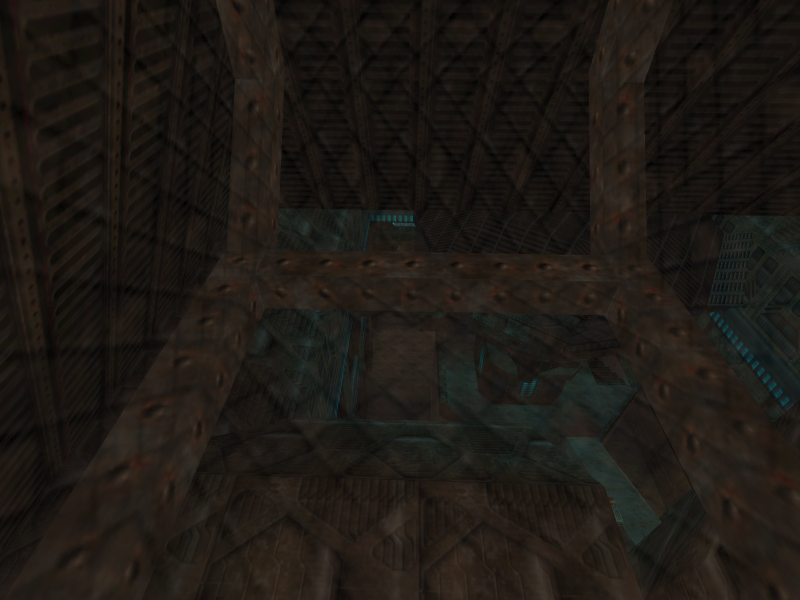
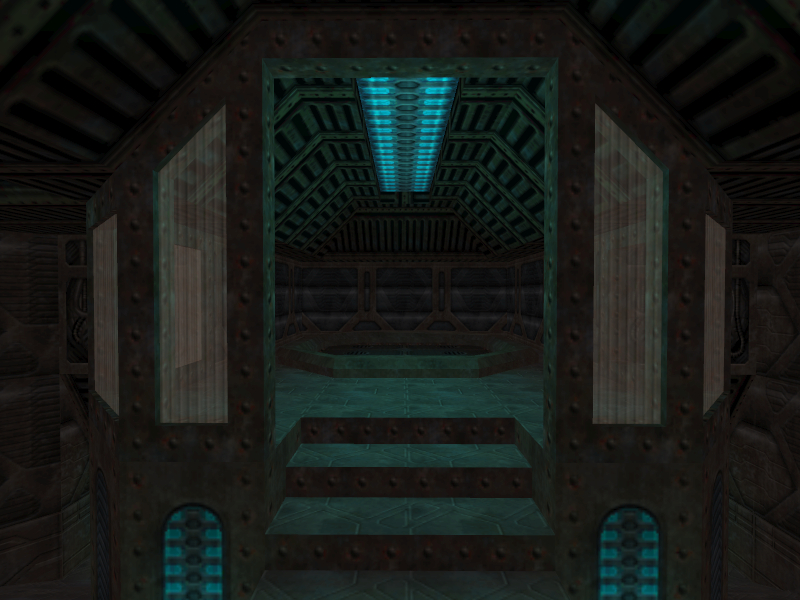
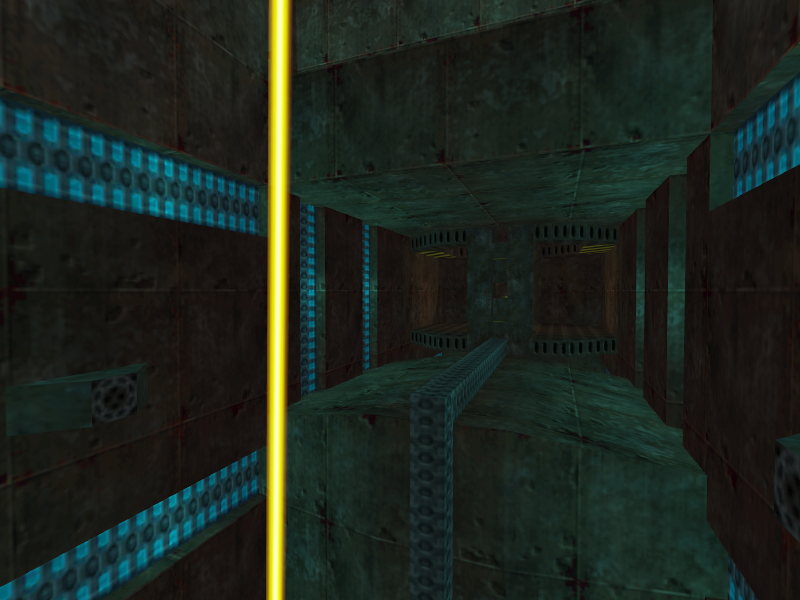
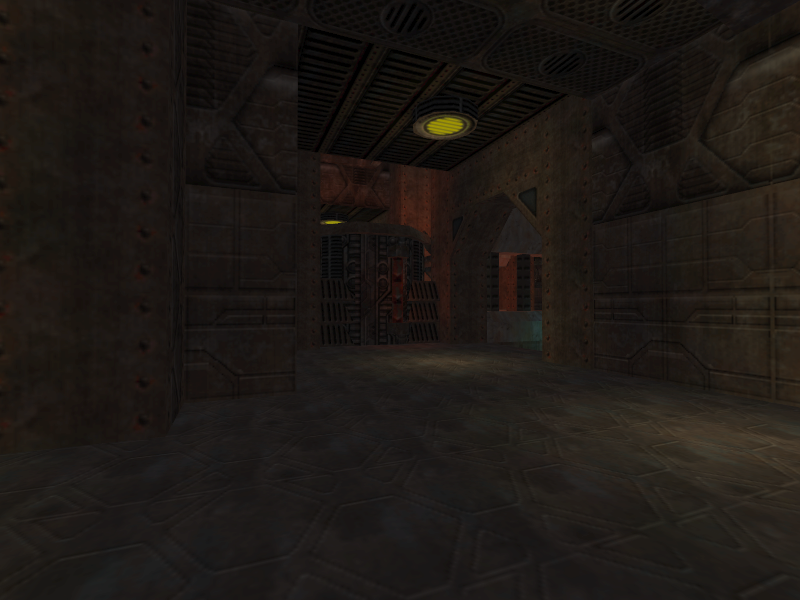
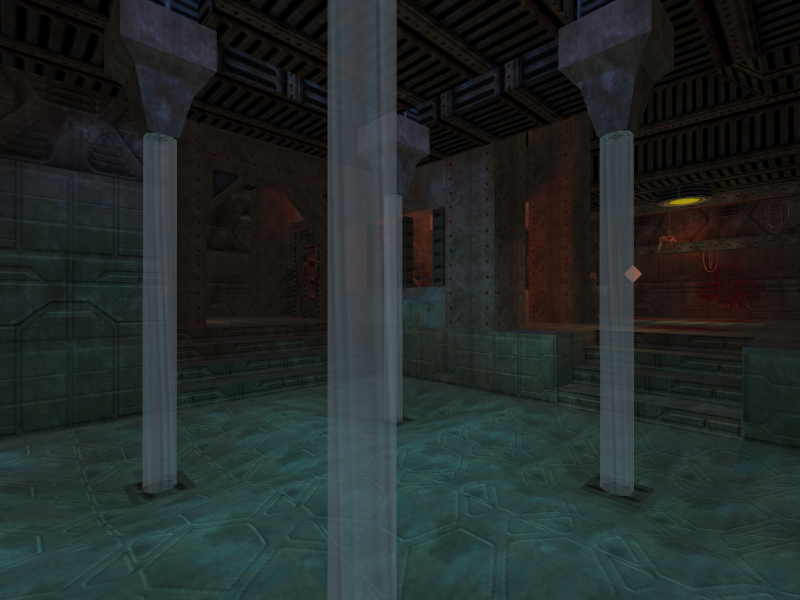
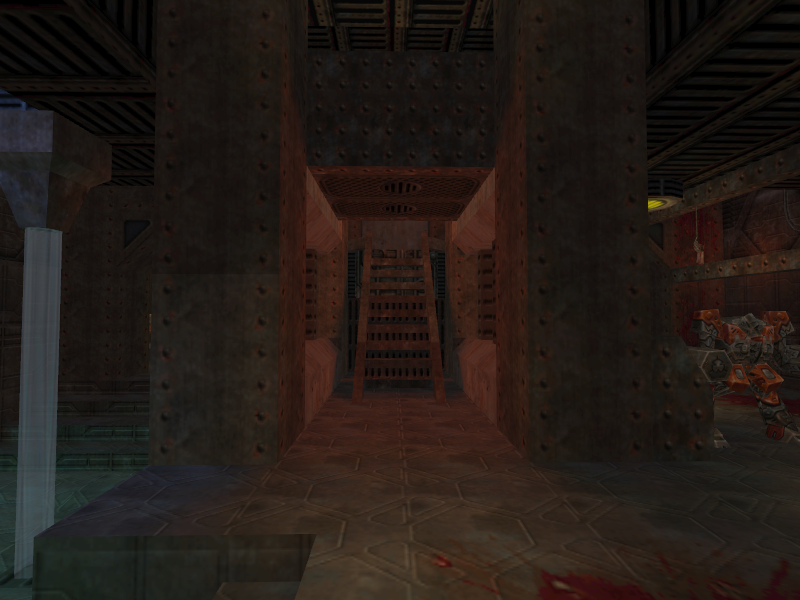
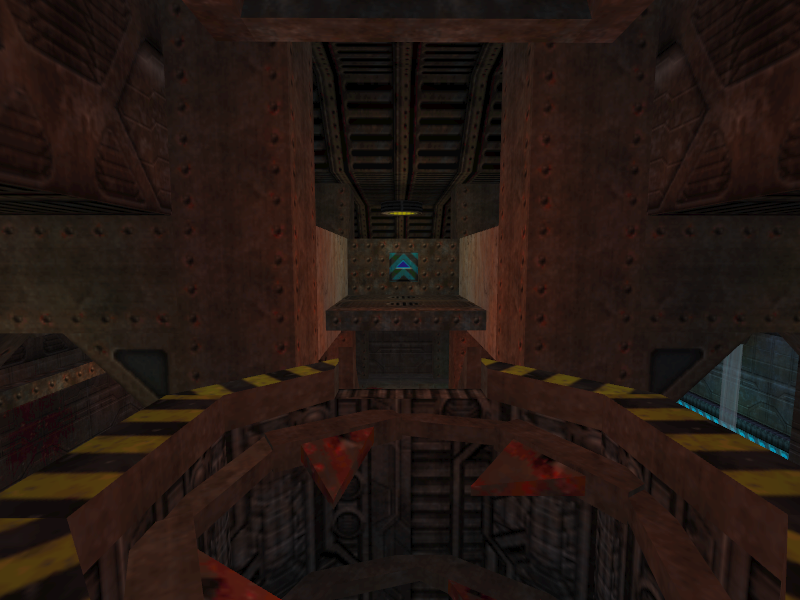
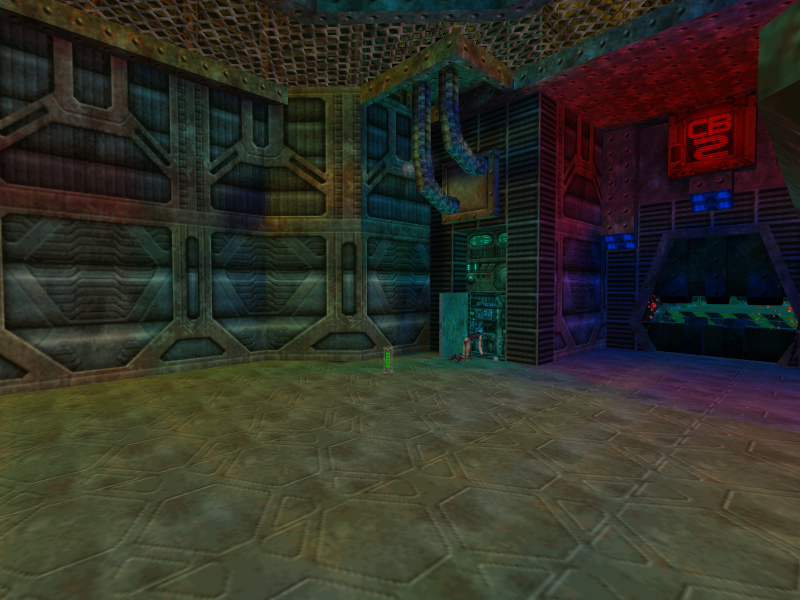
The final area seems to be very similar to the Inmater repair bay seen in Milestone 2’s E1M3. The switch to access it is hidden beneath a SlamCo logo, the Ragemasters are in rooms similar to the ones the Inmaters were in, and the door to the final room is similar in design to the one leading to the Inmater repair bay.

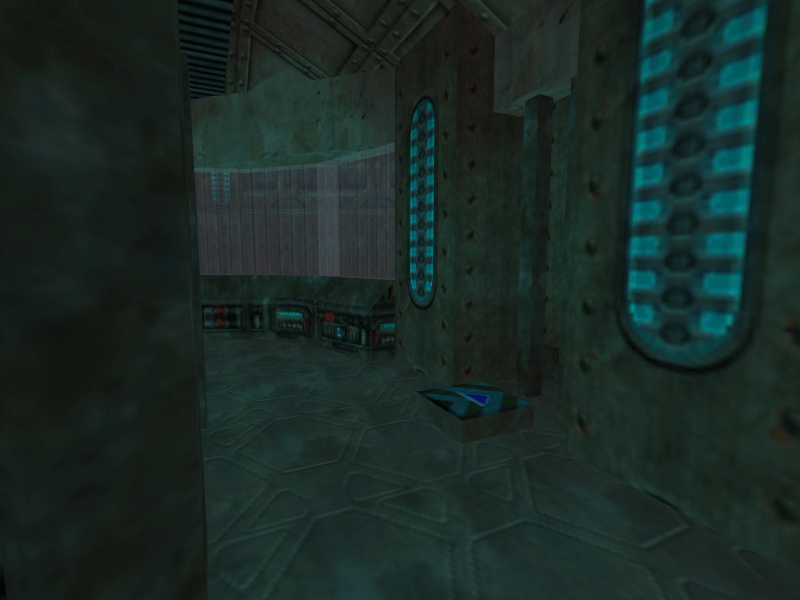
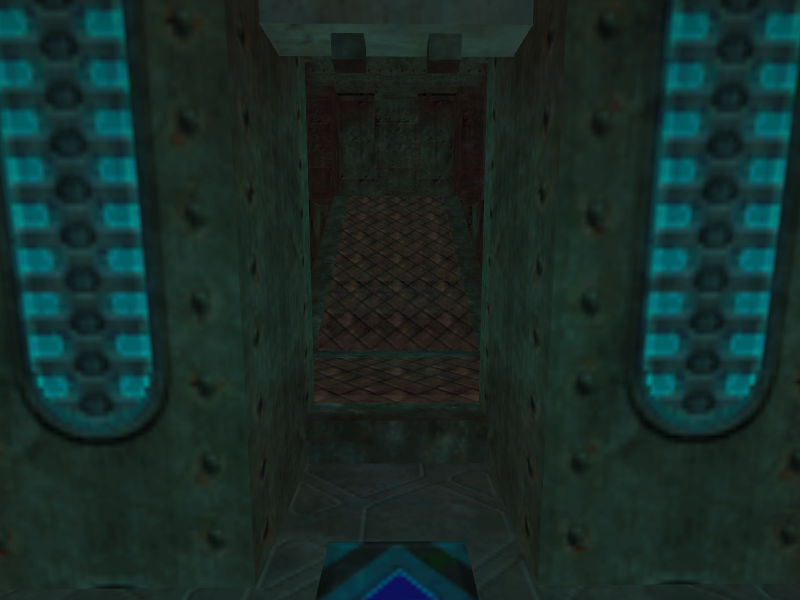
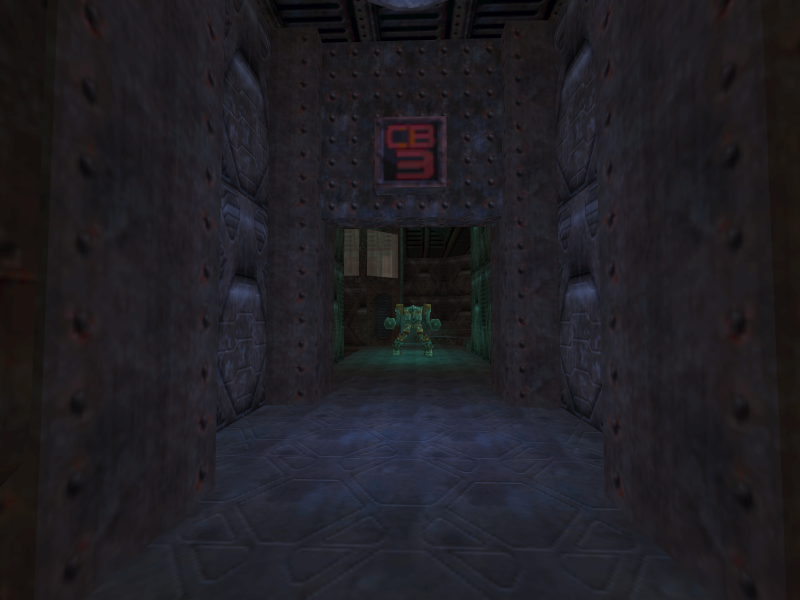
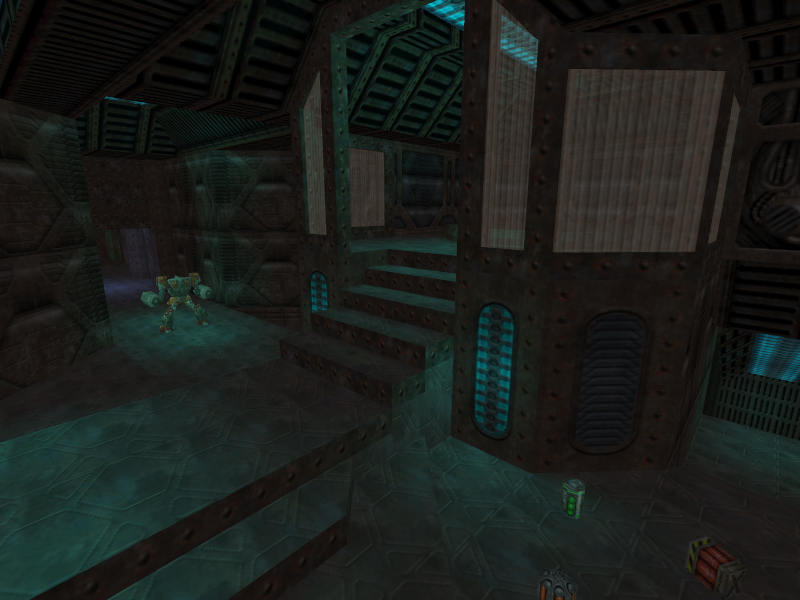
|
Prototype |
Final |
|---|---|
|
|
|
|
Prototype |
Final |
|---|---|
|
|
|
|
Prototype |
Final |
|---|---|
|
|
|
|
Prototype |
Final |
|---|---|
|
|
|
|
Prototype |
Final |
|---|---|
|
|
|
|
Prototype |
Final |
|---|---|
|
|
|
|
Prototype |
Final |
|---|---|
|
|
|
|
Prototype |
Final |
|---|---|
|
|
|
|
Prototype |
Final |
|---|---|
|
|
|
|
Prototype |
Final |
|---|---|
|
|
|
|
Prototype |
Final |
|---|---|
|
|
|
|
Prototype |
Final |
|---|---|
|
|
|
|
Prototype |
Final |
|---|---|
|
|
|
|
Prototype |
Final |
|---|---|
|
|
|
|
Prototype |
Final |
|---|---|
|
|
|
|
Prototype |
Final |
|---|---|
|
|
|
|
Prototype |
Final |
|---|---|
|
|
|
|
Prototype |
Final |
|---|---|
|
|
|
|
Prototype |
Final |
|---|---|
|
|
|