This article has a talk page!
This is a sub-page of Ys X: Nordics/Test Maps.

|
Oh dear, I do believe I have the vapors. |
These maps primarily contain collections of NPCs, enemies and other objects. Some allow animations to be tested.
test_arg_chr01#
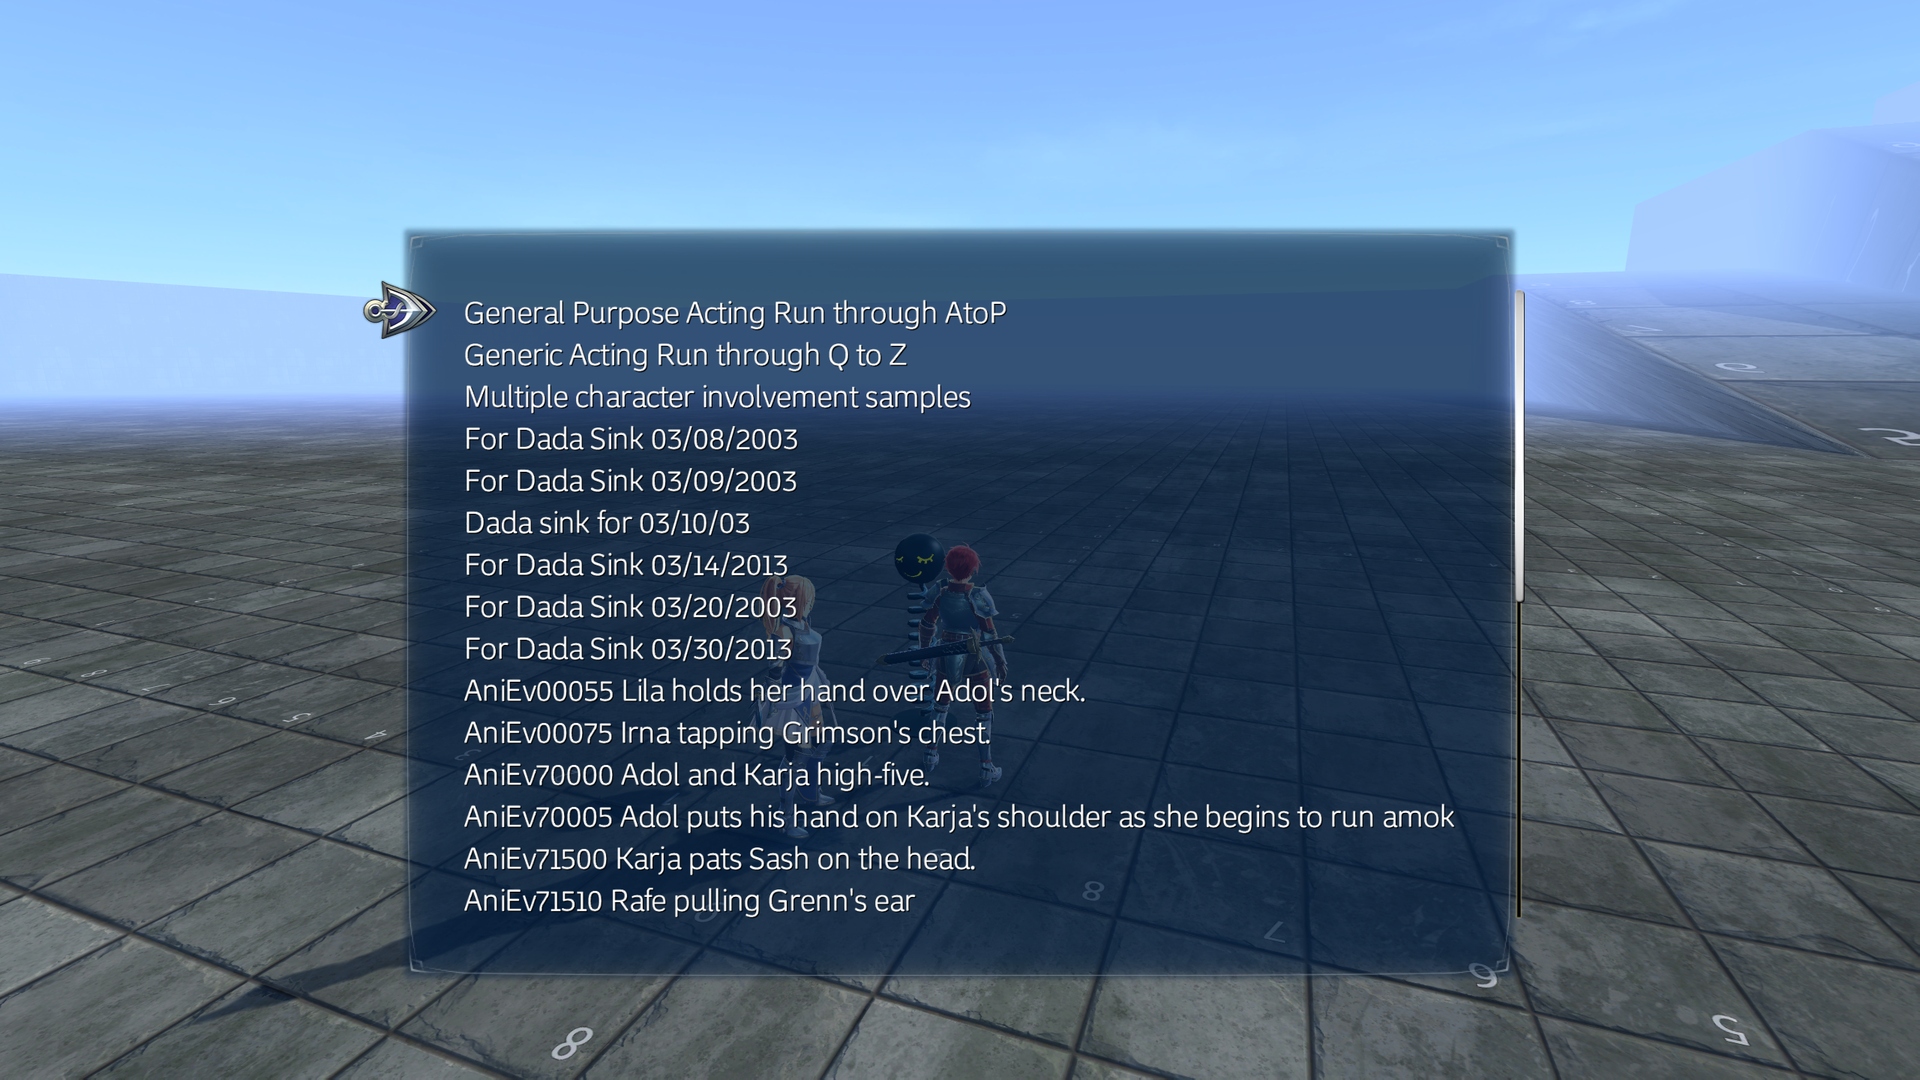
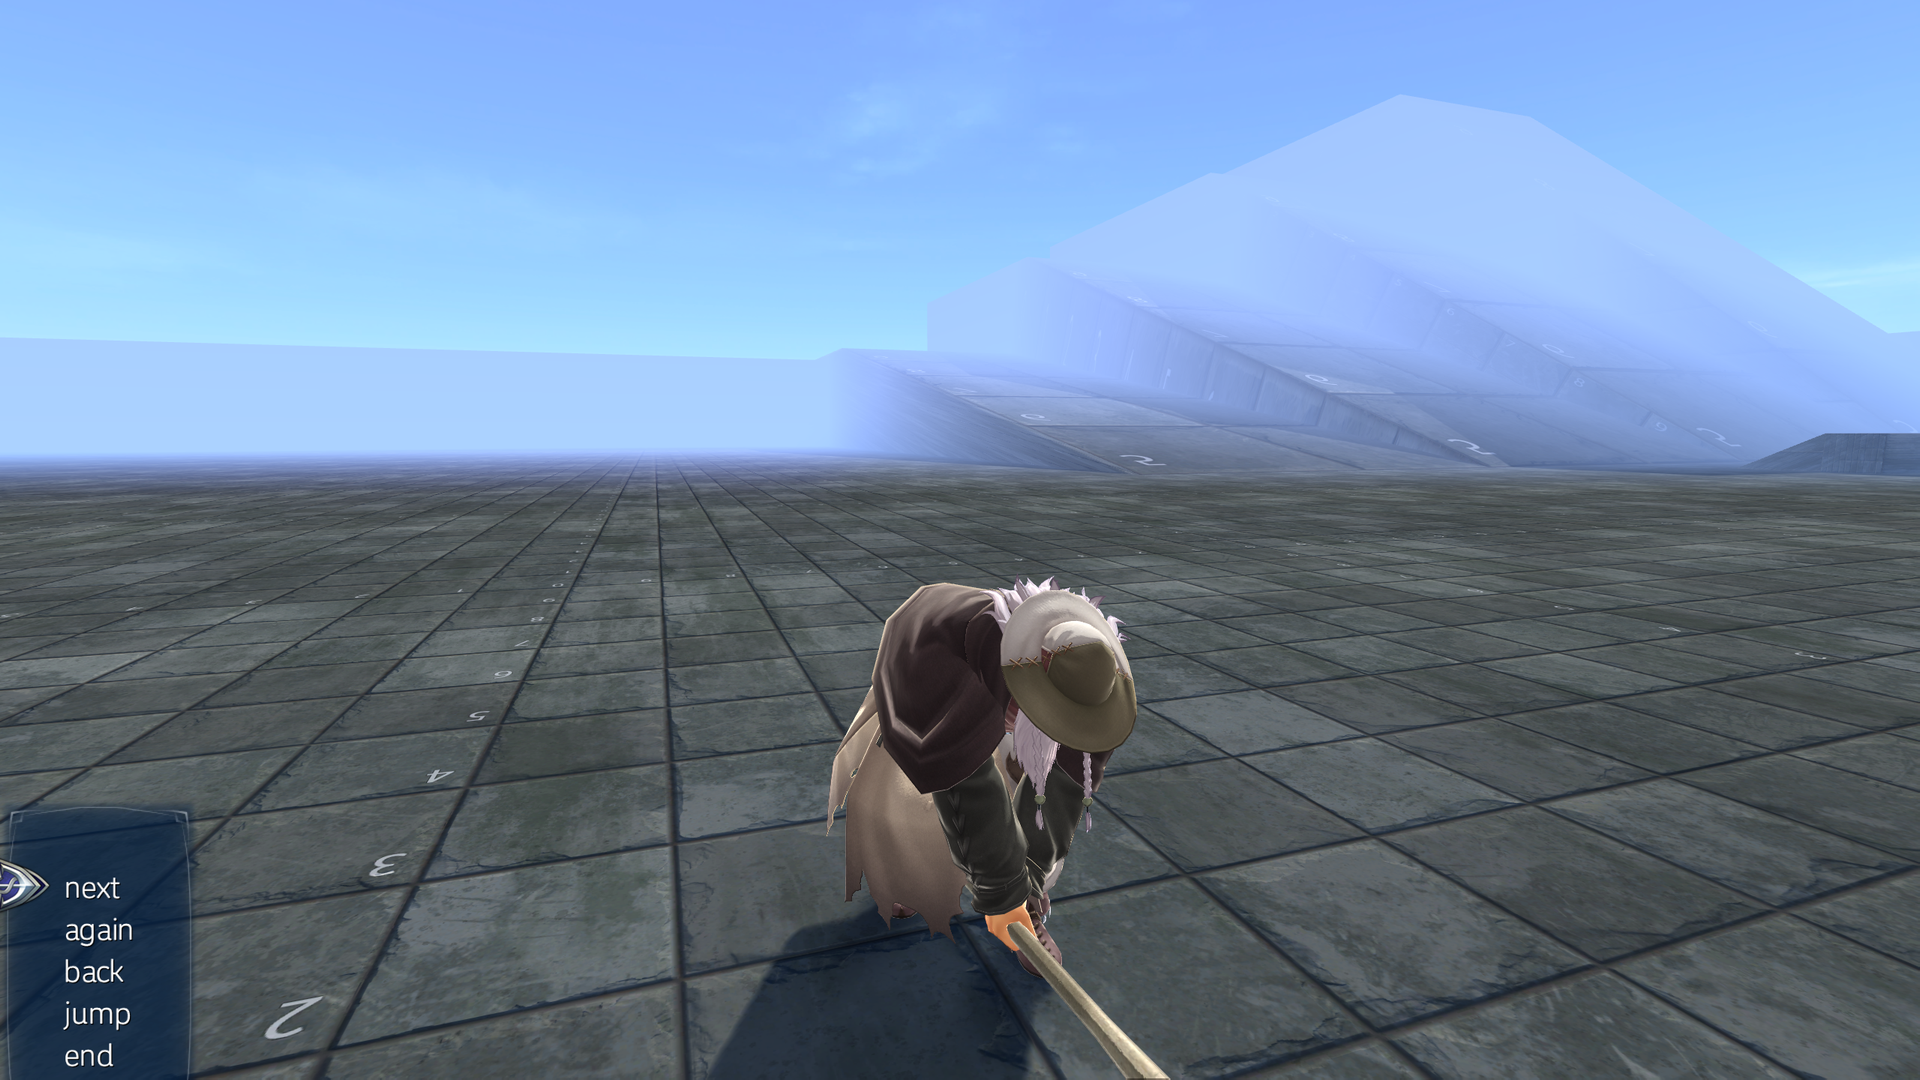
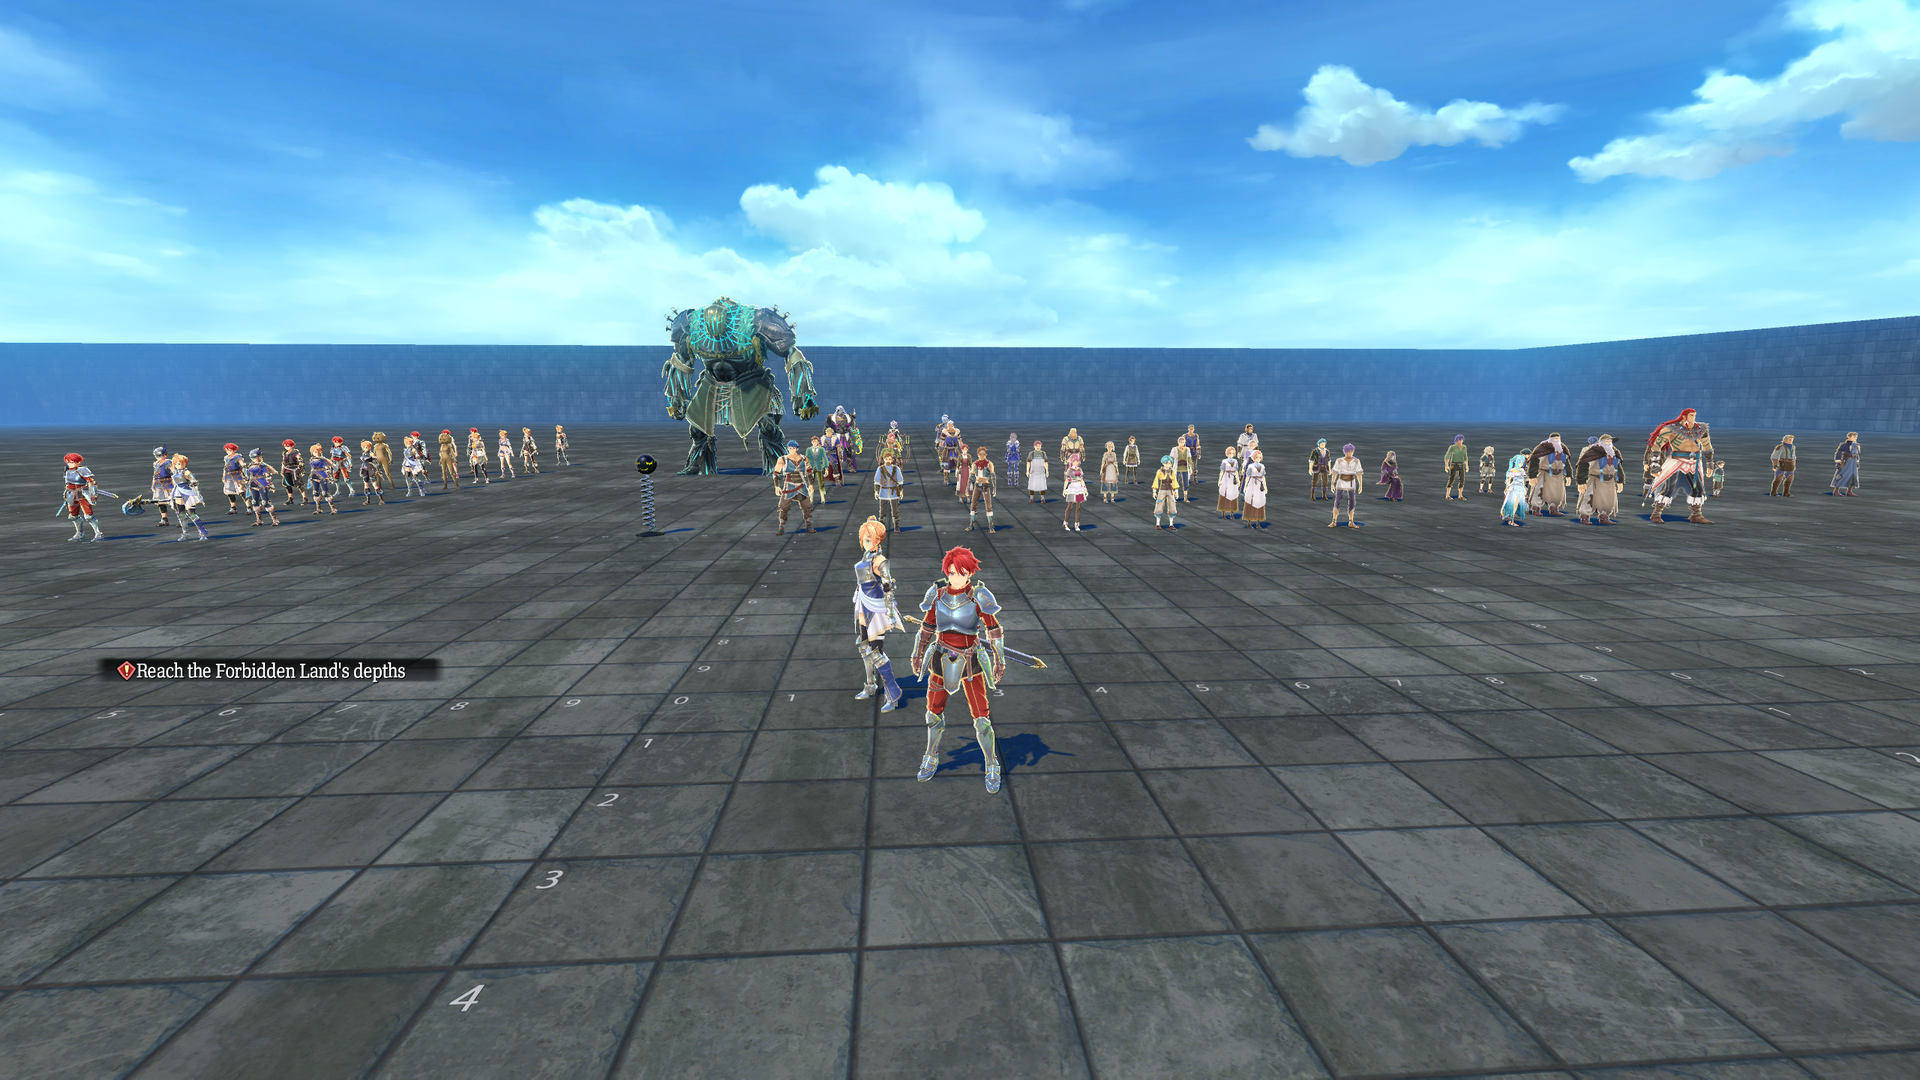
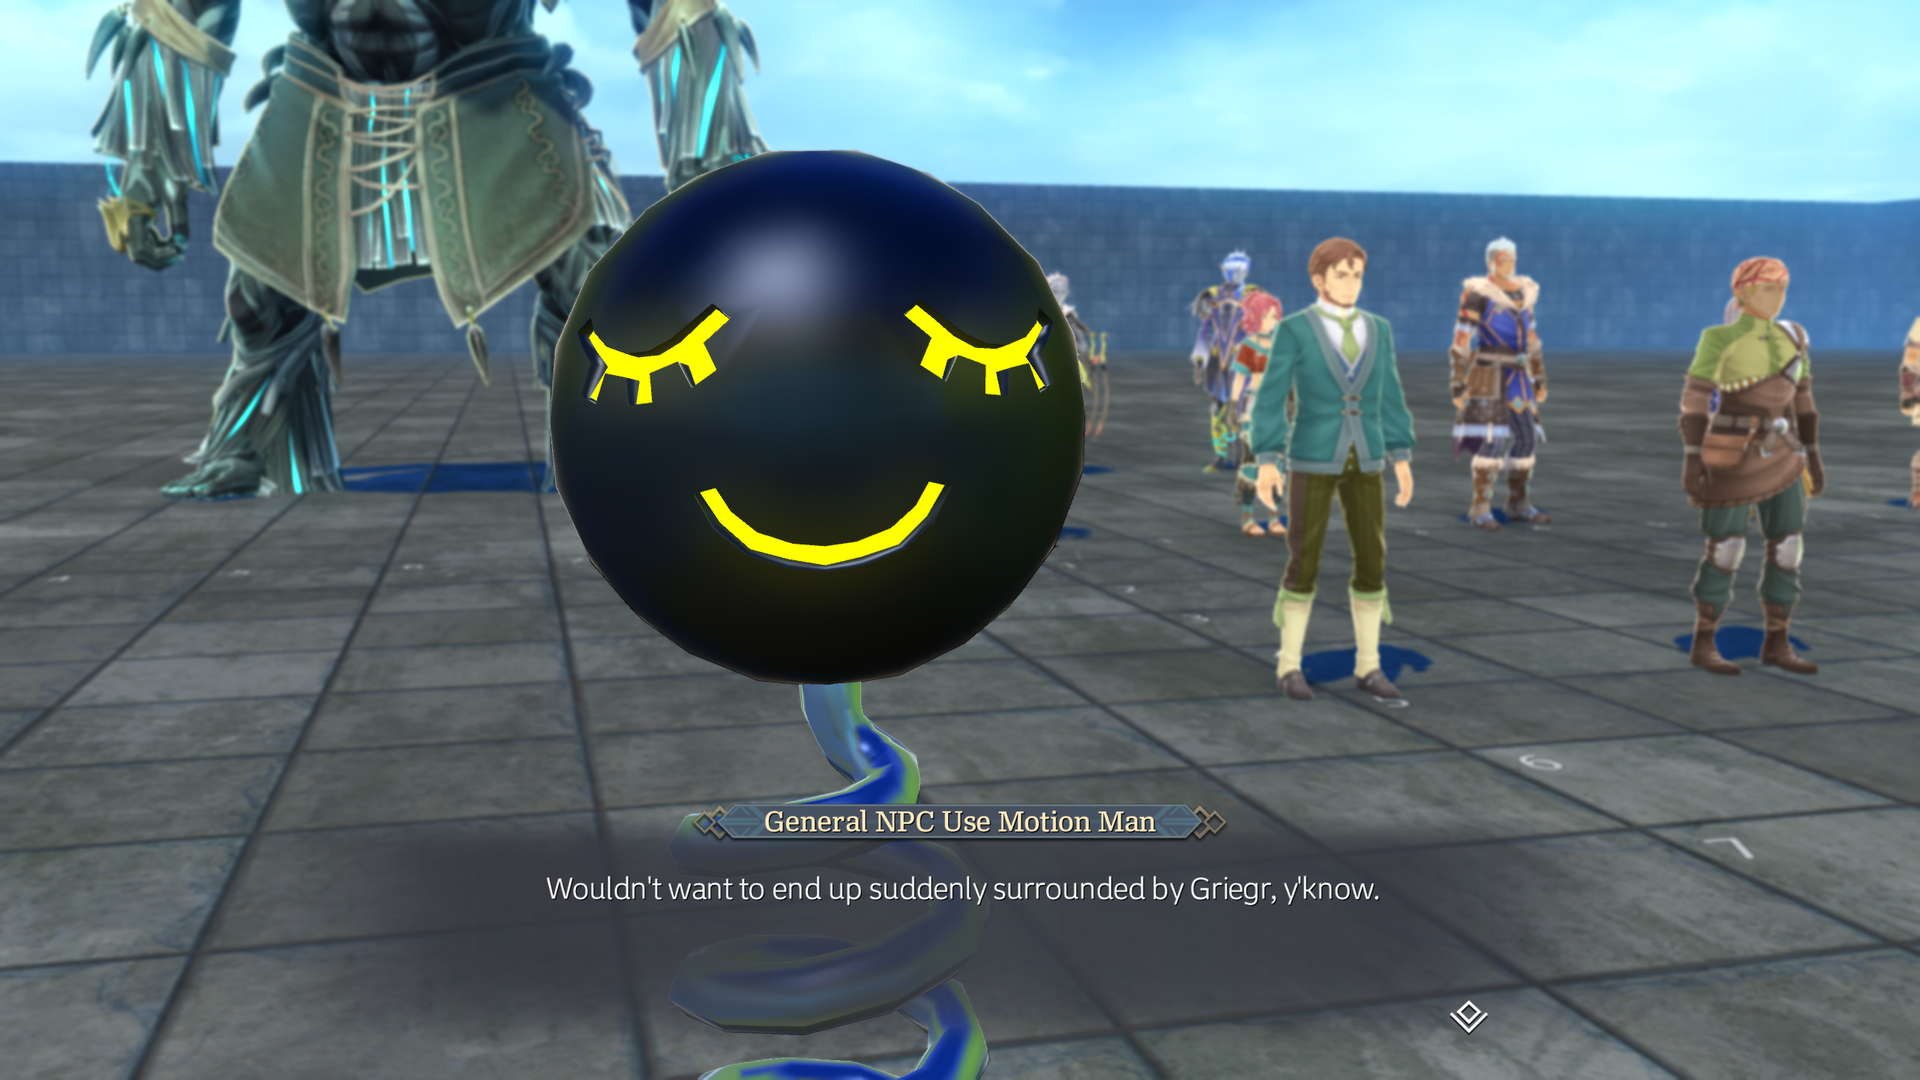
Contains important characters. Animations and expressions can be tested. Speaking to the springy test NPC will apply the tests in bulk, if supported by the character.
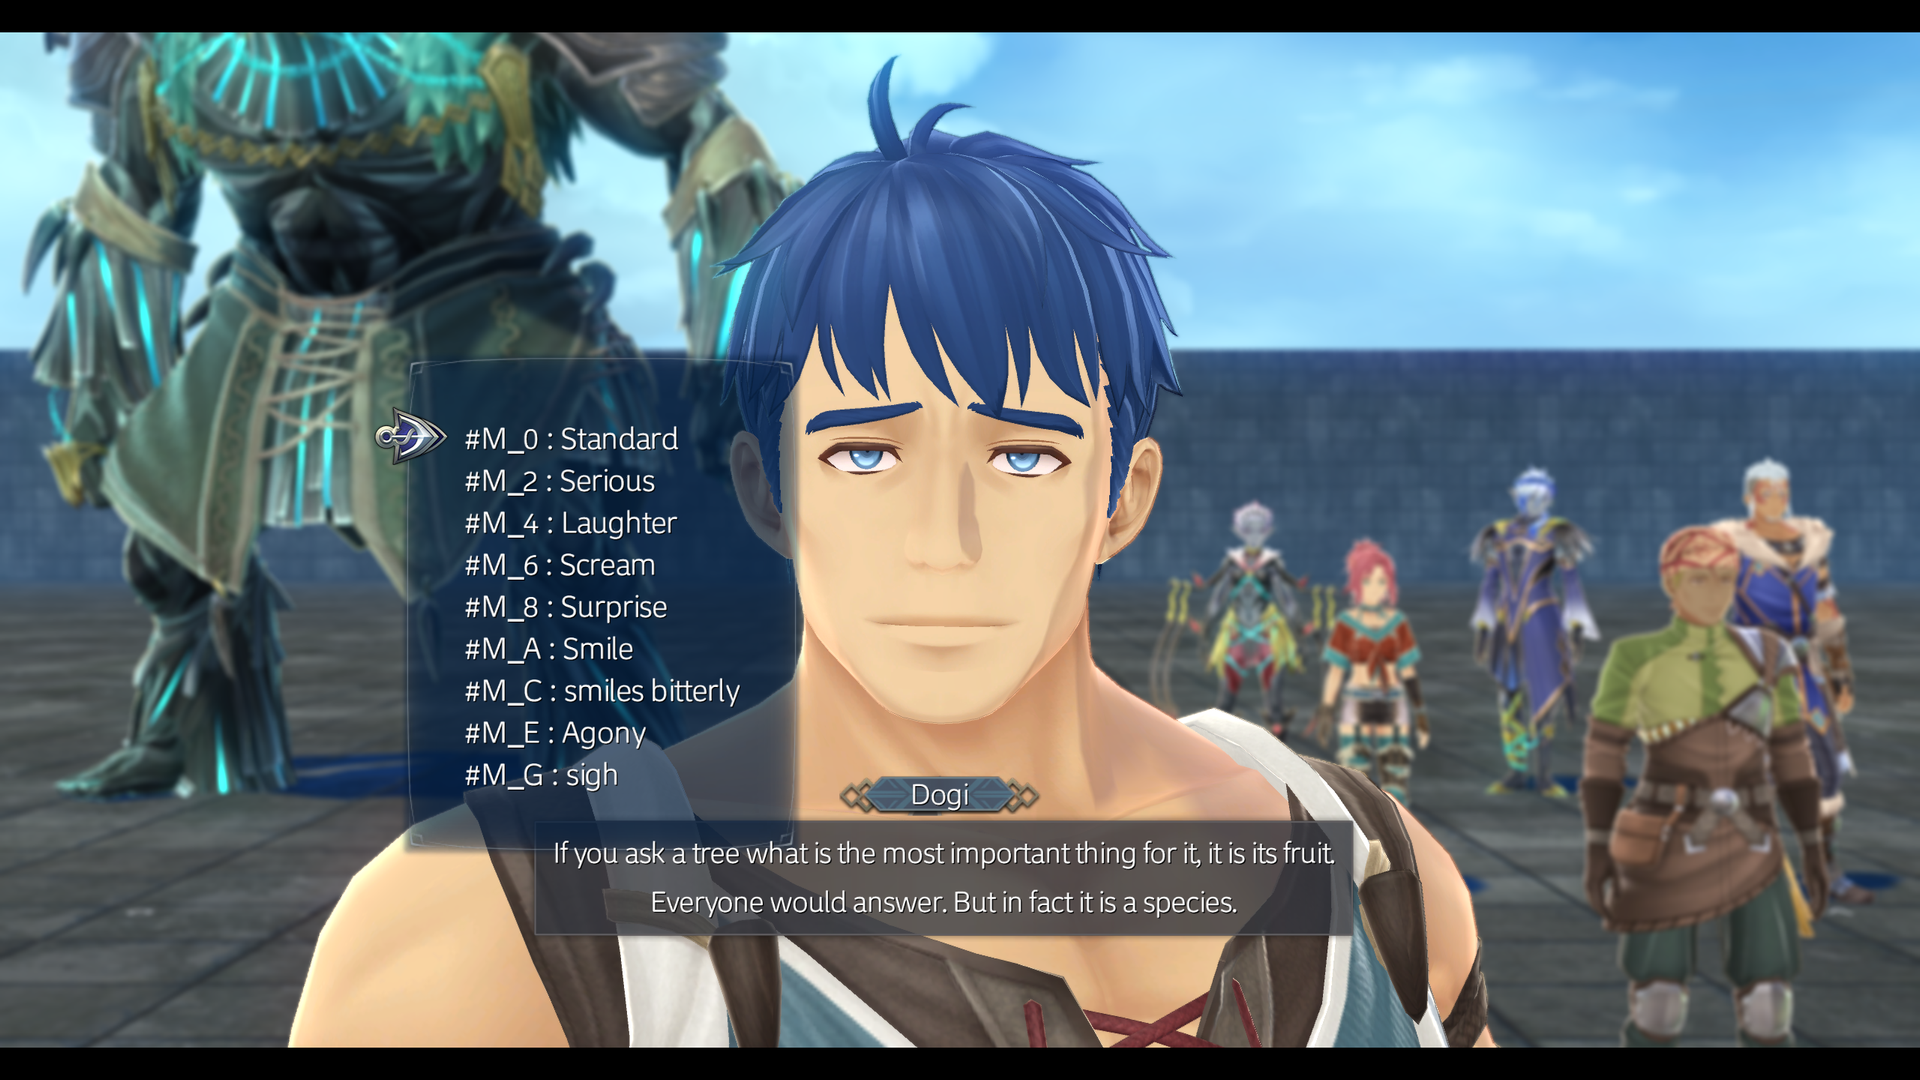
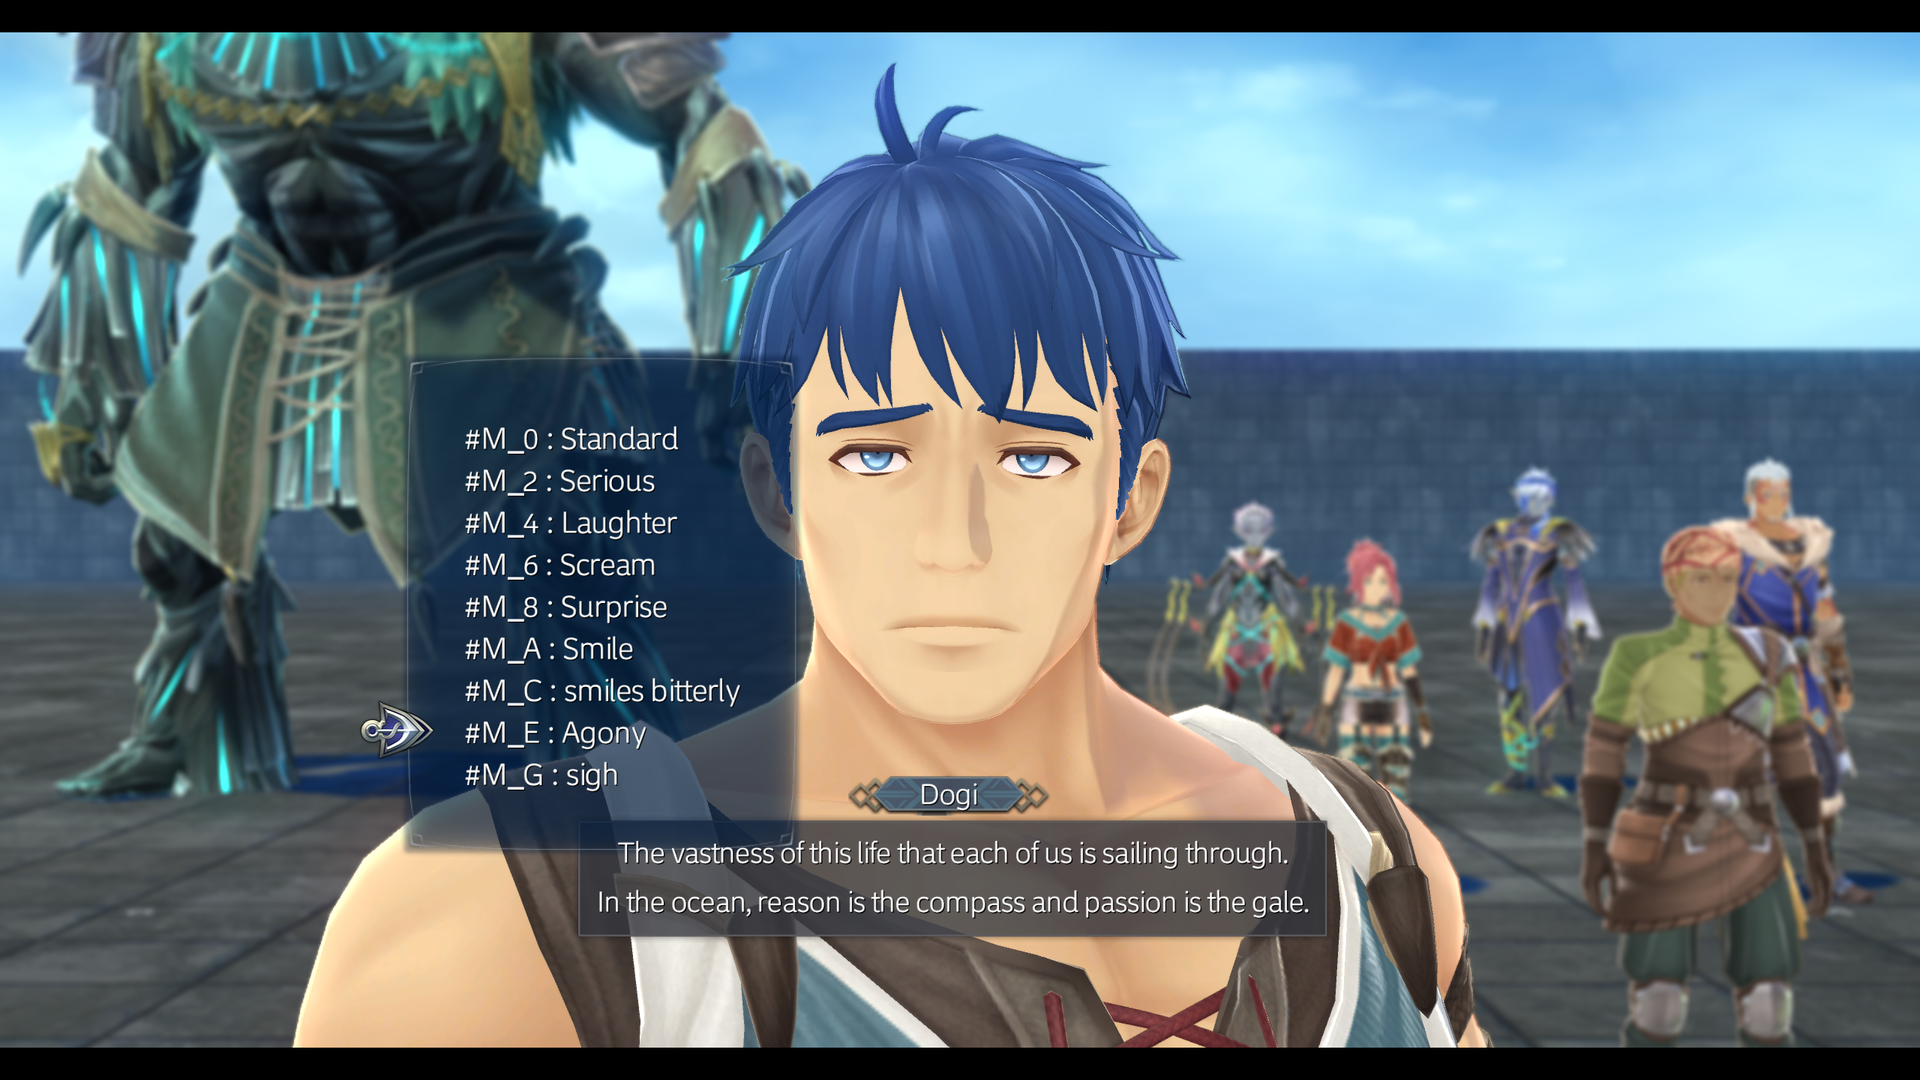
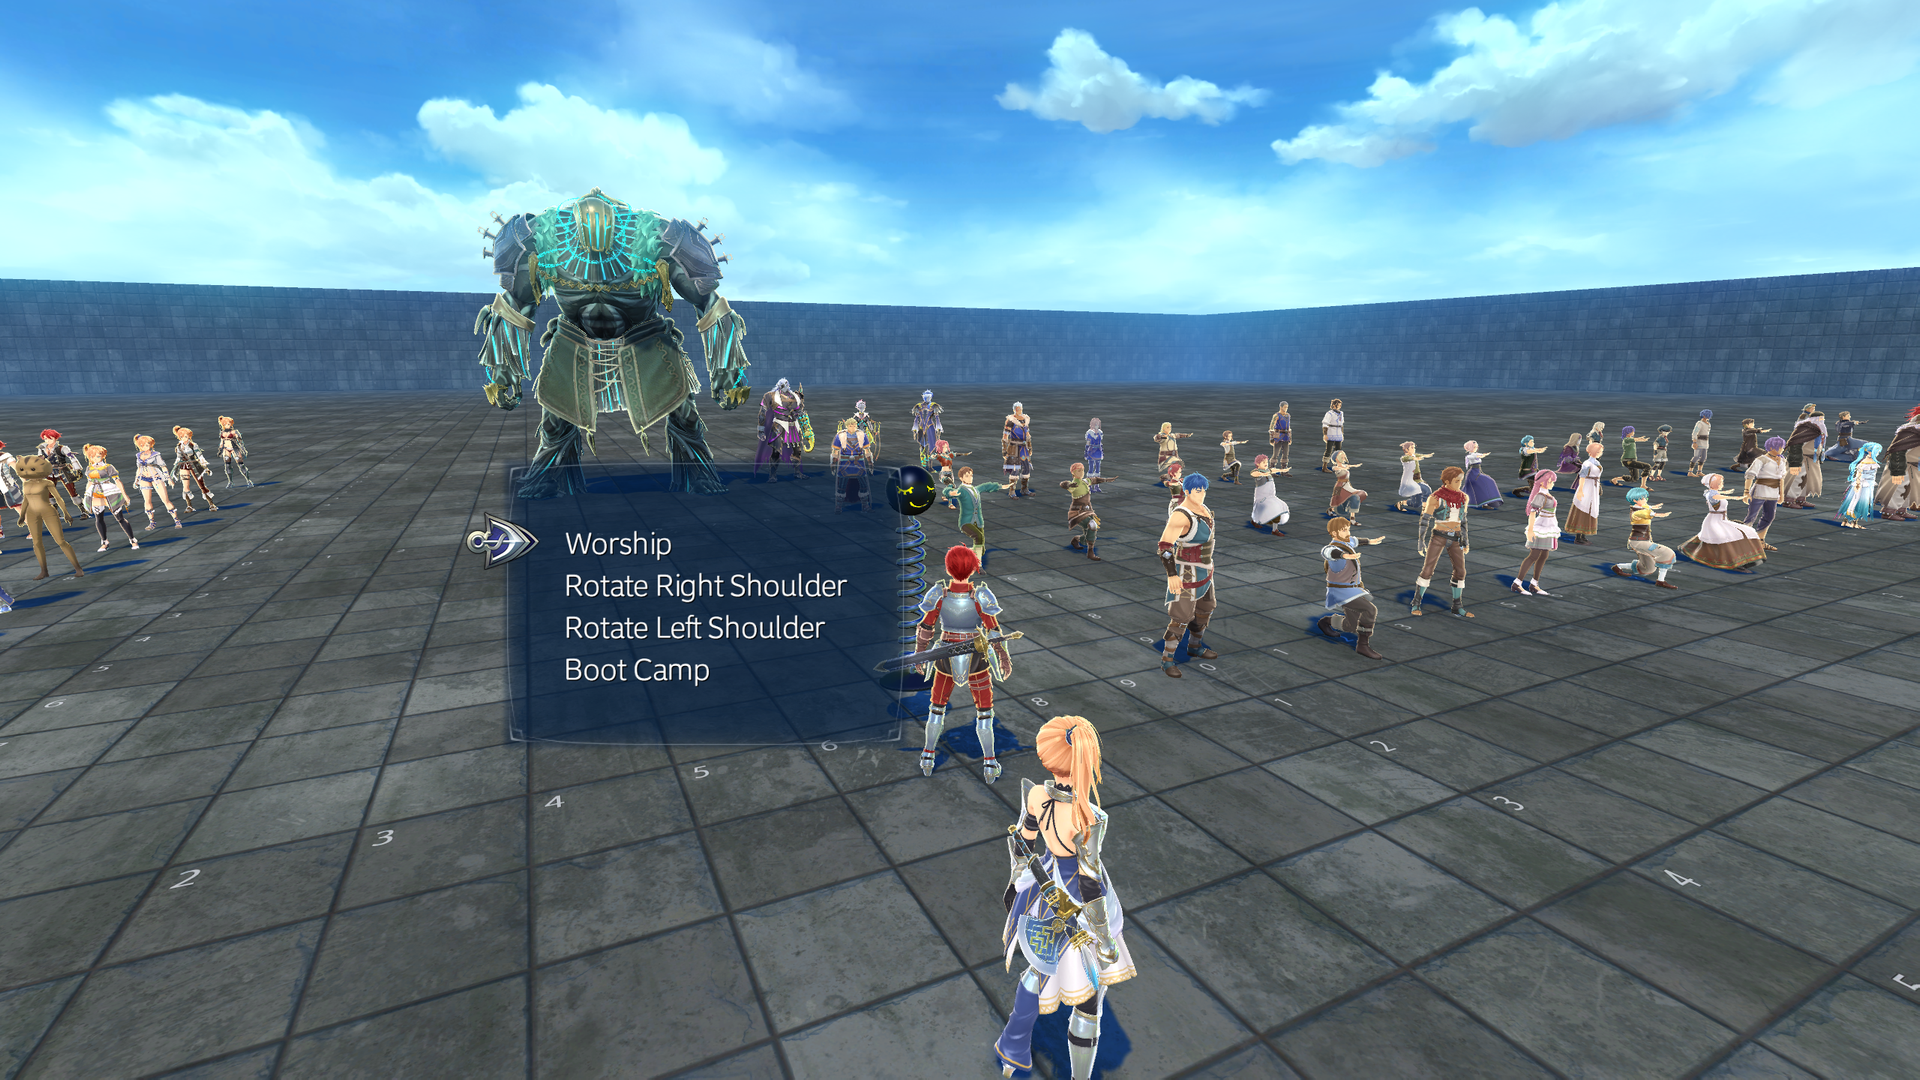
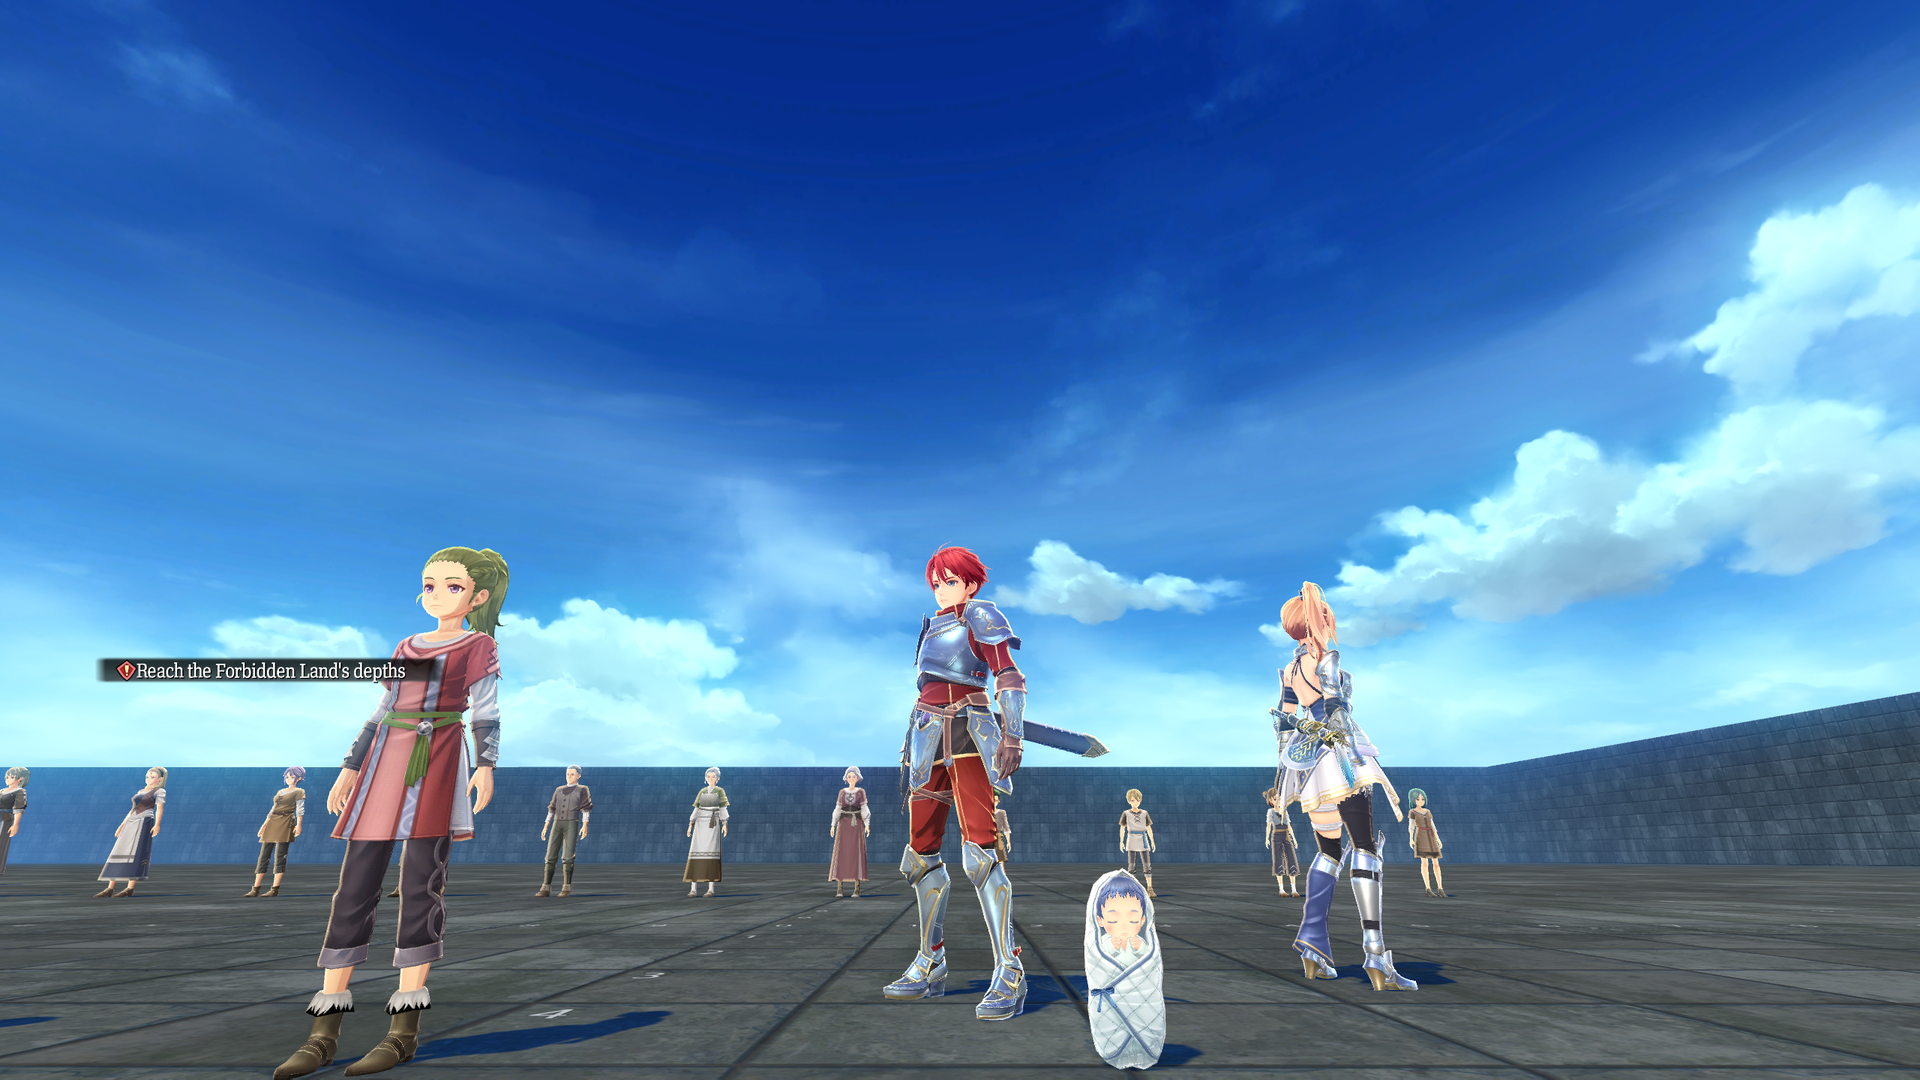
test_arg_chr10#
Contains common NPCs, with similar testing options as test_arg_chr01. Jorunn's baby (found on Balta Island), is also present here, and a closer look at it reveals that they are almost identical to Hope / Luke from Ys VIII (Alison and Ed's baby).
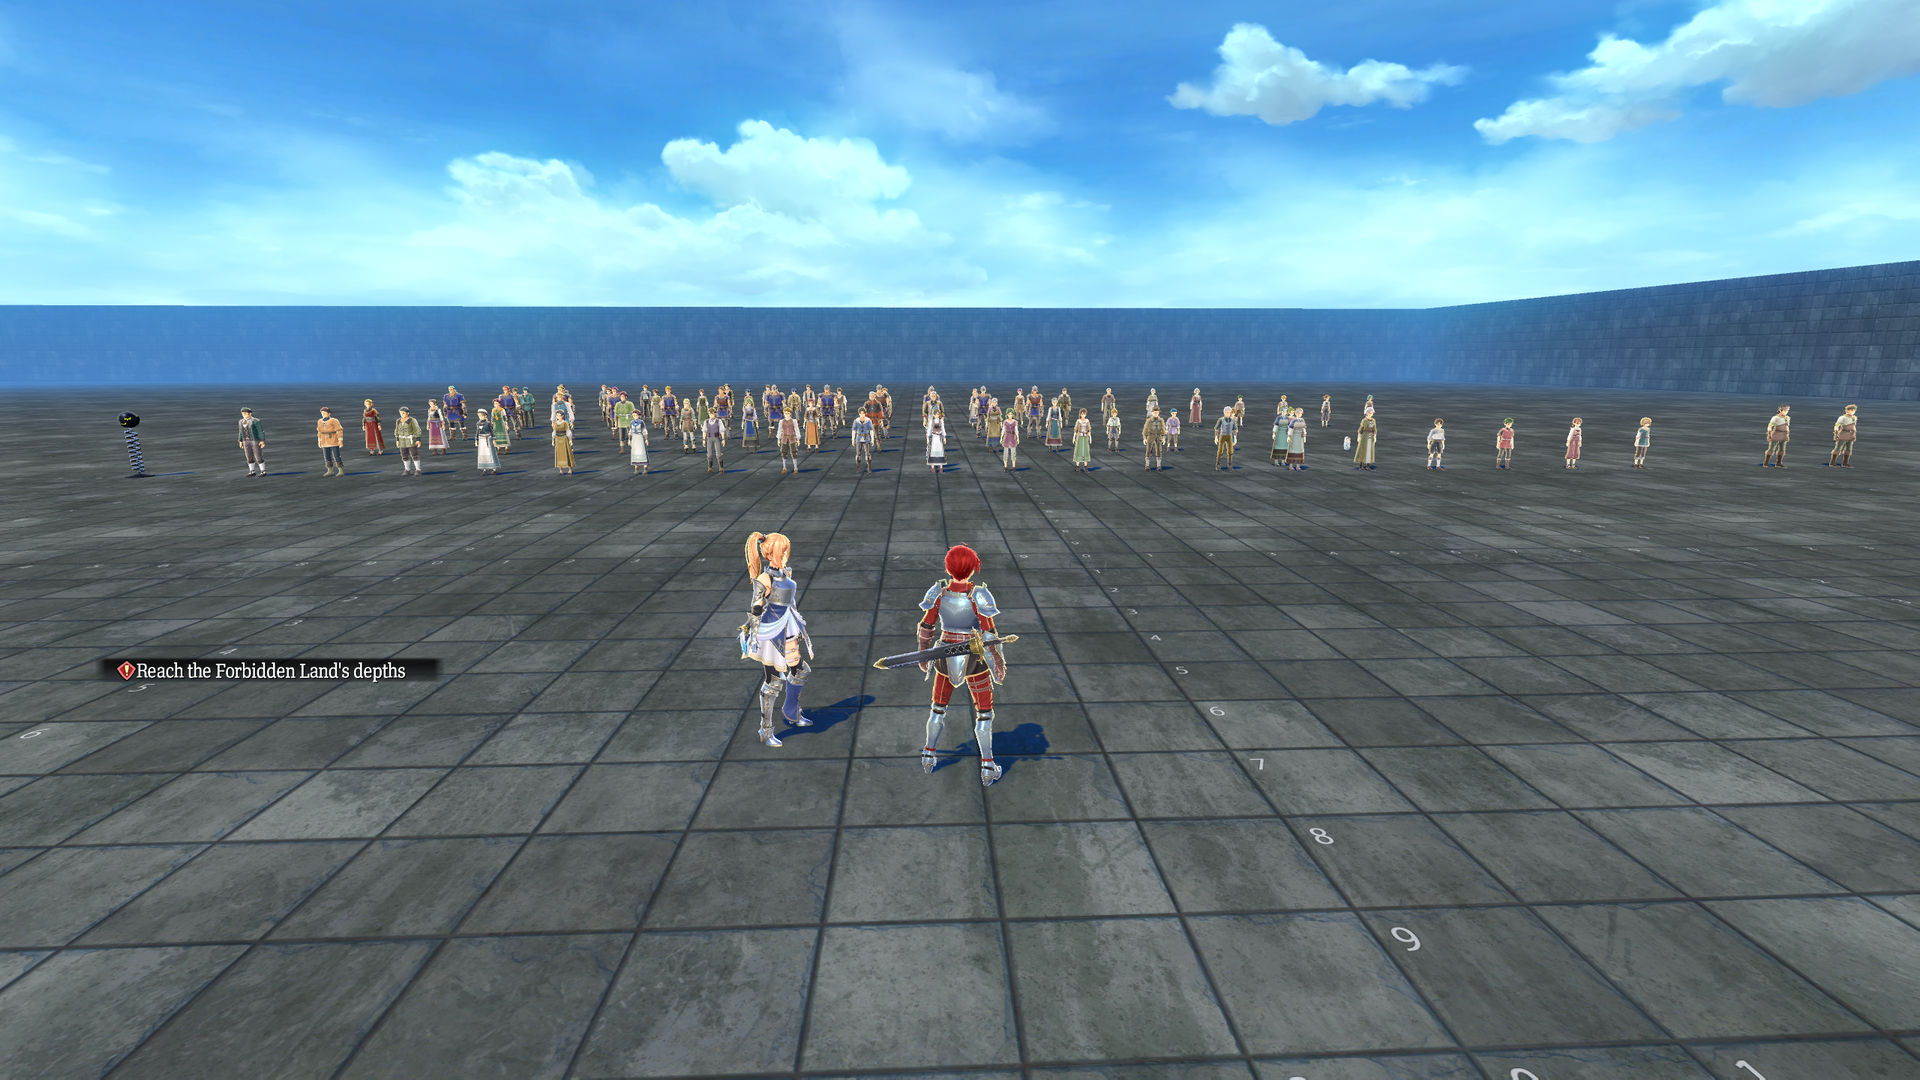
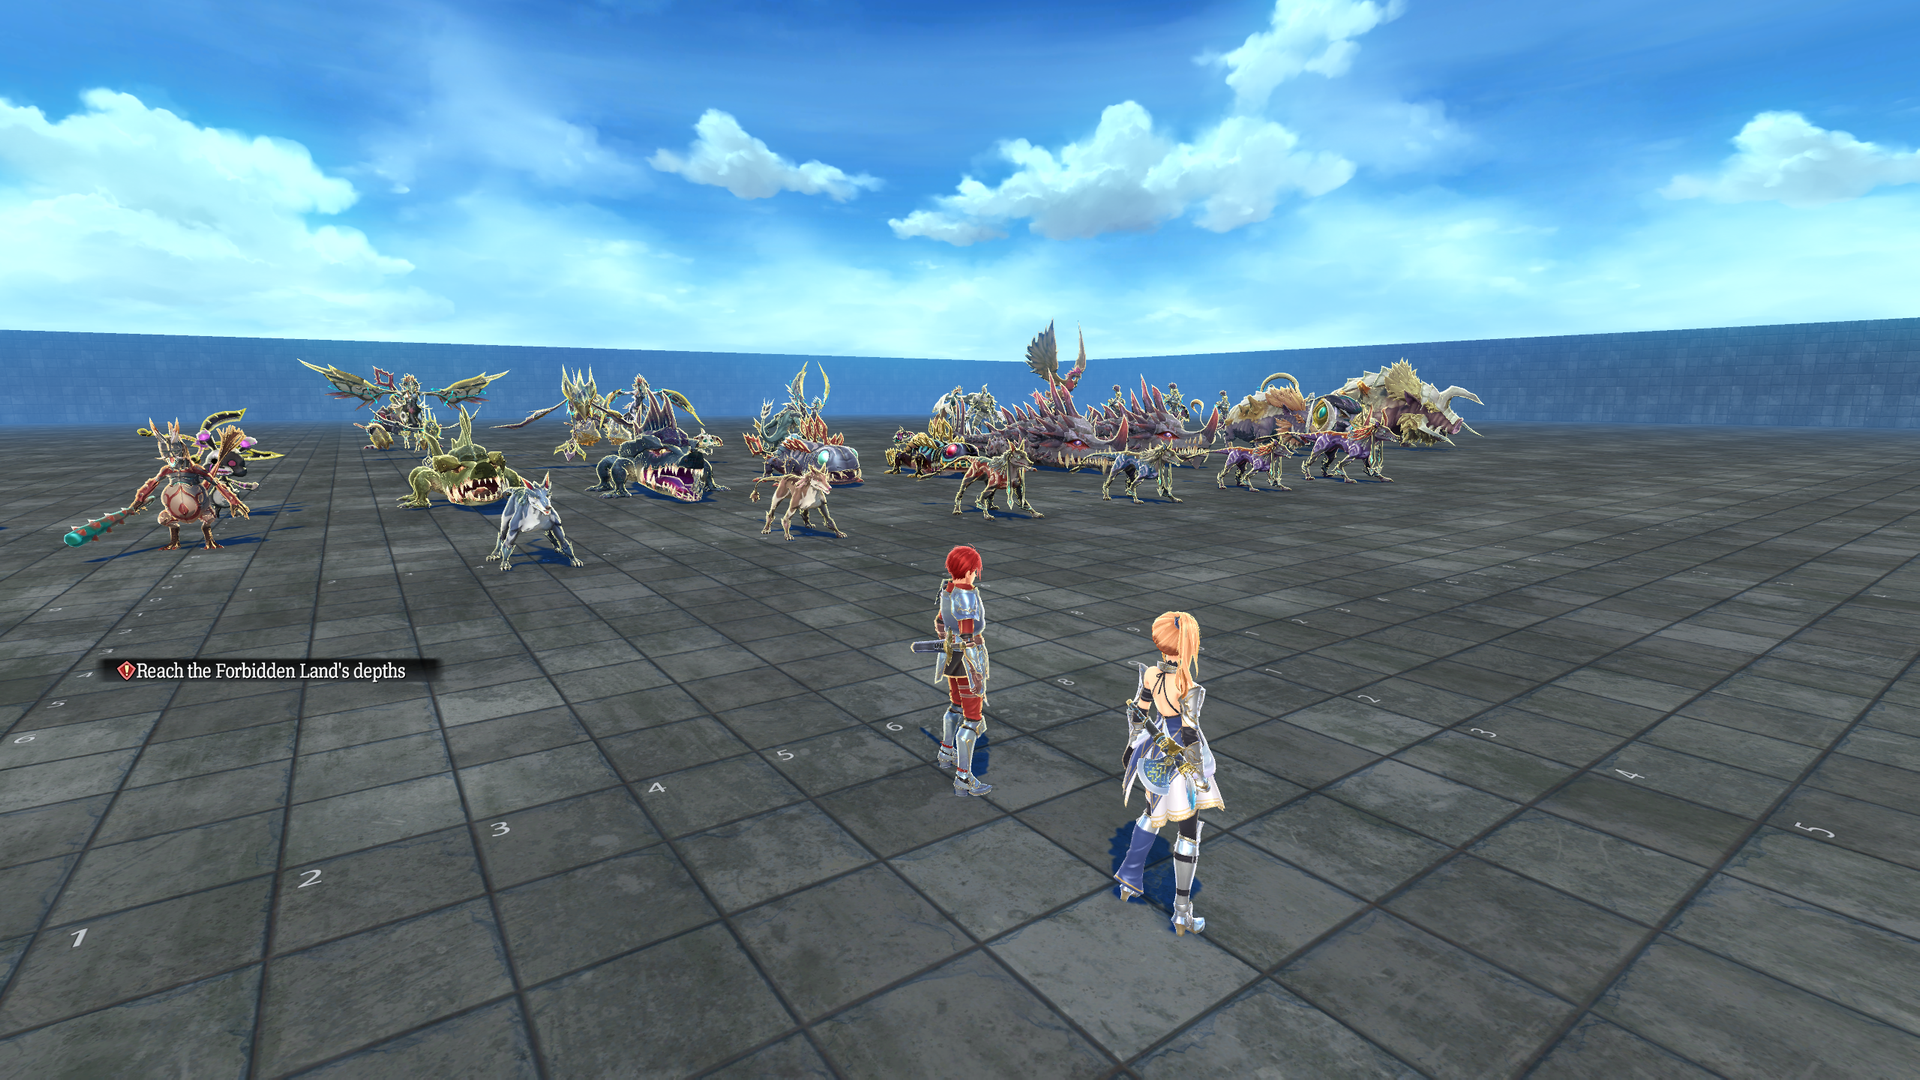
test_arg_chr20#
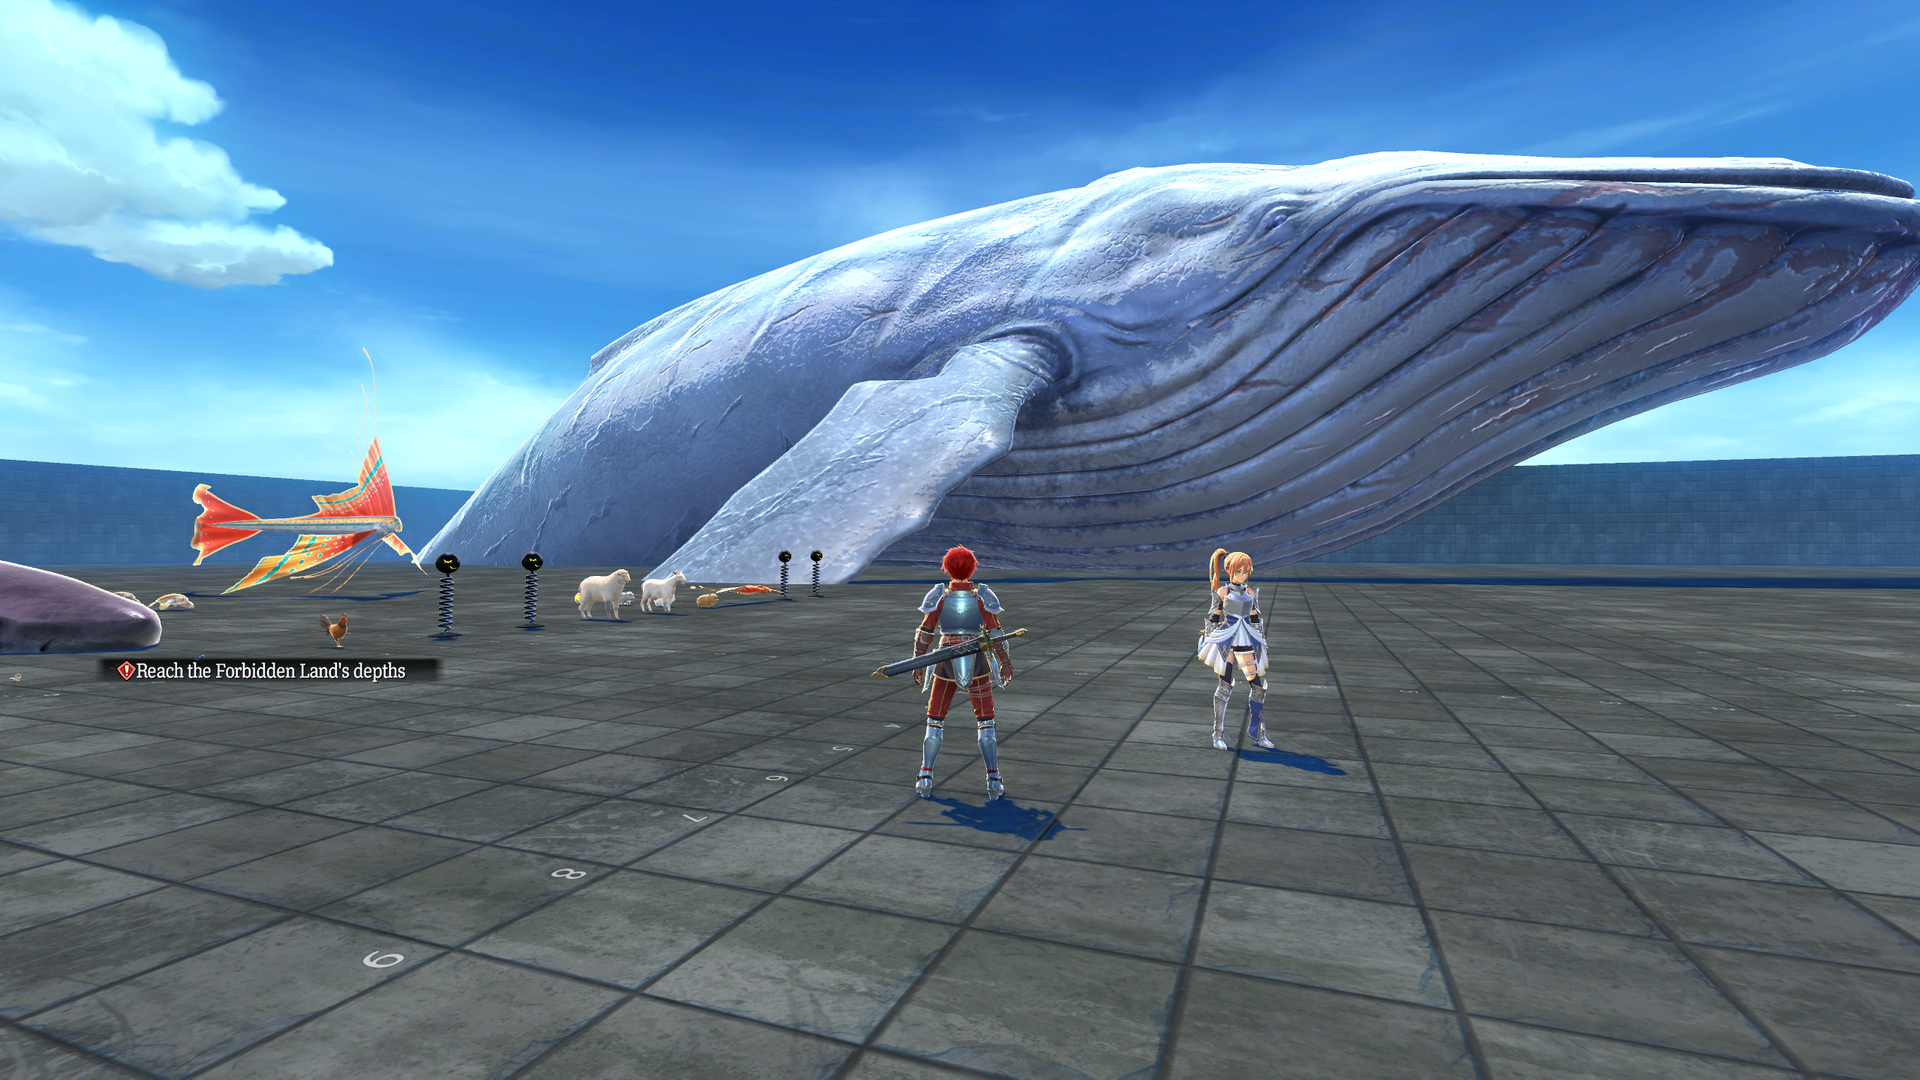
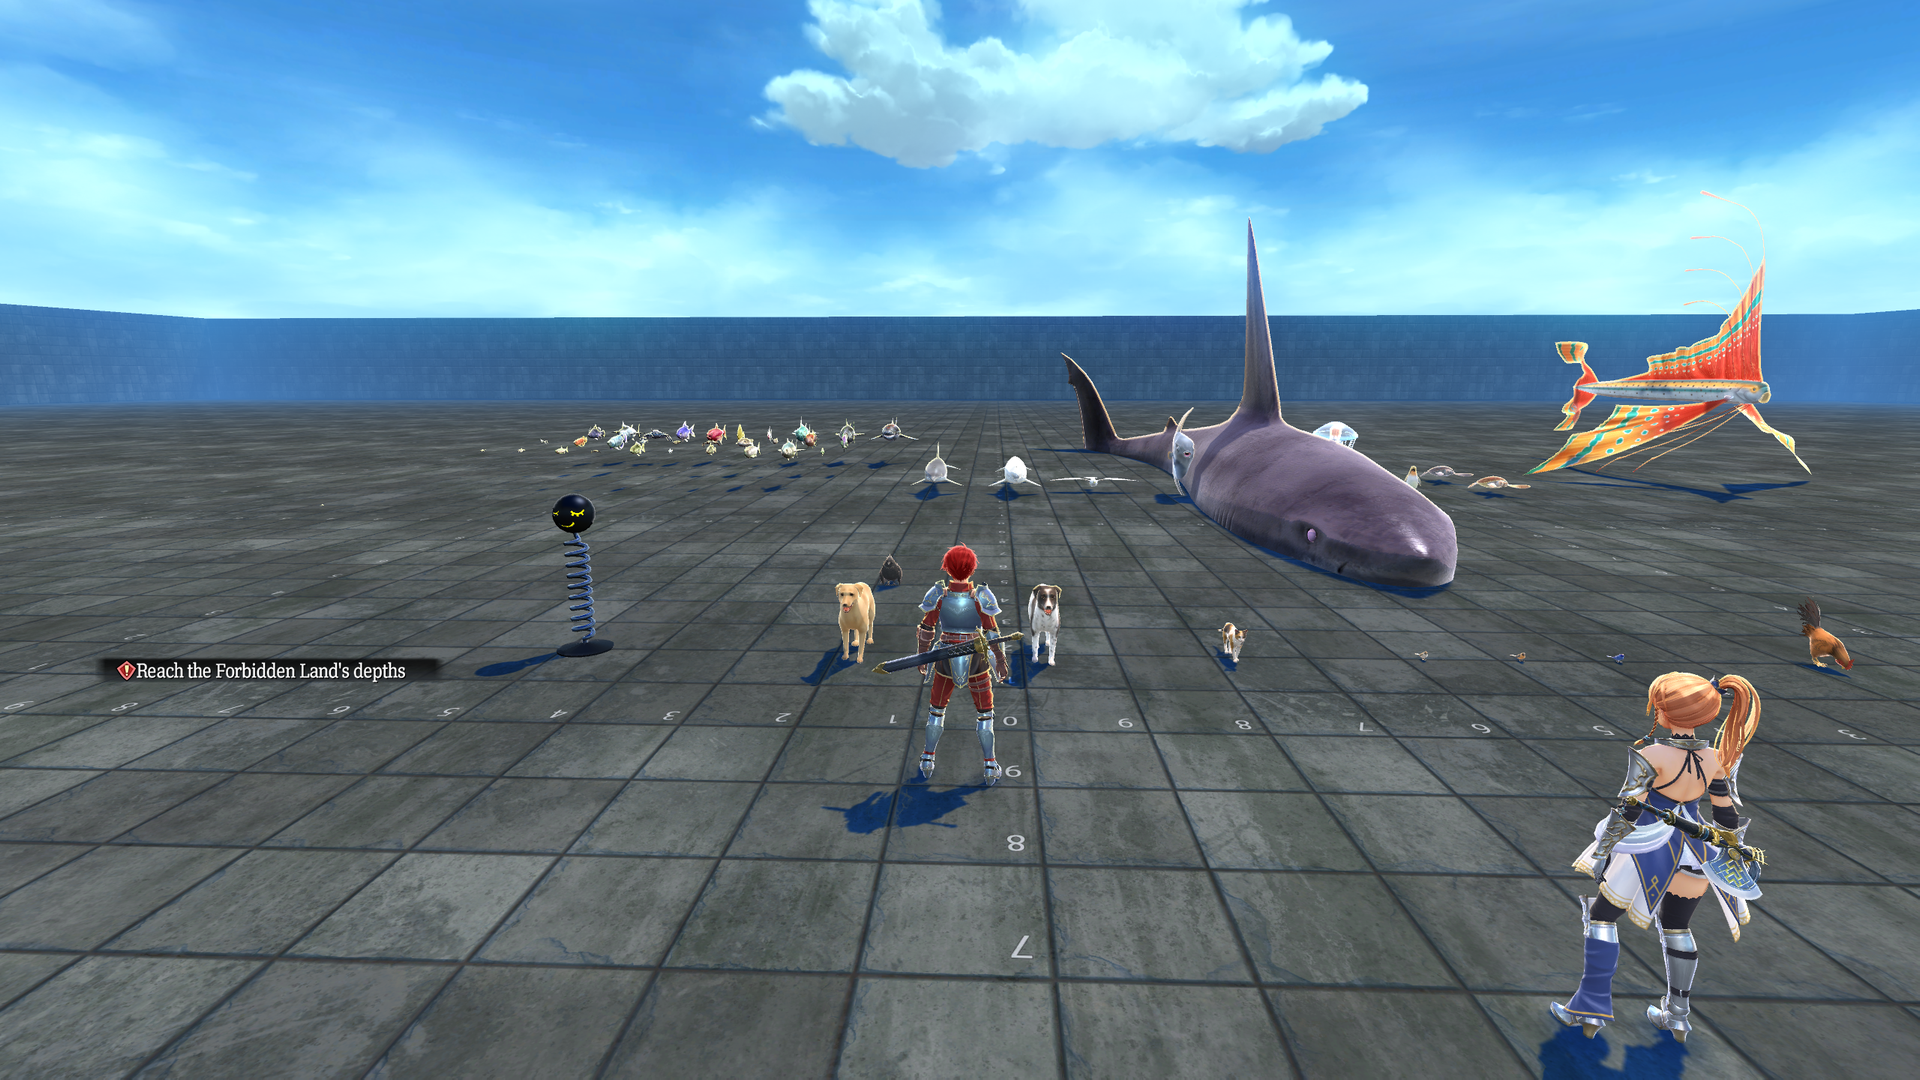
Houses the creatures found throughout the game. The whale will only appear when getting close to it, regardless of the Draw Distance setting.
test_arg_effect00#
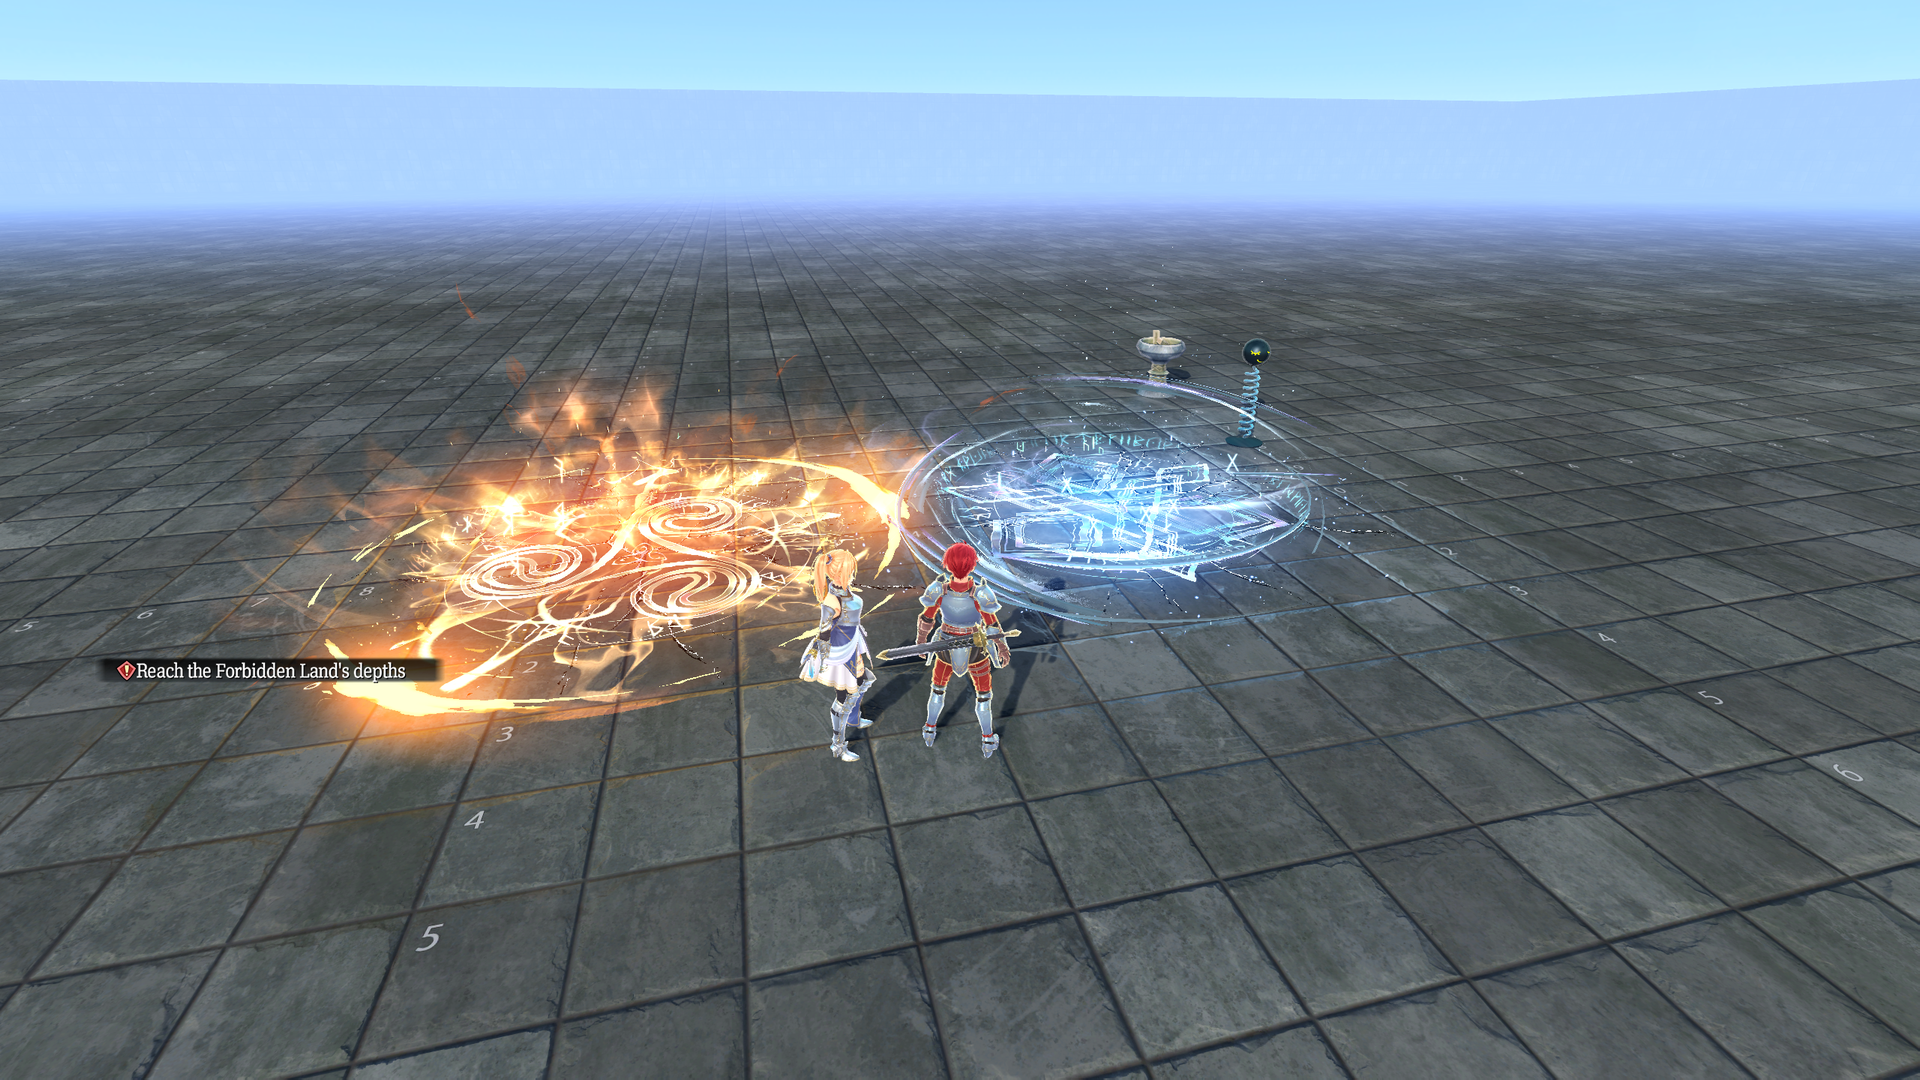
Has looping effects for Adol and Karja's Mana Bursts. The springy NPC has a menu that doesn't do anything.
test_arg_equip#
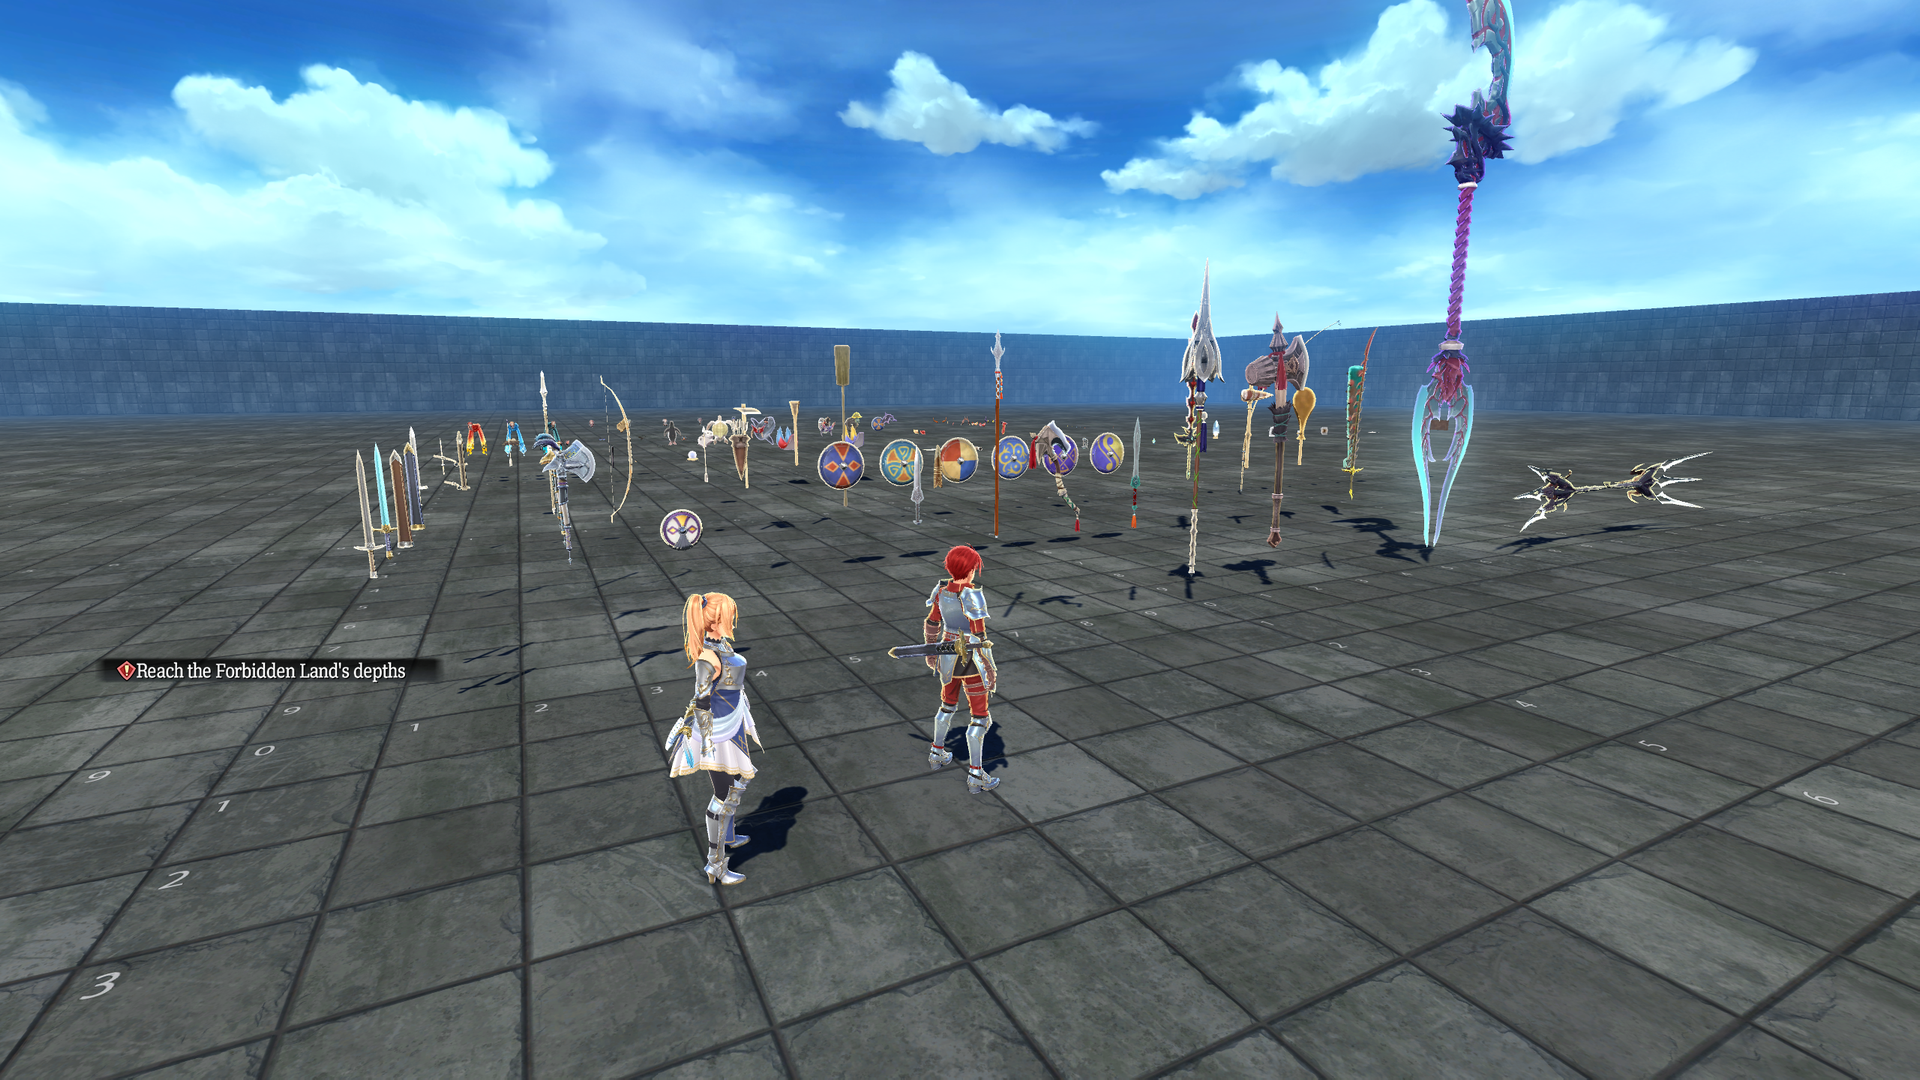
Contains equipment, held objects, and other attachments (including those reserved for DLC).
test_arg_gim00#
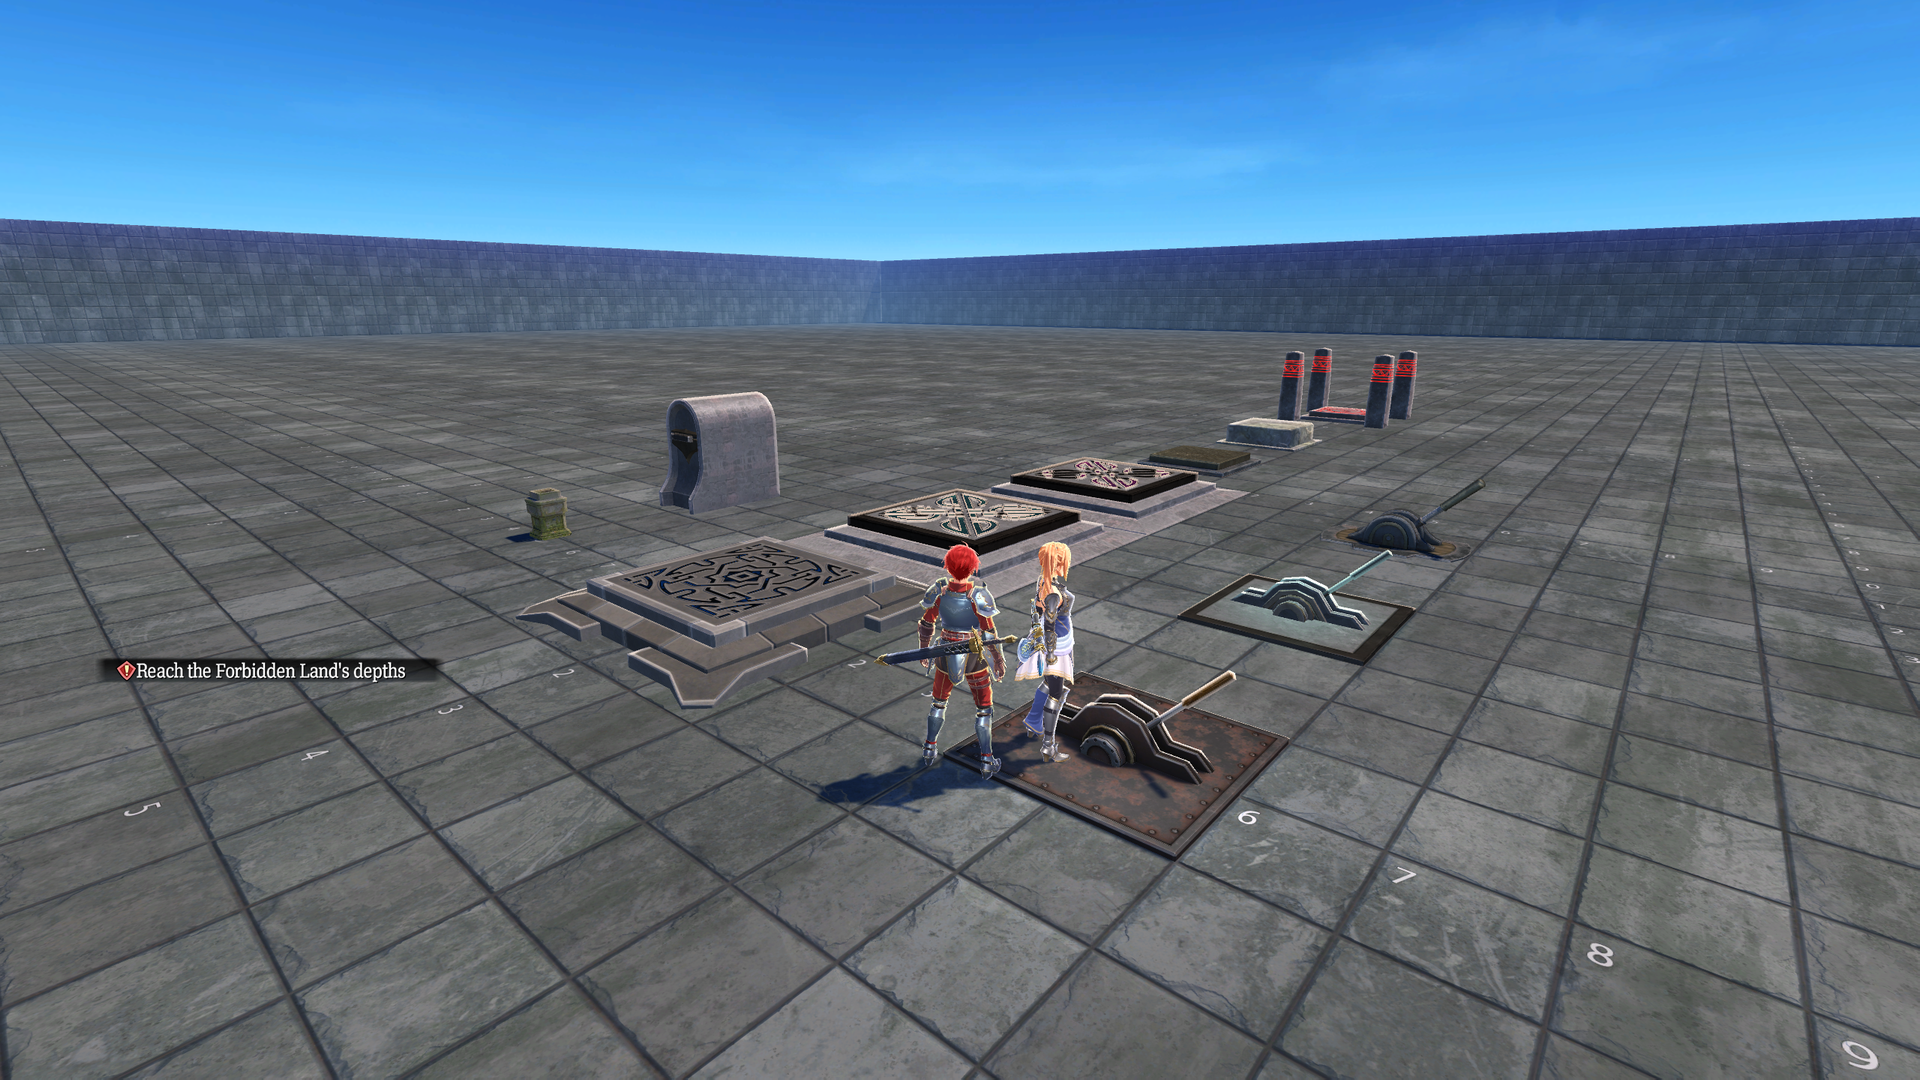
Has some levers and floor switches, but they cannot be interacted with.
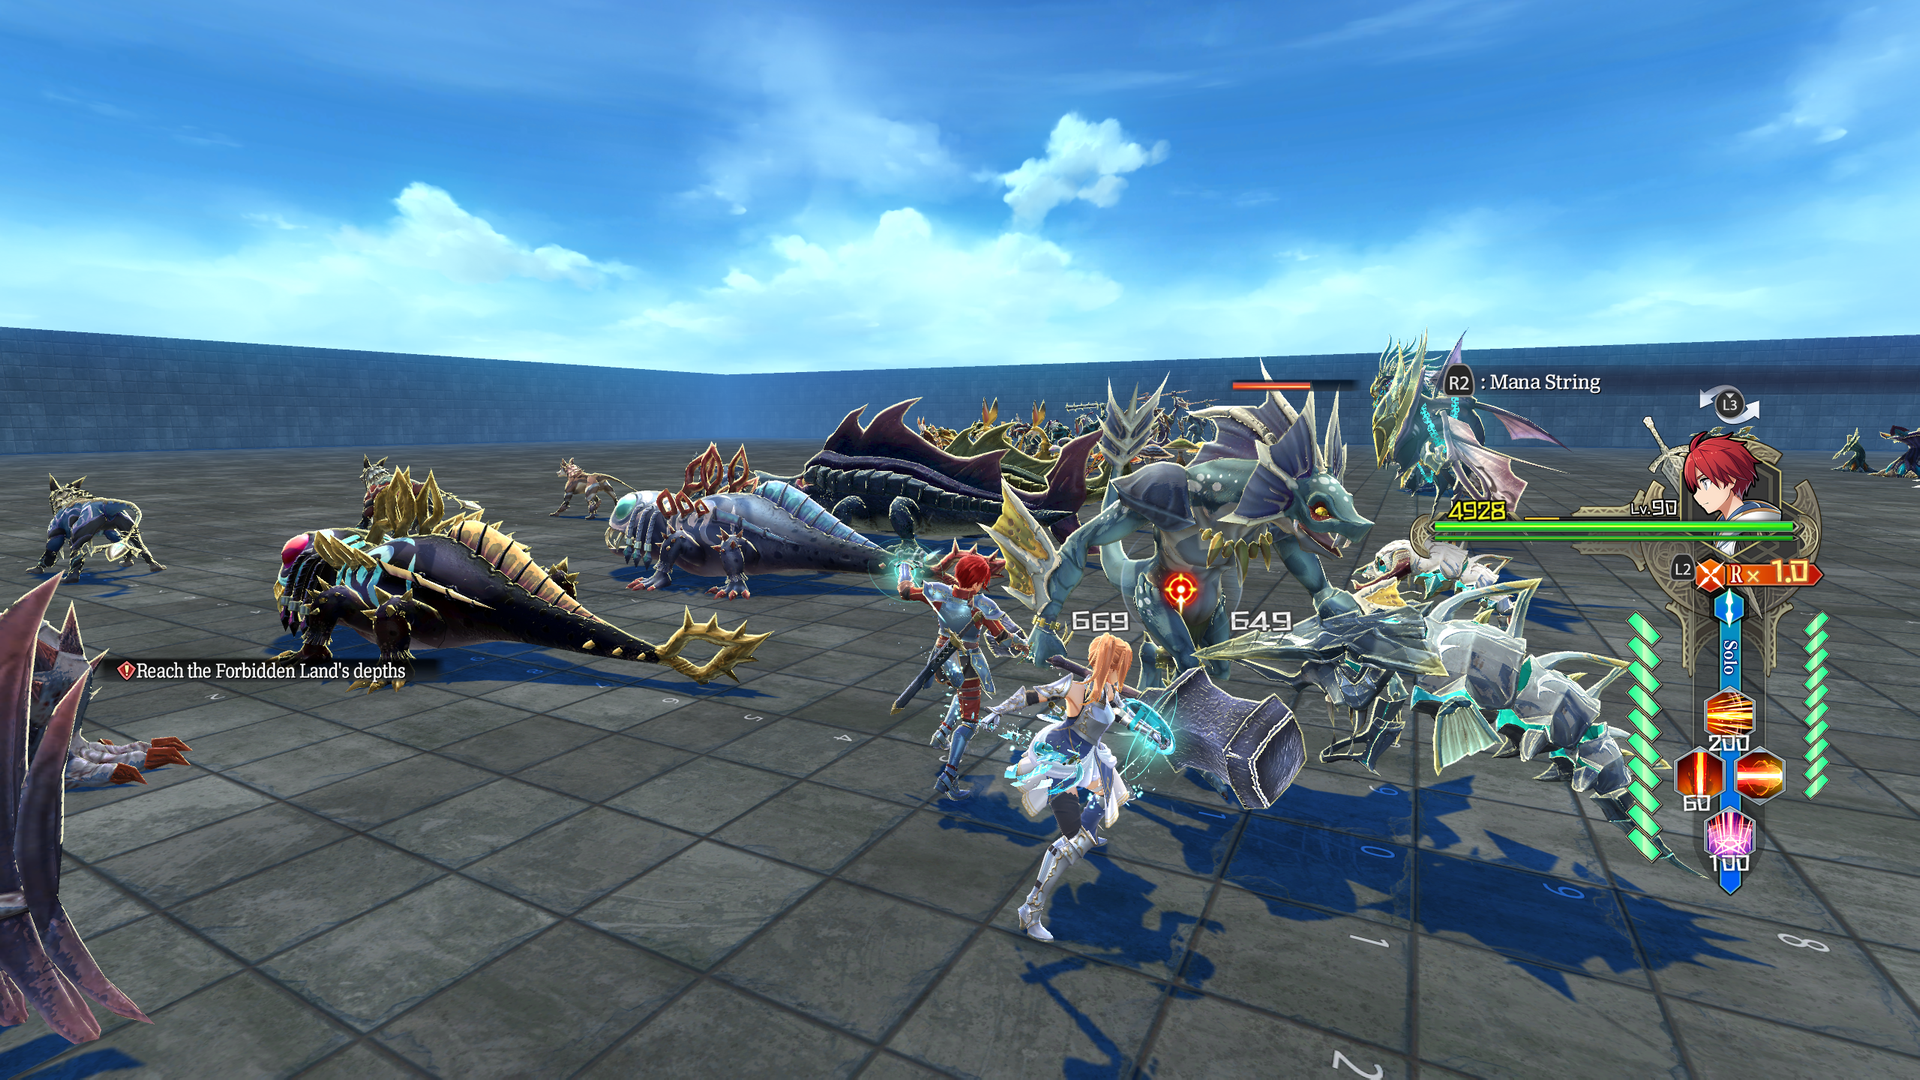
test_arg_mon01#
Contains common enemies found throughout the game...which really brings to light how little variety there actually is with all the reskins next to each other. Interacting with any enemy will let you test various animations, if applicable.
A single enemy is roaming around the map and can be killed if desired.
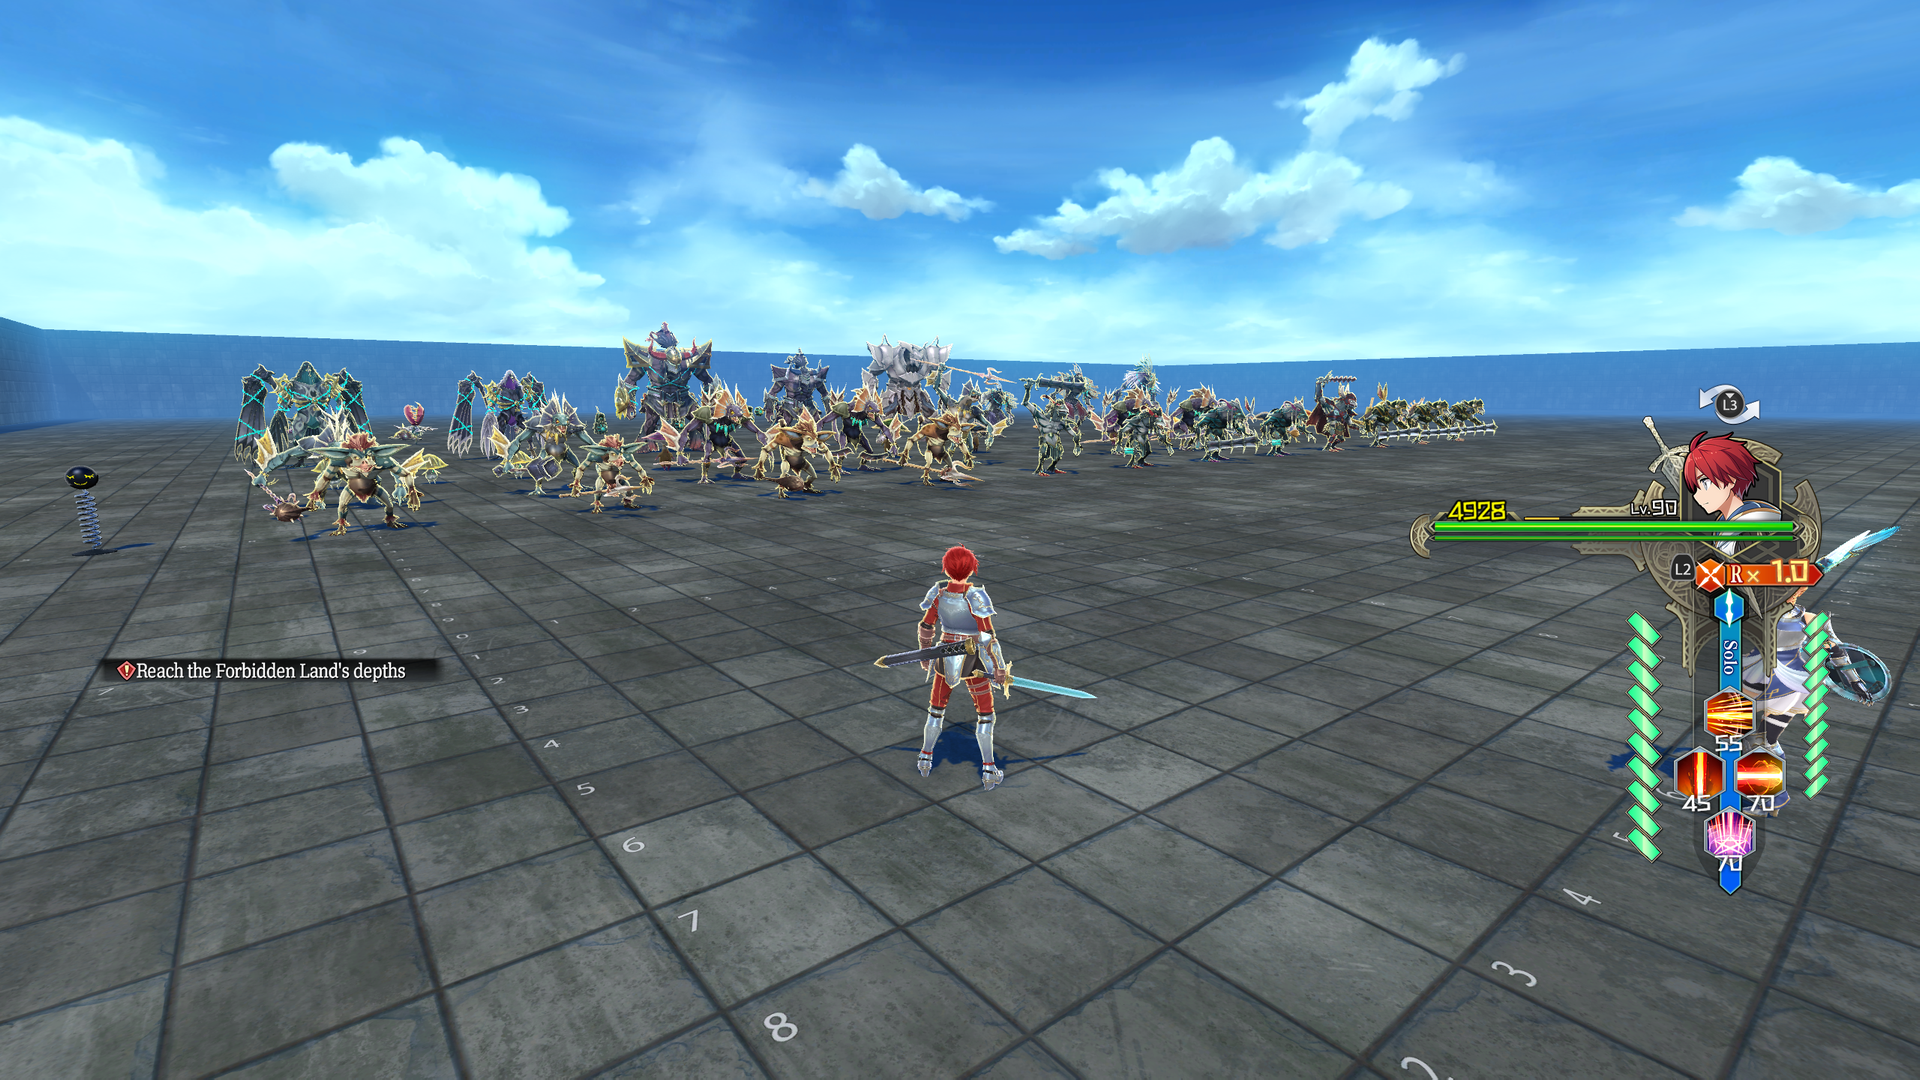
test_arg_mon10#
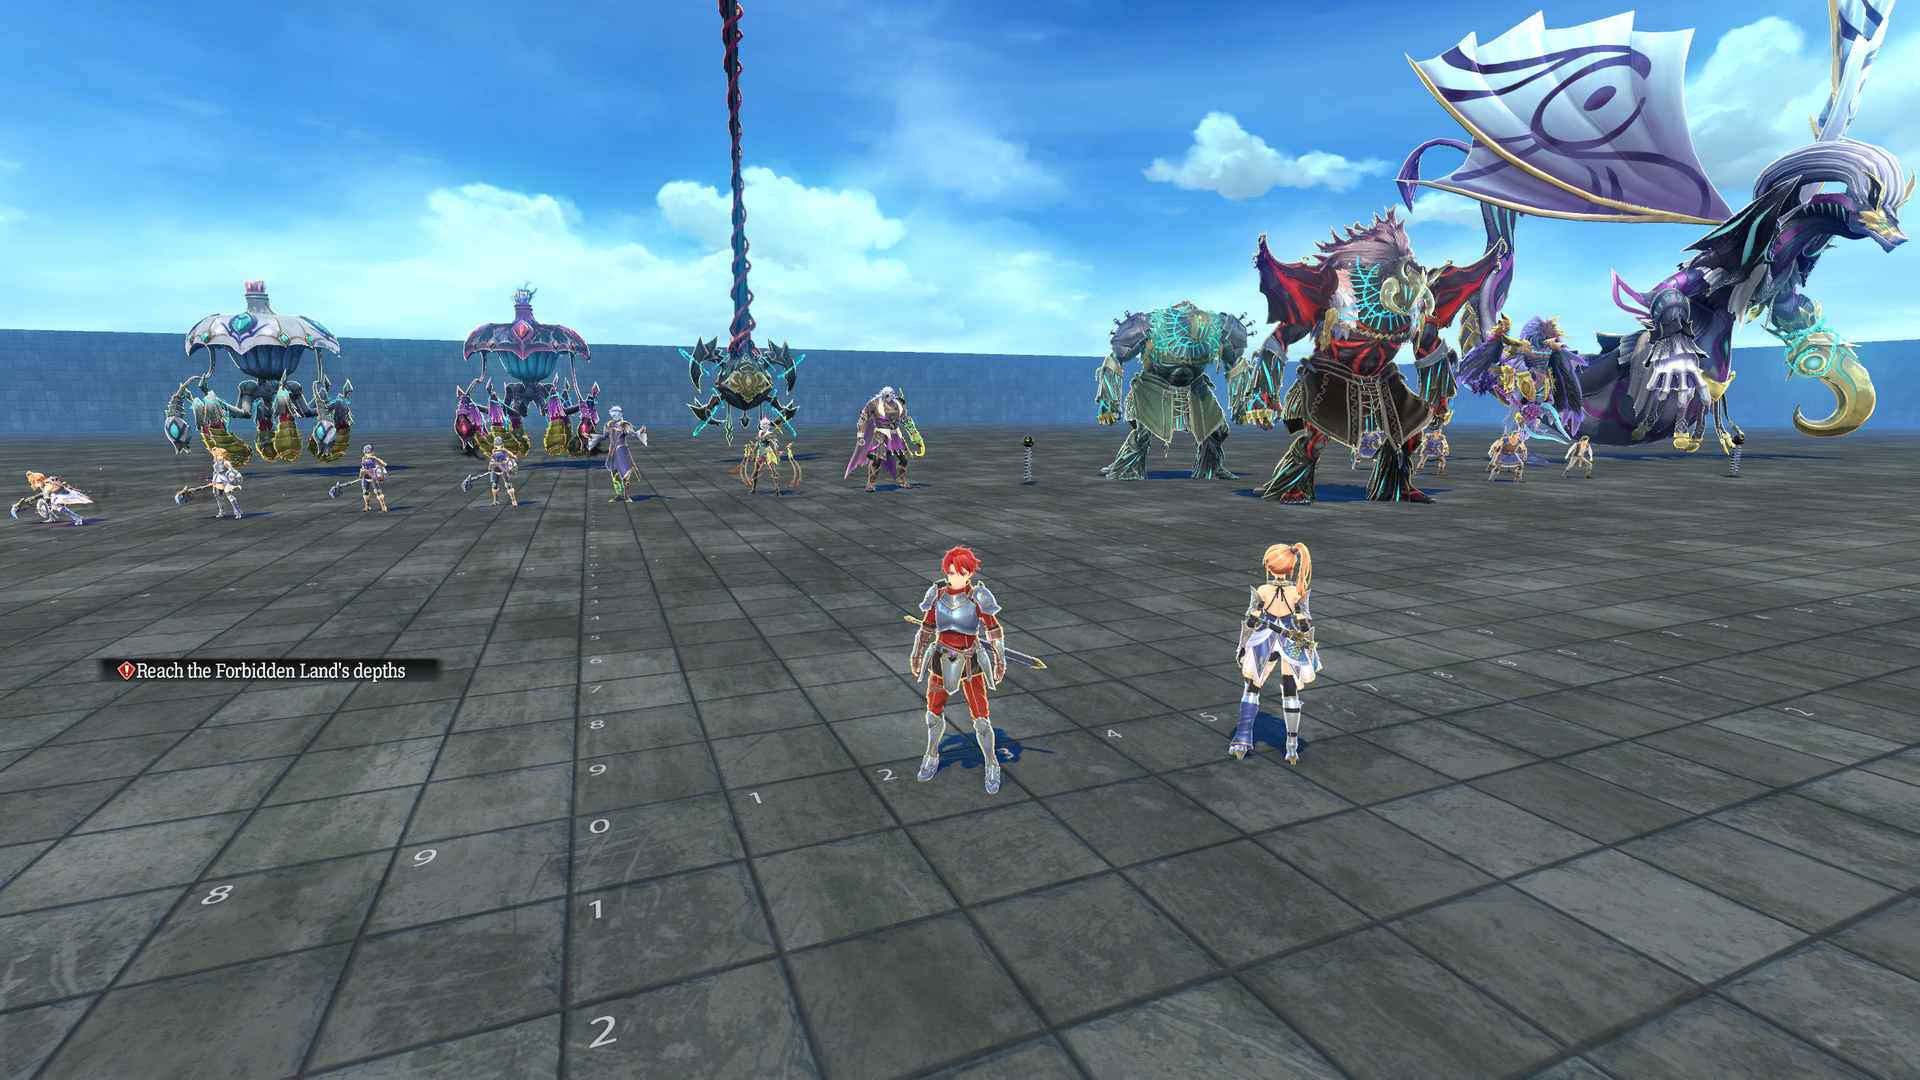
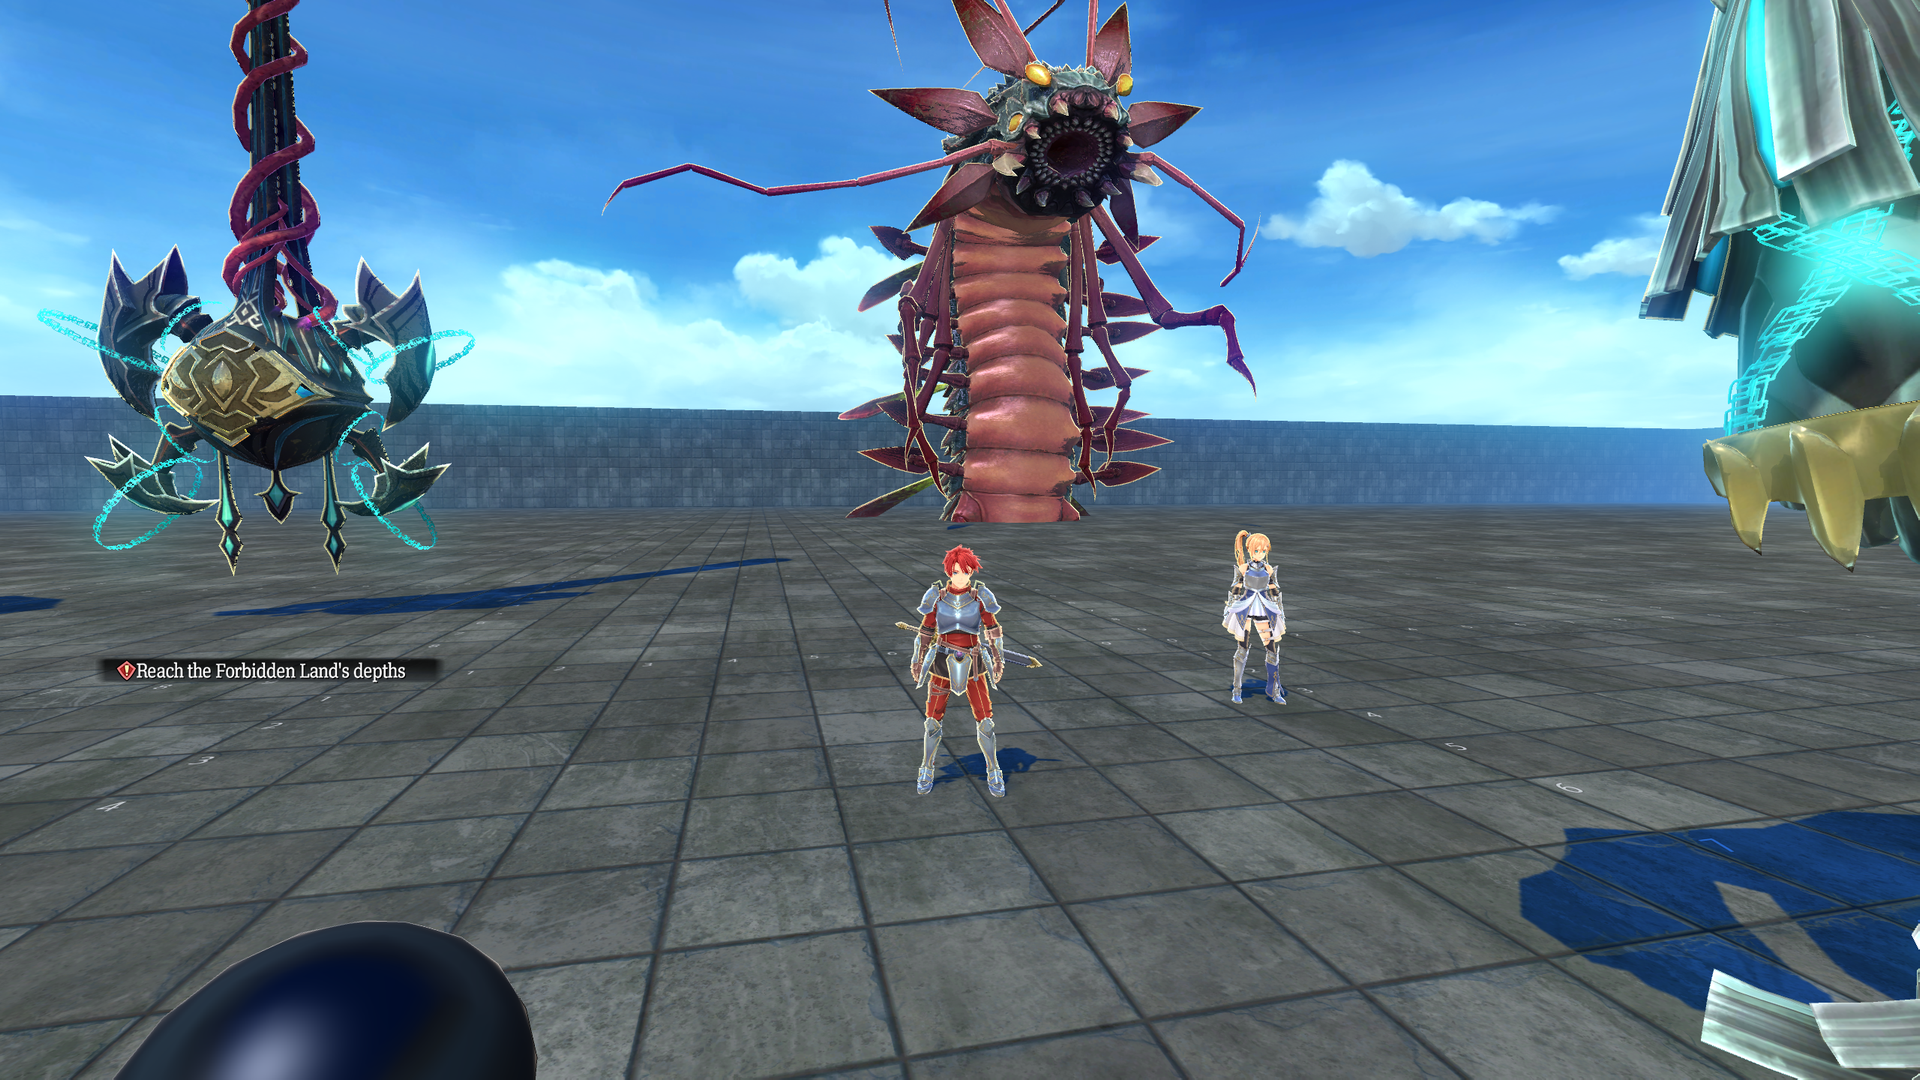
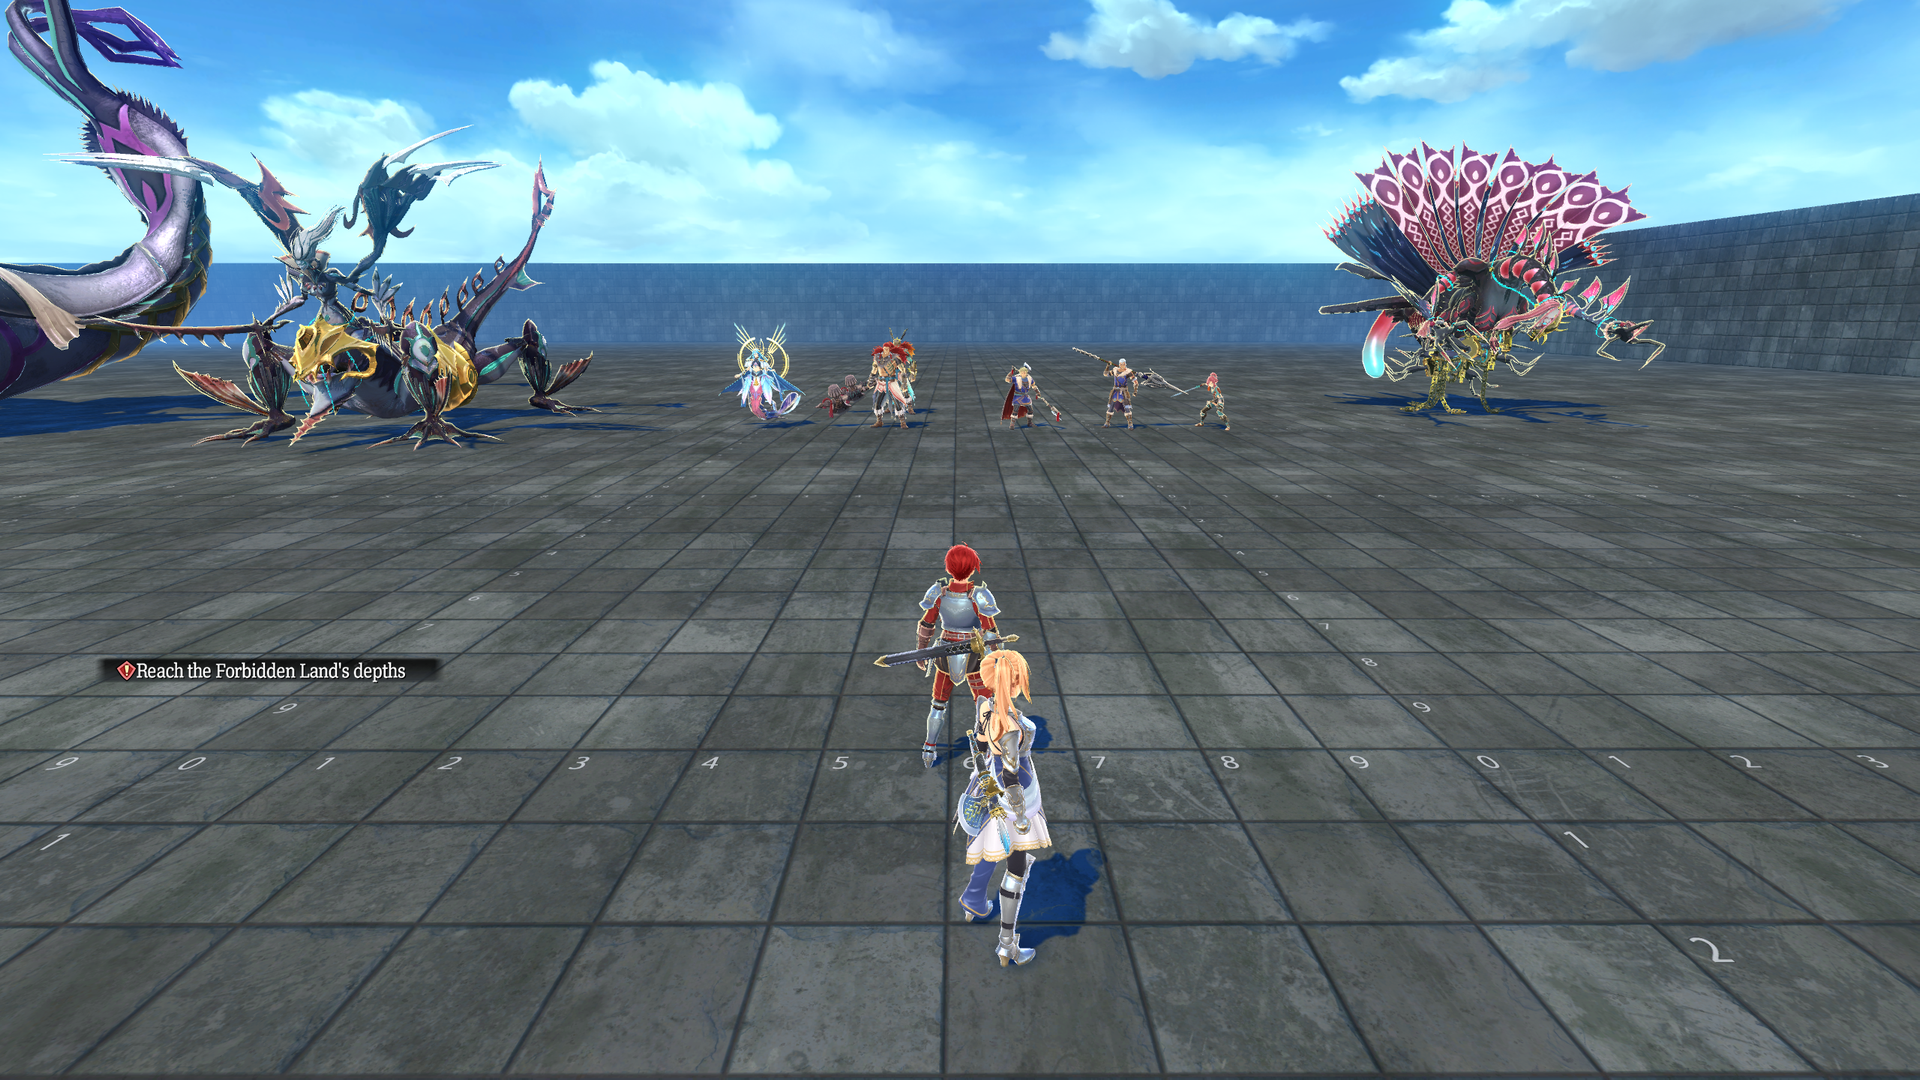
All bosses can be seen here, but their animations cannot be tested.
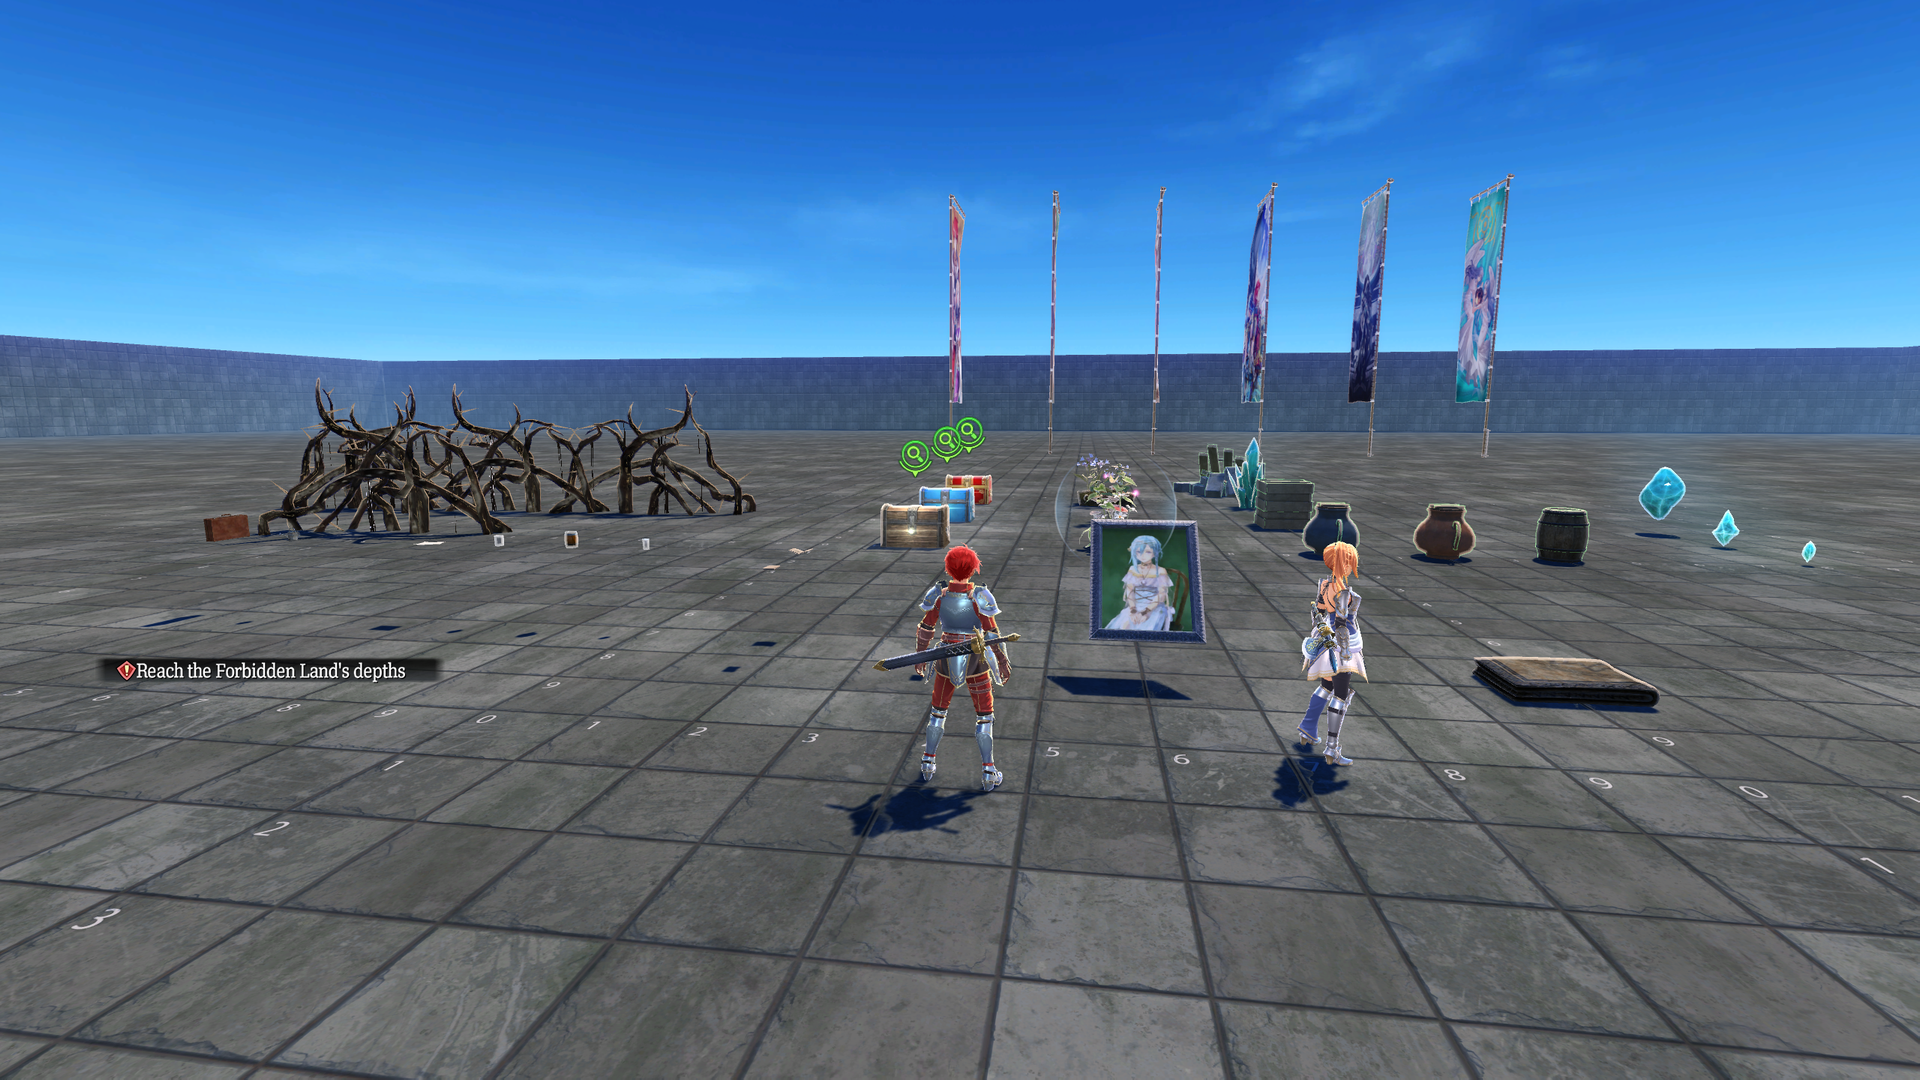
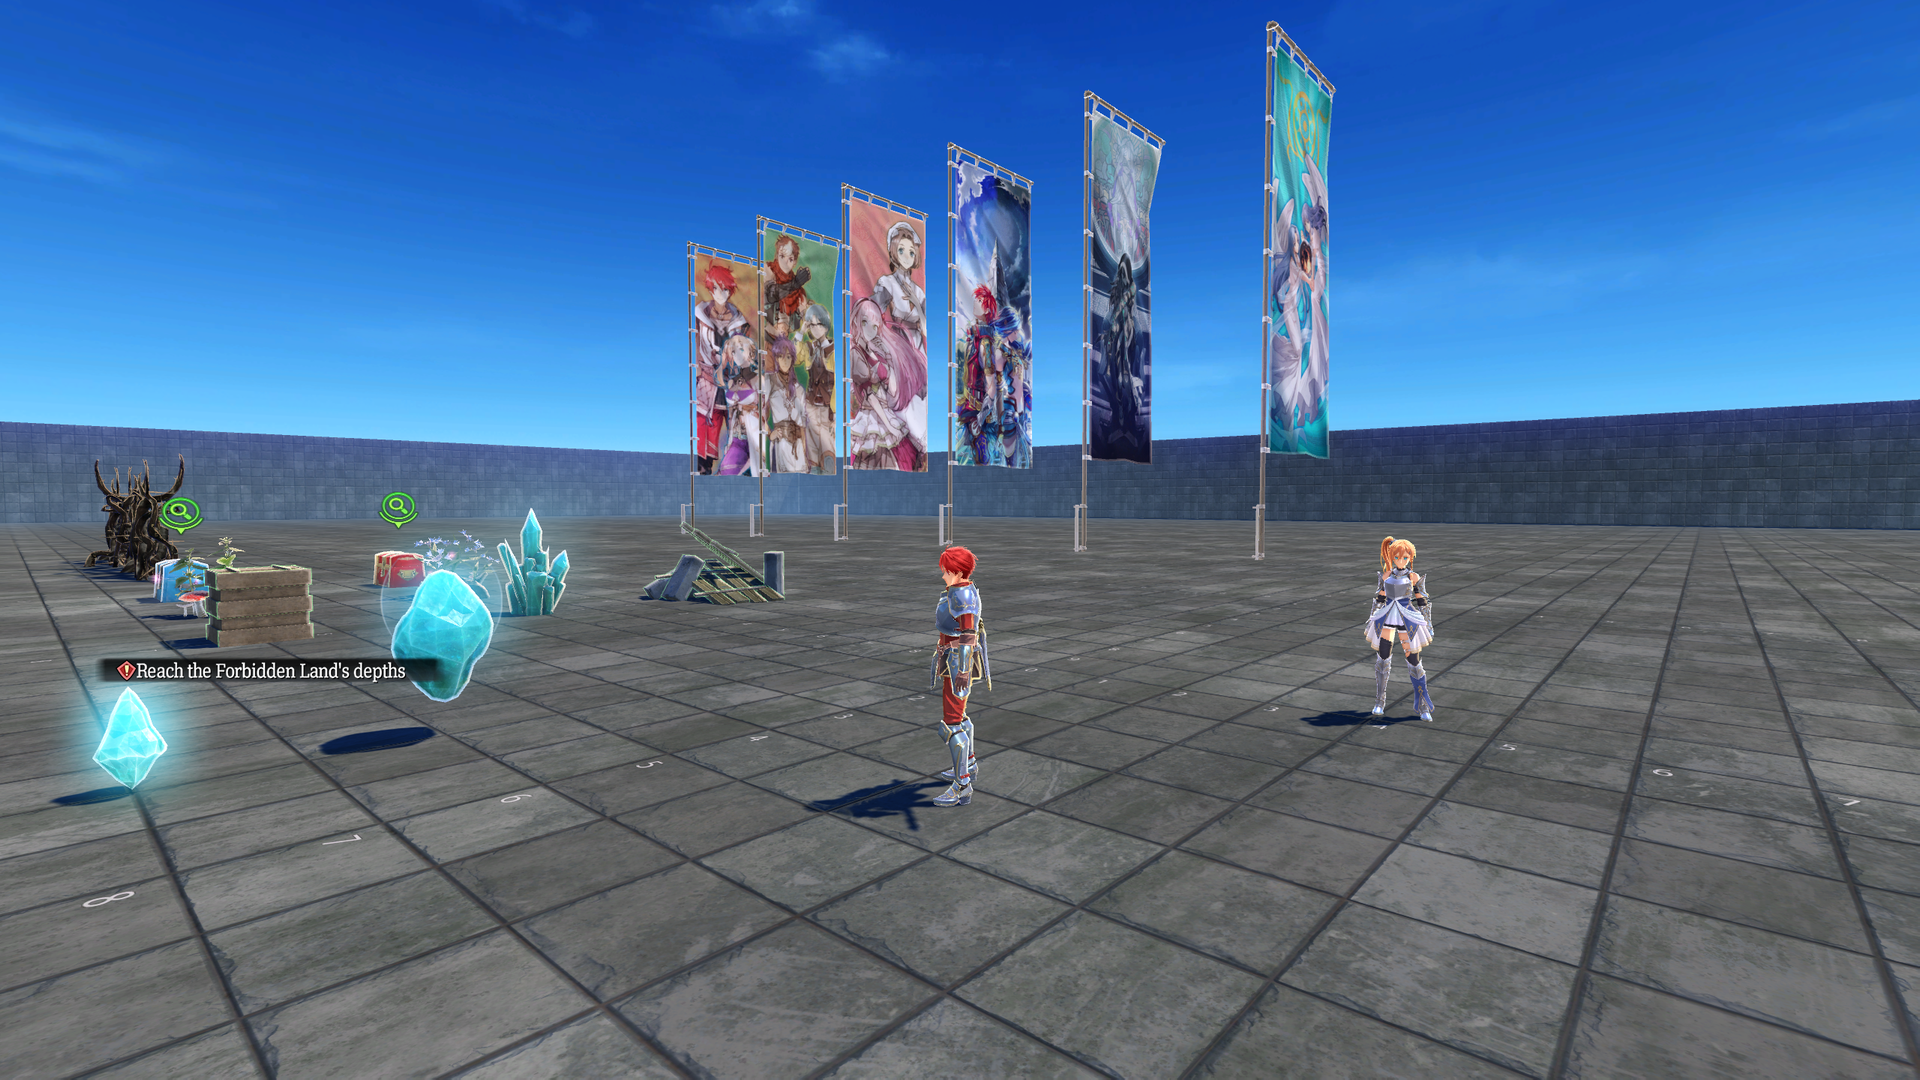
test_arg_obj00#
Some common breakable and non-brekable objects can be found here, alongside the painting of Lila and flags for the Sandras.
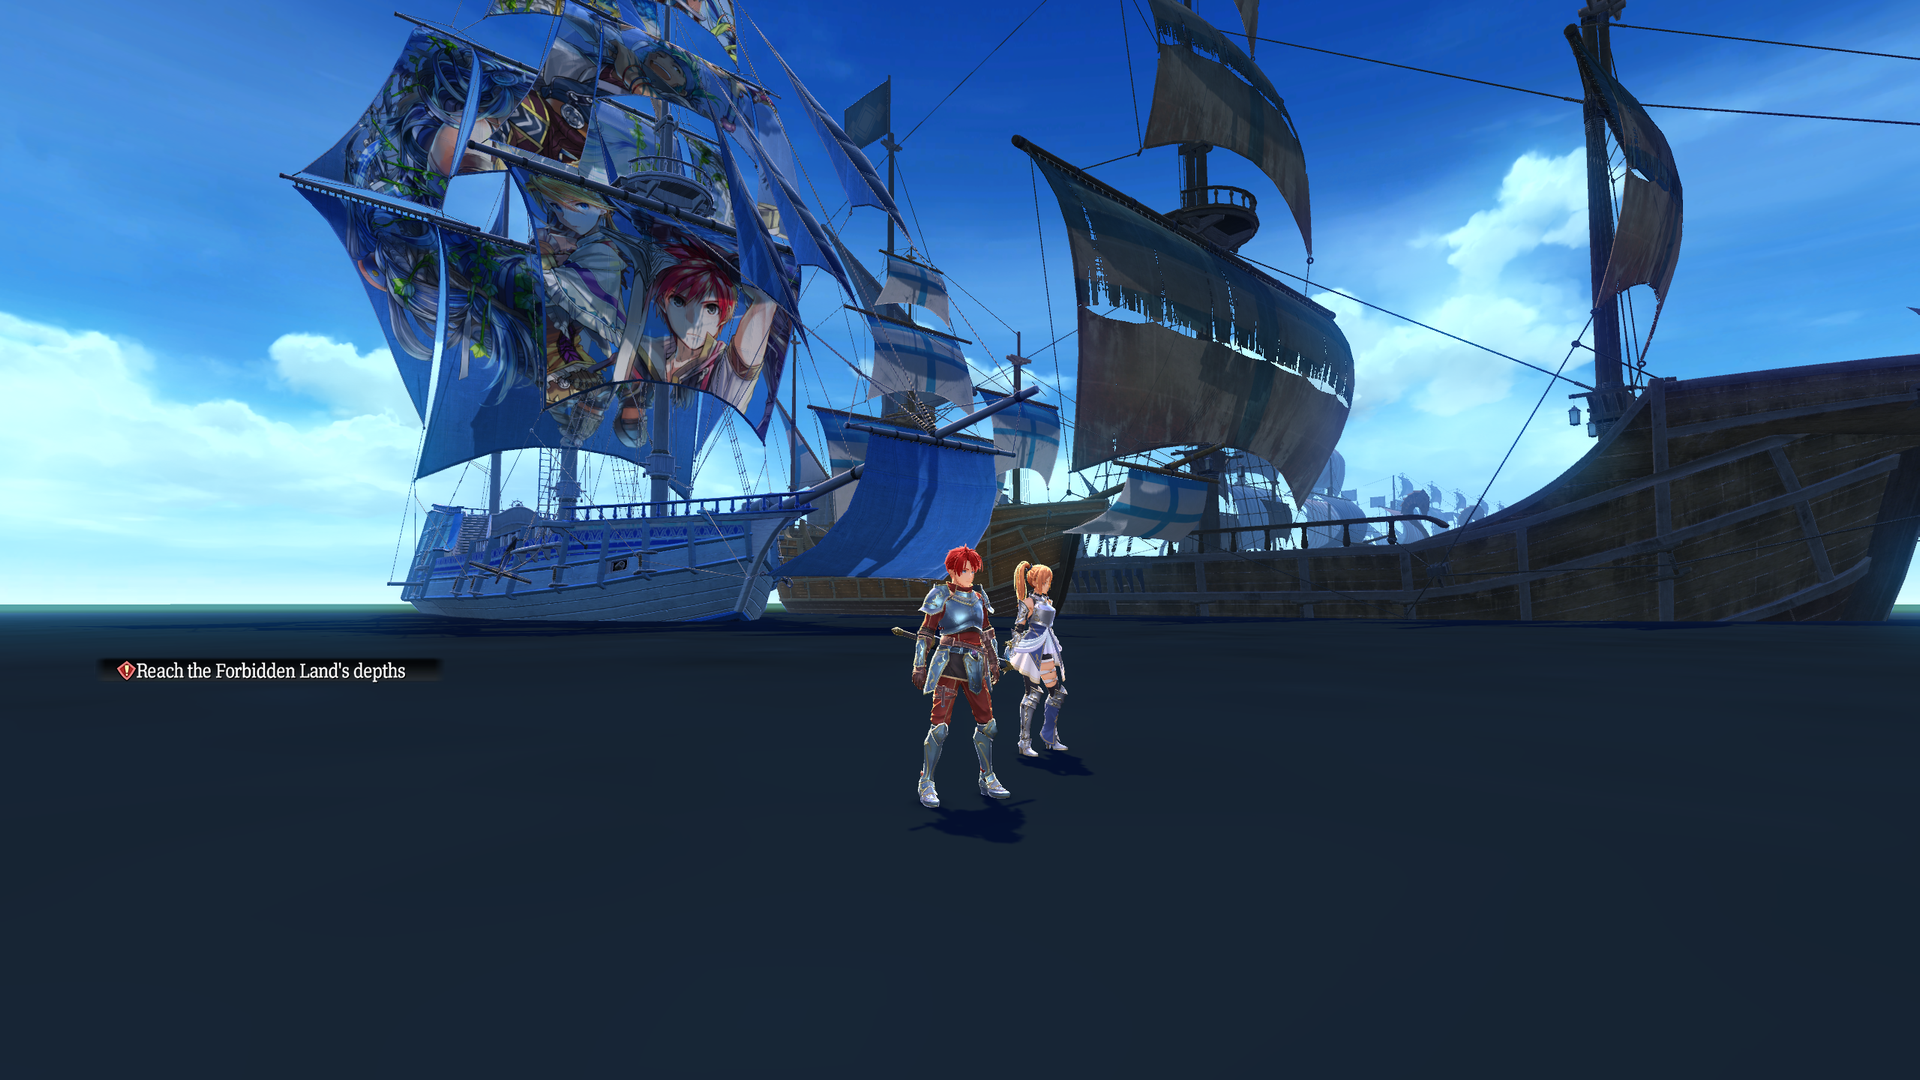
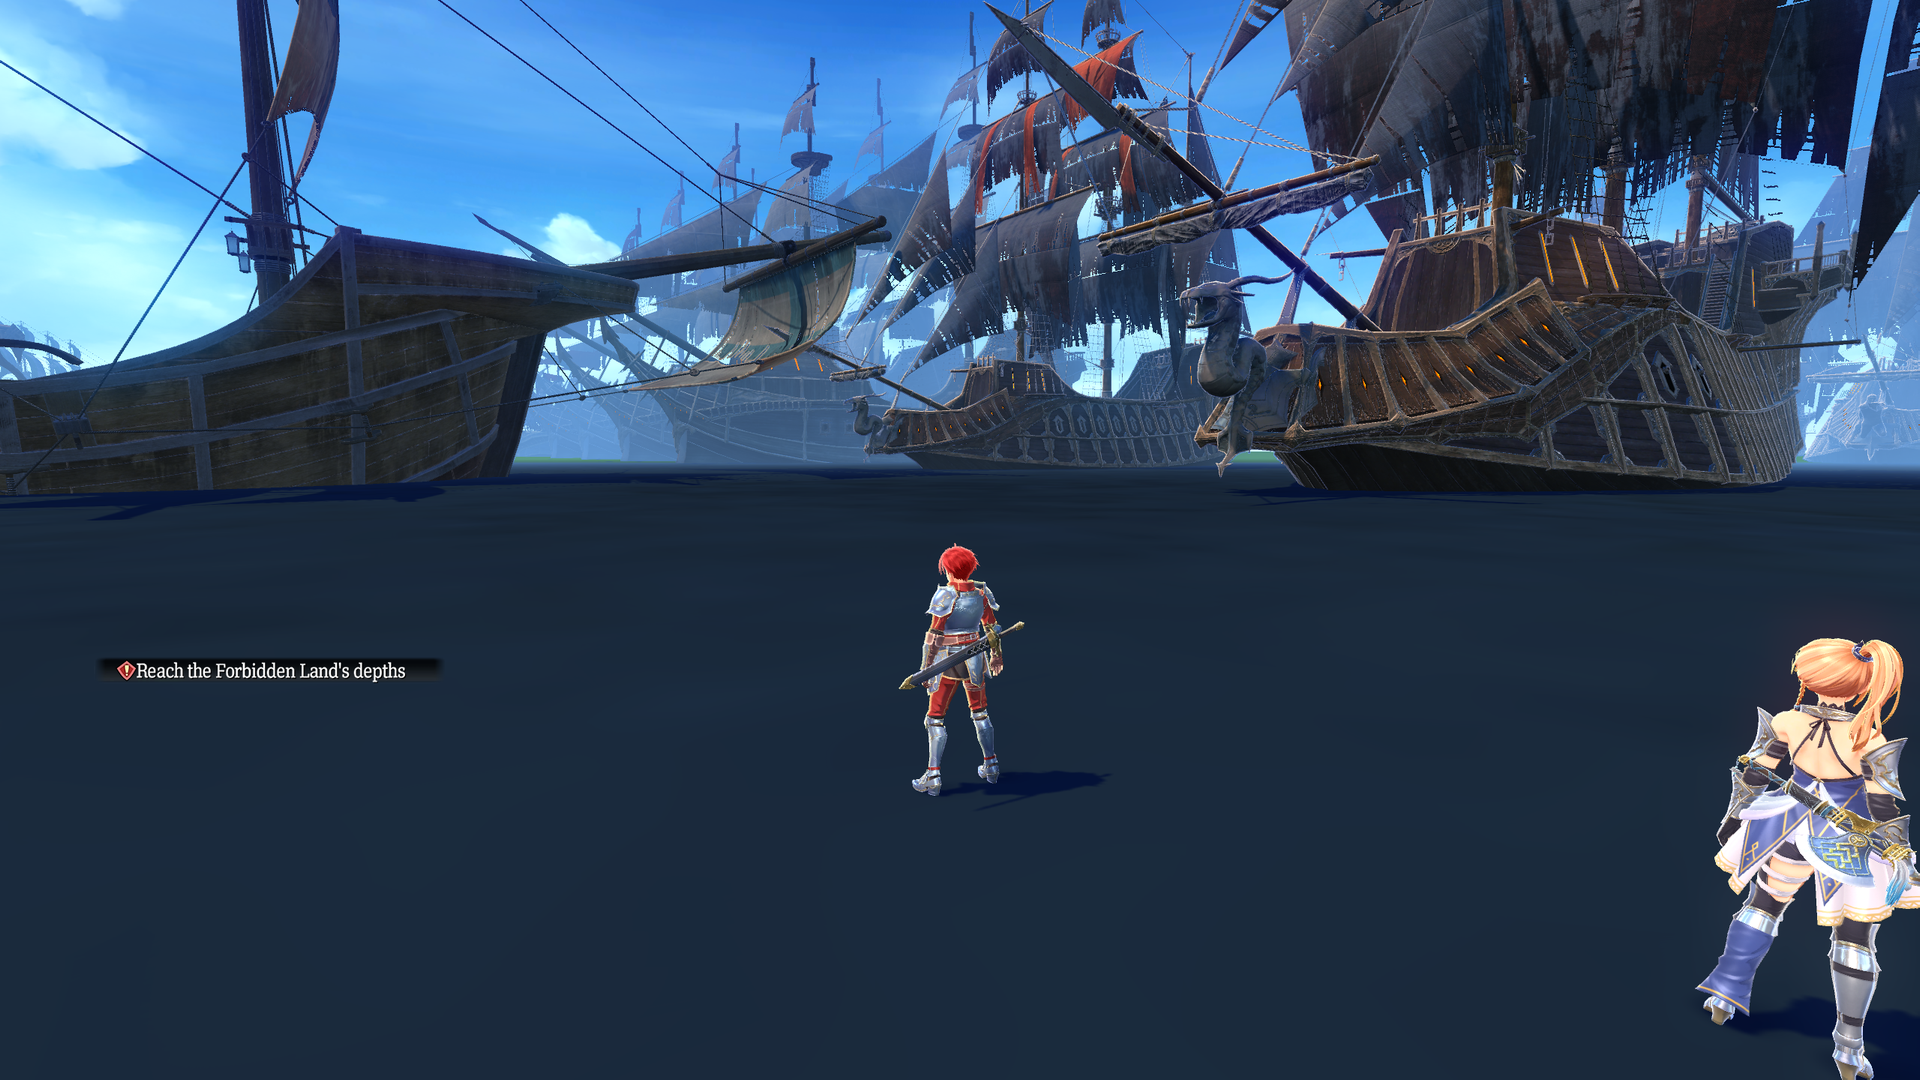
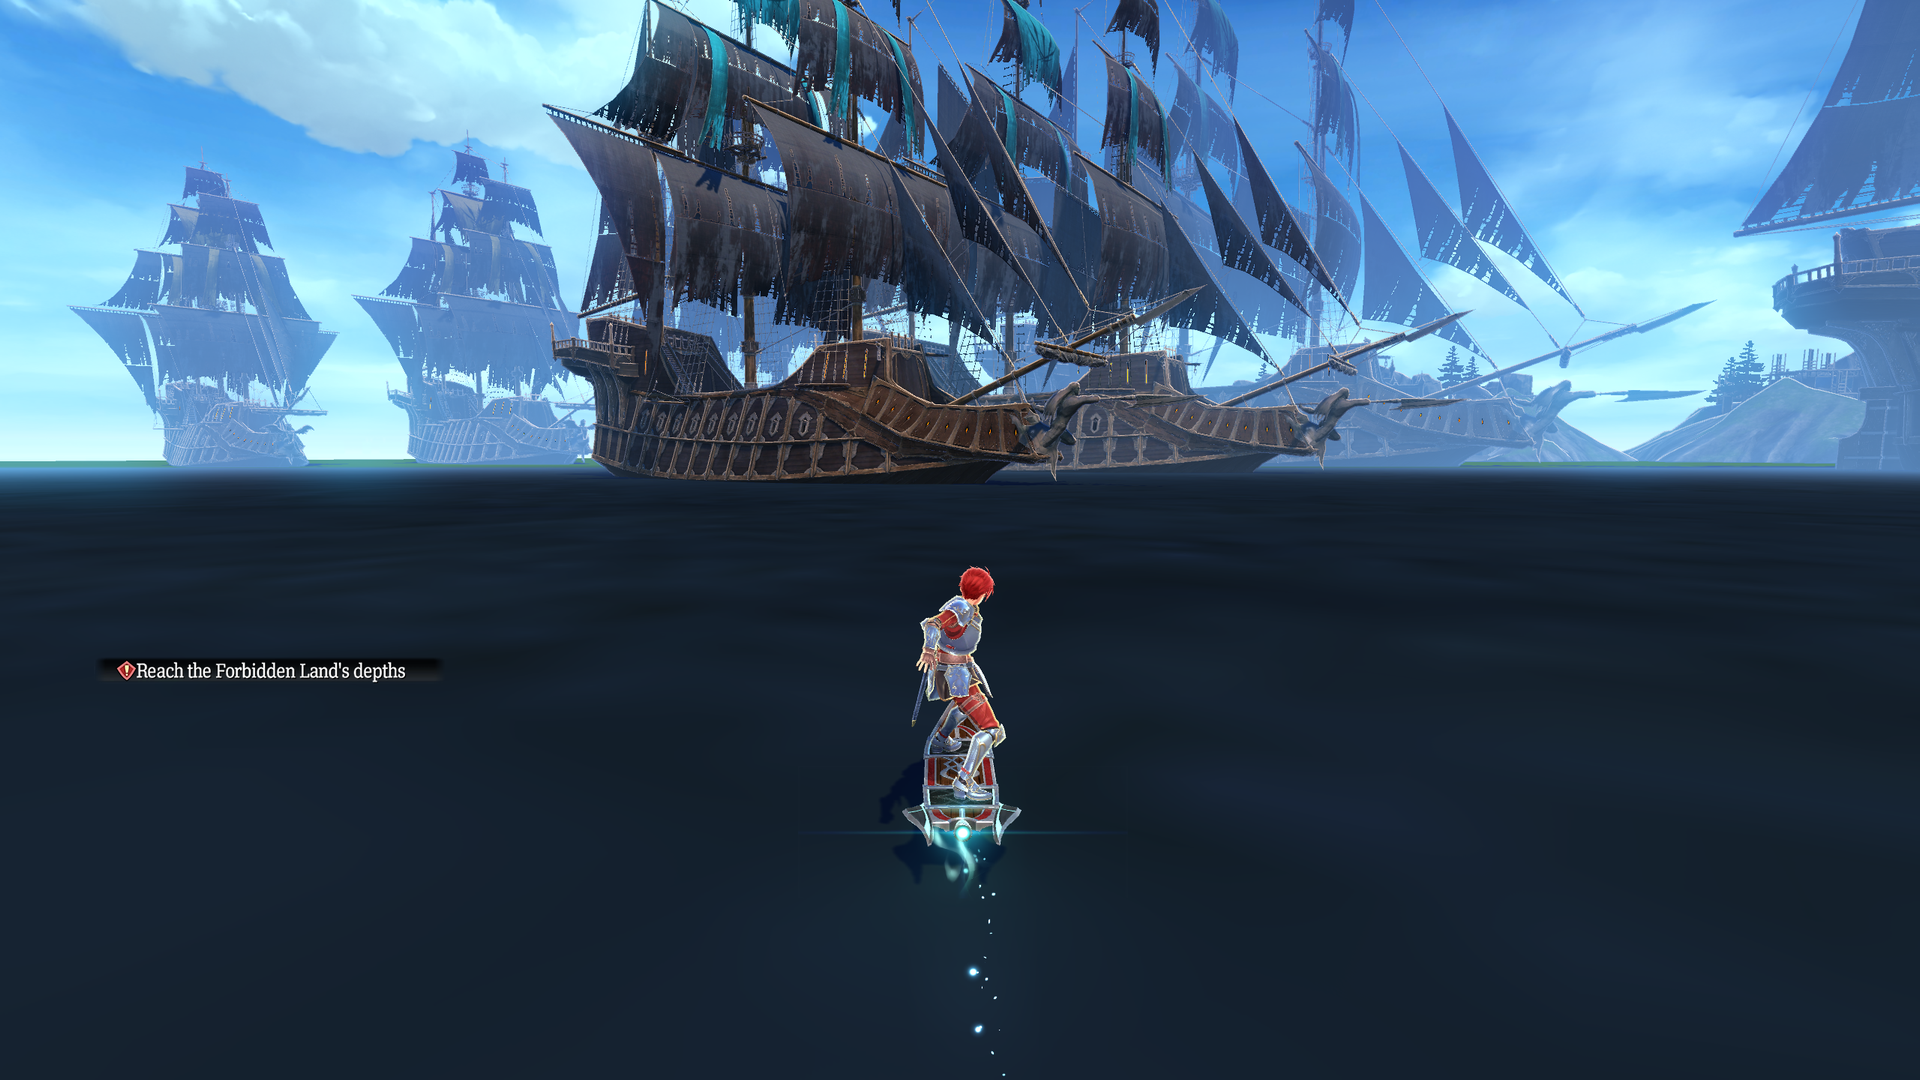
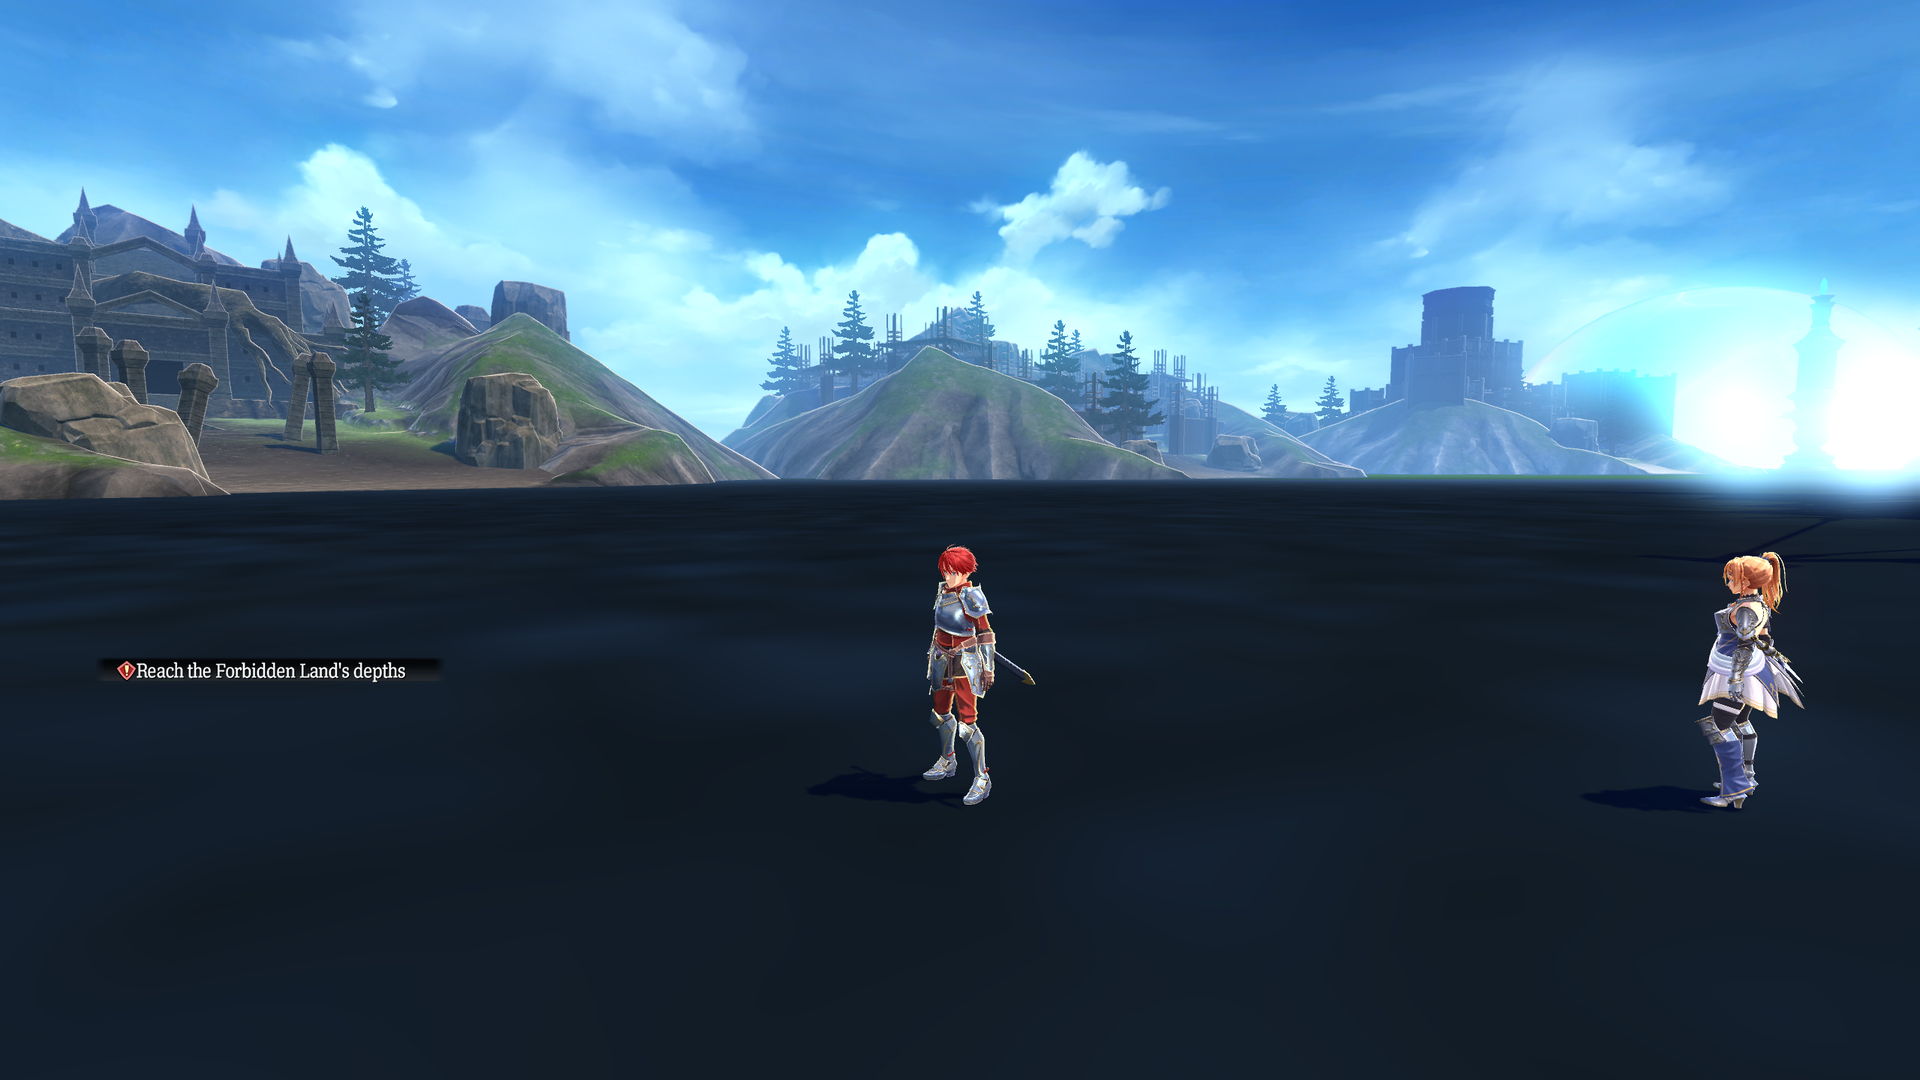
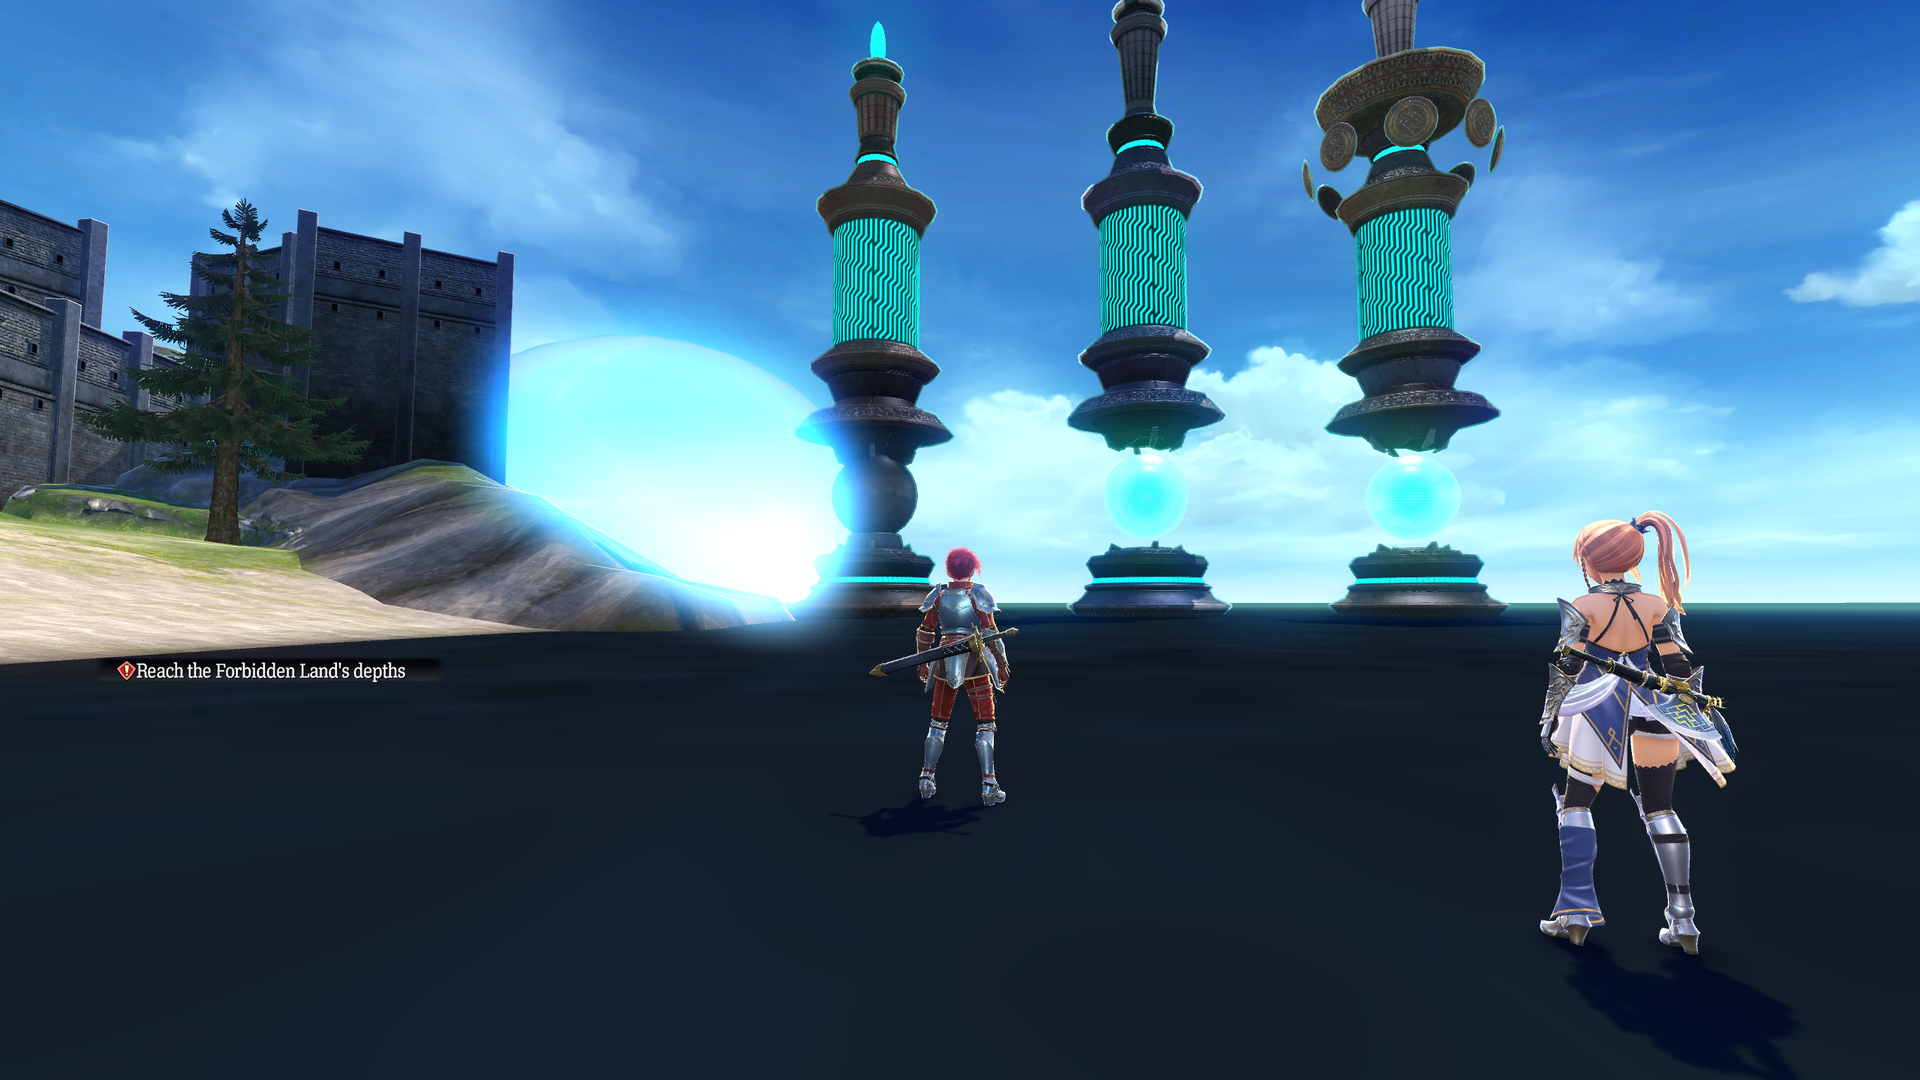
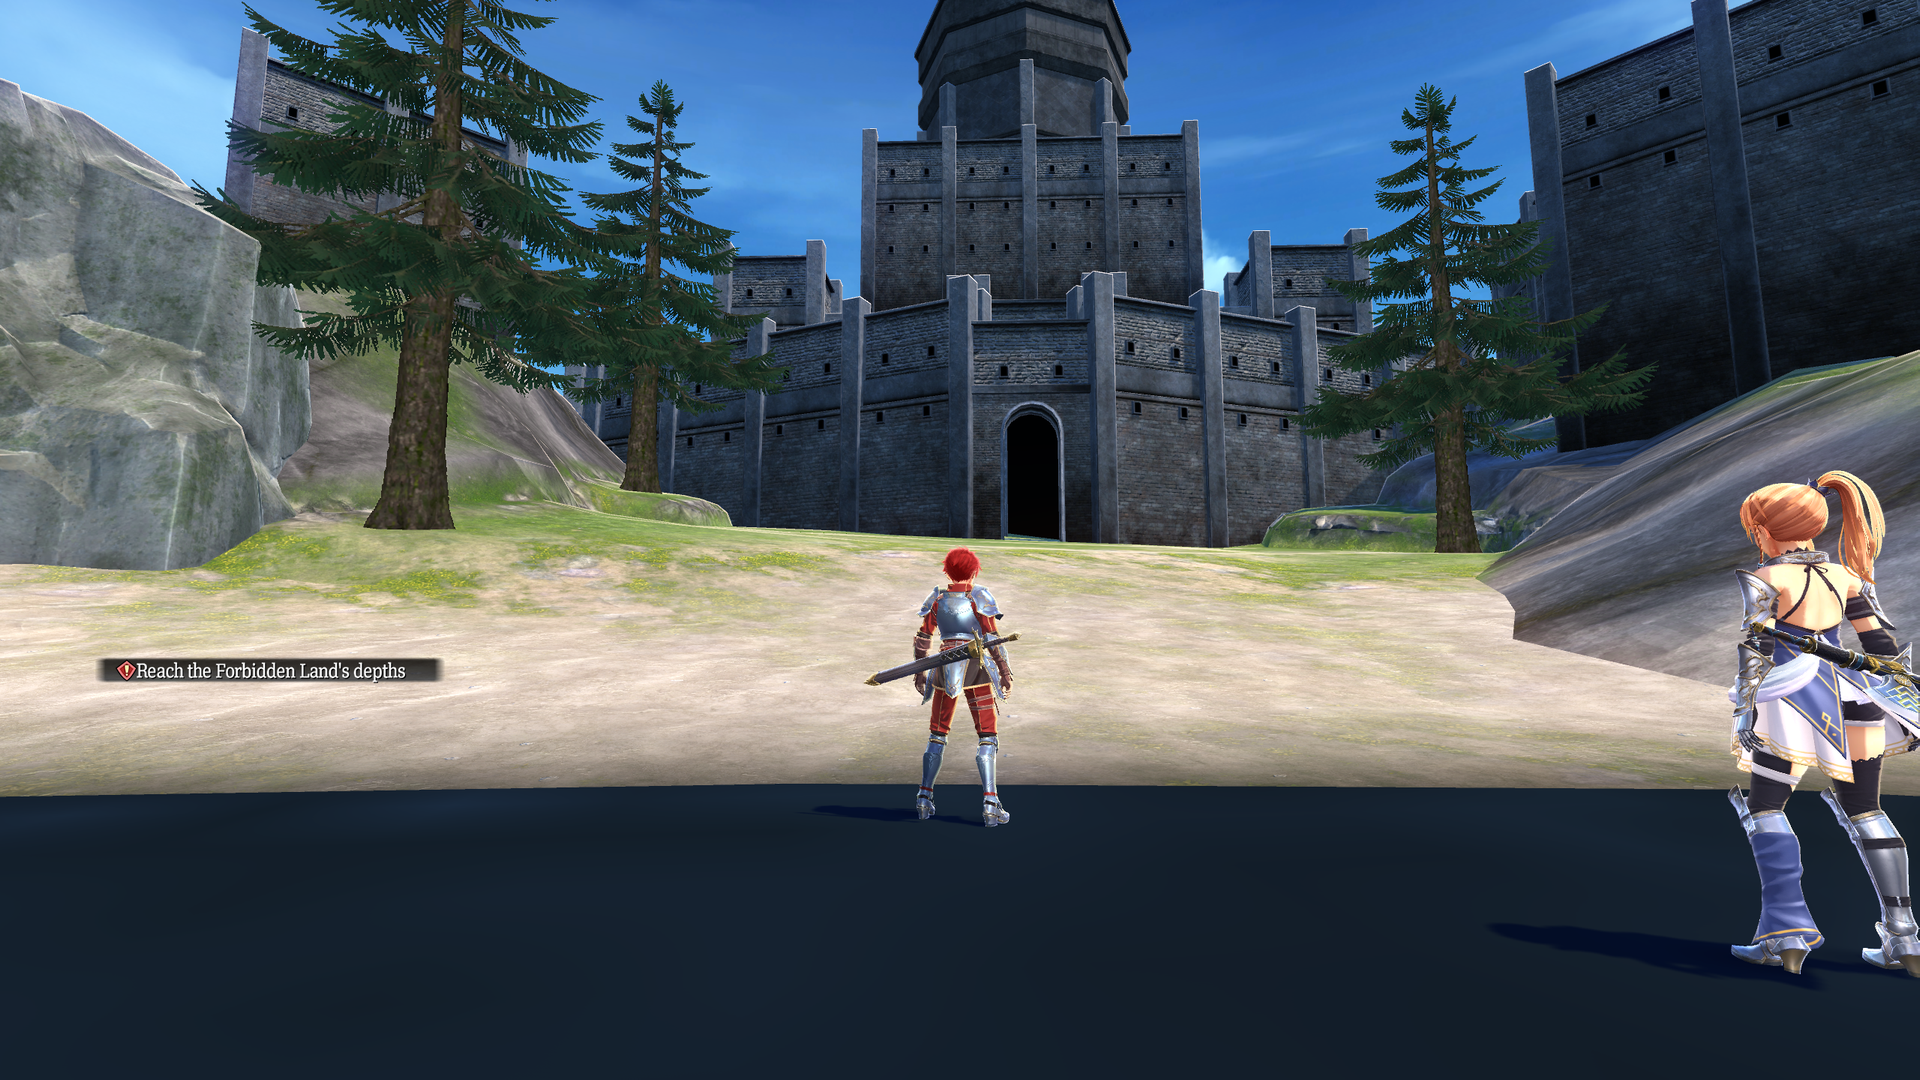
test_arg_ship#
A huge map that contains every ship in the game. Also found here are enlarged models of the islands that can be recaptured.
test_chr_room0001#
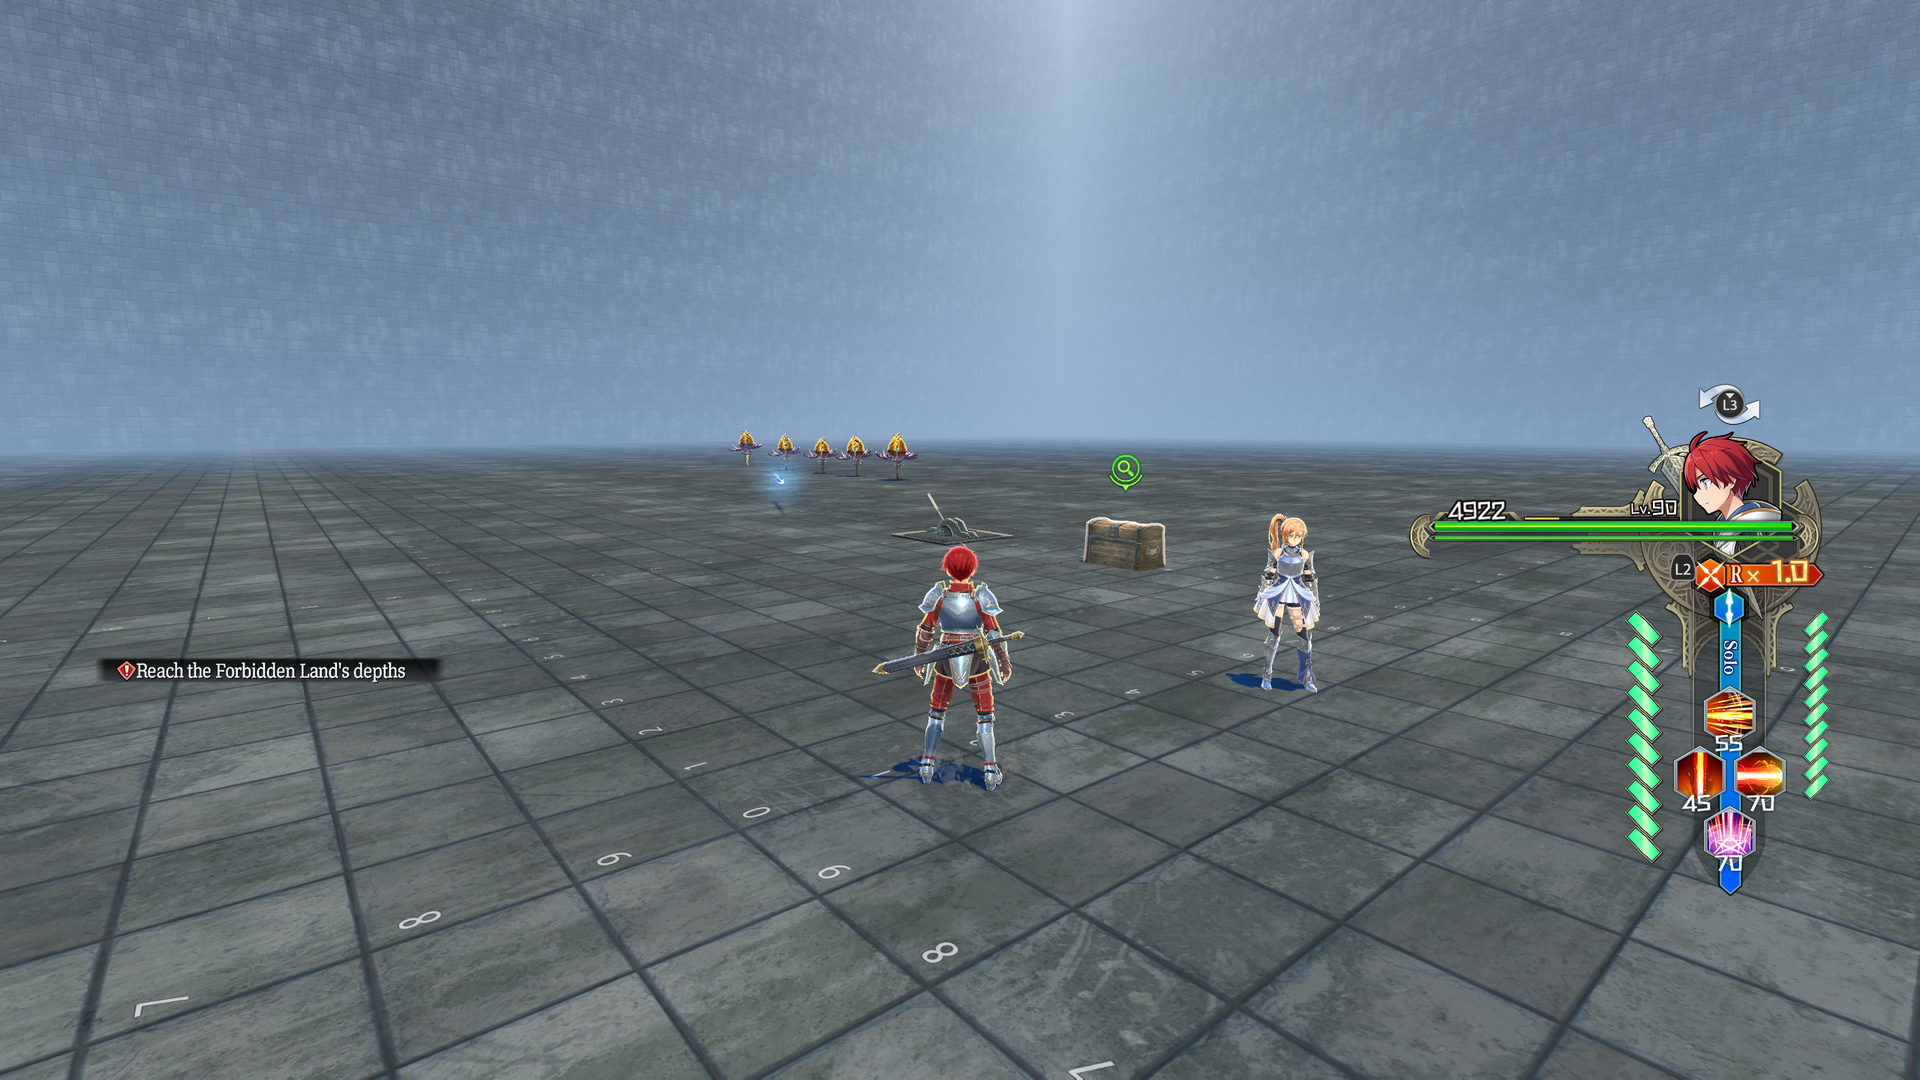
A big closed off room with a few enemies, a treasure chest and a lever that can be pulled. Nothing apparent happens when the lever is pulled.
test_chr_room0002#
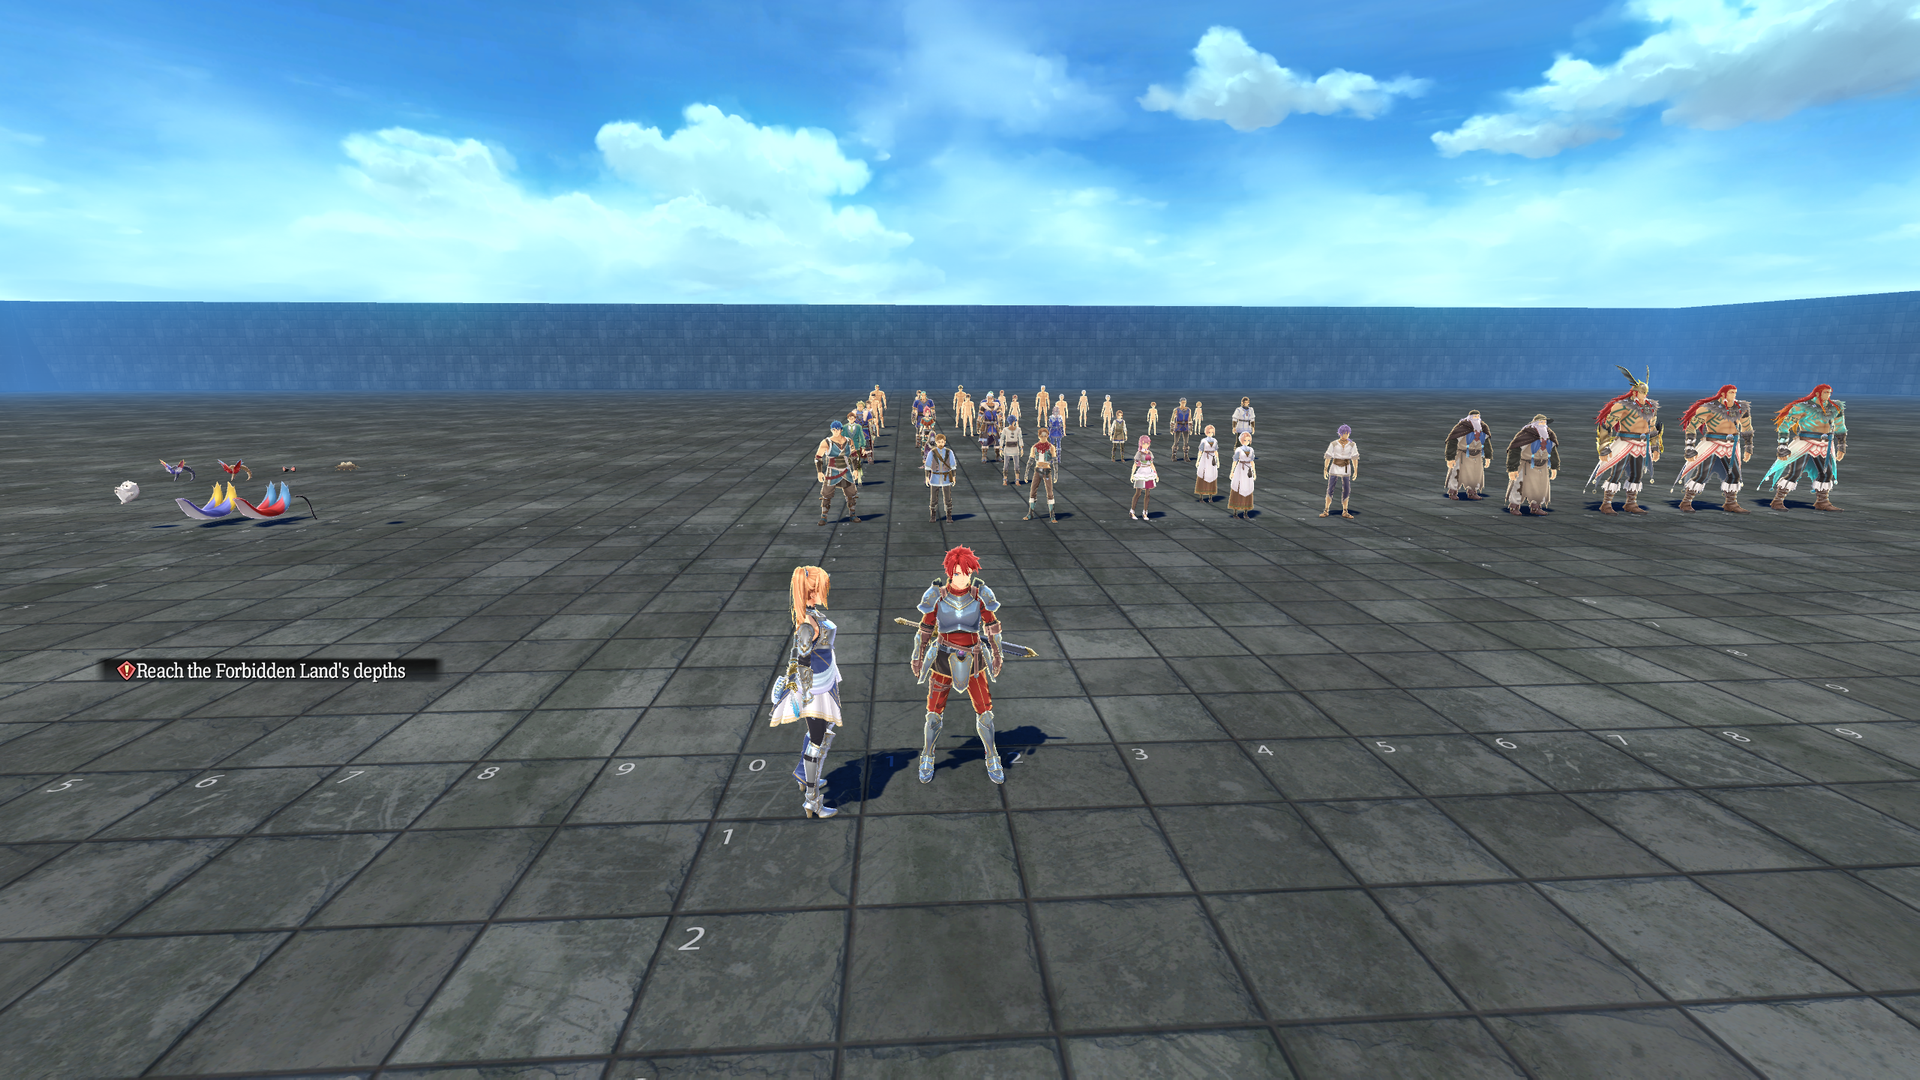
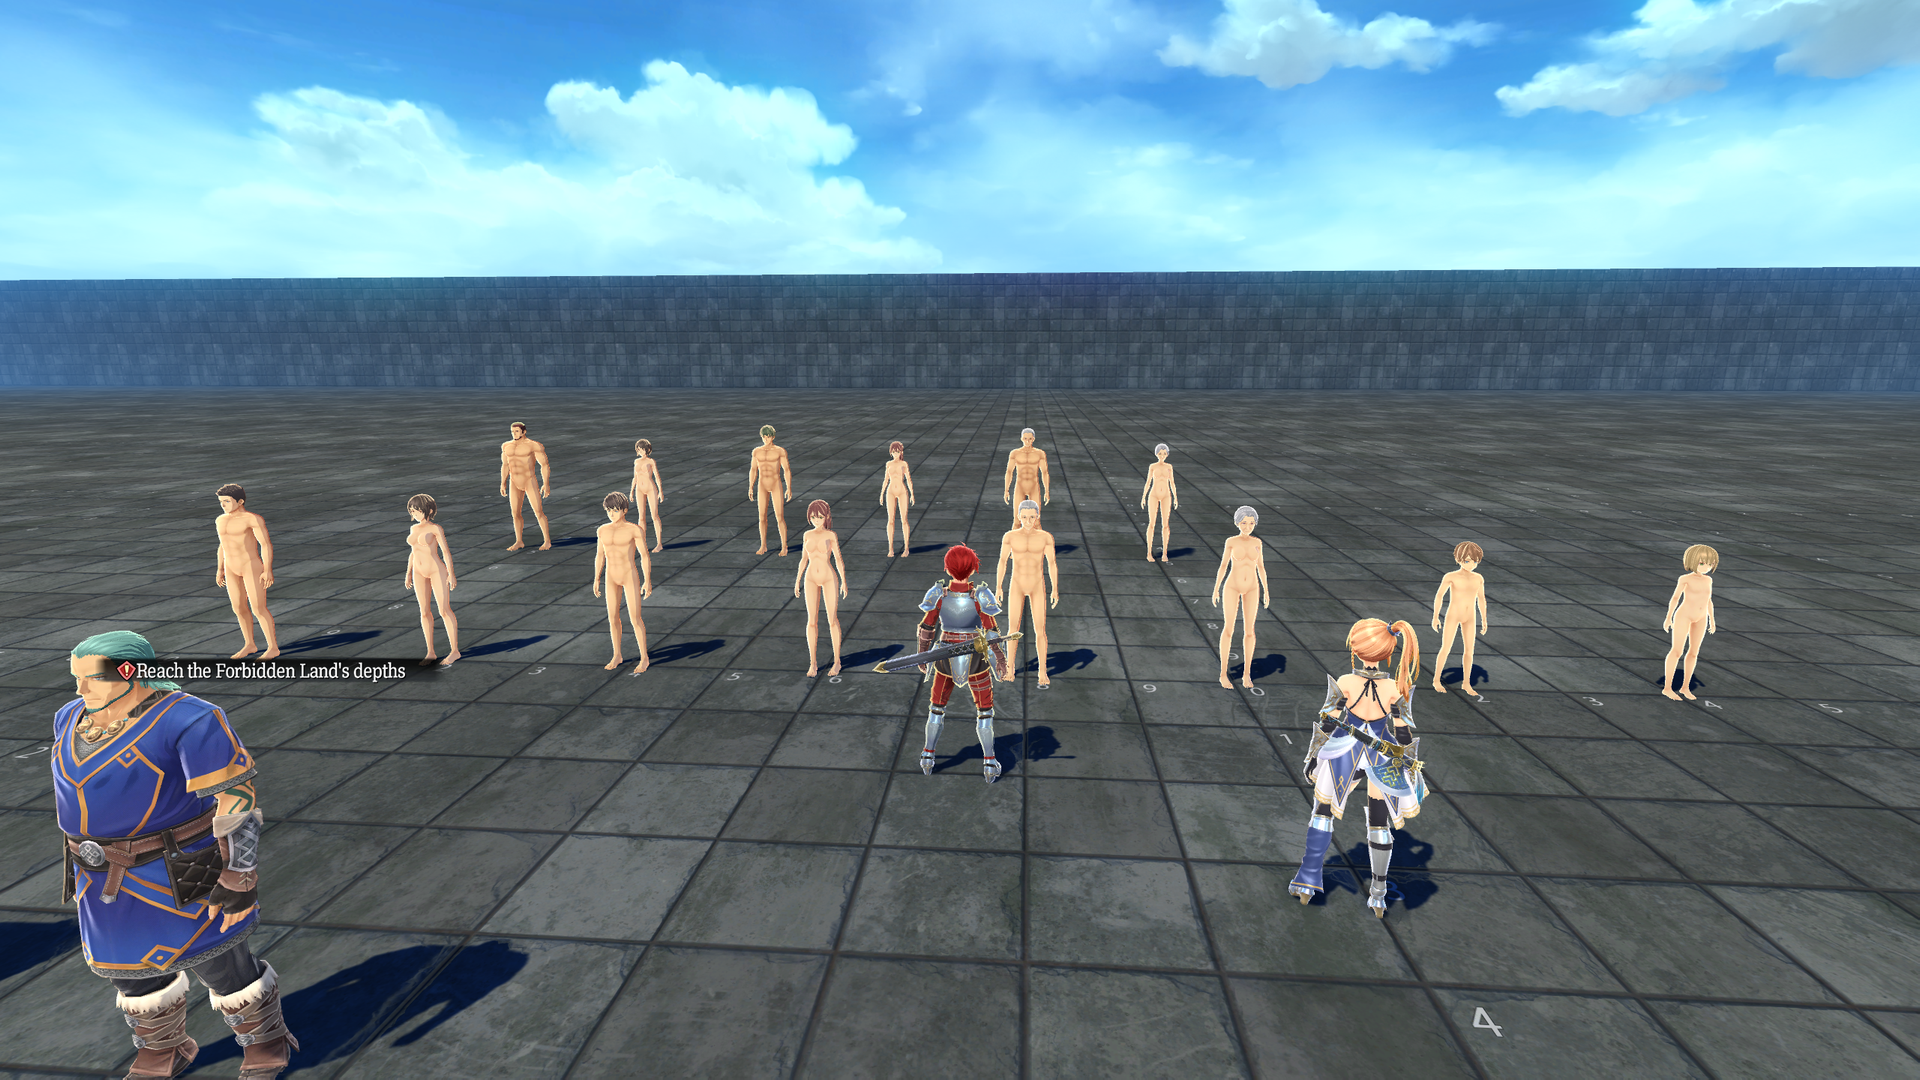
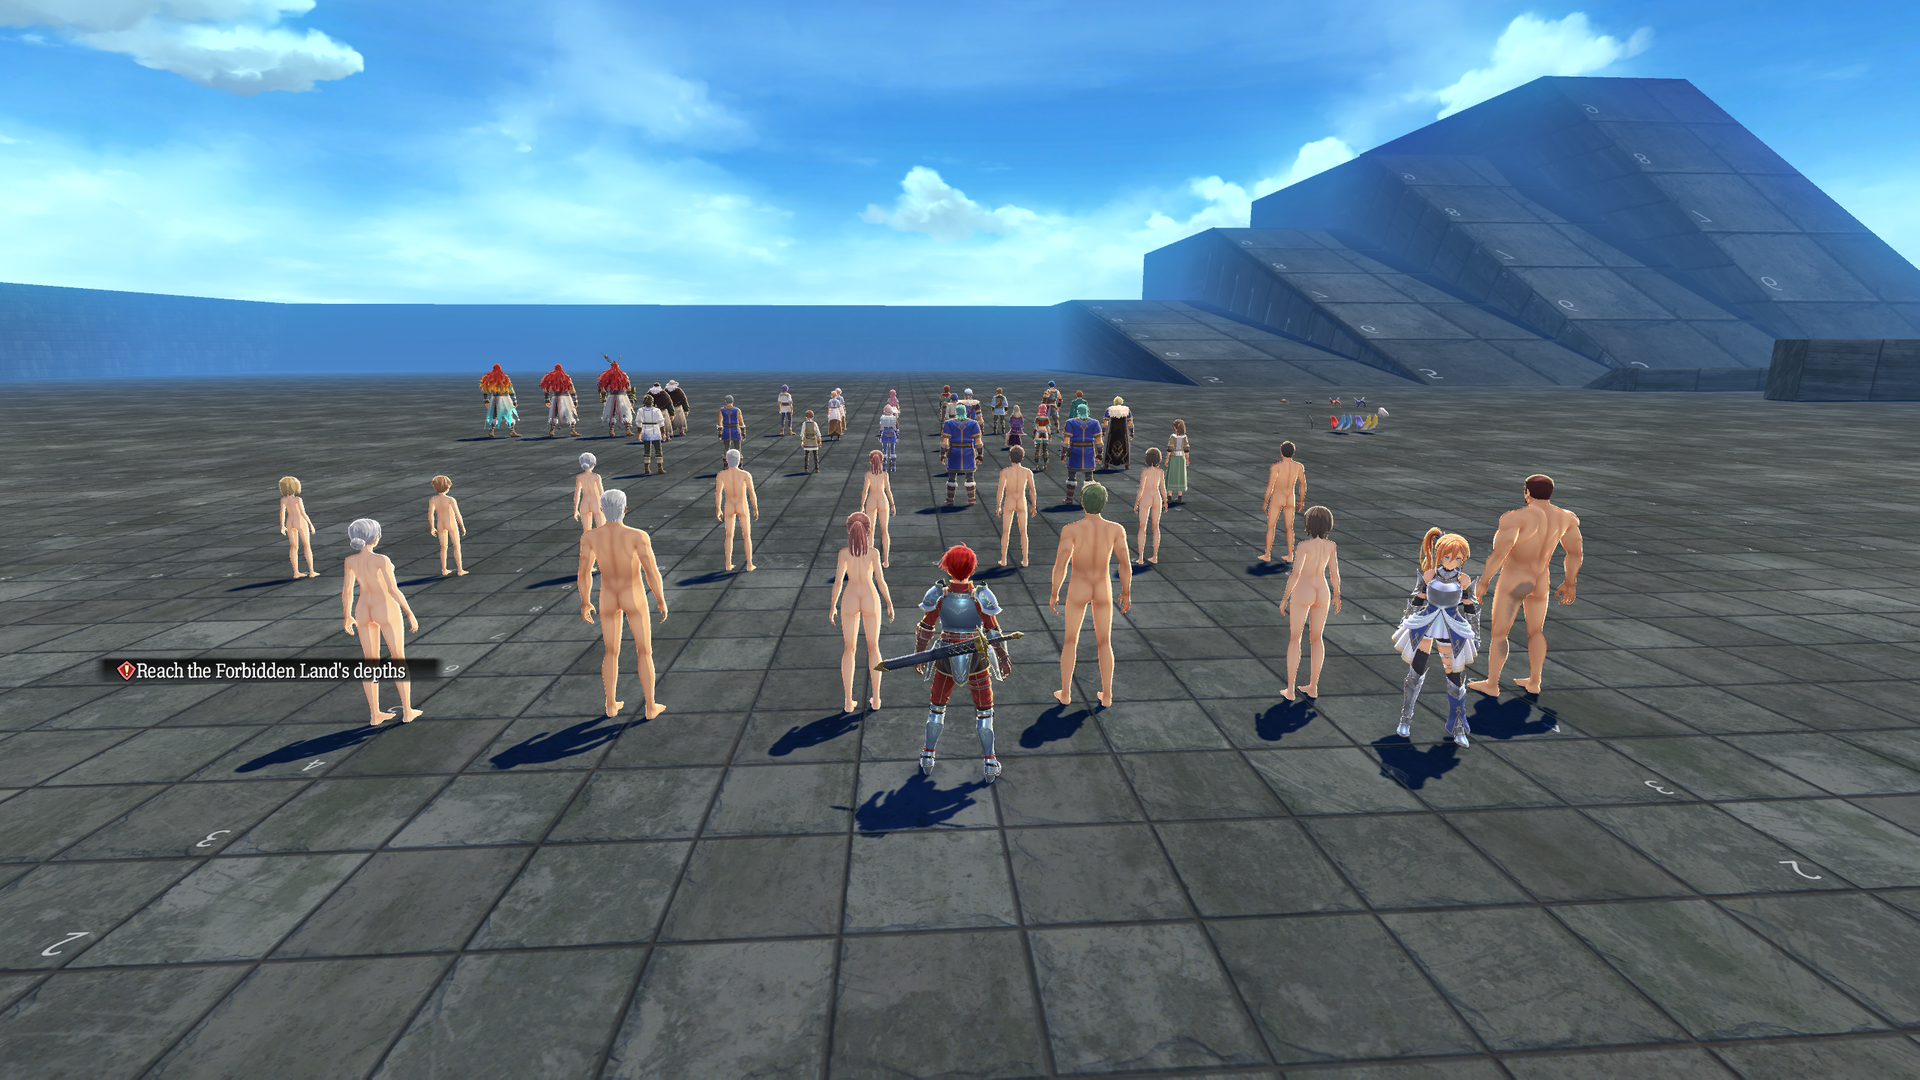
Contains important characters, like test_arg_chr01, but also contains some of the DLC character attachments and nude NPC base models (doll-like with no genitals). Nothing can be interacted with in this room.
The following content is |
|---|
   |
test_chr_room0003#
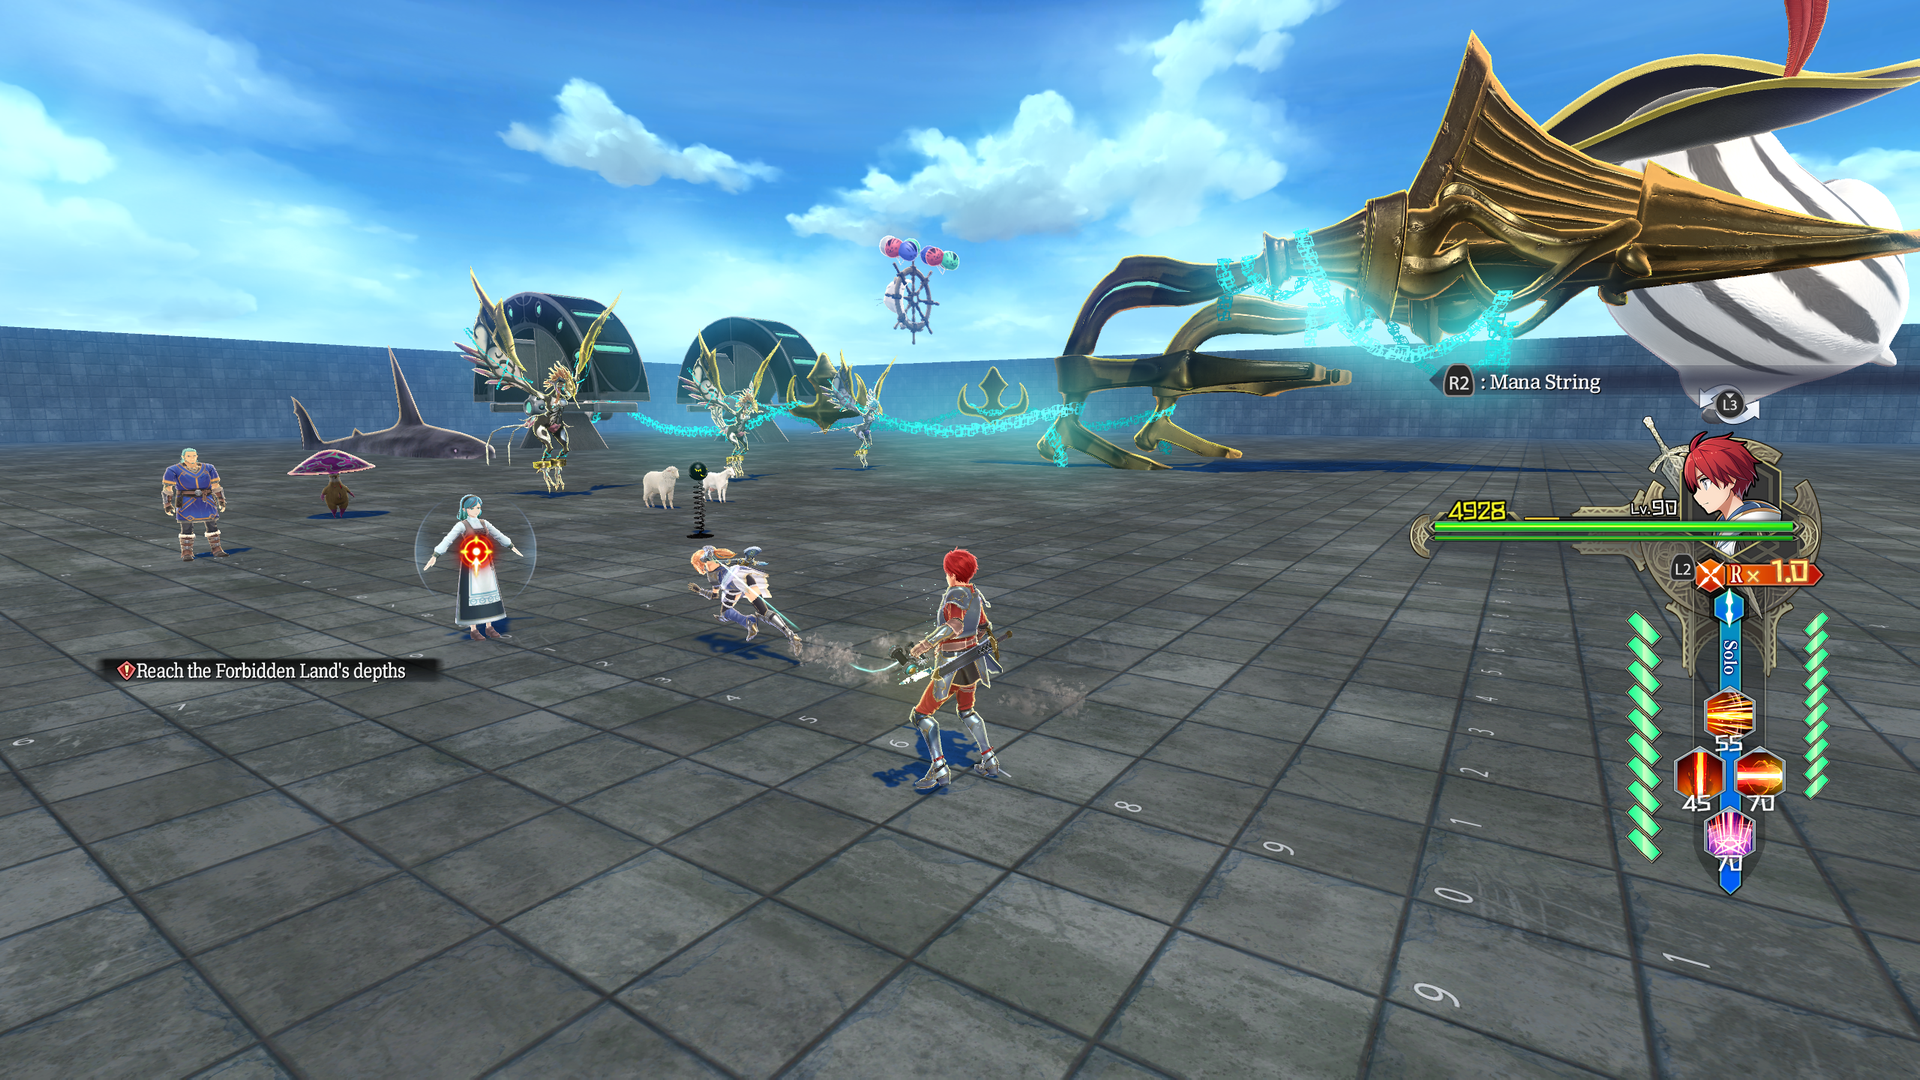
A variety of things are in this room:
- Parts from the Sandras (if you customized it).
- Parts from a Griegr ship.
- A few enemies.
- A t-posing Nanna acting as an enemy.
- A springy test NPC that can't be interacted with since Nanna is too close.
- Some animals, including a Blade Shark.
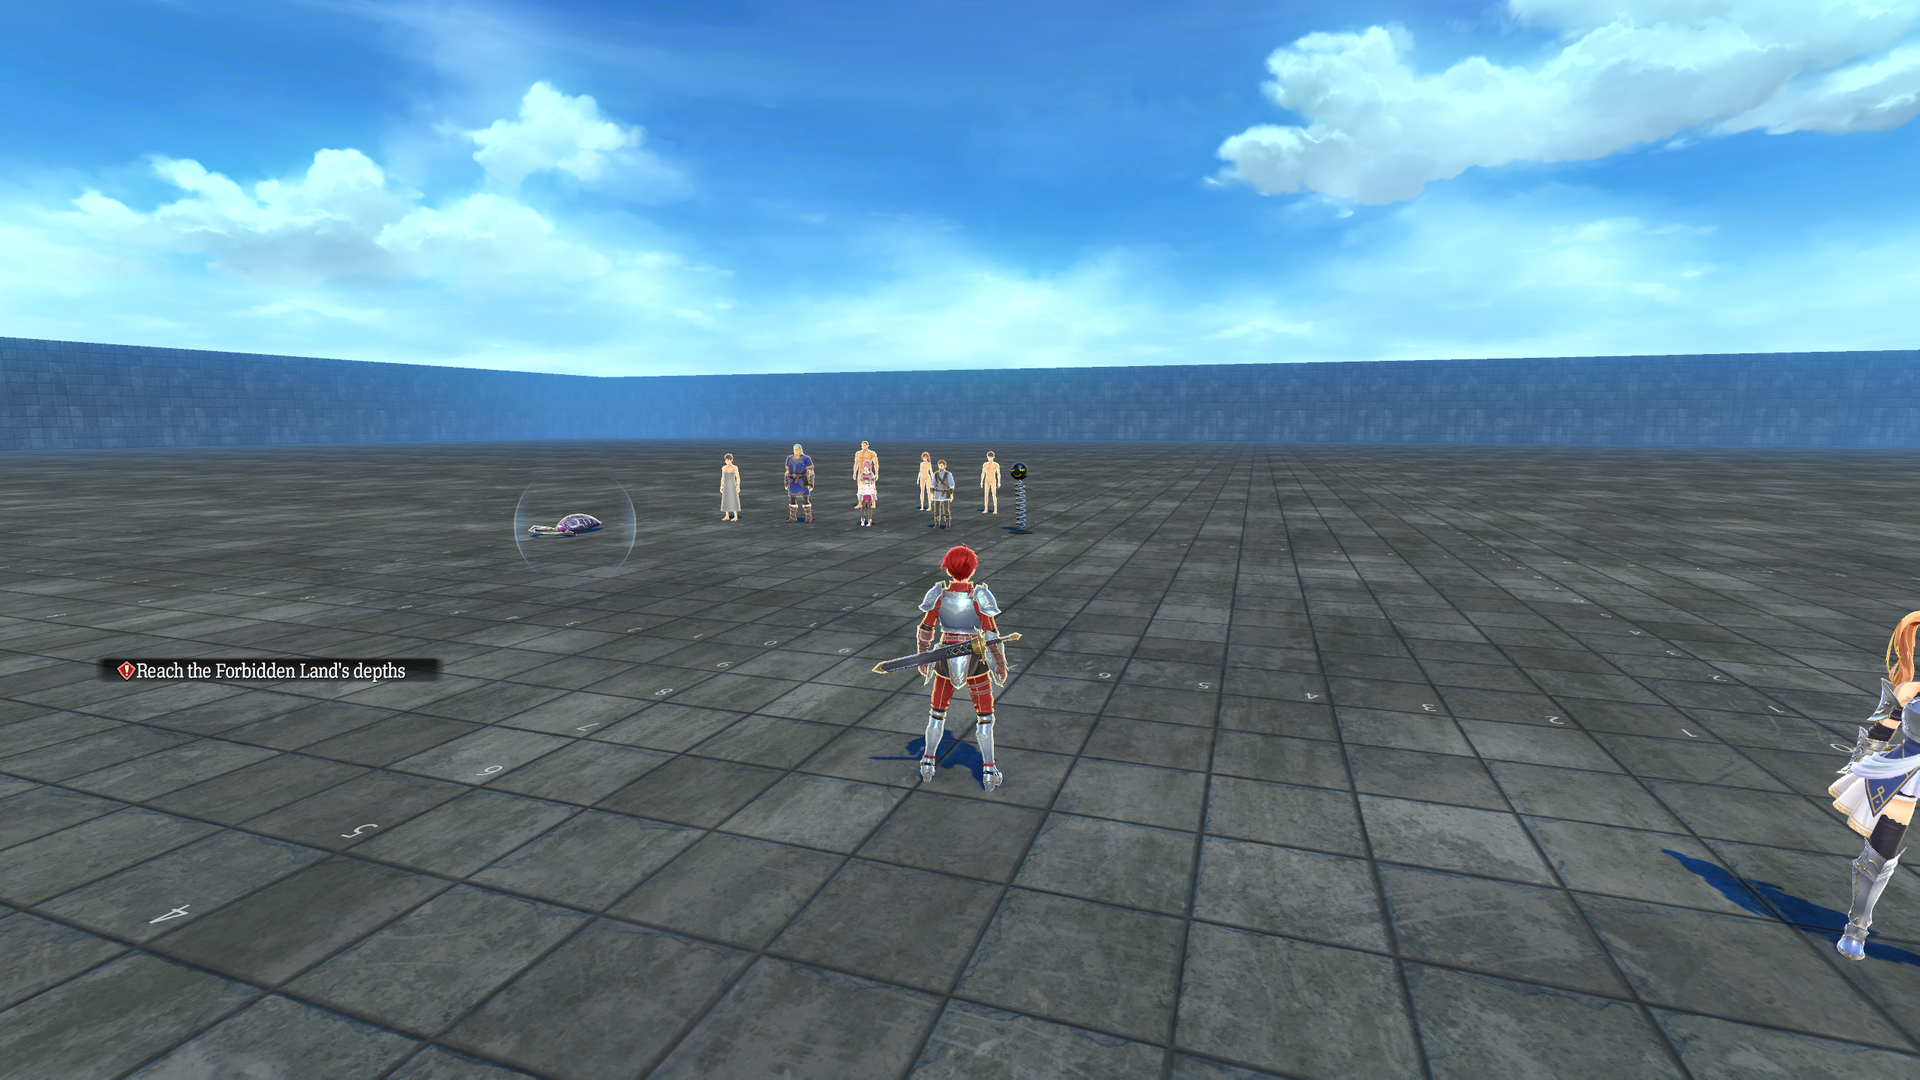
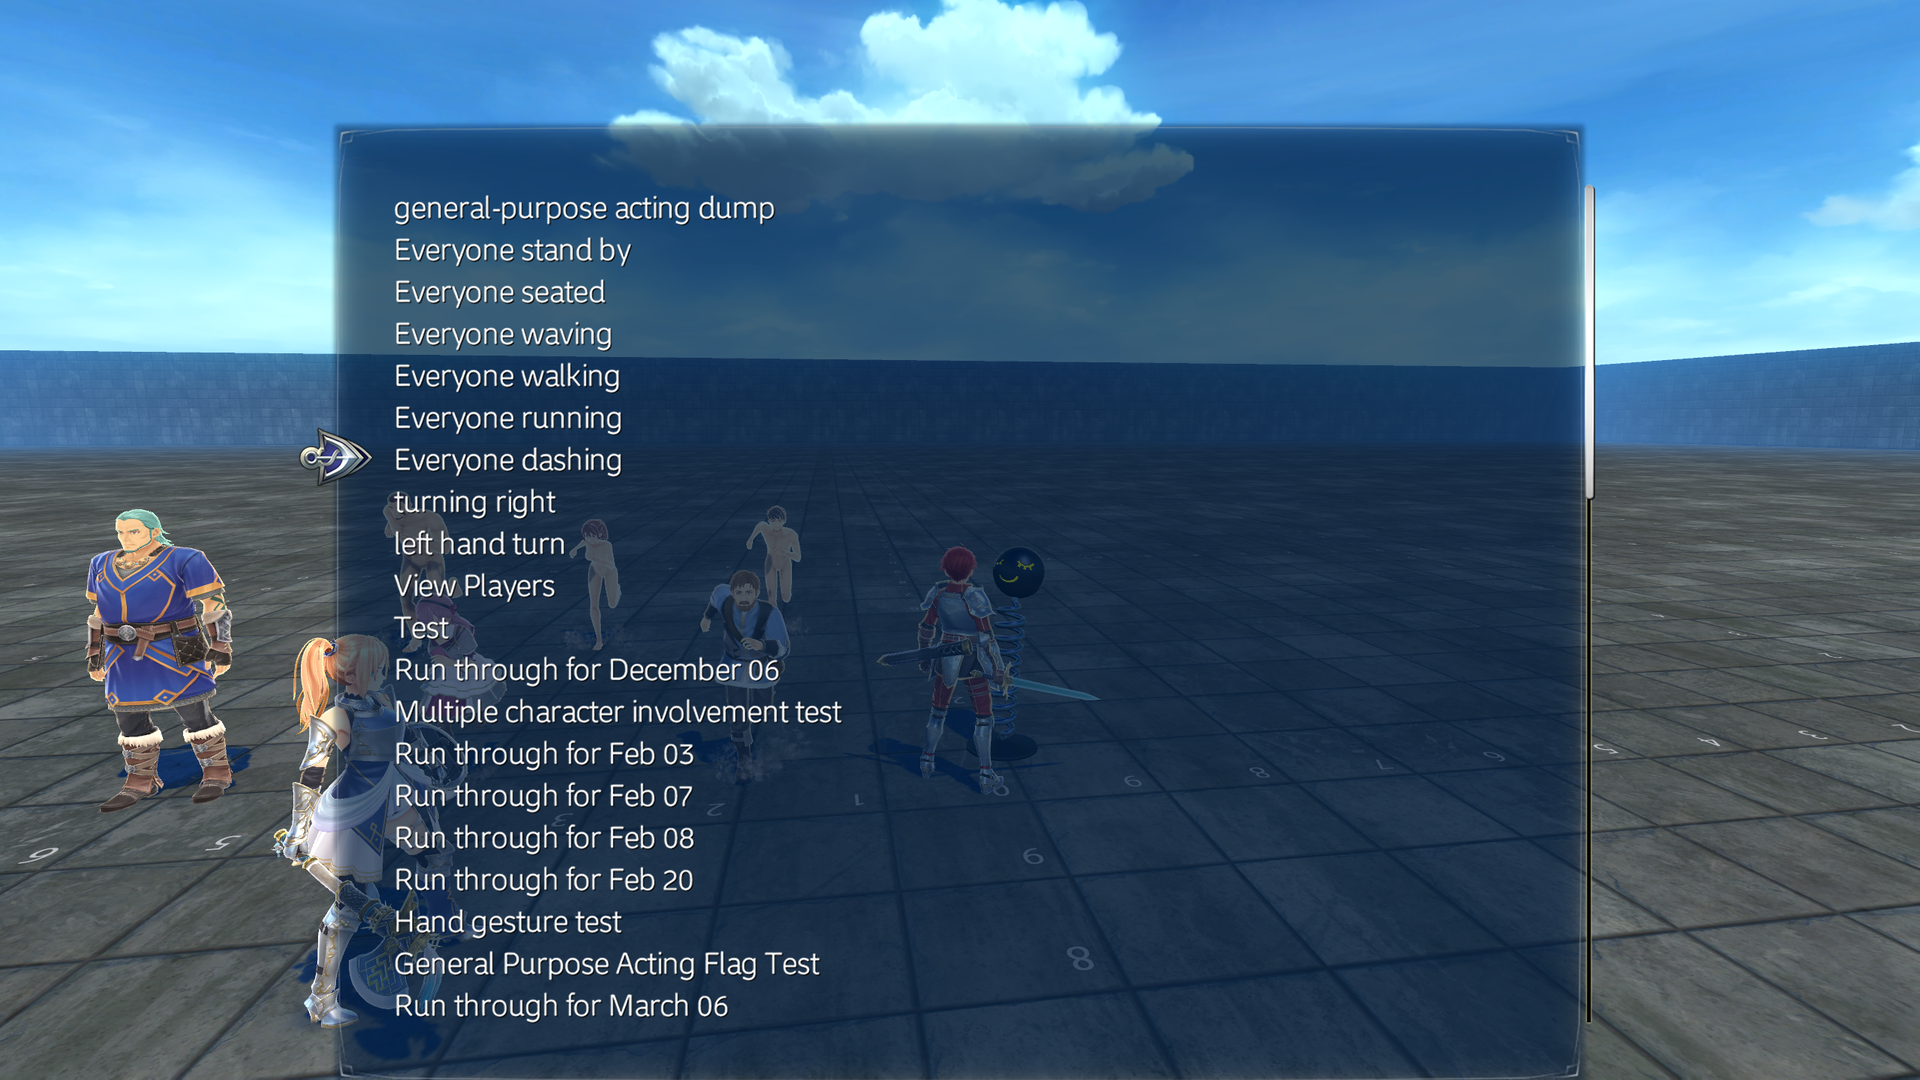
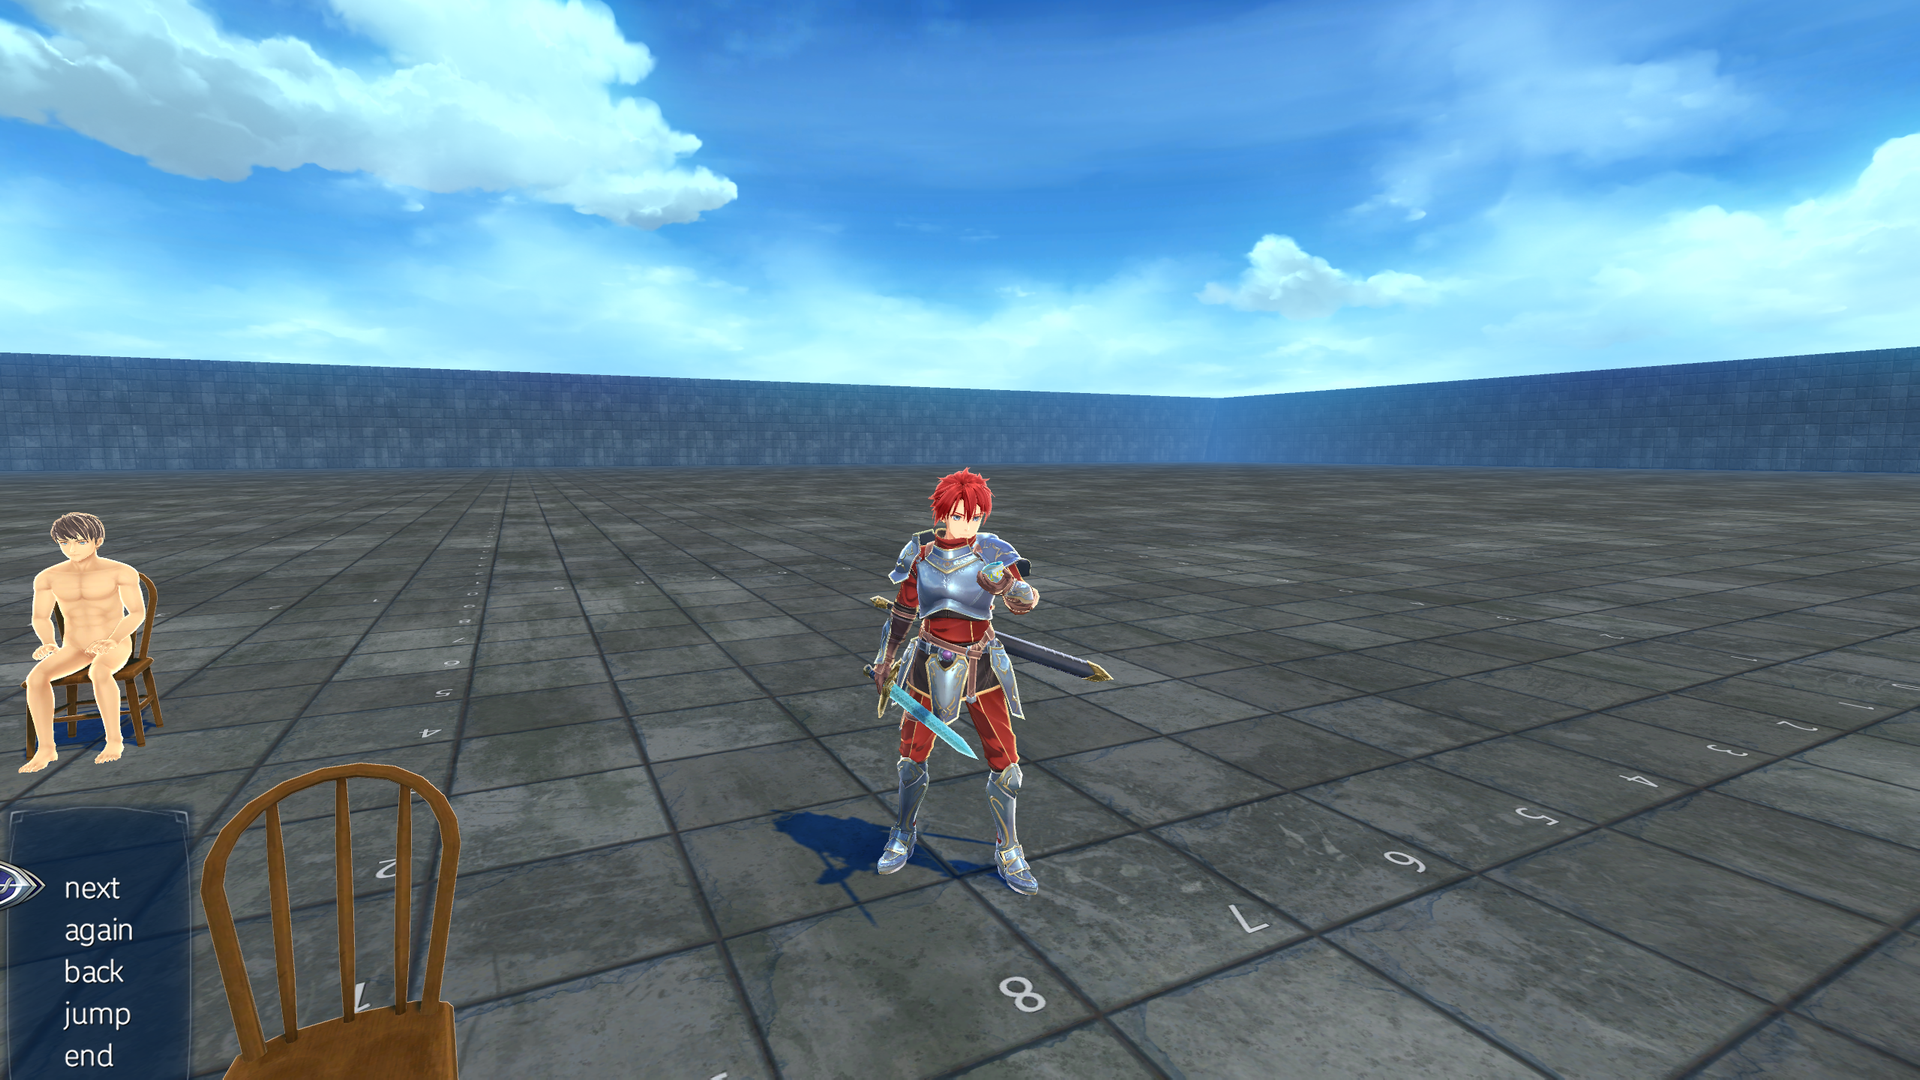
test_chr_room0004#
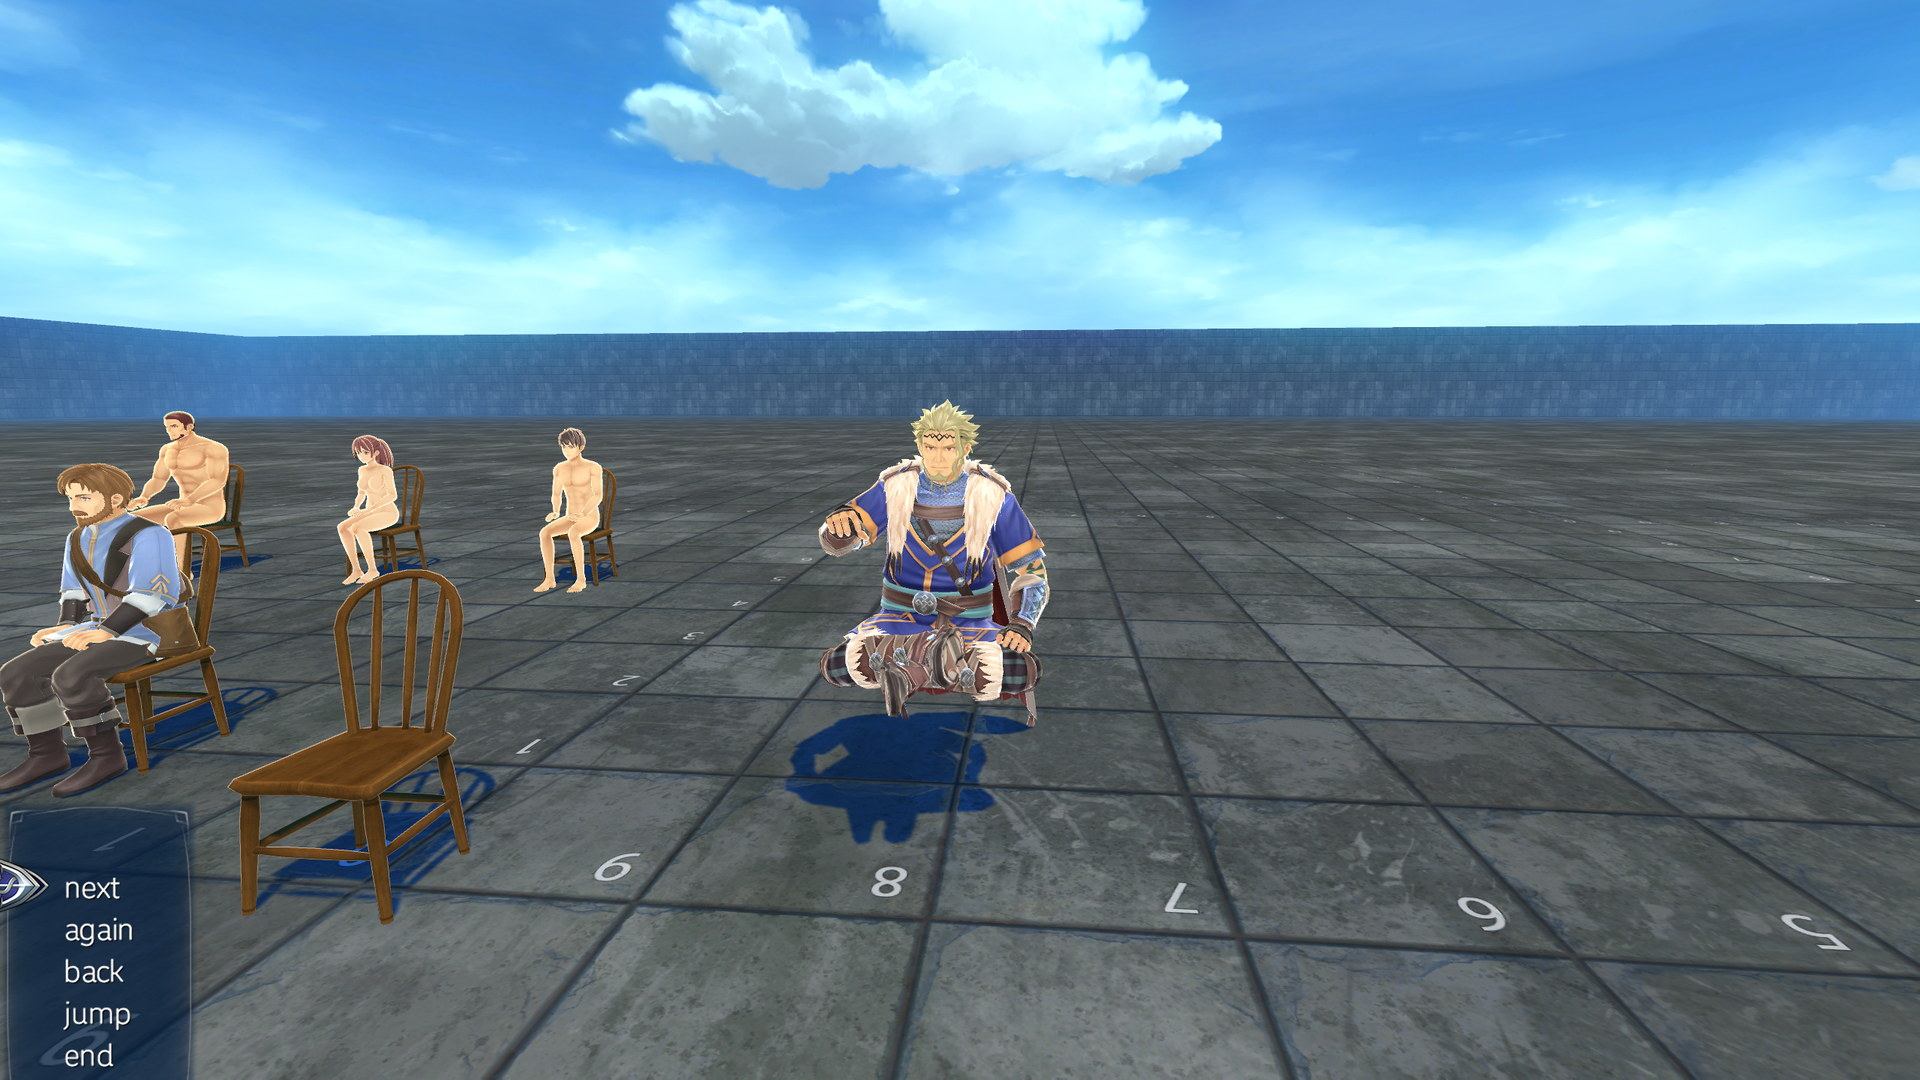
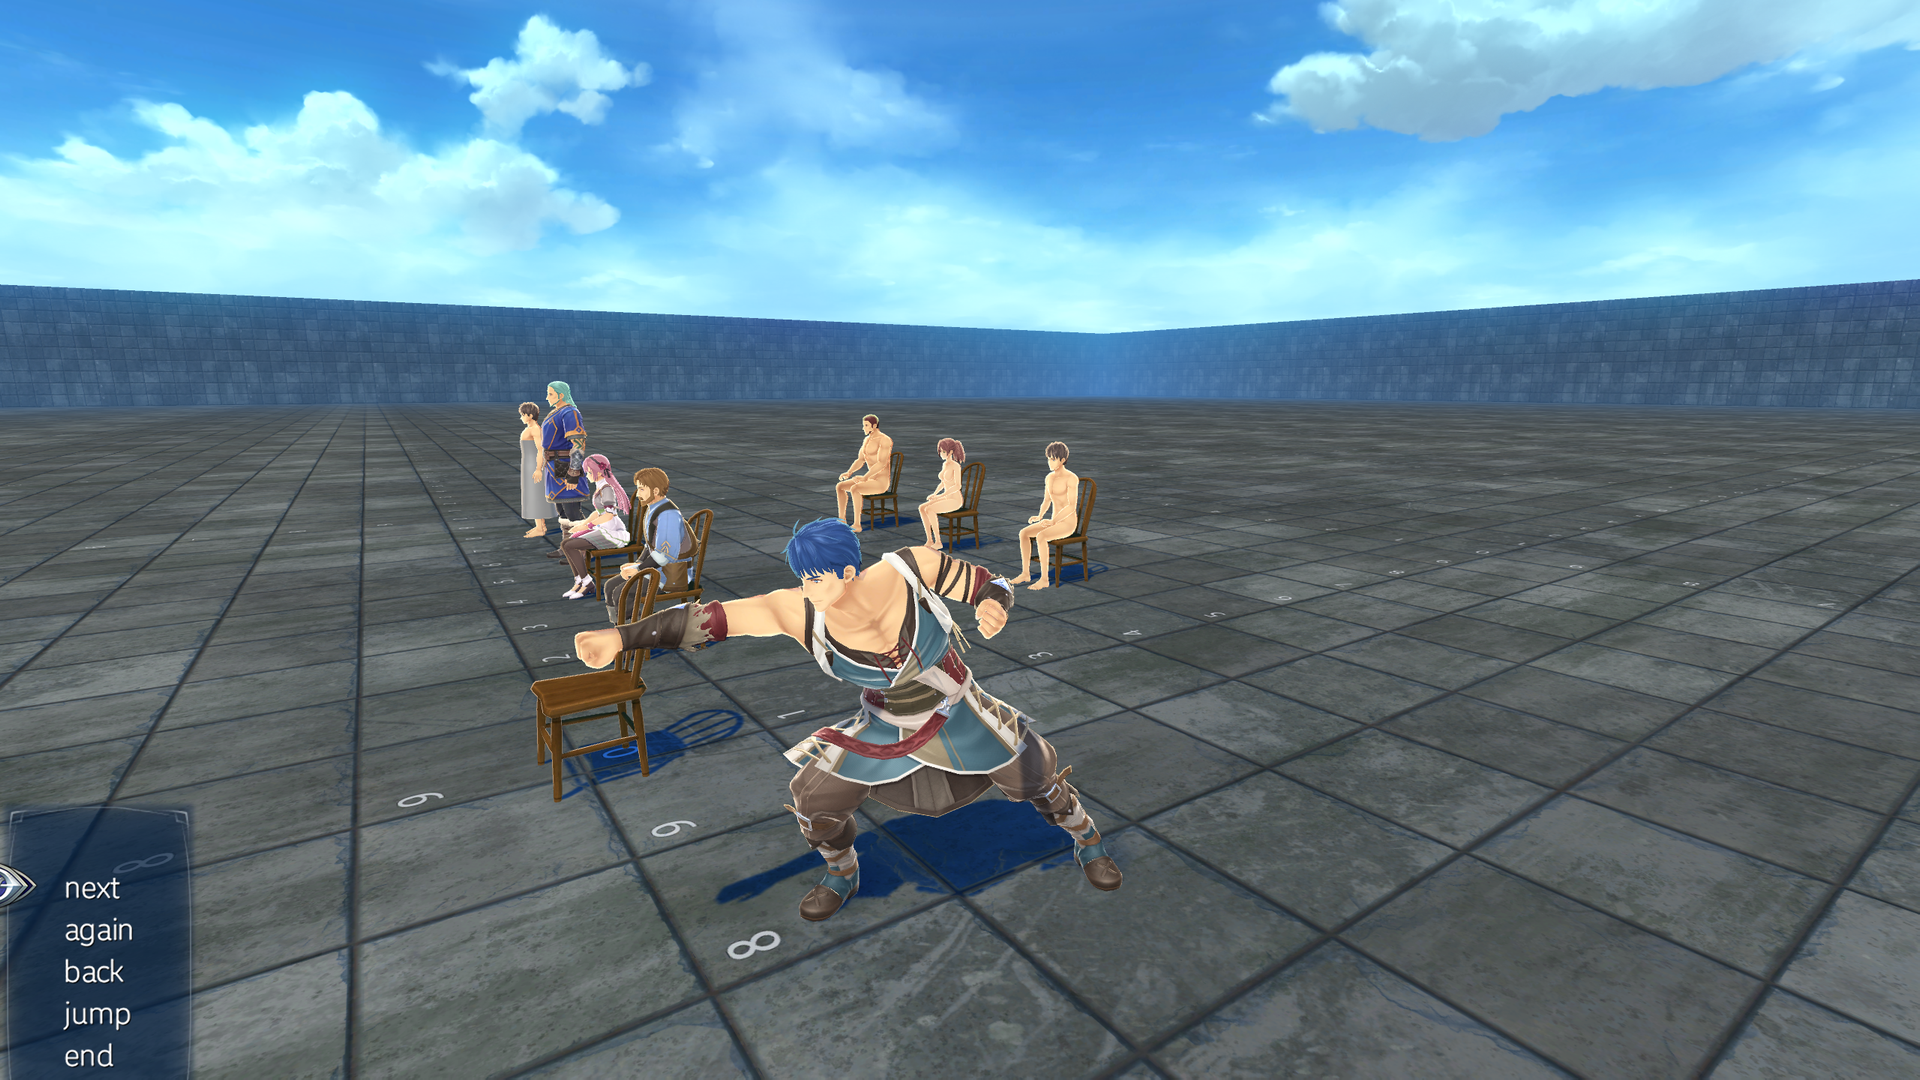
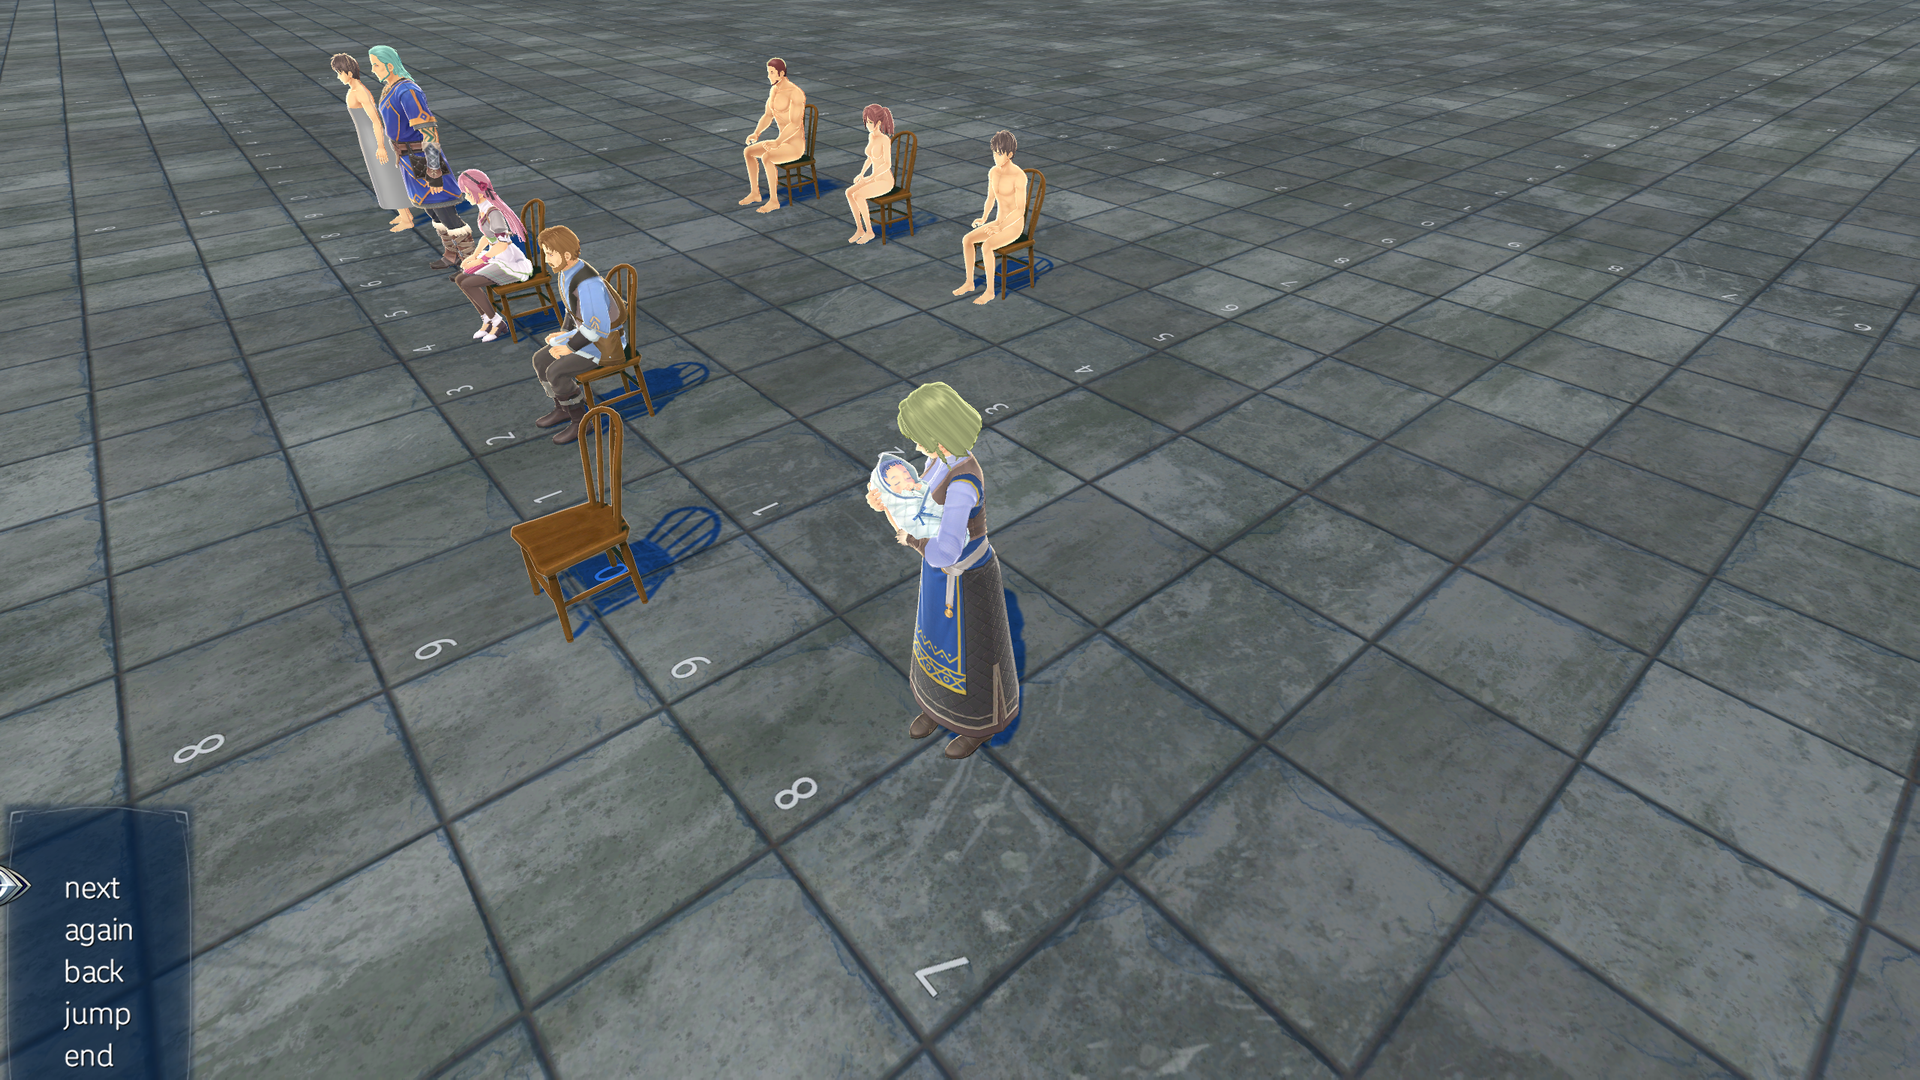
An enemy, a few NPCs, and some nude NPC base models are here; one of which has a reference material wrapped around him.
- The springy test NPC brings up a menu that can test certain animations.
- Some options control the NPCs already in the room, while others play out more specific animations from throughout the game.
The following content is |
|---|
      |
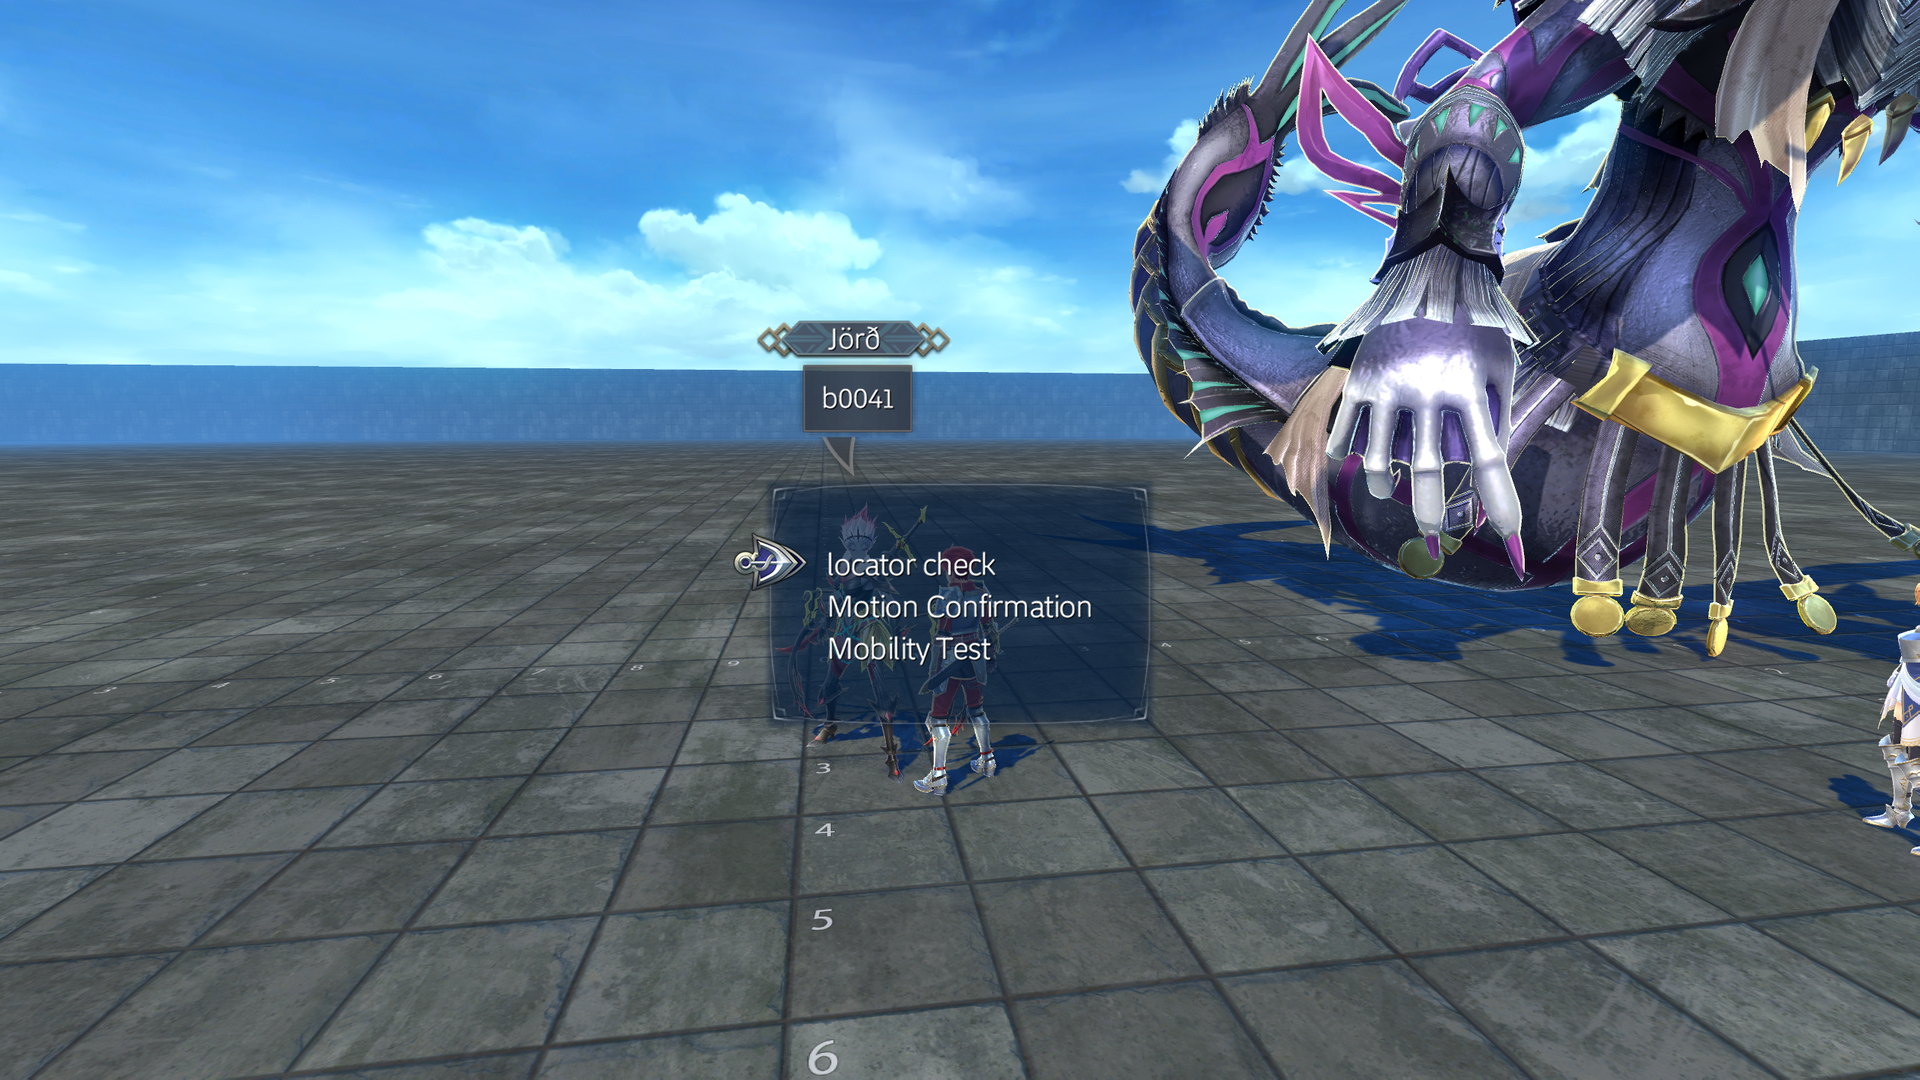
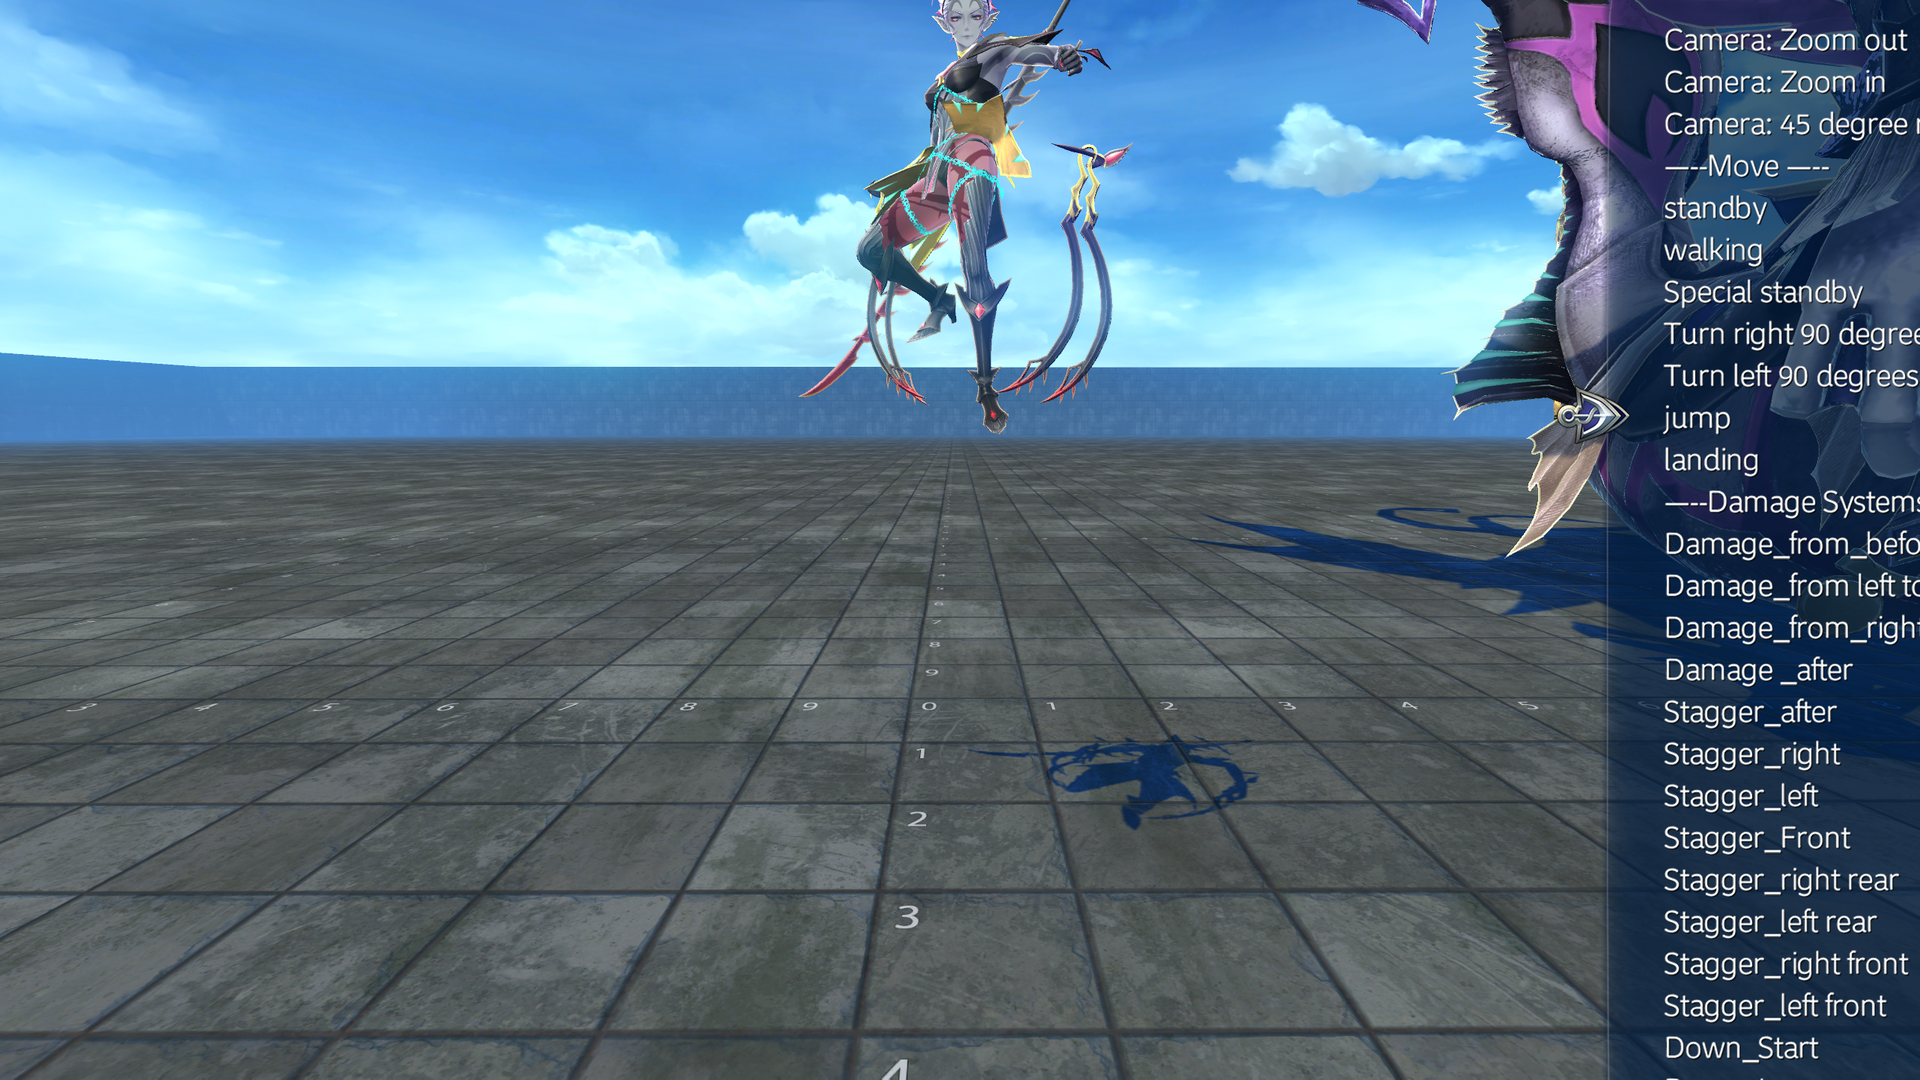
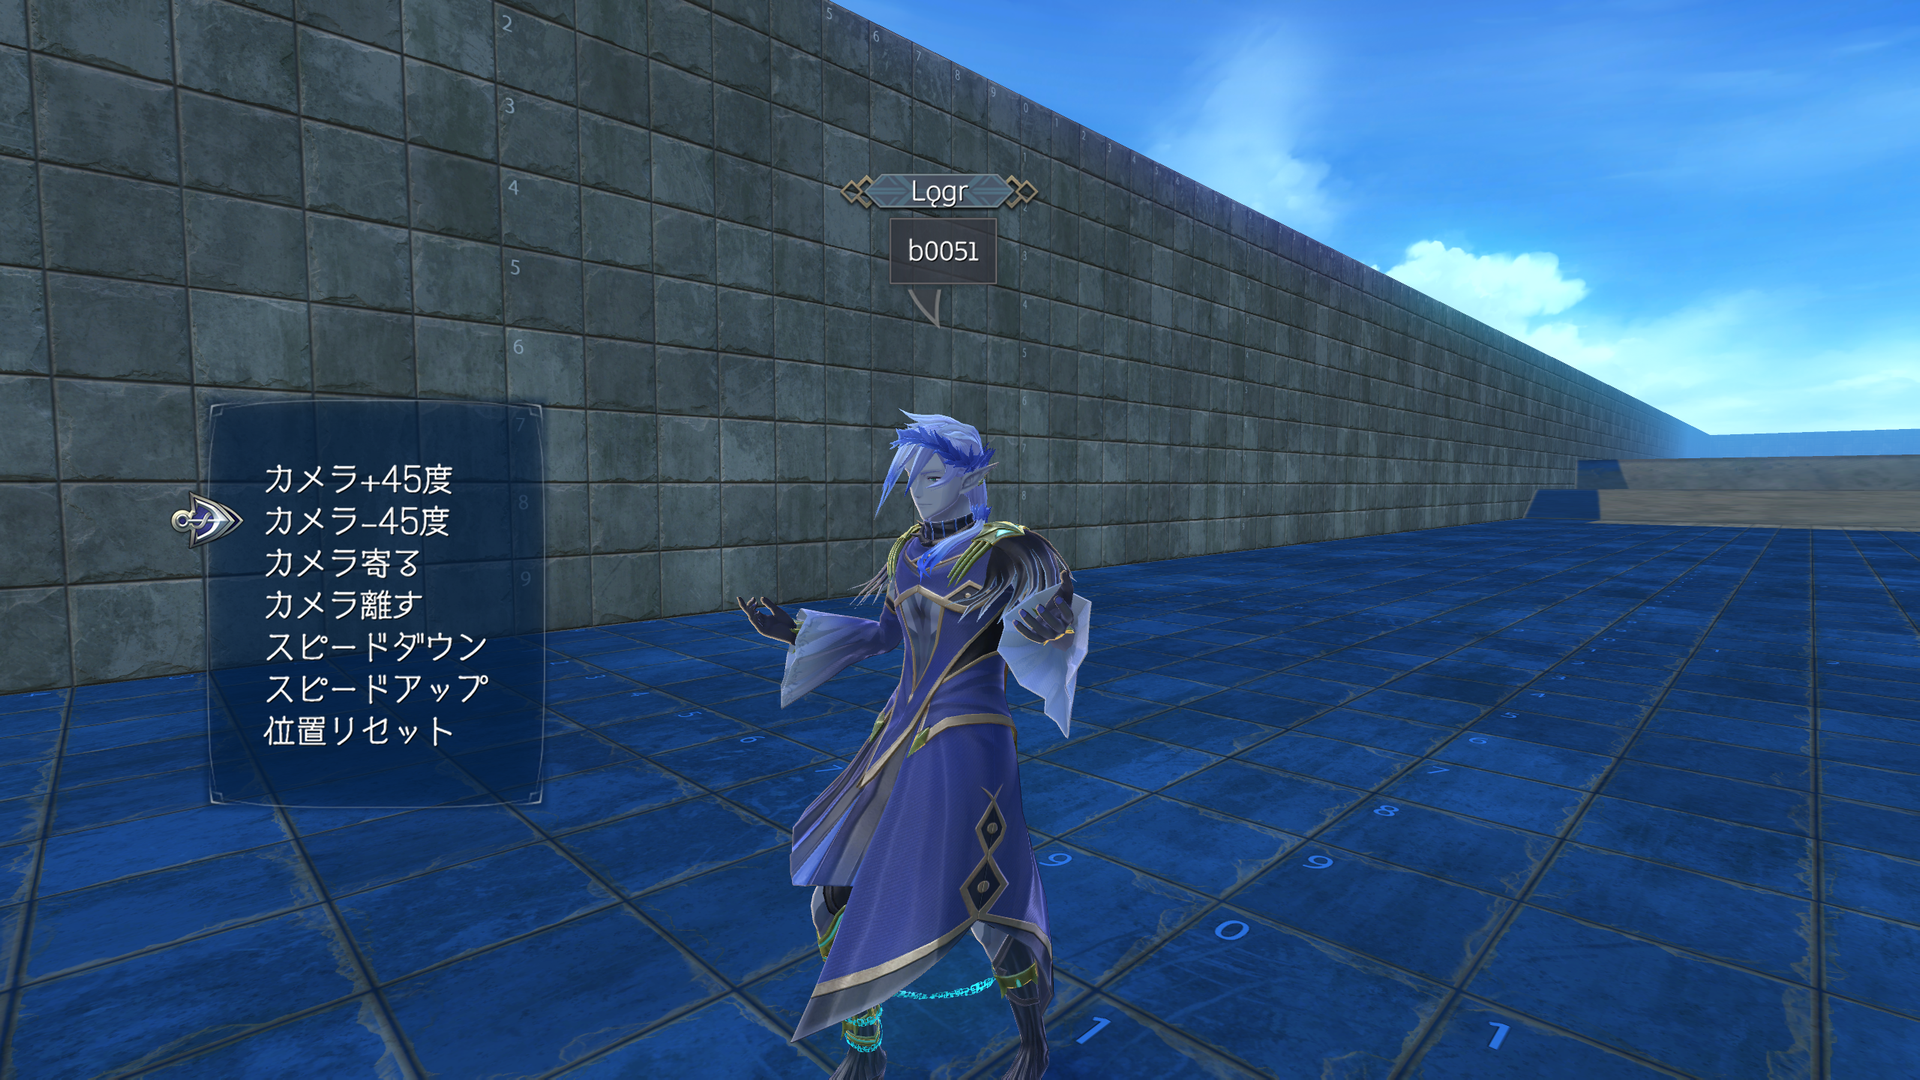
test_chr_room0005#
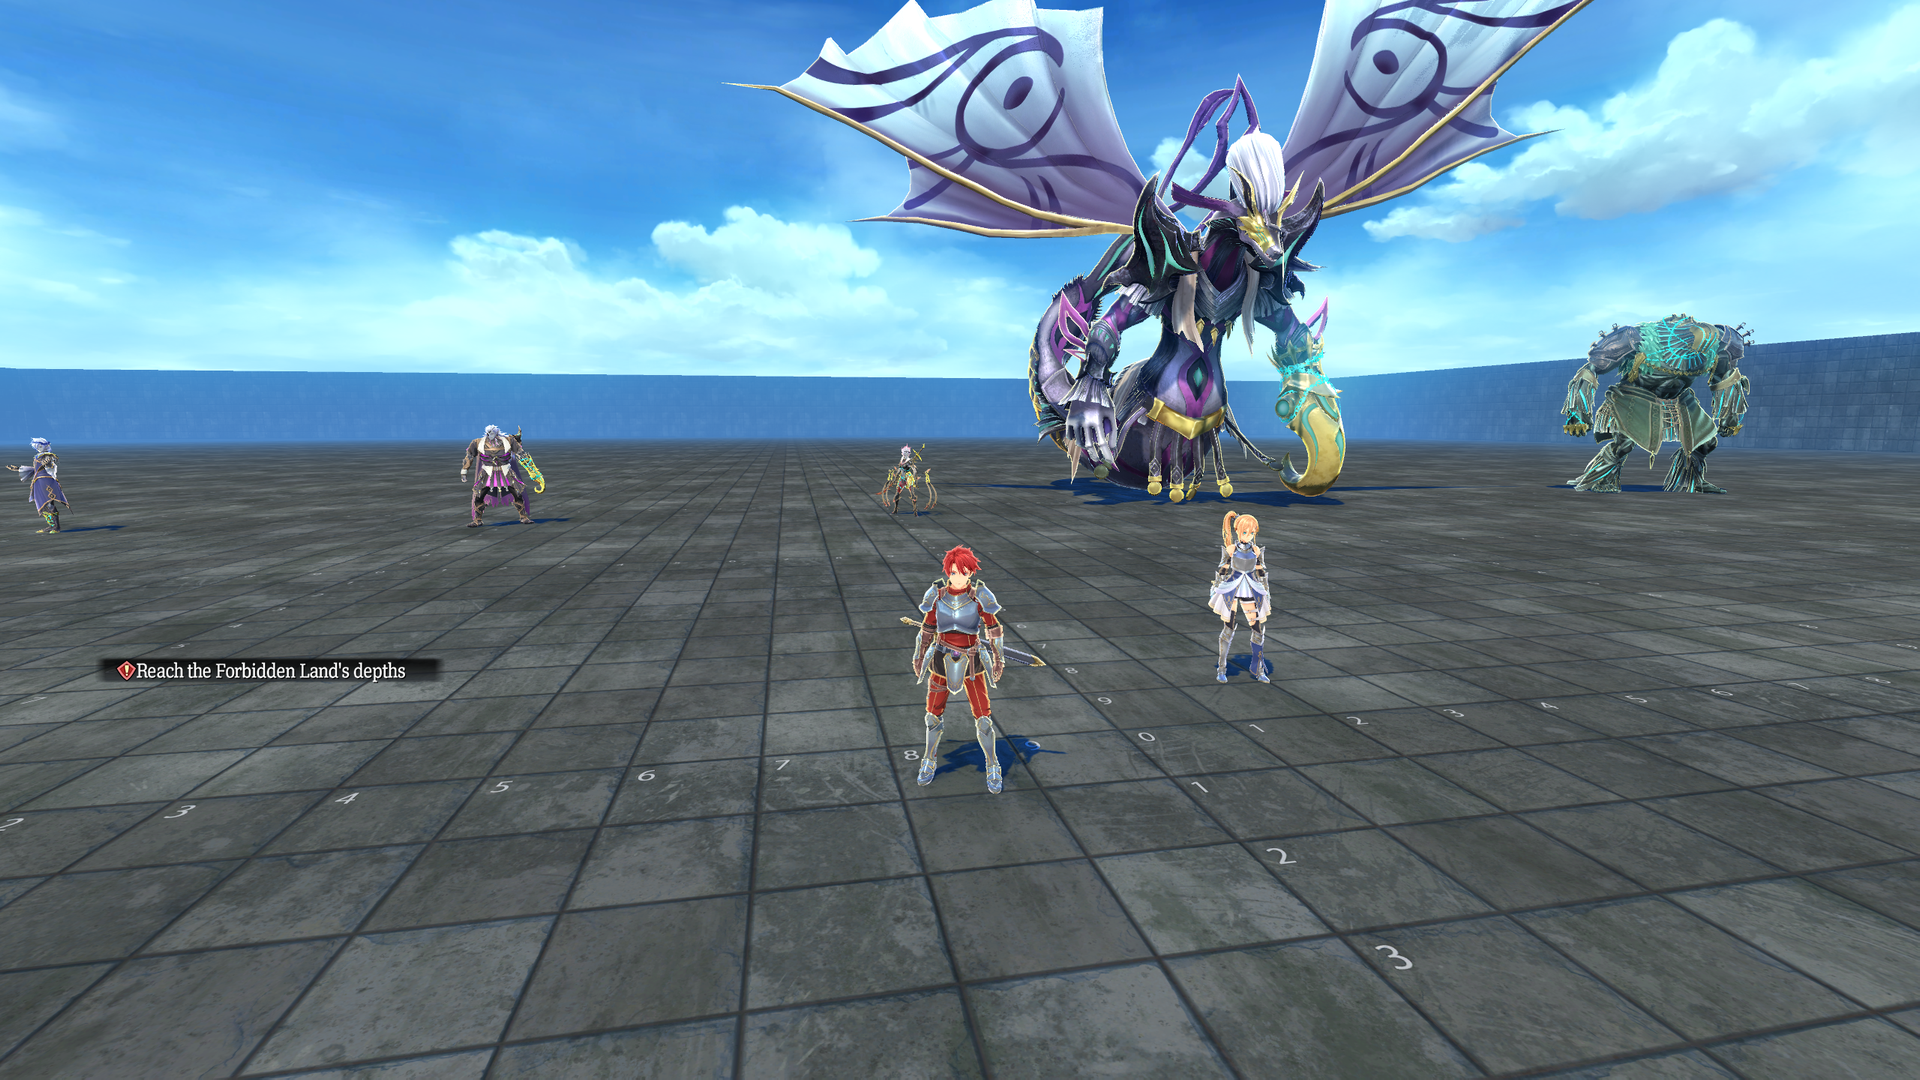
Some of the bosses (as NPCs) are present. Interacting with them gives a menu to test their animations, including movement across the room.
test_chr_room0006#
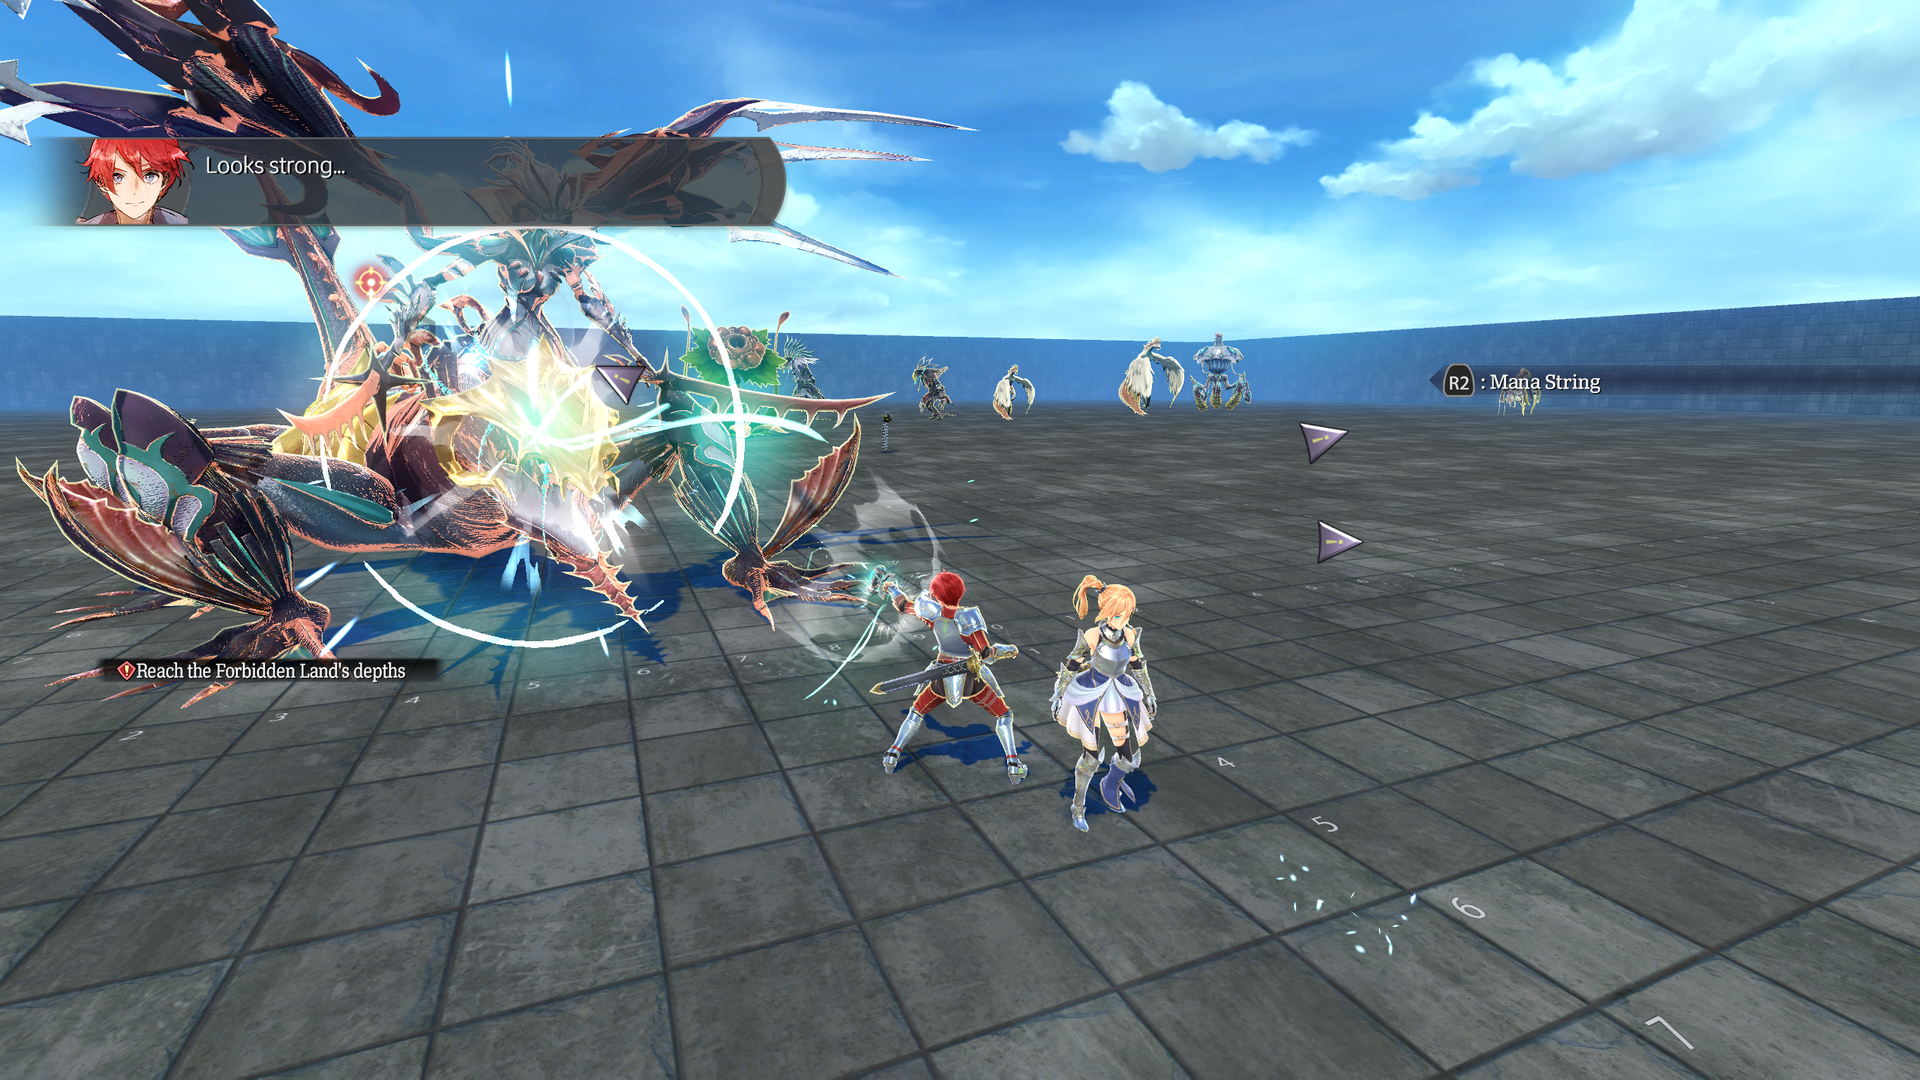
Includes a bunch of enemies, including some bosses. The springy test NPC can't be interacted with since there are too many enemies nearby, and killing them will eventually lead to the game jumping to the cutscene where Rosalind would be purified of being a Griegr.
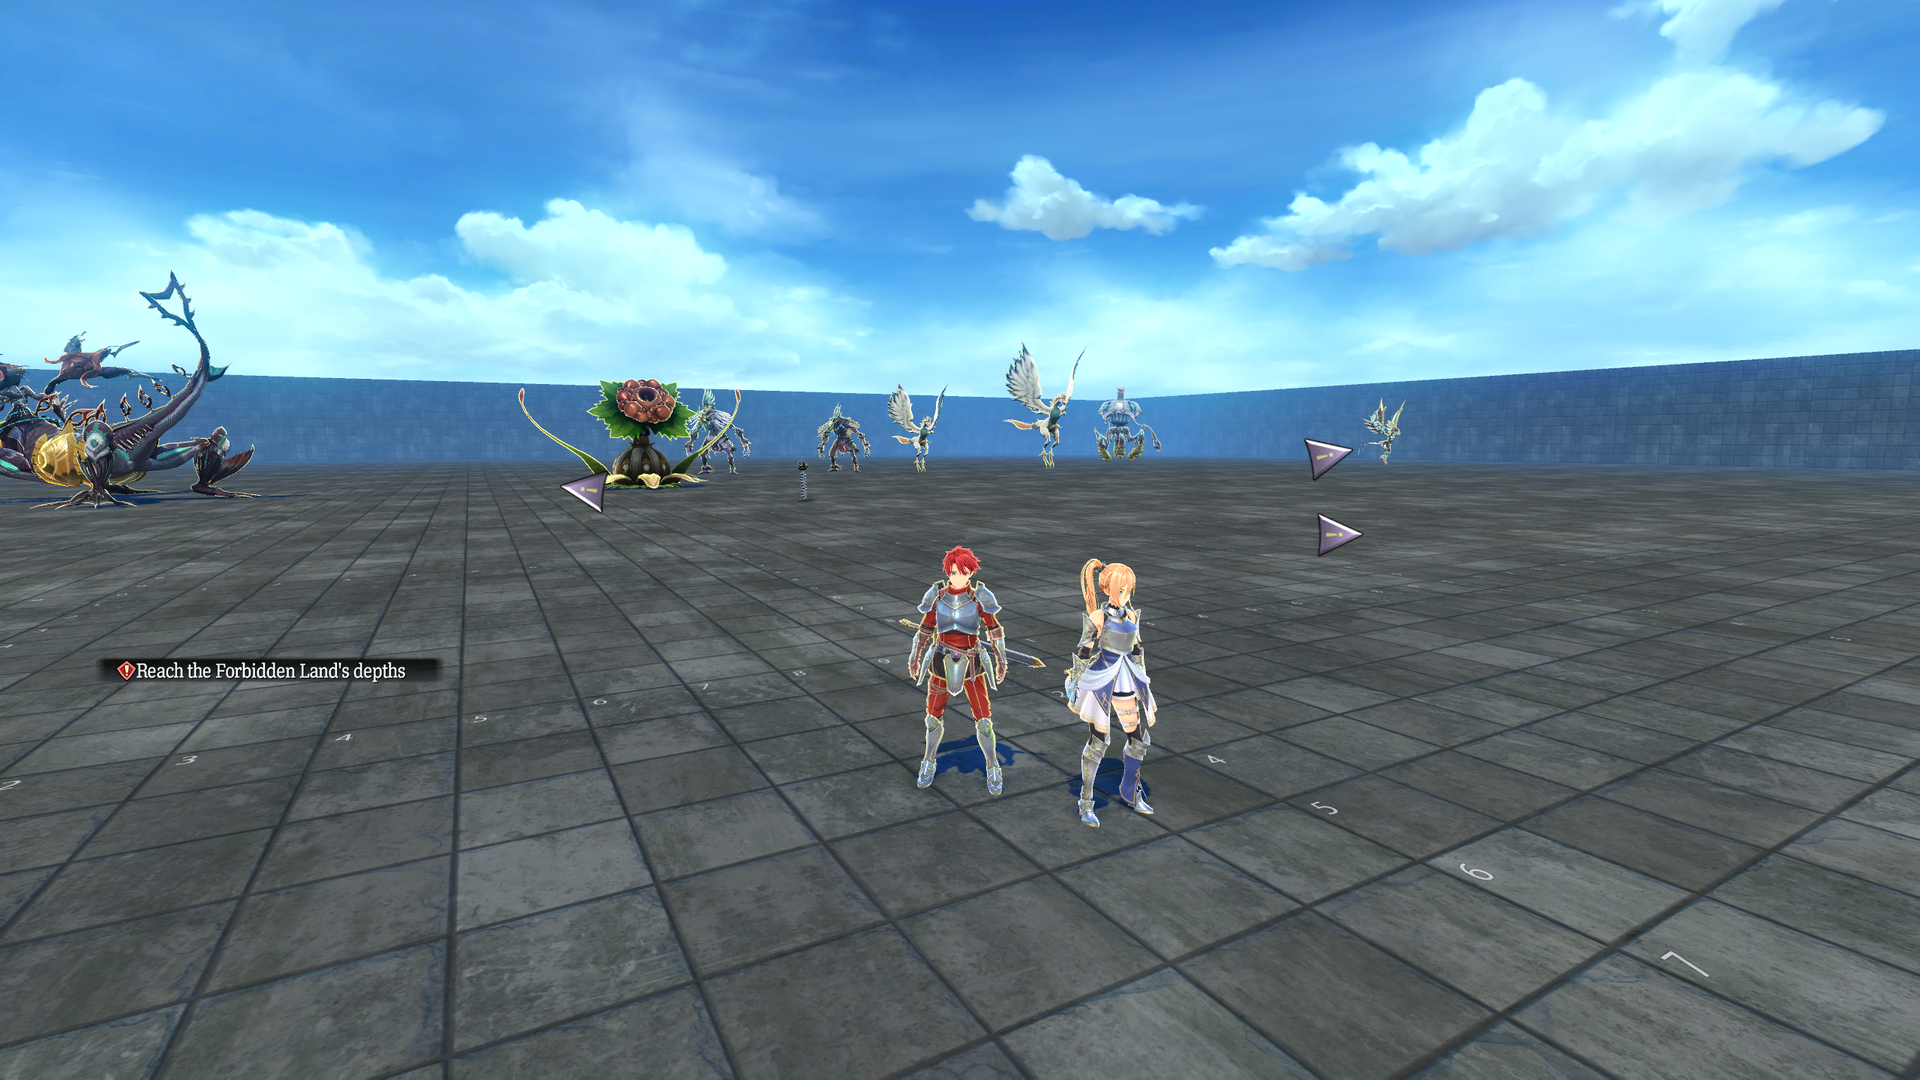
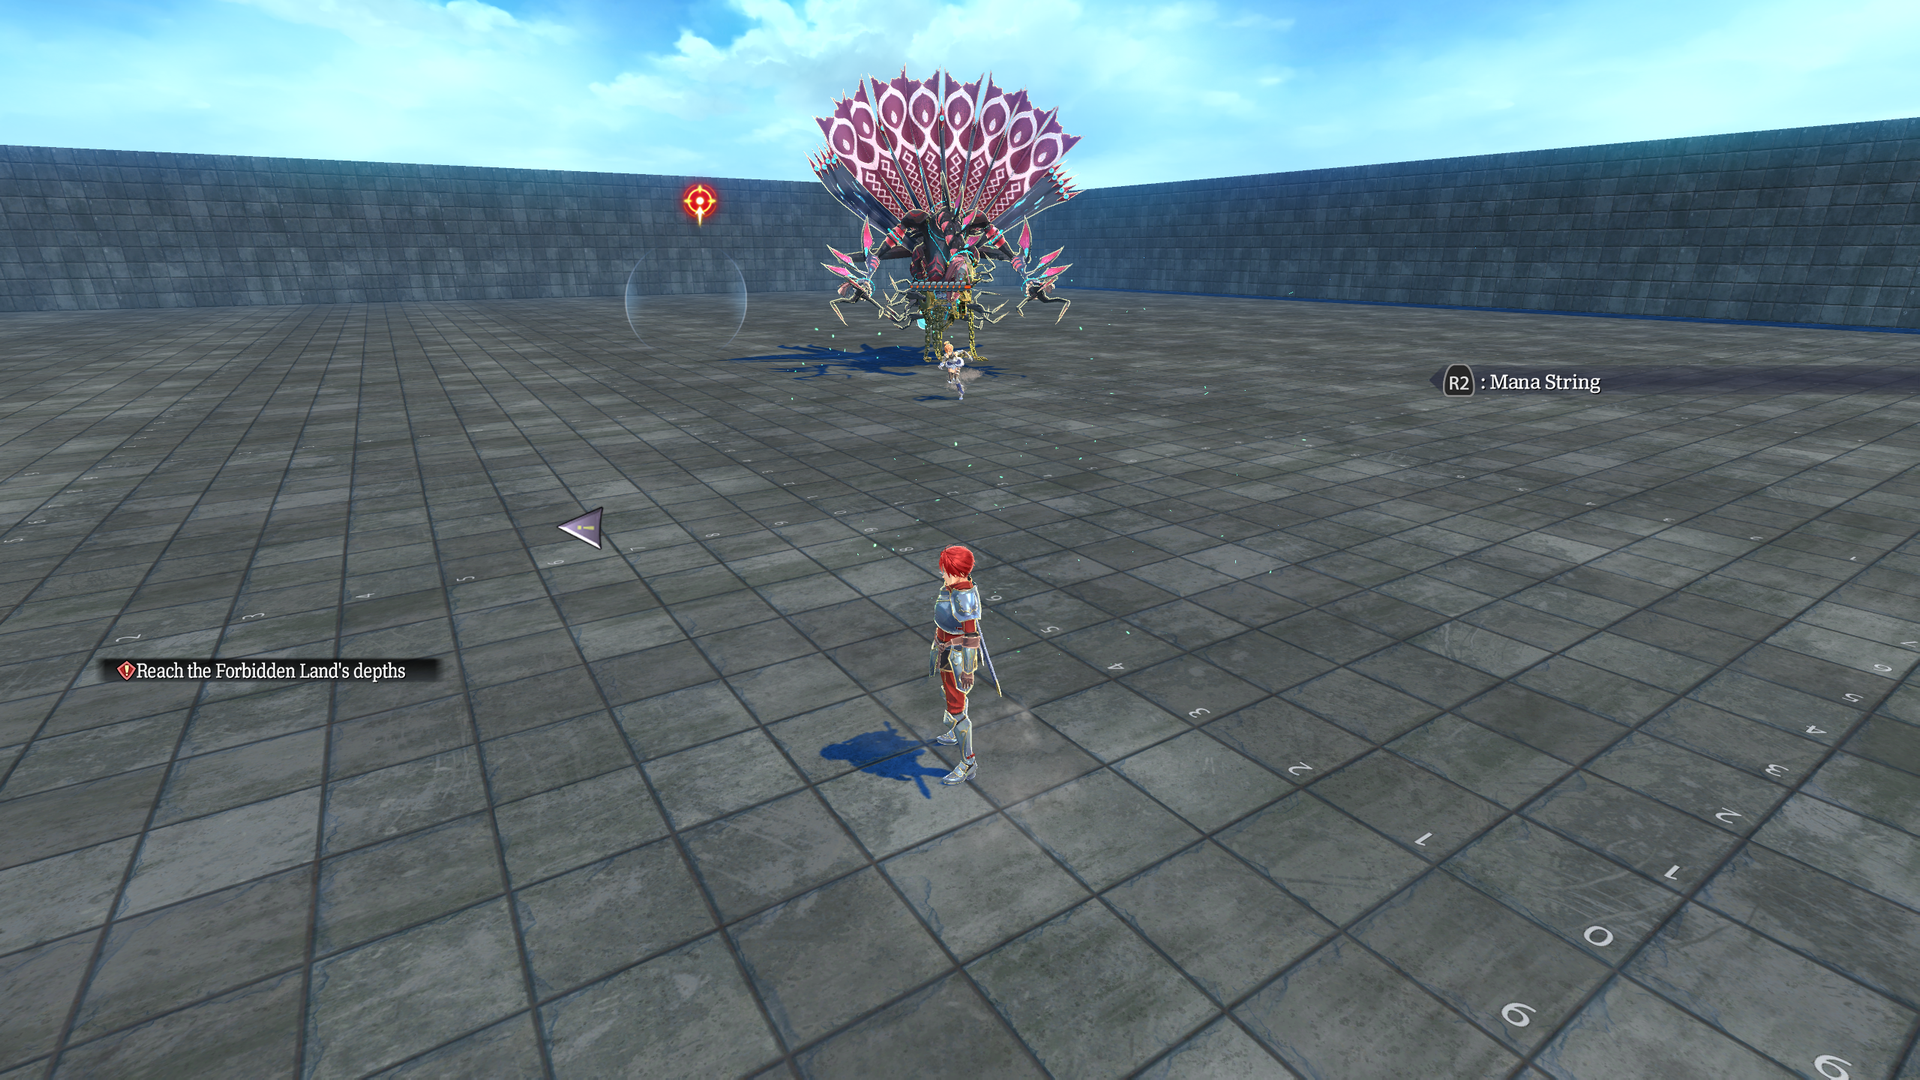
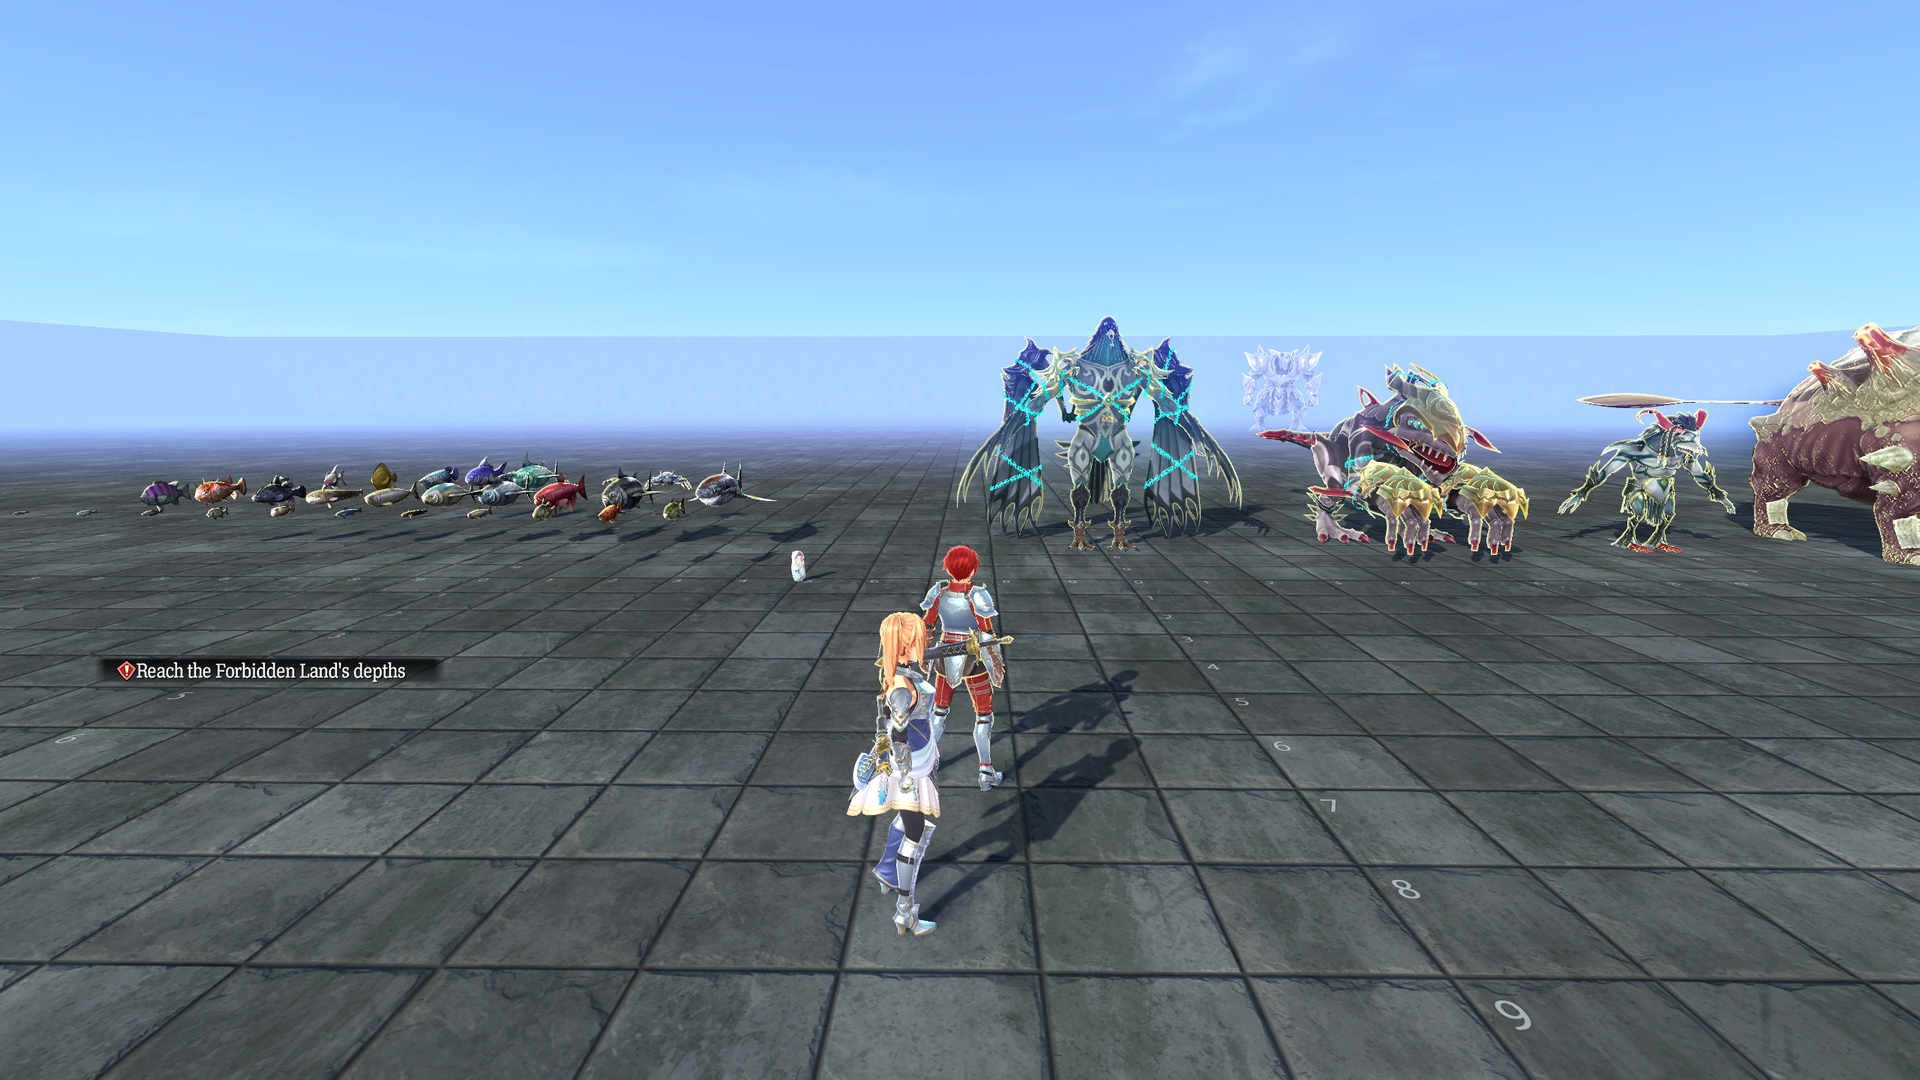
test_chr_room0007#
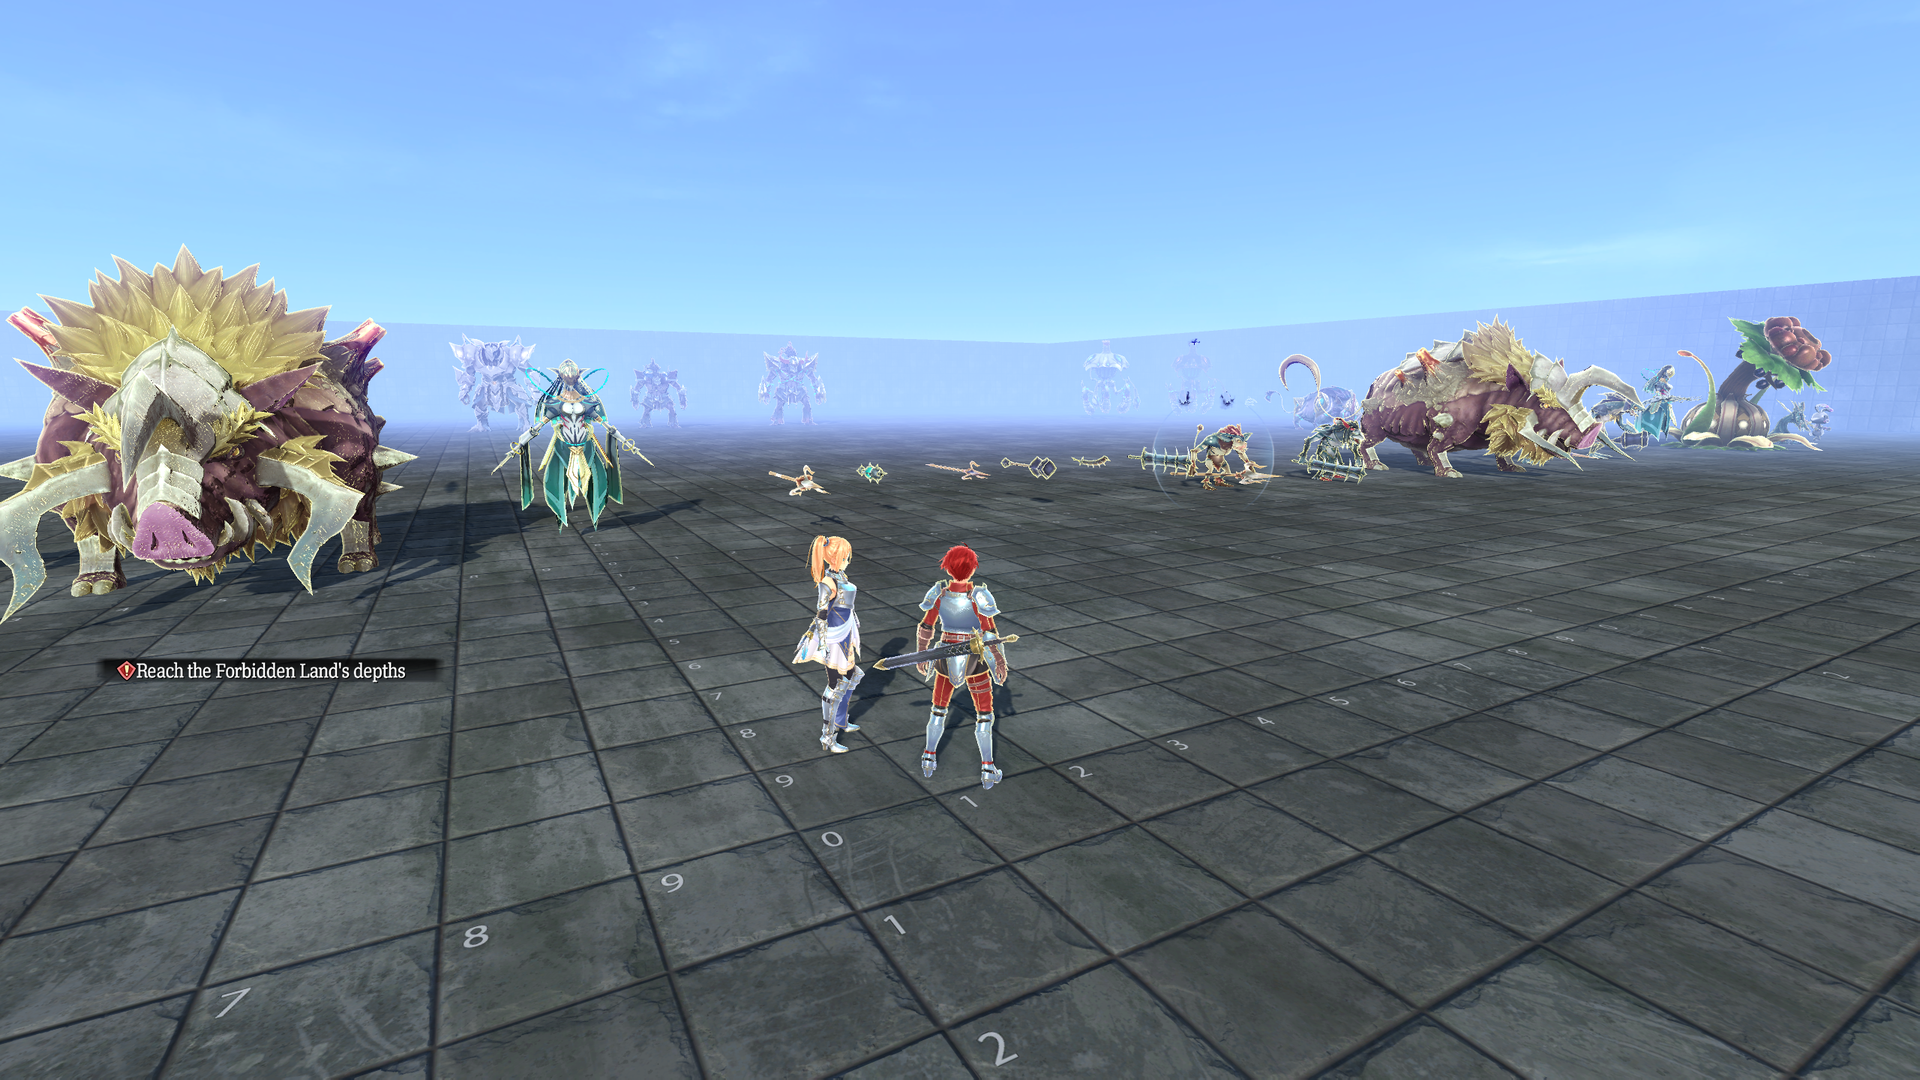
Mostly houses enemies.
- The left half has stationary models of fish, Jorunn's baby, and some enemies in a t-pose, along with some enemy weapons.
- The right half has enemies you can fight, including some bosses.
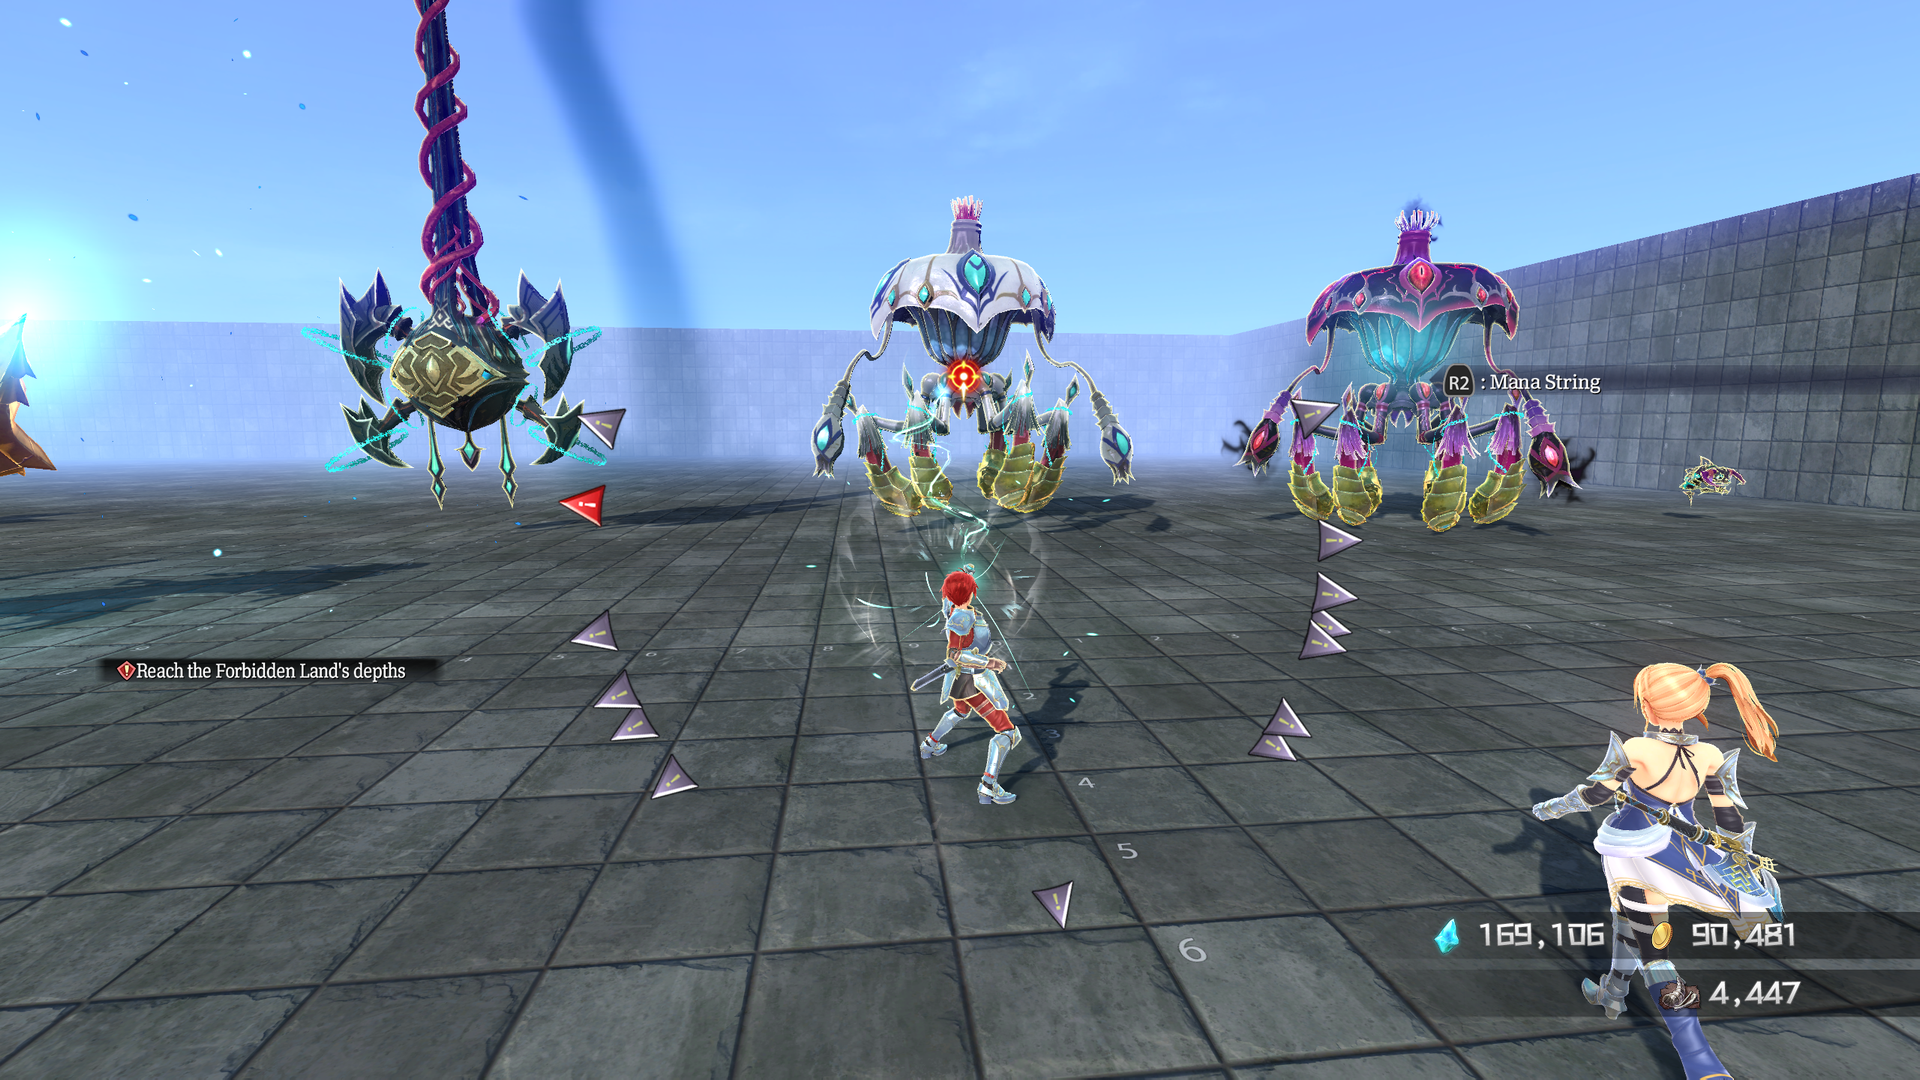
test_chr_room0008#
A lot of enemies (mostly bosses) are present in this room.
- Defeating bosses will transport you to their respective post-battle cutscenes.
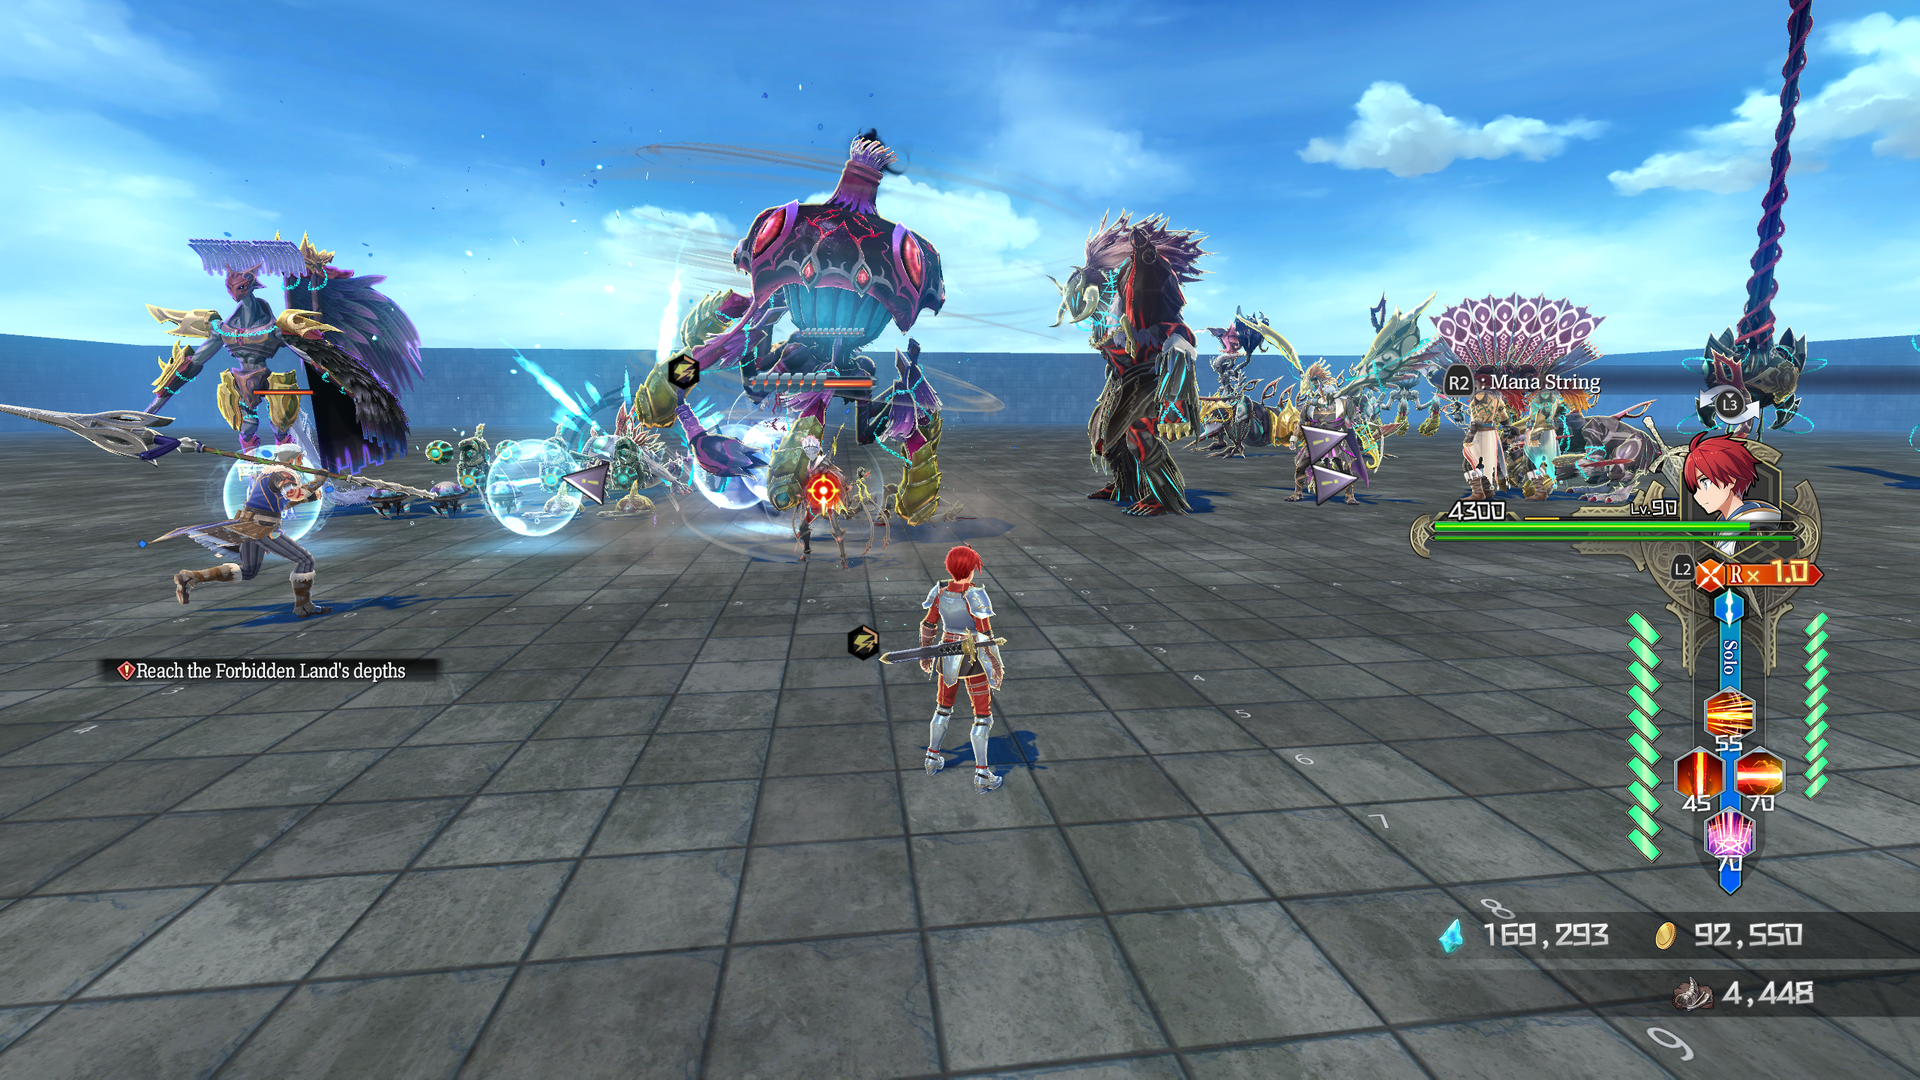
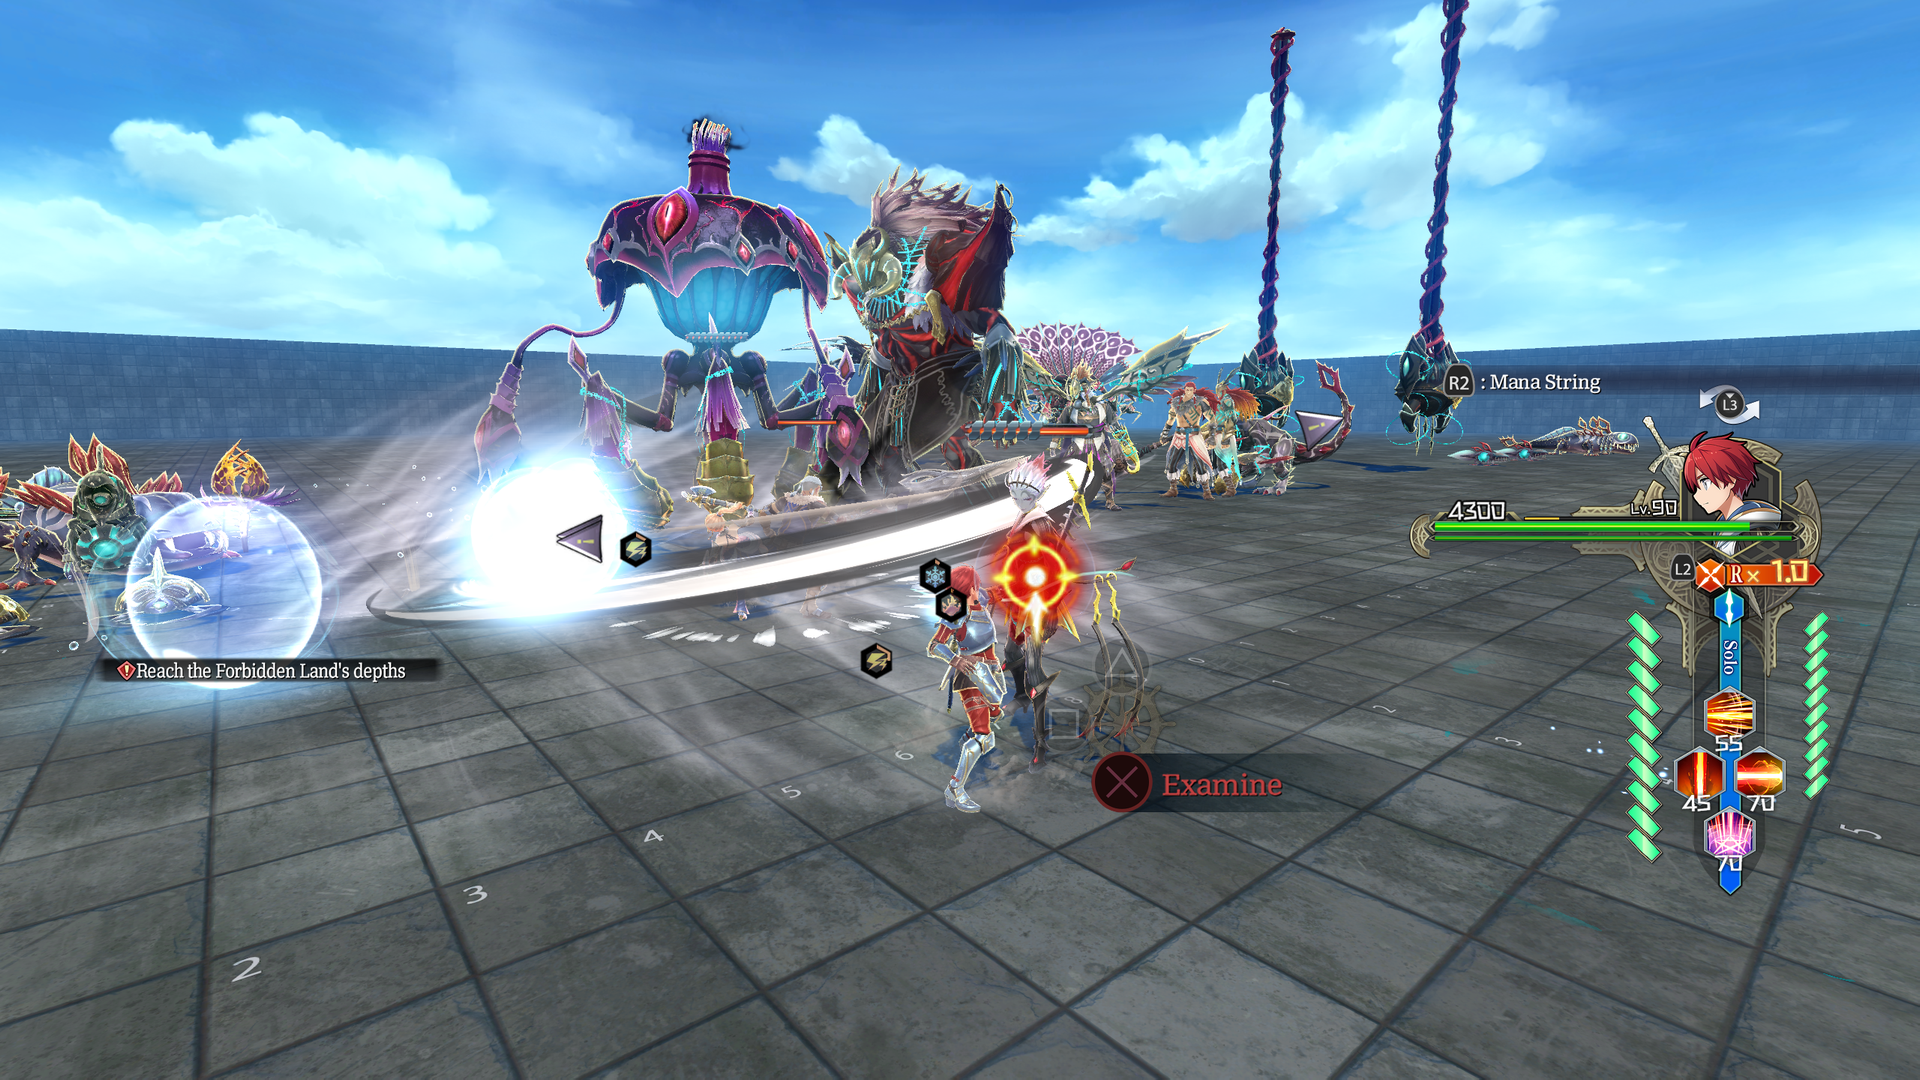
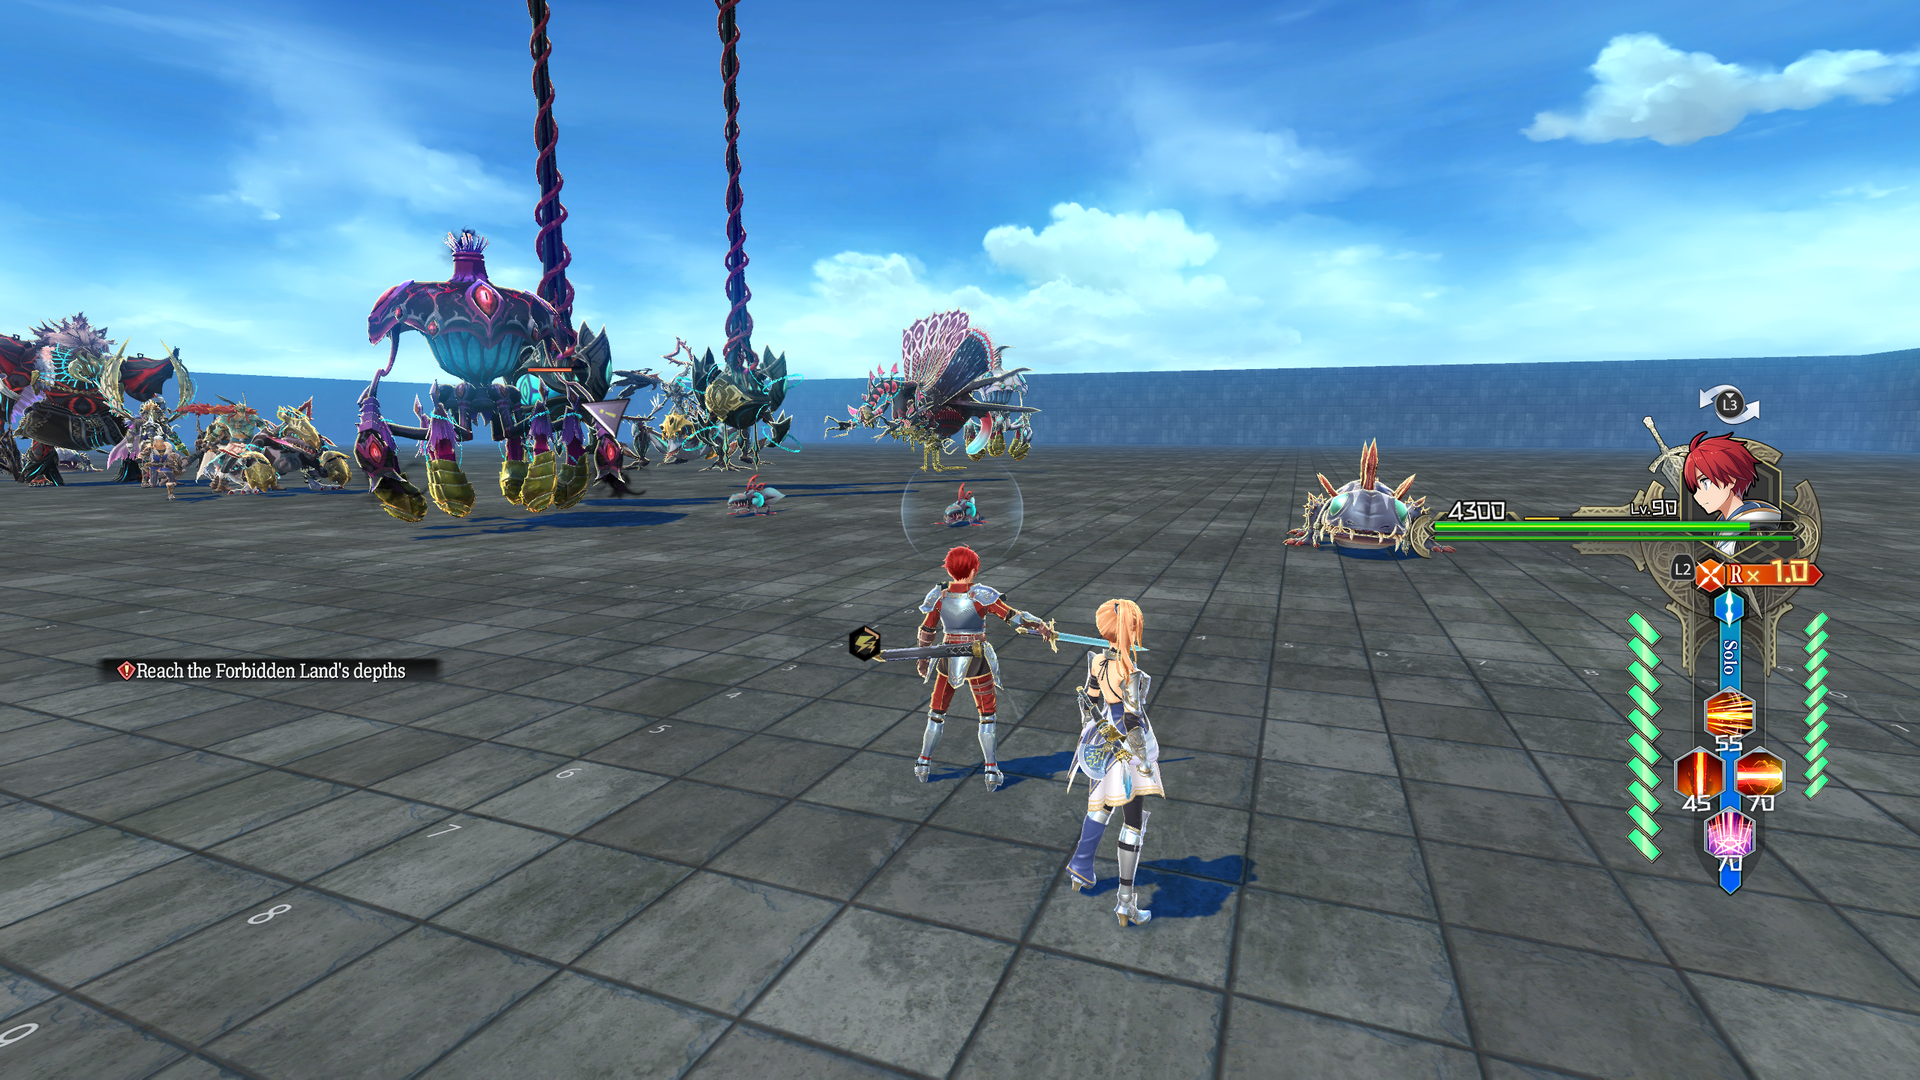
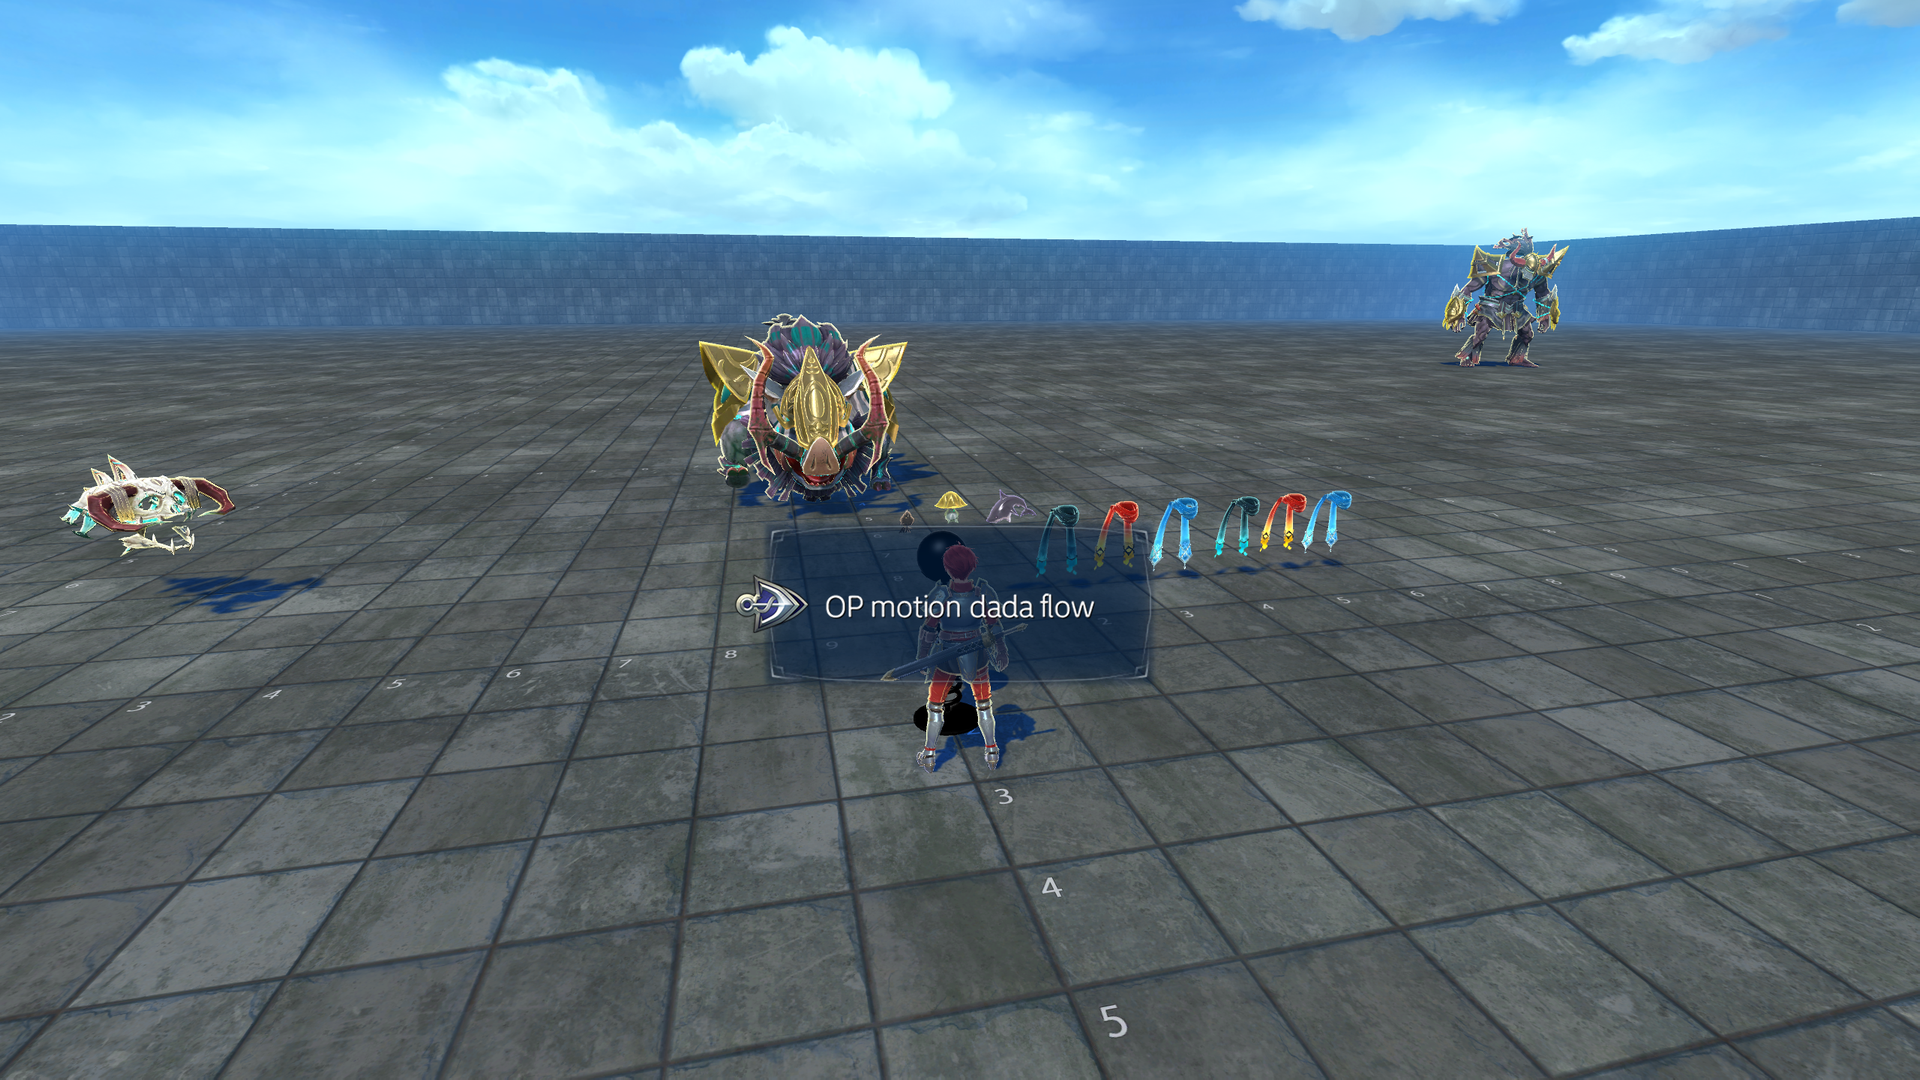
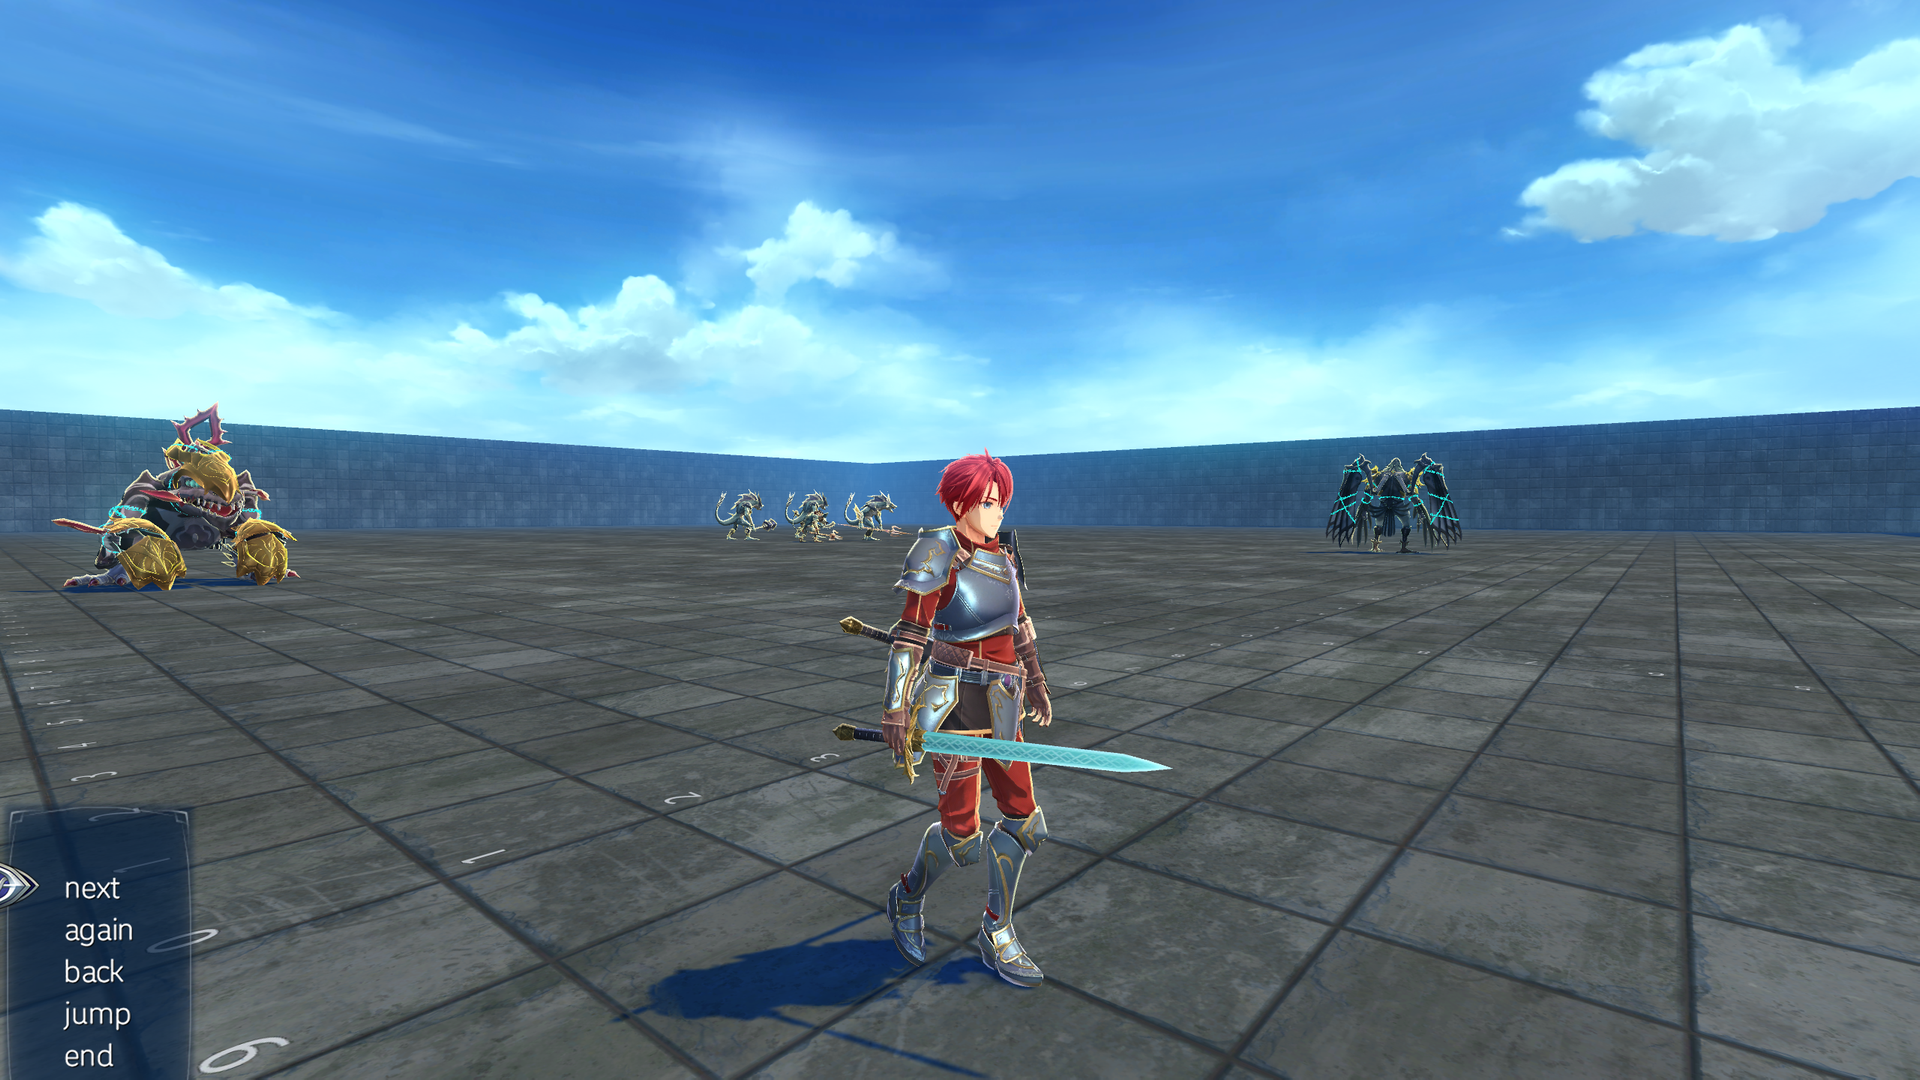
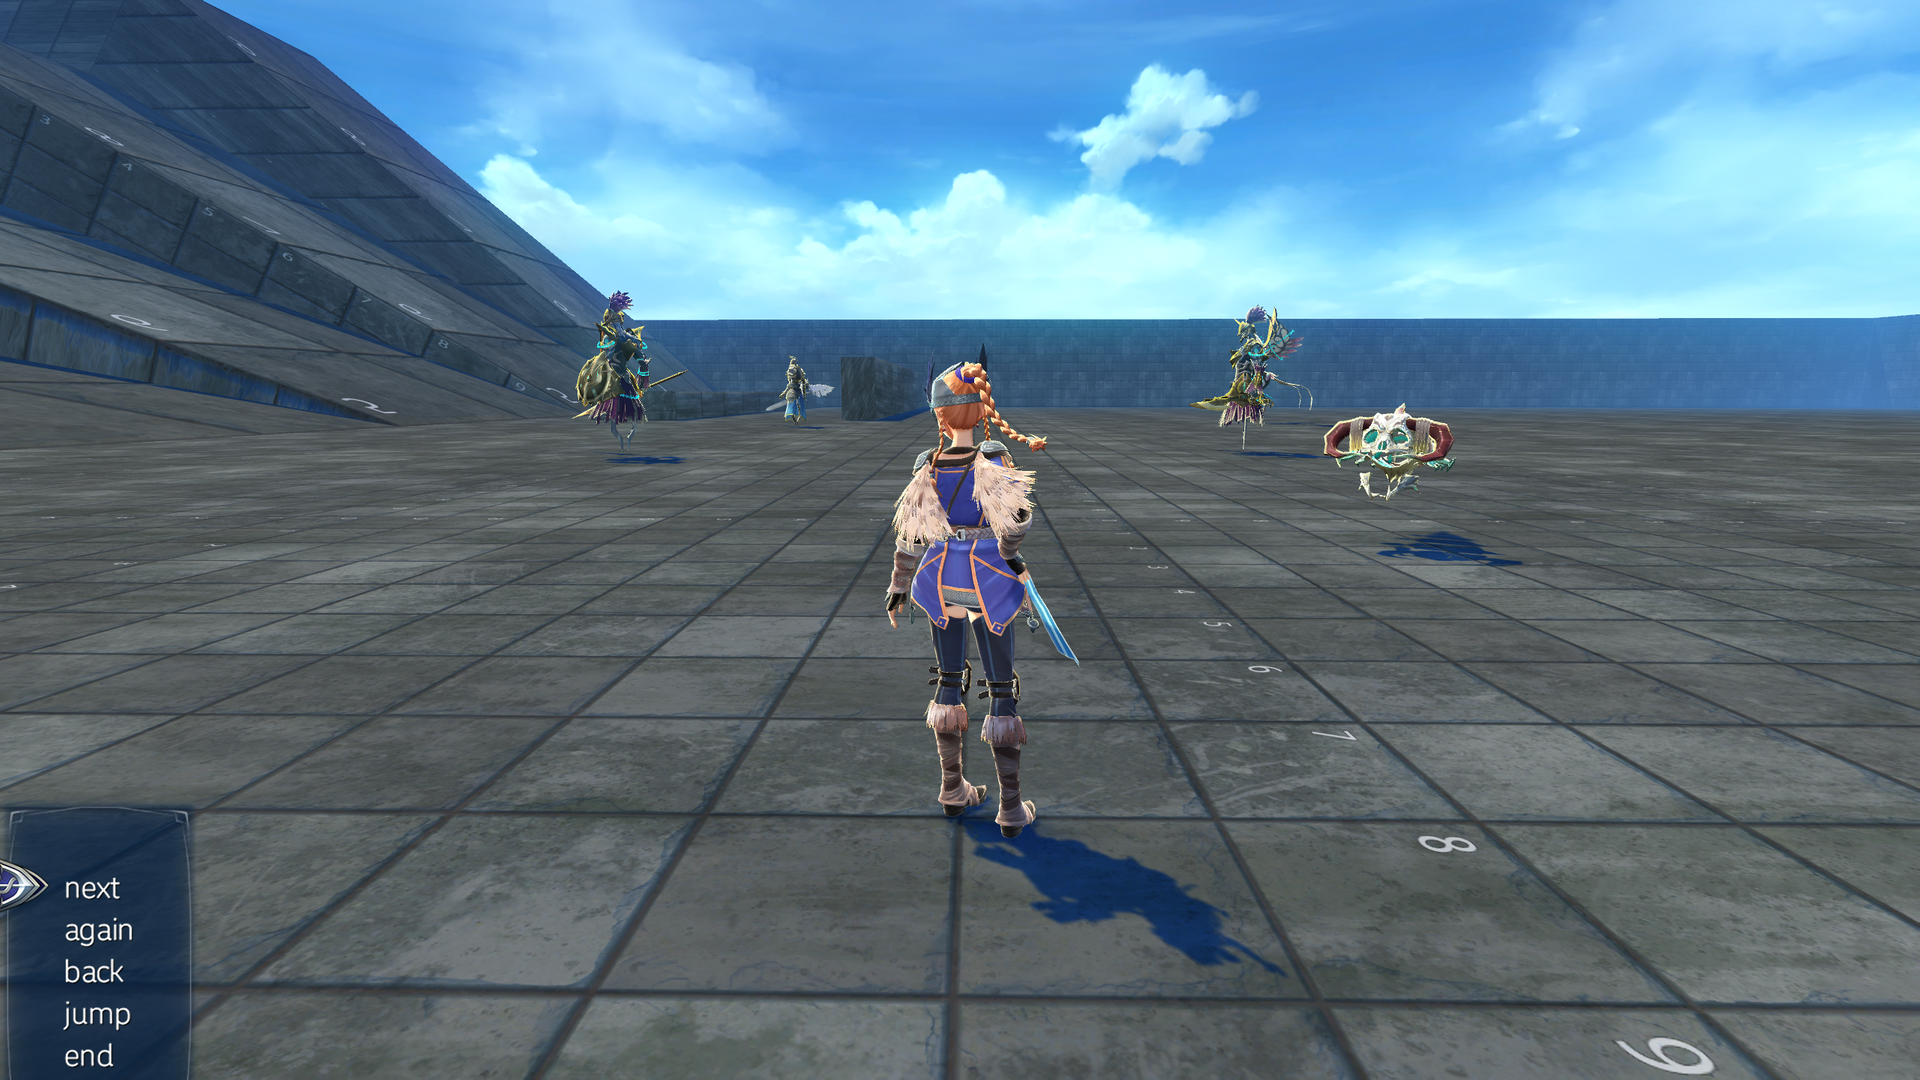
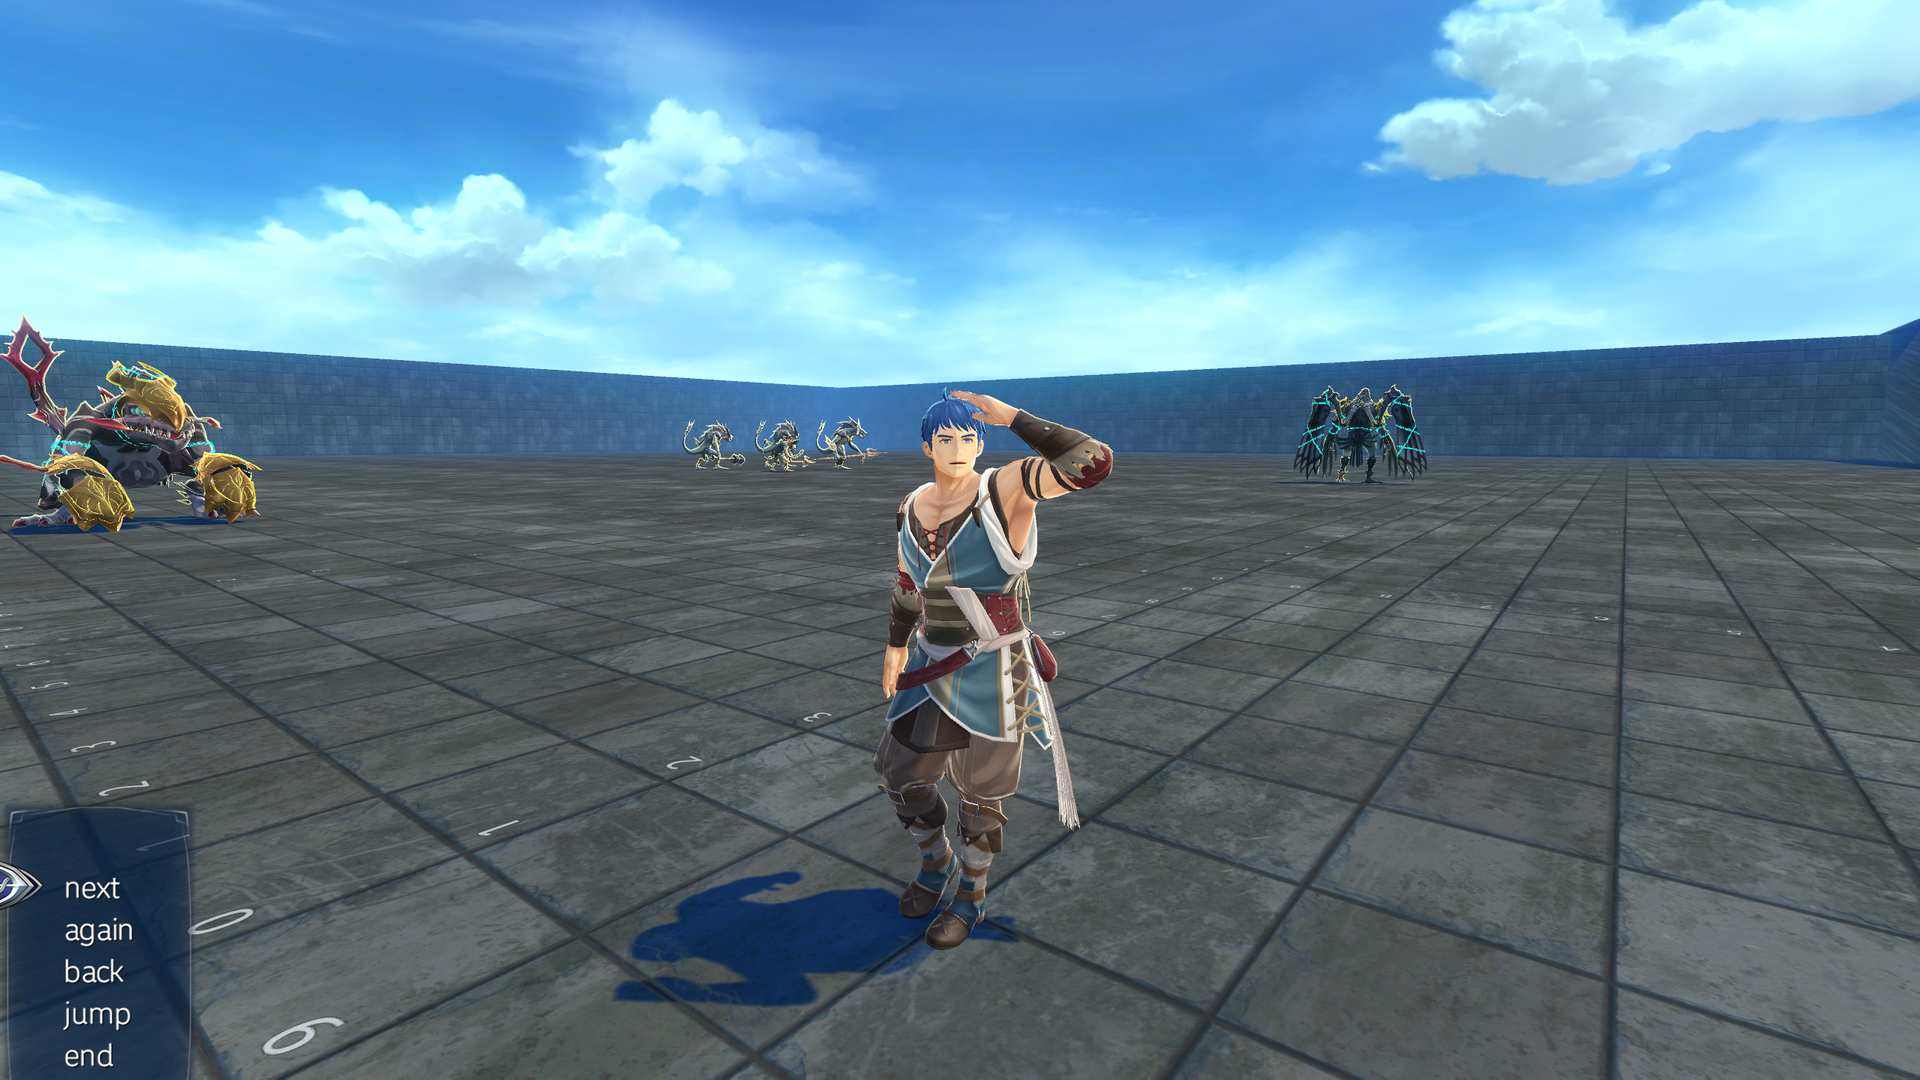
test_chr_room0009#
Contains some enemies and a springy test NPC.
- Speaking to the test NPC allows testing some animations, all of which appear to be from the game's opening when first docking at Carnac.
- Grenn's model remains running in place at the end of the test, allowing for some funny merges of the models if you go to test the animations again.
- Some DLC attachments are also here.
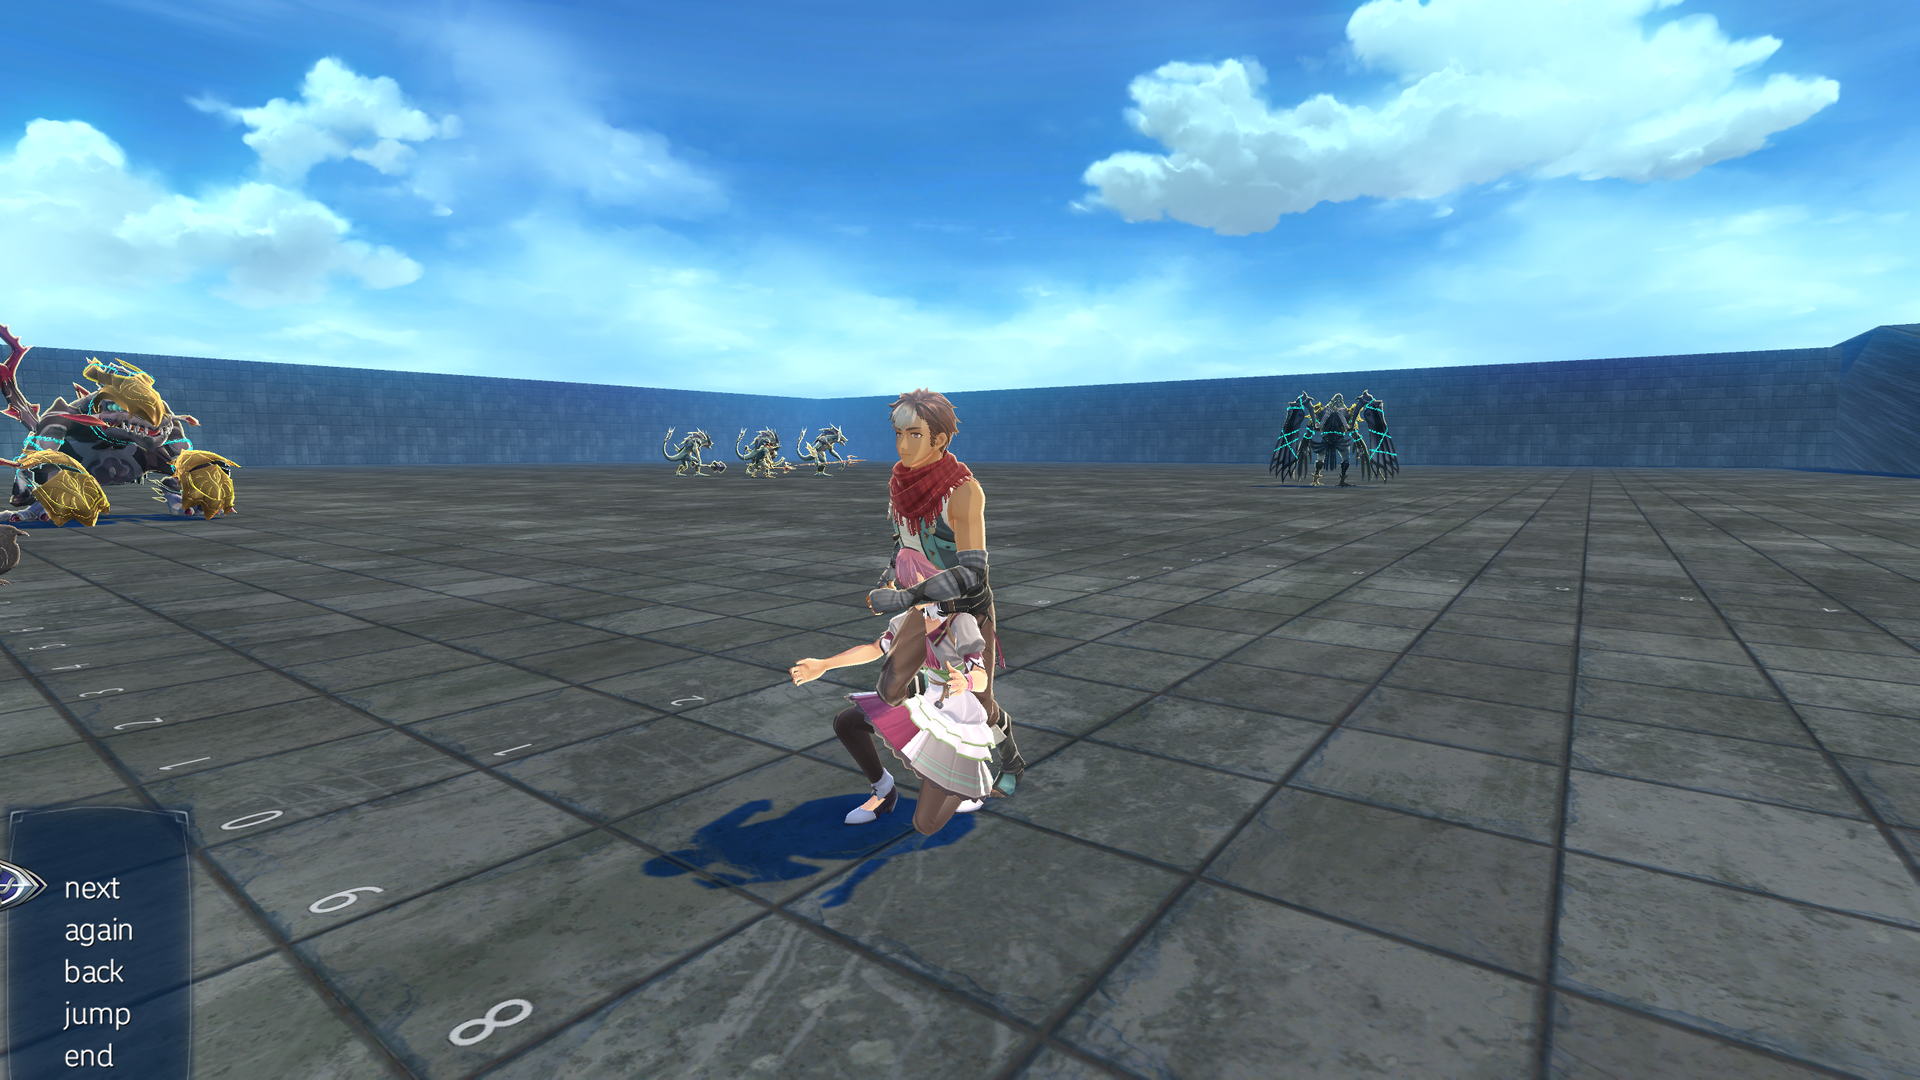
test_chr_room0010#
Two of Adol's alternate costumes are here, as well as most of Karja's (including her Battle Dress).
- Speaking to the test NPC allows testing the cutscene after defeating Rollo and Lila. The other two options do nothing.
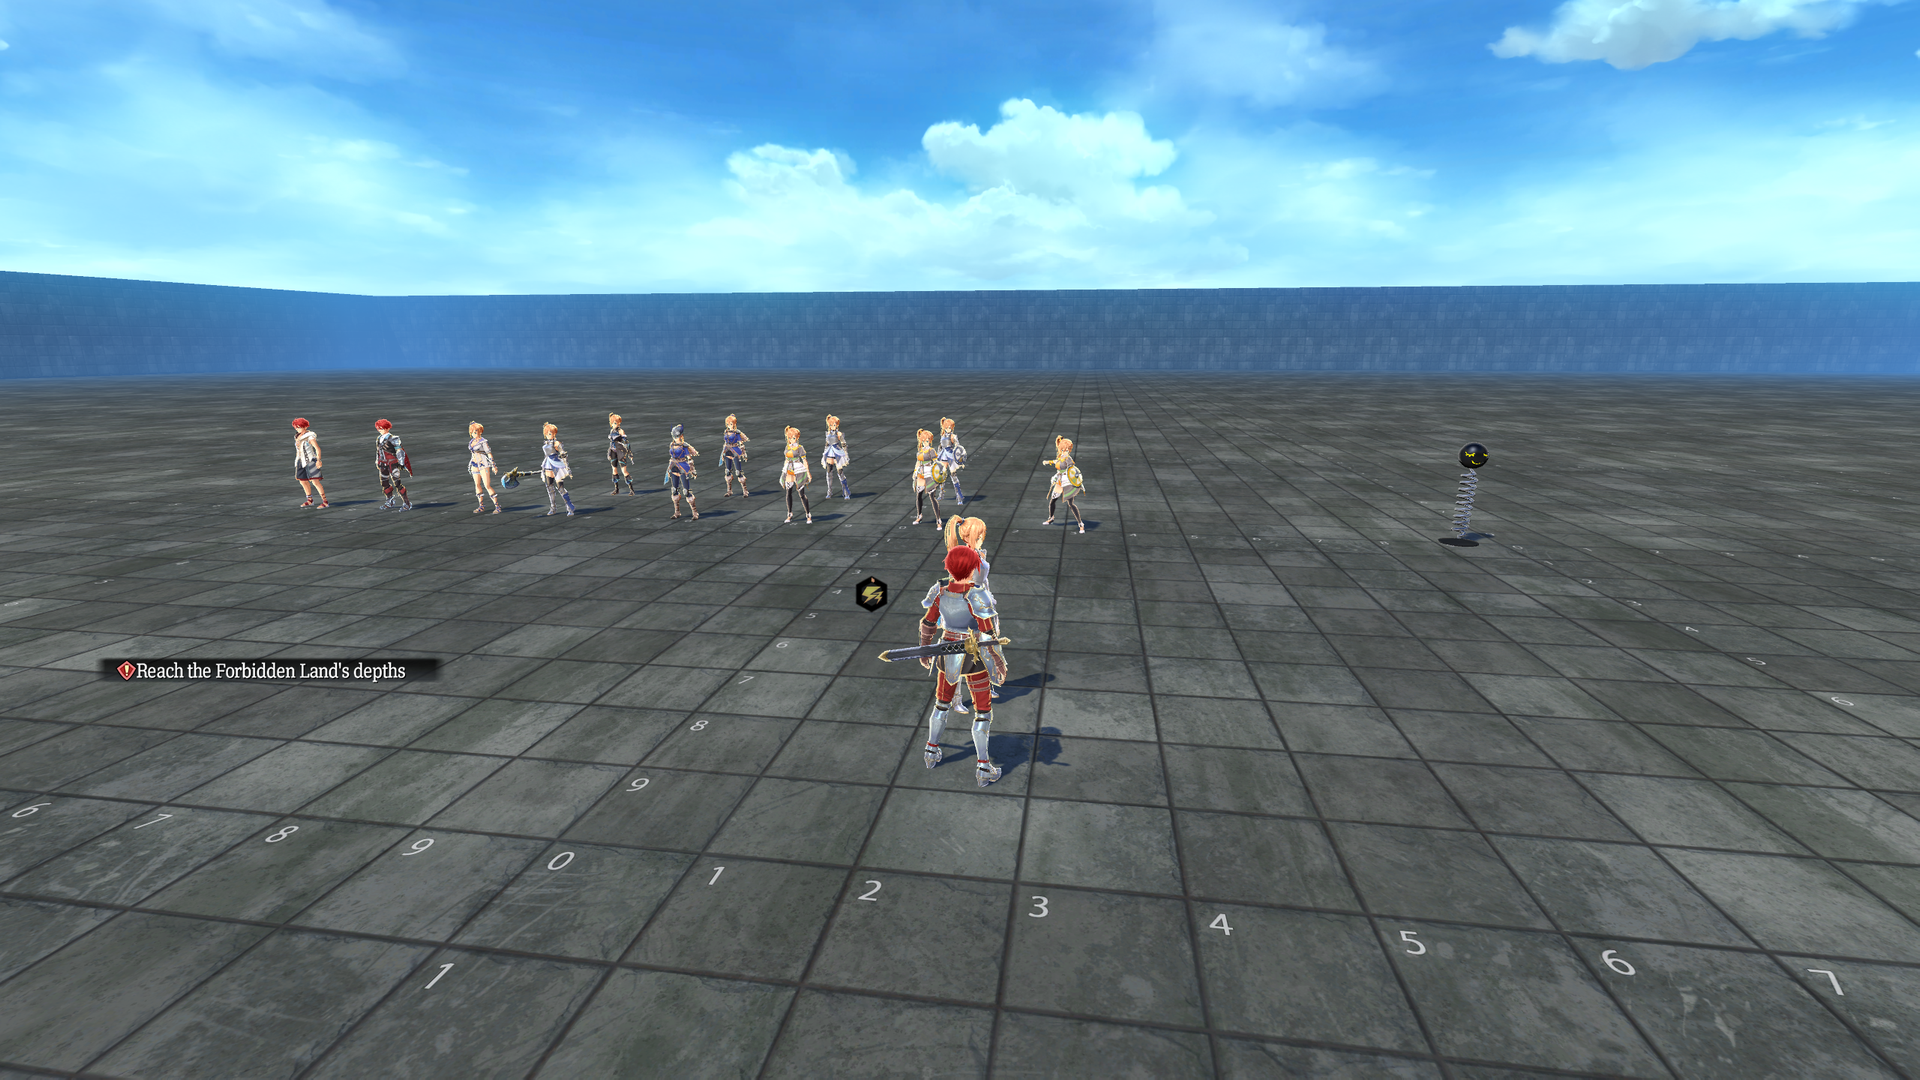
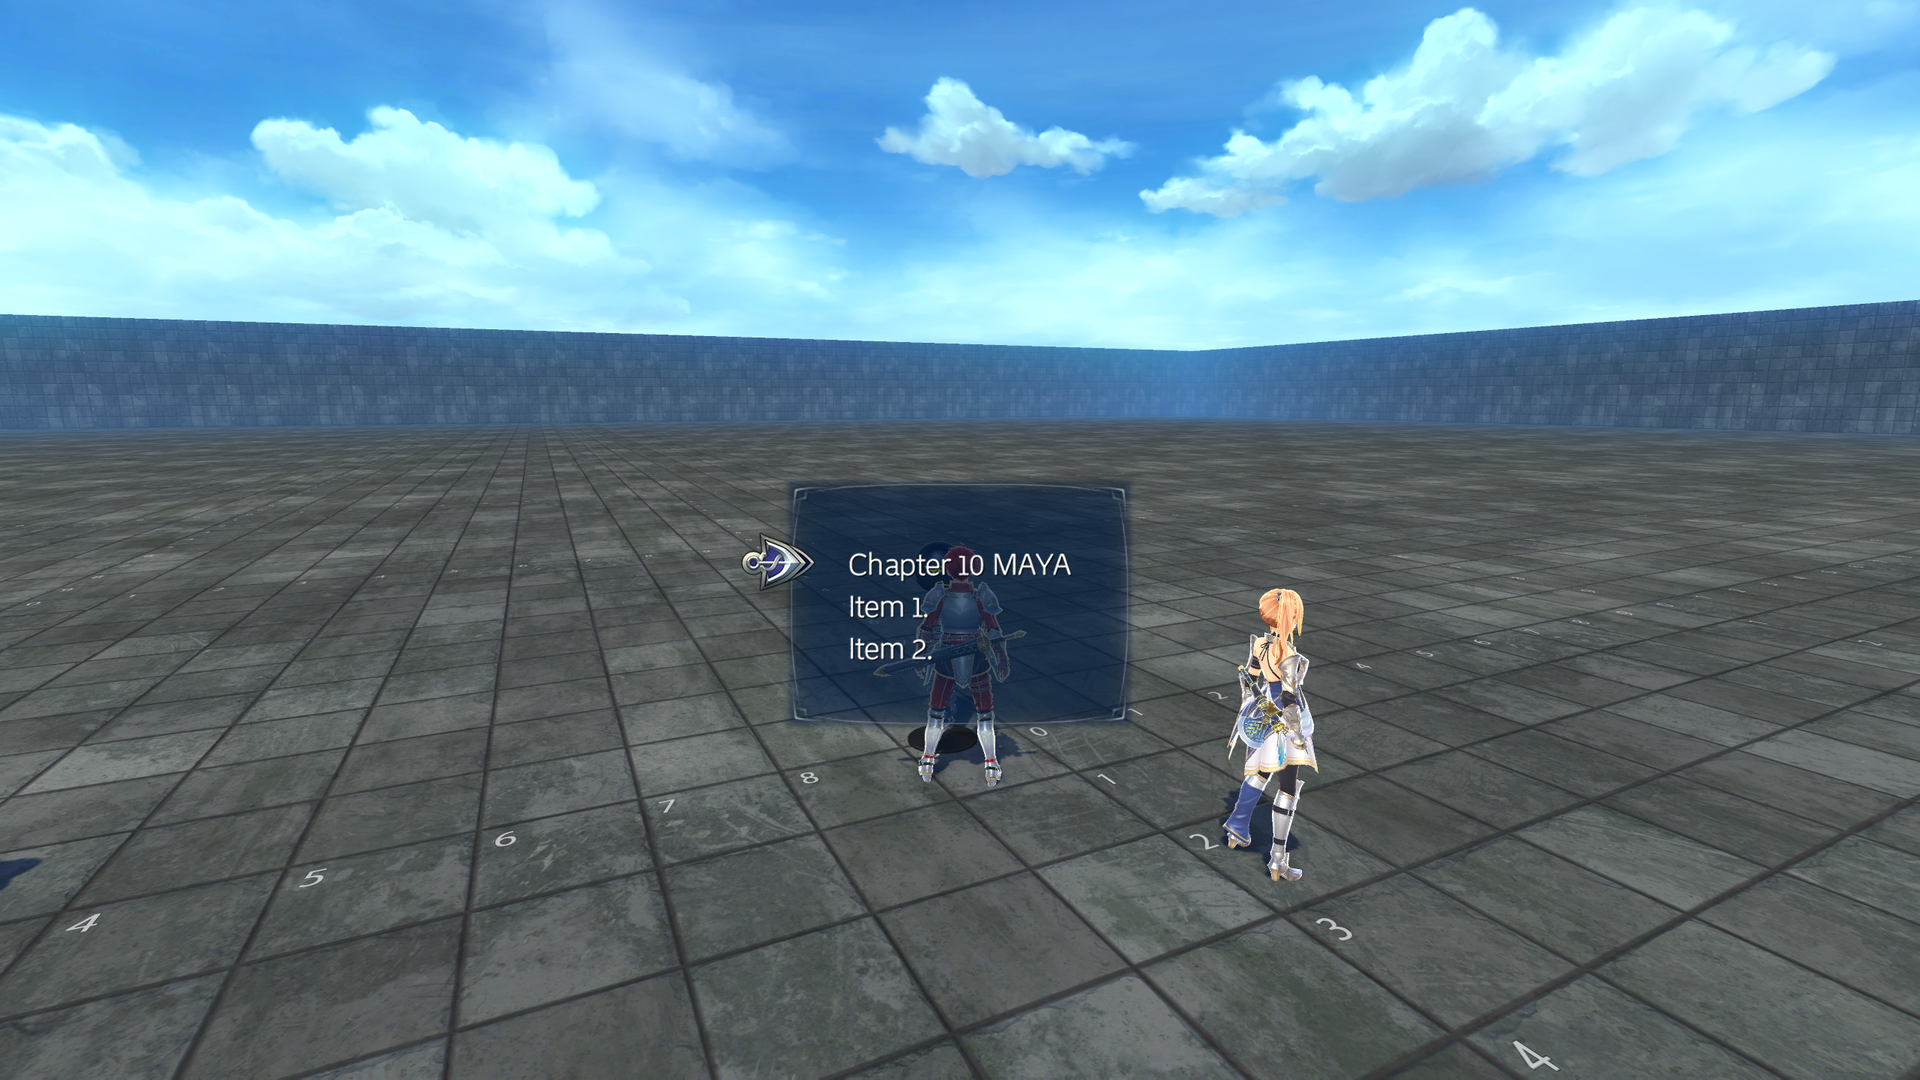
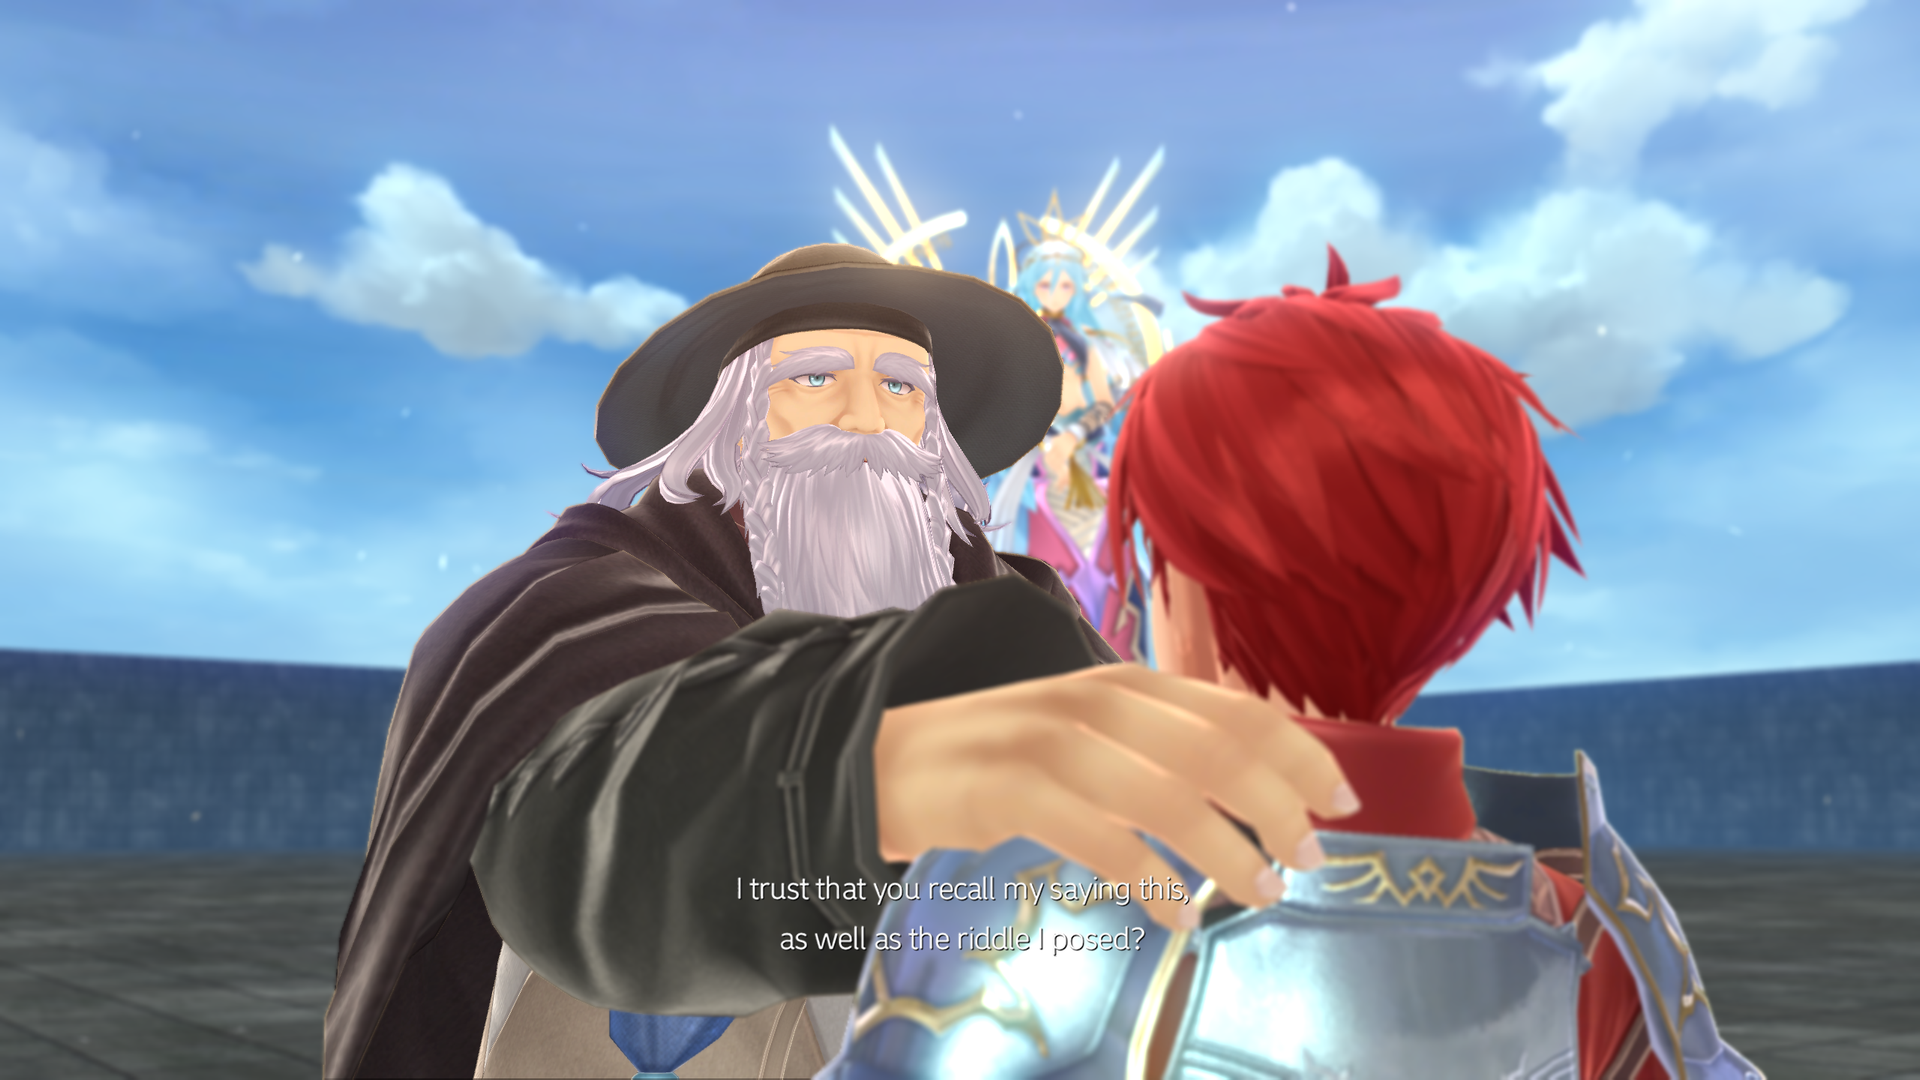
test_chr_room0011#
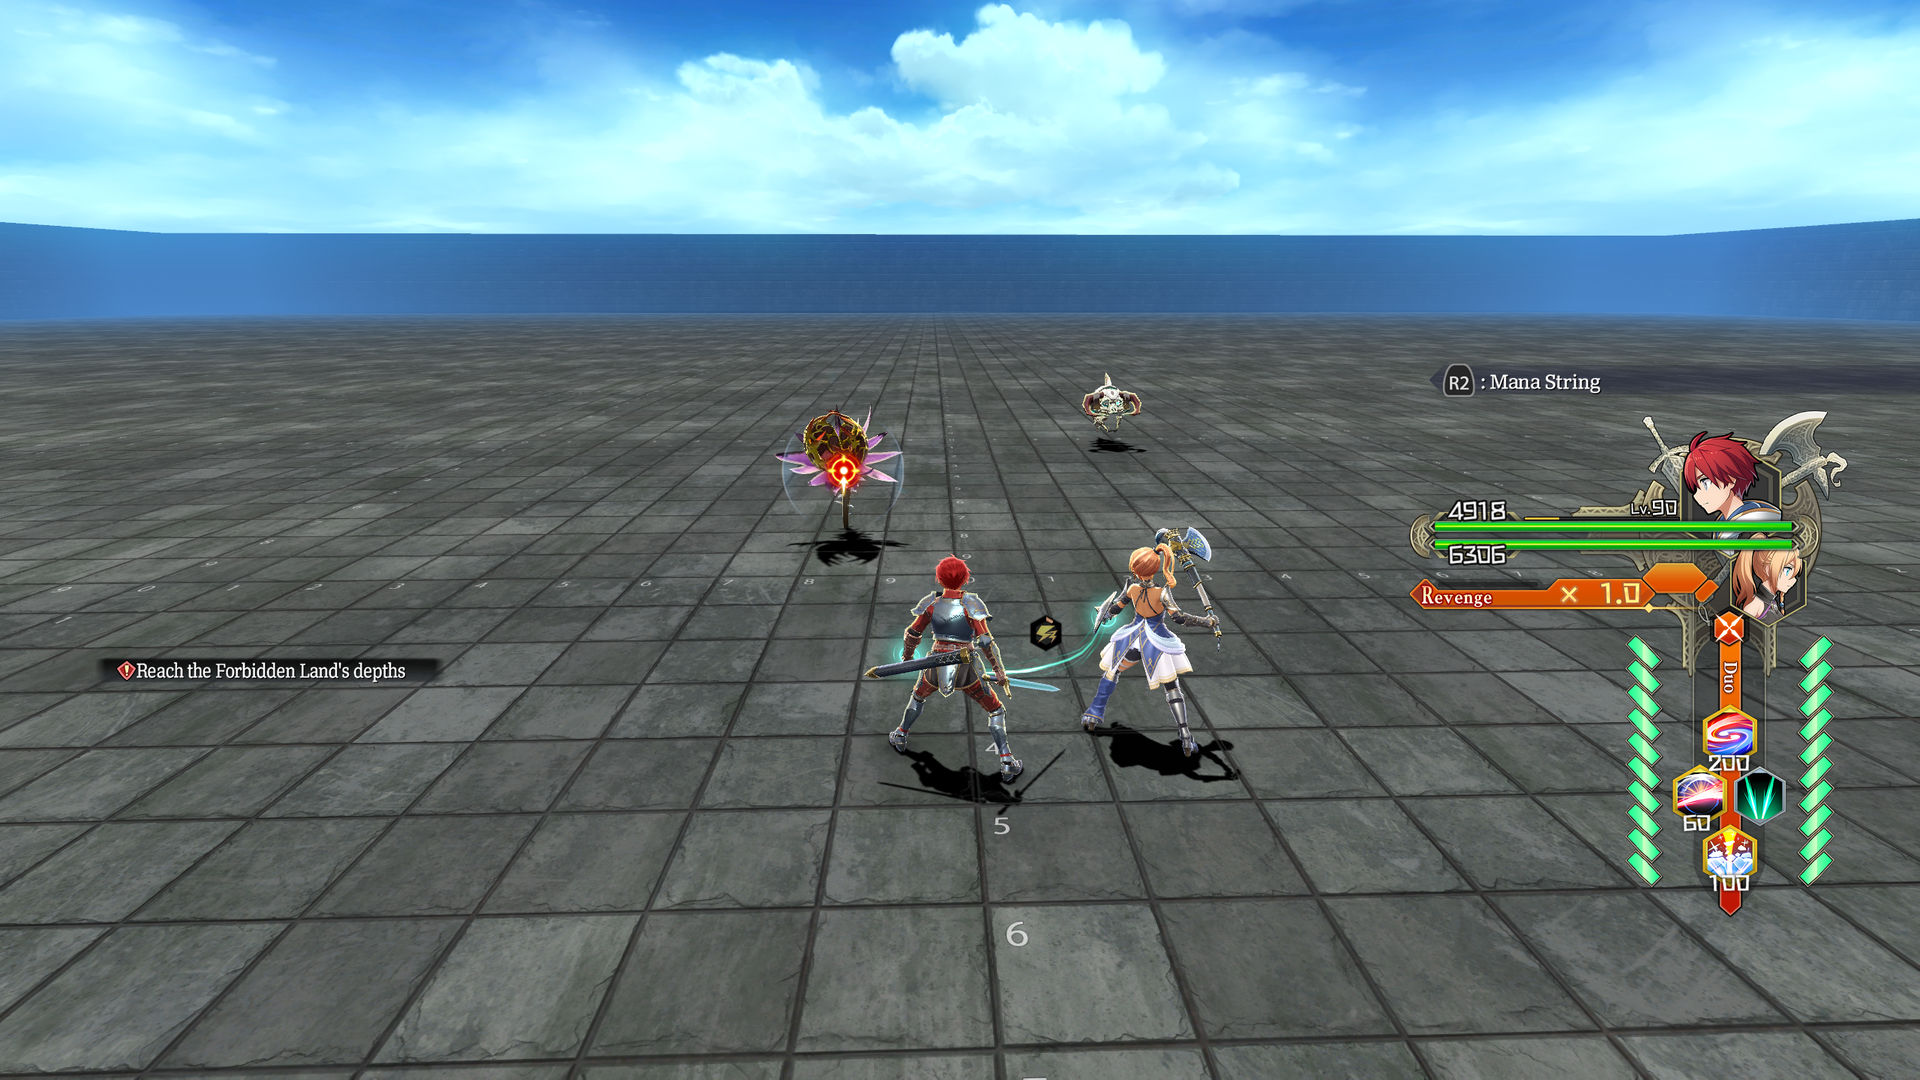
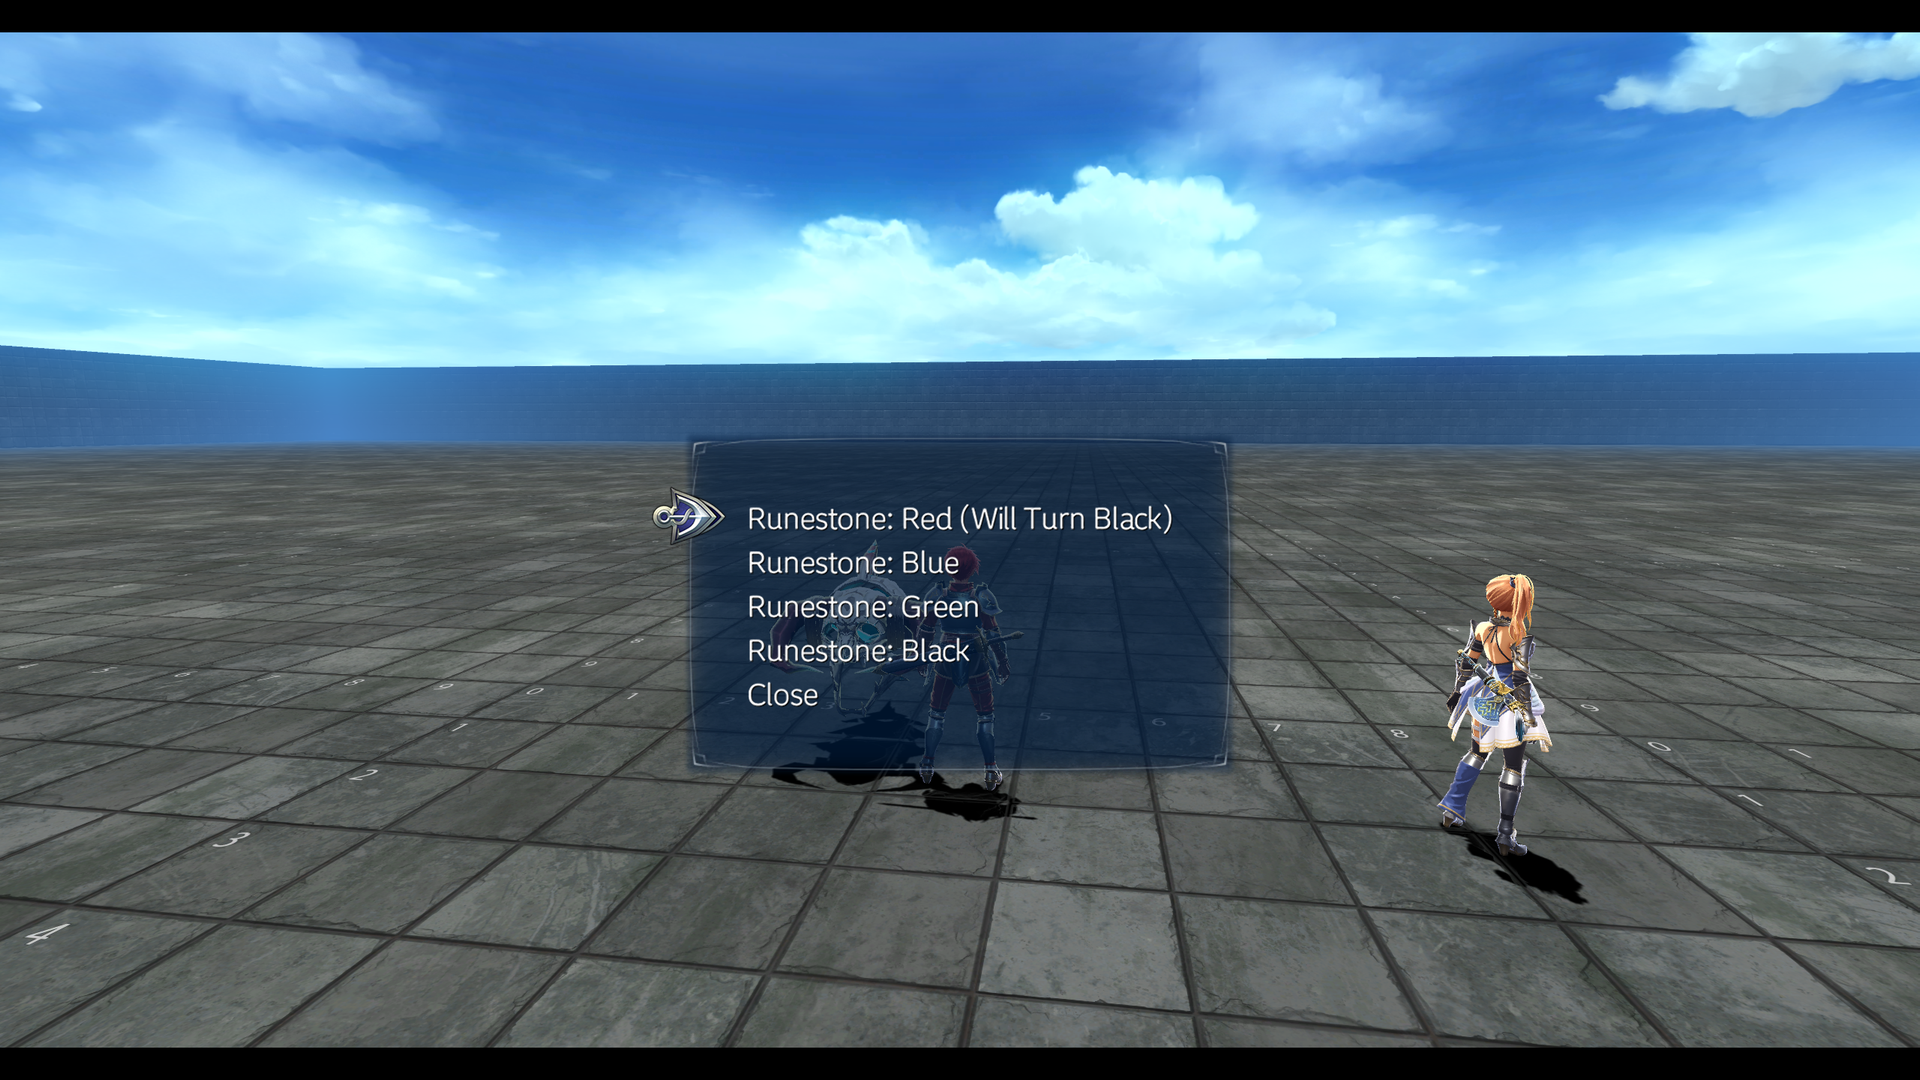
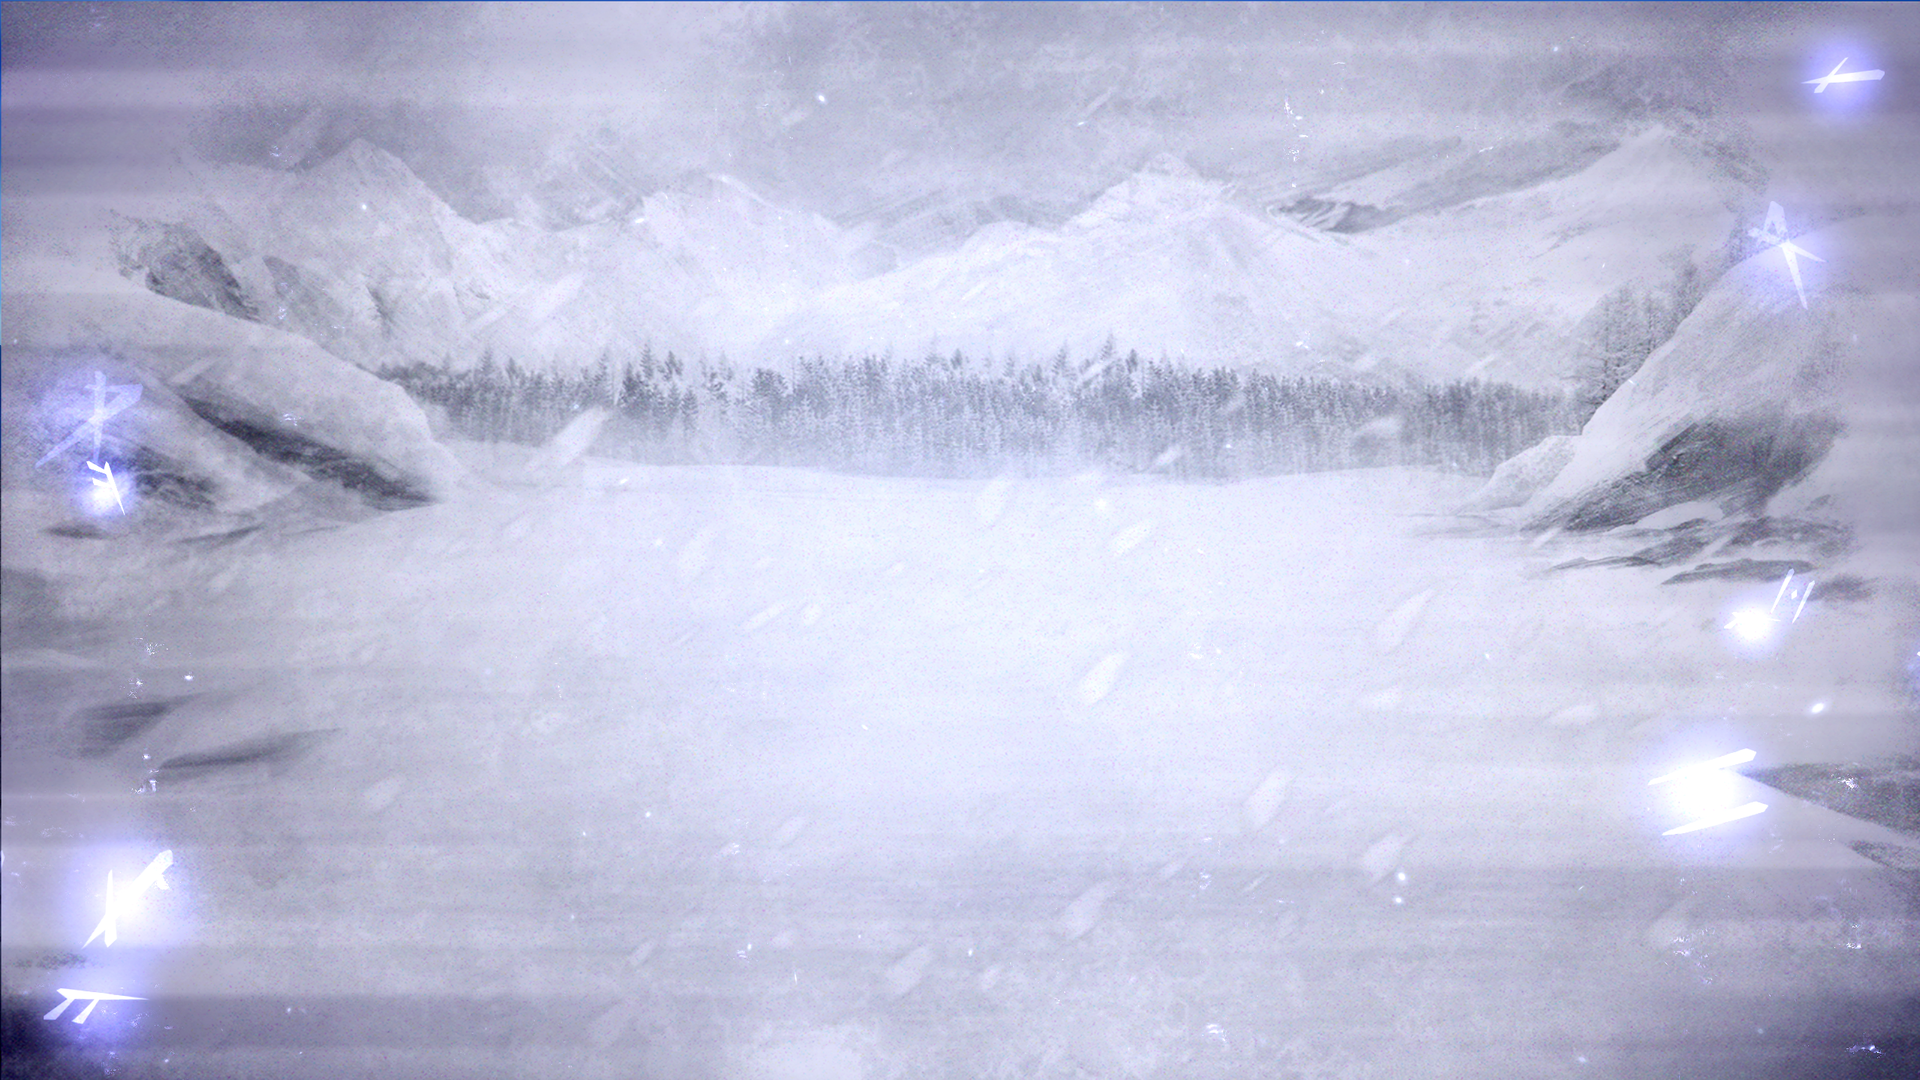
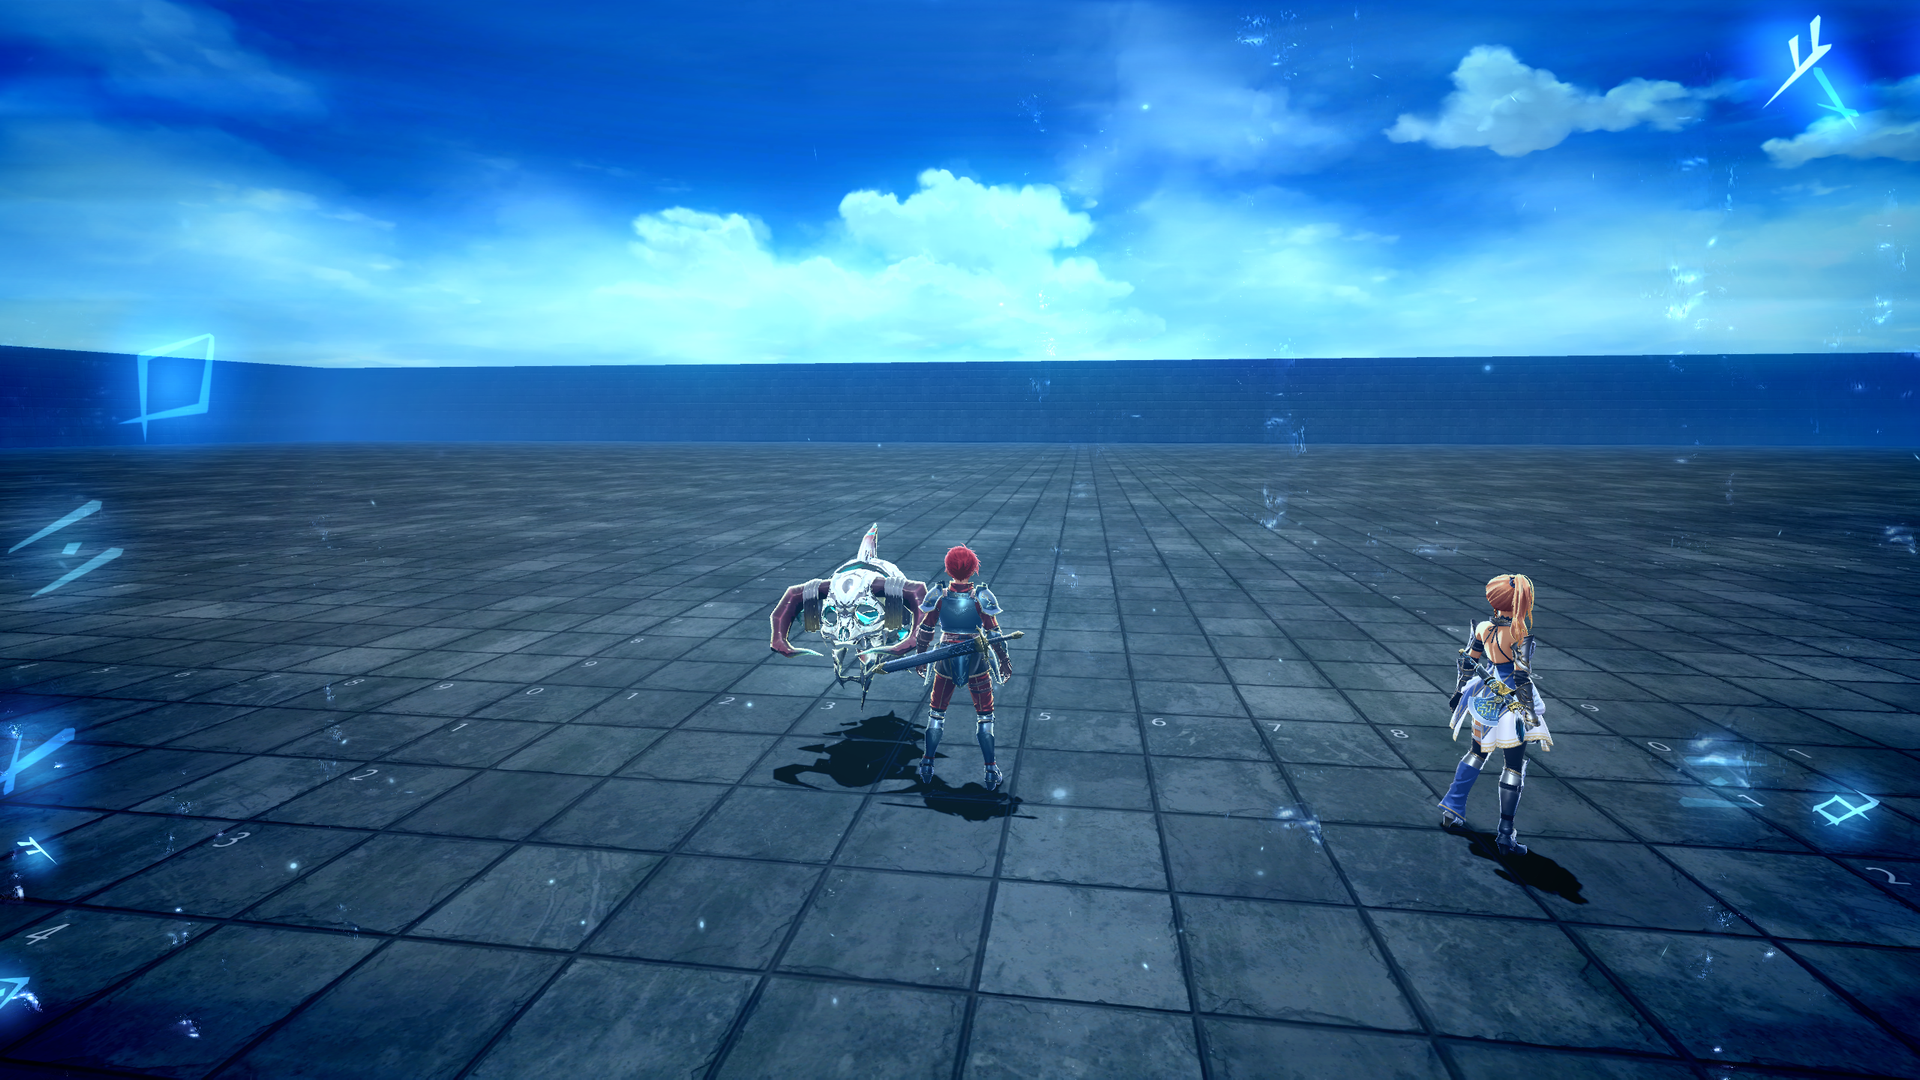
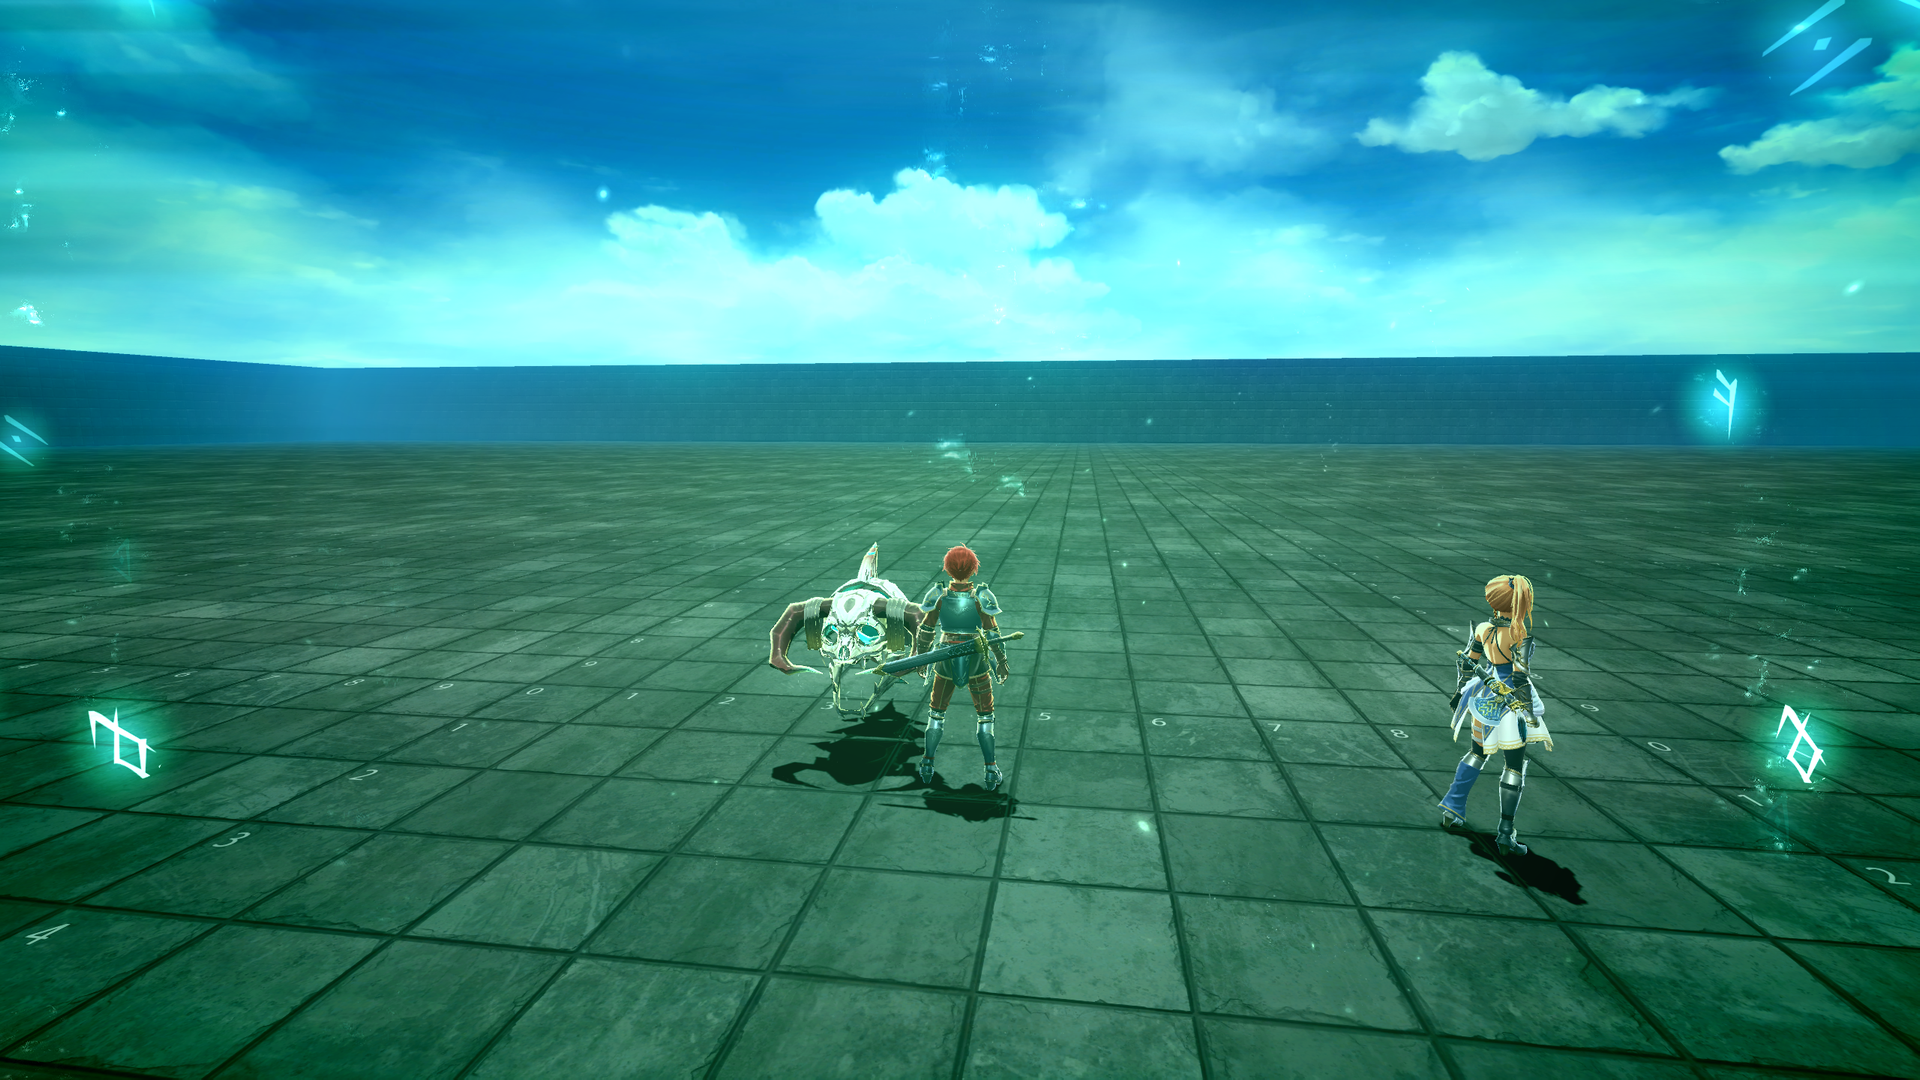
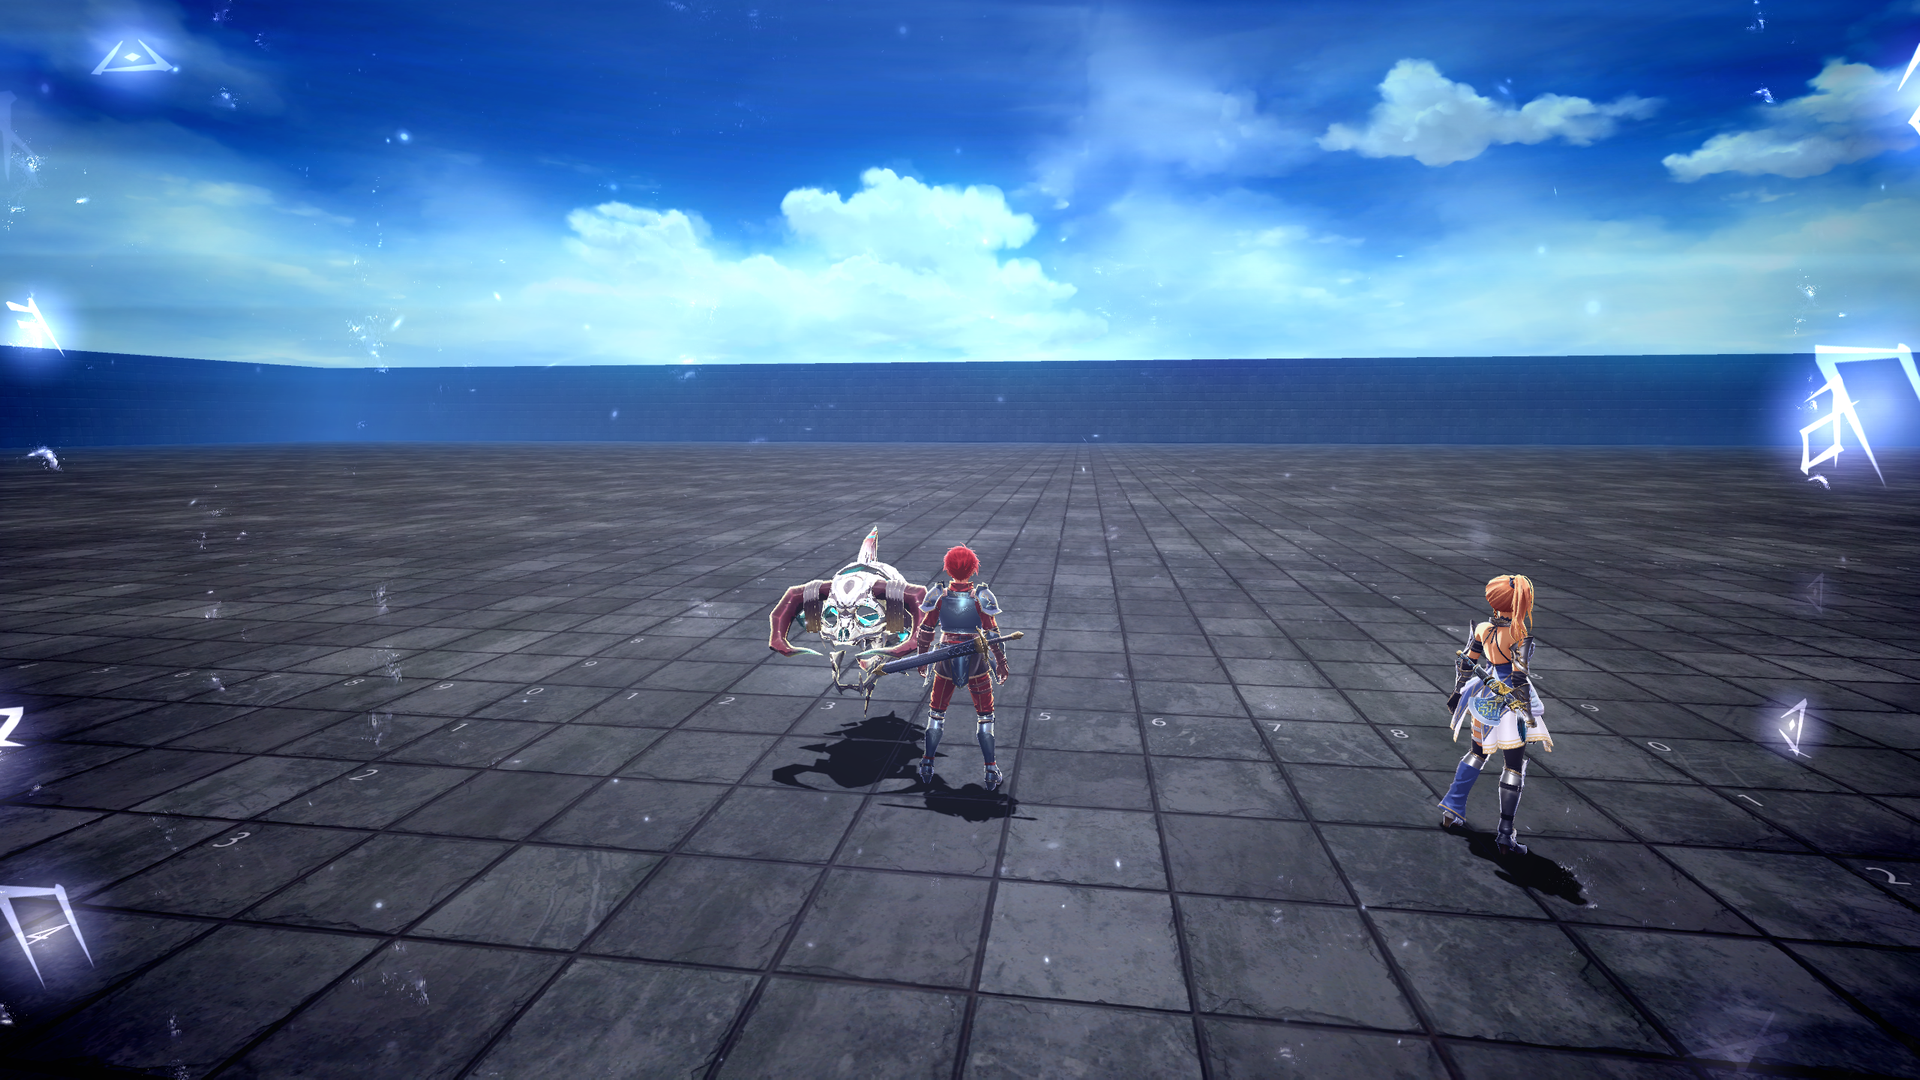
One enemy is here alongside a Griegr that can be interacted with to test the screen effects when viewing runestones.
test_chr_room0012#
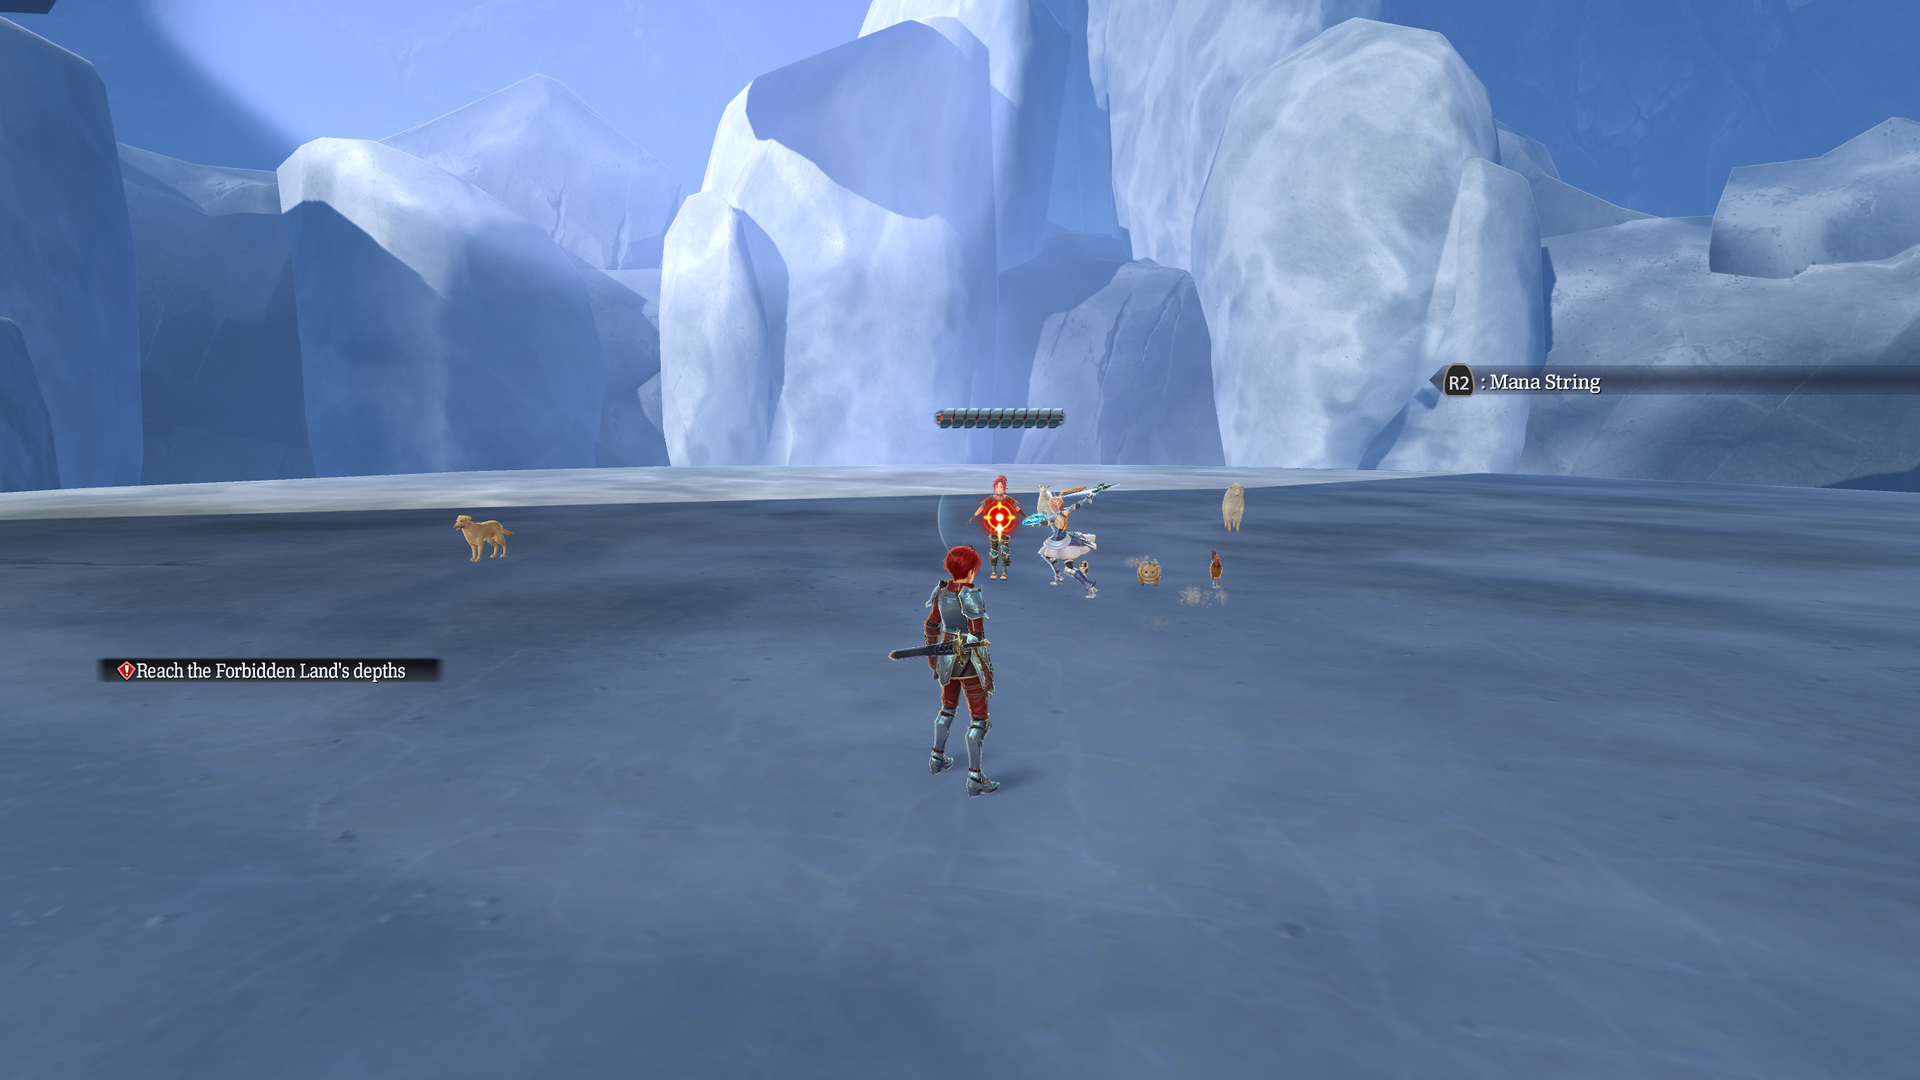
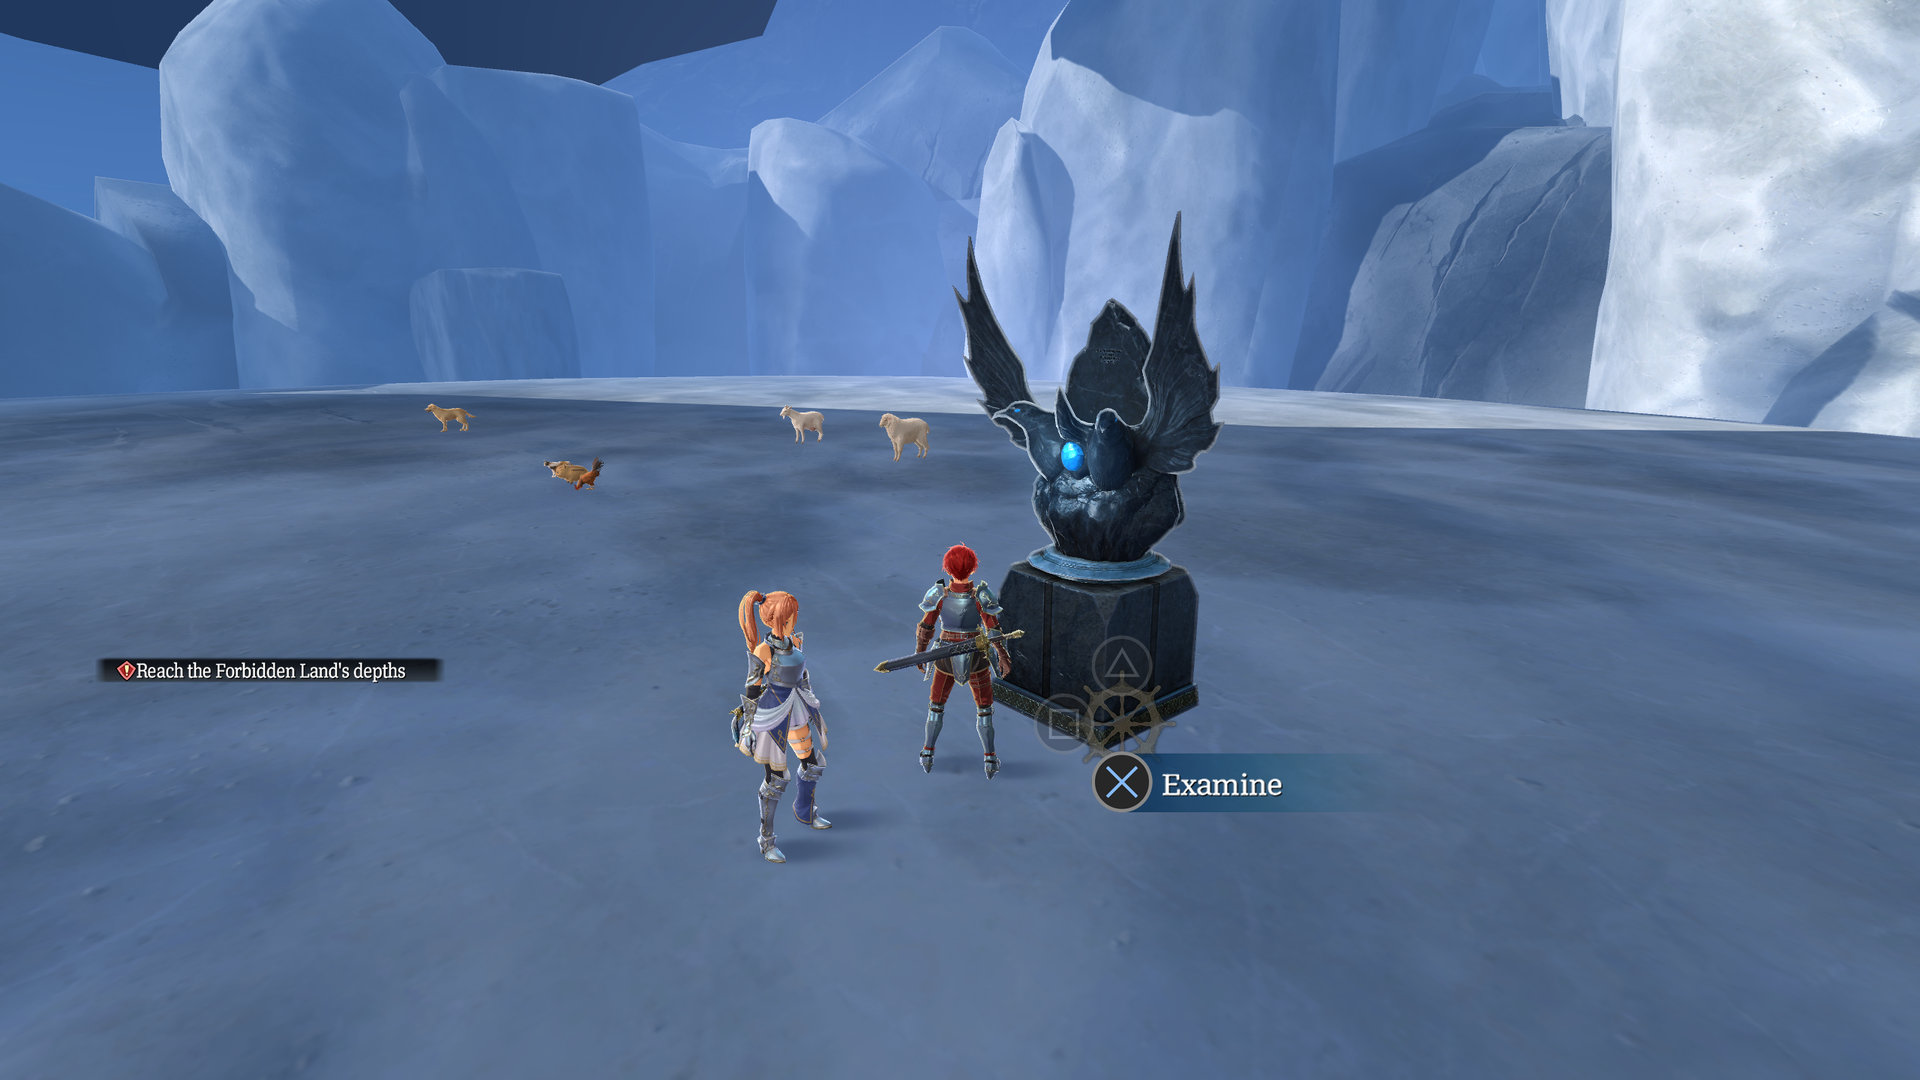
An early version of the final boss room in Faarlundheim, lacking in a lot of detail and with wonky collision.
- Quite a bit of the scenery can be walked through, though you'll eventually be stopped by invisible walls.
- A t-posing Phylleia can be attacked, fading out once defeated.
- The animals cannot be interacted with.
- The Raven Boundstone can be examined, but nothing happens.
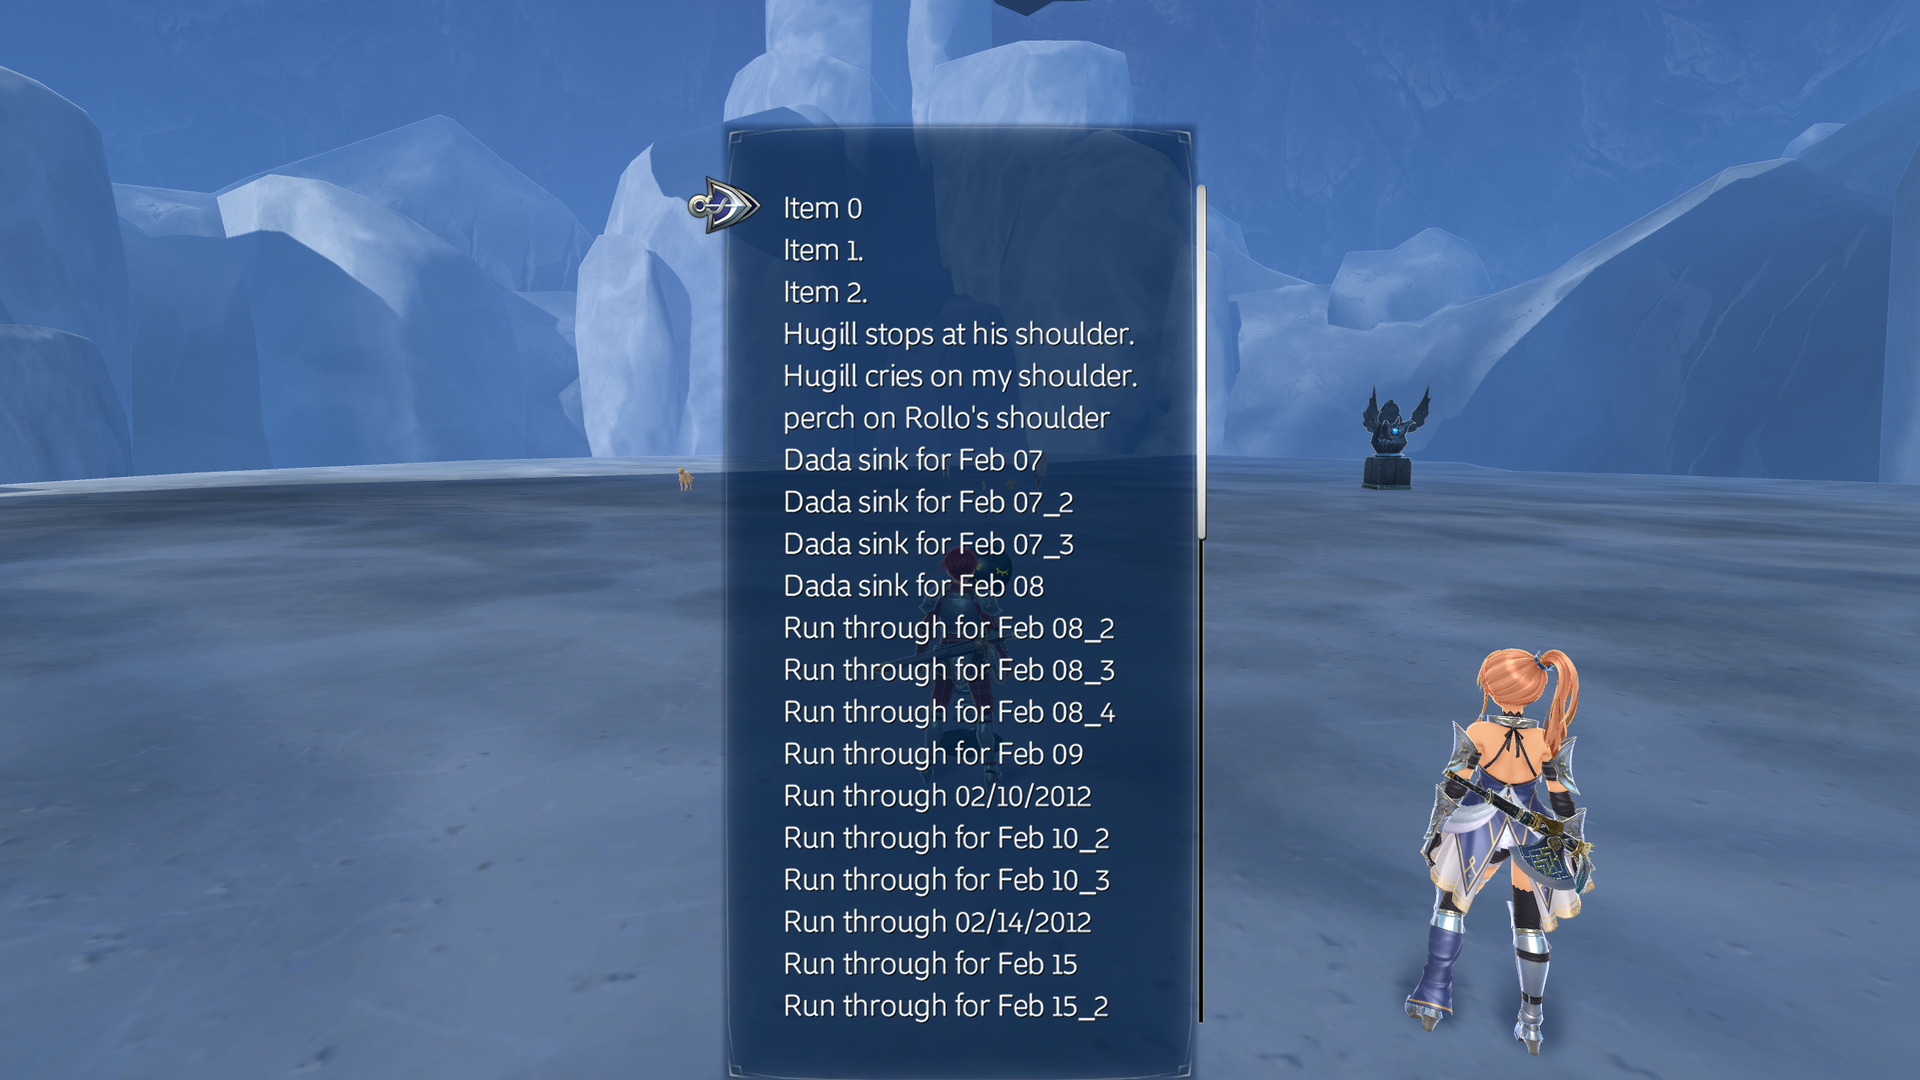
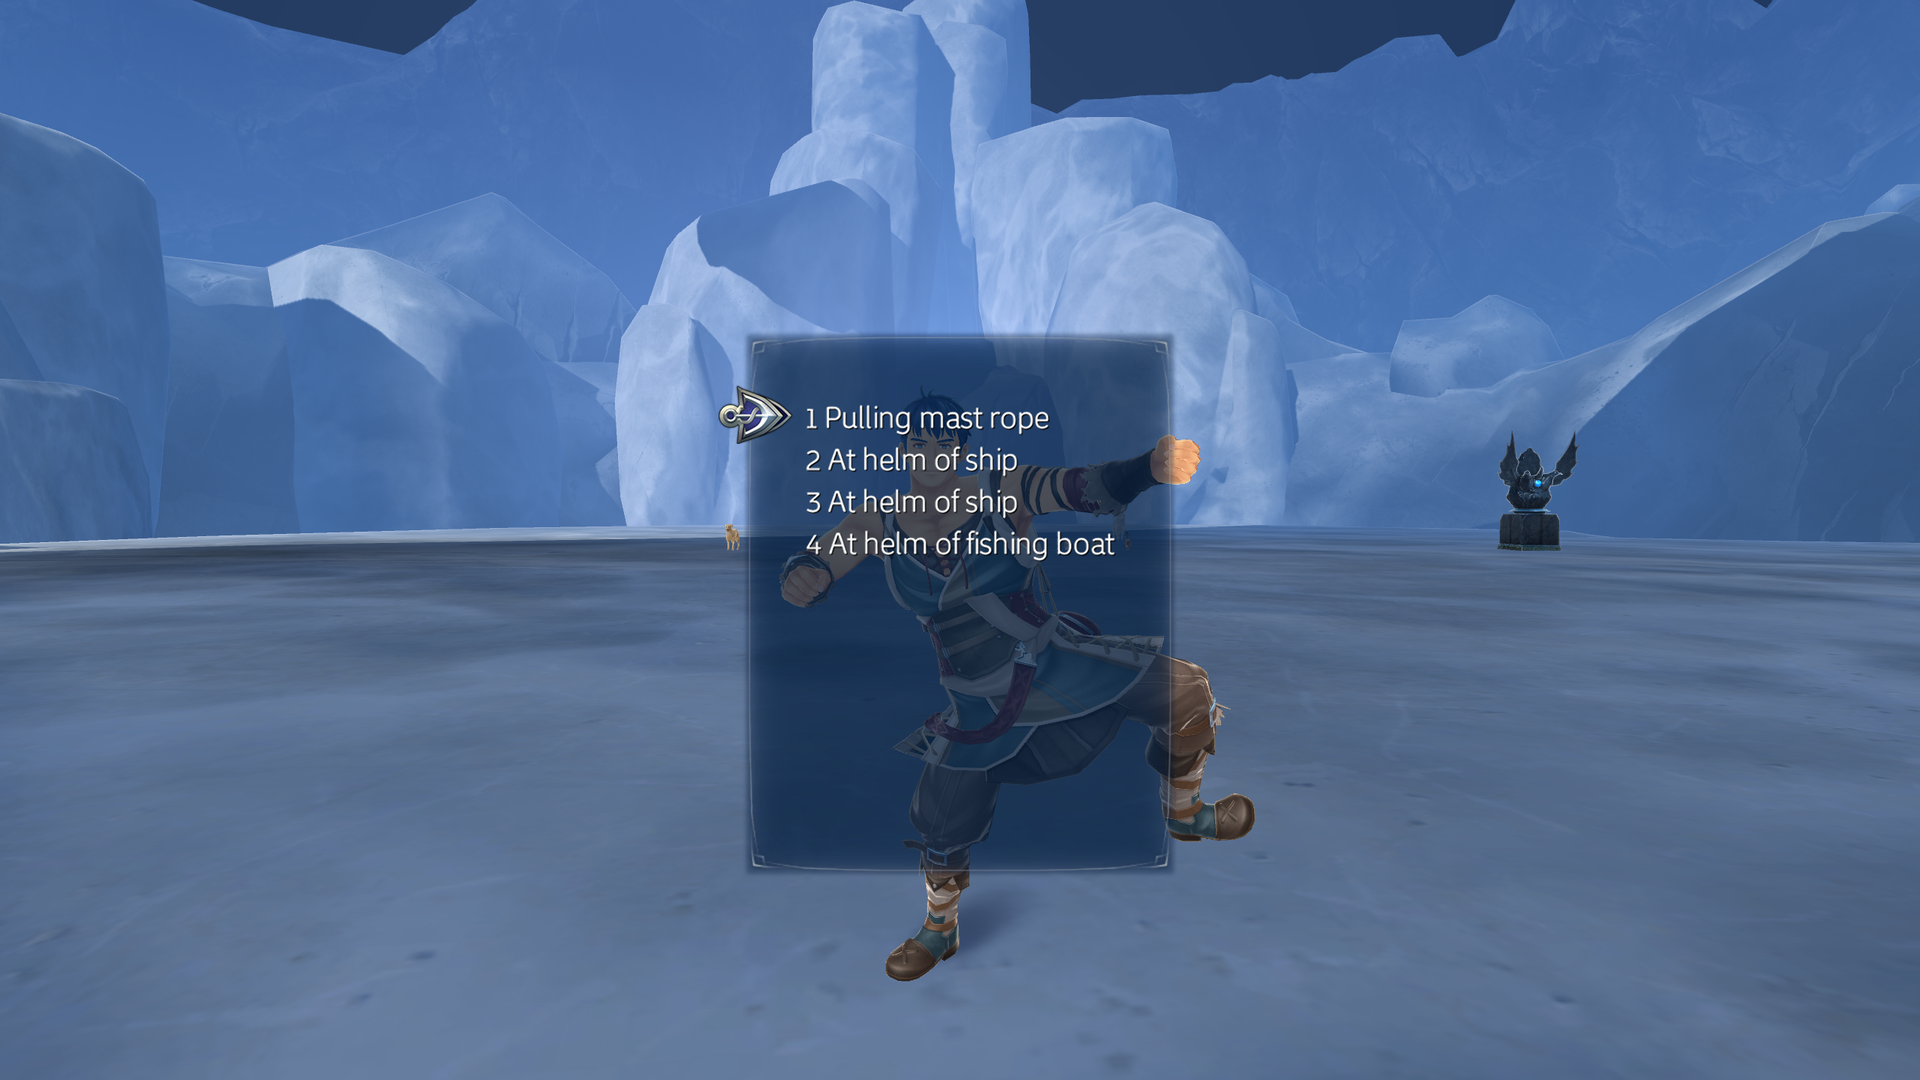
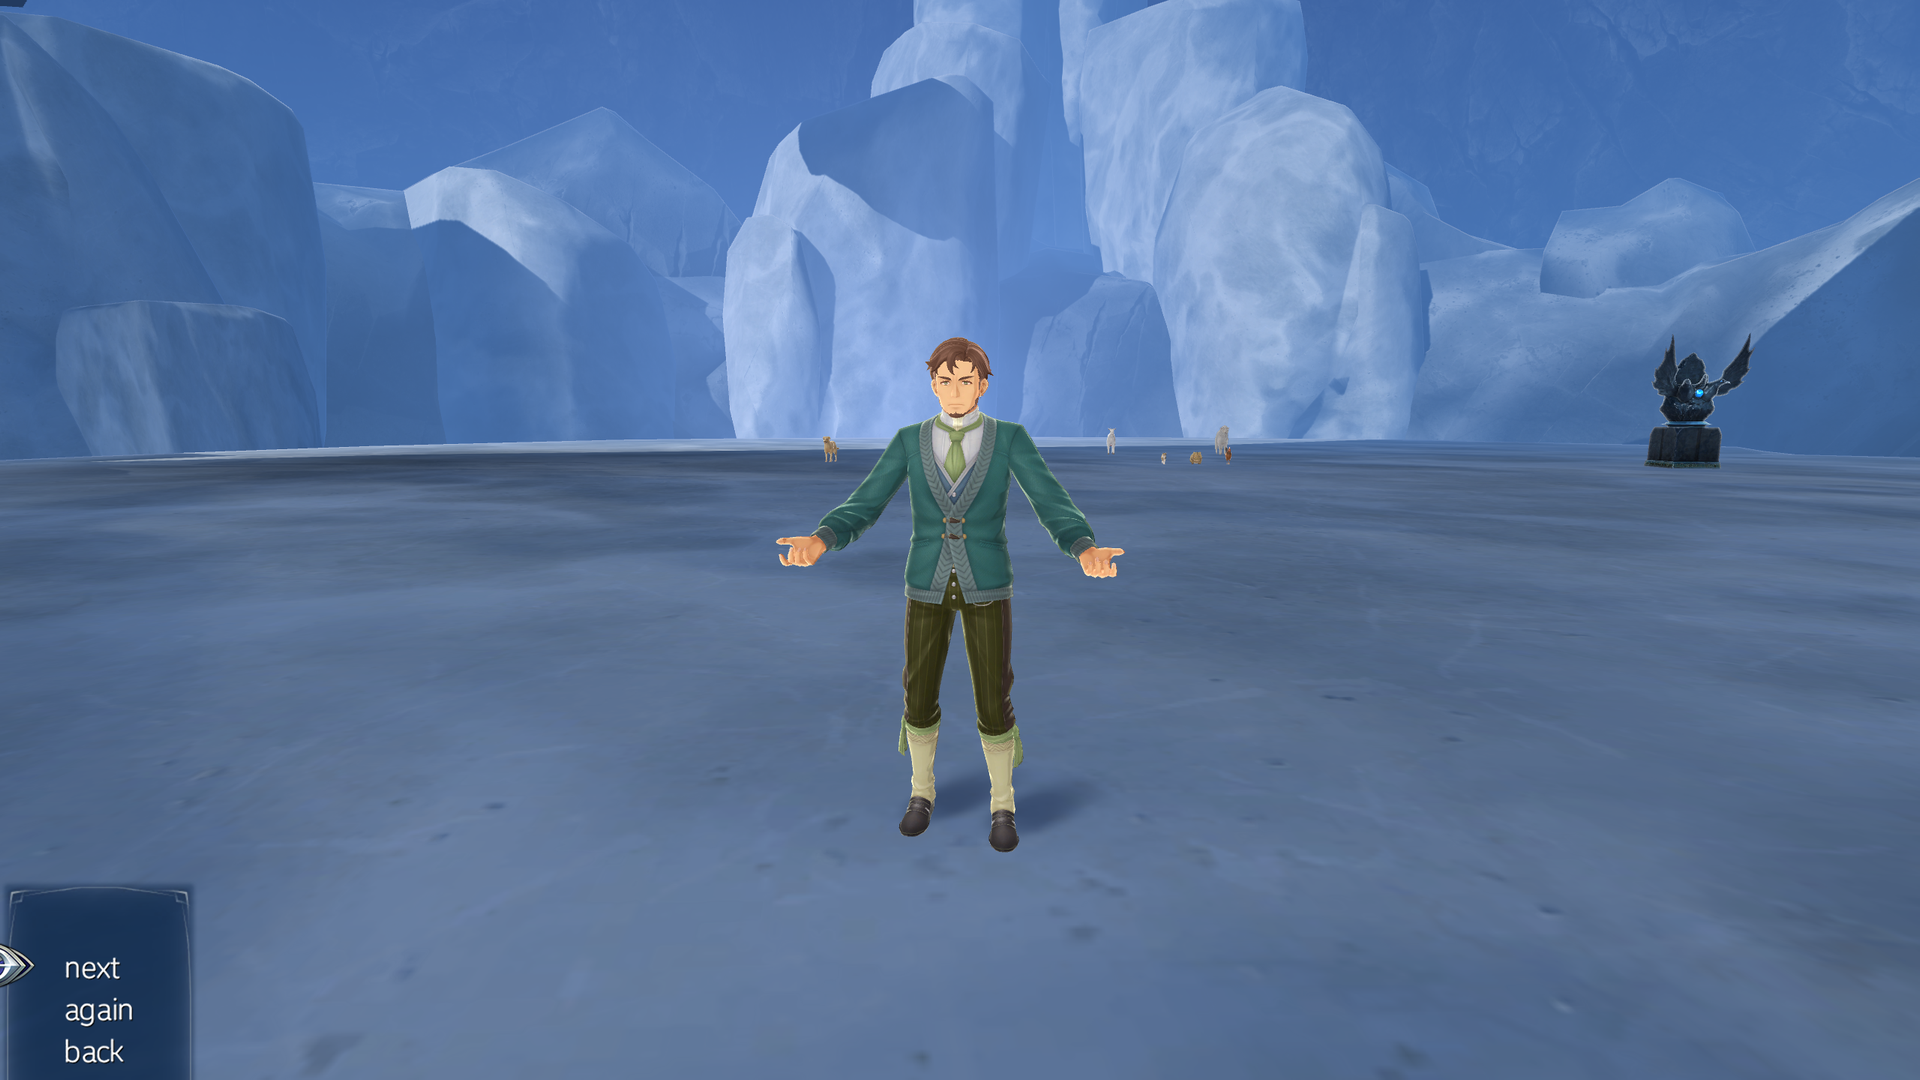
- Animations can be tested by speaking to the springy test NPC, though not all options work.
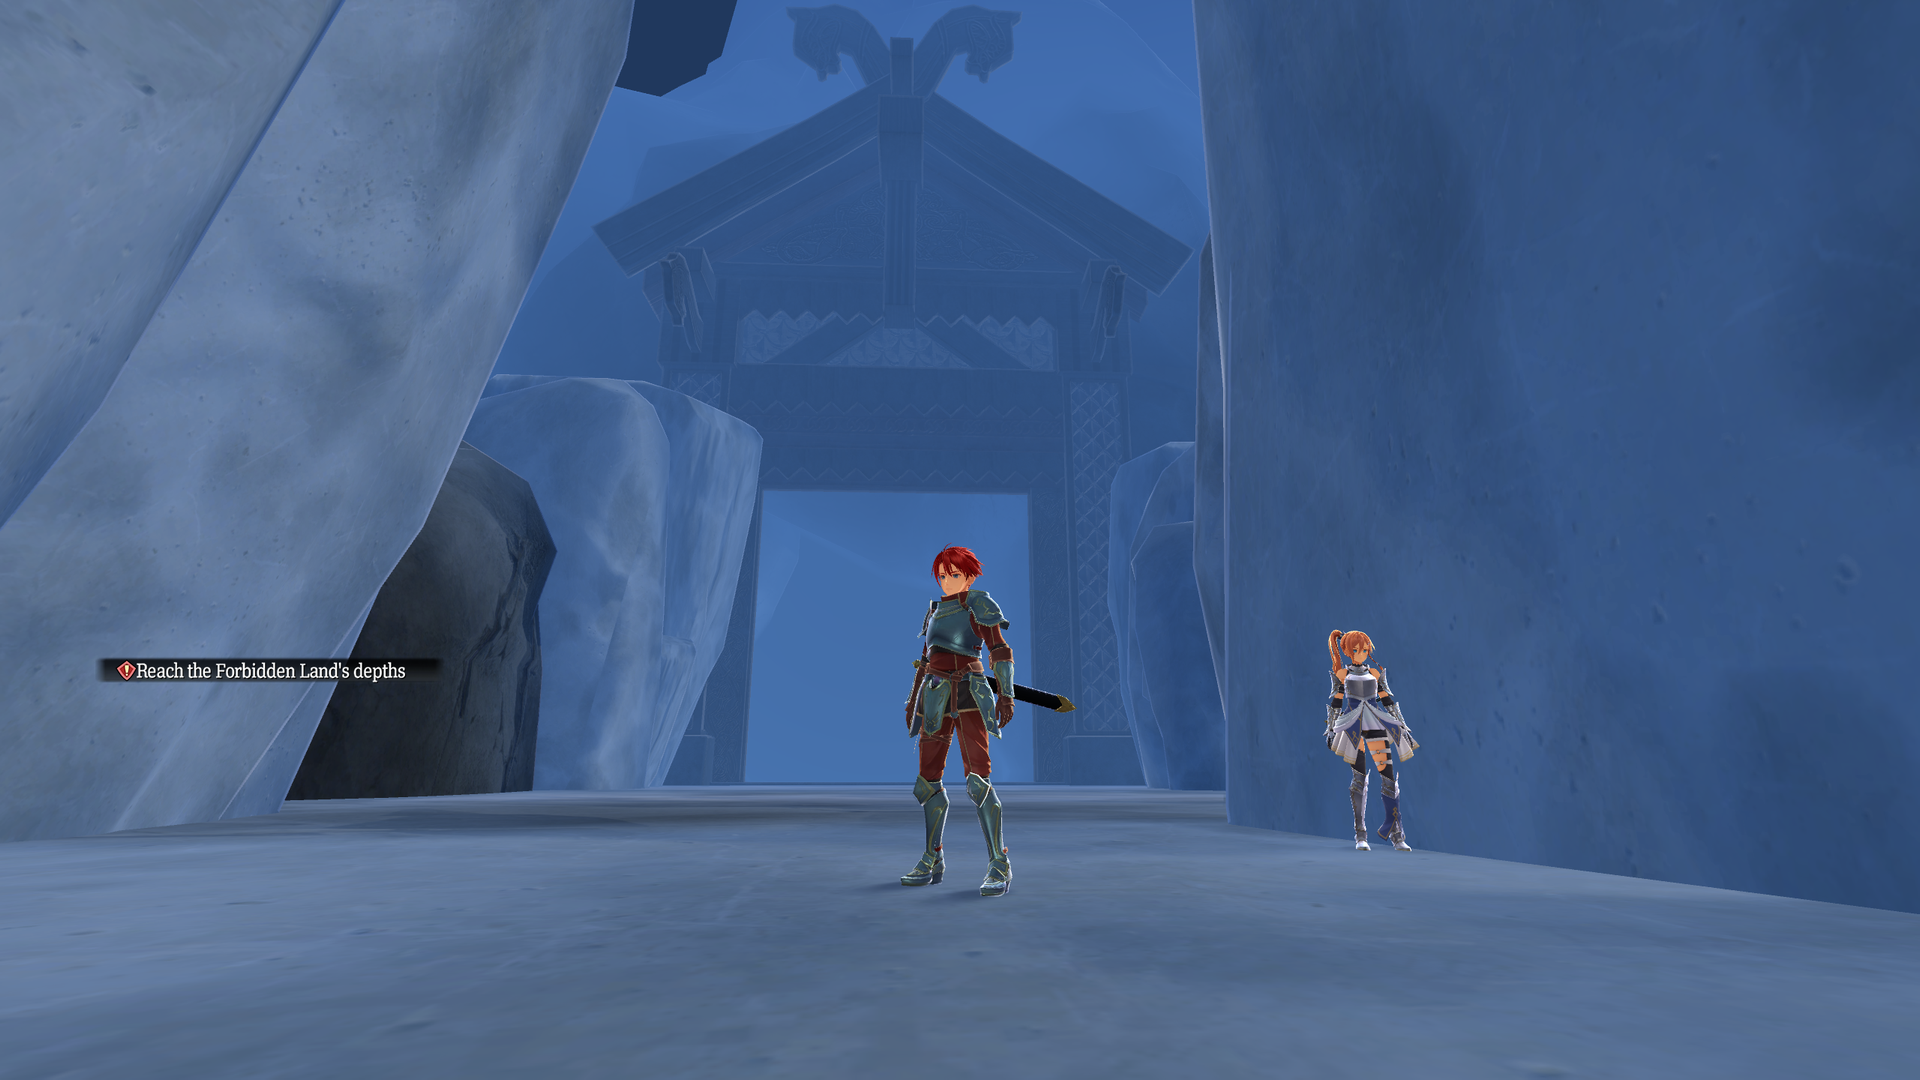
- The gate at the back of the map is the same as the one found at the end of Faarlundheim.
test_chr_room0013#
Some NPCs are here. Speaking to Einar lets you use his shop, though his model duplicates within himself in the process.
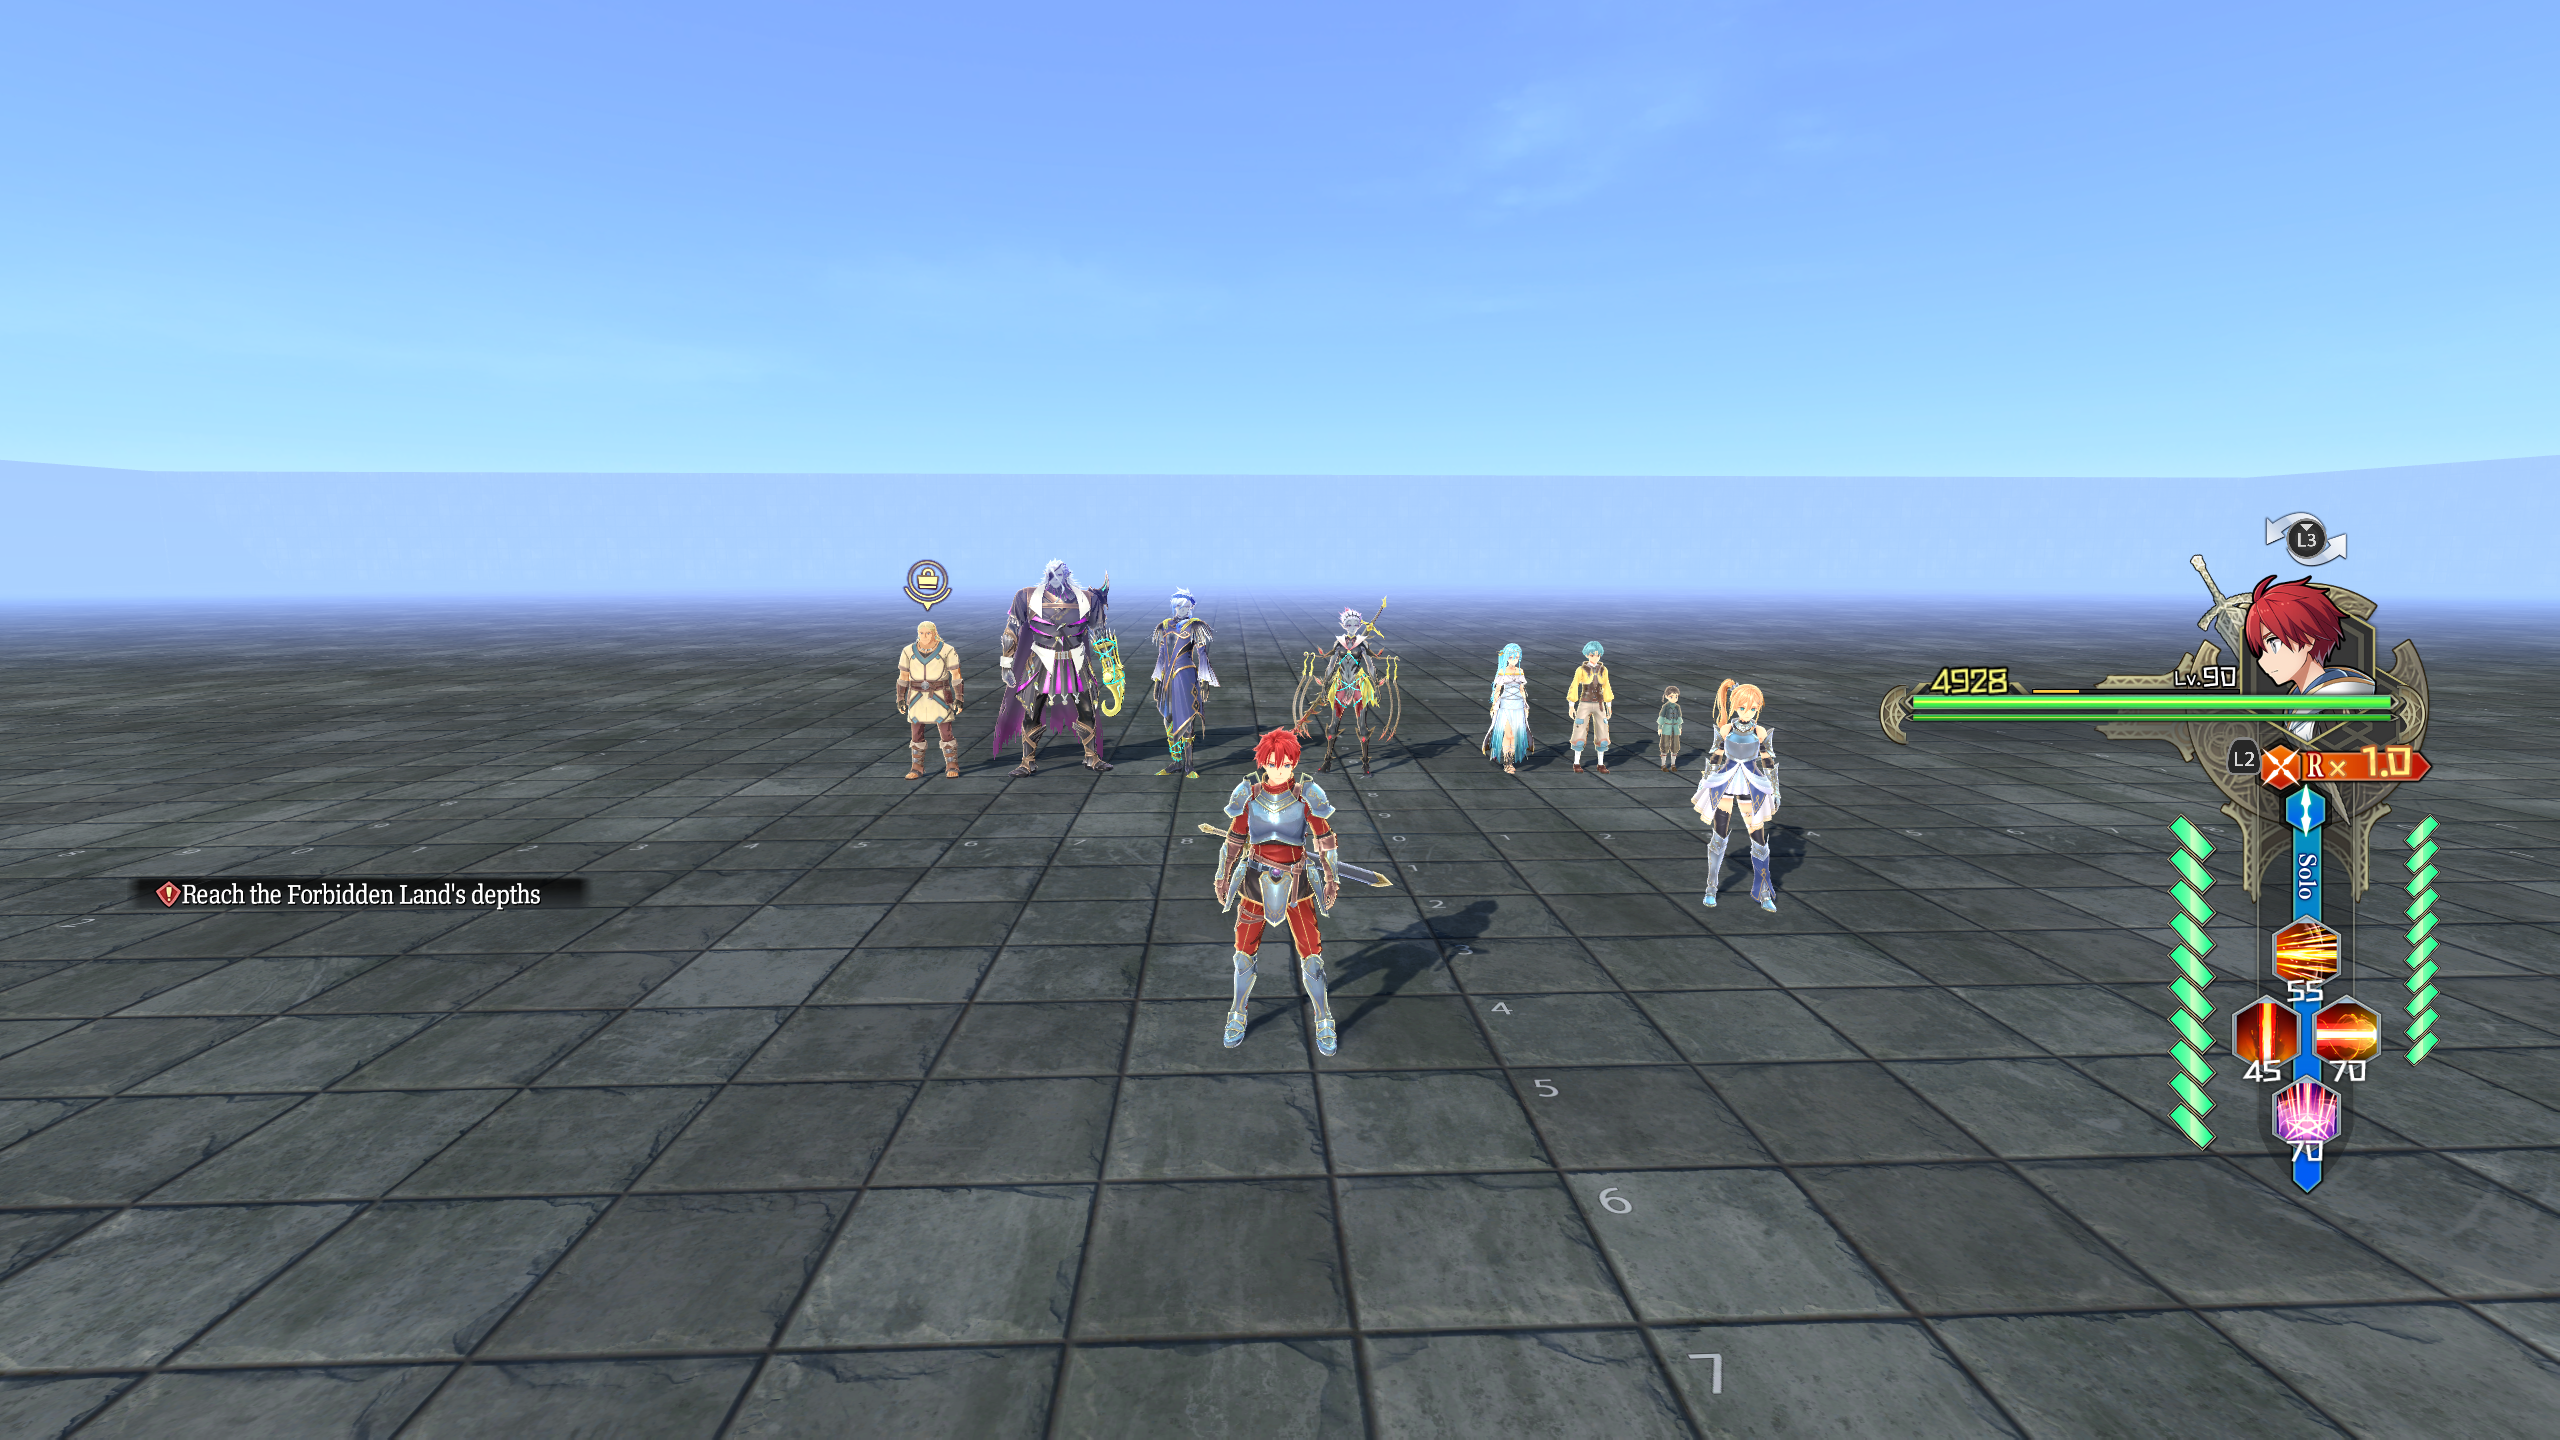
test_chr_room0100#
test_debug with only a springy test NPC. Speaking to it lets you test some animations, though not all options work.