 This article has a talk page!
This is a sub-page of Ys X: Nordics.
Ys X has a lot of test maps, many of which were made to either test the new engine or game mechanics. Others simply house collections of entities found throughout the game.
To assist in bypassing certain boundaries, this Cheat Engine table was used to multiply the jump height. Note that your aerial position is preserved when saving, so the Jump Height Multiplier cheat can assist in positioning yourself correctly when first entering a test map.
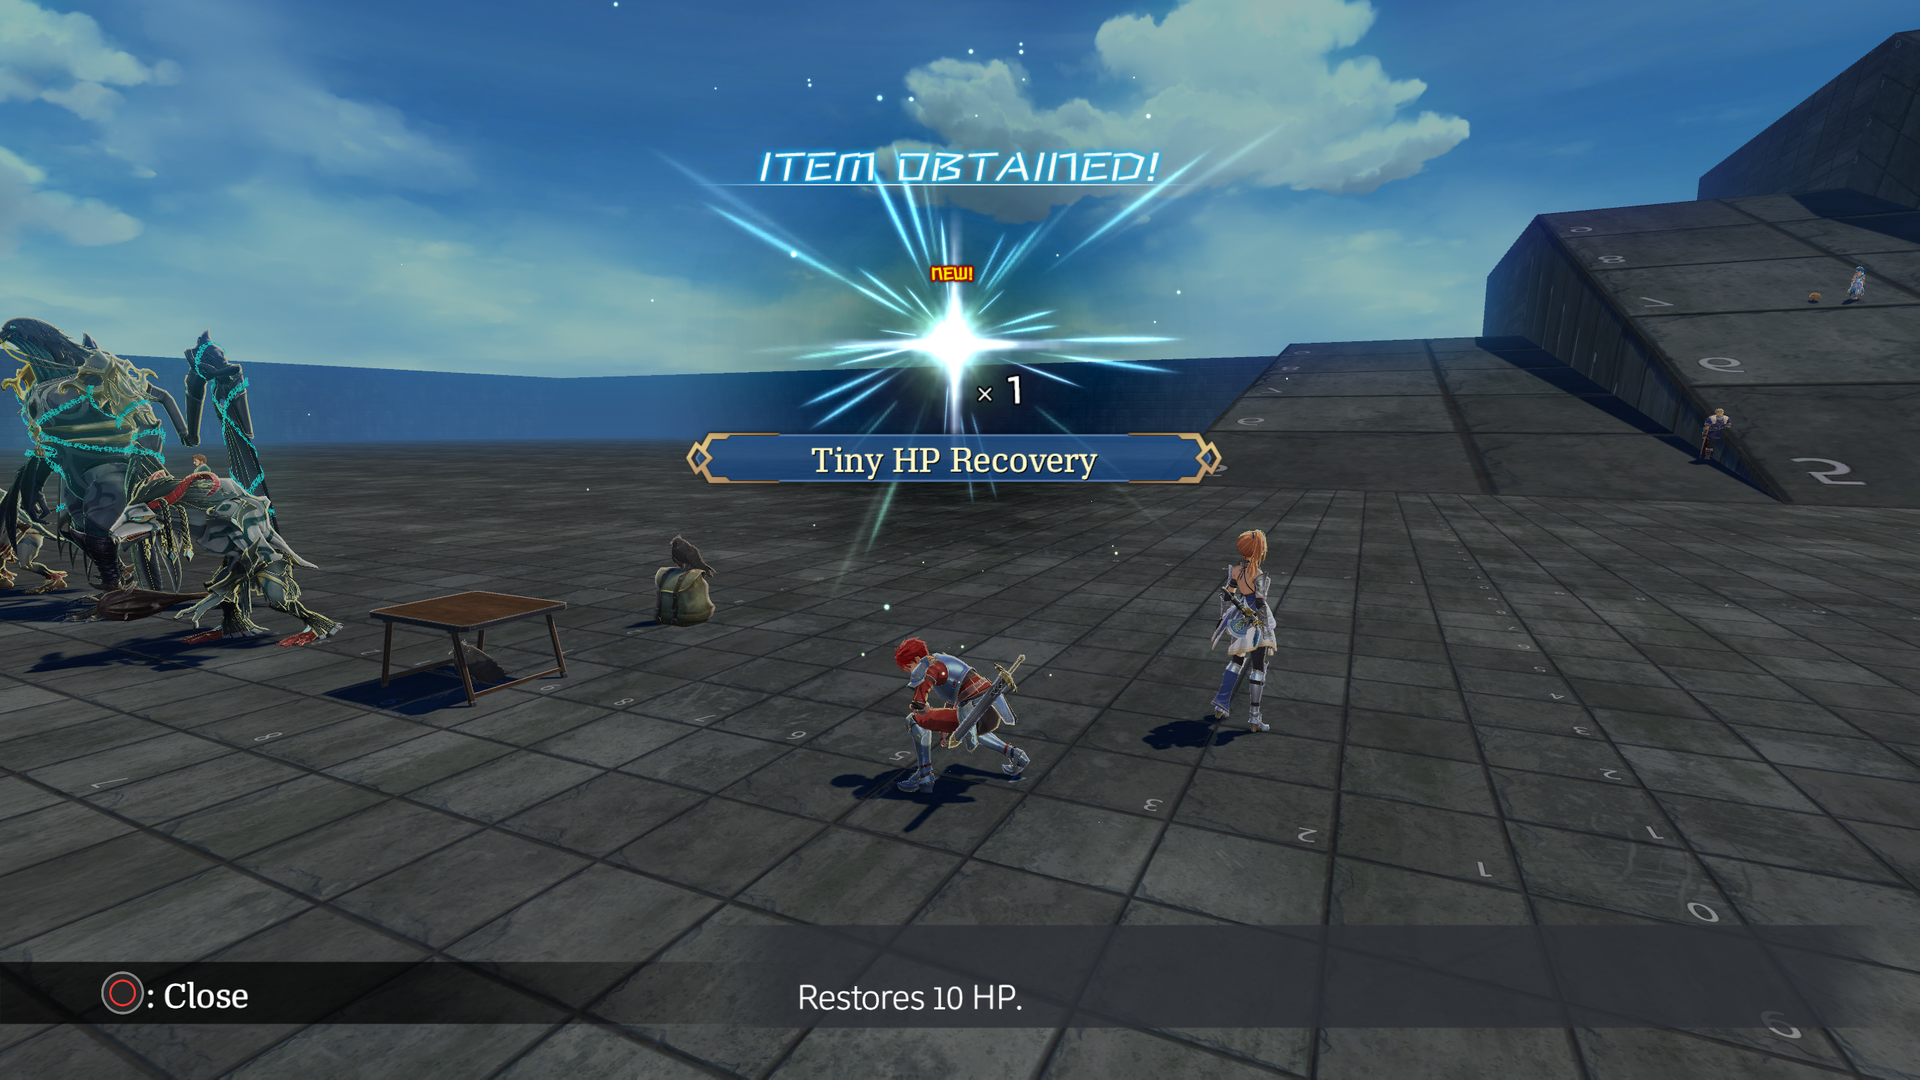
As a general rule, avoid opening treasure chests whenever possible in test maps. They either contain an unused Tiny HP Recovery item, or softlock the game.
Access#
Cheat Engine Method#
- Start in the Youth Brigade hideout in Carnac.
- Search for a case-sensitive string in Cheat Engine: mp_t1207
- Exit the Youth Brigade. If on an end-game save, search next for mp_t1250.
- Results should narrow. Return inside the Youth Brigade (mp_t1207) and repeat until results are narrowed enough.
- The variable for the map ID should be the first string in the list. Browse this memory region (or save it), and input the map you want to enter.
- In this example, change the string to test_debug.
- Save and reload! You'll enter the map.
P3A Mod Method#
- Create a
modsfolder in Ys X's folder if it doesn't exist. Also create ascenefolder within themodsfolder. - Use p3a_tool.exe bundled with NISA release of Ys X to extract scene.p3a.
p3a_tool.exe extract scene.p3a- In this example, we will modify an entry point of the Youth Brigade, mp_t1207.
- Copy
scene\mp_t1207.jsontomods\scene- Edit
mods\scene\mp_t1207.json. If on an end-game save, edit the Actor named go_t1250 on line 109. - Edit the "entry_map": part of this line. For this example, change mp_t1250 to test_debug
- Edit
- Save the file. Run p3a_tool.exe to create a p3a mod file. (You can copy this tool to the mods folder for easy access.)
p3a_tool.exe archive testmaps.p3a scene
- Exit the Youth Brigade to enter your desired map!
Sub-Pages#
 Sample and Template MapsSample maps and templates intended for building up other maps.
 Character RoomsRooms that showcase characters found throughout the game. Beware, there are nude base NPC models!
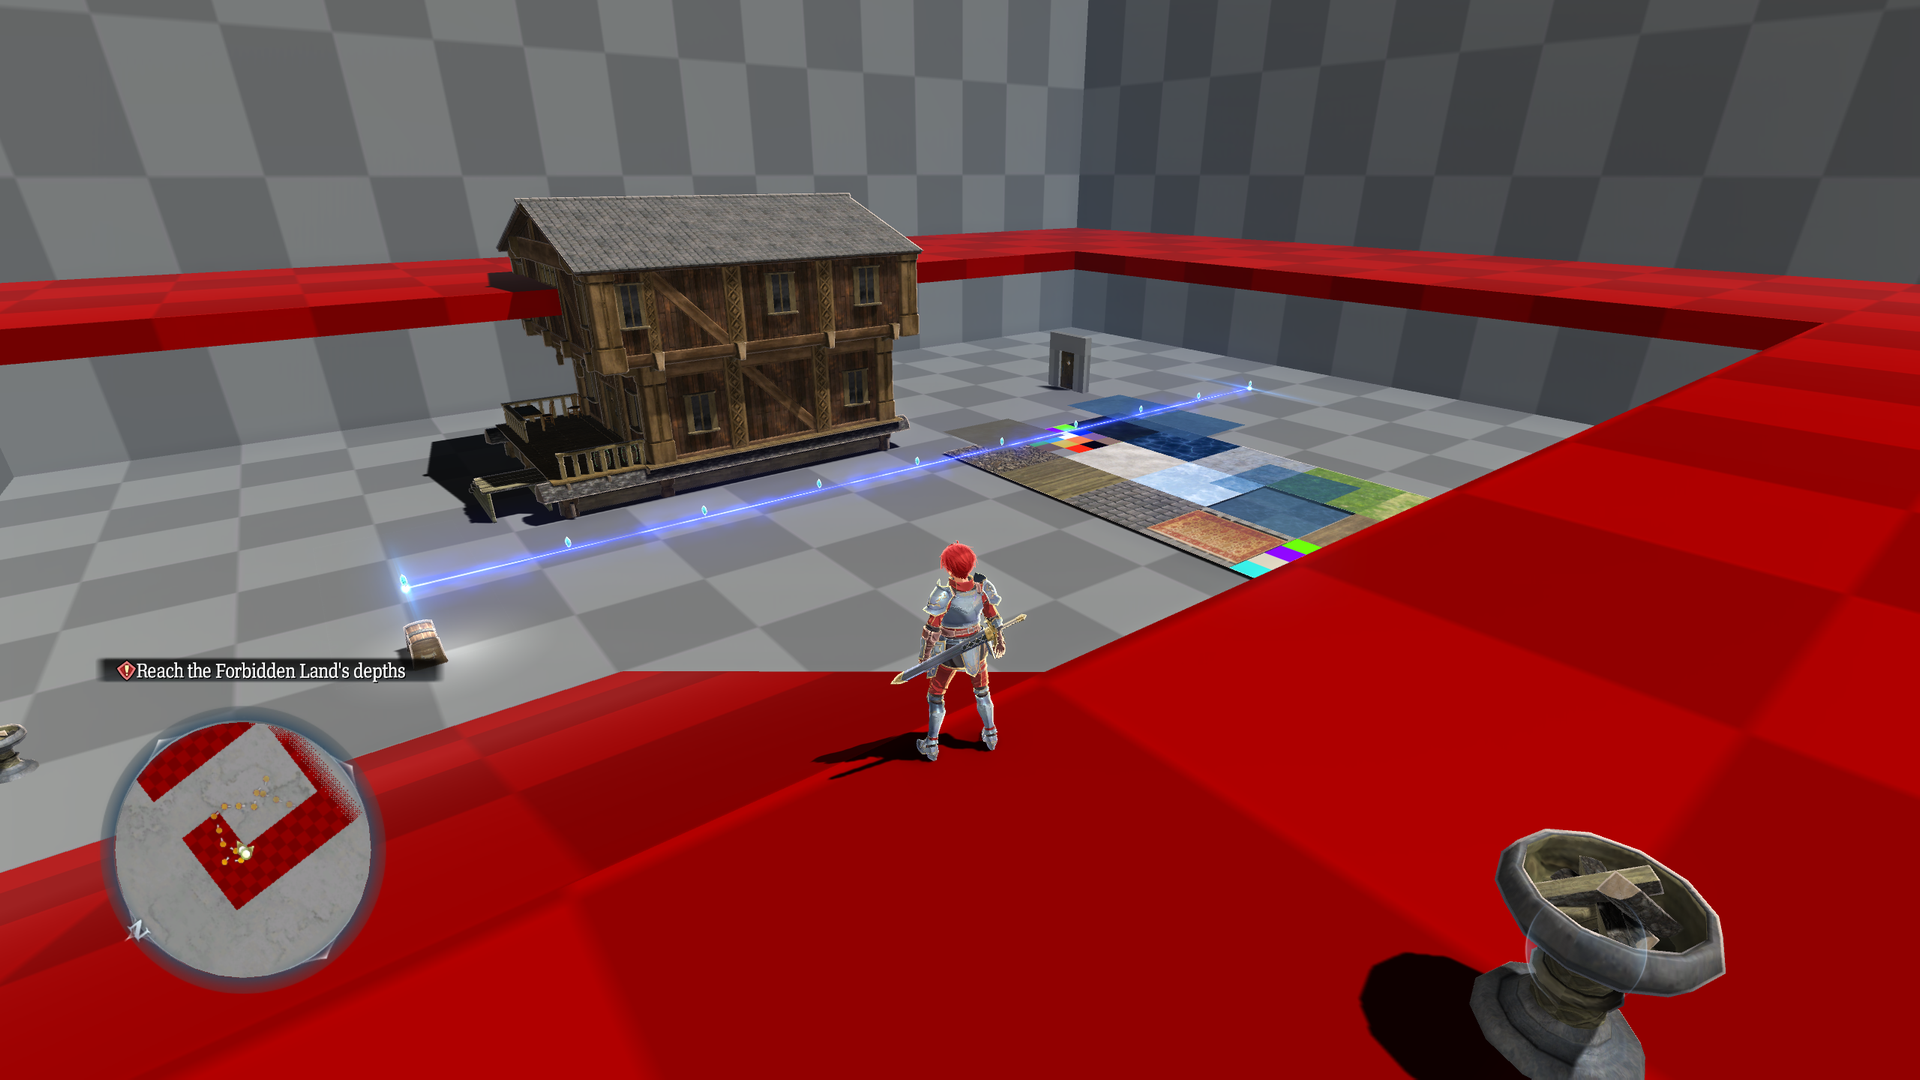 Room MapsSmall test maps with various purposes.
mp_m3120_test#
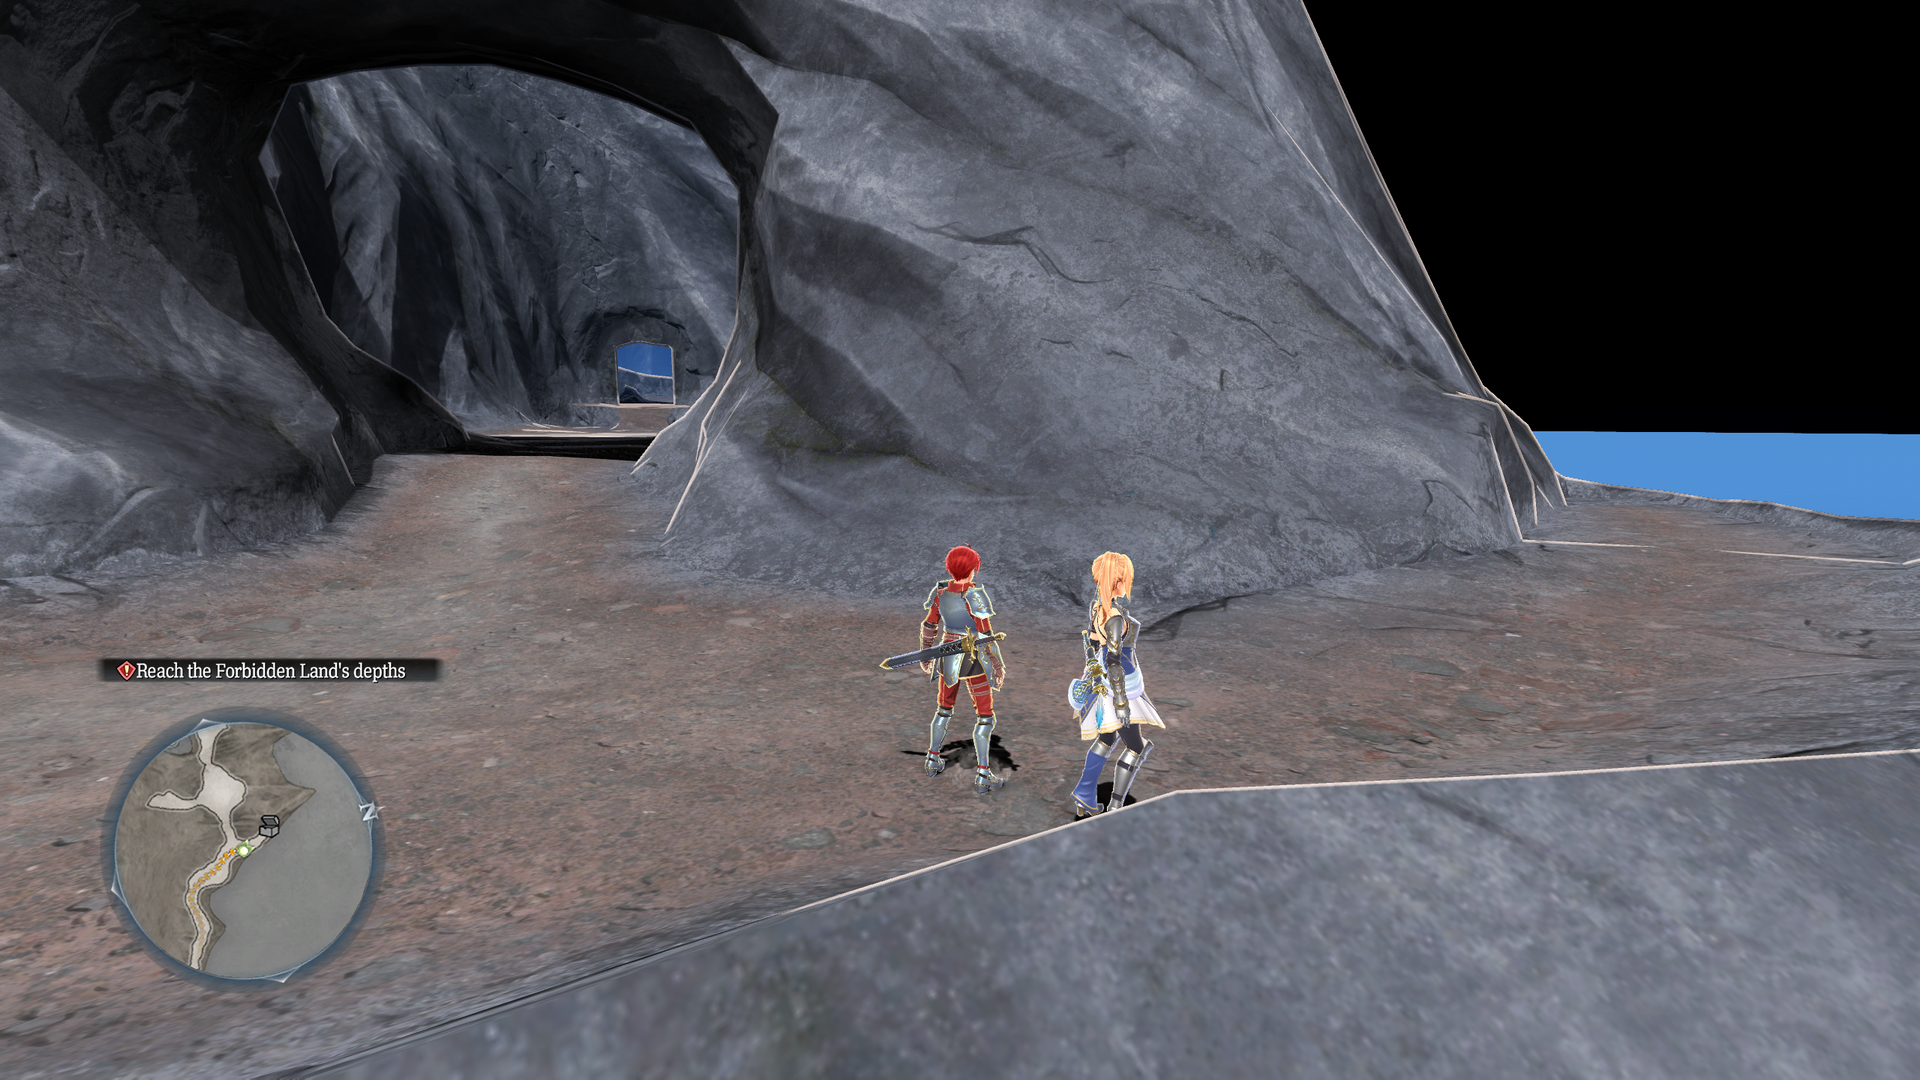
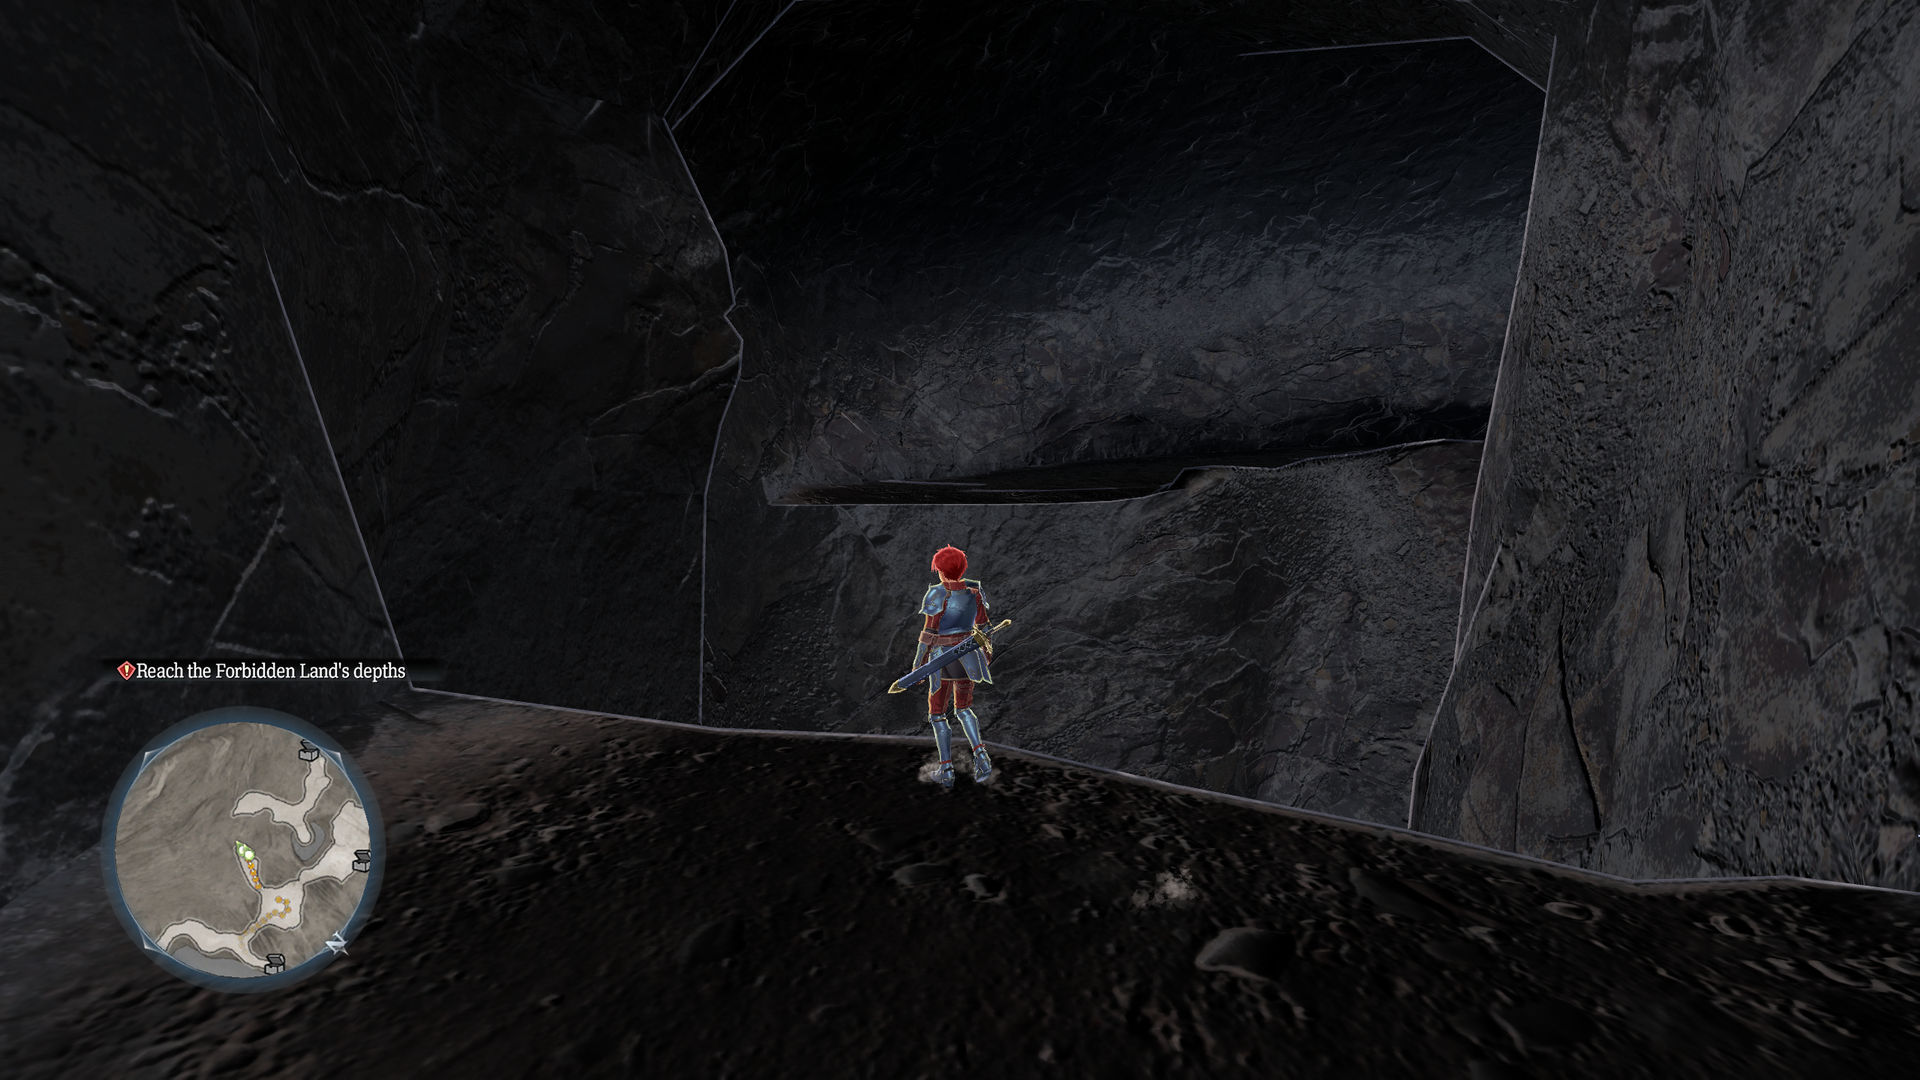
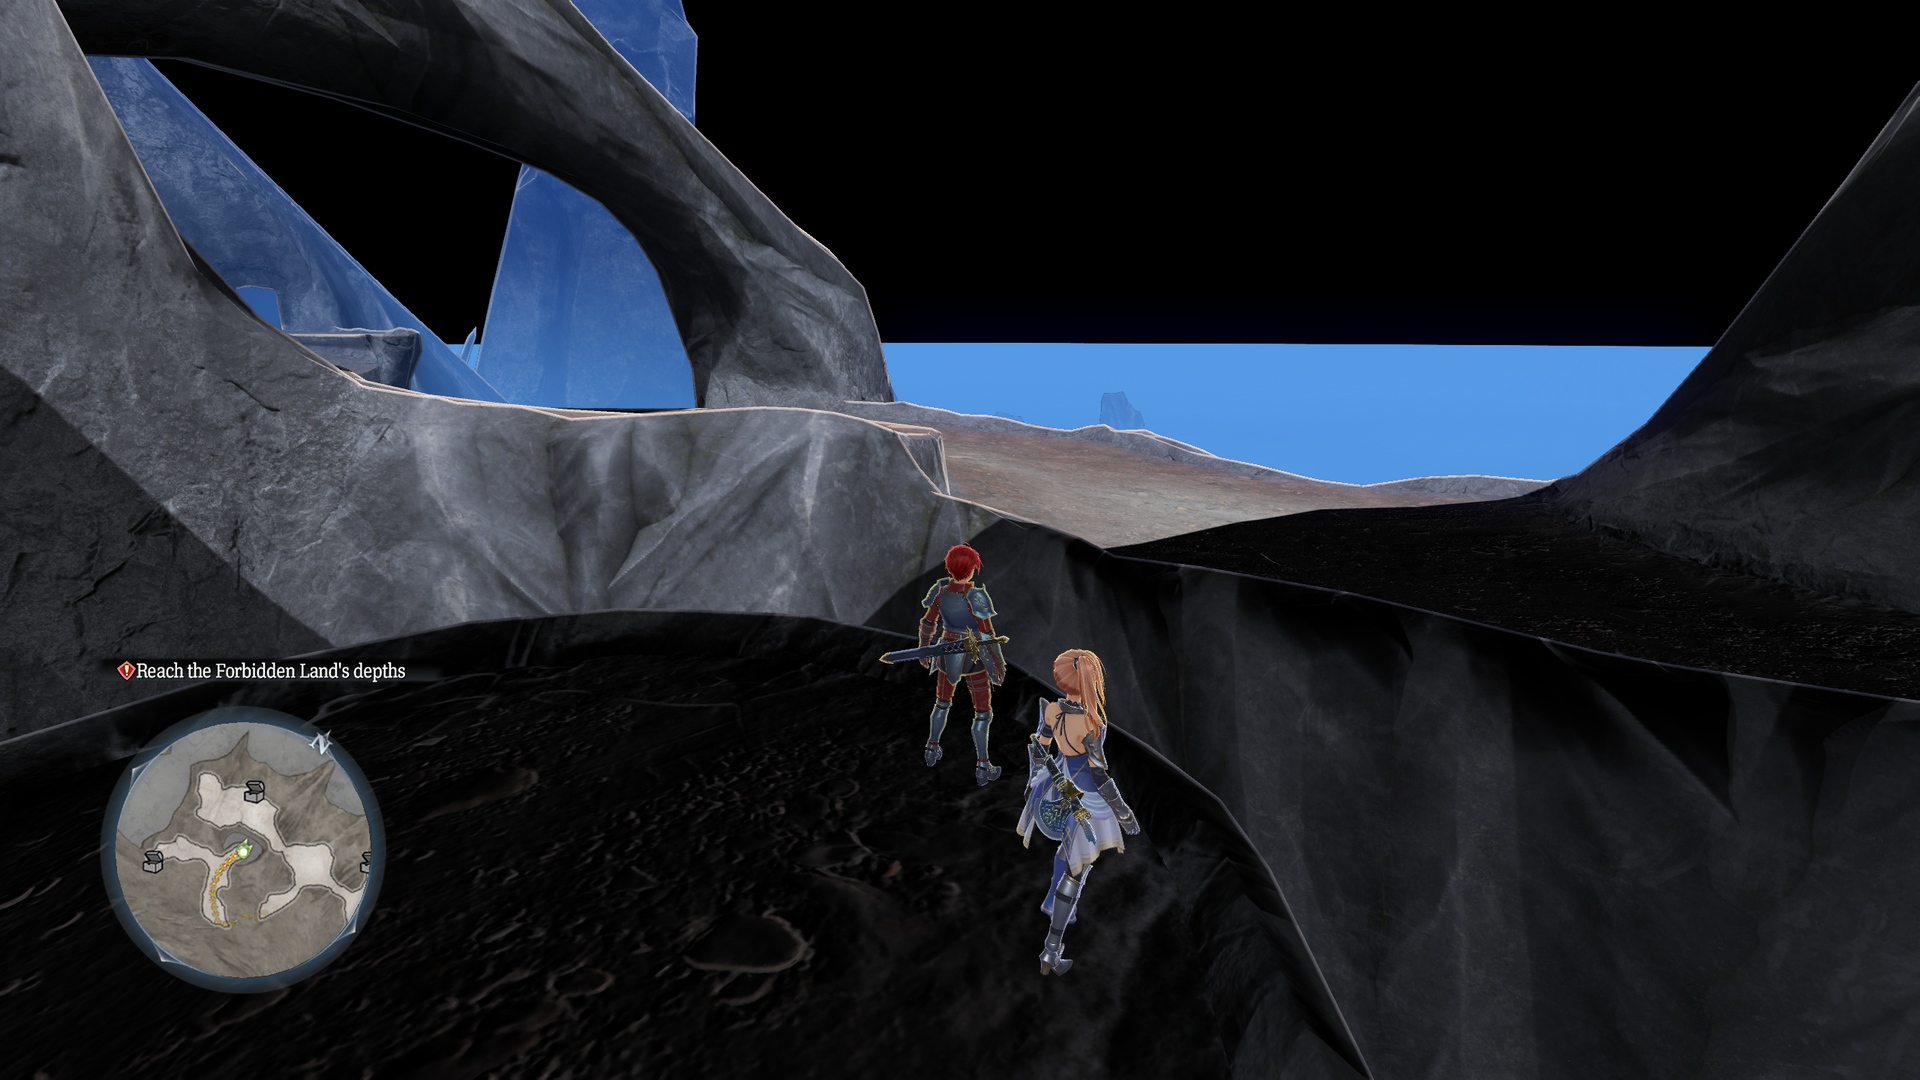
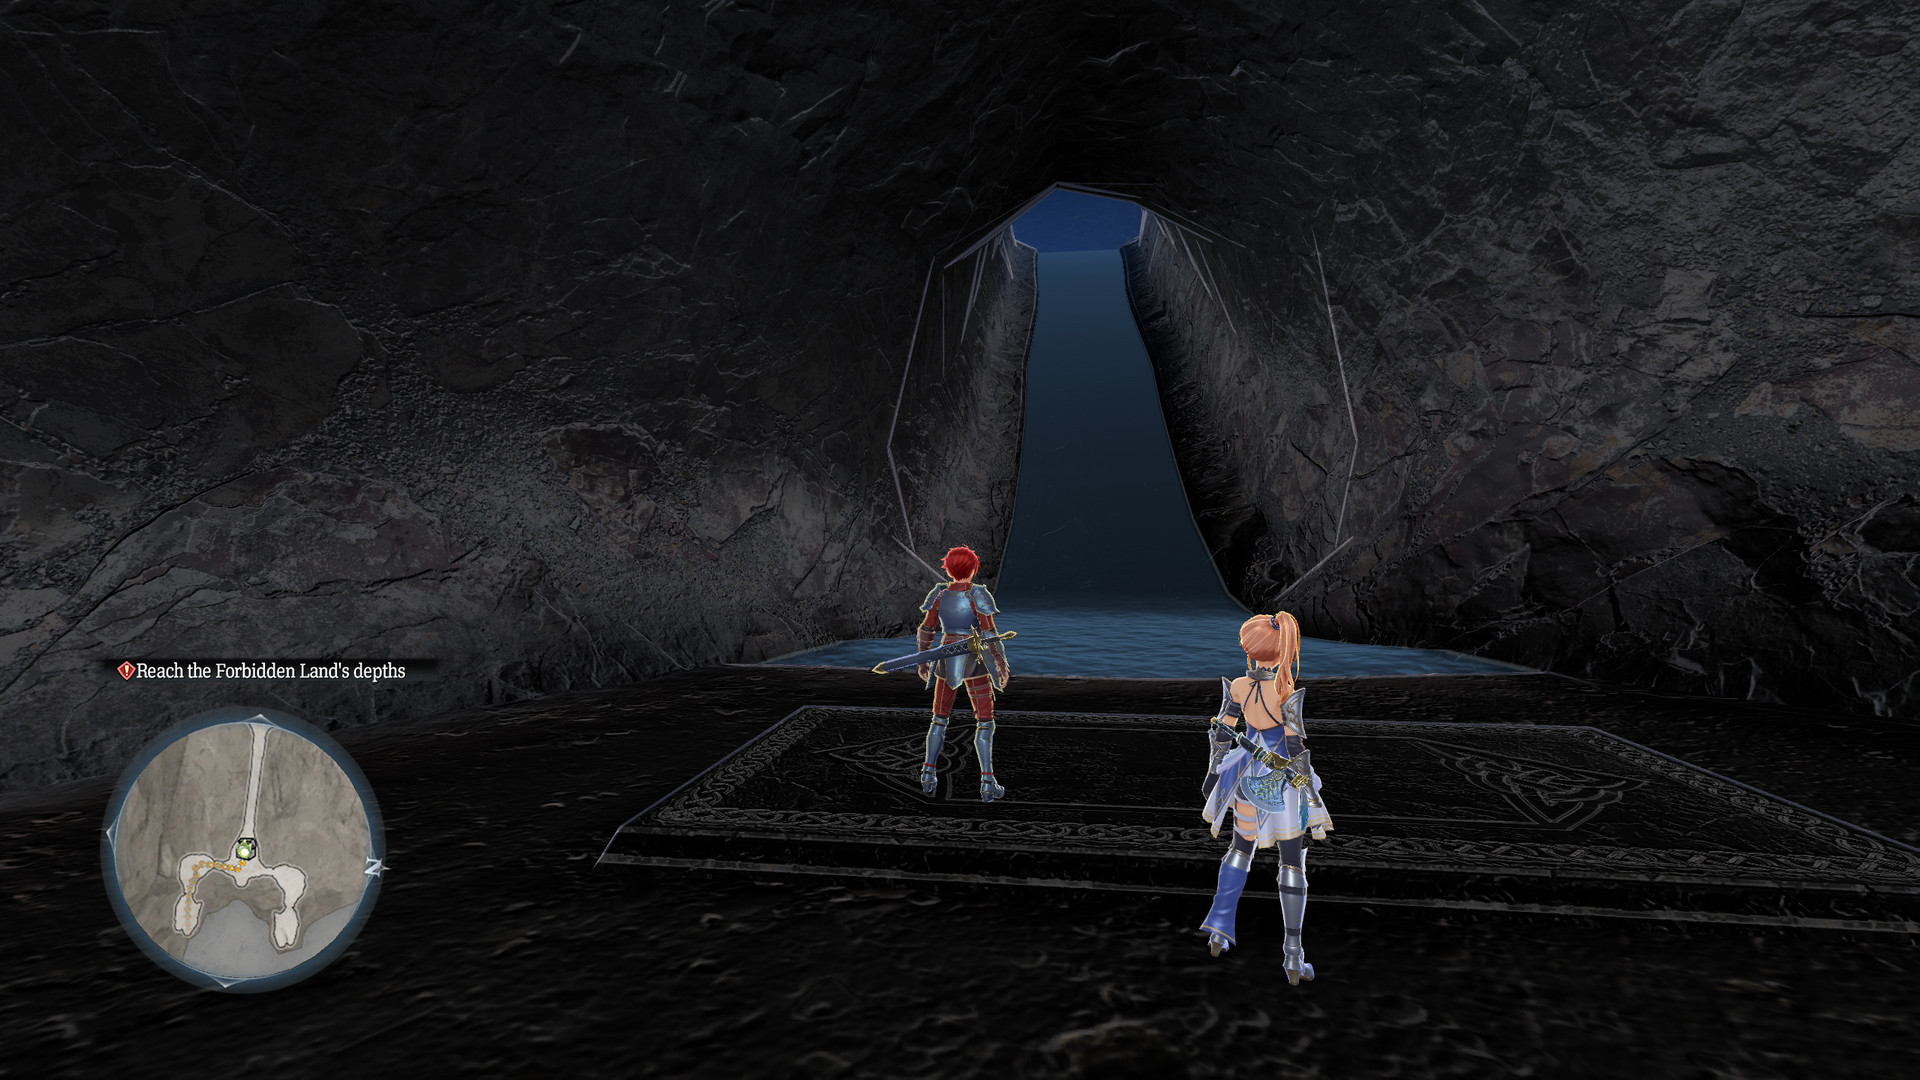
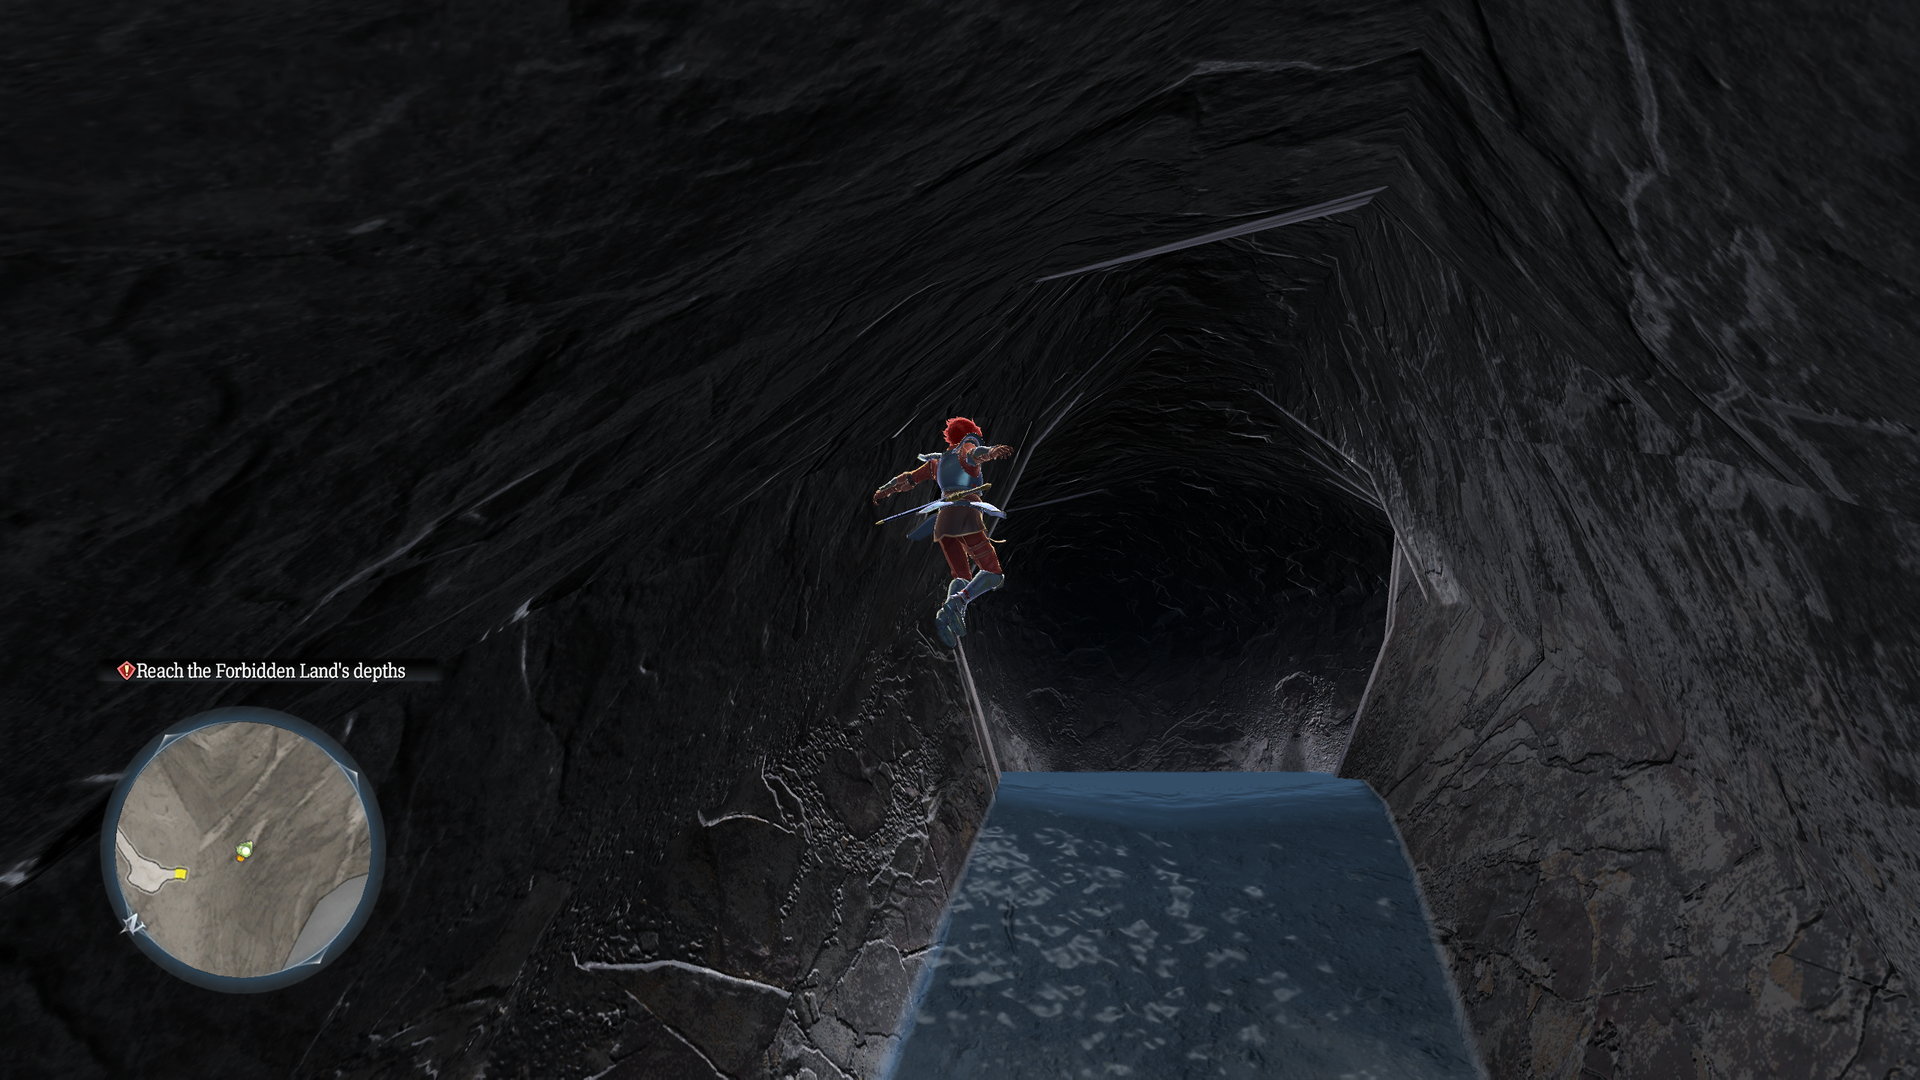
Early Serenes Island that is missing all objects. It is one of the few test maps that remain in the Switch version.
- Lighting is overall darker, with some caves appearing black. The background is also missing.
- Cheats must be used to progress since none of the objects that would propel you past the pits exist.
- The water slope at the end can be ridden up with Mana Ride, though it ends in an invisible wall.
test_abordage#
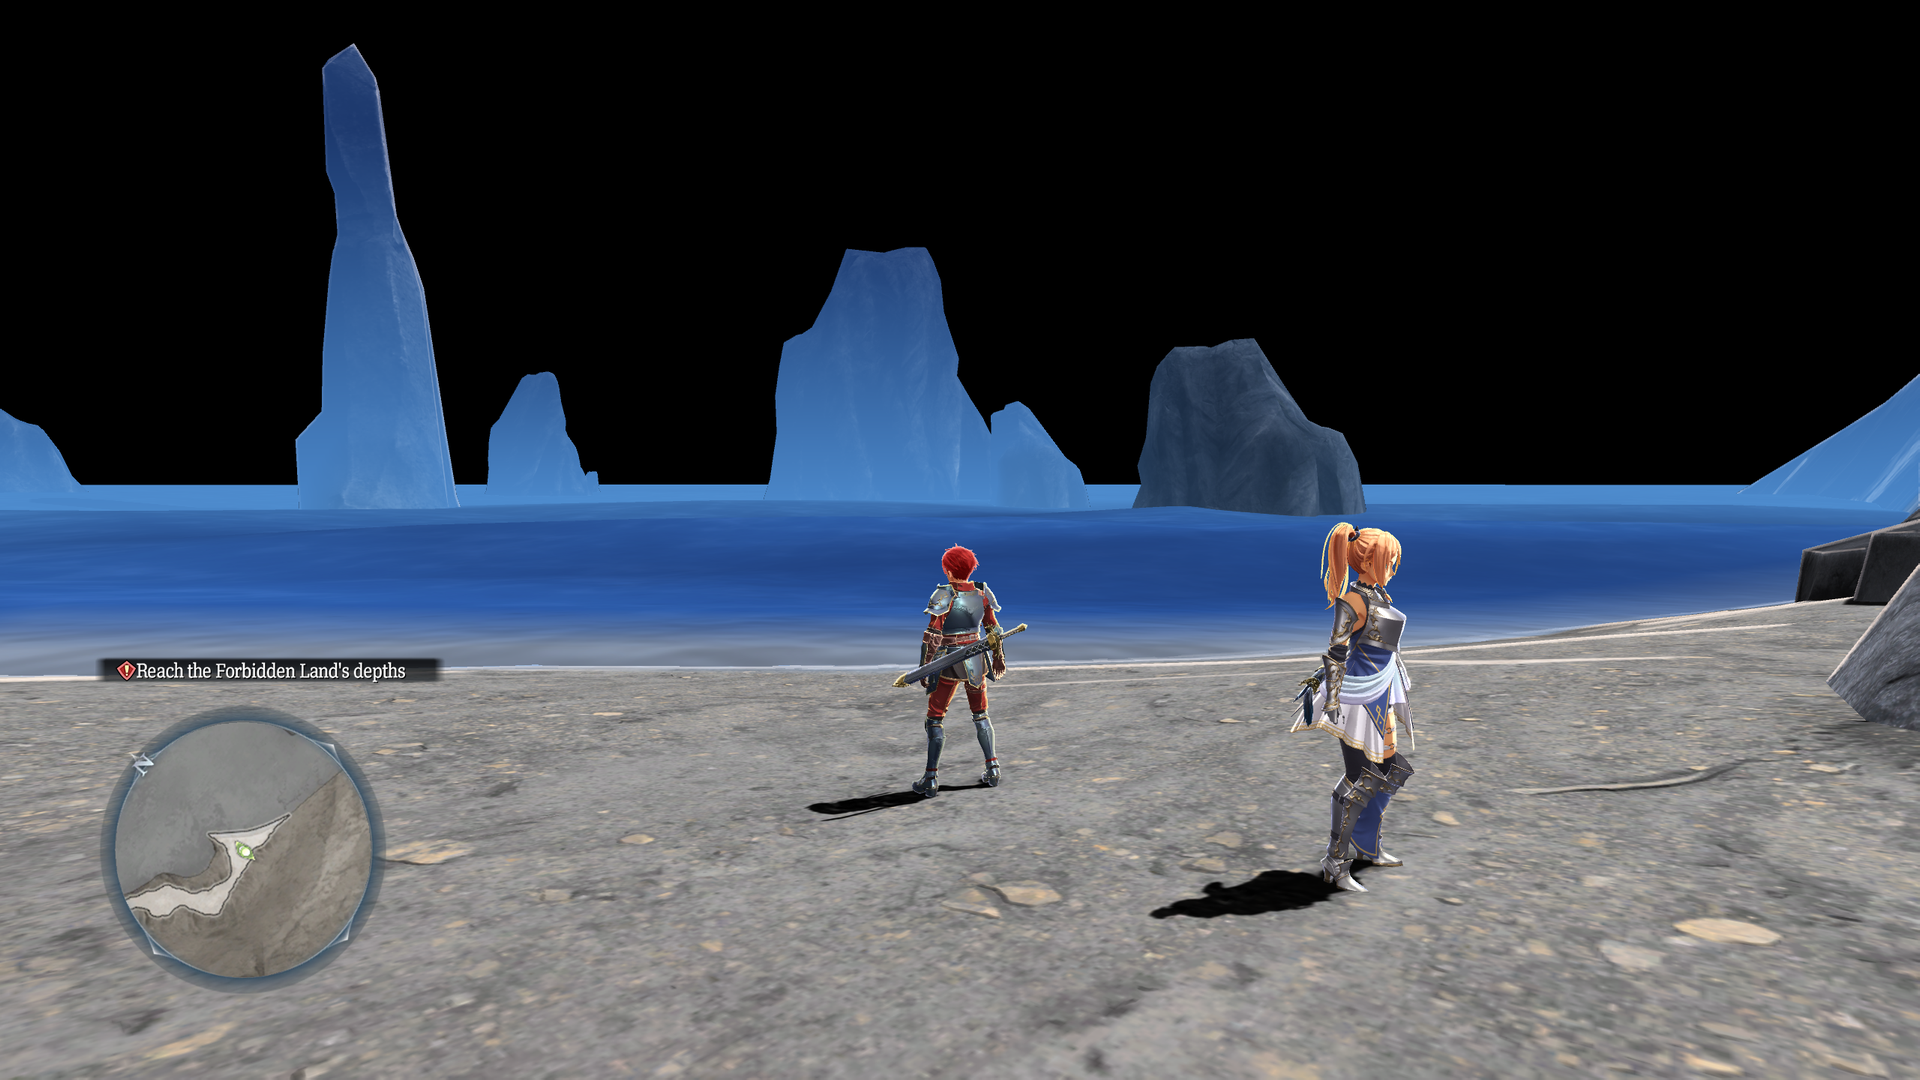
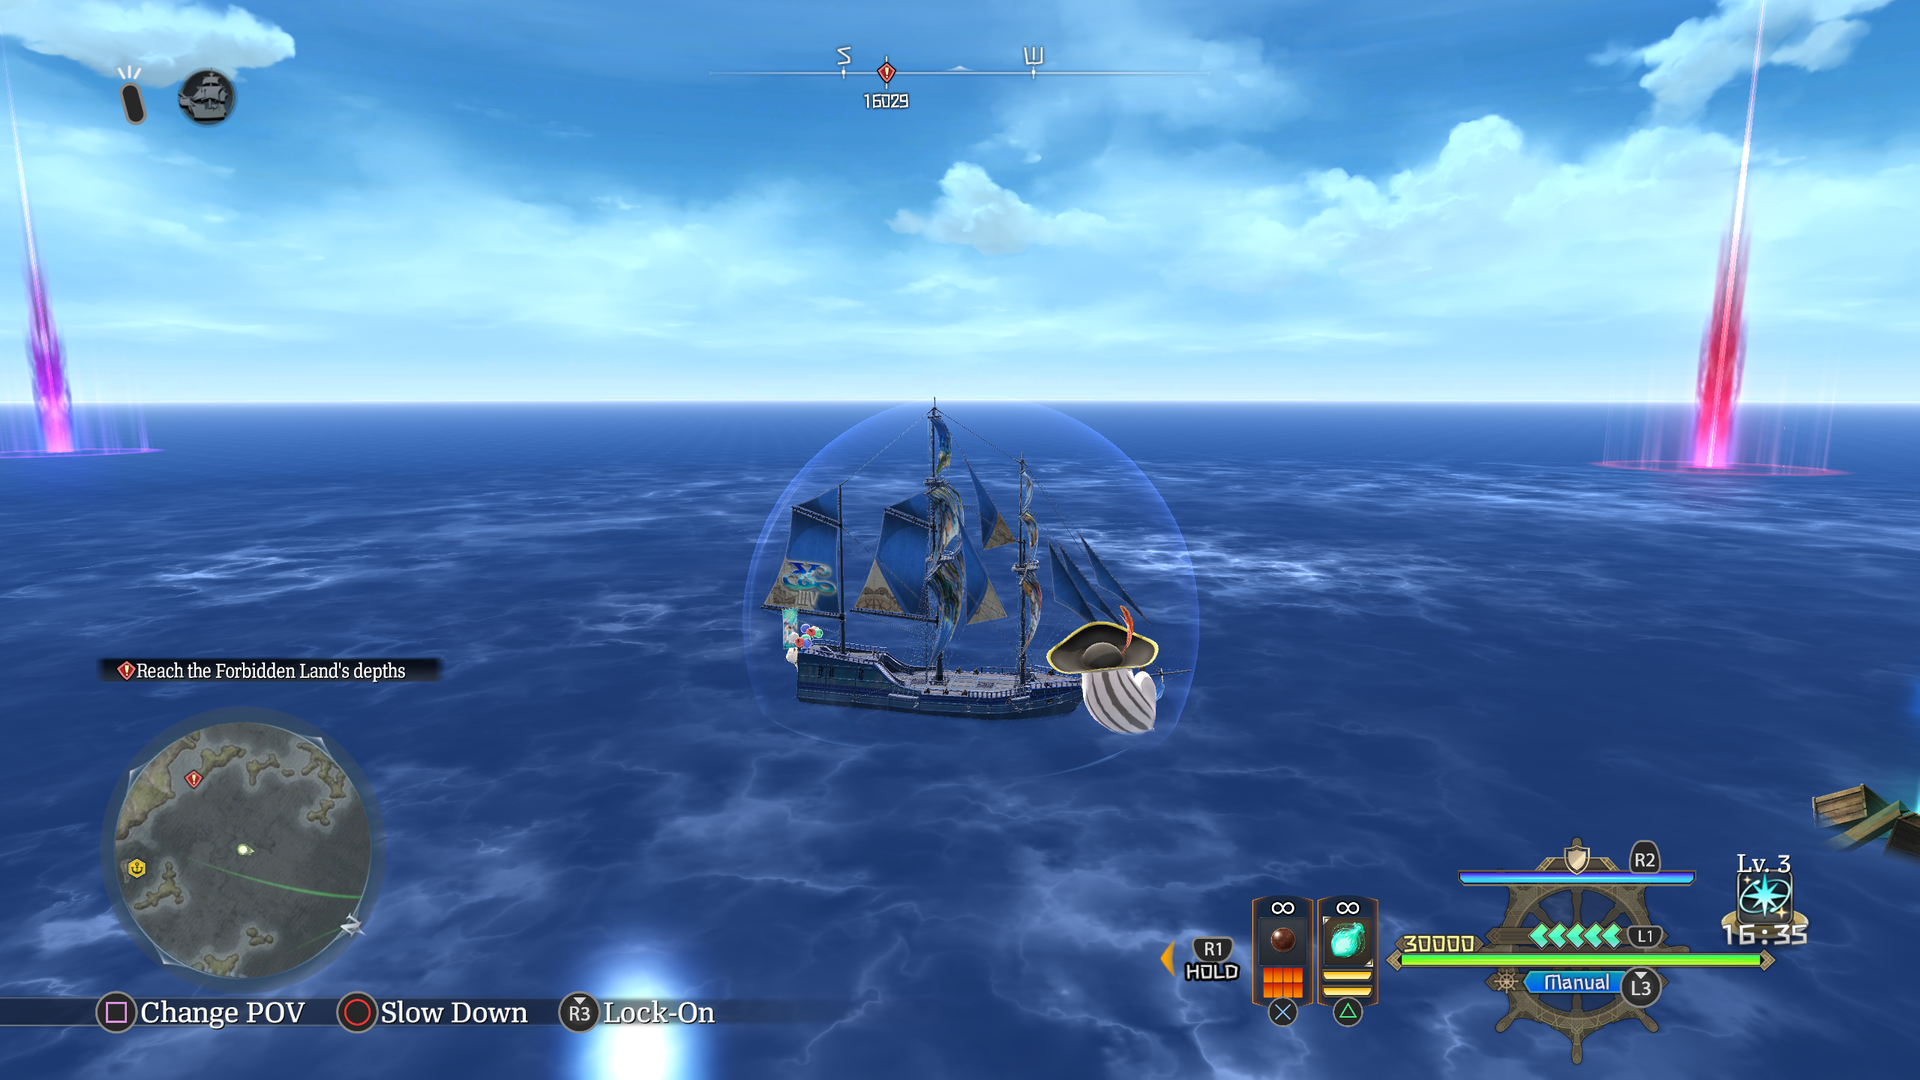
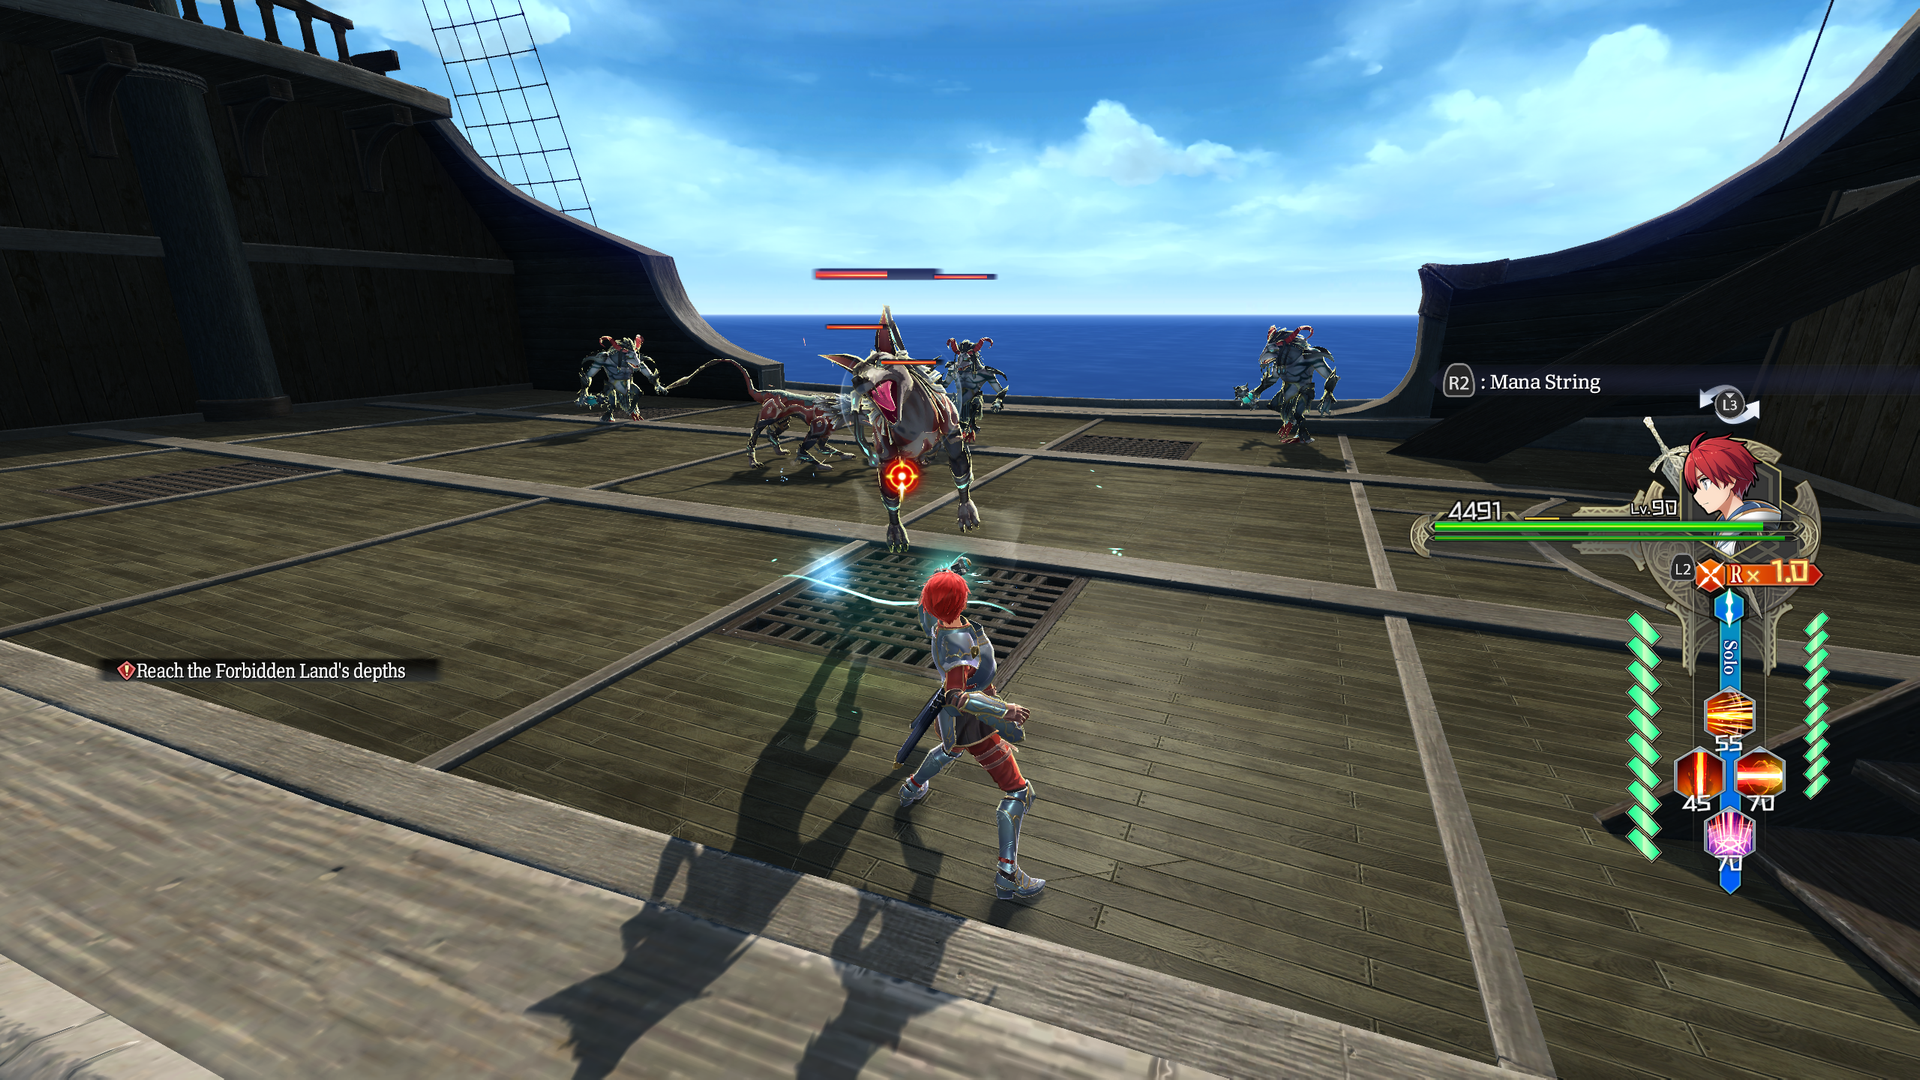
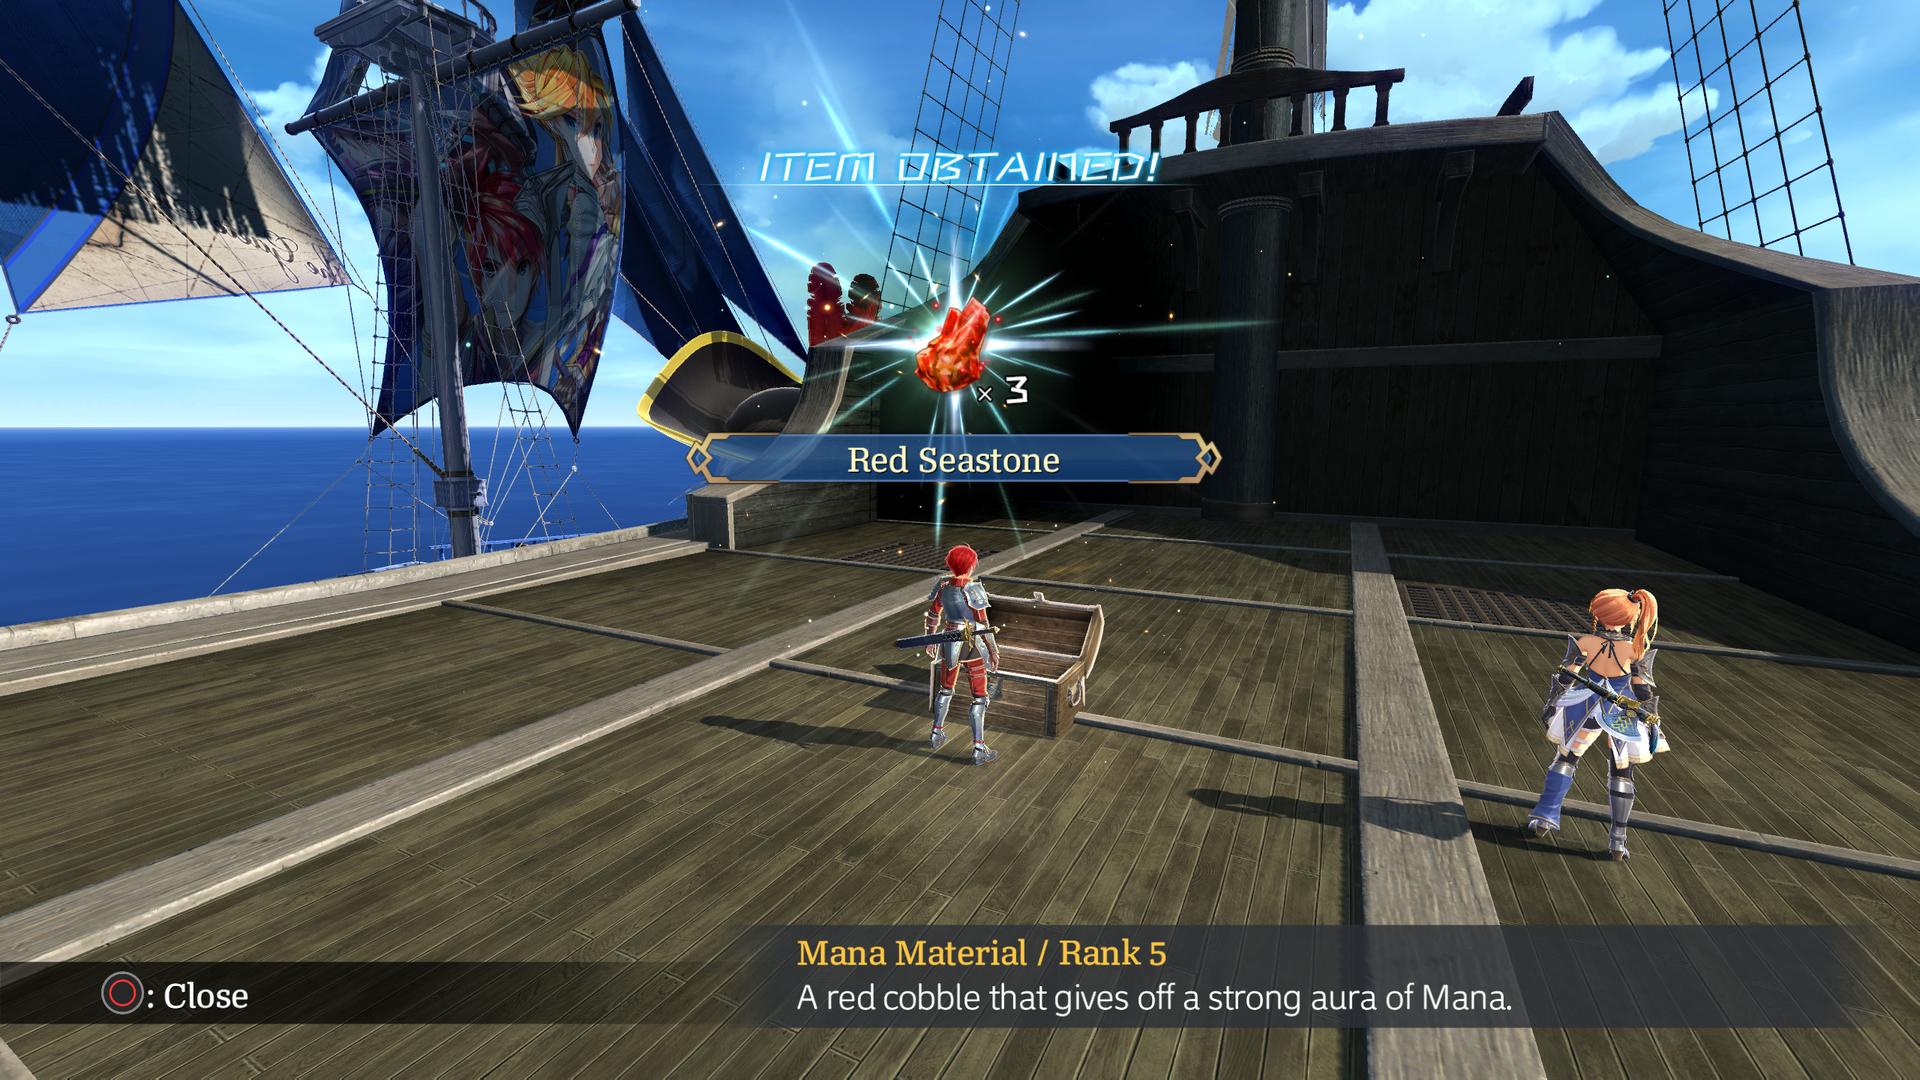
Simple sea map with debris and two Enemy Fleet Symbols; one red, one purple. The purple one can be used to trigger an abordage battle rewarding some Red Seastone.
test_actionevent#
Watch on YouTubeTests the part where Adol and Karja are making an escape from Iji during the attack on Carnac. Functional, but with a lot of jank.
- The layout of this map is very similar to sample_maya_scene_editor.
- Loading into the map immediately starts you at the part where Adol and Karja slide down the hill in Carnac to escape Iji.
- To progress, you need to ignore Iji. Using a jump height multiplier cheat is mandatory to get past the invisible walls around the rest of the map.
- Partway through sliding down the hill, you will be put back up at the top with Iji in the way. Attacking him at this point will trigger a combat cutscene and move the game to Lecto Island - Cavern of the Rite, softlocking the game on a white screen.
- If you jump off the cliff and go back to the middle of the hill, you can progress to another event that concludes with a message stating "This concludes the action event verification version. Thank you for your time."
- Exploring the rest of the map reveals that a primitive rendition of the attack on Carnac is already in place, with more dialog from Grenn, Adol and Karja appearing, as well as debris falling everywhere.
- At the hill opposite of the starting point, Iji will eventually start walking in the air and super jump out of bounds. What a show-off!
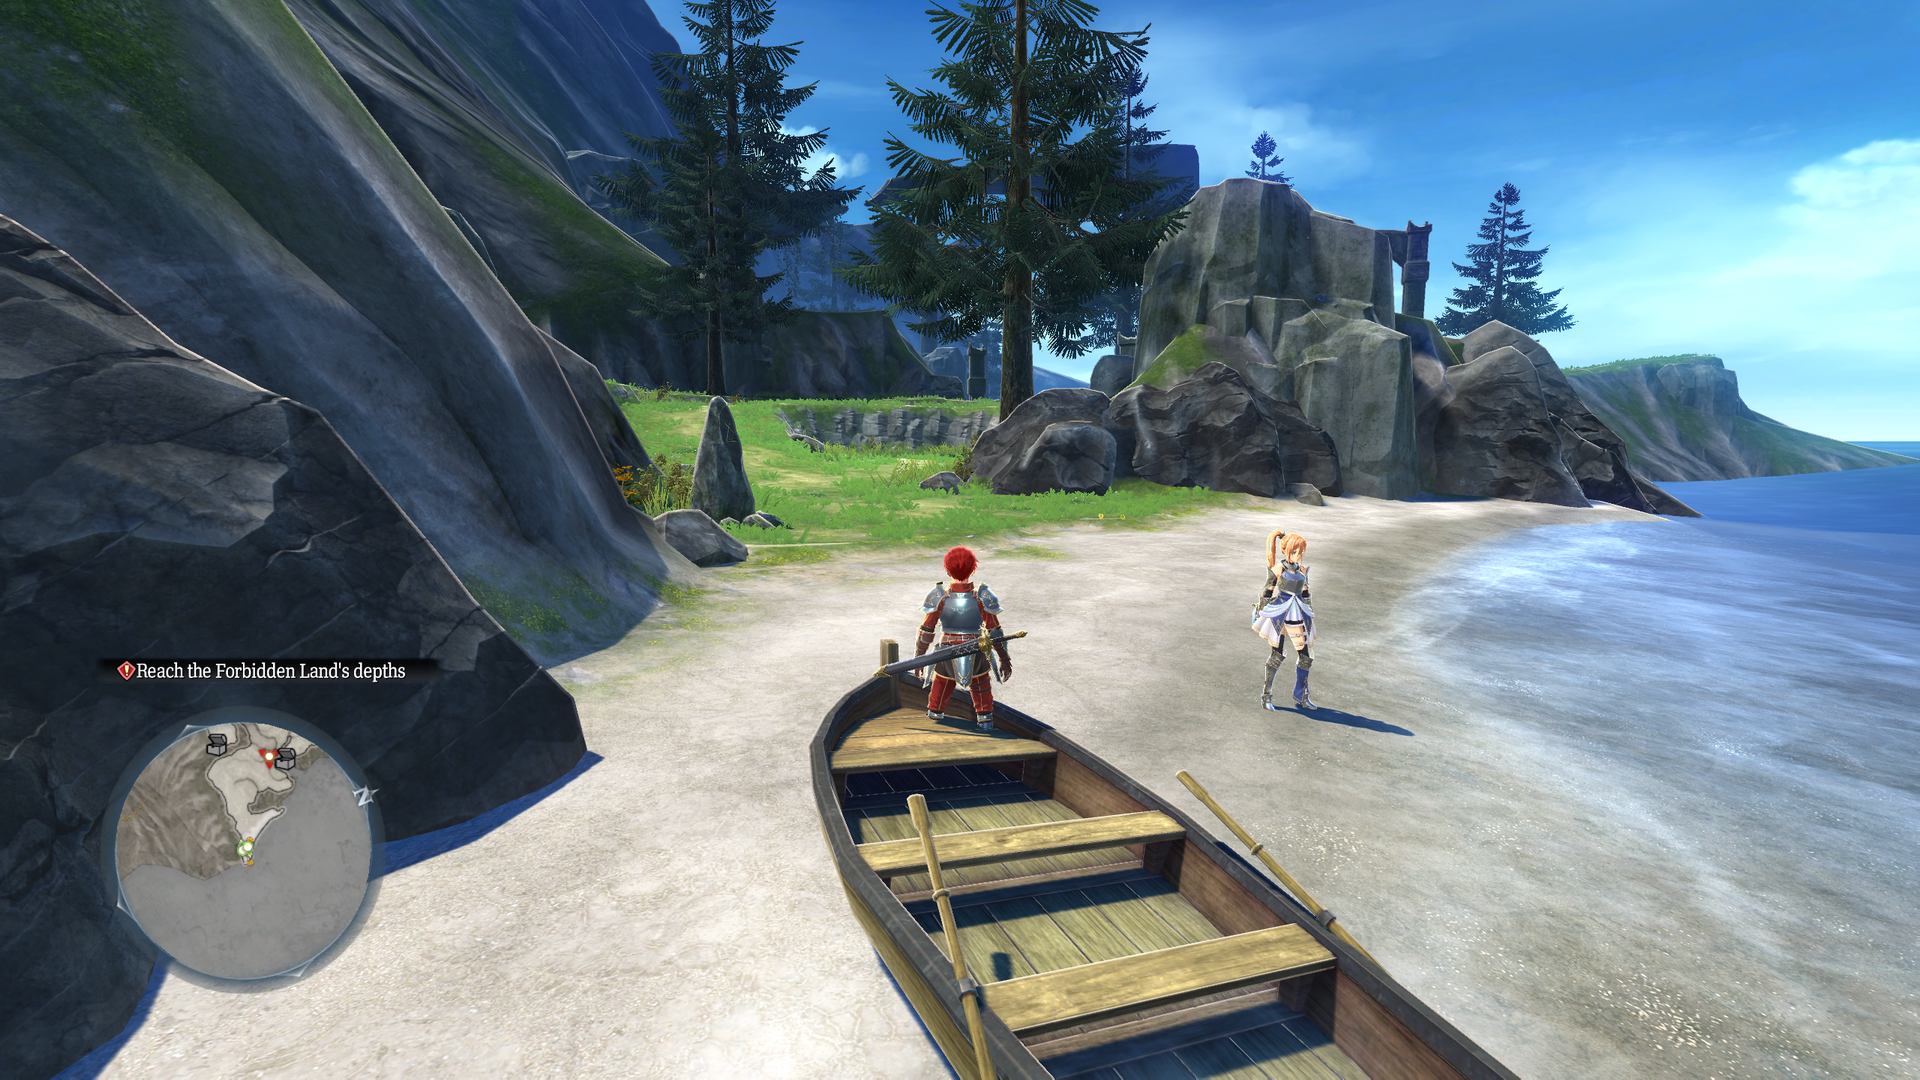
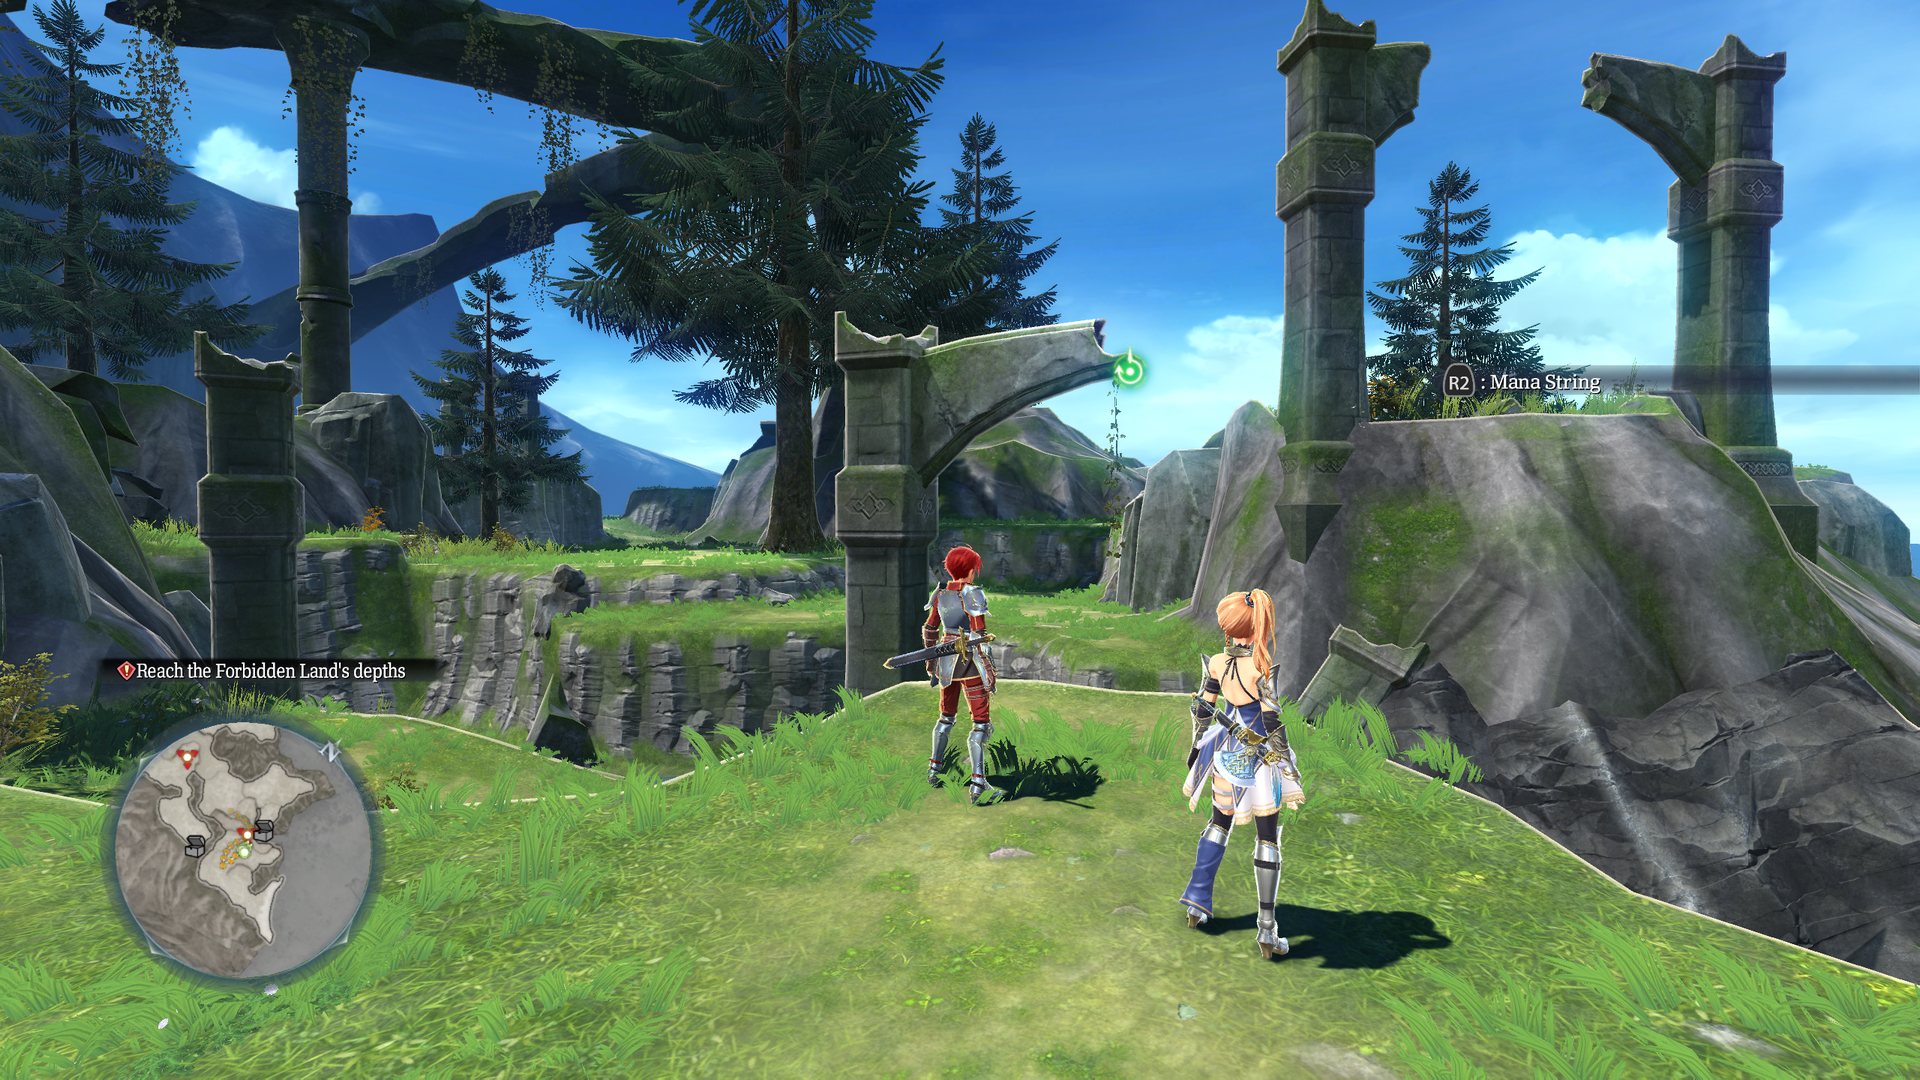
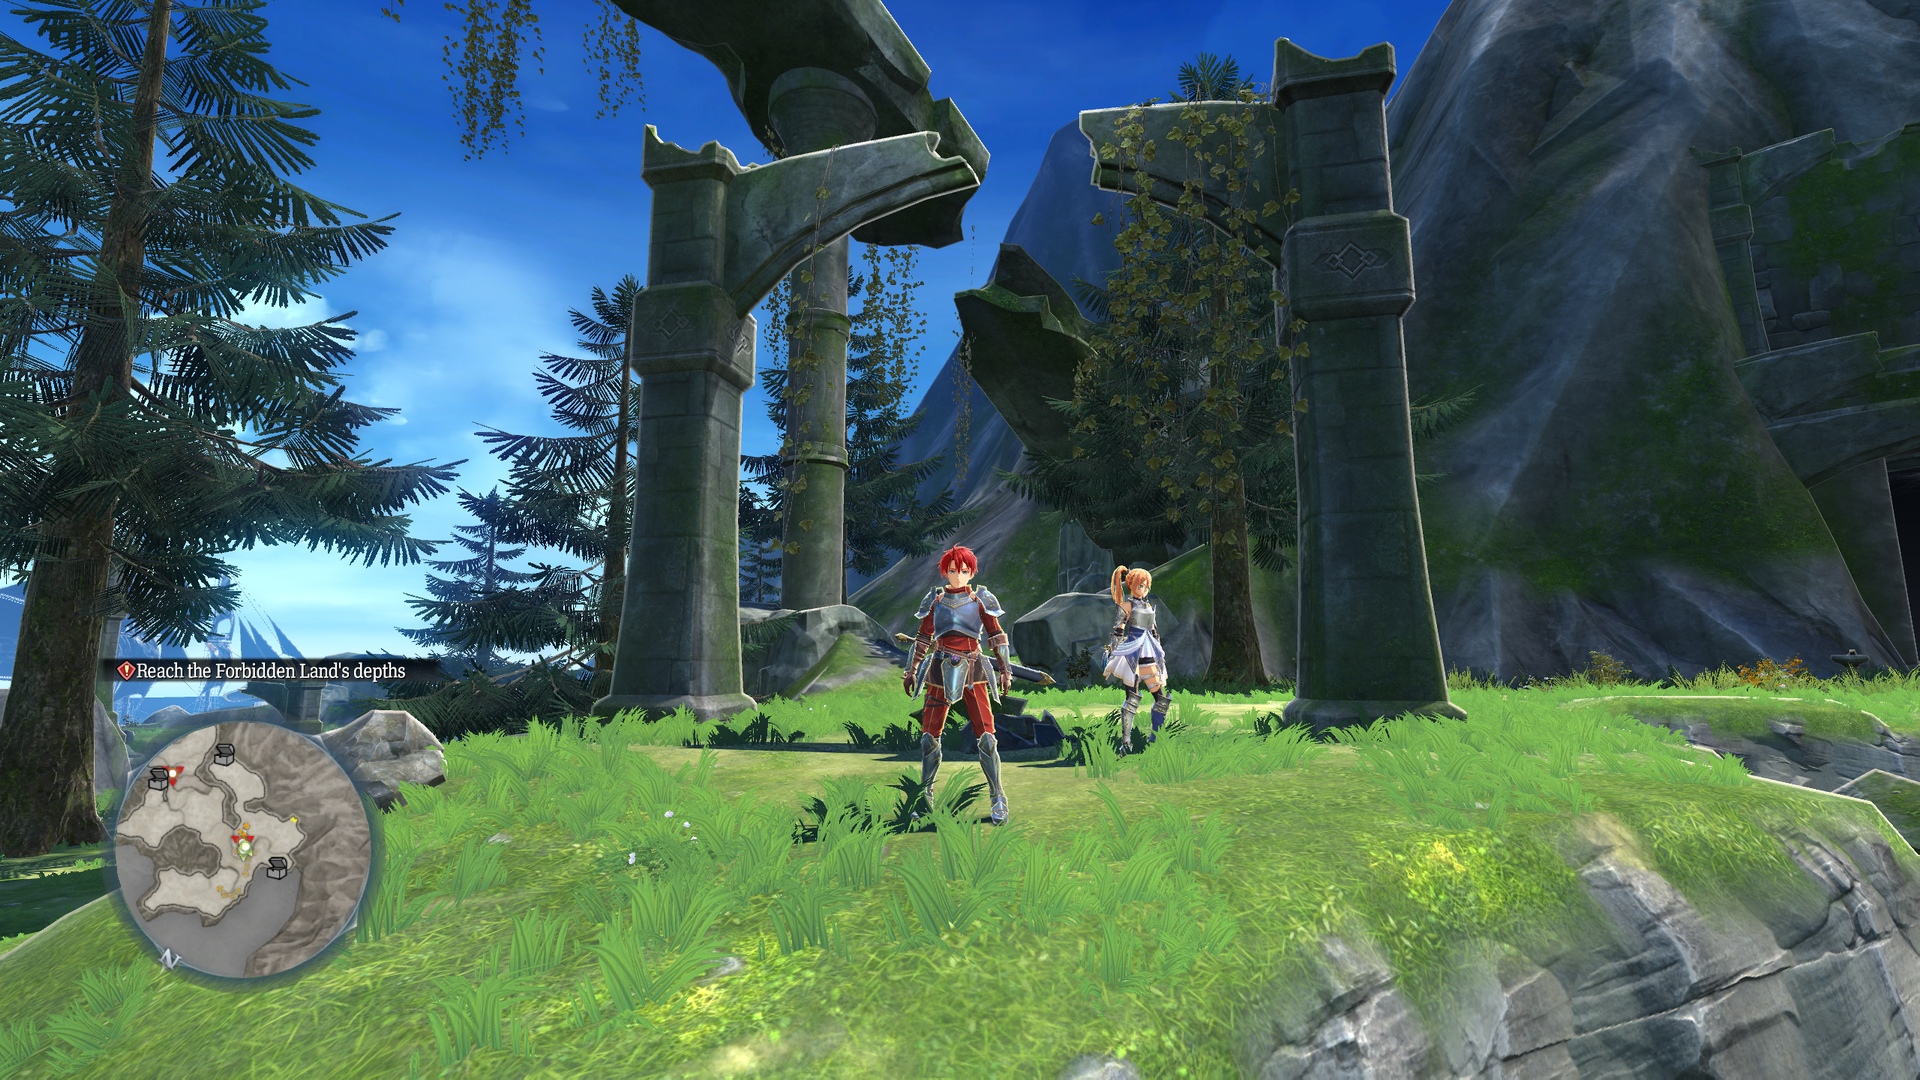
test_ambient_field#
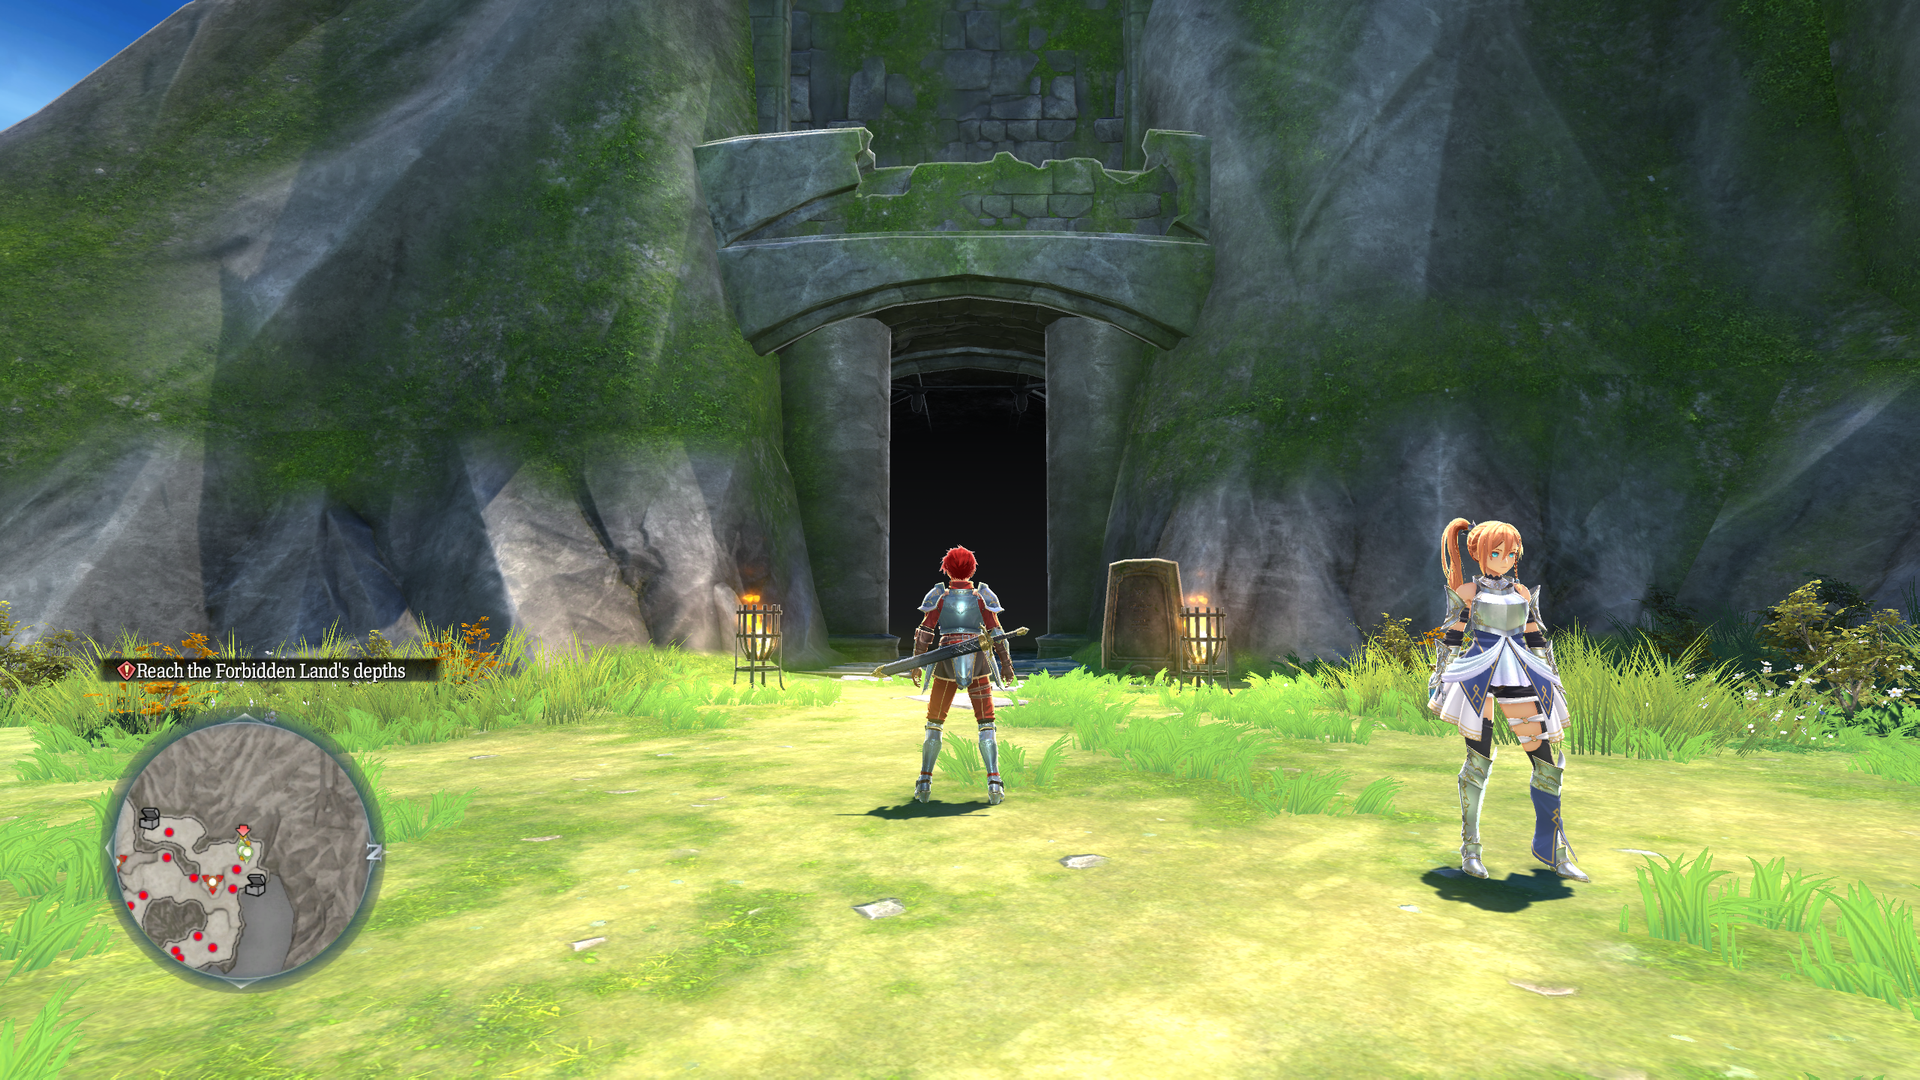
Slightly earlier version of Lecto Island, but mostly empty.
- The skiff at the start can be walked through. Though the Sandras is placed in the water, it cannot be returned to.
- Some dots indicating an entry point are also at the start, but don't seem to do anything.
- Touching the Hewnstone disables Mana Ride.
- Treasure chests are shown on the minimap, but they do not actually appear.
- A grapple point is indicated near the cavern on the minimap, but it doesn't function. Mana Ride is required to reach the level it would be on.
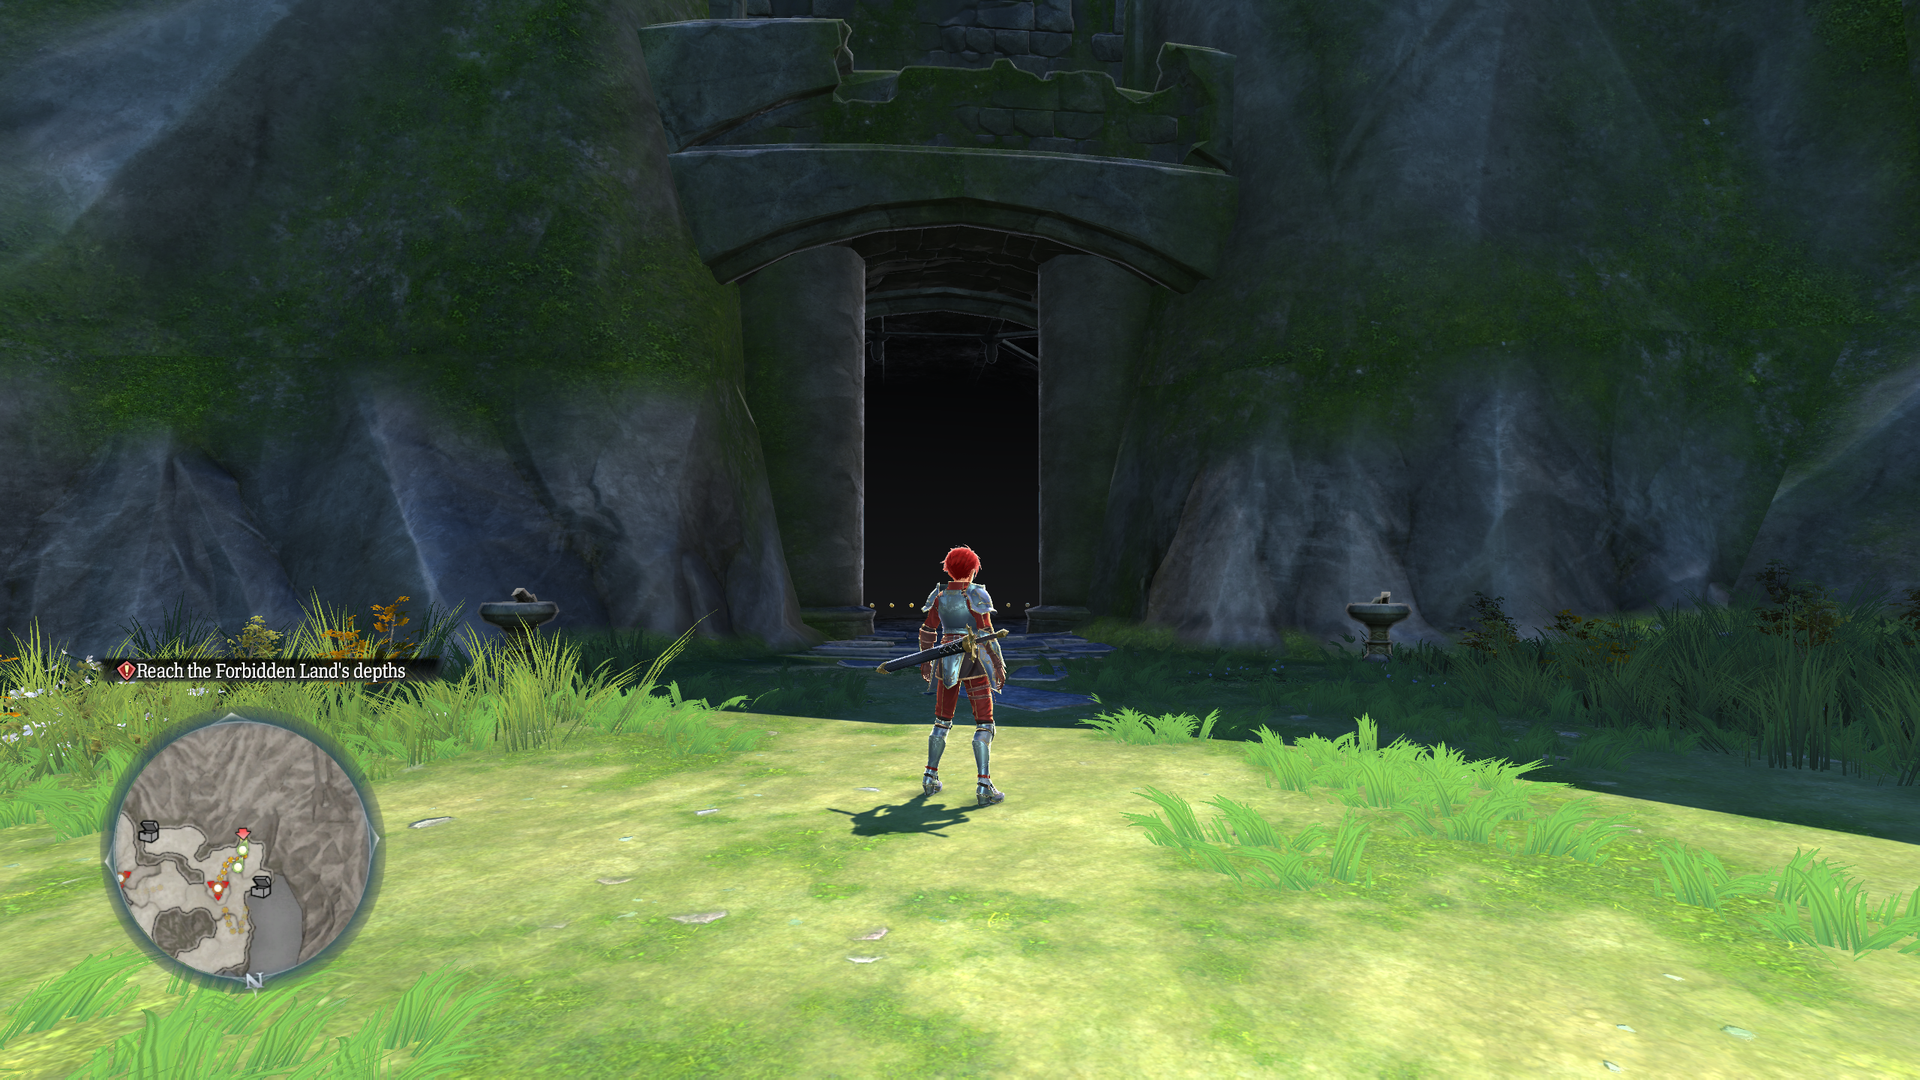
- The entrance to the Cavern of the Rite is missing the stone slab, and two unlit torches are in place of the ones found in the final map. The lighting outside the cavern is also much darker.
- Entering the cavern will lead to the Cavern of the Rite, as intended.
|
test_ambient_field |
Lecto Island |
|---|---|
|
|
test_ambient_sea#
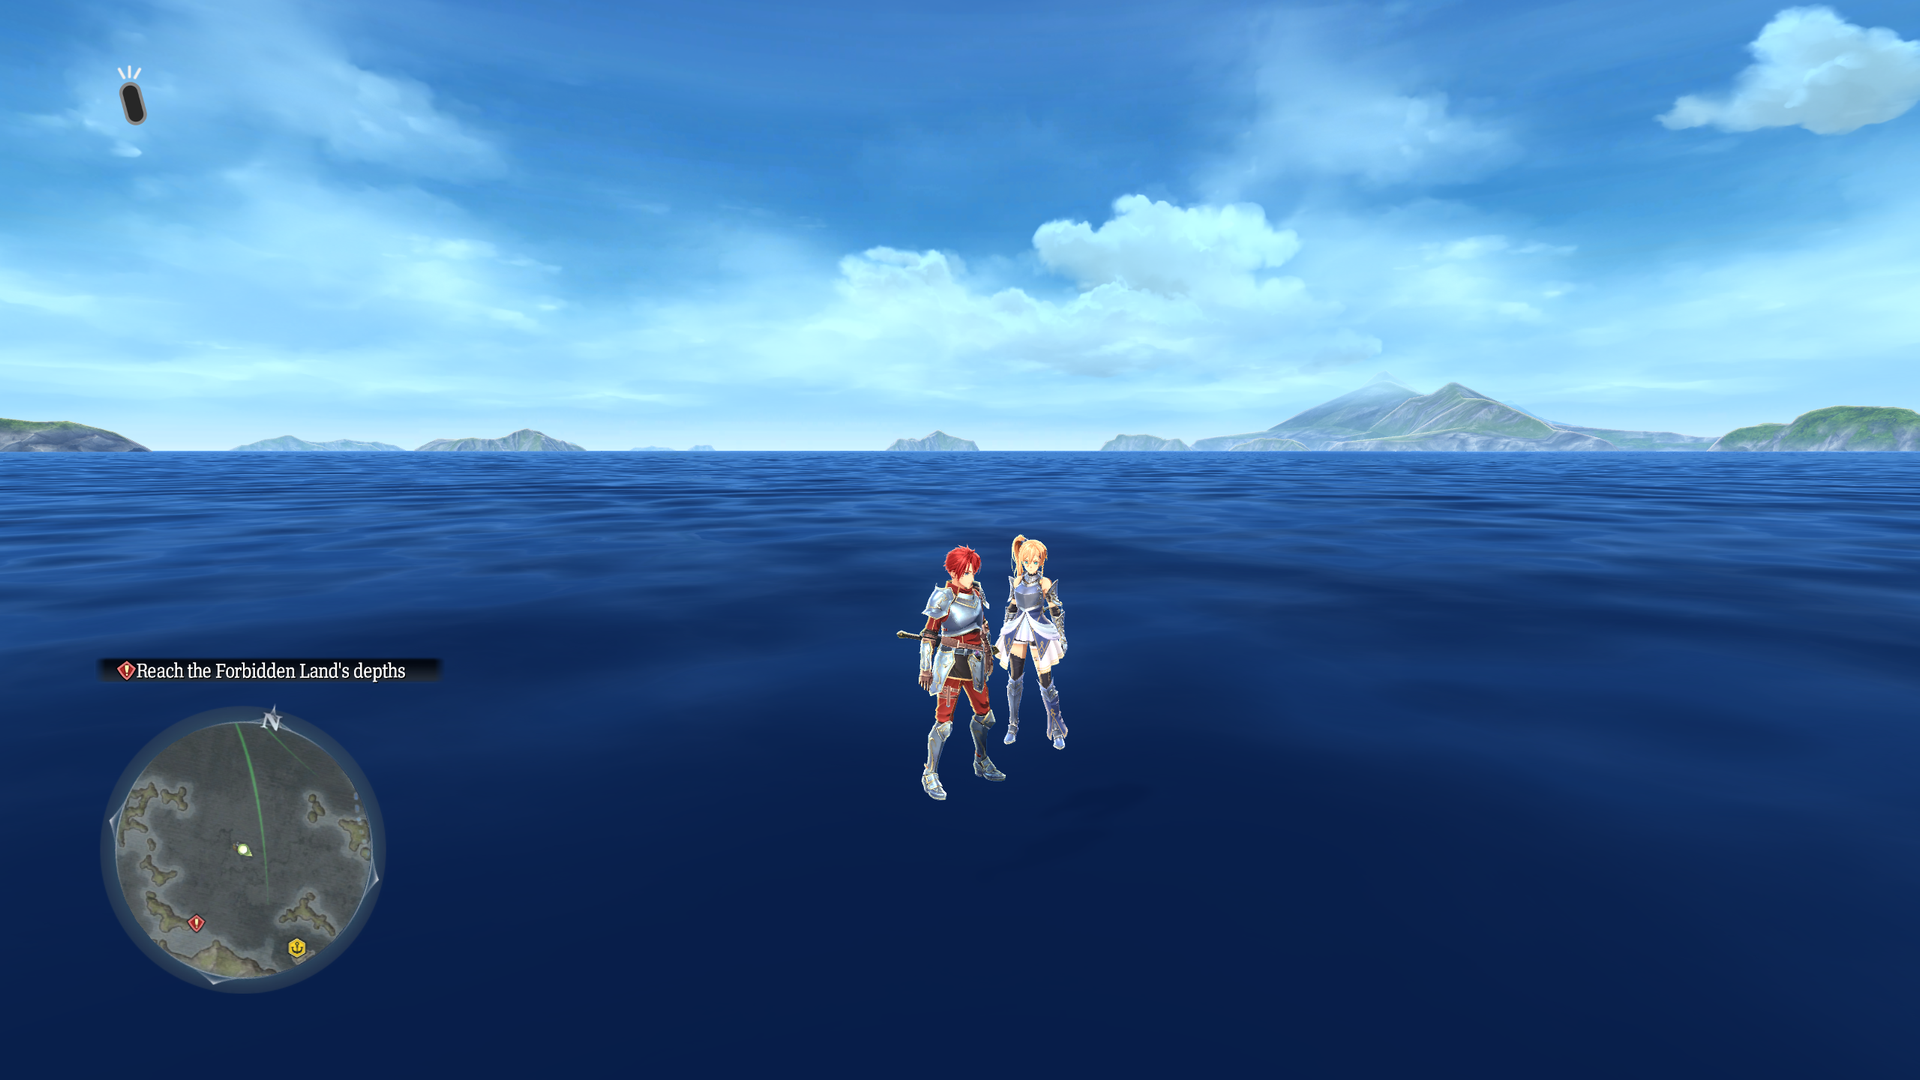
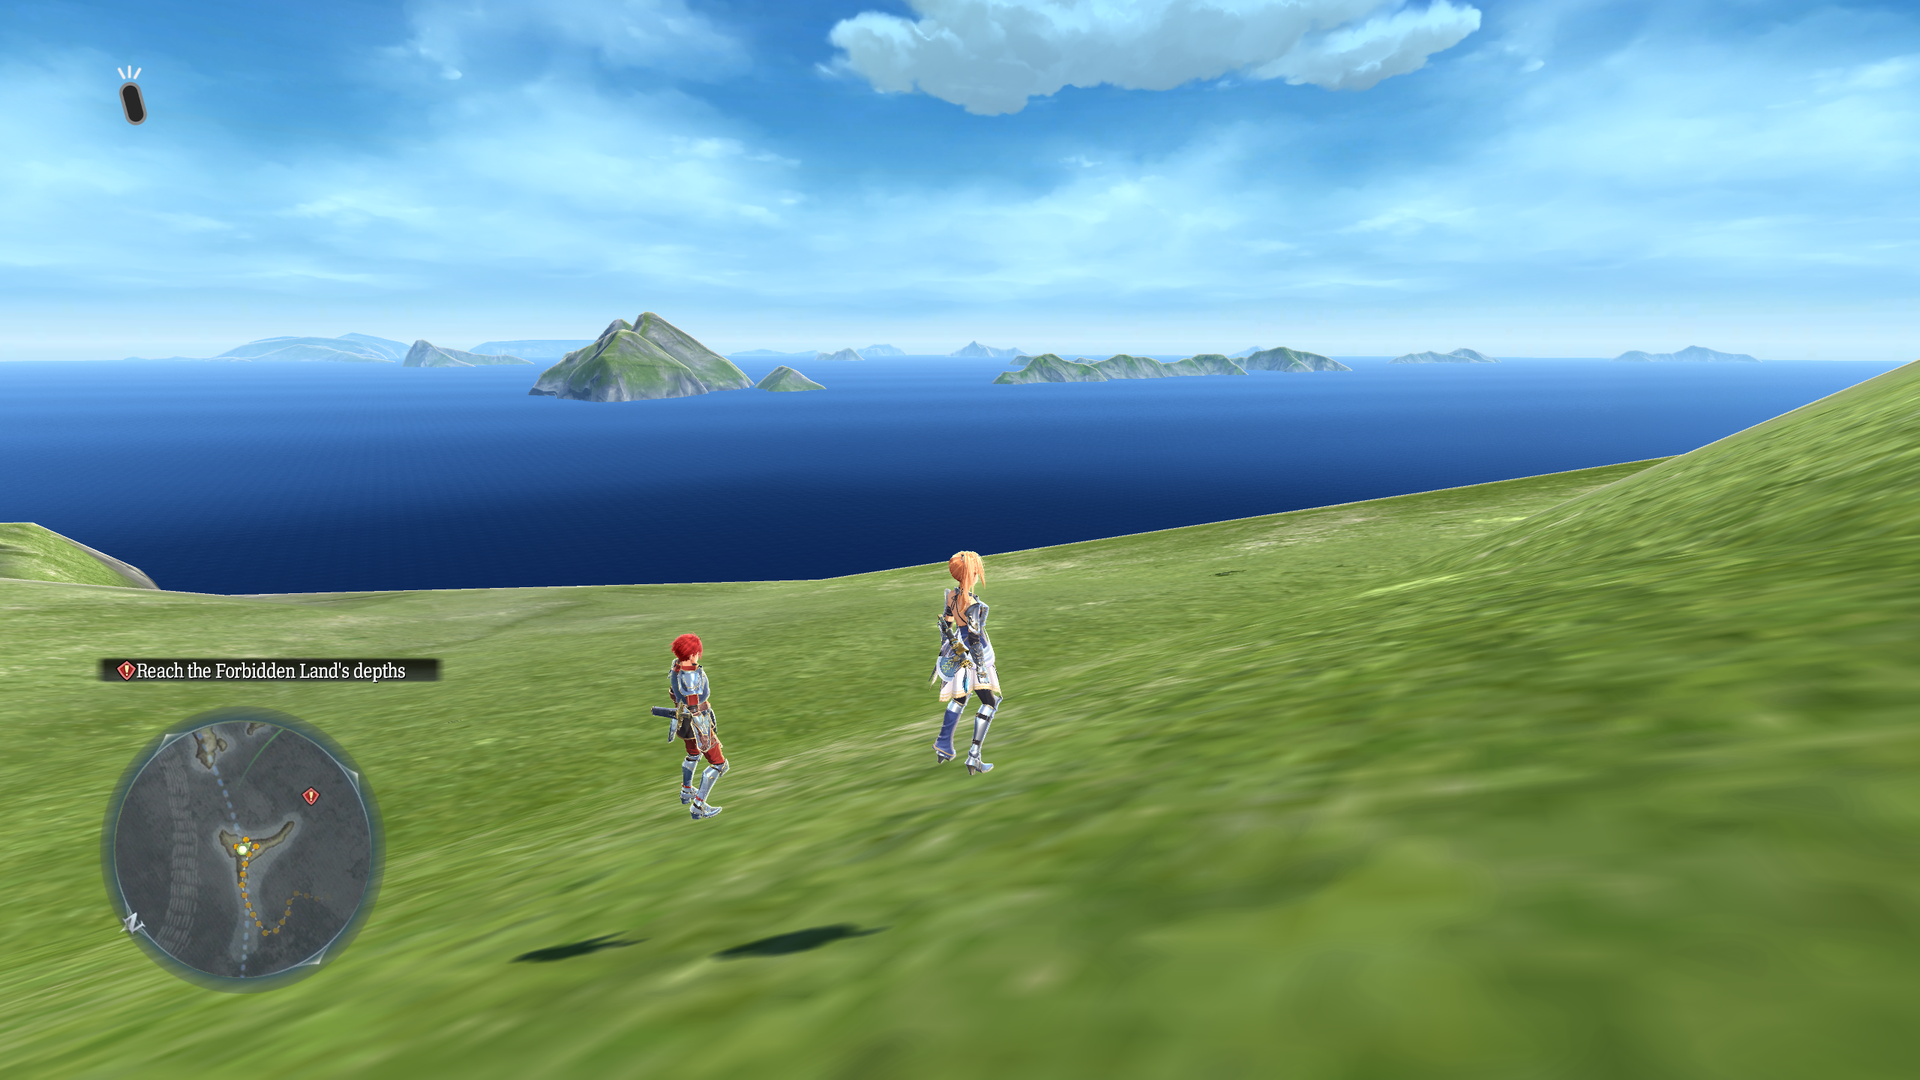
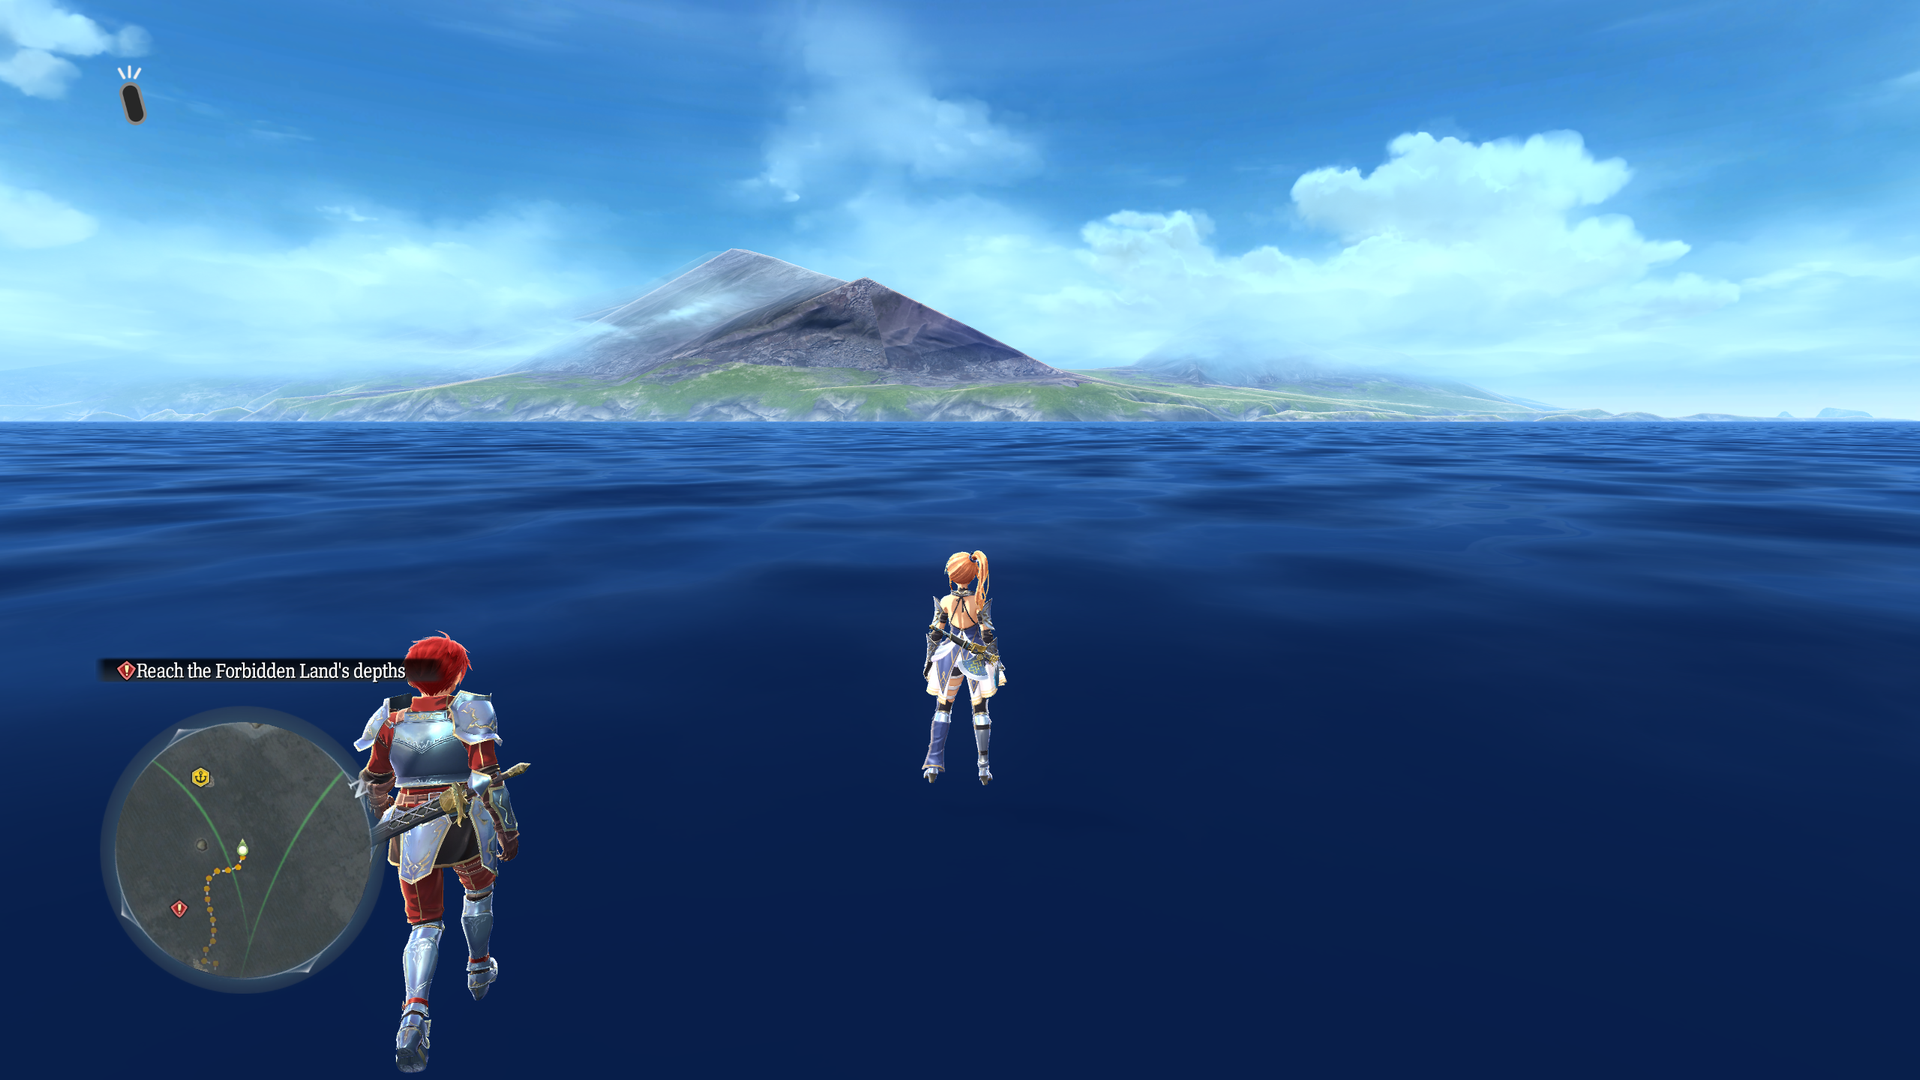
A sea map that lets you explore on foot instead of with the Sandras. Because of its sheer size, using a move speed multiplier cheat is recommended.
- Its layout resembles the Obelia Gulf, however, islands are missing.
- Some landmasses have collision and can be walked on top of.
- Only areas near the Carnac Waters section of the Obelia Gulf seem to be represented.
test_asanuma#
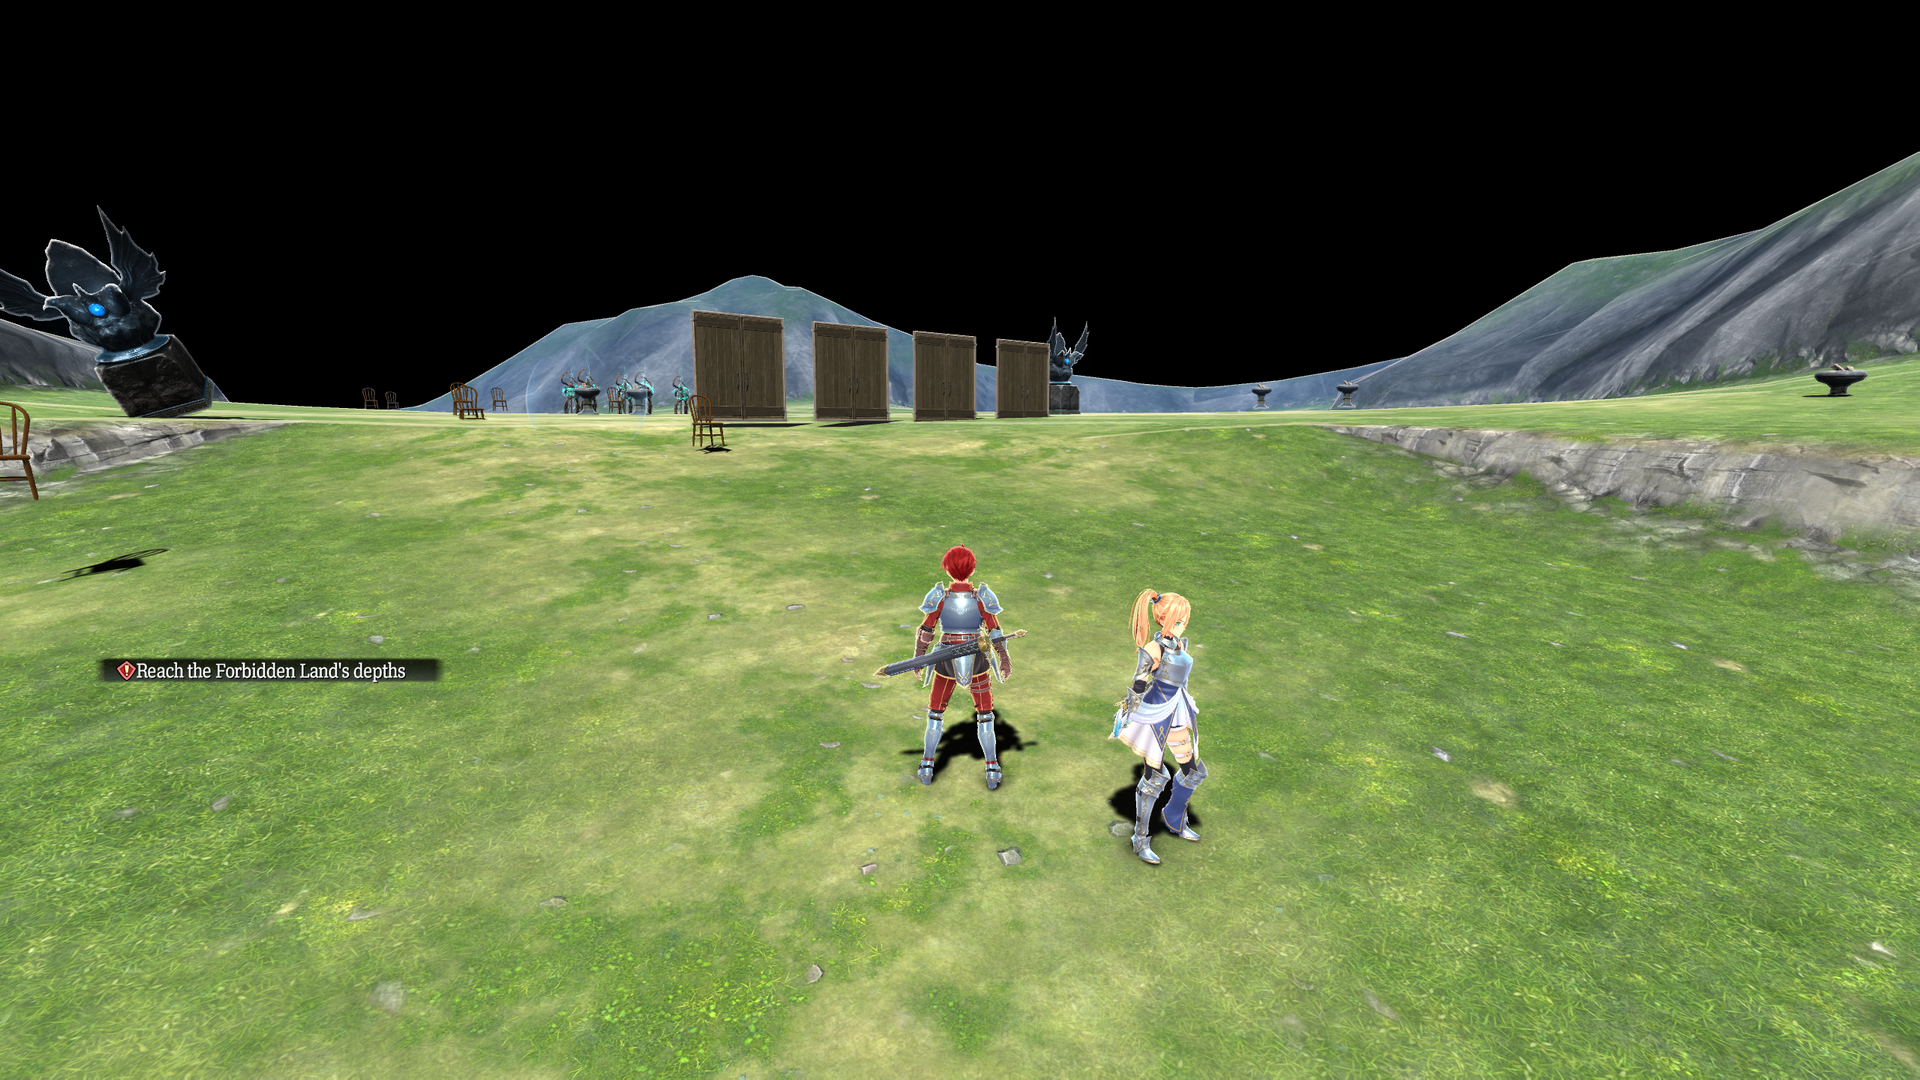
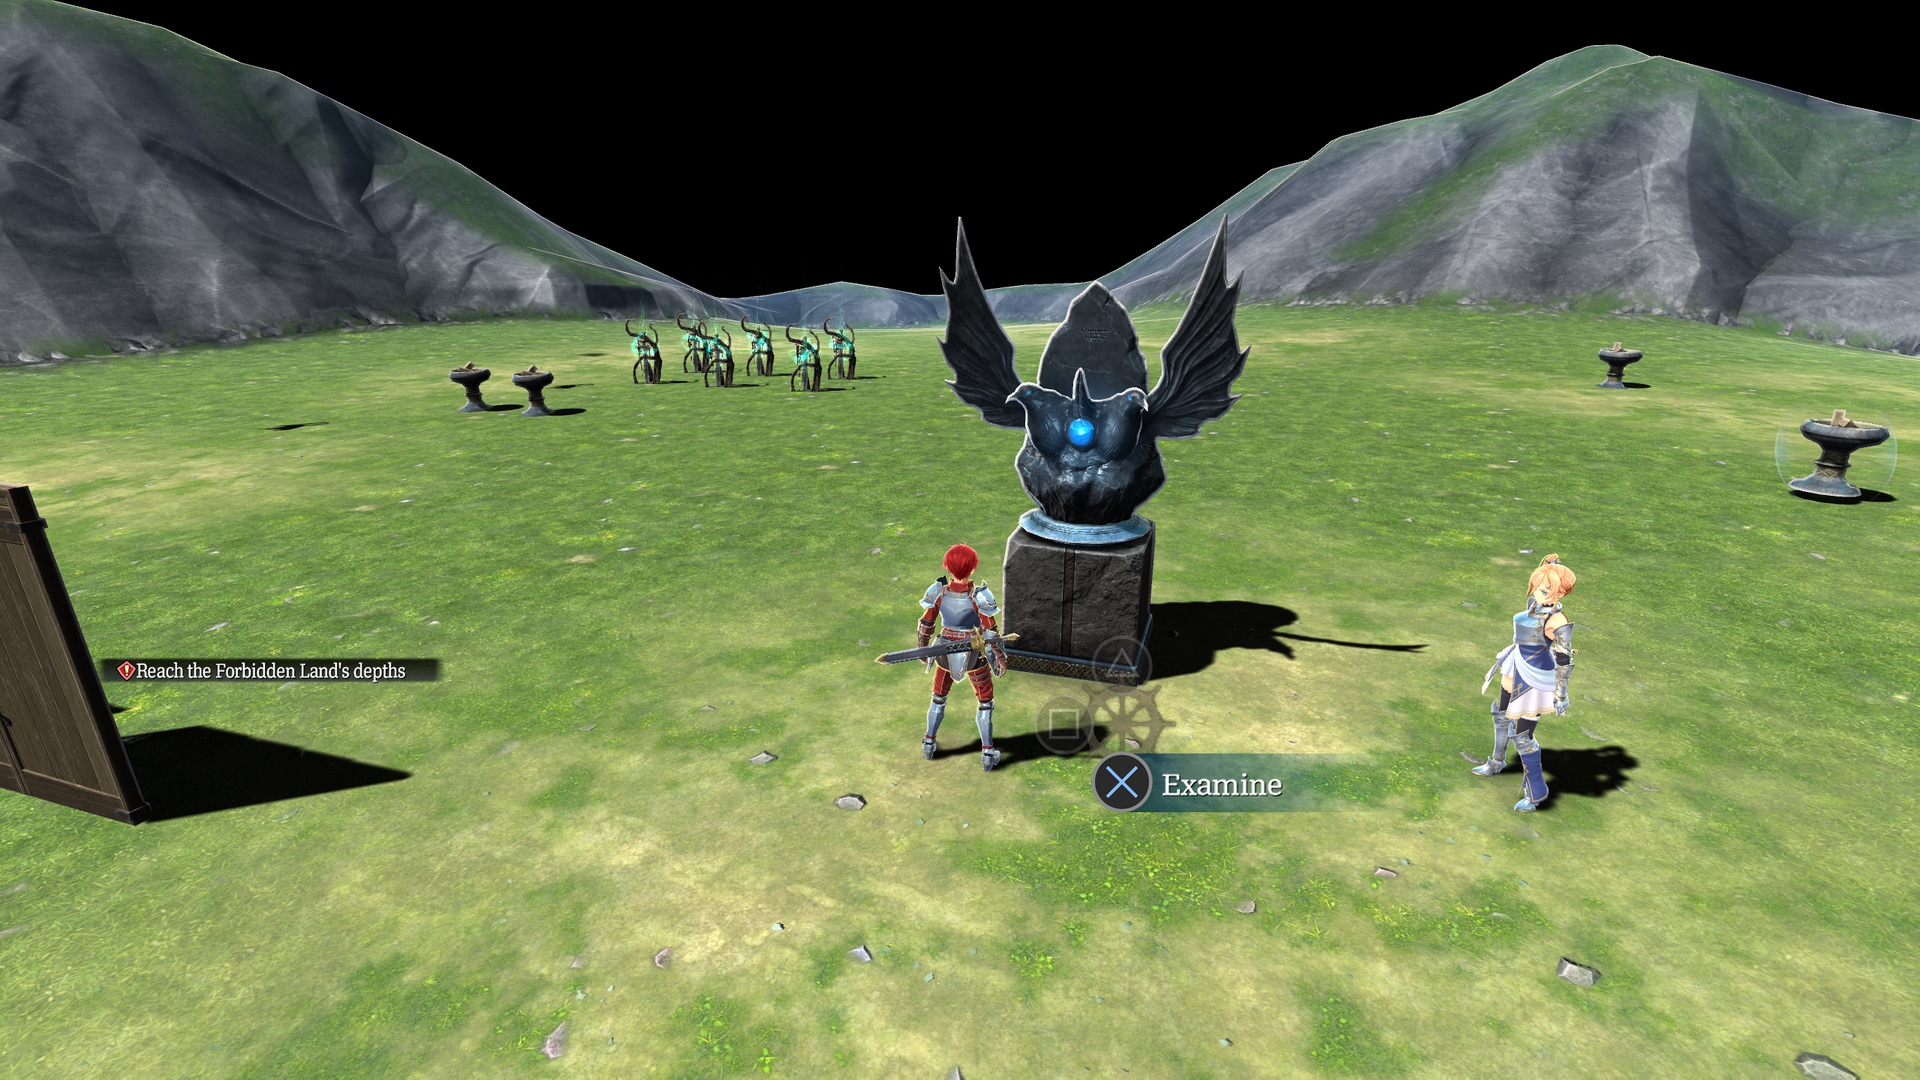
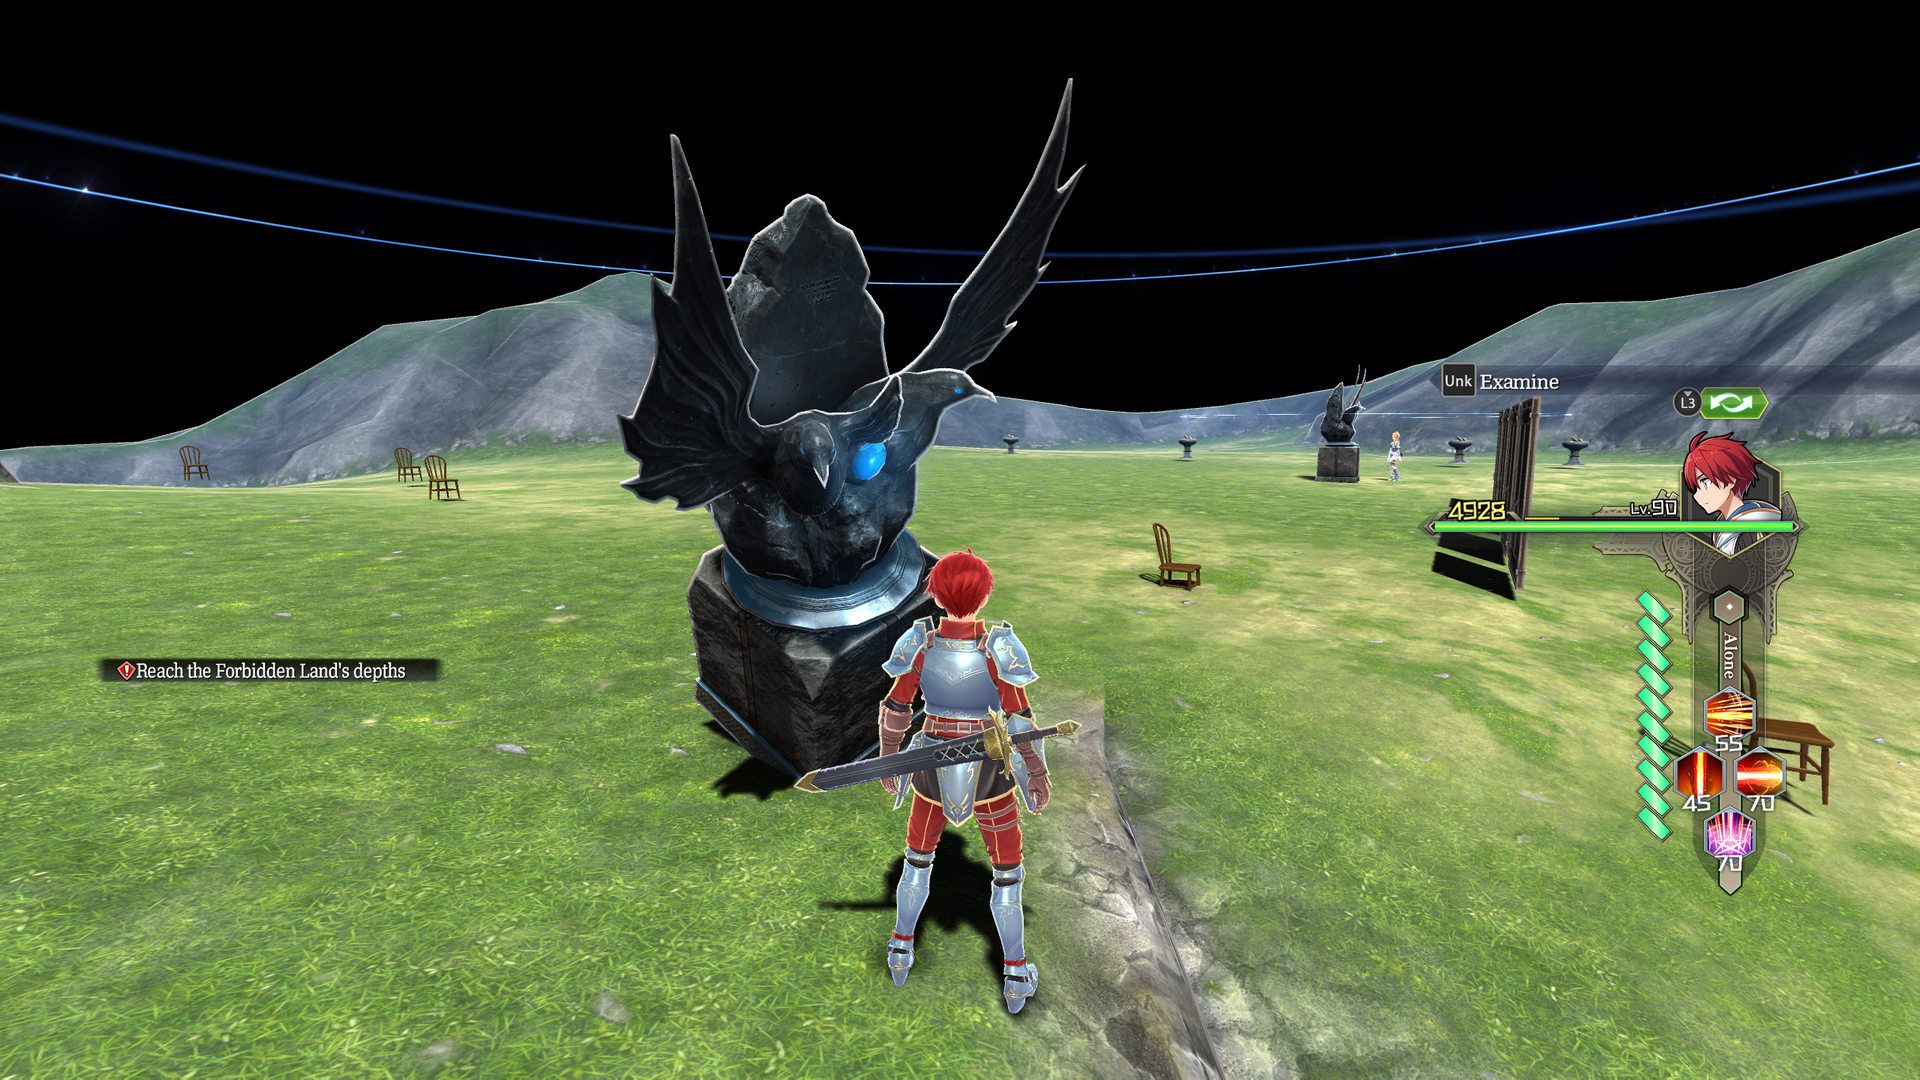
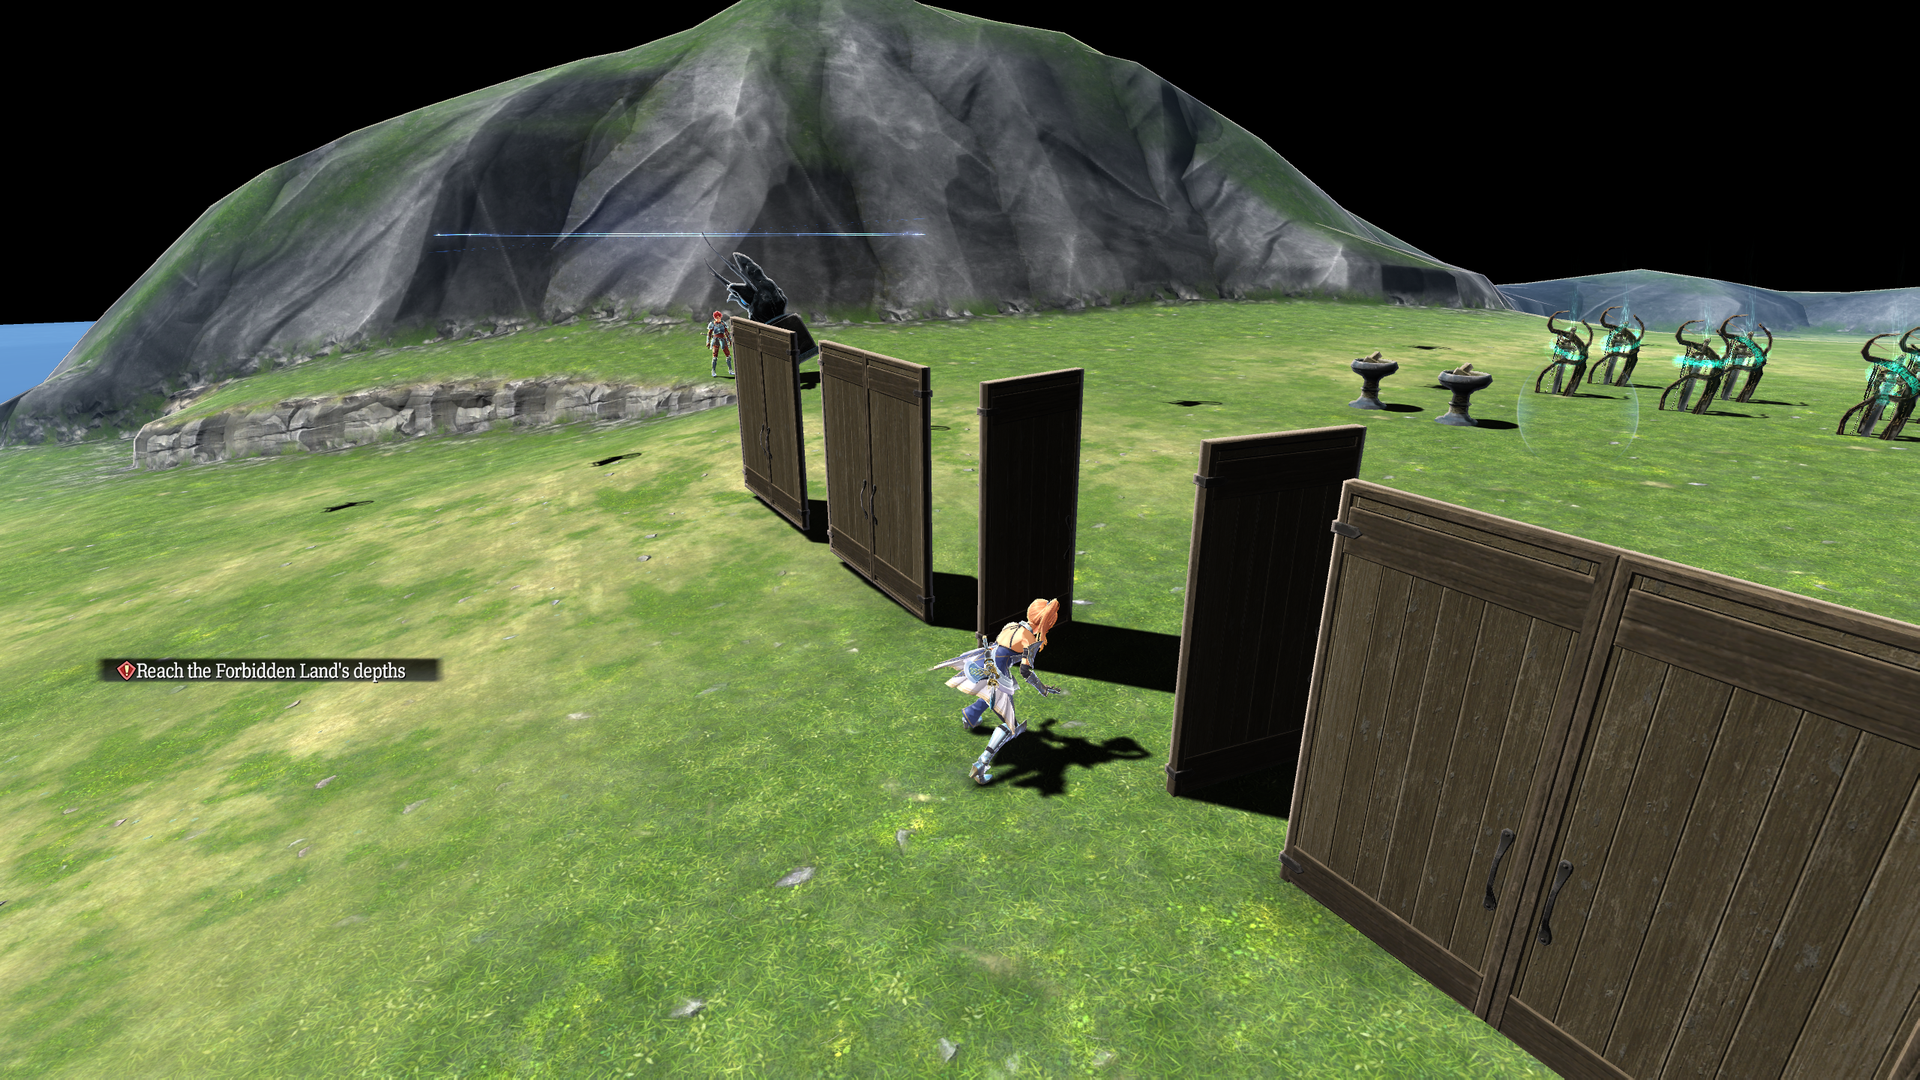
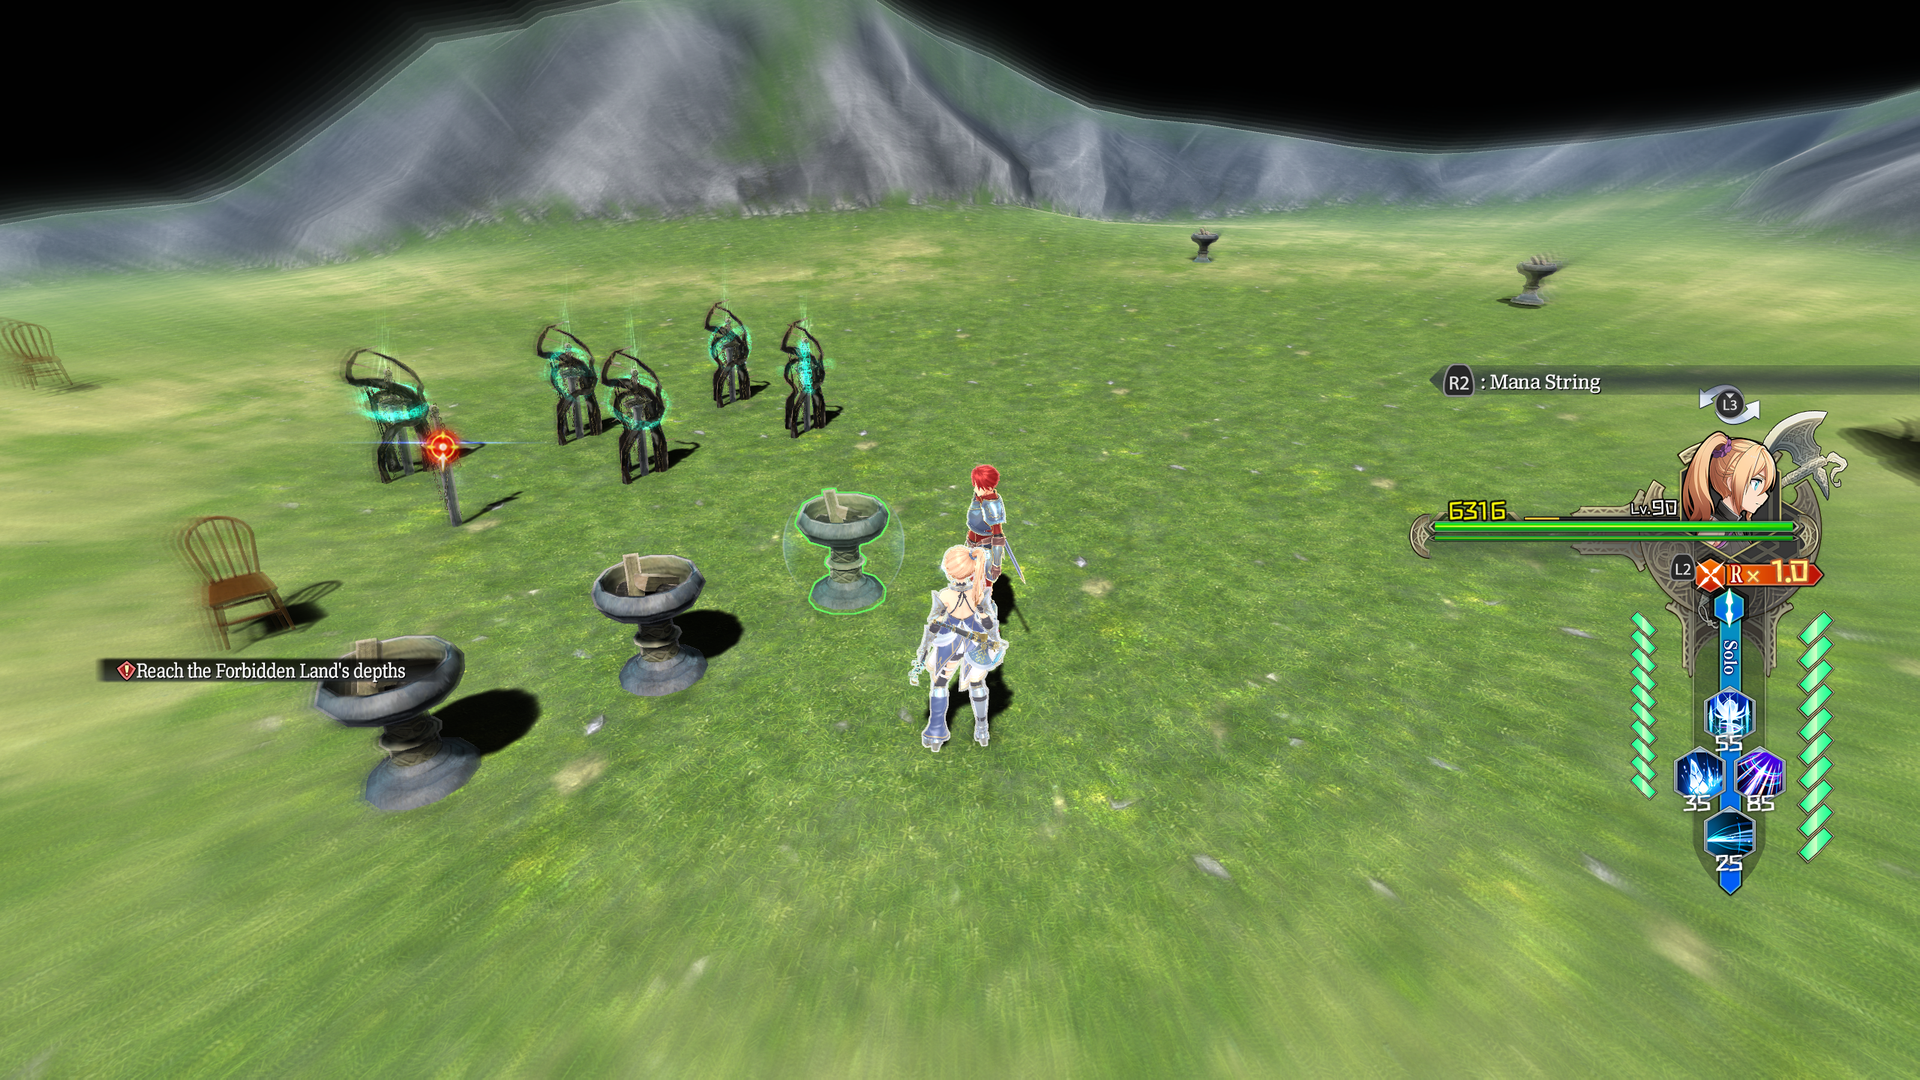
Takes place on a variant of Jotunn Island with a flatter landscape. This is seemingly a map for testing splitting up with the Raven Boundstones.
- Four doors are placed here. The left two can be opened normally, but the right two hold your current character in place until switching your partner. A funny side effect of this is that if the duo is still joined, it will drag your partner in place with you.
- The slanted Raven Boundstone will let you switch characters if split up, but has no key/button bound to it to rejoin Adol and Karja.
- Numerous chairs and unlit torches are placed here. One of the unlit torches near the swords that can be grappled can only be seen with Mana Sense.
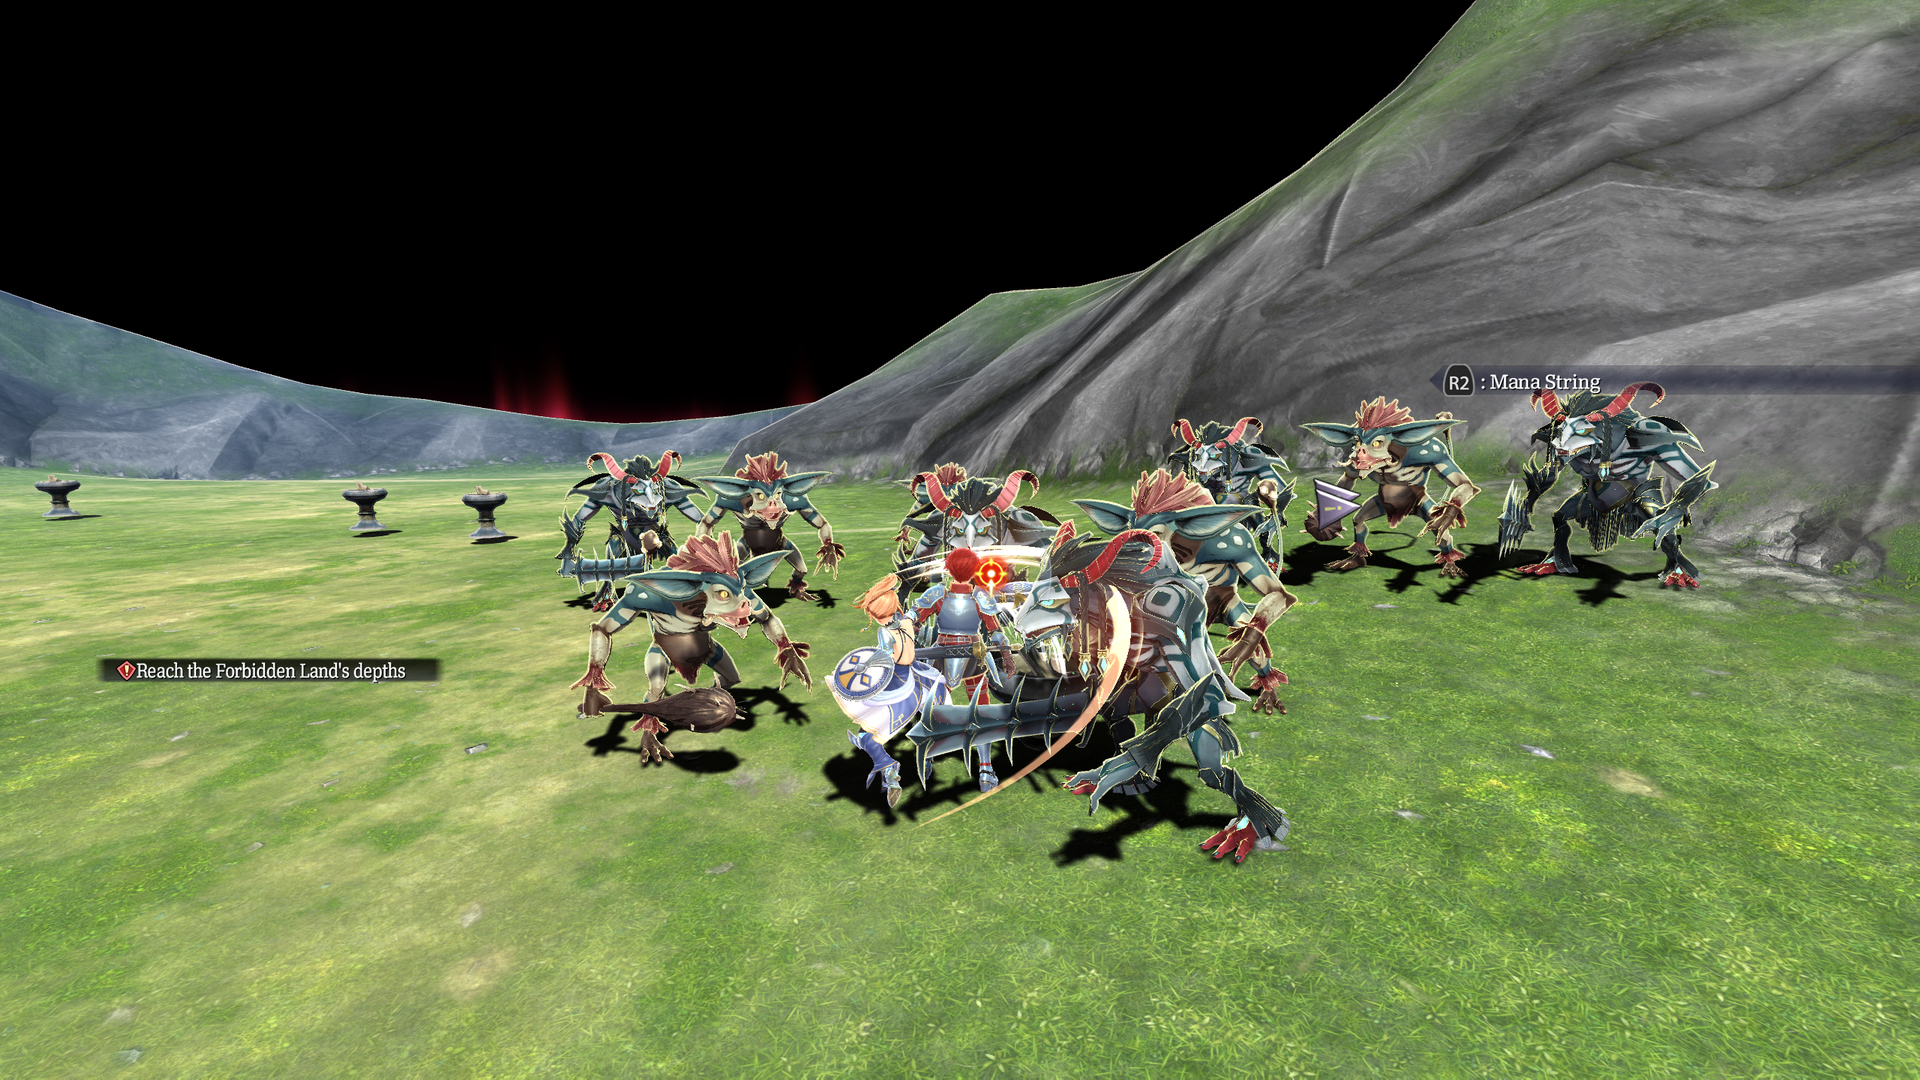
- A solitary torch near edge of hill will spawn a bunch of Griegr when approached.
test_balta#
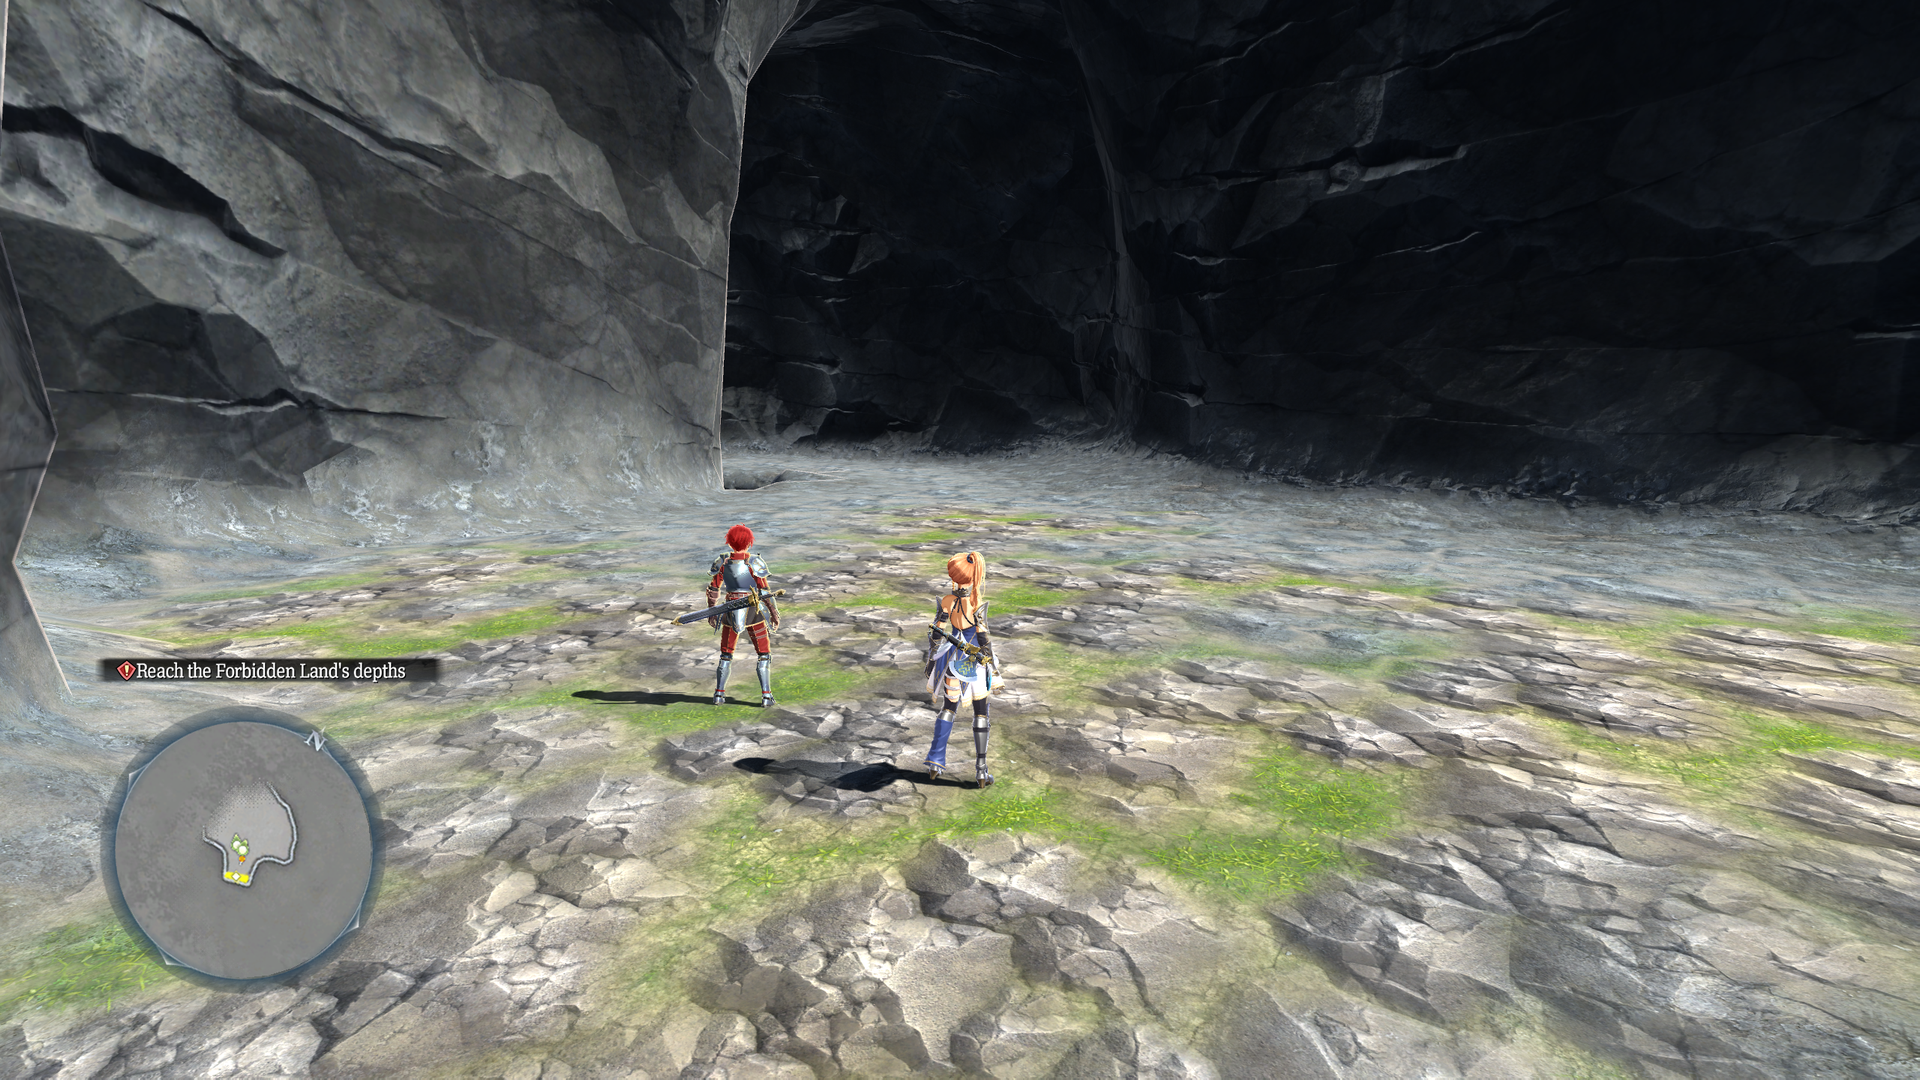
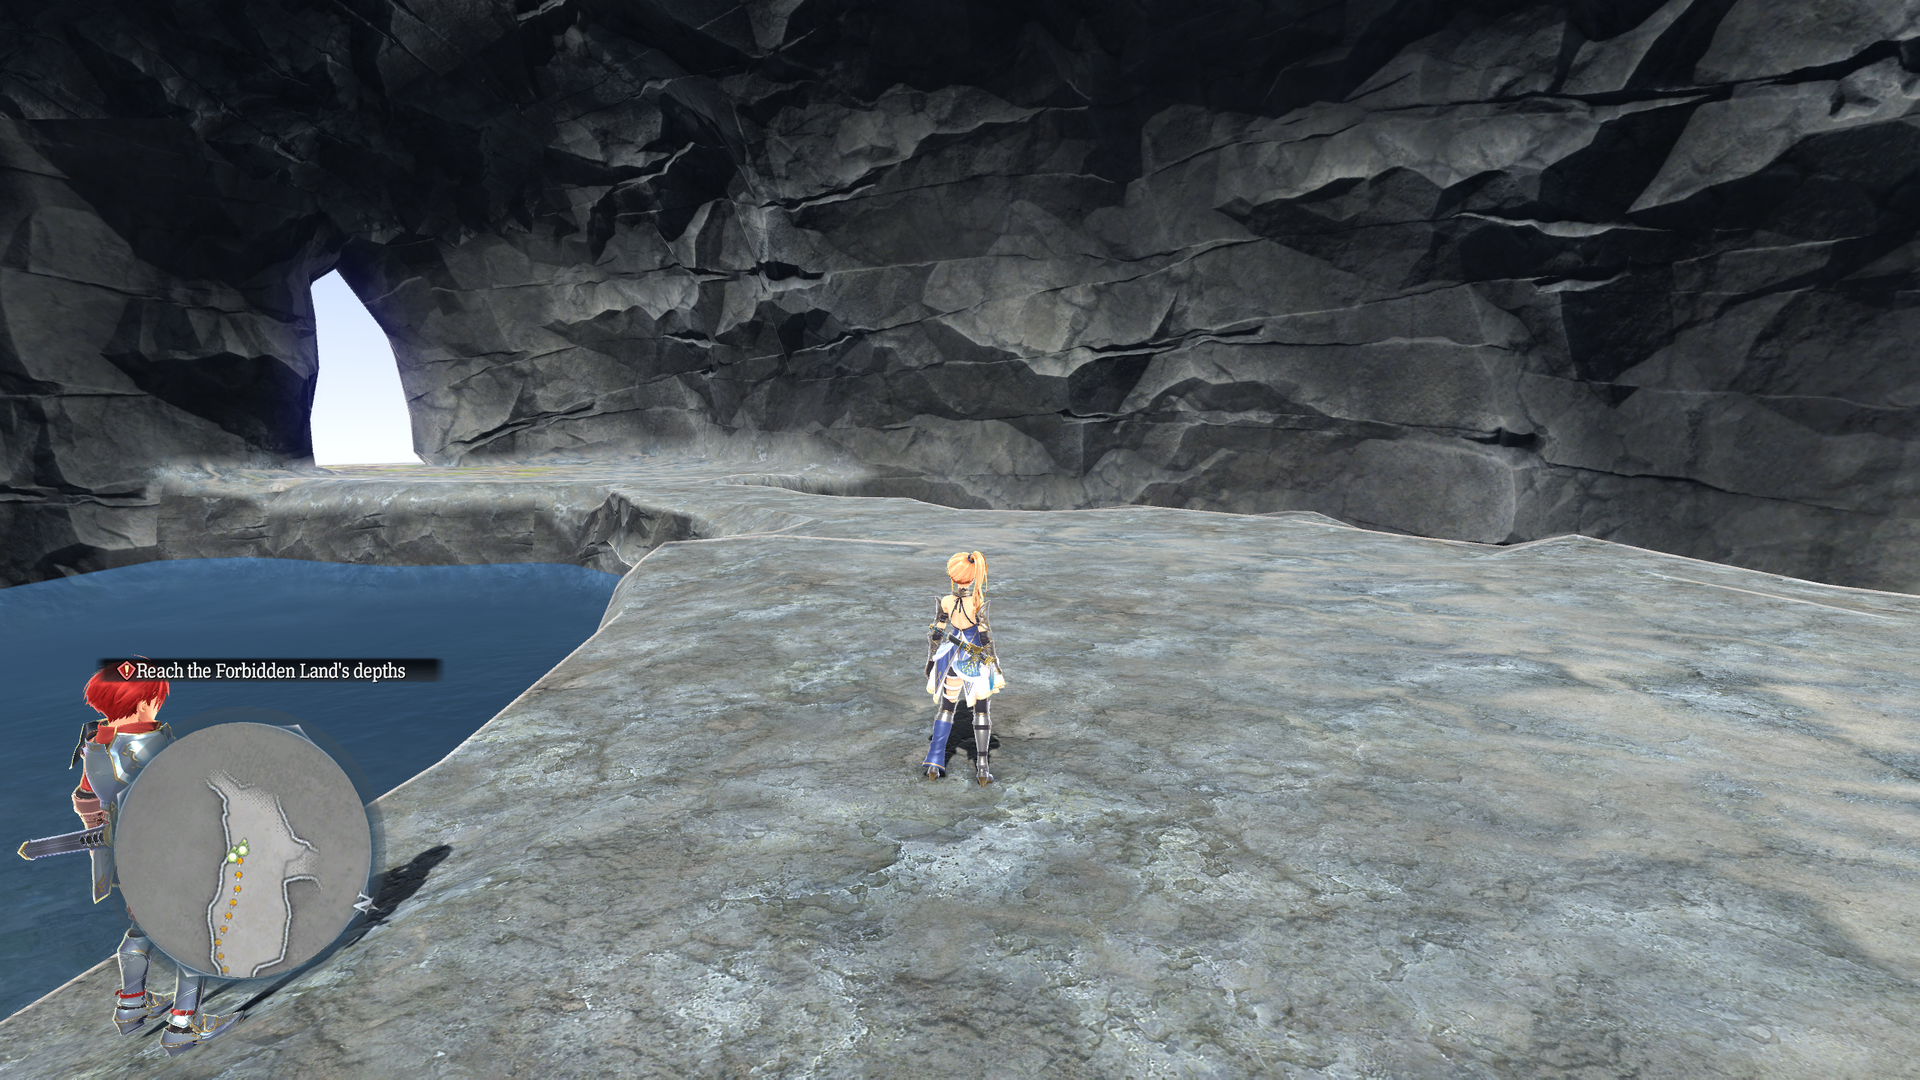
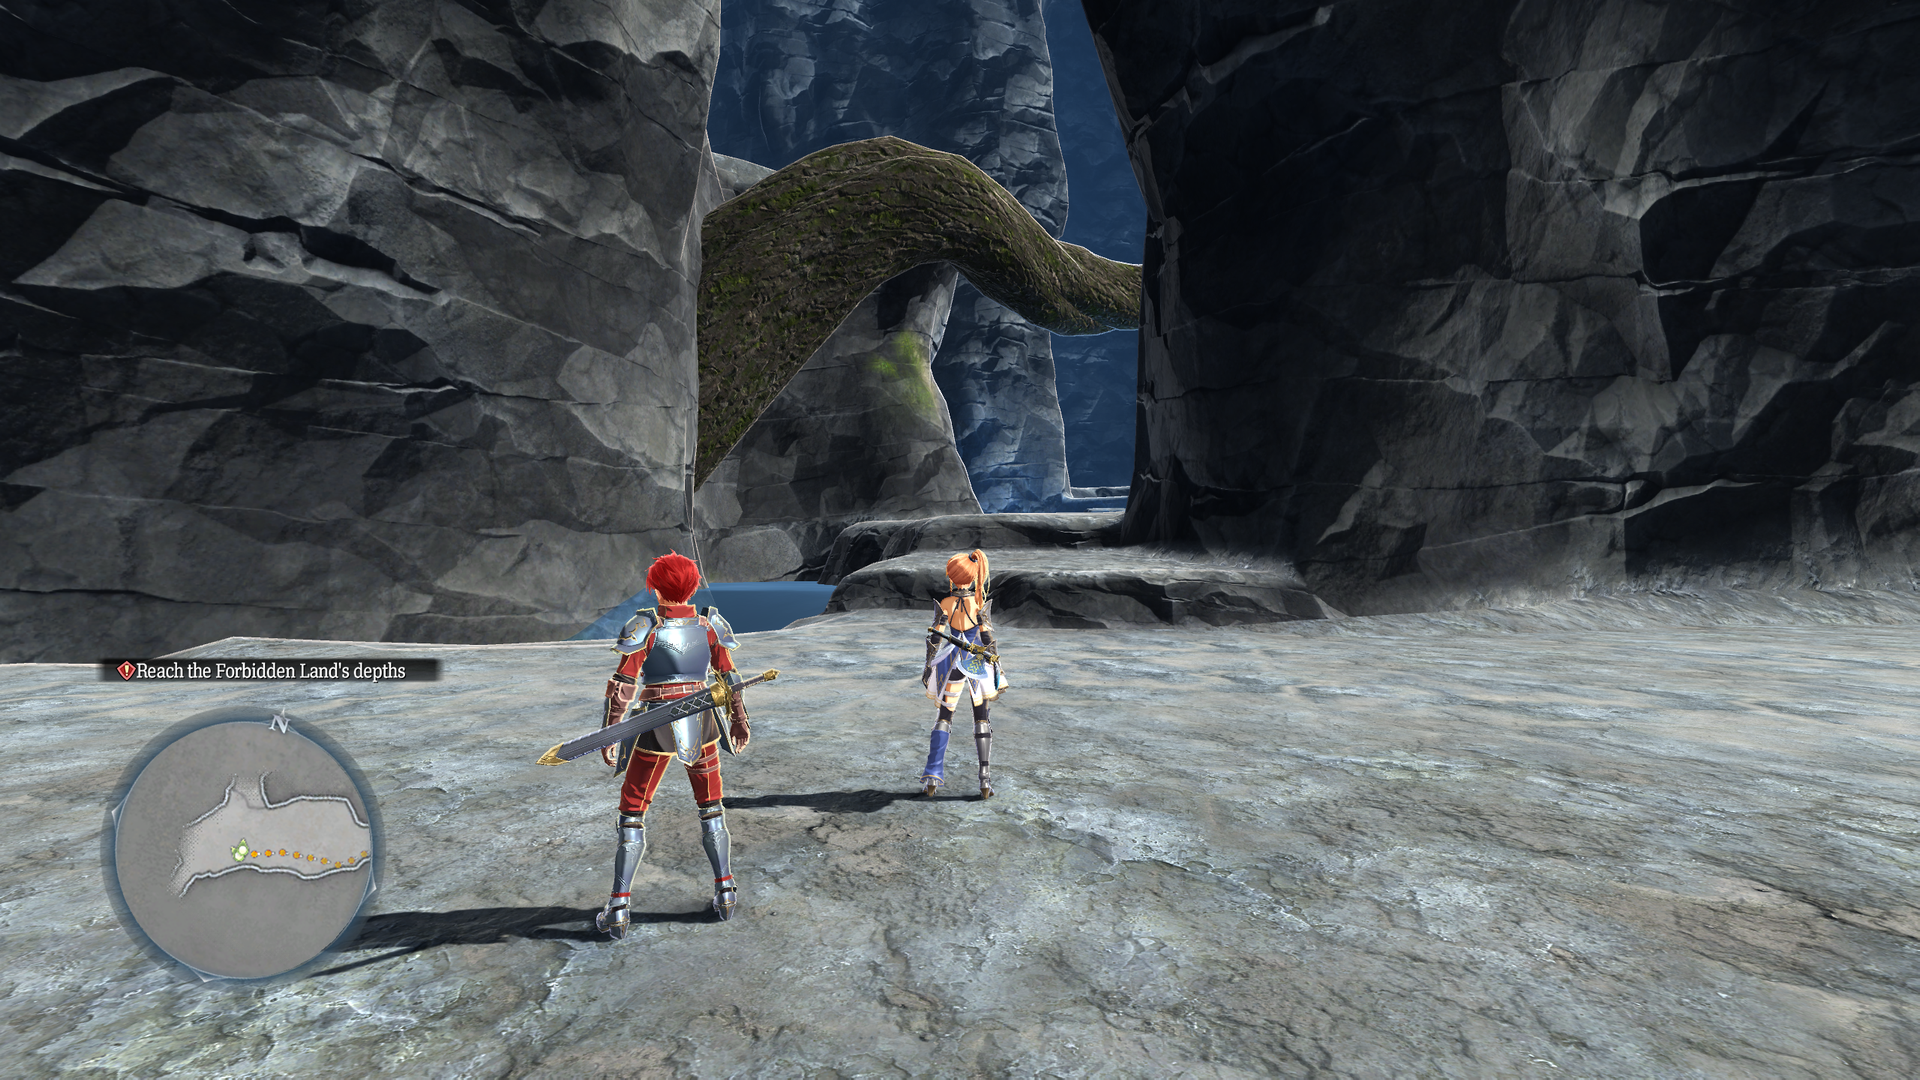
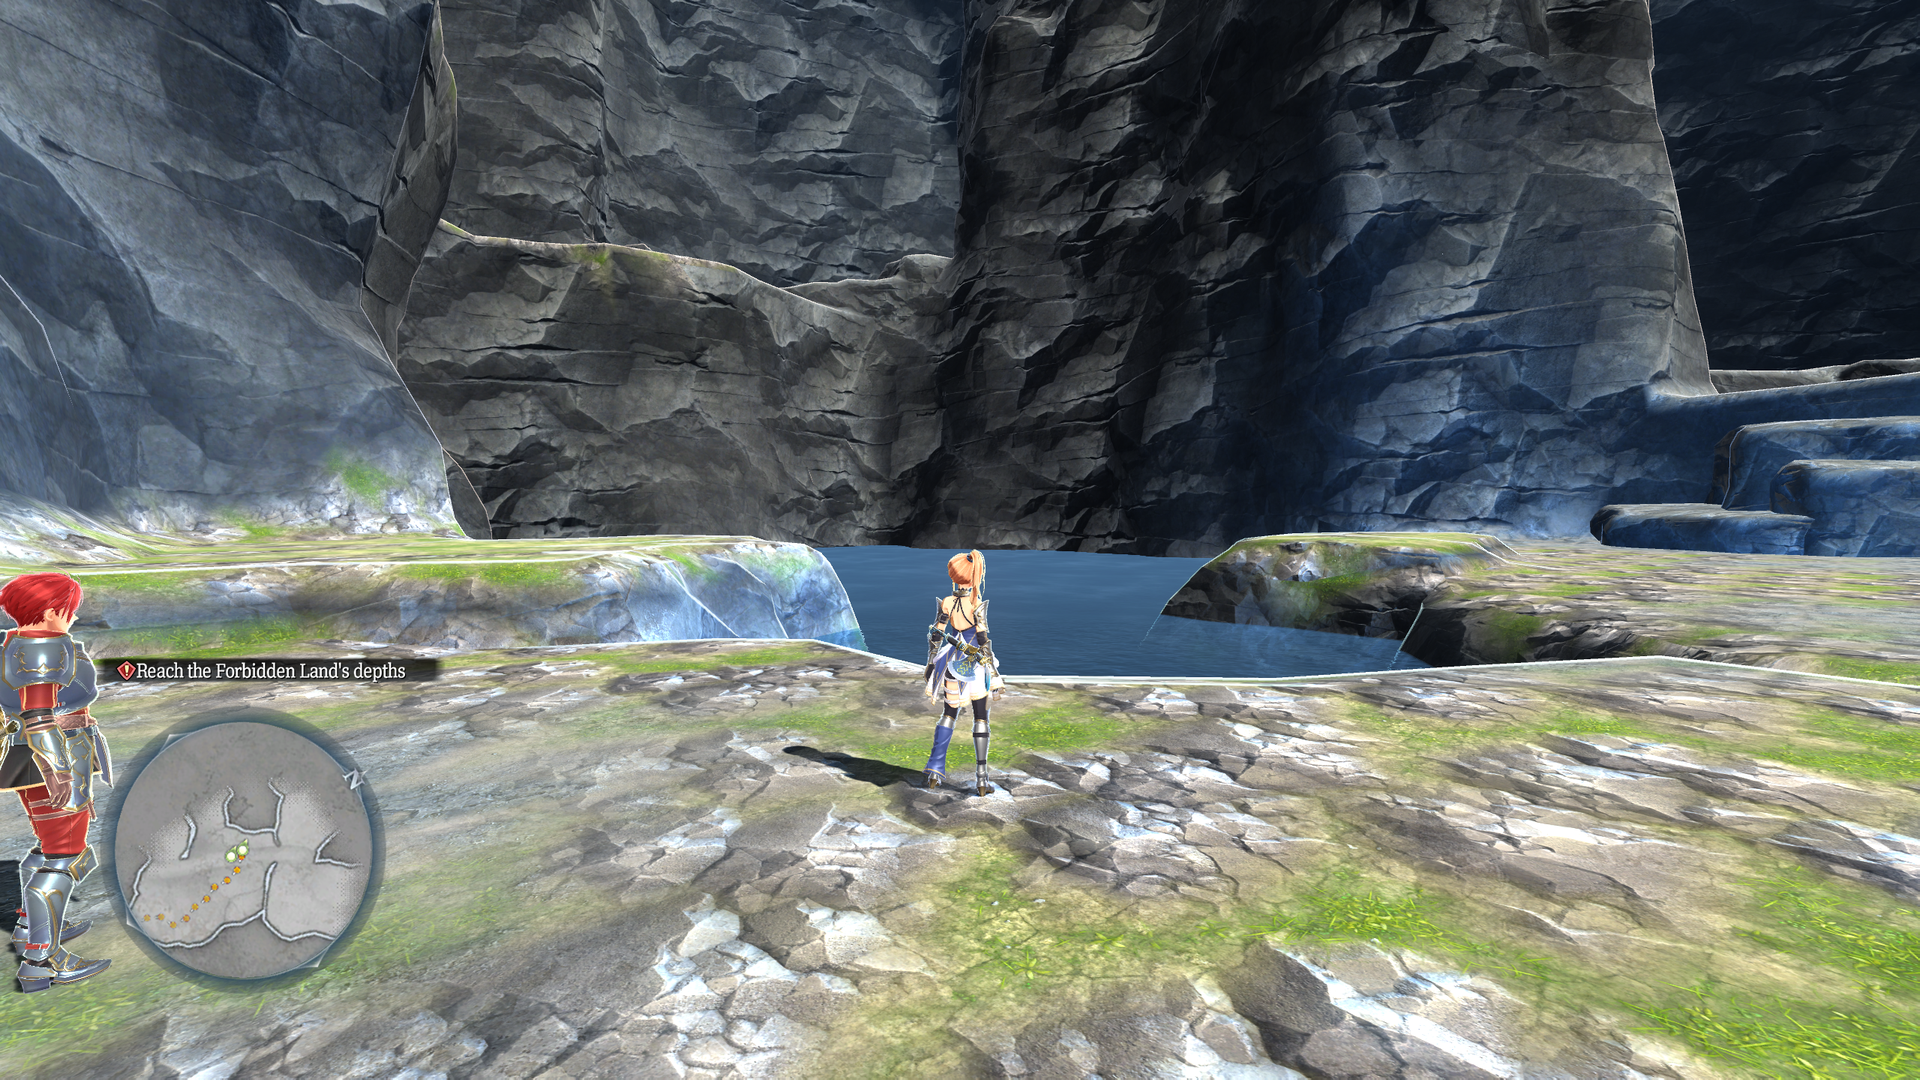
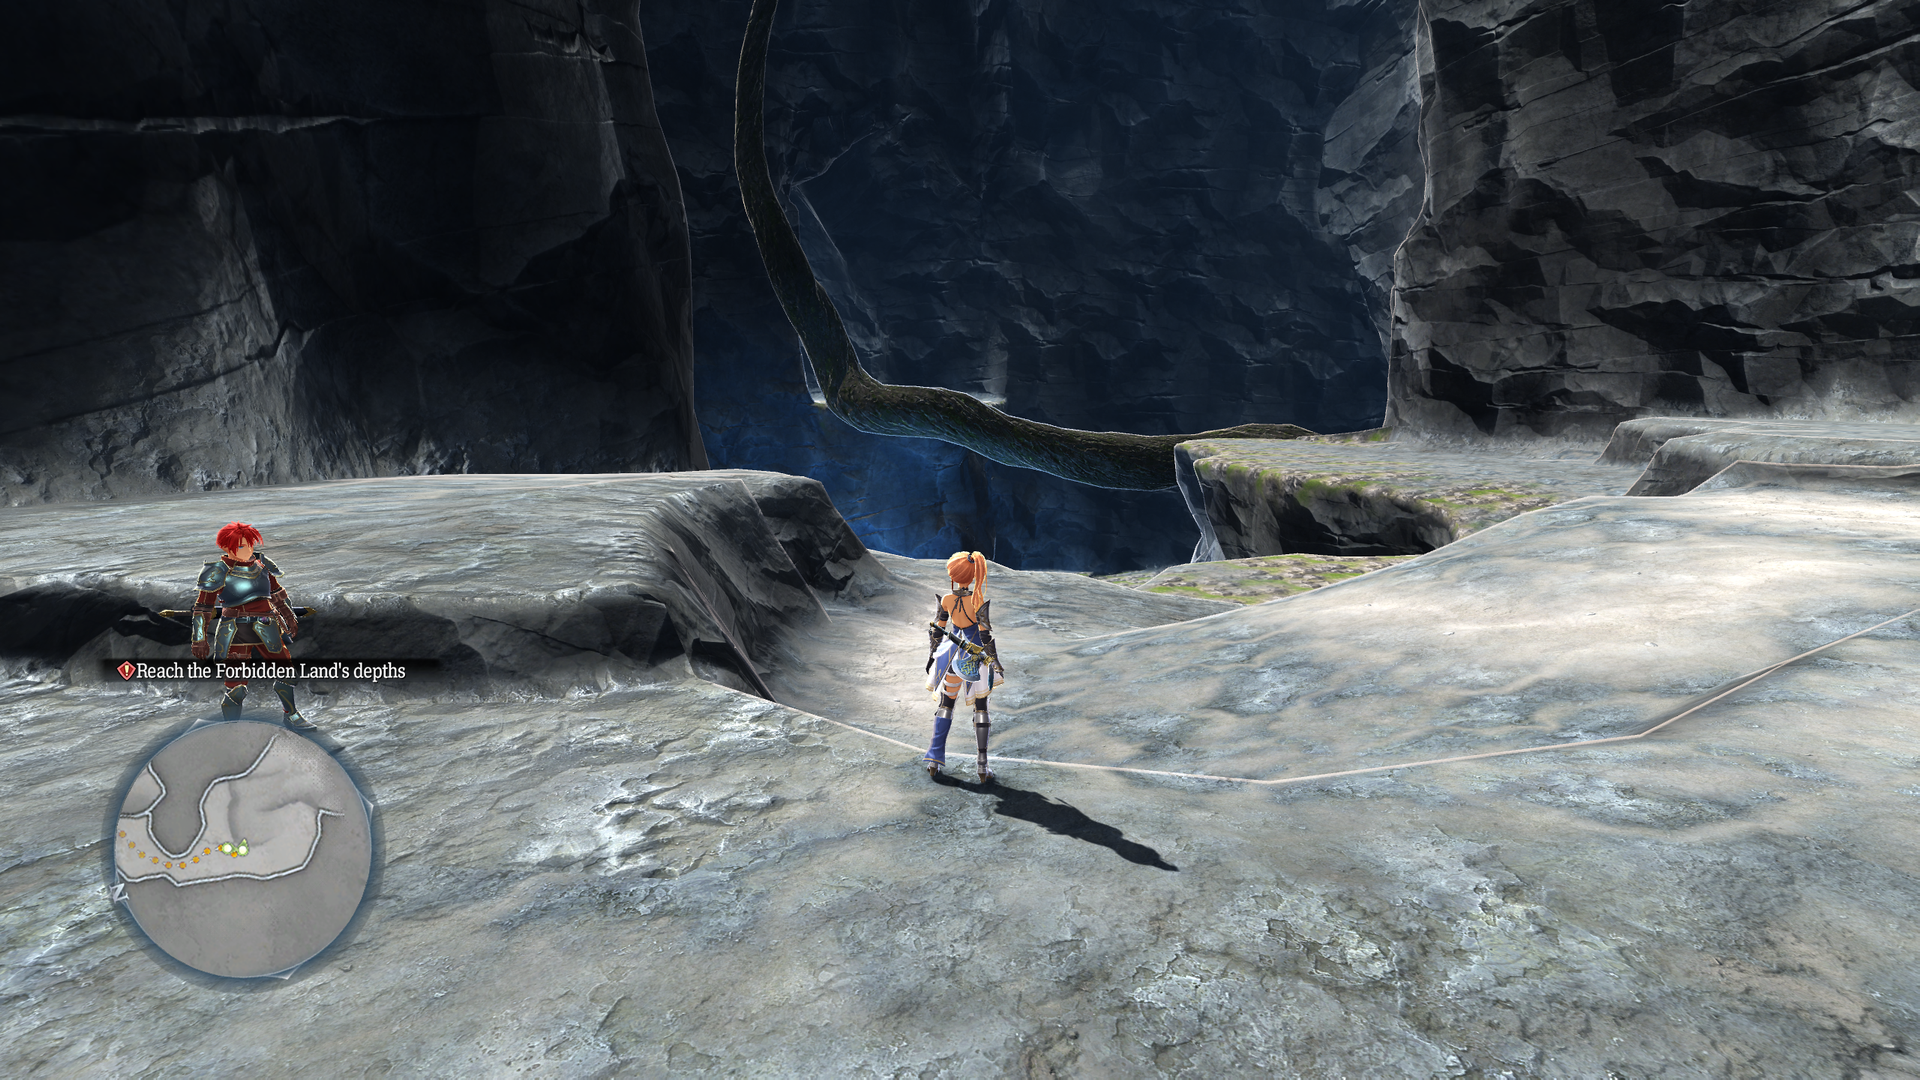
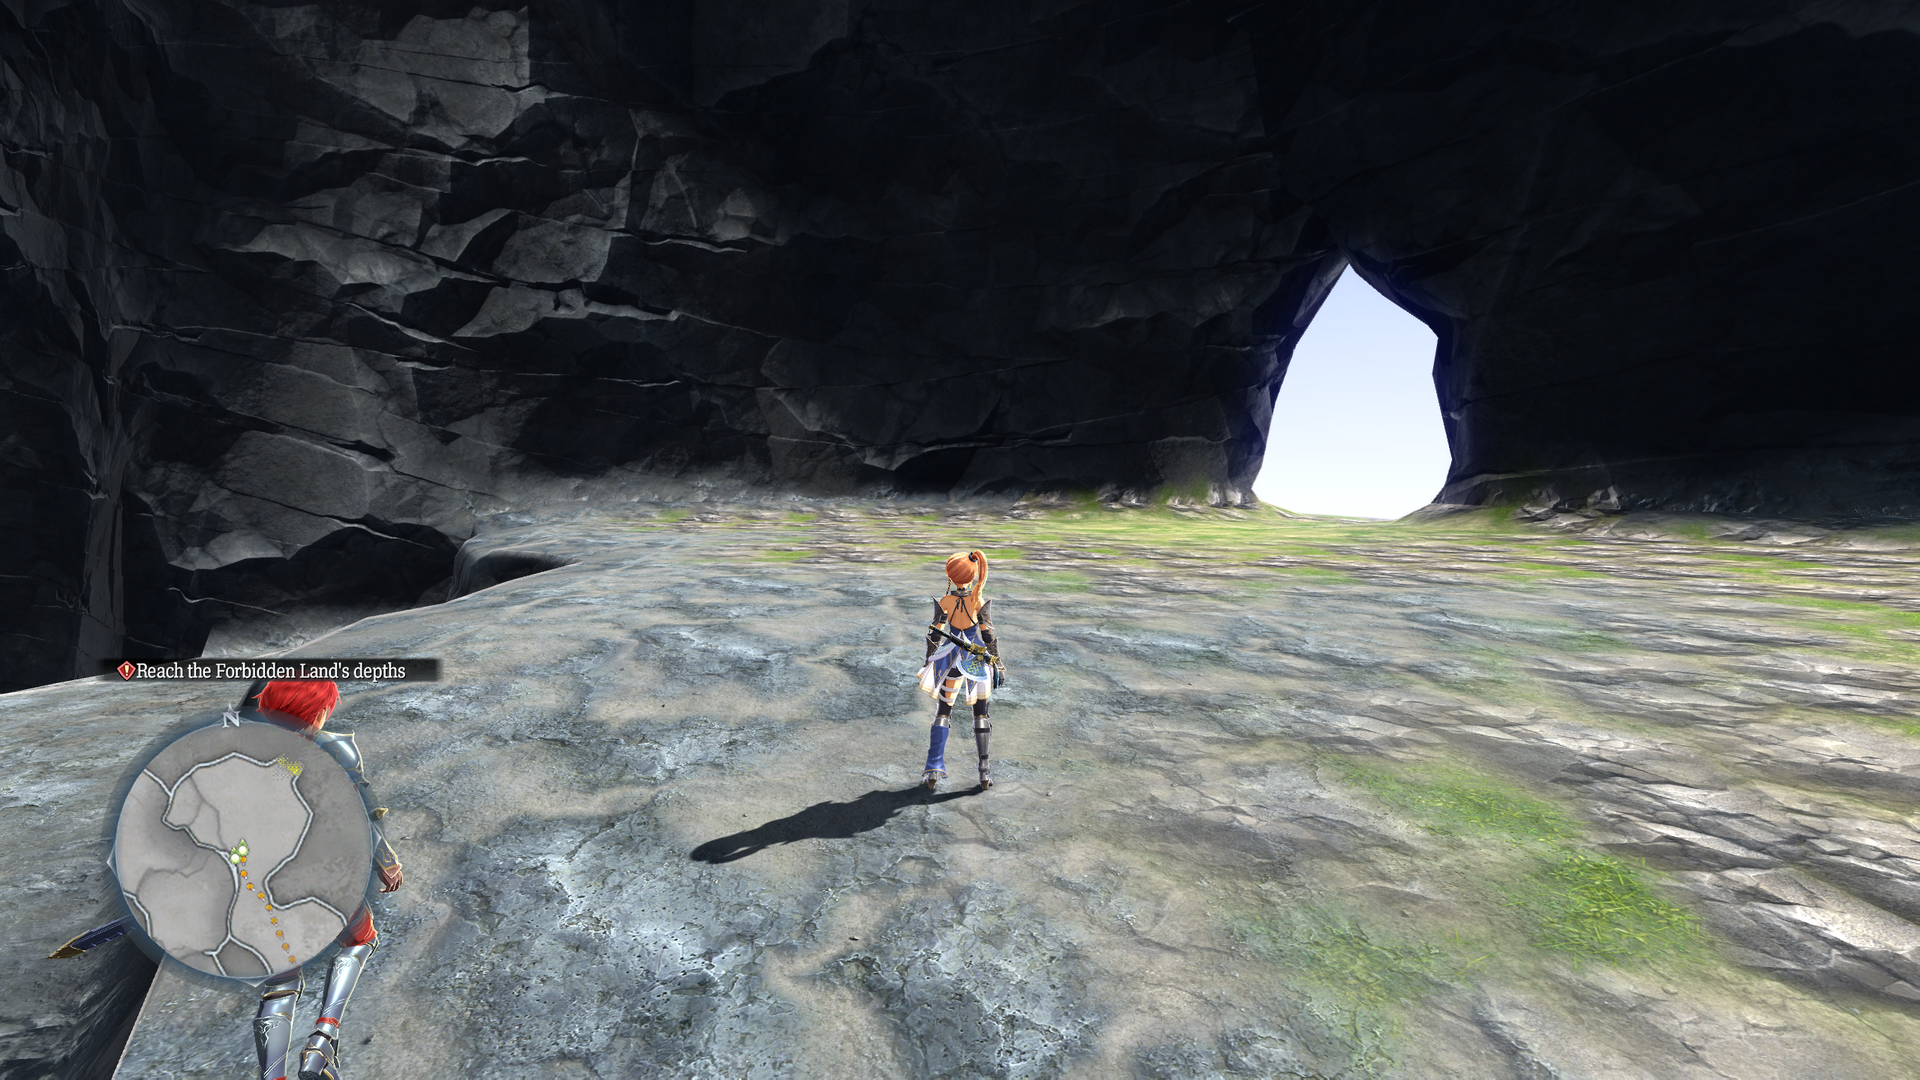
This isn't Balta Island; it's another early Fuling Island's cave!
- Only the exit at the start of the cave can be used, leading to one of the most notable test maps: test_sea01. Using this exit actually places you in front of Balta Island in test_sea01, explaining the name of this map.
- The lighting is much brighter, making the area fully lit. Texturework is a bit rougher too.
- No enemies or objects are placed yet.
- Due to lacking a grapple point, a Jump Height Multiplier cheat must be used to progress to the top of the area.
test_combimode#
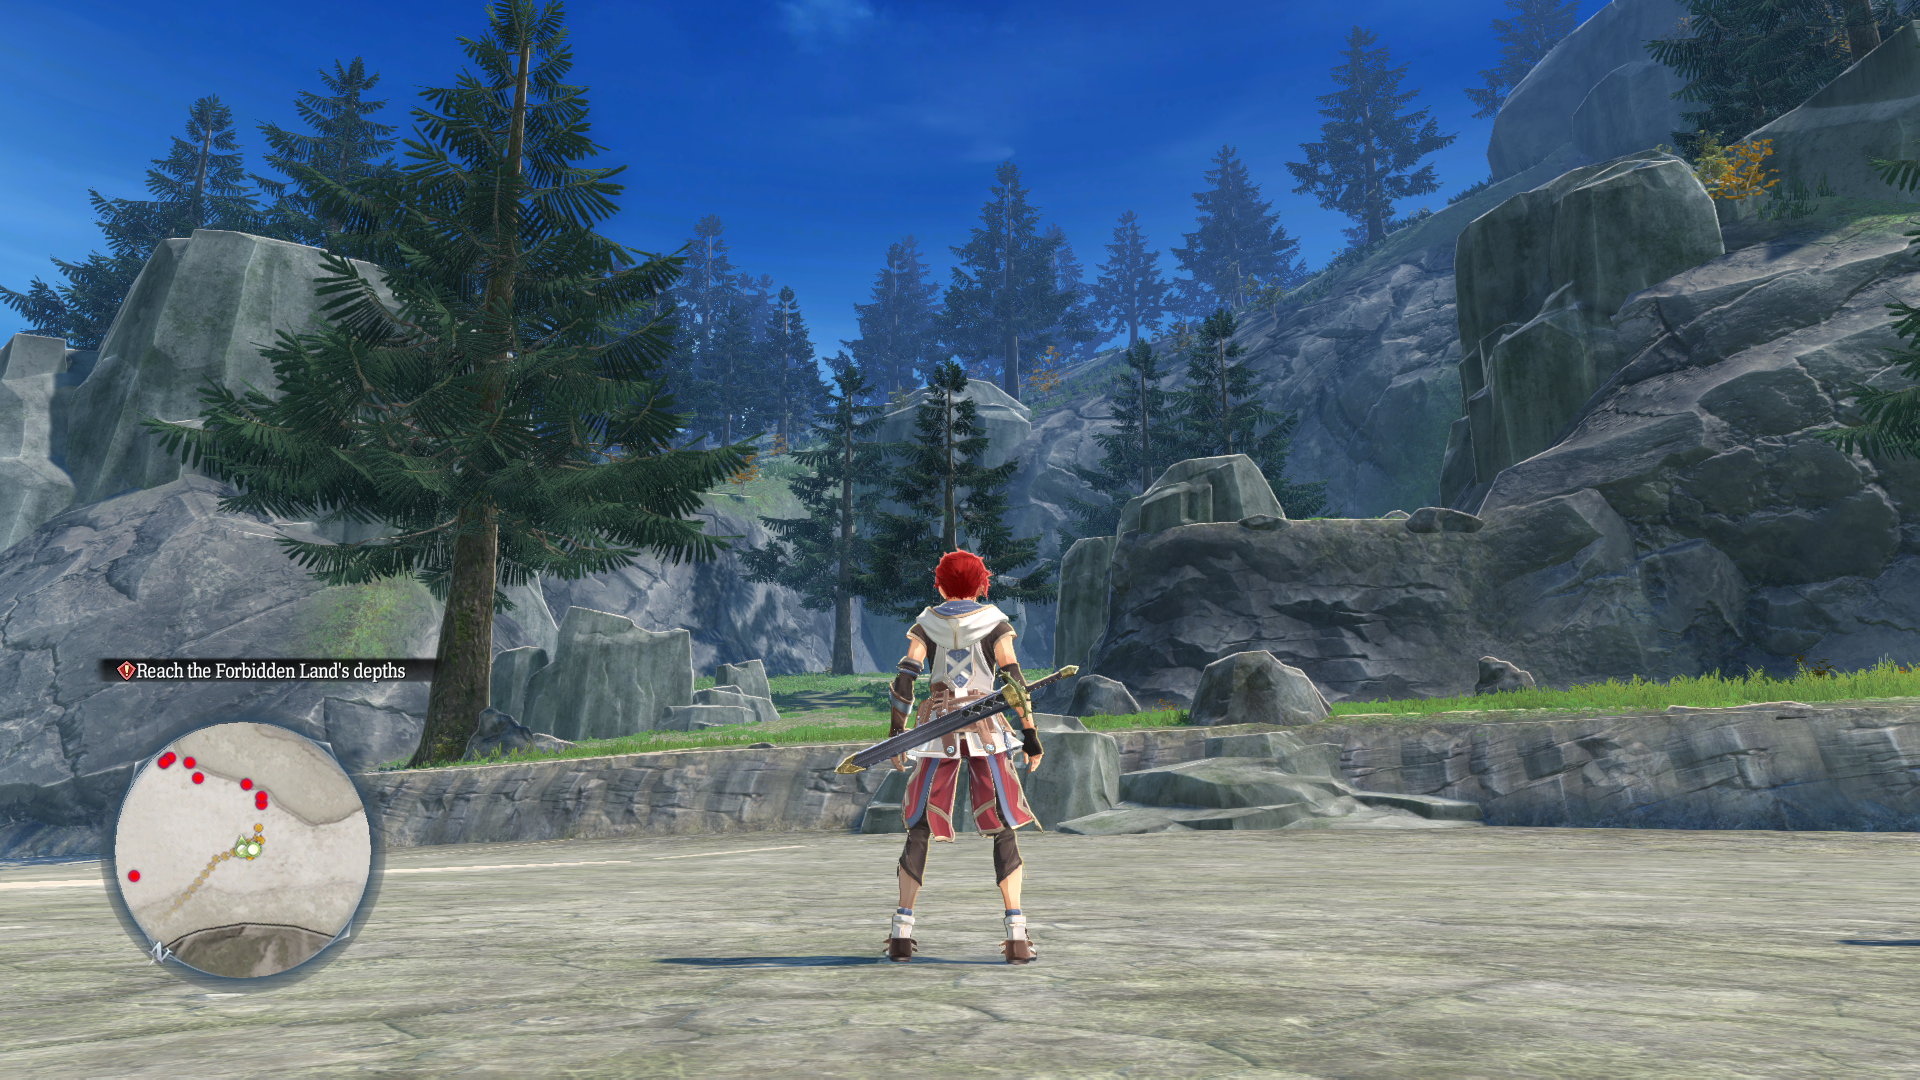
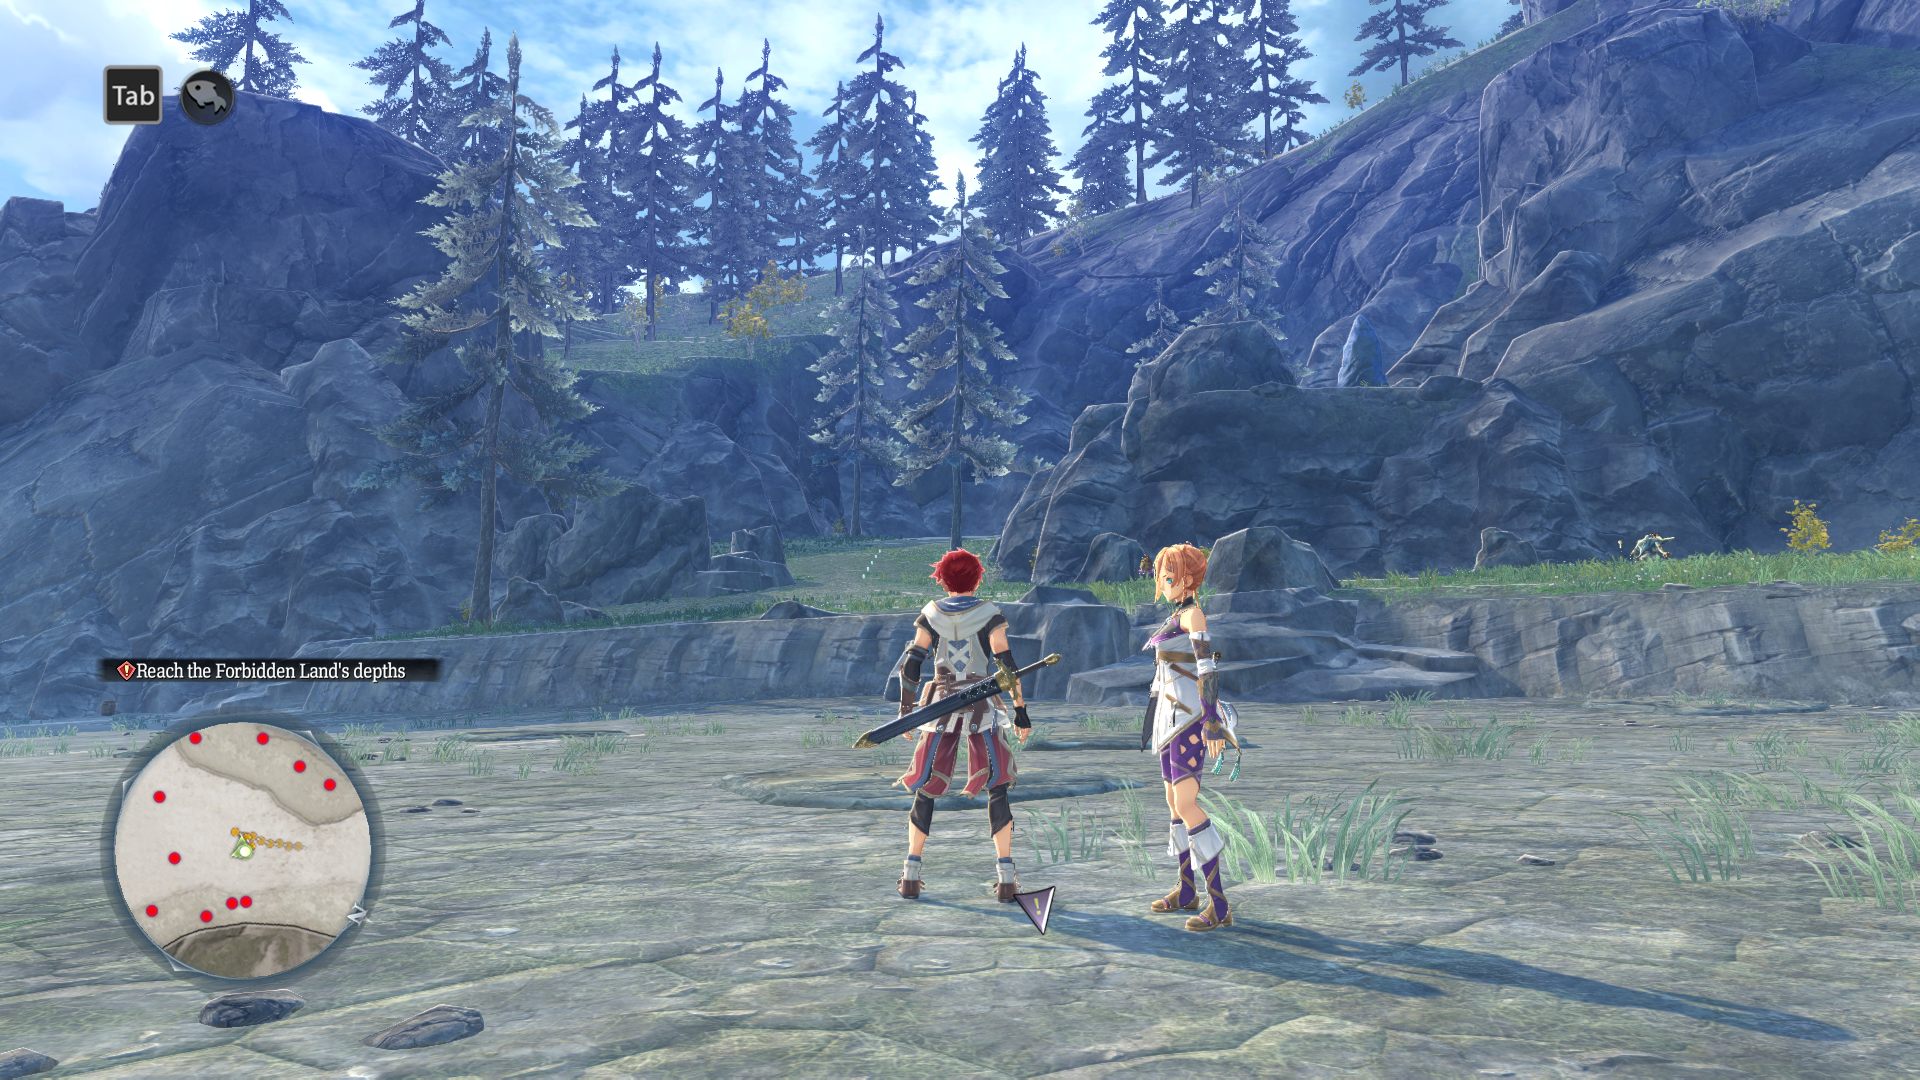
Watch on YouTubeA mostly barren copy of Inlet Isle featuring invisible enemies that can be targeted, meant to test how the characters move in Duo Mode. The trees and lighting are also different compared to the final version of the map.
|
test_combimode |
Inlet Isle |
|---|---|
|
|
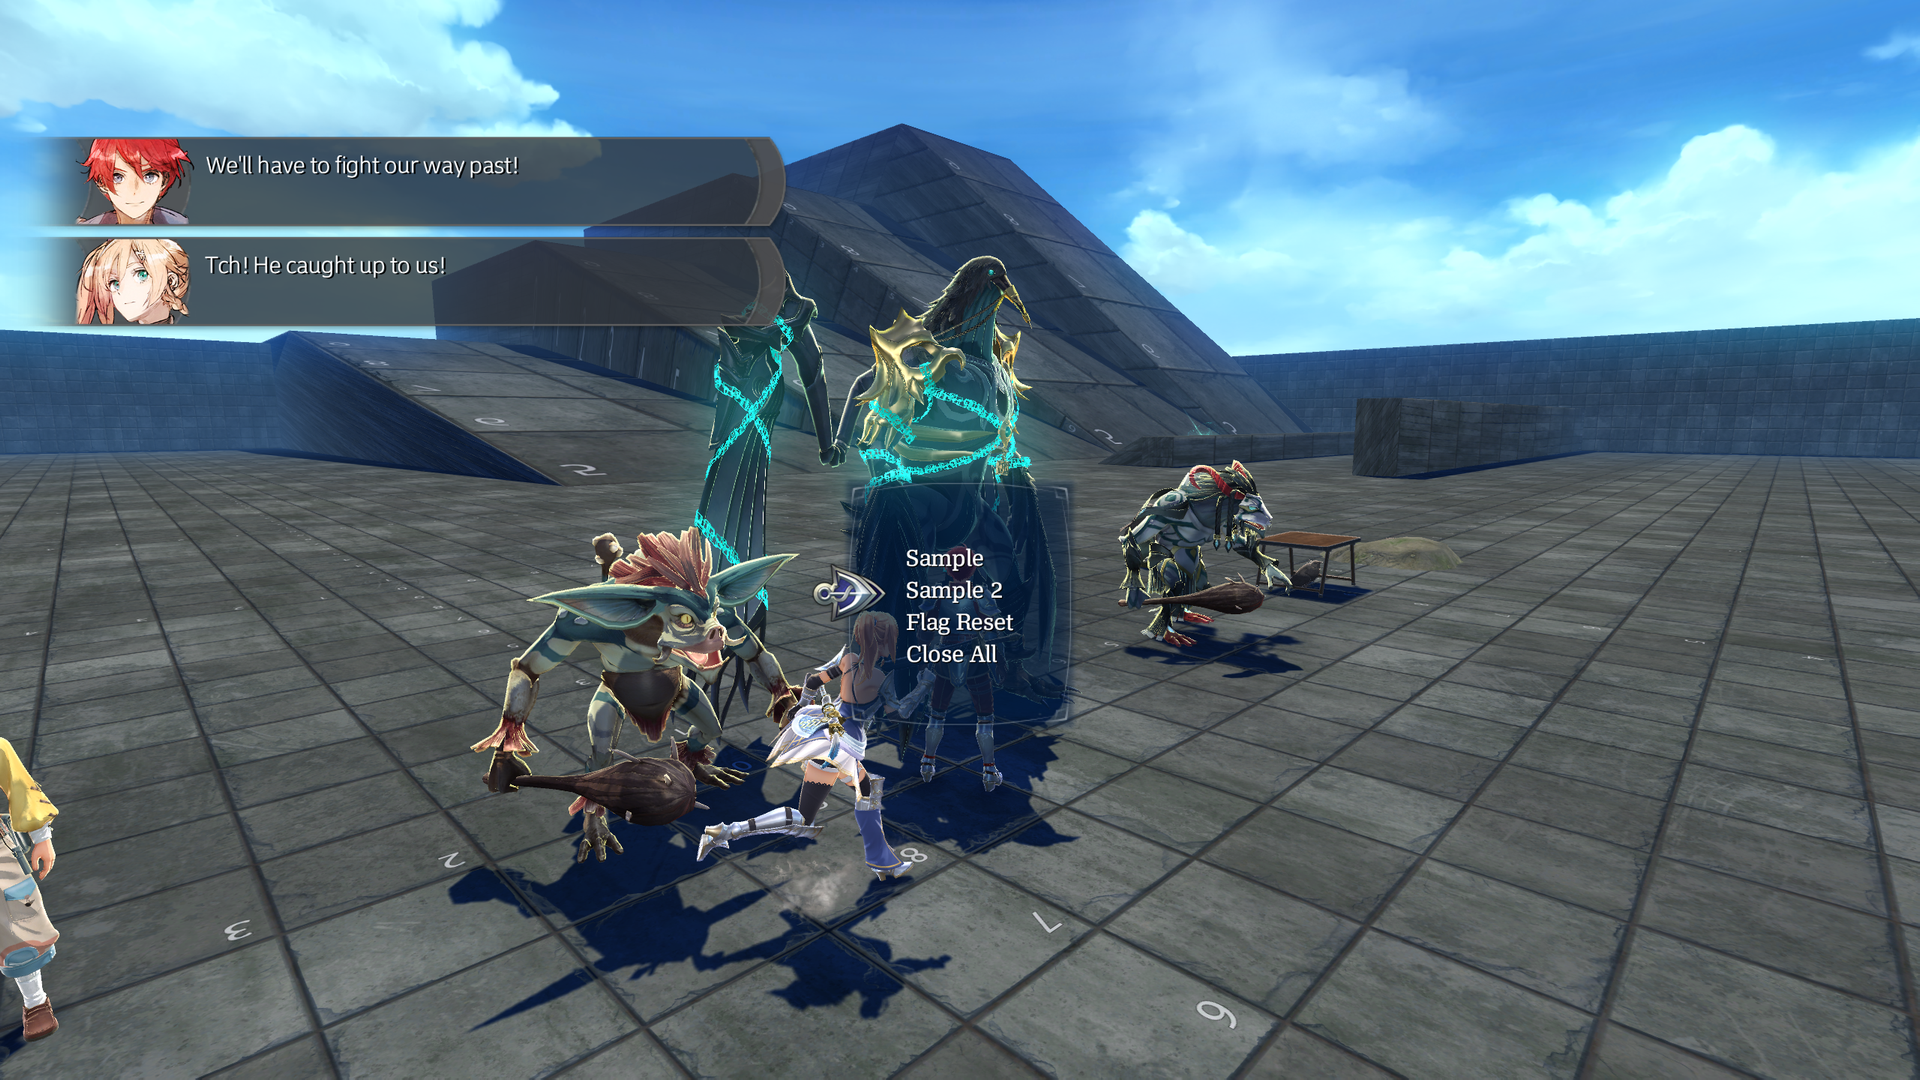
test_debug#
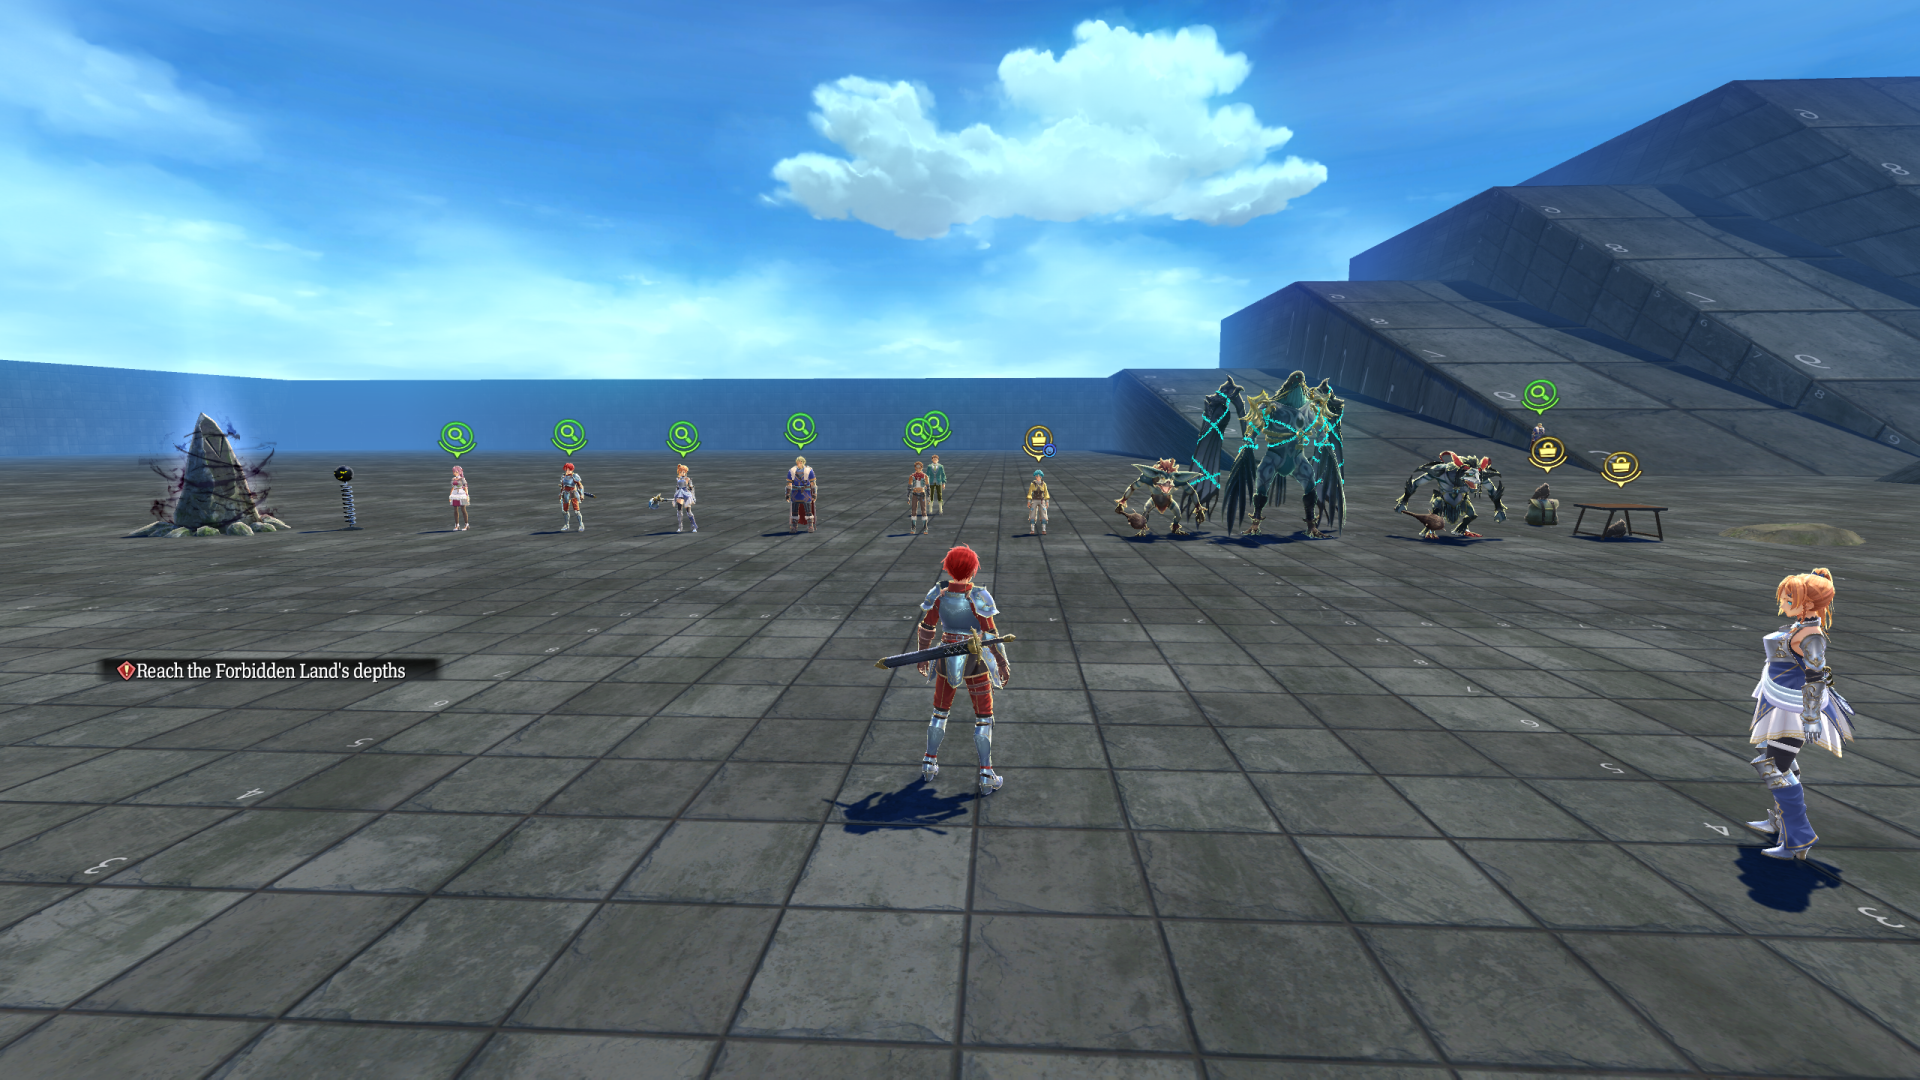
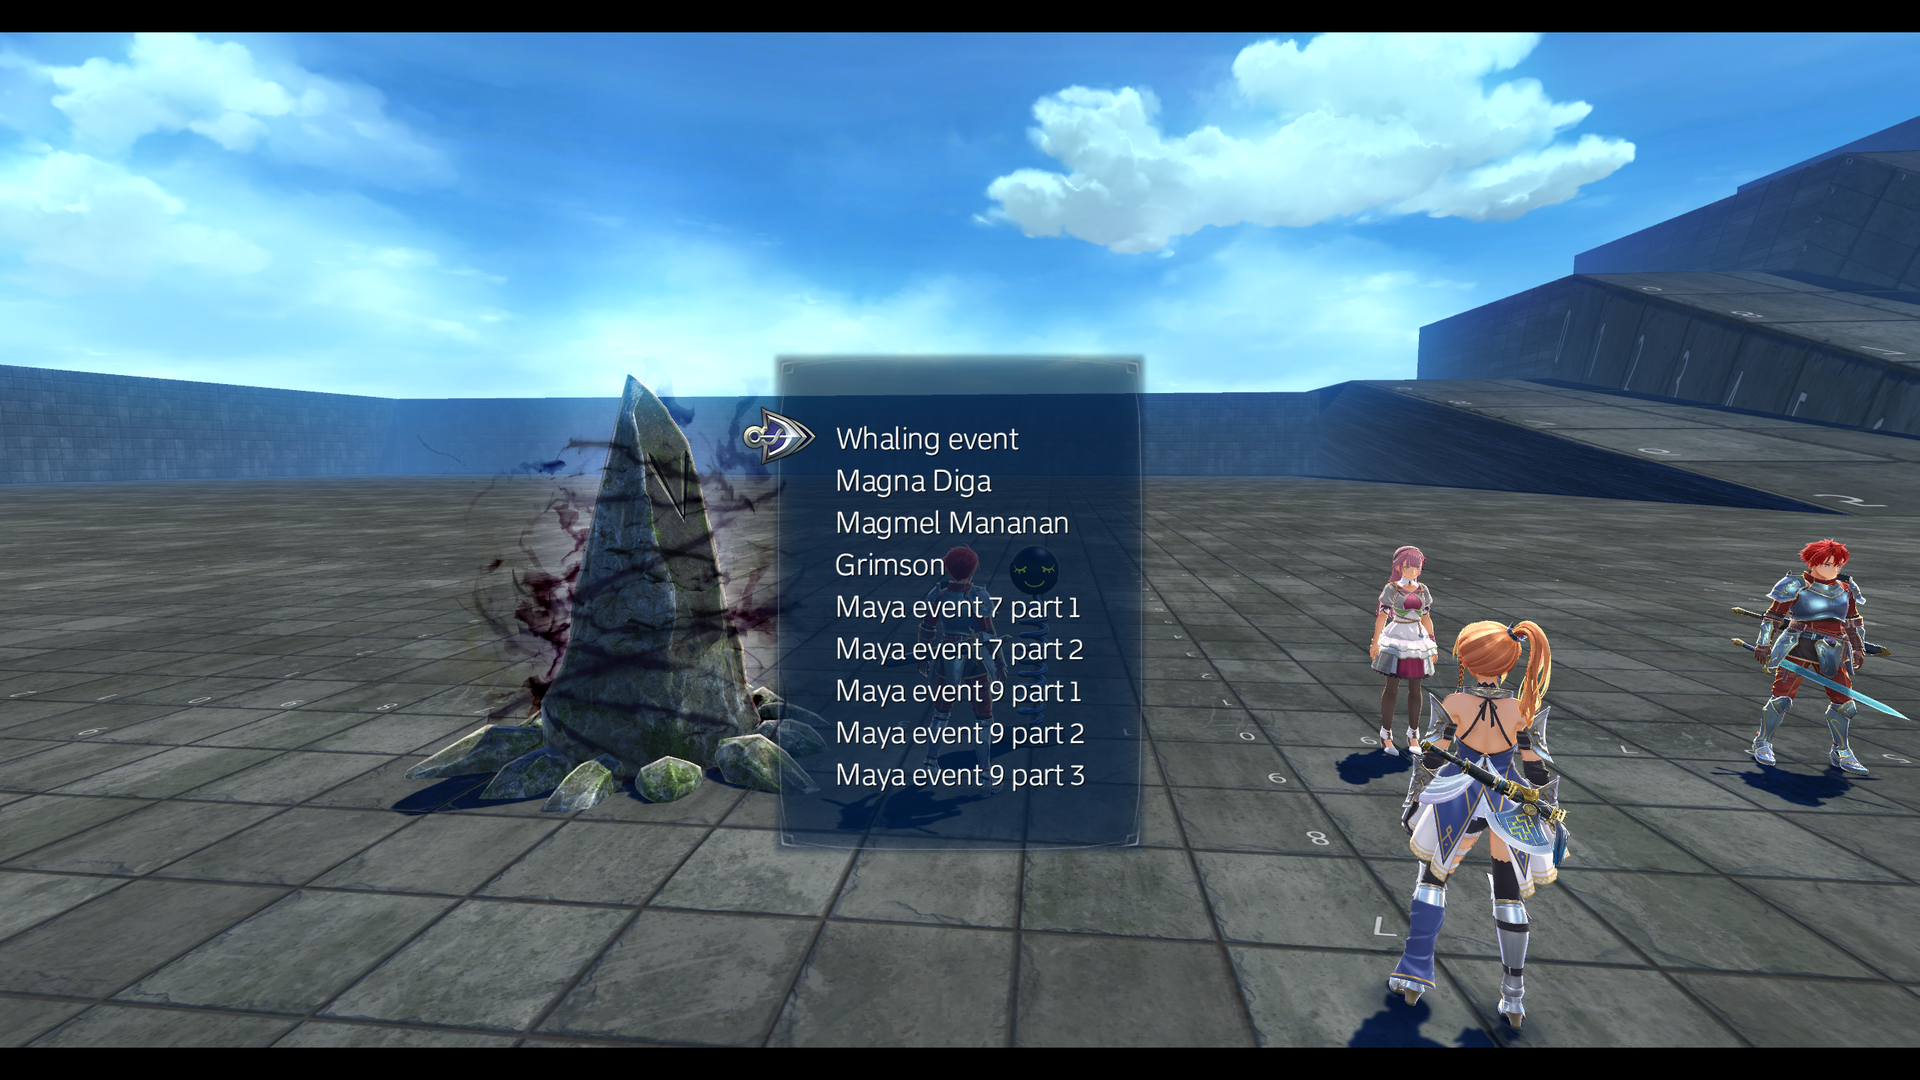
The main debug room of Ys X. Talking to the NPCs will open different menus meant to test features or jump to different parts of the game. Unfortunately, quite a few options no longer work.
- The Hewnstone can be purified, but not teleported to.
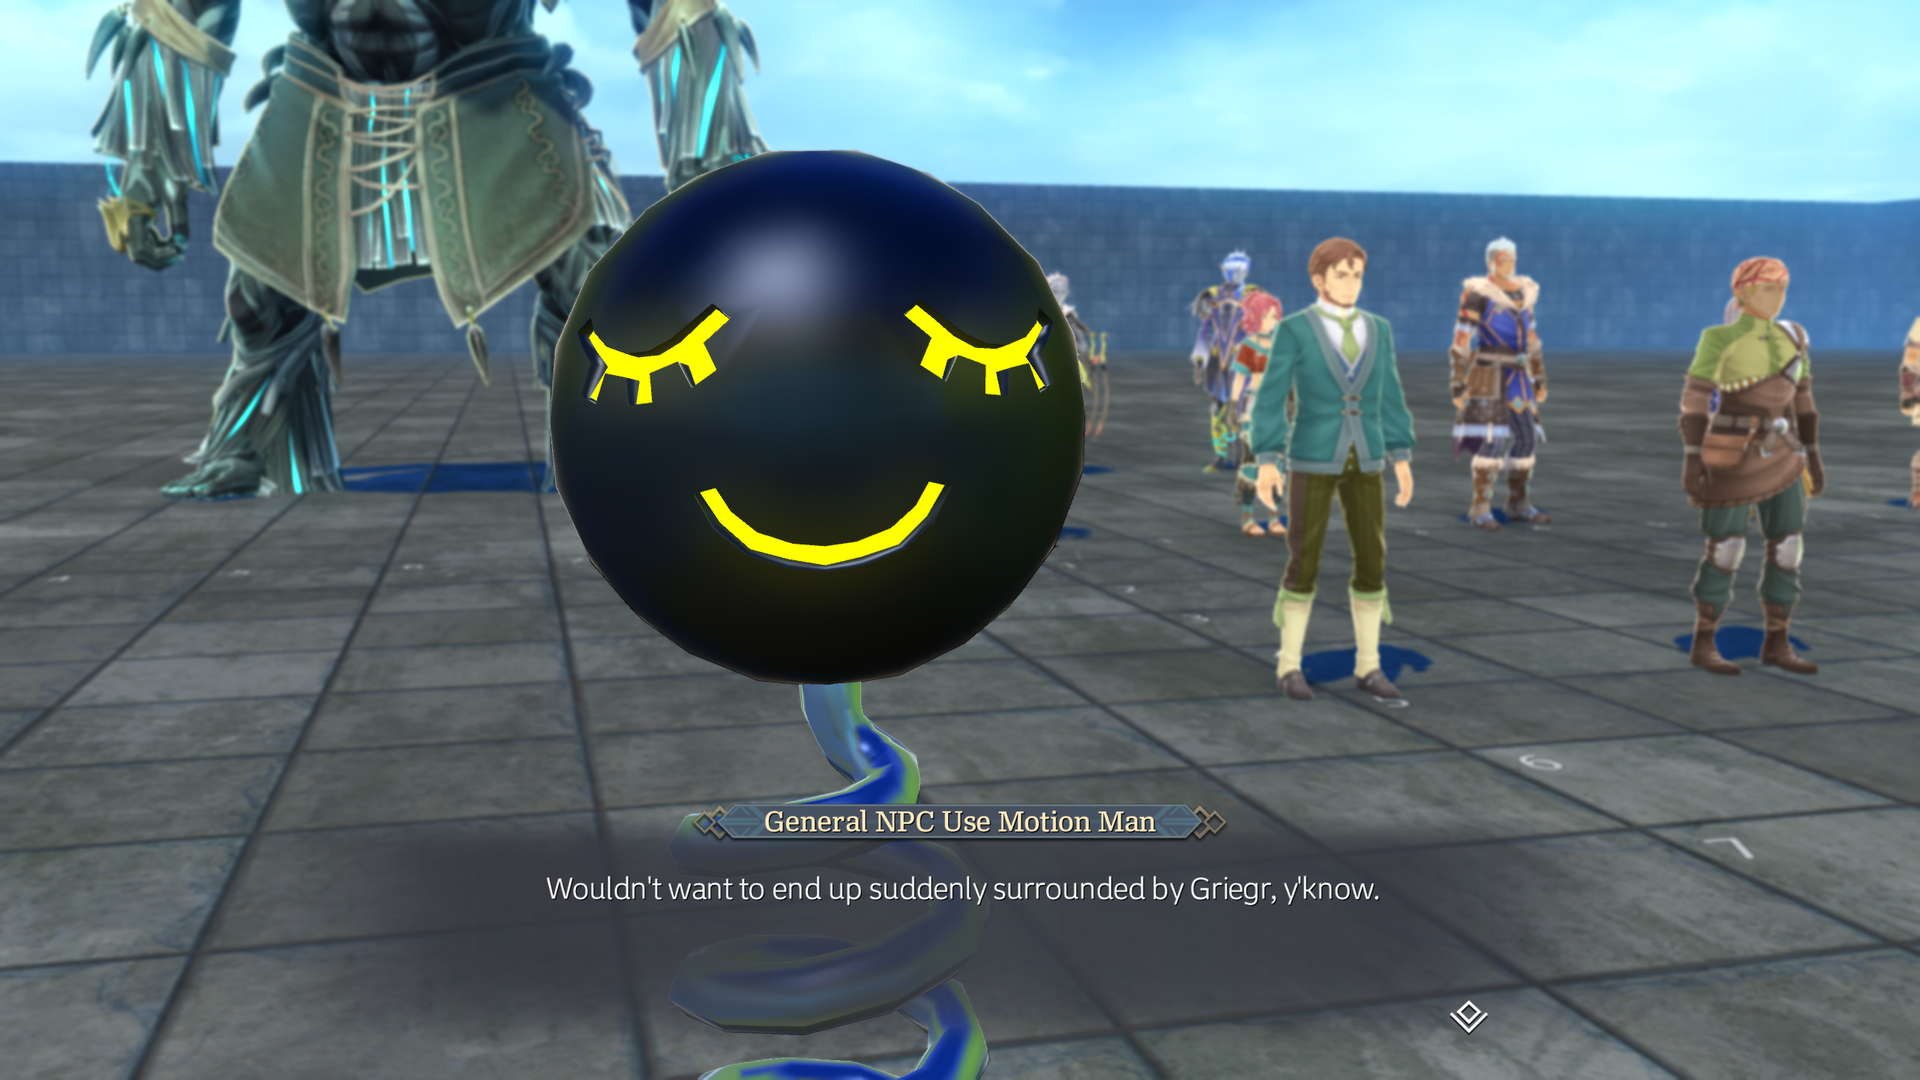
- A springy test NPC is found here and other test maps. Here, it allows you to skip to certain events, or play some "maya" cutscenes, which is the name for mocapped scenes.
- Rosalind has a useless "close all" menu.
- Karja's menu is half-functional, allowing game flags to be reset and the option to enter Time Attack mode.
- Grimson, Grenn, Clement and Lila do nothing.
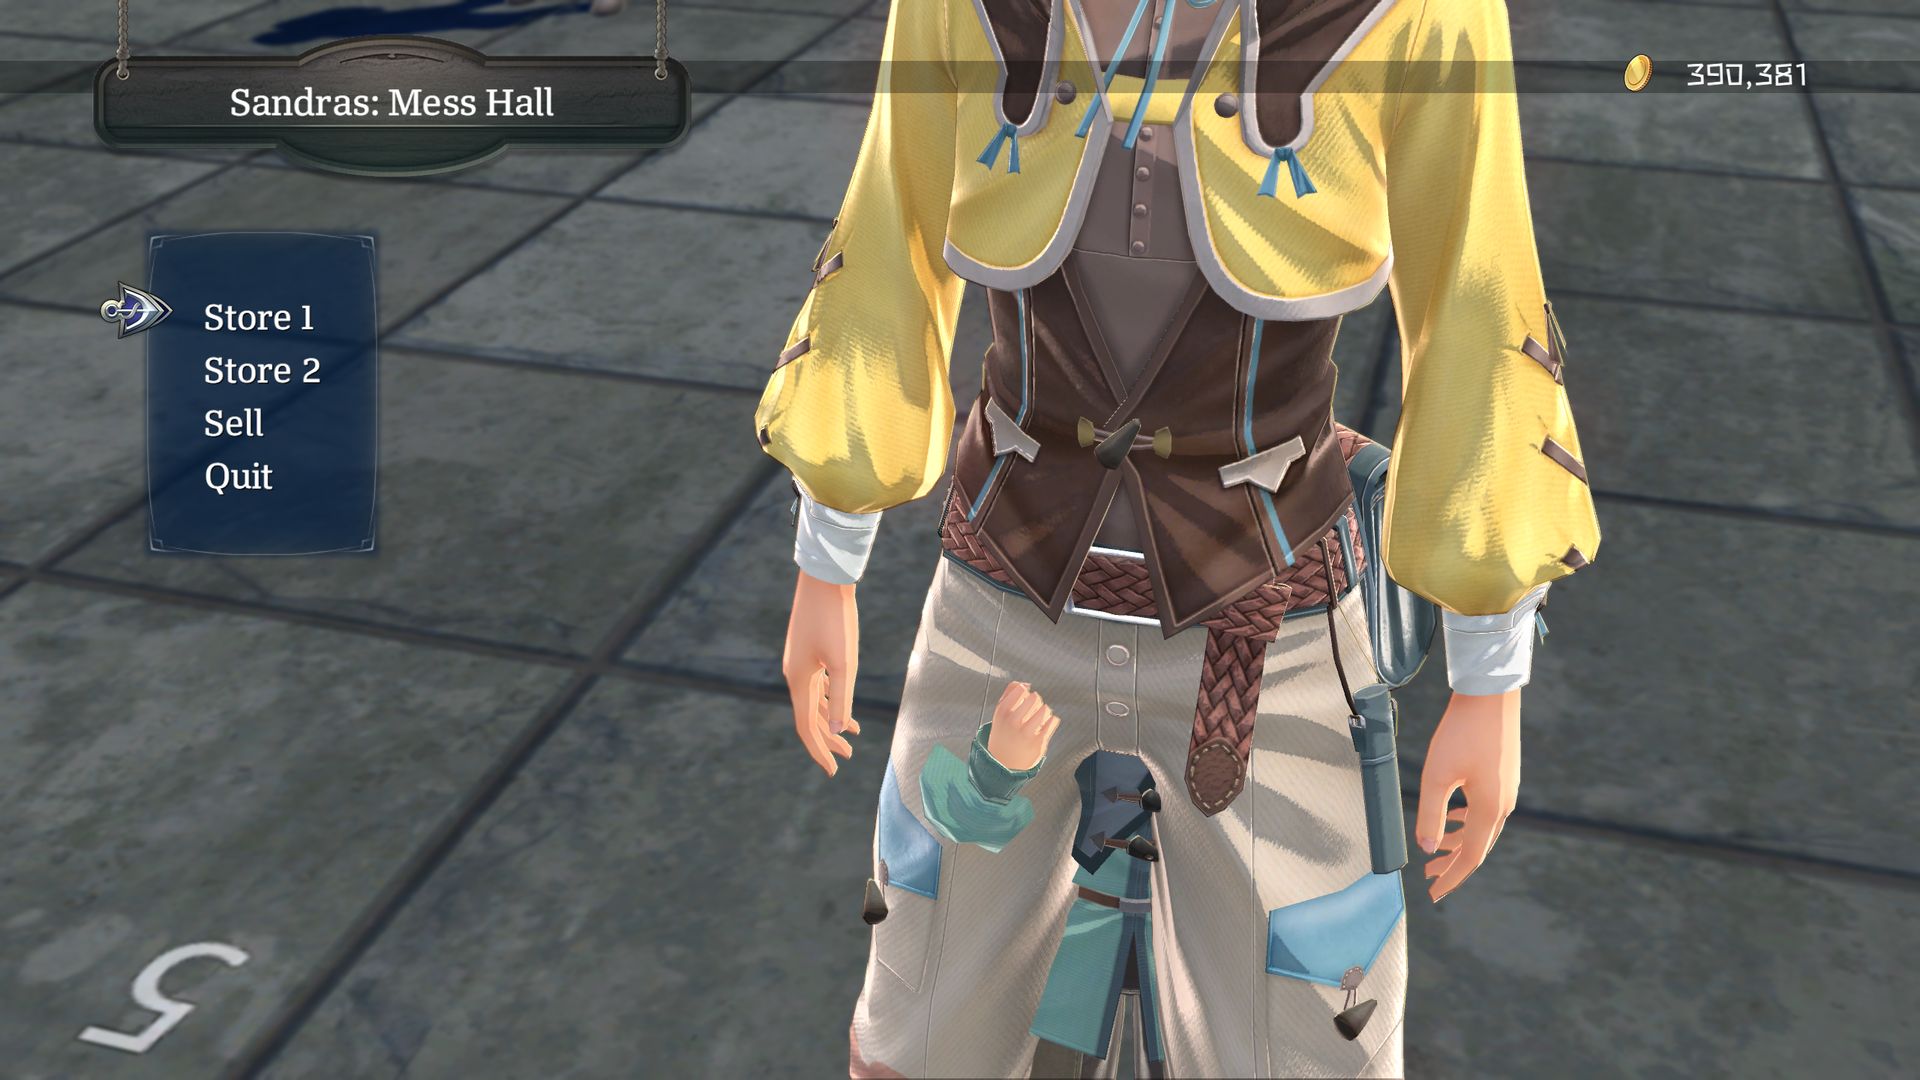
- Only the last option on Cruz's menu functions, allowing one to obtain certain resources.
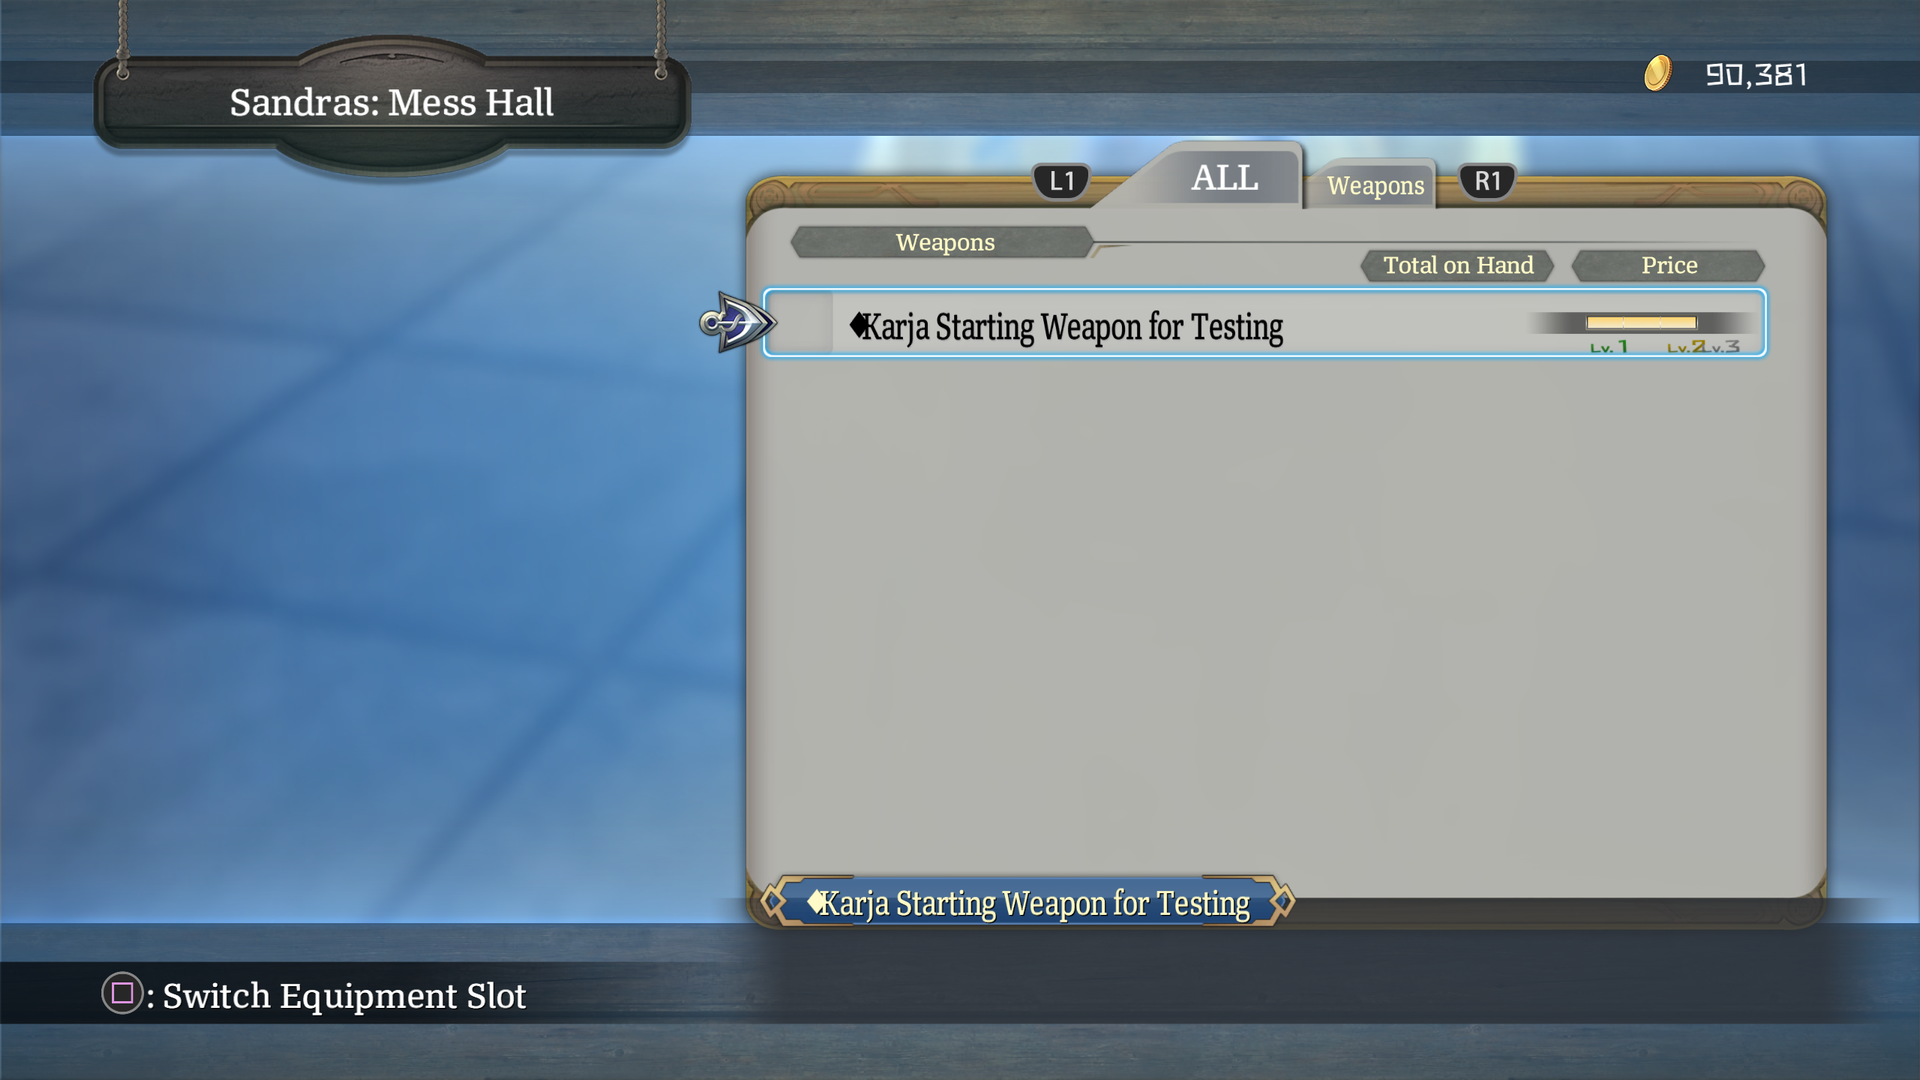
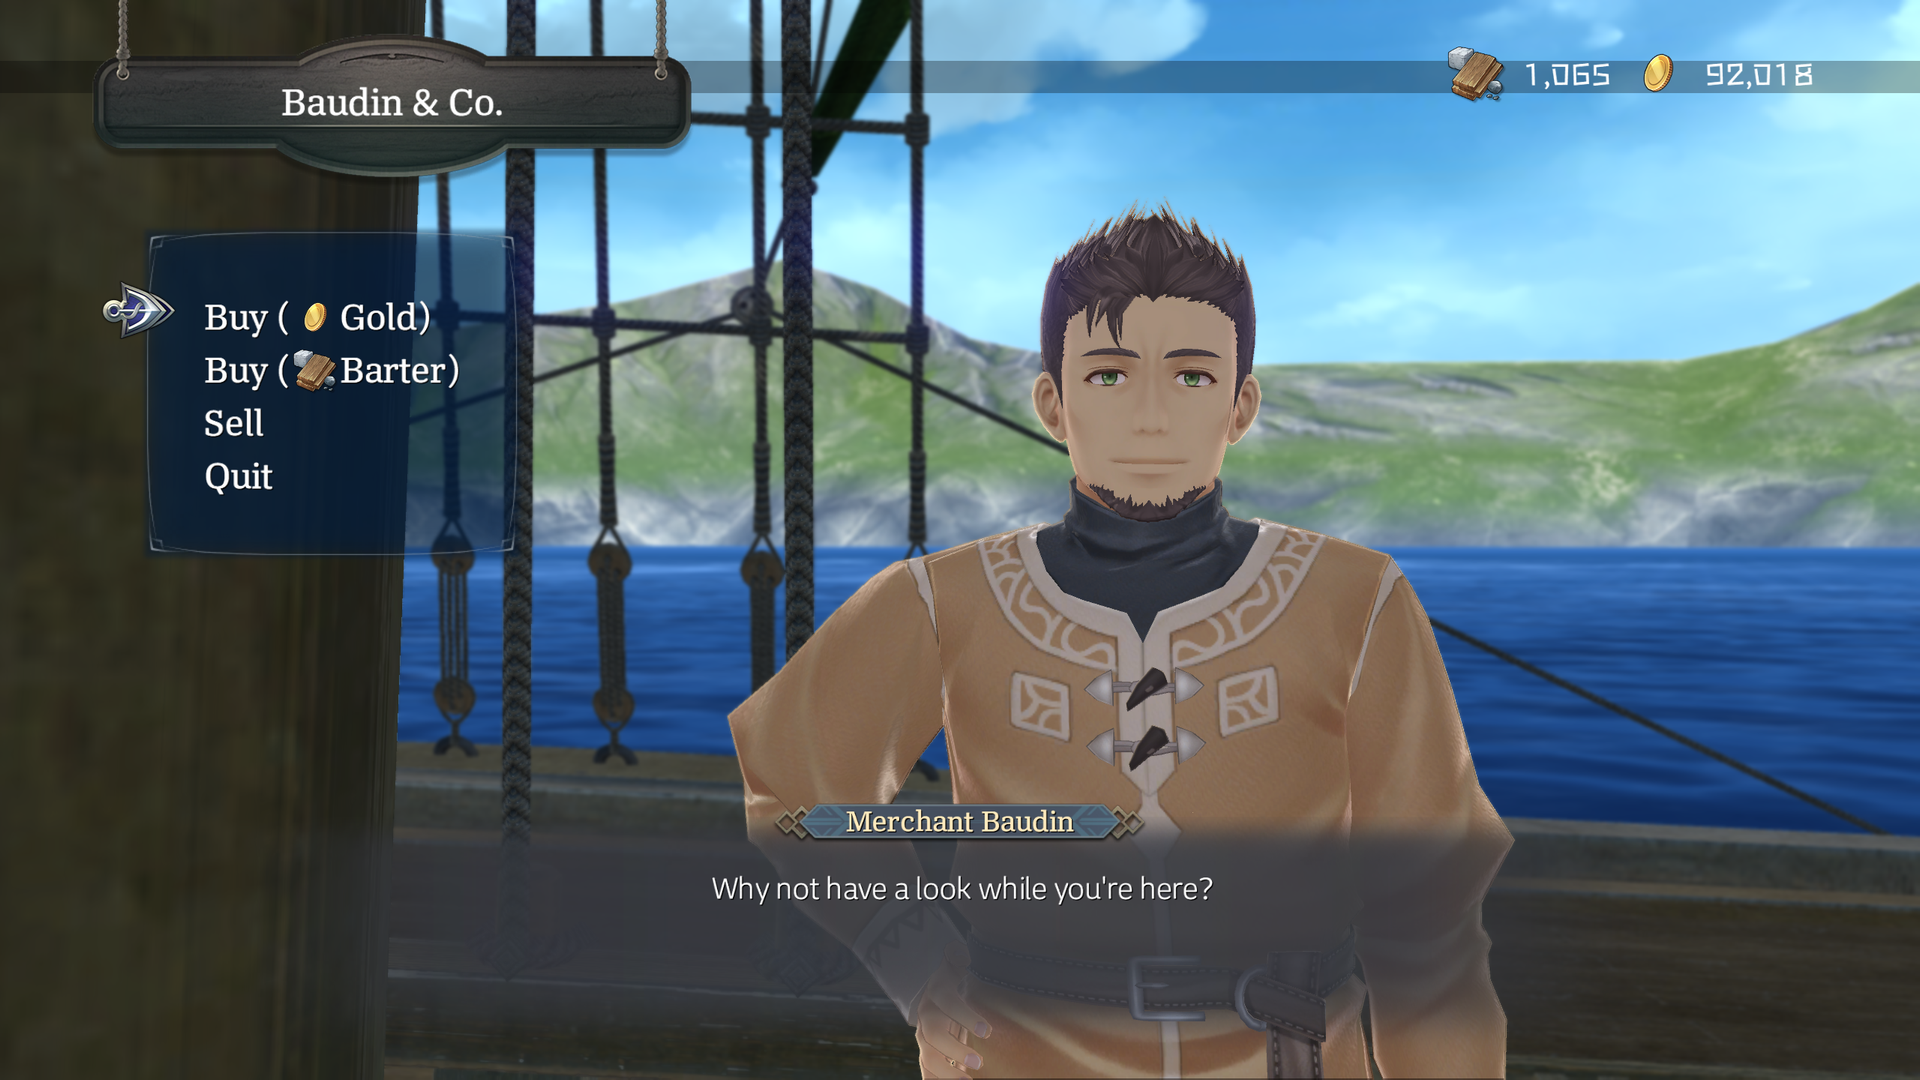
- You can also shop with him, which makes Sasche appear inside him. The two test shops allow purchasing lunchboxes or medicine. Attempting to sell here will only show one sellable item: Karja Starting Weapon for Testing.
- The left Griegr has a useless "close all" menu.
- The middle Griegr has a couple of Active Voice tests; the same kind found in Adol's menu.
- The right Griegr has options to jump to island recapture missions, though it skips the sea battle sections.
- The two Hugills allow for cooking and making errand runs.
- The dirt can be dug through with Mana Sense to obtain an unused Tiny HP Recovery item.
- A Mana Rail can be found near the ramps.
Adol Menu#
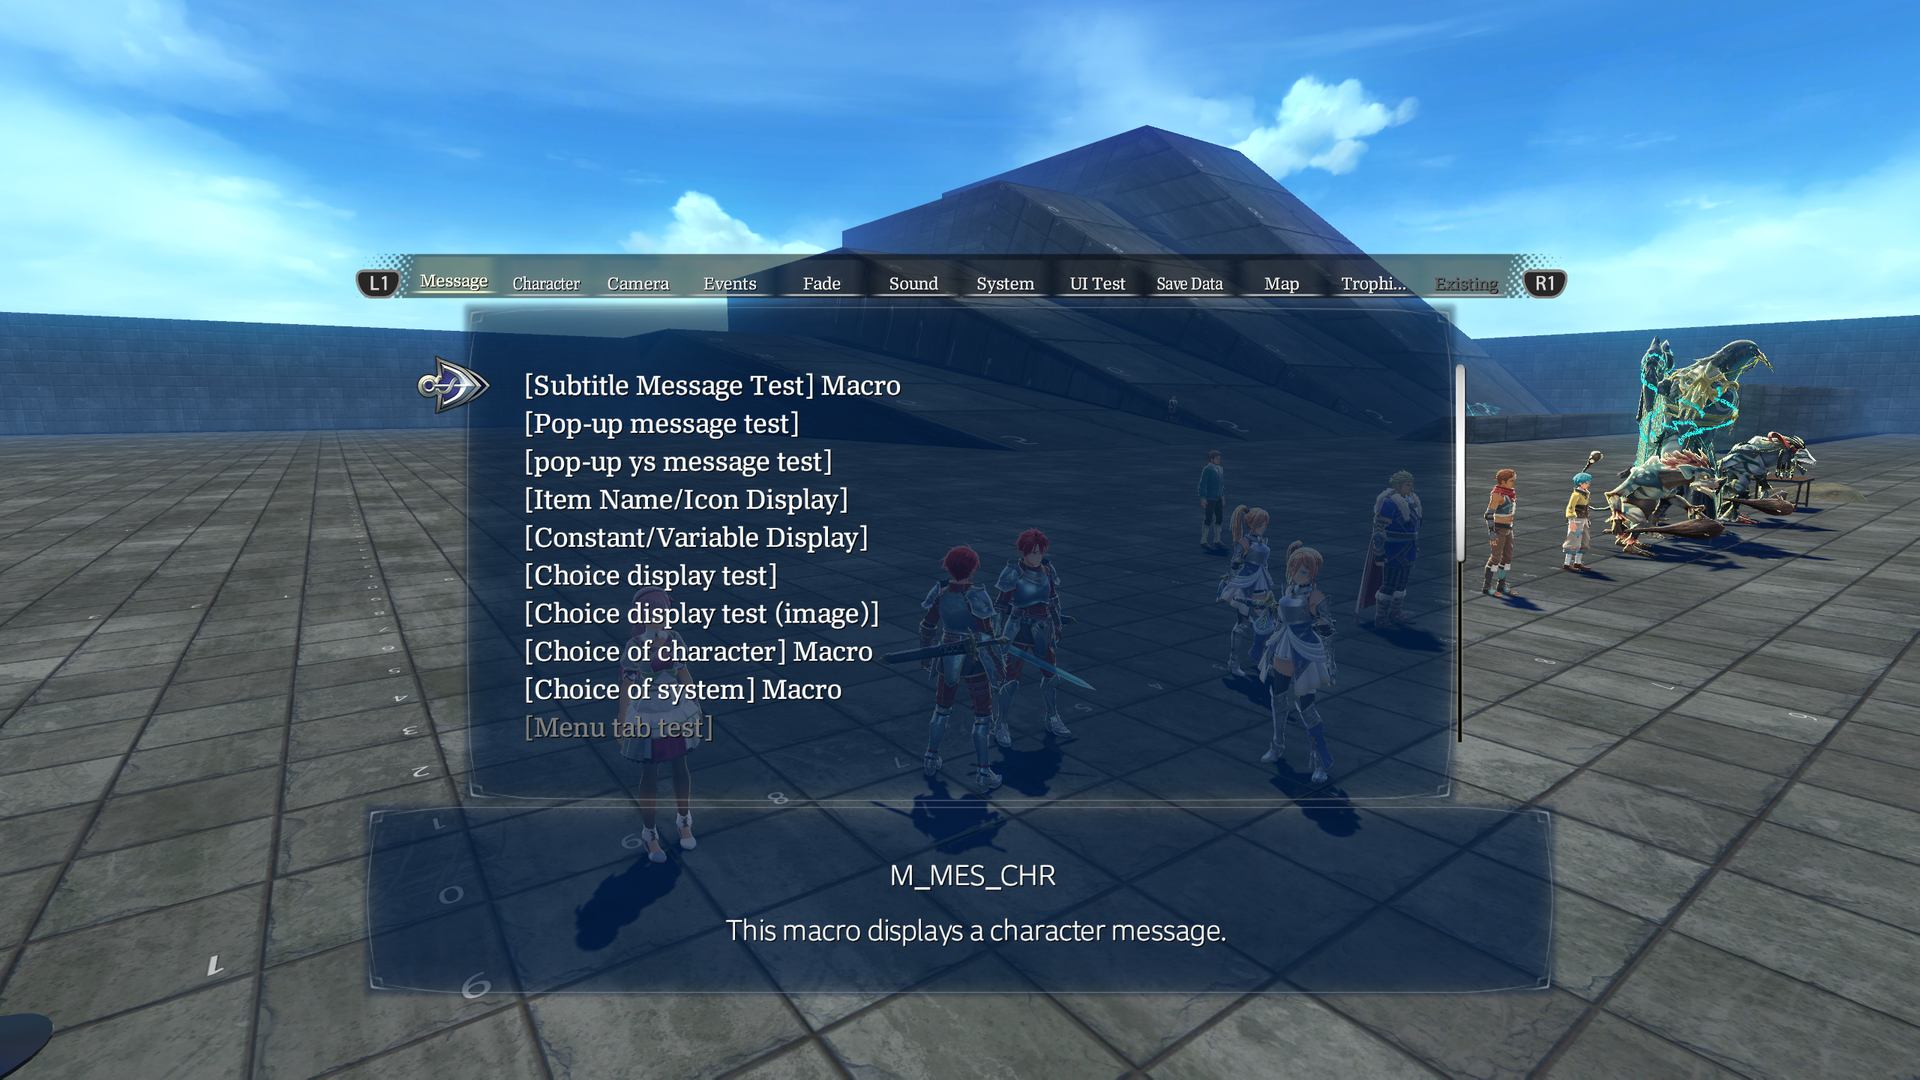
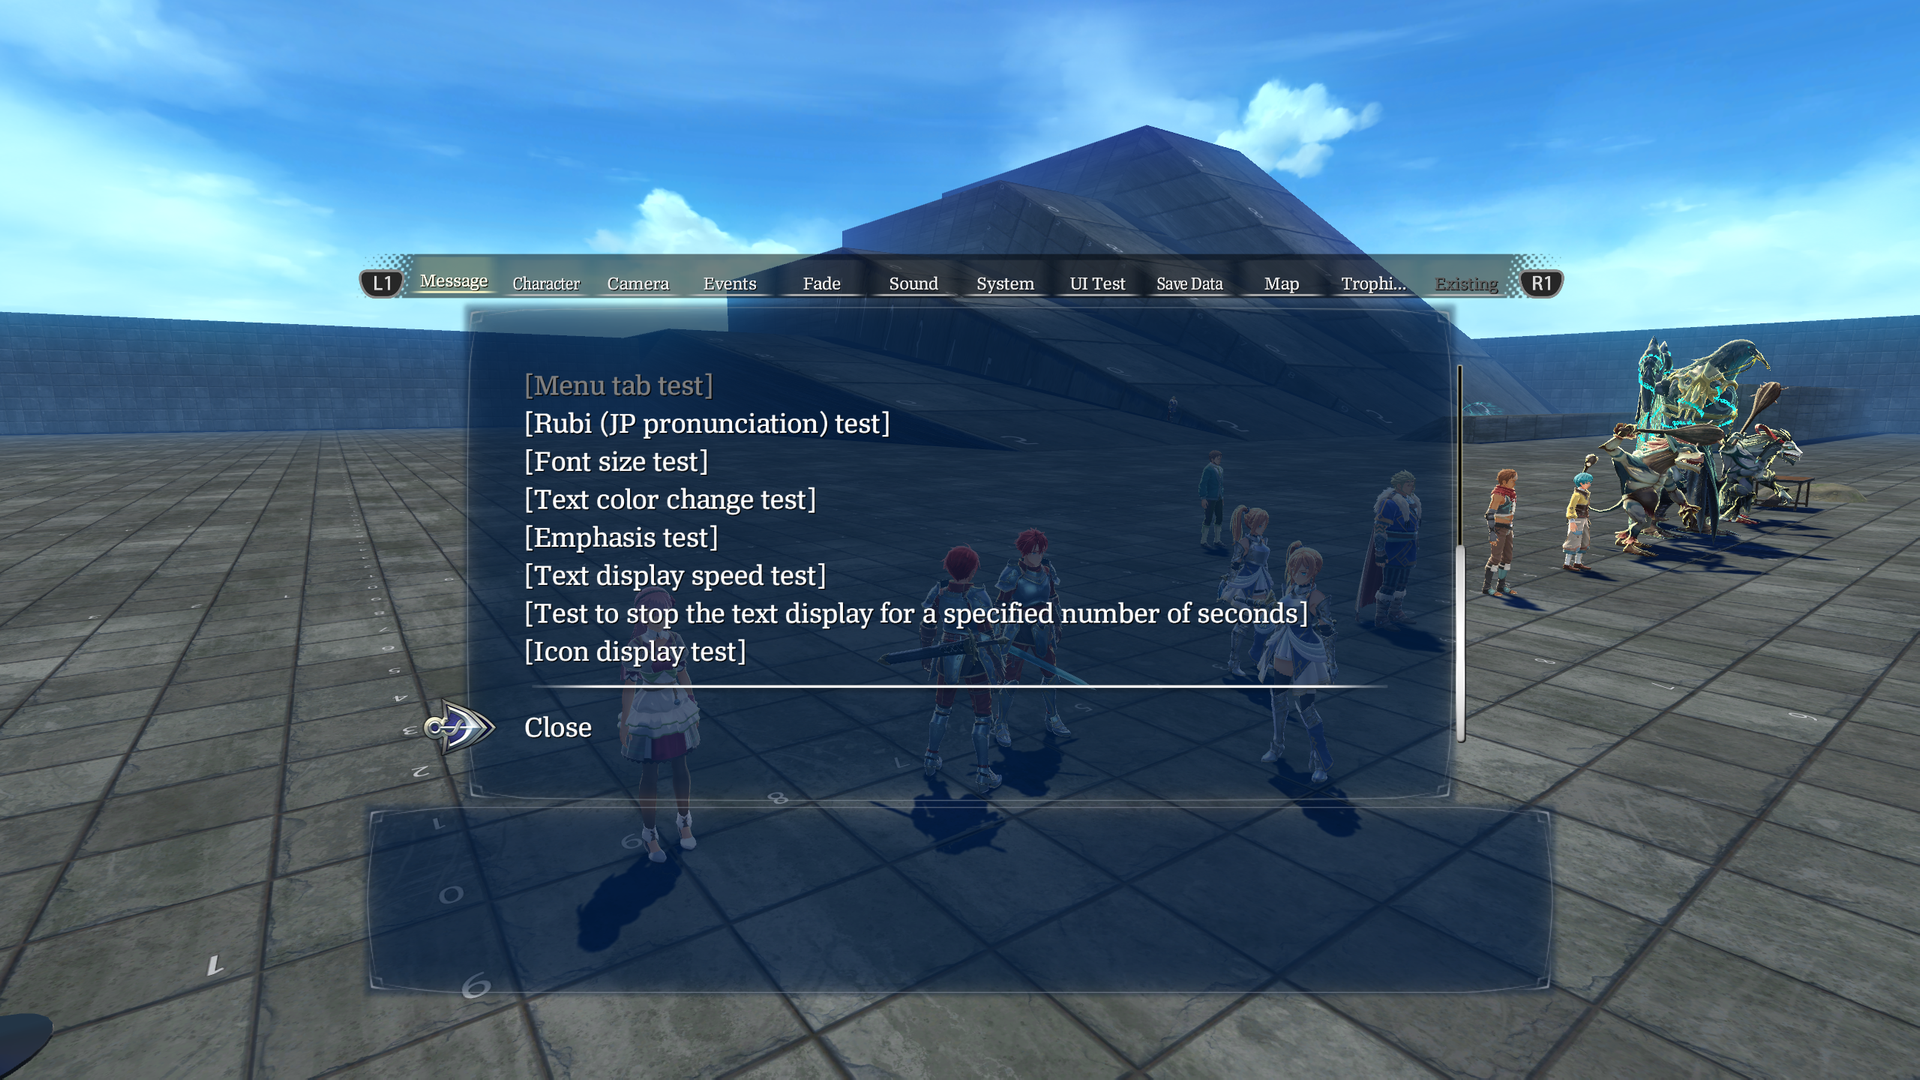
Speaking to Adol brings up a huge menu meant to test game features.
Message#
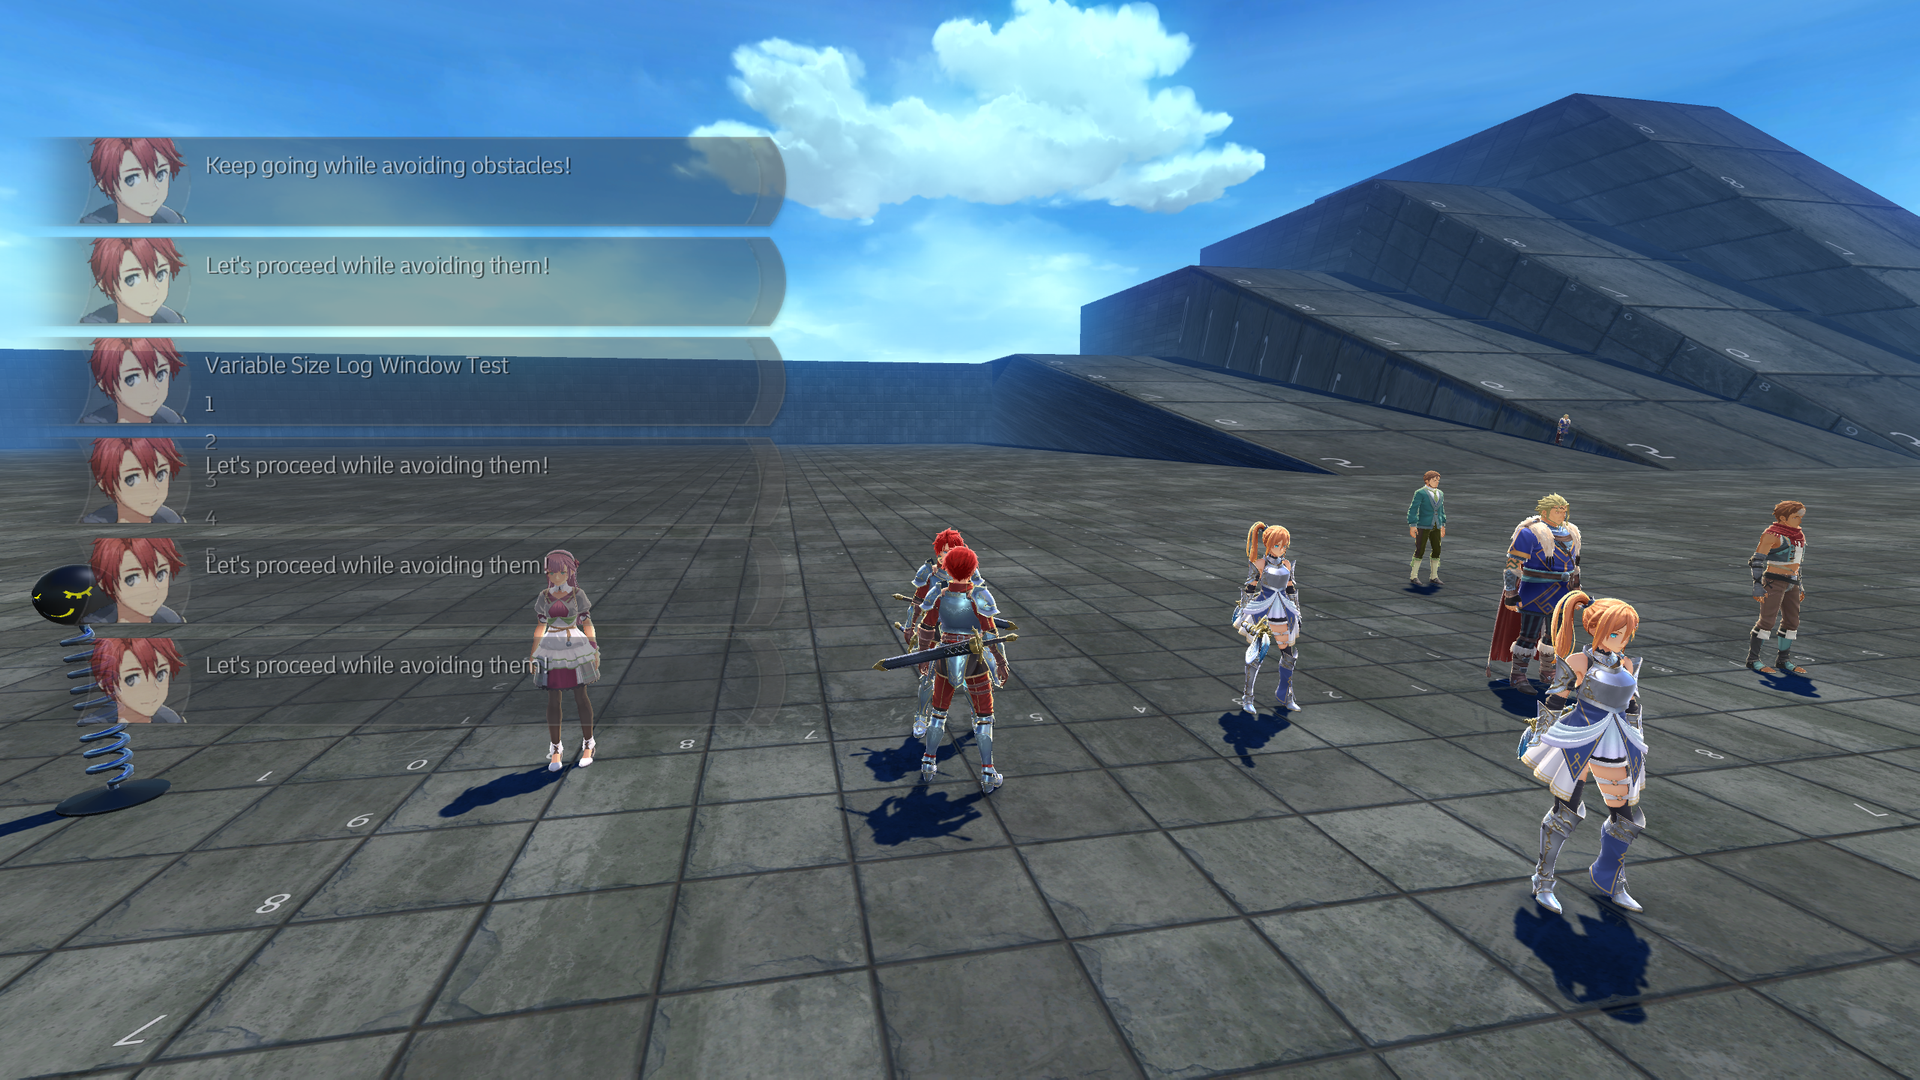
Most of the Message choices are self-explanatory, testing things like font sizes or dialog choices.
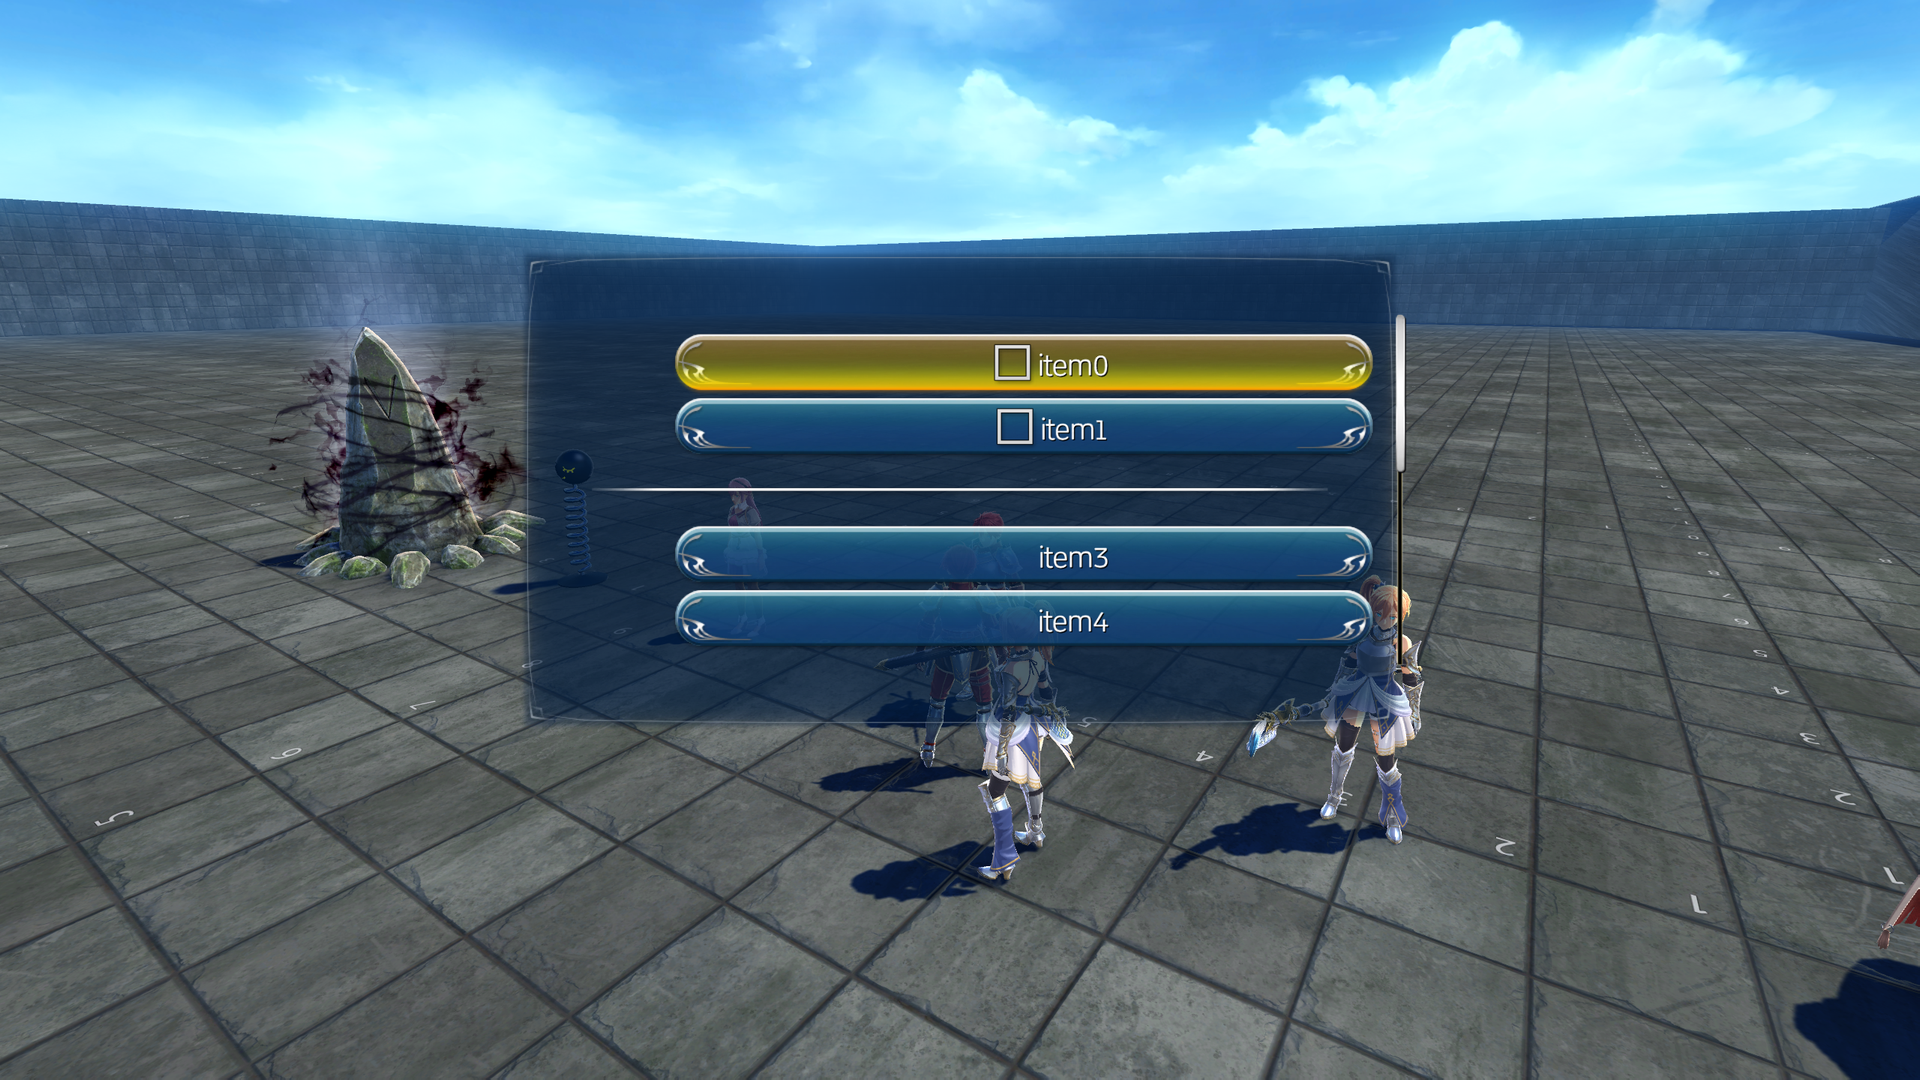
- Choice Display test (image) brings up an unfinished choice menu.
Character#
The Character tab plays out some test events.
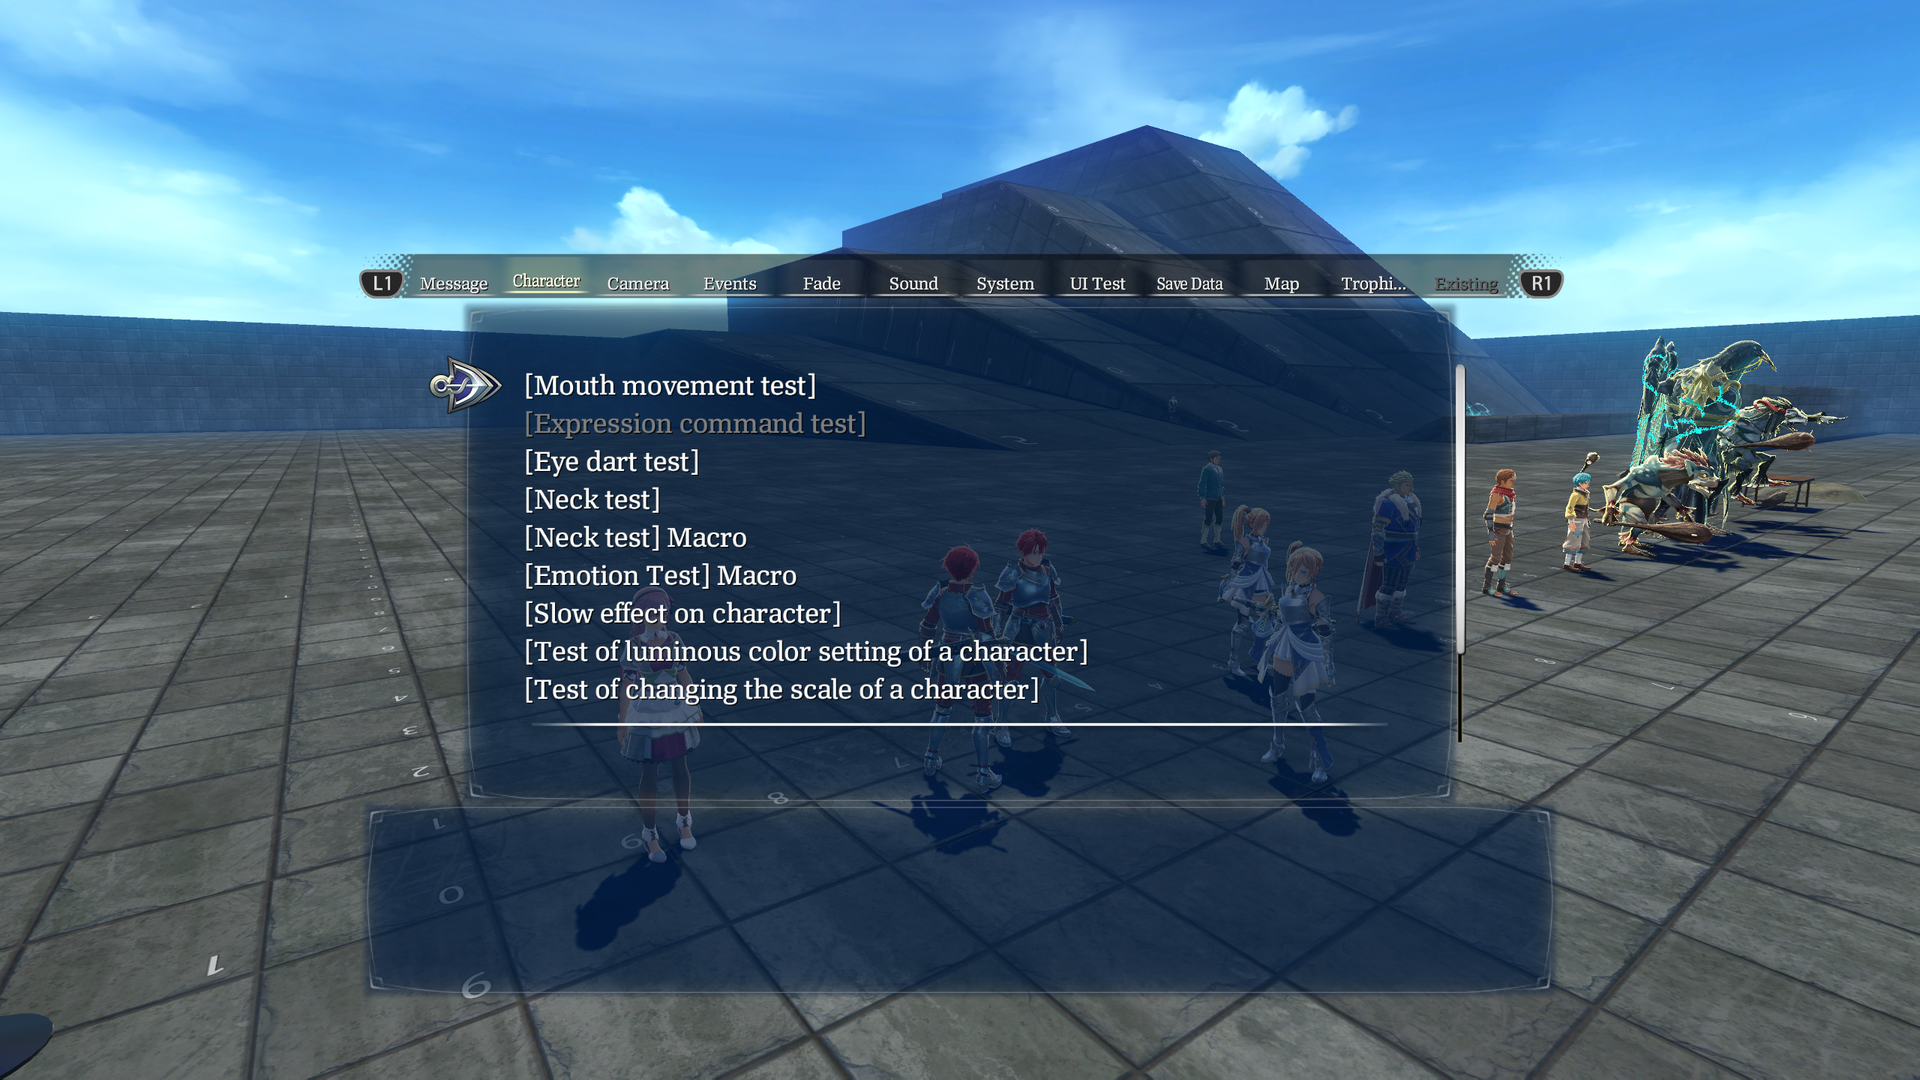
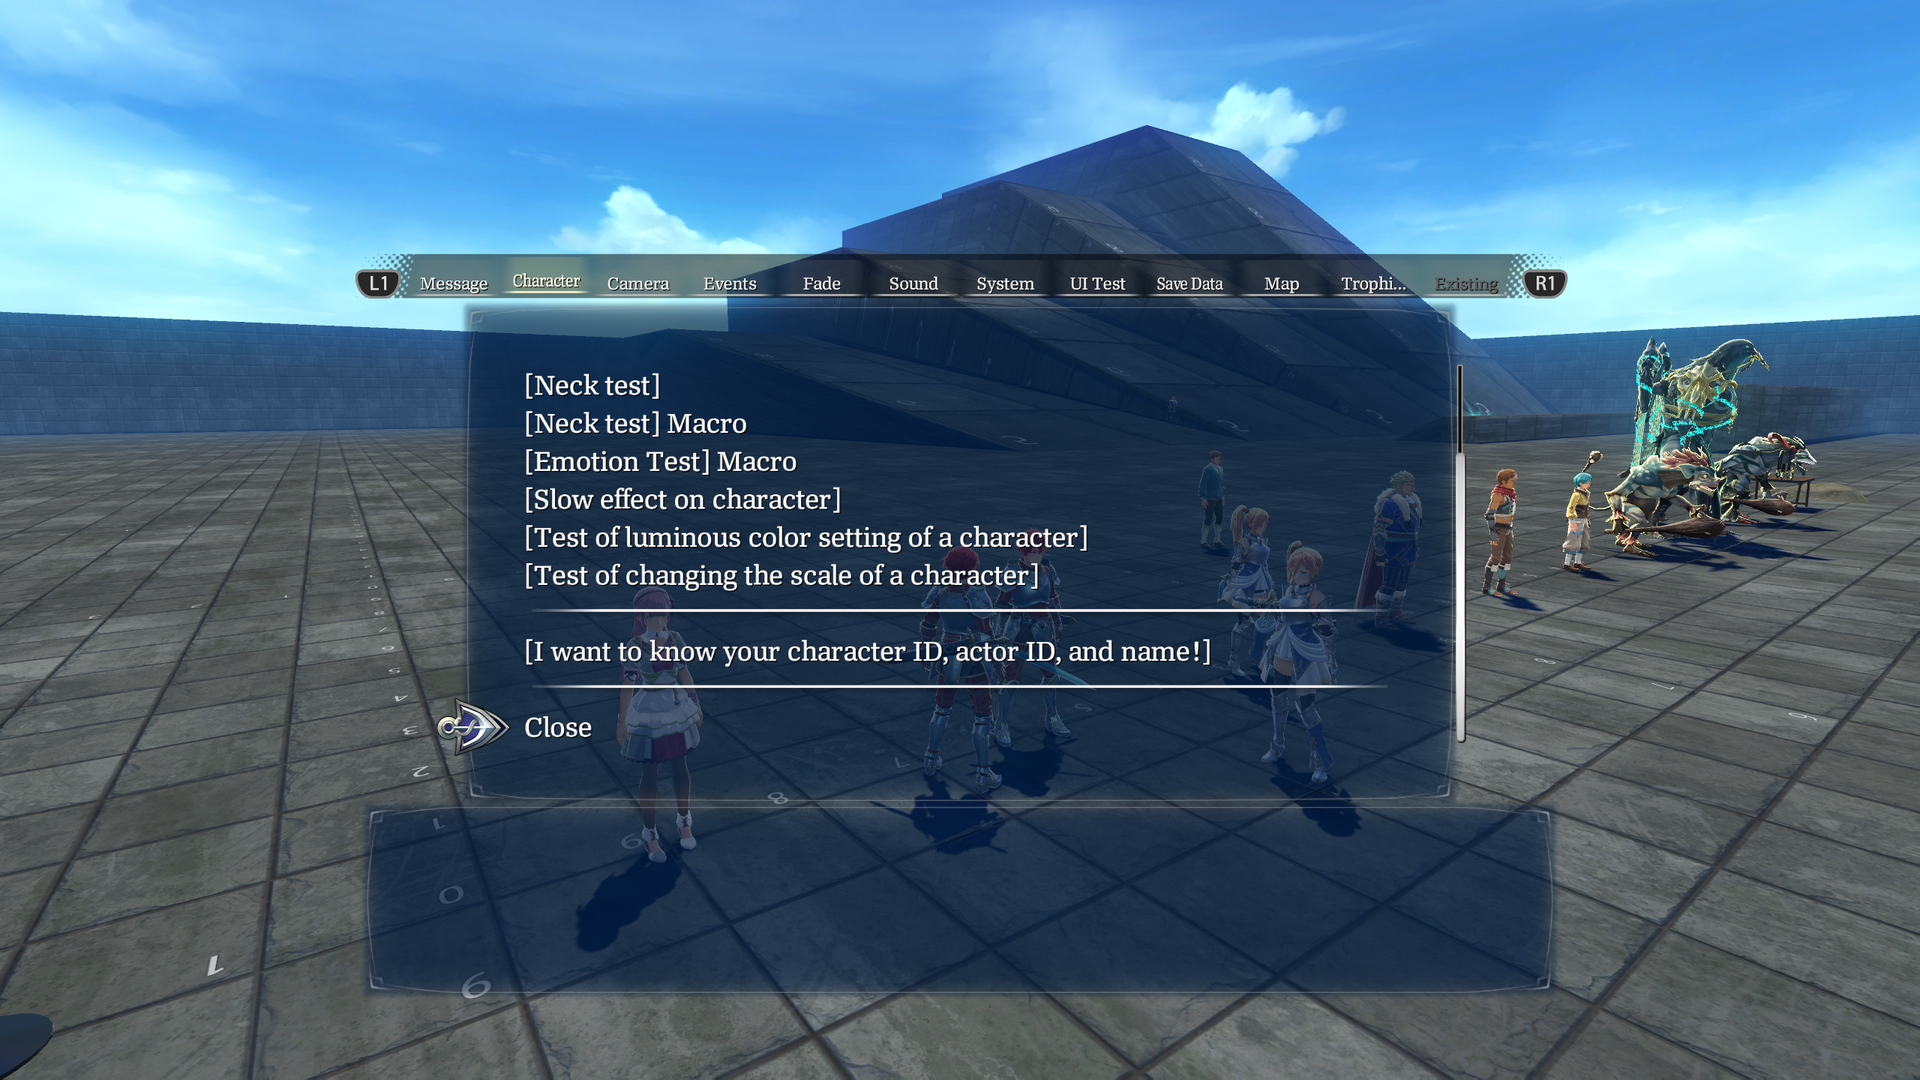
- Mouth movement test doesn't work properly, since nobody's mouth moves.
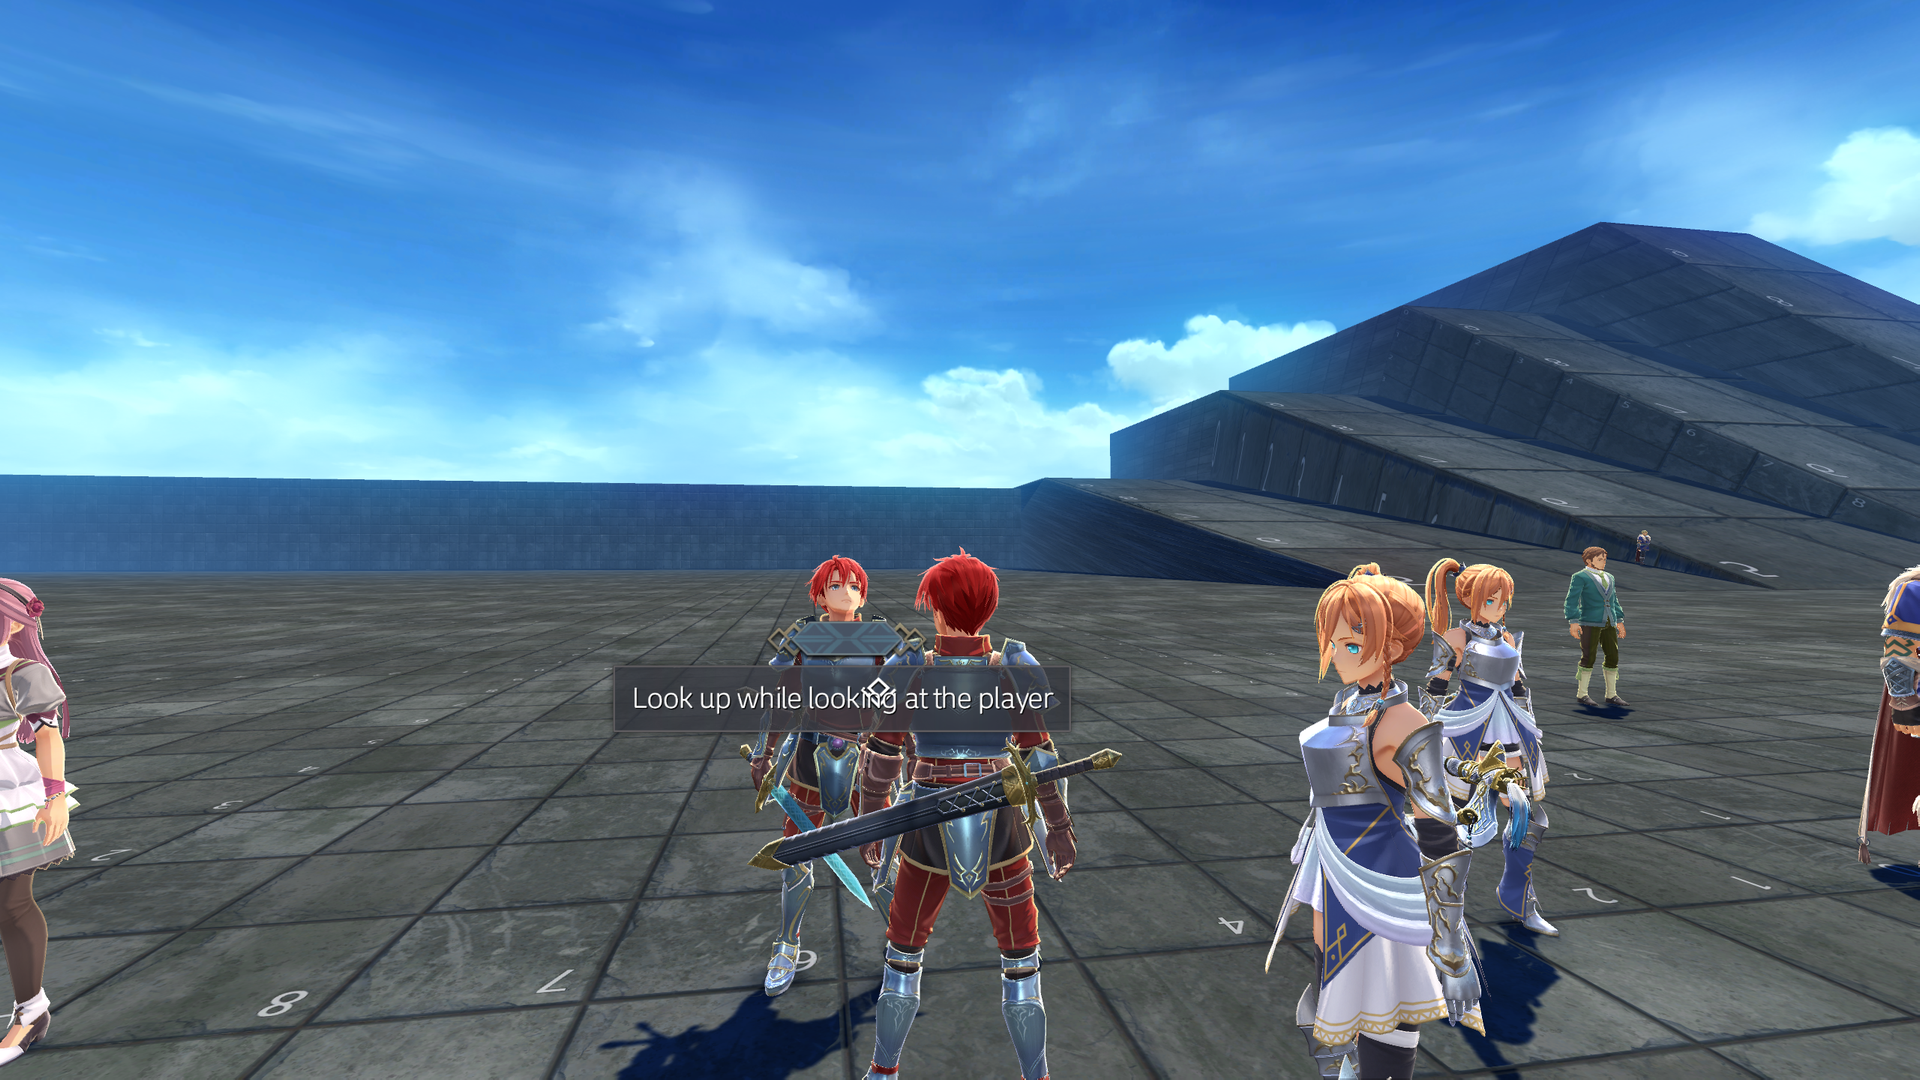
- Neck test moves Adol's neck around.
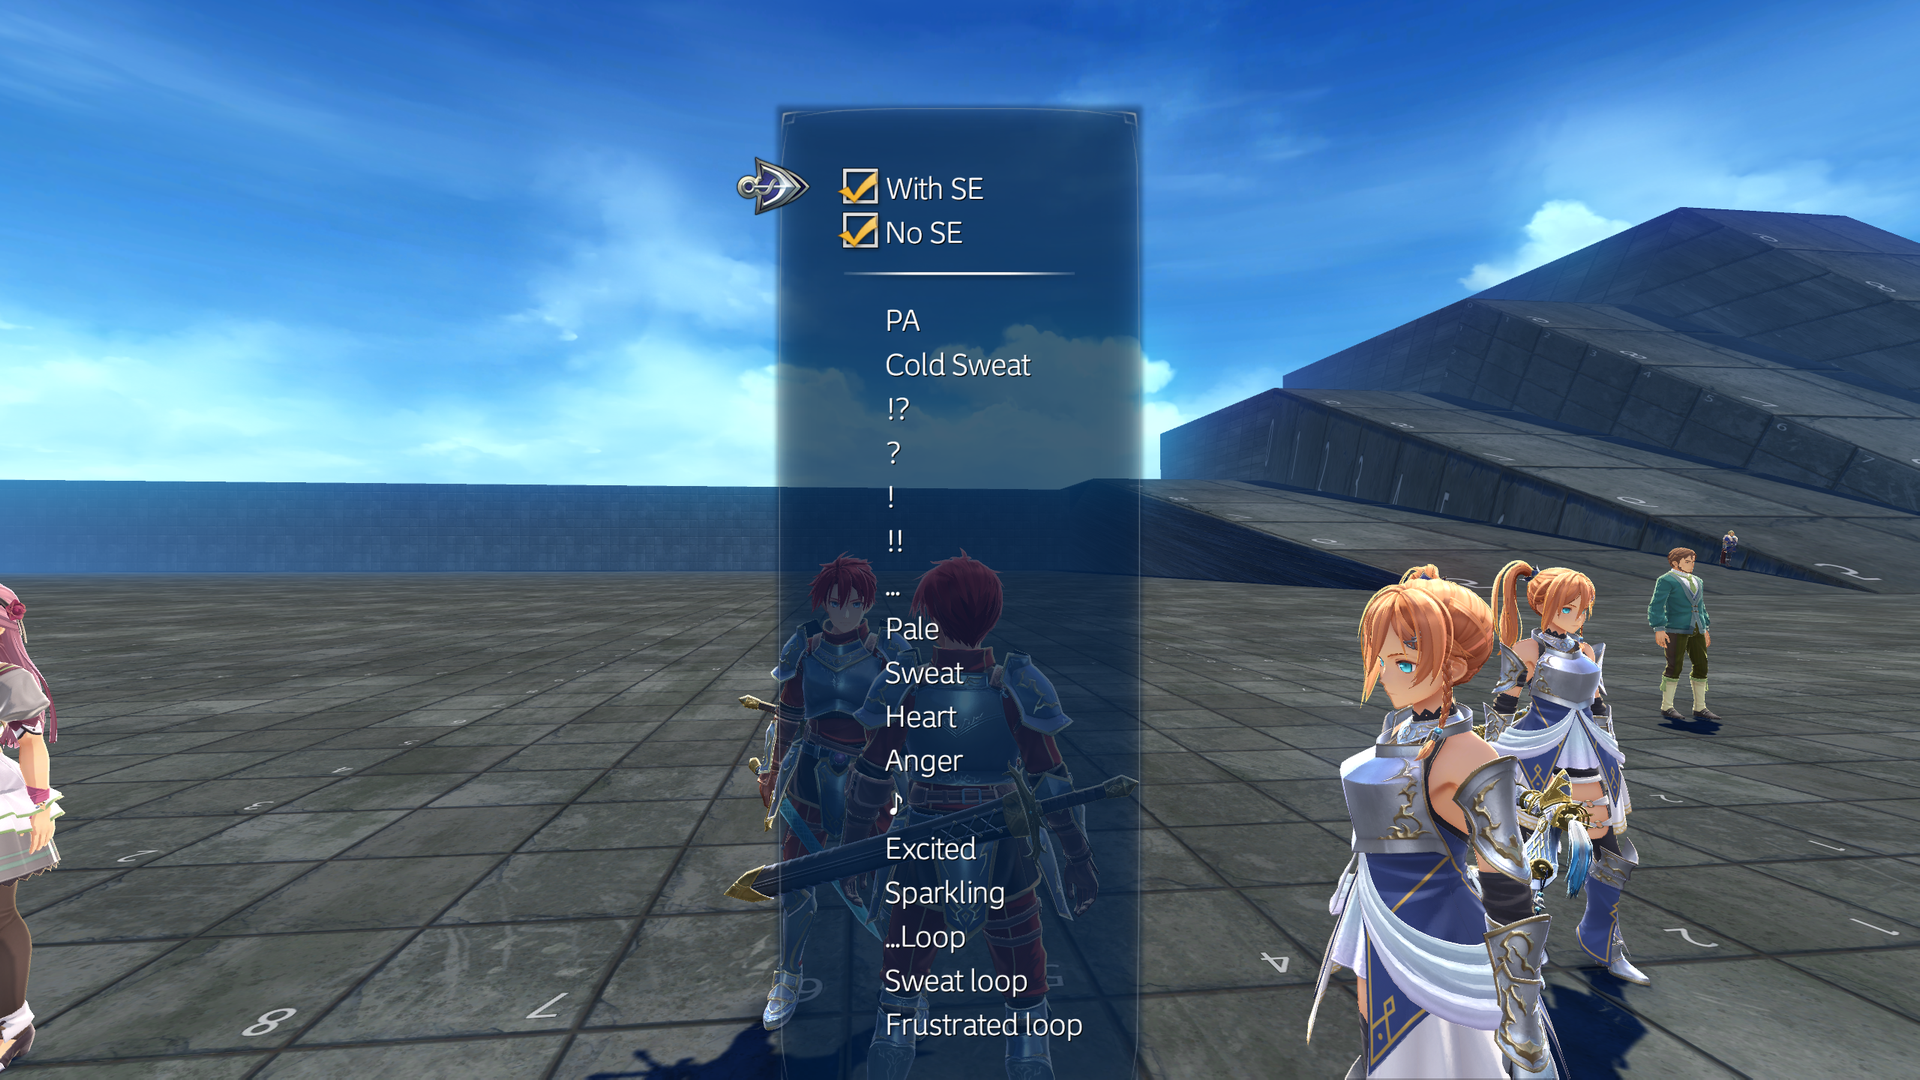
- Emotion test Macro brings allows playing all emotes found throughout the game.
- Slow effect on character makes Adol walk normal, then in slow-mo.
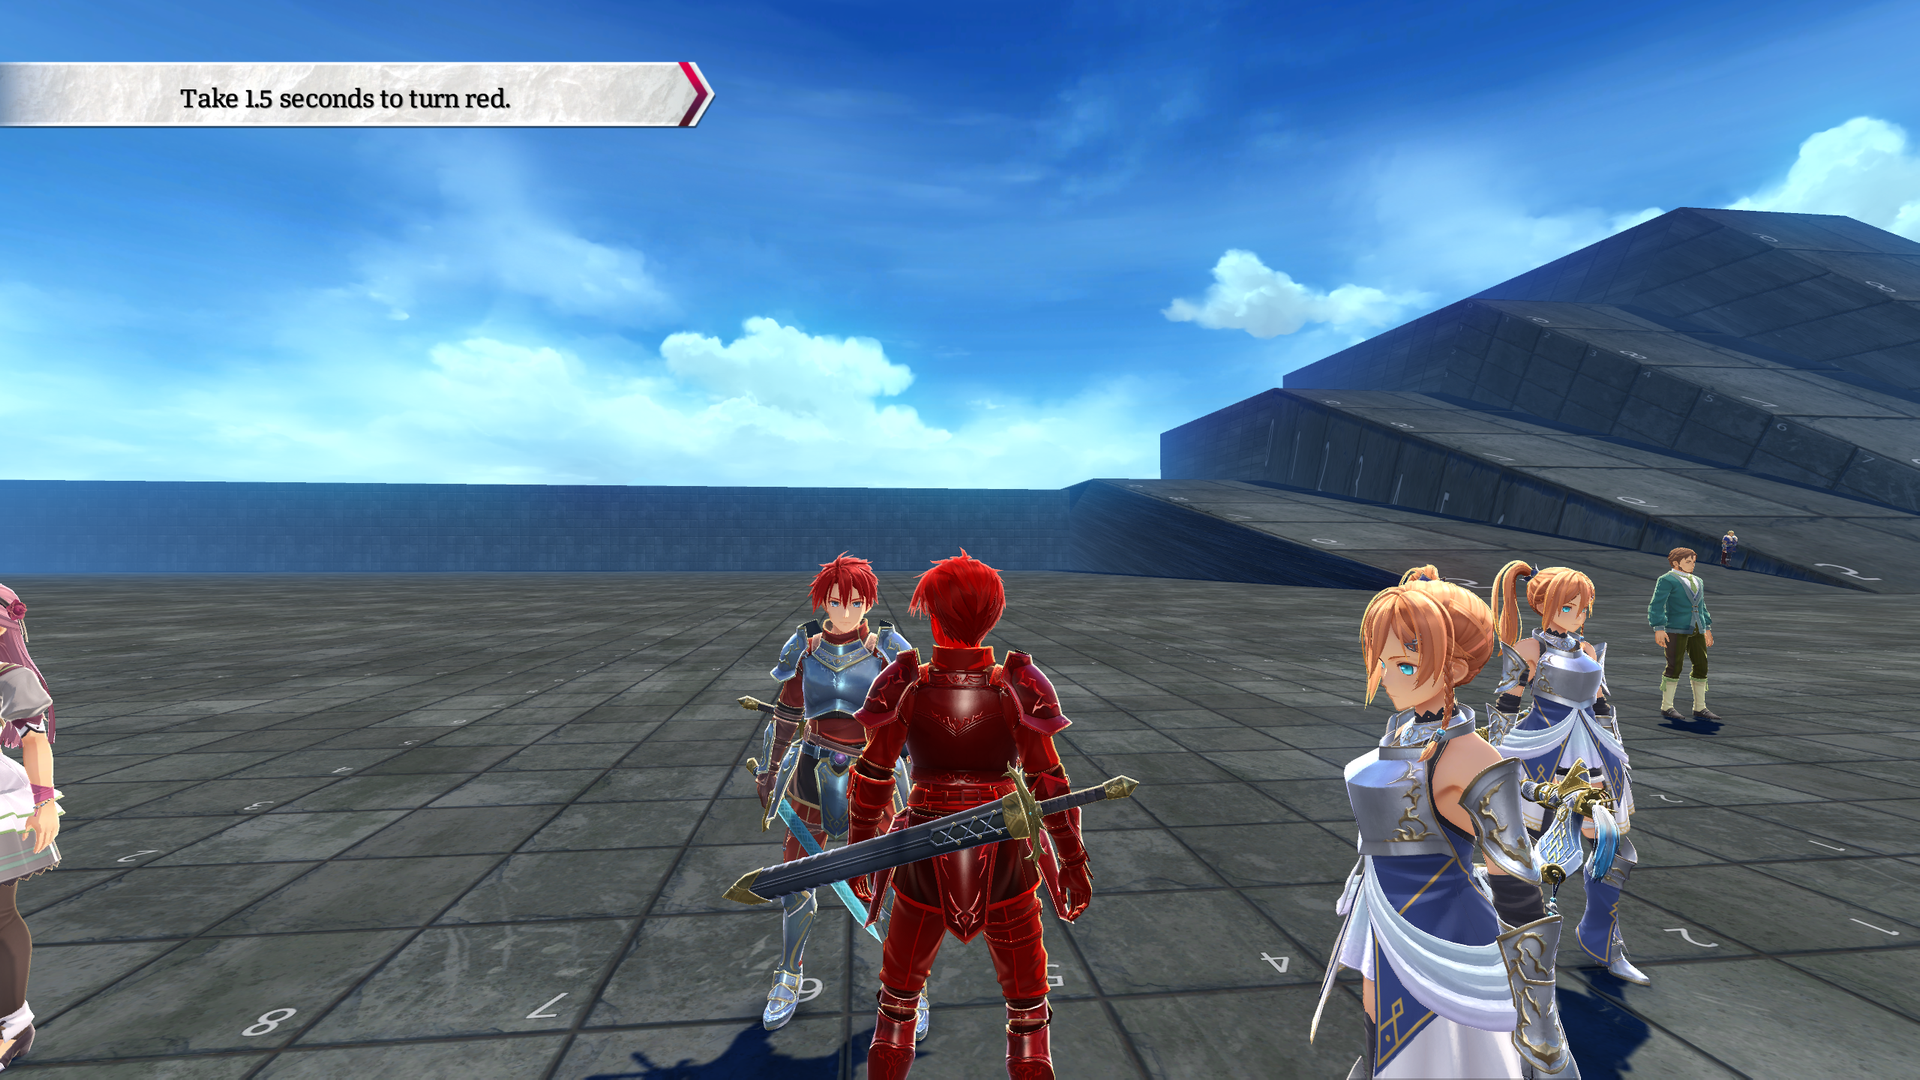
- Test of luminous color setting of a character will turn the player Adol red, then transparent.
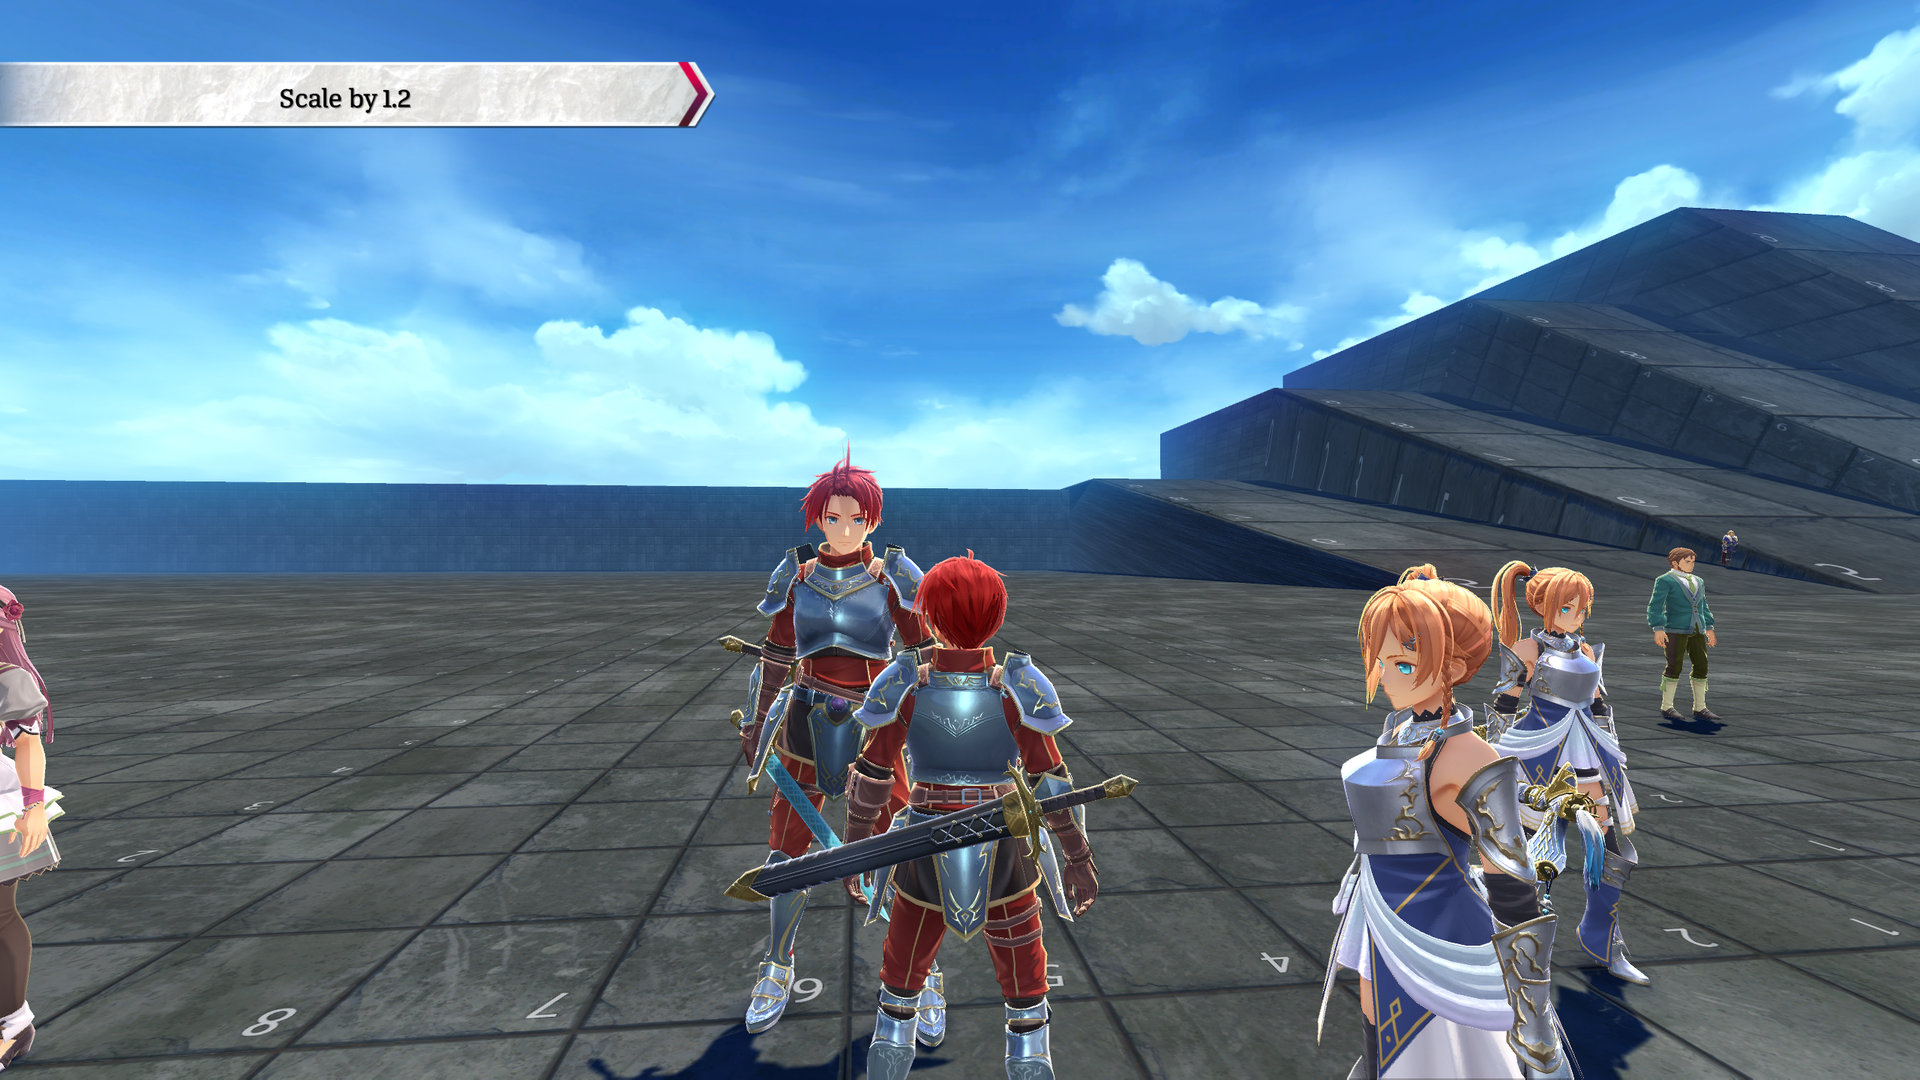
- Test of changing the scale of a character makes Adol 1.2x larger and also makes his hair flip up a bit.
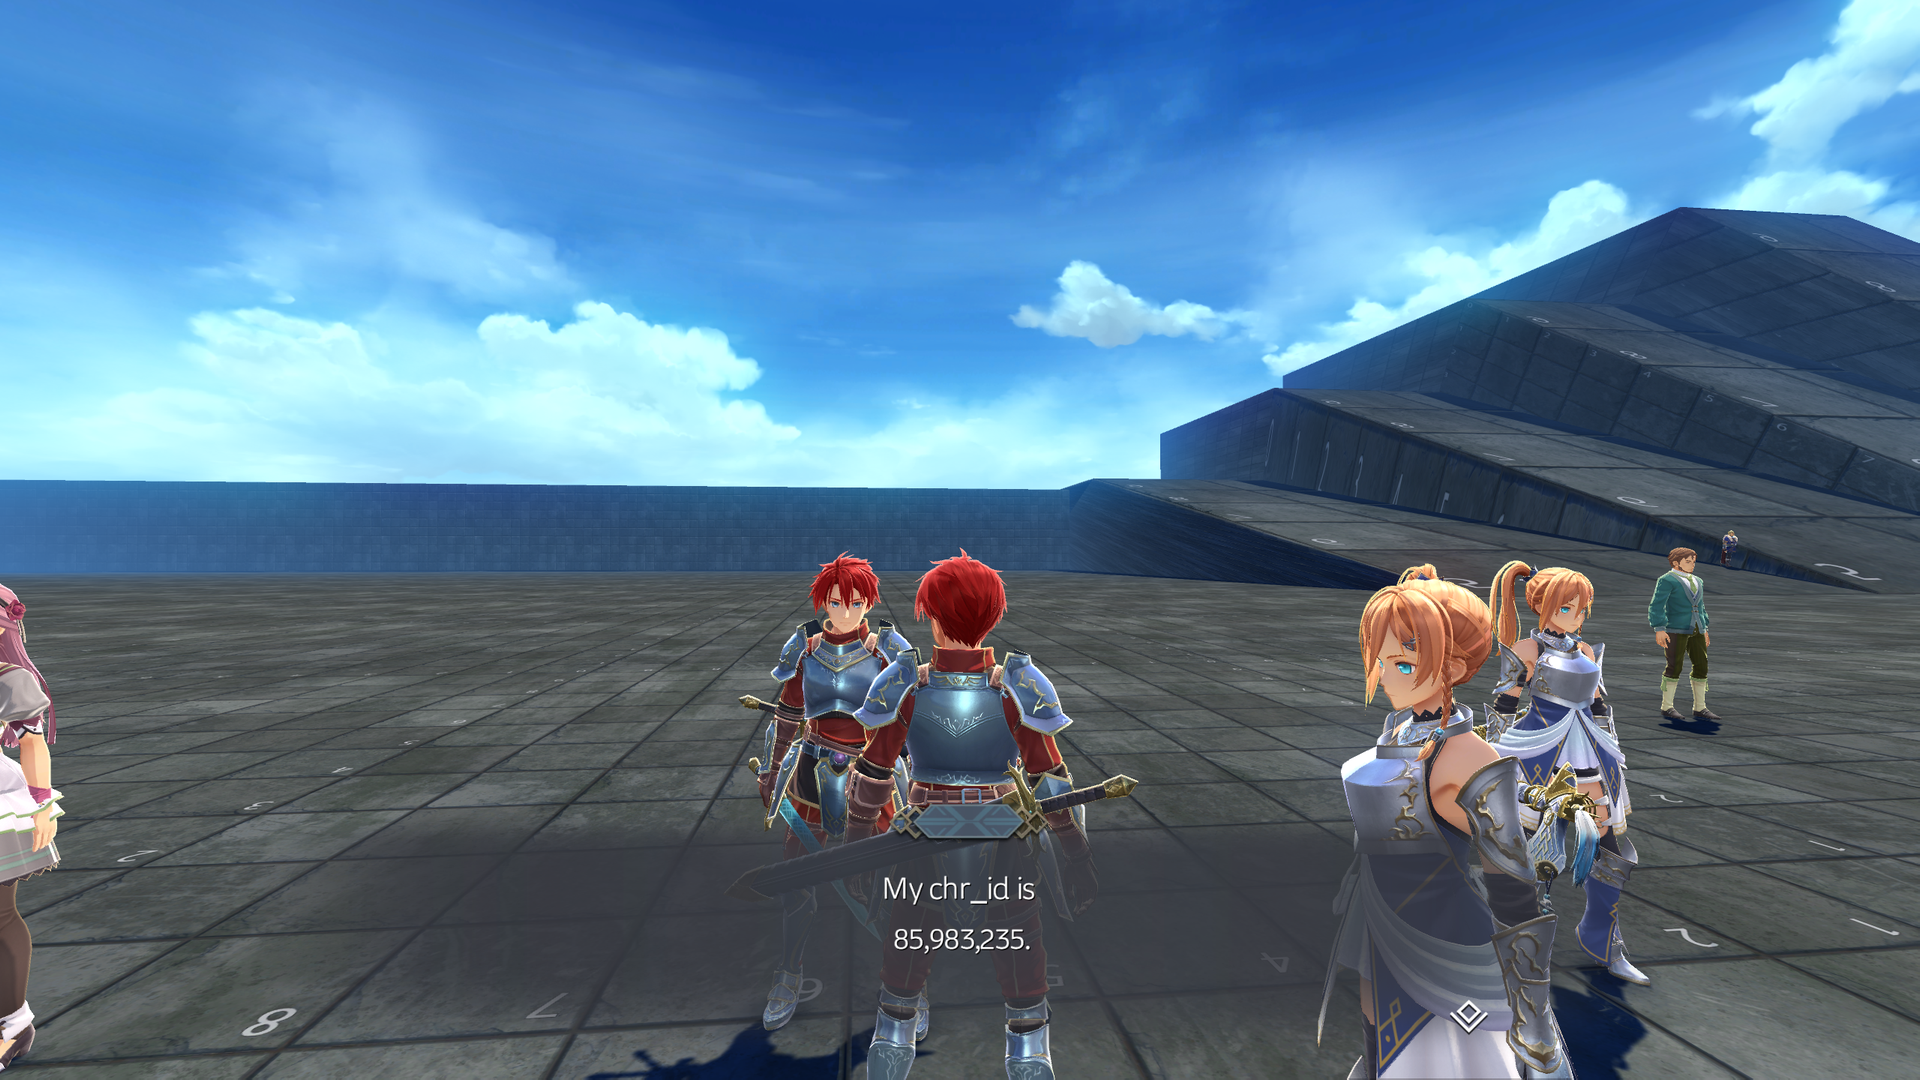
- You can also get this Adol's character and actor ID.
Camera#
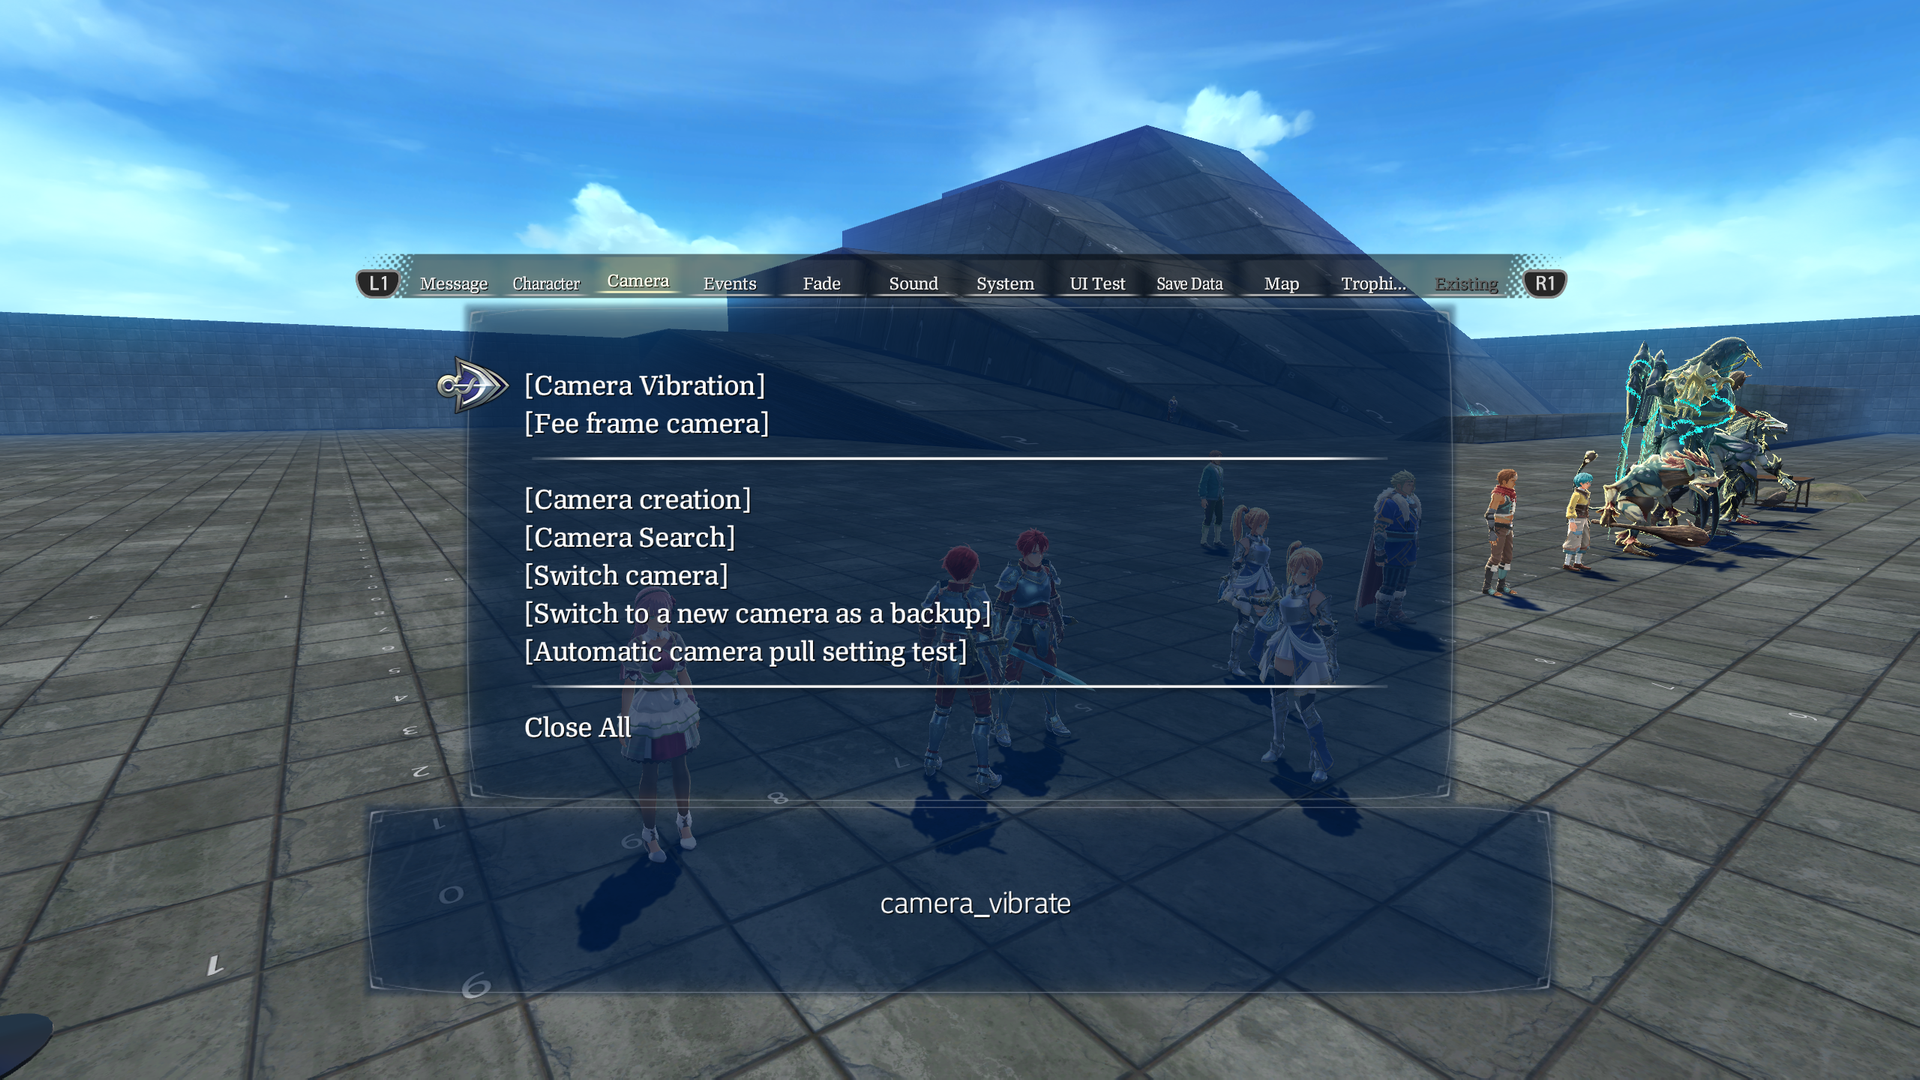
The Camera tab isn't entirely functional. Switch camera will pan the camera over to Cruz.
Events#
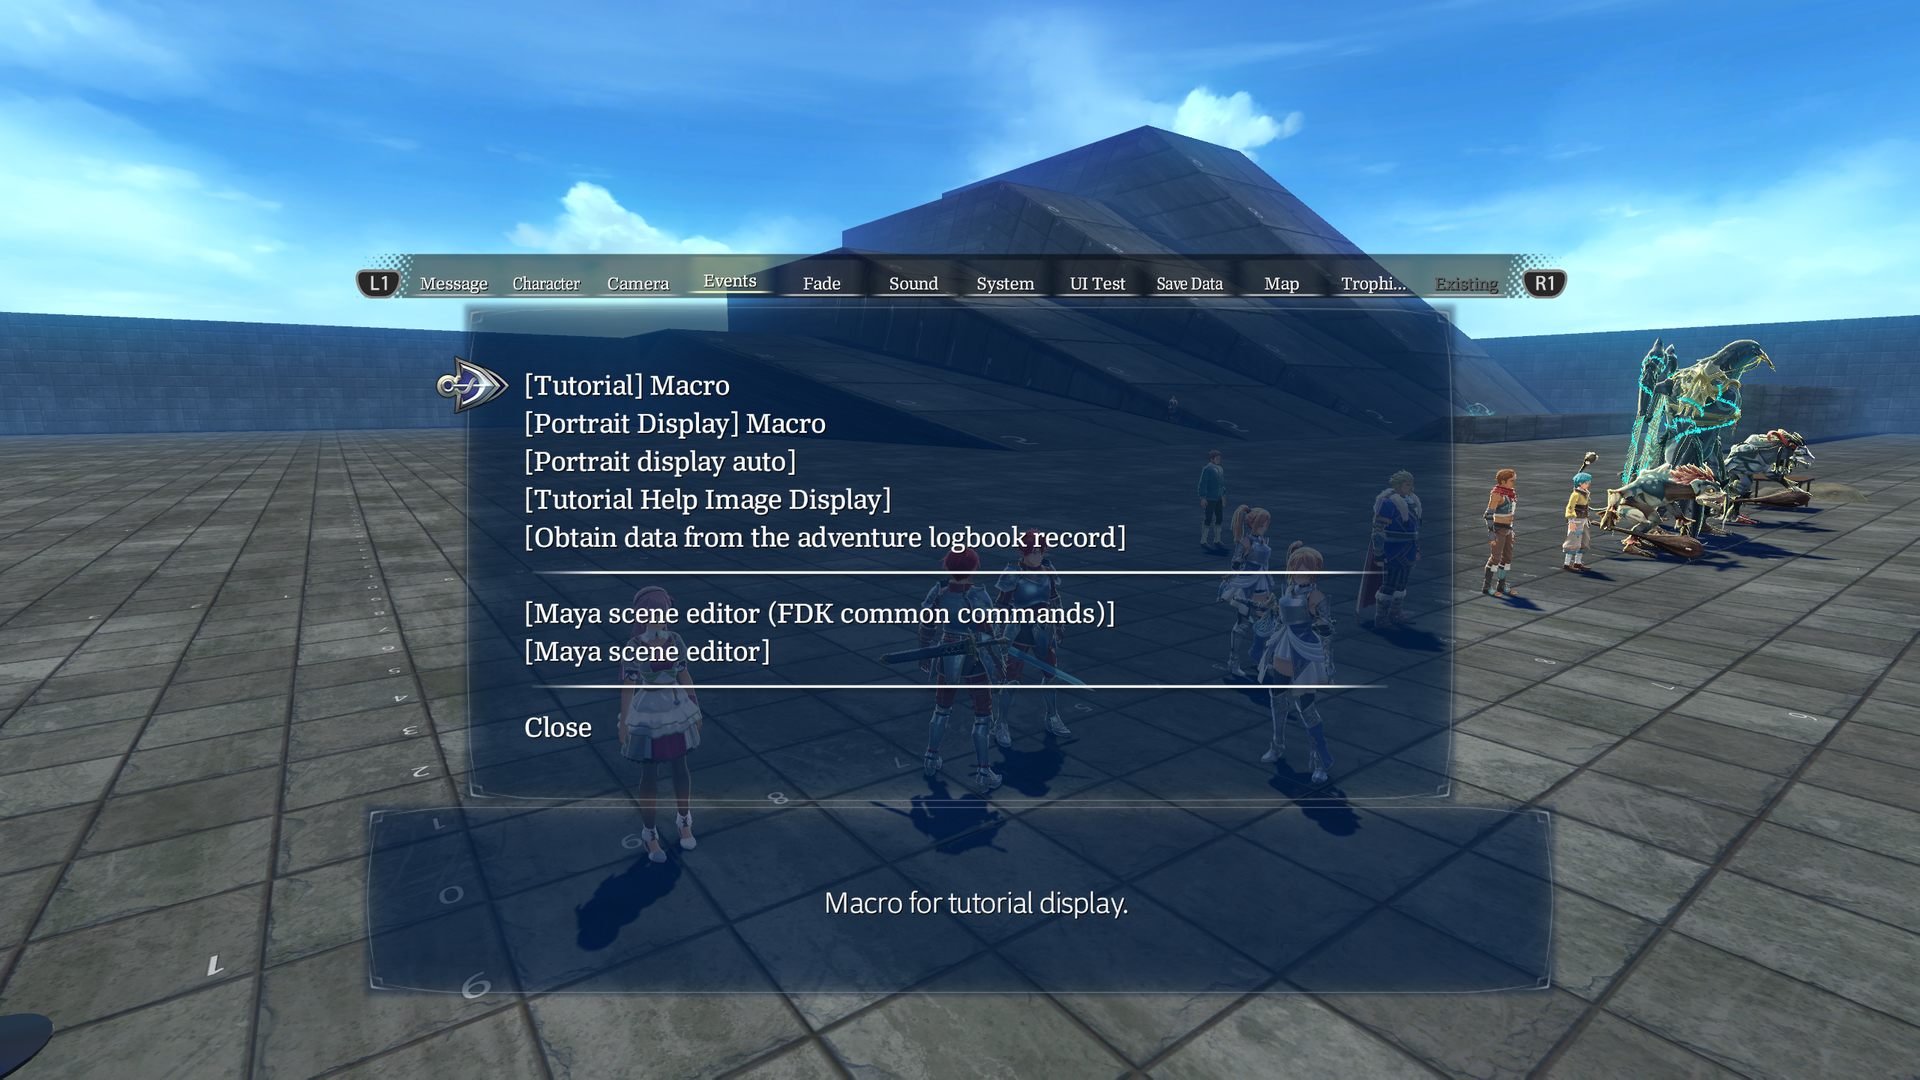
Events will display certain images on-screen.
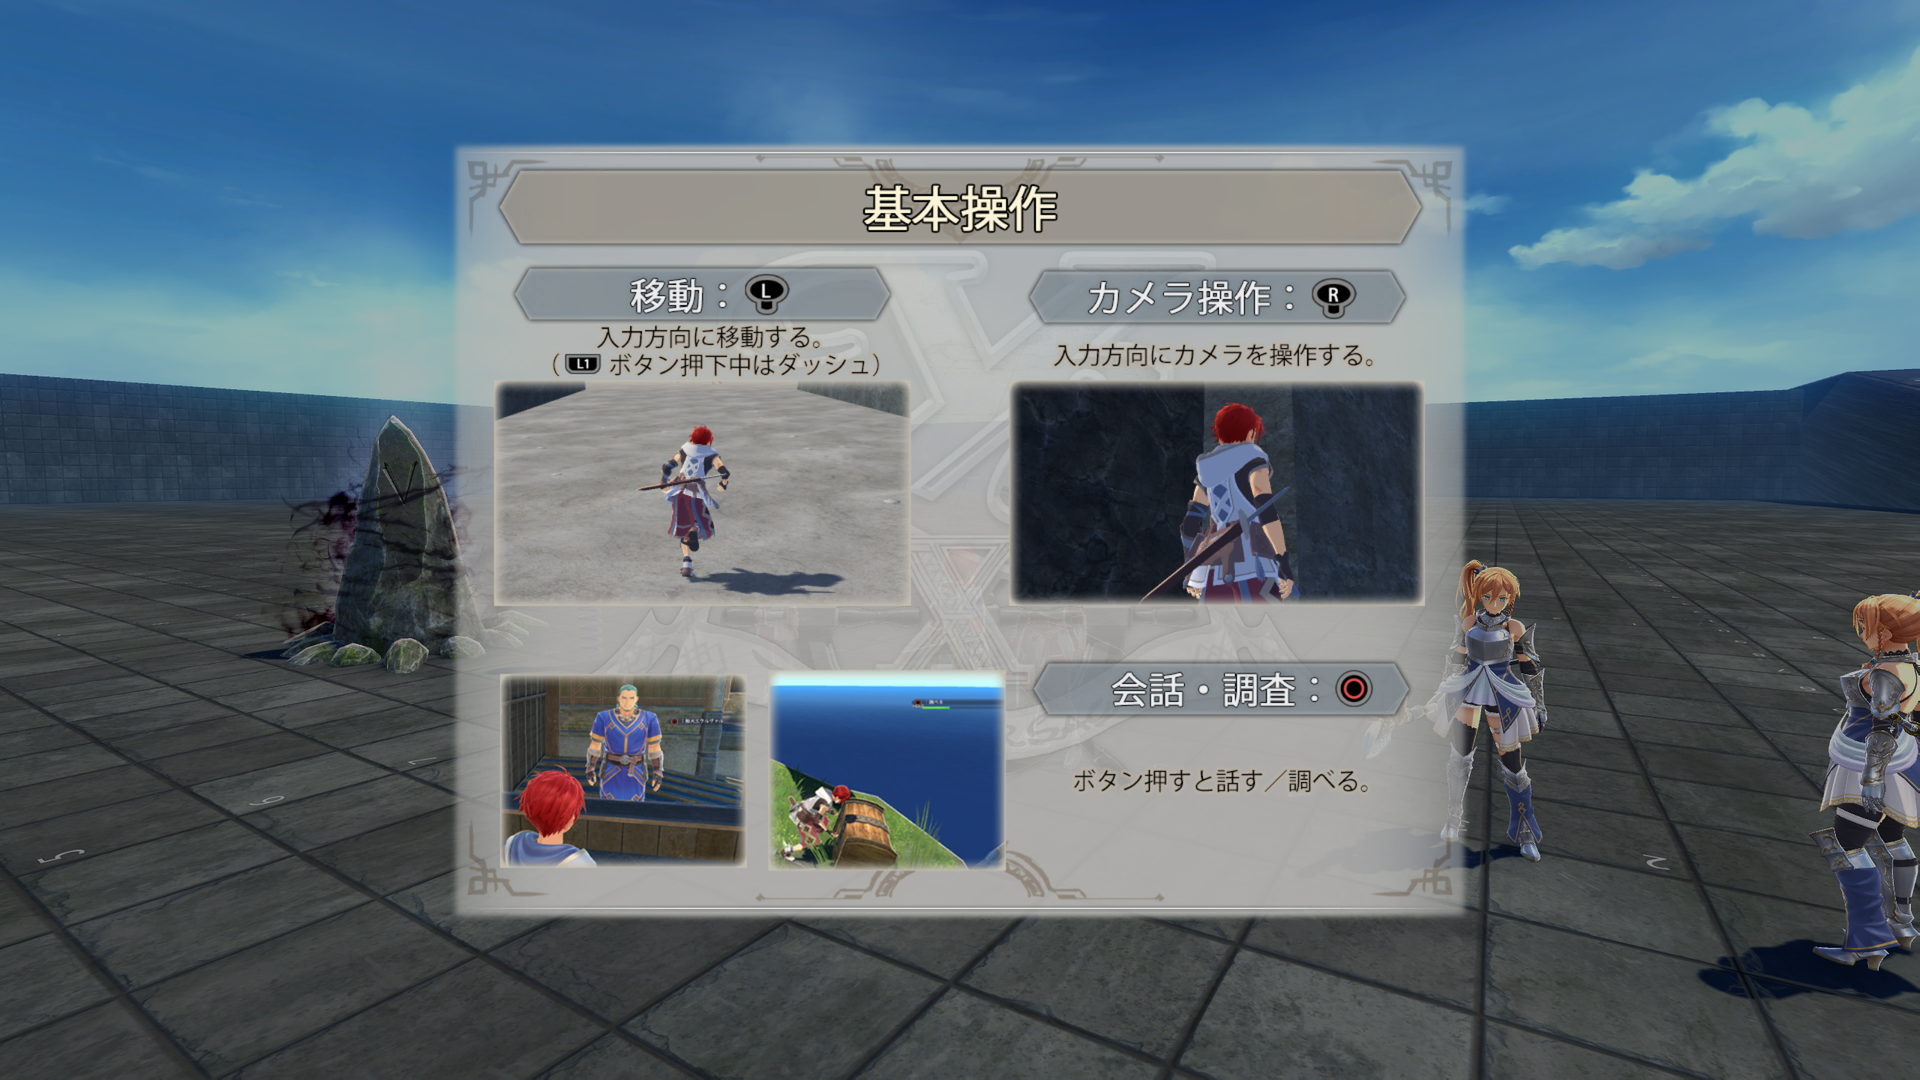
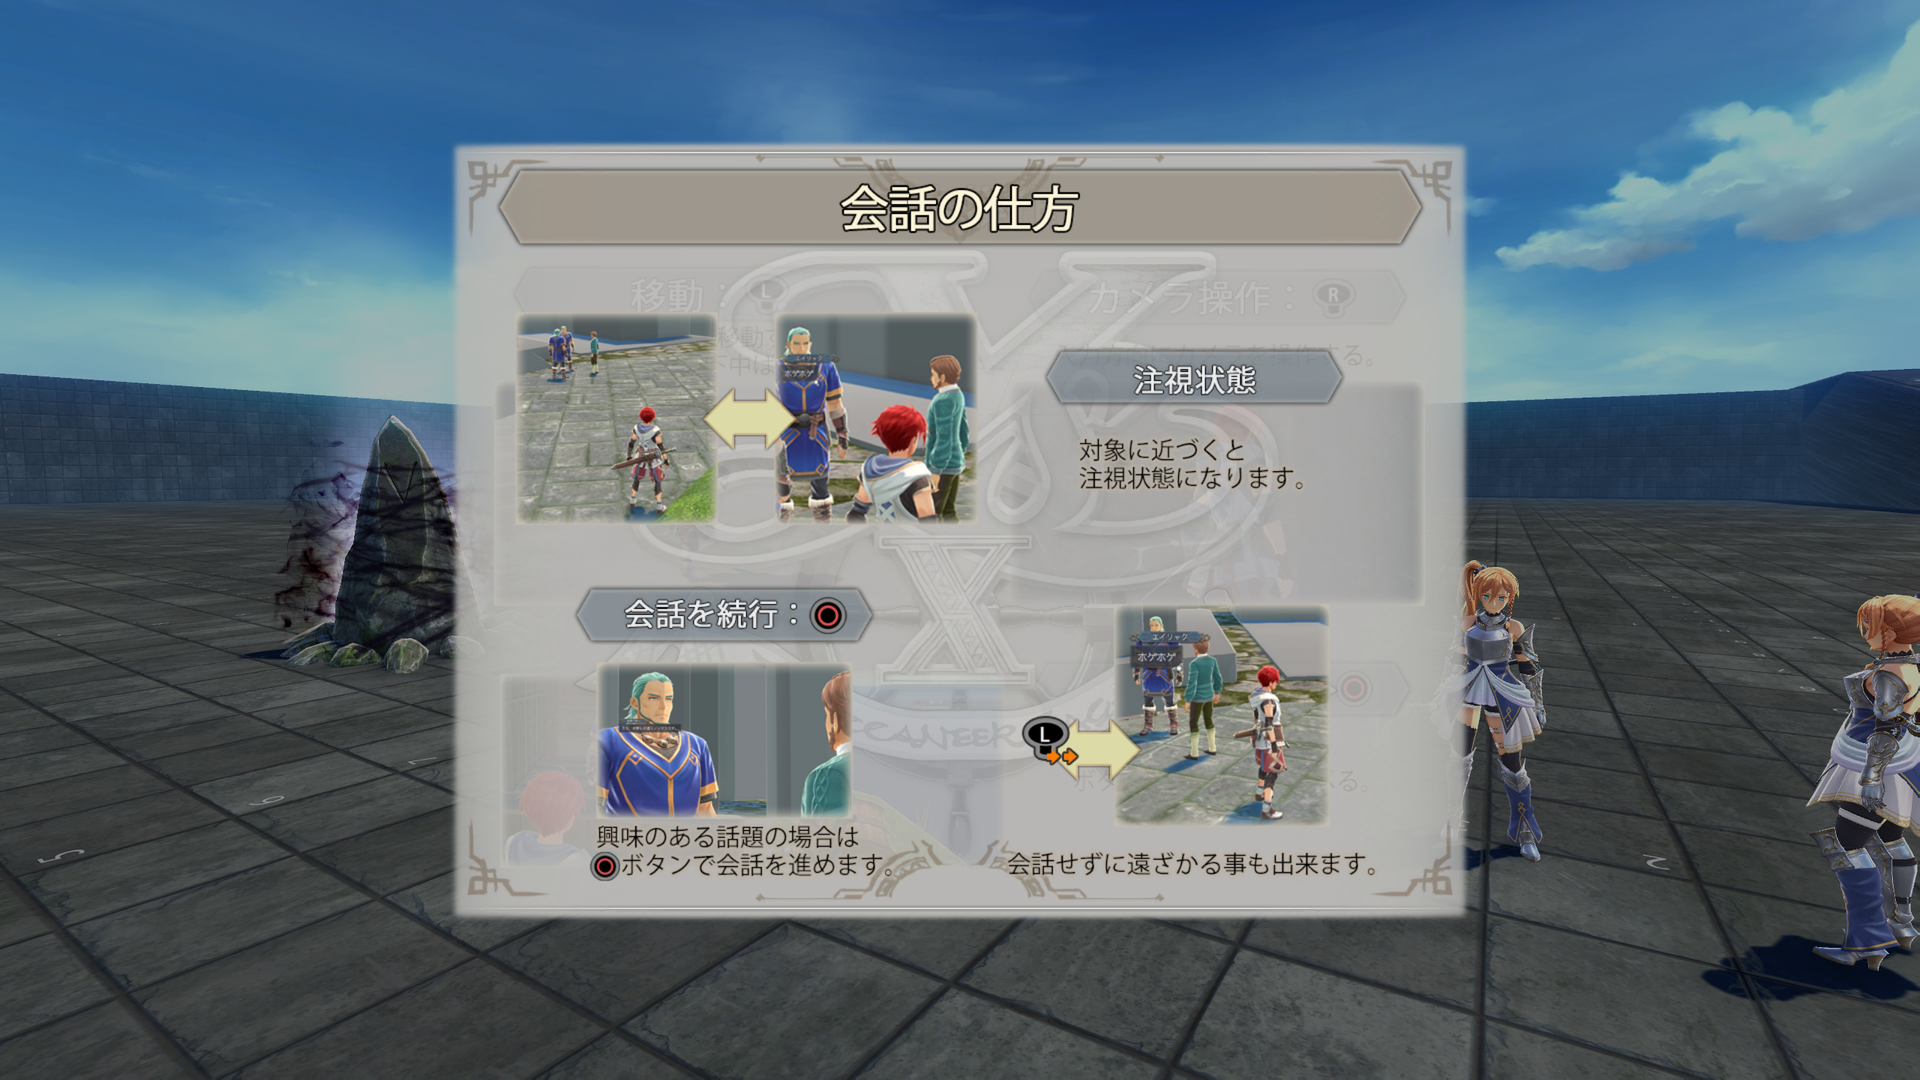
- Tutorial Macro: Displays the unused tutorial images: help_01 and help_02.
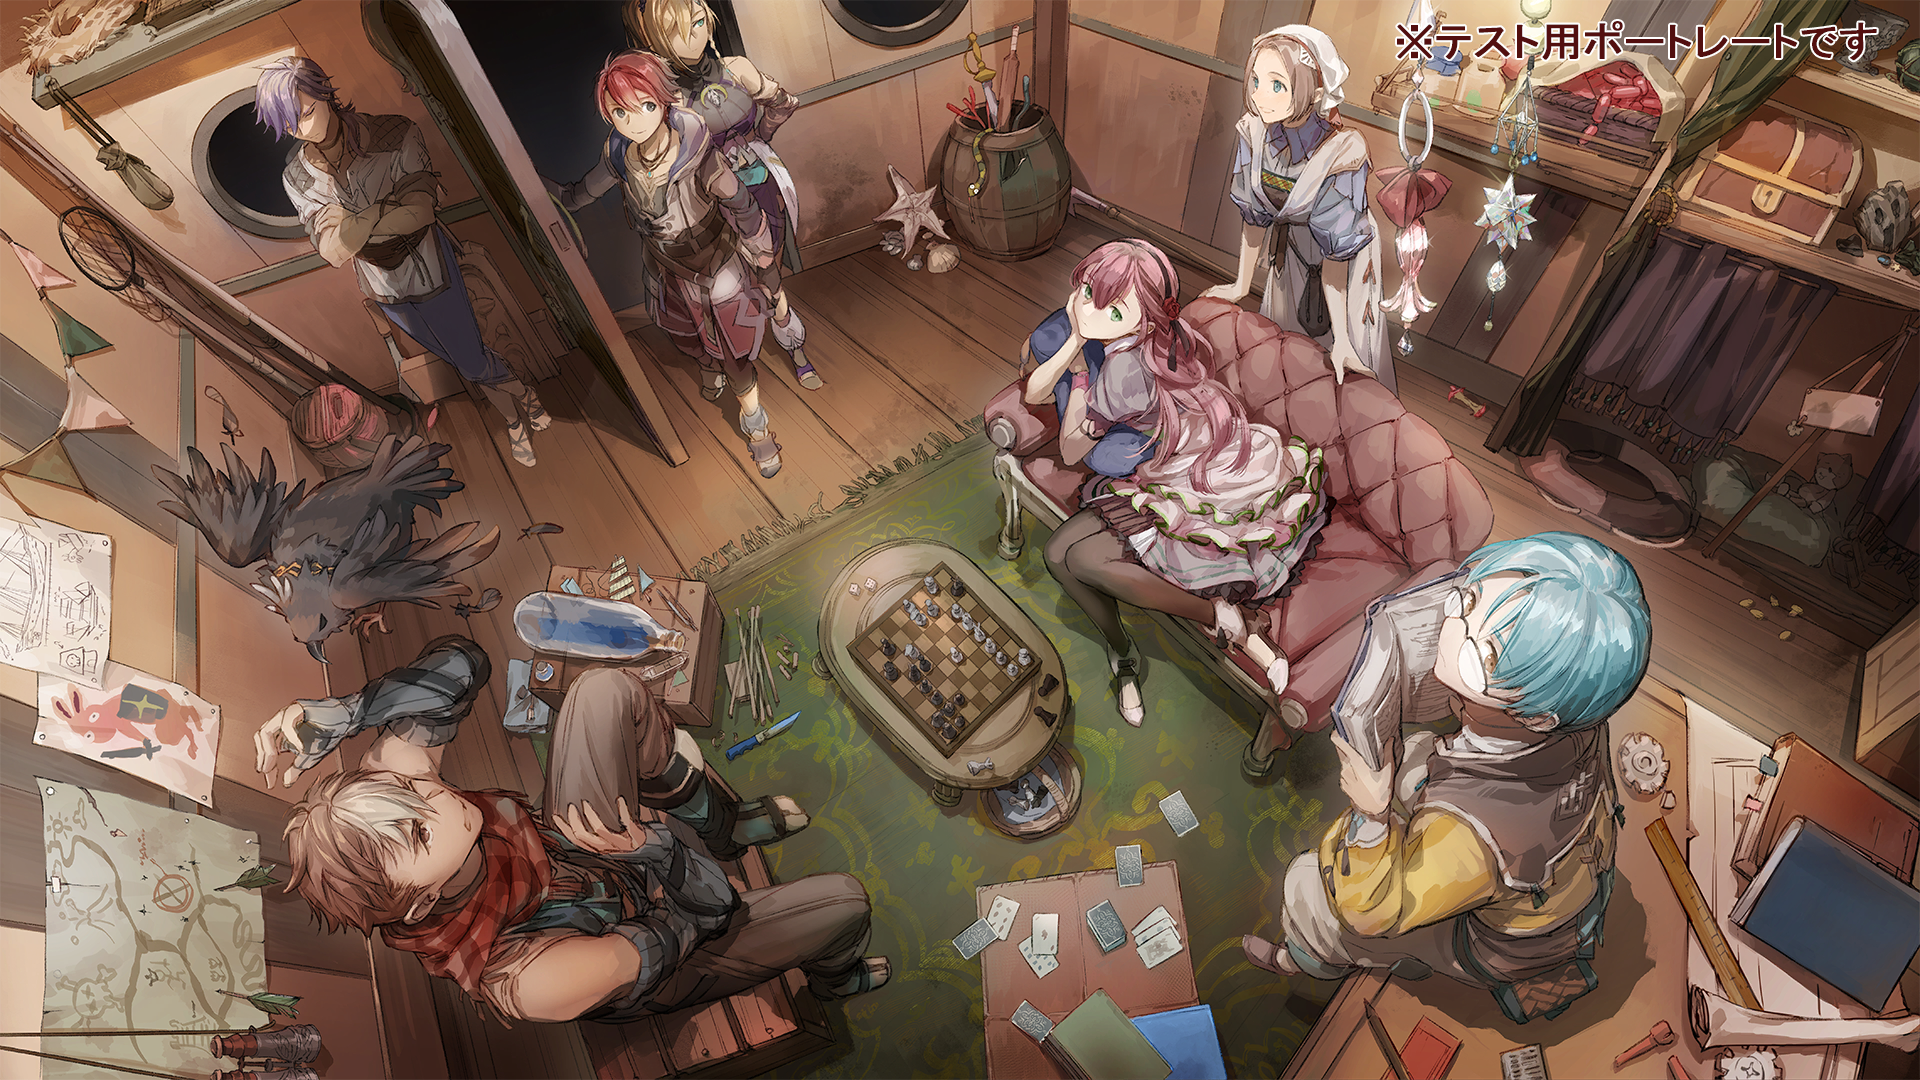
- Portrait Display Macro: Displays test_portrait_0, which is key art from the Ys X's artbook.
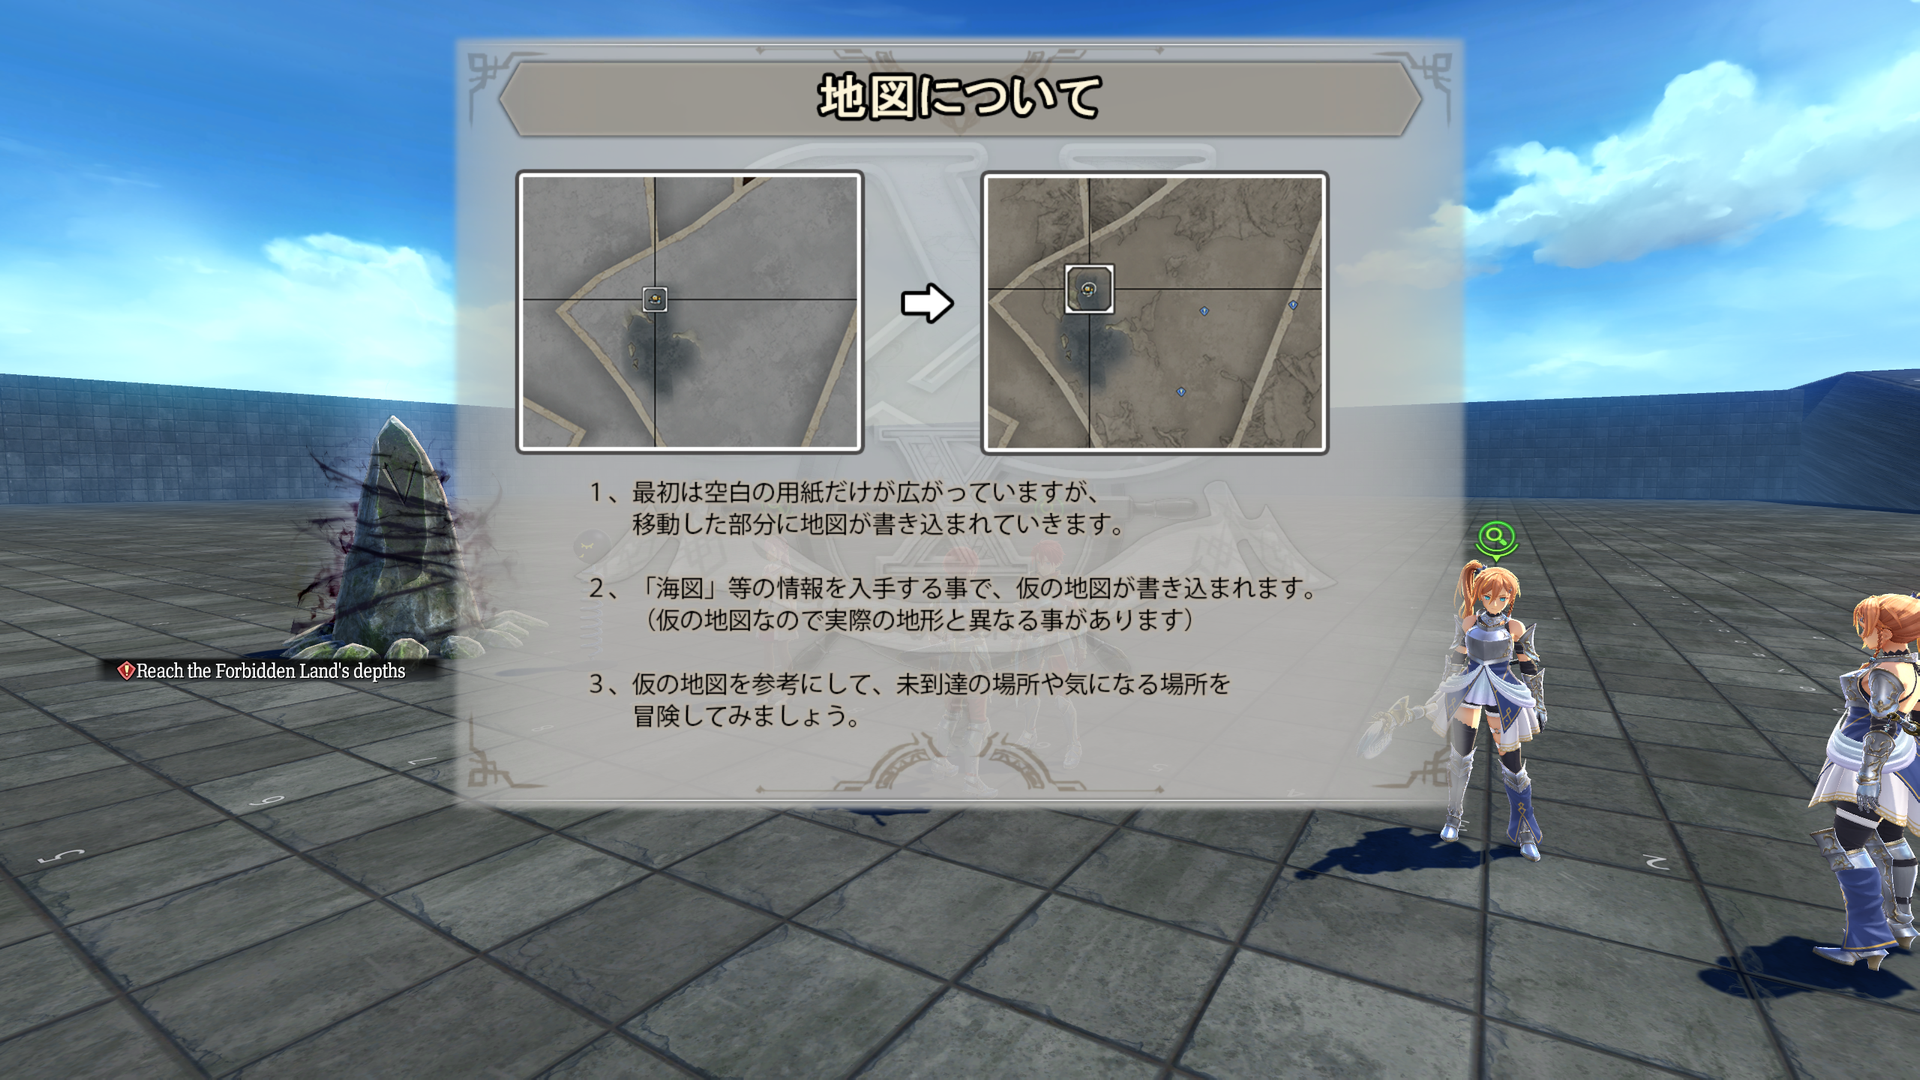
- Portrait display auto: Displays test_portrait_0 and test_help_map.
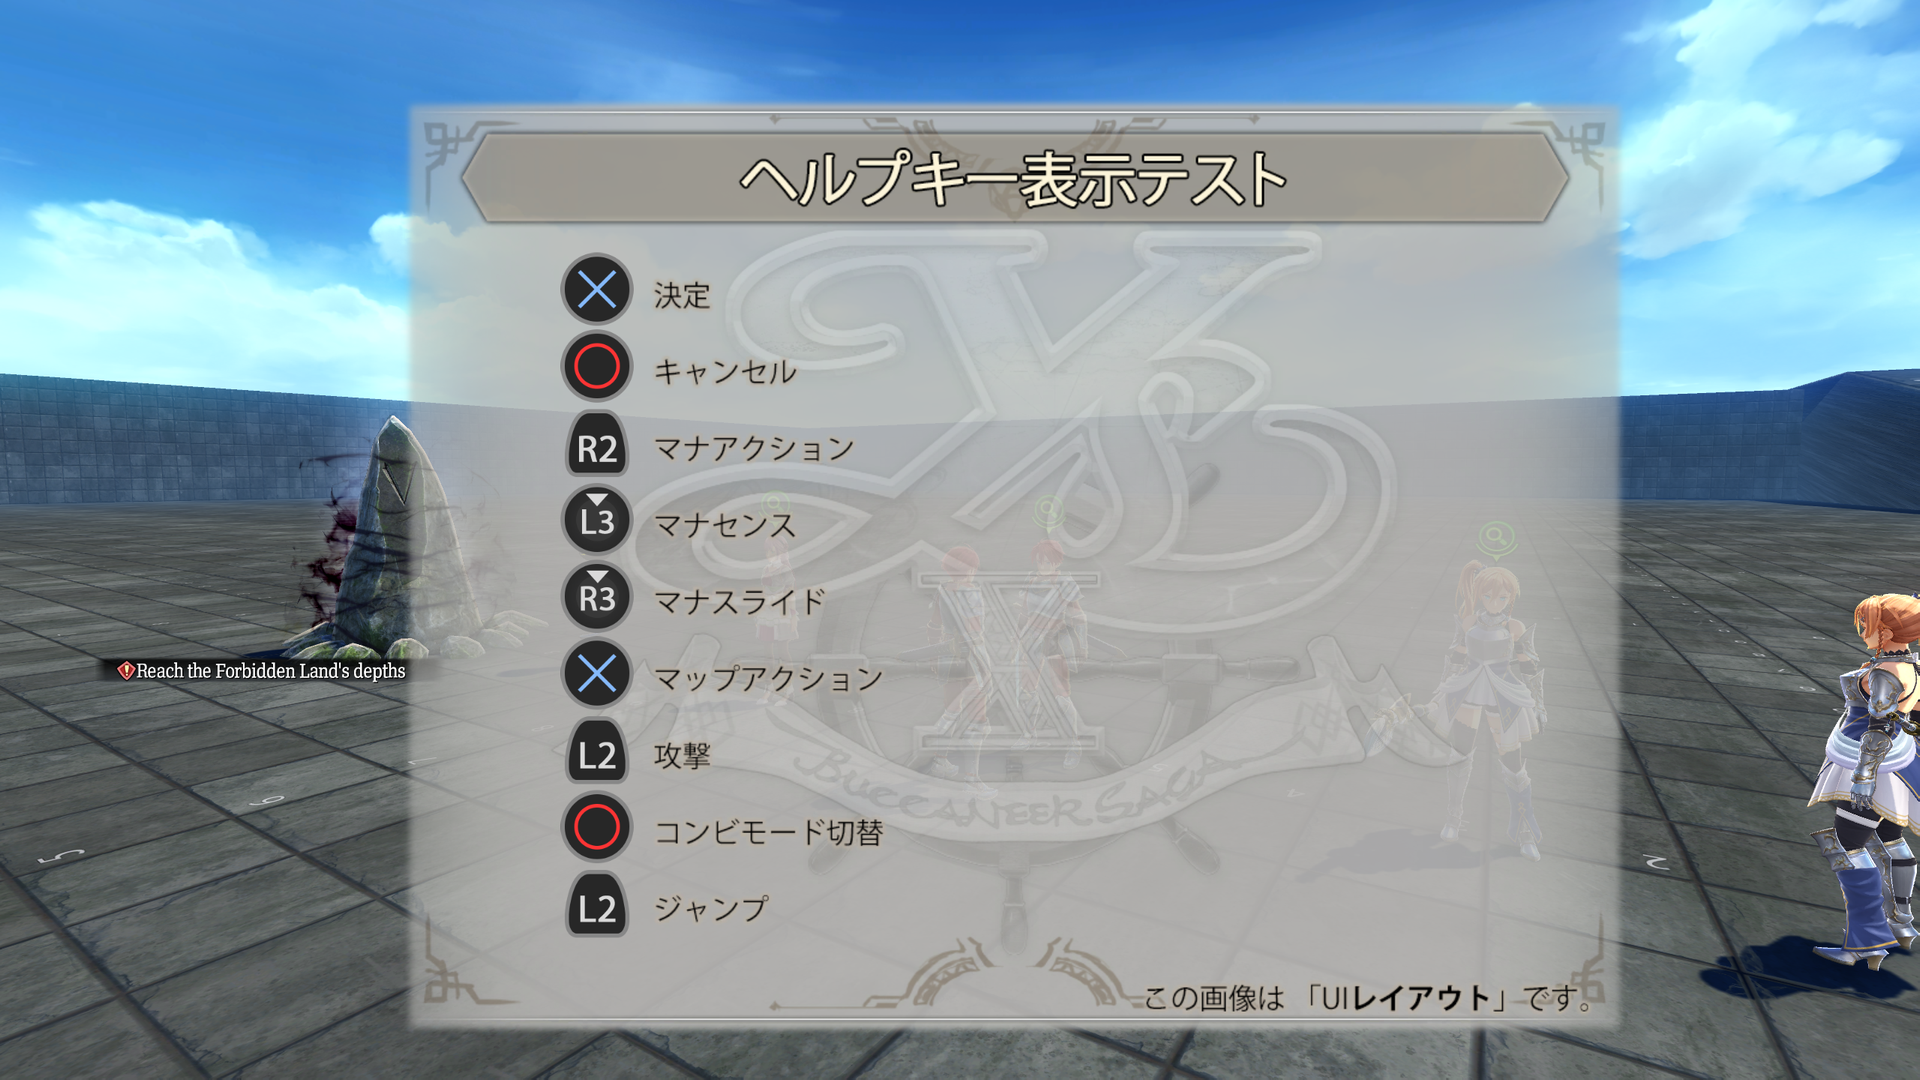
- Tutorial Help Image Display: test_help_layout01 floats onto the screen and shows a nonsensical button scheme with some actions overlapping.
- Maya Scene editor (FDK common commands): Plays out a glitchy sample animation outside the bounds of the map.
- Maya Scene editor: Causes a softlock.
Fade#
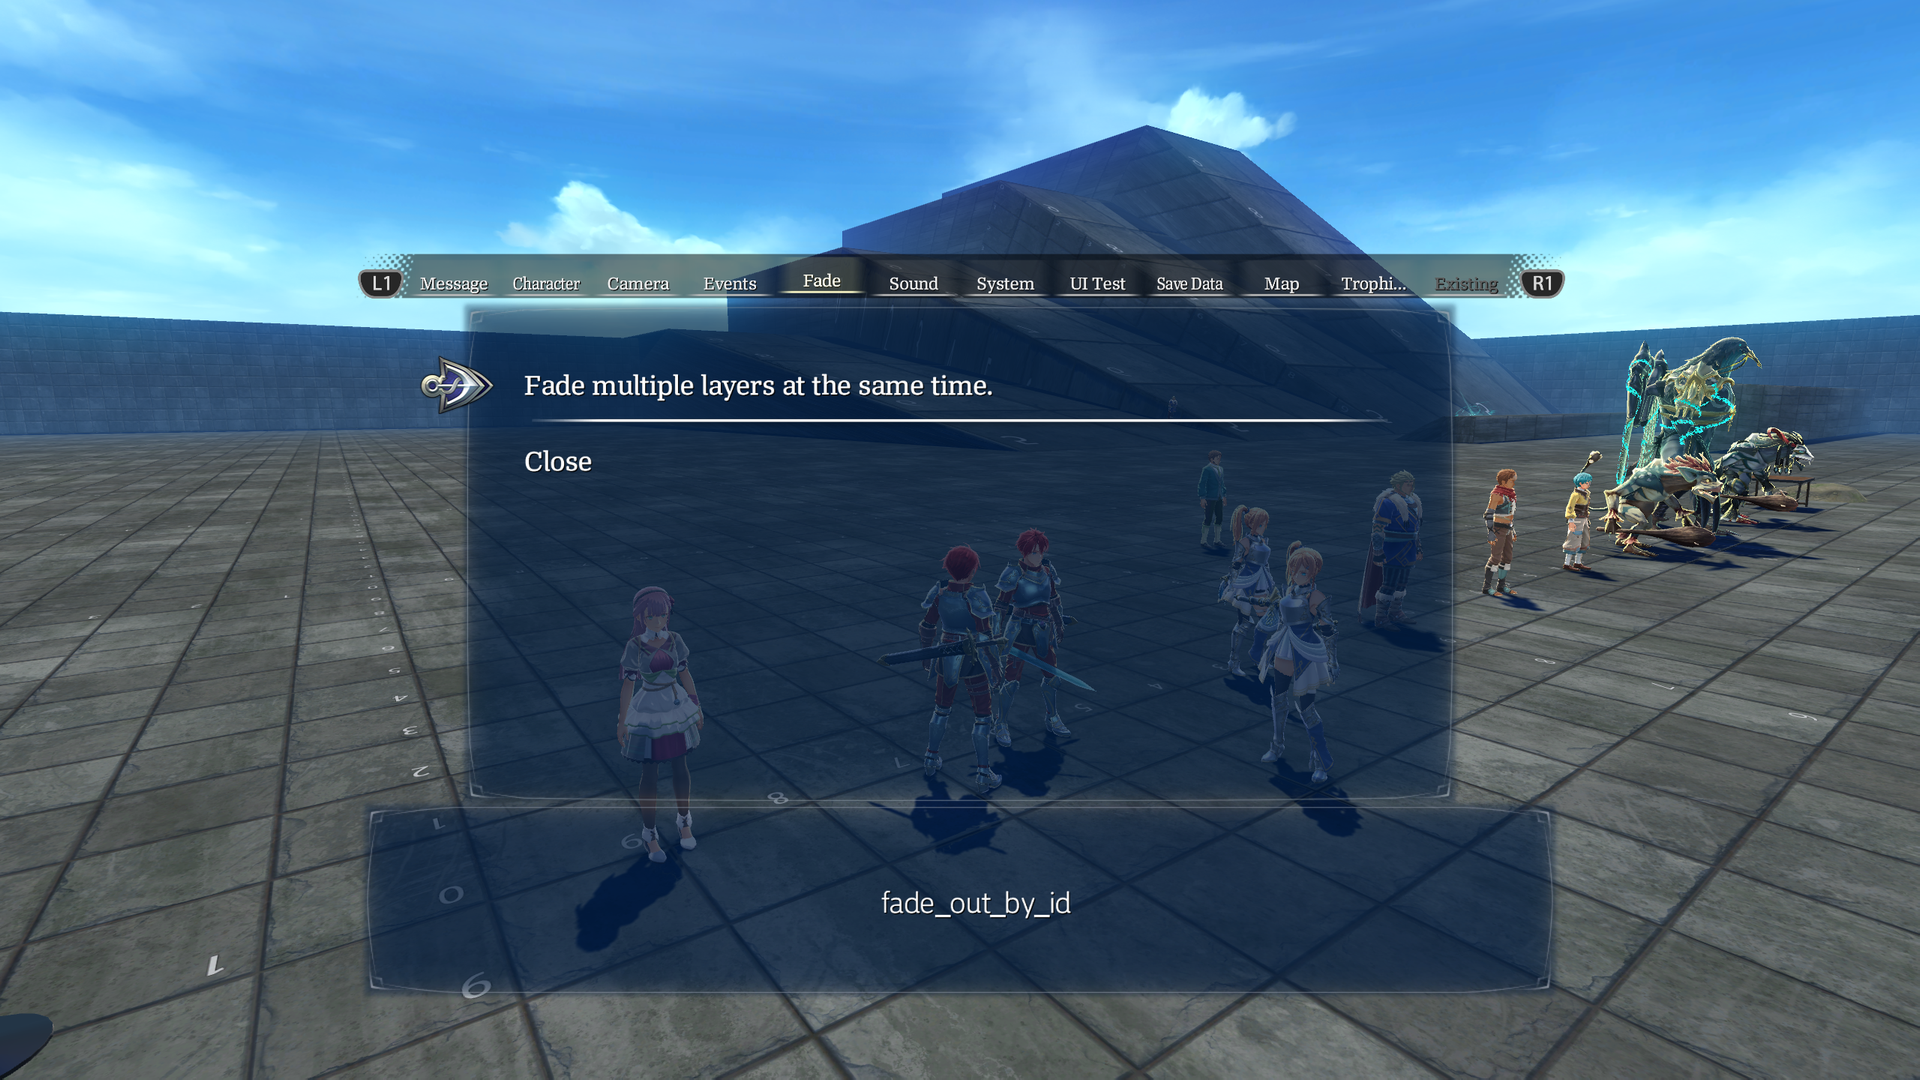
Fade only has one option that tests blacking/whiting out the screen.
Sound#
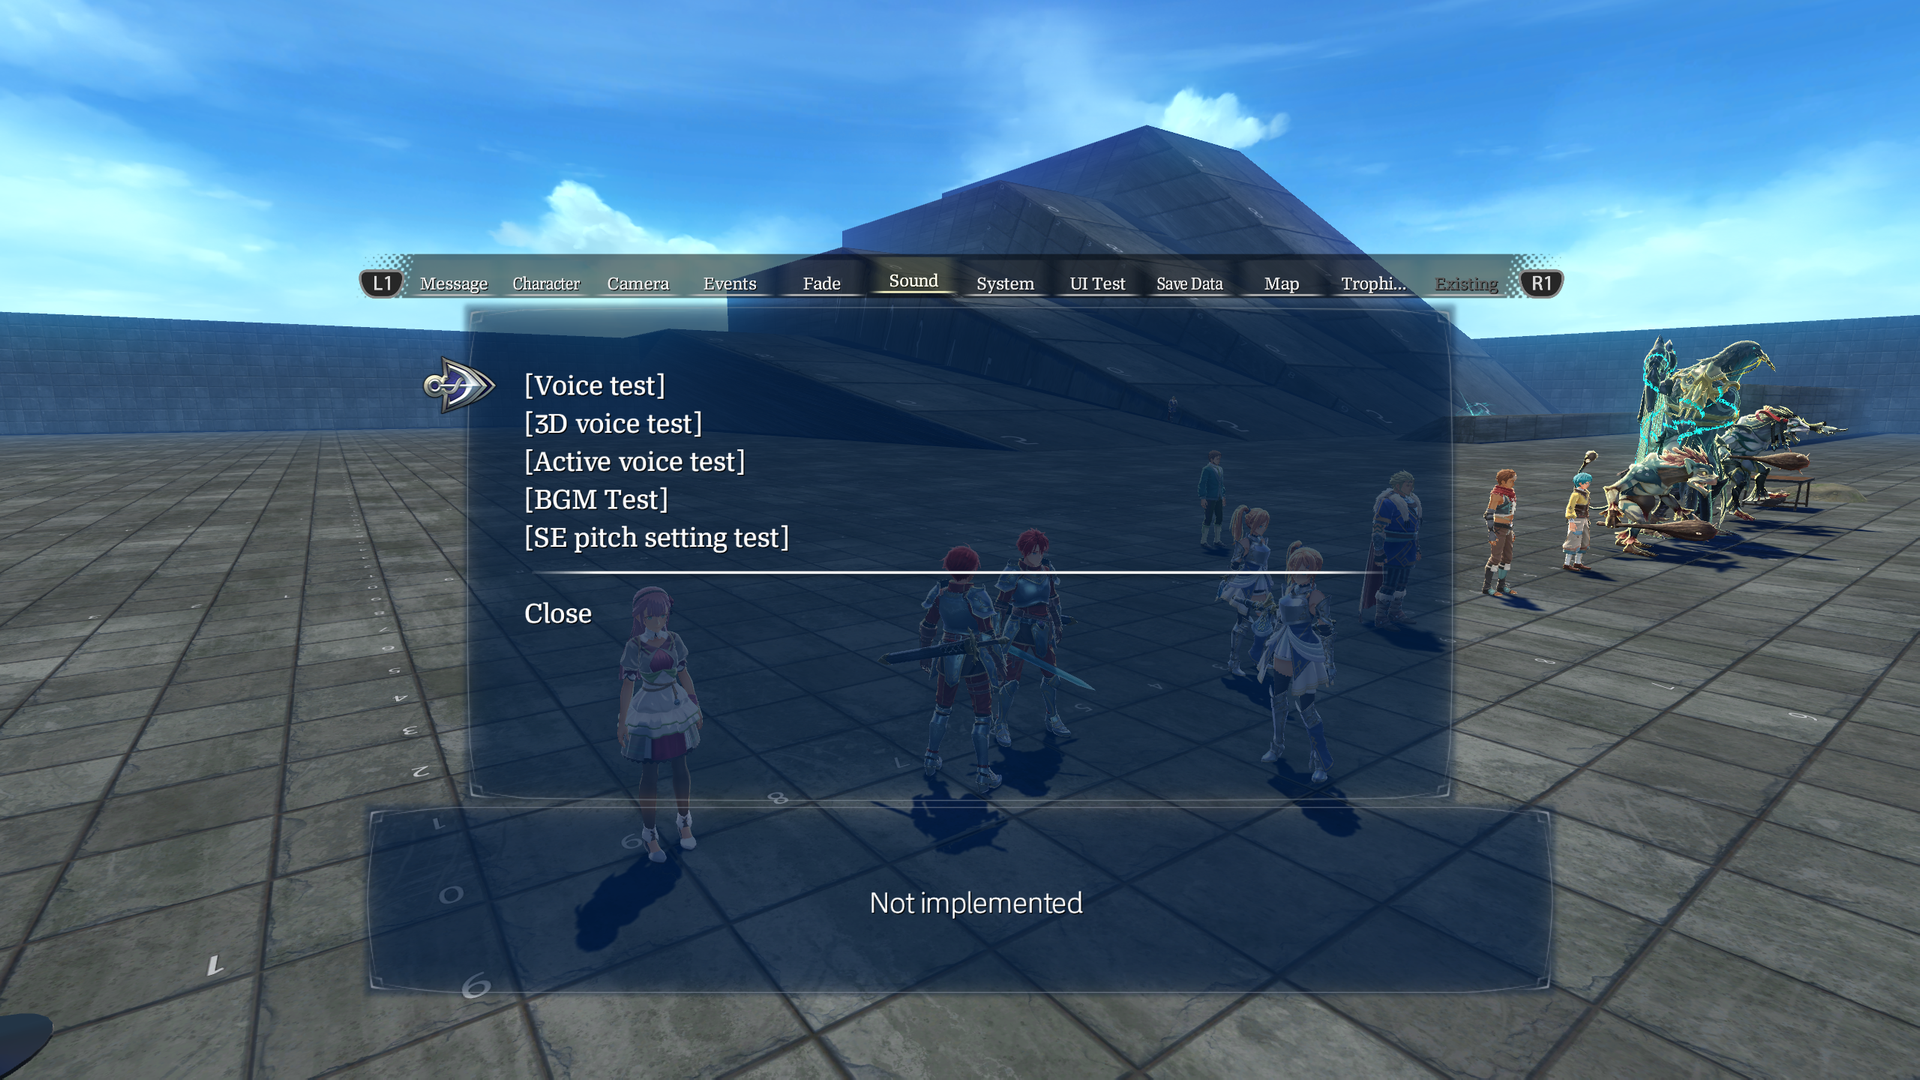
The Sound tab is only half-functional.
- Active Voice Test displays early portraits of Adol and Karja in the Active Voice area of the screen. No voice clips are played back.
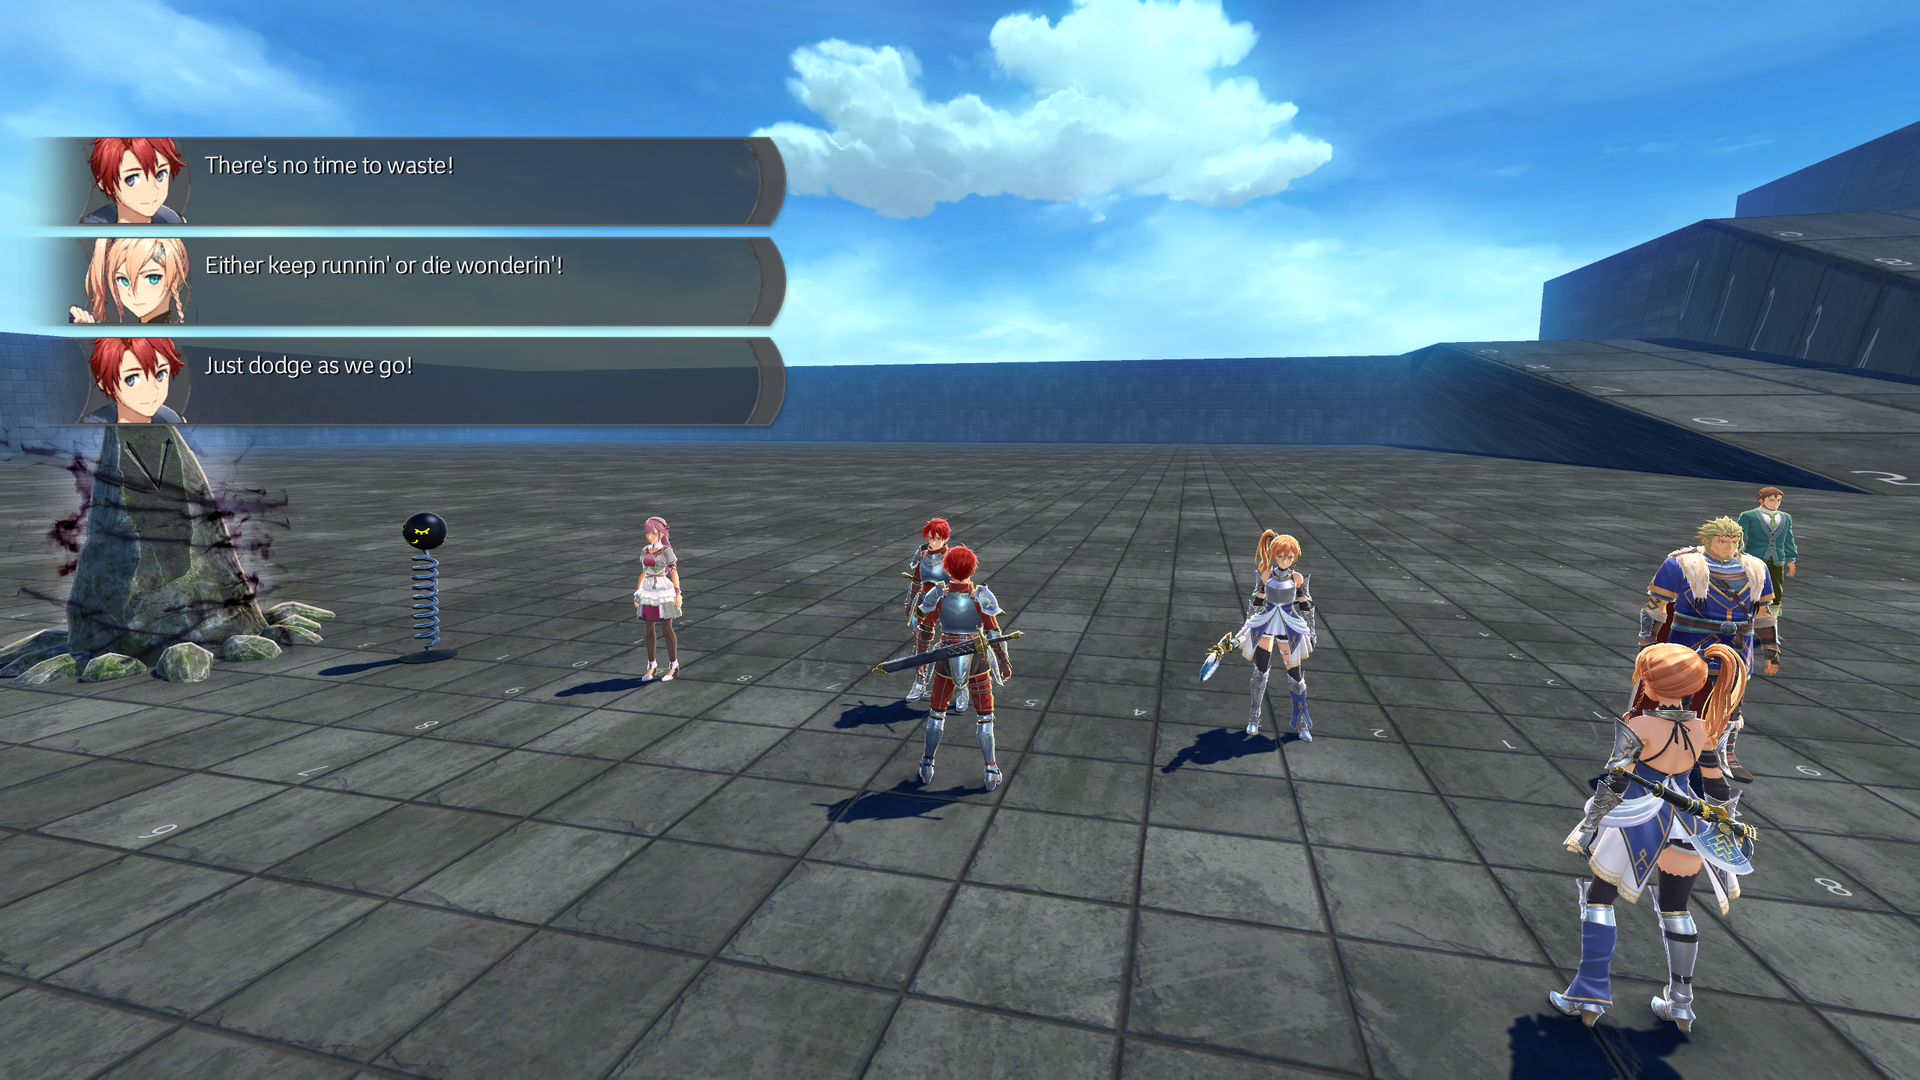
- BGM Test just silences the music.
System#
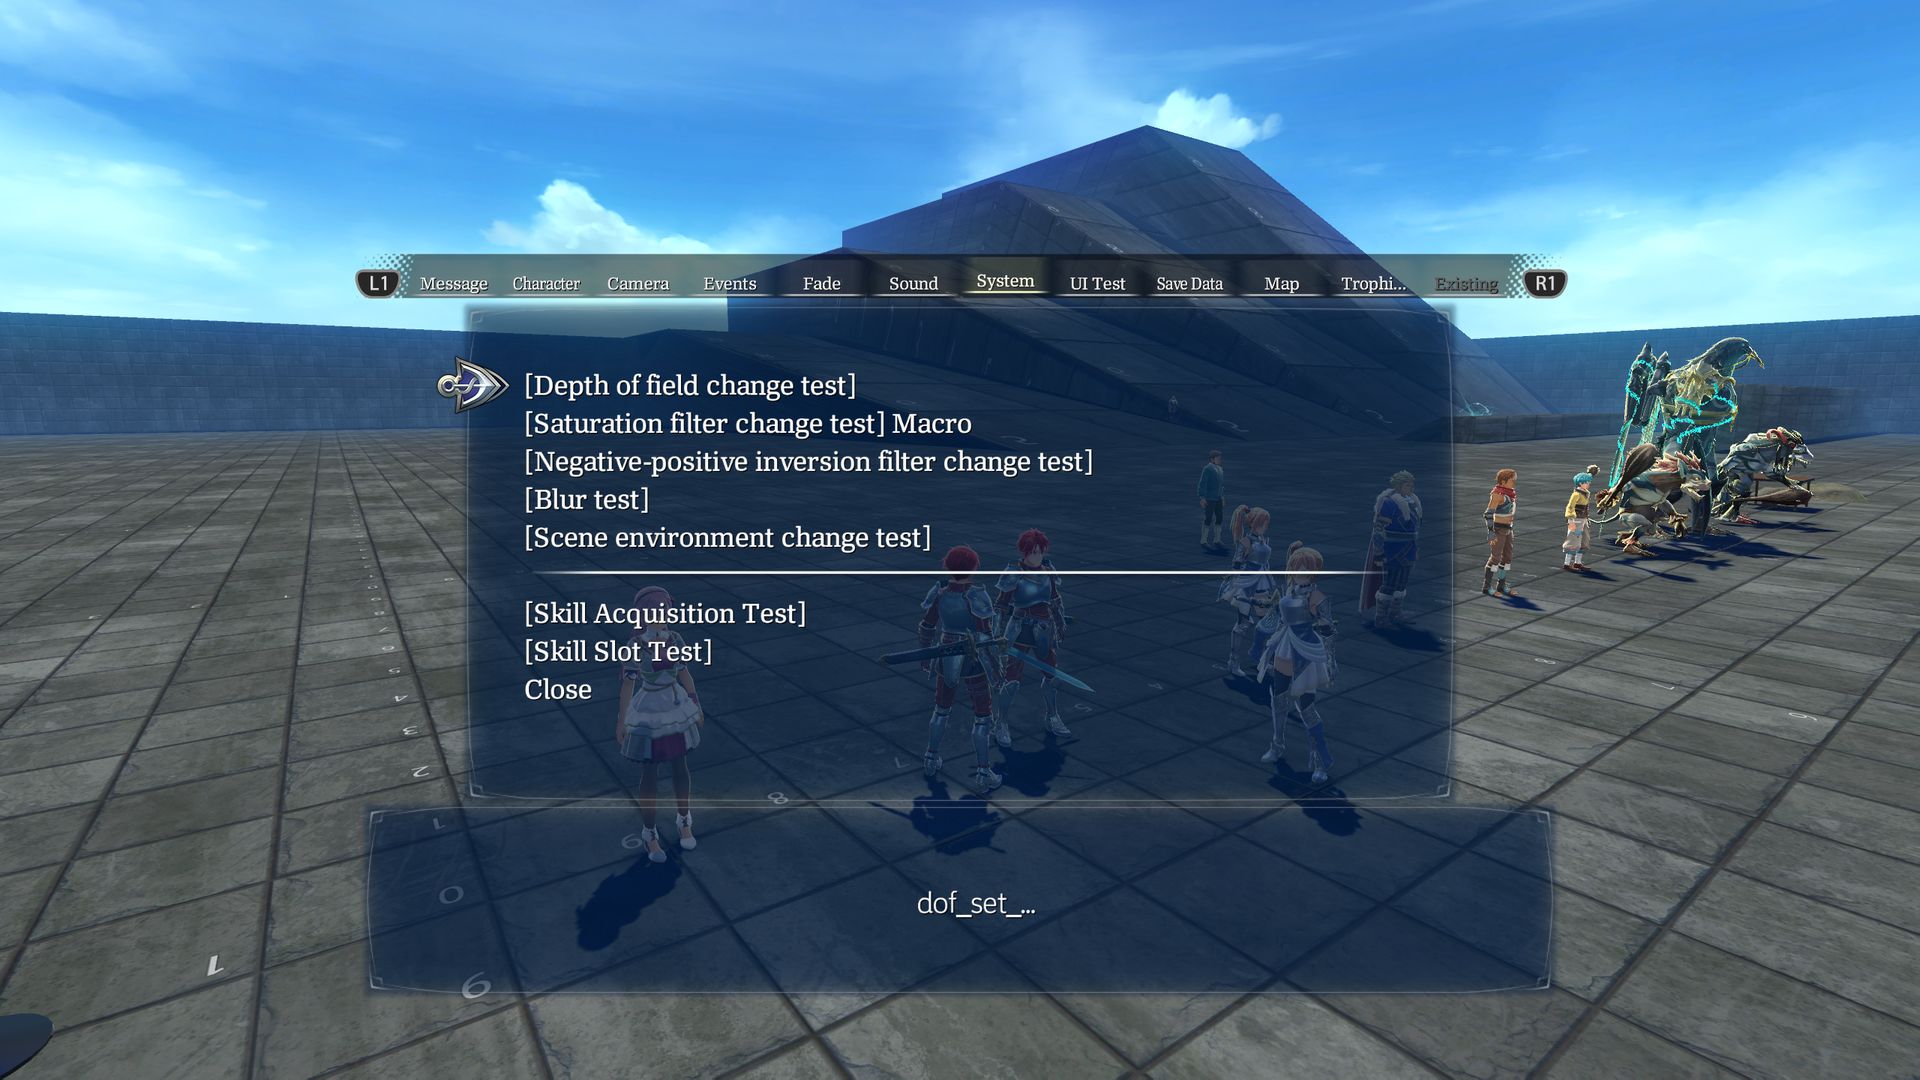
System: Has options to test screen effects and toggle whether skills have been unlocked.
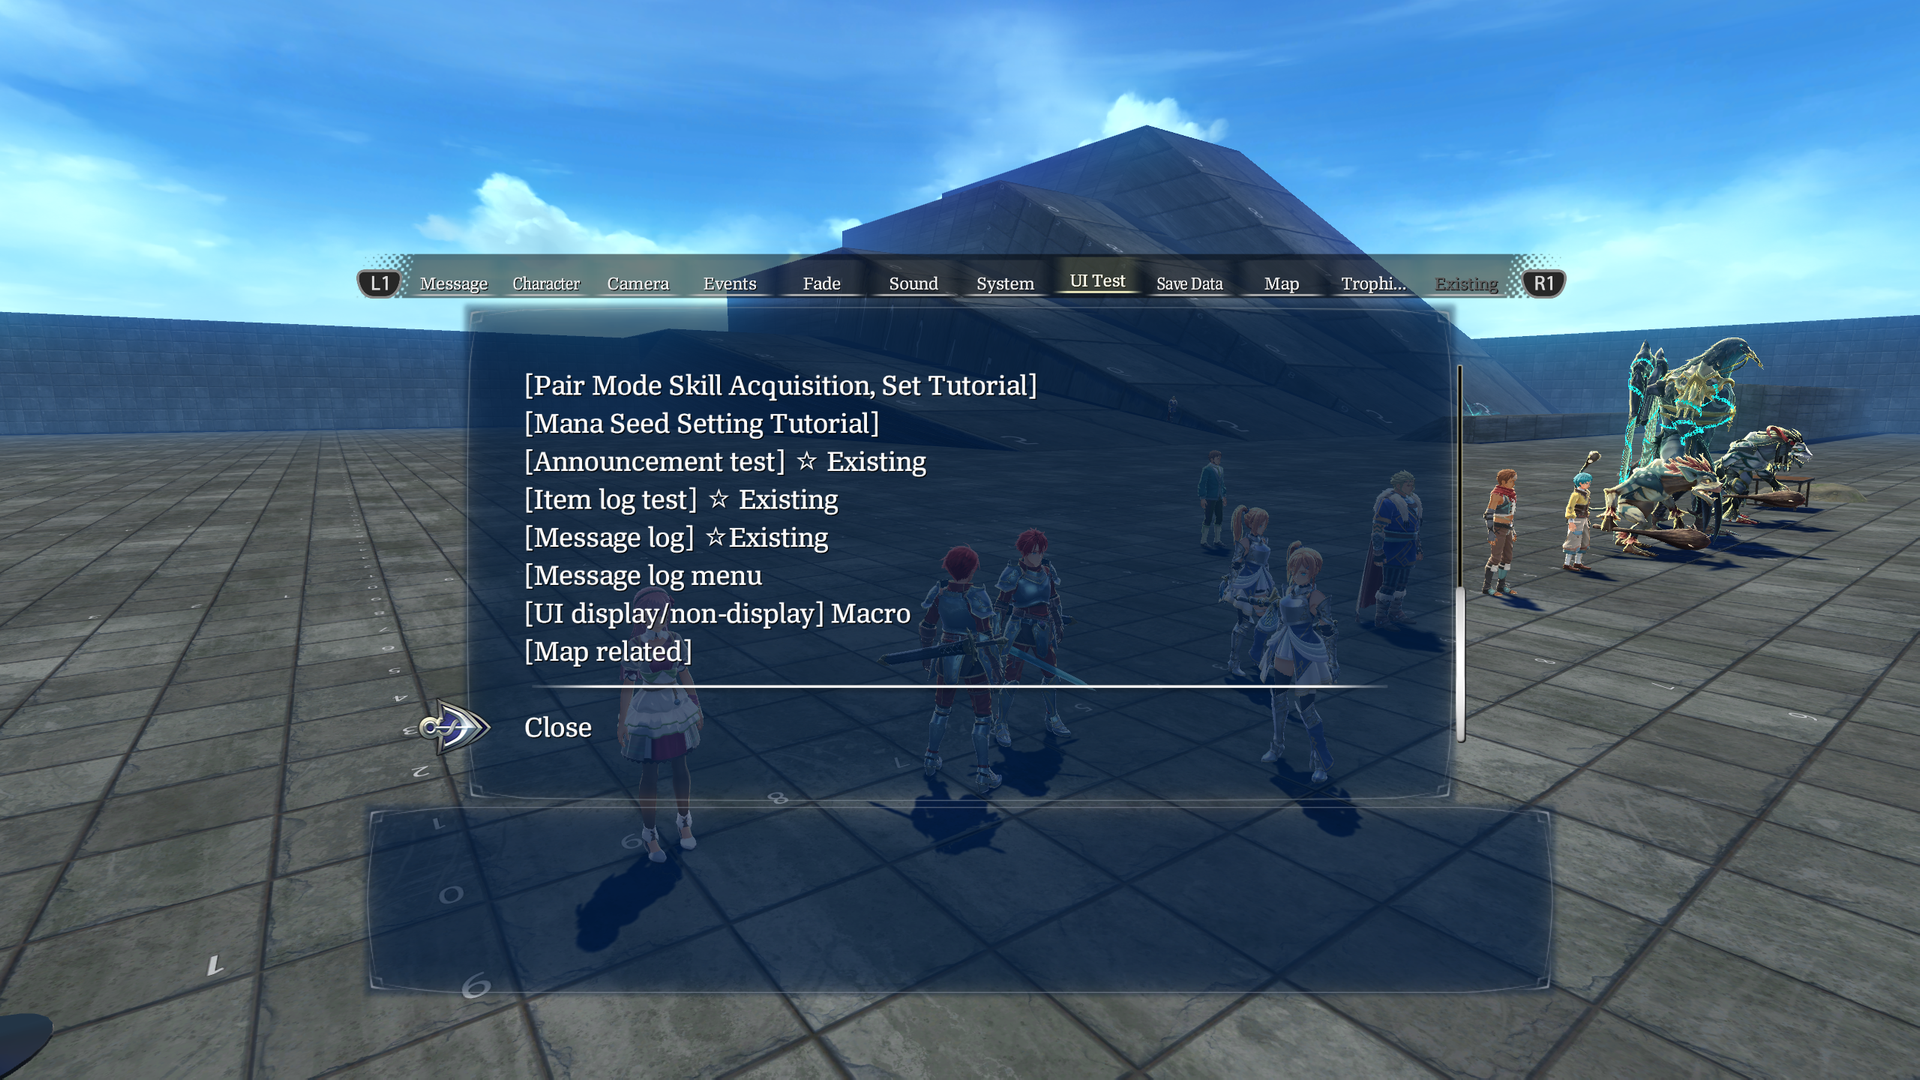
UI Test#
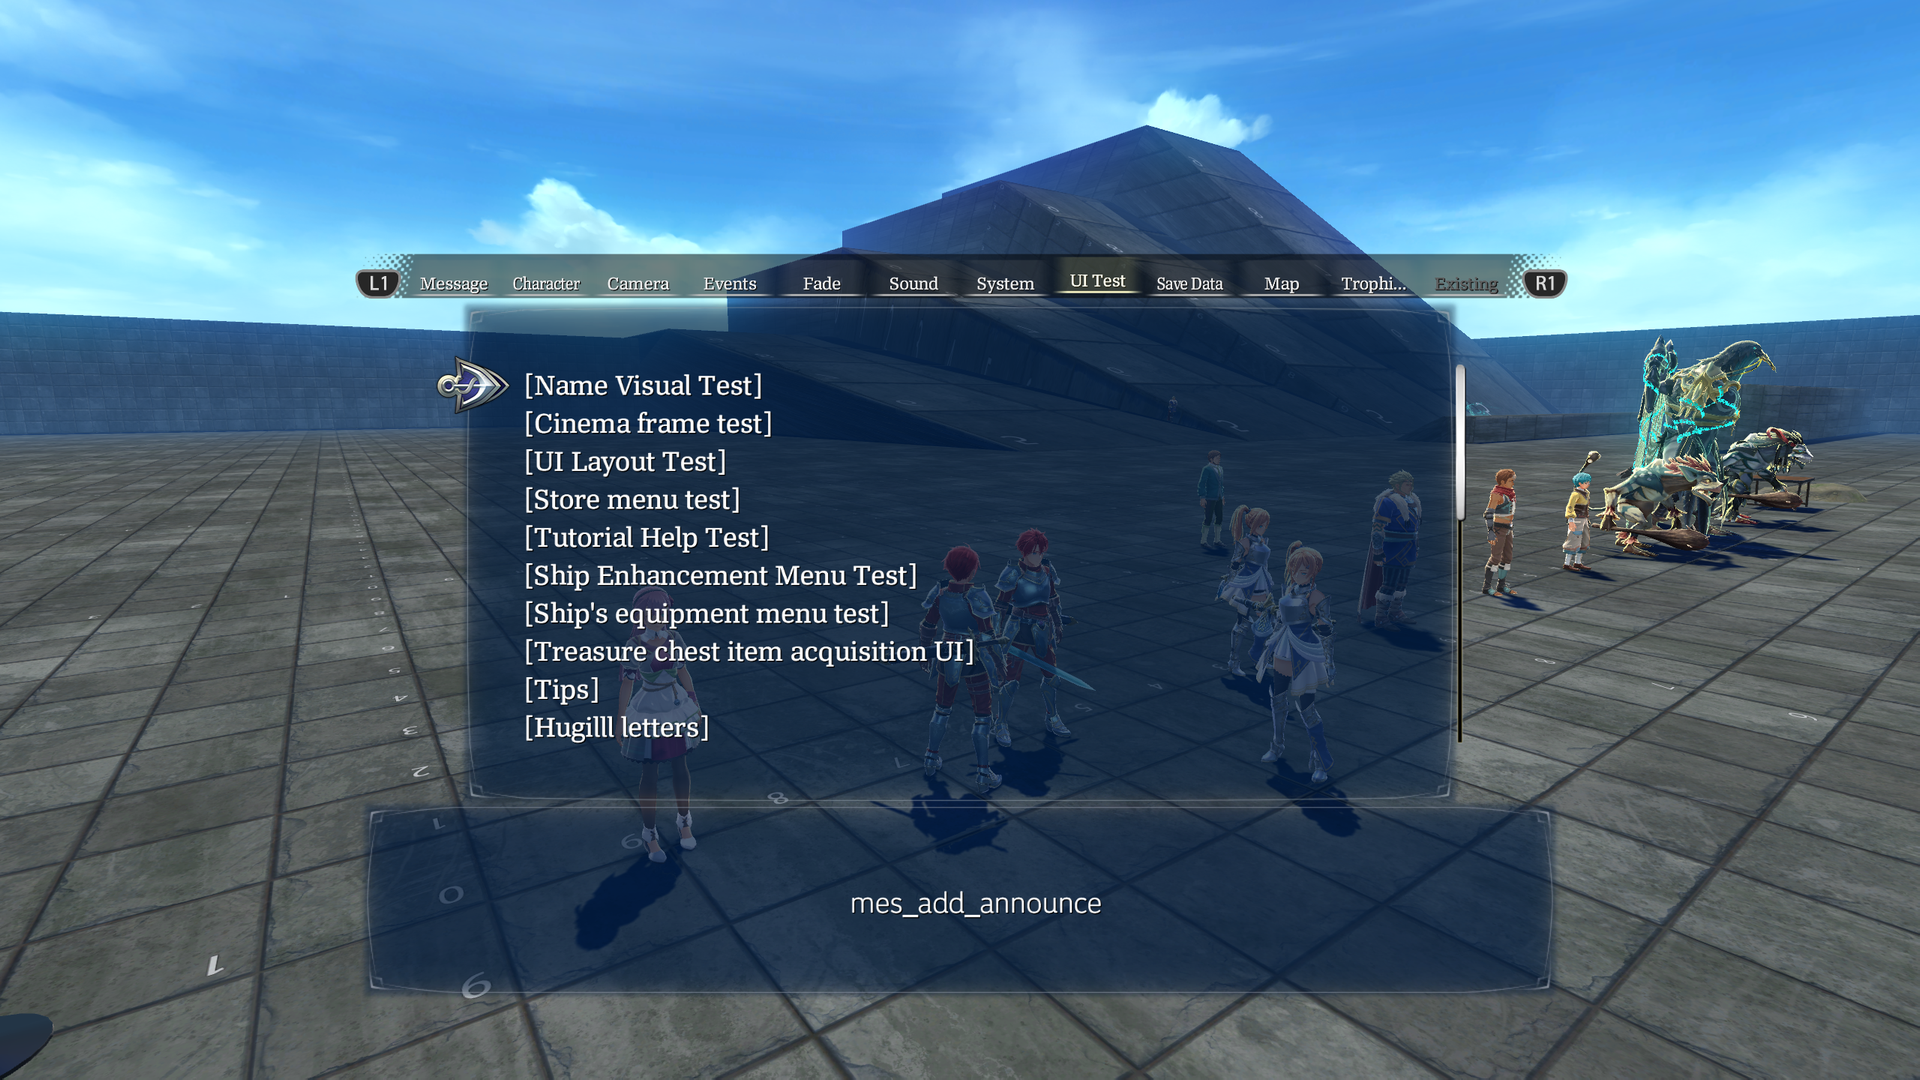
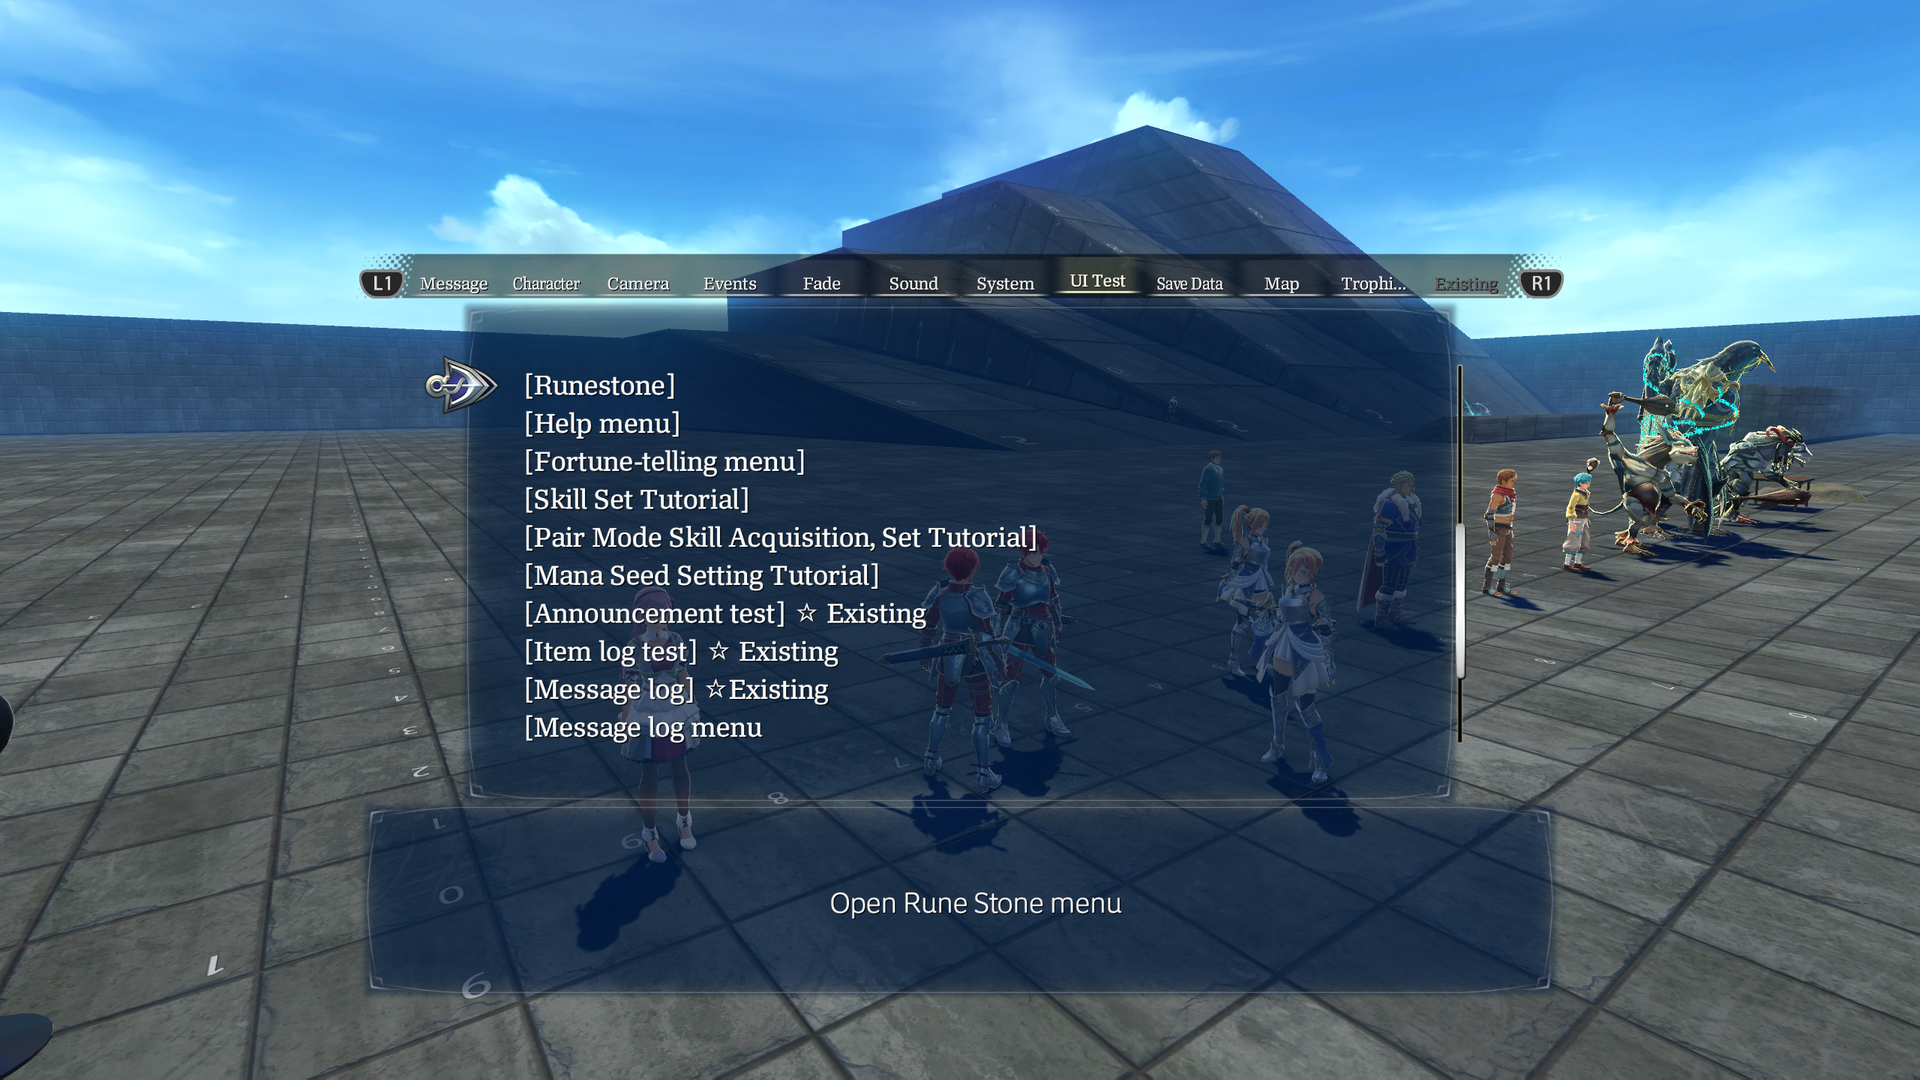
UI Test: Allows testing various menus and UI elements.
Save Data#
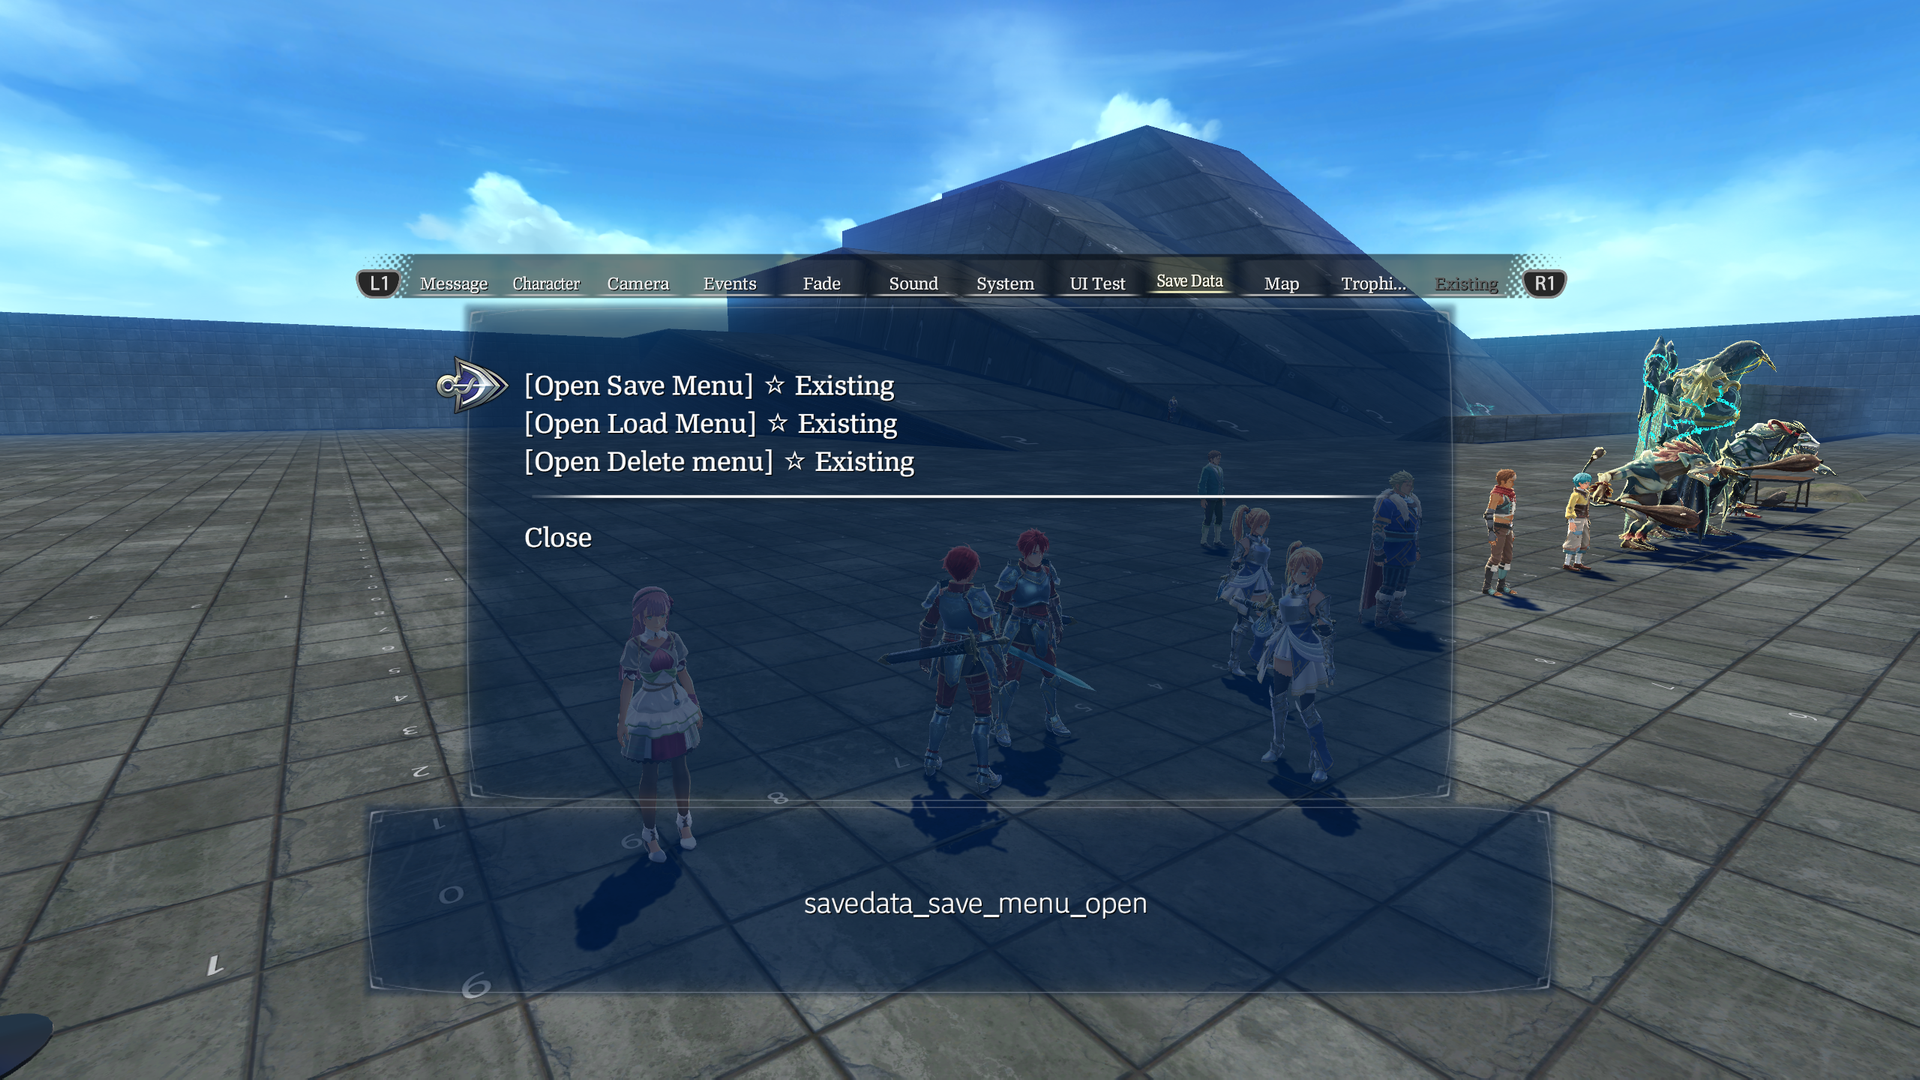
Save Data: Let's you open the save/load menus. The delete menu is disabled in the PC version since it was merged into the save/load menus.
Map#
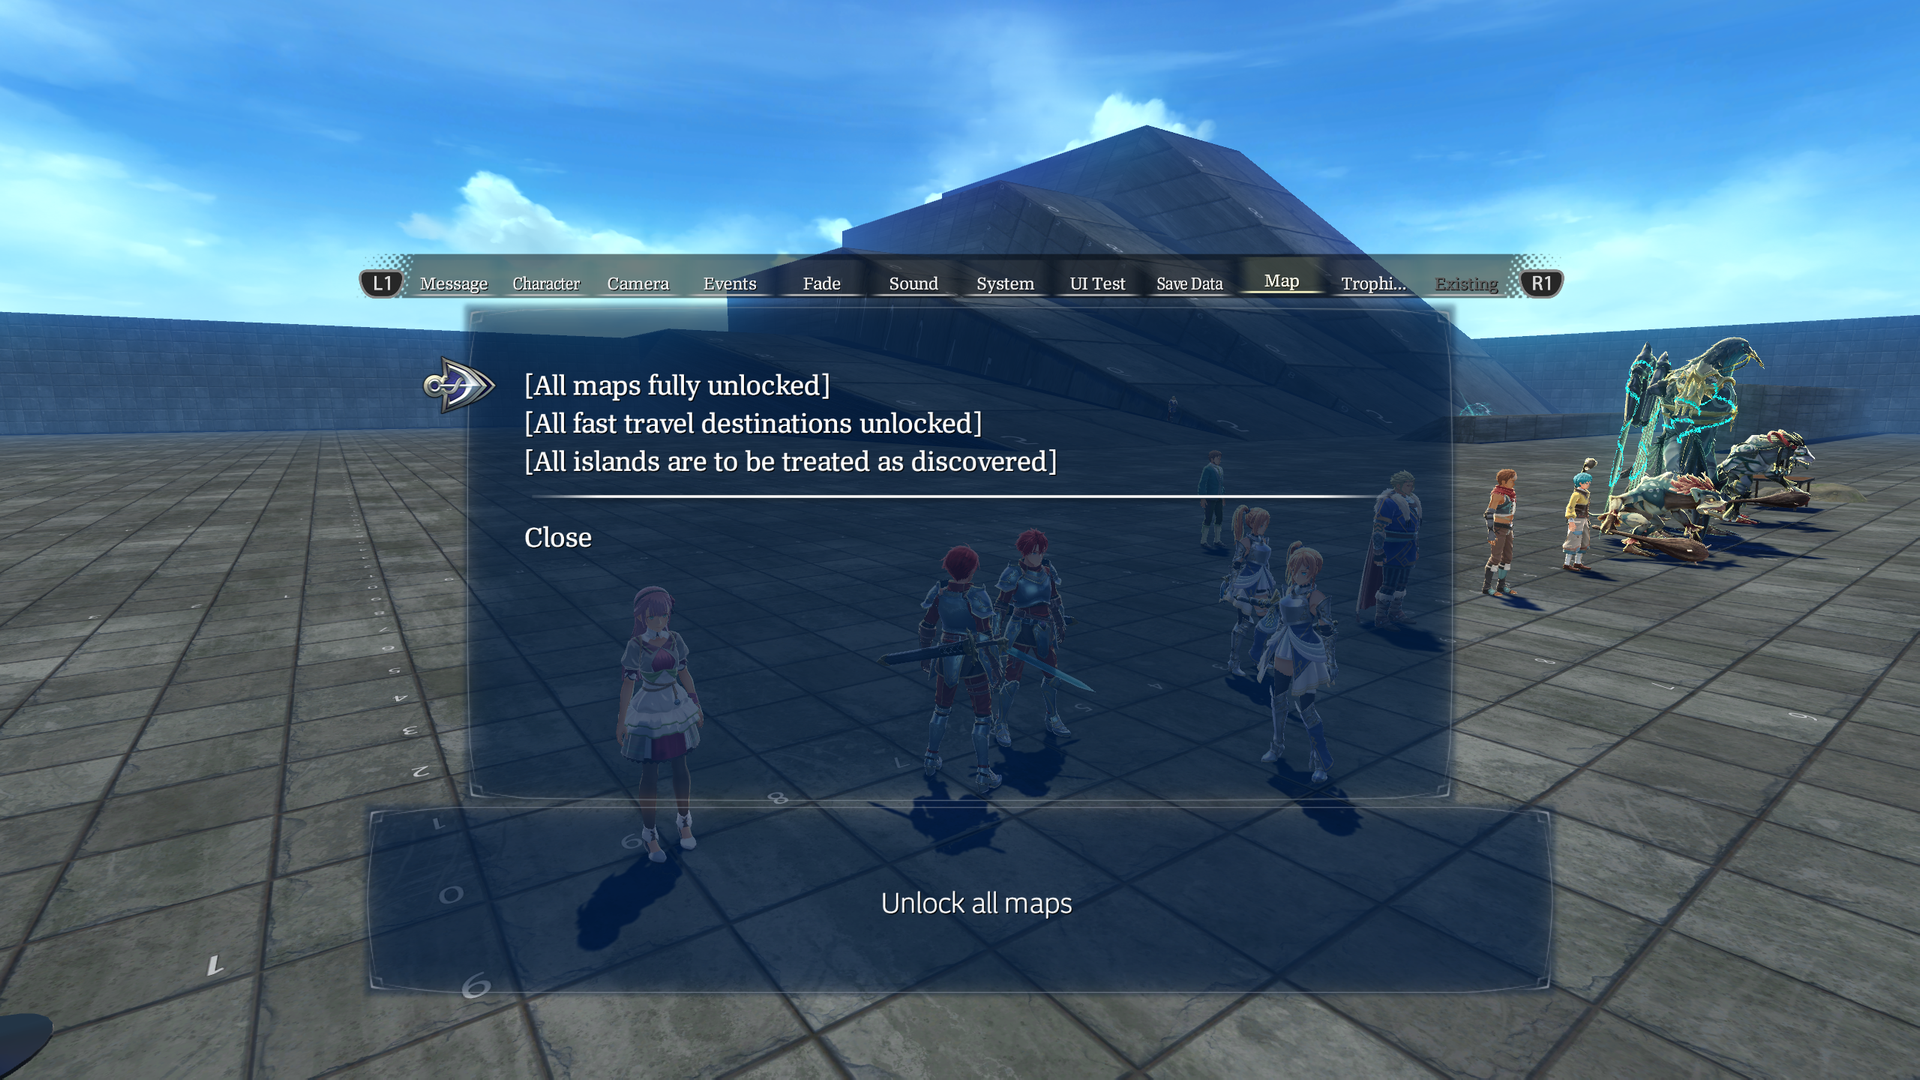
Map: None of the options for unlocking the map work.
Trophies#
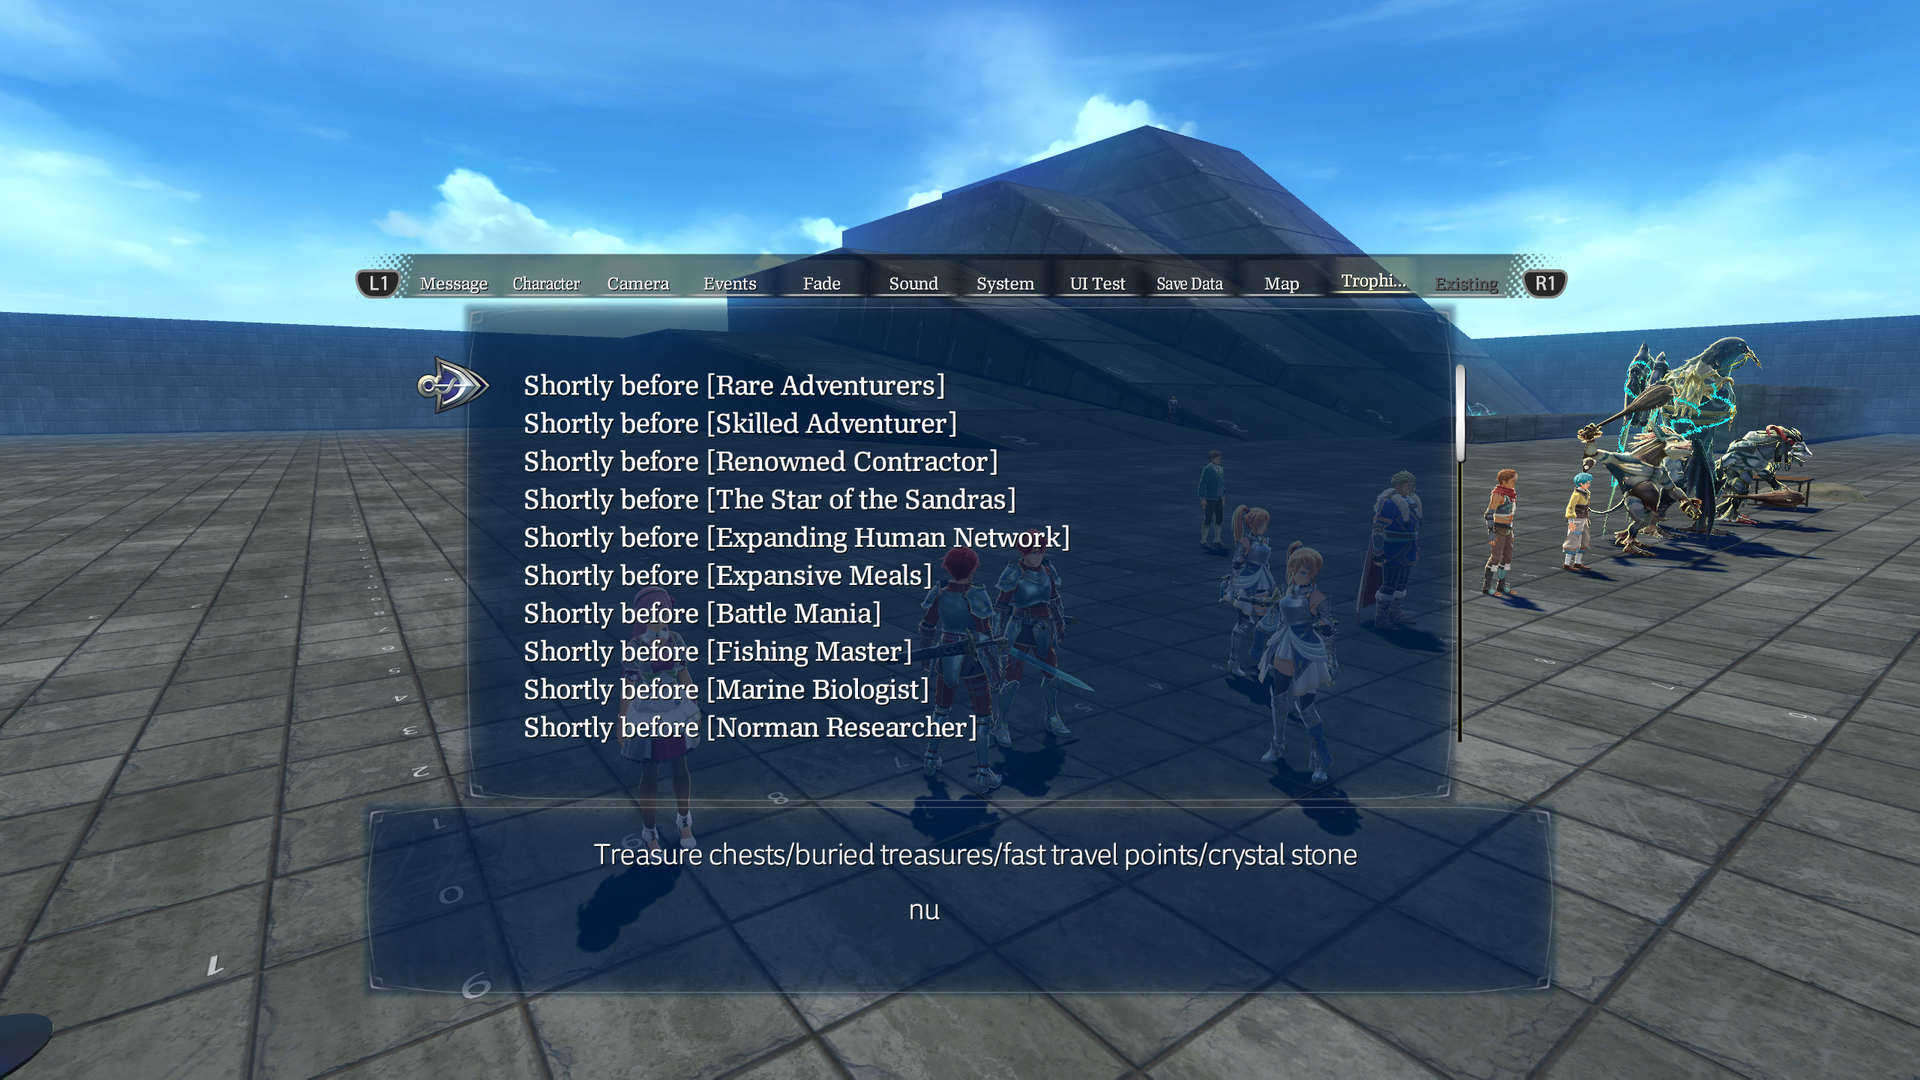
Trophies: Tests unlocking trophies.
Existing#
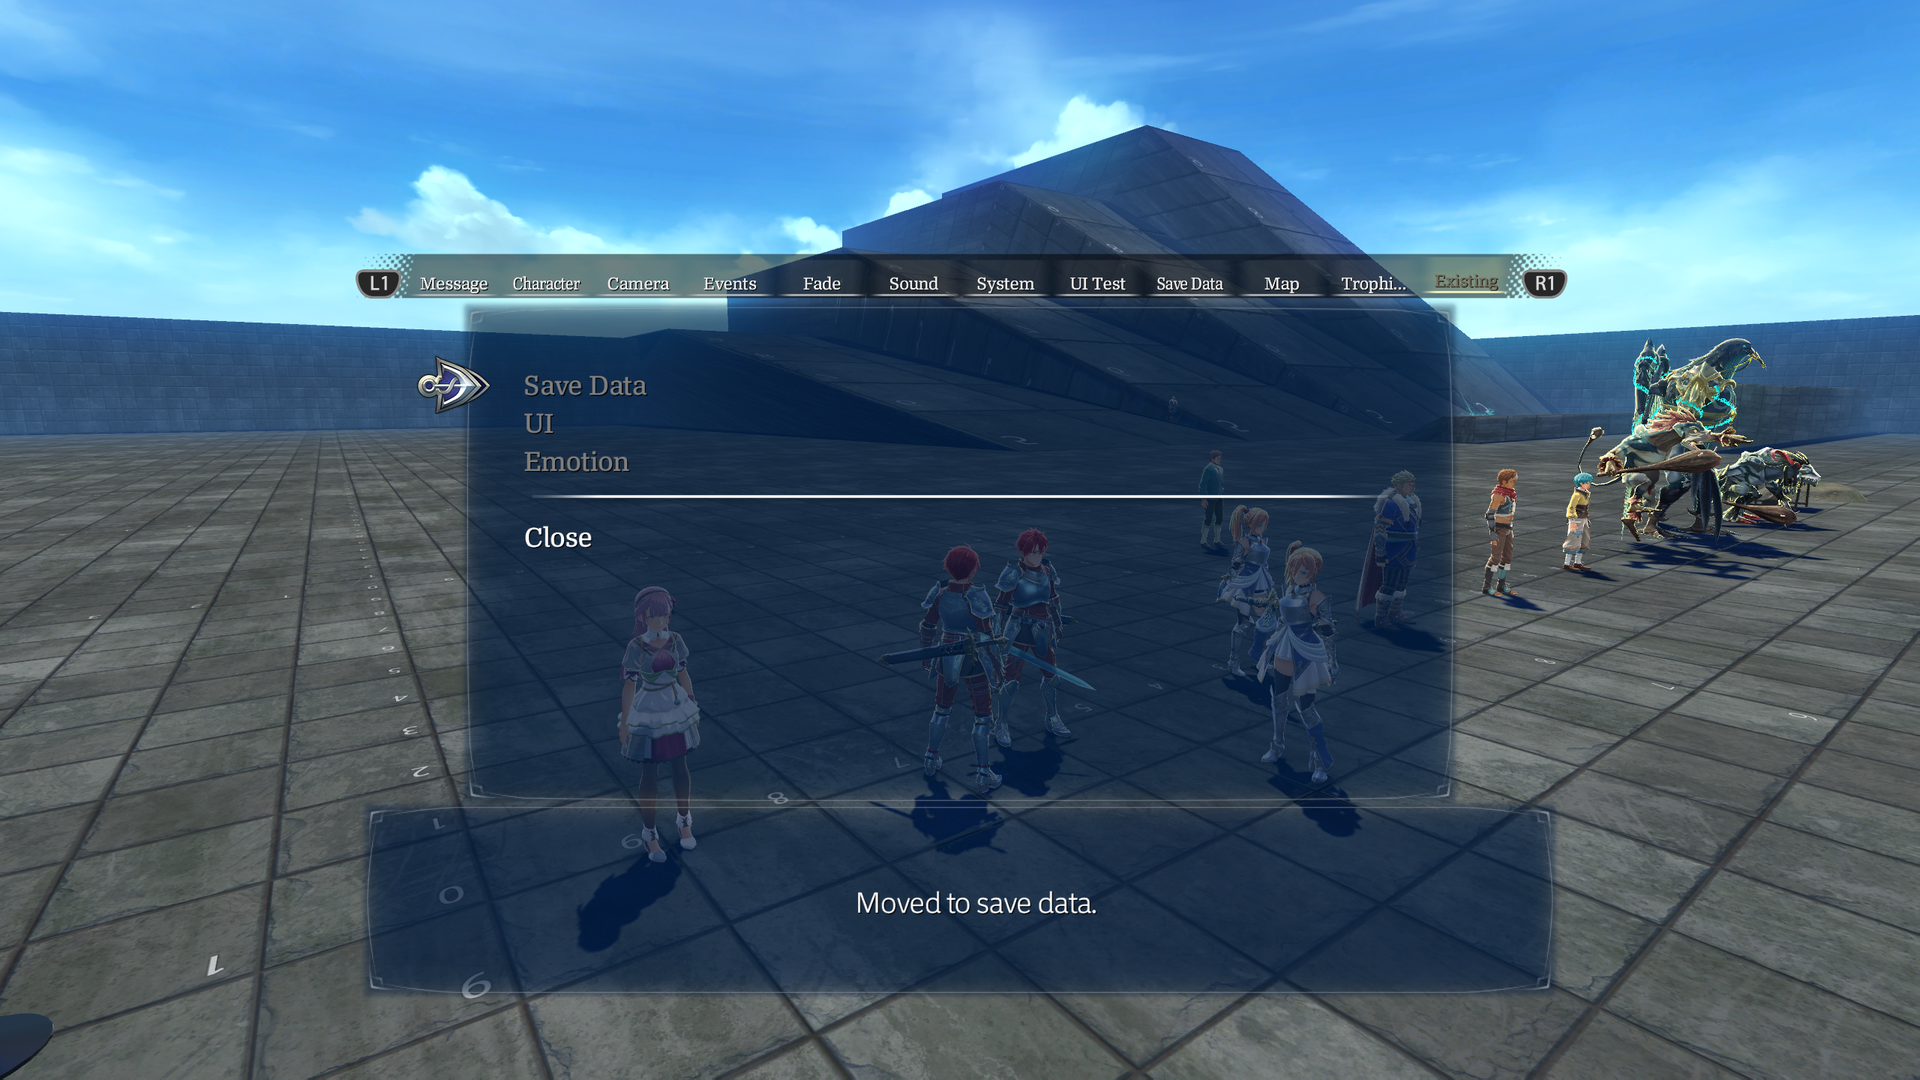
Existing: Residual tab with no functionality anymore.
test_hou01#
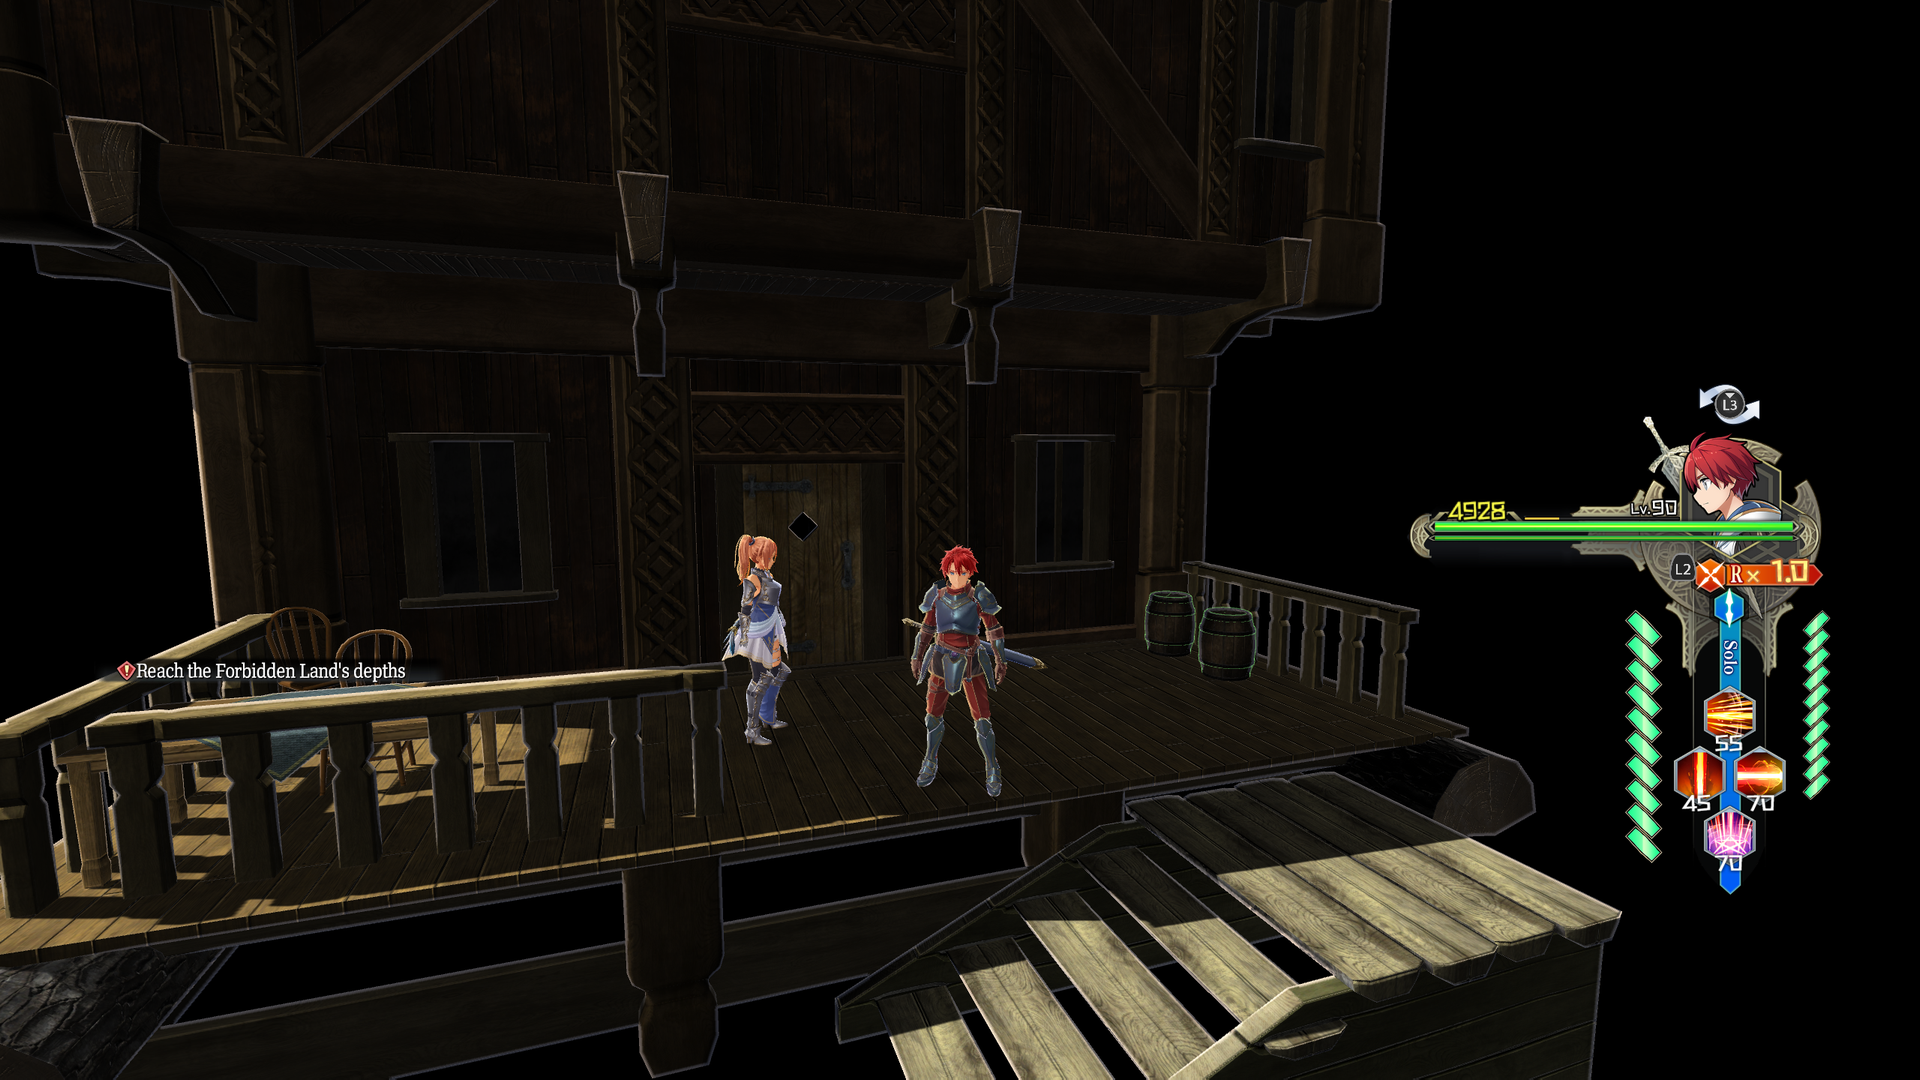
A black void with a single house.
test_init#
Empty map.
test_karnak#
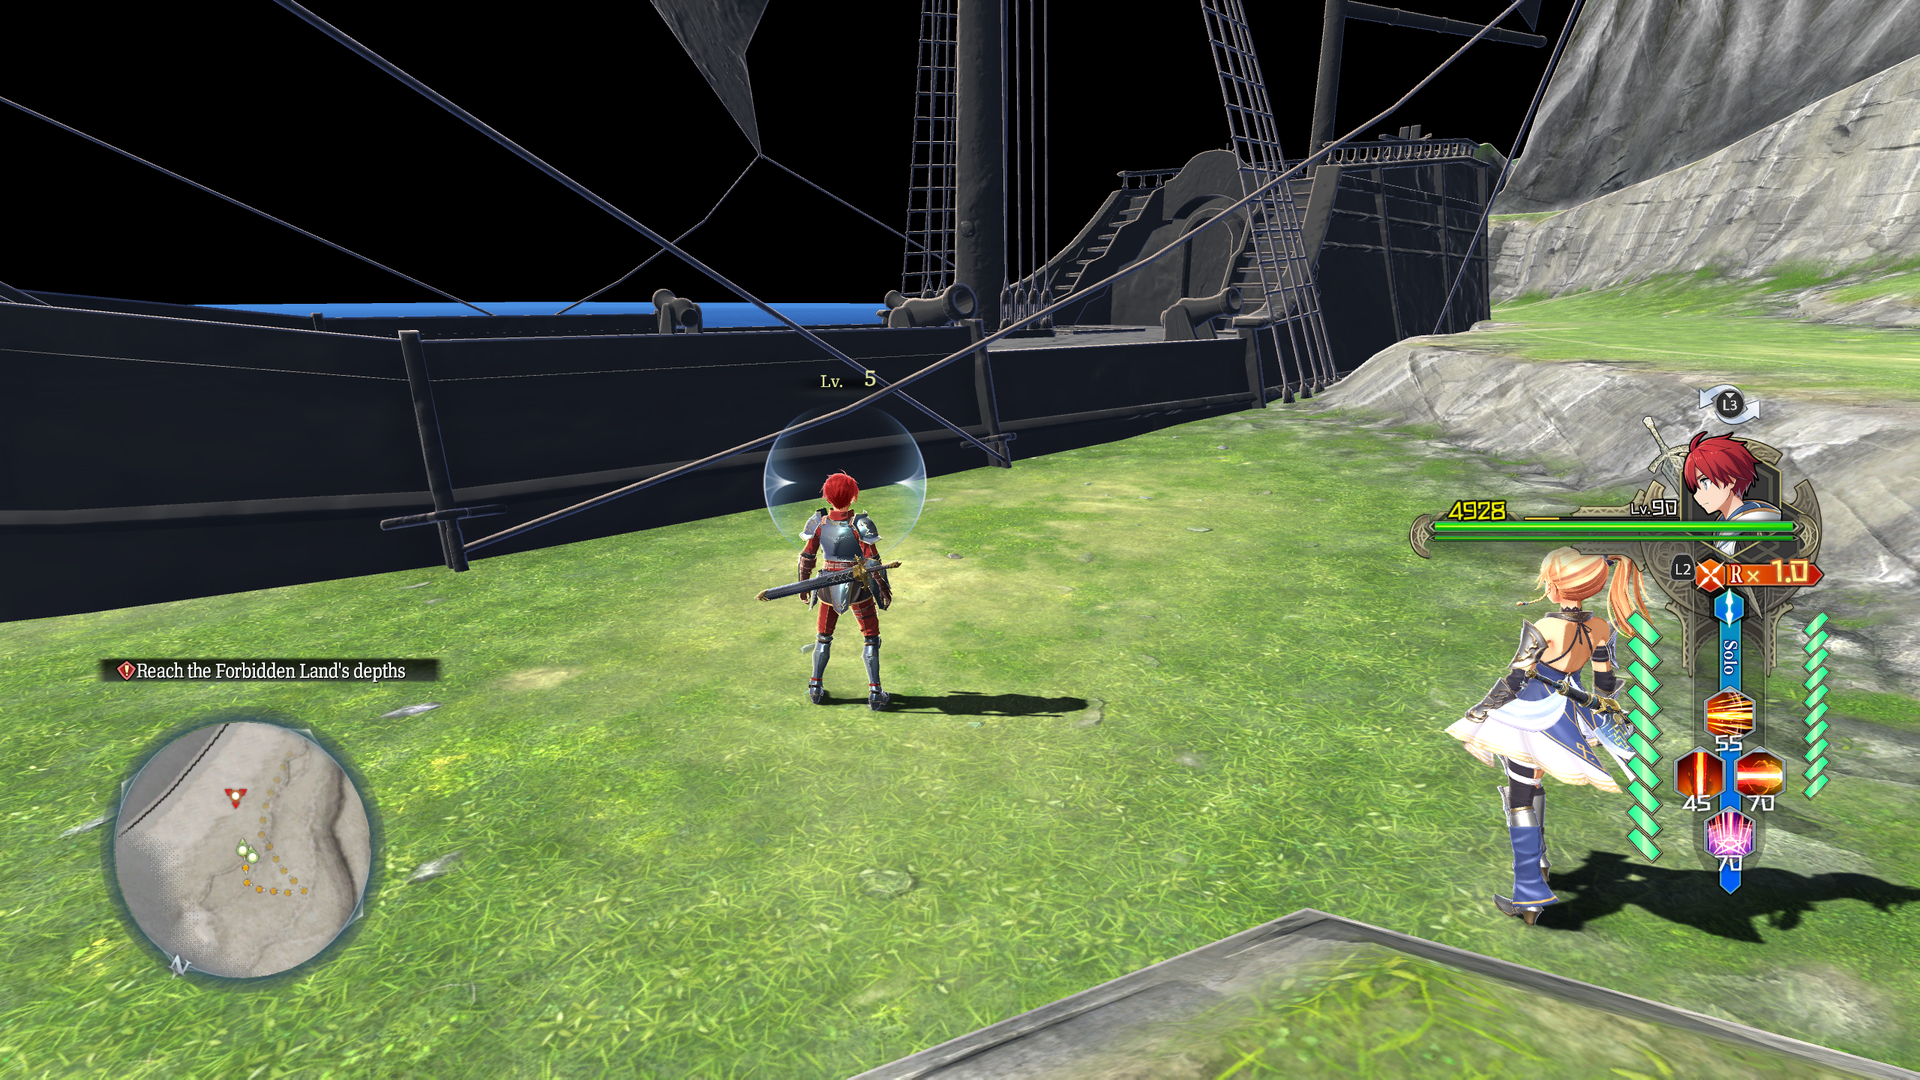
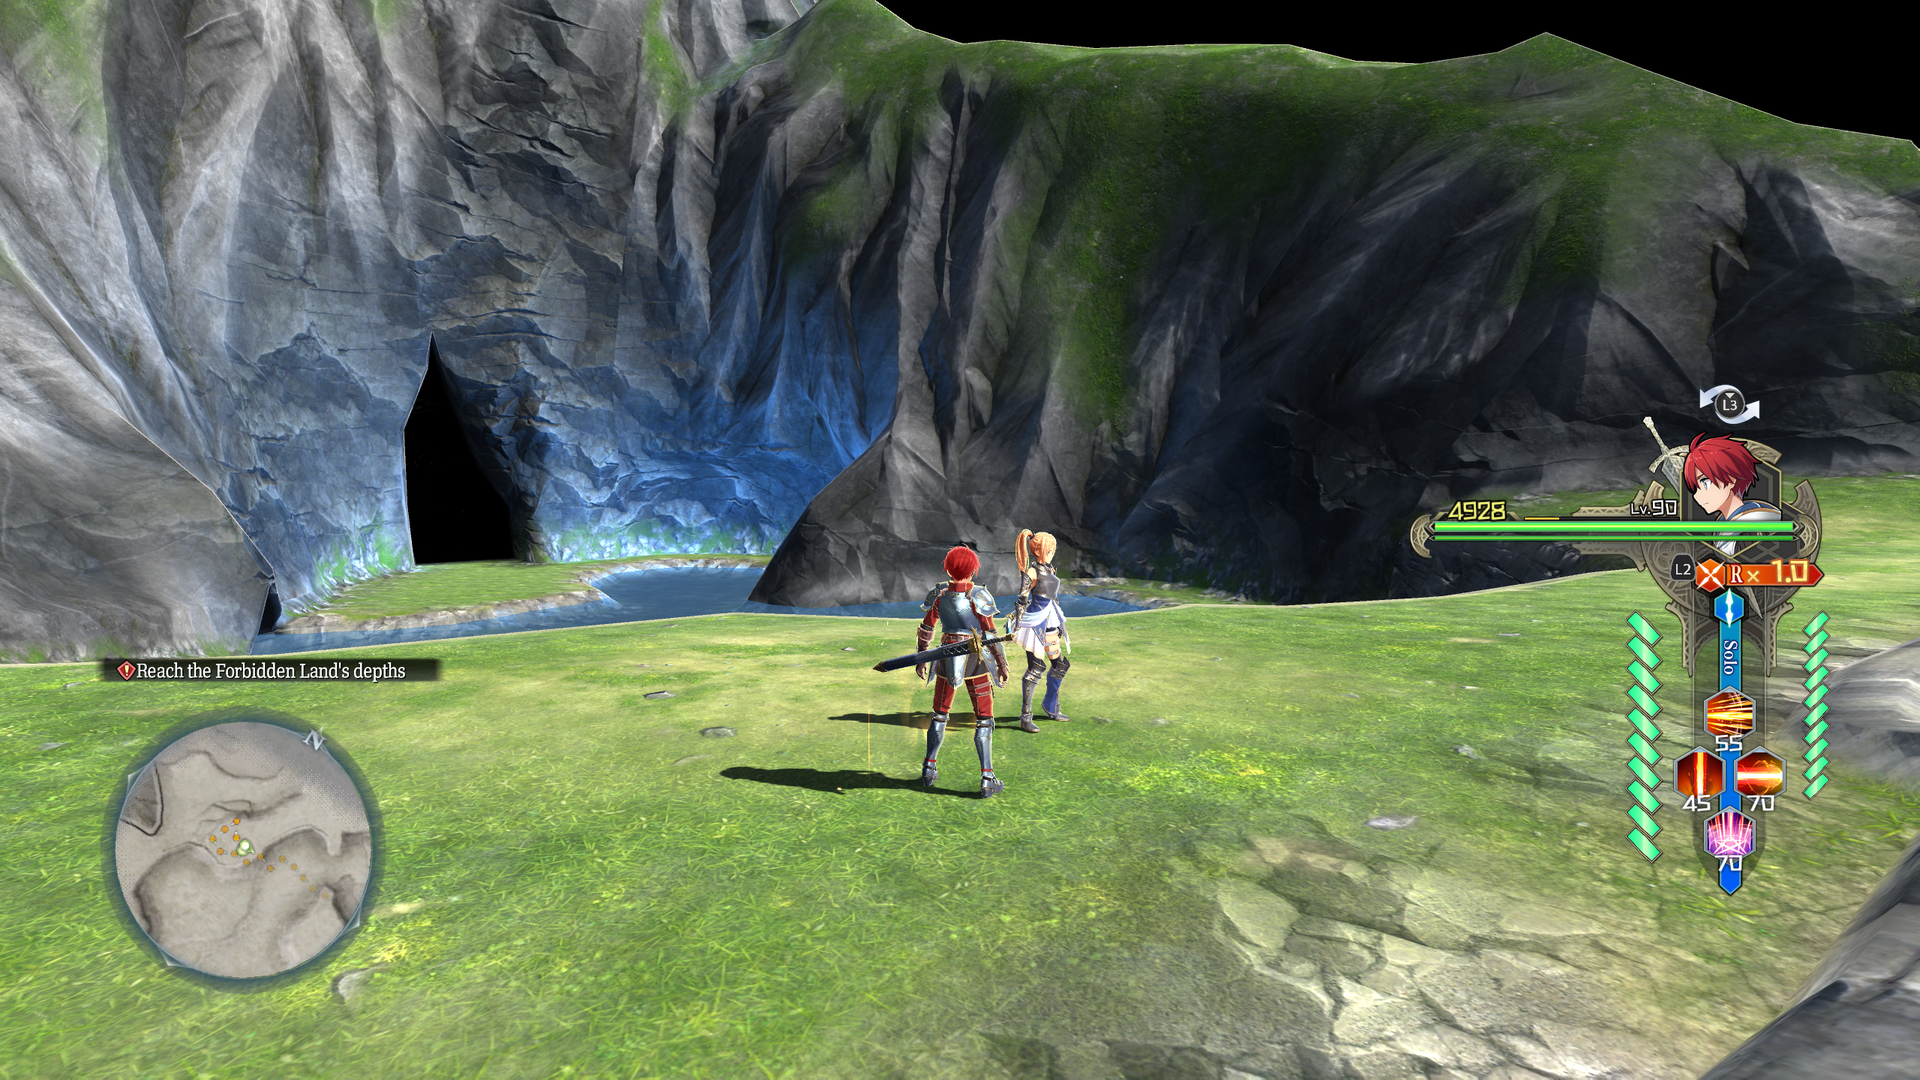
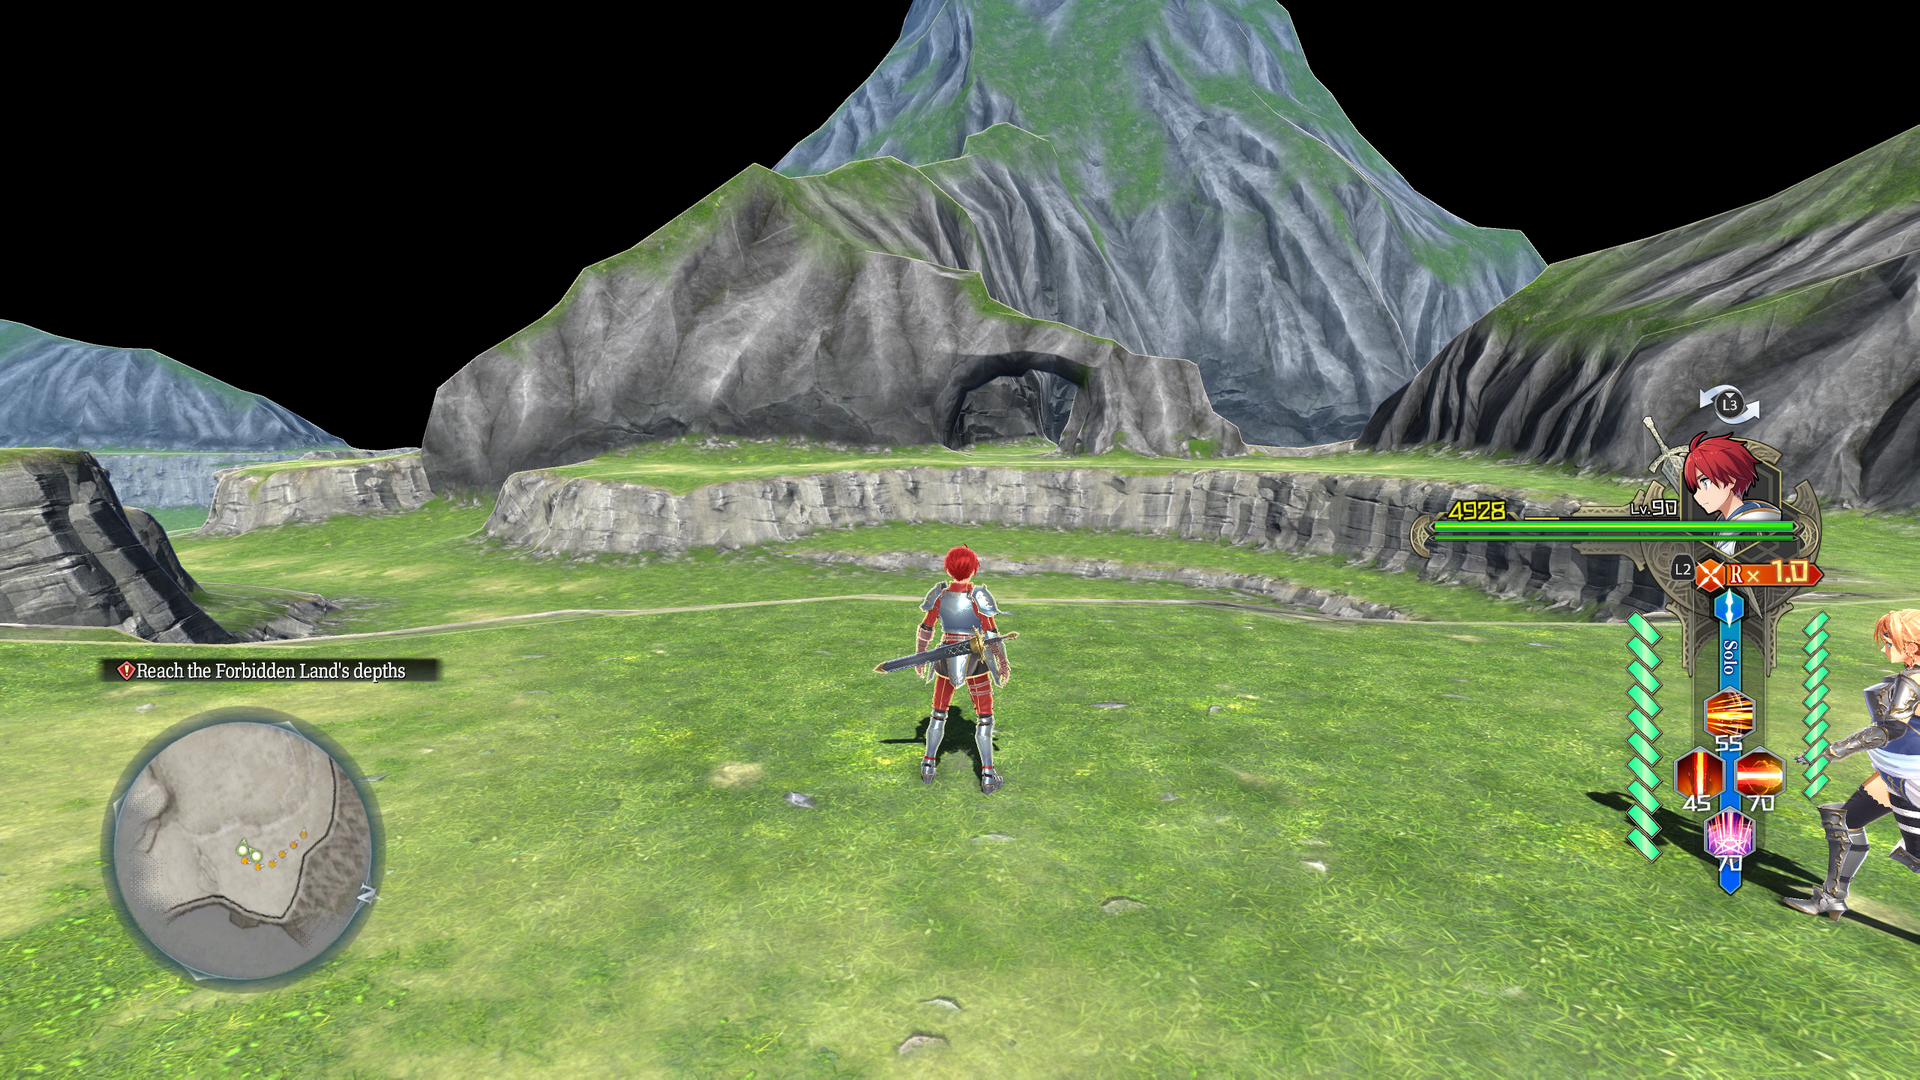
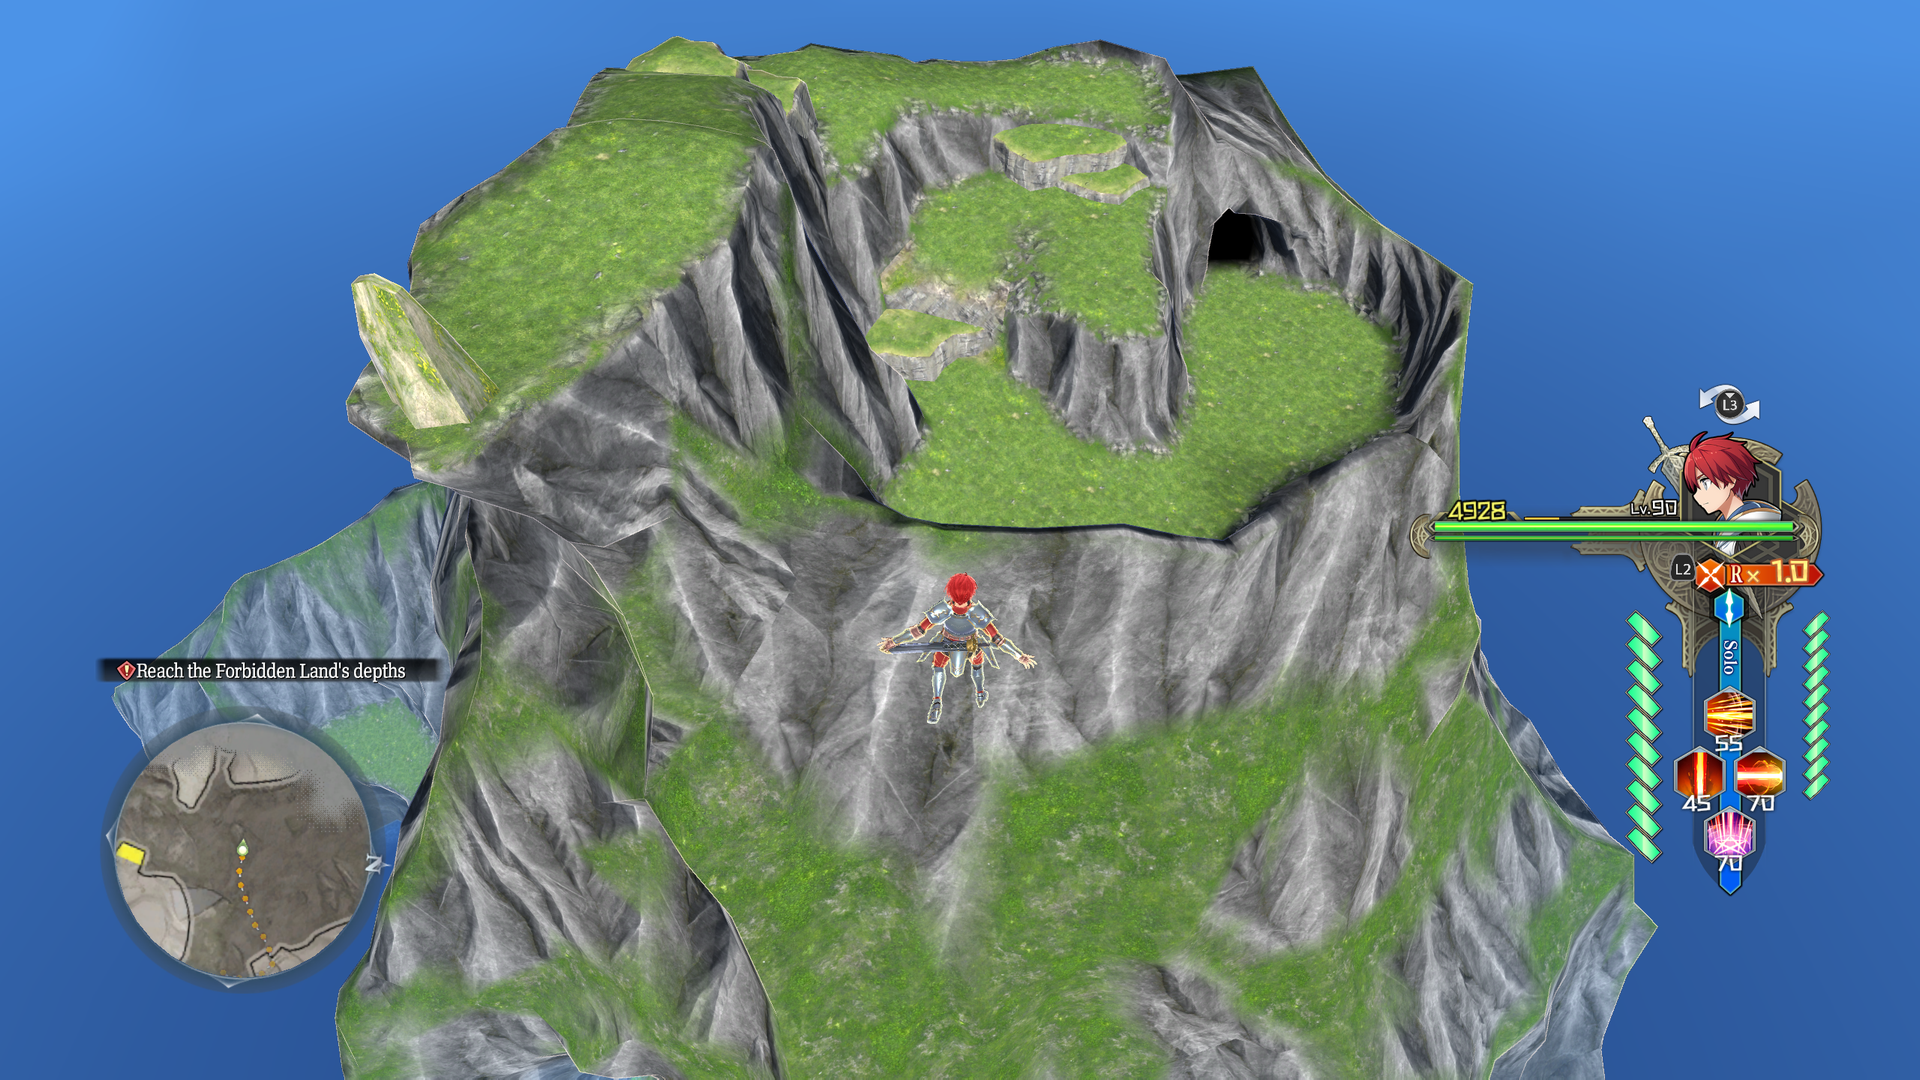
Not Carnac, but an early variant of Fuling Island.
- This map can be entered through test_sea01 by going to the location where Carnac would be, explaining the name of this map.
- The layout appears to be the same as sample_scene3. It's almost completely devoid of objects and has no background.
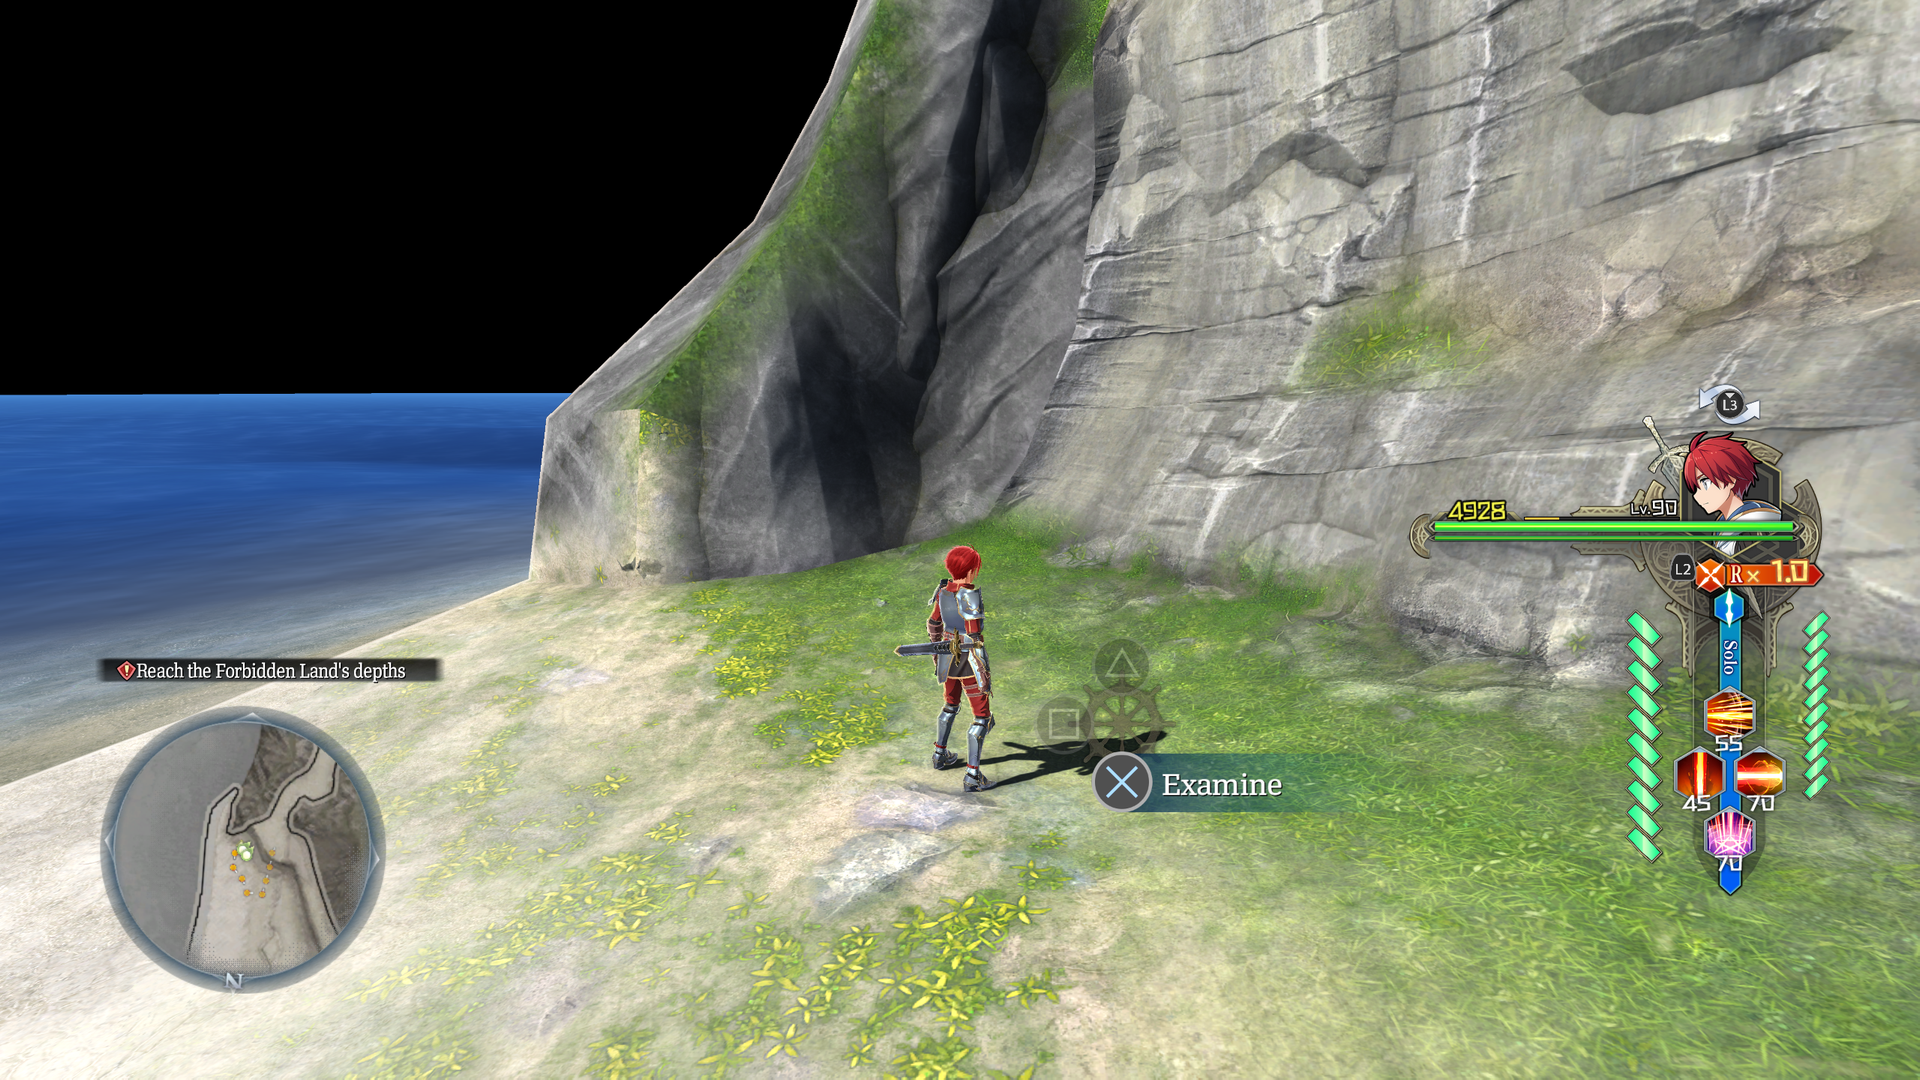
- A rough model of the Sandras and an invisible enemy are near the entry point when entering though test_sea01.
- The map can be exited by examining and invisible object near the Sandras, leading back to test_sea01.
test_kurihara#
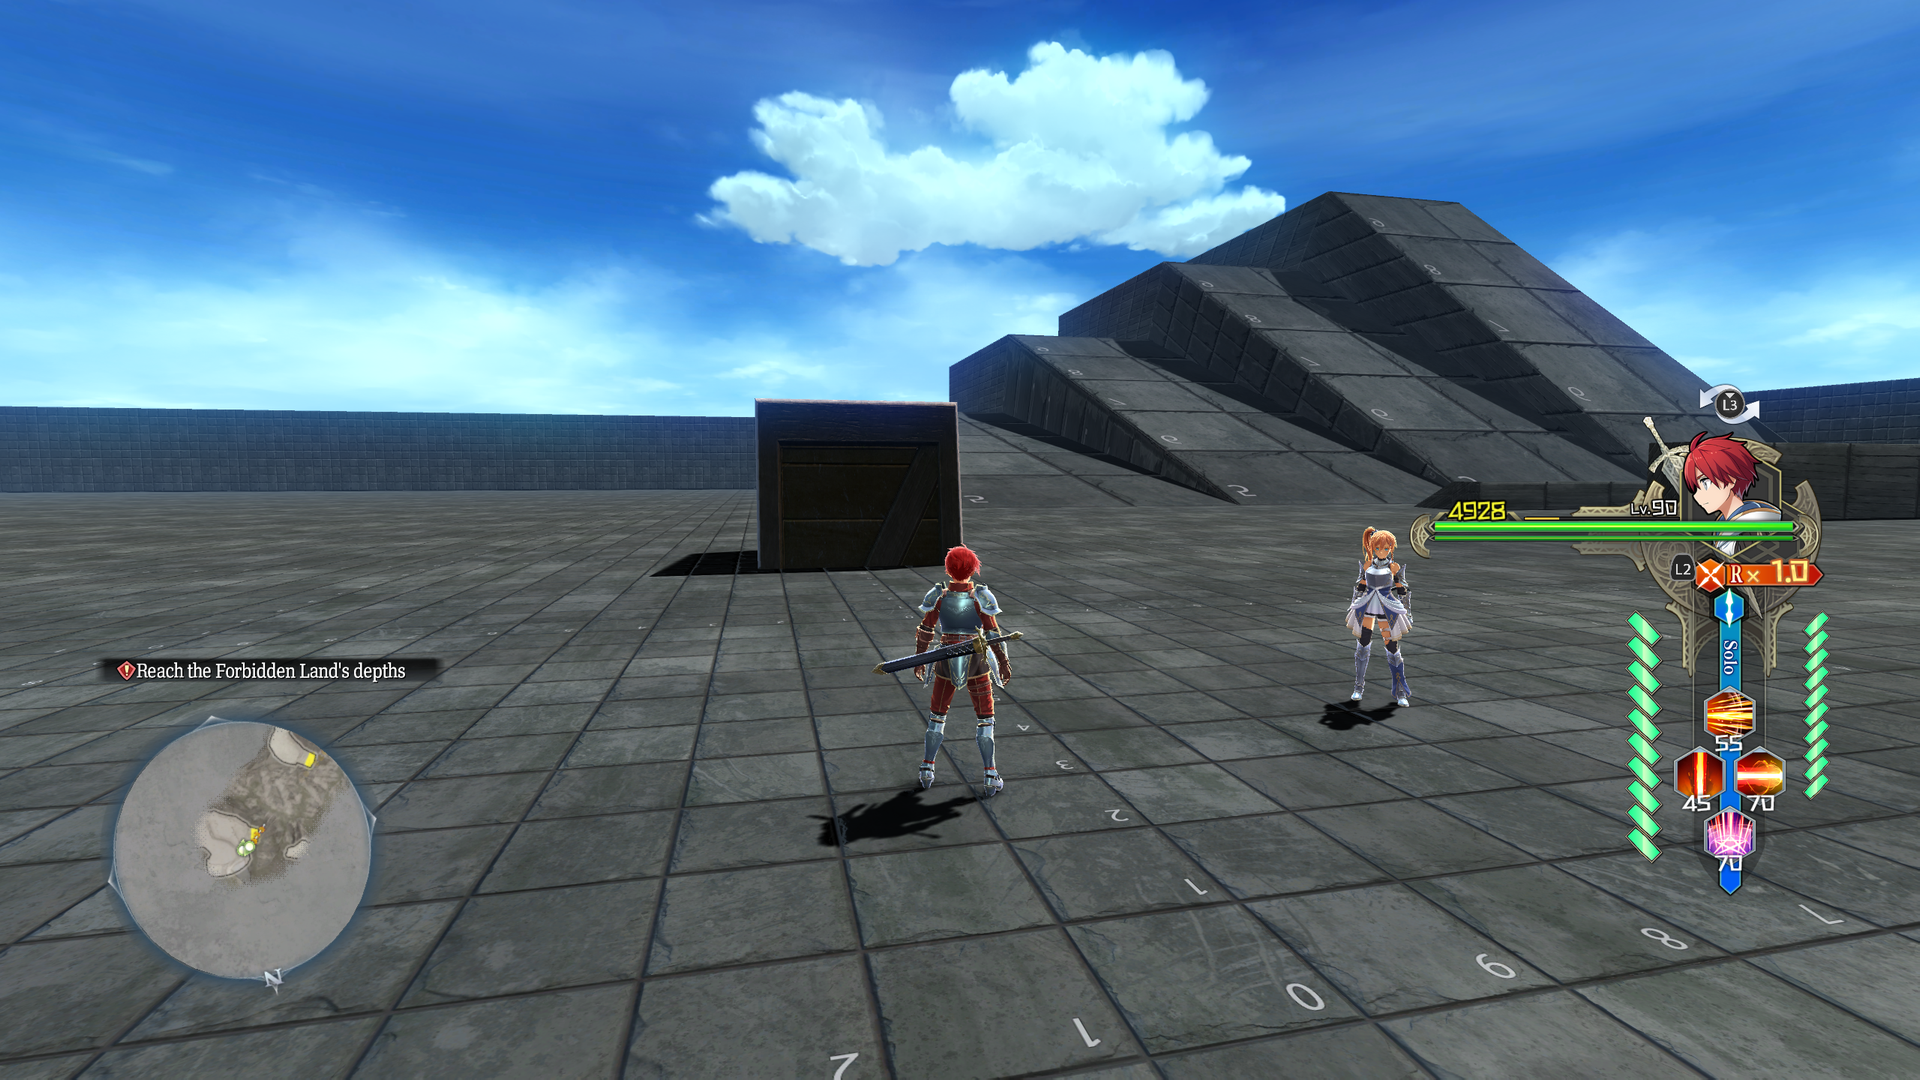
Nothing but a giant box in here.
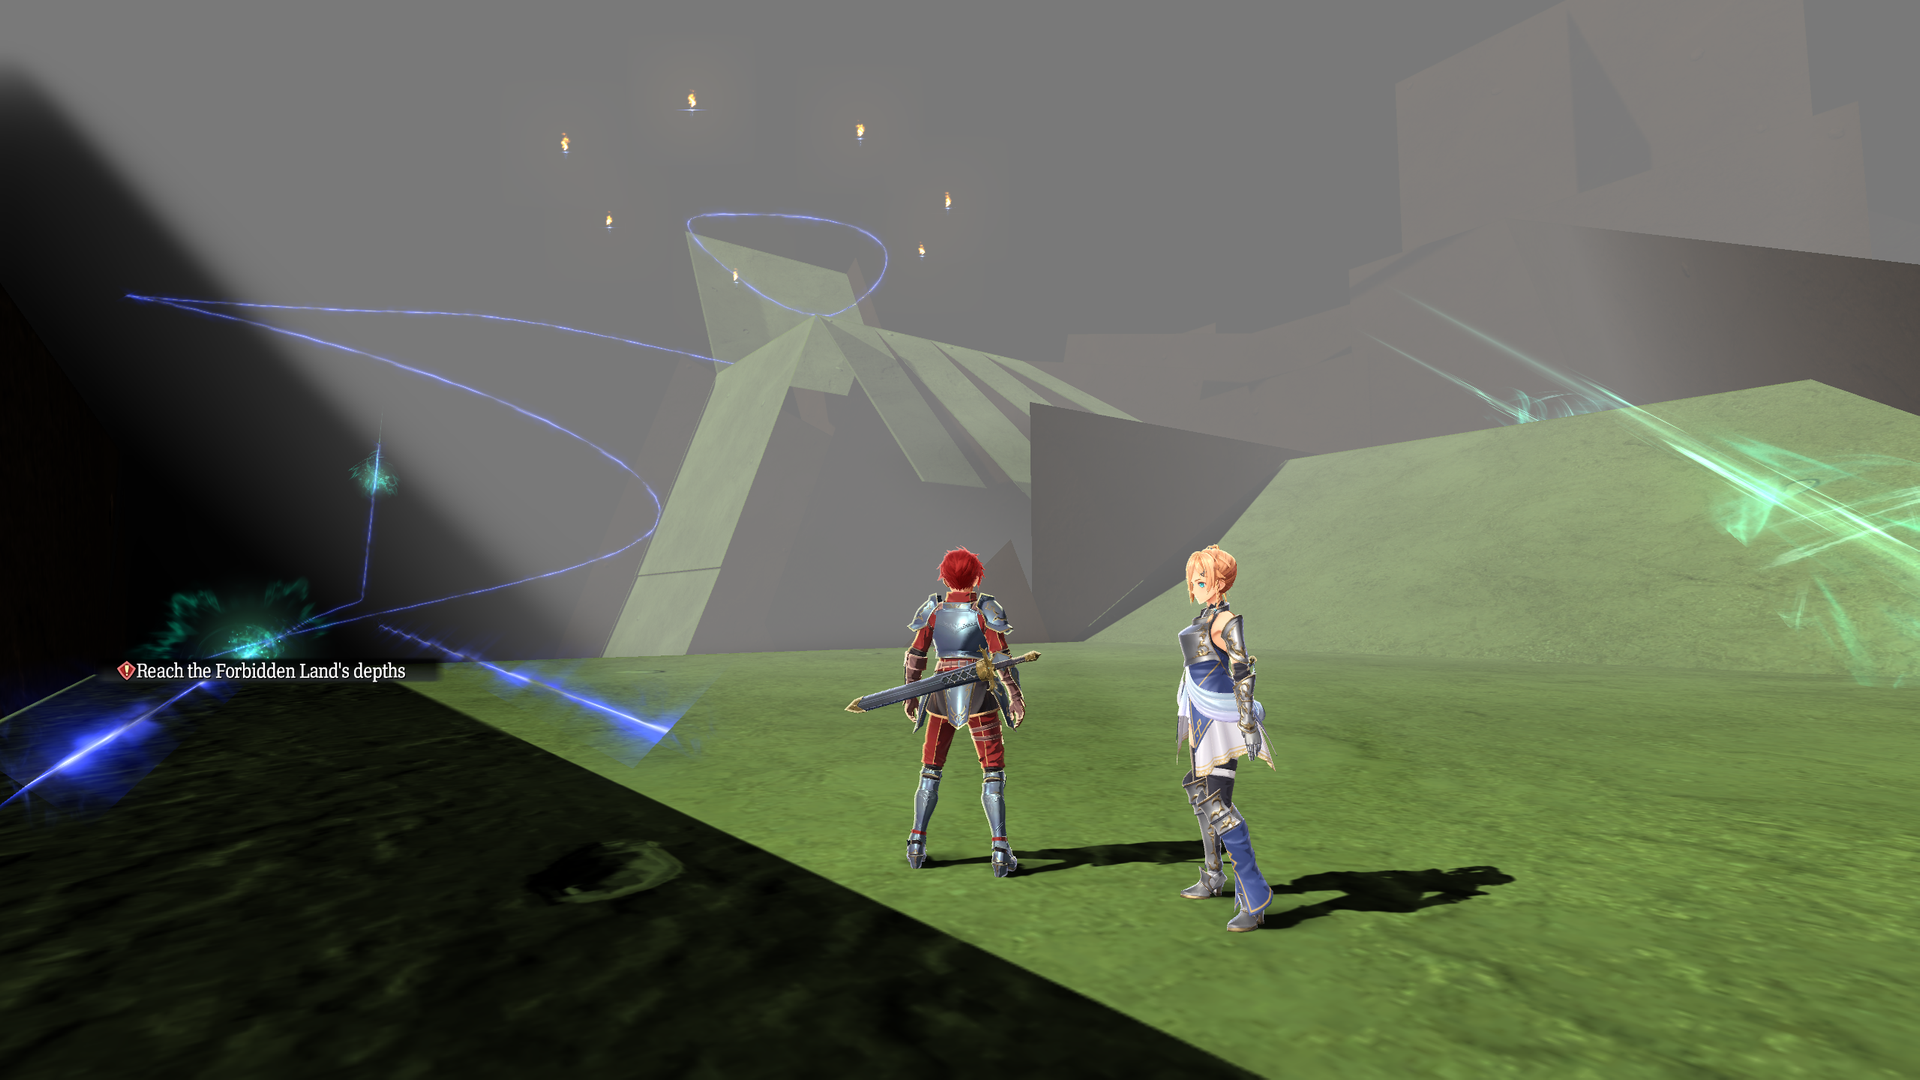
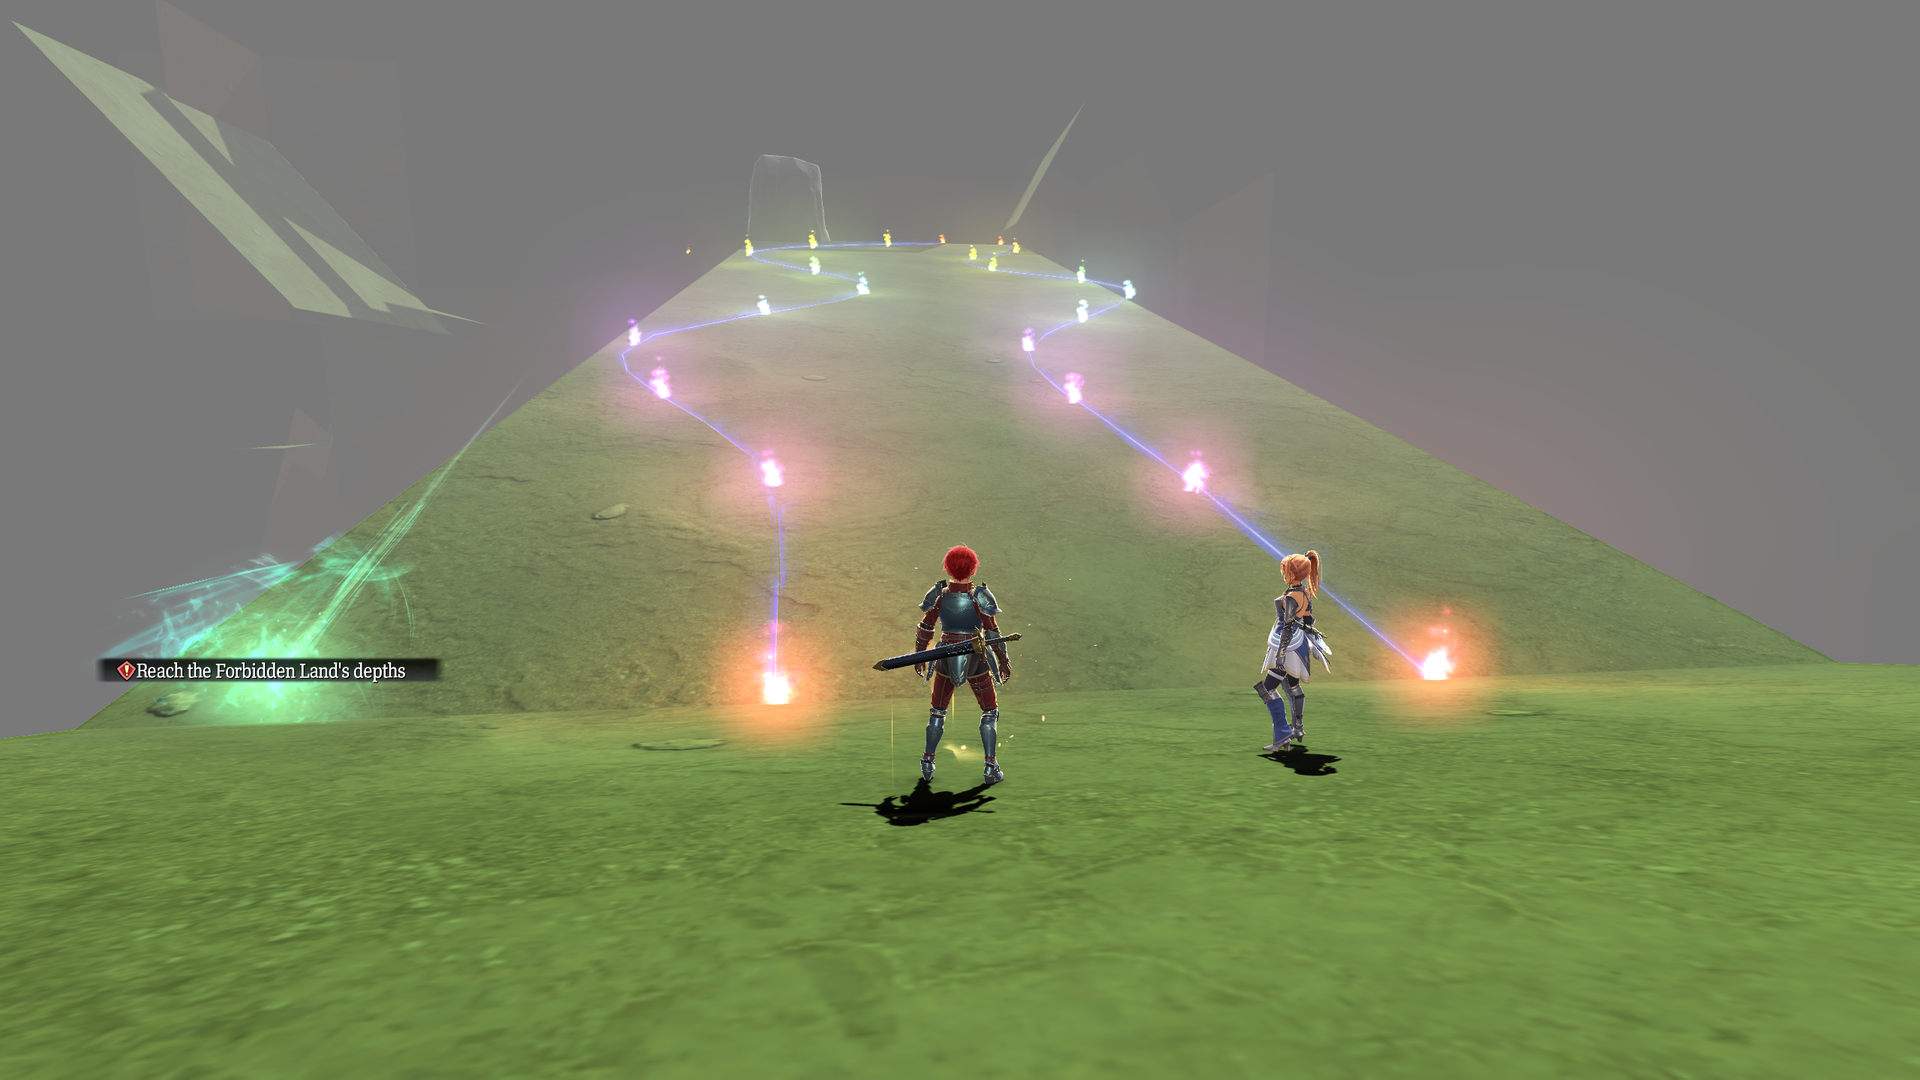
test_mana_slide#
Watch on YouTubeThis map is dedicated to testing everything related to Mana Ride. Approaching the room with the slope lined with flames may trigger a cutscene where the player slides down without the Gullinboard.
test_mapregulation#
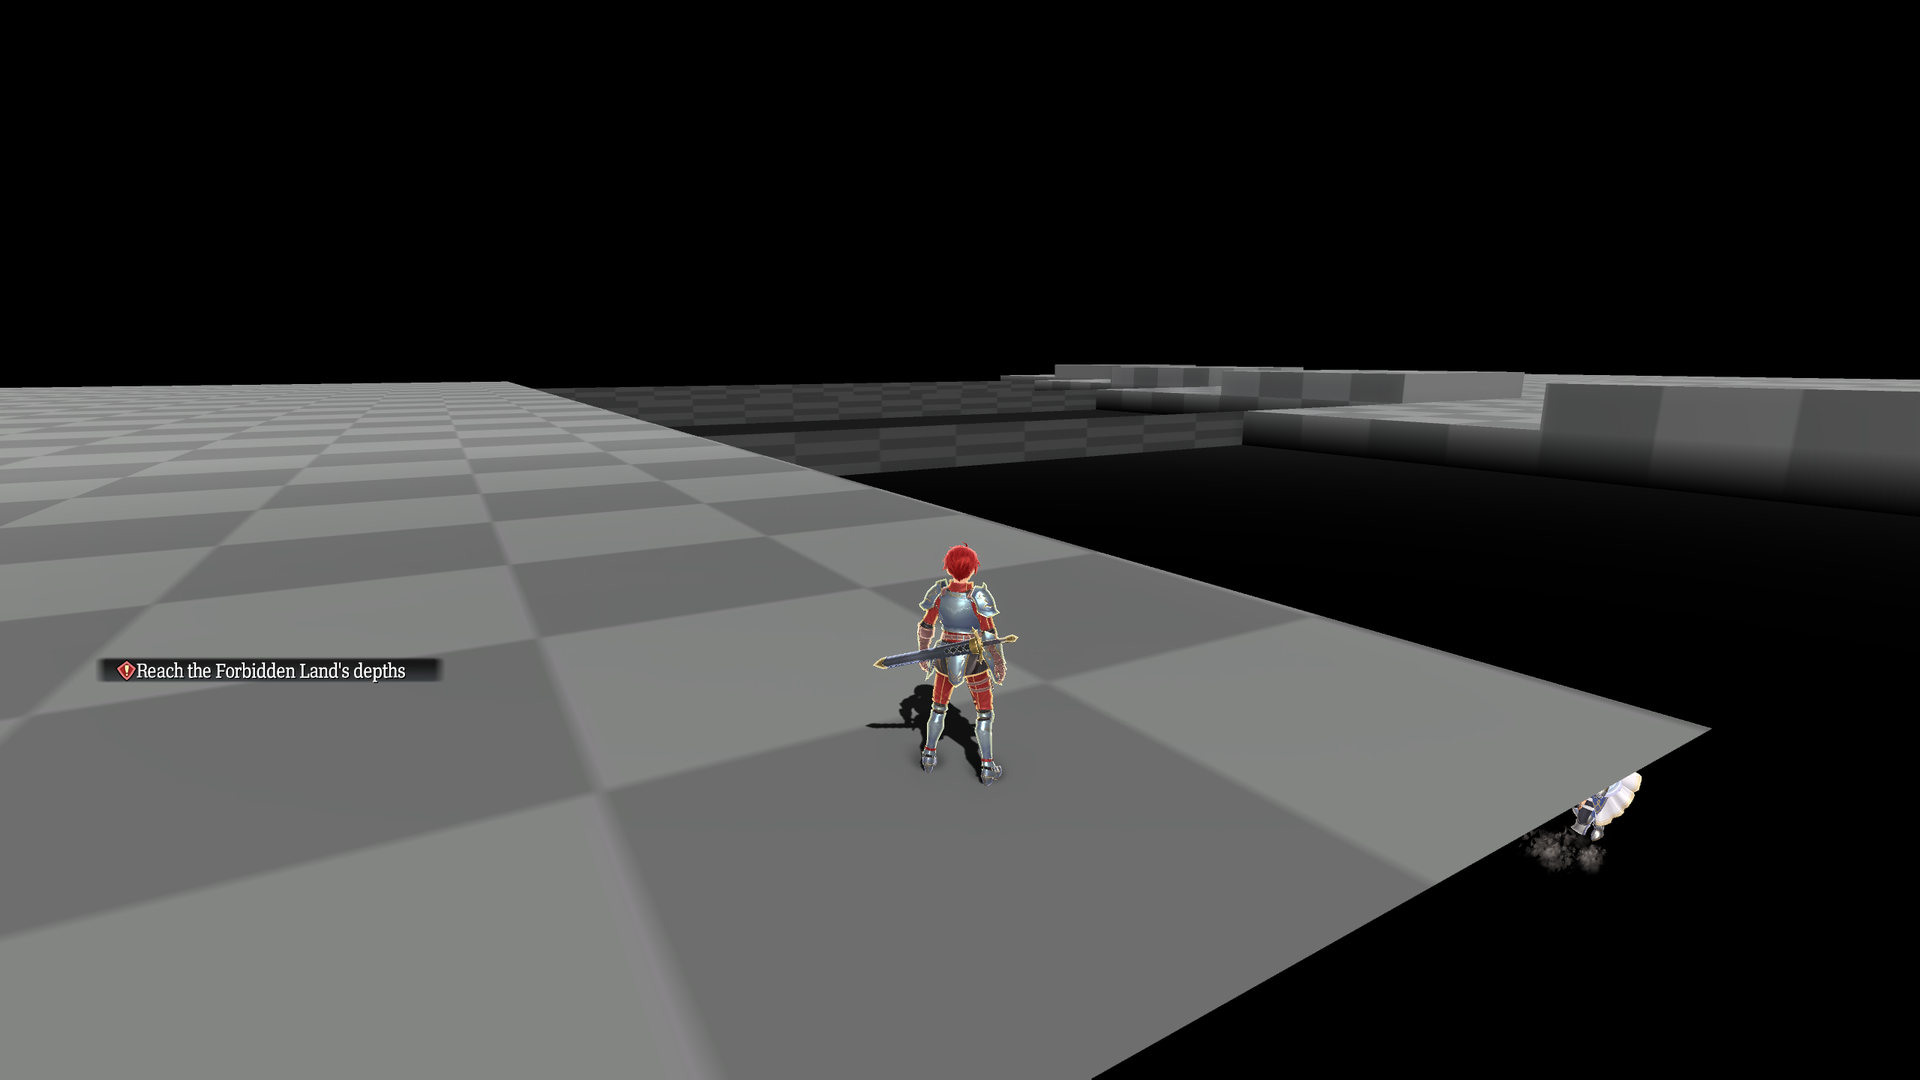
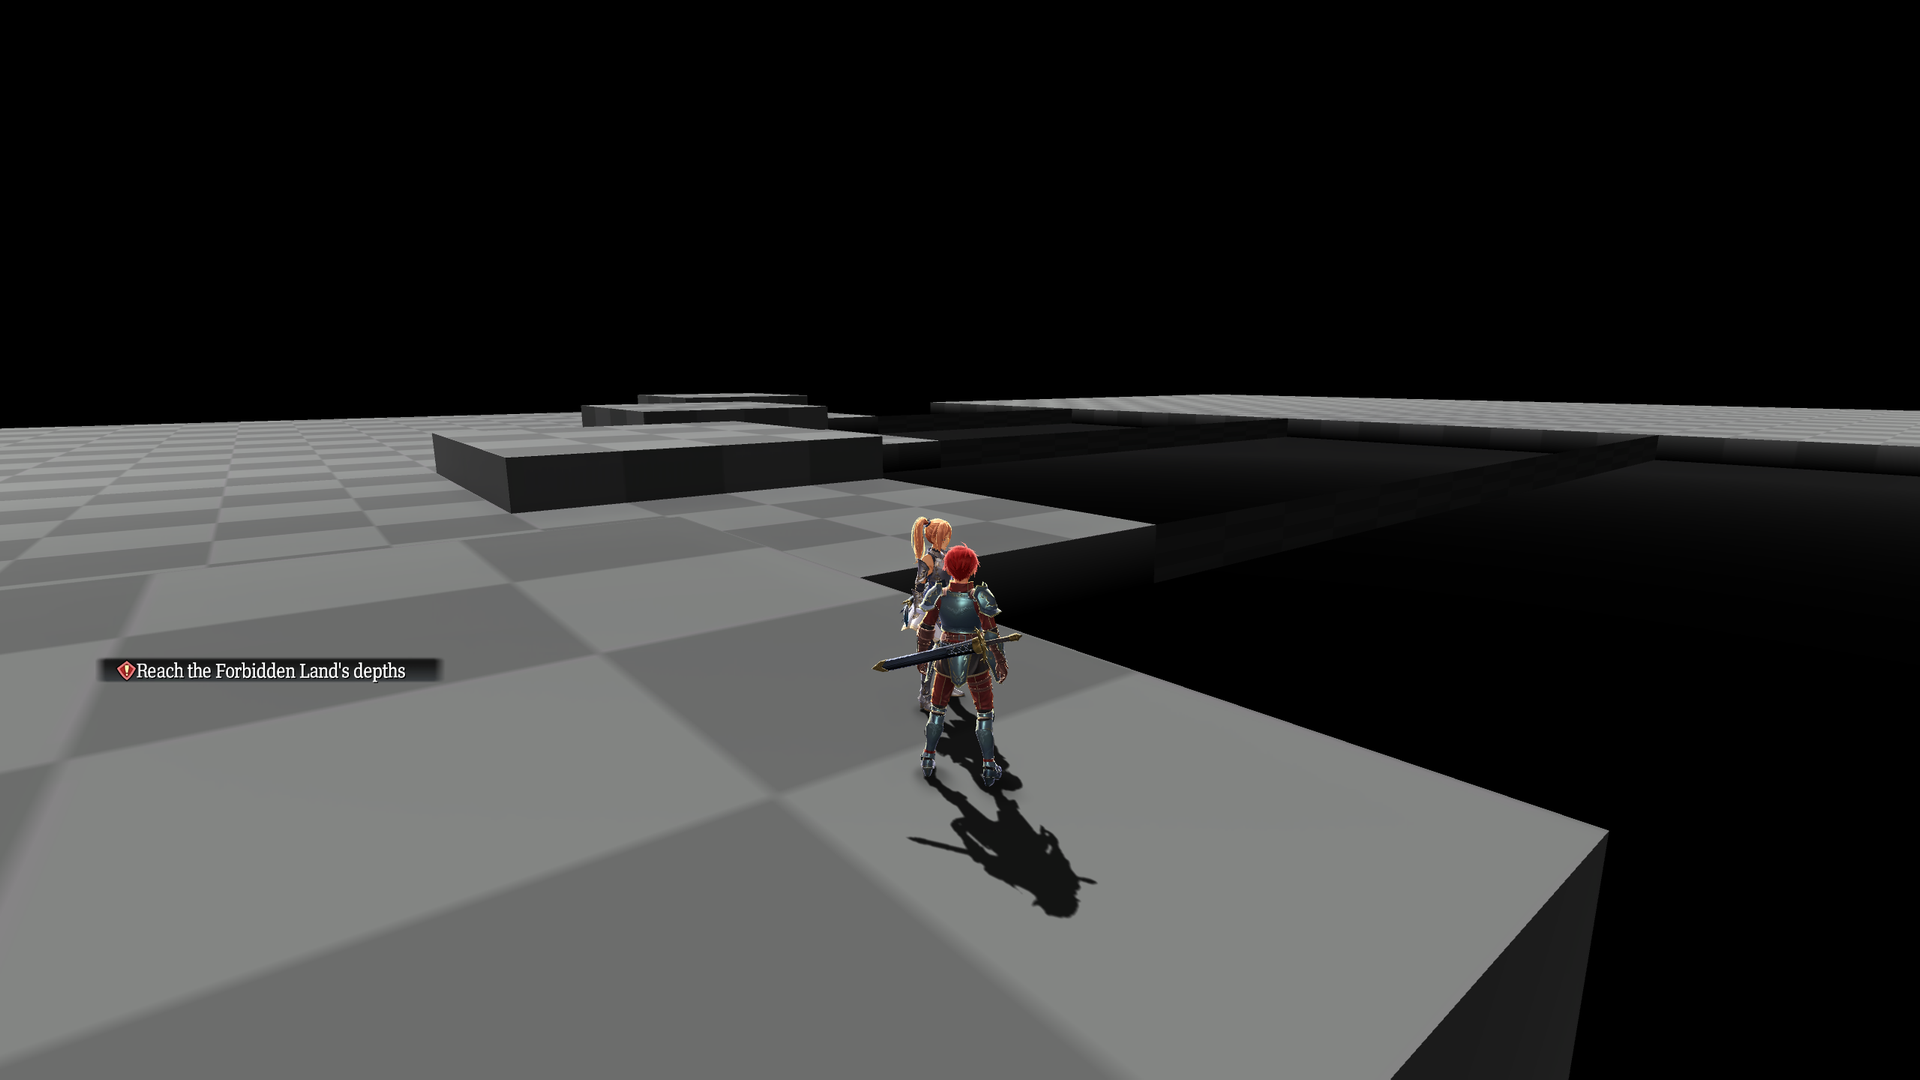
Just a simple checkerboarded map.

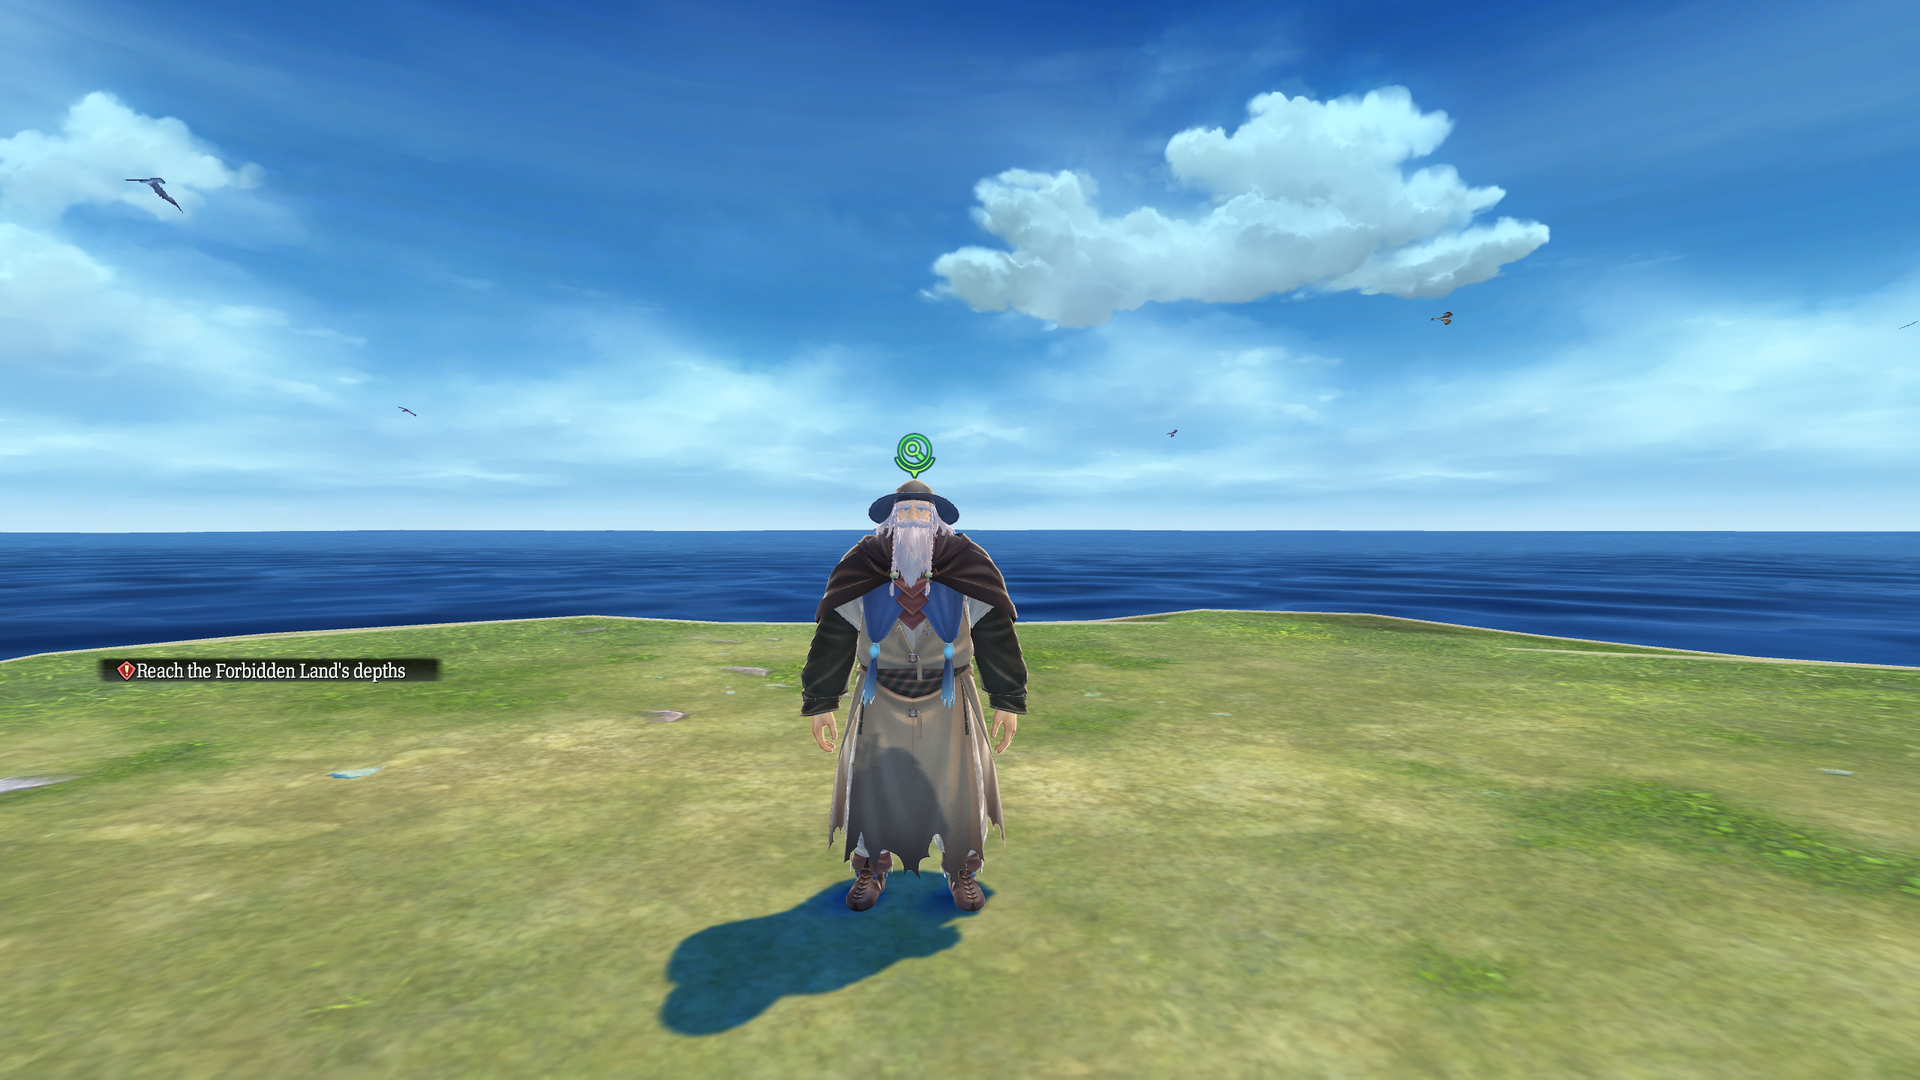
test_maya_event#
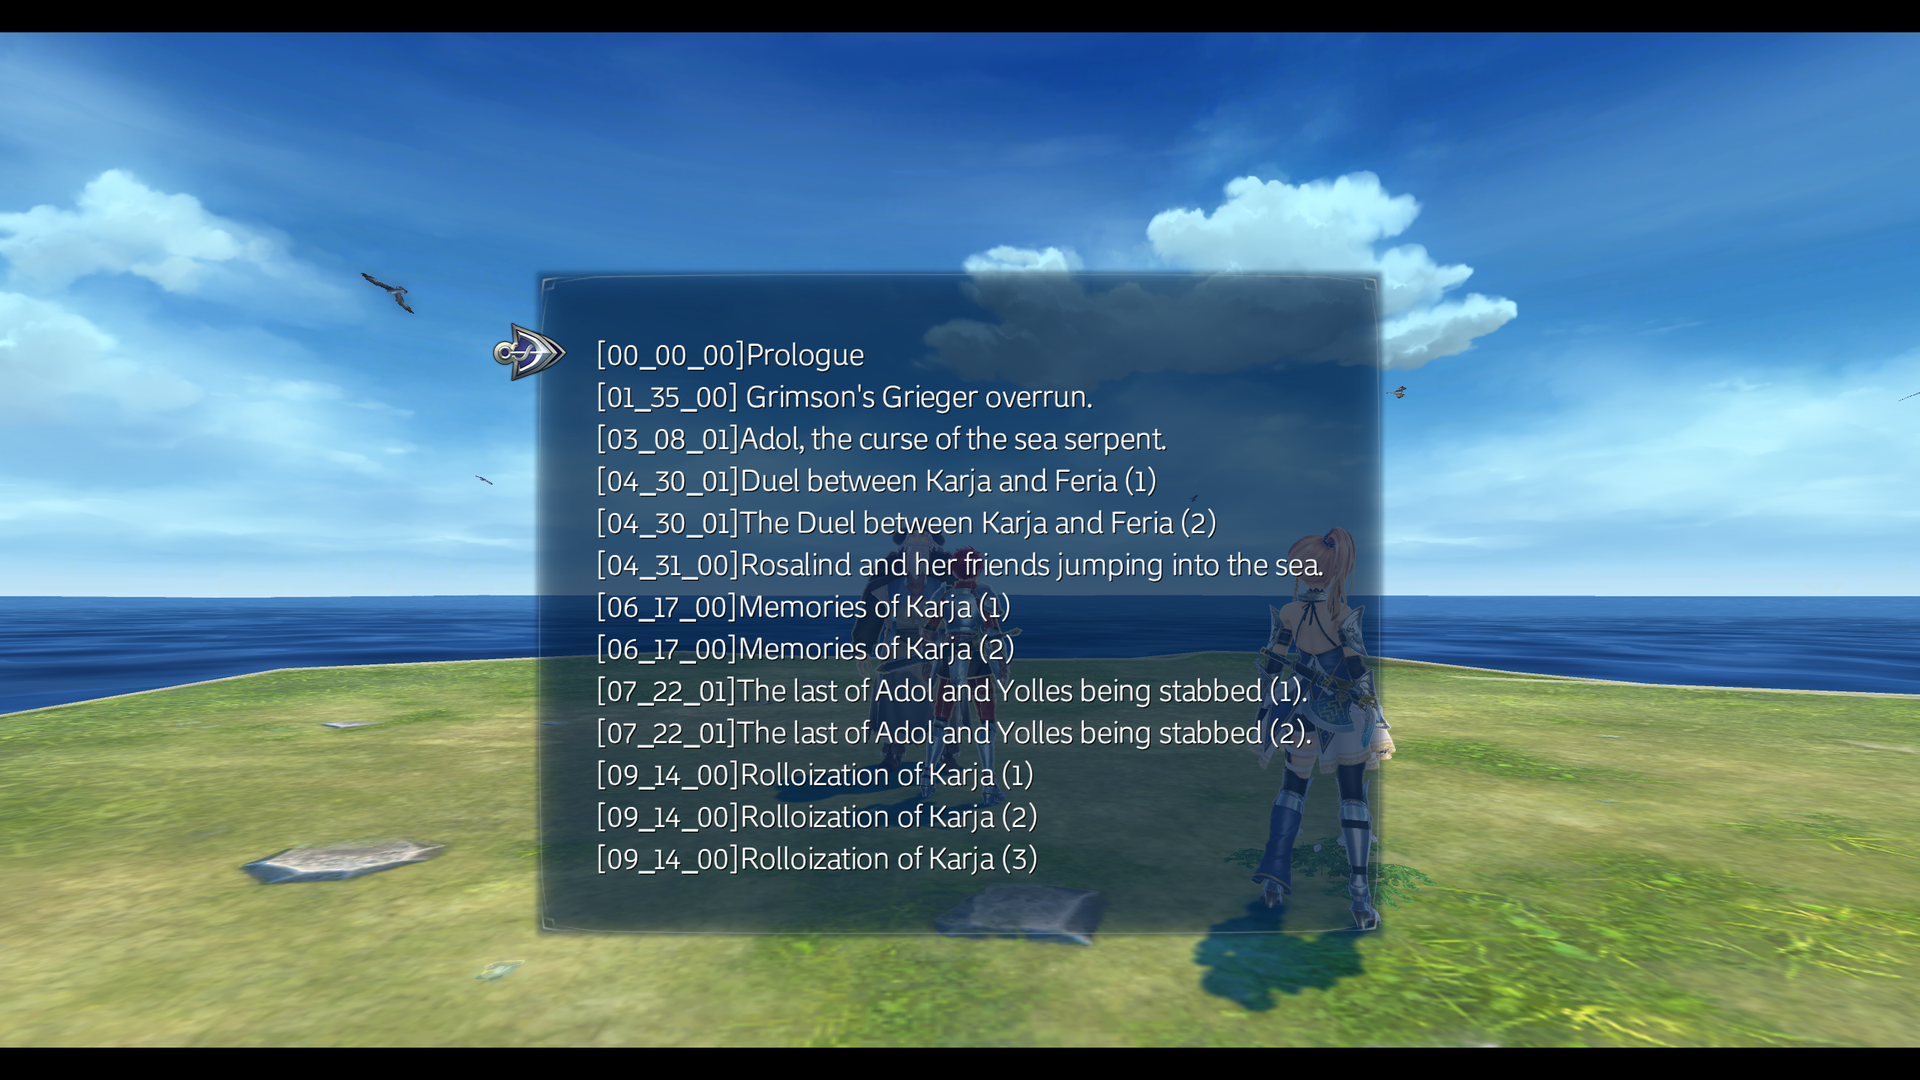
Watch on YouTubeThis map allows testing several different mocapped cutscenes by talking to old man Rollo.
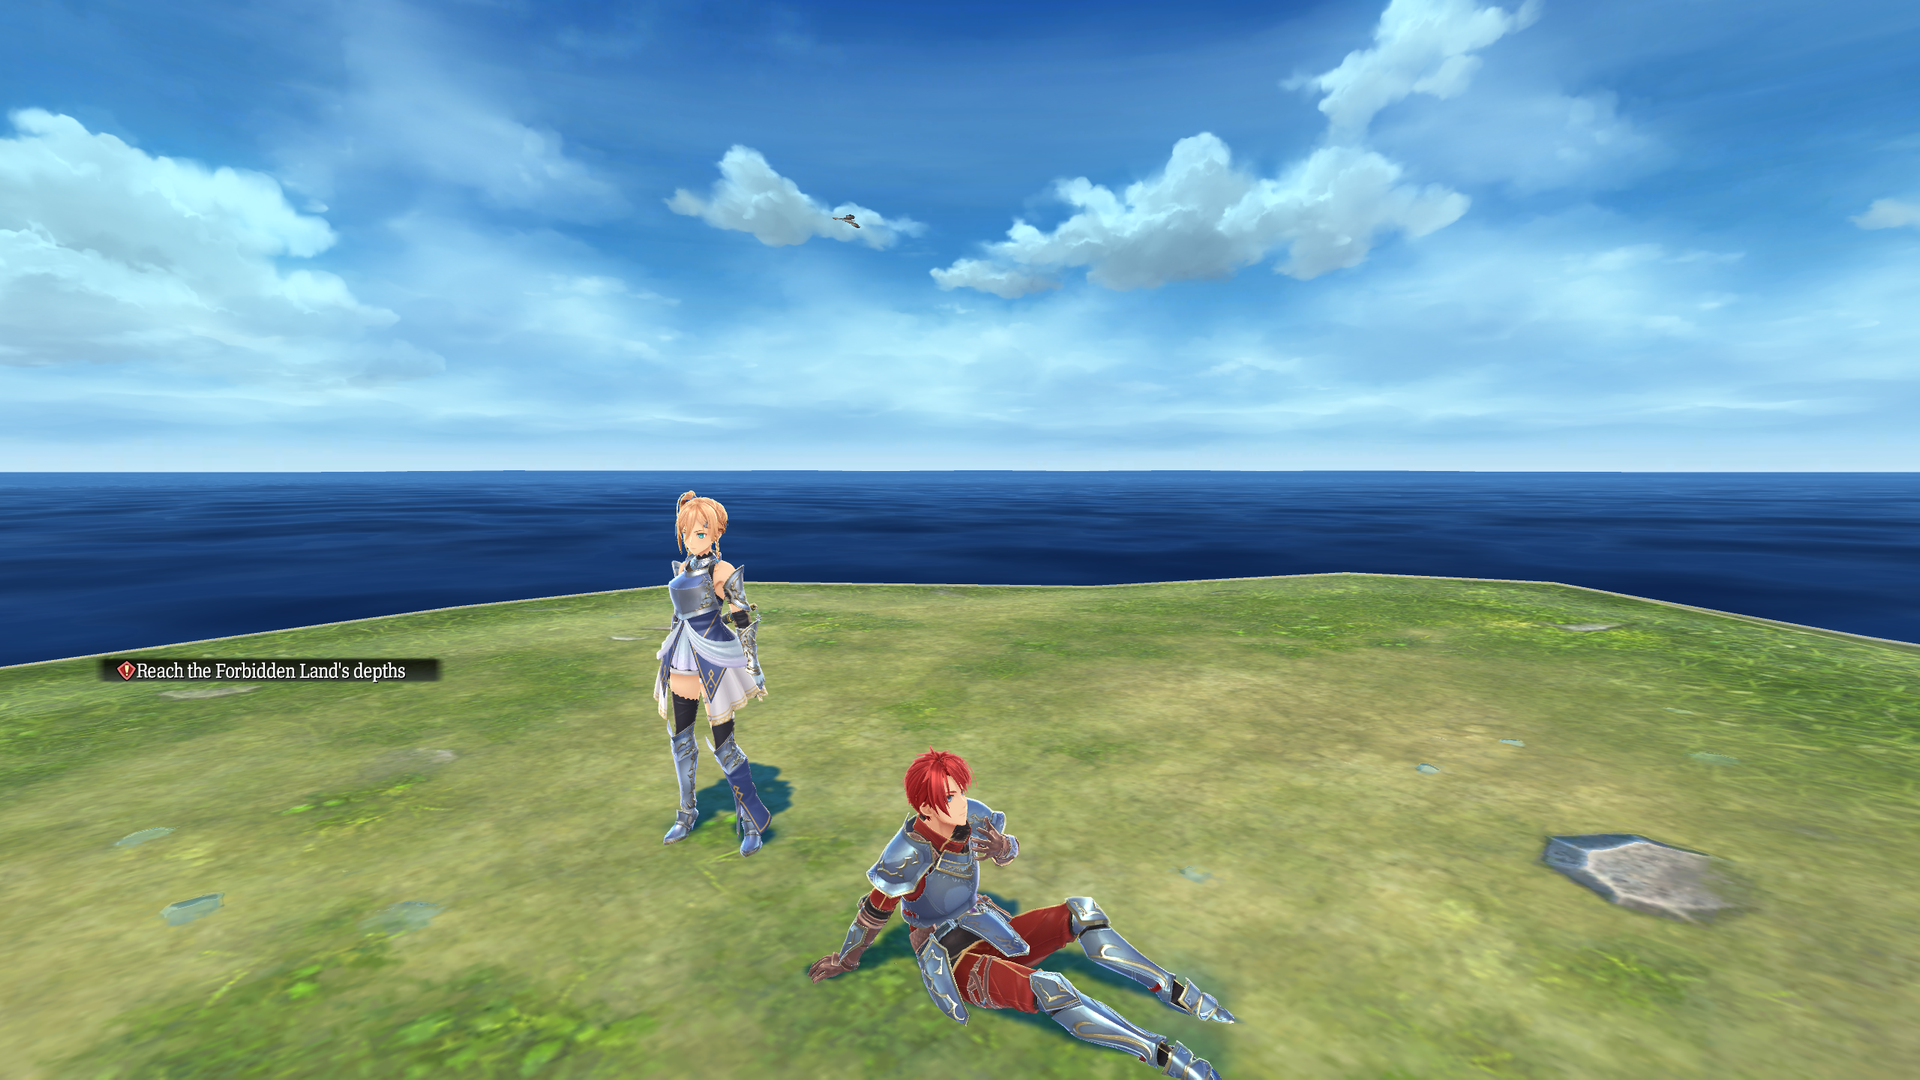
- The water can be walked on.
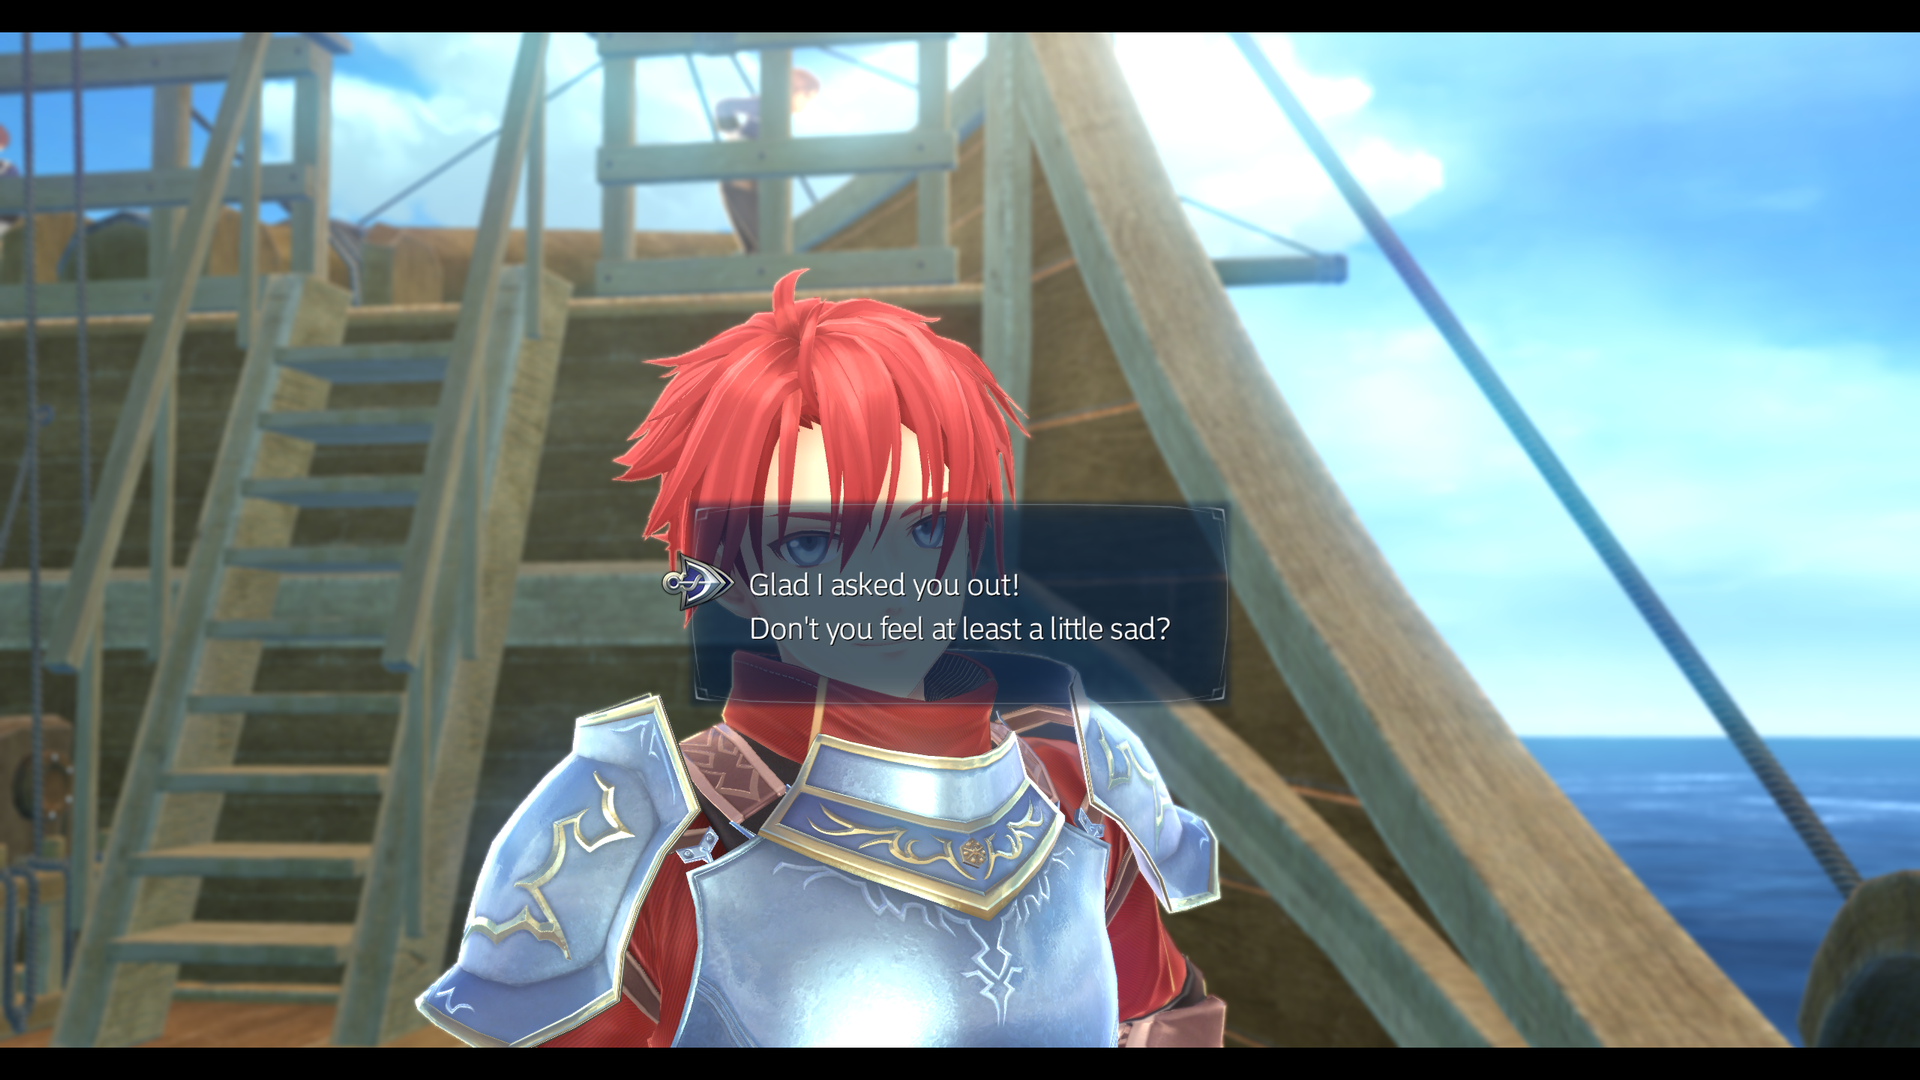
- The translation of the dialog is in an unrefined state, possibly machine translated.
- Most cutscenes are near-final, though some have missing graphical details (like the curse around Adol's neck) or are missing animations.
- The characters will usually retain the last animation they were playing out upon returning to Rollo after a cutscene ends.
- Voice lines are absent from all the cutscenes except for [04_30_01]Duel between Karja and Feria (1).
- After playing out [07_22_01]The last of Adol and Yolles being stabbed (2), Adol will be constantly twitching sideways. Moving with him like this will make him rotate and move at hyperspeed at certain angles. Karja is unaffected by this.
- Adol is placed out of bounds after [09_14_00]Rolloization of Karja (1) ends instead of returning to Rollo.
test_mp_d5120#
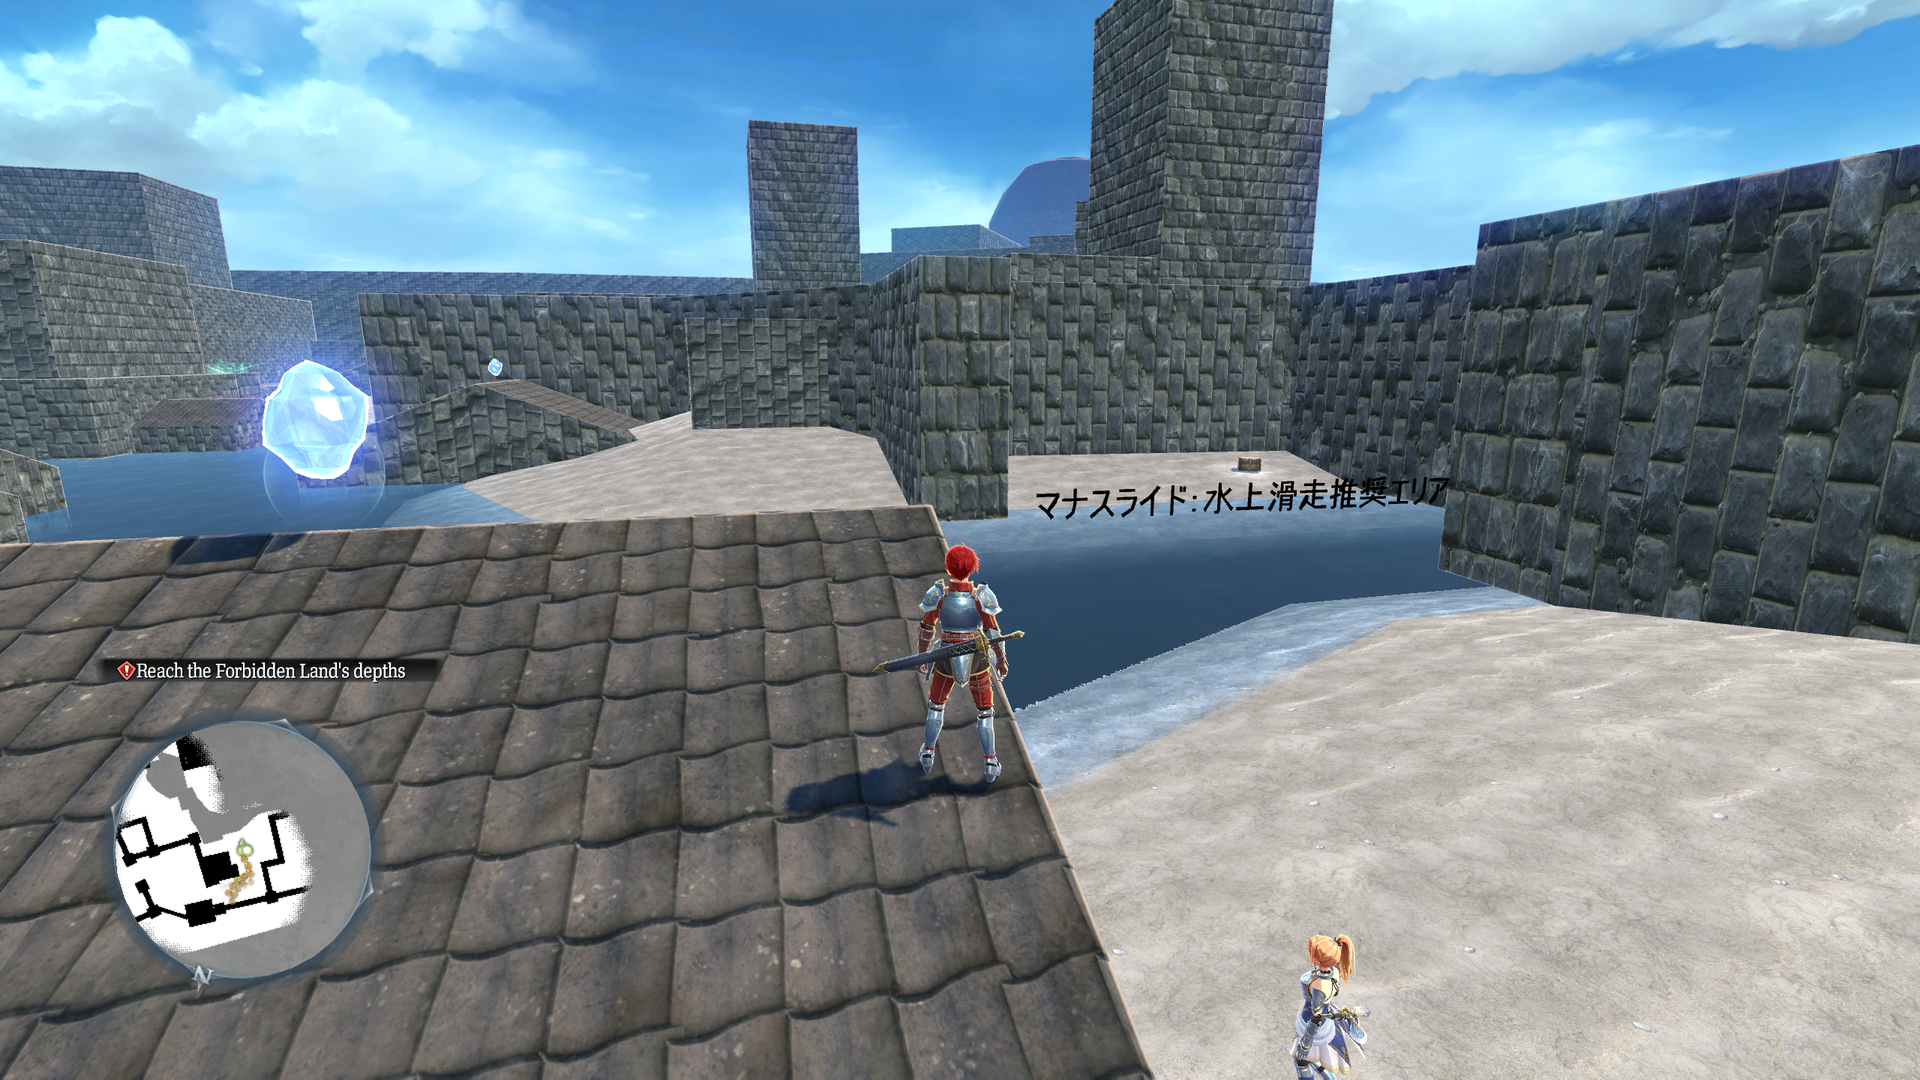
Watch on YouTubeEarly version of mp_m5120, Ruined Capital of Ribe. The map is in a rough state overall, though it somewhat resembles the final.
- The entry point at the top of the hill does not work.
- The crystals can be attacked, but do not get collected.
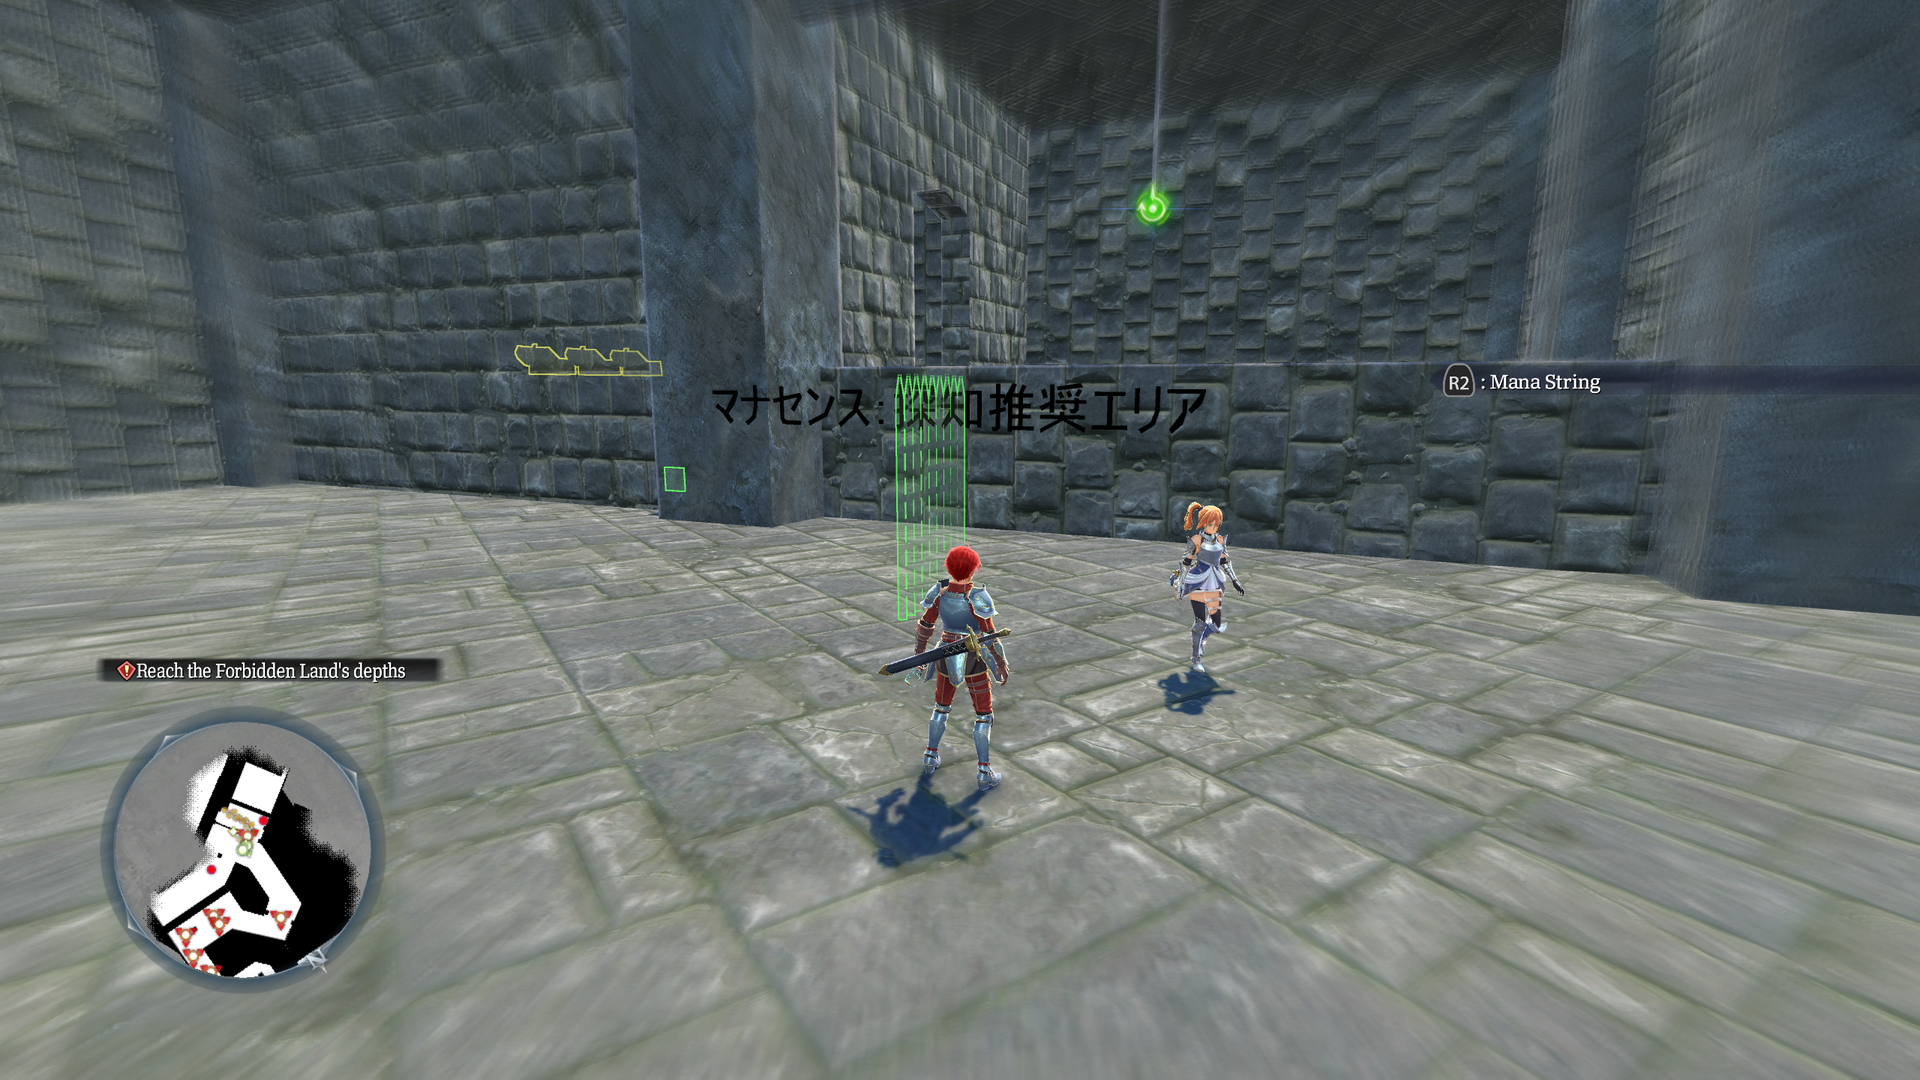
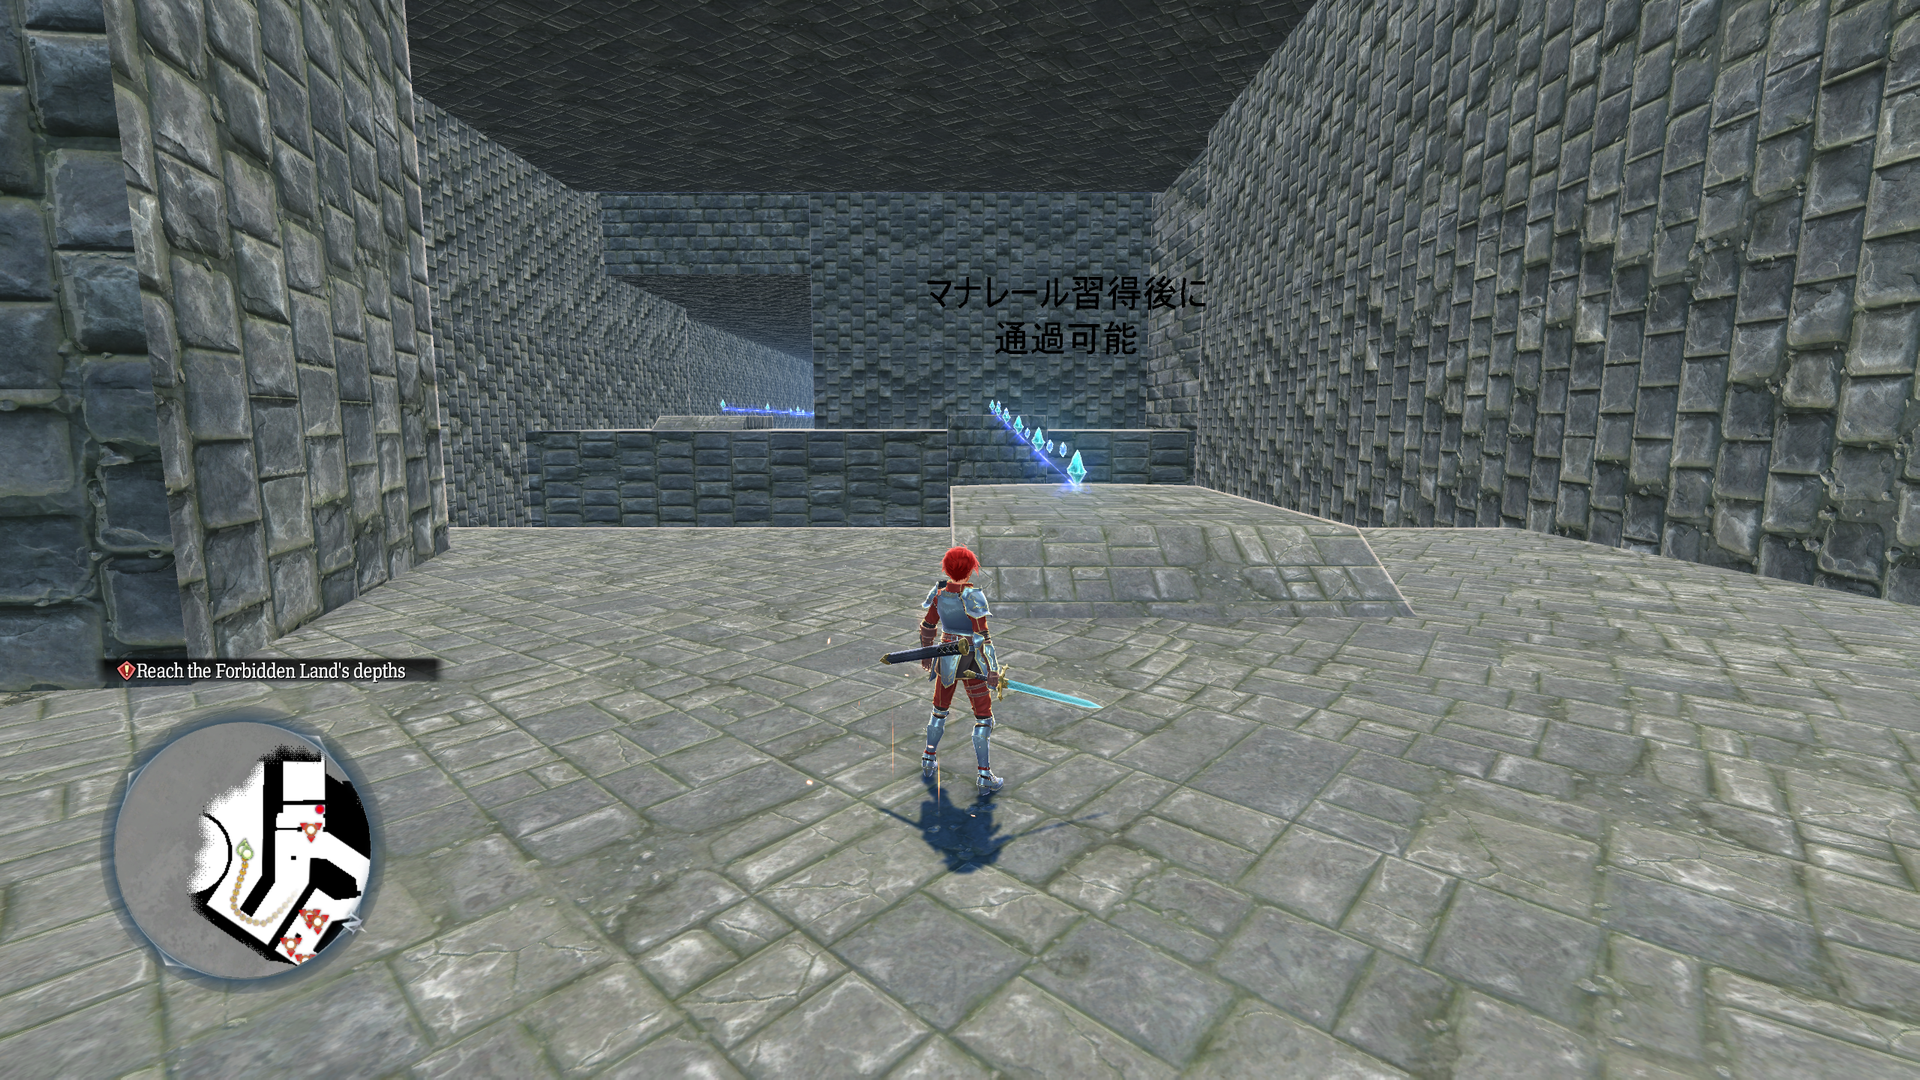
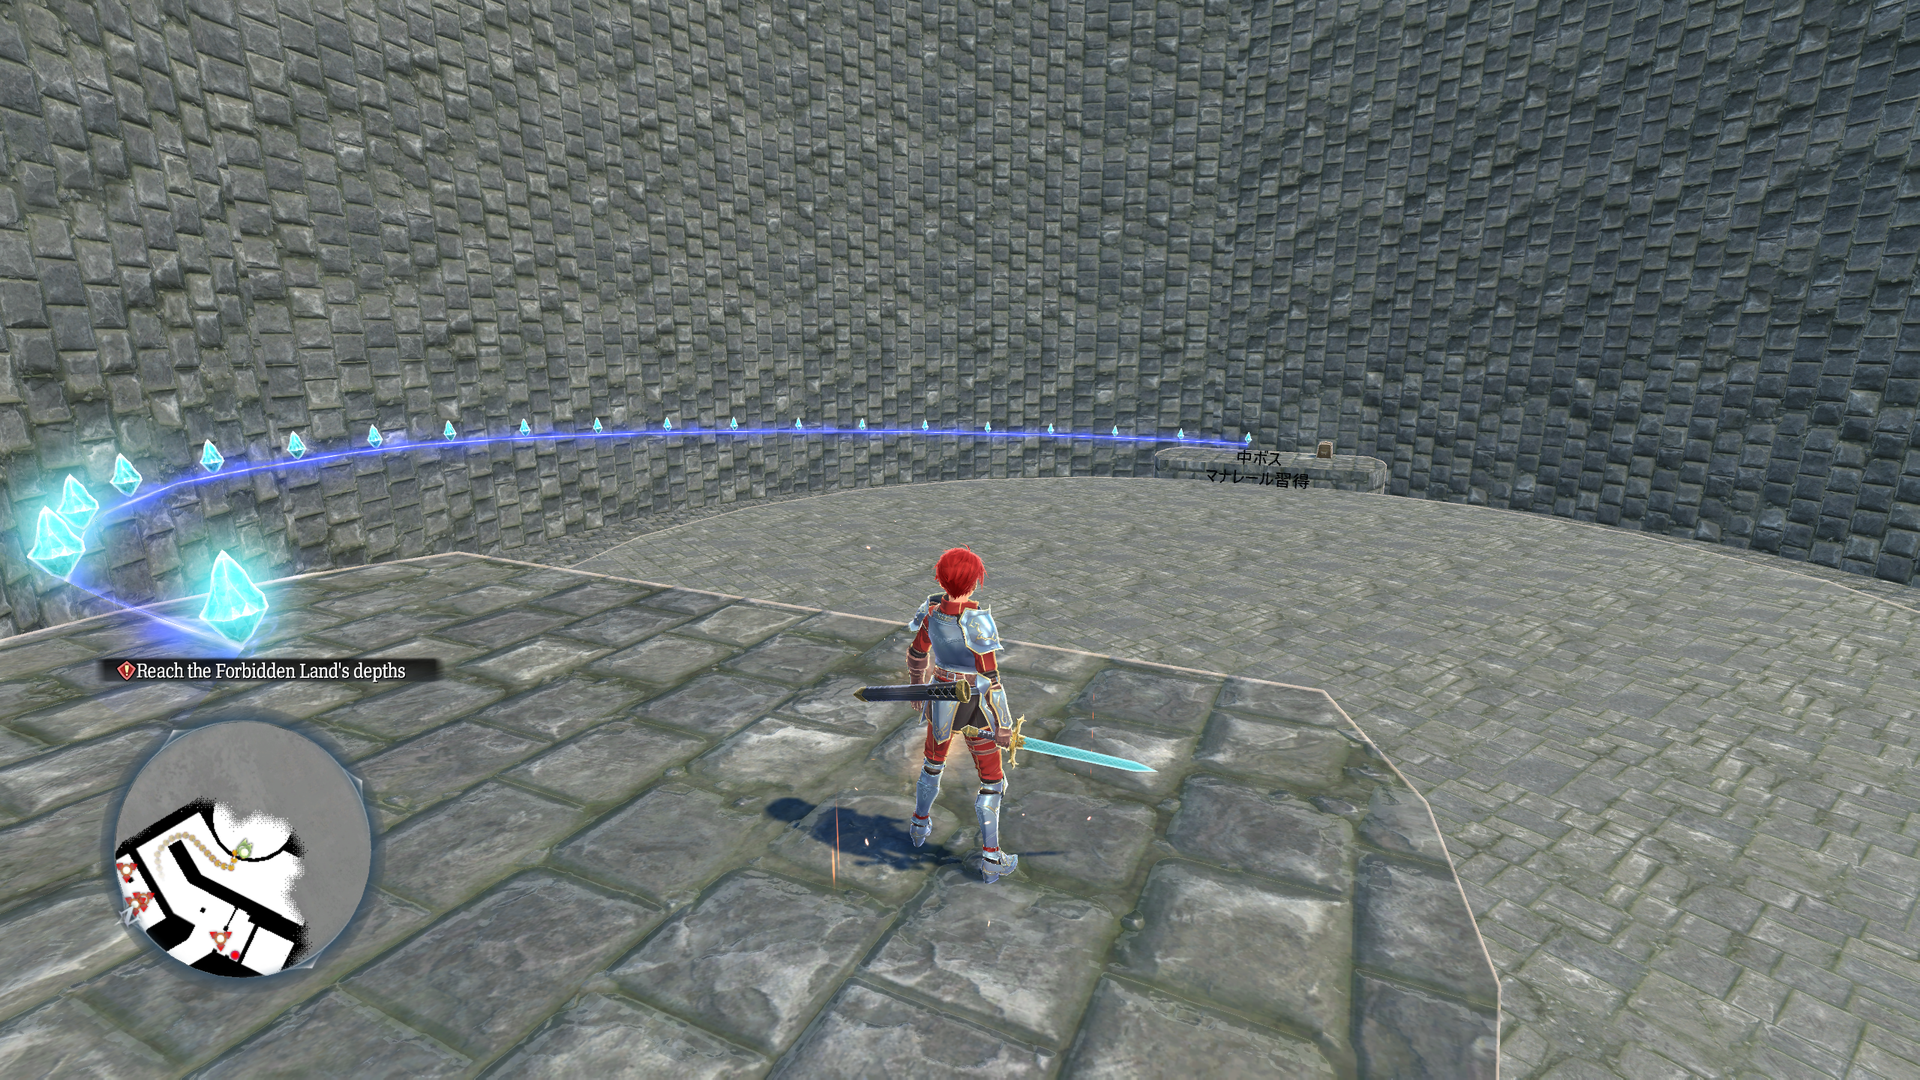
- Some text is placed in designated spots where Mana Actions need to be used. One such marker within the circular room indicates where a miniboss would have been, as well.
- Past the gate that requires Mana Sense to find the switch, one of the treasure chests is stuck inside the wall. Despite this, it can still be opened from the side.
- The exit at the end of the map leads to test_mp_d6300.
test_mp_d6300#
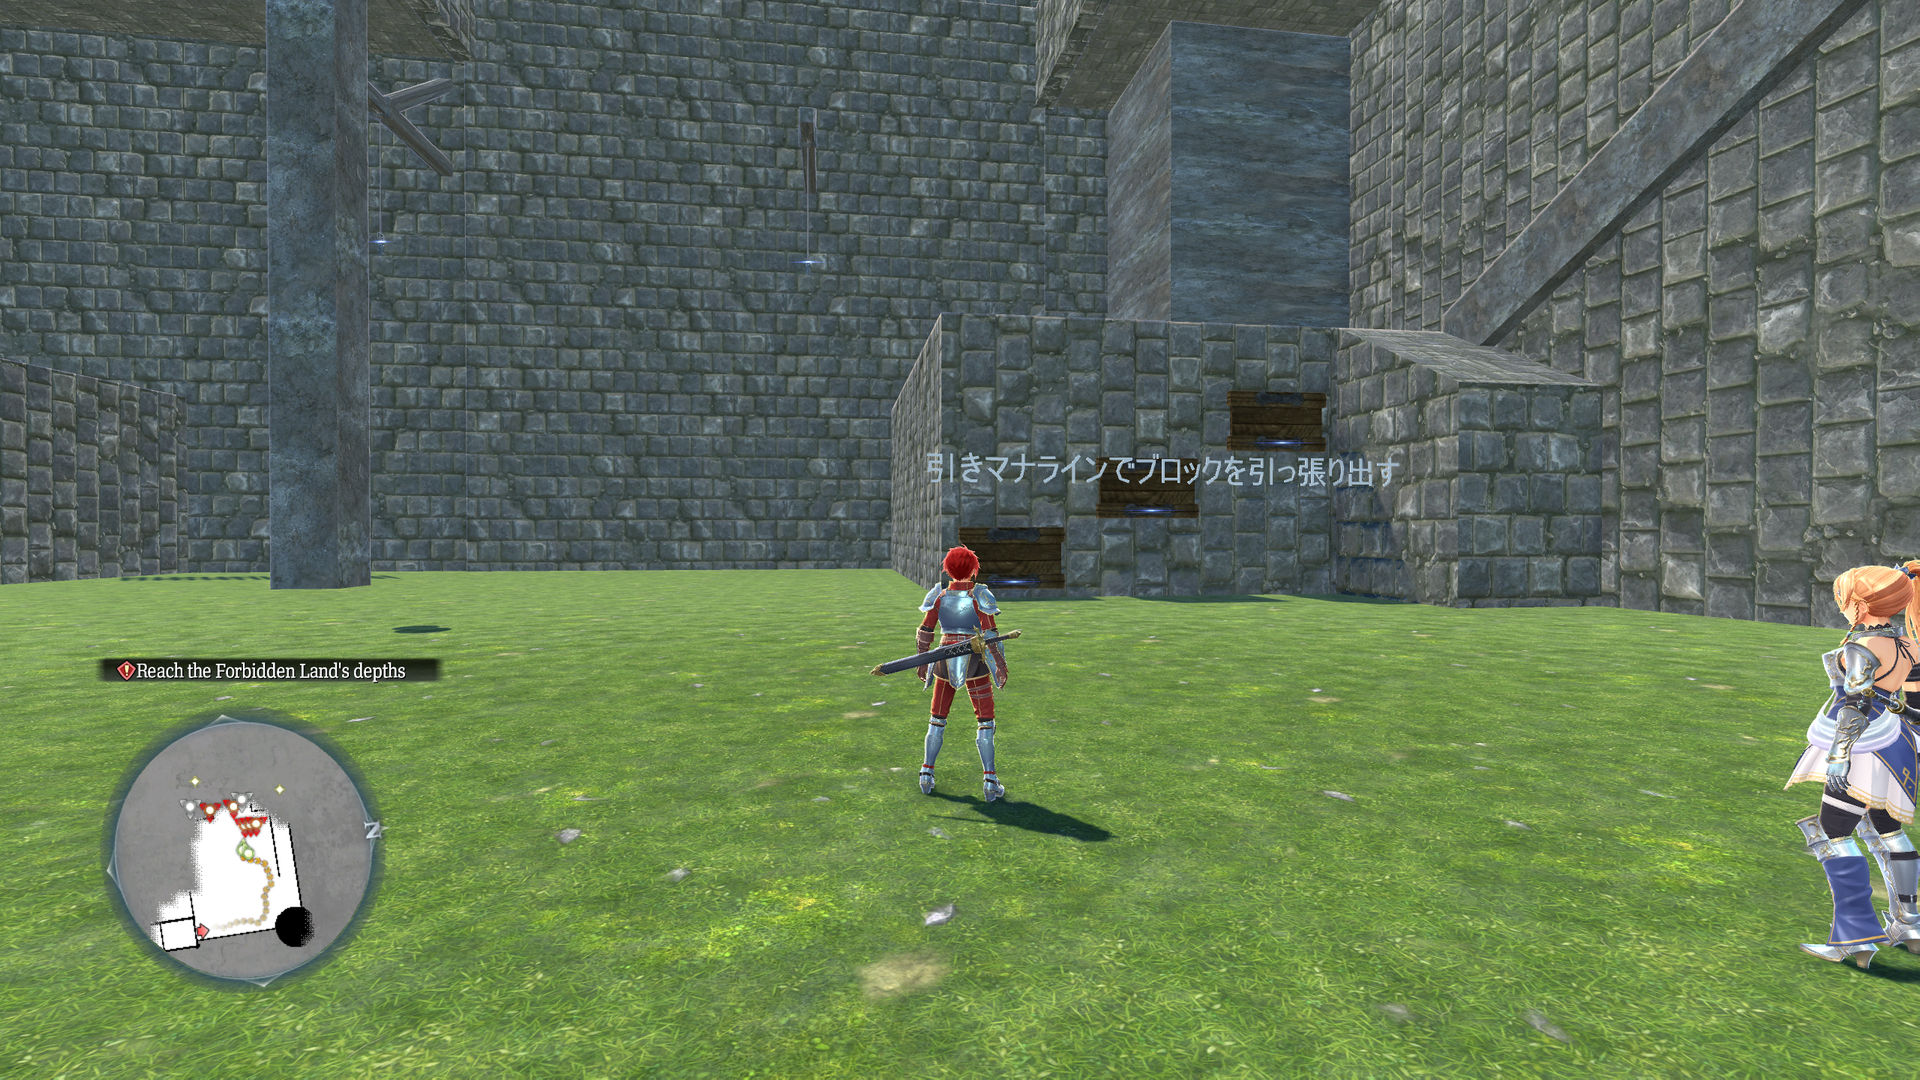
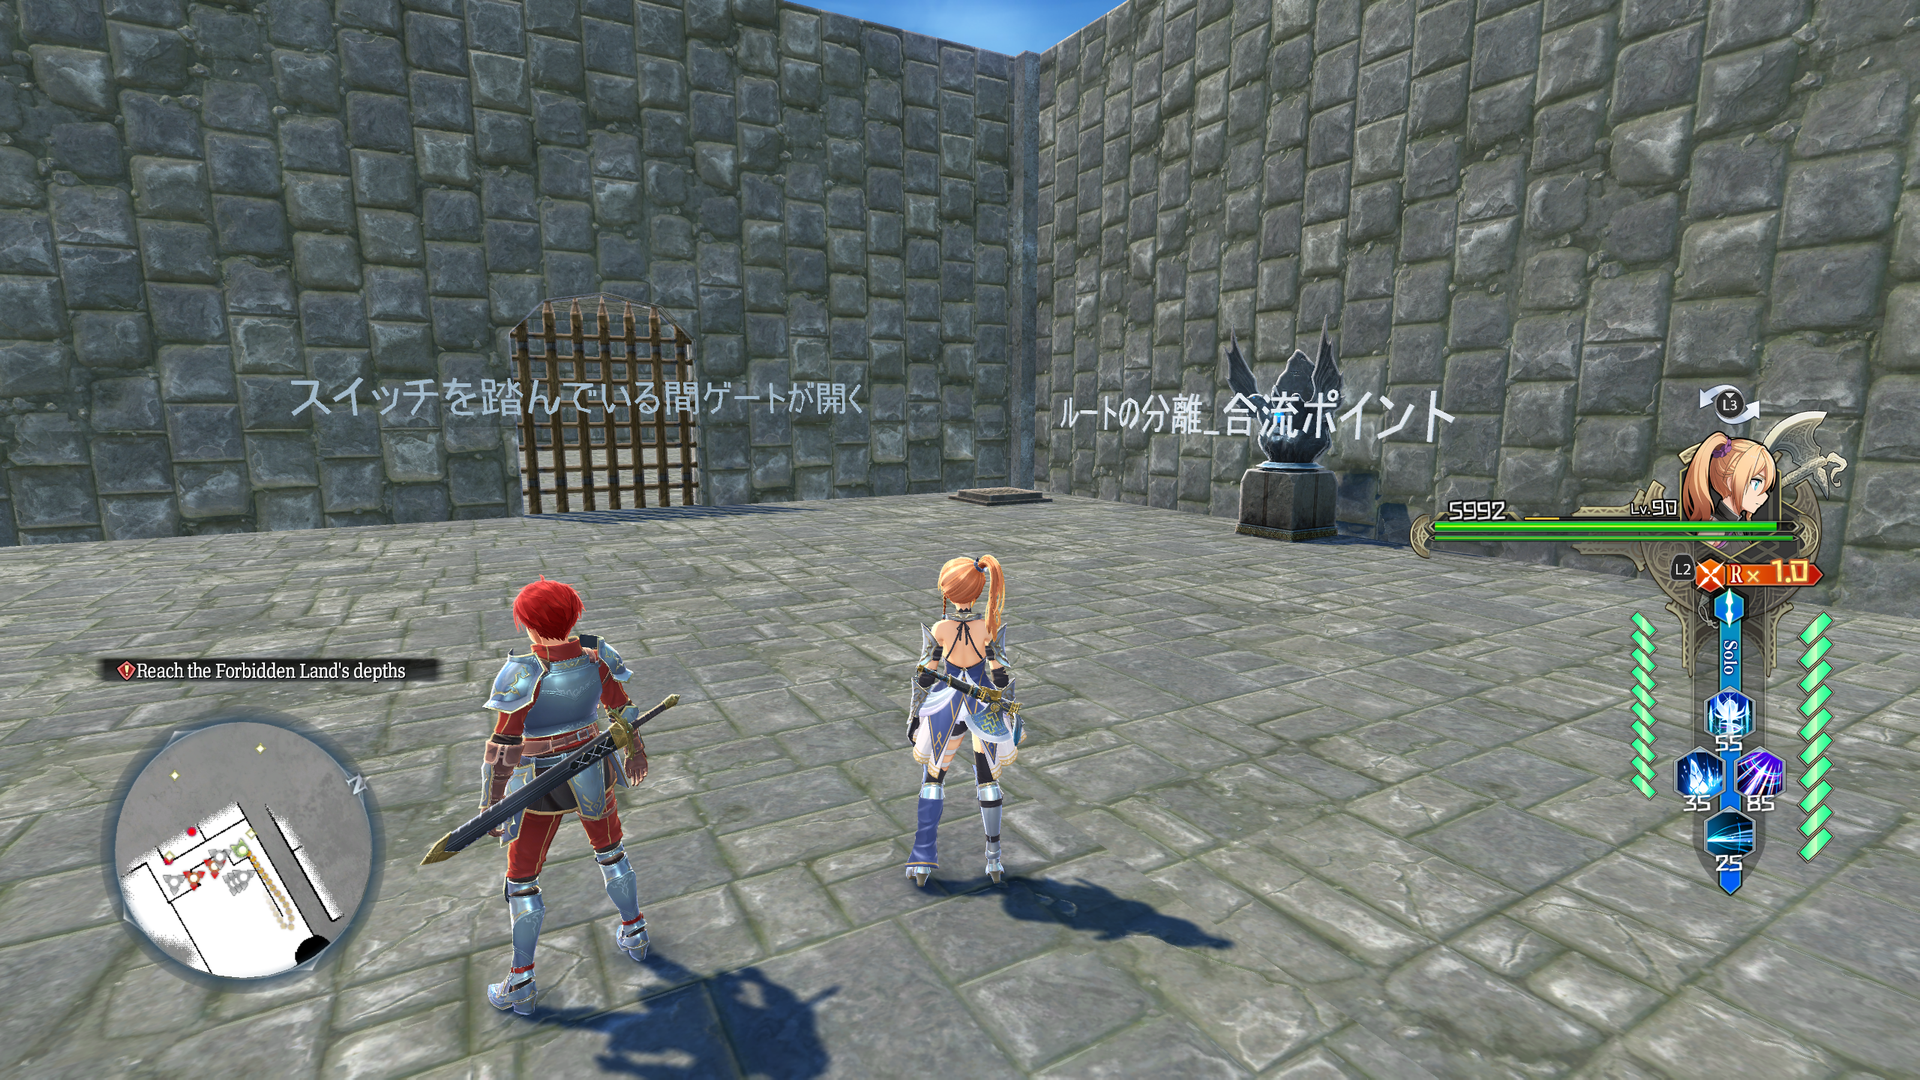
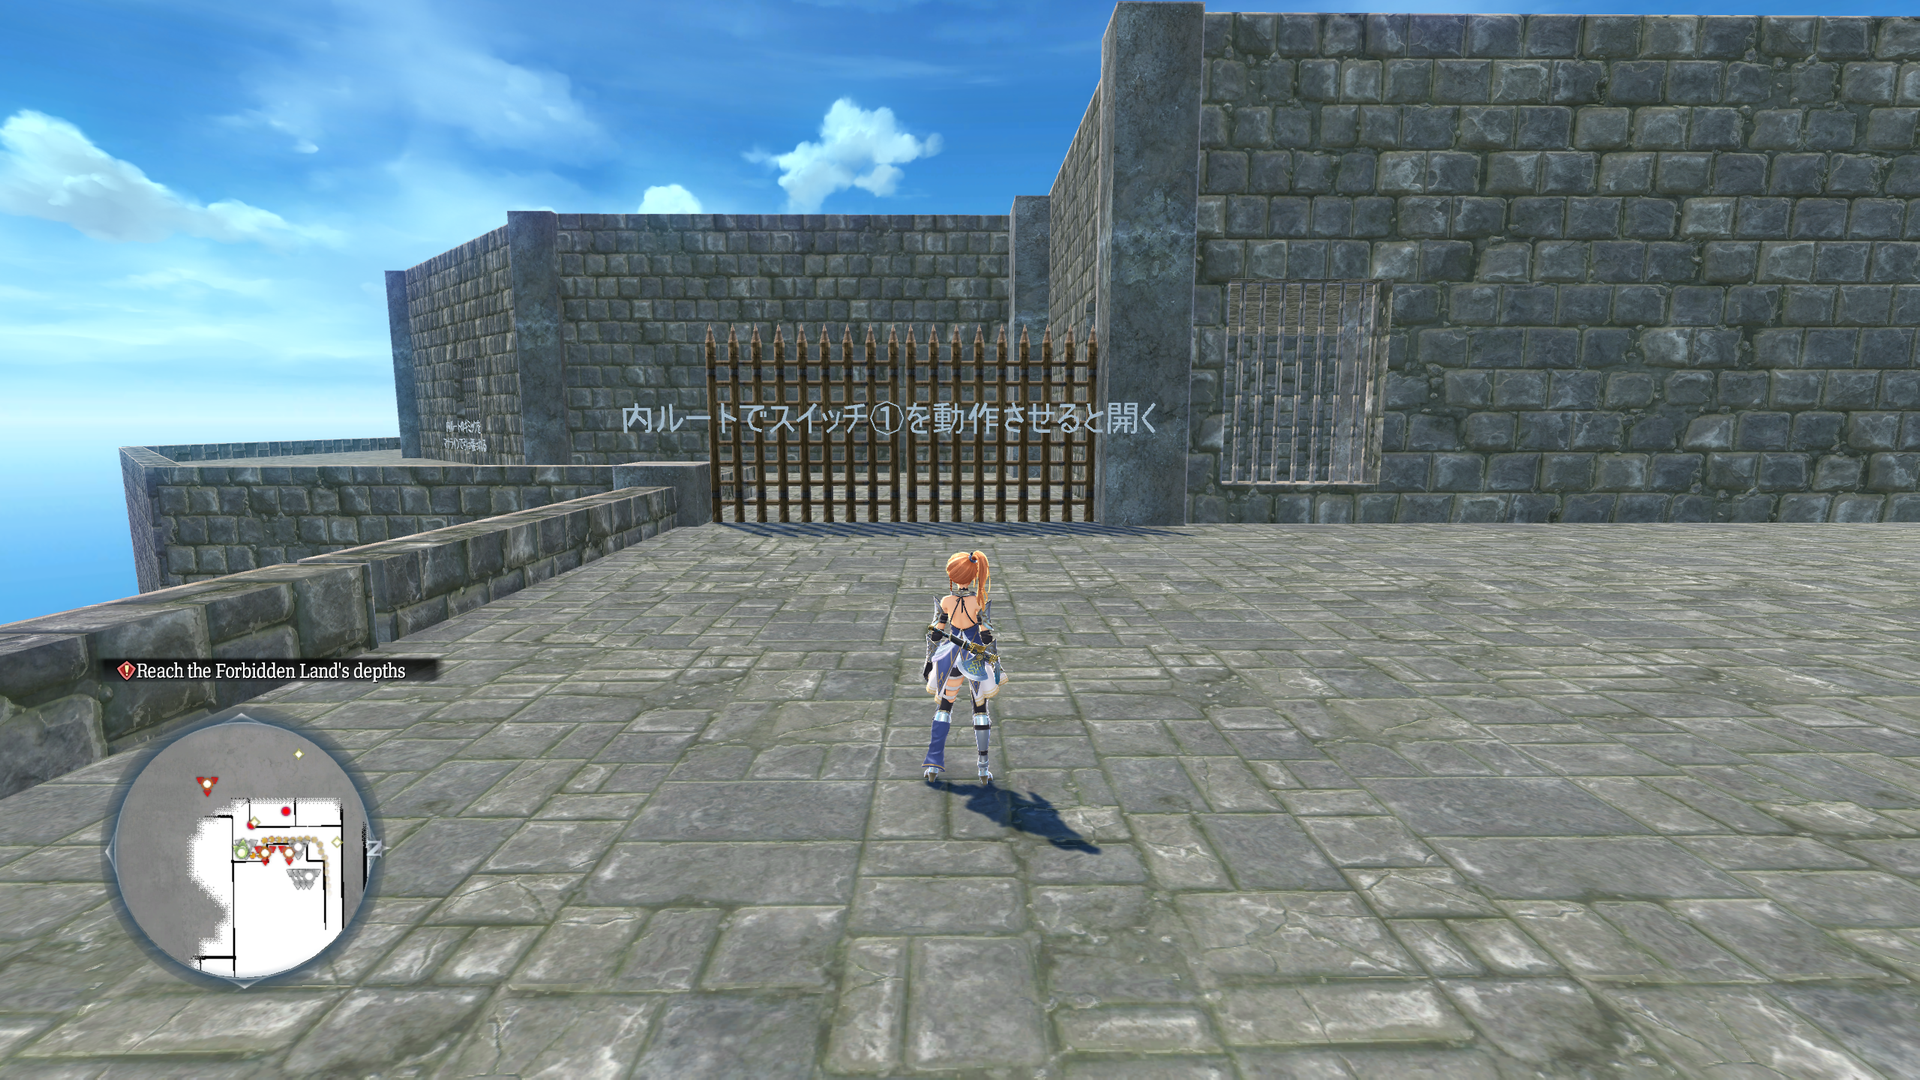
Watch on YouTubeEarly version of mp_m5121, Ruined Capital of Ribe. Connected to test_mp_d5120 at the entrance.
- The map is in an overall rough state, like test_mp_d5120, though its puzzles and layout of the upper section are similar to the final.
- The open section at the beginning was completely altered. Here, there are platforms to pull out with Mana String and grapple points that lead to a treasure chest.
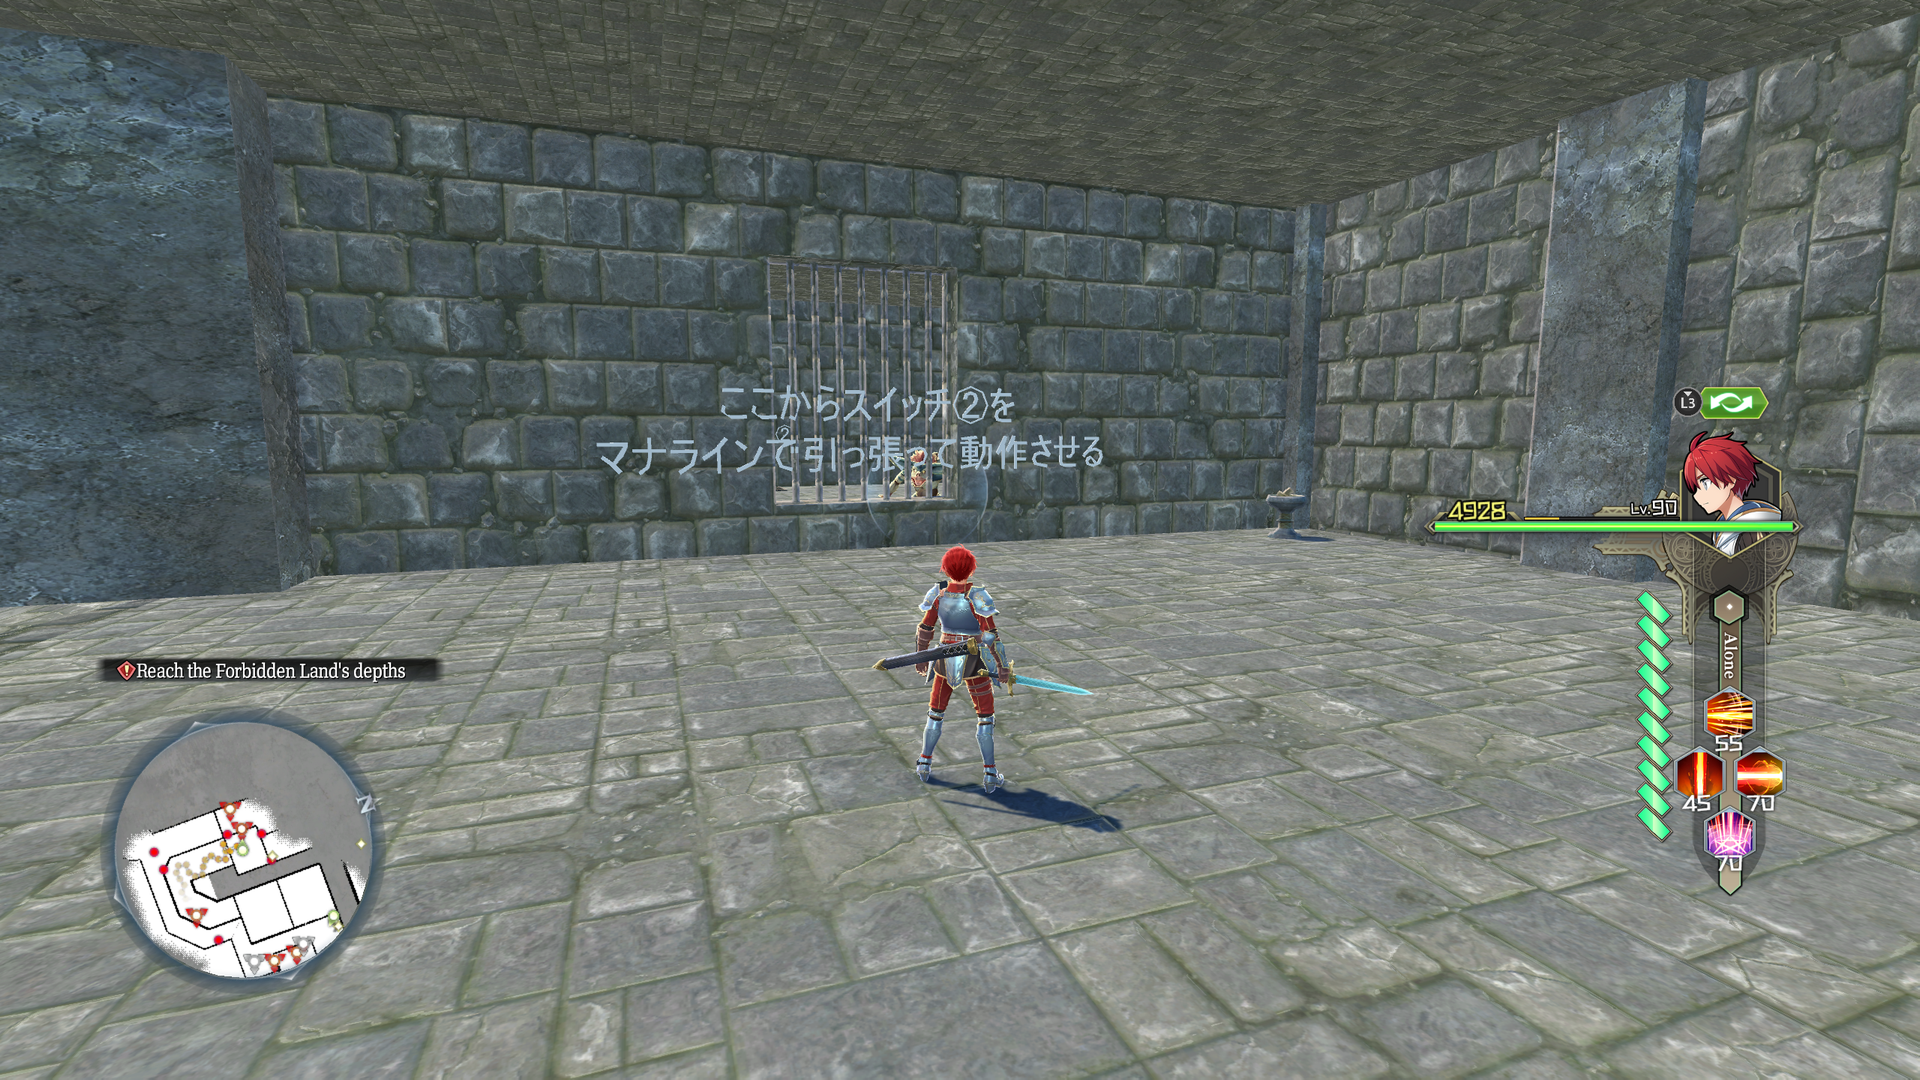
- Mana String cannot reach far enough to pull the lever marked as "スイッチ②" (Switch 2), suggesting that it once had a longer range. Cheats must be used to jump into the room Switch 2 is in.
- This switch would be moved closer to the window in the final.
- The barrier line at the second Raven Boundstone doesn't work and can be walked through while solo.
- The end of this map is just an enclosed room instead of leading further into the dungeon.
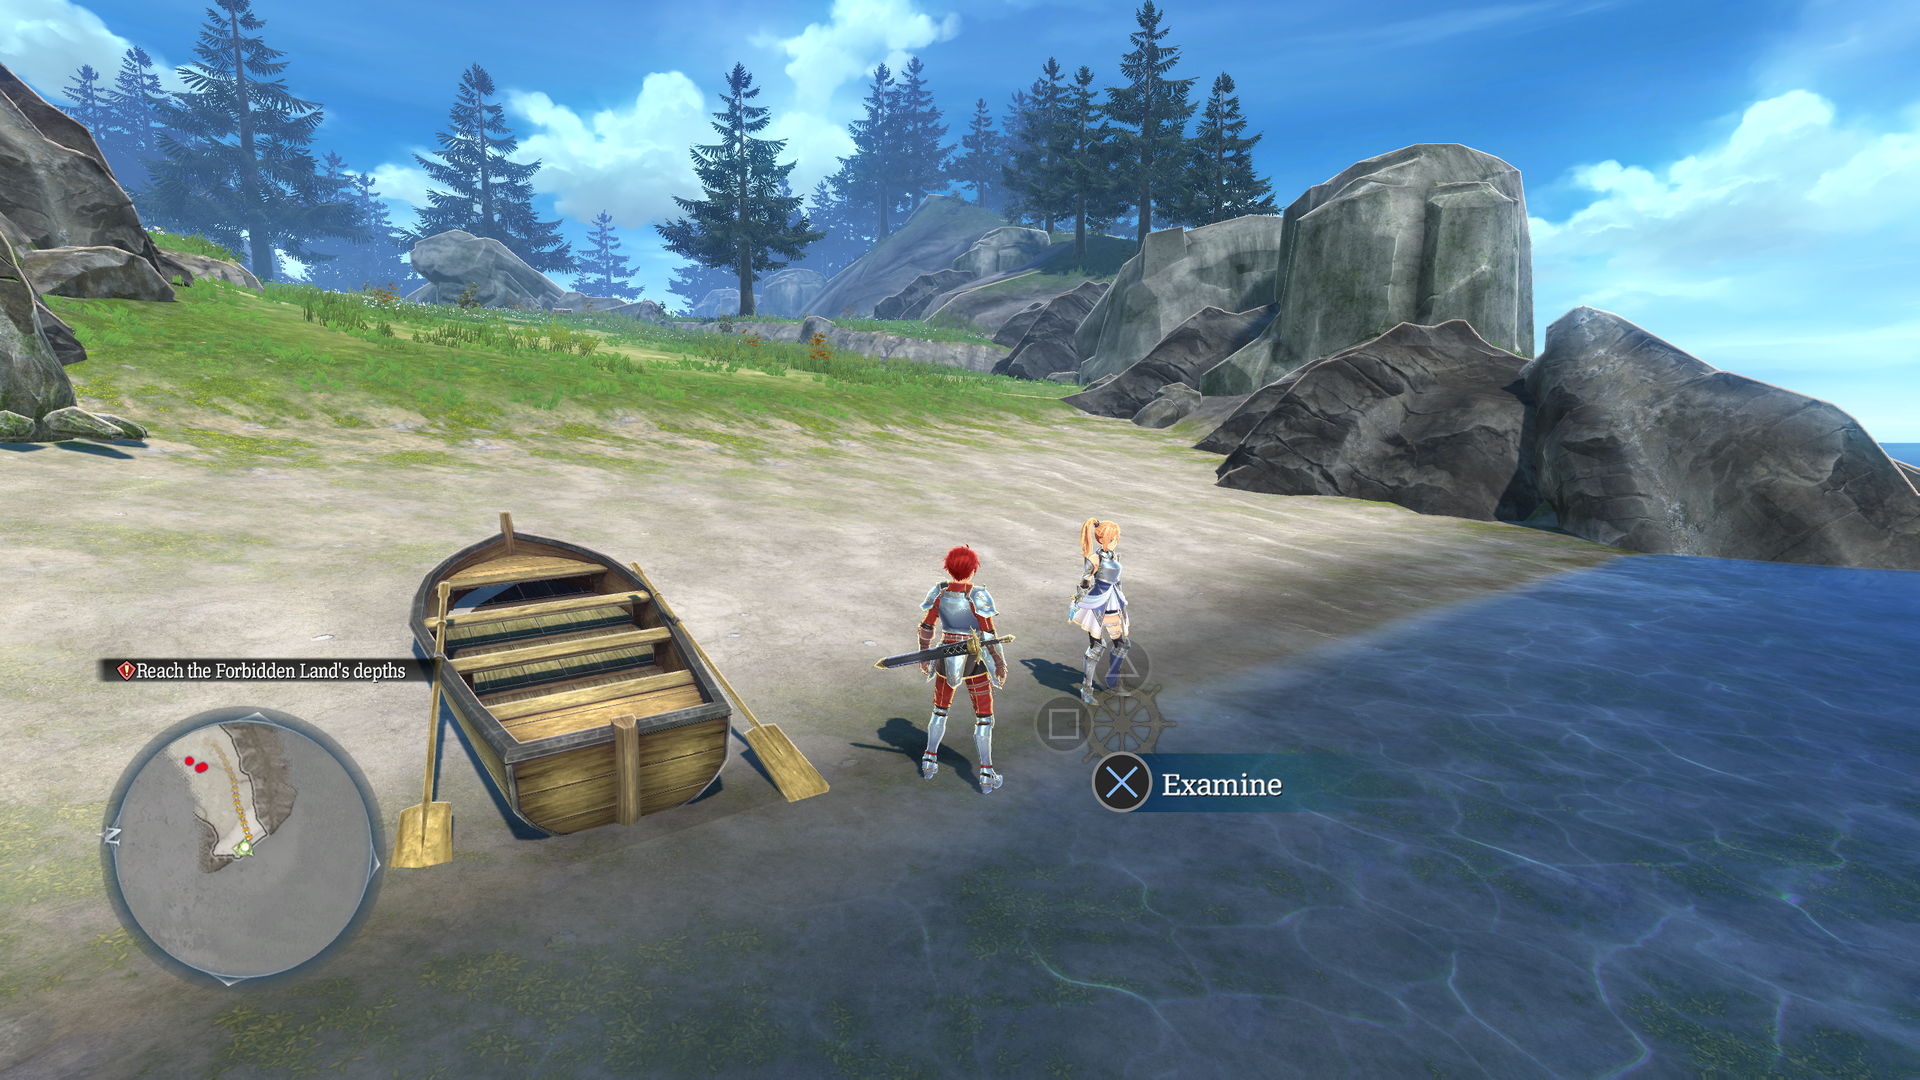
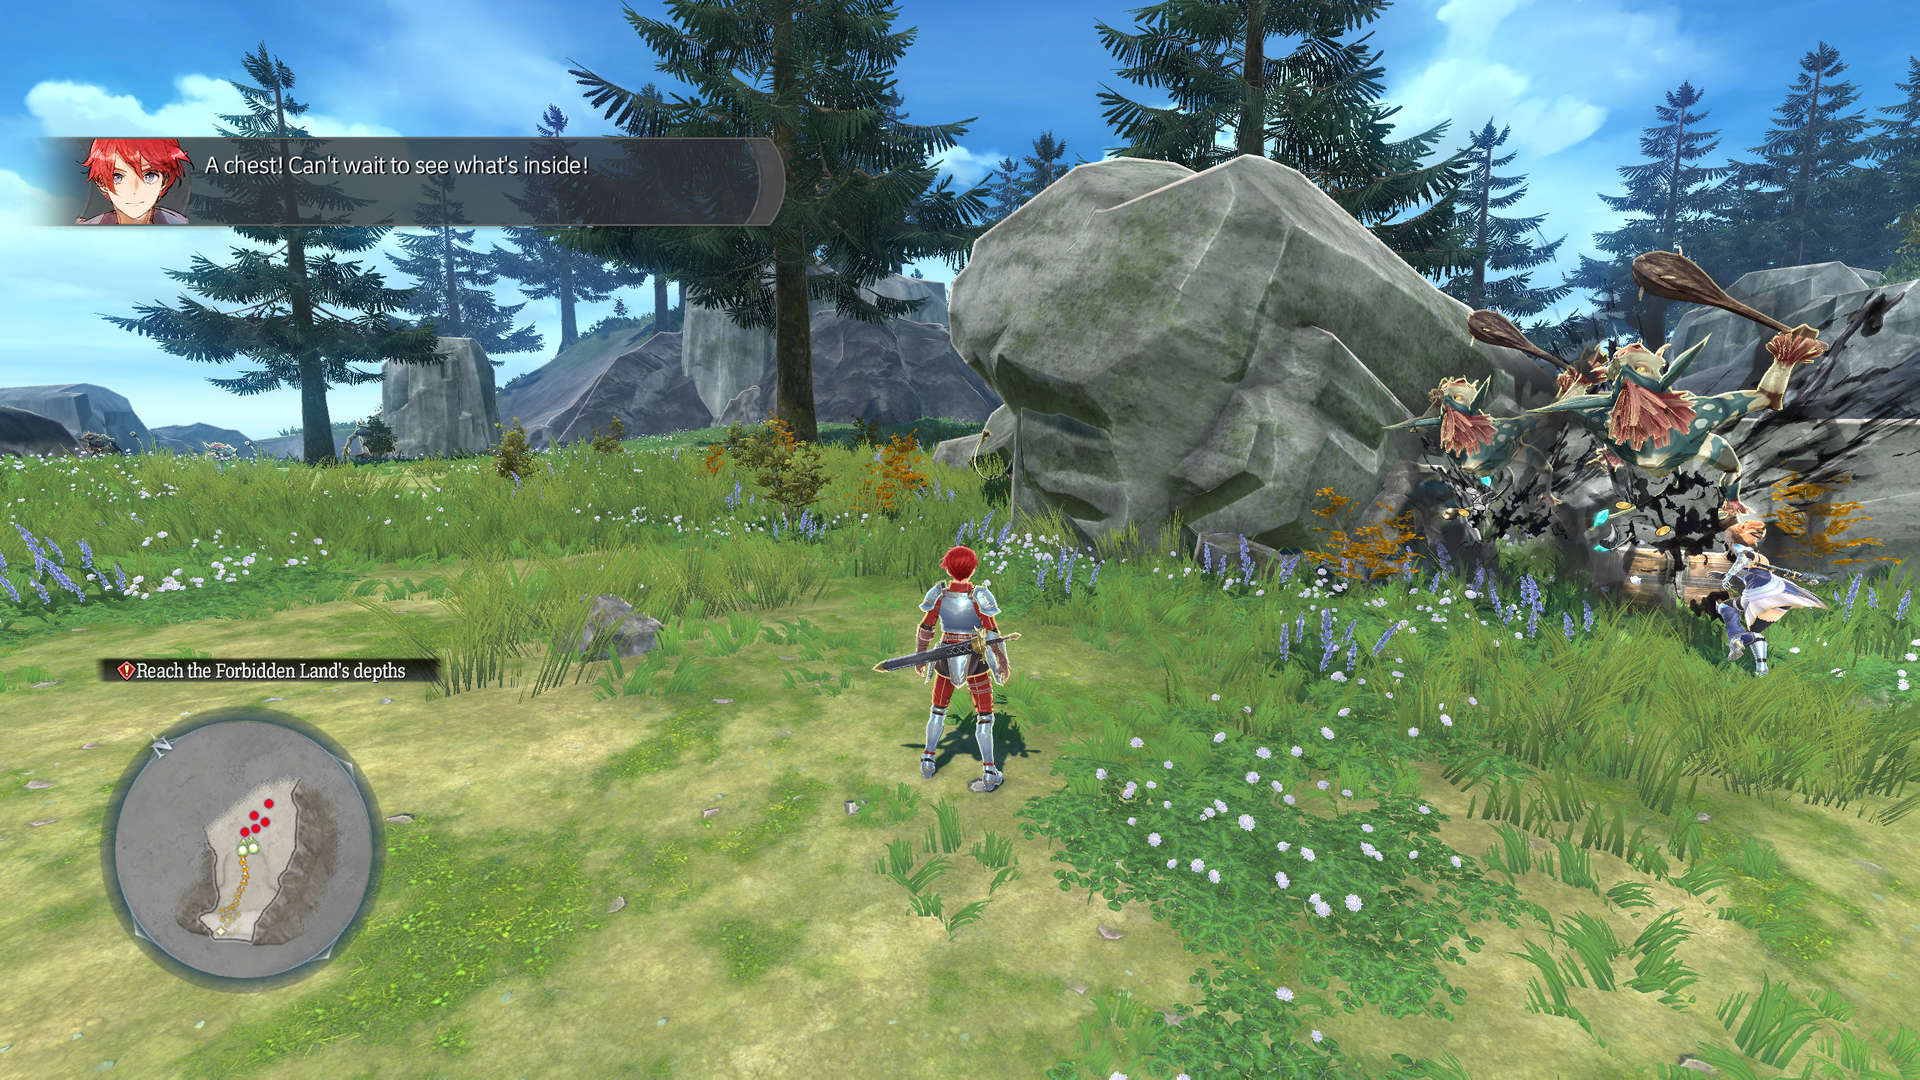
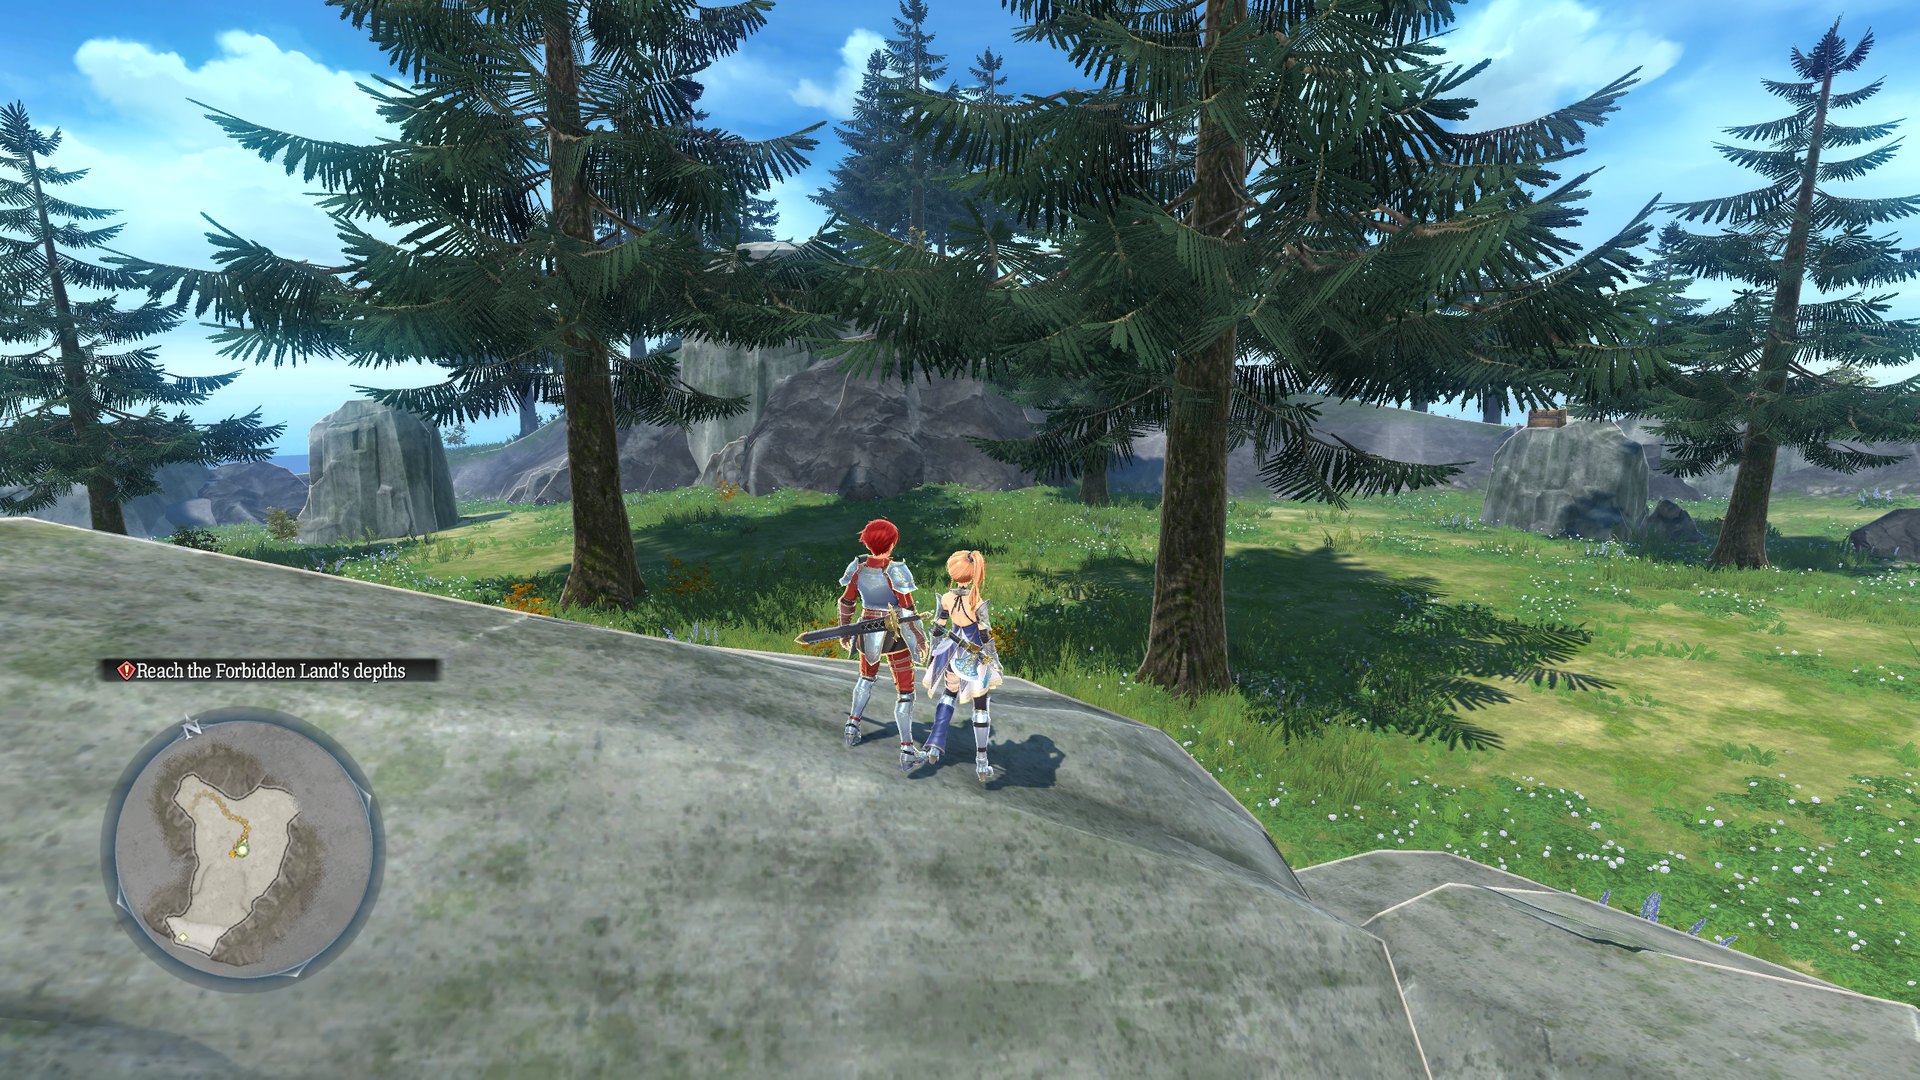
test_mp_m0001#
Early Fishscale Island.
- The shipwreck at the shore is missing, as well as the fishing spot and the Sandras.
- Exiting using the skiff puts you behind Falun Island.
- A bunch of Griegr are here, whereas there are none roaming the final map.
- The trees are much taller.
- There are two treasure chests instead of just one. One is in front of the middle rock form, and the other is on top of one of the rear rocks instead of behind it.
test_mp_m0001s#
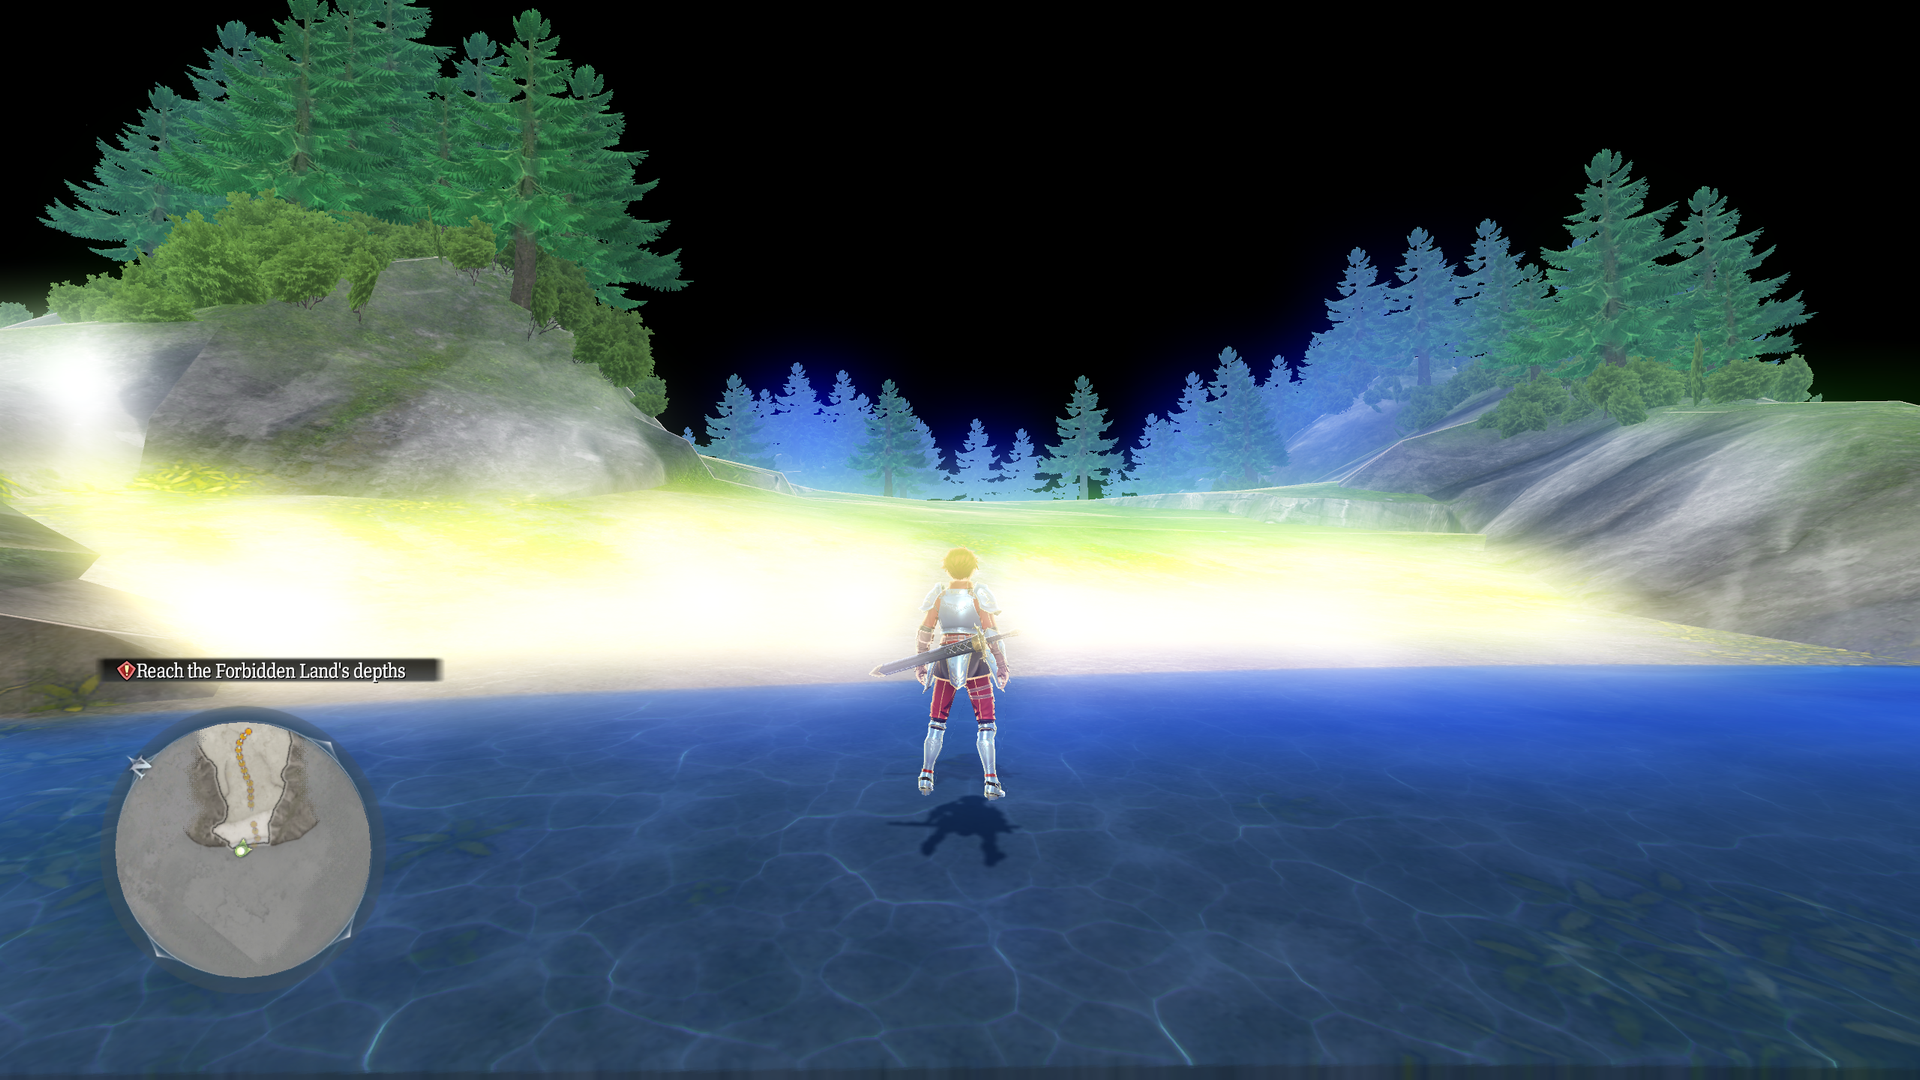
Early Fishscale Island with a lot of bloom and no background.
test_mp_m0002#
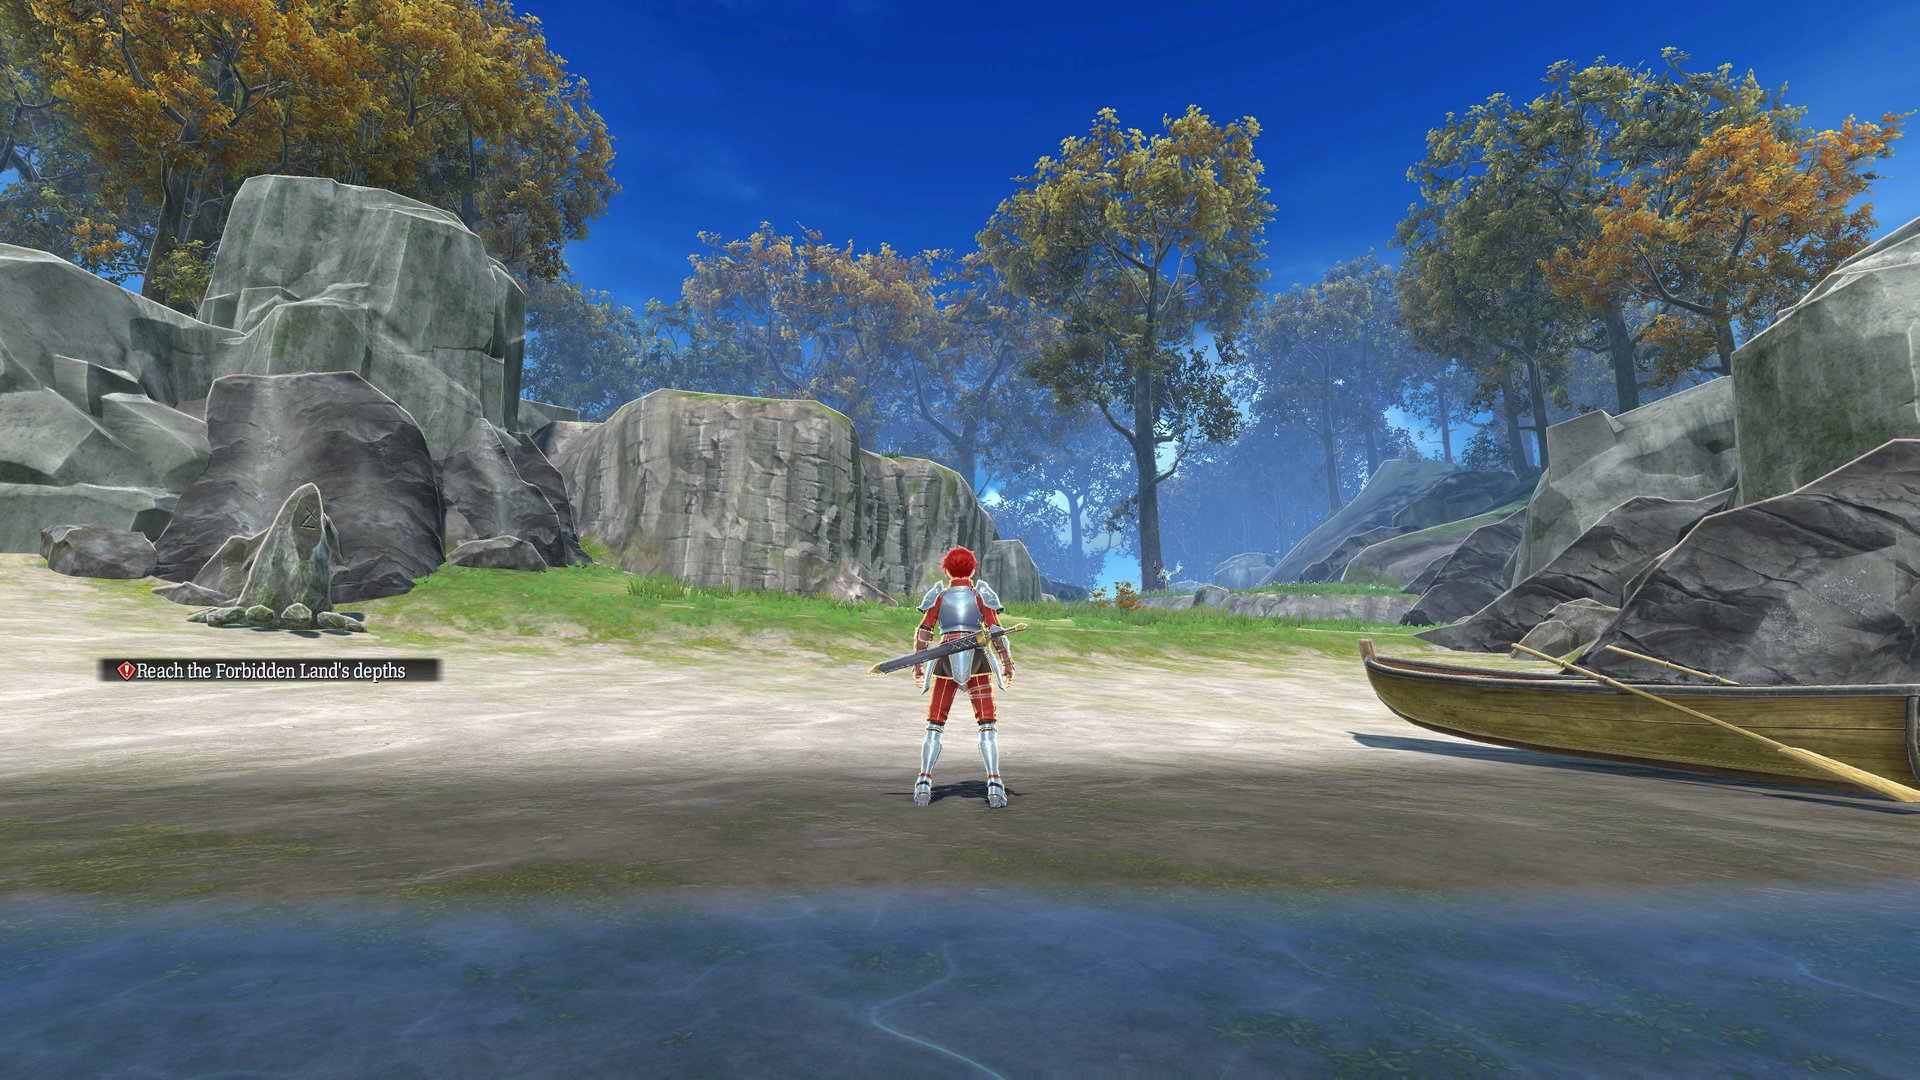
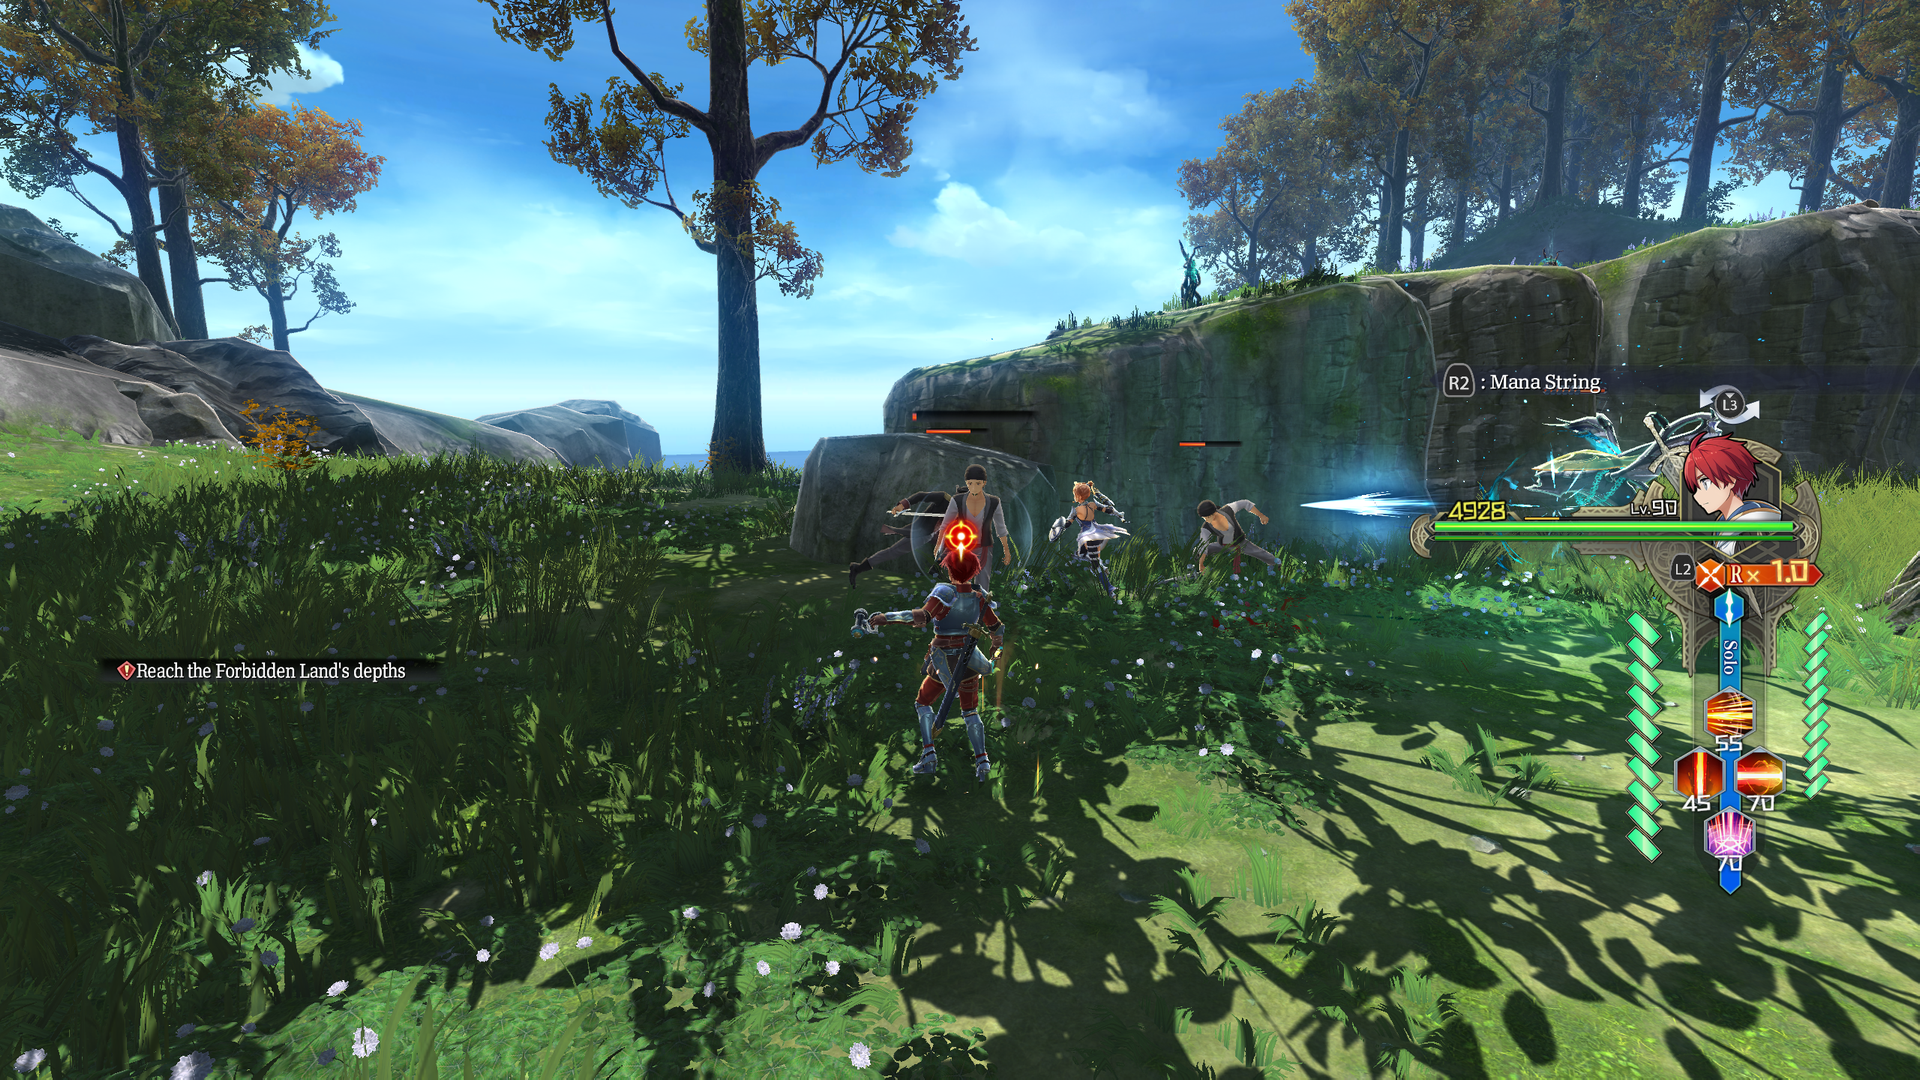
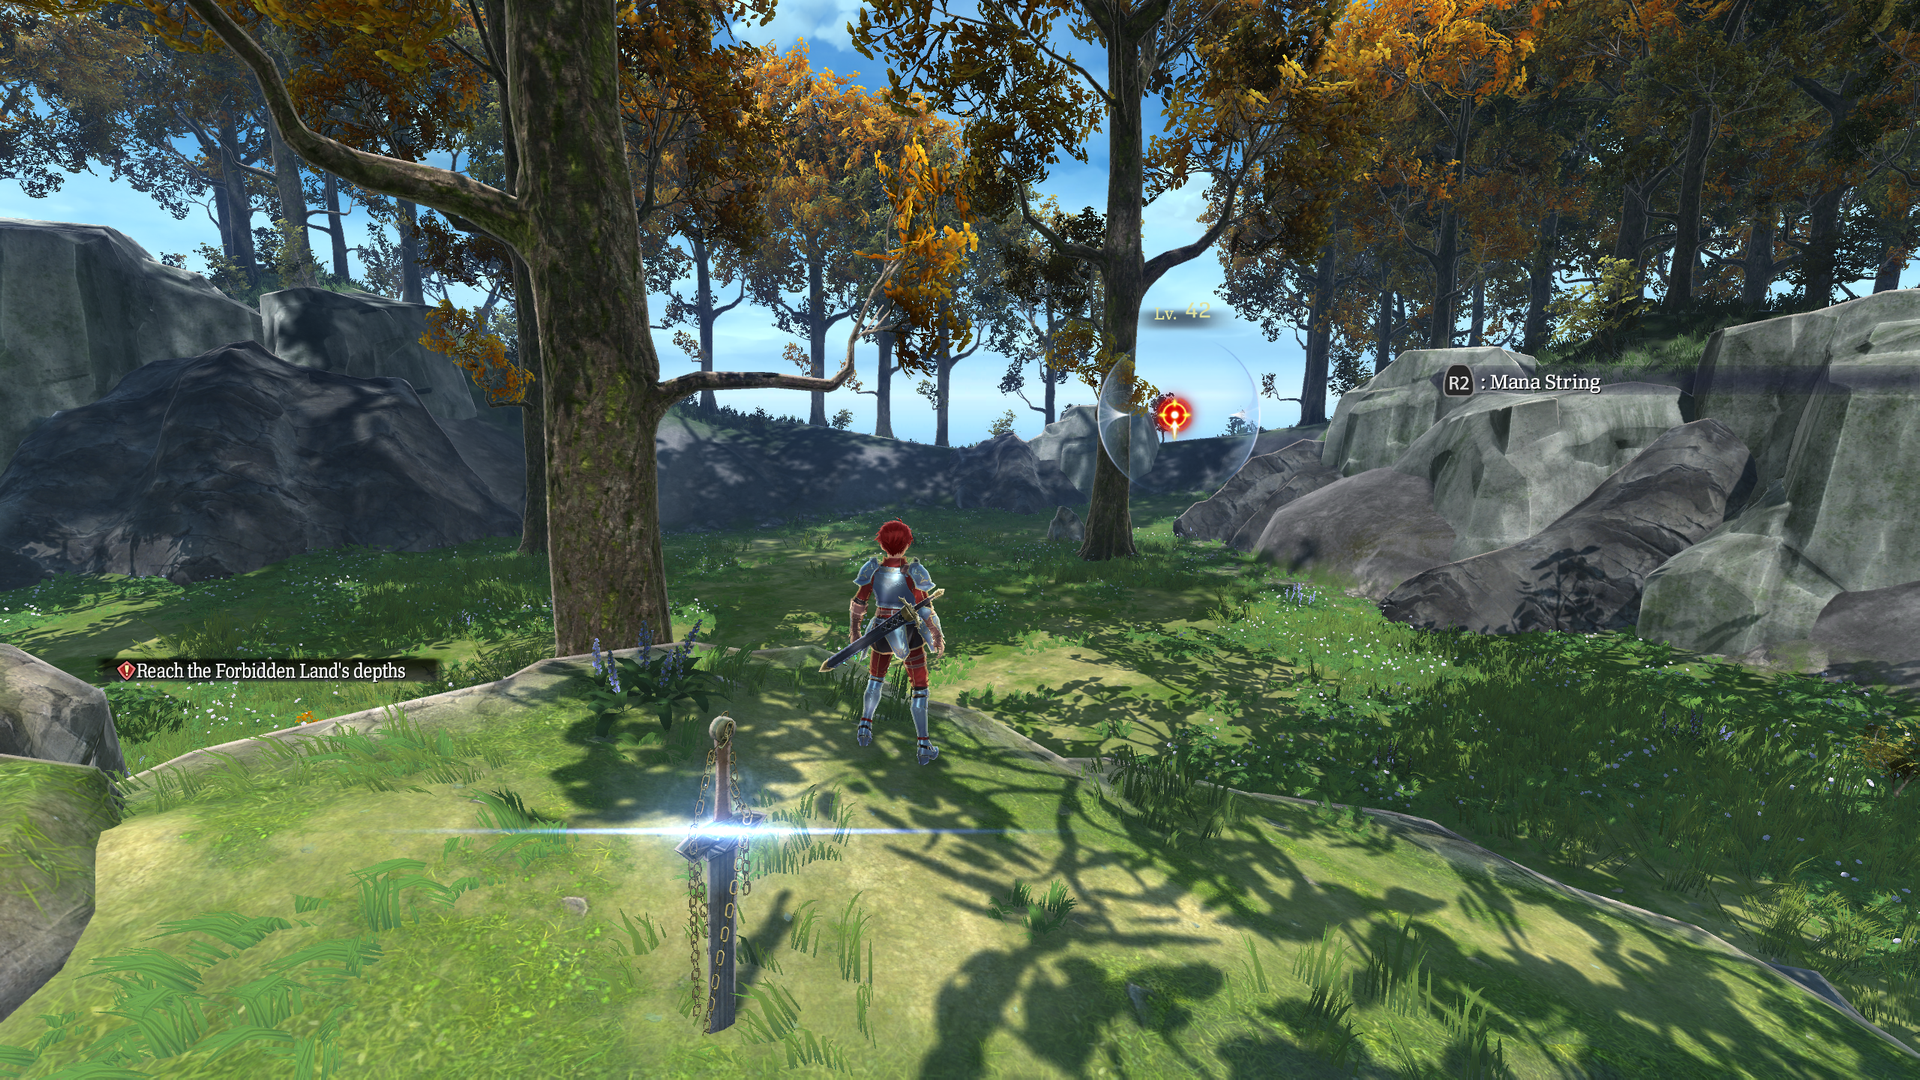
A small unused island abundant with orange-leaved trees. The band of pirates you can fight in a sidequest are present in the central area.
test_ookusa#
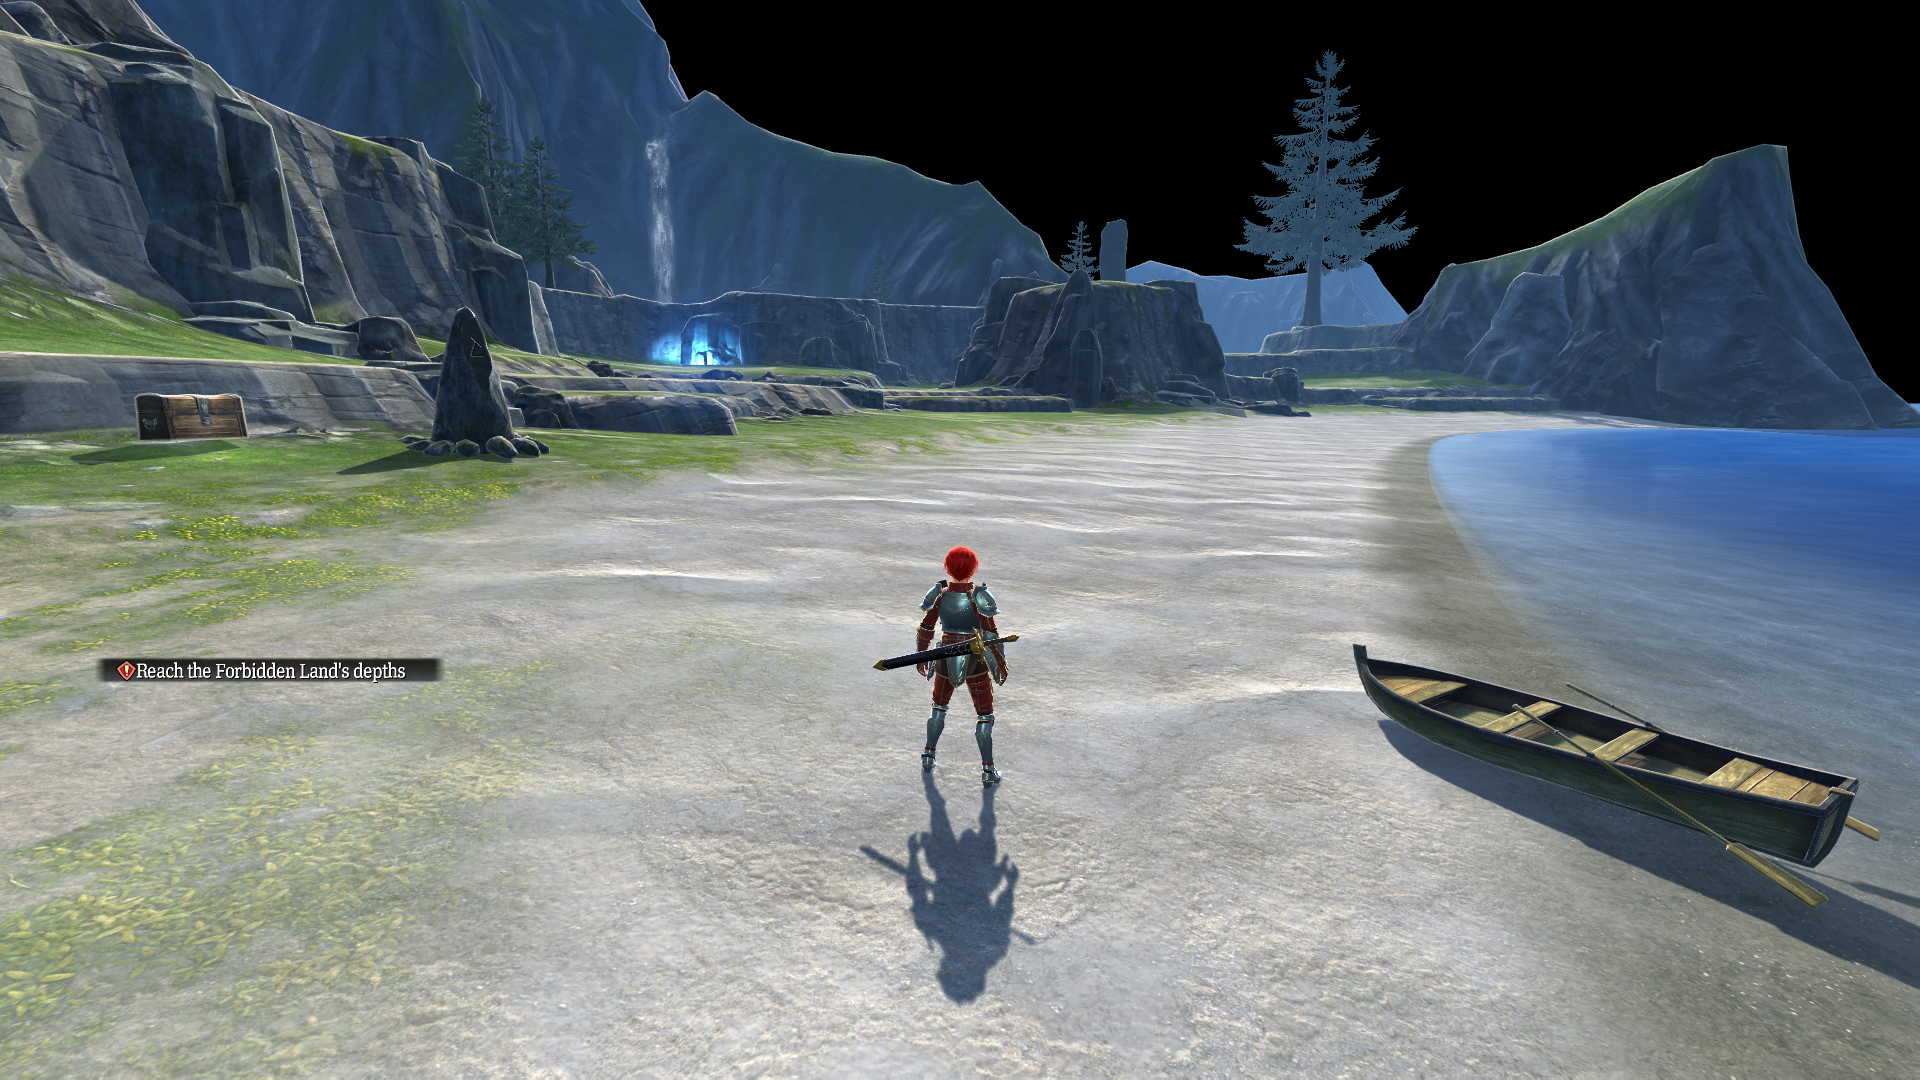
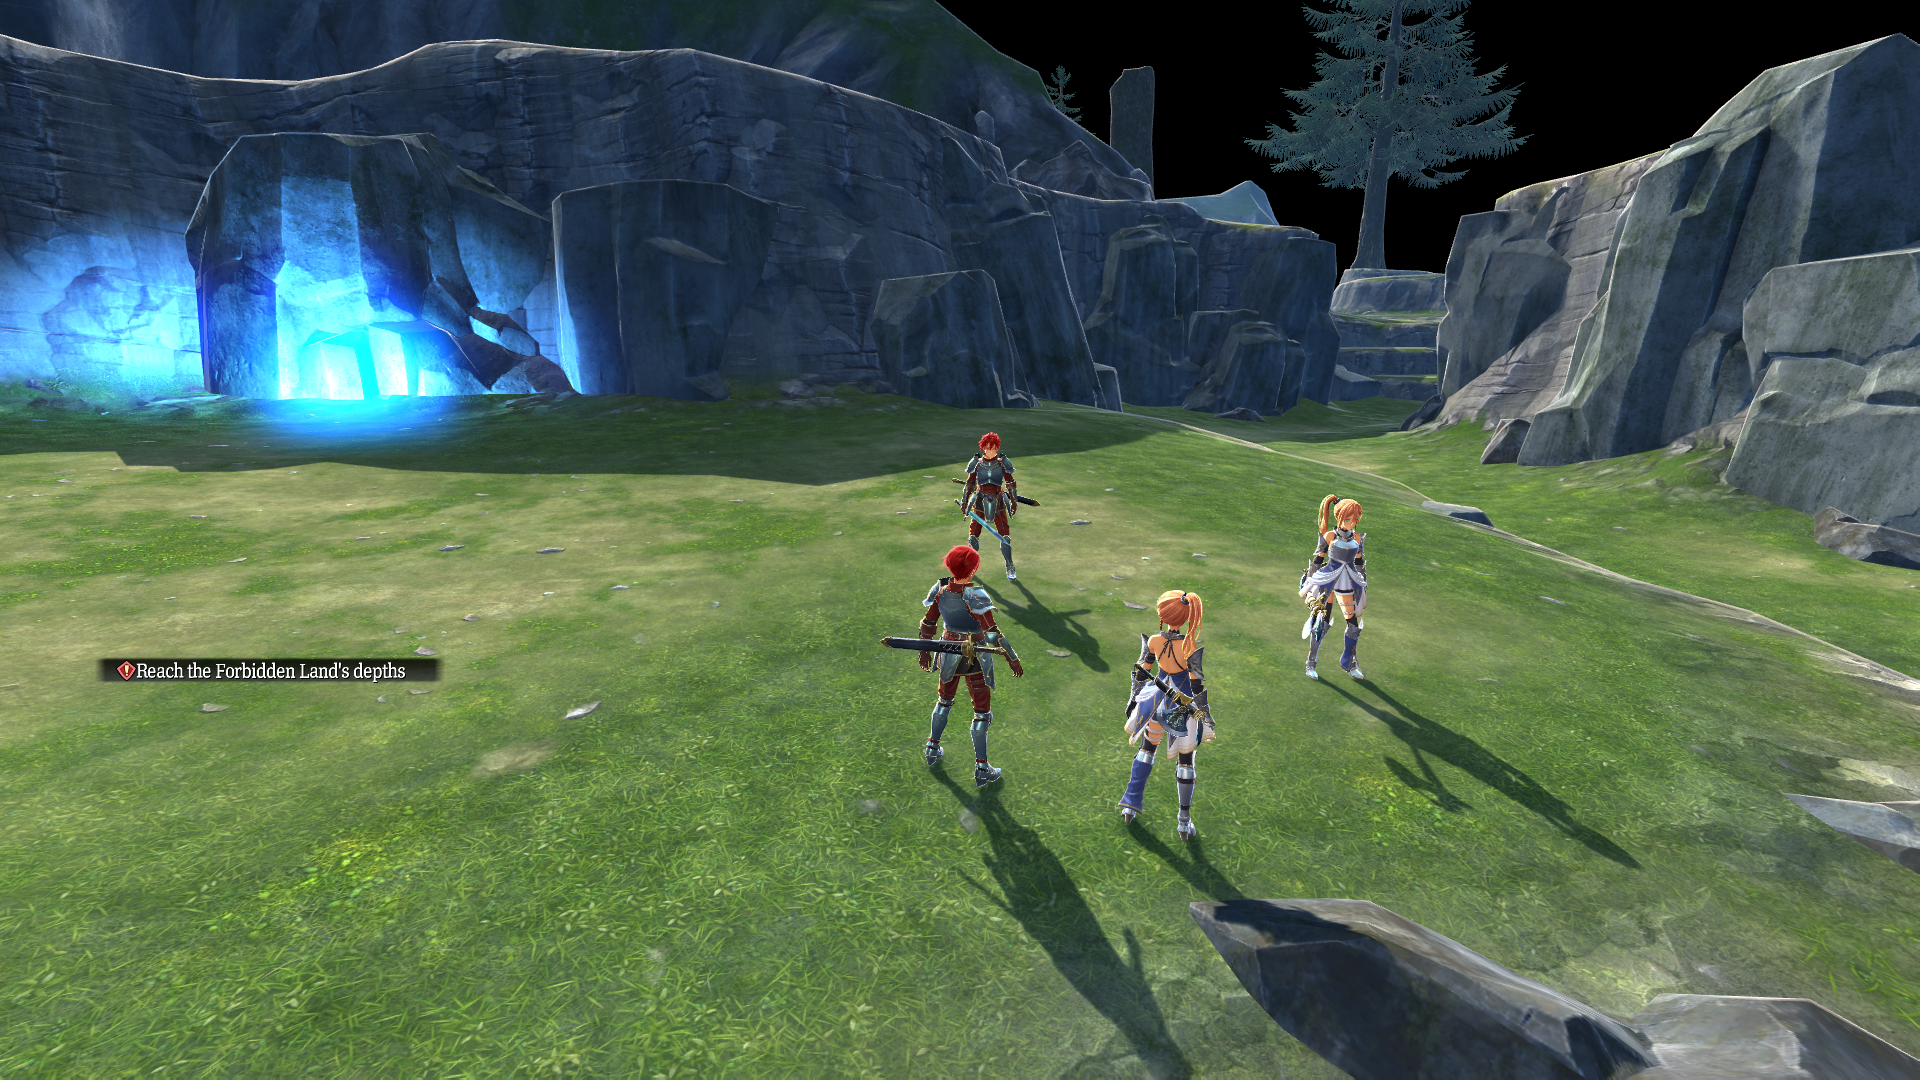
Yet another variant of Fuling Island with no background.
- There are stationary copies of Adol and Karja.
- The log can't be pushed over.
- There is an invisible enemy near the cave.
- Entering the cave leads to sample_scene4.
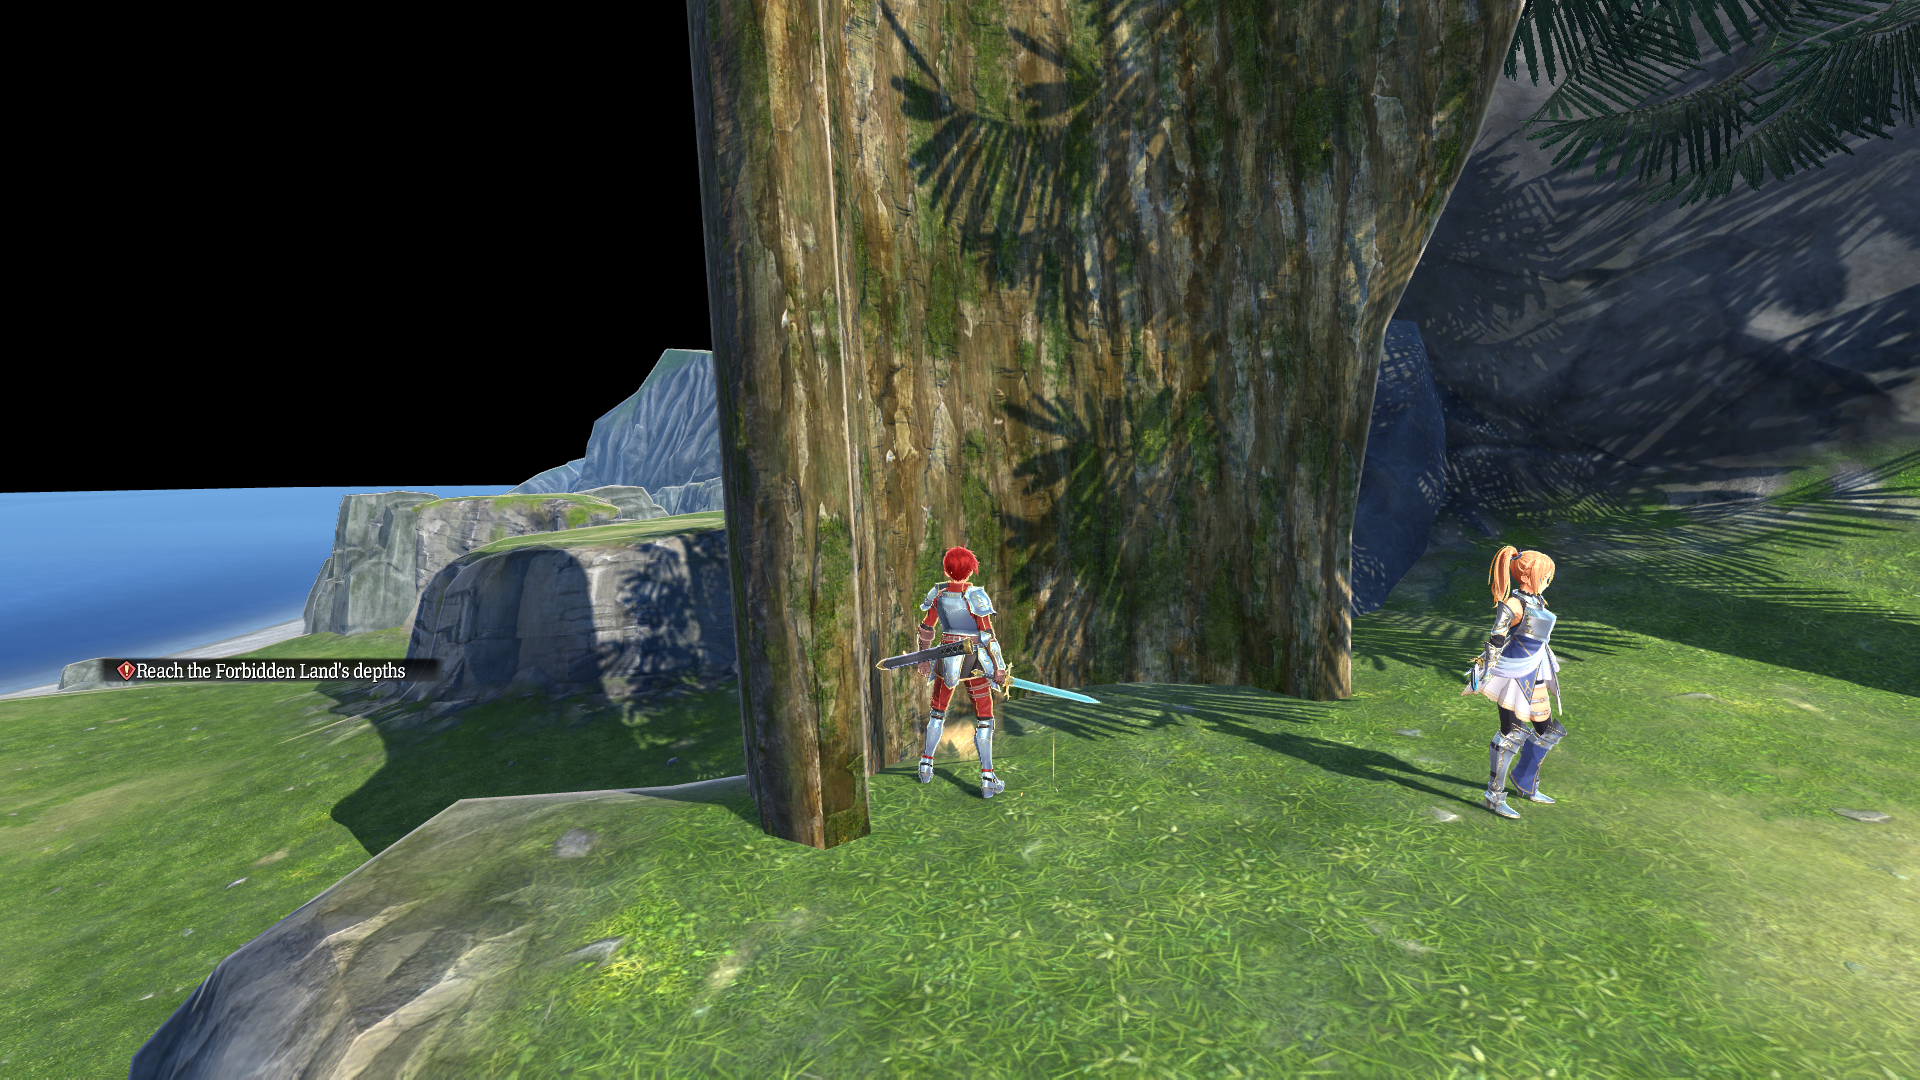
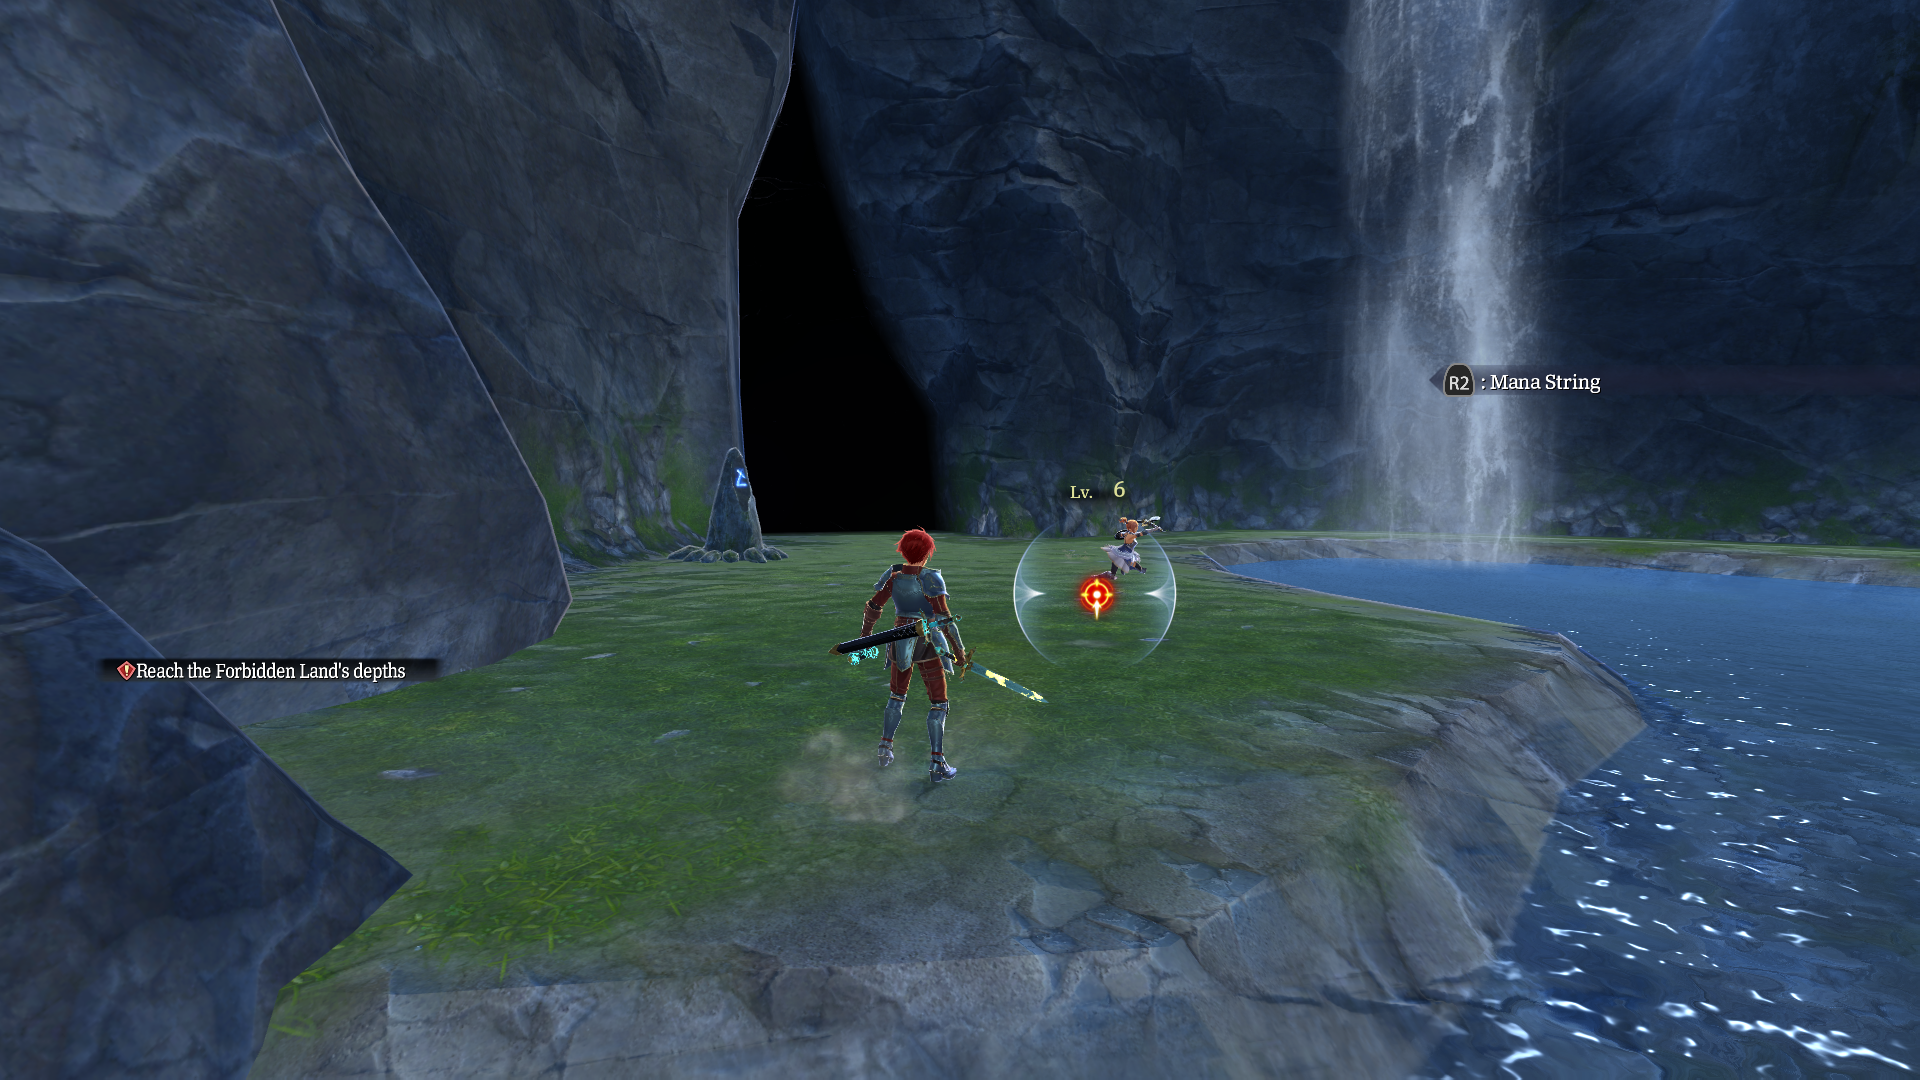
test_ookusa_mp_m0002#
Variant of test_mp_m0002. Can simulate reviving your partner with the T-Pose Karja. There's also a floating invisible enemy to grapple onto. Can’t exit using the skiff.
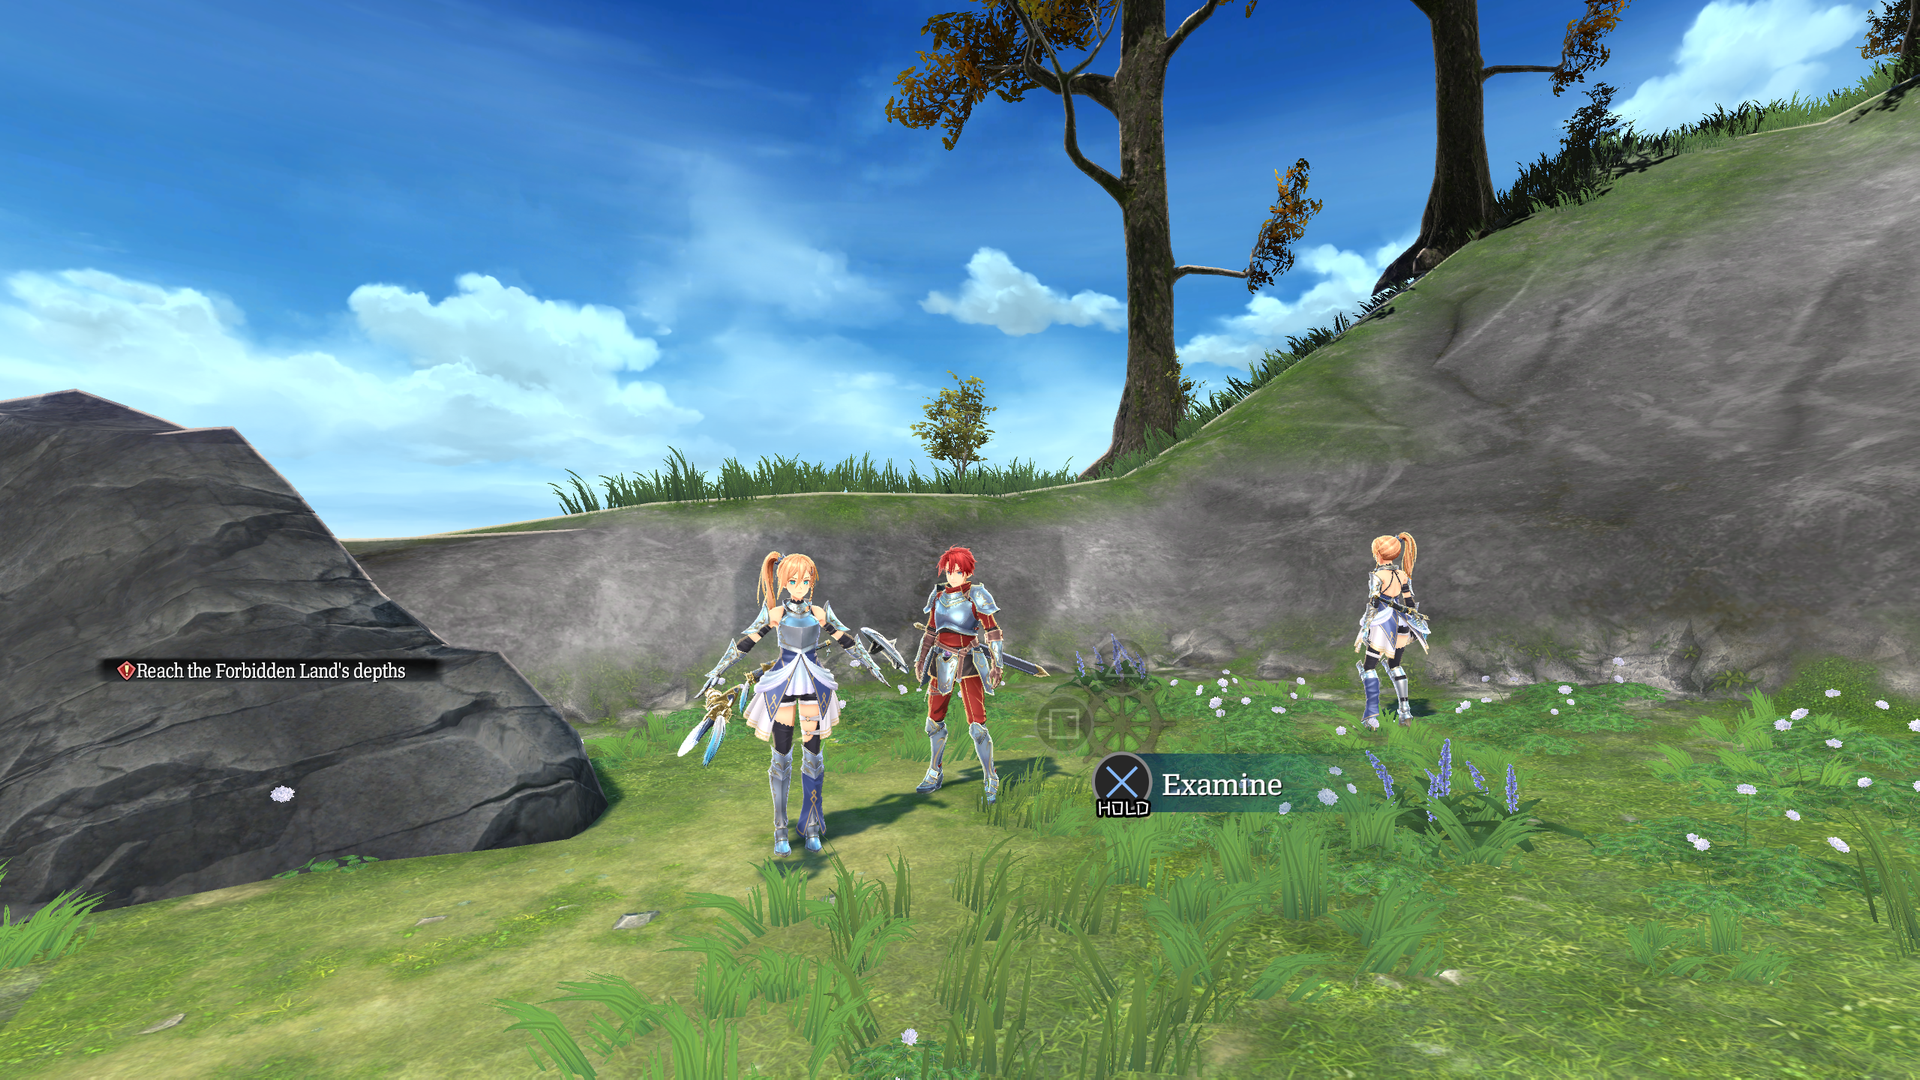
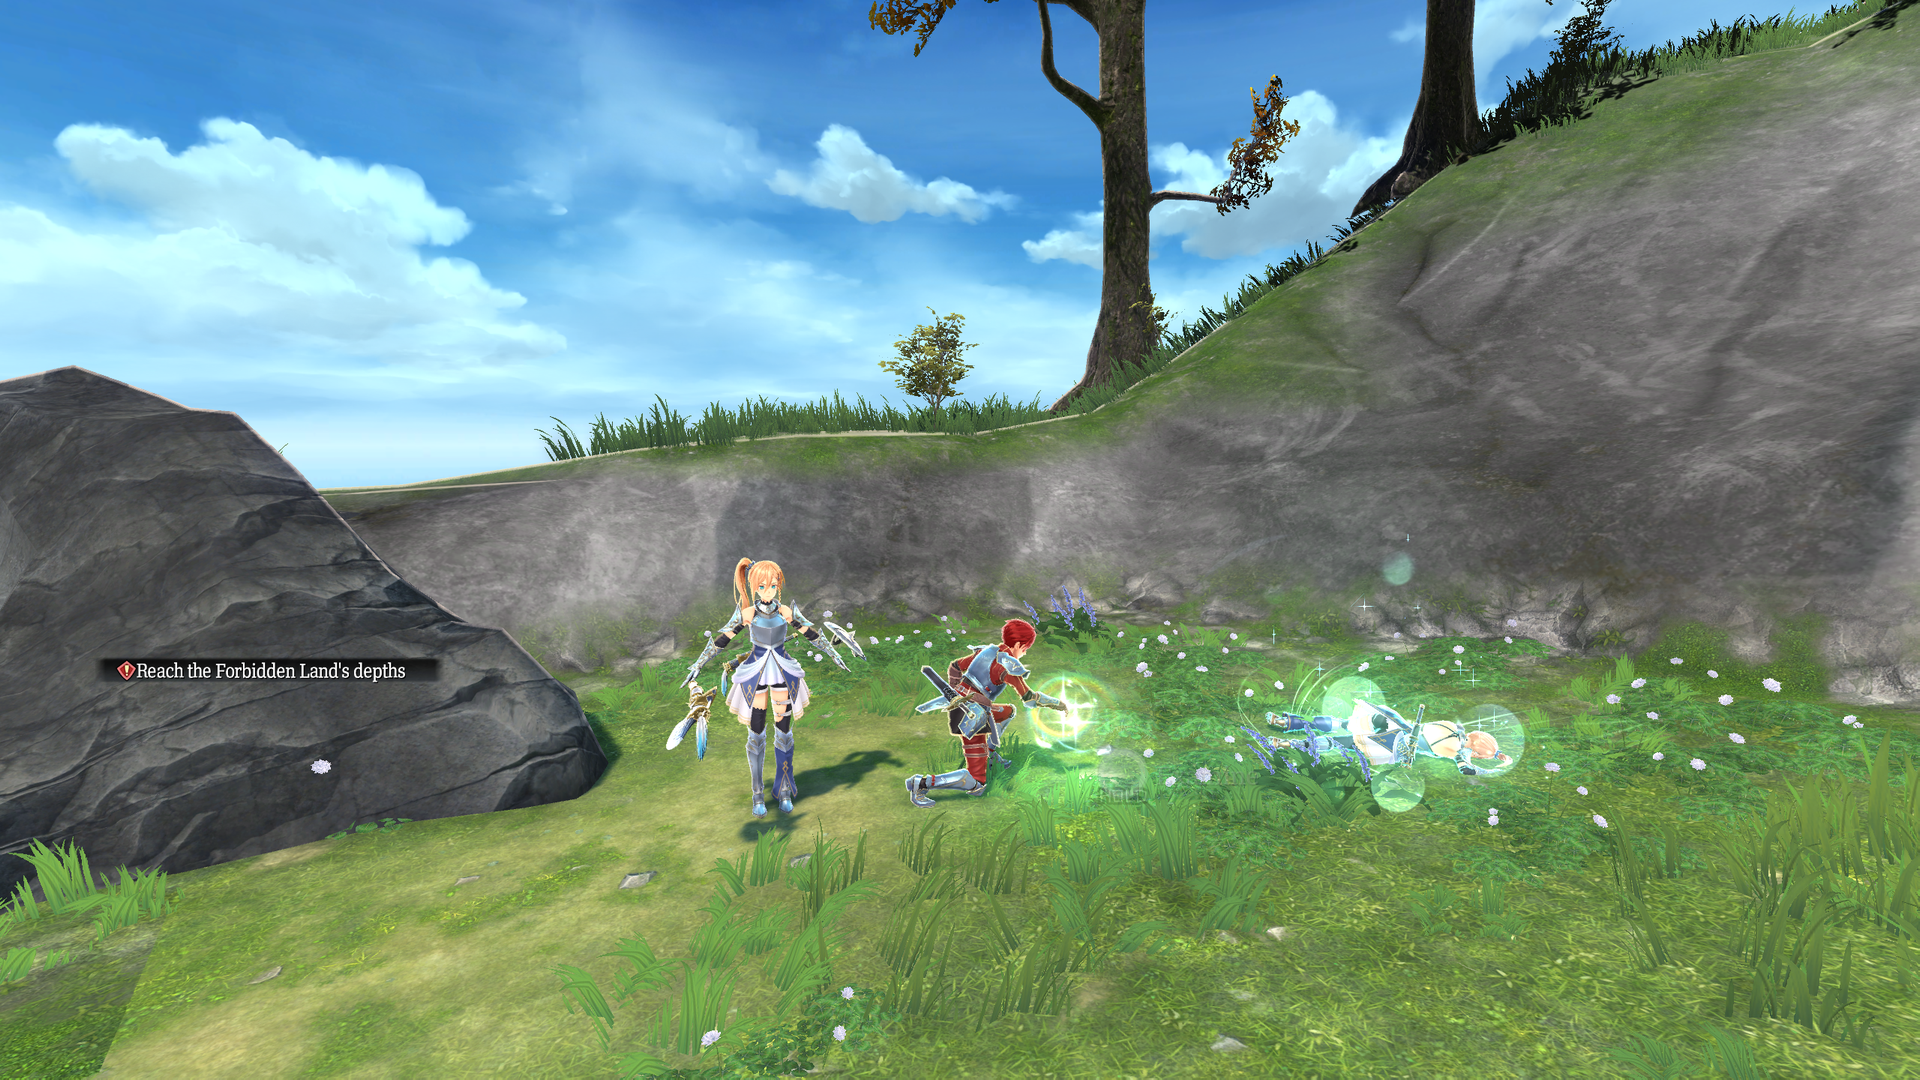
test_ookusa_mp_m0002_2#
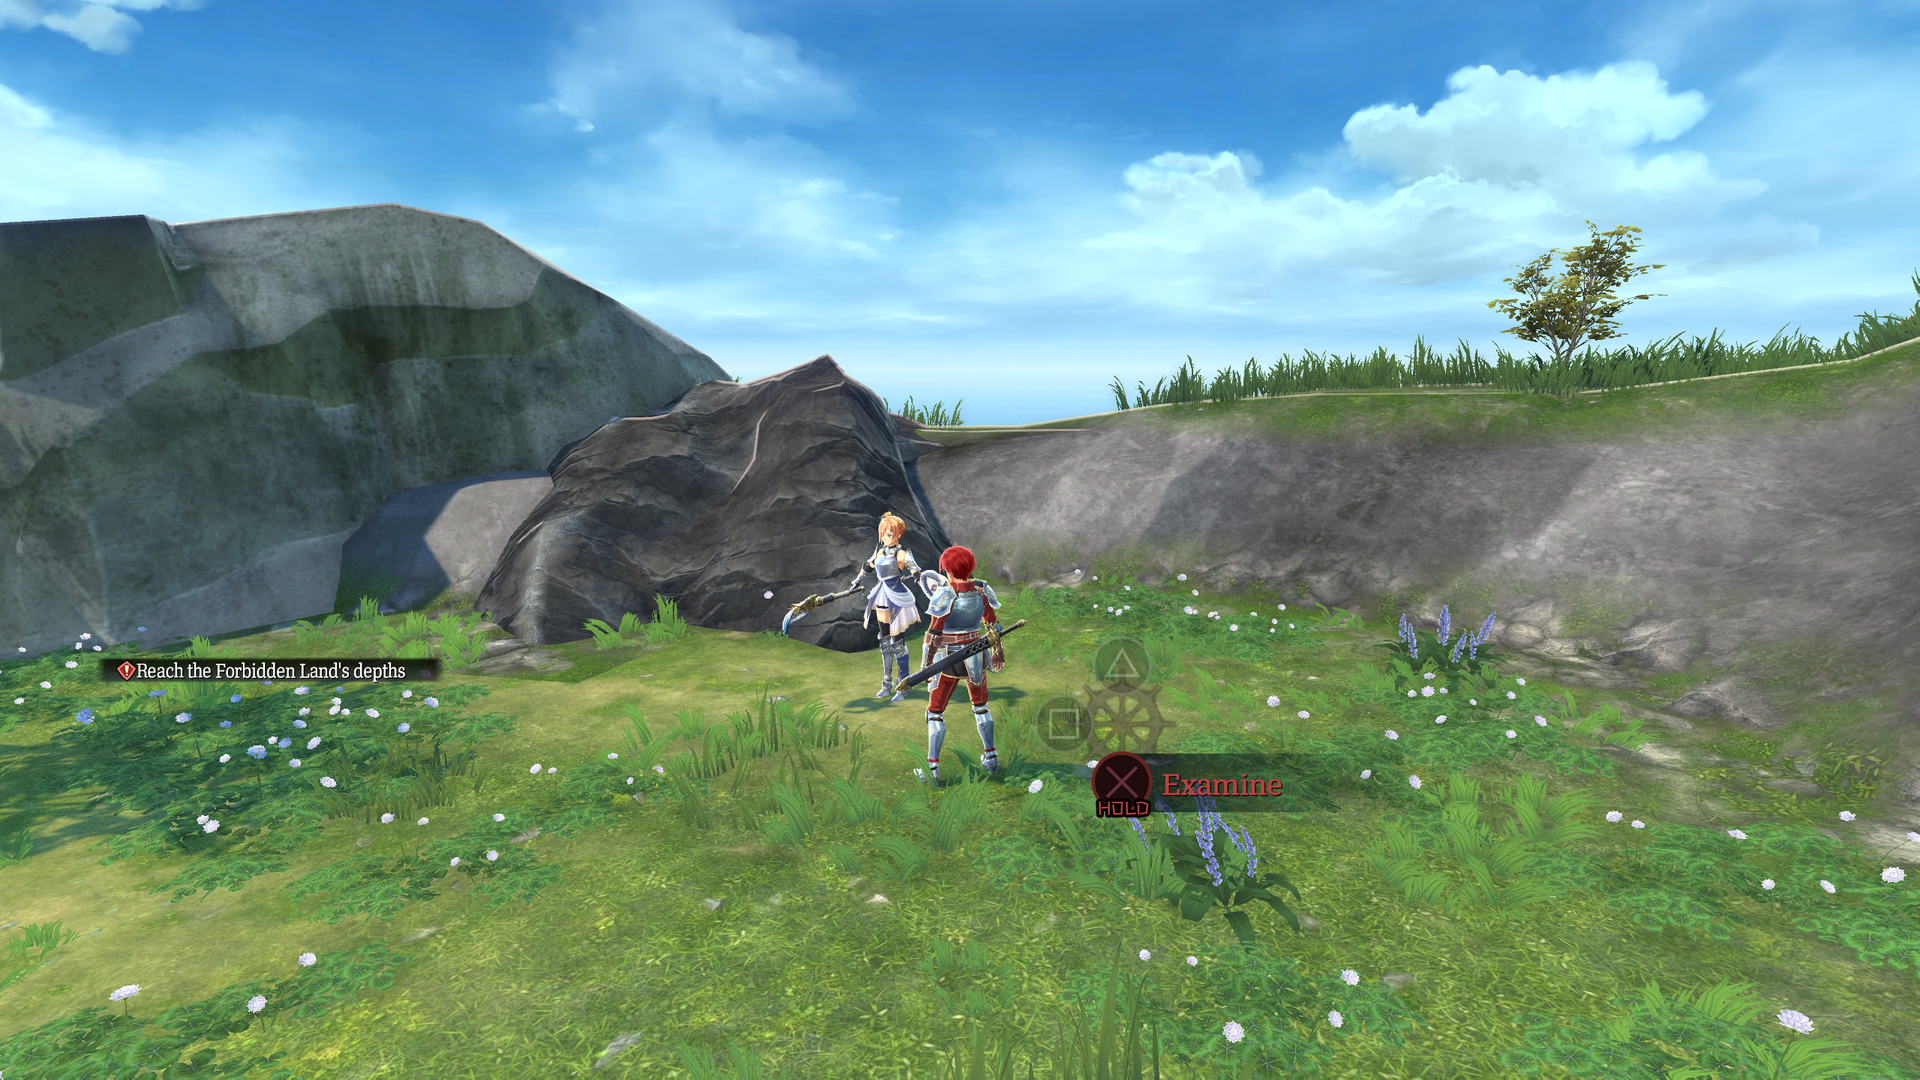
Similar to test_ookusa_mp_m0002, but can’t interact with T-Pose Karja.
test_plane#
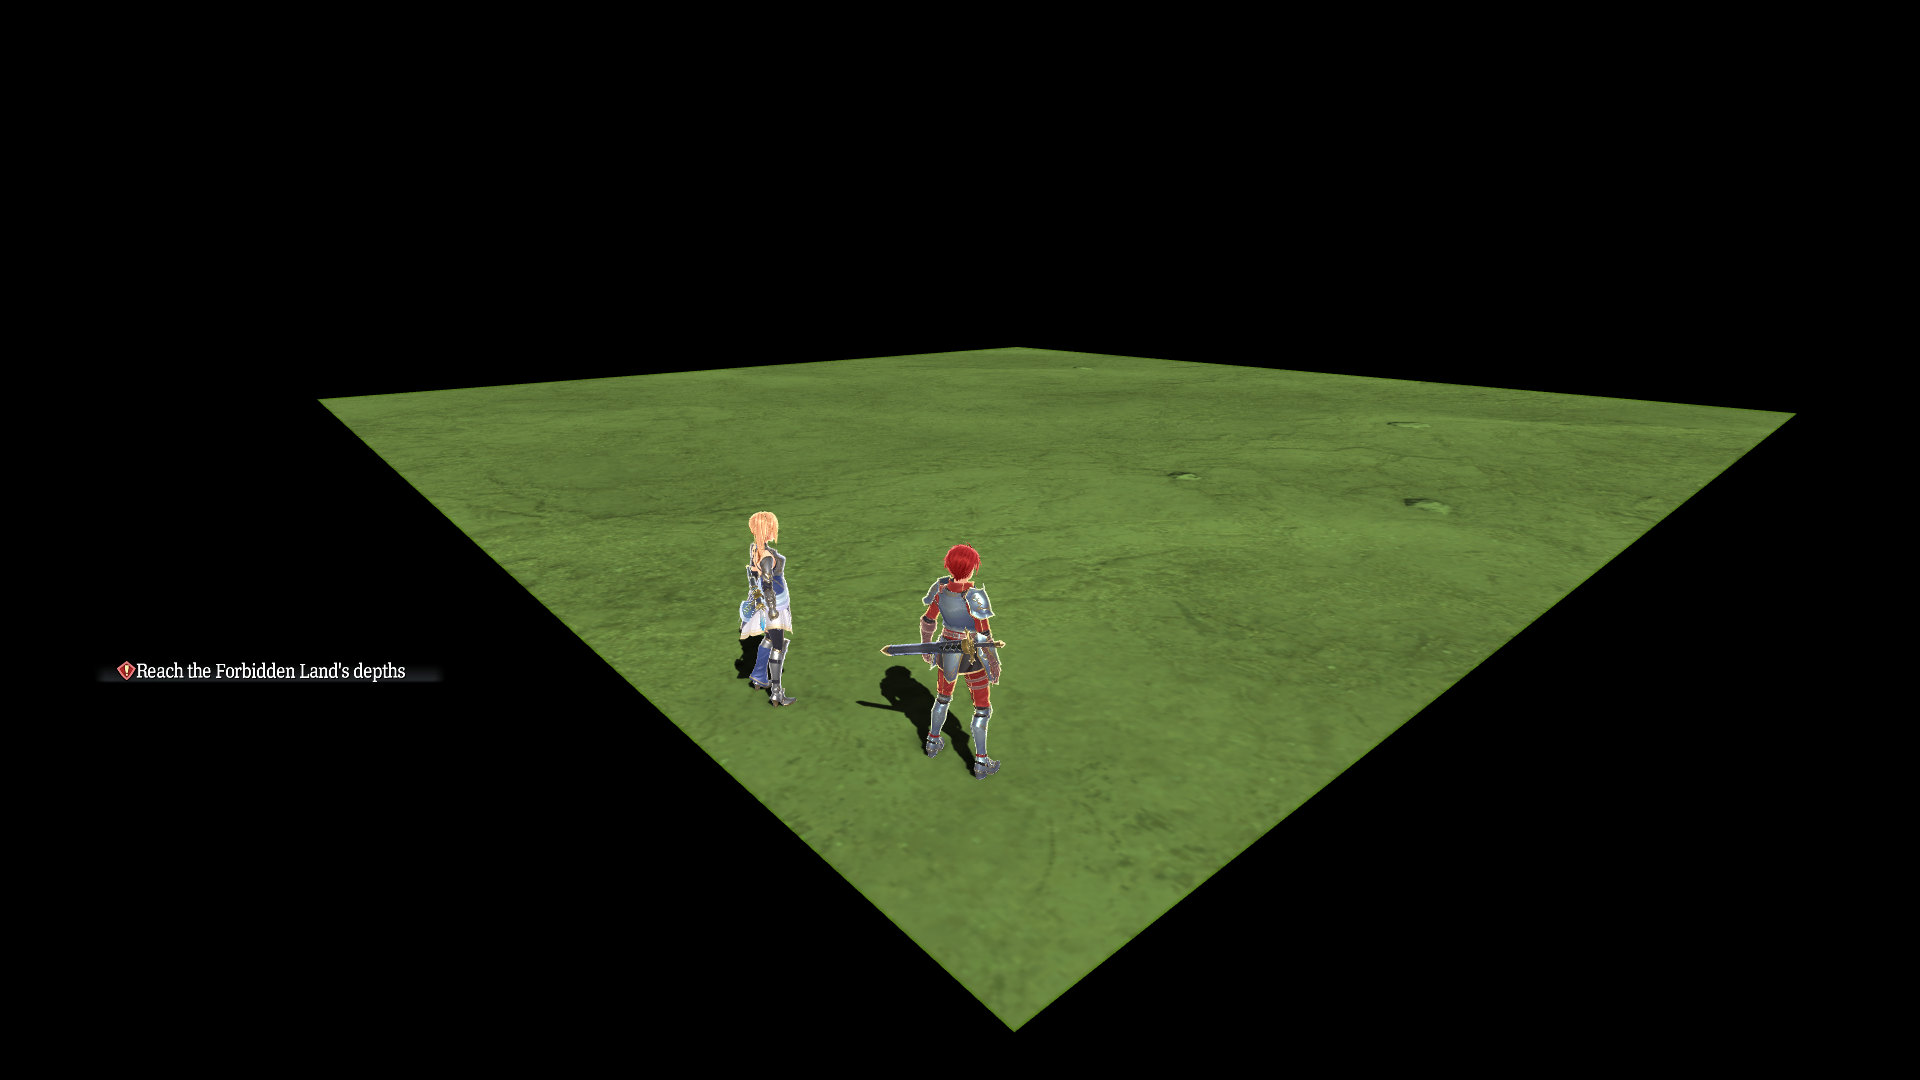
Just a flat green platform, nothing more.
test_recapture_island_0#
“Tests” the Island Recapture mode in the test_tutorial map.
- It's completely devoid of enemies.
- The path is blocked after where the first grapple point would be.
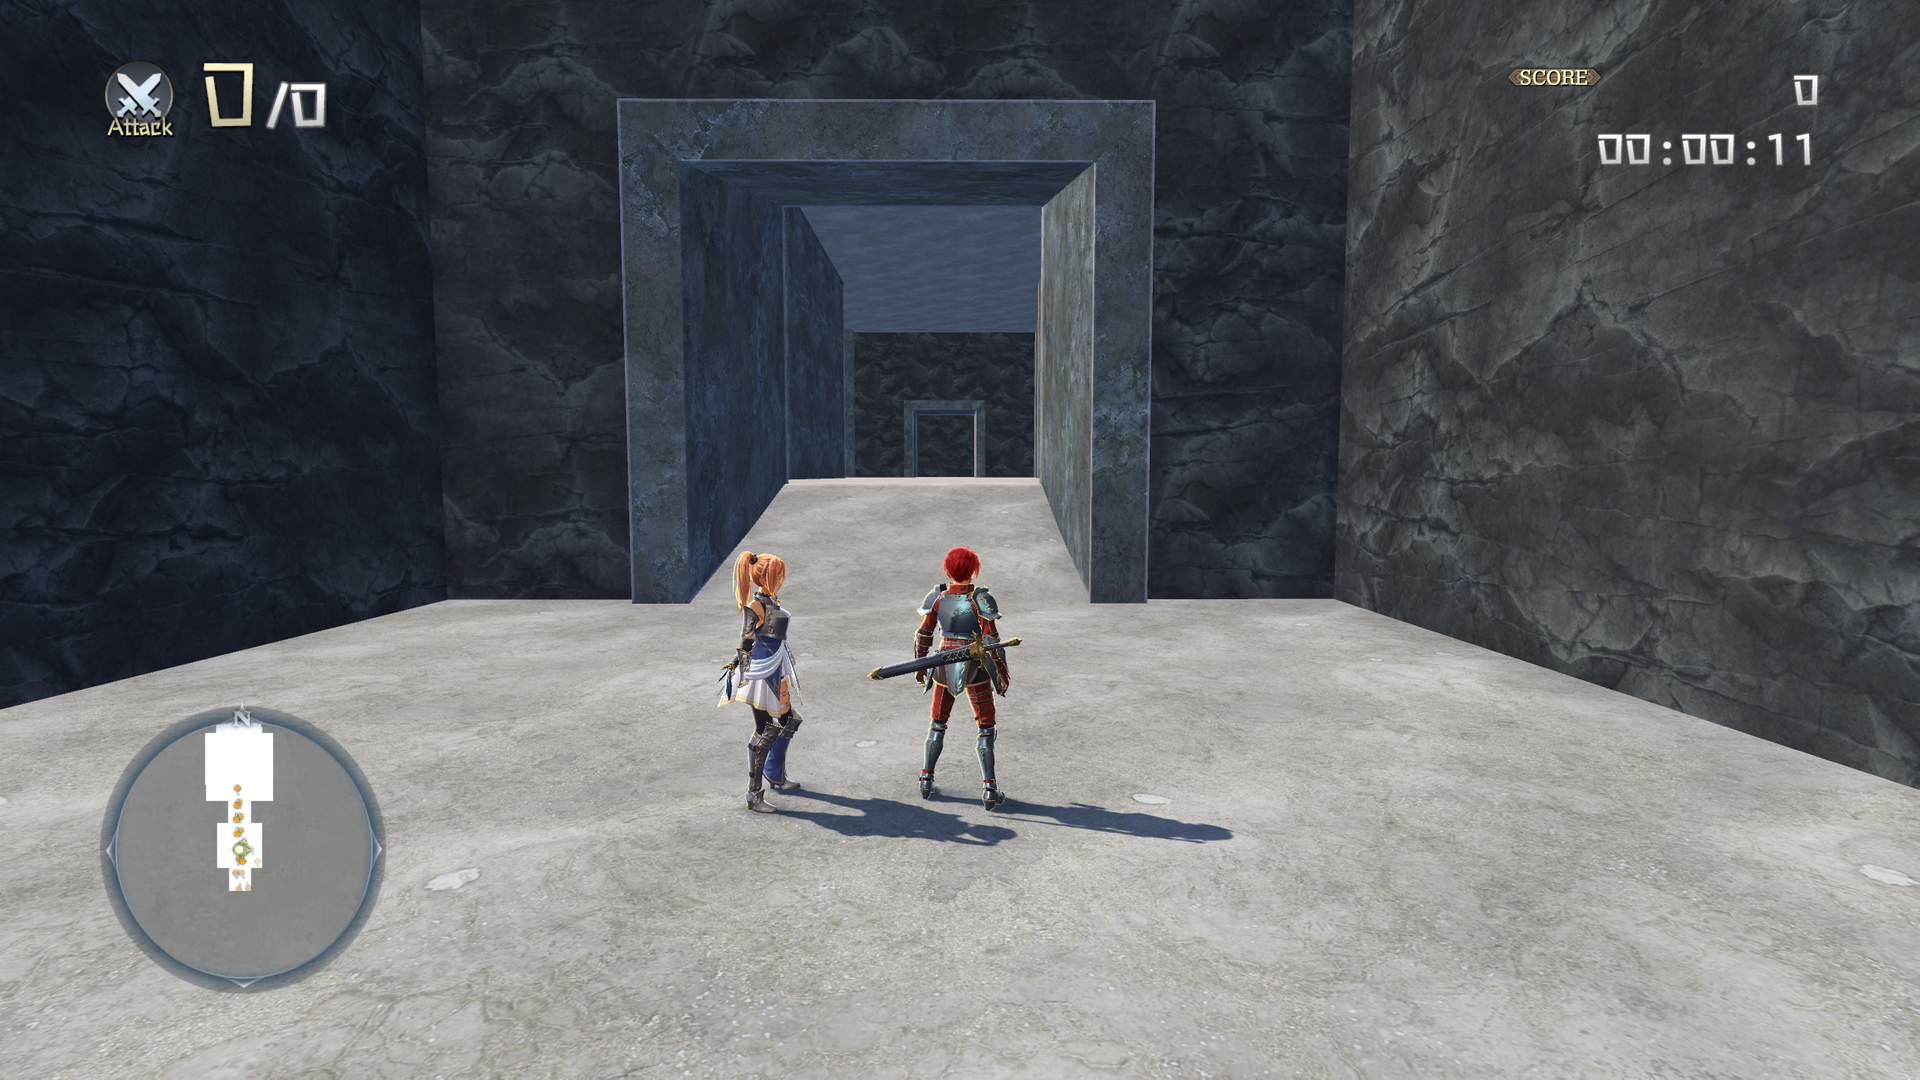
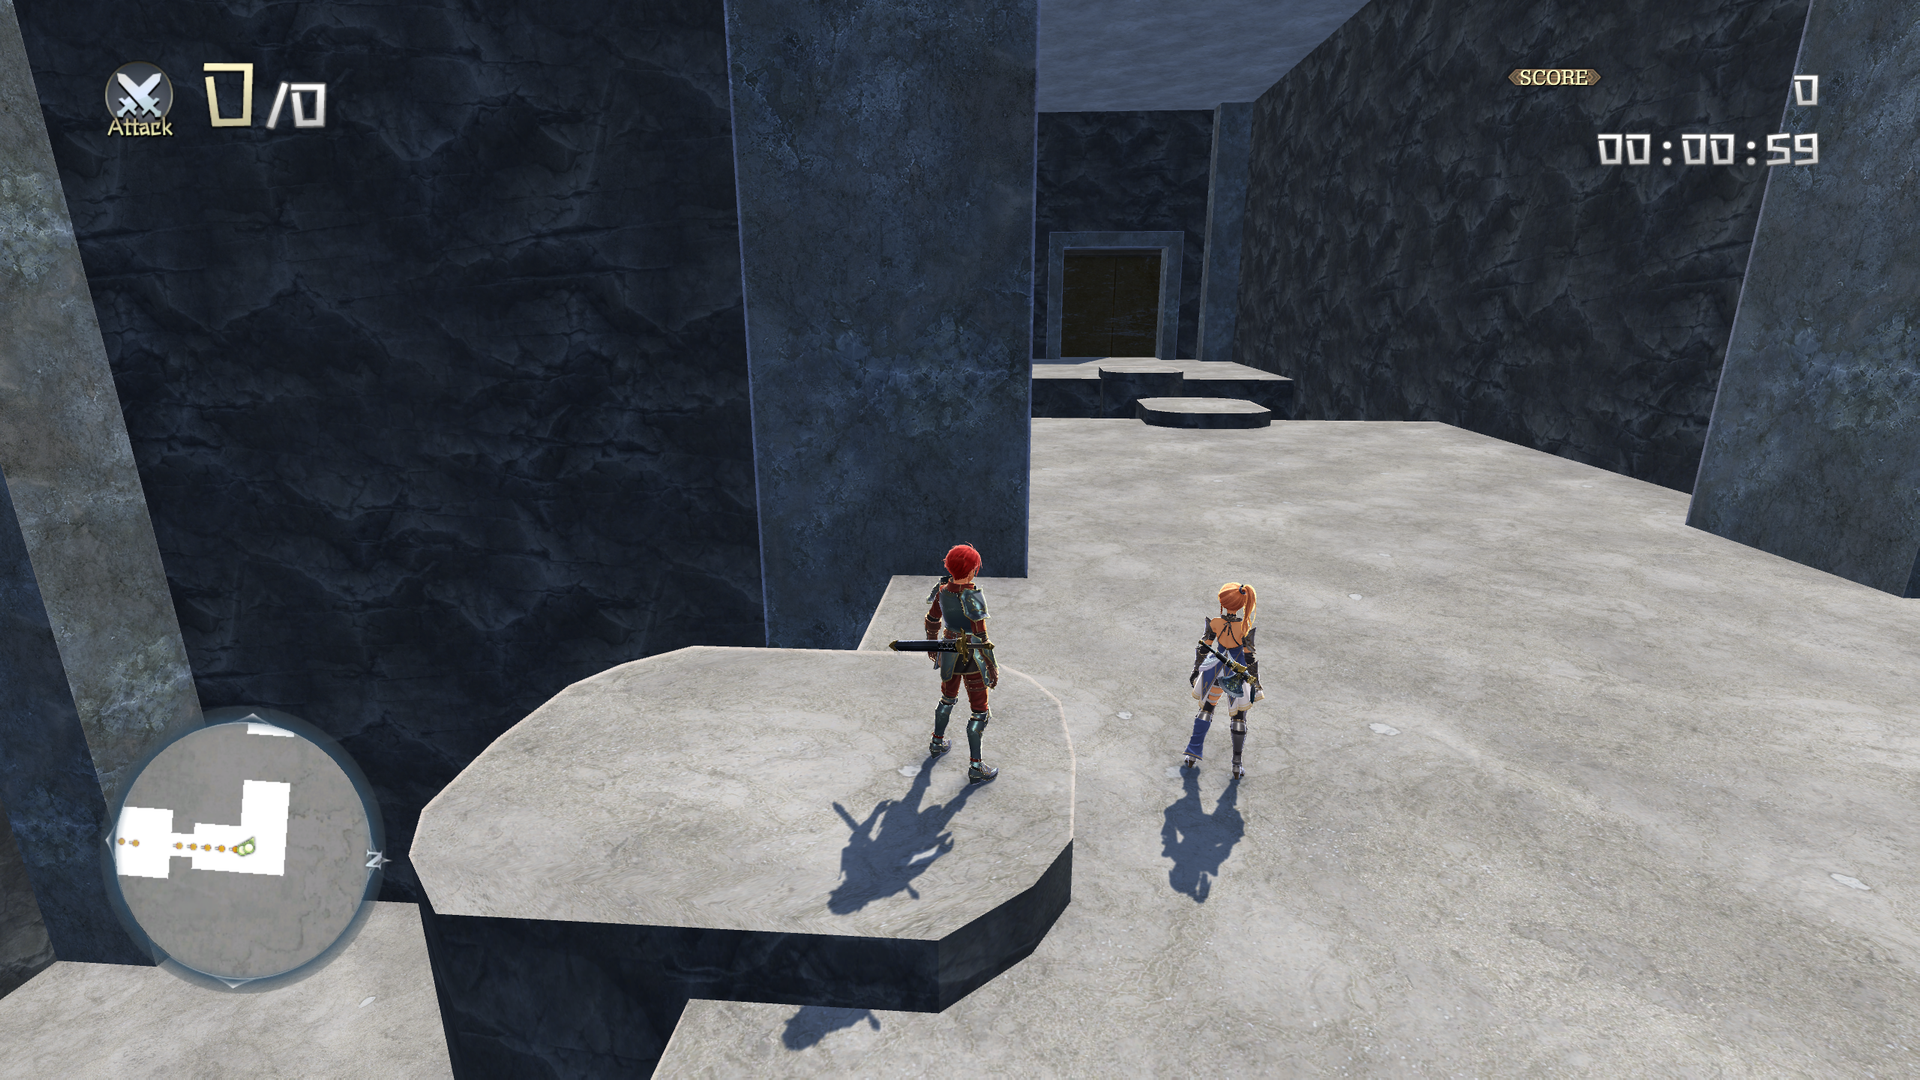
test_recapture_island_1#
Same as test_recapture_island_0, but without music.
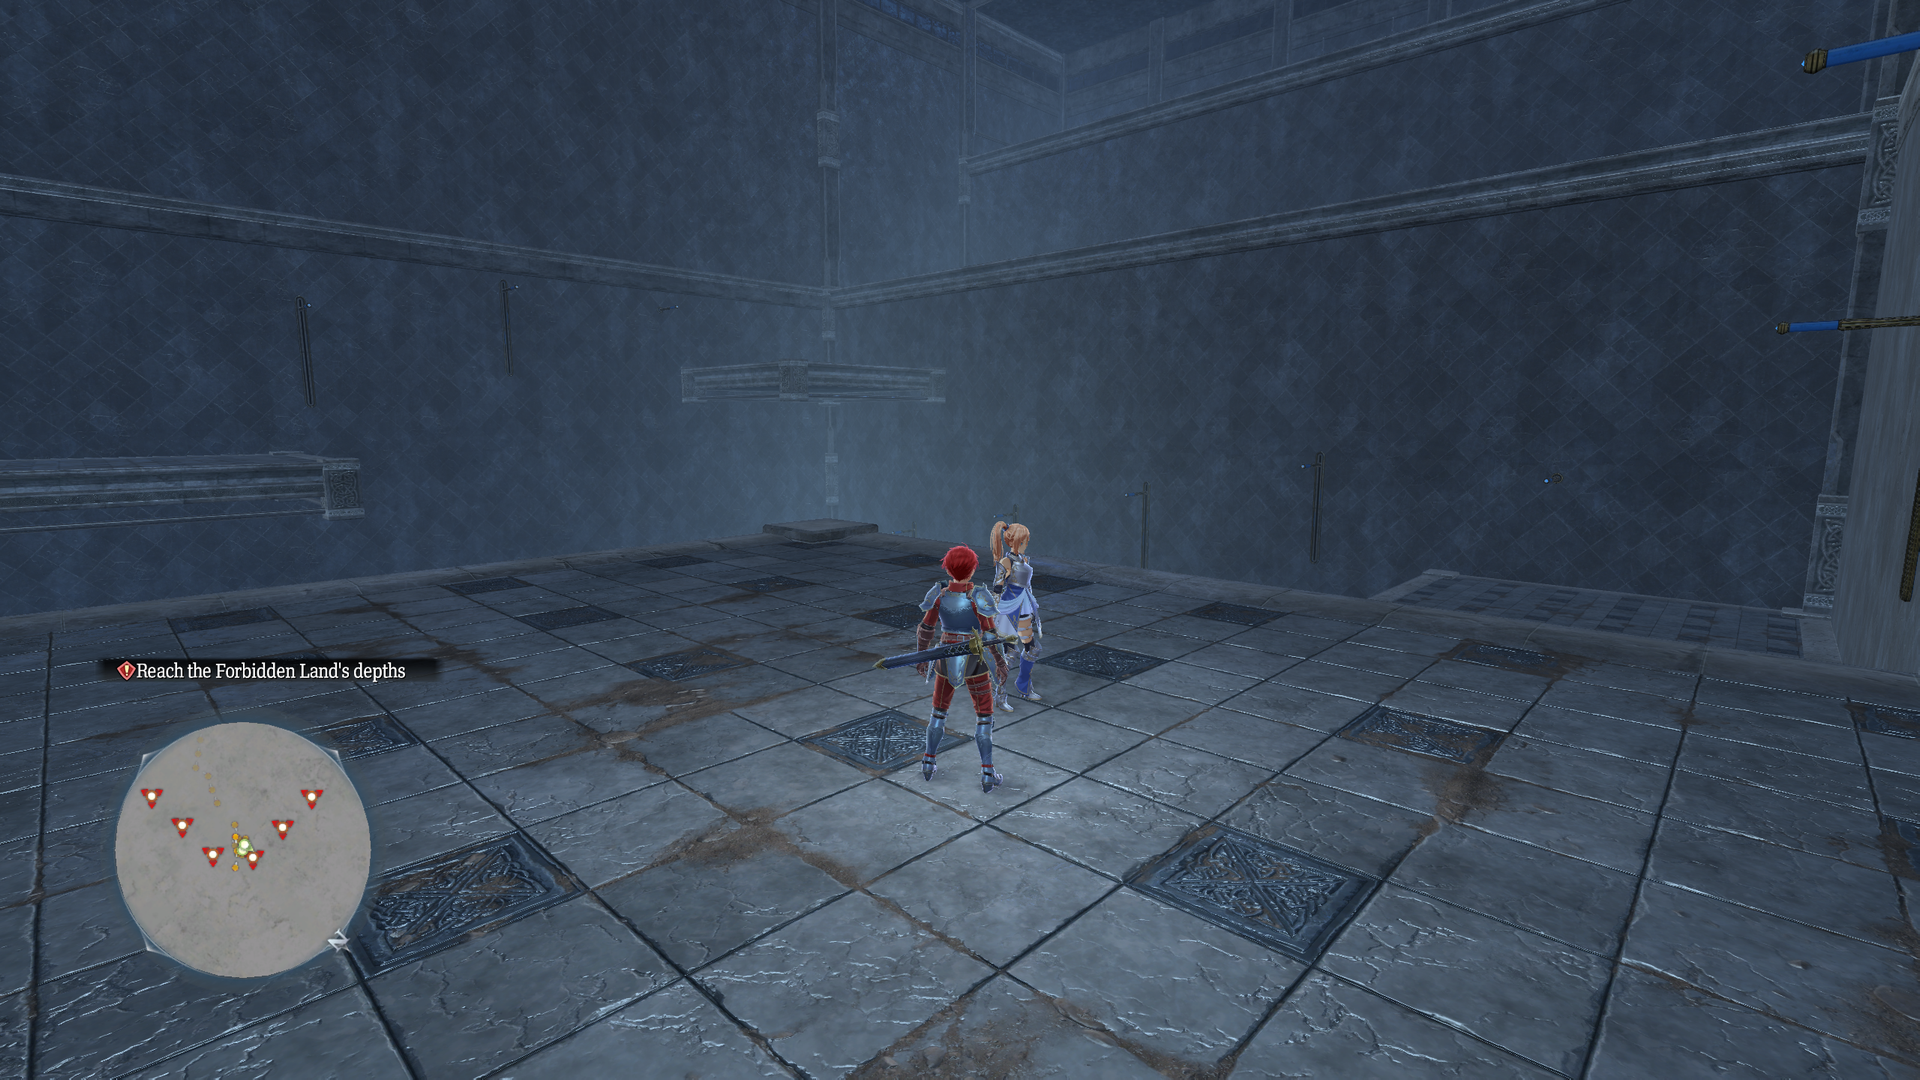
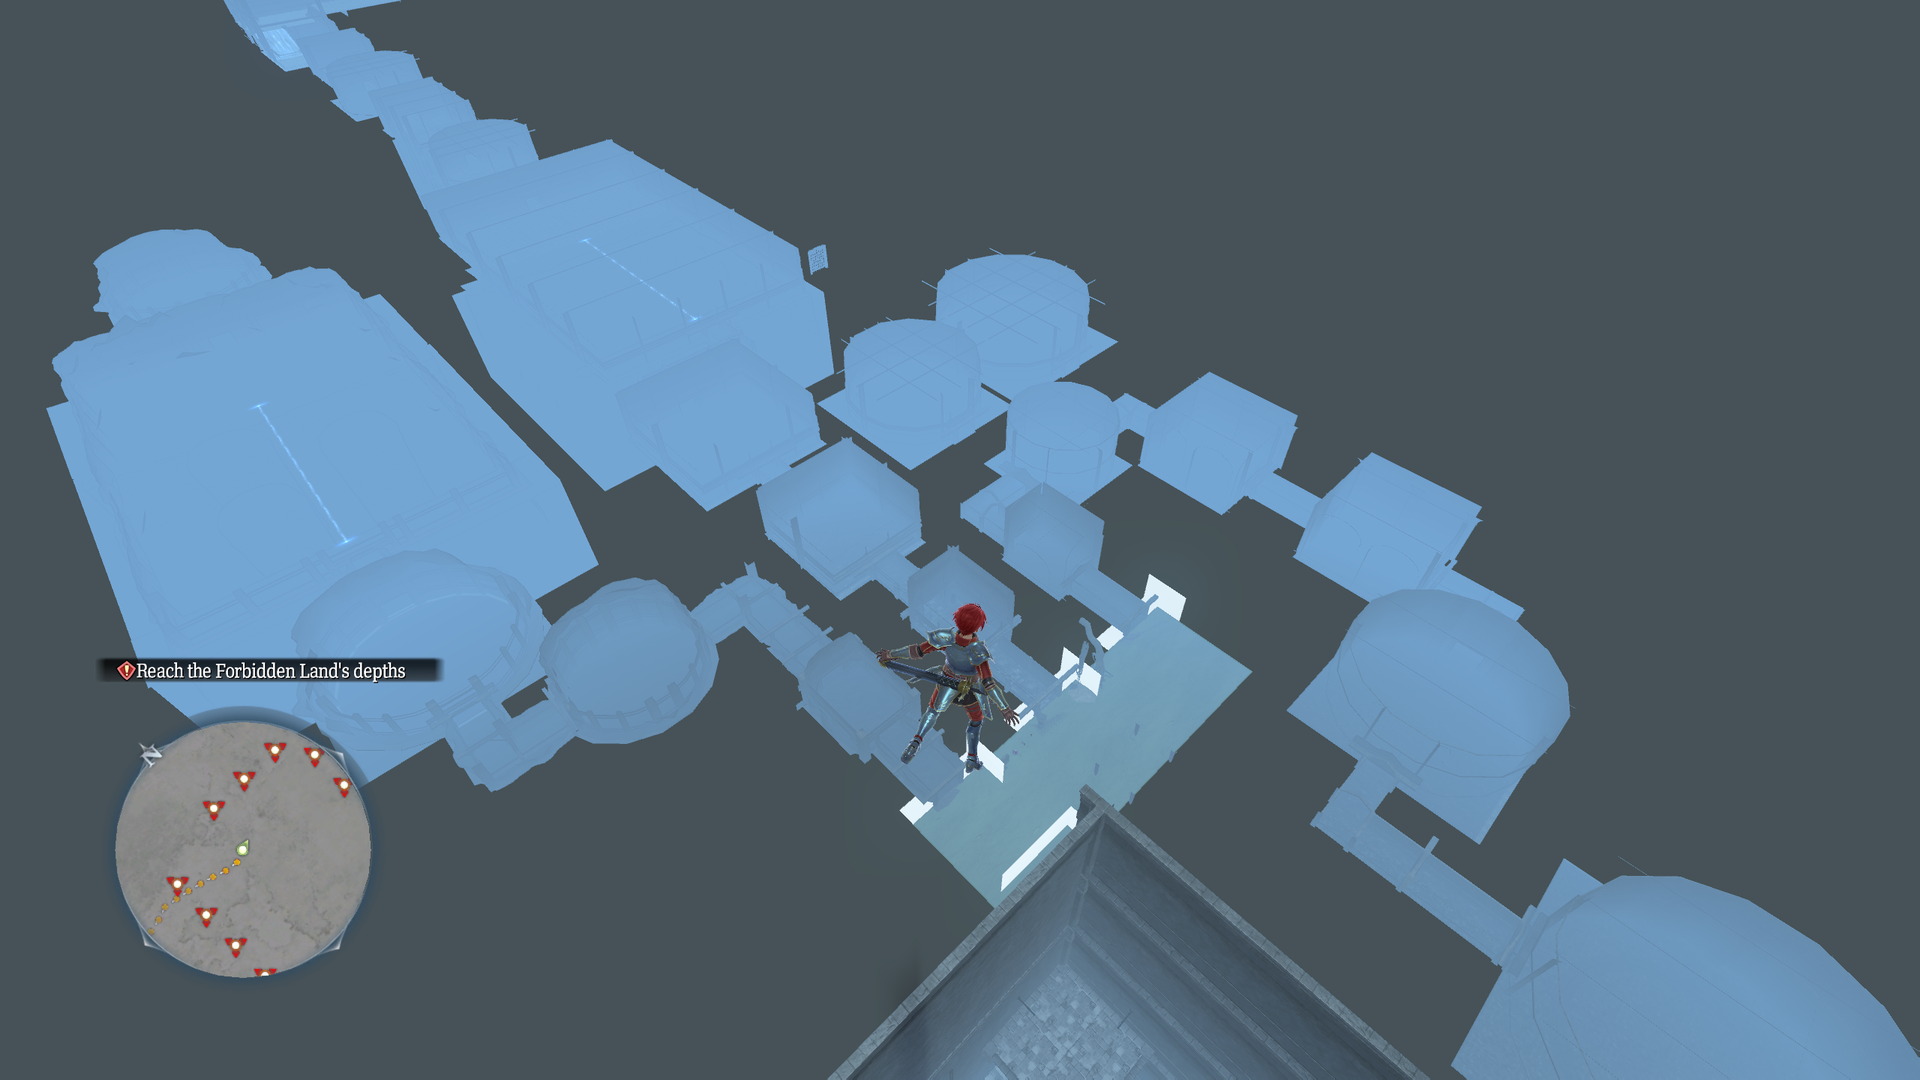
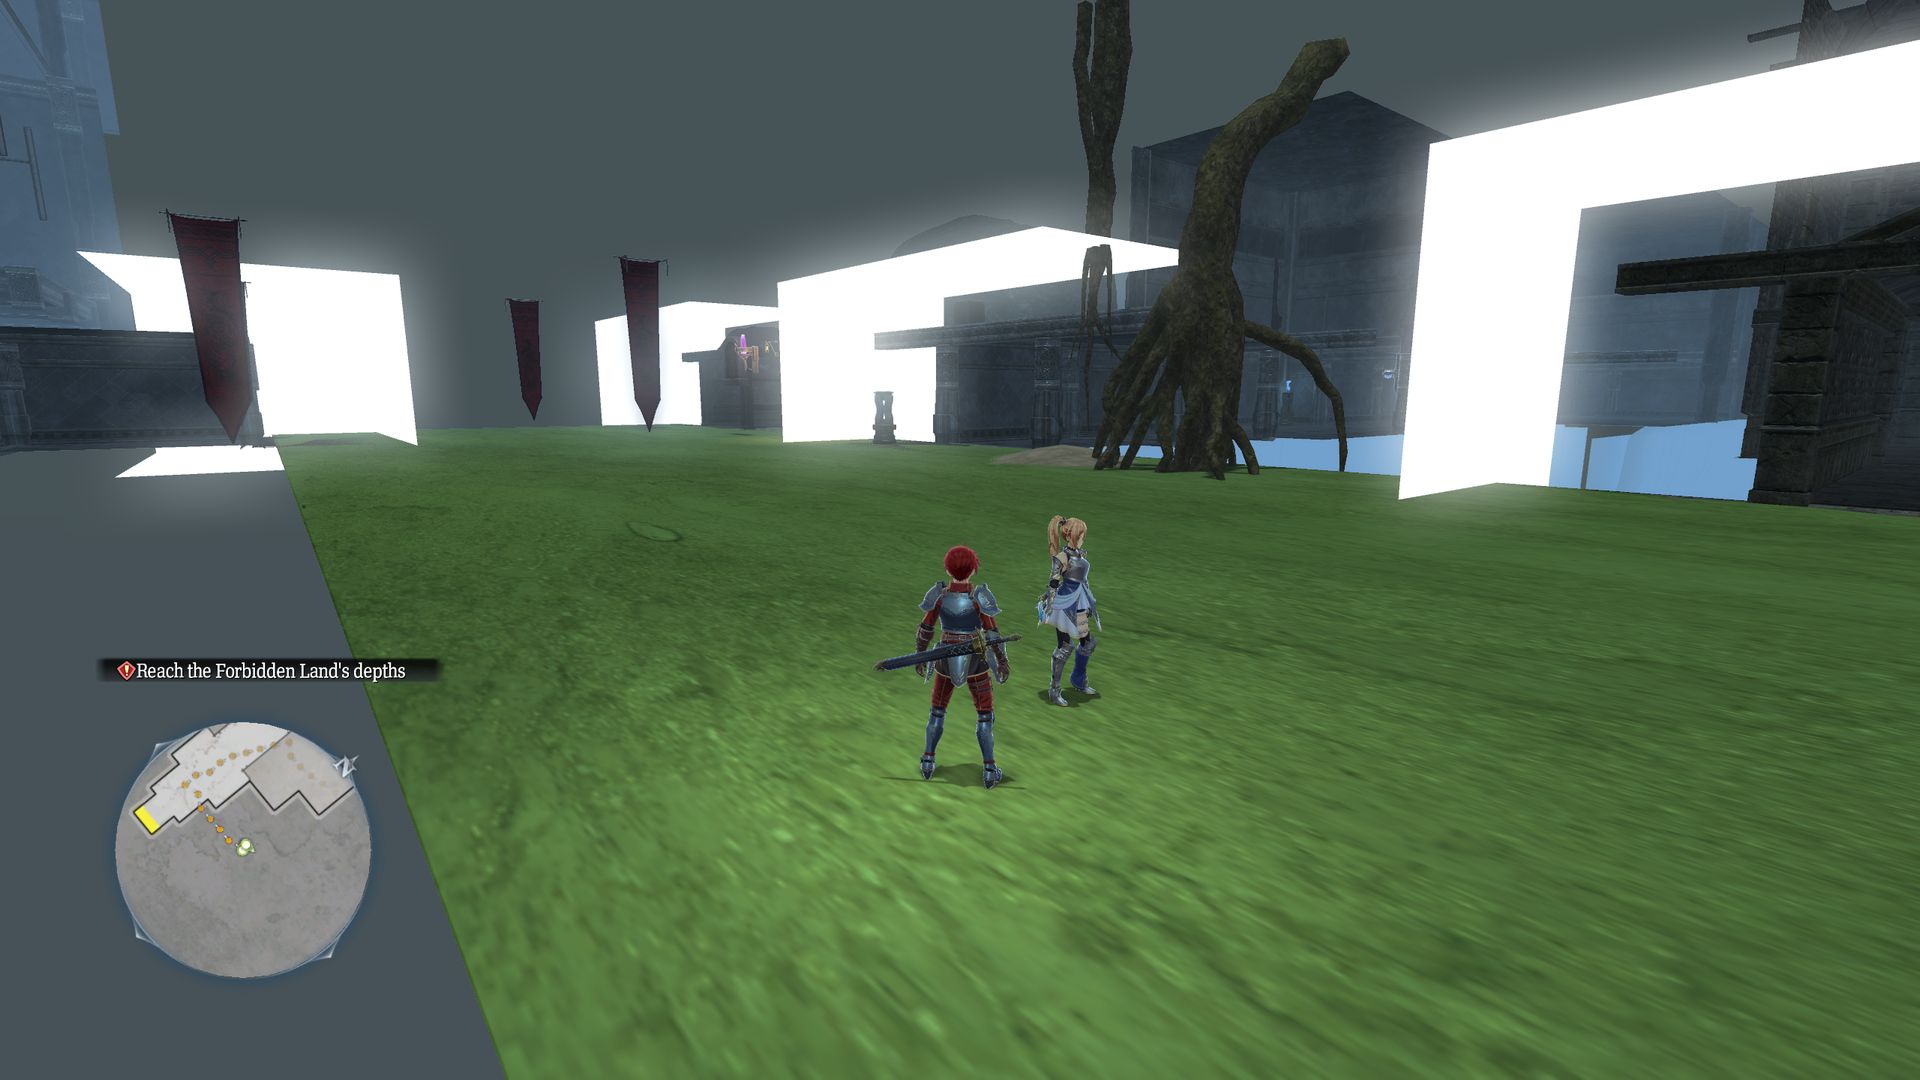
test_recapture_island_parts#
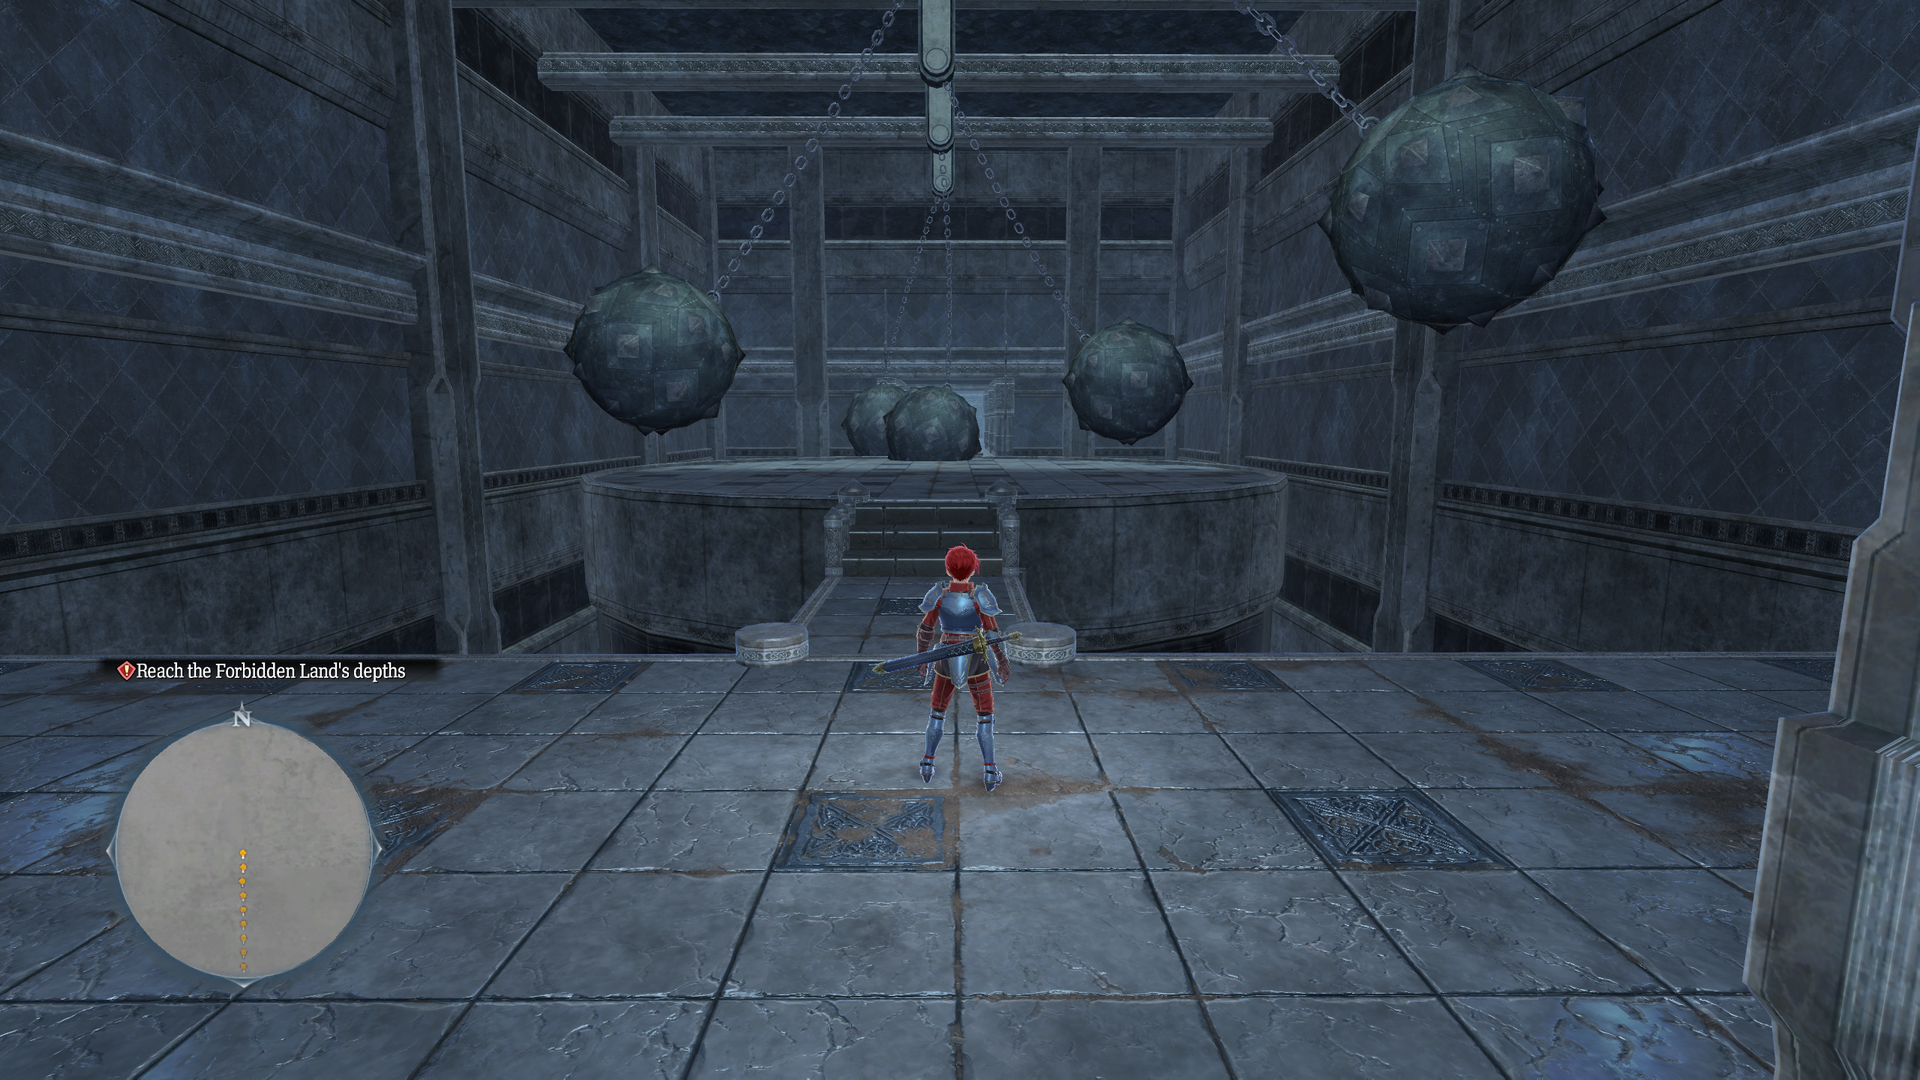
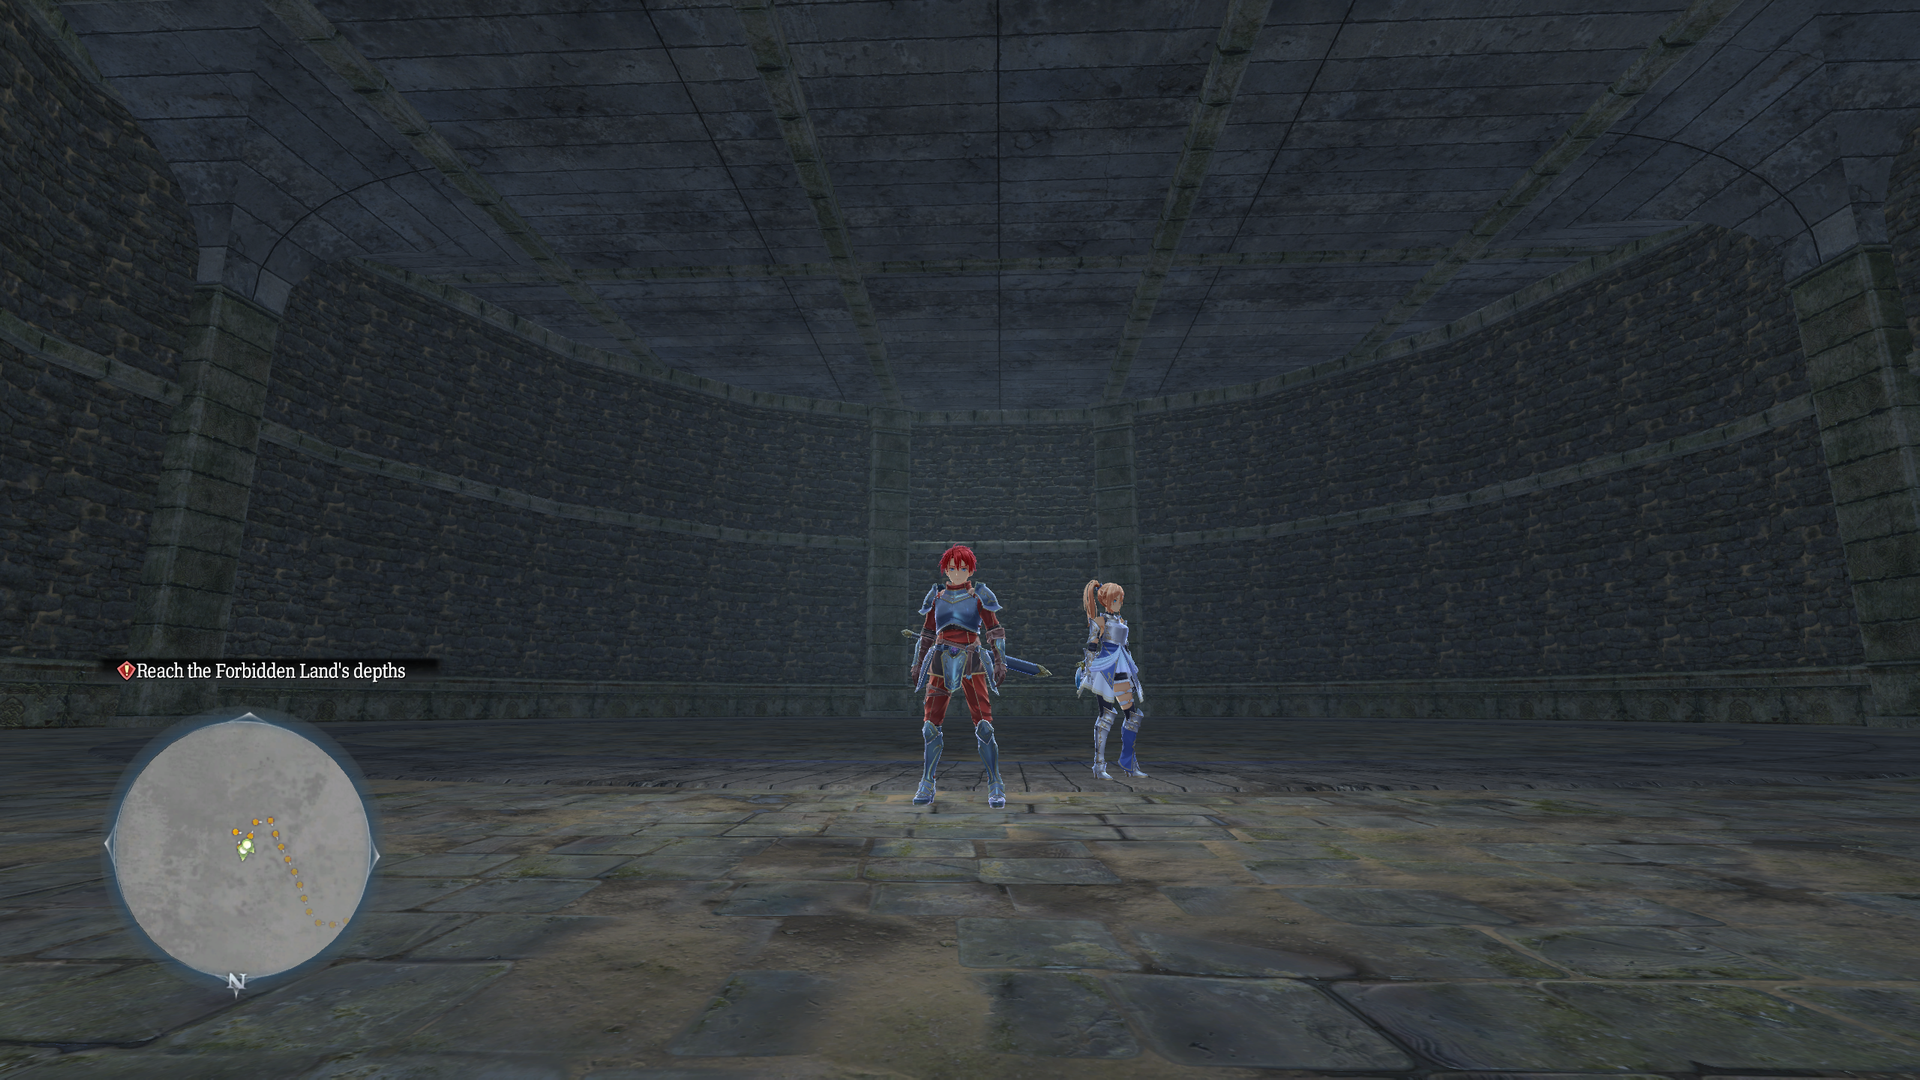
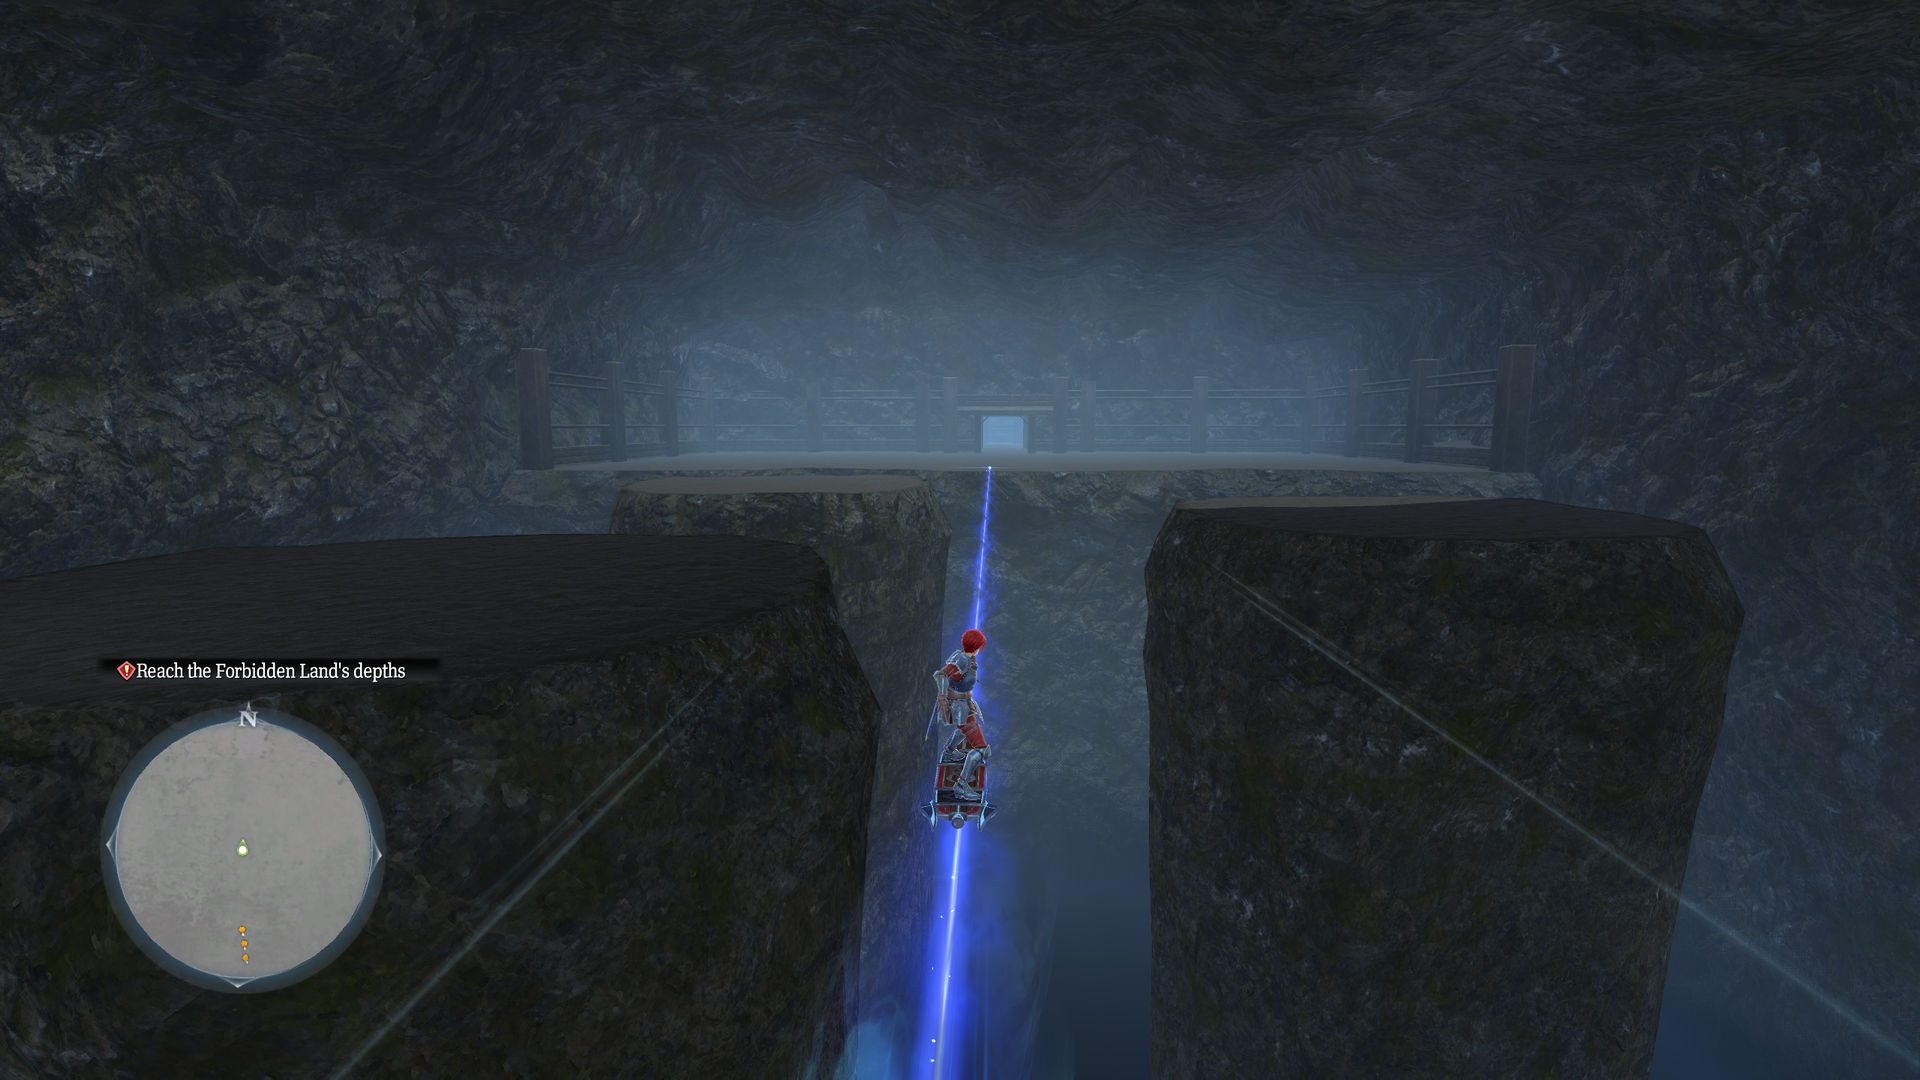
Contains parts that make up the dungeons for the island recapture missions, arranged so they are pieced together.
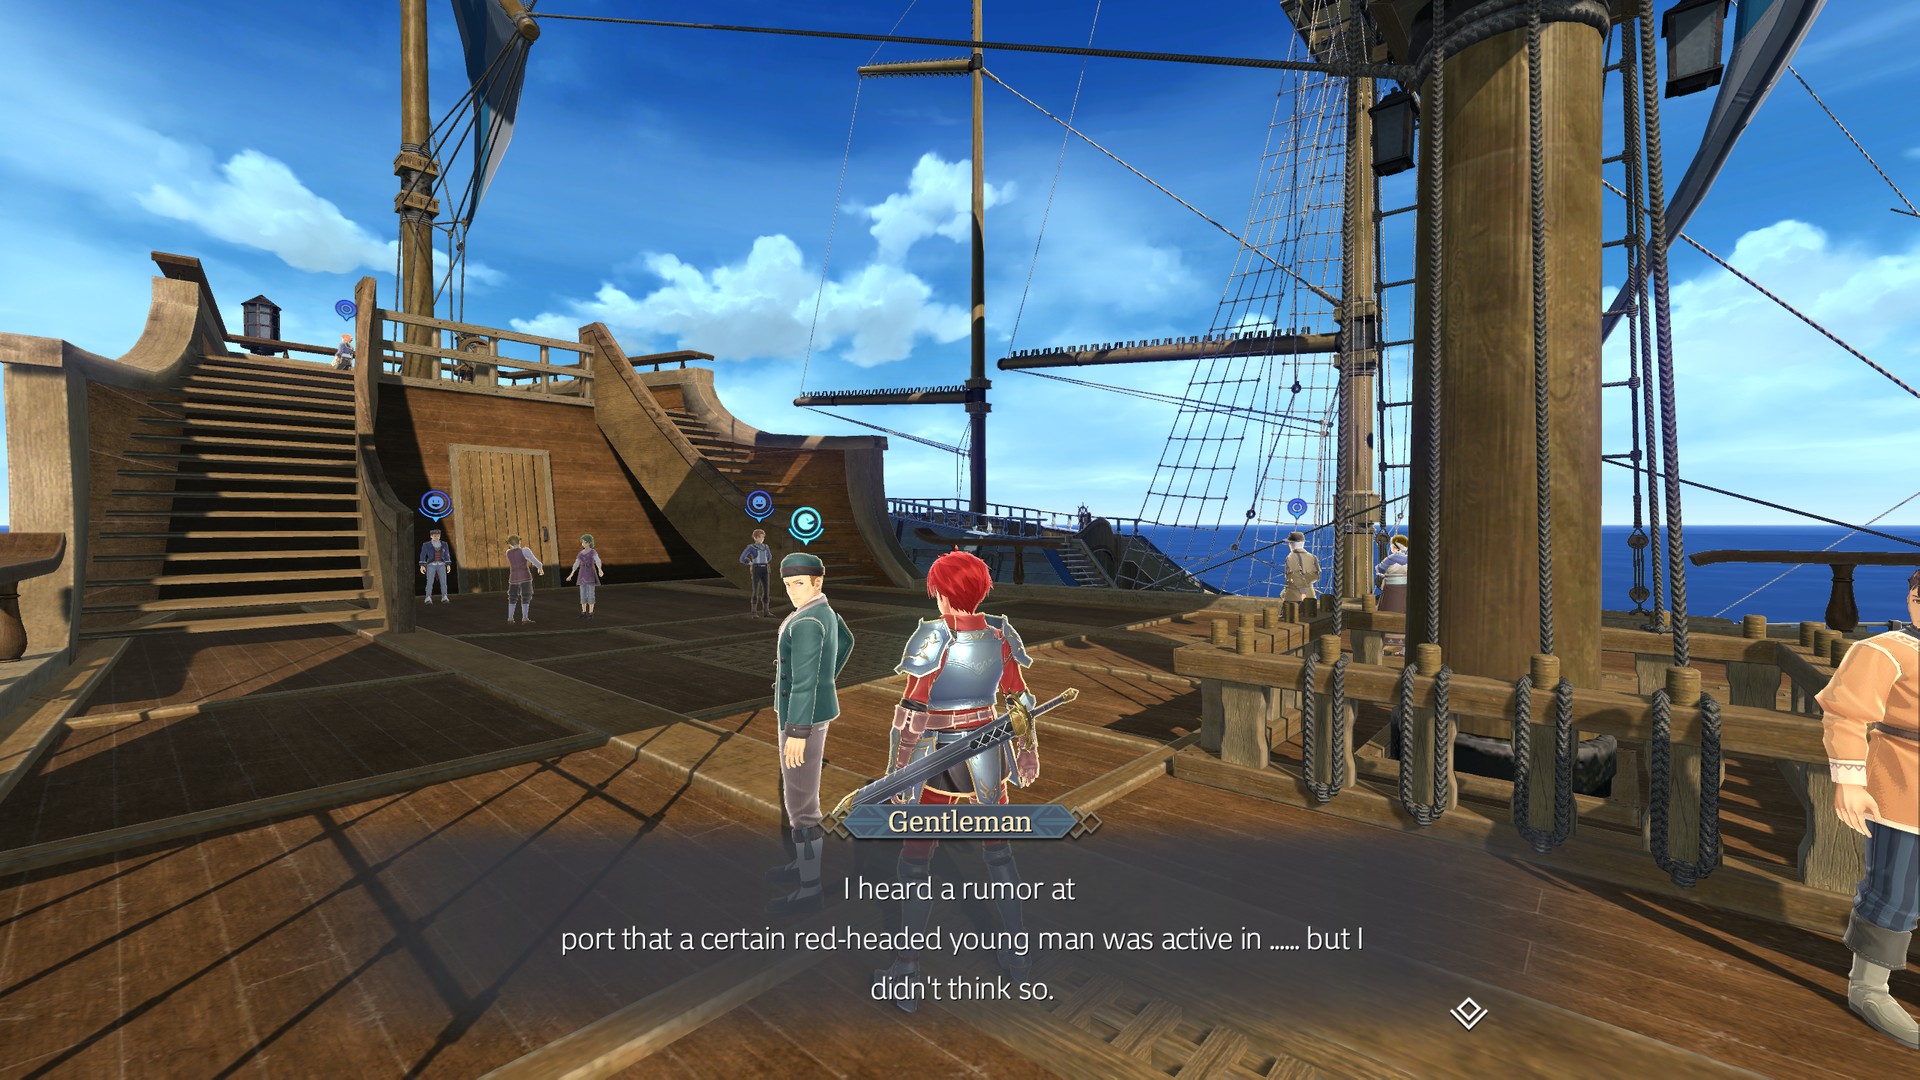
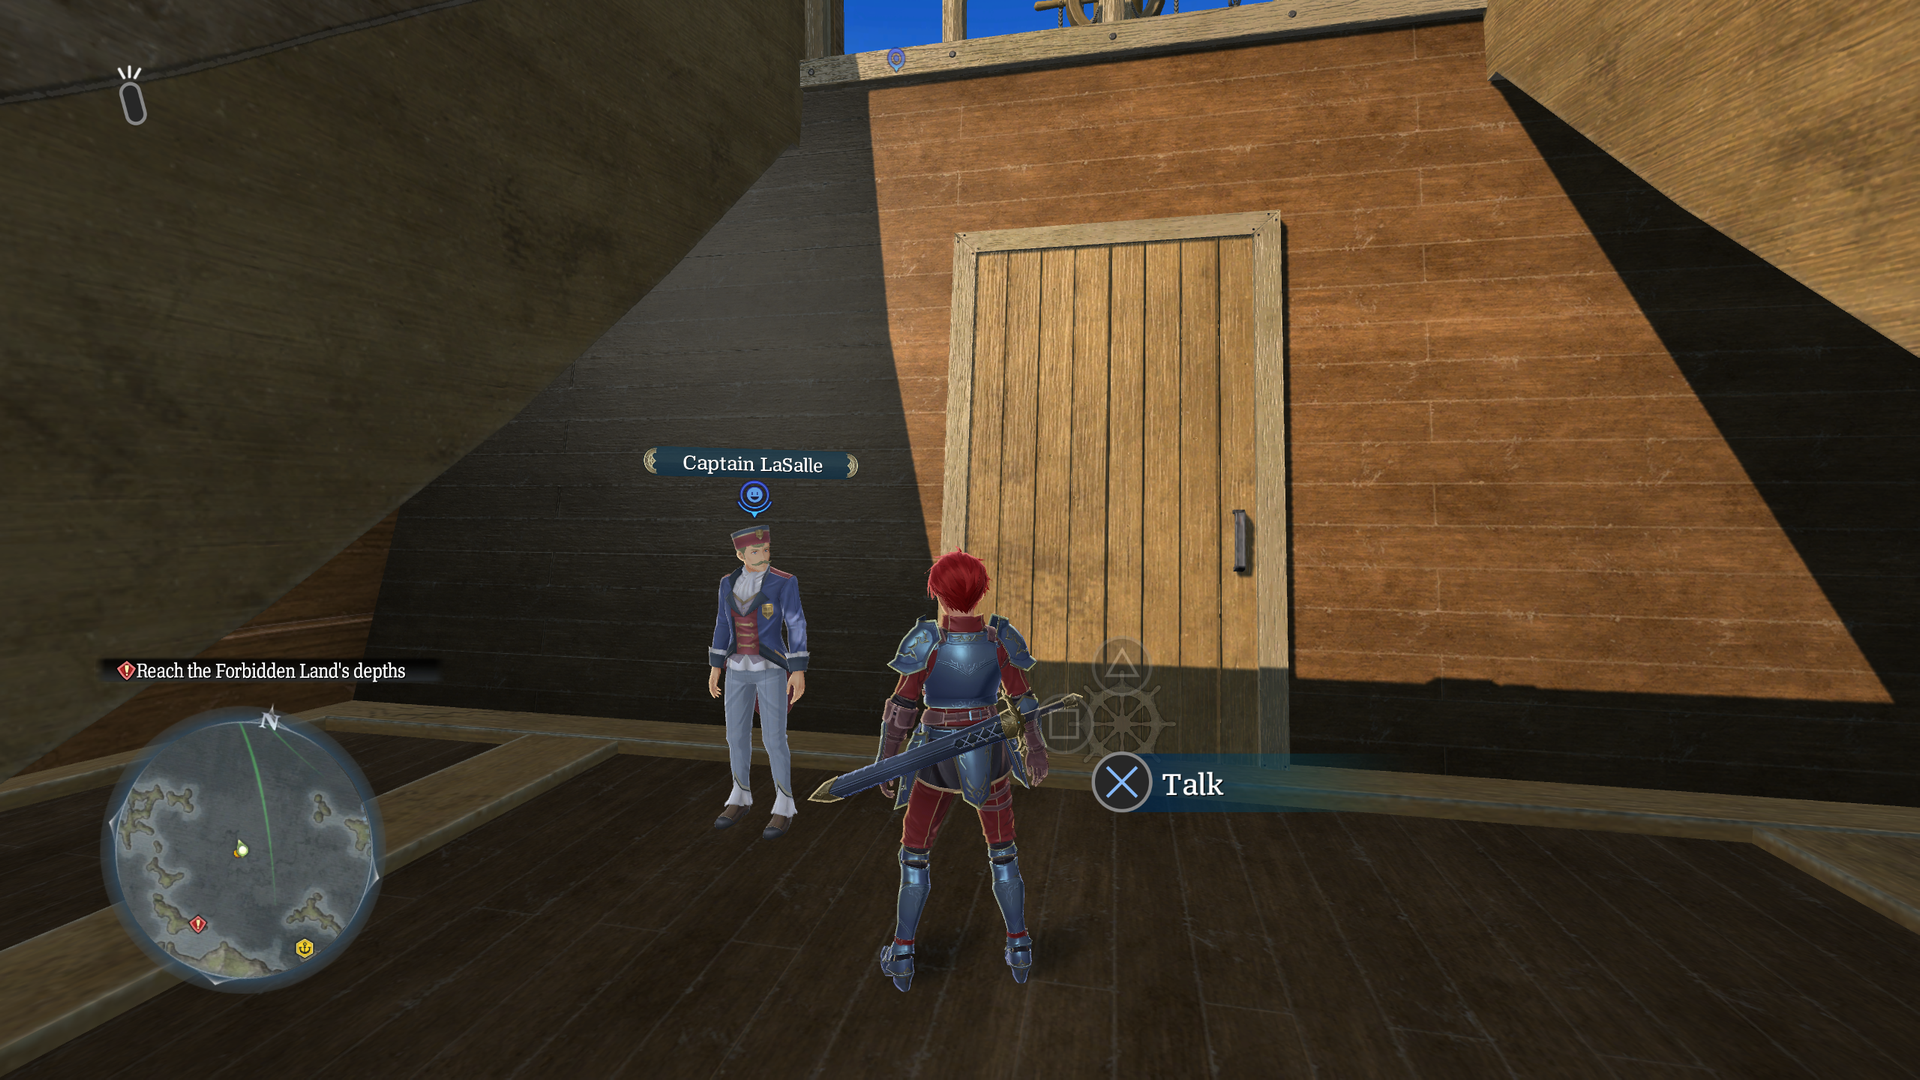
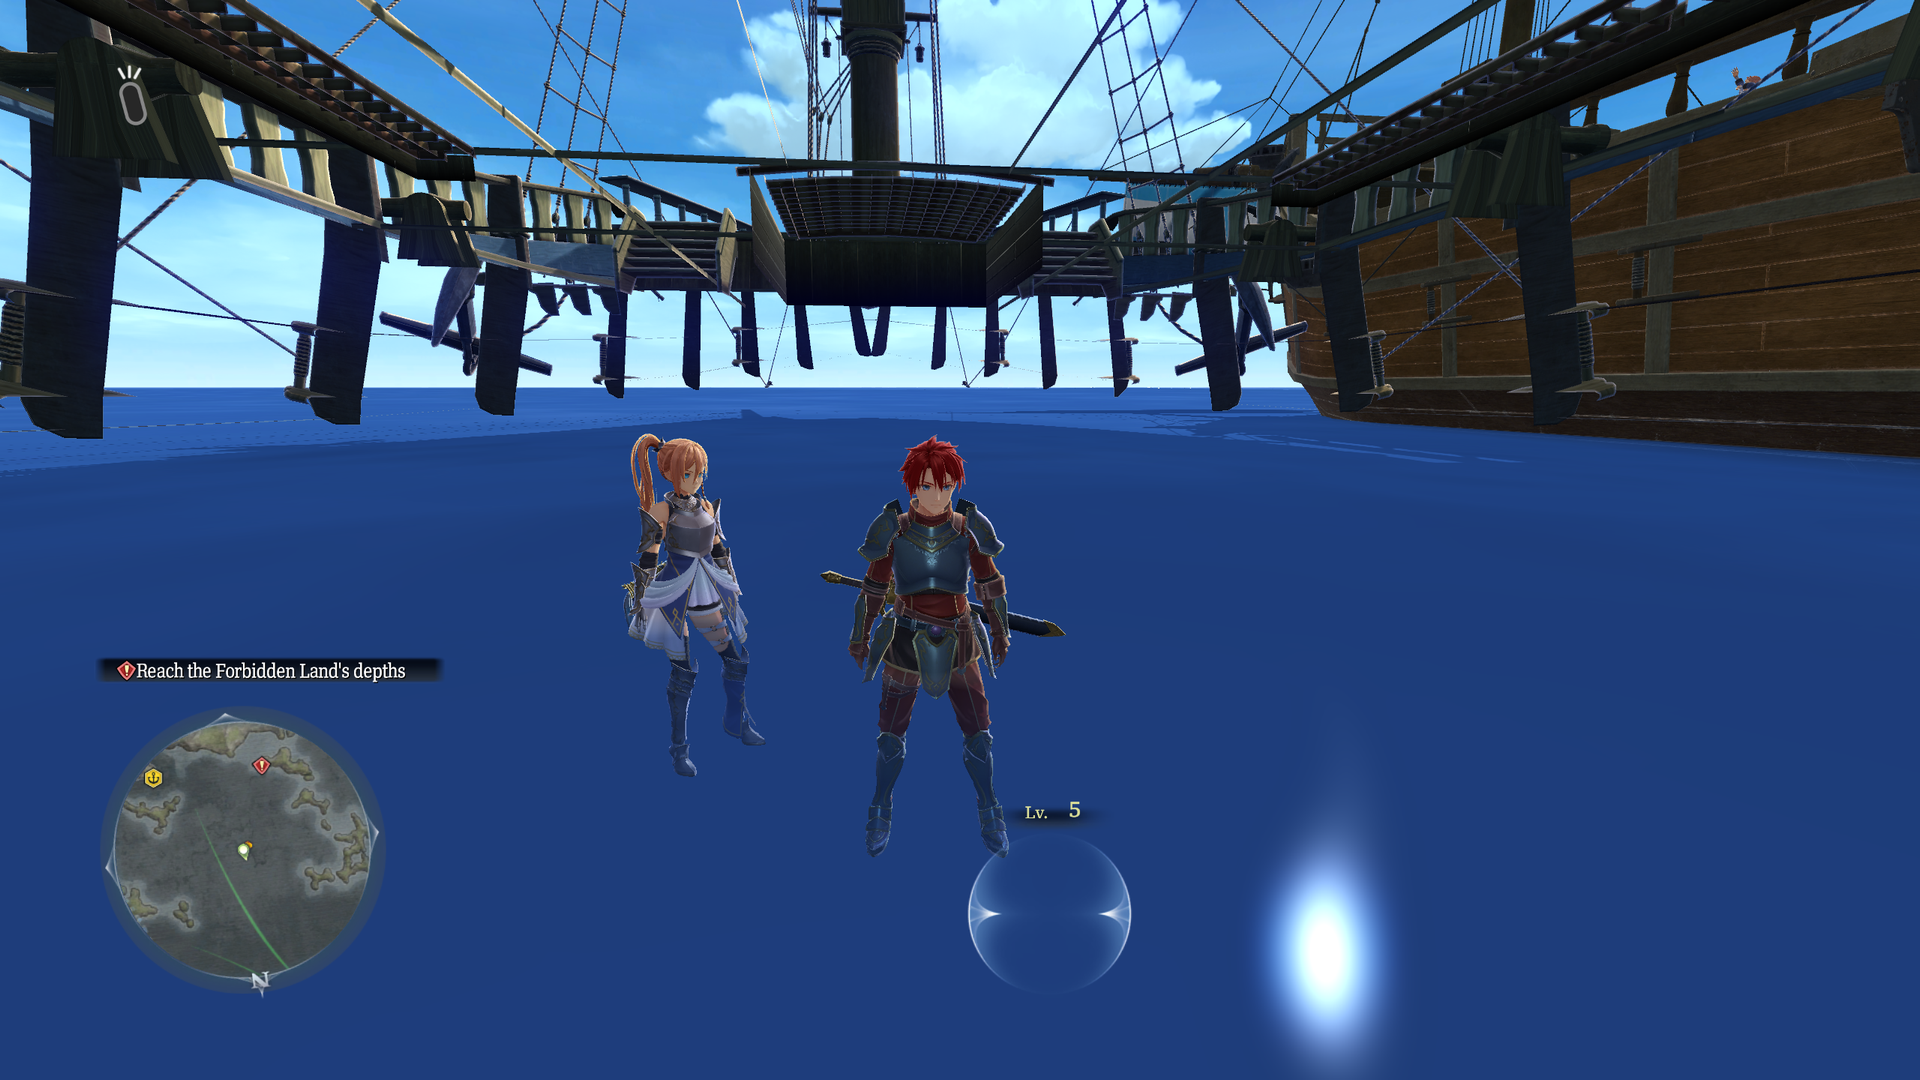
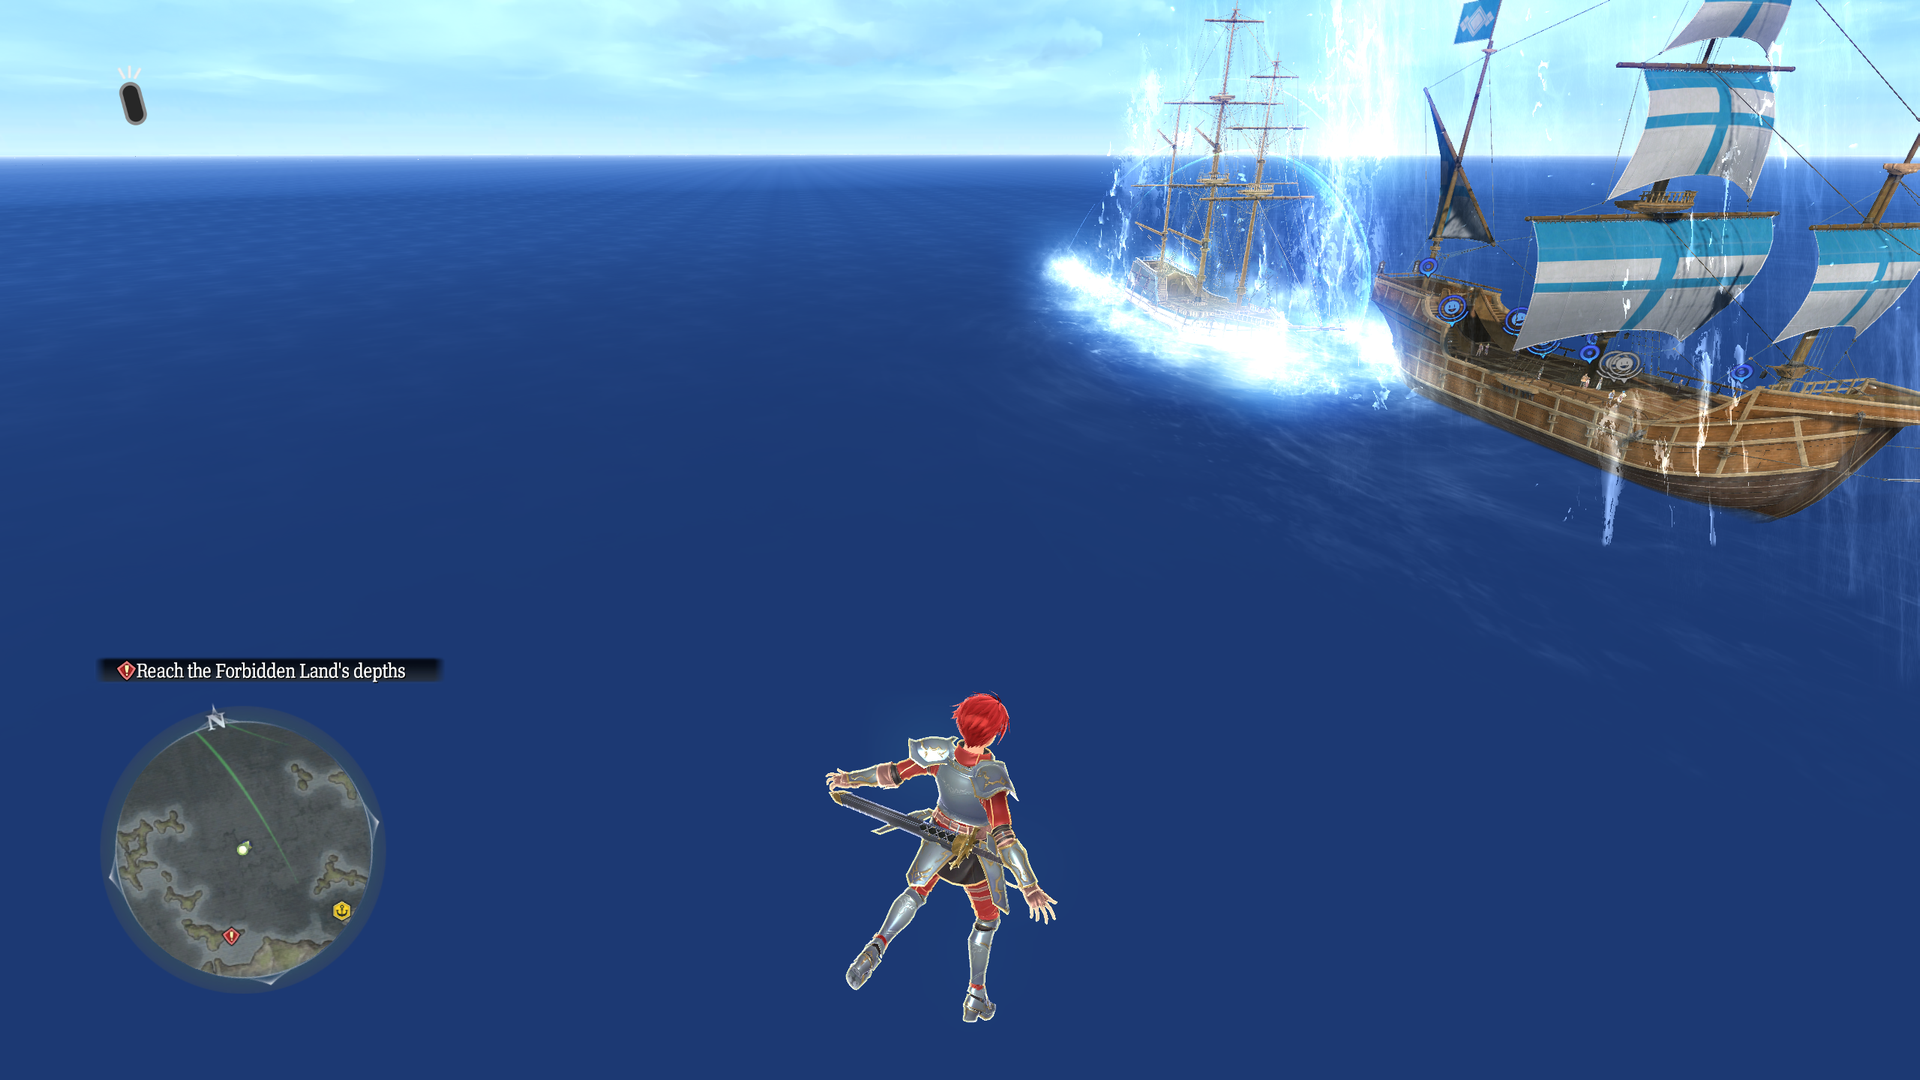
test_s0001#
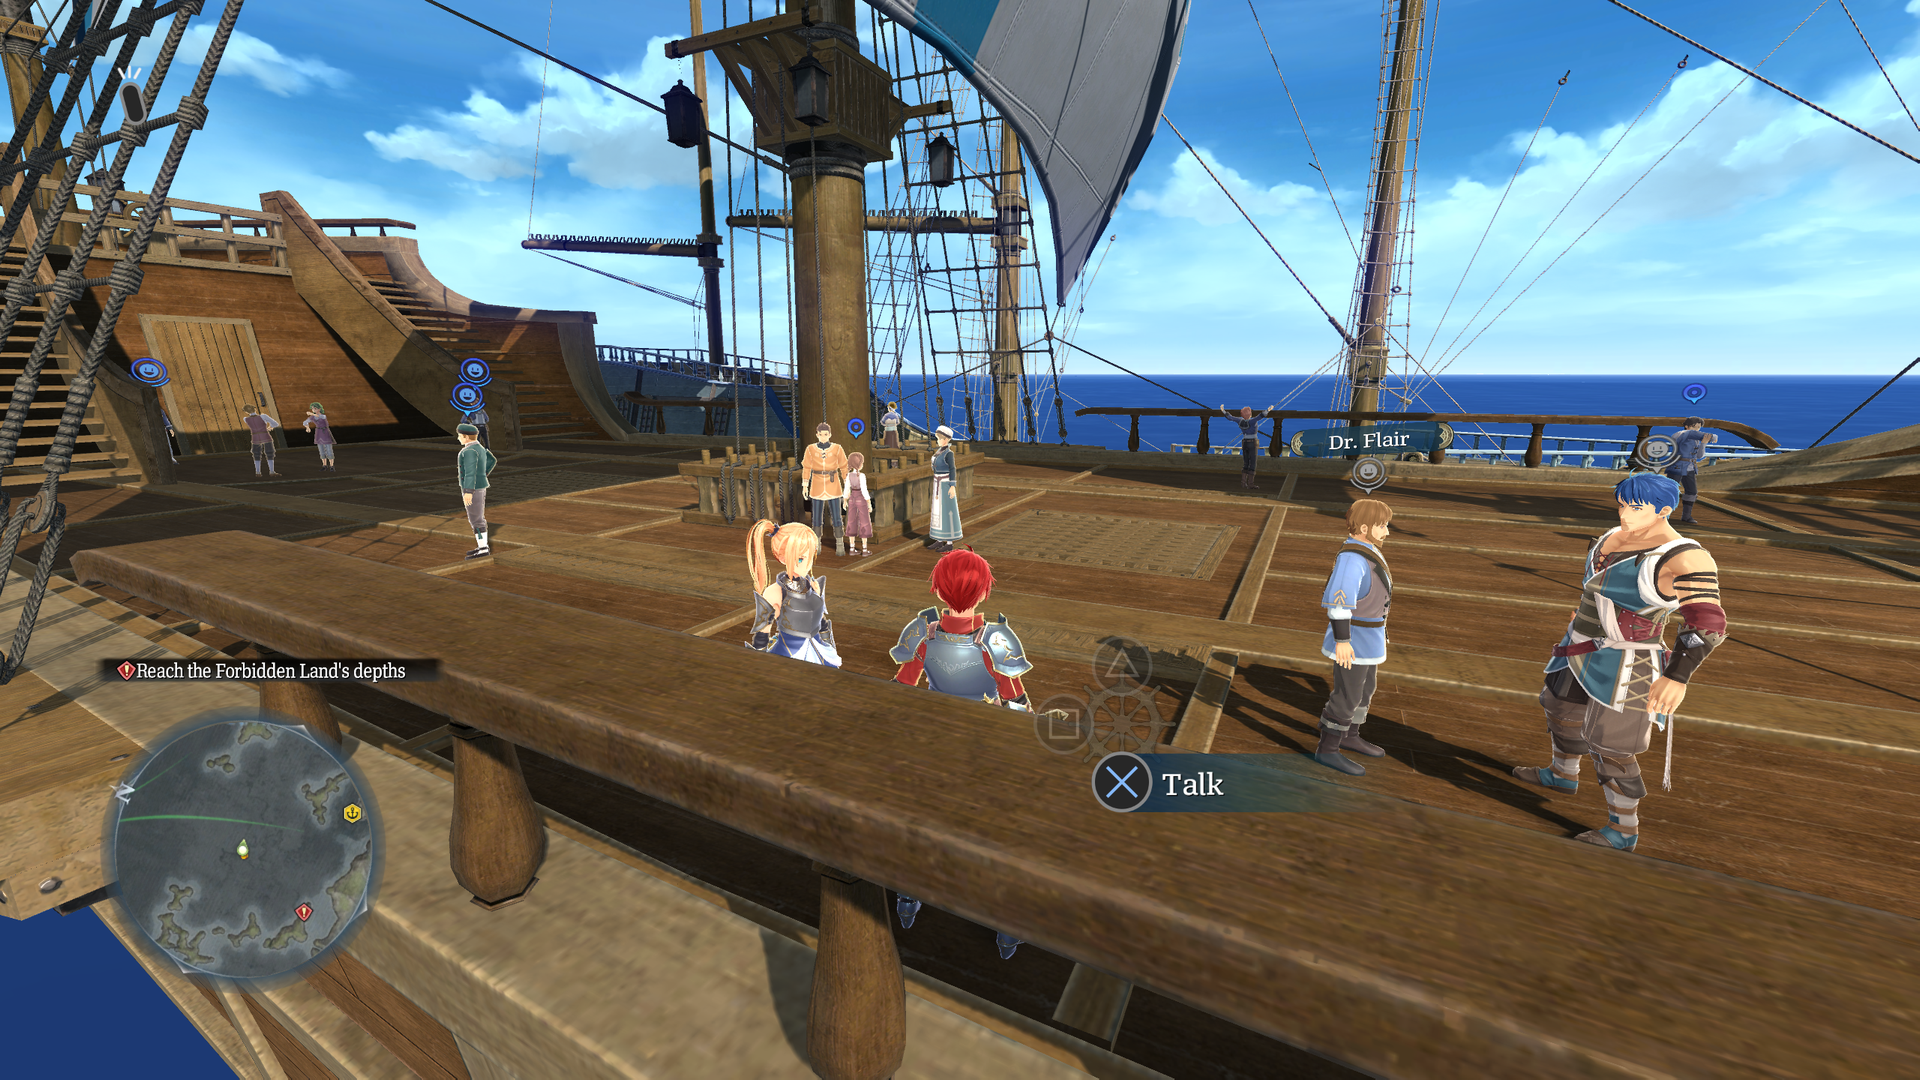
An early version of the map used for the game's prologue segment on the Adamas.
- The dialogue is an unrefined state, possibly machine translated.
- Almost all NPCs are arranged differently. Nobody's steering the ship!
- The water can be walked on and the Adamas can be walked through. An invisible enemy is underneath the Adamas.
- Sometimes when loading in, another ship will spawn and splash into the water next to the Adamas.
test_s1000#
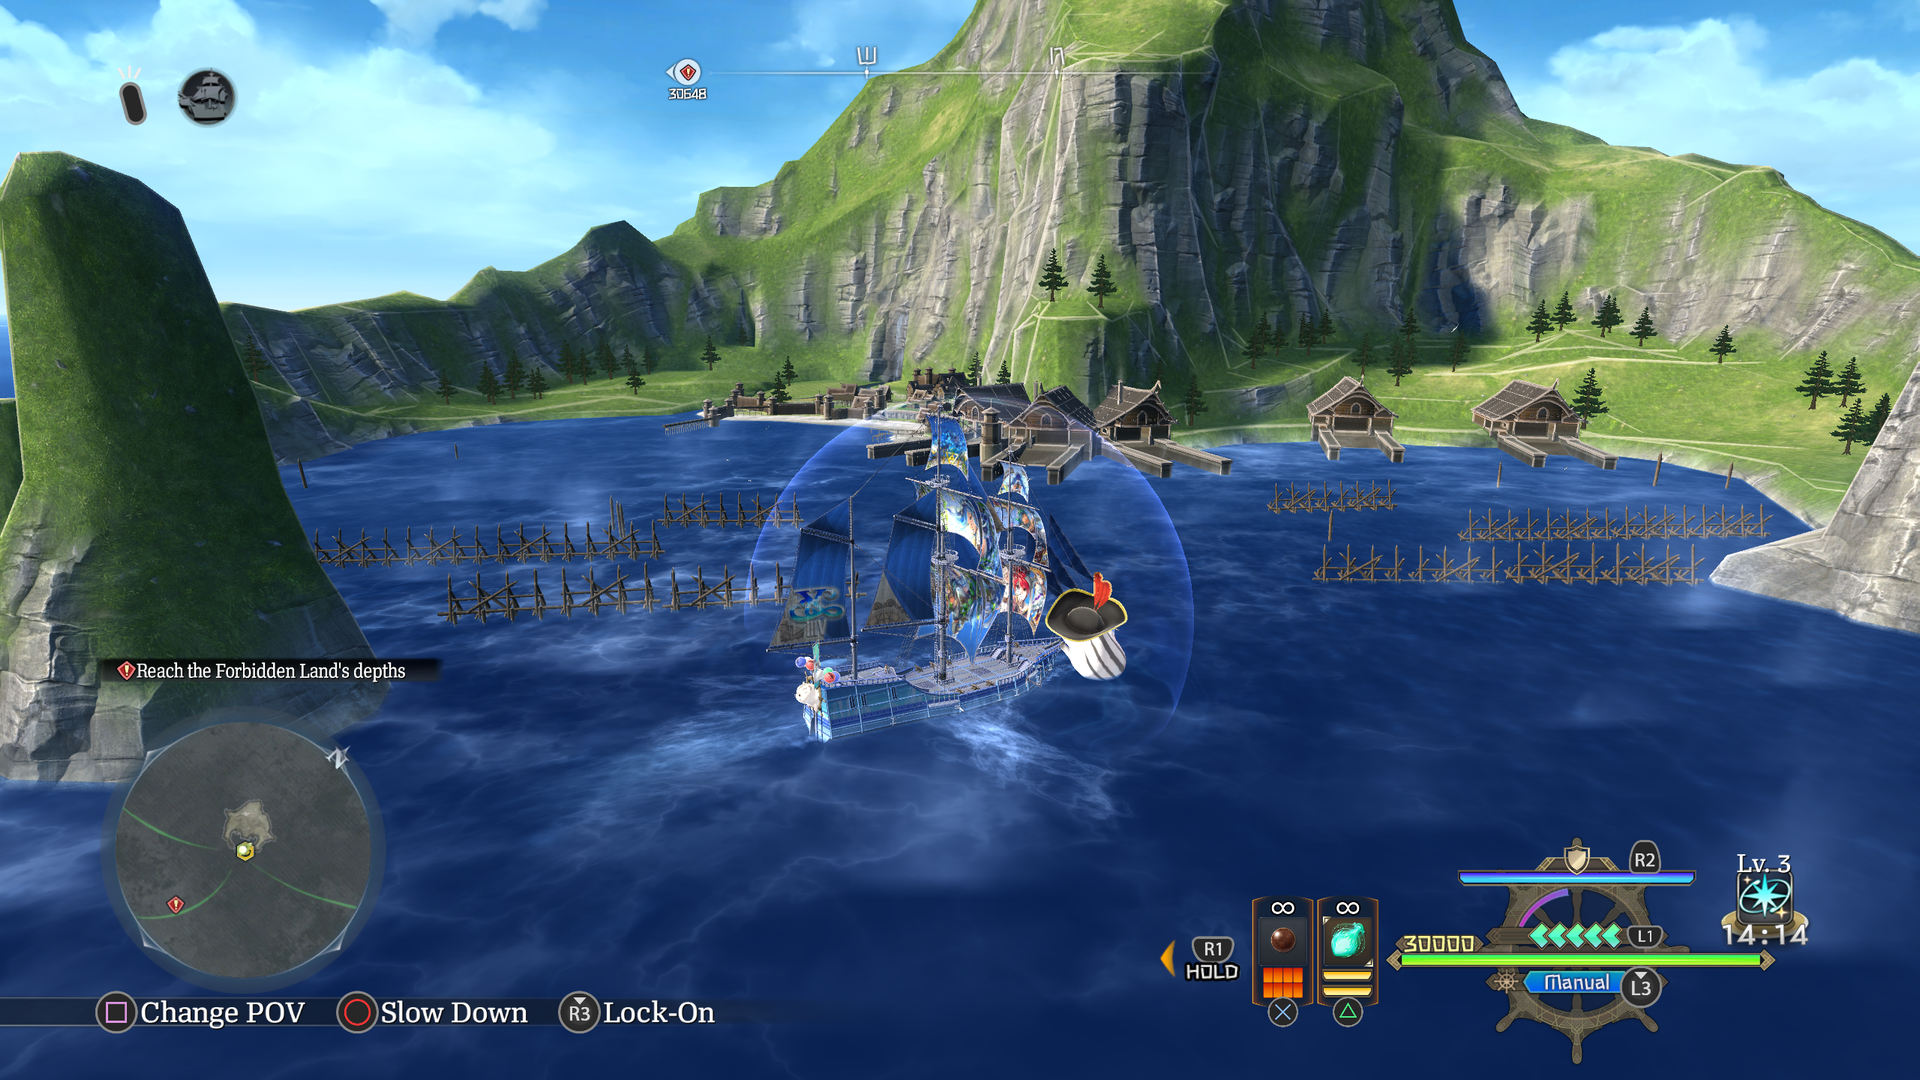
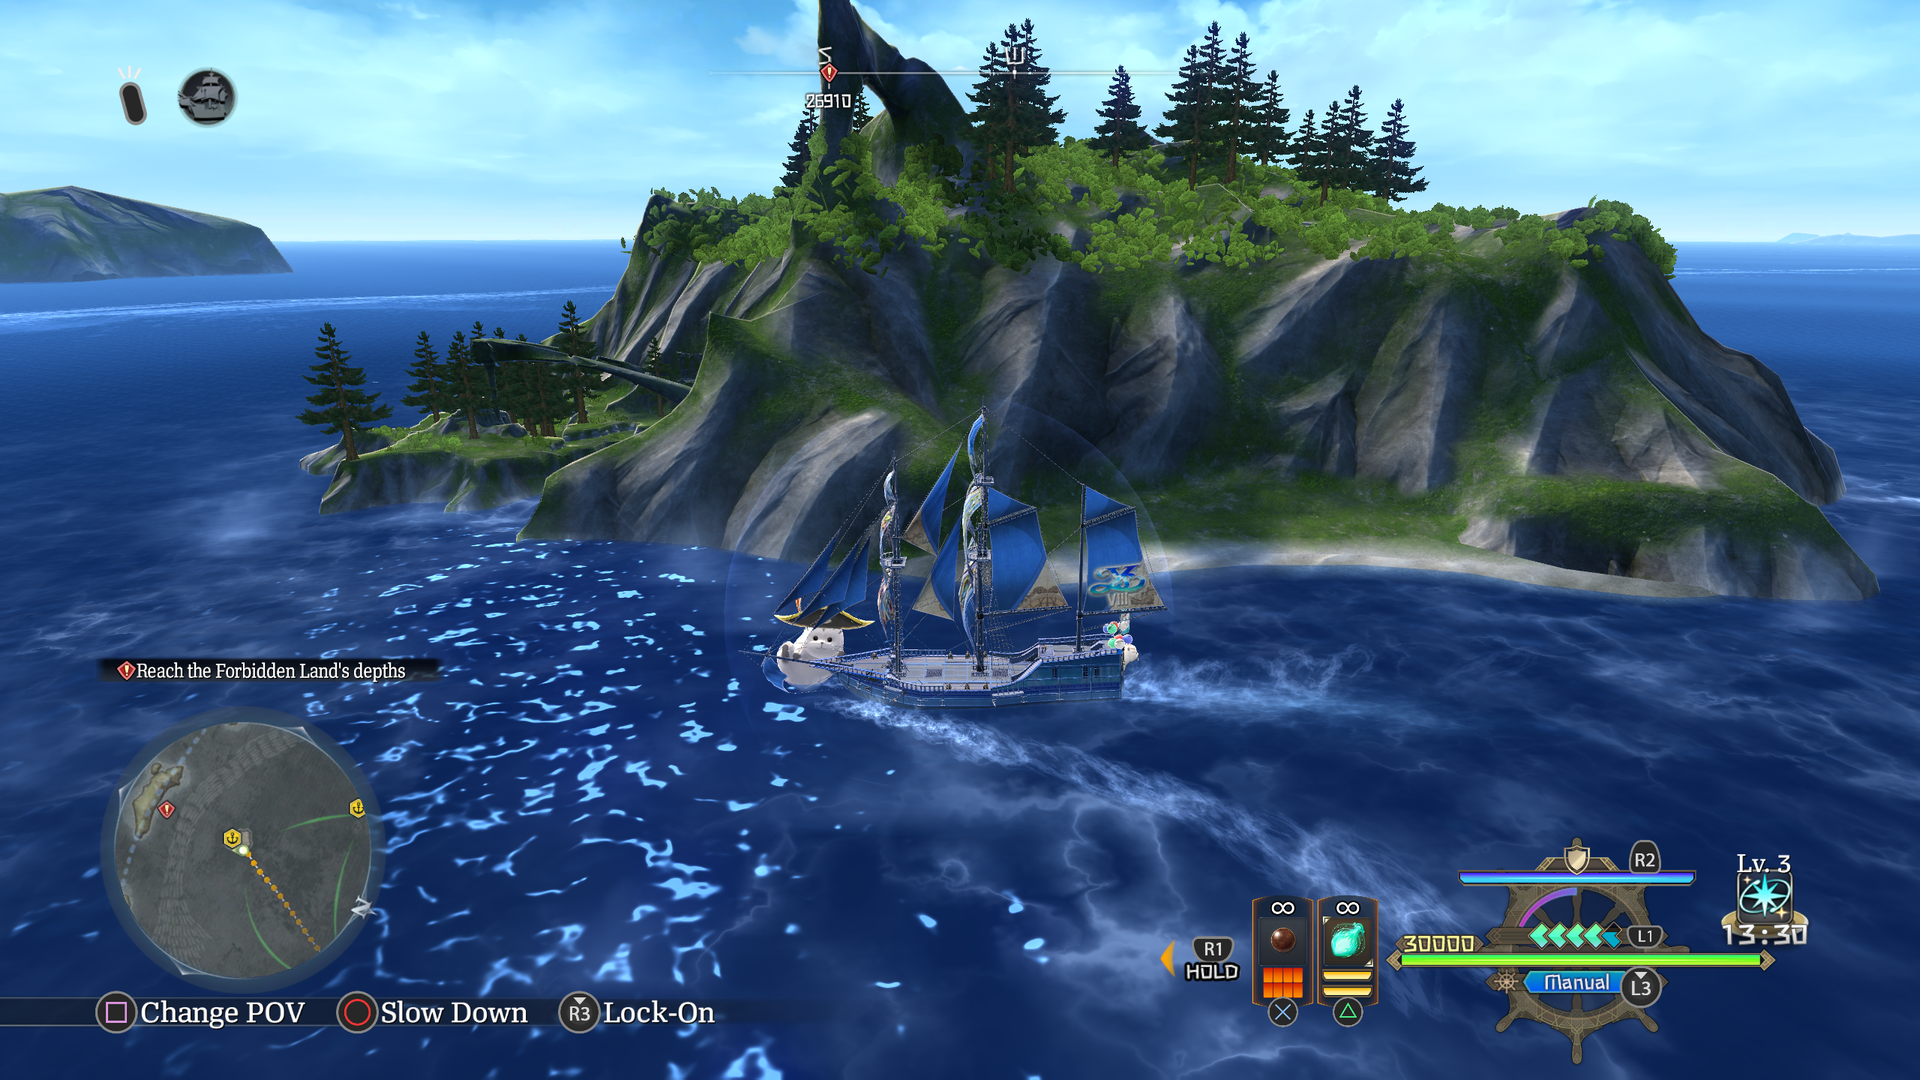
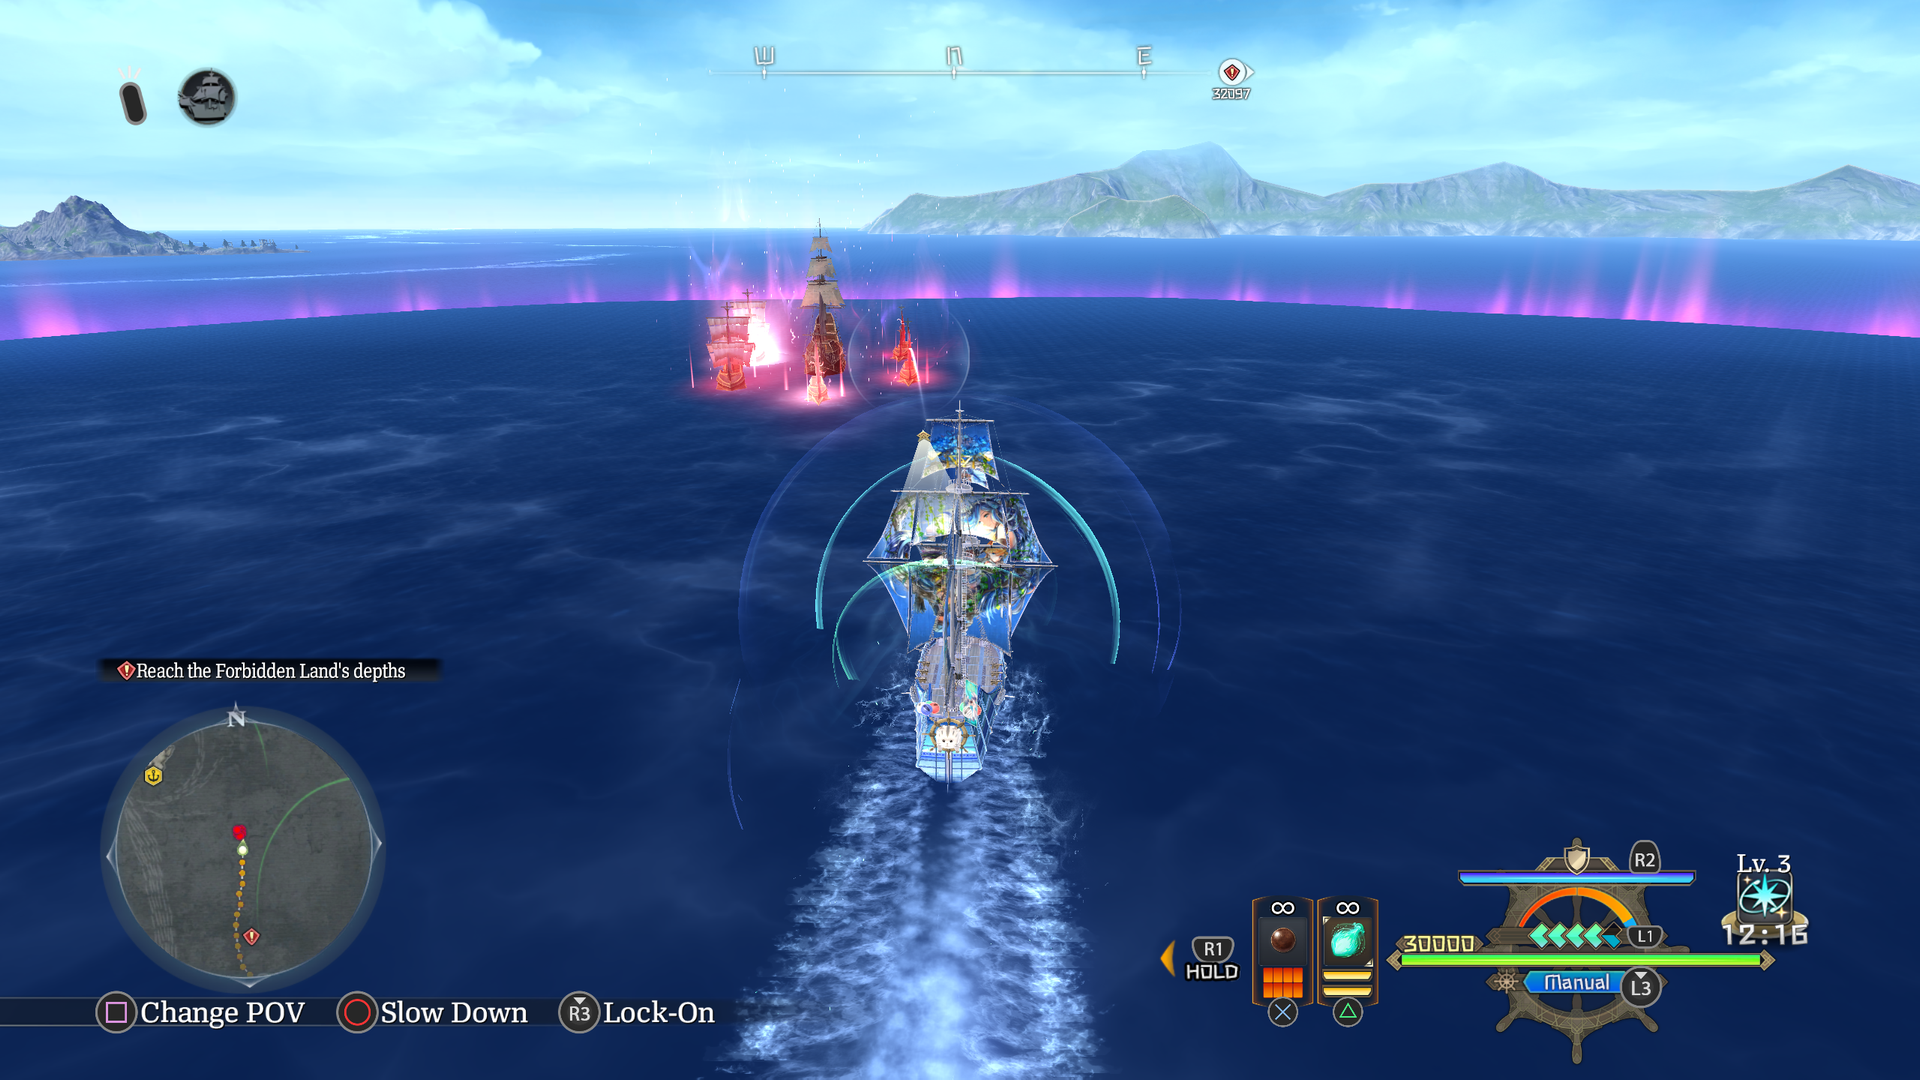
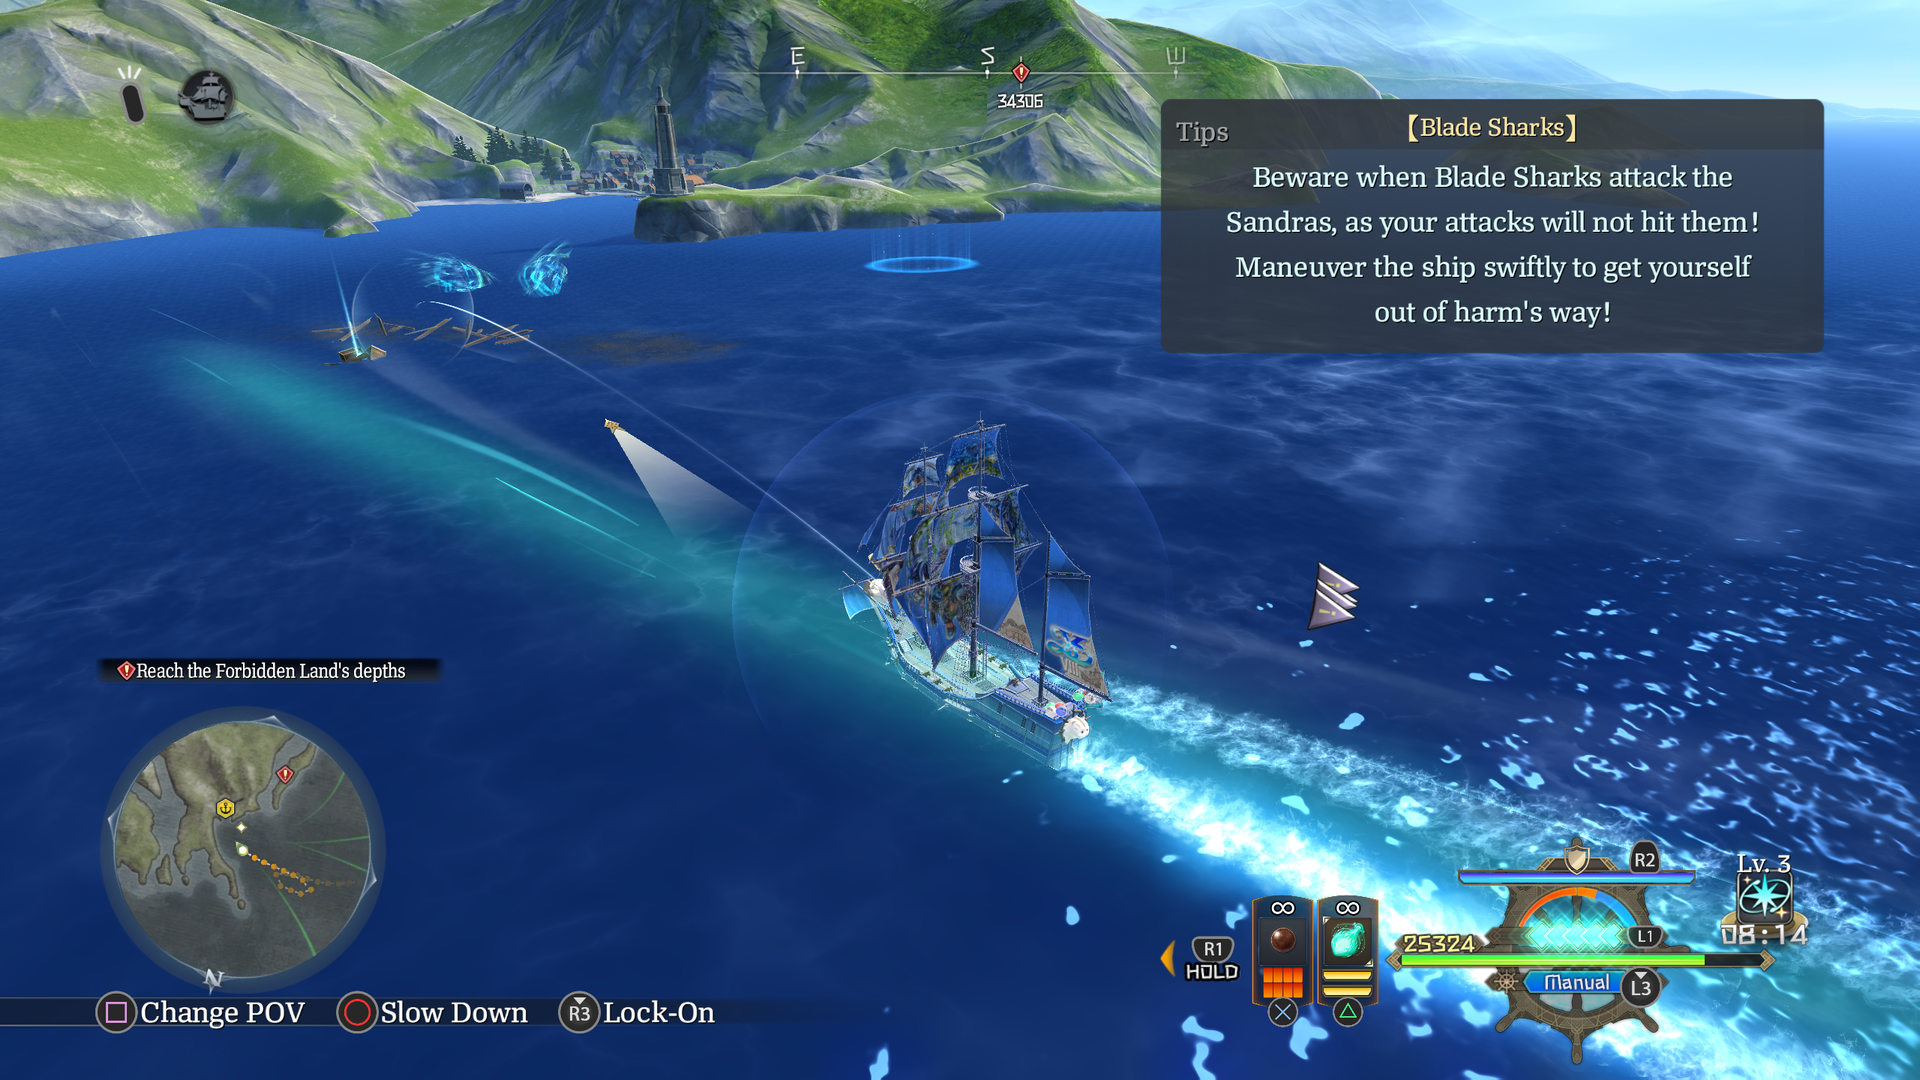
Test map of the Carnac Waters section of the Obelia Gulf.
- Beacons are scattered around to spawn enemy ships.
- None of the islands can be entered.
- Near Carnac is a Blade Shark, a fishing point, and debris.
- Also near Carnac is a booster/ramp similar to what's used for Mana Ride that can give the Sandras a boost of speed and jump into the air, maintaining a lot of momentum. This behavior is never used in the actual game.
test_scriptcmd#
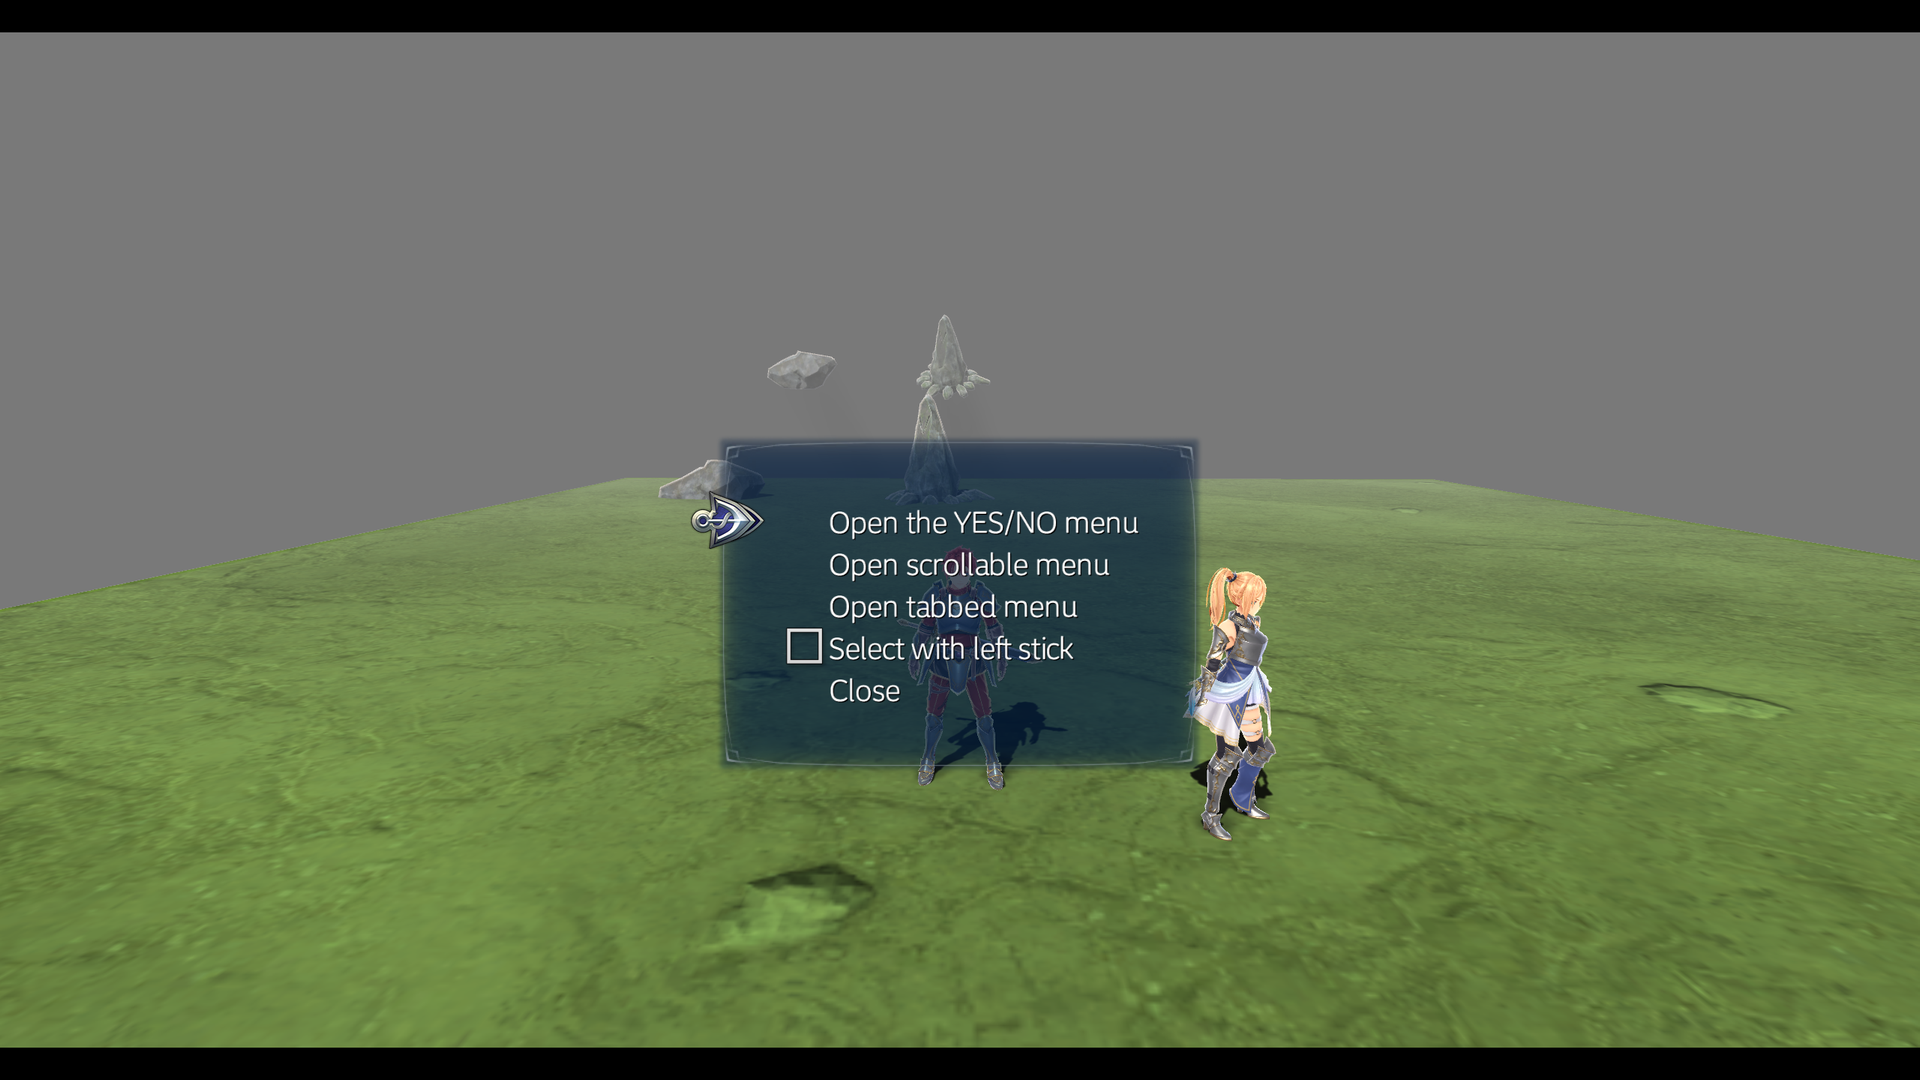
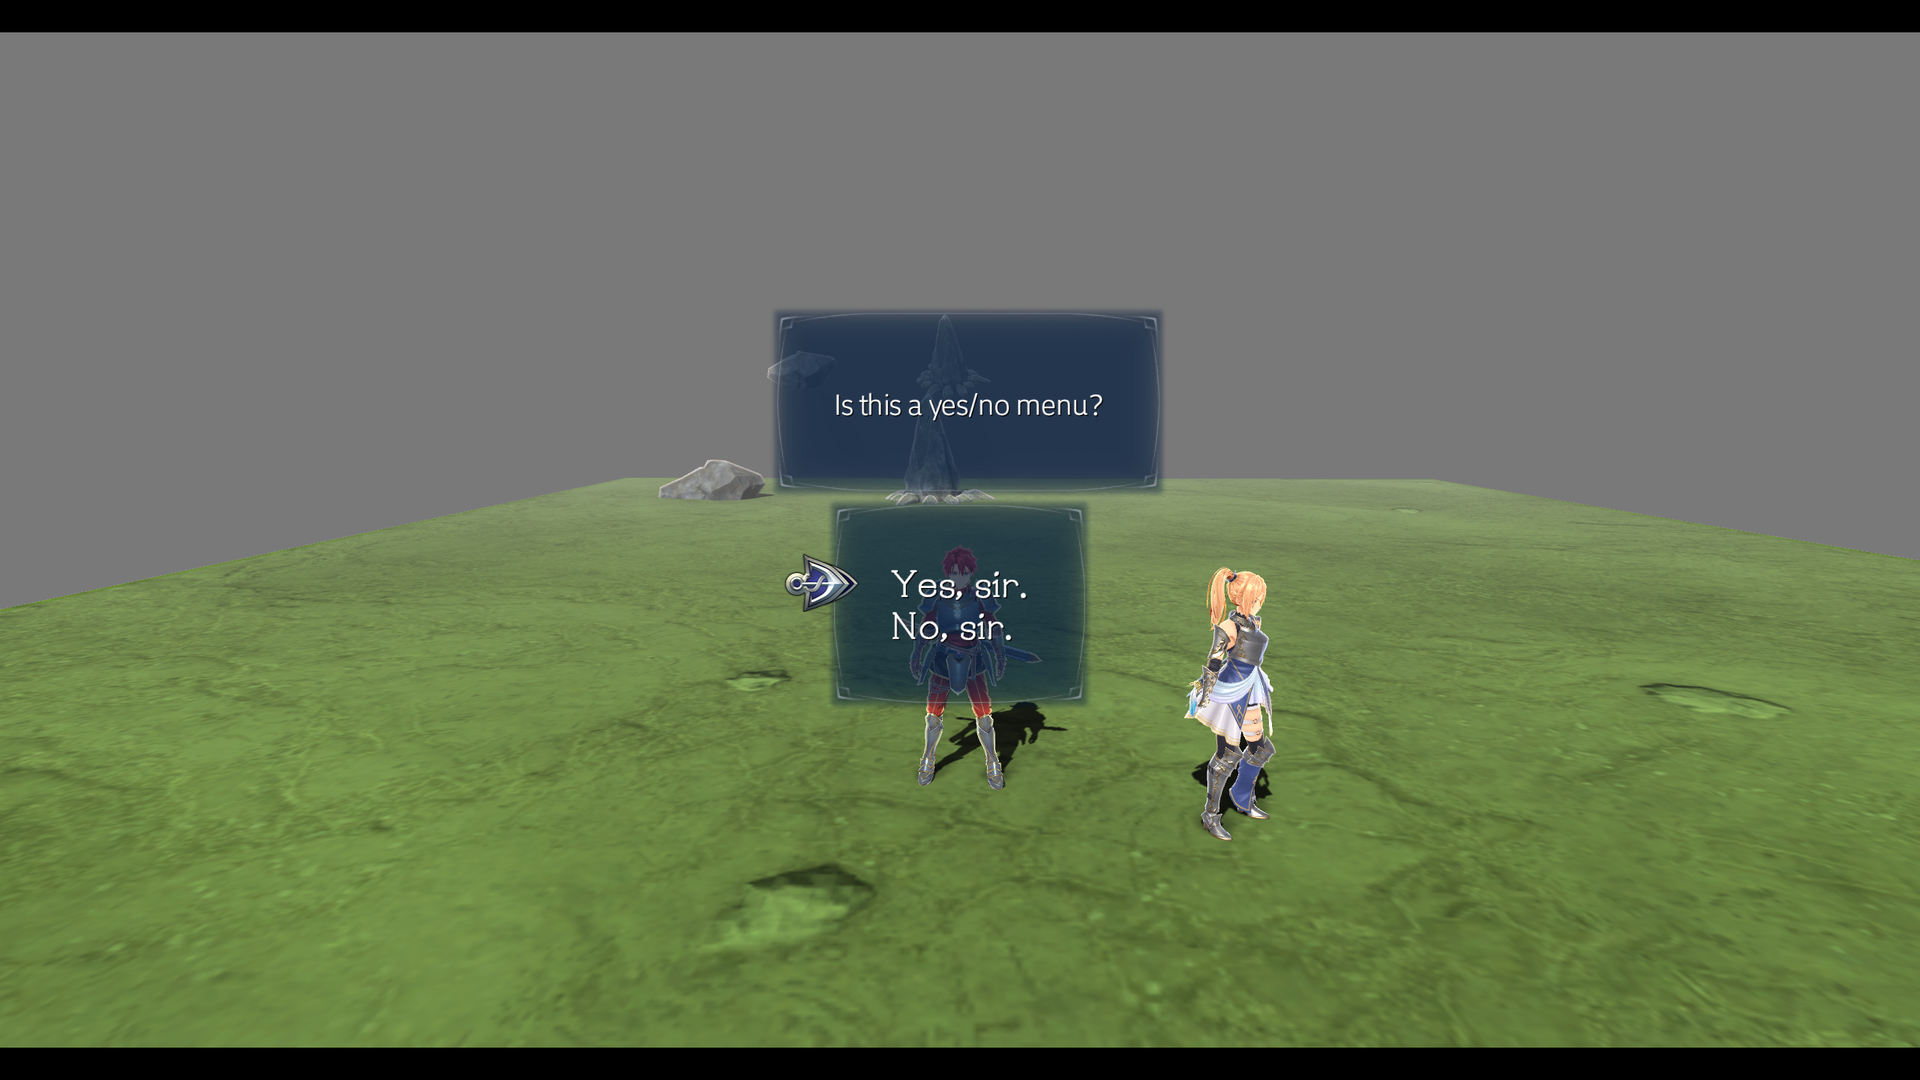
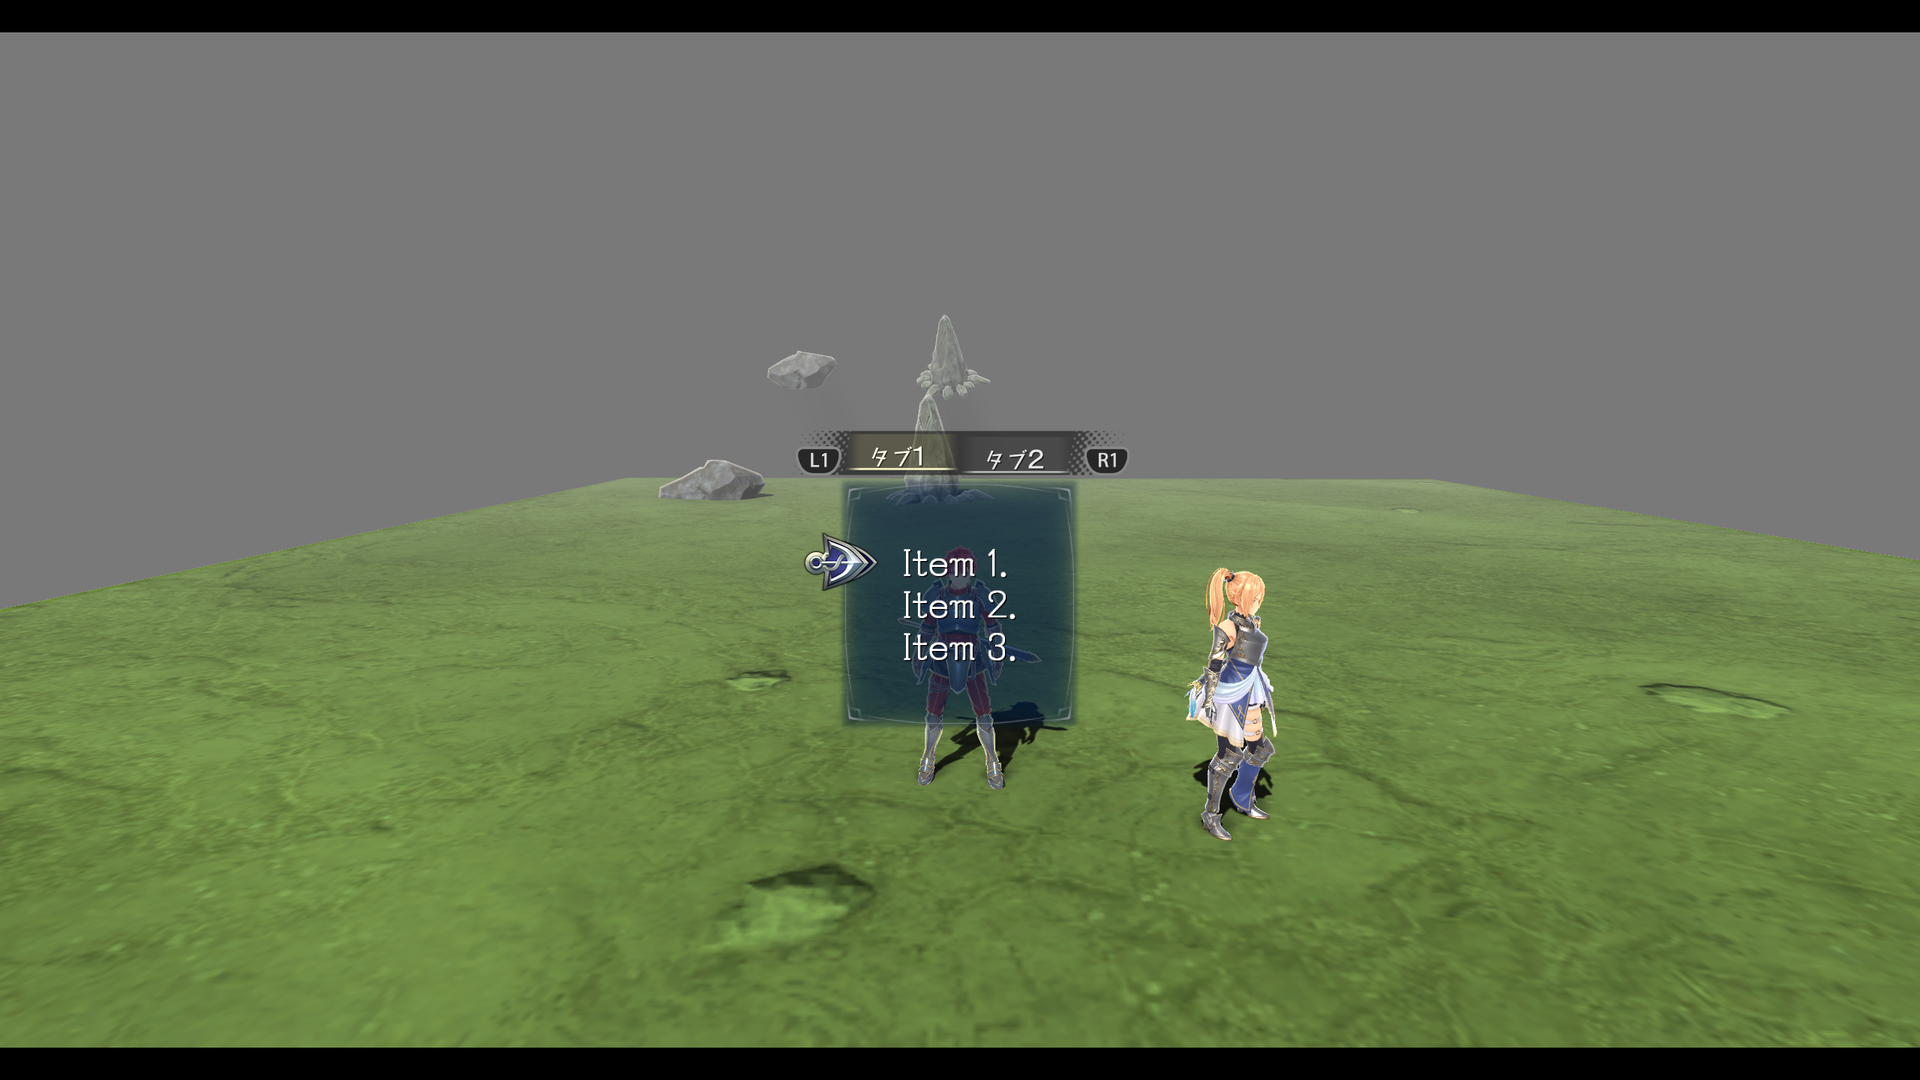
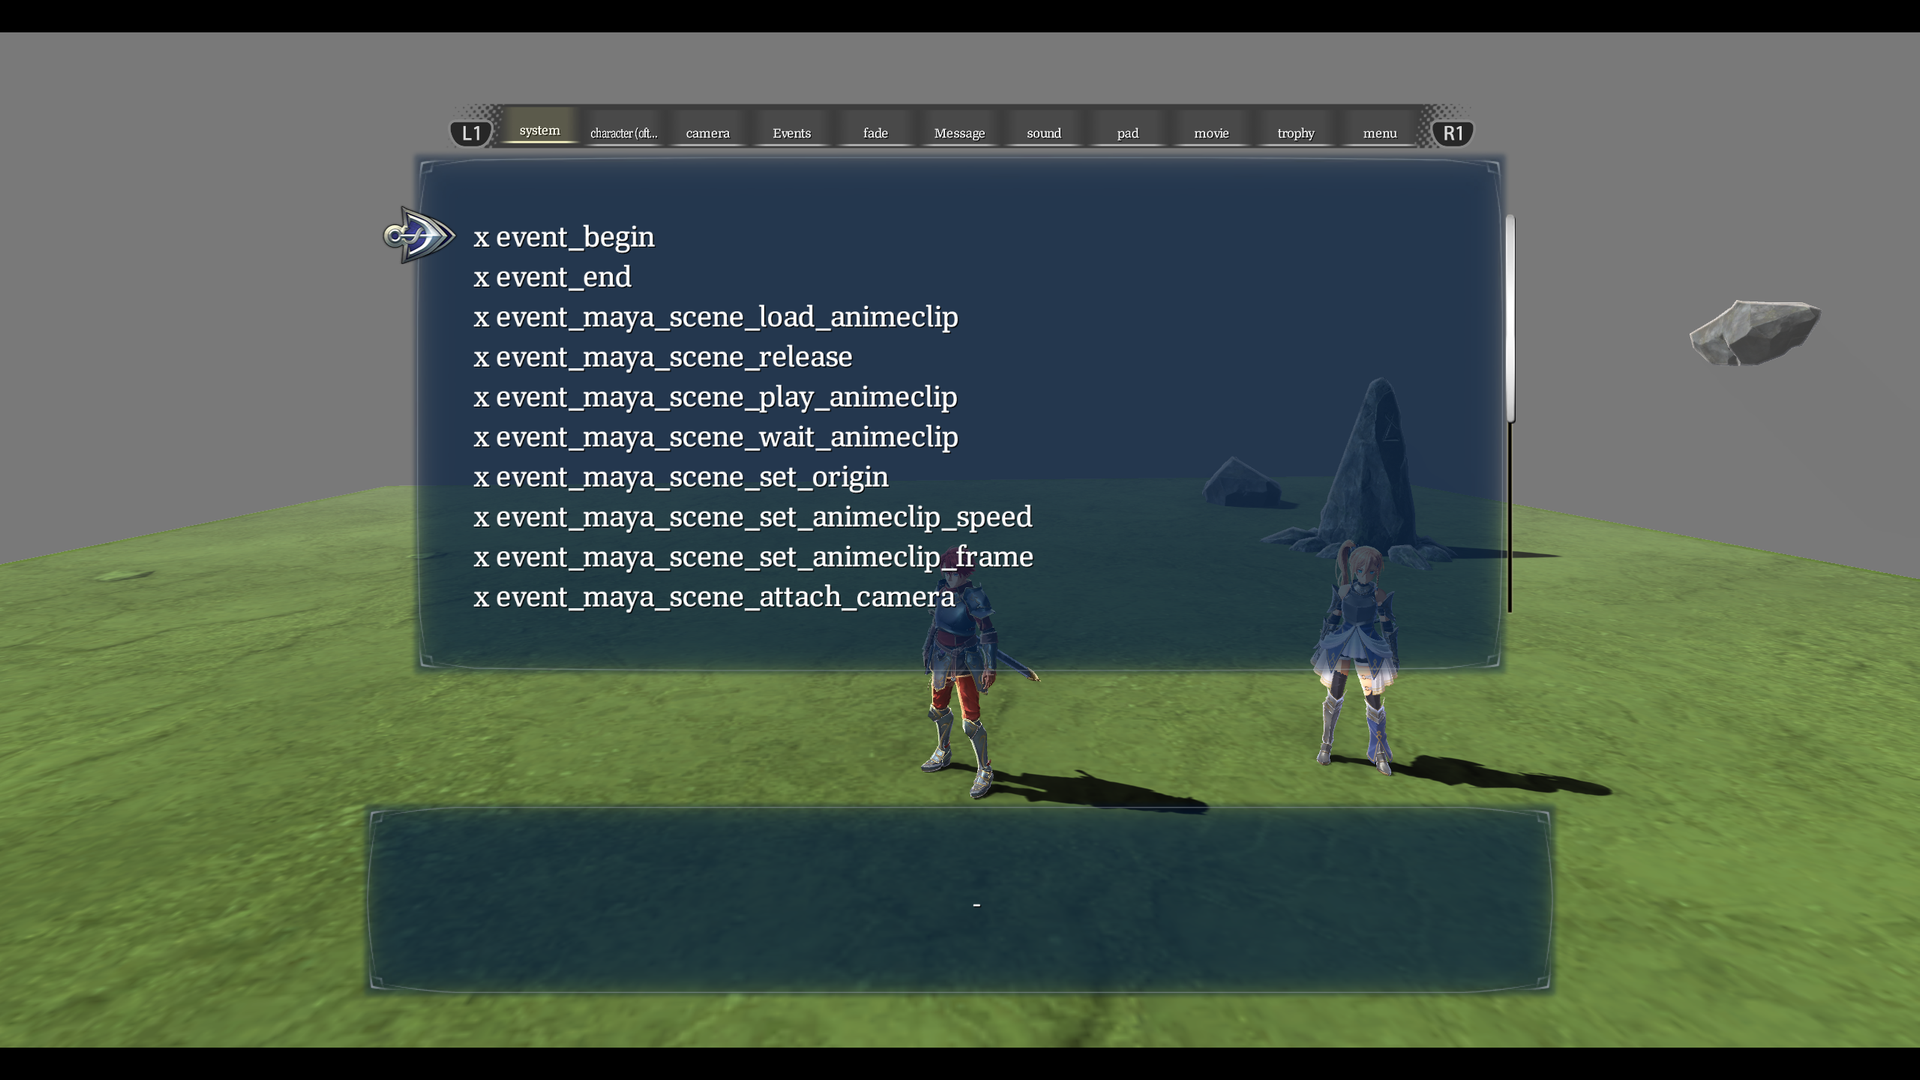
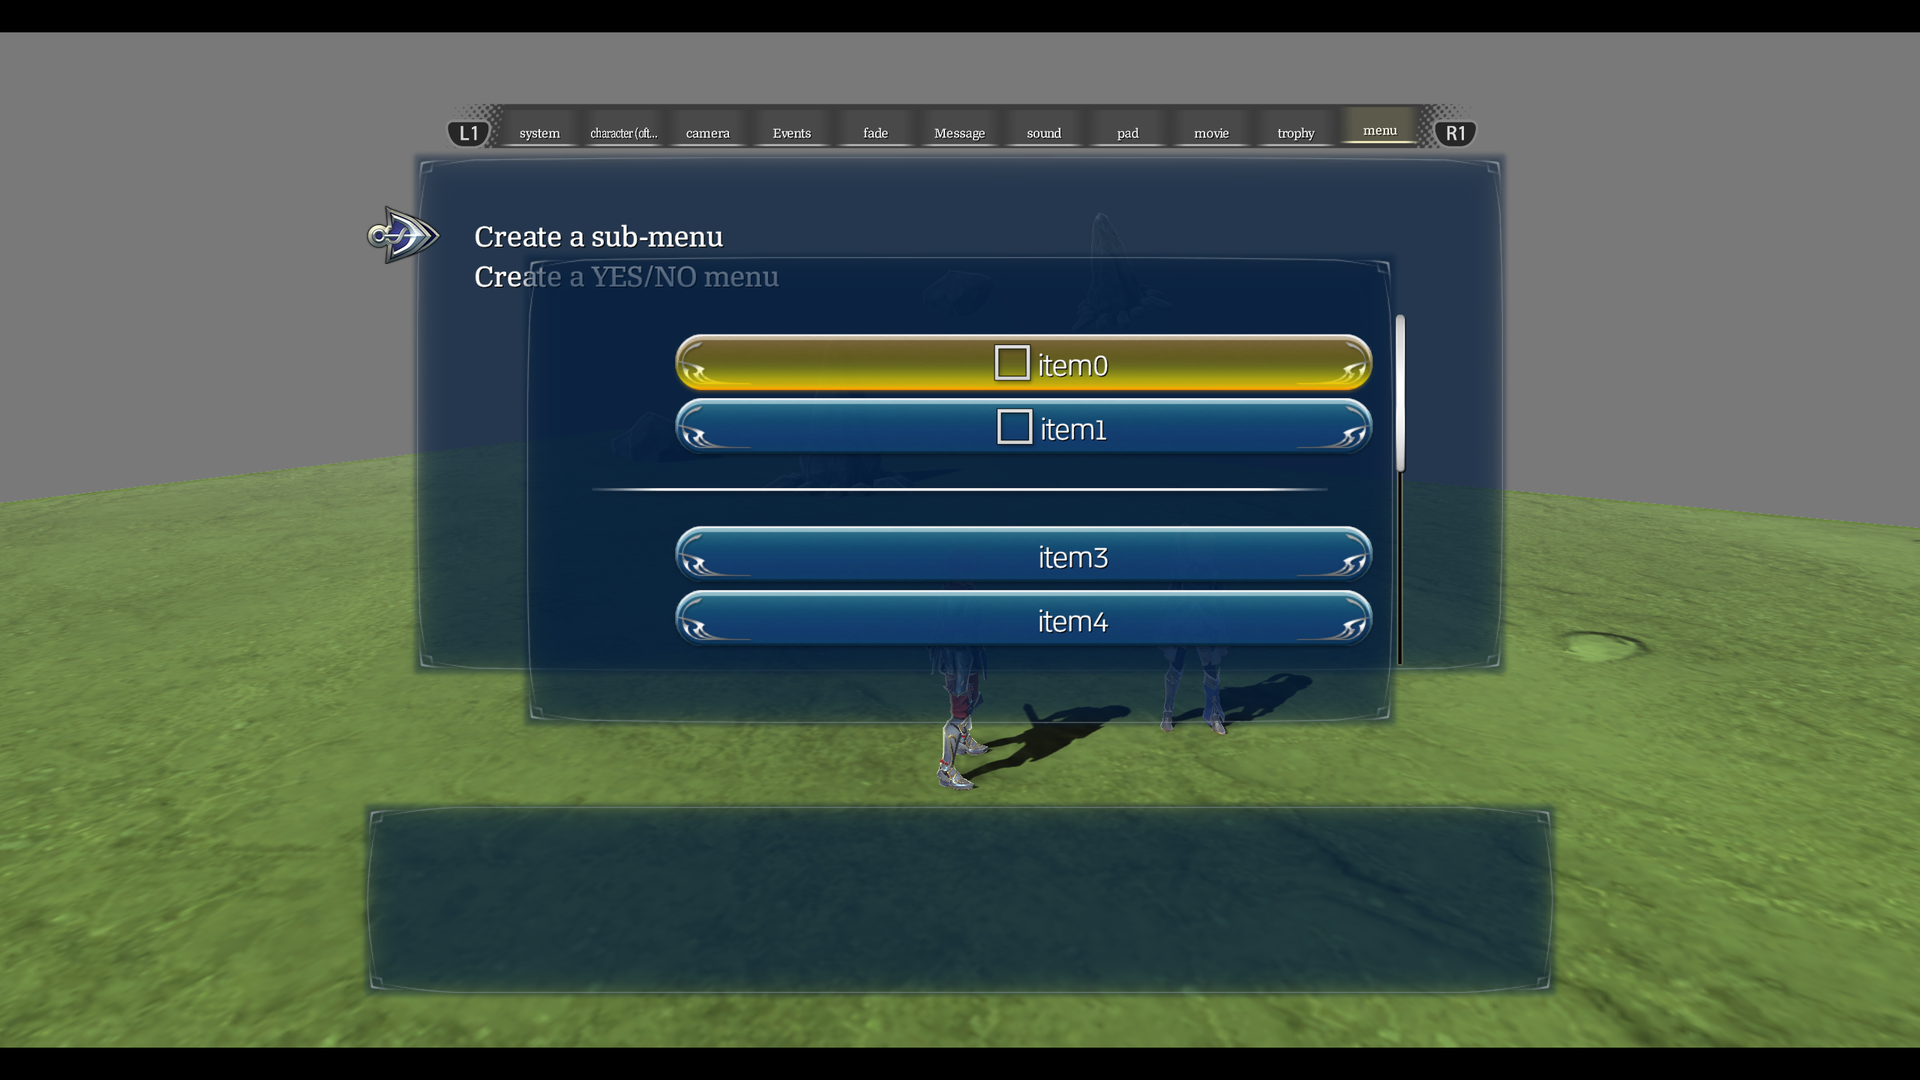
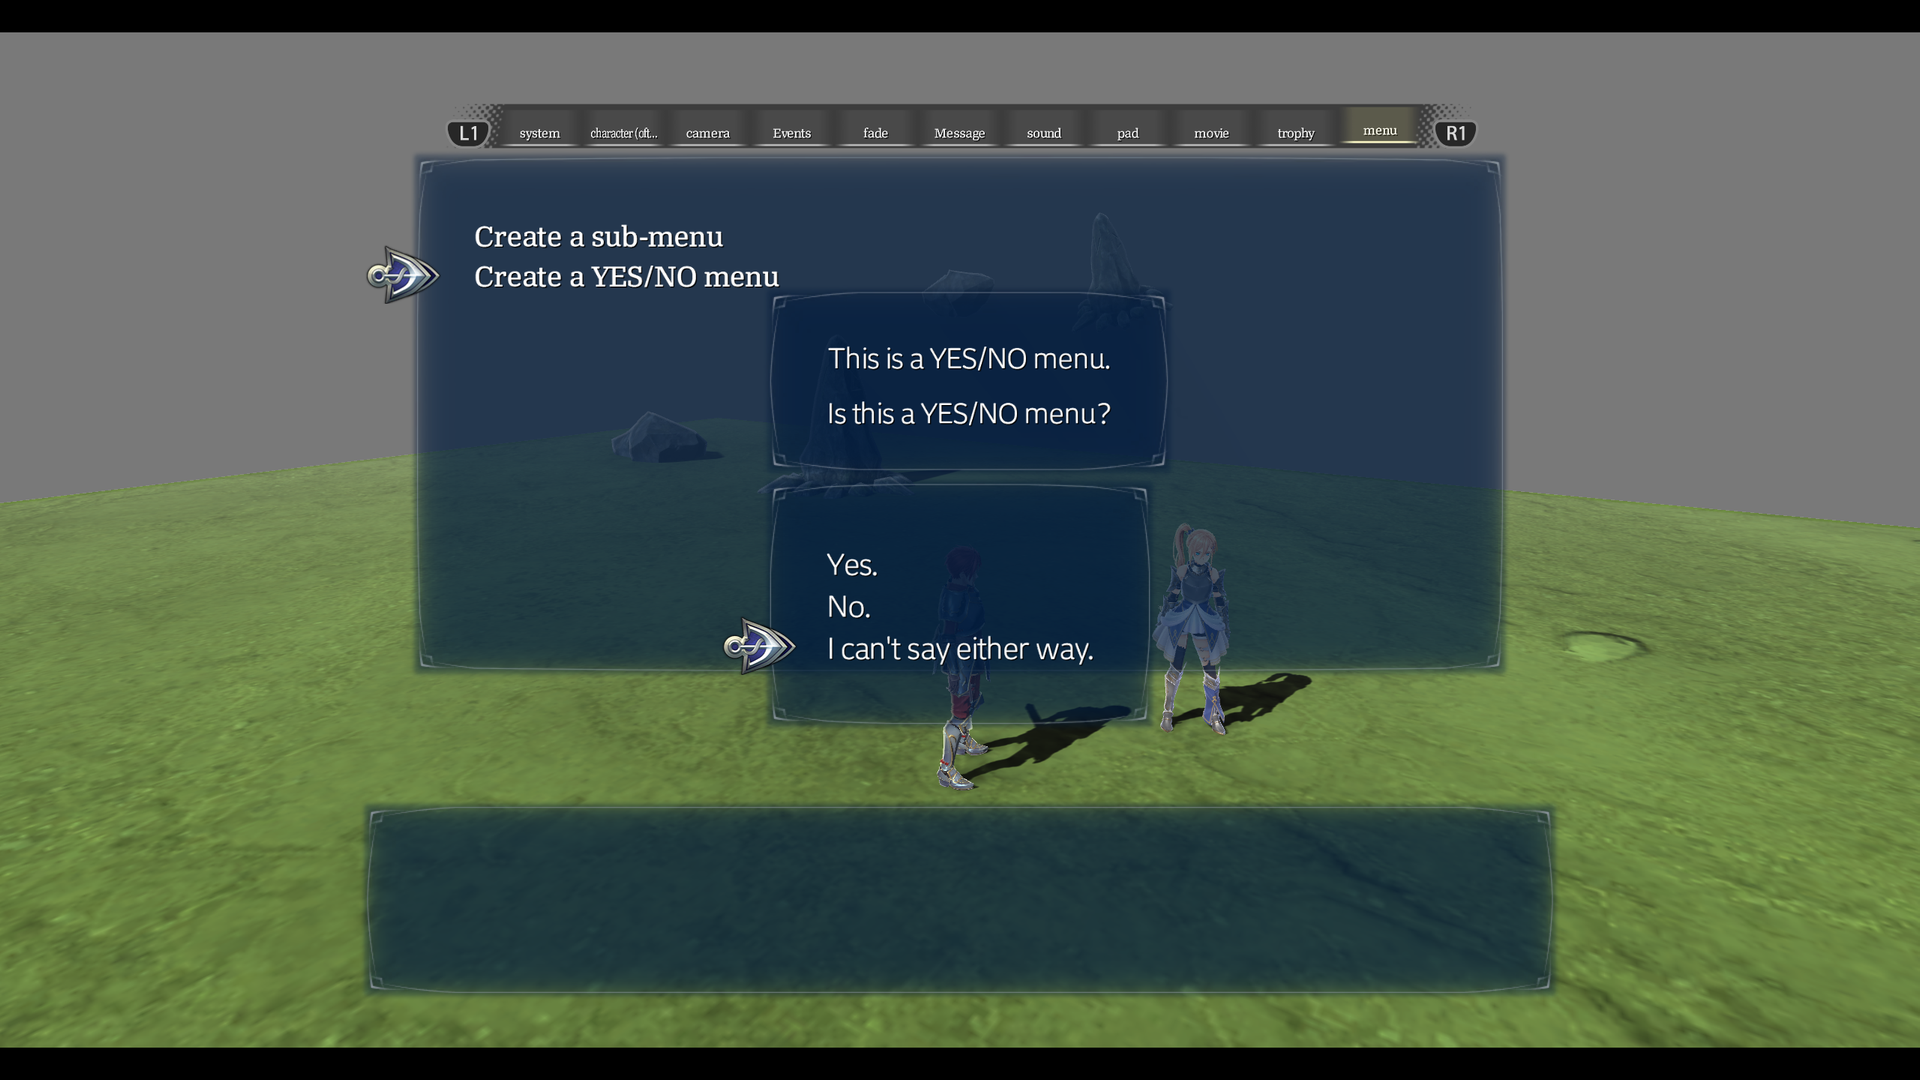
Variant of test_plane with invisible objects that open test menus.
- Checking the “Select with left stick" box makes it so only the Left Stick can move the cursor on the menu, instead of either the D-Pad or Left Stick.
- The middle of the map has a huge test menu, but most options don't work.
- One of the Yes/No menus has a third choice where you can say "I can't say either way."
test_sea01#
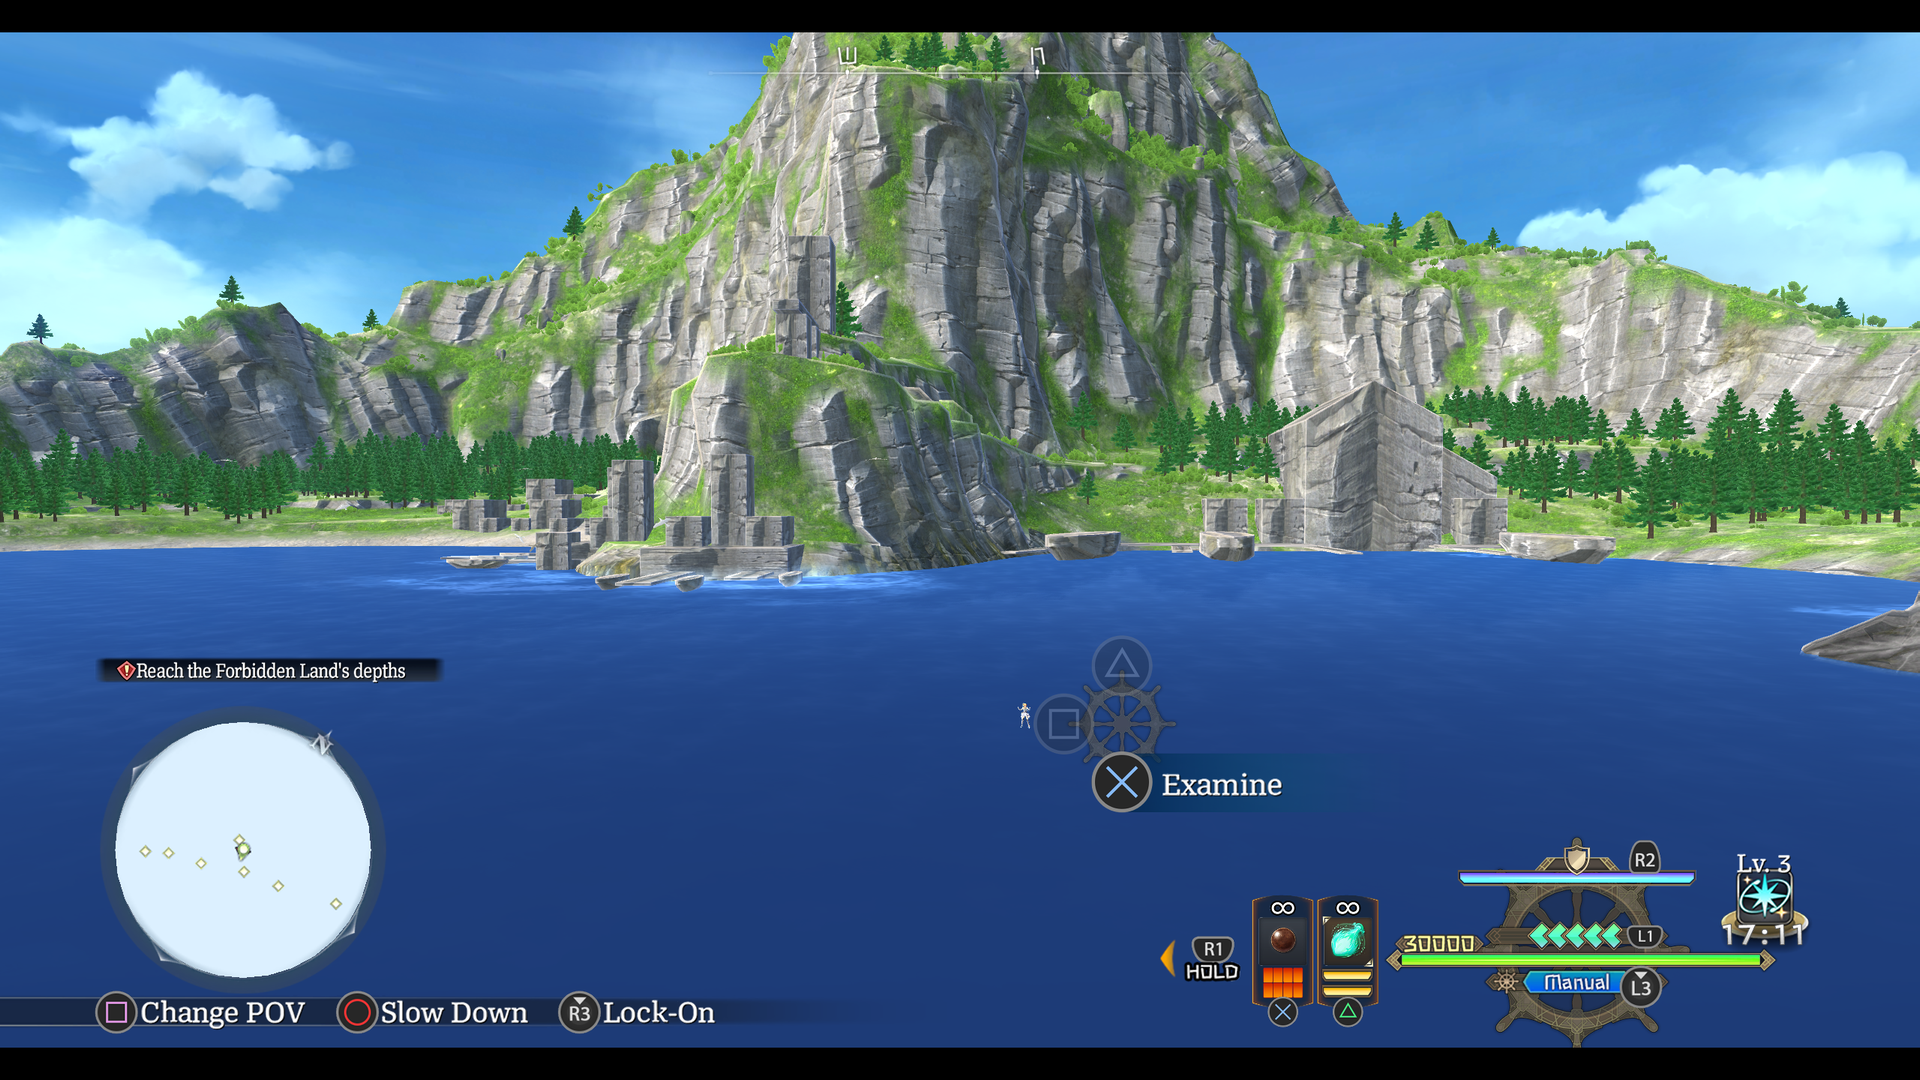
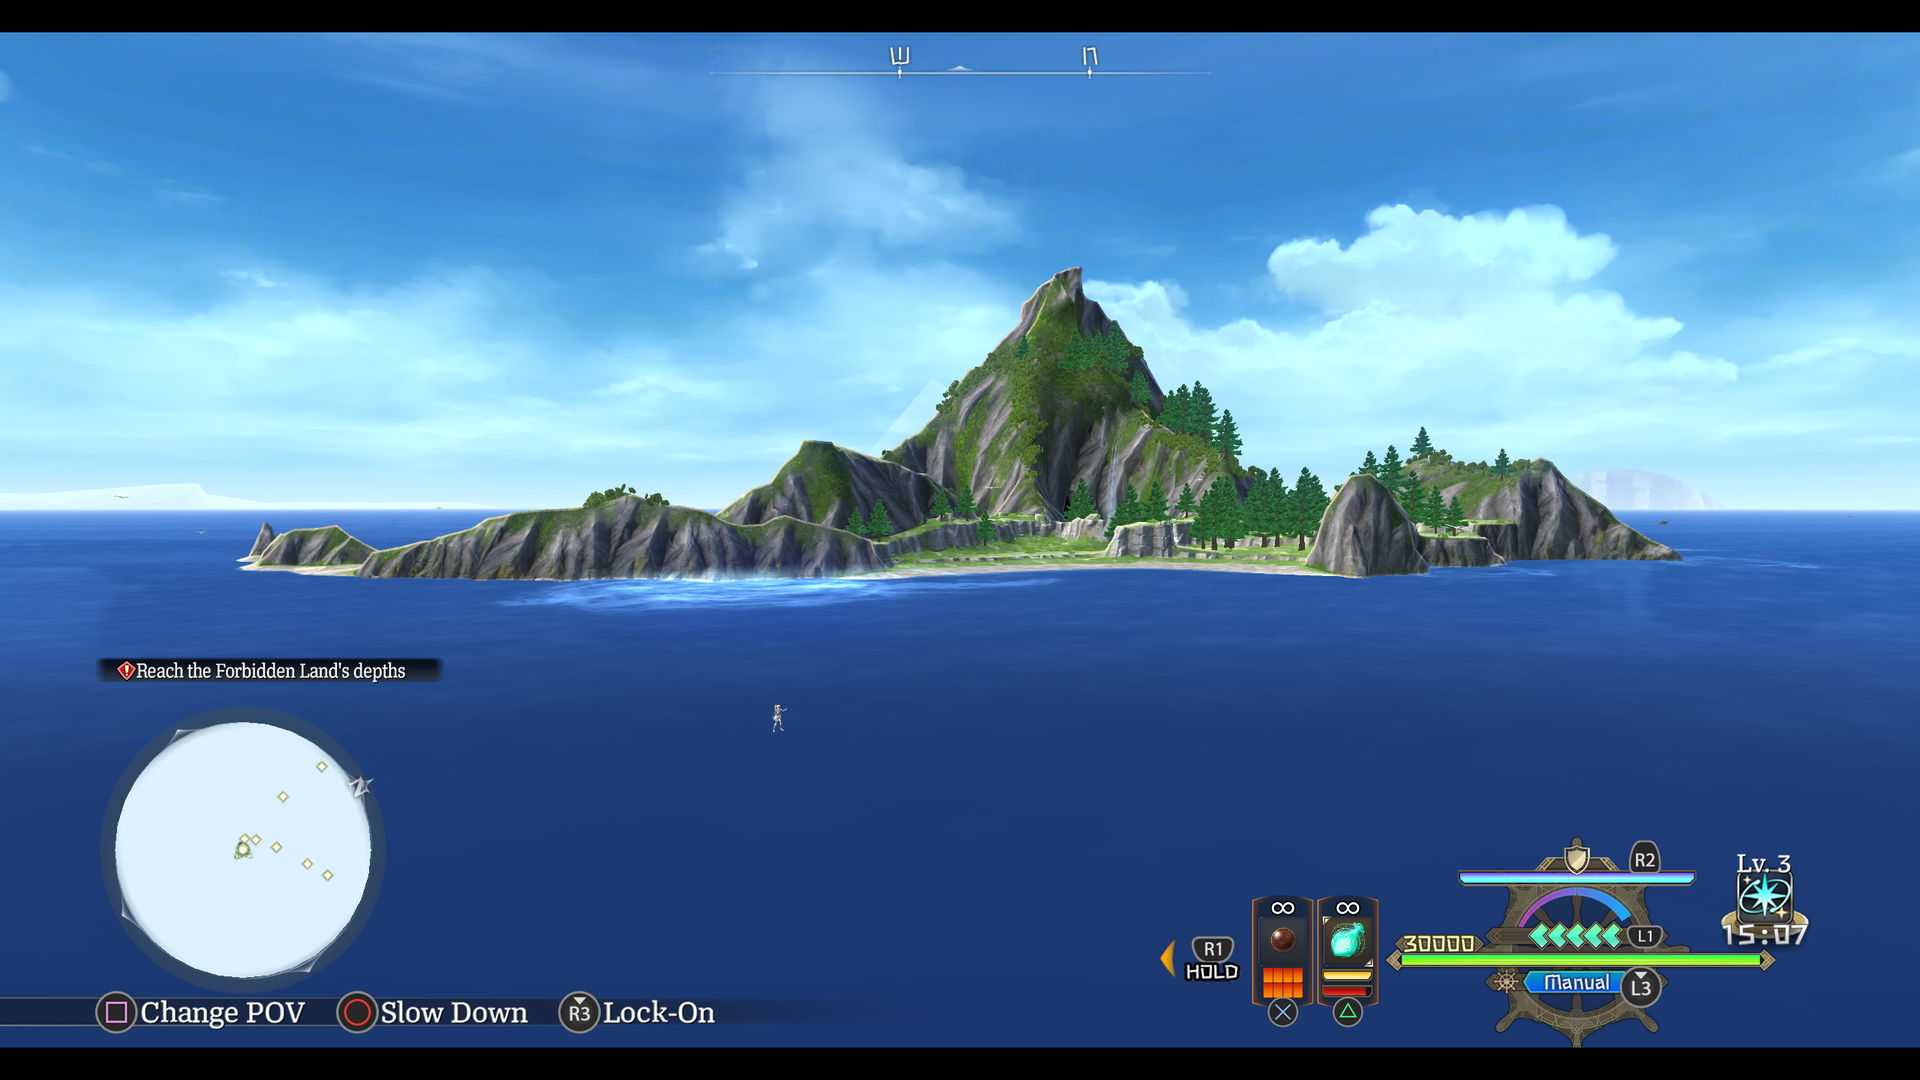
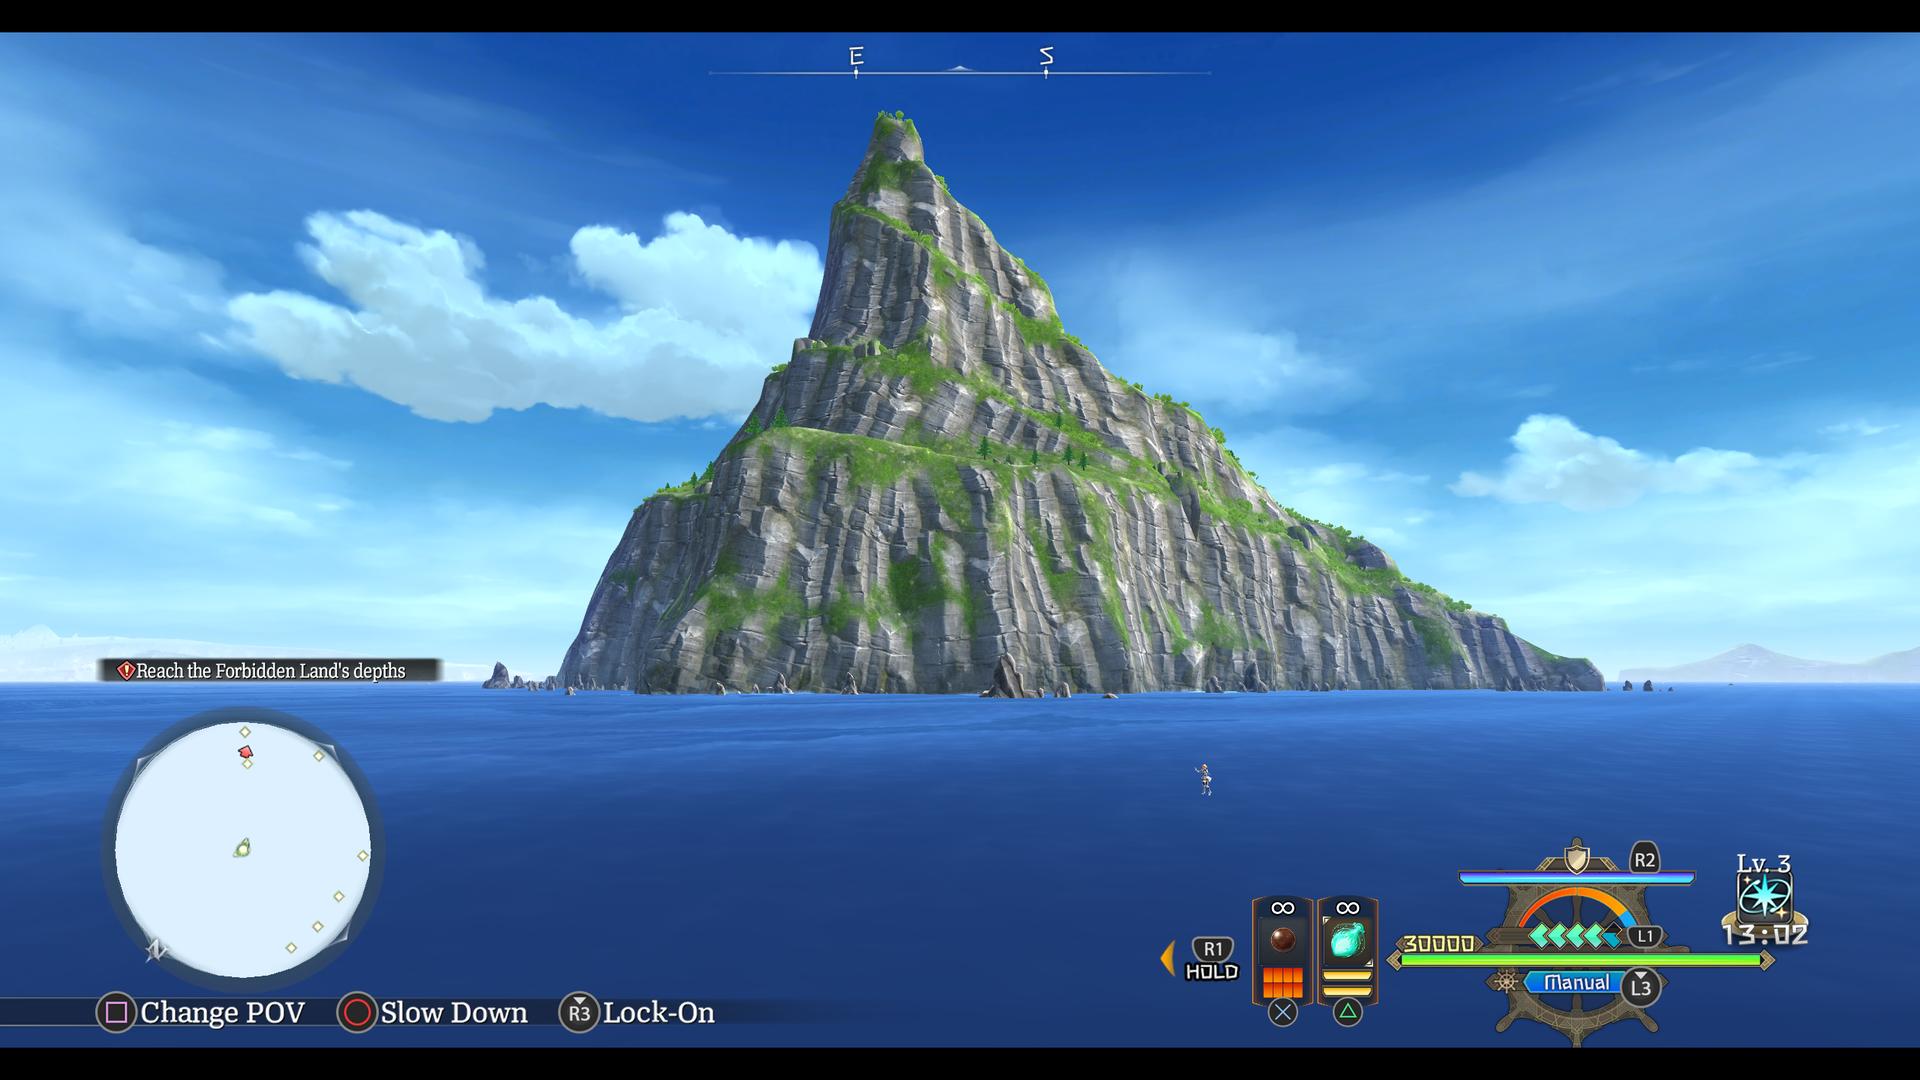
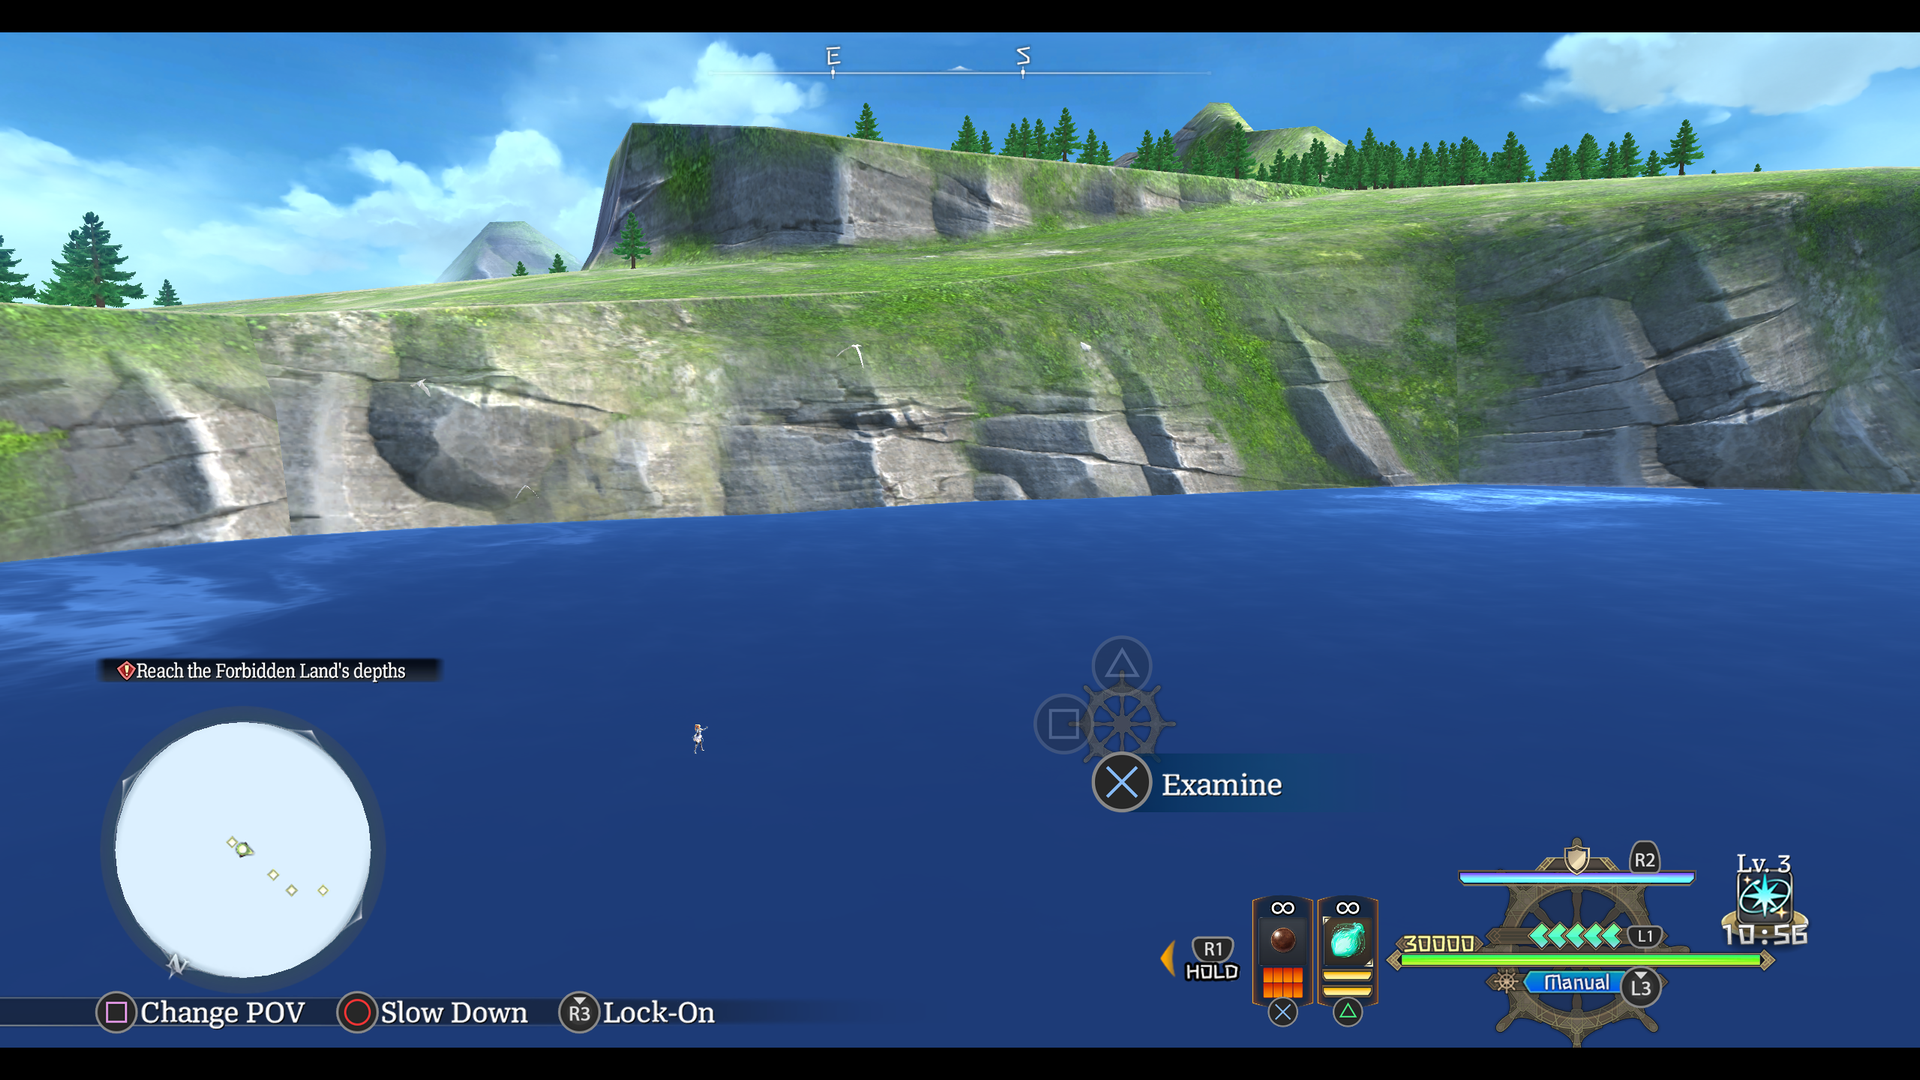
Watch on YouTubeAn early version of Carnac Waters.
- This map can be unstable and cause the game to crash upon entering other maps, even when loading a different save file.
- The screen will be letterboxed upon entering this map. Zooming in will cause the skybox to disappear.
- The Sandras is invisible. It can still use Mana Sail and consume ammuntion, though no shots appear to fire.
- Enemy ships will occasionally pop in at random, often leaving just as quick as they appeared.
- Some flotsam can be collected, though it can be difficult to because you have to slow down and precisely press the confirm button to collect it instead of just touching it.
- A message will pop up on screen stating "Recovered the flotsam and jetsam! We replenshied the rapid-fire and accelerator rounds at 3 rounds each!"
- Balta Island is modeled roughly. Entering it leads to test_balta.
- Lecto Island looks like an early Fuling Island. Makes sense given how entering it leads to sample_scene3.
- The general location of Carnac can be entered, leading to test_karnak. Carnac itself had not been modeled yet.
test_seawar_event#
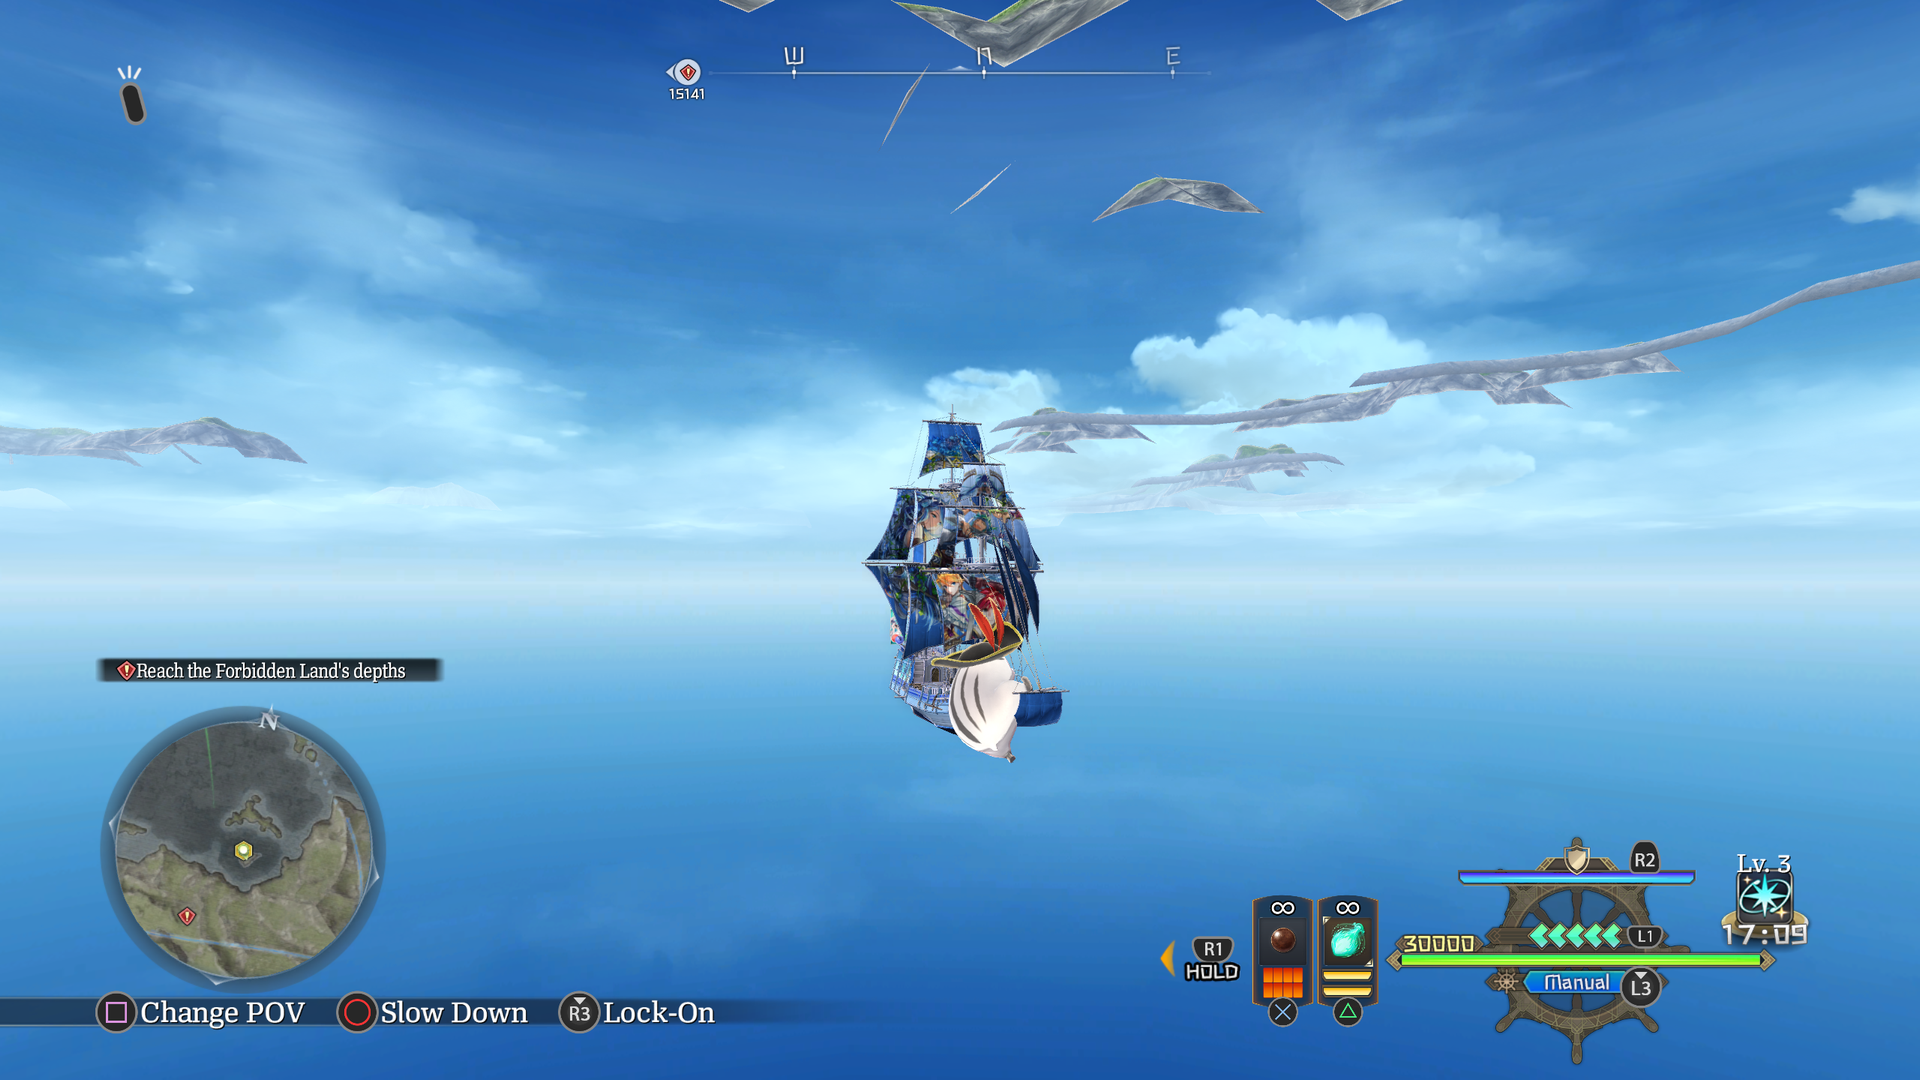
Obelia Gulf without water. The Sandras falls down instantly!
test_ship#
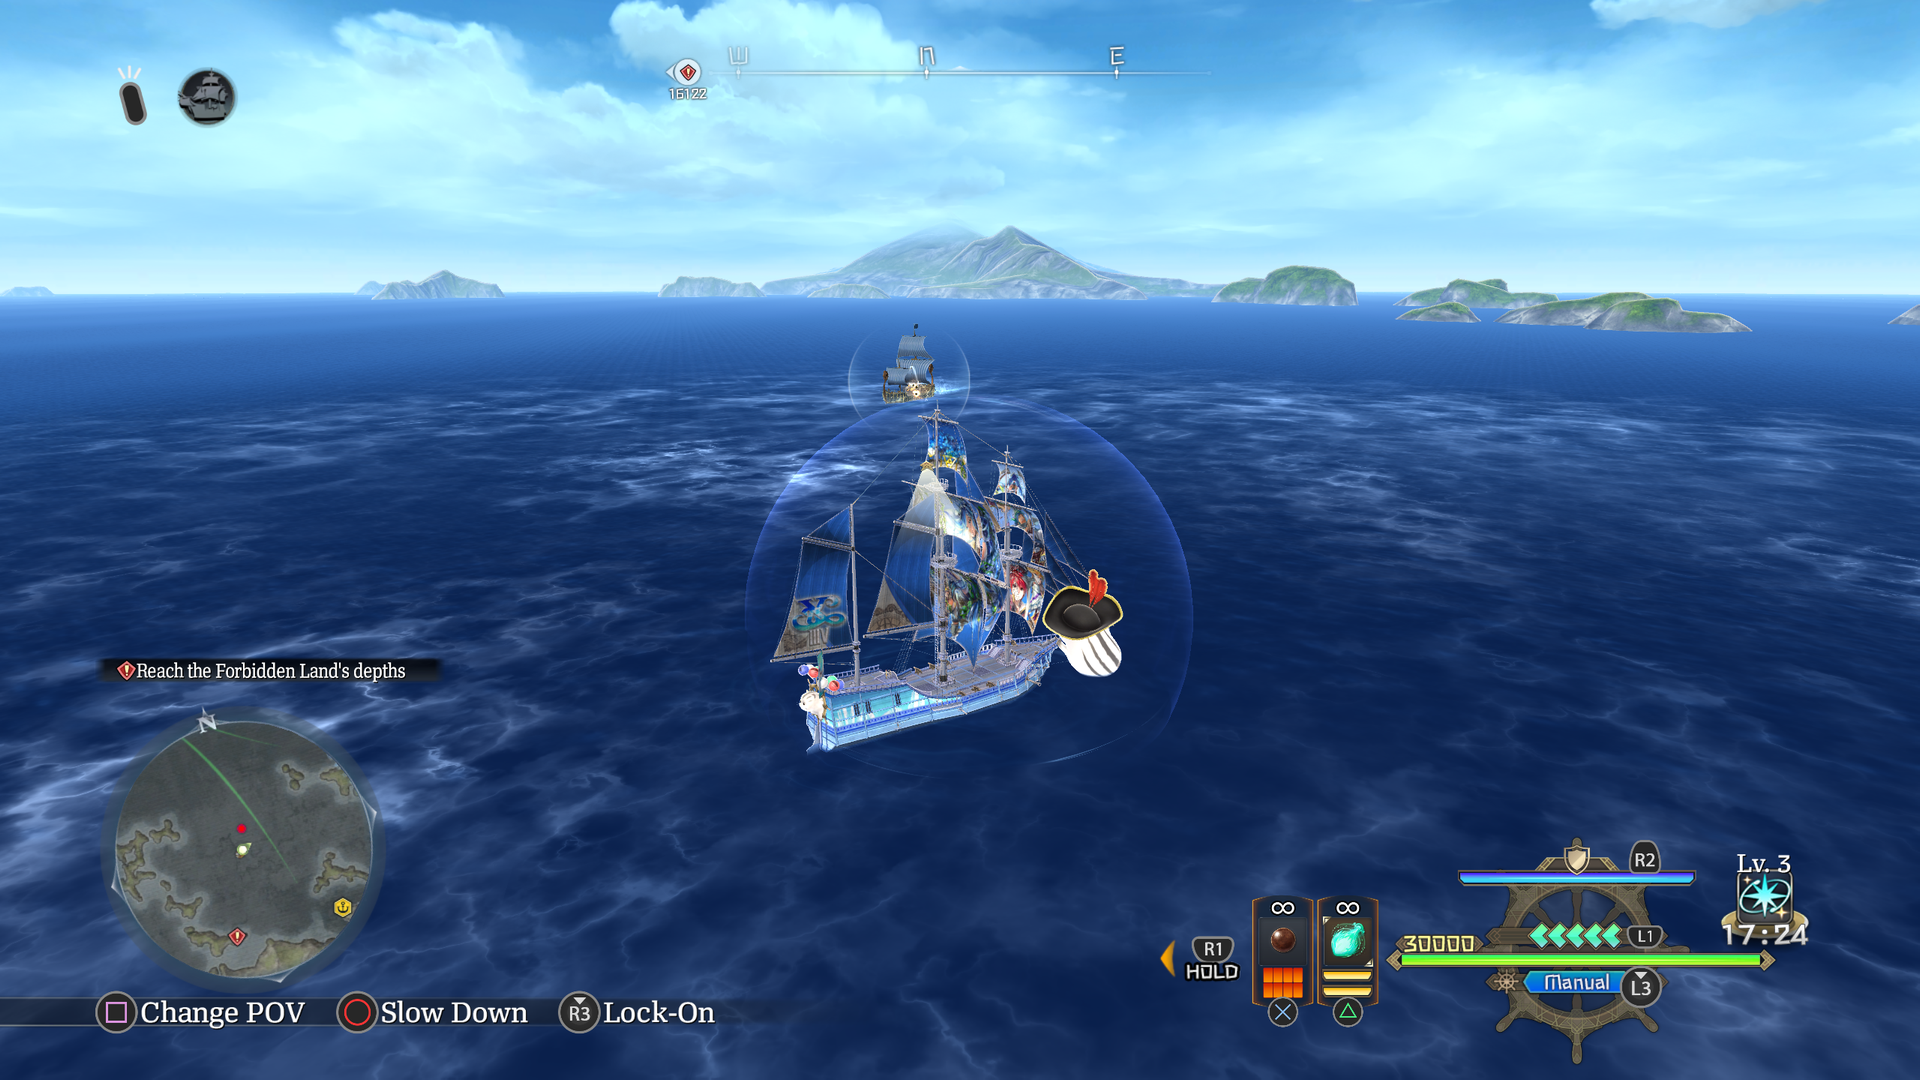
Similar to test_s1000, but with less to do.
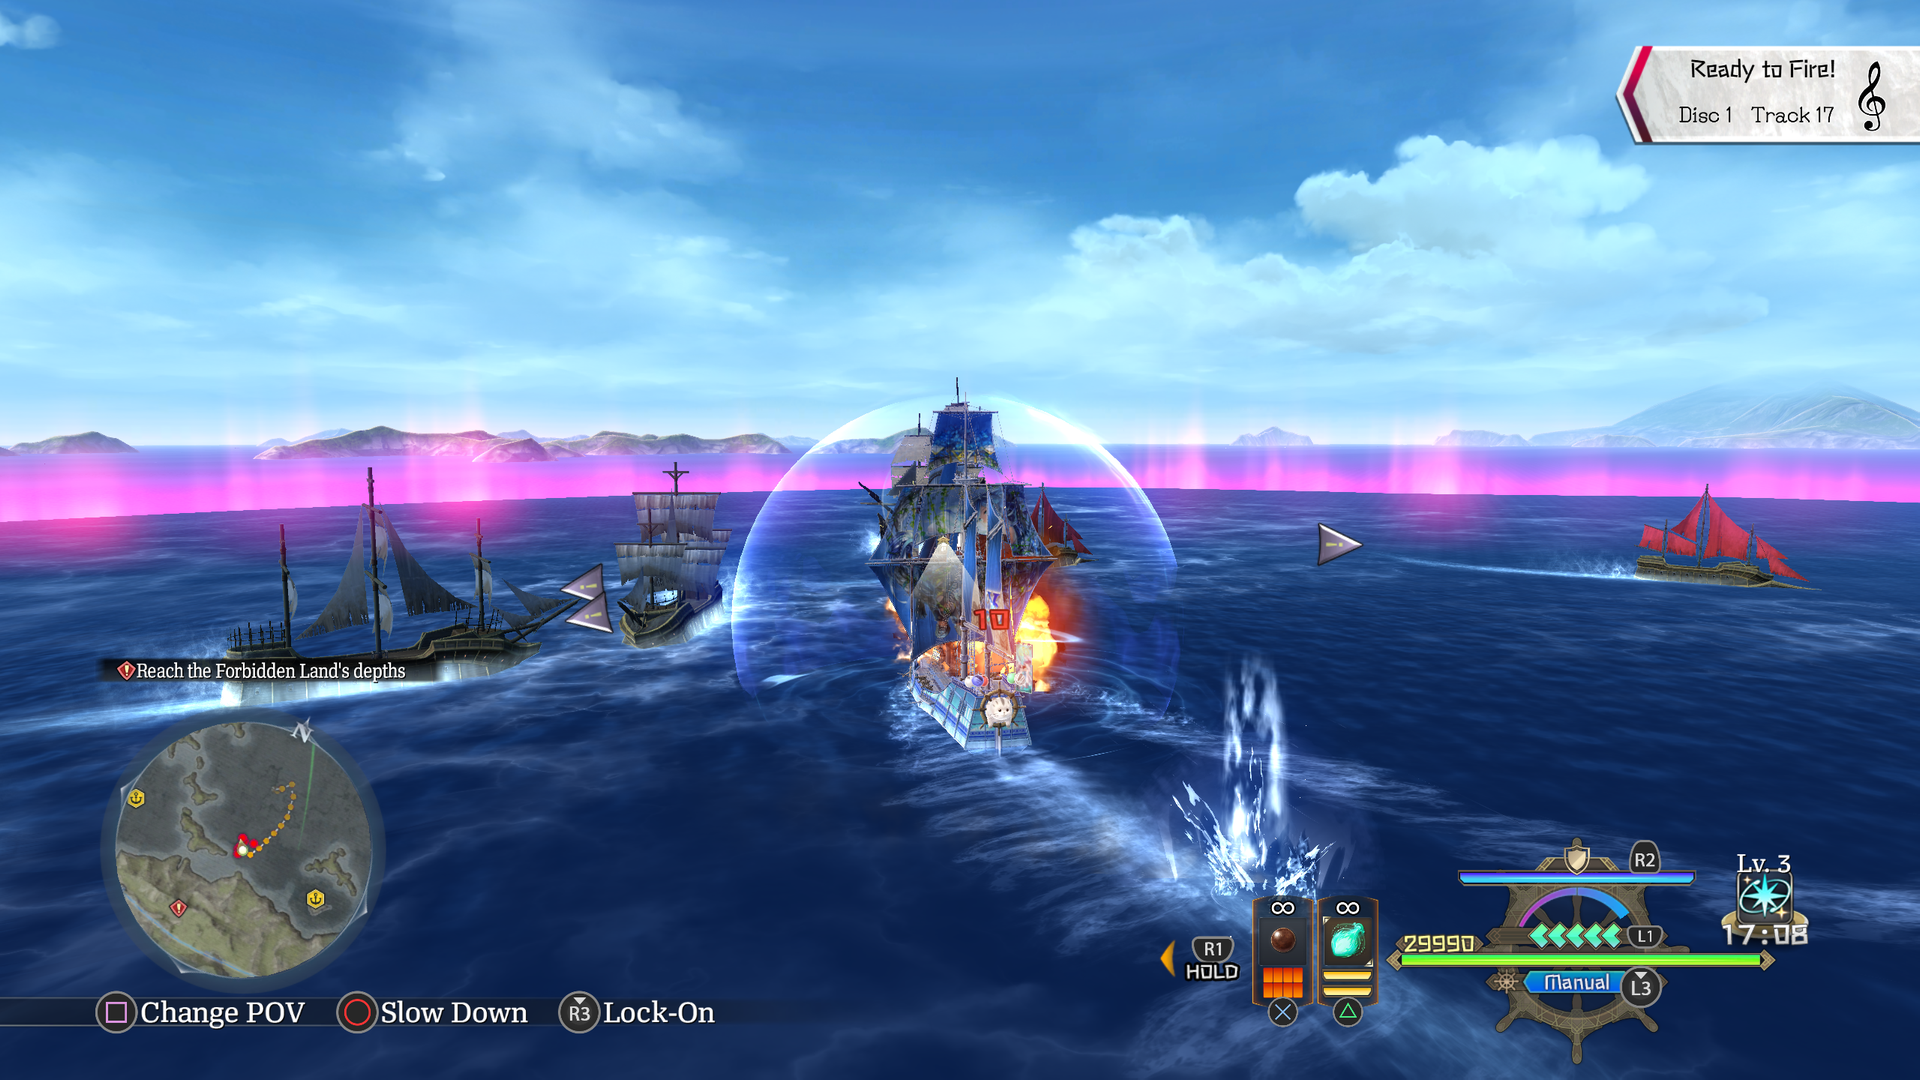
- There is a merchant ship north of Balta Island, and a few enemy ships in the Ozmid Expanse.
- Collision is missing on many landforms.
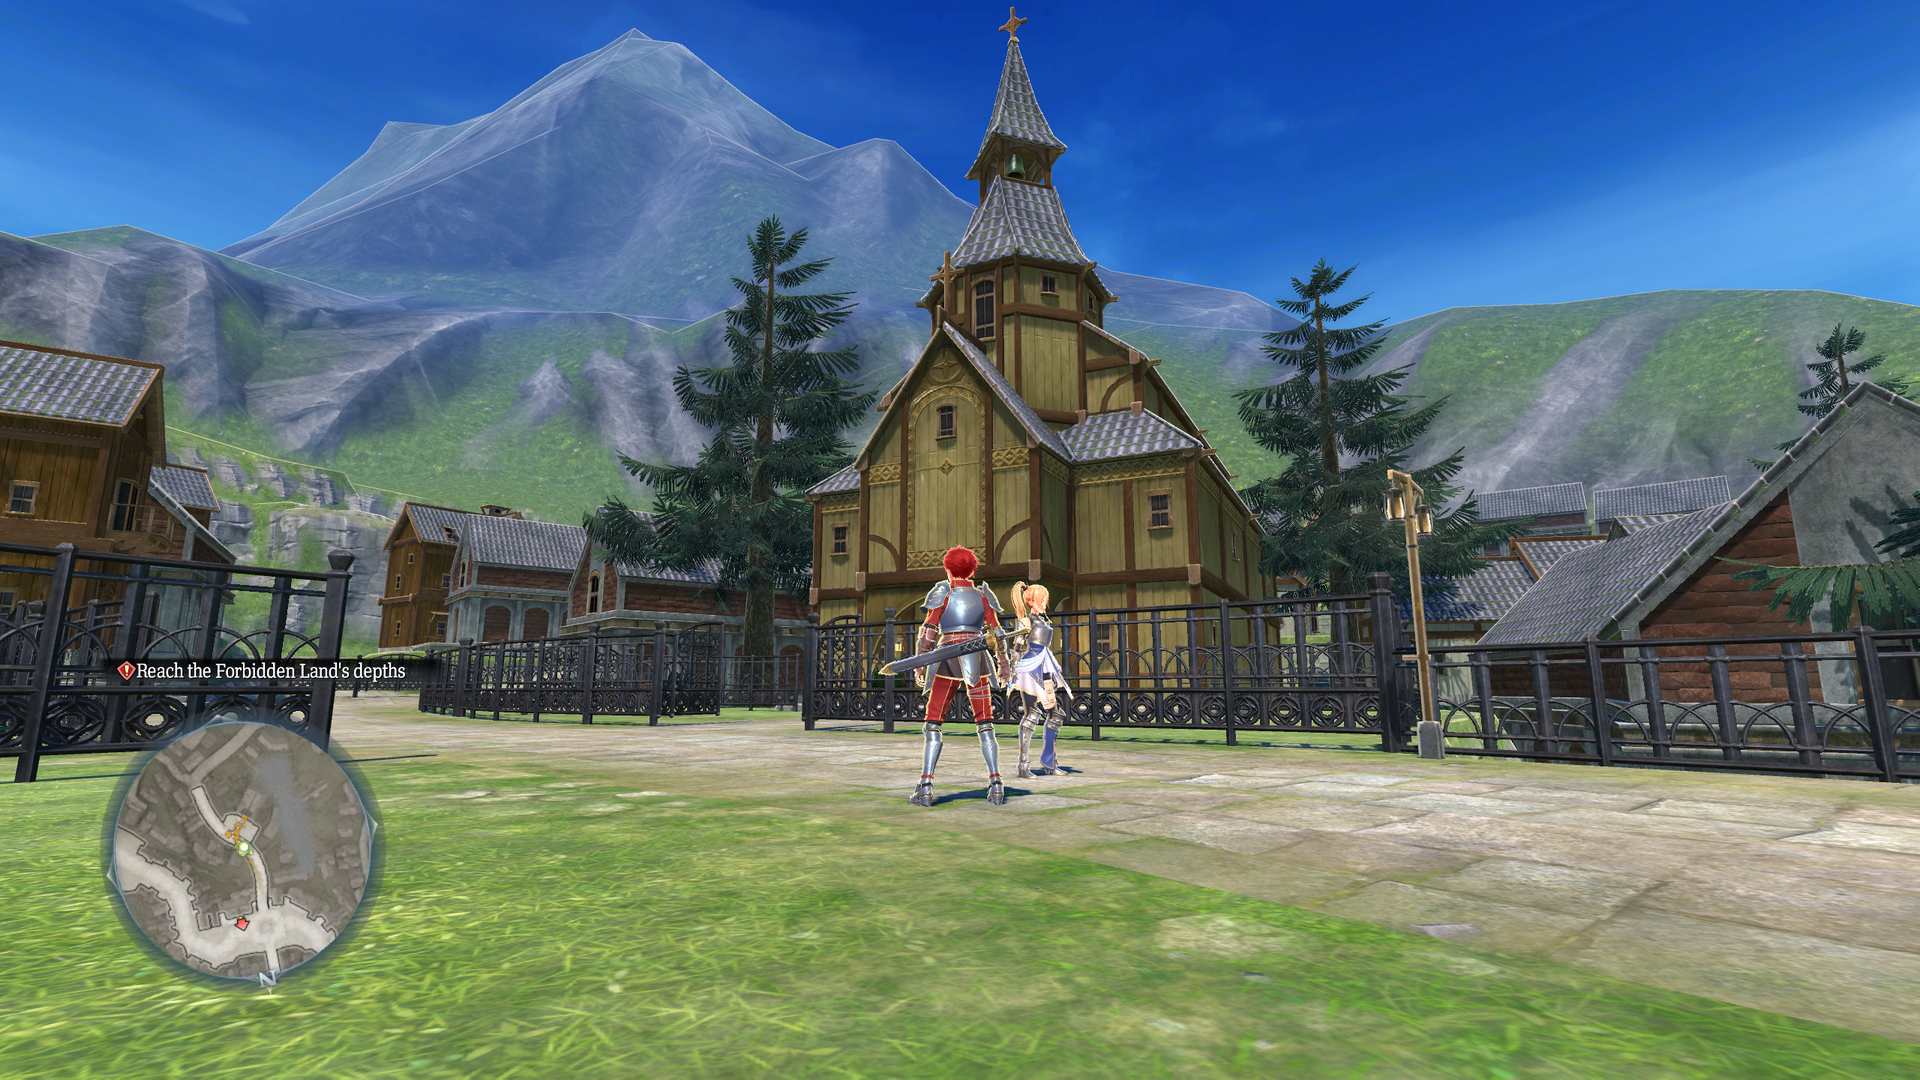
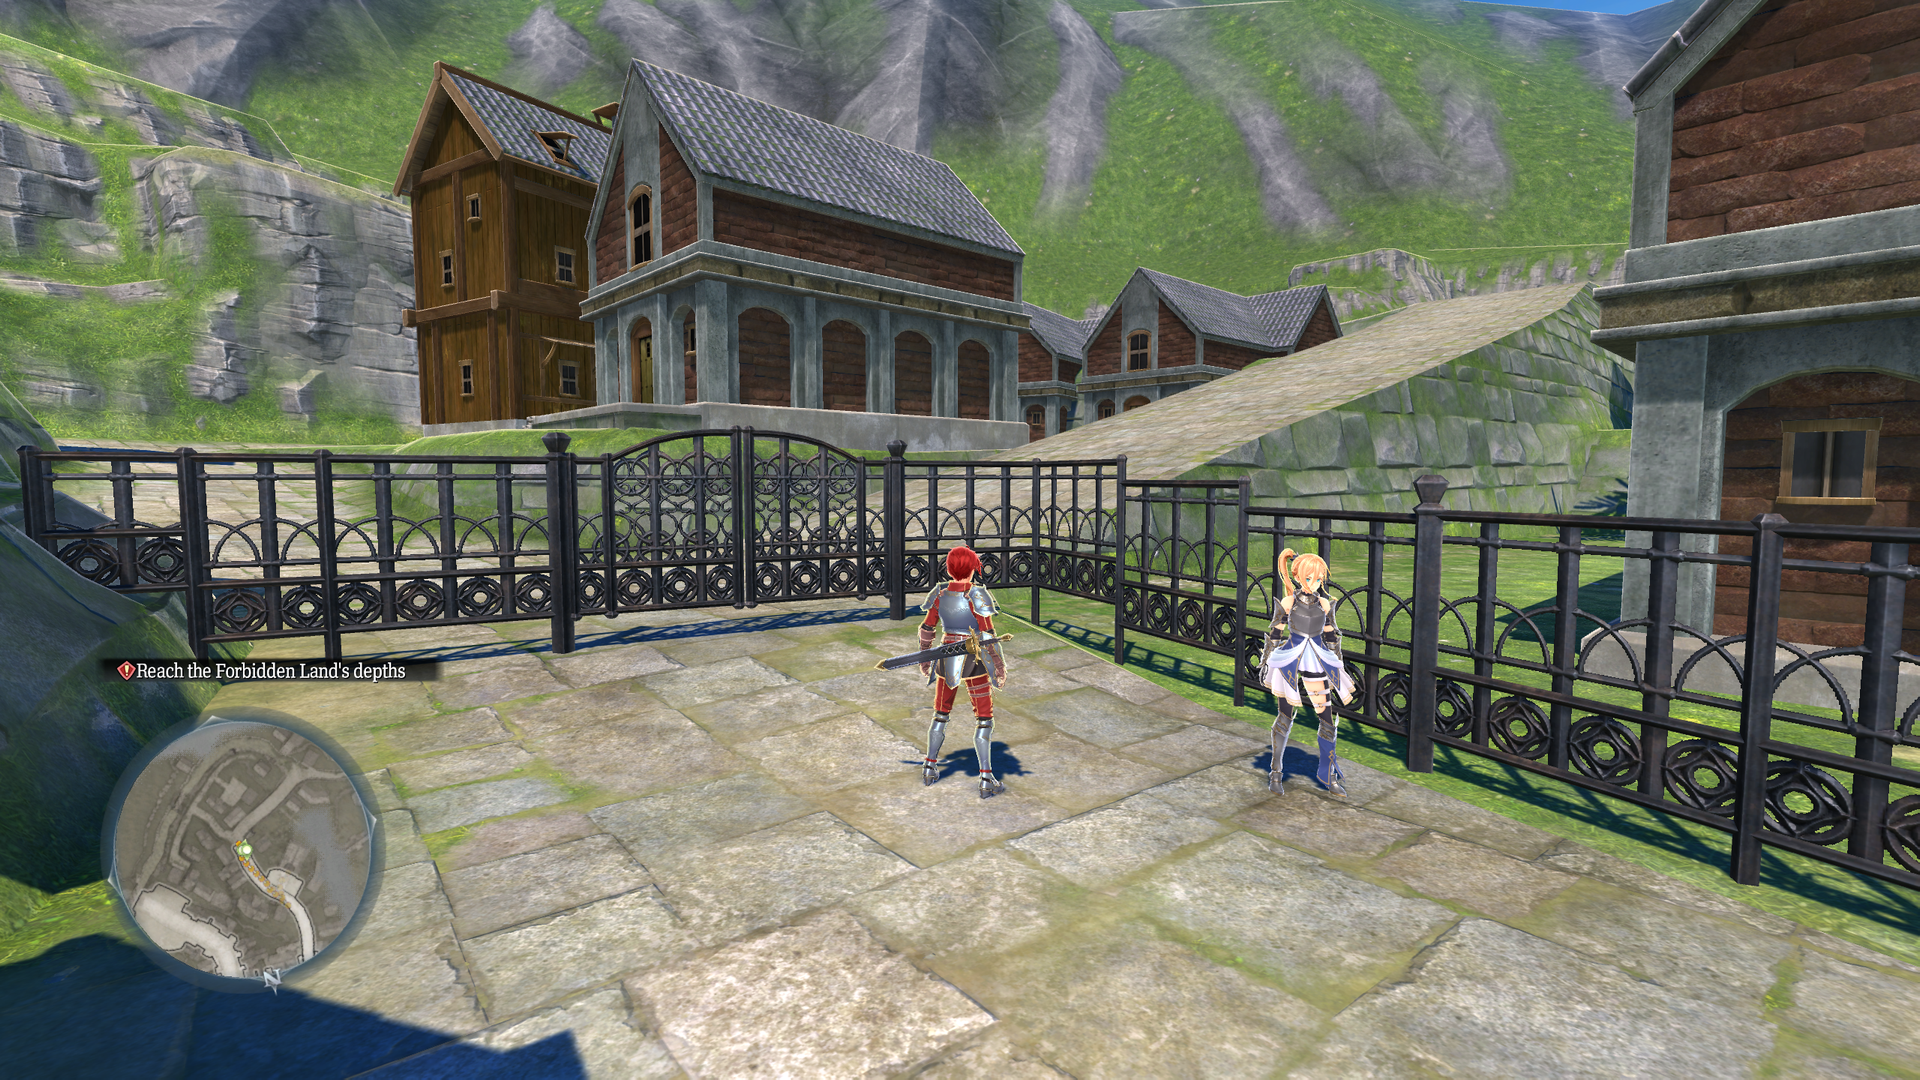
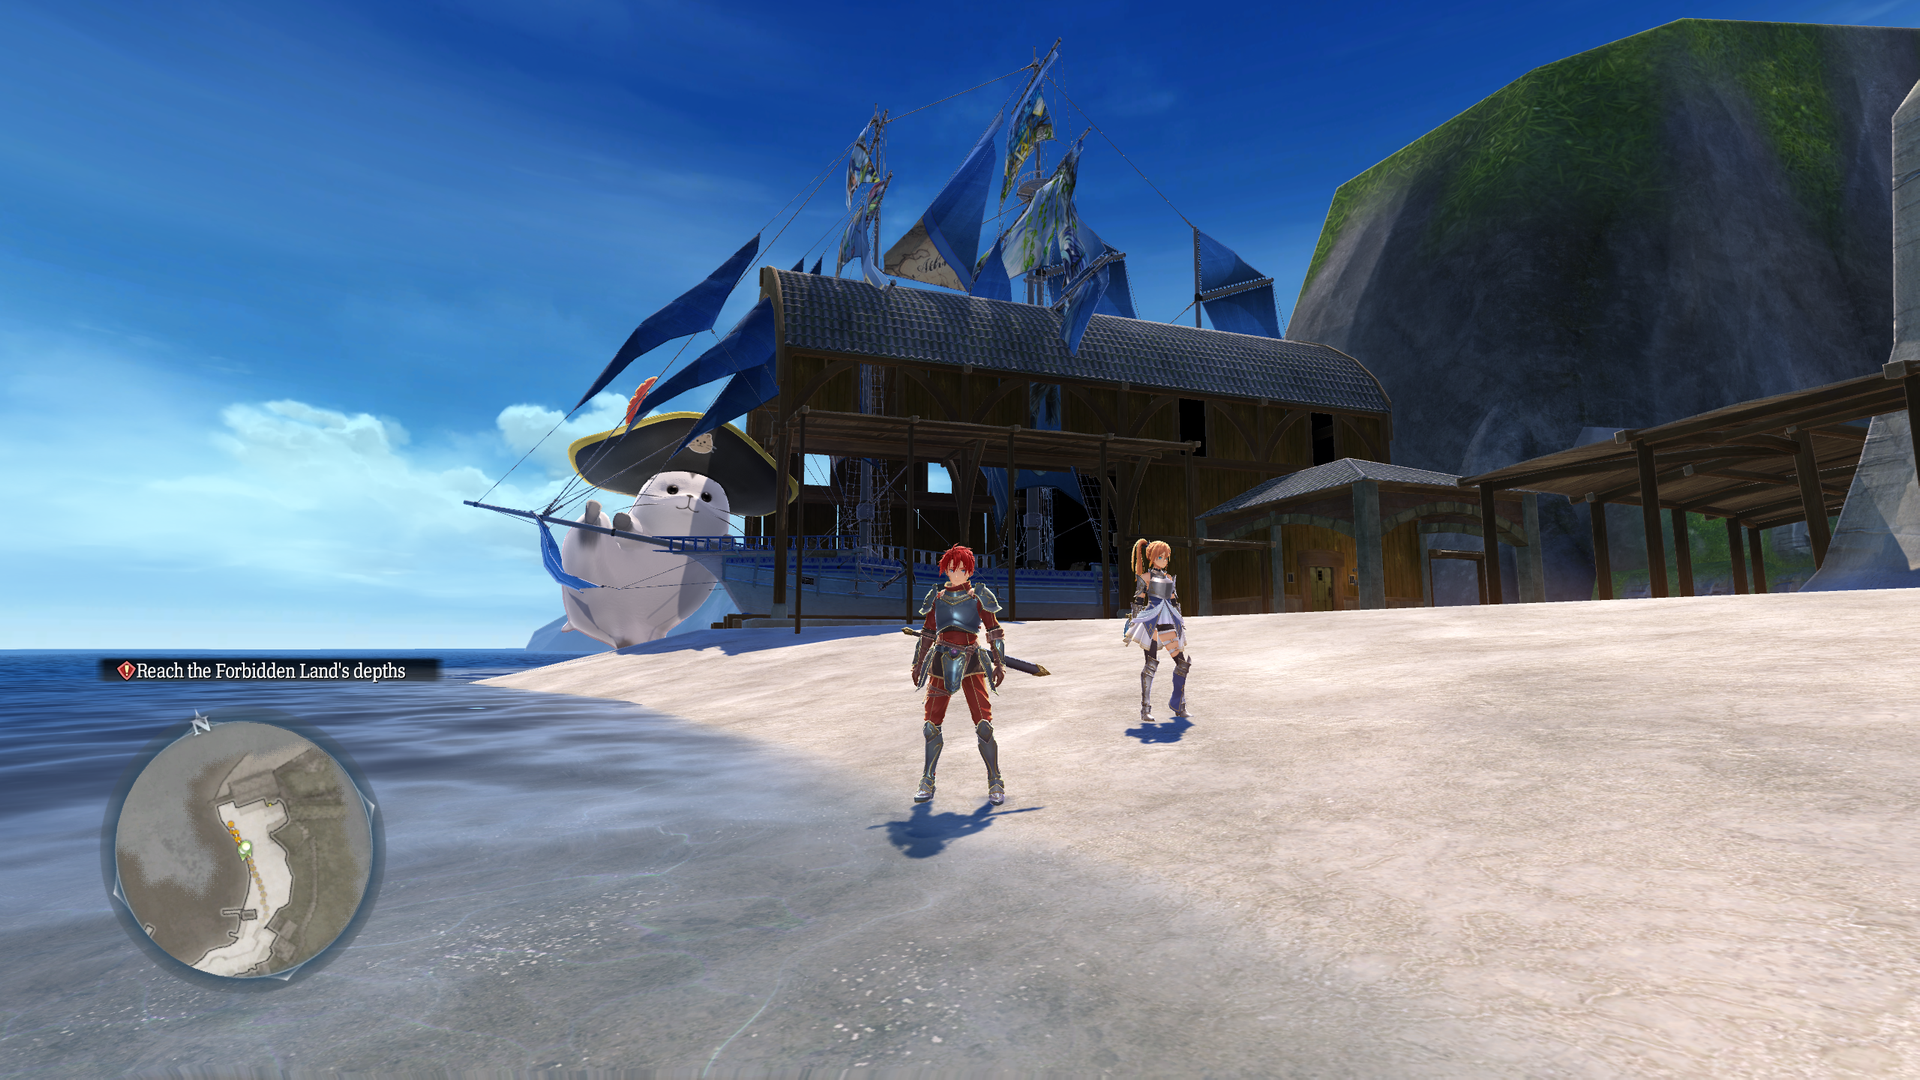
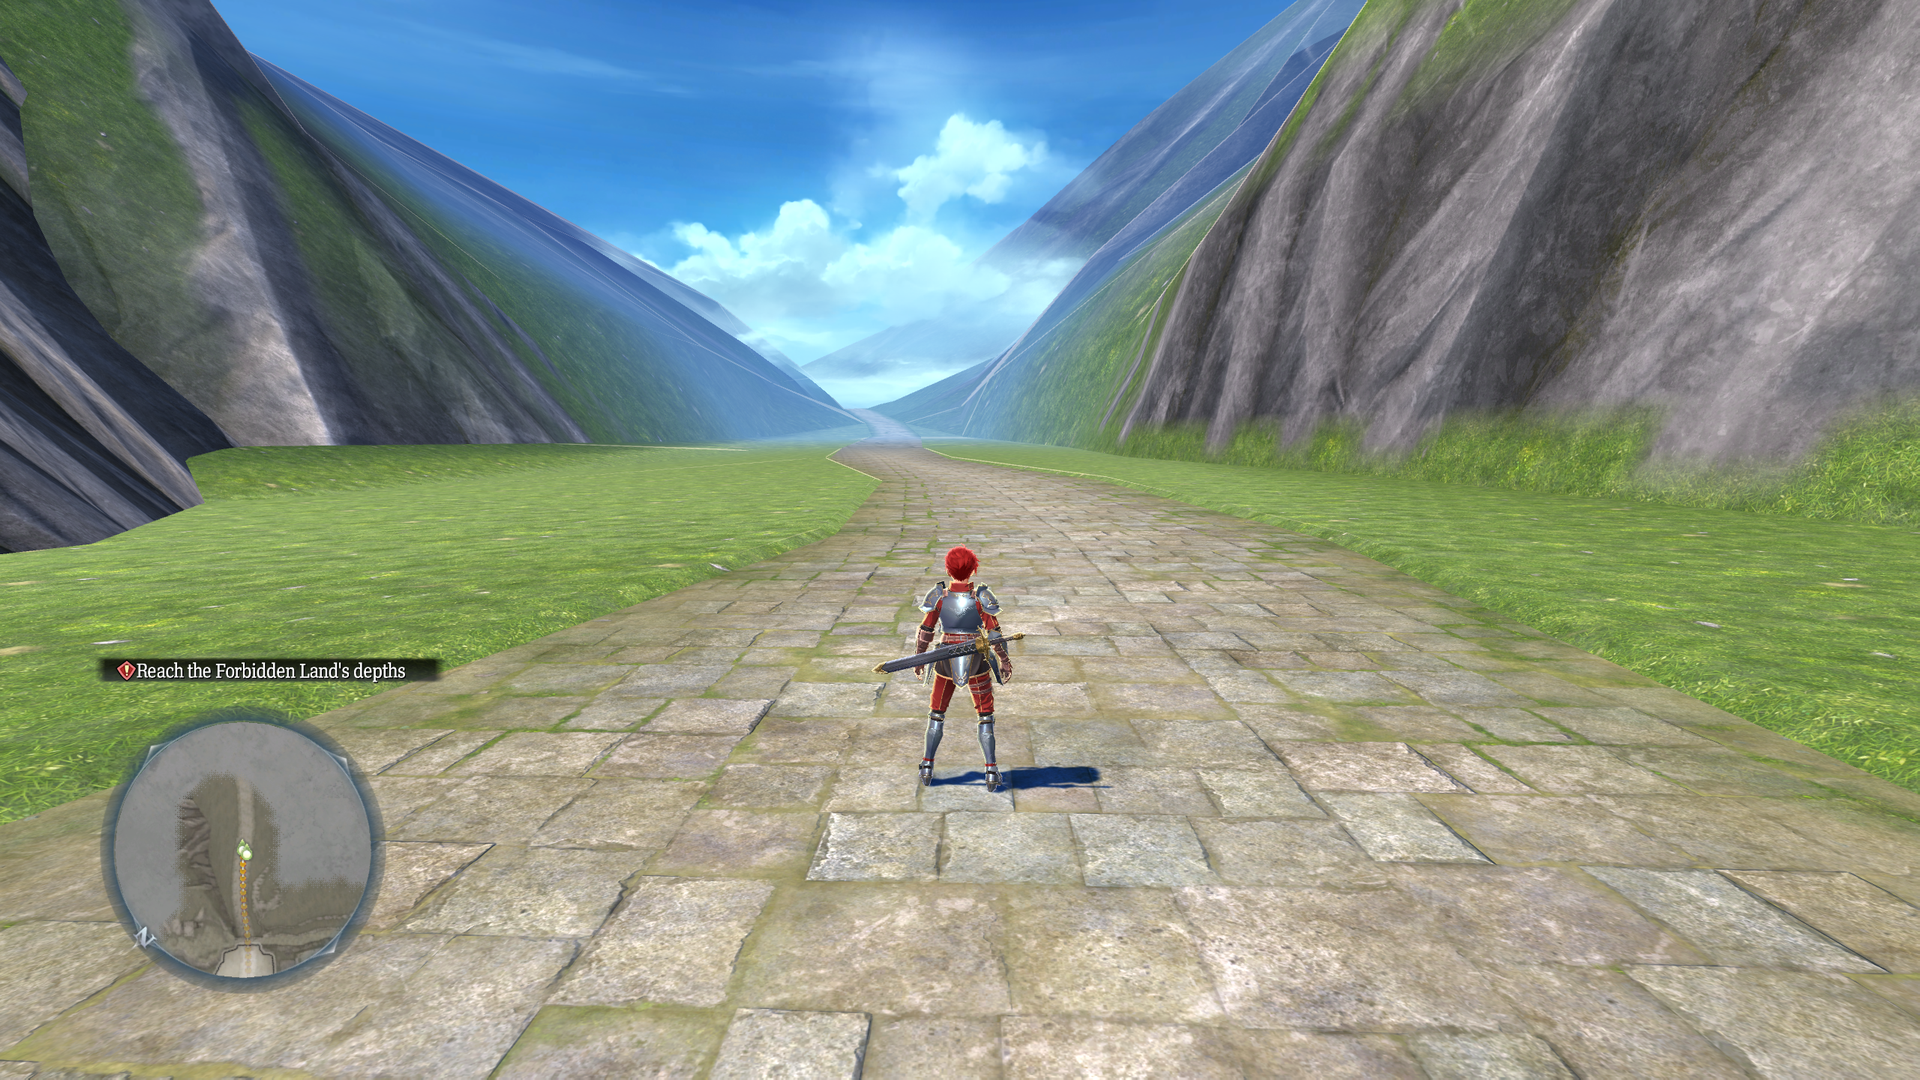
test_t1200#
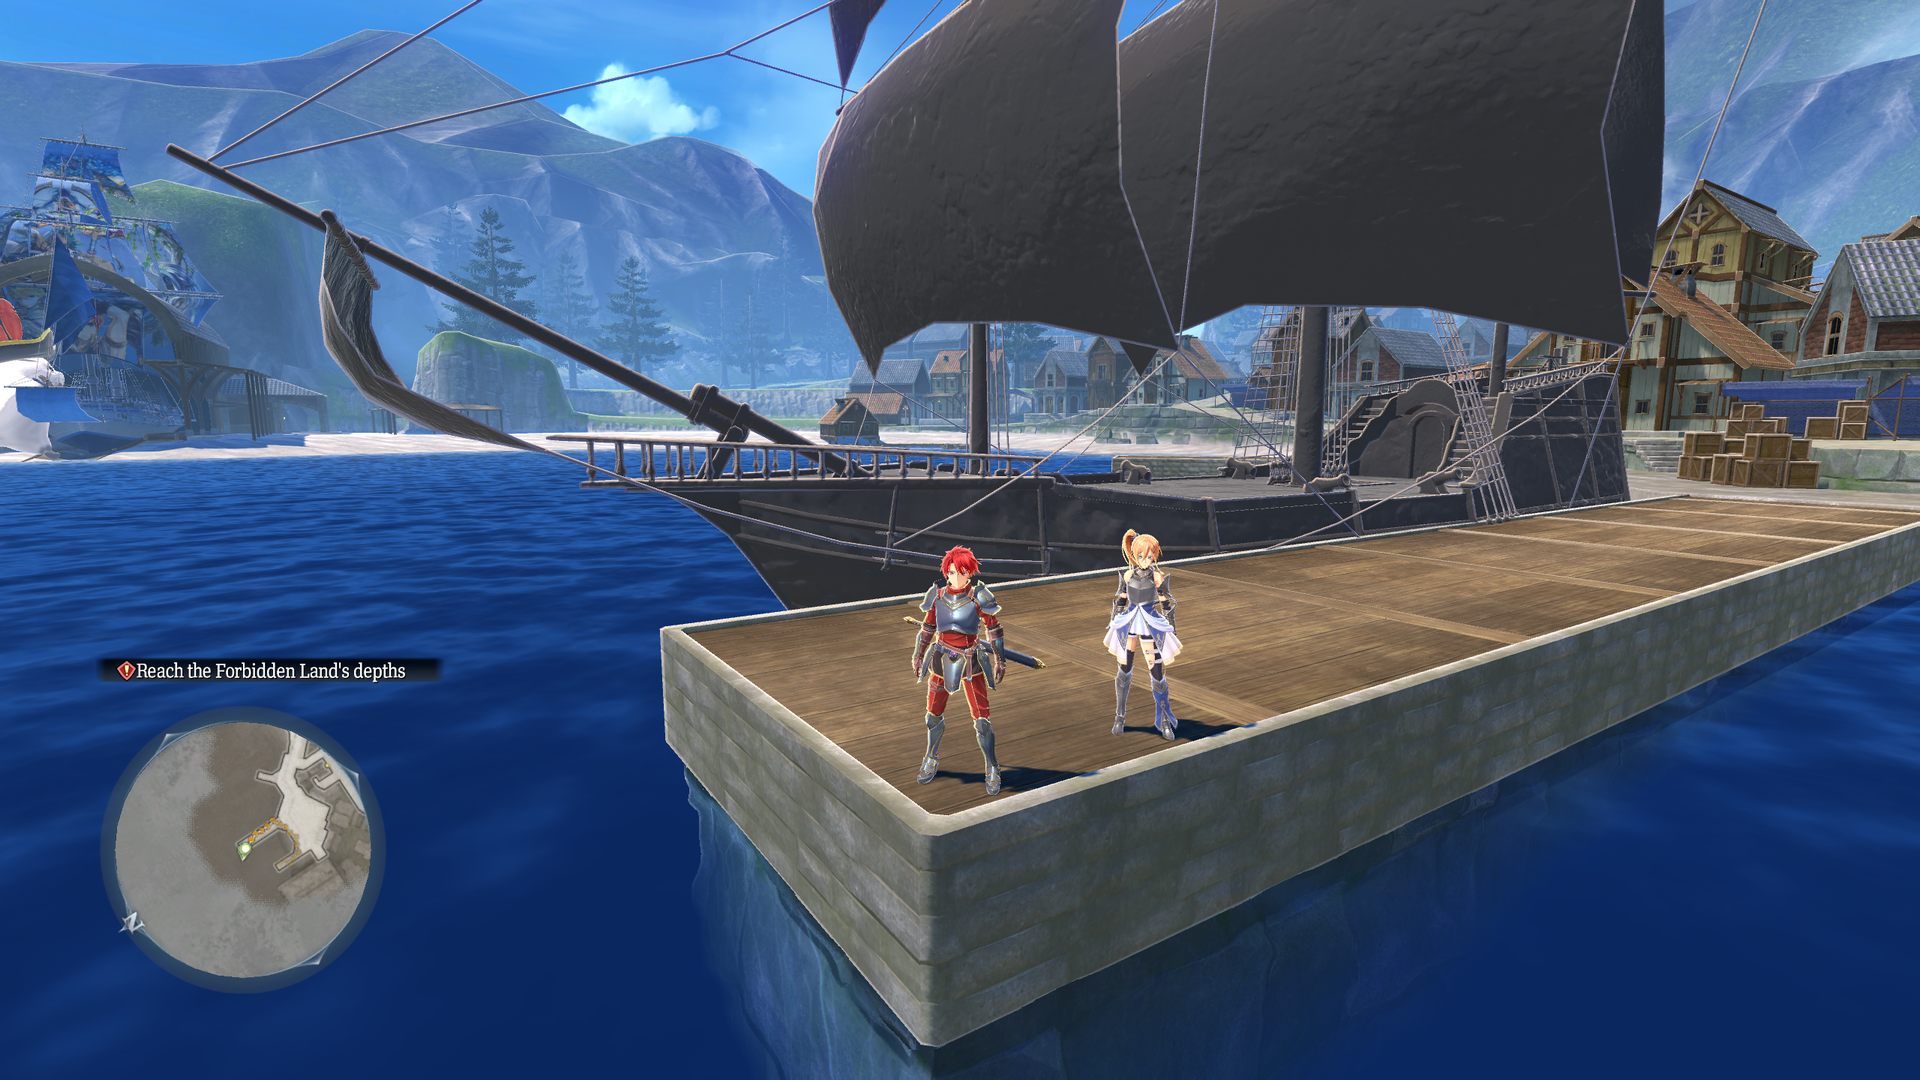
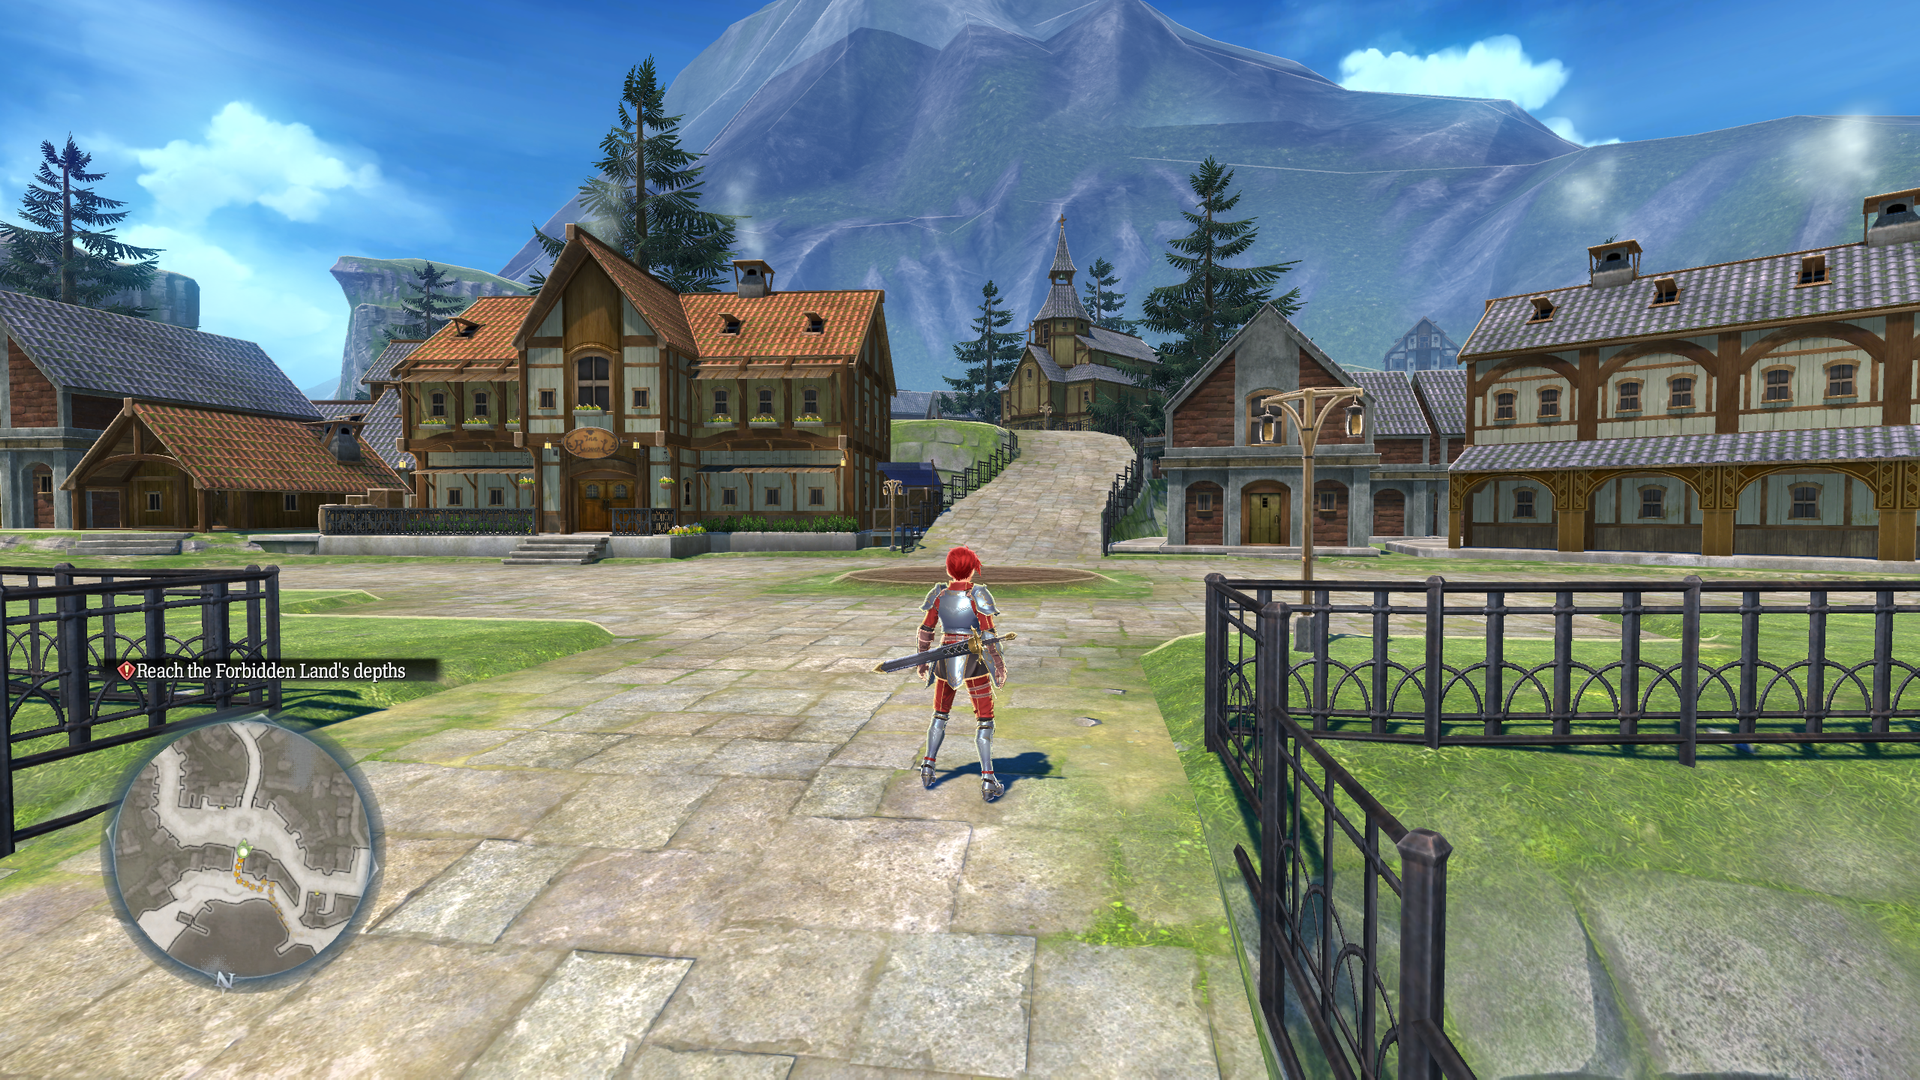
An earlier Carnac with a similar layout to the final.
- At the dock, a rough model of the Sandras is present (the same seen in test_karnak). The actual Sandras can be found at its original location near the Youth Brigade's building.
- Some foliage and stone edges on ramps are missing. No NPCs are present.
- Entry points are the same as the final map, mp_t1200.
- You can go out of bounds on the southeast path.
test_talk_event#
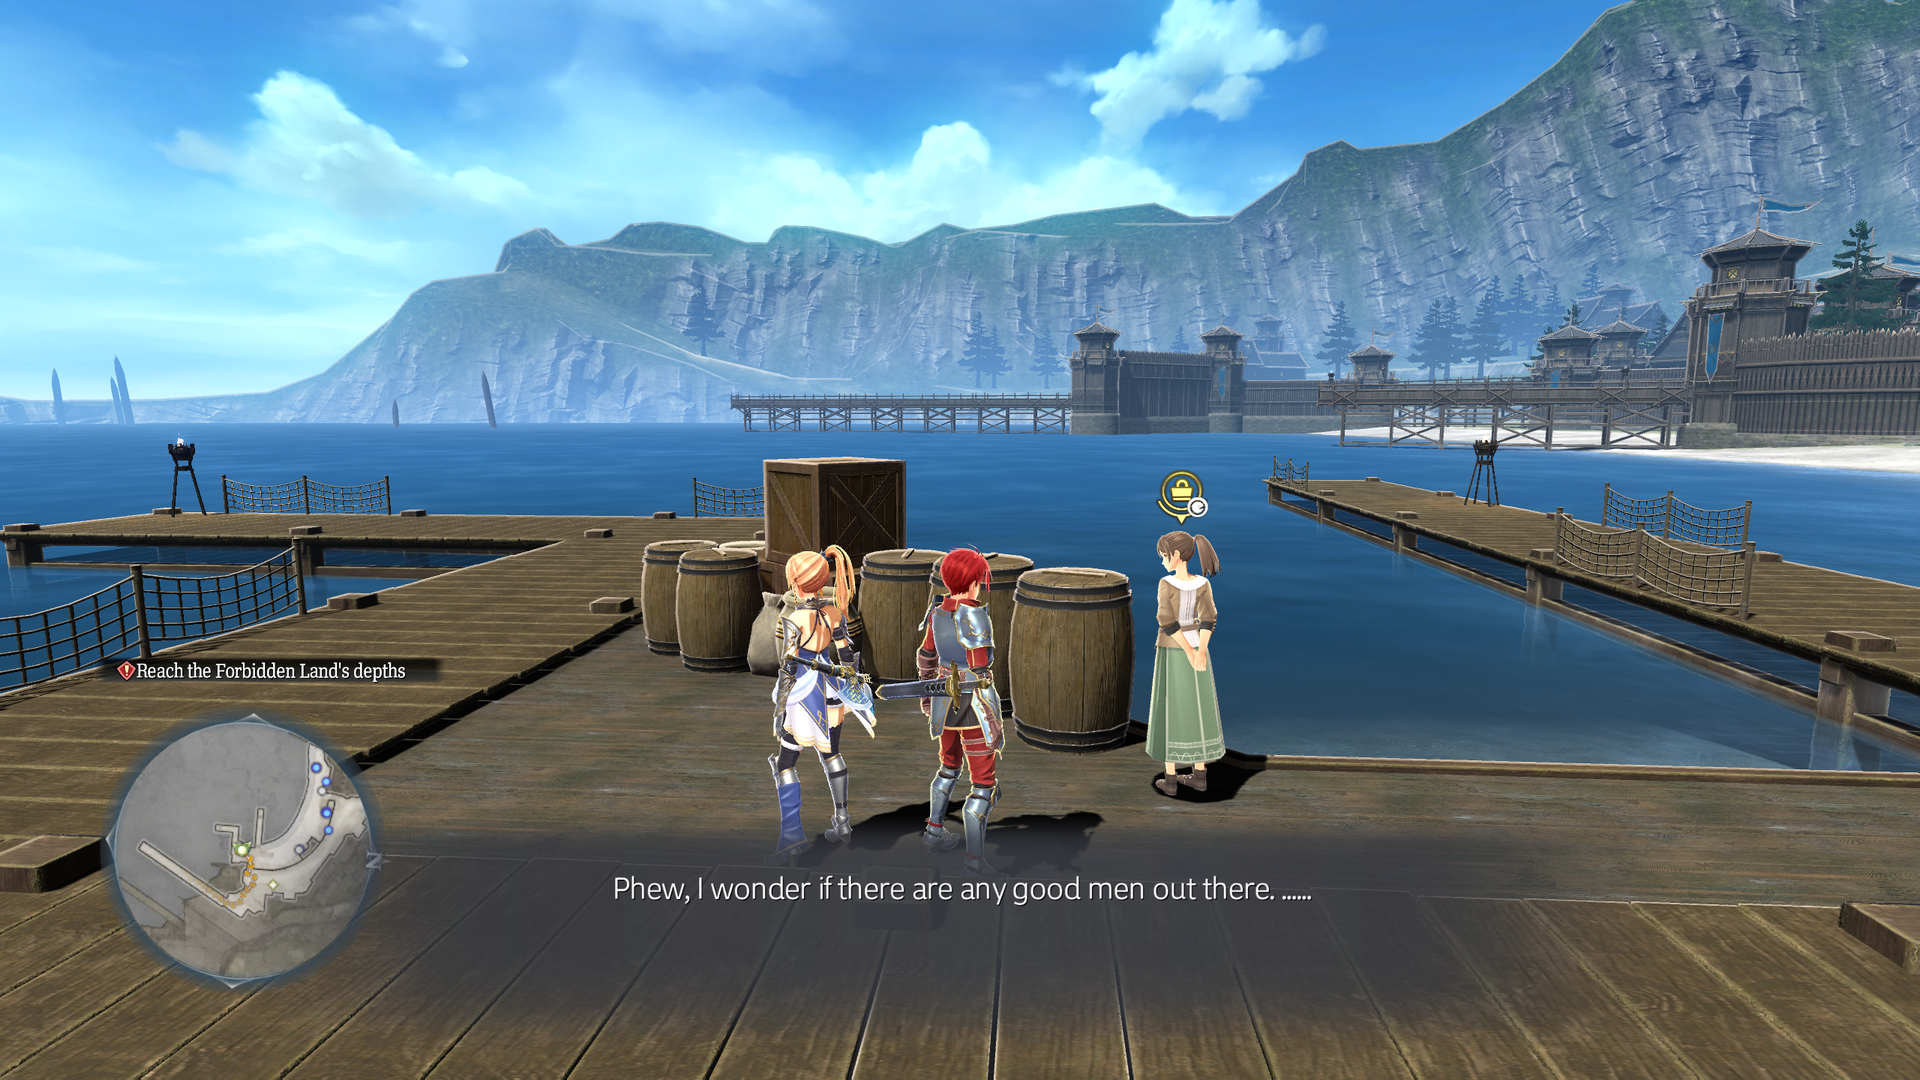
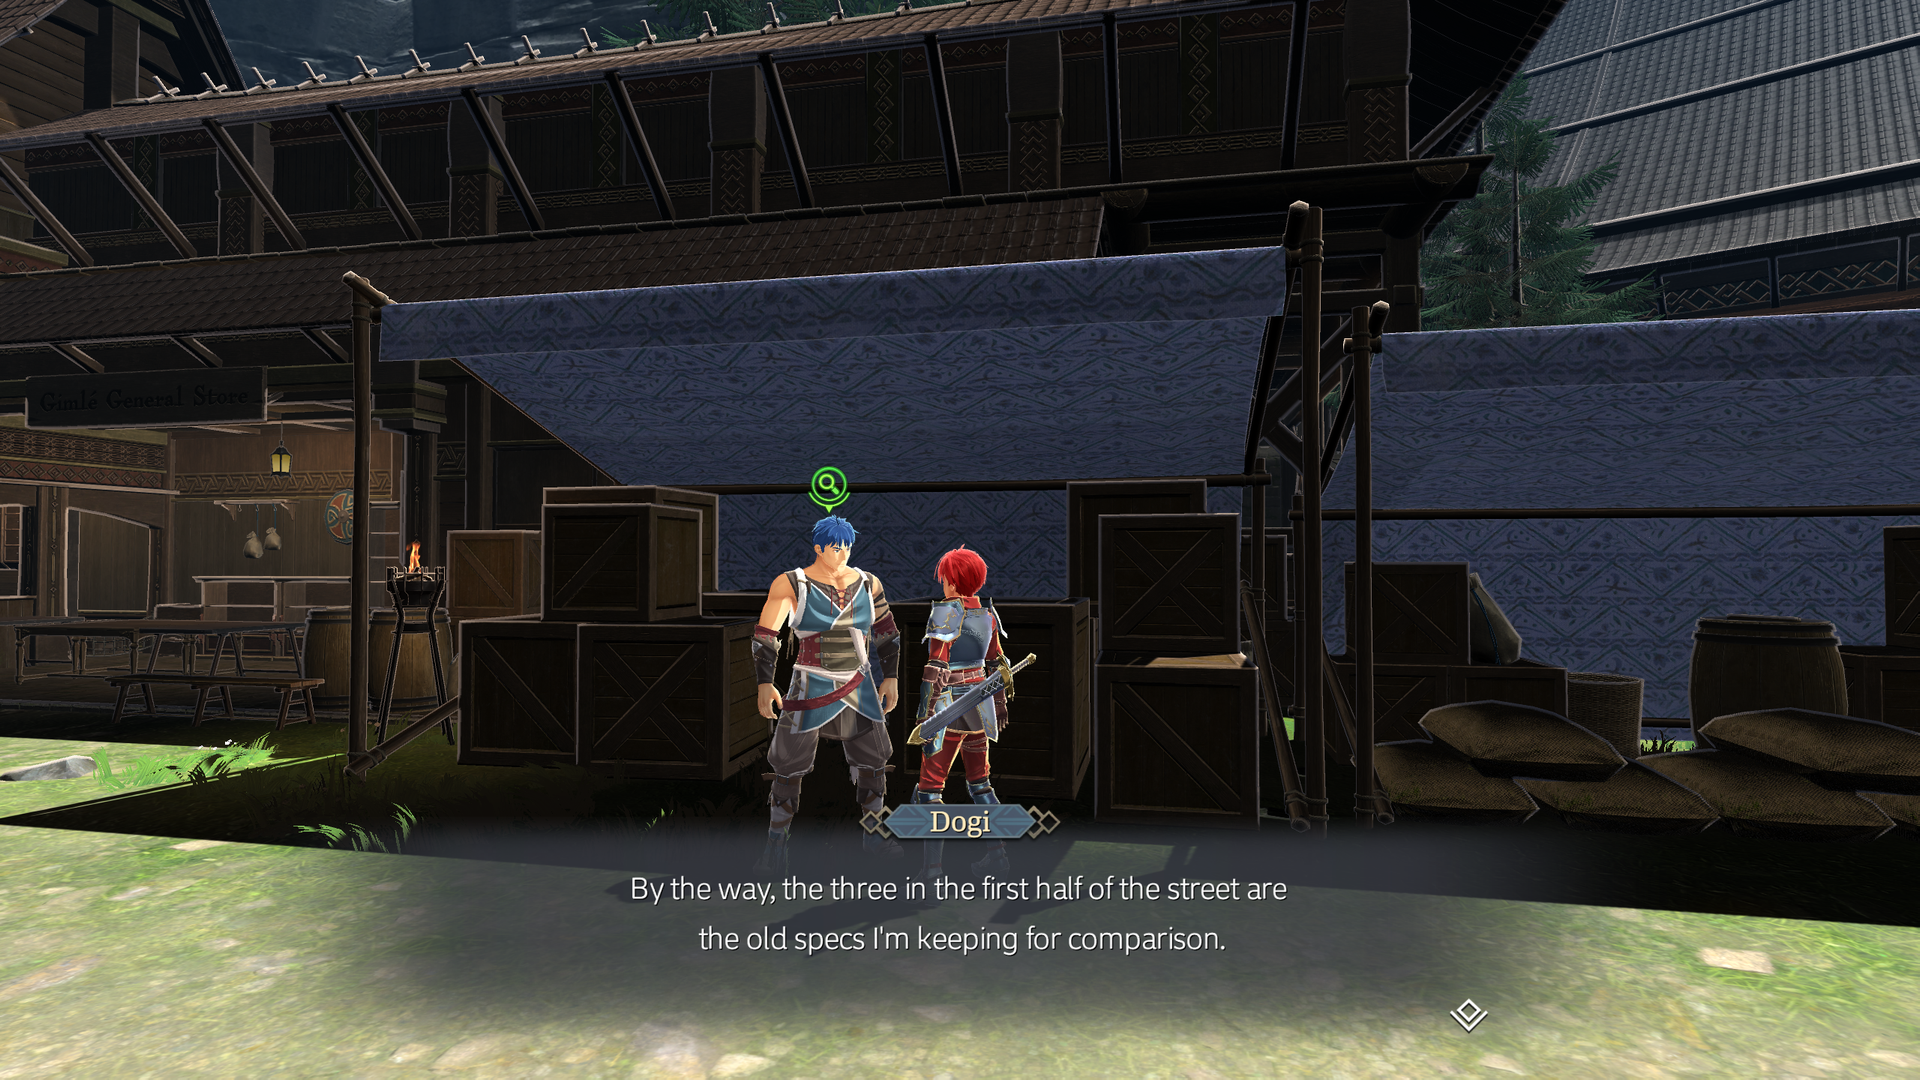
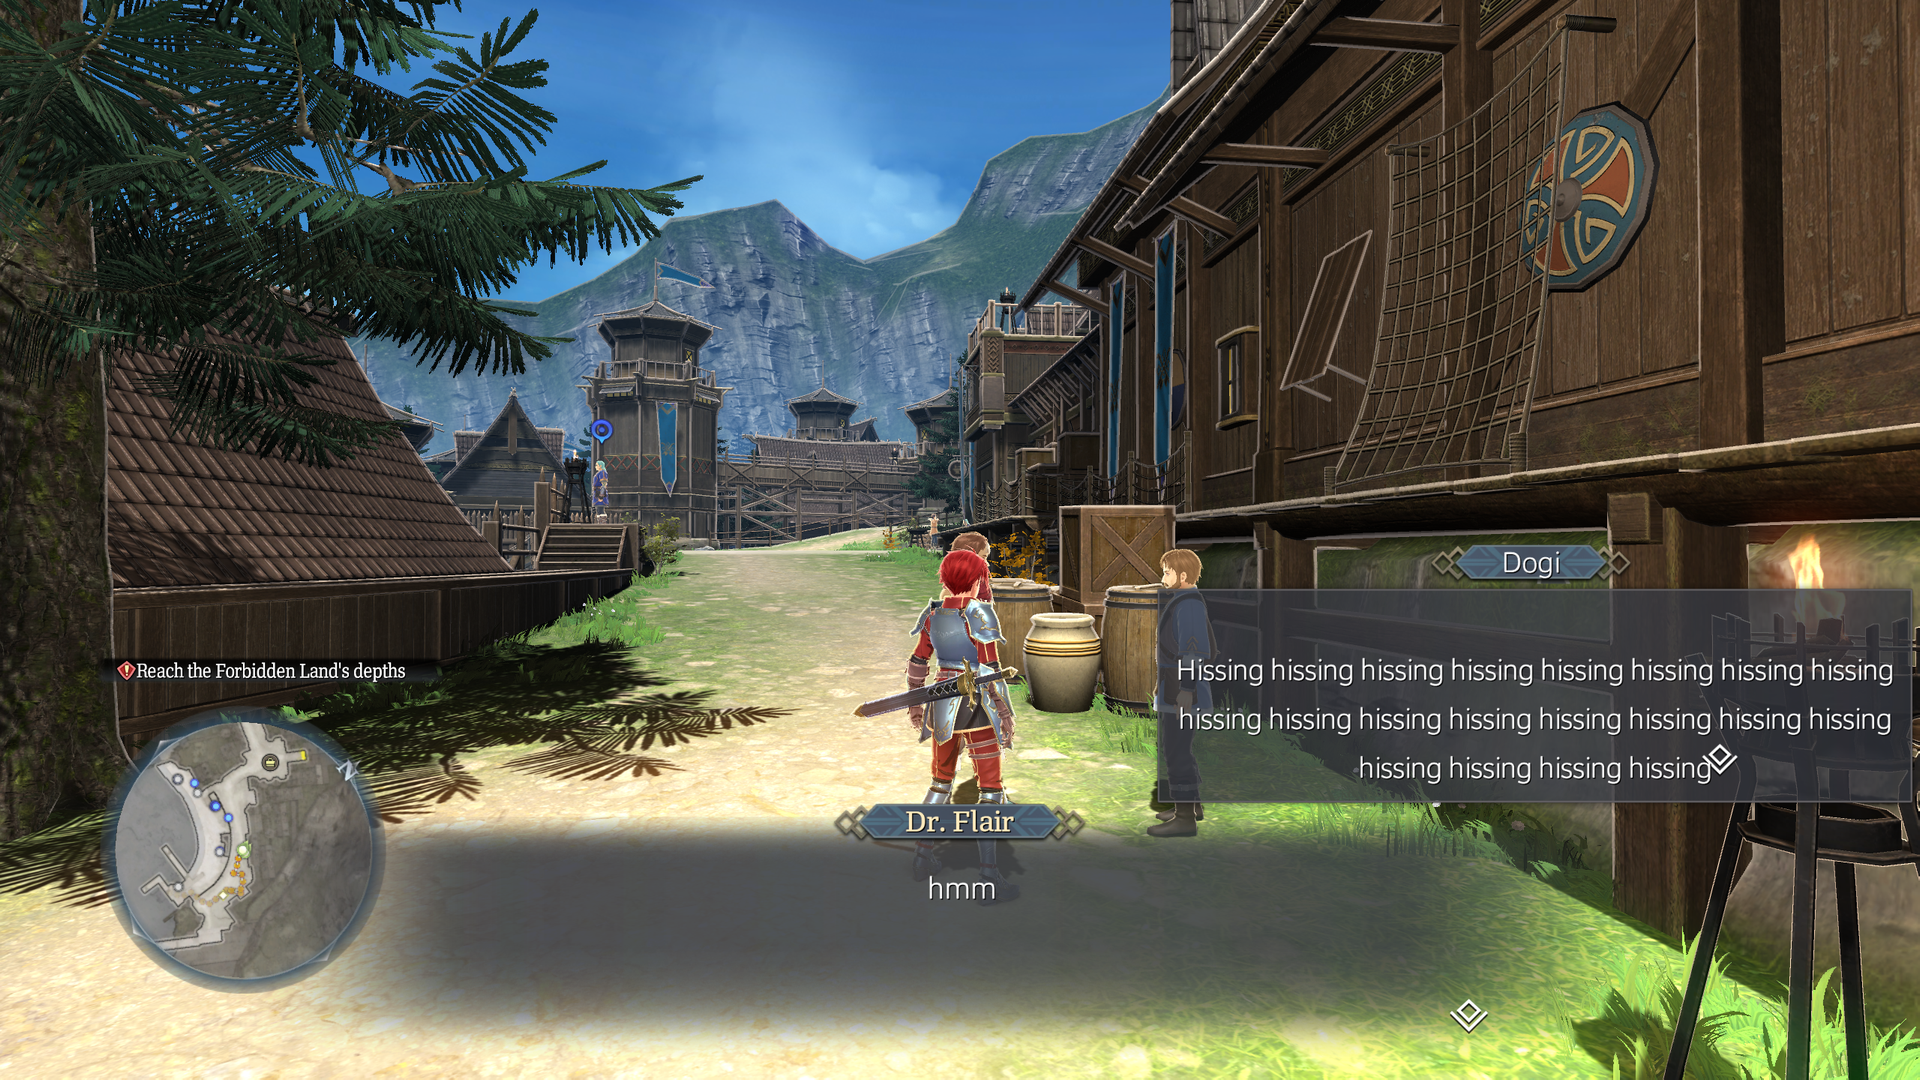
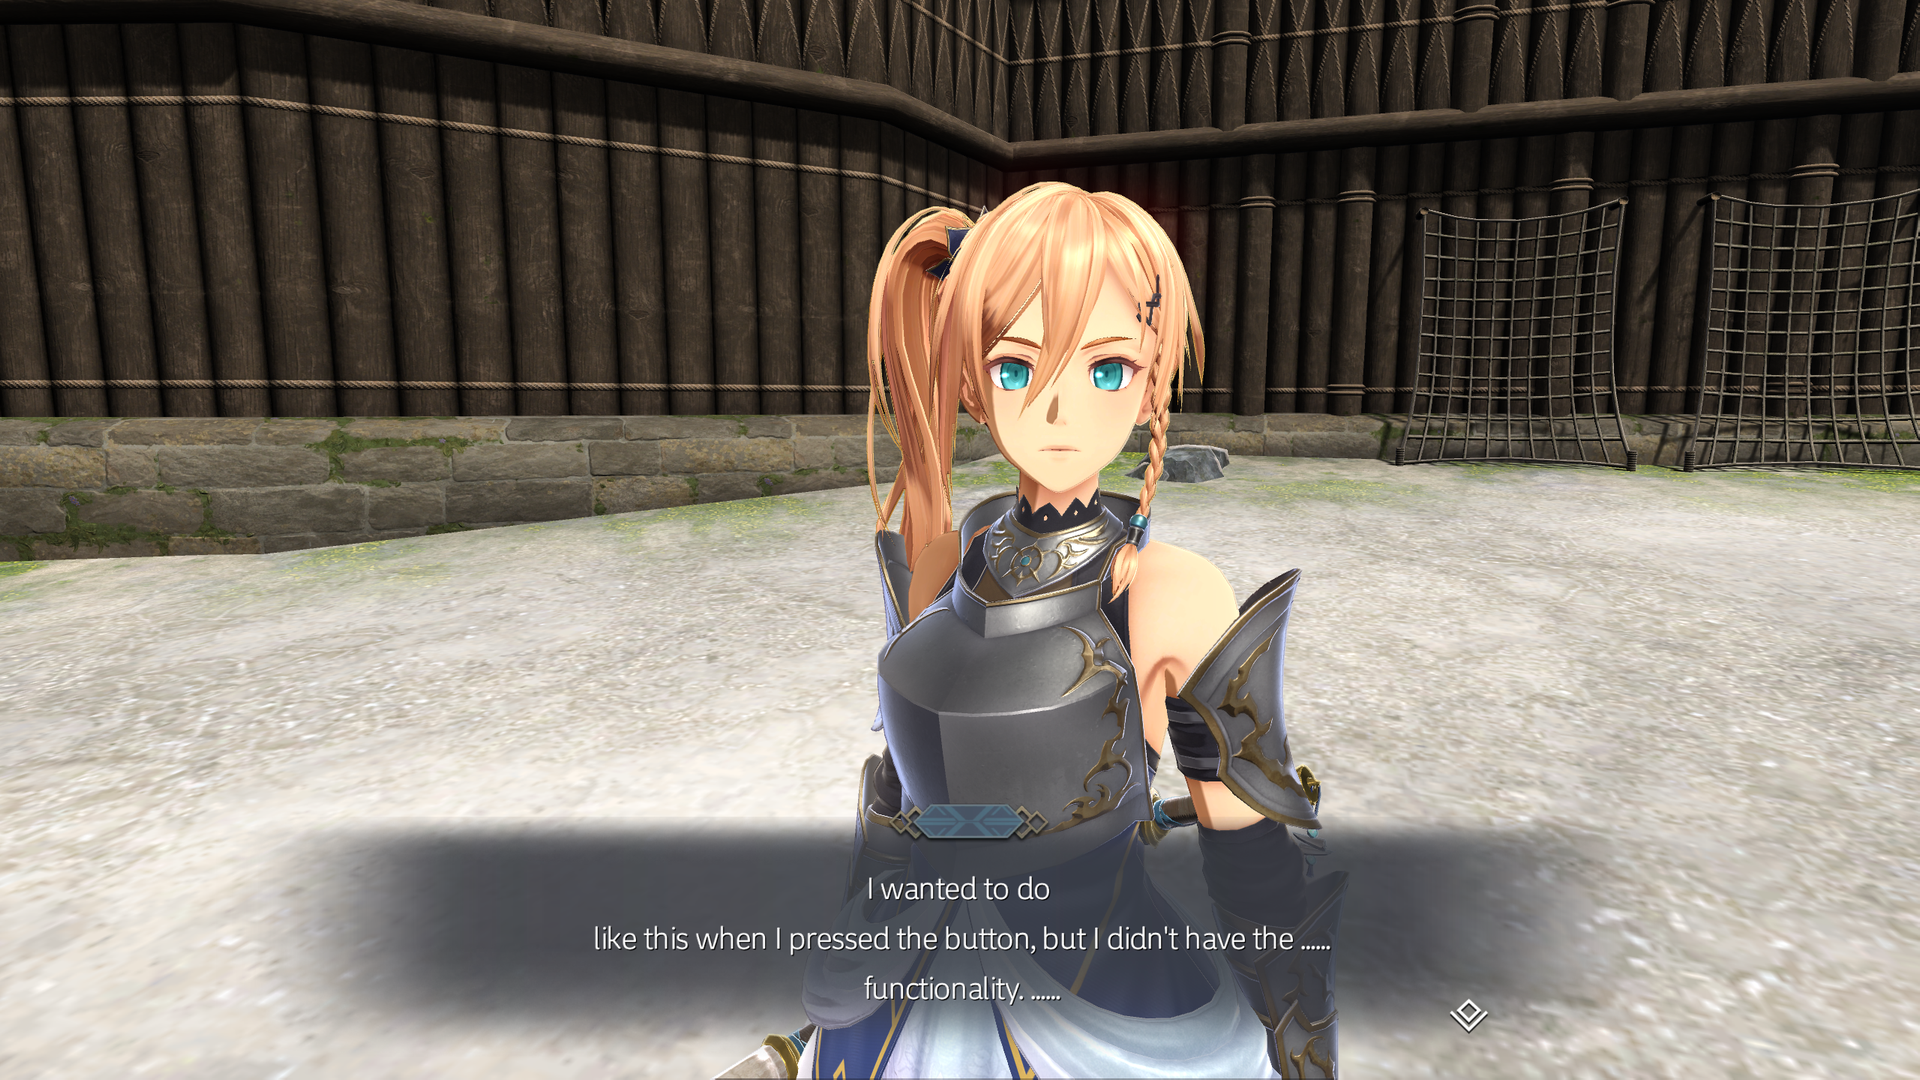
Watch on YouTubeTakes place on an earlier, but near-final Balta Island.
- Most of the dialog is total nonsense, like a whole lot of hissing, humming, or inane sentences.
- While it closely resembles the final, some details are different.
- Lighting is darker overall.
- In general, there is more container variety and additional shields on walls.
- Torches are lit, unlike the final.
- Gimle's General Store has taller shelves on the right and shields on the wall, though the items on the tables are missing.
- Holger's Smithery has a bench outside it.
- One of the buildings outside the Balta Family Home is missing, though its objects are floating in the air. Another building is also missing west of here, with barrels and crates that, in their current position, would appear within the building.
- Near where Karja is at the shore, there is an additional net and torch placed at the wall.
- Only vertical wood spikes are in the water. The crossed wood spikes are absent.
- Some z-fighting is present on some of the windows and behind the door to the Balta Family Home.
- The Balta Family Home cannot be entered.
- Momina and Holger's shops are fully functional, though the other shops from Karja and "Carnac Young Woman 3" only provide sample dialog.
test_talk_event_ship#
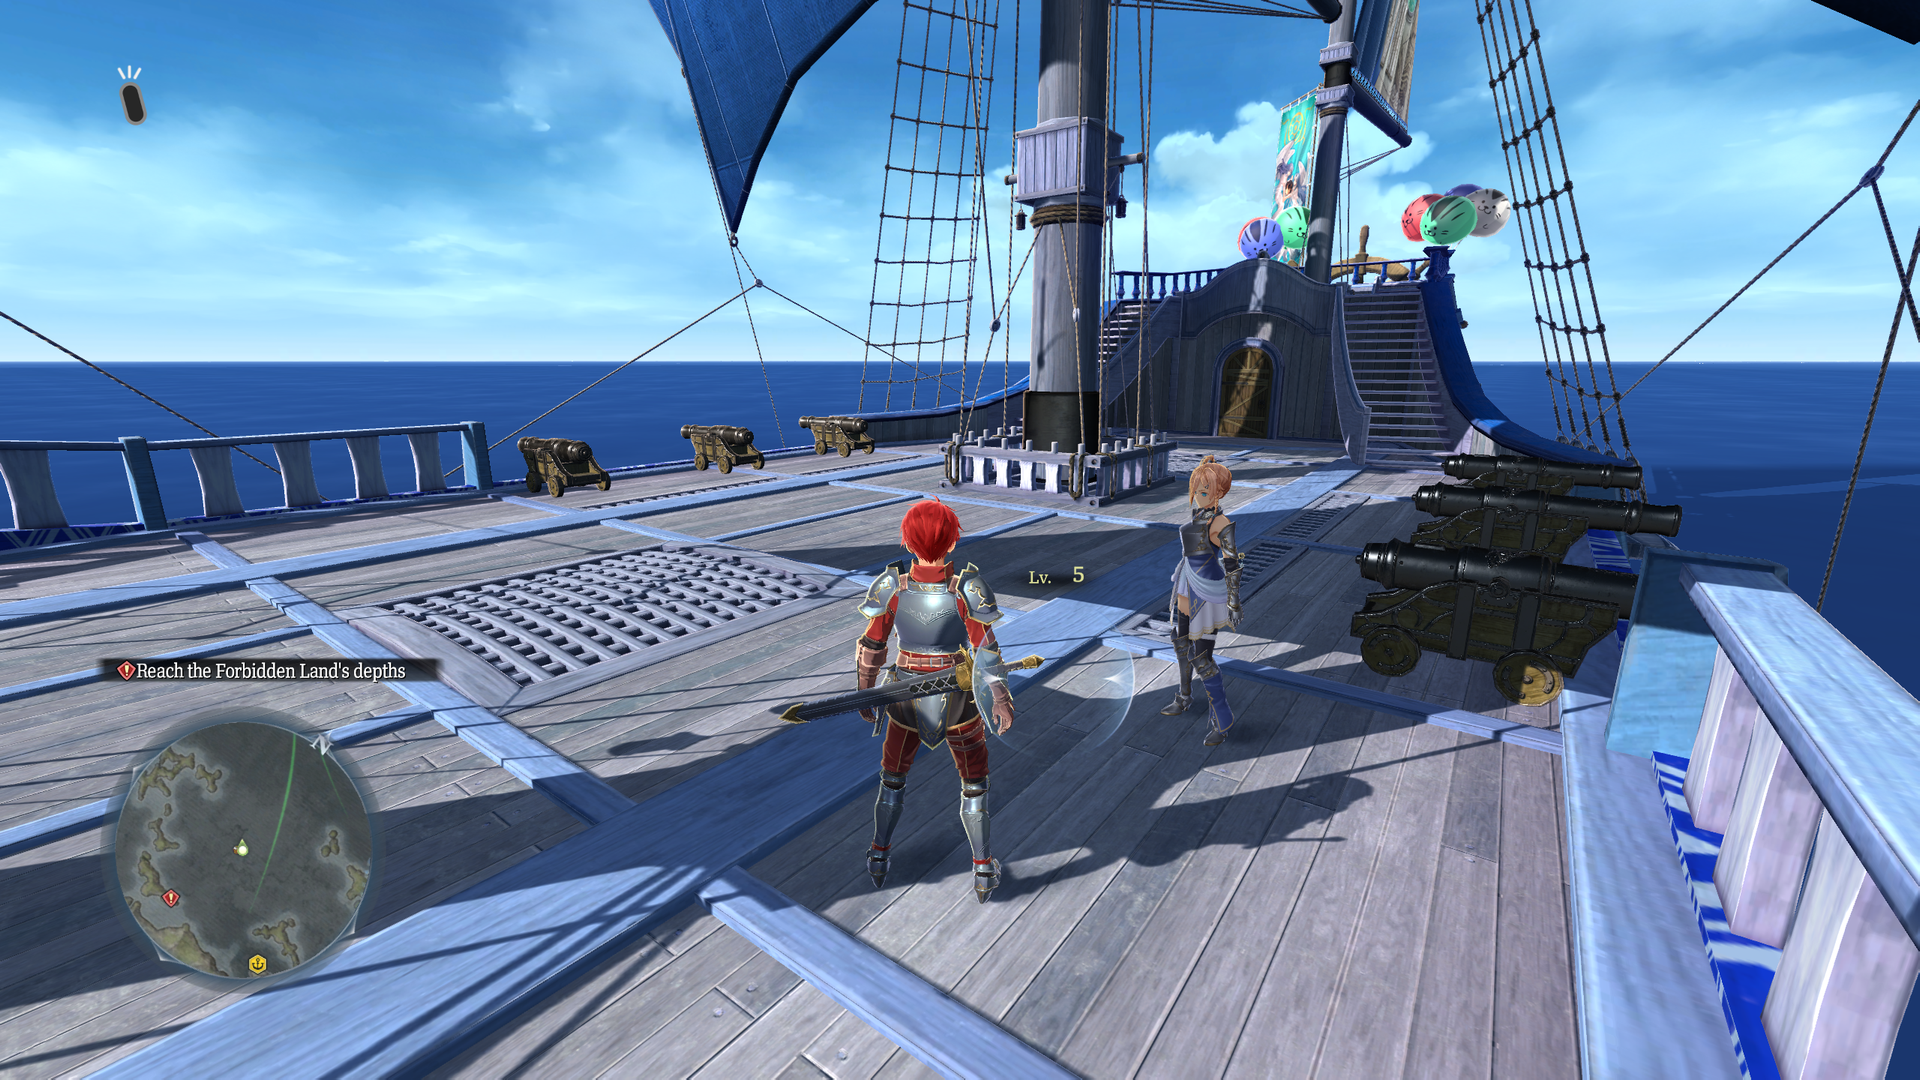
Just the Sandras on water with an invisible enemy inside it.
test_talk_event_ship2#
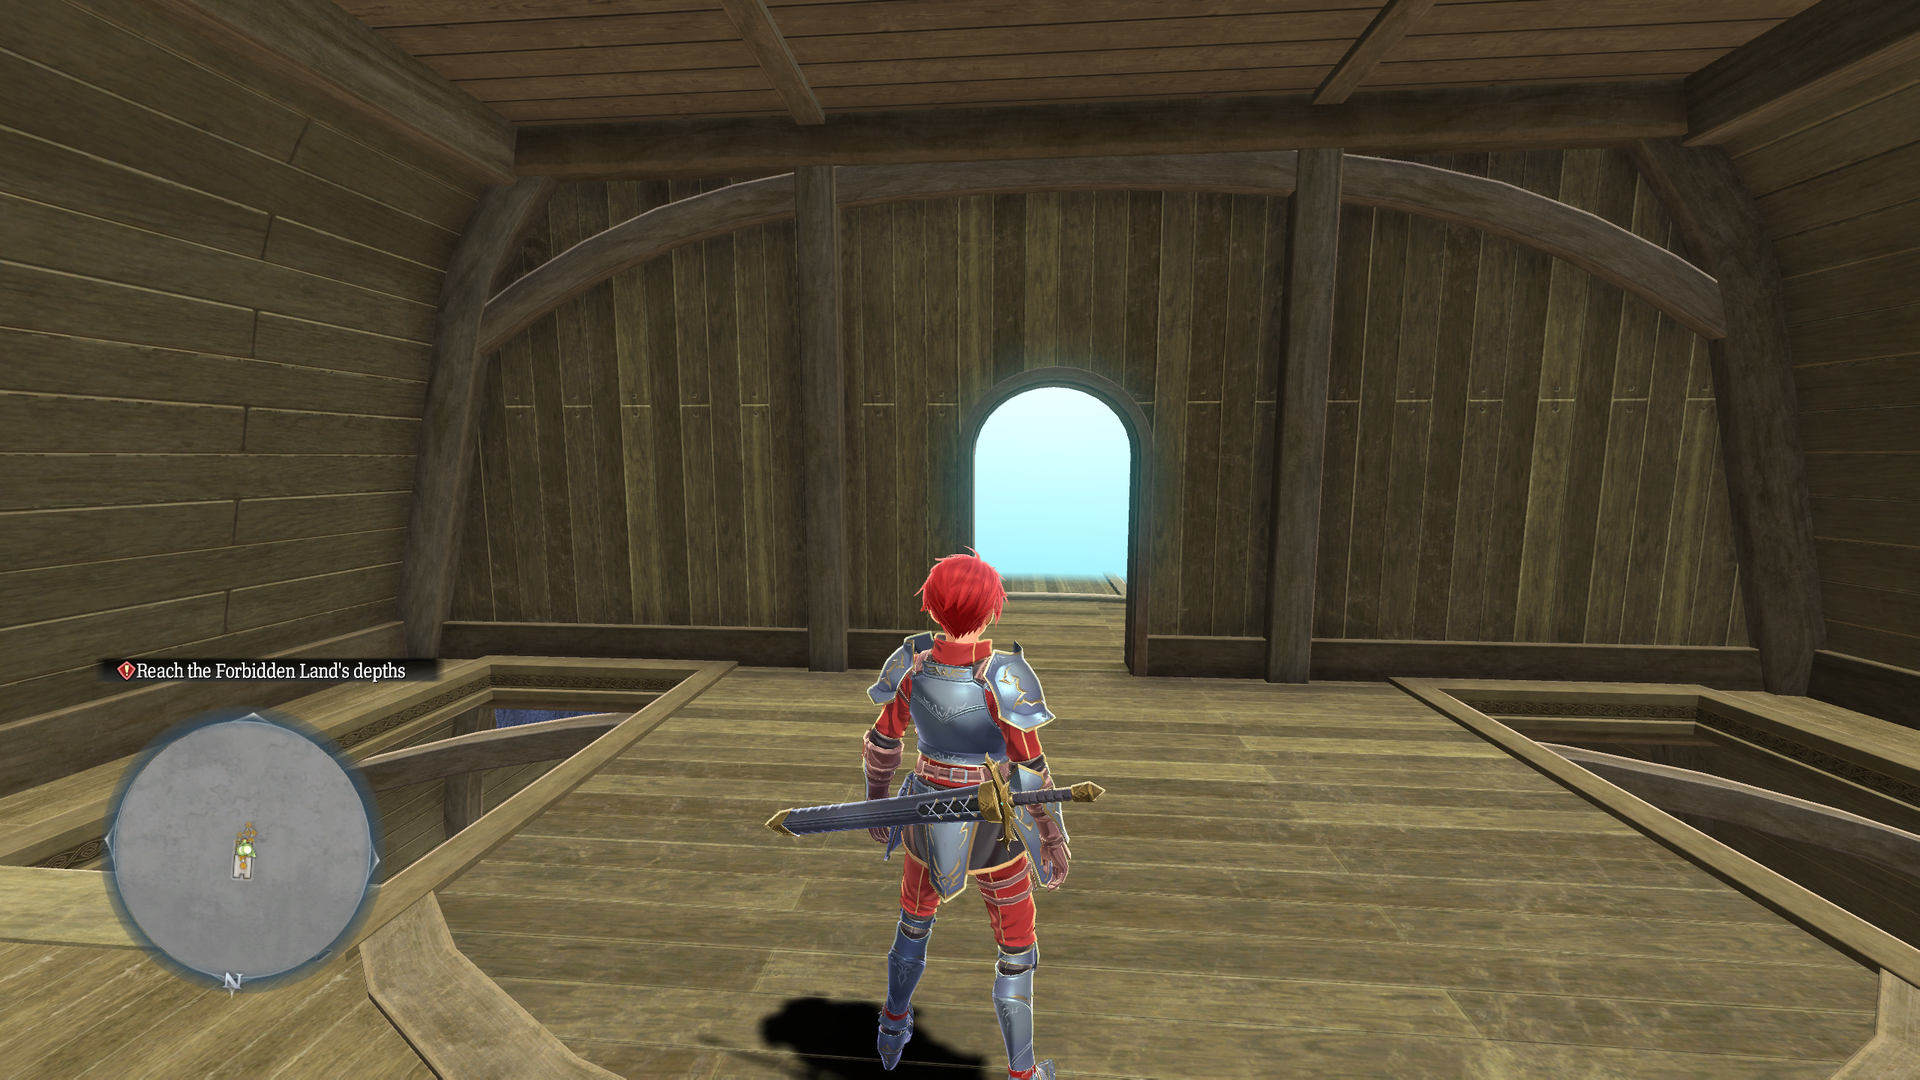
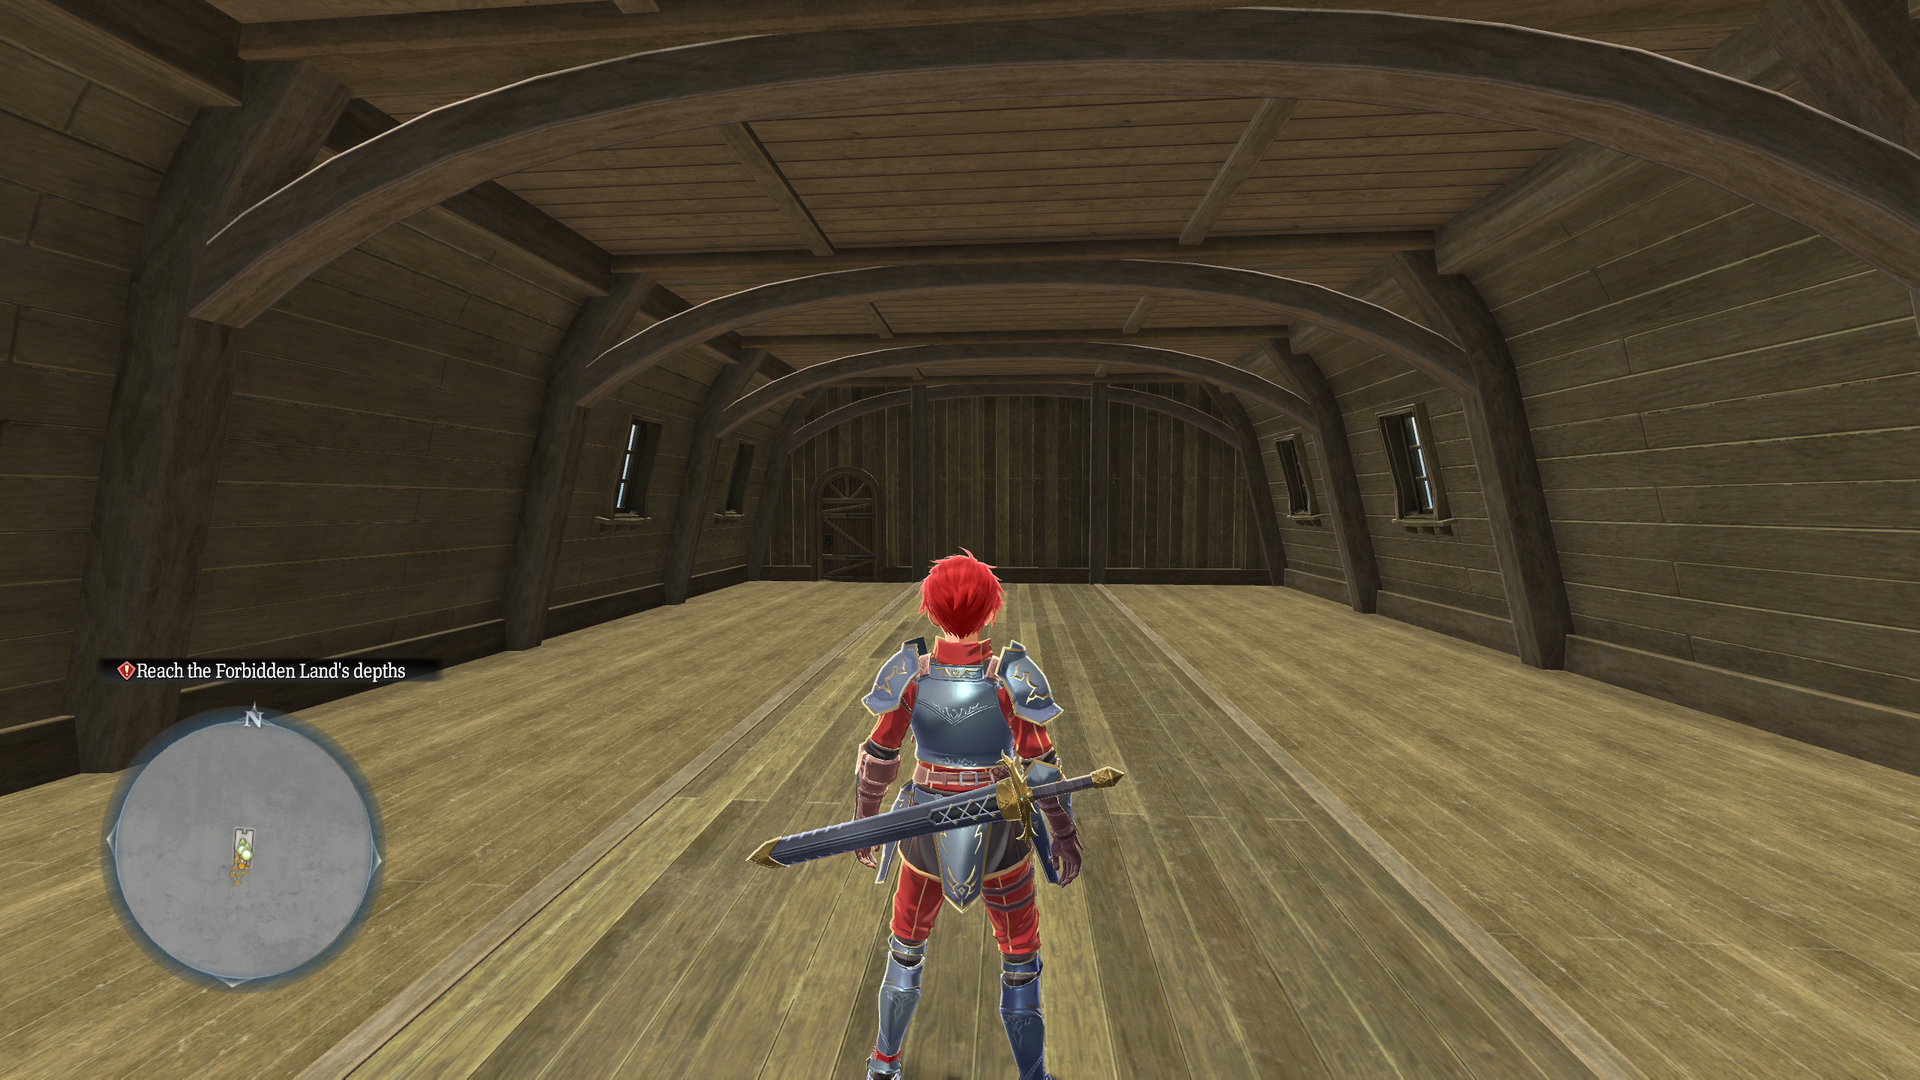
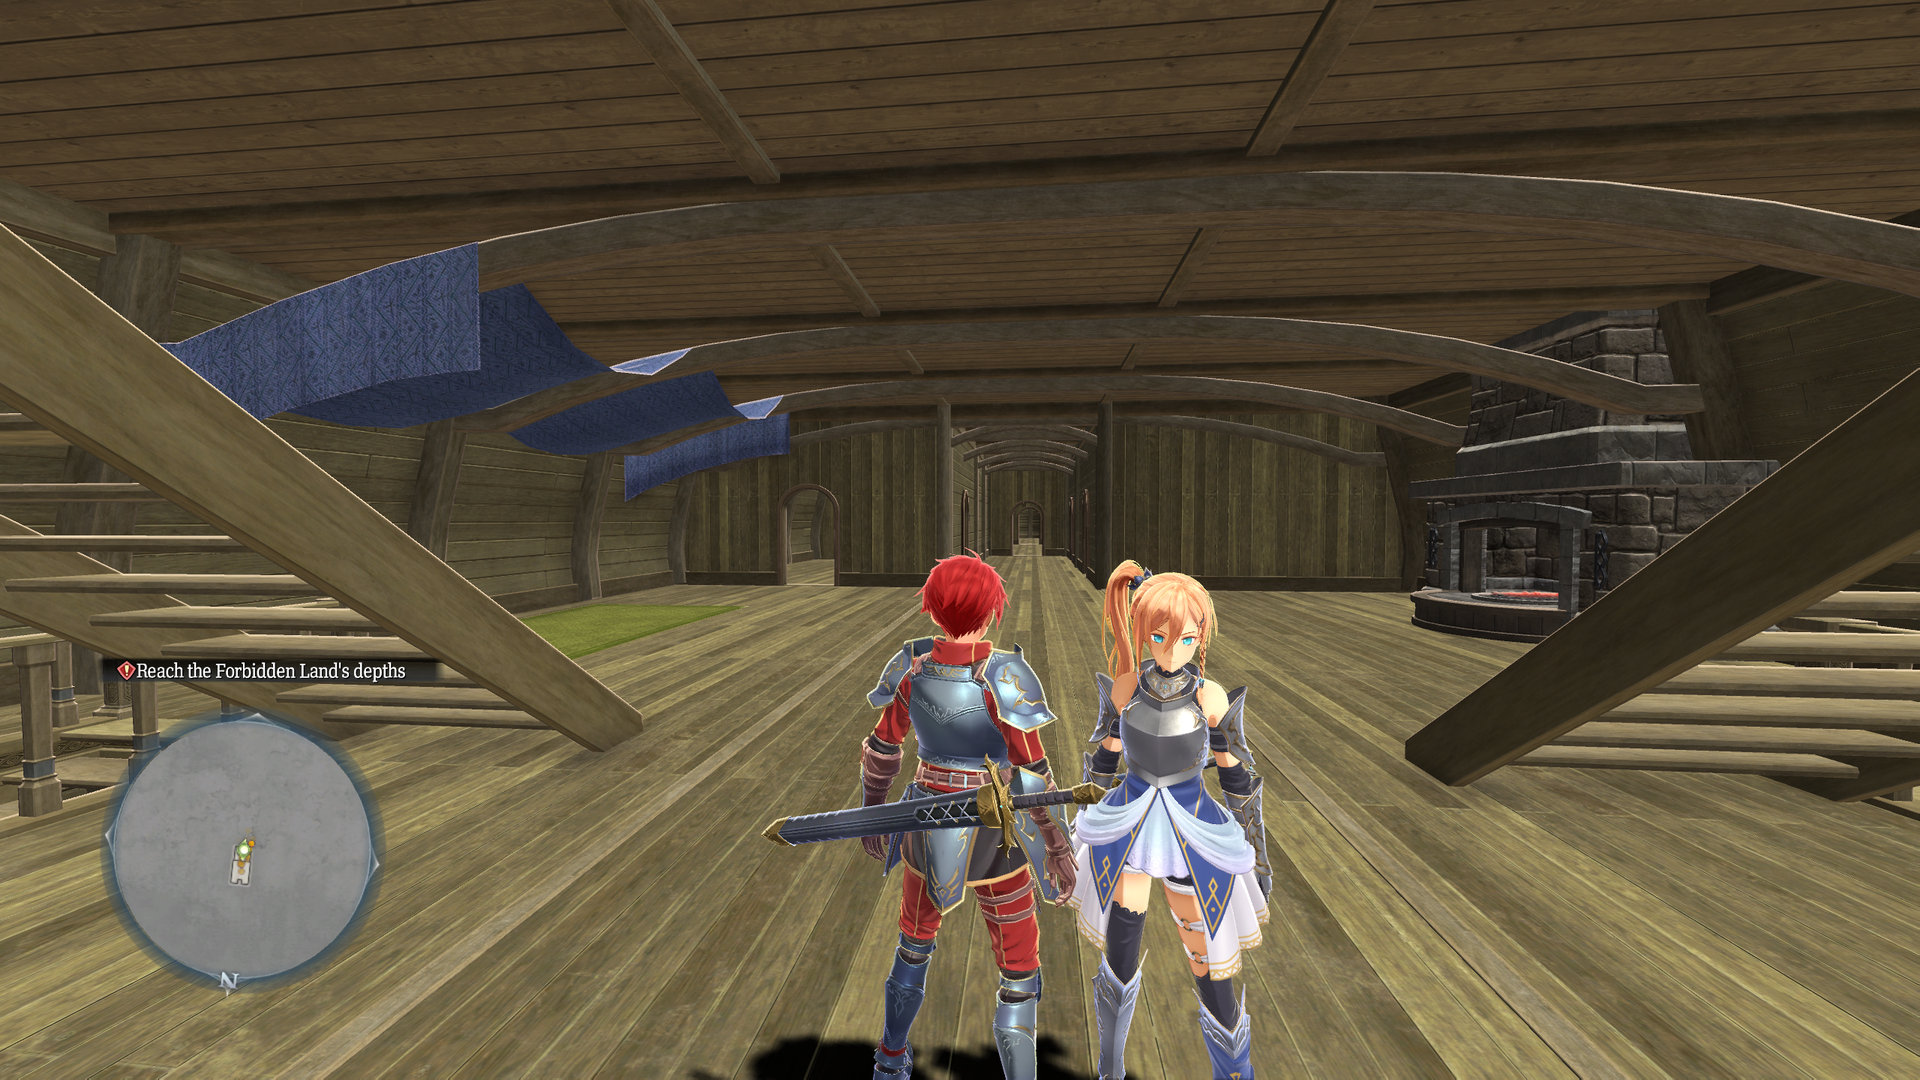
An early interior of the Sandras, devoid of furnishing.
- Two of the entry points on the bottom floor go far out of bounds.
- The middle entry point leads back up to test_talk_event_ship.
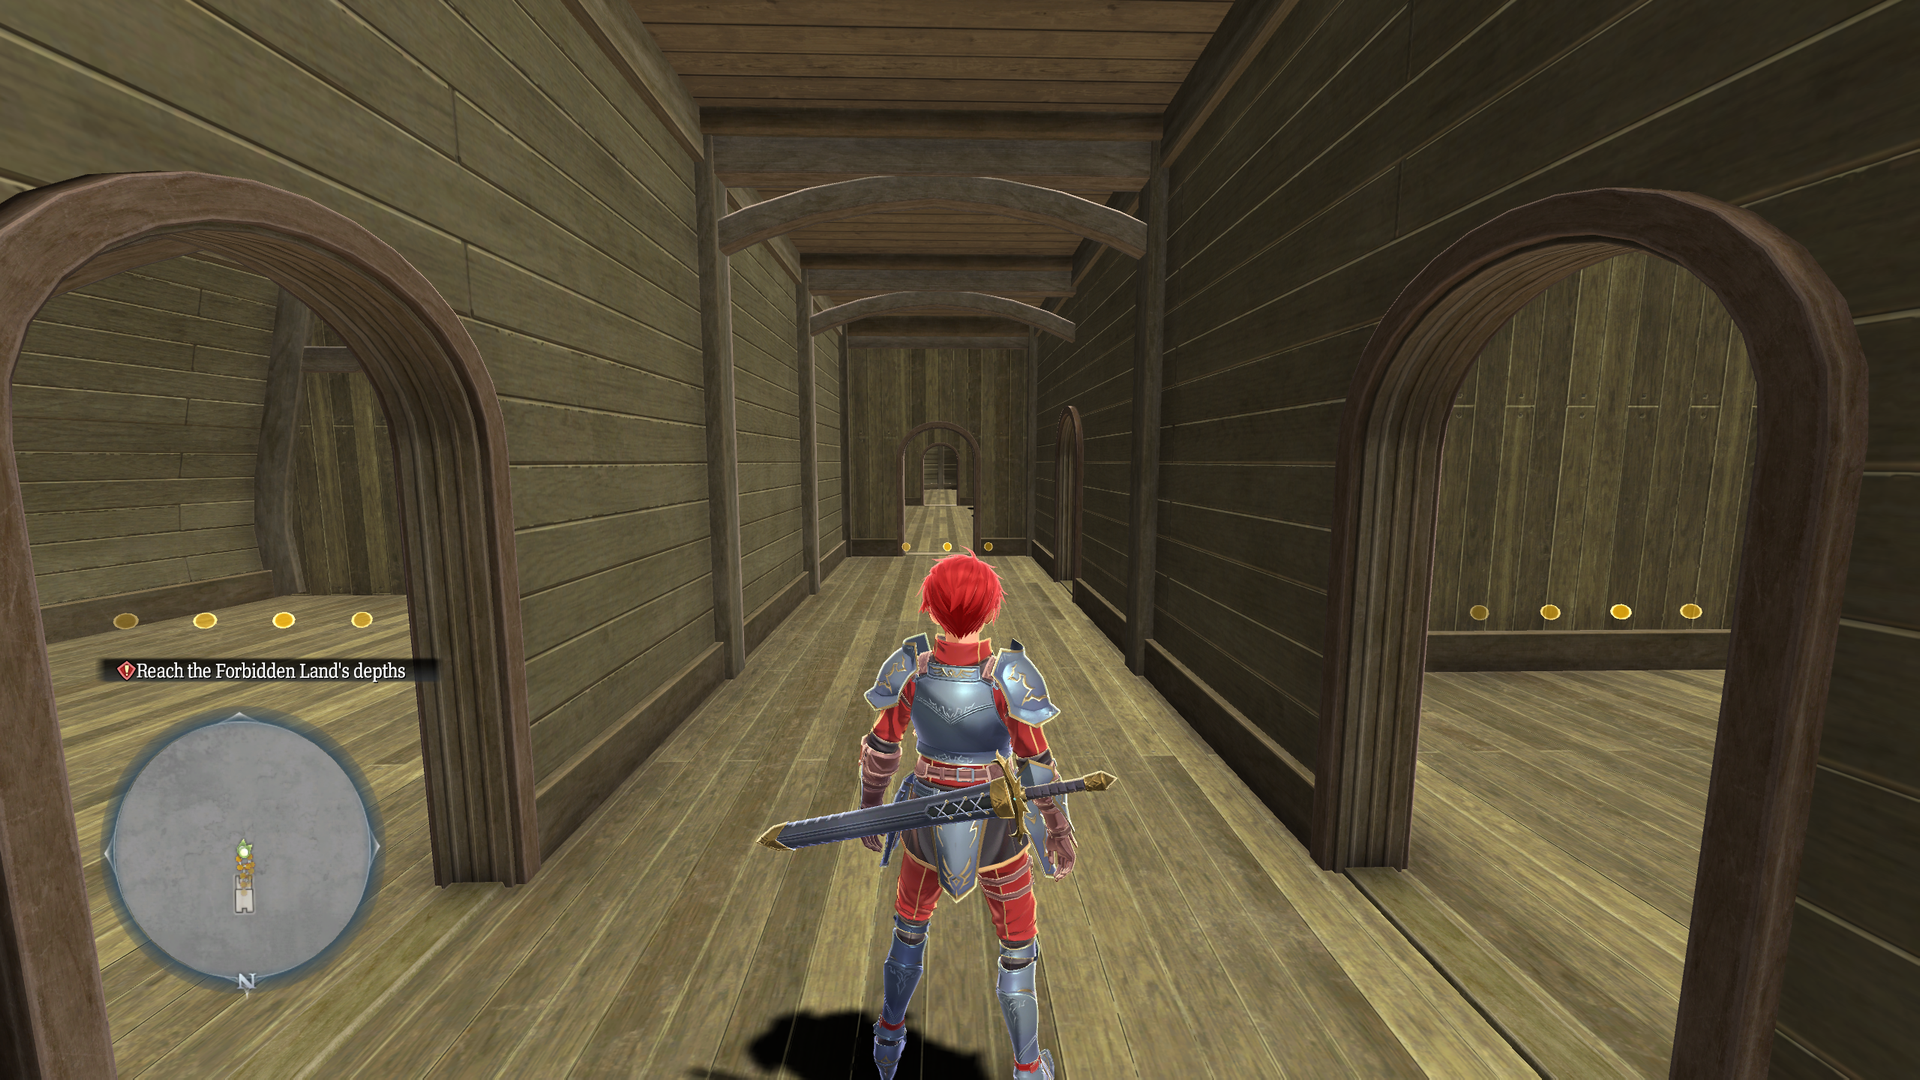
test_tutorial#
Watch on YouTubeA sample tutorial map that displays early tutorial images throughout.
- Both exits lead to sample_scene3.
- The Mana String grapple points are out of reach from below, suggesting that physics were different when this map was created. Cheats are required to bypass these.
- Many barrels are scattered around the map, but nothing drops when they are broken, contrary to one of the tutorial images.
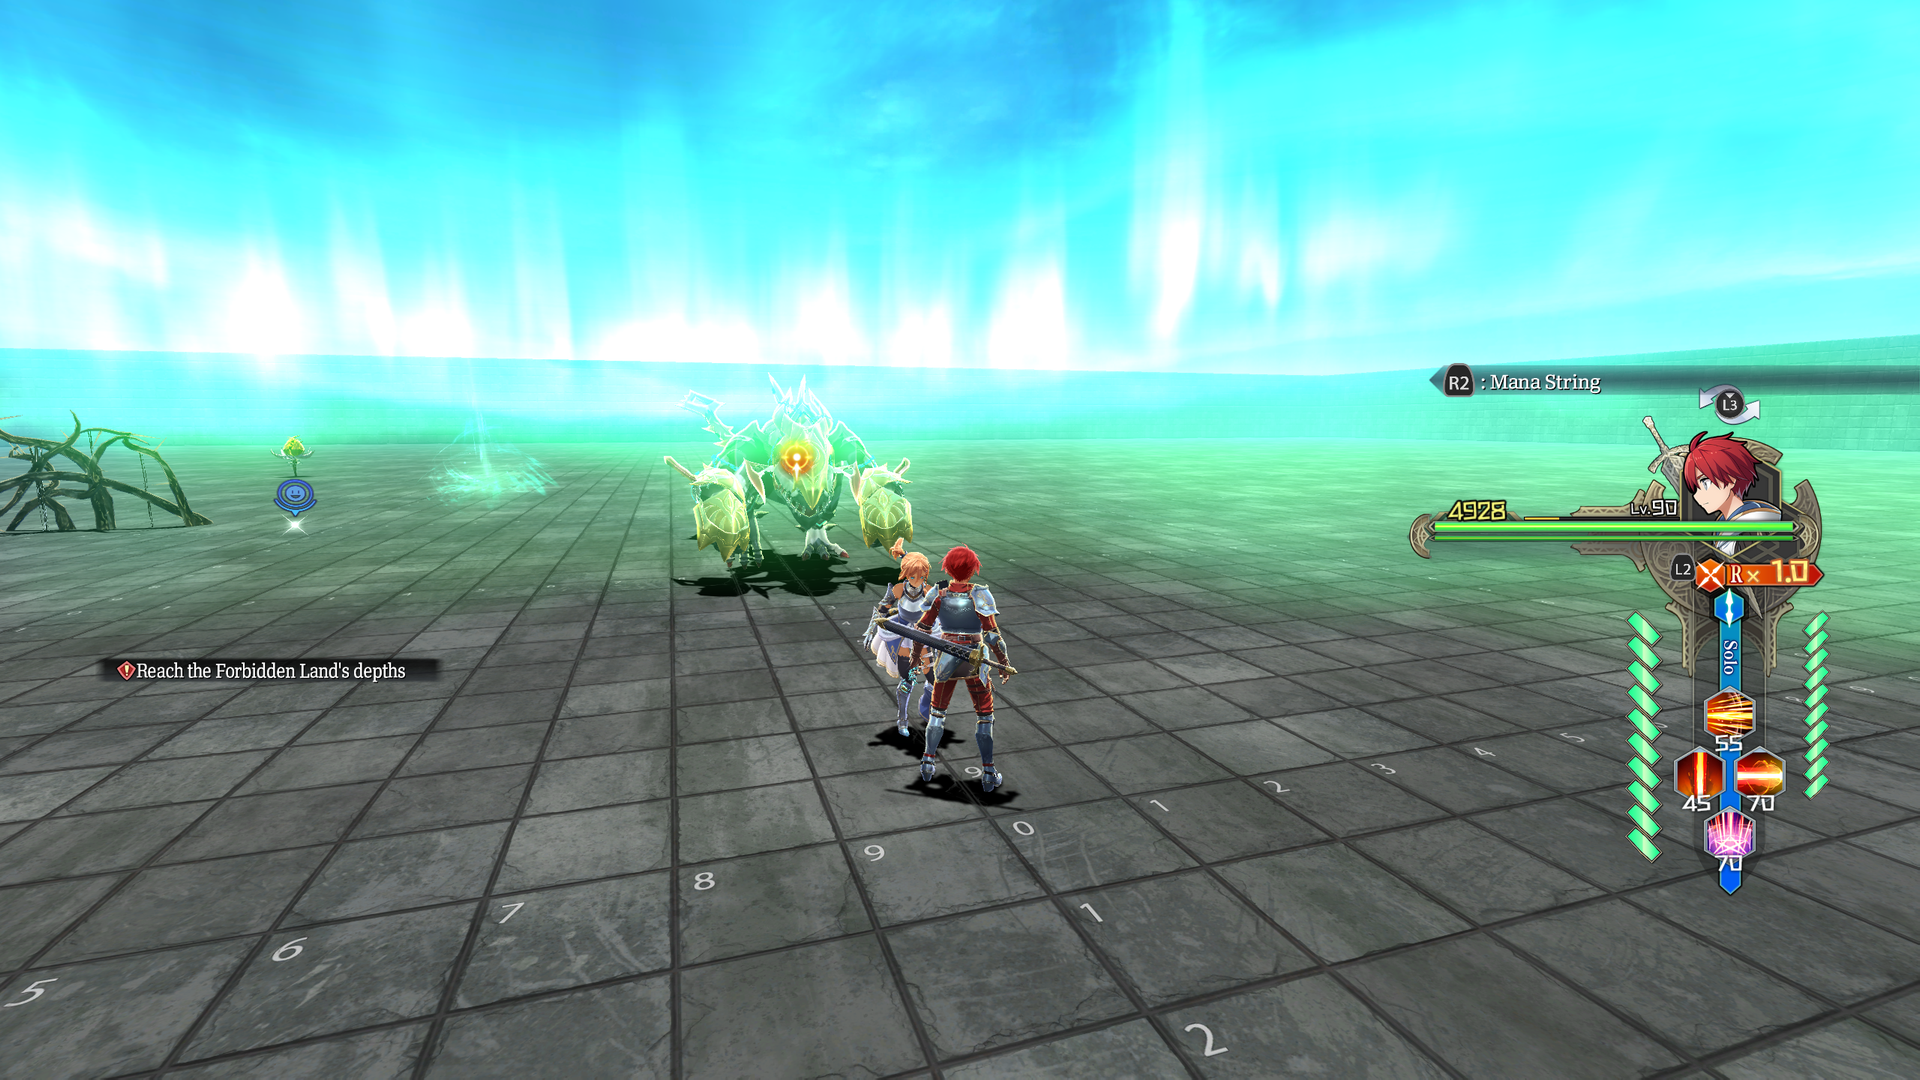
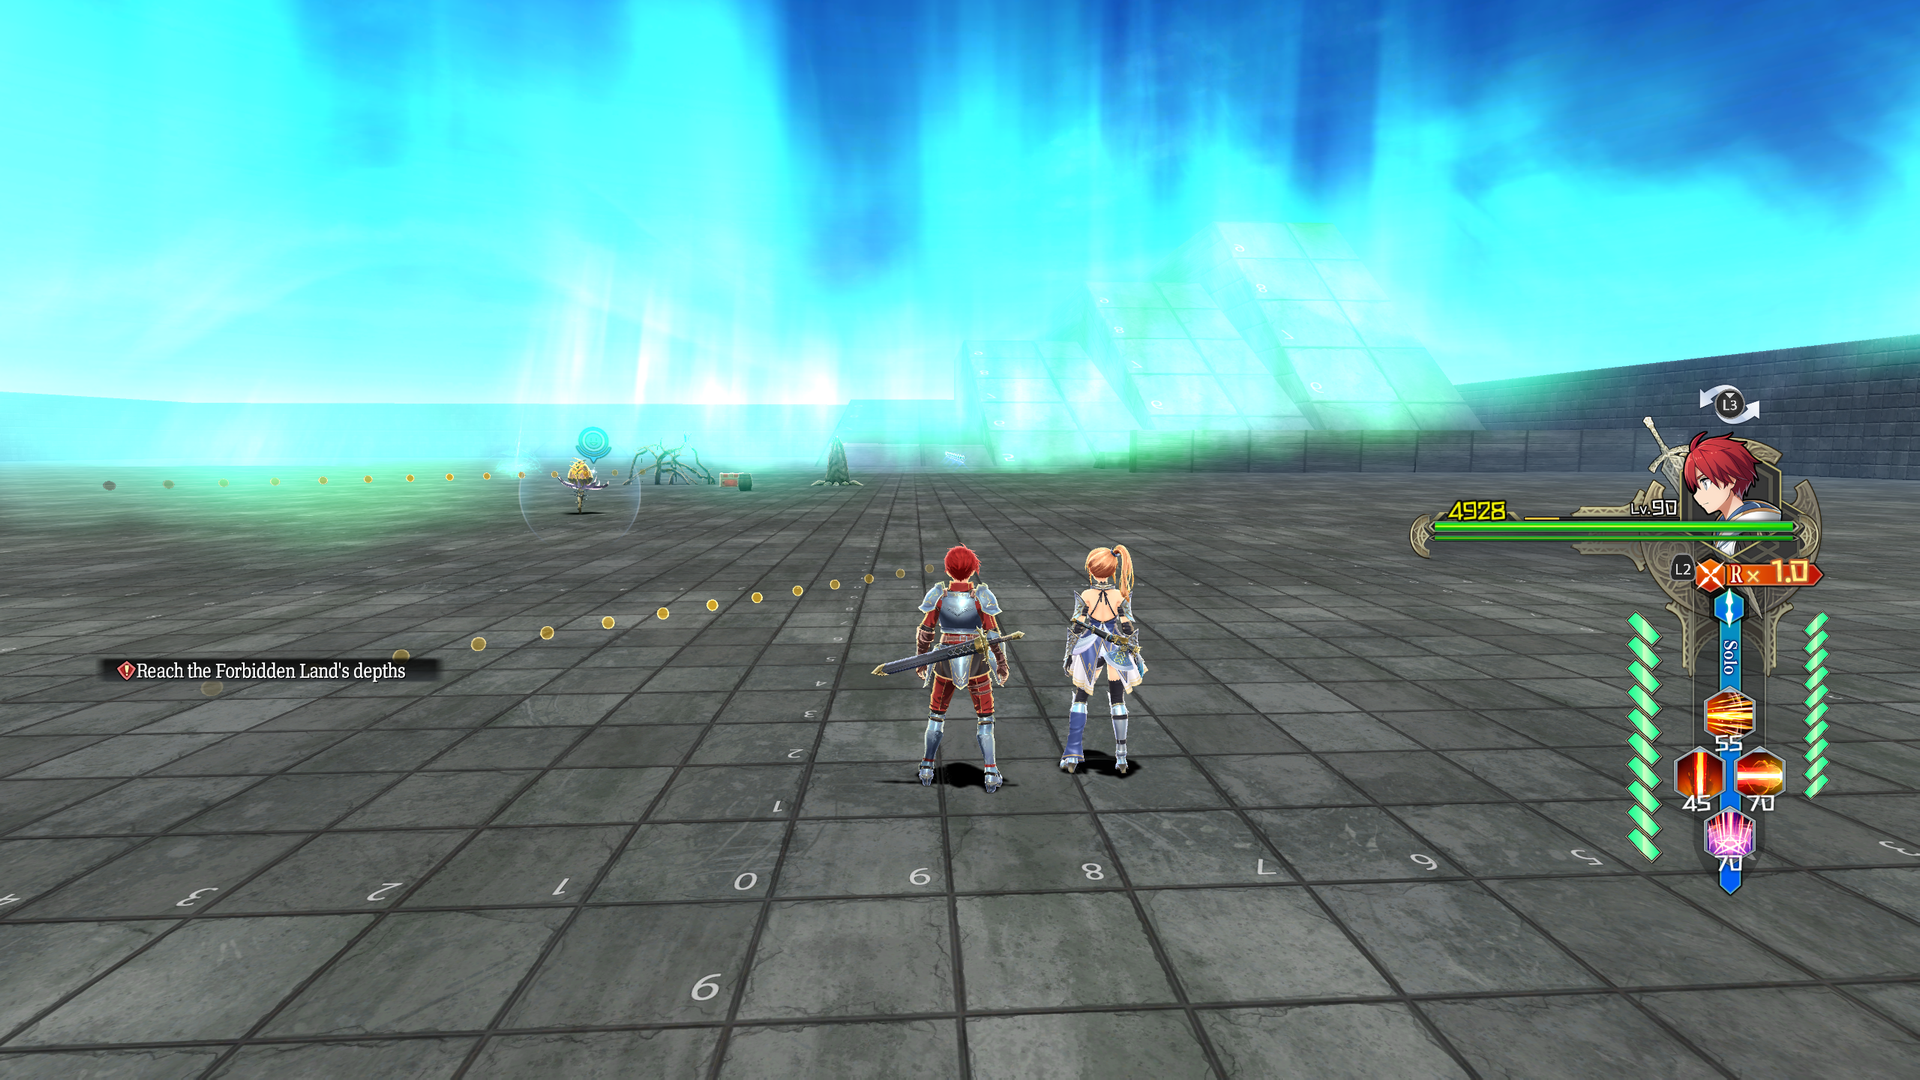
test_yama#
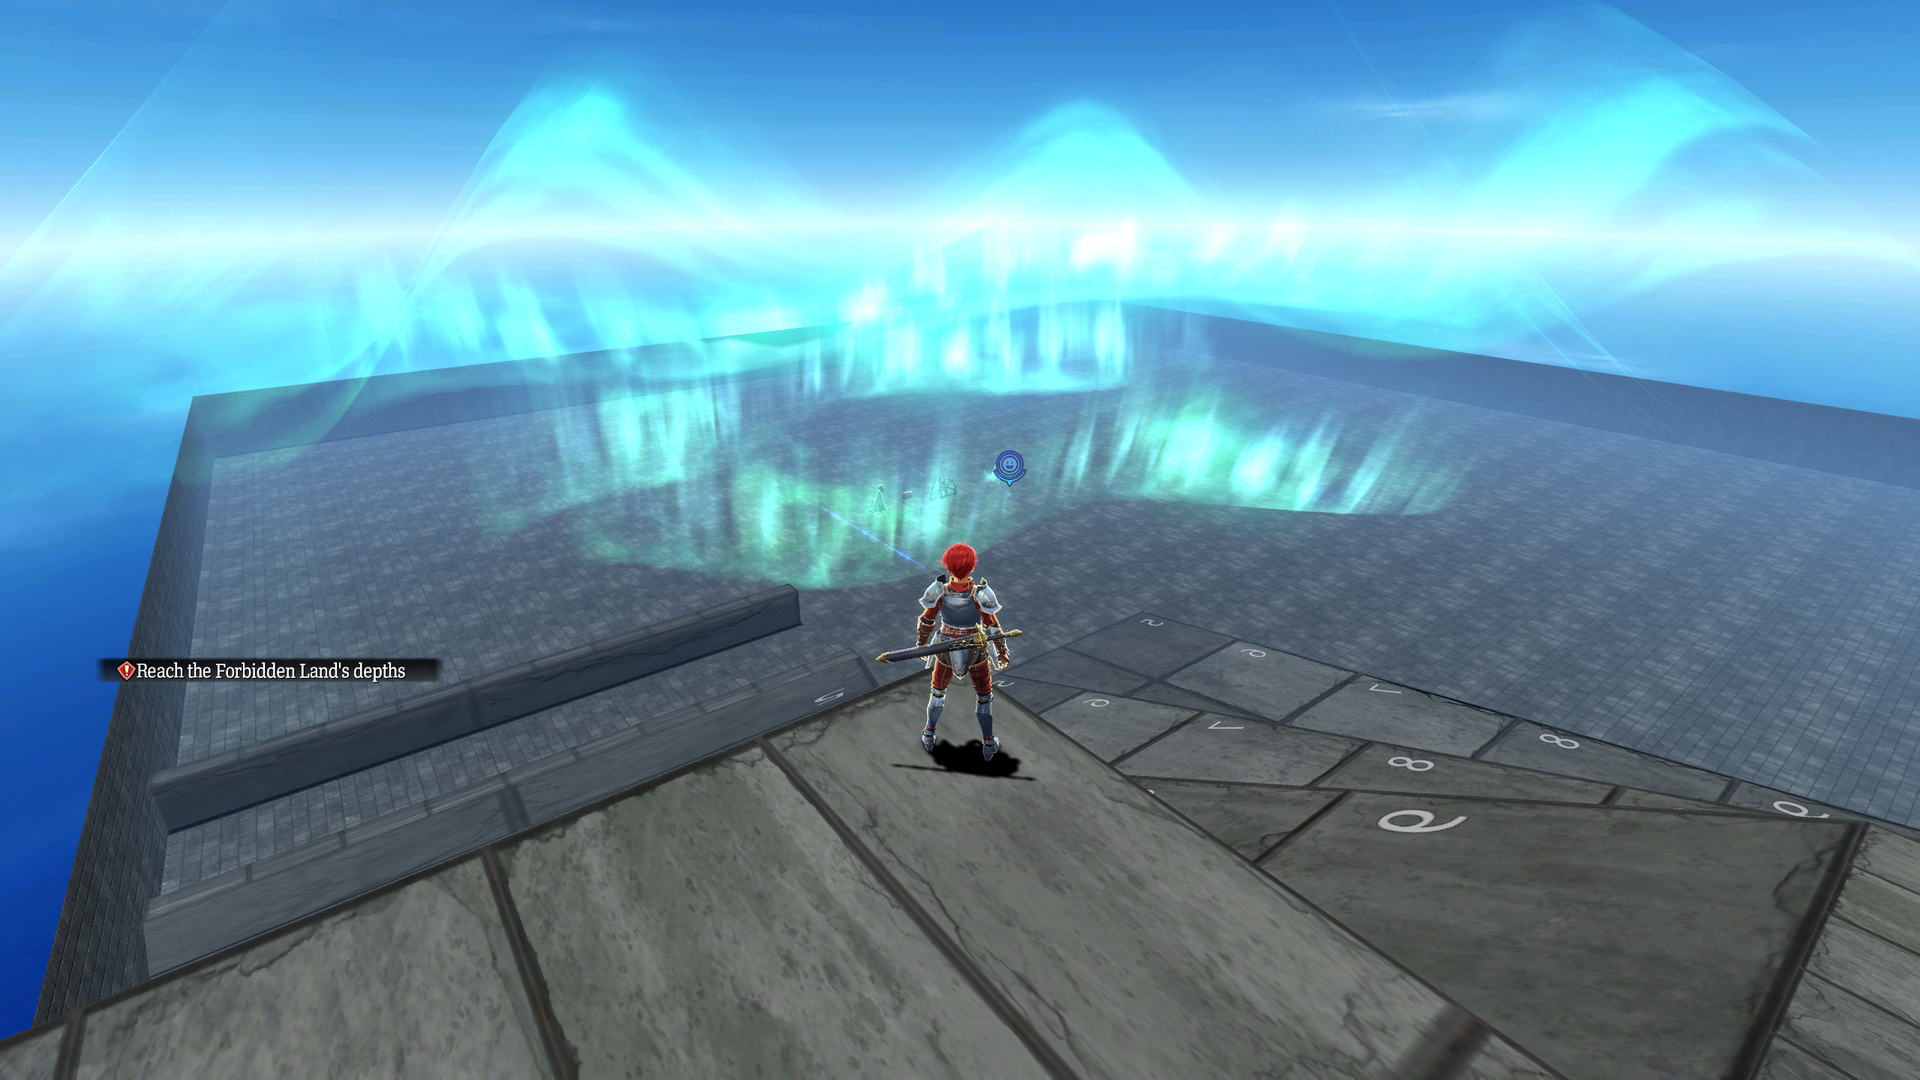
Copy of test_debug with a couple enemies and some objects.
- Two entry points on the southern side of the map refresh the area.
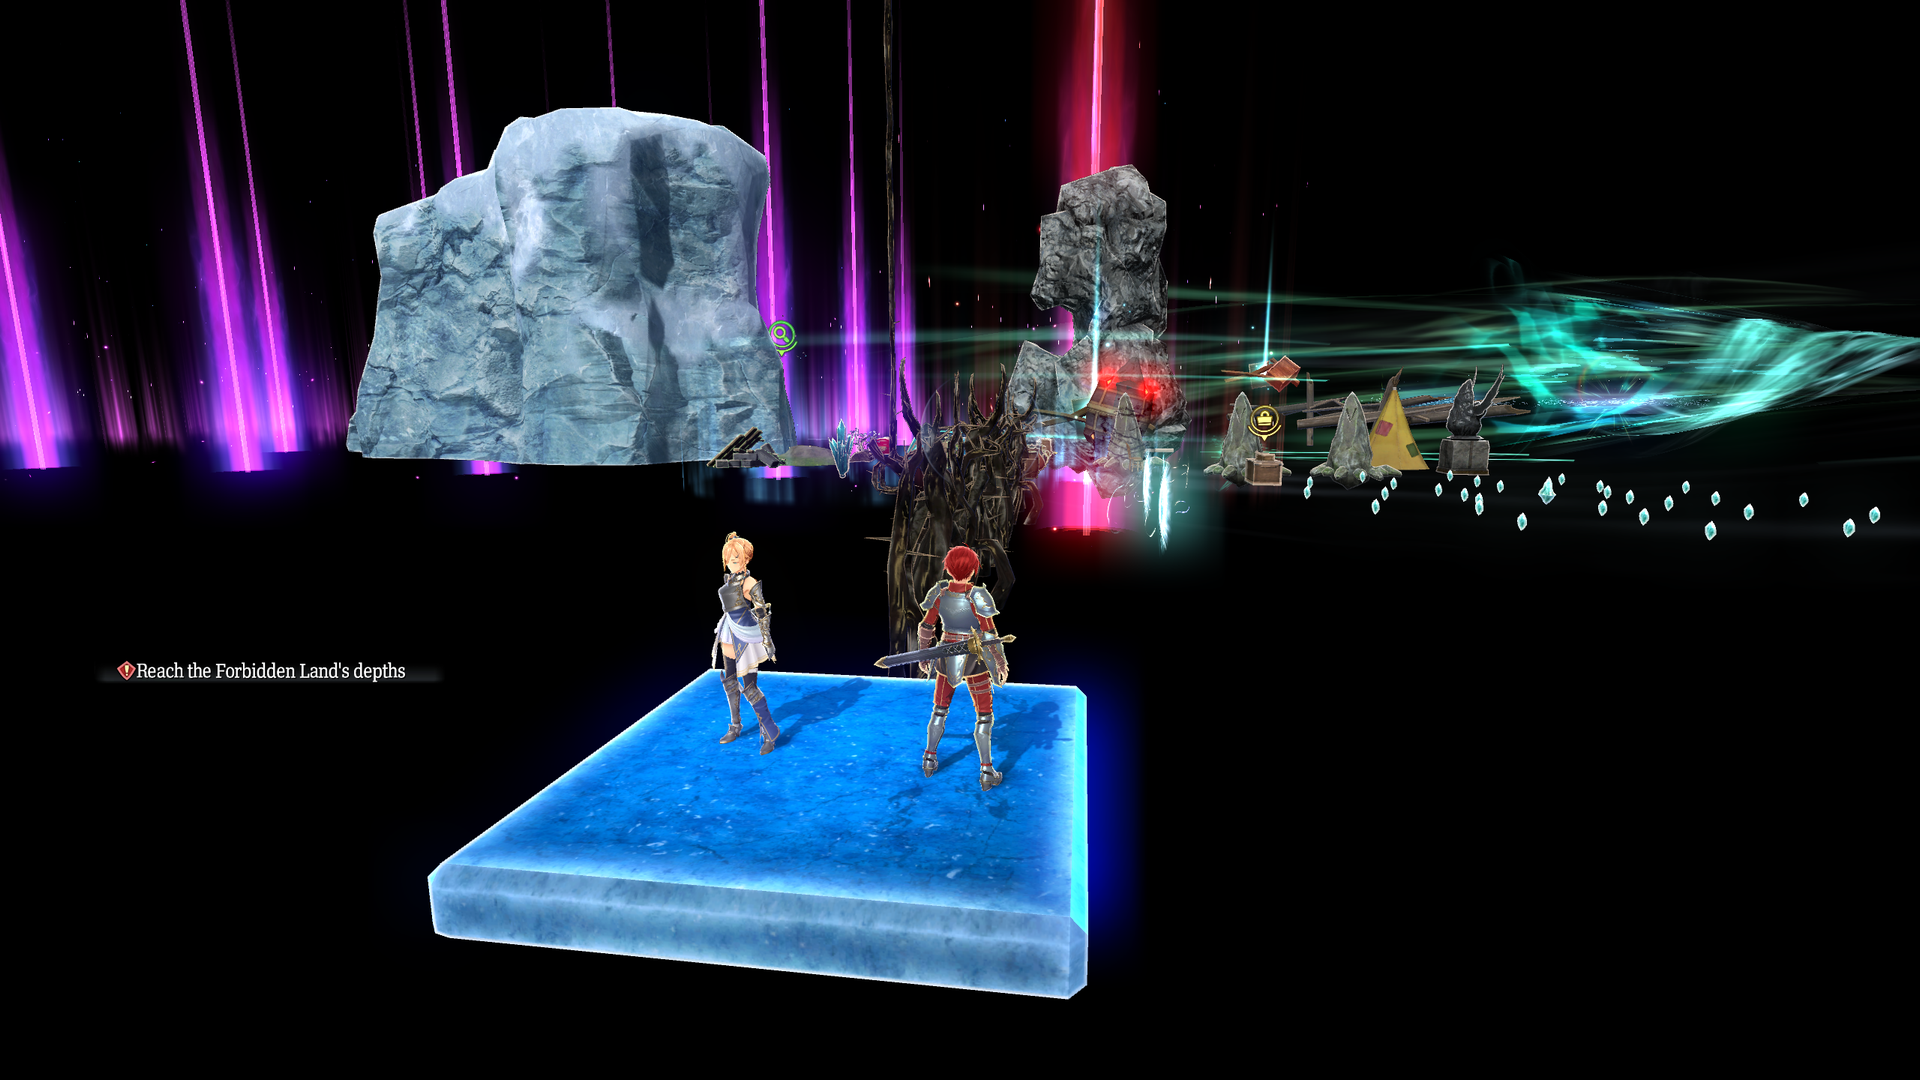
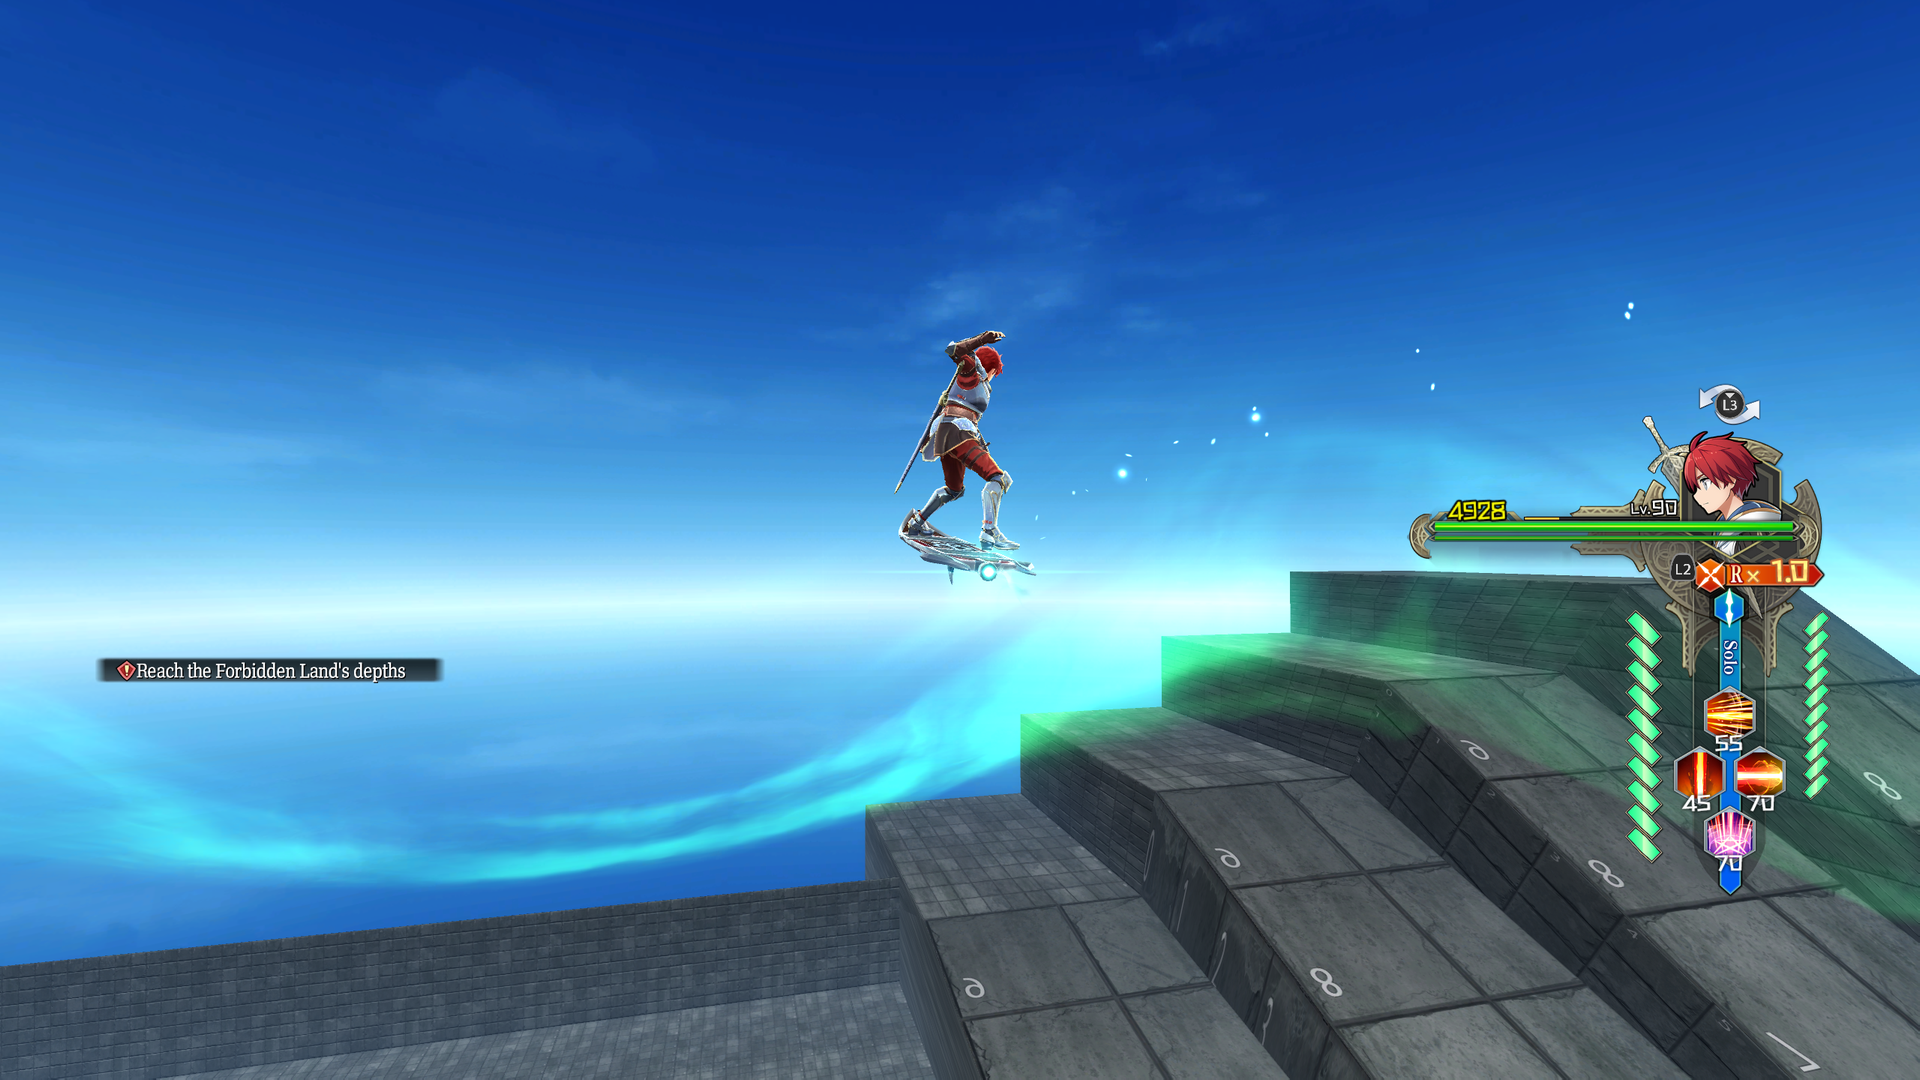
- There is an aurora effect throughout the map.
- A mana ride booster will send you above the aurora.
test_yama2#
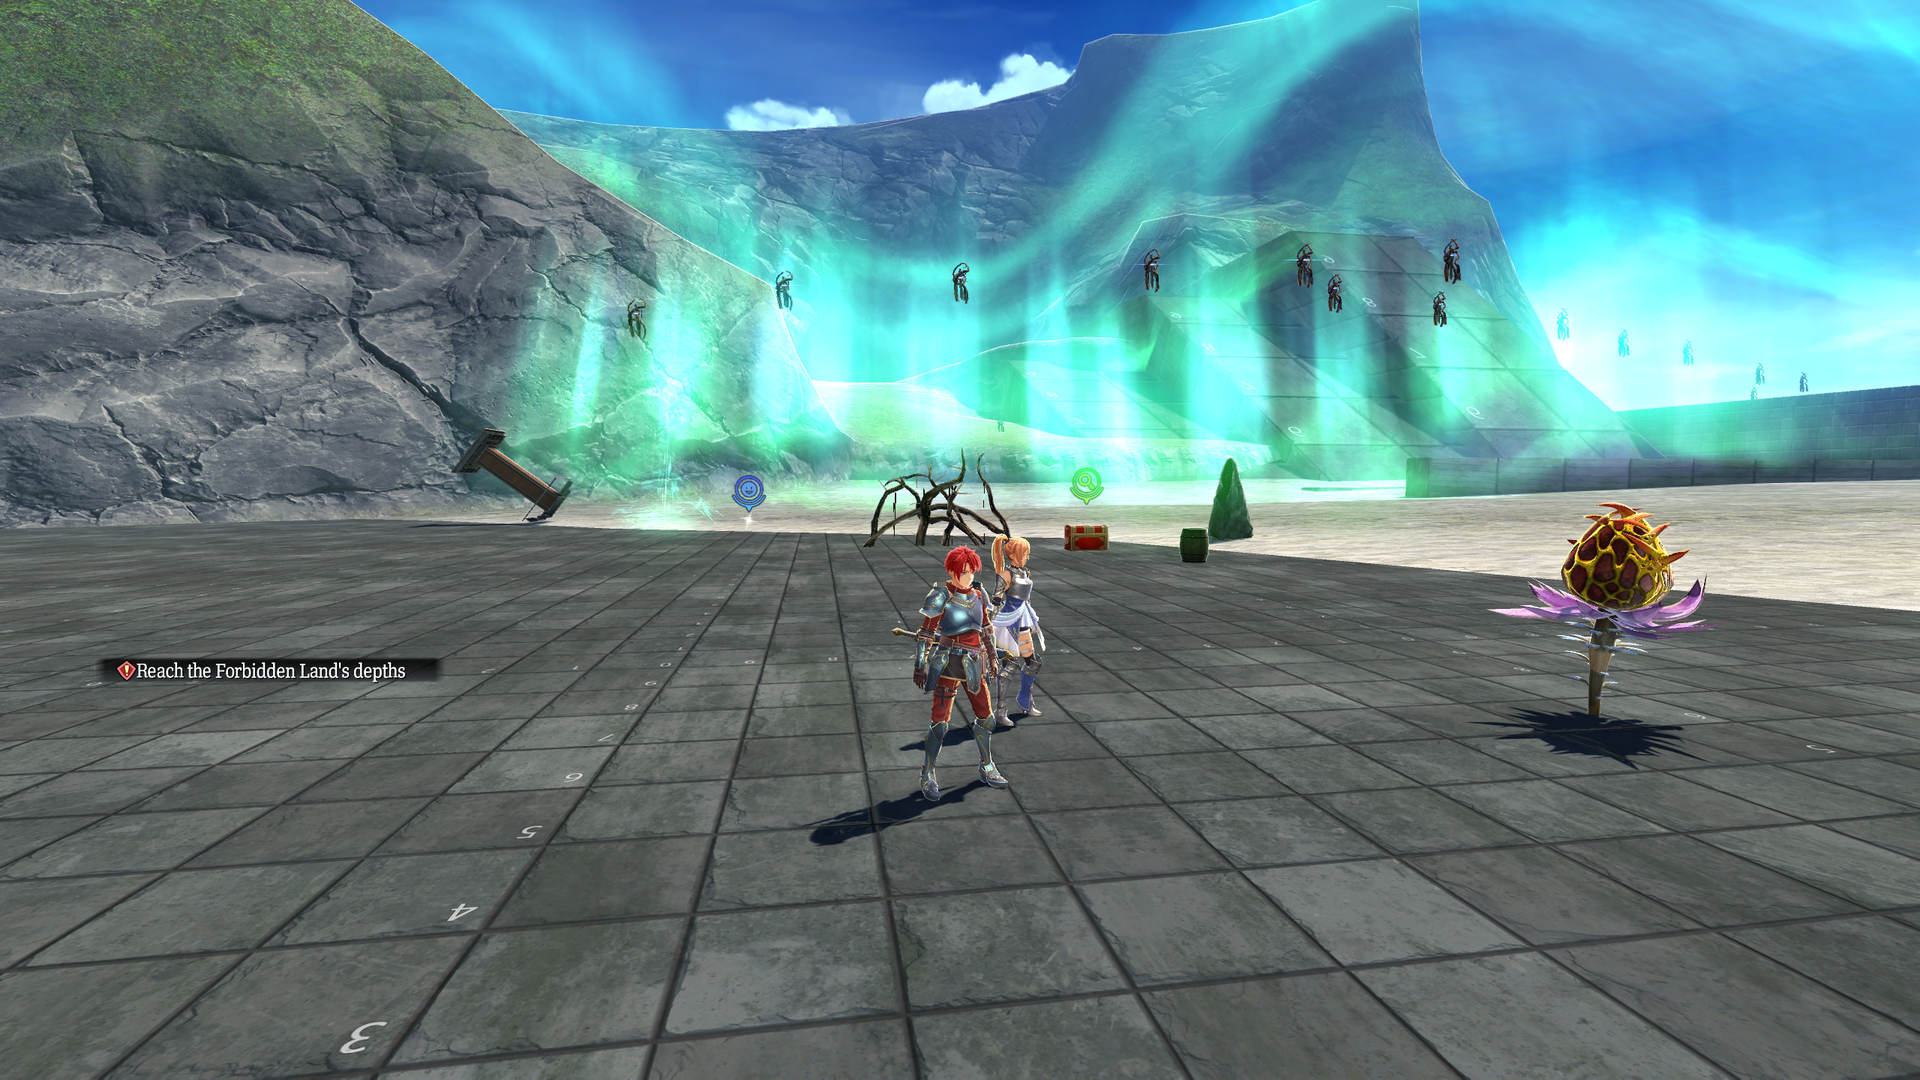
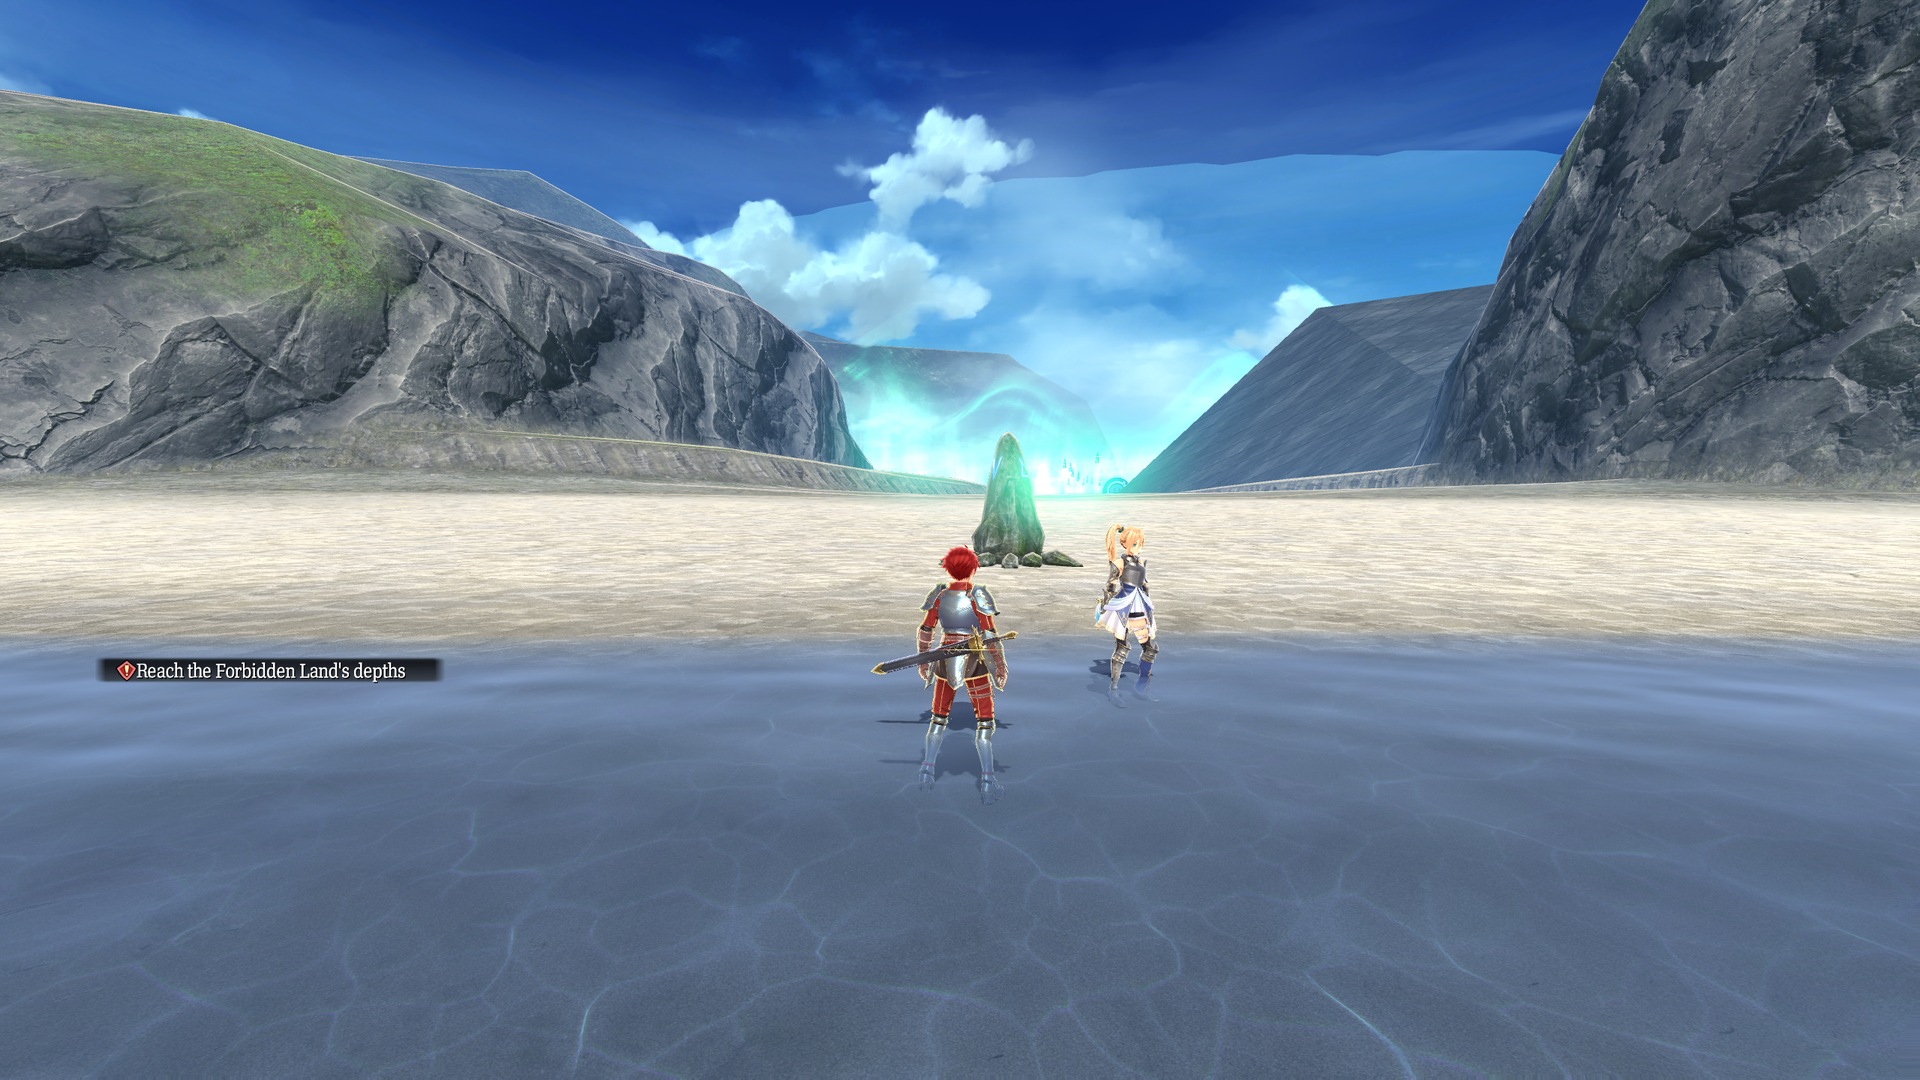
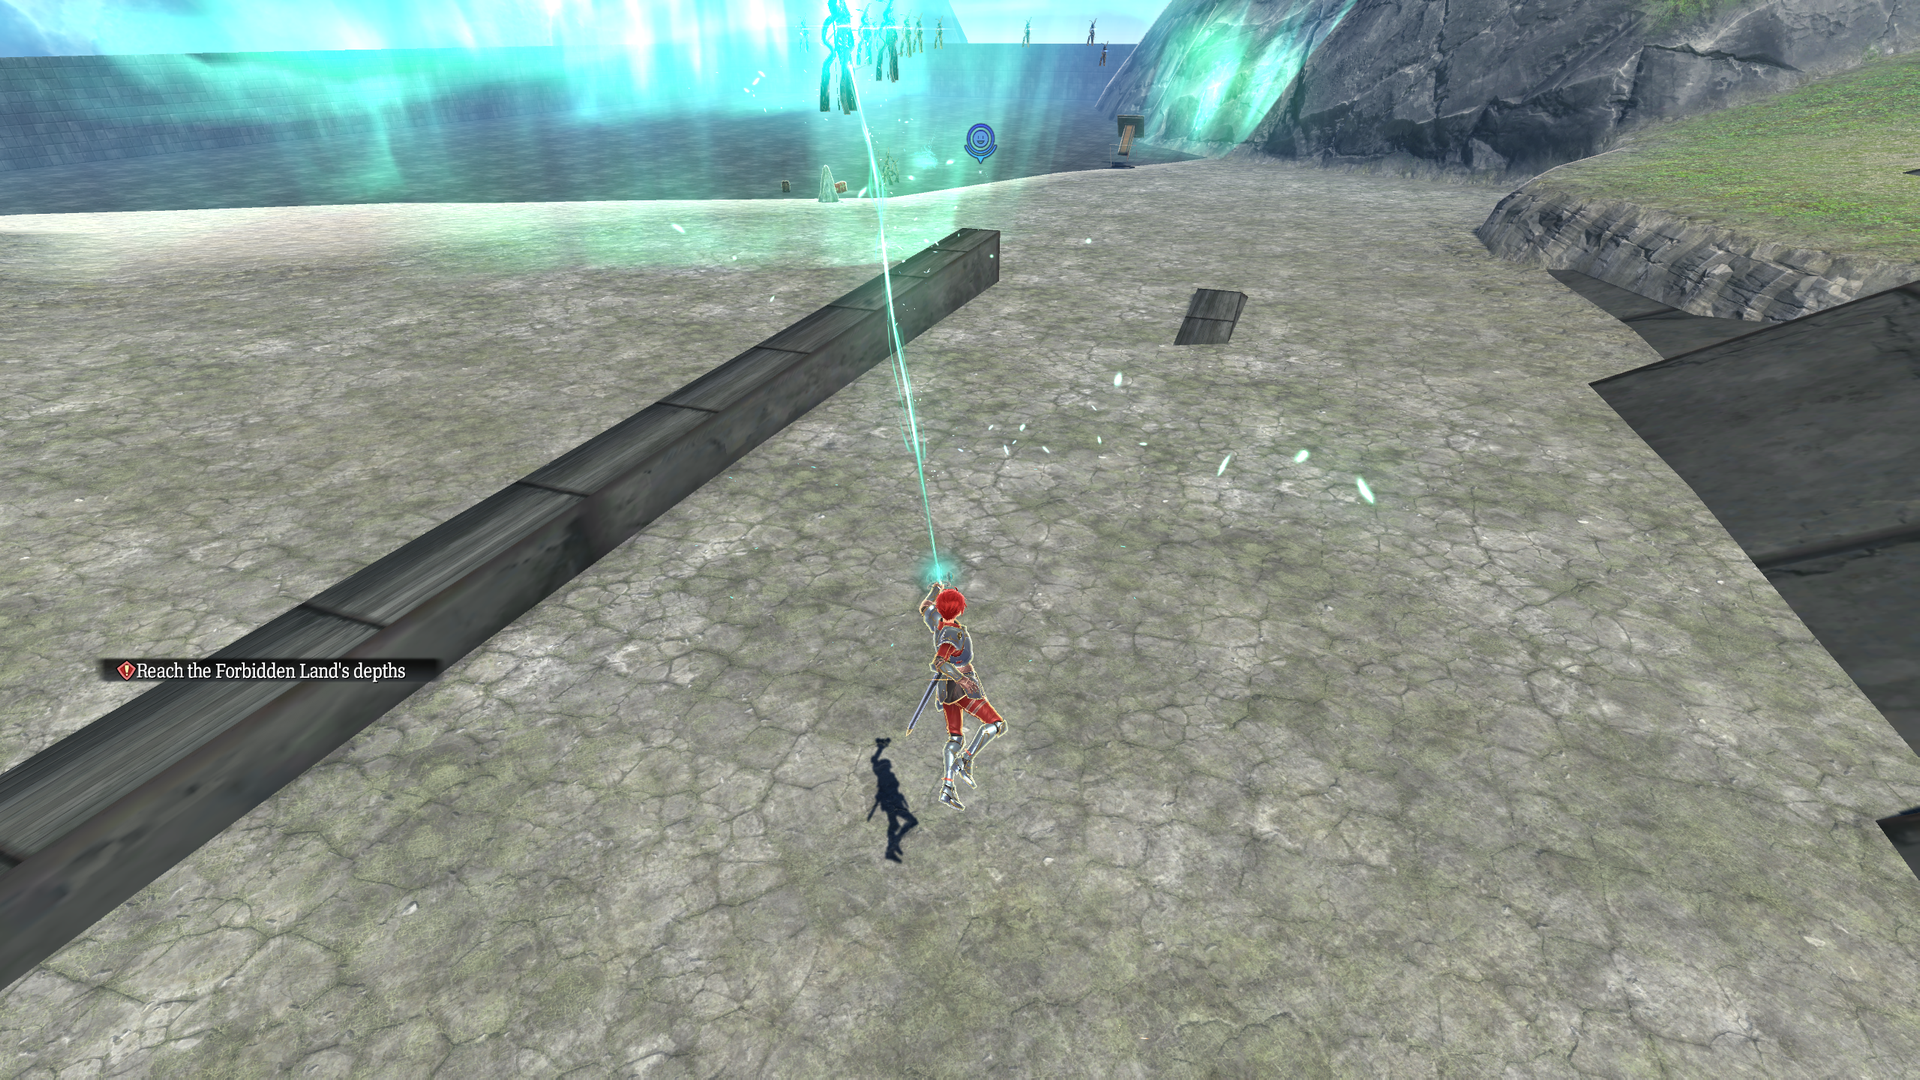
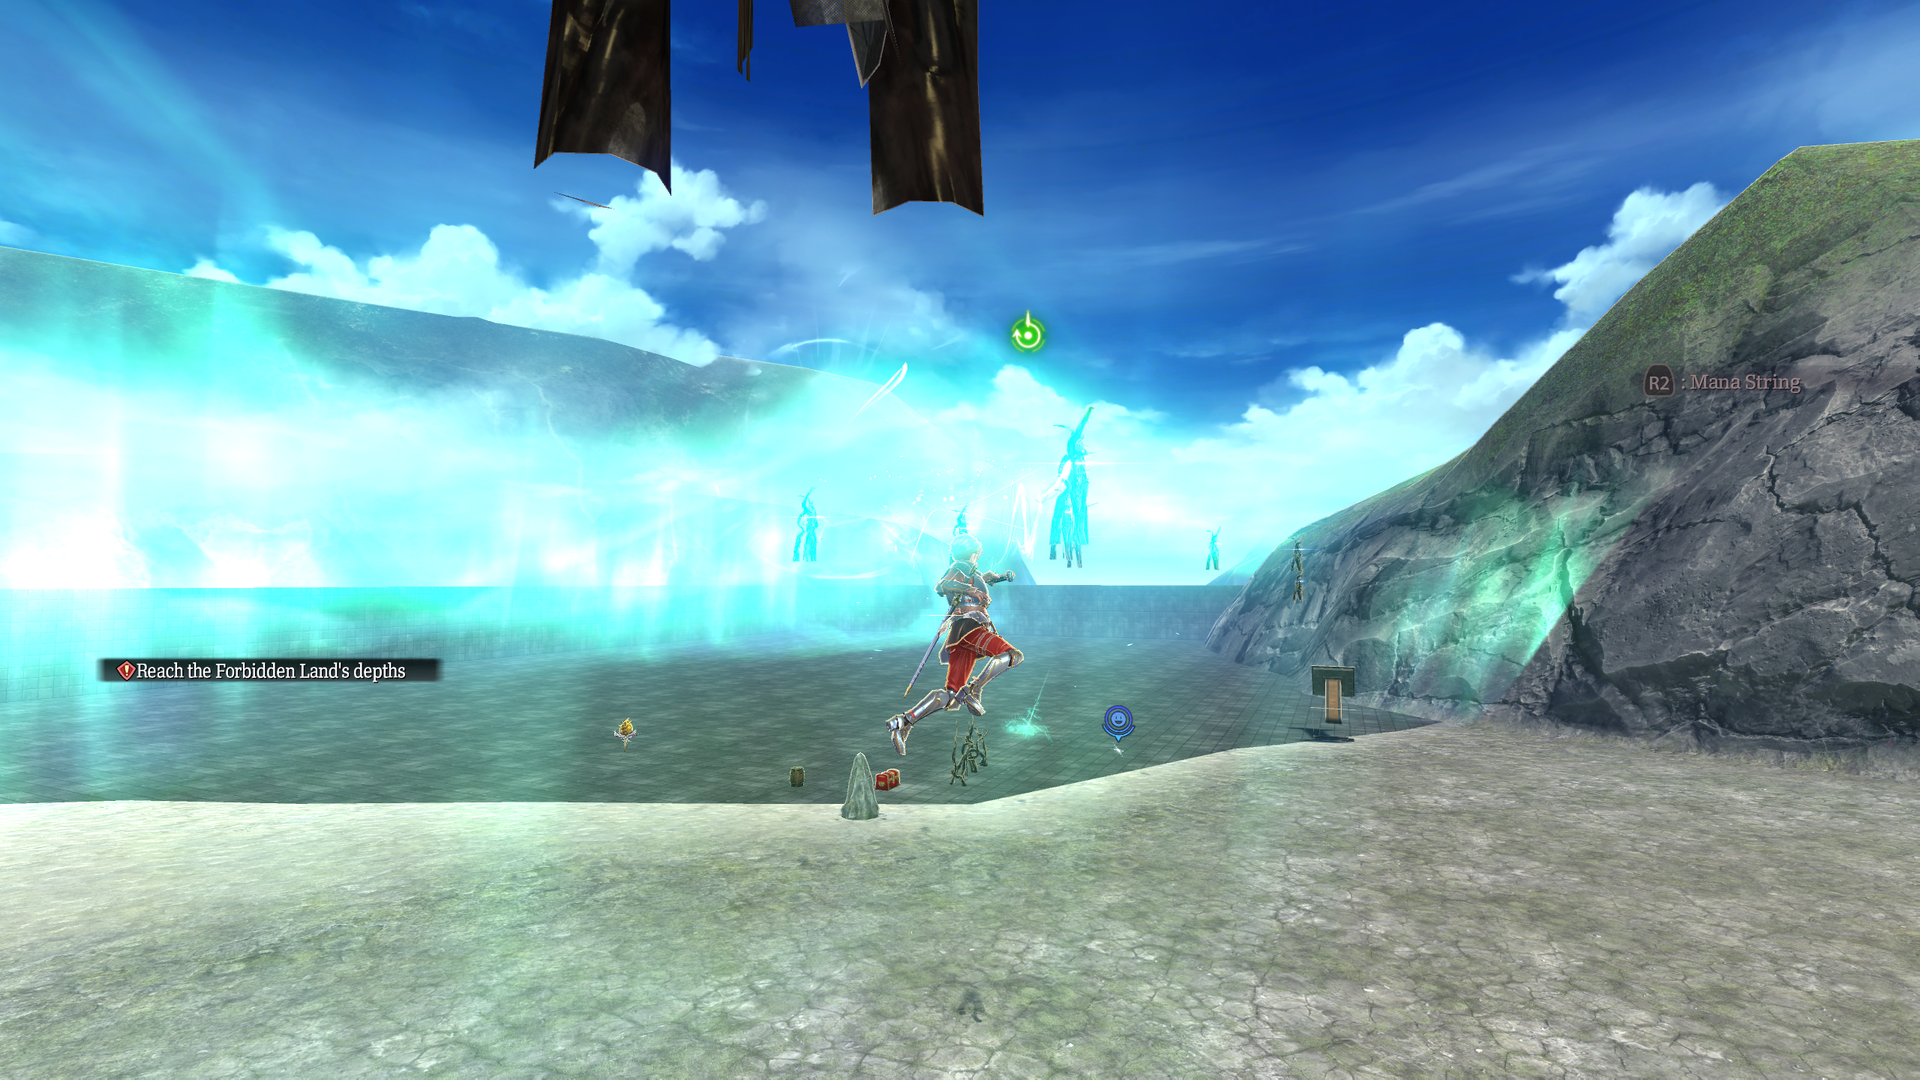
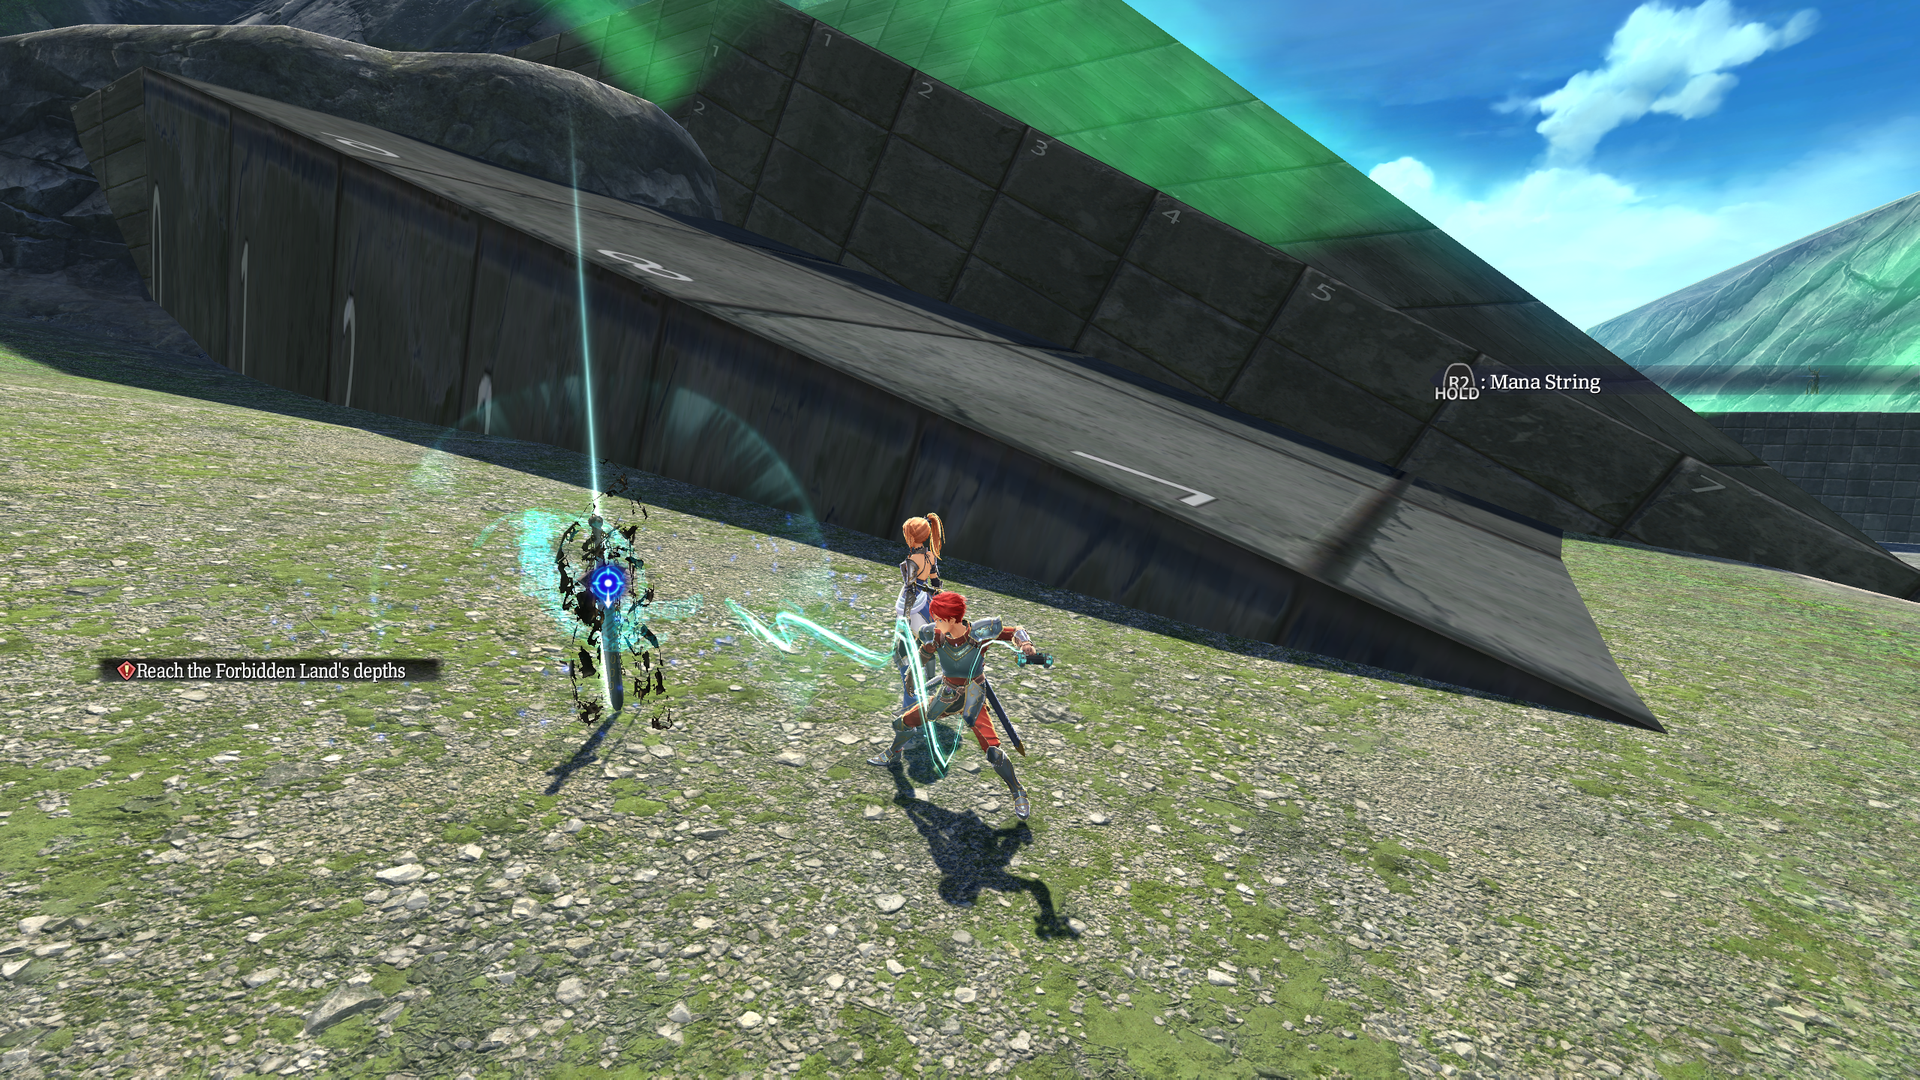
Similar to test_yama, but merges Inlet Isle into the area with a different assortment of objects and a lot of grapple points.
test_yu#
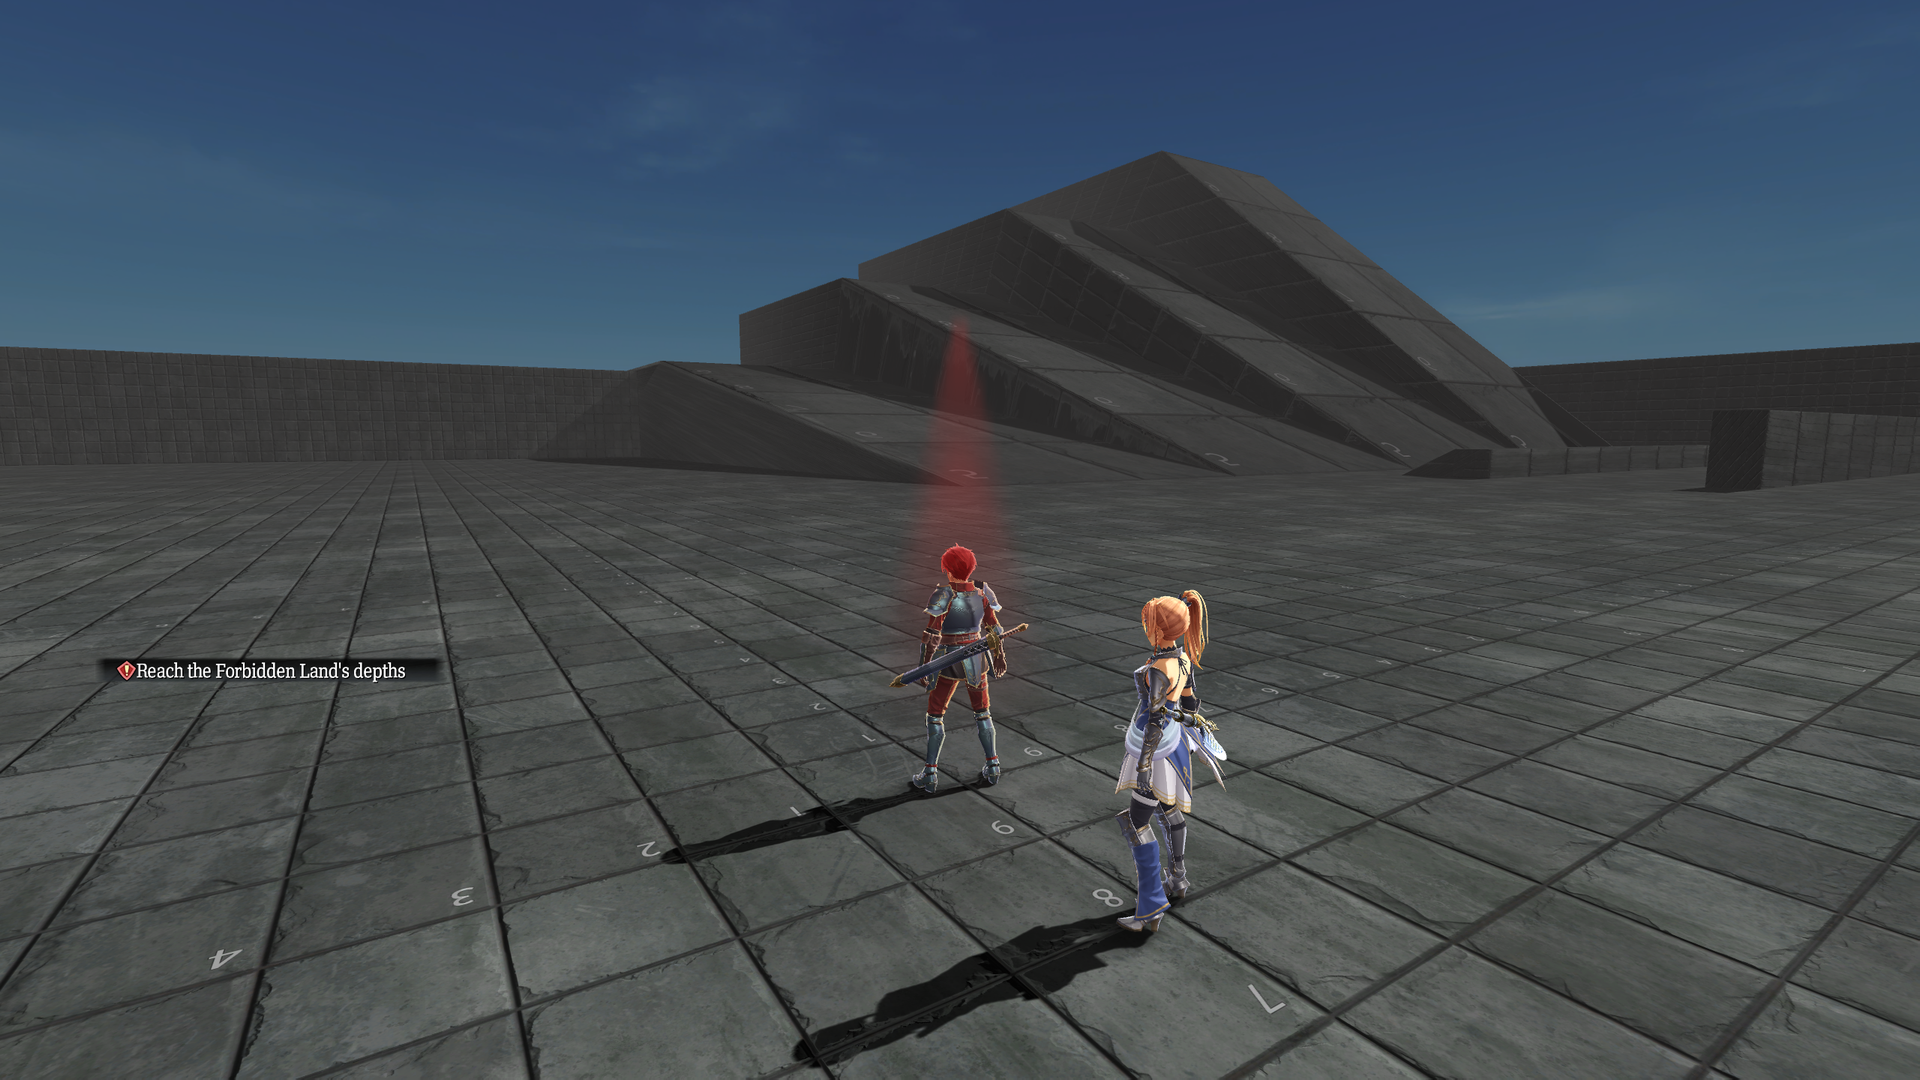
Barren copy of test_debug with dim lighting and a red spotlight in the center.