 This article has a talk page!
This is a sub-page of The Legend of Zelda: Twilight Princess.

|
This page sucks. |

|
This page or section needs more images. |
Like its predecessors Ocarina of Time and Majora's Mask, Twilight Princess also contains alternate scene setups. What are alternate scene setups, you ask? Read on!
Twilight Princess is programmed to load different sets of objects (model files) and actors (AI files that control the way the models behave) depending on the current in-game circumstances. For example, different objects and actors are loaded in Kakariko Village depending on whether the area is covered in twilight, or whether light has been restored. Likewise, different objects and actors are loaded in Ordon Village depending on whether the player is playing through day 1, day 2, or day 3 of the prologue. These setups are all accessible through normal gameplay.
However, some setups cannot be activated without hacking or using codes. An effort is being made to document these setups below:

|
To do:
Change the x from 0 to F. |
R_SP01 - Ordon's Houses
Room 04 - Link's House#
ACTE#
|
|
To do: |
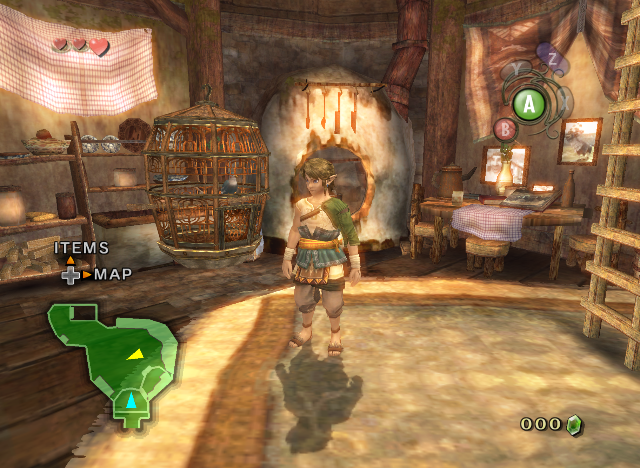
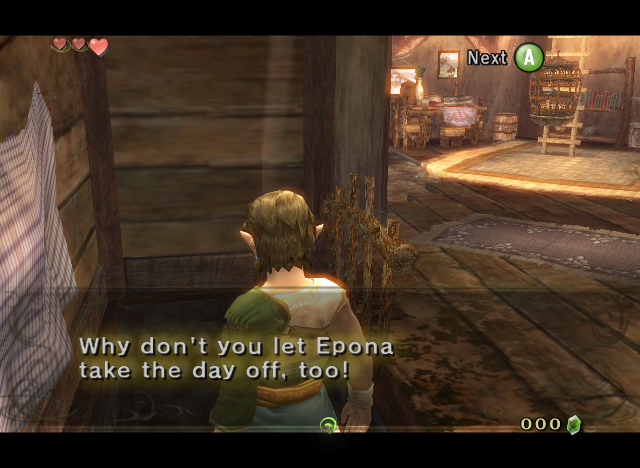


(Source: Dark Linkaël)
Room 07 - Link's House Basement#
ACT8#
|
|
To do: |
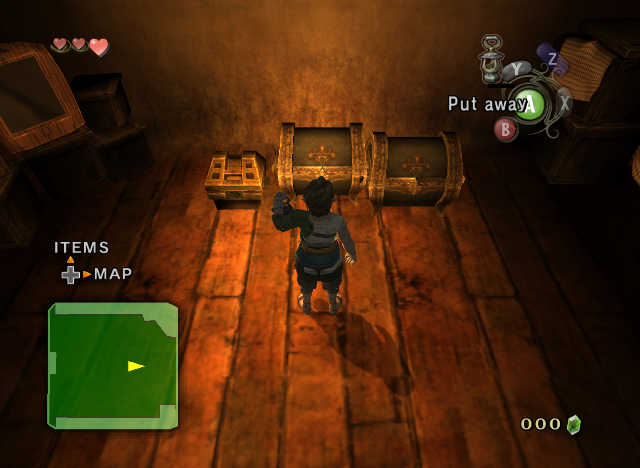
(Source: Dark Linkaël)
D_MN04 - Goron Mines
Room 01 - Entrance#
ACT5#
This layer features a Torch Slug and a Fire Toadpoli, positioned in the middle of the room.
Room 03 - Main Room#
ACT5#
|
|
To do: |
Room 04 - Magnetic Ceiling Maze#
ACT5#

This layer features a seemingly-misplaced Dodongo that falls from the sky.
Room 06 - Magnet Wall Room#
ACT5#
|
|
To do: |
Room 07 - Bulblin Fortress Room#
ACT5#
This layer features some torches positioned near the former location of the north door that was present in the E3 2006 demo but later removed from the game.
Room 12 - Pre-Boss Room#
ACT2#
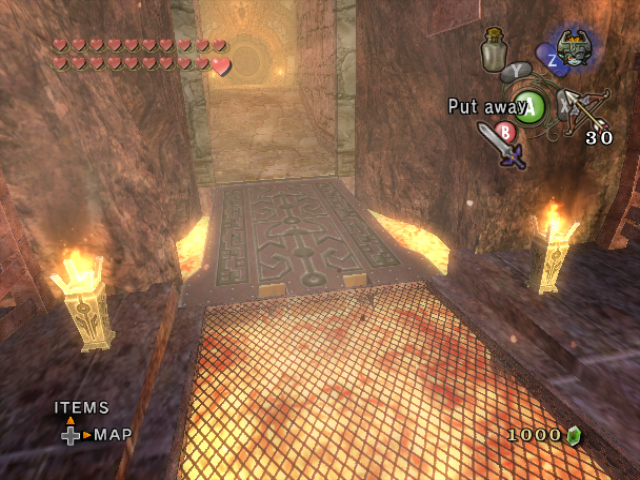
This layer features two decorative torches on either side of the bridge. Curiously, these torches are also absent from the E3 and kiosk demo versions of this area.
Room 13 - Lava Platform Room#
ACT5#
This layer features a chest with a Blue Rupee inside, floating in midair. A similarly airborne red/green switch is positioned in the middle of the room, but doesn't seem to do anything.
D_MN05 - Forest Temple
Room 05 - Dark Tile Worm Room#
ACT5#
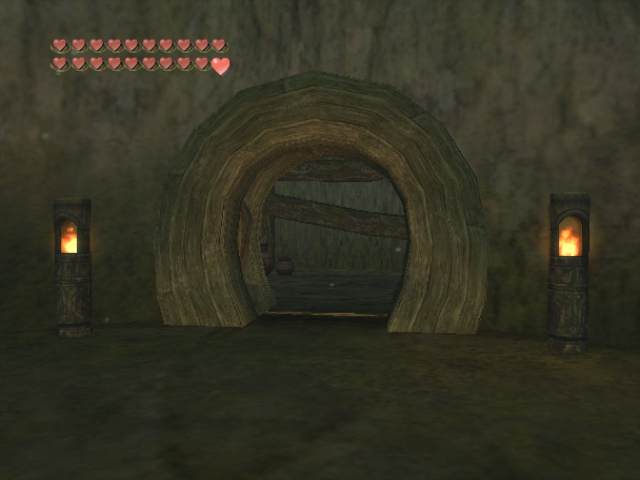
This layer features two decorative torches placed on either side of the monkey door.
D_MN07 - City in the Sky
Room 02 - Main Room#
ACT5#
This layer features two Helmasaurs to the sides of the room.
Room 06 - Left Bridge#
ACT5#
This layer features two propellers positioned outside the bounds of the room.
Room 10 - Clawshot Climbing Room#
ACT5#
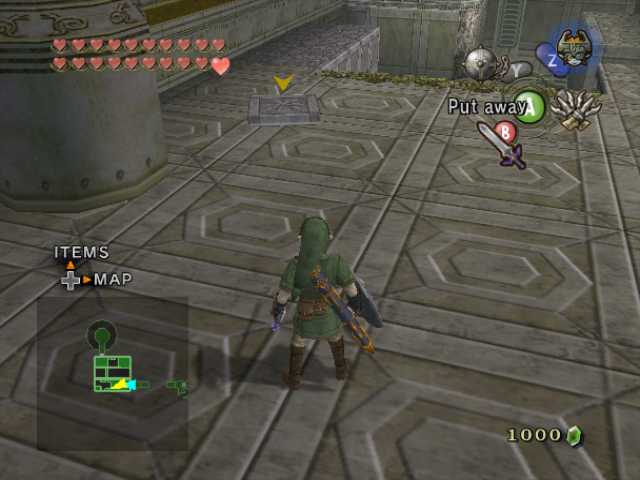
This layer features a misplaced Tile Worm near the middle of the top area.
Room 11 - Big Baba Room#
ACT5#
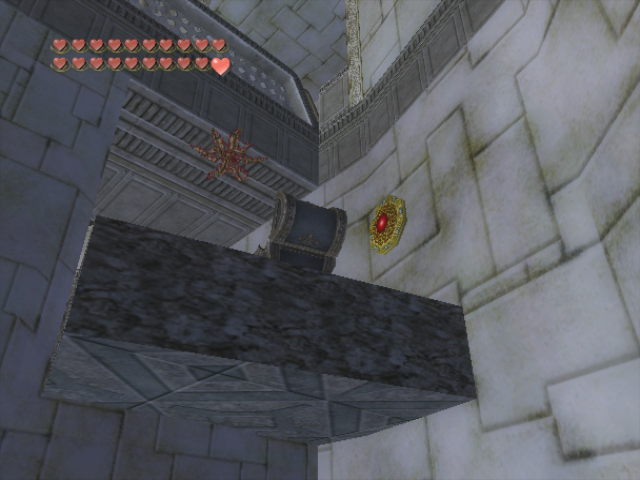
This layer features a Clawshot target next to the chest that contains a Piece of Heart.
Room 13 - Main Tower Room#
ACT5#
This layer features various propellers positioned far outside the bounds of the room.
Room 14 - Northern Fan Room#
ACT5#
This layer features various propellers positioned towards the back of the room.
Room 15 - Pre-Boss Room#
ACT5#
This layer features a Helmasaurus positioned on the second to last platform.
D_SB04 - Bridge of Eldin Magnet Cave
Room 10 - Bridge of Eldin Magnet Cave#
ACT5#
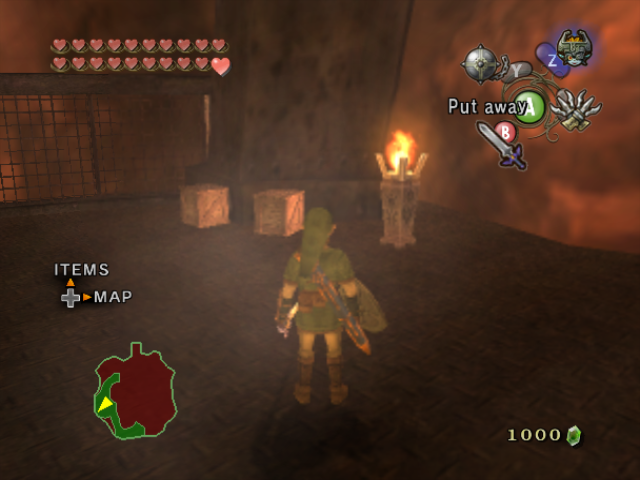
This layer features a torch on the first platform.