 This article has a talk page!
This is a sub-page of The Legend of Zelda: Four Swords Adventures.

|
To do: |
Unused Graphics#
Link#

Only a front sprite exists for this unused Link variant. The shield features a T-shape.
(Source: Dark Linkaël)

Located at GC4Sword/result.arc -> timg/link_dot_01_test.bti, this A Link to the Past-based sprite was used during development, and similar sprites could be seen in trailers. One front sprite is still in the game.
(Source: gabrielwoj)
The Maidens#


Prototype |
Final |
|---|---|
 |
 |
 |
 |
 |
 |
 |
 |
 |
 |
 |
 |
 |
 |
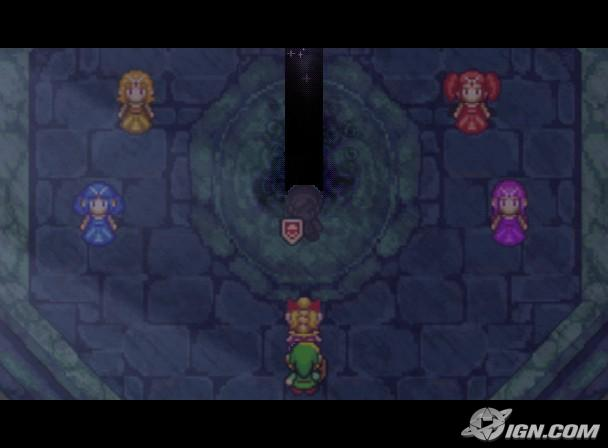
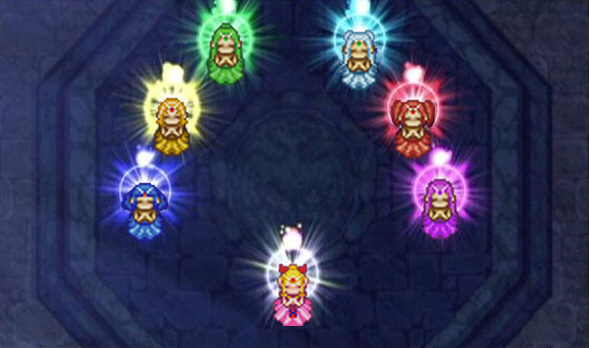
(Source: Dark Linkaël)
Ganon#
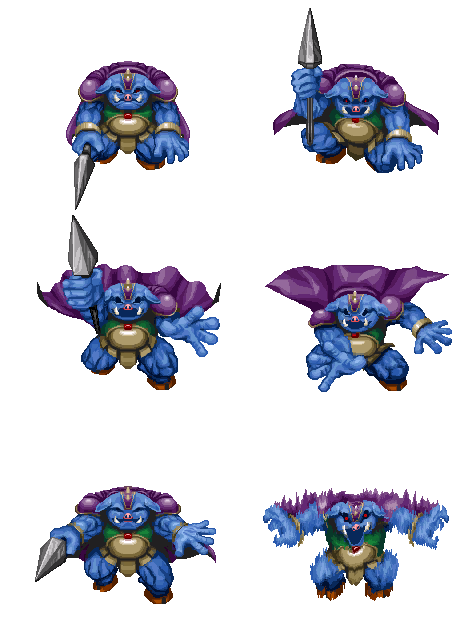
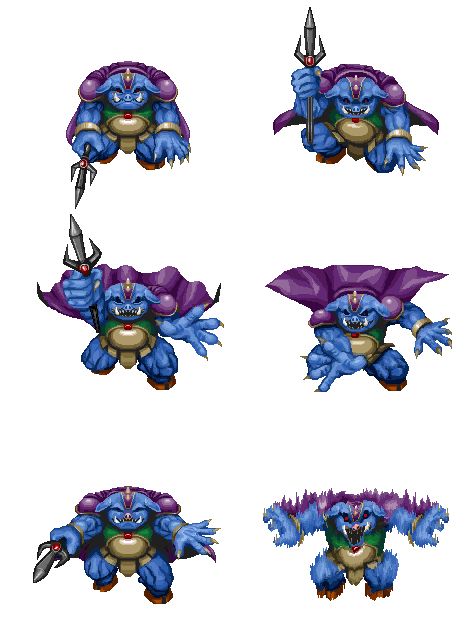
Located at GC4Sword_usa/Boss/boss8, is an early version of the Ganon fight. Compared to the final version, the mouth is missing teeth and the fingers lack the long, sharp nails, the nose is pink and the spear features a different design.
Prototype |
Final |
|---|---|
 |
 |
(Source: Venomalia)
Unused Armos#


An Armos or Eyegore located in textures from the unused Level 6-2.
(Source: Dark Linkaël)
Unused Items#


Located at GC4Sword_usa/game2D.arc. The shield is used in the game, but there is no icon, because it's not an Action Item. The other one is the Lens of Truth, from Ocarina of Time.


Leftovers from The Wind Waker, present in GC4Sword_usa/Main2D.arc.
(Source: gabrielwoj)

Located in the Japanese version under GC4Sword/result.arc => timg/kk_iconpurse_01.bti
(Source: Venomalia)
Game Banner#
cardicon.arc contains an old banner and an icon with minimal color differences. The prototype banner actually has five swords; four swords behind "elda" with an extra green-pommeled sword in front of the "Z", while the final banner just has the four swords with the green-pommeled sword intersecting the "Z".
Prototype |
Final |
|---|---|
 |
 |
(Source: Venomalia)
Health and Safety Screen#


Graphics for an unused Health and Safety warning screen can be found in GC4Sword_usa/logo.arc. A similar screen might have been used in the Japanese version.
(Source: gabrielwoj)
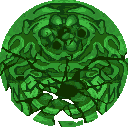
Knight Marks#
Blue Knight Marks |
Red Knight Marks |
||||||||
|---|---|---|---|---|---|---|---|---|---|
|
|




Green Knight Marks |
Purple Knight Marks |
||||||||
|---|---|---|---|---|---|---|---|---|---|
|
|




The broken version is never used
Blue Knight Marks |
Red Knight Marks |
||||||||
|---|---|---|---|---|---|---|---|---|---|
|
|

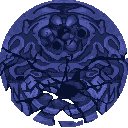
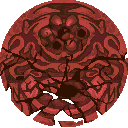
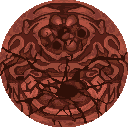
Green Knight Marks |
Purple Knight Marks |
||||||||
|---|---|---|---|---|---|---|---|---|---|
|
|
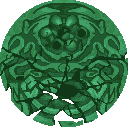


Unused Dark Mirror Knight Marks |
|---|
 |
(Source: Venomalia)
Graphics Stages#
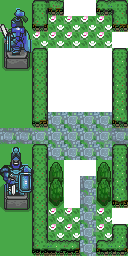
Opening
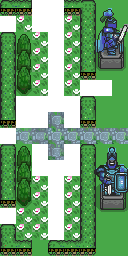
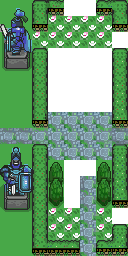
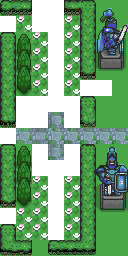
Located at GC4Sword_usa/Boss/opening.
Prototype |
Final |
|---|---|
|
|
(Source: Venomalia)
Prototype |
Final |
|---|---|
 |
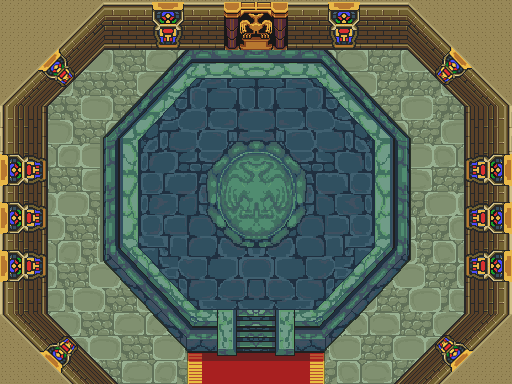 |
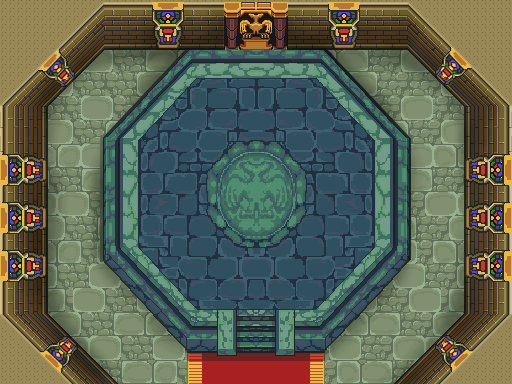
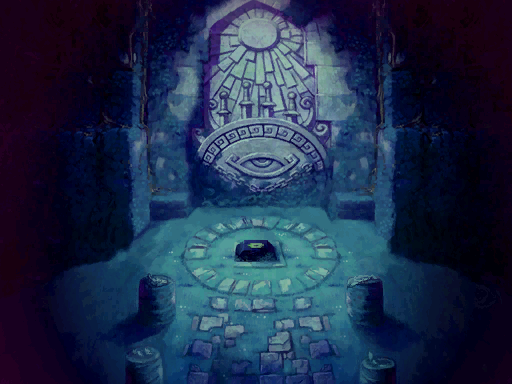
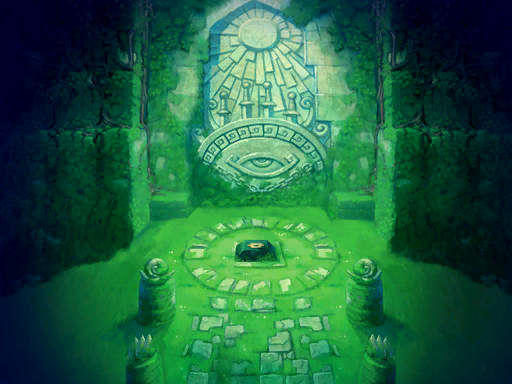
The first room is the cutscene with Princess Zelda and the six maidens. At the top of the large room against the wall, there is the symbol of a bird that is in the middle of the place. In the cutscene, it is impossible to see.
Prototype |
Prototype |
Final |
|---|---|---|
 |
 |
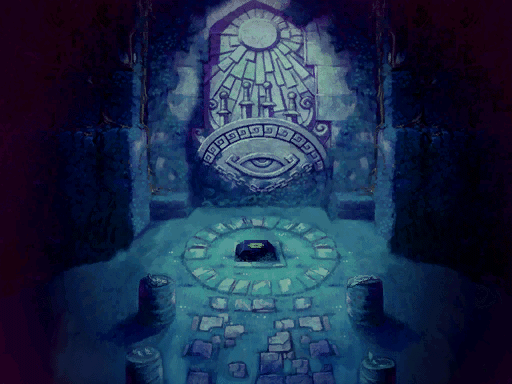 |
(Source: Dark Linkaël)
Stage 1-1
Prototype |
Final |
|---|---|
 |
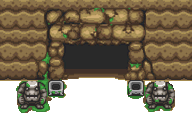 |
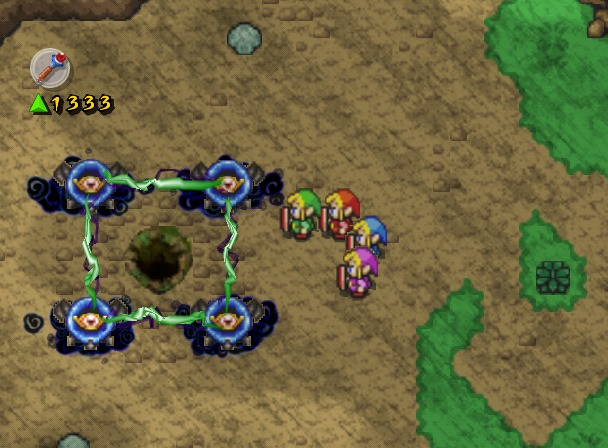
(Source: Dark Linkaël)
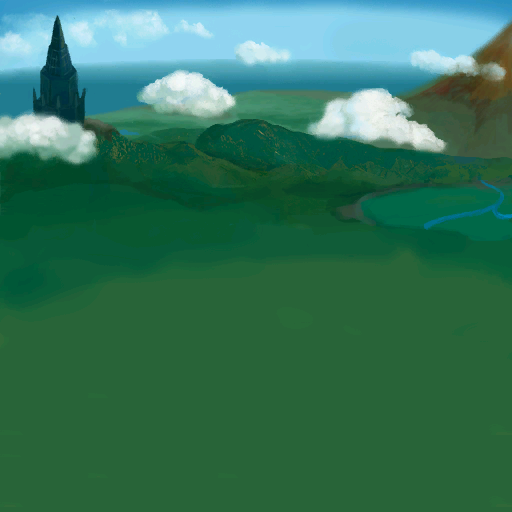
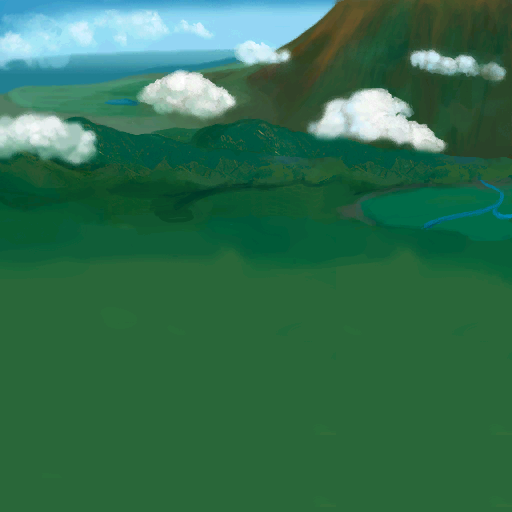
Stage 1-3
Prototype |
Final |
|---|---|
 |
 |
(Source: Dark Linkaël)
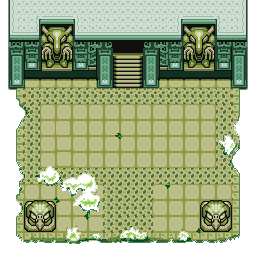
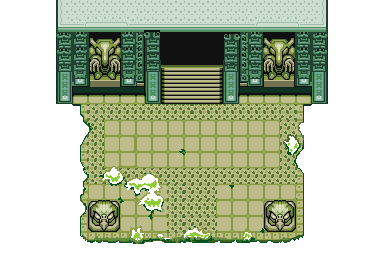
Stage 2-2
Prototype |
Final |
|---|---|
 |
 |
(Source: Dark Linkaël)
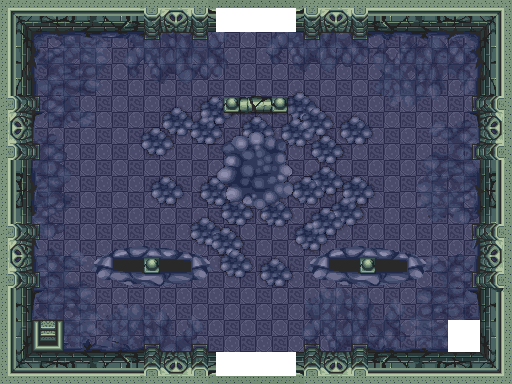
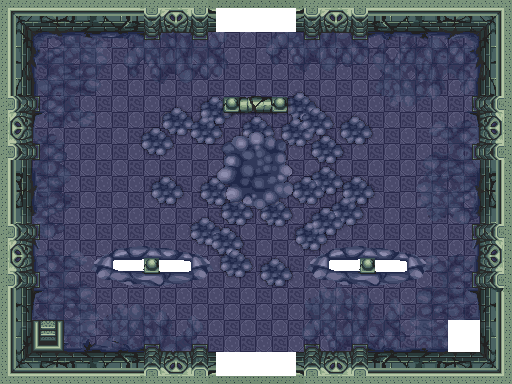
Stage 2-3
Prototype |
Prototype |
Final |
|---|---|---|
 |
 |
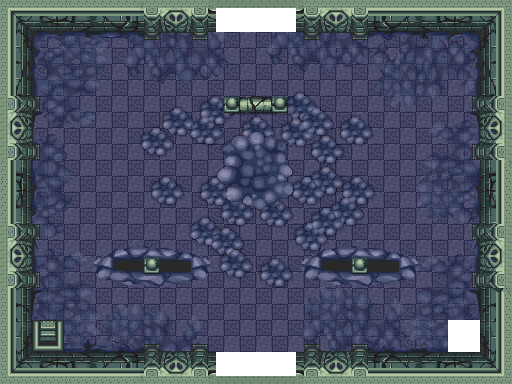 |
(Source: Dark Linkaël)
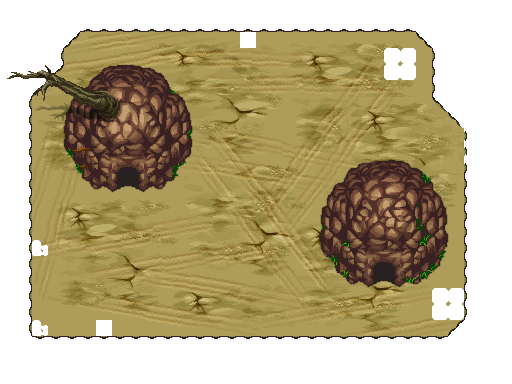
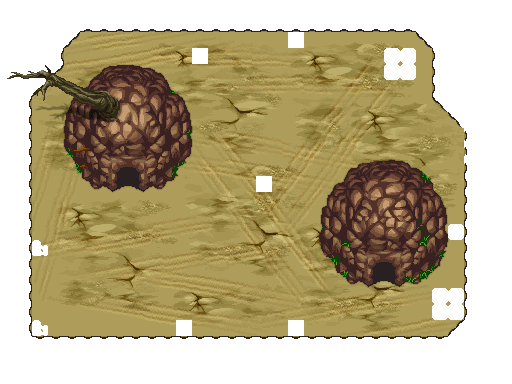
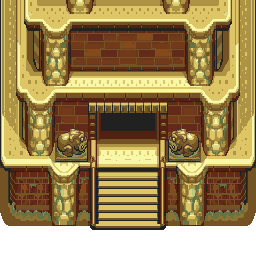
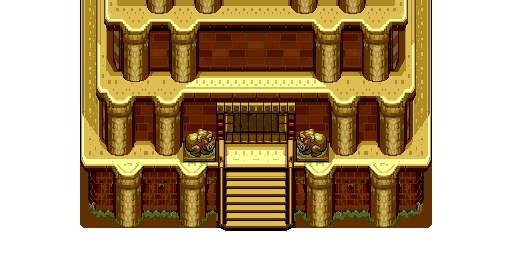
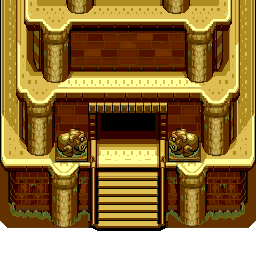
Stage 3-2
Prototype |
Final |
|---|---|
 |
 |
Prototype |
Prototype |
Final |
|---|---|---|
 |
 |
 |
(Source: Dark Linkaël)
Stage 3-3
Prototype |
Final |
|---|---|
 |
 |
(Source: Dark Linkaël)
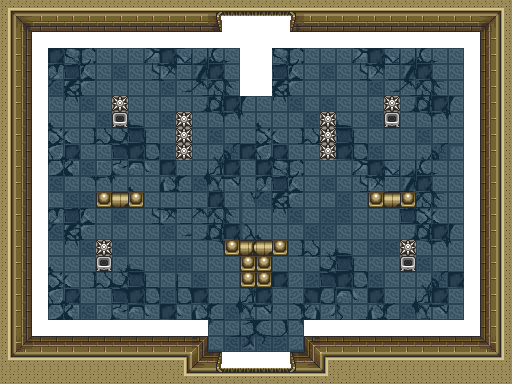
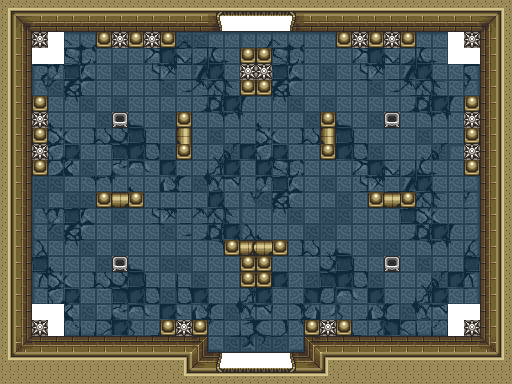
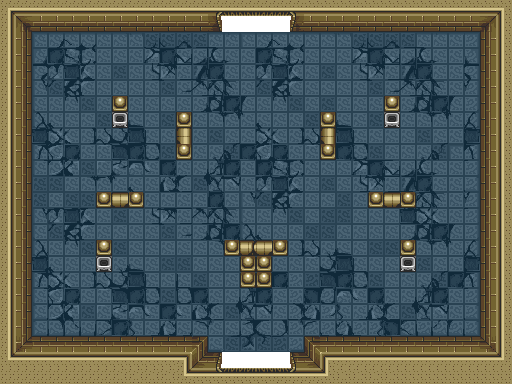
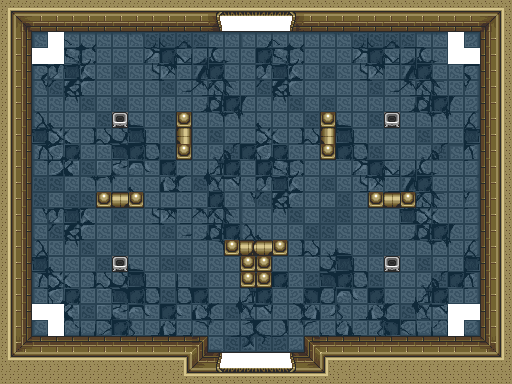
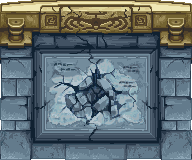
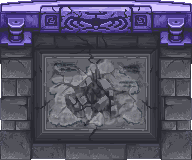
Stage 4-3
Prototype |
Final |
|---|---|
 |
|


Prototype |
Final |
|---|---|
 |
 |
Prototype |
Final |
|---|---|
 |
 |
Prototype |
Final |
|---|---|
 |
 |
(Source: Dark Linkaël)
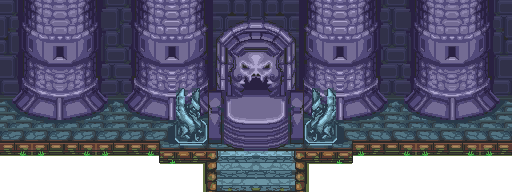
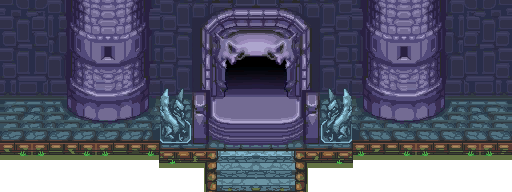
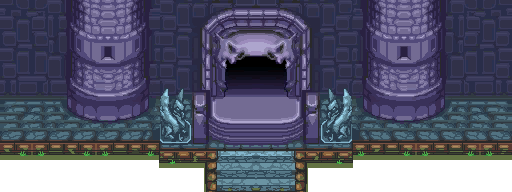
Stage 5-2
Prototype |
Prototype |
Final |
|---|---|---|
 |
 |
 |
Prototype |
Final |
|---|---|
 |
 |
(Source: Dark Linkaël)
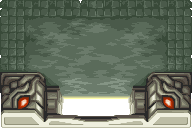
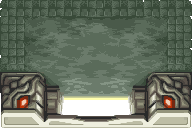
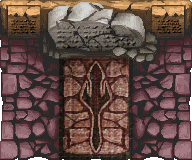
Stage 6-2
Prototype |
Final |
|---|---|
 |
 |
(Source: Dark Linkaël)
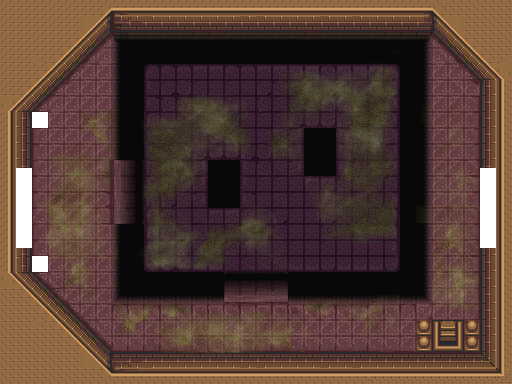
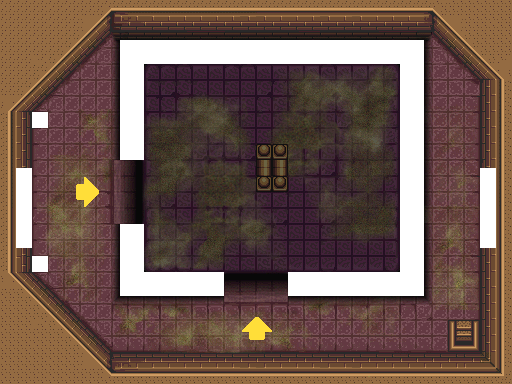
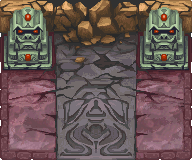
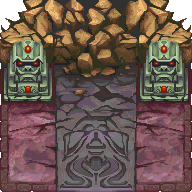
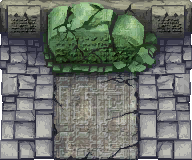
Stage 6-3
Prototype |
Final |
|---|---|
 |
 |
Prototype |
Final |
|---|---|
 |
 |
Prototype |
Final |
|---|---|
 |
 |
(Source: Dark Linkaël)
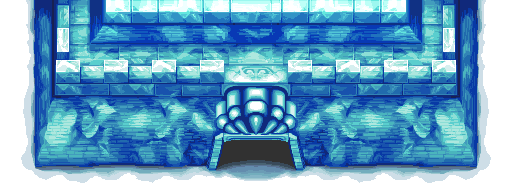
Stage 7-1
Prototype |
Final |
|---|---|
 |
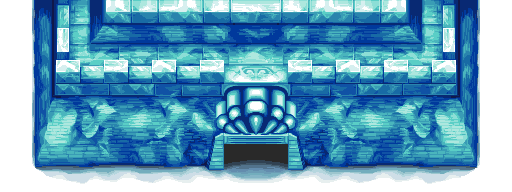 |
(Source: Dark Linkaël)
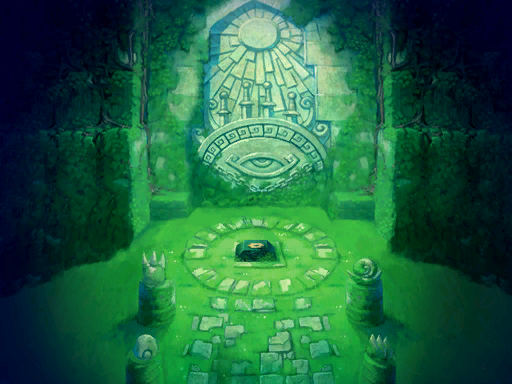
Stage 7-2
Prototype |
Final |
|---|---|
 |
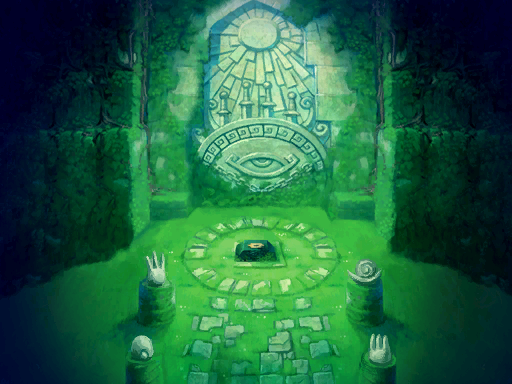 |
(Source: Dark Linkaël)
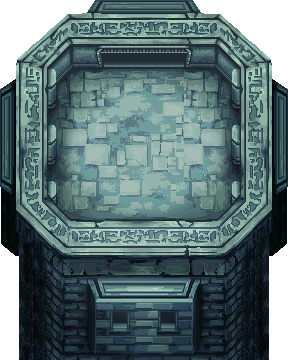
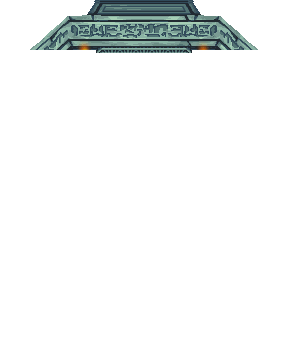
Stage 7-3
Prototype |
Final |
|---|---|
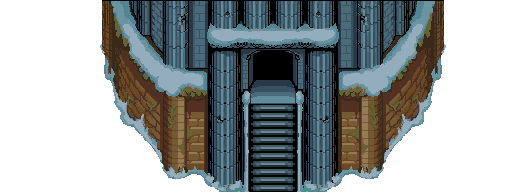 |
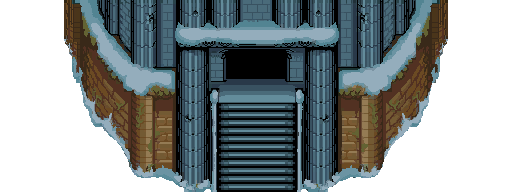 |
Prototype |
Final |
|---|---|
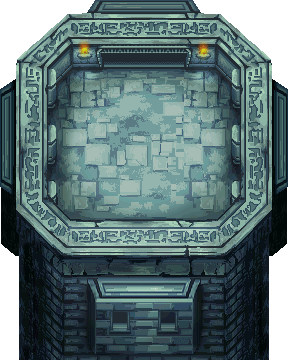 |
 |
Prototype |
Final |
|---|---|
 |
 |
(Source: Dark Linkaël)
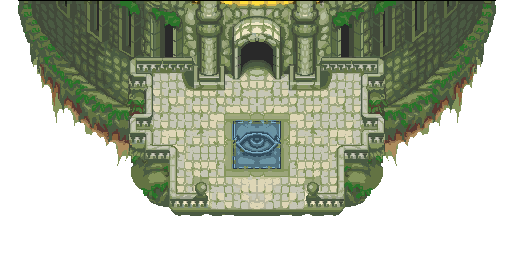
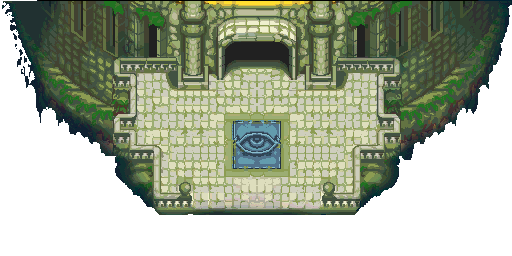
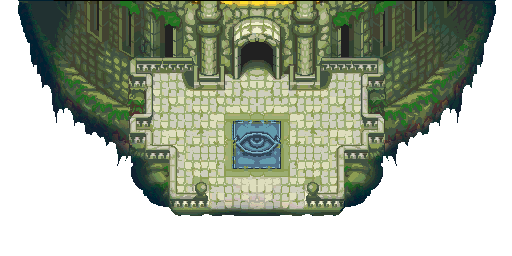
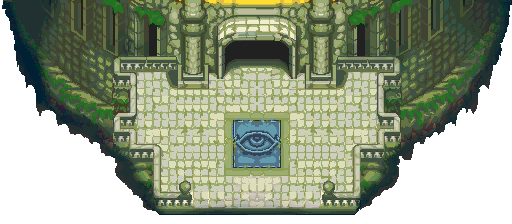
Stage 8-2 and Stage 8-3
Prototype |
Prototype |
Prototype |
Final |
|---|---|---|---|
 |
 |
 |
 |
Prototype |
Final |
|---|---|
 |
 |
(Source: Dark Linkaël)
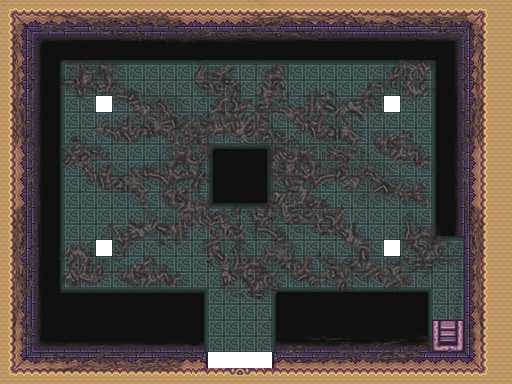
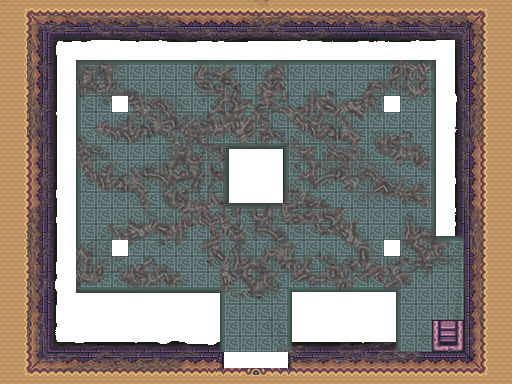
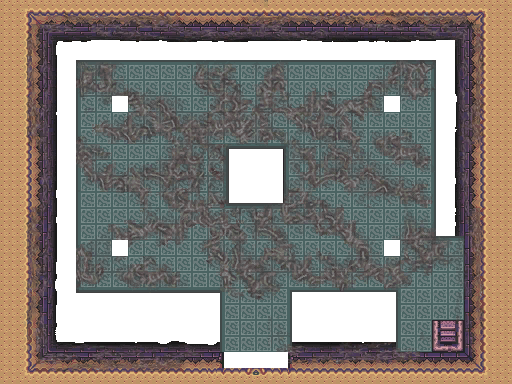
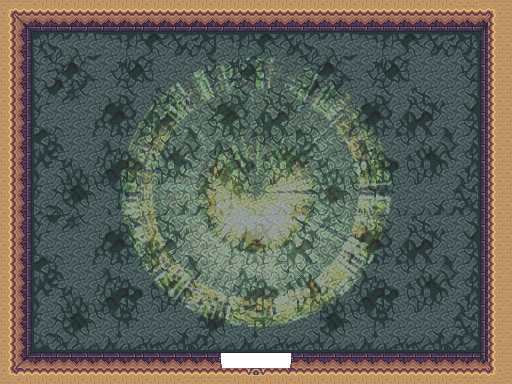
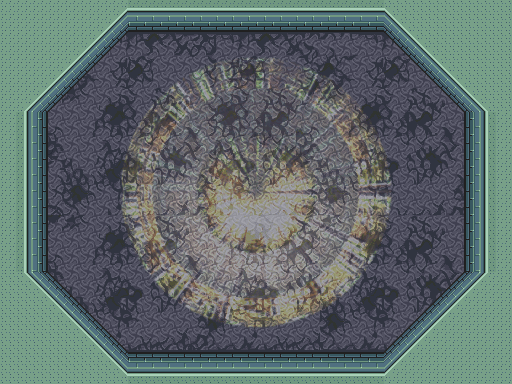
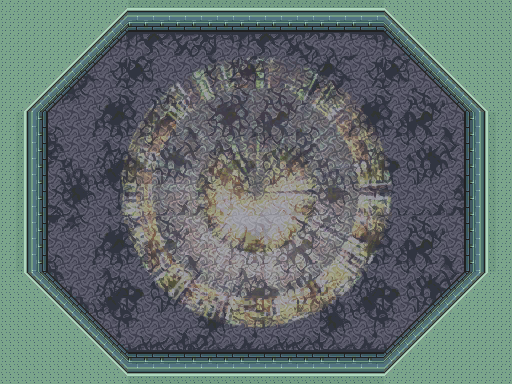
Stage 8-3
Prototype |
Prototype |
Final |
|---|---|---|
 |
 |
 |
Prototype |
Prototype |
Final |
|---|---|---|
 |
 |
 |
Prototype |
Final |
|---|---|
 |
 |
(Source: Dark Linkaël)
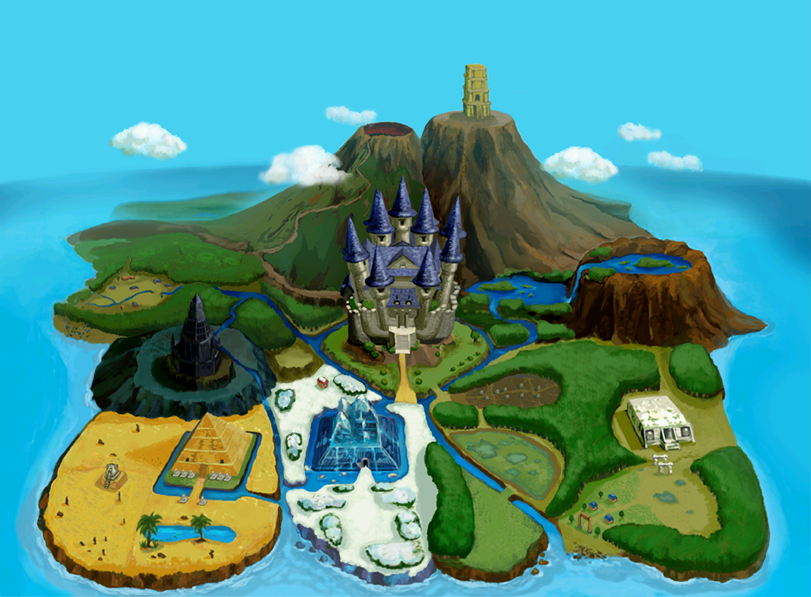
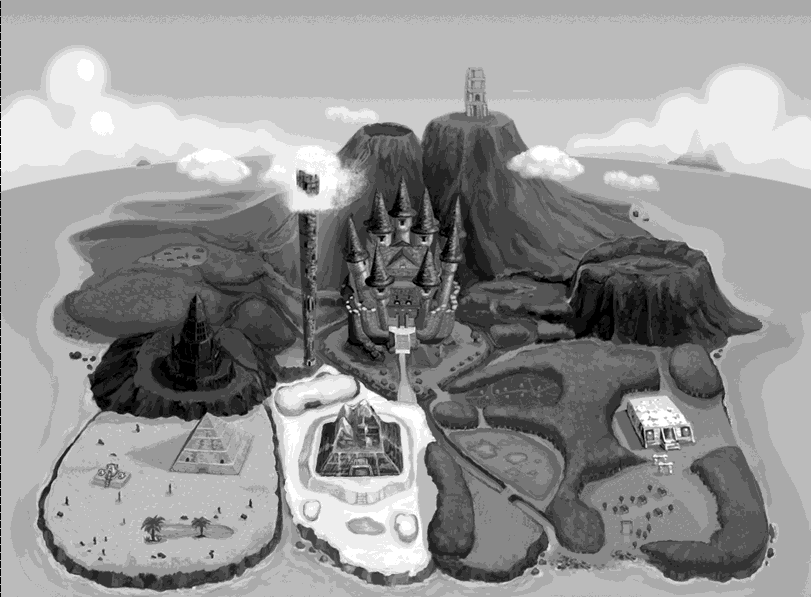
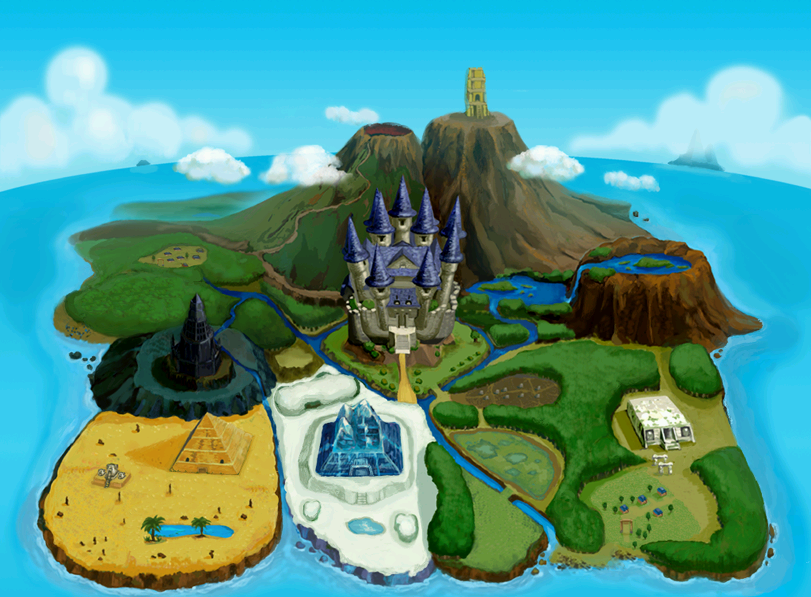
Ending
Prototype |
Final |
|---|---|
 |
 |
Prototype |
Final |
|---|---|
|
 |
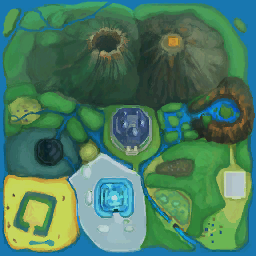
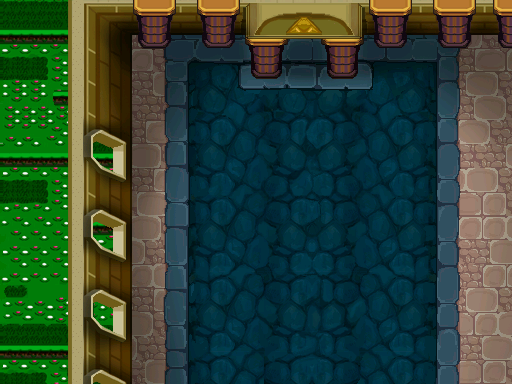
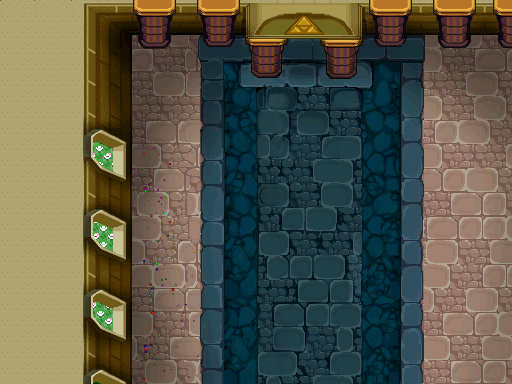
Prototype |
Final |
|---|---|
 |
 |
(Source: Dark Linkaël)
Level Name#
|
|
To do: |
Level 1#
Early |
Prototype |
Final |
|---|---|---|
|
|
|



Early |
Prototype |
Final |
|
|---|---|---|---|
1-1 |
|
||
1-2 |
|
|
|
Unused Course/Tingle Tower |
|
|
|
1-3 |
|
|
|










Level 2#
Early |
Prototype |
Final |
|
|---|---|---|---|
2-1 |
|
|
|
2-2 |
|
|
|
Unused Course/Tingle Tower |
|
|
|
2-3 |
|
|
|











Level 3#
Early |
Prototype |
Final |
|
|---|---|---|---|
3-1 |
|
|
|
3-2 |
|
|
|
Unused Course/Tingle Tower |
|
|
|
3-3 |
|
|
|









Level 4#
Early |
Prototype |
Final |
|
|---|---|---|---|
4-1 |
|
|
|
4-2 |
|
|
|
Unused Course/Tingle Tower |
|
|
|
4-3 |
|
|
|






Level 5#
Early |
Prototype |
Final |
|
|---|---|---|---|
5-1 |
|
|
|
5-2 |
|
|
|
Unused Course/Tingle Tower |
|
|
|
5-3 |
|
|
|












Level 6#
Early |
Prototype |
Final |
|
|---|---|---|---|
6-1 |
|
|
|
6-2 |
|
|
|
Unused Course/Tingle Tower |
|
|
|
6-3 |
|
|
|












Level 7#
Early |
Prototype |
Final |
|
|---|---|---|---|
7-1 |
|
|
|
7-2 |
|
|
|
Unused Course/Tingle Tower |
|
|
|
7-3 |
|
|
|












Level 8#
Early |
Prototype |
Final |
|
|---|---|---|---|
8-1 |
|
|
|
Unused Course/Tingle Tower |
|
|
|
8-2 |
|
|
|
8-3 |
|
|
|









(Source: Dark Linkaël)