This article has a talk page!
This is a sub-page of Proto:Serious Sam: The First Encounter/Publisher Evaluation Build.

|
This page is rather stubbly and could use some expansion. |
The Publisher Evaluation Build contains a ton of maps, many of which are earlier builds of levels present in the final game, although there are plenty of interesting finds such as various themed planets, and levels taking place in a space station.
Technology Test#
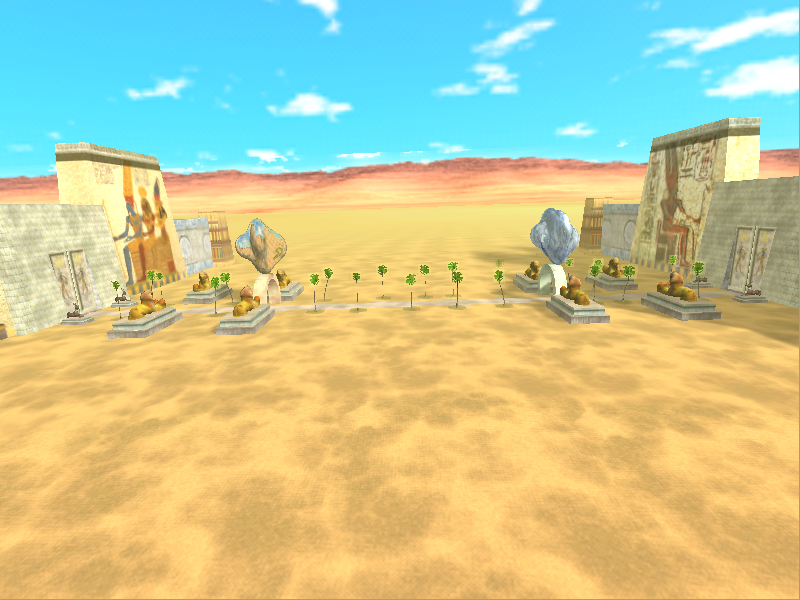
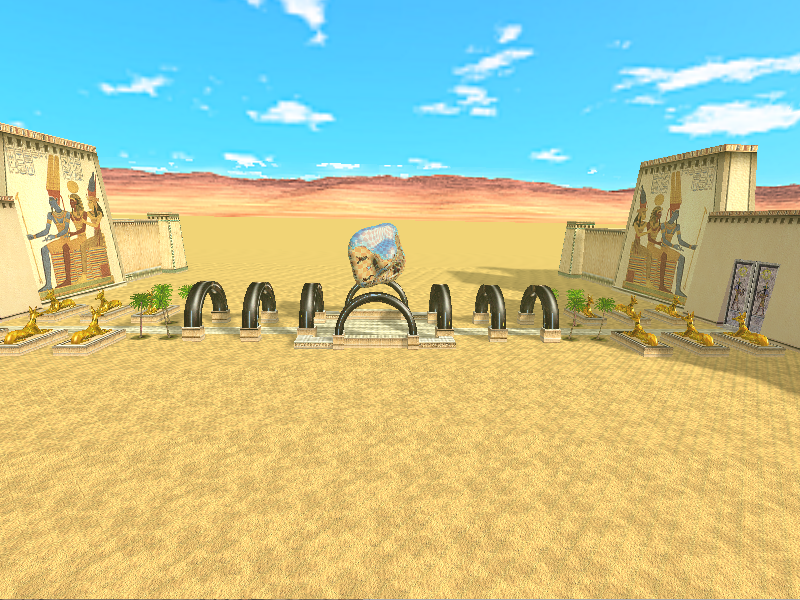
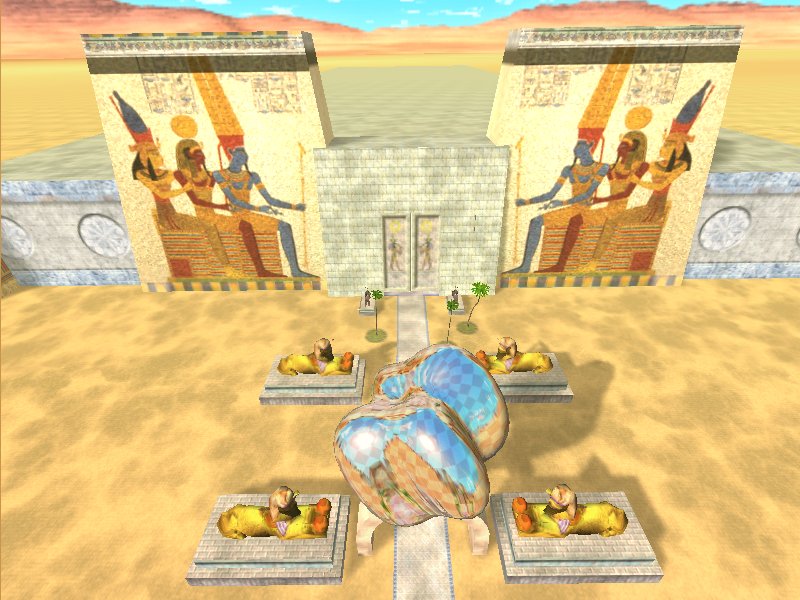
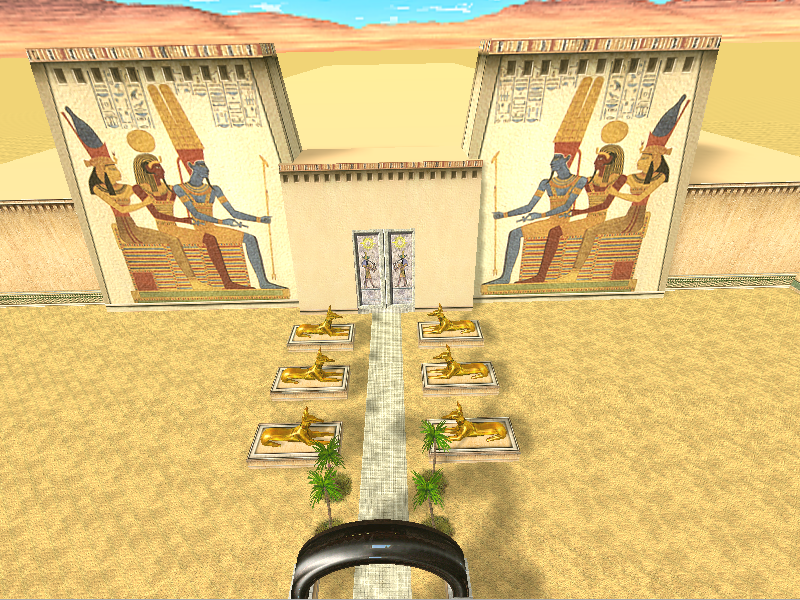
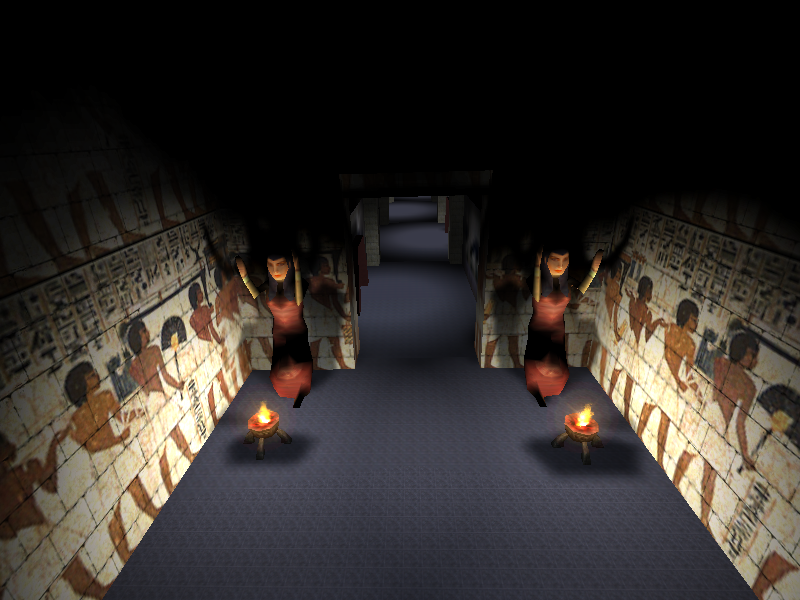
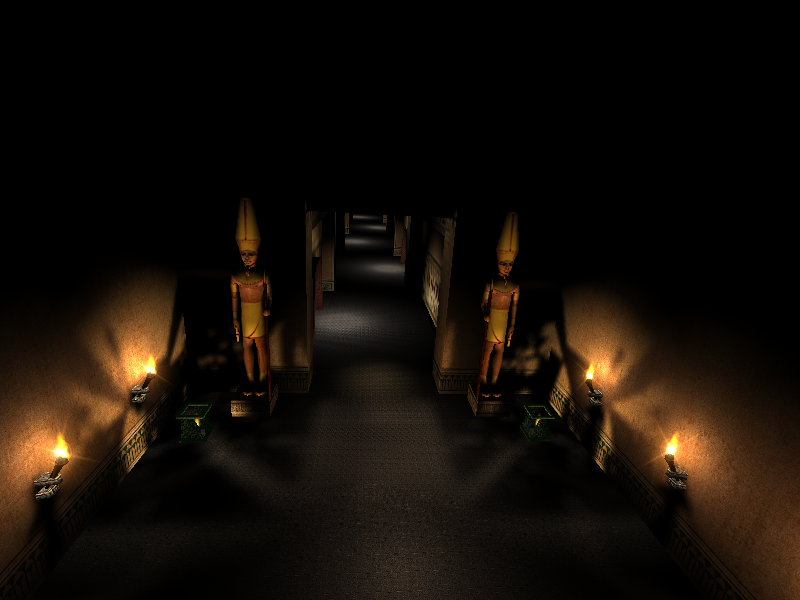
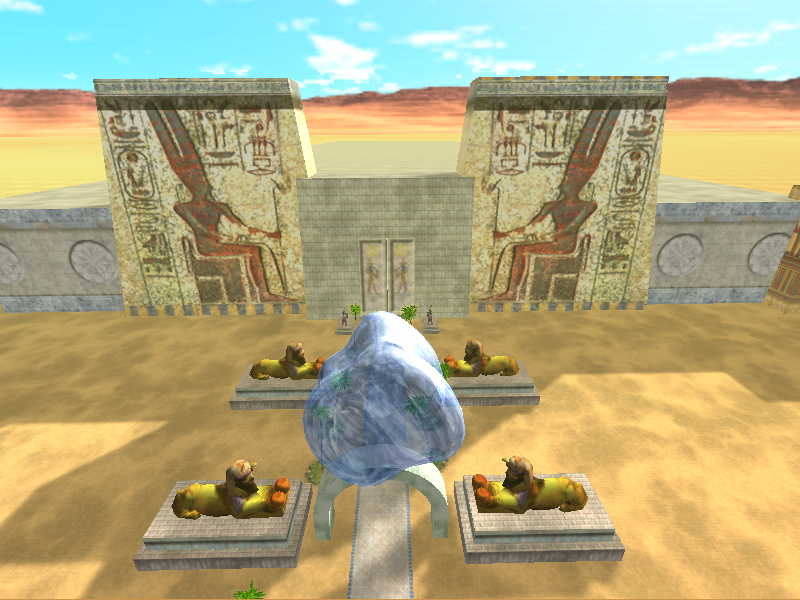
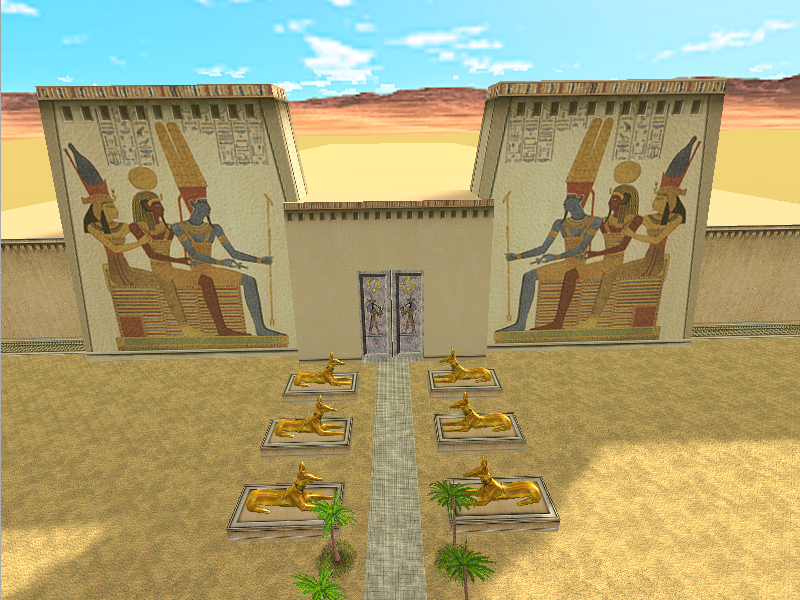
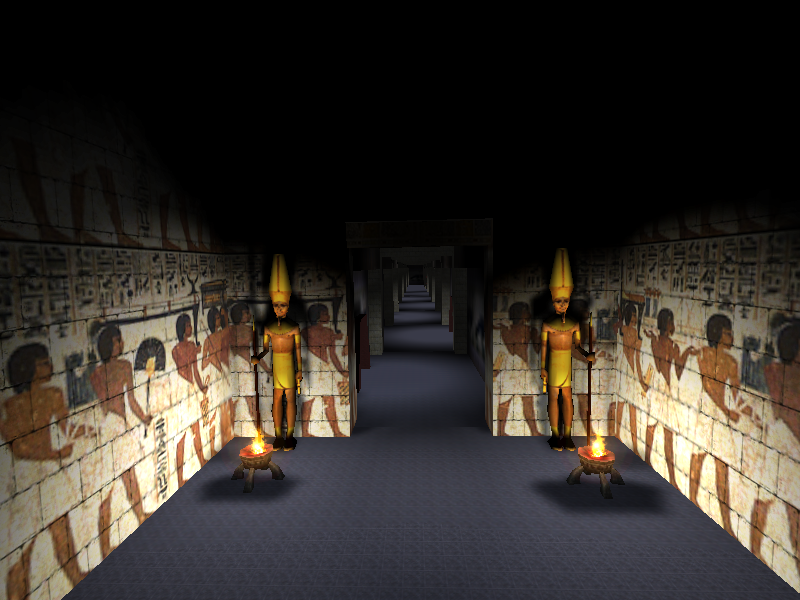
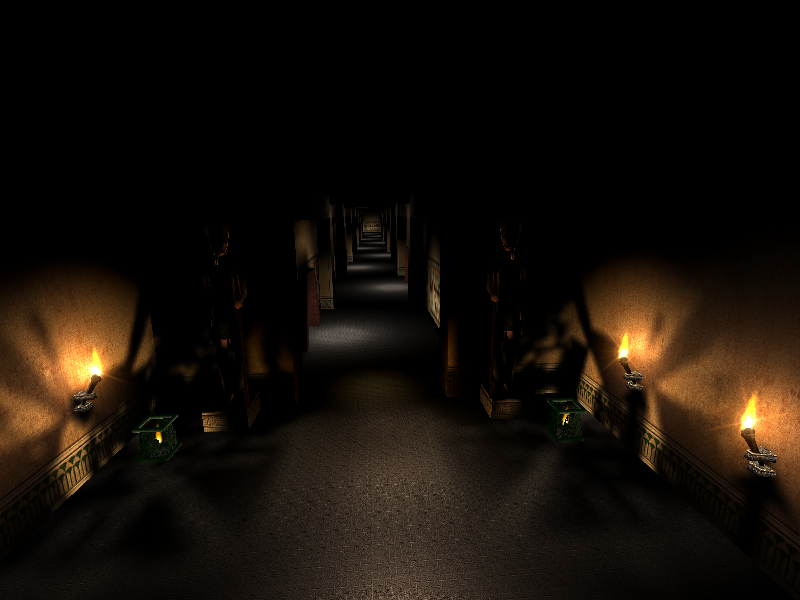
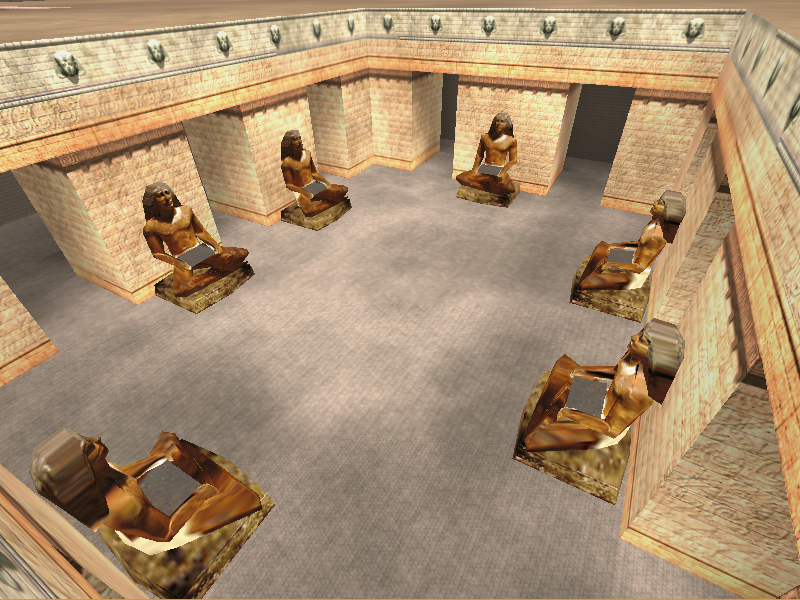
The Technology Test is present in the Evaluation Build, being available from the main menu. It is much the same as the final version, with all of the same test rooms being present and practically identical. It does differ in some ways though, with the main path of the map being decorated with fewer, differently textured arches, fewer statues depicting Sphinxes similar to the Test 1 version, although lower quality, as well as *two* floating shapes, one with the reflective checkerbox texture like in the final, and one with a water effect. The interiors of each temple are also textured differently and feature different statues adorning the entrances. The Temple of Models, unlike the Temple of Effects, uses the same front textures as in the final.
|
Prototype |
Final |
|---|---|
|
|
|
Prototype |
Final |
|---|---|
|
|
|
Prototype |
Final |
|---|---|
|
|
|
Prototype |
Final |
|---|---|
|
|
|
Prototype |
Final |
|---|---|
|
|
Theba (Enter)#
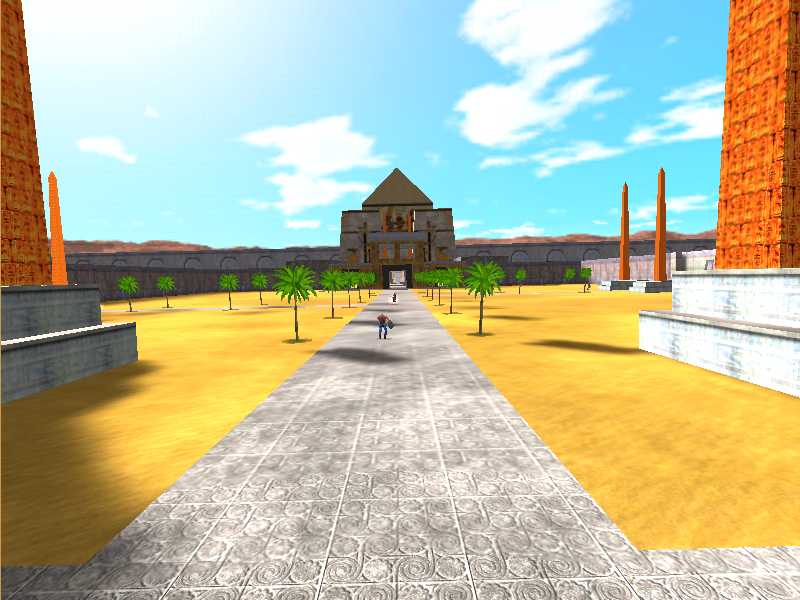
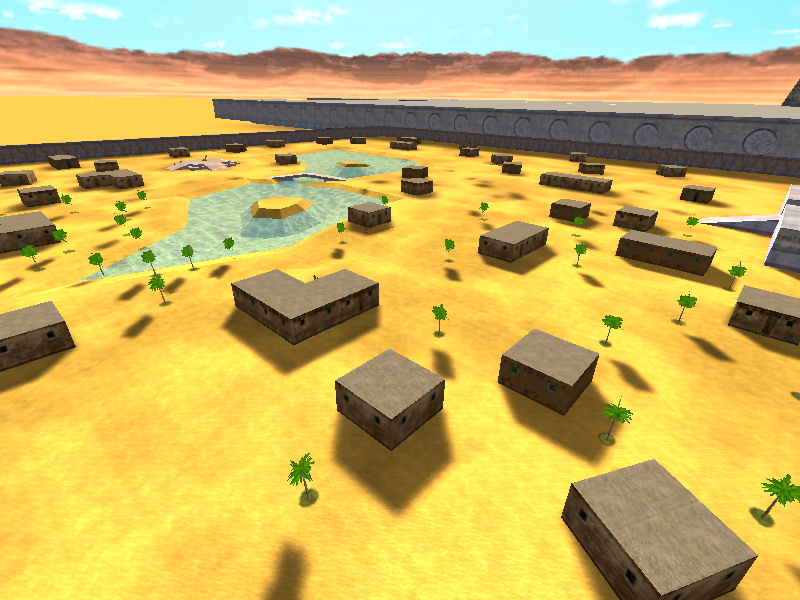
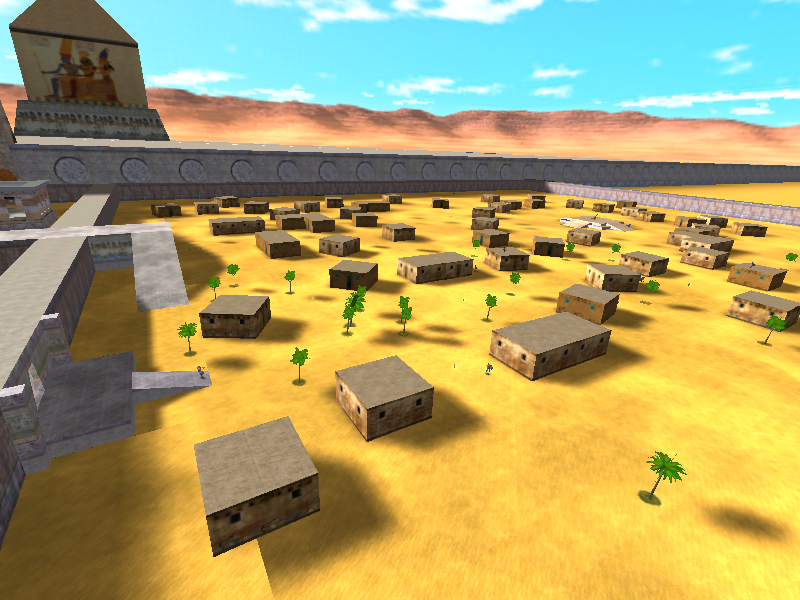
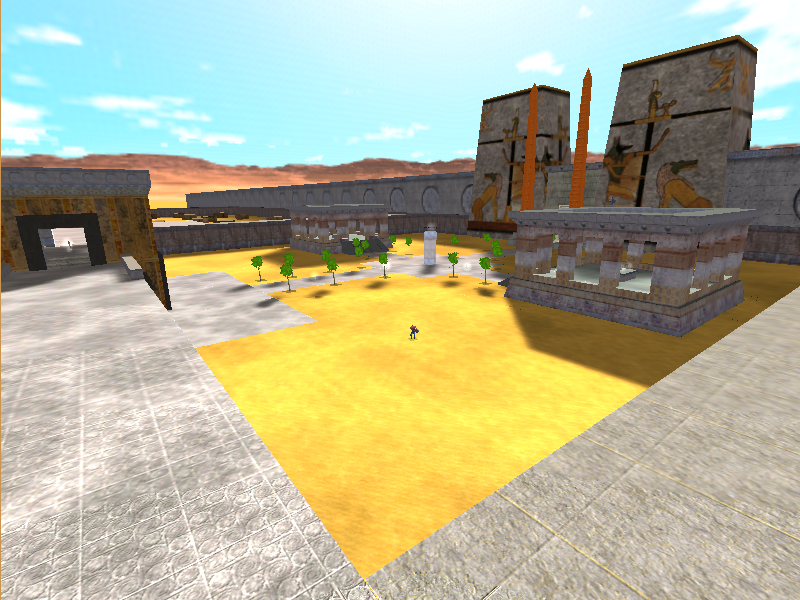
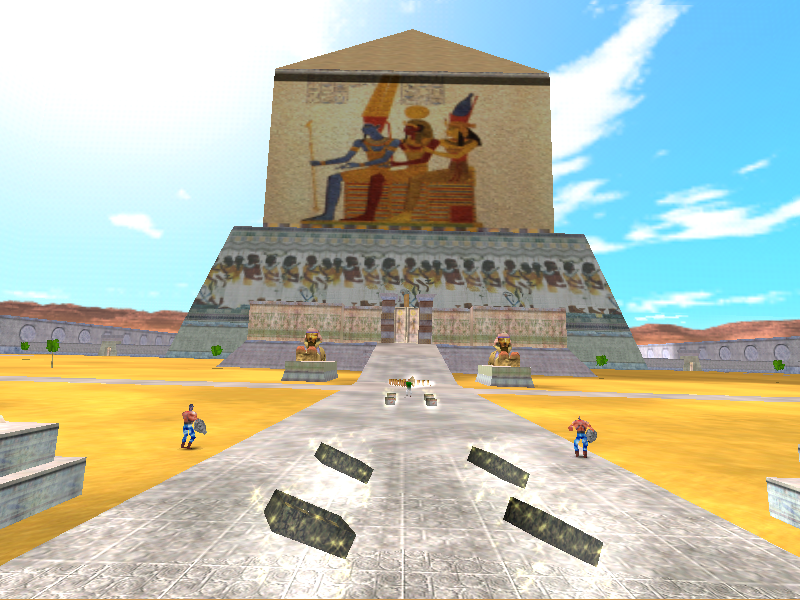
Theba (Enter) is the first map in the level select for the Evaluation Build. It is a short Egypt based level comprised of four sections. The two side sections, necessary for completing the level, have buildings similar to those in the final game's Suburbs level, although not clearly based off of them.
Theba (Middle Yards)#
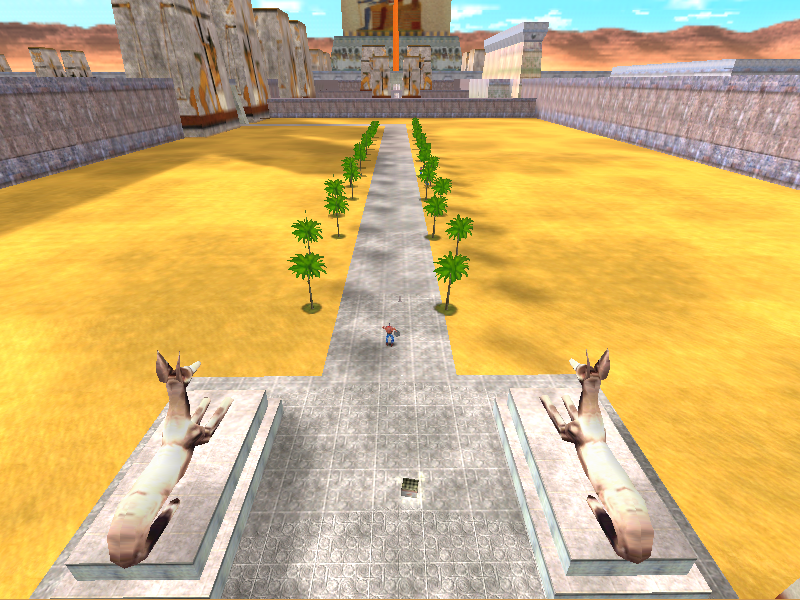
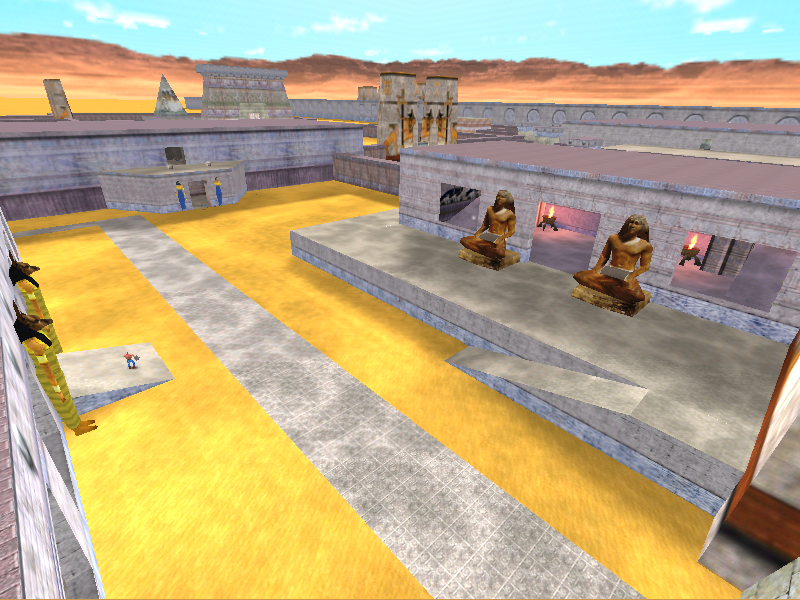
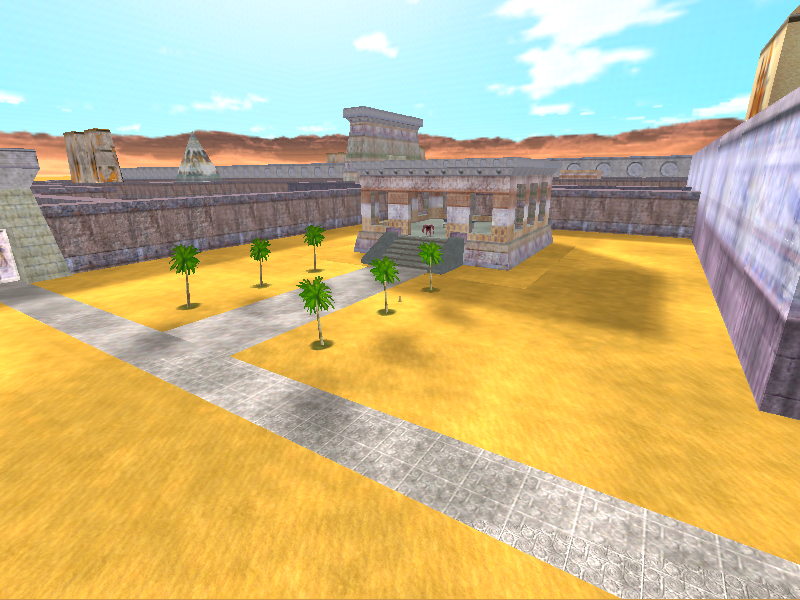
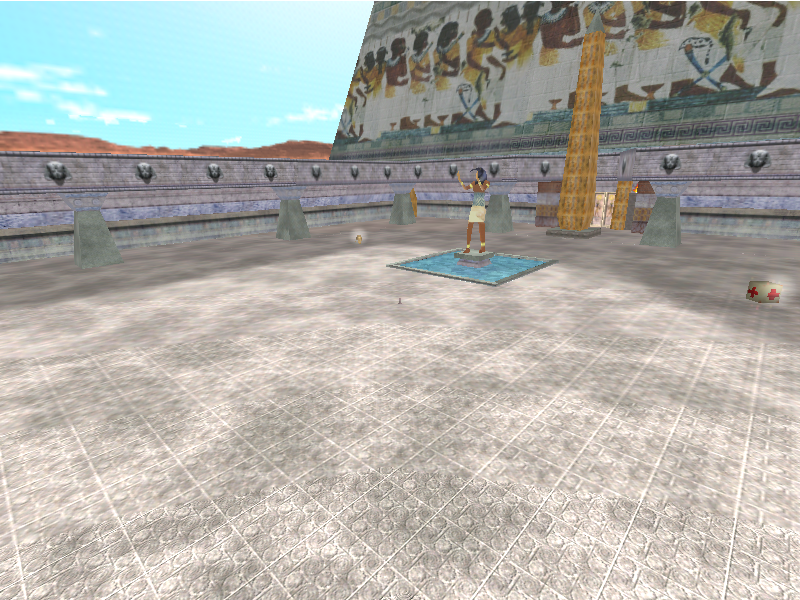
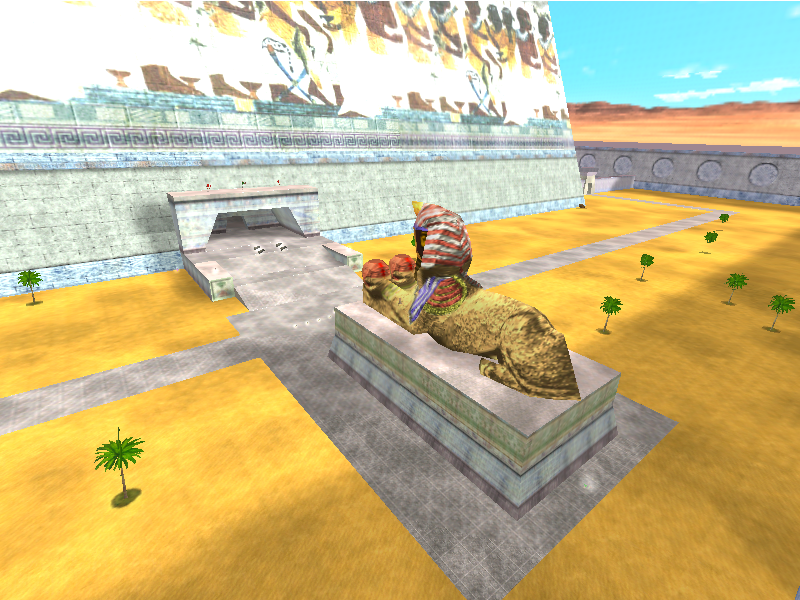
Theba (Middle Yards) is the second map in the level select for the Evaluation Build and can be entered directly from the end of Theba (Enter). It is a large outdoor Egypt based level, featuring a large assortment of arenas.
Theba (Obelisk Yard)#
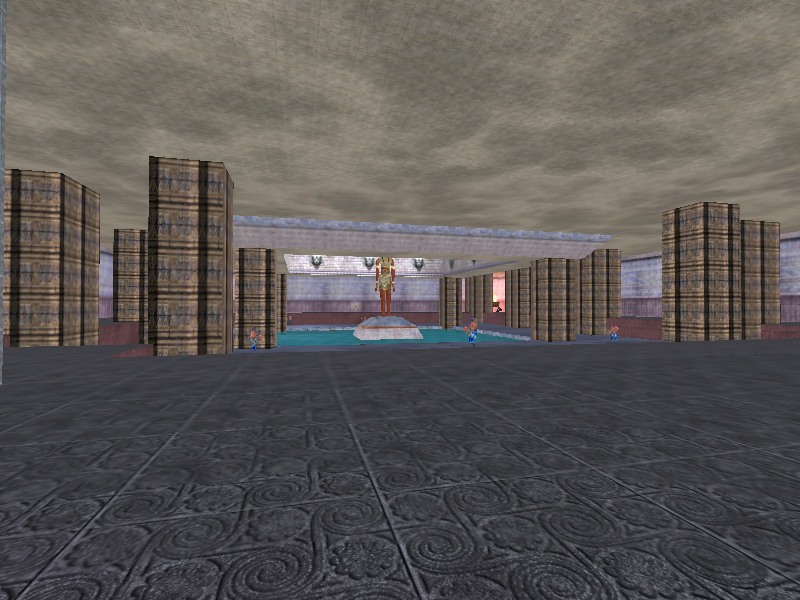
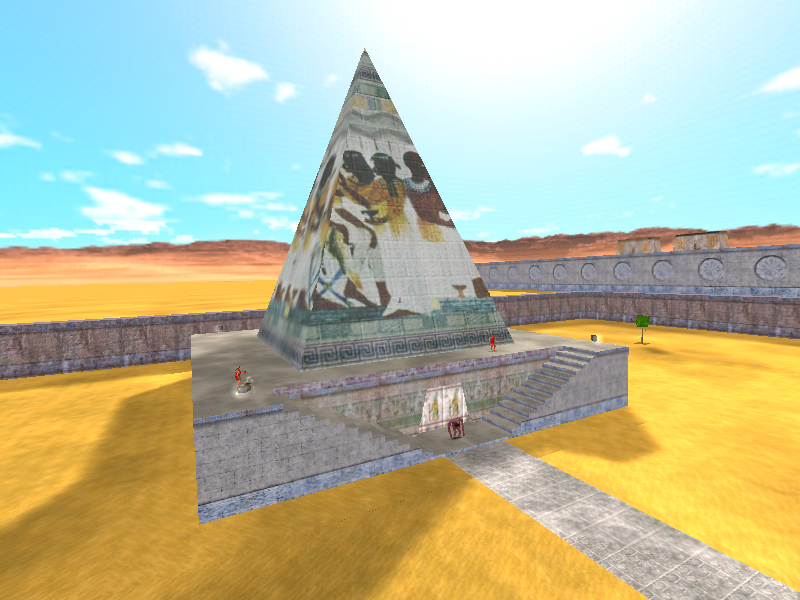
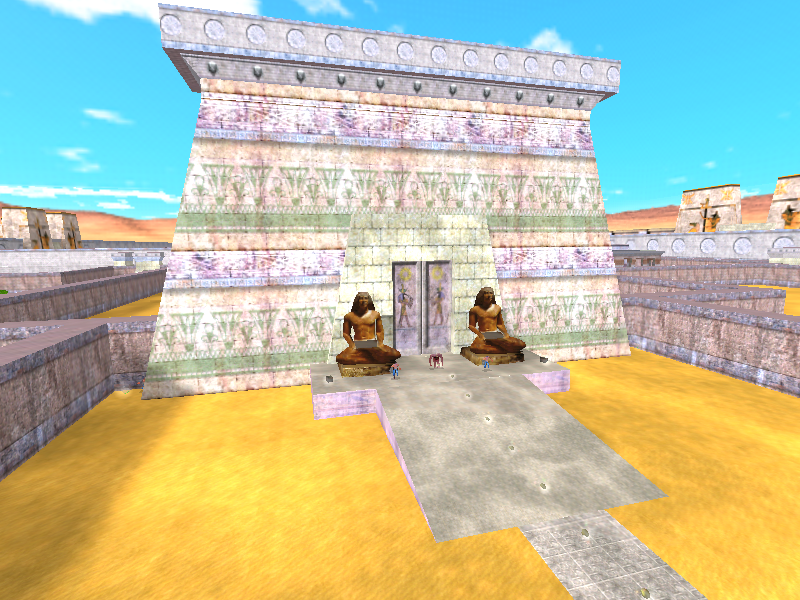
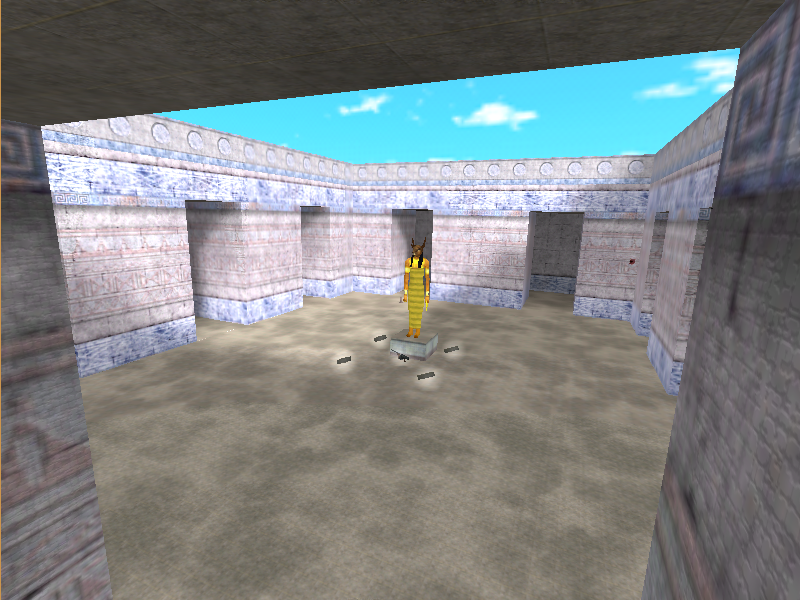
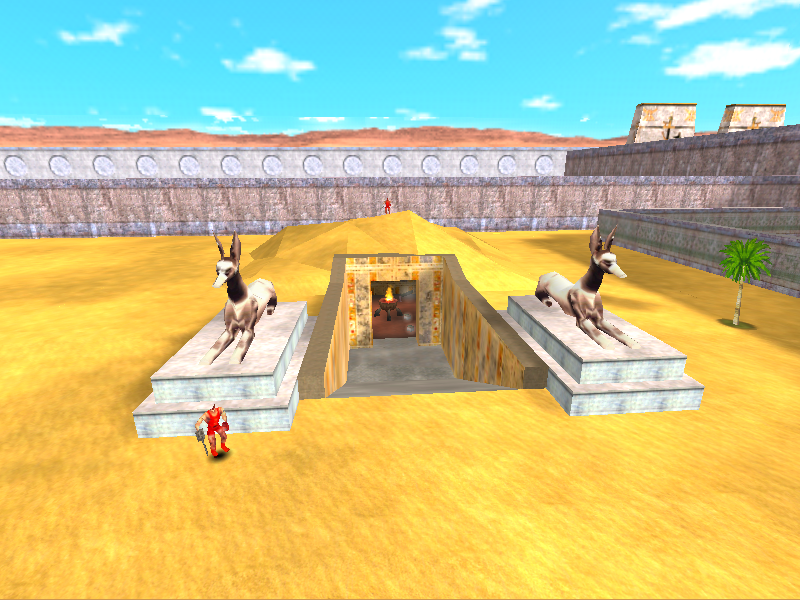
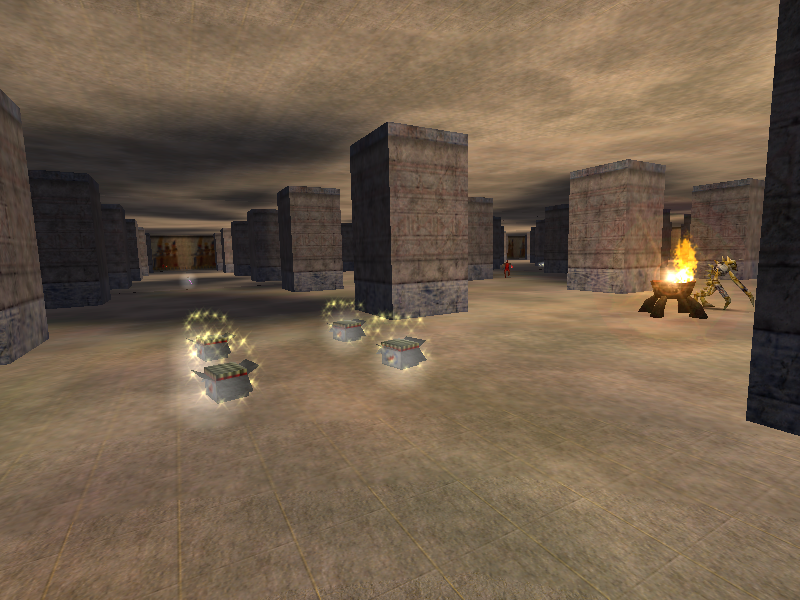
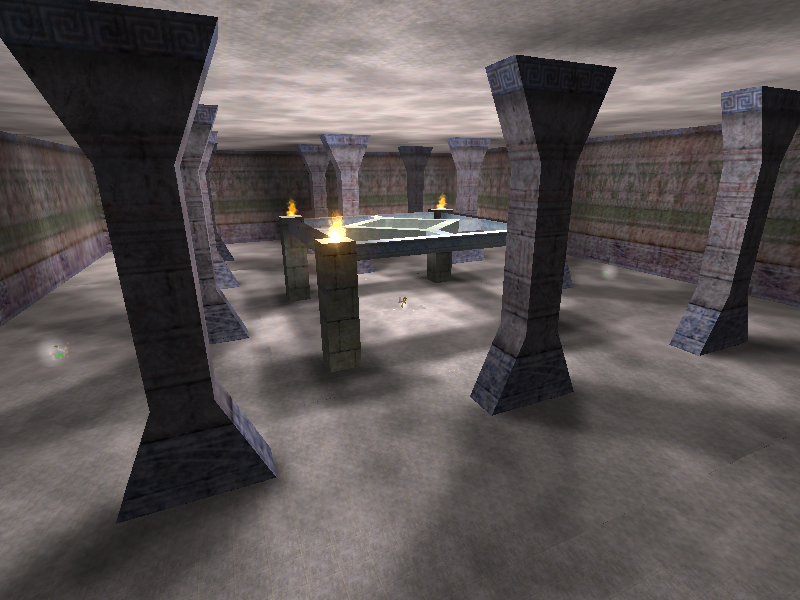
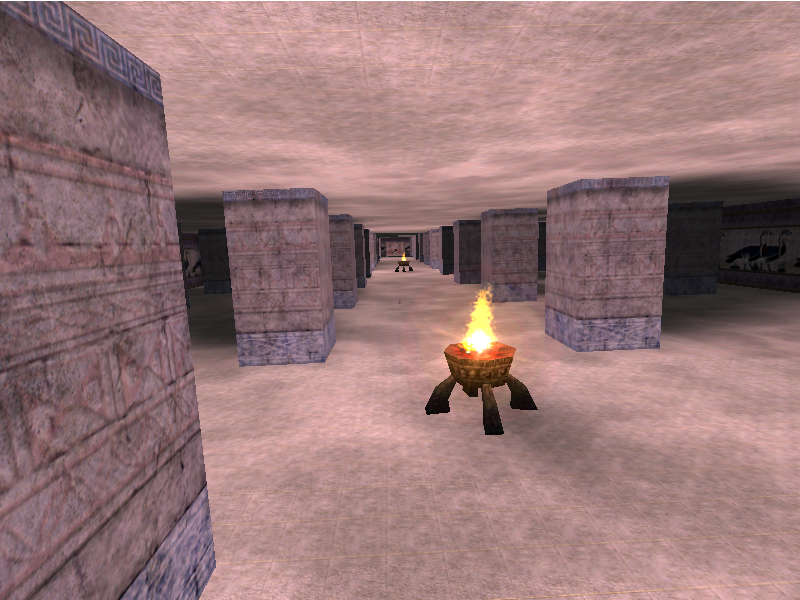
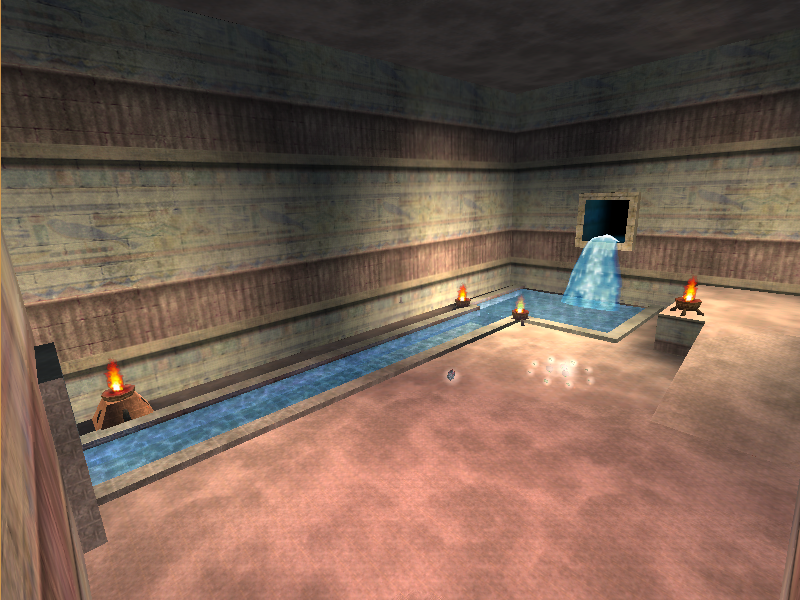
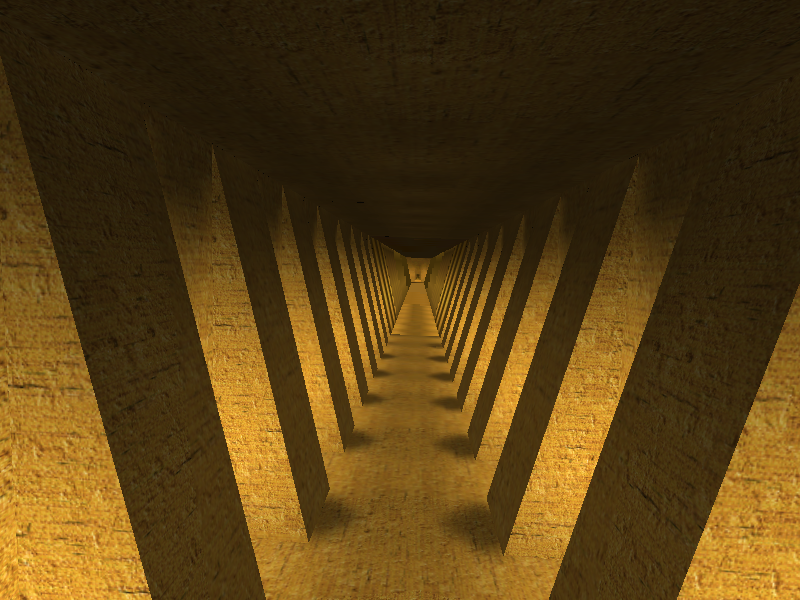
Theba (Obelisk Yard) is the third map in the level select for the Evaluation Build and can be entered directly from the end of Theba (Middle Yards). It is a medium Egypt based level, based around a large building. The interior of the building is fairly maze-like and very heavy on pillars. The level ends with a stream of water meant to be followed by the player.
King Valley#
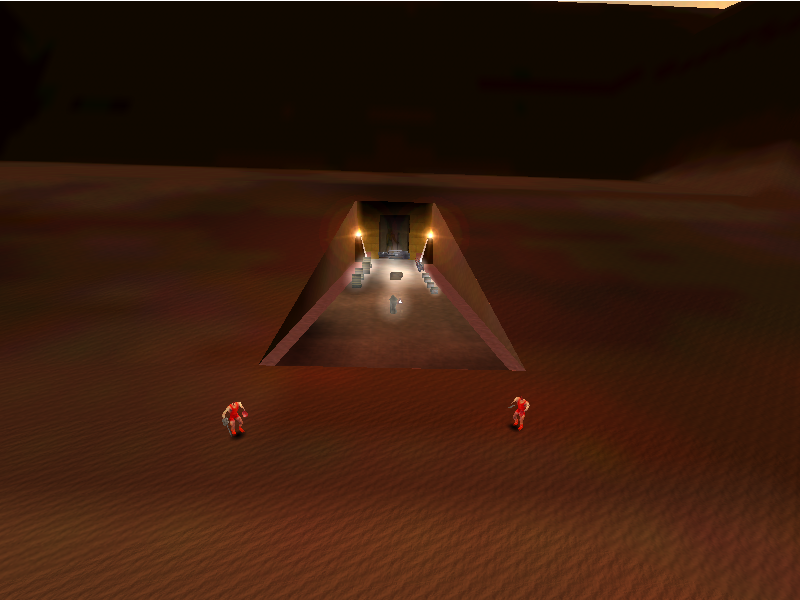
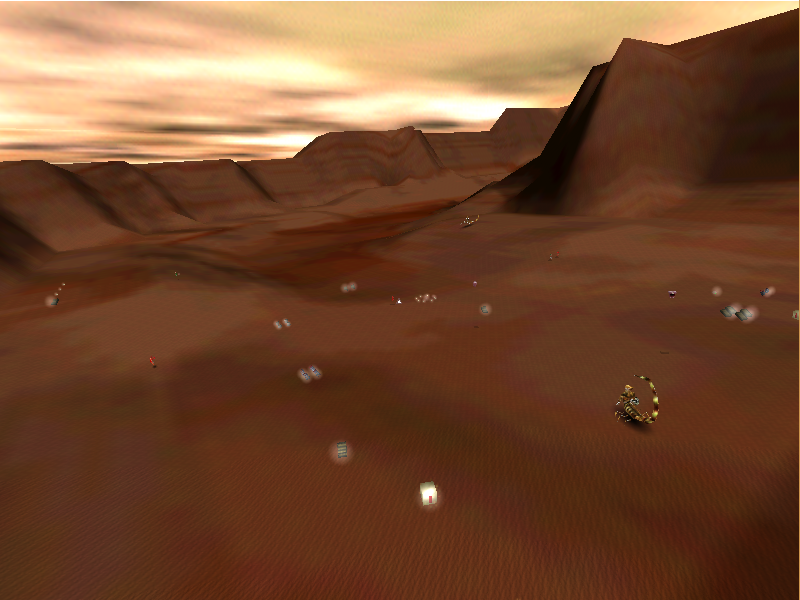
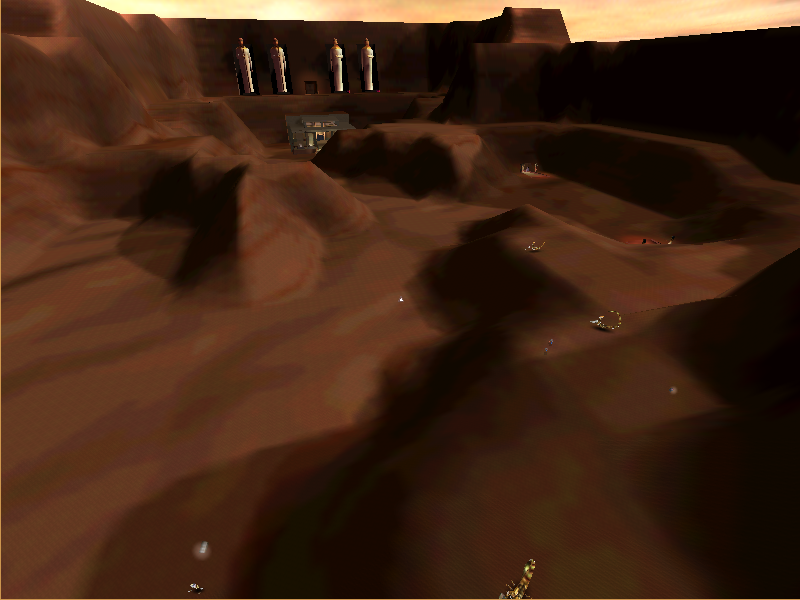
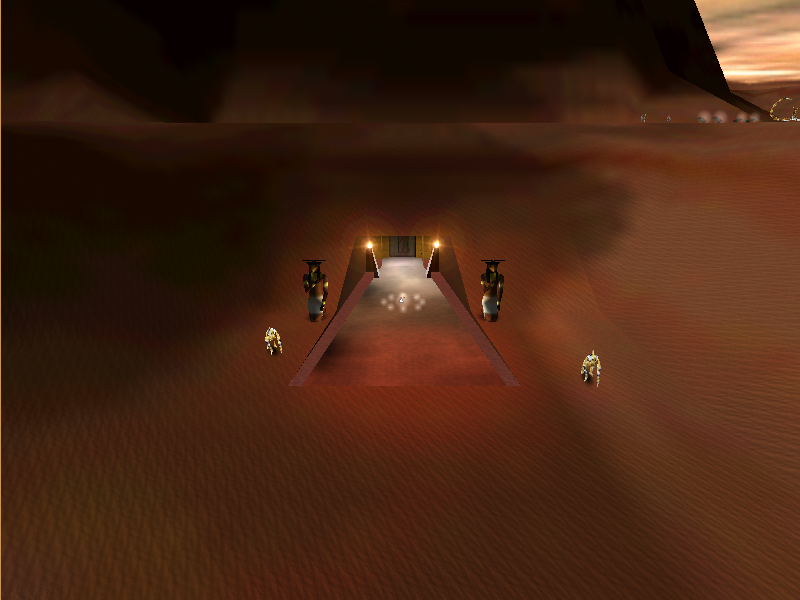
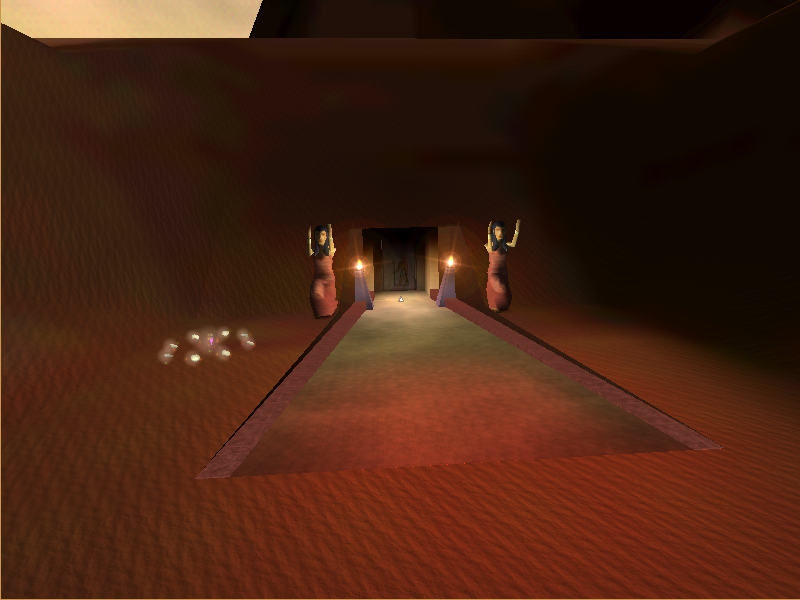
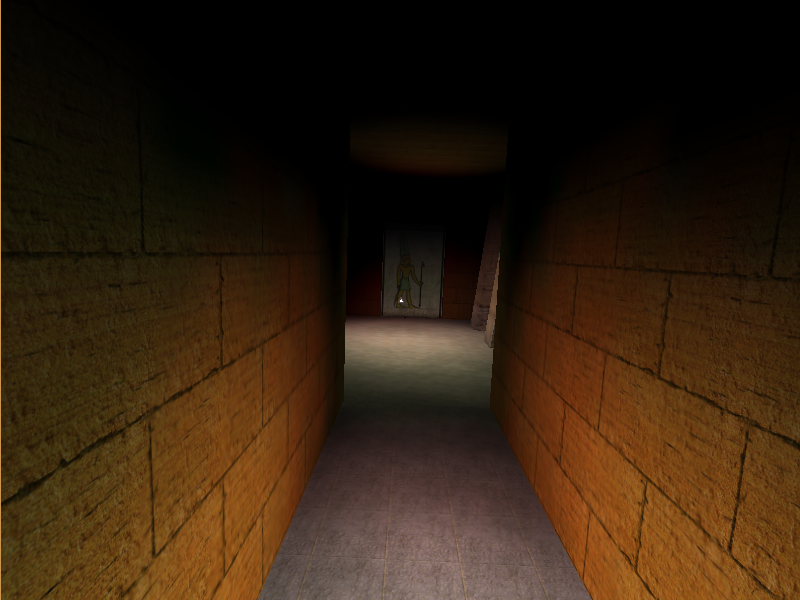
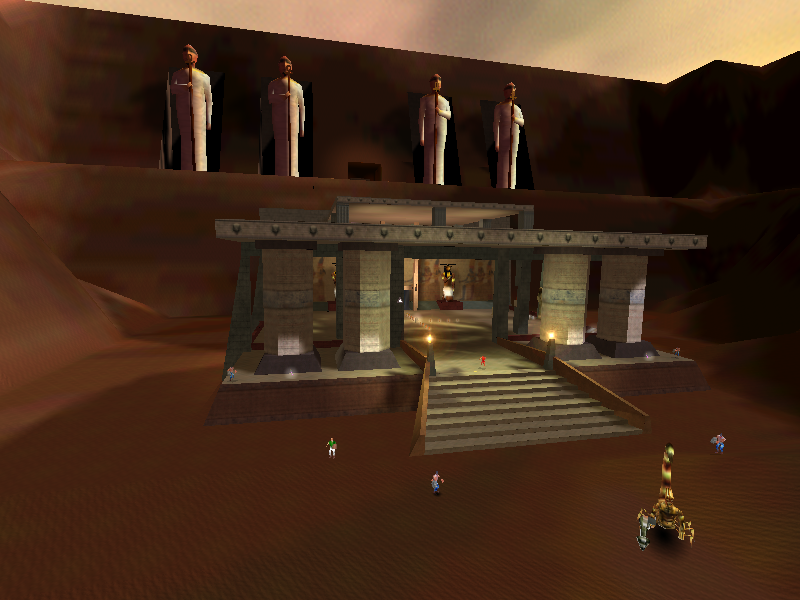
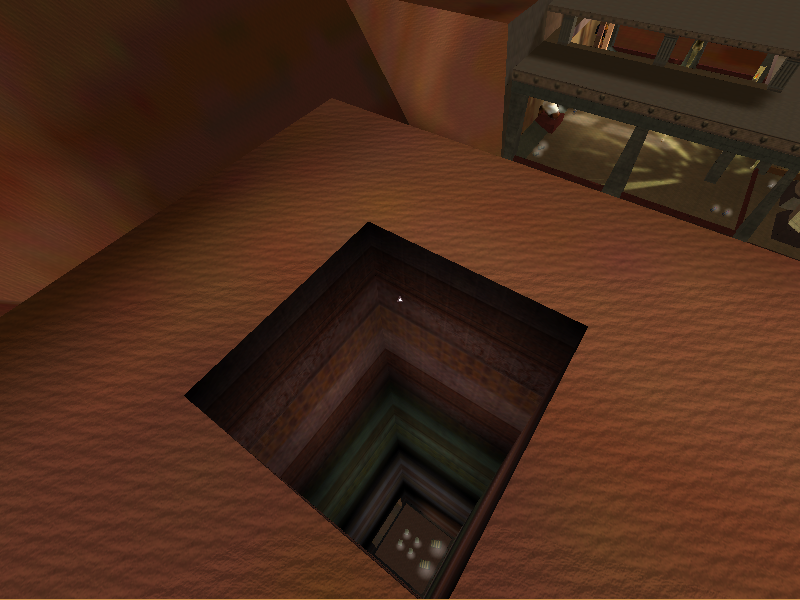
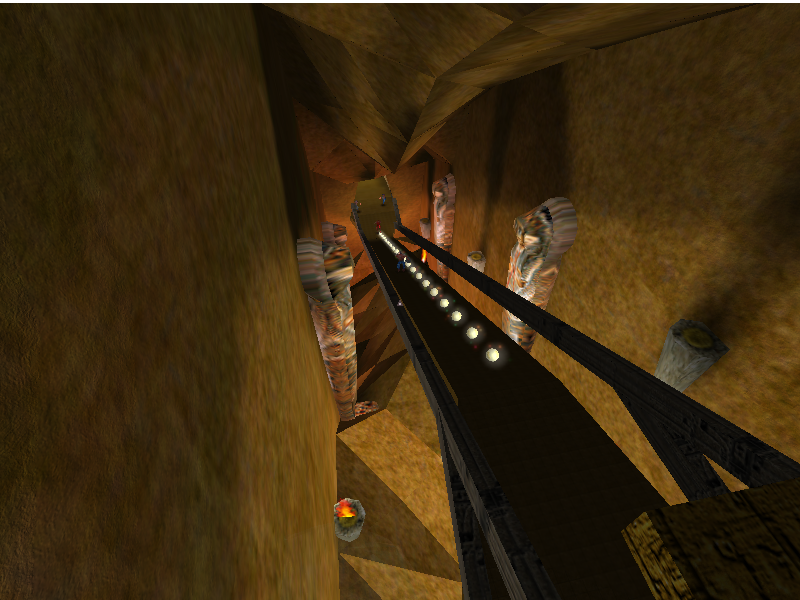
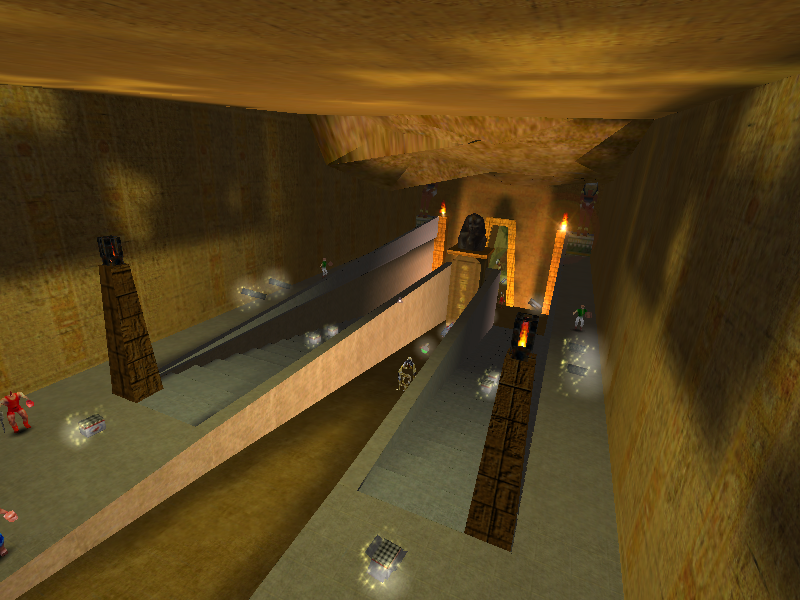
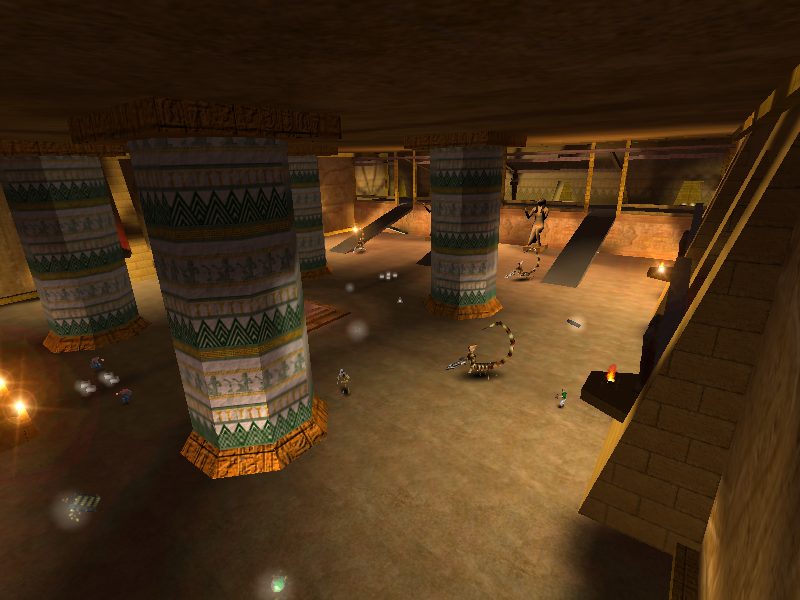
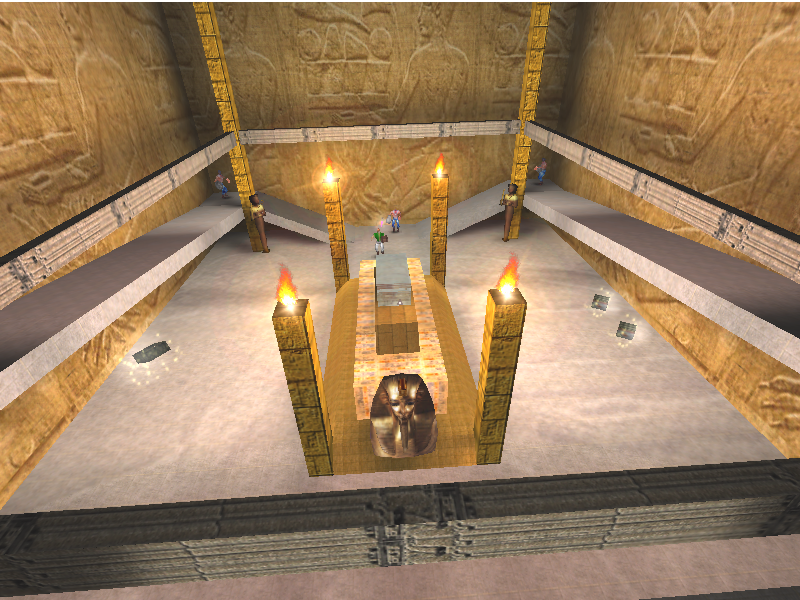
King Valley is the fourth map in the level select for the Evaluation Build. It shares very little with the final game's Valley of the Kings. King Valley is a very interesting map, serving as a hub that connects to three maps naturally, Tomb of Menes, Tomb of Ramses II and King Valley (Exit), as well as connecting to the hidden level Secret Tomb. The three tombs are accessed near the centre of the valley, via different passageways into the ground, and all three of the tombs can be loaded into and back out into King Valley, which is not a concept used in the final game. Once the two non-secret tombs are completed, access to the end of the level is granted and you are able to continue to King Valley (Exit).
Tomb of Menes#
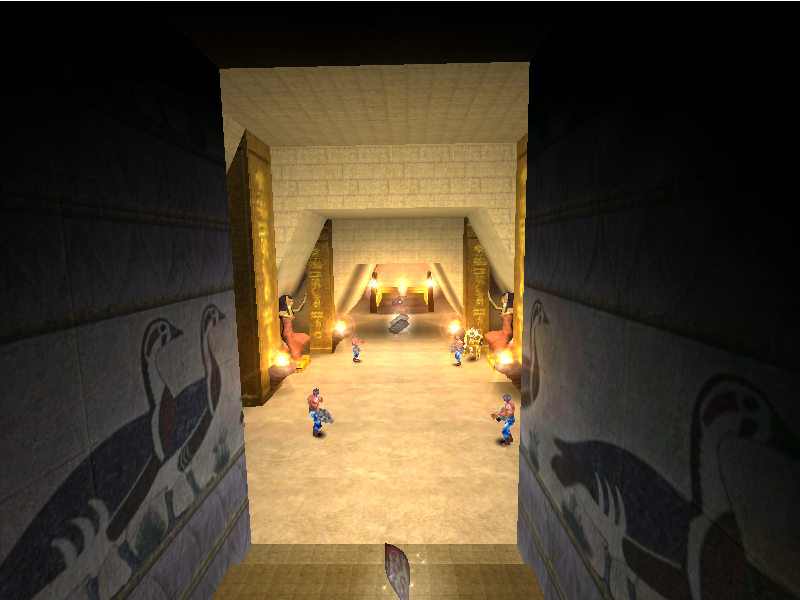
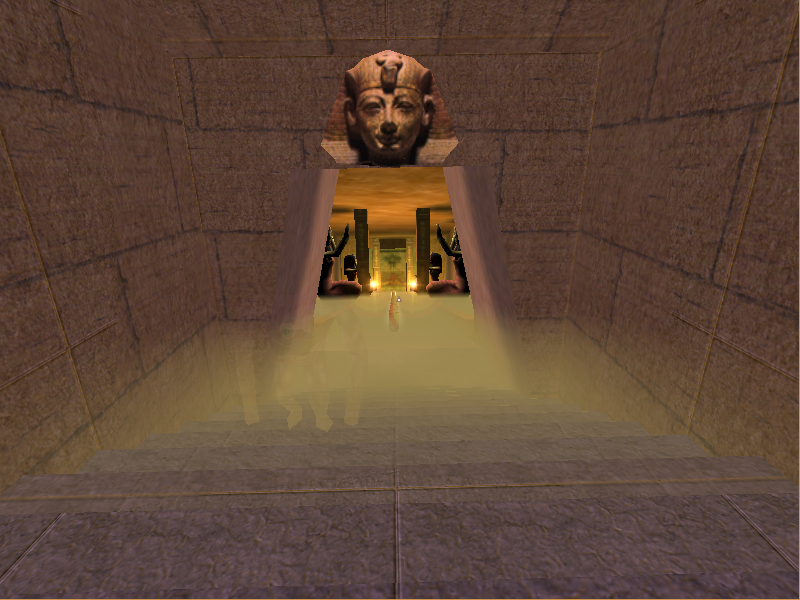
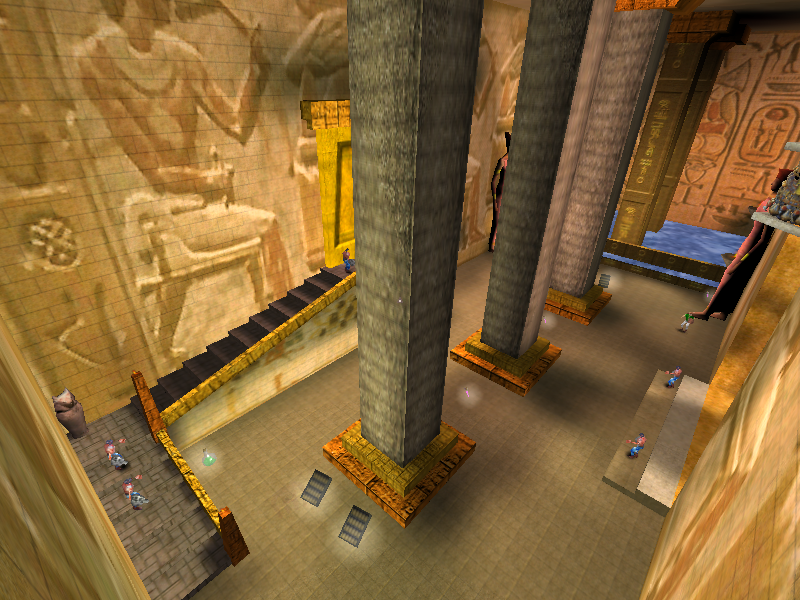
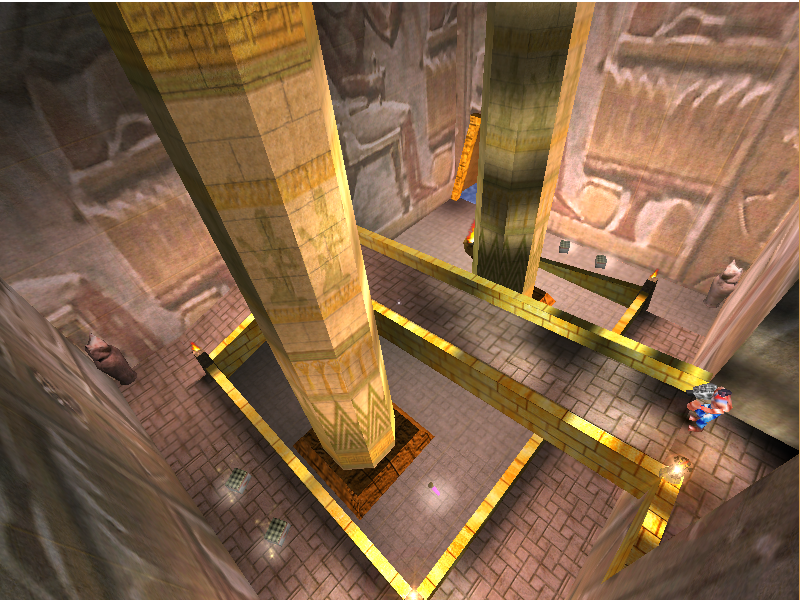
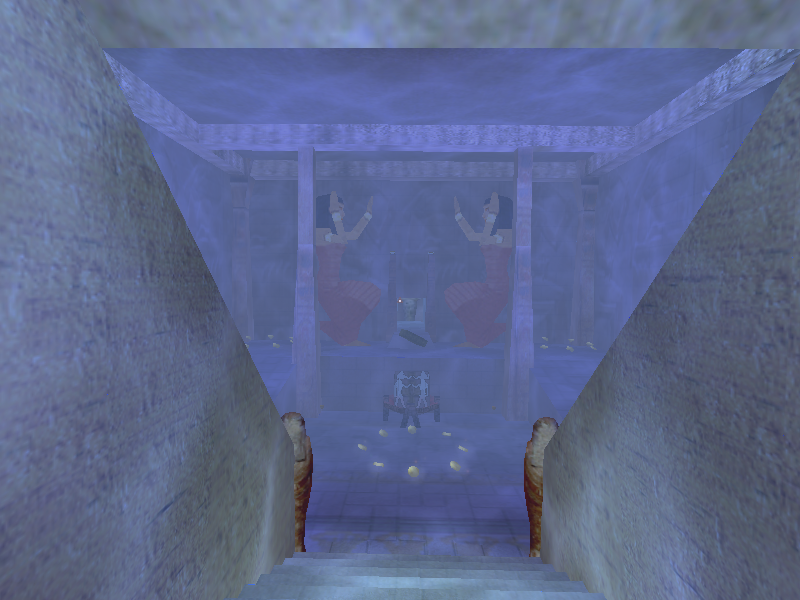
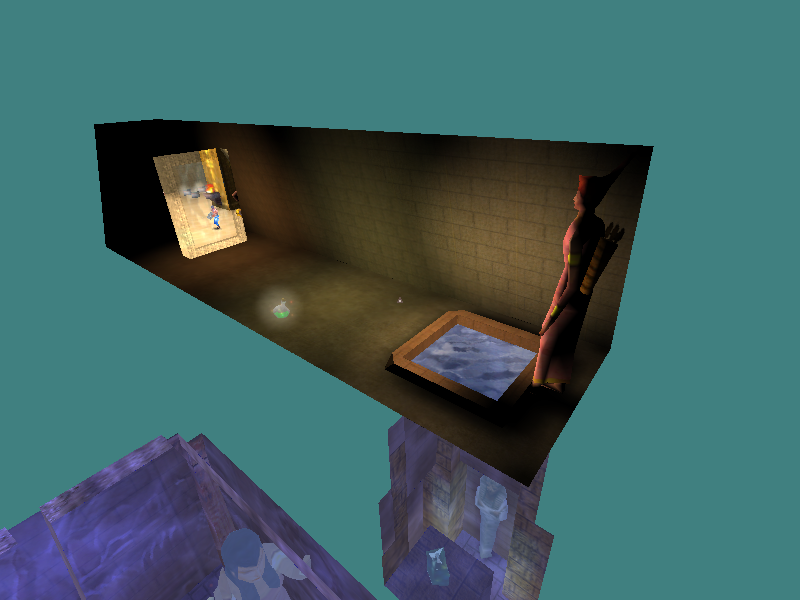
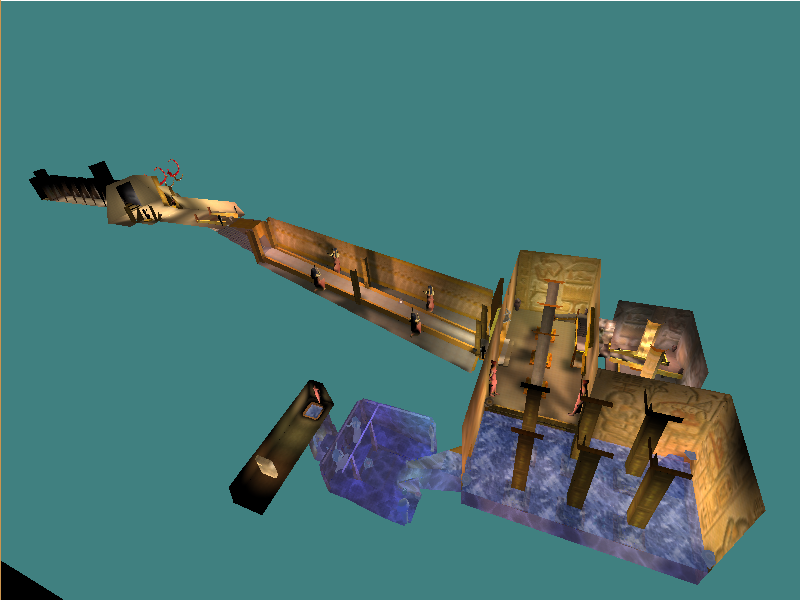
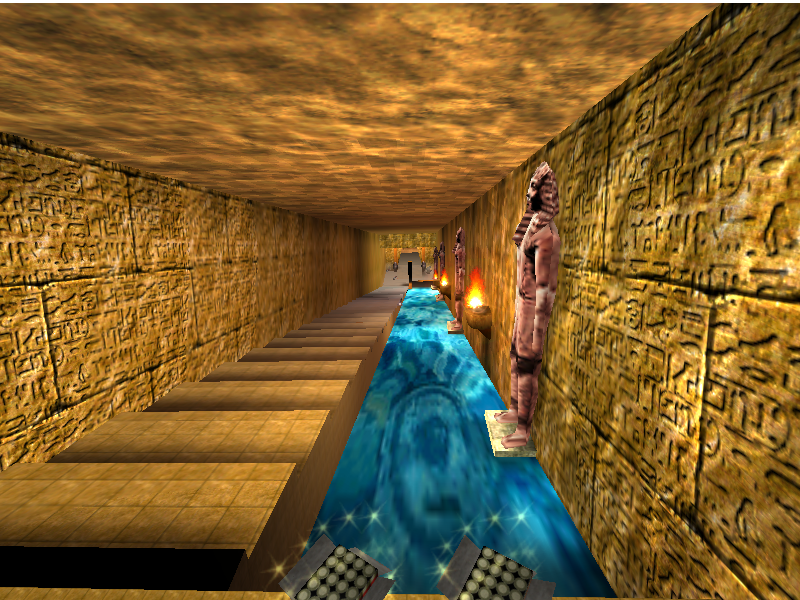
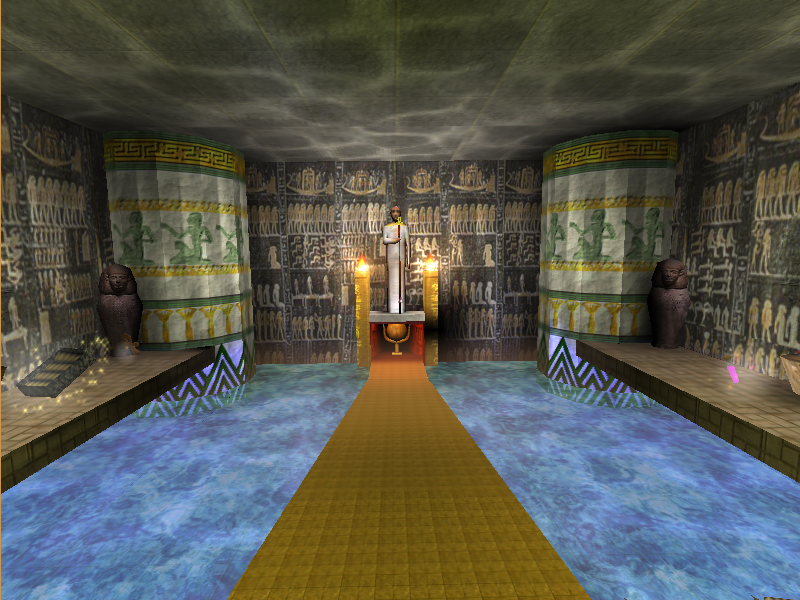
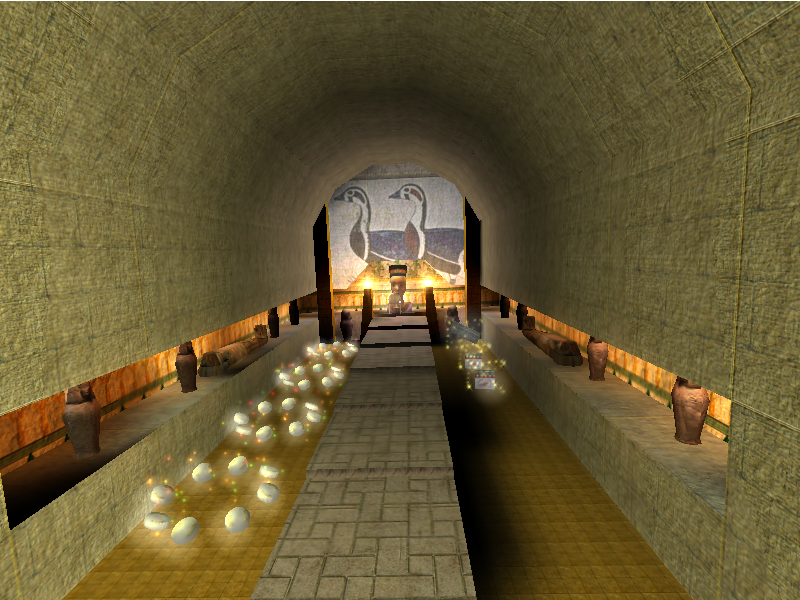
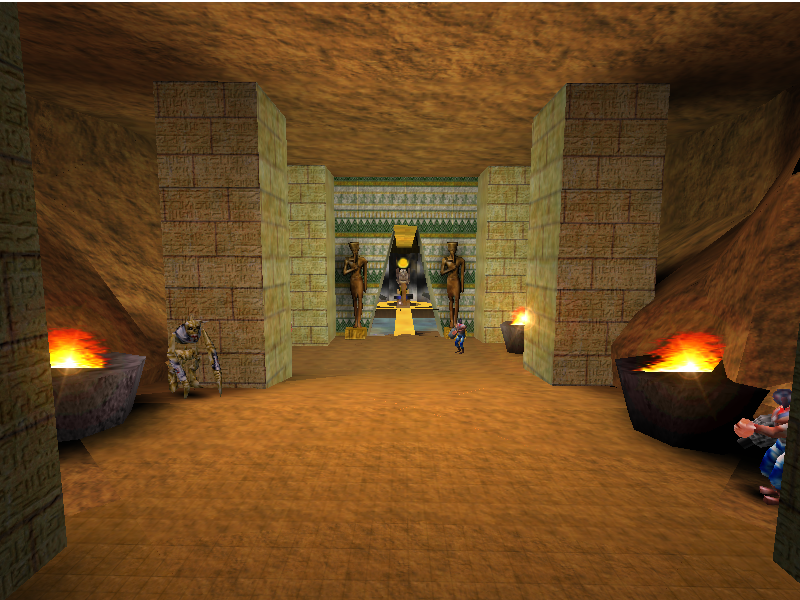
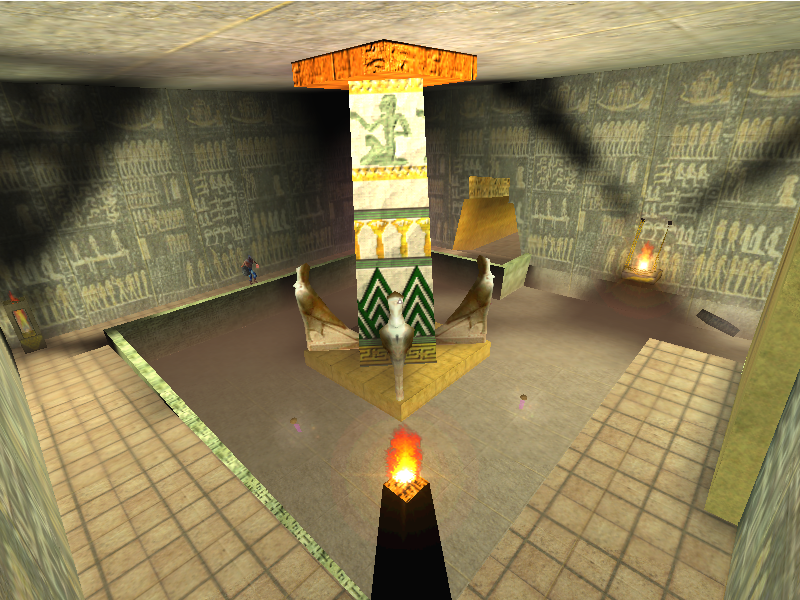
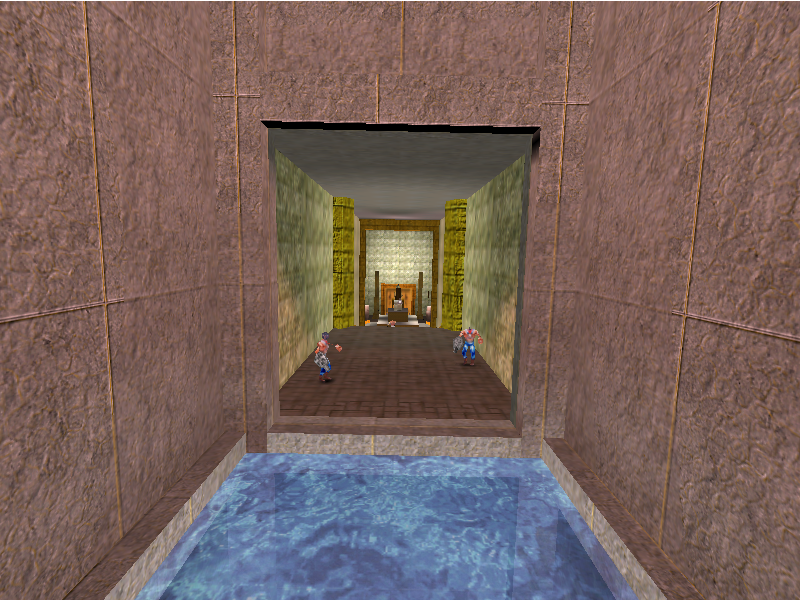
Tomb of Menes is the fifth map in the level select for the Evaluation Build and can be directly entered from King Valley. It's a short Tomb level with an underwater section. It eventually loops back on itself via a portal to allow easy reentry into King Valley.
Tomb of Ramses II#
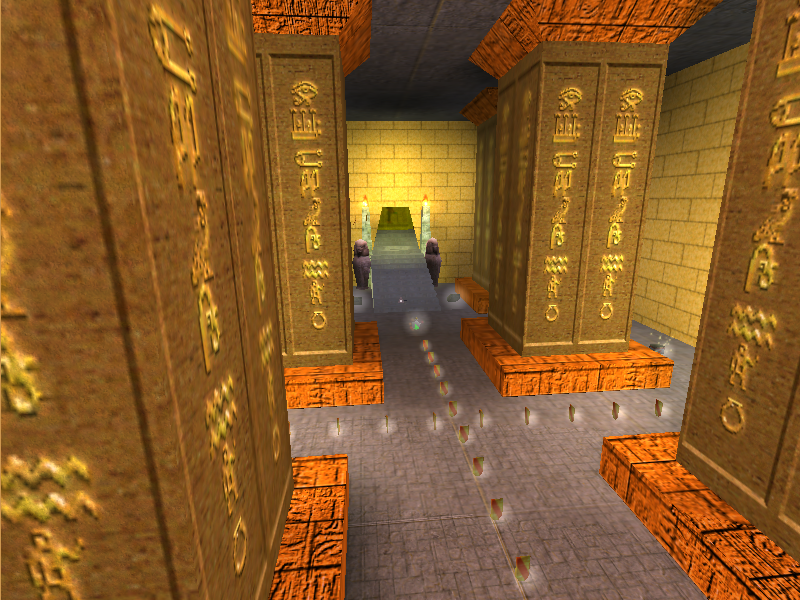
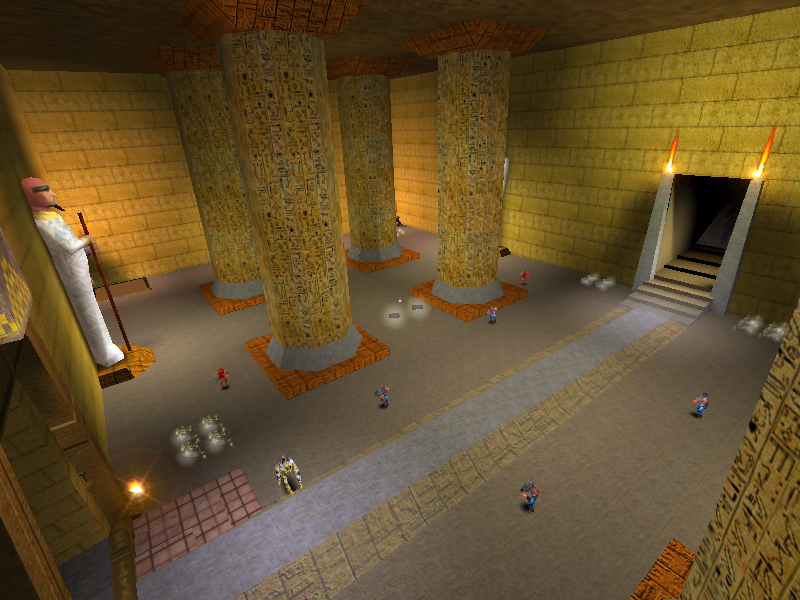
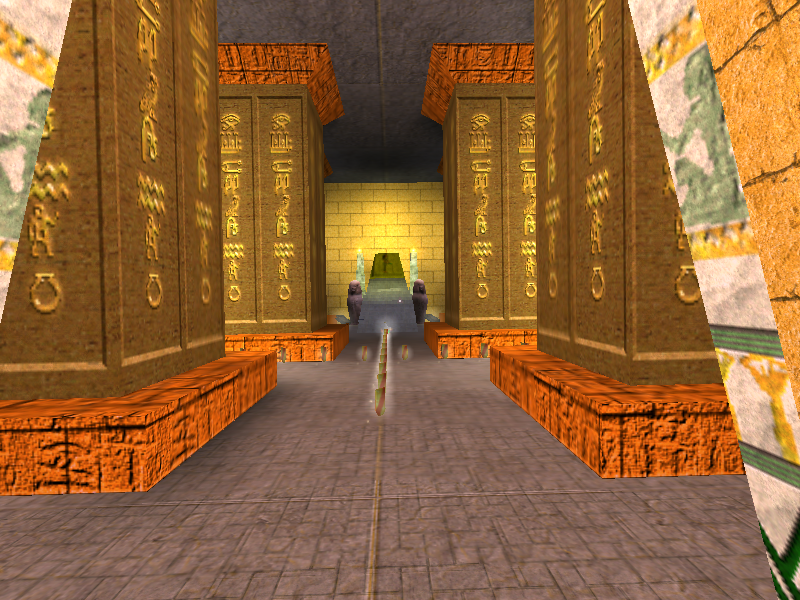
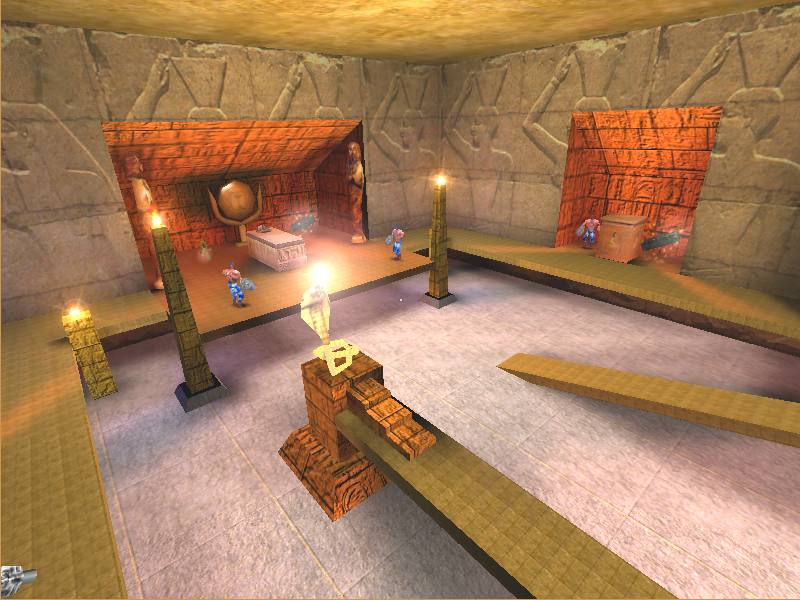
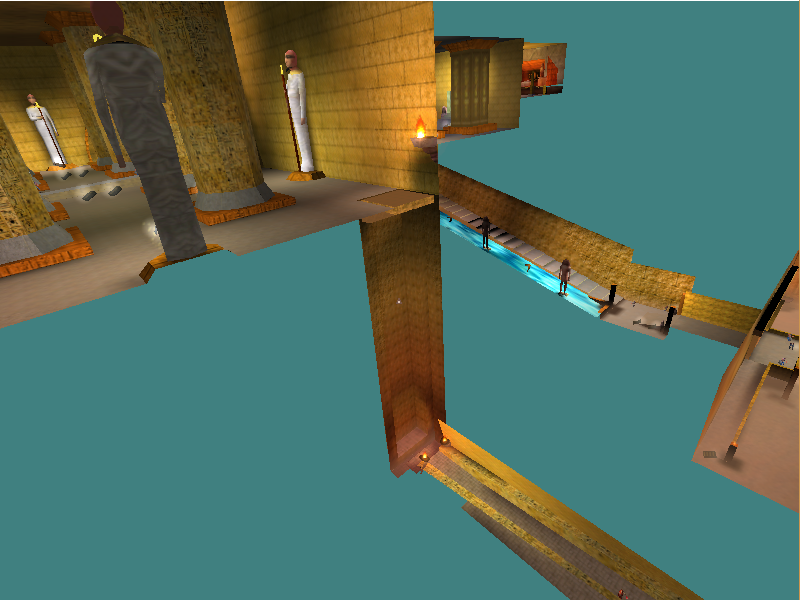
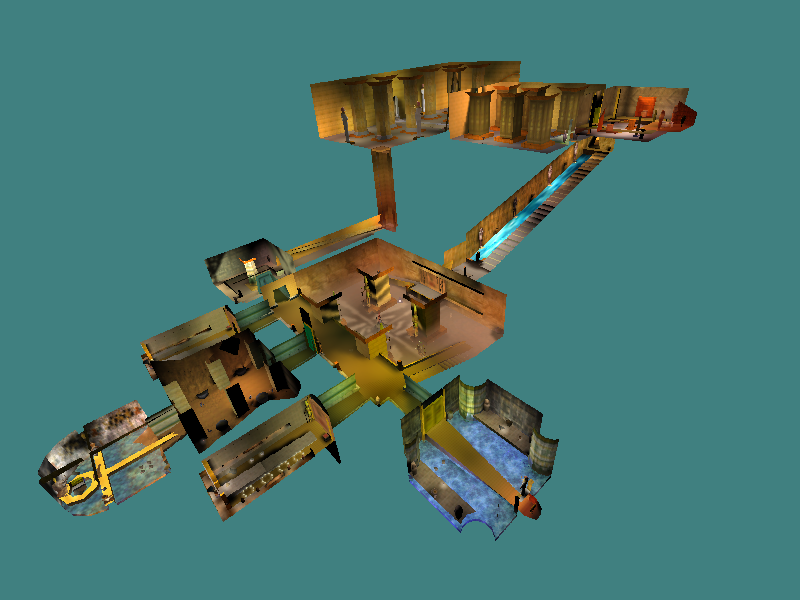
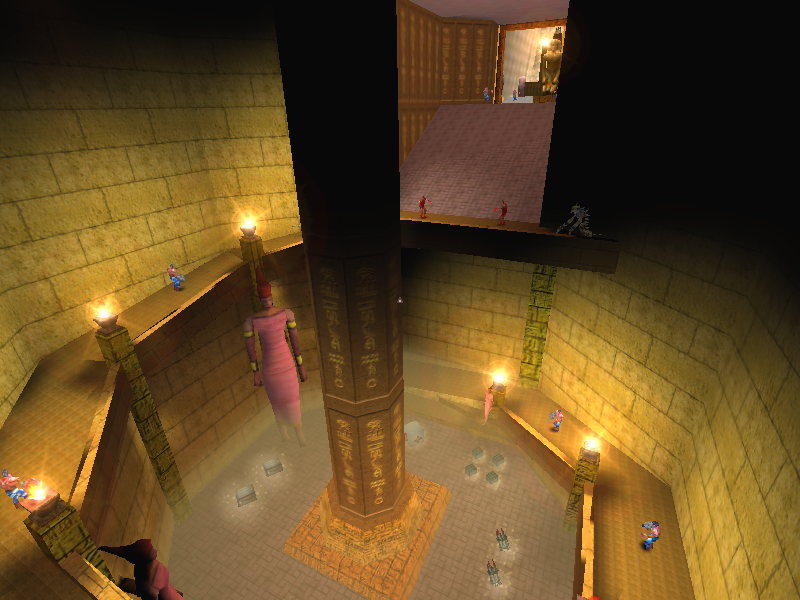
Tomb of Ramses II is the sixth map in the level select for the Evaluation Build and can be directly entered from King Valley. It has no resemblance to the Tomb of Ramses level in the final game. It's a medium-sized tomb level that ends in an elevator back into the beginning room, allowing for easy reentry into King Valley.
Secret Tomb#
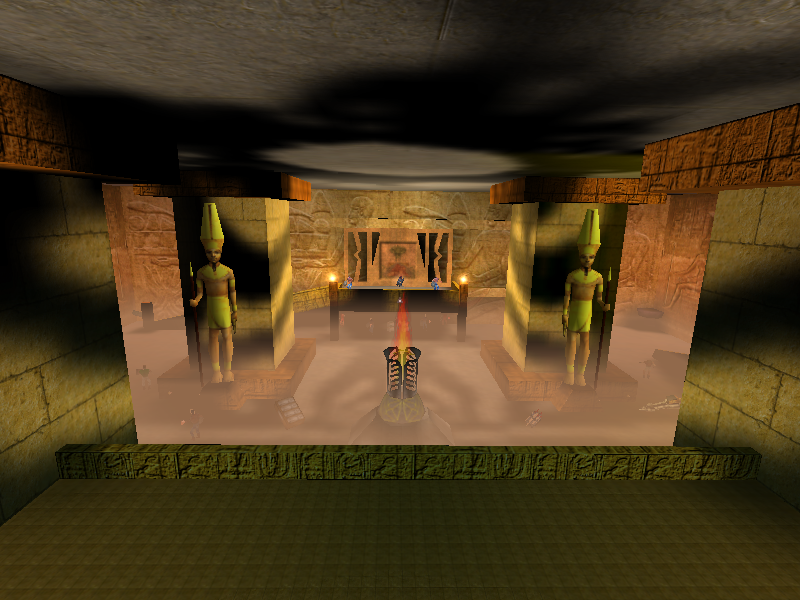
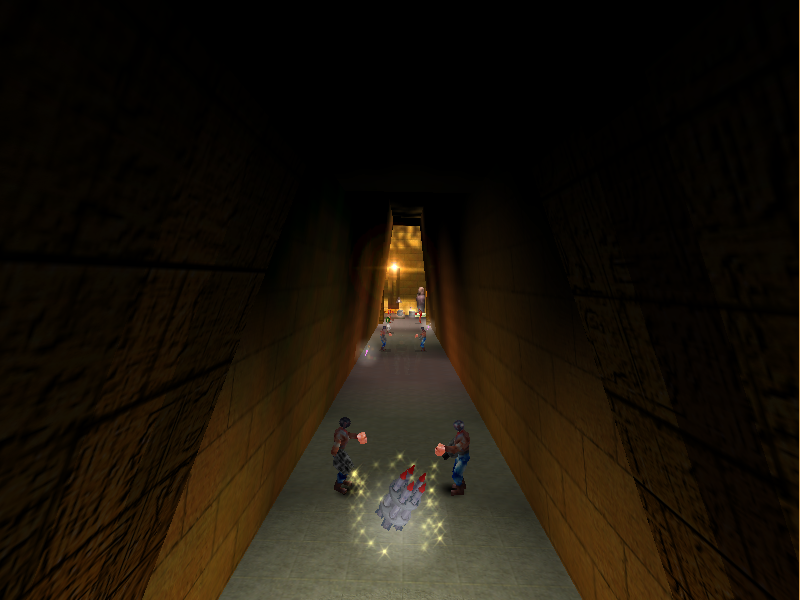
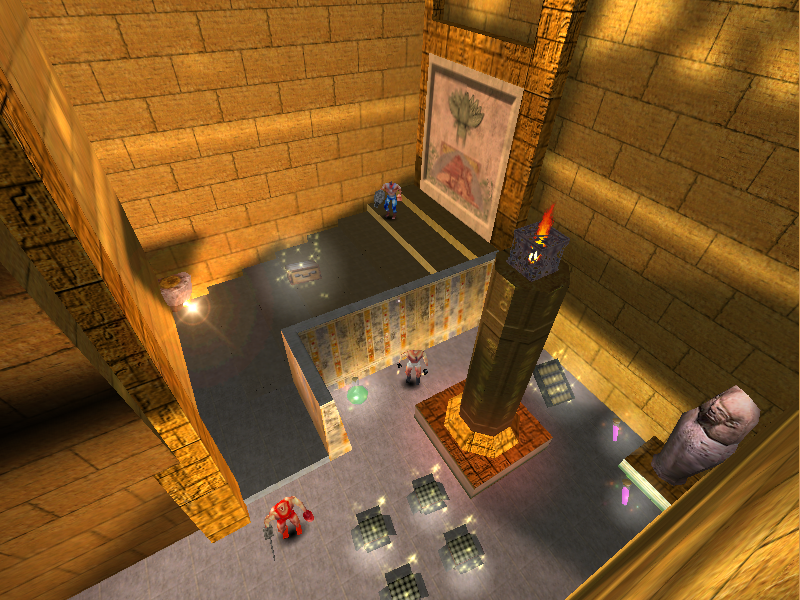
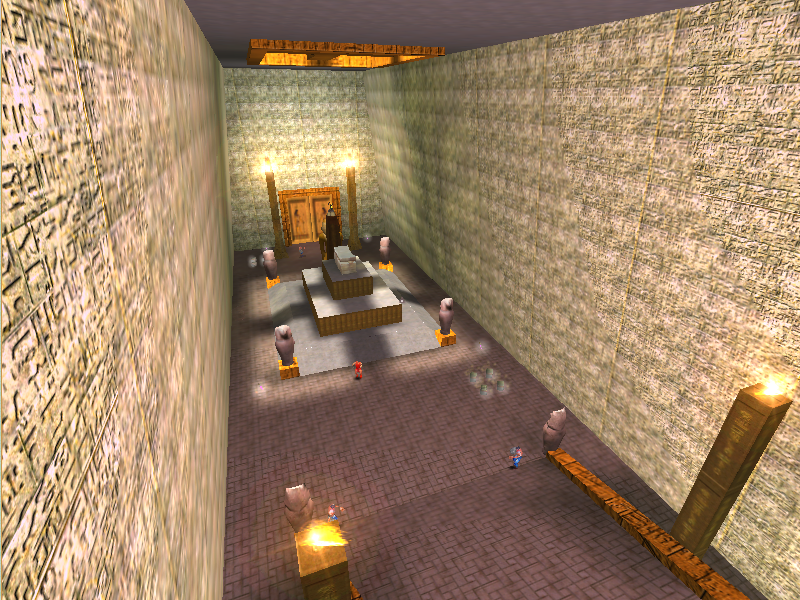
Secret Tomb is the seventh map in the level select for the Evaluation Build and can be directly entered via a secret passage in King Valley. It is a small tomb level. It ends in a portal back to the beginning room, allowing for easy reentry into King Valley.

King Valley (Exit)#
King Valley (Exit) is the eighth map in the level select for the Evaluation Build. It is a small tomb level originally intended to serve as a transition at the end of the King Valley hub of levels.

Karnak (Enter)#
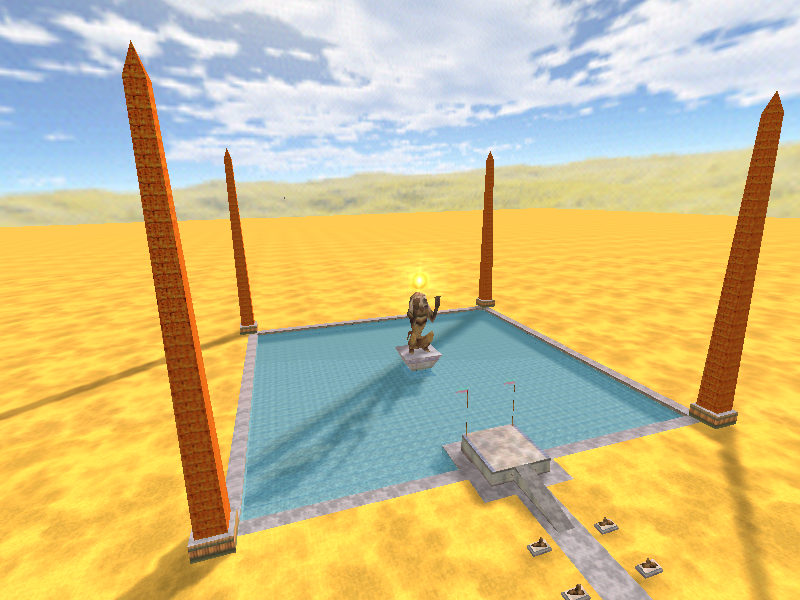
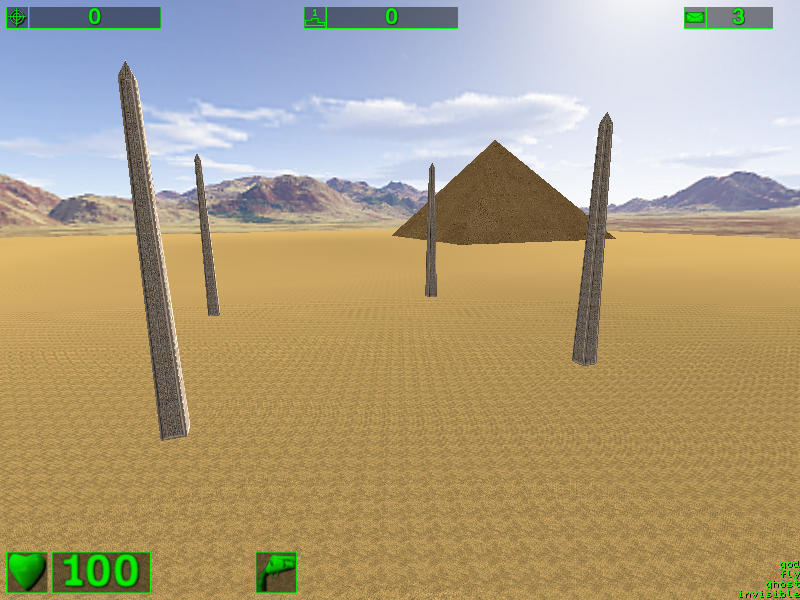
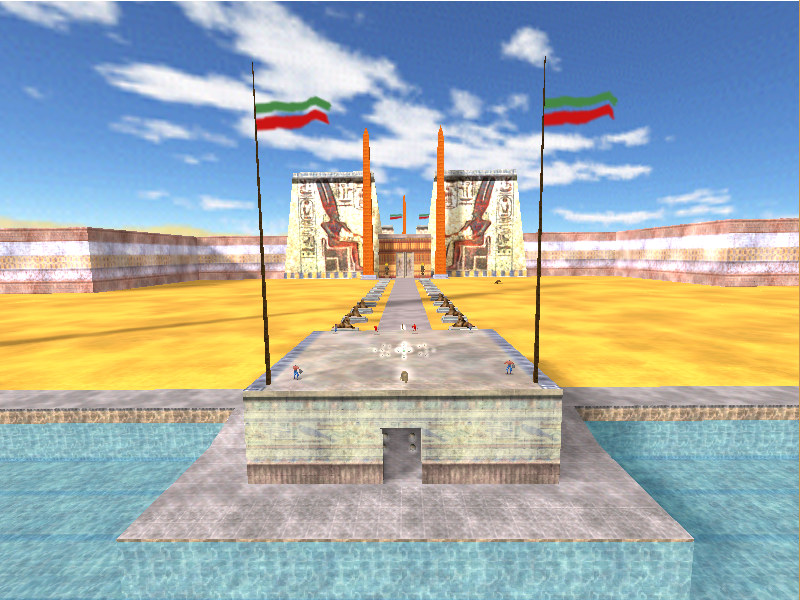
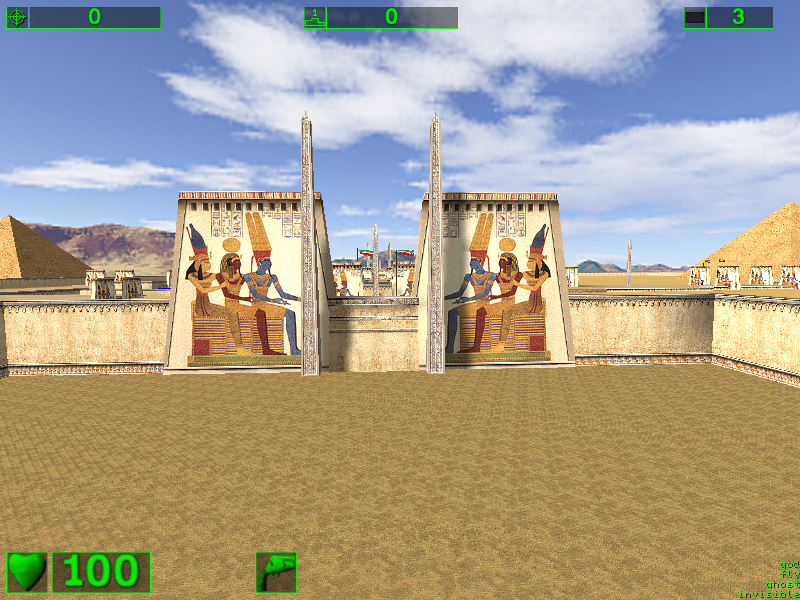
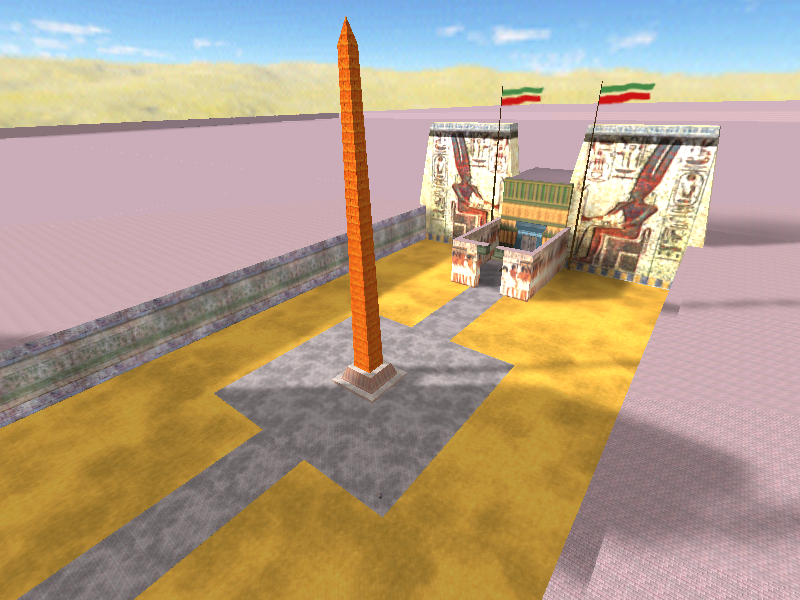
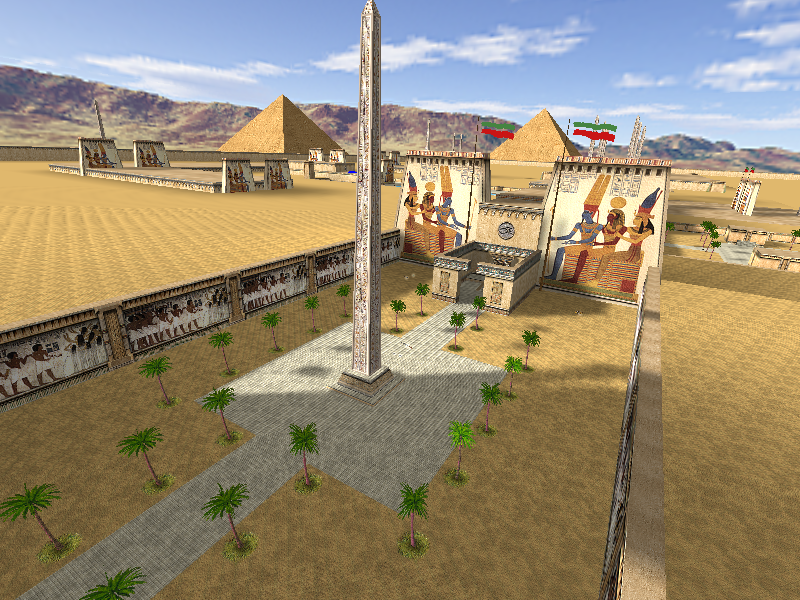
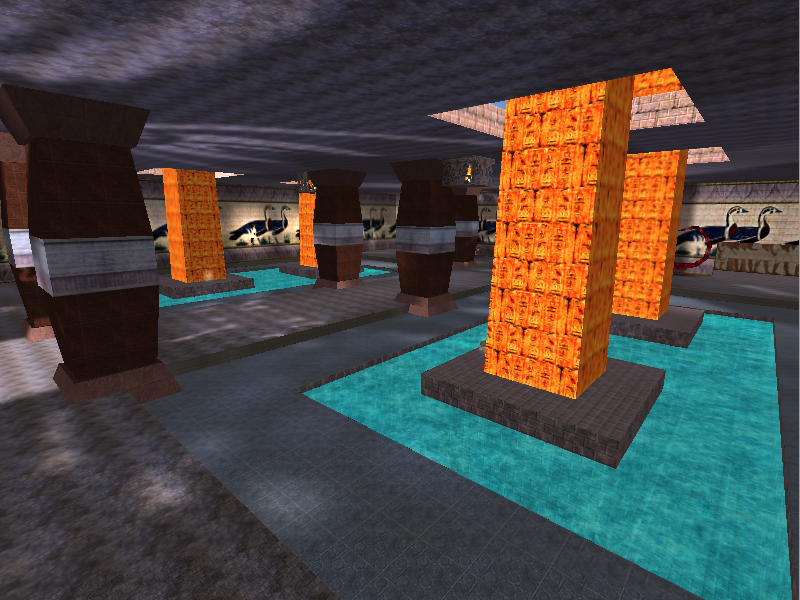
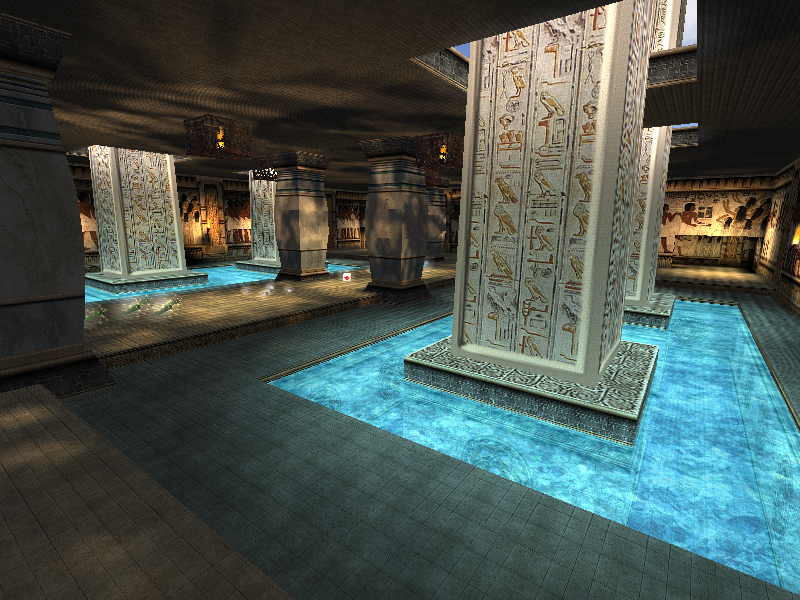
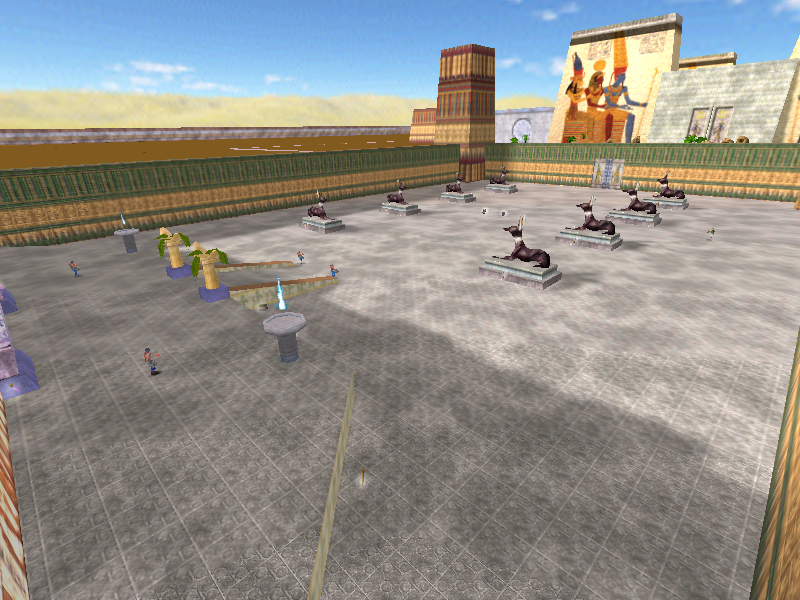
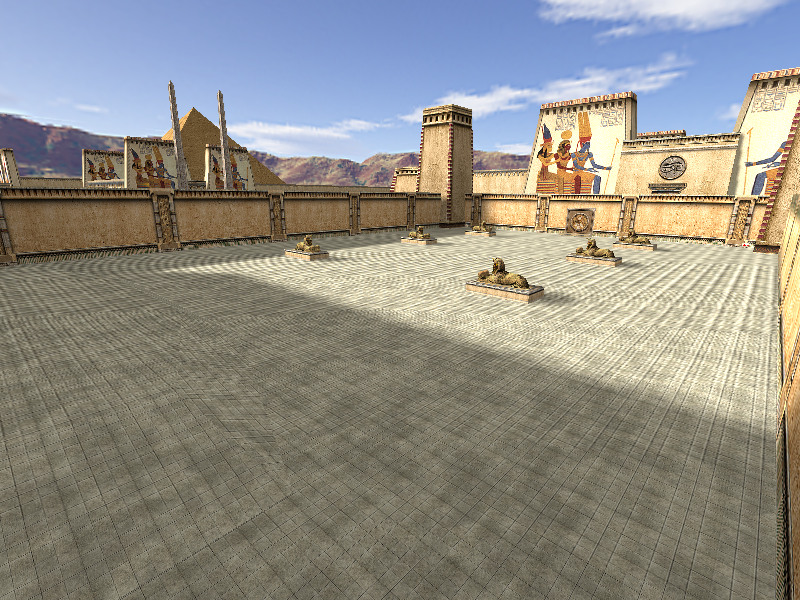
Karnak(Enter) is the ninth map in the level select for the Evaluation Build. It is a small transition level that leads into Karnak (Enter Complex). Some of it is completed in the final game, although not accessible during normal gameplay as it is behind the door that you start in front of. Noteably the final arena leading into Karnak as well as the set of four Pillars that originally adorned the pool at the start of the level.
|
Prototype |
Final |
|---|---|
|
|
|
Prototype |
Final |
|---|---|
|
|
|
Prototype |
Final |
|---|---|
|
|
Karnak (Enter Complex)#
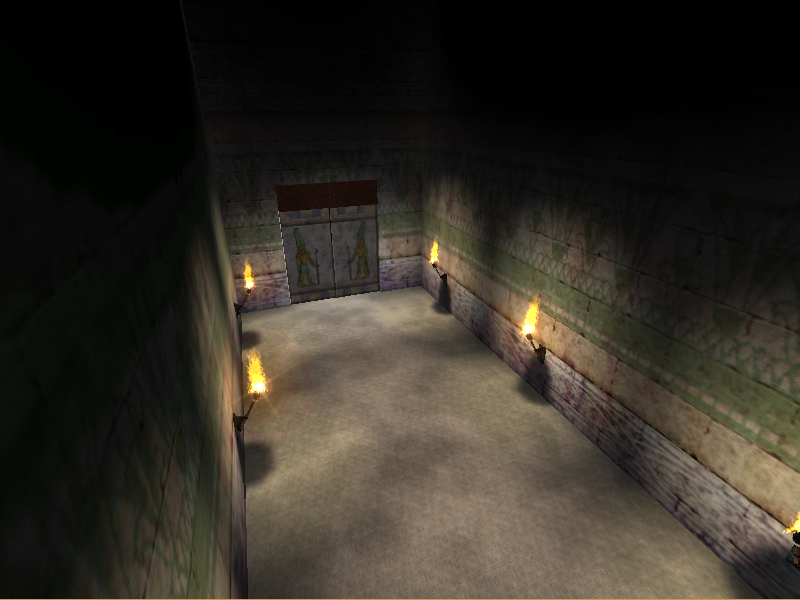
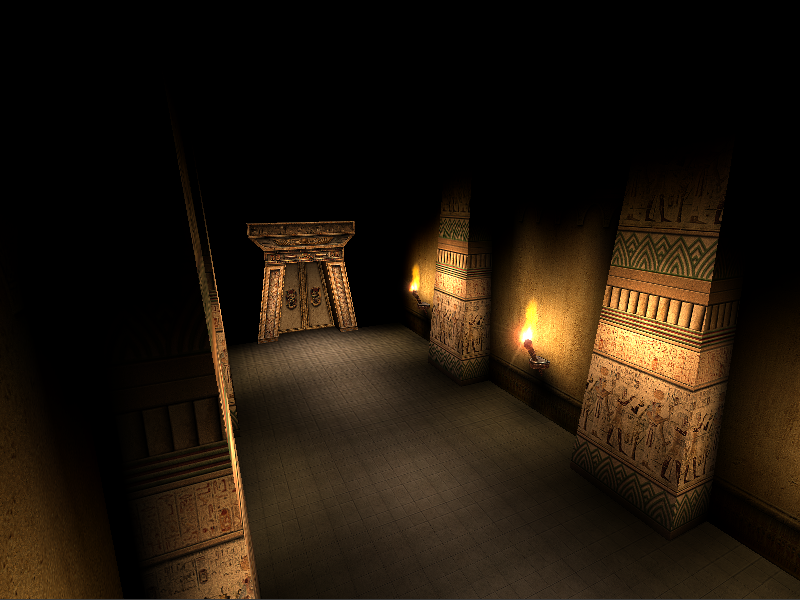
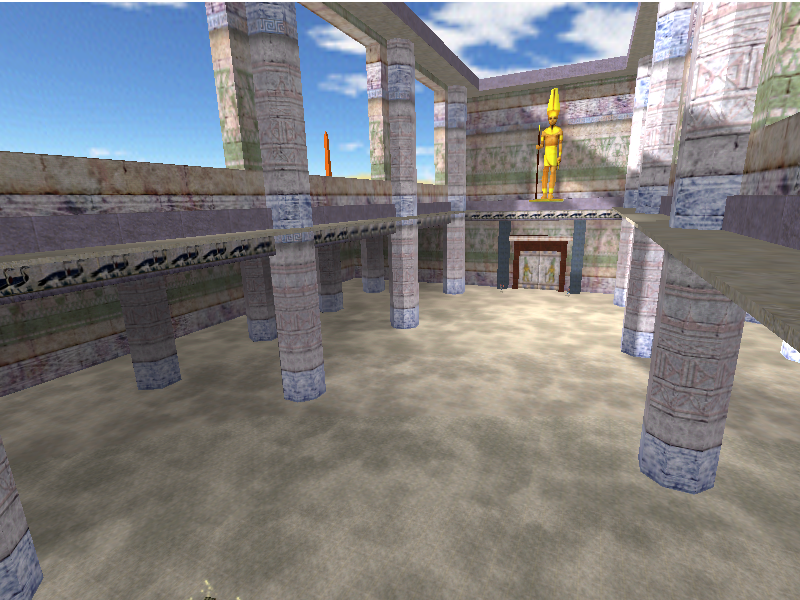
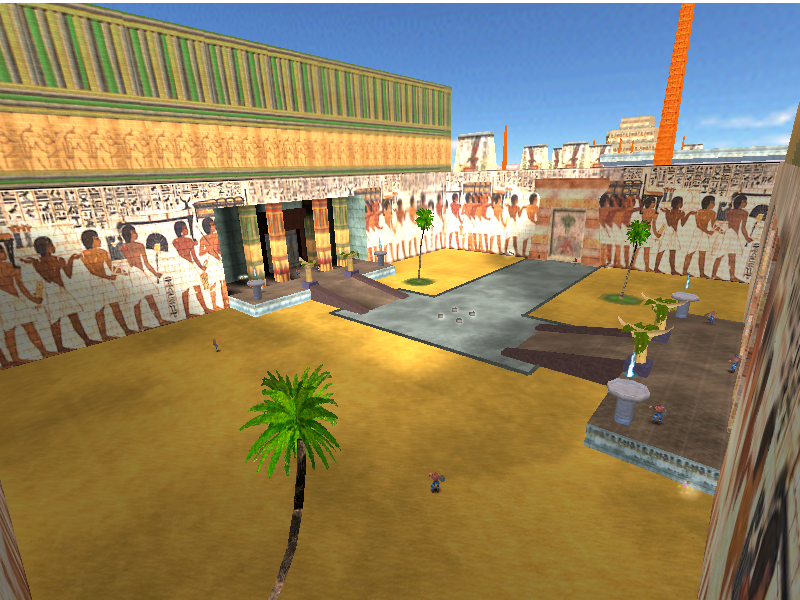
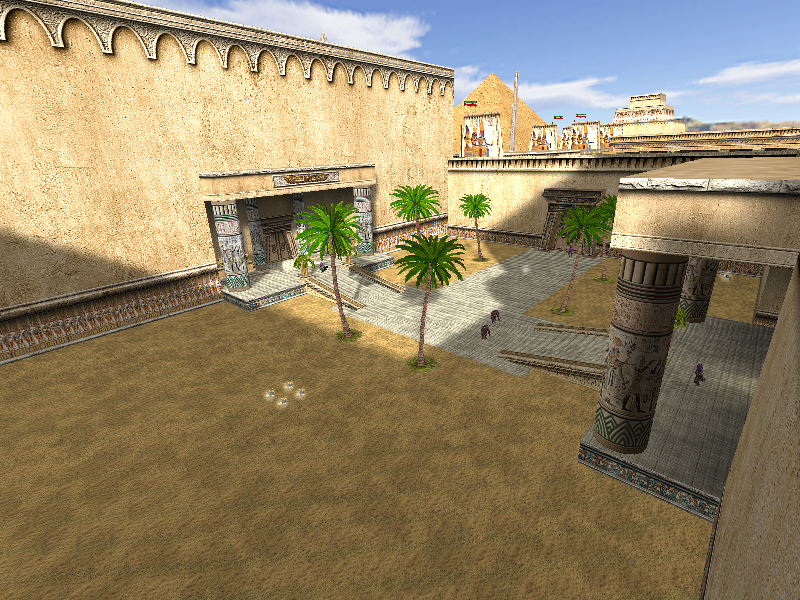
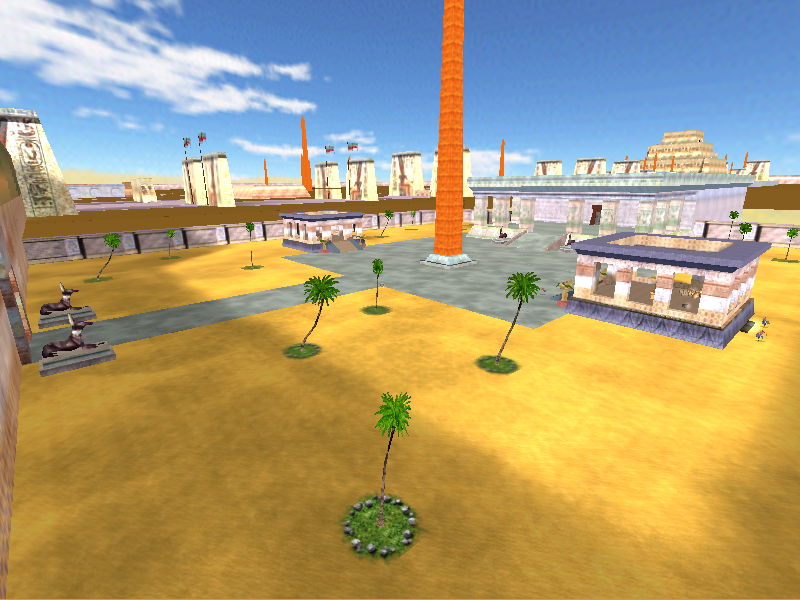
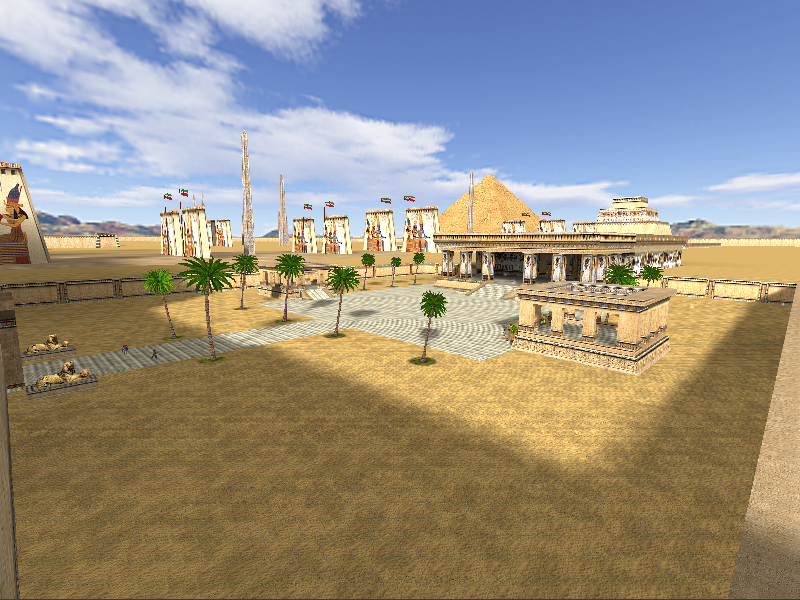
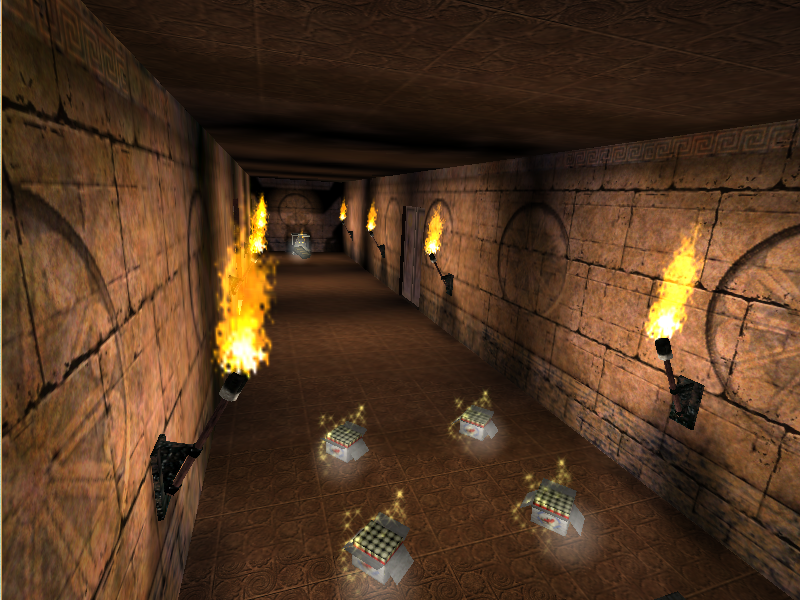
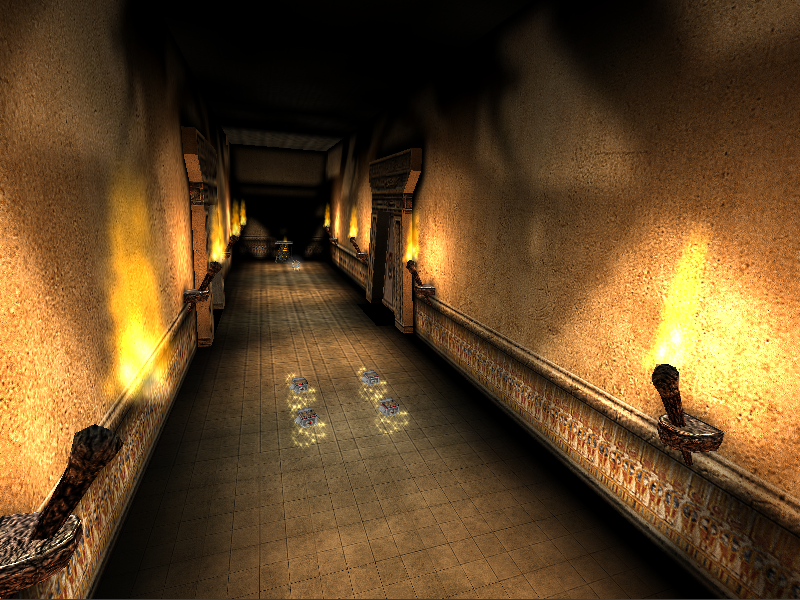
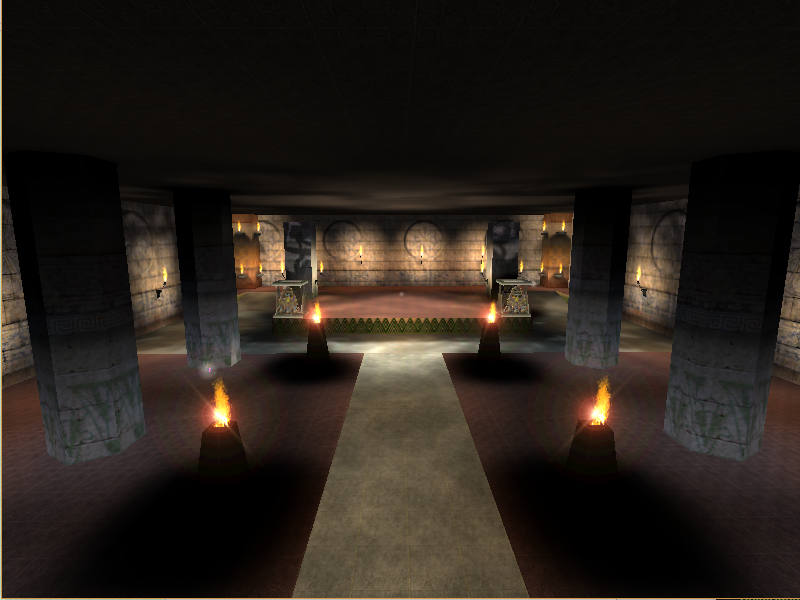
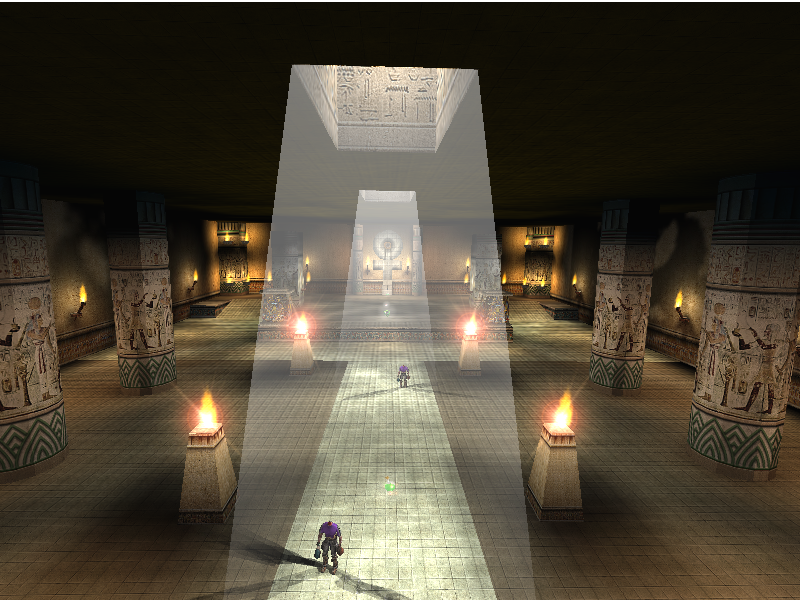
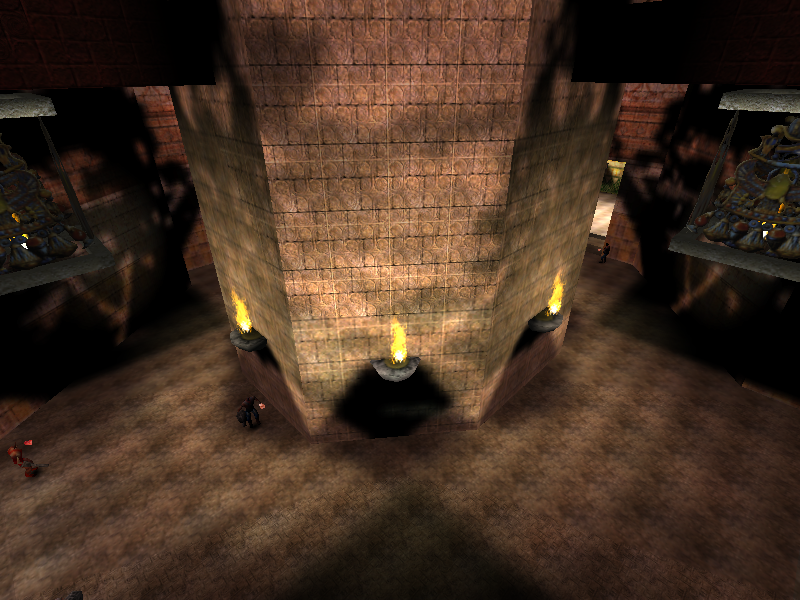
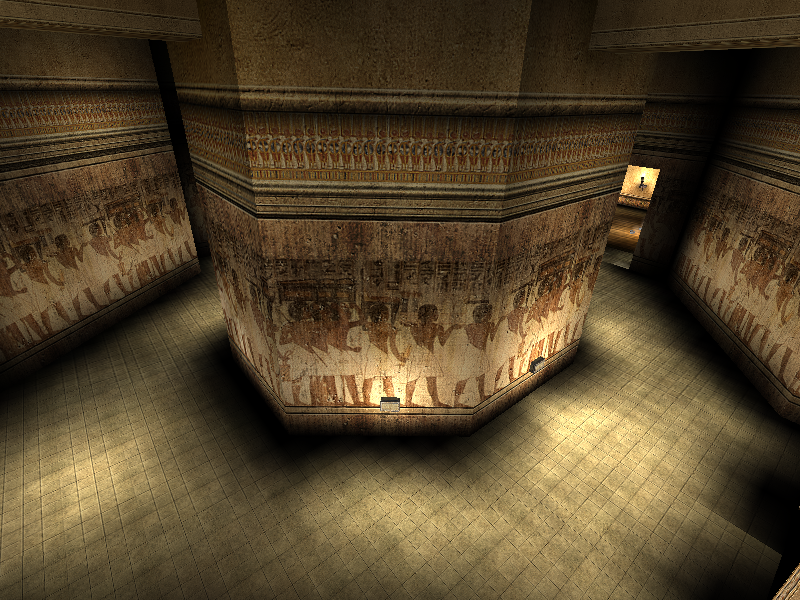
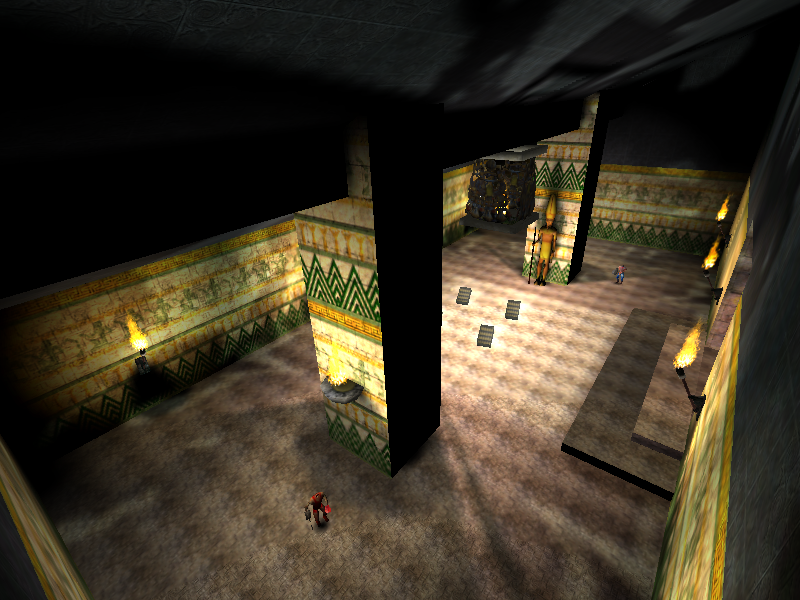
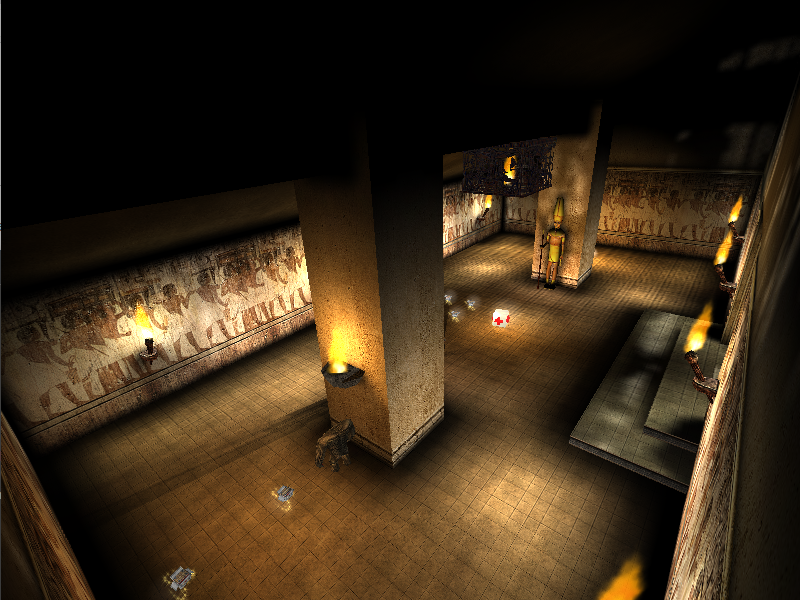
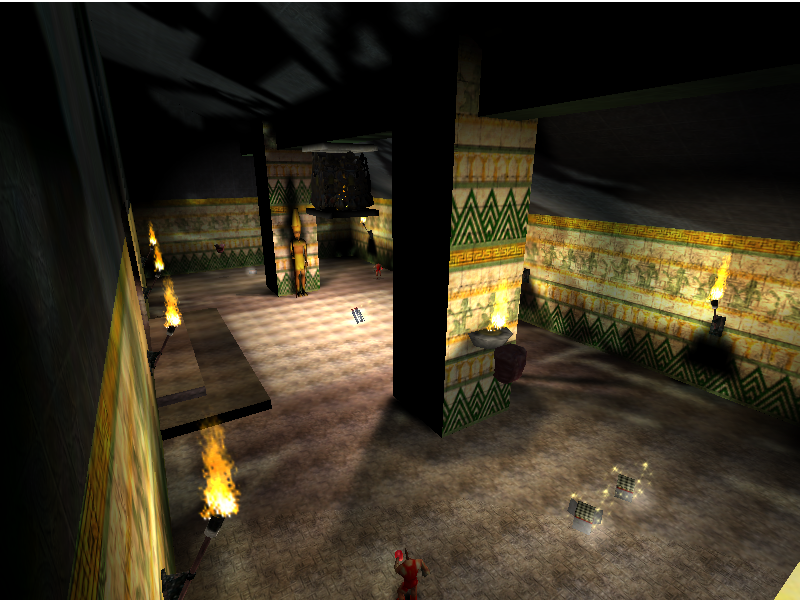
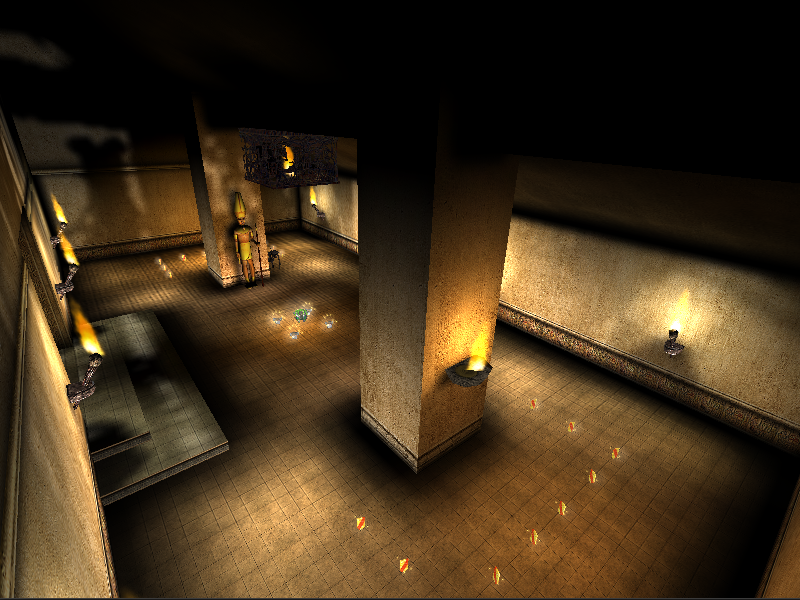
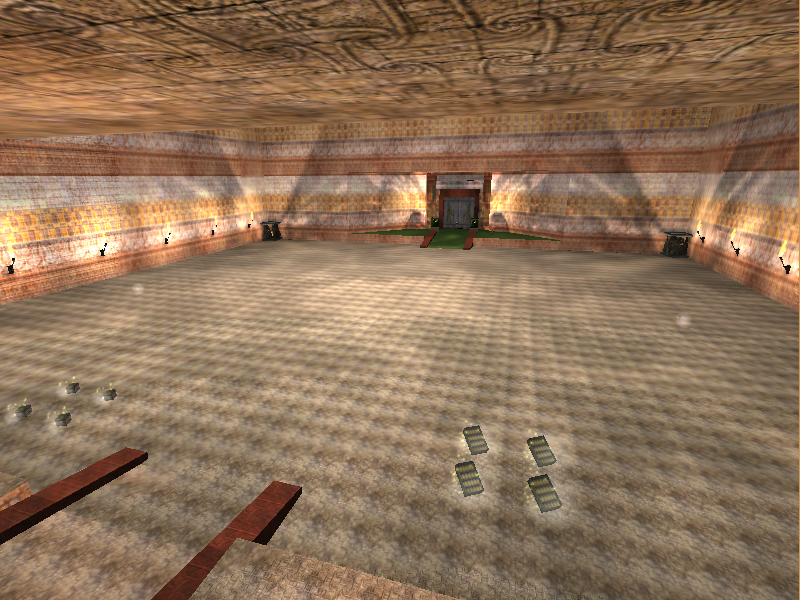
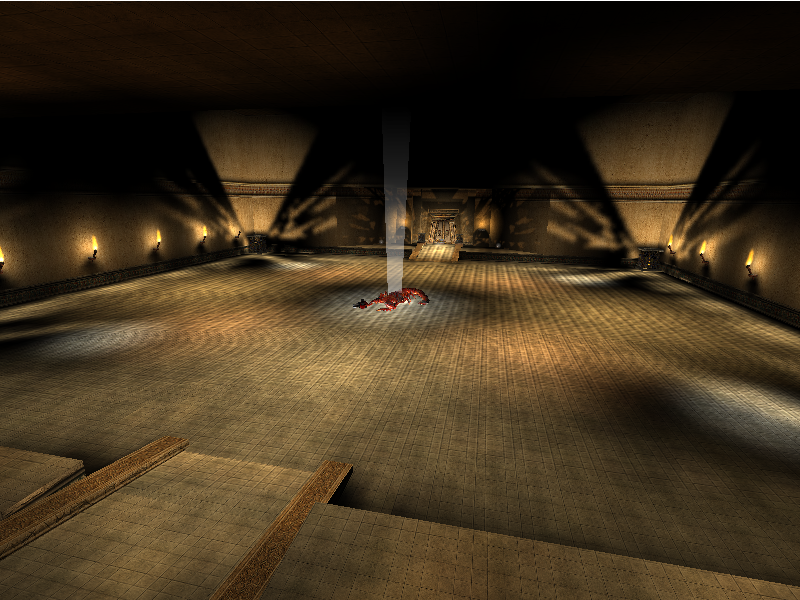
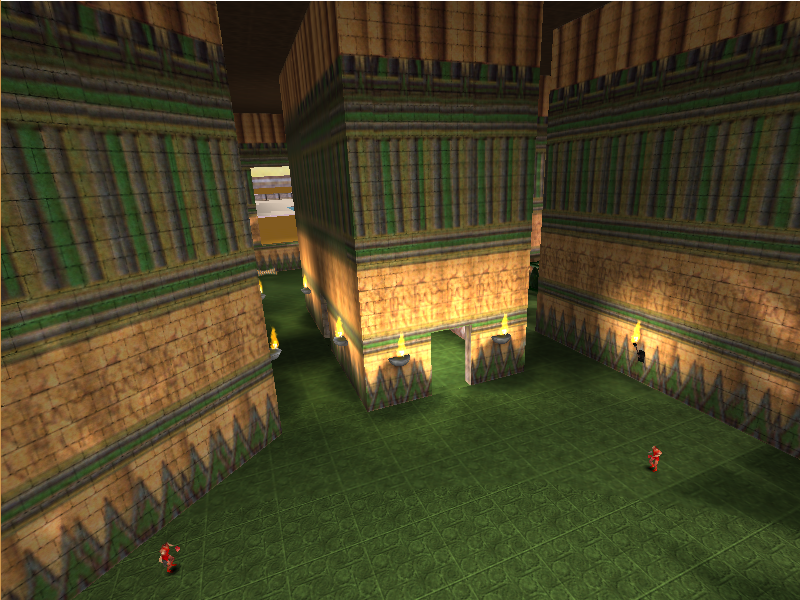
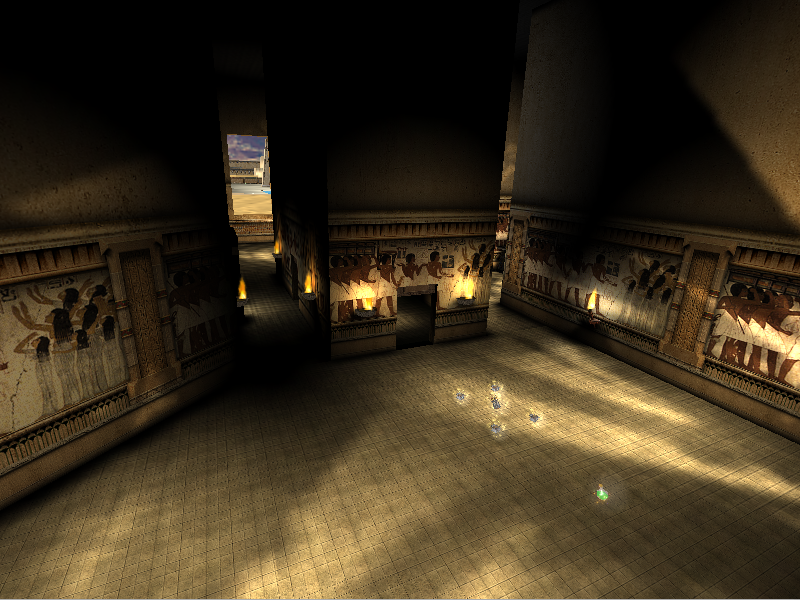
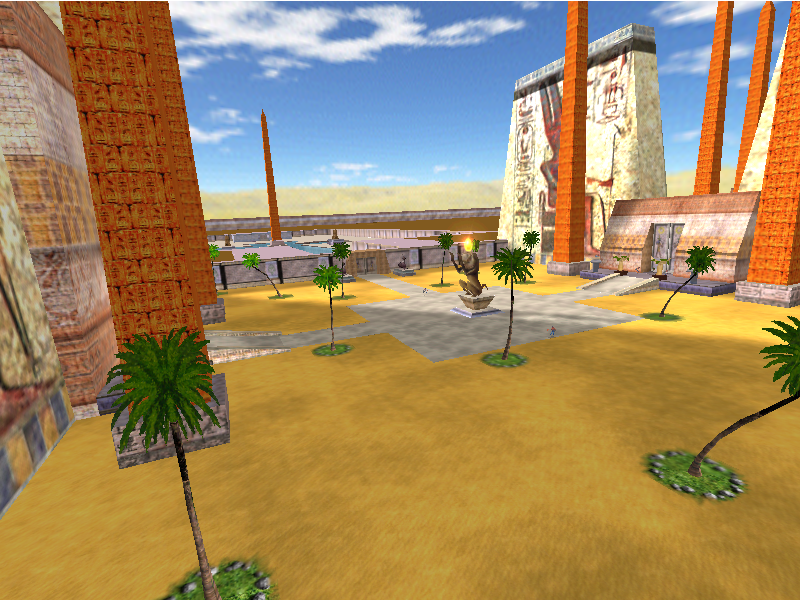
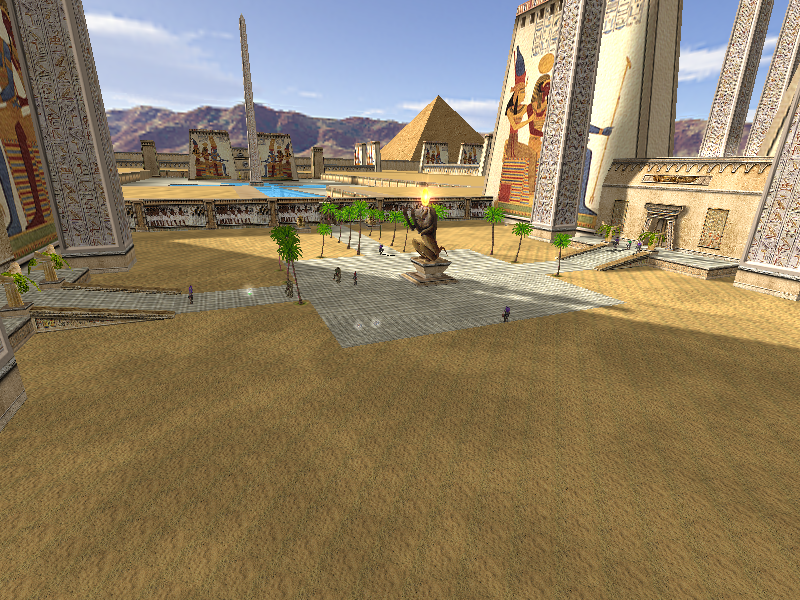
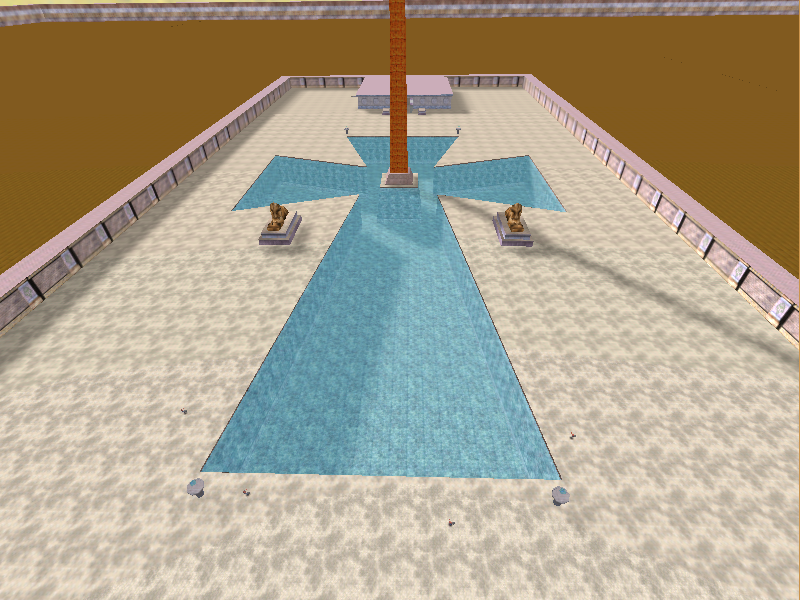
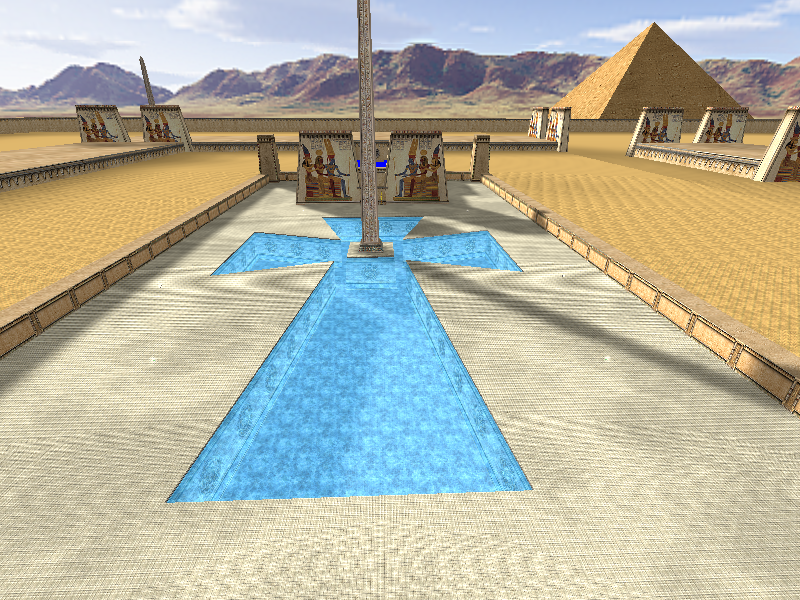
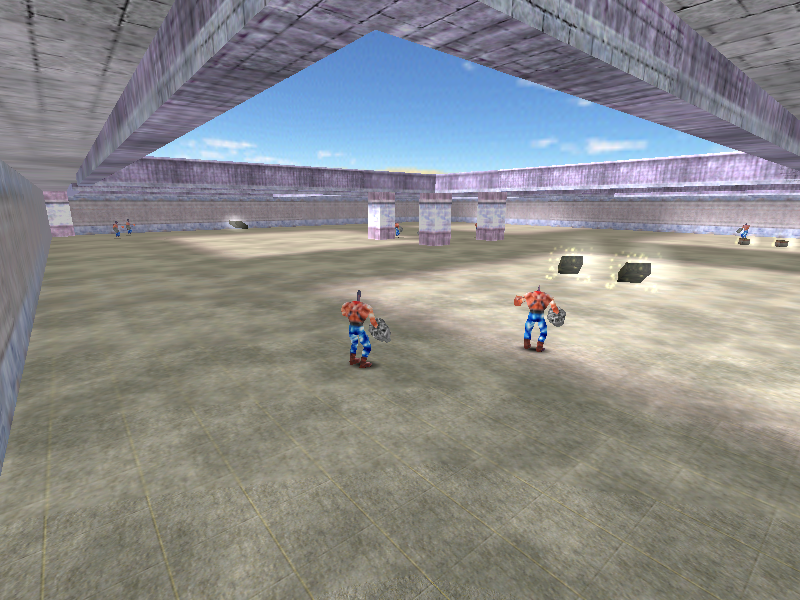
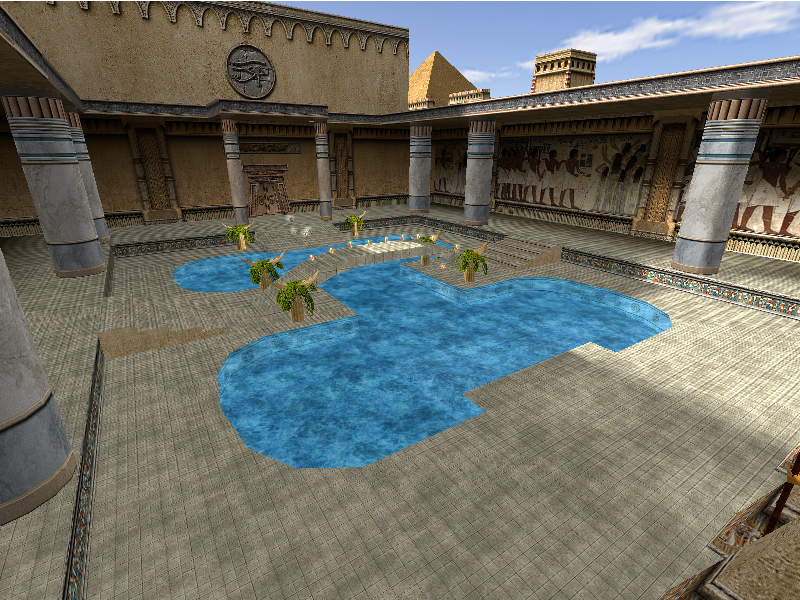
Karnak (Enter Complex) is the tenth map in the level select for the Evaluation Build and can be entered directly from Karnak (Enter). It contains what would later become the Karnak demo level from the later Test versions of the game, as well as the final. The layout and geometry is mostly complete, with the entire level being there (excluding the outro cutscene area, as those didn't exist yet), although the rest of the details are all different, mostly in texturing and enemy/pickup placements.
|
Prototype |
Final |
|---|---|
|
|
|
Prototype |
Final |
|---|---|
|

|
|
Prototype |
Final |
|---|---|
|
|
|
Prototype |
Final |
|---|---|
|
|
|
Prototype |
Final |
|---|---|
|
|
|
Prototype |
Final |
|---|---|
|
|
|
Prototype |
Final |
|---|---|
|
|
|
Prototype |
Final |
|---|---|
|
|
|
Prototype |
Final |
|---|---|
|
|
|
Prototype |
Final |
|---|---|
|
|
|
Prototype |
Final |
|---|---|
|
|
|
Prototype |
Final |
|---|---|
|
|
|
Prototype |
Final |
|---|---|
|
|
|
Prototype |
Final |
|---|---|
|
|
|
Prototype |
Final |
|---|---|
|
|
|
Prototype |
Final |
|---|---|
|
|
|
Prototype |
Final |
|---|---|
|
|
Karnak (Lake And Alley)#
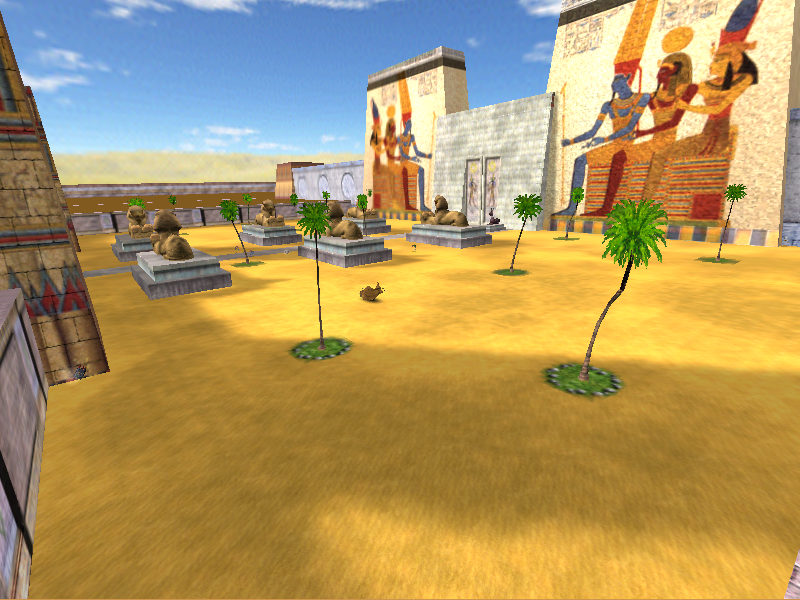
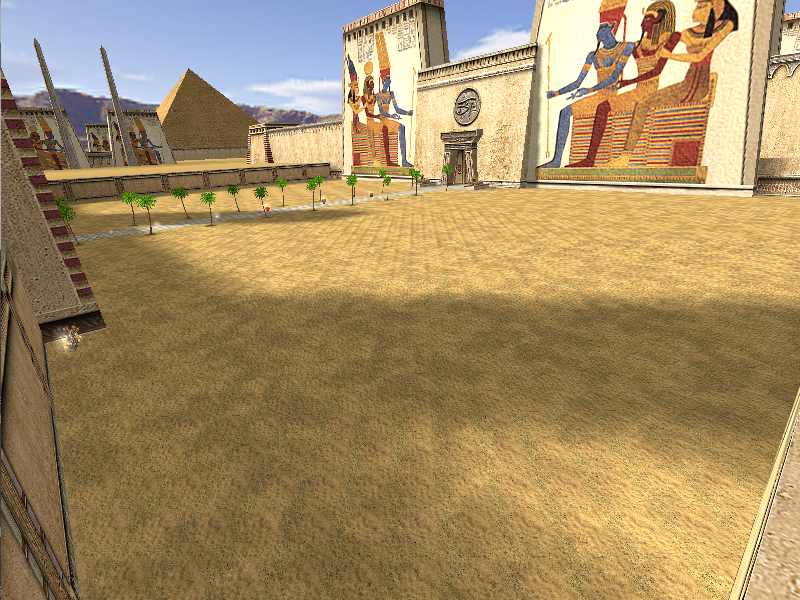
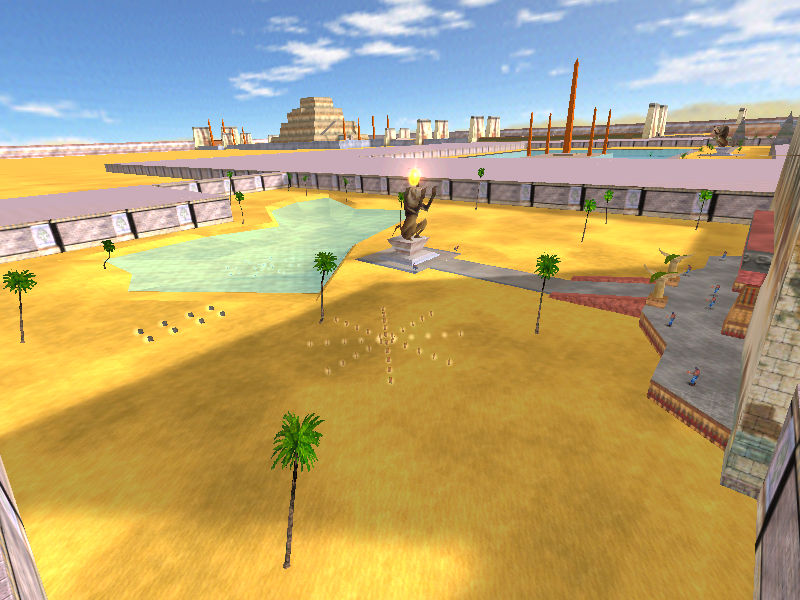
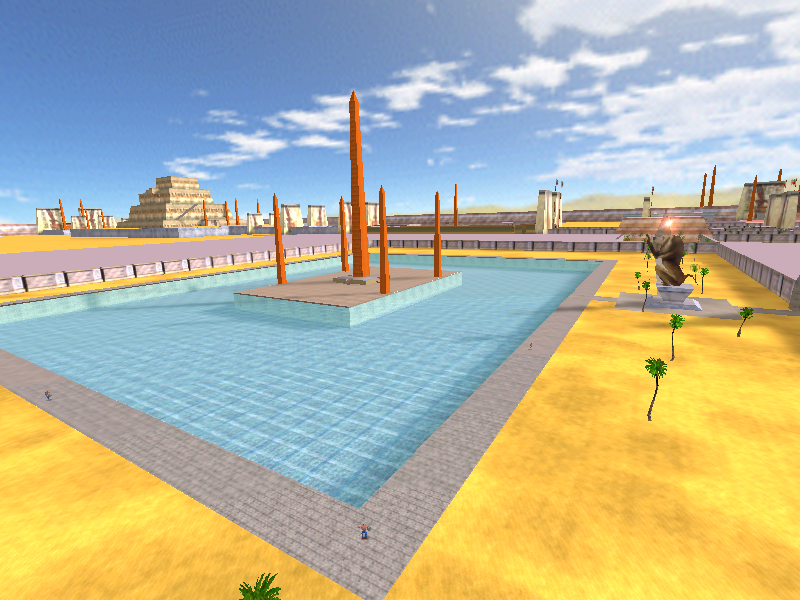
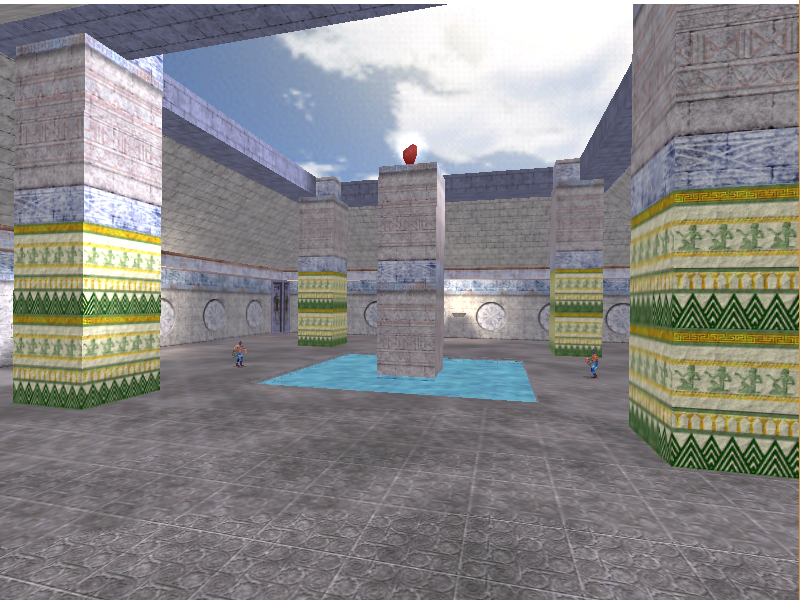
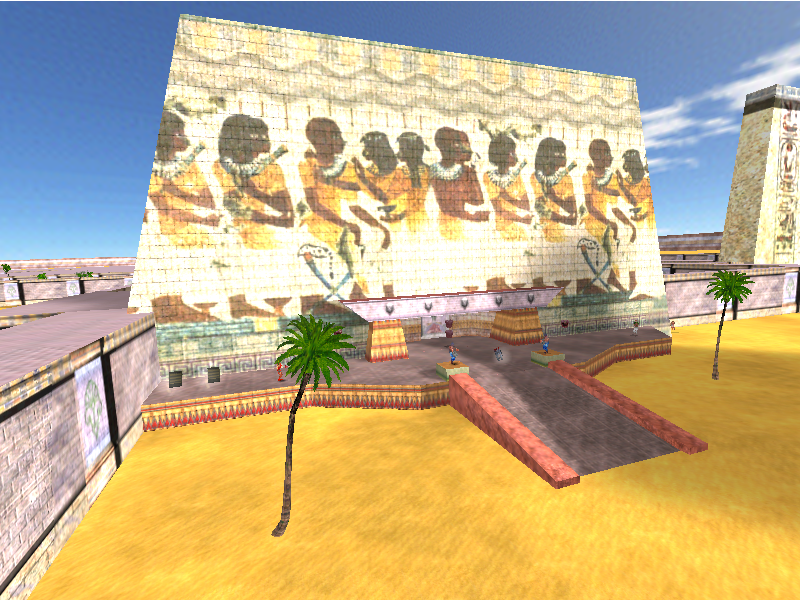
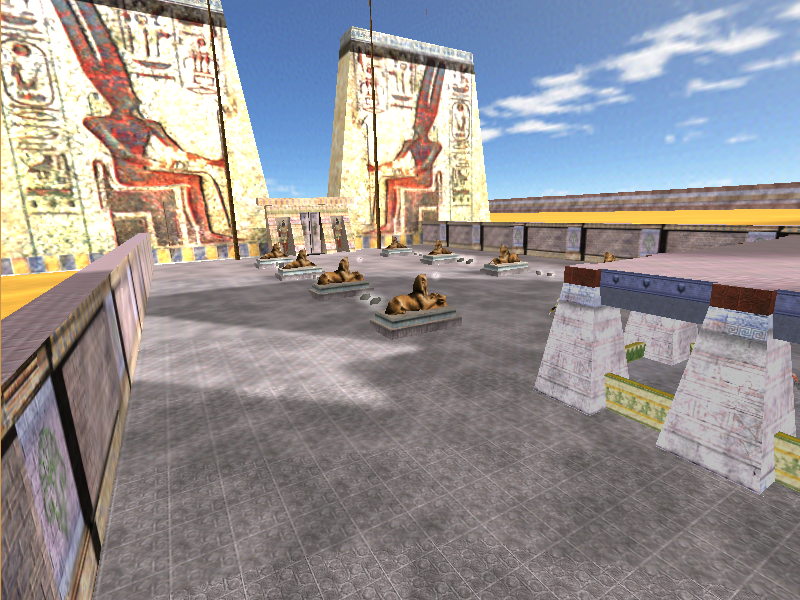
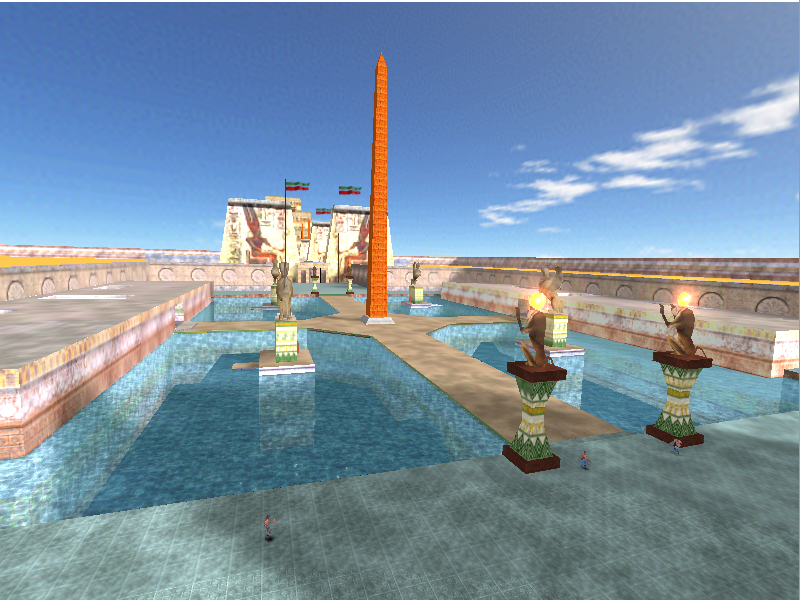
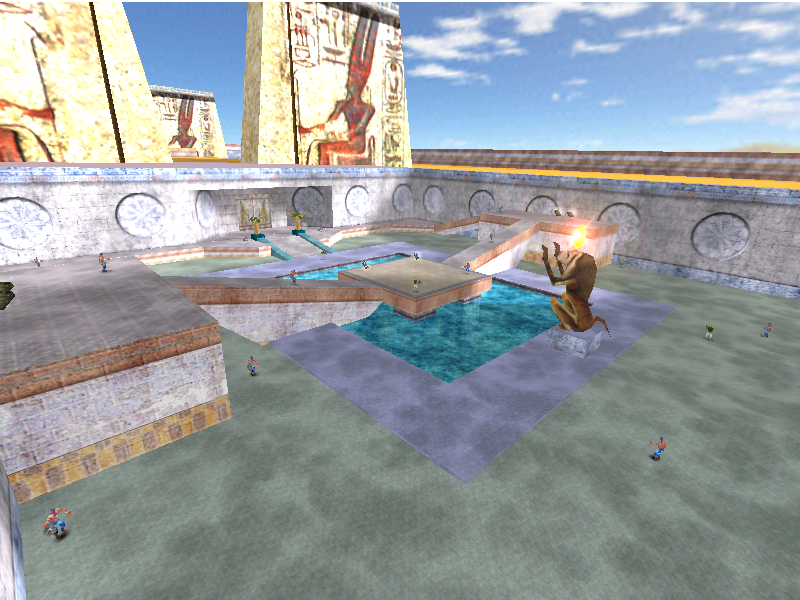
Karnak (Lake And Alley) is the eleventh map in the level select for the Evaluation Build. It is a large outdoor map consisting of a bunch of long alley-style arenas.
Karnak (Temple)#
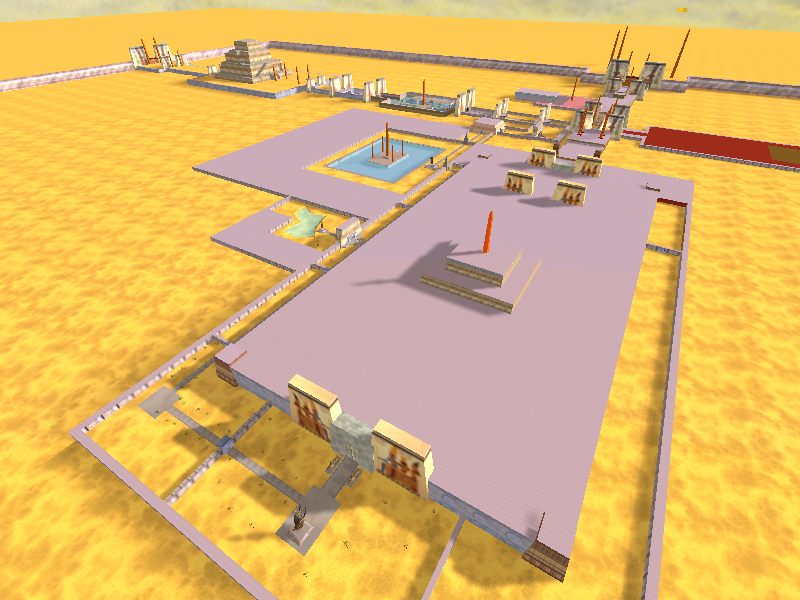
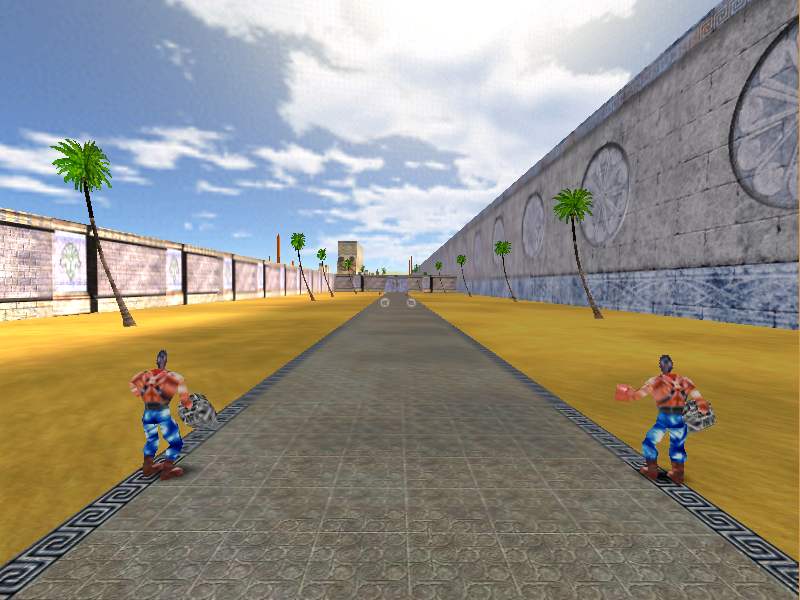
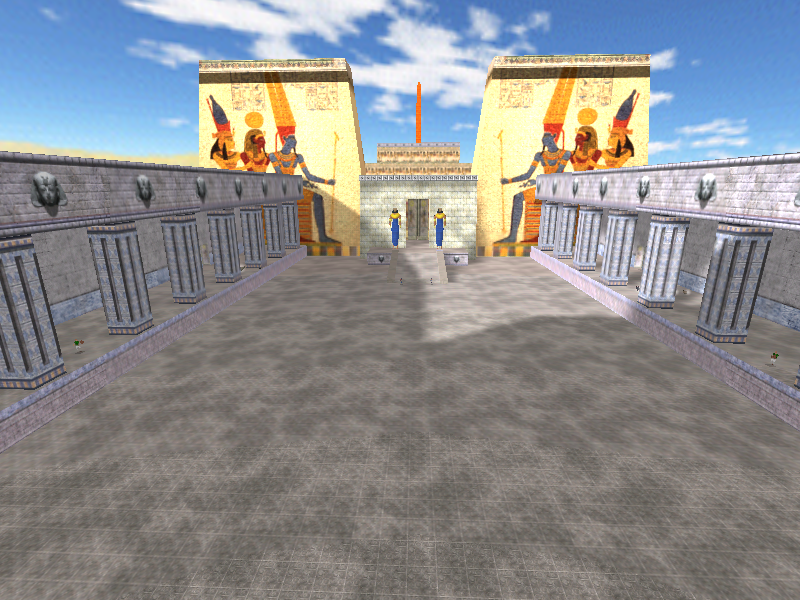
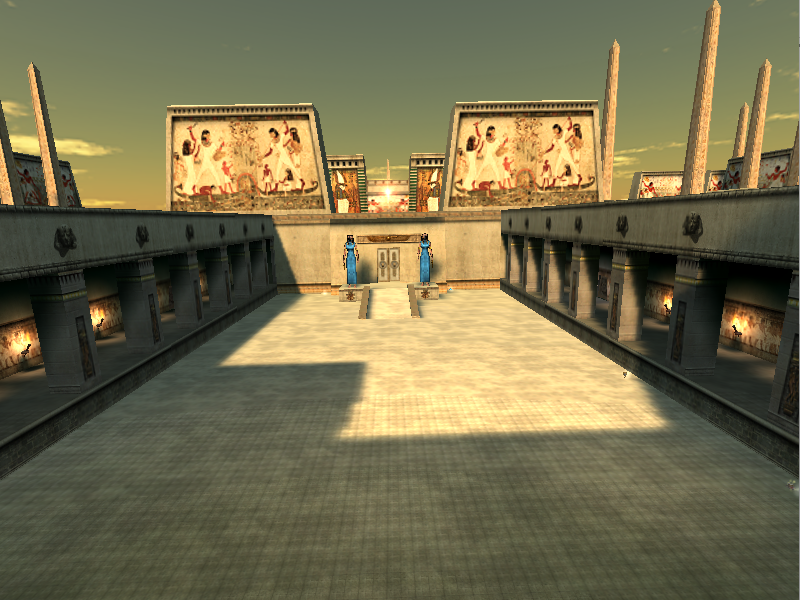
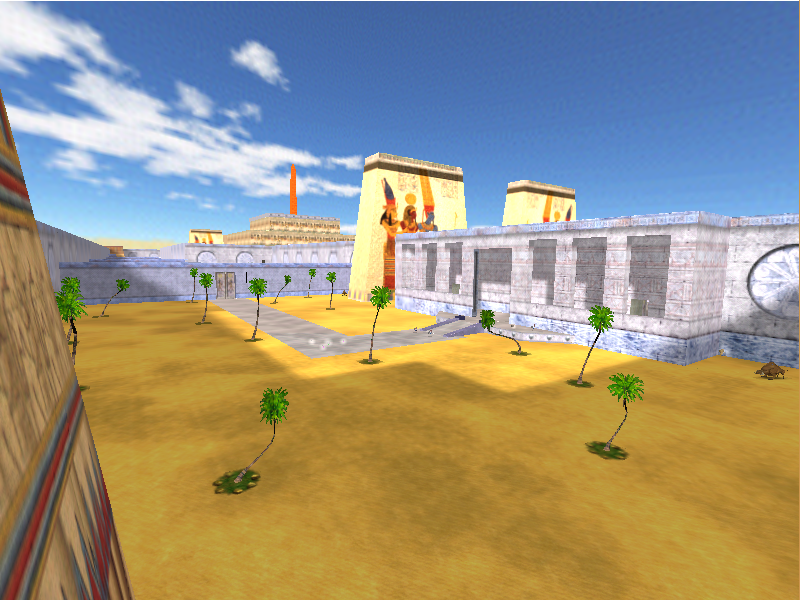
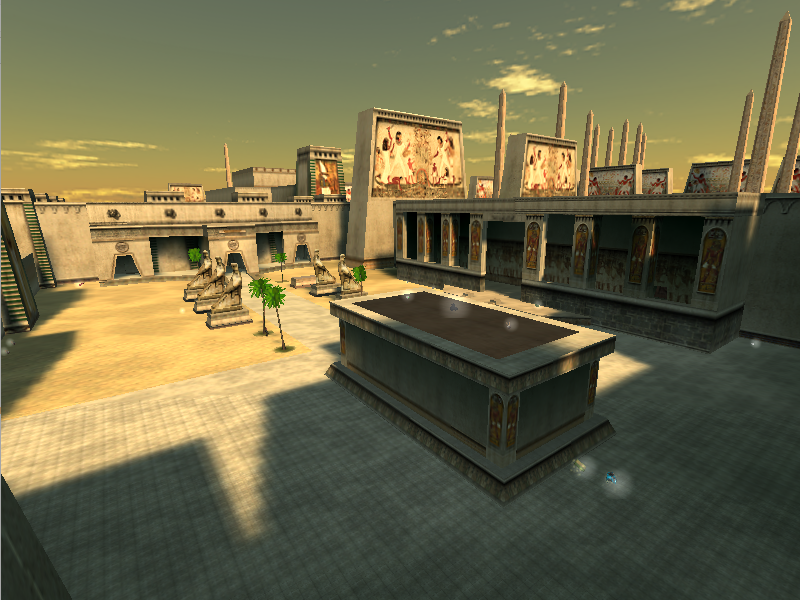
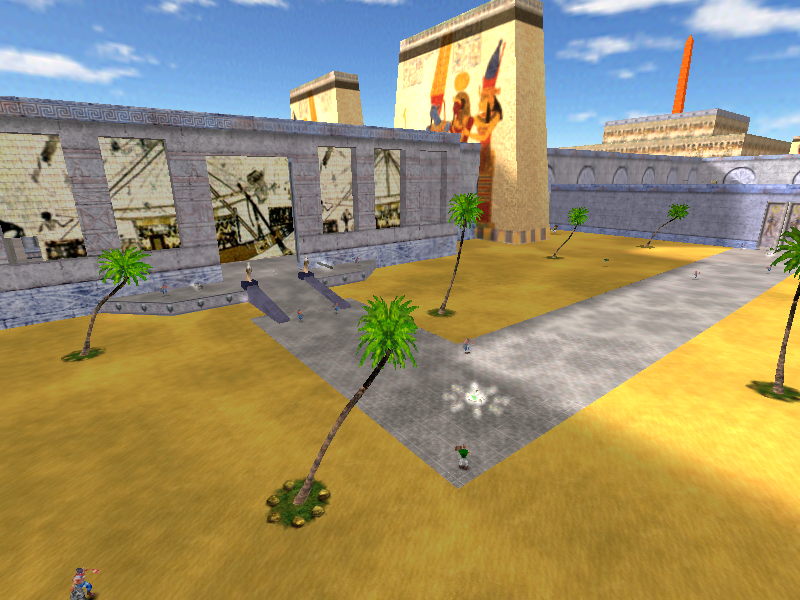
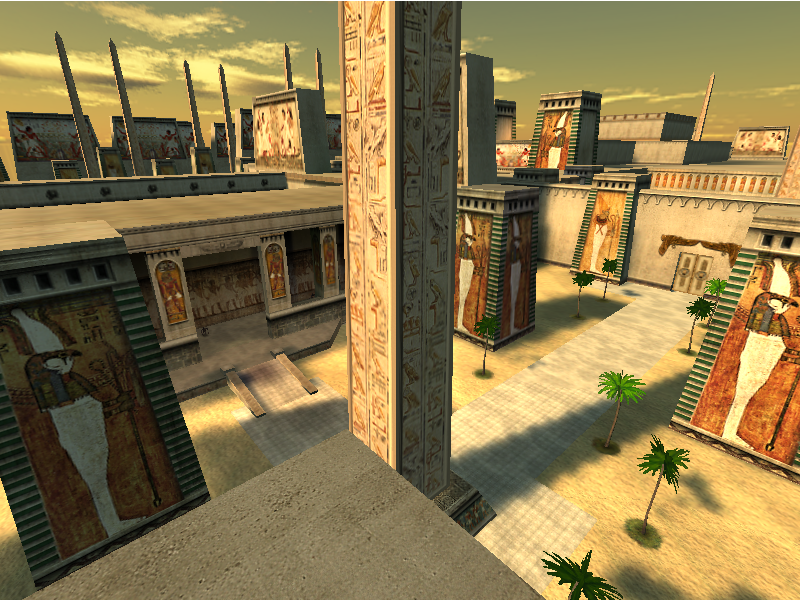
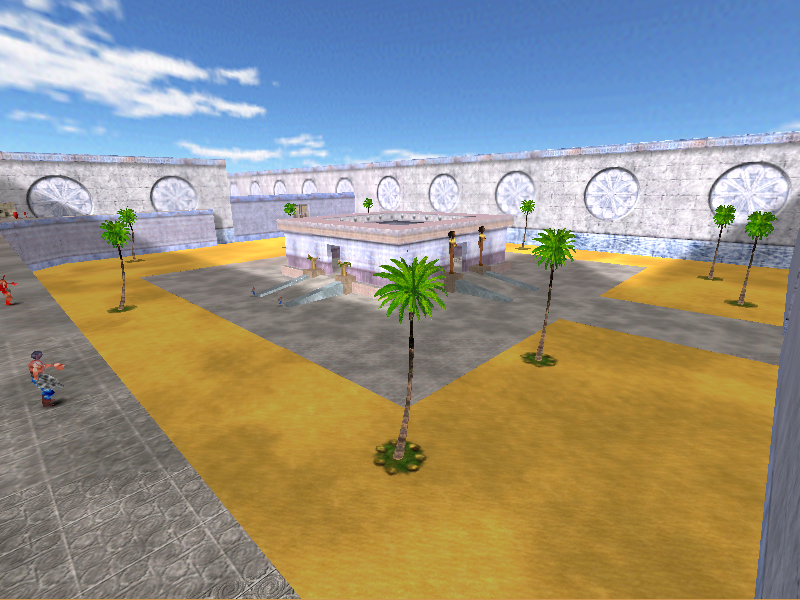
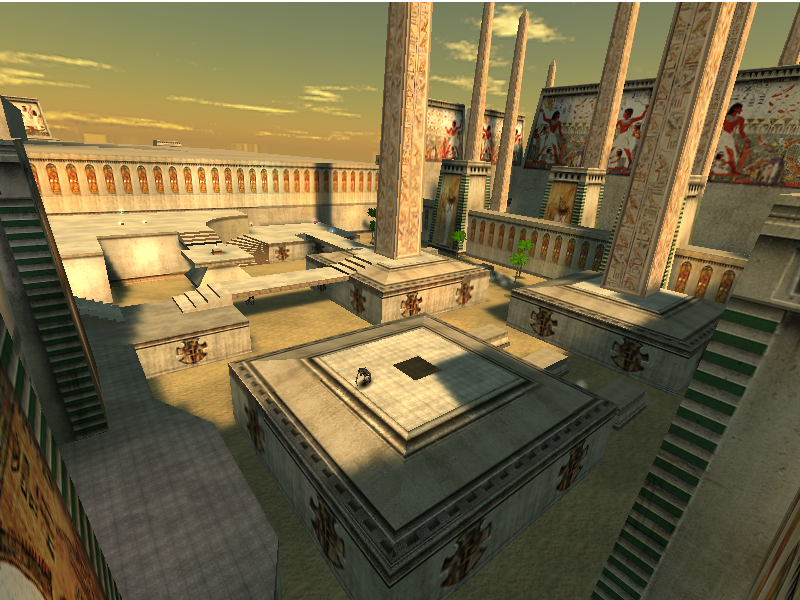
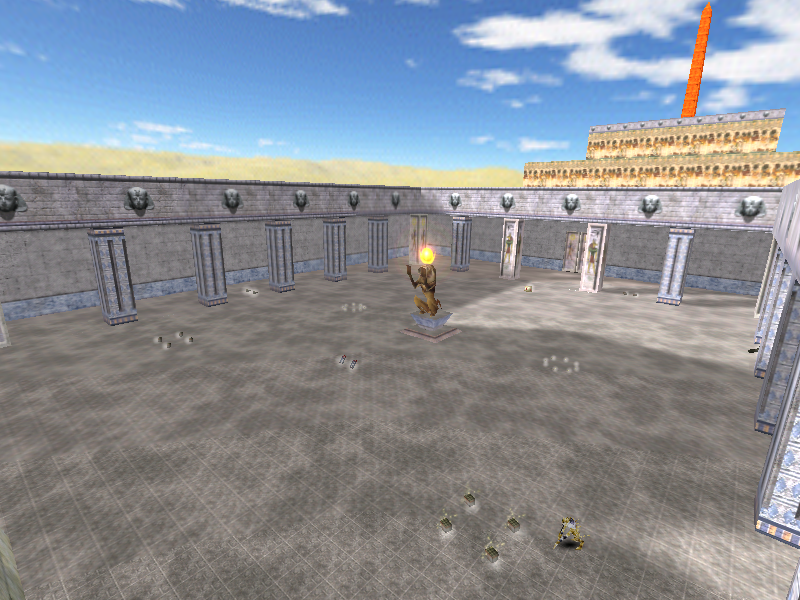
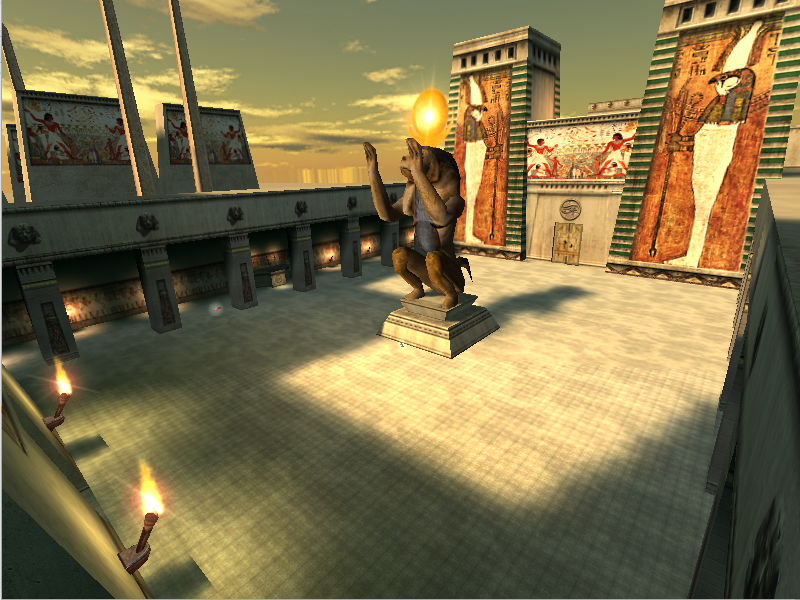
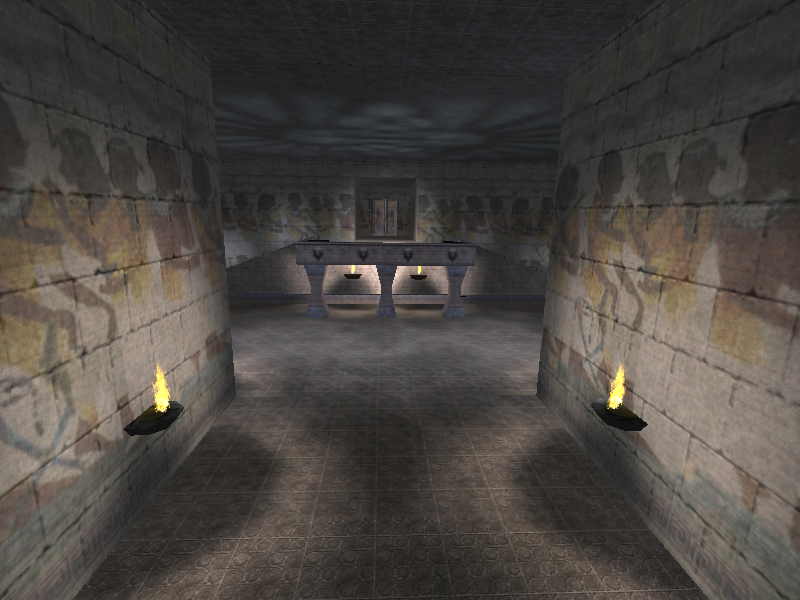
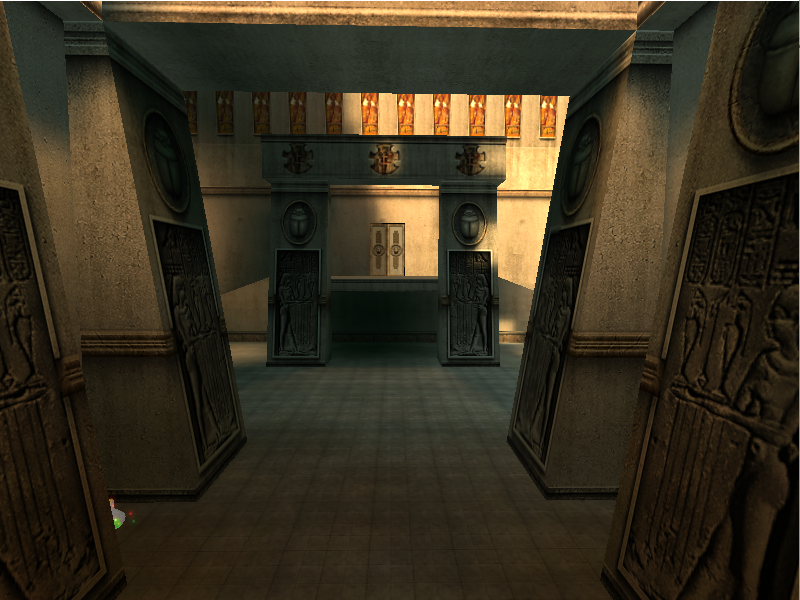
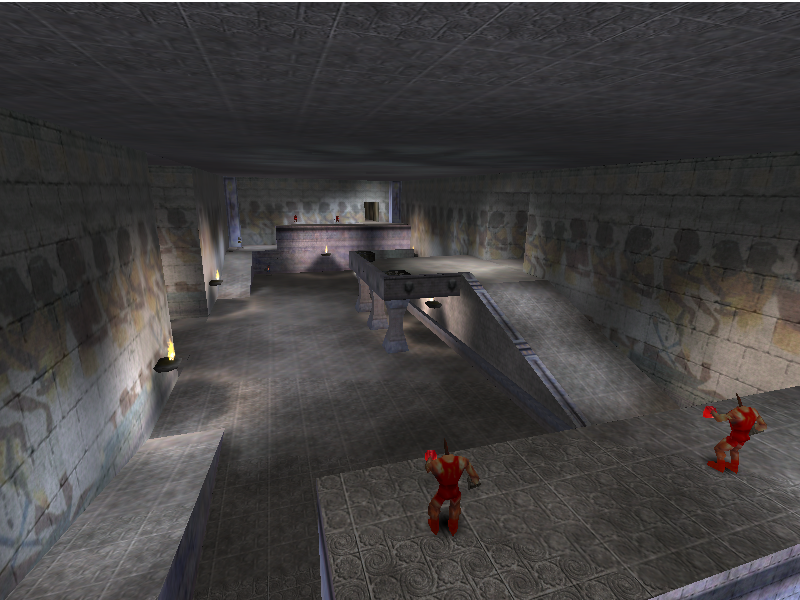
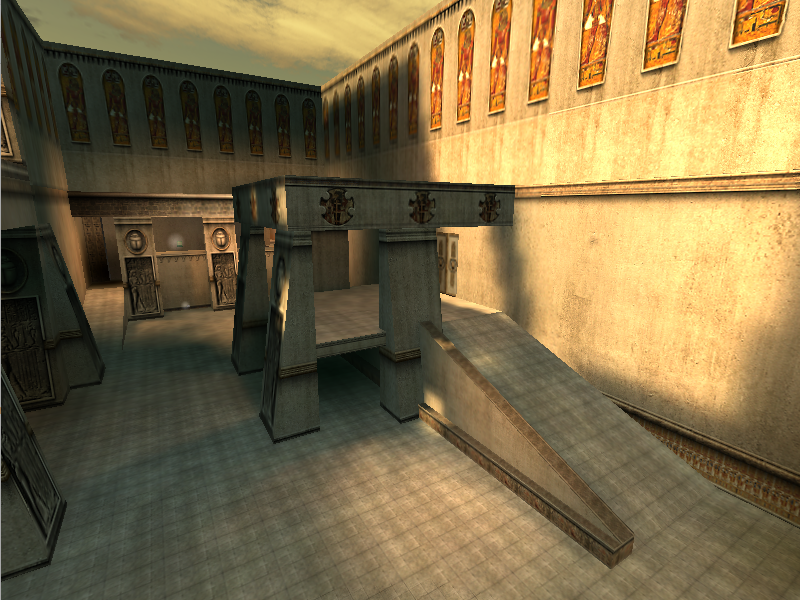
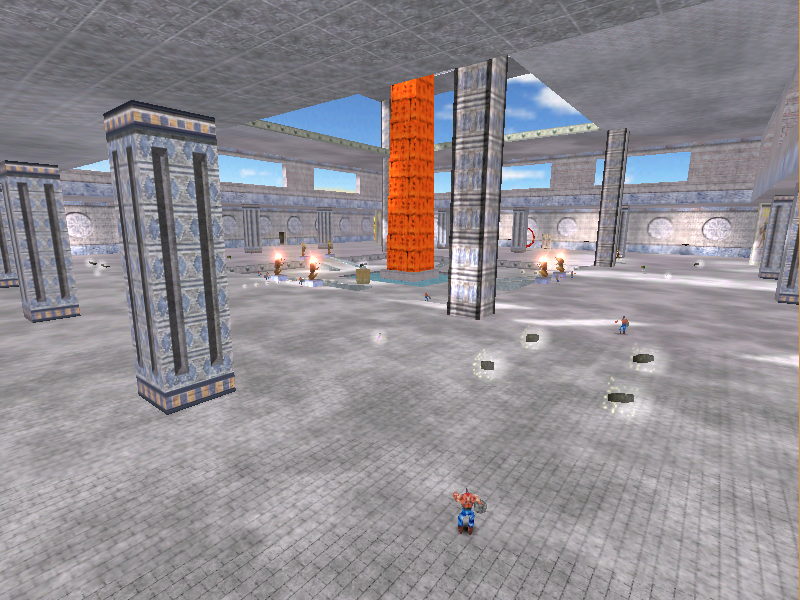
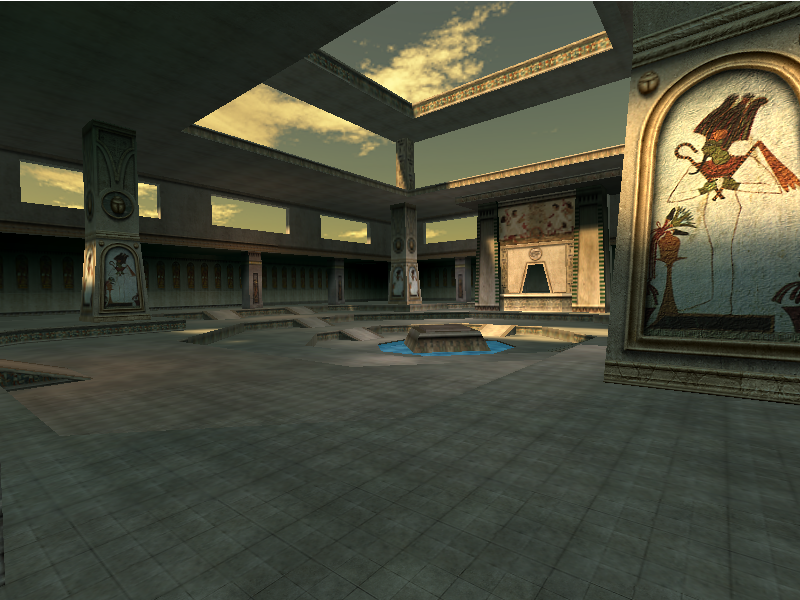
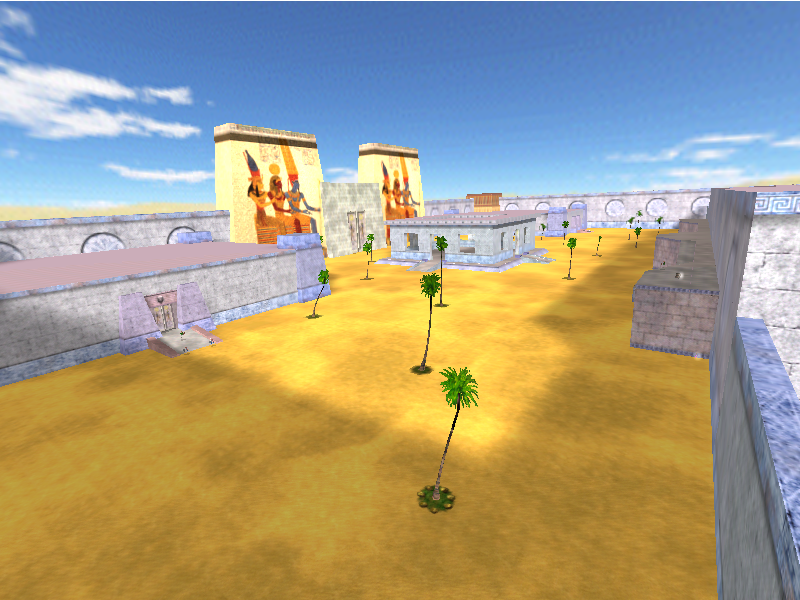
Karnak (Temple) is the twelfth map in the level select for the Evaluation Build. It is an early version of the final game's Luxor, featuring a differently designed temple, different side rooms, and two extra outdoor arenas that run along the sides of the temple.
|
Prototype |
Final |
|---|---|
|
|
|
Prototype |
Final |
|---|---|
|
|
|
Prototype |
Final |
|---|---|
|
|
|
Prototype |
Final |
|---|---|
|
|
|
Prototype |
Final |
|---|---|
|
|
|
Prototype |
Final |
|---|---|
|
|
|
Prototype |
Final |
|---|---|
|
|
|
Prototype |
Final |
|---|---|
|
|
|
Prototype |
Final |
|---|---|
|
|
Babilon Temple#
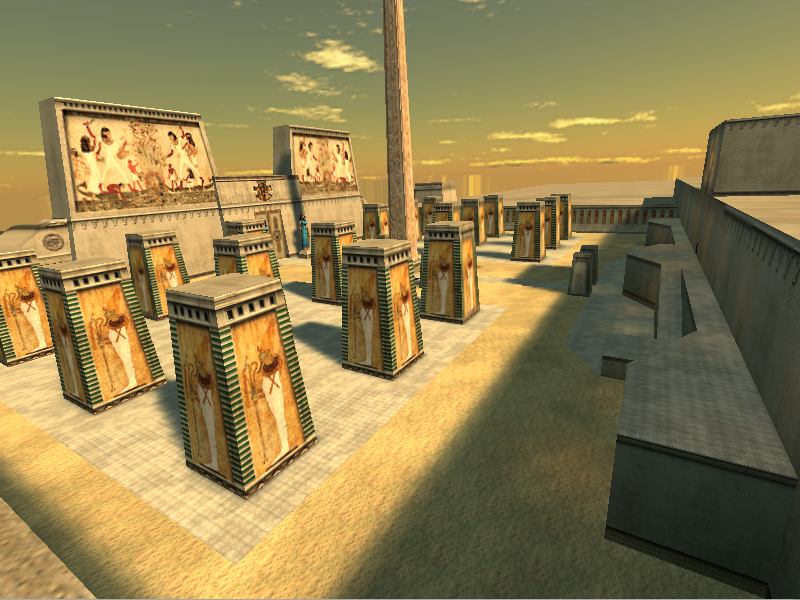
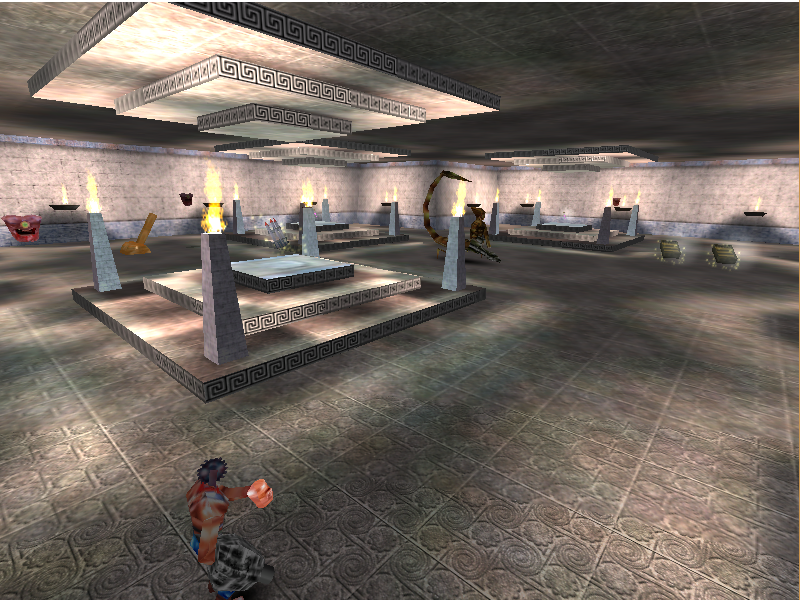
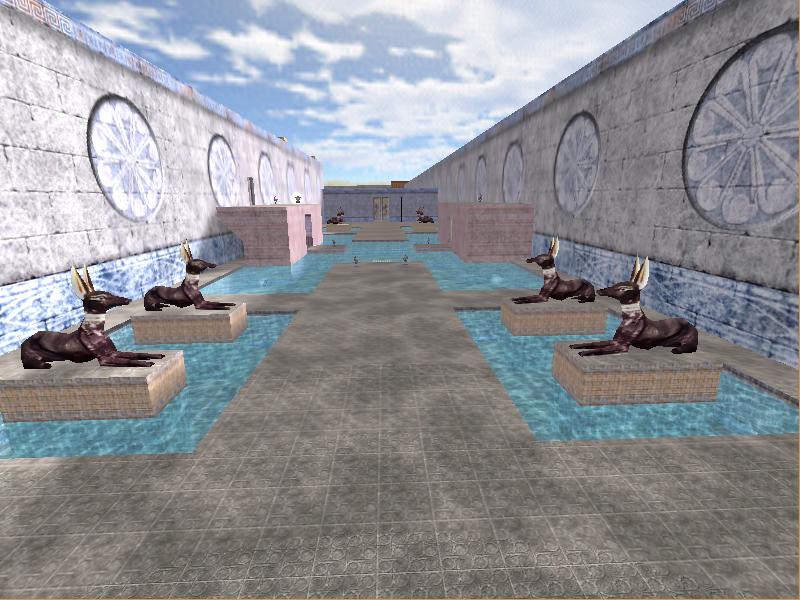
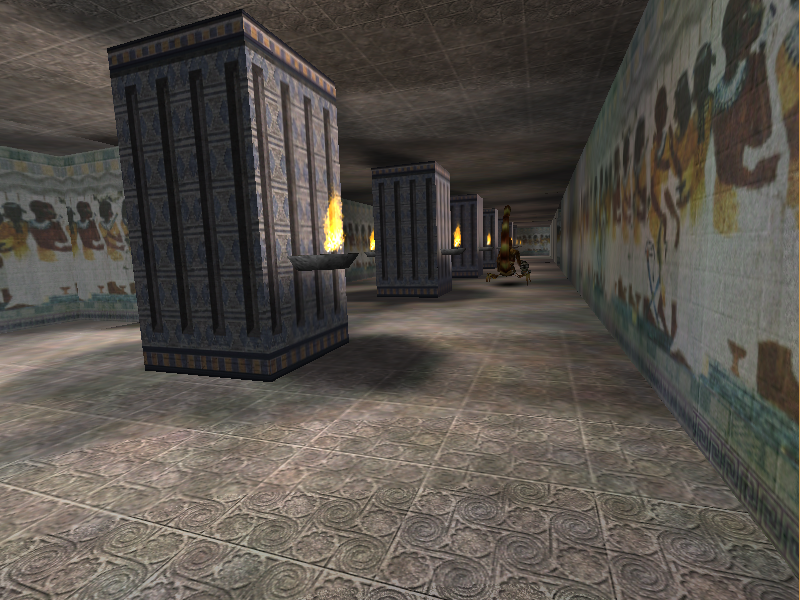
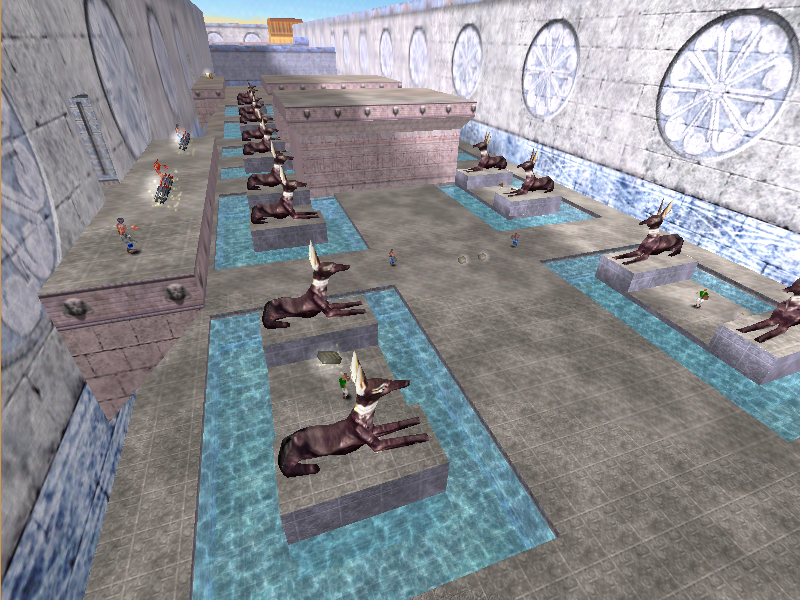
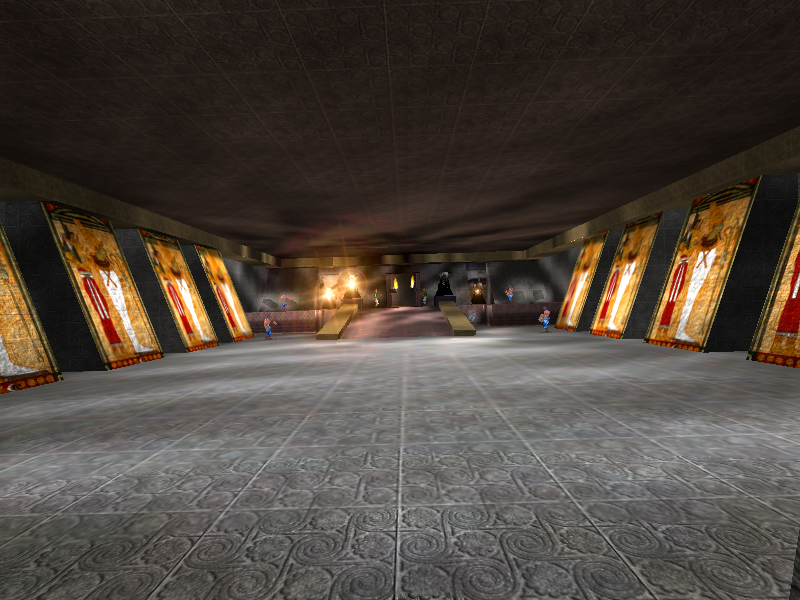
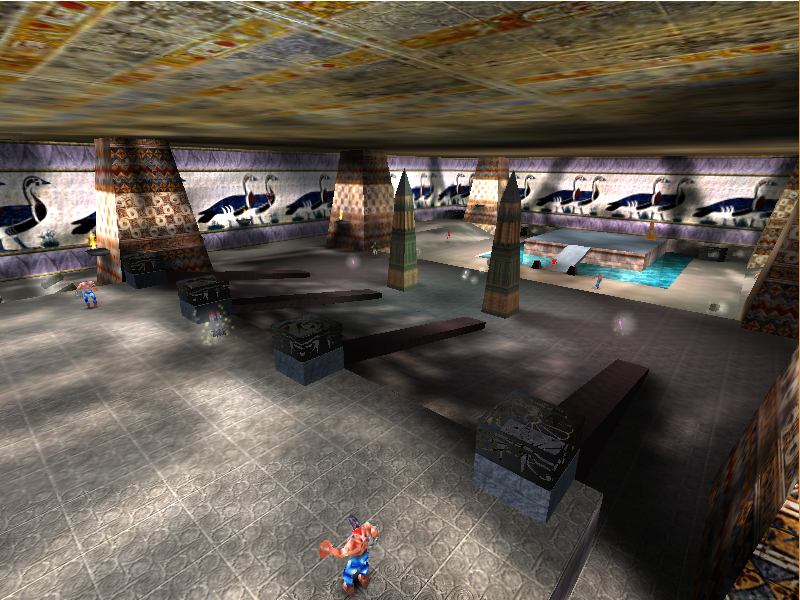
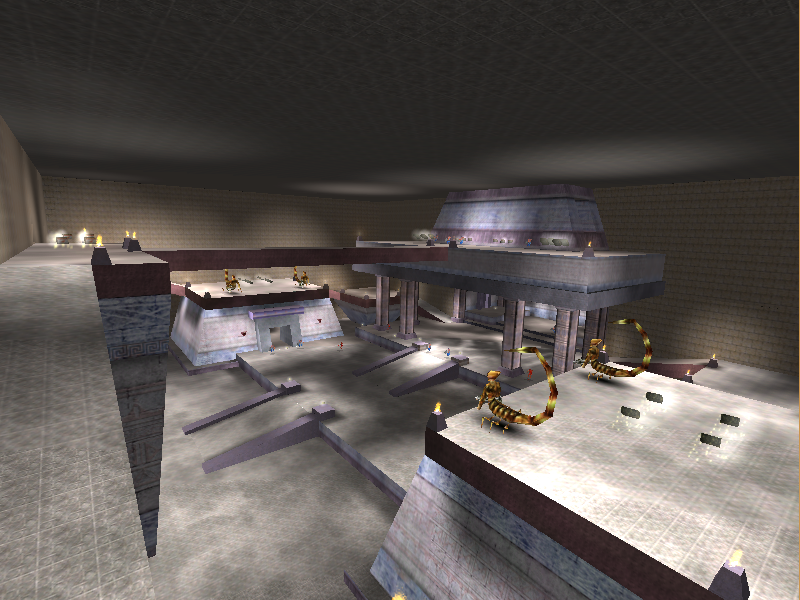
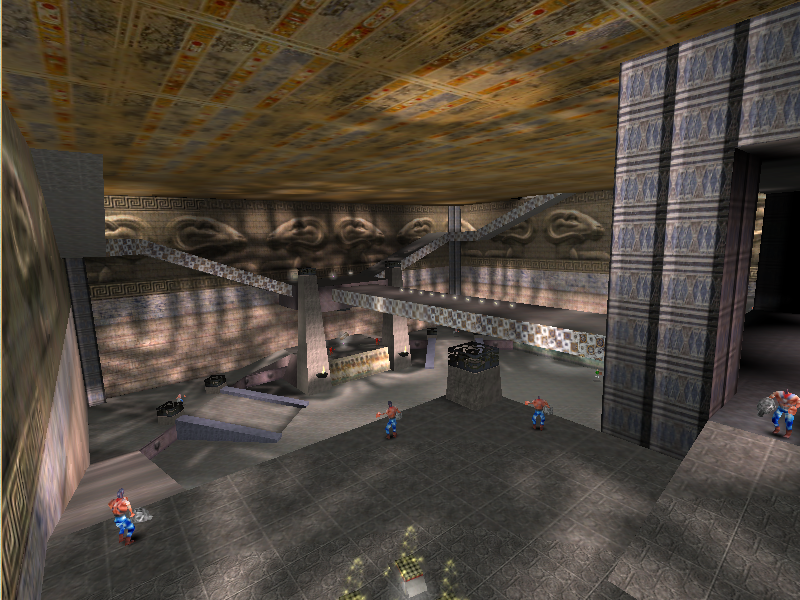
Babilon Temple is the thirteenth map in the level select for the Evaluation Build. It is a large map consisting of multiple outdoor arenas, and a fairly complicated temple, which you can climb to the top of from the inside.
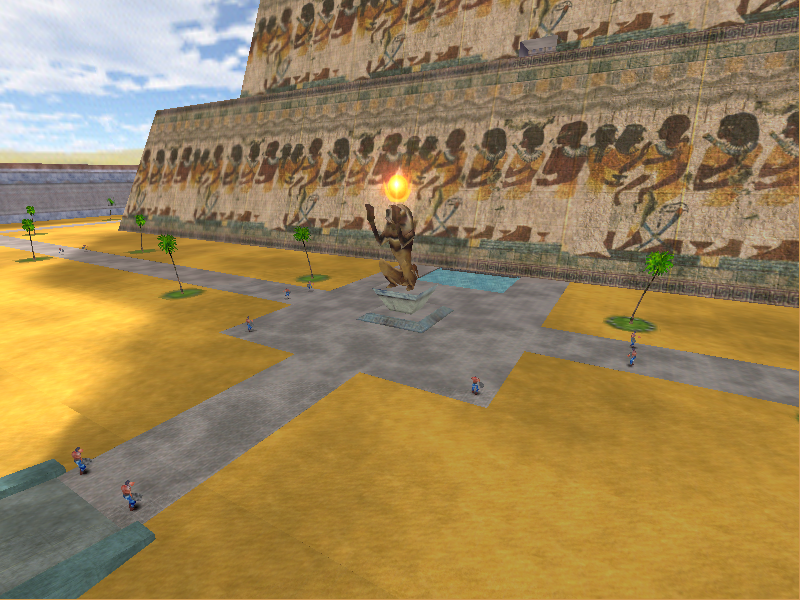
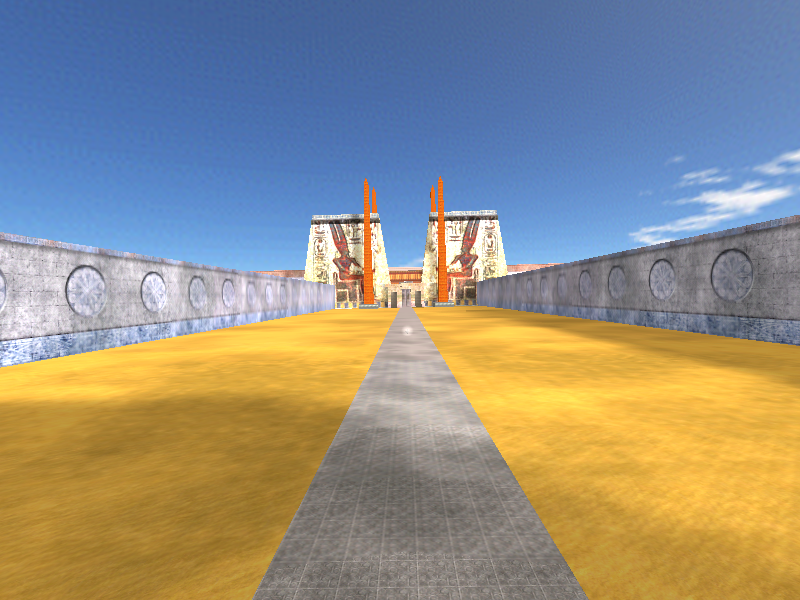
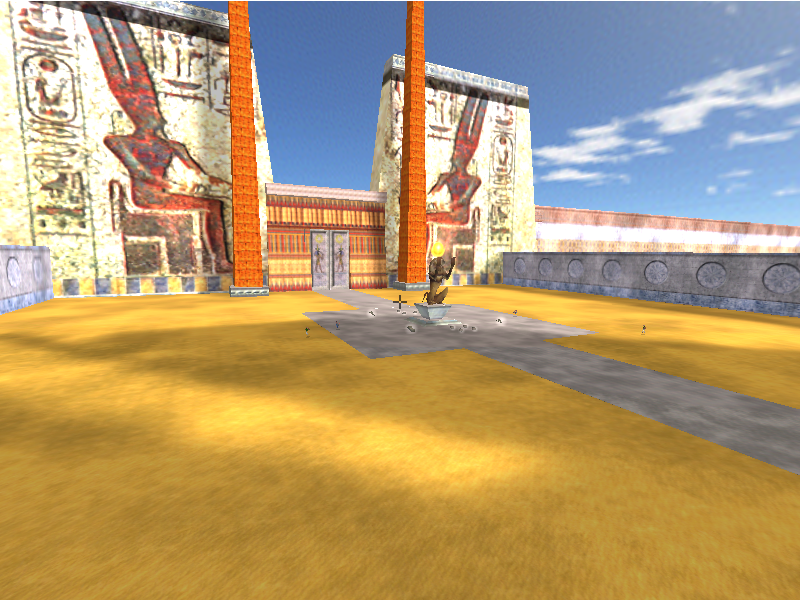
Hatshepsut#
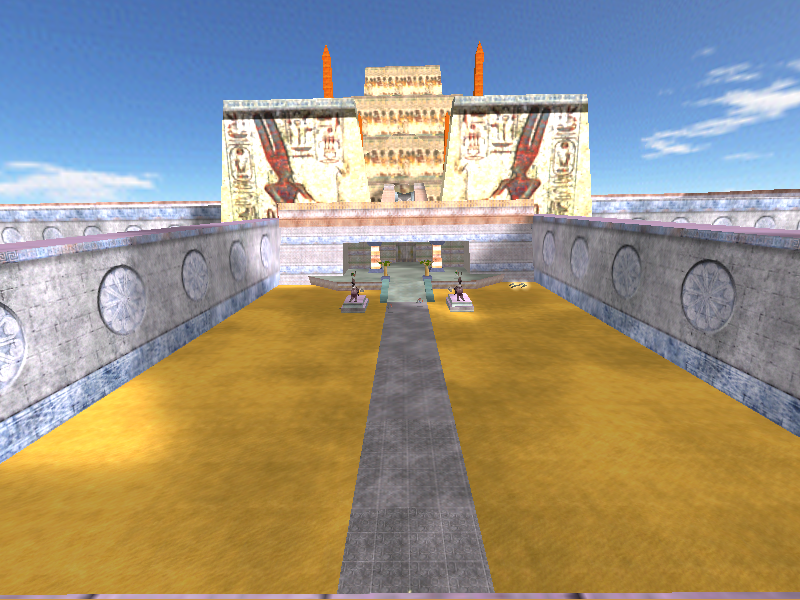
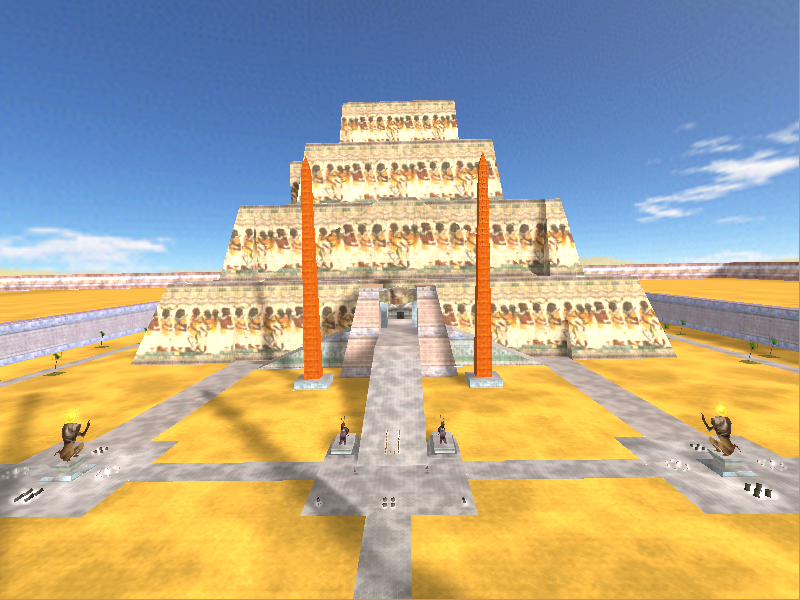
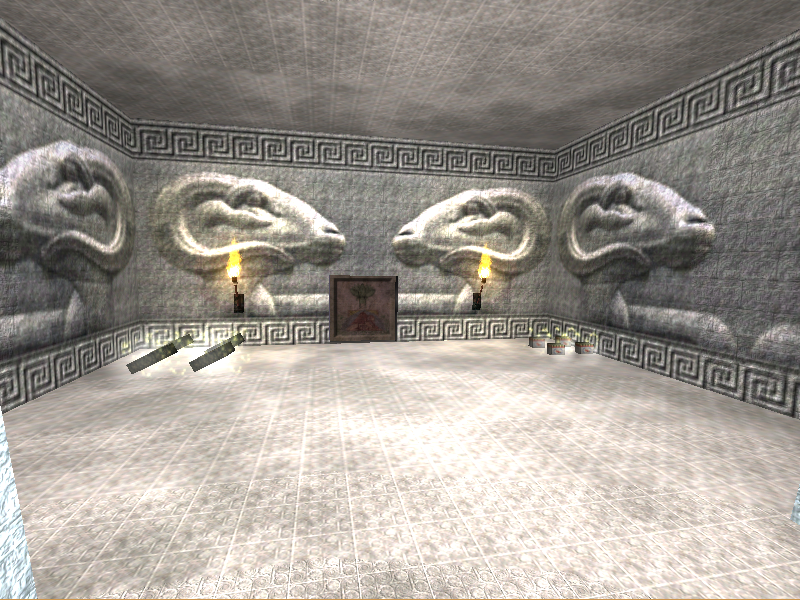
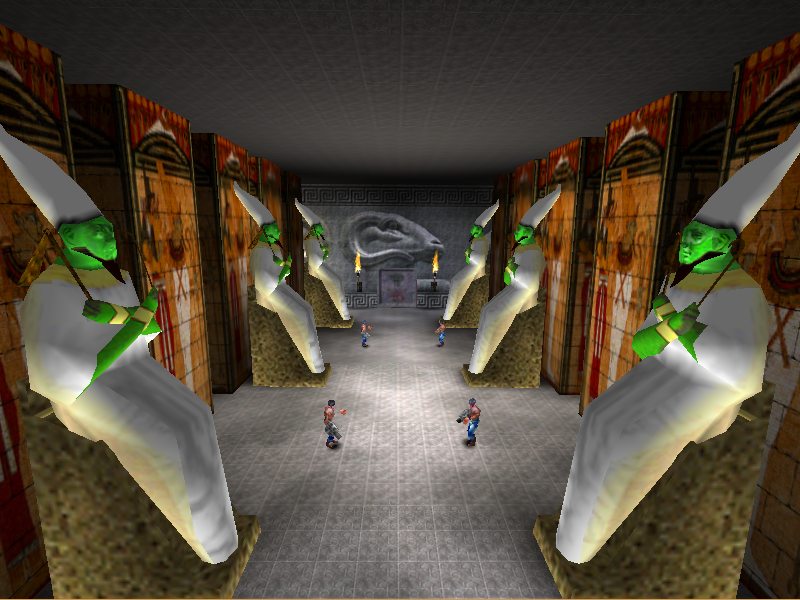
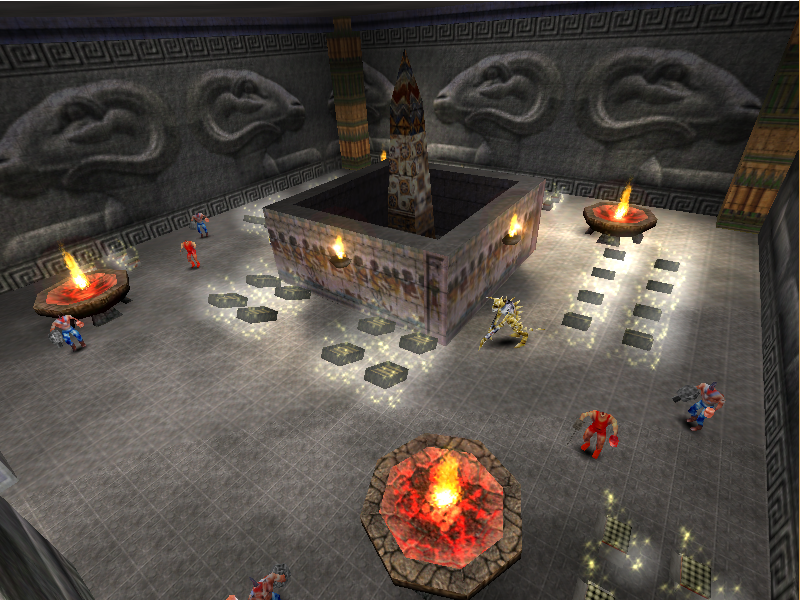
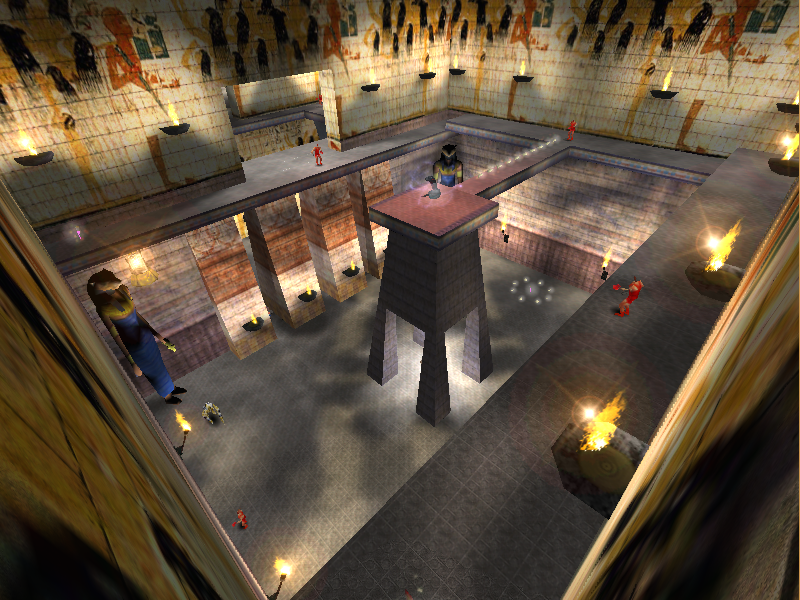
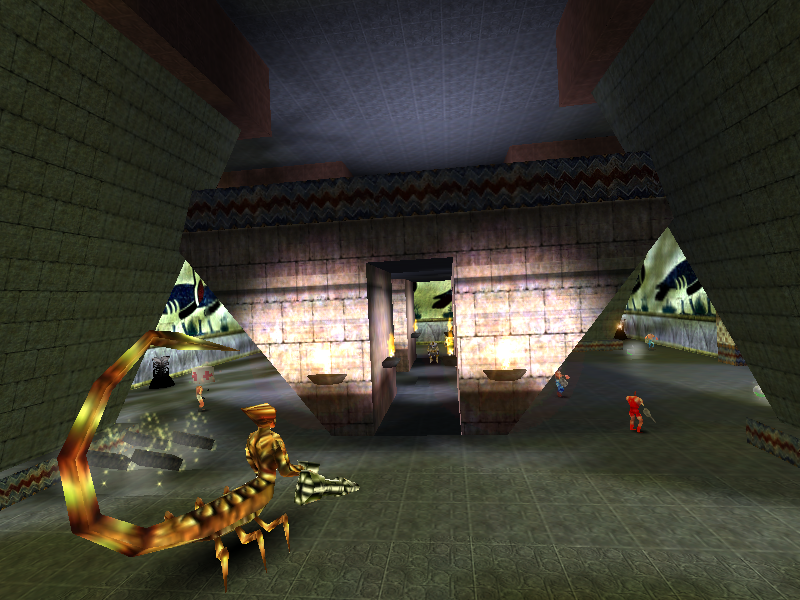
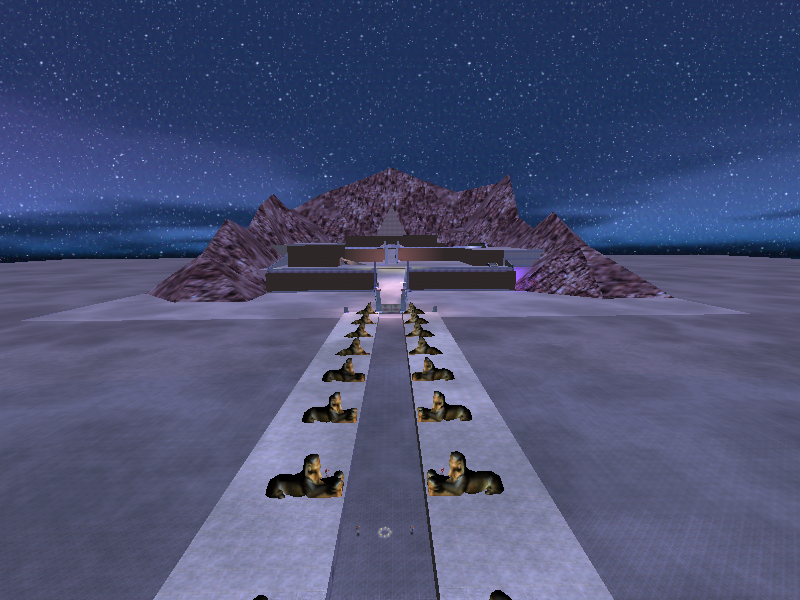
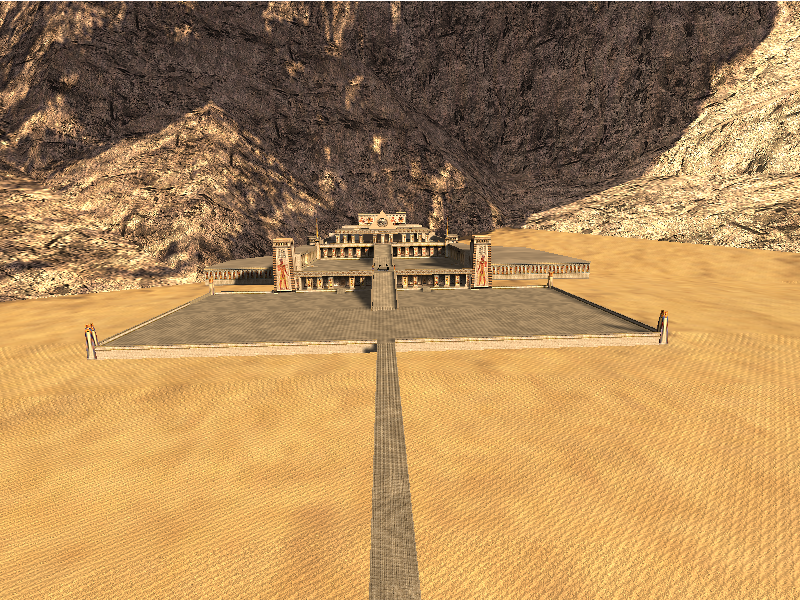
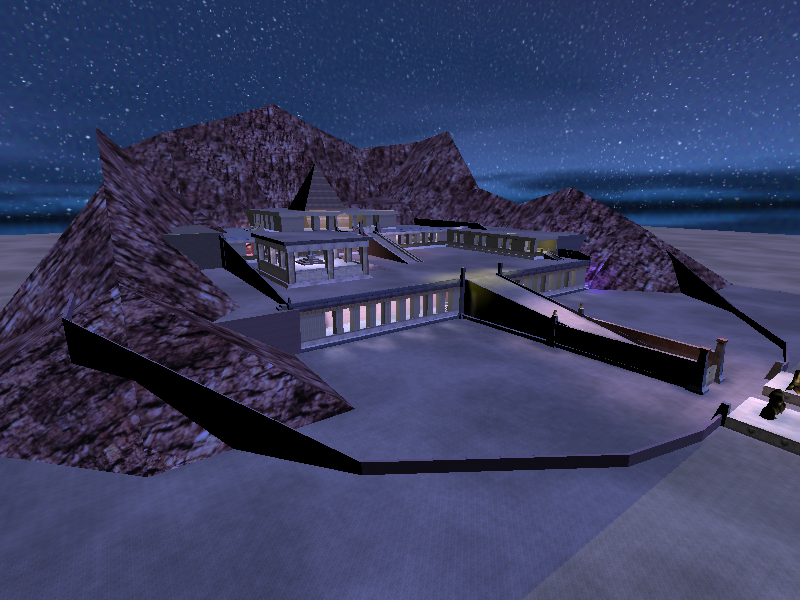
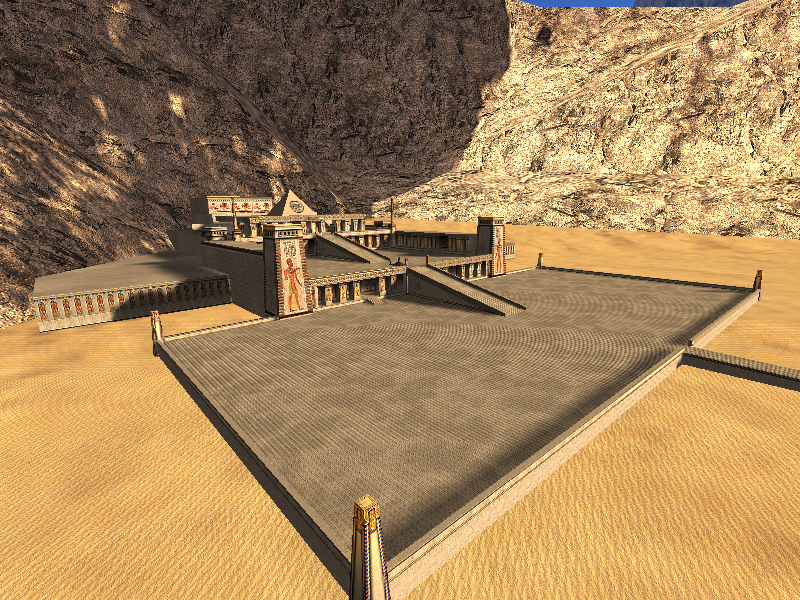
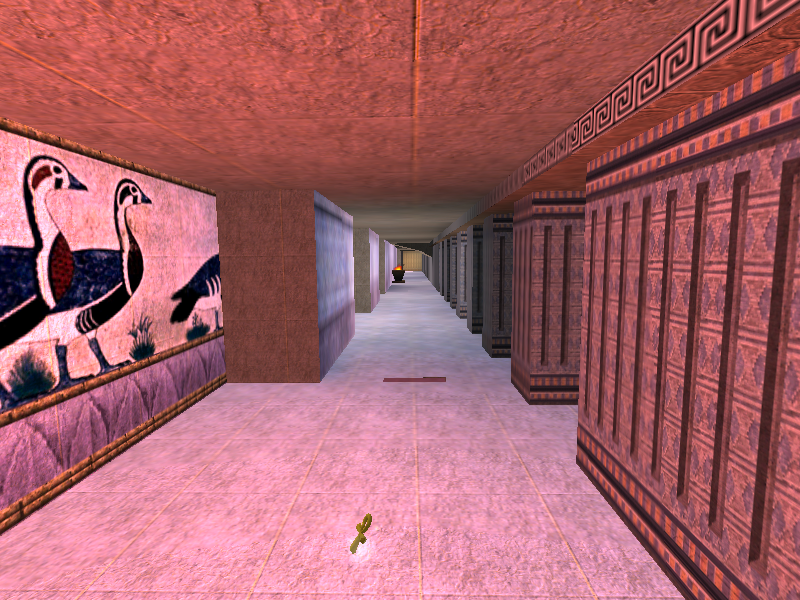
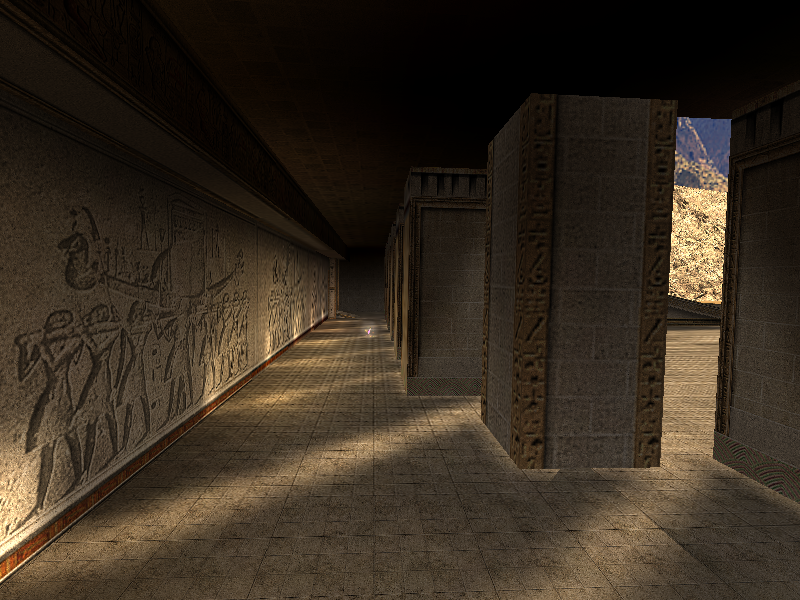
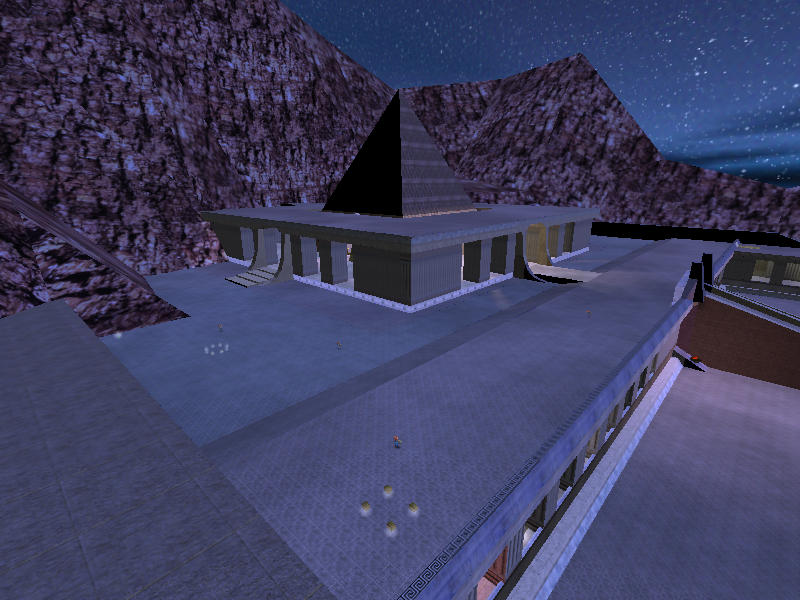
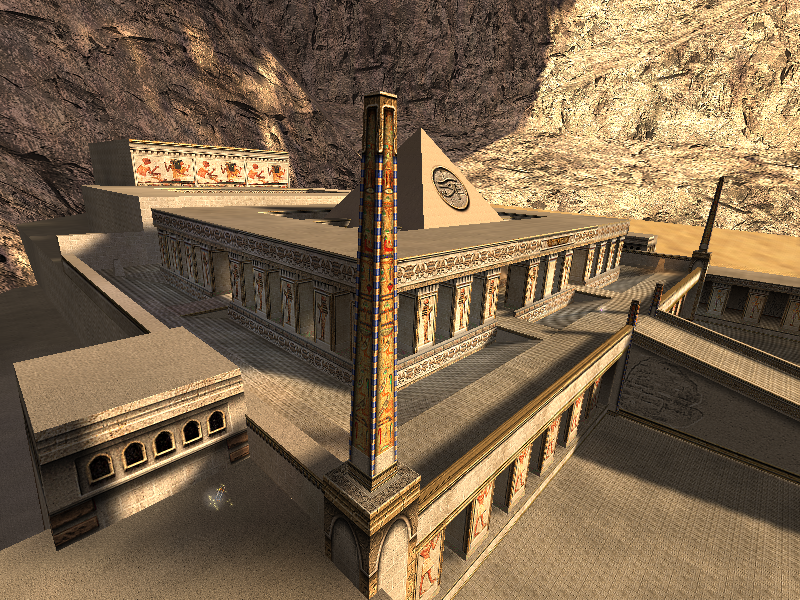
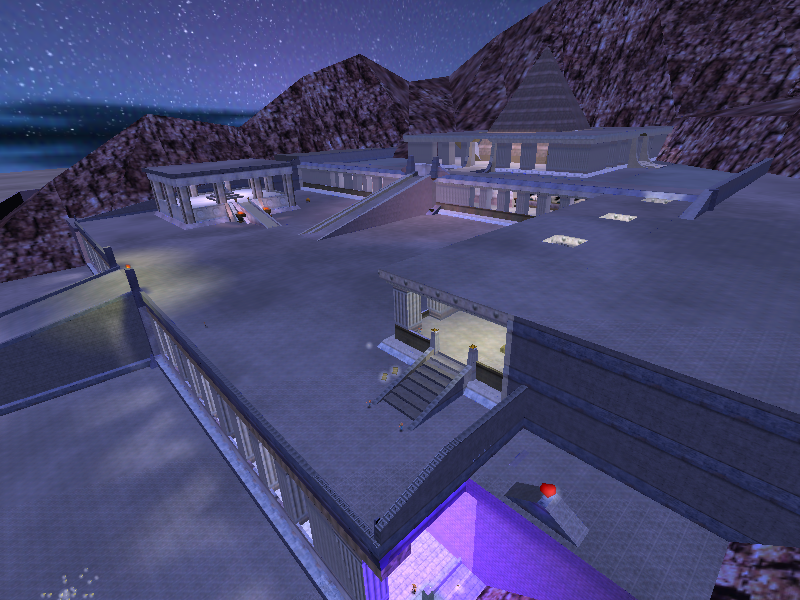
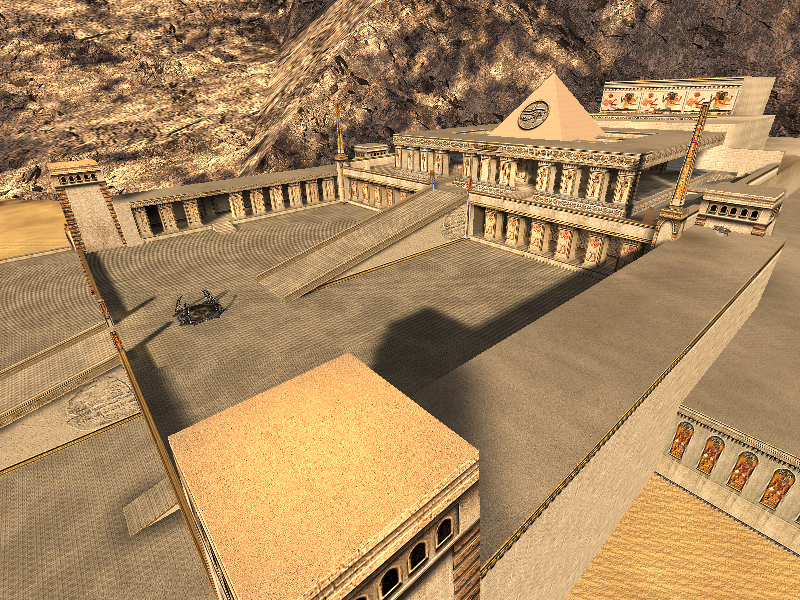
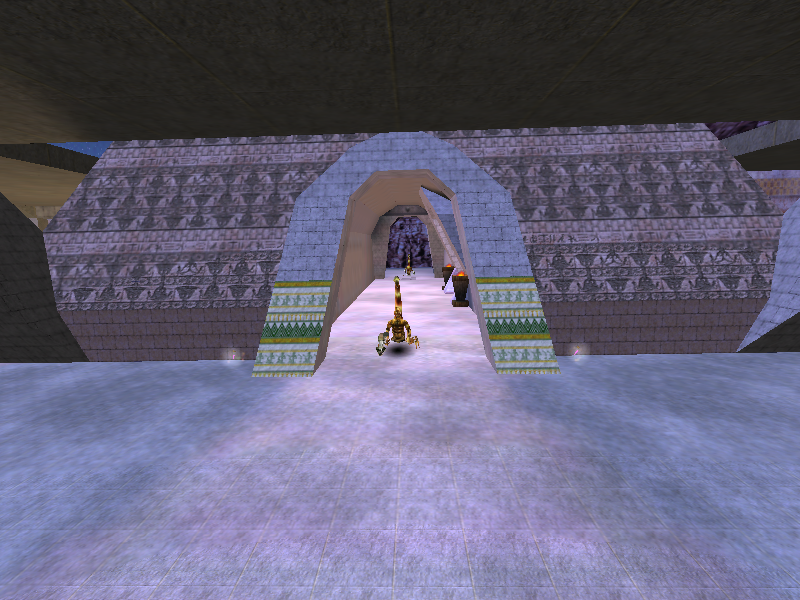
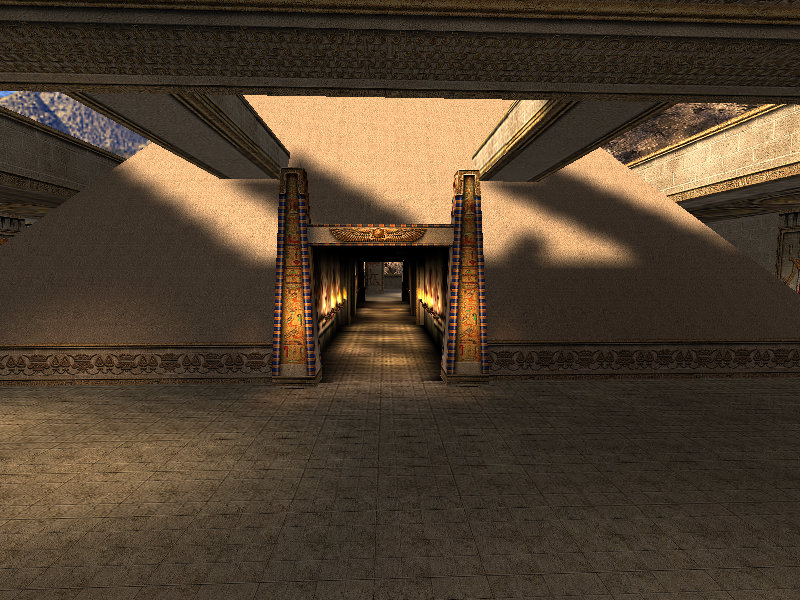
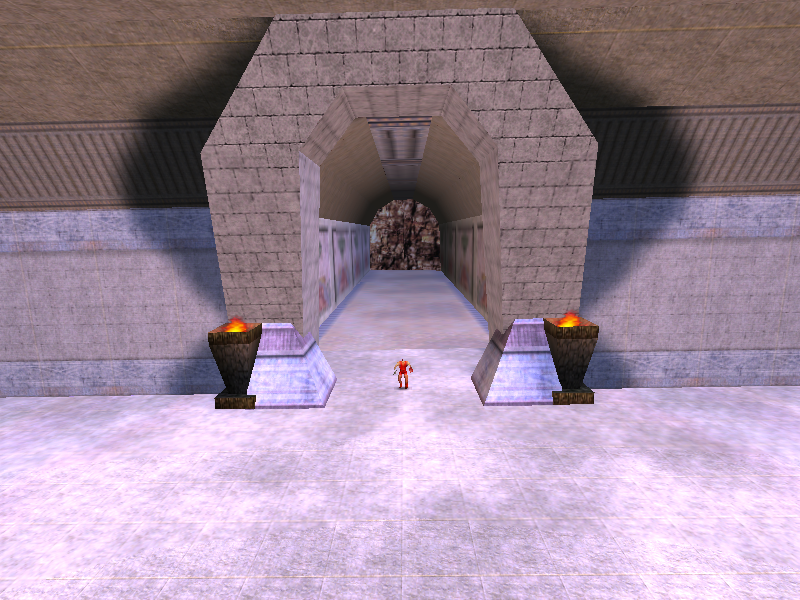
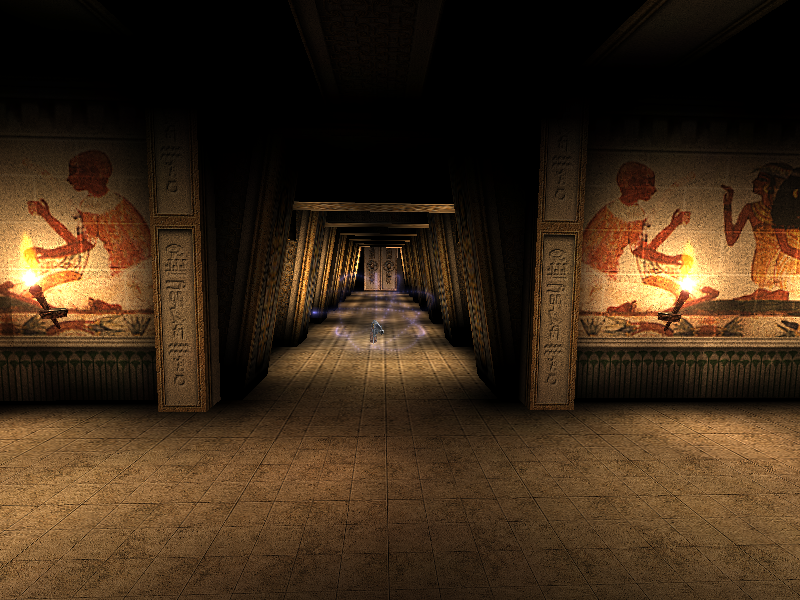
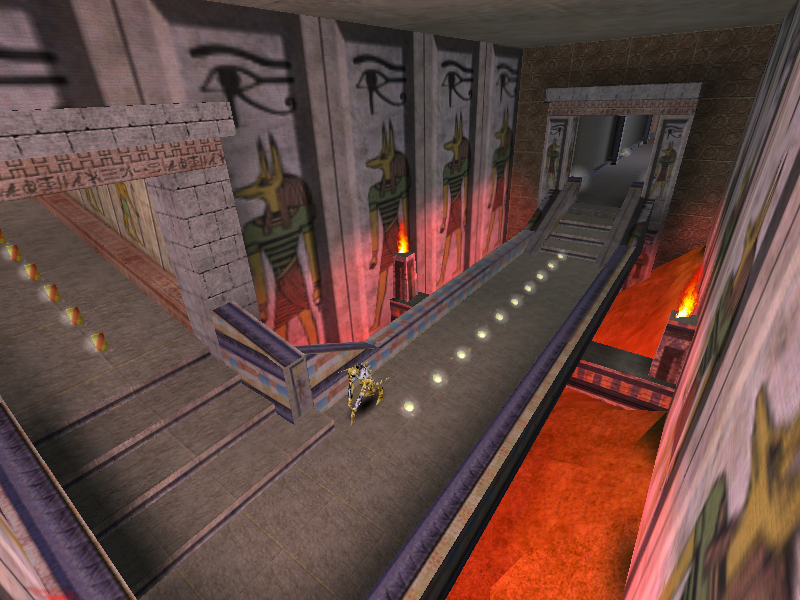
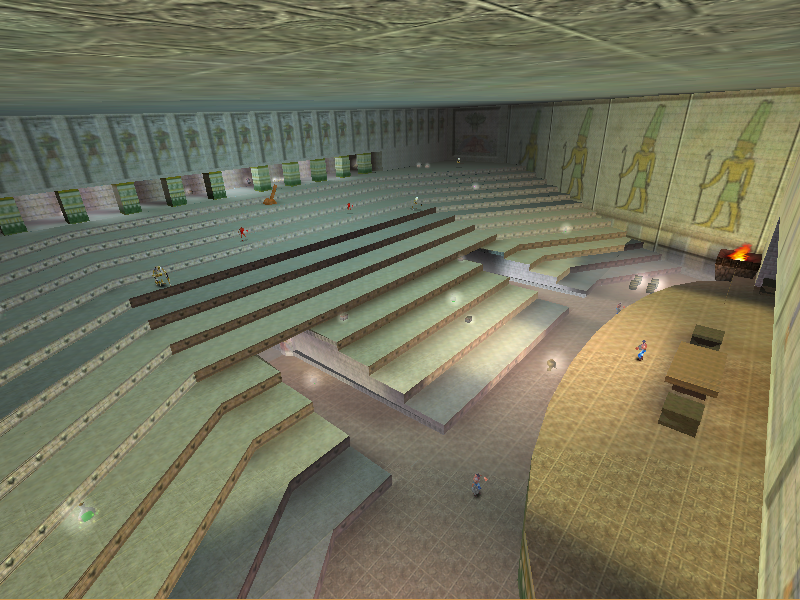
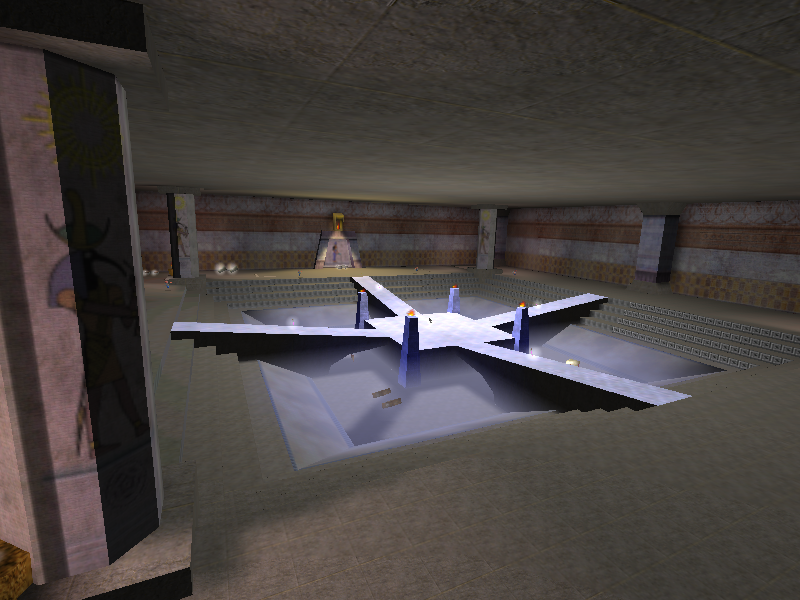
Eventually being the first level in the game, it appears as the fourteenth selectable level in this evaluation build's list. The map is notably different from the final build, taking place entirely at night, and having a long corridor full of enemies leading up to the bottom of the temple. The temple is noticeably smaller, with a far more restrictive bottom floor, and having more of it sunk into the mountain. The prototype level requires collection of a Wooden Ankh to access the second floor of the temple, and the activation of a level in a unique room to open the top floor. Strangely, the passageway to the exit as it would be in the final build, is blocked off by mountain geometry and not present behind, so it's unknown if the level would have still ended on this path, as it isn't complete enough to be sure.
|
Prototype |
Final |
|---|---|
|
|
Note the long decorated walls present in the prototype evaluation build, rather than a simple flat path. This also shows off how much smaller the mountain is in the prototype.
|
Prototype |
Final |
|---|---|
|
|
|
Prototype |
Final |
|---|---|
|
|
|
Prototype |
Final |
|---|---|
|
|
|
Prototype |
Final |
|---|---|
|
|
|
Prototype |
Final |
|---|---|
|
|
|
Prototype |
Final |
|---|---|
|
|
Notice the mountain geometry intersecting with the passageway to the exit.
Pyramid Valley#
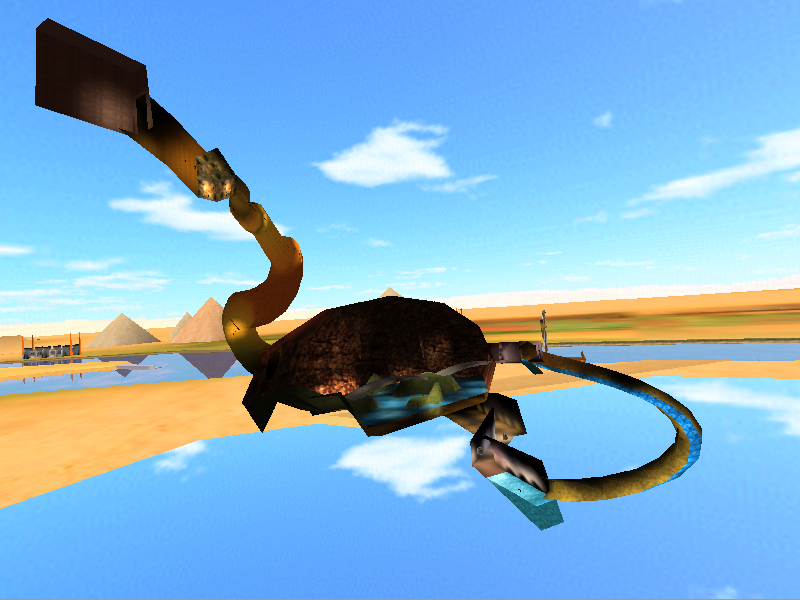
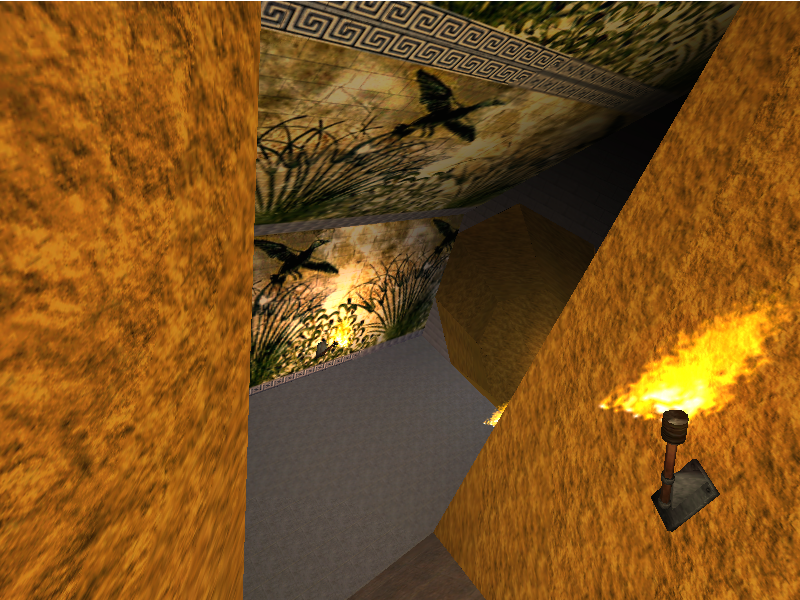
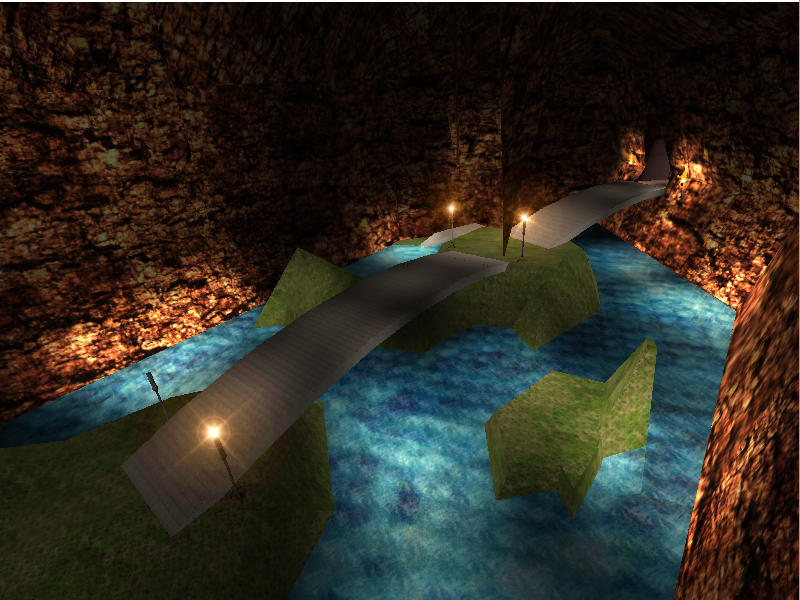
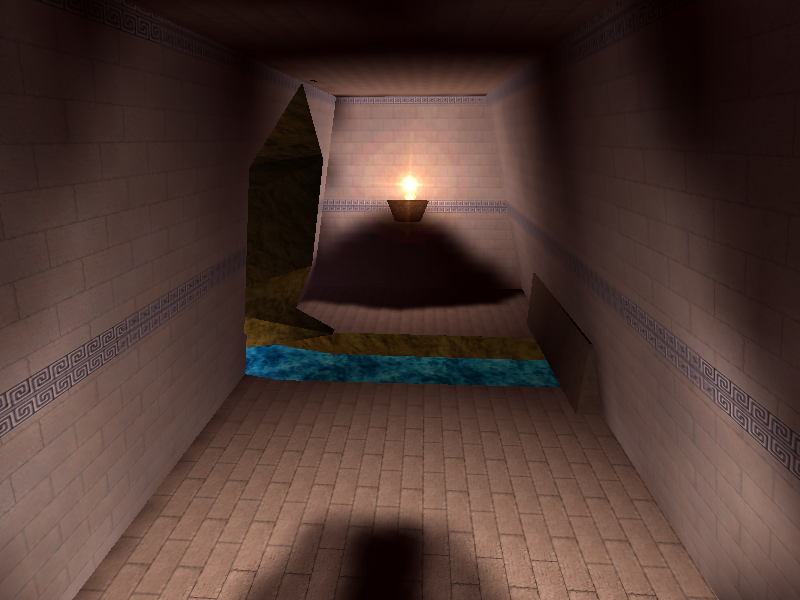
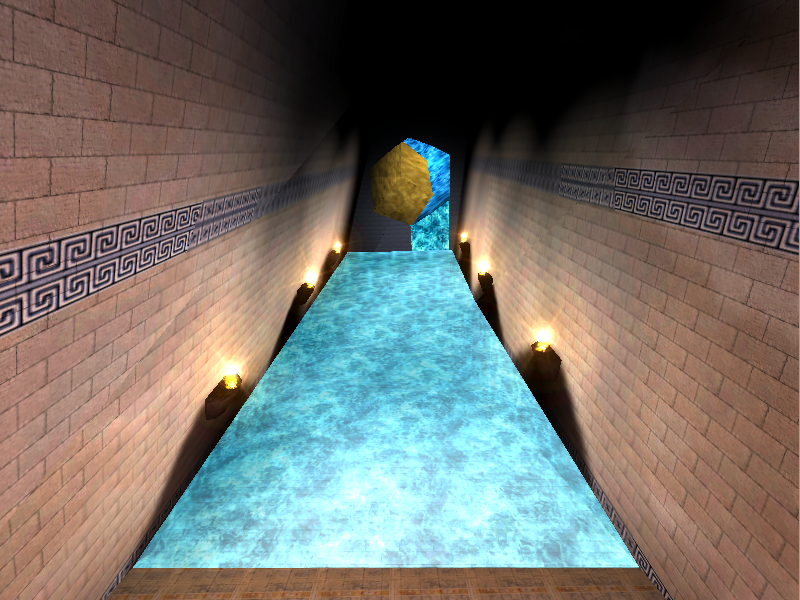
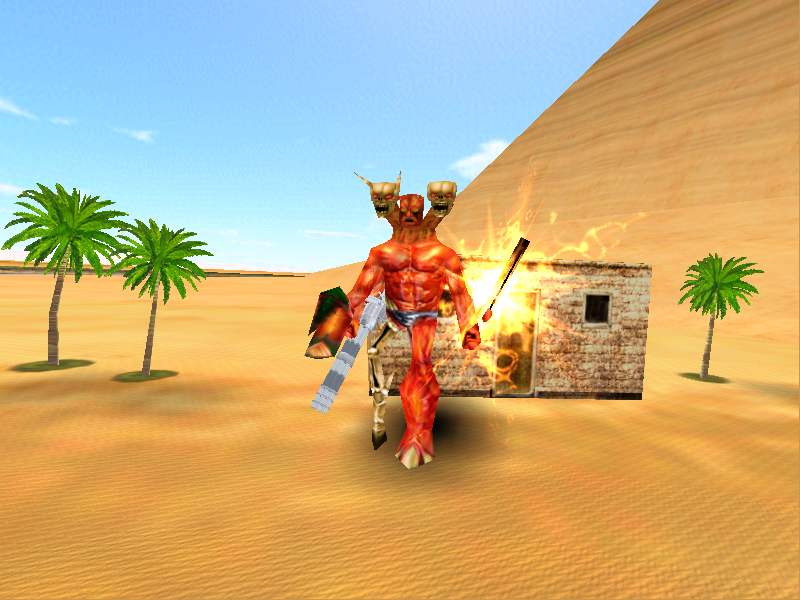
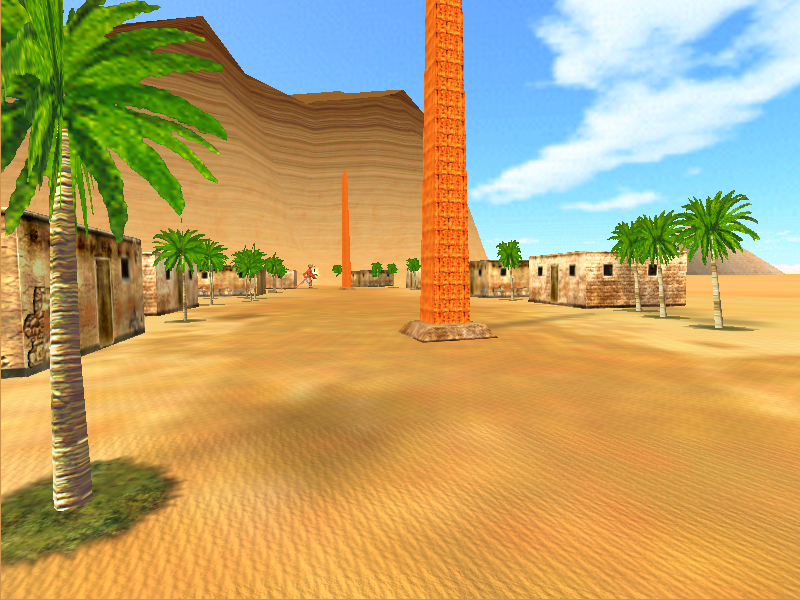
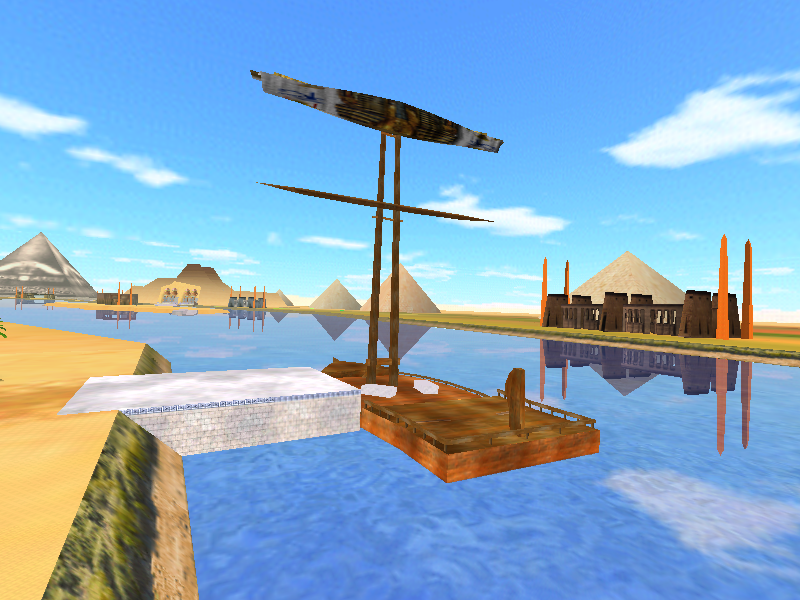
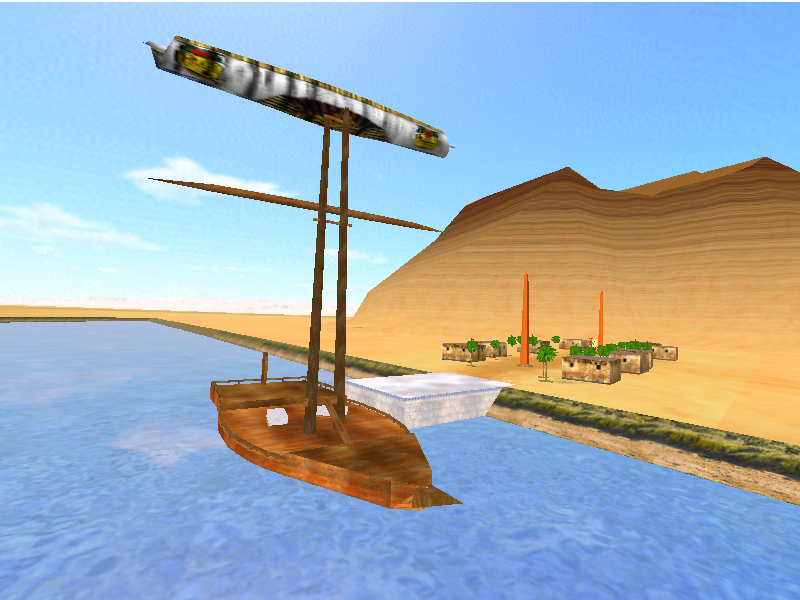
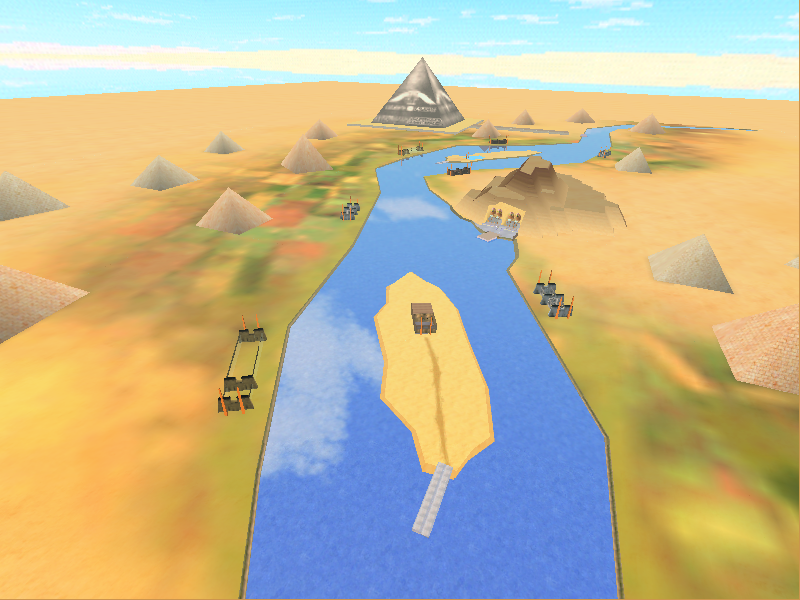
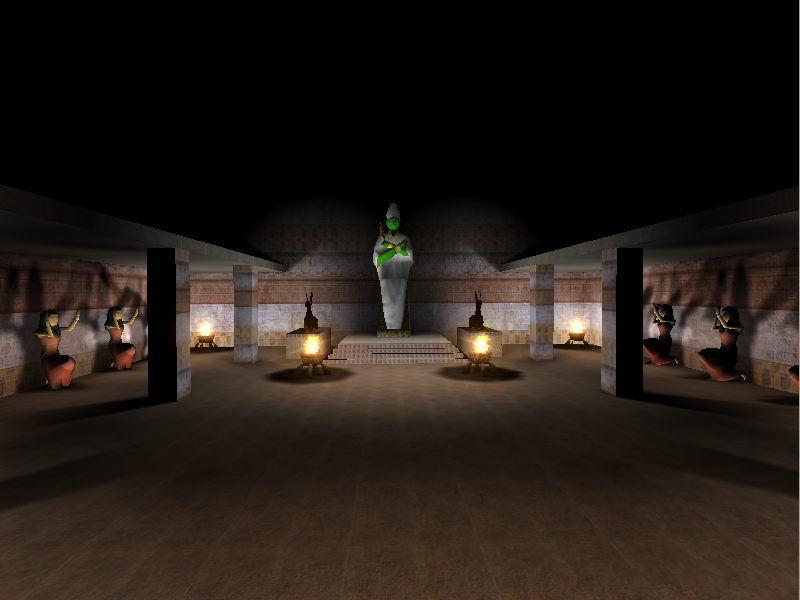
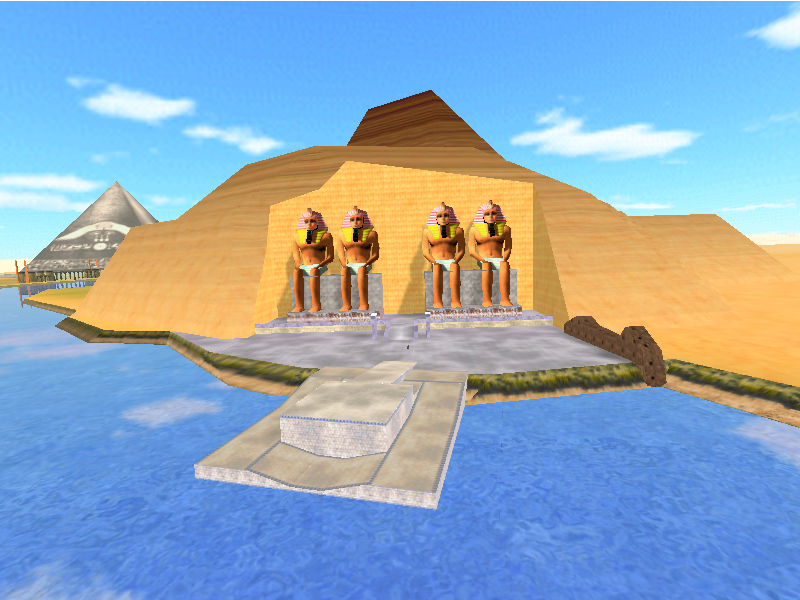
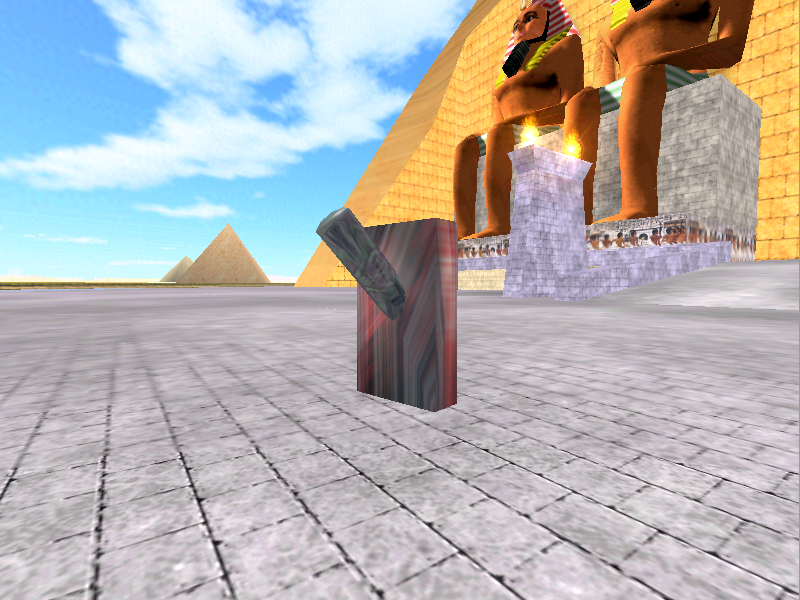
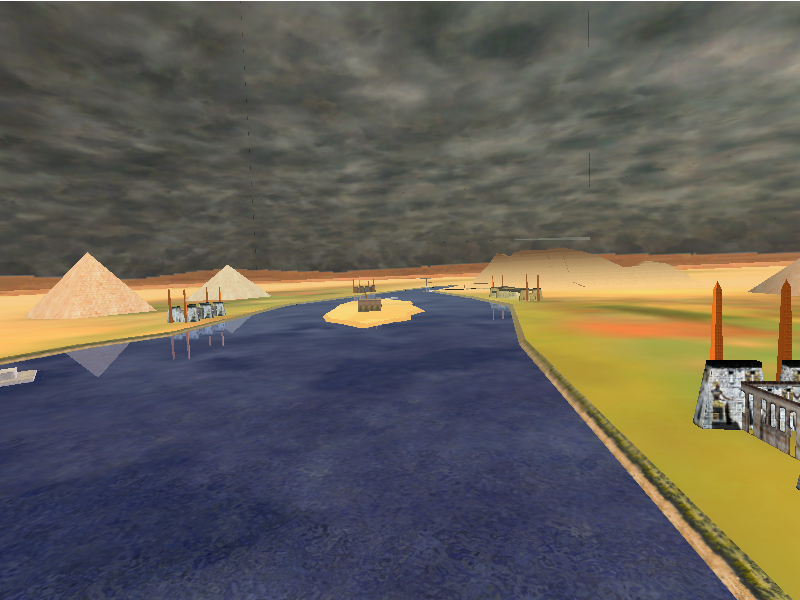
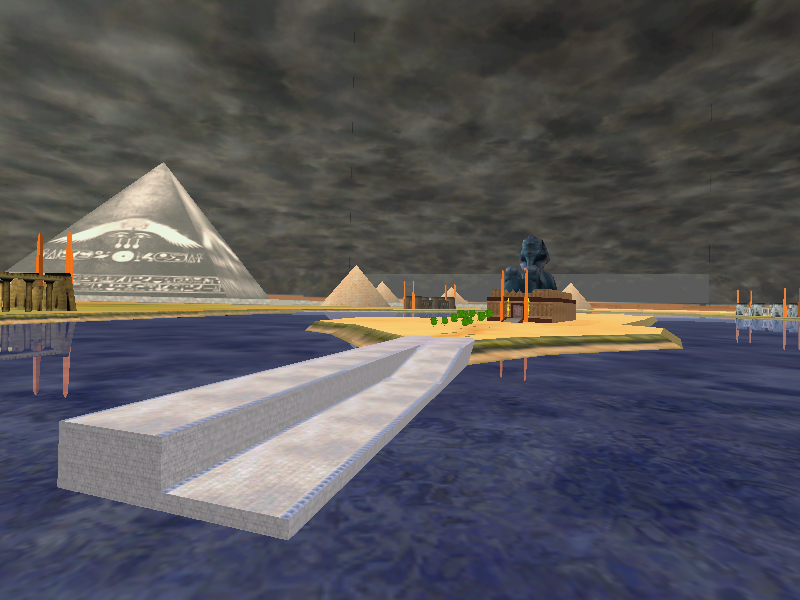
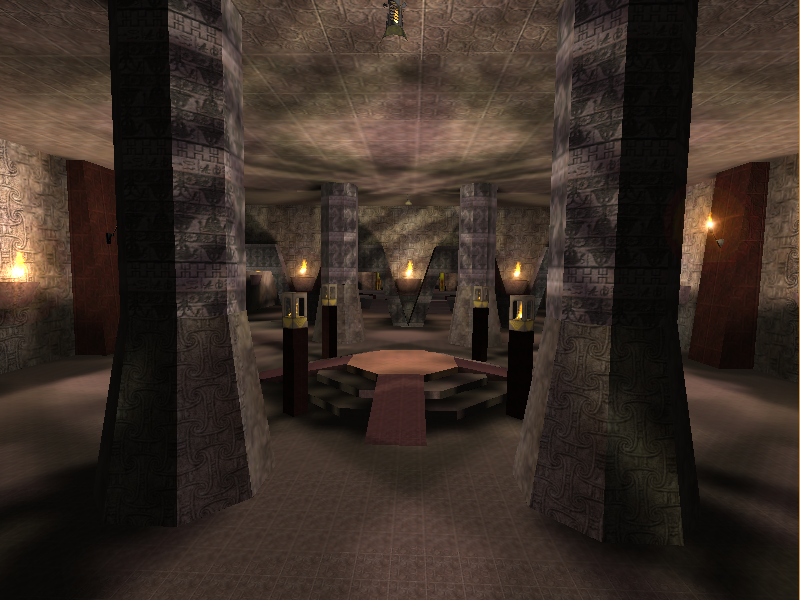
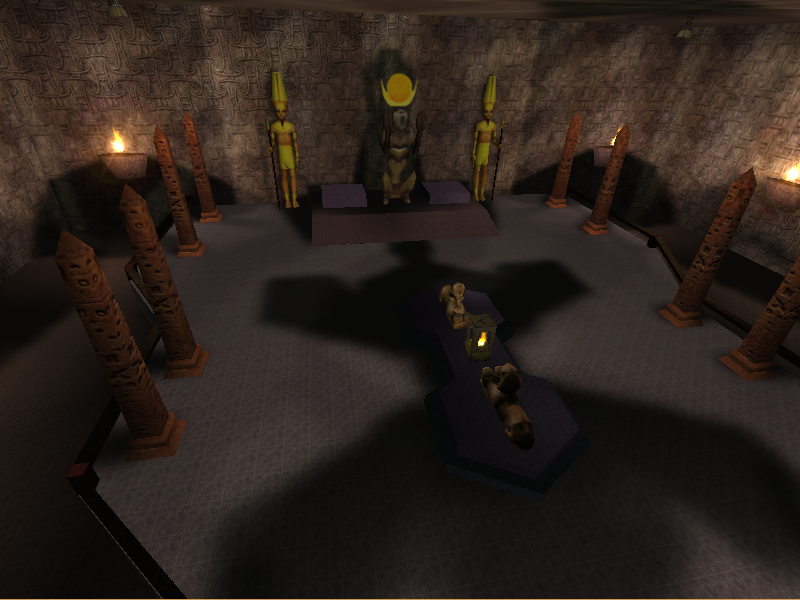
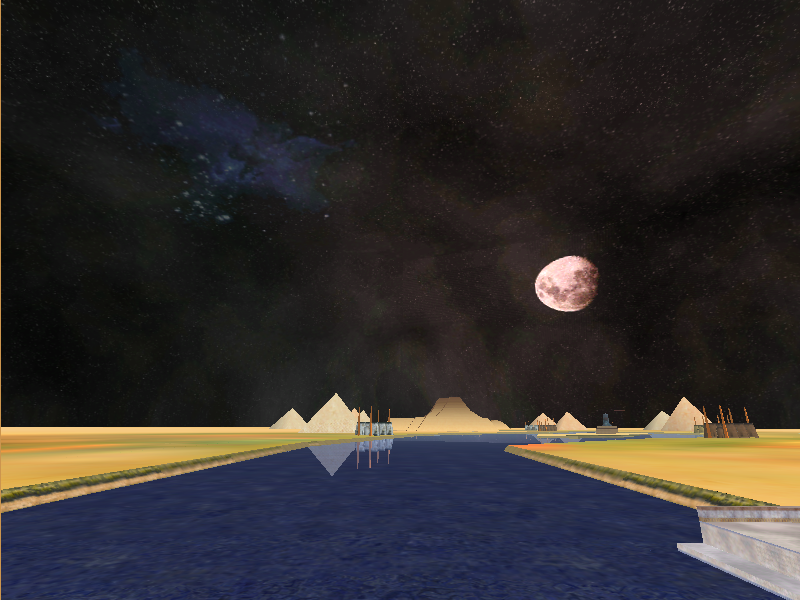
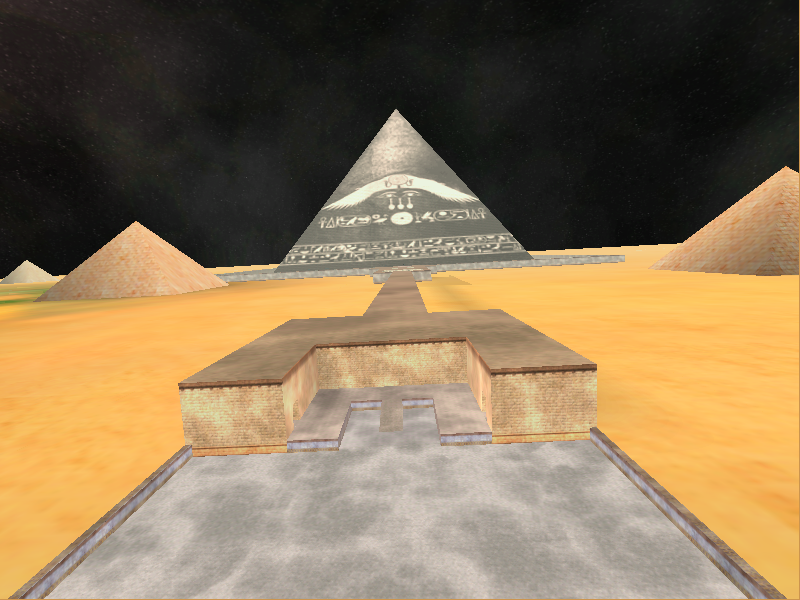
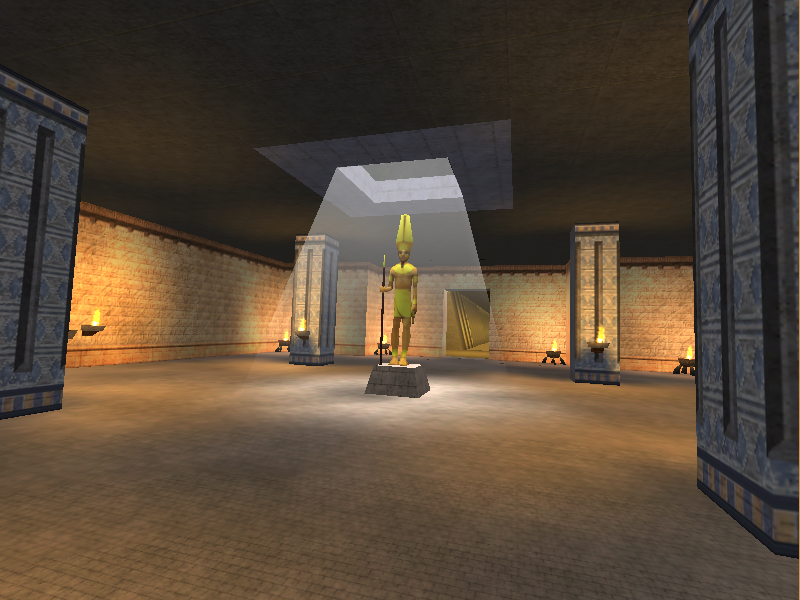
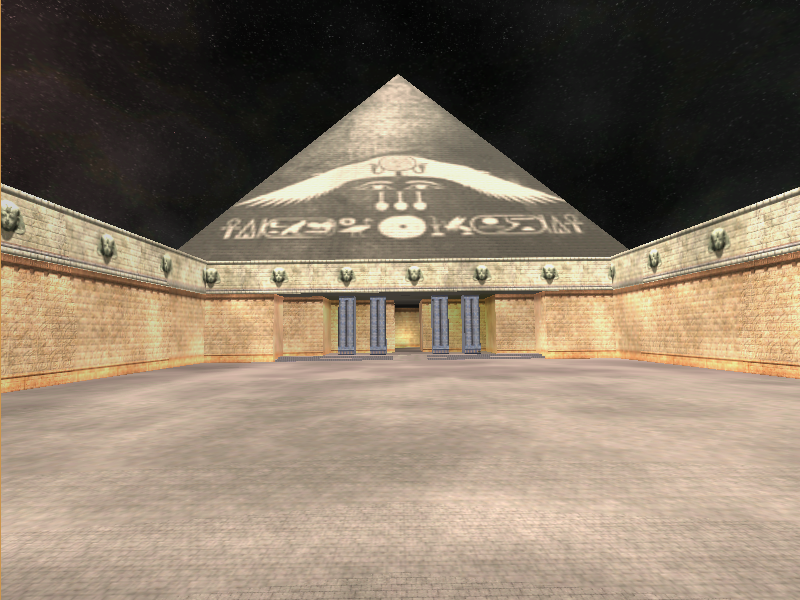
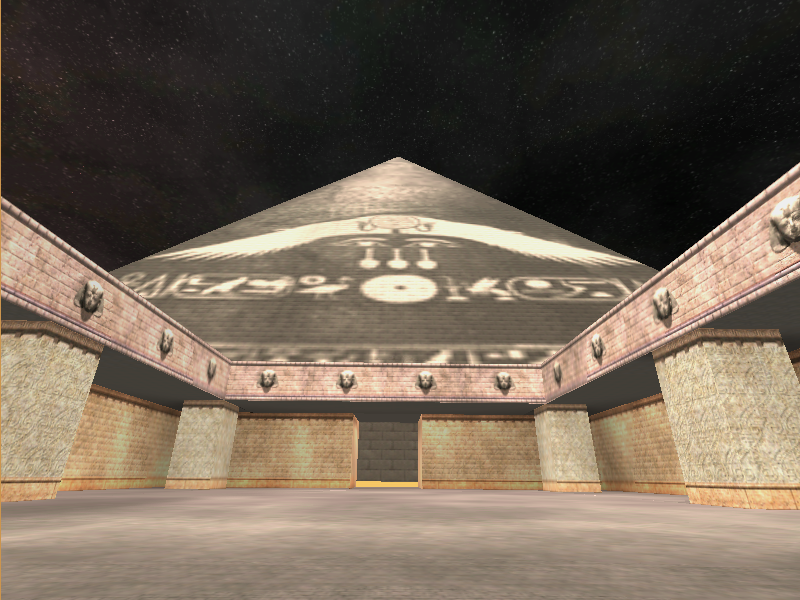
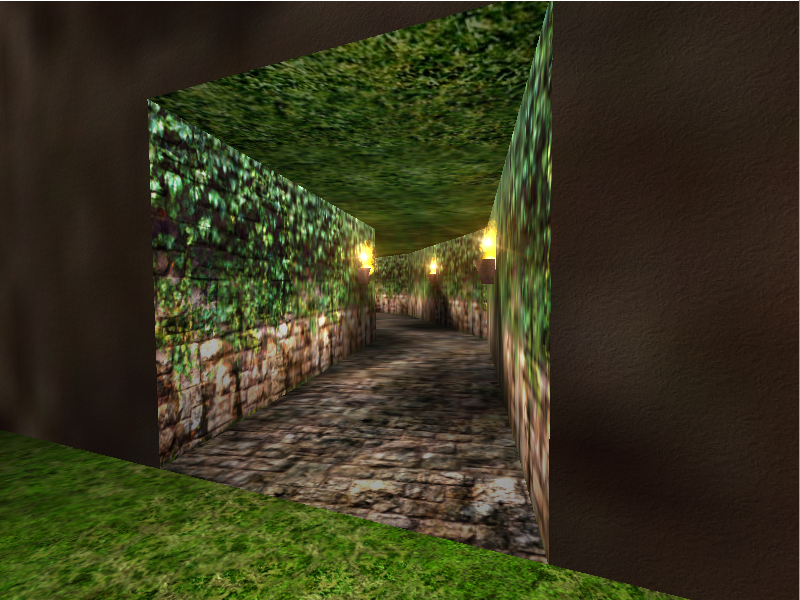
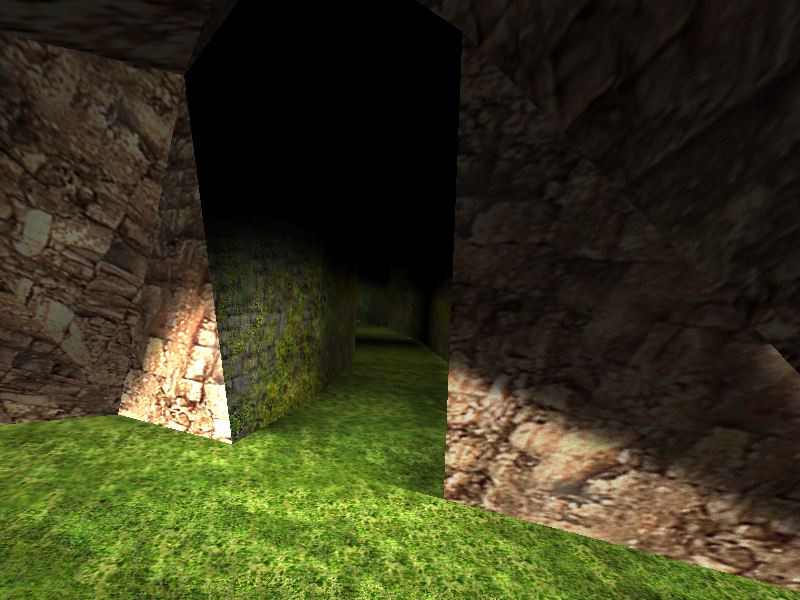
Pyramid Valley is the fifteenth map in the level select for the Evaluation Build. It is a huge map, starting you at the top of a large mountain, which requires traversing down a windy cave system to reach the bottom of. At the bottom, a boat waits for Sam. The boat is intended to travel down a large river, dropping Sam off at multiple islands along the way, until he ultimately reaches a large black pyramid. Two of the islands have switches on them which changes the skybox between a clear day, a storm, and eventually a night sky. Besides one boss enemy, the level is barren of monsters and pickups.
Water Planet (Intro)#
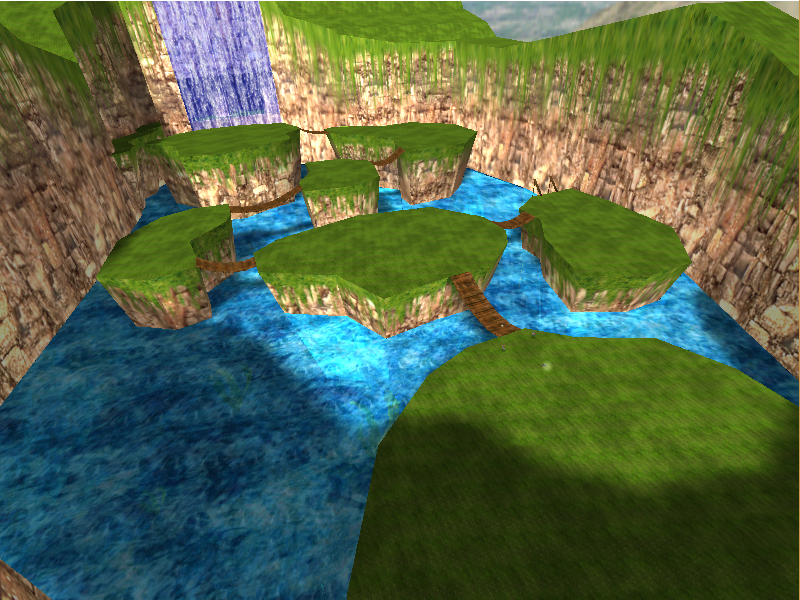
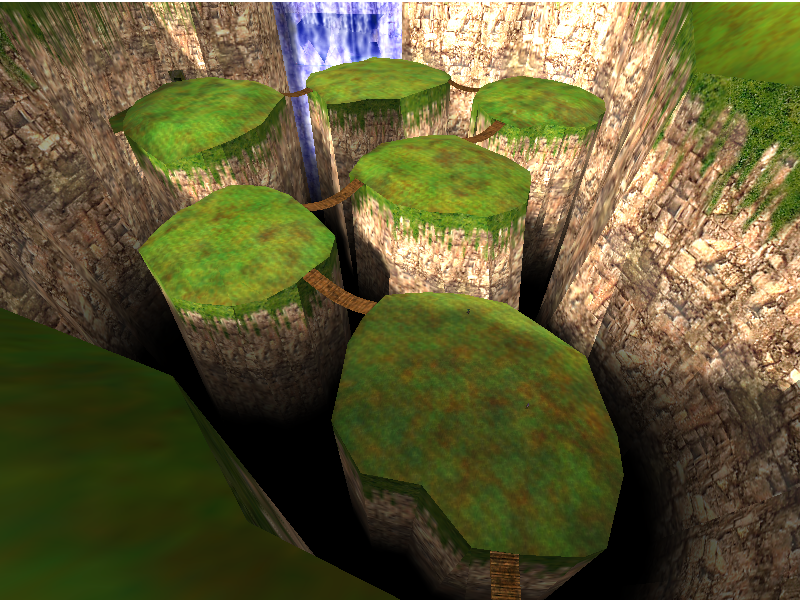
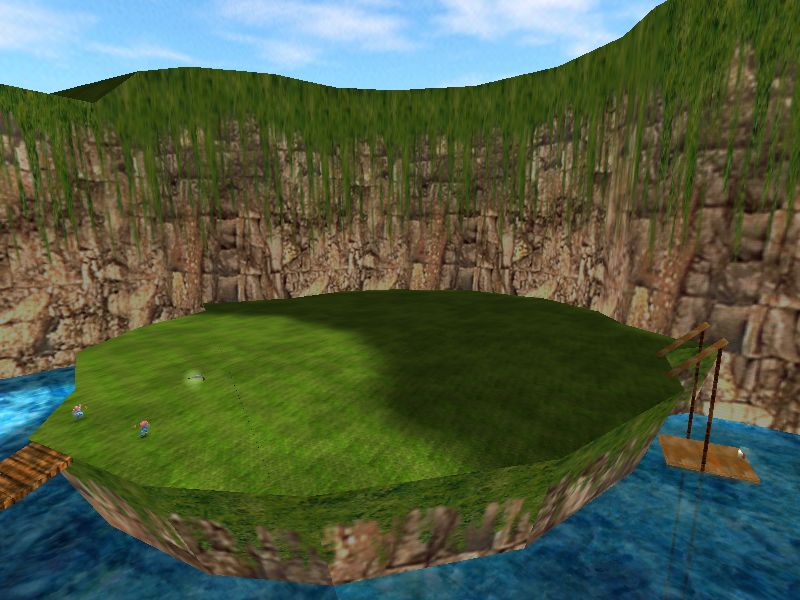
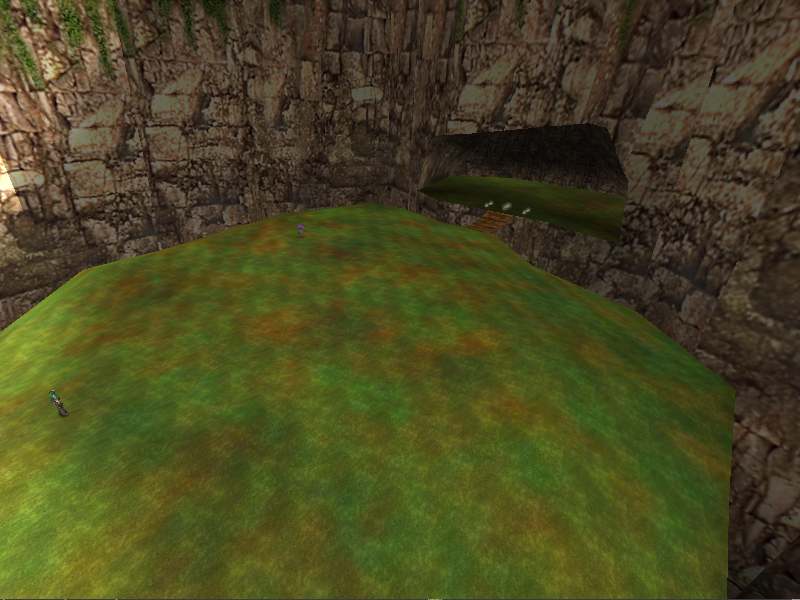
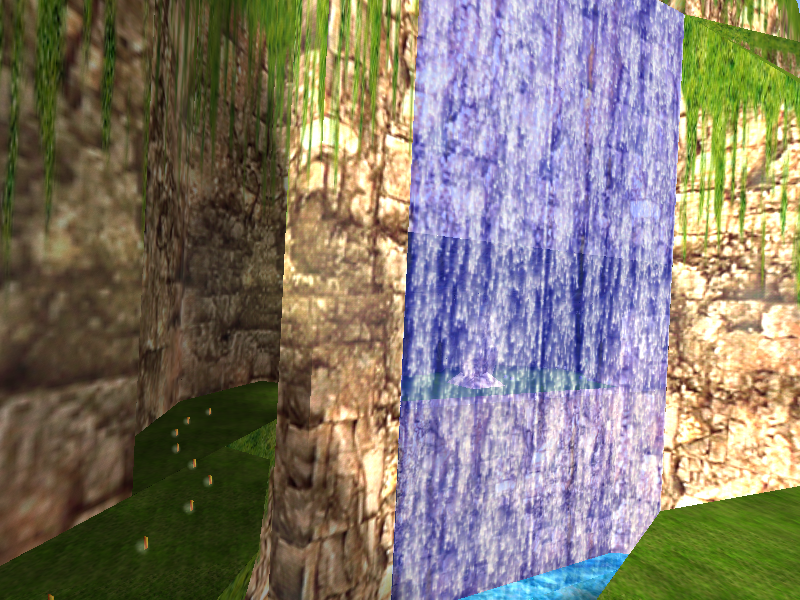
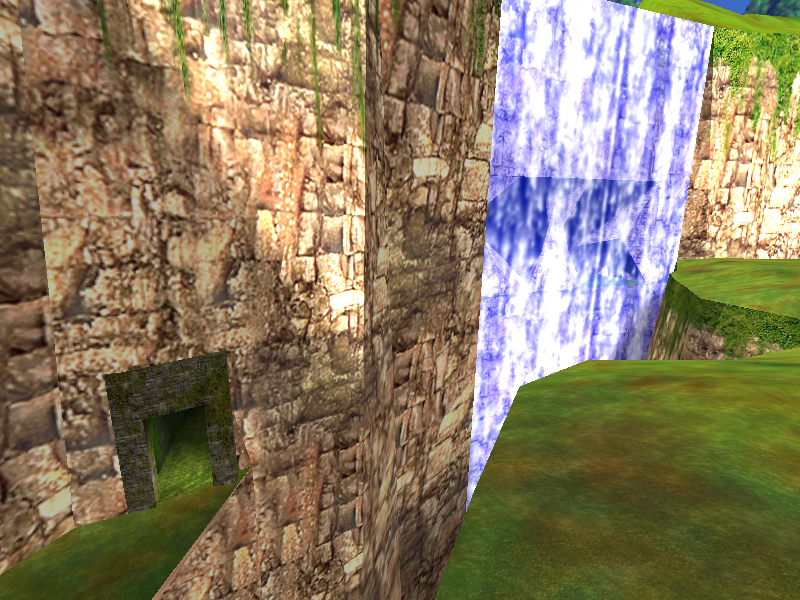
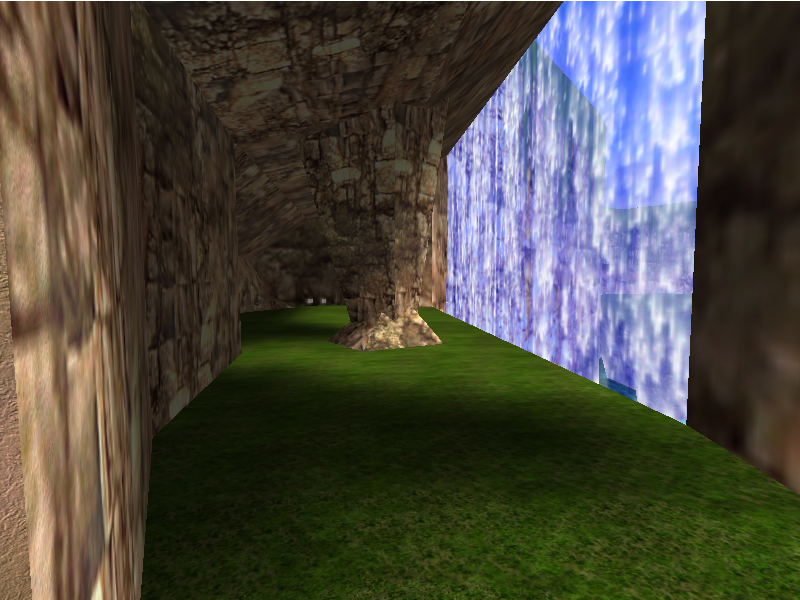
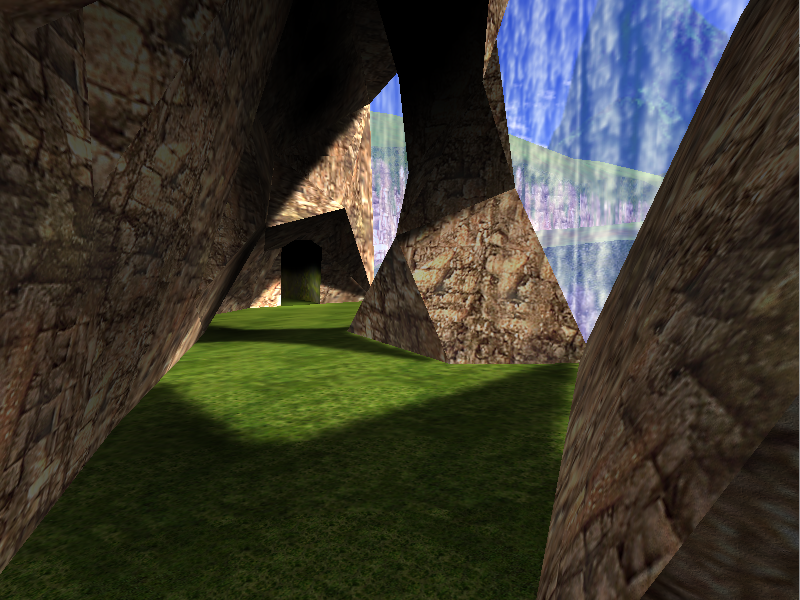
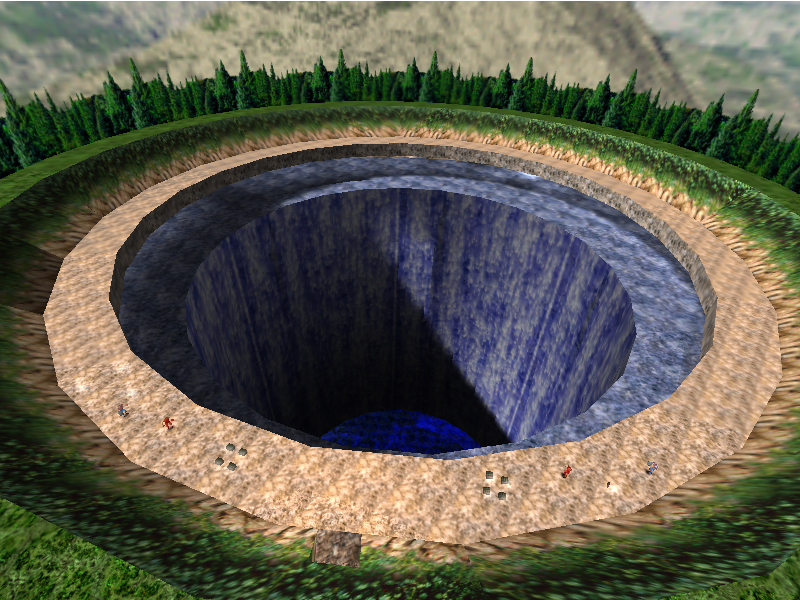
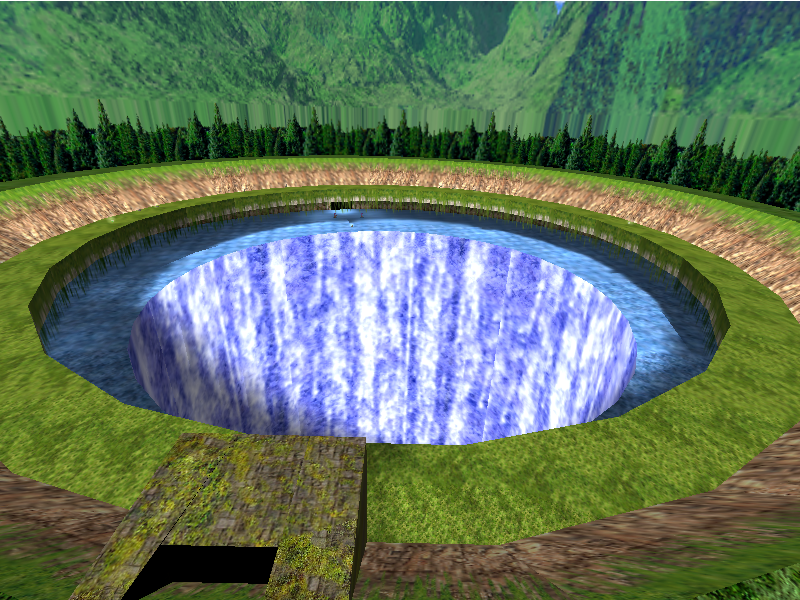
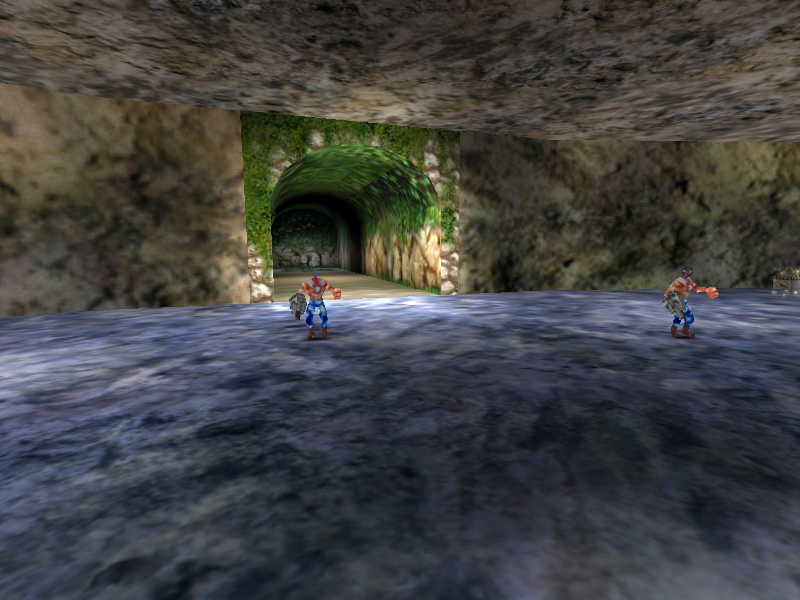
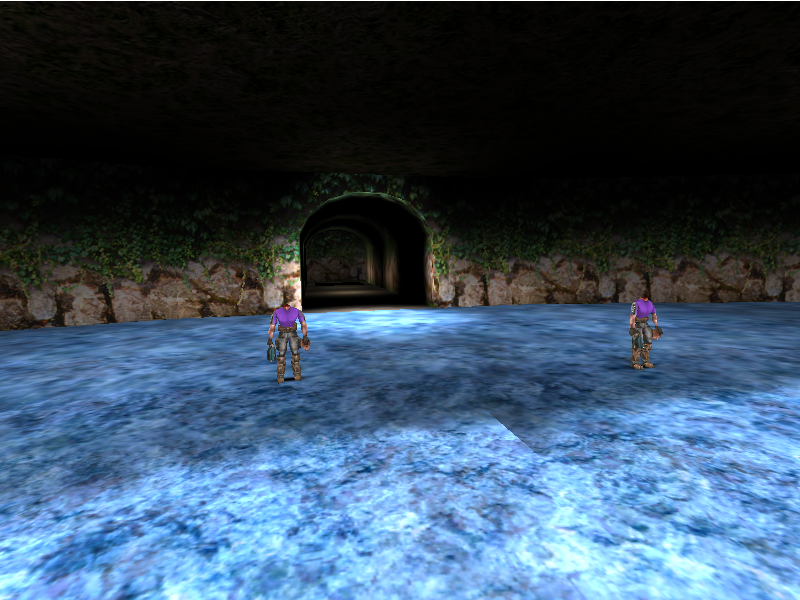
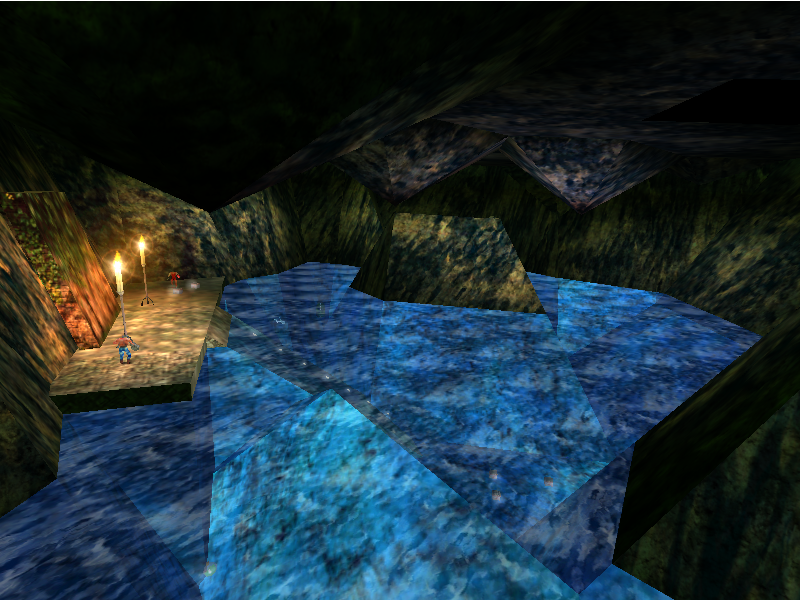
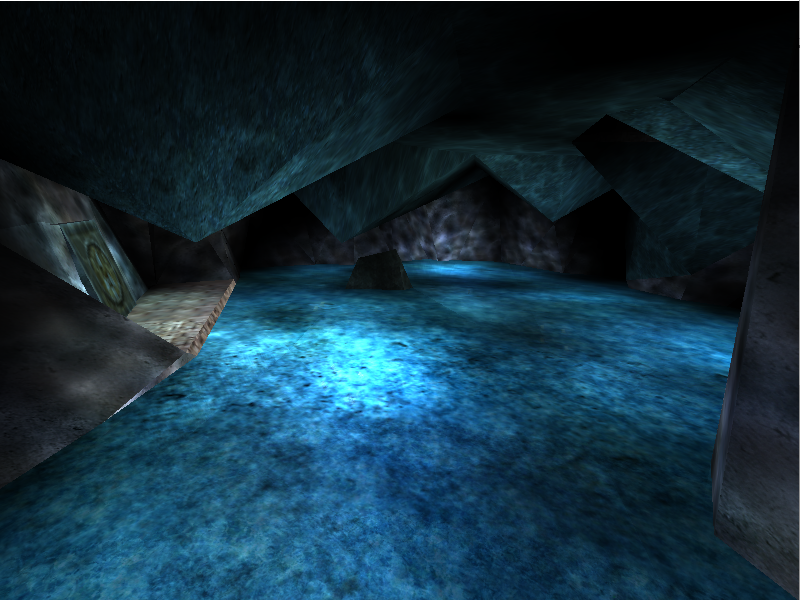
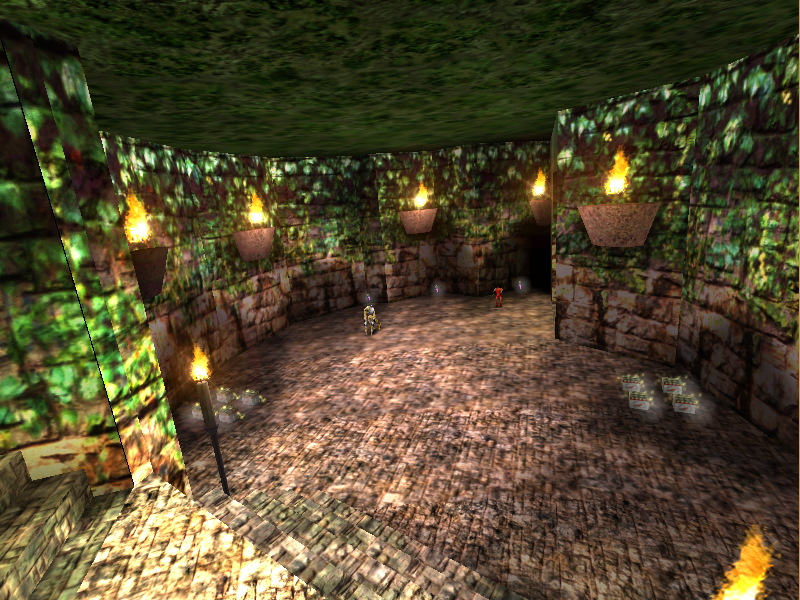
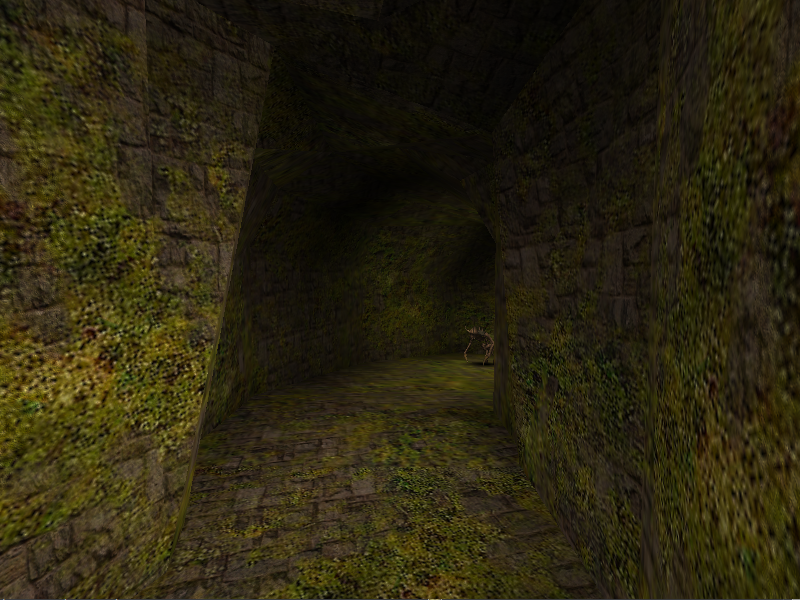
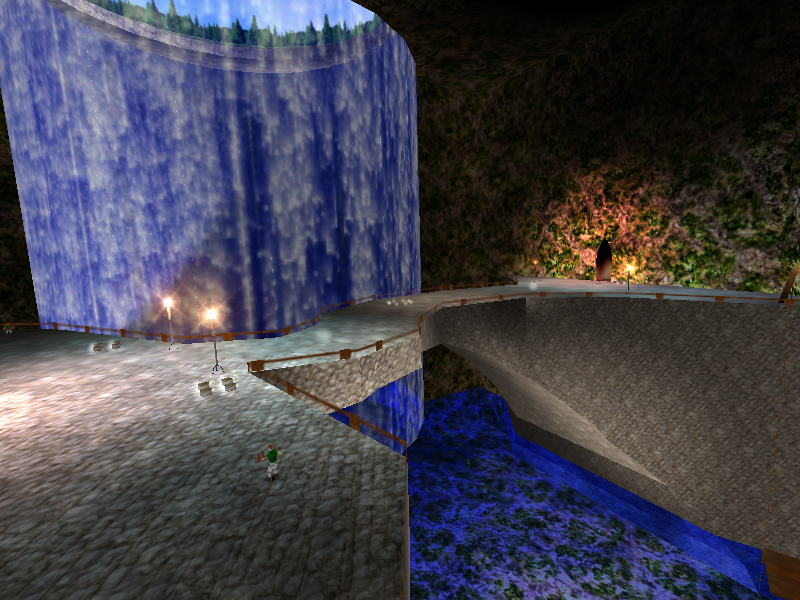
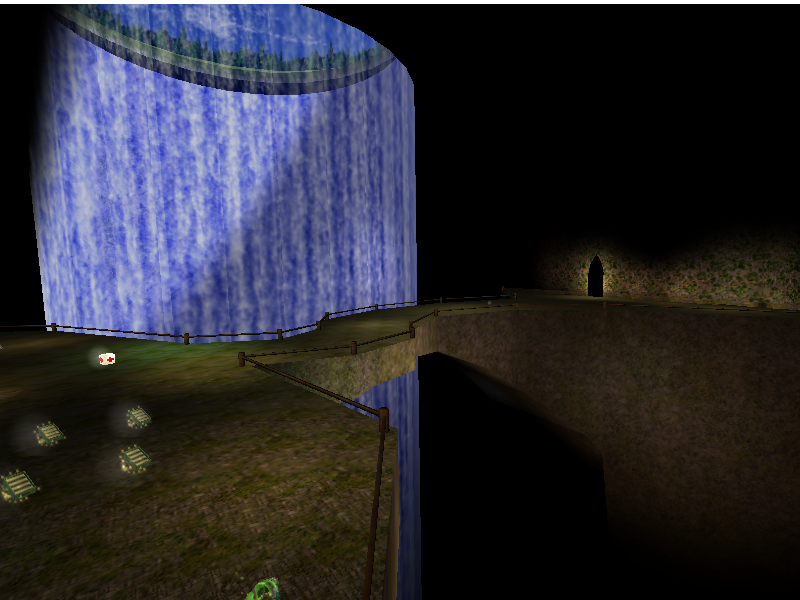
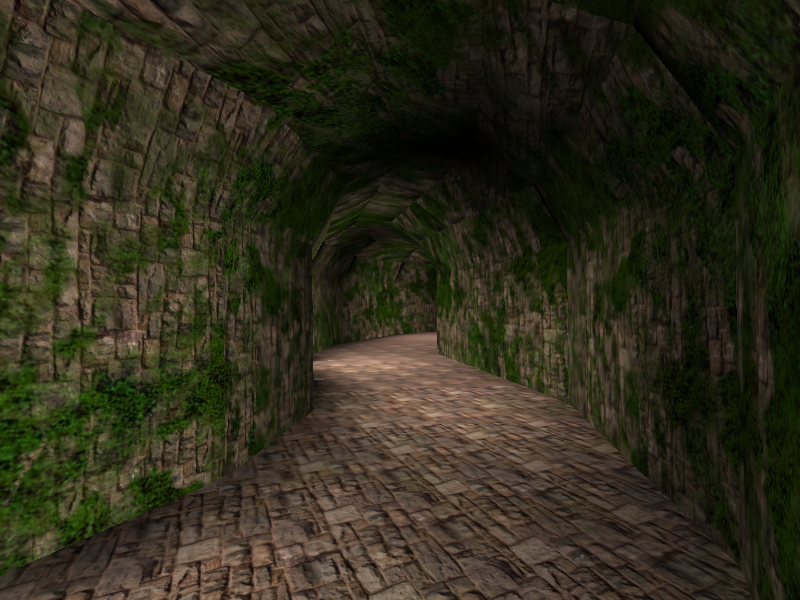
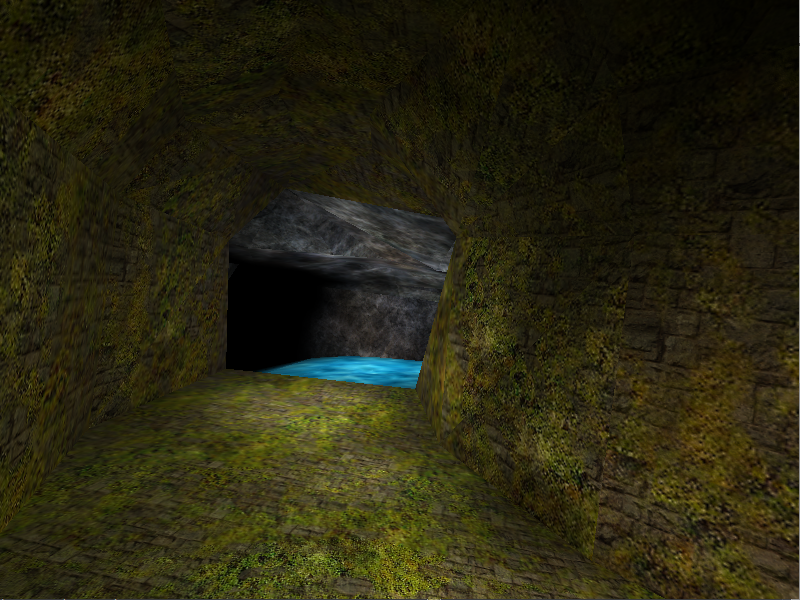
Water Planet (Intro) is the sixteenth map in the level select for the Evaluation Build. It is an earlier version of the final's Moon Mountains. It is very similar to the final and layout-complete. Unlike the final, which ends in a cutscene where Sam slides down a stream of water, the prototype has the hallway extended, and transitions seamlessly into Water Planet (W-fall Valley).
|
Prototype |
Final |
|---|---|
|
|
|
Prototype |
Final |
|---|---|
|
|
|
Prototype |
Final |
|---|---|
|
|
|
Prototype |
Final |
|---|---|
|
|
|
Prototype |
Final |
|---|---|
|
|
|
Prototype |
Final |
|---|---|
|
|
|
Prototype |
Final |
|---|---|
|
|
|
Prototype |
Final |
|---|---|
|
|
|
Prototype |
Final |
|---|---|
|
|
|
Prototype |
Final |
|---|---|
|
|
|
Prototype |
Final |
|---|---|
|
|
Water Planet (W-fall Valley)#
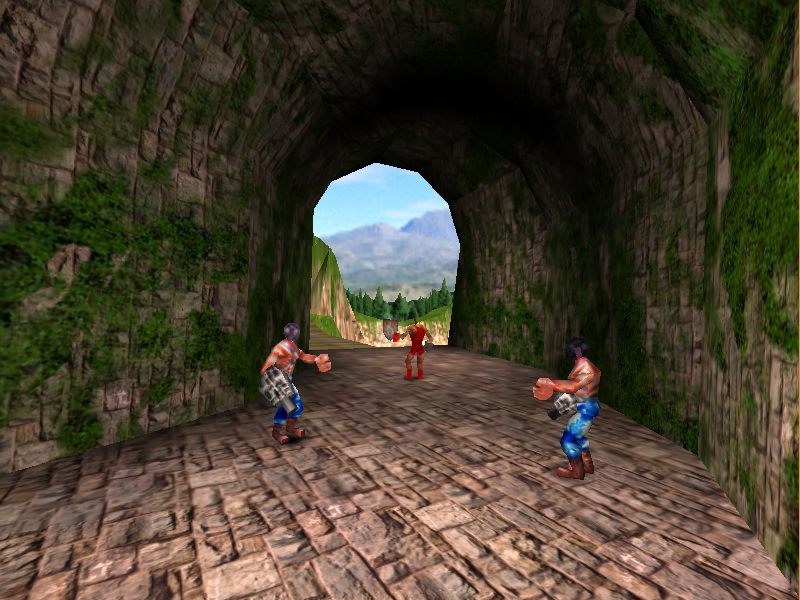
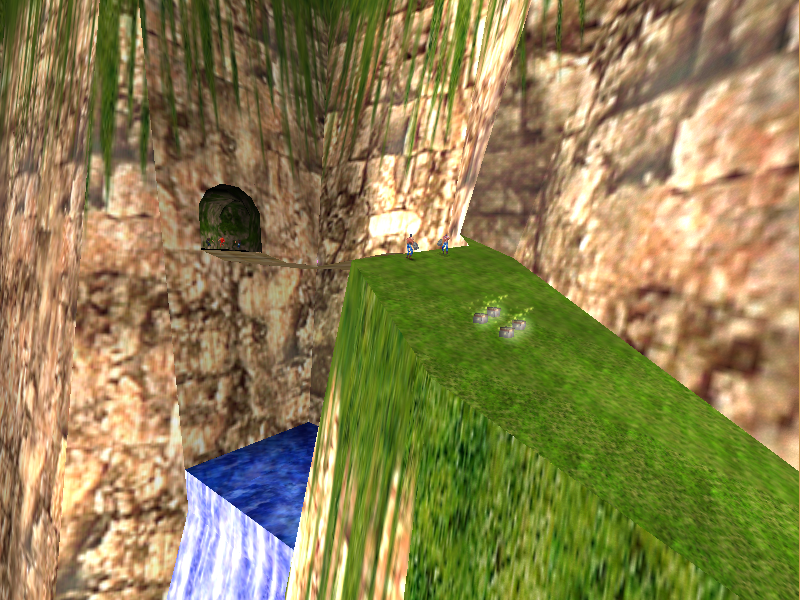
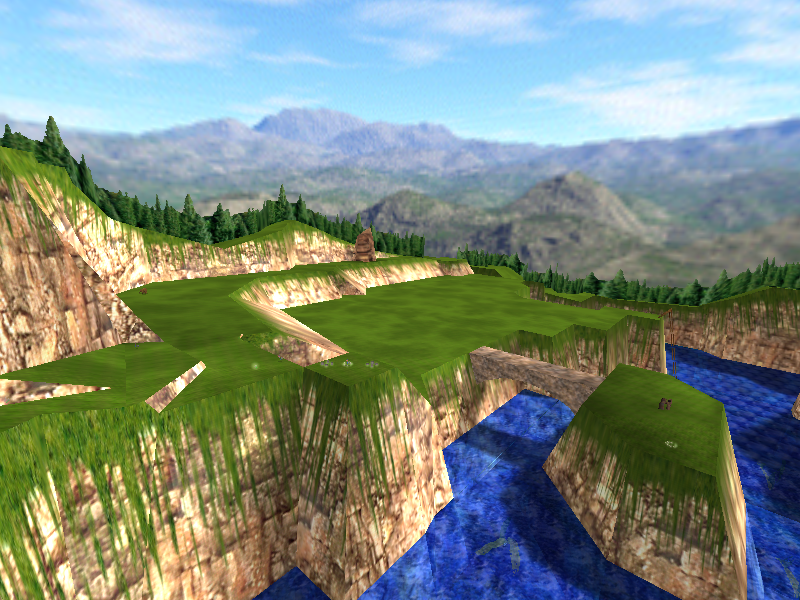
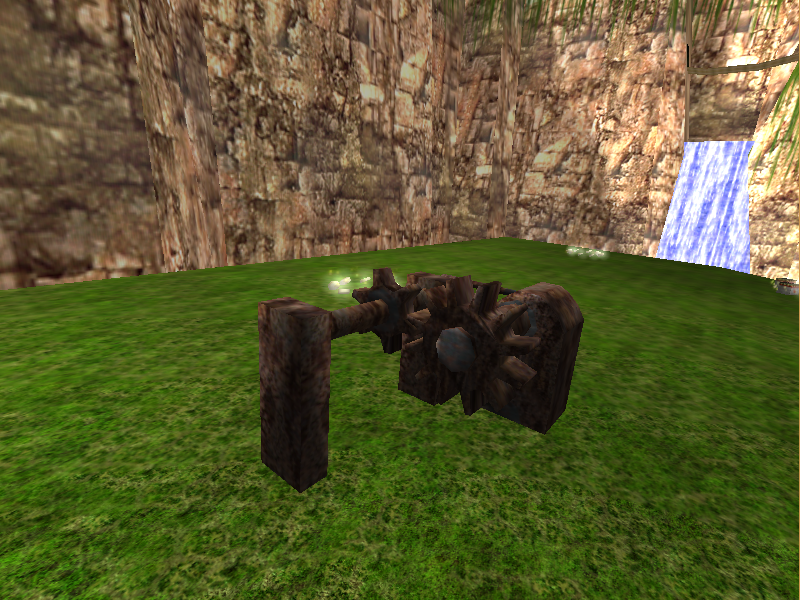
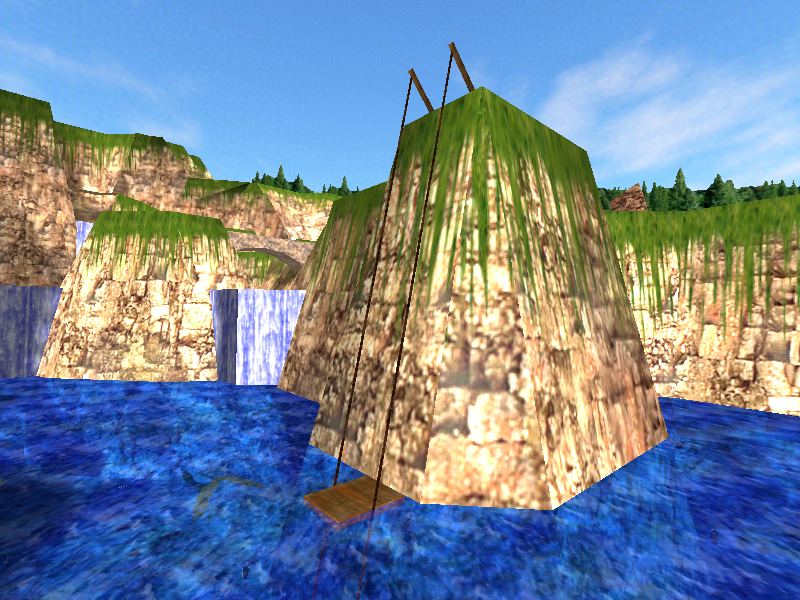
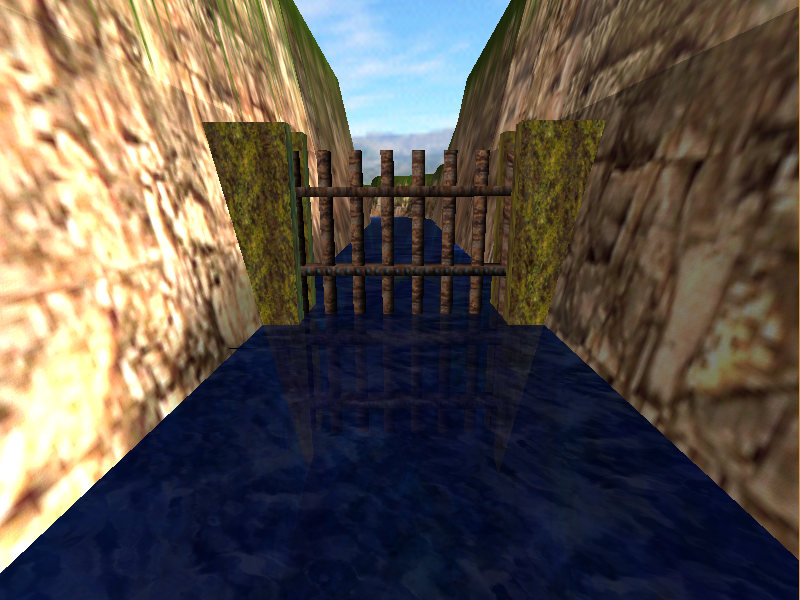
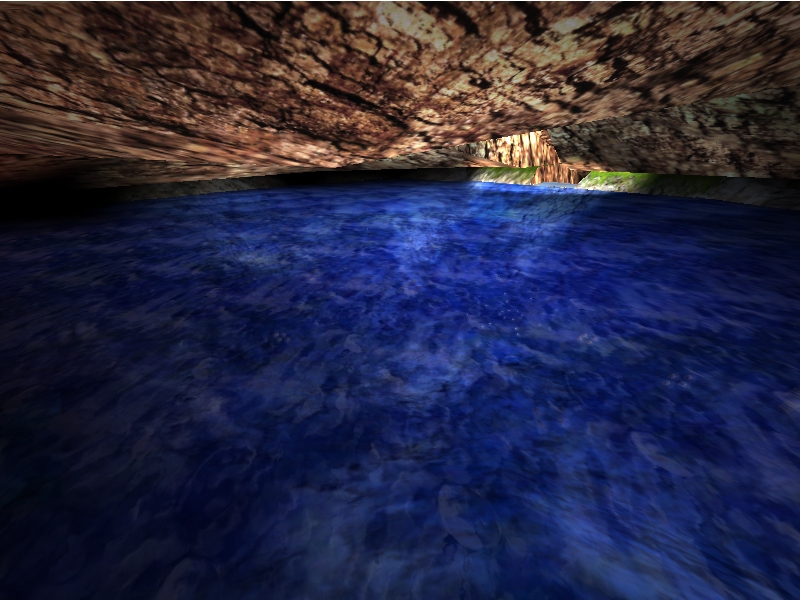
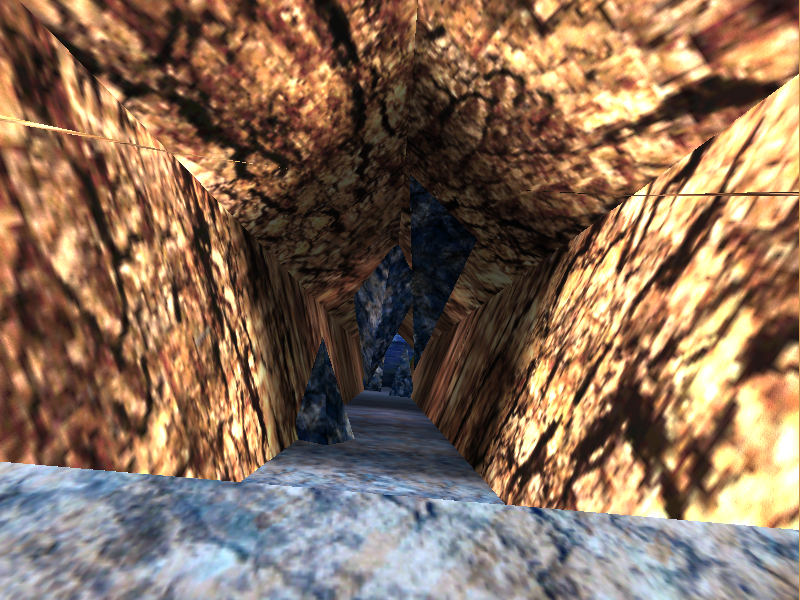
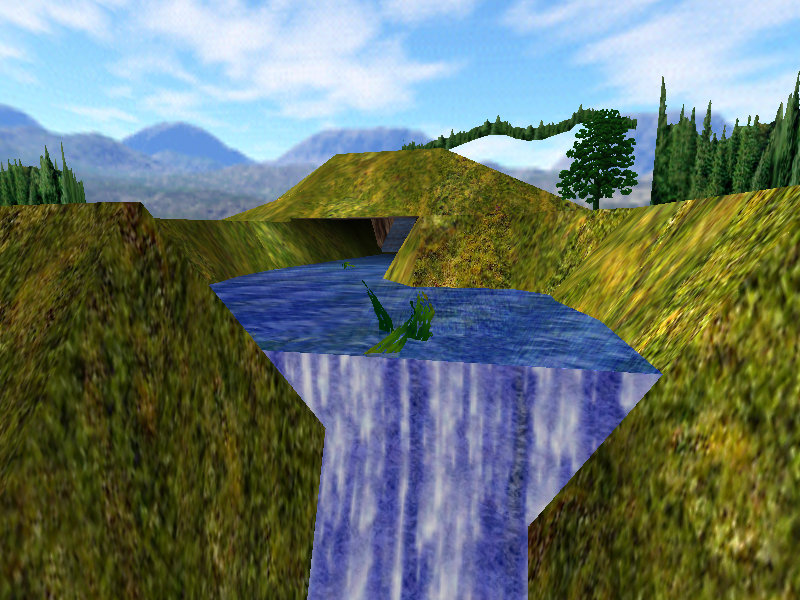
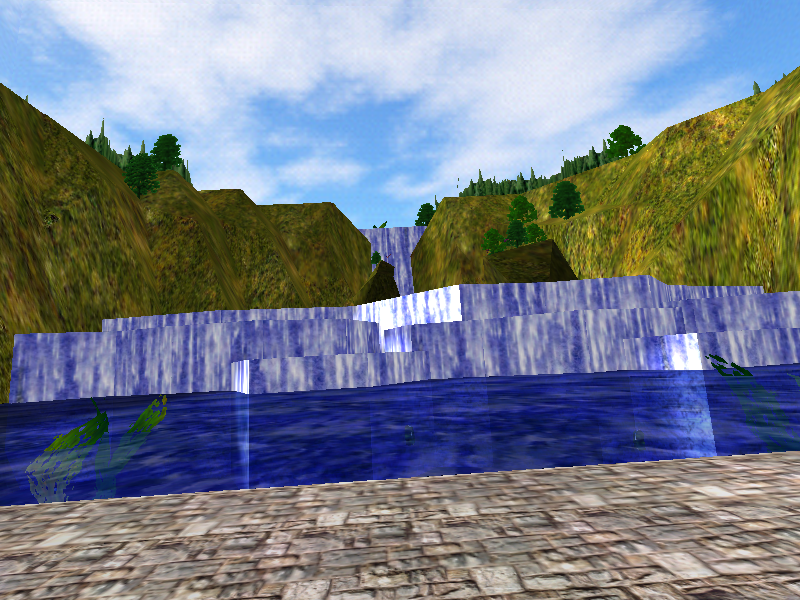
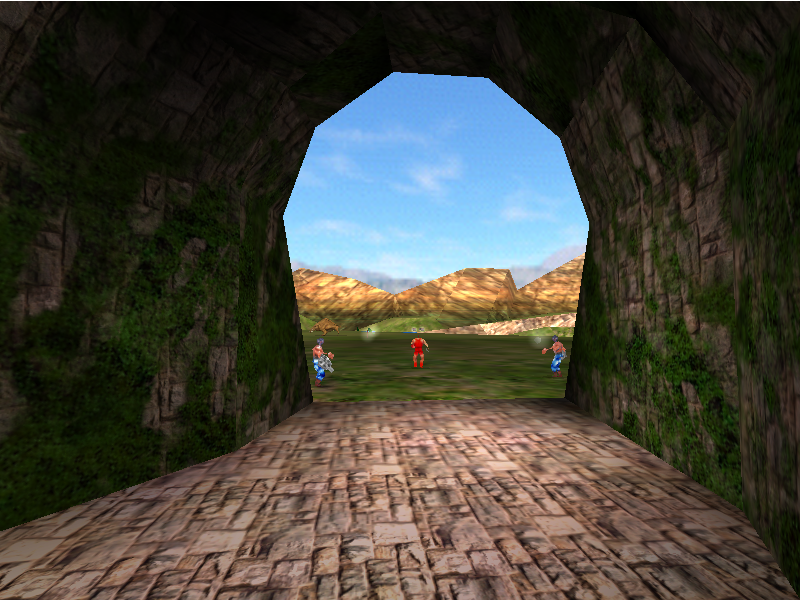
Water Planet (W-fall Valley) is the seventeenth map in the level select for the Evaluation Build and can be accessed directly from the end of Water Planet (Intro). It exits into Water Planet (Terra River).
Water Planet (Terra River)#
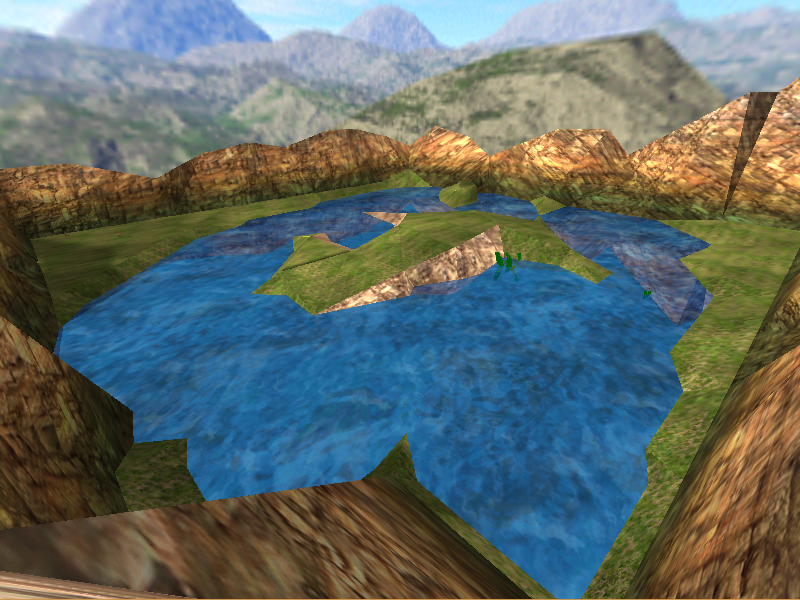
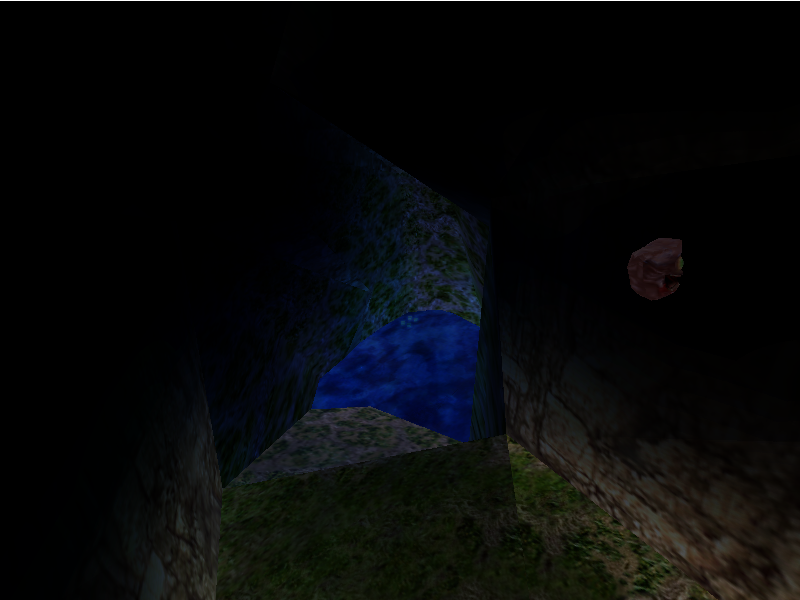
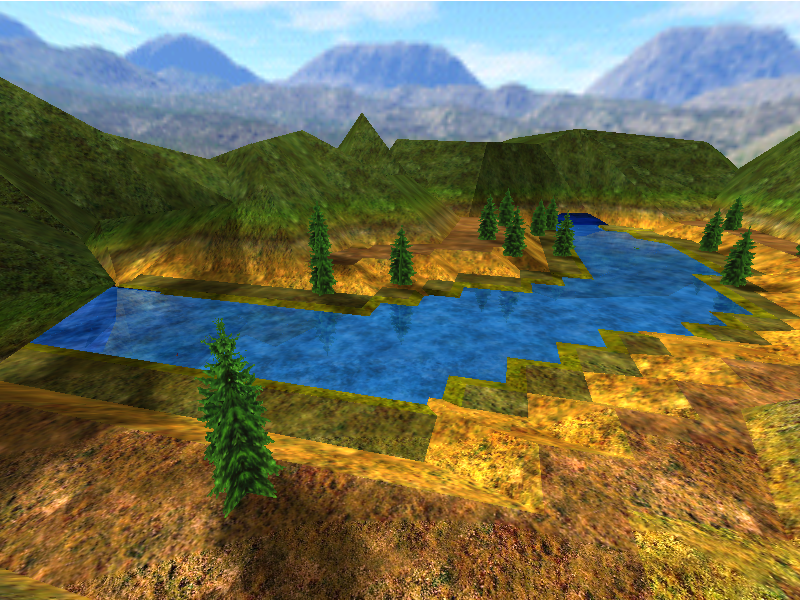
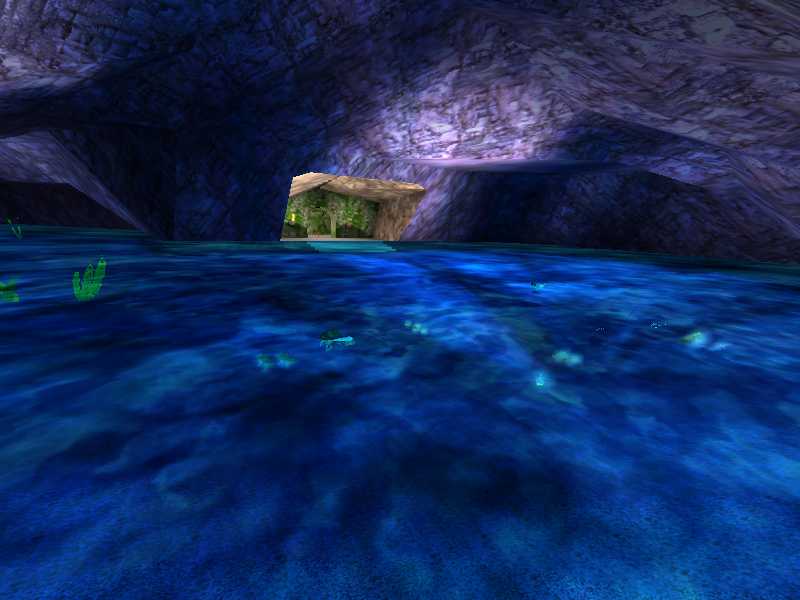
Water Planet (Terra River) is the eighteenth map in the level select for the Evaluation Build and can be accessed directly from the end of Water Planet (W-fall Valley). It exits into Water Planet (End).
Water Planet (End)#
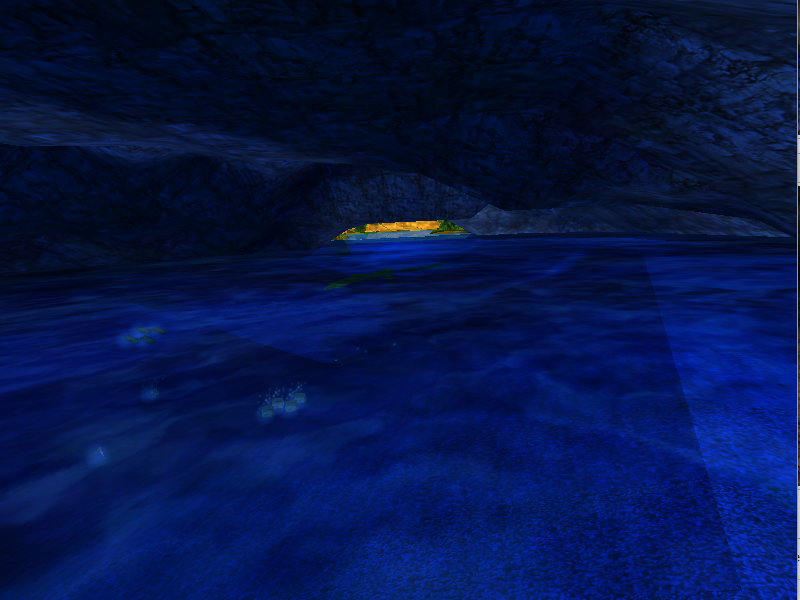
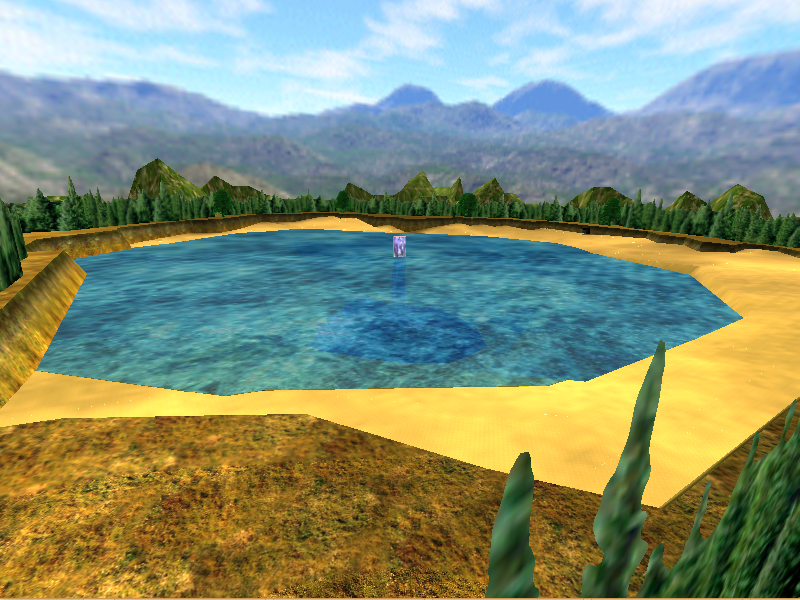
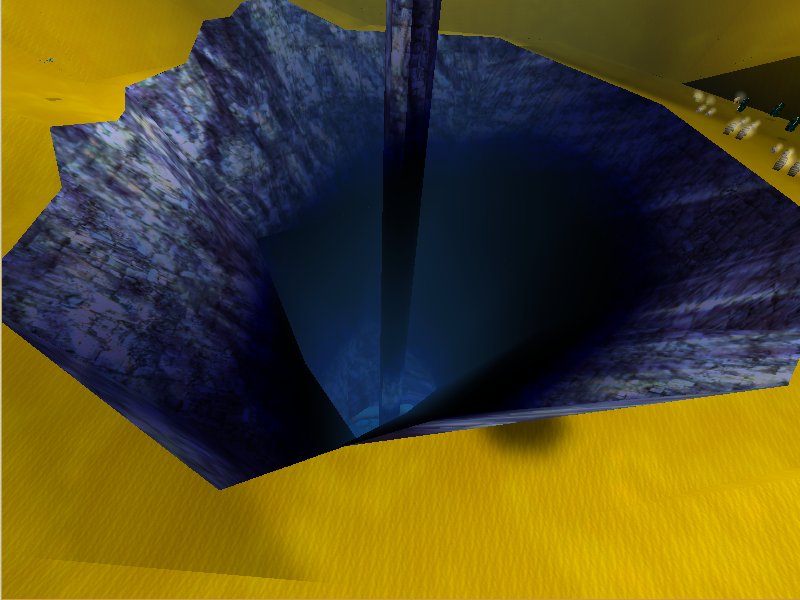
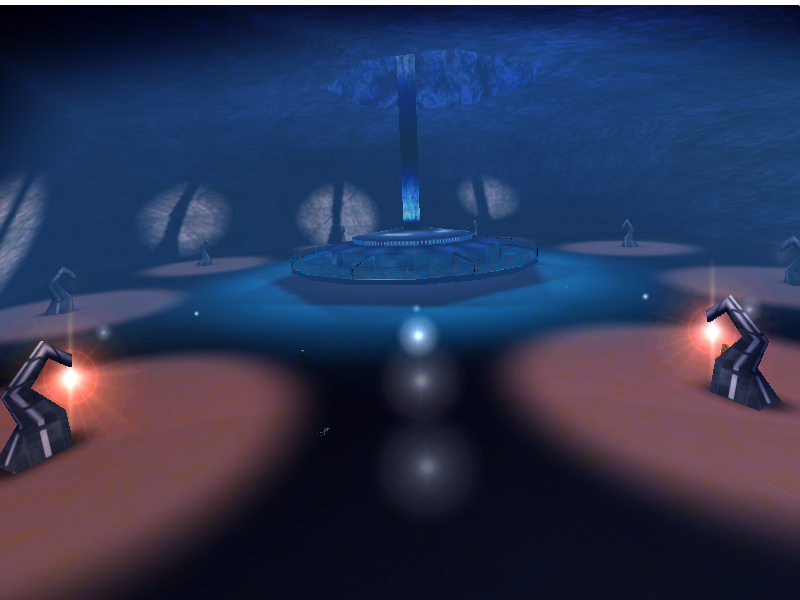
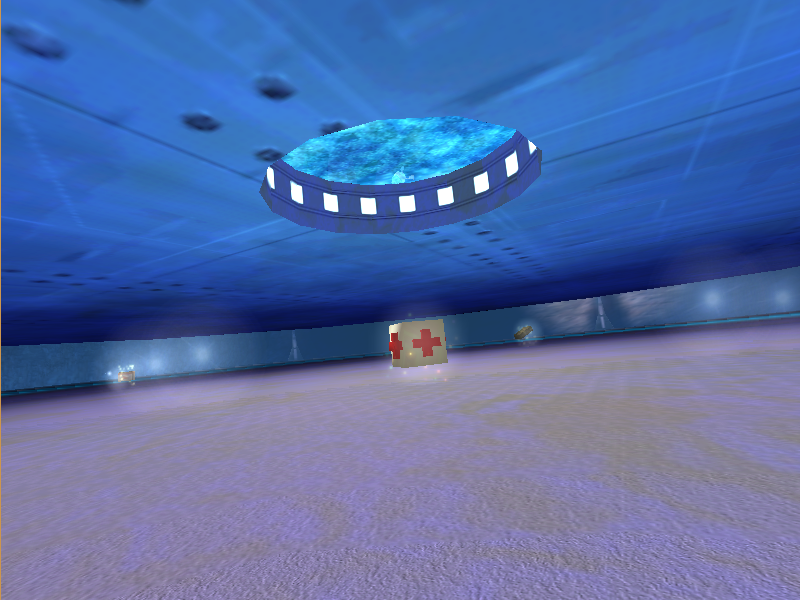
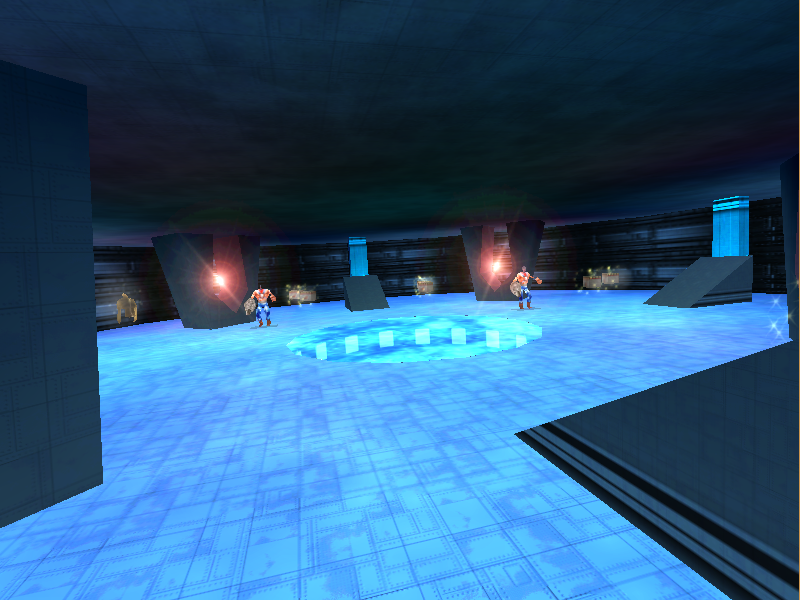
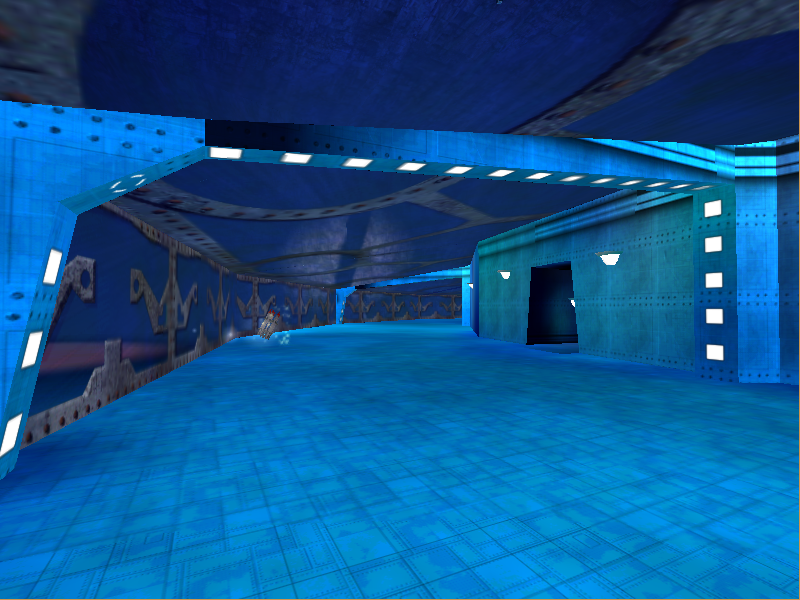
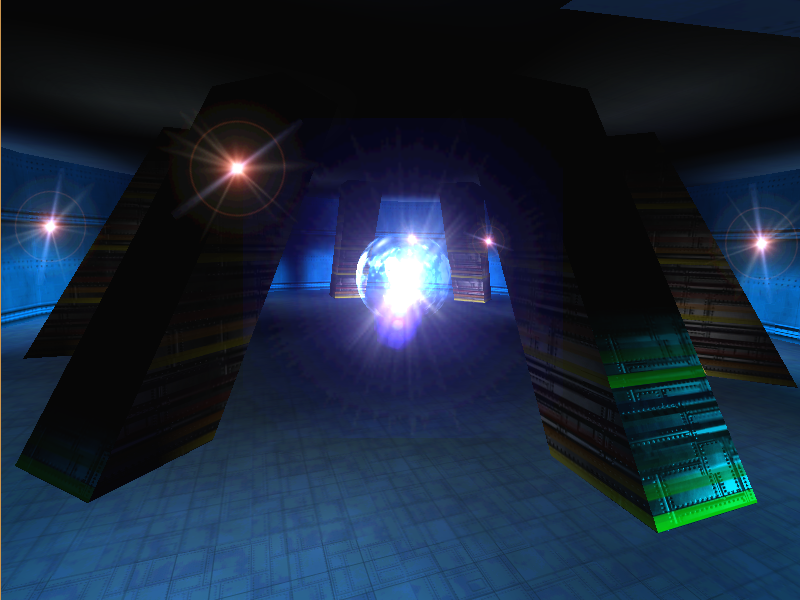
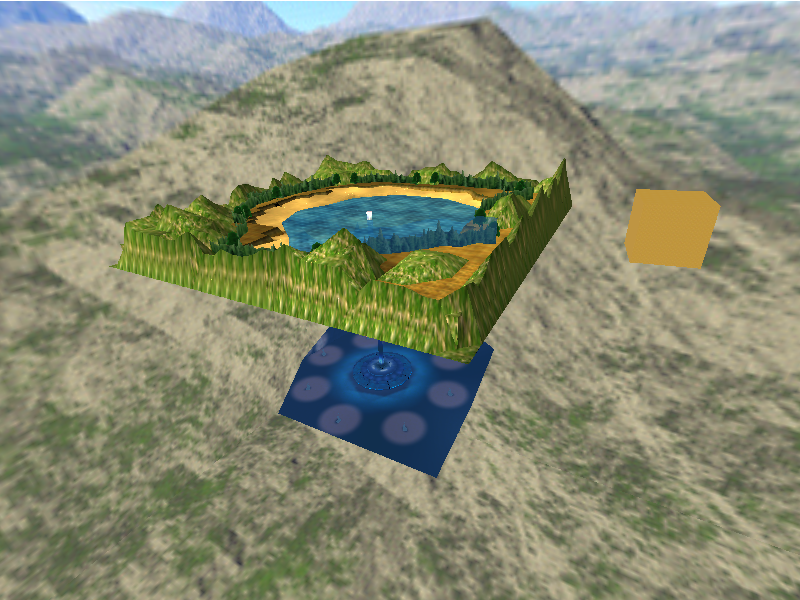
Water Planet (End) is the nineteenth map in the level select for the Evaluation Build and can be accessed directly from the end of Water Planet (Terra River).
Lava Planet (Valley)#
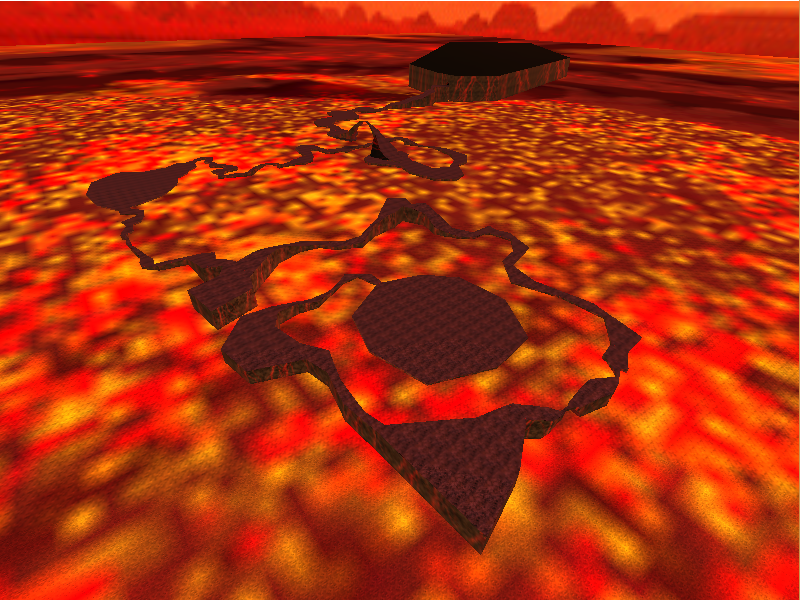
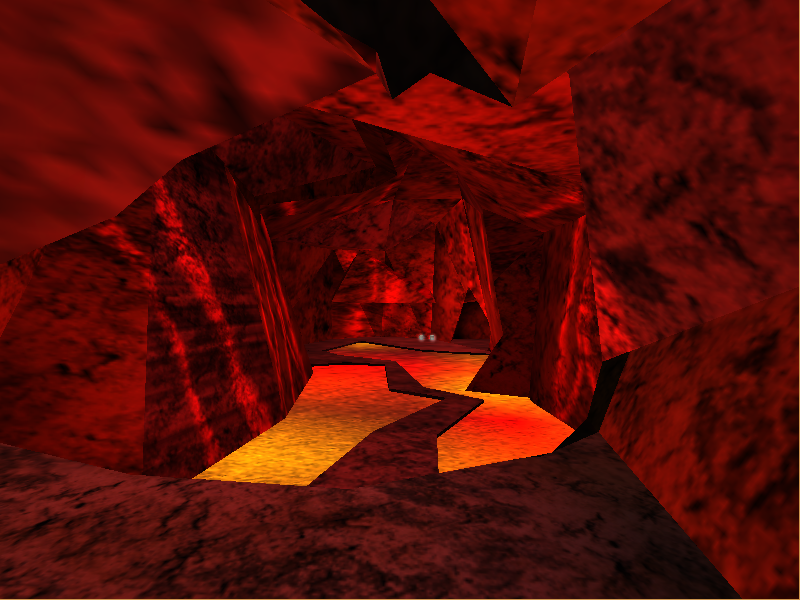
Lava Planet (Valley) is the twentieth map in the level select for the Evaluation Build. It exits into Lava Planet (Canyon).
Lava Planet (Canyon)#
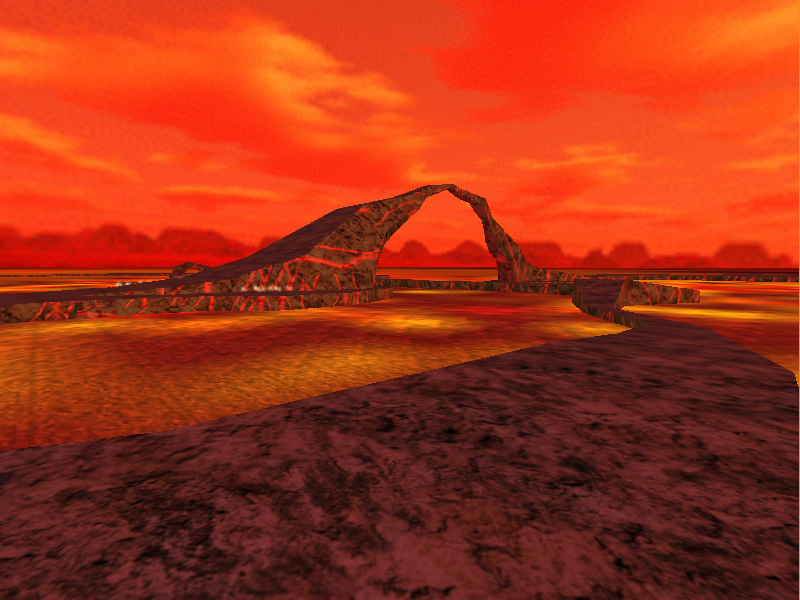
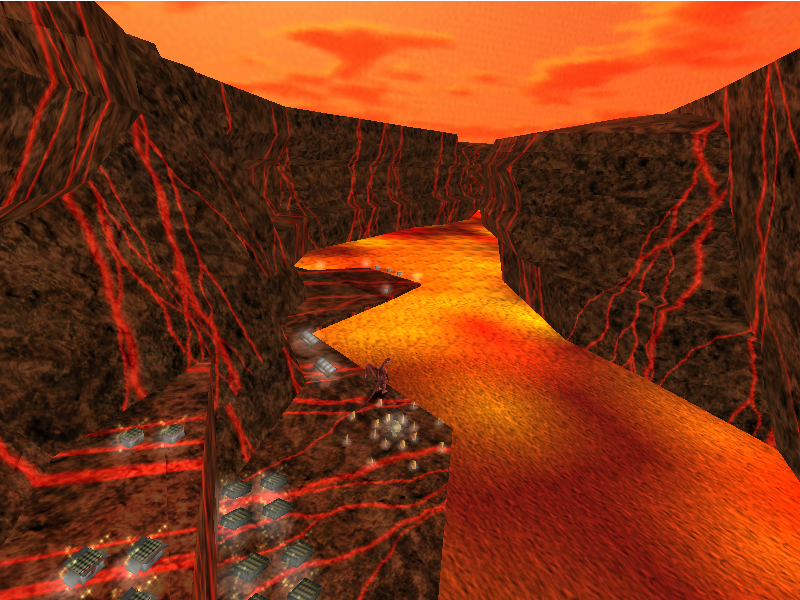
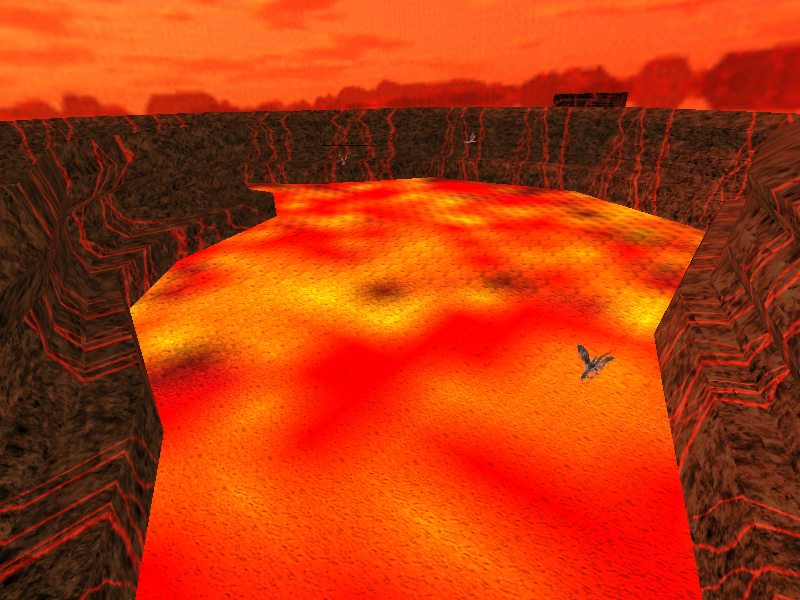
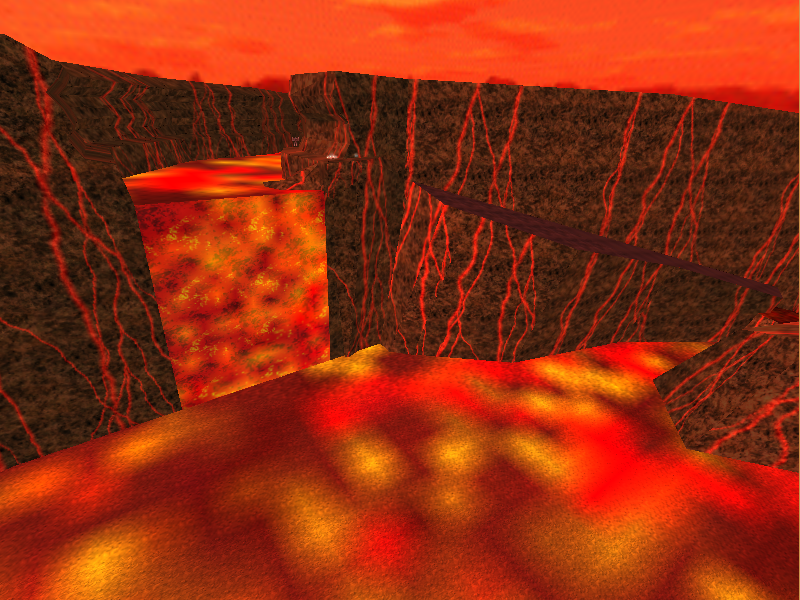
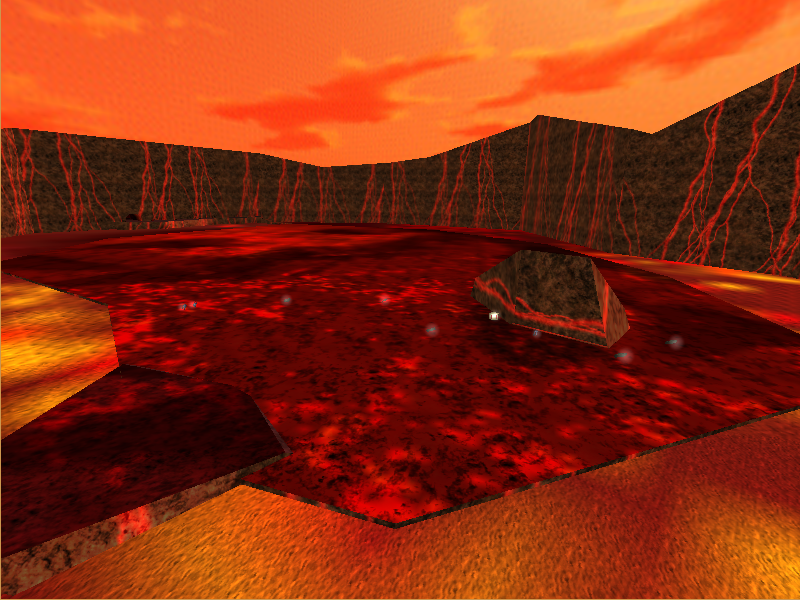
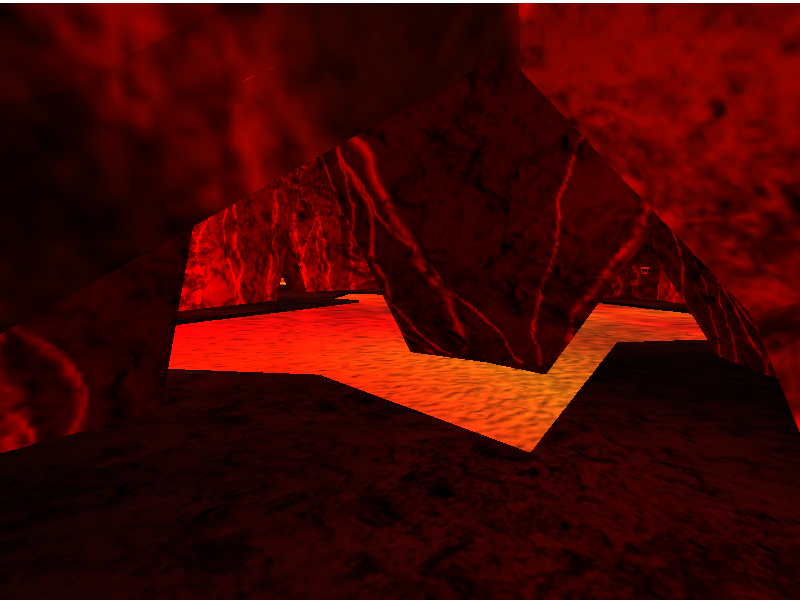
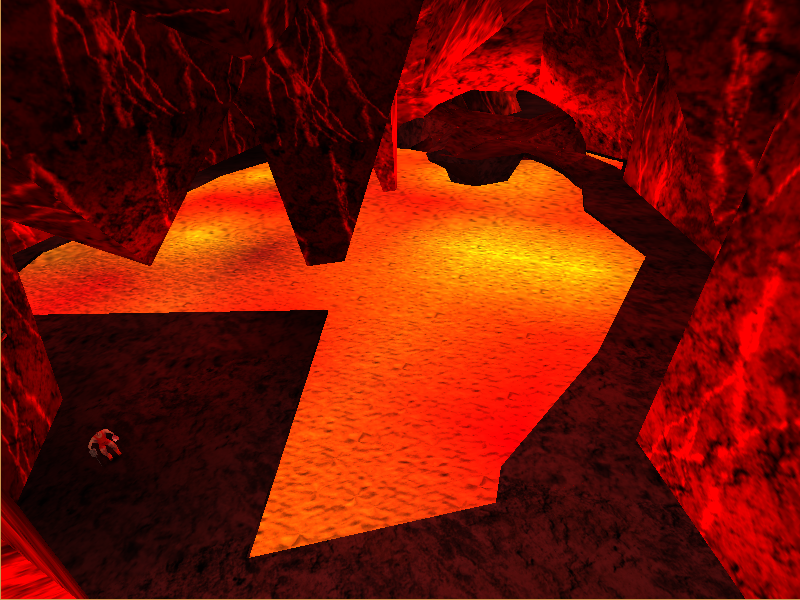
Lava Planet (Canyon) is the twenty-first map in the level select for the Evaluation Build and can be directly entered from Lava Planet (Valley). It exits into Lava Planet (Vulcan).
Lava Planet (Vulcan)#
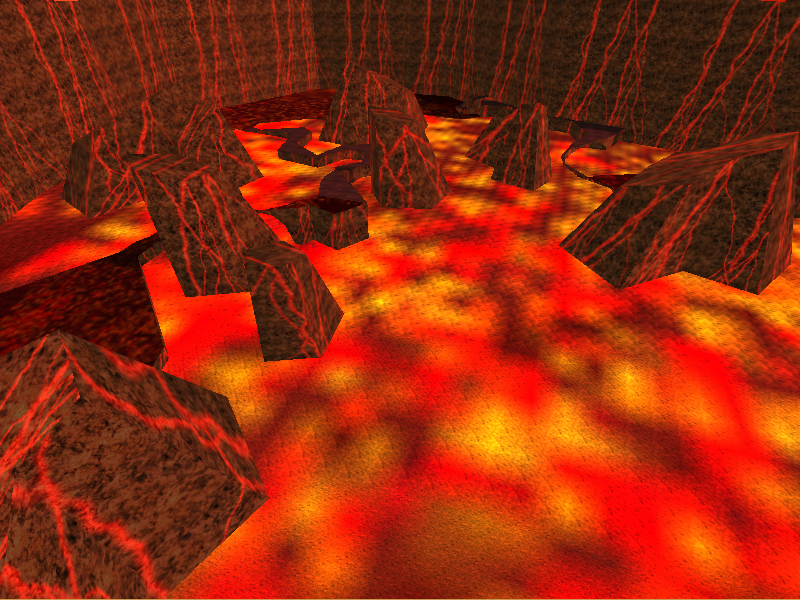
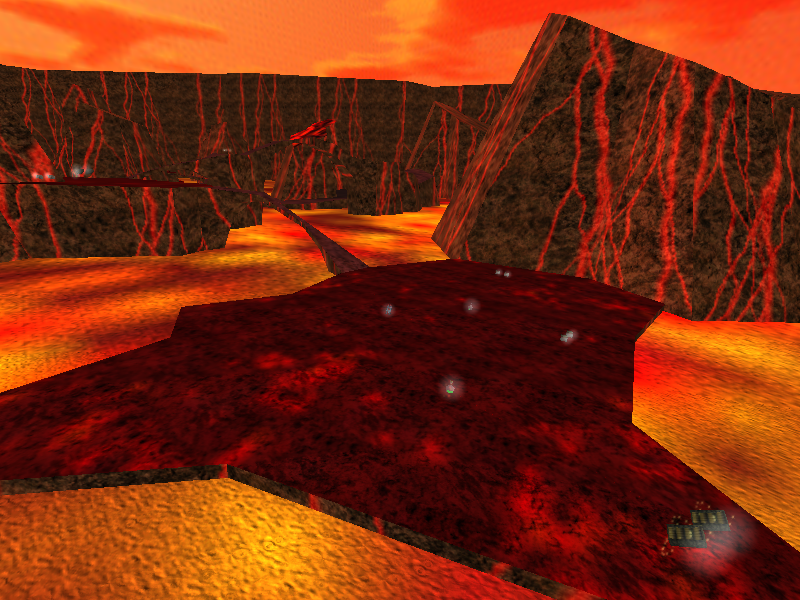
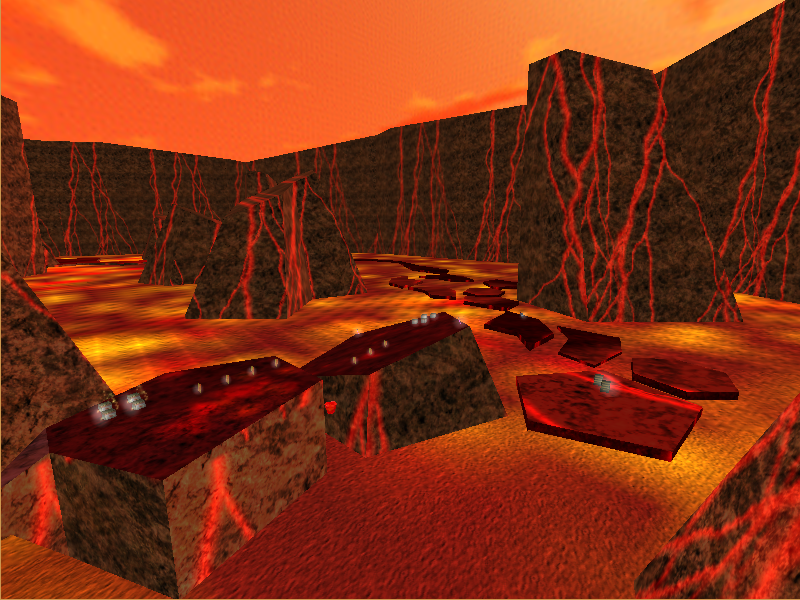
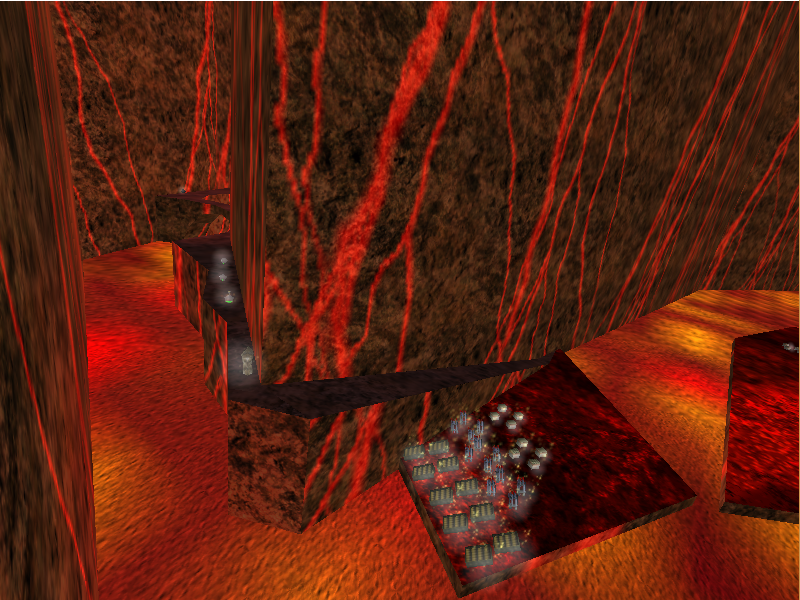
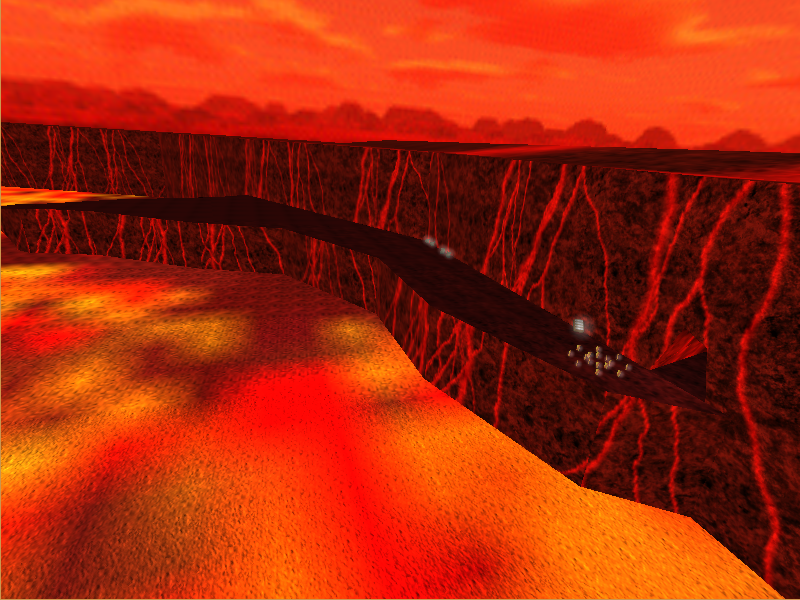
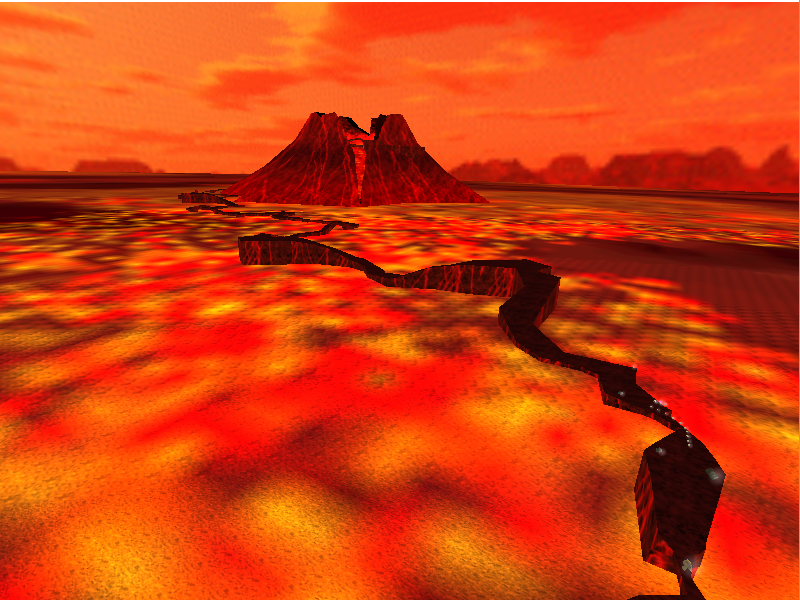
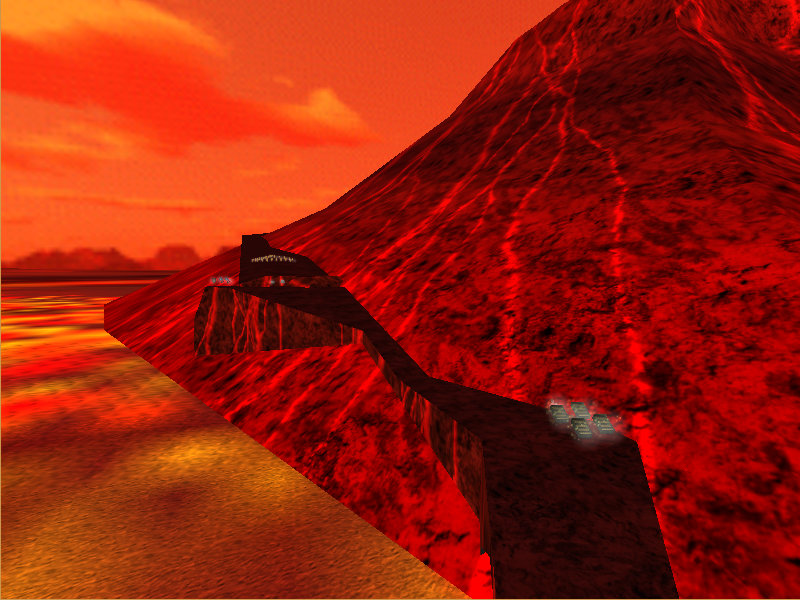
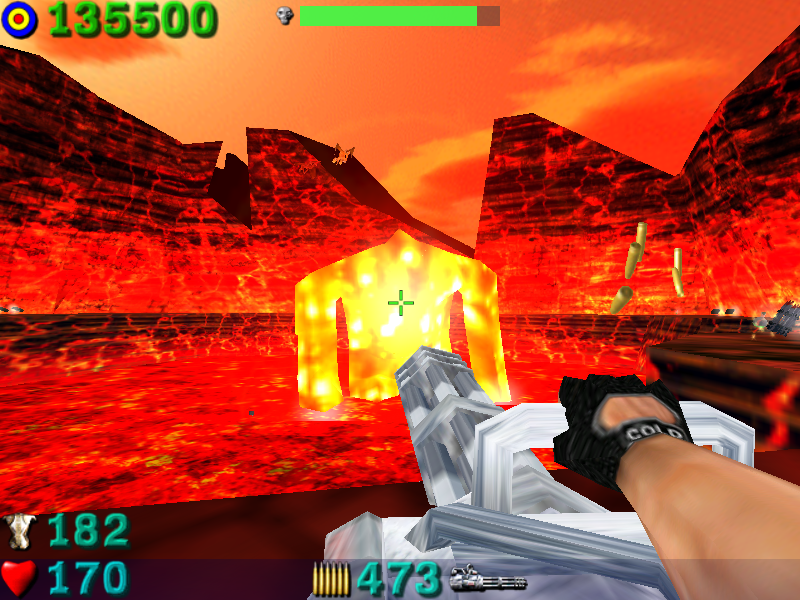
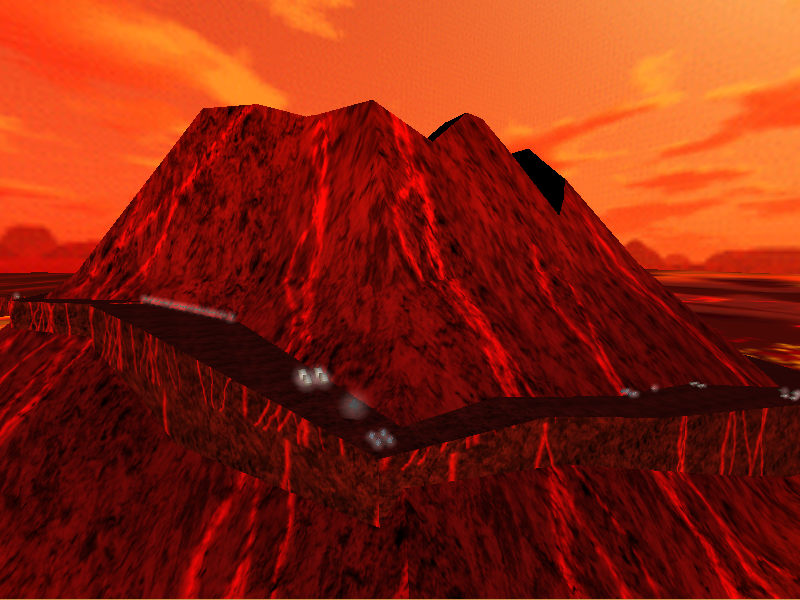
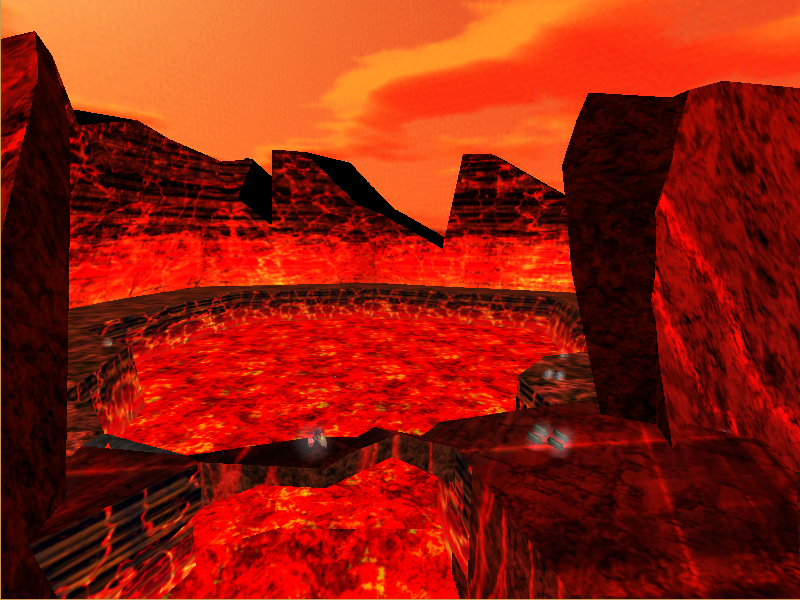
Lava Planet (Vulcan) is the twenty-second map in the level select for the Evaluation Build and can be directly entered from Lava Planet (Canyon). It is a medium map that focuses on reaching a large Volcano and then fighting a boss, a giant Lava Elemental.
Green Planet#
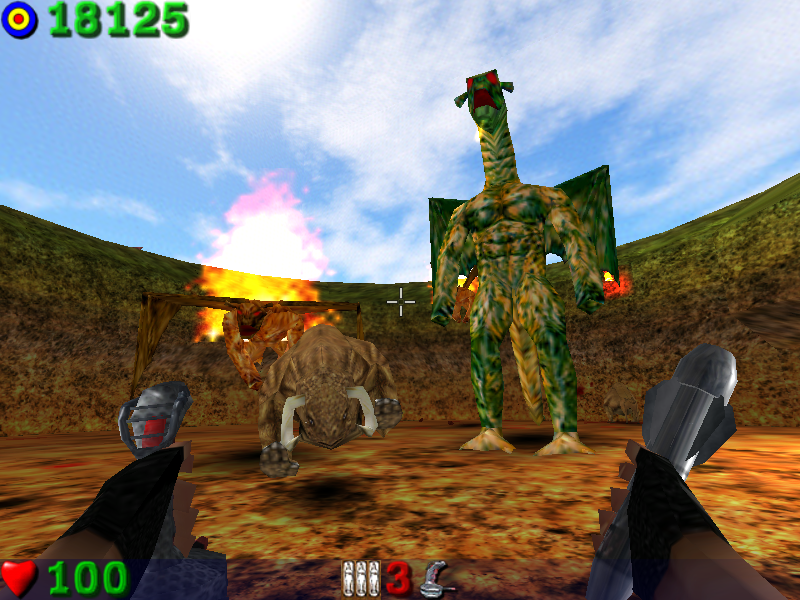
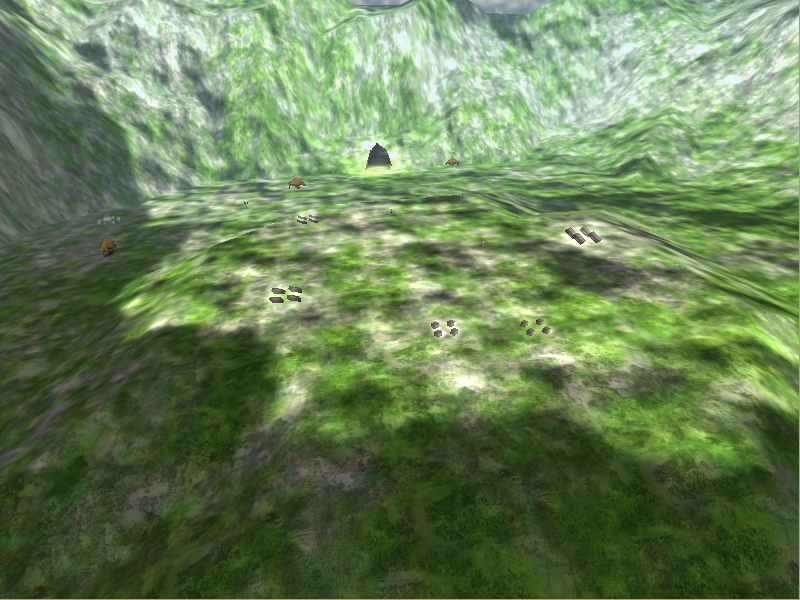
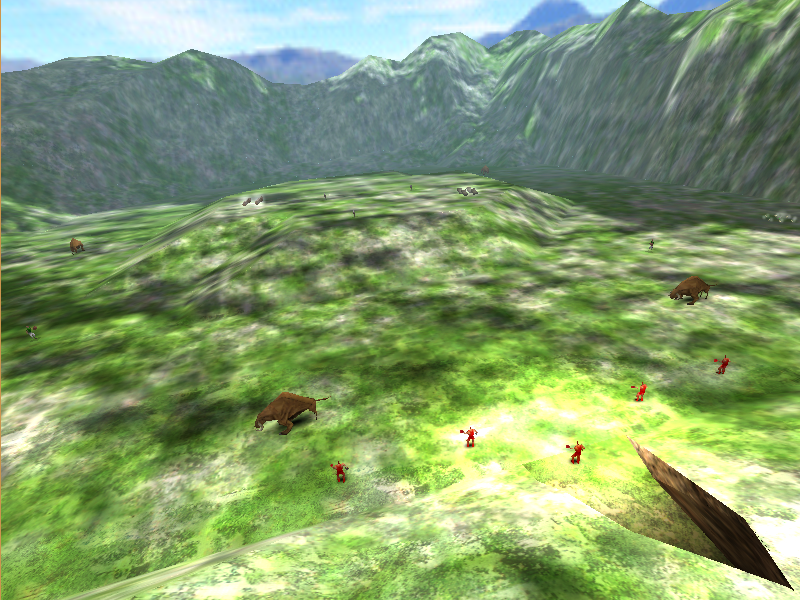
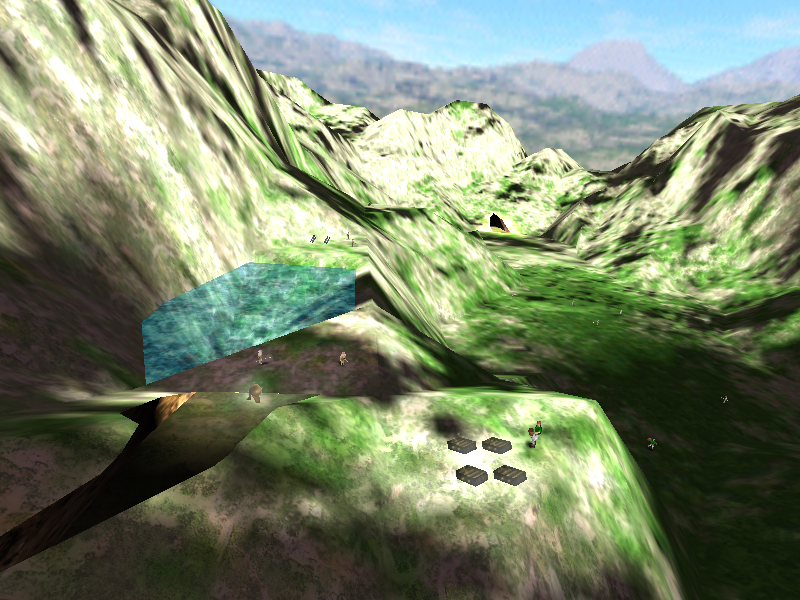
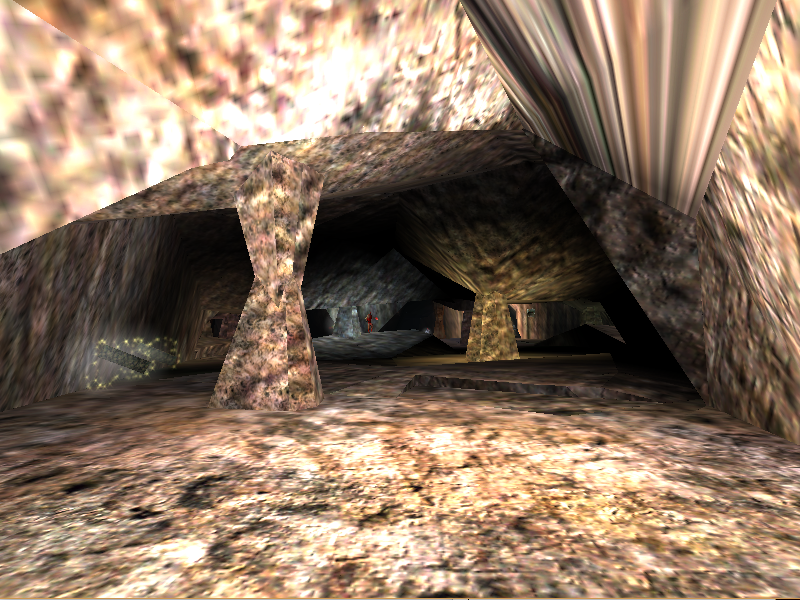
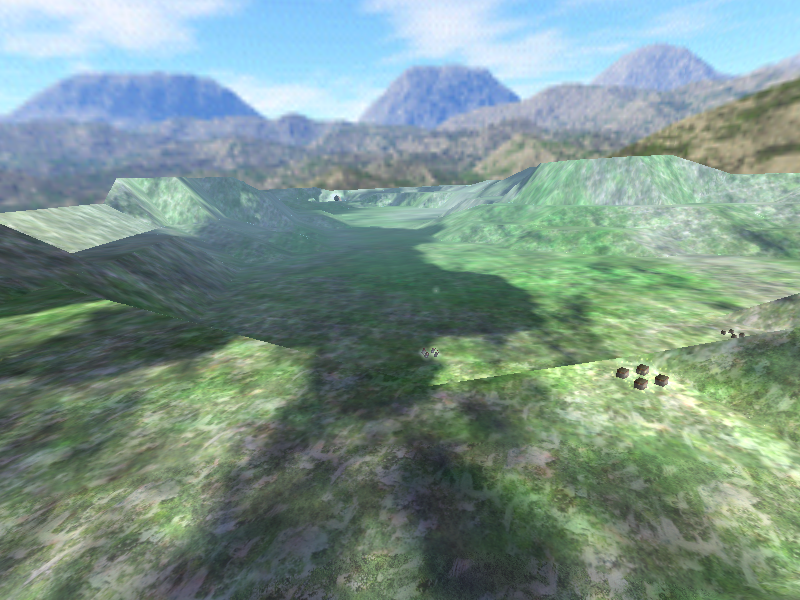
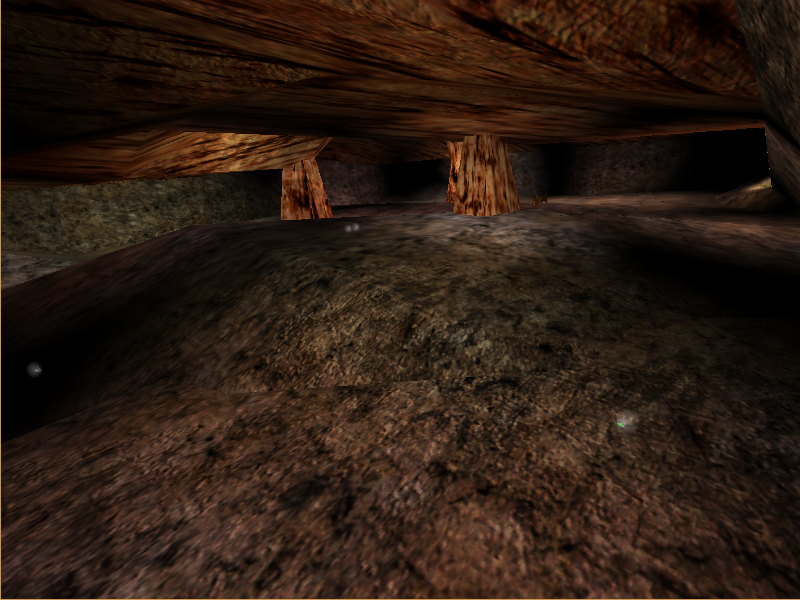
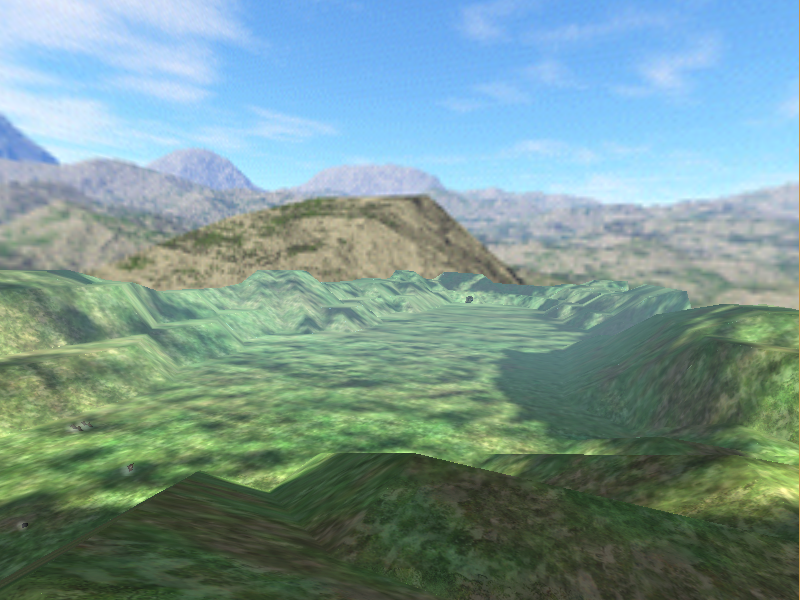
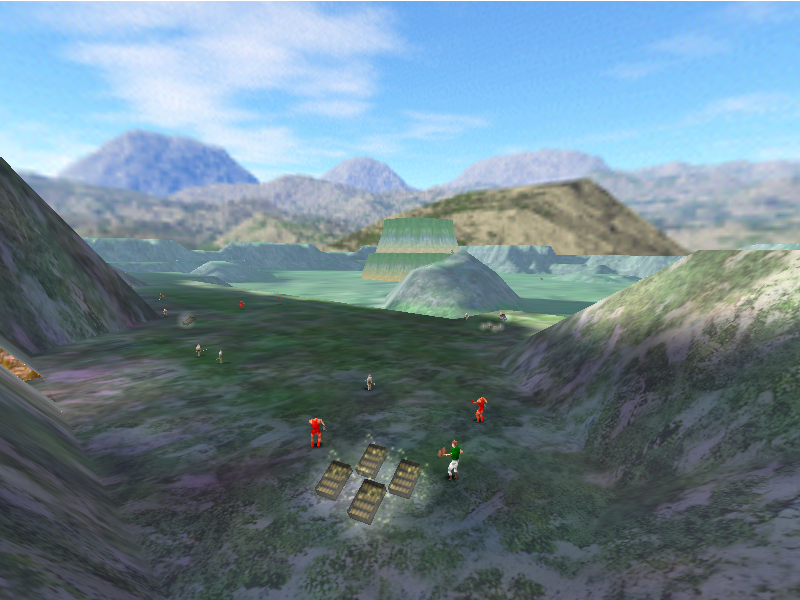
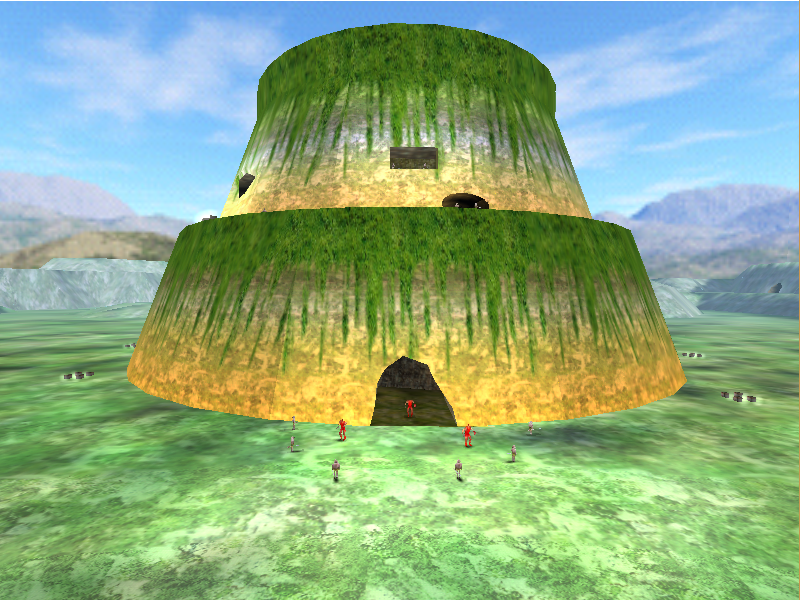
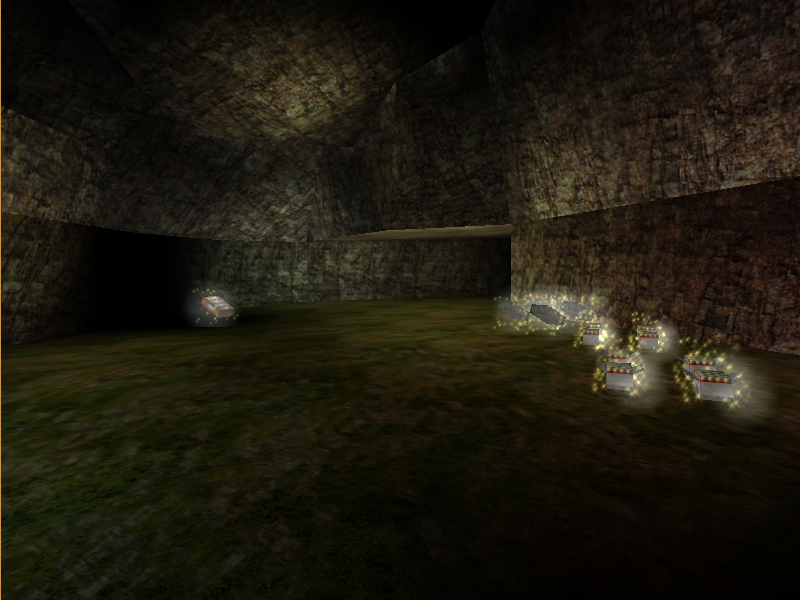
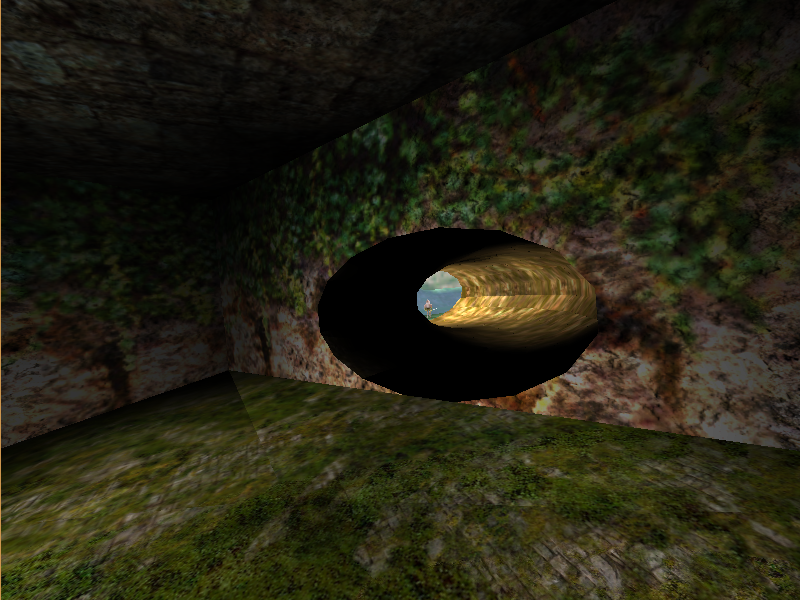
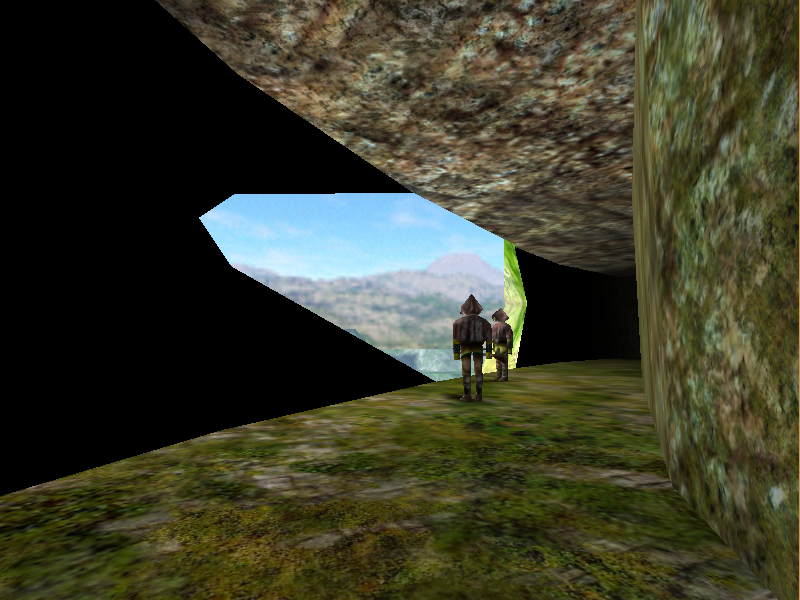
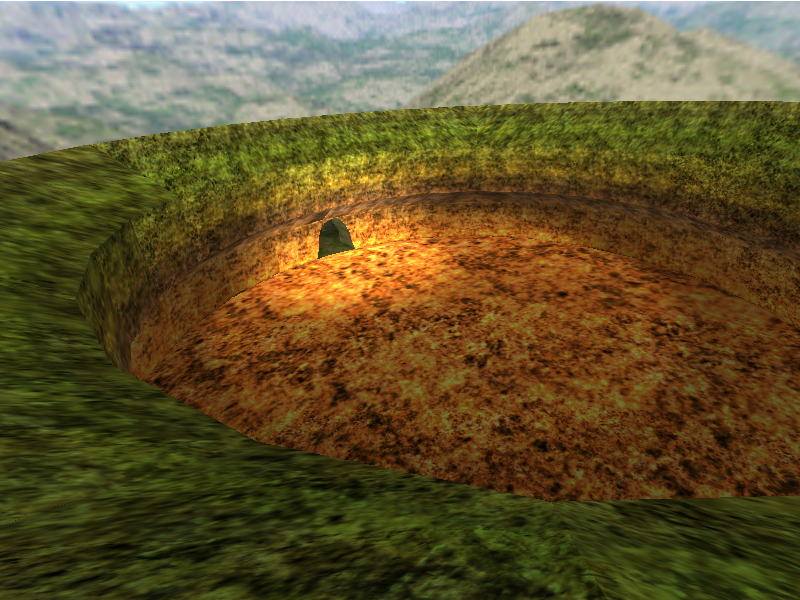
Green Planet is the twenty-third map in the level select for the Evaluation Build. It is a large map with many huge open fields that focuses on reaching a large green mound and then fighting a boss, a giant Dragon.
Ice Planet#
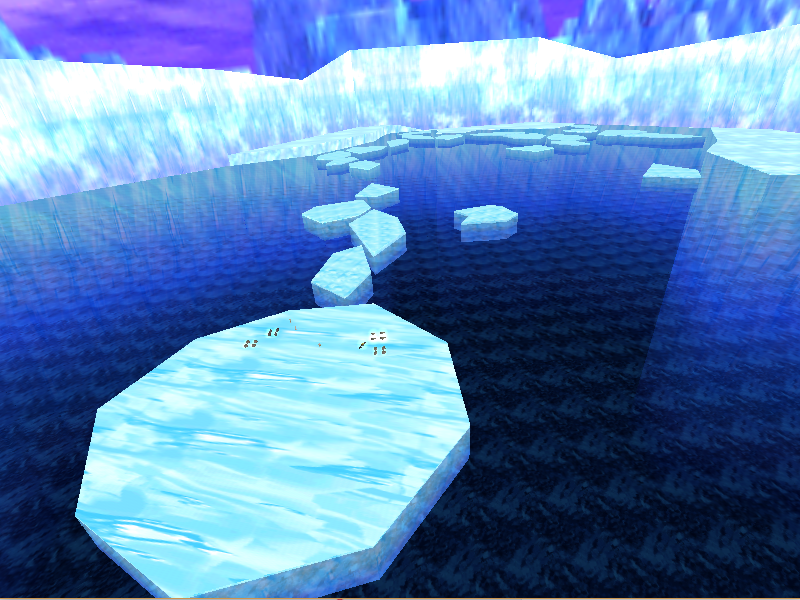
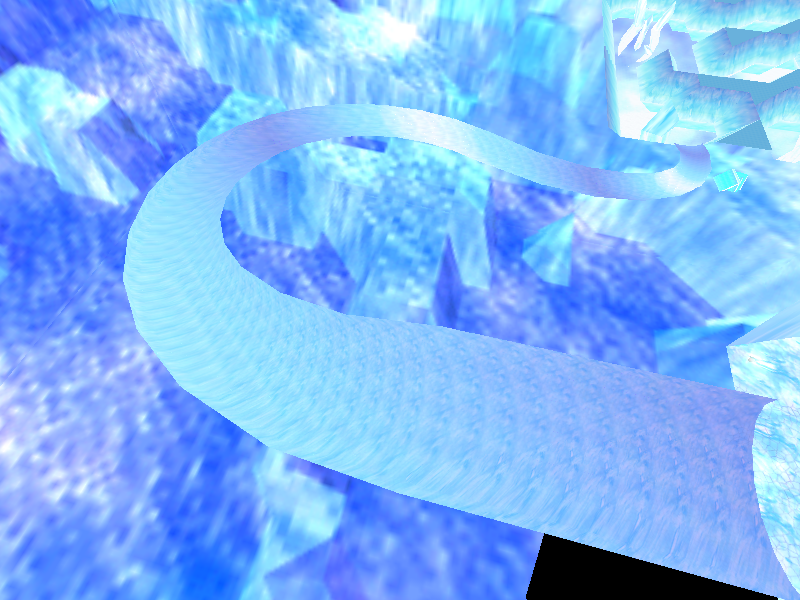
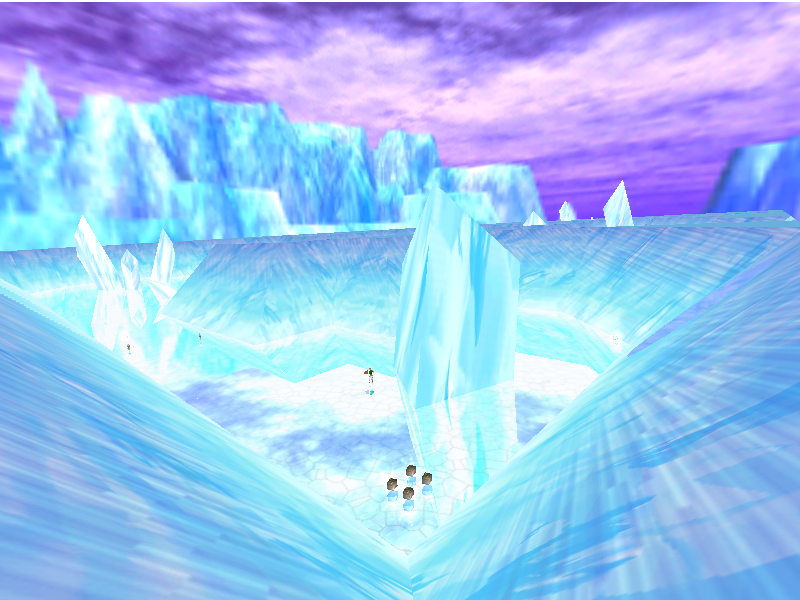
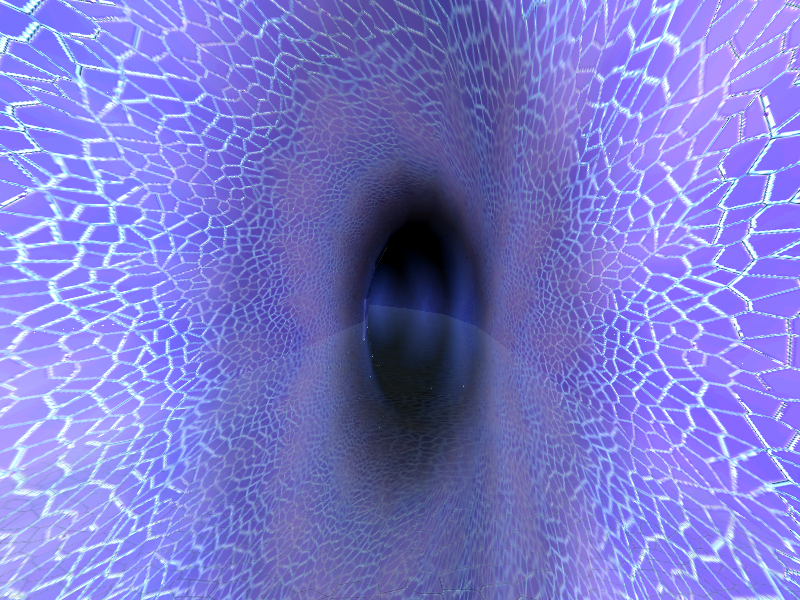
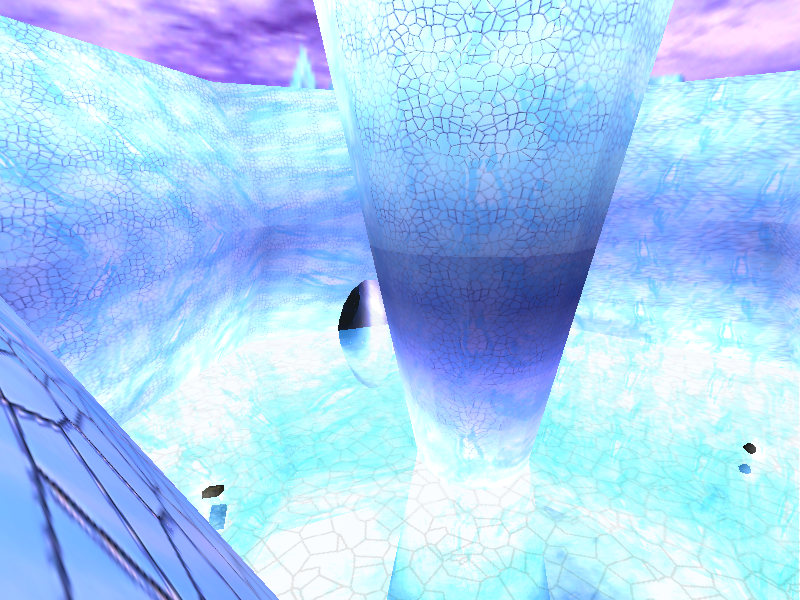
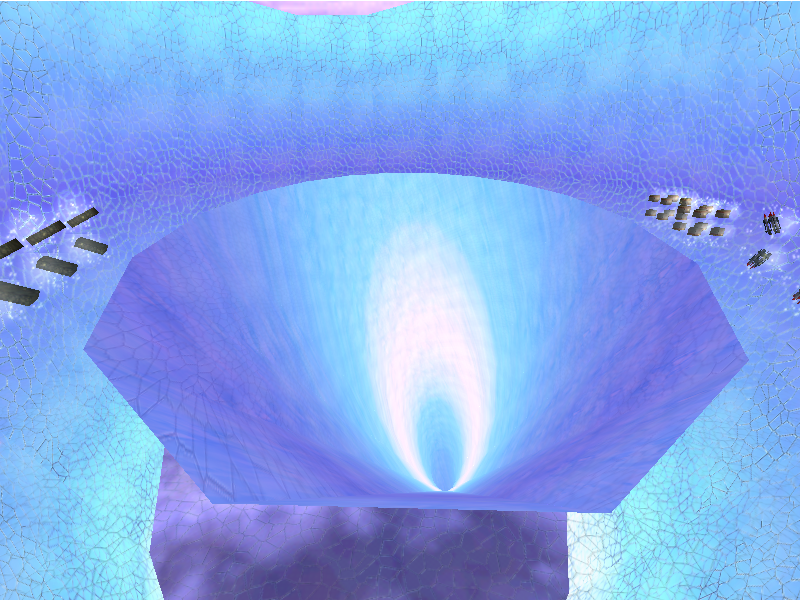
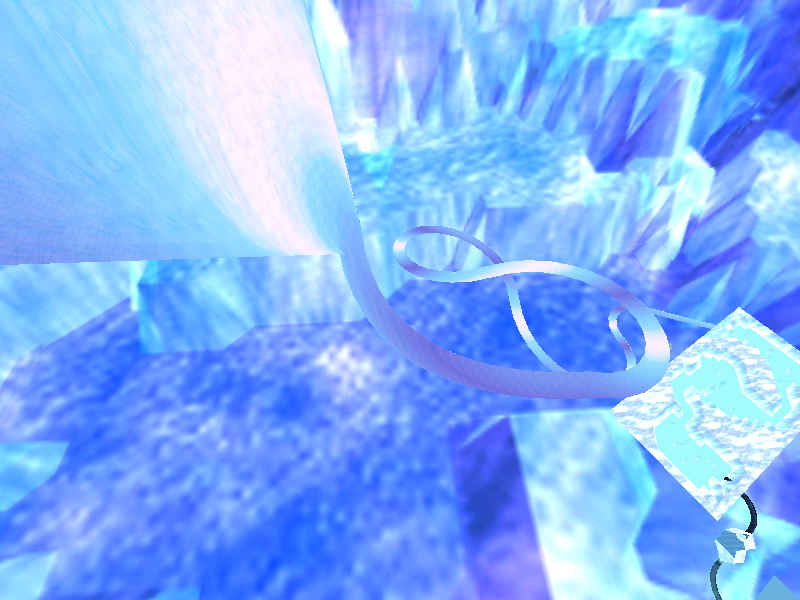
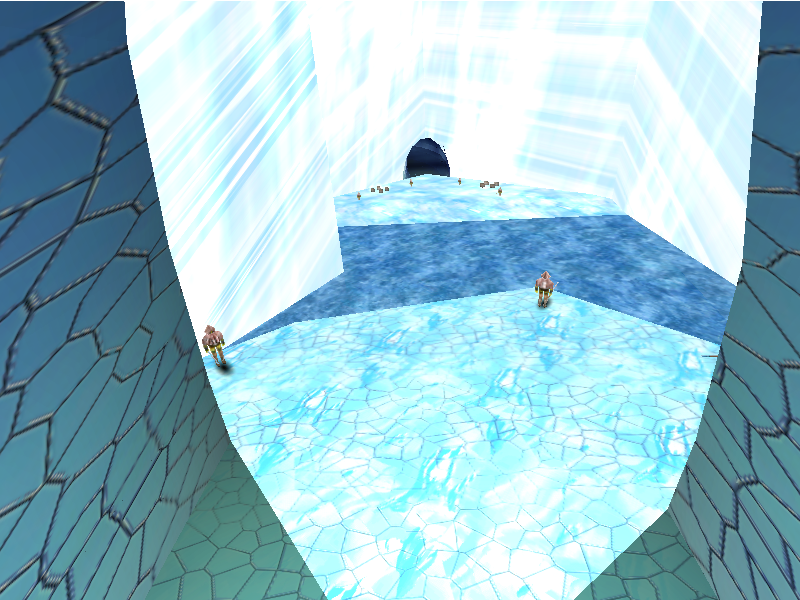
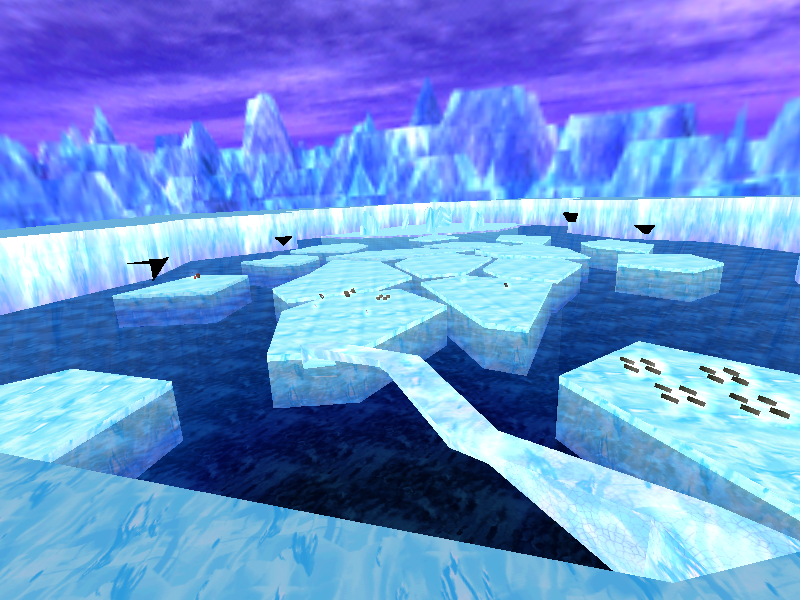
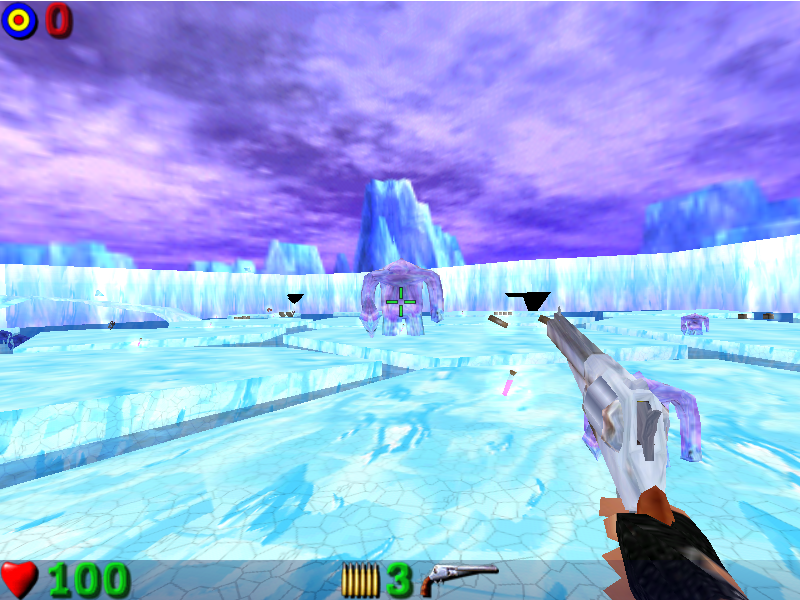
Ice Planet is the twenty-fourth map in the level select for the Evaluation Build. It is a large map with giant ice slides that focuses on reaching a ice lake and then fighting a boss, a giant Ice Elemental.
Ice Planet (End)#
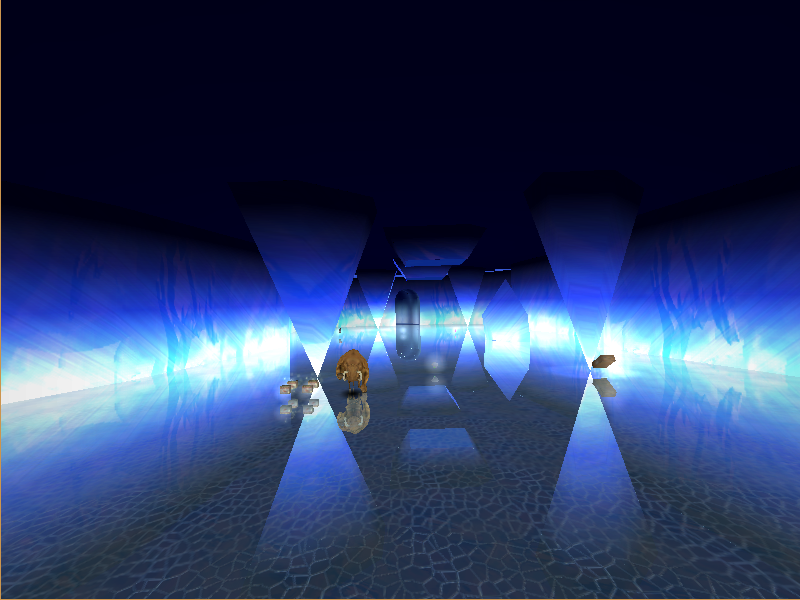
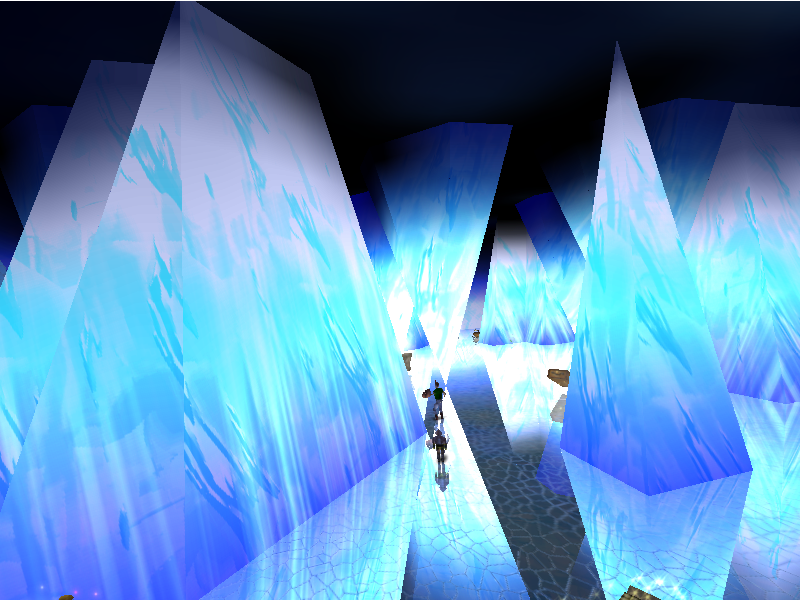
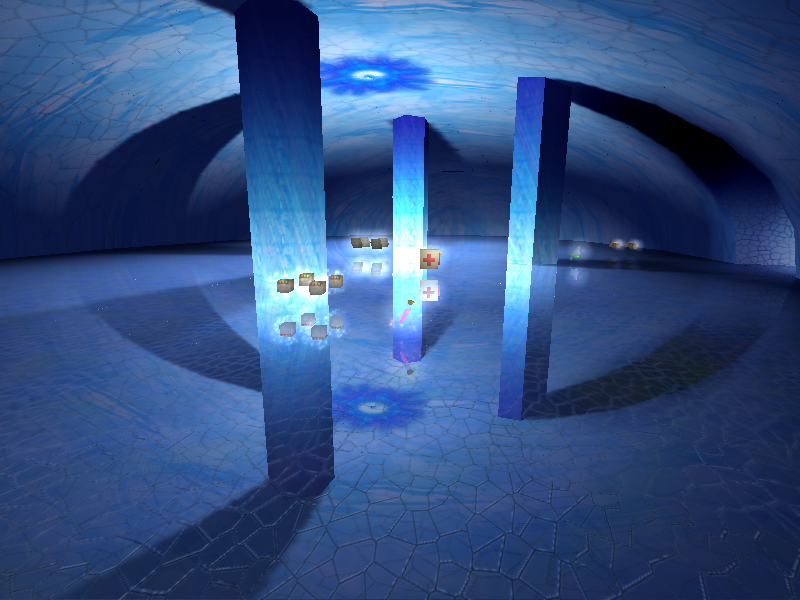
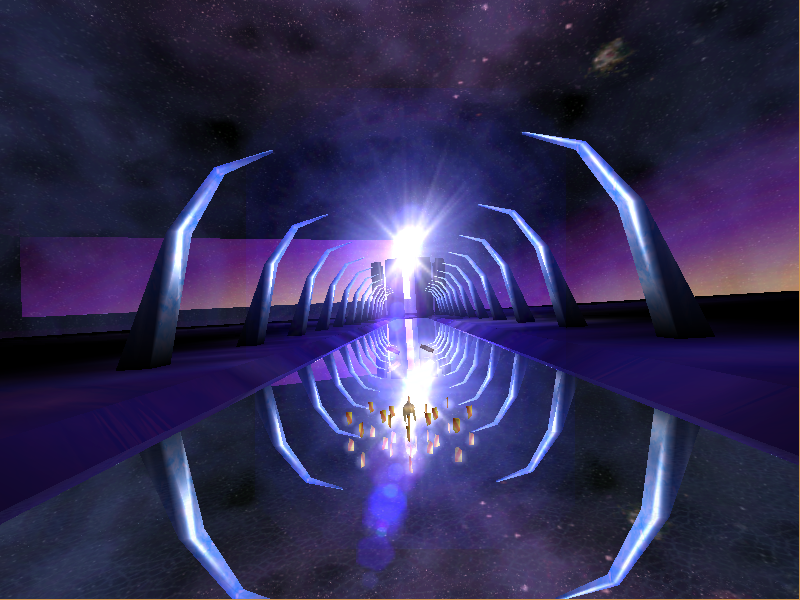
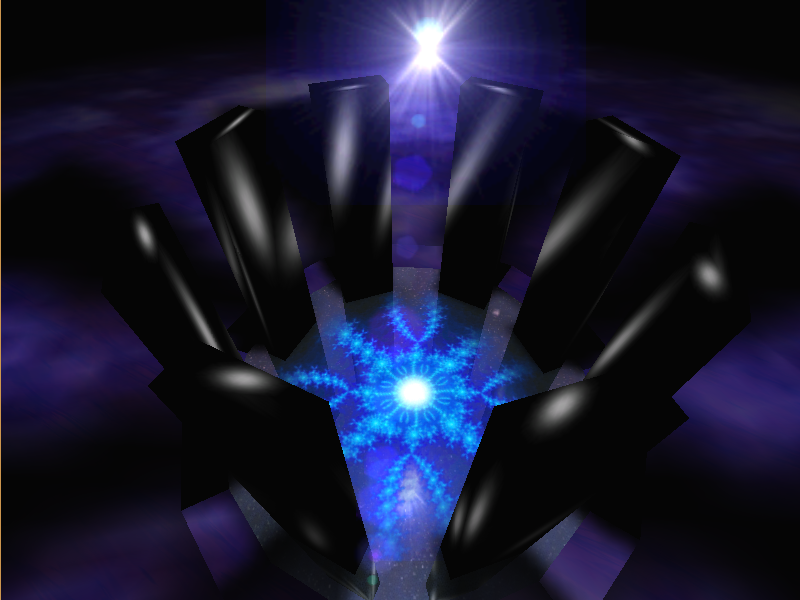
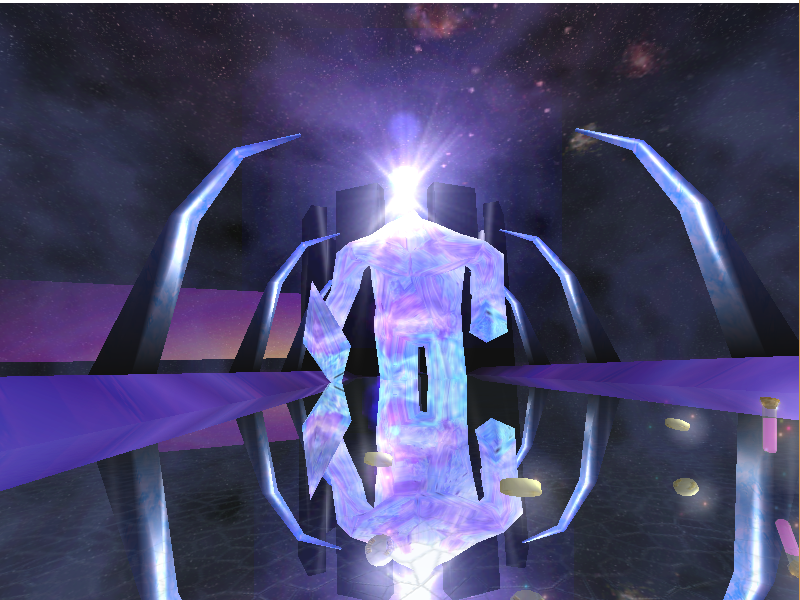
Ice Planet (End) is the twenty-fifth map in the level select for the Evaluation Build. It is a medium map featuring a boss, an even more giant Ice Elemental.
Tropic Planet#
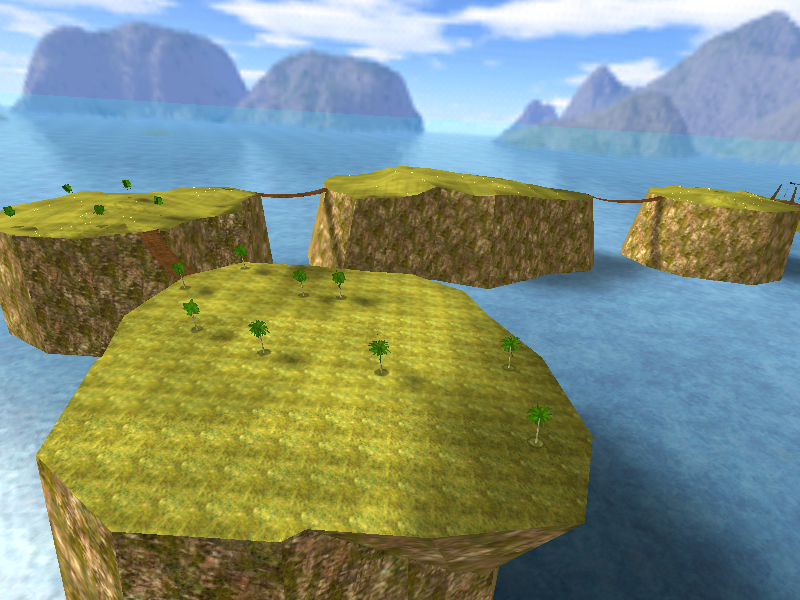
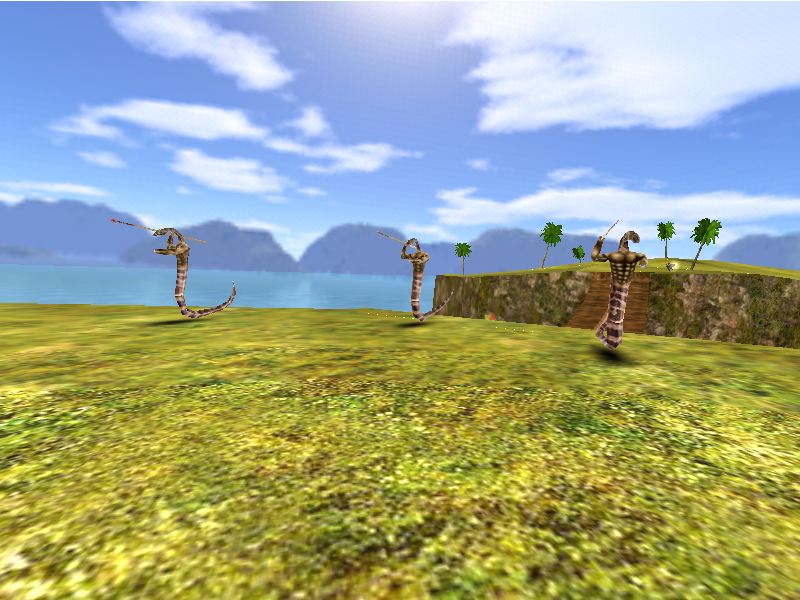
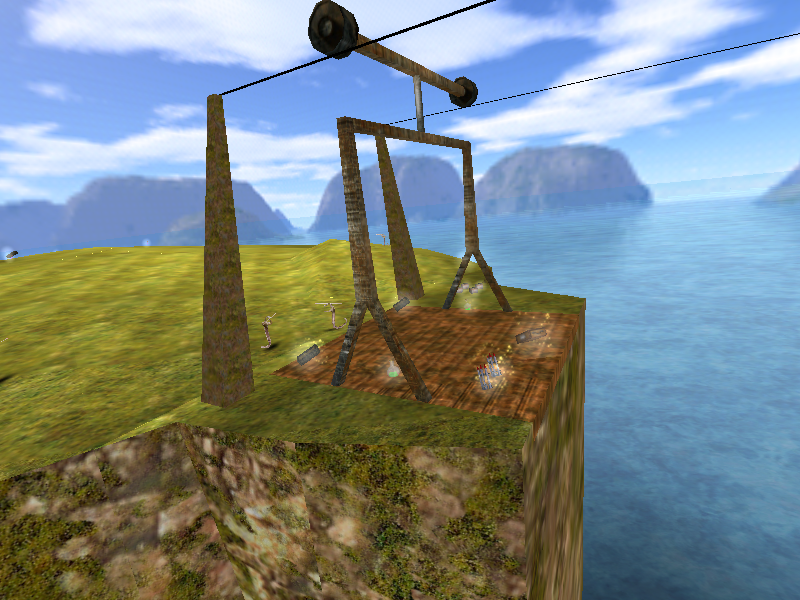
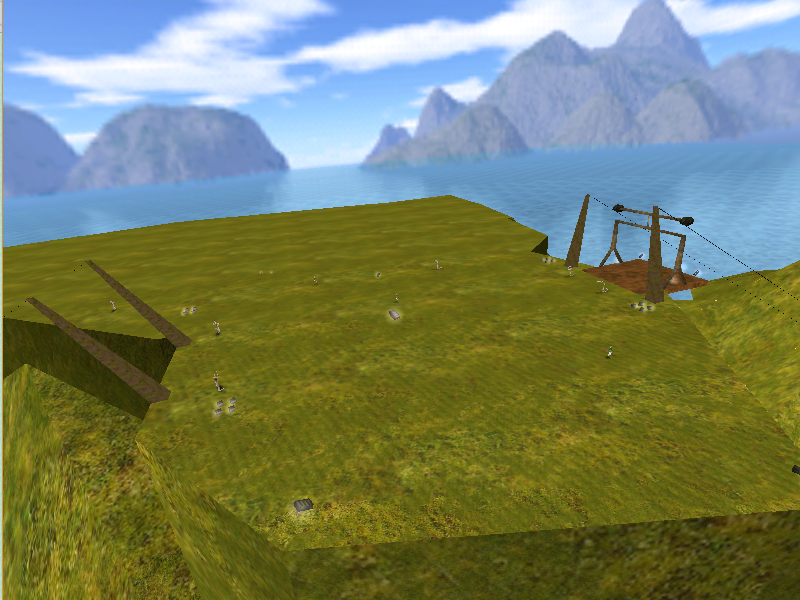
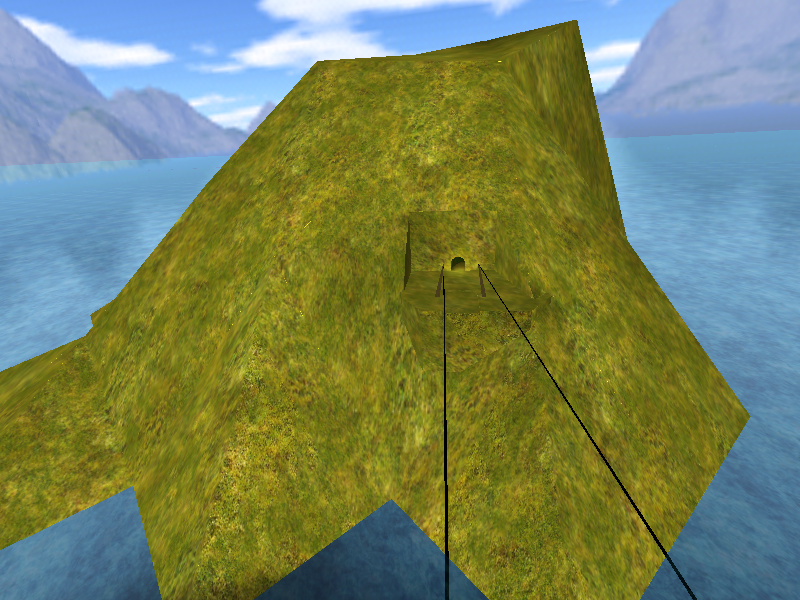
Tropic Planet is the twenty-sixth map in the level select for the Evaluation Build. It is a large map featuring a few gondola lifts. It exits into Tropic Planet (End Arena).
Tropic Planet (End Arena)#
Tropic Planet (End Arena) is the twenty-seventh map in the level select for the Evaluation Build. It is a small map consisting only of a basic arena where you fight a giant Air Elemental boss.
Rock Planet#
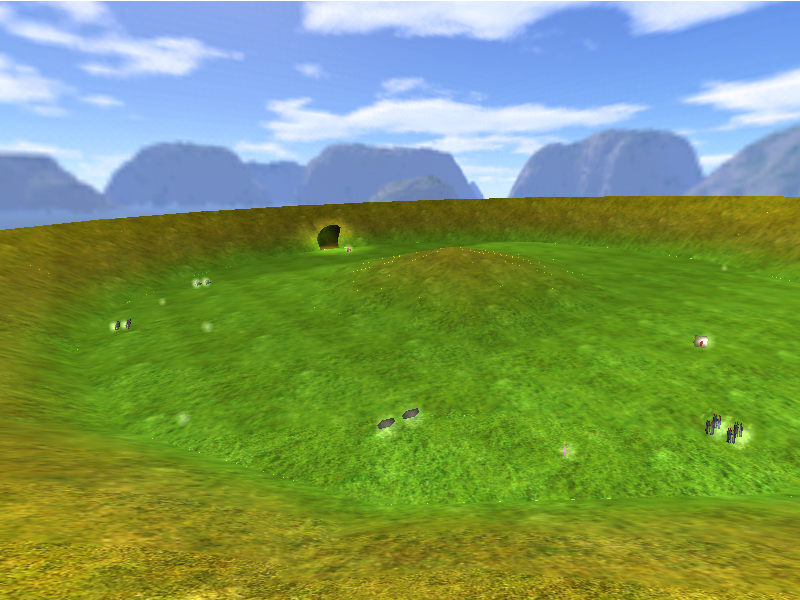
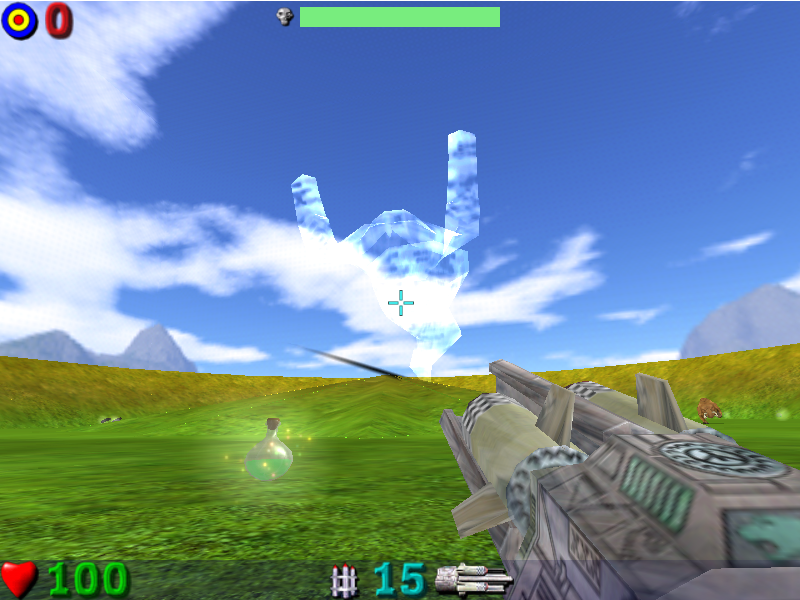
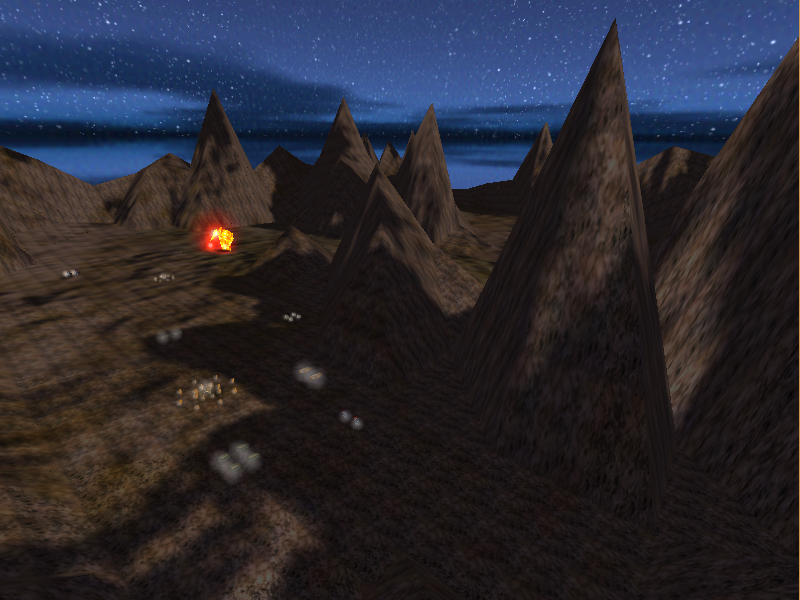
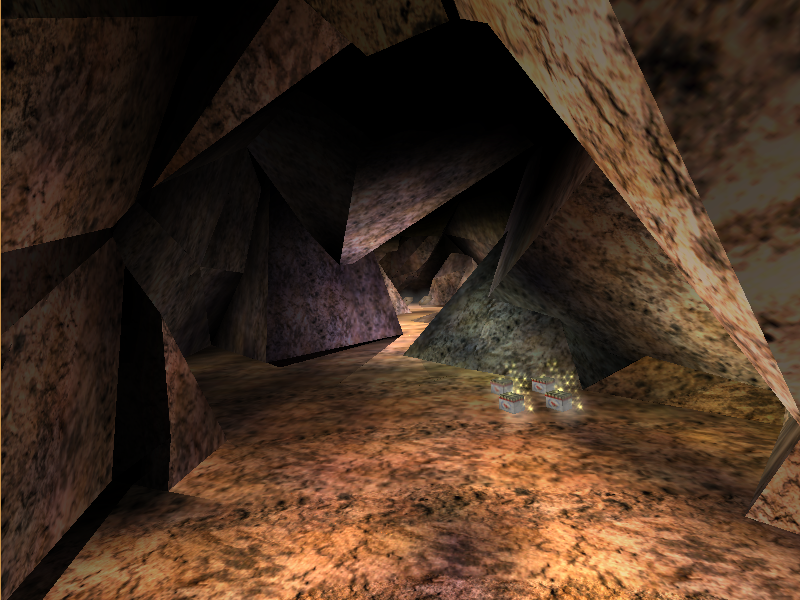
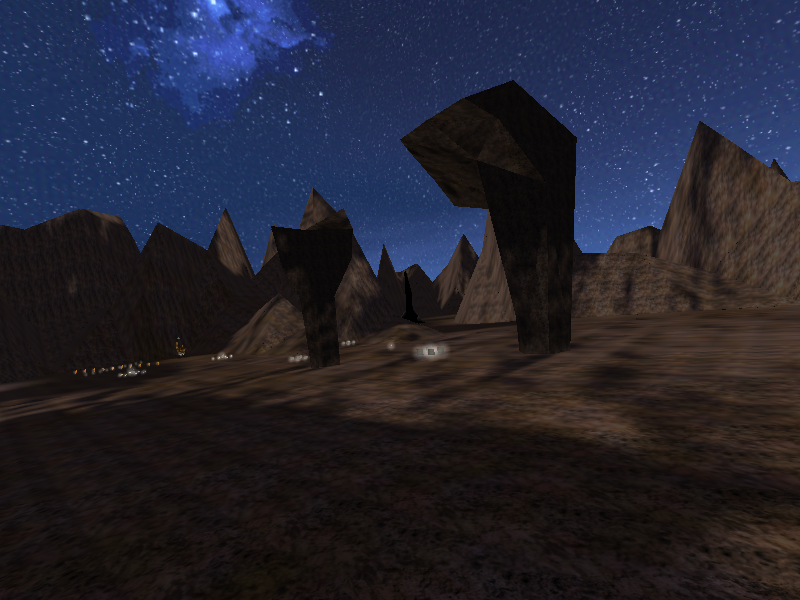
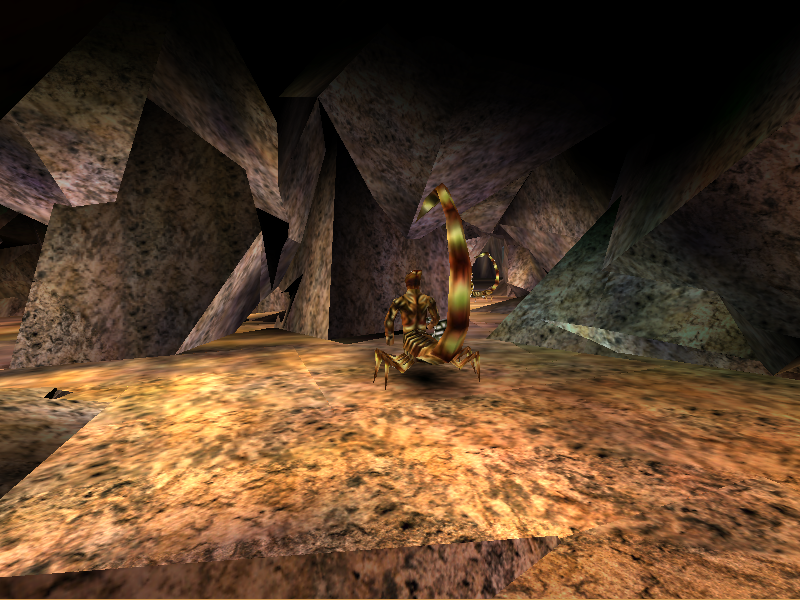
Rock Planet is the twenty-eighth map in the level select for the Evaluation Build.

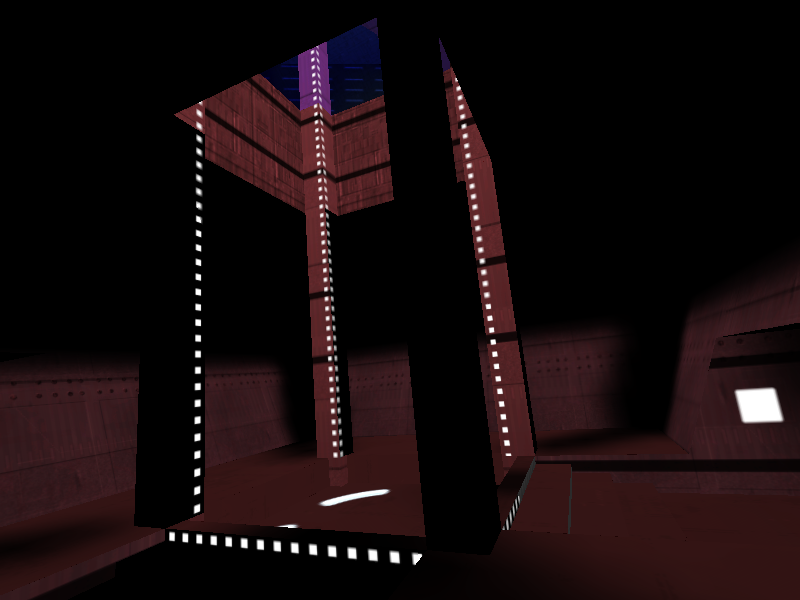
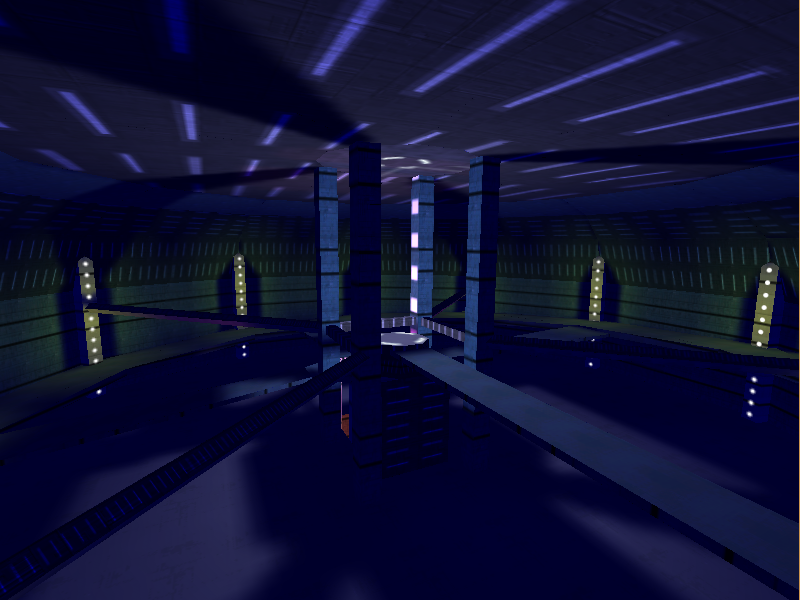
Sirius Space Crusader#
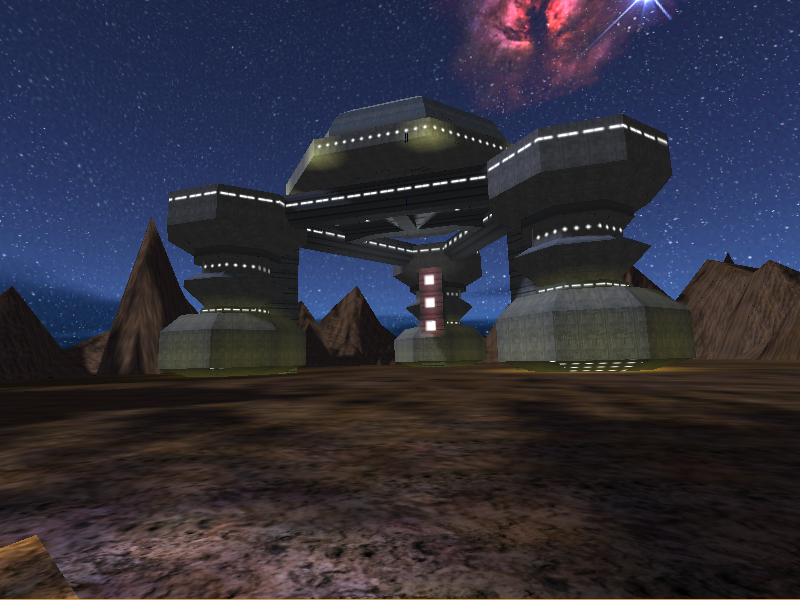
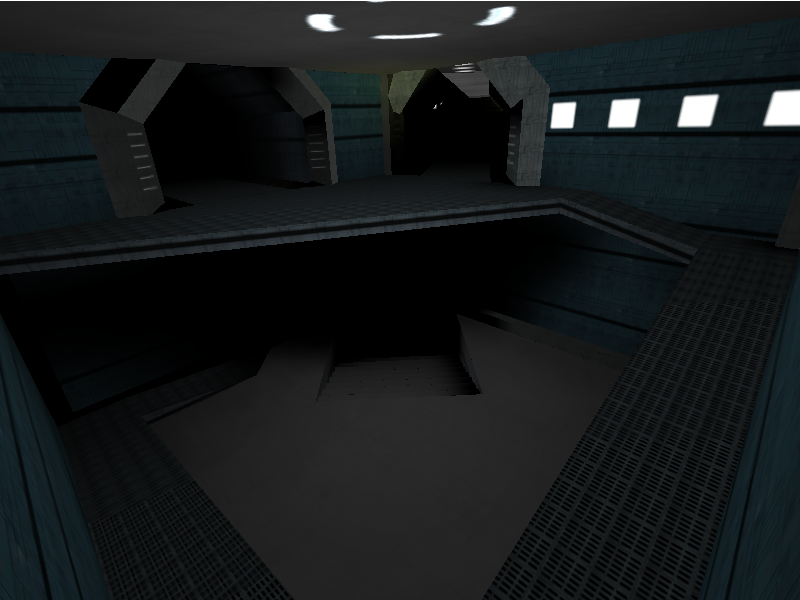
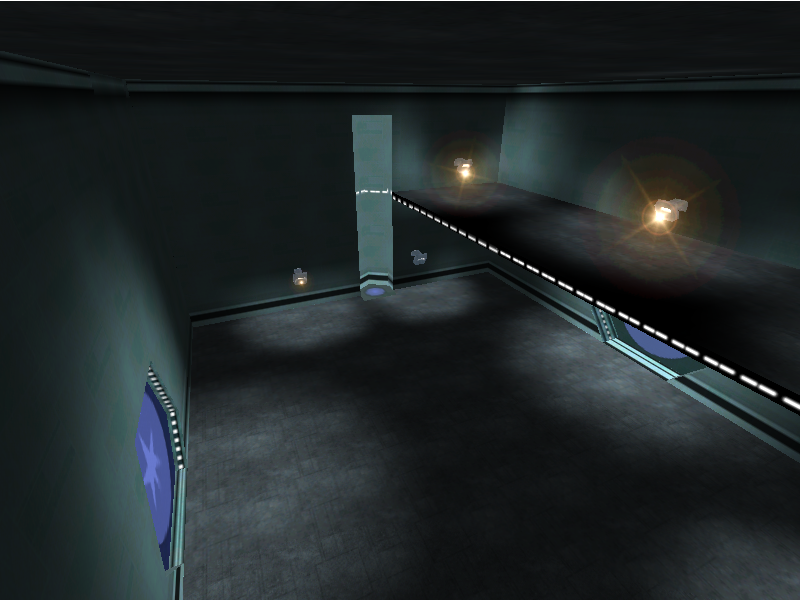
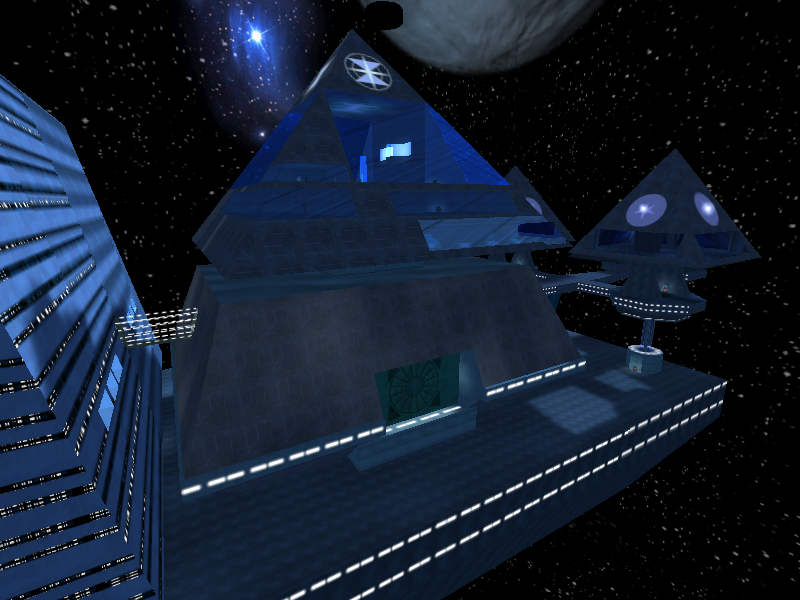
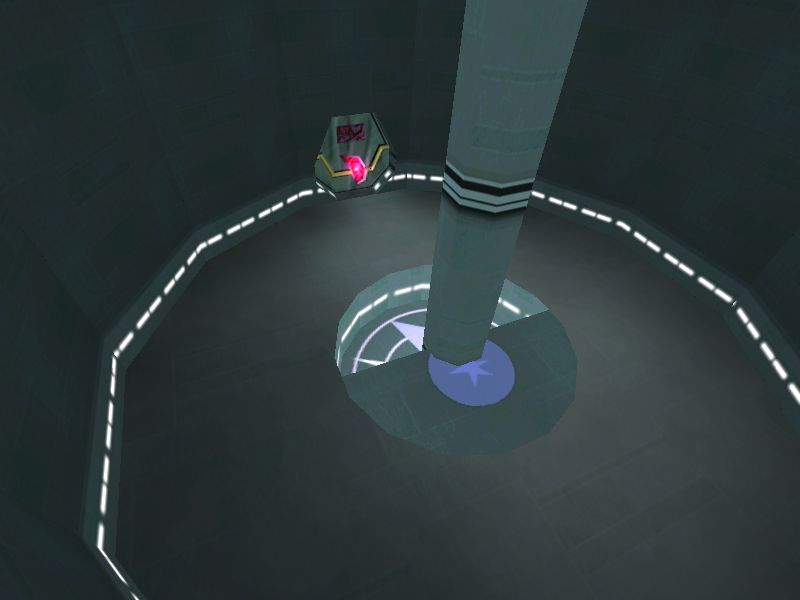
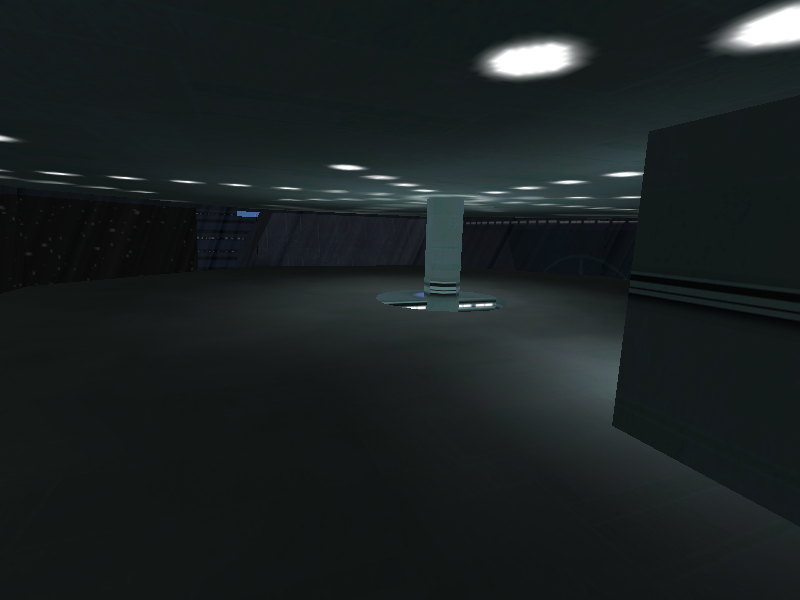
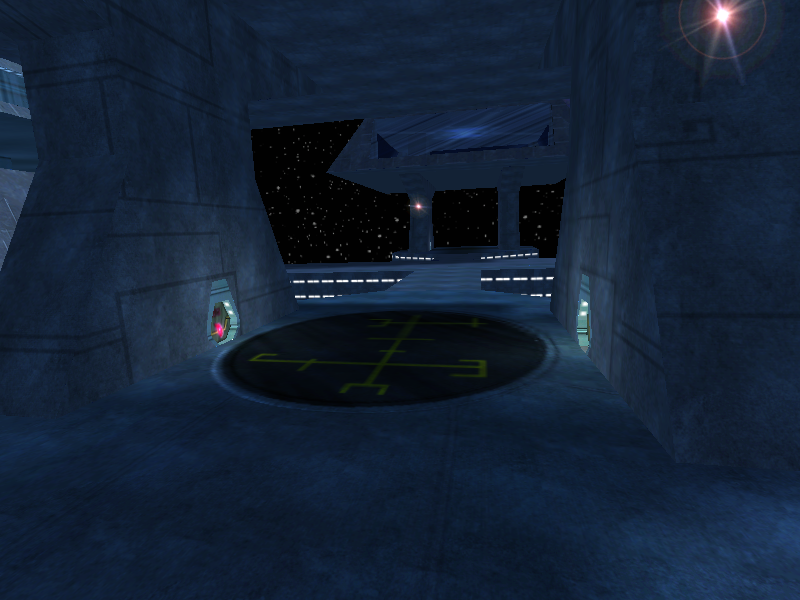
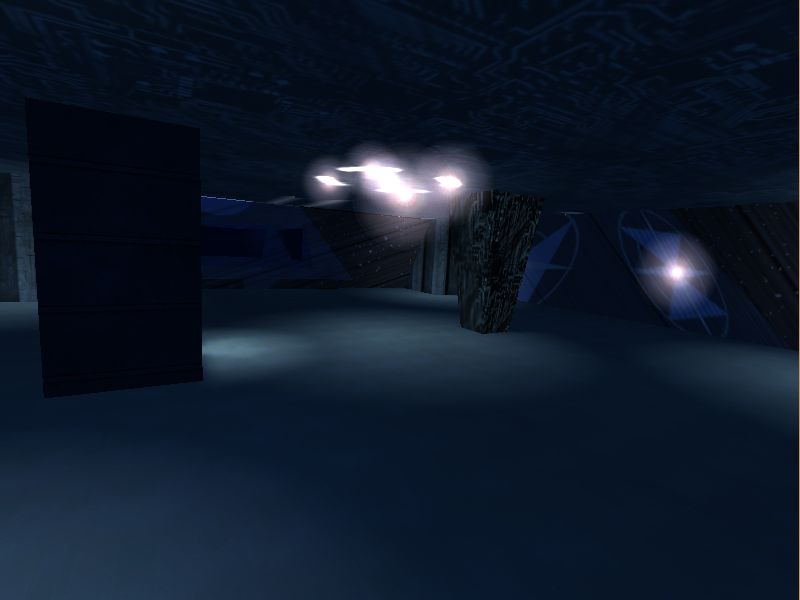
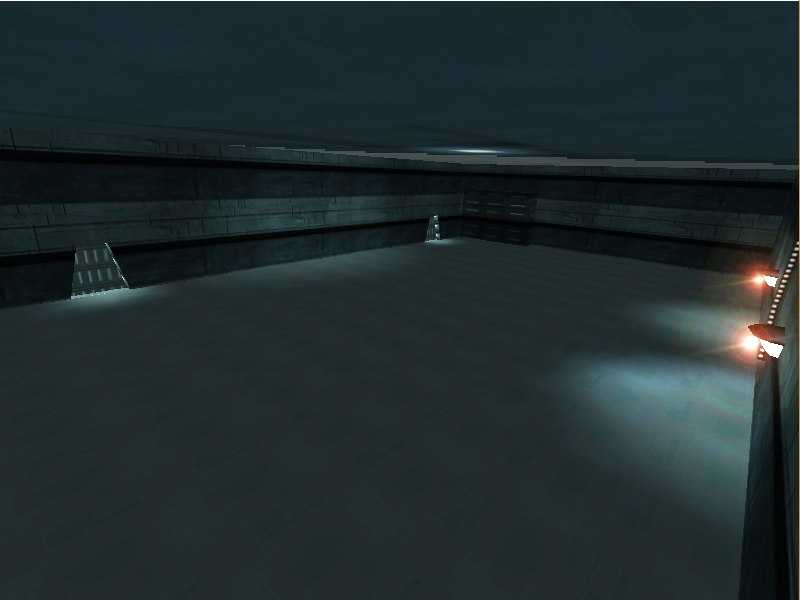
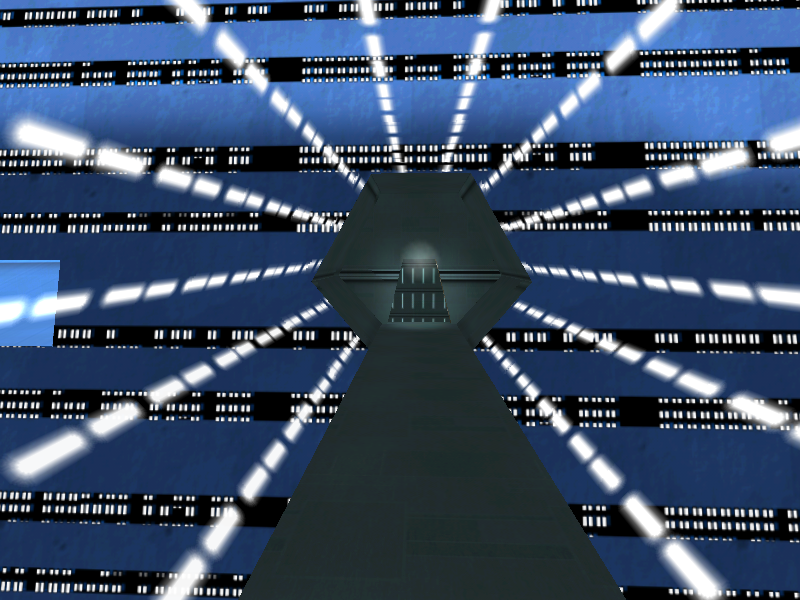
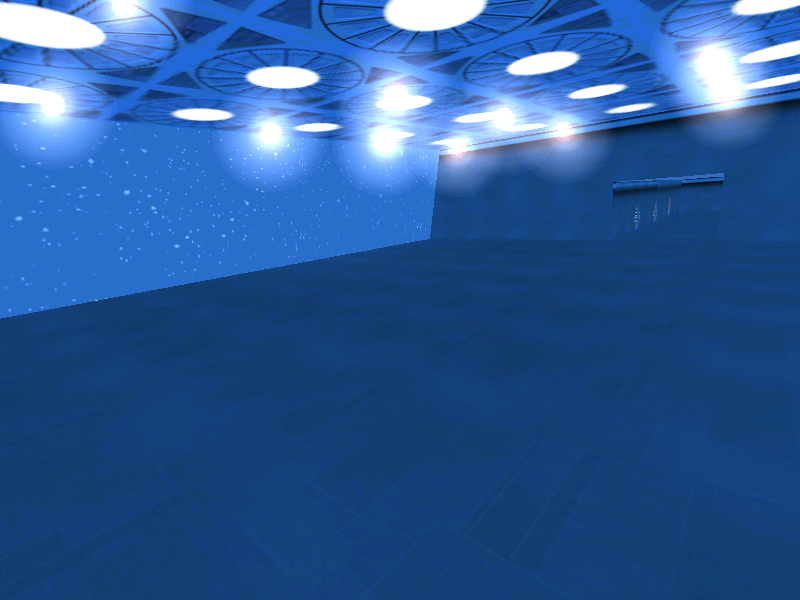
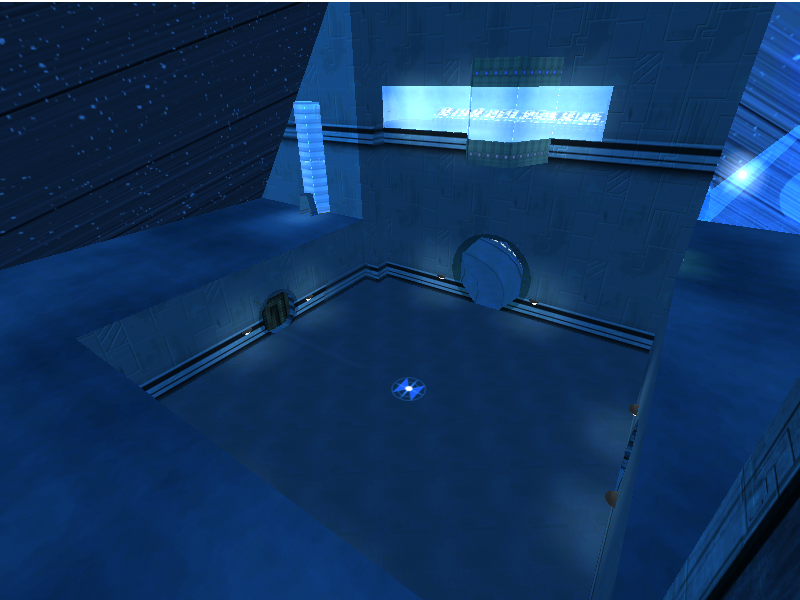
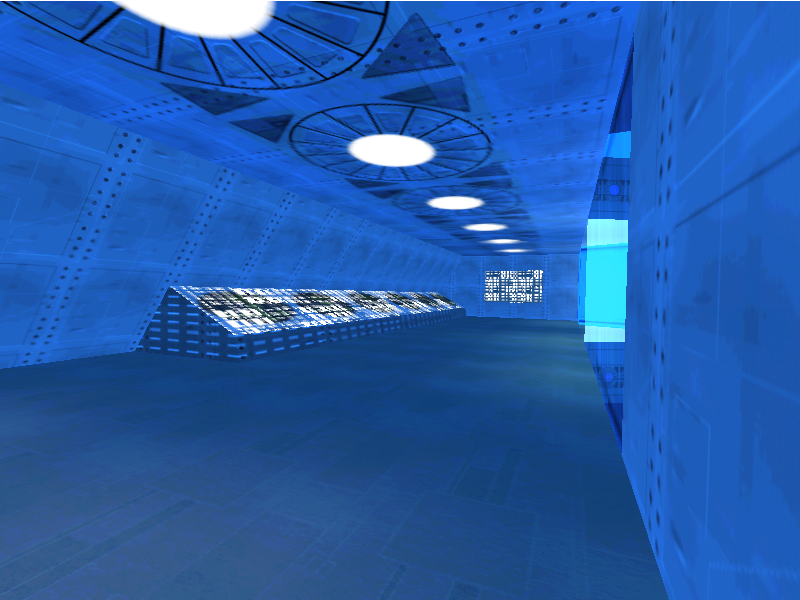
Sirius Space Crusader is the twenty-ninth map in the level select for the Evaluation Build. It takes place entirely on a space station. The level is very incomplete, lacking any objects, pickups or monsters.
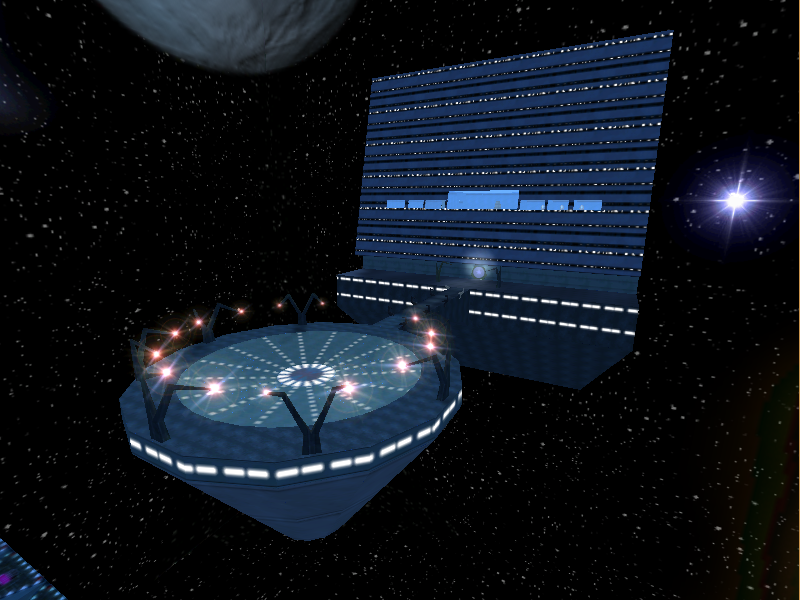
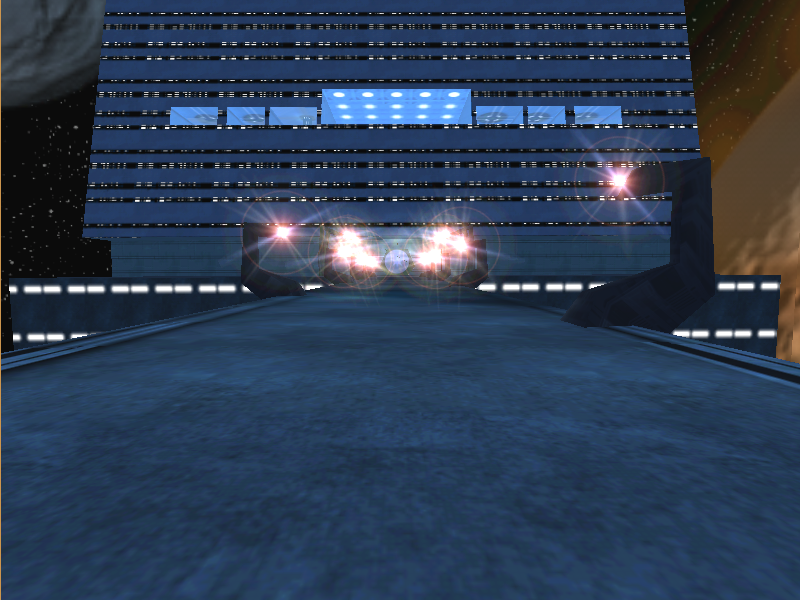
Sirius Loony Moony#
Sirius Loony Moony is the thirtieth map in the level select for the Evaluation Build. It appears to be a short test level experimenting with moving platforms and physics manipulation.