 This article has a talk page!
This is a sub-page of Proto:Mario & Luigi: Superstar Saga.
Slight palette changes are present in all maps but will not be mentioned unless significant.
Map 218 - Entrance#
The ground near the entrance was flattened.
|
E3 |
Final |
|---|---|

|

|
Maps 219-220#
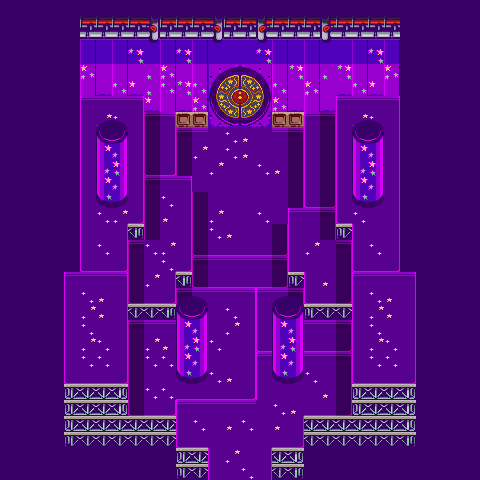
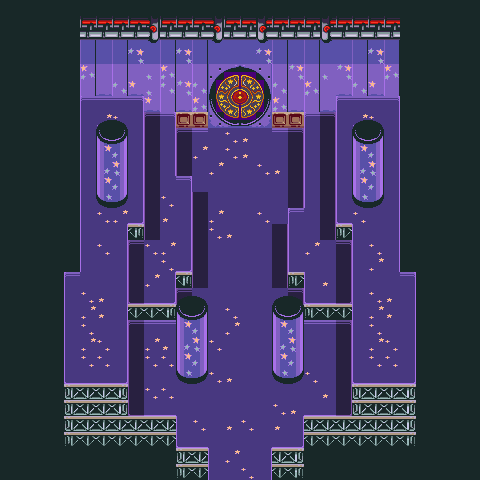
The tiled floor design of these rooms was removed and the color was changed to a lighter shade.
|
E3 |
Final |
|---|---|

|

|
|
E3 |
Final |
|---|---|
|
|
Map 221#
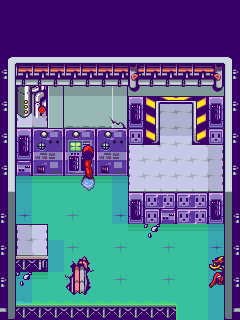
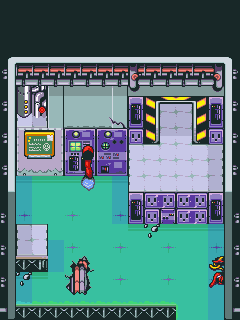
A hint sign was added for the puzzle.
|
E3 |
Final |
|---|---|
|
|
Map 222 - Generator Room#
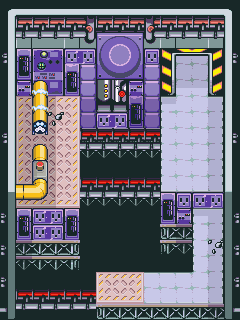
The puzzle's design is different in the E3 build, involving the extinguishing of a flaming statue which causes a ceiling fan to activate. This was replaced with an introduction of the generator minigame in the basement. Pipes were also added to the background.
The graphics for the flaming statue still exist in the final game, unused.
|
E3 |
Final |
|---|---|

|
|
Map 223#
The center cable hole was shifted upwards a tiny bit.
|
E3 |
Final |
|---|---|

|

|
Map 225#
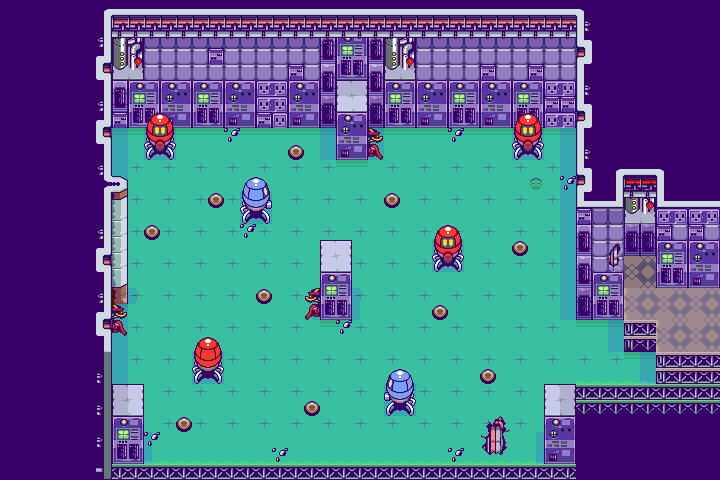
The southwest region at this point only consists of a single room with multiple cannon robots. Whatever puzzle was here seems to be unfinished and non-functional. The map ID was repurposed in the retail versions for the Chucklehuck Woods side entrance of Chateau de Chucklehuck, which used a single map for both in the E3 demo.
|
E3 |
Final |
|---|---|
|

|
Map 226#
The path to and the Block Research Rooms themselves do not exist in the E3 build. The corner wall was changed and a sign was added to the center.
|
E3 |
Final |
|---|---|

|

|
Map 227#
The wall in the top left corner was cleaned up to account for the placement of a map sign.
|
E3 |
Final |
|---|---|

|

|
Map 229#
The wall in the top left corner was cleaned up to account for the placement of a sign.
|
E3 |
Final |
|---|---|

|

|
Map 231#
The entrance to the electrical rooms was made smaller.
|
E3 |
Final |
|---|---|

|

|
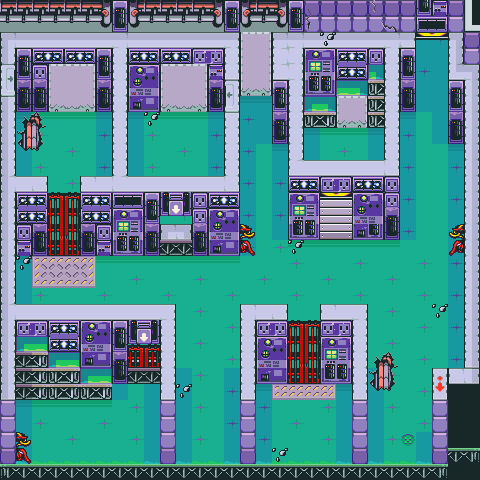
Map 232#
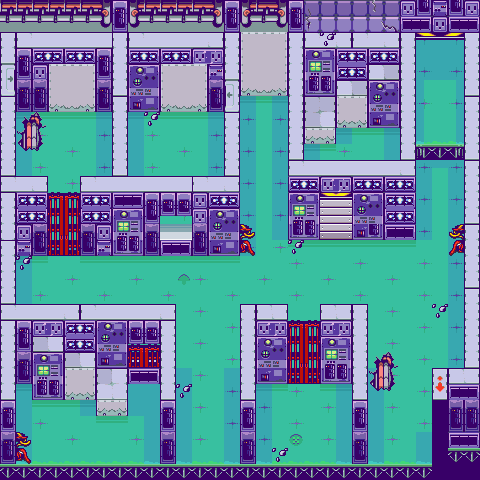
Metal floors were added under the red gates to make it clear you cannot go under them with Luigi. The center wall was expanded by two tiles to make it easier to jump across. The tops of the platforms were recolored to make it easier to tell where you can jump. A faint arrow is present on the ground near the mini Mario hole which was changed into a sign above it. A bean spot was moved to the bottom right corner. Shading was added to the edges of the side walls.
|
E3 |
Final |
|---|---|
|
|
Map 233#
Like map 232, the platforms got adjusted for readability and shading was added to the side walls
|
E3 |
Final |
|---|---|

|

|
Map 234#
A sign was added.
|
E3 |
Final |
|---|---|

|

|
Map 240#
The lone platform in the corner was removed.
|
E3 |
Final |
|---|---|

|

|
Map 241#
A bean spot was added.
|
E3 |
Final |
|---|---|

|

|
Map 277#
A bean spot was added to the bottom left corner in the retail builds.
|
E3 |
Final |
|---|---|

|

|
Map 279#
A sign was added to the left wall and the metal flooring was removed from the open doorway.
|
E3 |
Final |
|---|---|

|

|
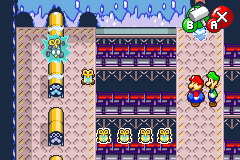
Map 281 - Underground Generator Room#
The toy mice were originally real mice, presumably changed because electrocuting animals as part of a puzzle is a bit much for a Mario game. The pattern on the floor was adjusted slightly to make it easier to line up for the shots. Piping was also added to the background.
|
E3 |
Final |
|---|---|

|

|
|
E3 |
Final |
|---|---|

|
|
Map 280#
The puddle at the top was moved to the other side and bean spots were added into the bottom corners.
|
E3 |
Final |
|---|---|

|

|