 This article has a talk page!
This is a sub-page of Proto:Mario & Luigi: Superstar Saga.
The green crystal pillars received a slight touch-up in the final game, and the way the bros. met the jellyfish sisters was entirely different. The puzzles at the beach also seemed somewhat hesitant to use the Fire Tickle at many points, for some reason.
Map 249#
The pillar is intact in the prototype.
|
E3 |
Final |
|---|---|

|

|
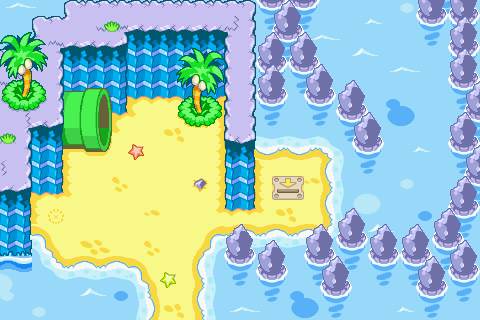
Map 247#
The warp pipe is absent, the wall was extended further down, many more rocks were added, and a palm tree was moved from the bottom to the top. The palm tree on top of the wall flipped.
|
E3 |
Final |
|---|---|

|
|
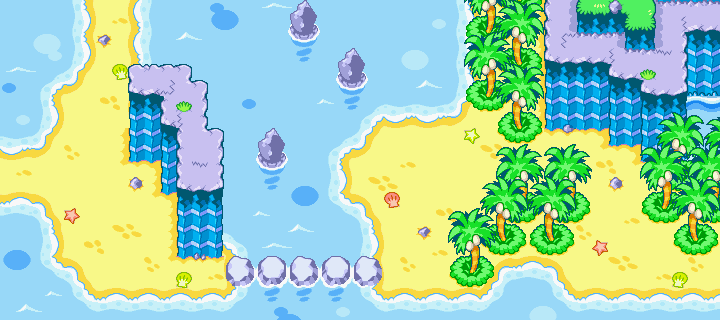
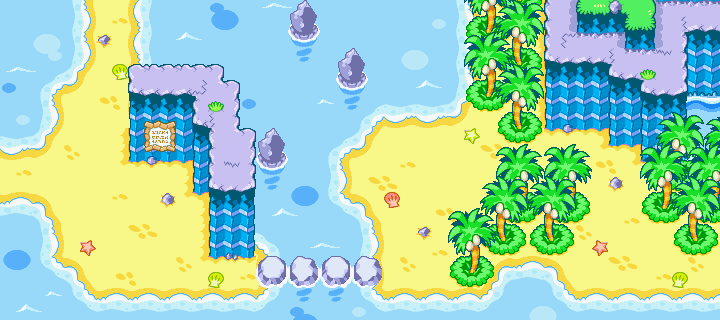
Map 250#
The wall was extended backwards and a stepping stone was removed. Some beach detail was moved around, as well.
|
E3 |
Final |
|---|---|
|
|
Map 252#
The Relaxation Room doesn't exist in the prototype. Instead, there is more beach.
|
E3 |
Final |
|---|---|

|

|
Map 253#
The bros. would just meet Gigi and Merri here on this generic beach, complete with a unique cutscene.
|
E3 |
Final |
|---|---|

|

|
Map 267#
This map was the original Fire Tickle and Thunder Tickle tutorial room. It was, of course, scrapped in the final and replaced with an image of the map of the game's world.
|
E3 |
Final |
|---|---|

|

|
Map 251#
Three palm trees were added, and the wall and beach were extended down to the bottom right corner. Some beach detail is different.
|
E3 |
Final |
|---|---|

|

|
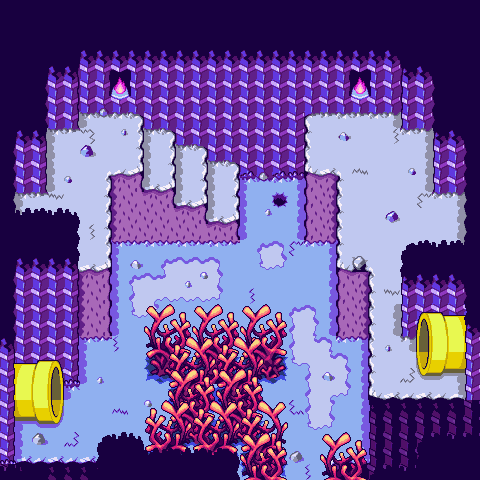
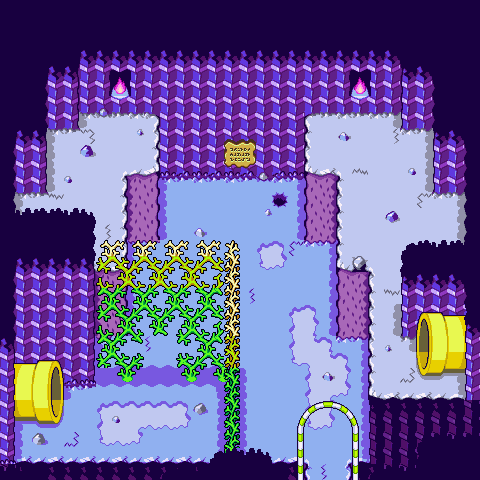
Map 268#
The final removes the stairs, as they're no longer needed thanks to being able to swim. Unique plant life replaced the coral around the bottom left pipe, the southern exit now has a gate, and the wall behind the left pipe was extended slightly.
|
E3 |
Final |
|---|---|
|
|
Map 269#
The room was made slightly smaller, and some details were changed.
|
E3 |
Final |
|---|---|

|

|
Map 264#
The wall behind the pipe was extended, the pillars were intact, and the beach receded a bit on the right.
|
E3 |
Final |
|---|---|

|

|
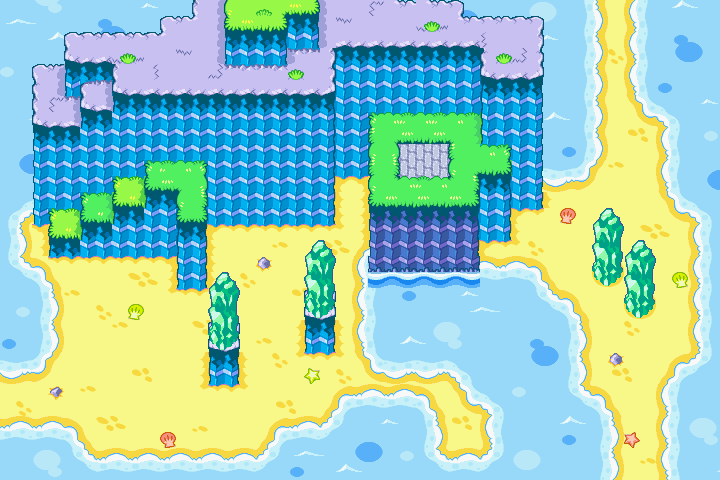
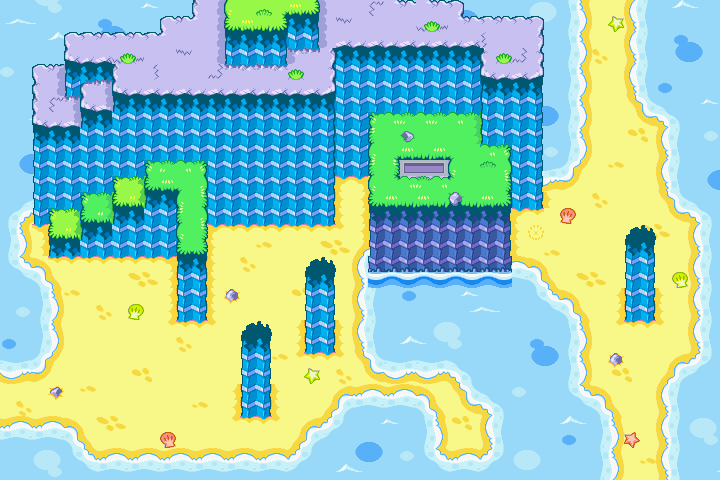
Map 263#
There are no rolling spike puzzles in the prototype. Thus, the intermediate room between this one and the previous is skipped. The beach was extended a bit at the top right, the crystal pillars were replaced by broken rock ones, the ledge the boo statue lies on was squared-out, the top ledge of the stairs on the left was extended, and some more beach was added at the bottom middle.
|
E3 |
Final |
|---|---|
|
|
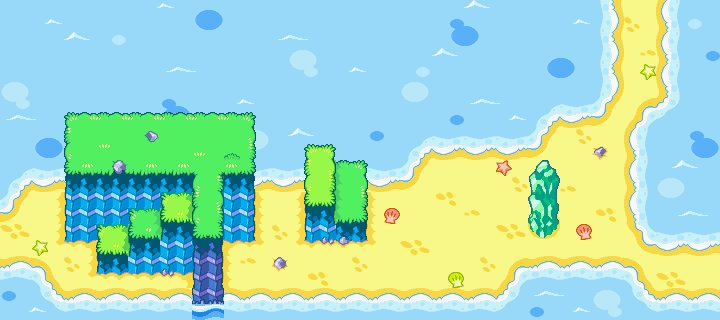
Map 265#
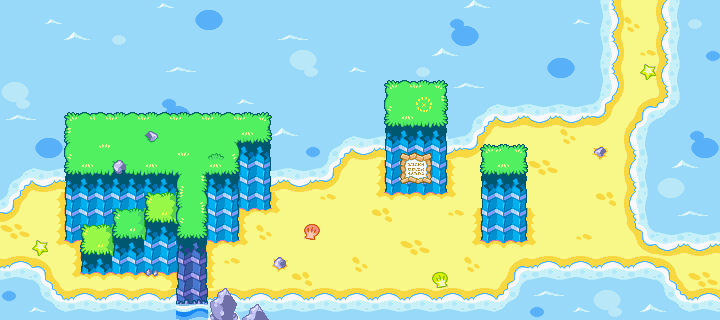
Many changes, here. The stairs on the left were moved to the left a little bit, the stairs on the right were removed outright, the crystal pillar was replaced with a rocky one, and another large ledge was added with a sign on it. Some beach detail was moved/changed.
|
E3 |
Final |
|---|---|
|
|
Map 266#
Spangle's area in the final. He's absent from this build entirely, though. There is no "stage" for him, there is one crystal pillar instead of two, the pillar at the bottom right is intact, and the wall at the top was greatly extended. Some beach detail was changed.
|
E3 |
Final |
|---|---|

|

|
Map 256#
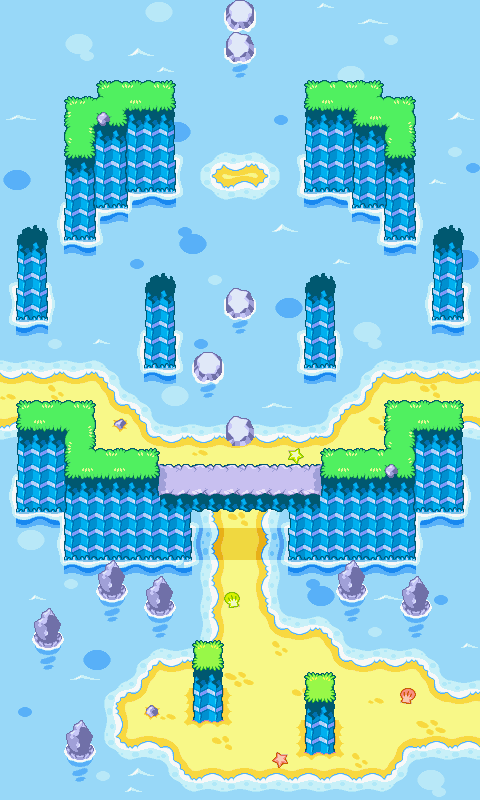
The pillars in the water are intact, the stepping stone for the save album is missing, there's a second arch, and the beach at the very top was replaced by another stepping stone.
|
E3 |
Final |
|---|---|

|
|
Map 257#
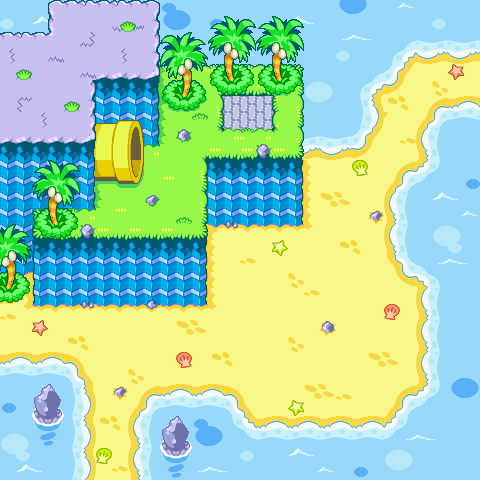
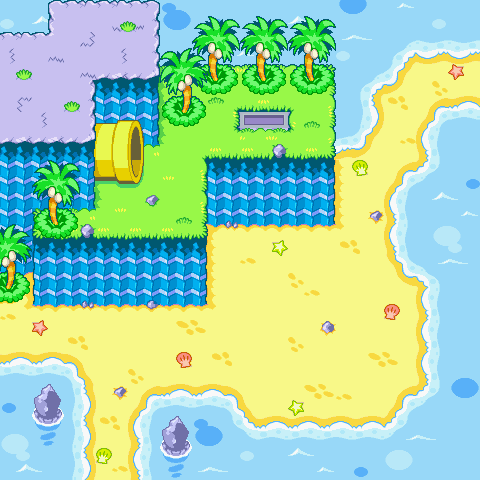
The ledge the boo statue rests on was extended and another palm tree was added.
|
E3 |
Final |
|---|---|
|
|
Map 258#
The pillars are intact instead of broken.
|
E3 |
Final |
|---|---|

|

|
Map 273#
Some minor changes. The coral at the top was replaced by a wall.
|
E3 |
Final |
|---|---|

|

|
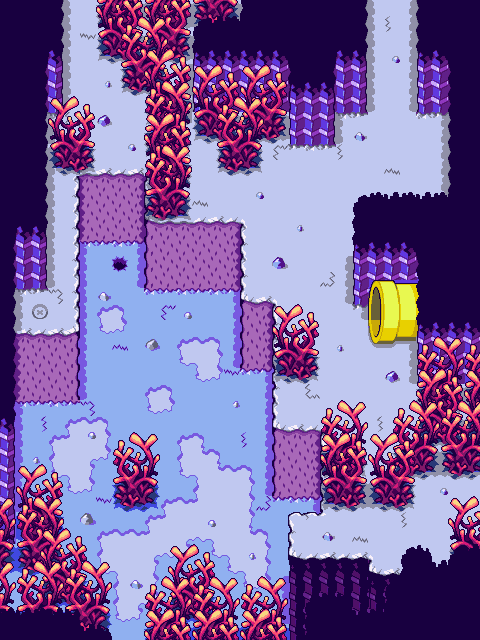
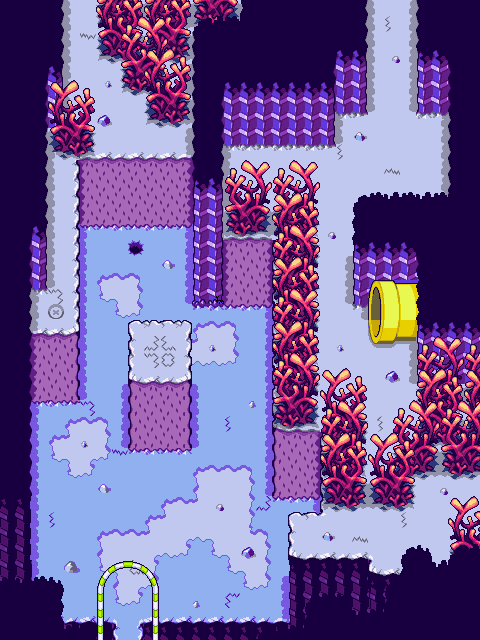
Map 271#
Several major changes to the main area of the room. A gate was added for the southern entrance. There's a rock above the geyser hole that shakes a little that was completely removed in the final. There's an animation for the bubble vortex stretching up from a flattened state found in this build, unused, which may have been intended for this. However, upon breaking the rock, nothing happens, and bubble vortex is already present in the final version of the room.
|
E3 |
Final |
|---|---|
|
|
Map 270#
Identical to the final, if not for the small group of rocks being added at the top right.
|
E3 |
Final |
|---|---|

|

|
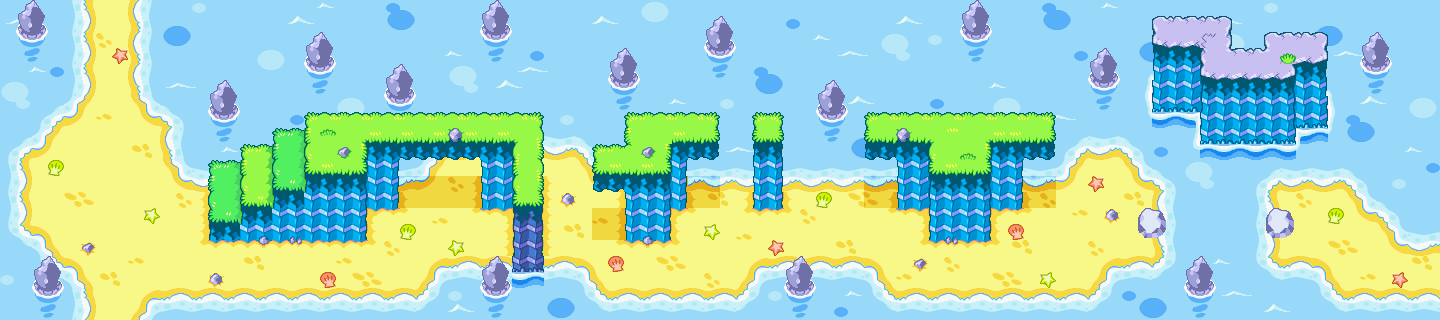
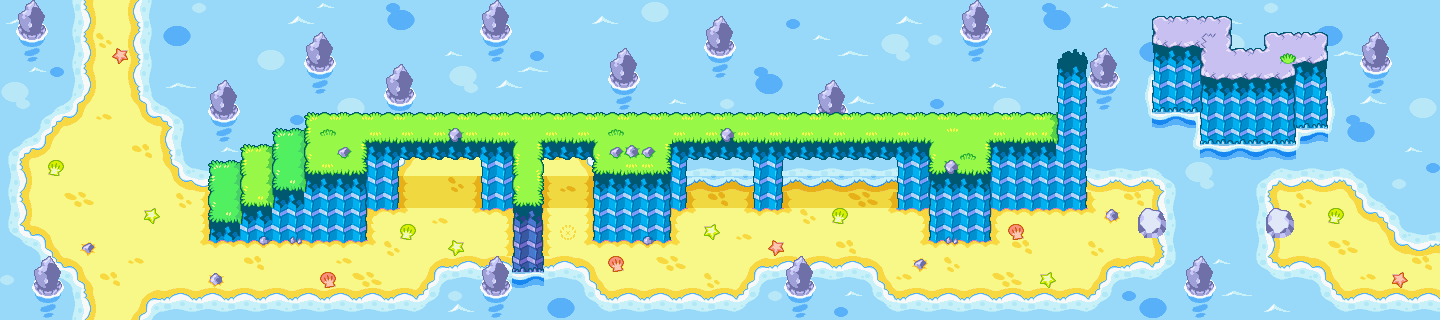
Map 259#
The elevated ground has several gaps in it that were patched in for the final version to allow the puzzle to require the Fire Tickle.
|
E3 |
Final |
|---|---|
|
|
Map 260#
The boo statue was removed and a bean spot was added at the bottom right.
|
E3 |
Final |
|---|---|

|

|
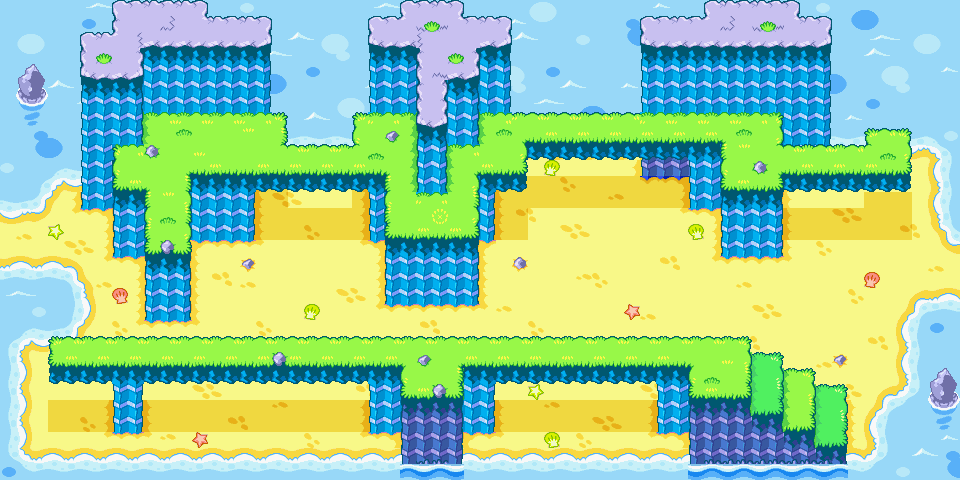
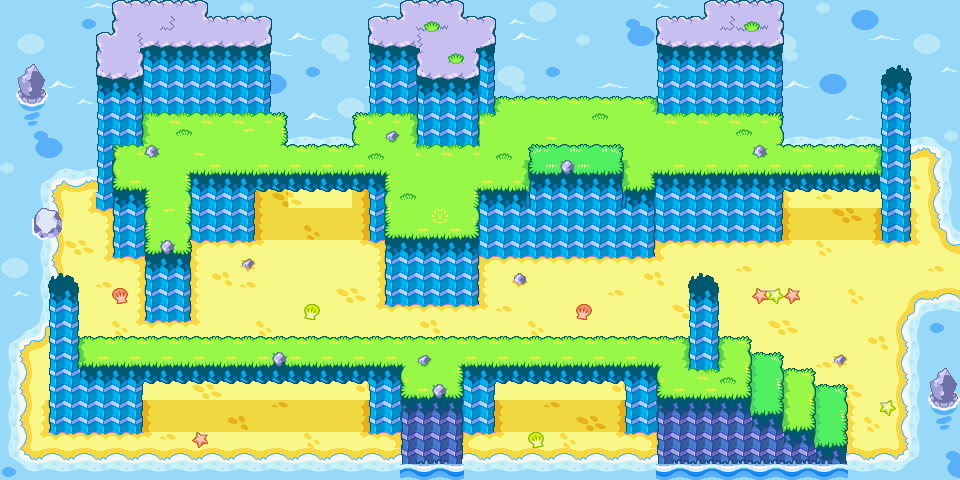
Map 261#
Several changes, here. The west exit was originally beach instead of a stepping stone, several terrain changes were made, including adding pillars, filling in land underneath the elevated ground, and adding a little more beach at the bottom right. Many beach details were changed, too.
|
E3 |
Final |
|---|---|
|
|
Map 262#
The east entrance was originally beach instead of stepping stones, the stairs were removed, and the crystal pillar was replaced by a boo statue. The northern exit was also segmented off by stepping stones.
|
E3 |
Final |
|---|---|

|

|
Map 255#
The southern entrance to Hermie's island was beach instead of stepping stones. Both pillars are intact instead of broken.
|
E3 |
Final |
|---|---|

|

|
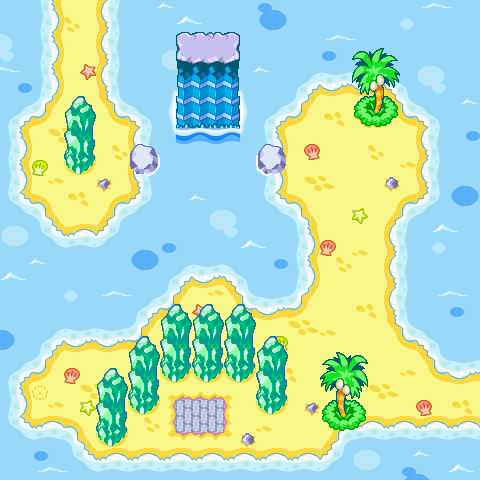
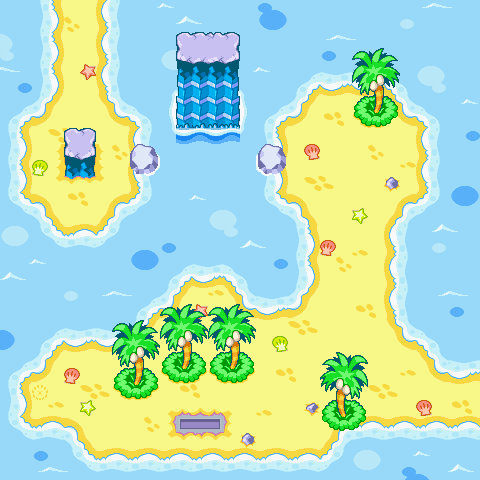
Map 254#
The crystal pillars at the bottom were replaced by palm trees, and the one at the top left was replaced with a small rocky pillar.
|
E3 |
Final |
|---|---|
|
|