 This article has a talk page!
This page details development materials of Cyberpunk 2077.
 Notes
 loc.jsonA file containing over 100,000 text entries from an early stage in the game's development, with plenty of data related to cut quests and storylines.
Debug MenuA well-featured debug menu that almost always complains about there being too many triangles rendered.
Audio#
q111#
Project Ghost - Arasaka Operative Processing Clinic#
These files are text-to-speech placeholders with basic writing that would have played inside the Arasaka Operative Processing Clinic, which is related to the cut Project Ghost story arc of the game.
The dialogue shows that this clinic operated by Arasaka would have modified and enhanced people. This would be done with the help of cyberware and storage tanks and that these modifications and people would be used in ways that would somehow benefit Arasaka.
A few more details about the Project Ghost story arc can be found on the q111 and q113 sections of the Quest Data subpage.
q111_03_gp_clinic_mood_scenes
Character |
Audio file |
Transcript |
|---|---|---|
Man 01 |
Two technicians talk about the operative in the room behind them. |
|
Man 01 |
He has a mix of psychological and software problems, one building into the other, creating a negative feedback loop that threatens cyberpsychosis. |
|
Man 01 |
The diagnosis will be to solve the psychological problems with a software update. Forget psychiatric therapy, it would just take too long. |
|
Man 01 |
The scientist asks the operative how he feels. |
|
Man 01 |
The scientist says they are all dead, while he was brutally maimed. |
|
Man 01 |
The scientist diagnoses the patient in the suspension tank. Too much nervous system damage, he's not going to be compatible with the new line of implants. |
|
Man 01 |
The assistant asks what to do with him. |
|
Man 01 |
The scientist says to just flush him and call it a day. |
|
Man 01 |
Acknowledged. |
|
Man 01 |
The tech is working on tuning up the operative's cyberware. |
|
Man 01 |
Another tech tries modifying the sensitivity parameter on the neural interface. How about now? |
|
Man 01 |
The scientist overseeing the process notes that this feature shouldn't be used, it's not properly debugged yet. |
|
Man 01 |
Two scientists discuss the properties of a bioplague they are analysing. |
|
Man 01 |
The scientist asks the tech if the experiment is over. |
|
Man 01 |
The techie looks at the experiment results. It's not of biological origin. These are machines. A man-made nanite virus. |
|
Man 02 |
The scientists say they rebuilt him, bigger and better. However, there will be consequences, as most of his body is now company property. |
|
Man 02 |
It was extracted from one of the operatives in Rwanda. They suspect it's of human origin. |
|
Operative 01 |
The operative just recovered from a coma. He wants to know what happened to his unit. |
|
Operative 01 |
The operative says he never asked for this. |
|
Operative 01 |
The operative is still adjusting to his new possibilities, he doesn't feel comfortable in his body. |
|
Operative 01 |
The operative says it's better, tests it out a couple of times. |
|
Operative 01 |
A trainer is coaching two operatives duking it out in the middle of the room. |
|
Operative 01 |
The trainer is a man's man, so tells the scientist to shut up, nerd. |
|
Operative 02 |
The operatives fight using their enhanced cyber abilities. |
|
Operative 03 |
They use force blasts and inhuman moves. |
Cyberpunk Online#

|
To do:
|
The cpo_test_dlg_contested.scenesolution file contains a scene where the player can test a story choice in a Cyberpunk Online mission. Here Player 1 could have agreed with or disagreed with Player 2 (or vice versa) in three choices related to the mayor of Night City, who is represented by Peralez in this test. Despite there being nine different possible combinations of choices, they would have lead to the same three endings, where the Peralez is either killed, banished och blackmailed. The choice to kill him is a priority option, meaning that if one player chooses that option it will always happen, even if the other player disagrees. The banish option can only be selected if both players agree with the choice and the blackmail option can only be unlocked with one of the players having a high enough netrunning skill, otherwise the game uses the banish option.
There are some design notes for this feature in the graph that gives some further explanation of this feature.
This section showcases a CONTESTED CHOICE. Both players are prompted to select a choice from the same hub. Each player is able to see the other one's choice in real time. The choice is not timed (at least not by default) until one player locks in their choice. This creates a set of two decisions for the designers to reduce into a manageable number of outputs from the scene. NOTE: This is a space for the players to discuss the choice calmly. |
Note on the options: [1 "Kill"] is a PRIORITY choice. If one of the player chooses it, then that is the outcome. [2 "Banish"] is a NARRATIVE choice. As in CP77, at least one is always there to make sure a progression path is available. For CPO it usually has the lowest priority when conflicting choices are arbitrated. |
Options [1] and [2] are NARRATIVE options, so they cannot change the outcome of the previous CONDITIONED choice. They can still add a different flavor to it. |
Option [3] is a contested SKILLCHECK, meaning the two player's level in a particular skill will be compared, and the higher value will determine the outcome. |
NOTE: It remains TBD if we should follow CP77 rules for visibility of unavailable choices, or if all choices should be always visible for clarity's sake. |
KILL - PRIORITY
Debug text:
You've chosen to Kill the Mayor. This is a PRIORITY option, meaning the designer has decided that if at least one player chooses it, then that is the outcome. Some variations might happen to acknowledge the other player's choice, but the result is fixed. |
Players agree to kill Peralez:
cpo_test_P1kill_vs_P2kill |
cpo_test_mayor_executed |
Set quest facts |
Cop/River and Media/Denny agree to get rid of the Mayor... |
The Mayor gets shot multiple times, Pulp Fiction style. |
P1_mayor_killer |
... and they both pull out their guns on him. |
The game will remember that both of them agreed to do it and store the fact for later consequences. |
P2_mayor_killer |
qXXX_mayor_dead |
||
Player 1 disagrees with killing Peralez:
cpo_test_P1attemptstop_vs_P2kill |
cpo_test_mayor_executed_by_P2 |
Set quest facts |
Media/Denny pulls a gun on the Mayor... |
Media/Denny executes the Mayor against Cop/River's wishes. |
P2_mayor_killer |
... as Cop/River says to stop! |
Cop/River reacts! |
qXXX_mayor_dead |
The game will remember this fact for consequences later in the quest and possibly, in the single-player follow-up for the episode. |
Player 2 disagrees with killing Peralez:
cpo_test_P1kill_vs_P2attemptstop |
cpo_test_mayor_executed_by_P1 |
Set quest facts |
Cop/River pulls their gun on the mayor |
Cop/River executes the Mayor against Media/Denny's wishes. |
P1_mayor_killer |
Media/Denny attempts to stop them. |
Media/Denny reacts!!! |
qXXX_mayor_dead |
The game will remember this fact for consequences later in the quest and possibly, in the single-player follow-up for the episode. |
BANISH - NARRATIVE, CONSENSUS ONLY
This choice can only be reached by consensus or if the players fail to reach consensus in the blackmail option.
cpo_test_P1banish_vs_P2banish |
cpo_test_mayor_banished |
Set quest fact |
Cop/River and Media/Denny agree to spare the Mayor. |
The Mayor says we're gonna regret this. |
qXXX_mayor_banished |
Leave this city, and never come back. |
But he will leave the city. |
BLACKMAIL - UNLOCKED, AGREEMENT
Both players agree to blackmail Peralez:
cpo_test_P1blackmail_vs_P2blackmail |
||
Both players found the data and chose to blackmail the Mayor with it. |
||
The Mayor wants to fight back, but we tell him what we intimidate him to back off. |
||
Don't show your ugly mug around here. |
Player 1 does not want to blackmail Peralez (no player 2 option for this choice is implemented):
cpo_test_P1banish_vs_P2blackmail |
Cop/River says to the Mayor that we're chasing him out of the city. |
But Media/Denny has a better idea. They found some compromising photos of the mayor. |
Cop/River is surprised by the evidence and unsure if this is a good idea. |
This leads to a choice option (misspellings are from original file):
cpo_test_ch_disaggreemnt |
Aggree |
Good idea. |
These text strings are some developer commentary nodes to be shown with these choice options:
Some choice combinations (in this case "Banish"+"Blackmail") can open up additional choices. |
Options [1] and [2] are NARRATIVE options, so they cannot change the outcome of the previous CONDITIONED choice. They can still add a different flavor to it. |
Option [3] is a contested SKILLCHECK, meaning the two player's level in a particular skill will be compared, and the higher value will determine the outcome. |
NOTE: in this specific case, the designer decided to present this as a choice targeted at a single player (in this case, you). It could very well be another contested hub though. |
Skill::Net Route:
cpo_test_forgery |
cpo_test_forgery_true |
cpo_test_forgery_false |
cpo_test_mayor_blackmail |
cpo_test_blackmail_mayor_celebrate_P2 |
cpo_test_blackmail_mayor_reproach_P2 |
Media/Denny, where did you get this? This data's forged! |
Cop/River has a higher Netrunning skill, so he explains to Media/Denny what's wrong with the data. |
Cop/River has a lower netrunning skill than Media/Denny and fails at proving the data is forged. |
Media/Denny uses the data to blackmail the Mayor into submission. |
Cop/River congratulates Media/Denny on finding the data. |
Cop/River reproaches Media/Denny for what they did. |
Like hell it is, I got it from one of my sources. |
Media/Denny now sees the data is forged. She agrees to do it Cop/River's way. |
Since a CONDITIONED choice has priority over NARRATIVE ones (because it requires additional effort on the player's part to unlock), we go ahead with the original option. |
The Mayor is recalcitrant, but only verbally. He knows better than to let that evidence out. |
||
NPC taunts us about our disagreement. |
|||||
Both players end up agreeing:
cpo_test_aggree |
Cop/River likes this idea, let's do it. |
Player 1 disagrees, leads to banish option:
cpo_test_disaggree |
Cop/River doesn't like this idea, wants to go forward with the banishing. |
Well, tough shit. |
Since a CONDITIONED choice has priority over NARRATIVE ones (because it requires additional effort on the player's part to unlock), we go ahead with the original option. |
If Player 1 doesn't respond in time, the blackmail goes ahead:
cpo_test_timed_out_decision |
Ok, I don't have time for this shit, we're doing it my way. |
Early Development Leftovers#

|
'...But what does it mean?' |
Pre-Heist Evelyn Meet#
Hidden inside the personal folder of a developer is the file q002_3_meet_evelyn_WIP.scenesolution, which is a file used for a quest designed during early development of Cyberpunk 2077. It contains a graph controlling game and scene logic and the screenplay complete with Polish dialogue and partial English dialogue. The file belongs to the same quest and scene seen in the CYB-4006(a).bk2 video, as the quest identifier and dialogue matches what is seen in the video. The q002 quest identifier is unused in the final game.
There is both a Polish and Debug/English screenplay included. The debug screenplay is unfinished, only containing a few lines. The Polish screenplay is the most complete version, which contains a scene where V meets Evelyn before the heist. Here V could accept a cigarette from Evelyn, and also make a drink for her. They would discuss Haru Kasai (Hellman's old name), how Evelyn would enter Arasaka with a braindance unit, an "RPS chip" and something about a dead netrunner. Depending on the player's playstyle and implants, they could scan Evelyn and find out some more things about her. With "hacker vision" it would be possible to see she had a doll implant, spot a gang tattoo with the cut streetwise skill or comment on Evelyn’s bruises, an option available to all players.
The screenplay below uses the following formatting: Bold text indicates the name of the node in the quest graph and italic text show parentheticals in the screenplay, containing notes for the scene.
Polish Screenplay(Scroll for more) |
Debug Locale Screenplay(Scroll for more) |
|---|---|
q115 - Rogue ending#
|
|
To do: |
The folder \R6.Root\Mainline\r6\depot\base\quest\main_quests\part1\q115\scenes\exported_screenplays contains various screenplays belonging to an earlier version of Rogue's path of the ending. This version would have involved Rogue, Weyland, Maman Brigitte, Sobchuk/River and Alt helping V reach Mikoshi. Judy, Kerry, Panam and/or Delamain would also assist V in this version of the quest, but likely off-screen helping V distract Arasaka with some kind of diversion. The quest seems to have some similarities with the final version of the quest with V meeting Rogue at the Afterlife before going into the tower, the AV crashing and the crew reaching the garden inside Arasaka Tower.
Some differences compared to the final quest include V and the crew seemingly parachuting into Arasaka Tower from the AV, but with Maman Brigitte landing at the wrong spot and hurting herself so badly she appears to have died or is almost dying at a later point. River follows Maman Brigitte from the air to assist her, which somehow leads him to being killed inside the tower. Rappelling inside Arasaka Tower is another element cut from the final quest.
Only one screenplay is written in English, q115_09_security, but the name of the quest nodes and titles of choices in choicehubs are written in English and does give some context to the content of the other screenplays written in Polish.
Screenplay(Scroll for more) |
|---|
Screenplay(Scroll for more) |
|---|
Screenplay(Scroll for more) |
|---|
Screenplay(Scroll for more) |
|---|
Screenplay(Scroll for more) |
|---|
Screenplay(Scroll for more) |
|---|
Screenplay(Scroll for more) |
|---|
Screenplay(Scroll for more) |
|---|
Screenplay(Scroll for more) |
|---|
Screenplay(Scroll for more) |
|---|
Screenplay |
|---|
Screenplay(Scroll for more) |
|---|
Screenplay(Scroll for more) |
|---|
Screenplay(Scroll for more) |
|---|
Screenplay(Scroll for more) |
|---|
Screenplay(Scroll for more) |
|---|
Screenplay(Scroll for more) |
|---|
Editor#

|
This needs some investigation.
|
The Asset Browser is the editor that seems to be mainly used to launch editors related to editing scenes, prefabs, meshes, worlds, effects and some texture files. It uses a drag-and-drop workflow, meaning that in order to place for example a .mesh file in a .prefab file, the user finds the mesh file in the Asset Browser, and drags it to the window of the Prefab Editor to place it in the level.
Splash Screen#

Asset Browser#

Scene Editor#
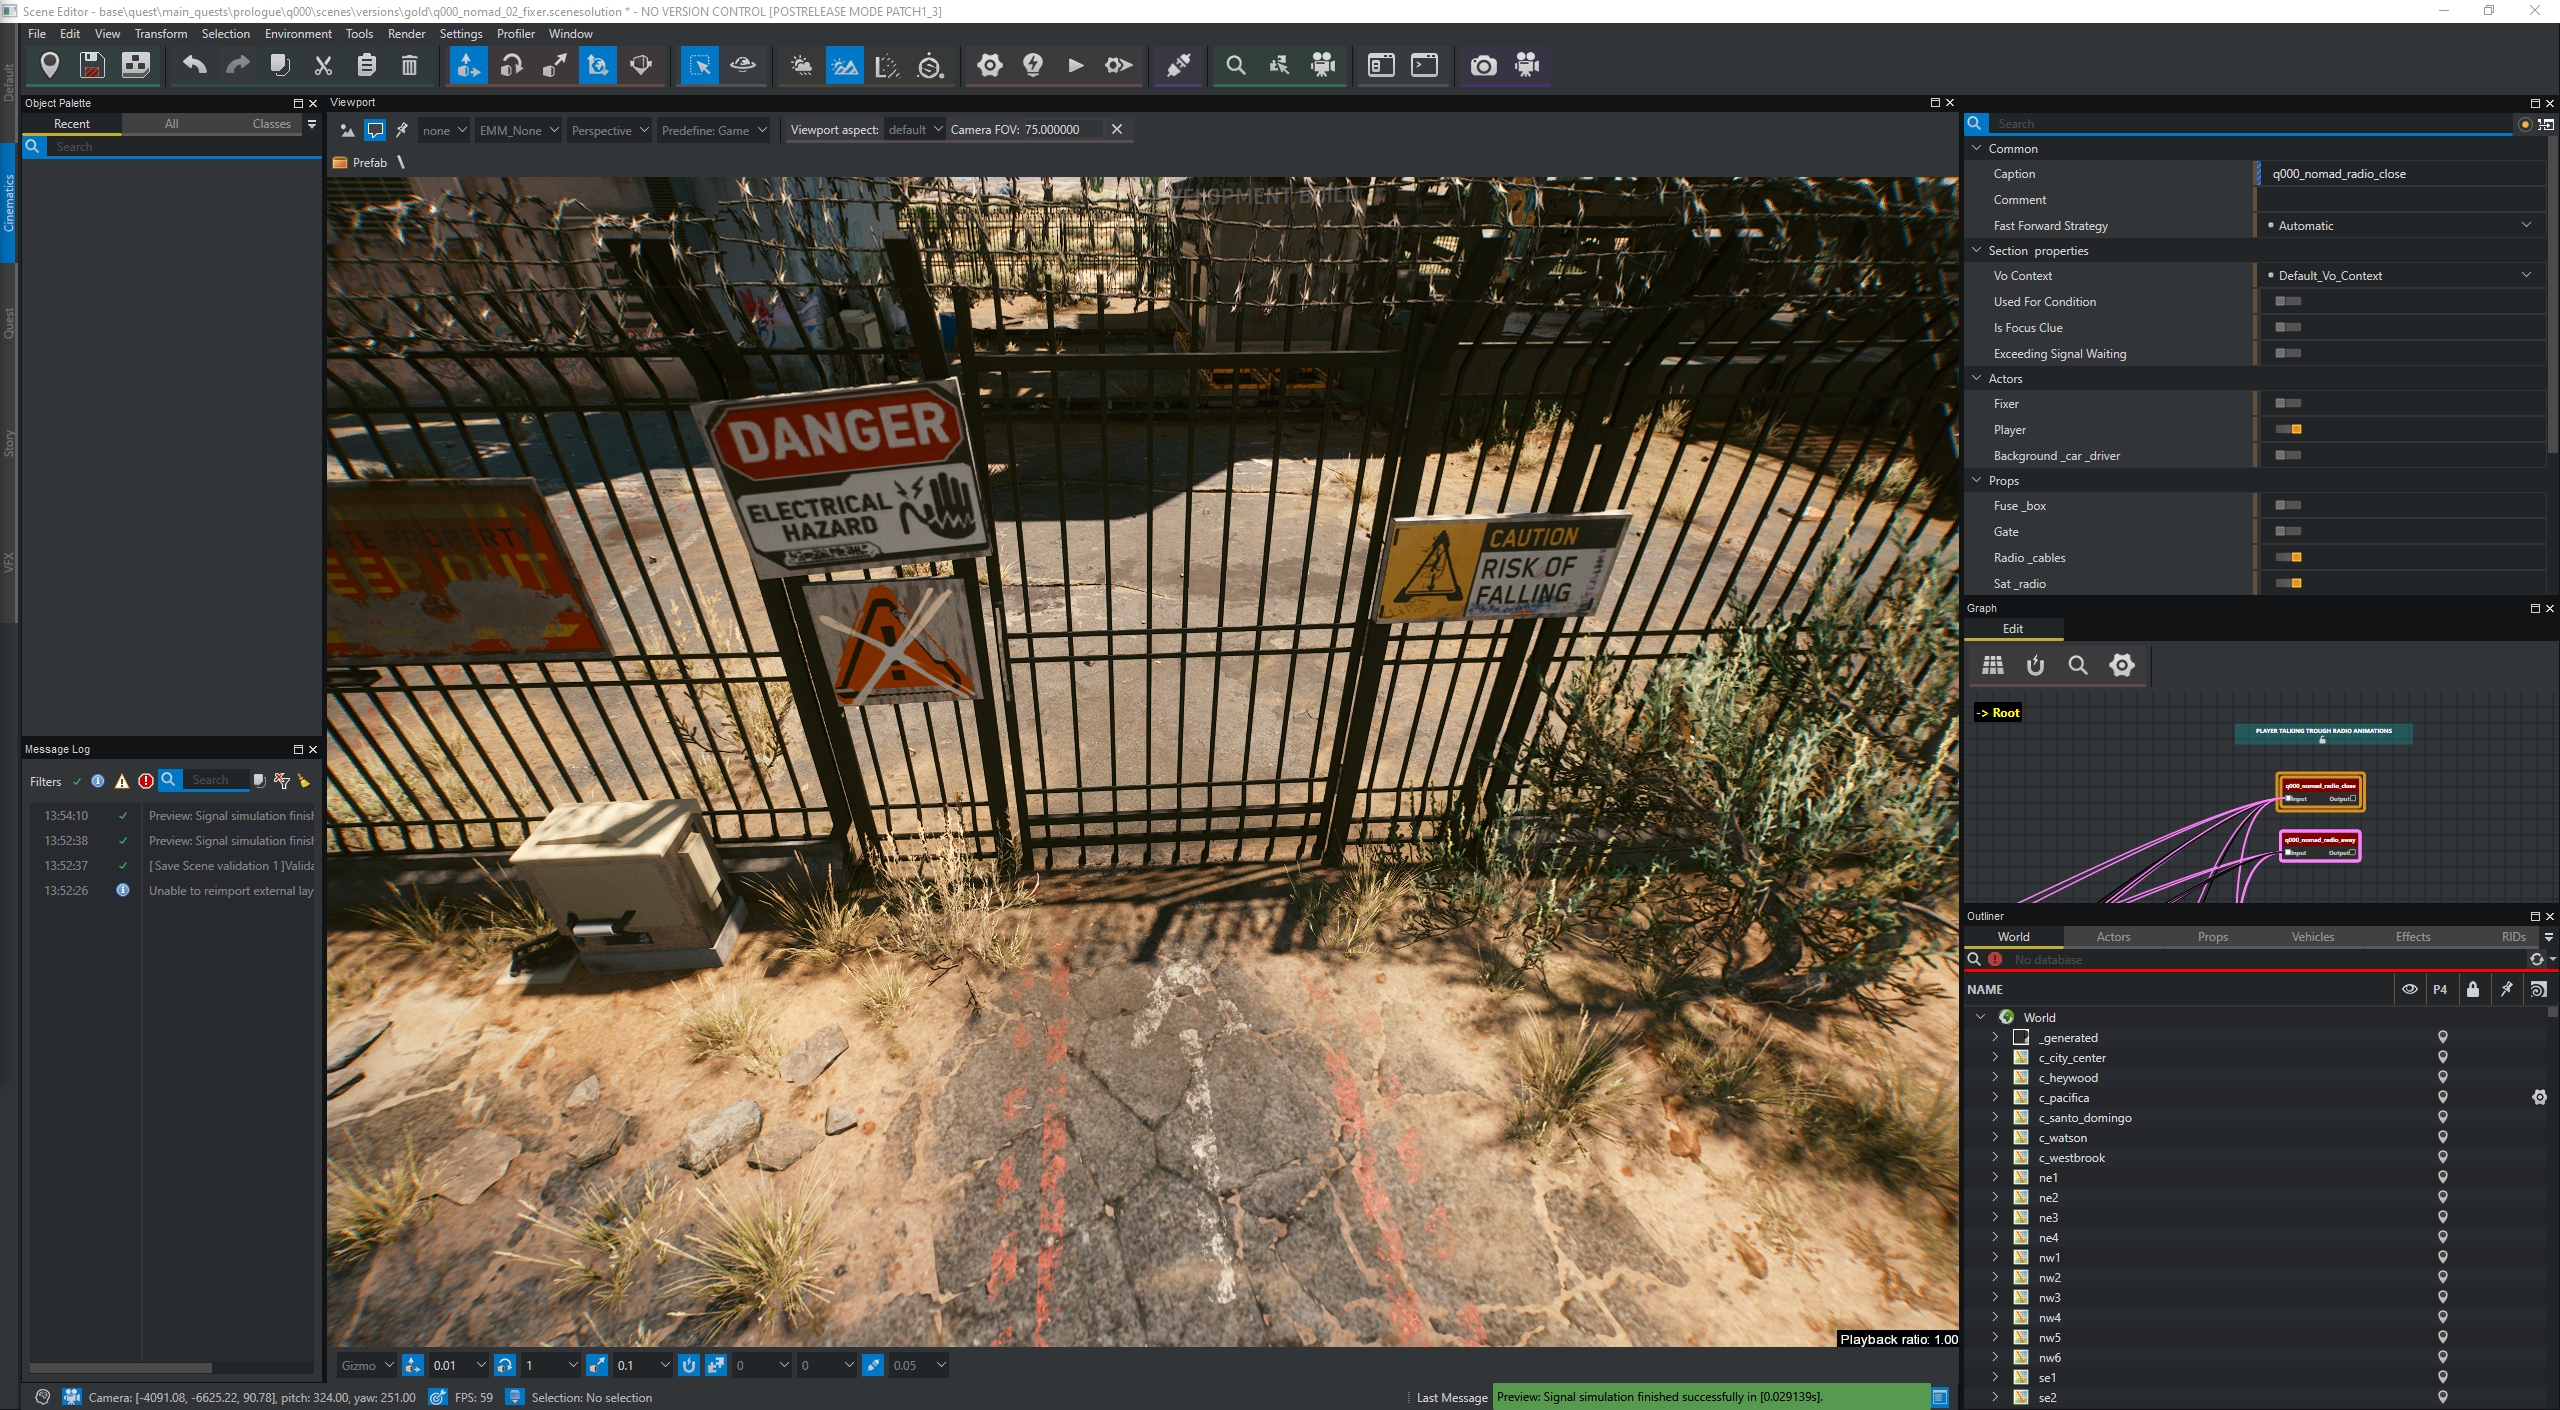
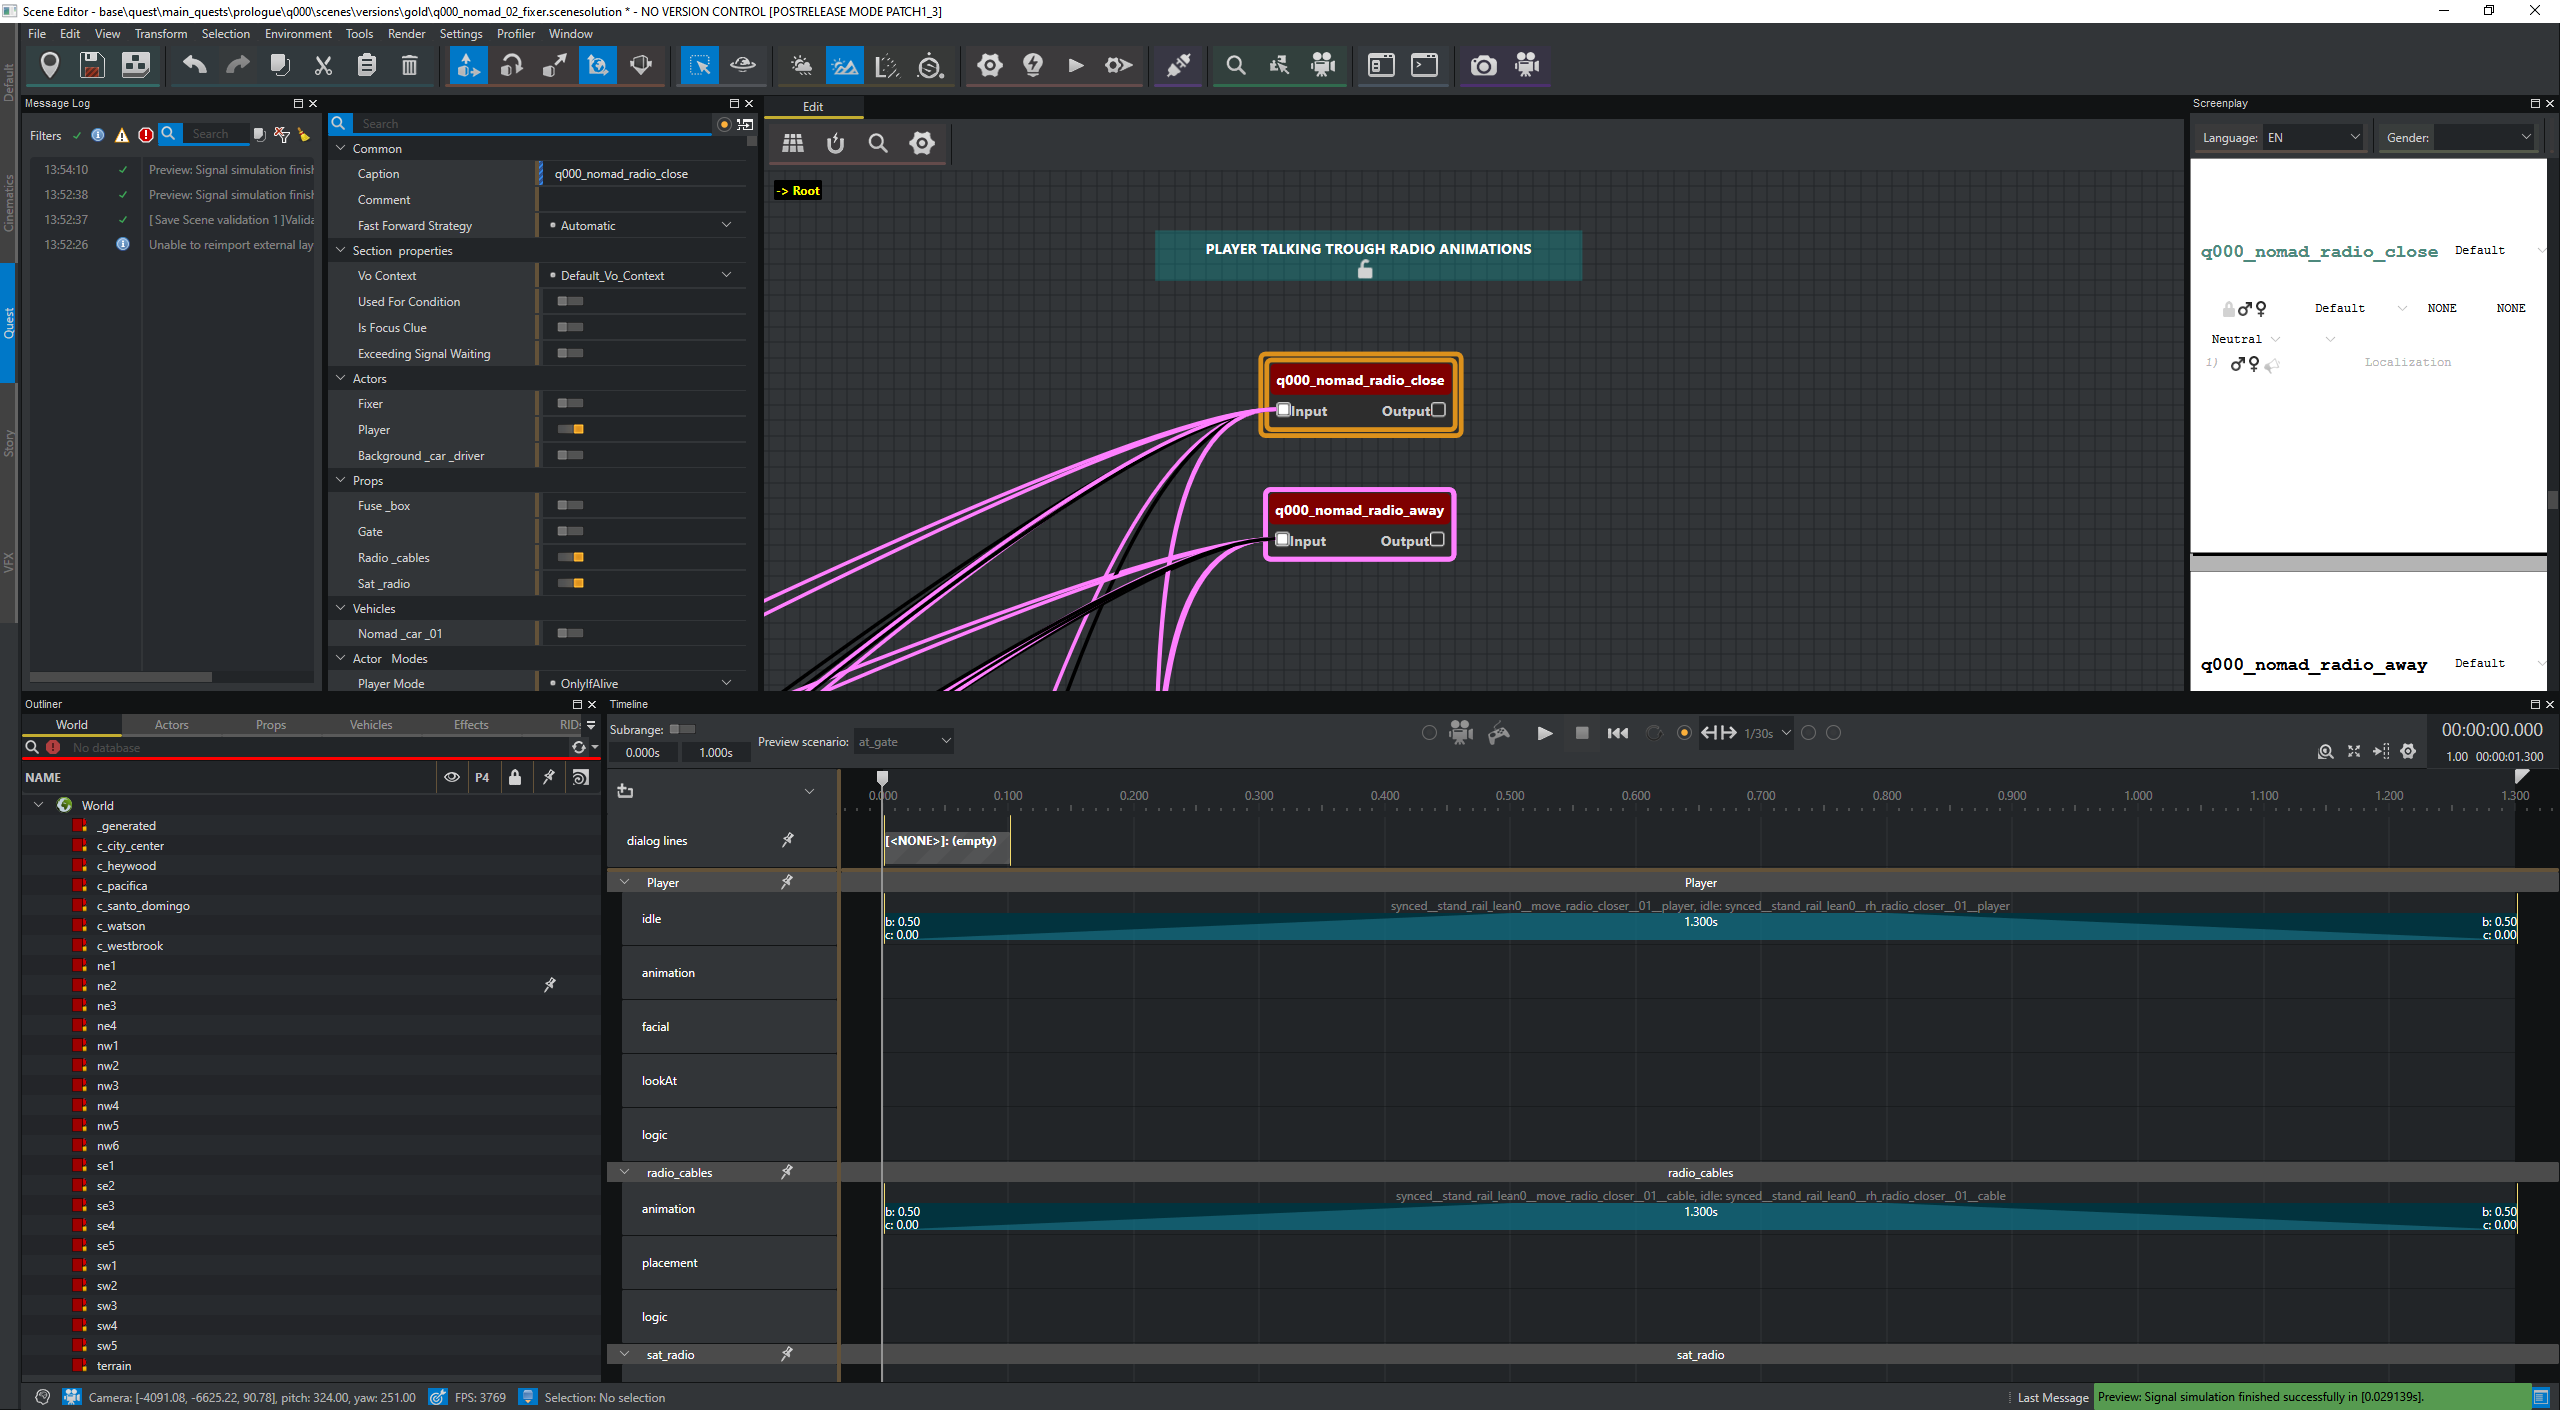
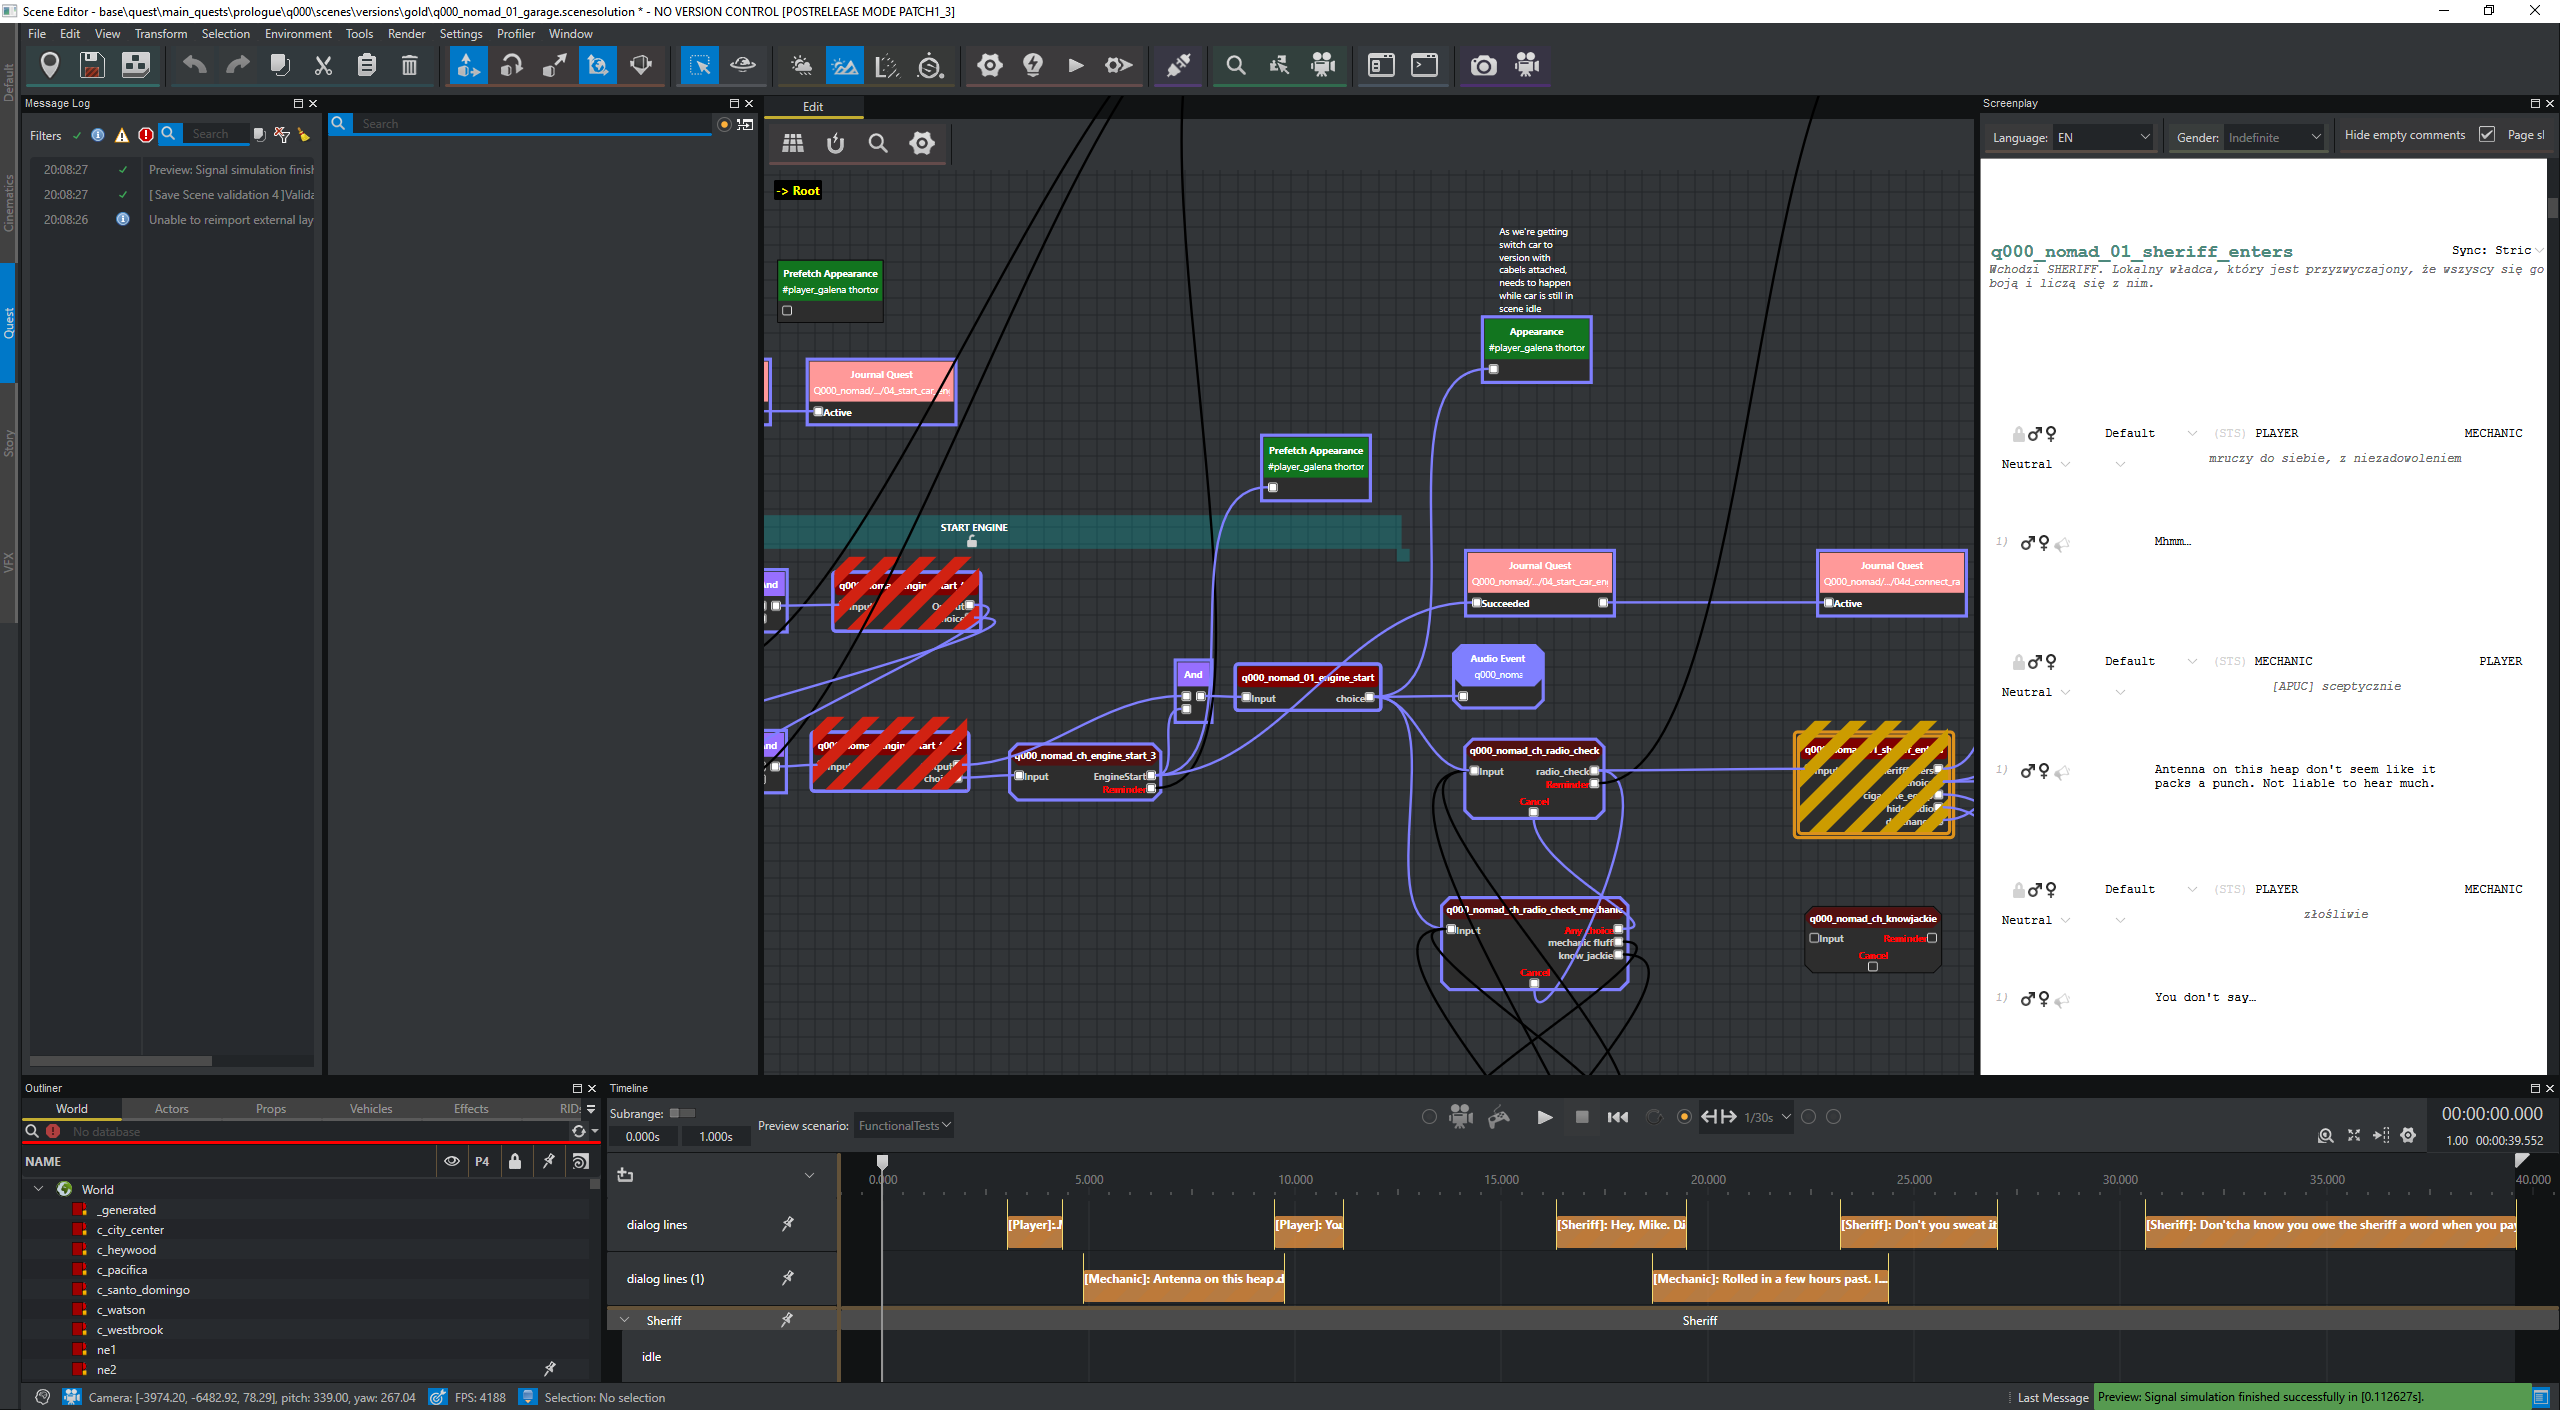
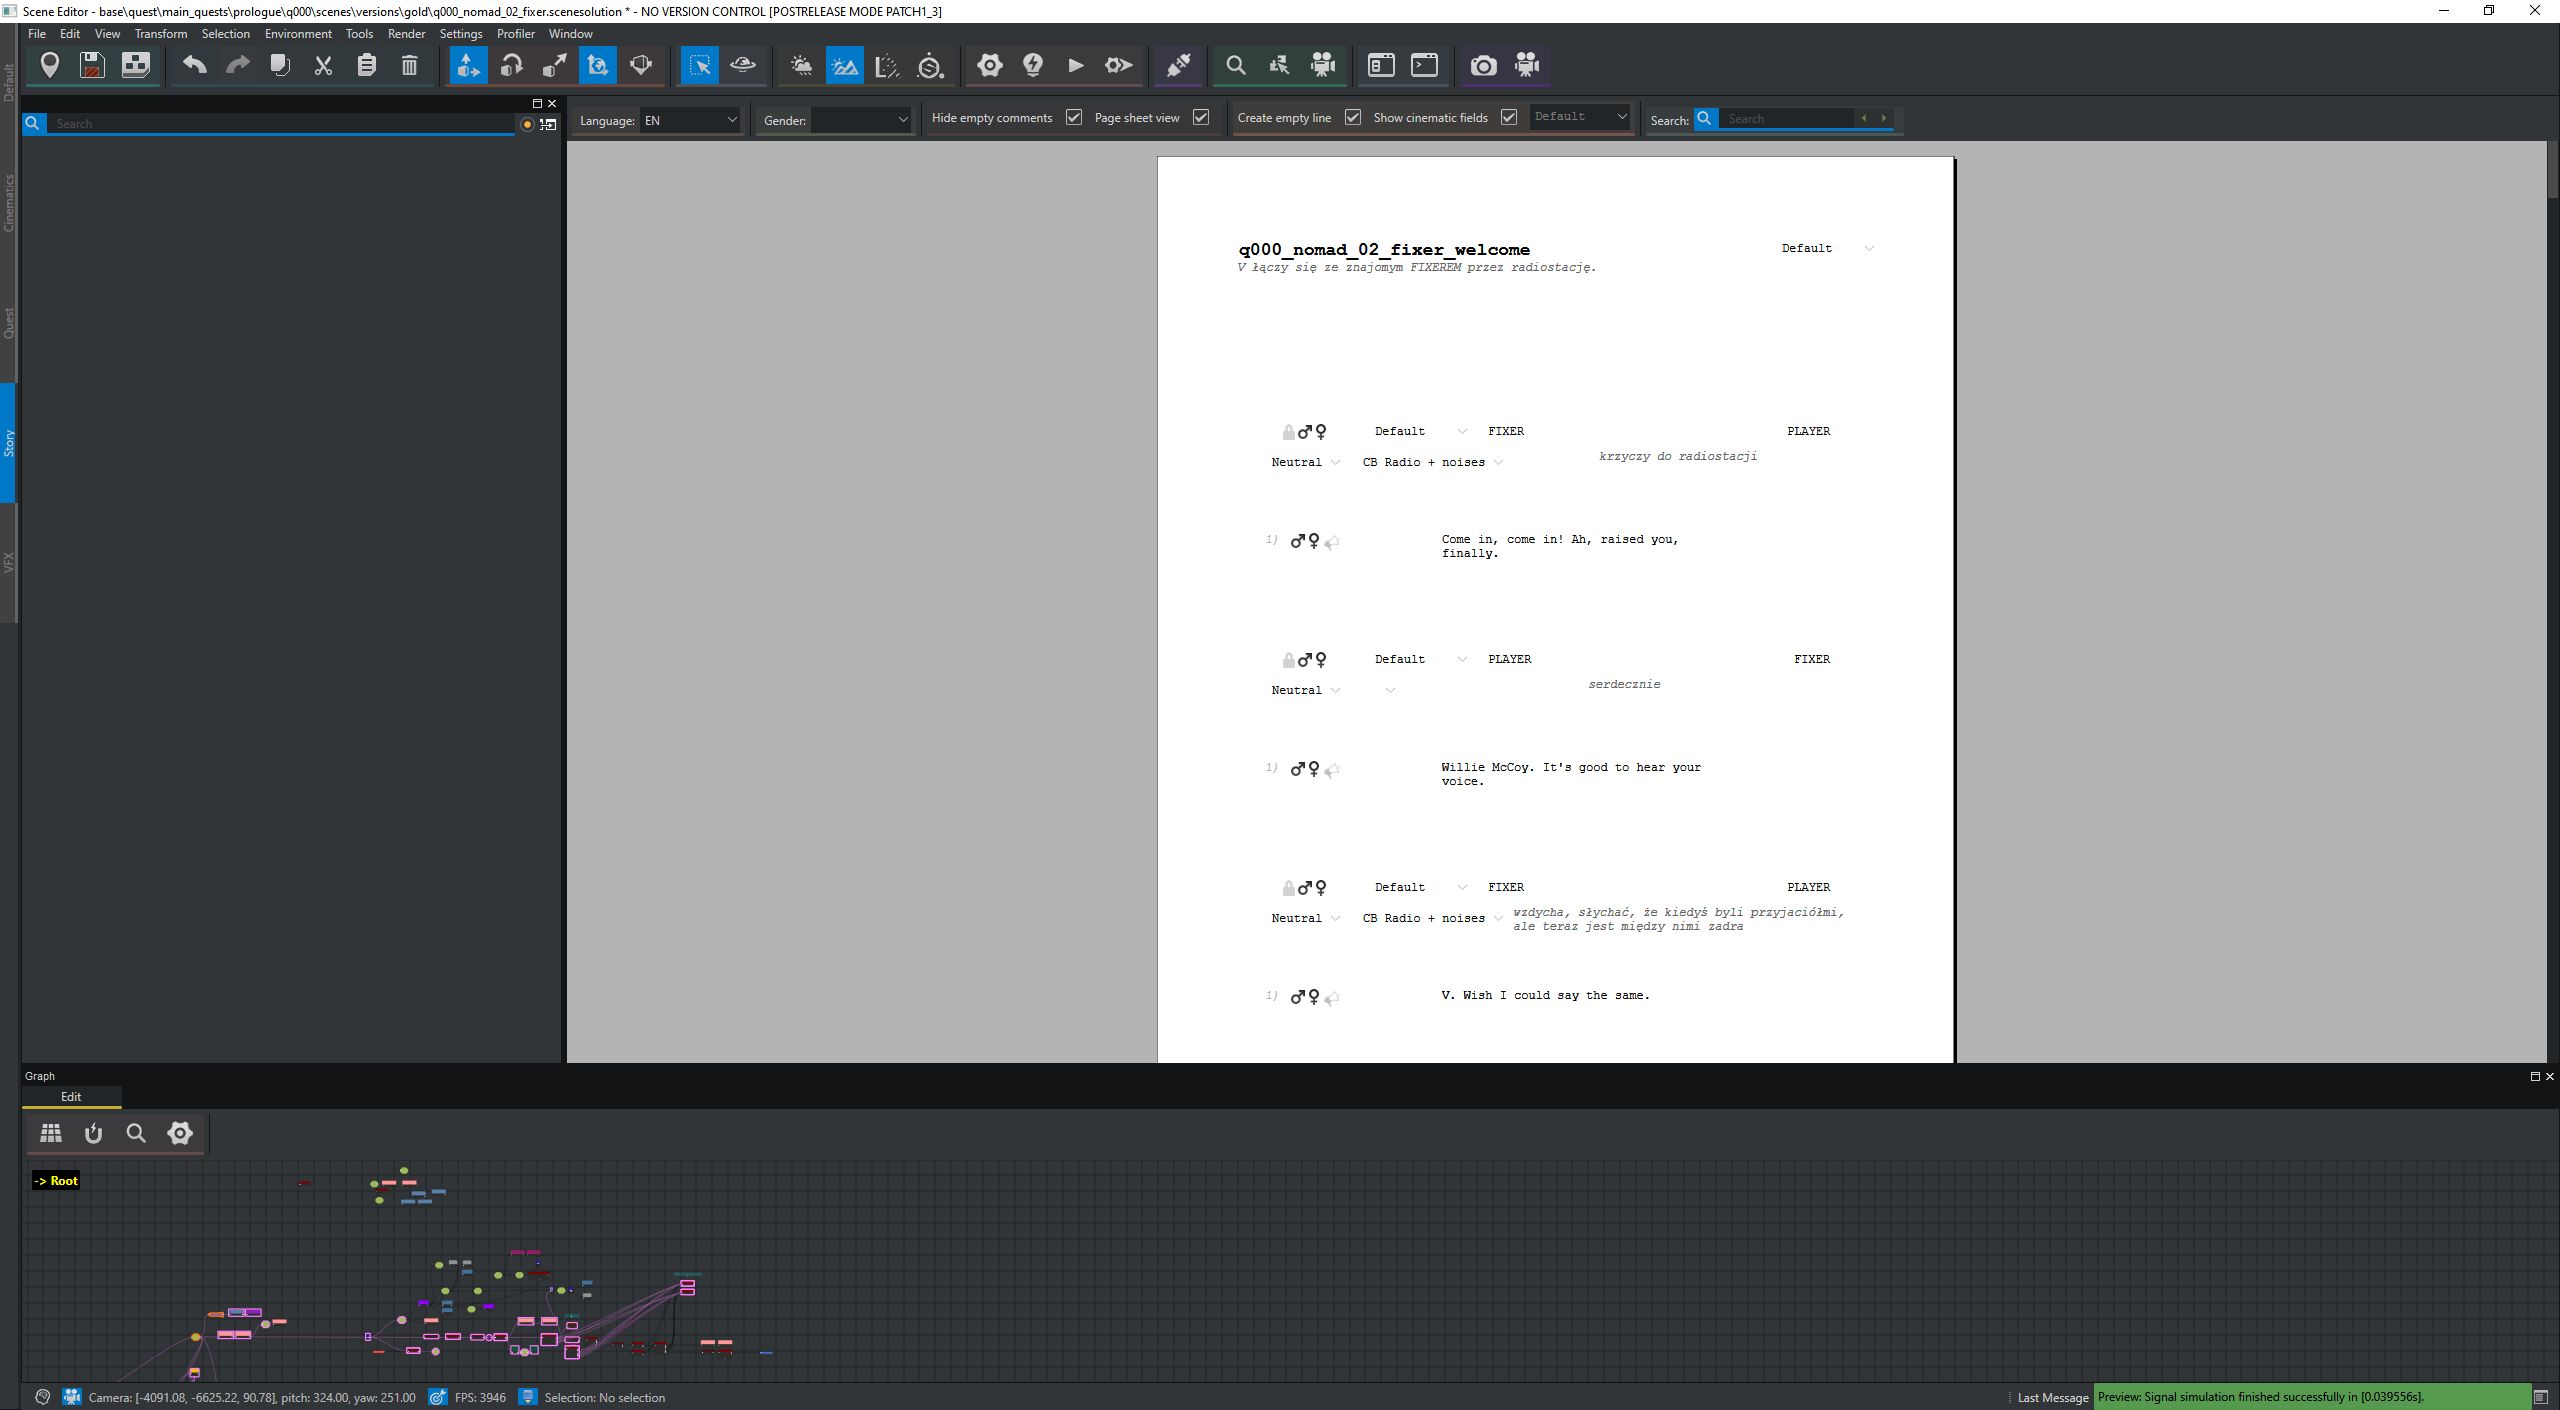
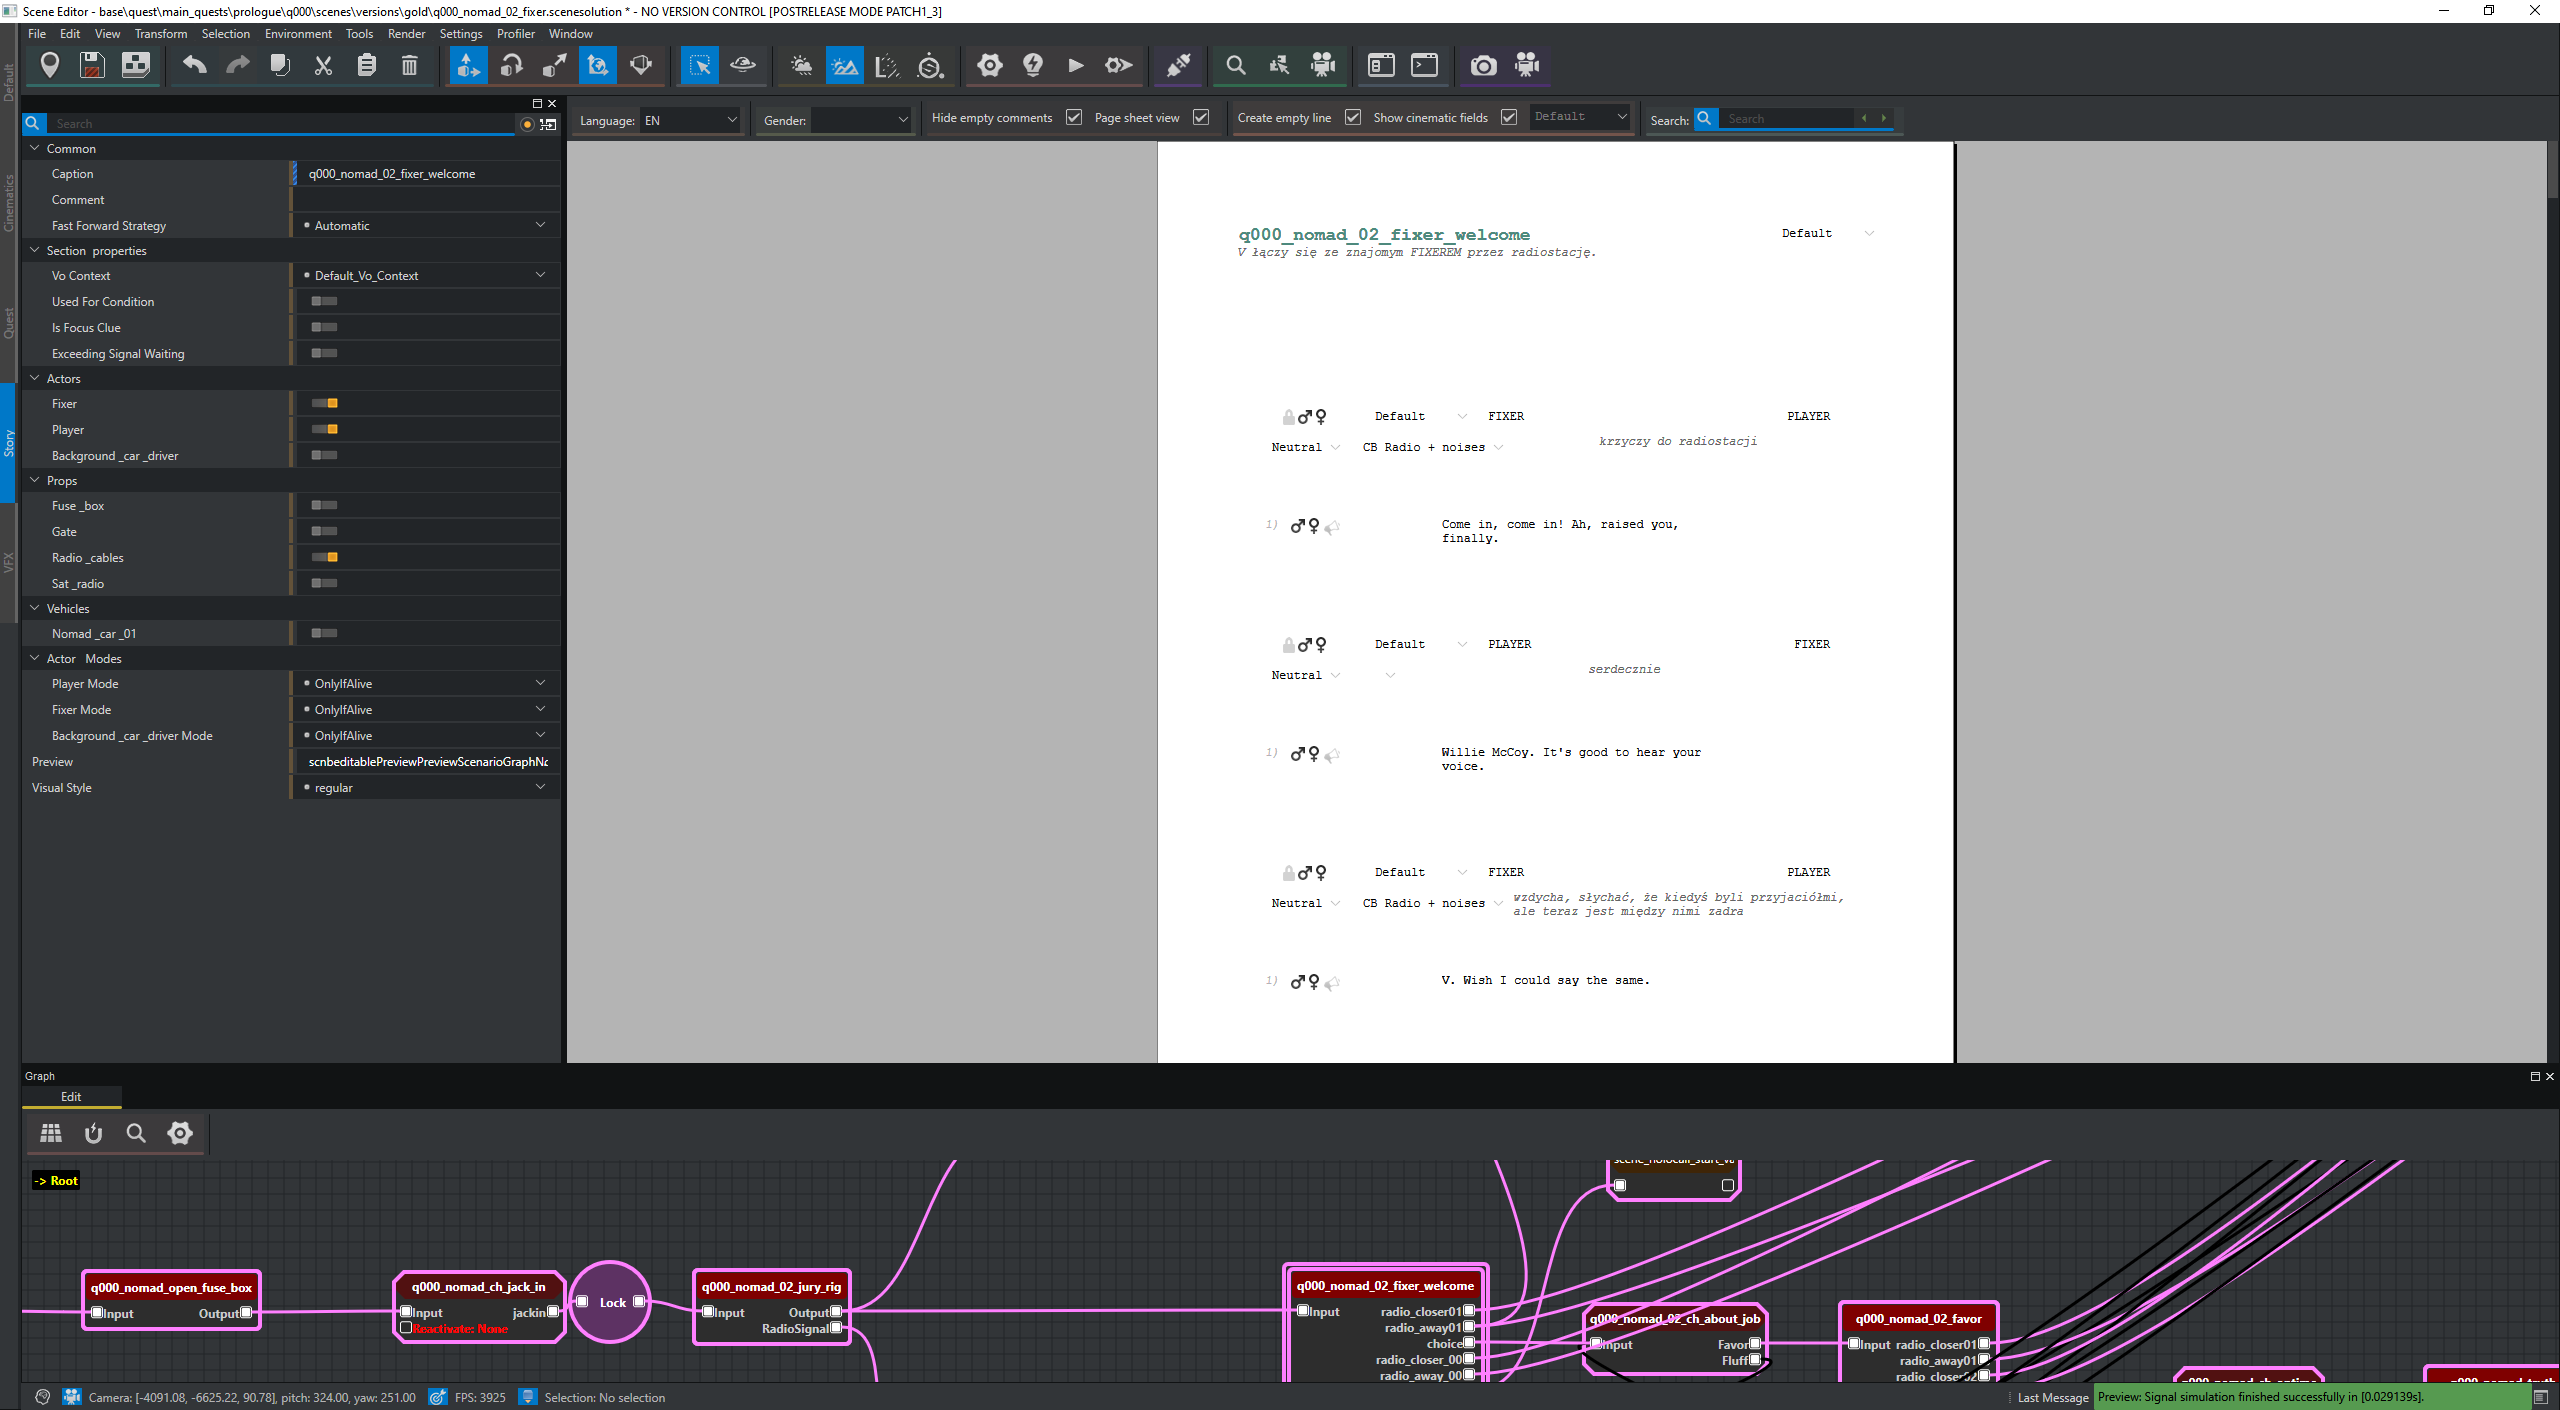
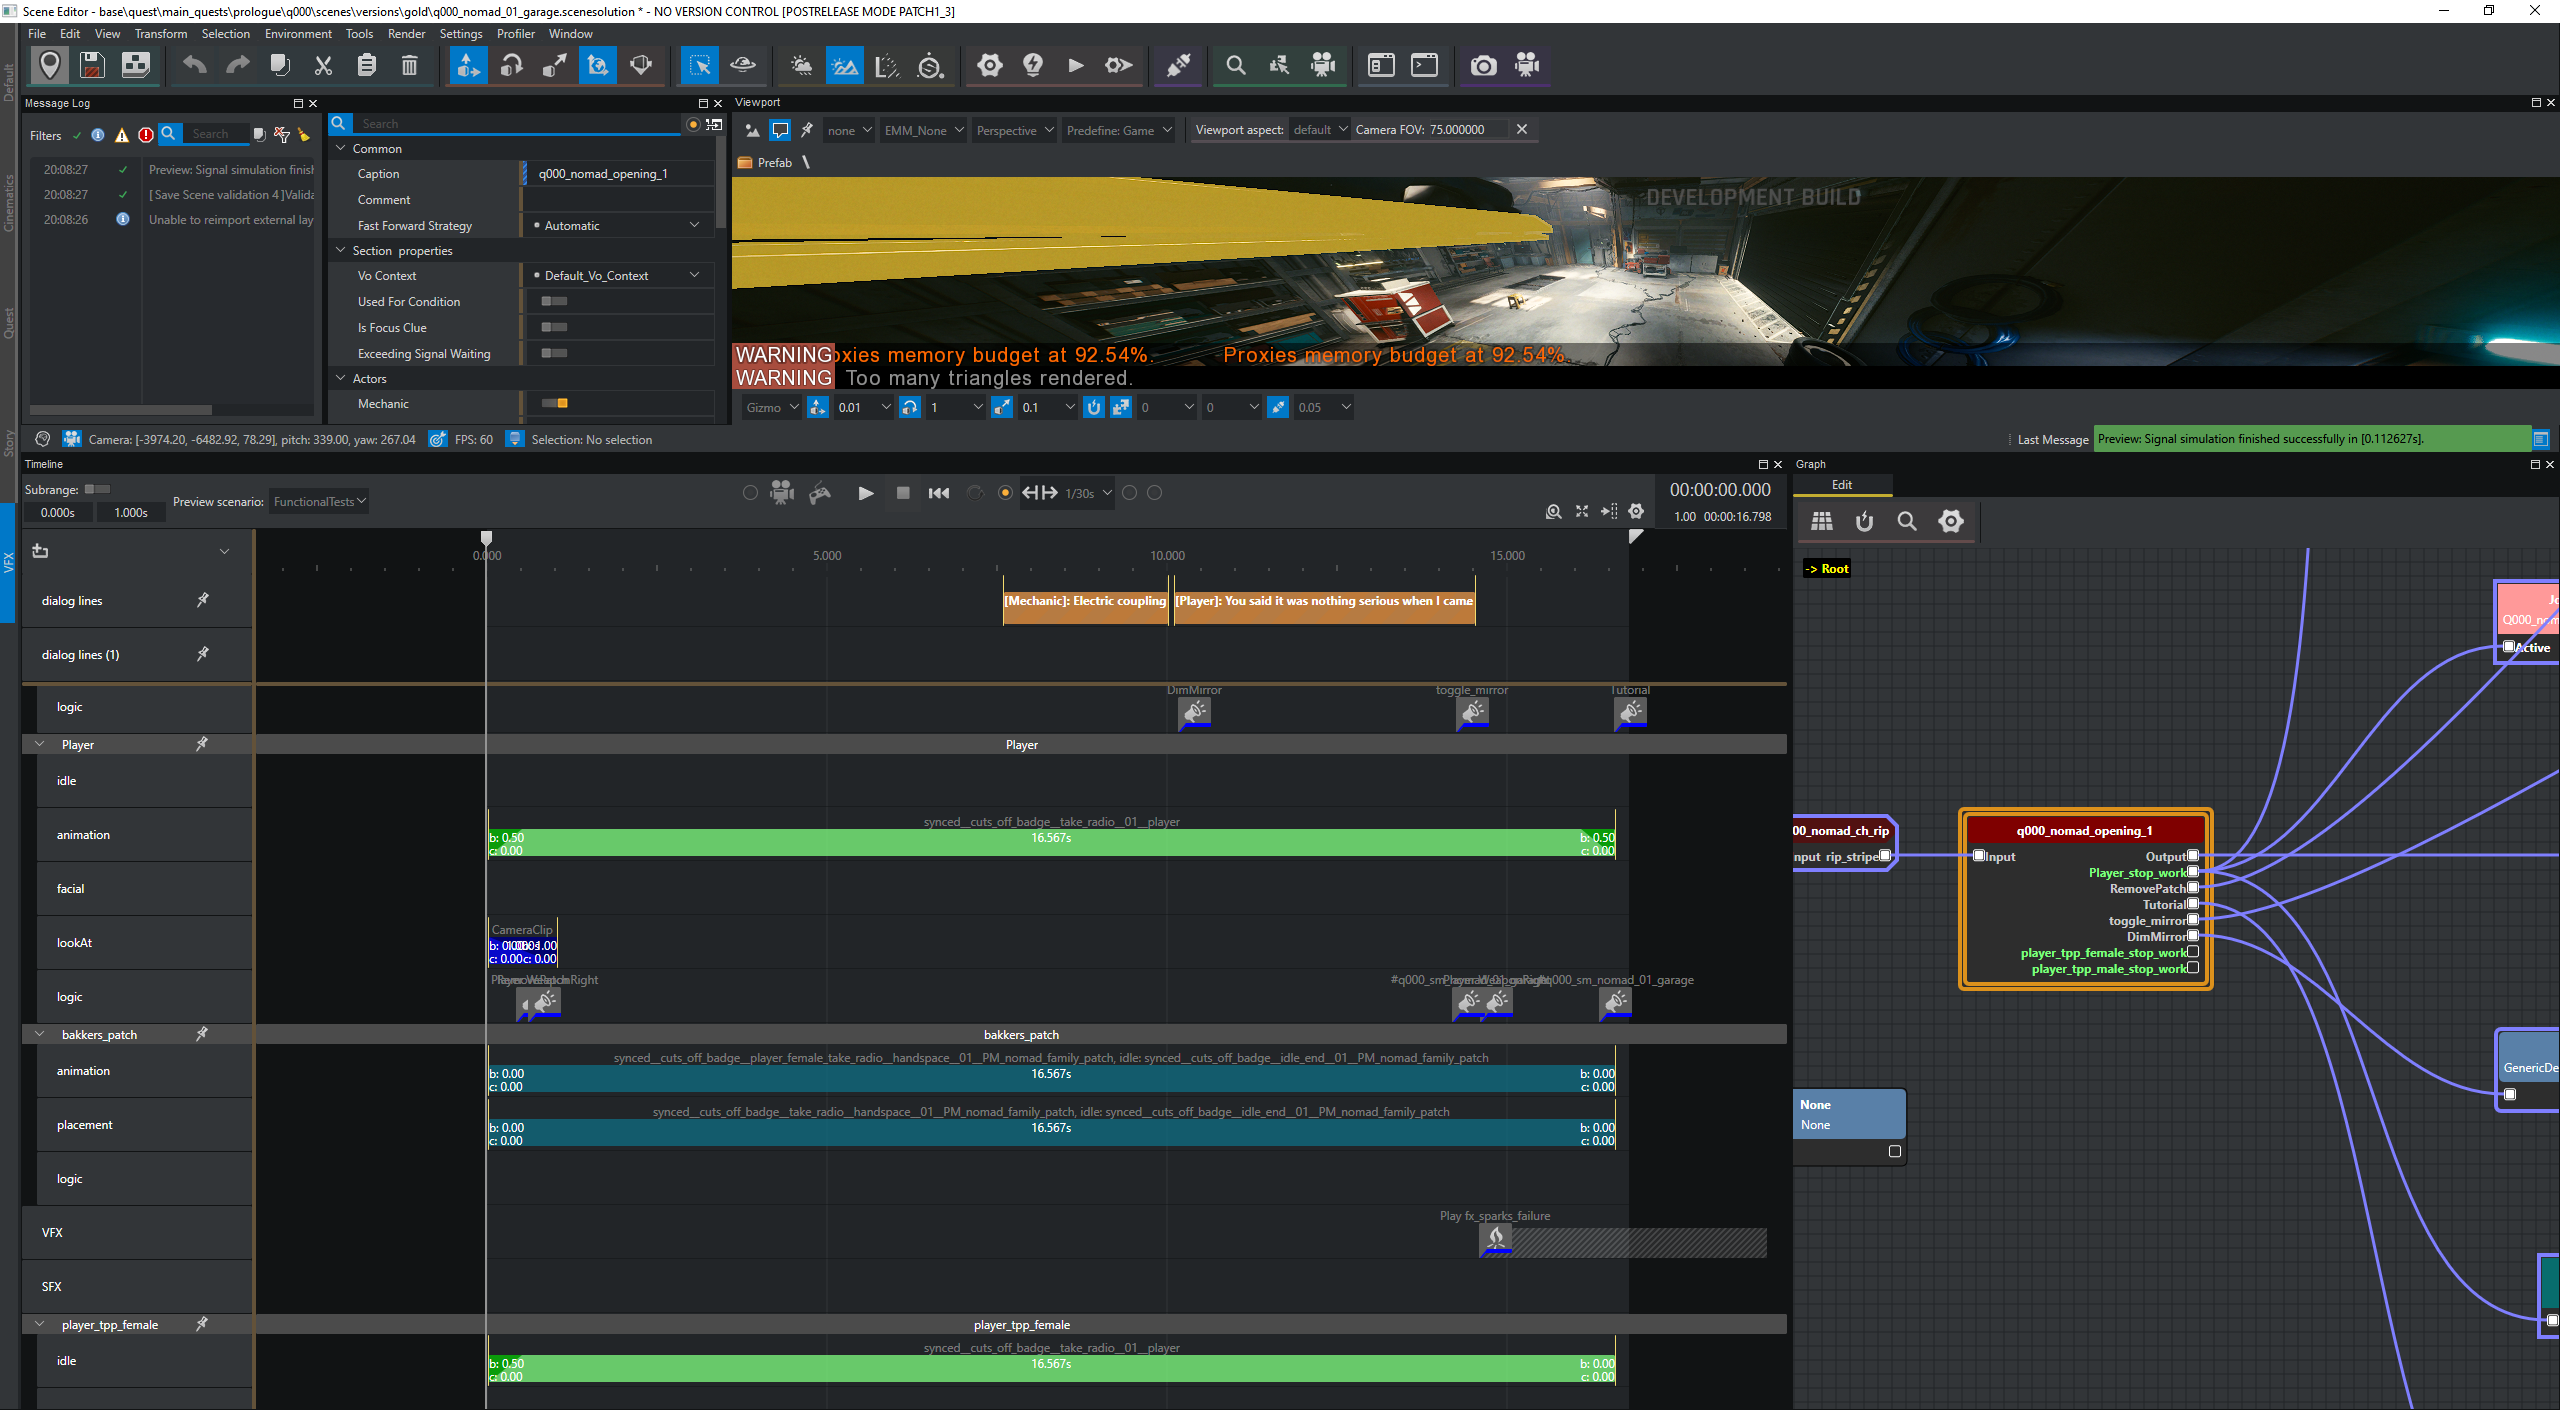
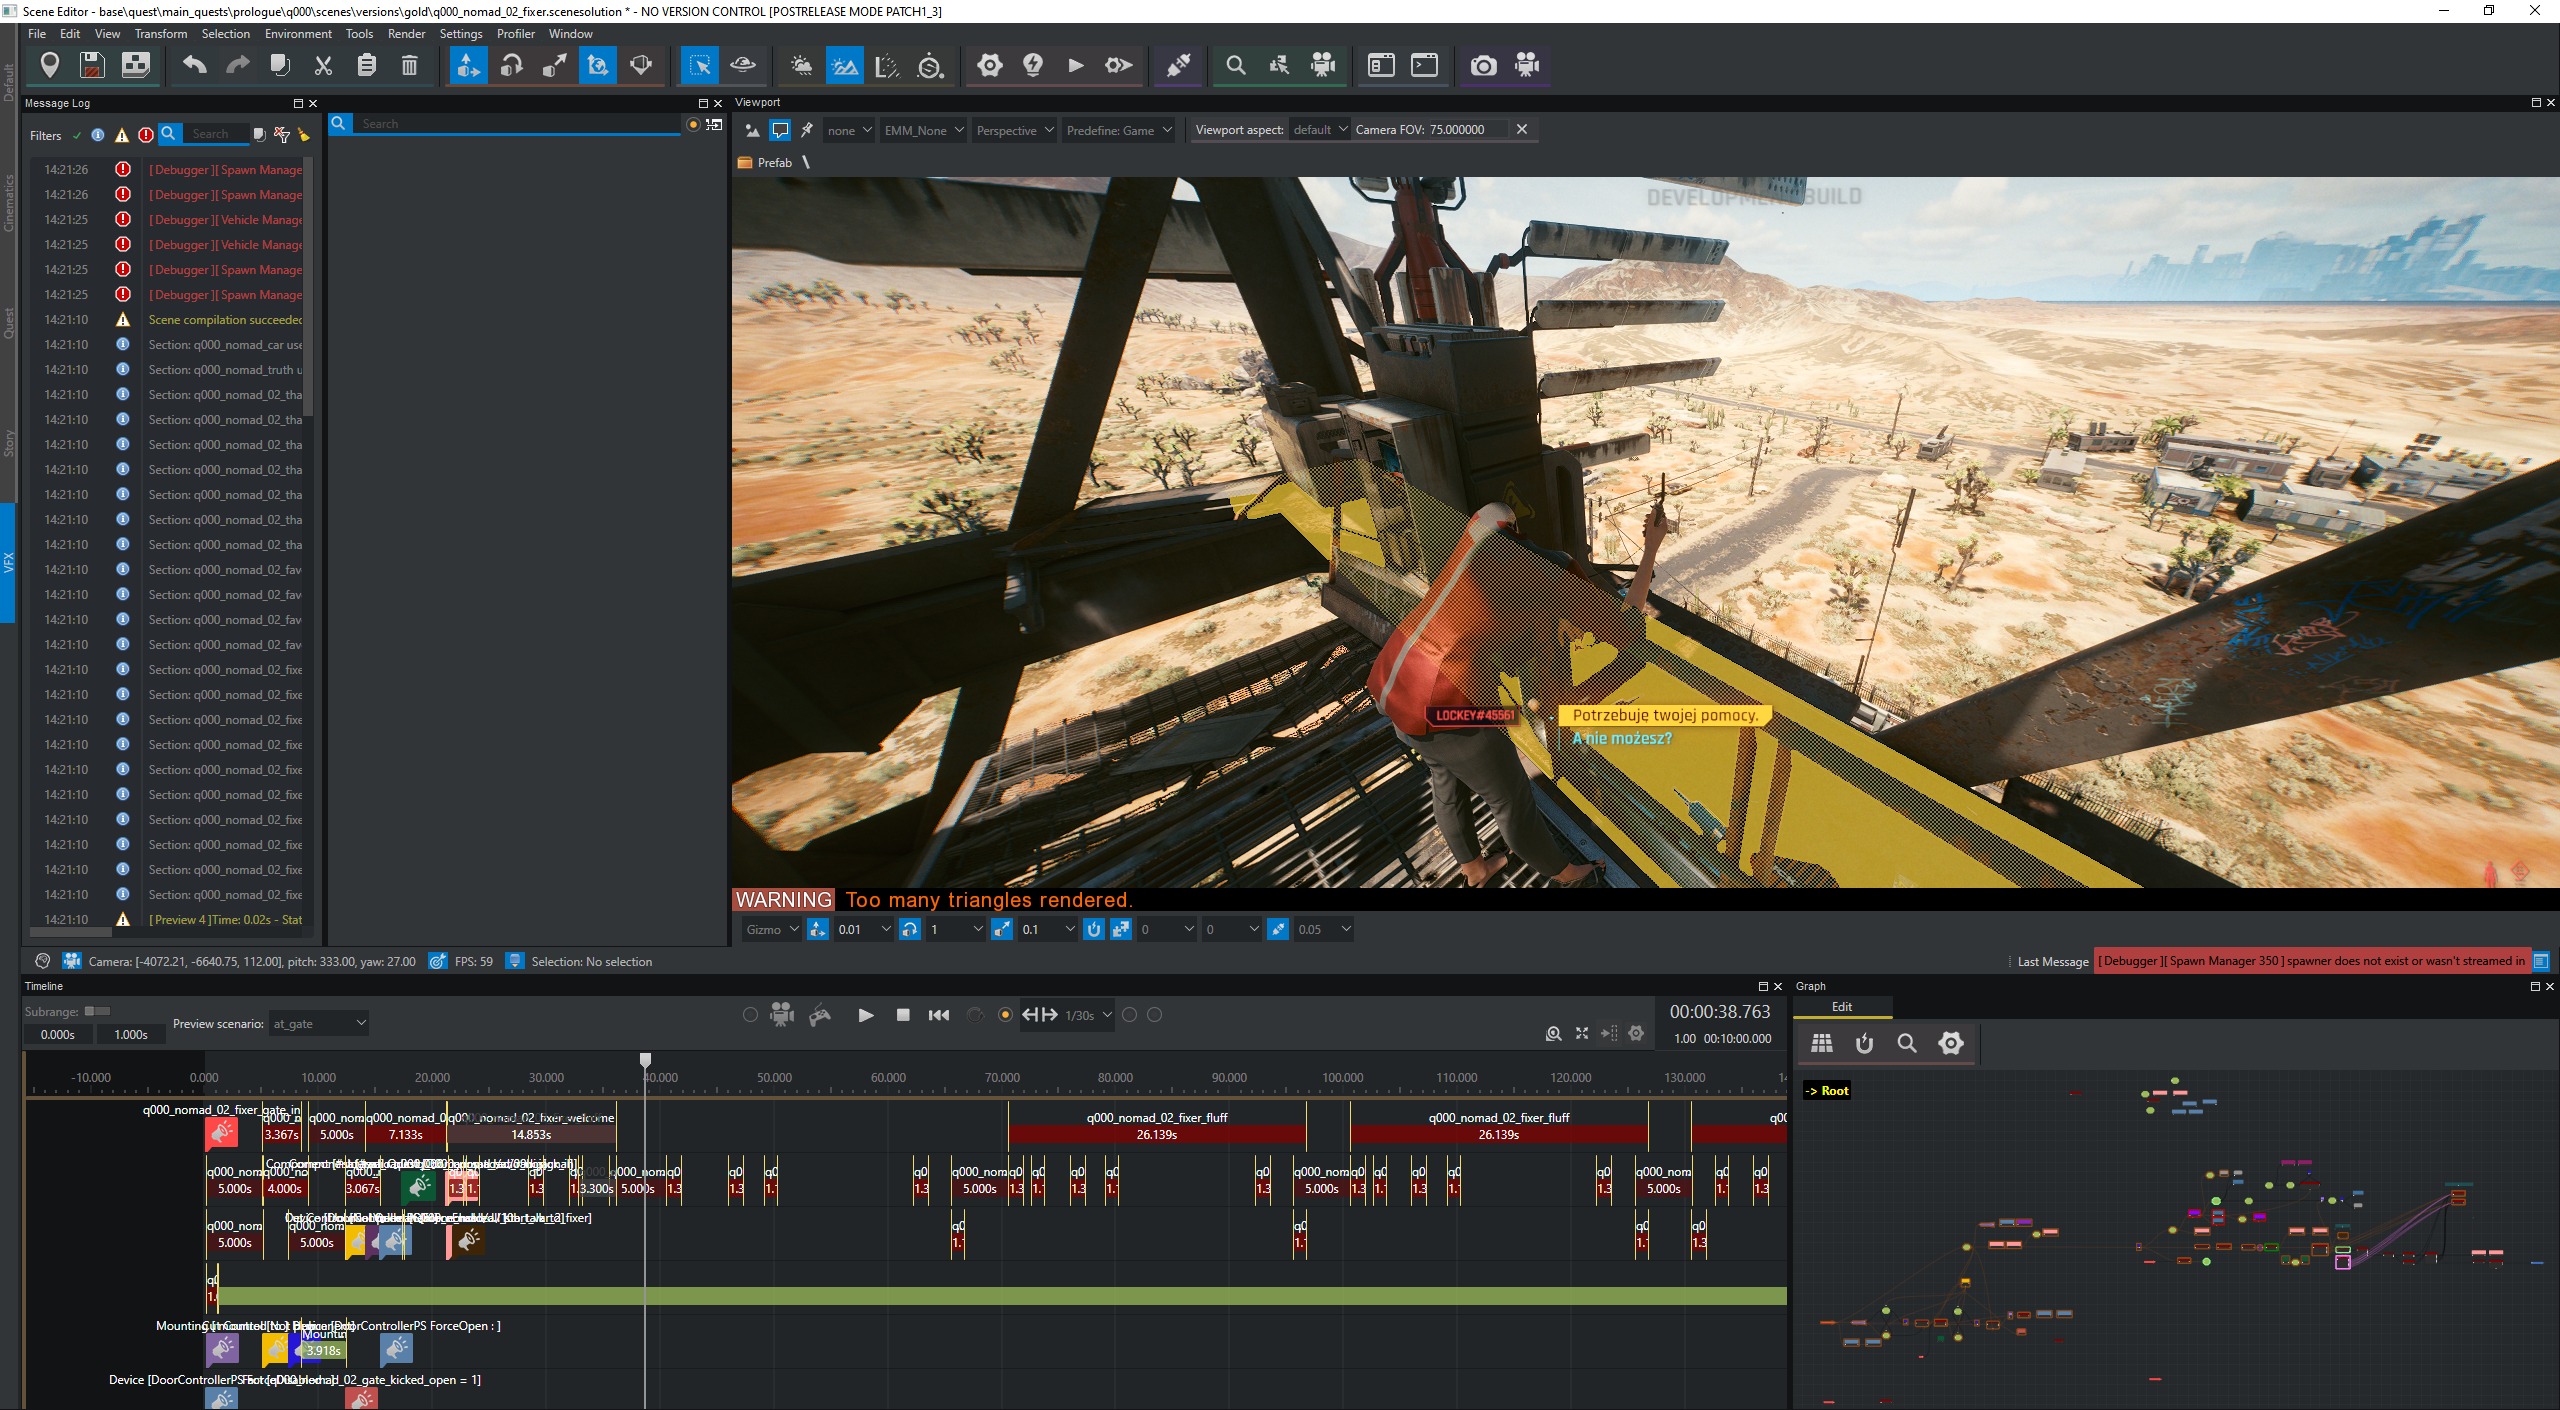
Used to choreograph scenes in quests. Uses dev build only .scenesolution files to edit quests, that is used compiled to .scene files in retail builds. For an even closer look of some of the features in this editor and how signals and events work in quests, check out this presentation given by a CD Projekt RED developer.
World Editor#
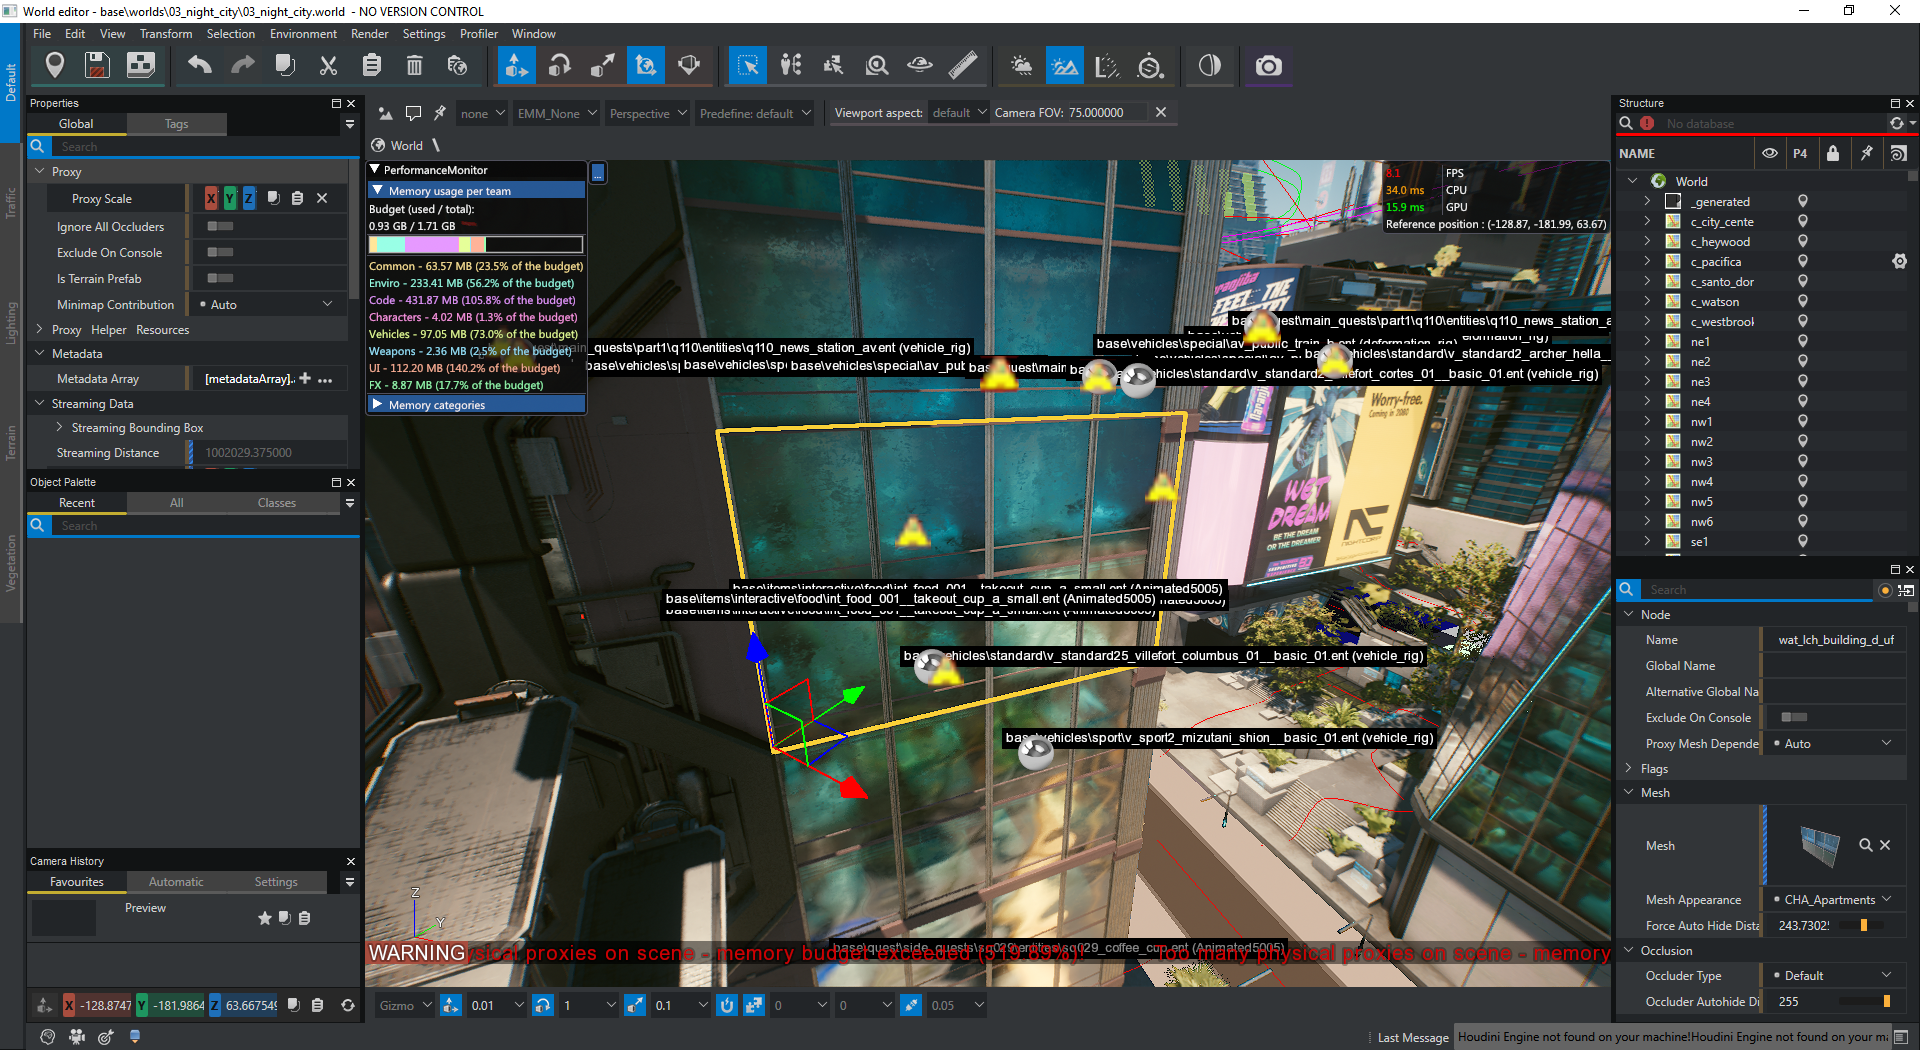
Stickers#
Stickers are typically used by the developers to leave notes in levels. They can in many cases give context to the level designer's intent of what they wanted the player to do in the level, or give context to story elements, particularly in regards to cut story elements. Usually, they are used in .prefab files, but can also be used in .world files. Stickers are only visible inside the editor and not in-game.
Note that some stickers that appear to be blank in the editor might simply be blank but can also in some cases contain text, as the leaked version of the engine doesn't seem to properly support rendering text from stickers with more than one slot used. "Older levels", such as prefabs related to the Moon level more frequently uses this type of sticker.
Error Messages#

Images#
engine_asset.jpg#

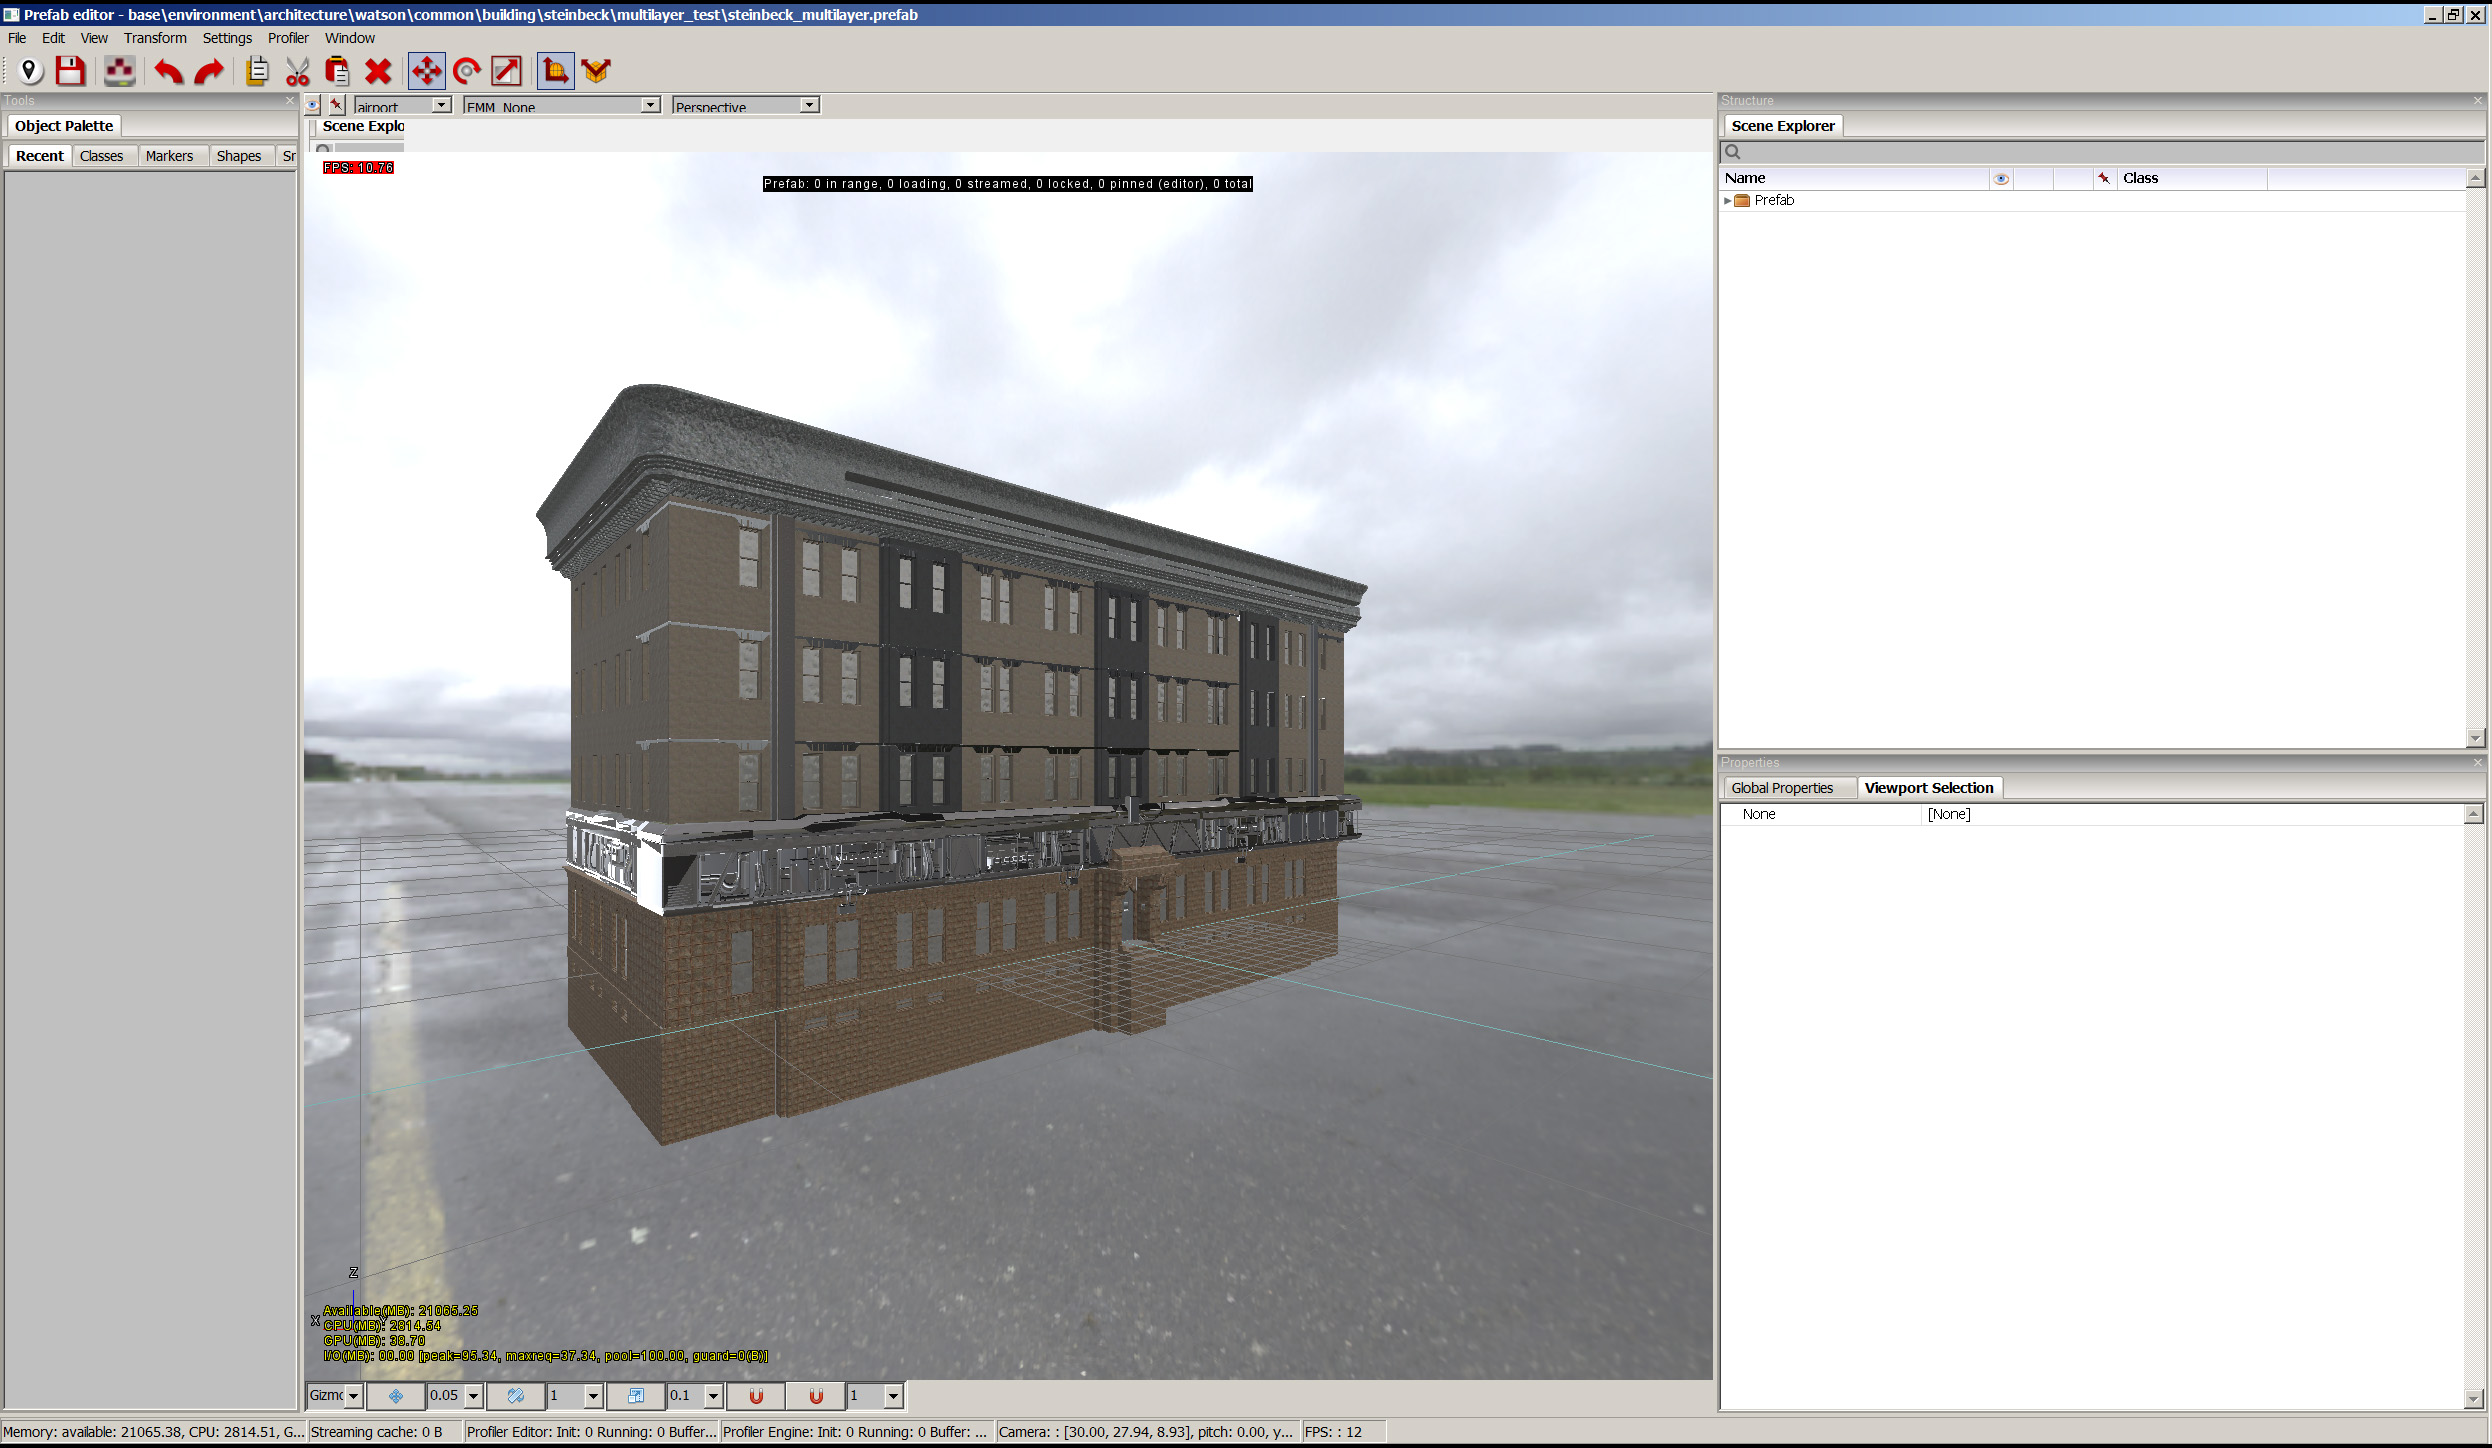
A photo of the façade of the Steinbeck building as shown in the Prefab Editor of the game. The EXIF metadata contains the timestamp 2017-04-20 15:24:31, which likely shows the exact moment the photo was saved and additionally also gives an indication of the timeframe when the old 01_nightcity map of the game was being worked on.
basic_rendering_test#
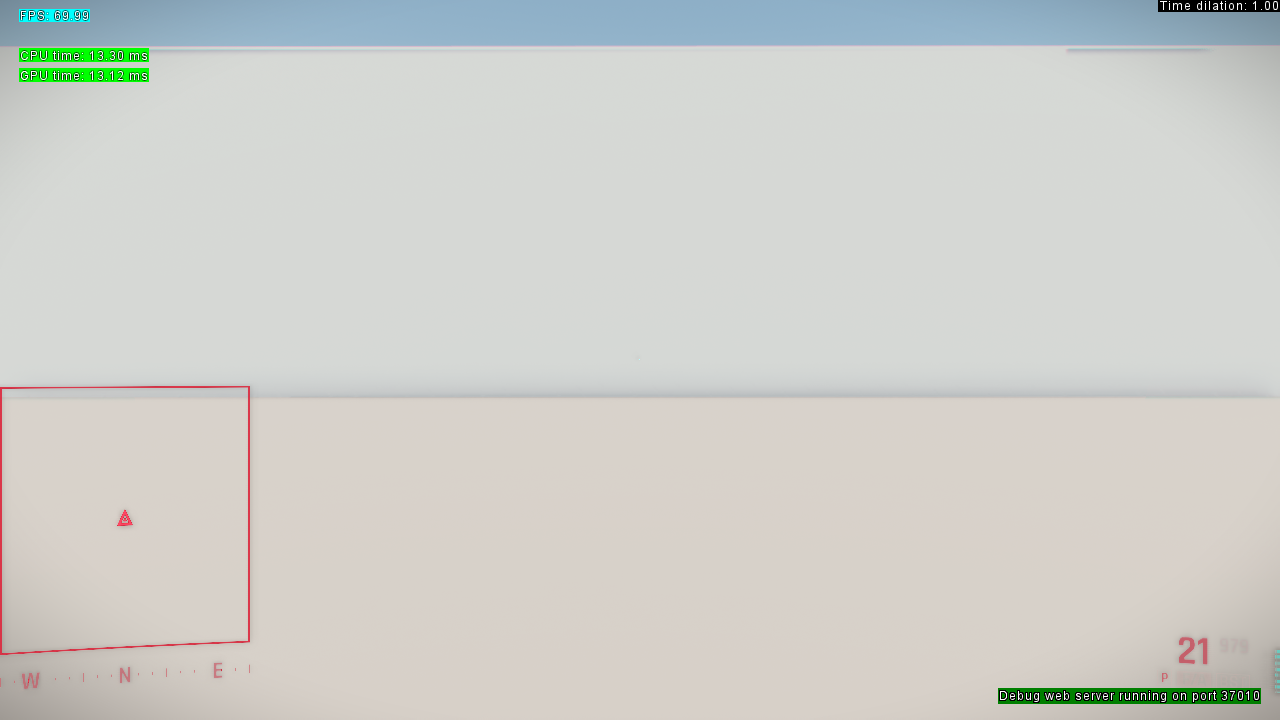
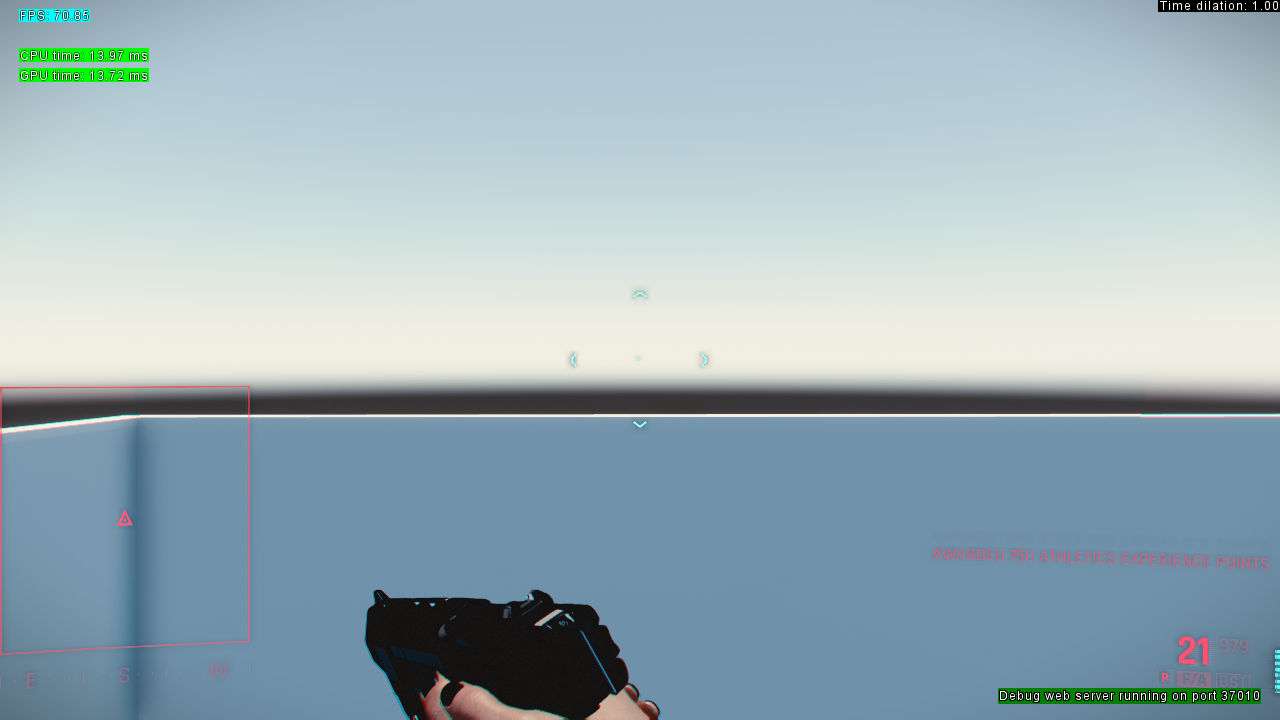
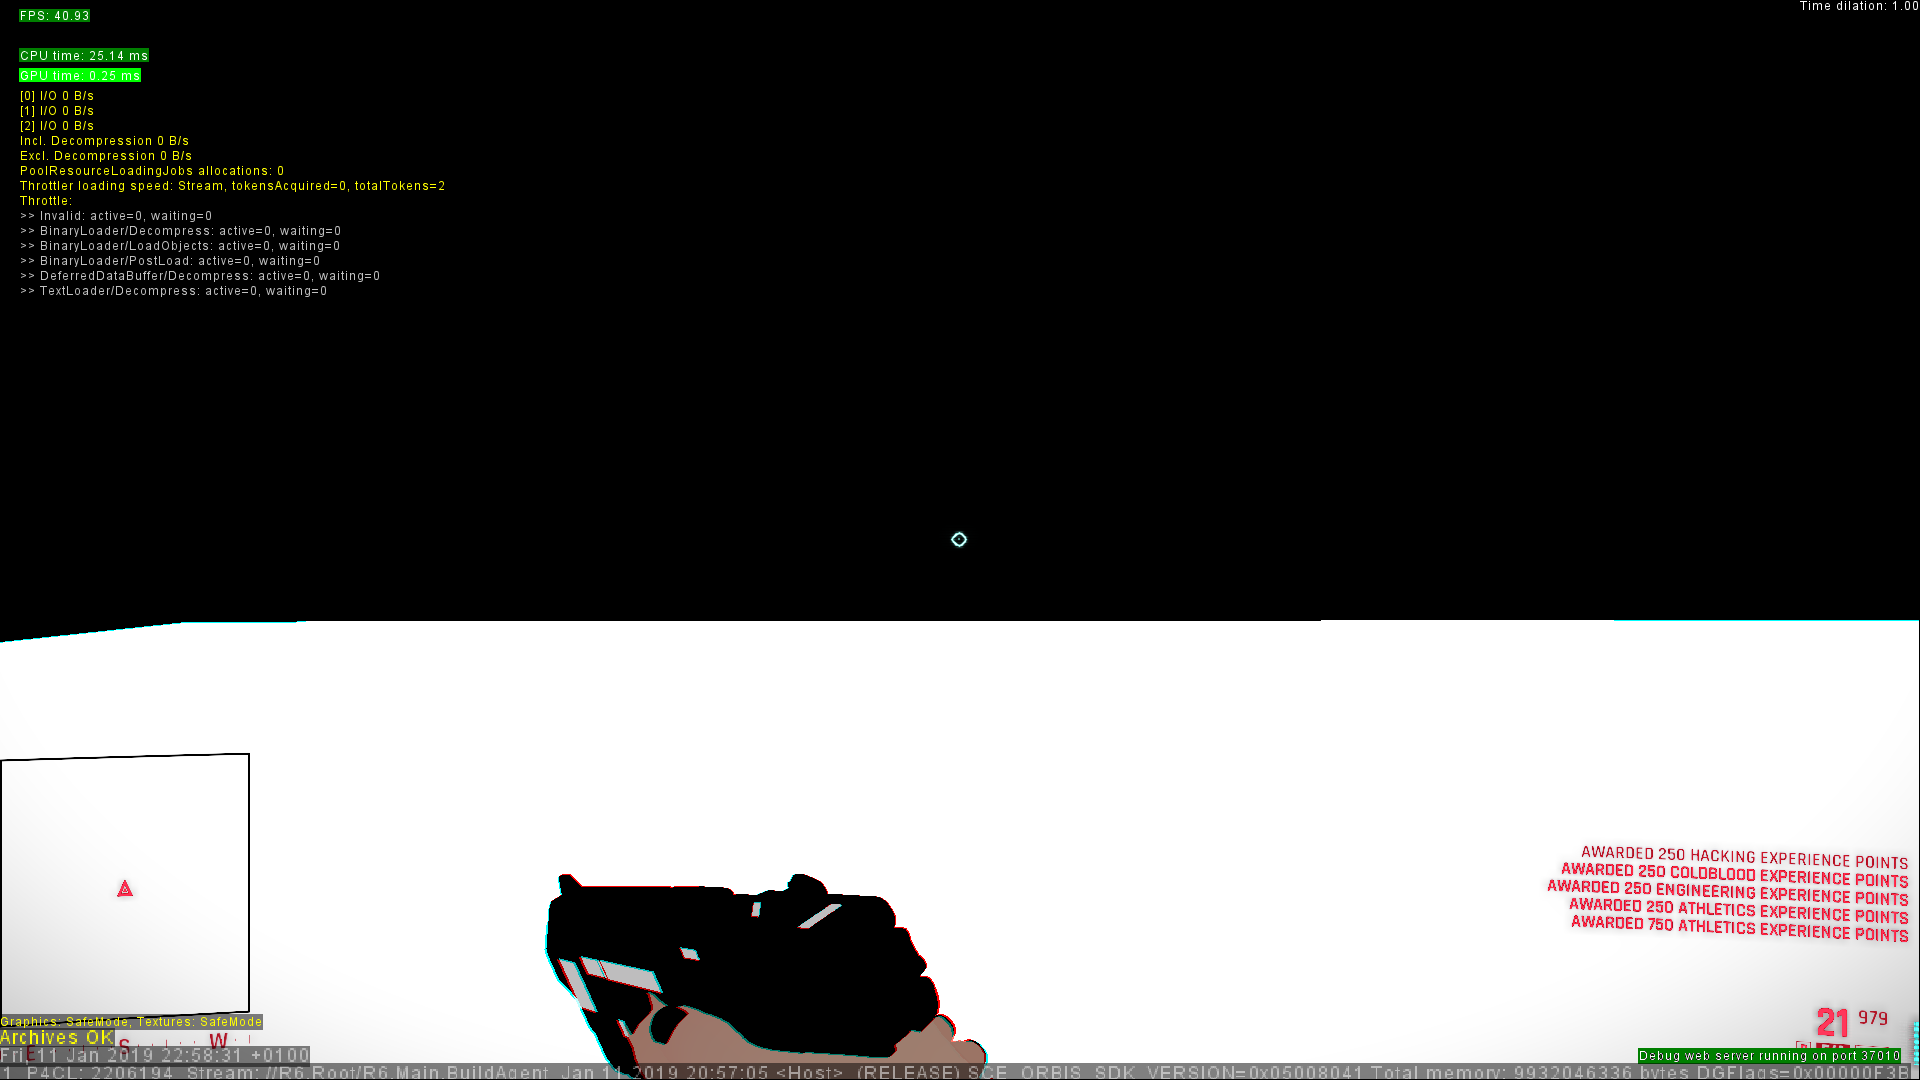
Six photos that appear to be part of a bug investigation of the game's renderer. Two photos were captured for each of the platforms the game was developed for: PC, PS4, and Xbox One. The PS4 and Xbox One screenshots were taken on a build compiled on 2019-01-11, and the screenshots from the PC build are likely from the same date. These photos show the appearance of the game's HUD roughly two years before release. It is very different compared to the HUD in the final version, with the minimap and compass in the lower-left corner, a different crosshair and a different way of displaying gained experience points. Additionally, the debug overlays use a different font compared to the final version.



render_top#
Found in the folder \R6.Root\Mainline\tools\utility\GiReporting\gi_visualiser, is a render of the map that was likely generated on 2020-02-07. The file contains an unusual JPEG COM Marker, with the text "Created by Houdini17.5.327 [02/07/20 12:21:03]" showing the timestamp of the file when it was generated by Houdini, although it is unclear which date format it is referring to, US or rest of the world.
As the map still has a few unfinished spots, like the hills south of Pacifica looking like blockouts and the Spaceport island seemingly being completely unfinished with no road leading to it, it is possibly from the earlier date, February 2020. An other difference seen in the map is an unfinished mansion cut from the final game in the hills of North Oak.
Maps#
01_nightcity#
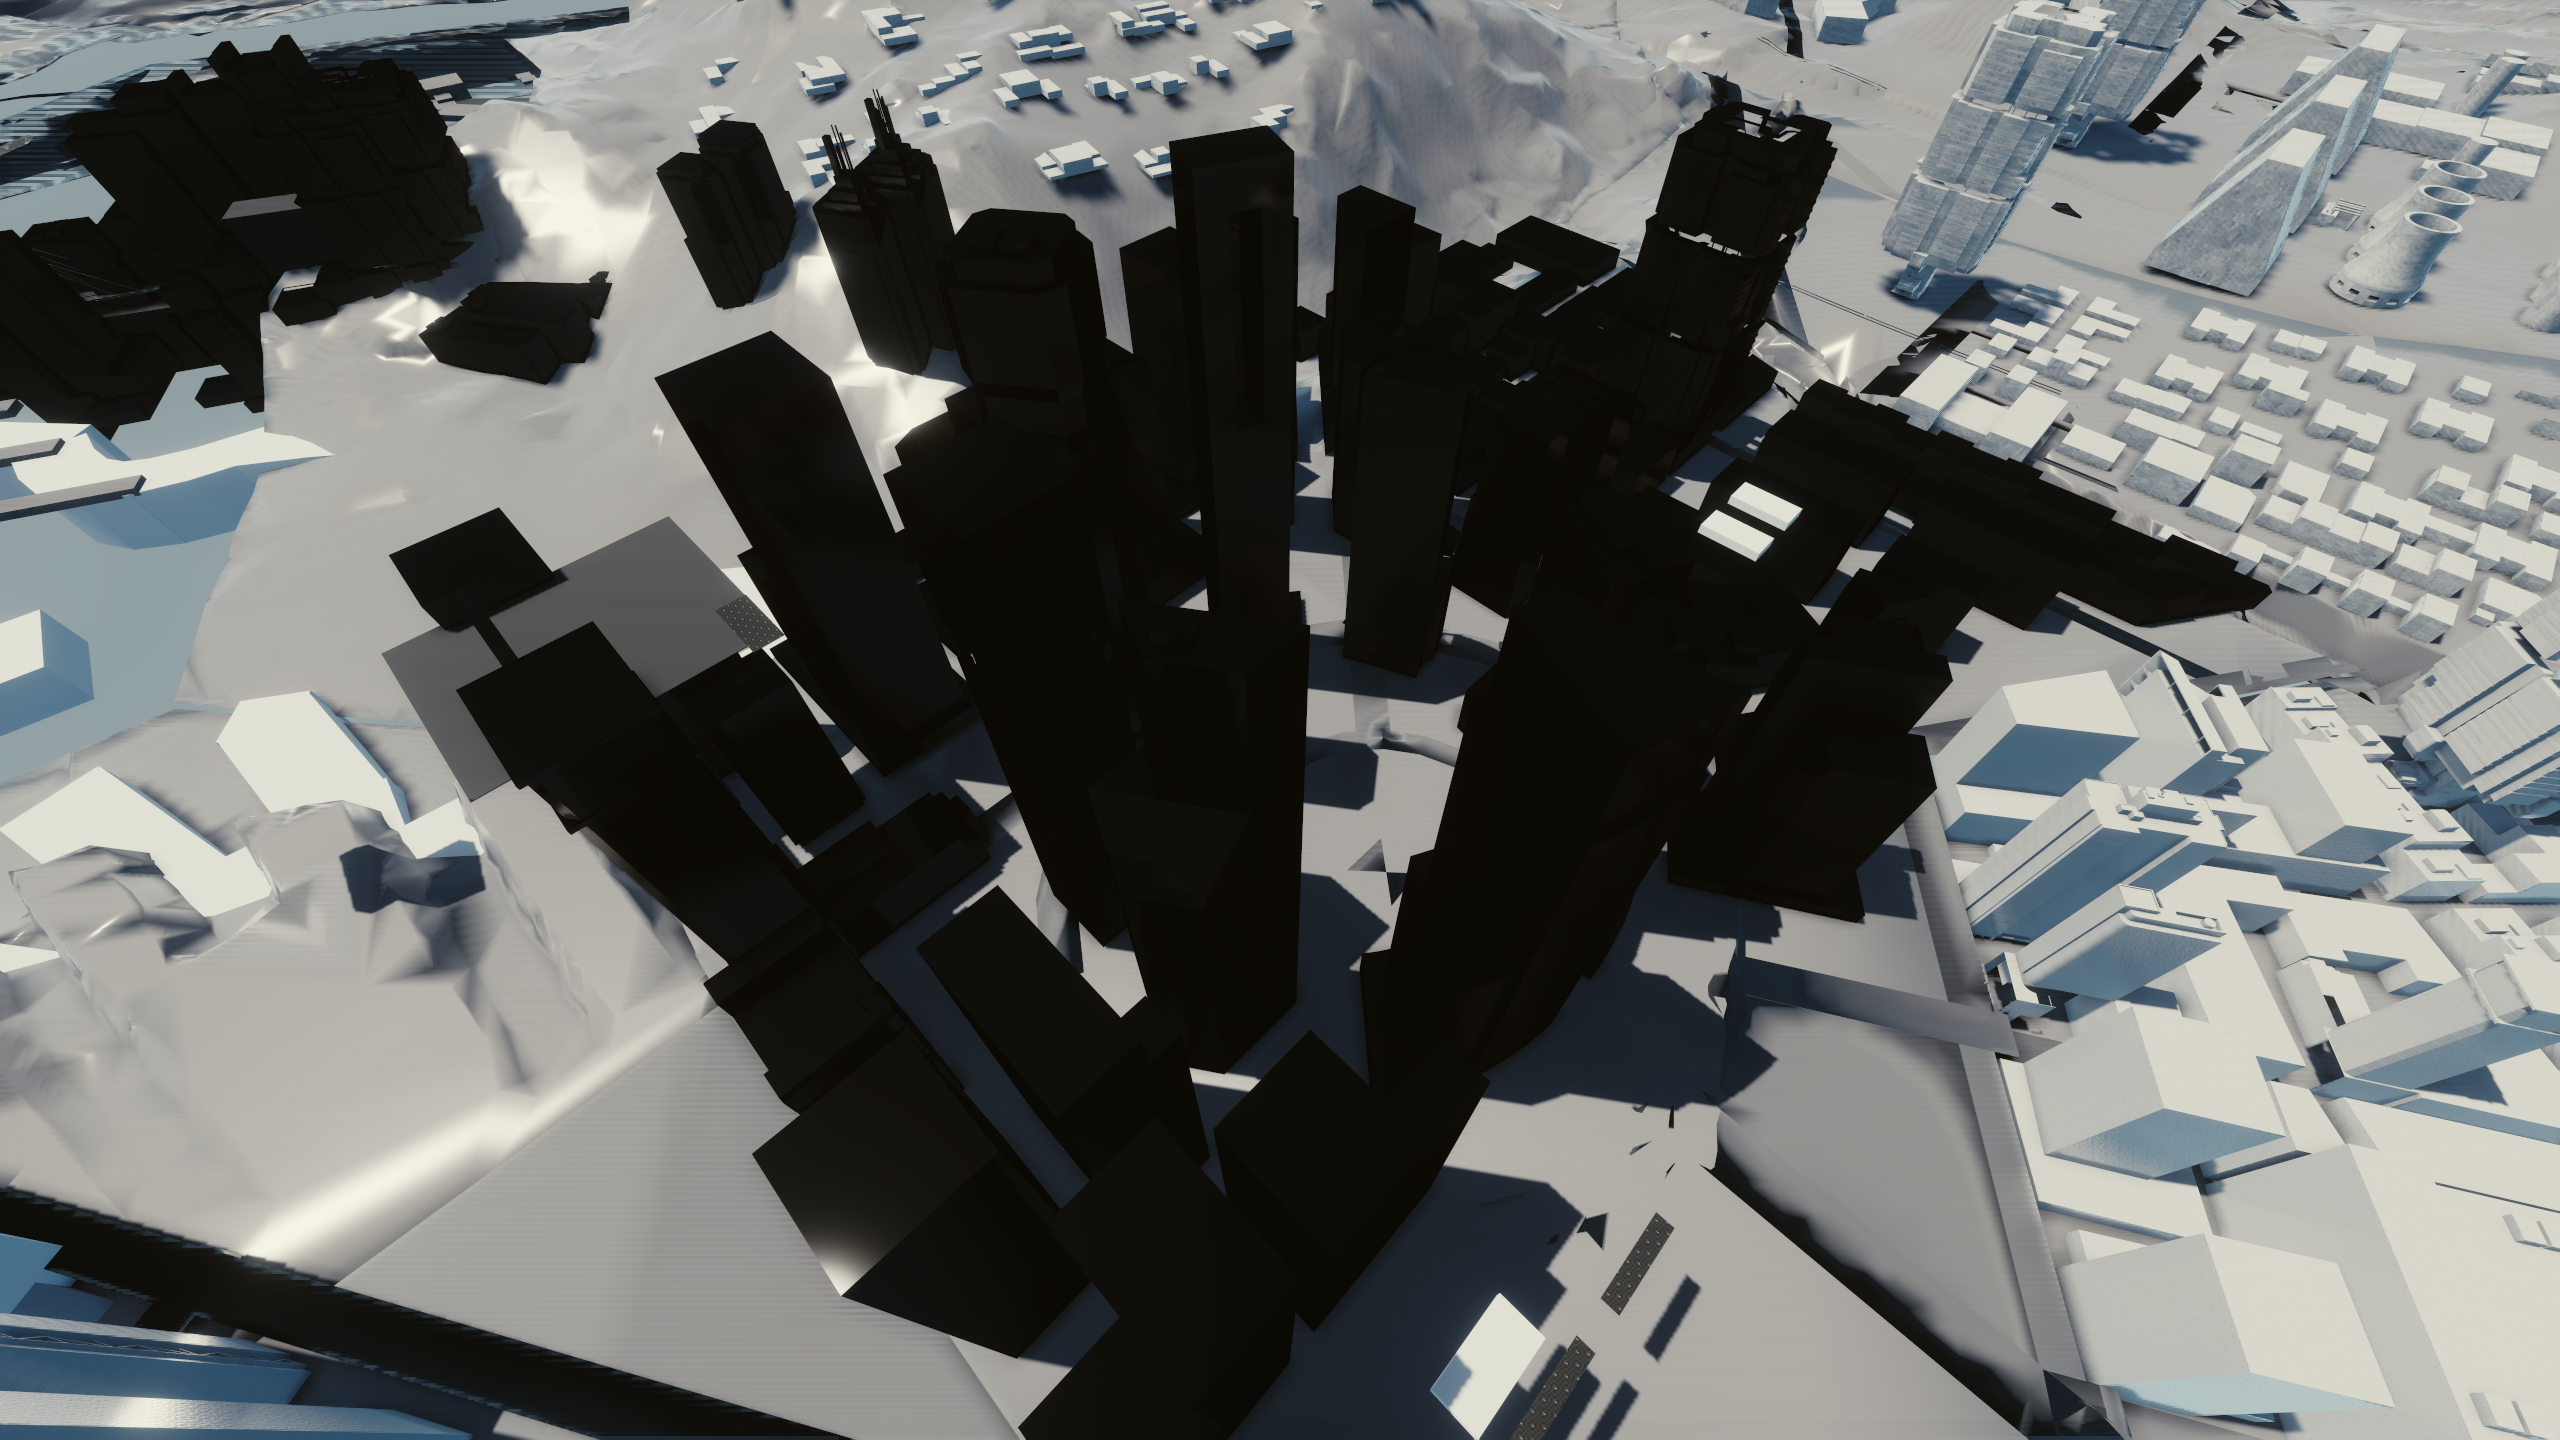
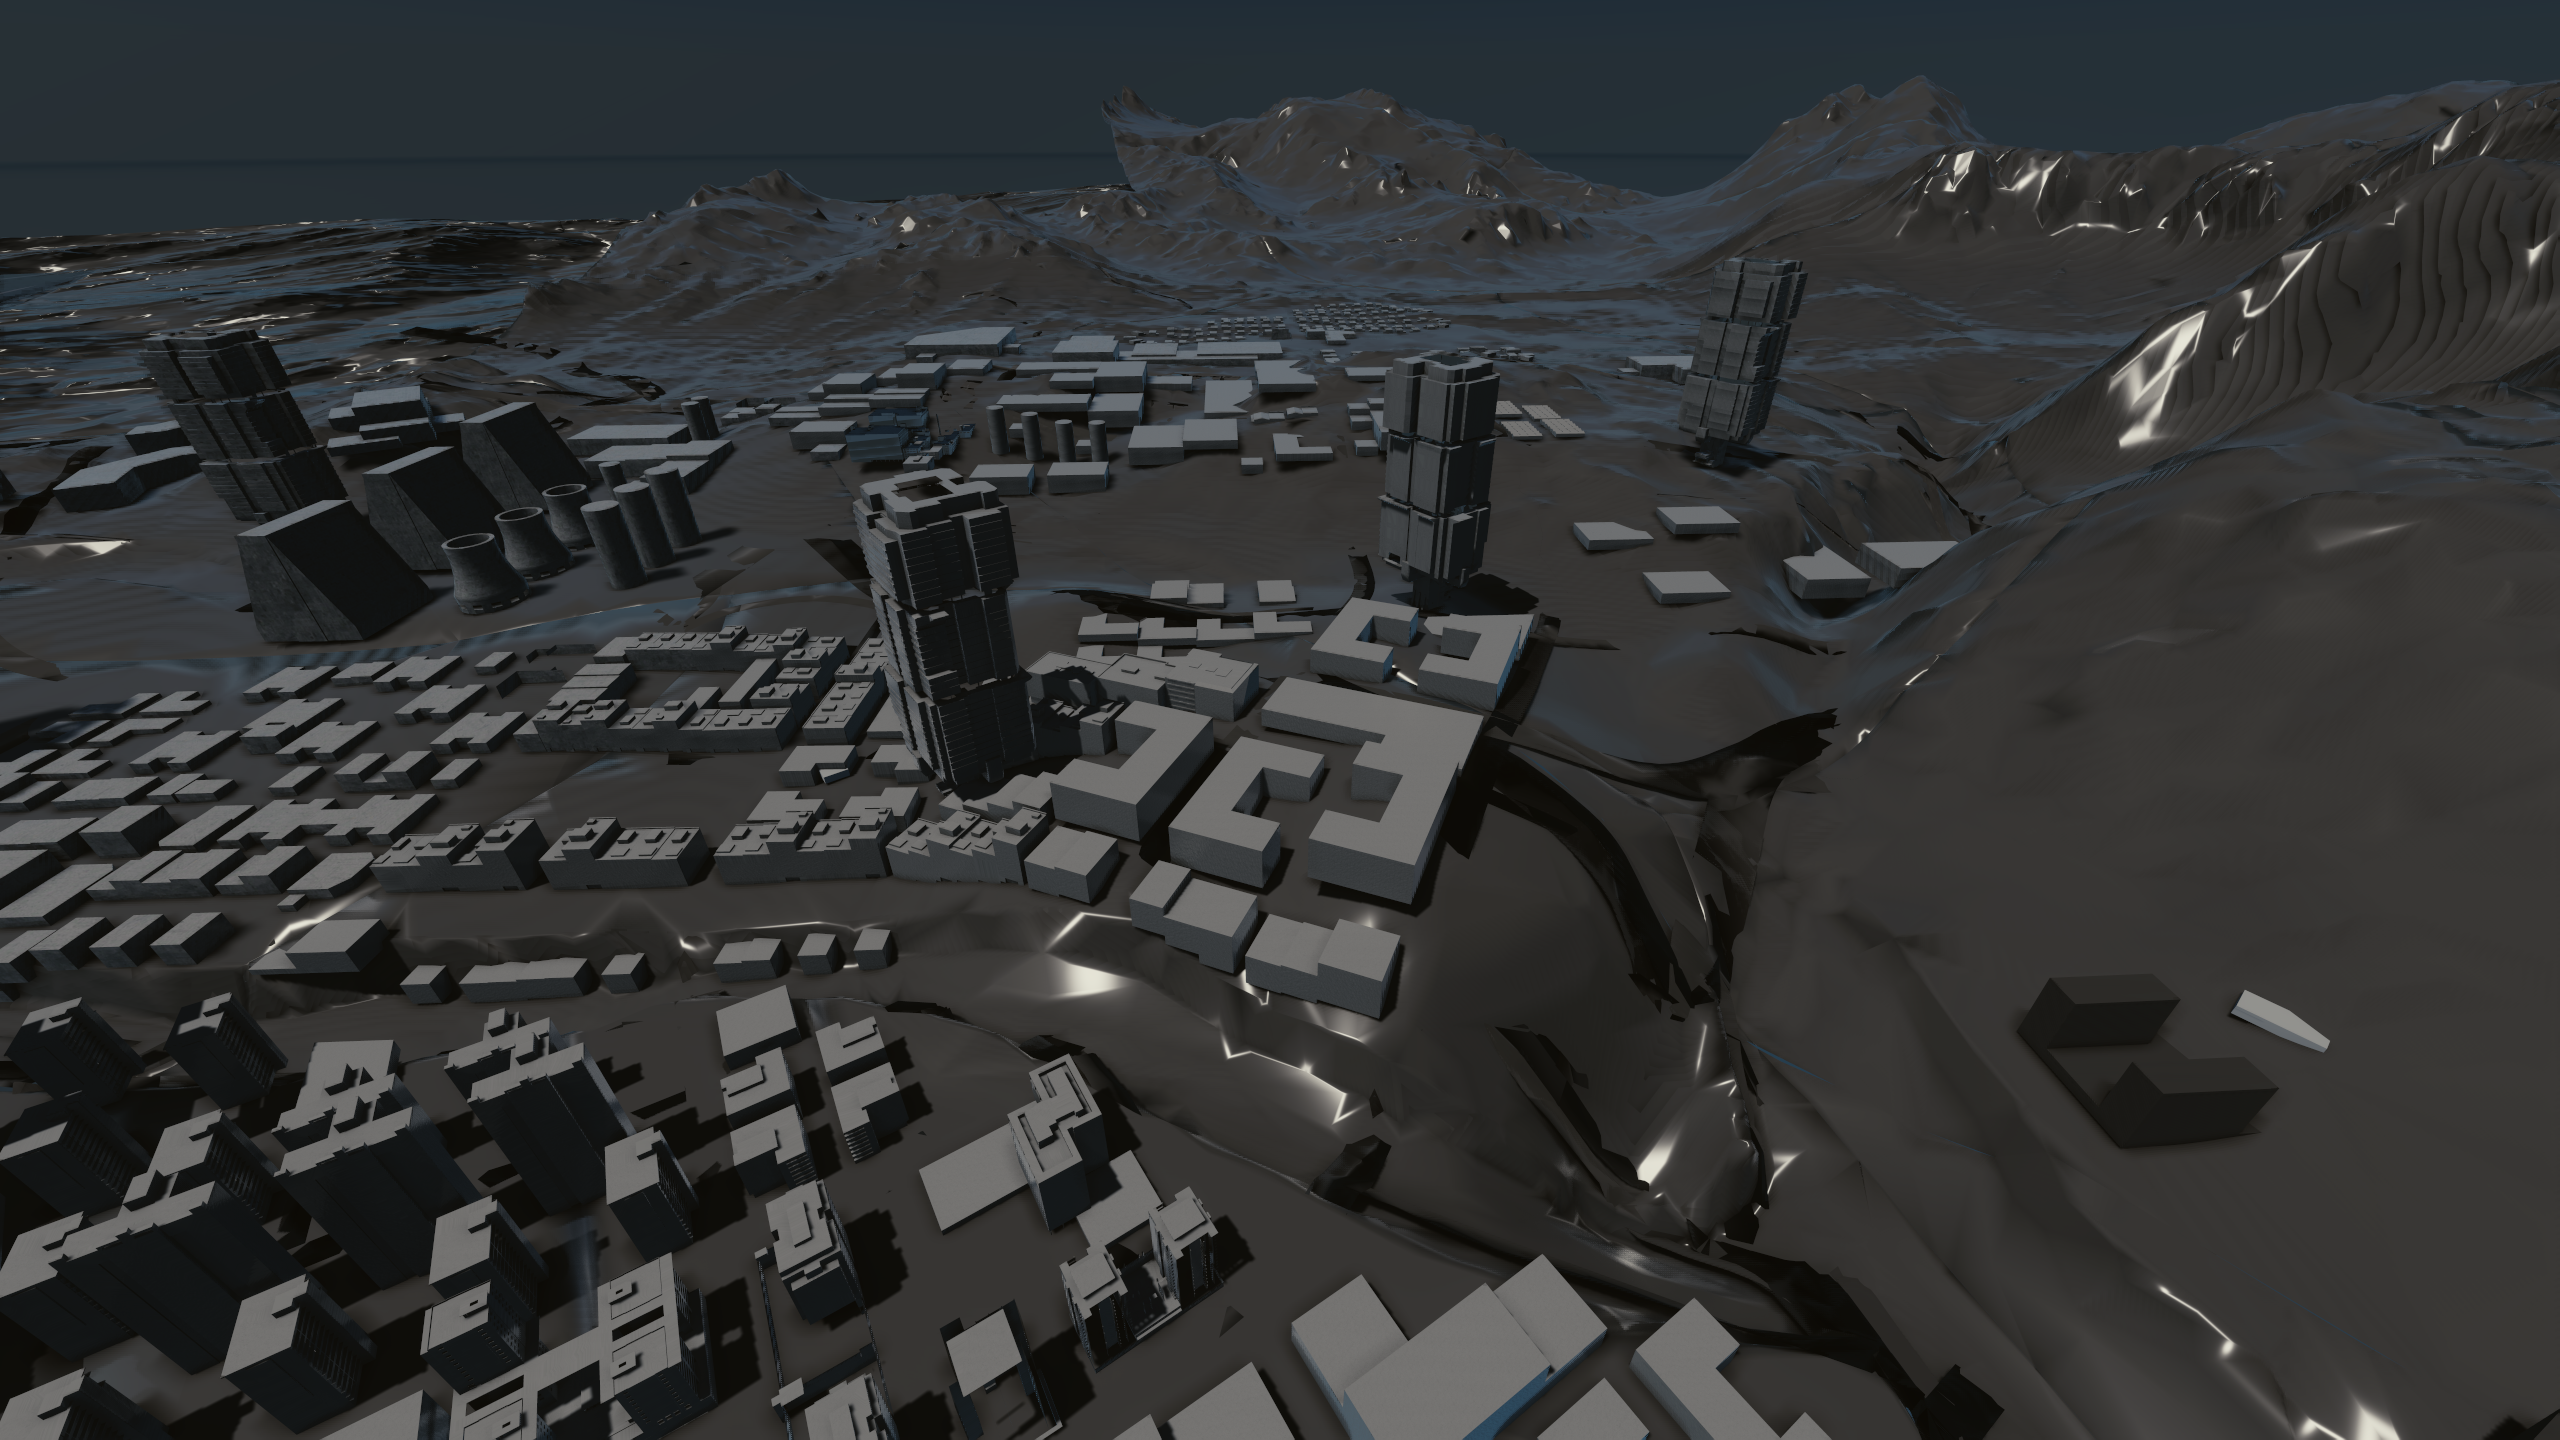
The source code contains a slightly broken version of the version of Night City made before the new current version of the city was created. It contains a few districts that had some work performed on them and quite a few blockouts related to various main and side quests, which are some reason often placed below the terrain of the map but are in a few cases placed at the intended place where they were supposed to be located on the map. The Watson district is the most finished location of the map, with other districts mainly consisting of basic blockouts.
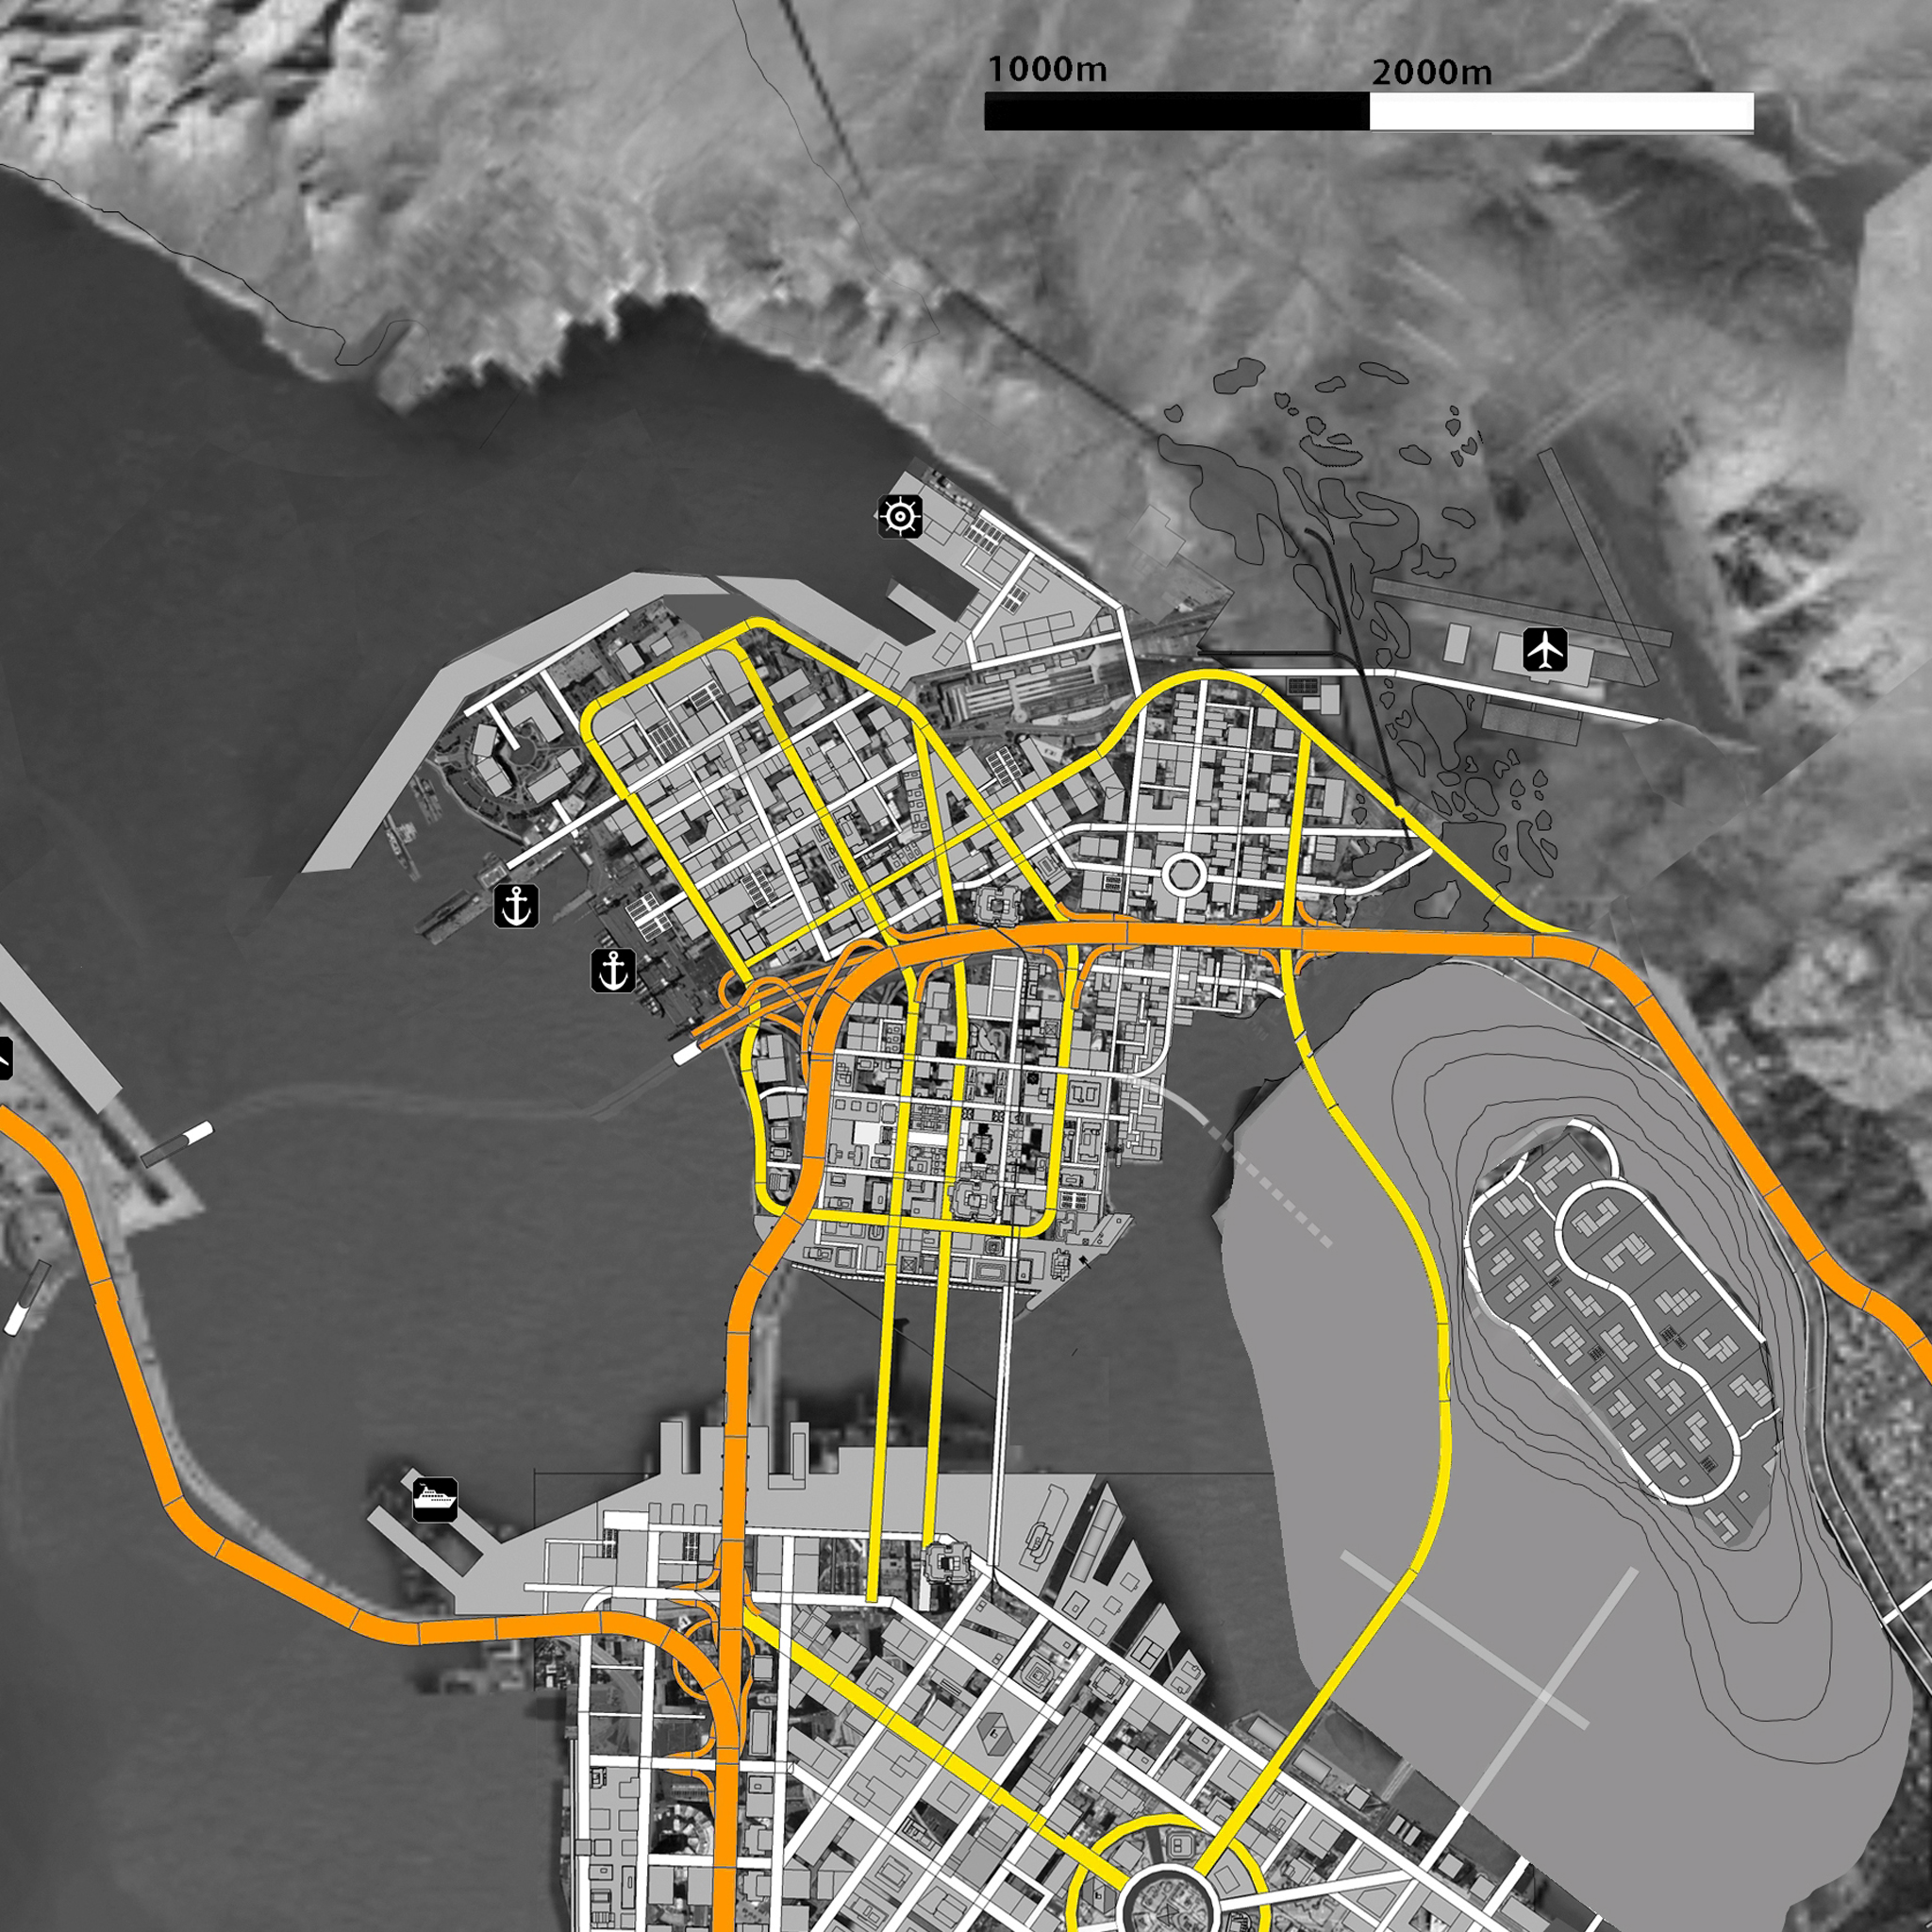
Map
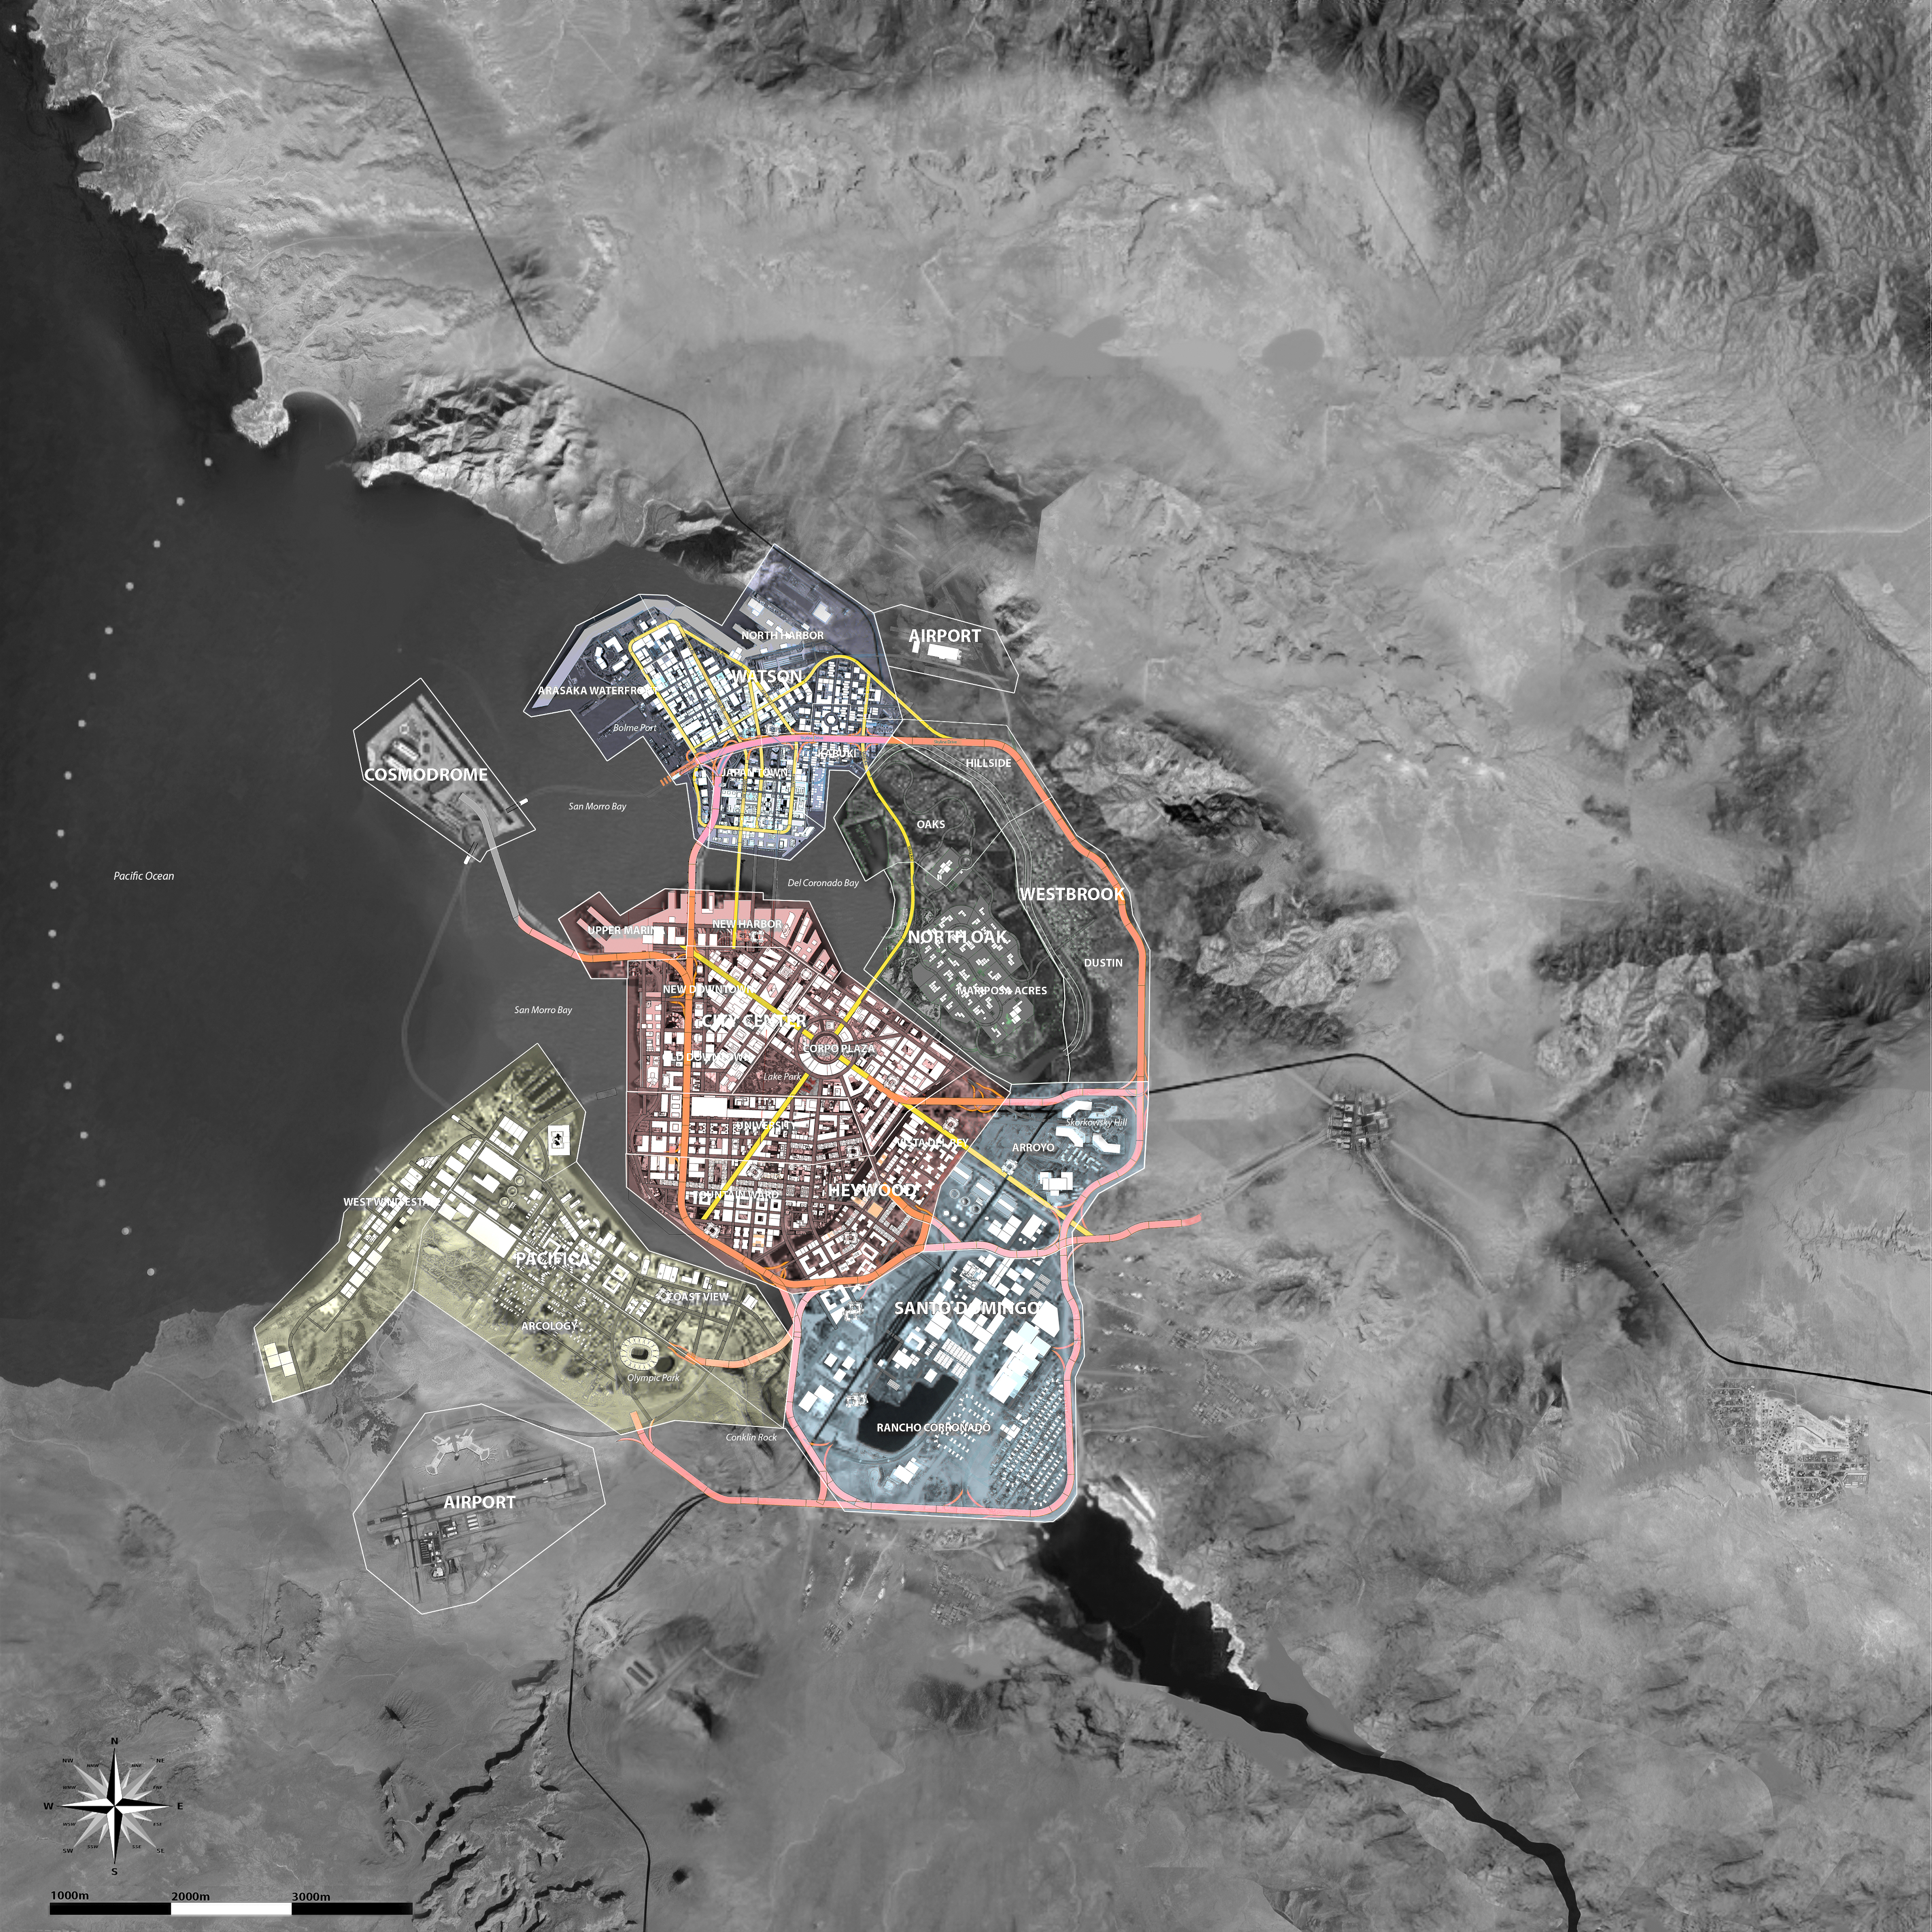
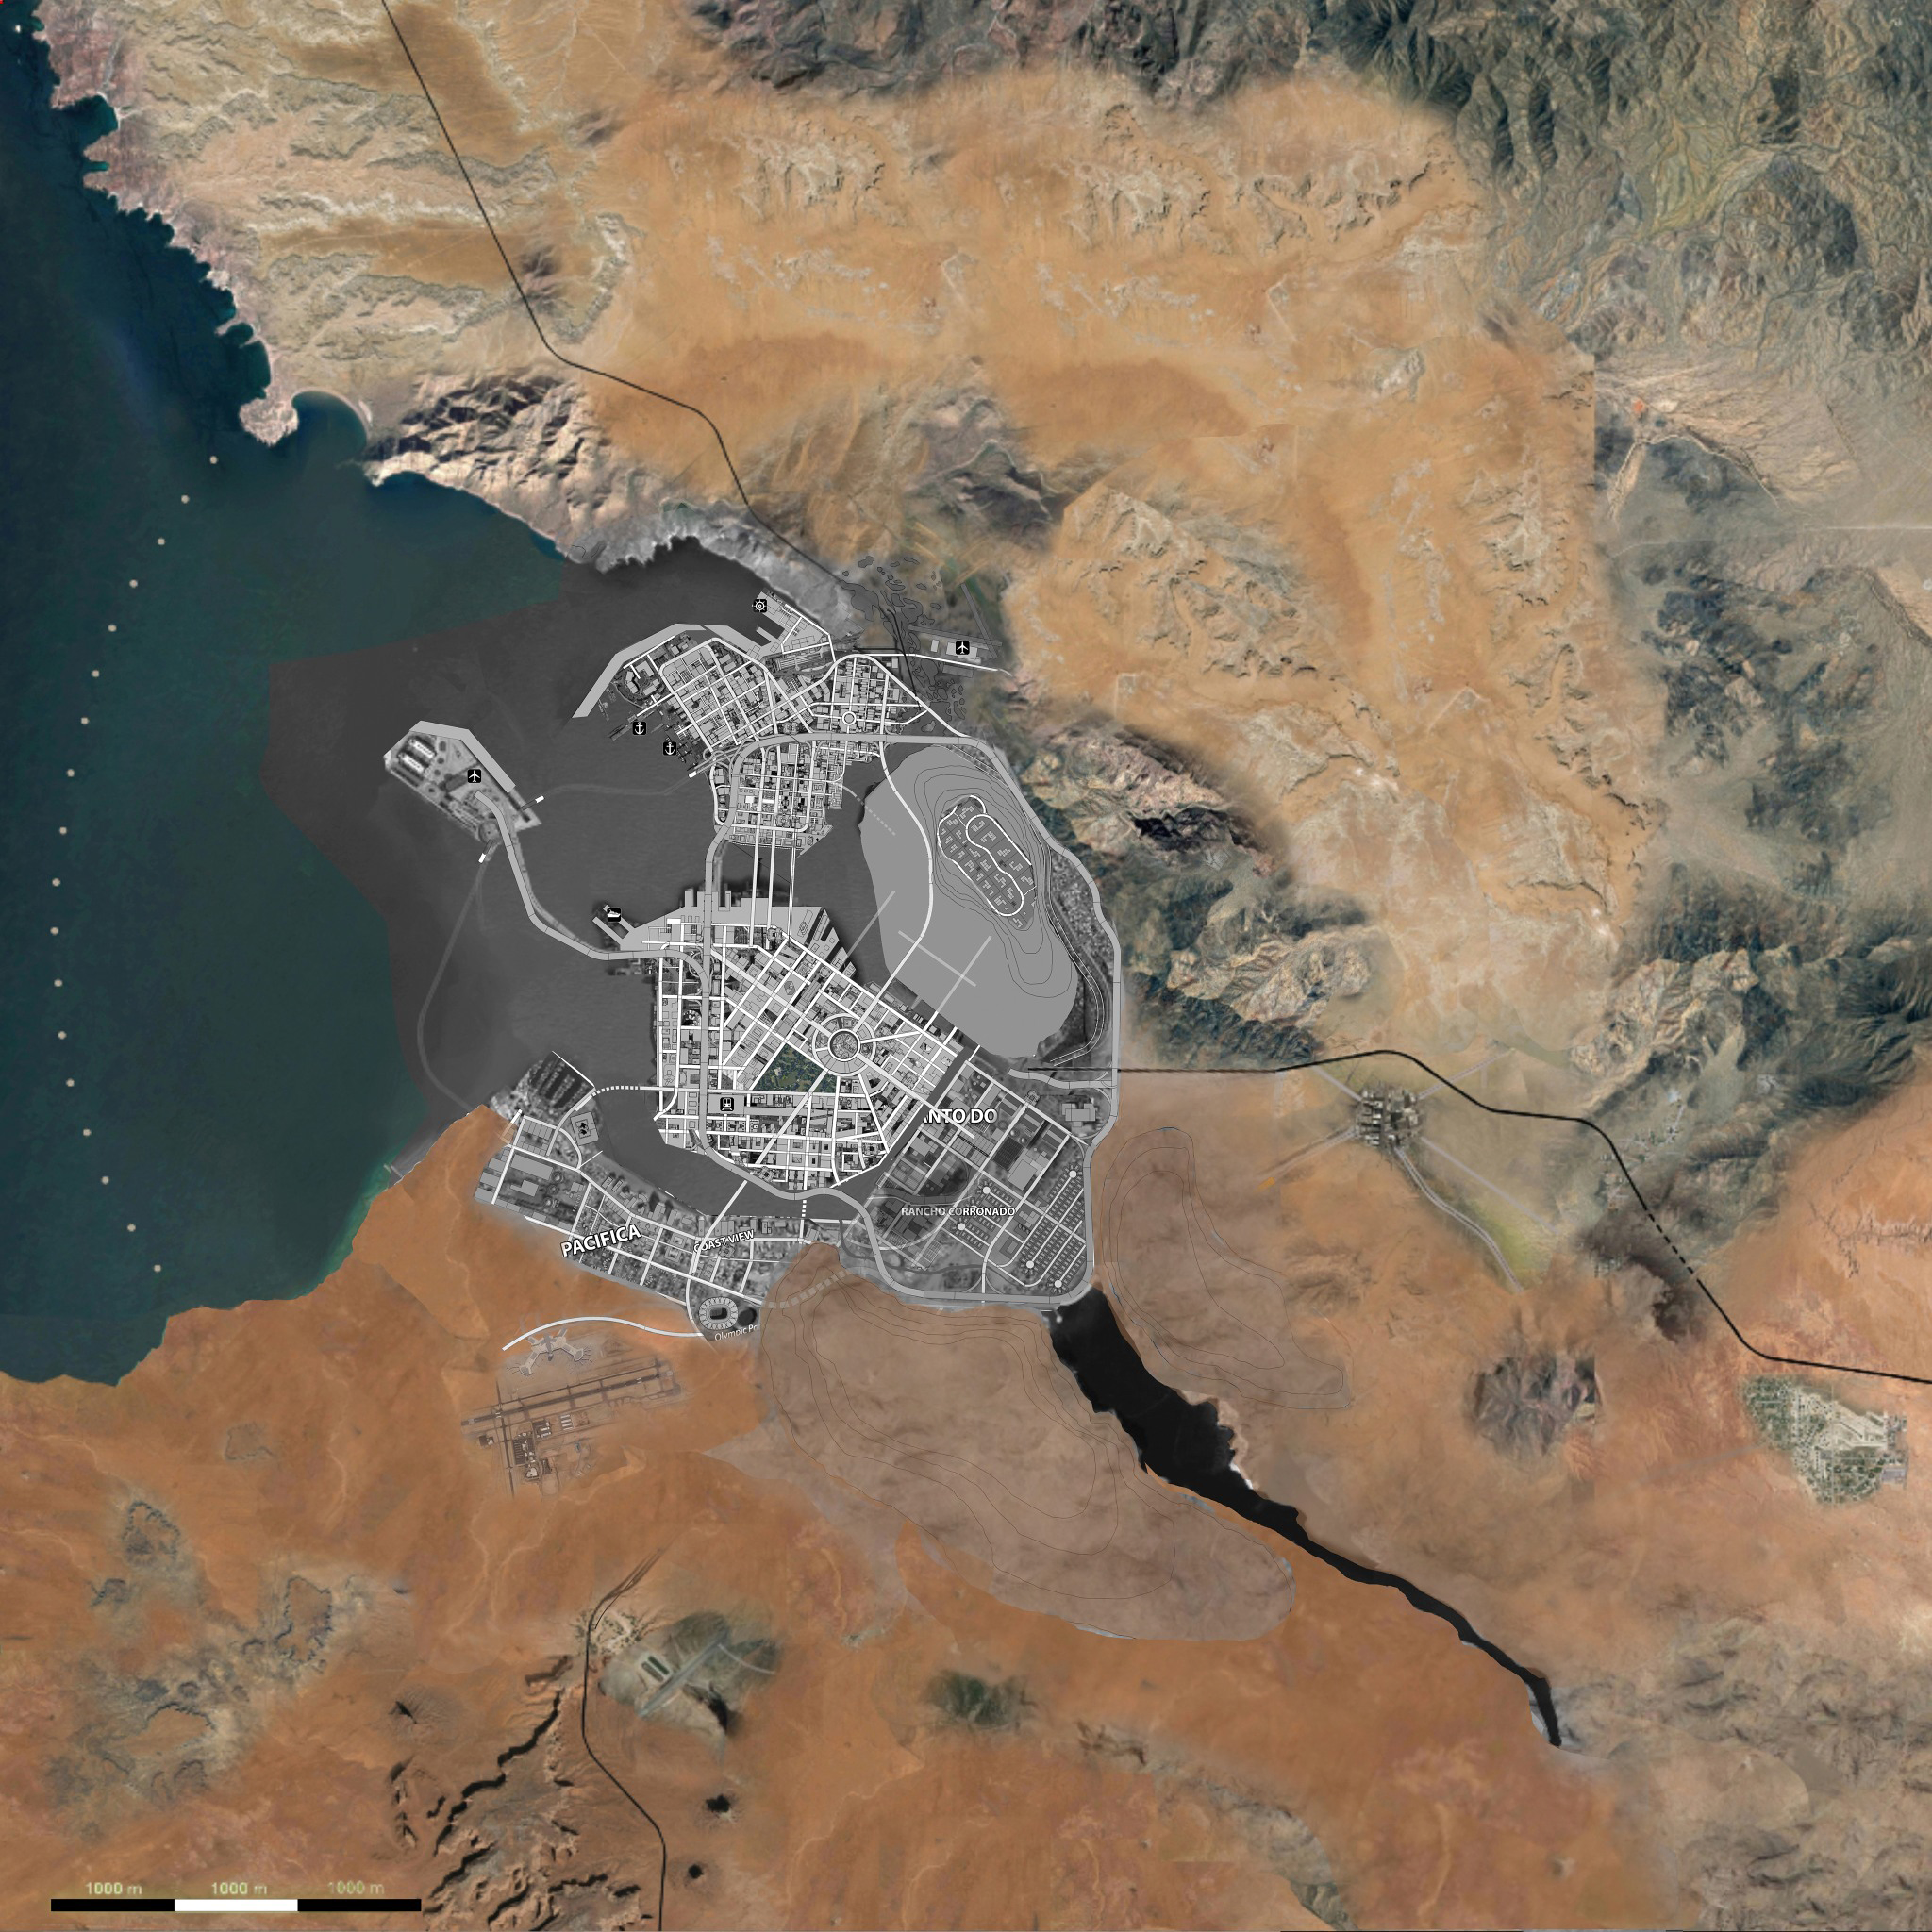
Several maps of various plans of the map's layout can be found in the leaked files. Two of these maps shipped with the final game (and leaked files) and are included here for reference.
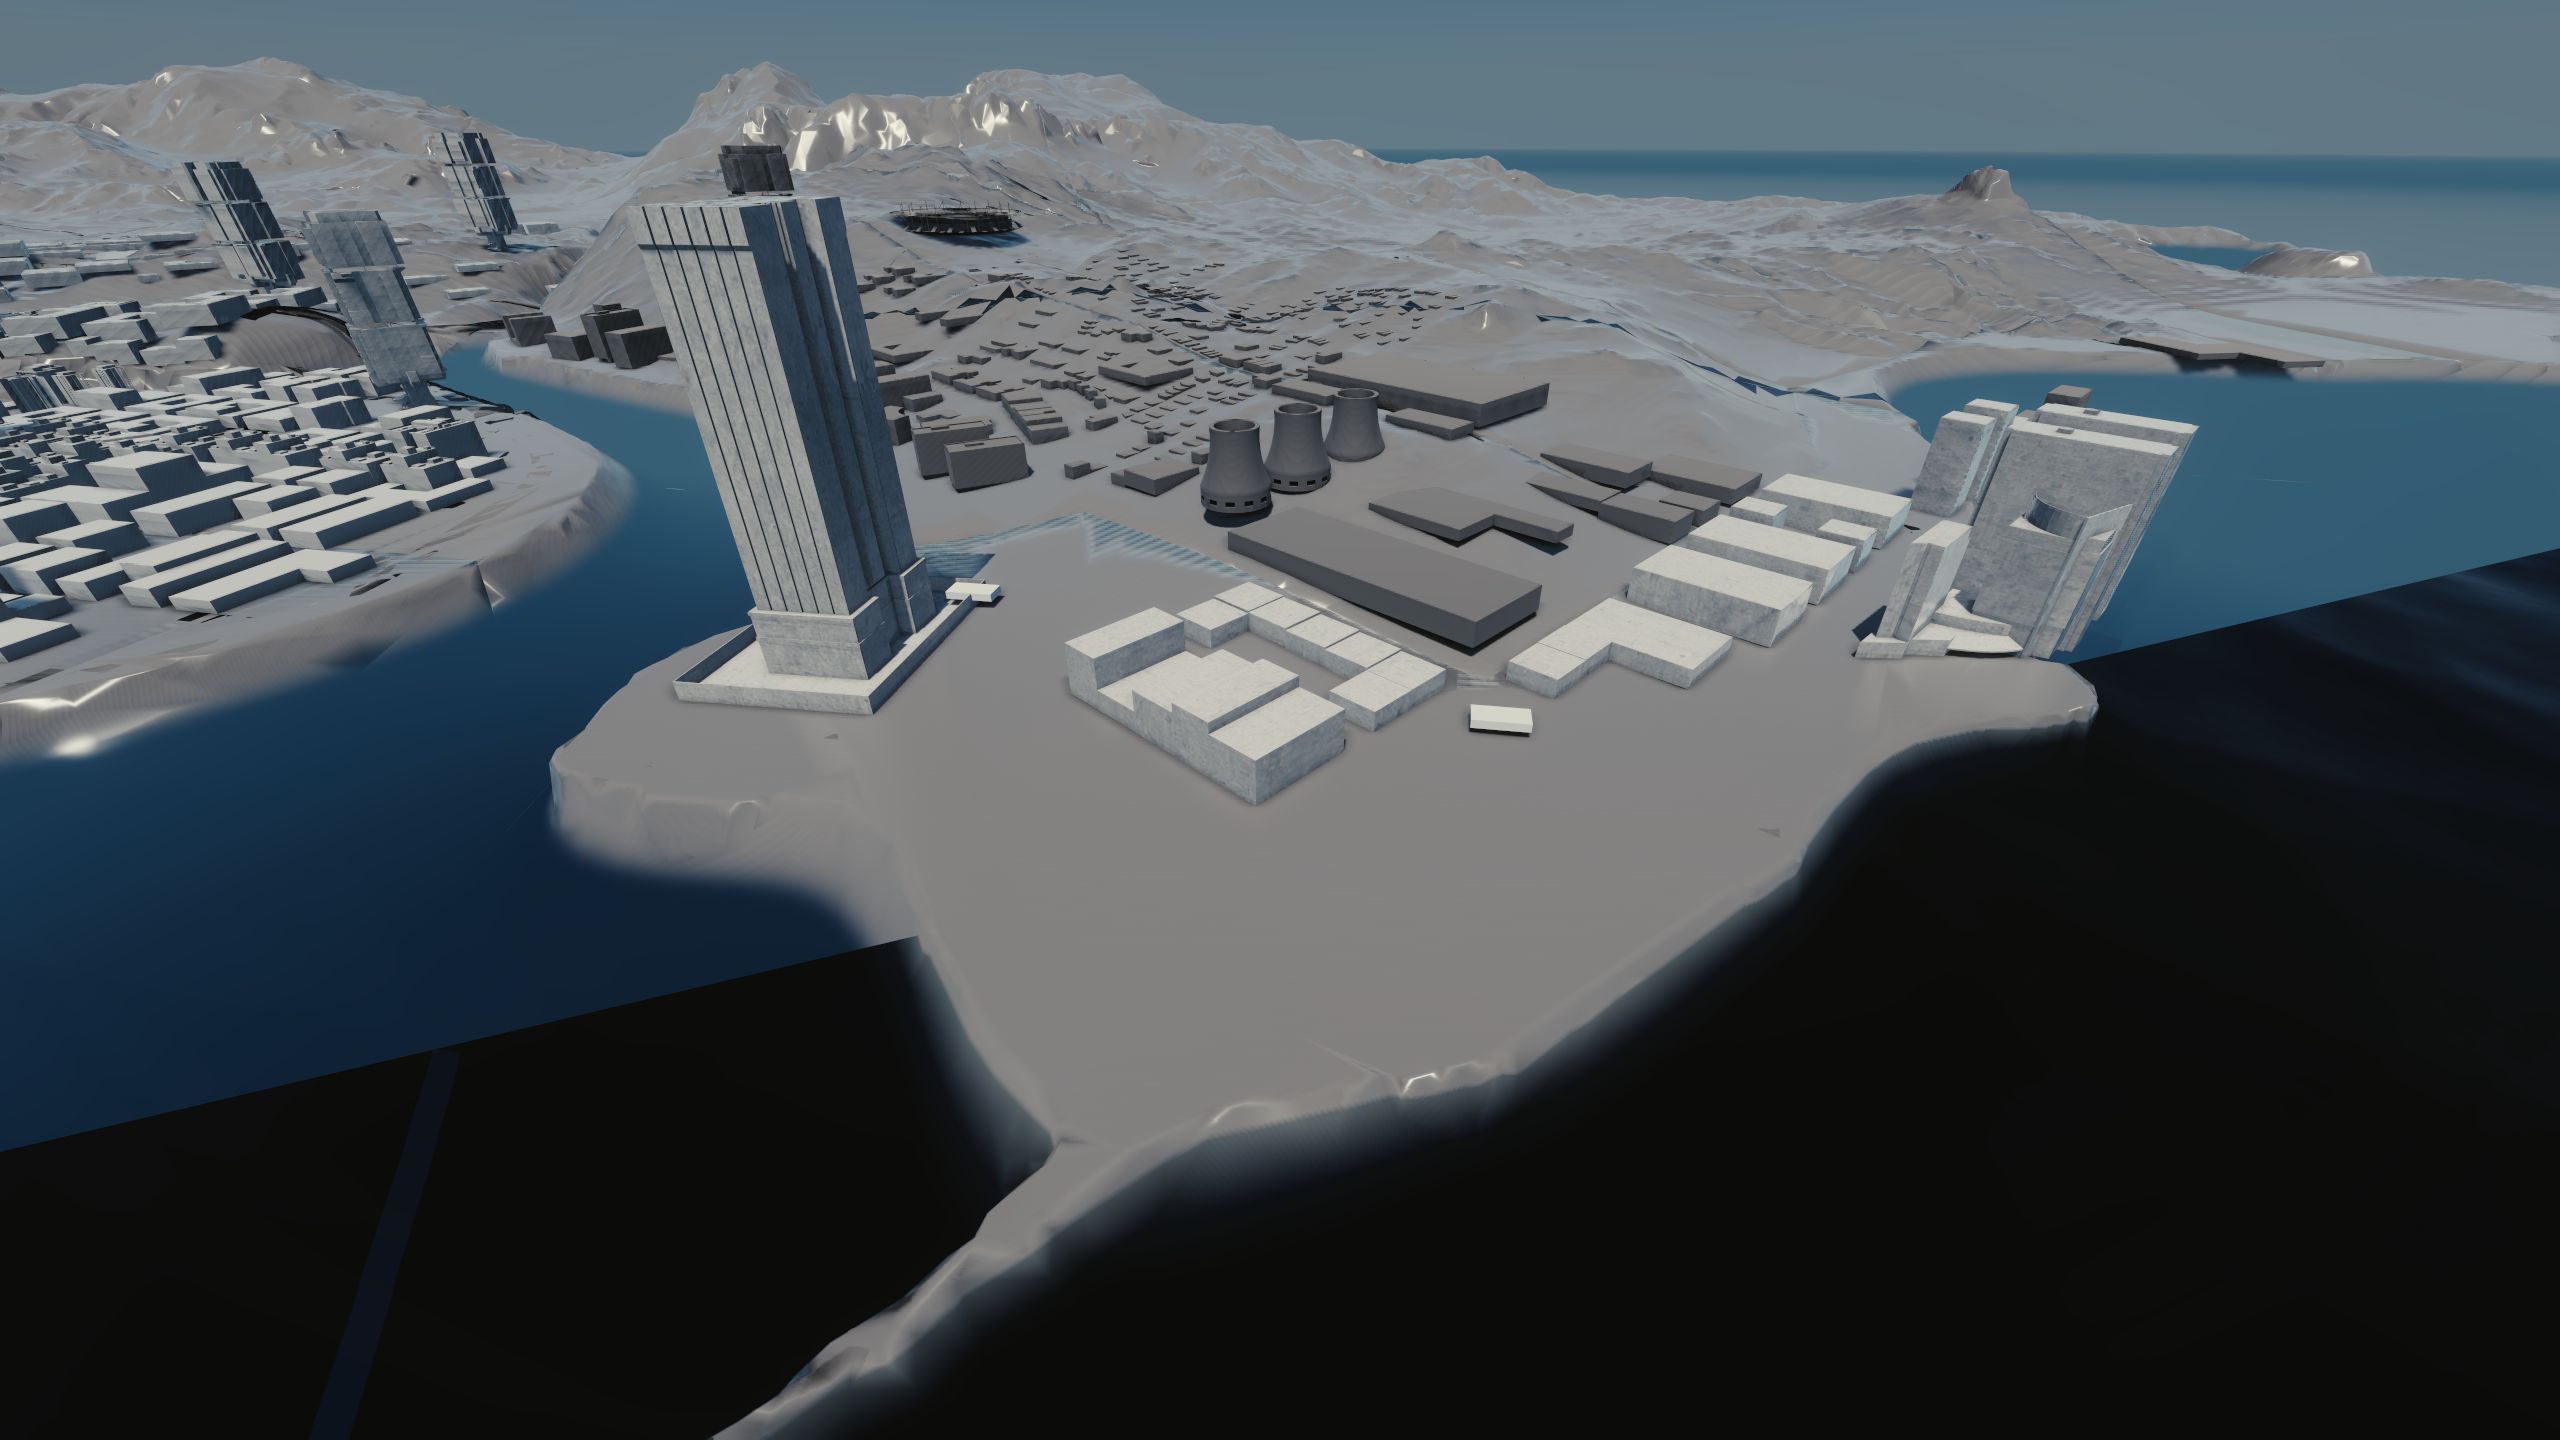
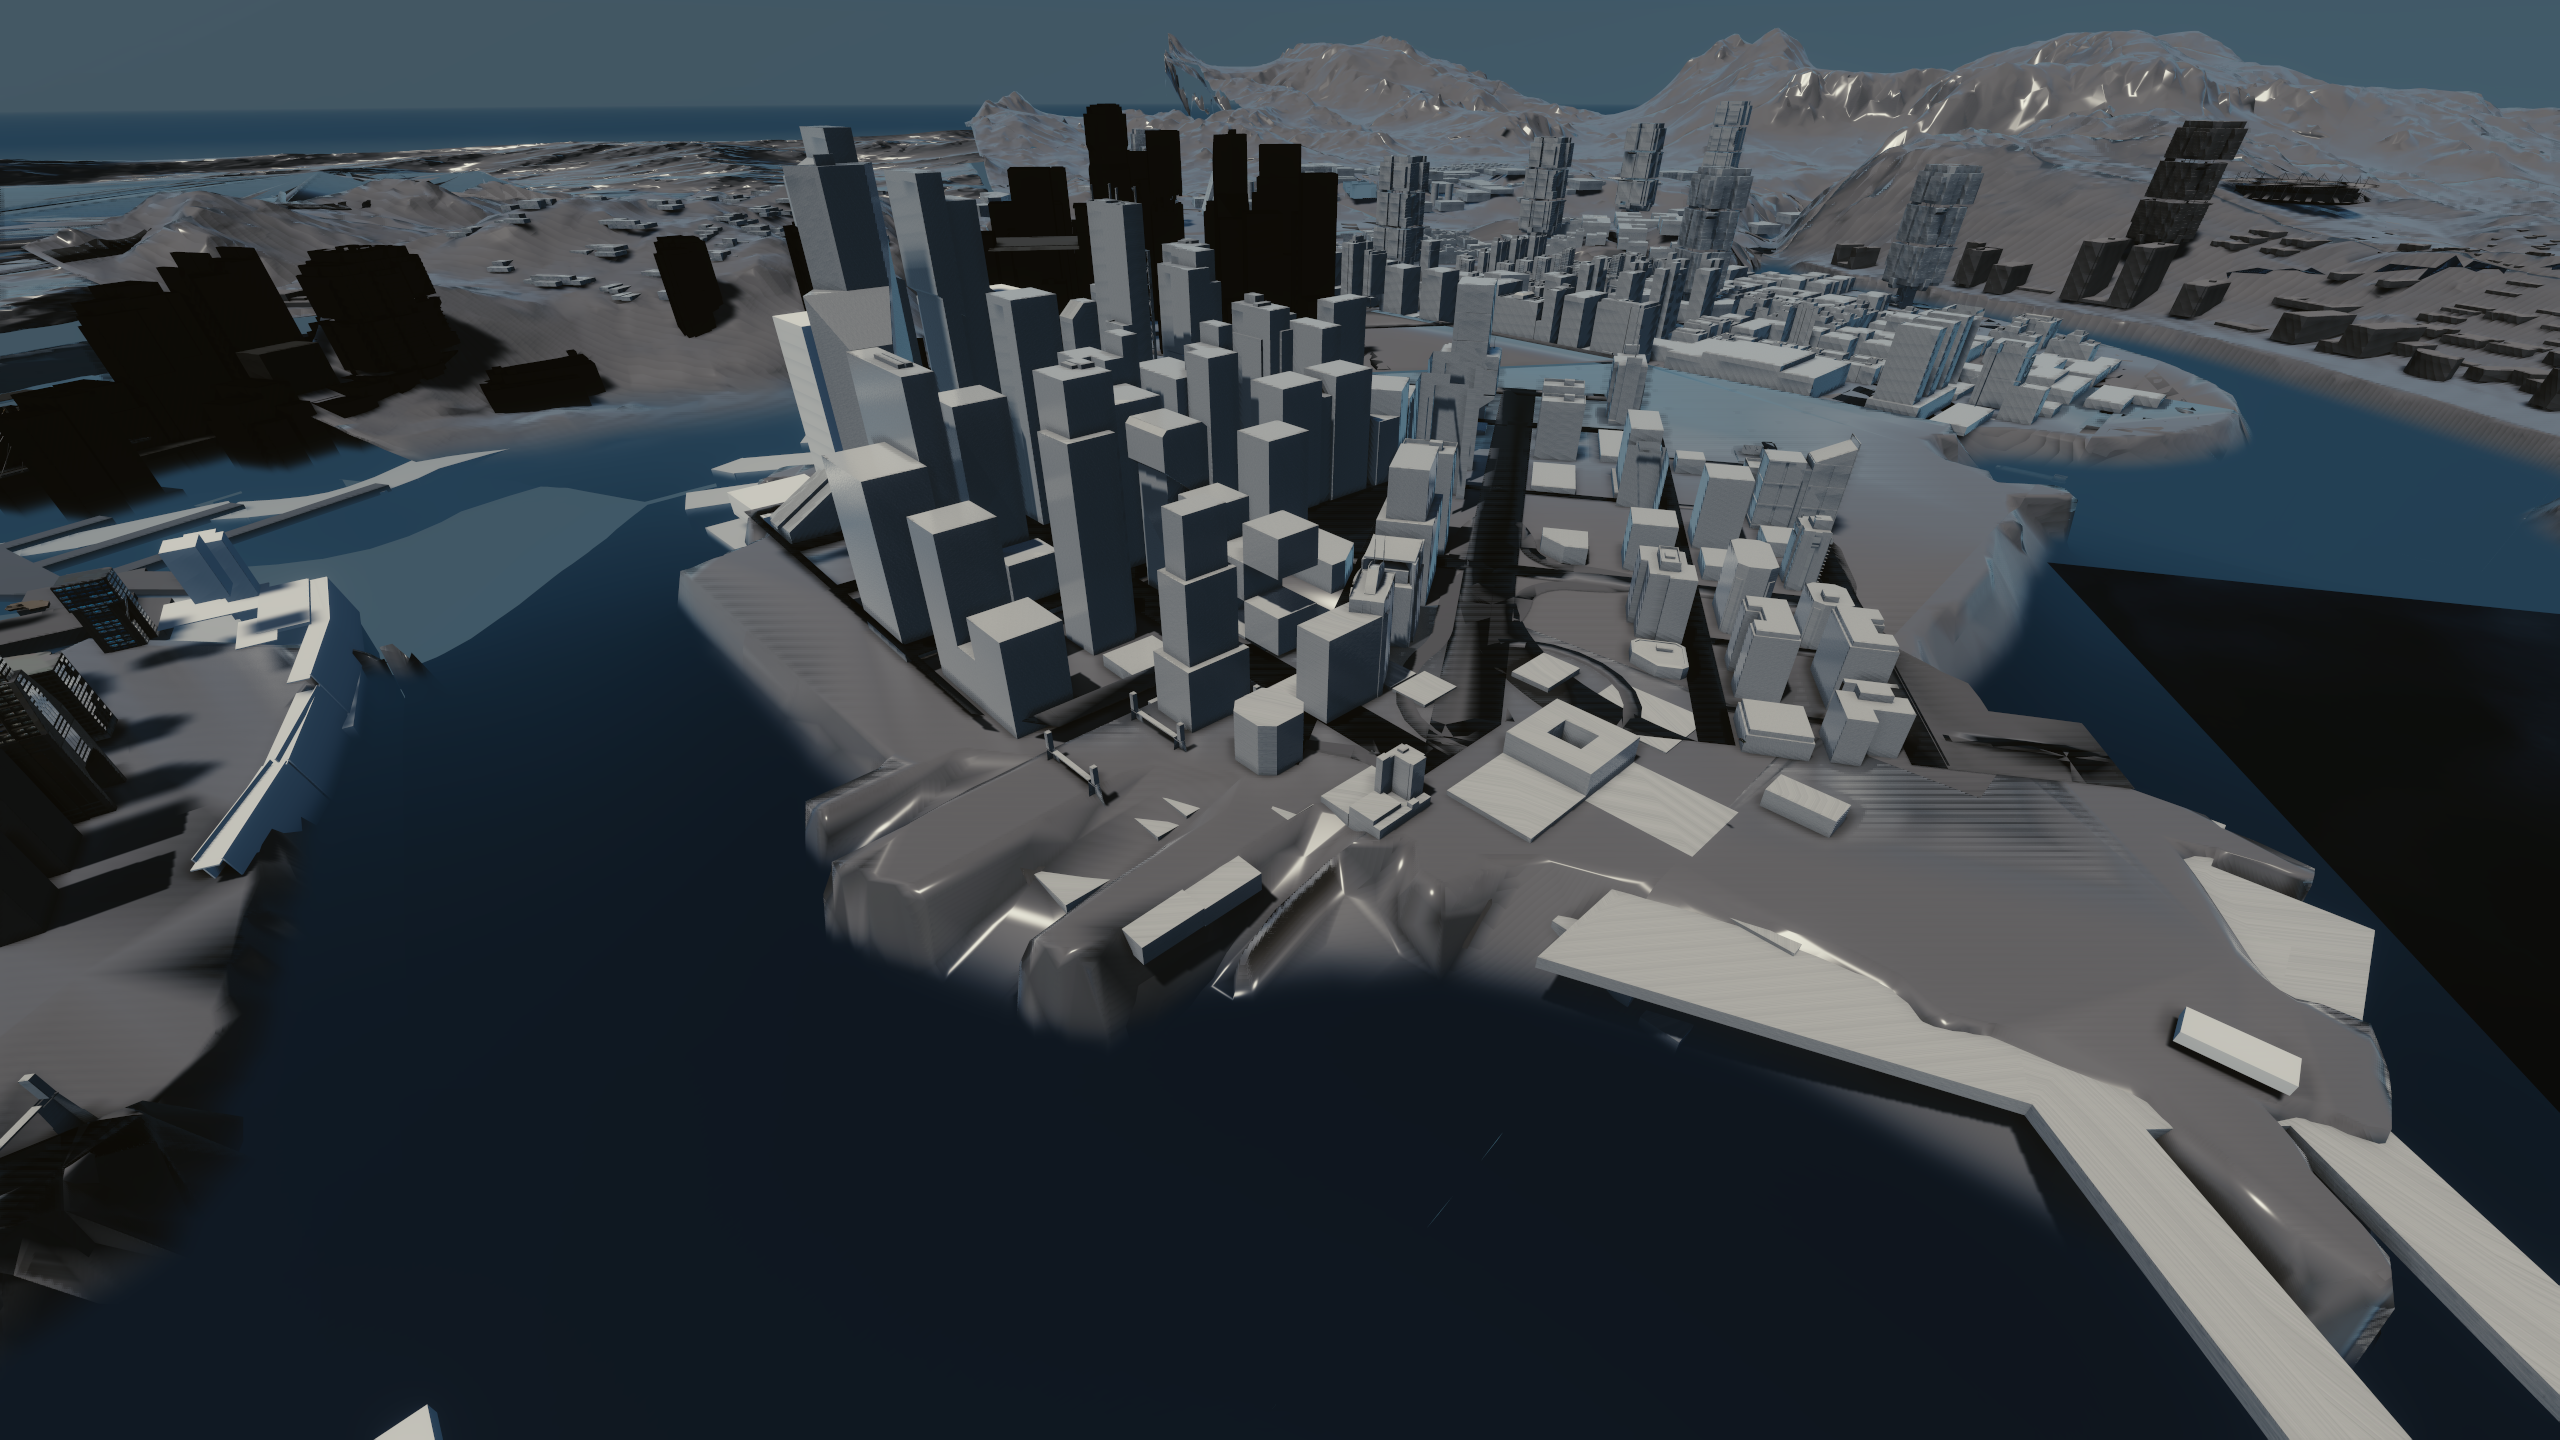
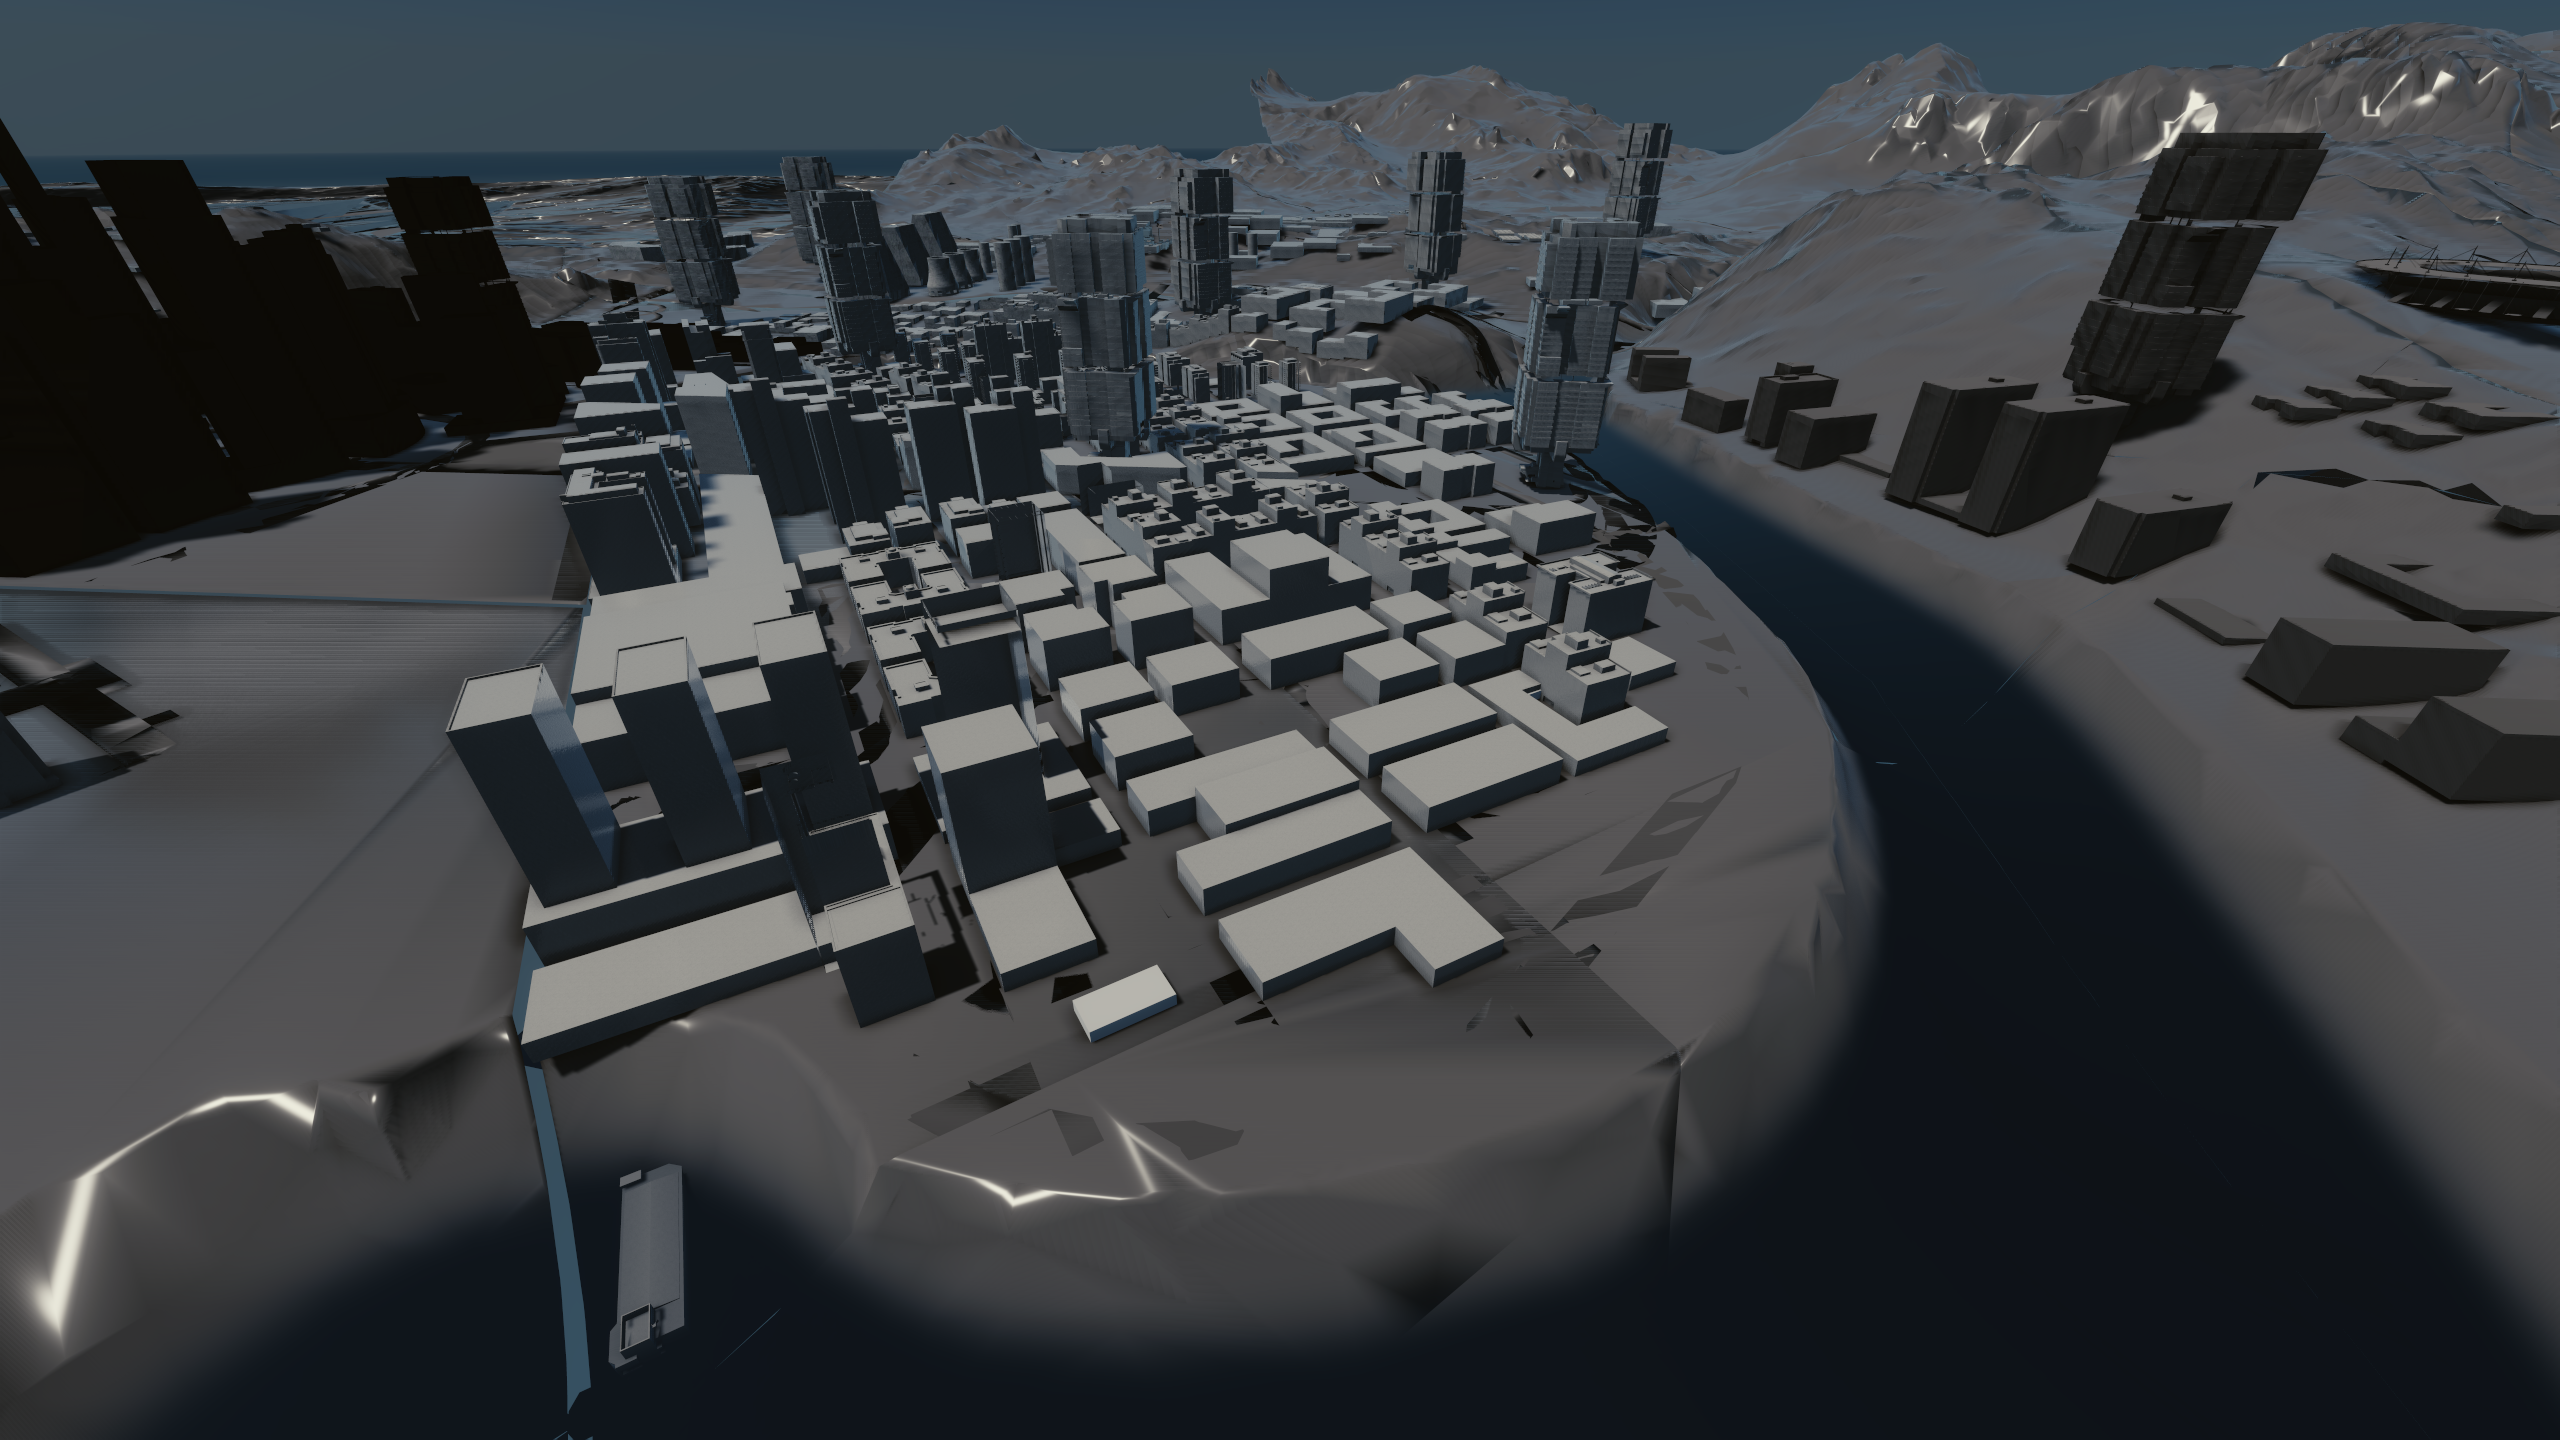
Screenshots
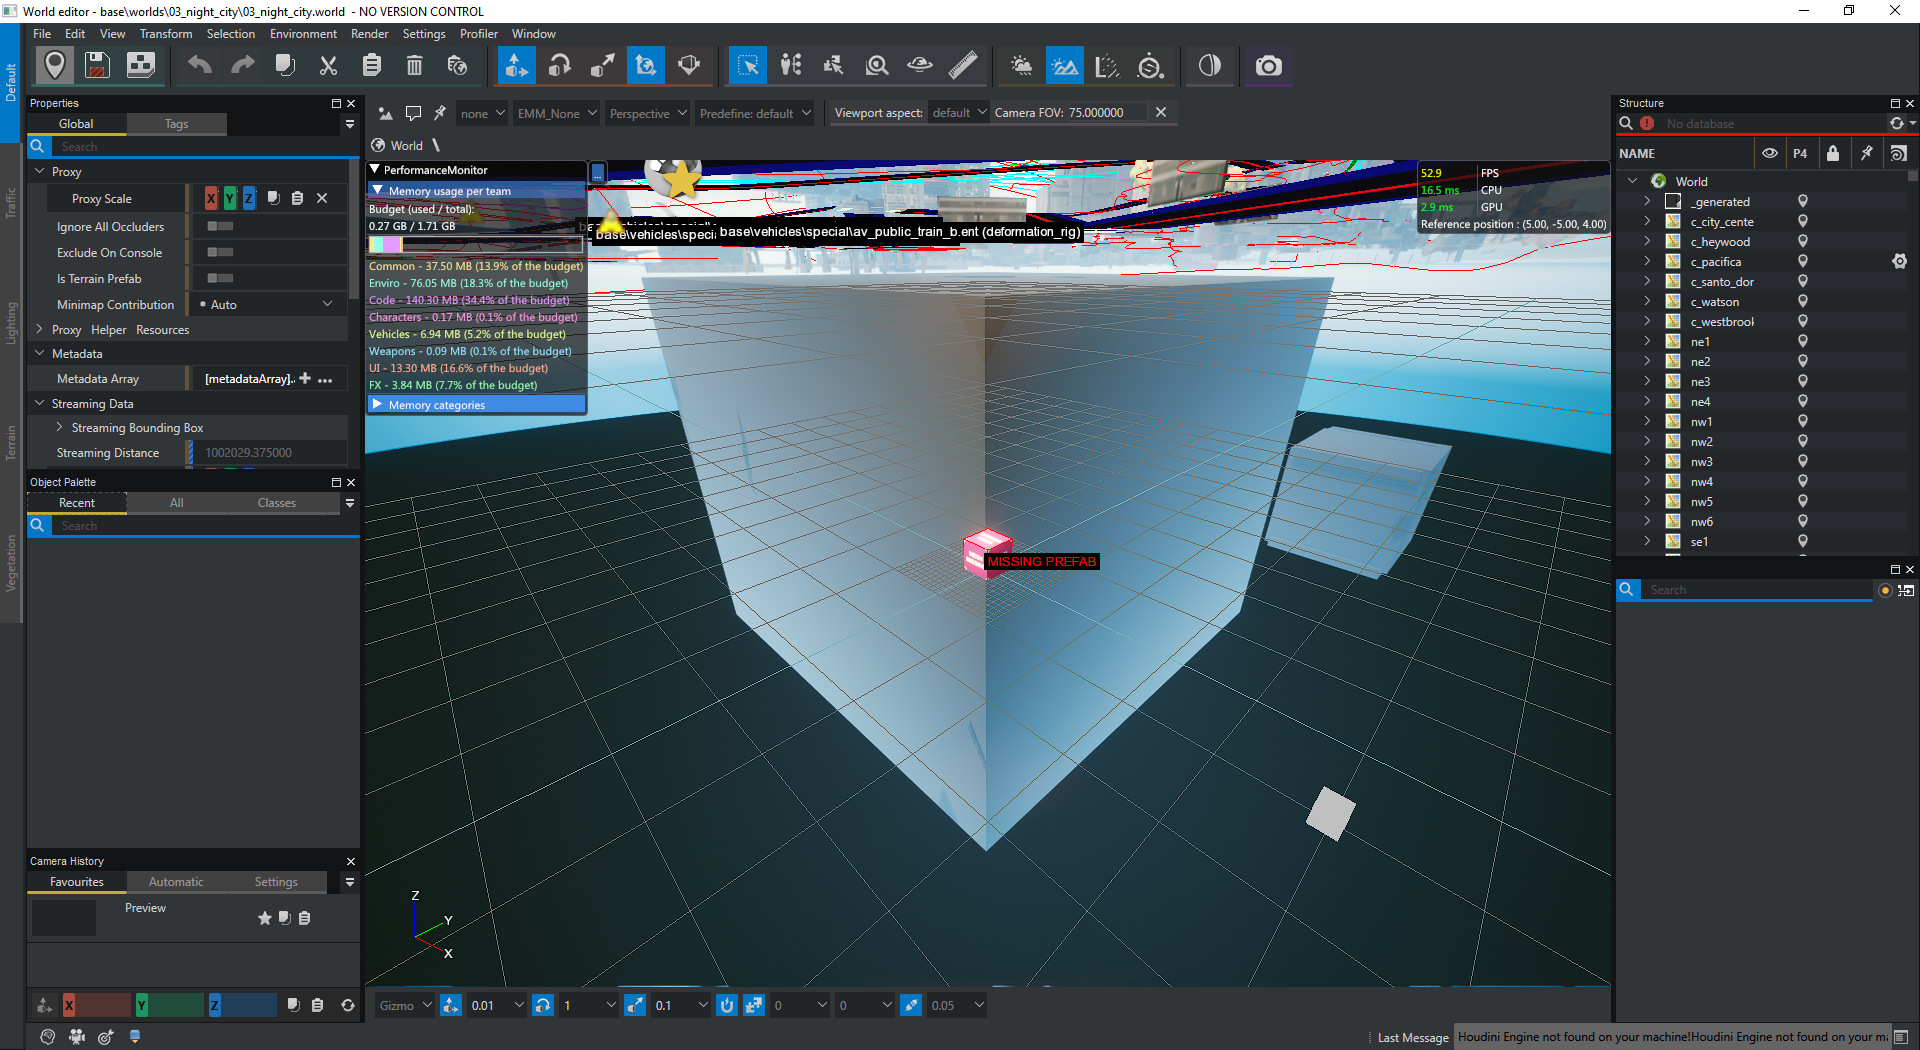
These screenshots are captured directly in the World Editor of the game with the built-in screenshot tool.
Market#
The market is the only area in Watson, other than the remnants of the Steinbeck building and the various other blockouts, which still is in a somewhat finished state. It appears to have been part of a demo level used to showcase the map. It has a lot of references to missing prefabs and meshes, but quite a few buildings still remain and show how the market area would have looked like. It is located diagonally accoss the road of the Steinbeck building, and spawn points for a "fella", "graffiti chap" and "yelling vendor" remain on the sidewalk of the path to the lower level of the market. The diner is located above the market, and the placement of triggers and splines suggests that the demo level started at the diner and ended in front or inside the Steinbeck building.
Spawn points for Tyger Claws, vendors, monks and "walkers" remain in the market area, with splines remaining for the monks and walkers. The walker was supposed to be holding a coffee cup as it moved along the spline. The tunnel area contains spawn points for a homeless person and a "braindancer".
demo_diner
demo_diner.prefab, found in the path \R6.Root\Mainline\r6\depot\base\prefabs\environment\architecture\diner , is a diner found above the market. It was likely a central location in this revision of the game's story, as it is also featured in a map belonging to the moon levels.
2018 Demo Area#
The southern area of Watson contains what appears to be a blockout of sorts of the area used in the 2018 demo of the game, which is seen in the 48-minute walkthrough. It contains a mix of both older 01_nightcity assets and newer 03_night_city assets and the area seems to have been used as a base for creating the Little China and Kabuki areas of the final map, as assets belonging to the older 01_nightcity version of the map has simply been pulled down below the terrain in the editor. Most of the buildings seen around the megabuilding, market and Misty's shop area use the same .prefab files as the final 03_night_city map. The Kabuki area though uses .prefab files stored in the 01_nightcity folder, and are different from the final map. The map has only been built-up in the areas of the path from V's apartment to the All Foods Factory.
02_moon#
|
|
To do:
|
The leak contains several assets related to the “Moon”, which were used for quests set on the Moon. This level would likely have been used during the later part of the story of the game during early development of the game. The assets show that, likely contrary to popular belief, these assets are probably not related to a second DLC of the game but are rather remnants of the story as written during the early development of the game.
A big clue is seen in the prefix of the name of the map, “02_moon”, where 02 is before the prefixes used by the maps used after the reboot of the game, 03_night_city, and also 04_main_menu, the latter map being the one that is internally used by the main menu of the game.
Another clue is that the prefabs used by the 02_moon maps, reference the quest identifiers q109 and q202. q109 is unused in the final game, and q202 is used by the Nomad ending. The nomad ending doesn’t have an obvious connection to the cut Moon levels. Phantom Liberty uses q300 prefixed quests, and as this version of the Moon assets uses q200 quest identifiers that are used by endings in the final game, means they were likely planned at a time when the Moon levels were a part of the regular story of the game, and before the story, endings and expansions of the current game was written, which would have been during early development of the game.
A few assets used by the Moon levels also refer to features cut in the final game. The exterior_movie_set_south prefab contains a tag that mentions a “cutscene_location”. This tag possibly refers to a third-person cutscene. Third-person cutscenes is a feature that was cut during the later stages of the development of Cyberpunk. The zone_west_leveldesign prefab contains the q109_flann_chase prefab which references a mesh named “steinbeck_building_roof_antenna_b”, that was used by the Steinbeck building built and used during the pre-reboot era of the game, cut from the final game.
Some assets related to the Moon are stored in a deleted folder, “base\quest\main_quests\part2\” referring to a “part2” of the game. References to this folder is only found in the leak in assets related to the cut Moon level. In the final game, “part1” is used by main quests not related to the epilogue or ending.
Additionally, some assets are stored in the personal folder (\R6.Root\Mainline\r6\depot\non_production\user) of a developer who left CD Projekt RED in early 2018, which shows that this map was being worked on in the early stages of development of the game. There are also some quite polished moon assets that are stored in the personal folder of a separate developer who started working at CD Projekt RED in early 2018, which confirms that development of the map was still ongoing during that year. A prefab of an aquarium used in the q203_vision map is stored in a folder named "august_2018_cleanup", which suggests work on the moon map was still ongoing in August 2018, after the 2018 E3 demo which showed off the new 03_night_city map.
As these Moon assets refer to assets and features not used in the final game, and contains references to folders that differ from folder structures used in the final game, they are likely from an earlier stage of development, and was probably developed sometime around 2017-2018.
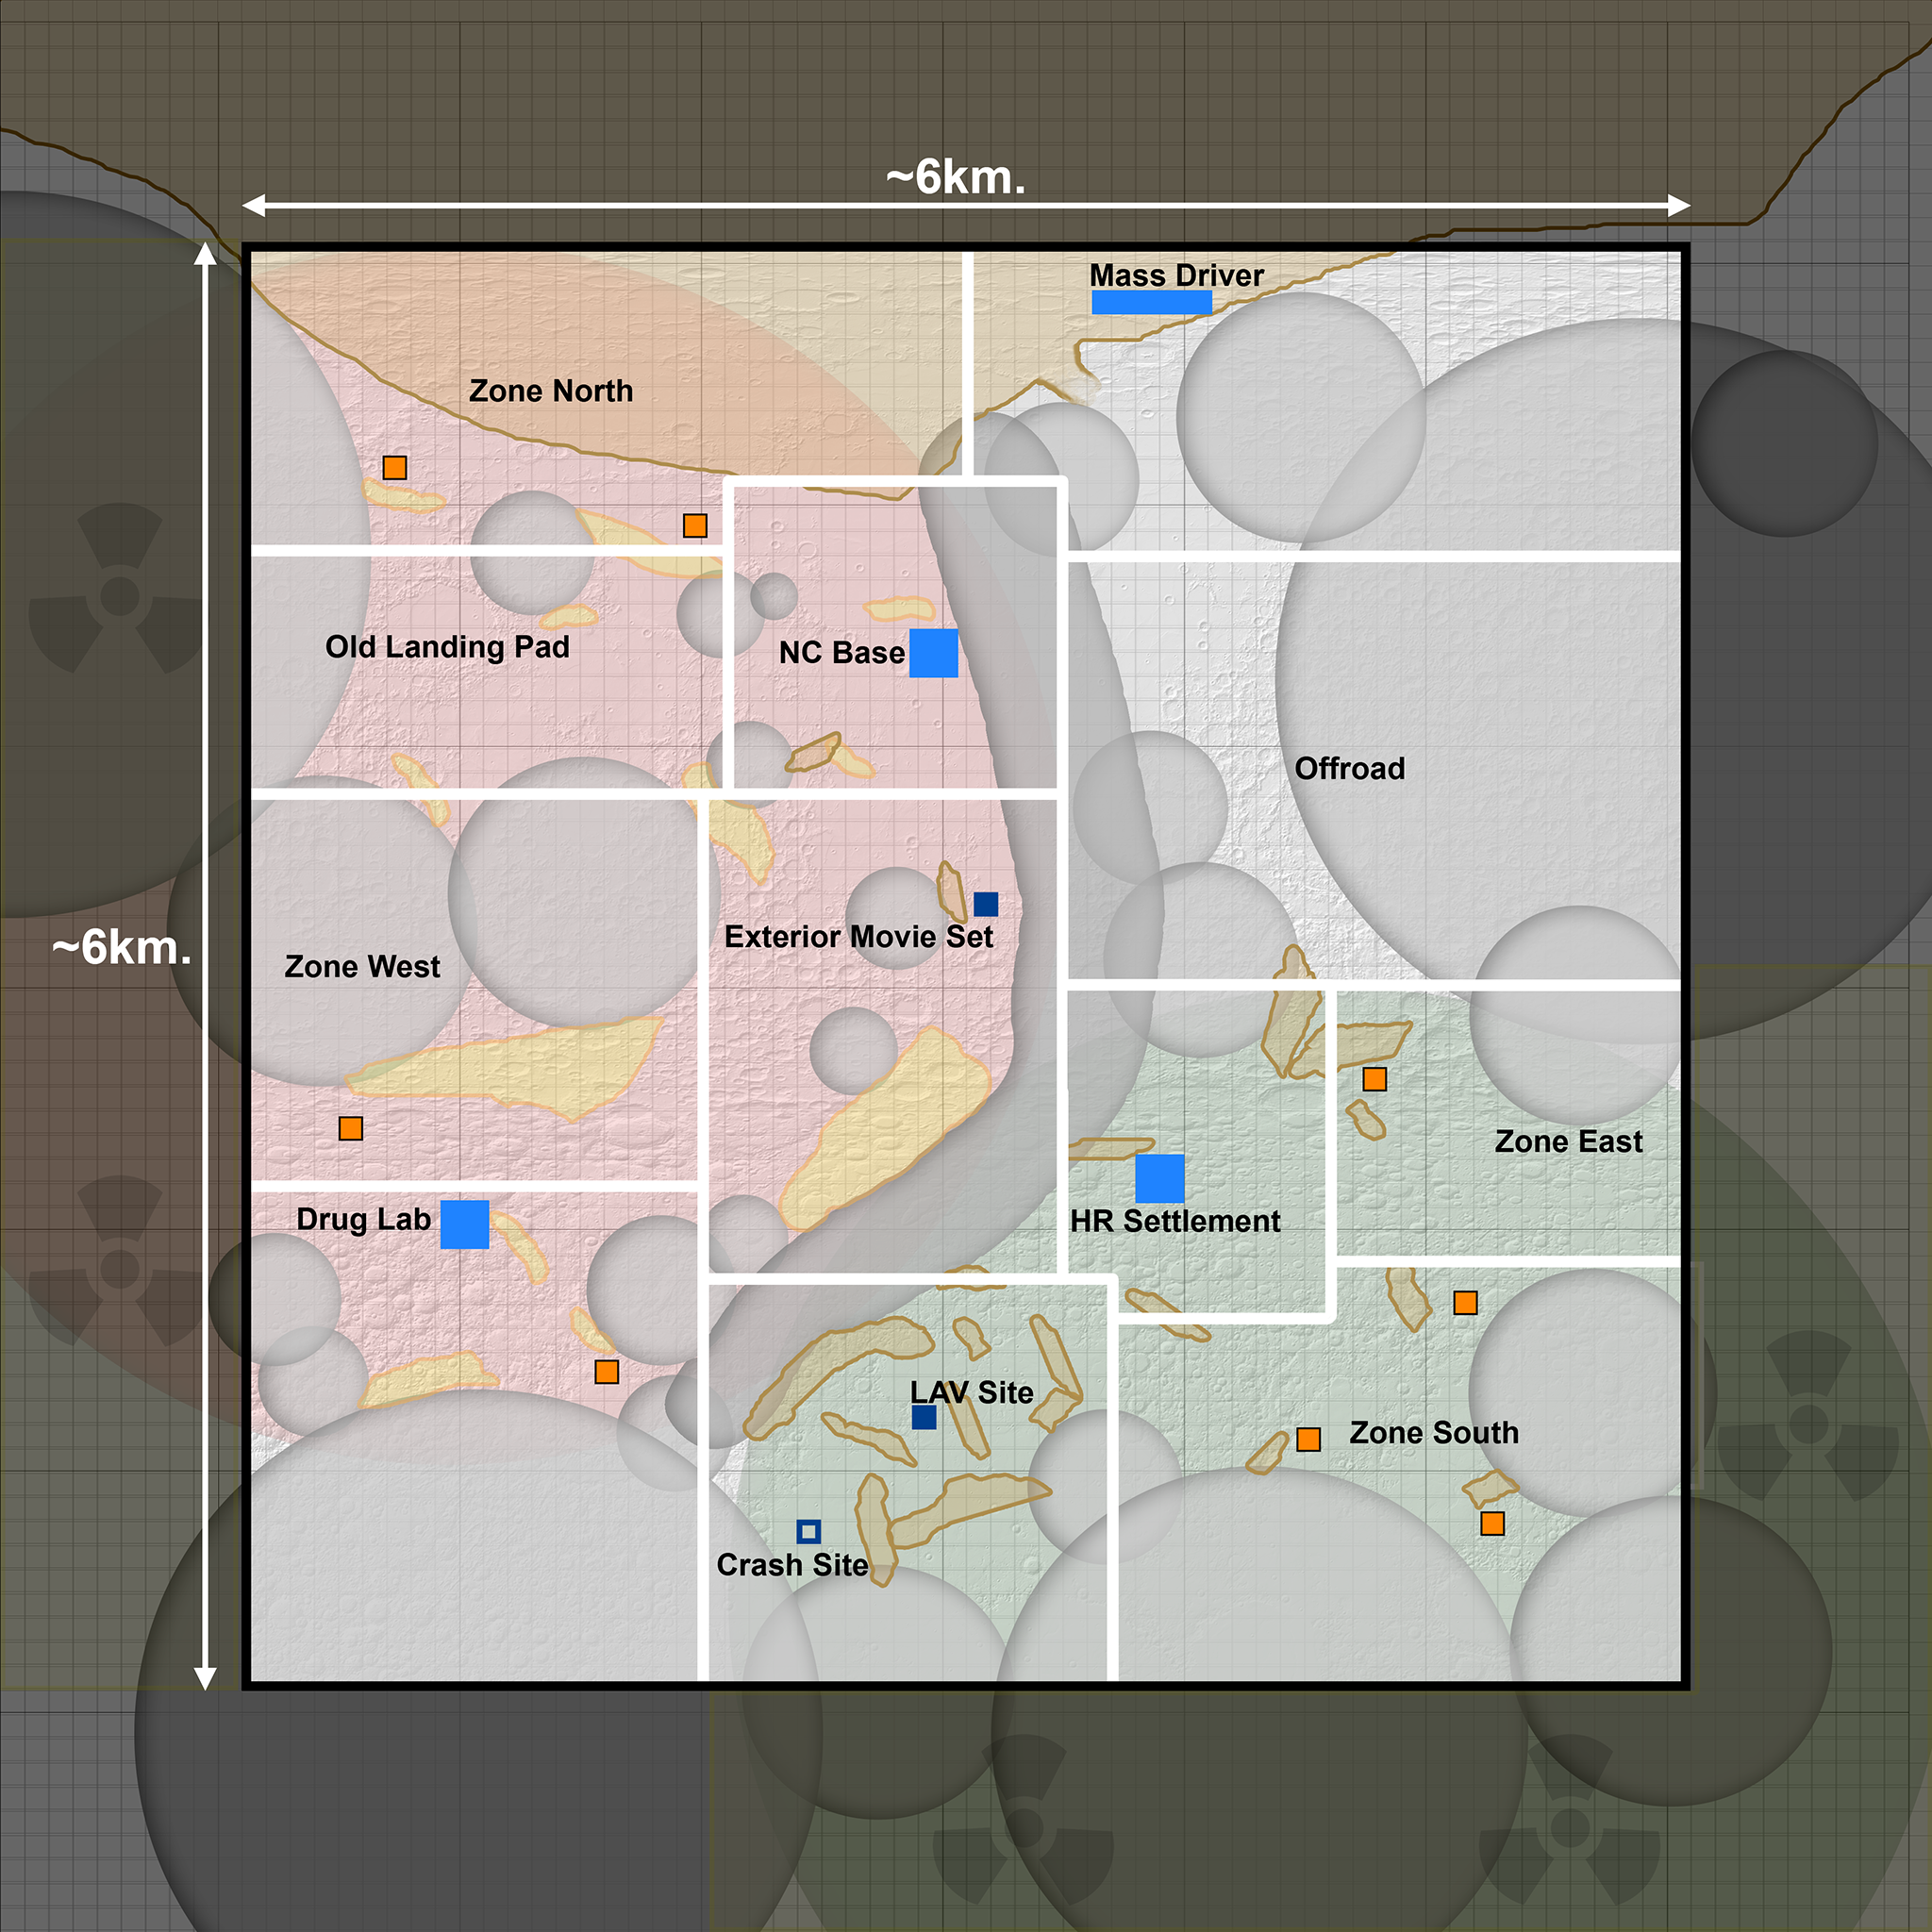
Map#
A map of the Moon level. It shows all the locations of the map, and that the western and south edges of the map would have been blocked off by radiation.
drug_lab#
drug_lab_north
drug_lab_south
exterior_movie_set#
exterior_movie_set_north
exterior_movie_set_south
terrain_tmp
hr_settlement#
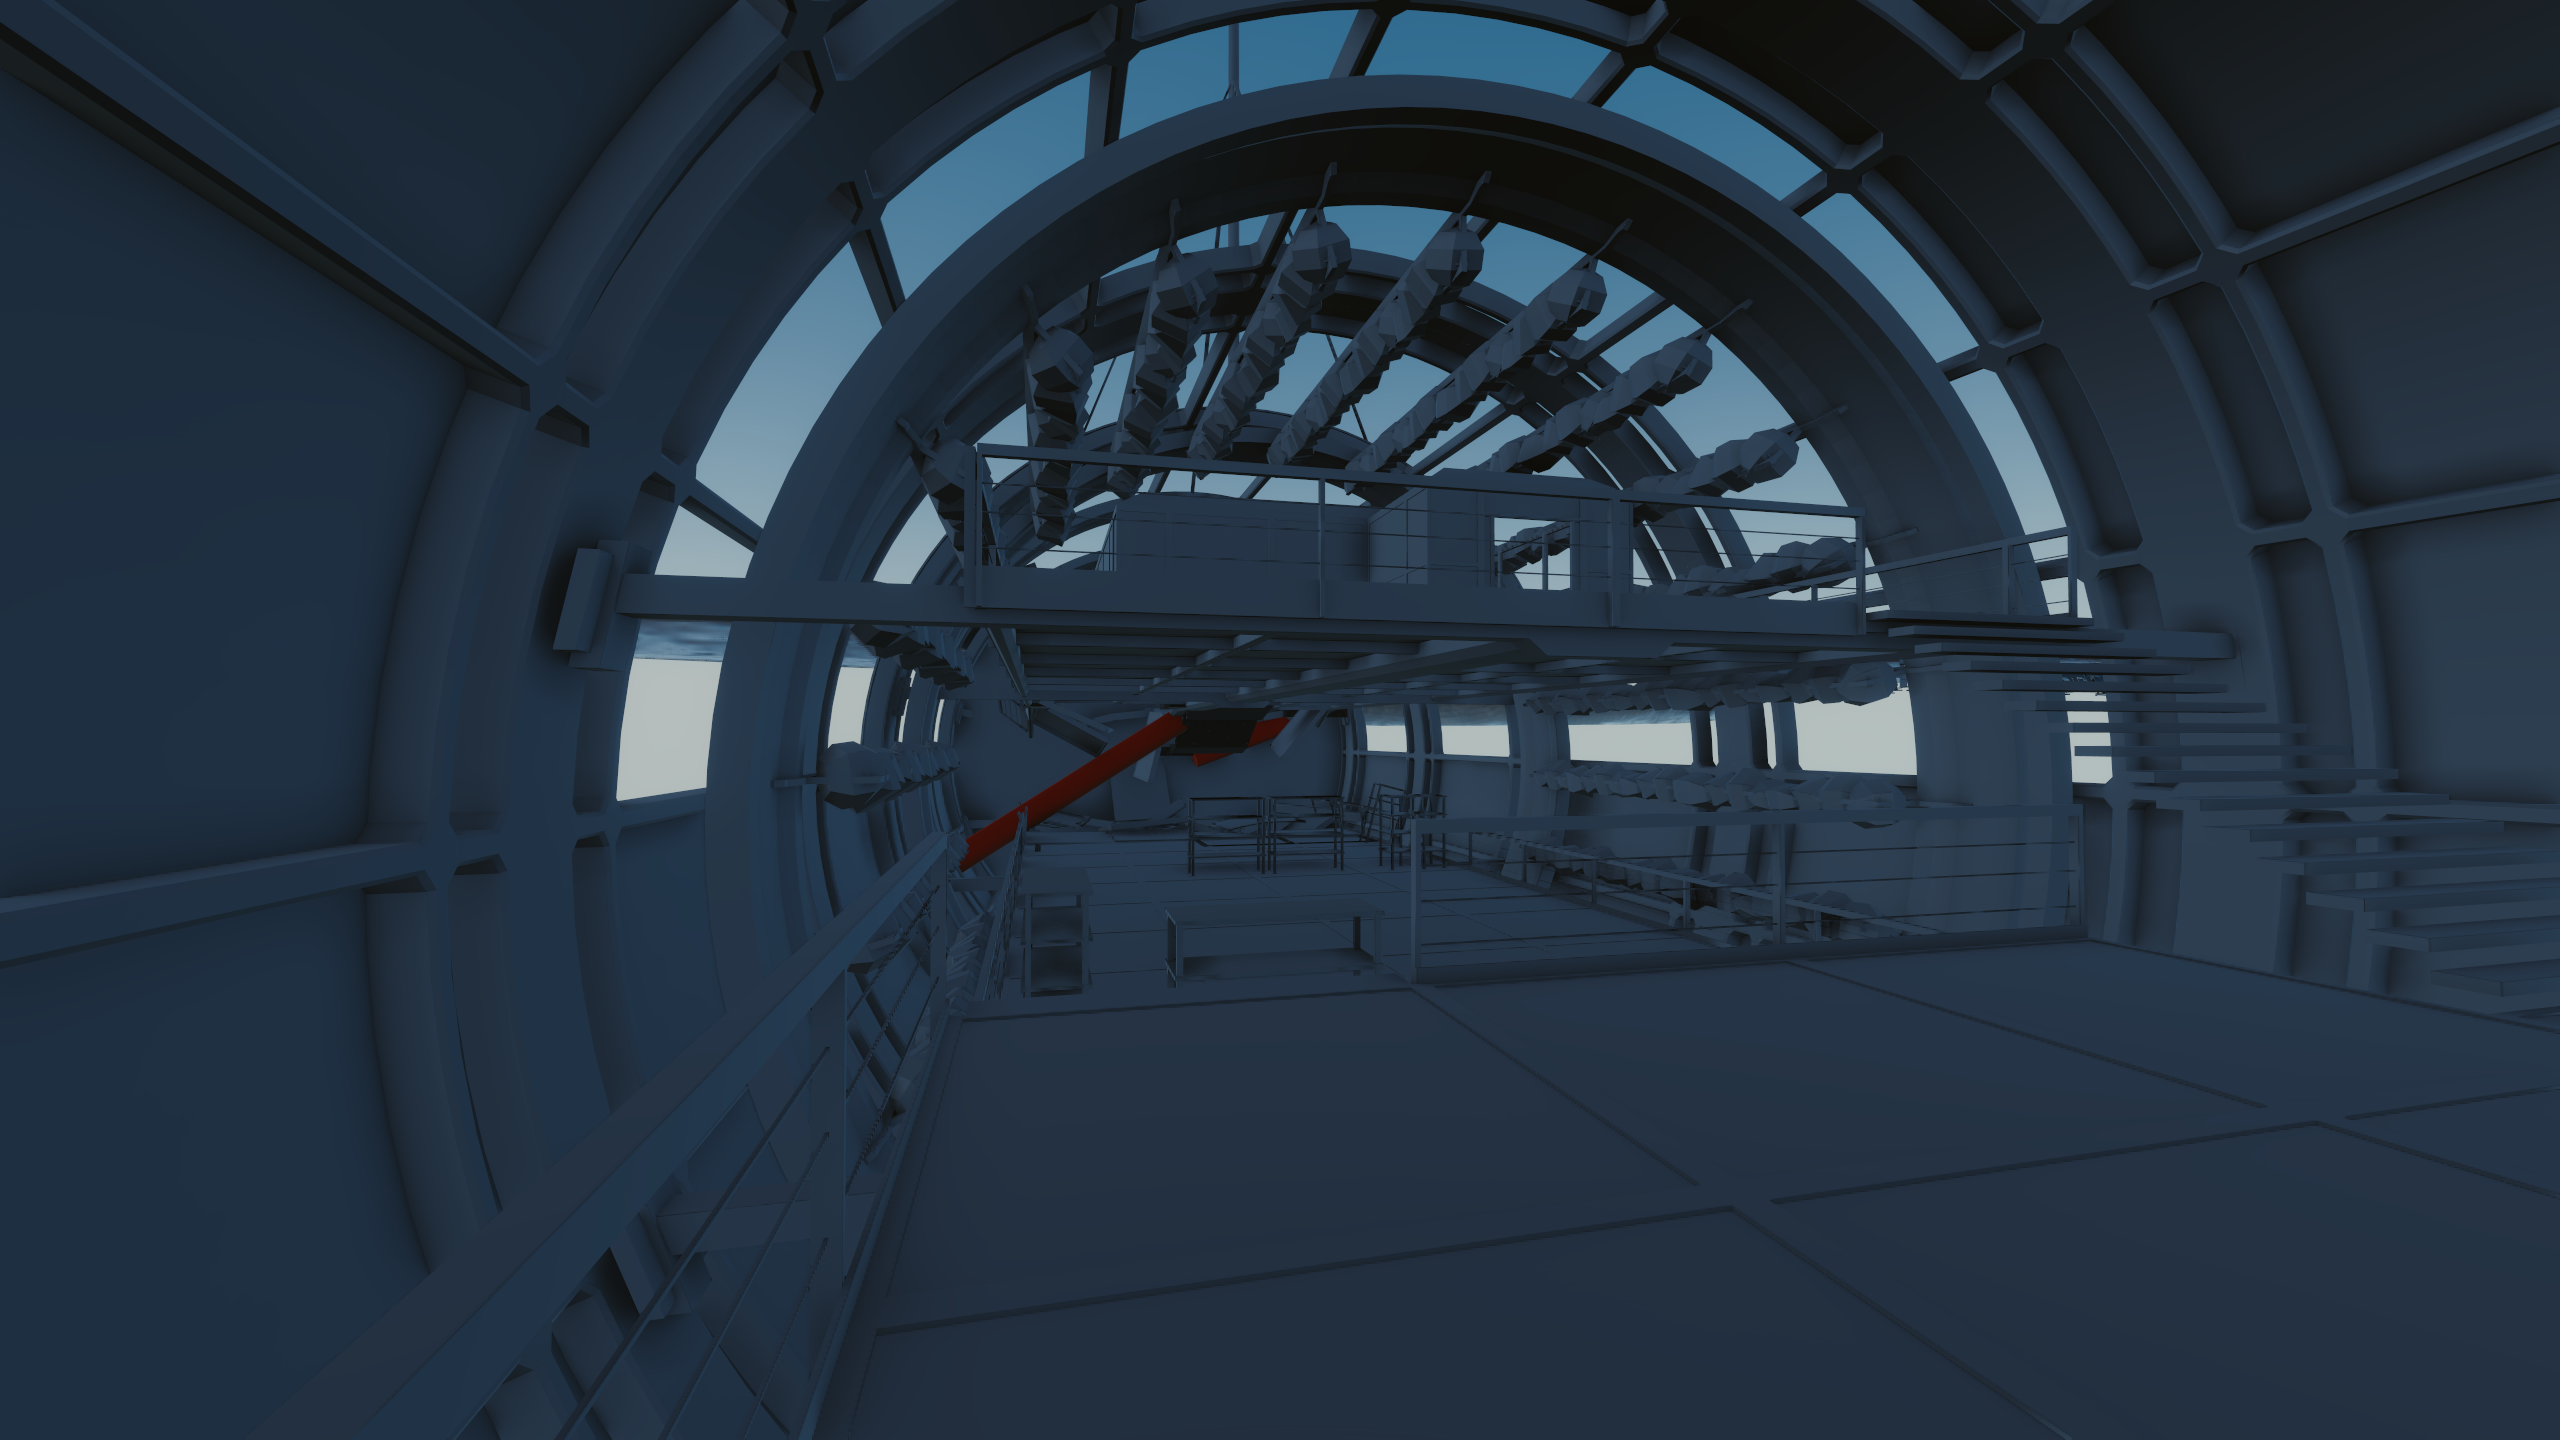
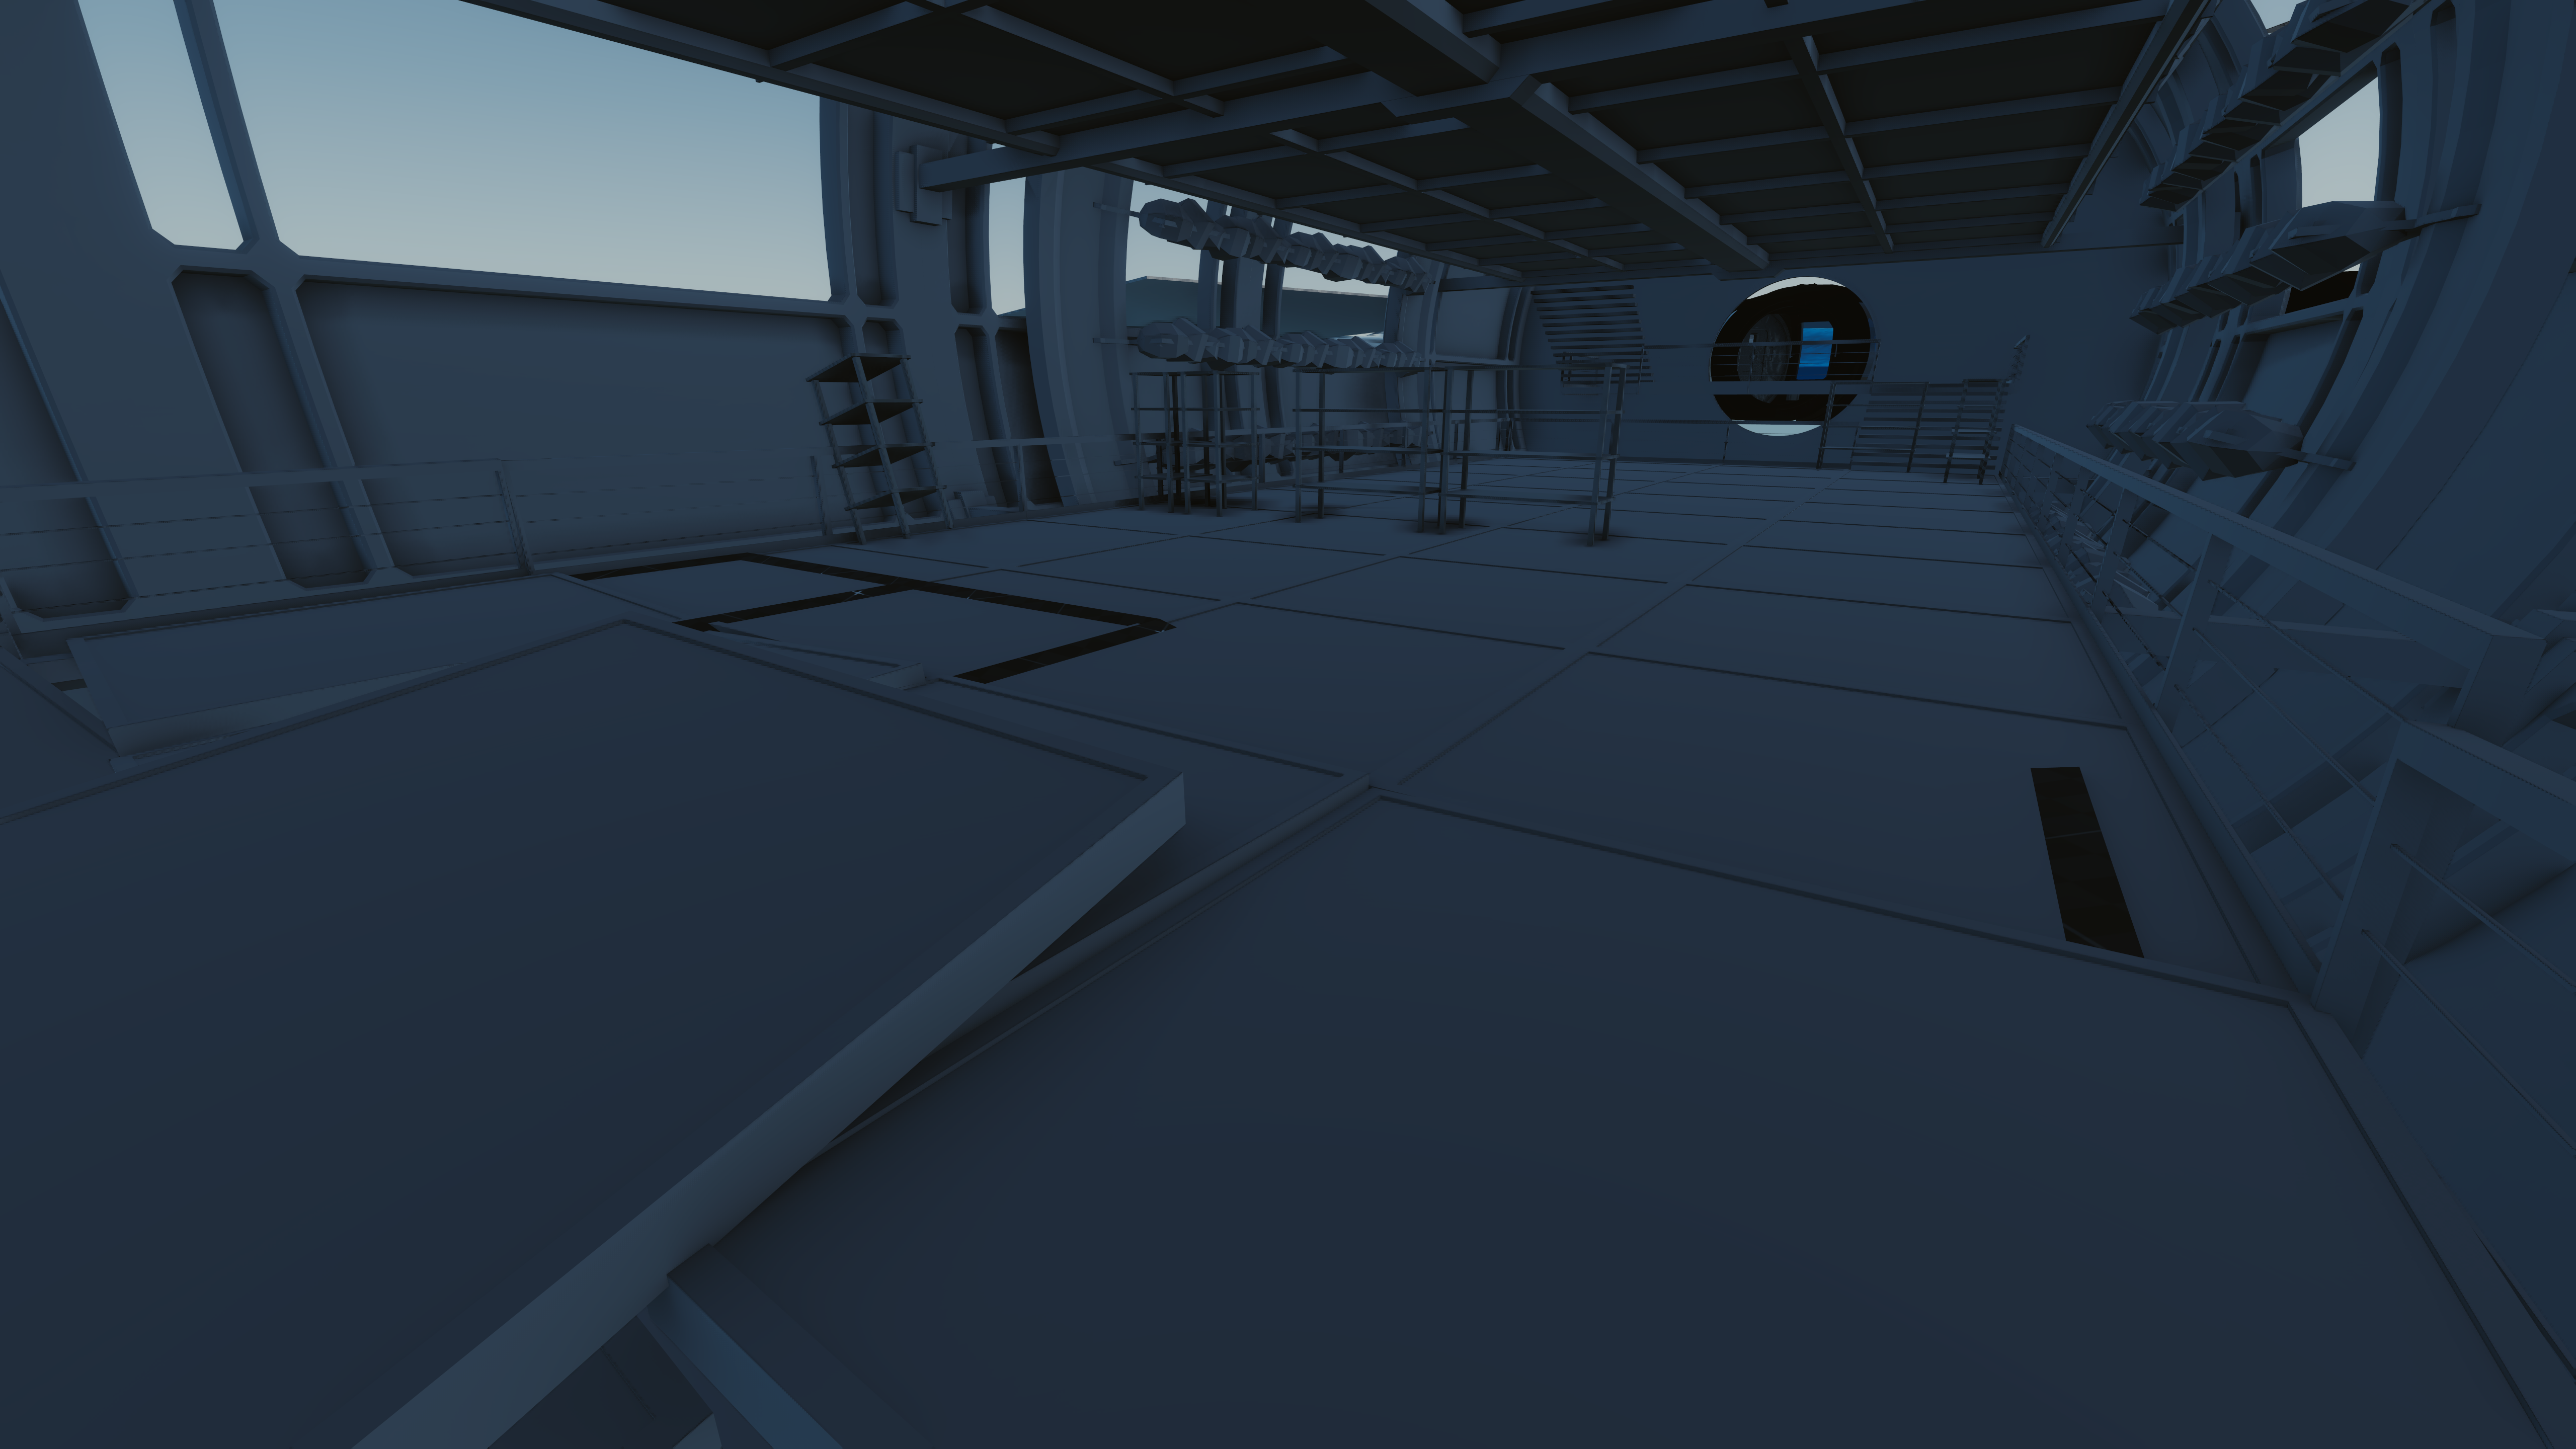
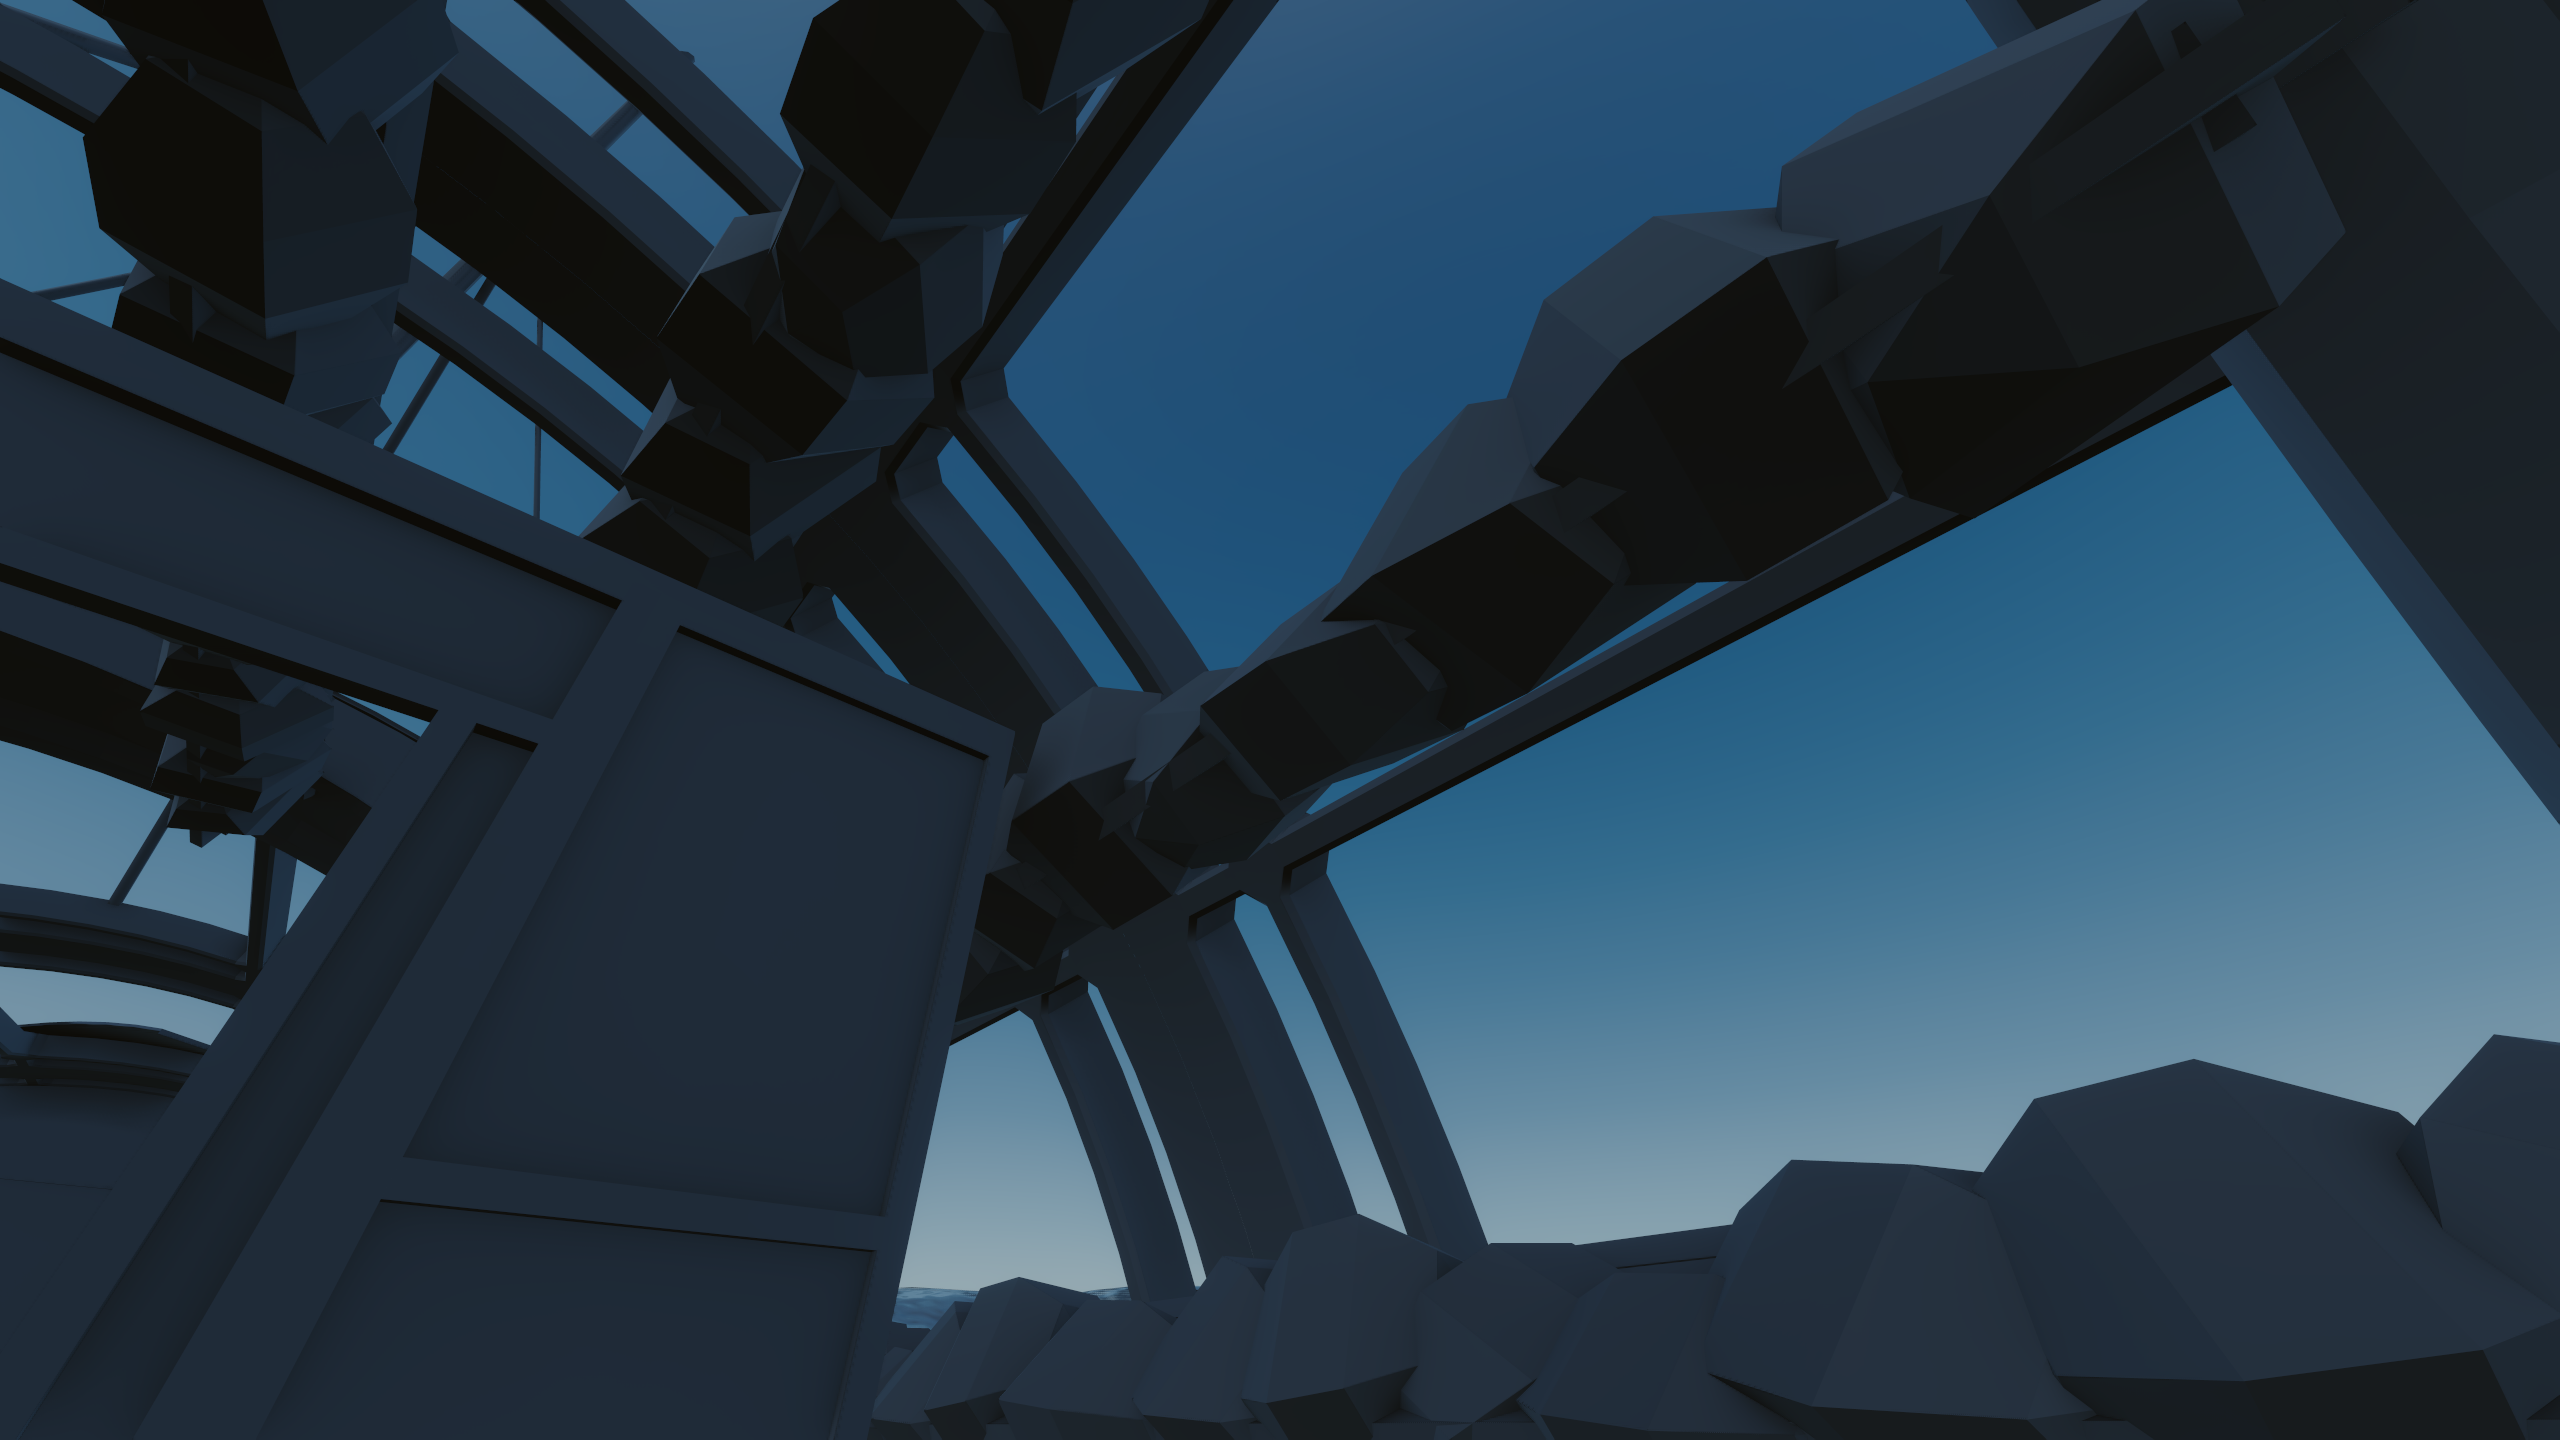
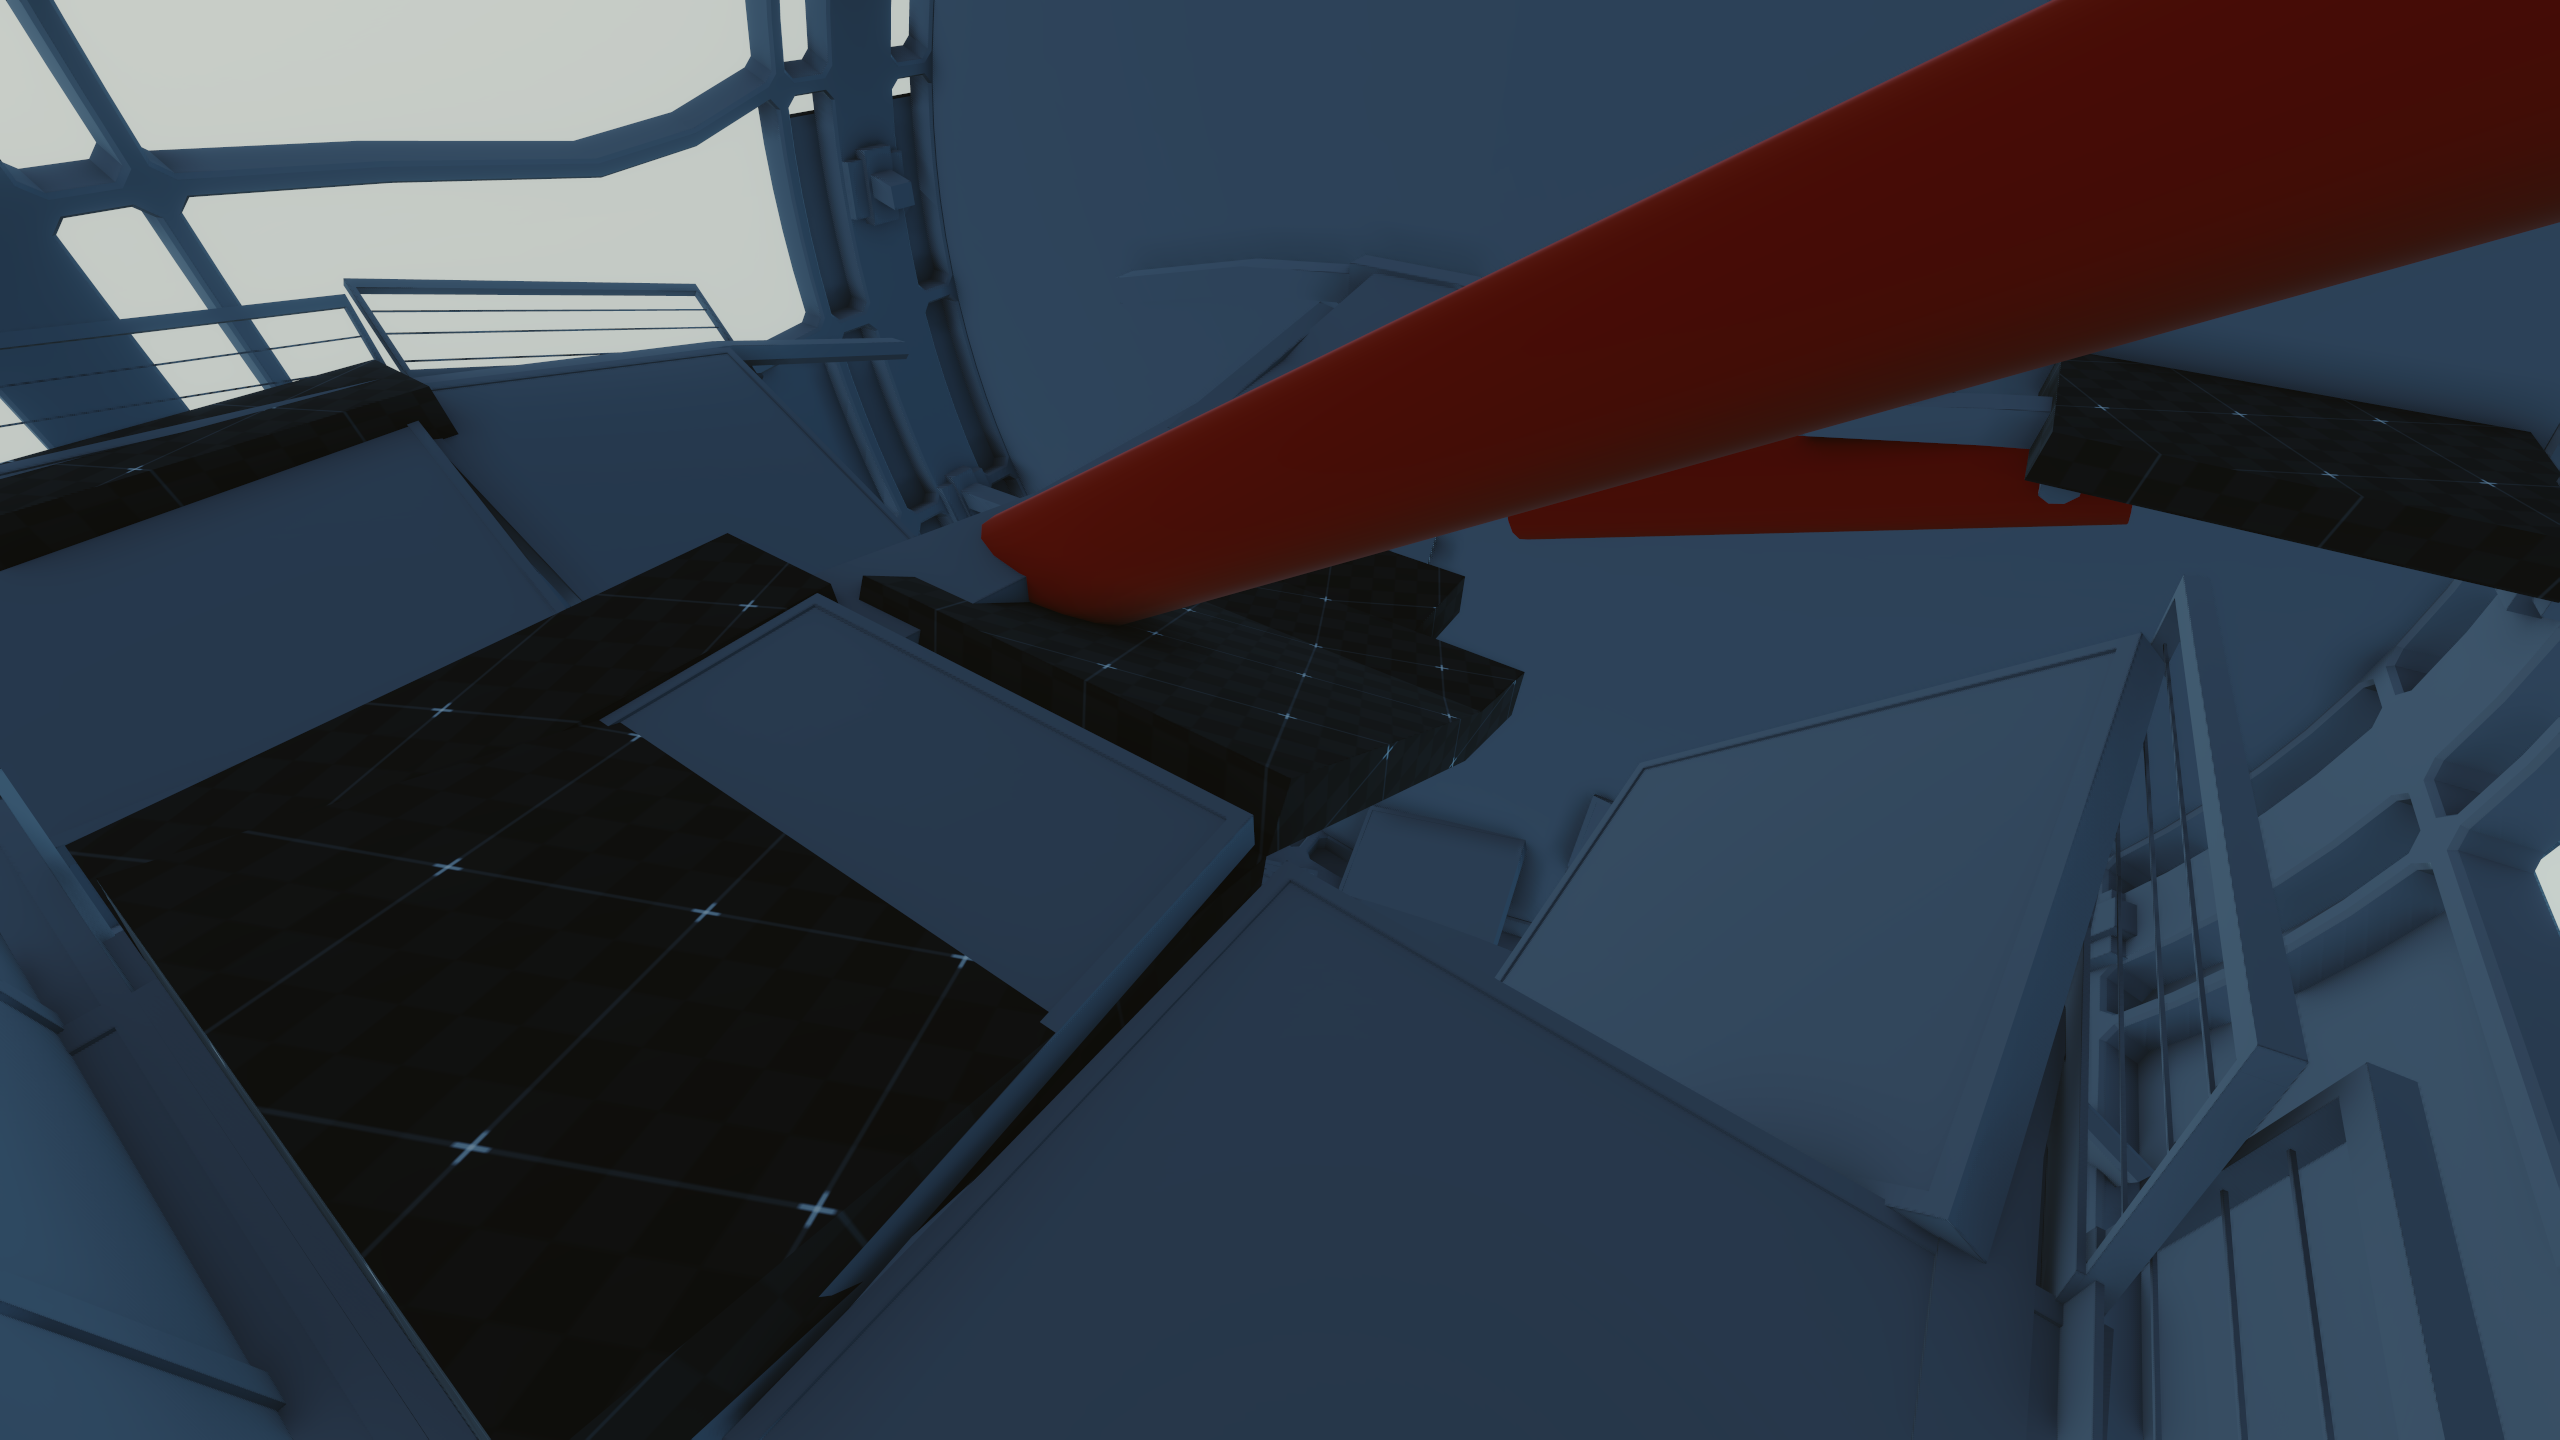
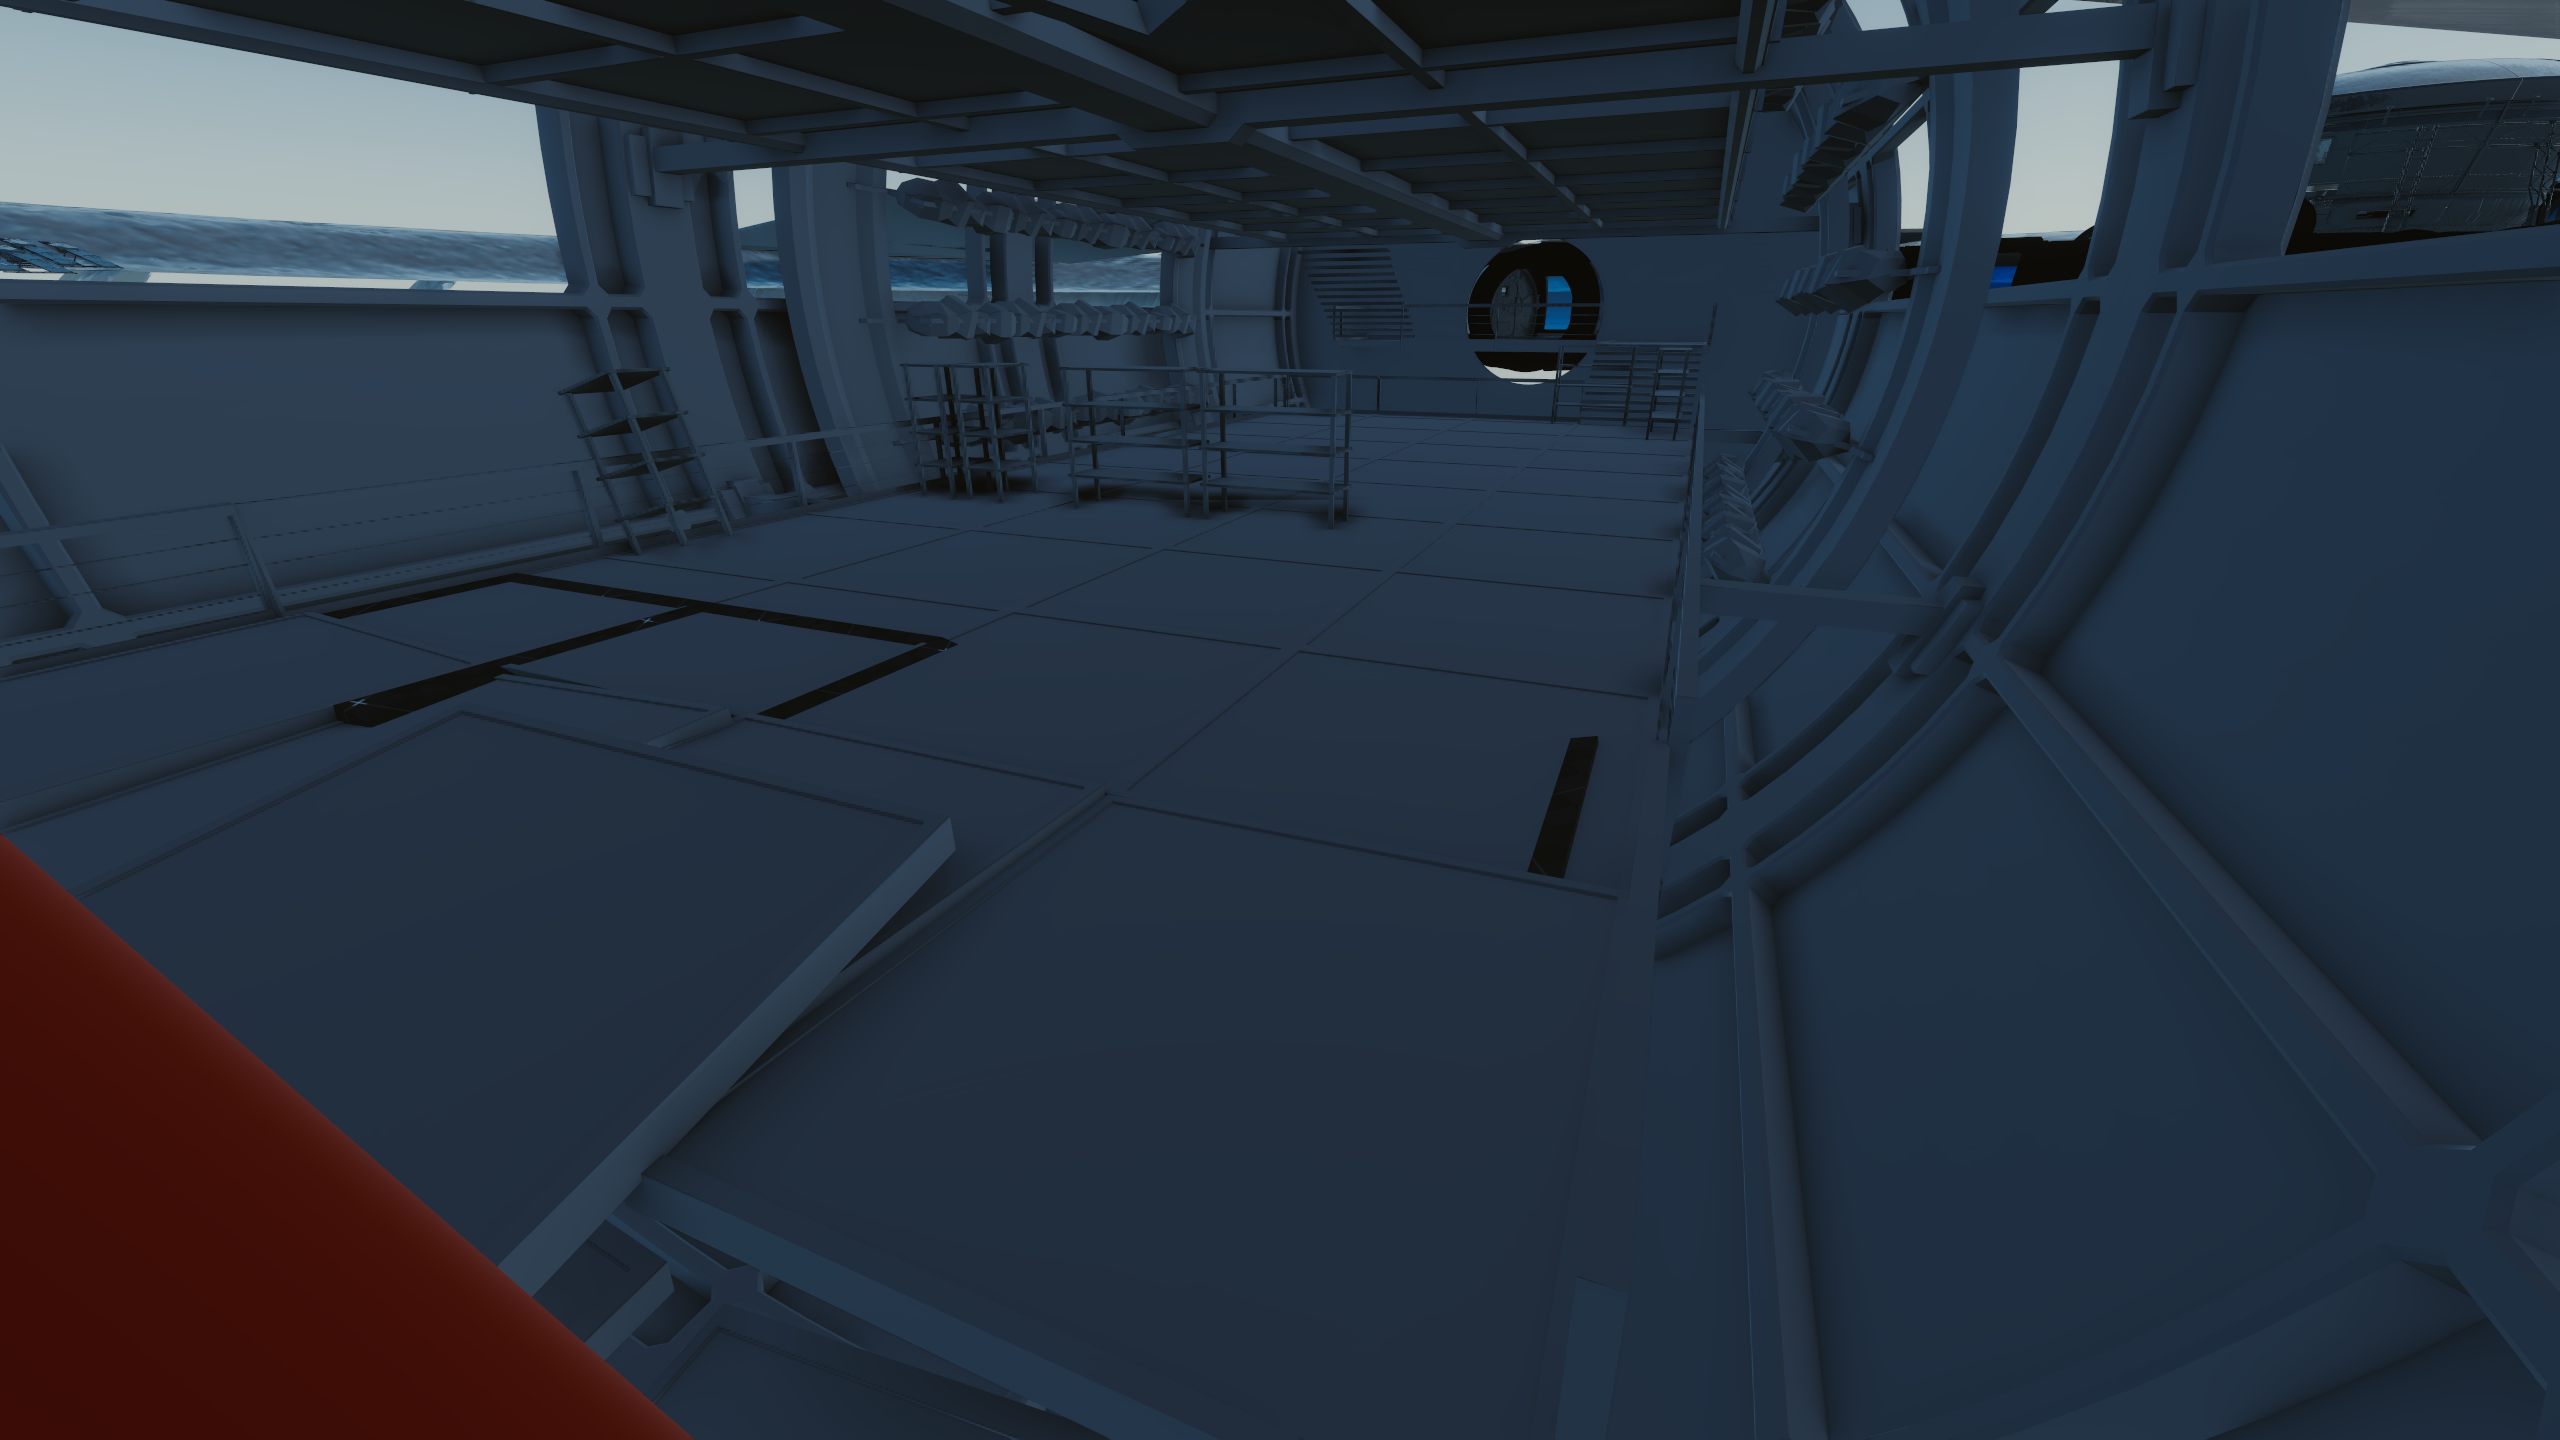
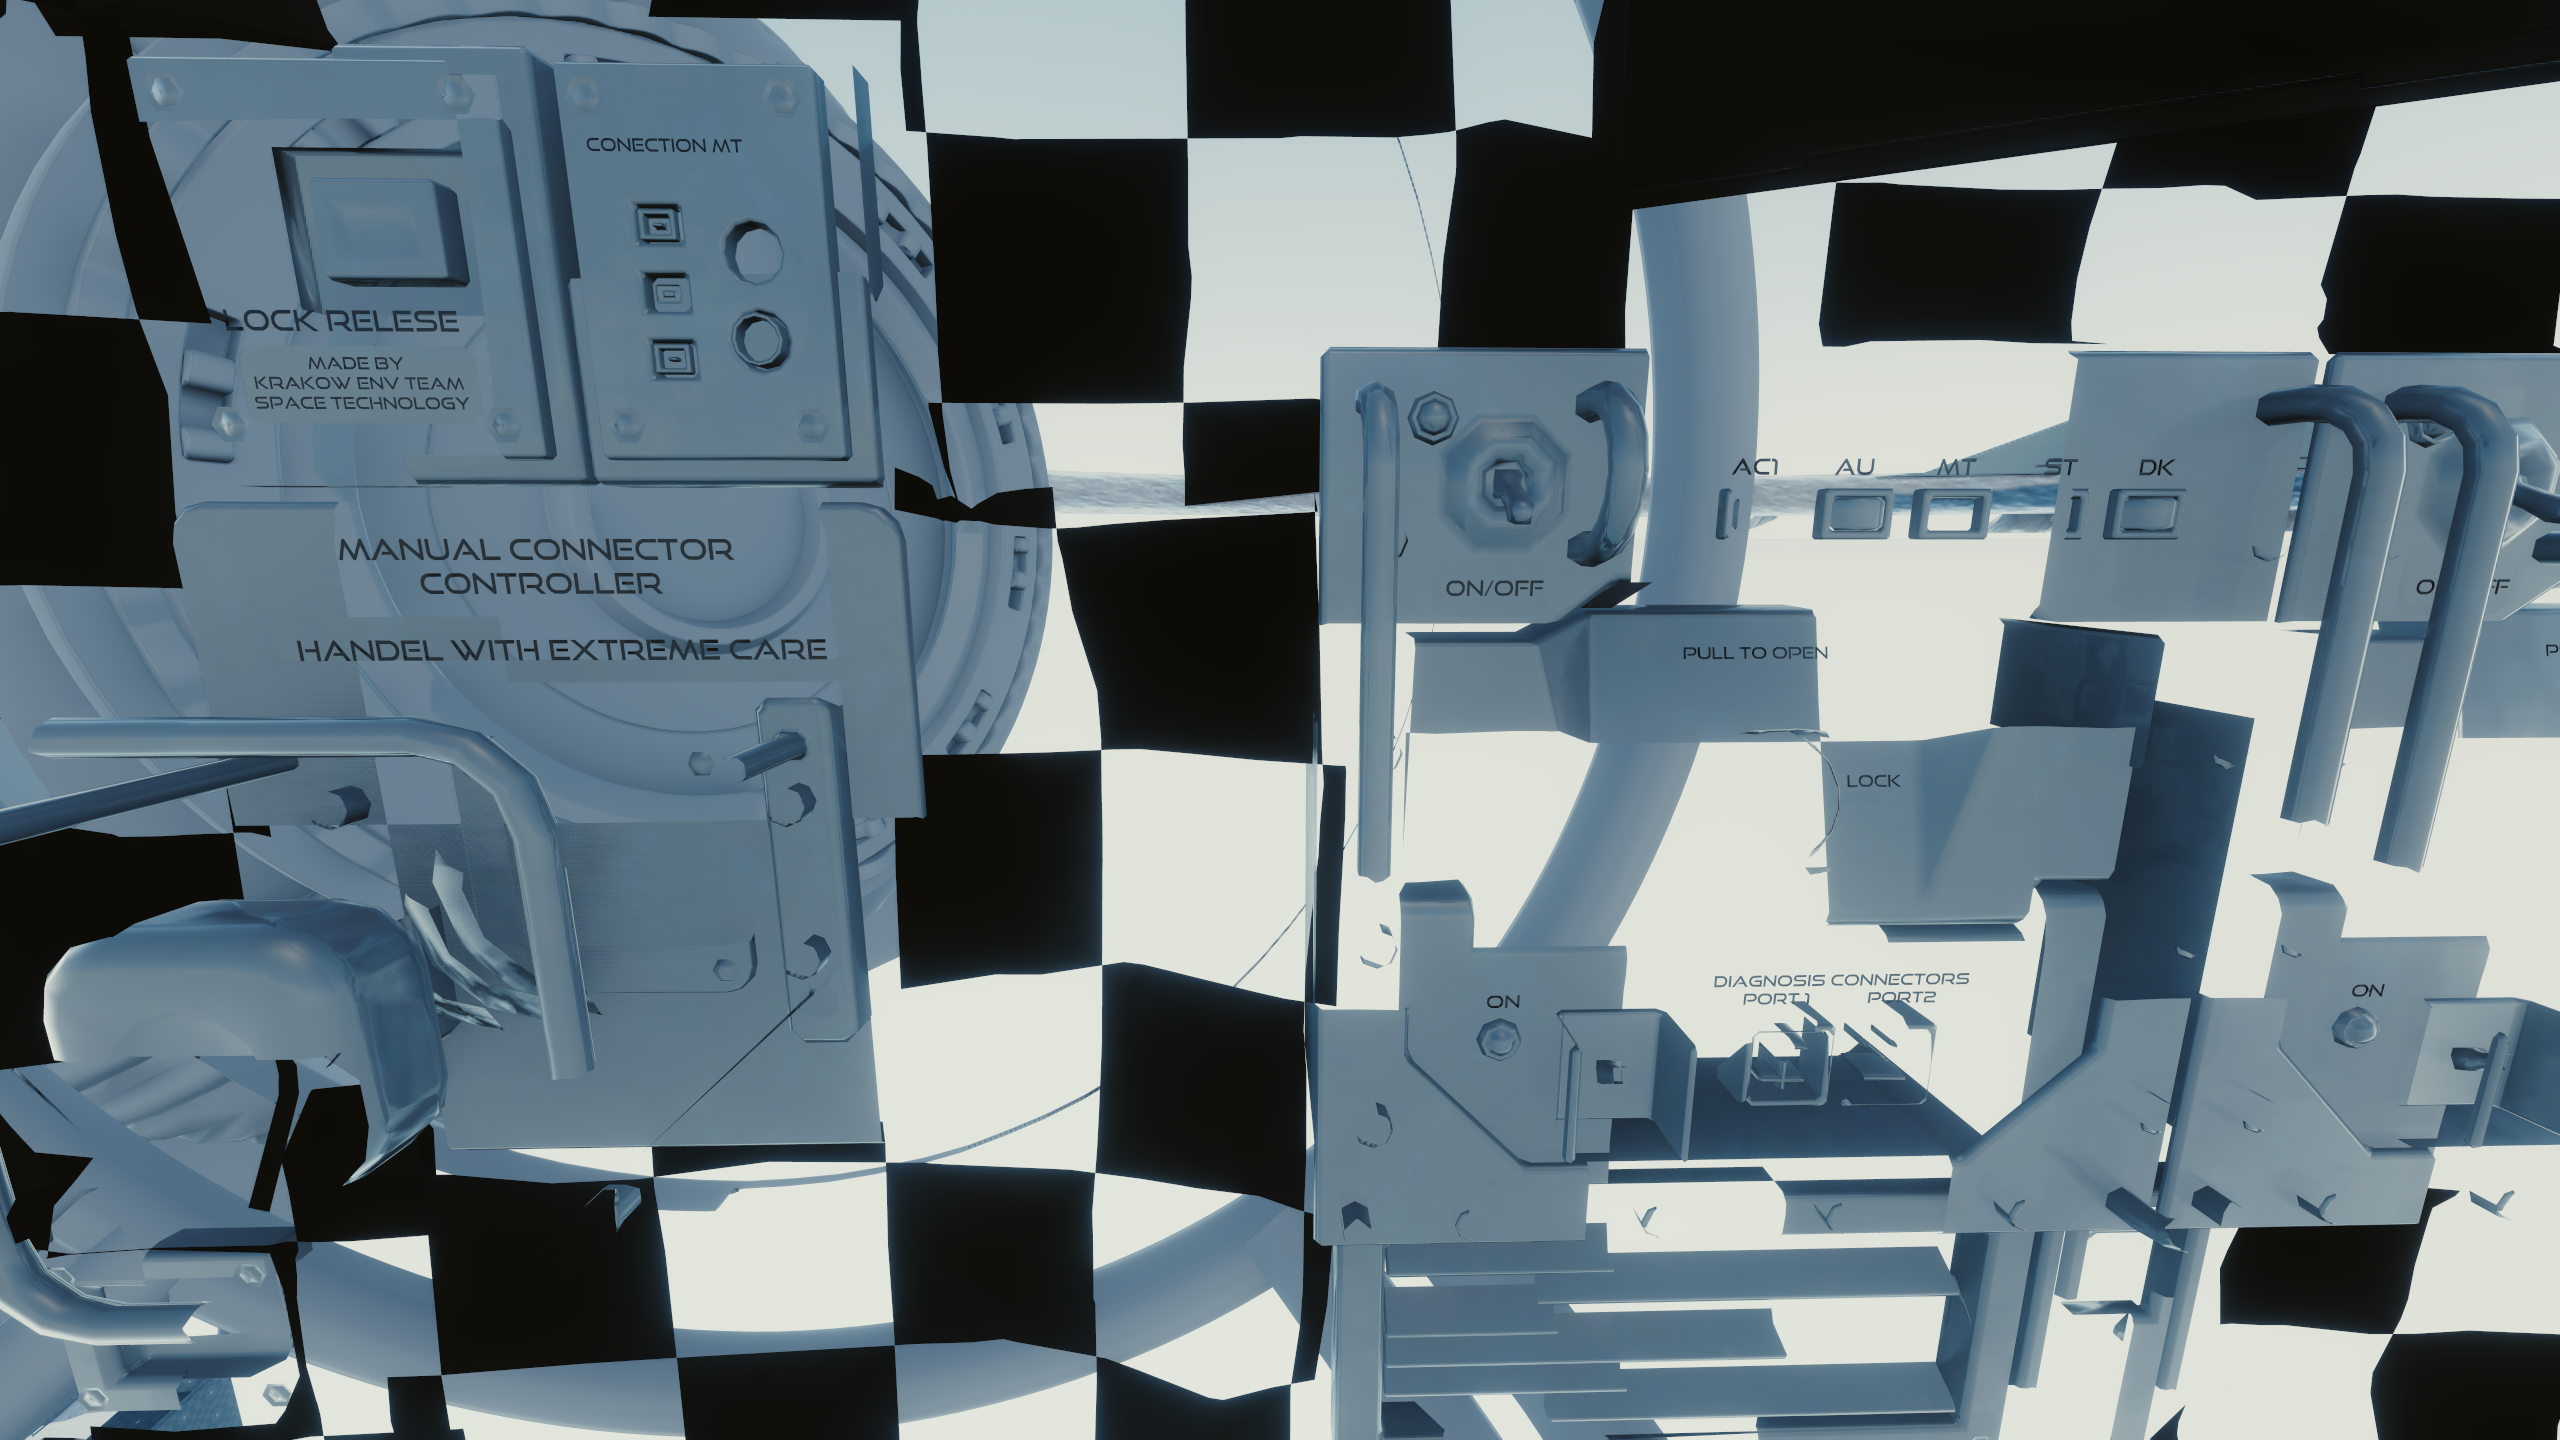
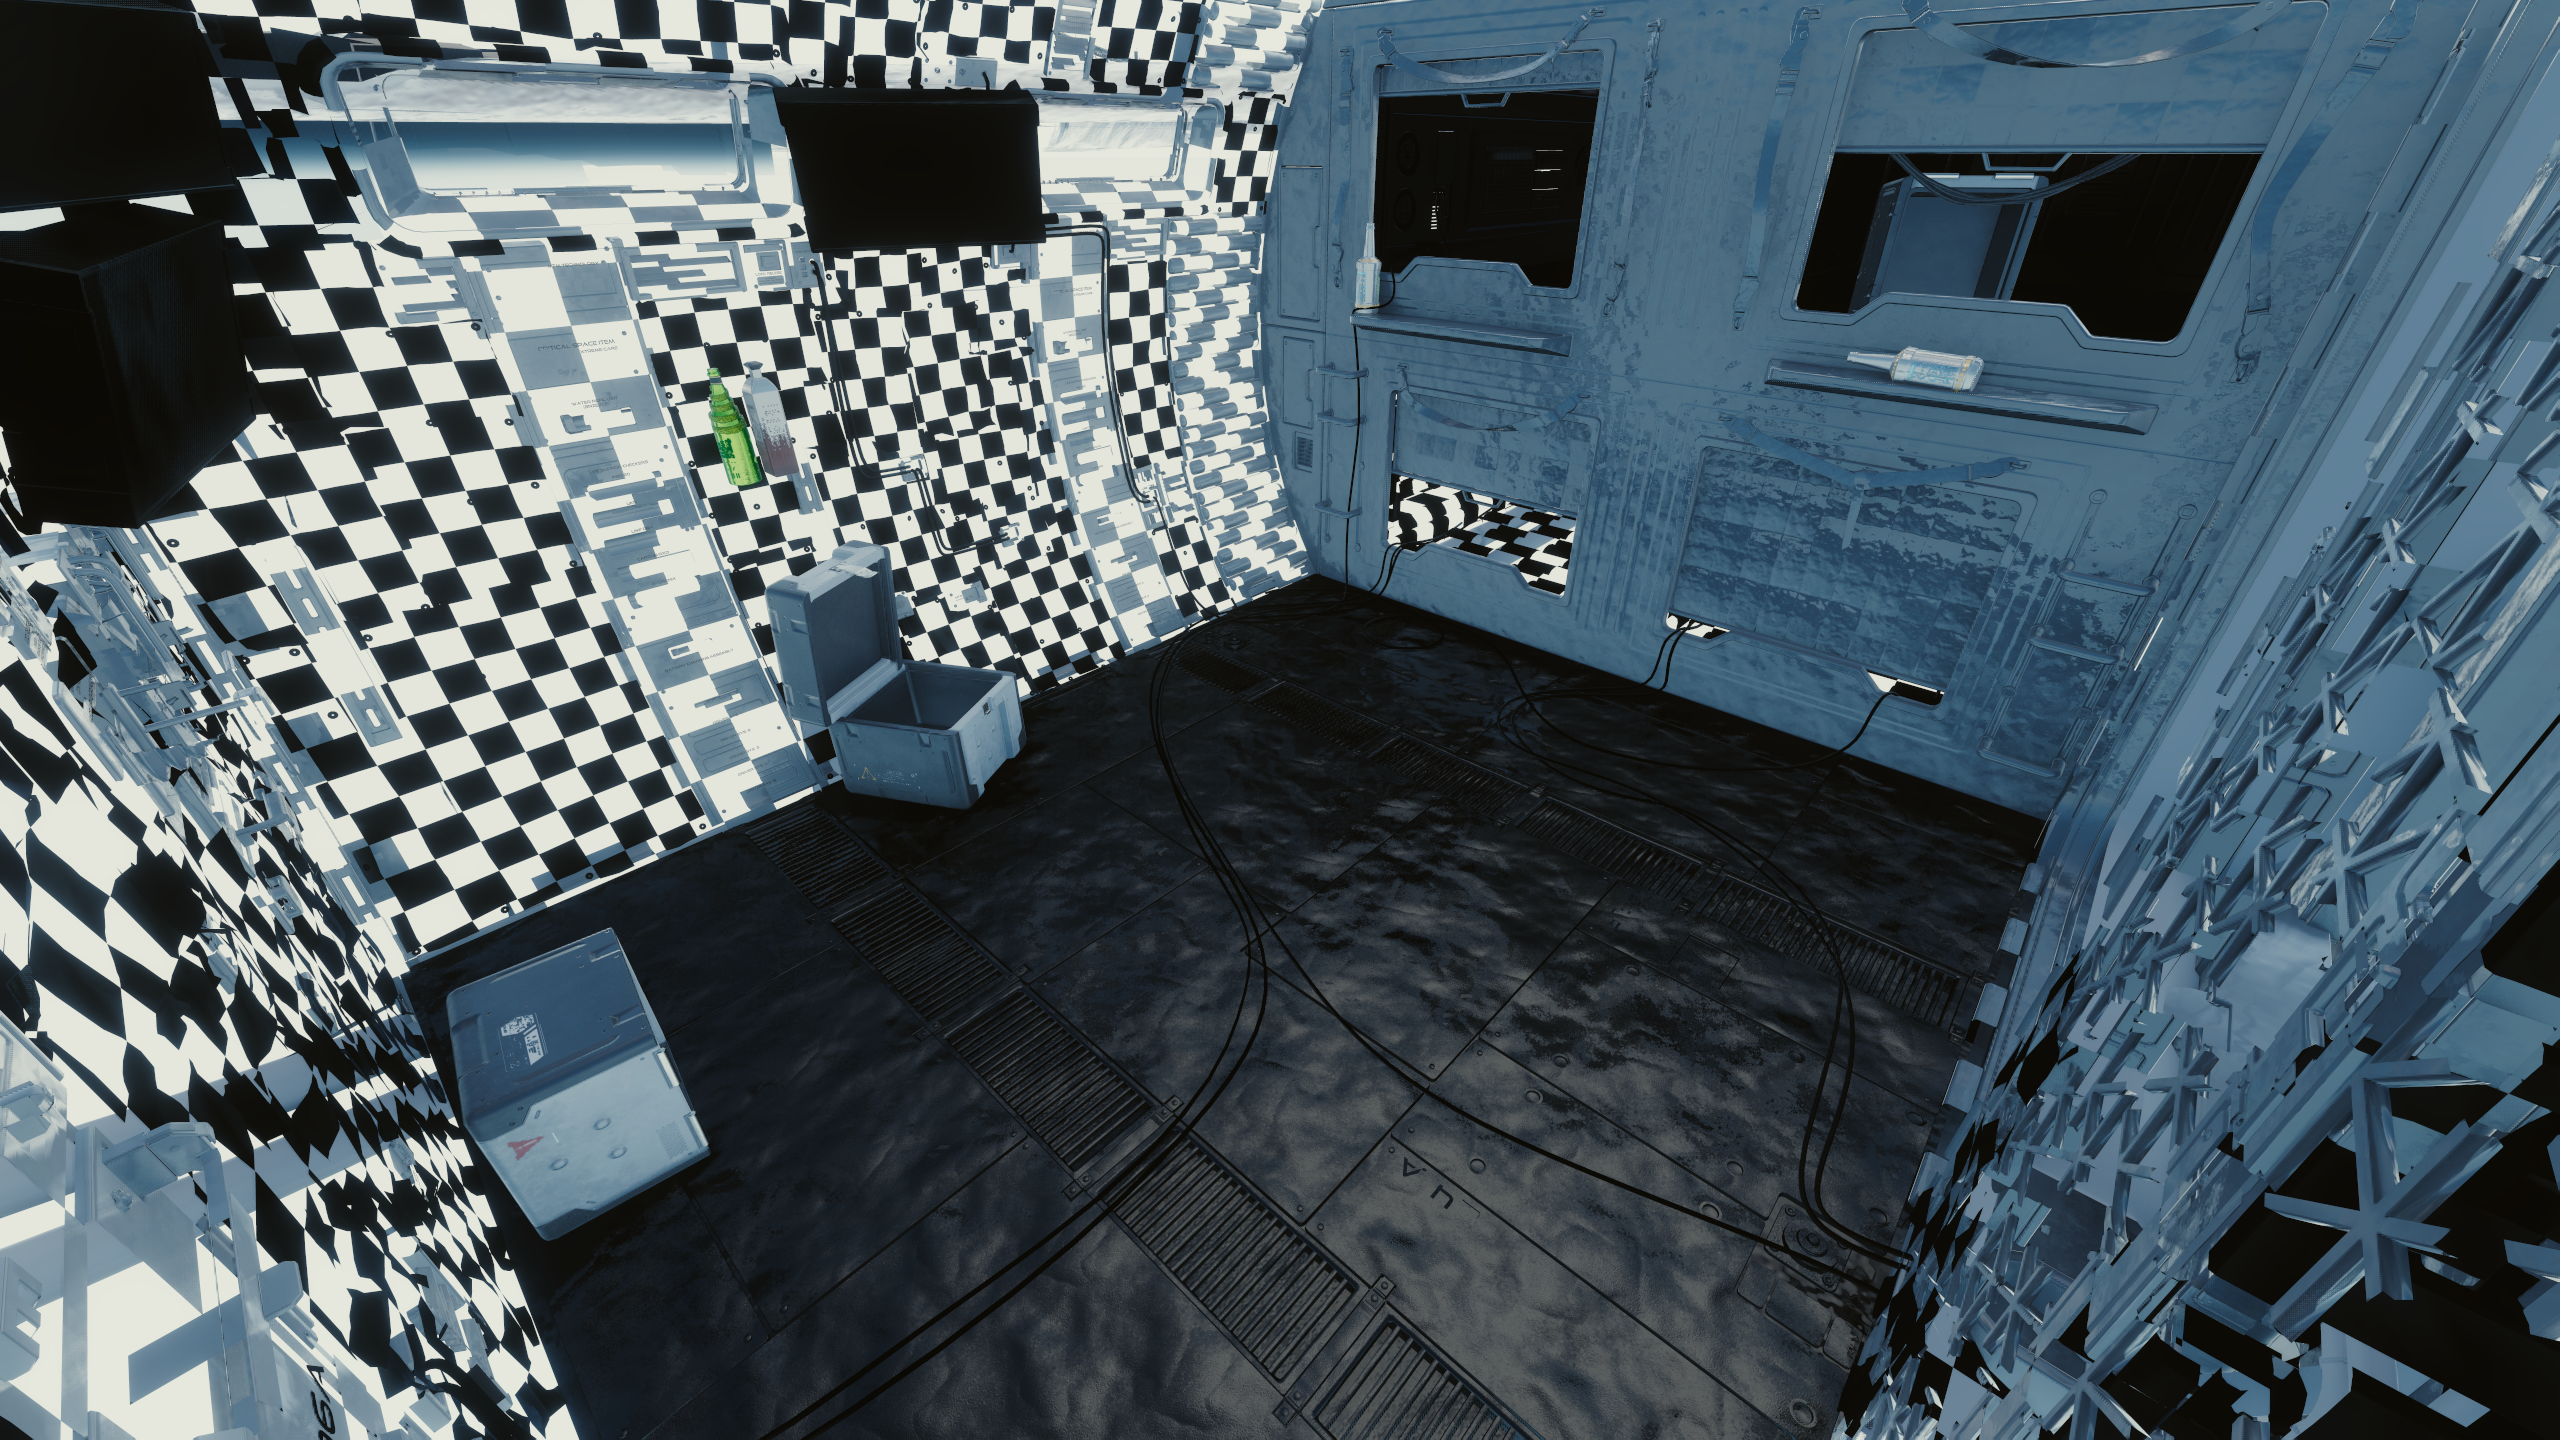
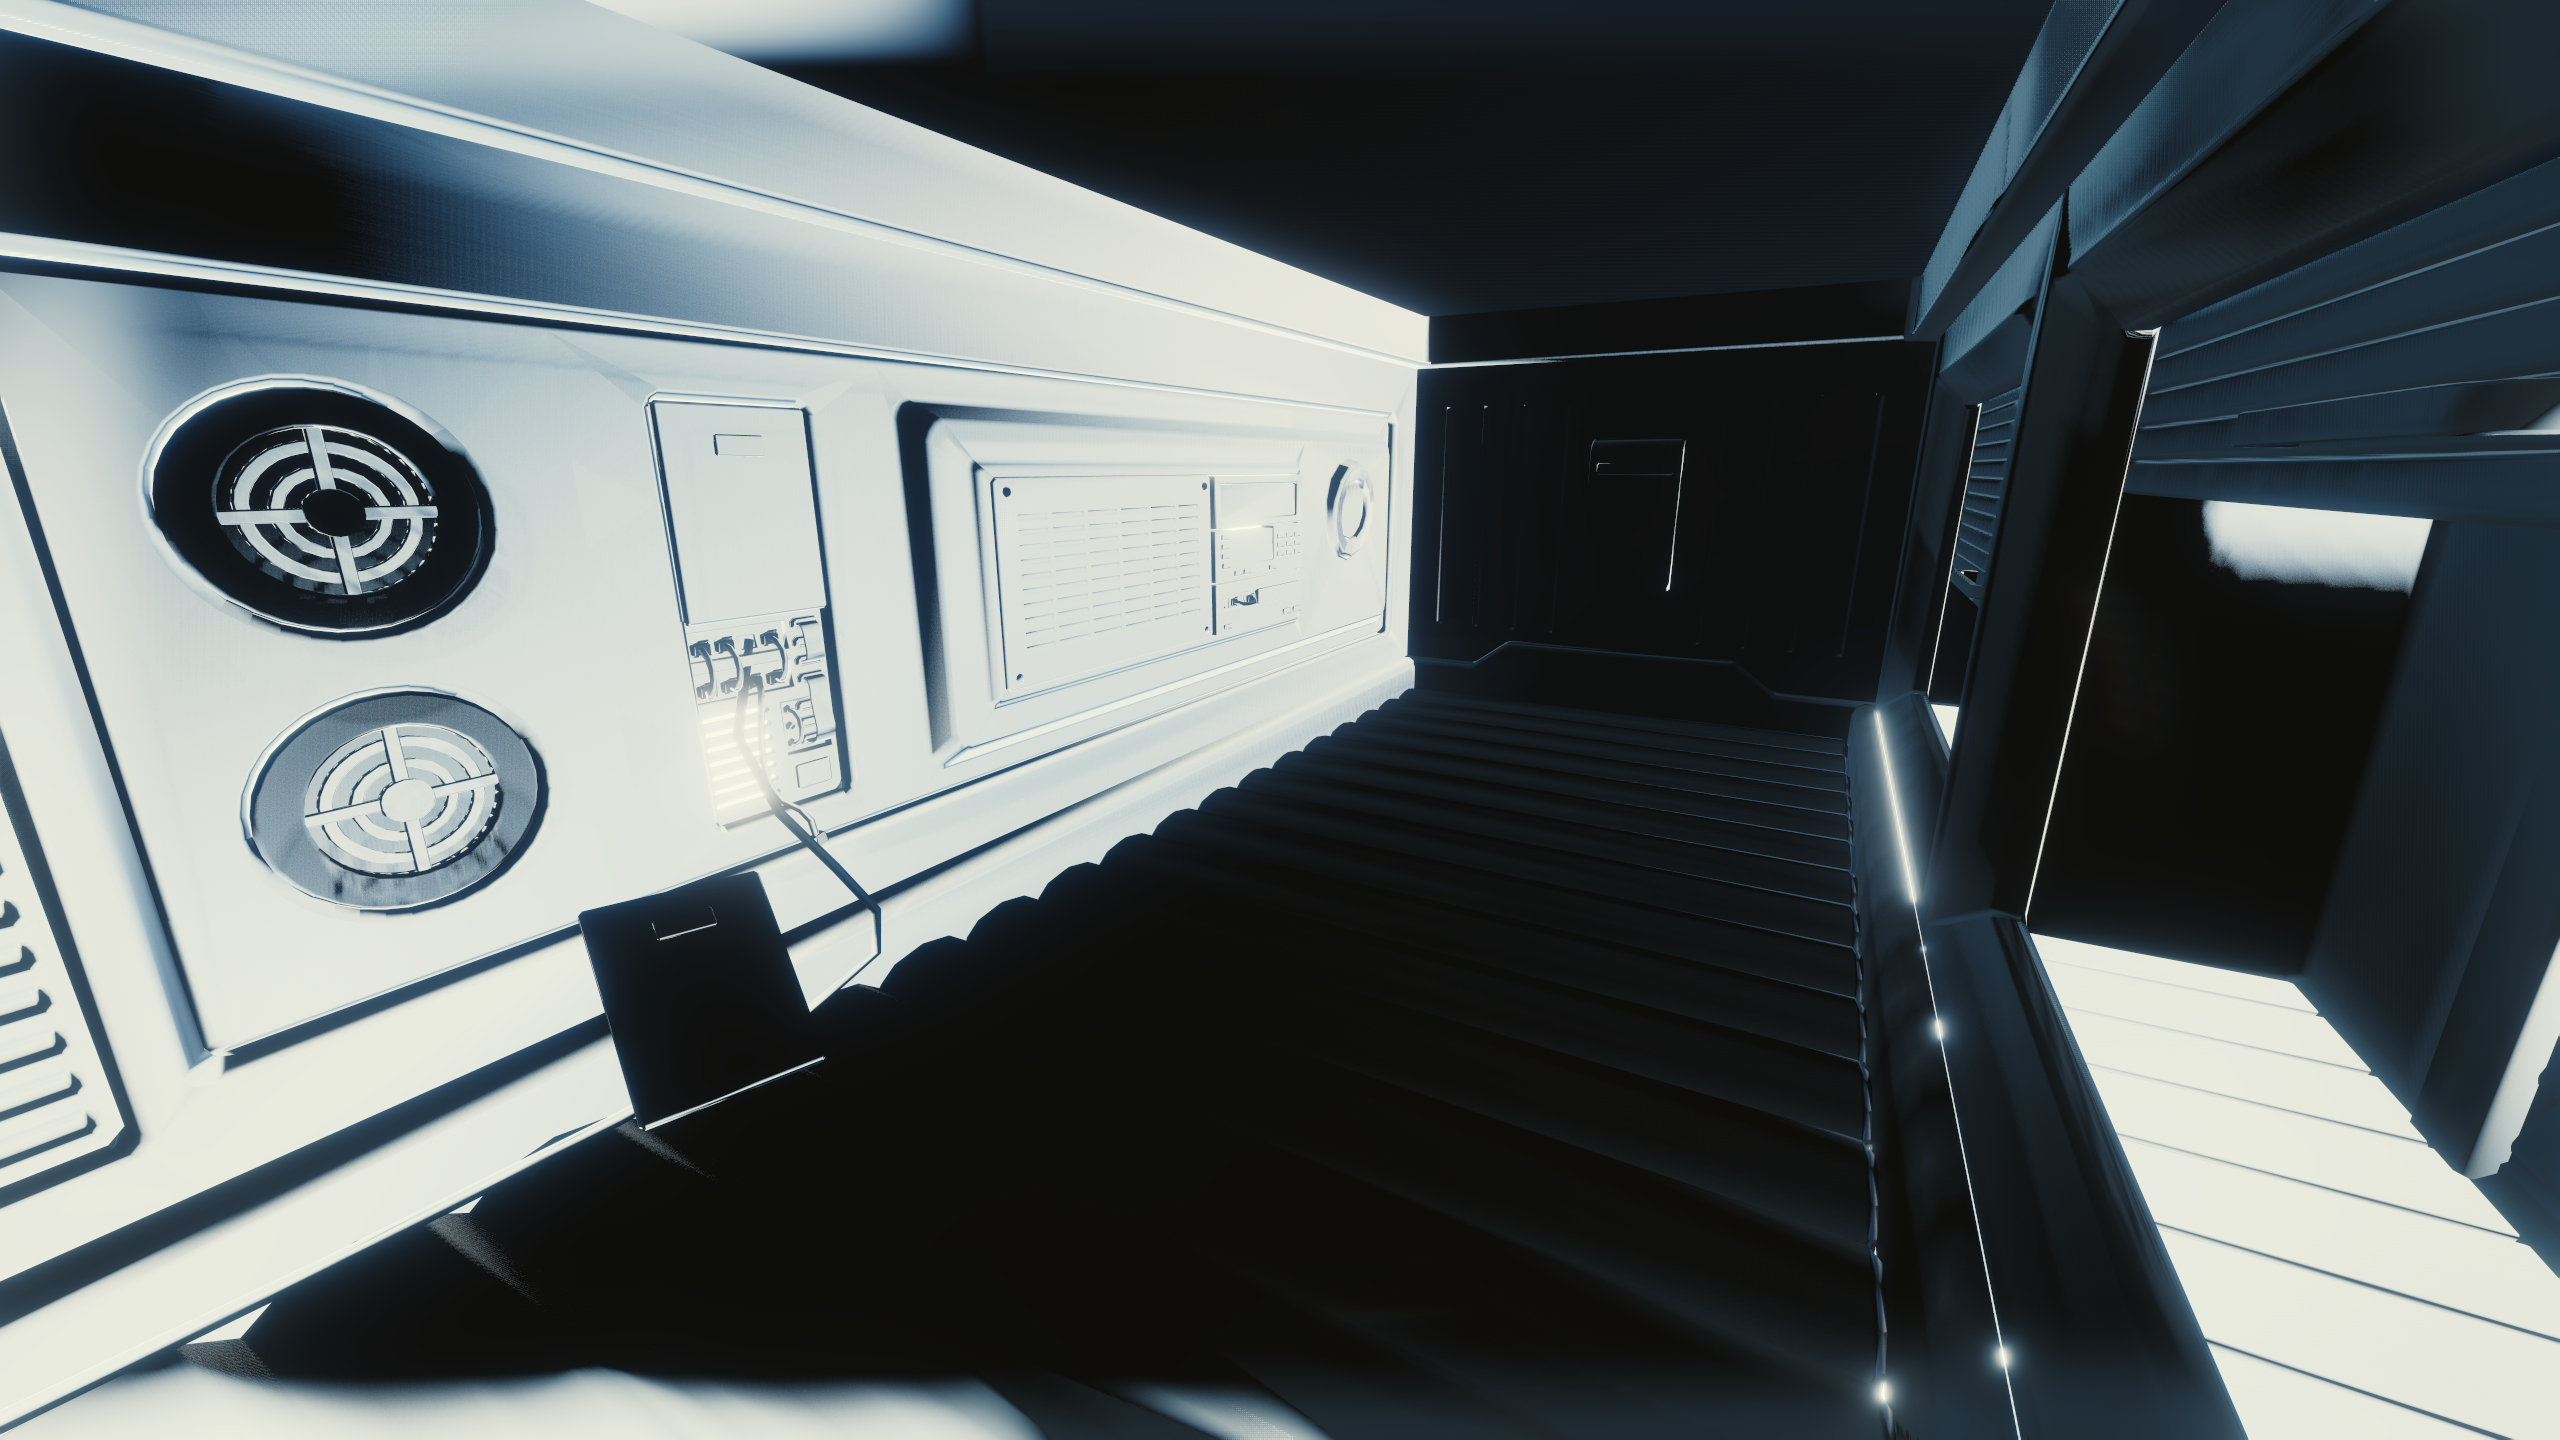
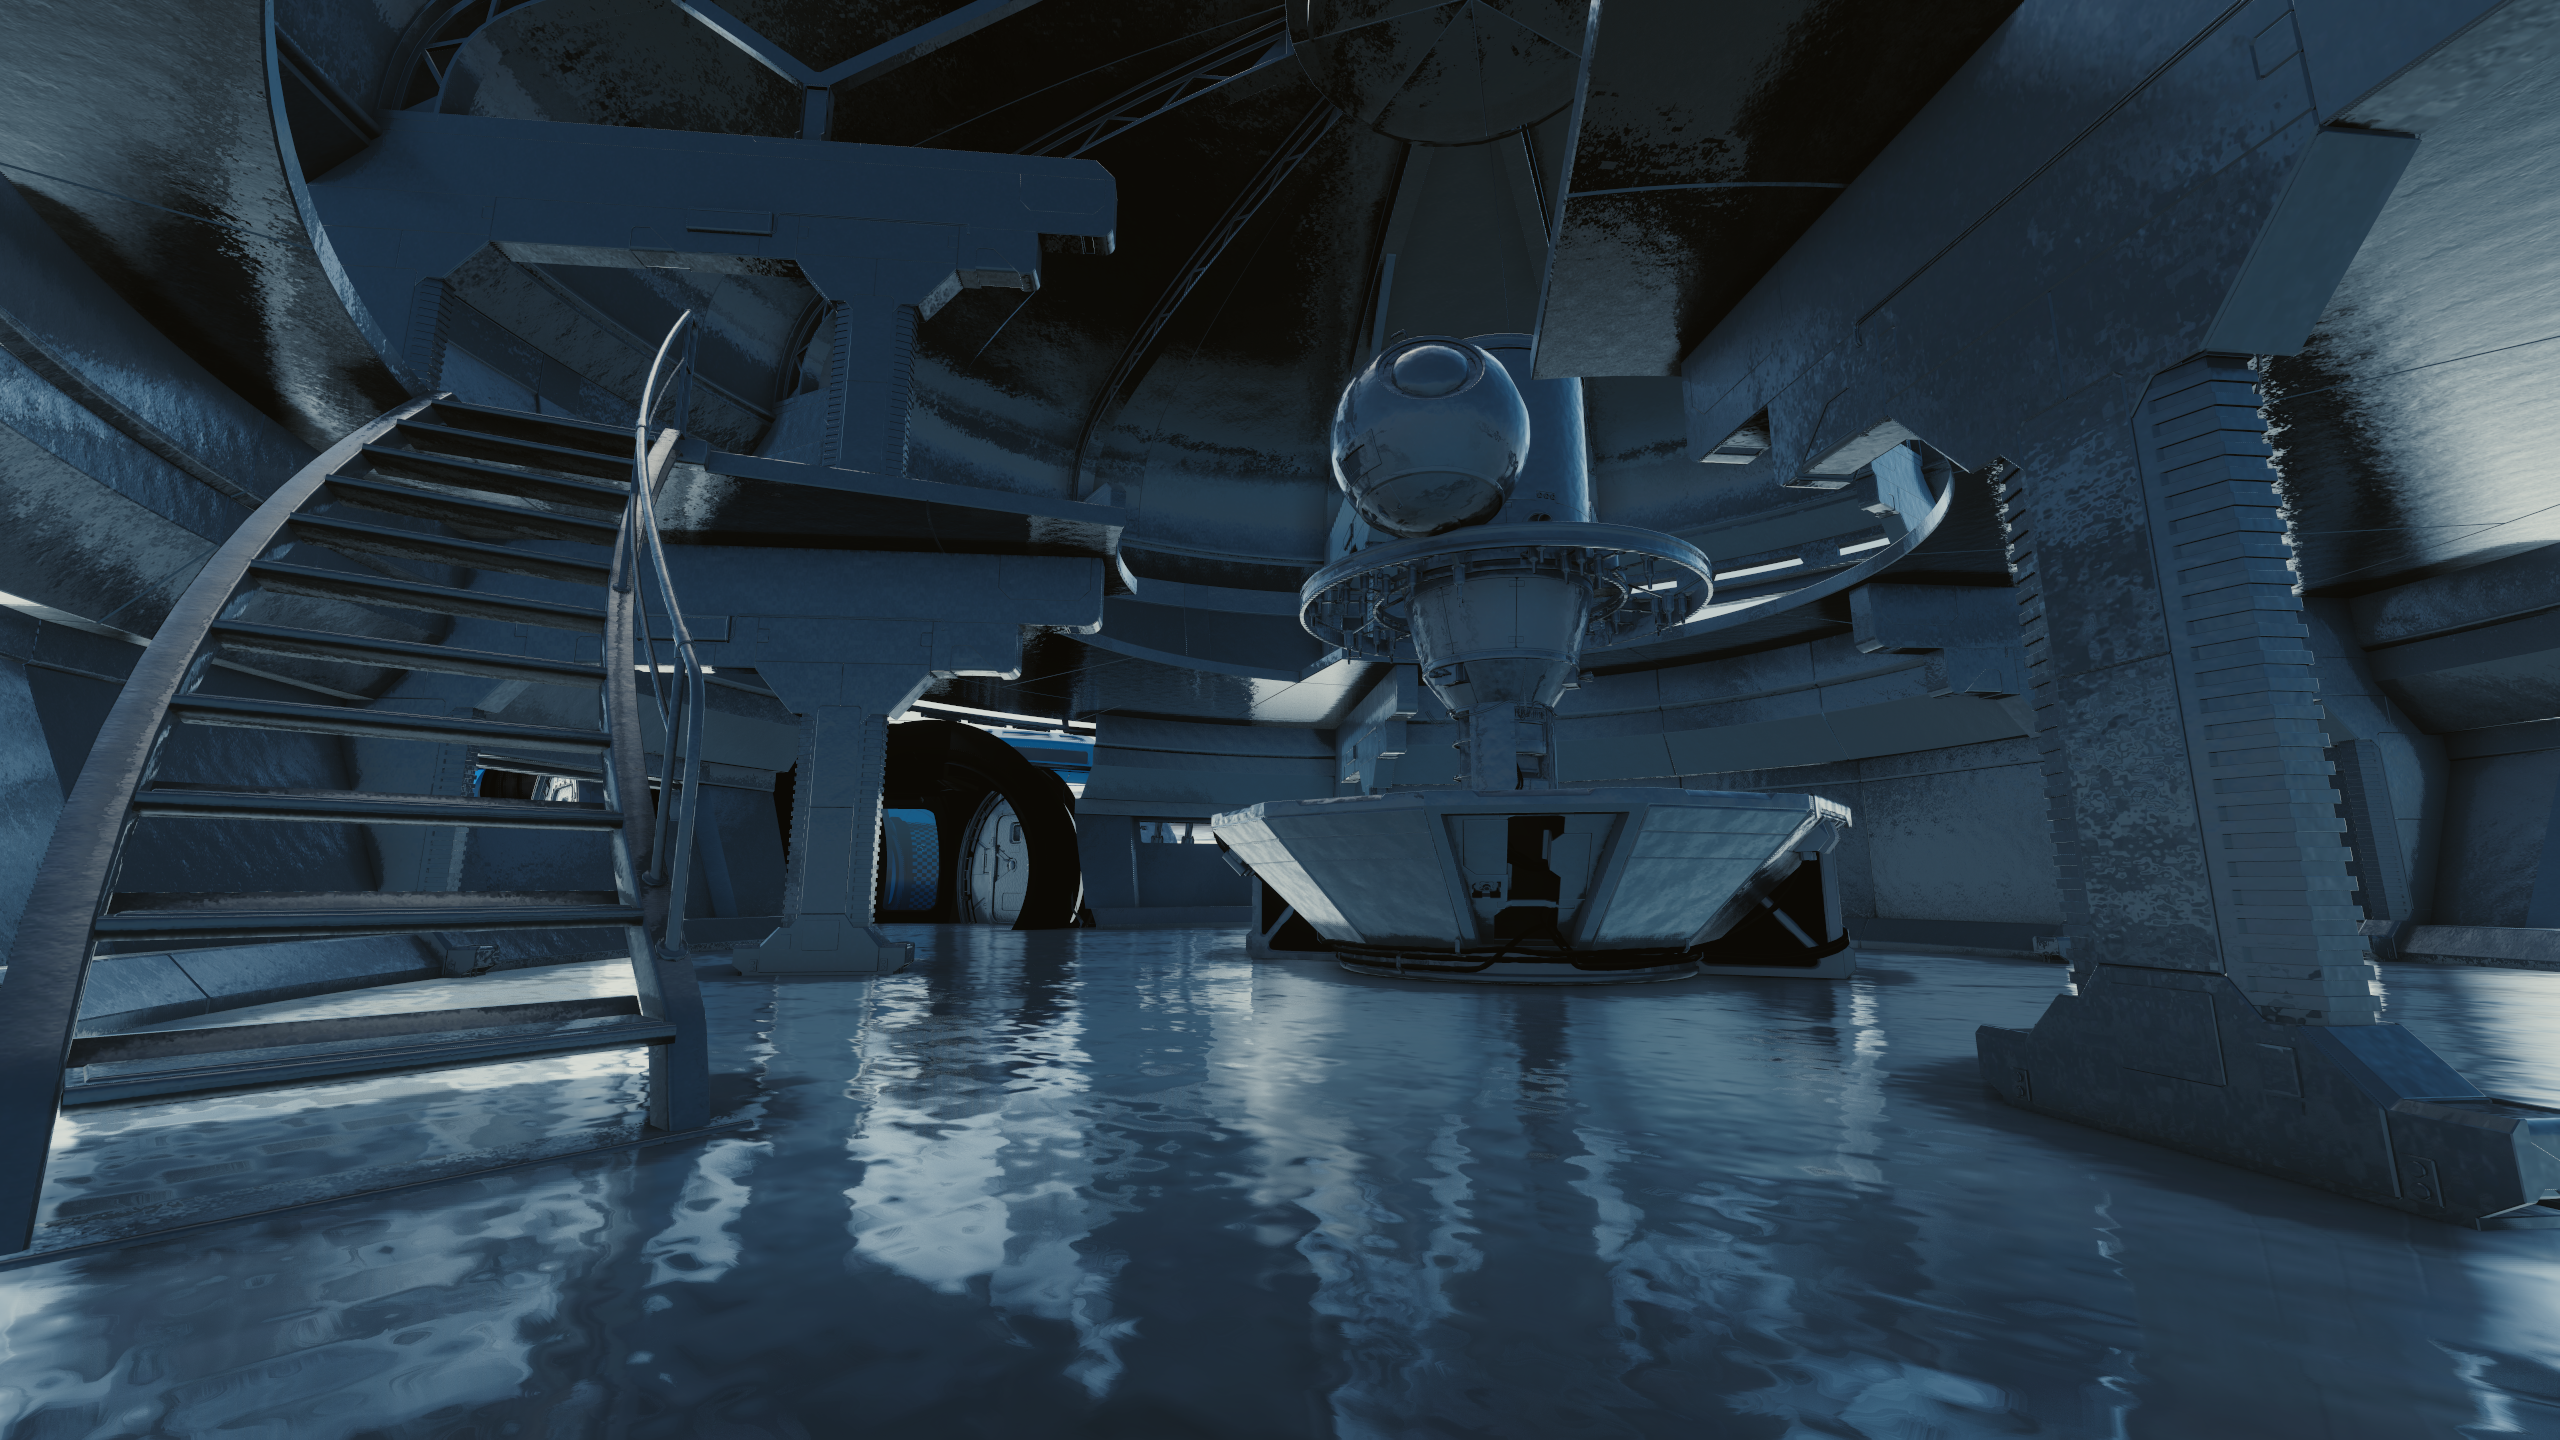
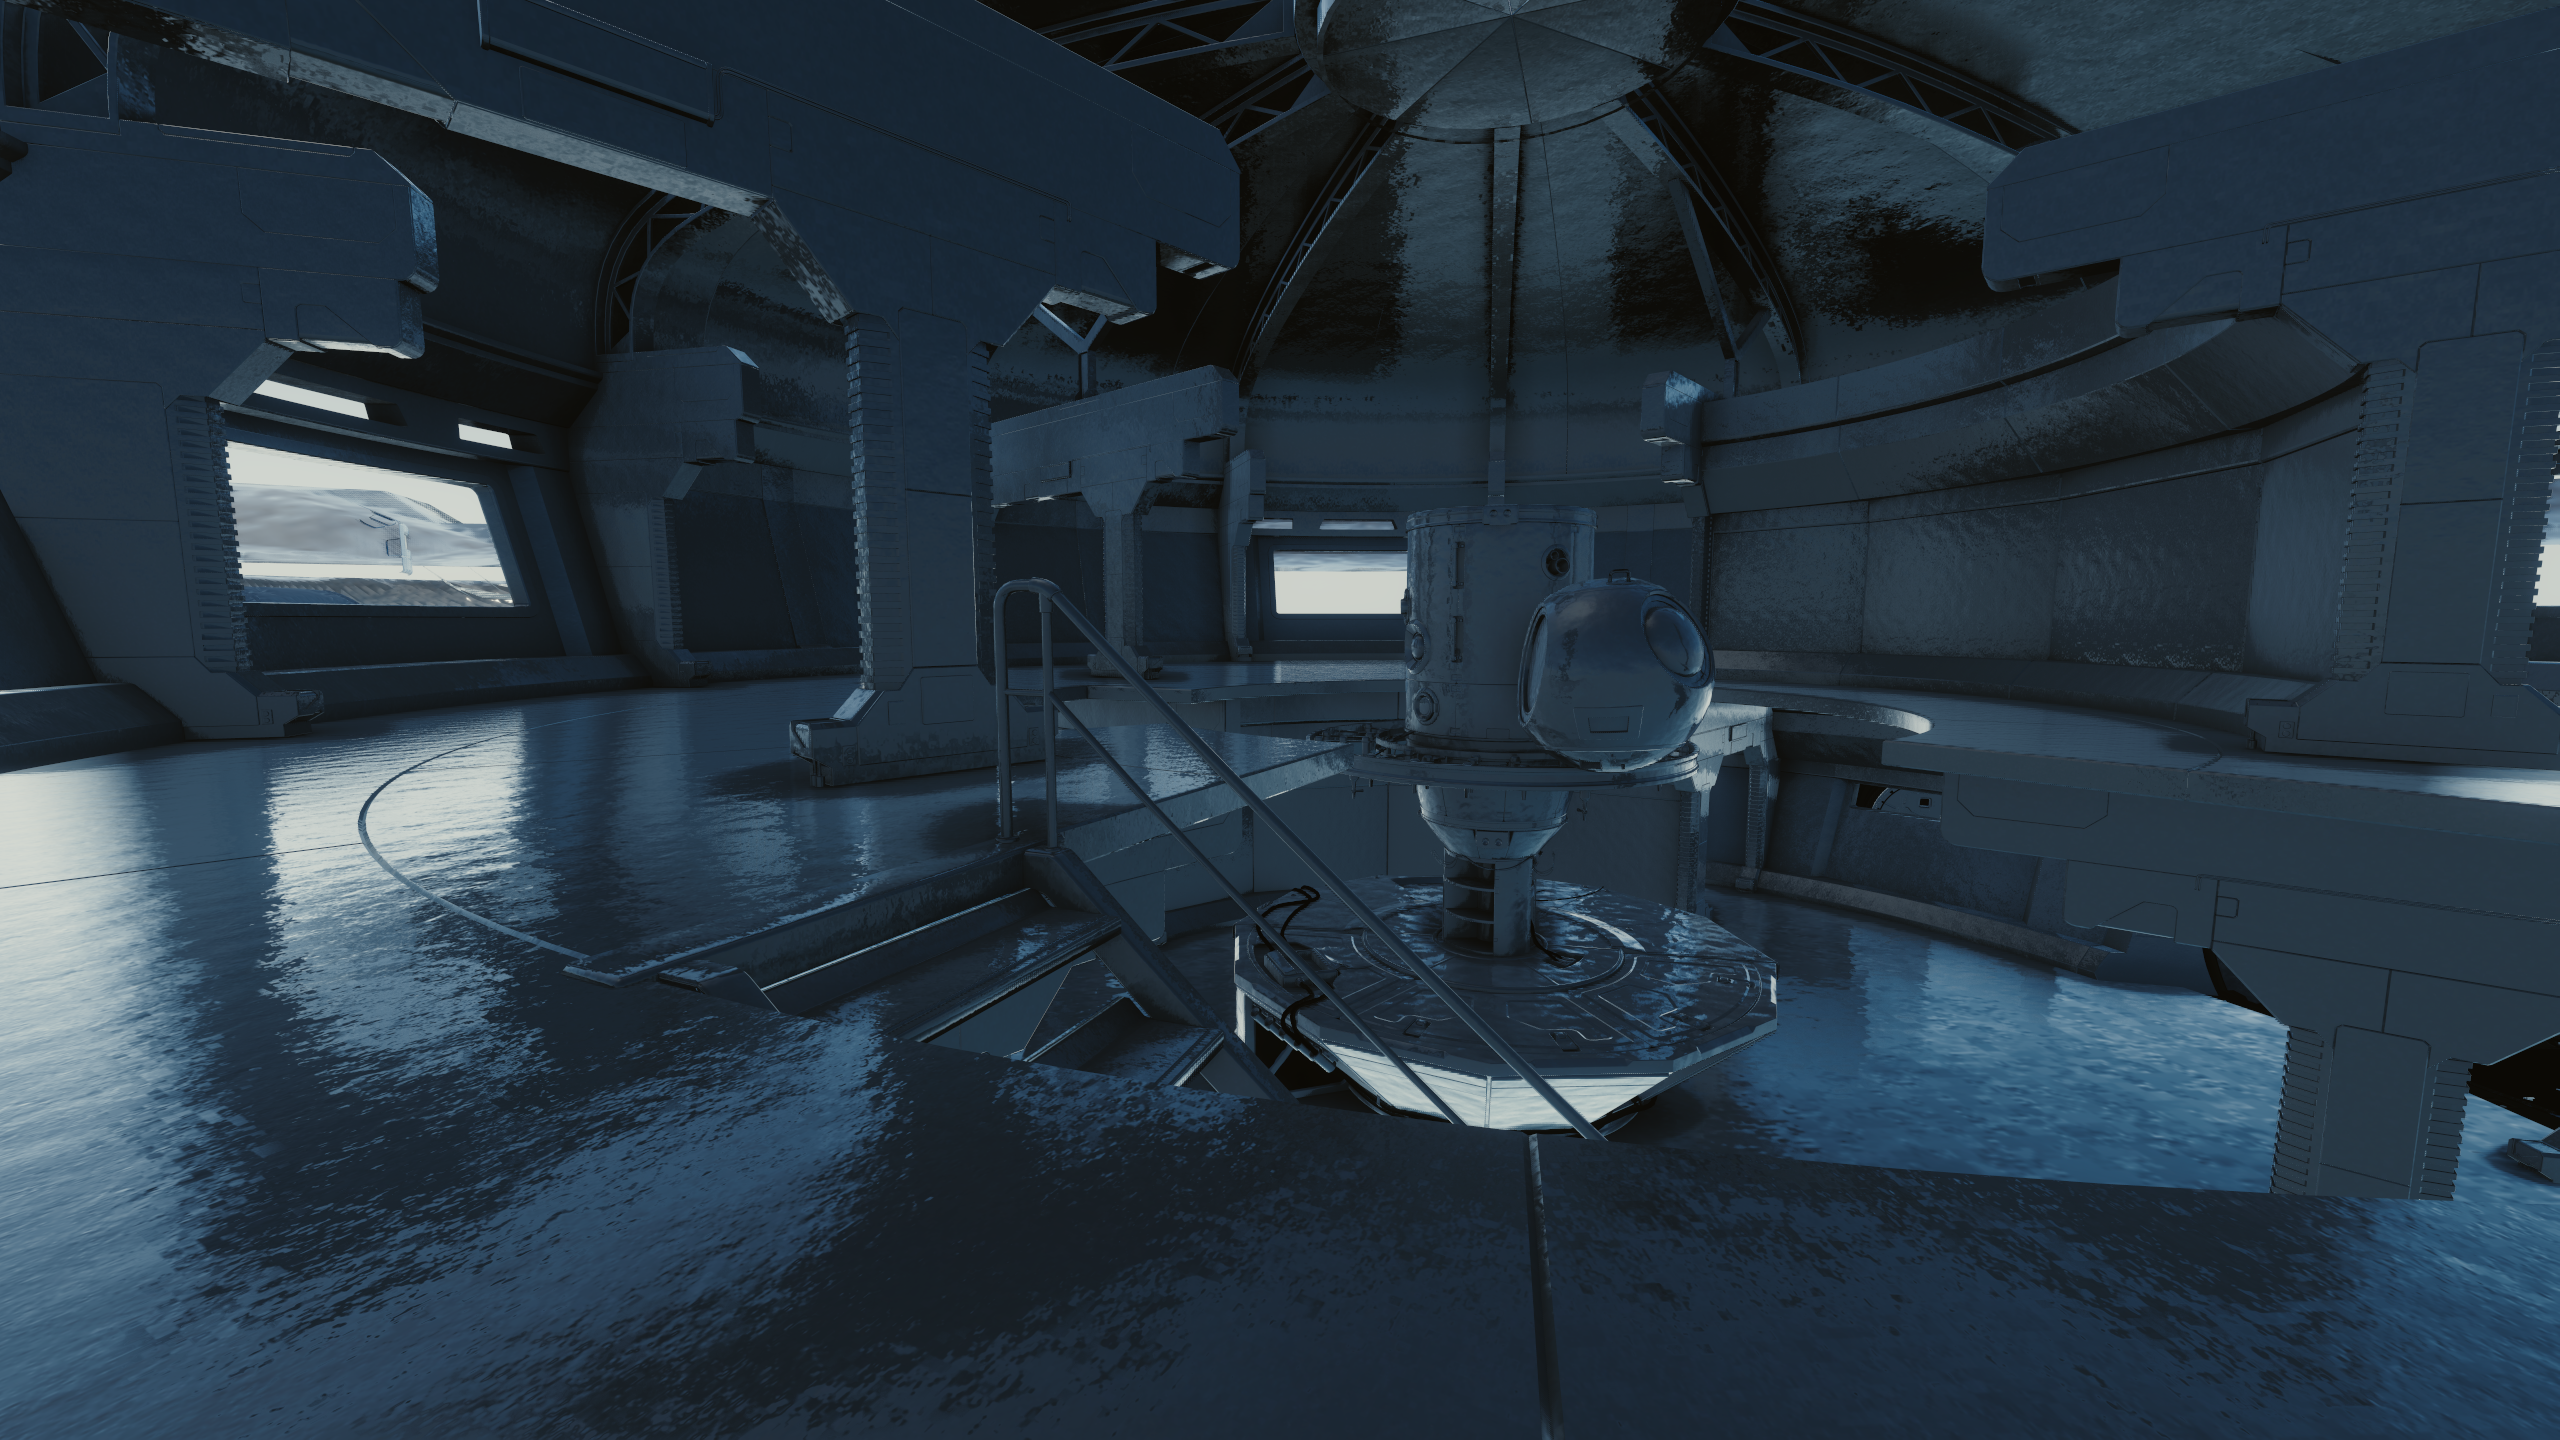
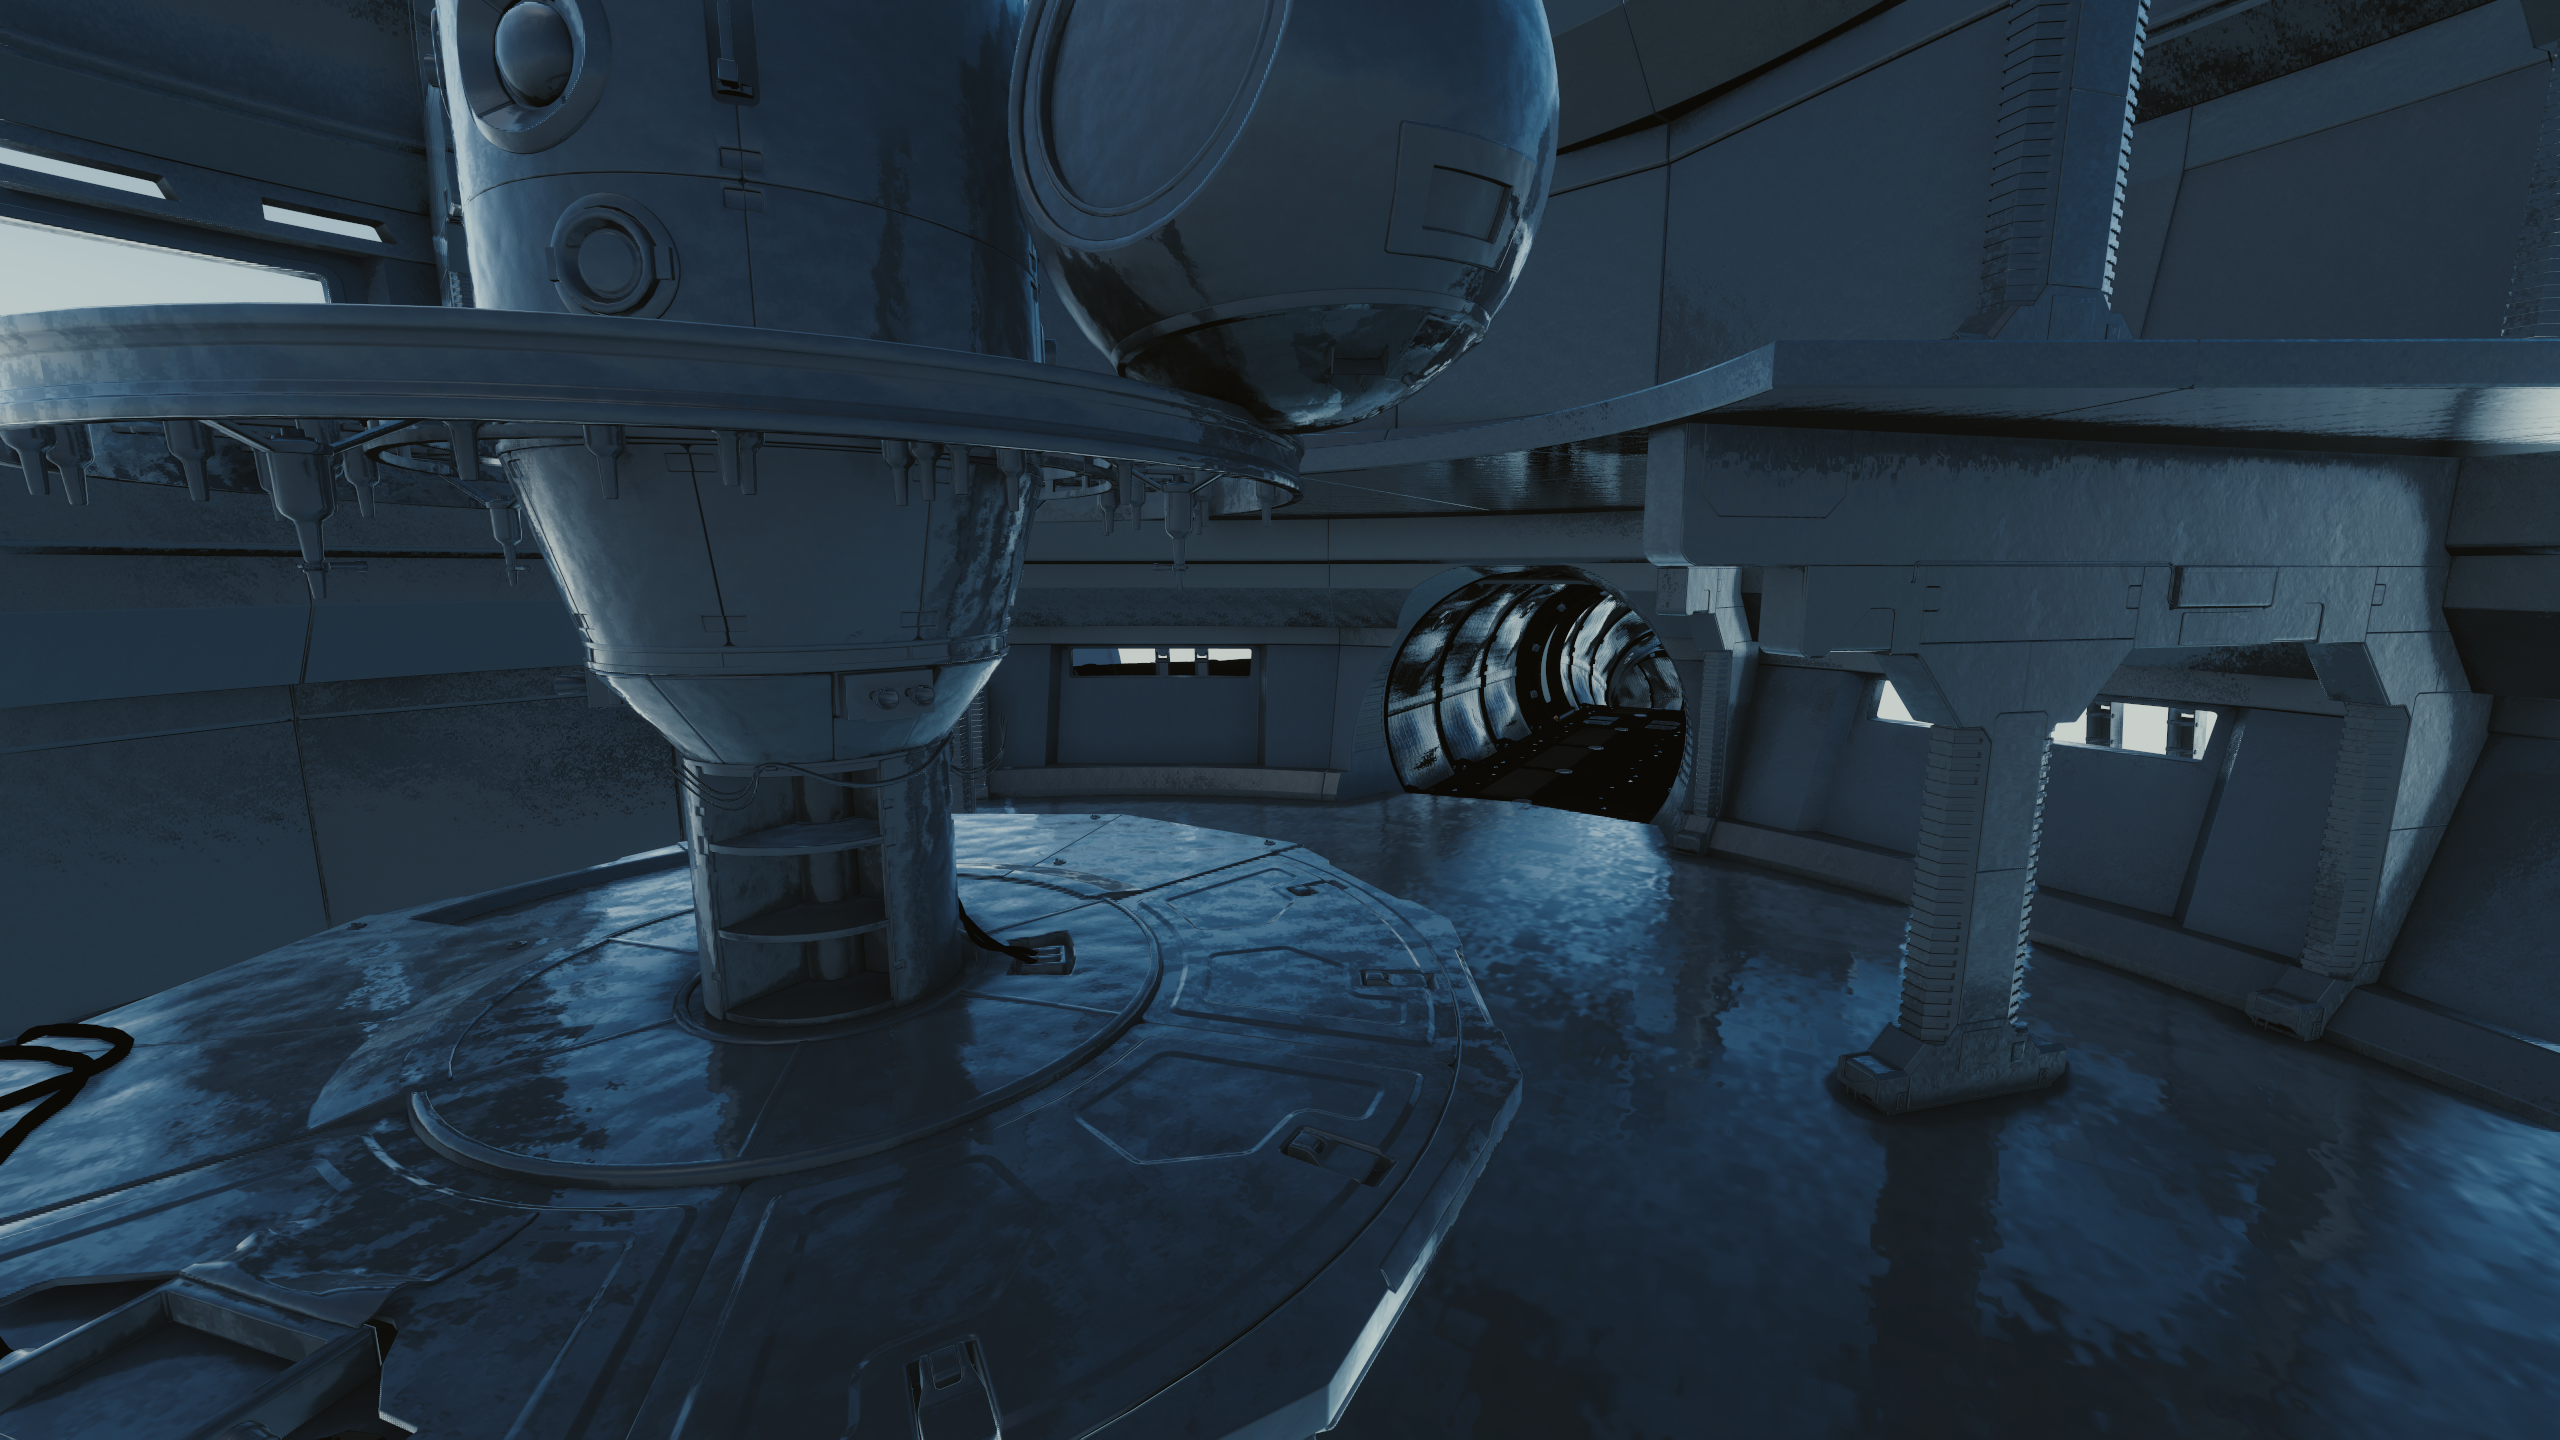
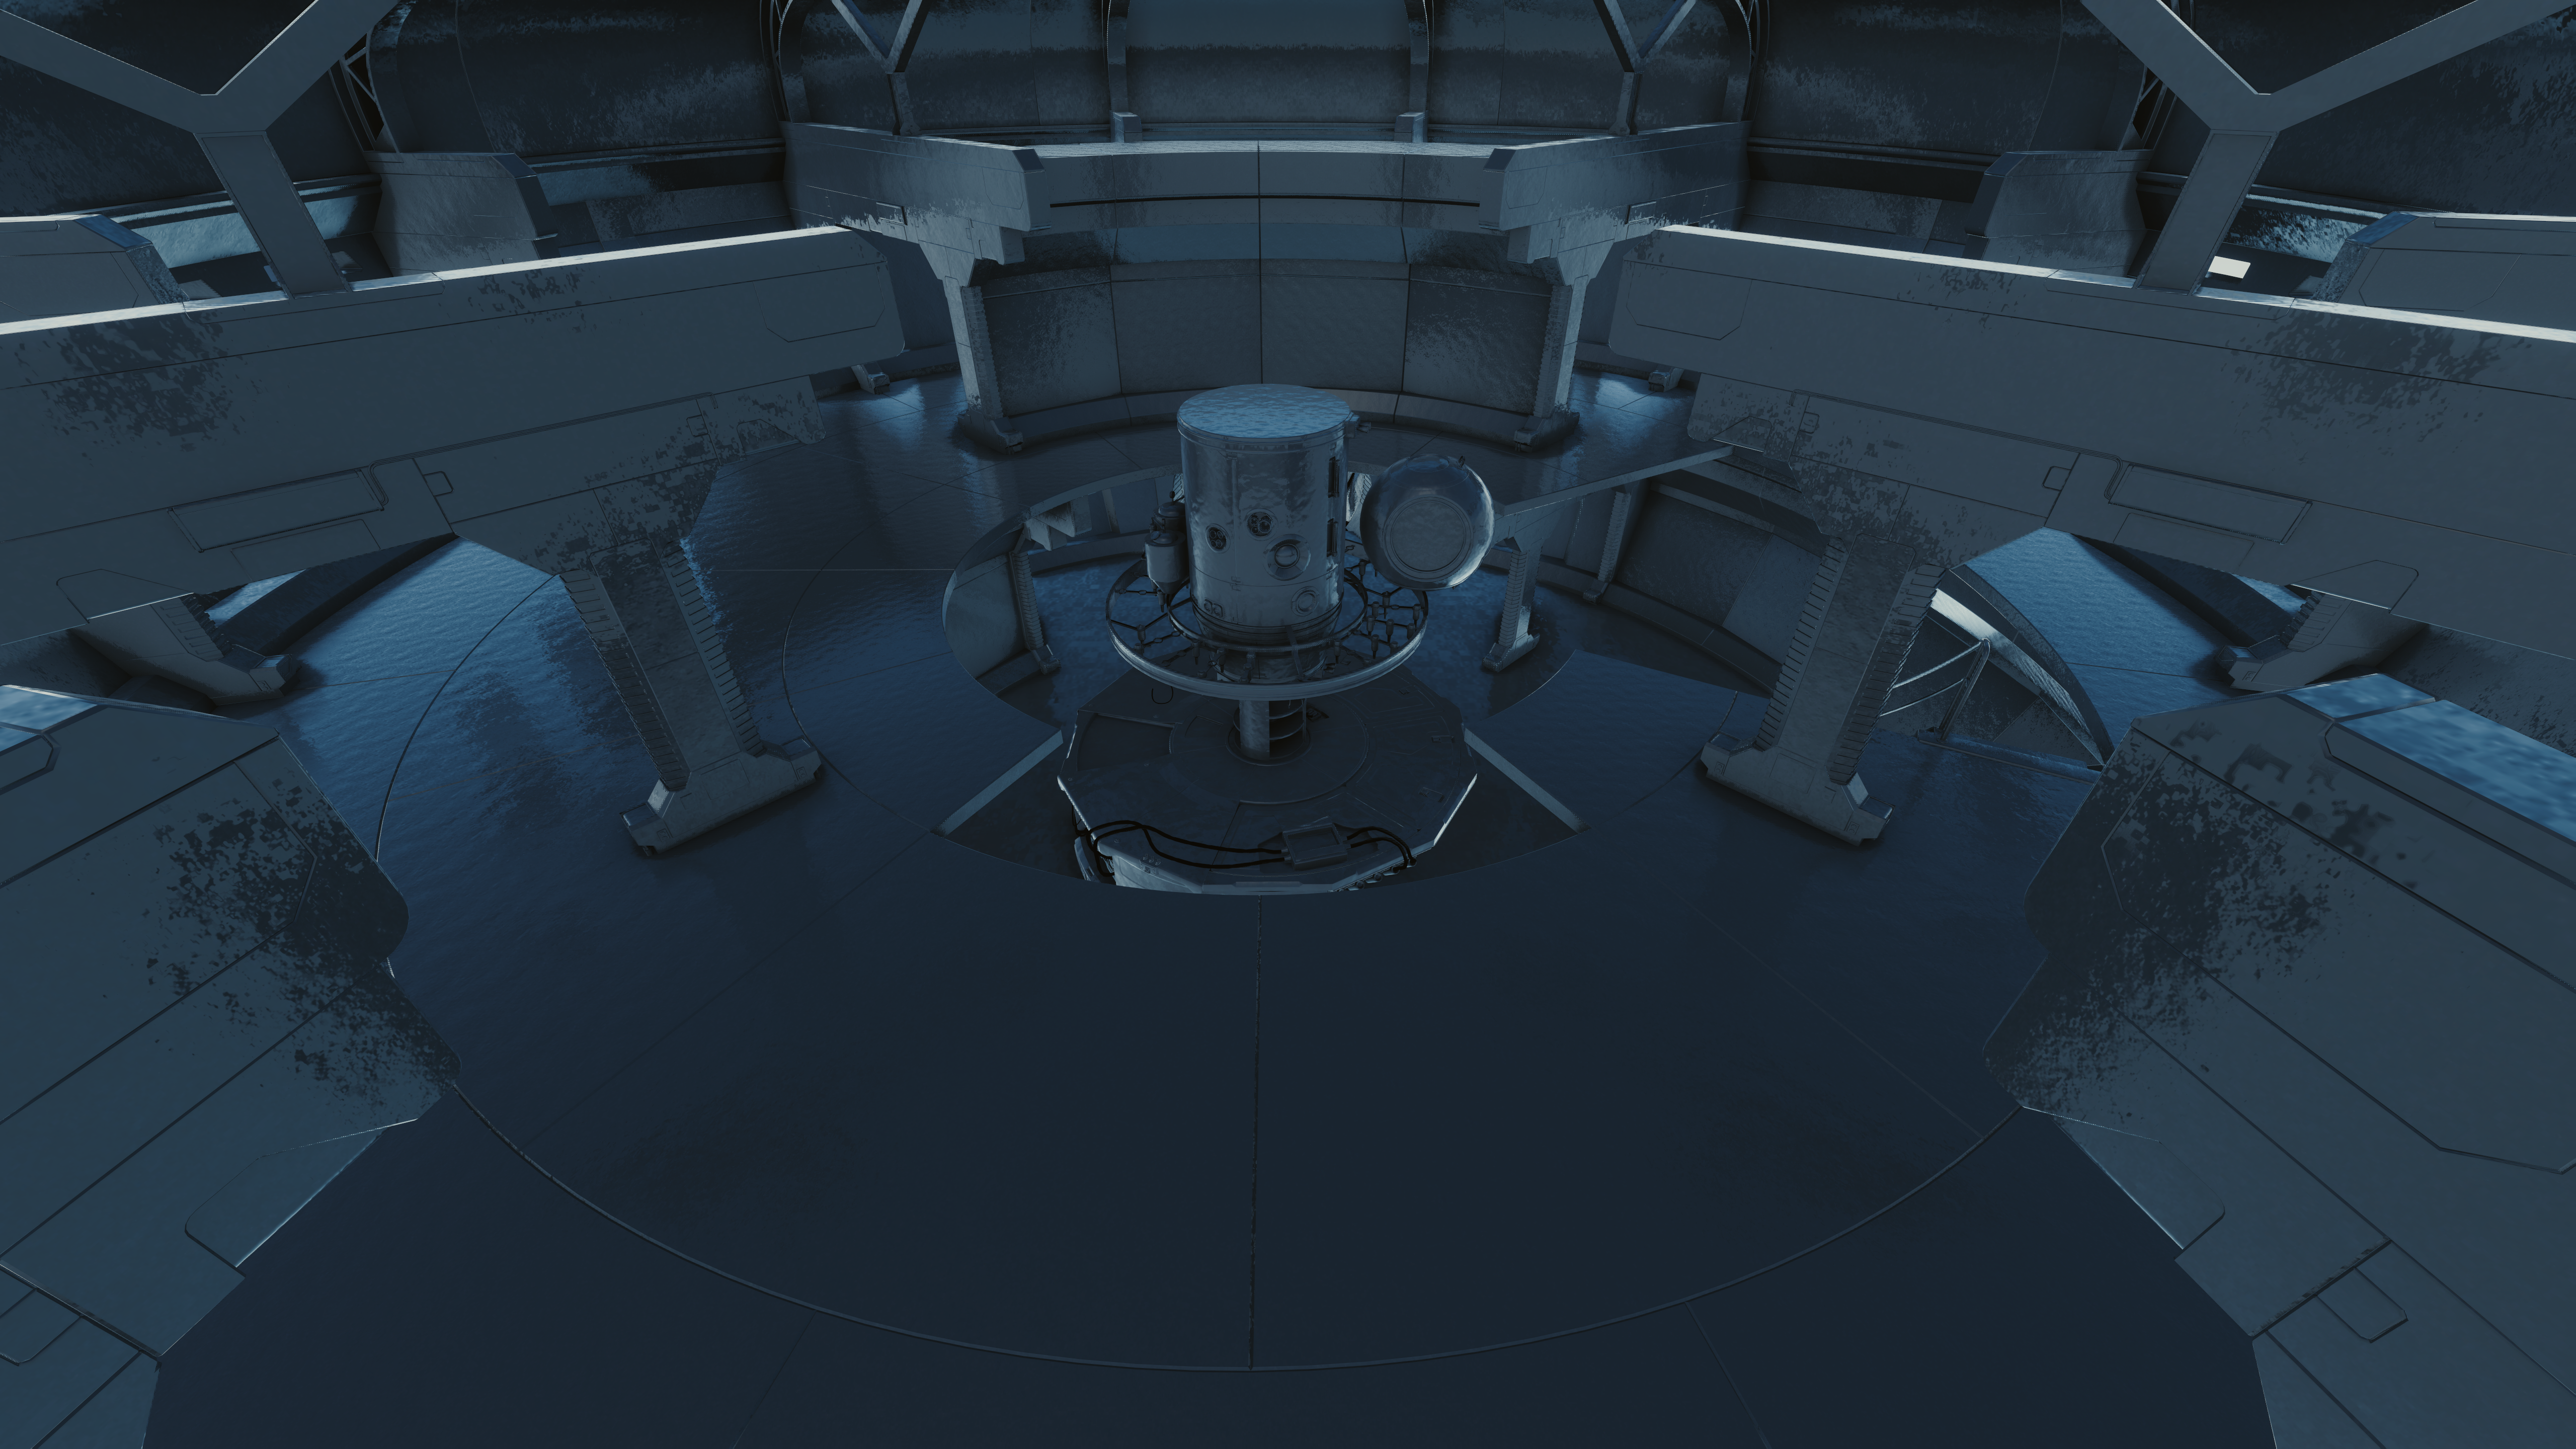
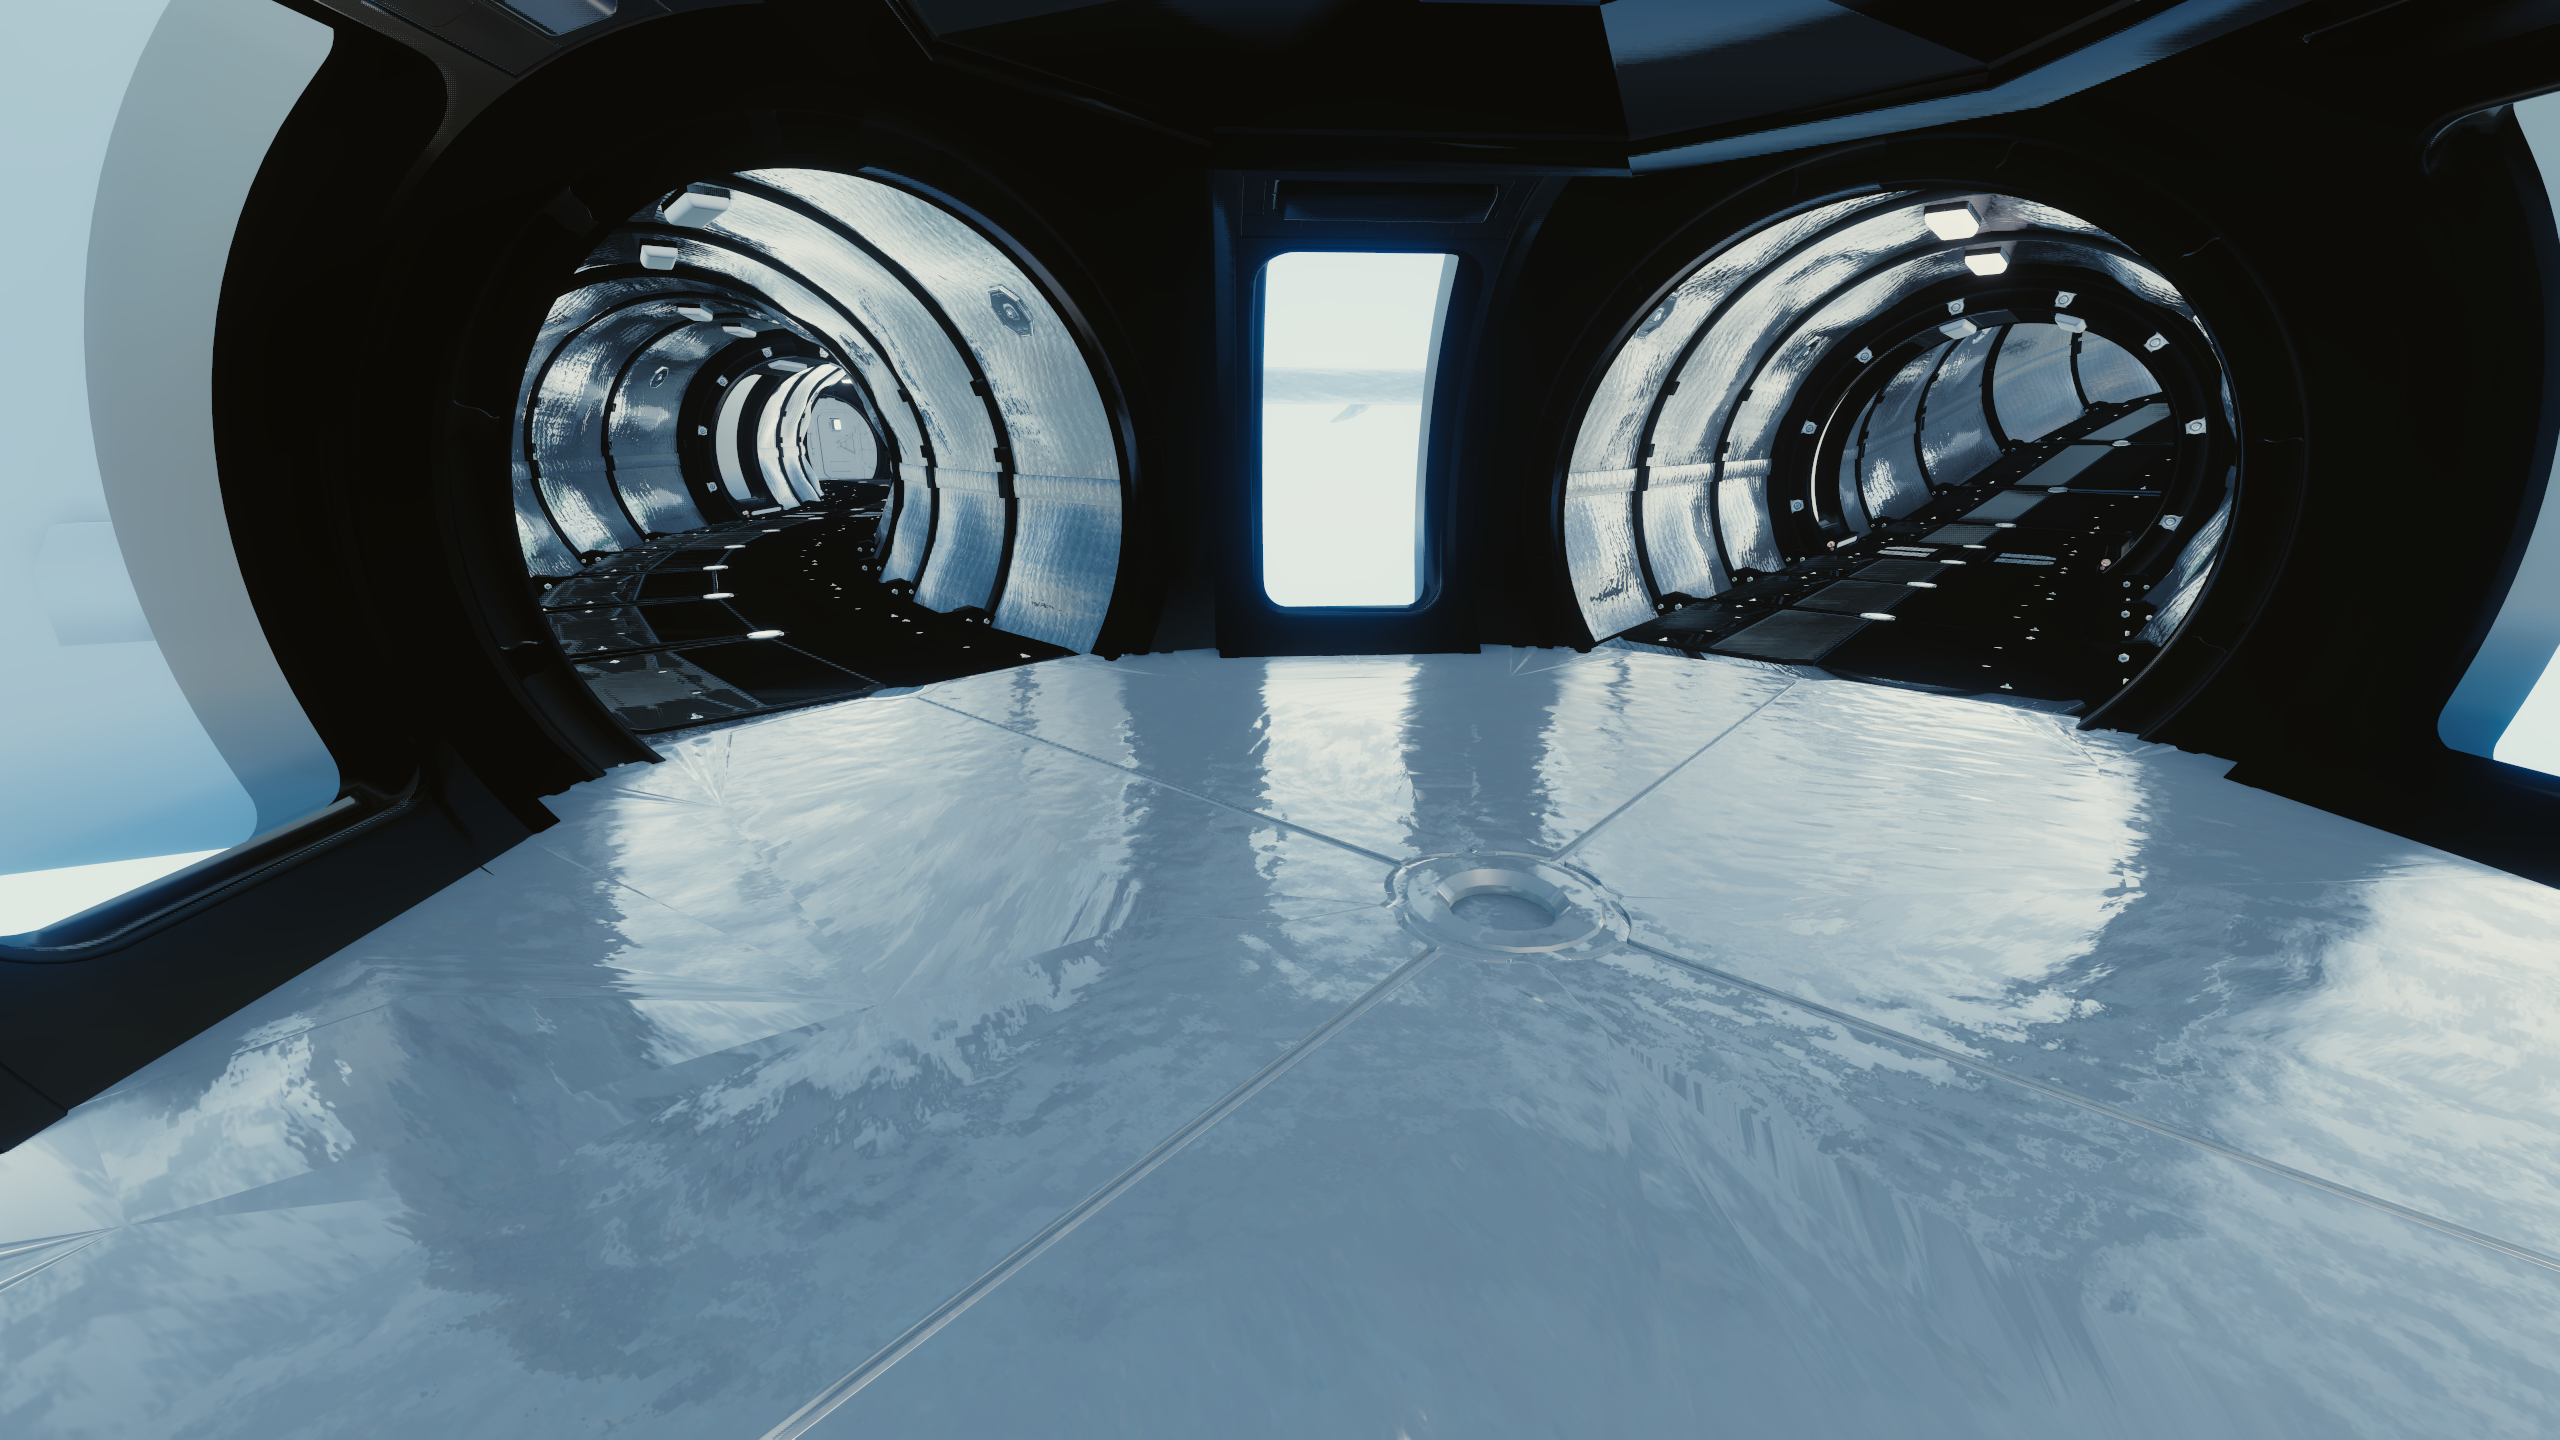
The name of this location was the Highriders Settlement, which would have included a bar, living area, workshop and a hydrophonic farm. Three versions of blockouts of this location is included in the 02_moon map, all at different stages of completion. The version of the location visible above the terrain of the map contains the most detailed version of the living quarters, hydrophonics area and workshop, but less detailed corridors. The version of the map hidden beneath the terrain has more detailed corridors, but otherwise has less detailed interiors.
Hydrophonics
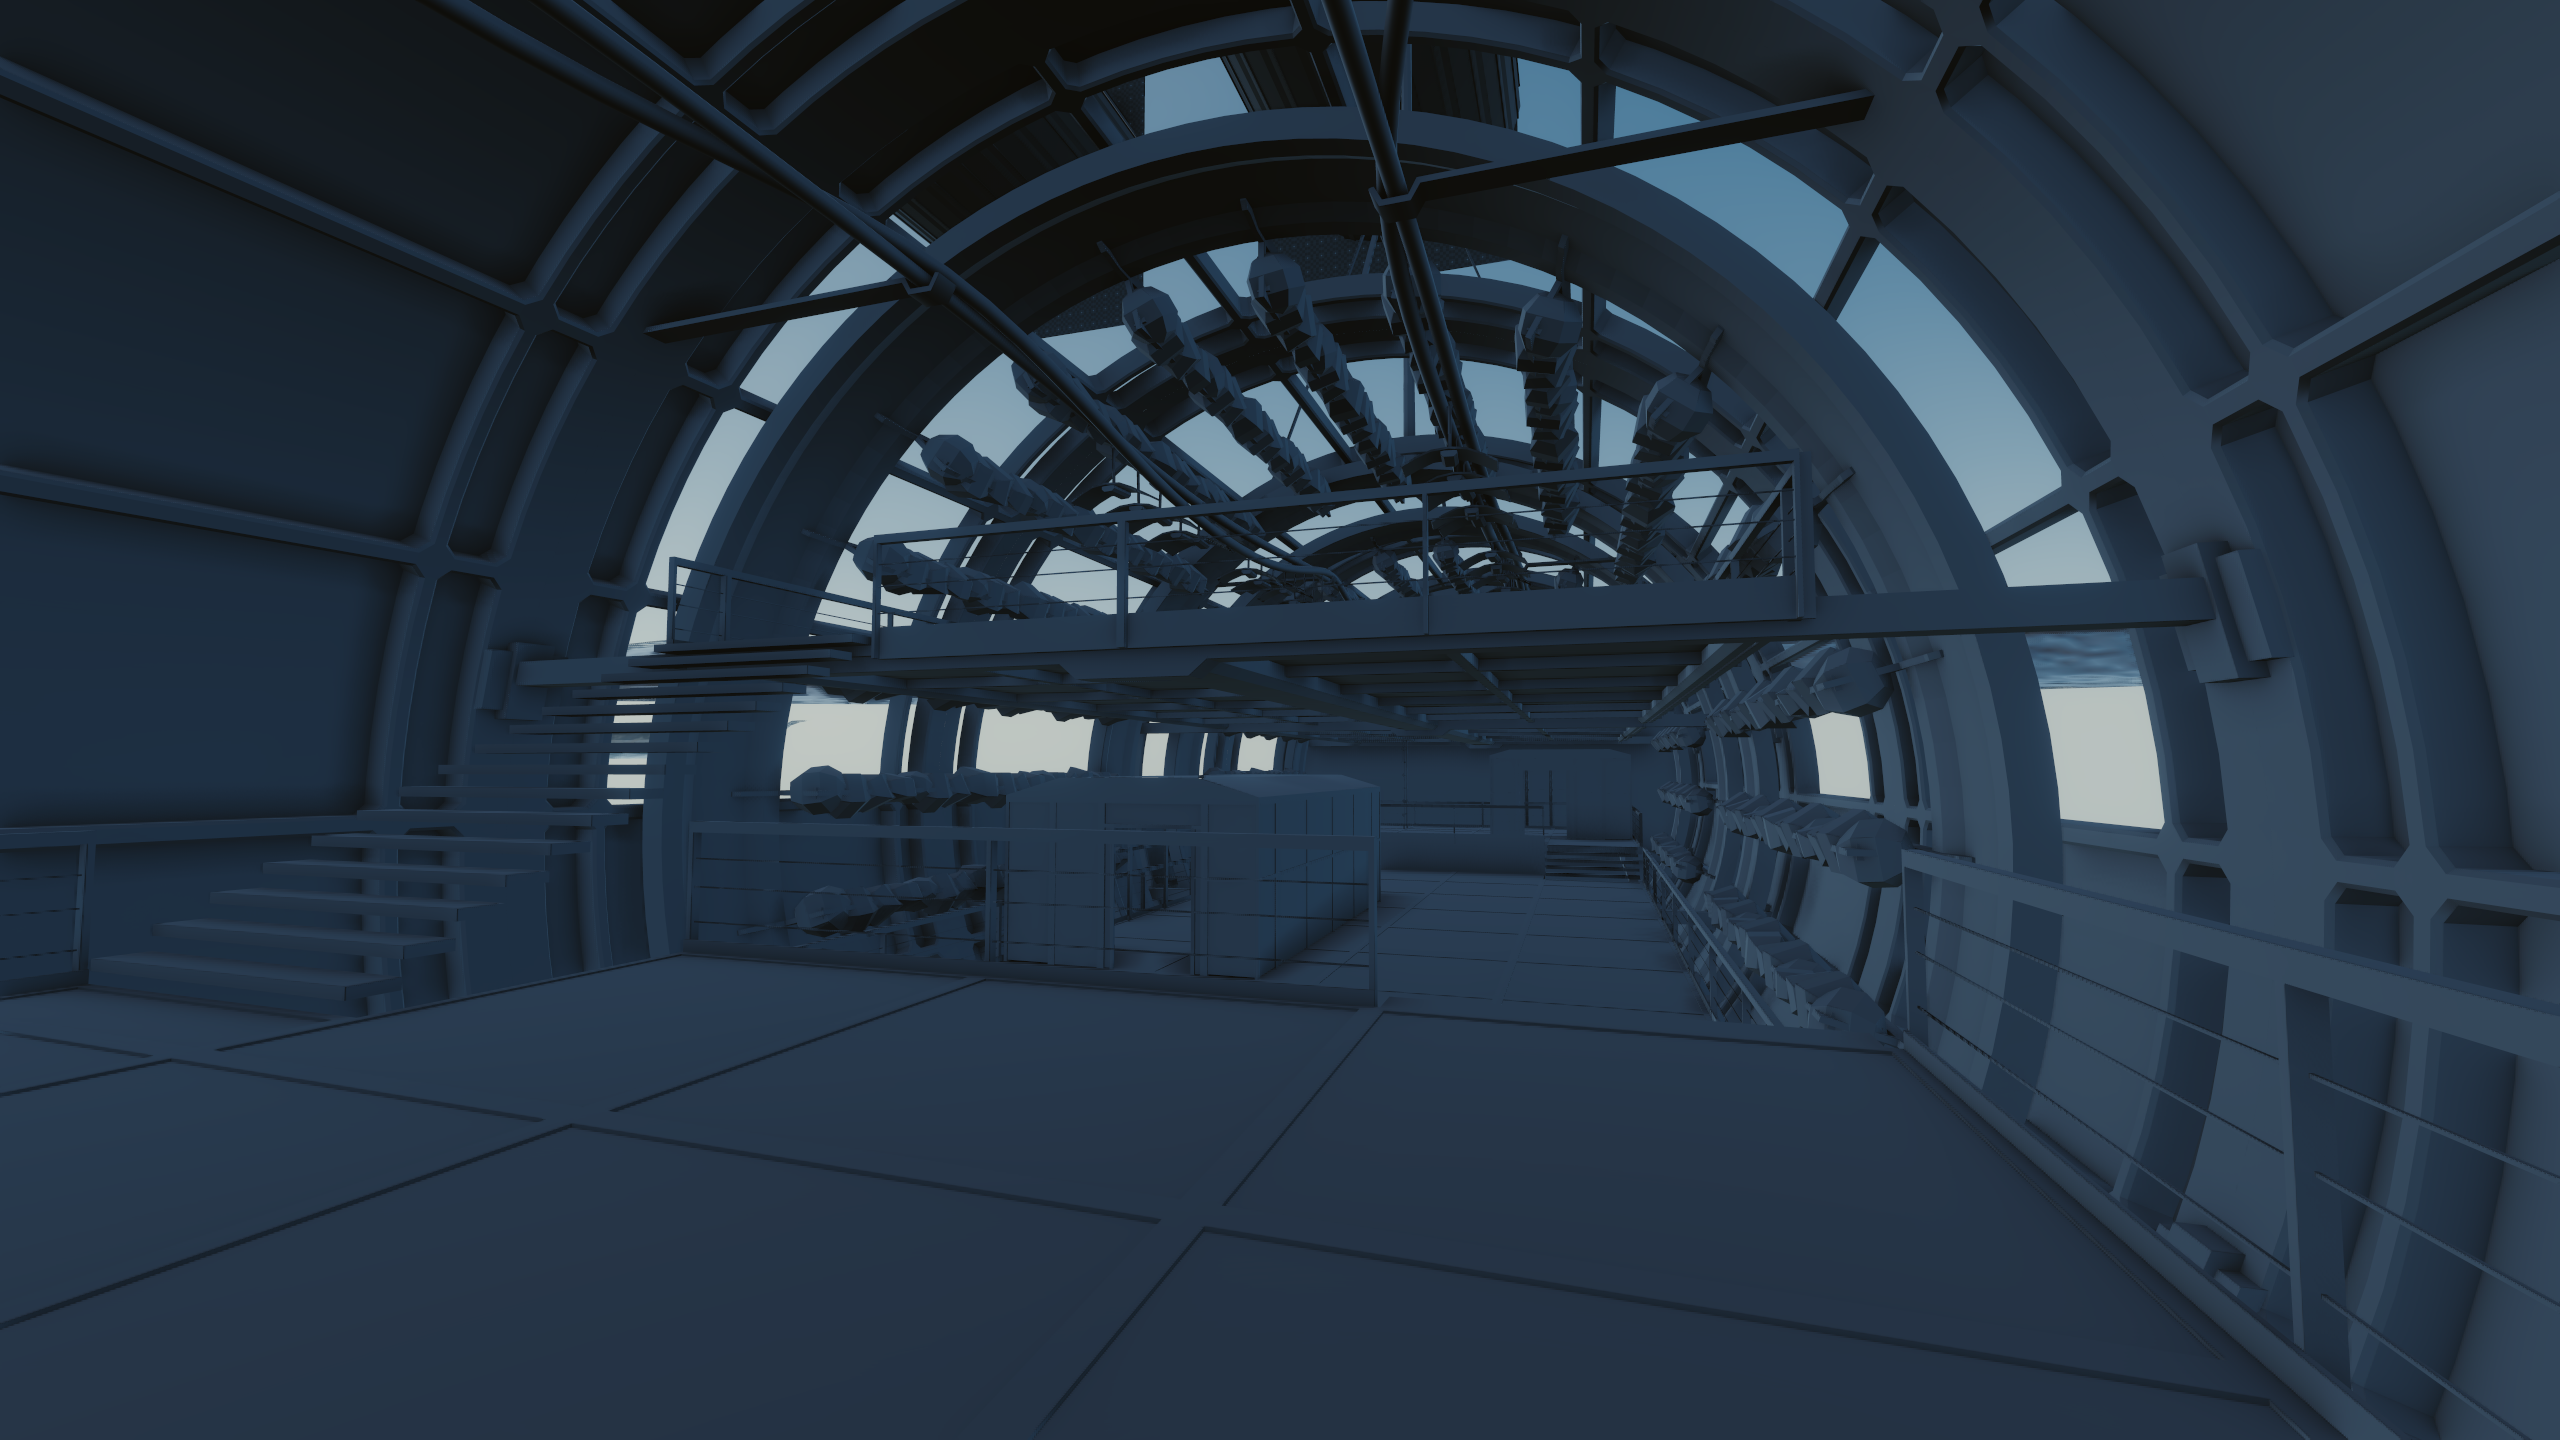
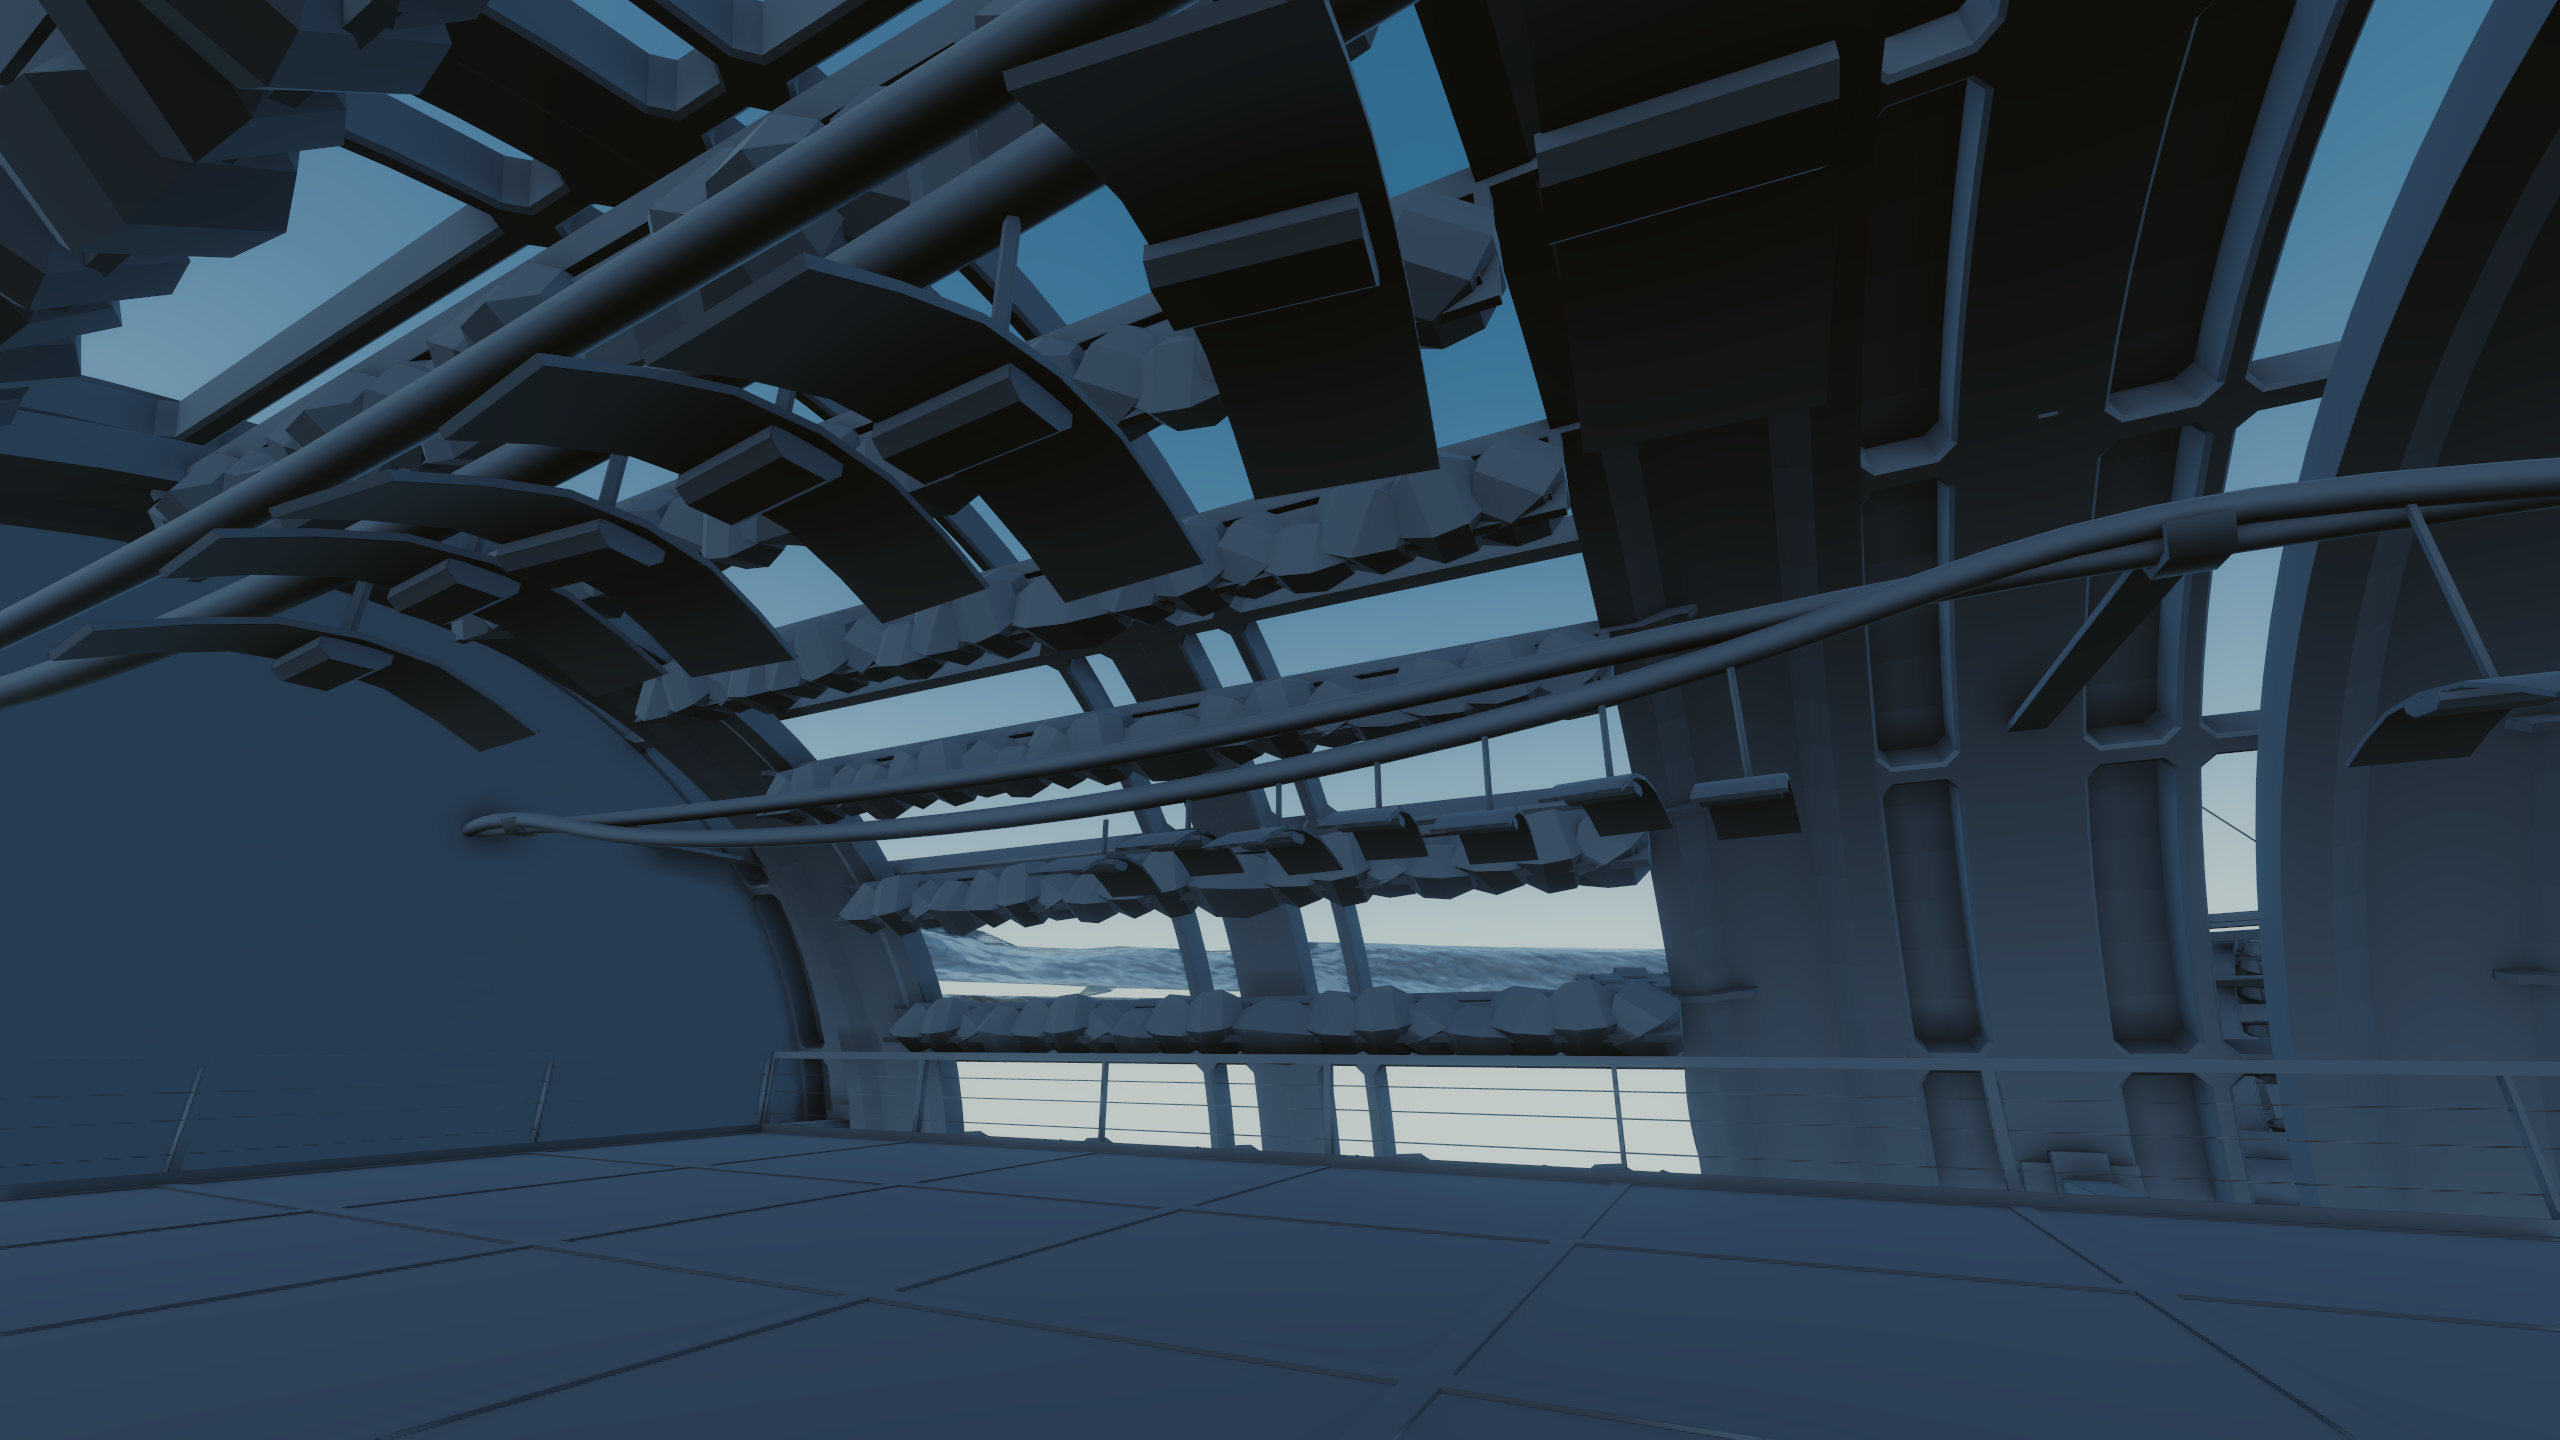
Living Quarters
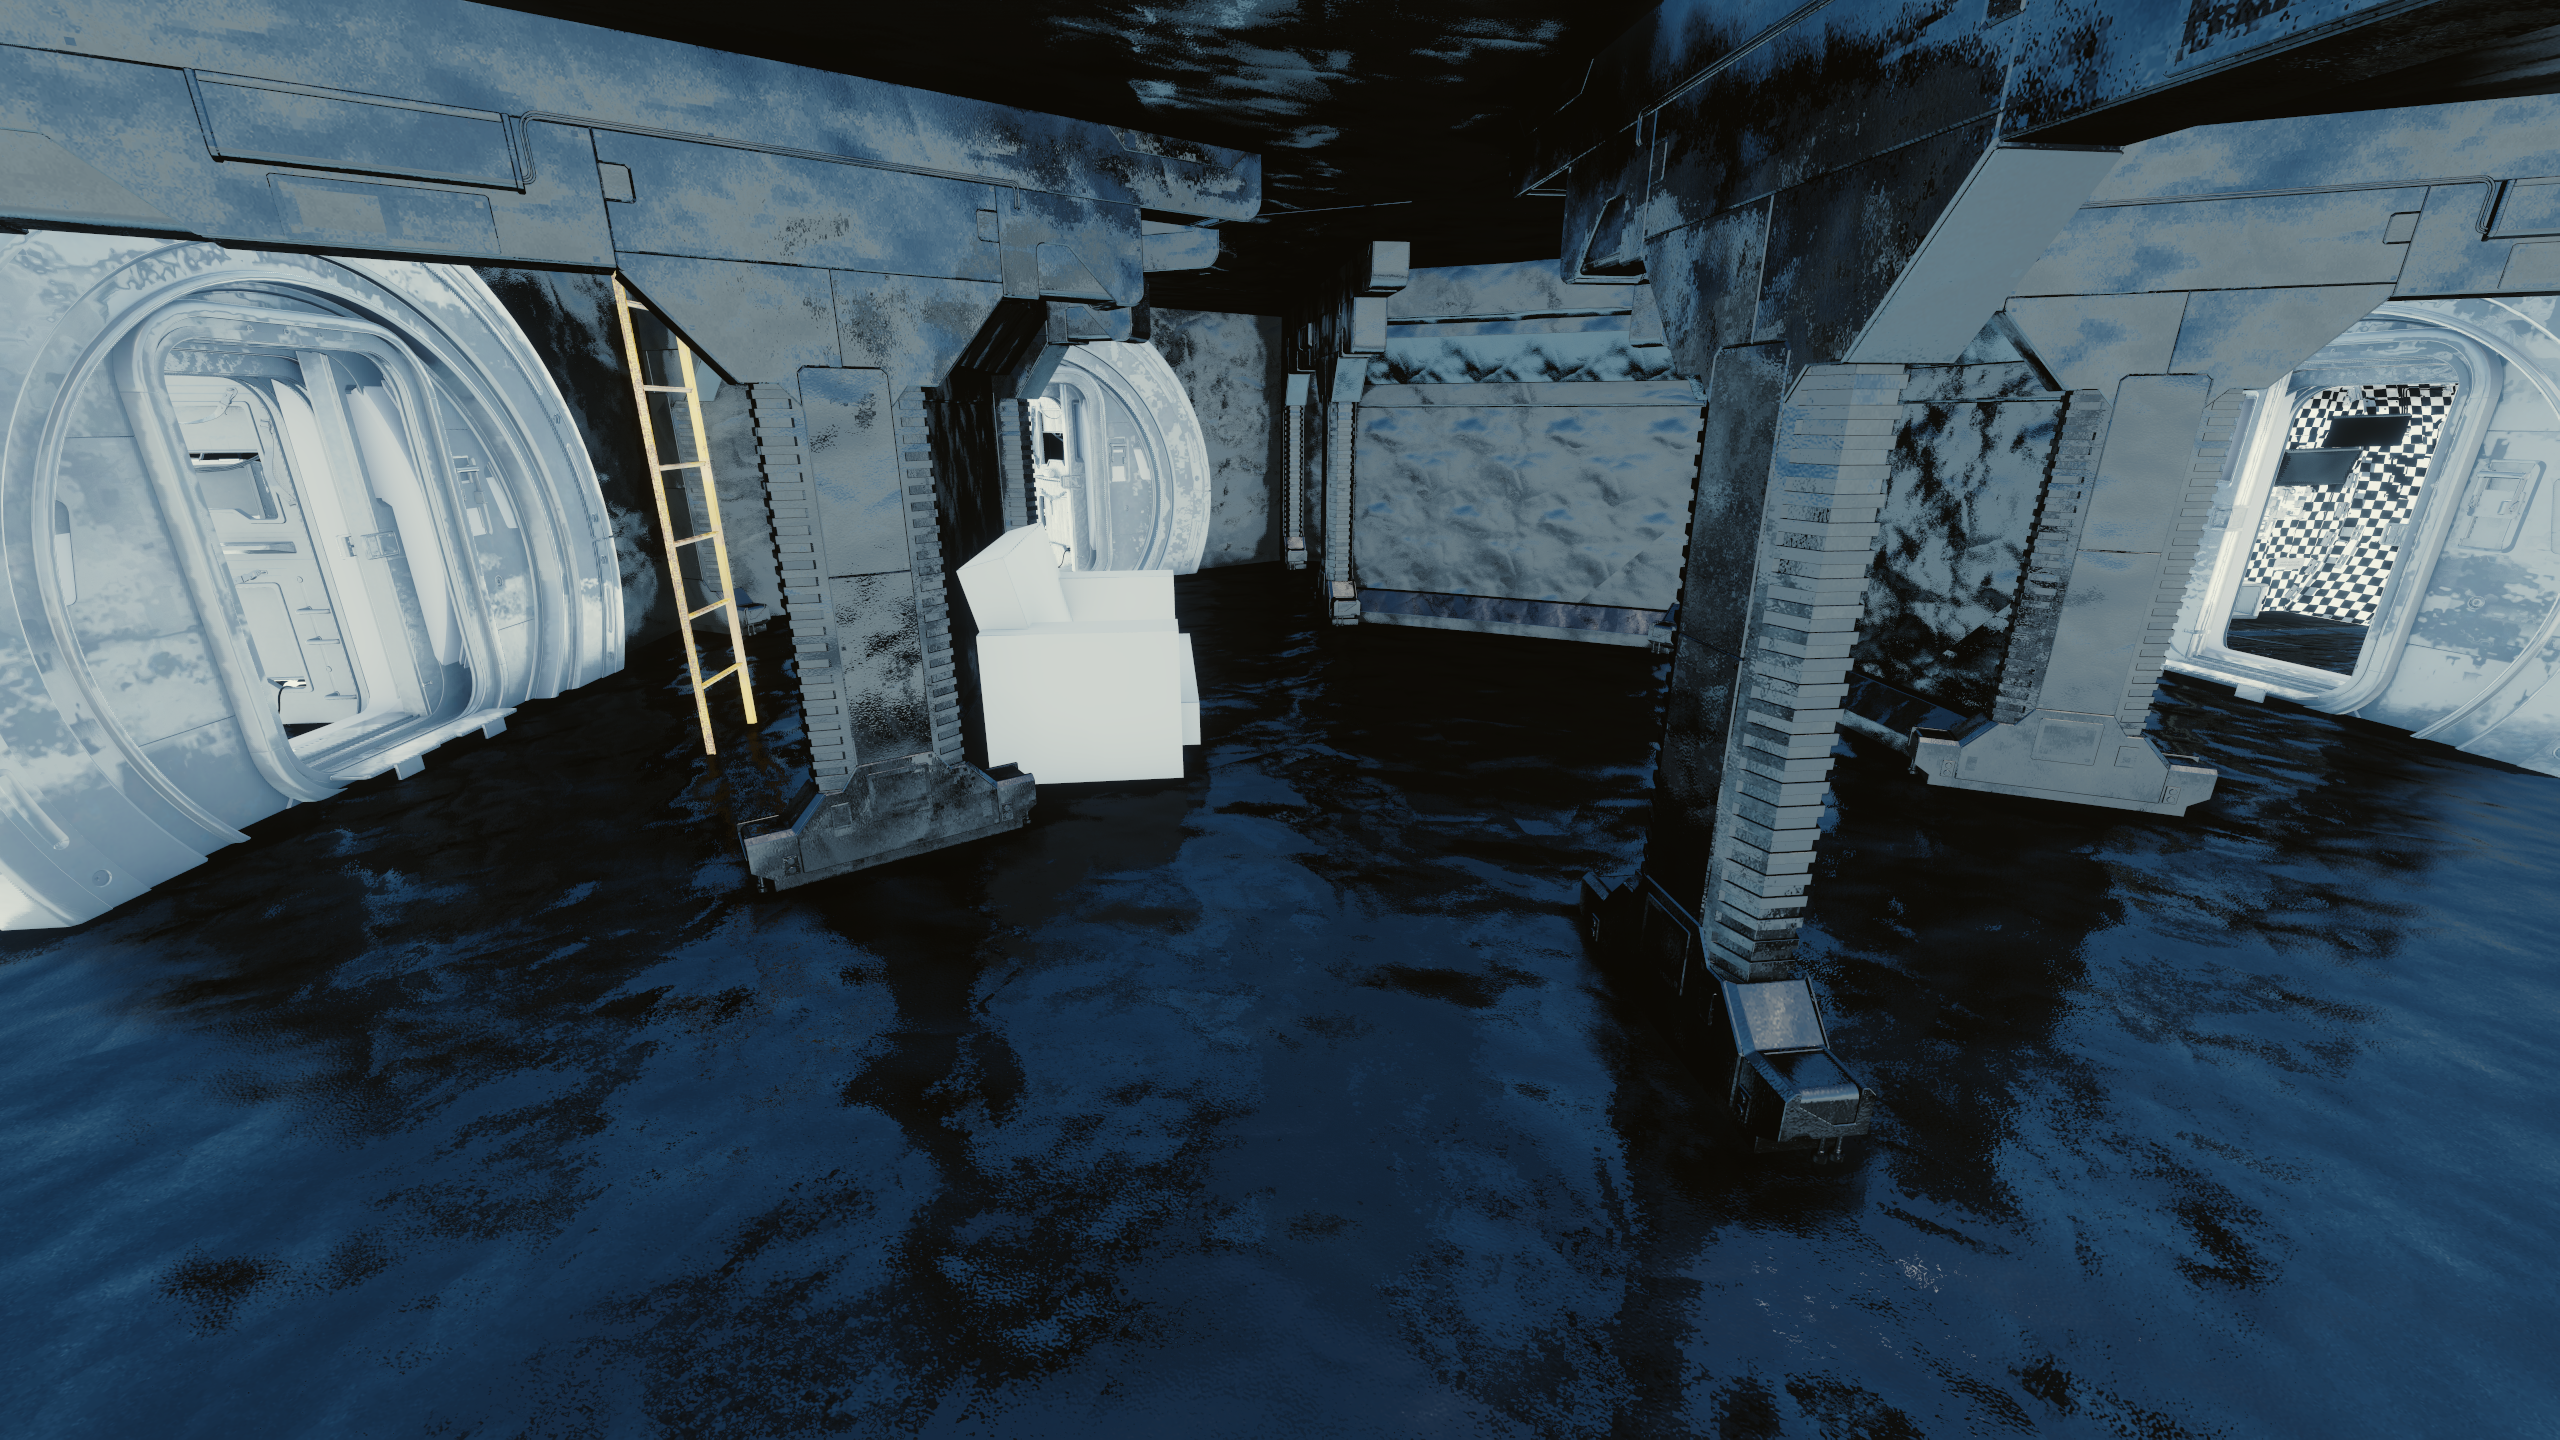
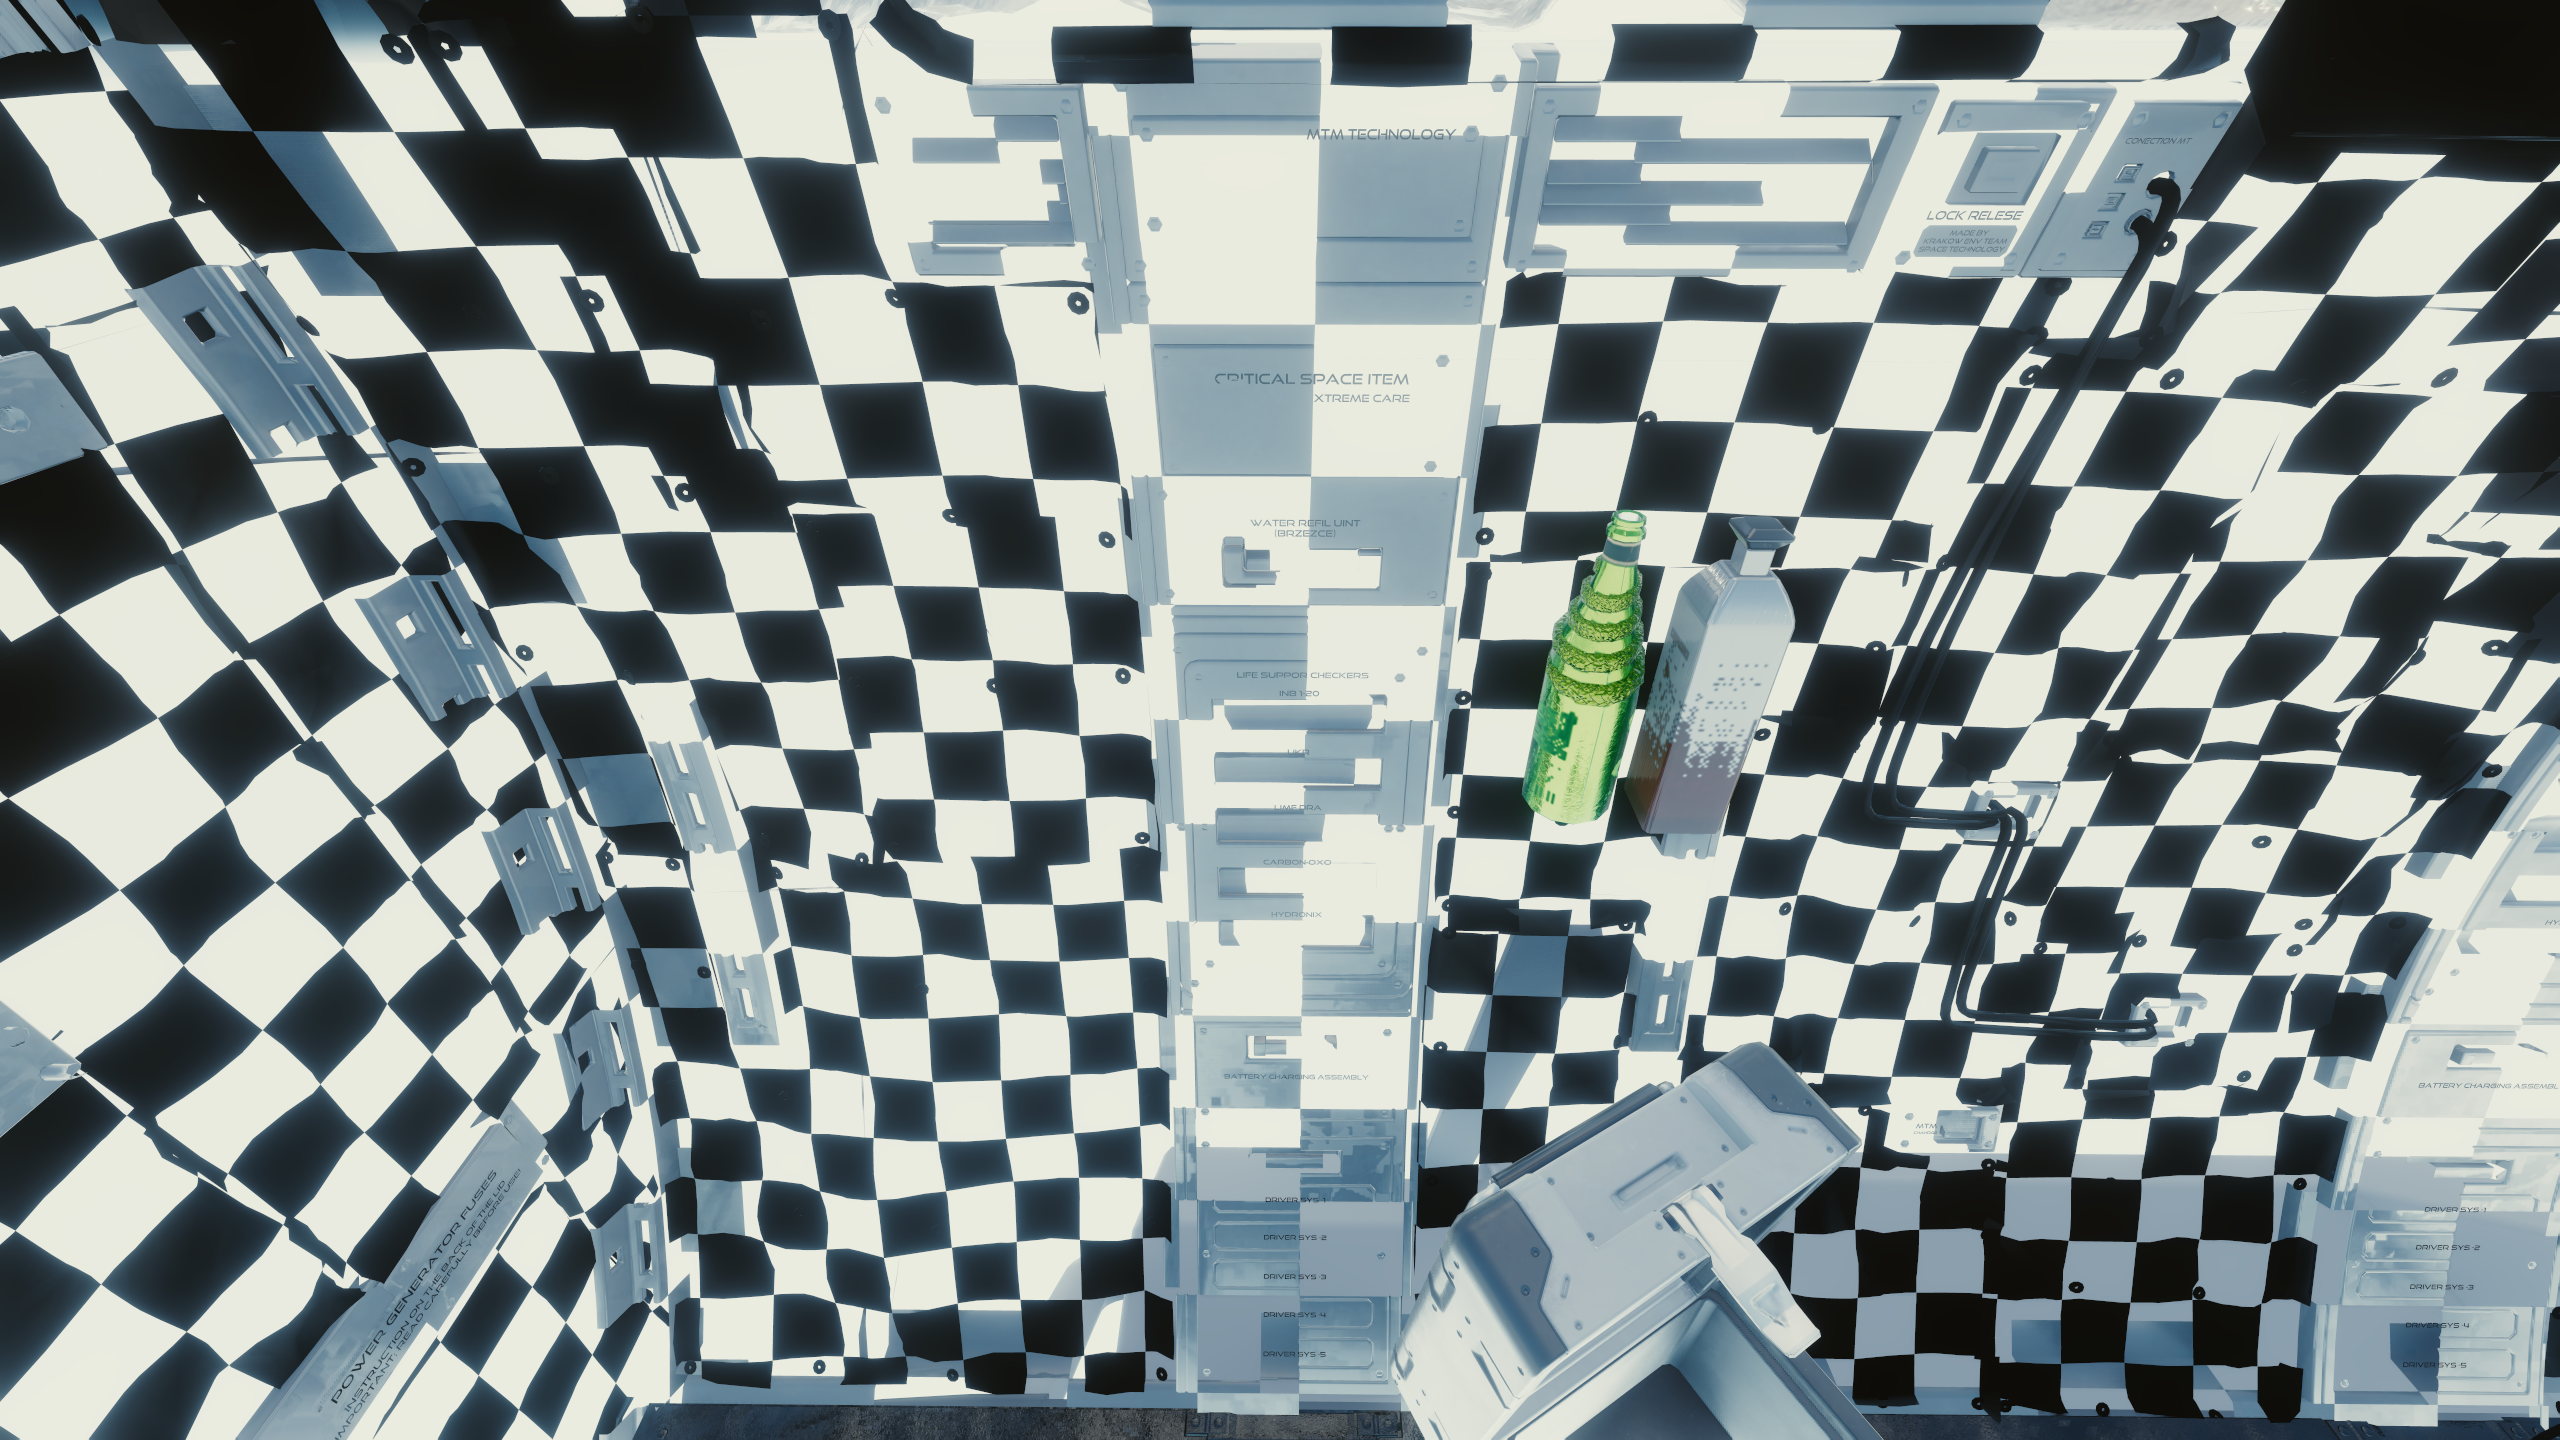
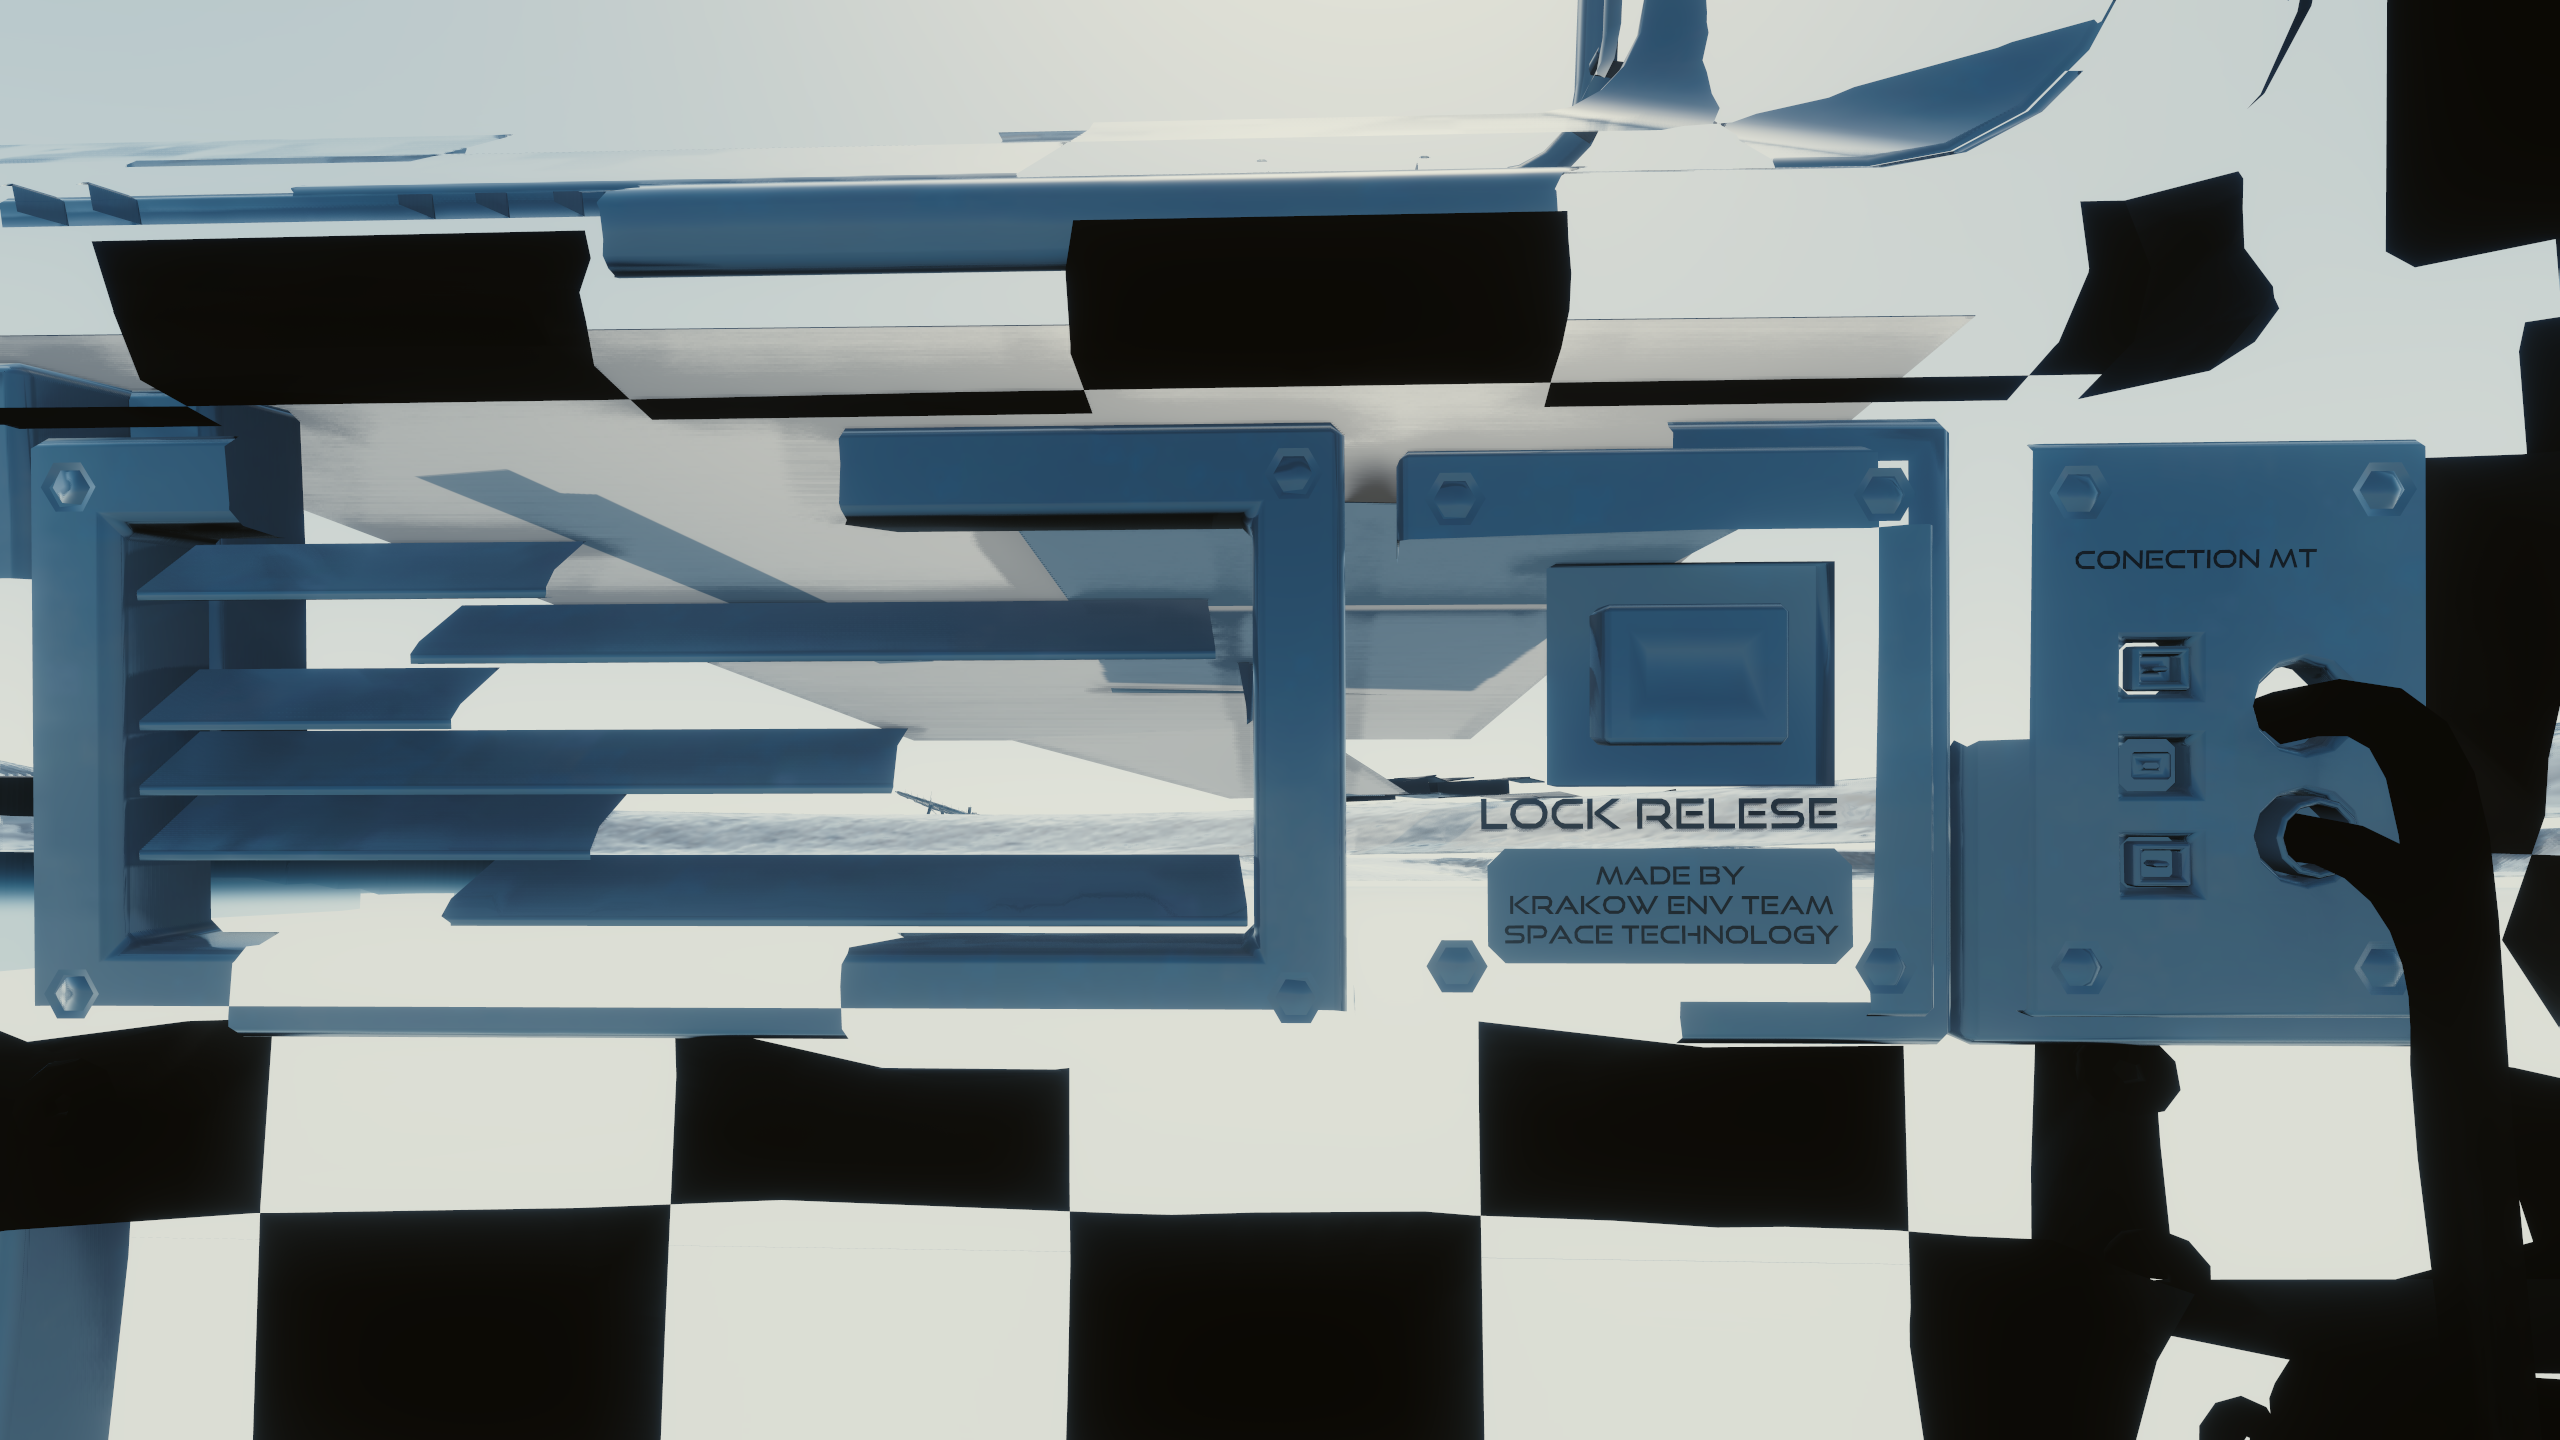
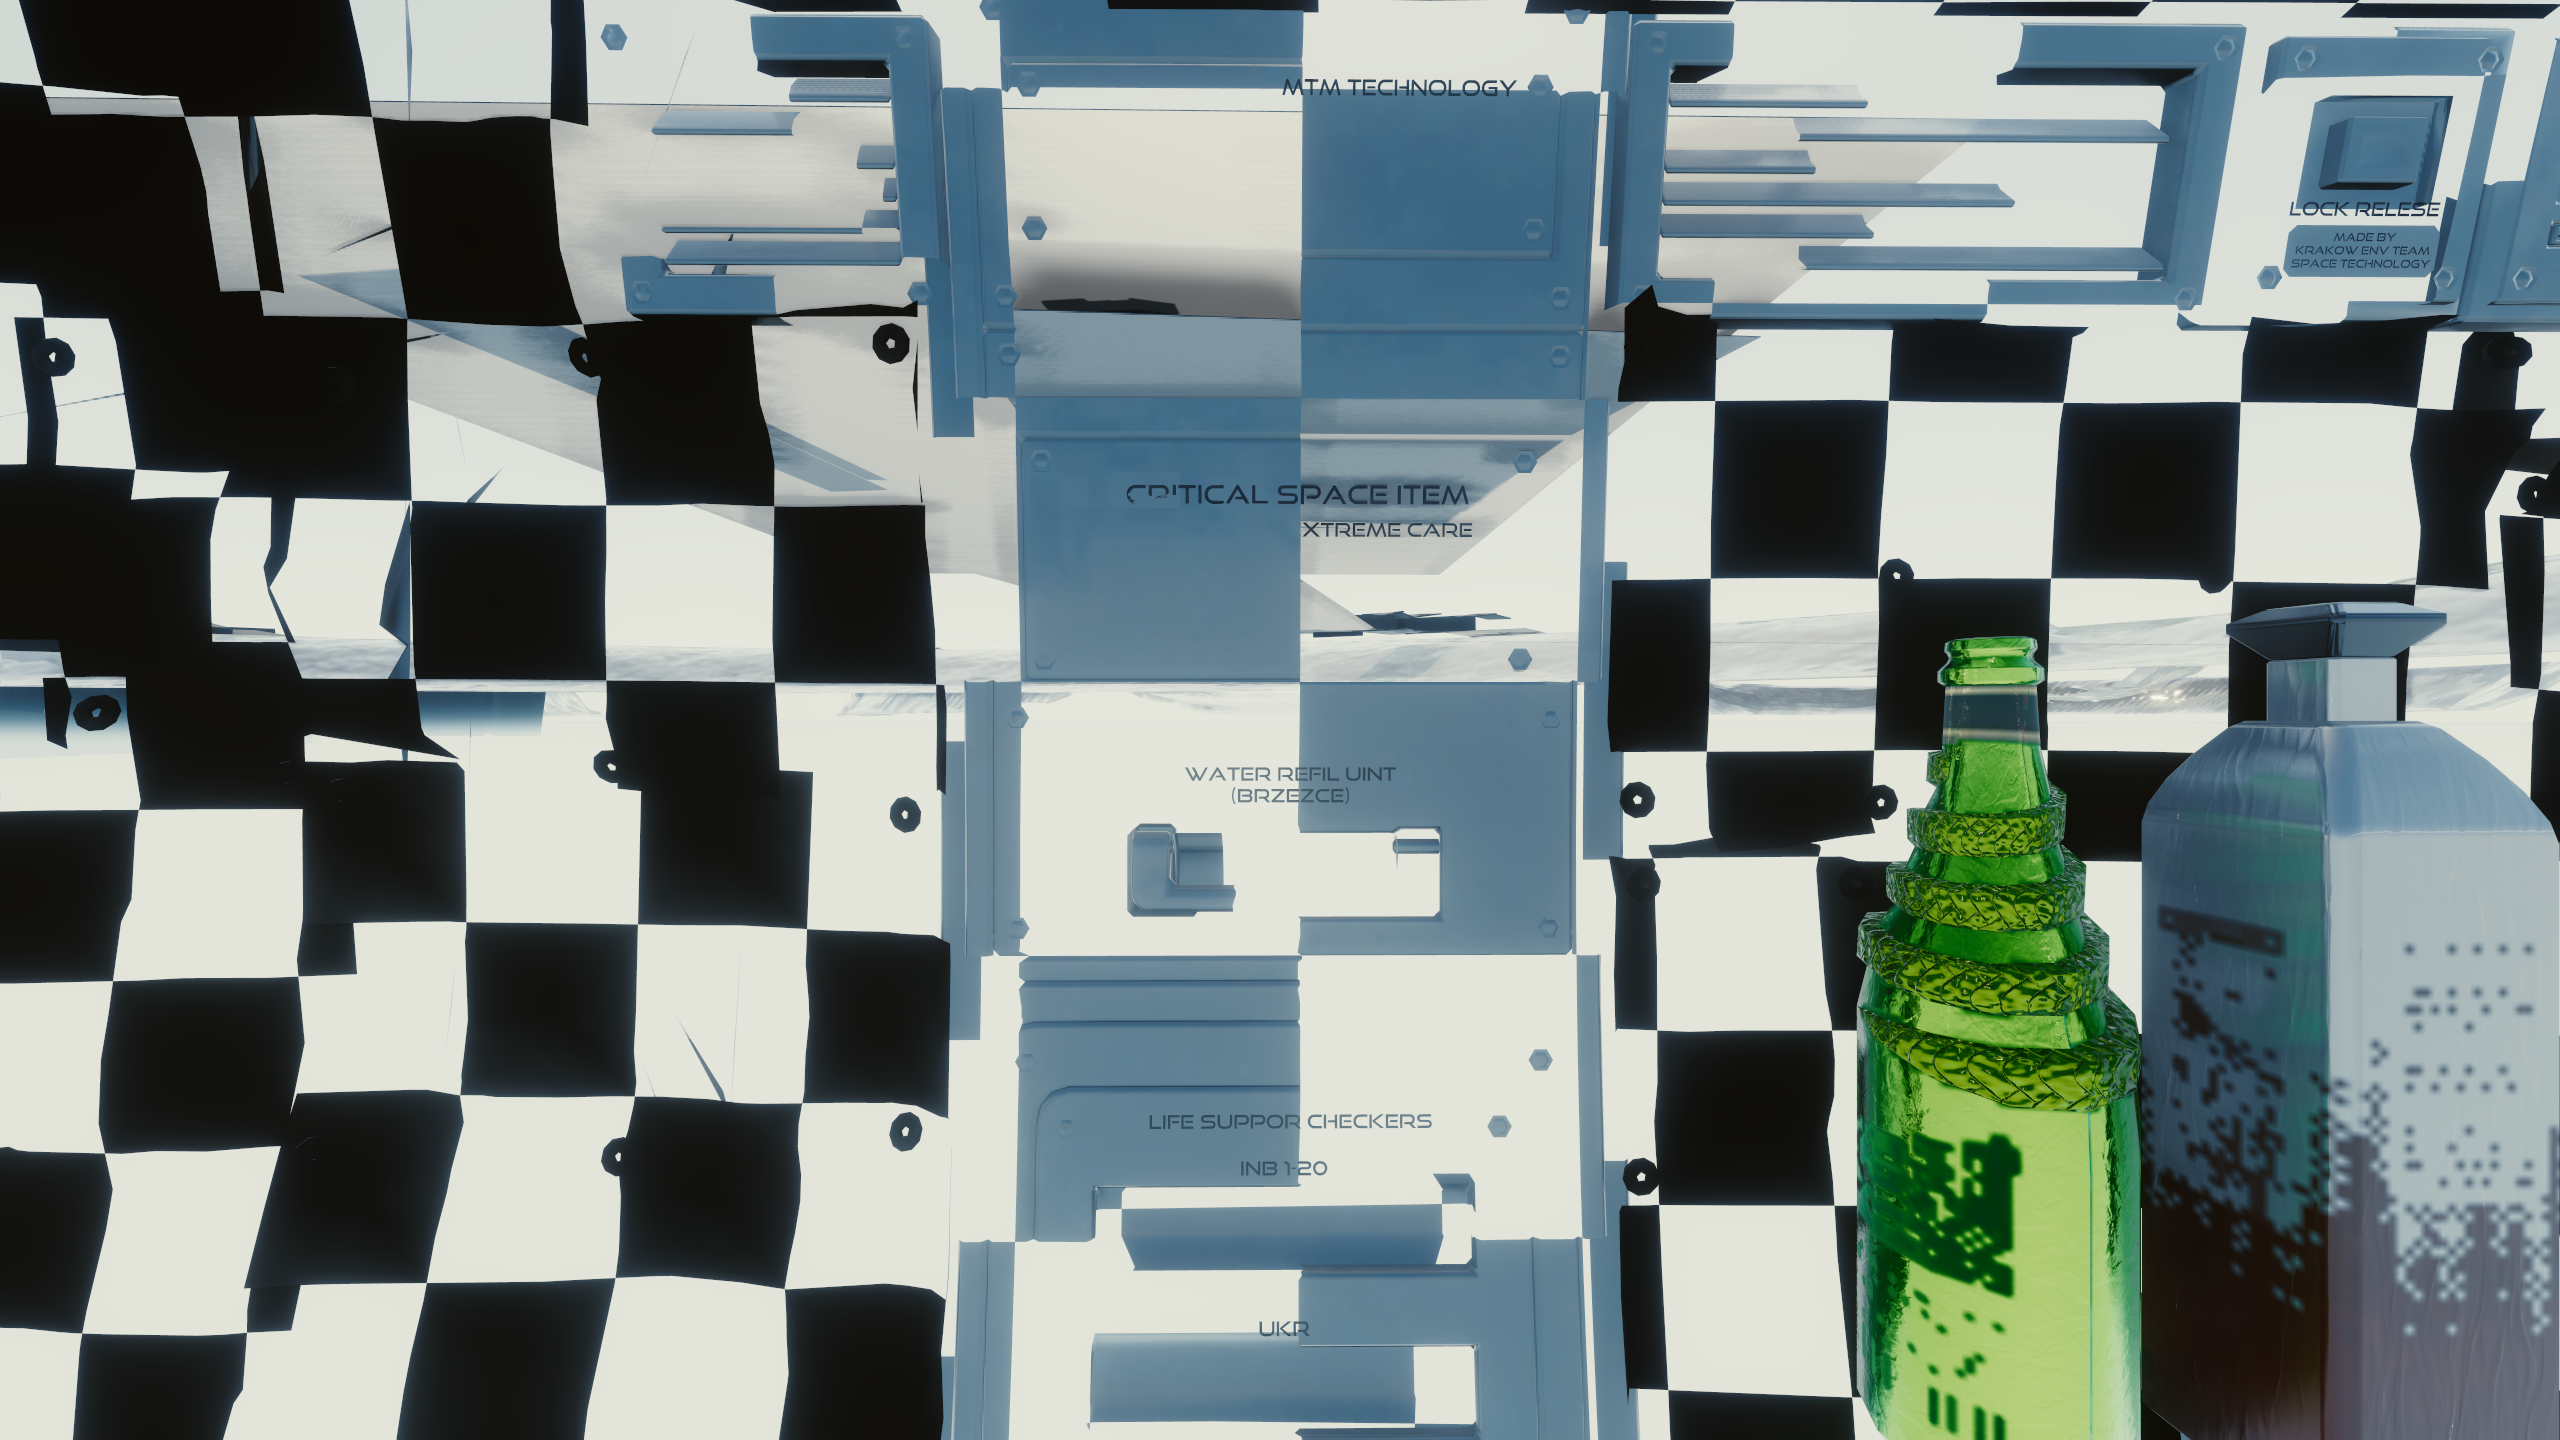
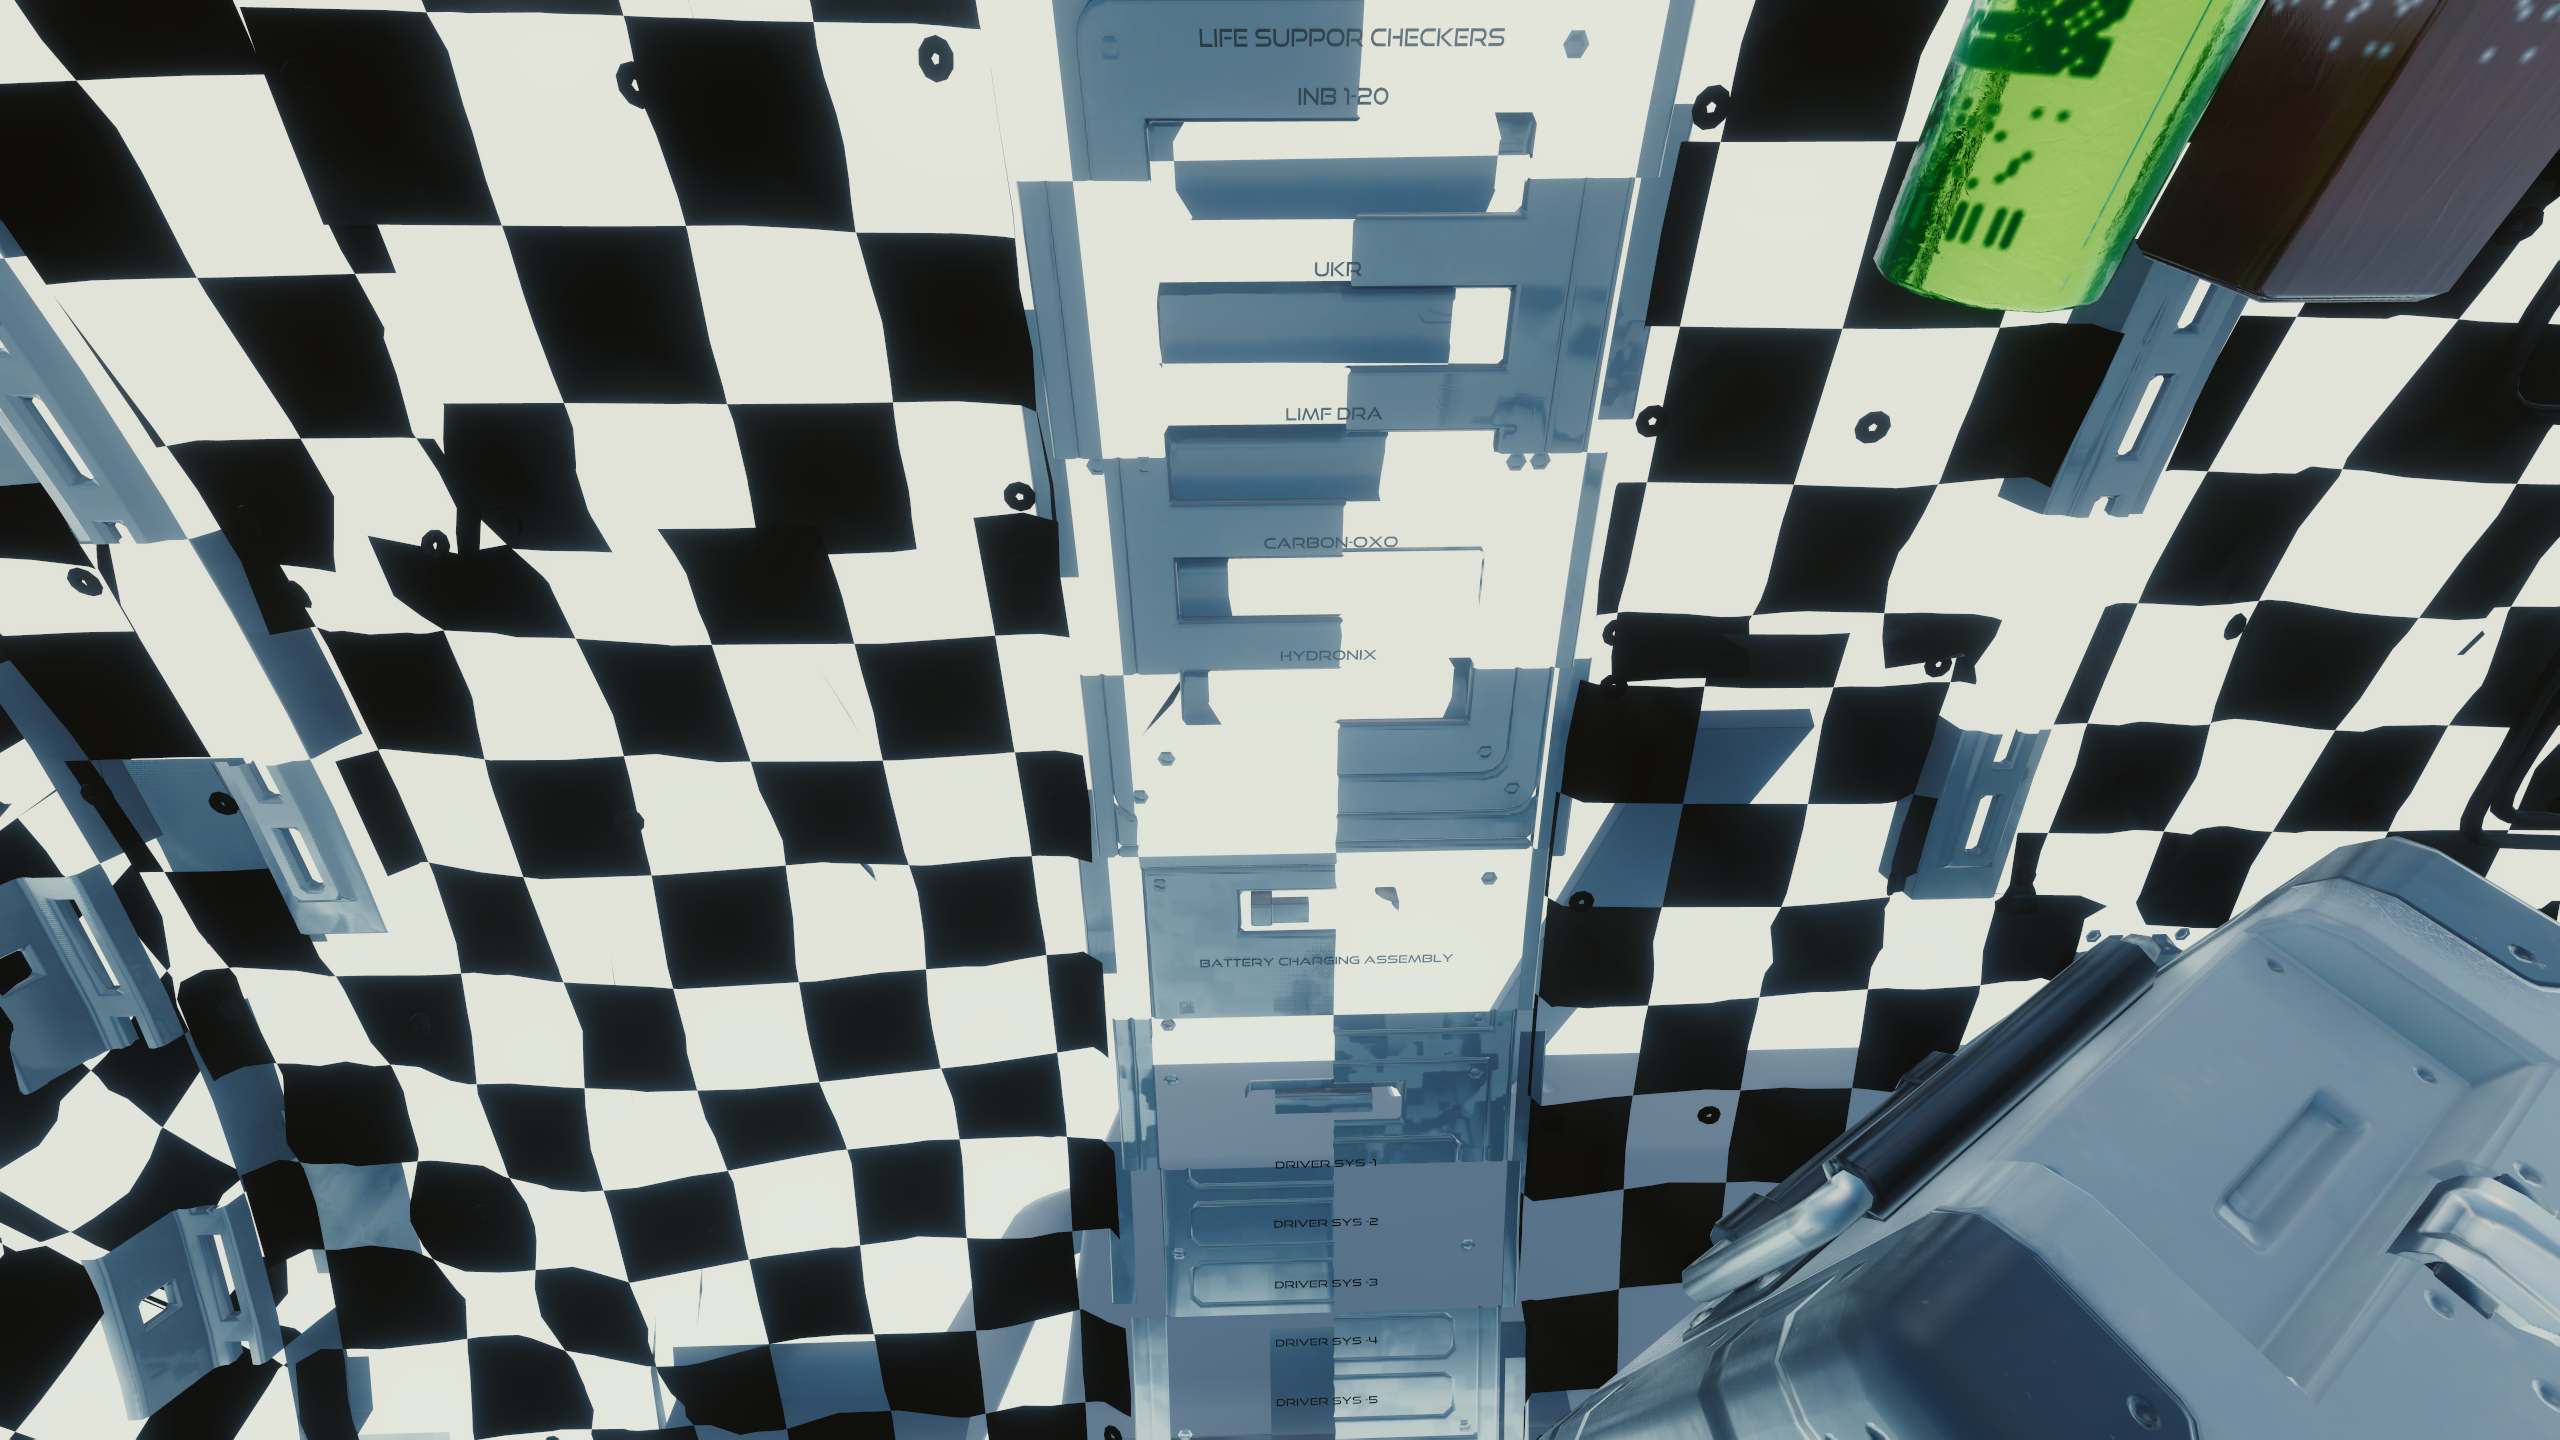
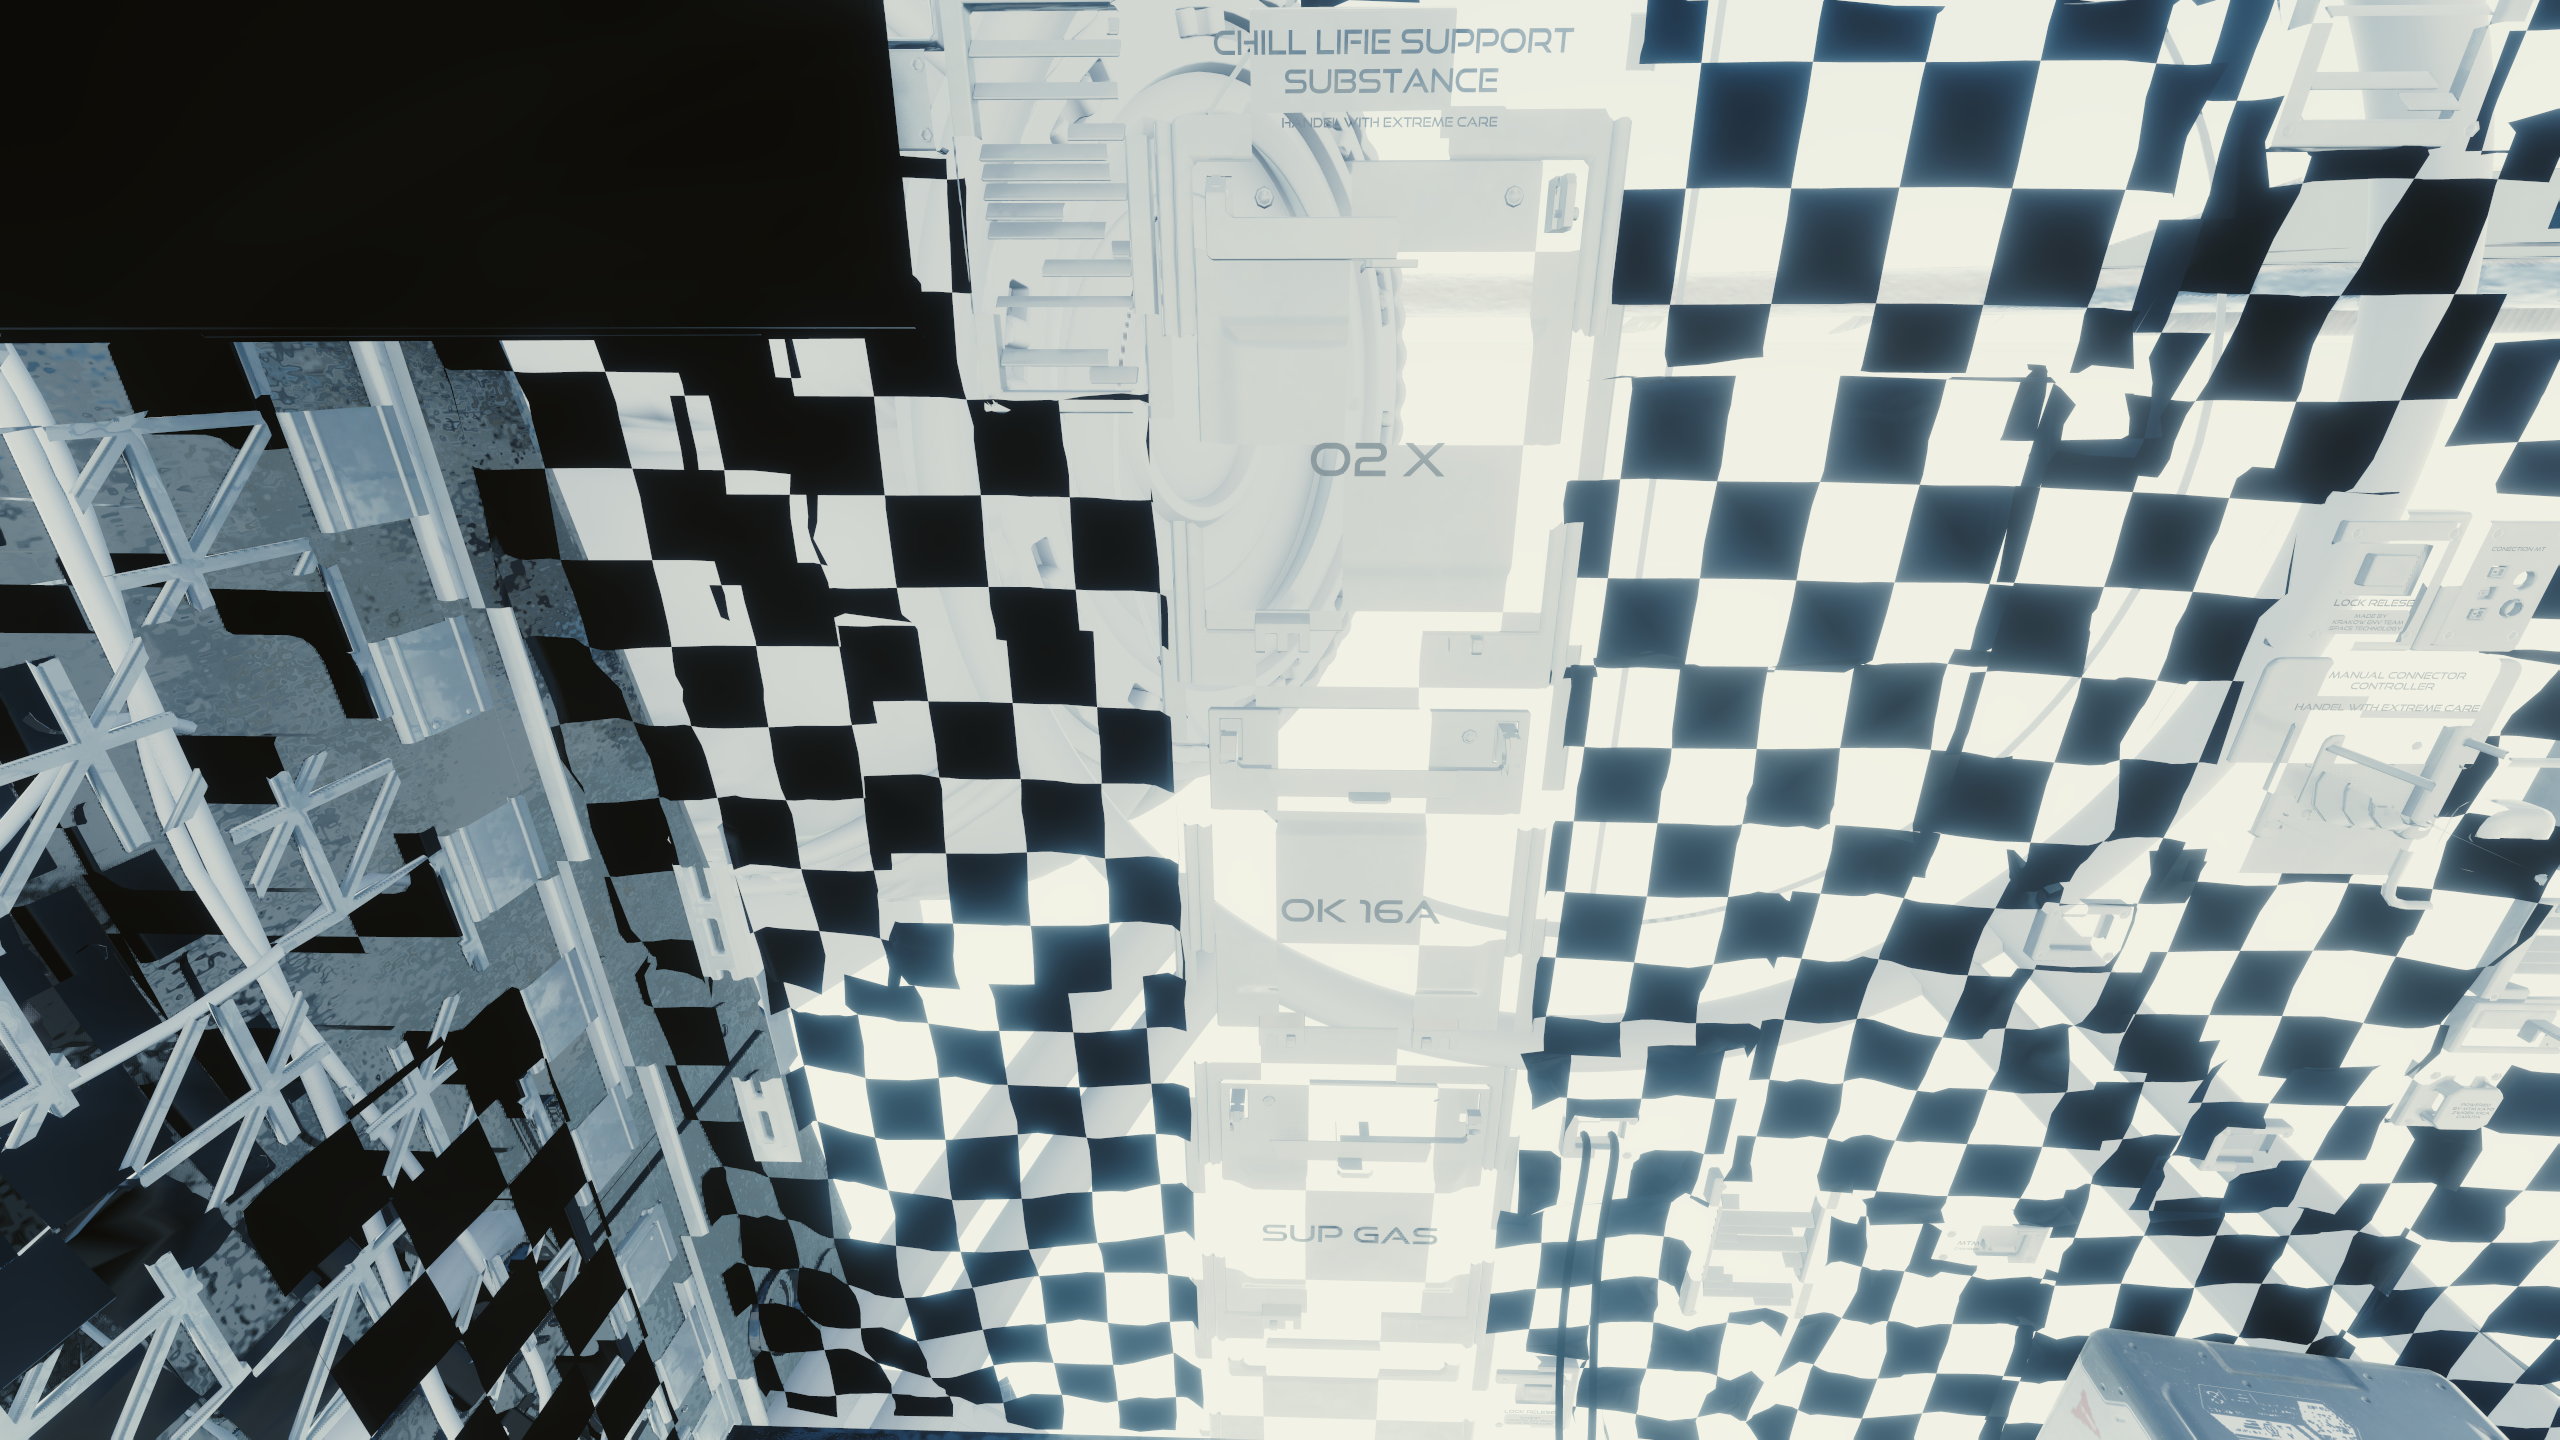
Bar
Corridors
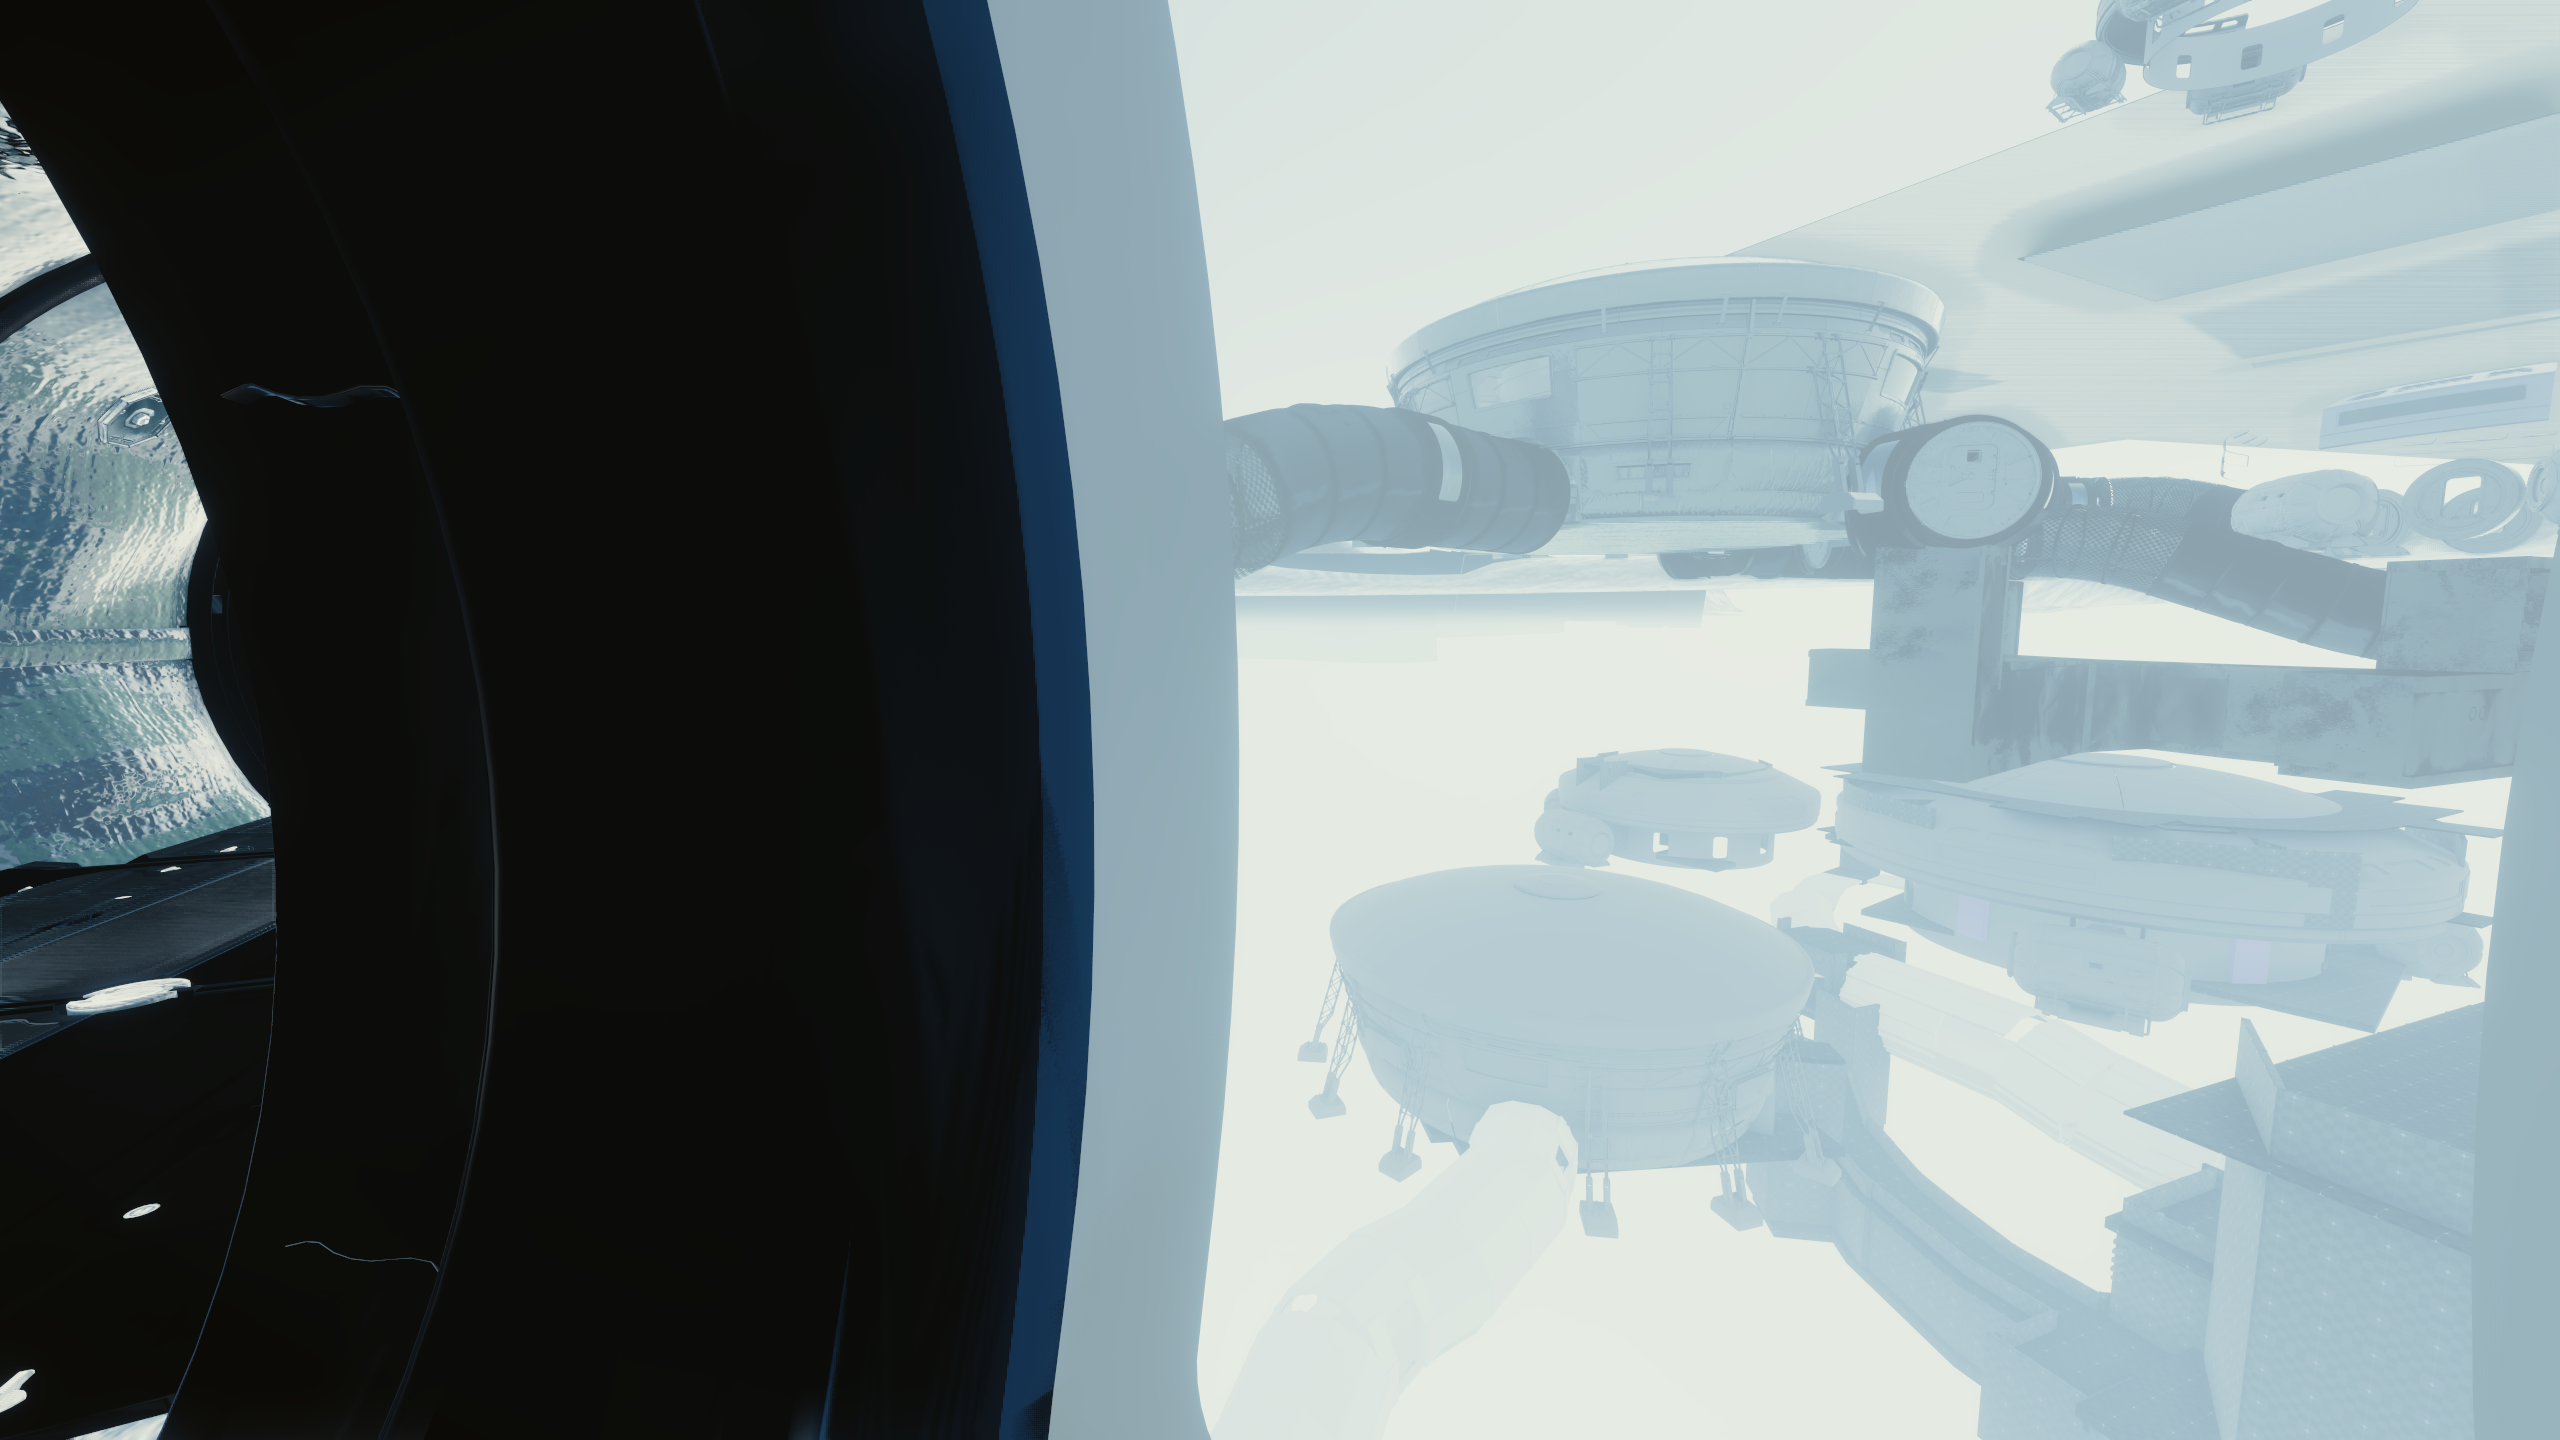
lav_site#
mass_driver#
q202_massdriver_acc_farm_v2
nc_base#
moon_quest_characters
q109_cosmodrome_complete
offroad
offroad_east
offroad_west
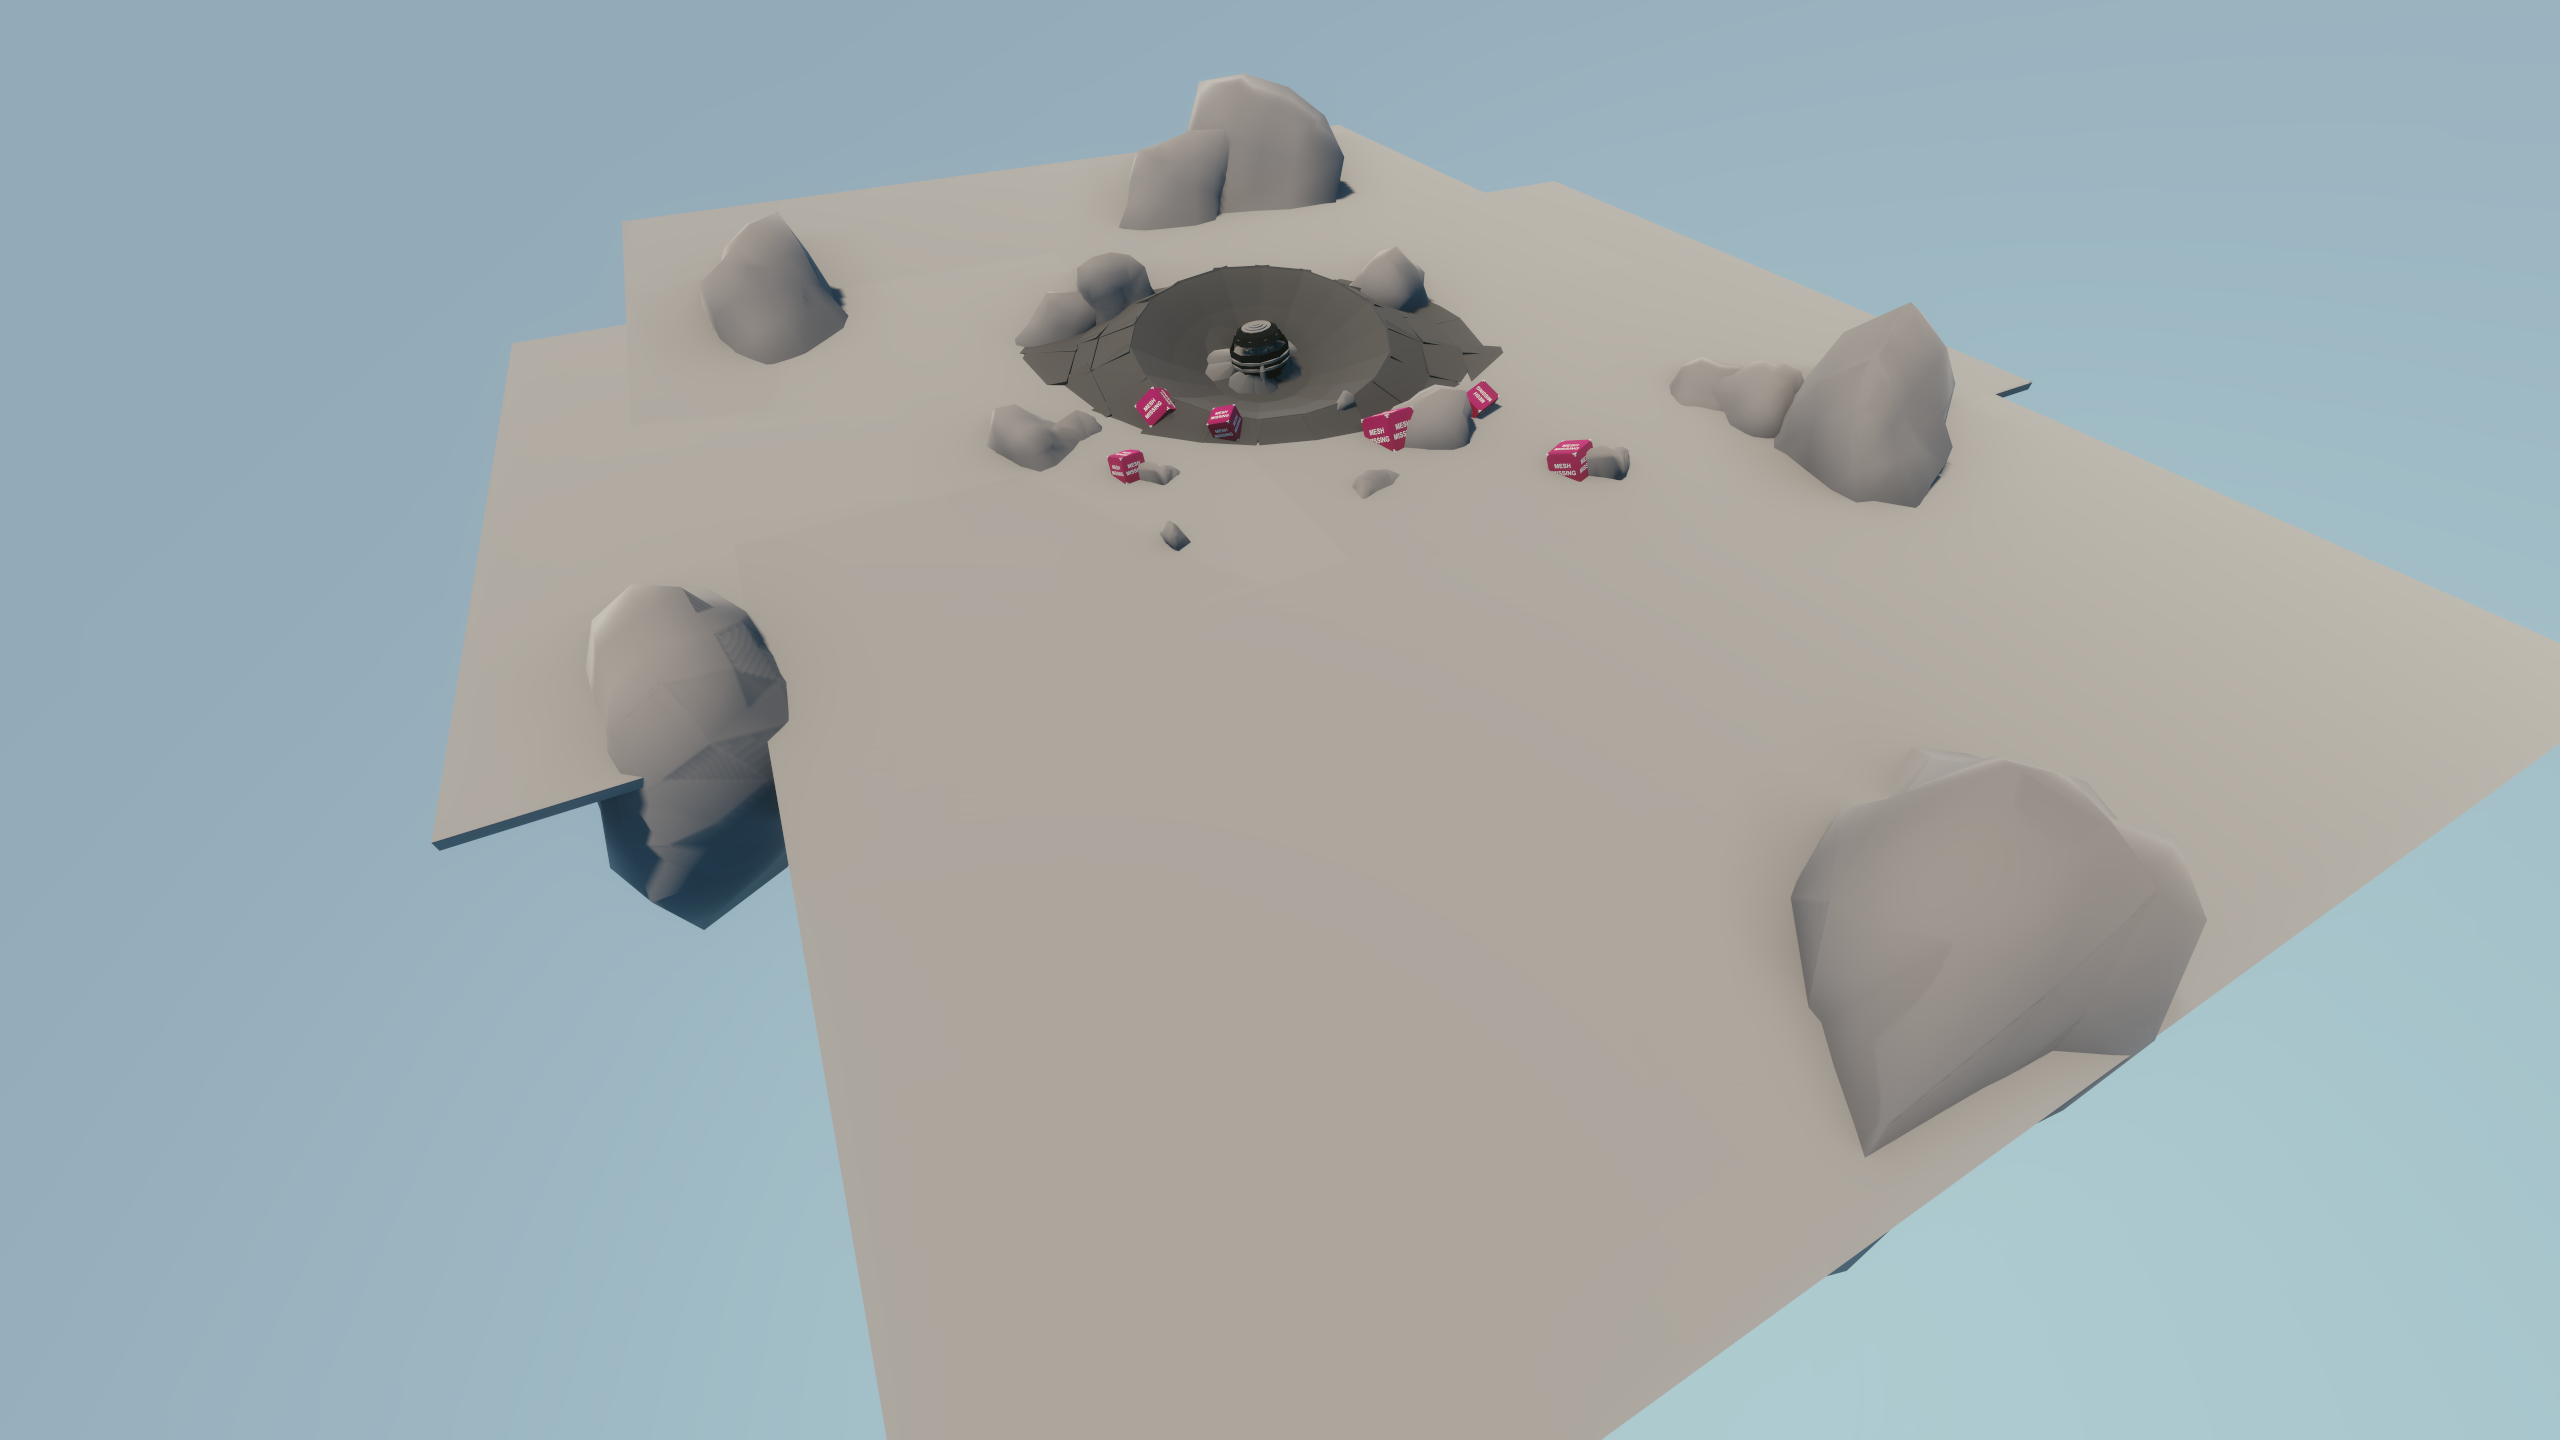
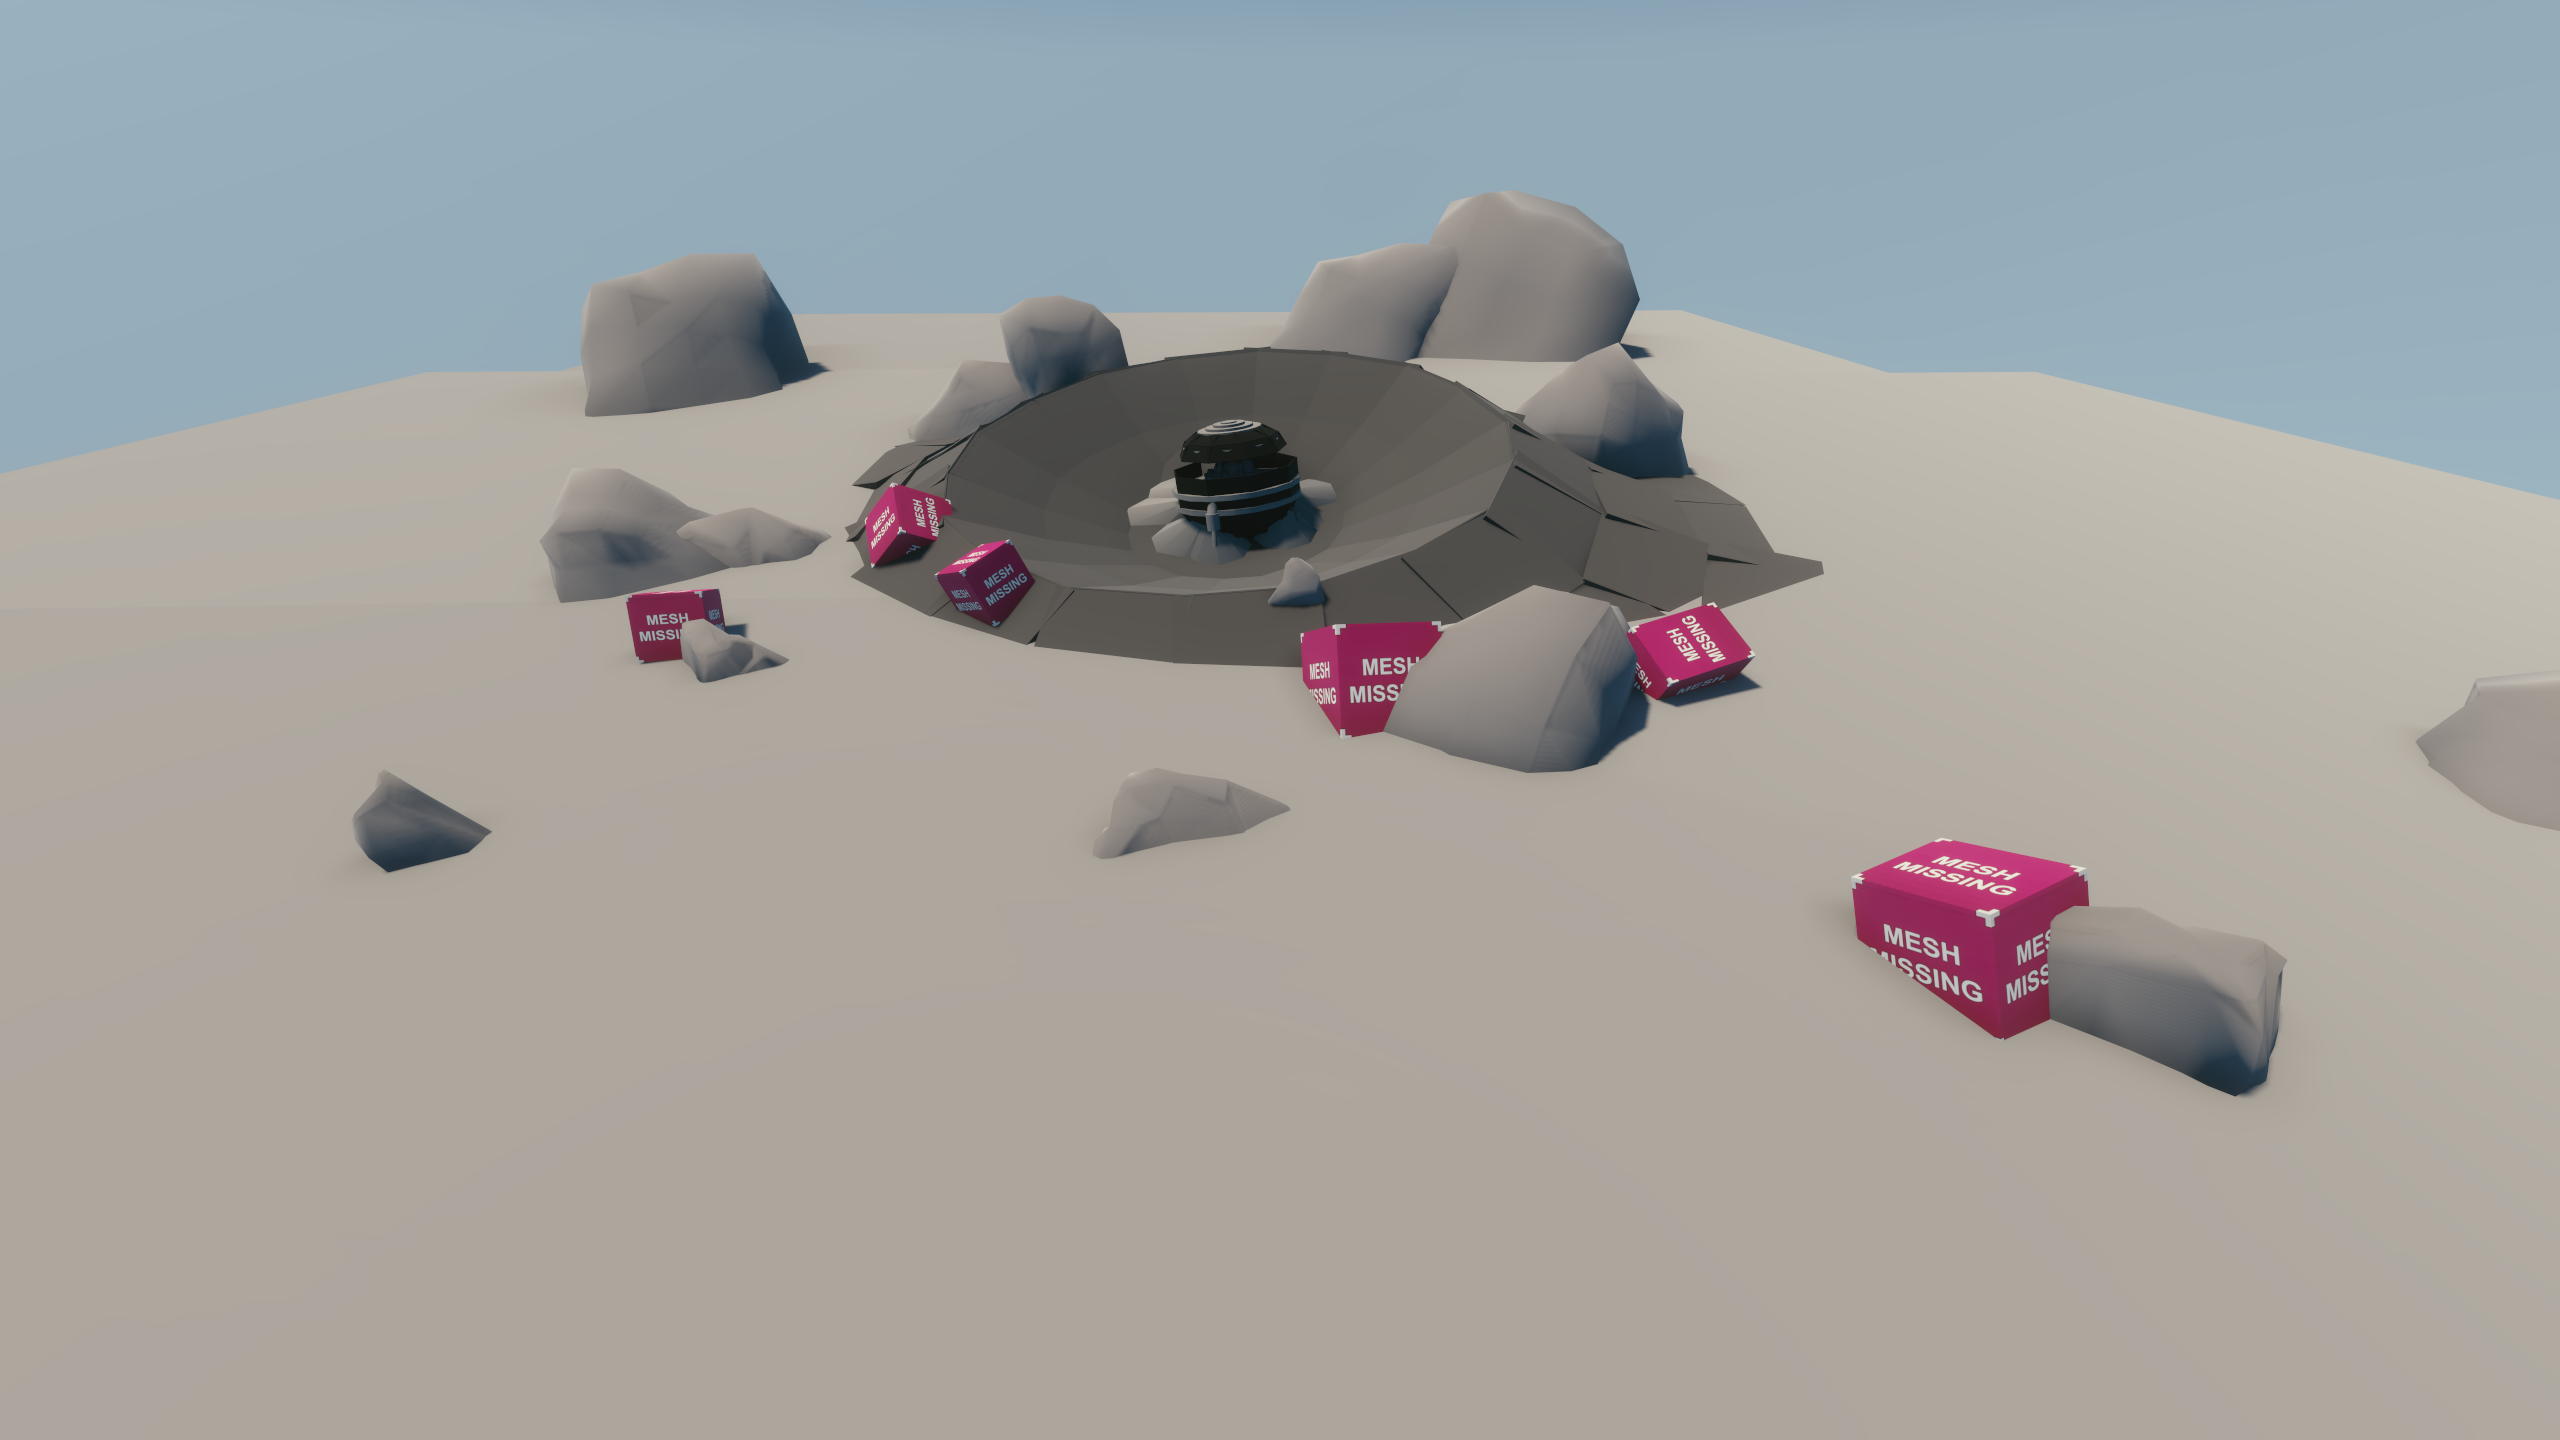
q202_emergency_landing_site
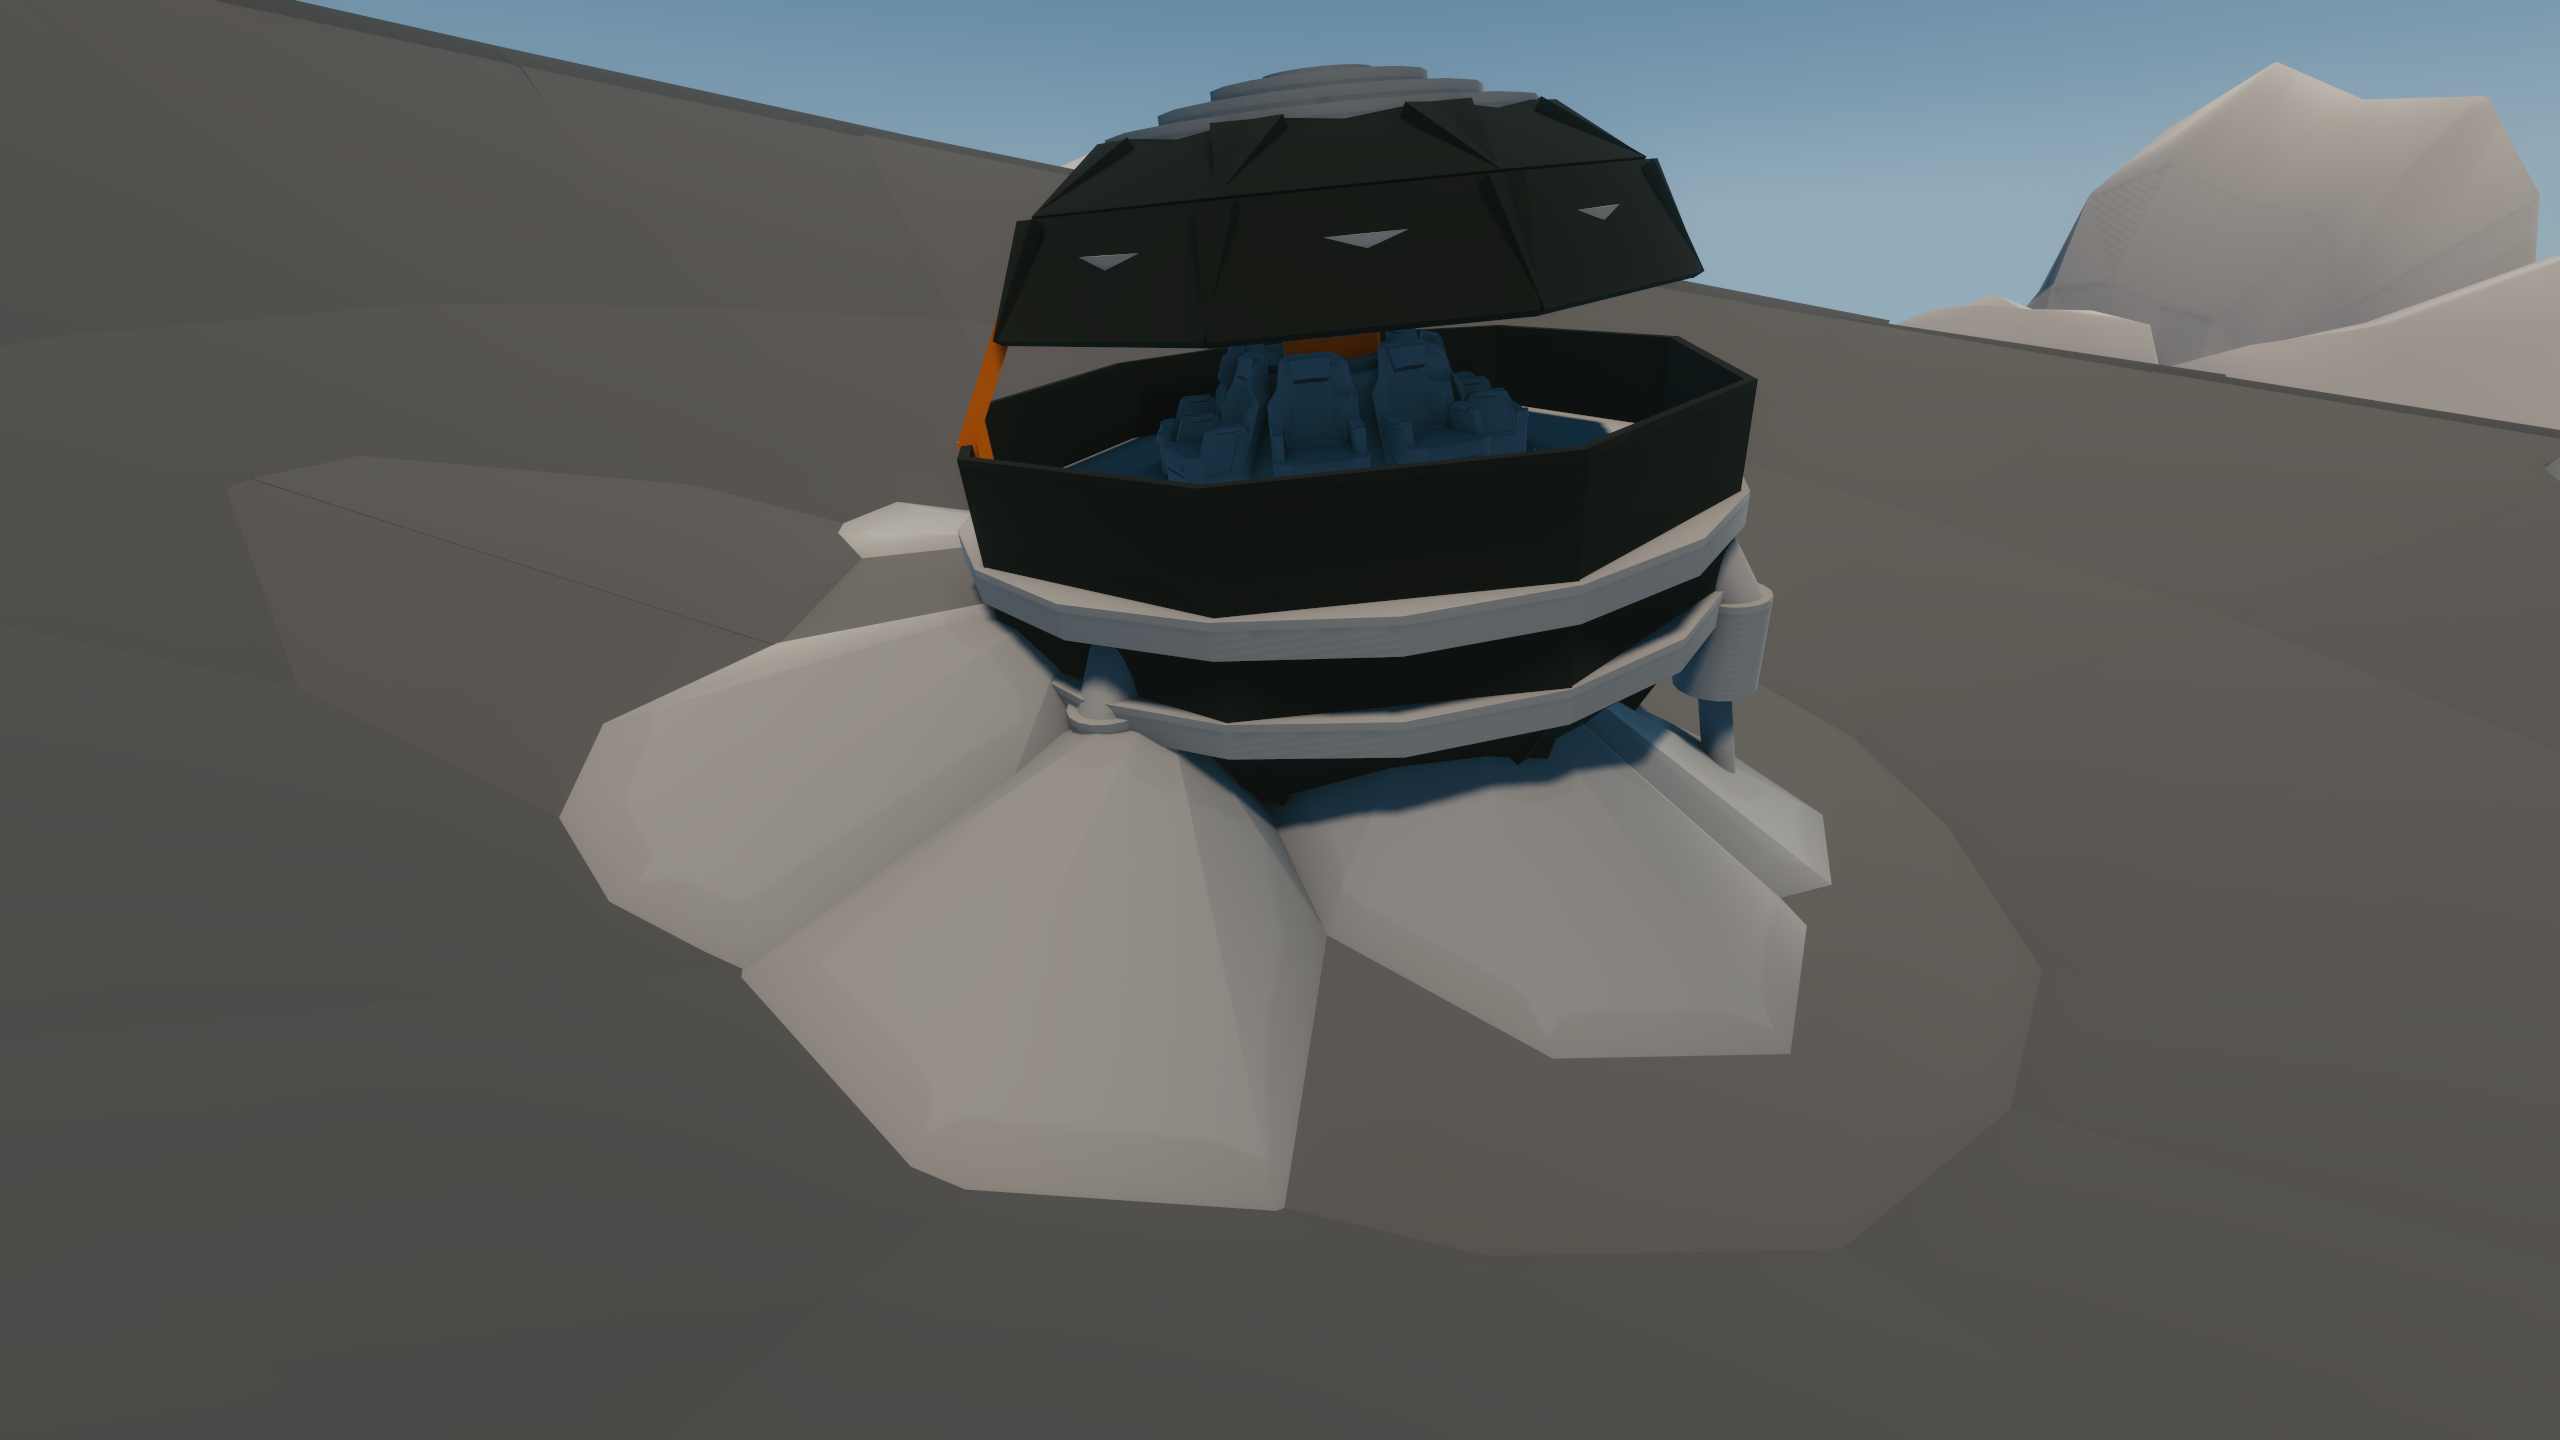
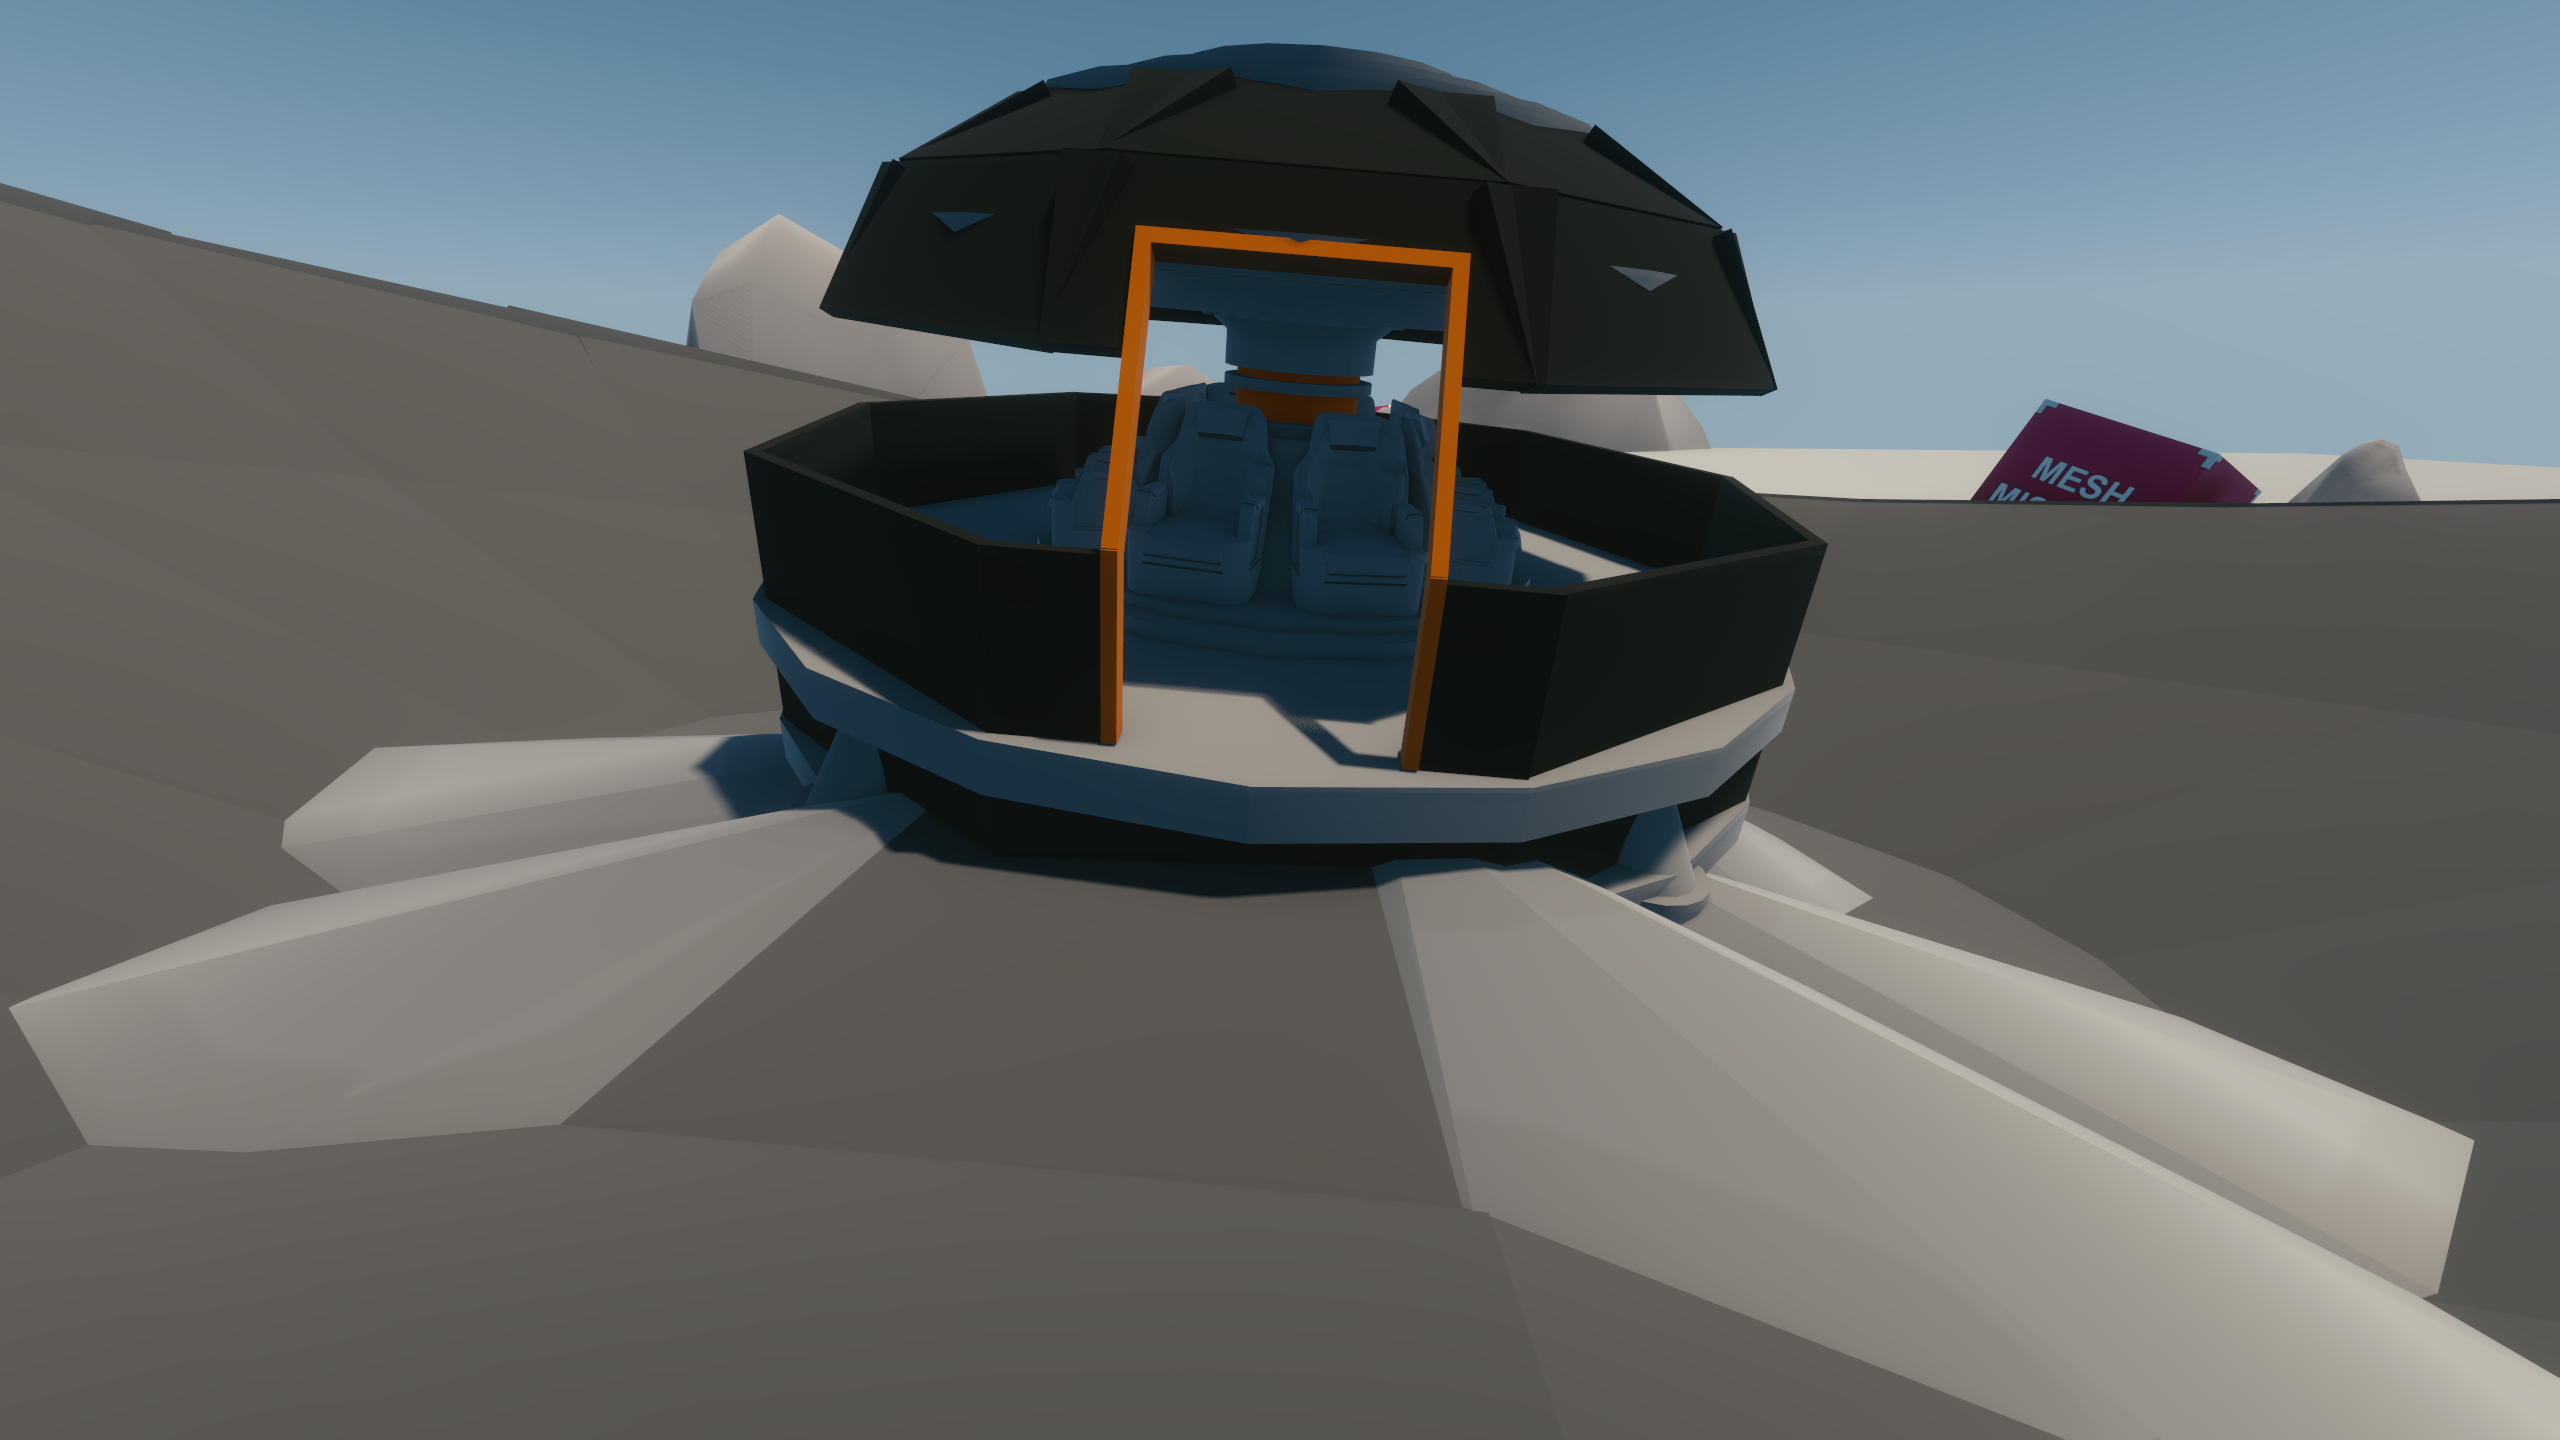
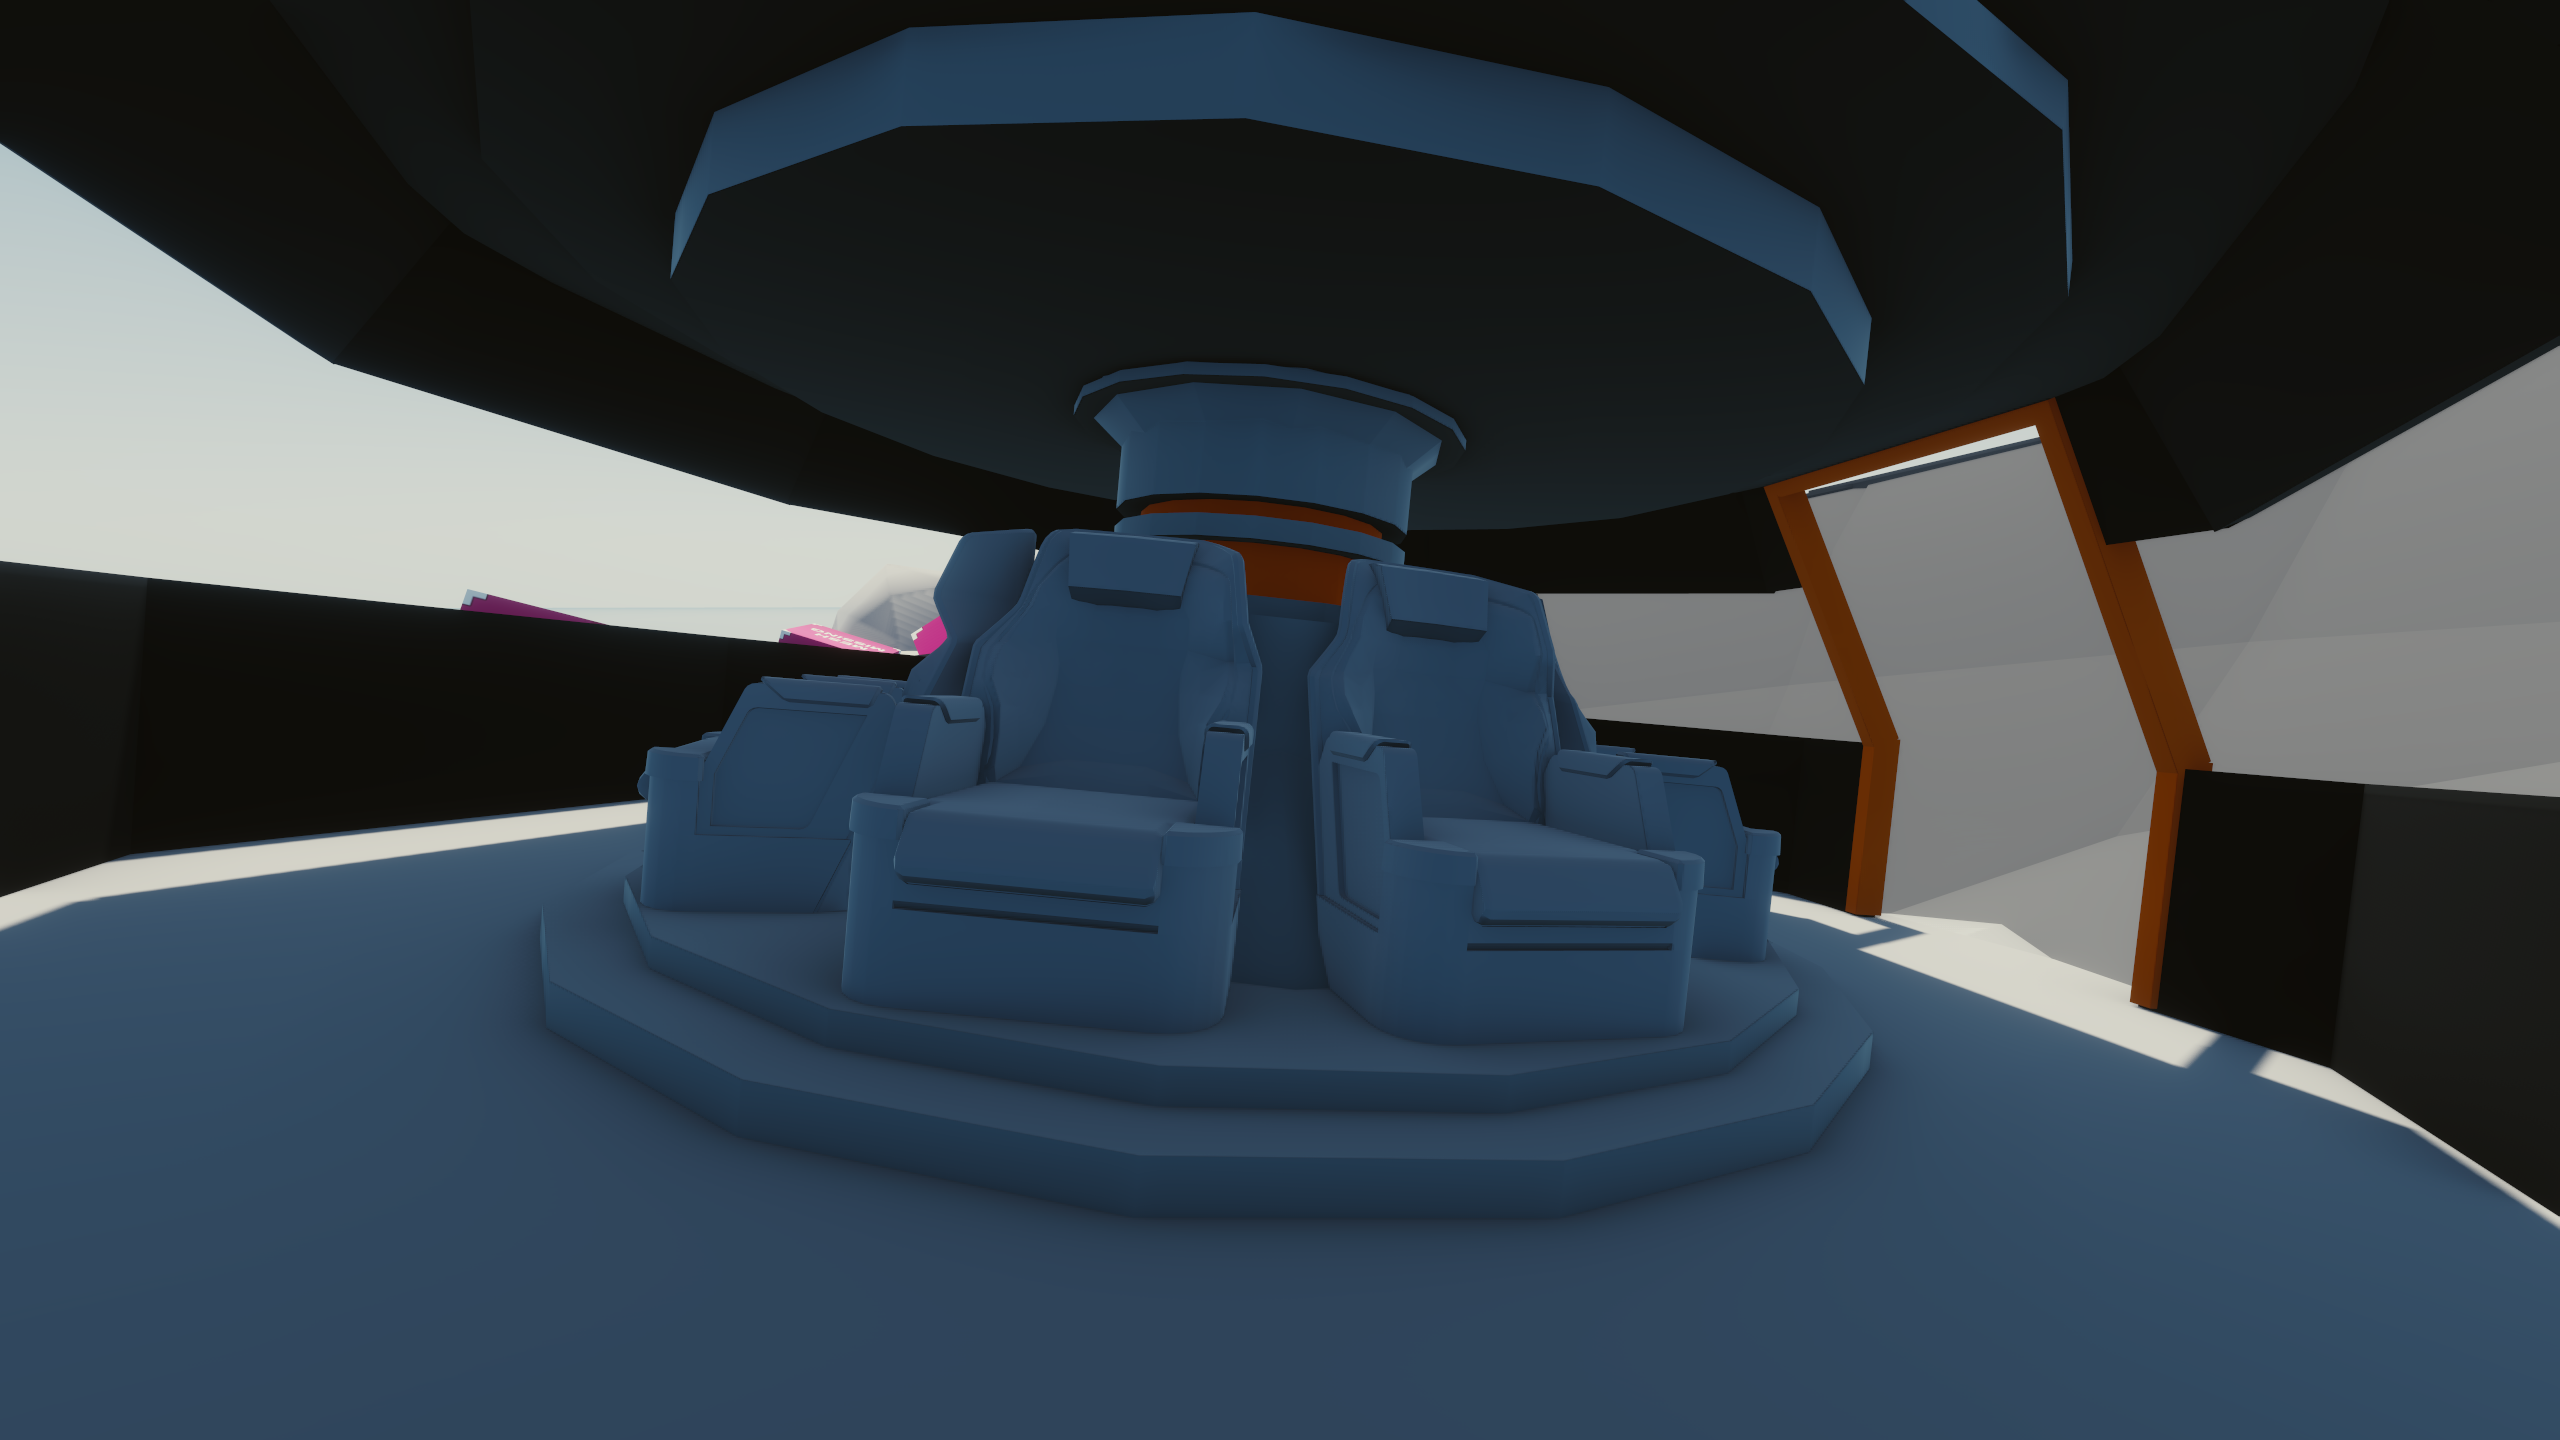
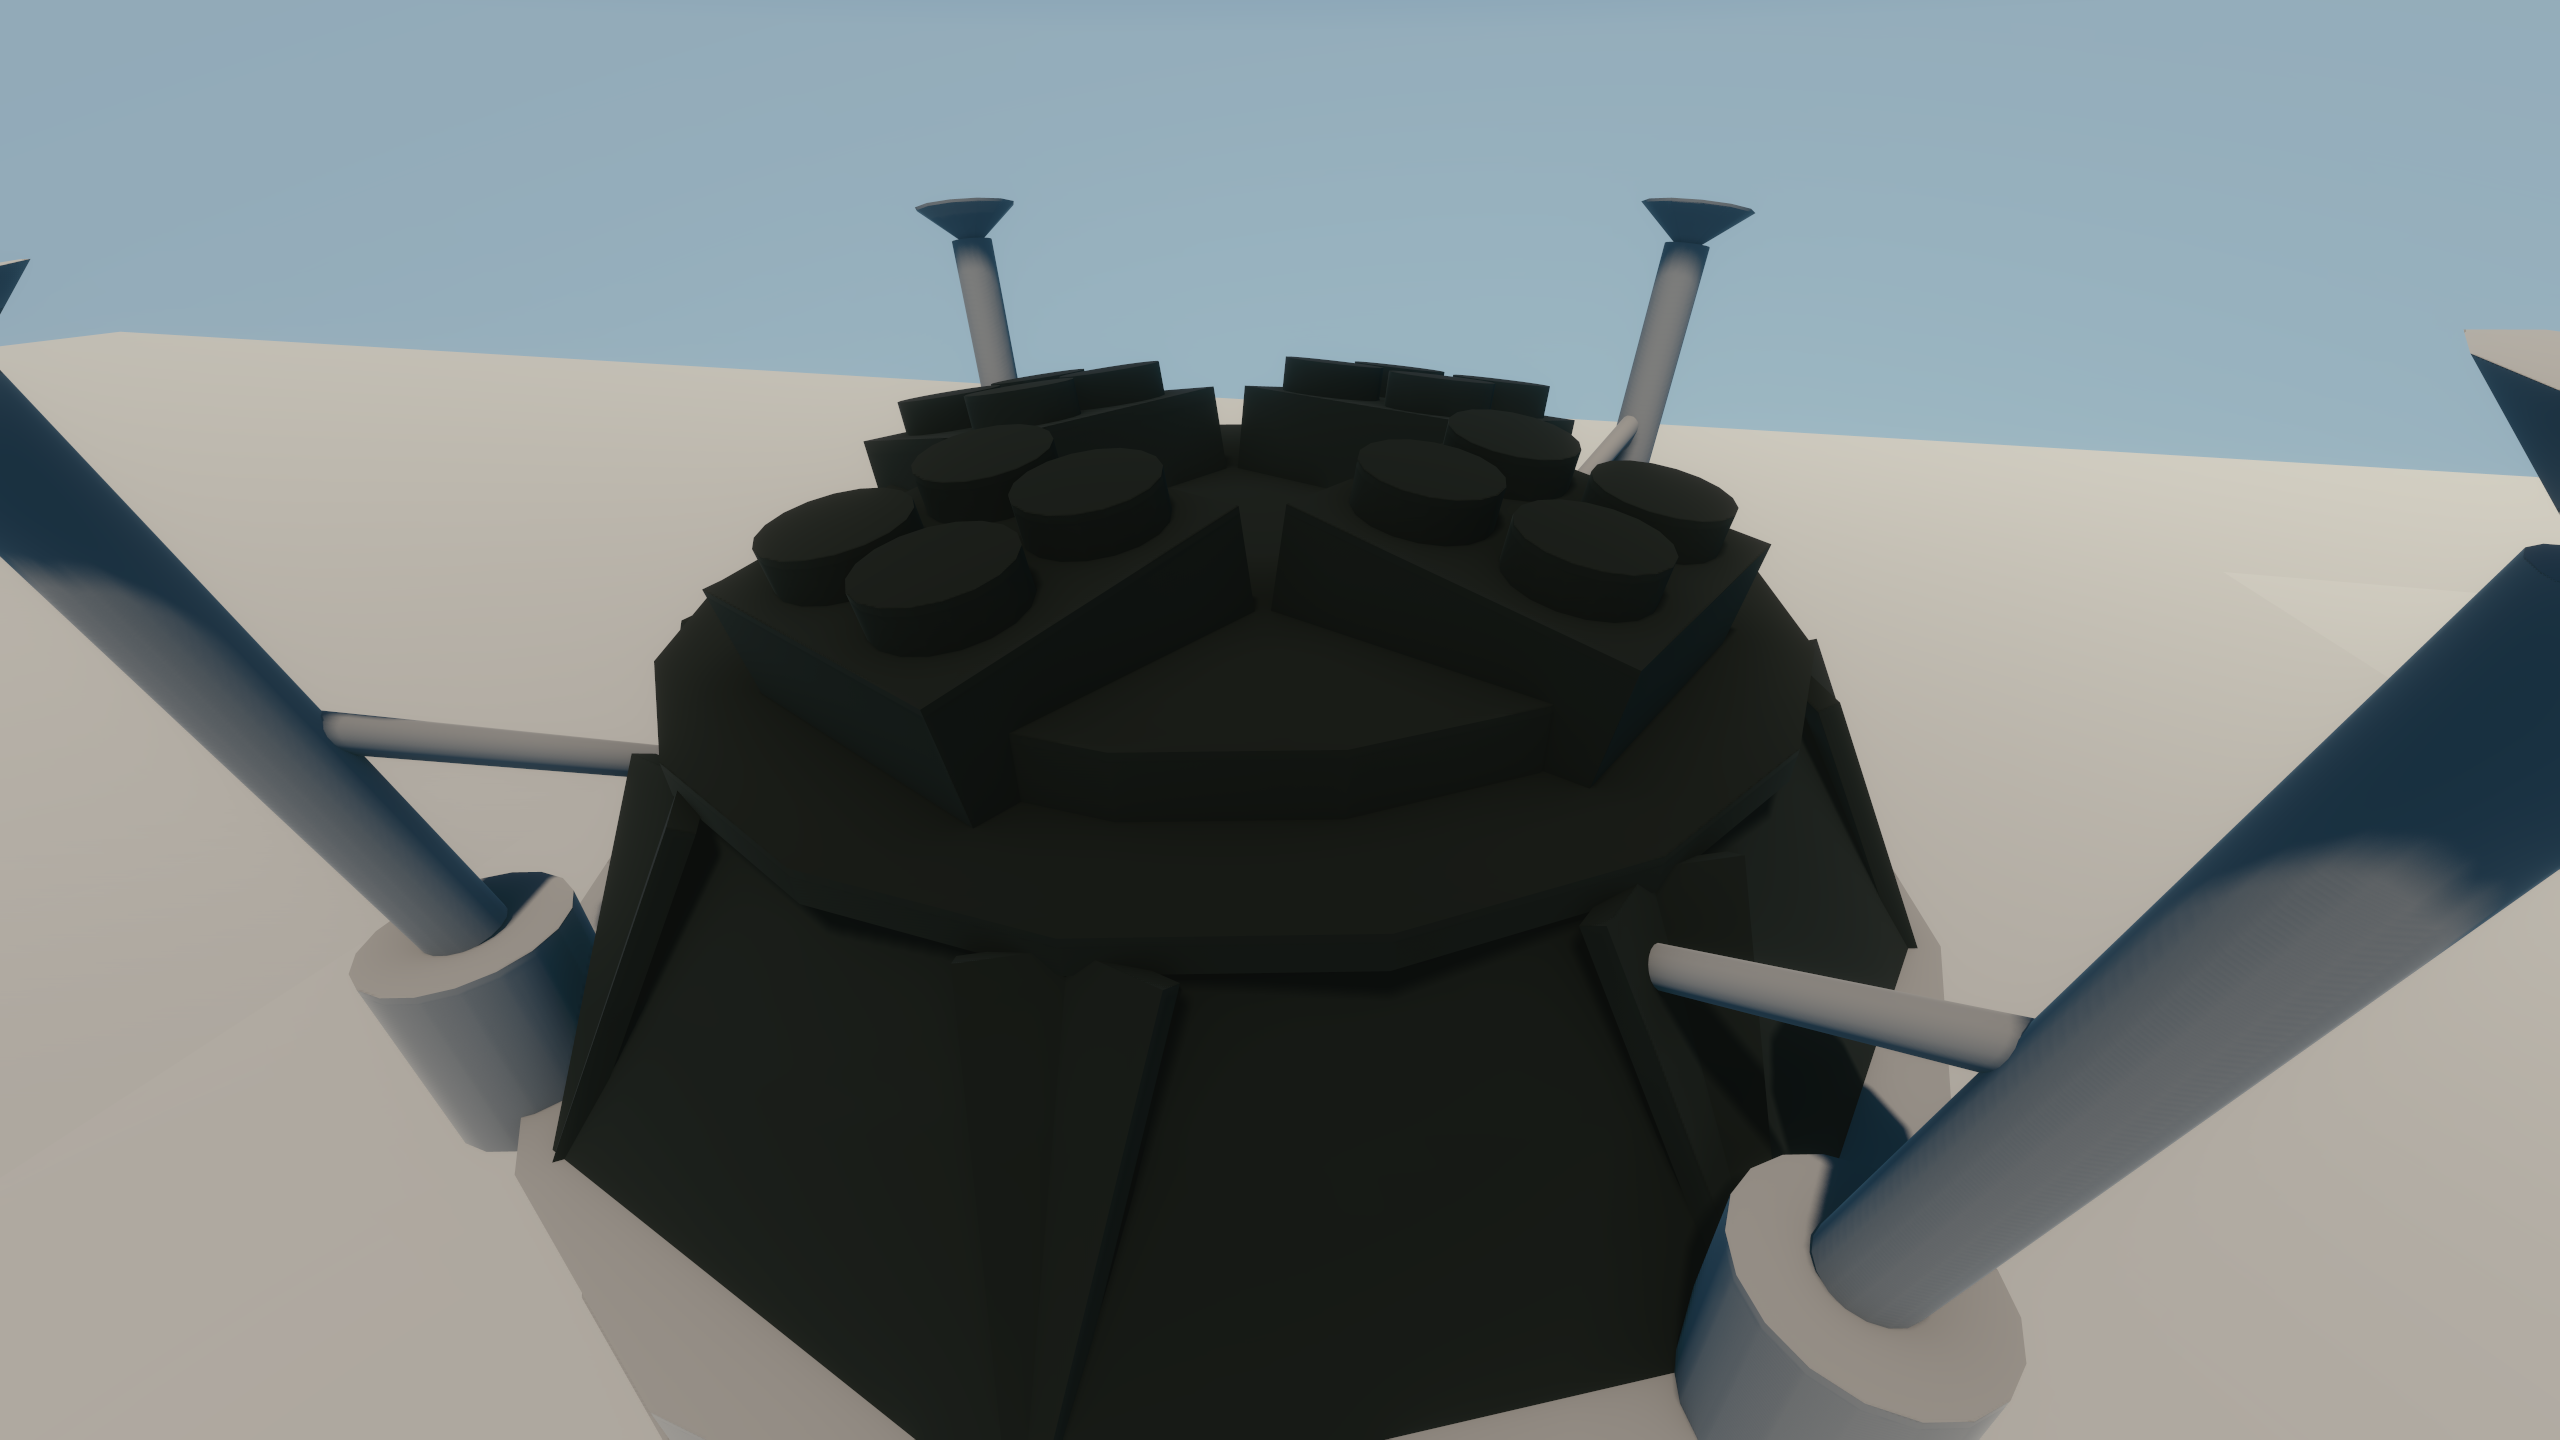
This prefab contains a lunar lander at a crash site, which going by the file name has likely landed due to an emergency landing. The lunar lander has an interior which suggests that lander was supposed to be accessed by the player, but it’s unclear if the player was riding inside it or entered it from the outside after the crash.
There is a questdesign prefab physically located just underneath this prefab in the 02_moon world. The questdesign prefab is named q202_02_quest_touchdown, which was located in the folder base\quest\main_quests\part2\q202\prefabs\ which is missing from the leak. The folder also shows that this prefab was part of the cut part2 quest strand of the game.
Interestingly, the seats used inside the lunar lander use an older version of the seats used in the “passenger space plane” seen in the 2018 E3 trailer. Opening the mesh file “passanger_space_plane_interior_seat.mesh” shows that the seat model was originally made with both the moon level and 2018 E3 trailer in mind, as the raw Maya file was stored in the folder D:\Tasks\MOON\PASSENGER SPACE PLANE INTERIOR\_src\passanger_space_plane.ma . This file was later processed and stored as Z:\r6.assets\non_production\e318_trailer\environment\passanger_space_plane_interior\passanger_space_plane_interior_seat.re for (re?)use in the 2018 E3 trailer and was eventually replaced with a new updated model in the trailer. The folder and file for the processed model is missing from the leak.
q203_road_to_massdriver
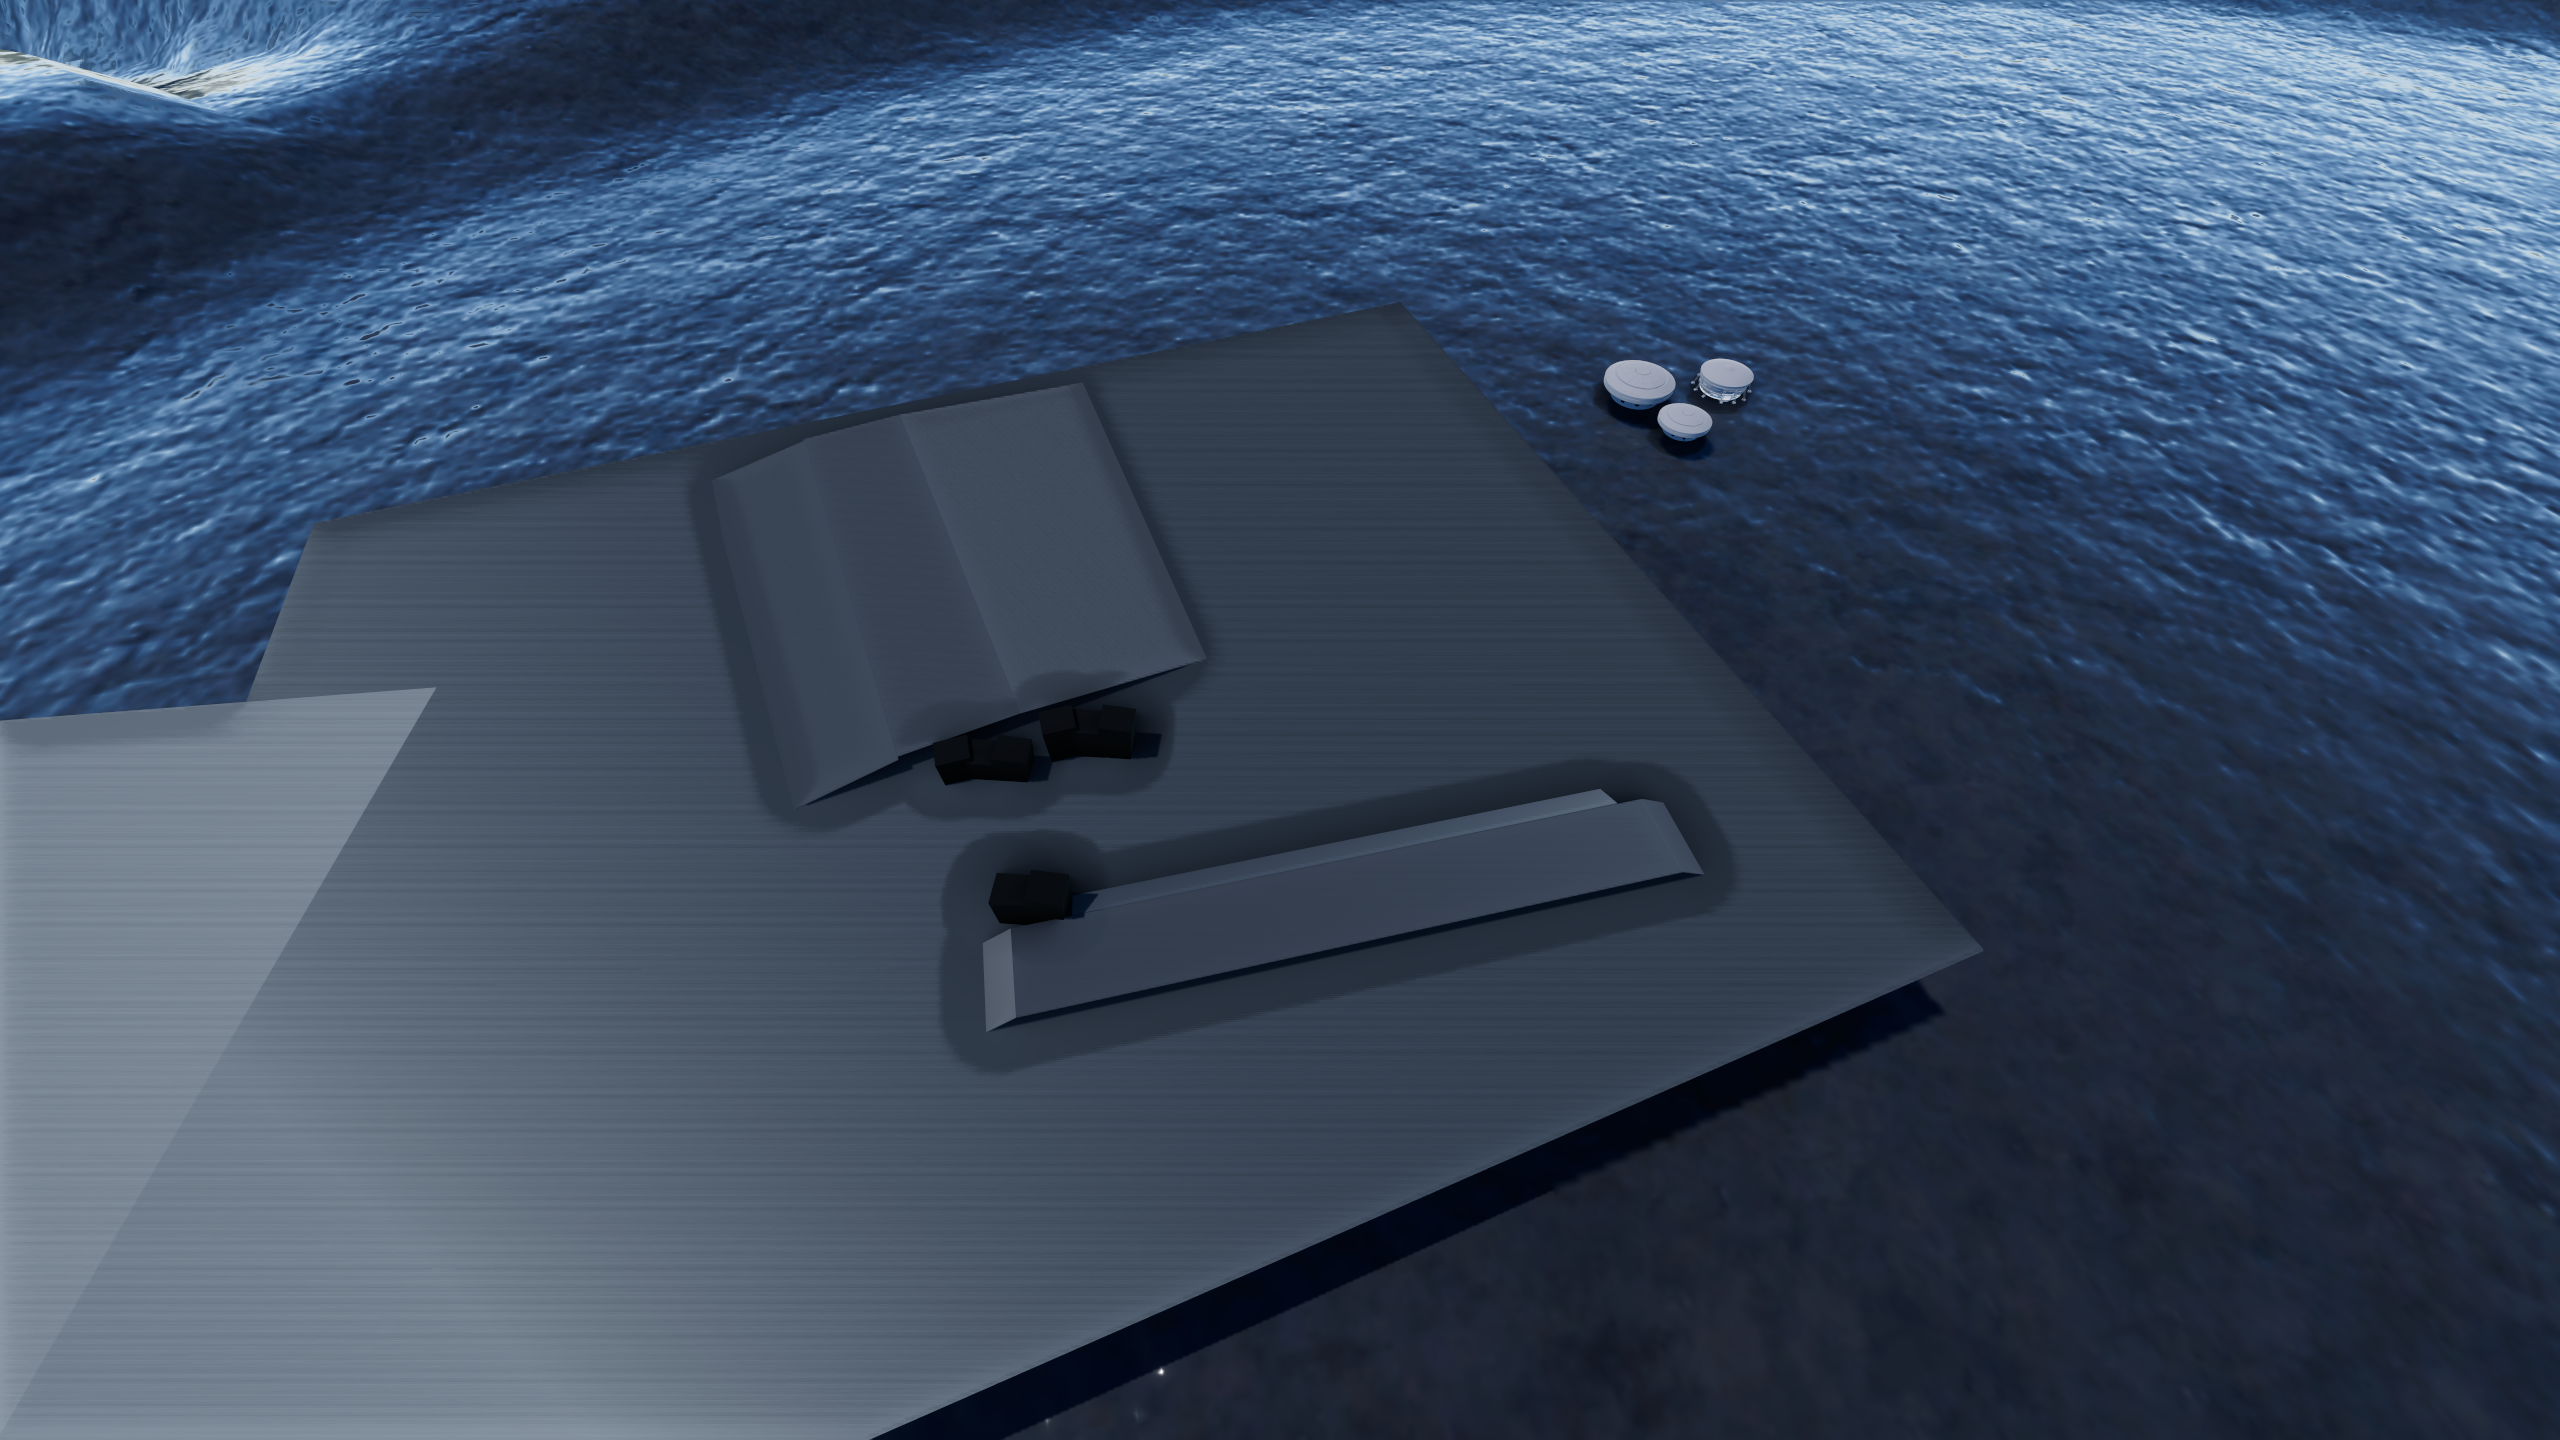
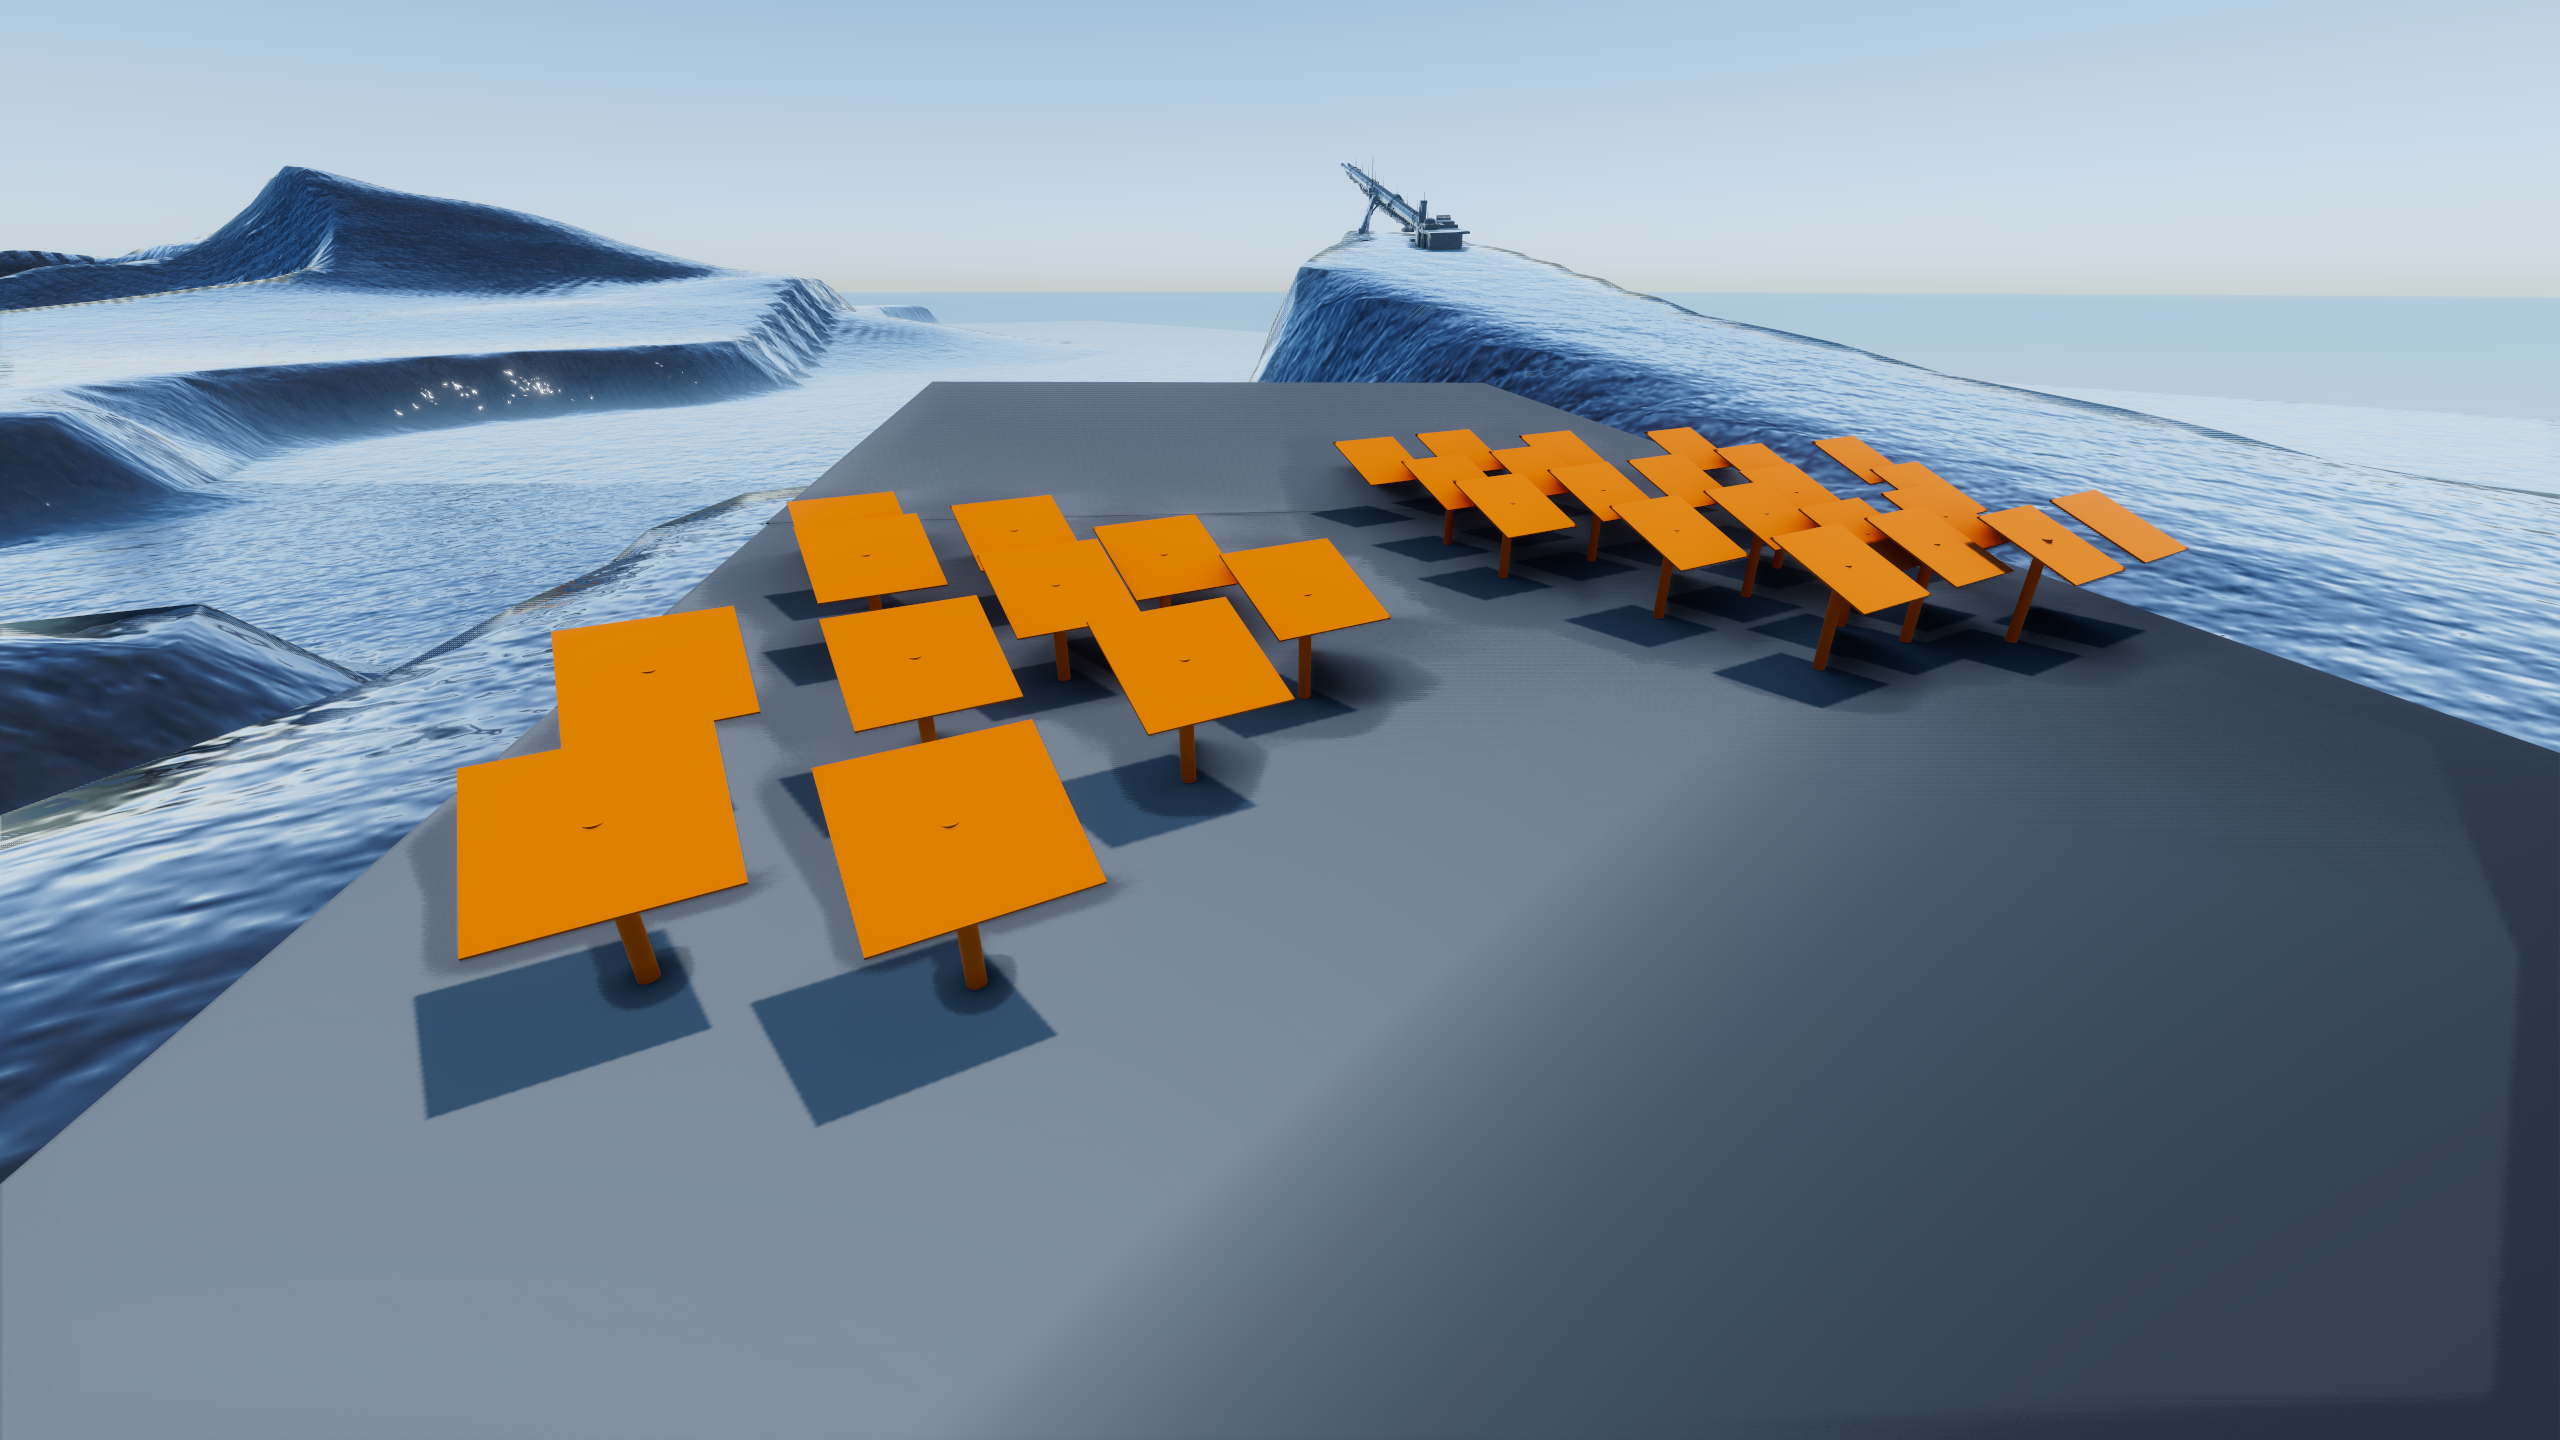
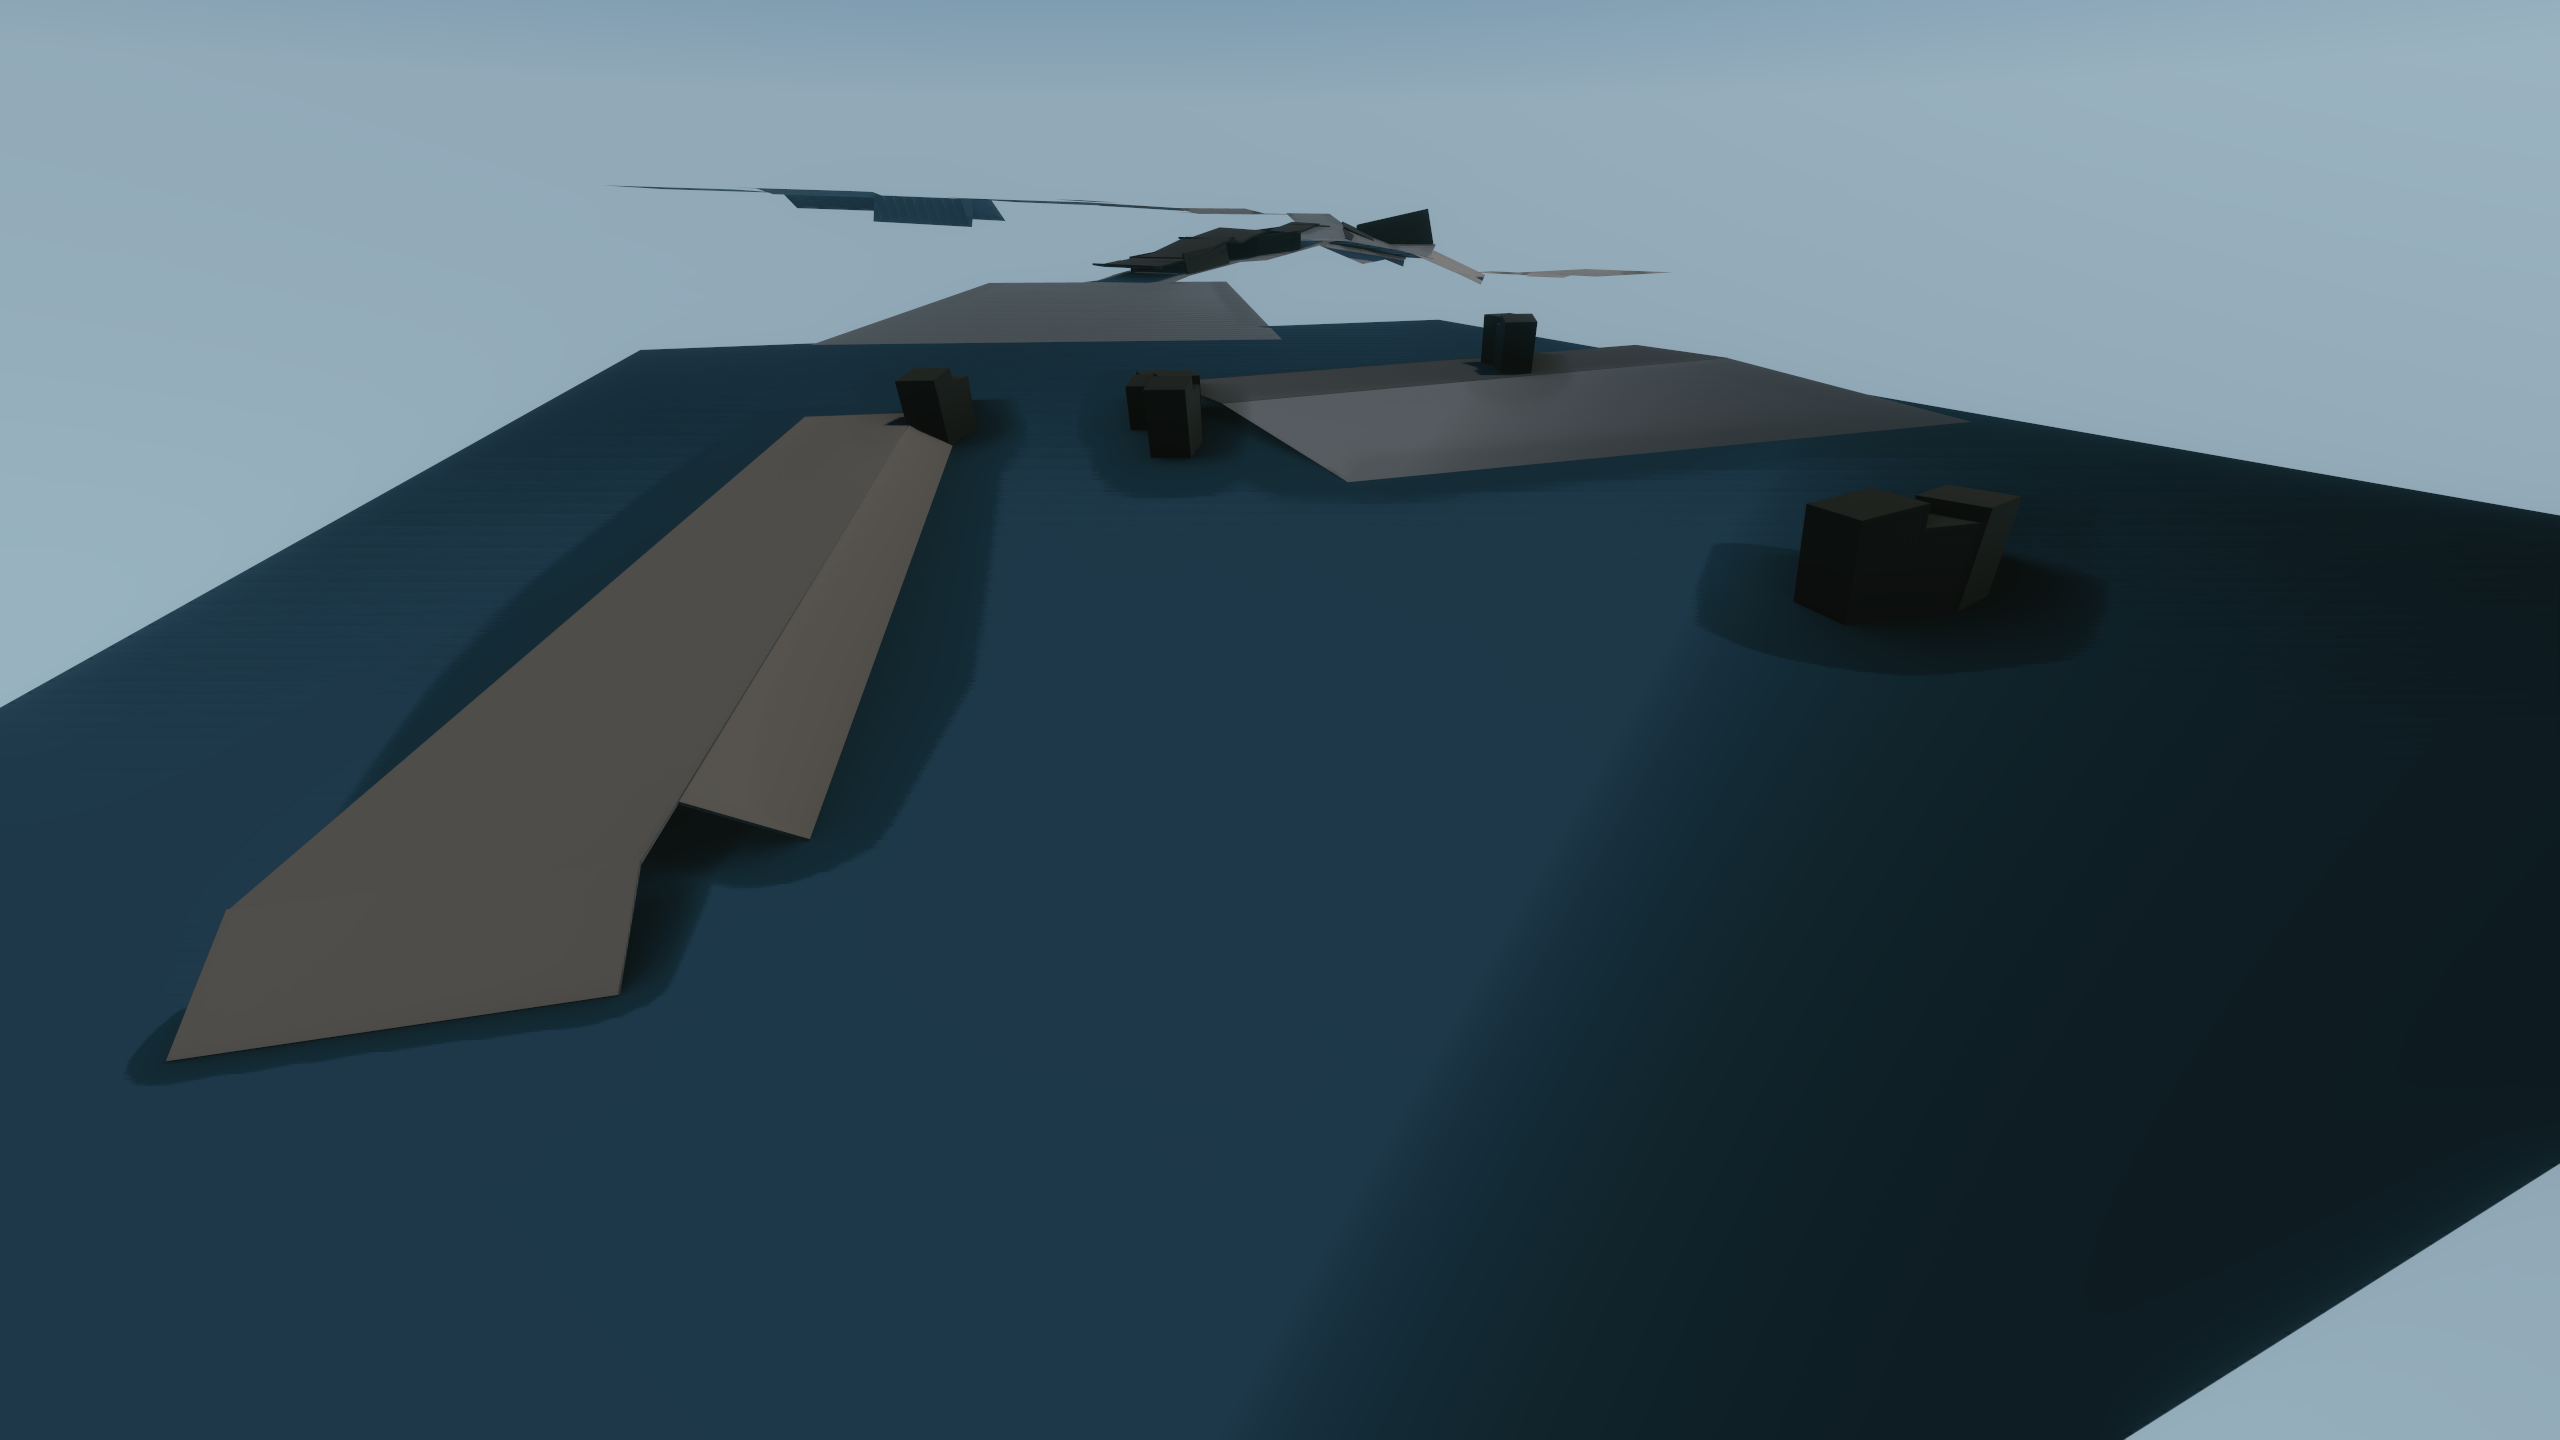
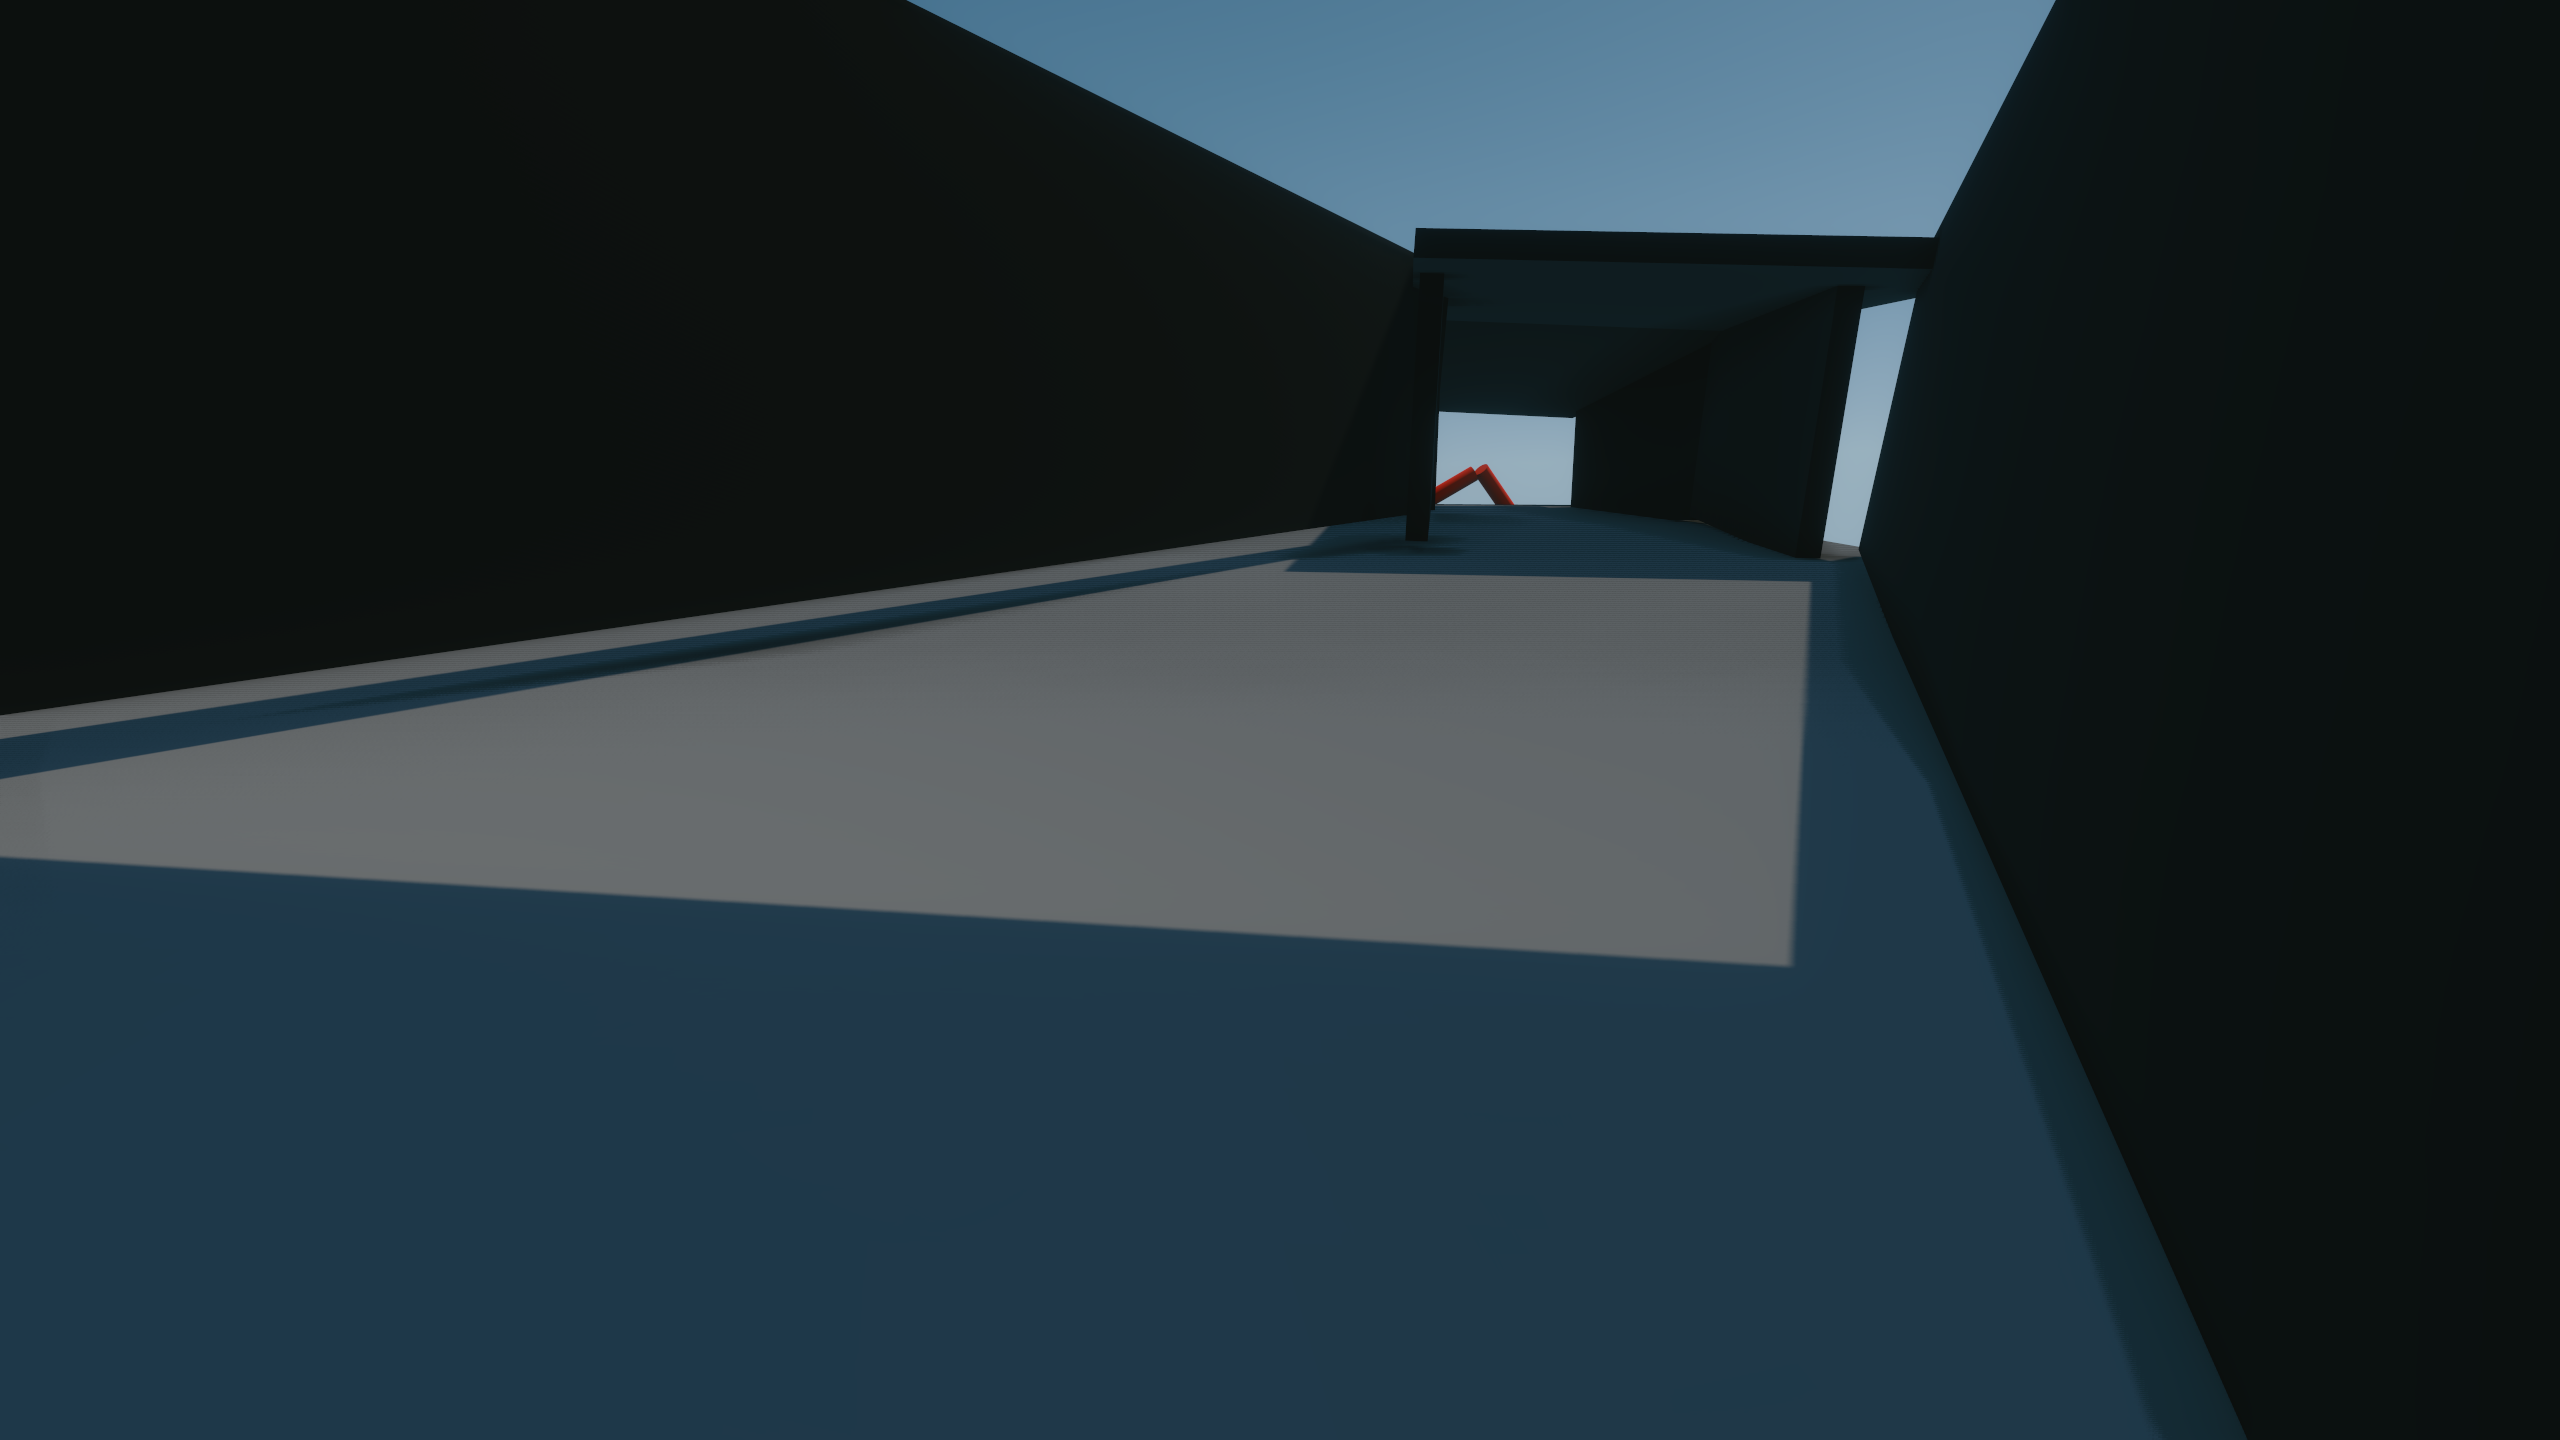
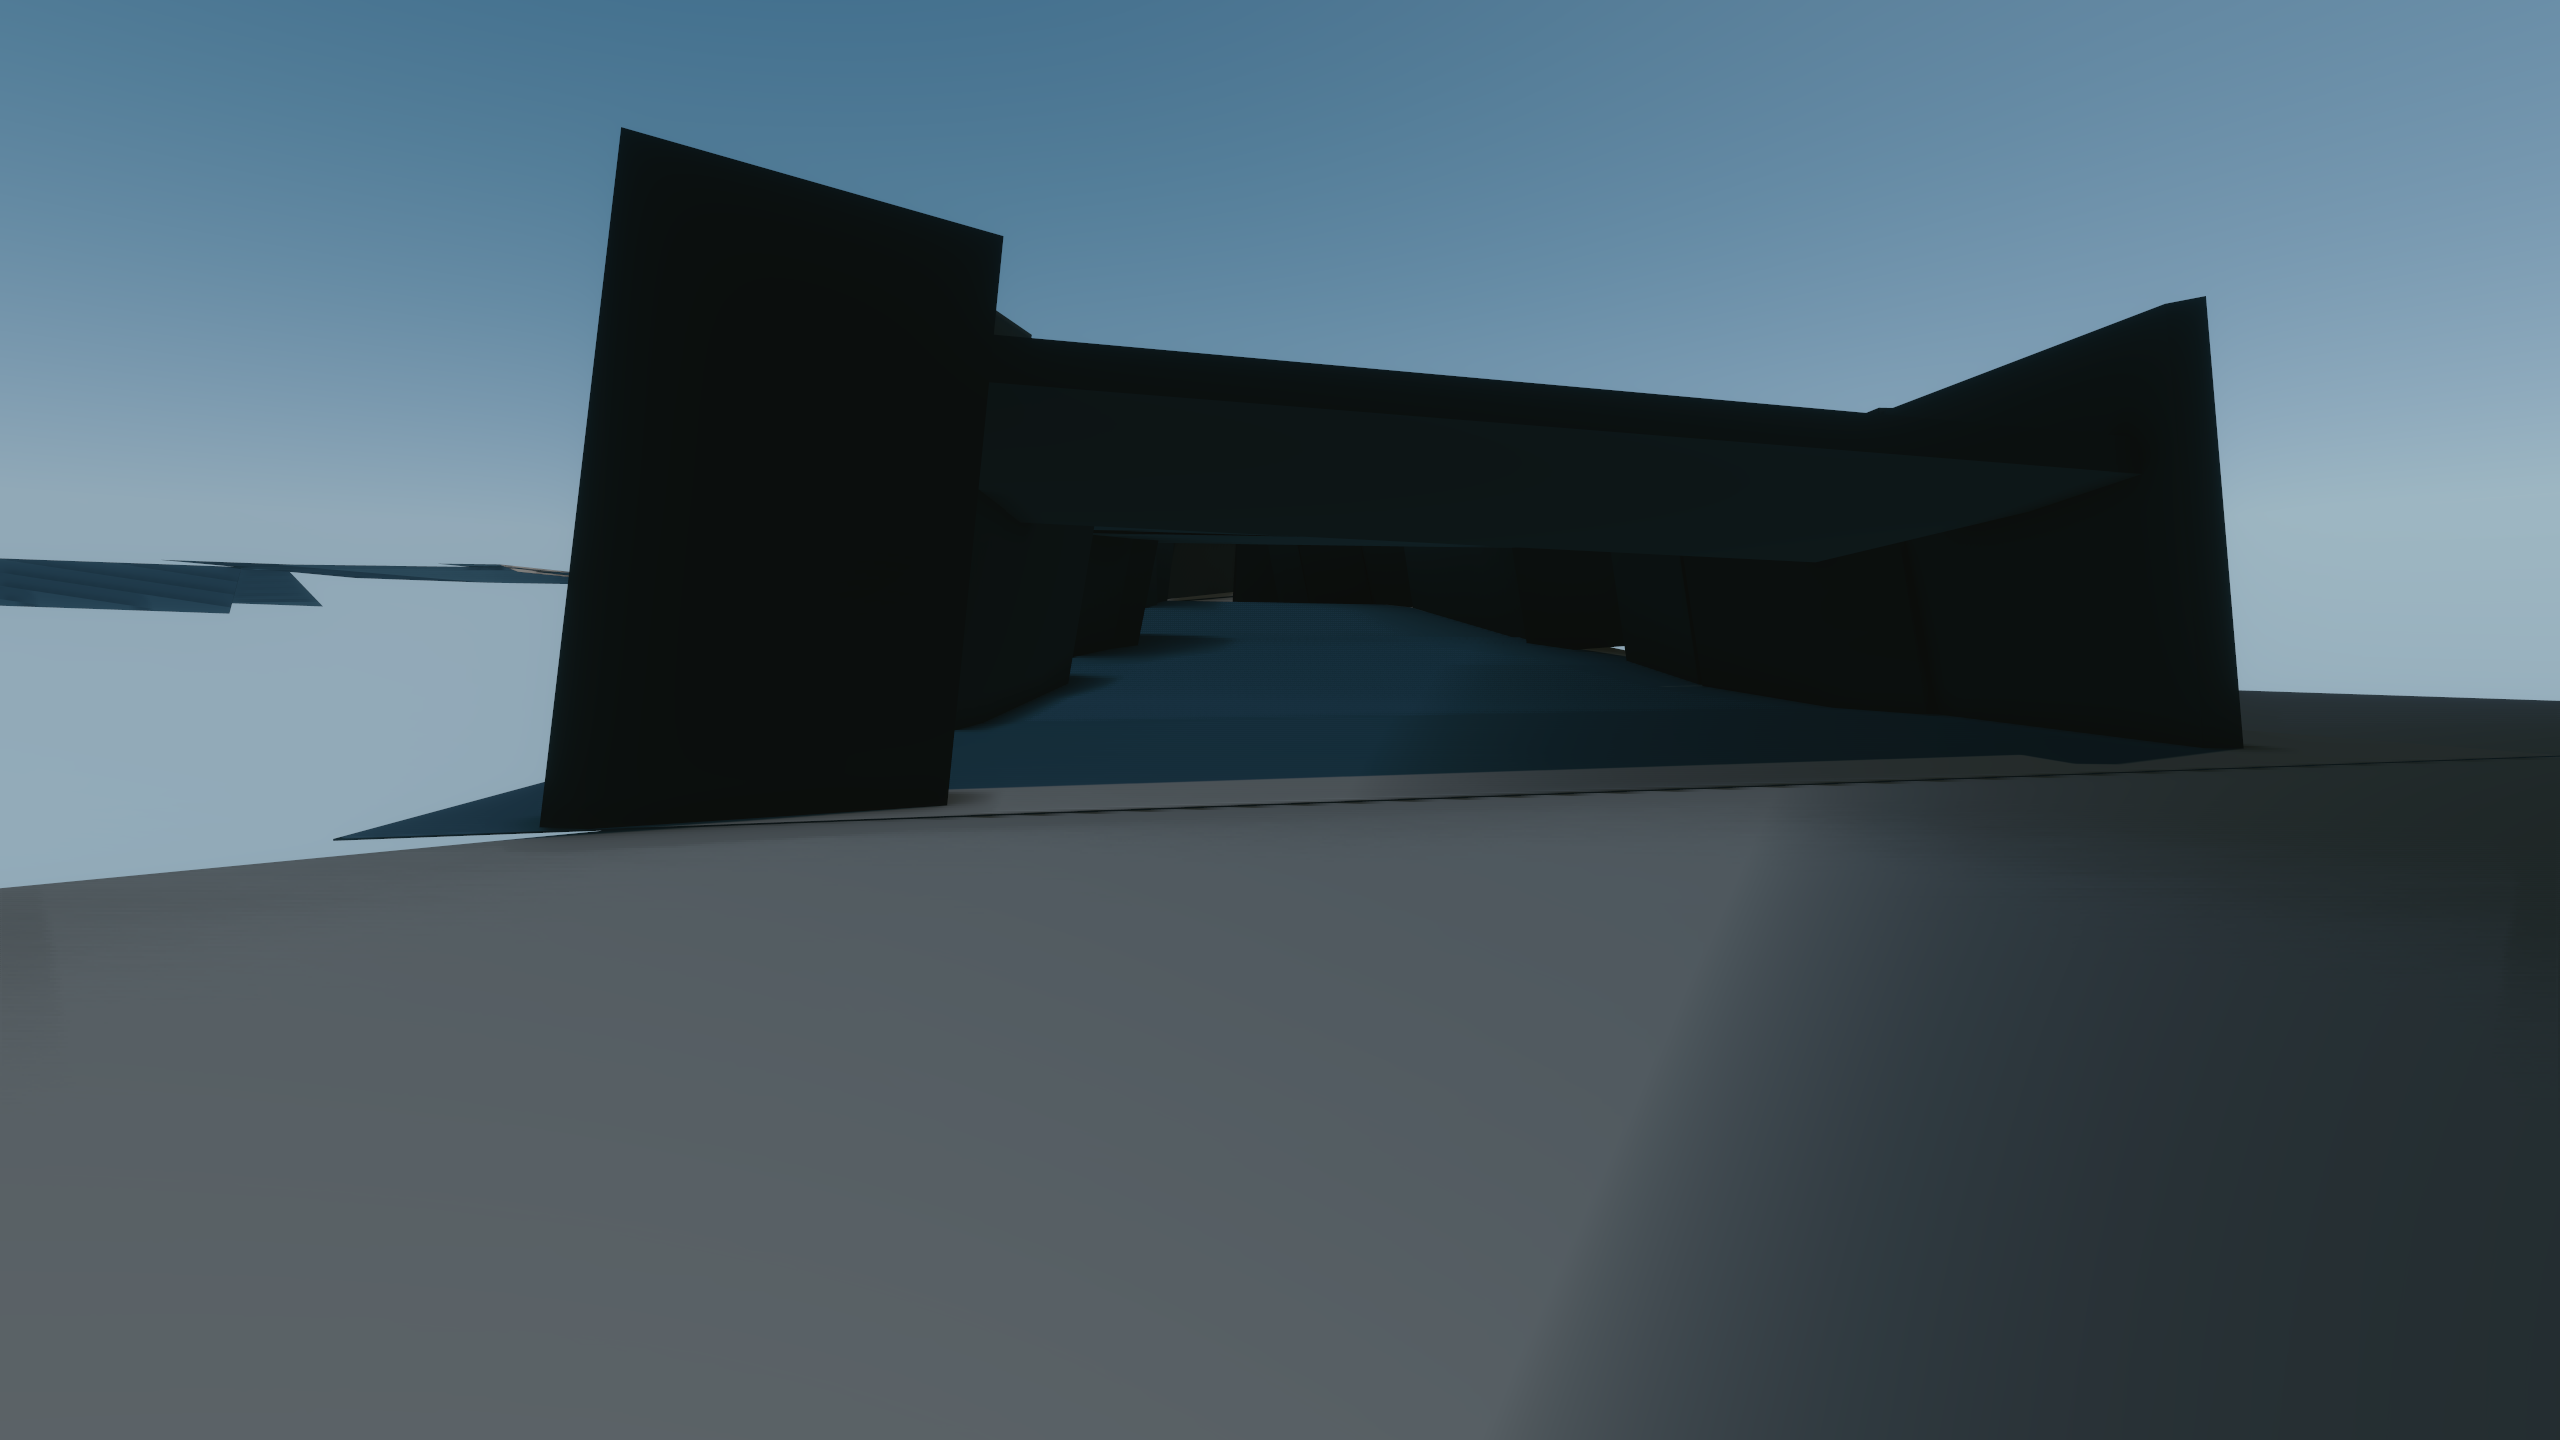
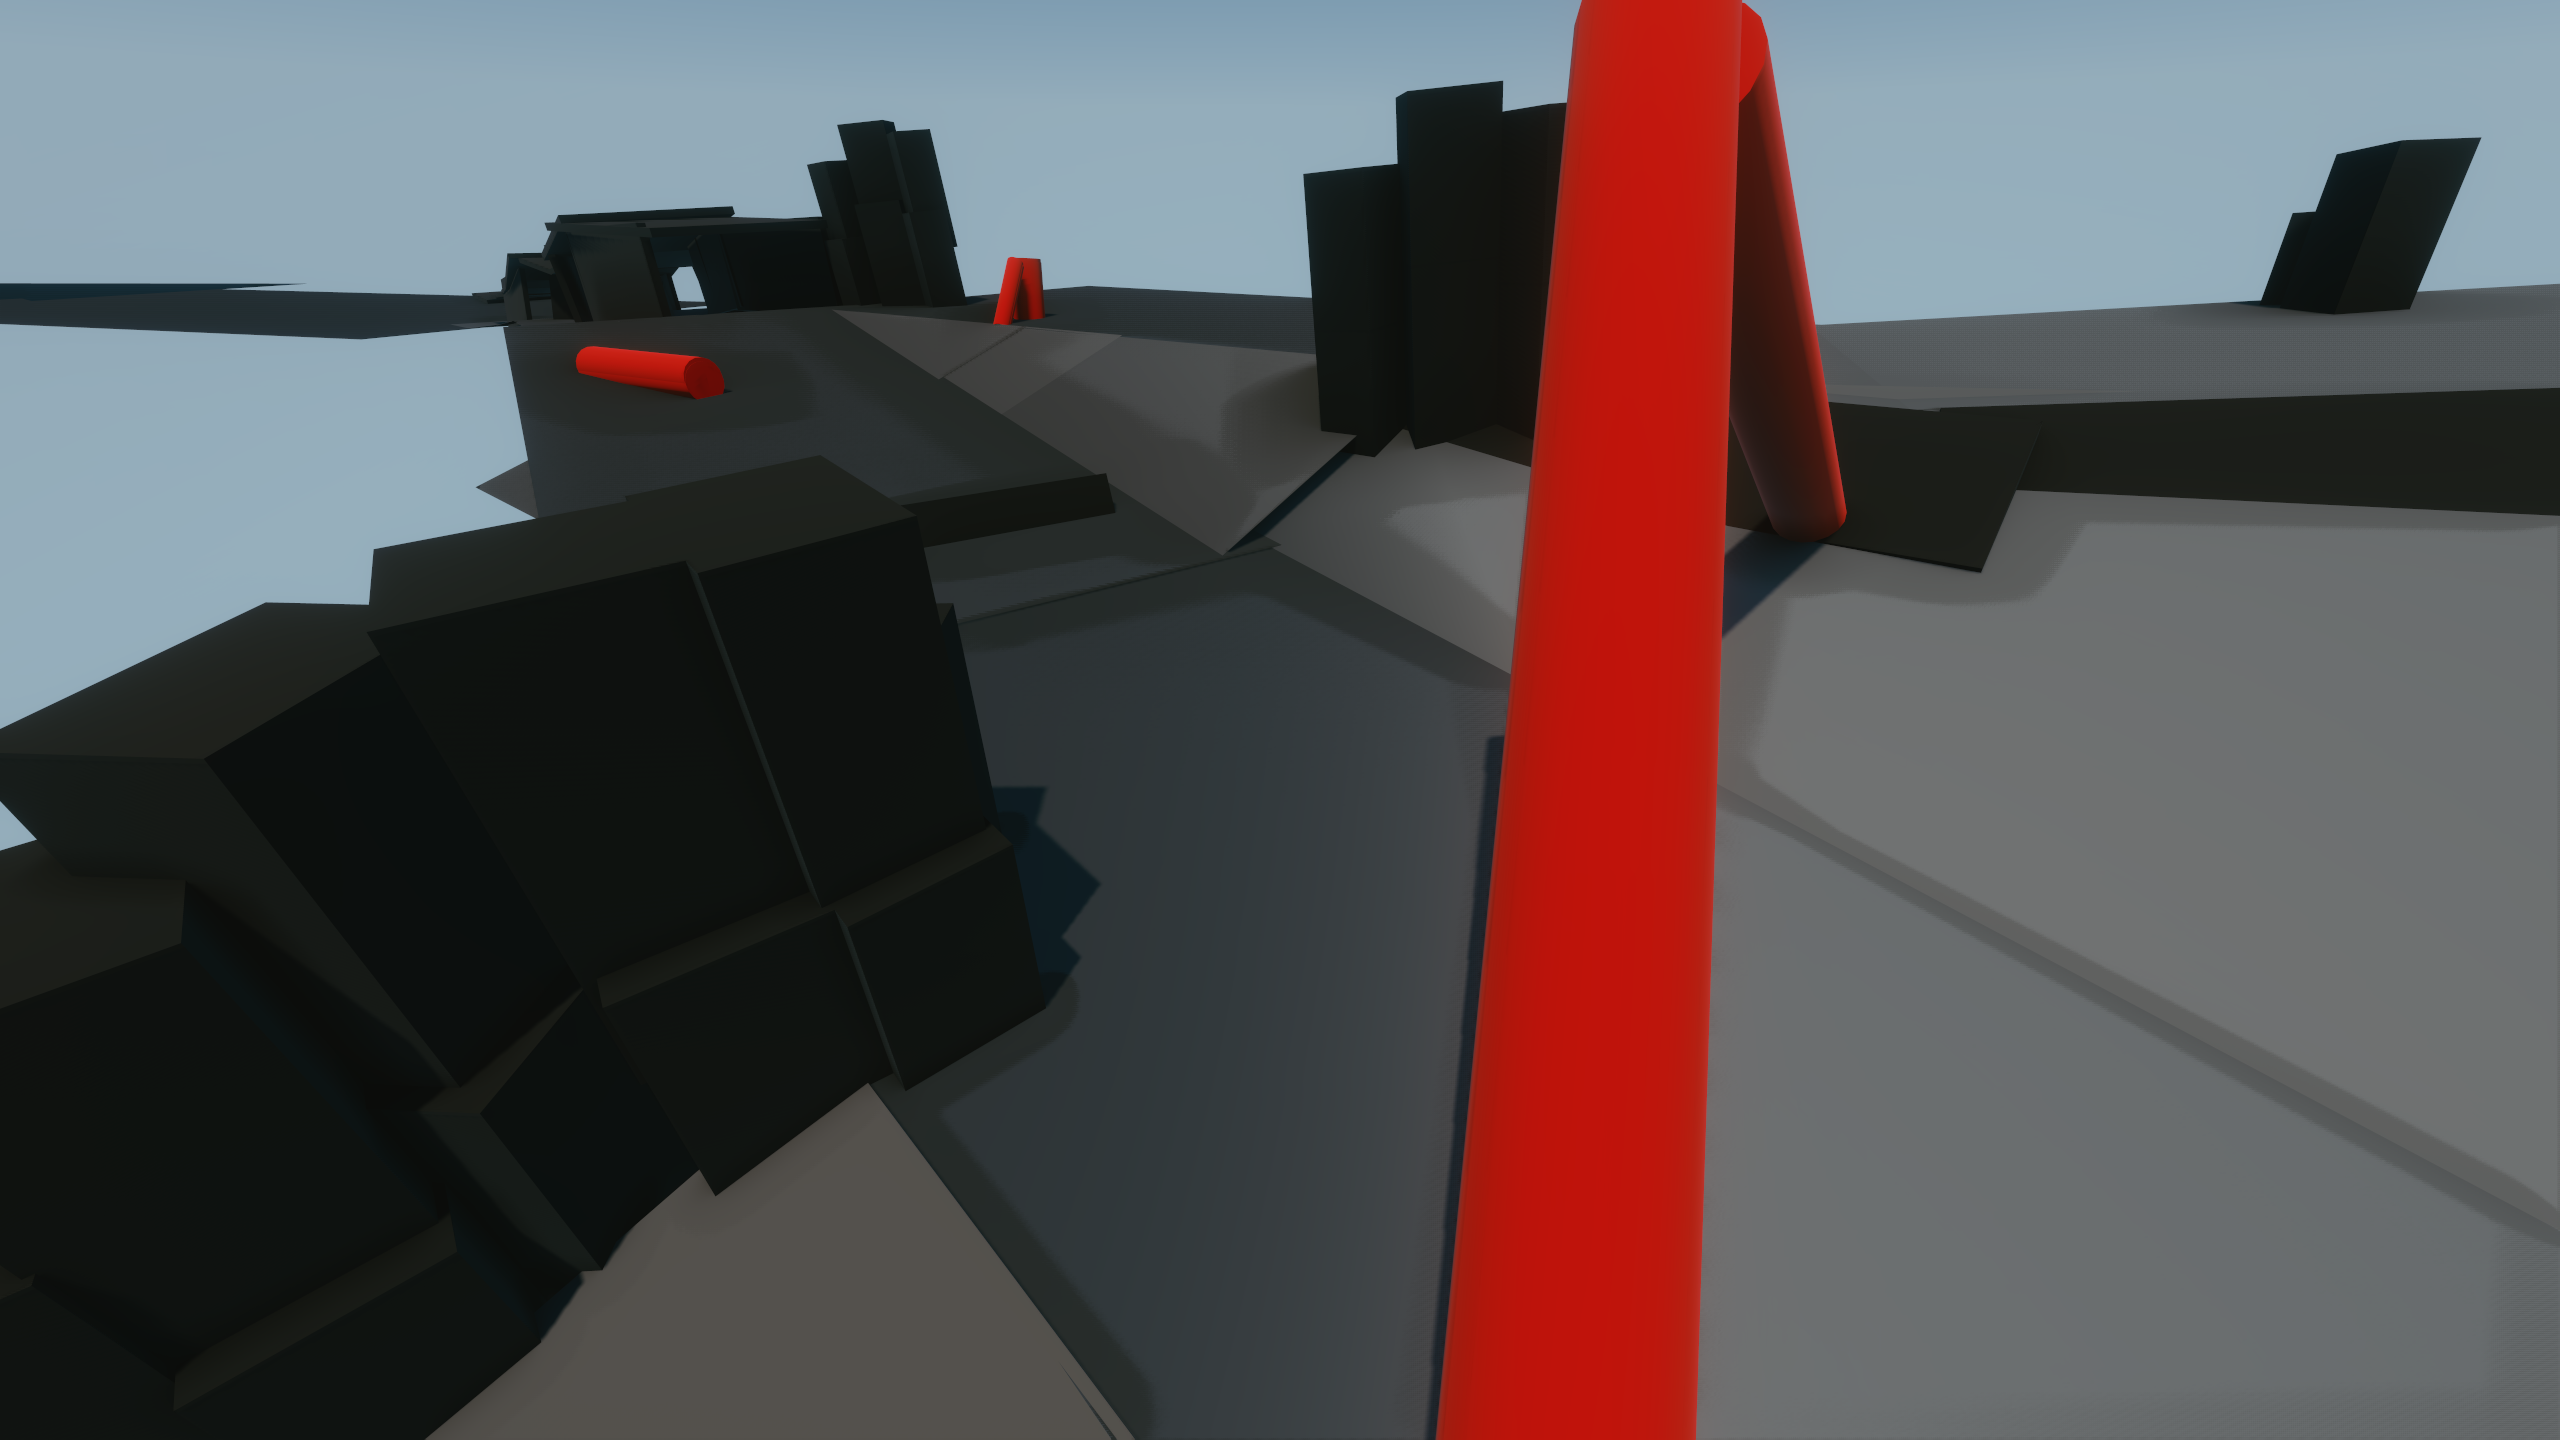
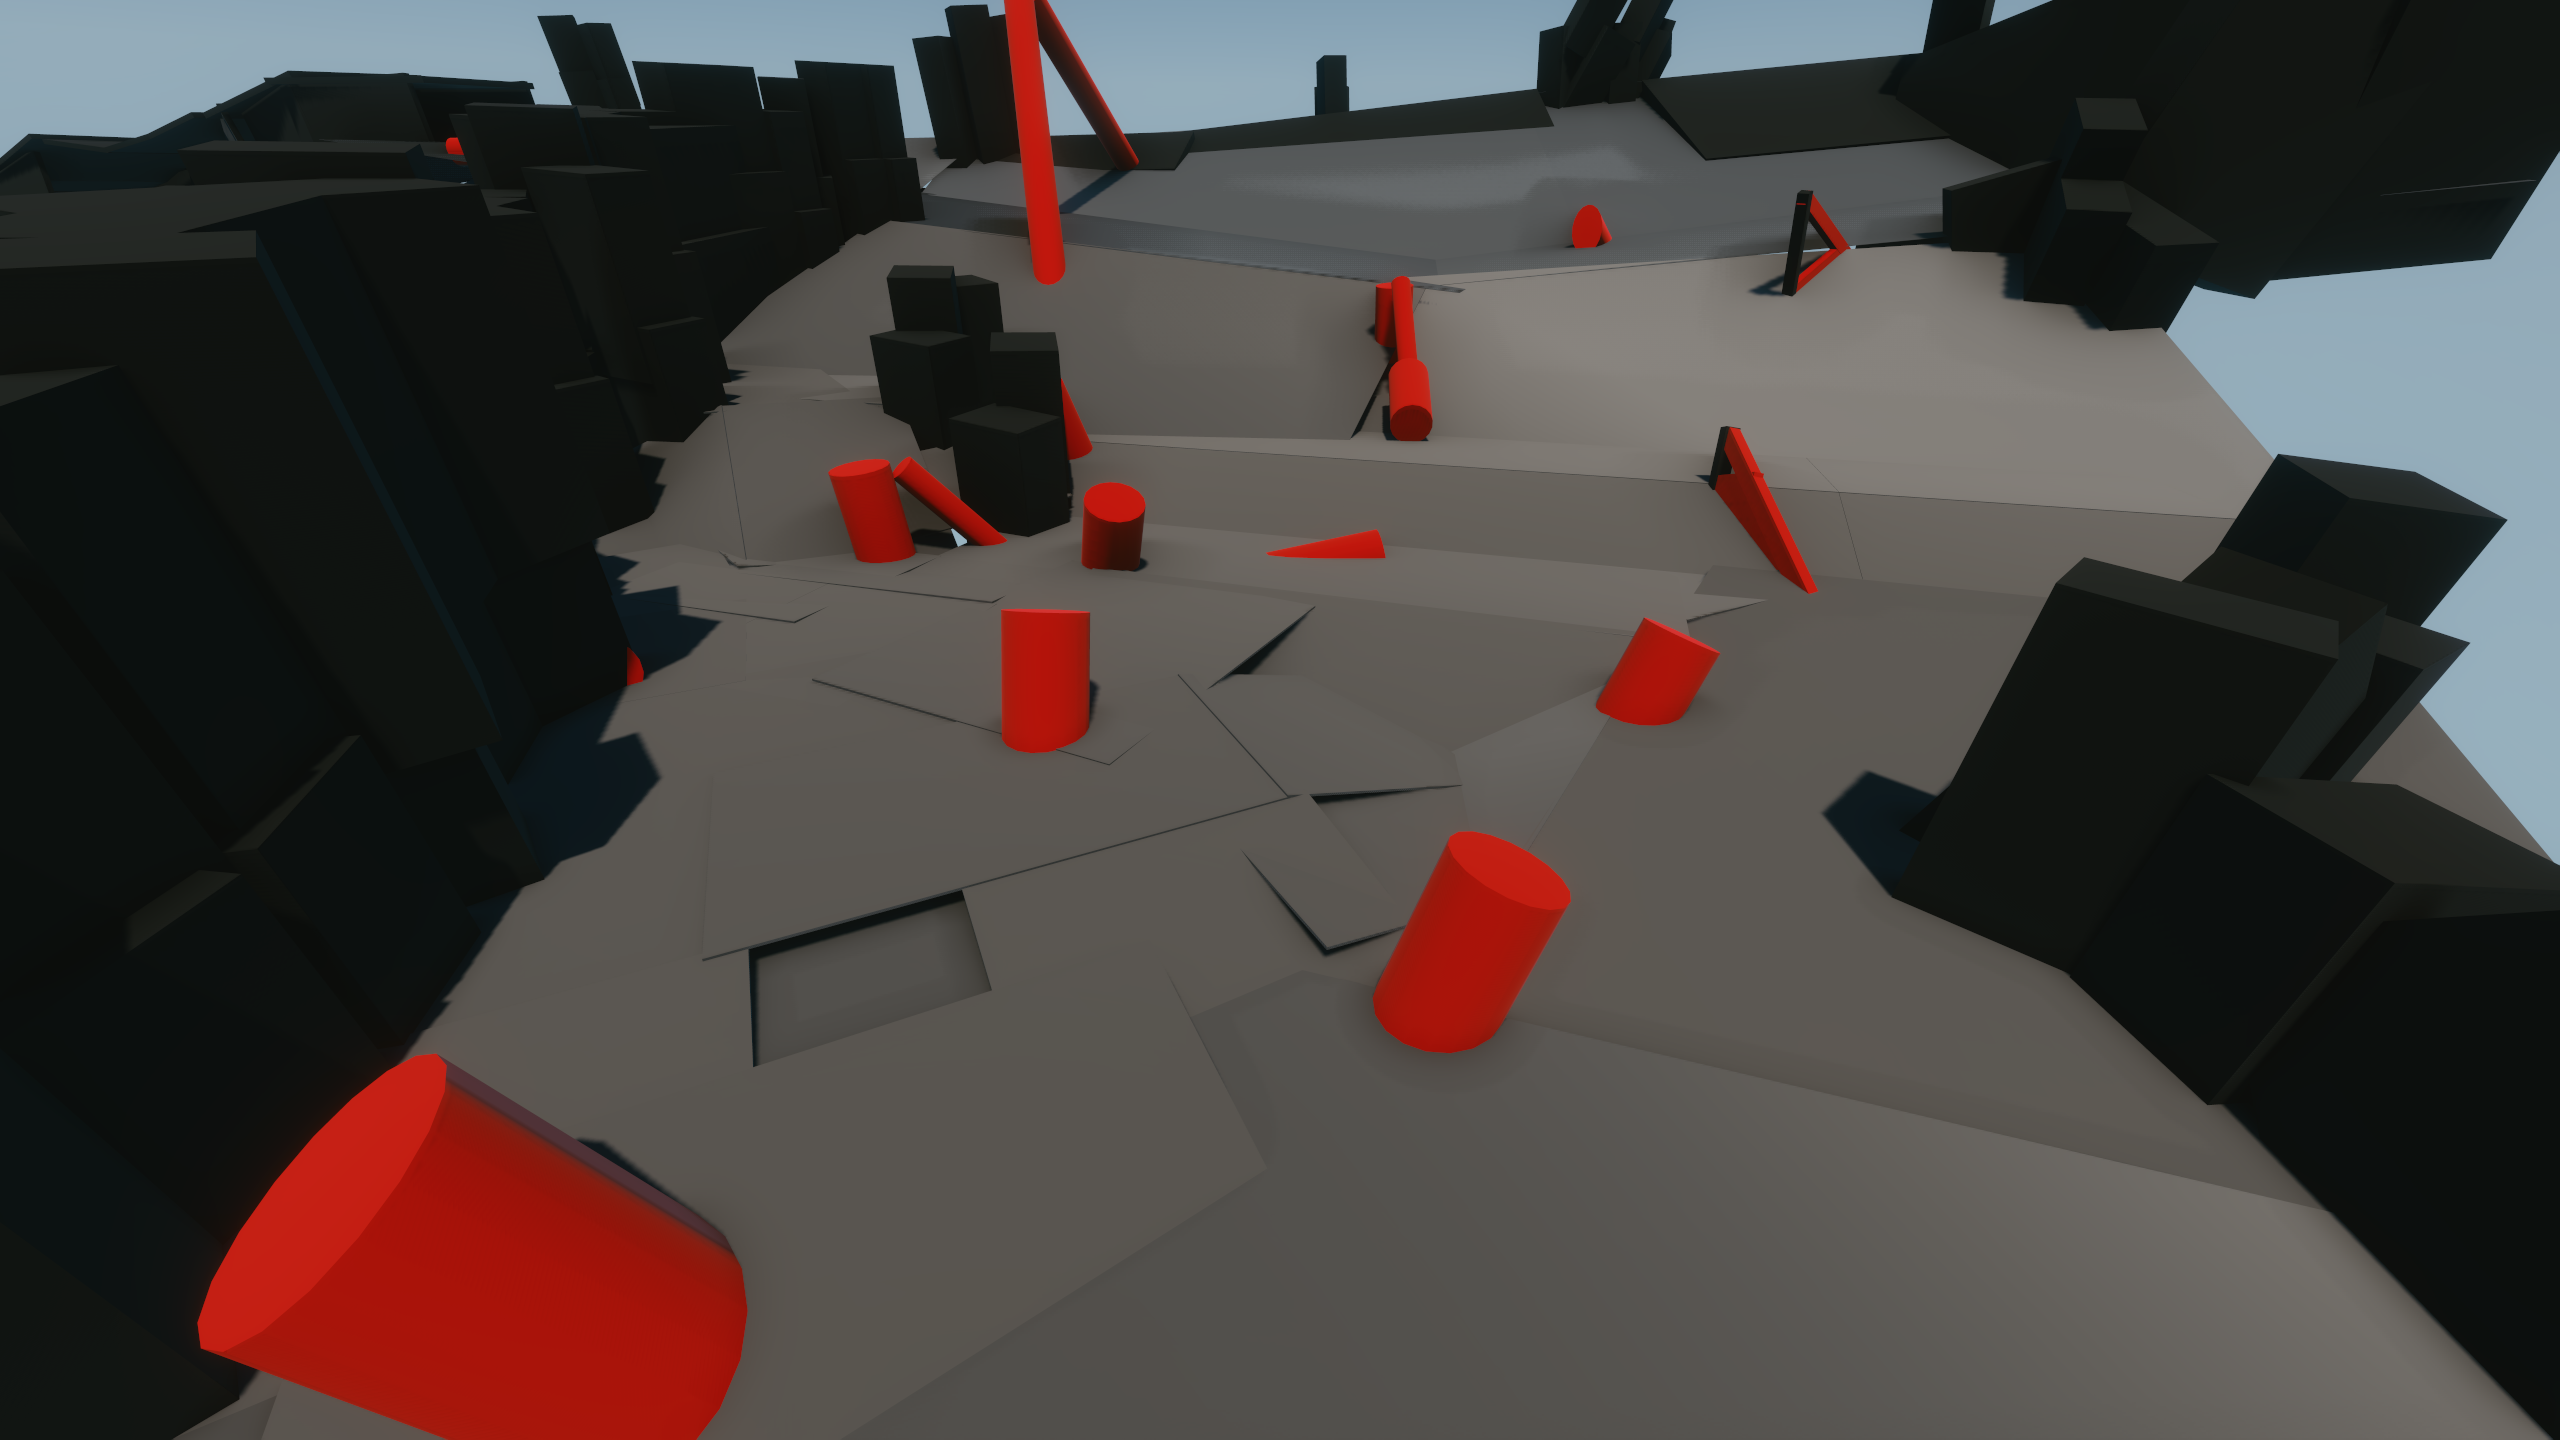
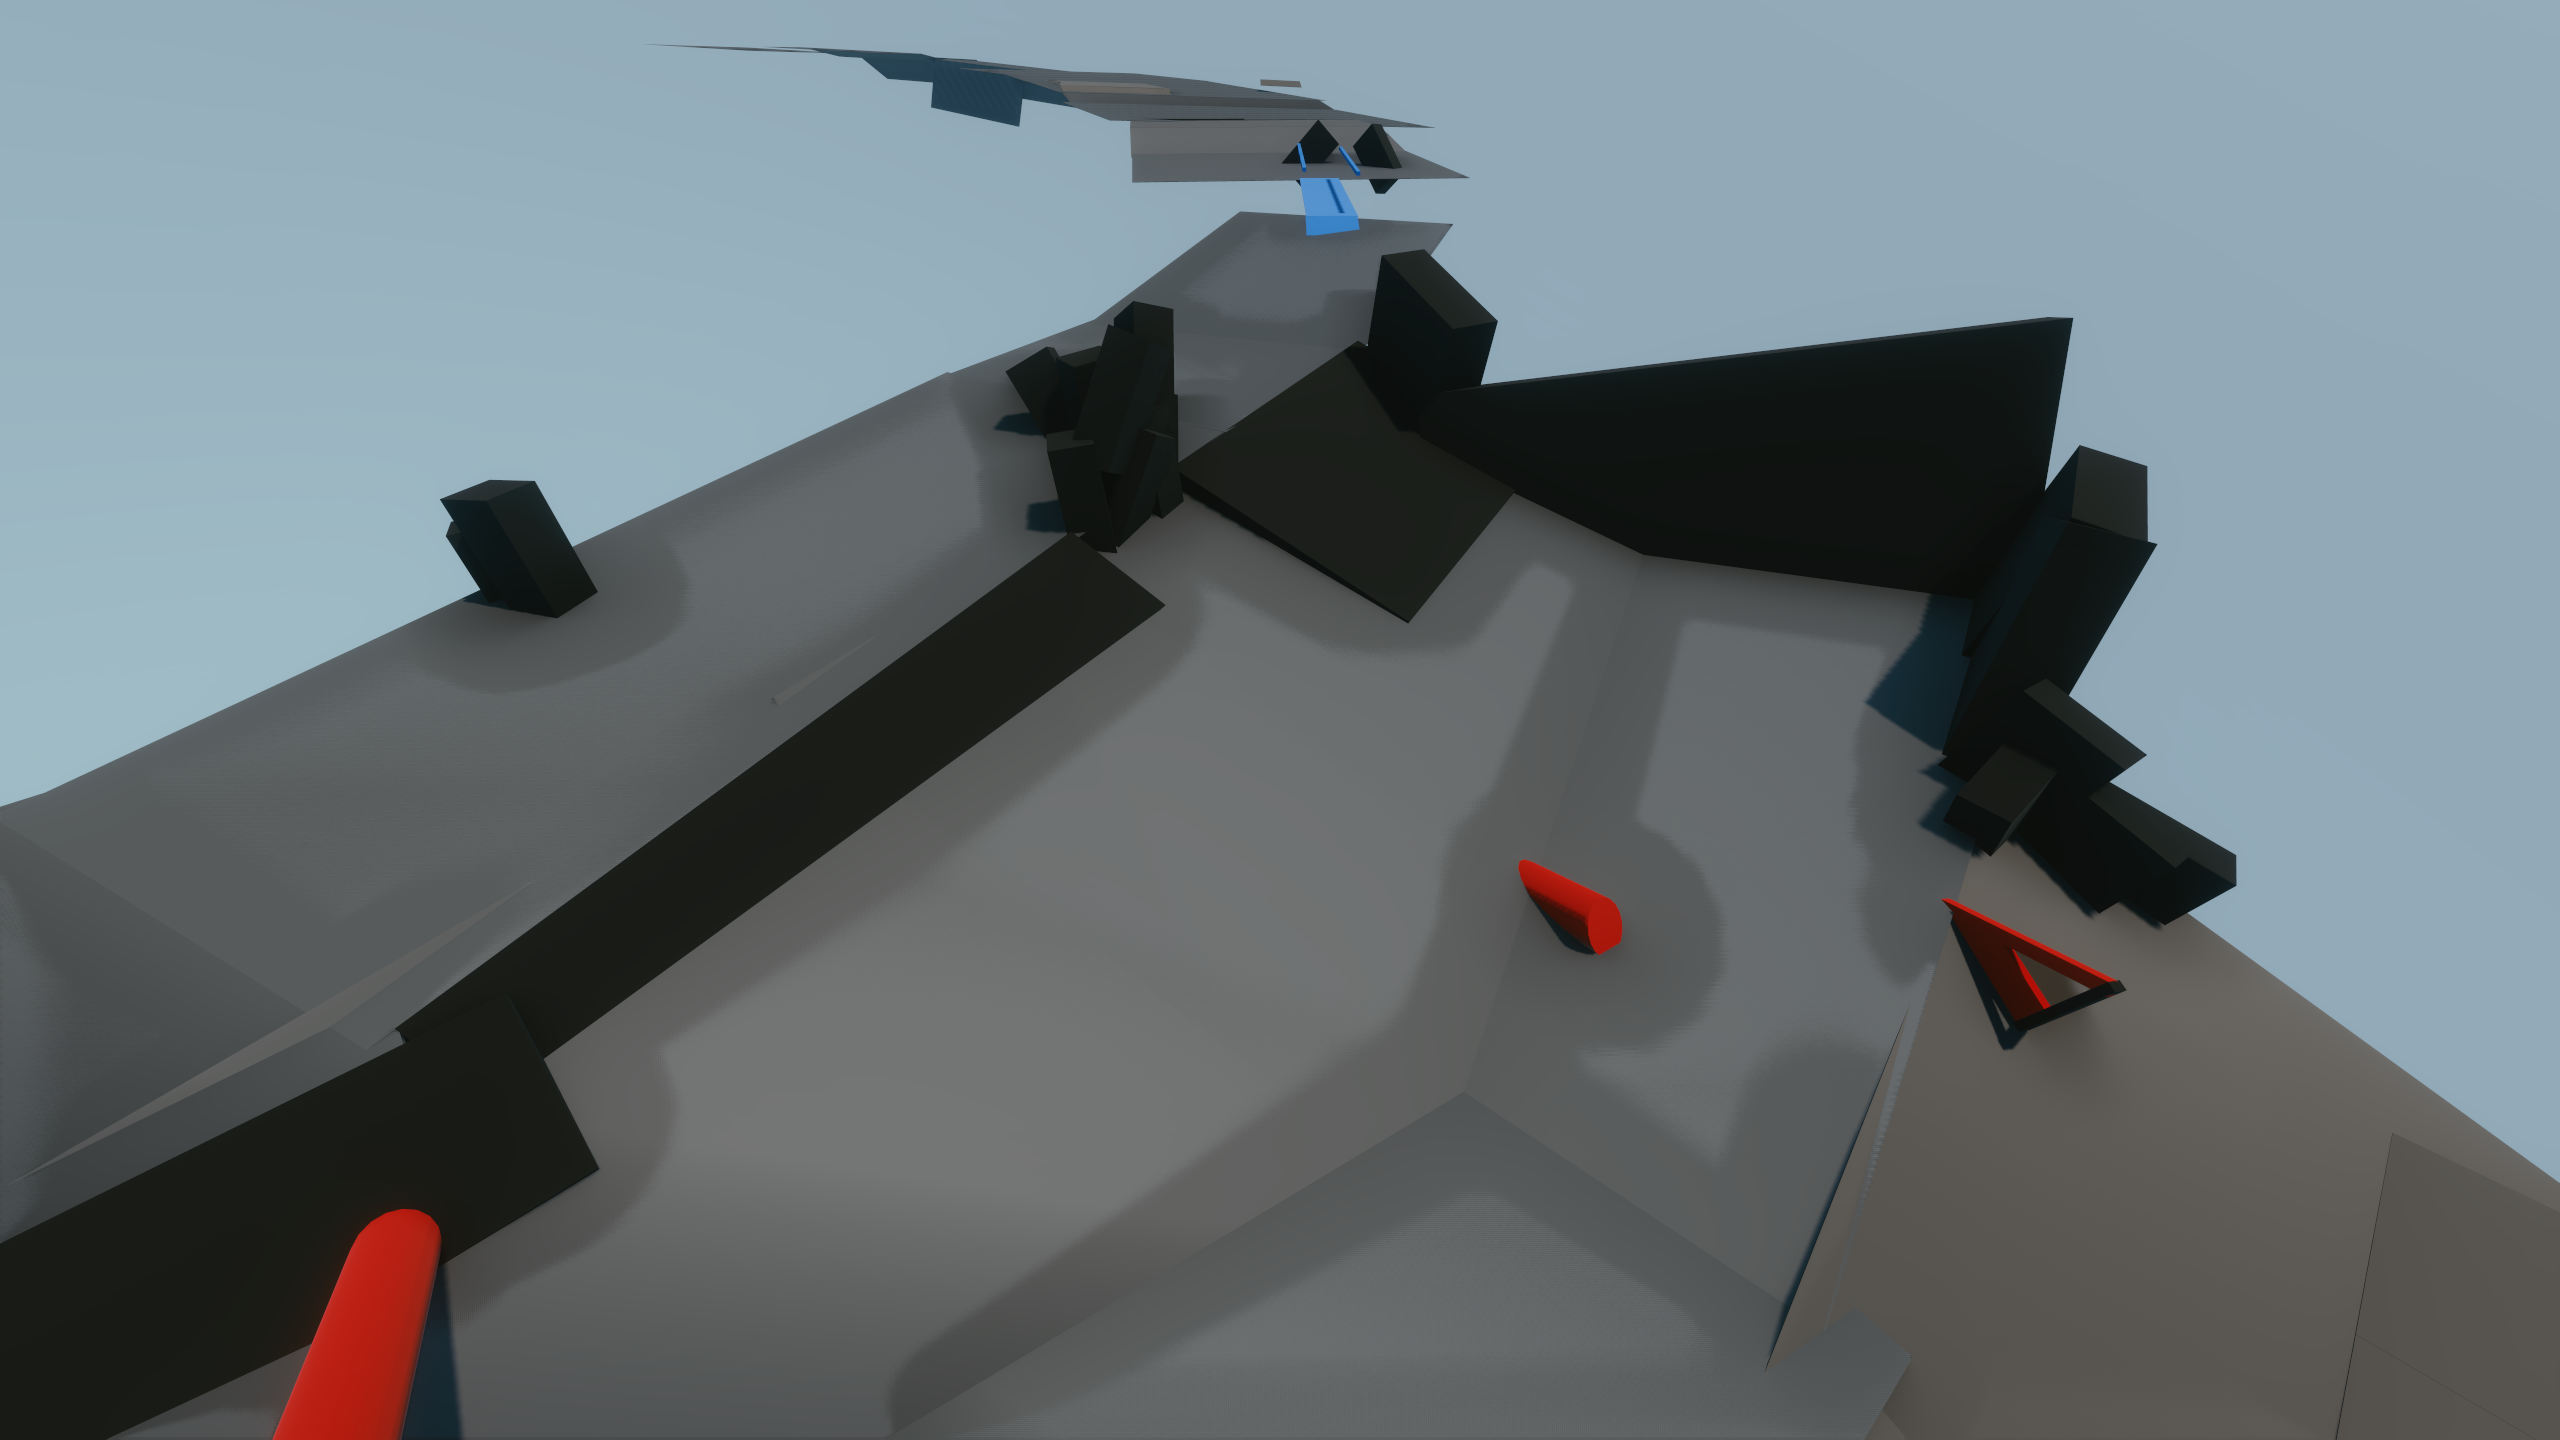
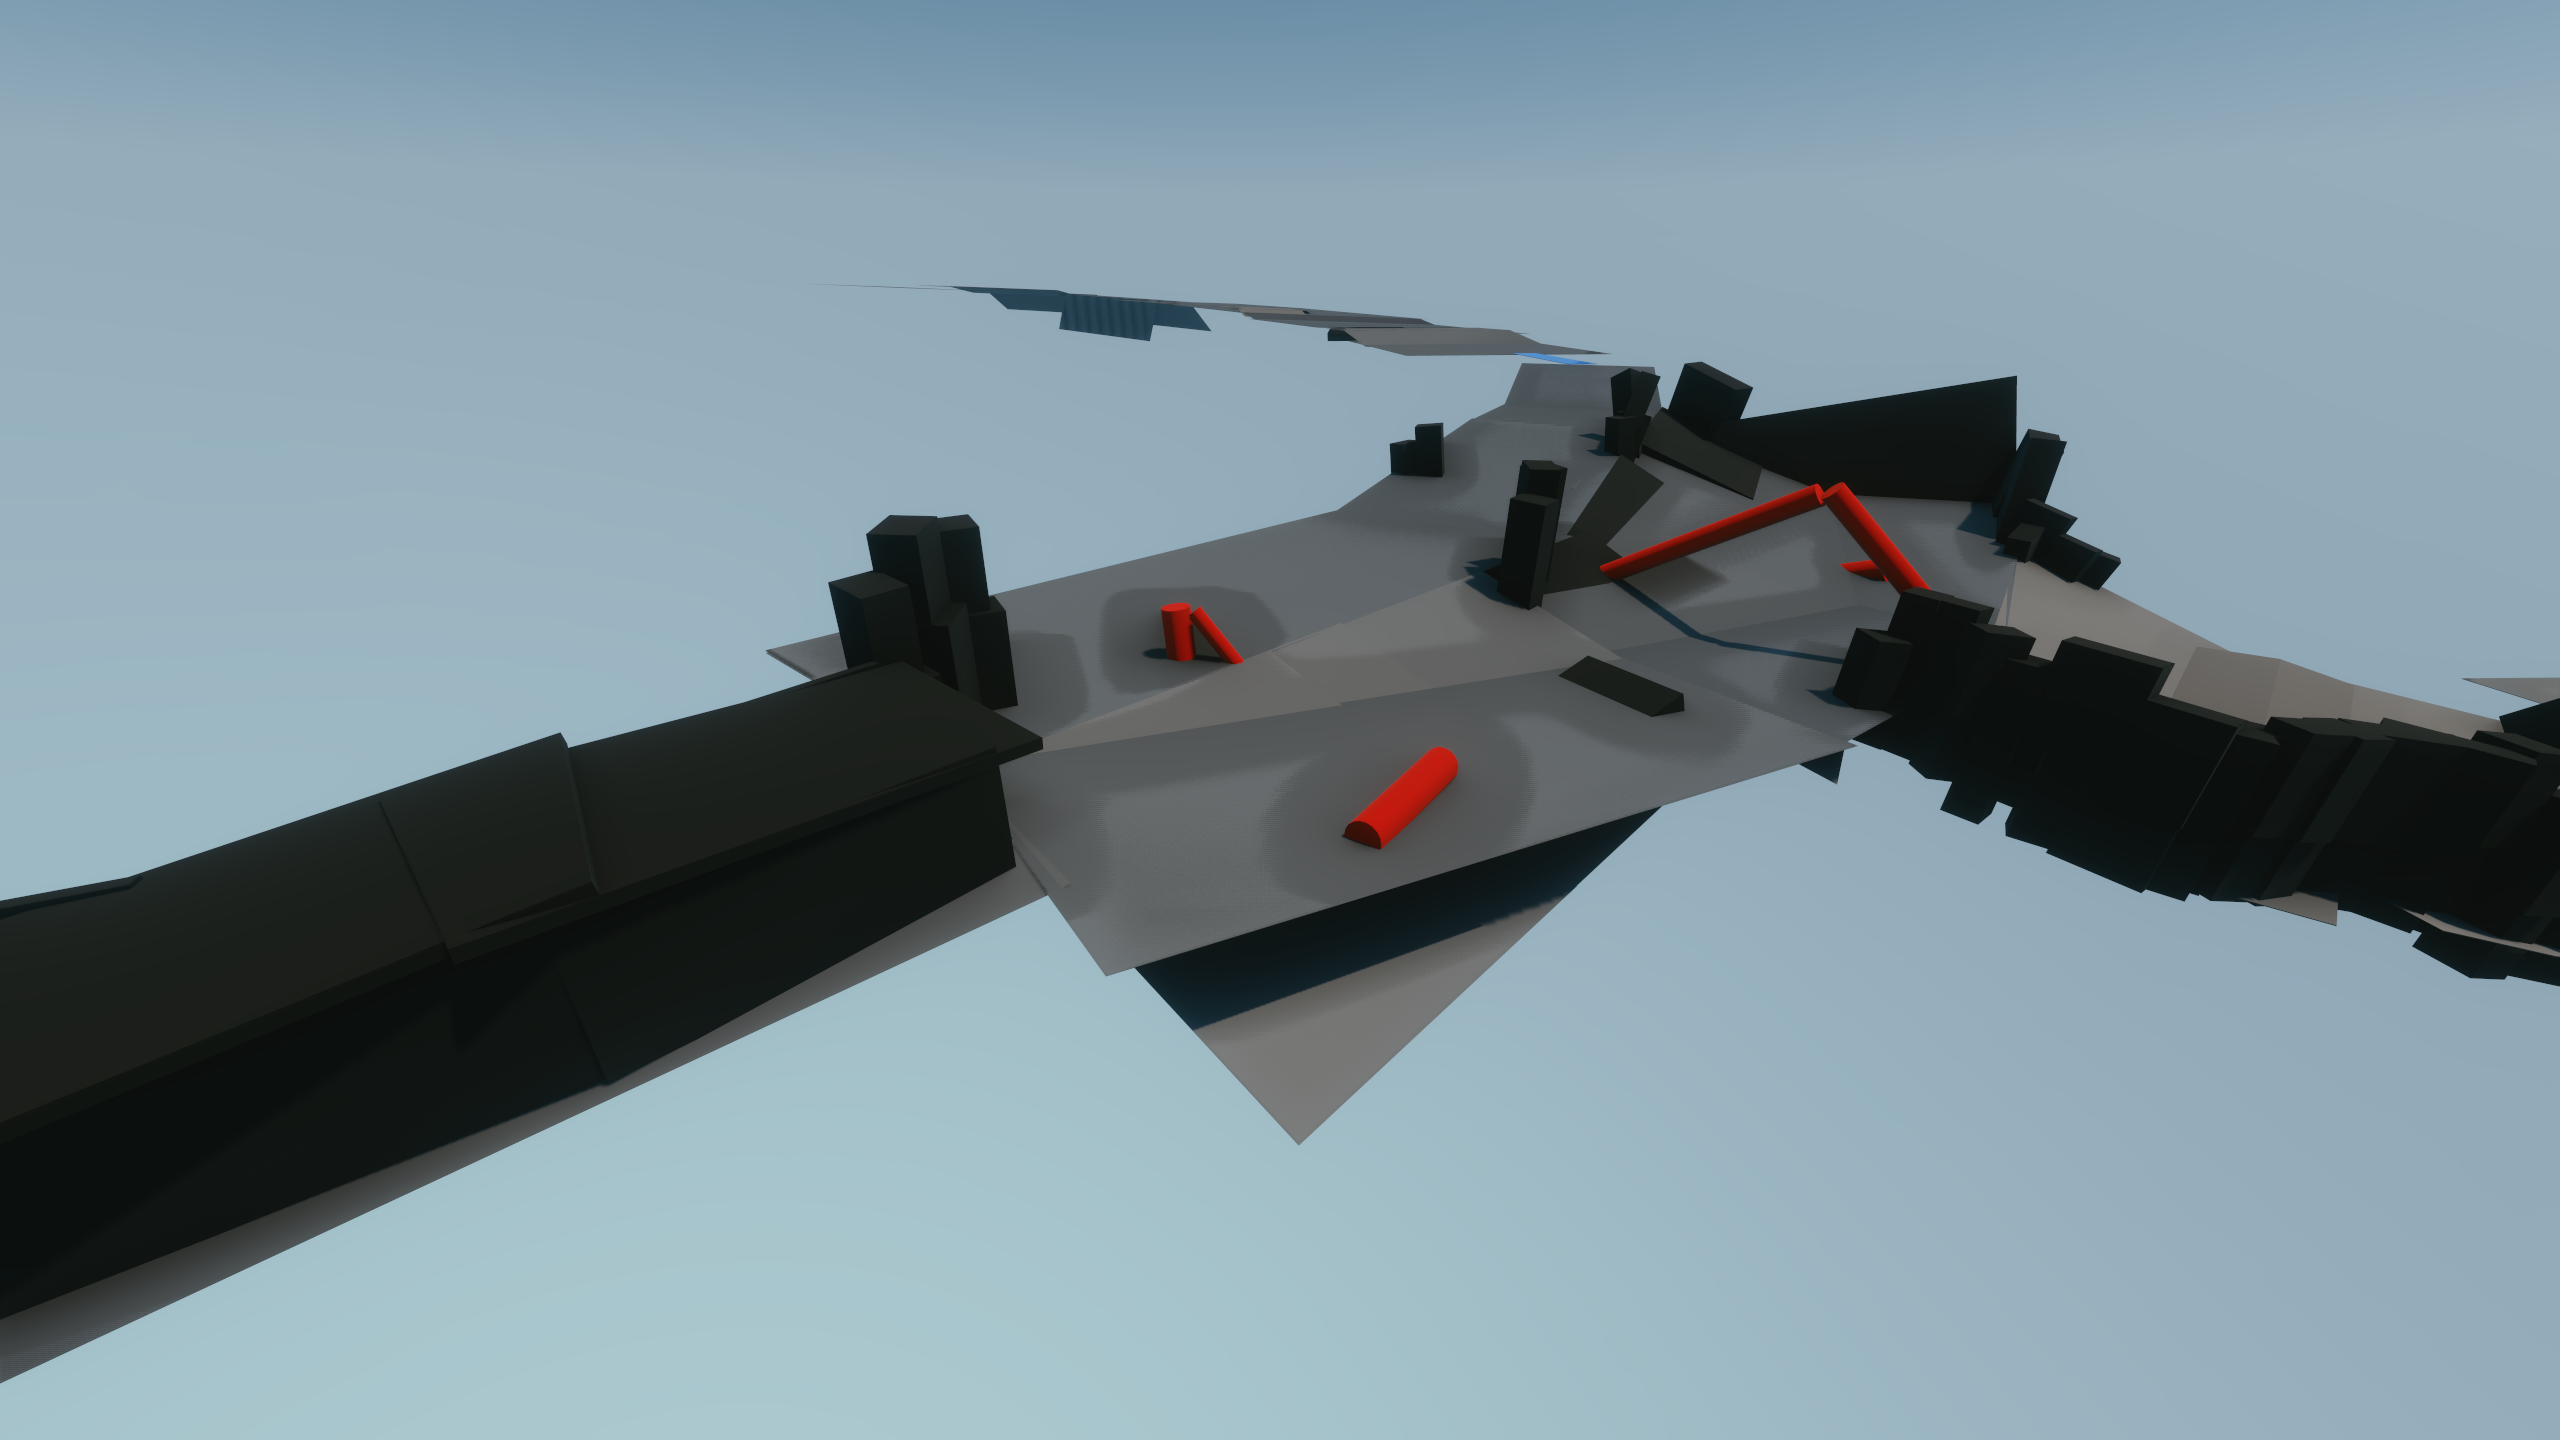
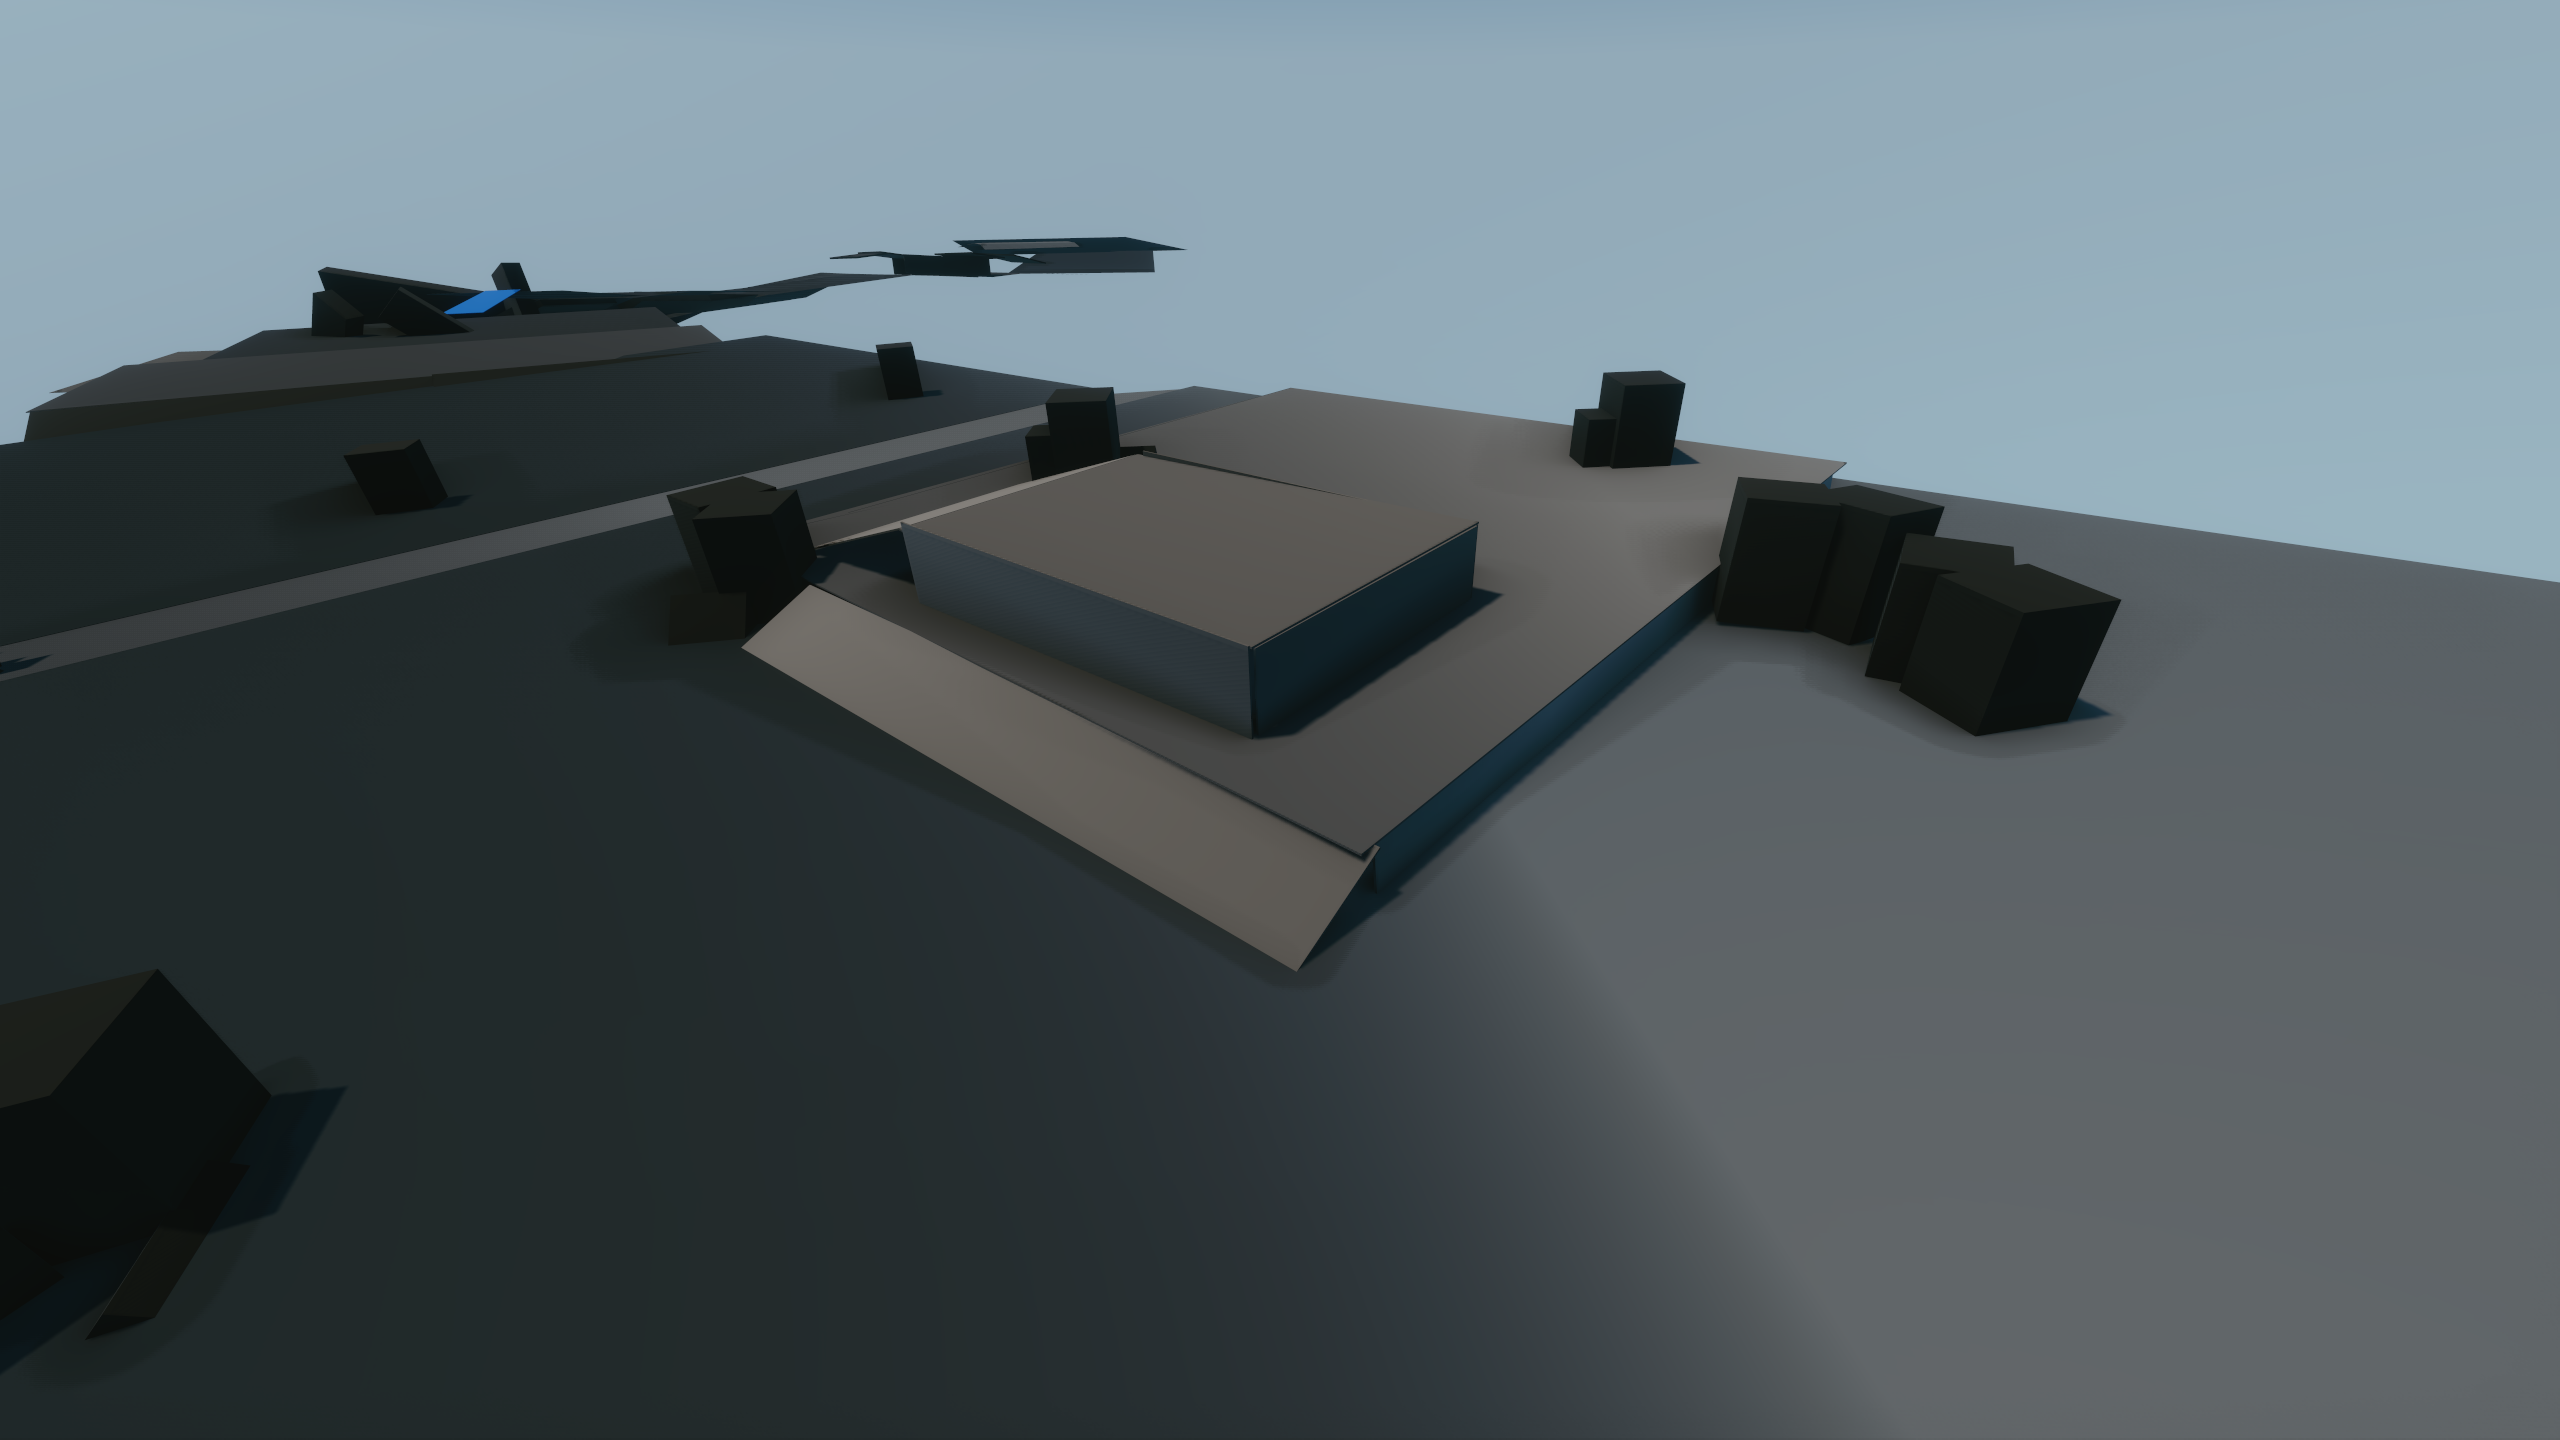
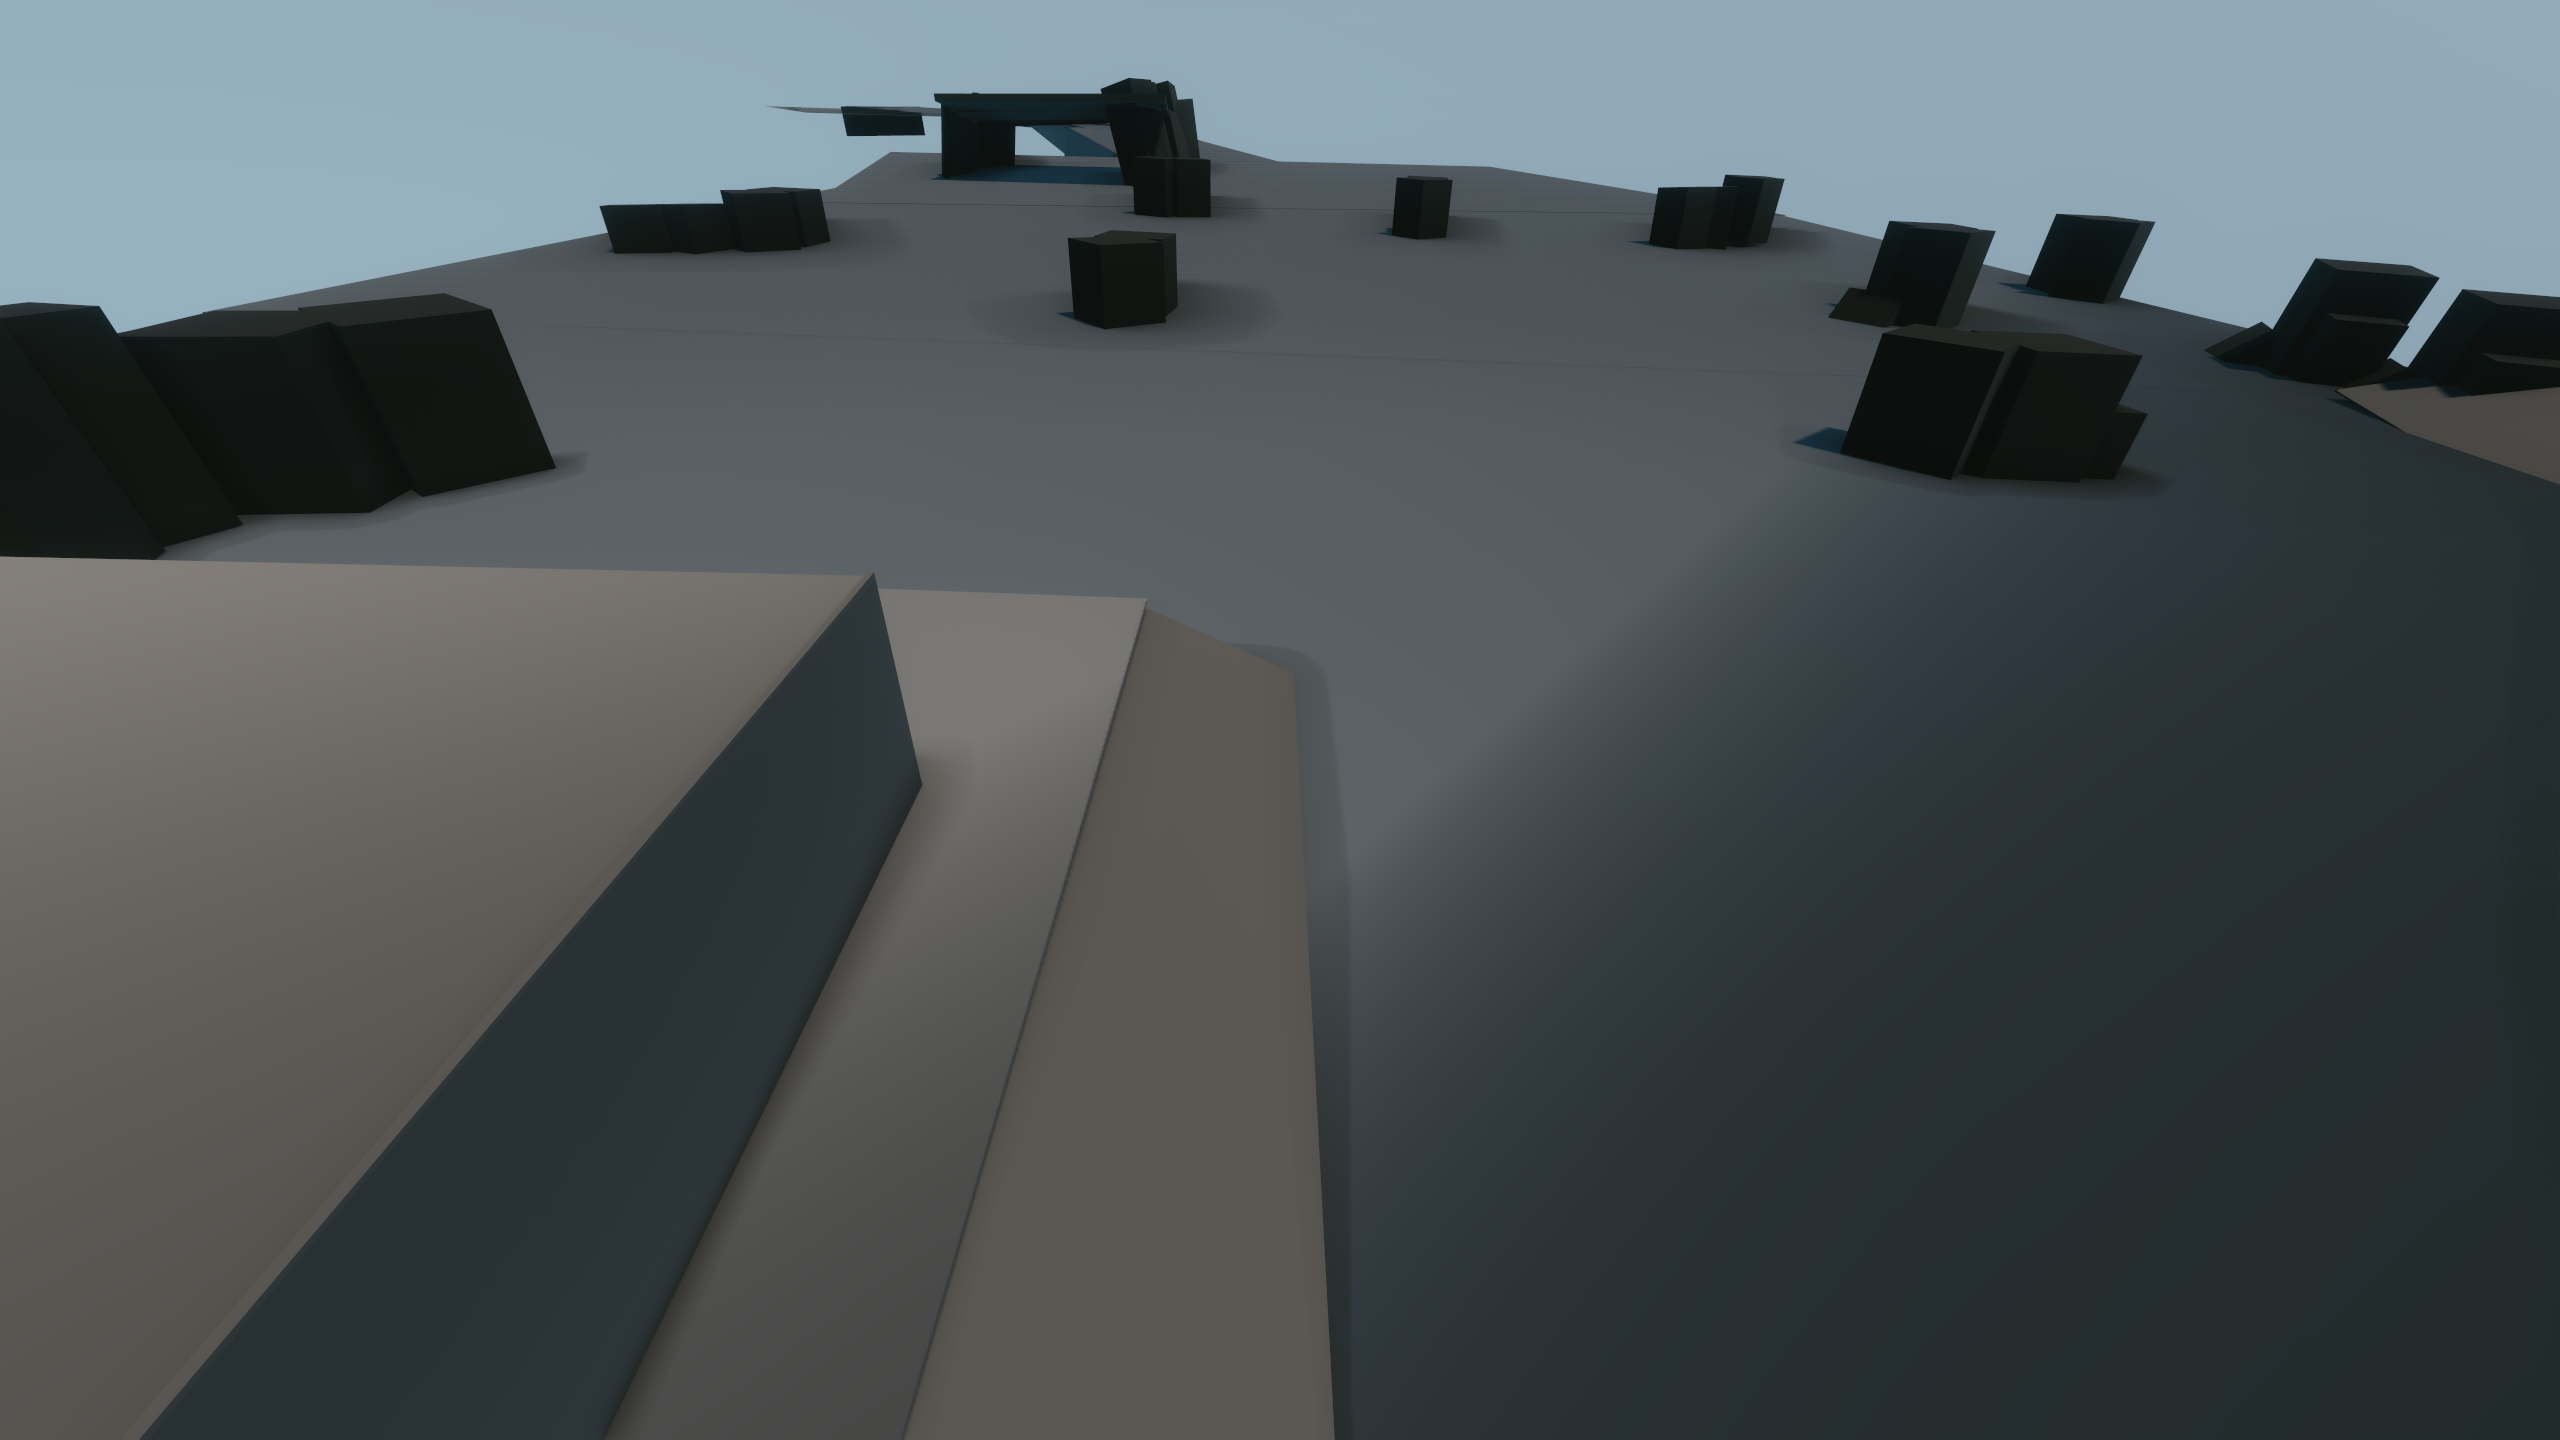
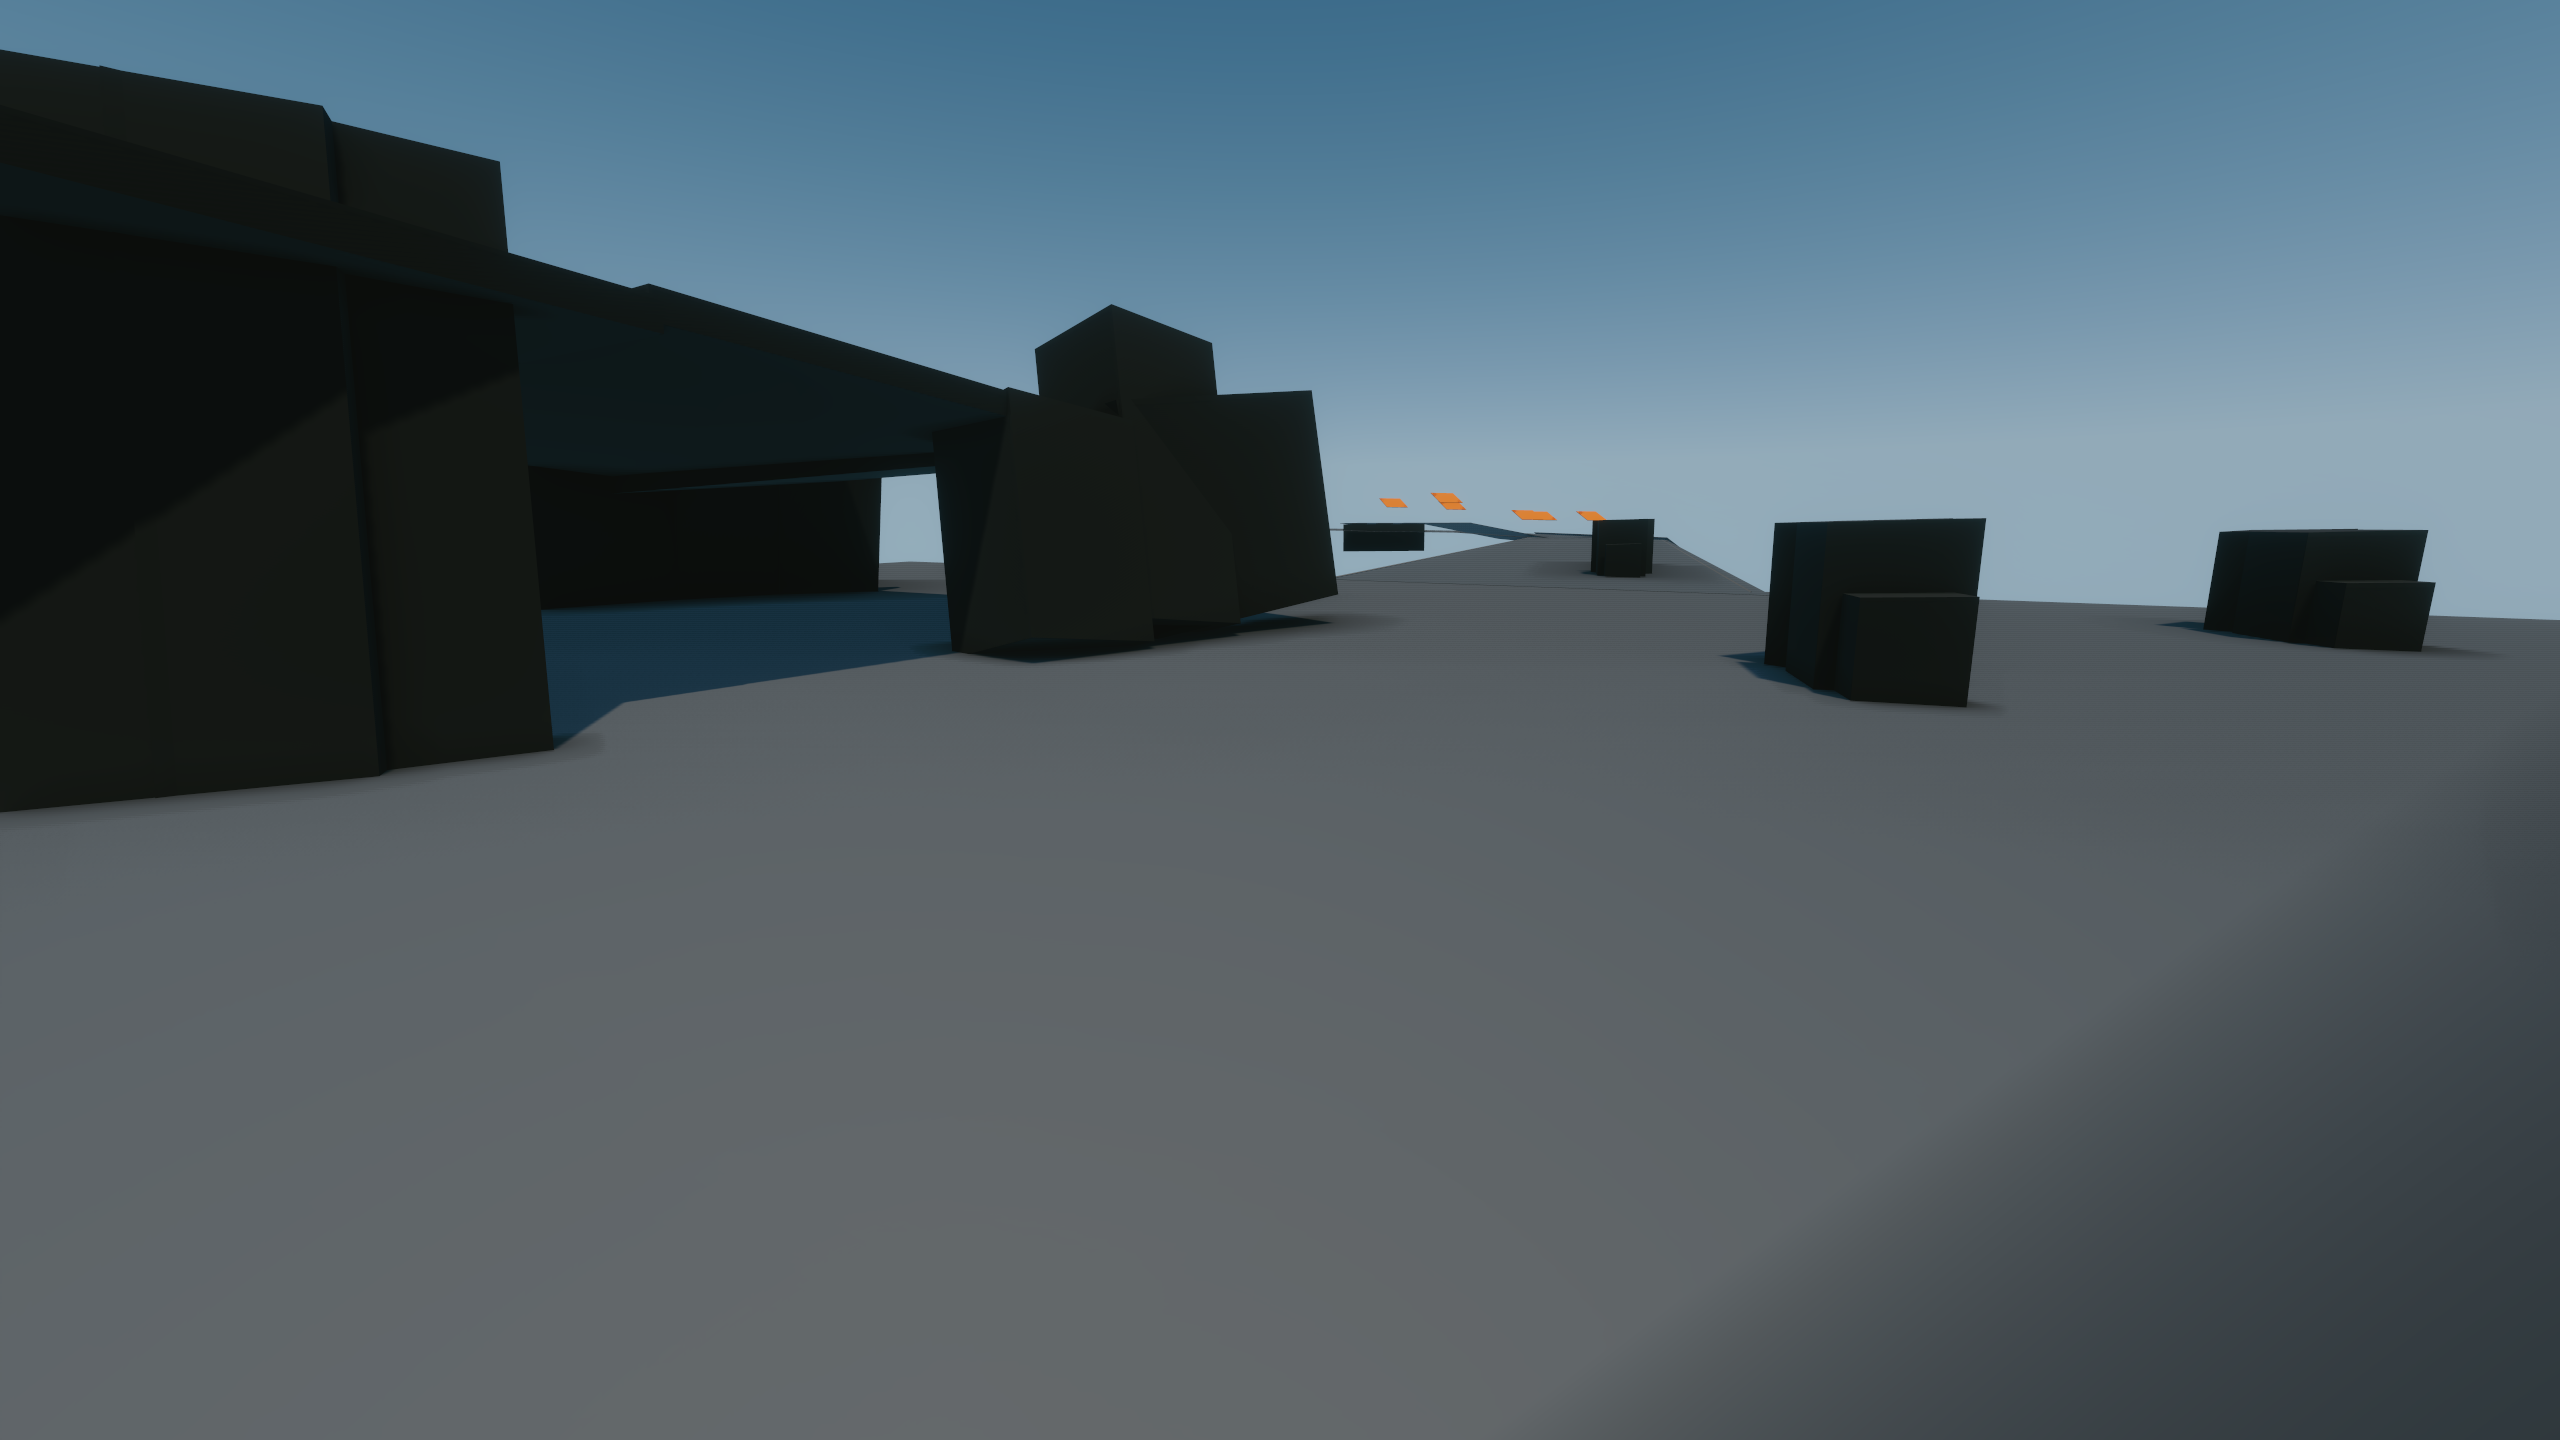
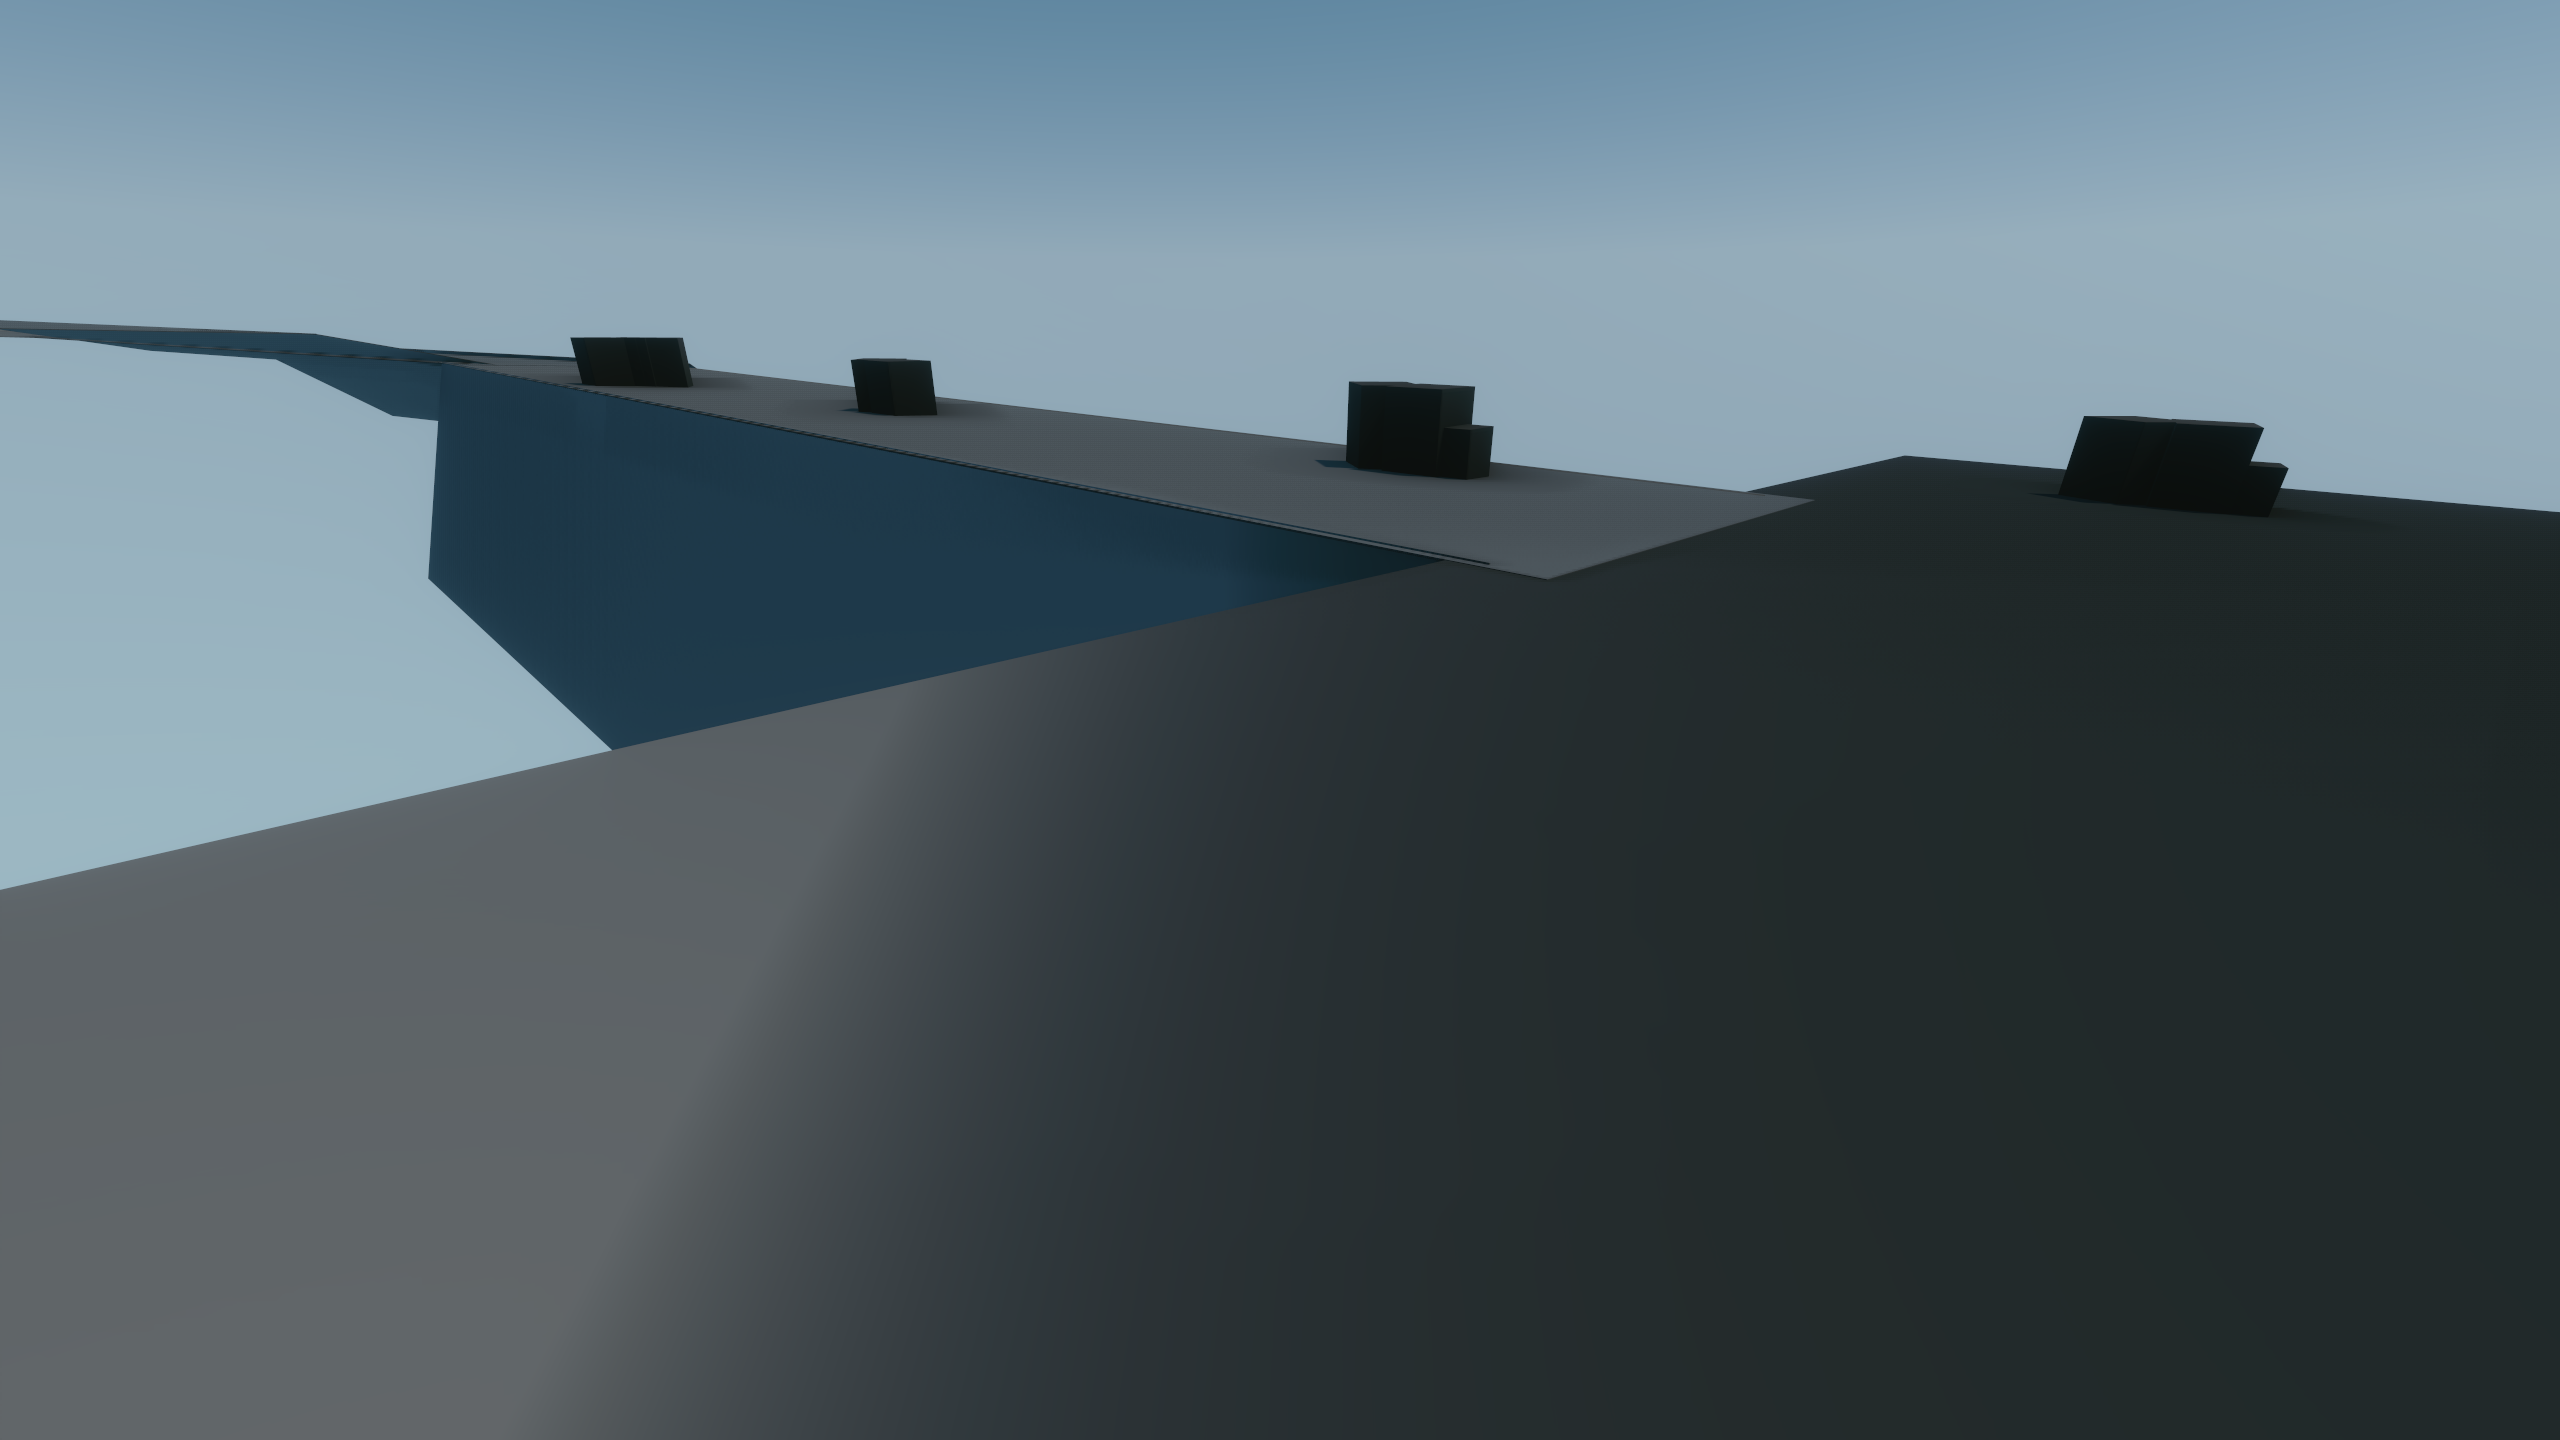
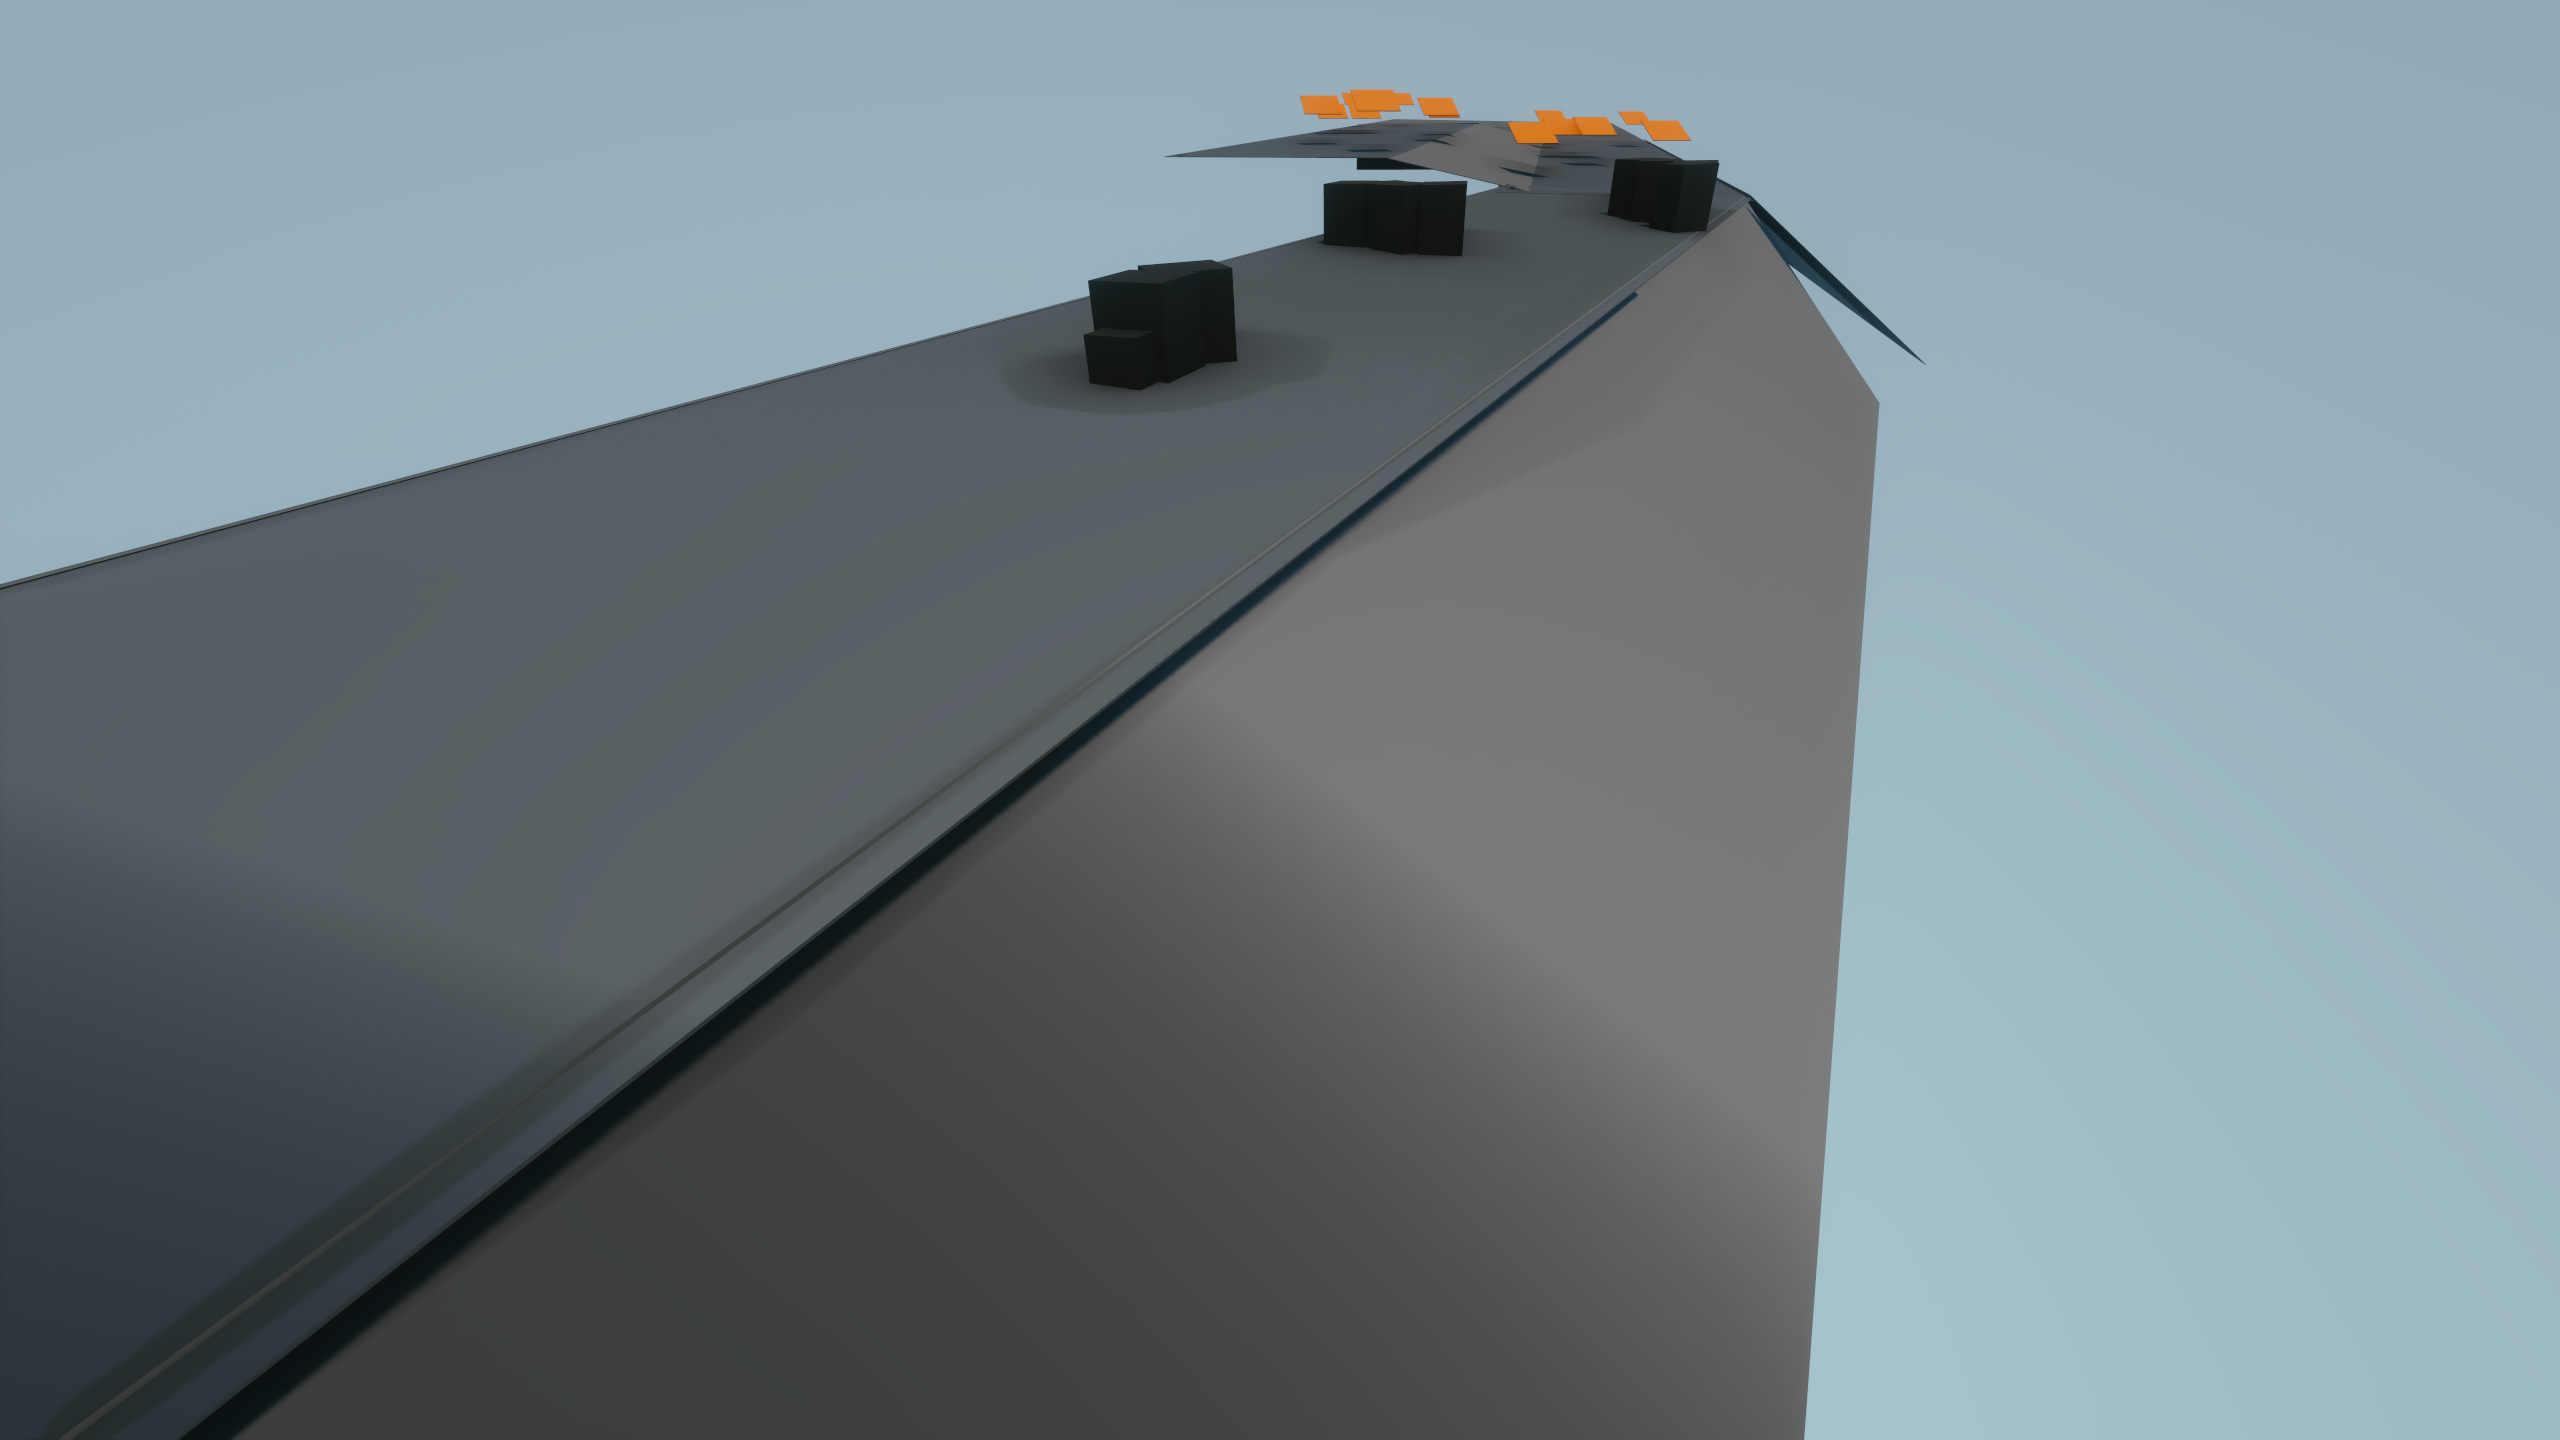
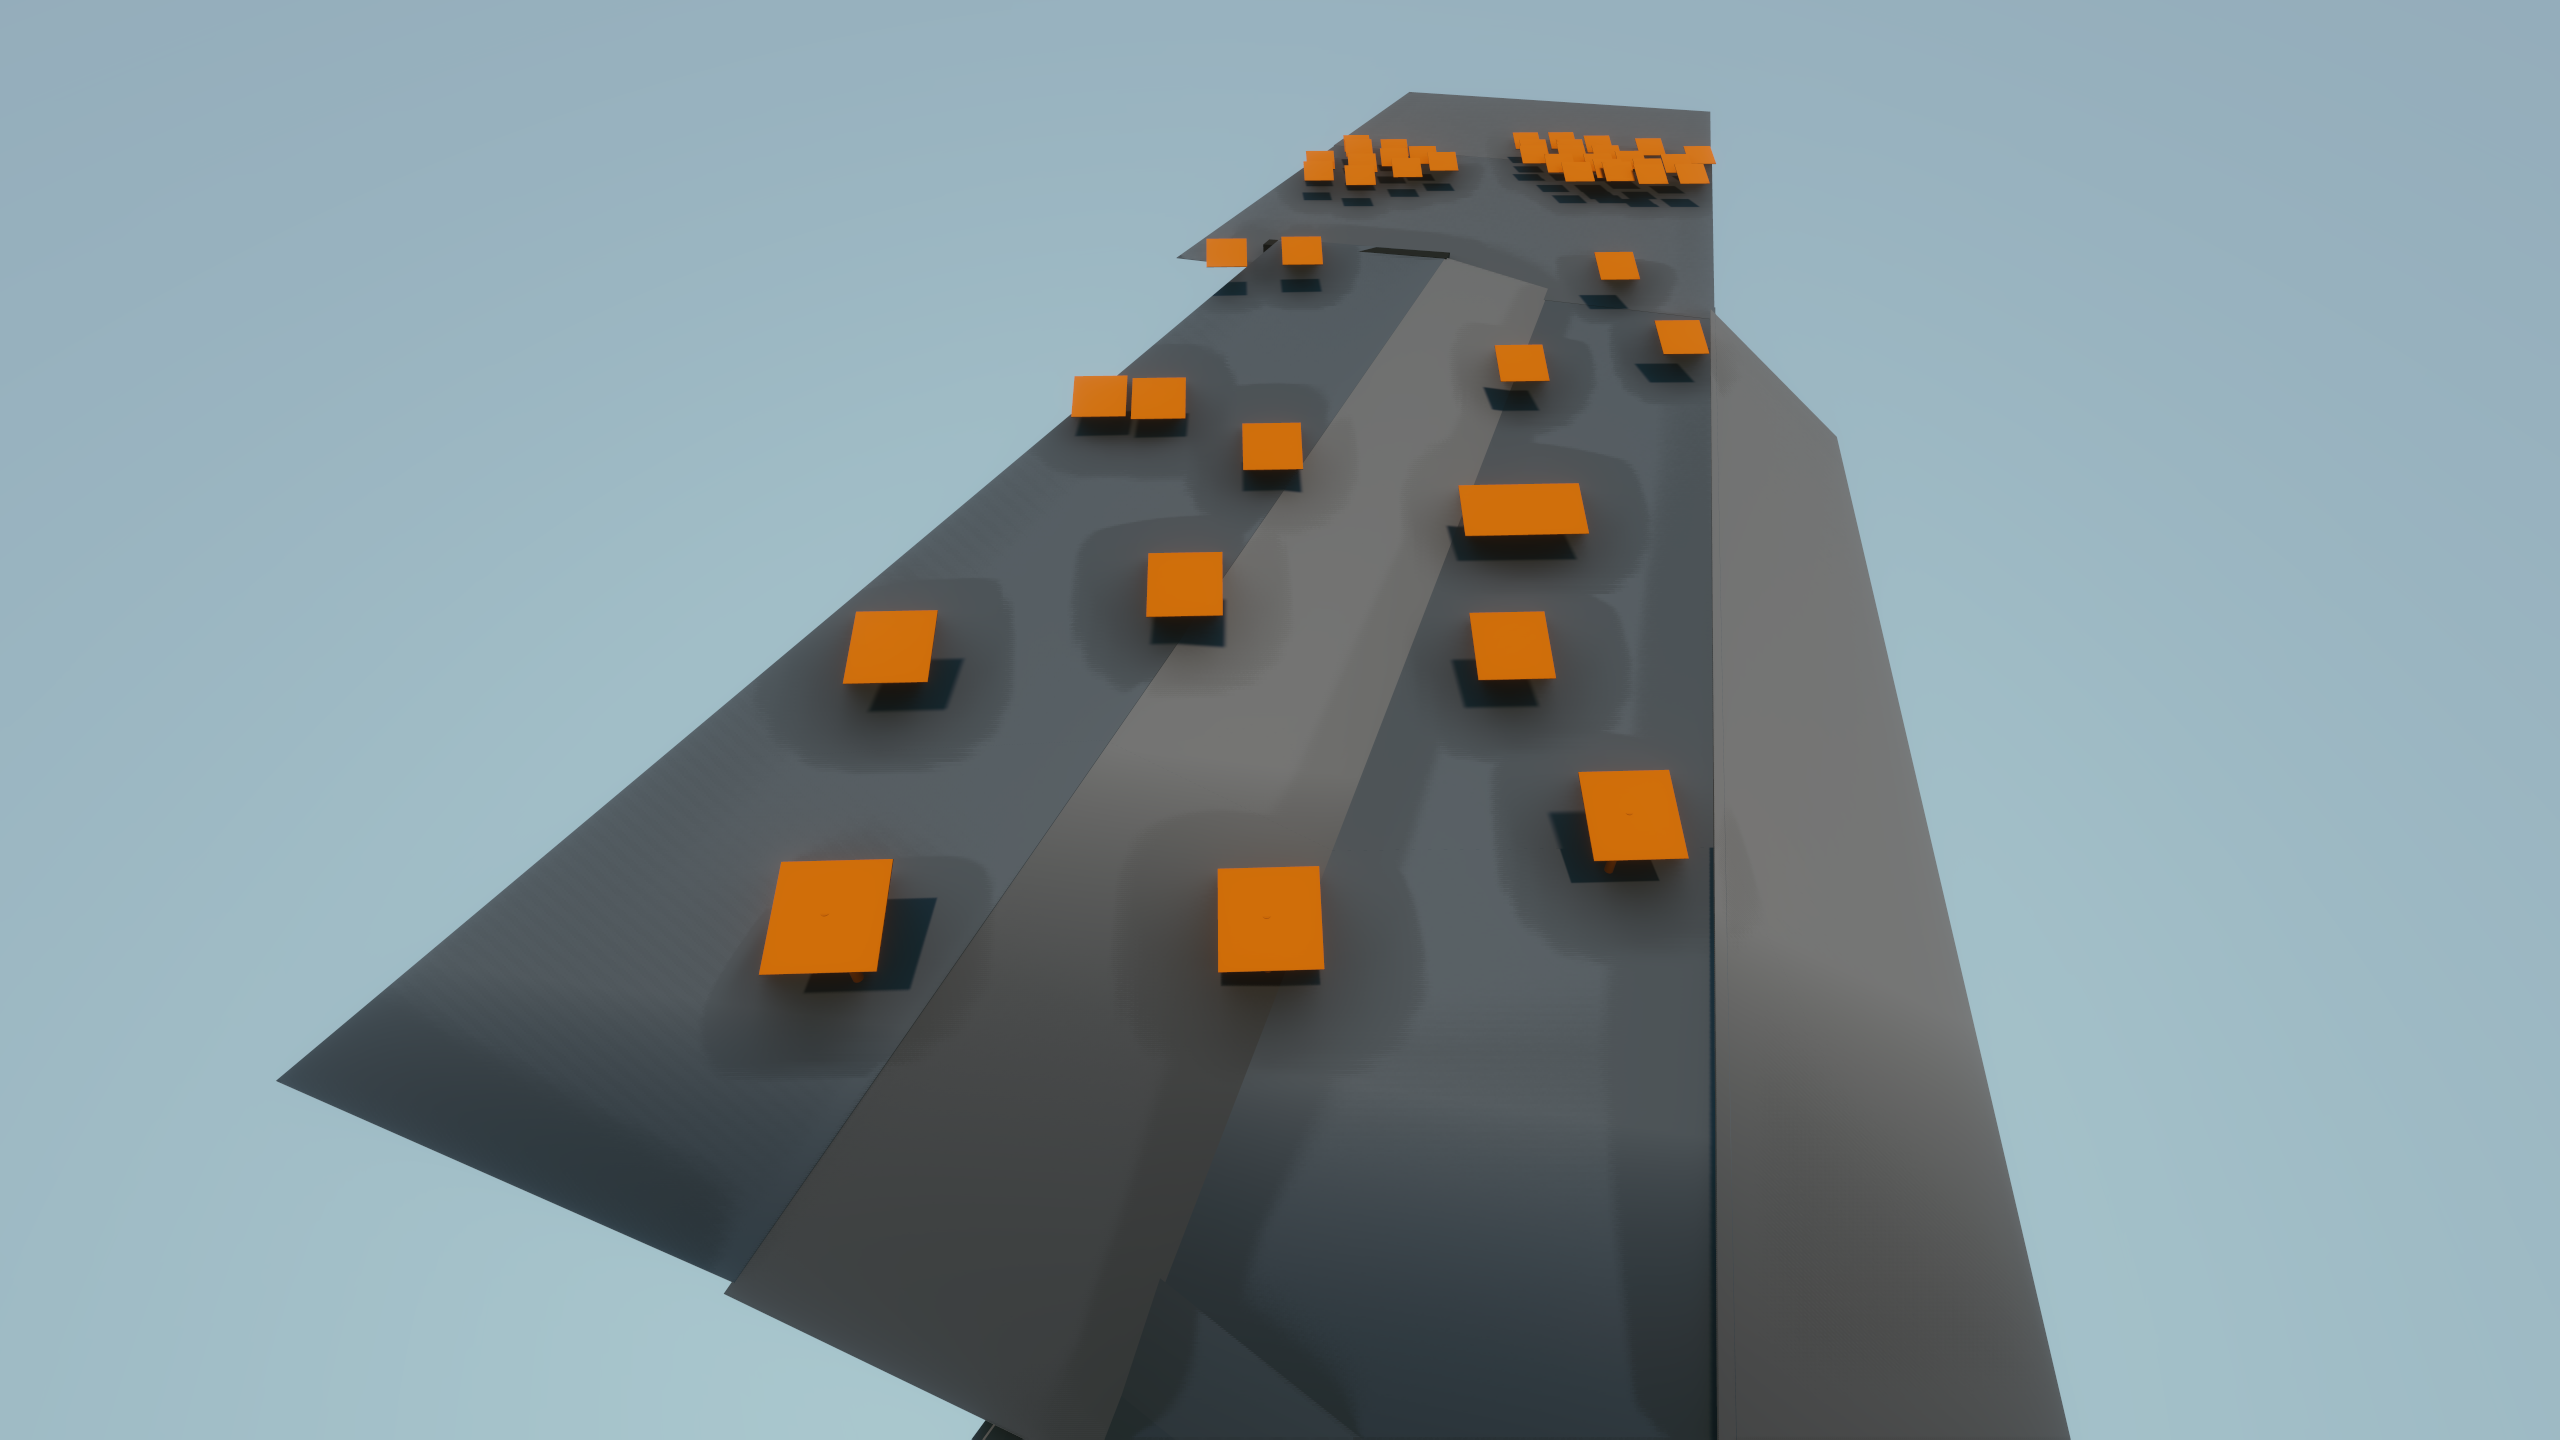
This prefab contains a pretty basic blockout, even by blockout level standards, with very rough shapes representing rocks, solar panels and satellites. The level starts near the Highriders Settlement, and ends by the Mass Driver.
Map Location
Start
Tunnel
Satellite Graveyard
Bridge
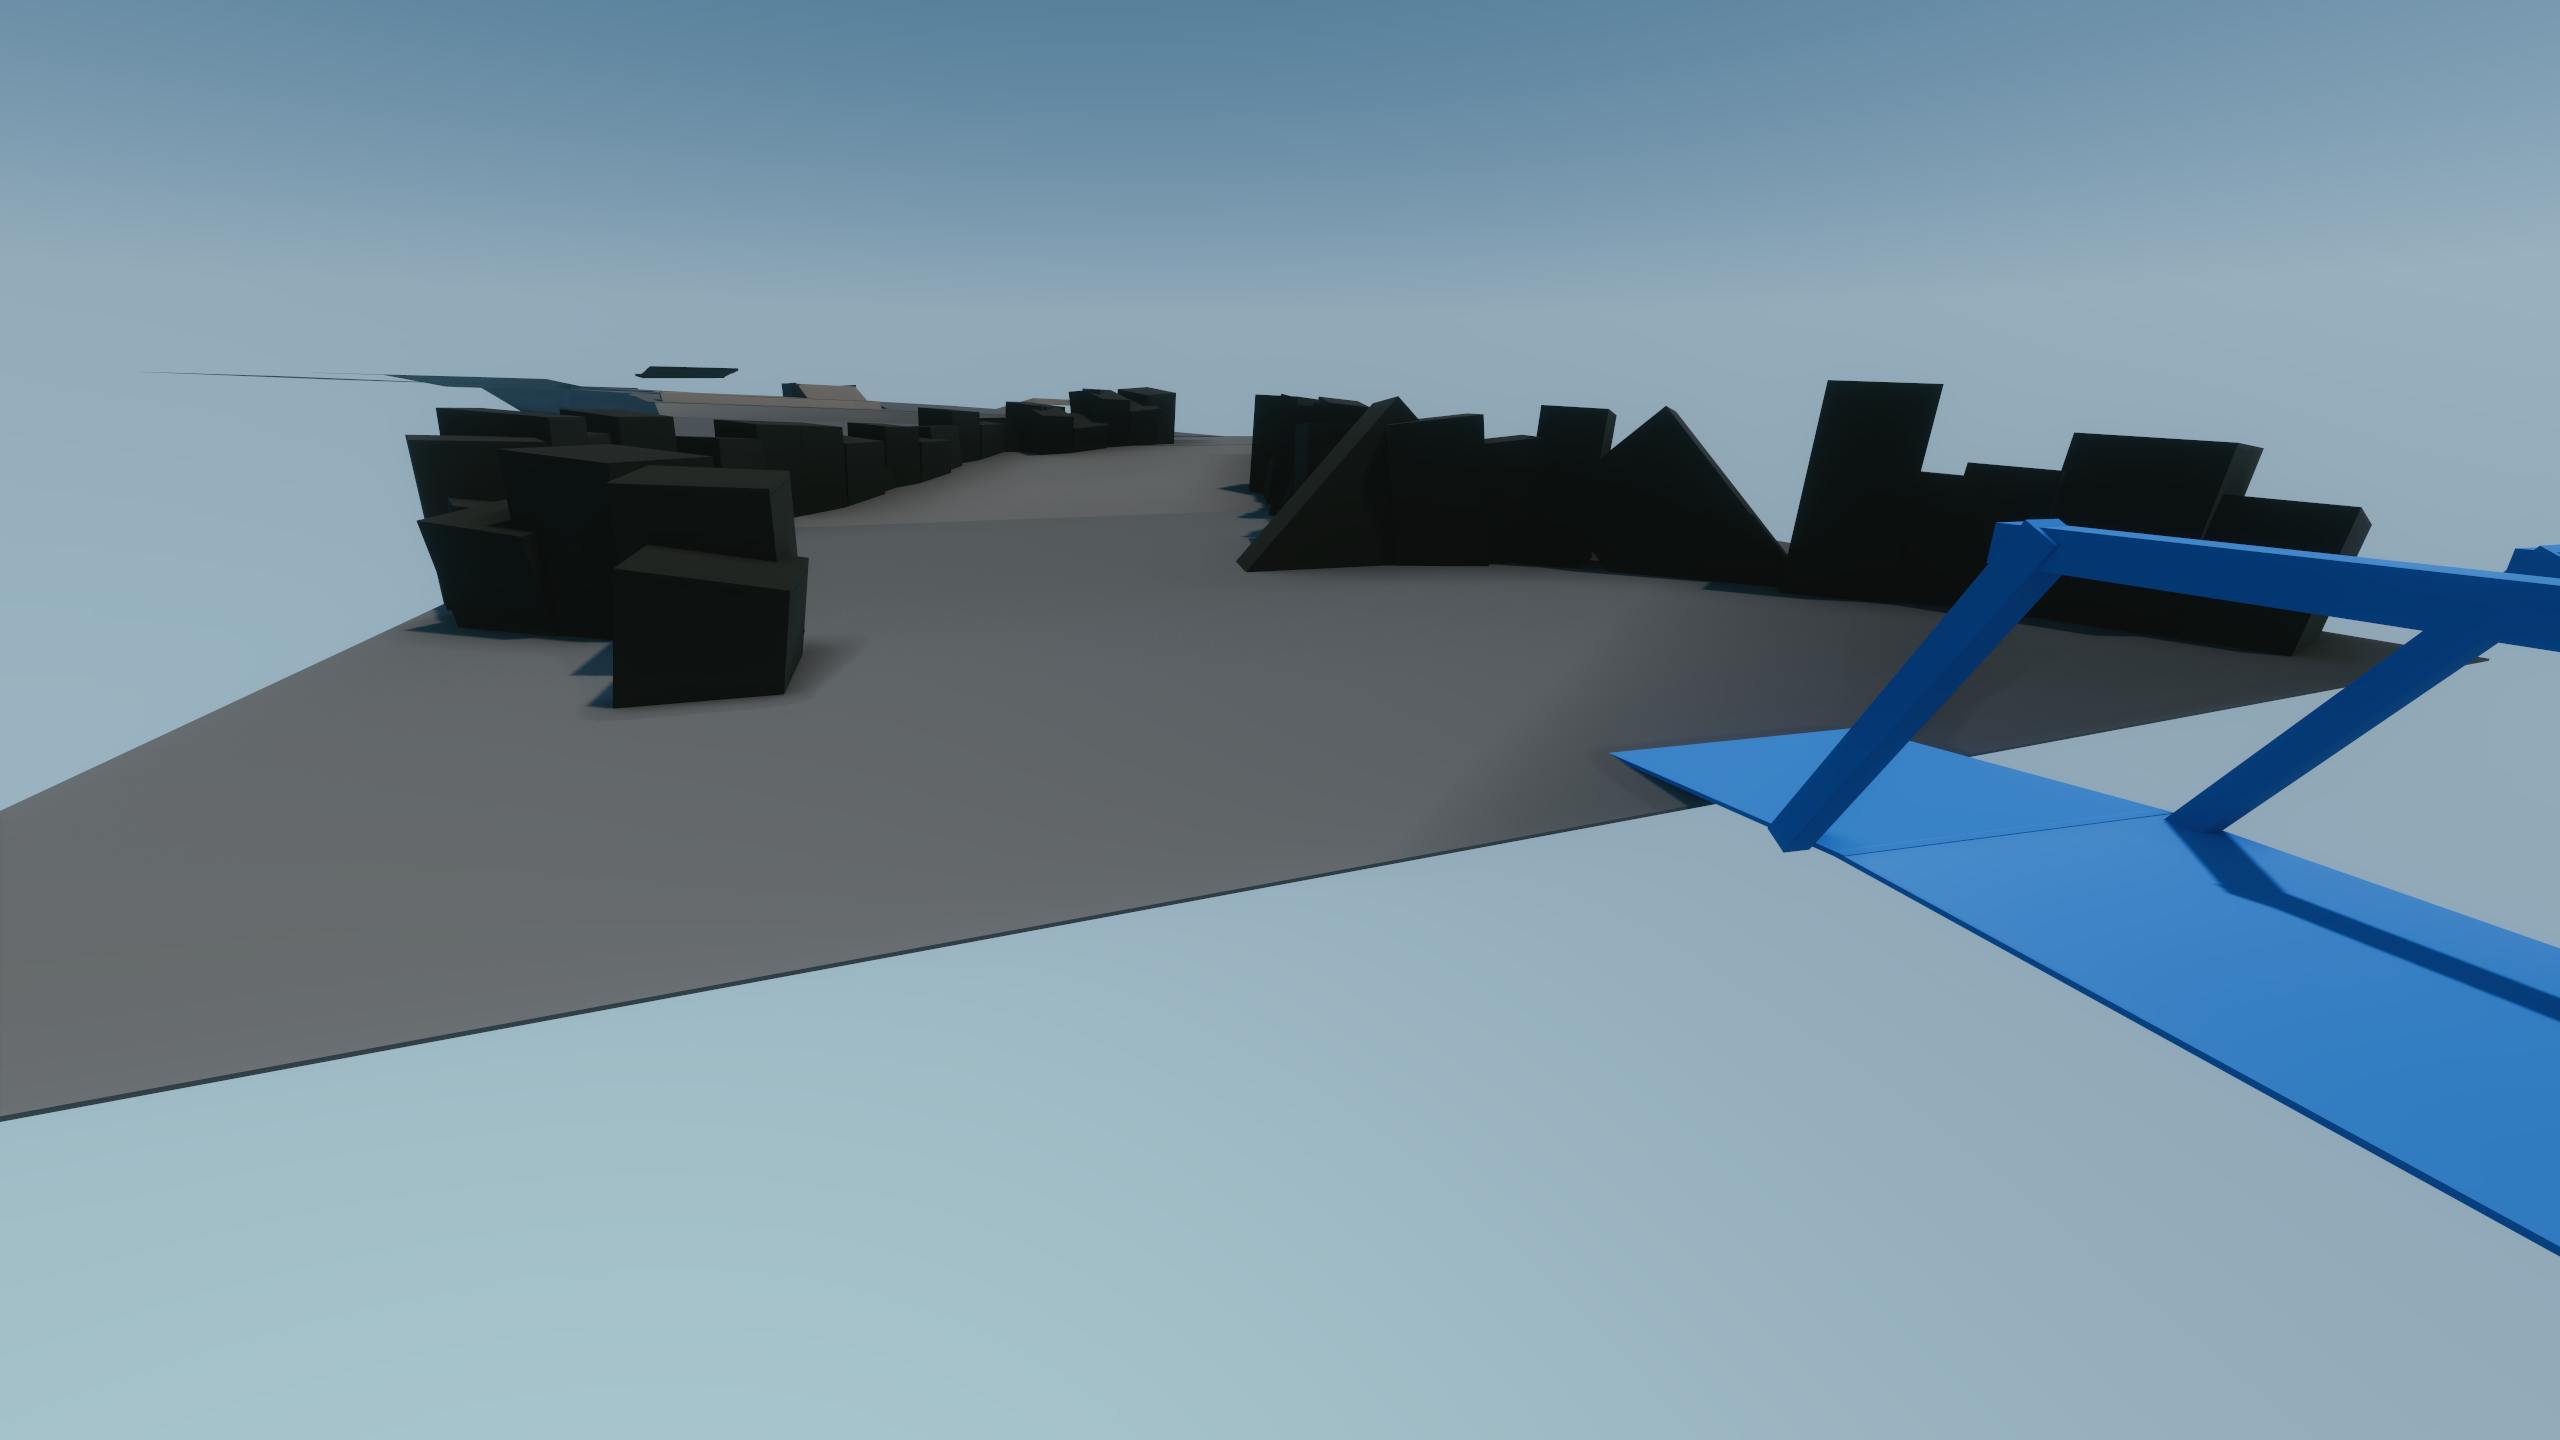
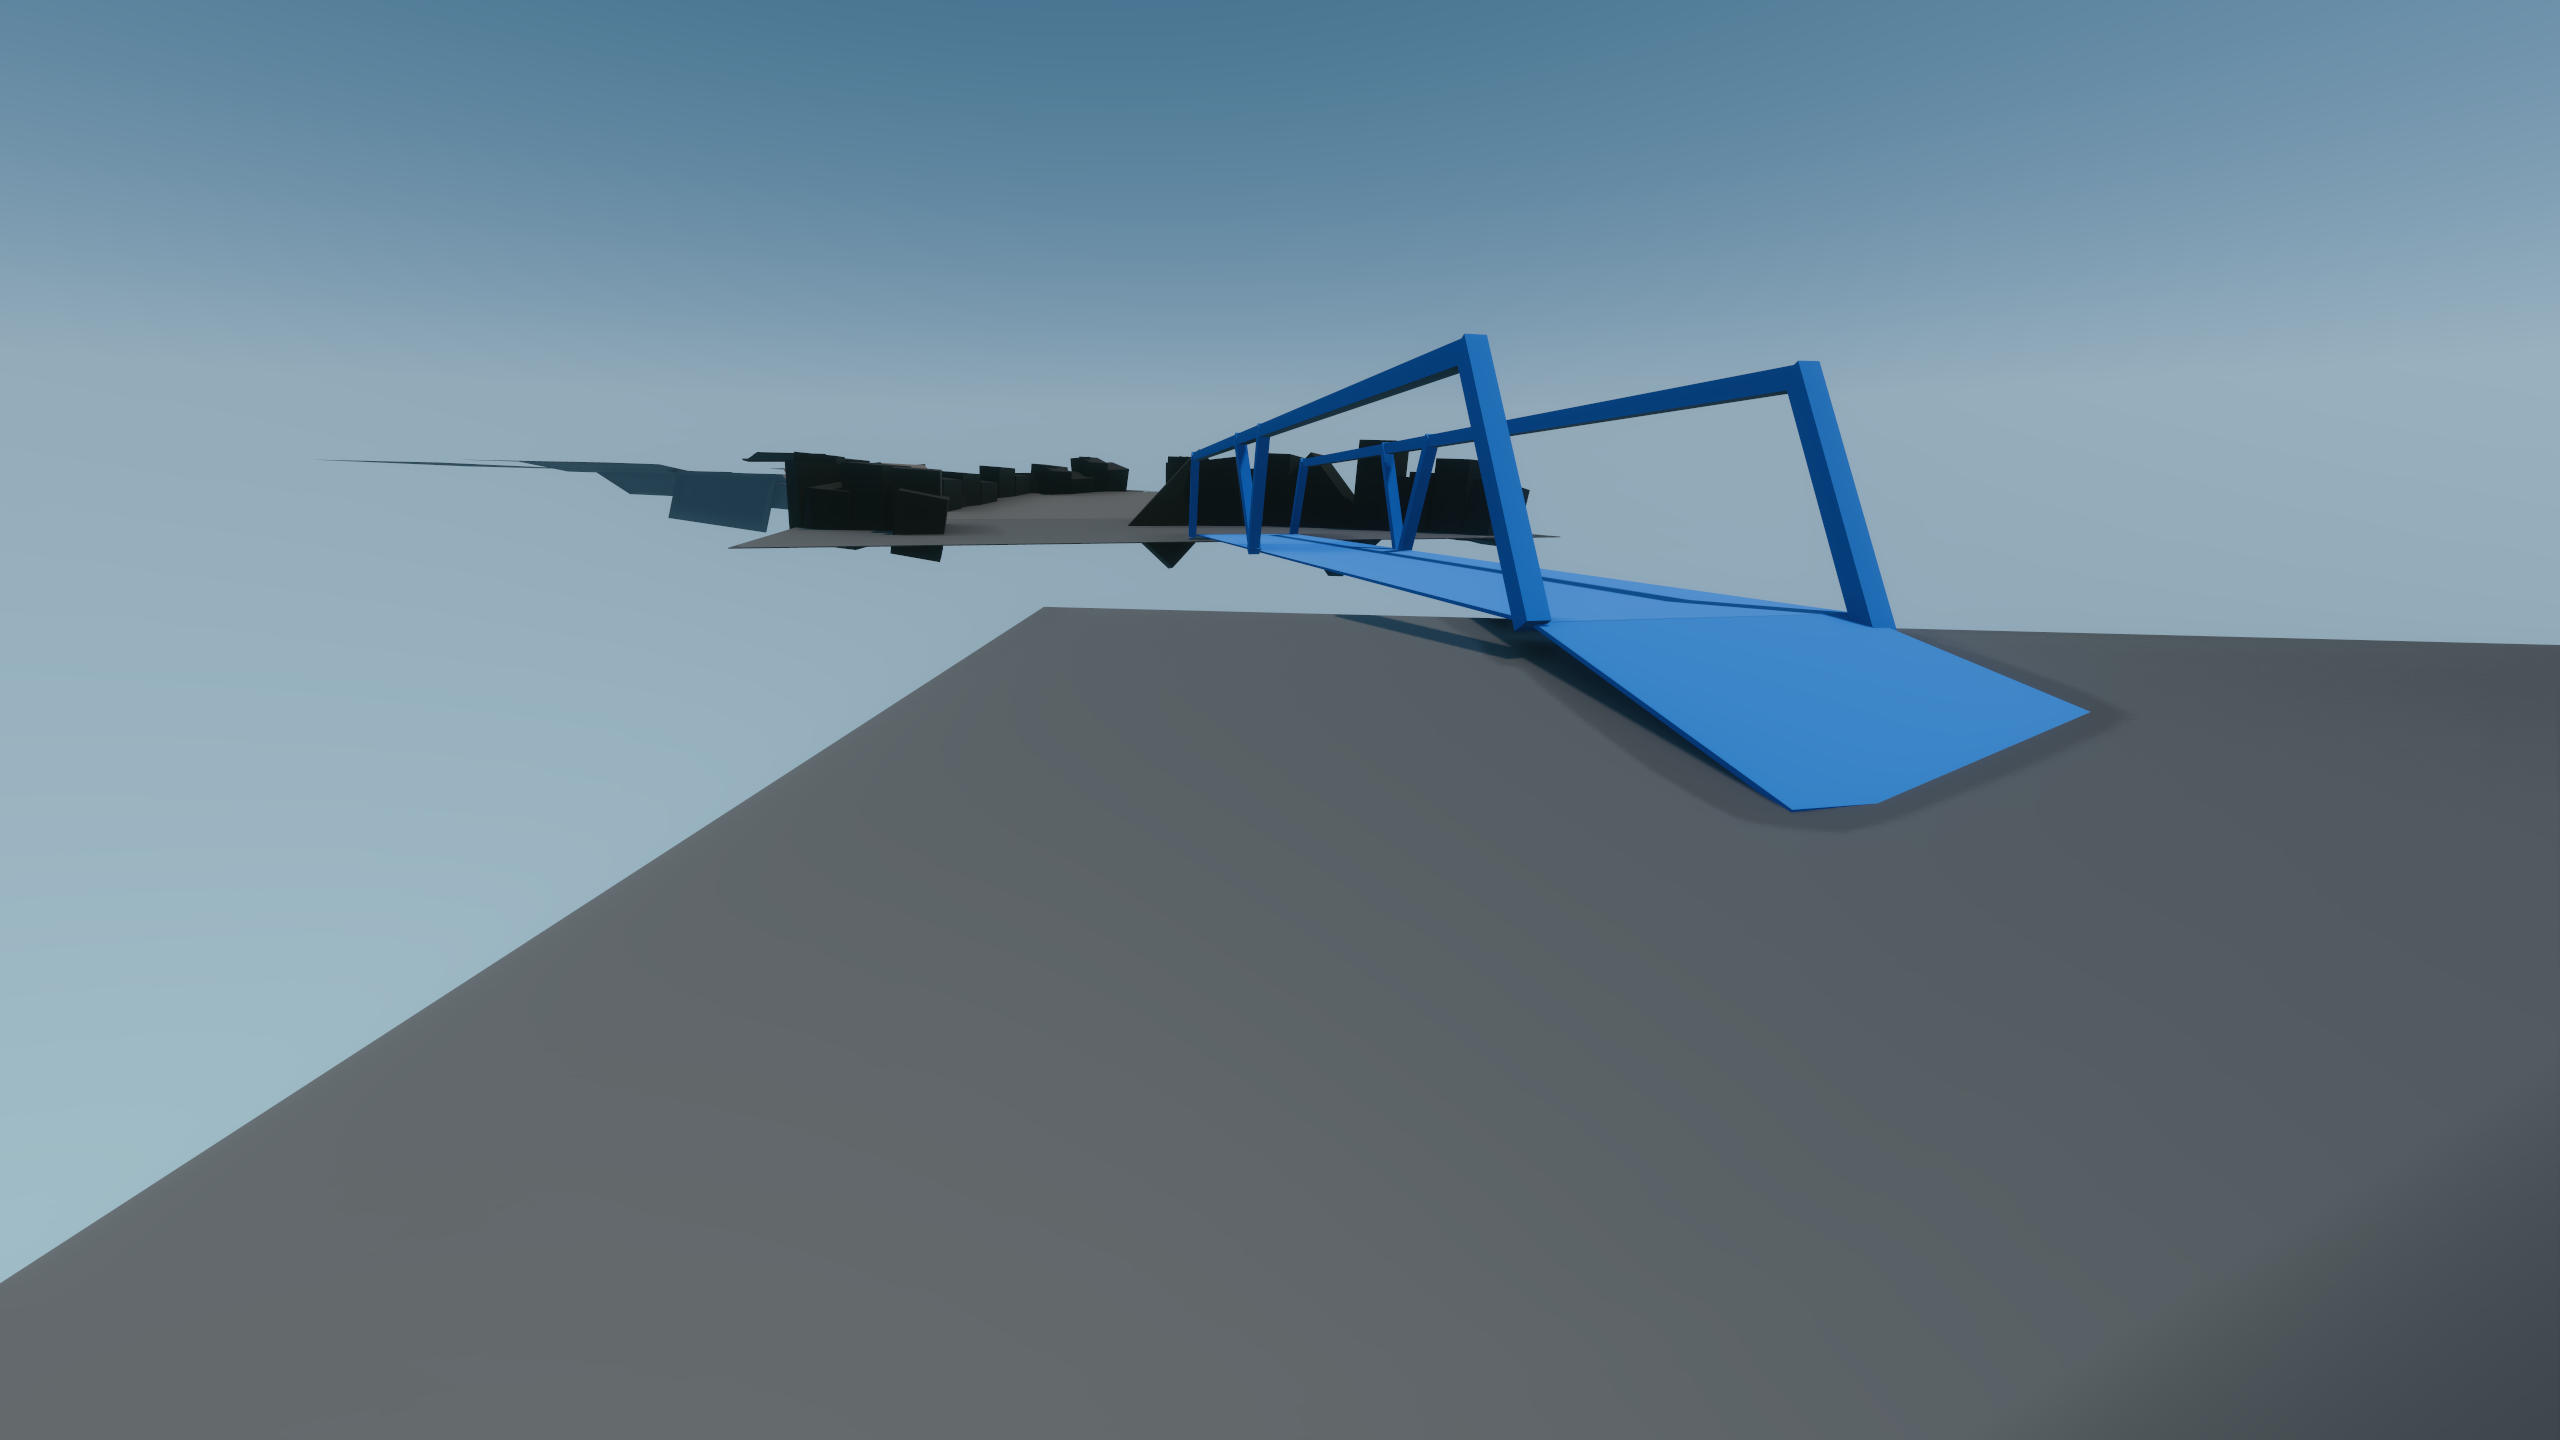
Rocks
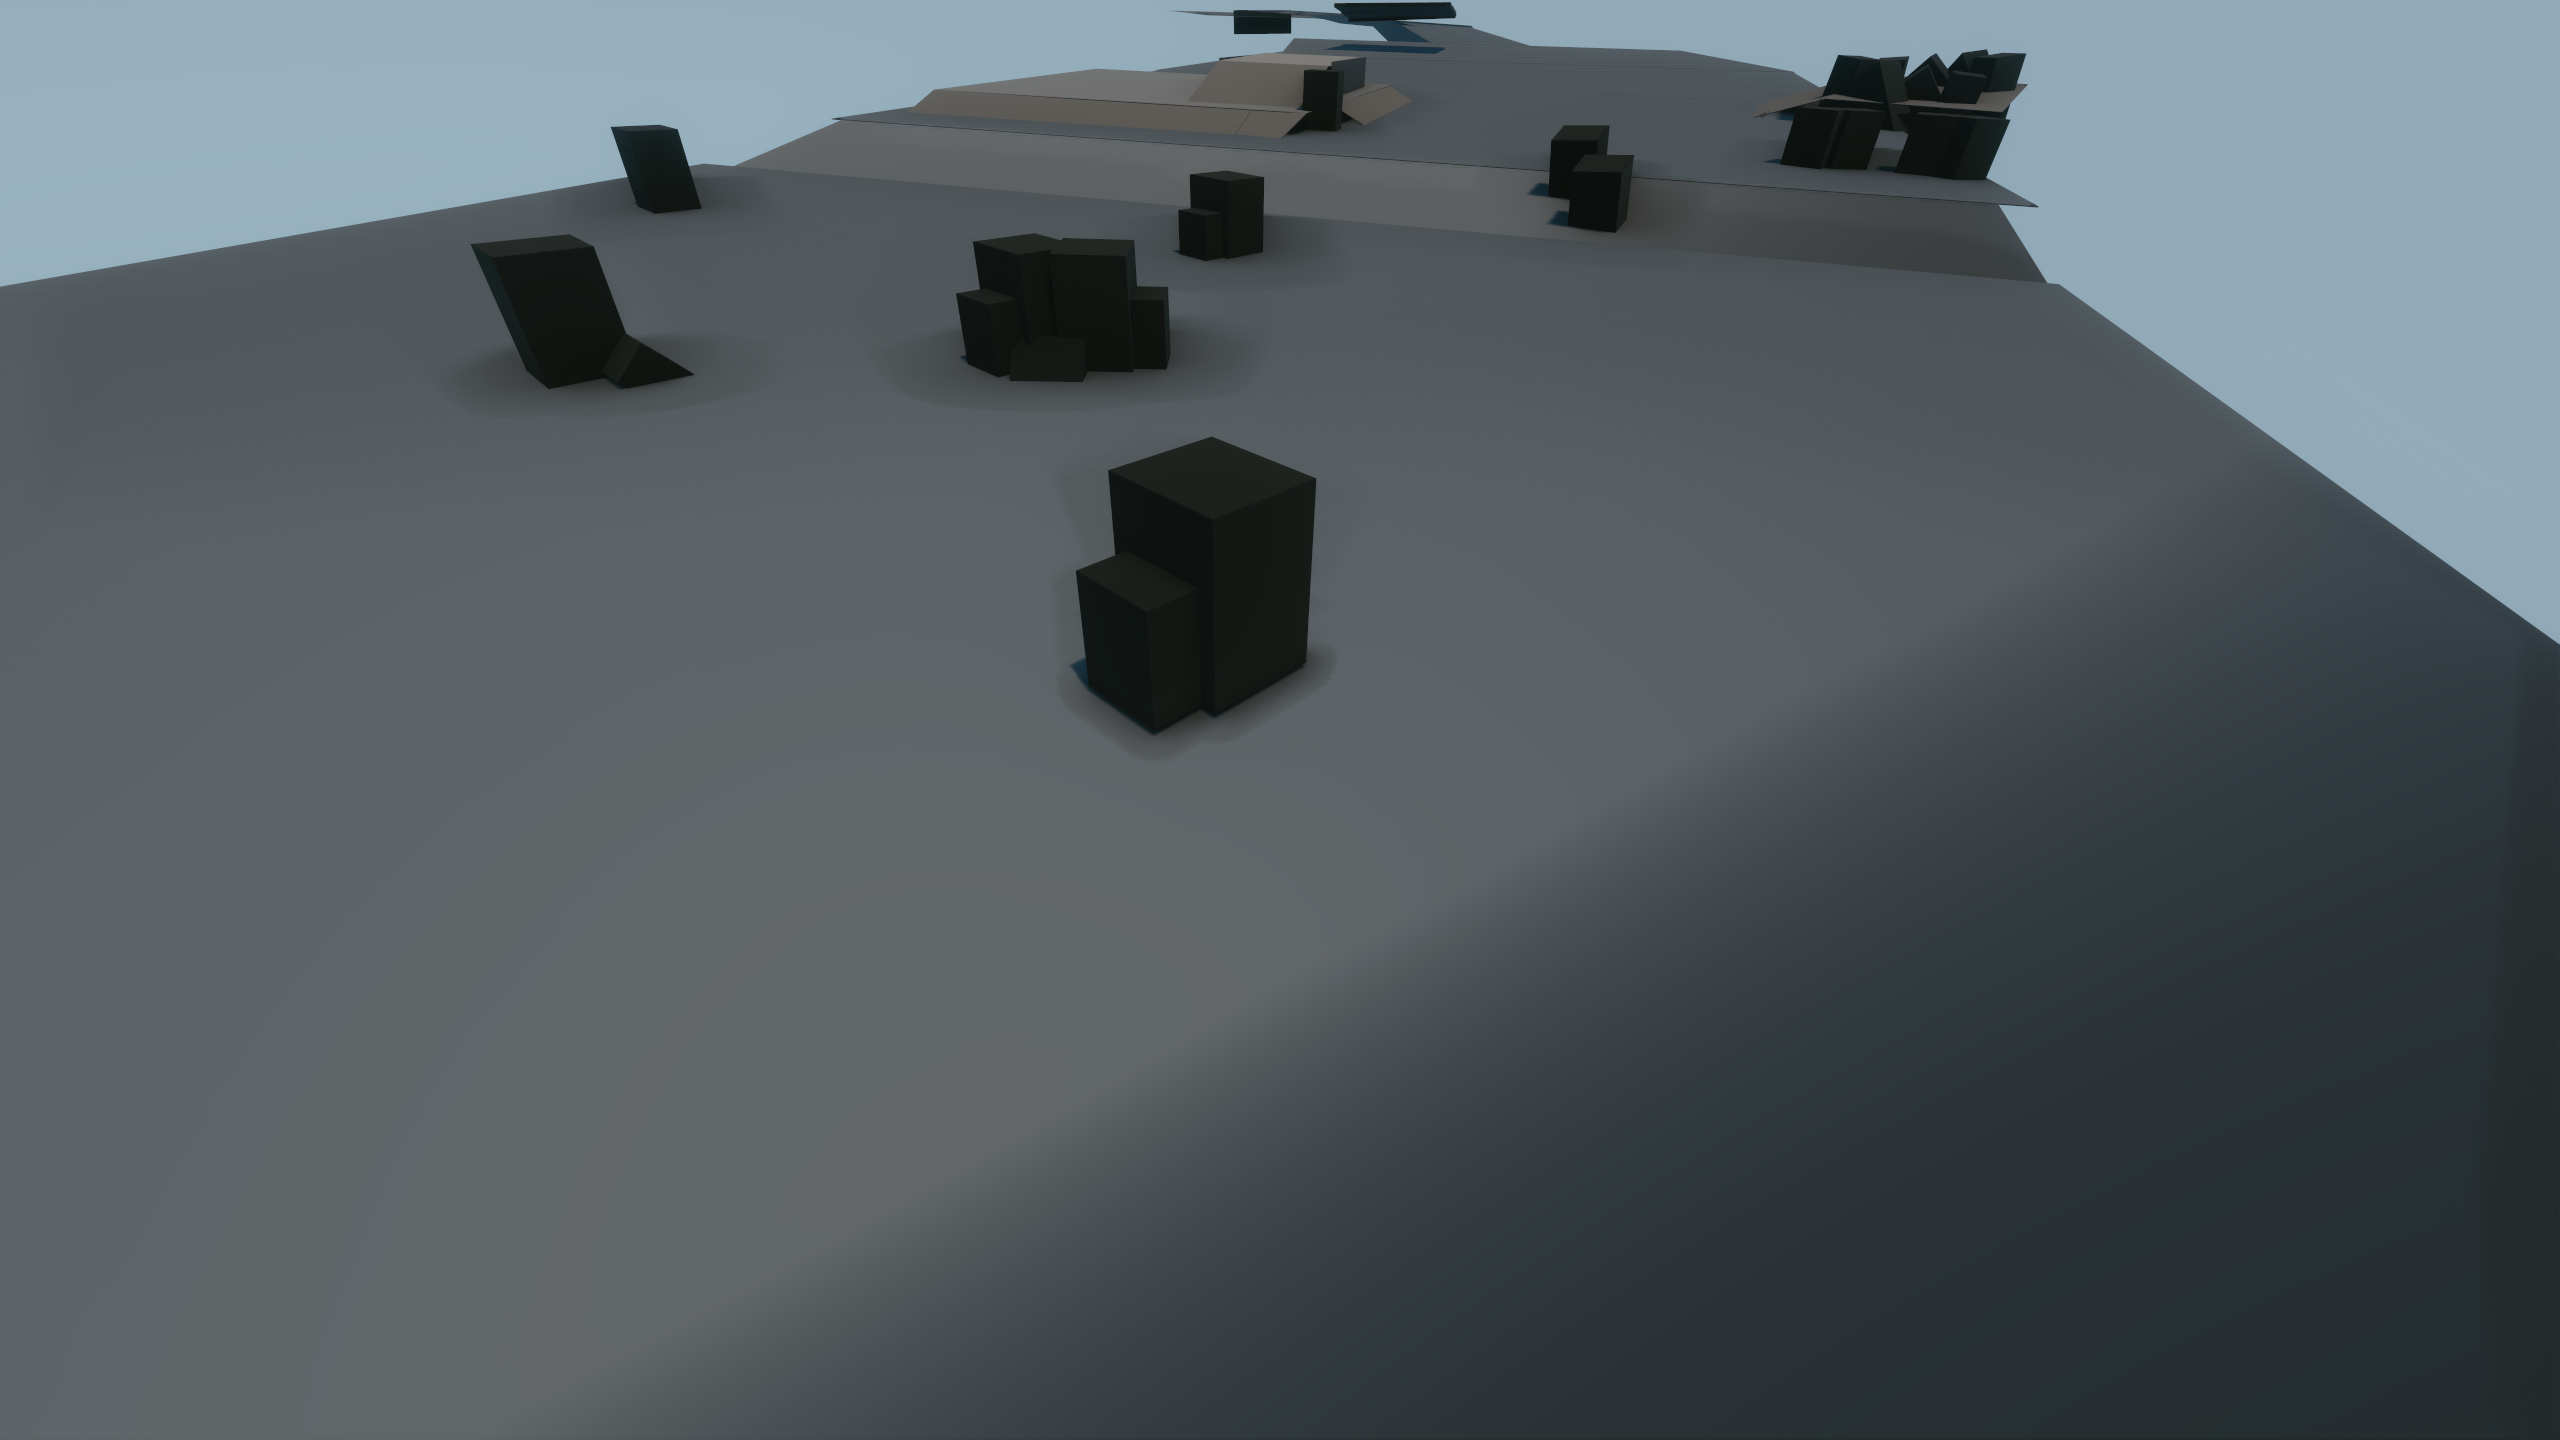
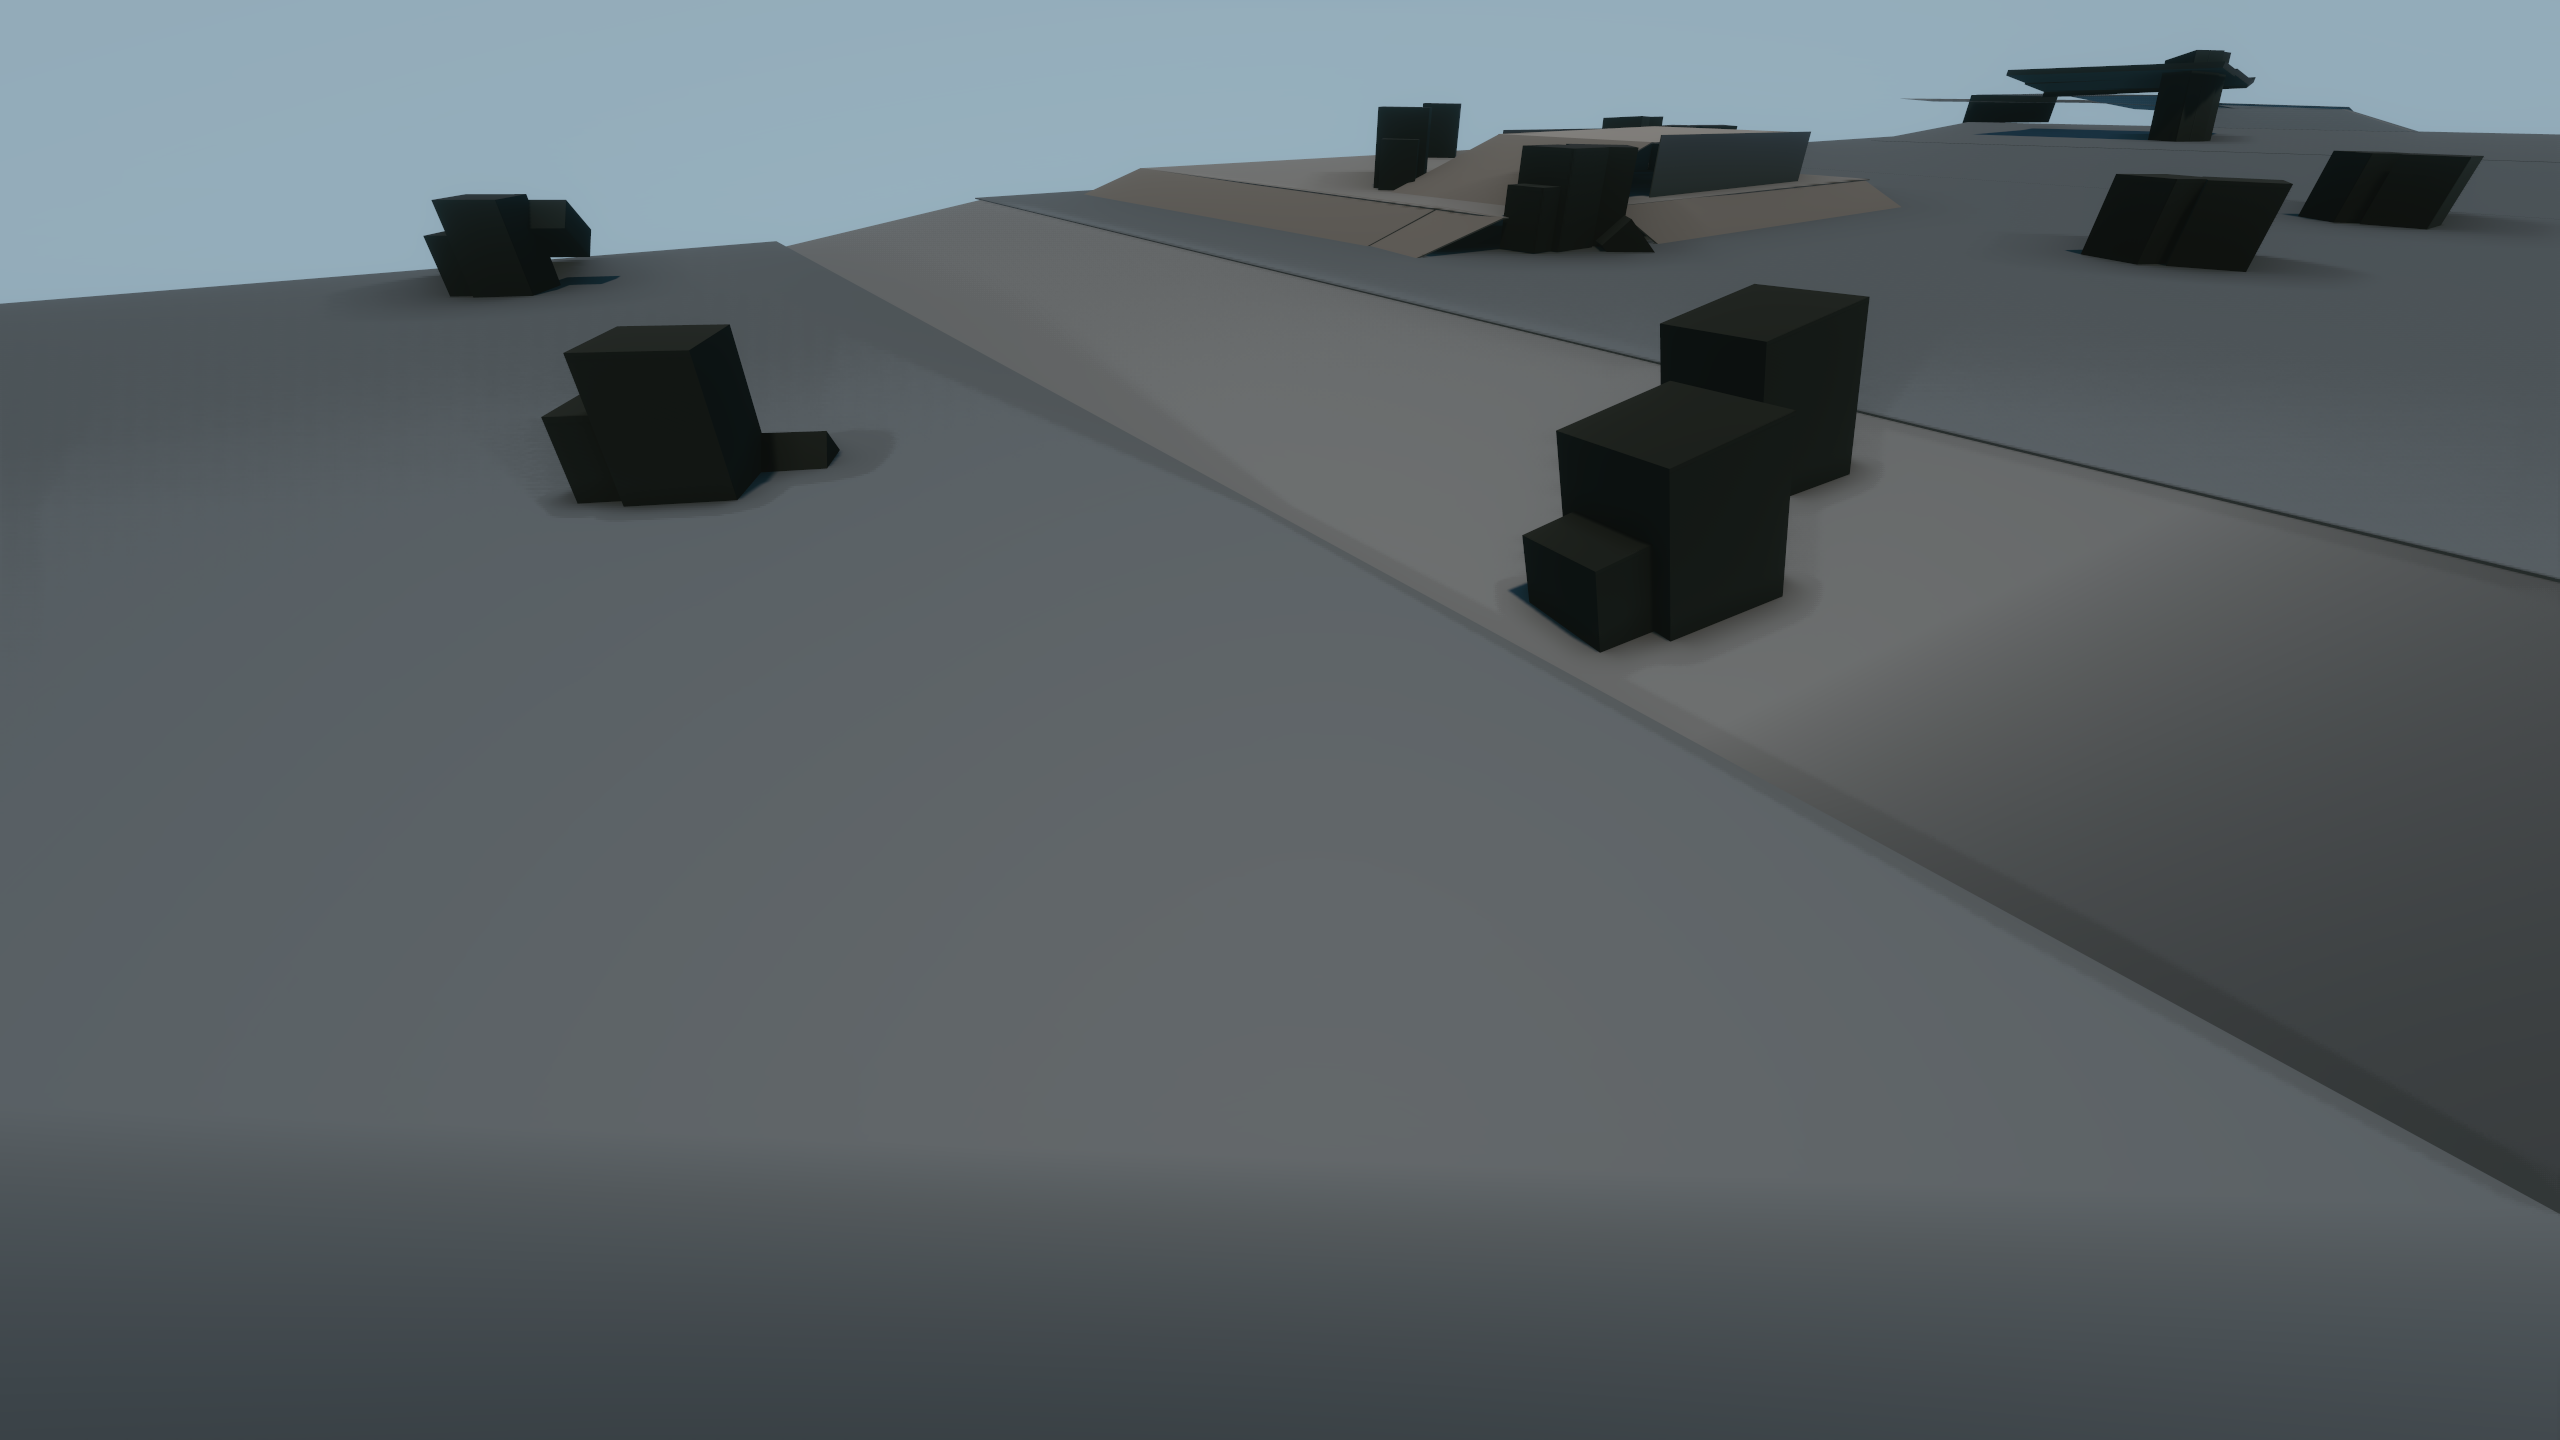
Solar Panels
old_landing_pad#
zone_east#
zone_north#
q202_road_to_vip_bunker
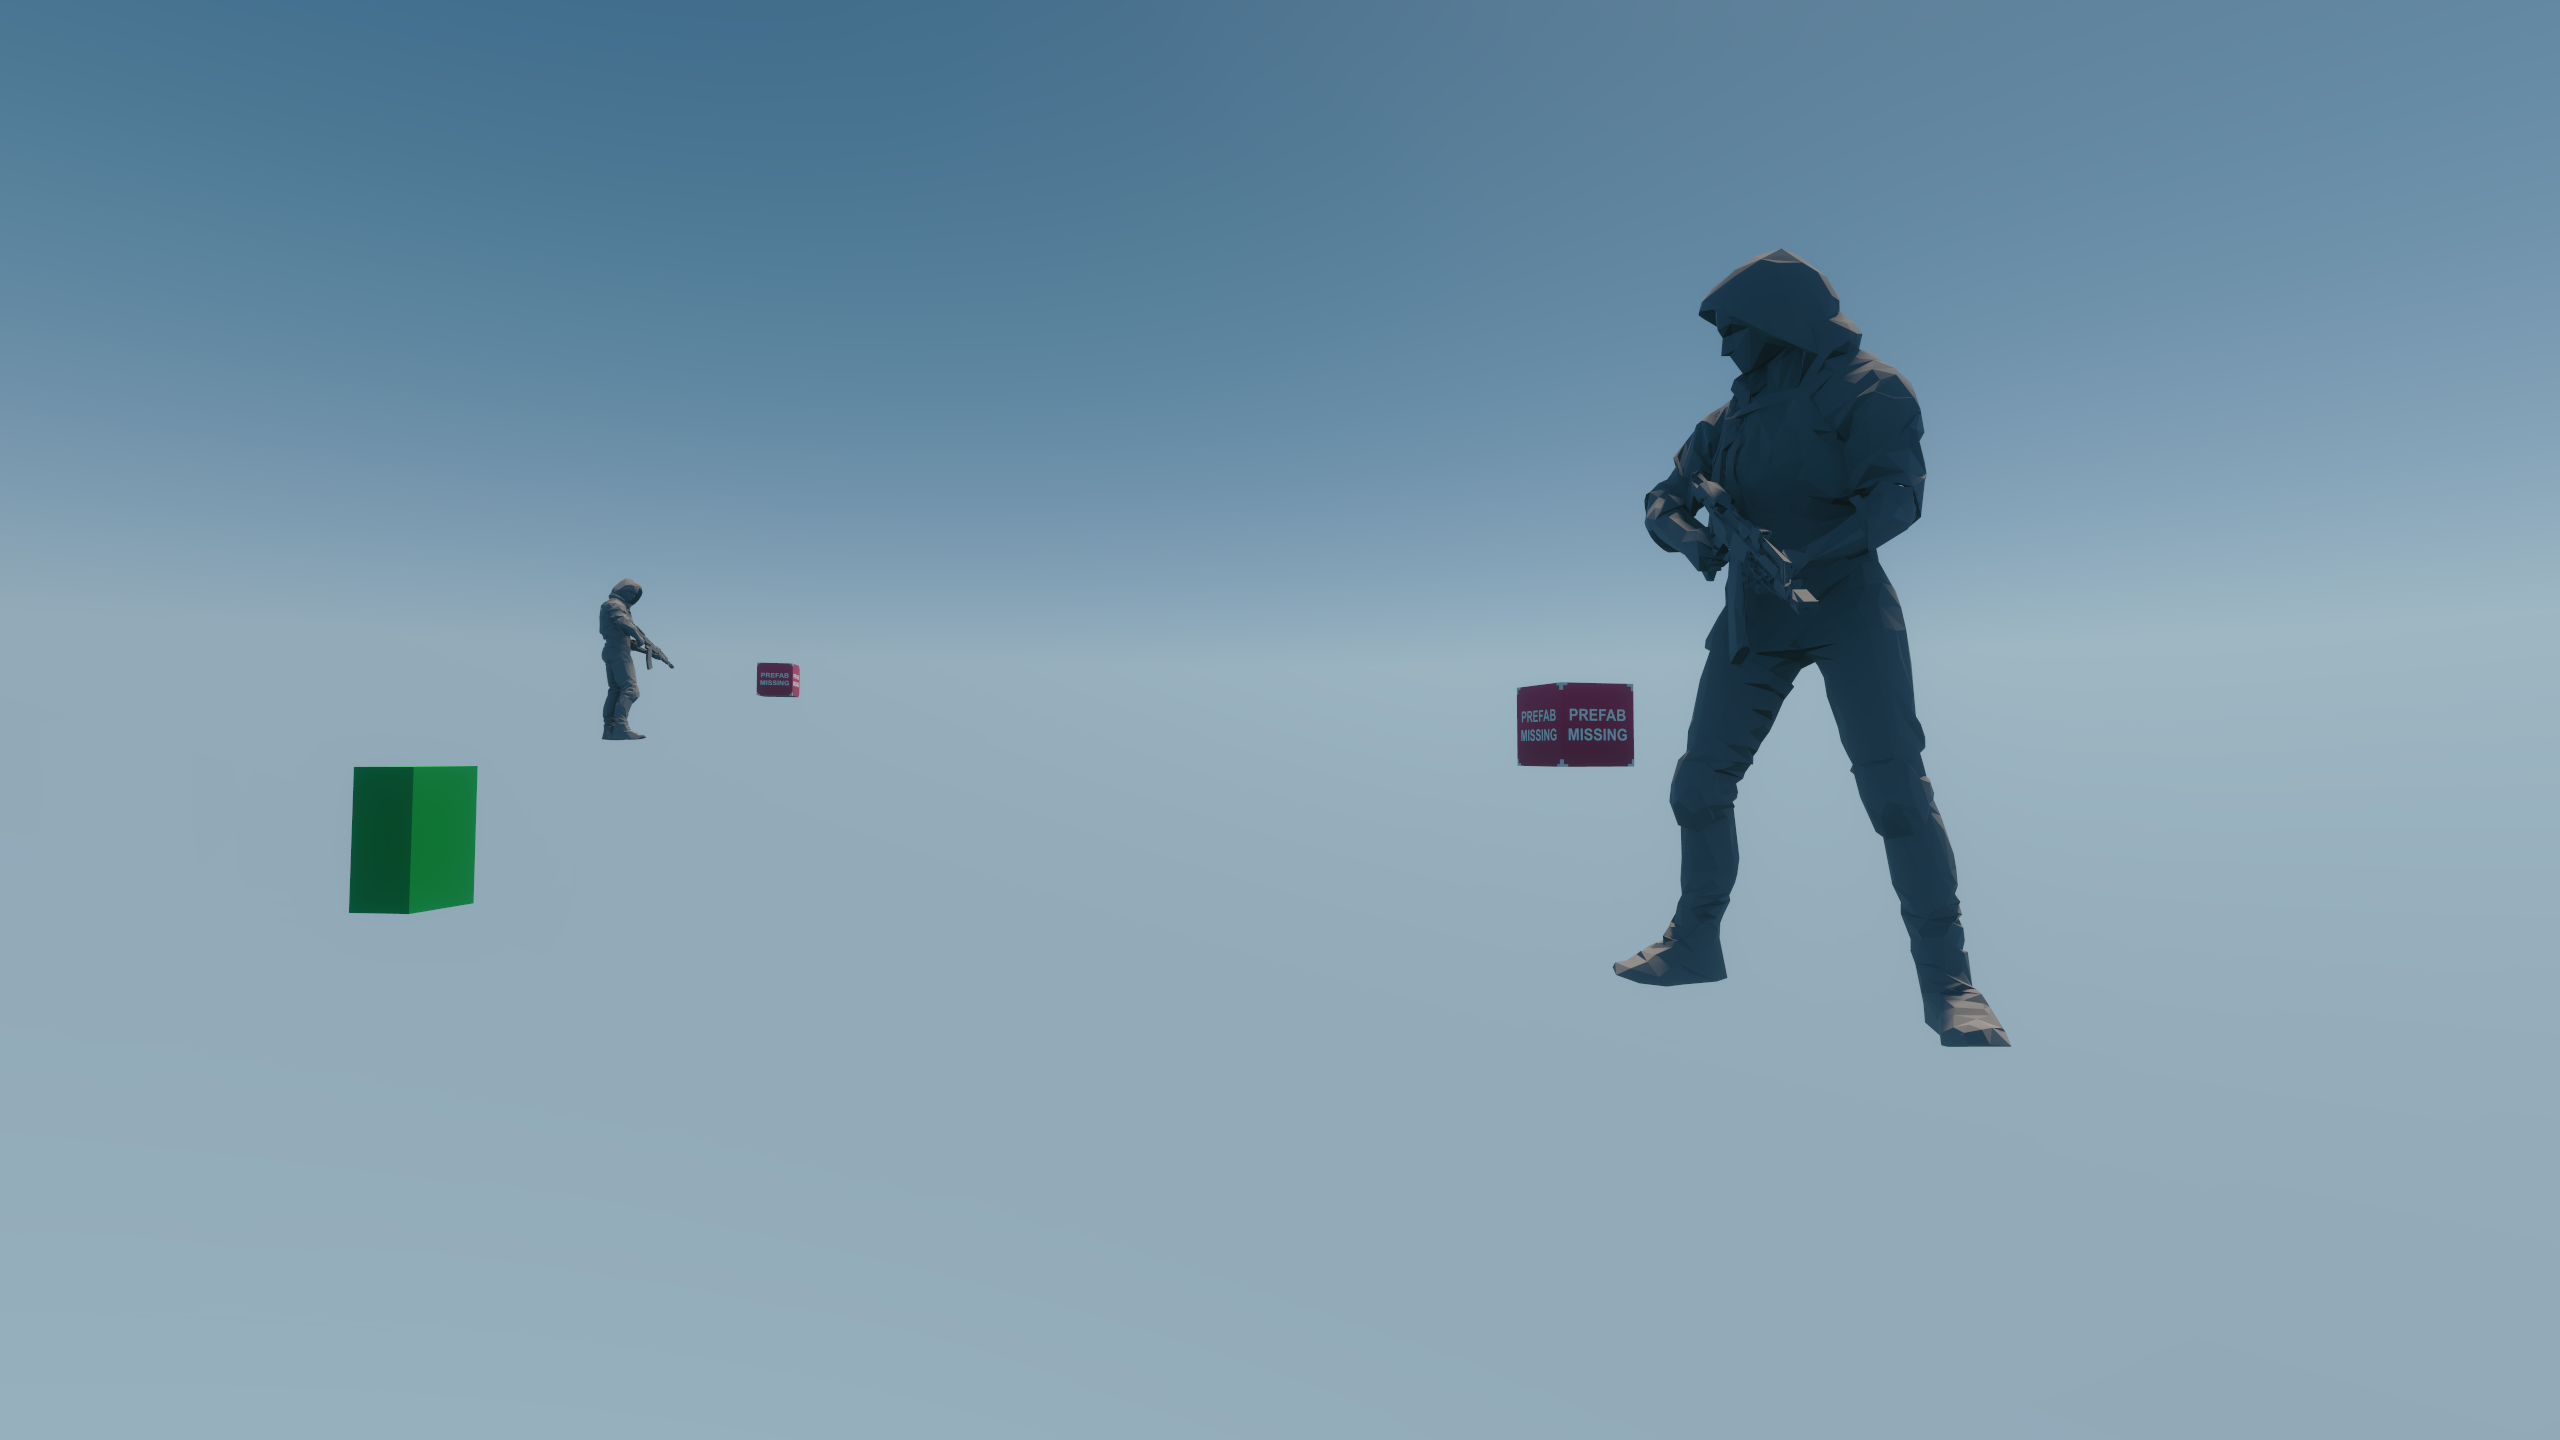
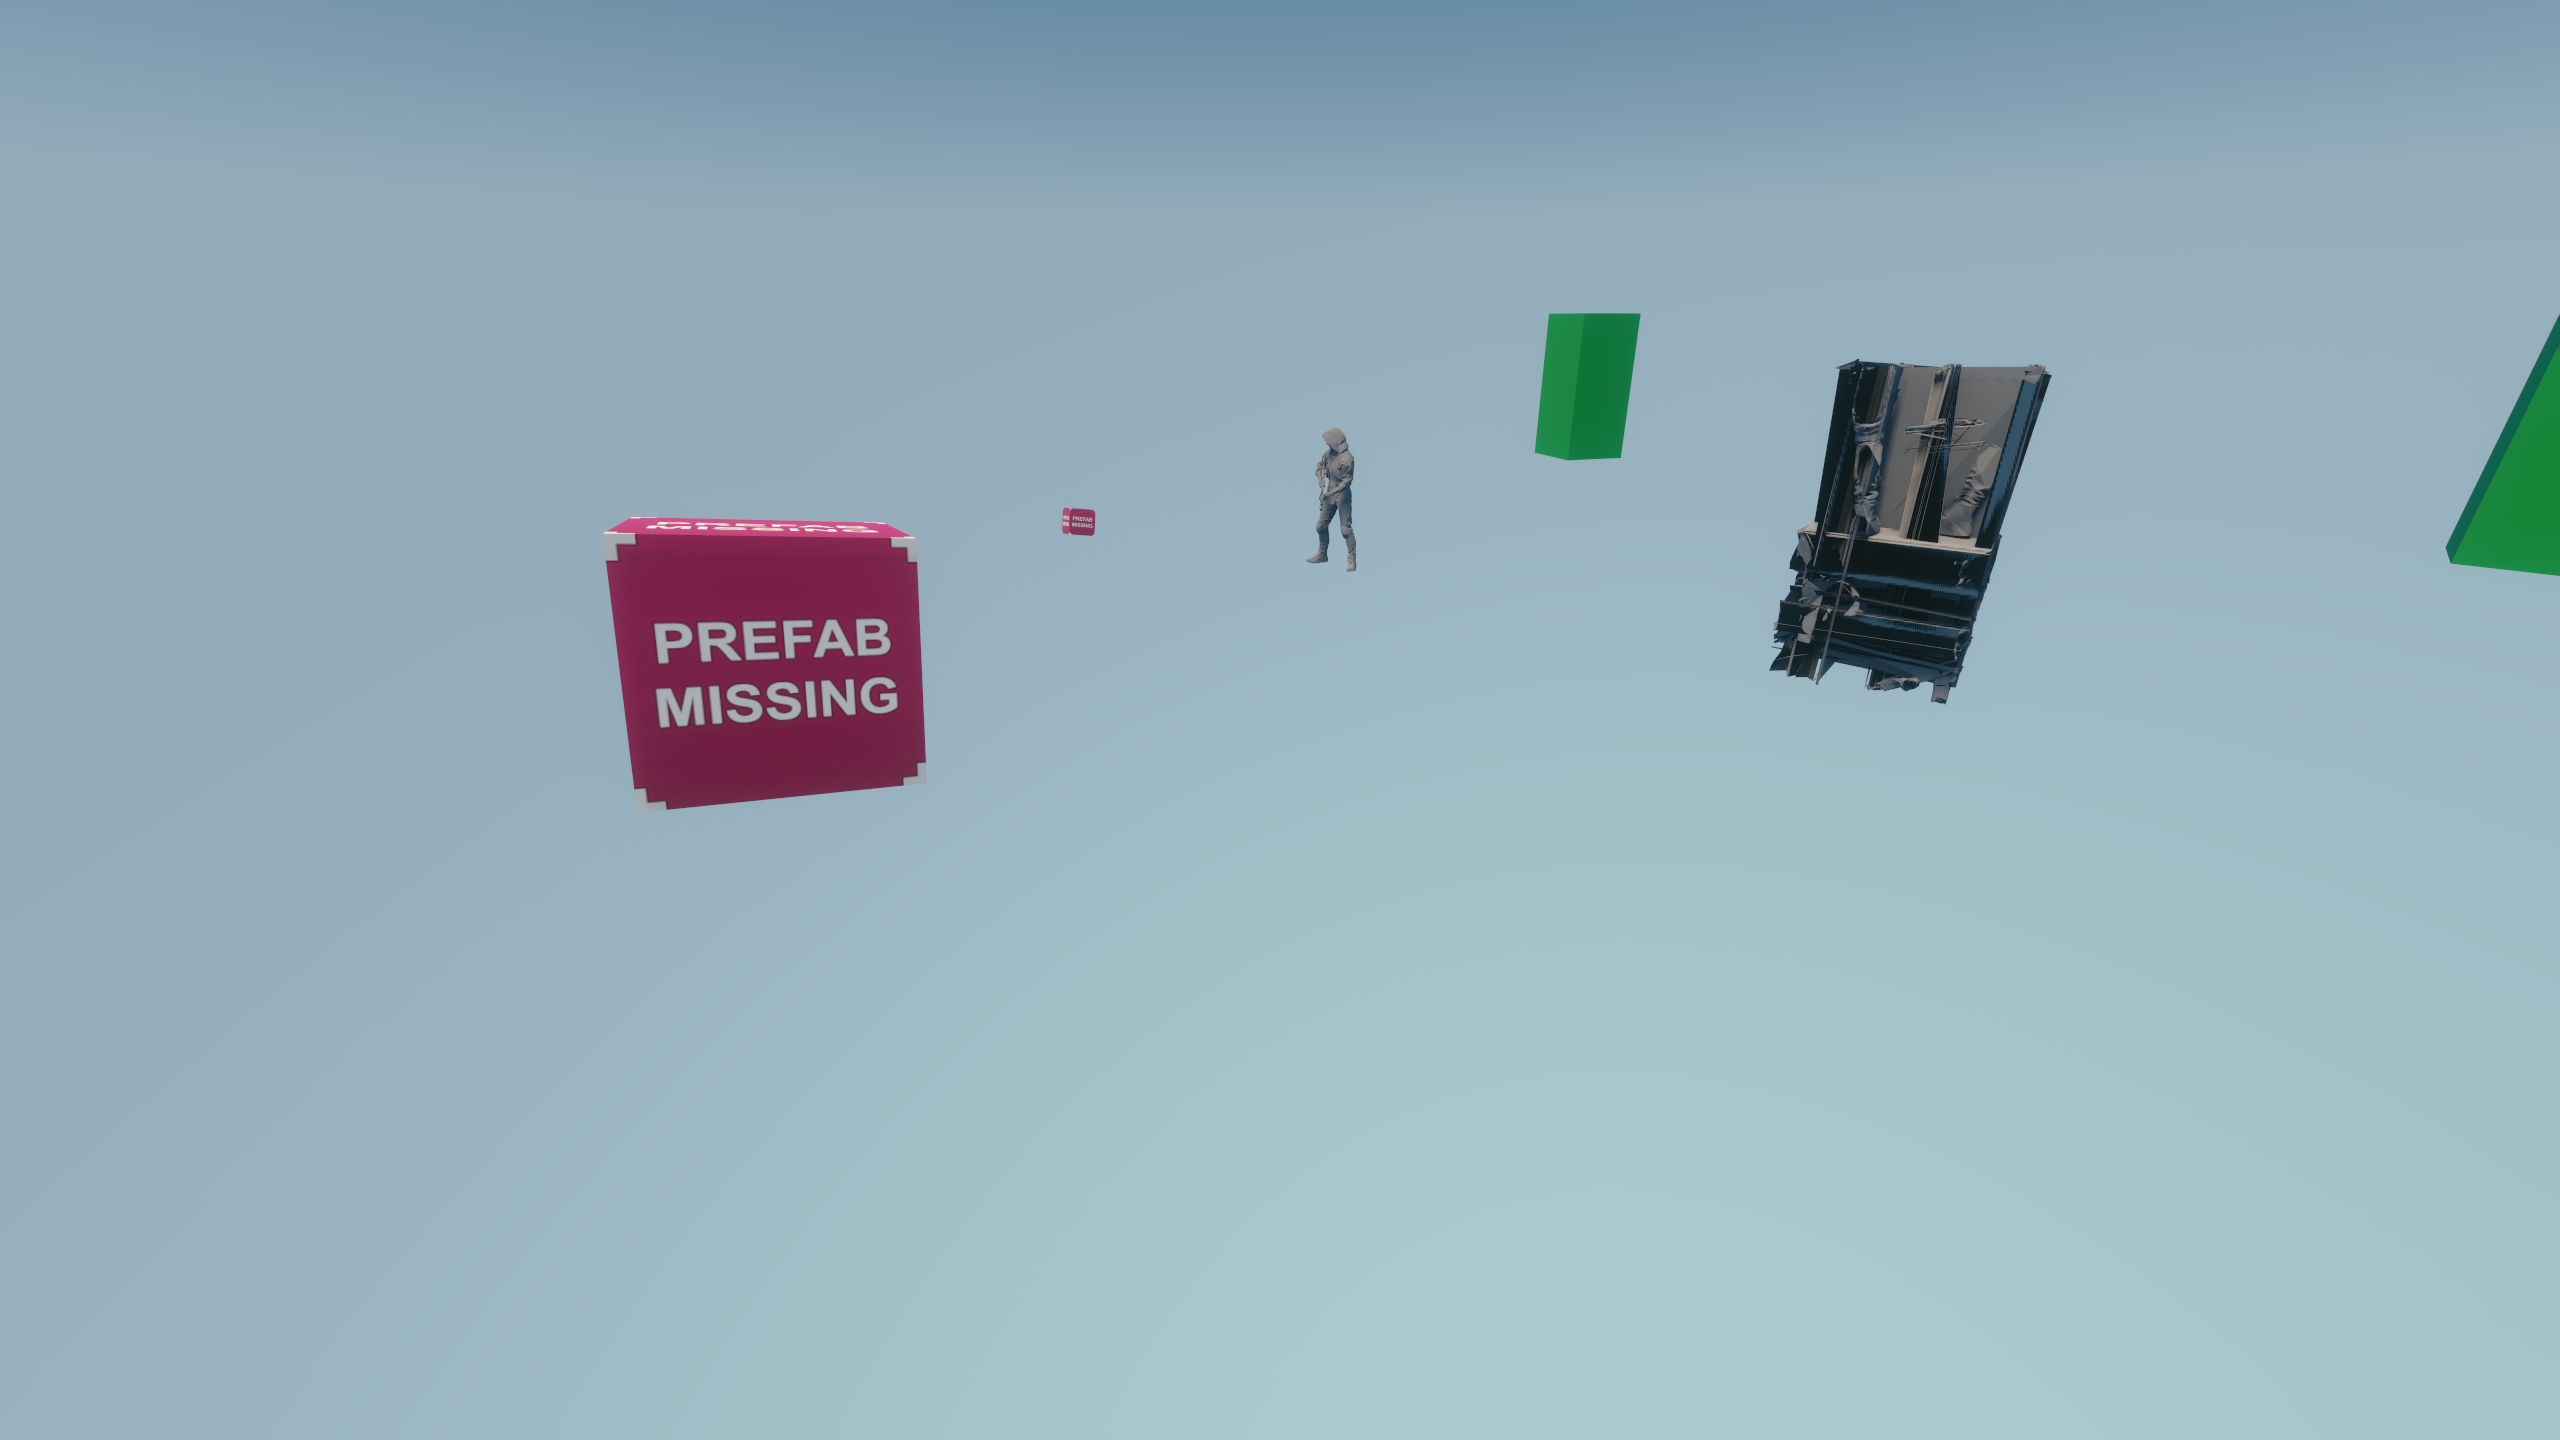
This prefab would have likely been a part of the player's route towards the VIP bunker. Opening the prefab seperately from the Moon map shows a pretty nonsensical layout of assets, with green pillars and enemies floating in the air. Viewing the prefab inside the Moon map shows the path the player would have taken towards to the bunker and where the locations of enemies with their moon rovers would have been placed. Whatever the green pillars would have represented is unknown.

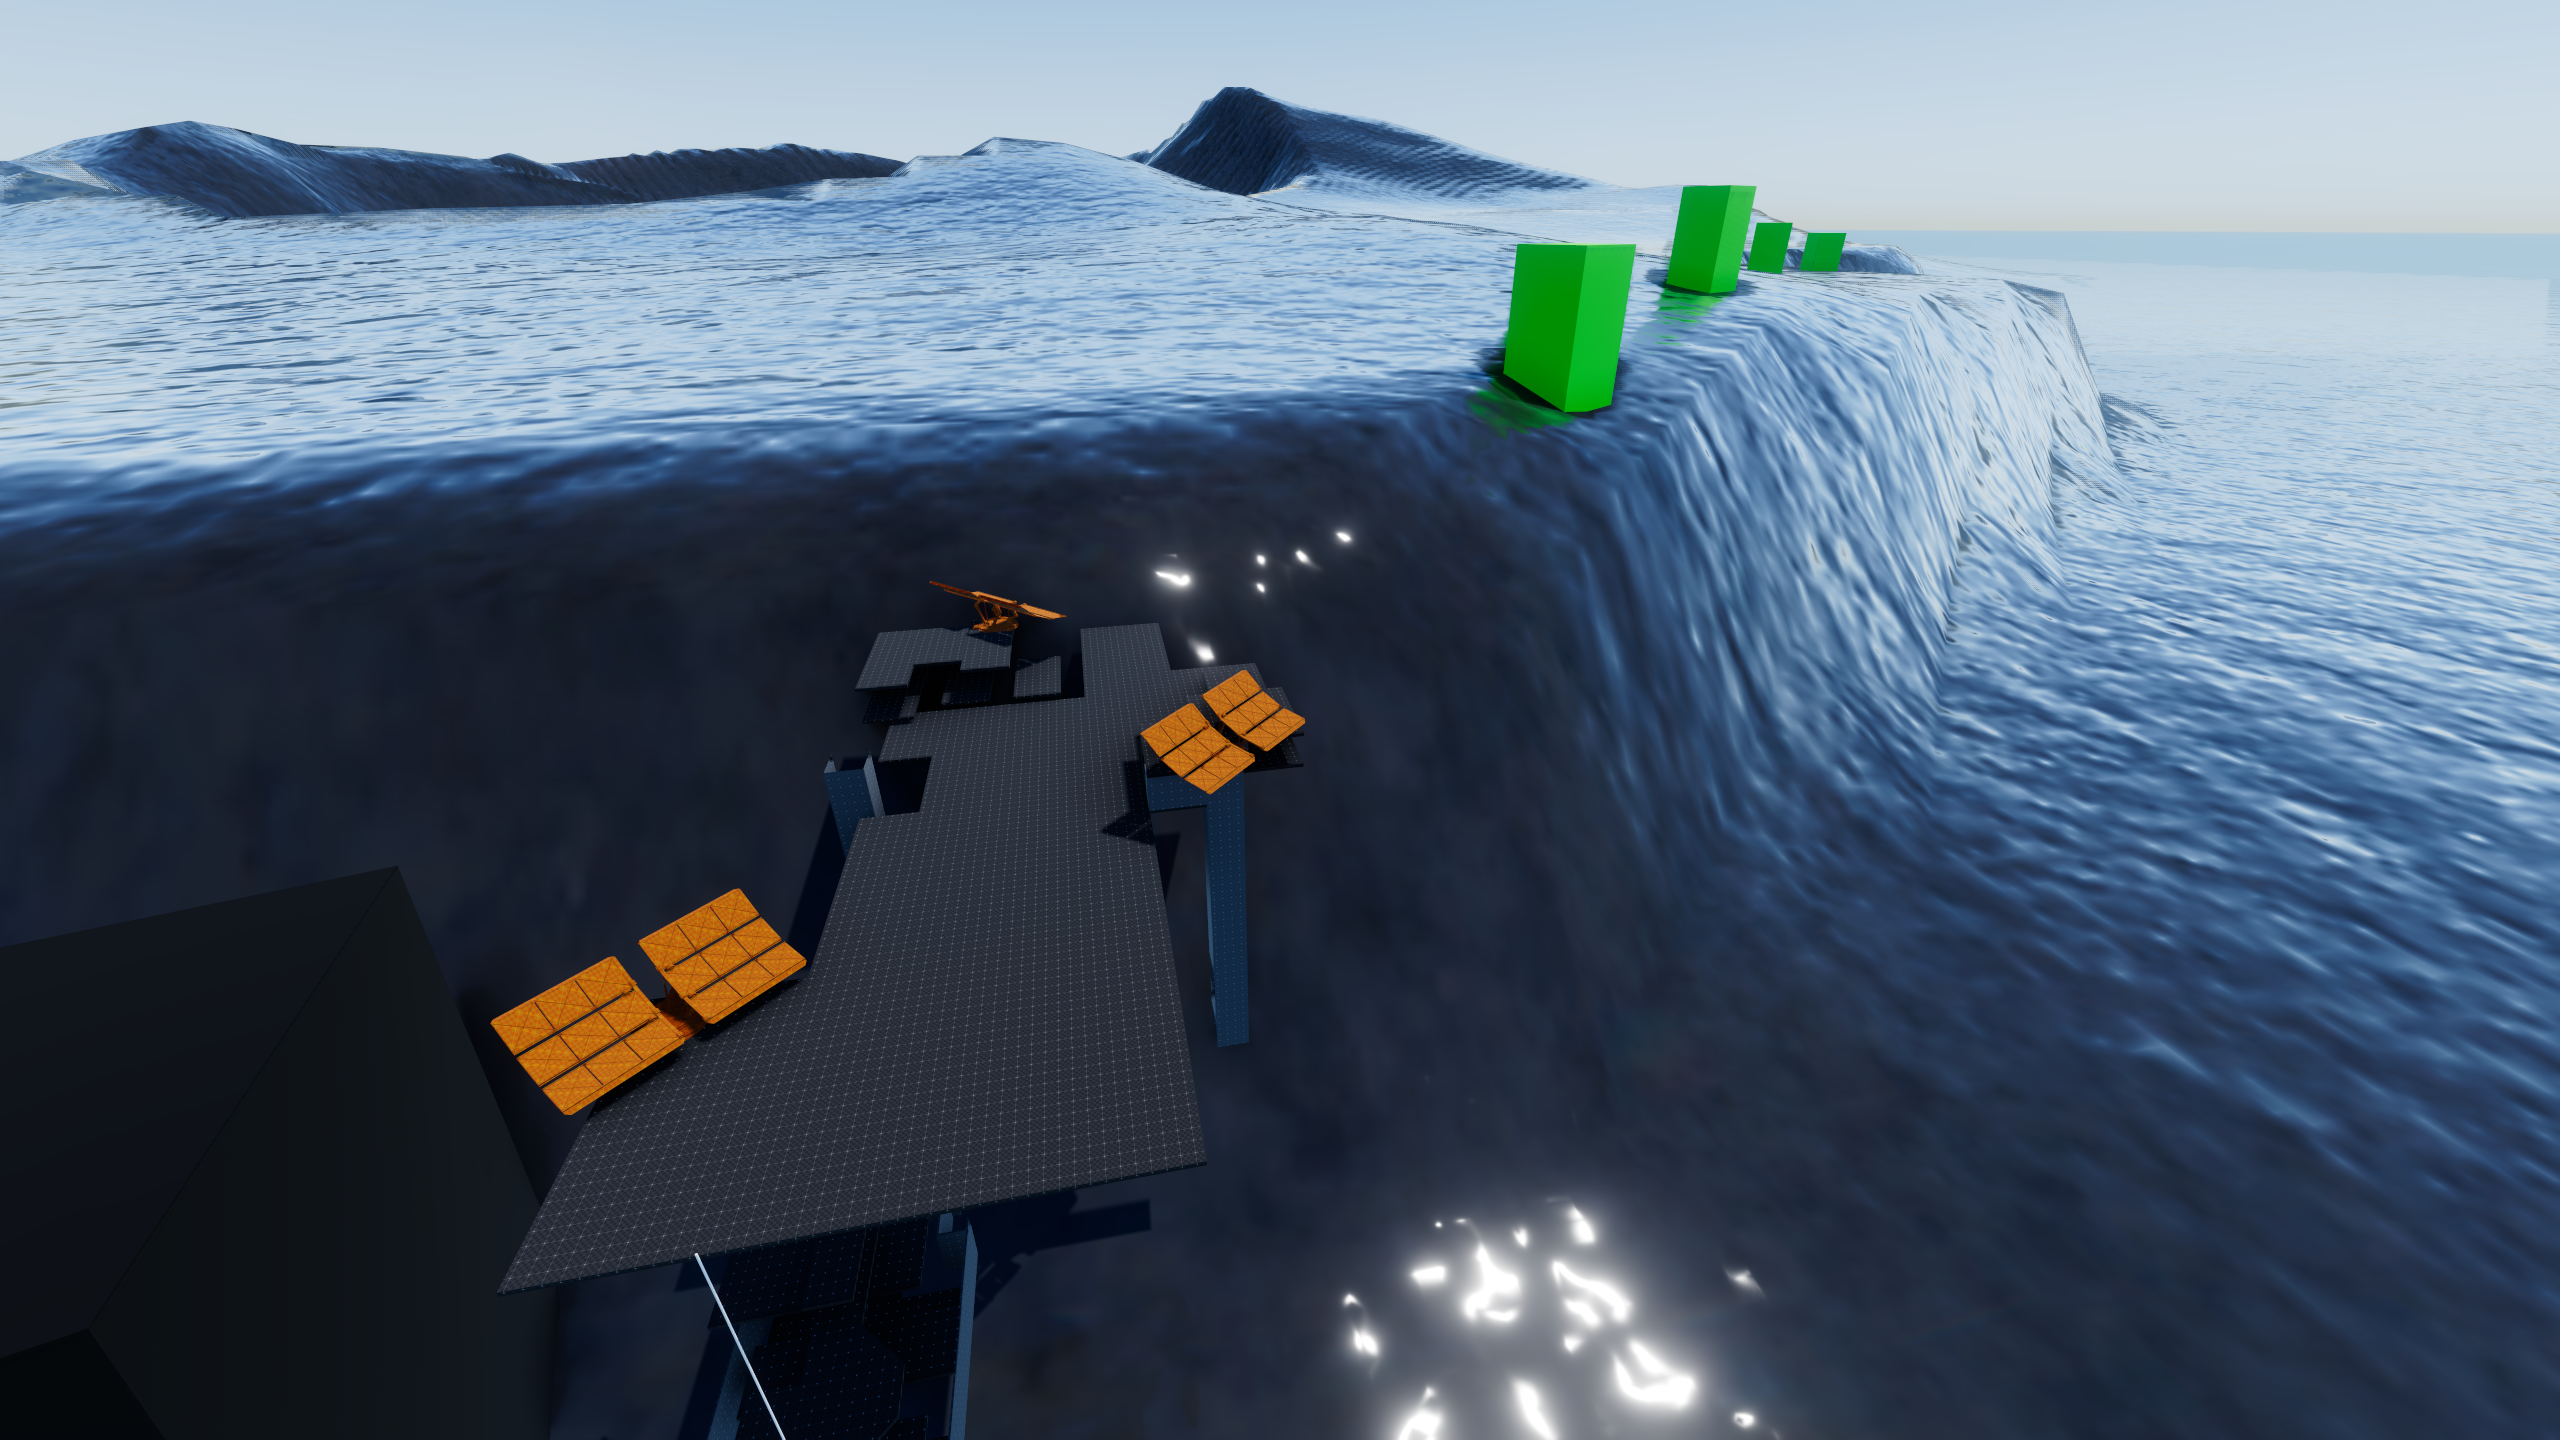
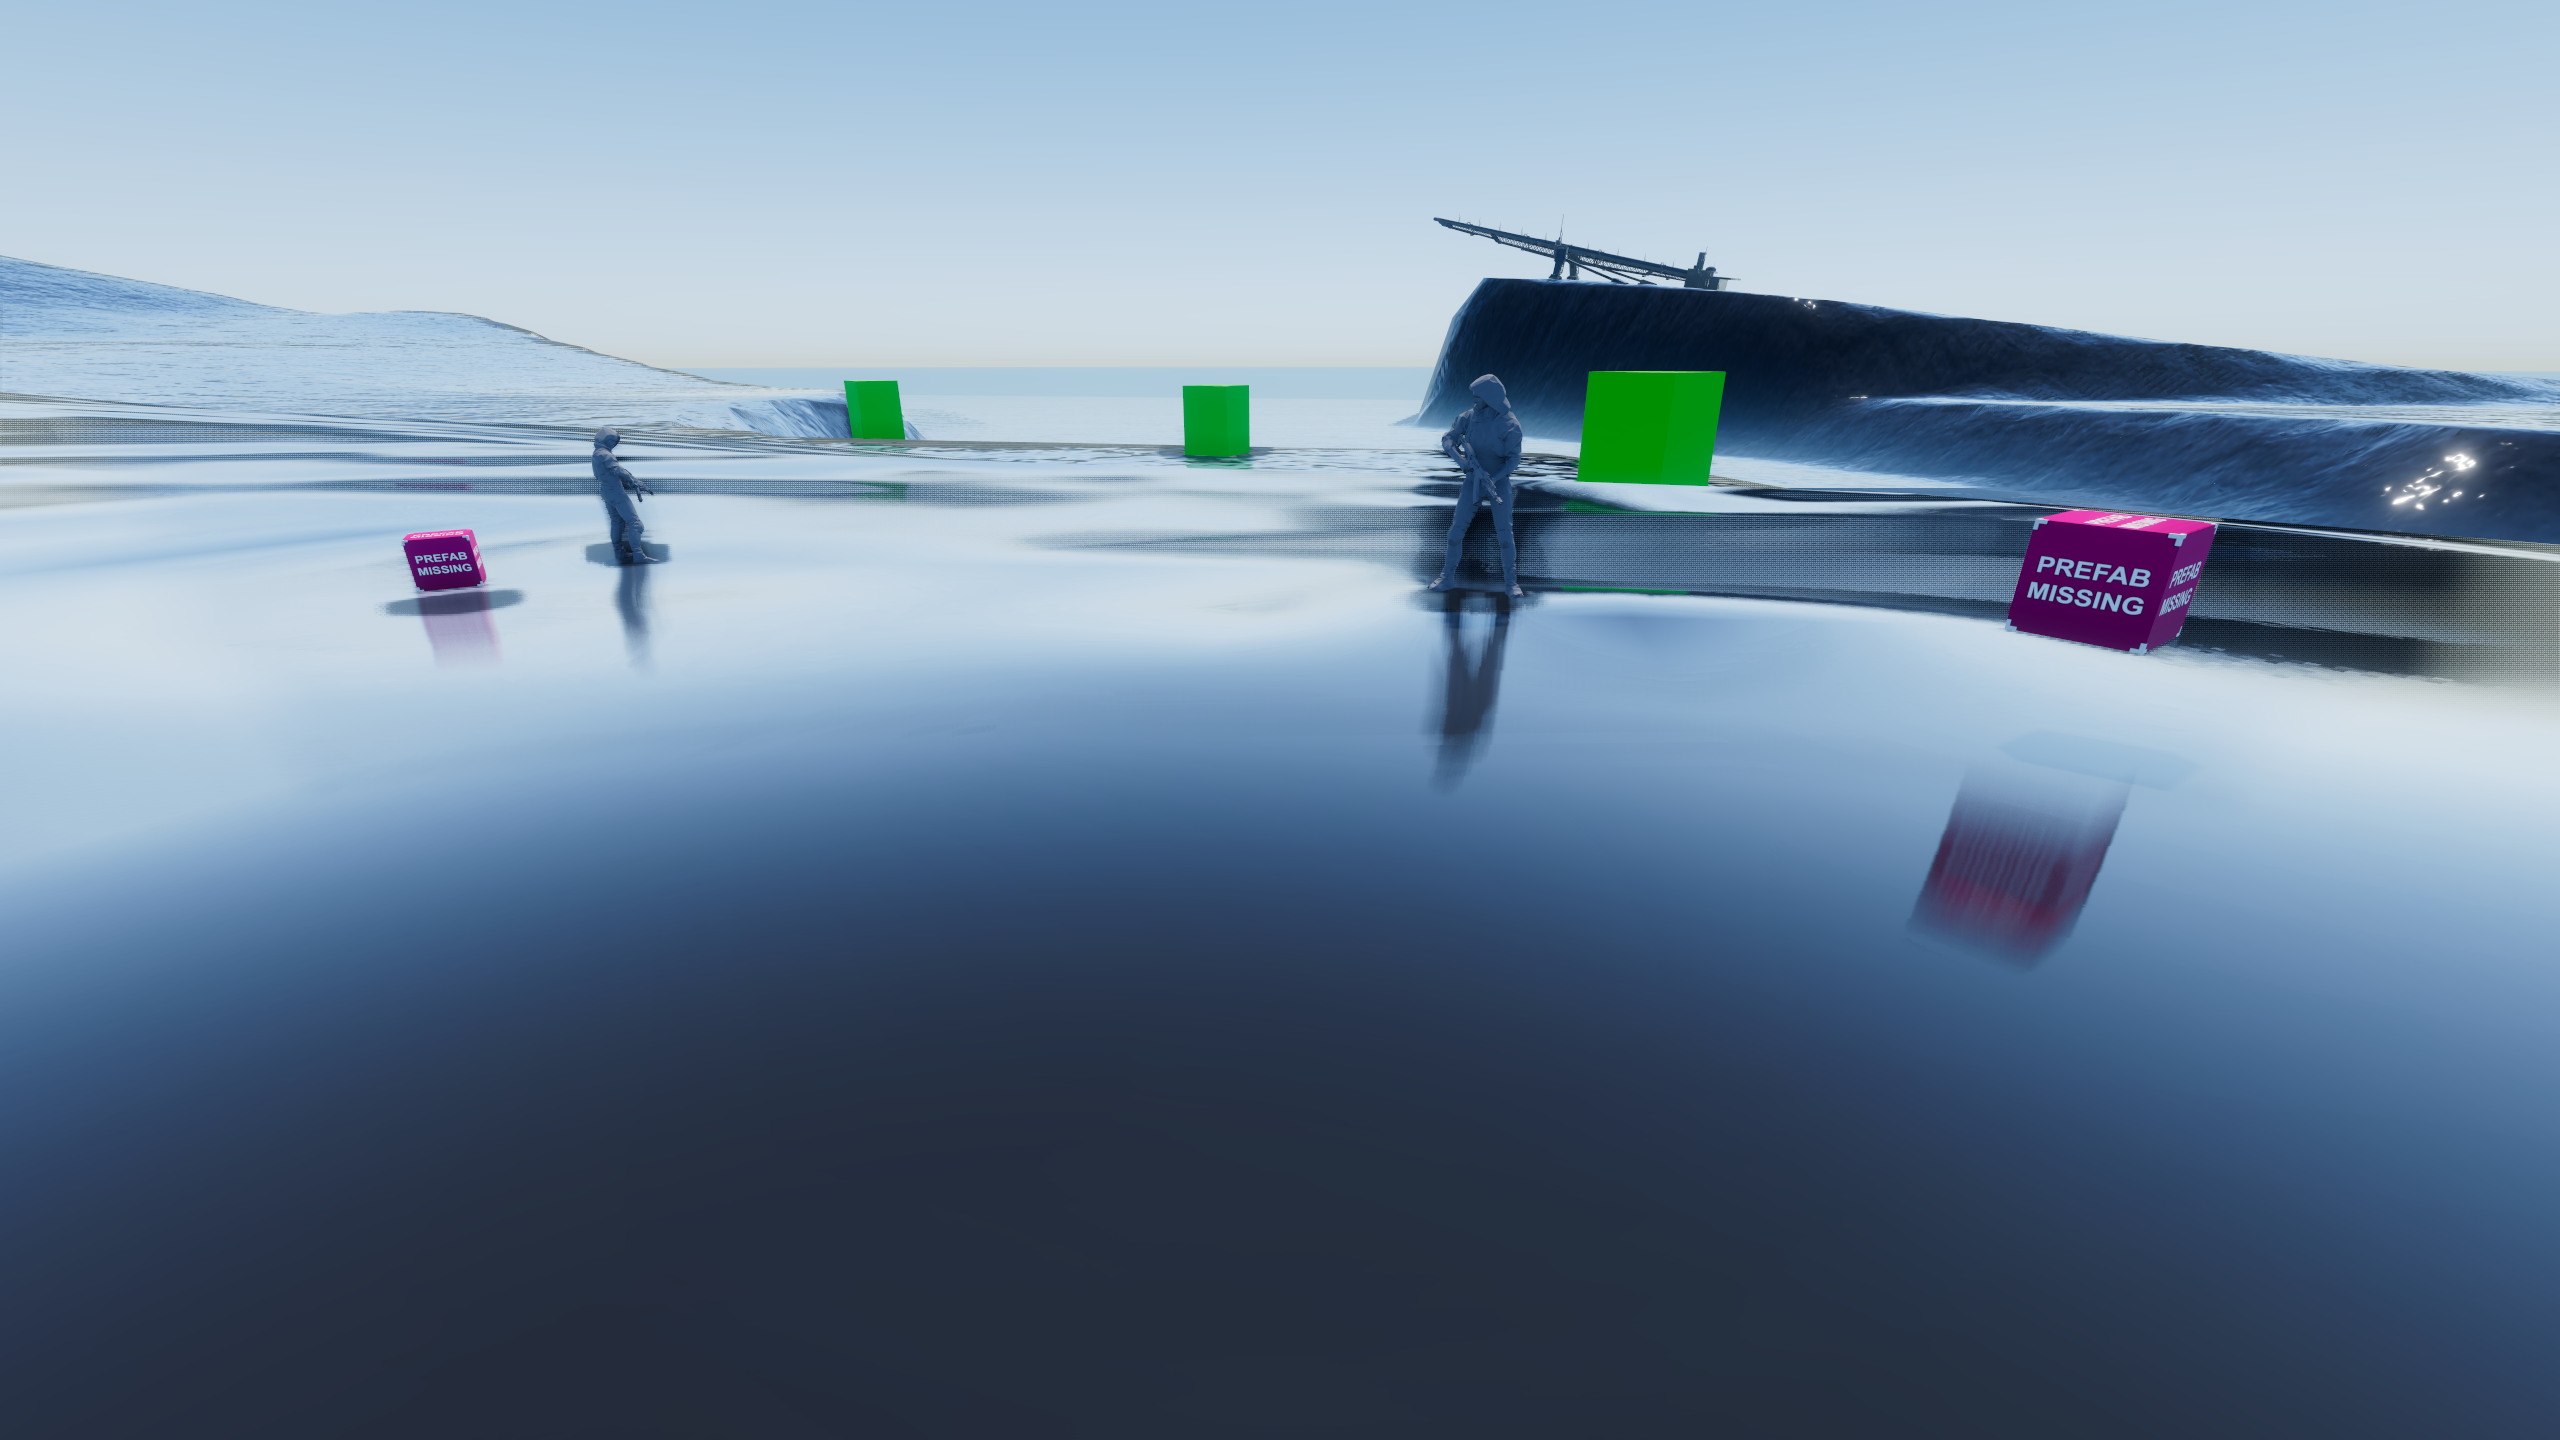
q202_vip_bunker_complete
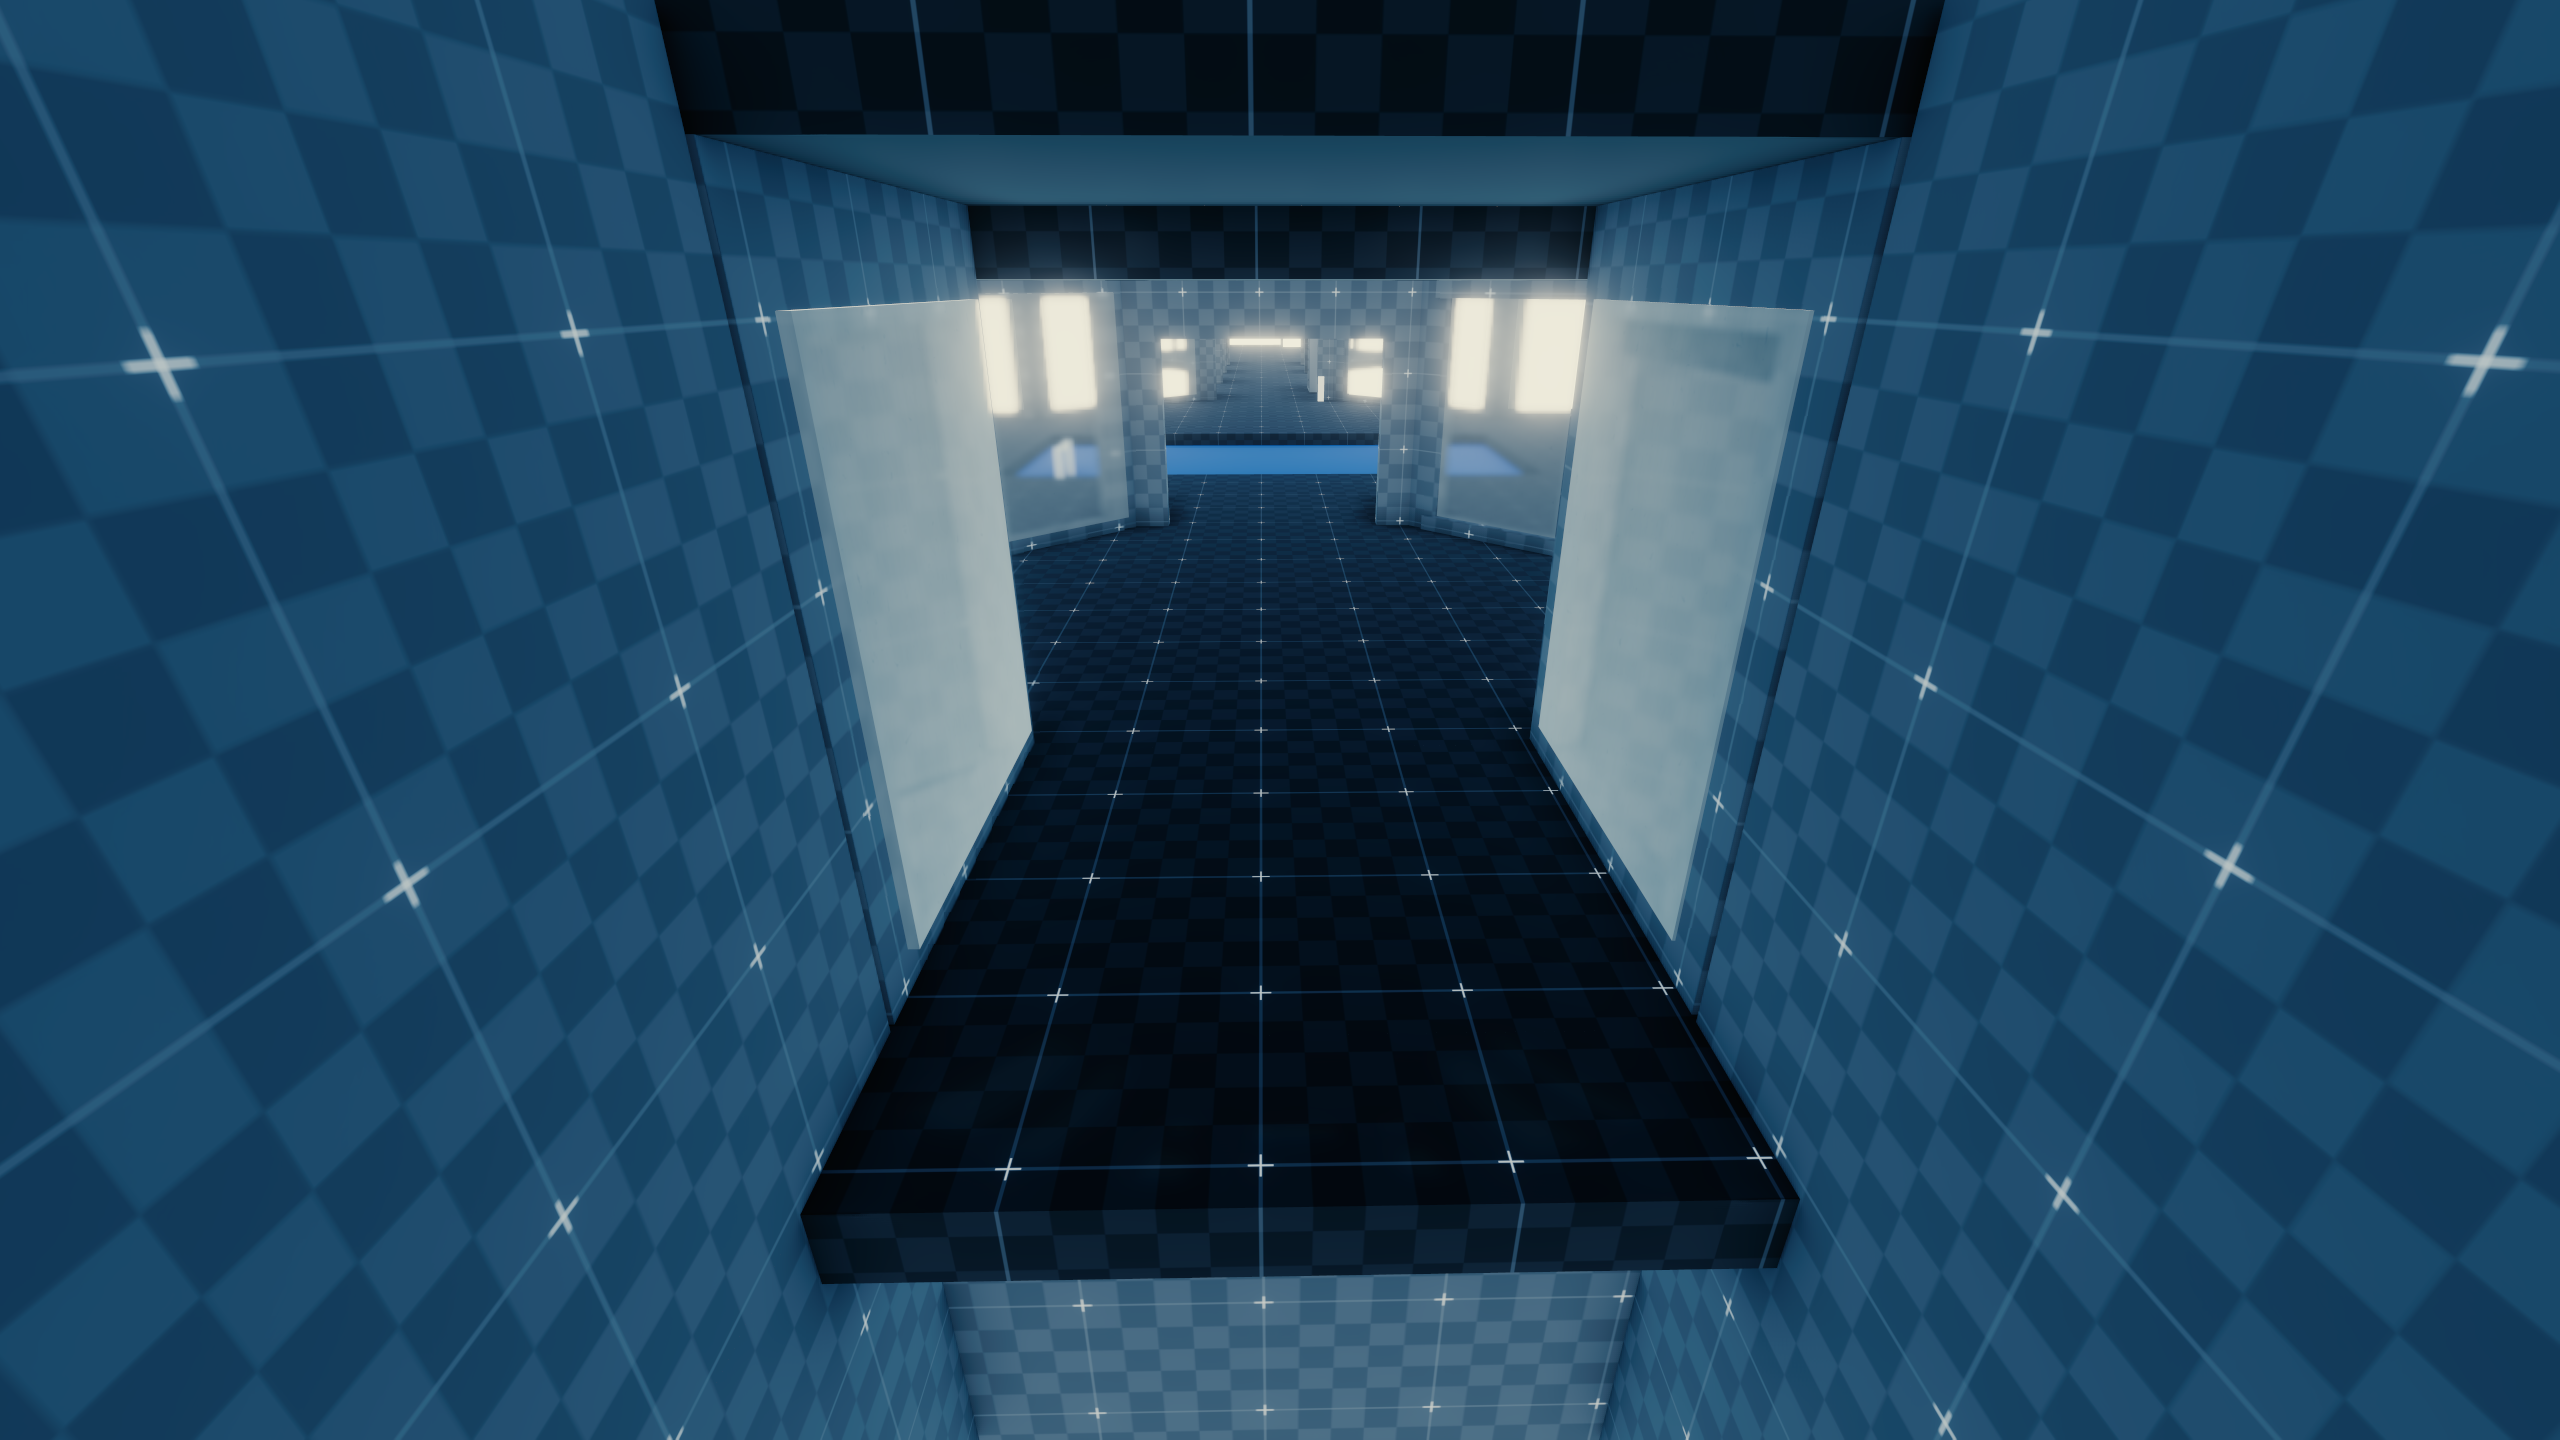
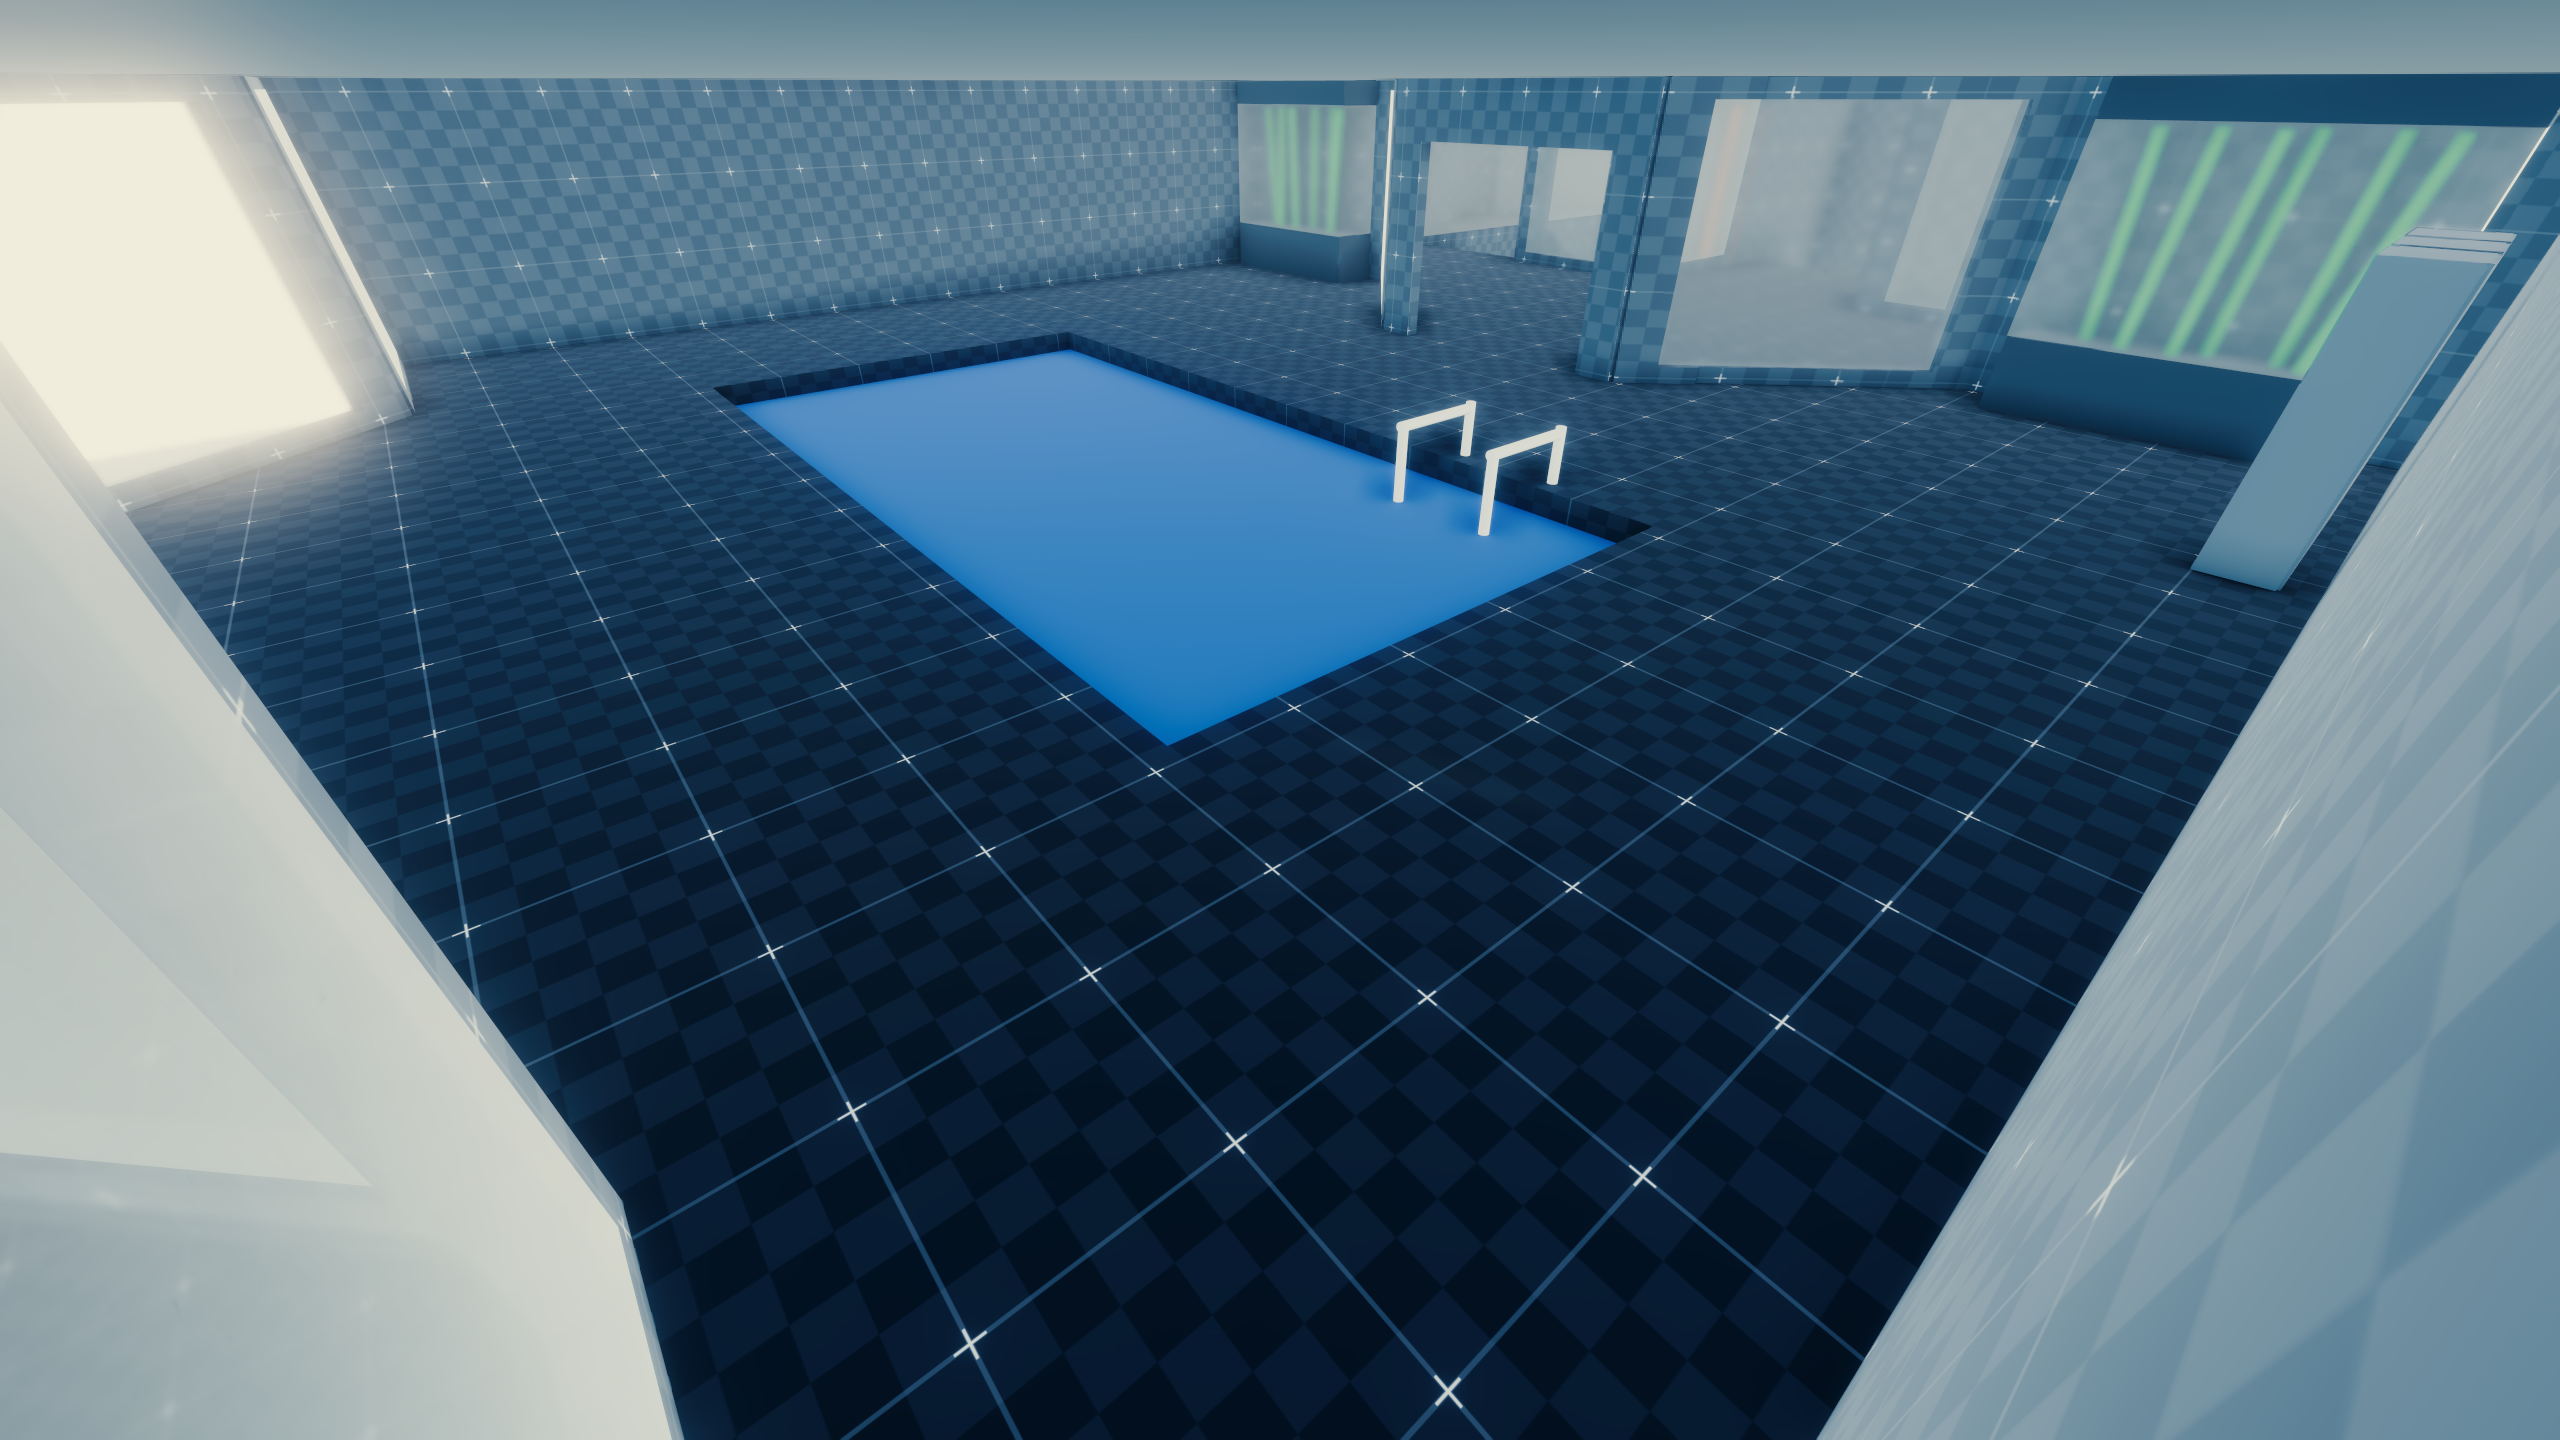
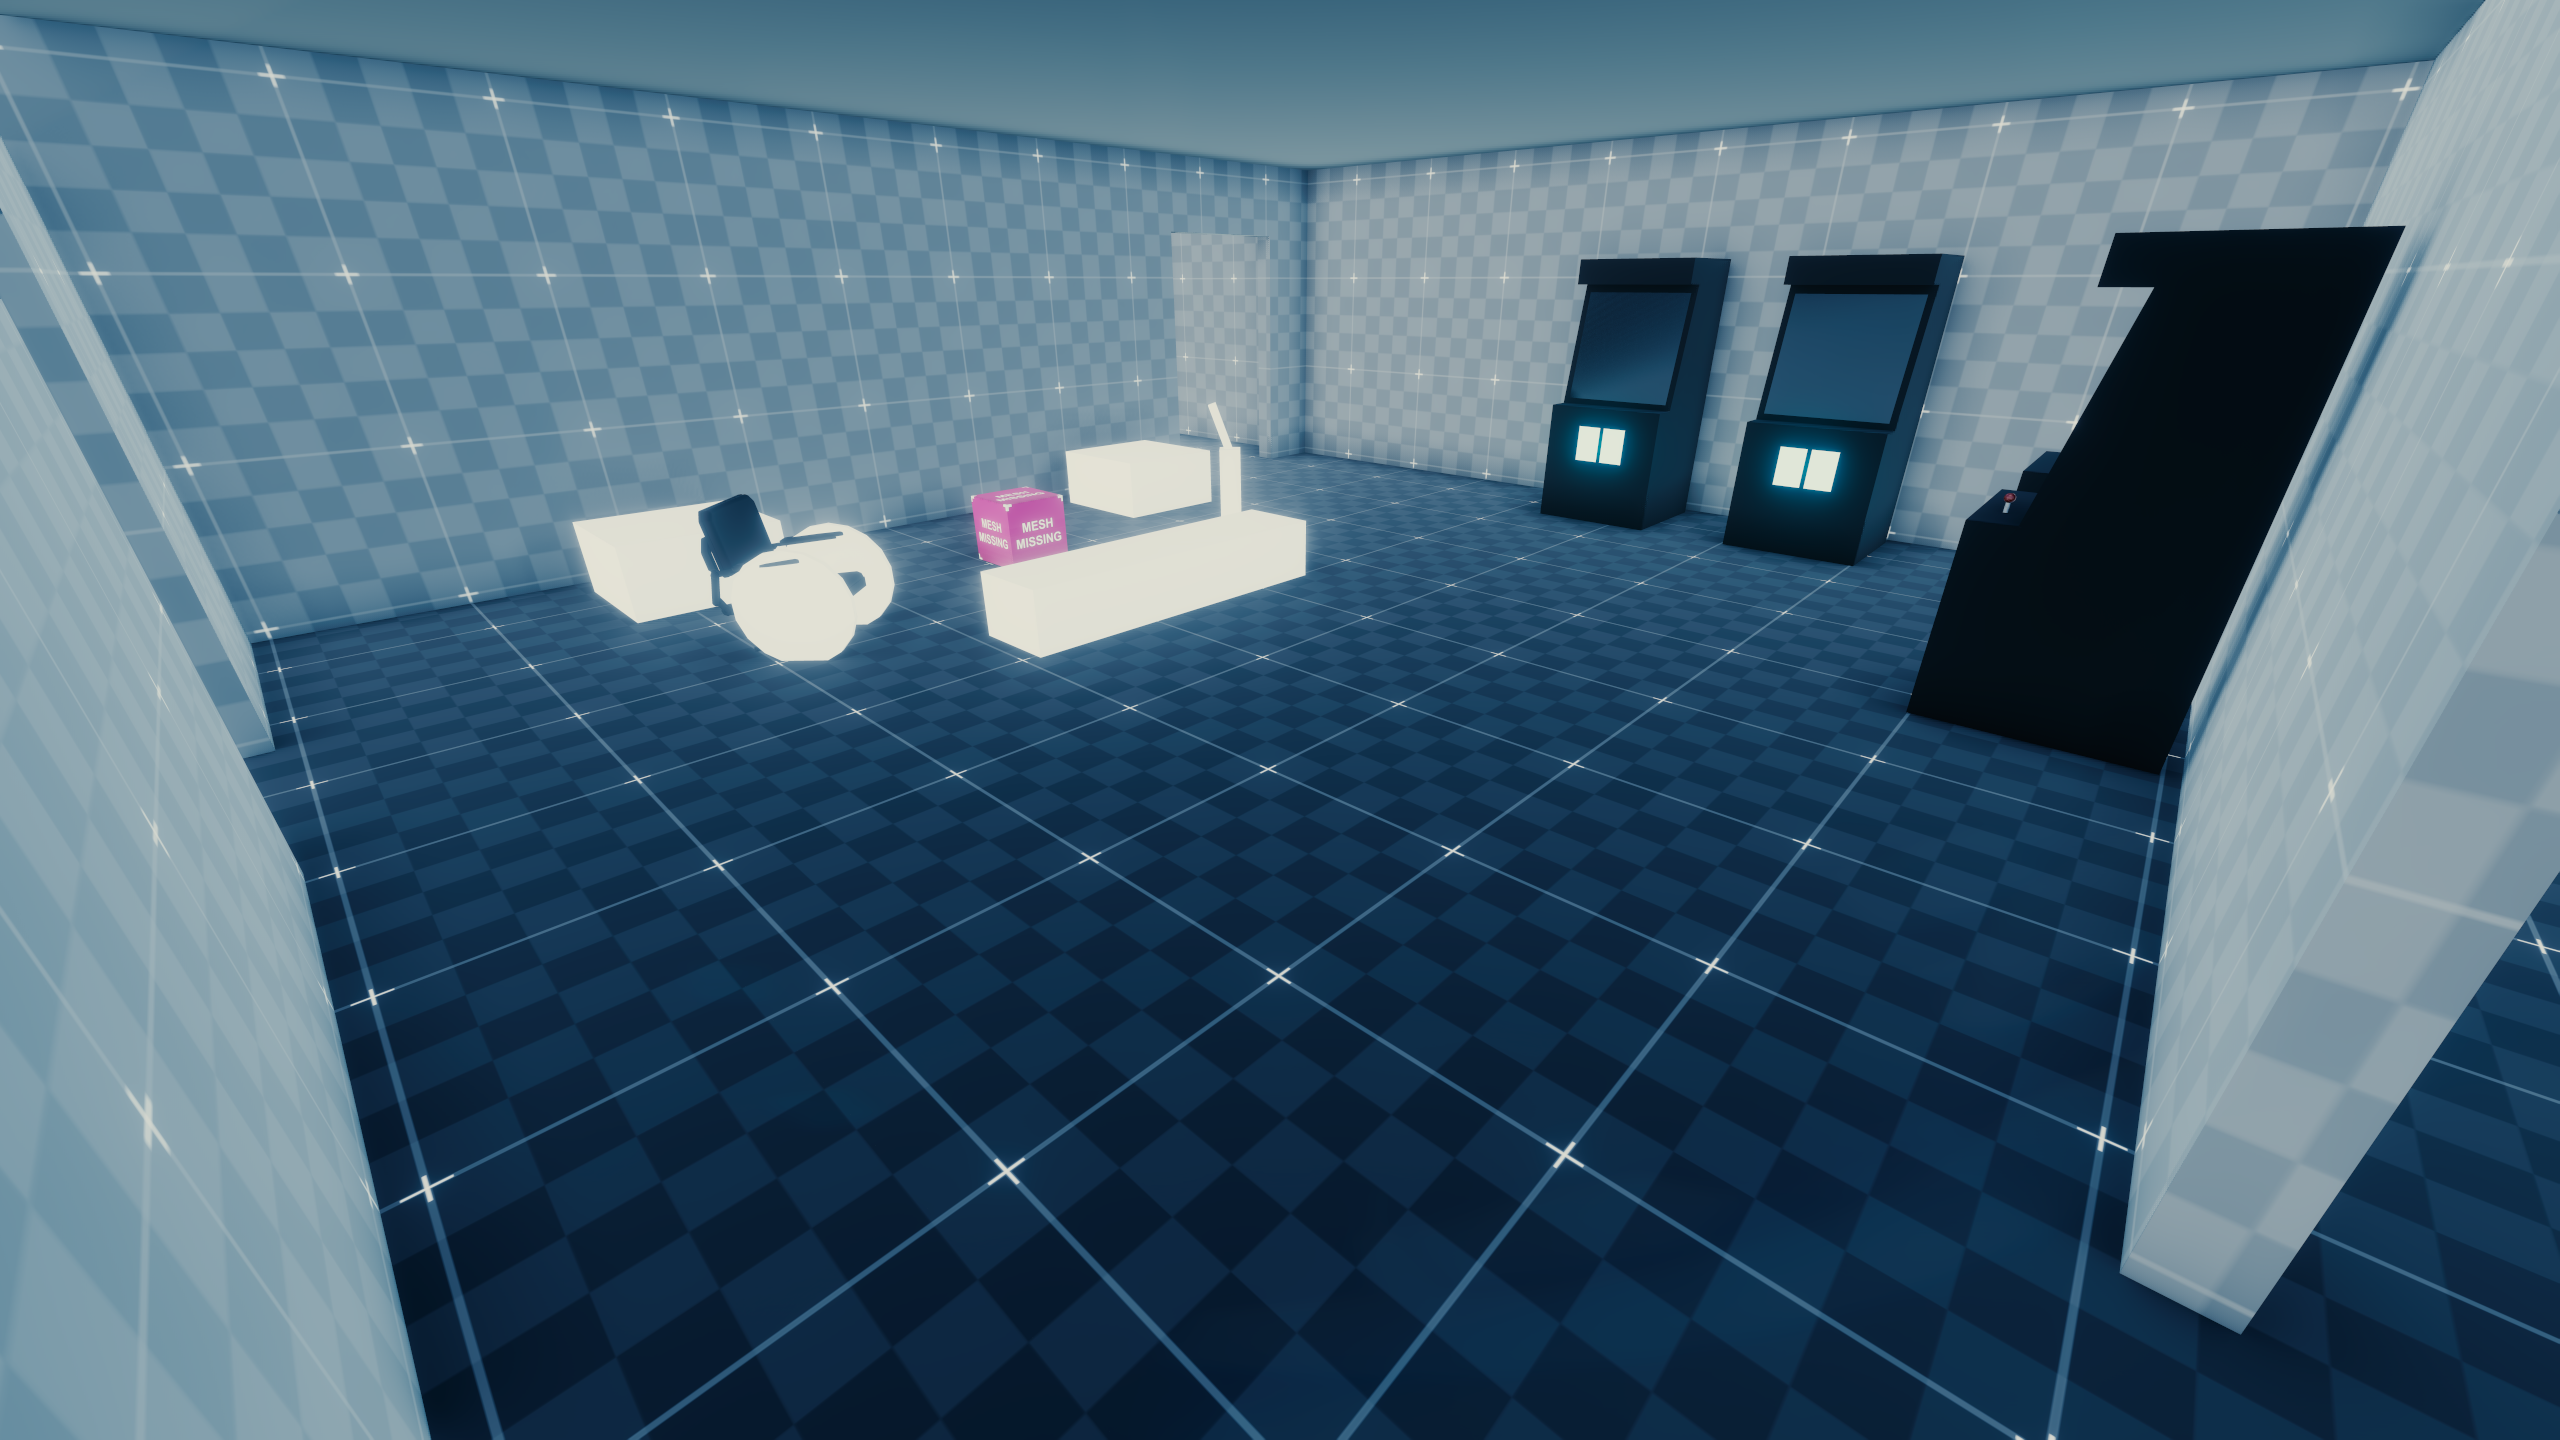
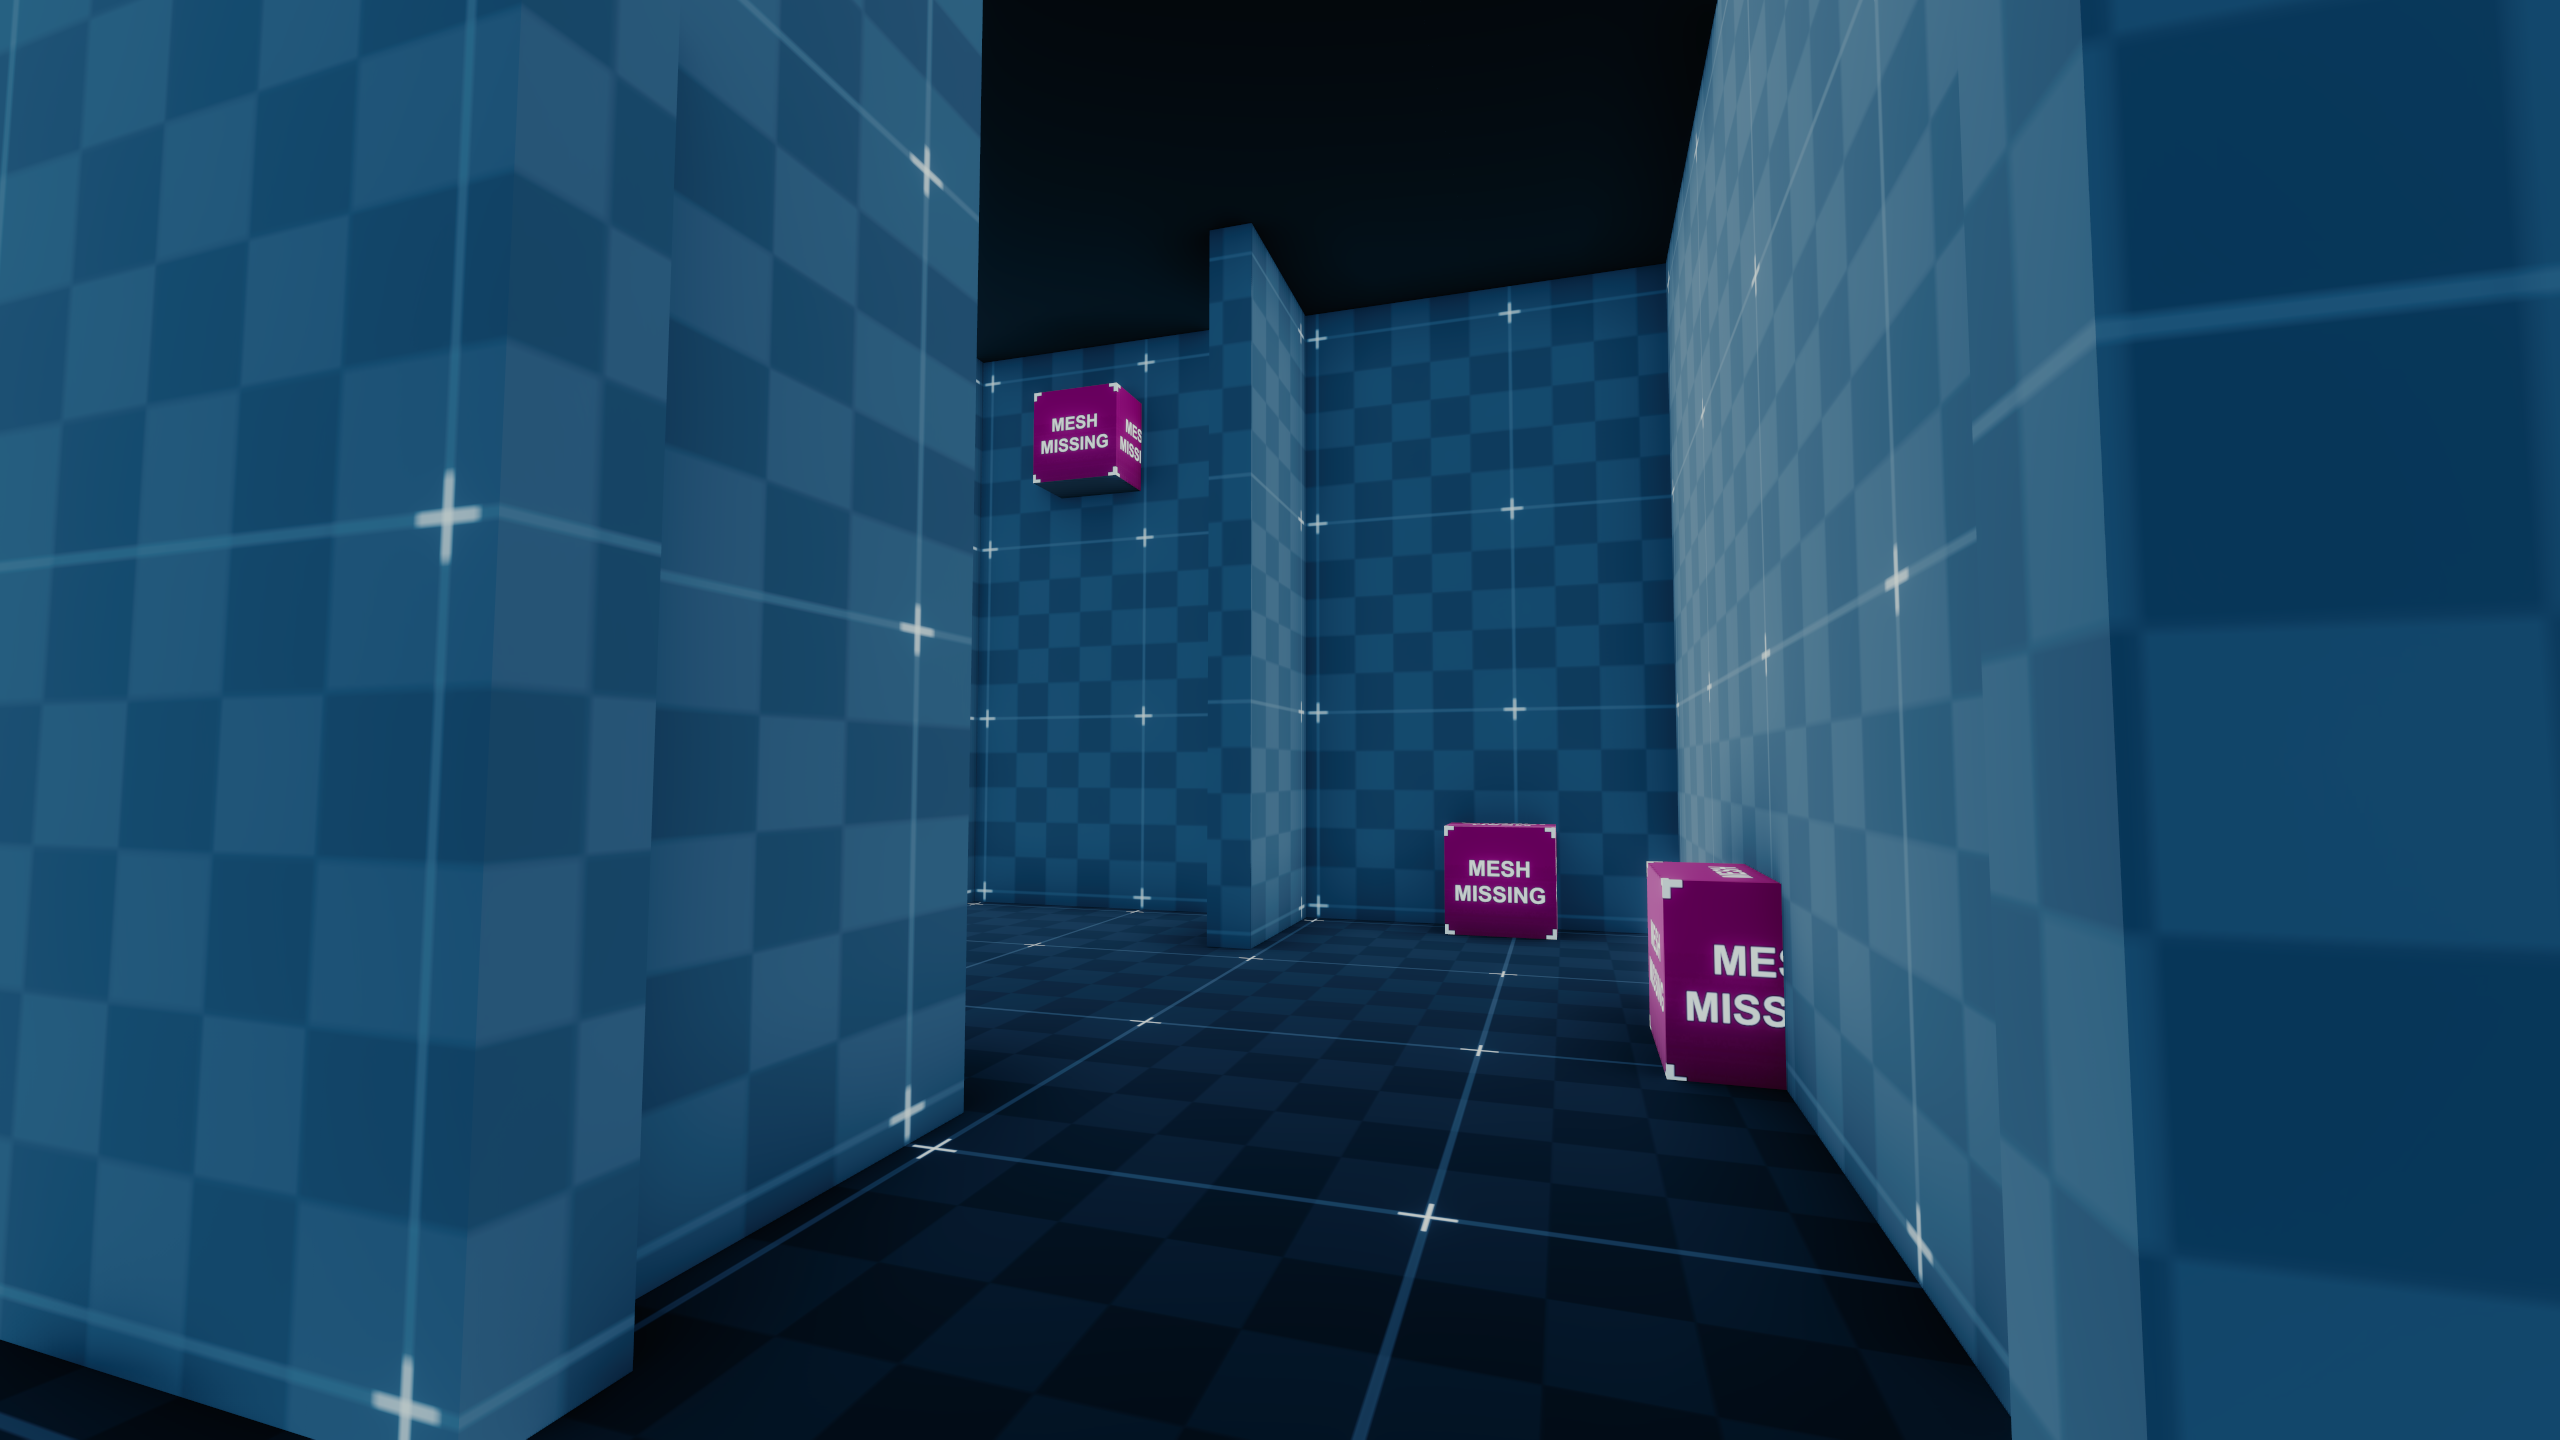
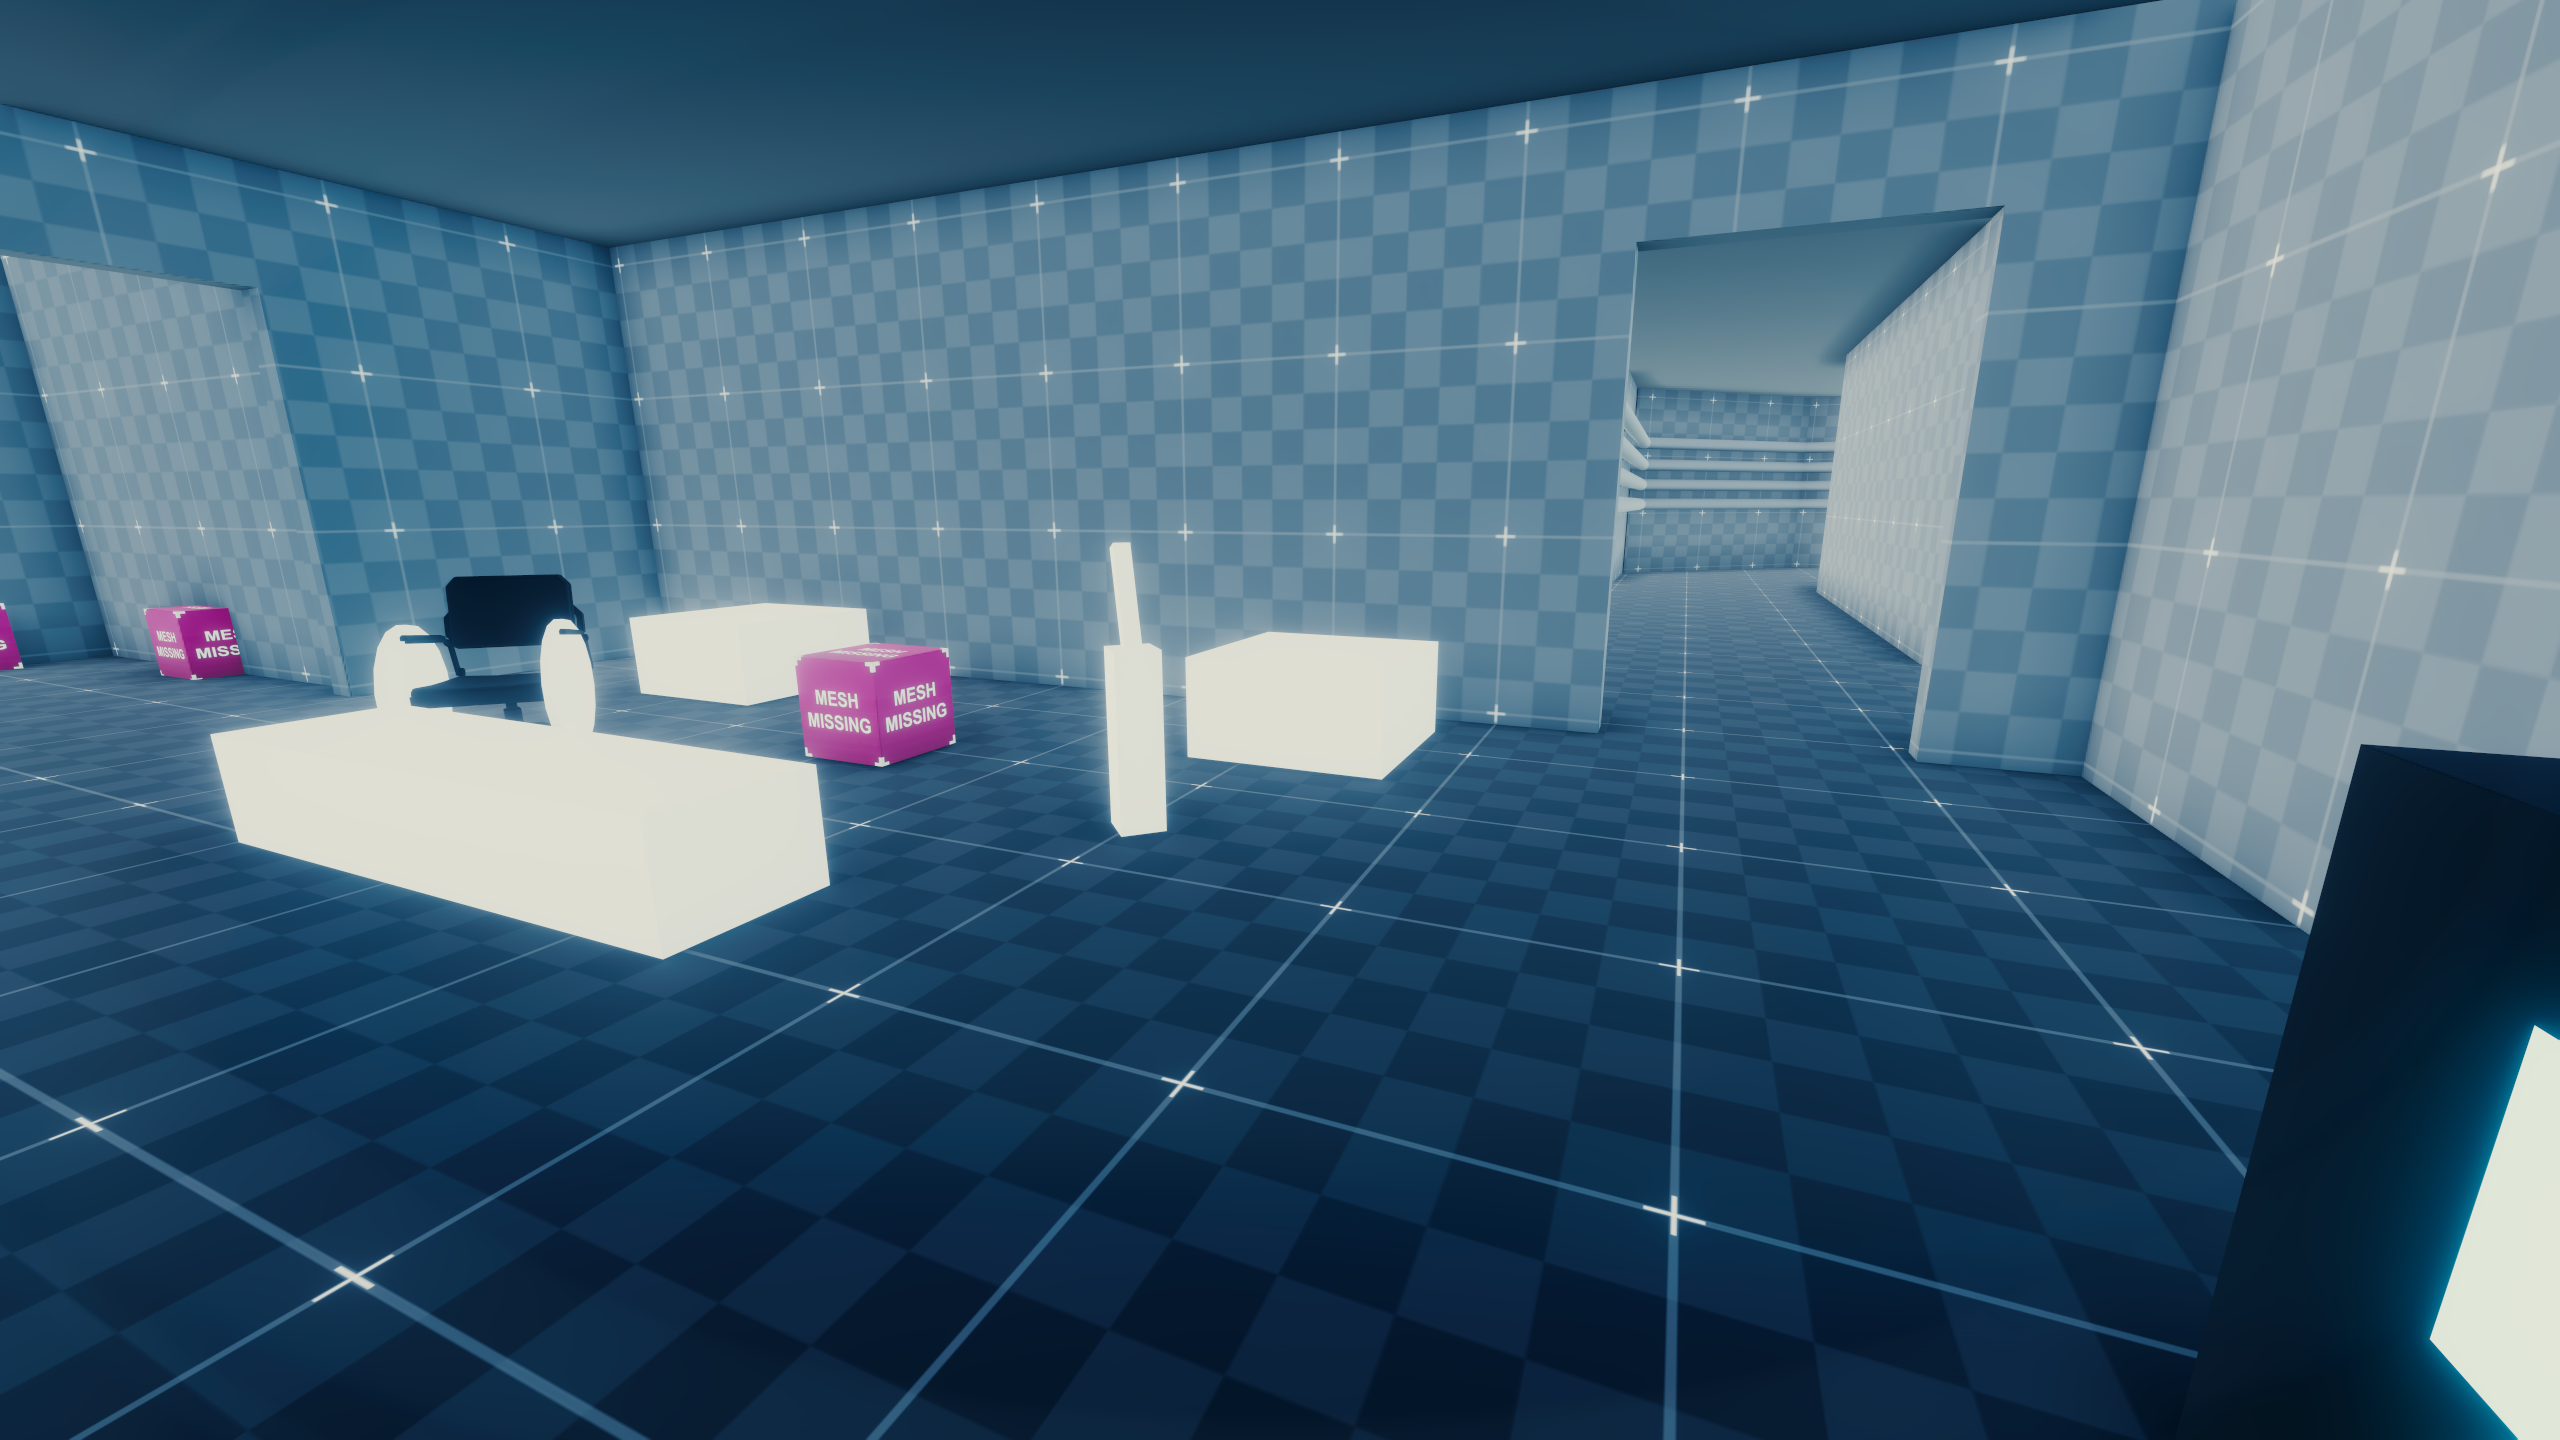
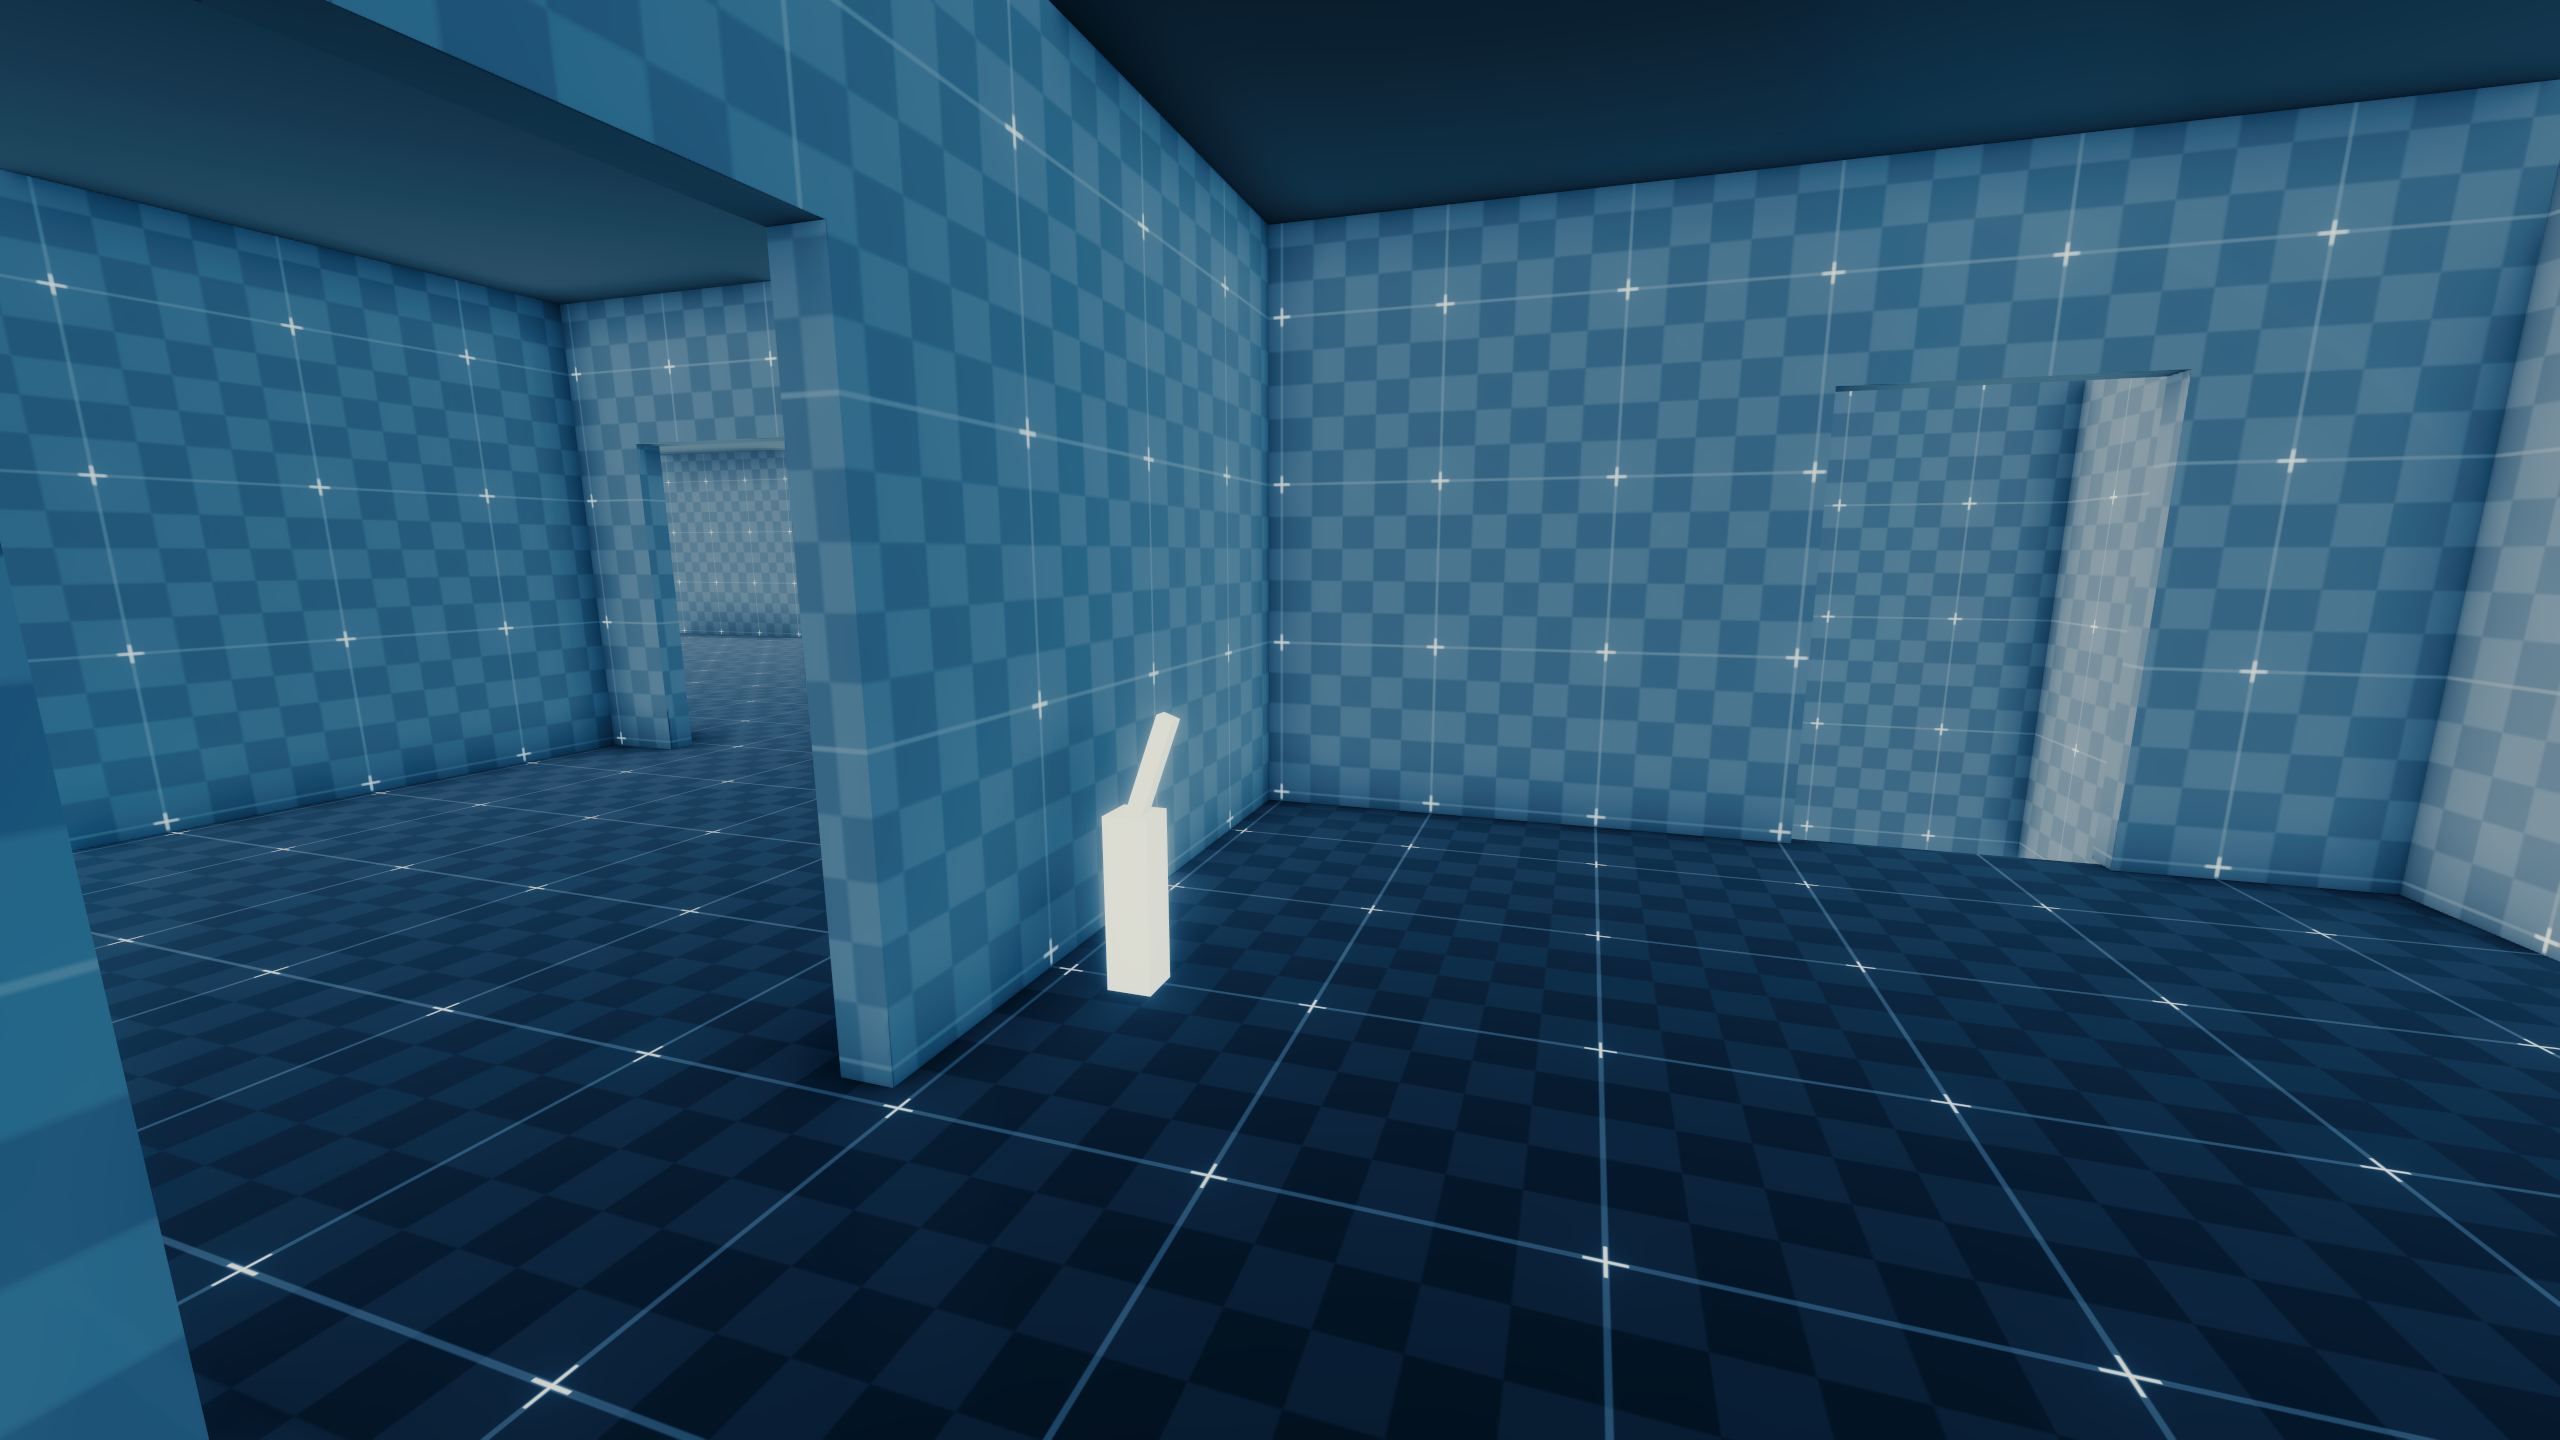
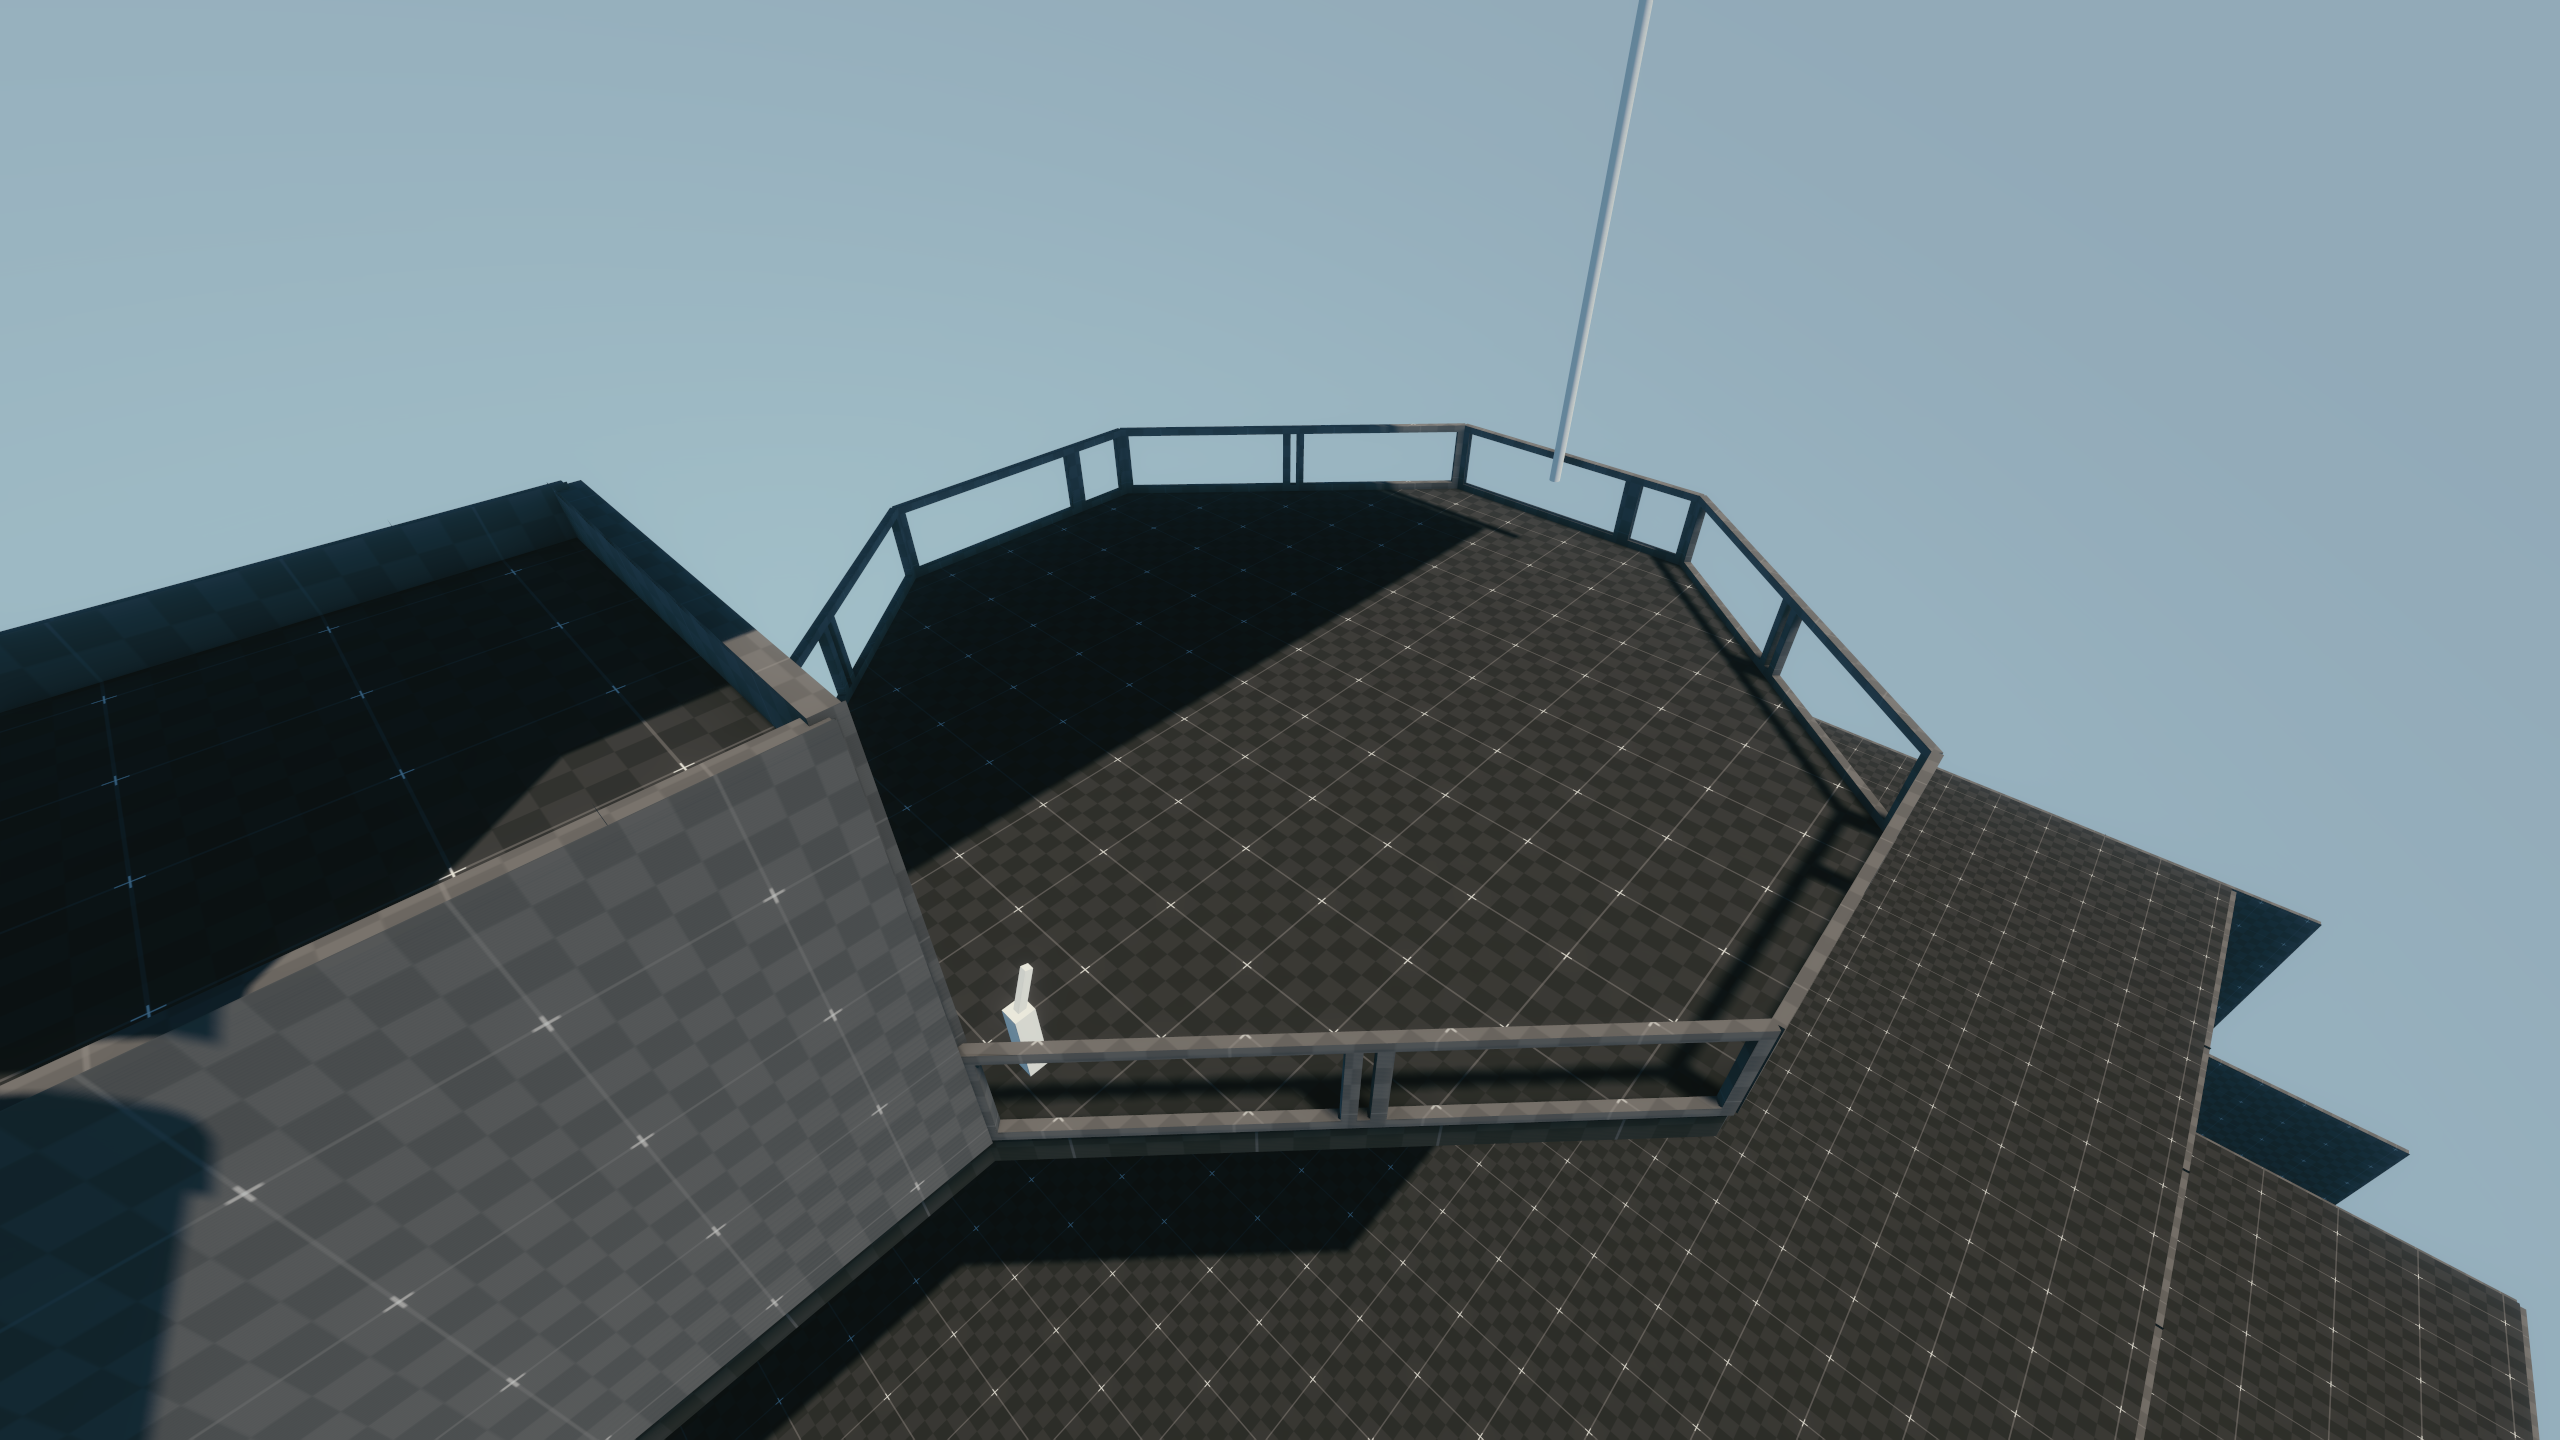
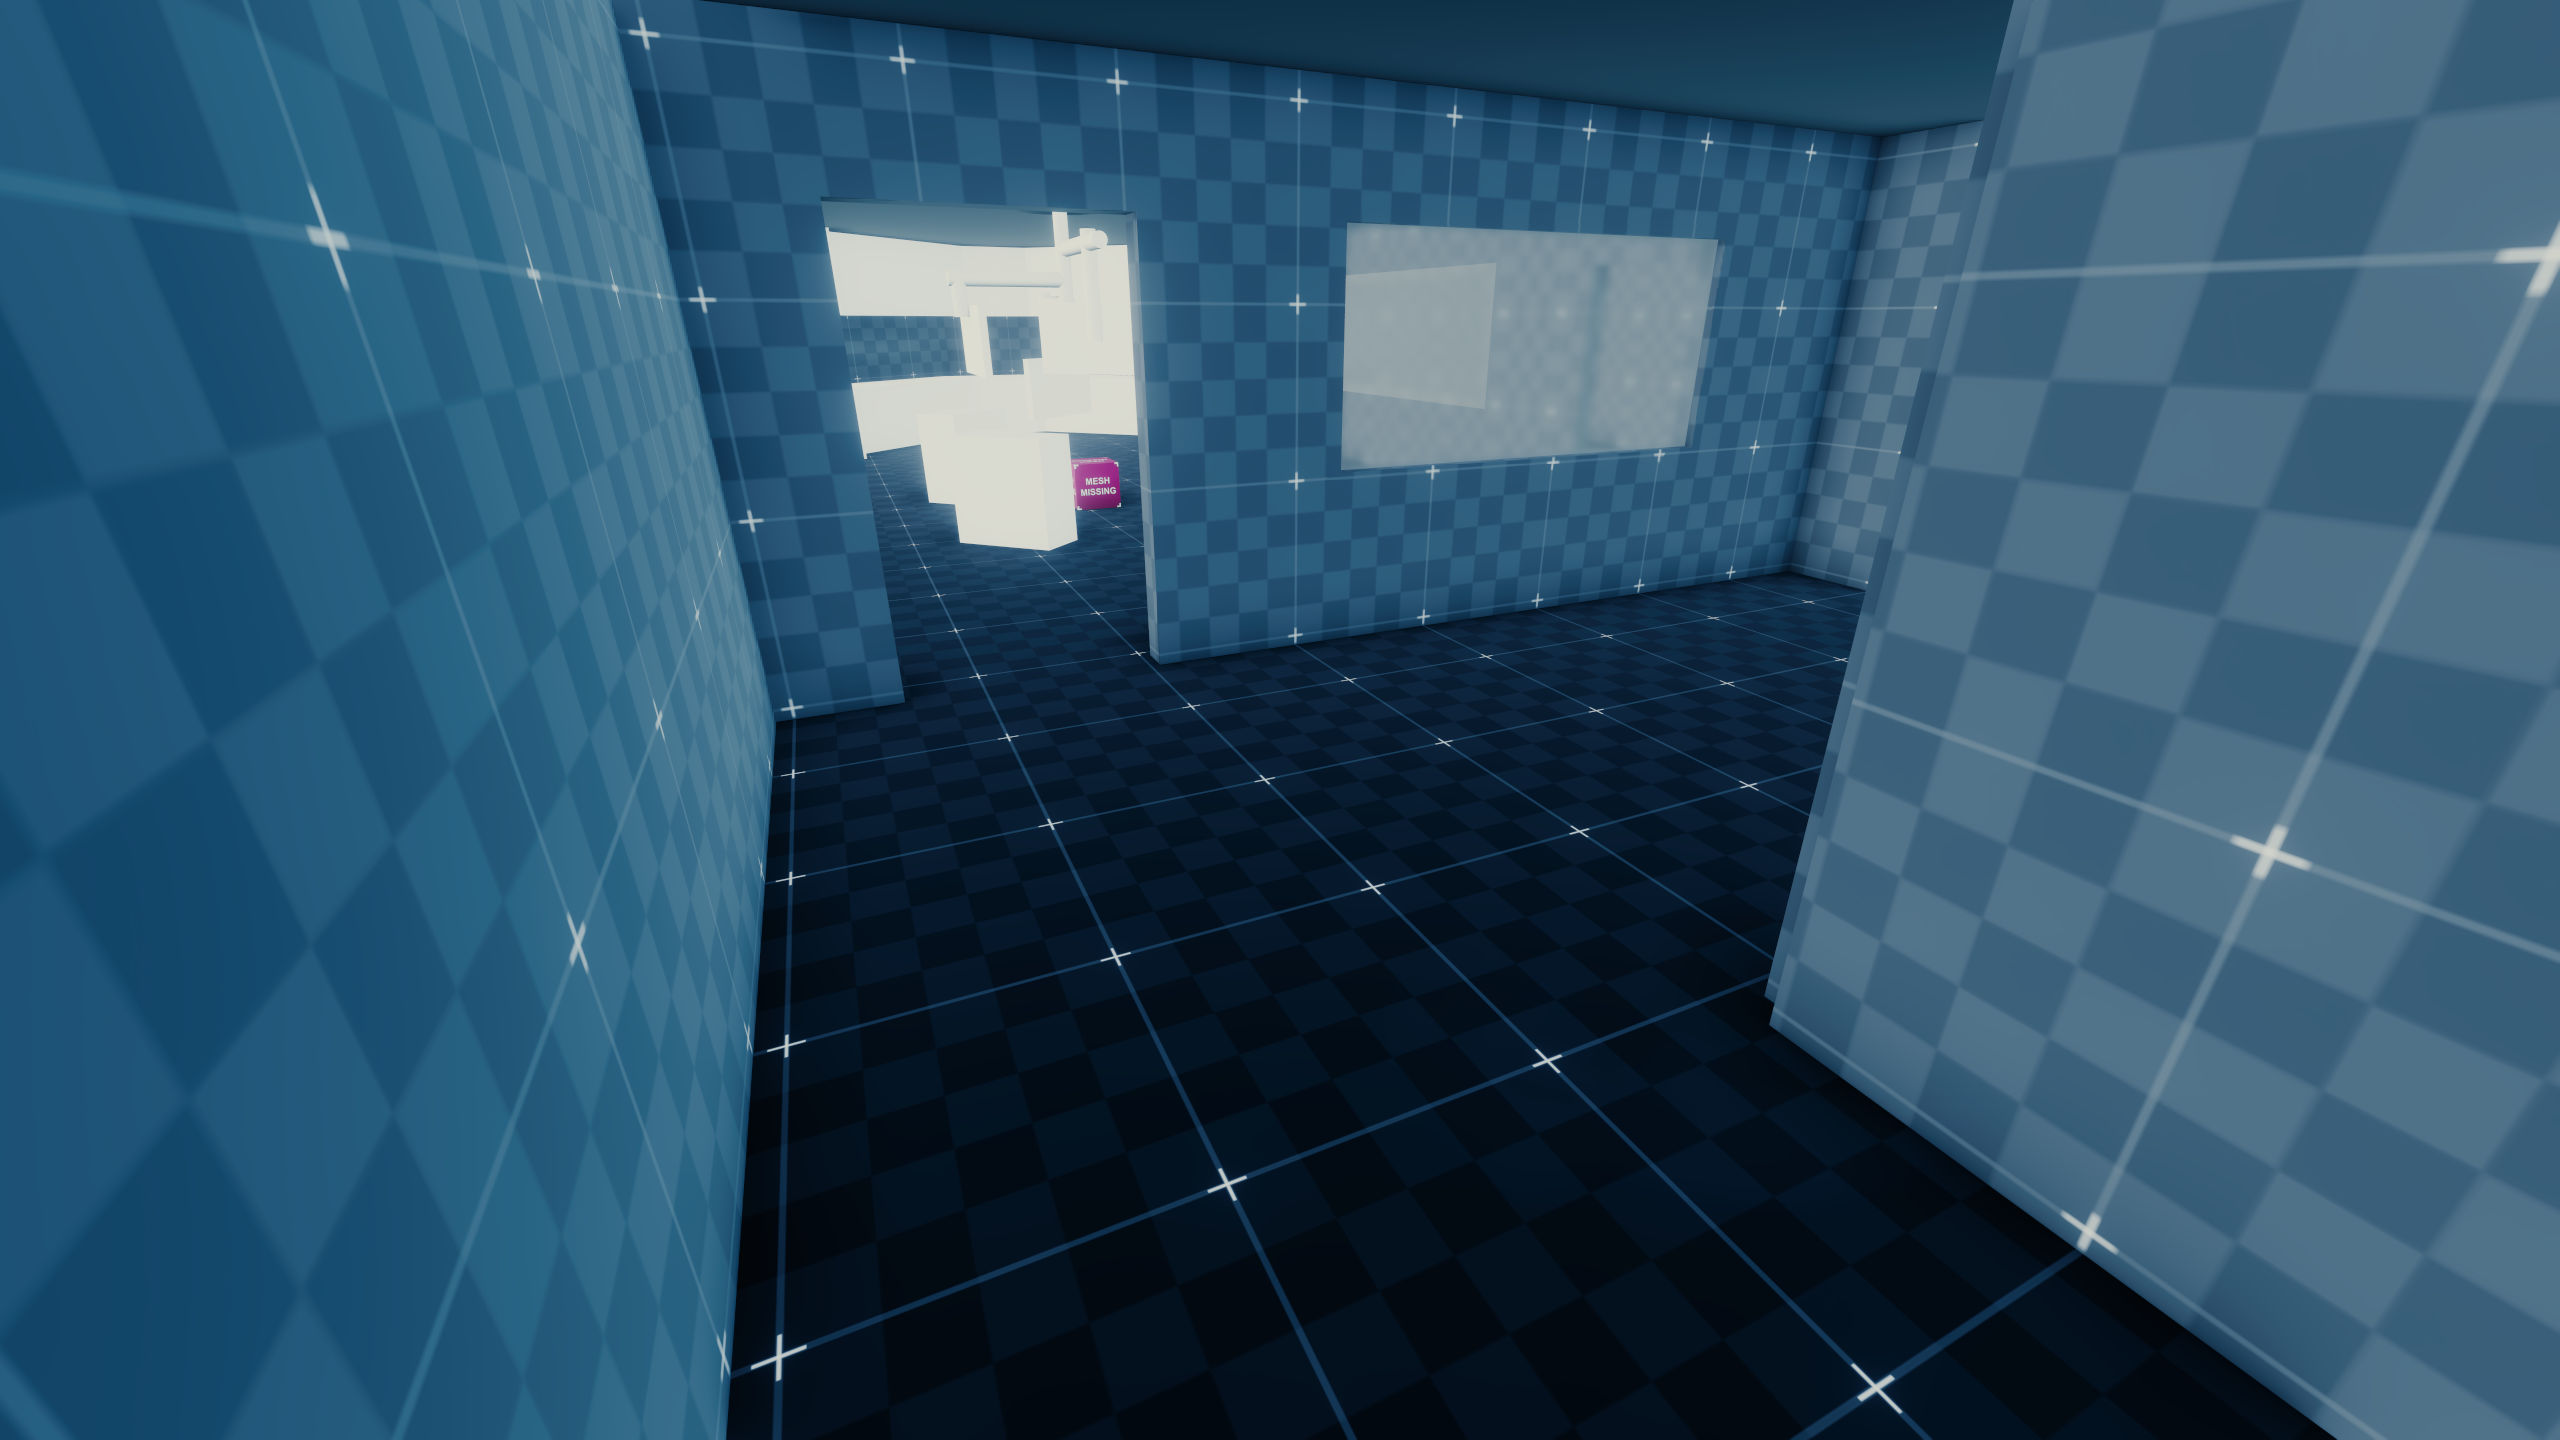
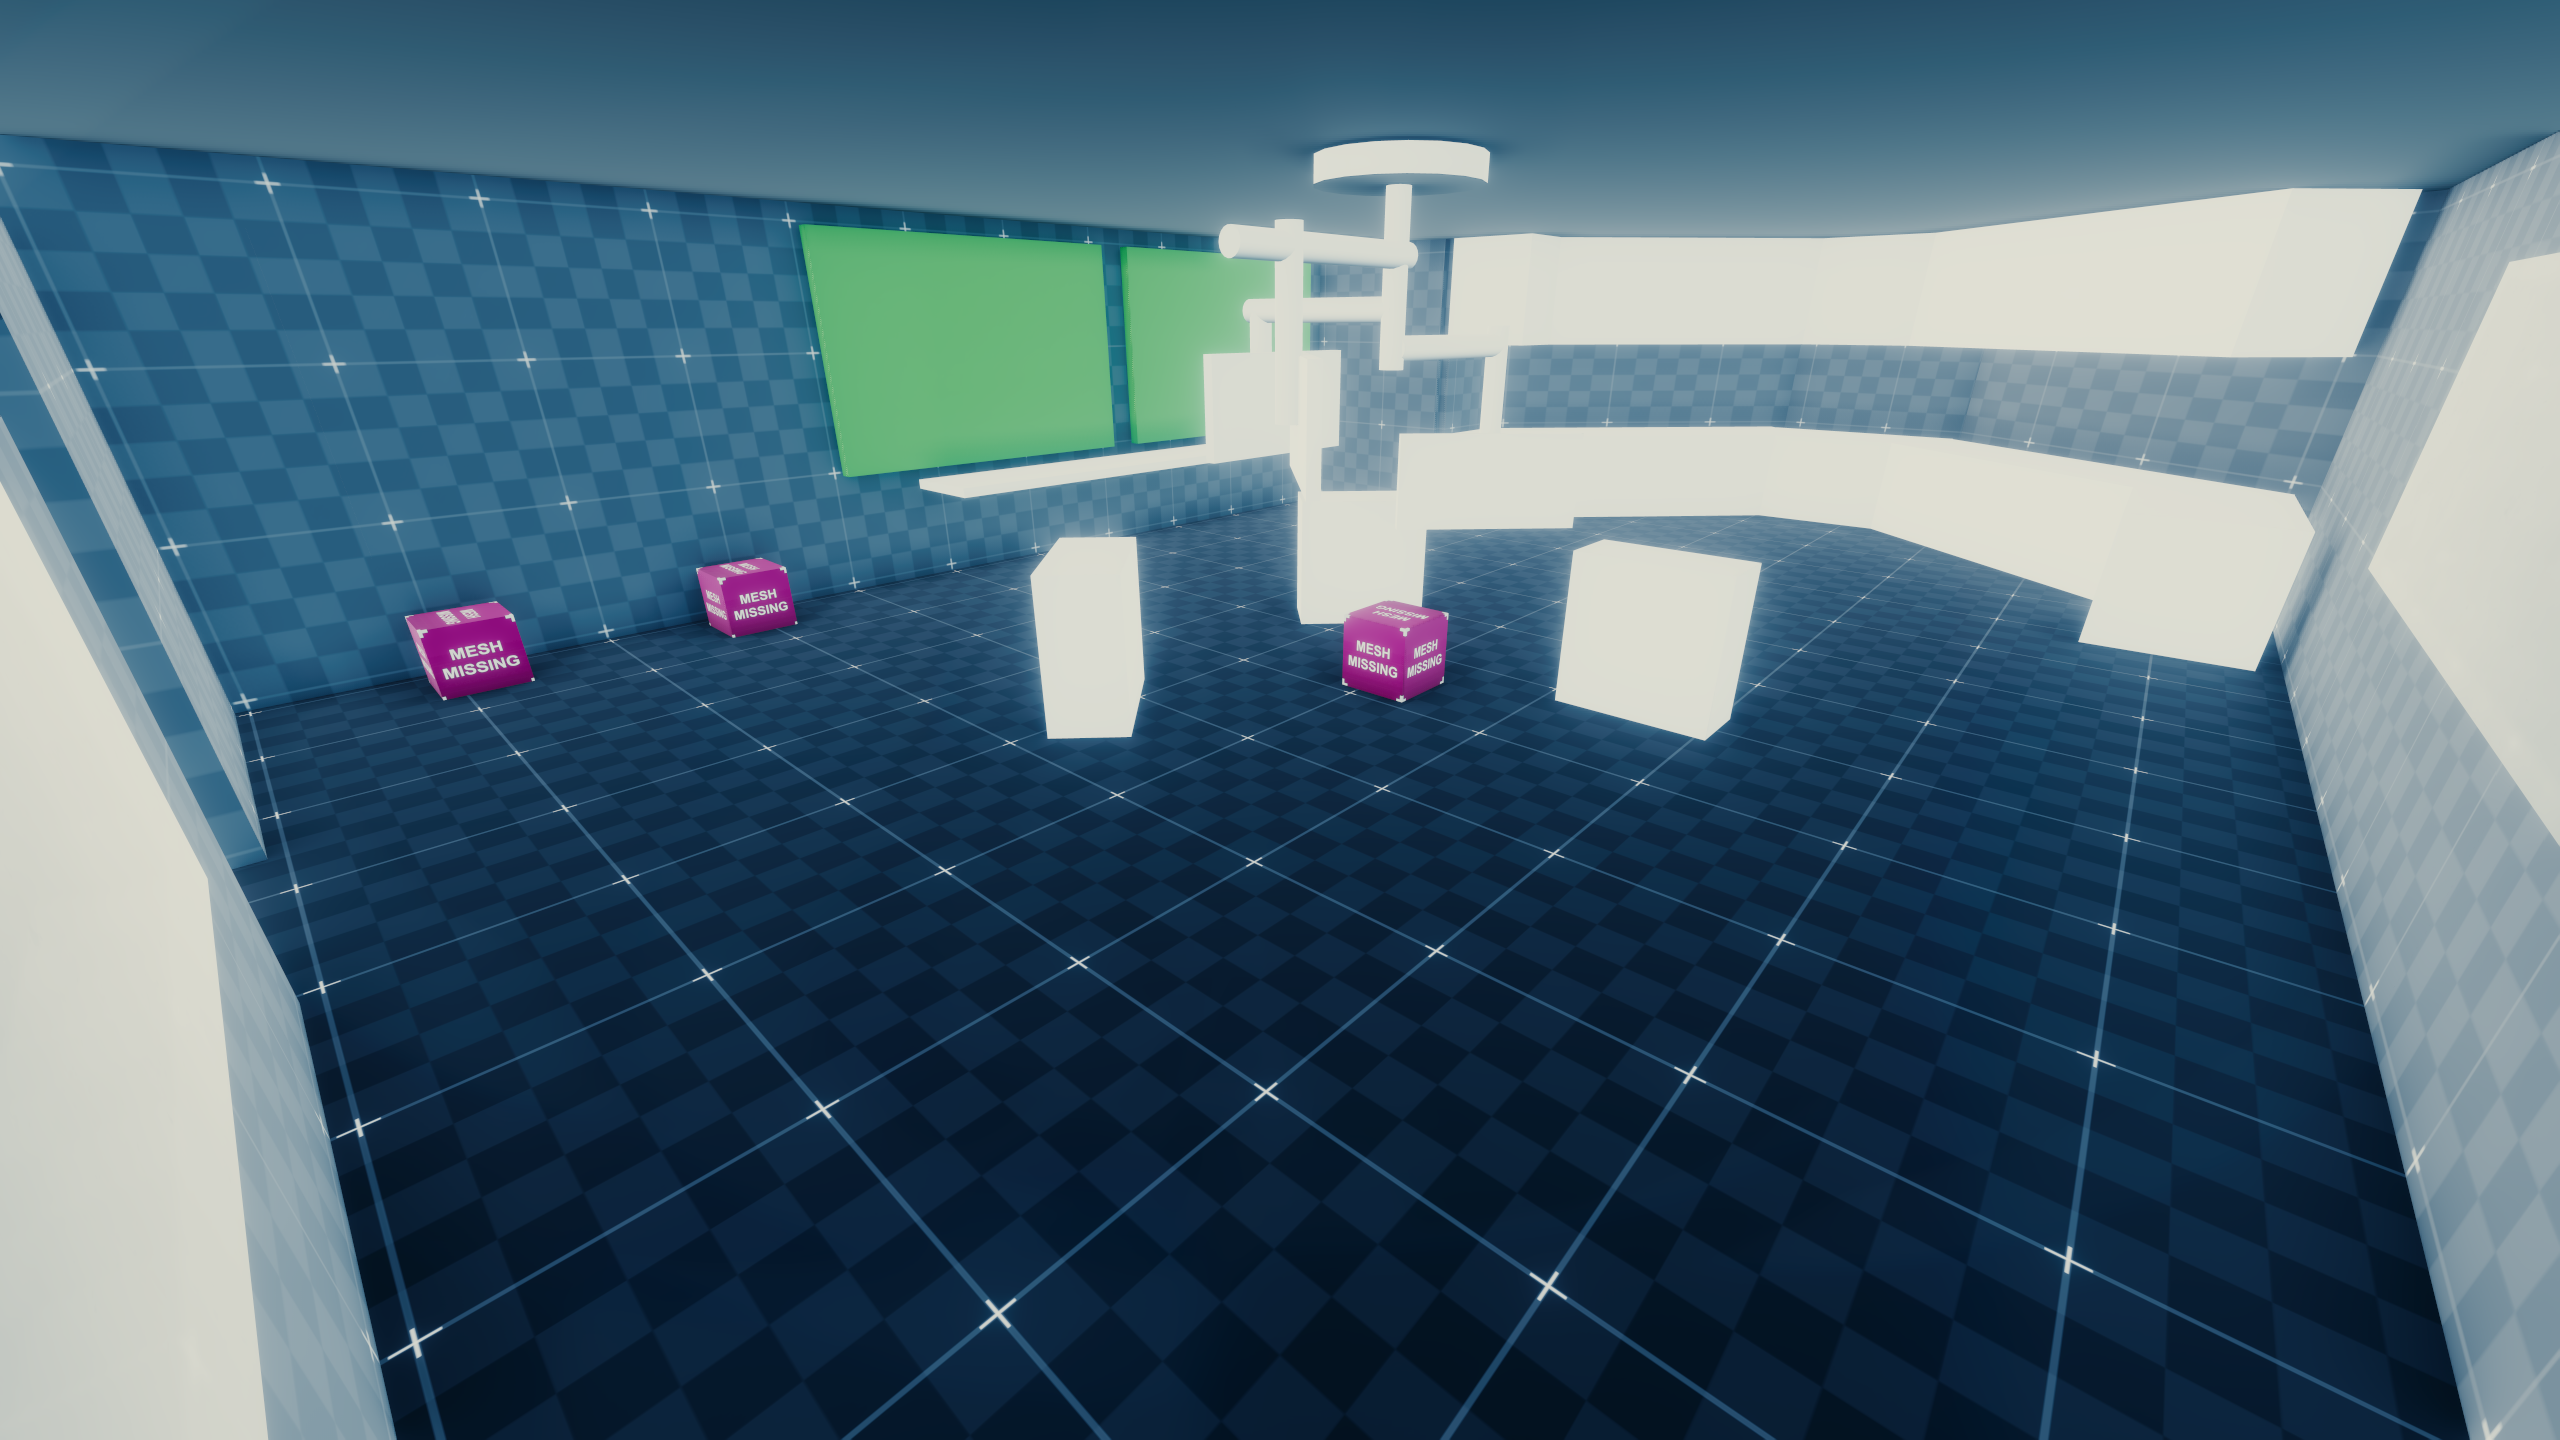
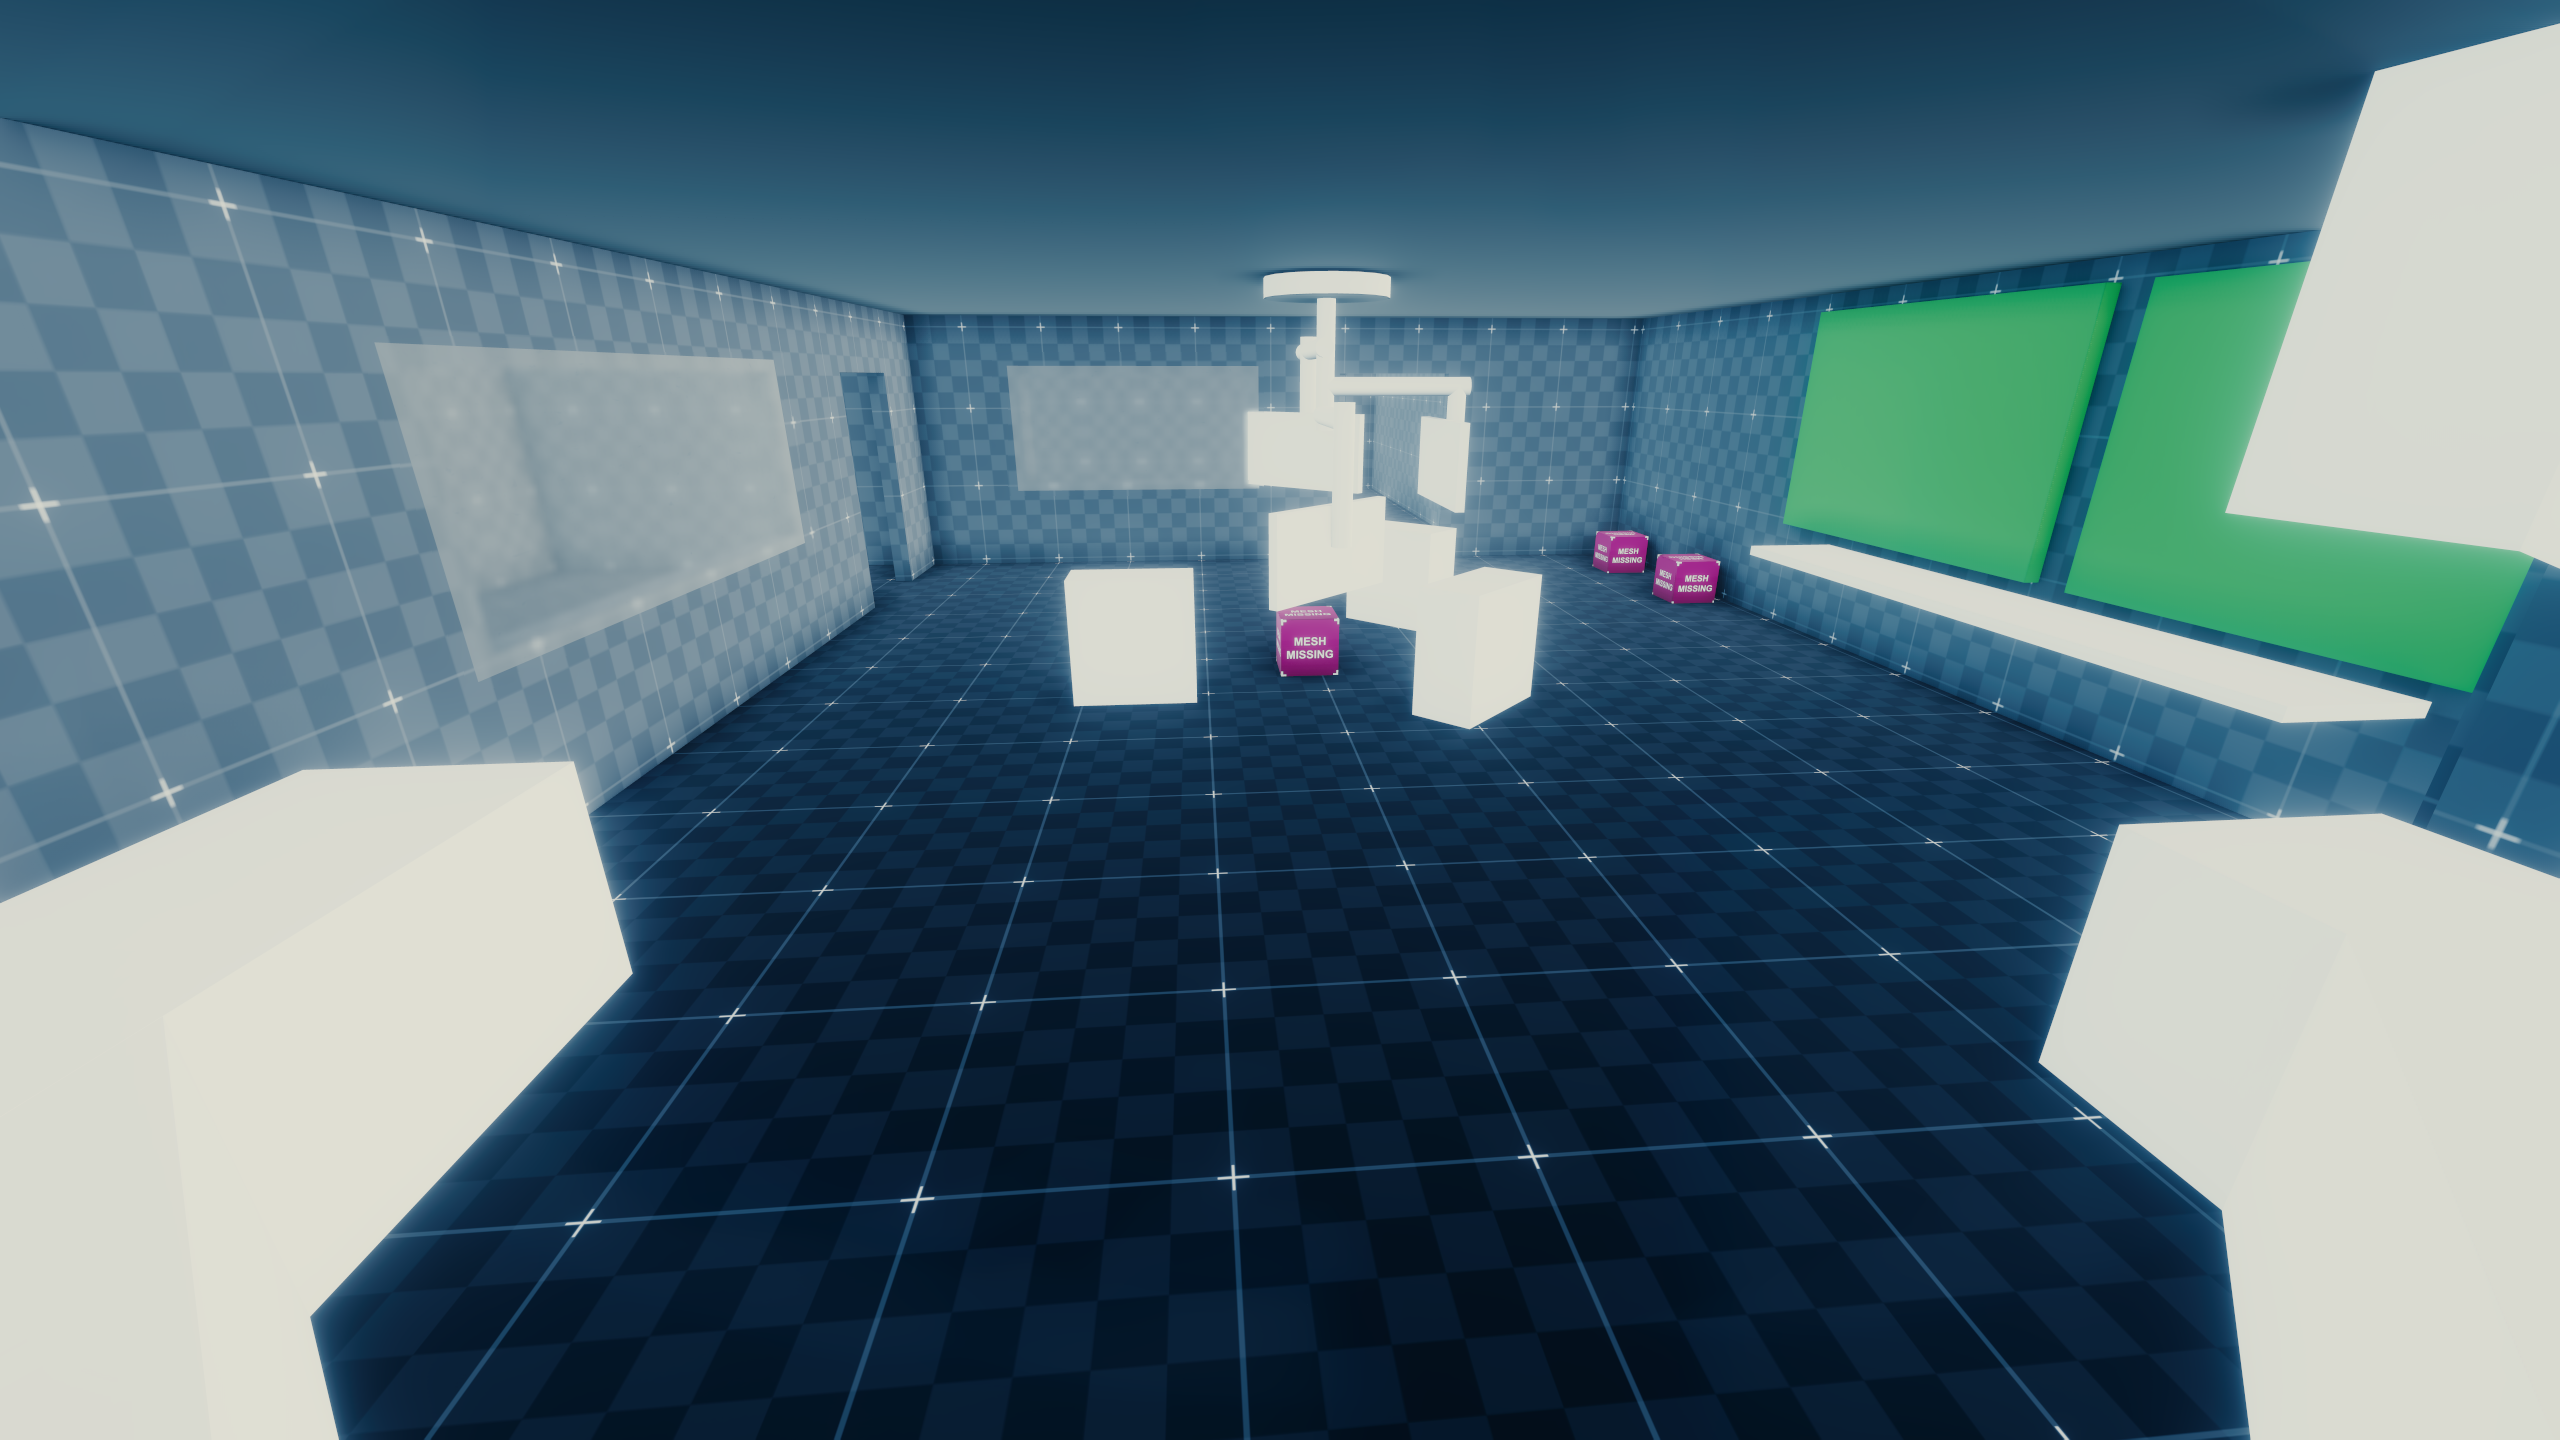
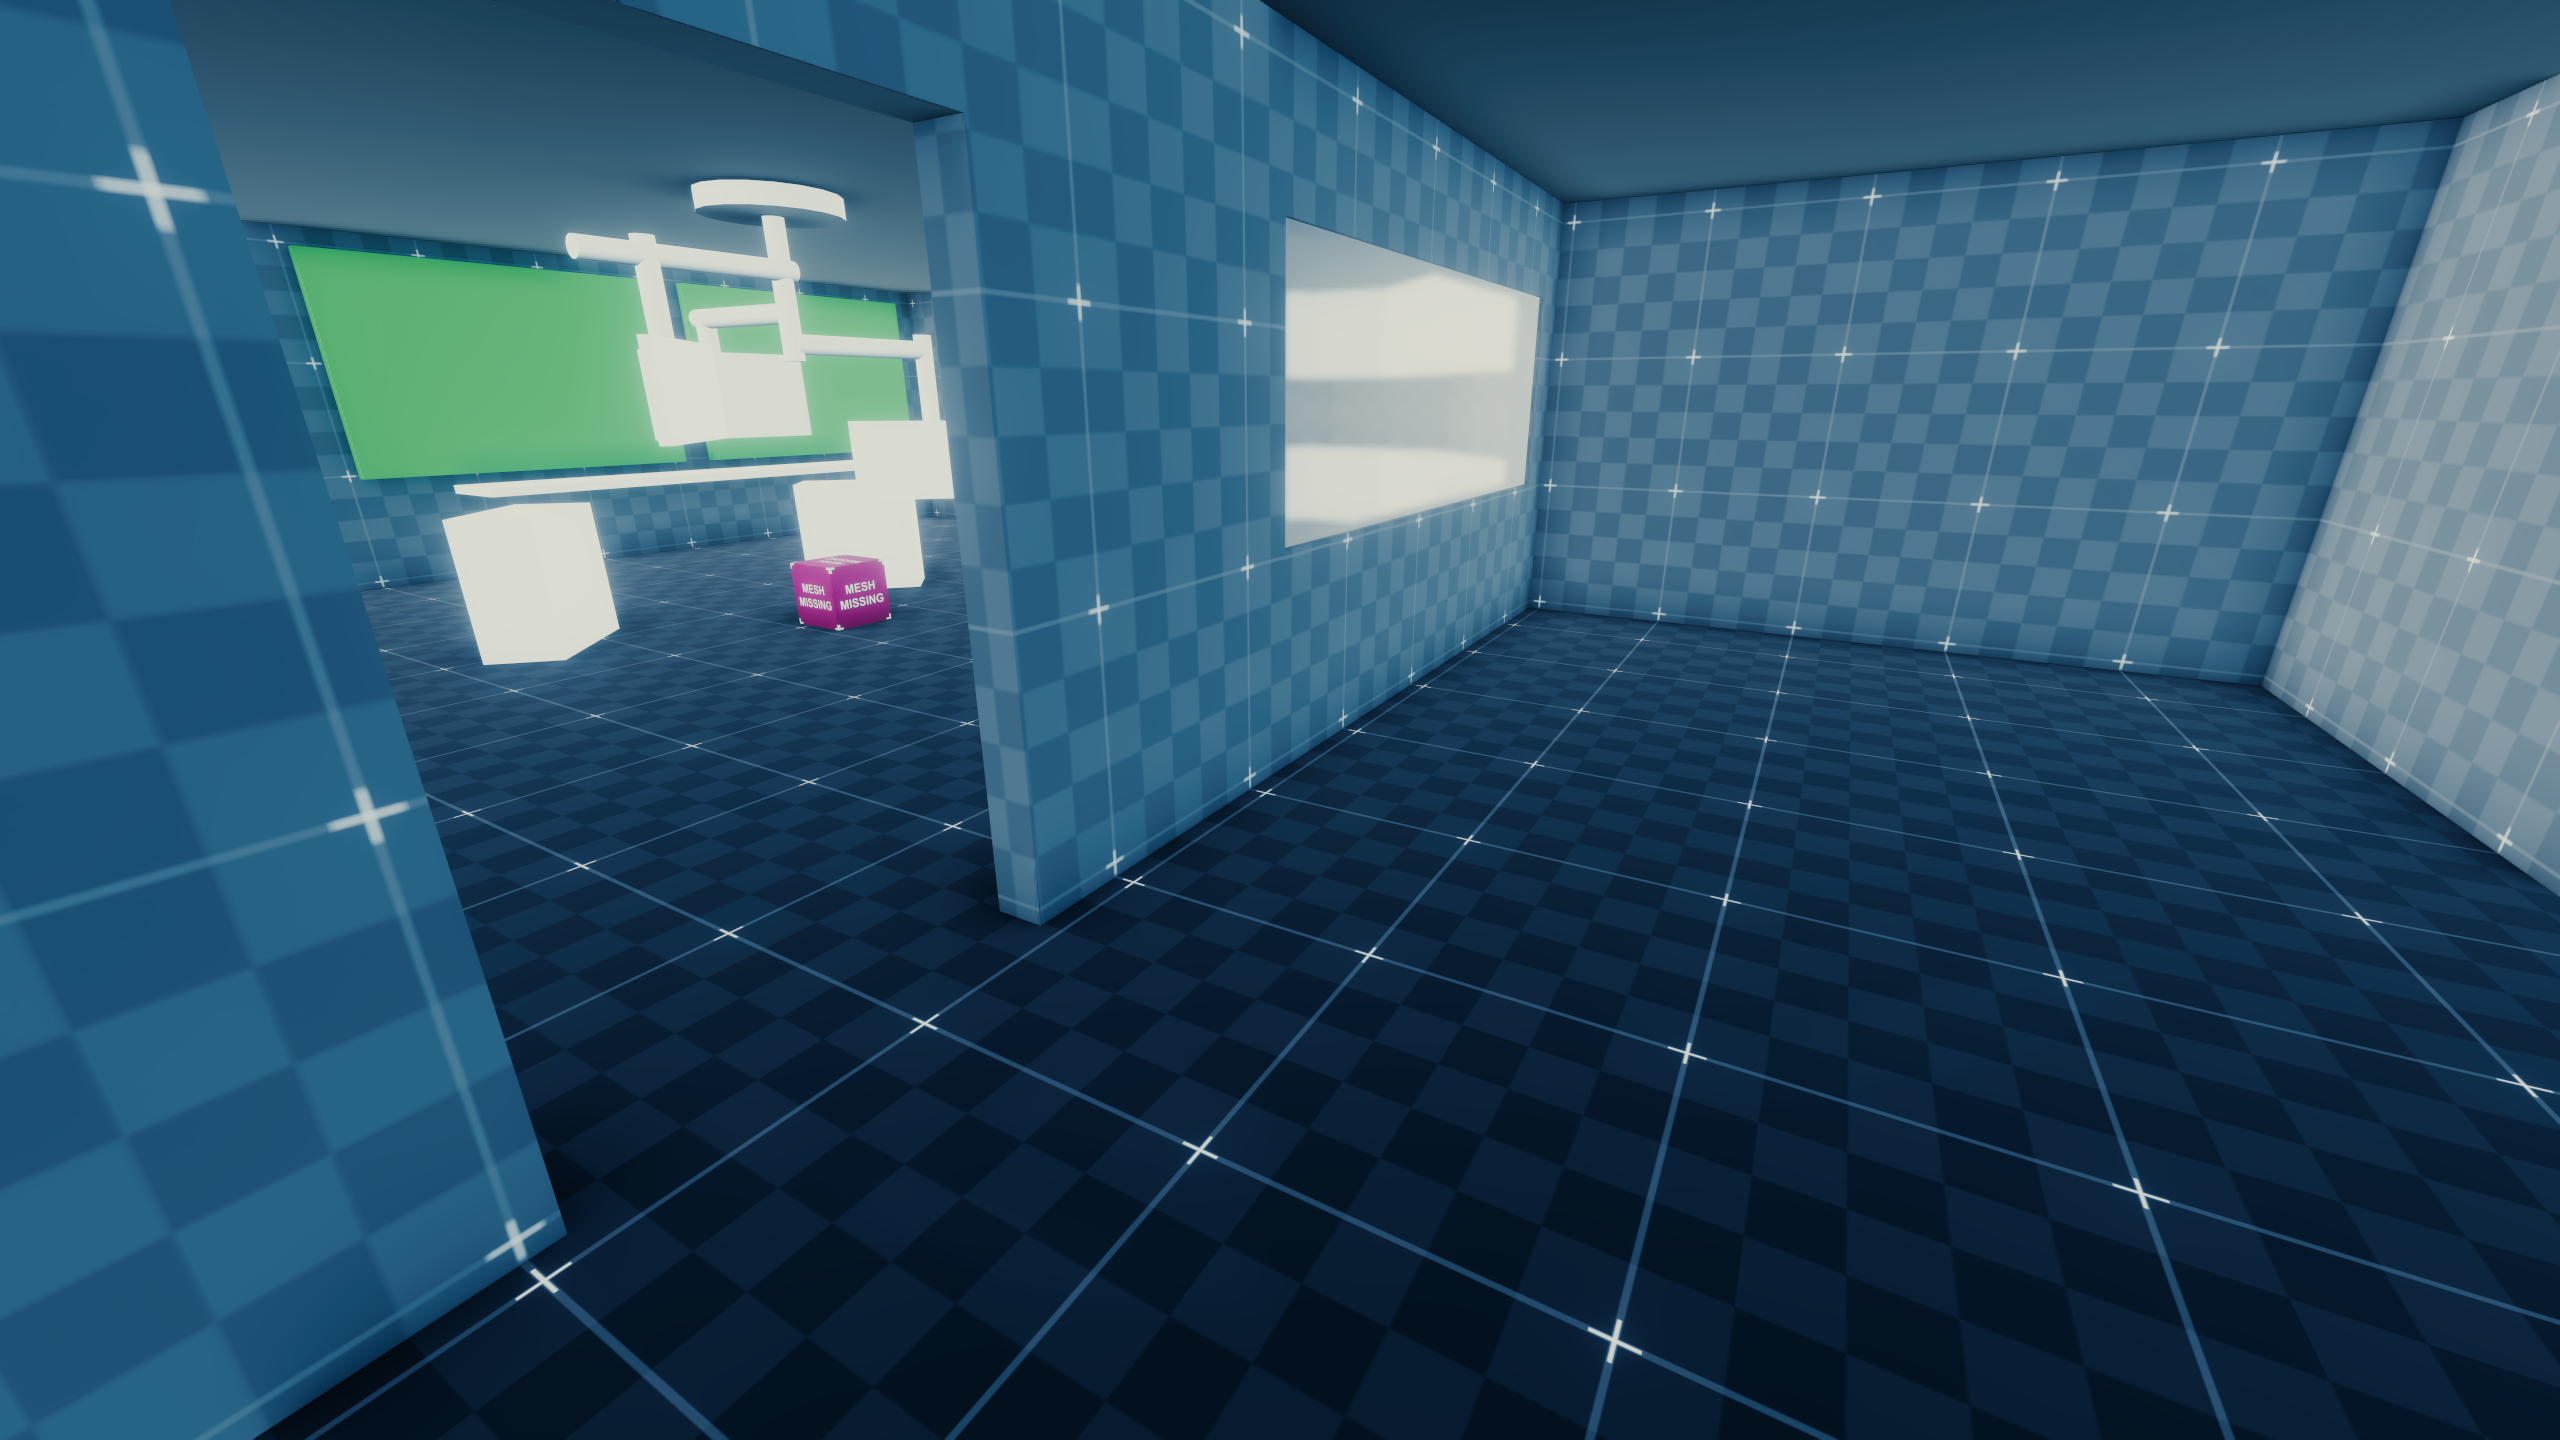
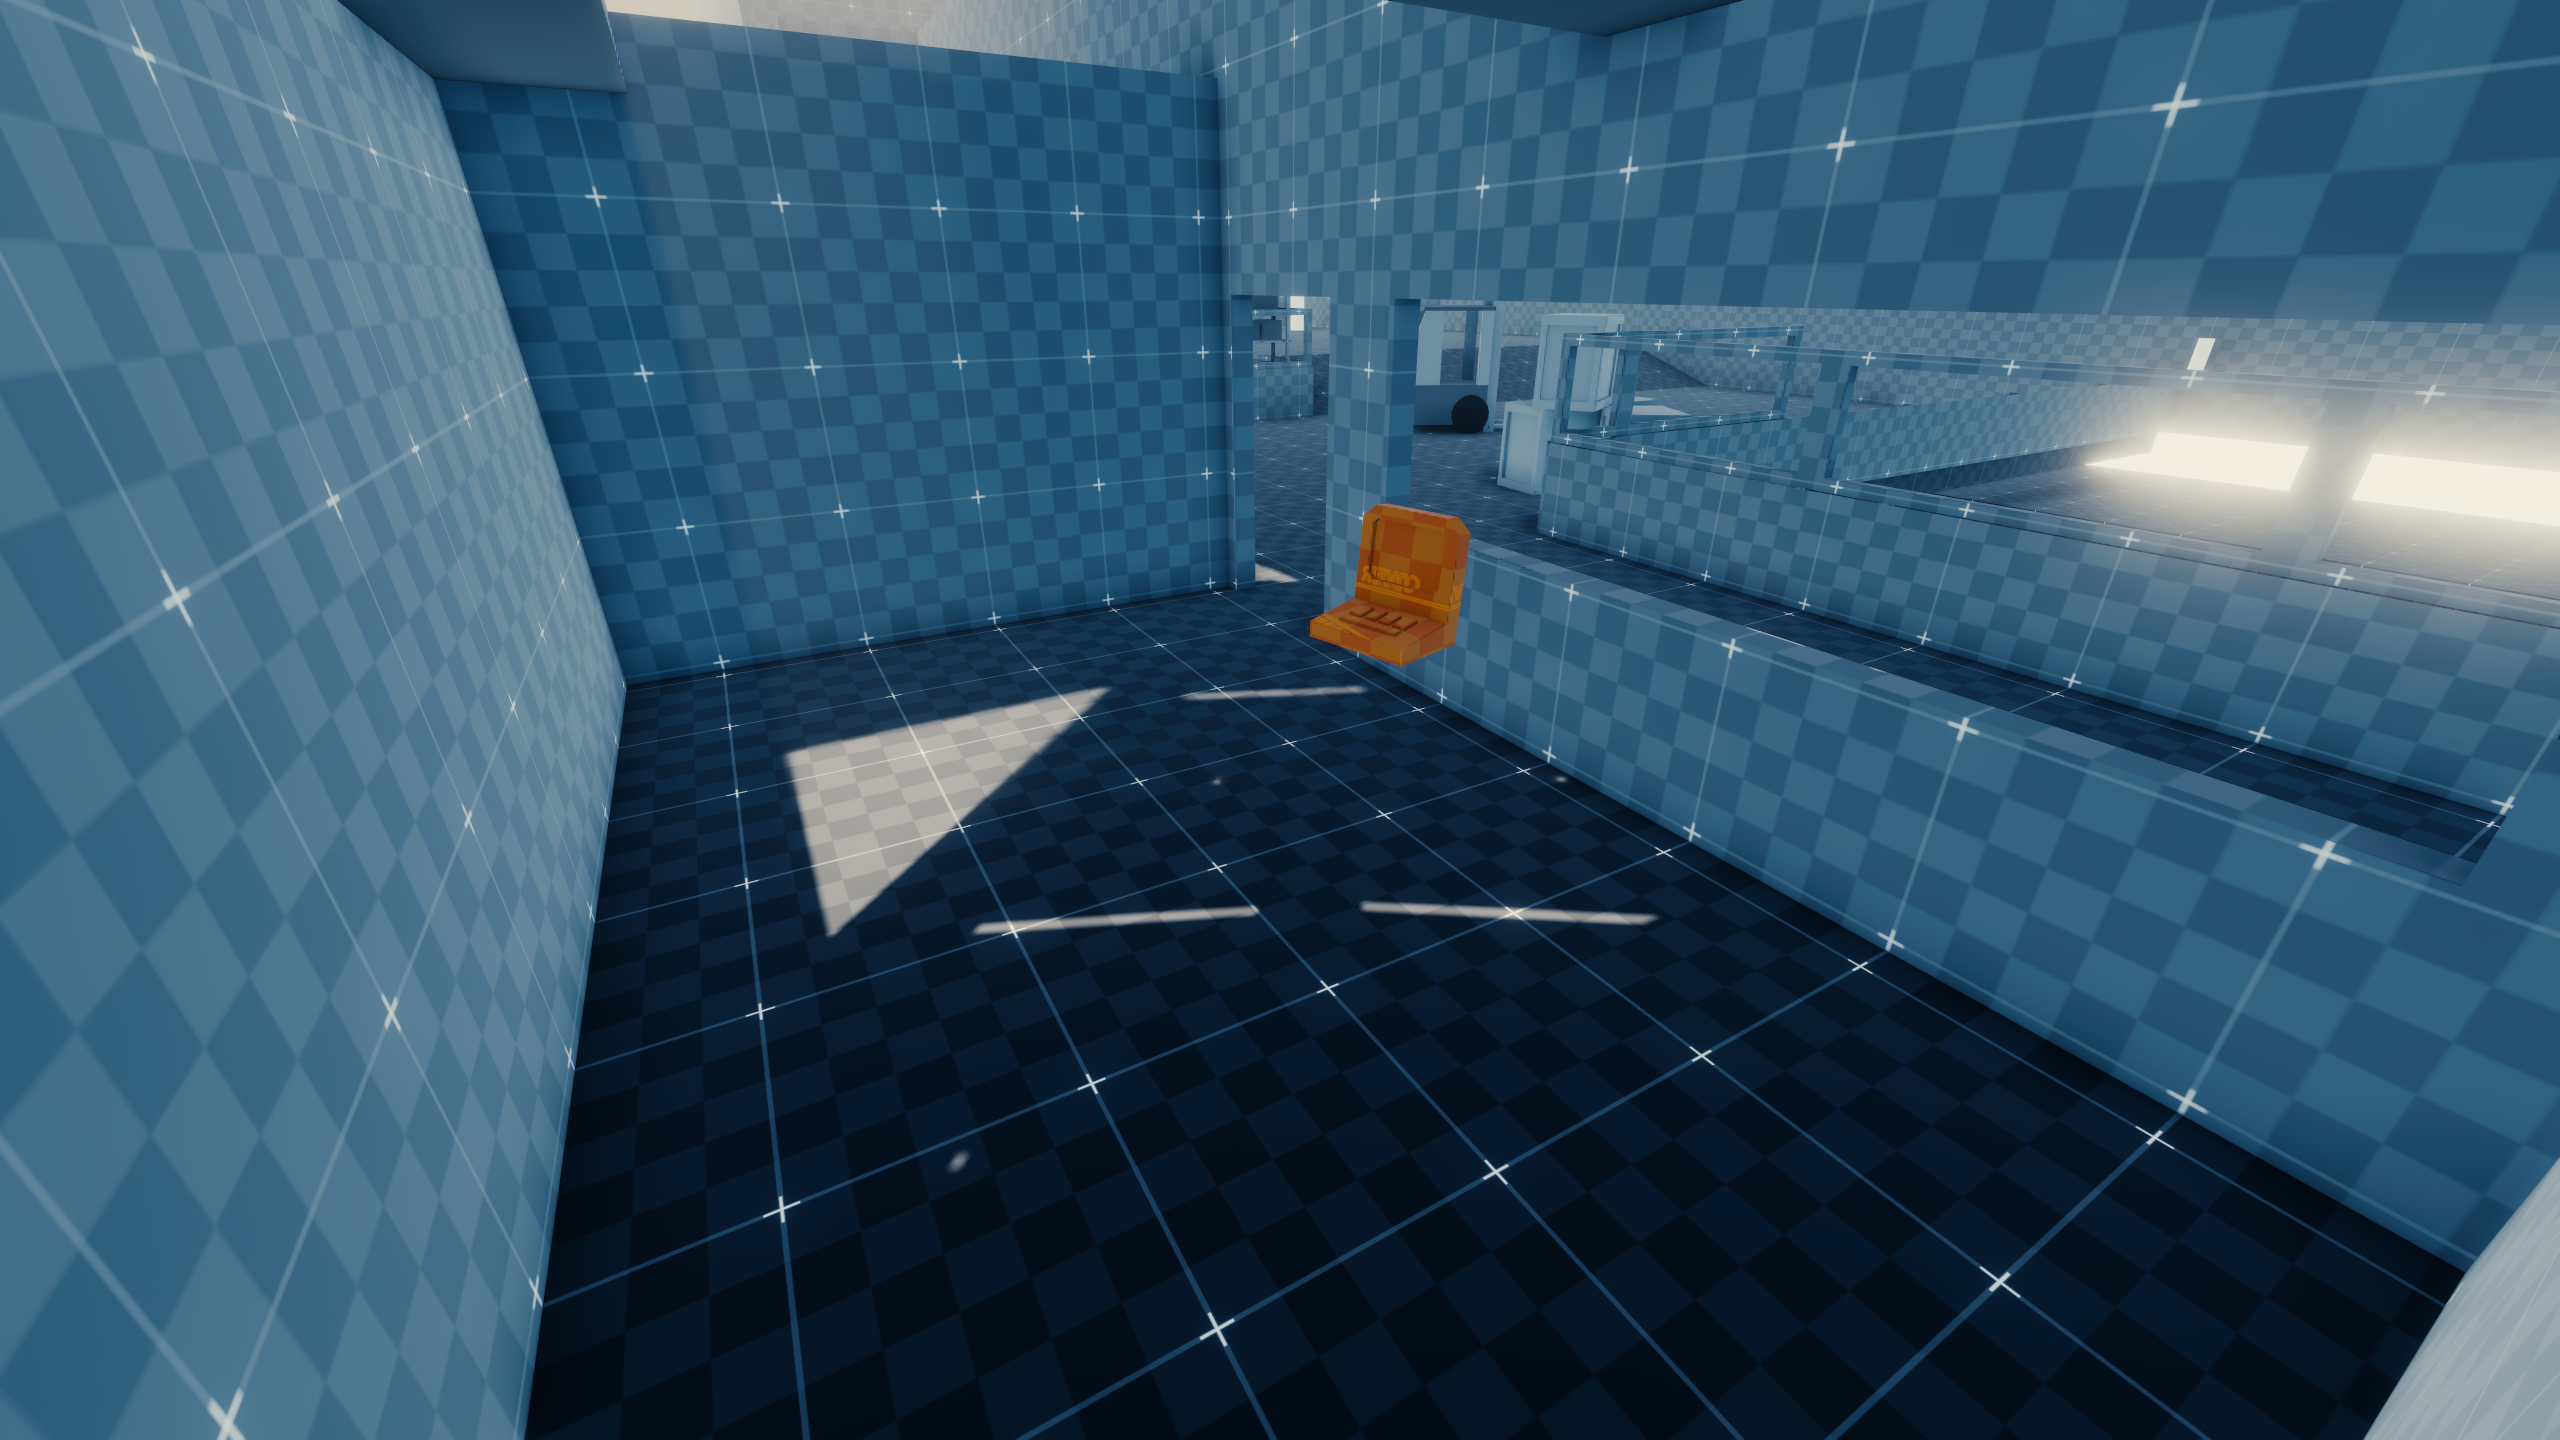
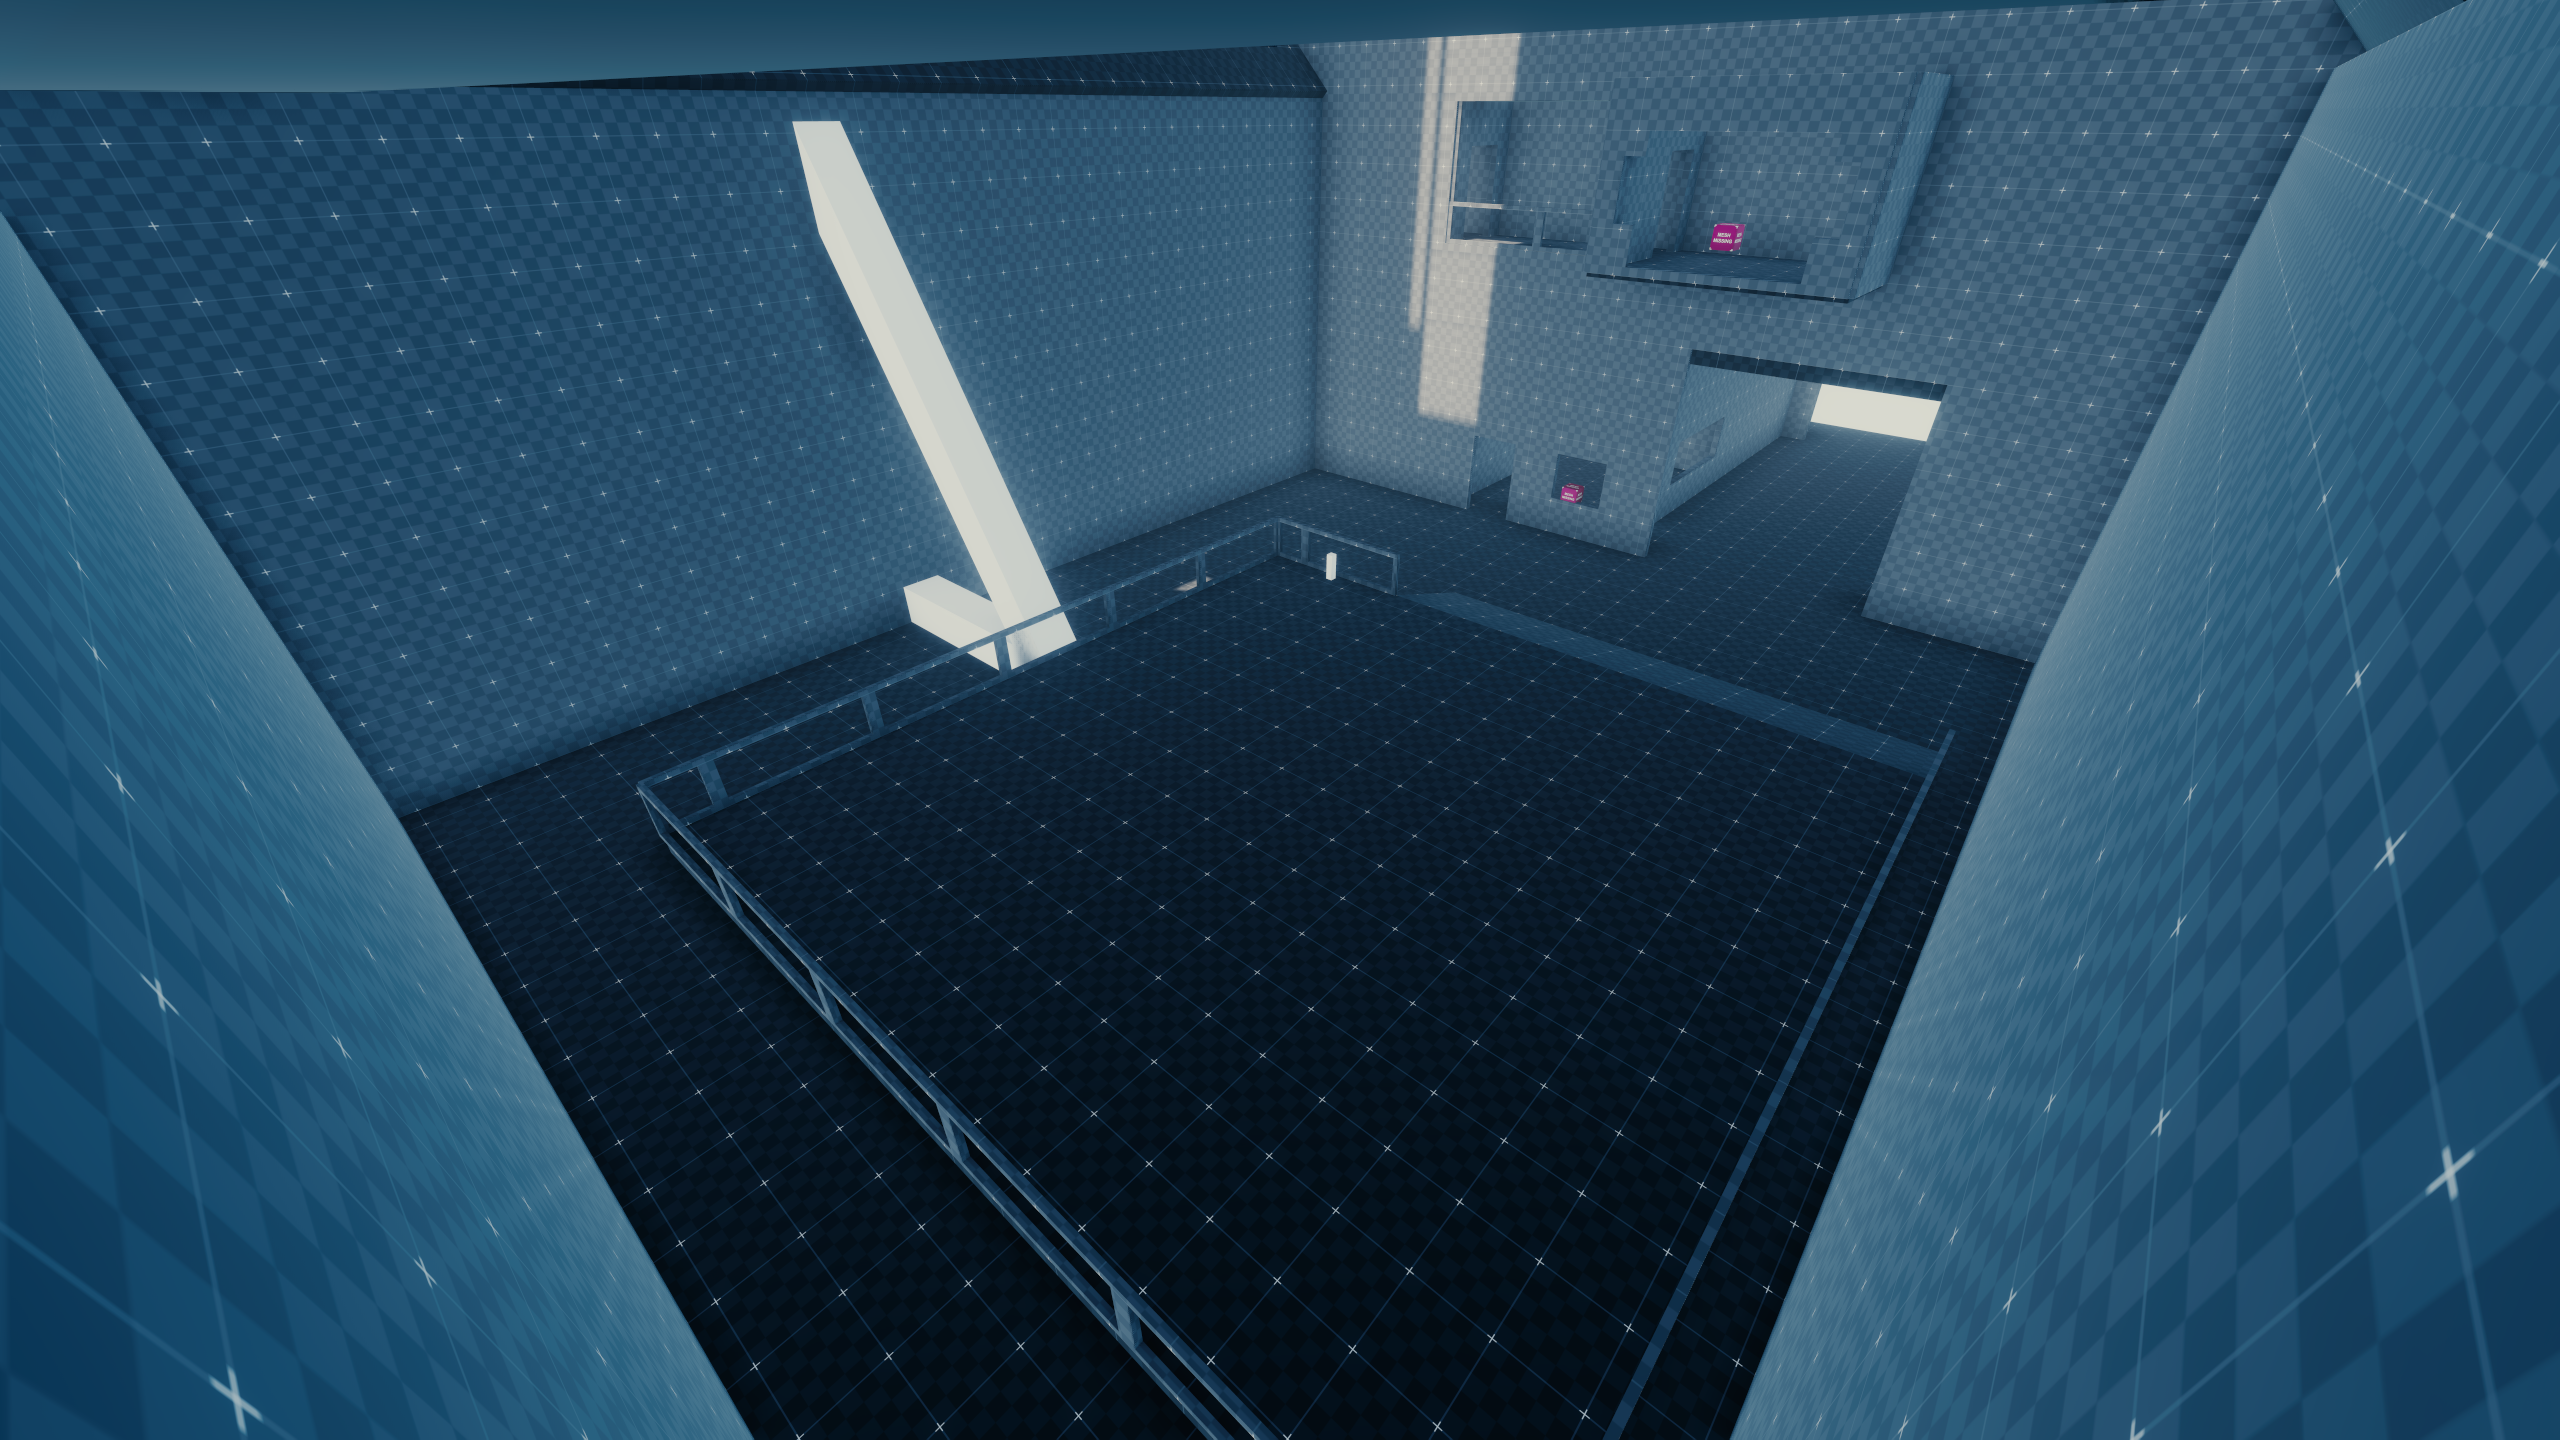
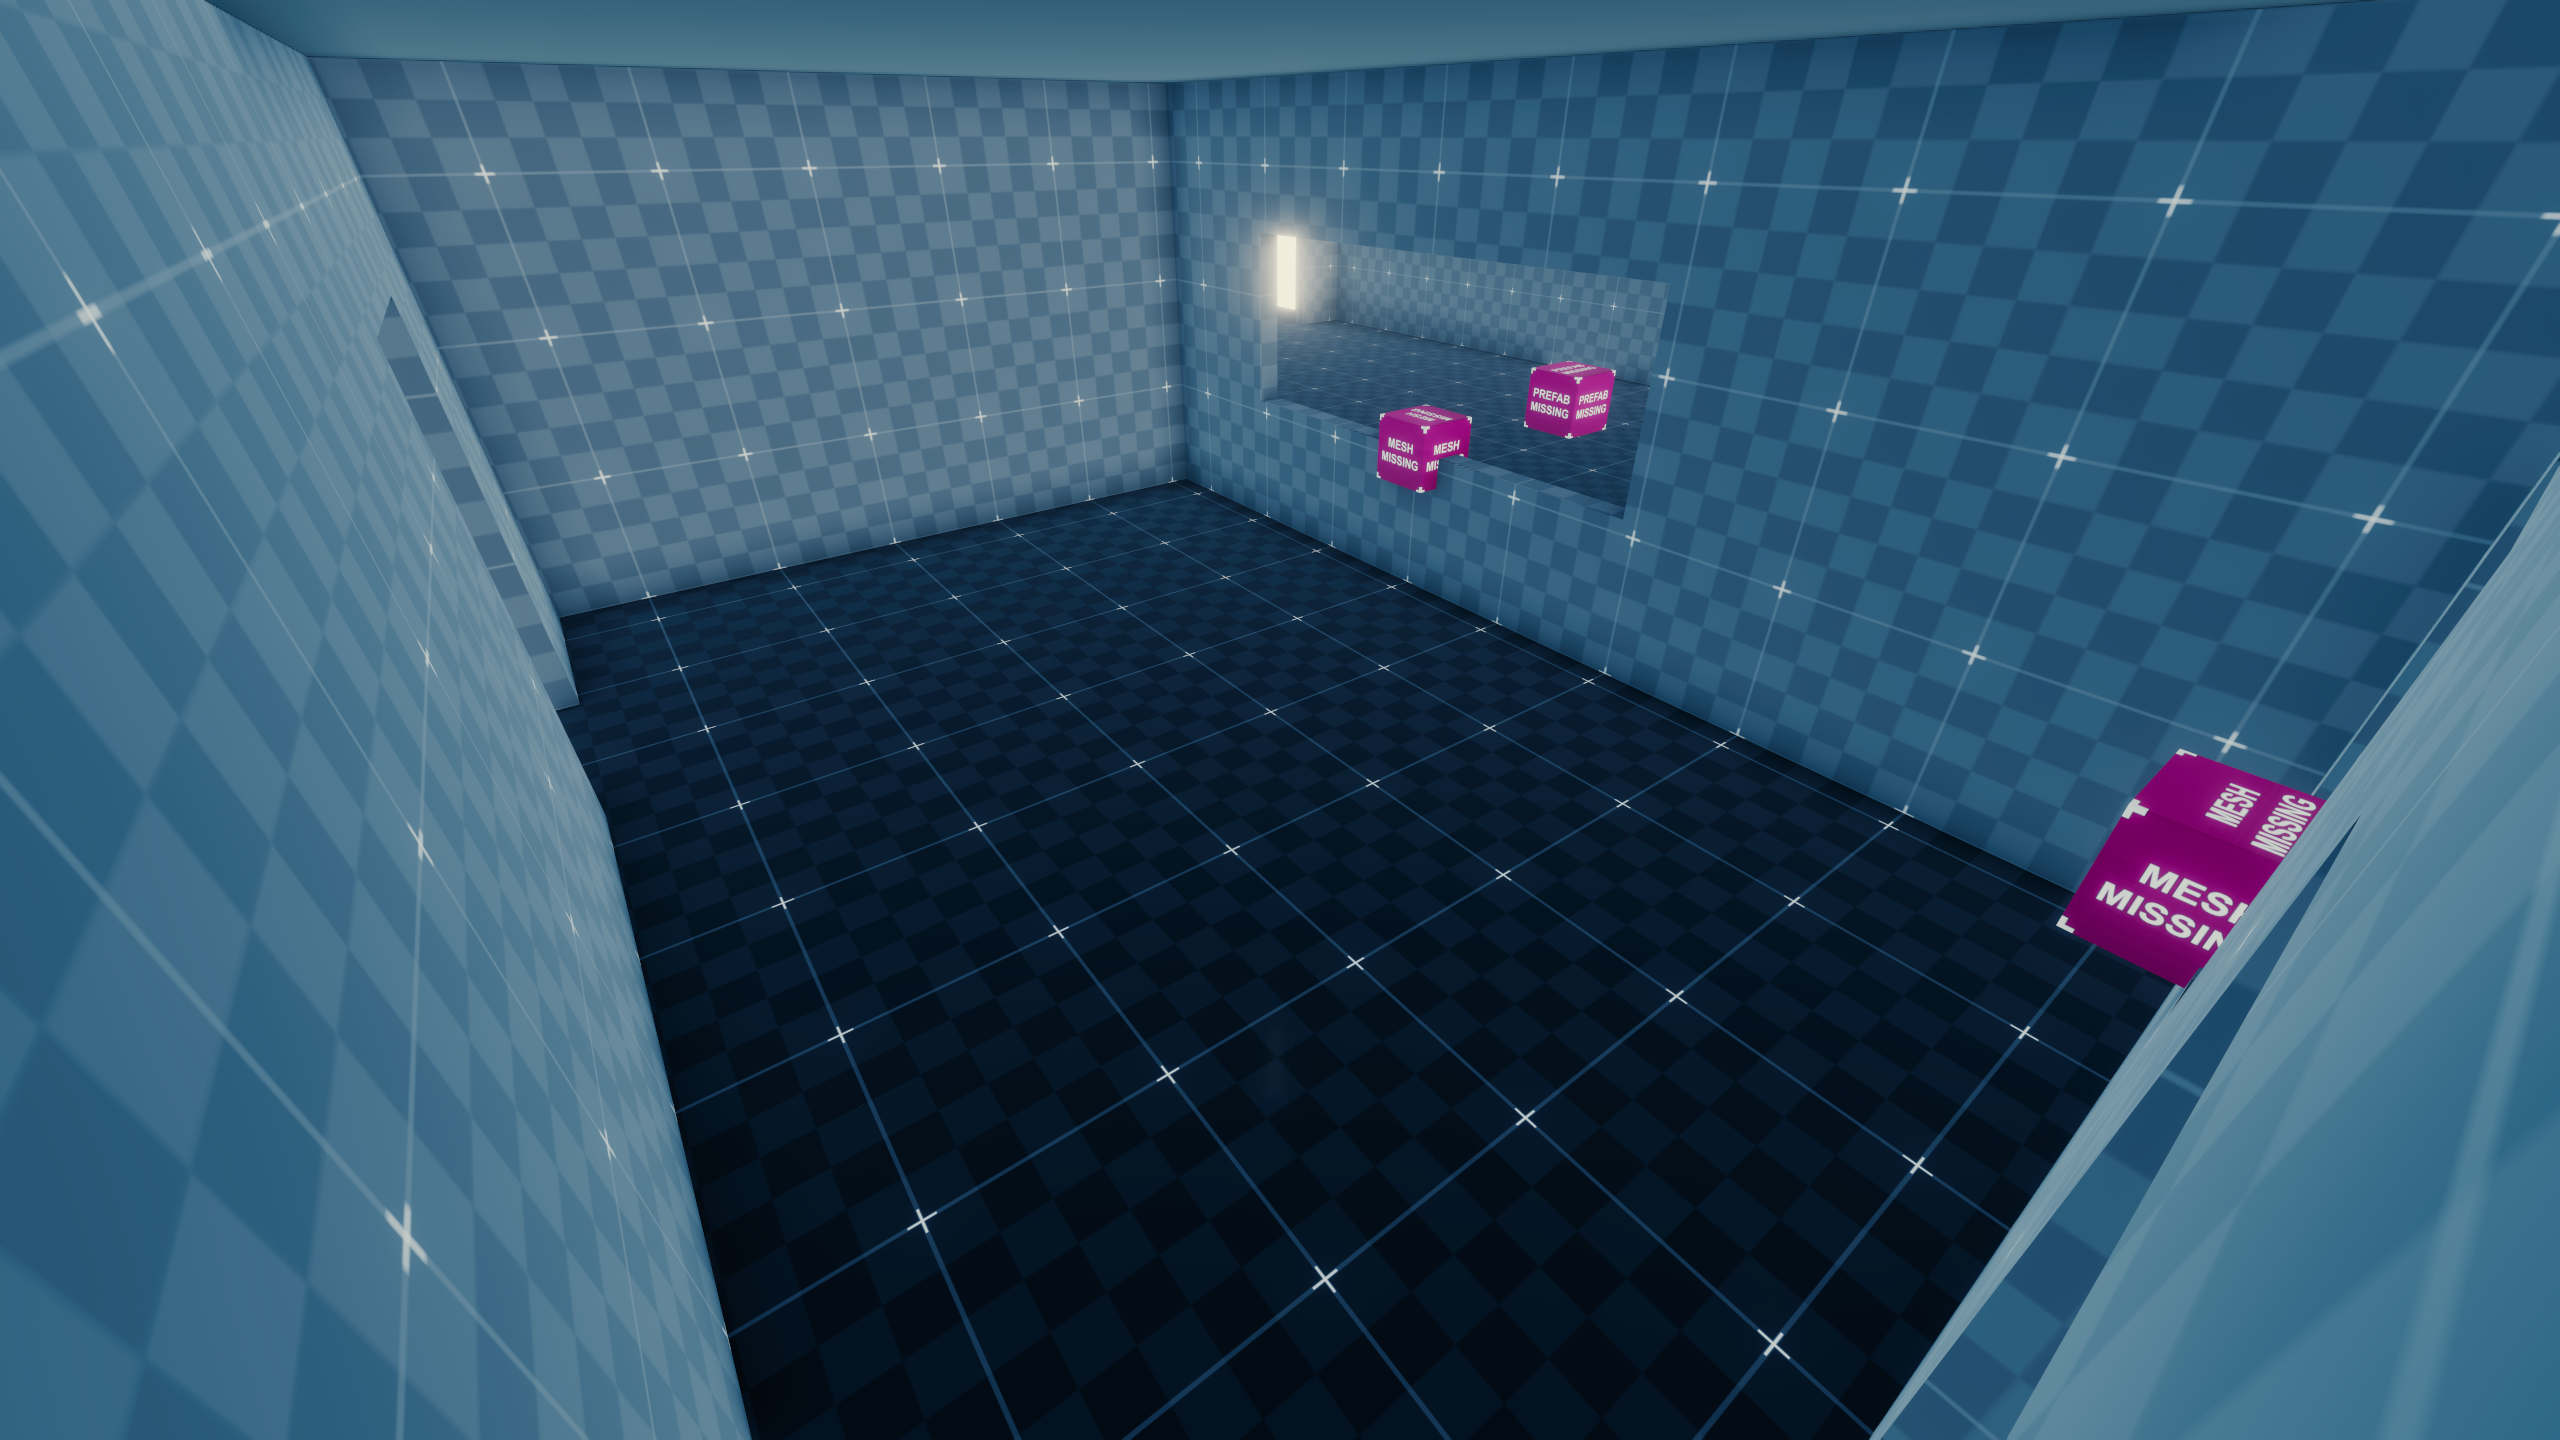
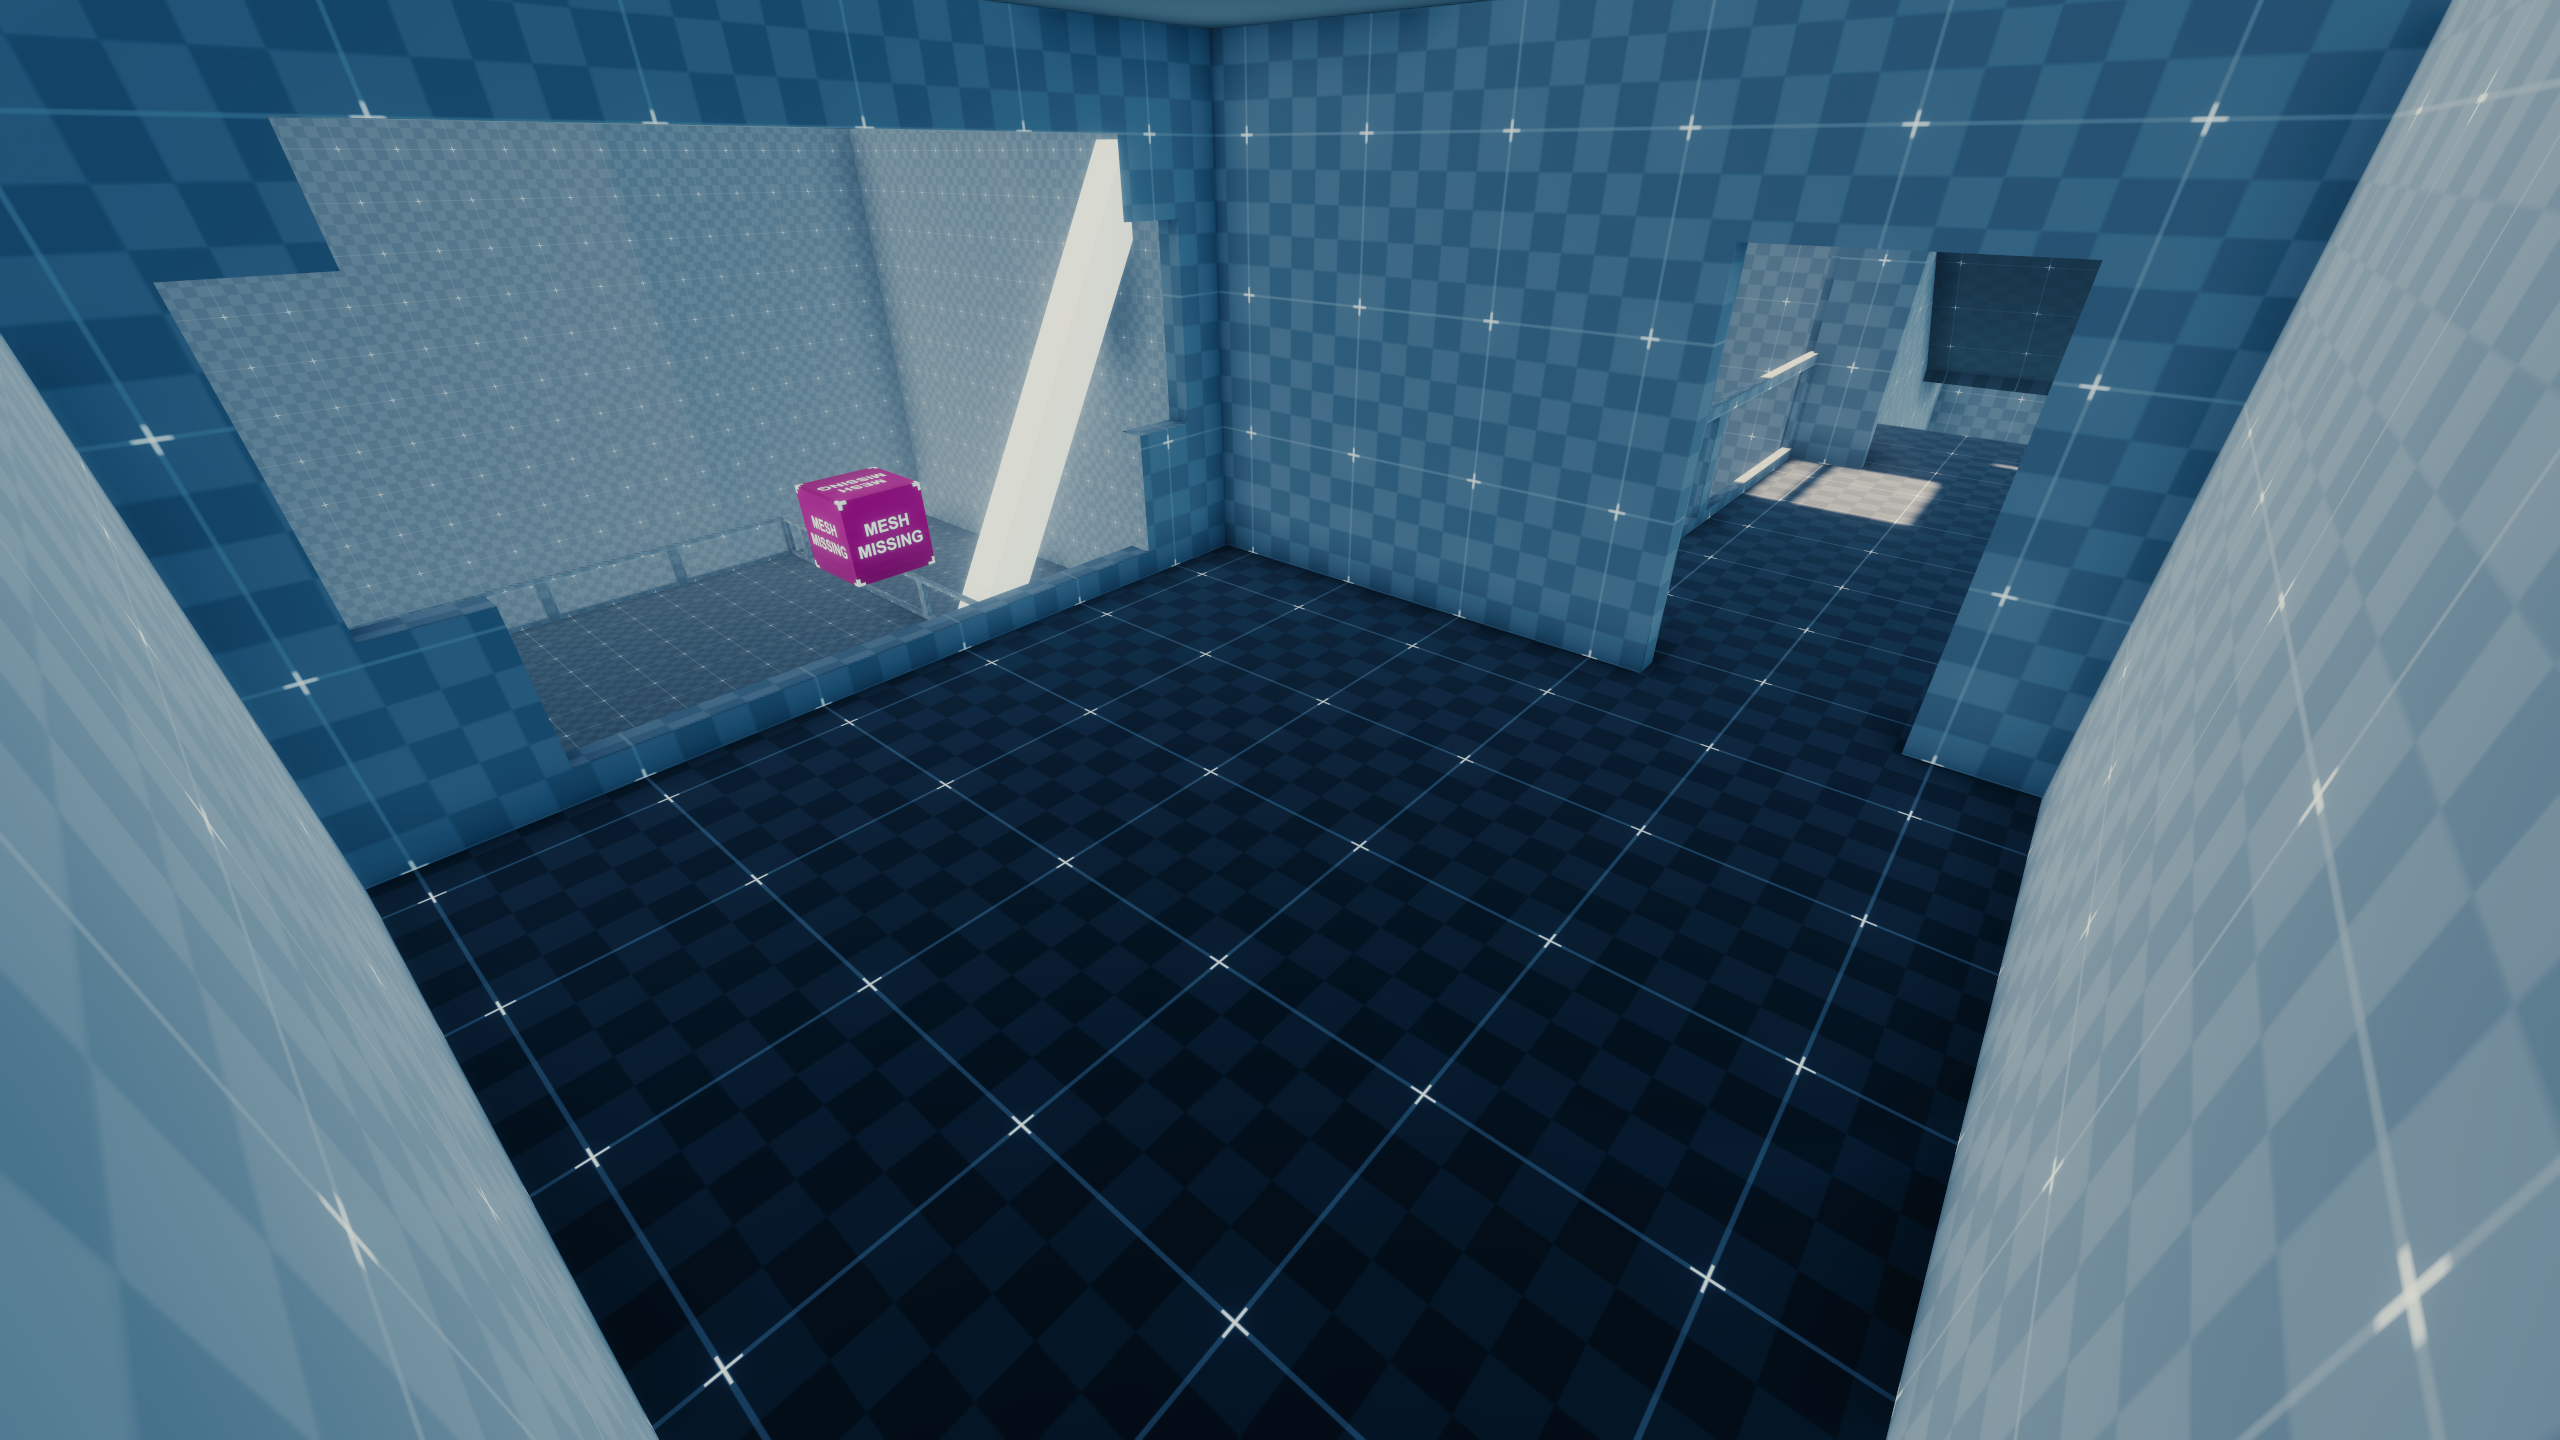
This level appears to be a mix of both a storage bunker and a luxury apartment, which housed both Kenji Arasaka and his tutor. The lower levels of the level contain a storage room with a large vehicle elevator. Kenji Arasaka is a cut character, and was likely a disabled child in a wheelchair. What the player's goals were in this level is unclear, but remnants of the path the player would have taken to and from the bunker can be seen in the levels surrounding the bunker. There are two separate levels with paths to/from the level, q202_road_to_vip_bunker and q202_truck_chase. The first level would have been a part of the player's route to this level, and would have taken the player to the entry points of the bunker, which would likely have been the two airlocks and the rope leading to the observation deck. The second level, going by the name of it, would have featured a vehicle chase that would lead the player away from the bunker.
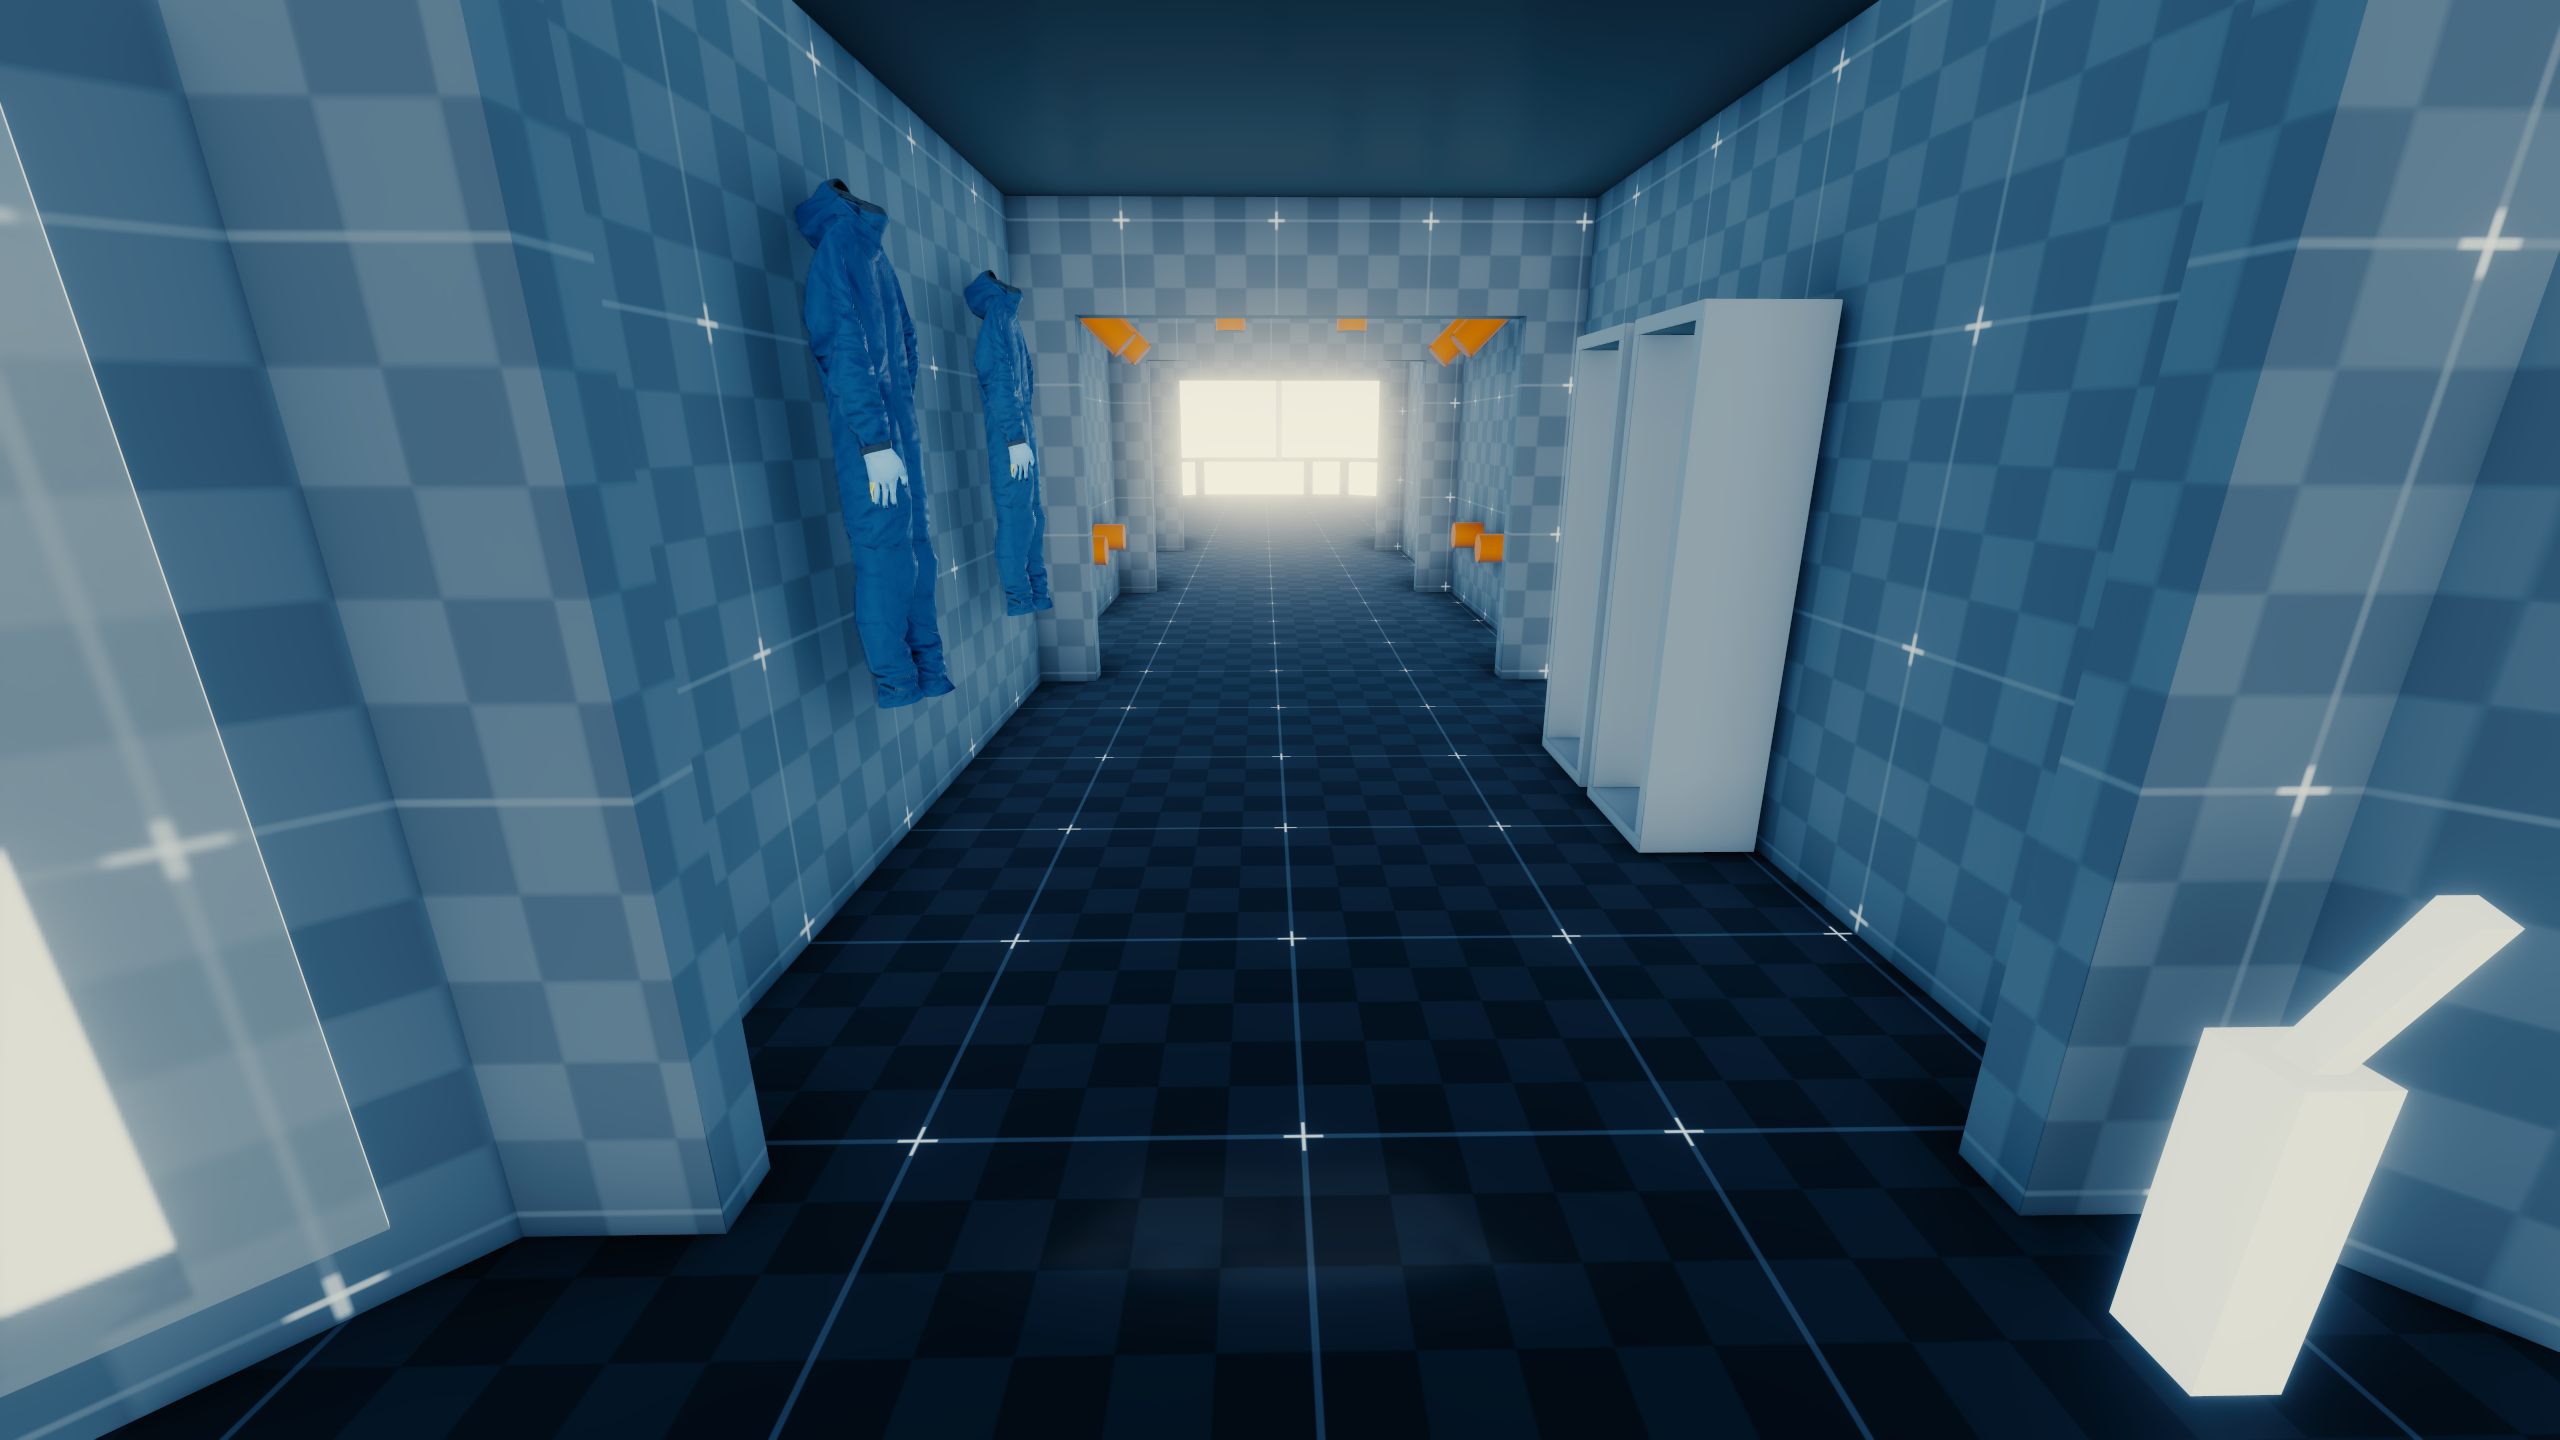
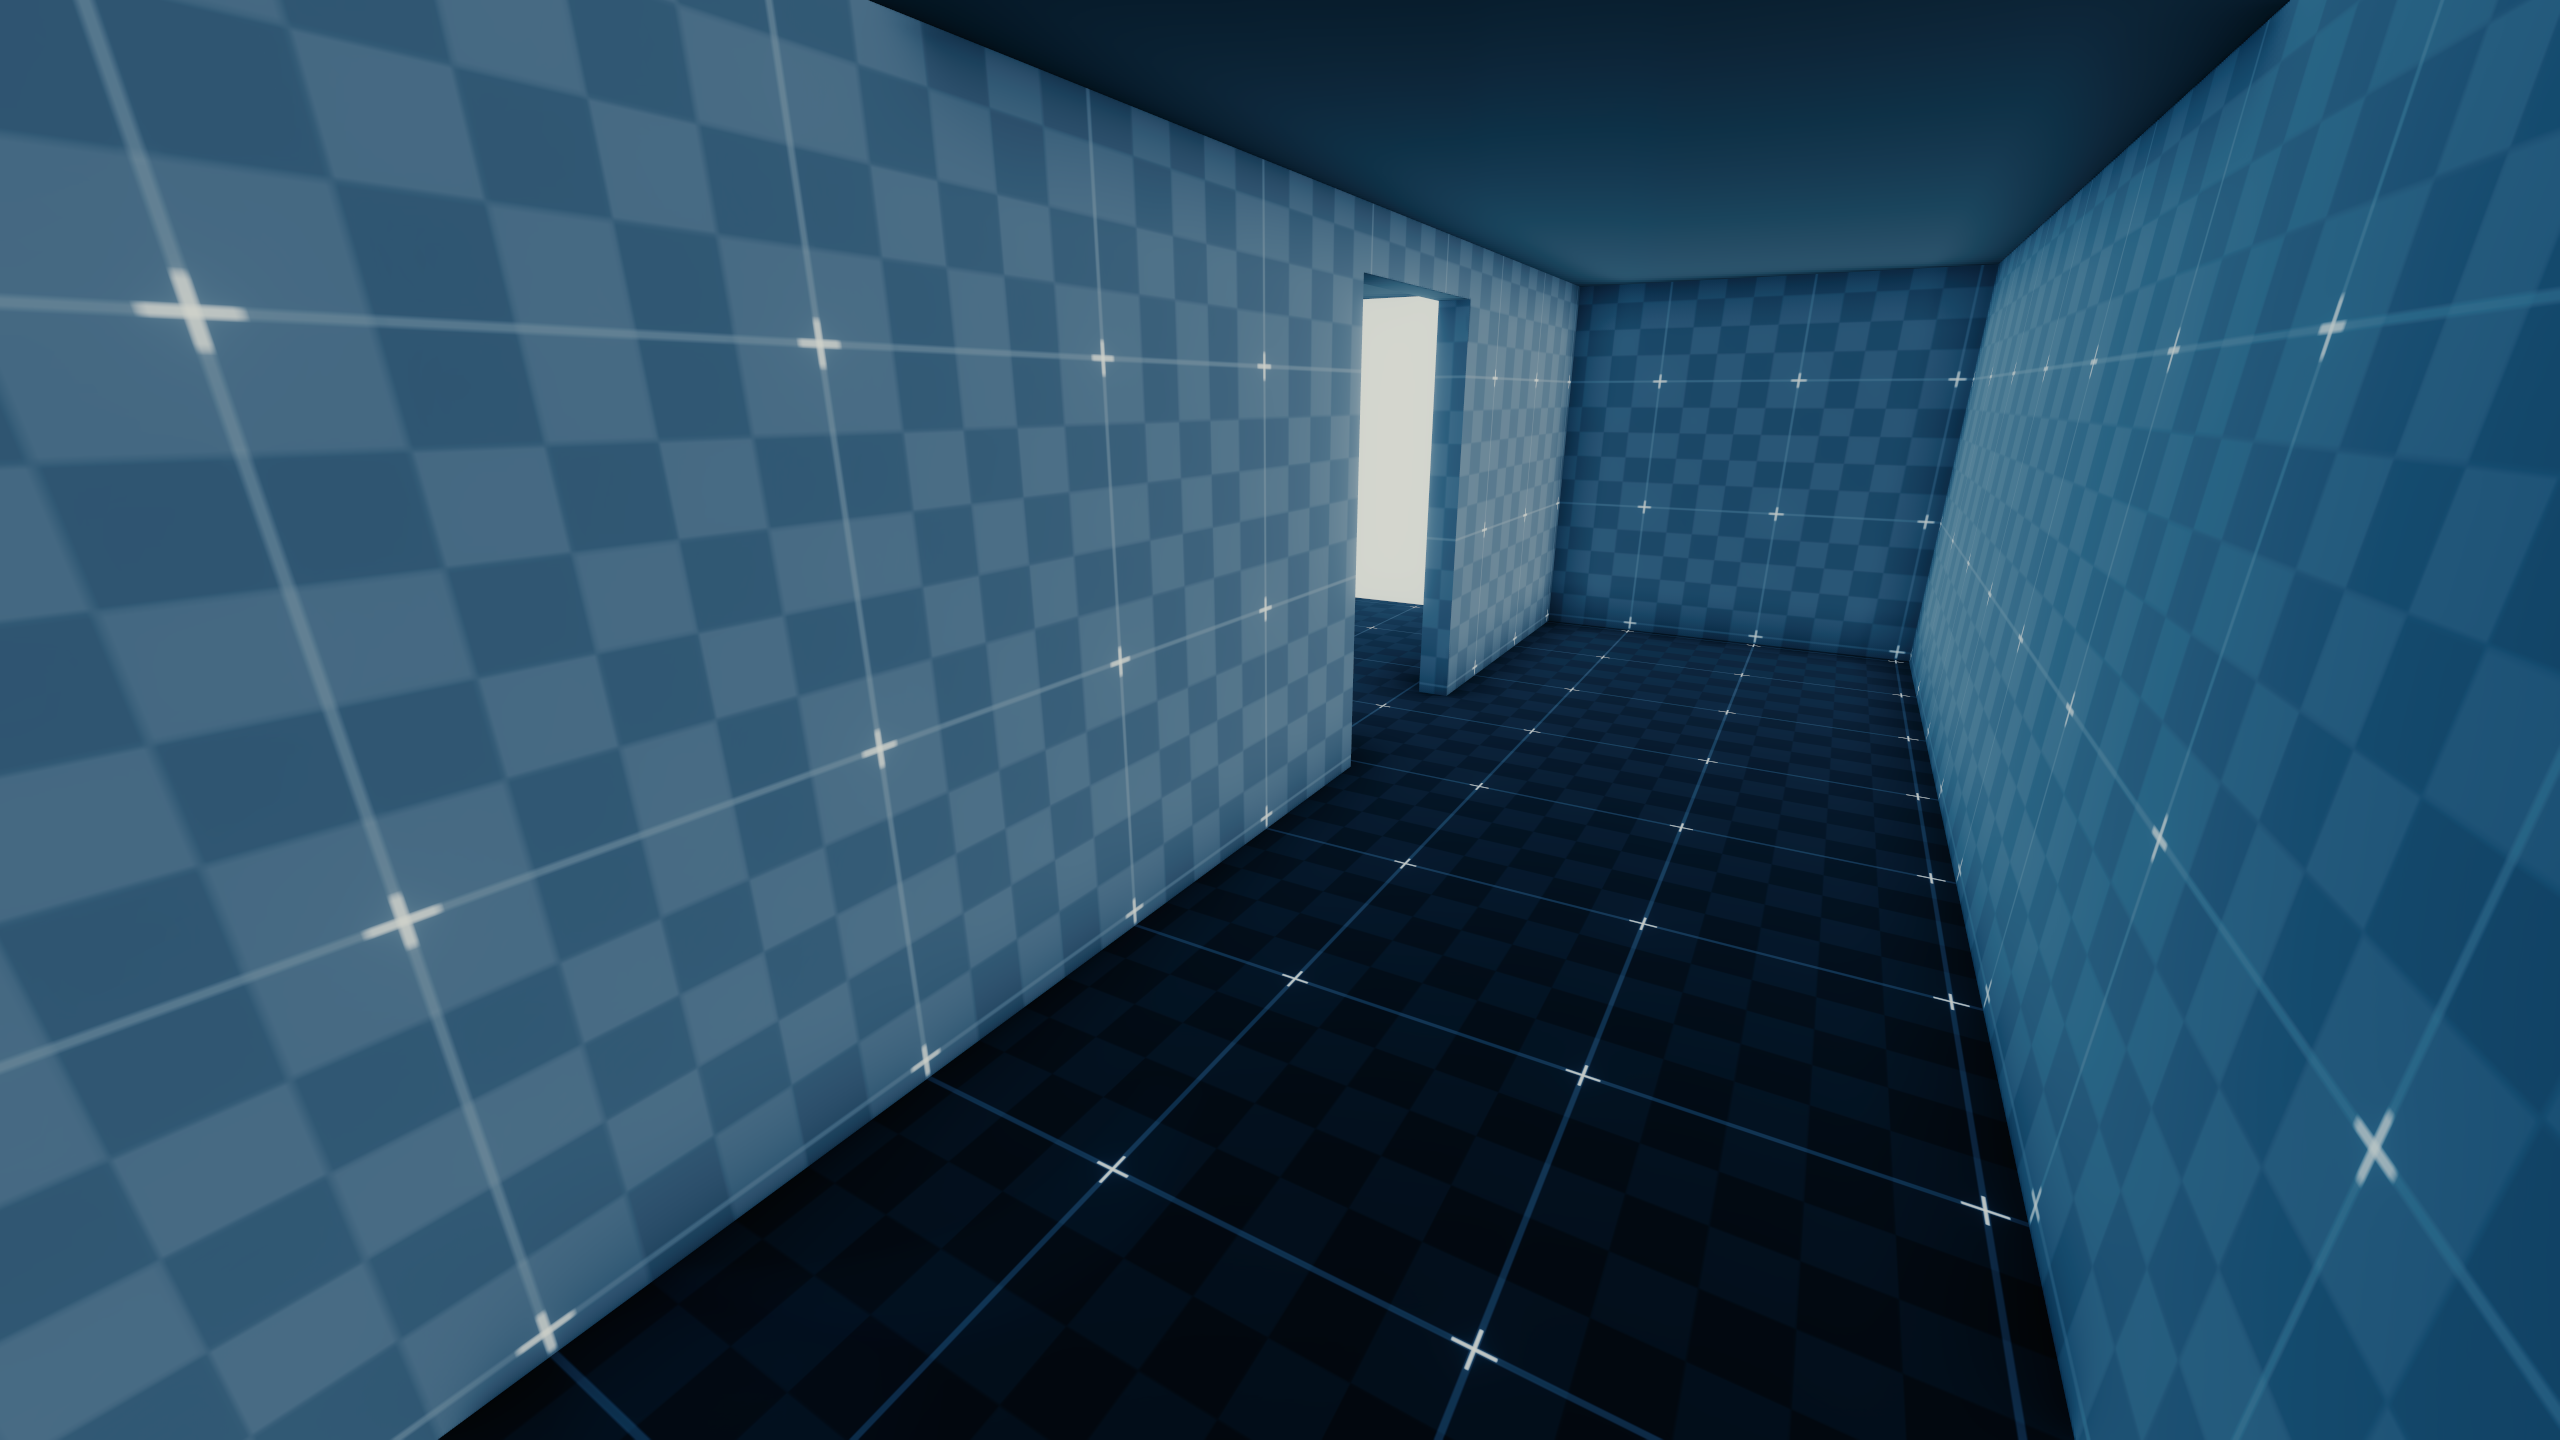
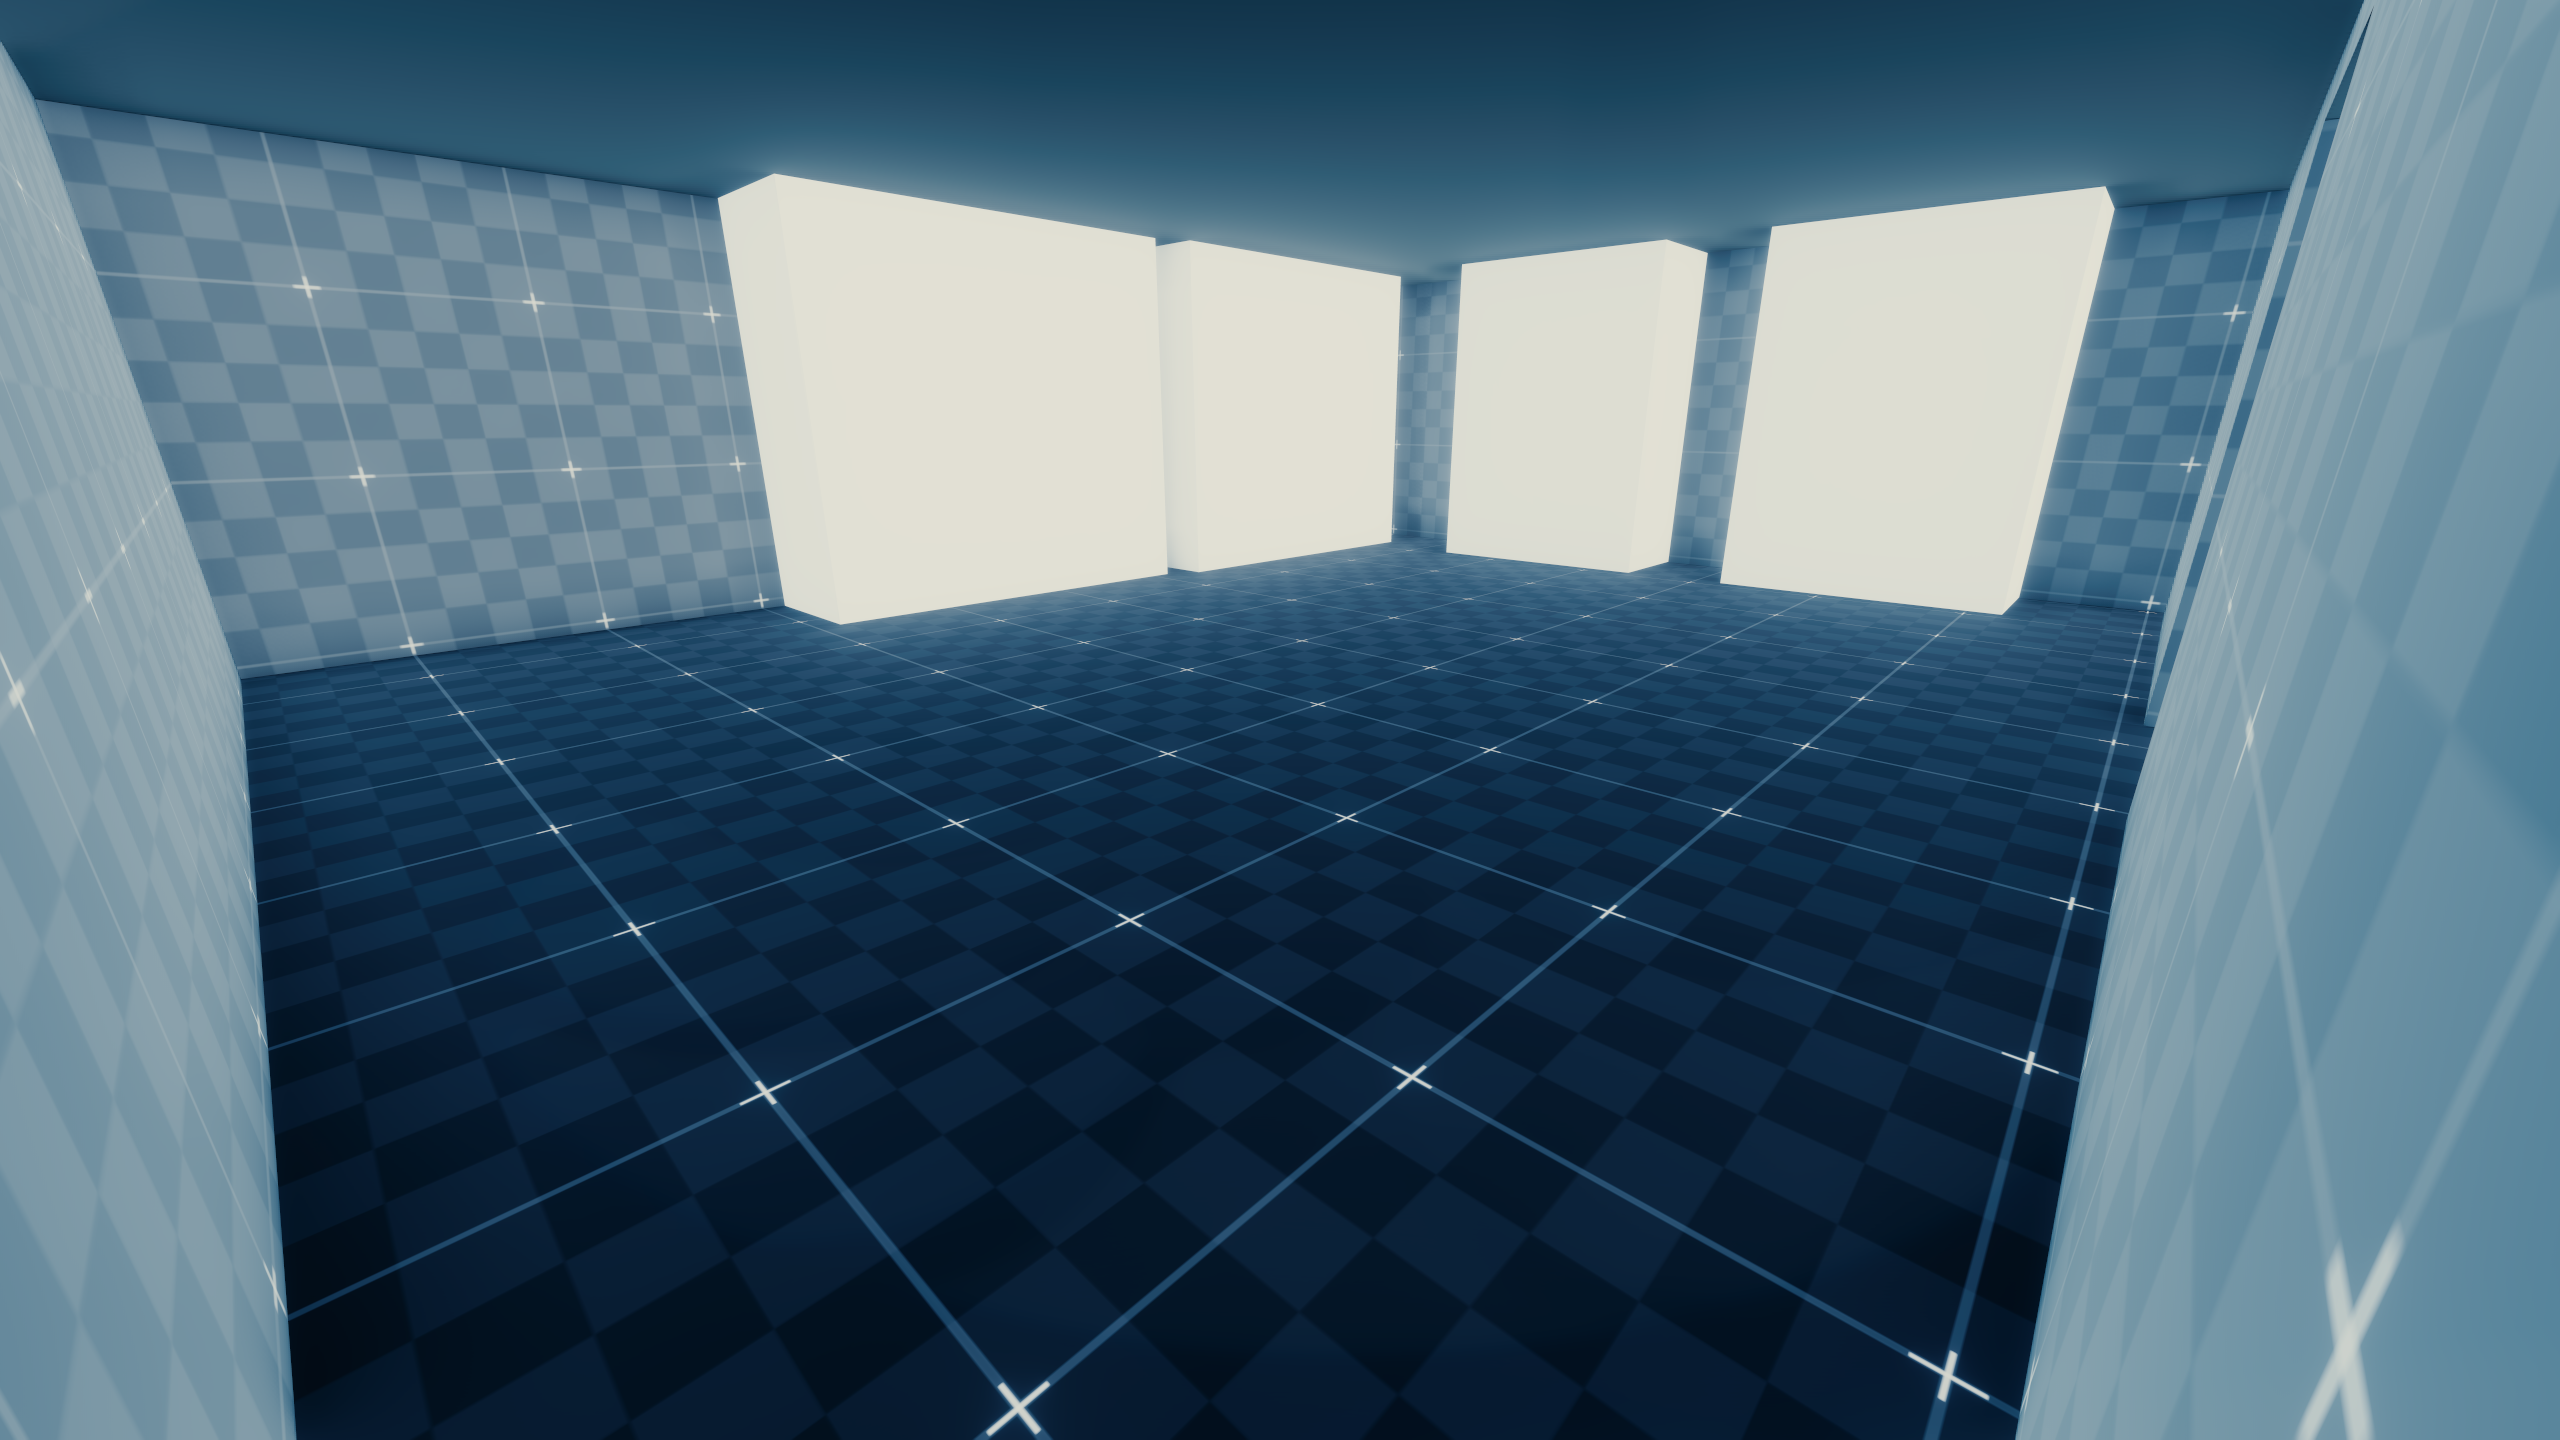
Inside the bunker the player would have first reached the Living Quarters floor. On this floor the player would/could(?) have met Kenji Arasaka's tutor in Kenji's room and talked to him, but the dialogue files are missing. There is also an emergency exit in the room leading to the topside, suggesting that Kenji and his tutor could have left the bunker via that route. This floor also has a server room where the player could have talked to someone, the dialogue files from this conversation are also missing. Other rooms on this floor are an observation deck with an associated airlock and decontamination room, the tutor's living area and a pool.
The floor below the living quarters has a medical bay which specifically contains both x-ray equipment and x-ray charts, and a storage room which is part of the larger storage room facility of the bunker.
The storage room facility contains a large "vehicle elevator", which connects the upper floors of the bunker to the bottom. The bottom level contains an "observation/control deck" overlooking the elevator, and an airlock to leave the level.
Exterior Views
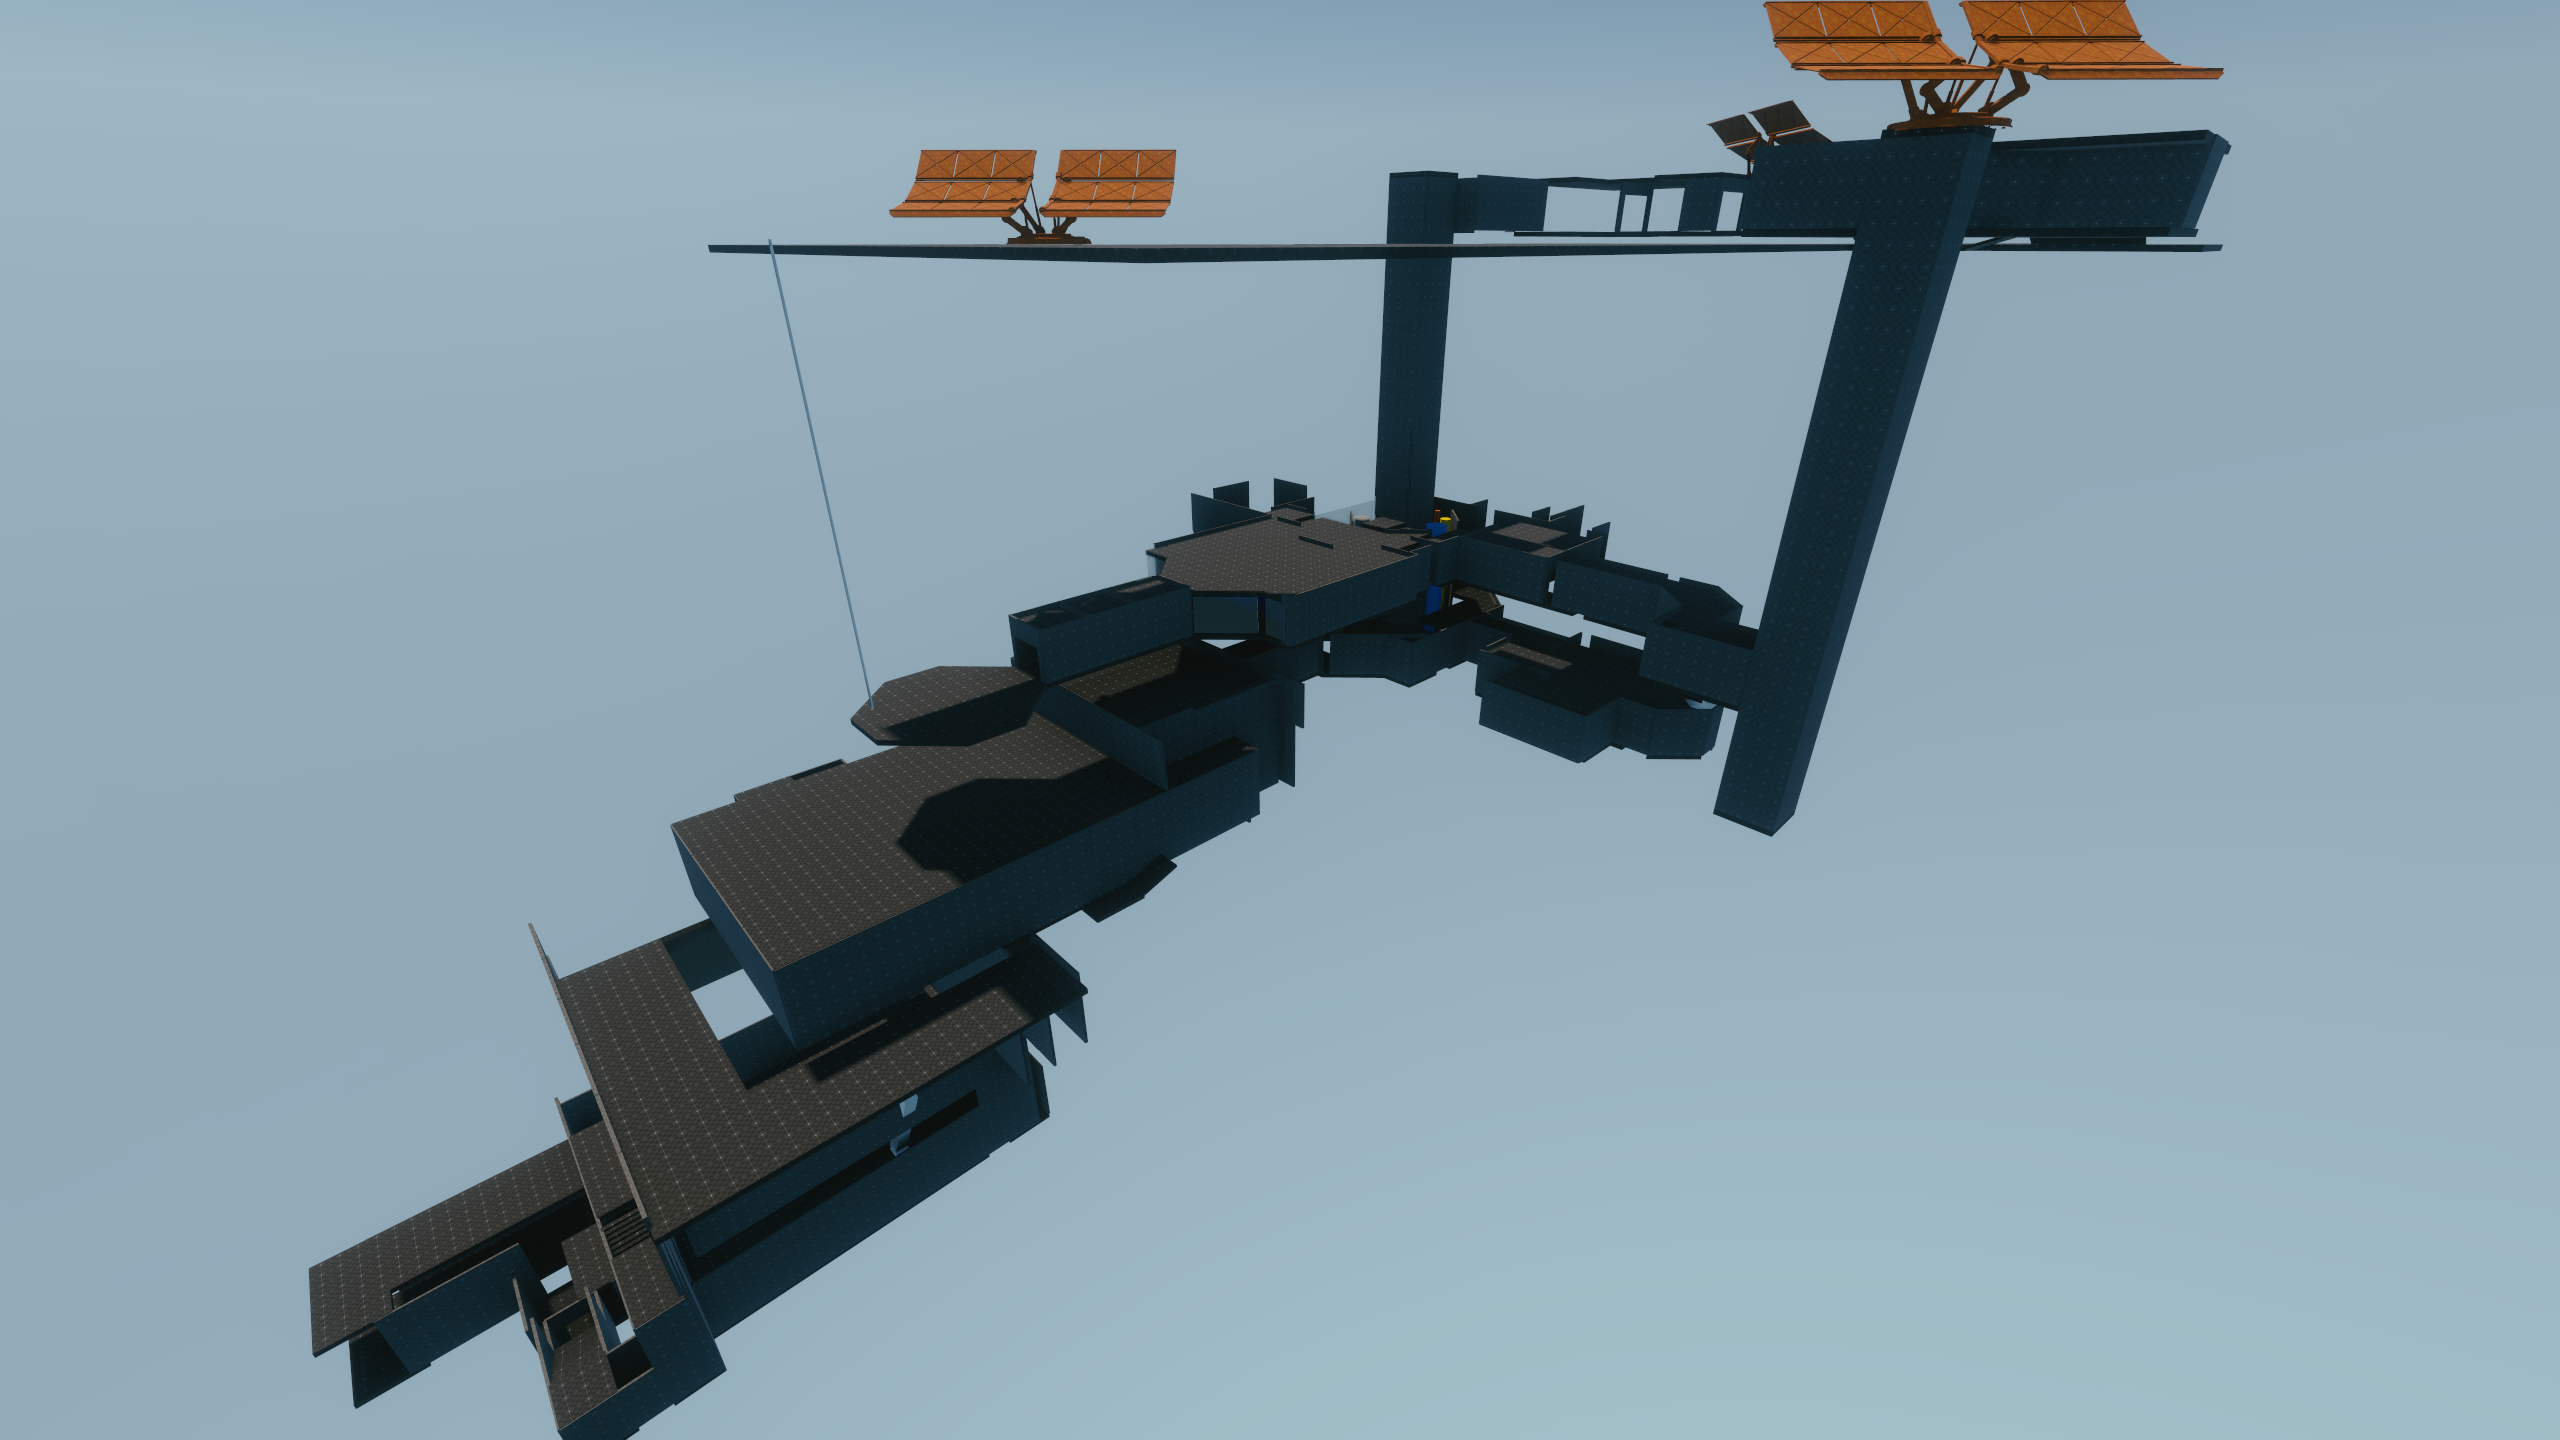
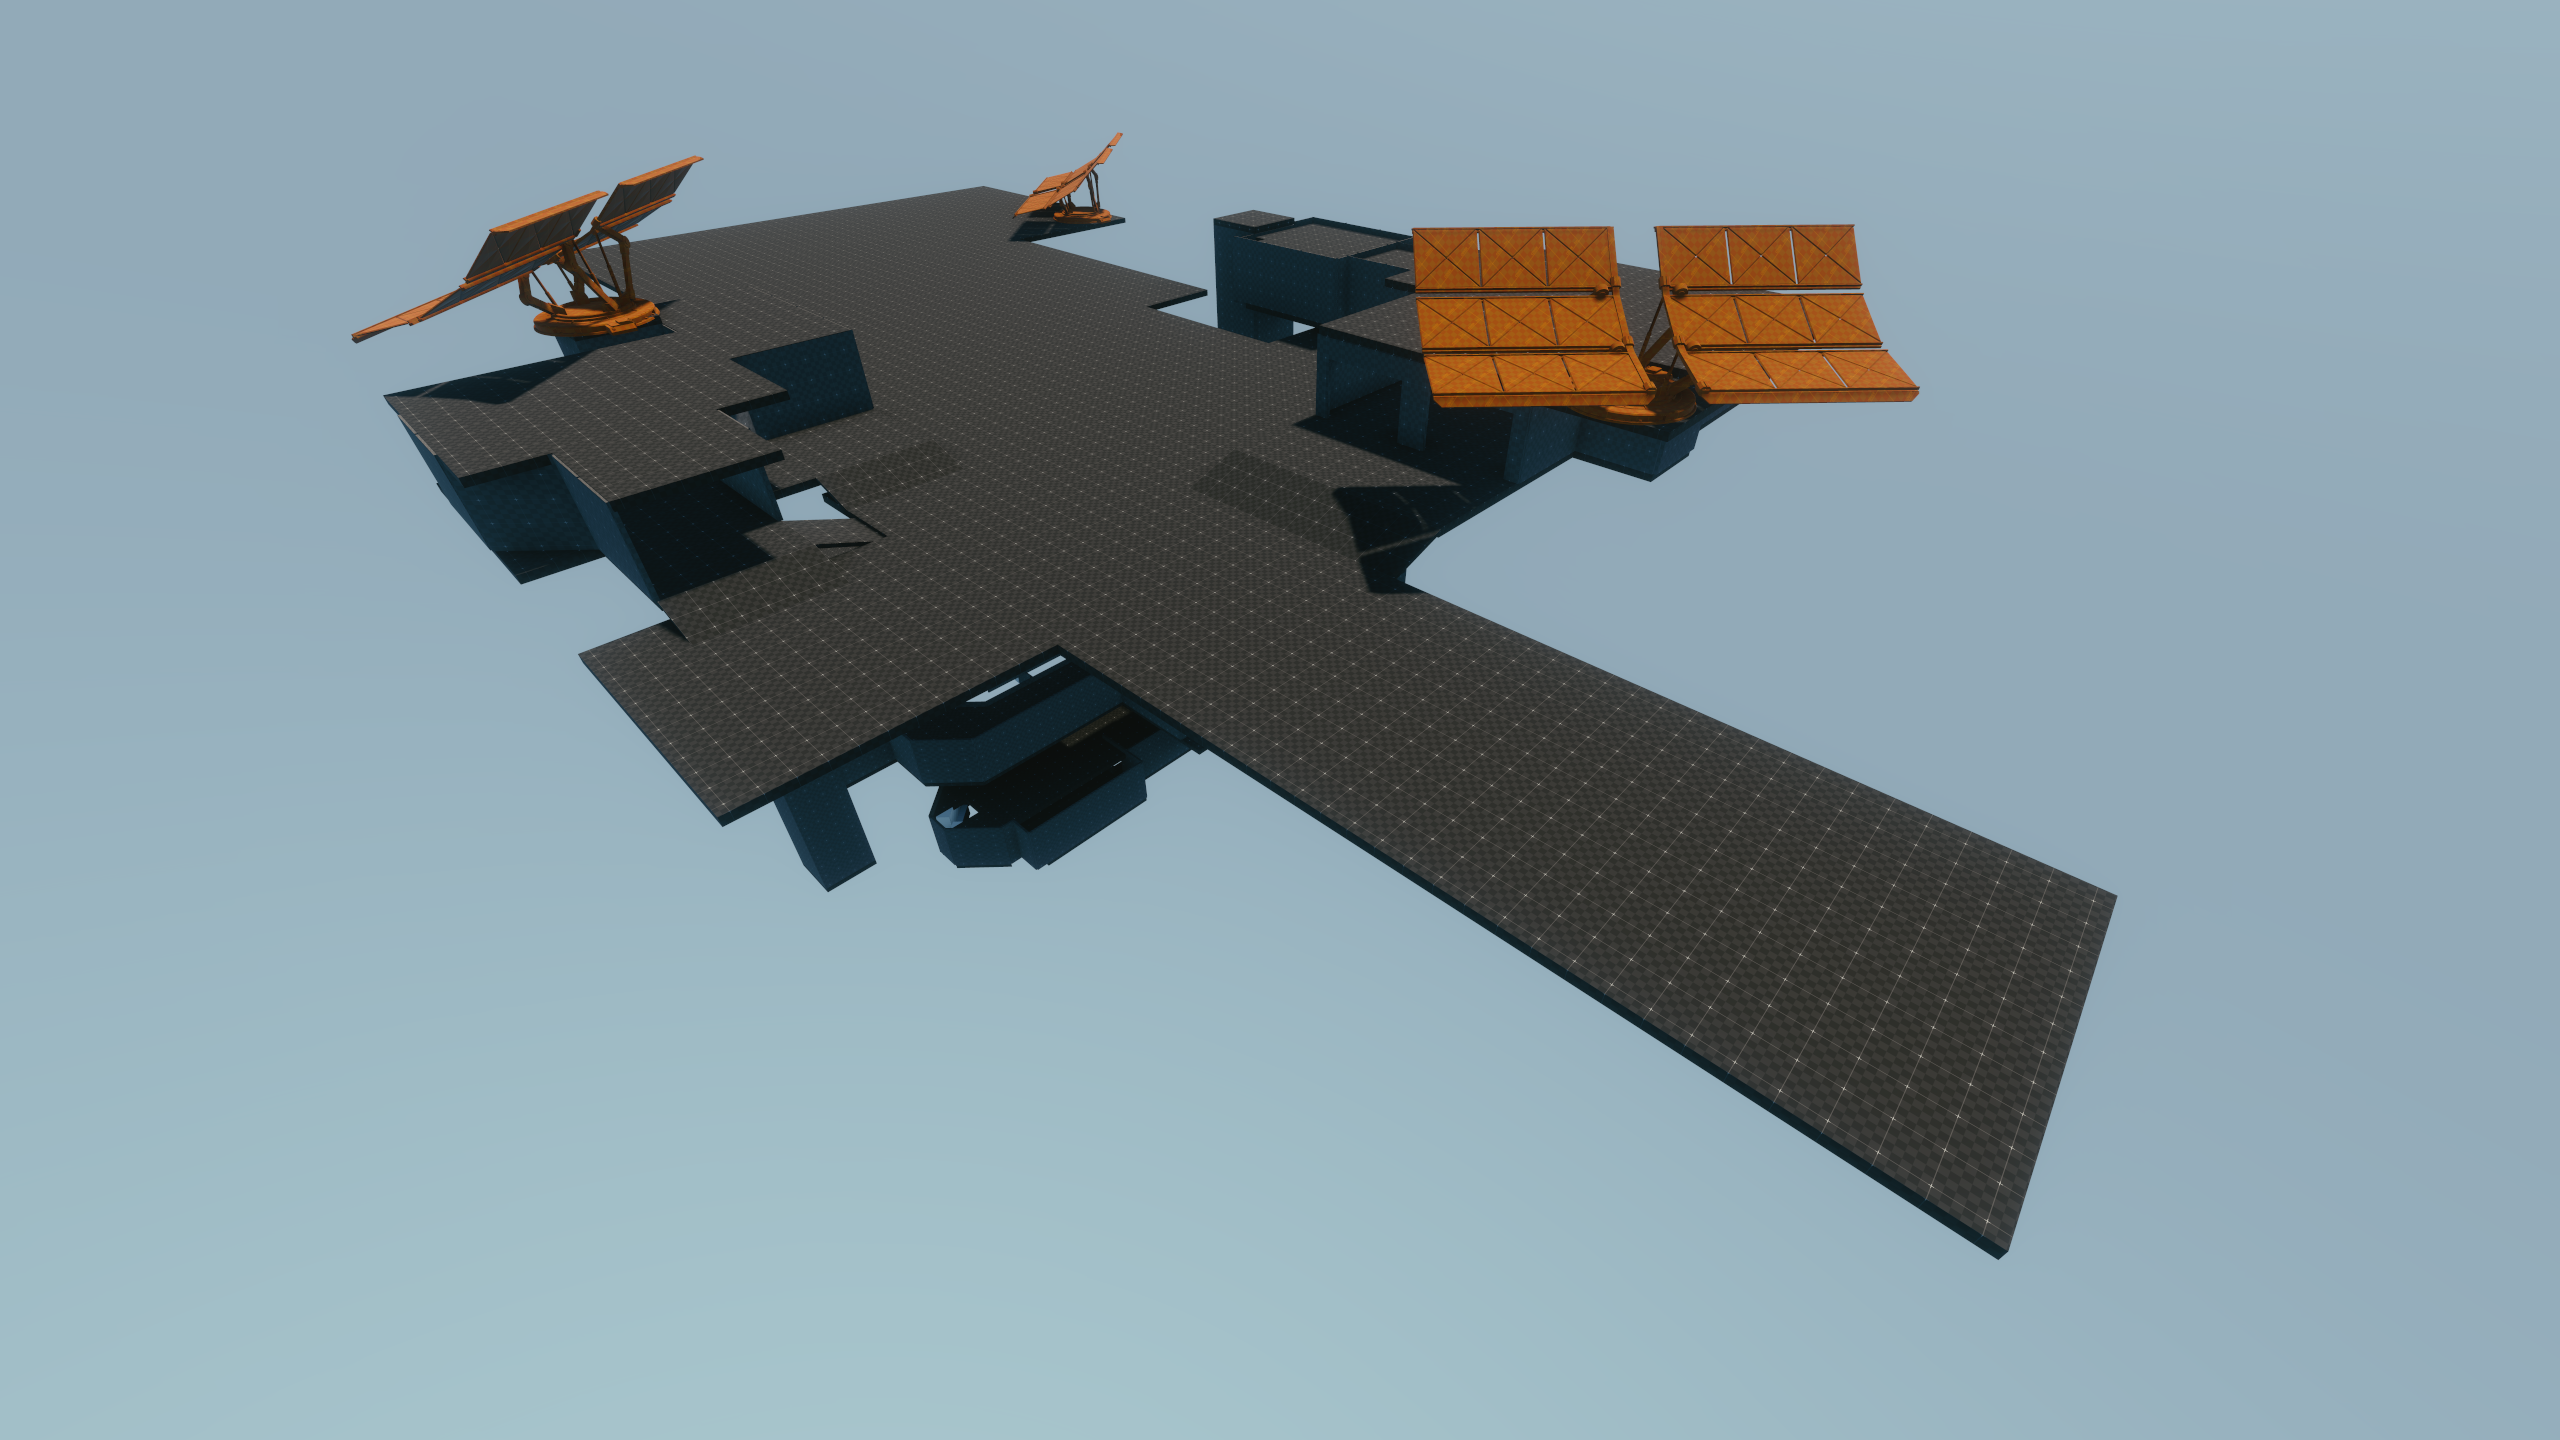
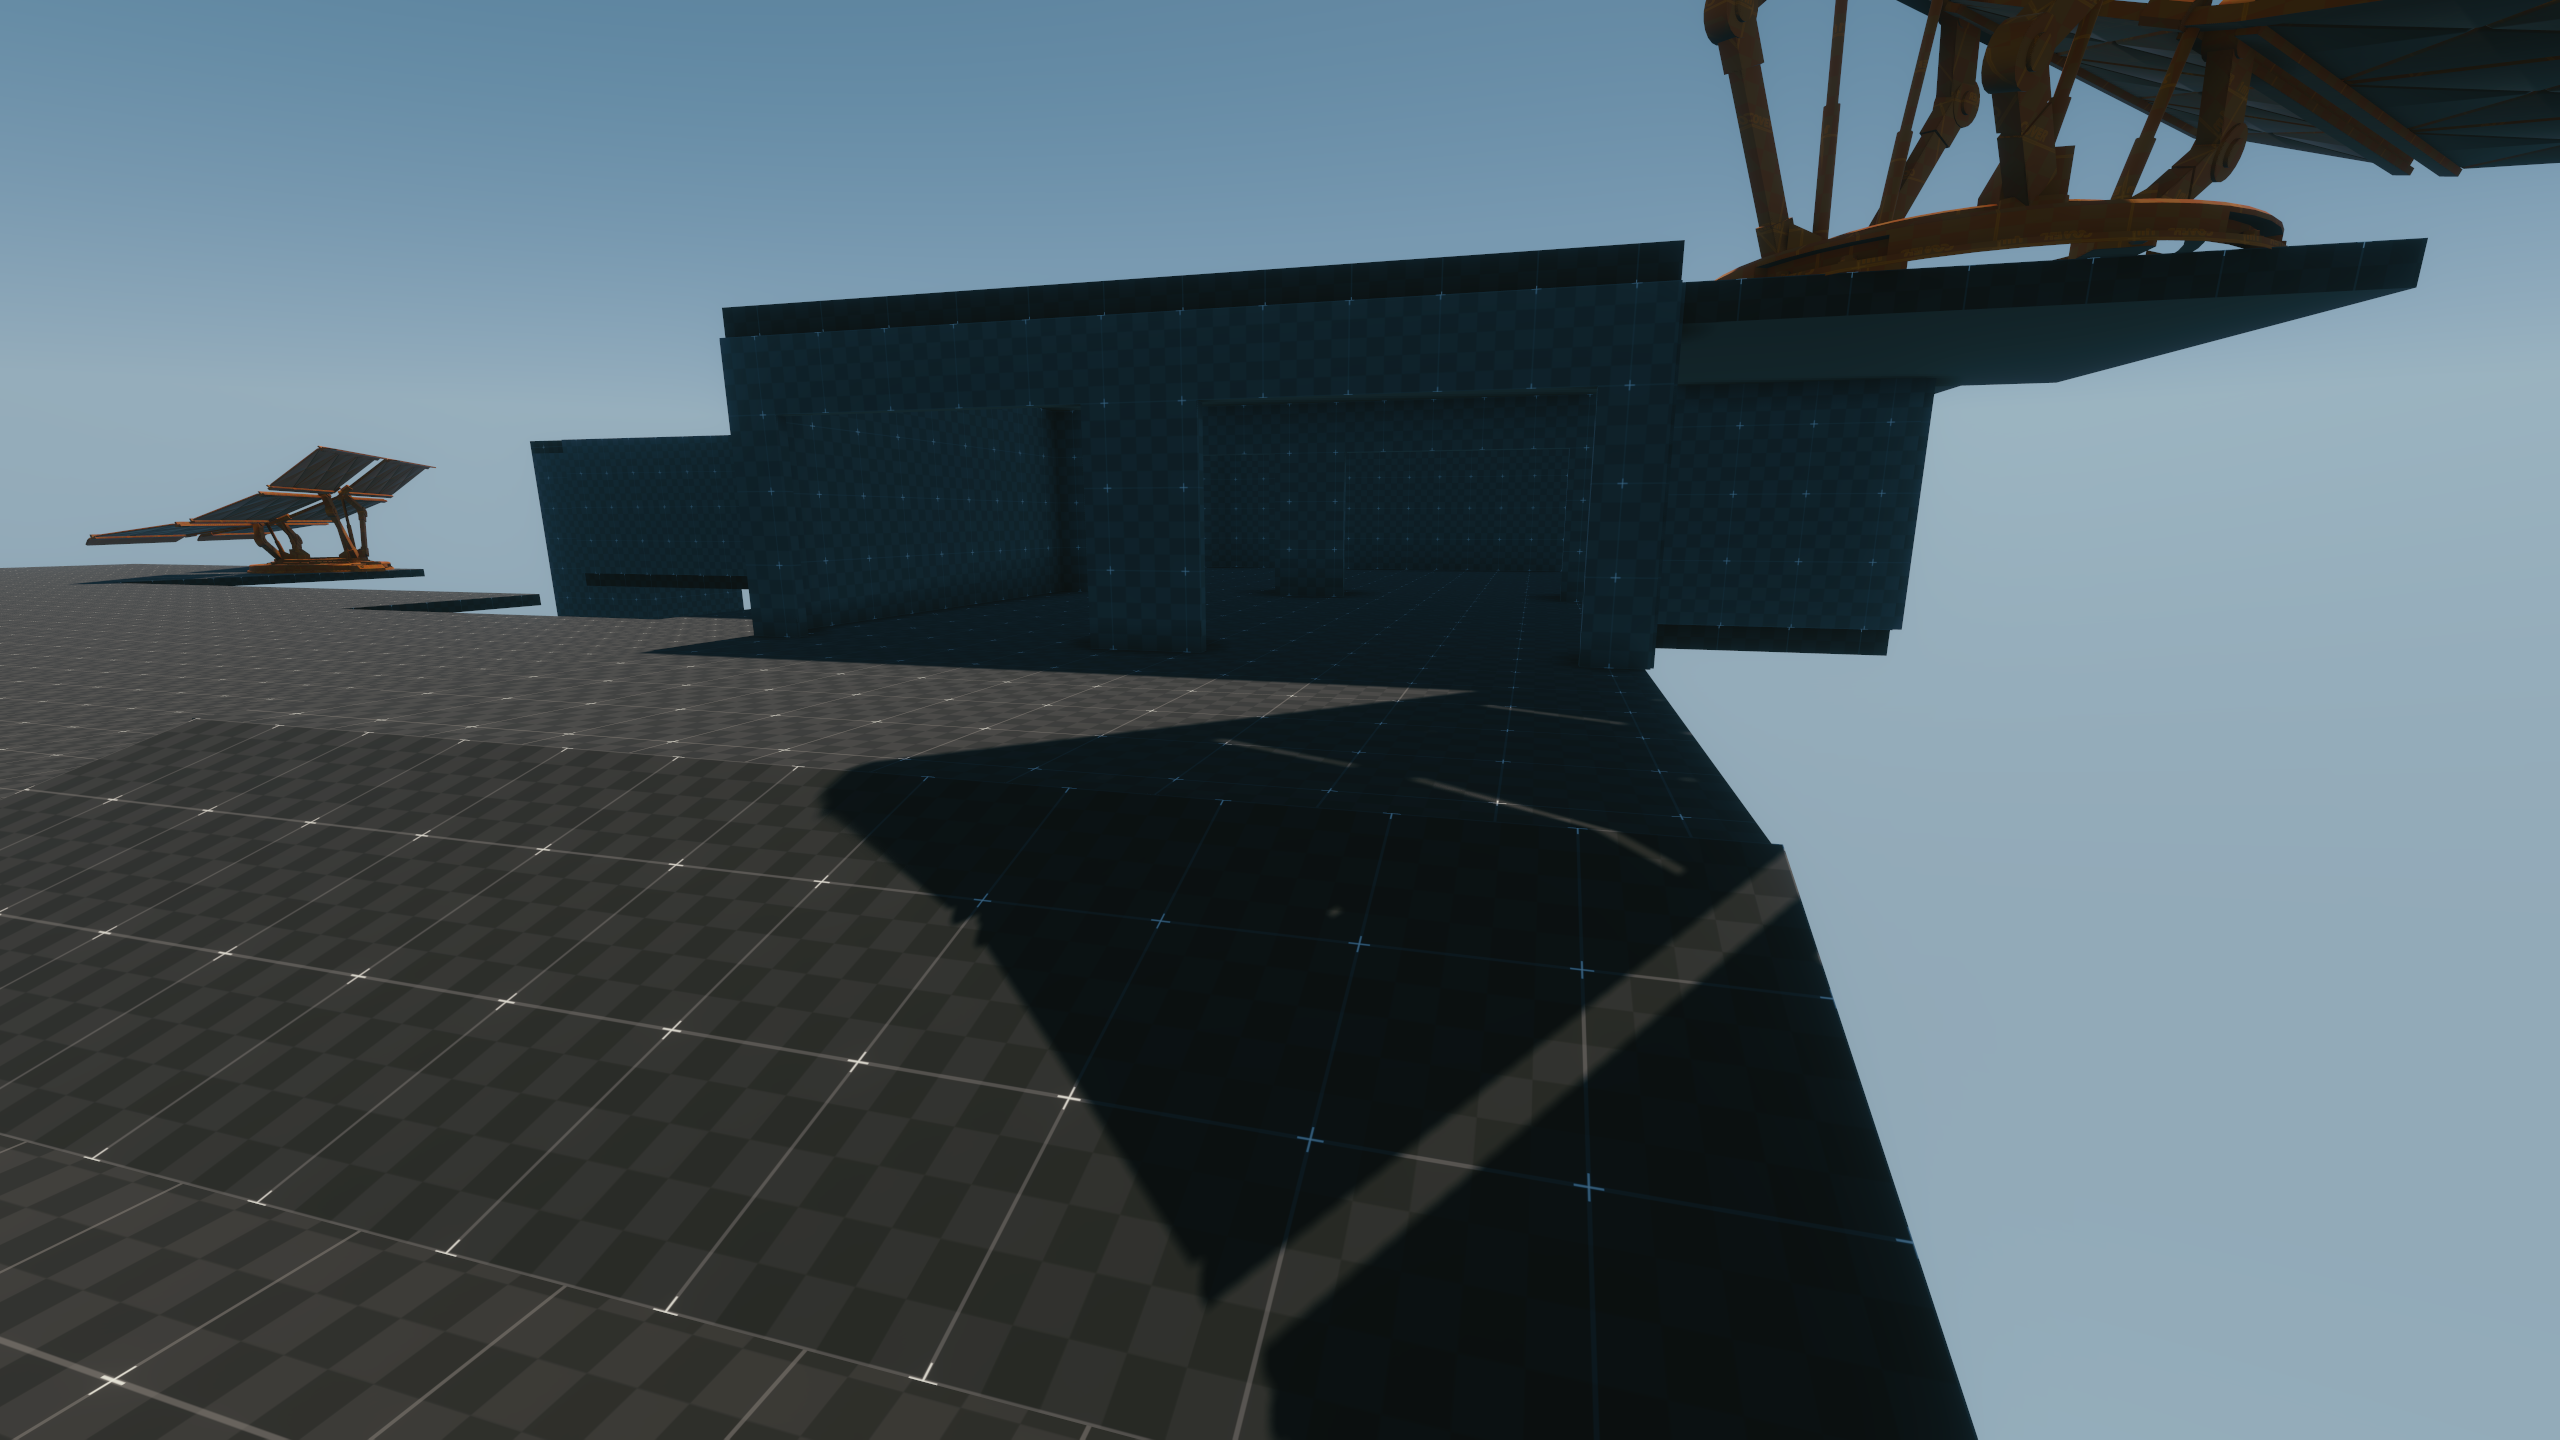
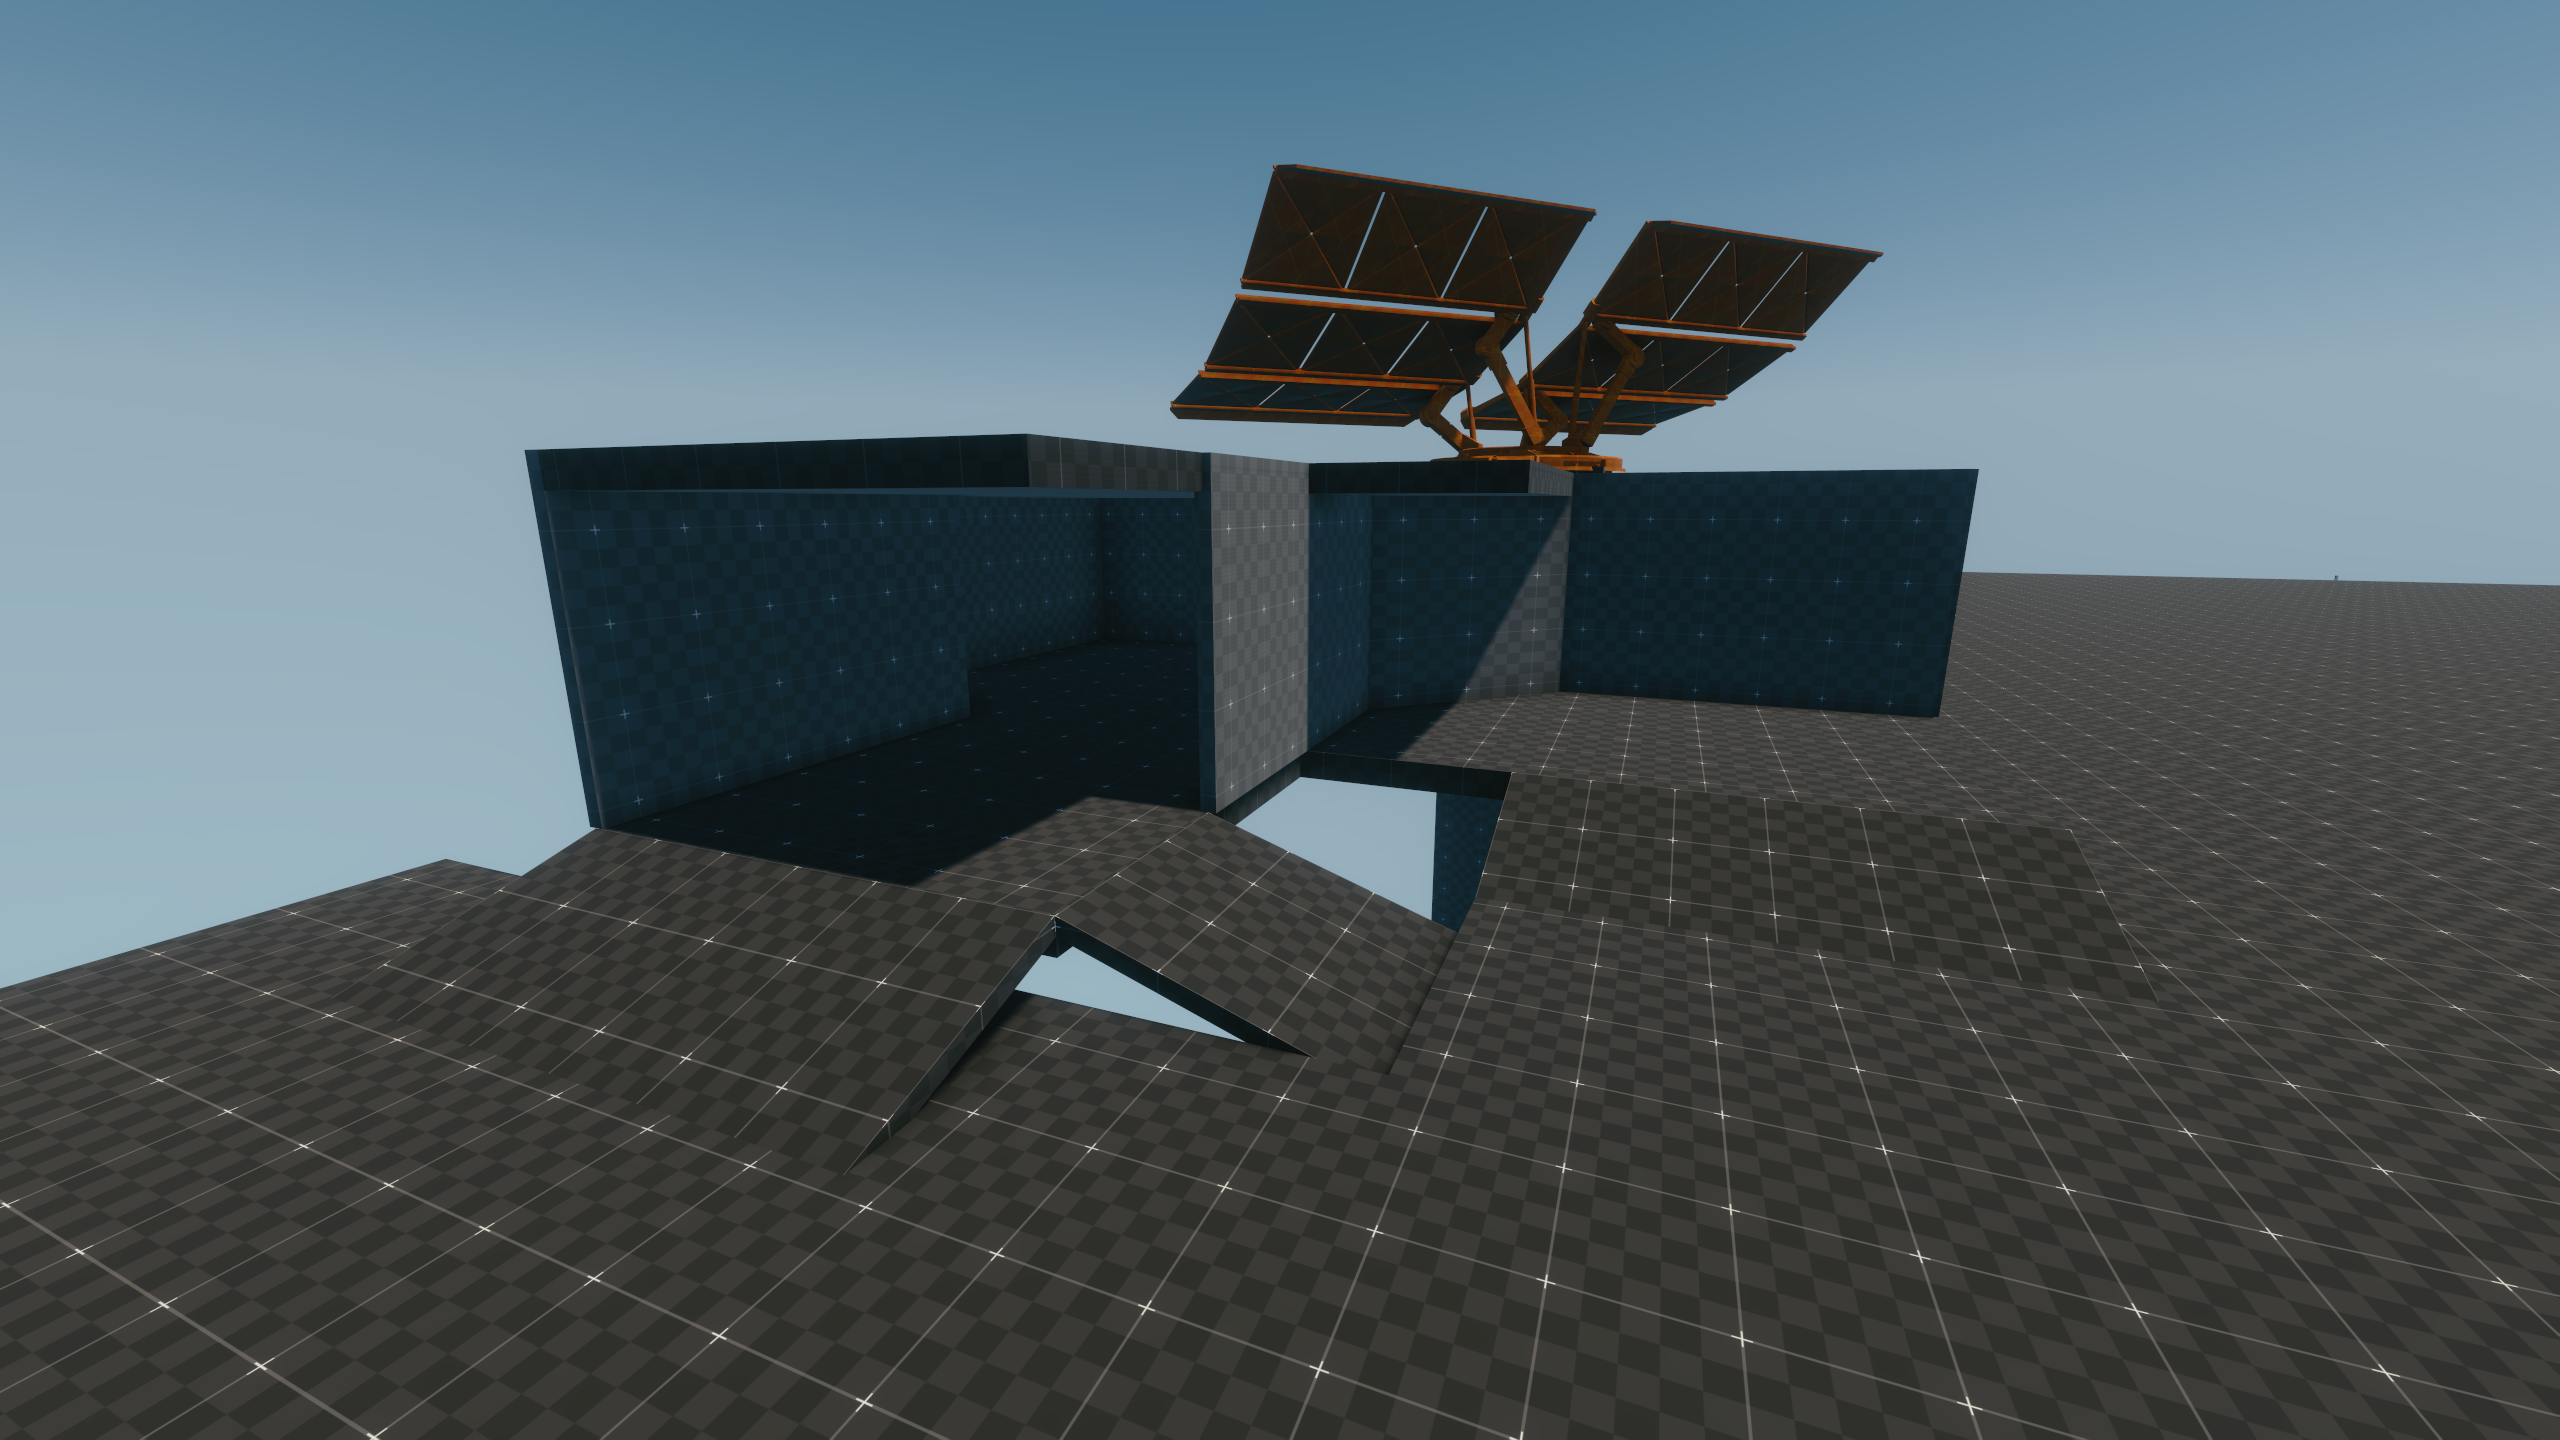
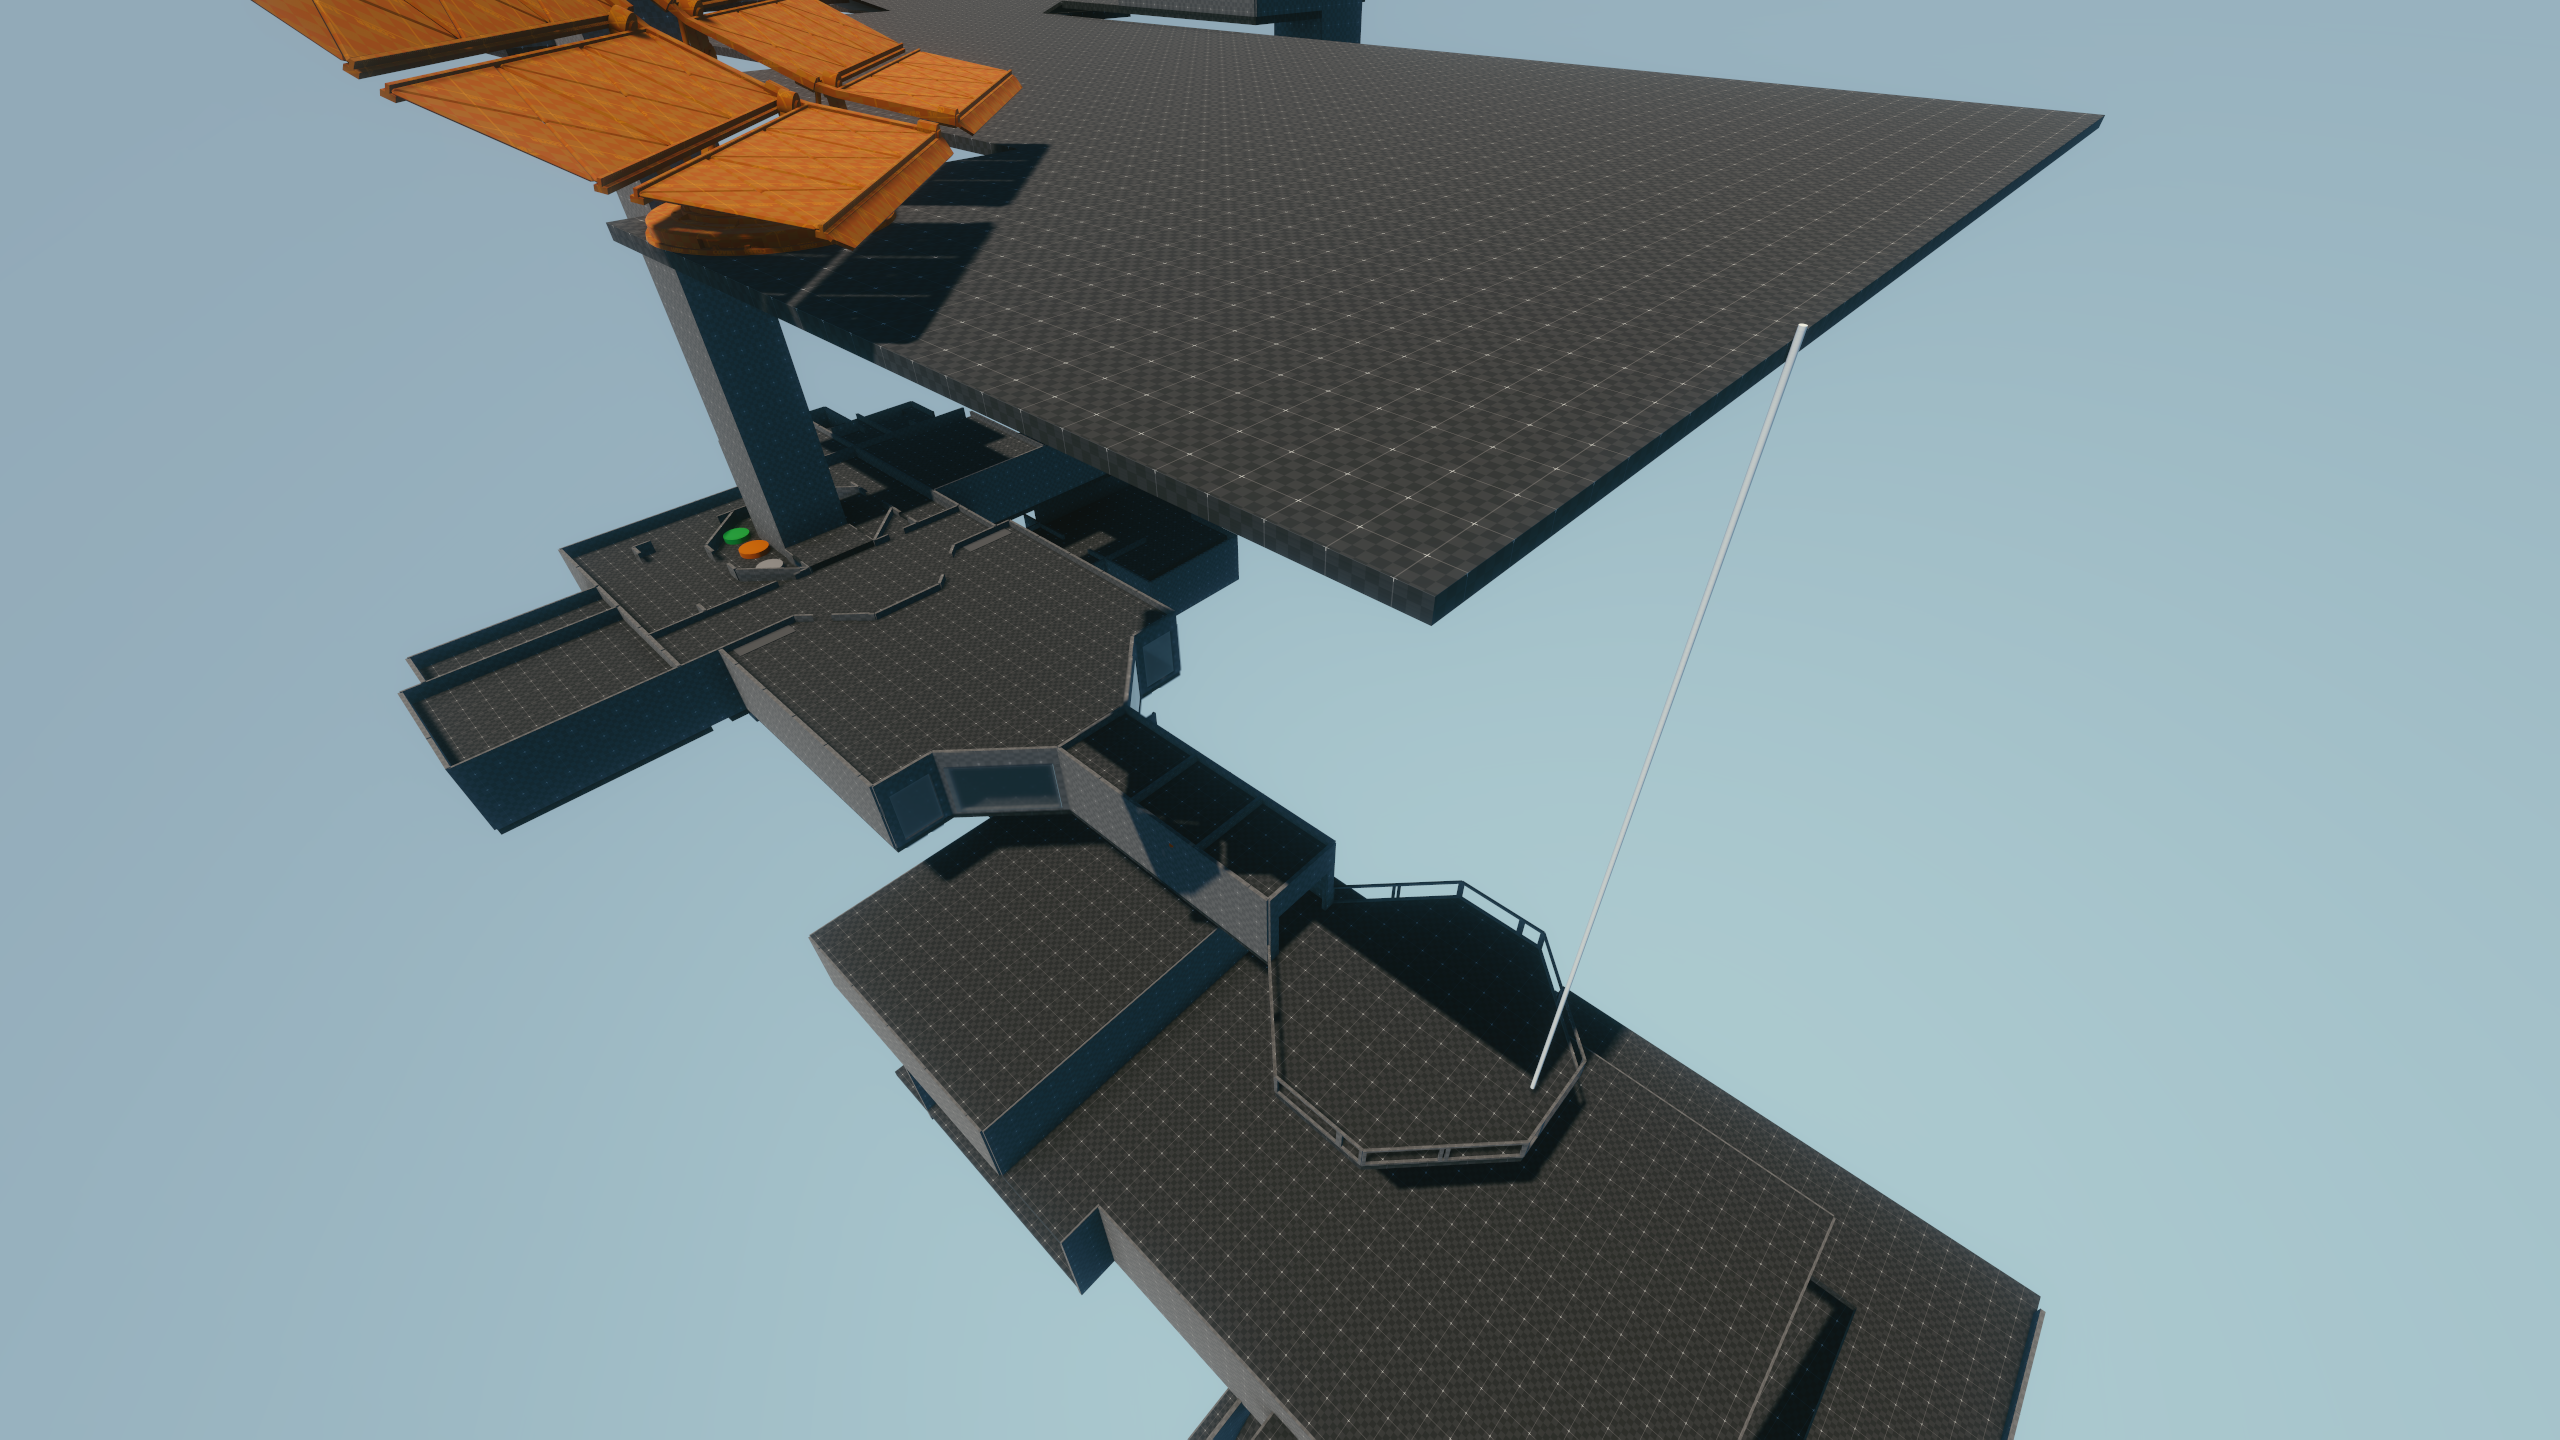
Main Entrance
This part contains the airlock from the moon's surface, a decontamination room and an elevator leading to the living quarters.

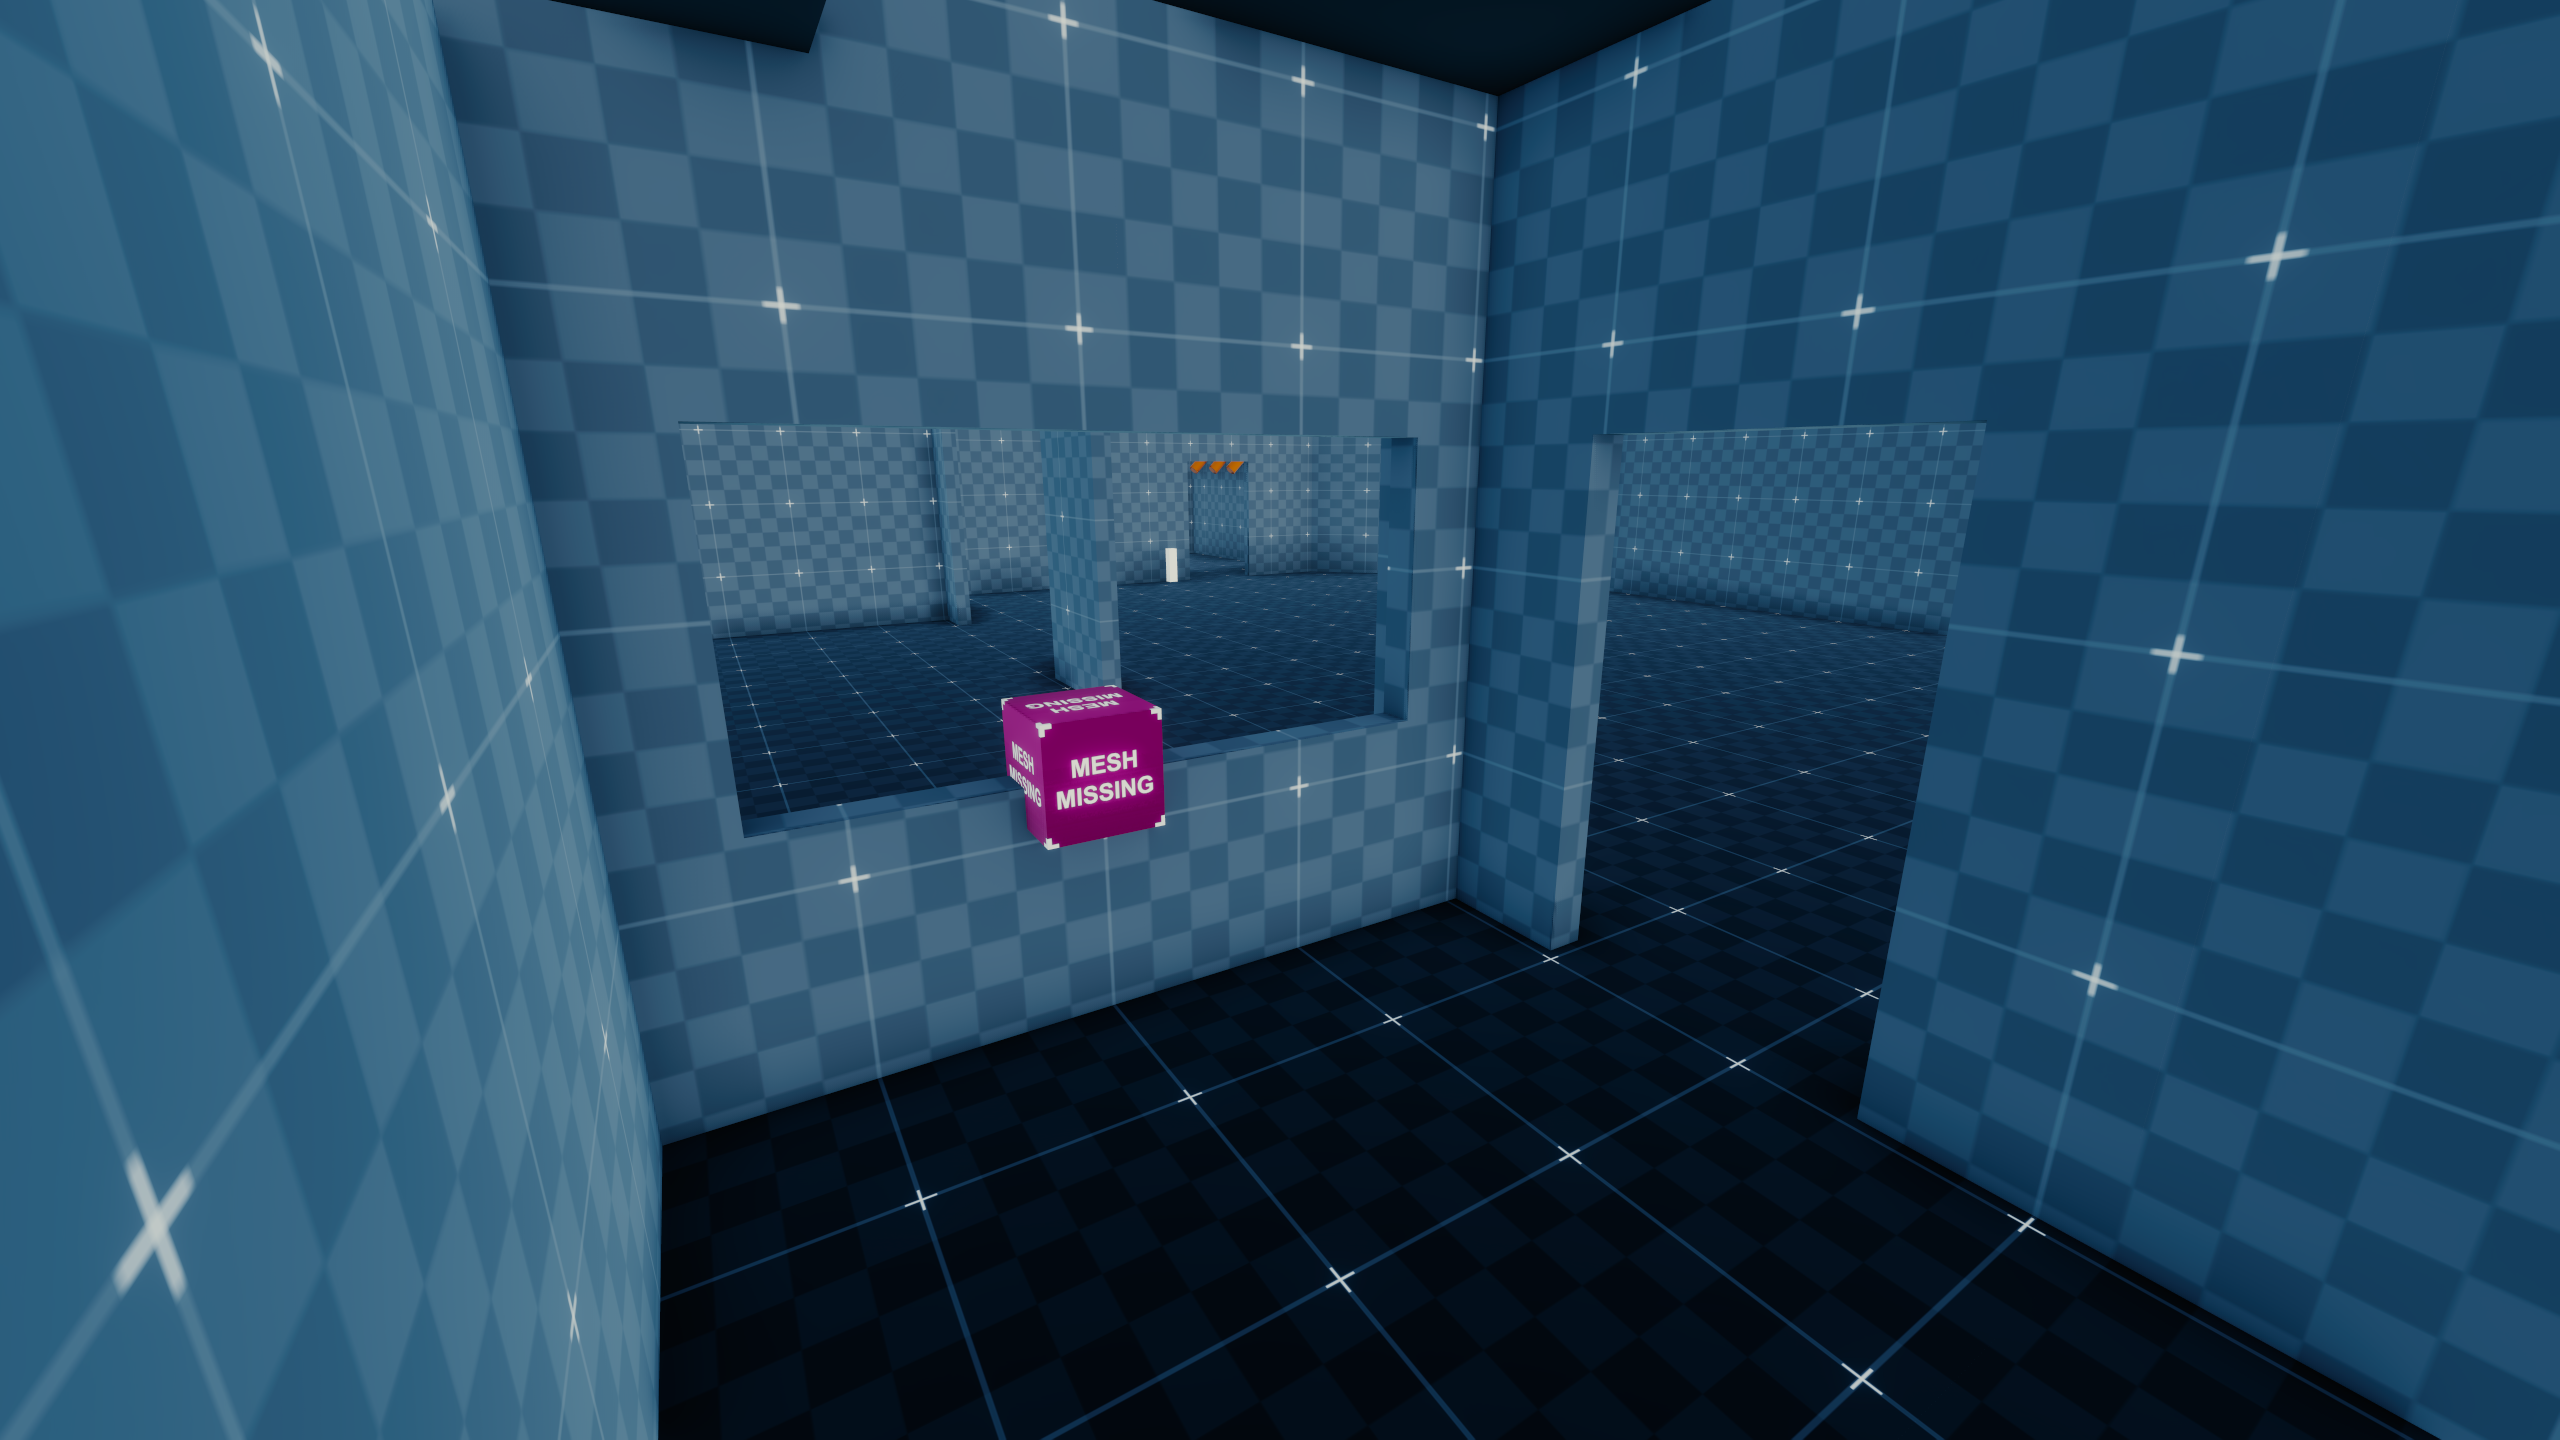
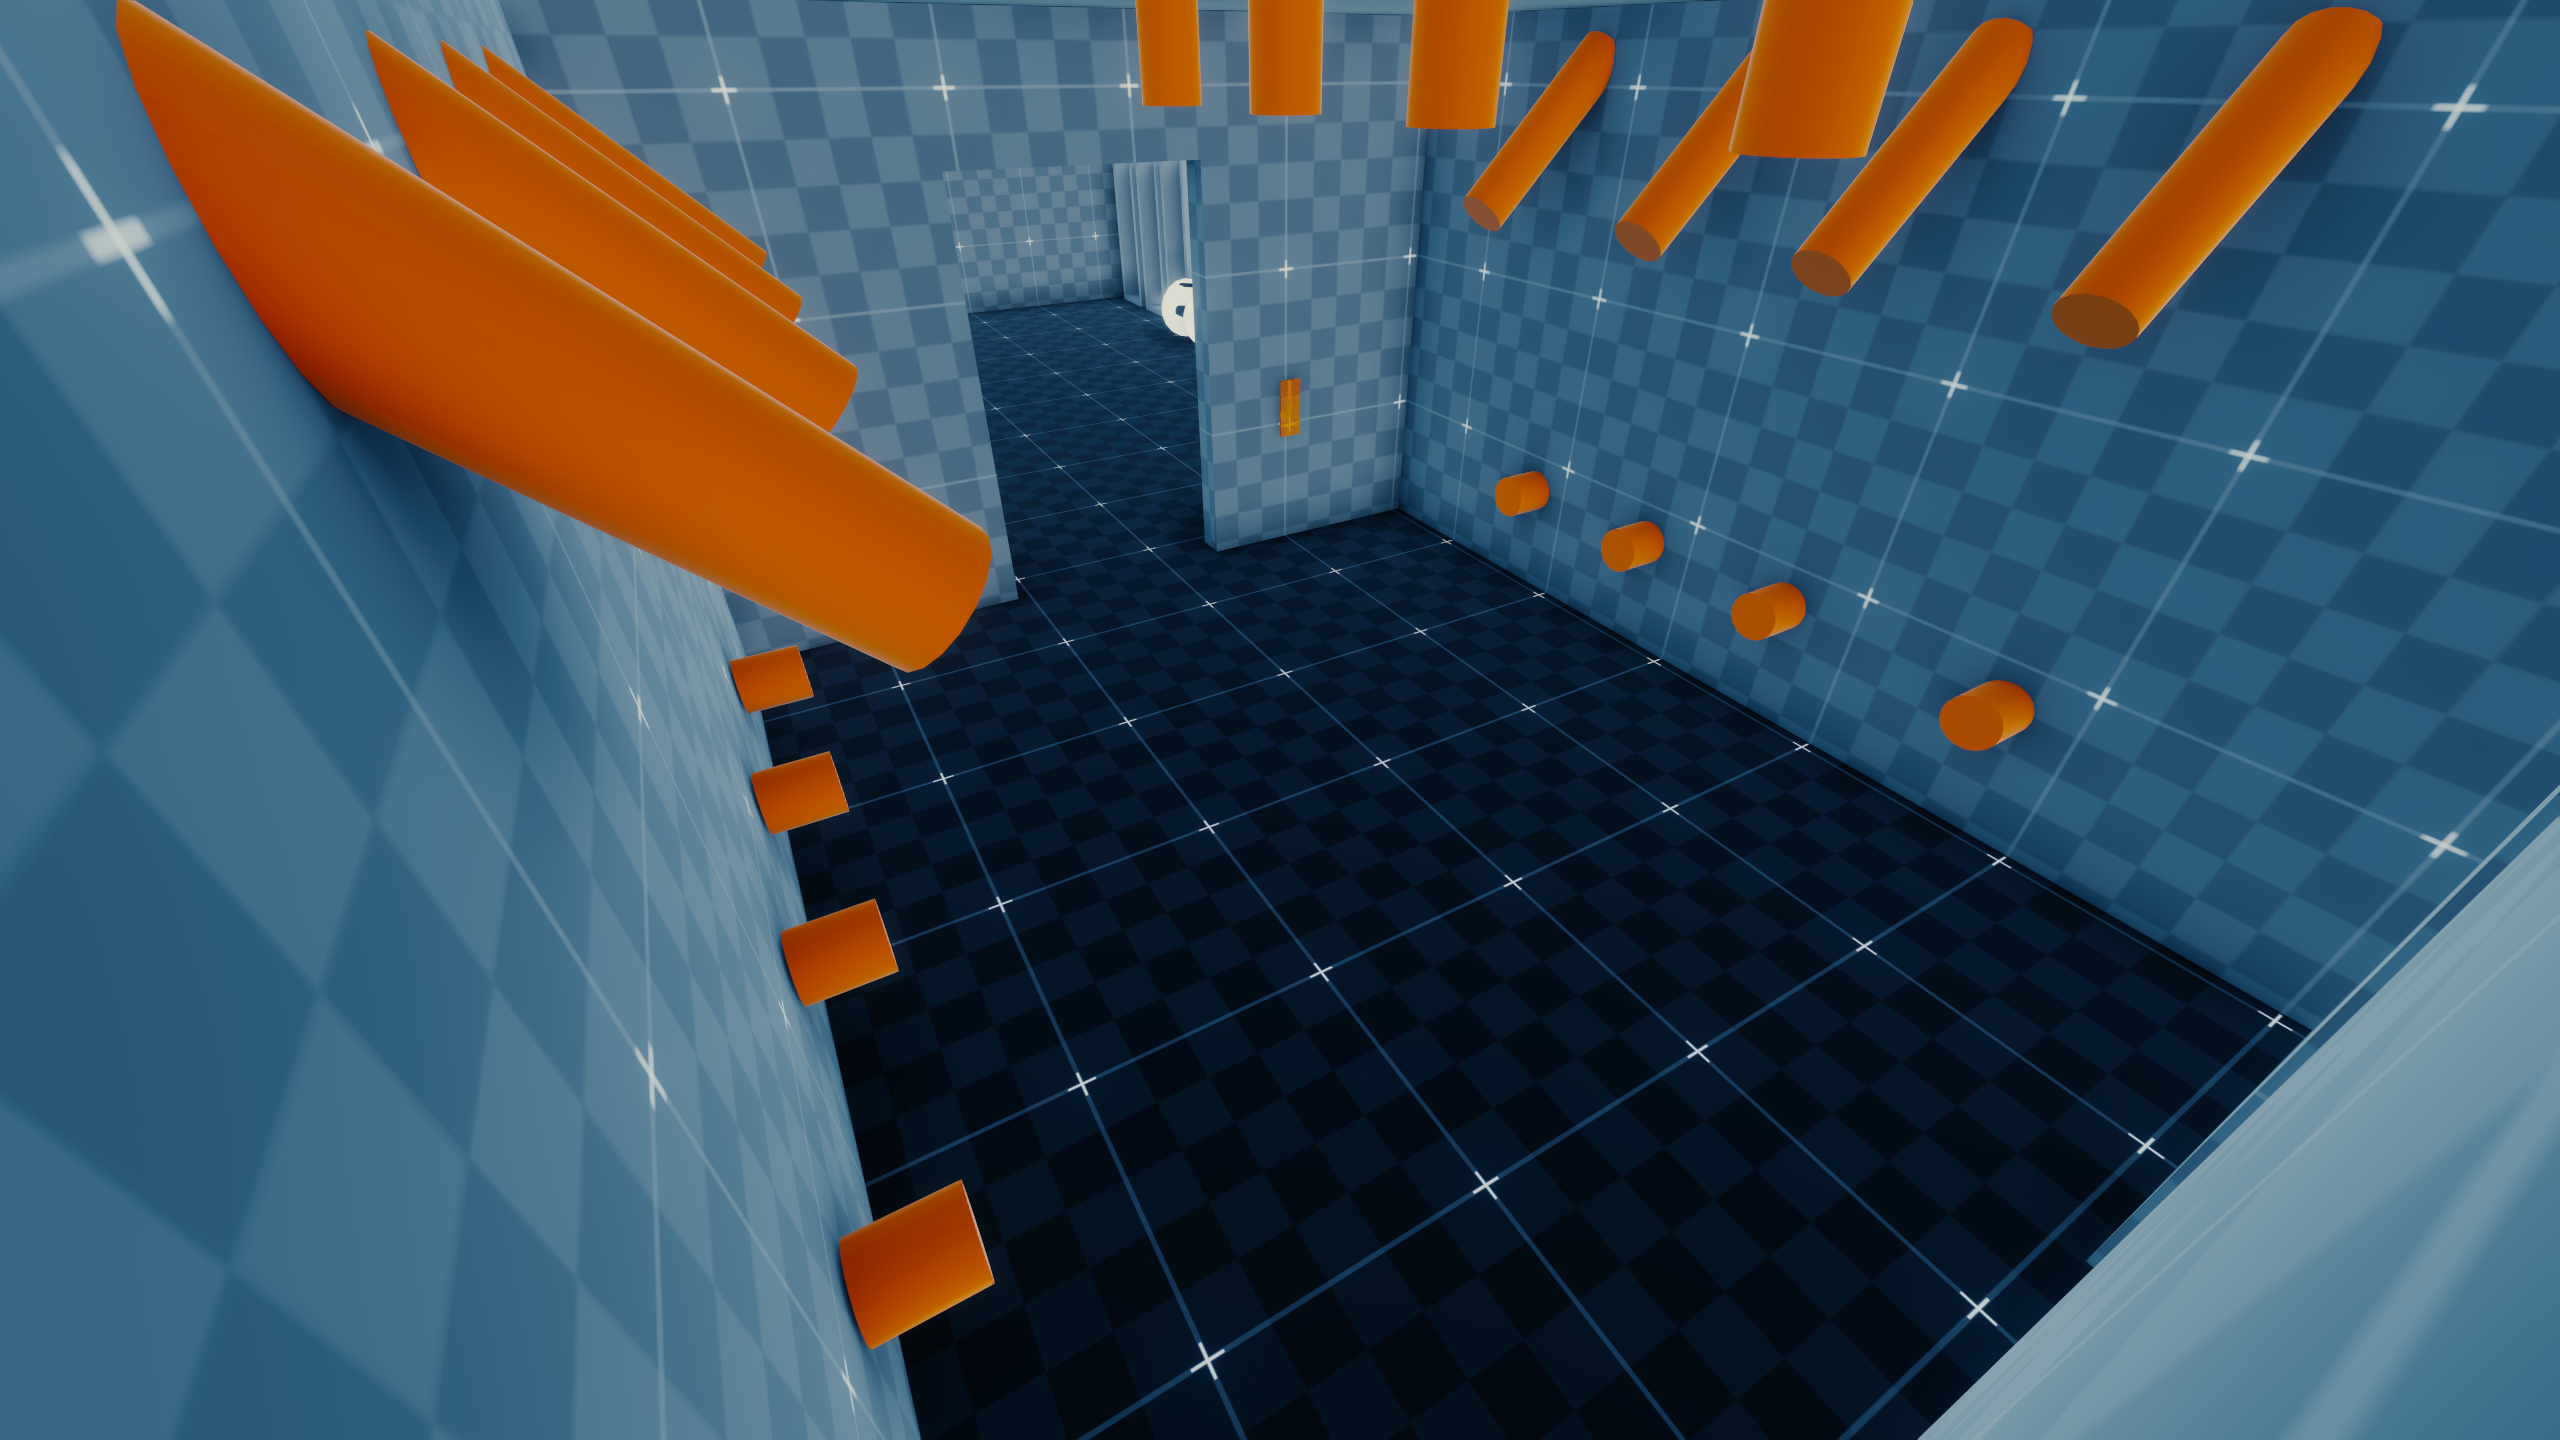
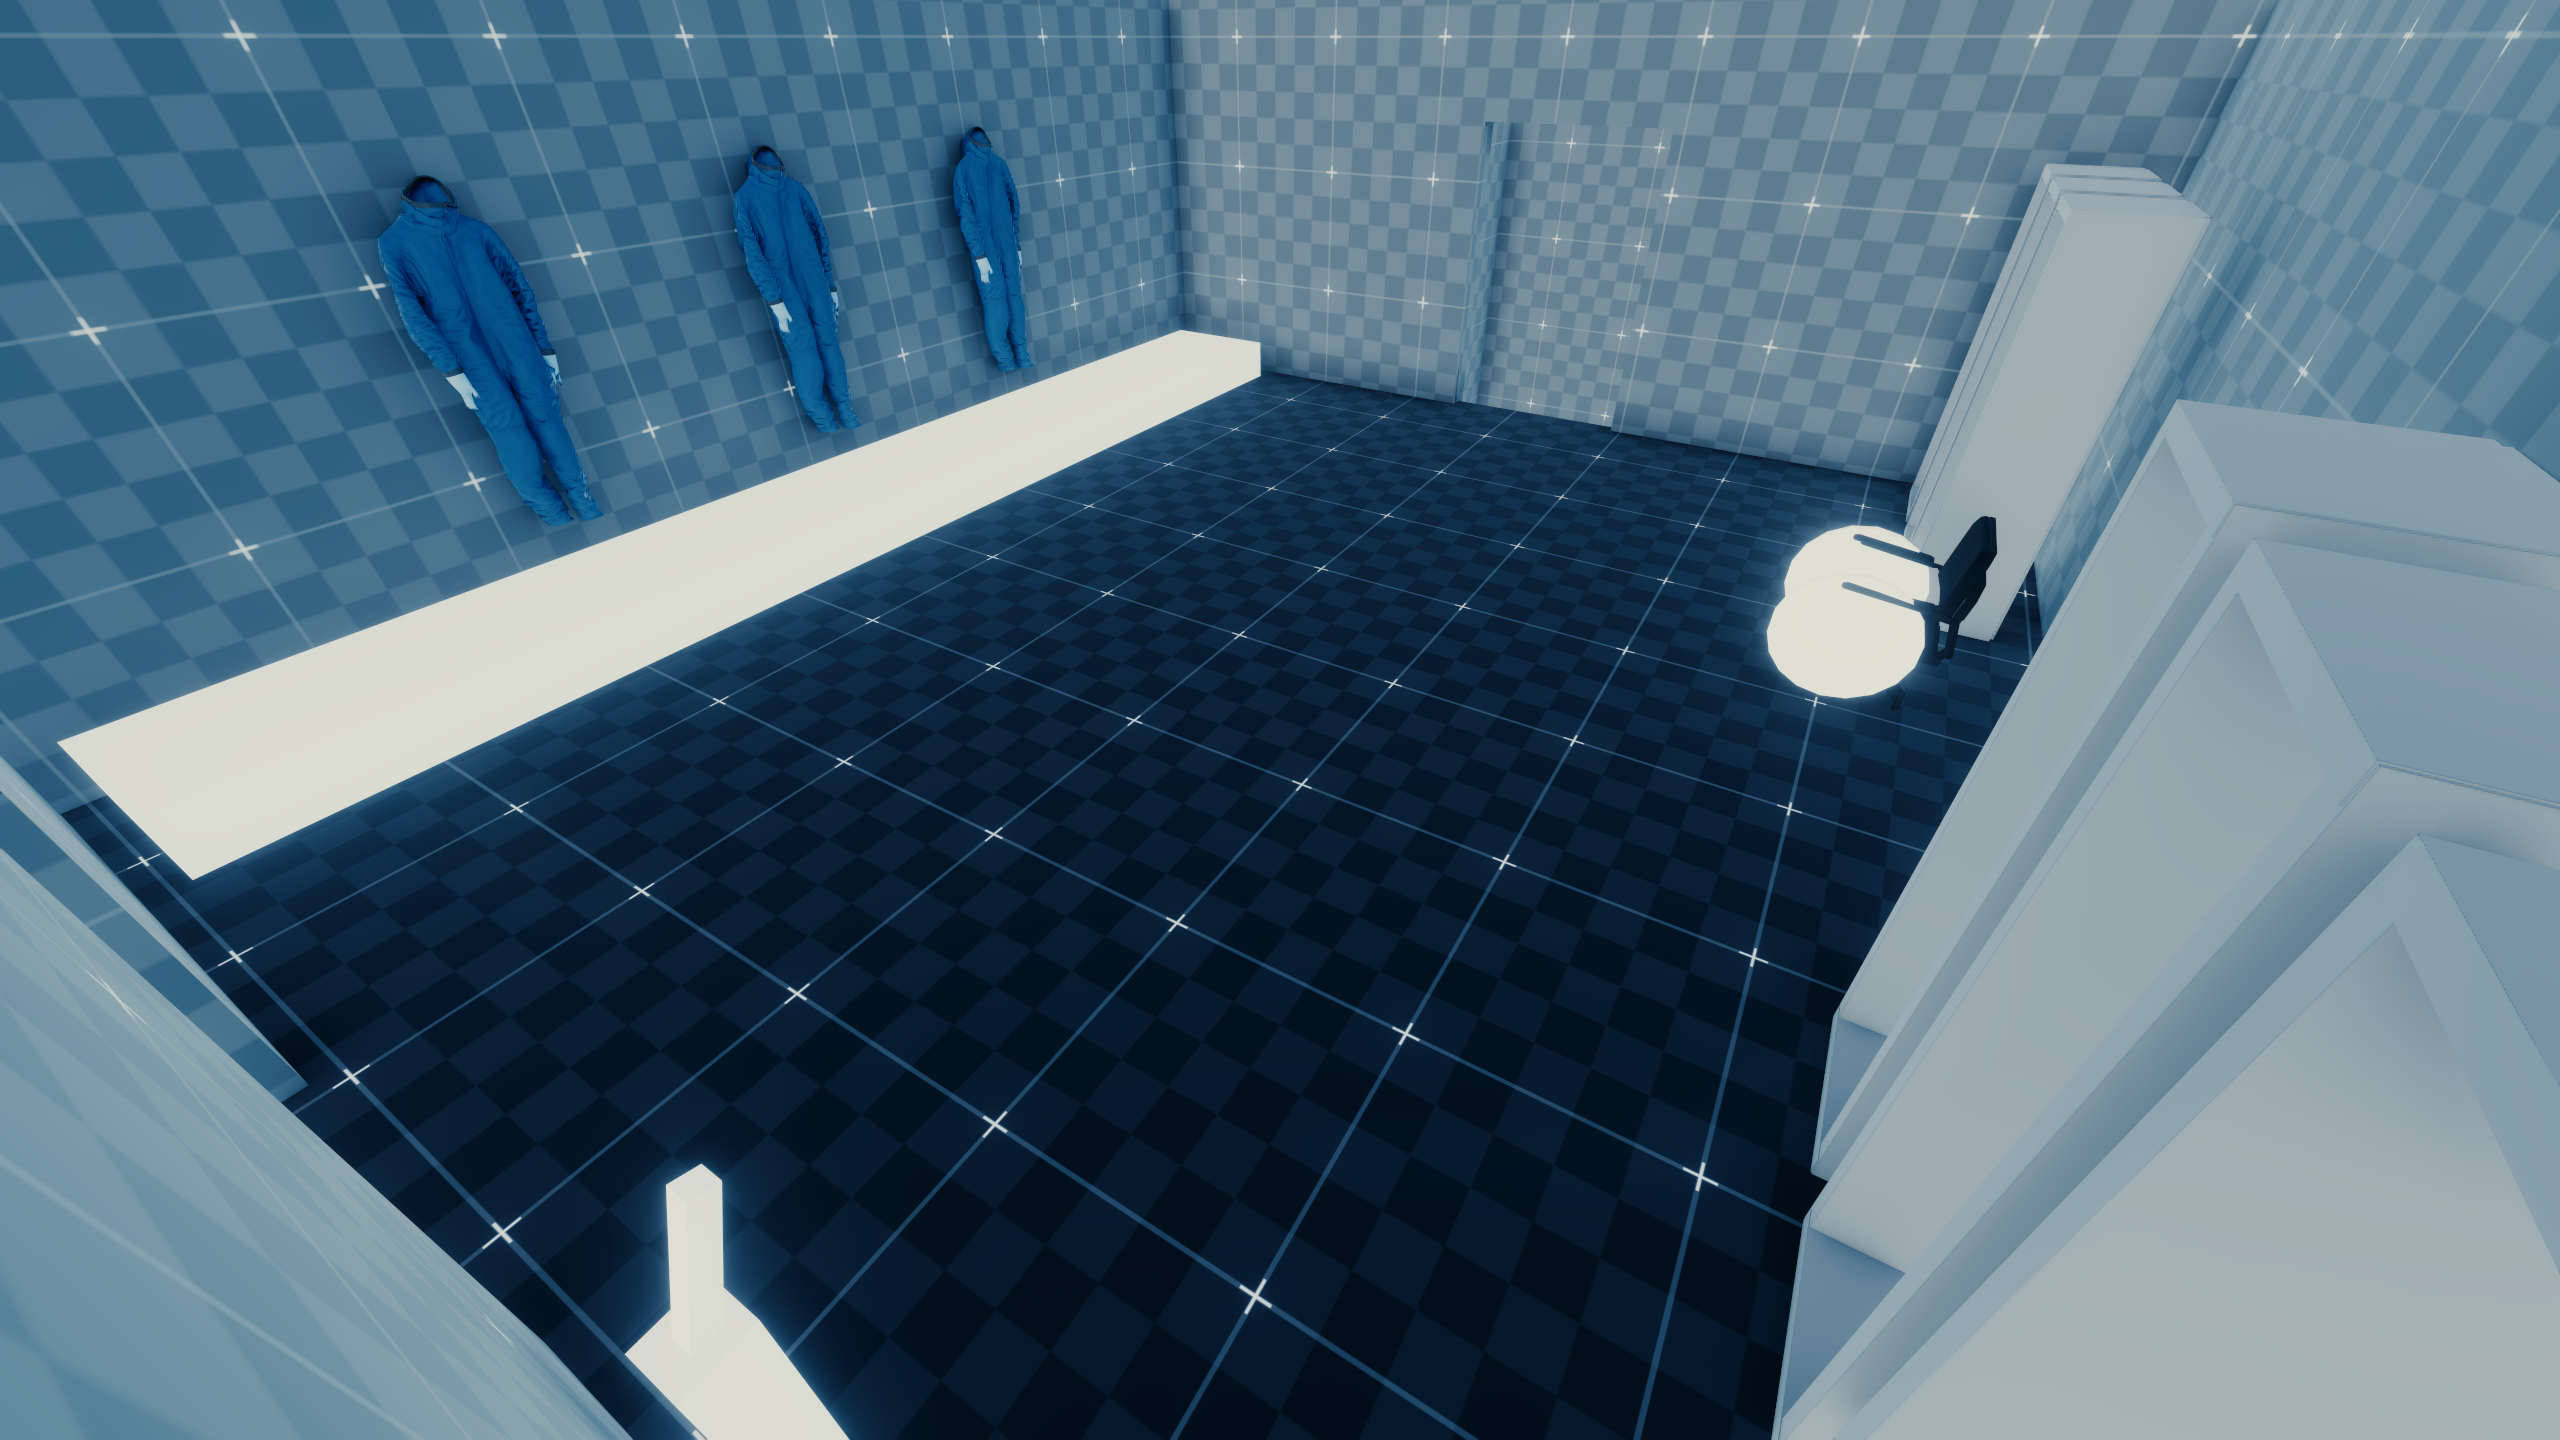
Living Quarters
This part of the level contains a few references to deleted dialogue files, "q202_08_gp_bunker_blackops_tutor", "q202_08_gp_bunkers_blackops_Servers" and "q202_08_bunker_admin".
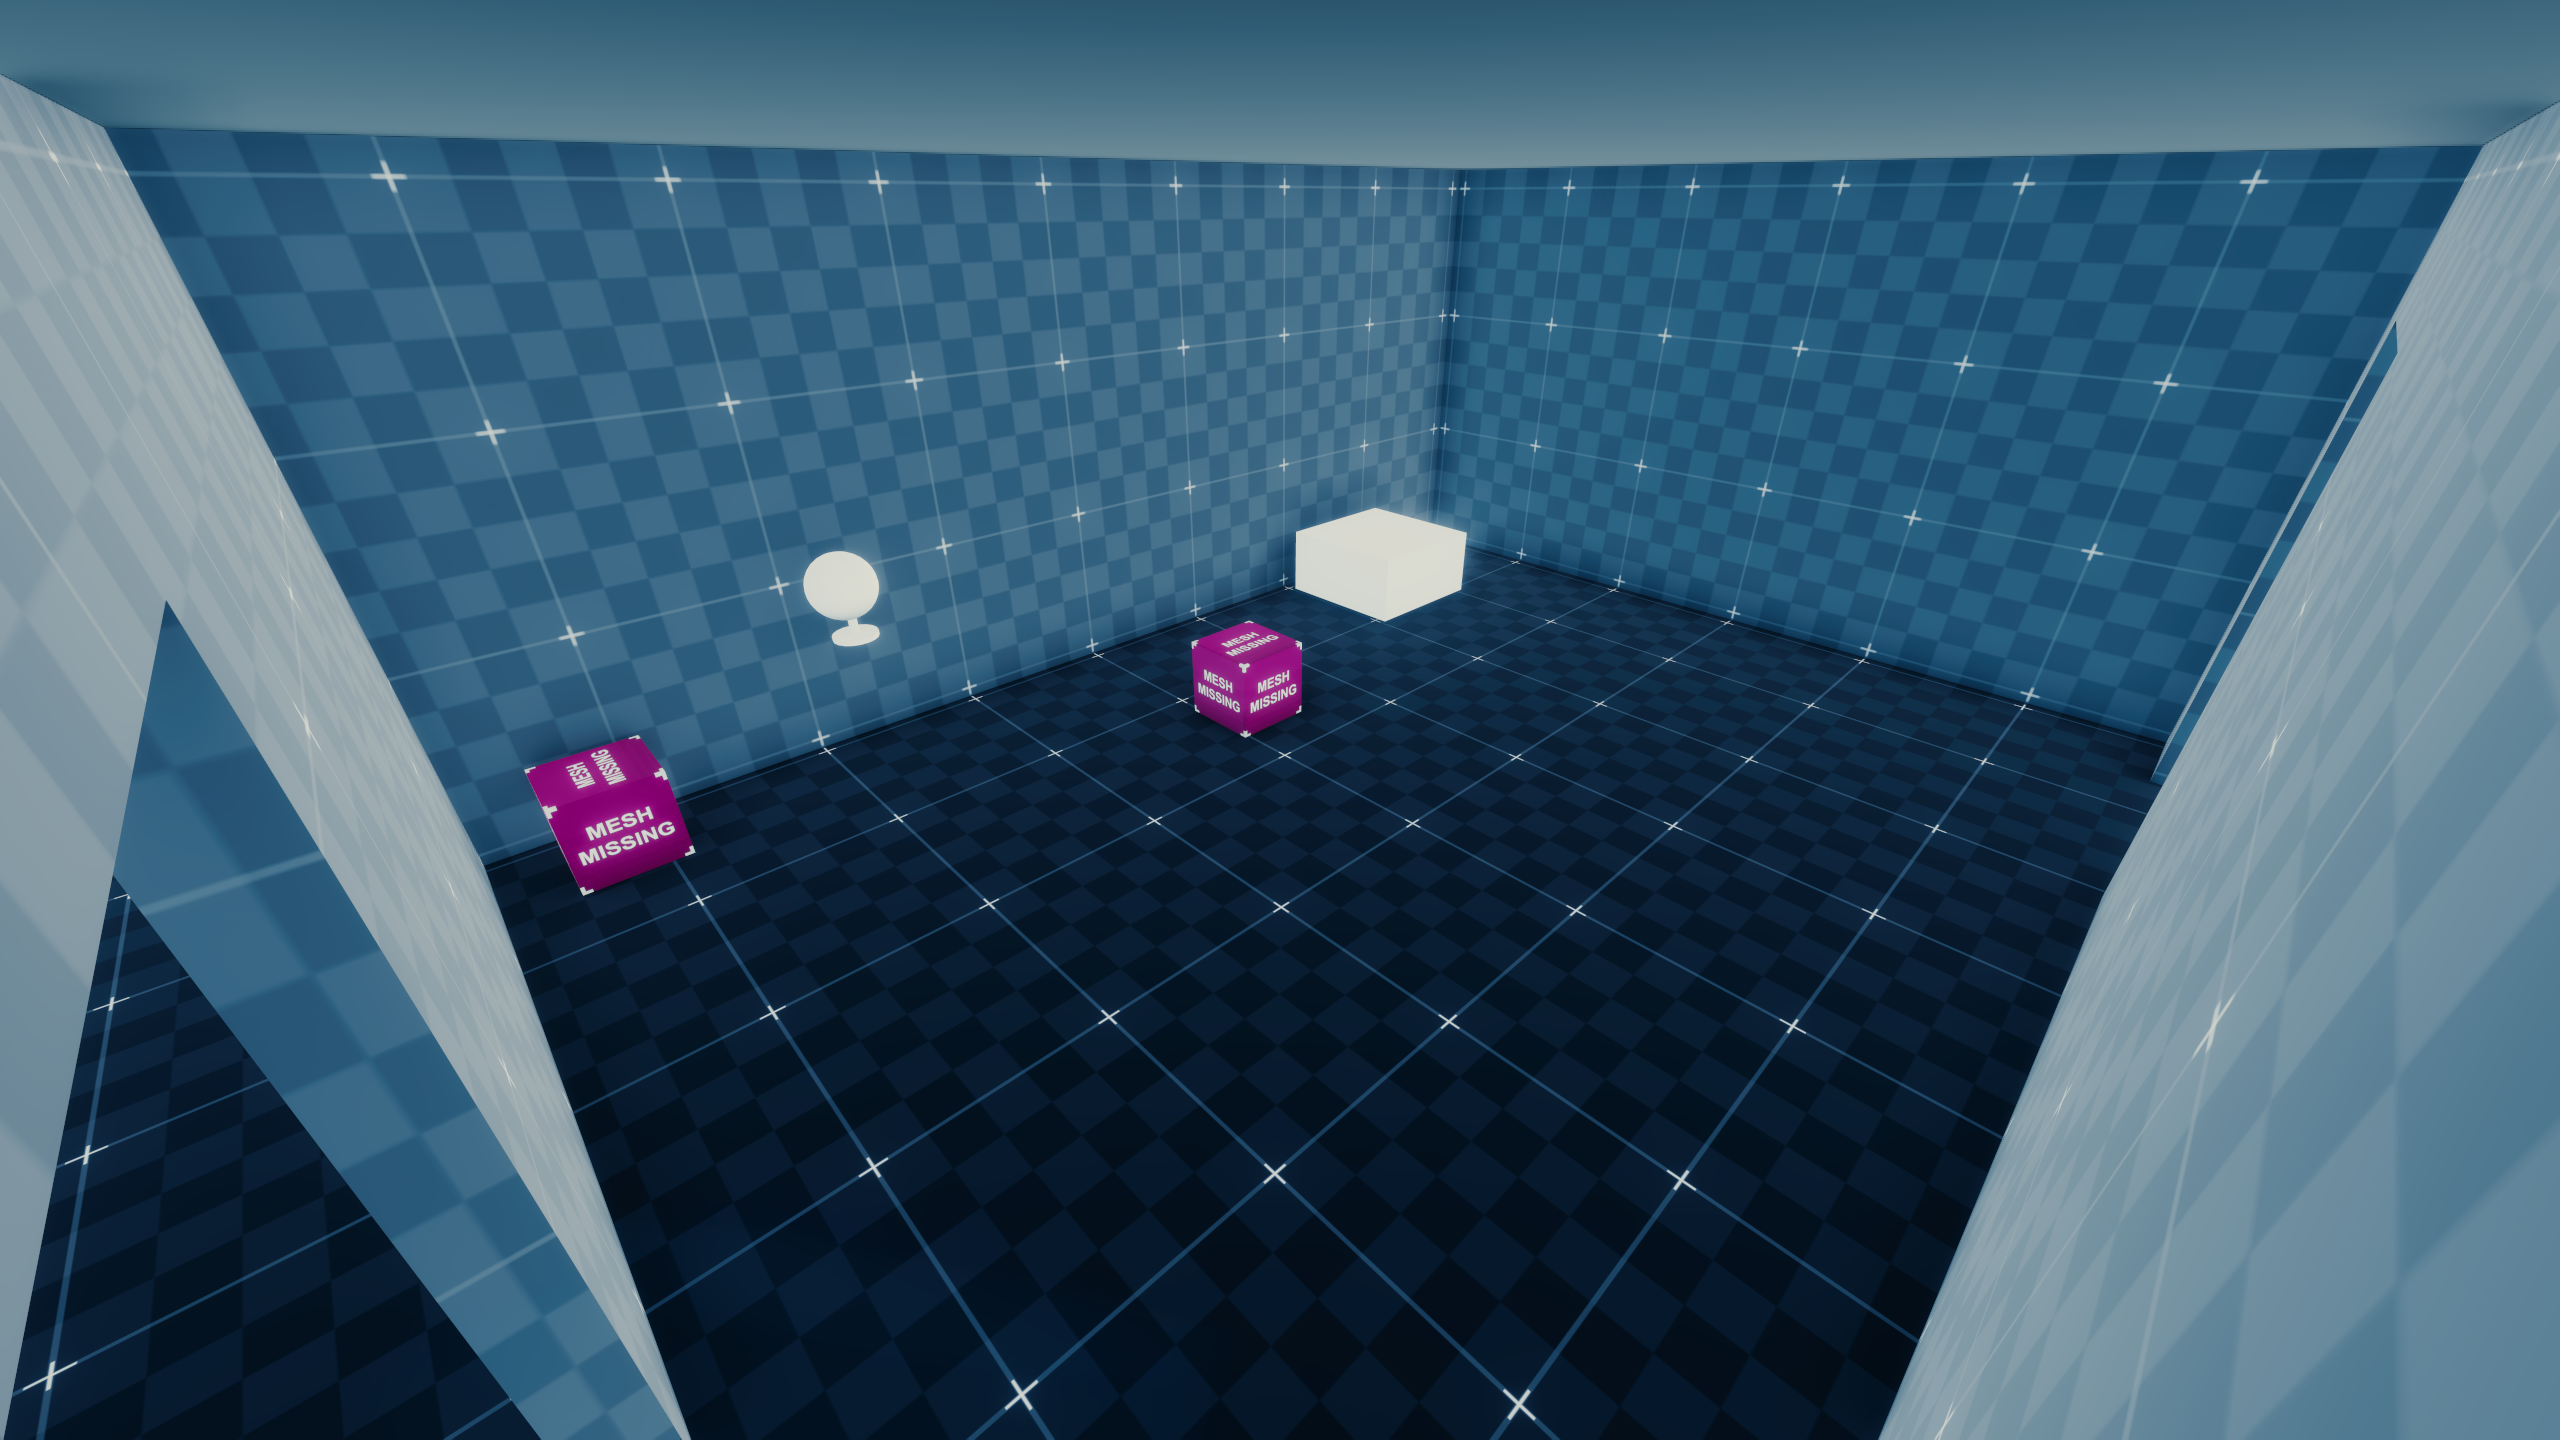
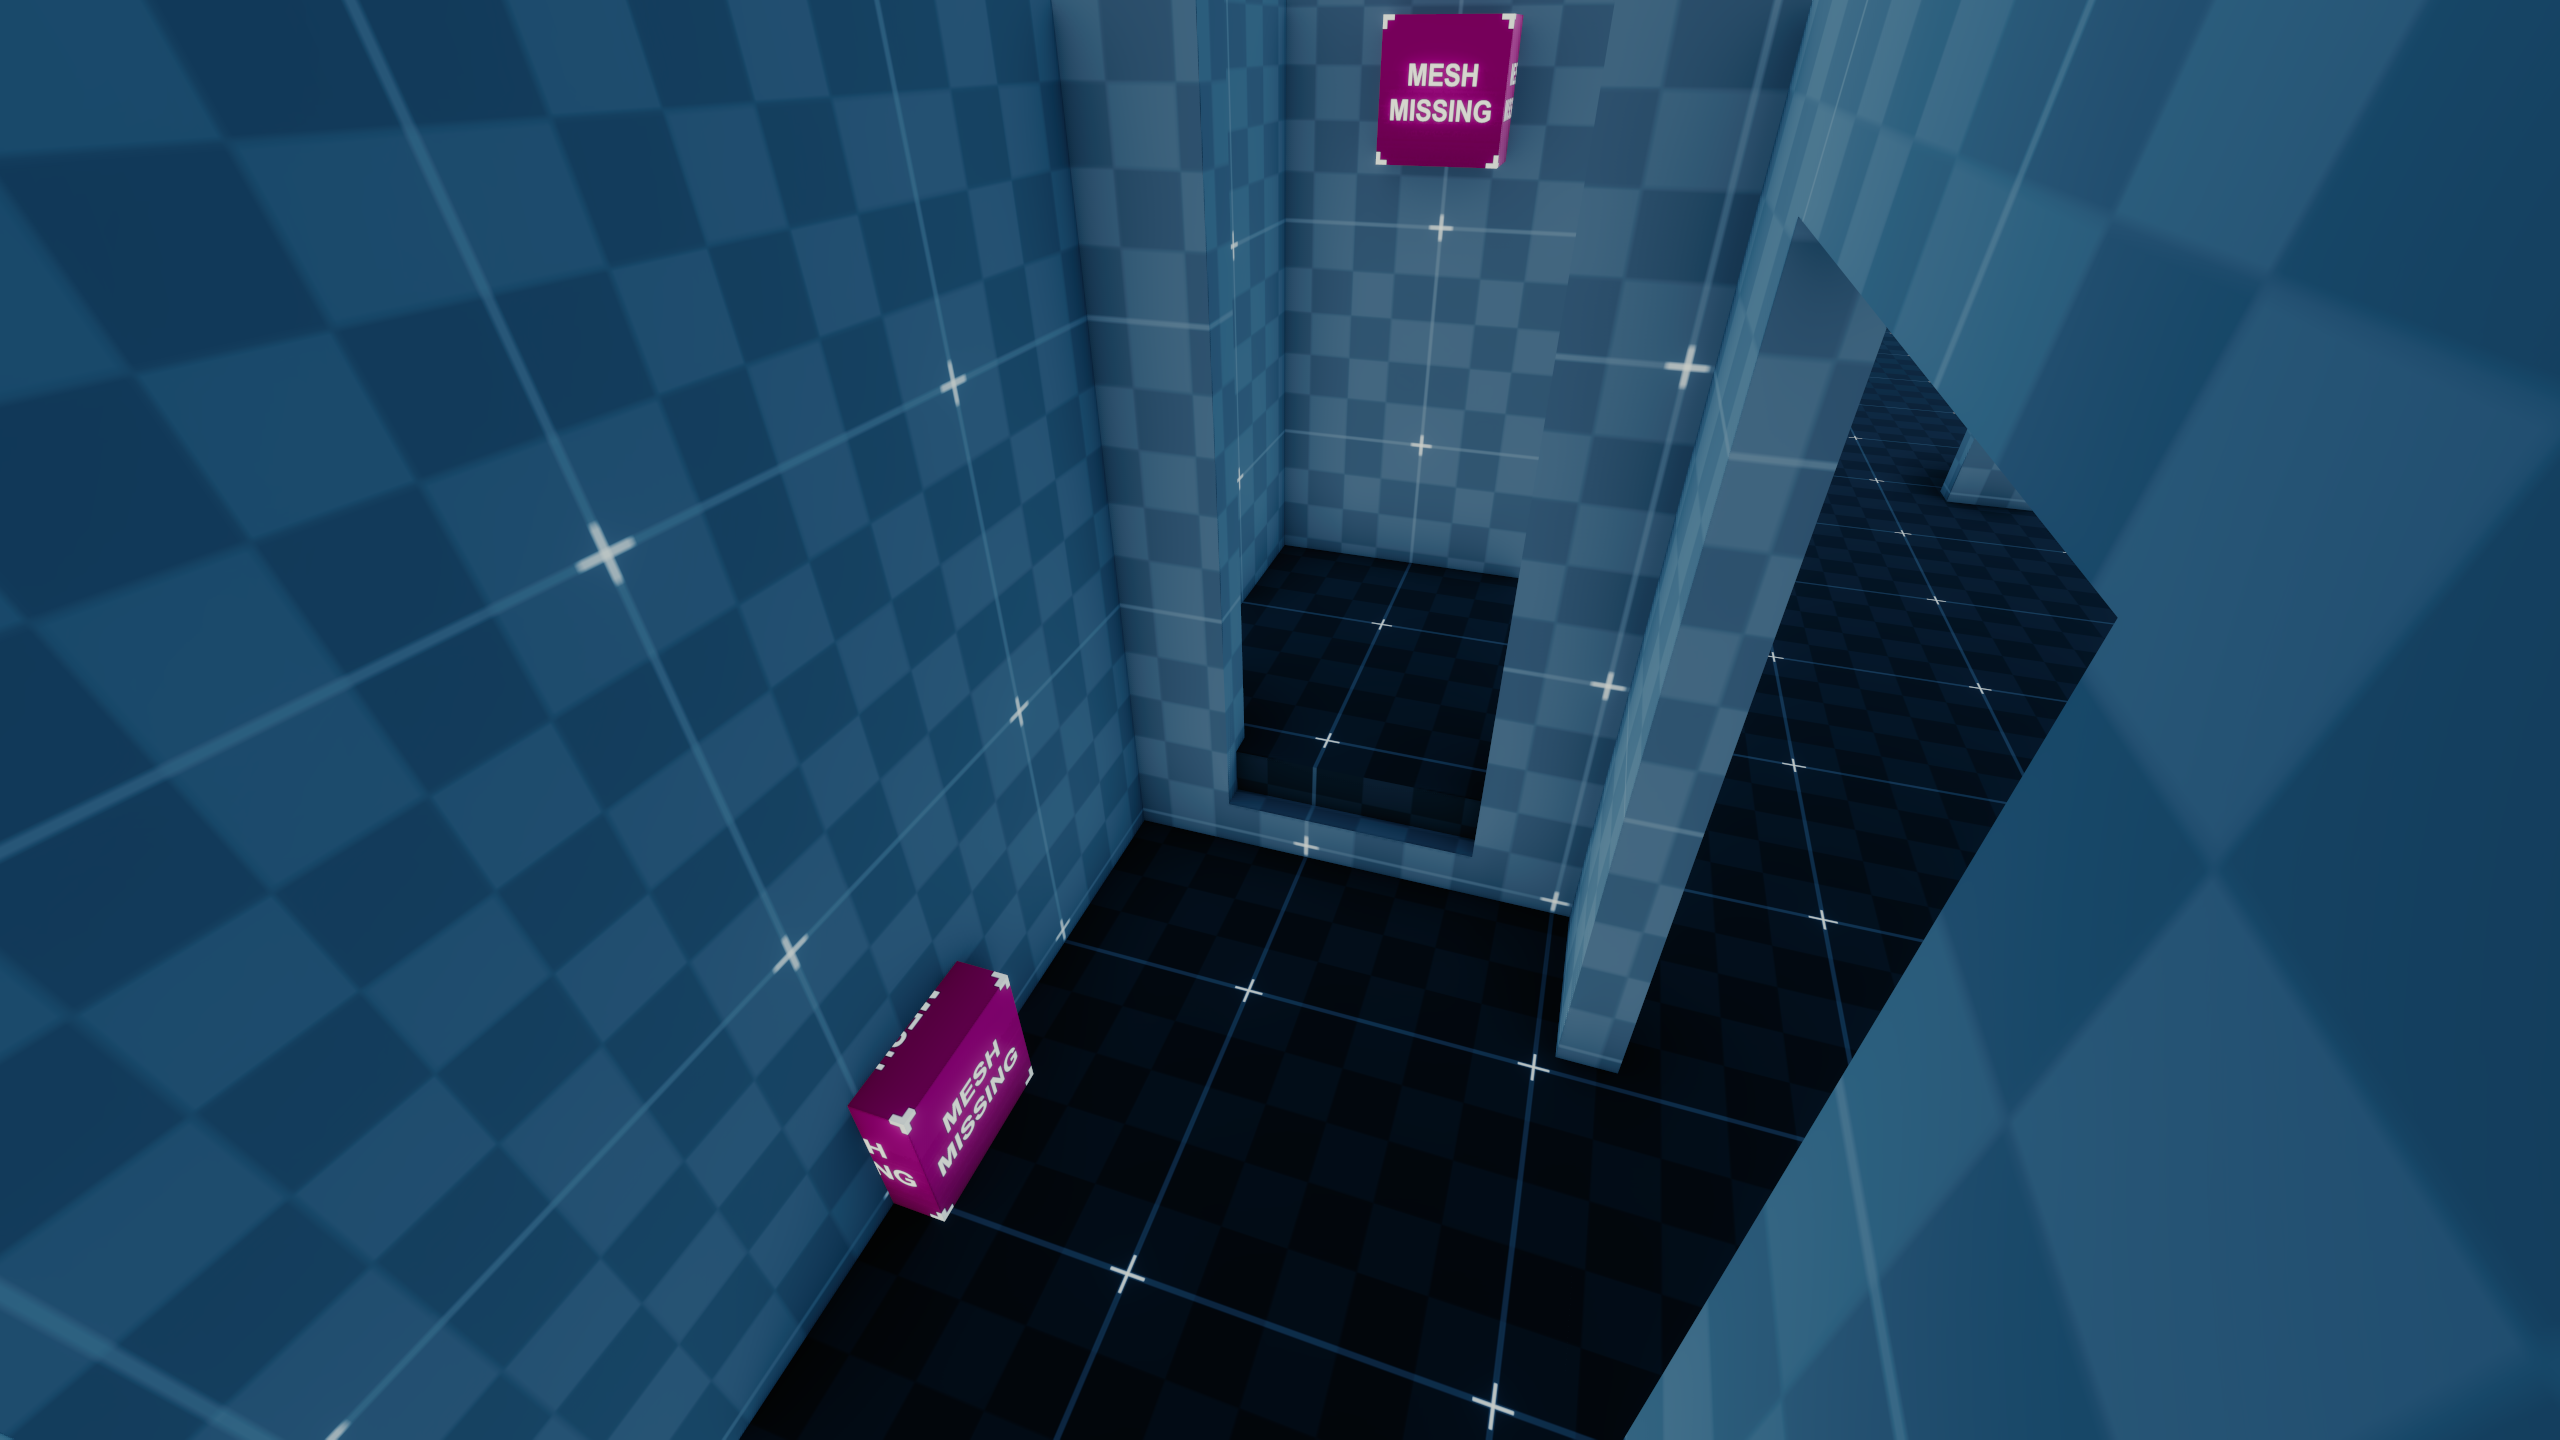
Lower Floor
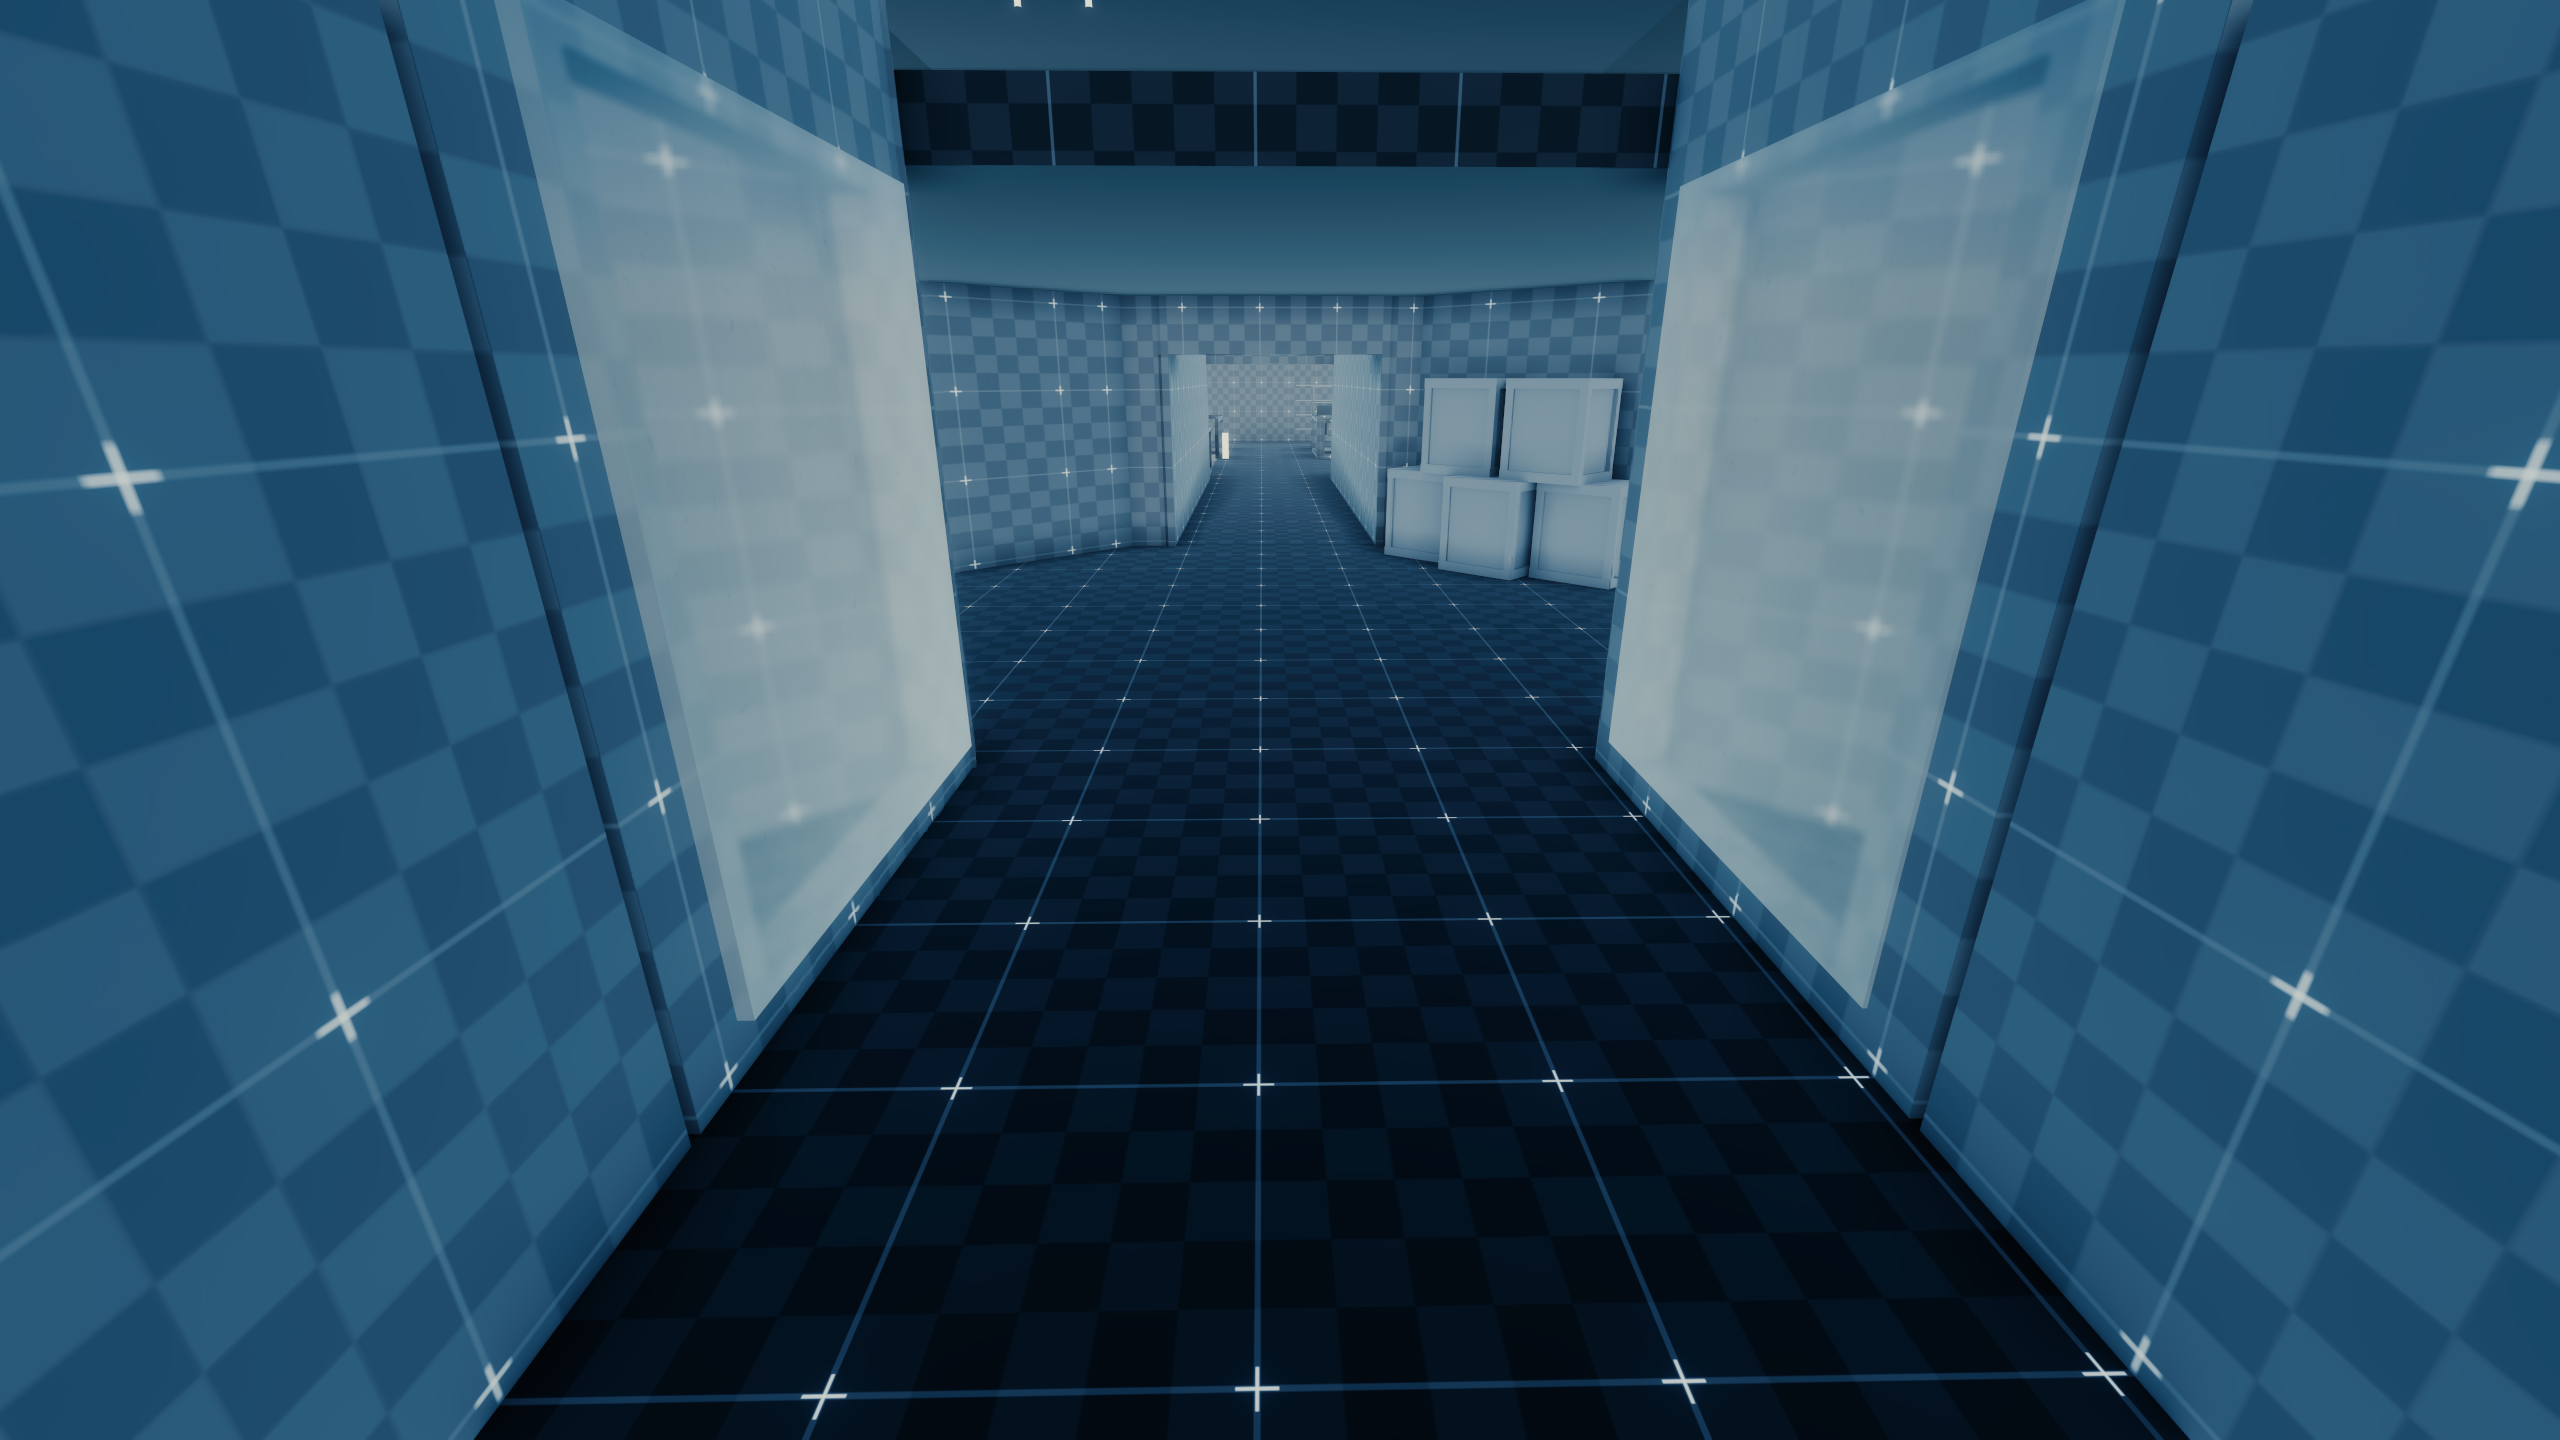
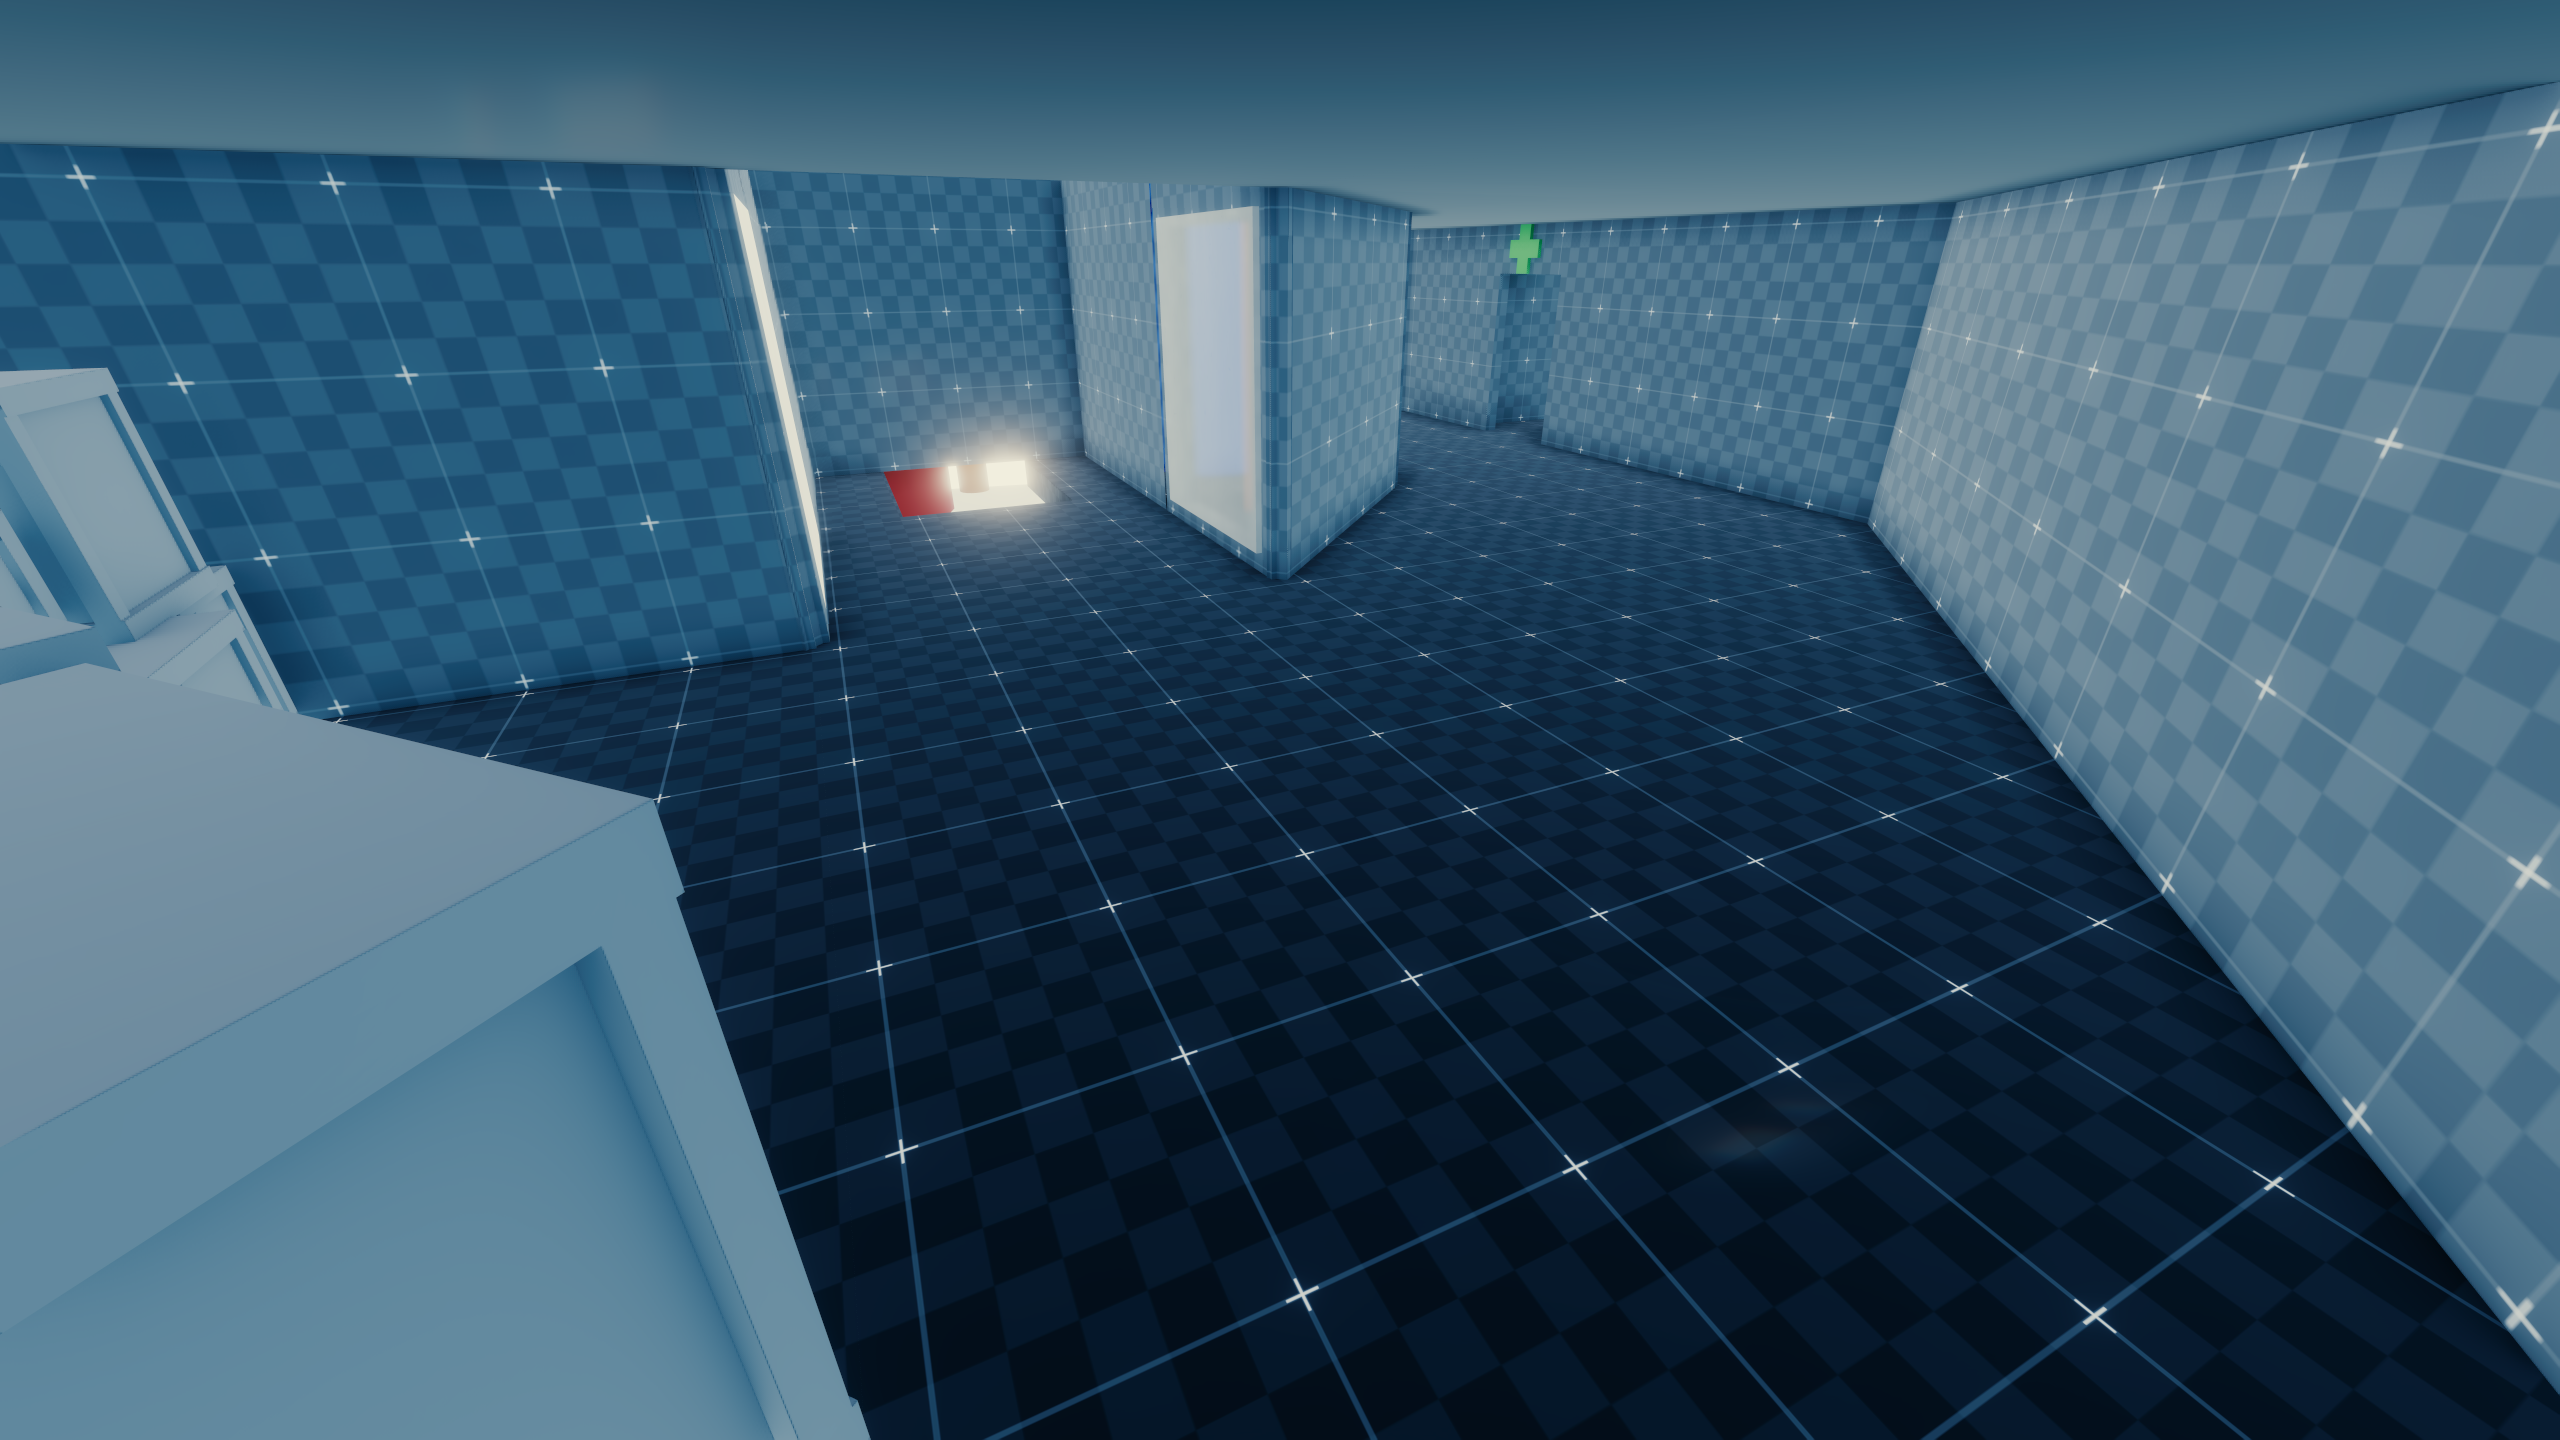
Storage Facility
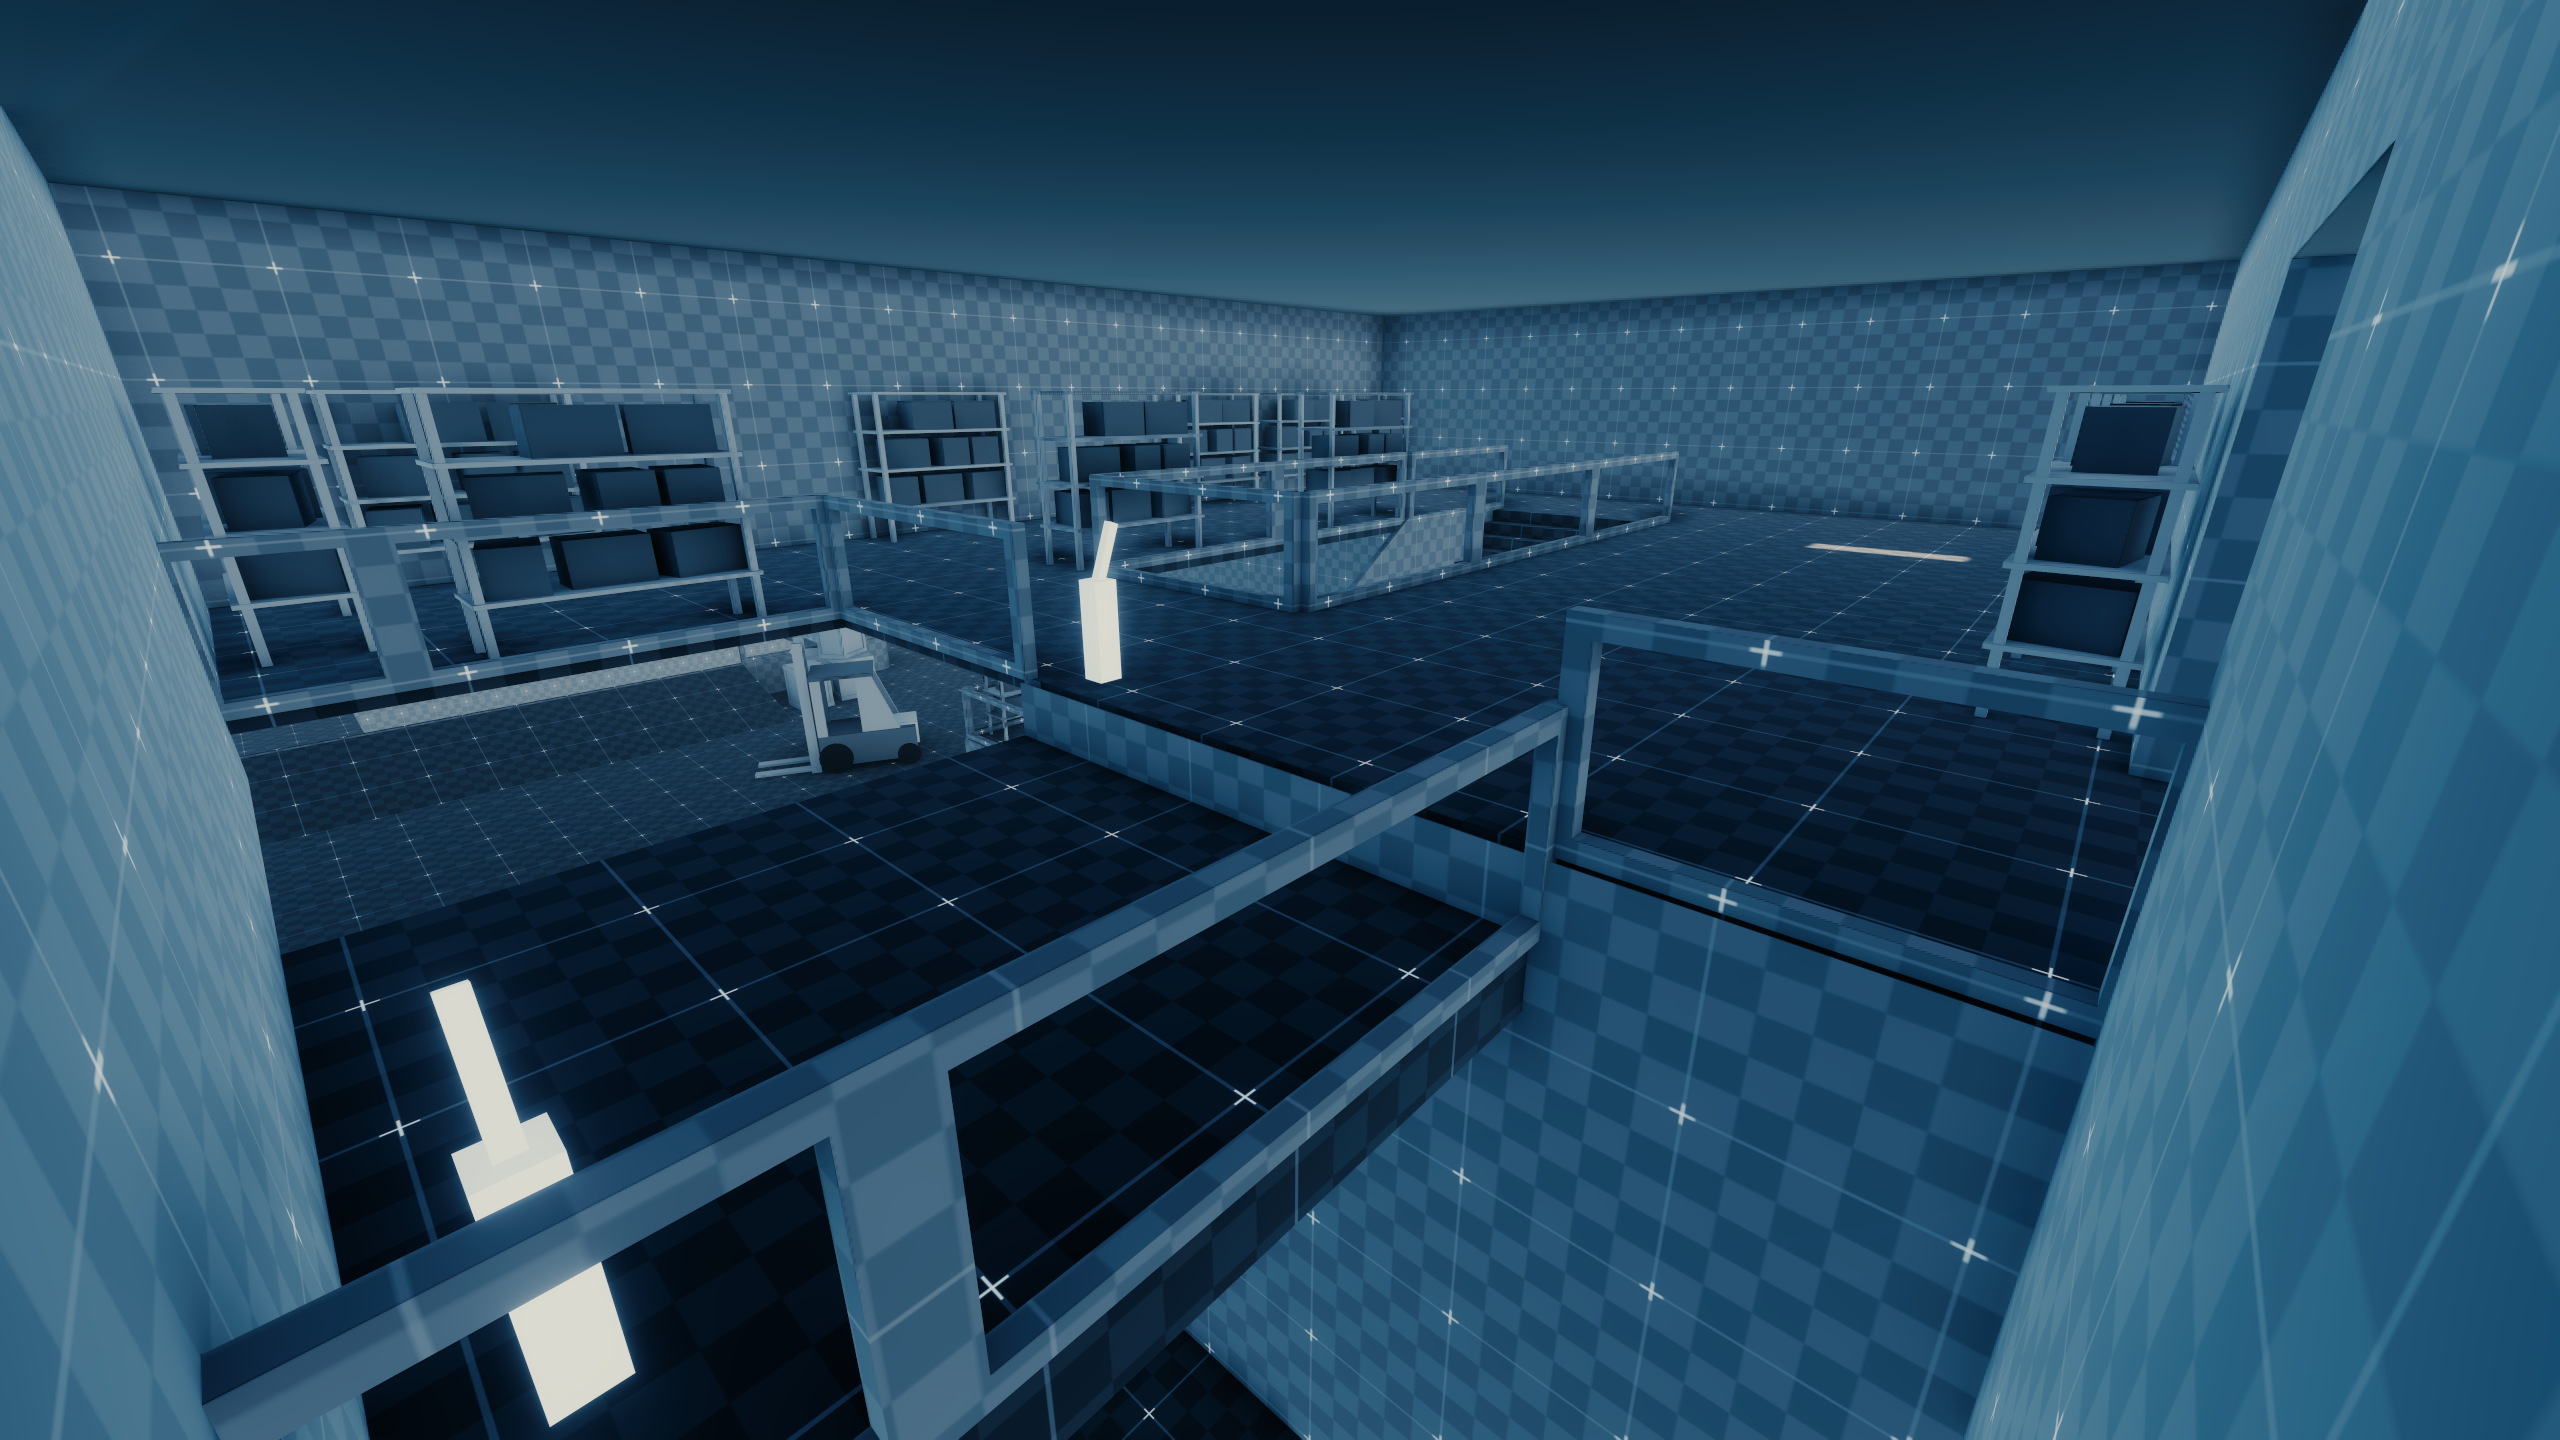
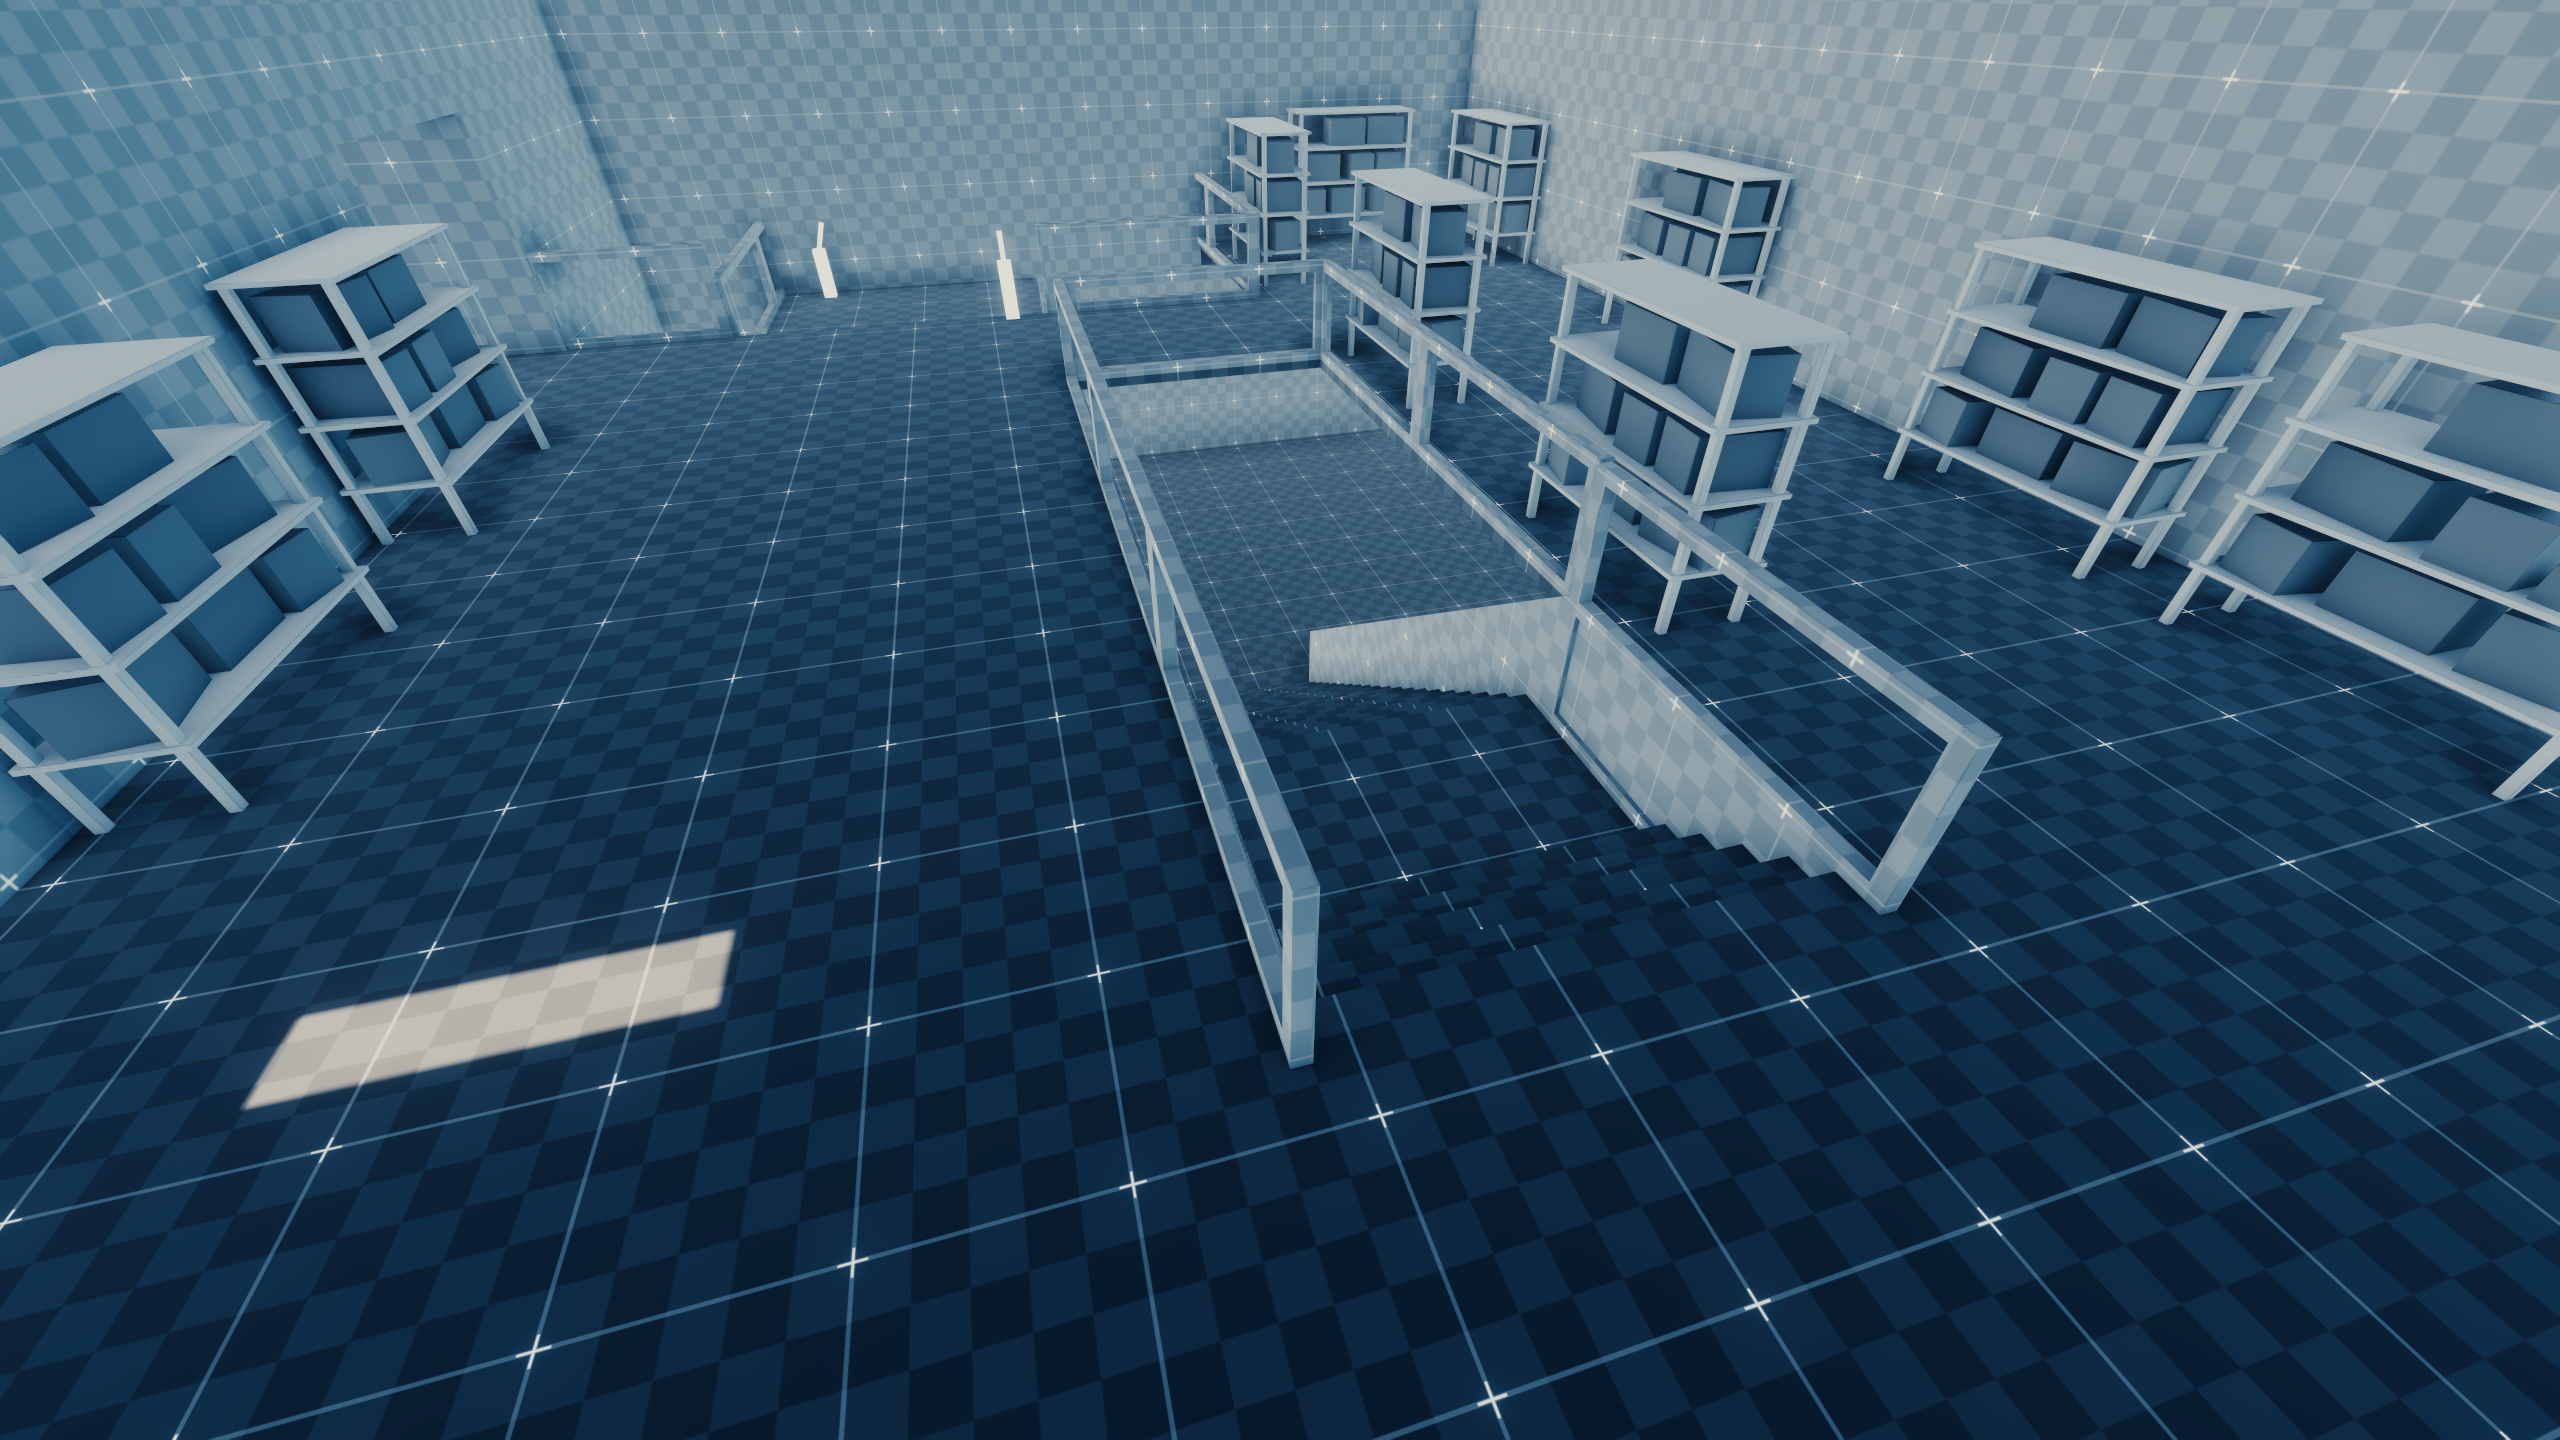
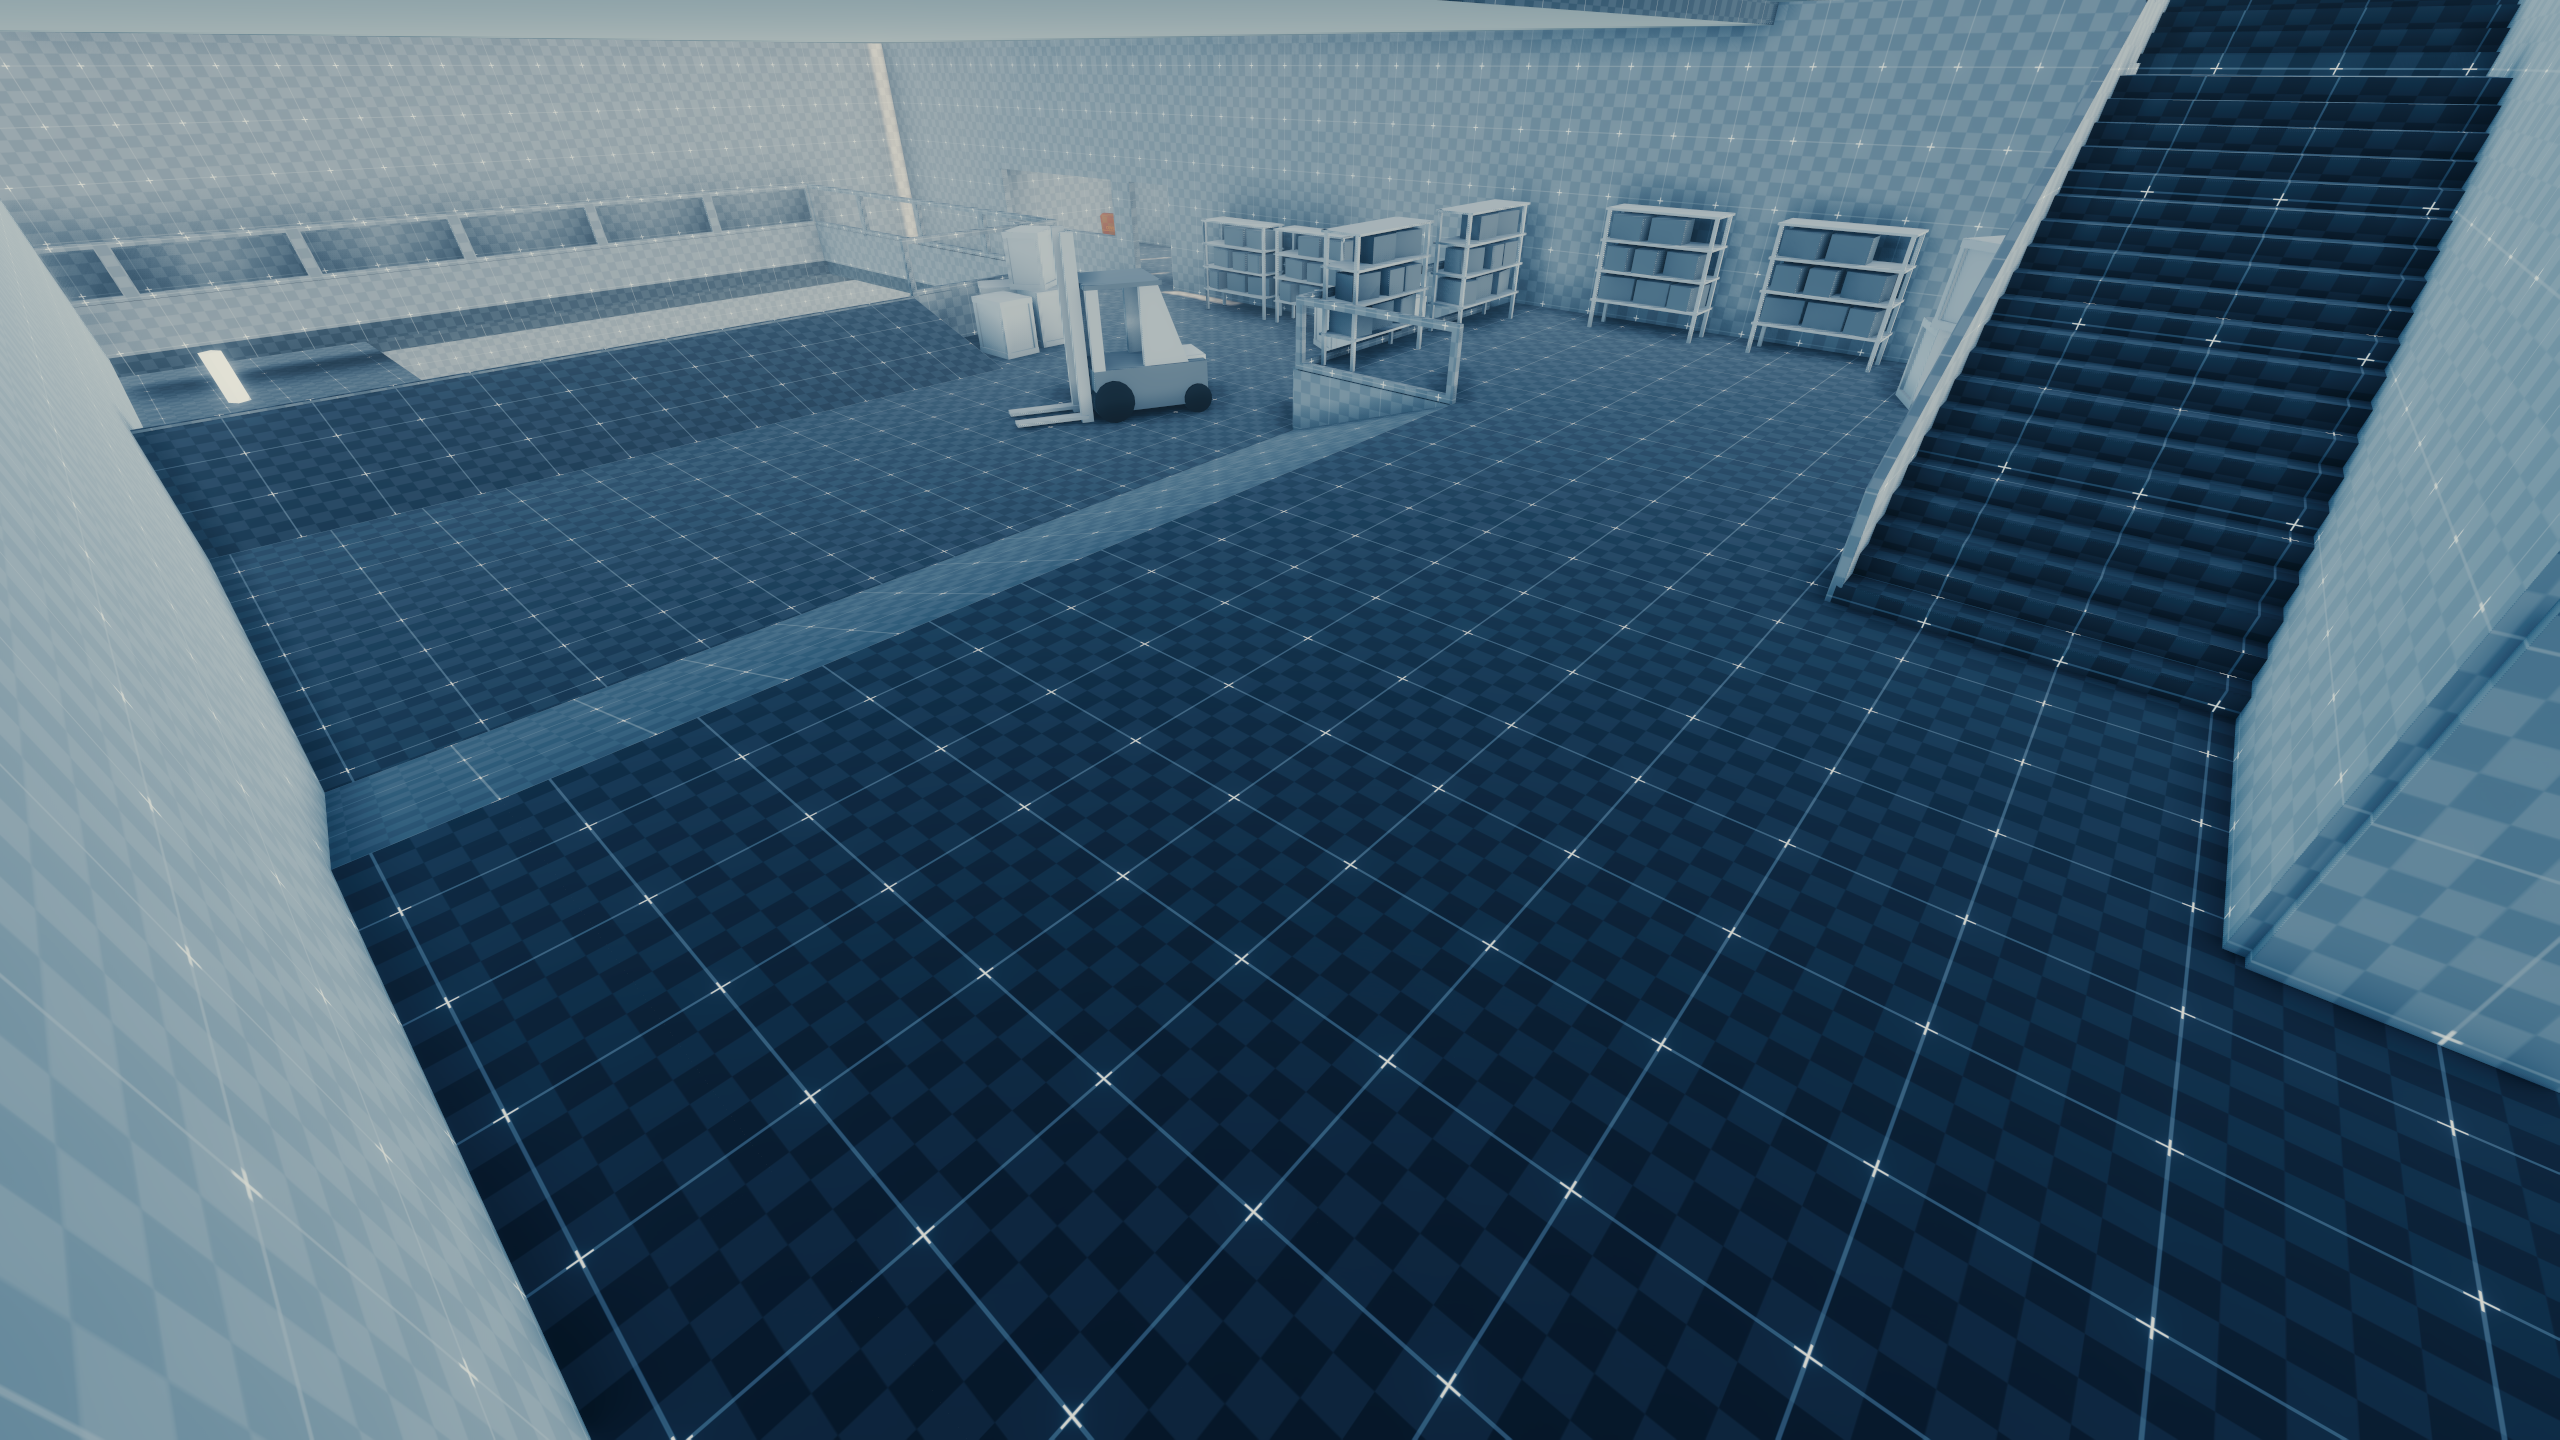
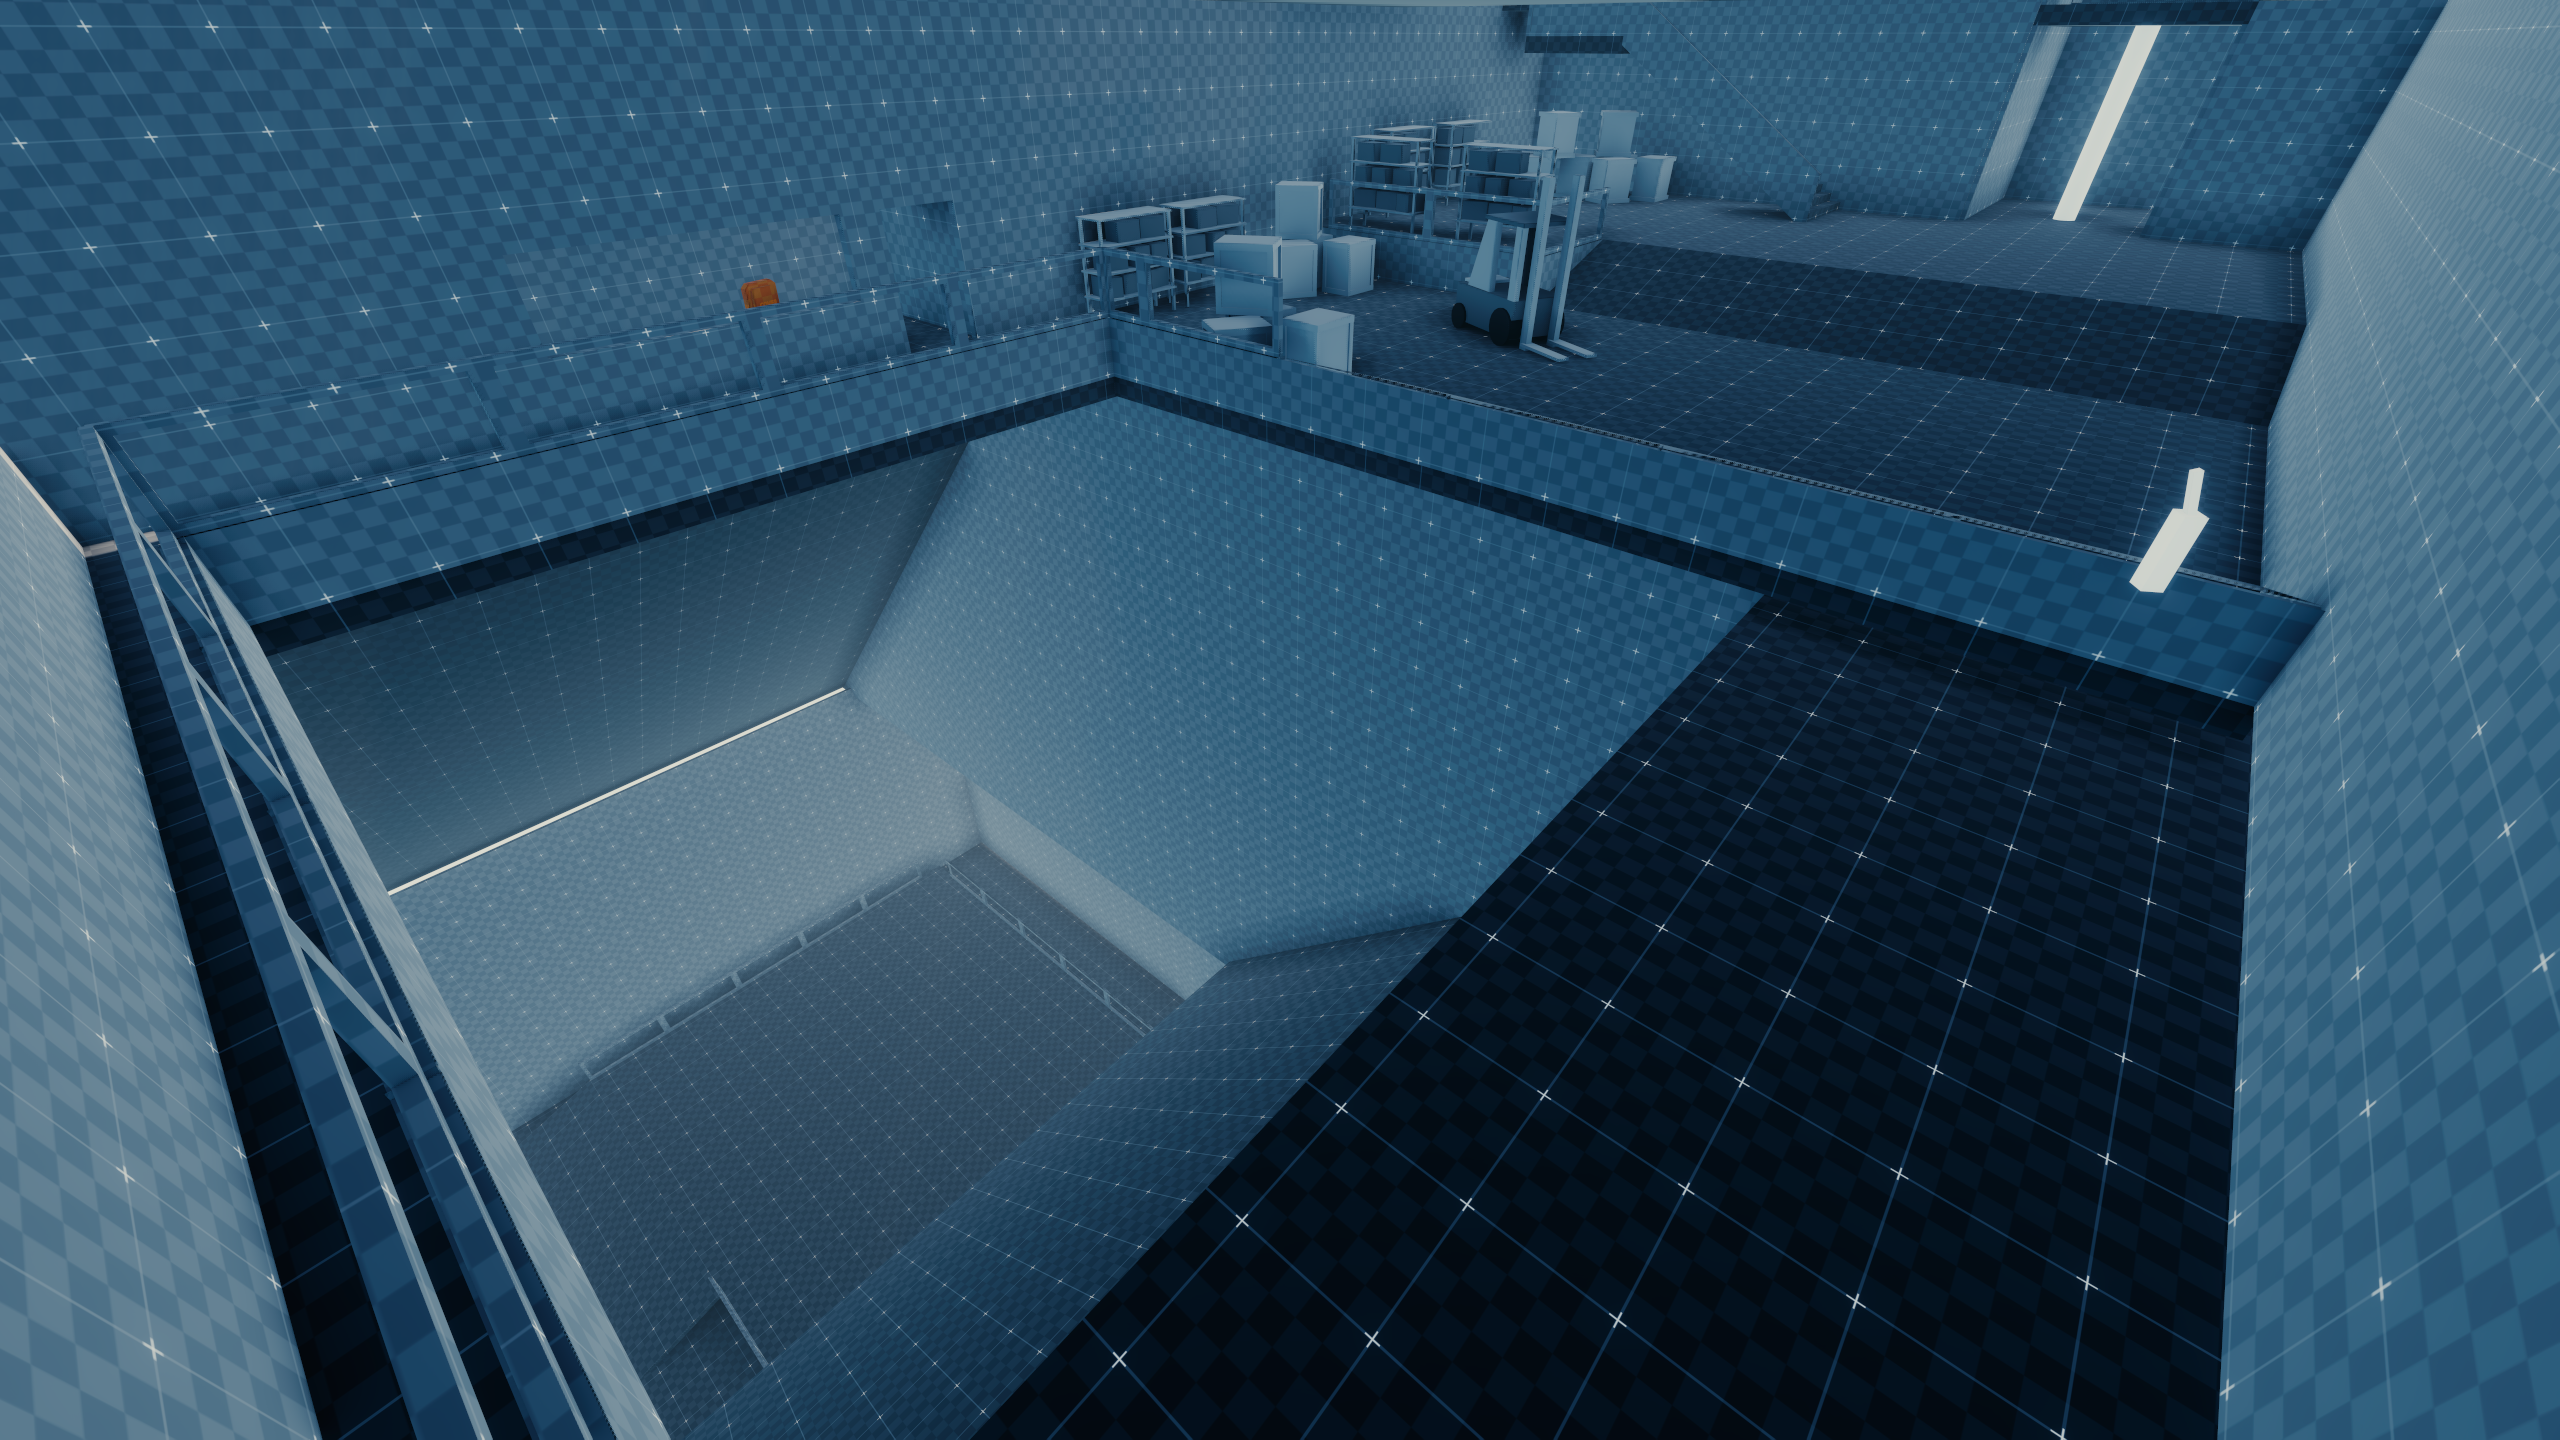
q202_truck_chase
After navigating throughout the bunker, the player would have taken part of some sort of "truck chase", going by name of the map. No further information is available.
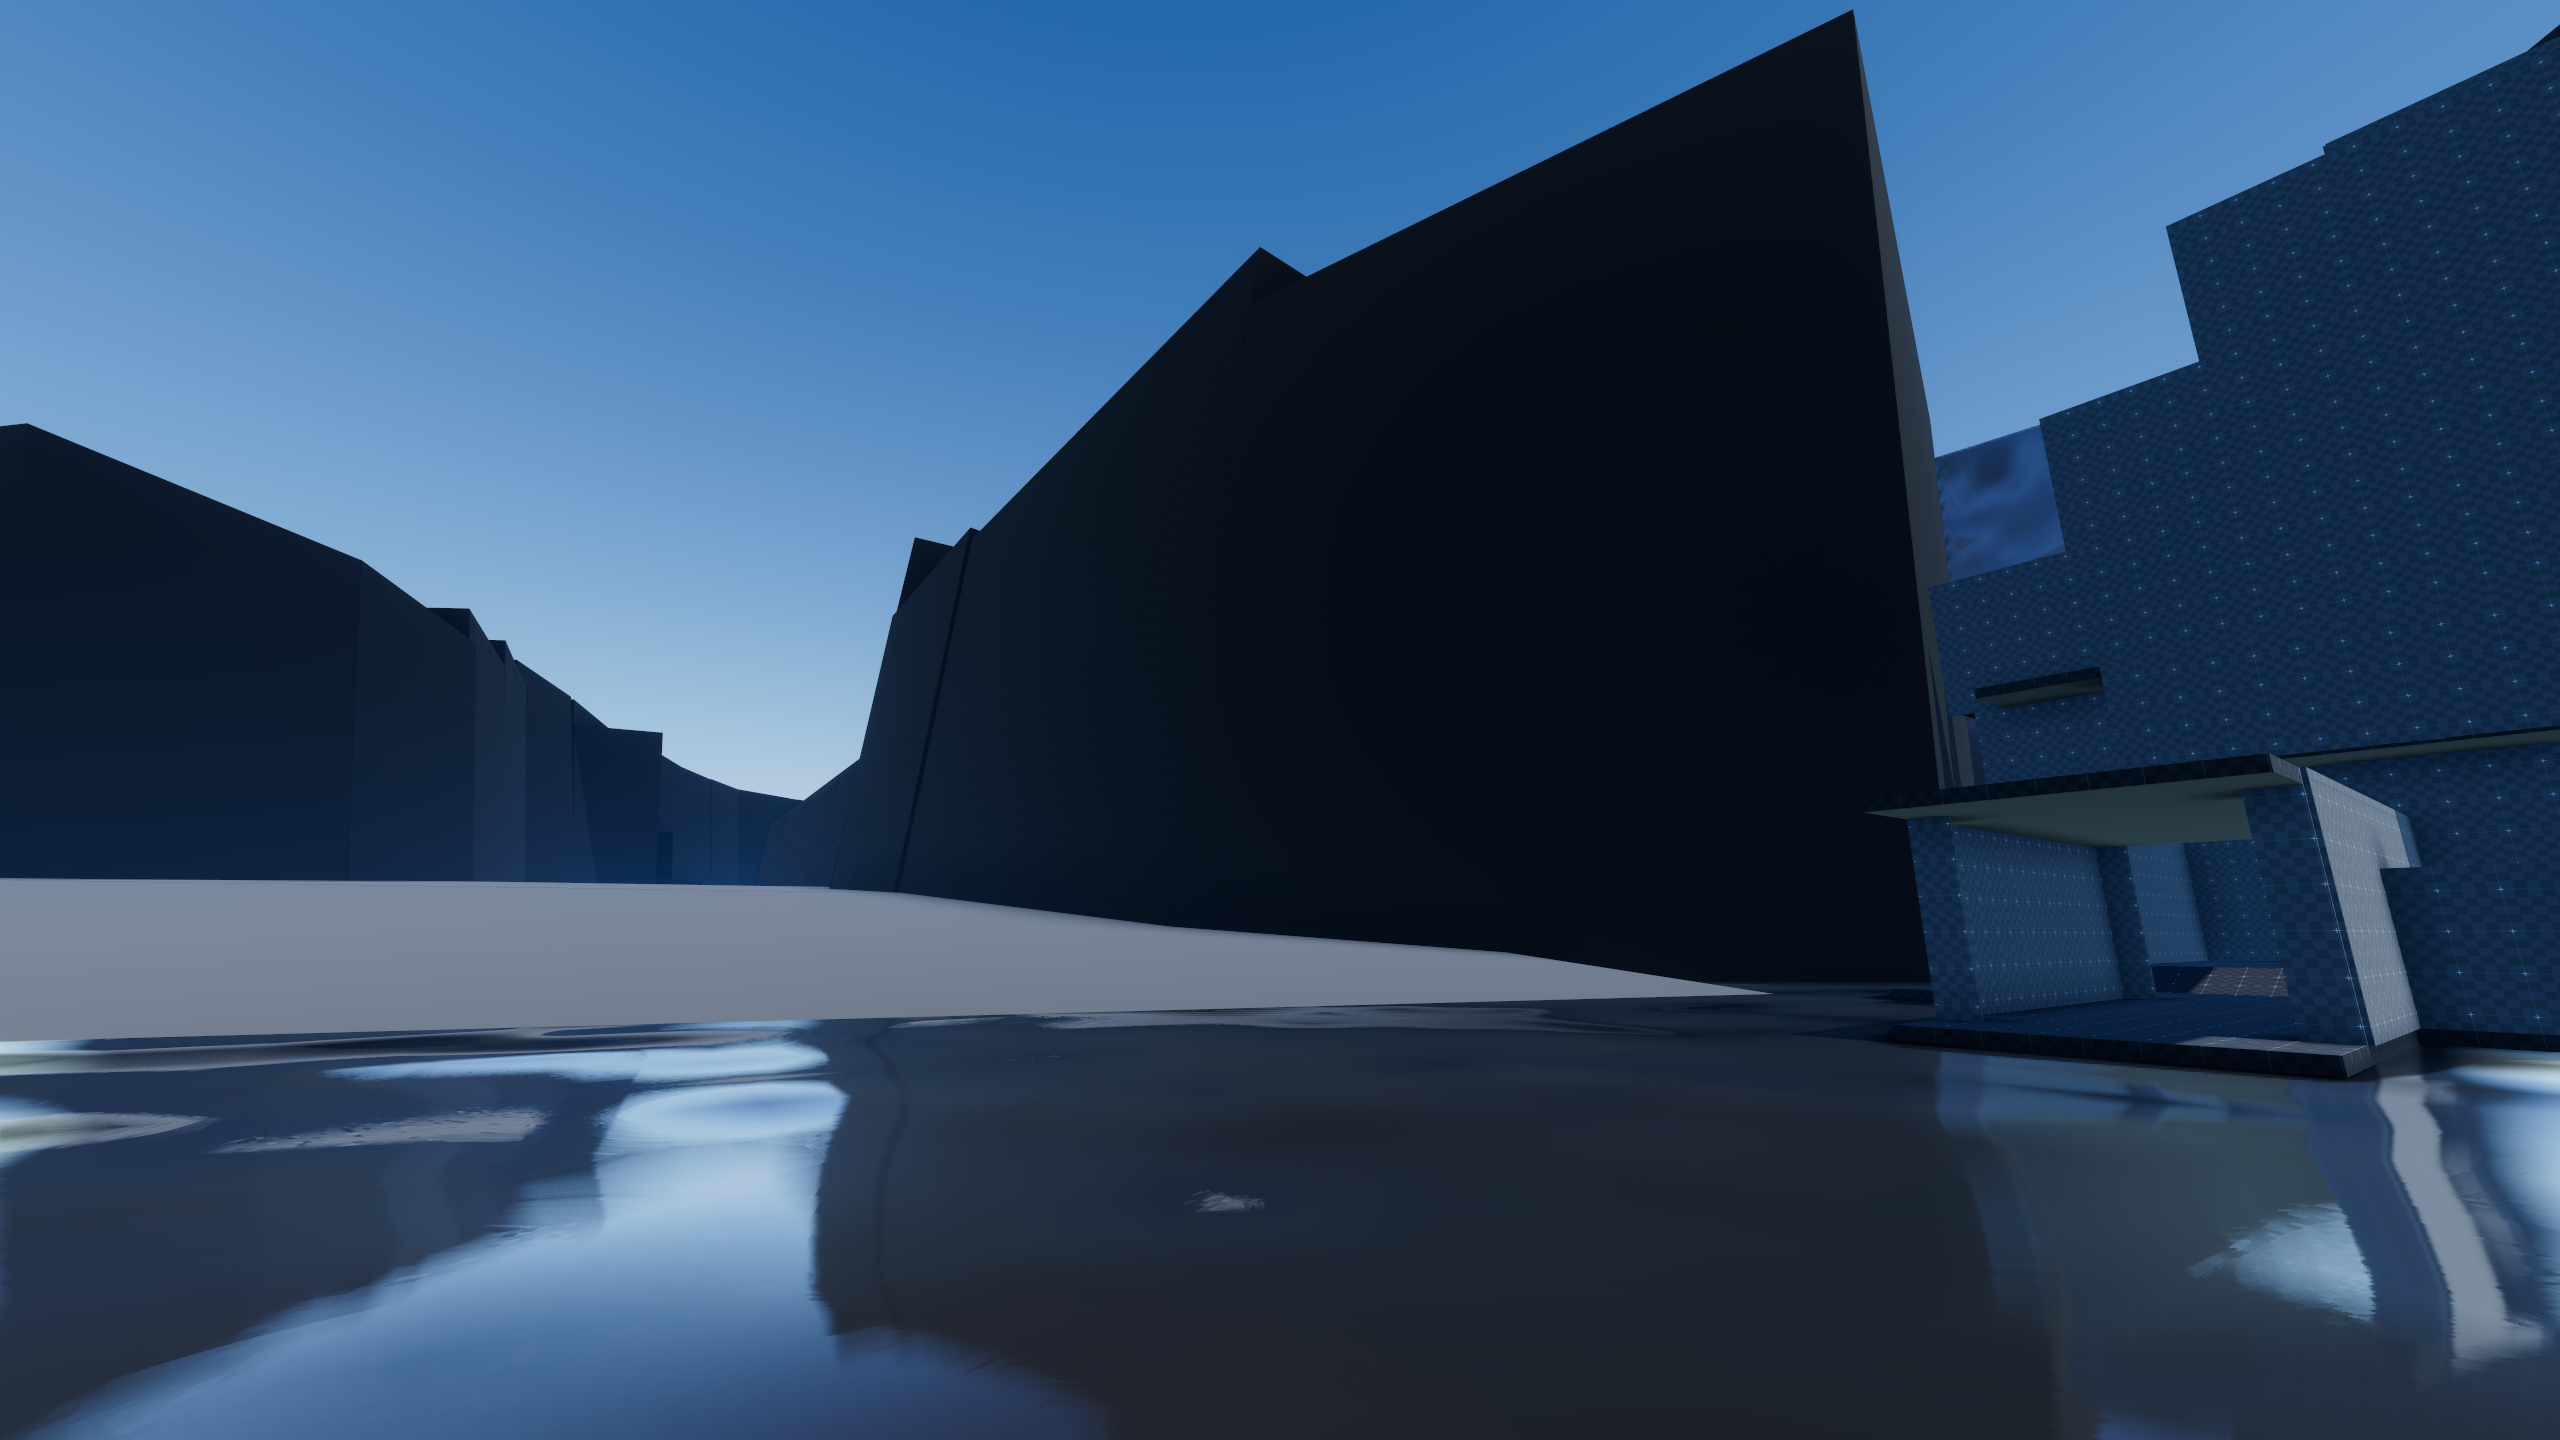
zone_south#
zone_west#
low_g_gym#
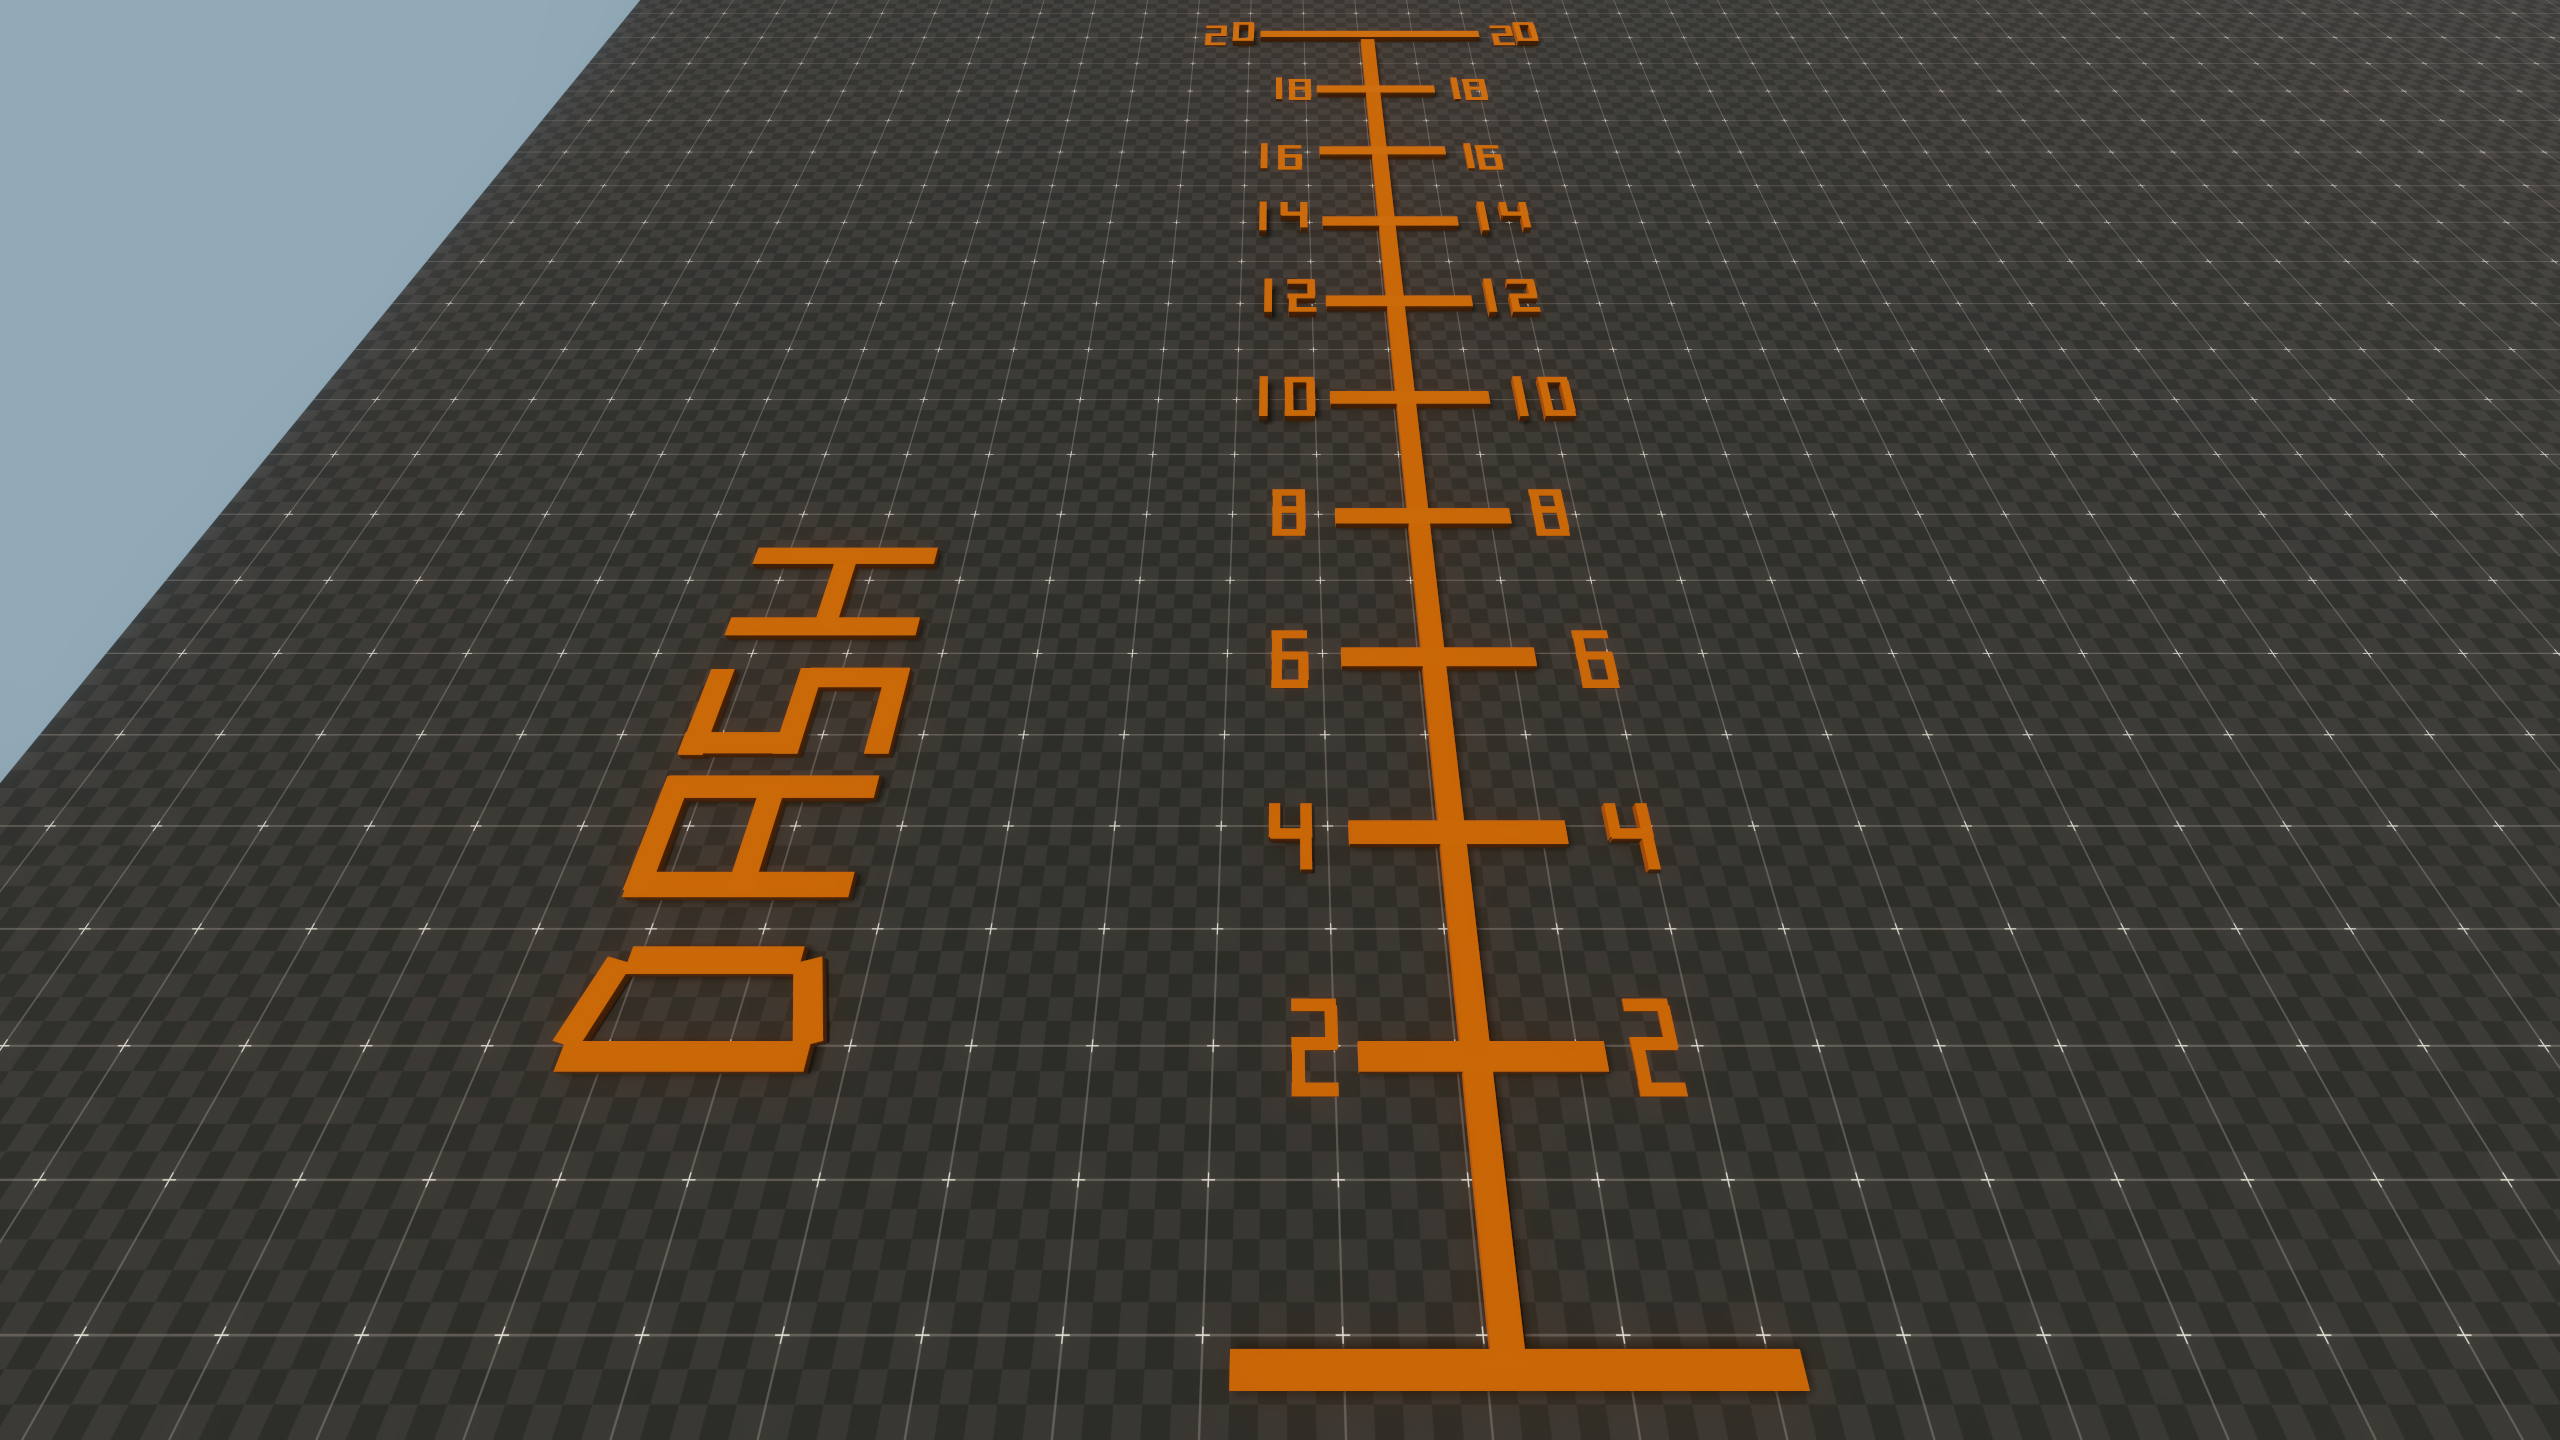
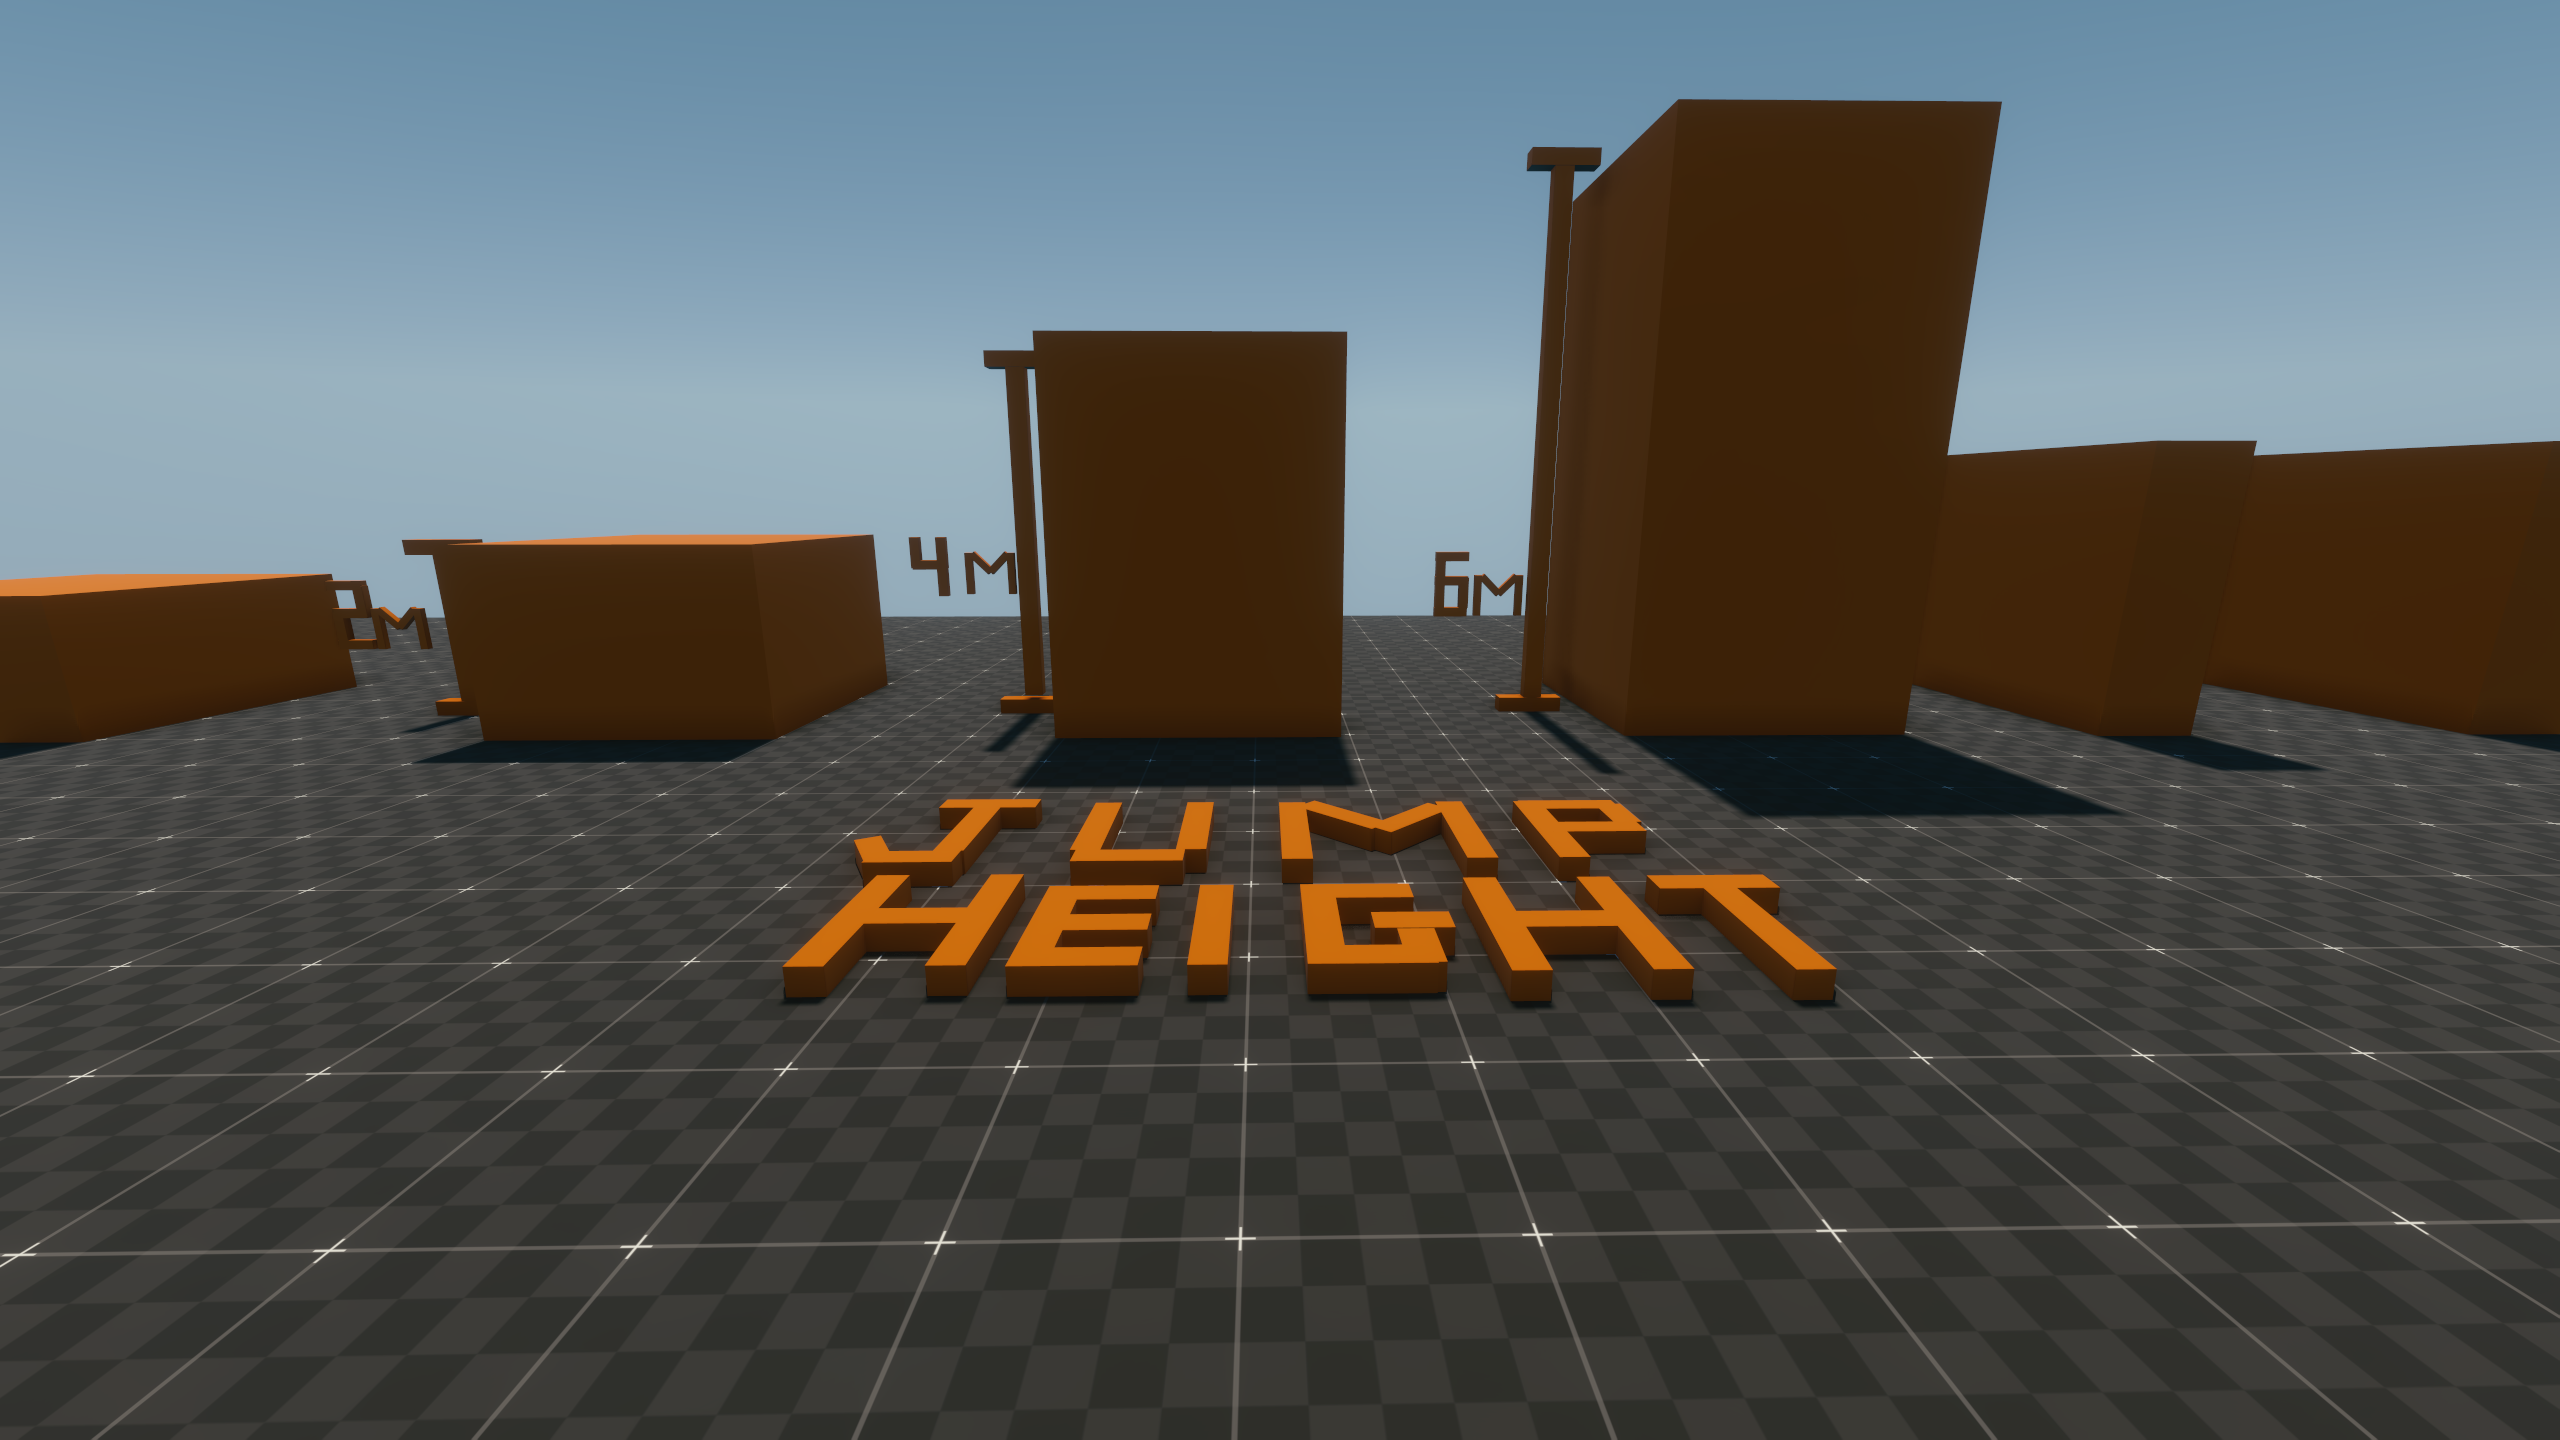
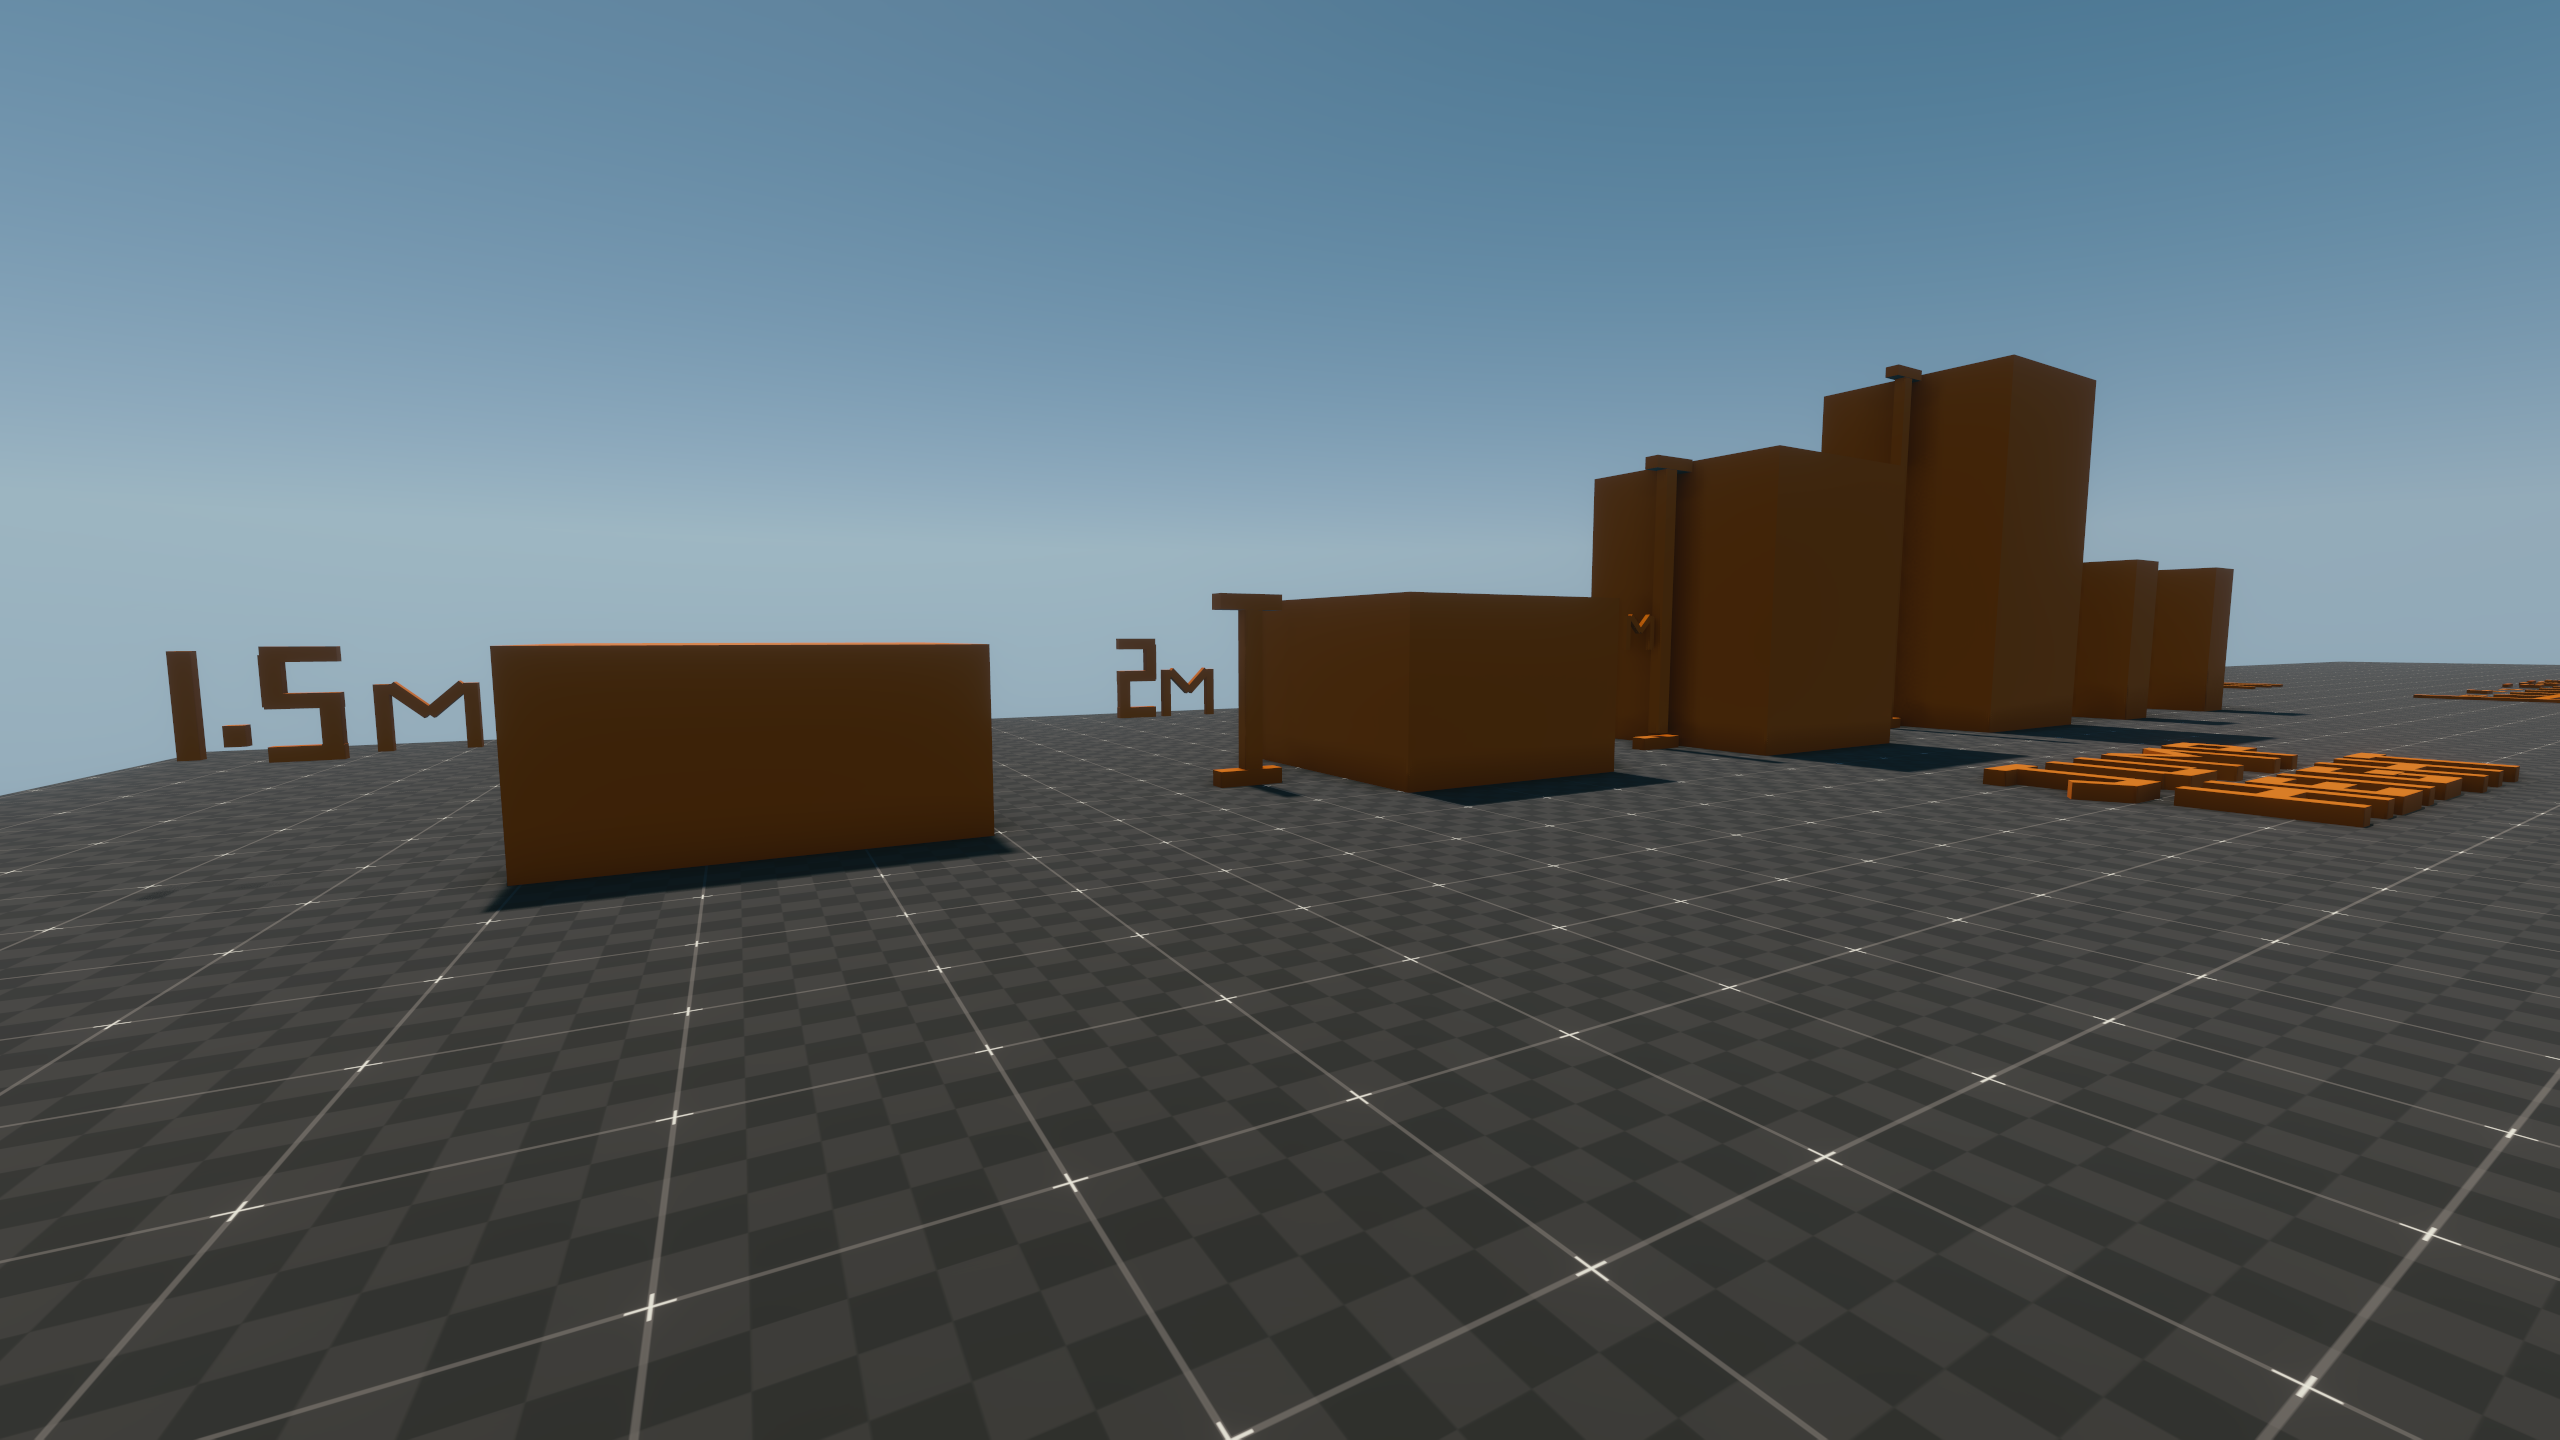
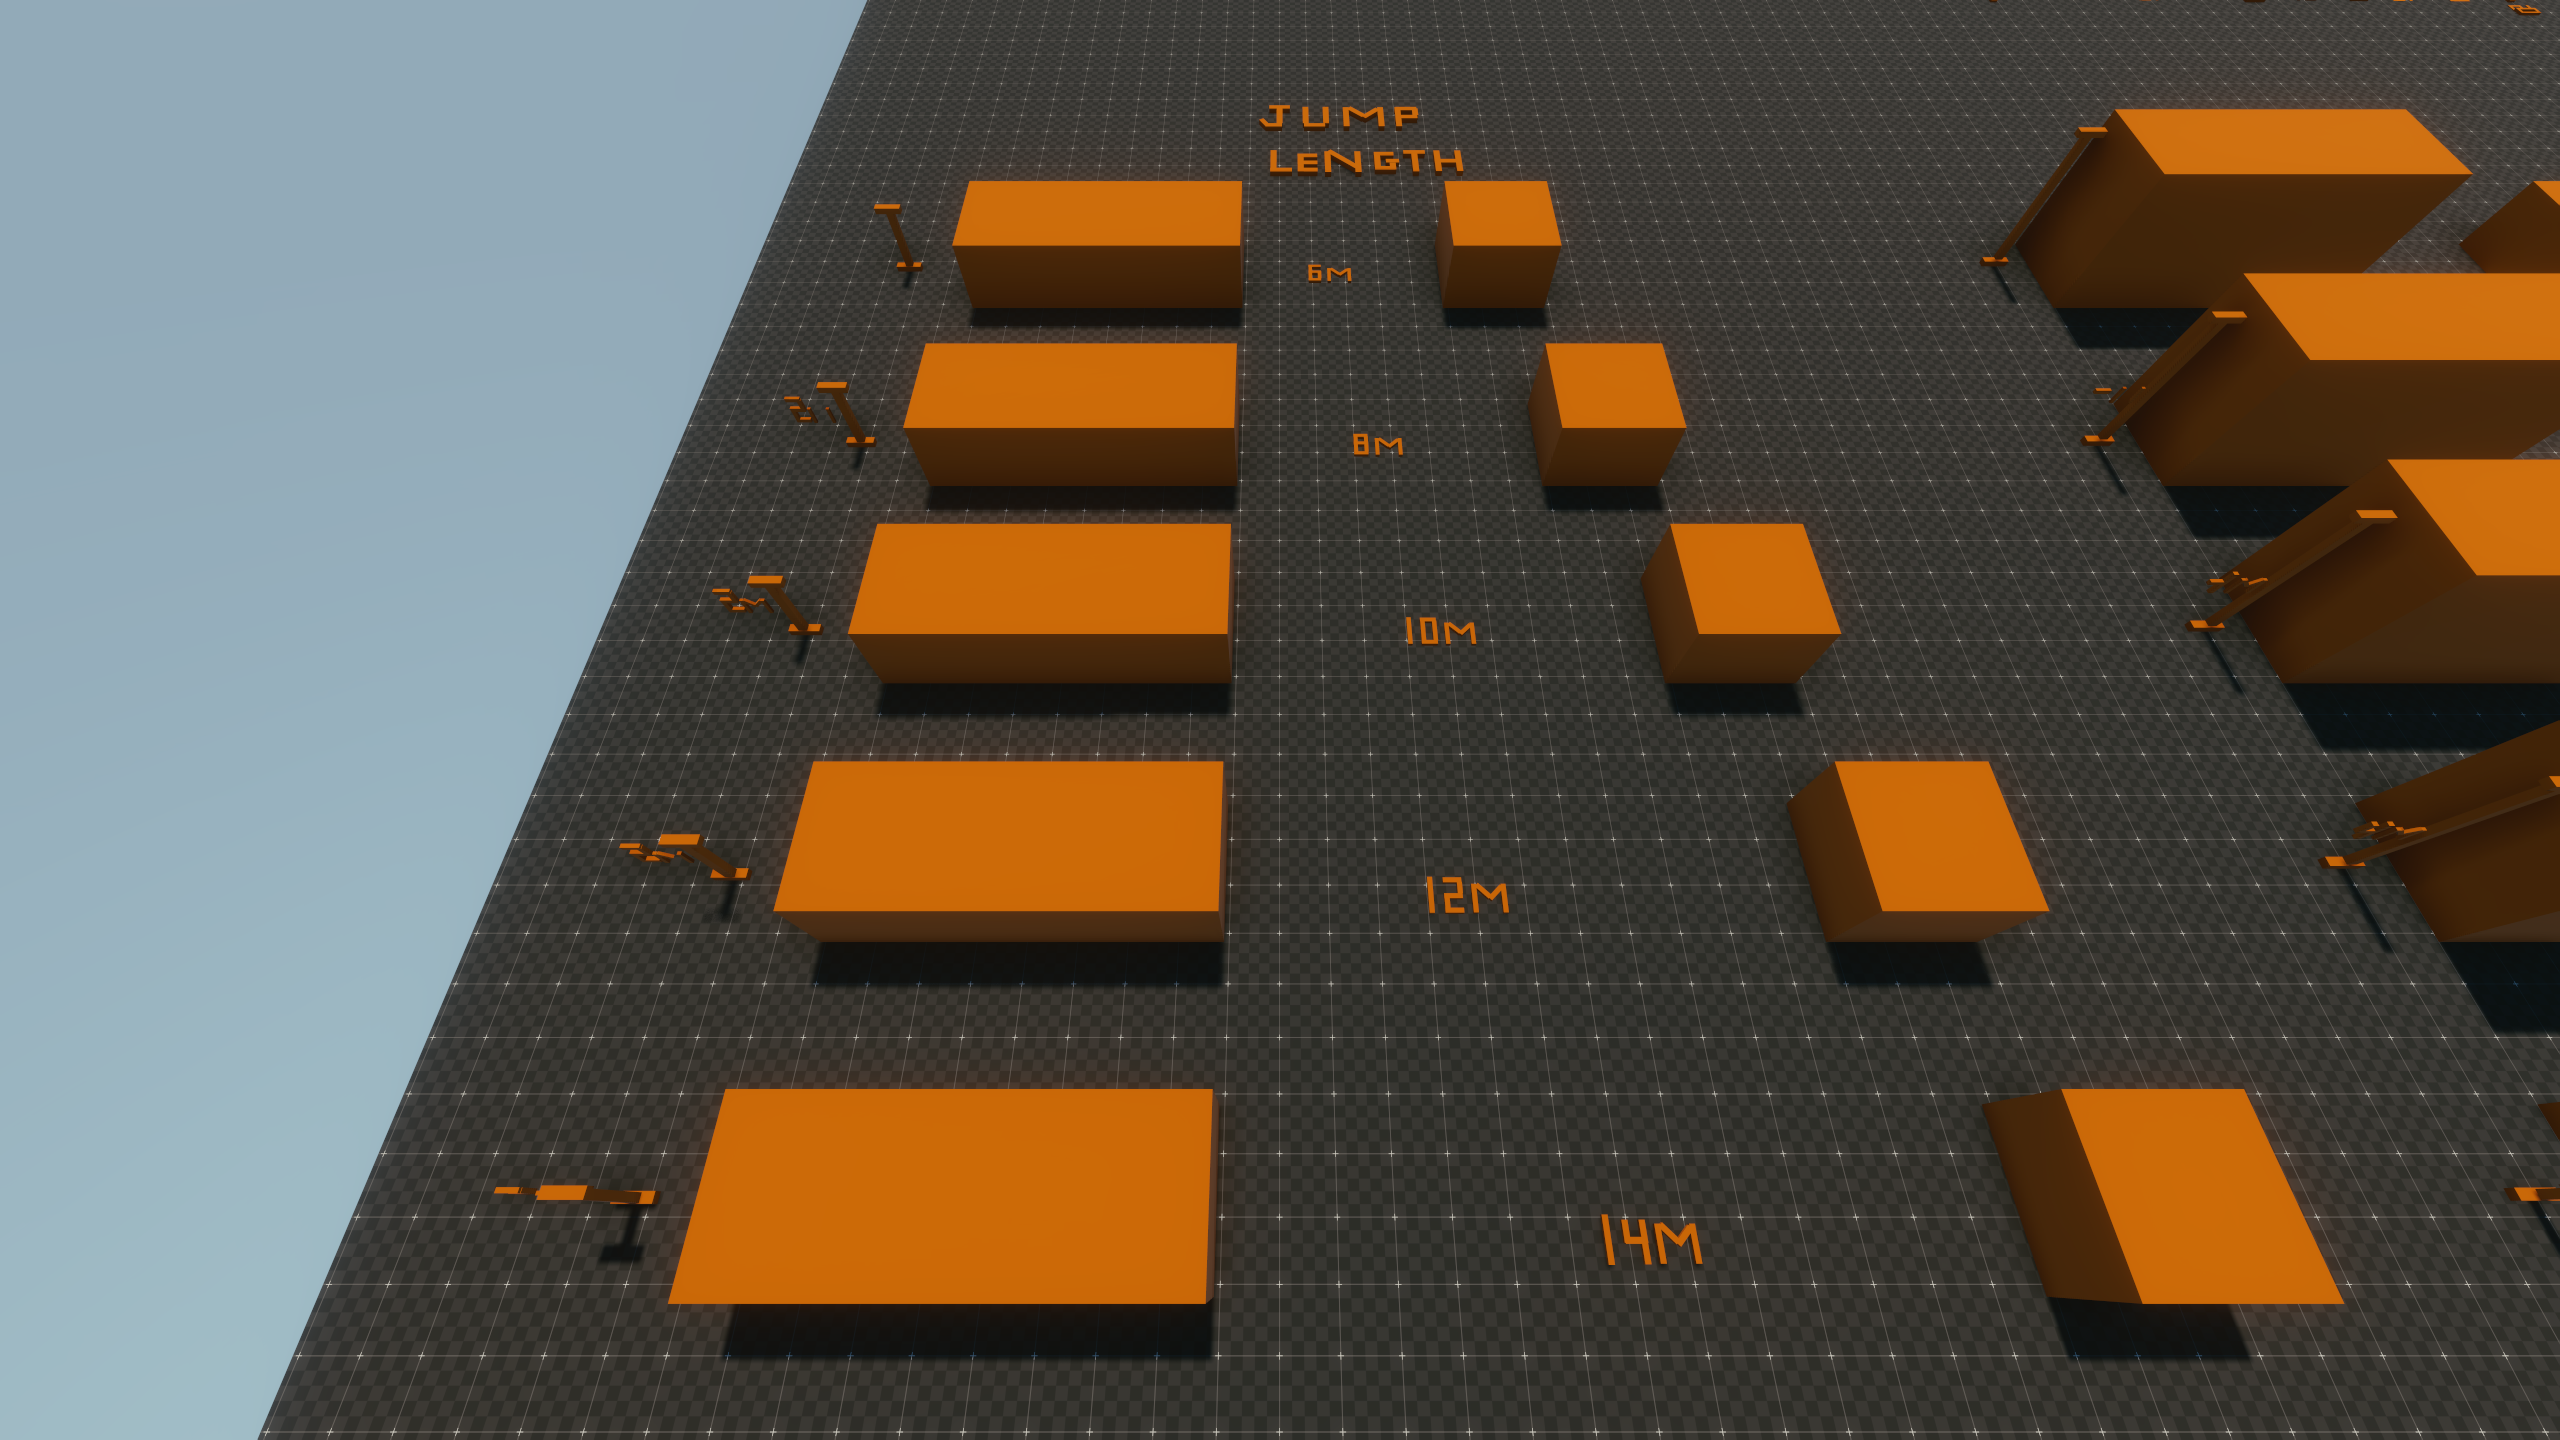
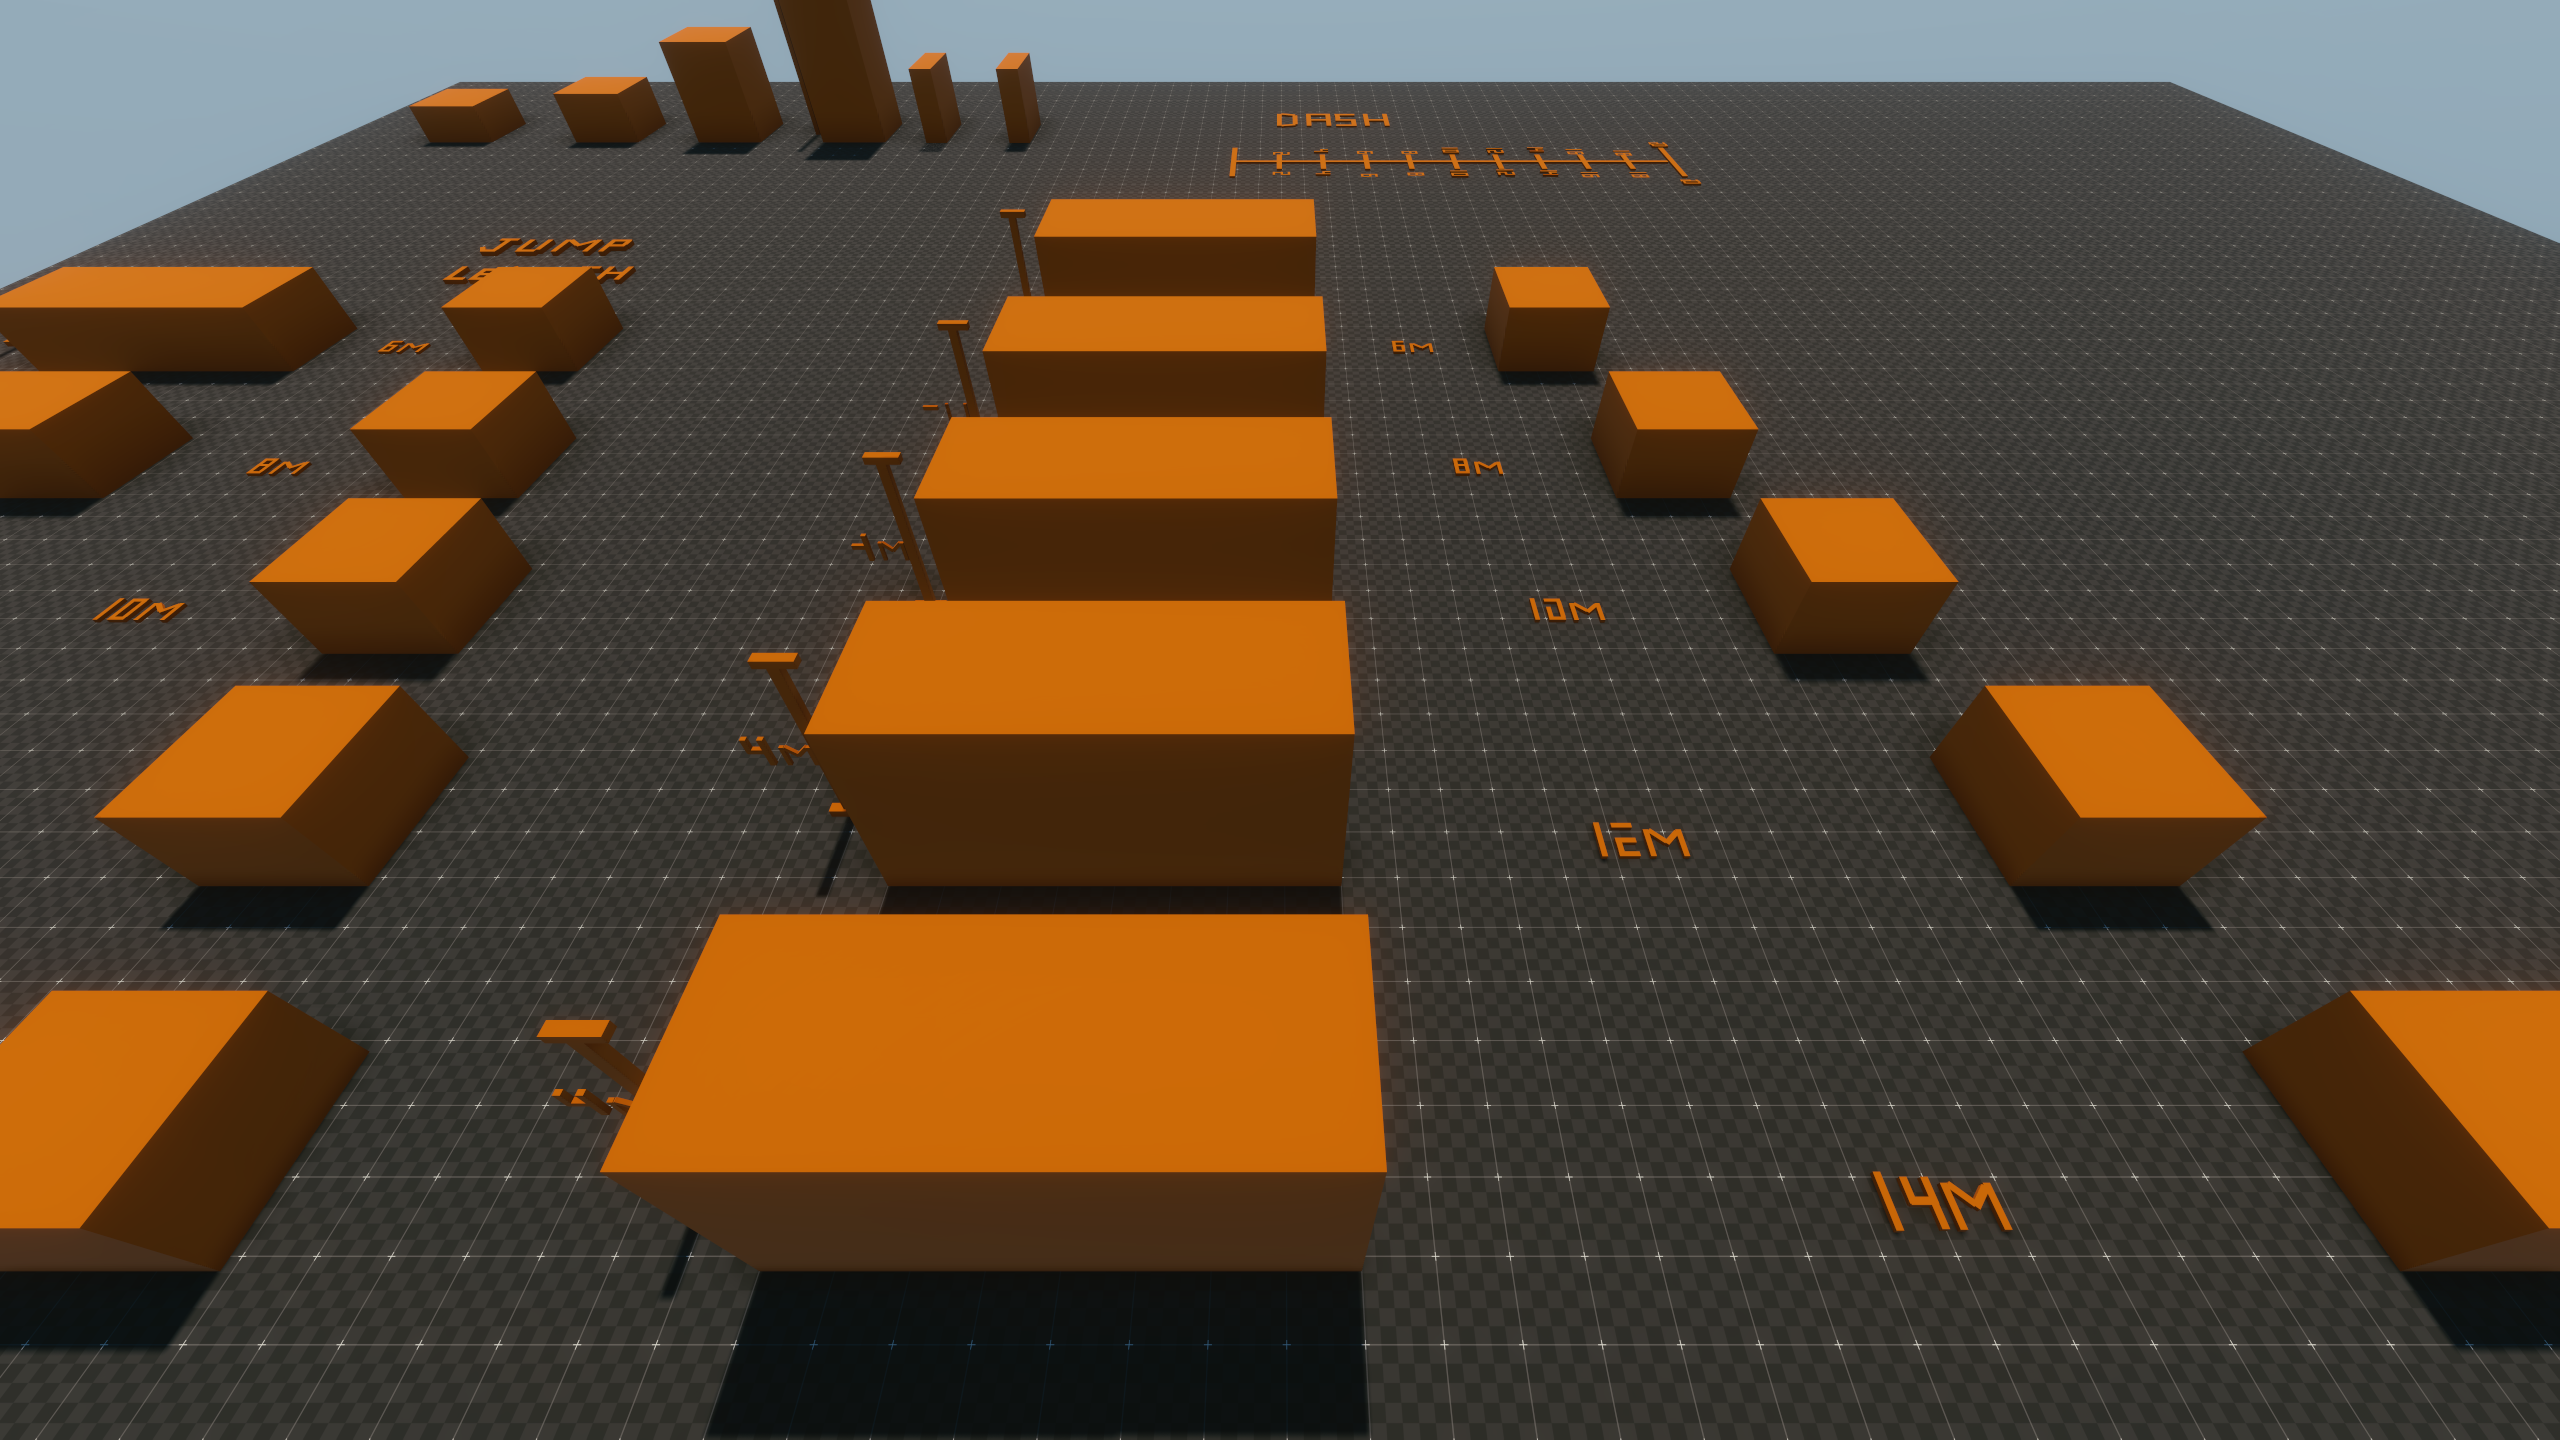
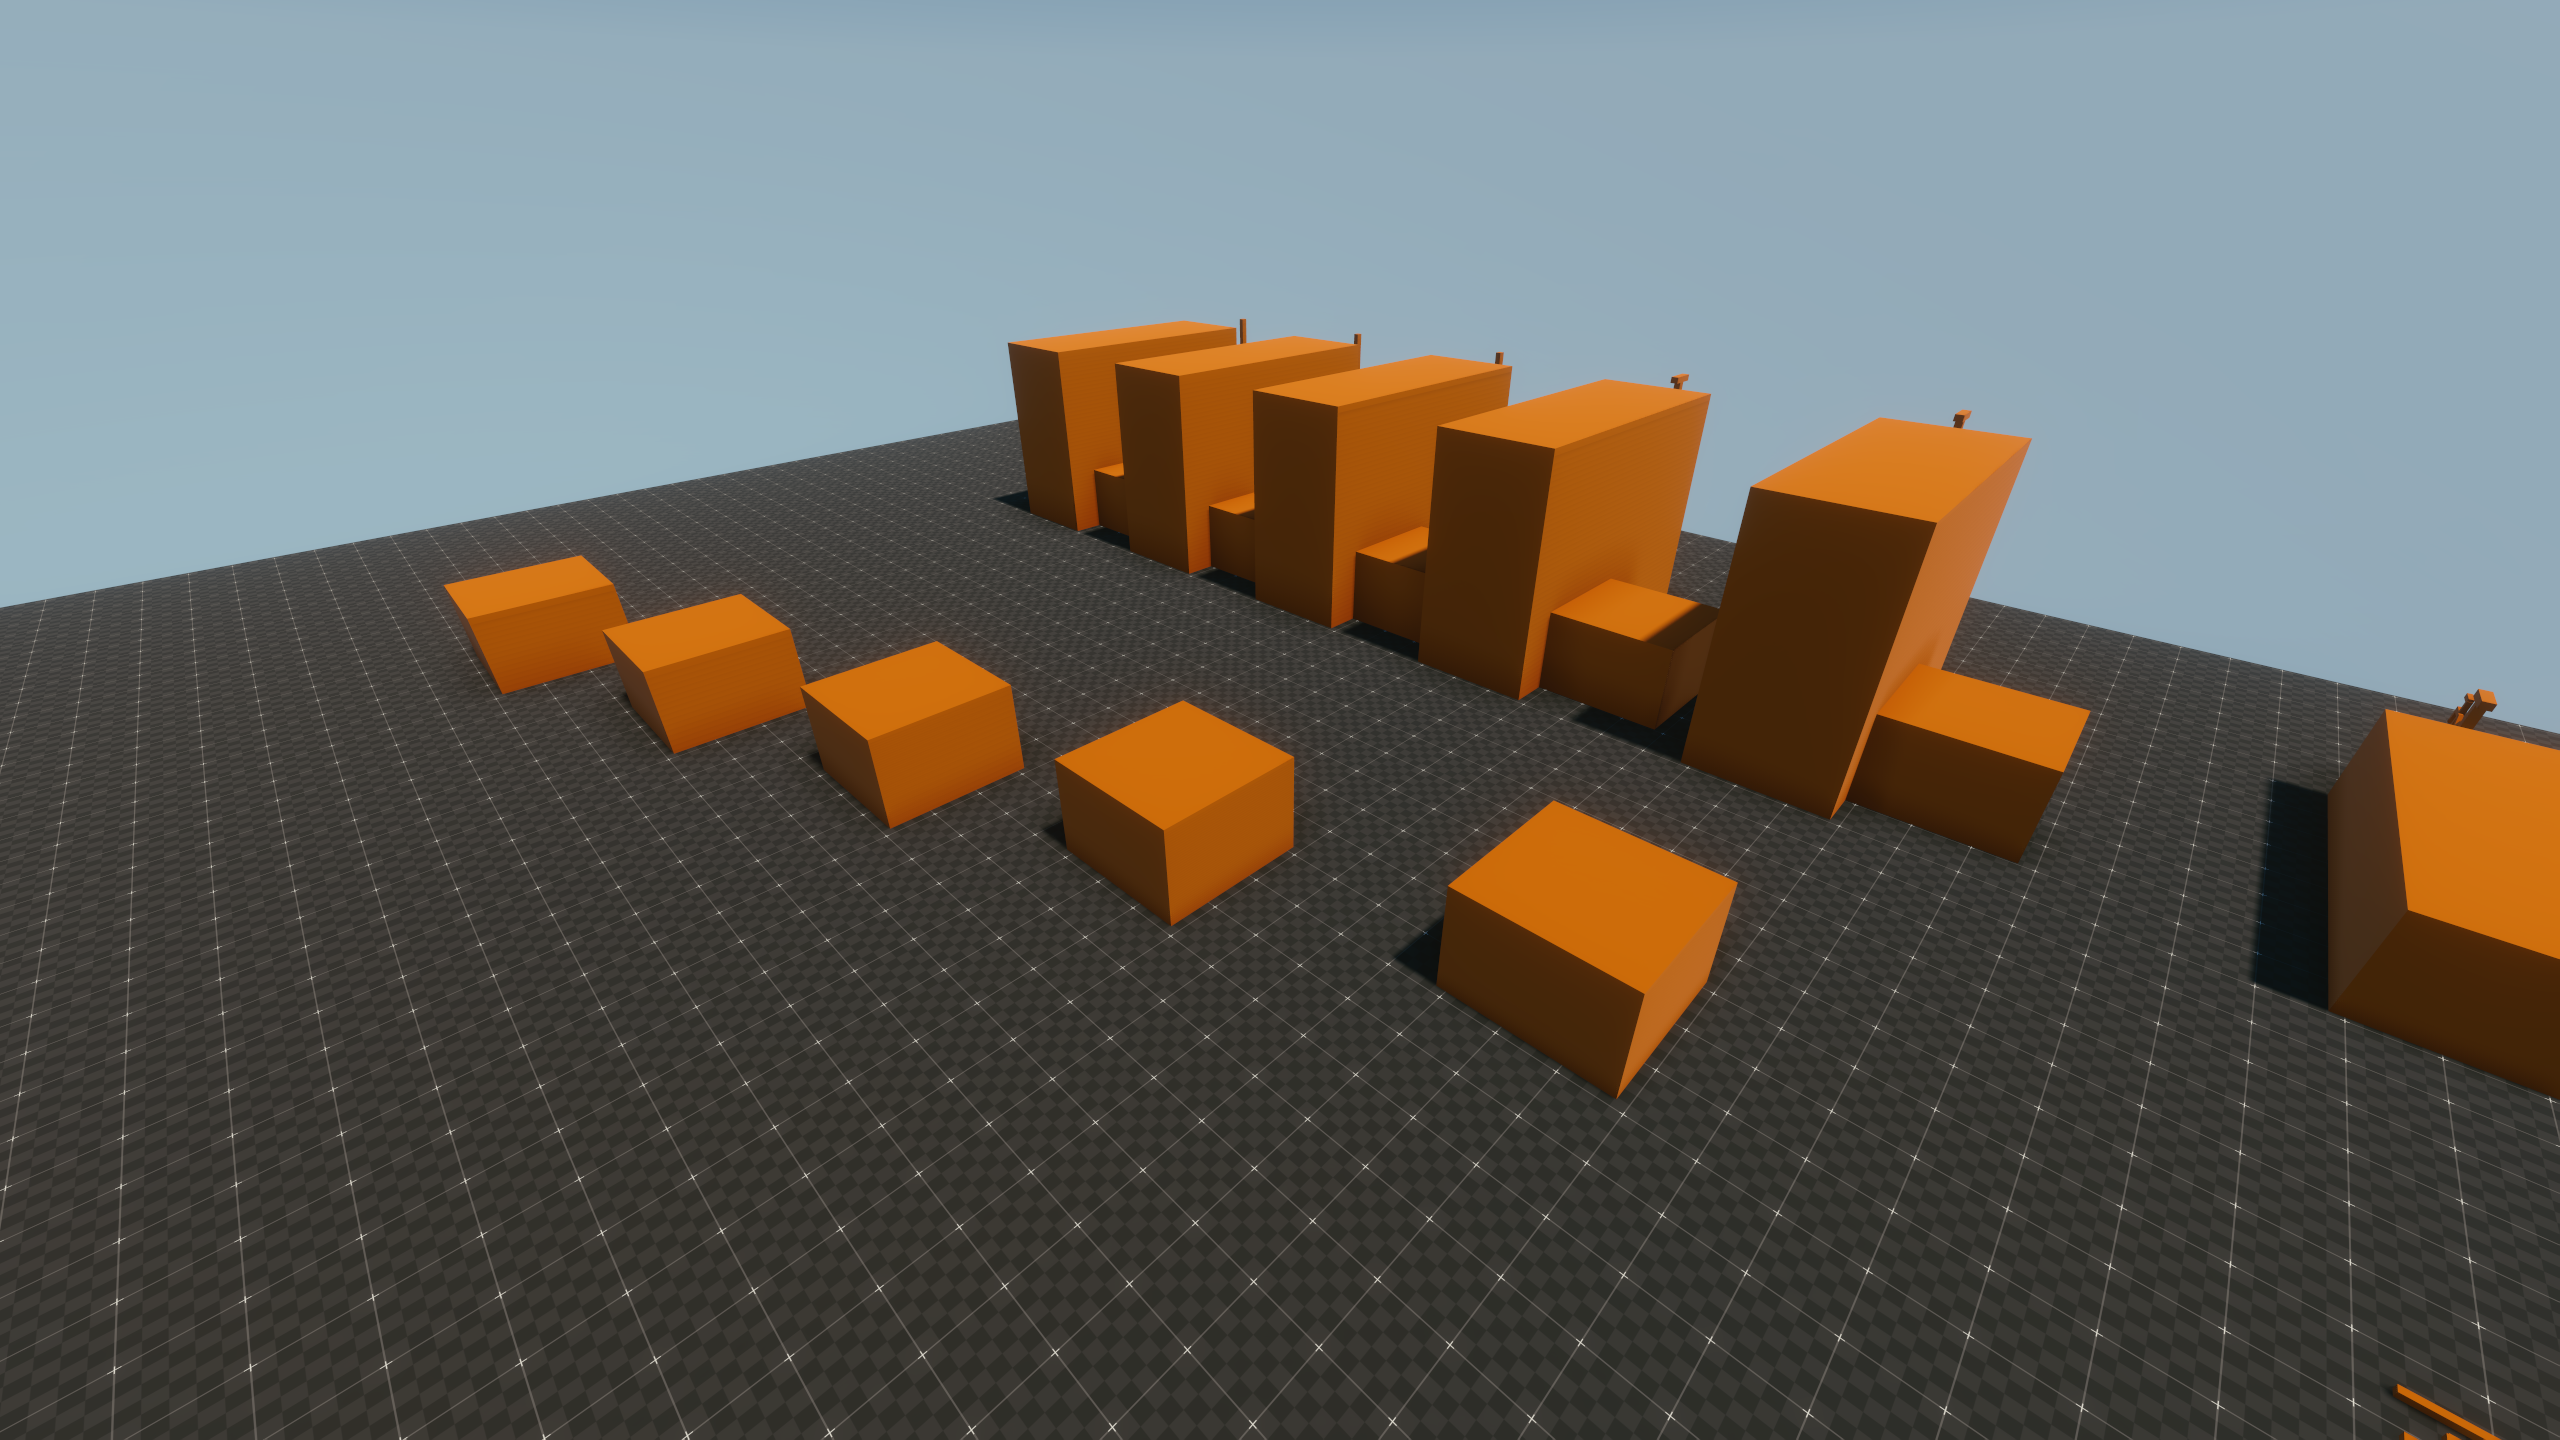
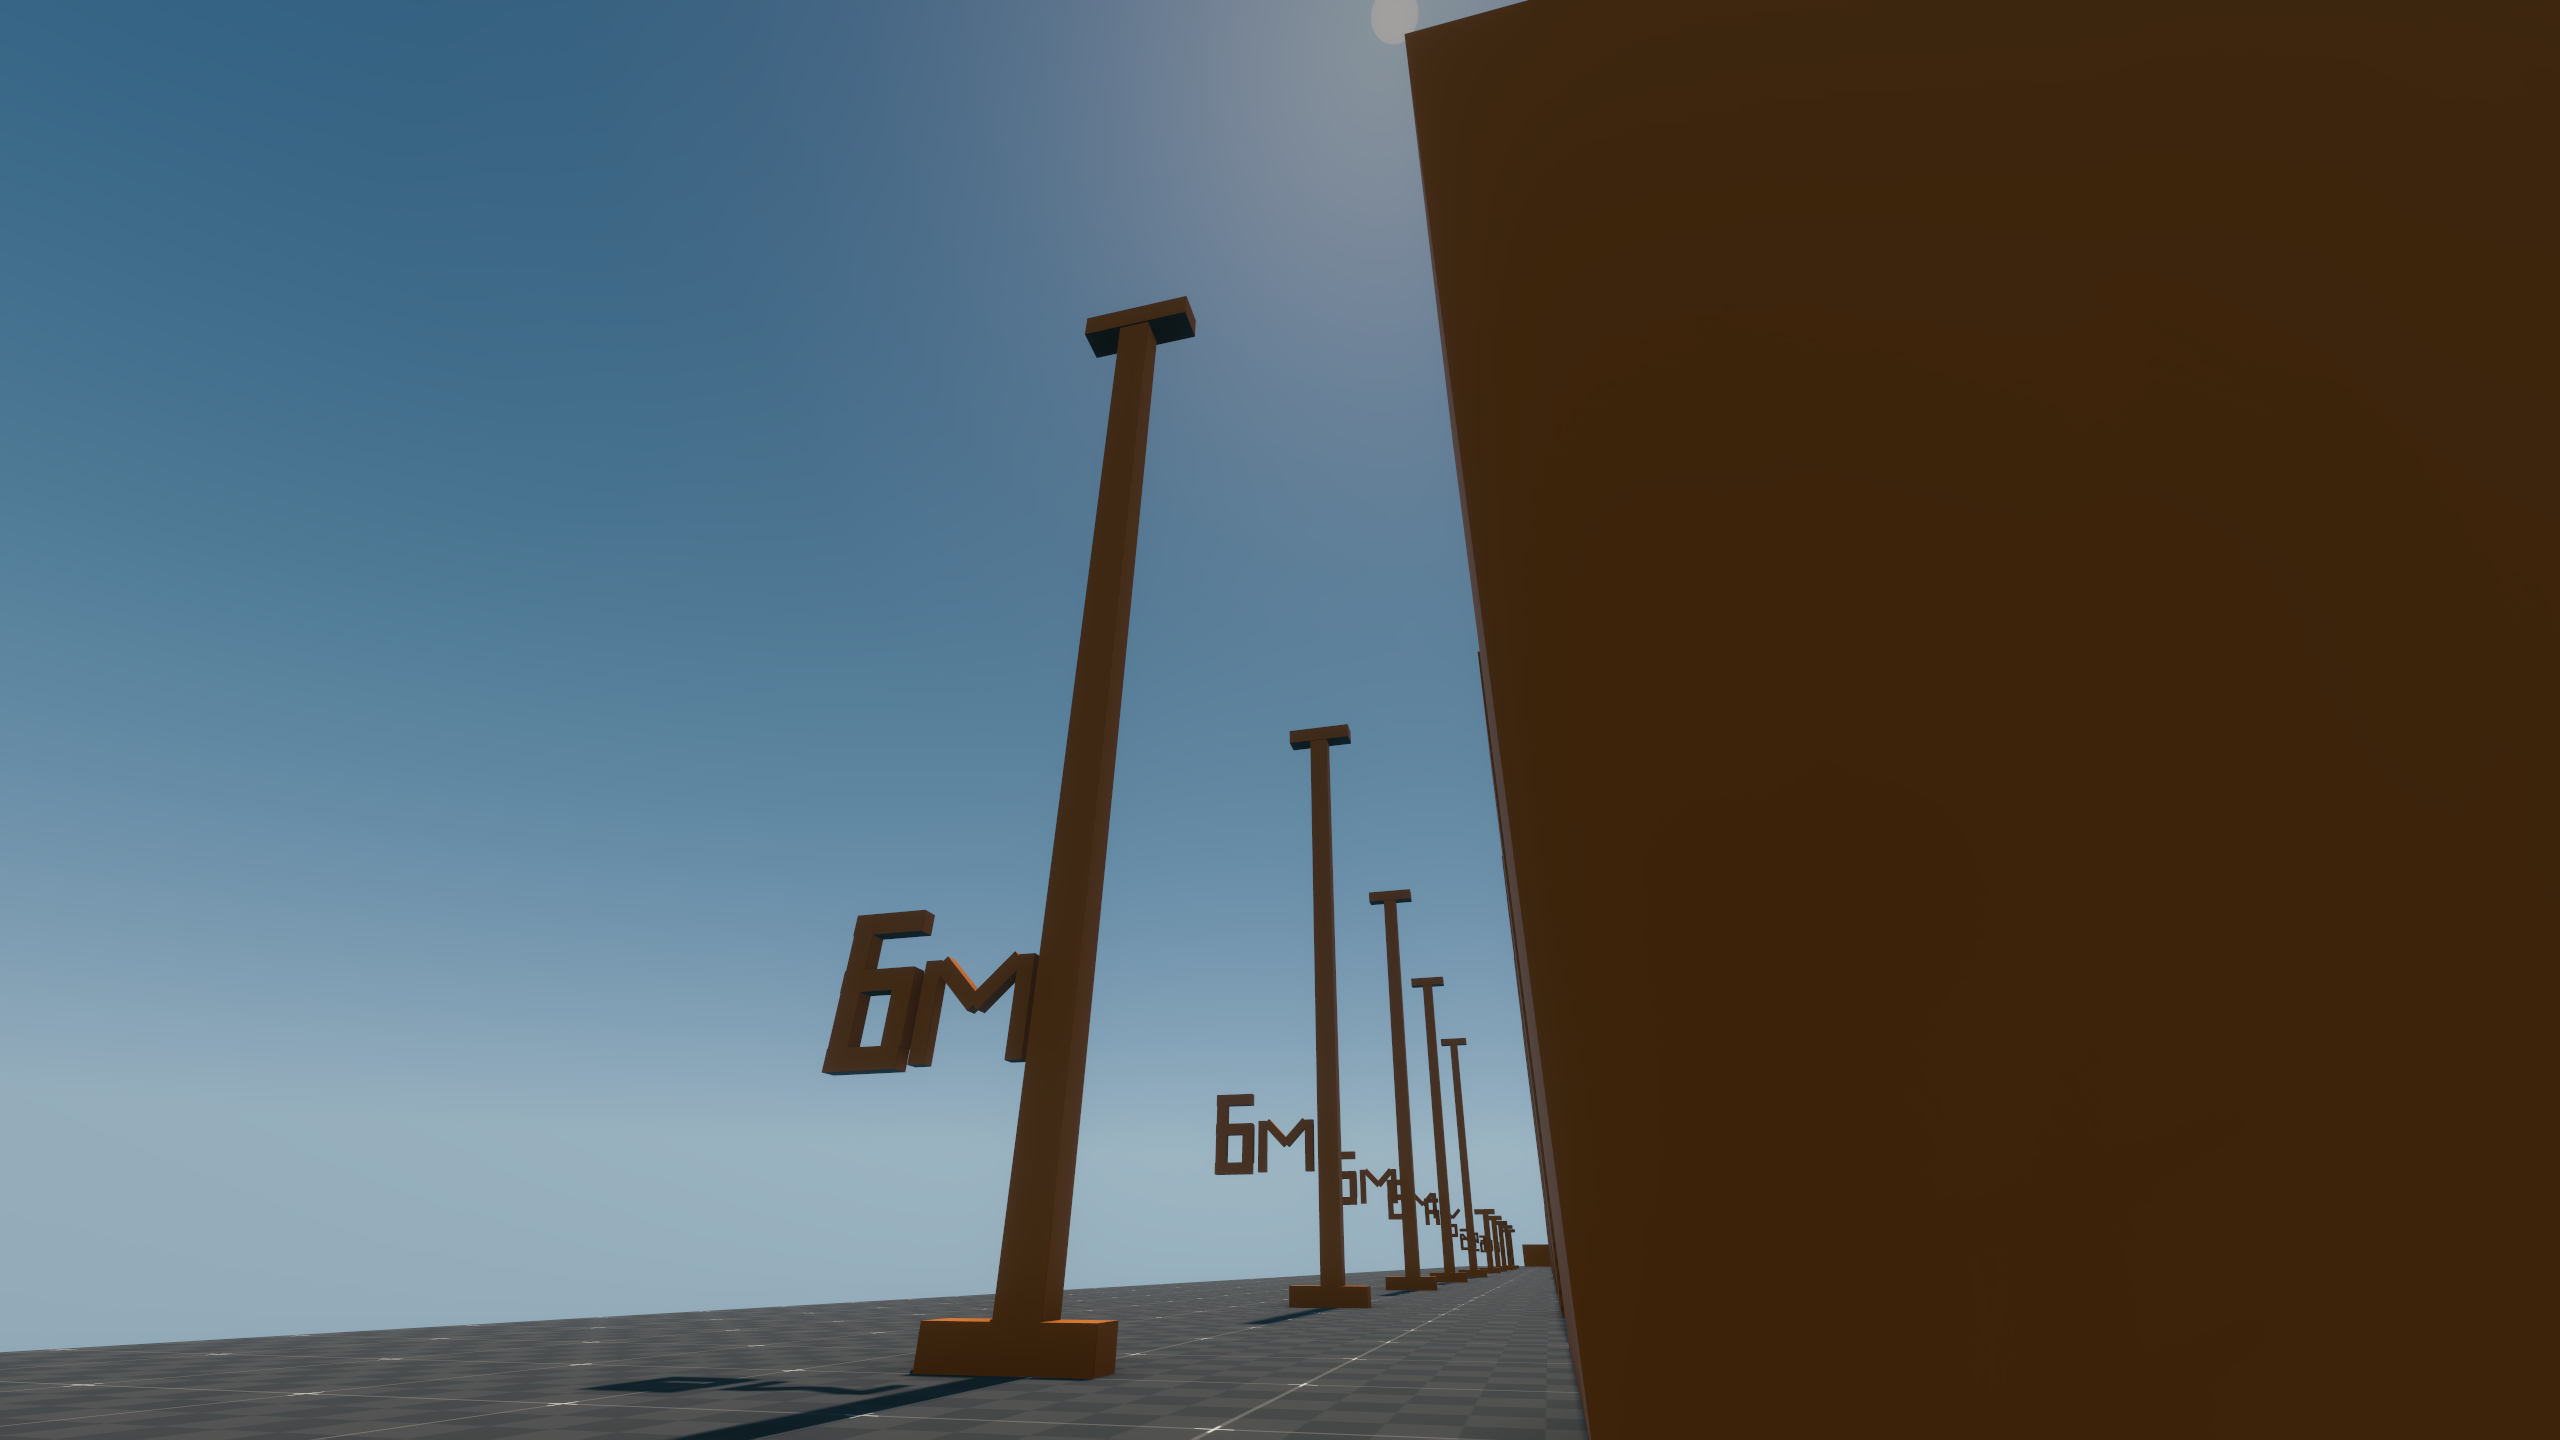
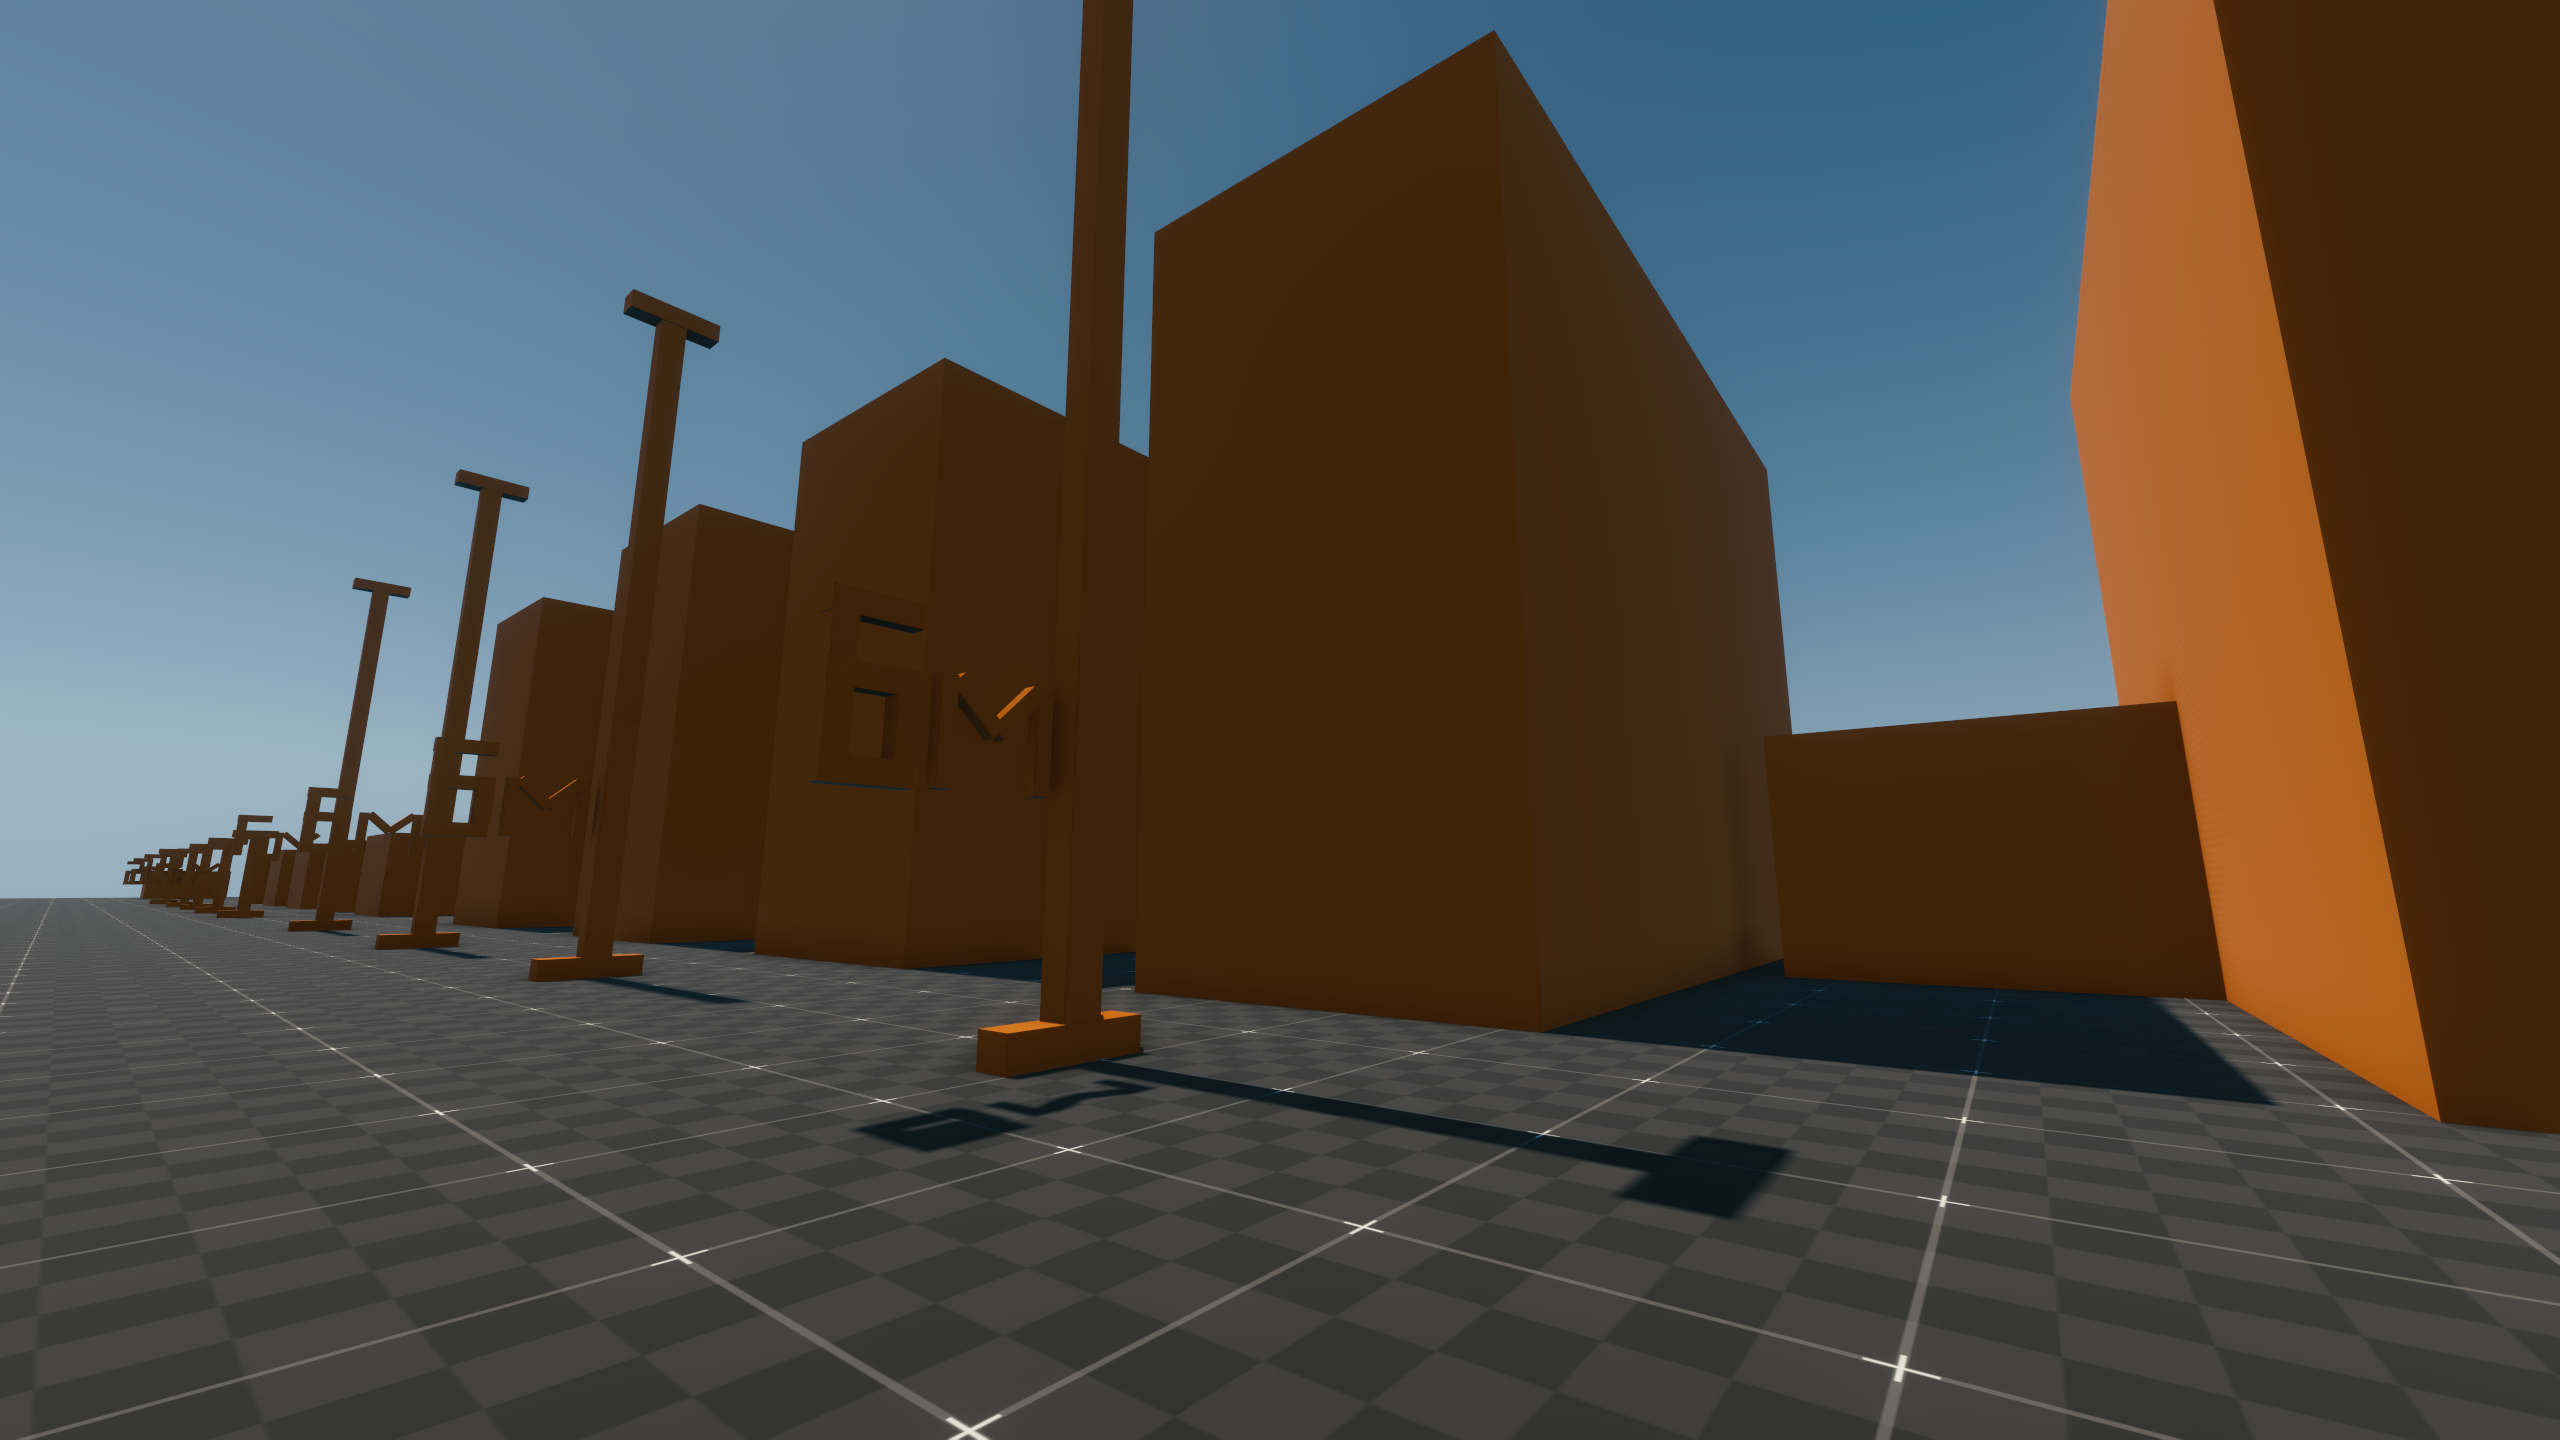
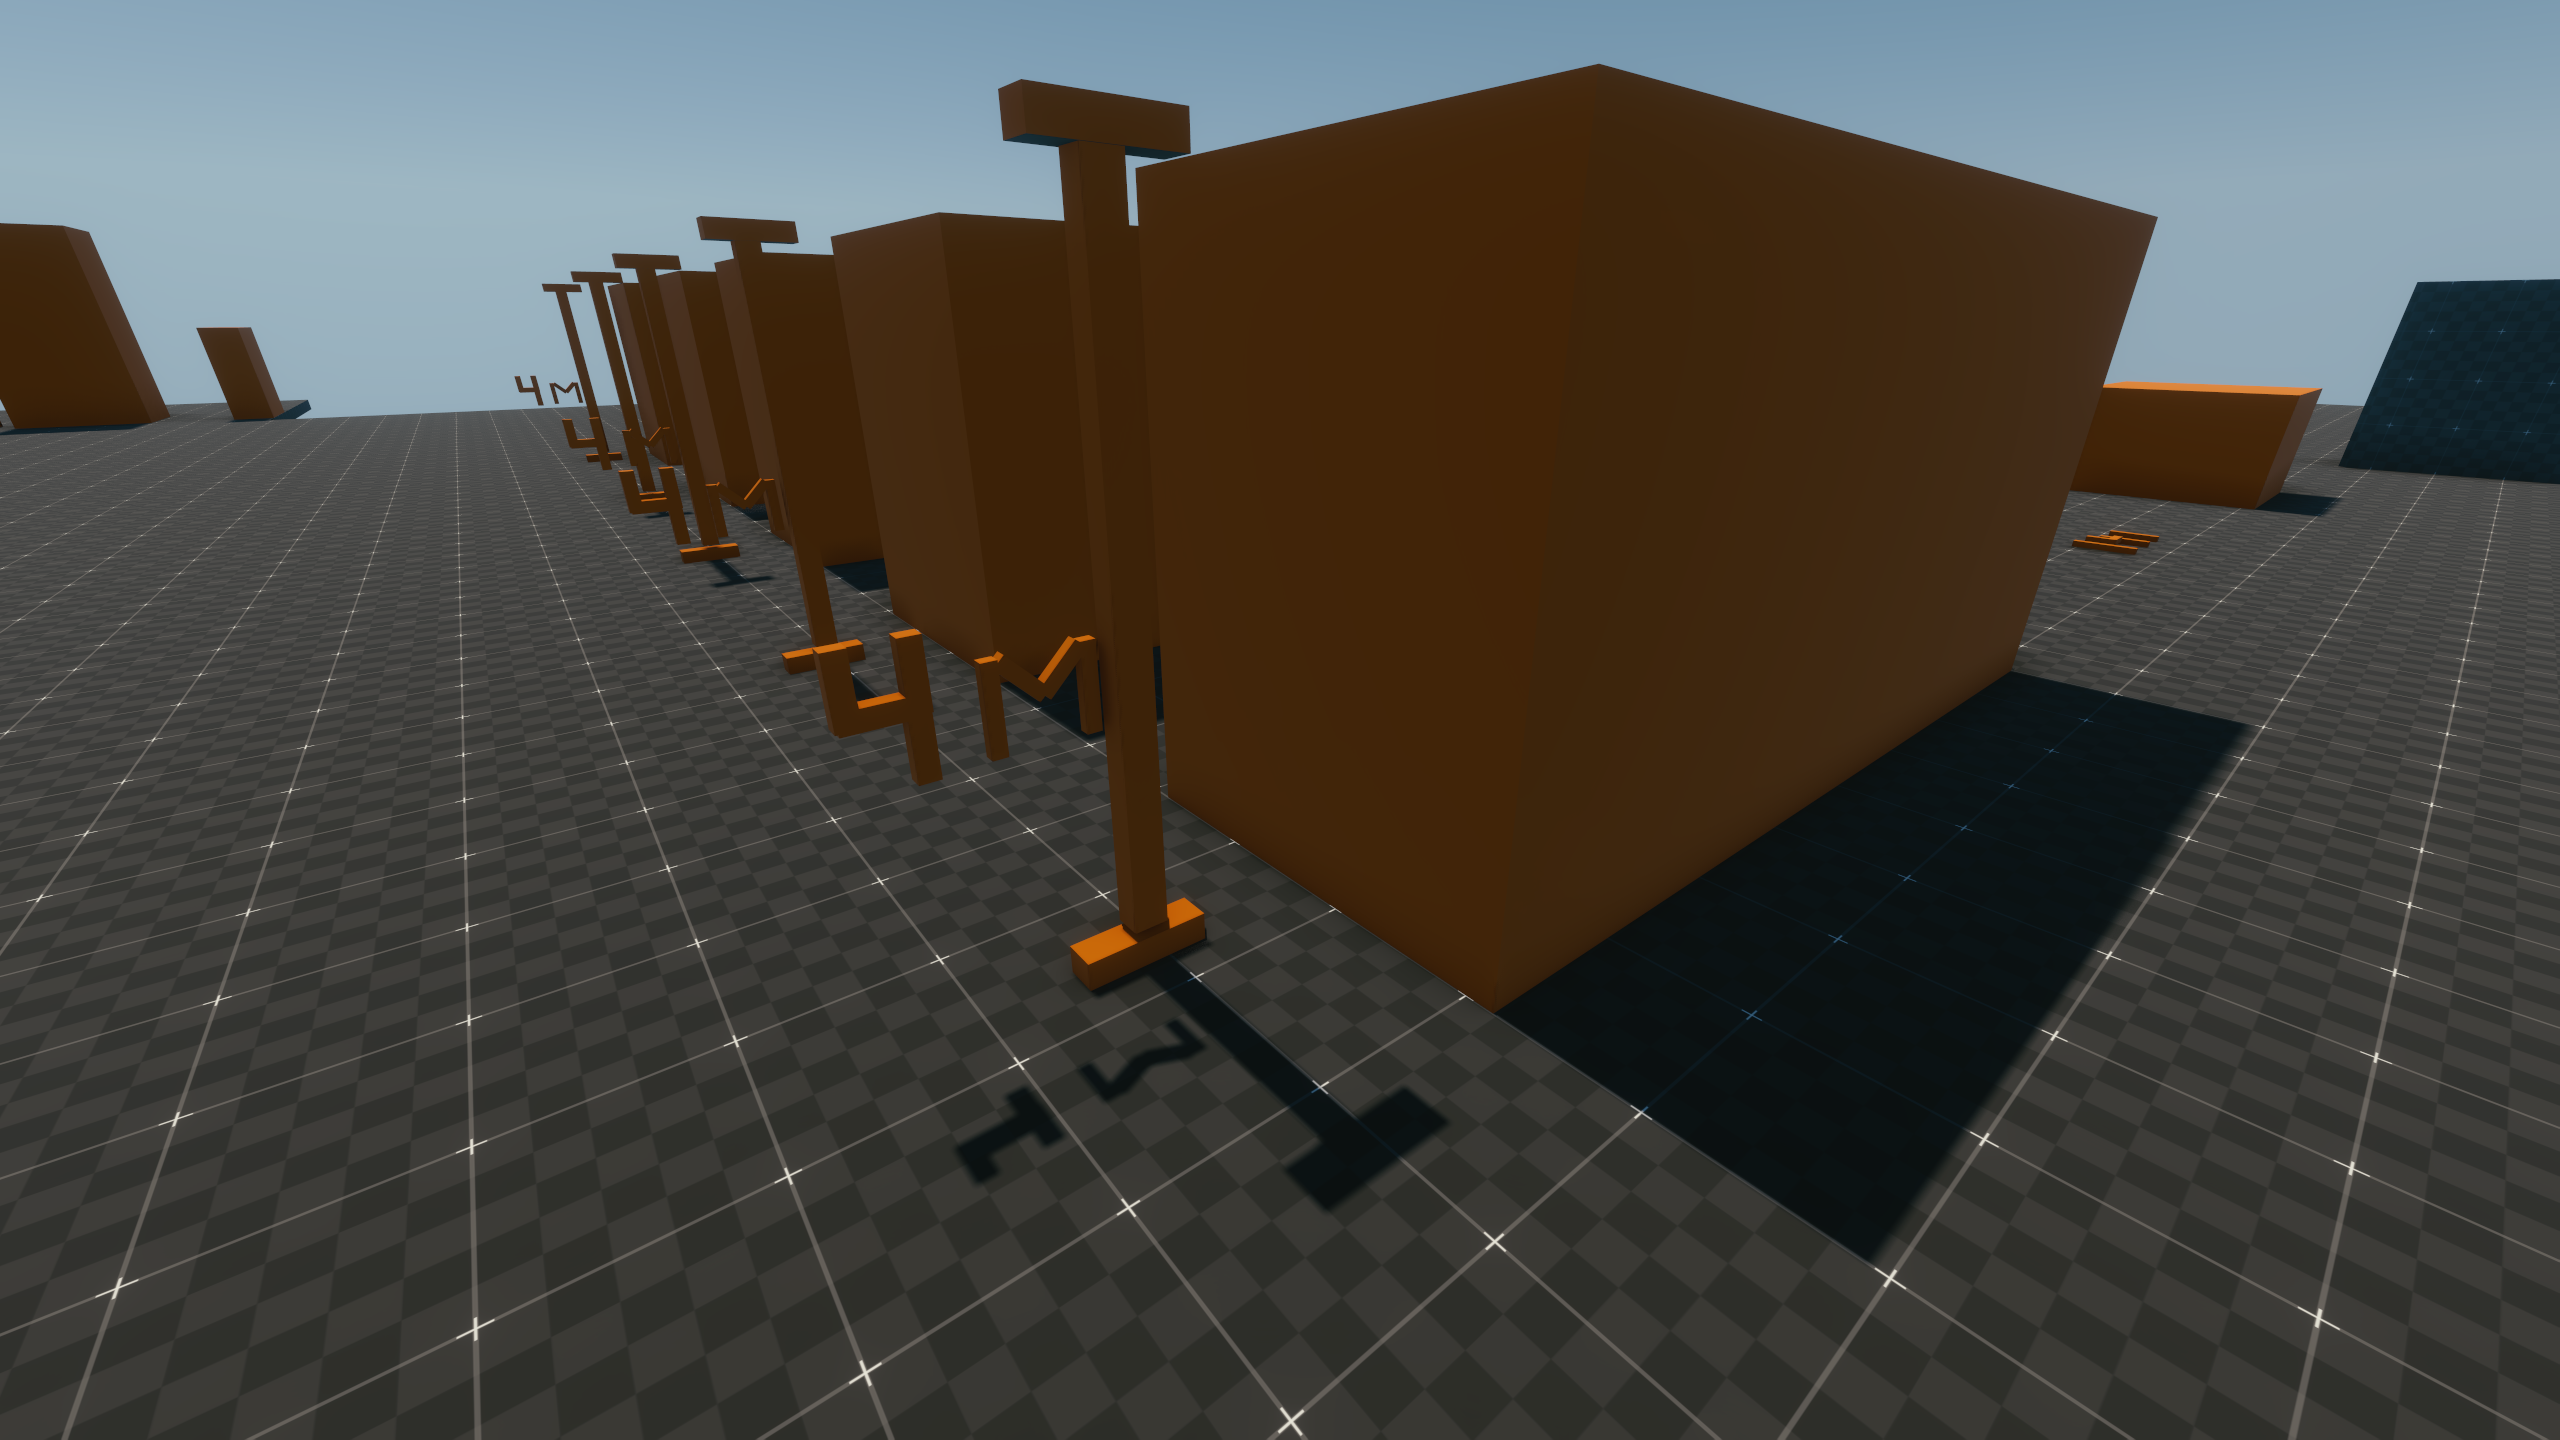
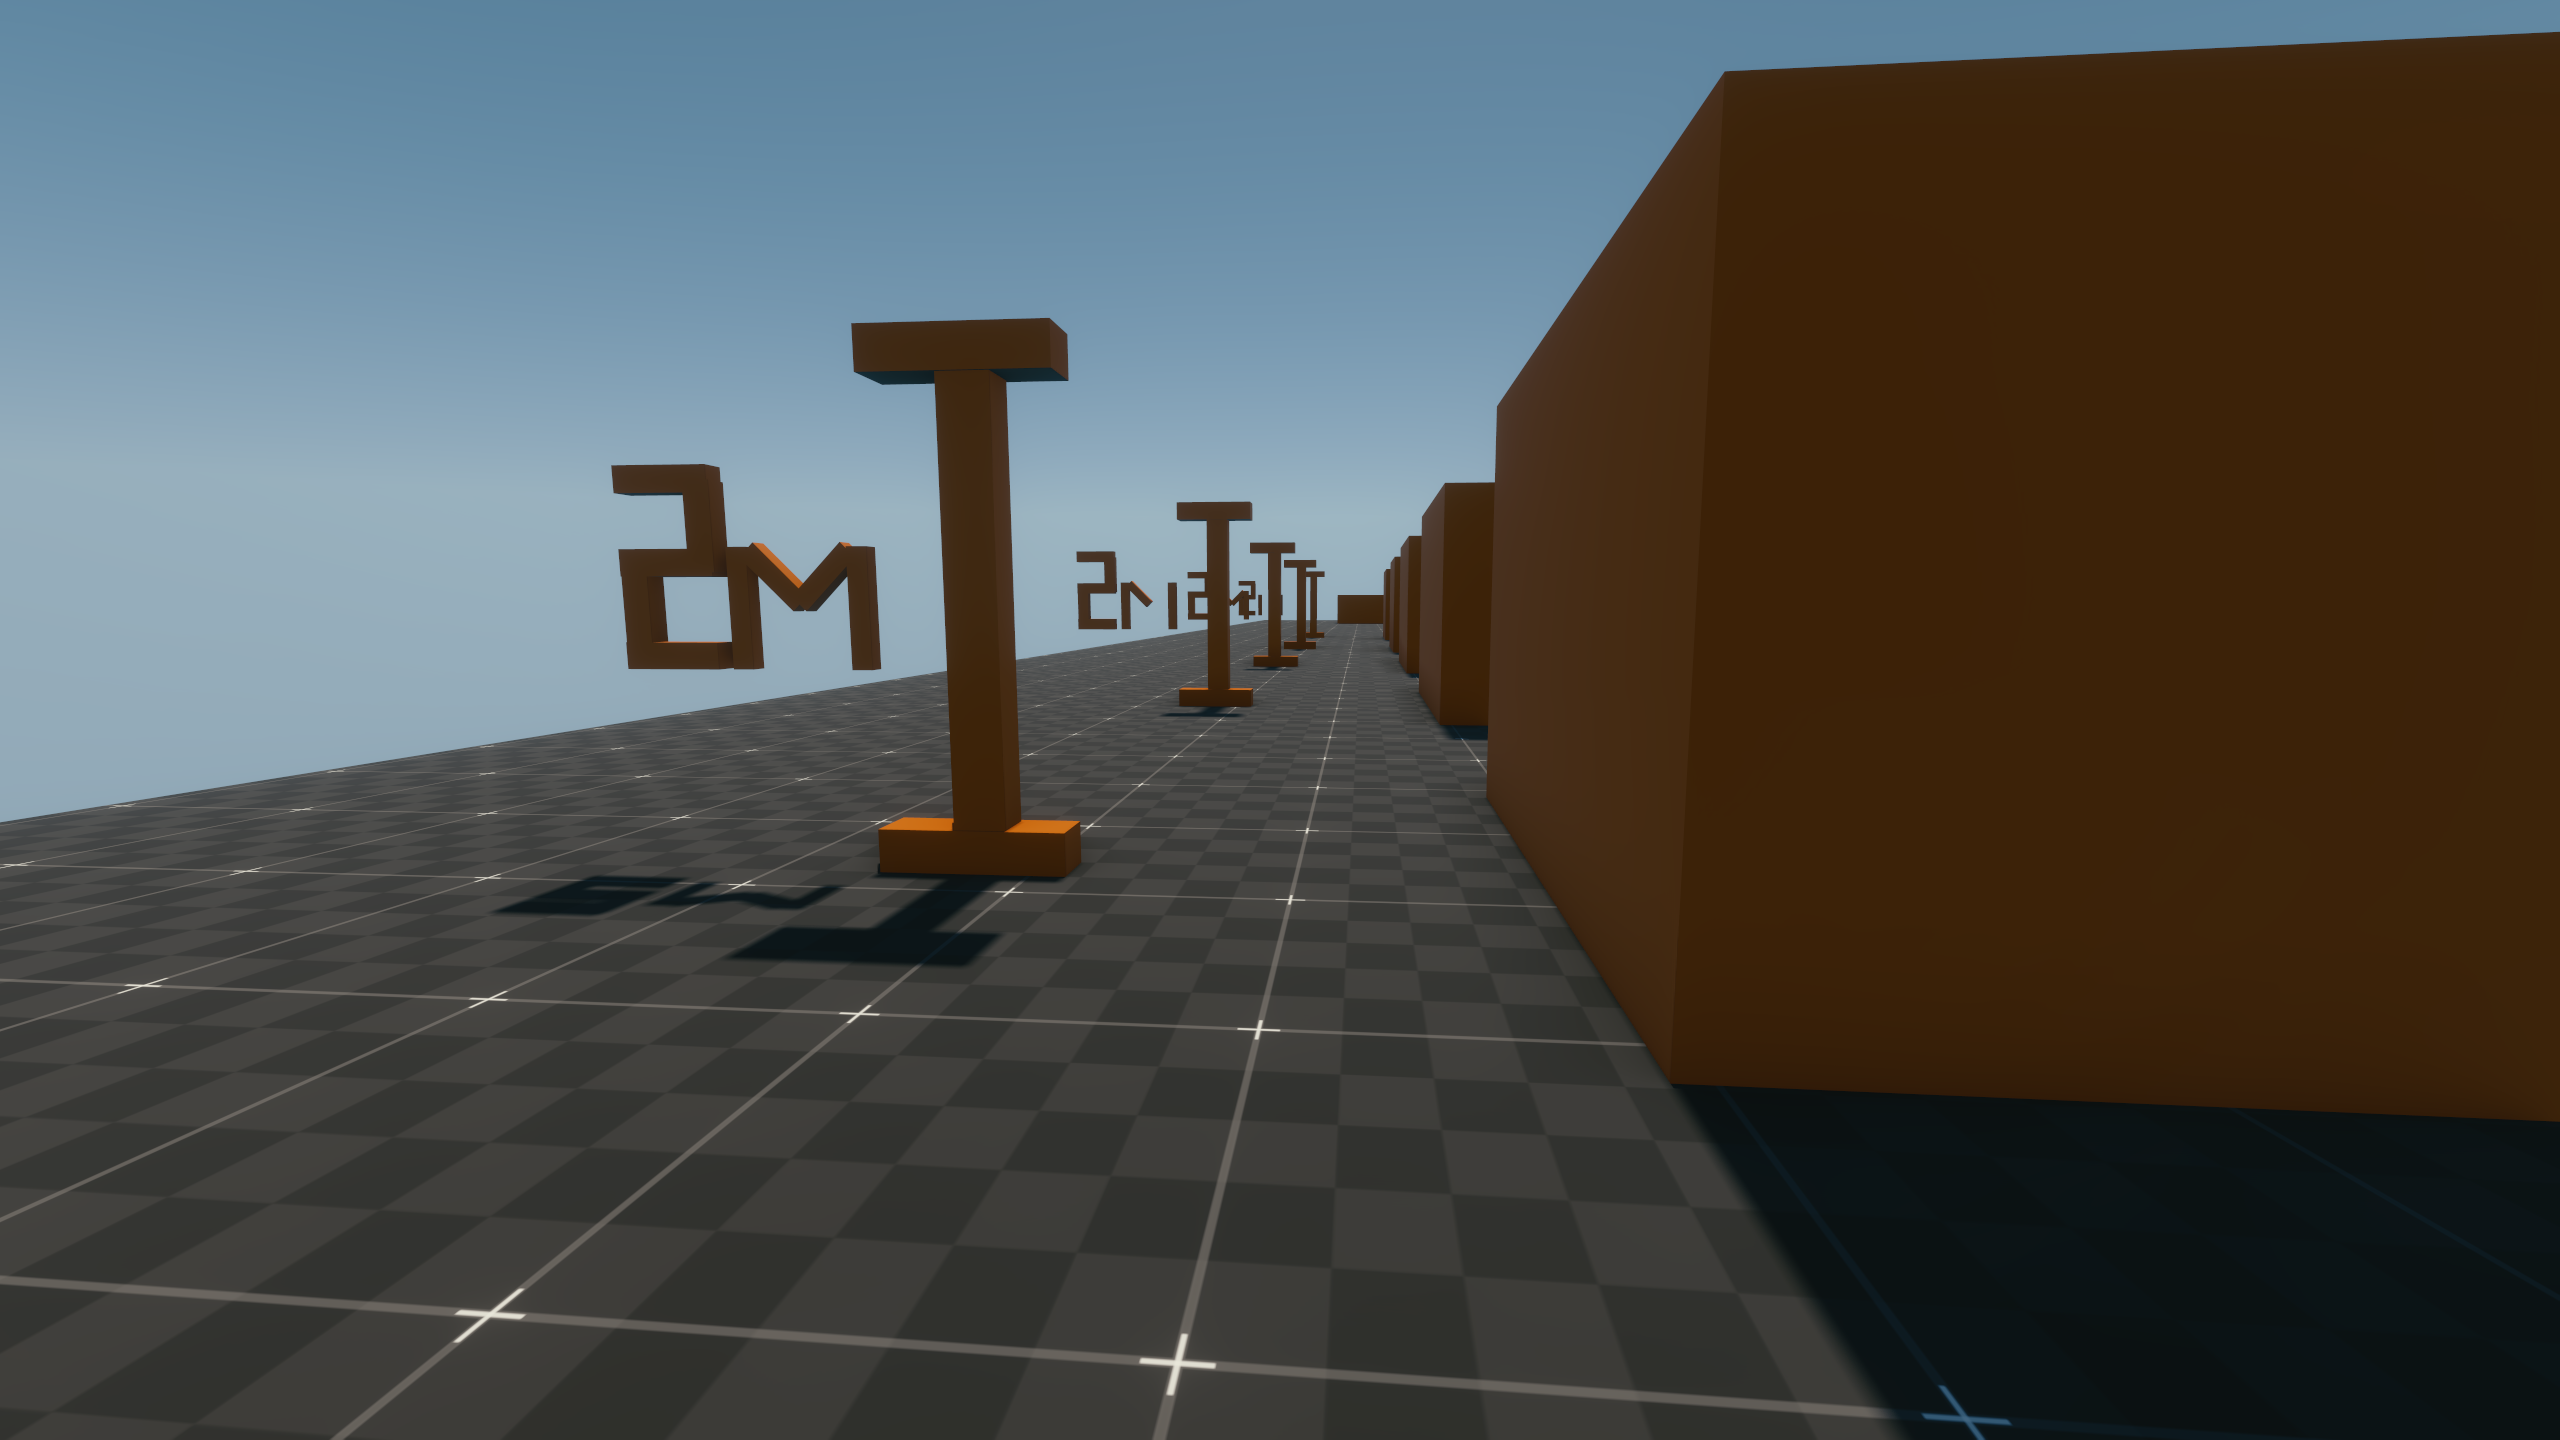
This map was used to test player locomotion/movement in a low gravity environment. It is also named "gym_moon_low_g_test" in the .world file, and the .prefab file used by the world is named "moon_low_g_gym_locomotion".
It includes tests for jump lengths and heights, dash lengths and a combat dash area. The combat dash area uses some likely very old assets. The first asset is enemy_spawner.ent, located in the folder \depot\non_production\test\entities\test\prototype2 and the second one is hostile_spawner_quest_active.ent found in \depot\non_production\test\mini_tech_demo\entities. The second asset is stored in a folder containing a demo level featuring both a Megabuilding and the cut Steinbeck building, which could show that this map was made at a time when the Steinbeck building was still used in the game.
Combat dash test area
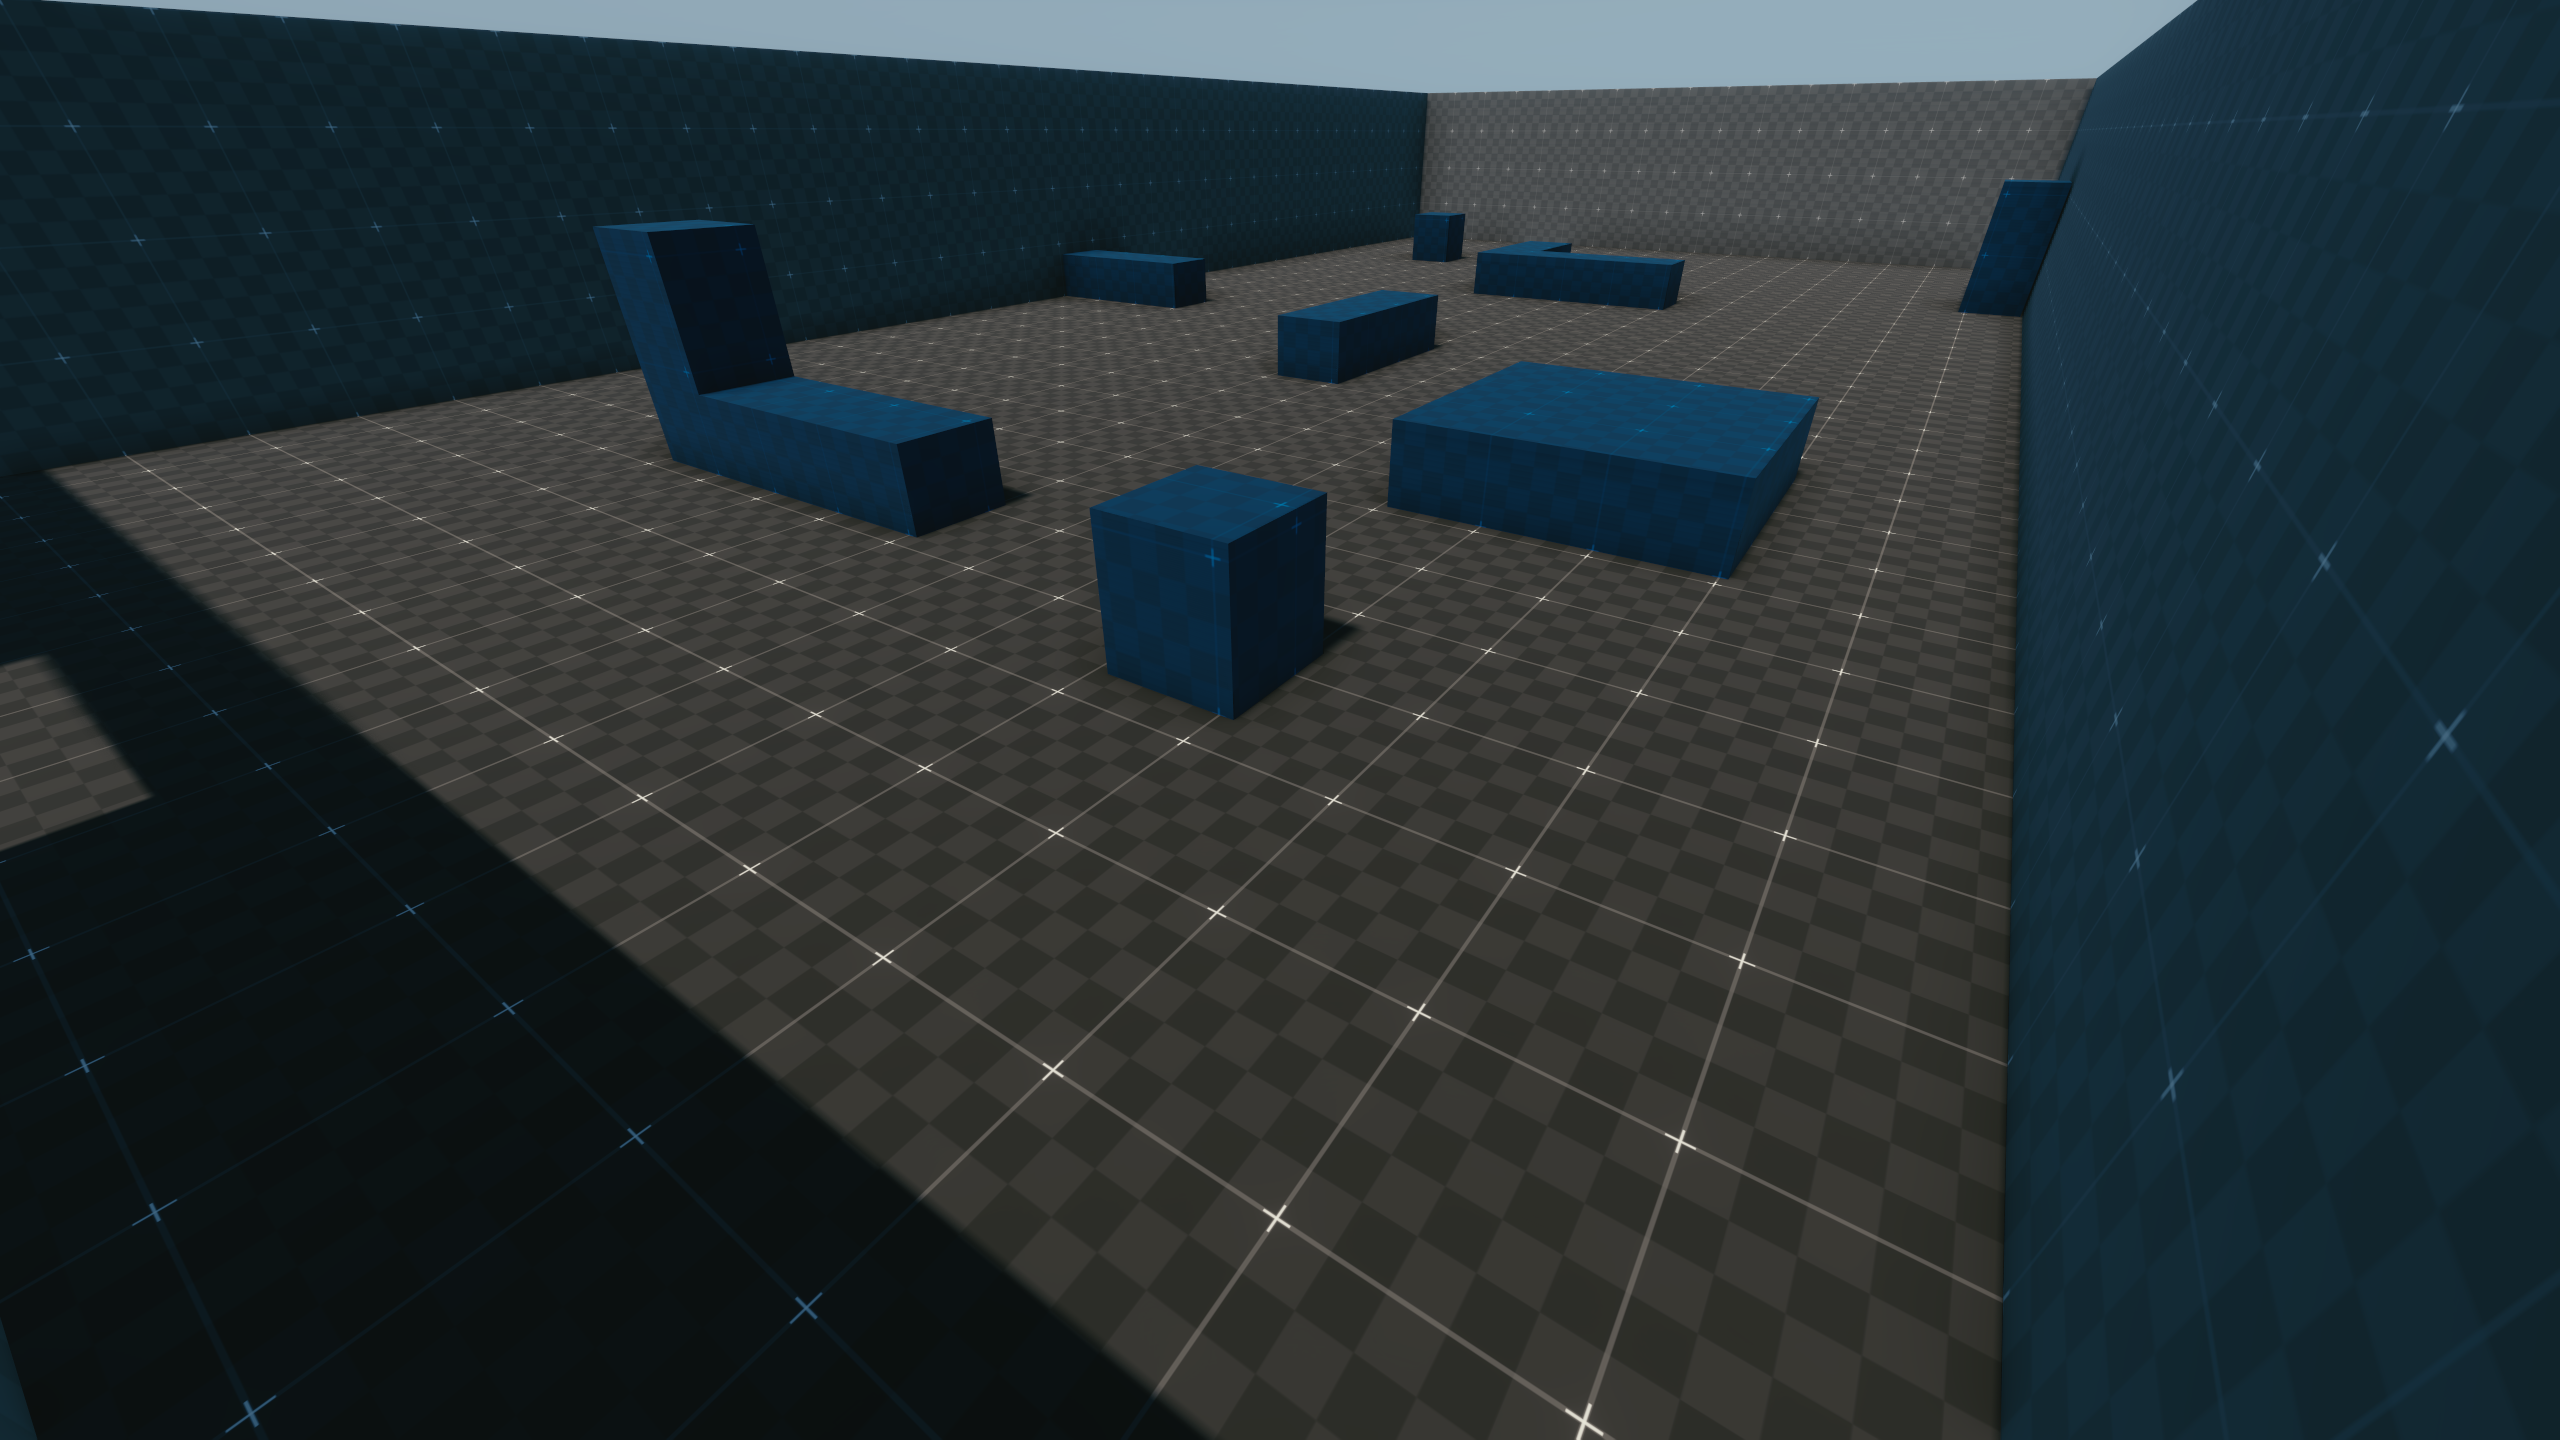
Dash test area
Jump length and jump height test areas
q109#
cosmodrome_01.prefab#
|
|
To do:
|
This prefab of Cosmodrome can be found in the path \R6.Root\Mainline\r6\depot\non_production\remap\level_design\cp2077_blockouts\quests\q109\cosmodrome . It has many resemblances to the Spaceport in Phantom Liberty and was likely reused as a base for creating that level. These resemblances include part of the terminal being closed off by guards, security checks, bag drop areas and also just the overall layout of the level being somewhat similar to the Spaceport.
Stickers placed in the level imply the player would show their ticket to a ticket checker and go to the gate area which differs from the Spaceport in Phantom Liberty. As this specific version of the level uses the q109 quest identifier, it was made with the old story of the game in mind, back when the player themselves traveled to the moon using the Cosmodrome as part of their journey there.
q111#
loc_q111_braindance_village#
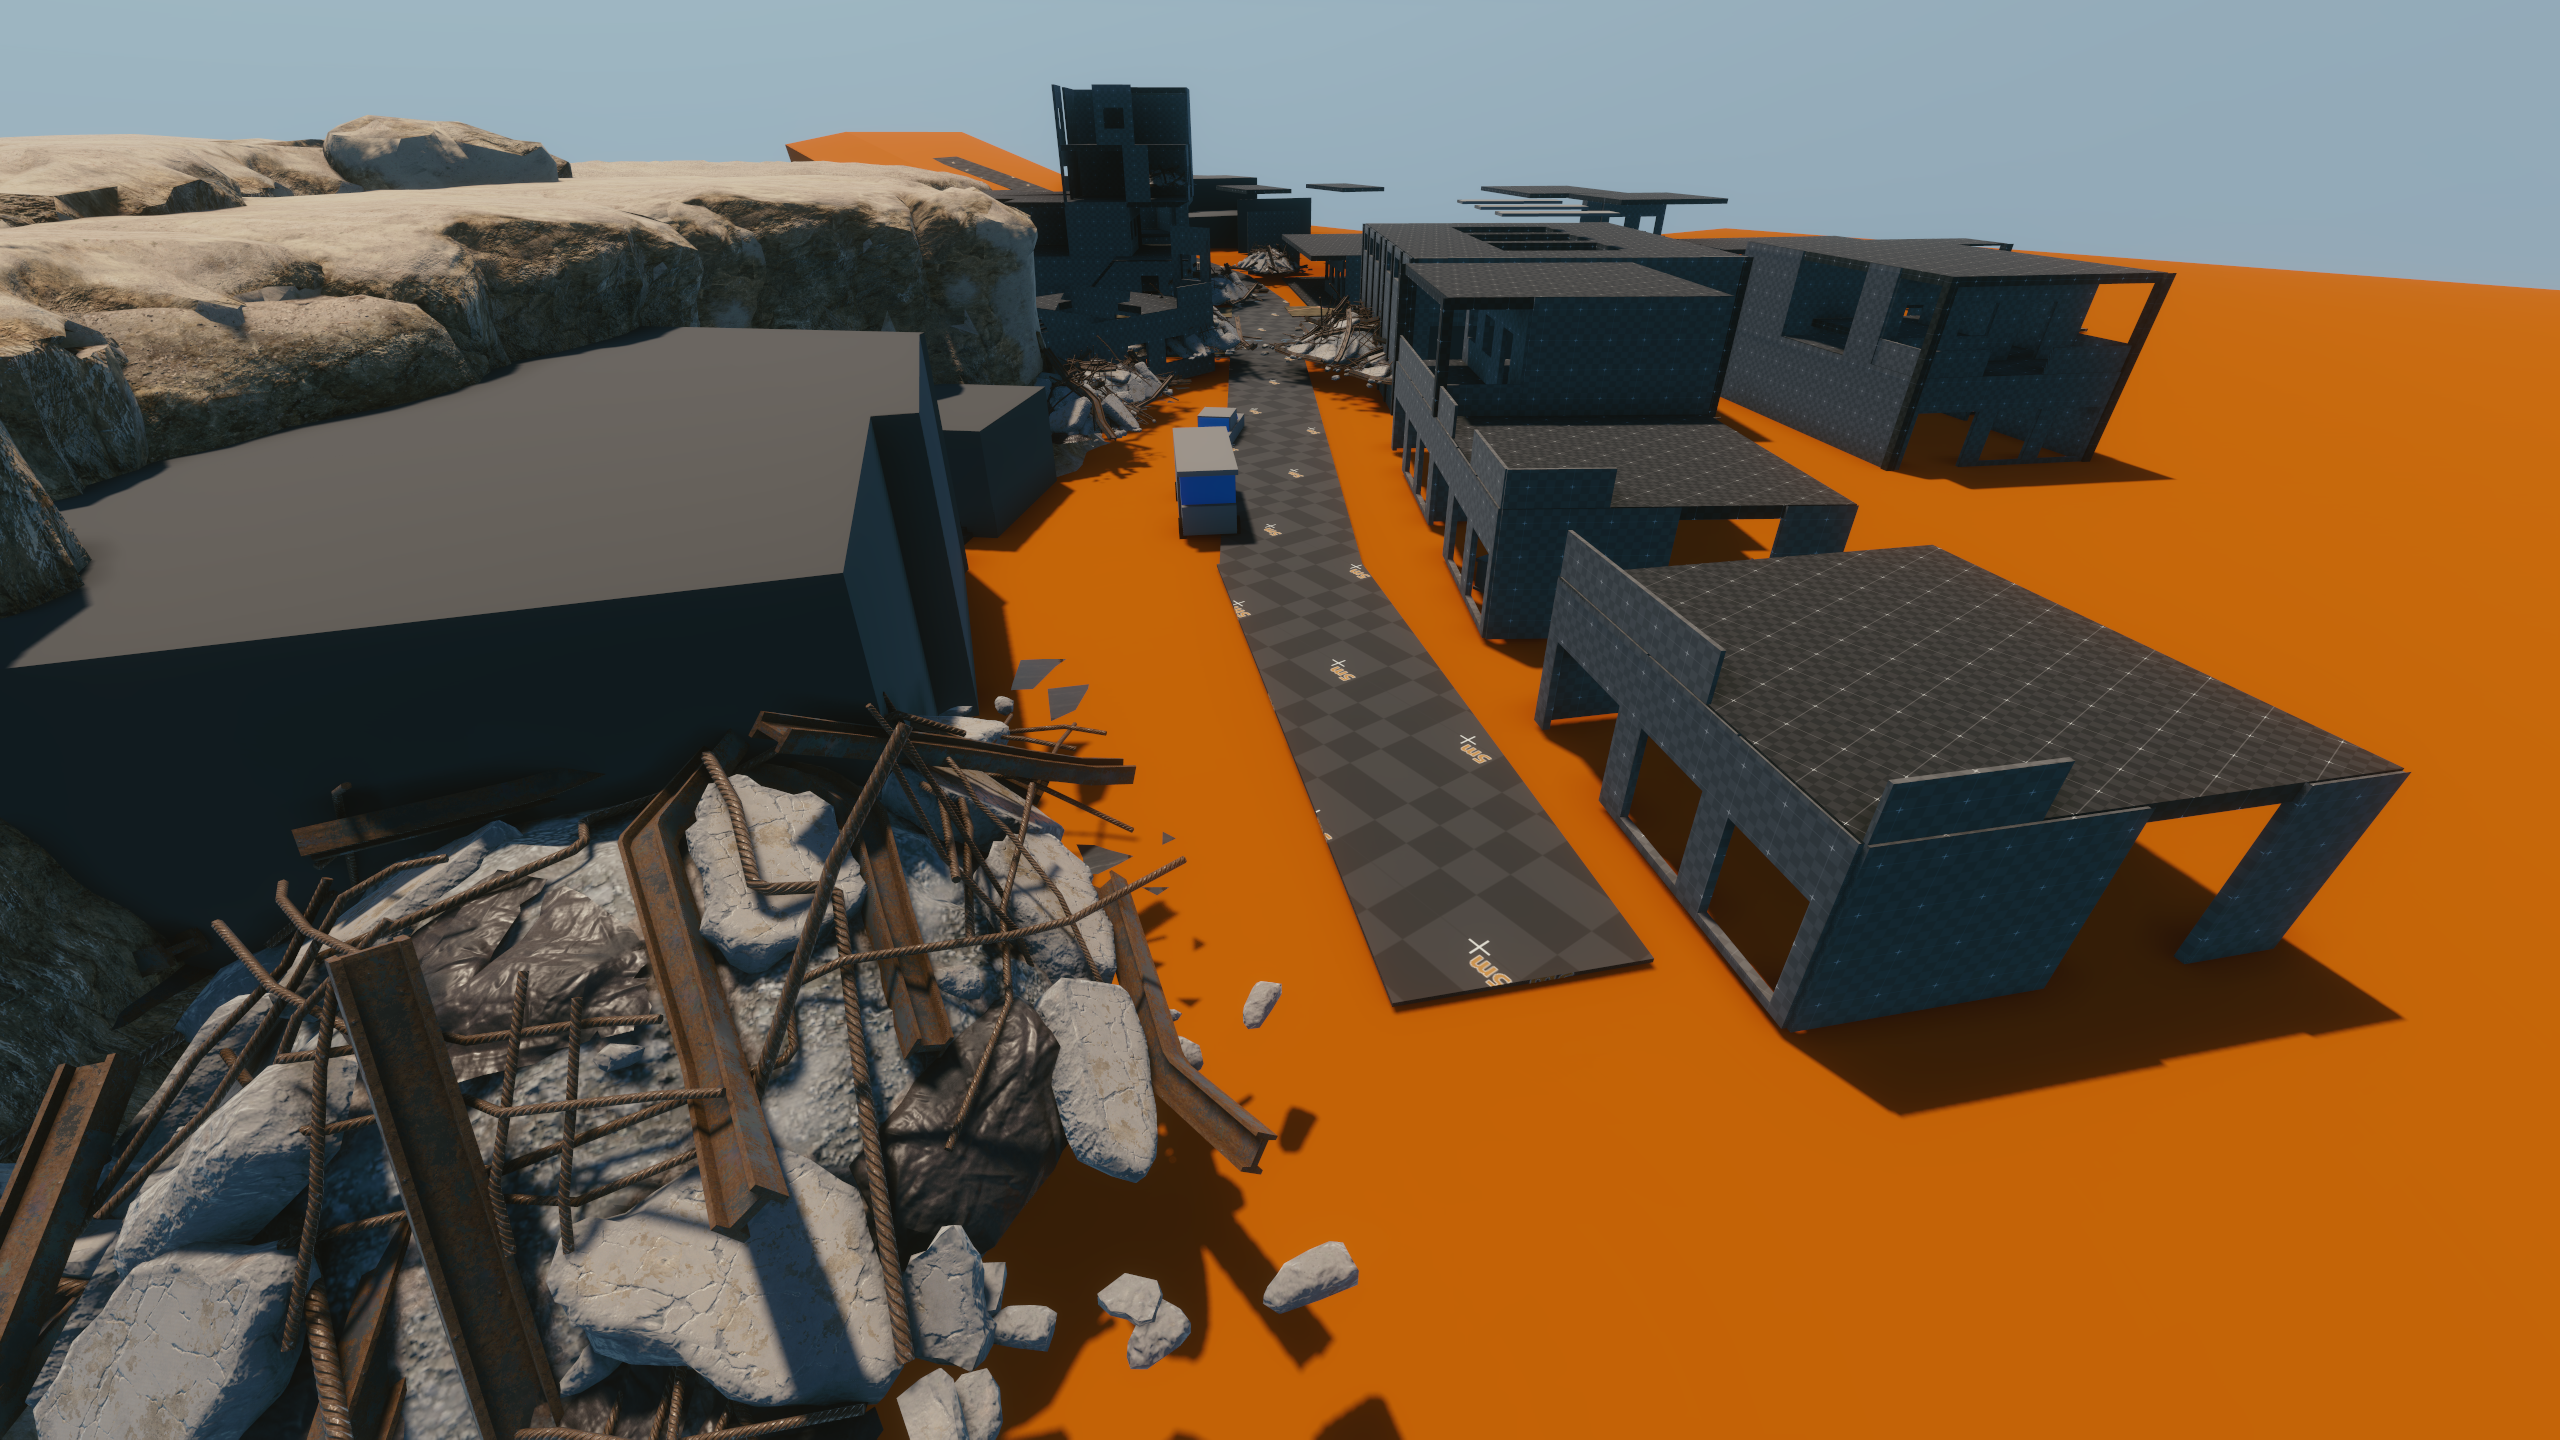
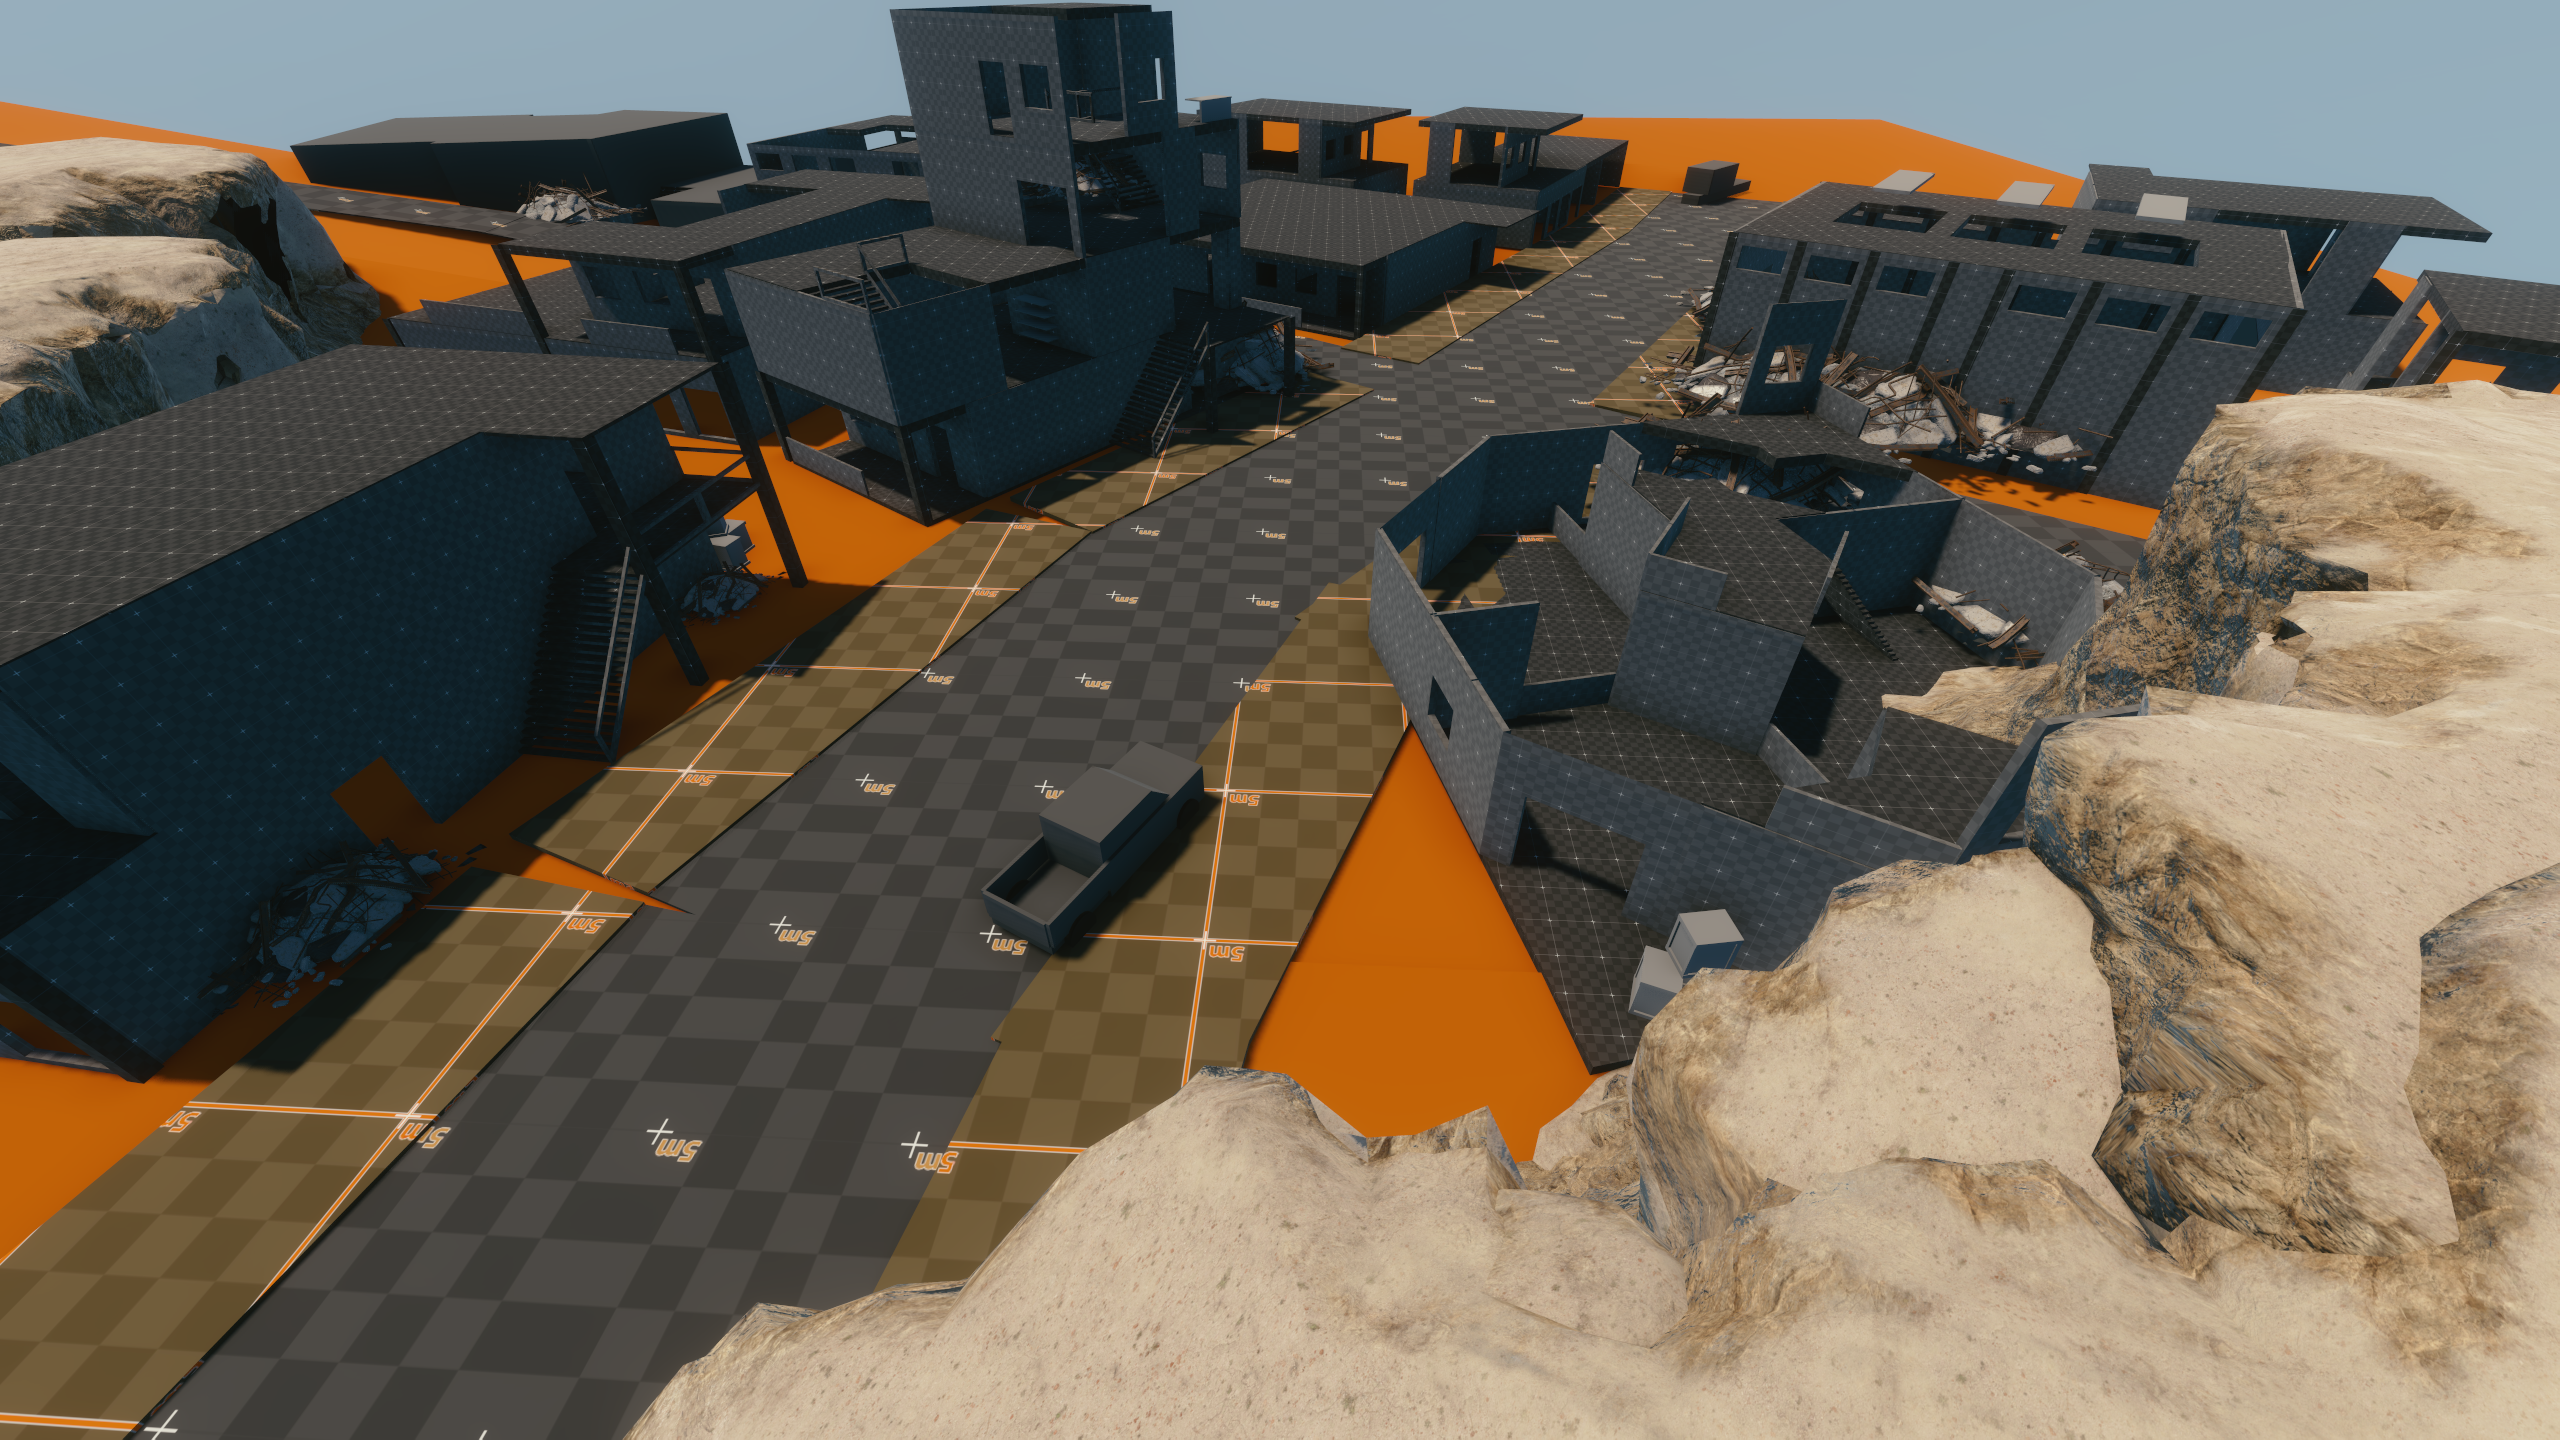
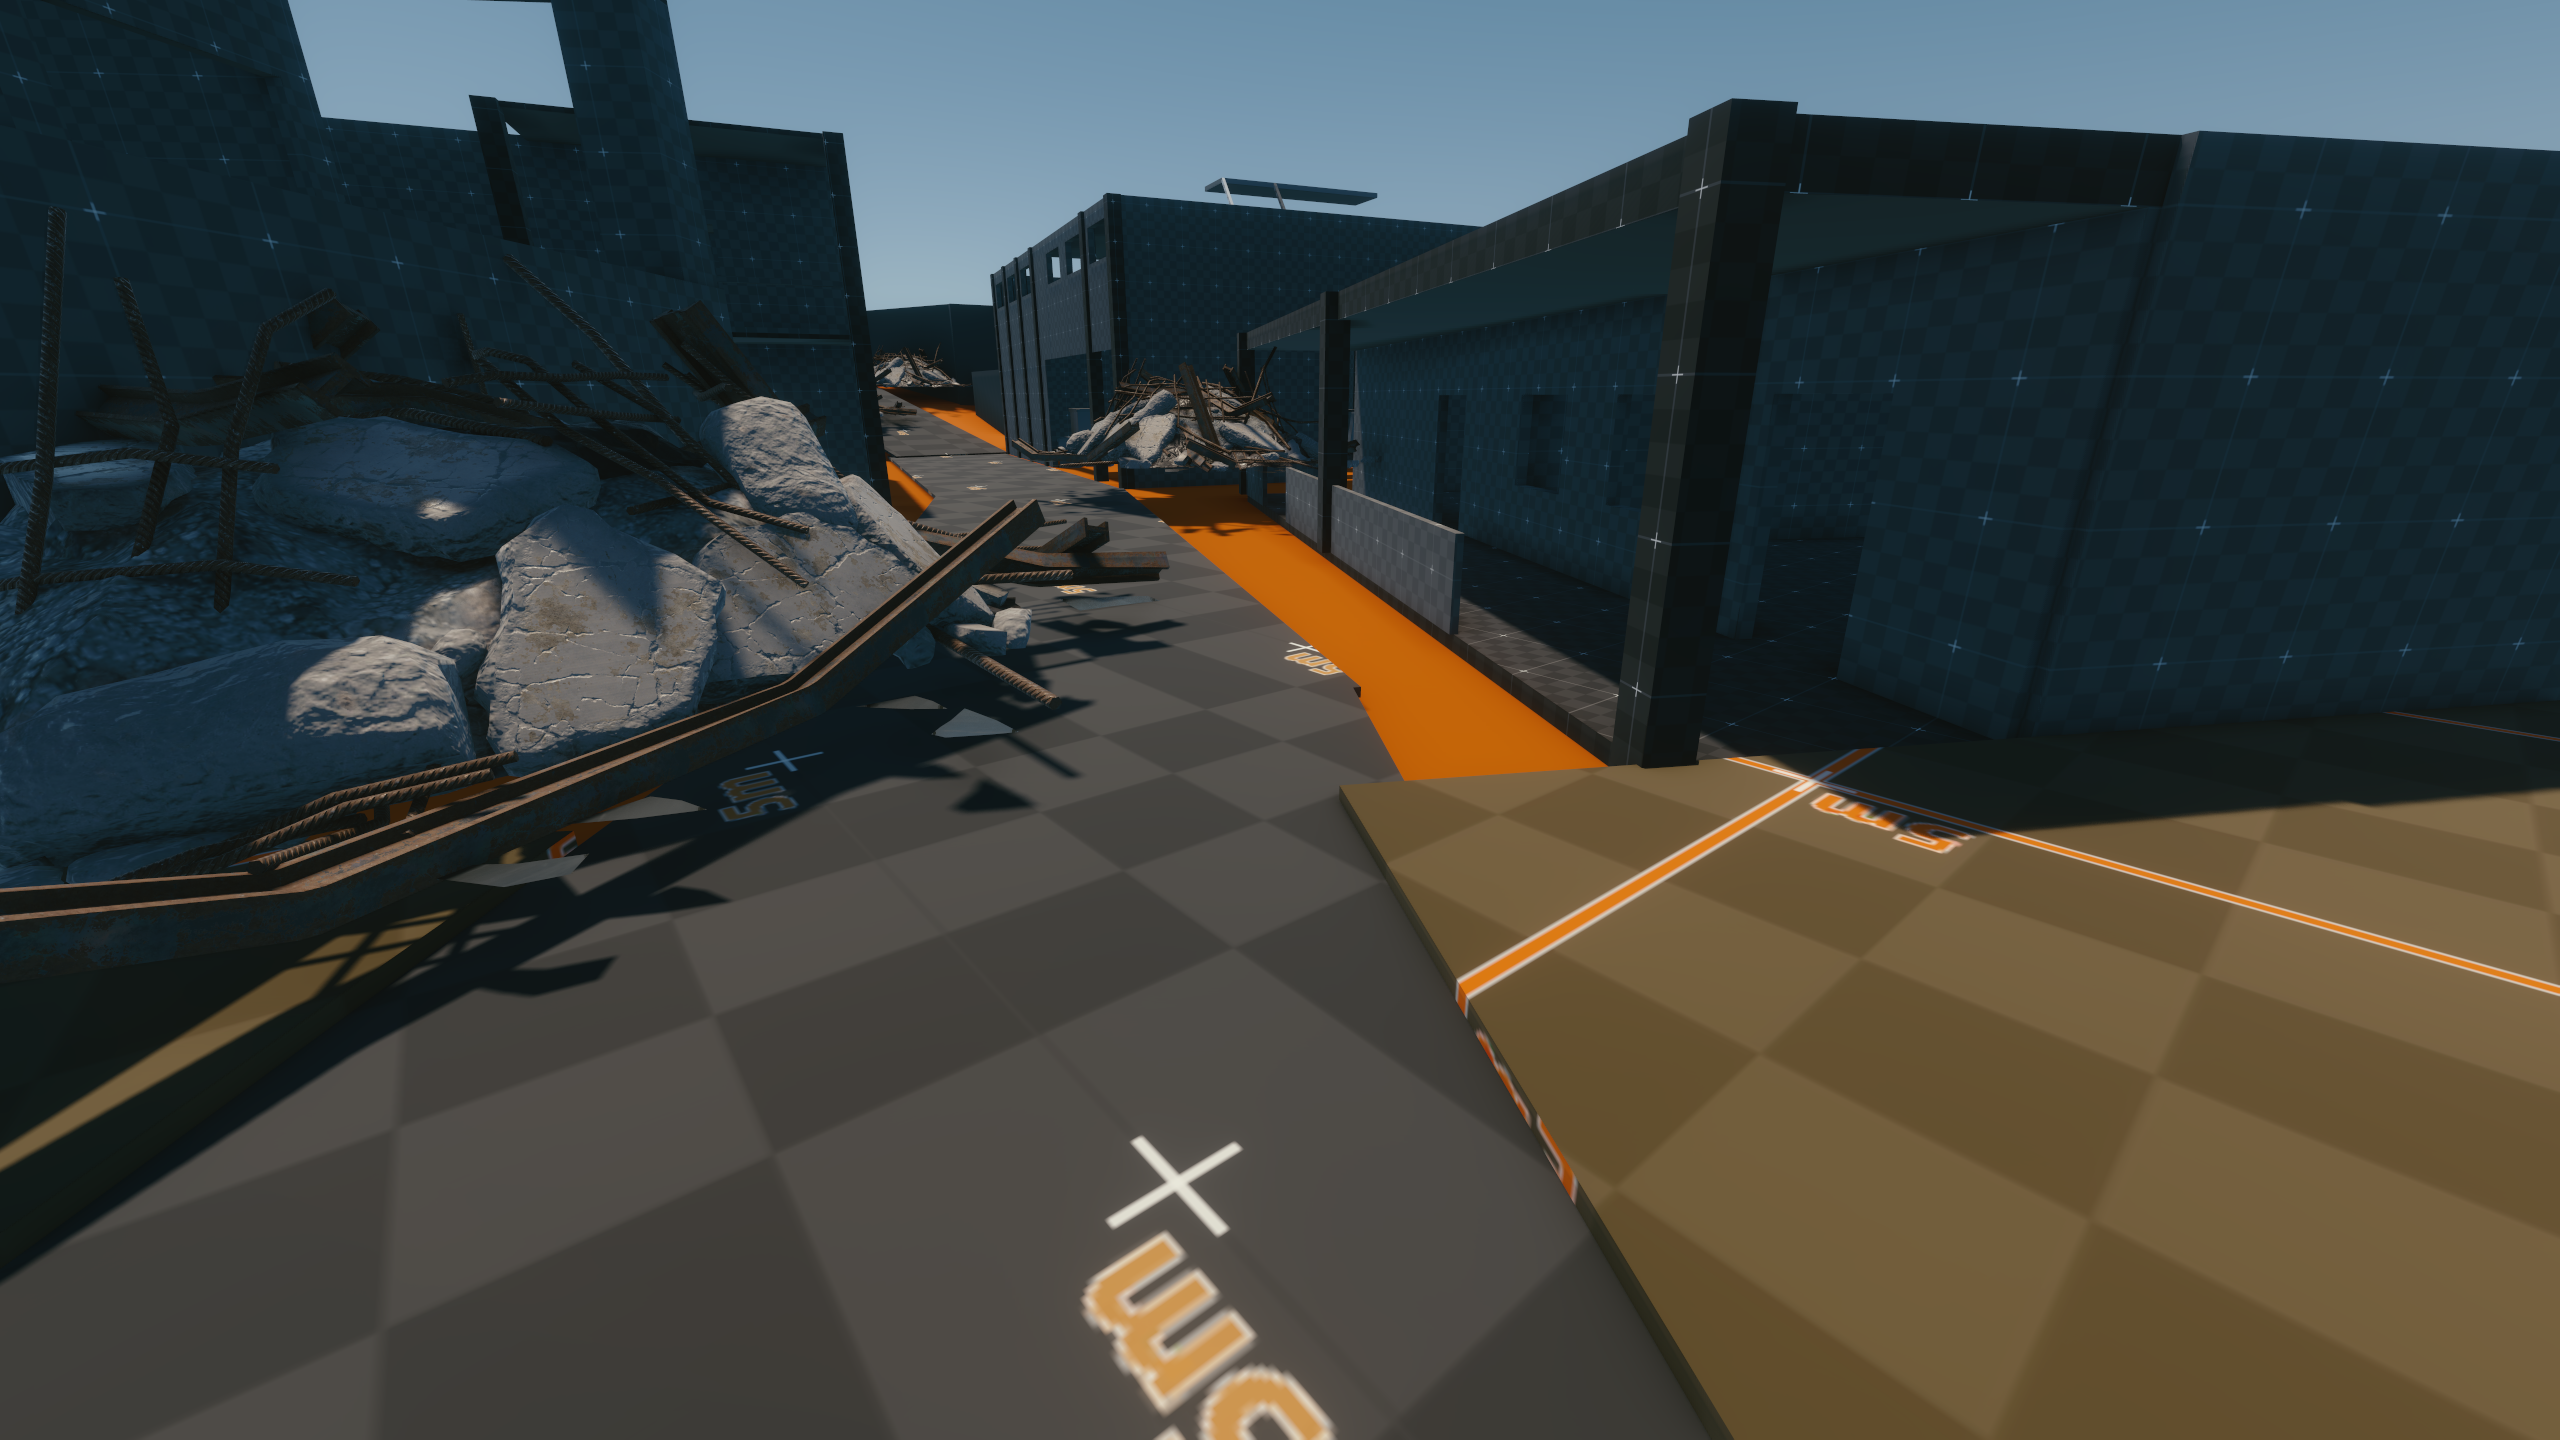
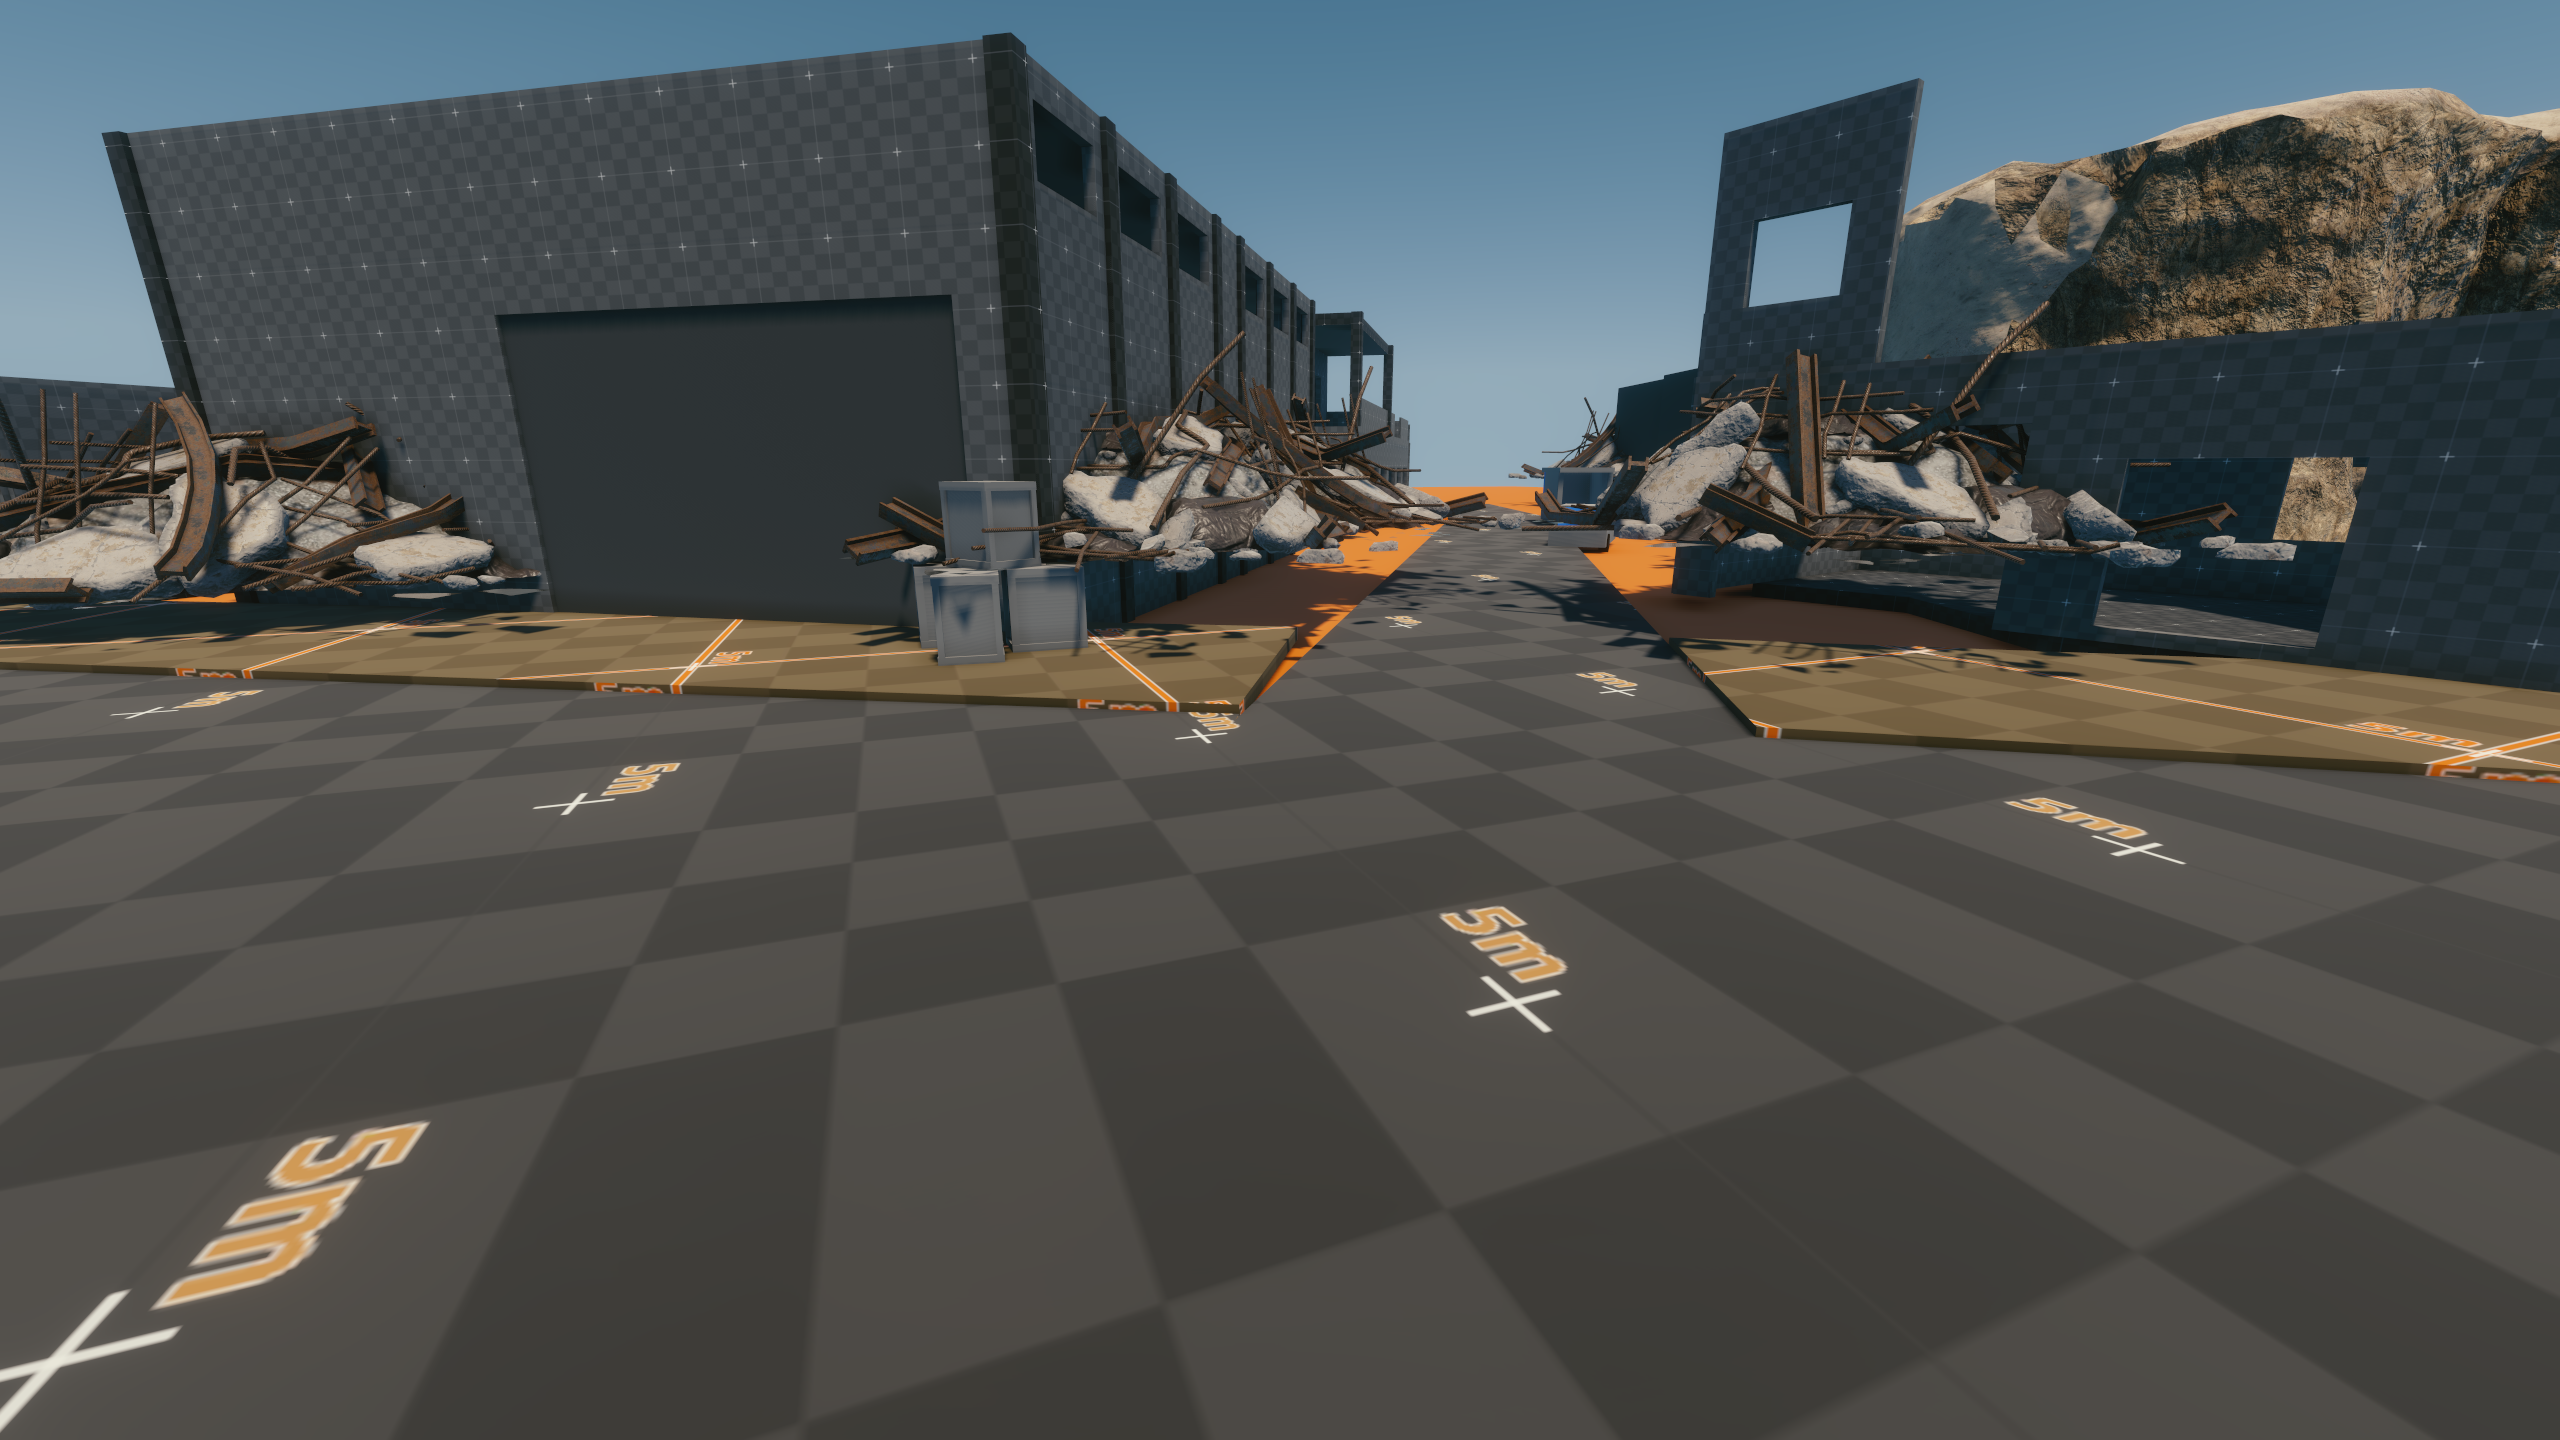
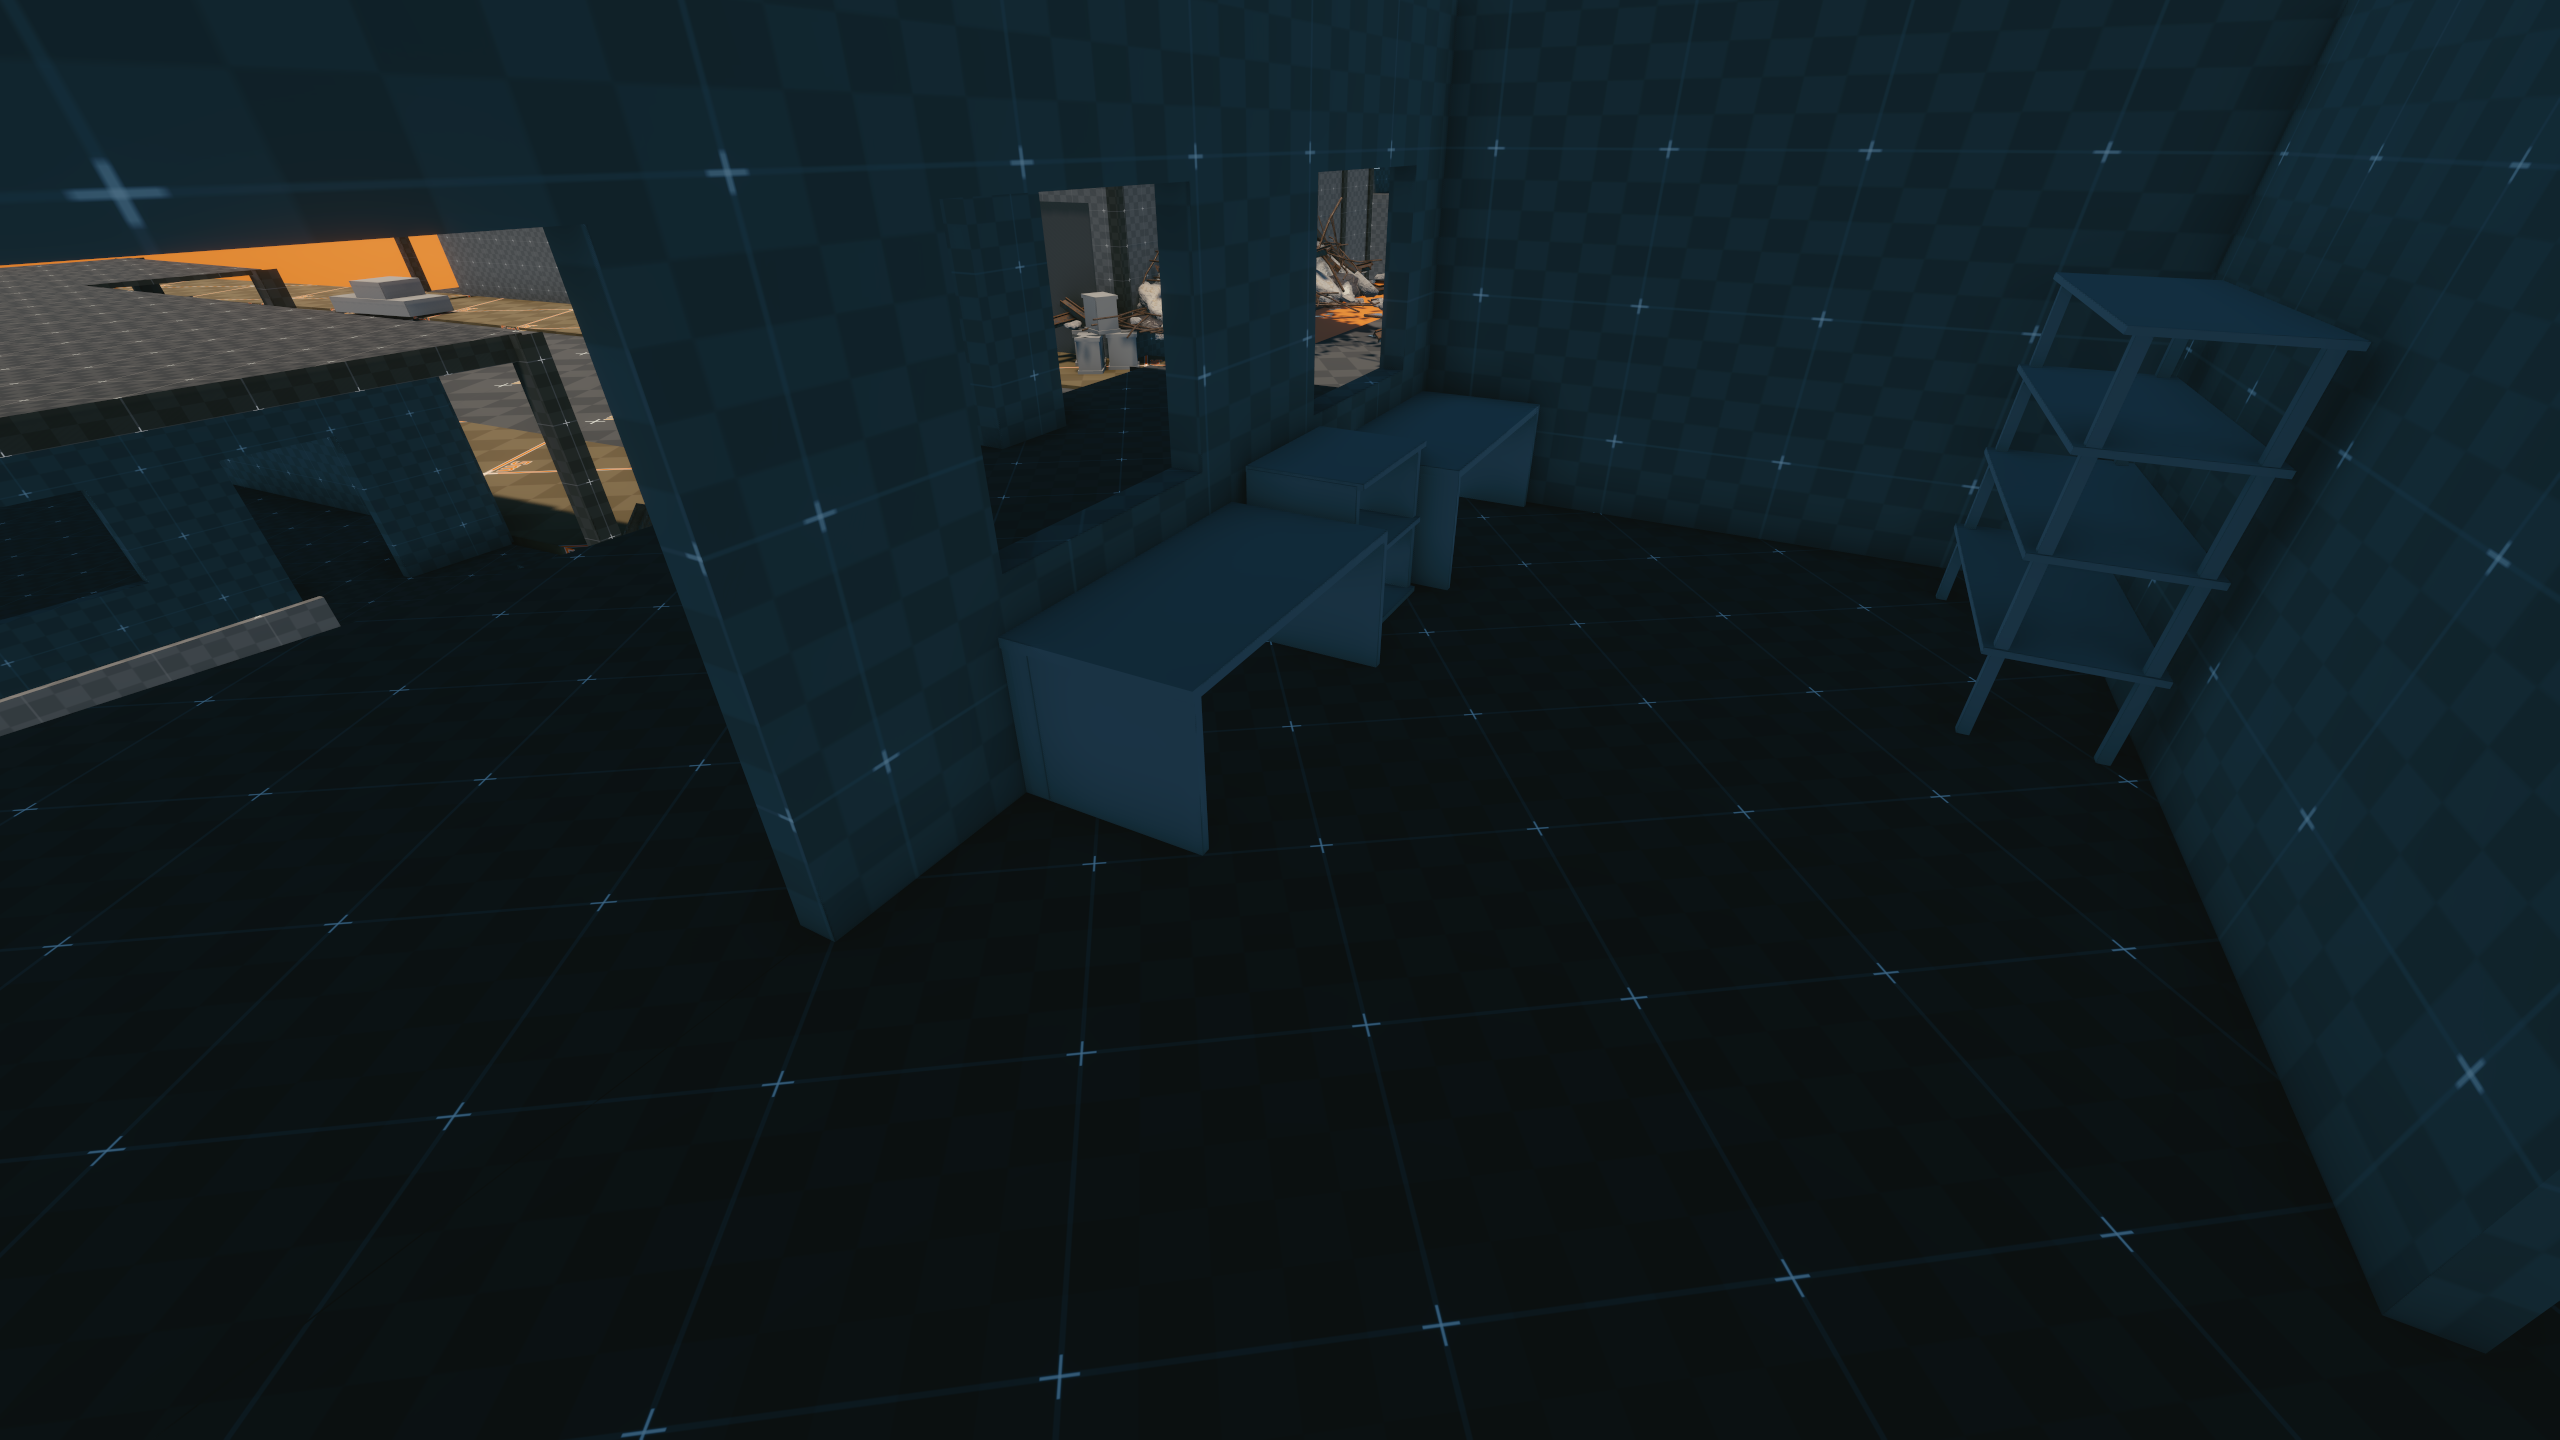
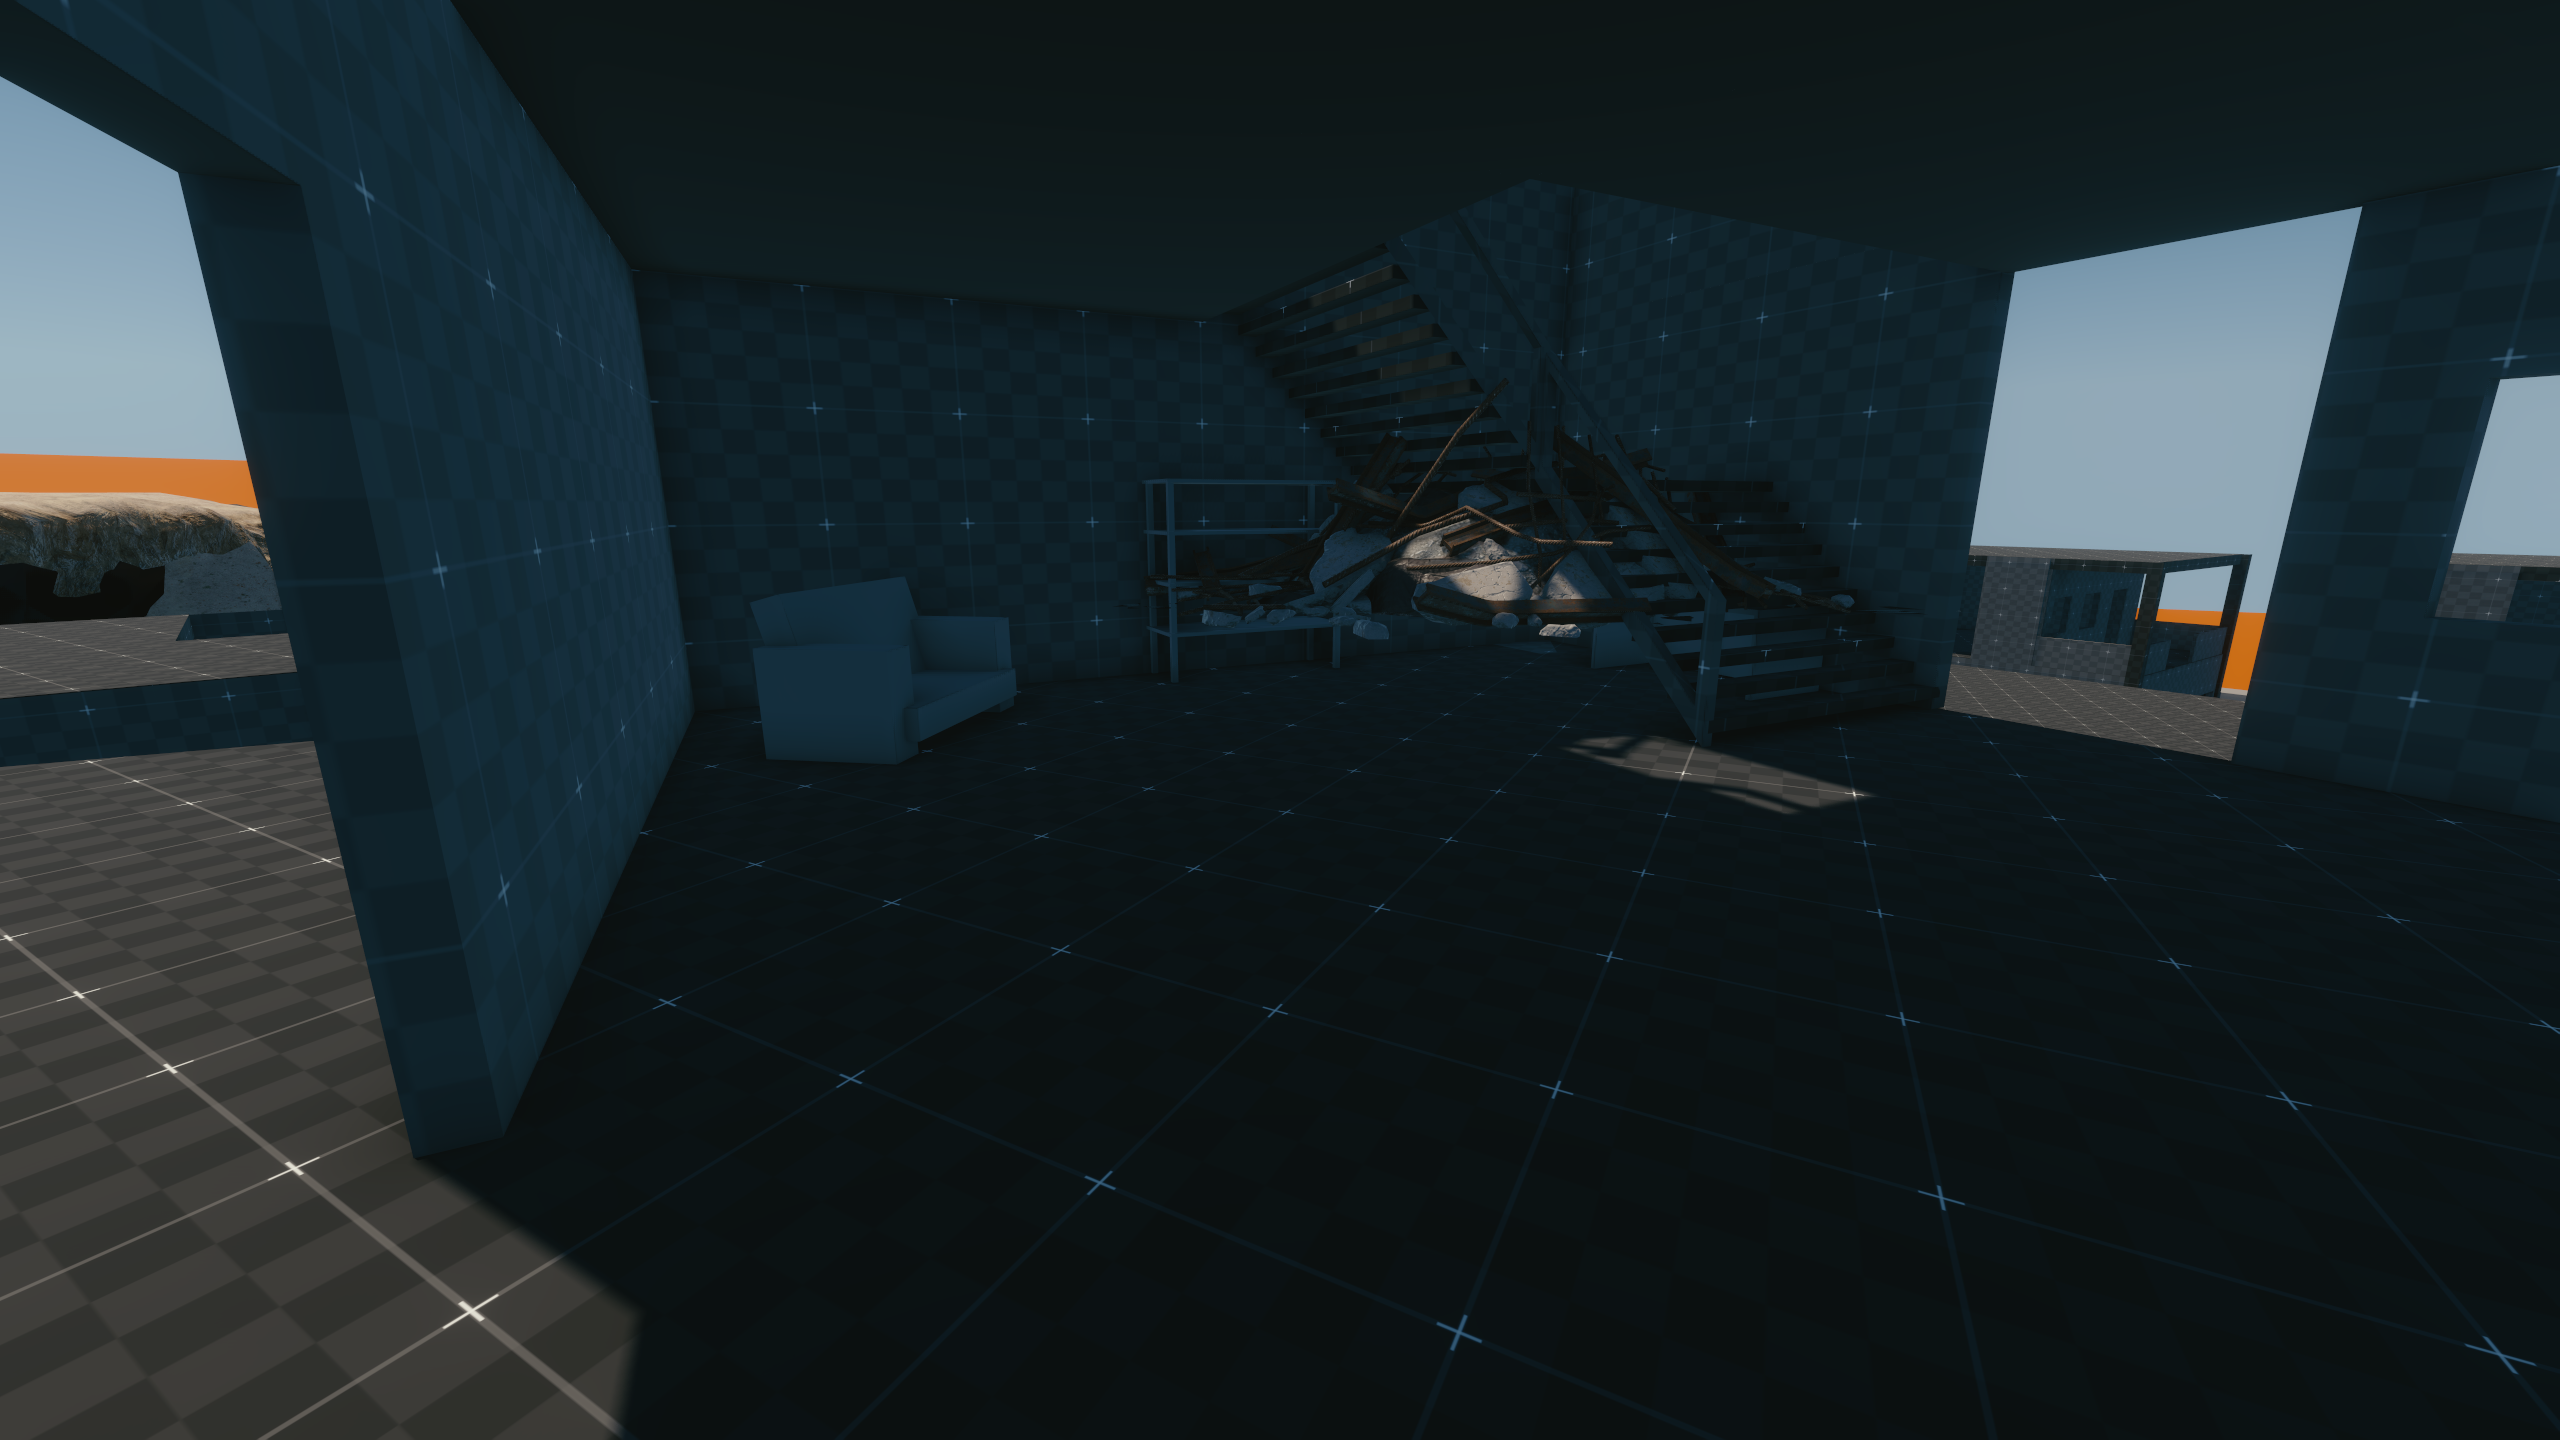
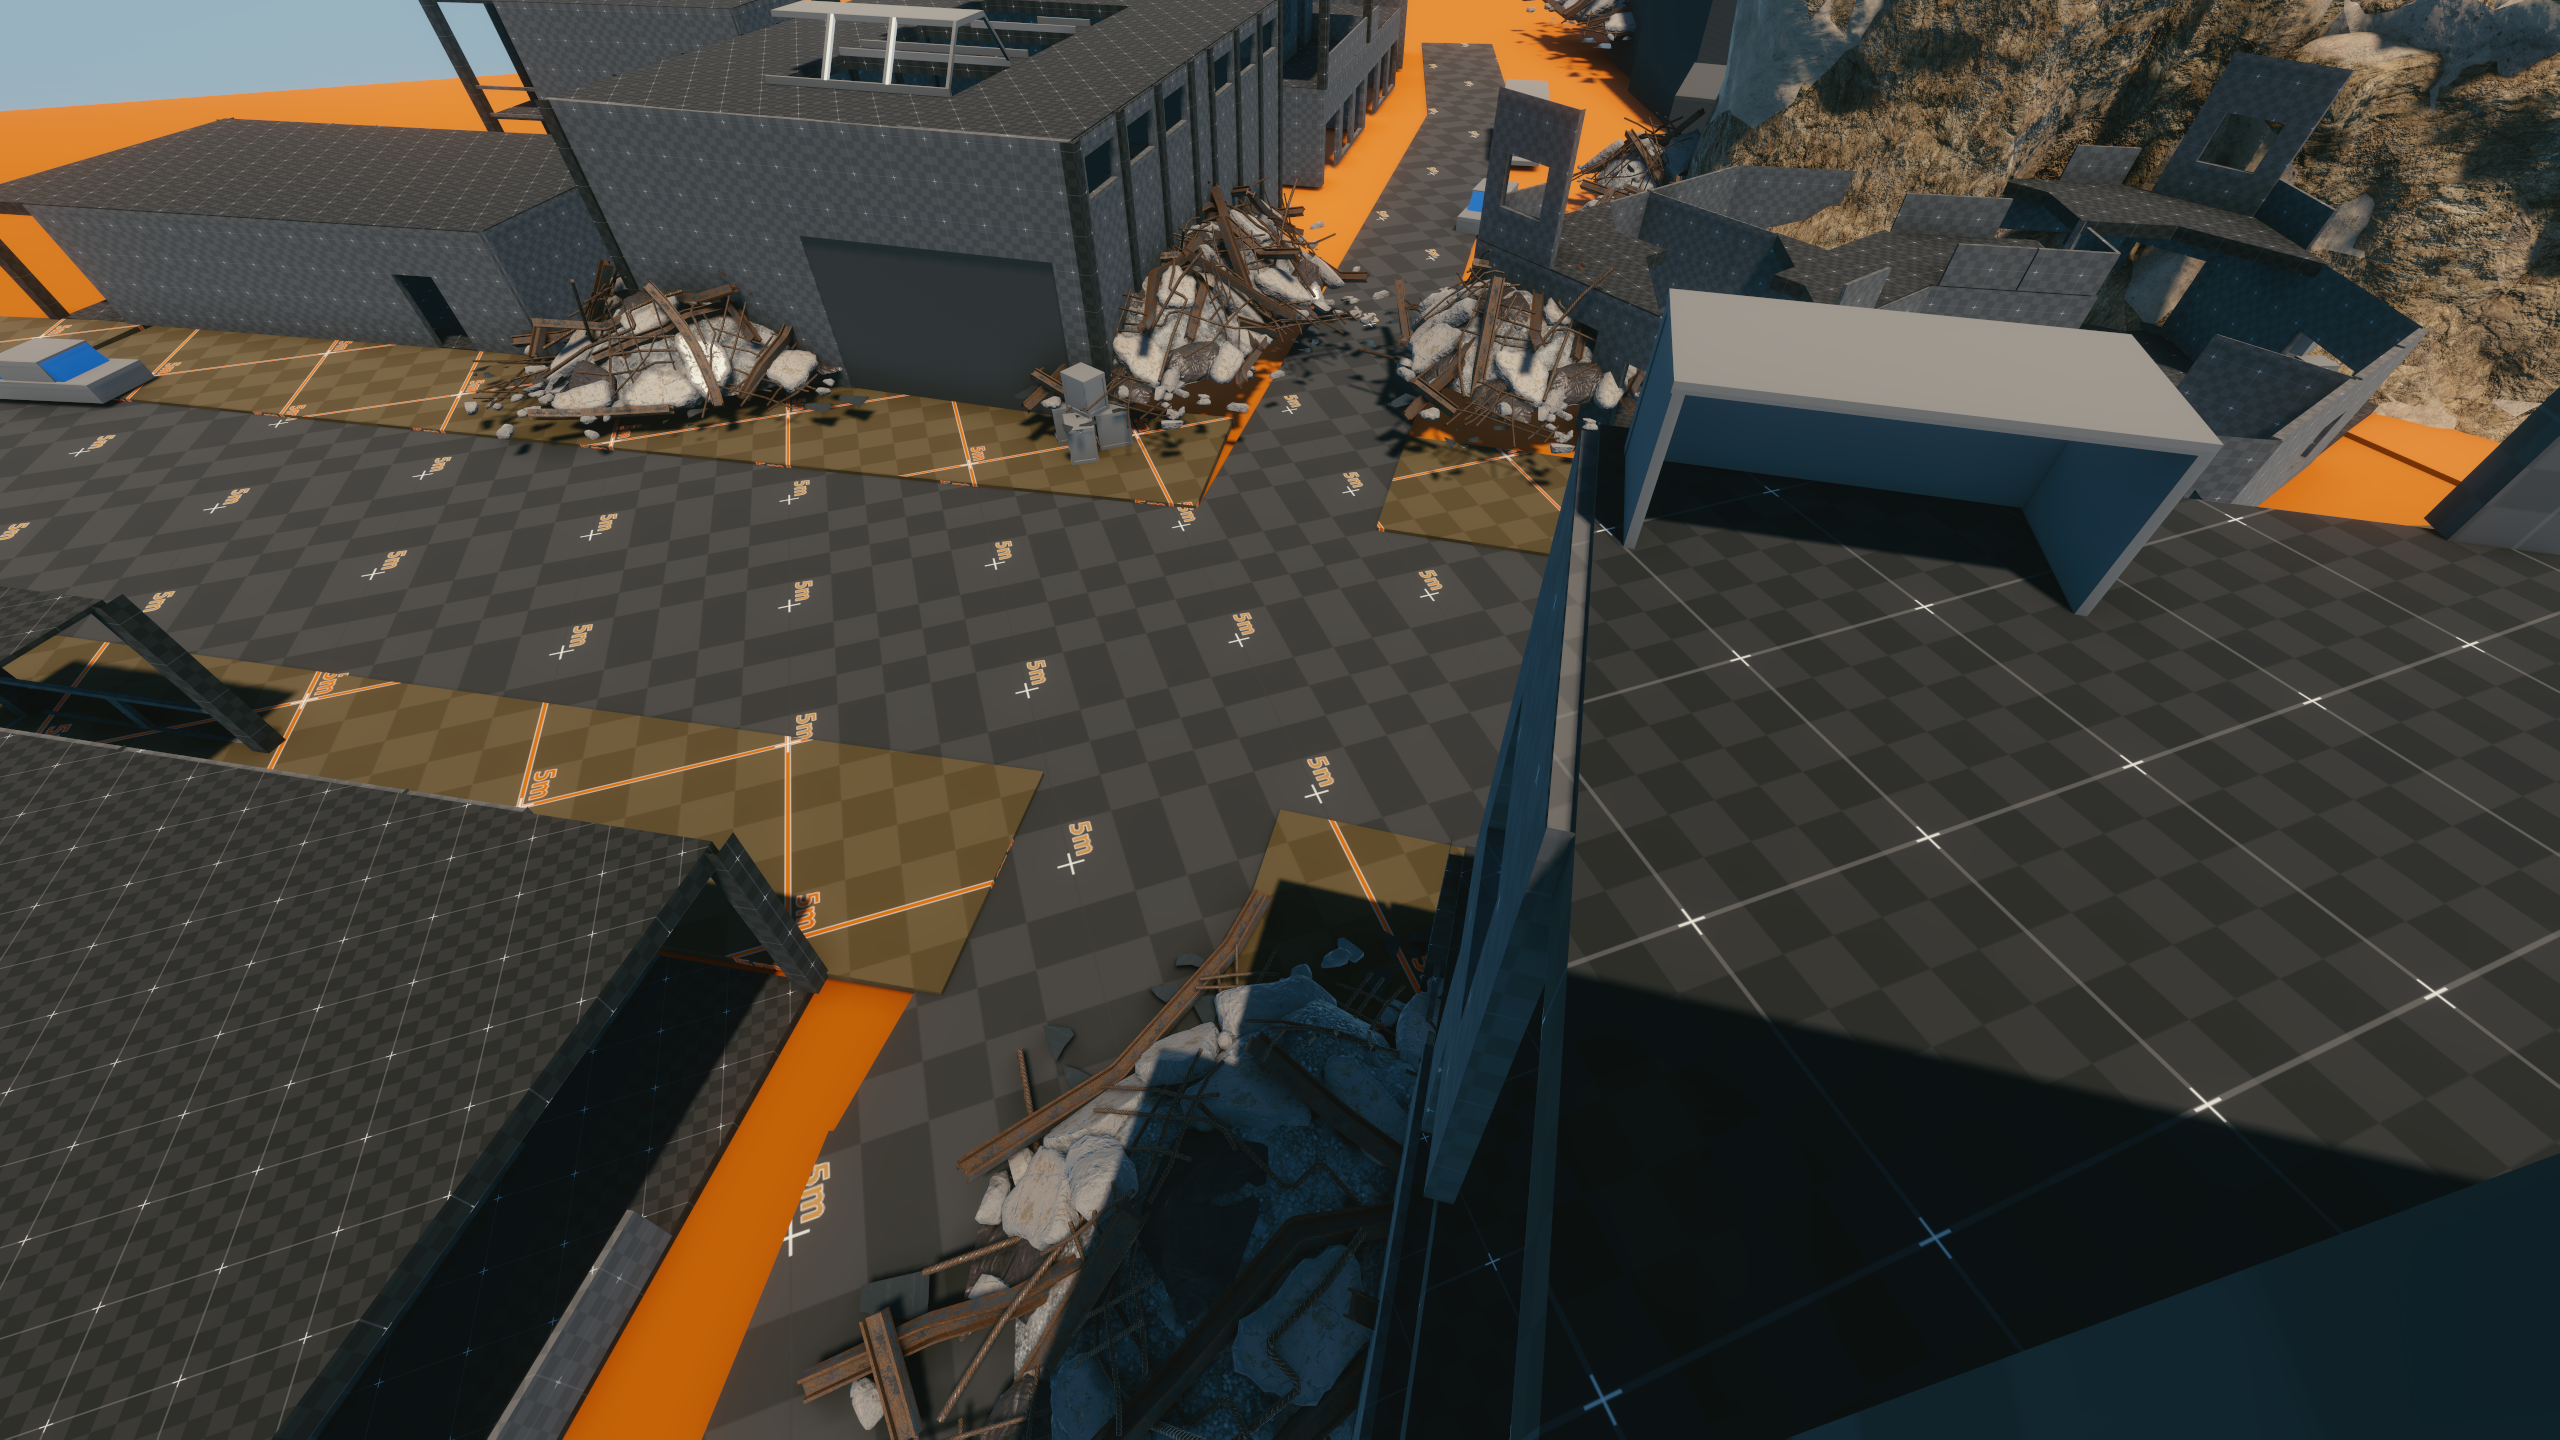
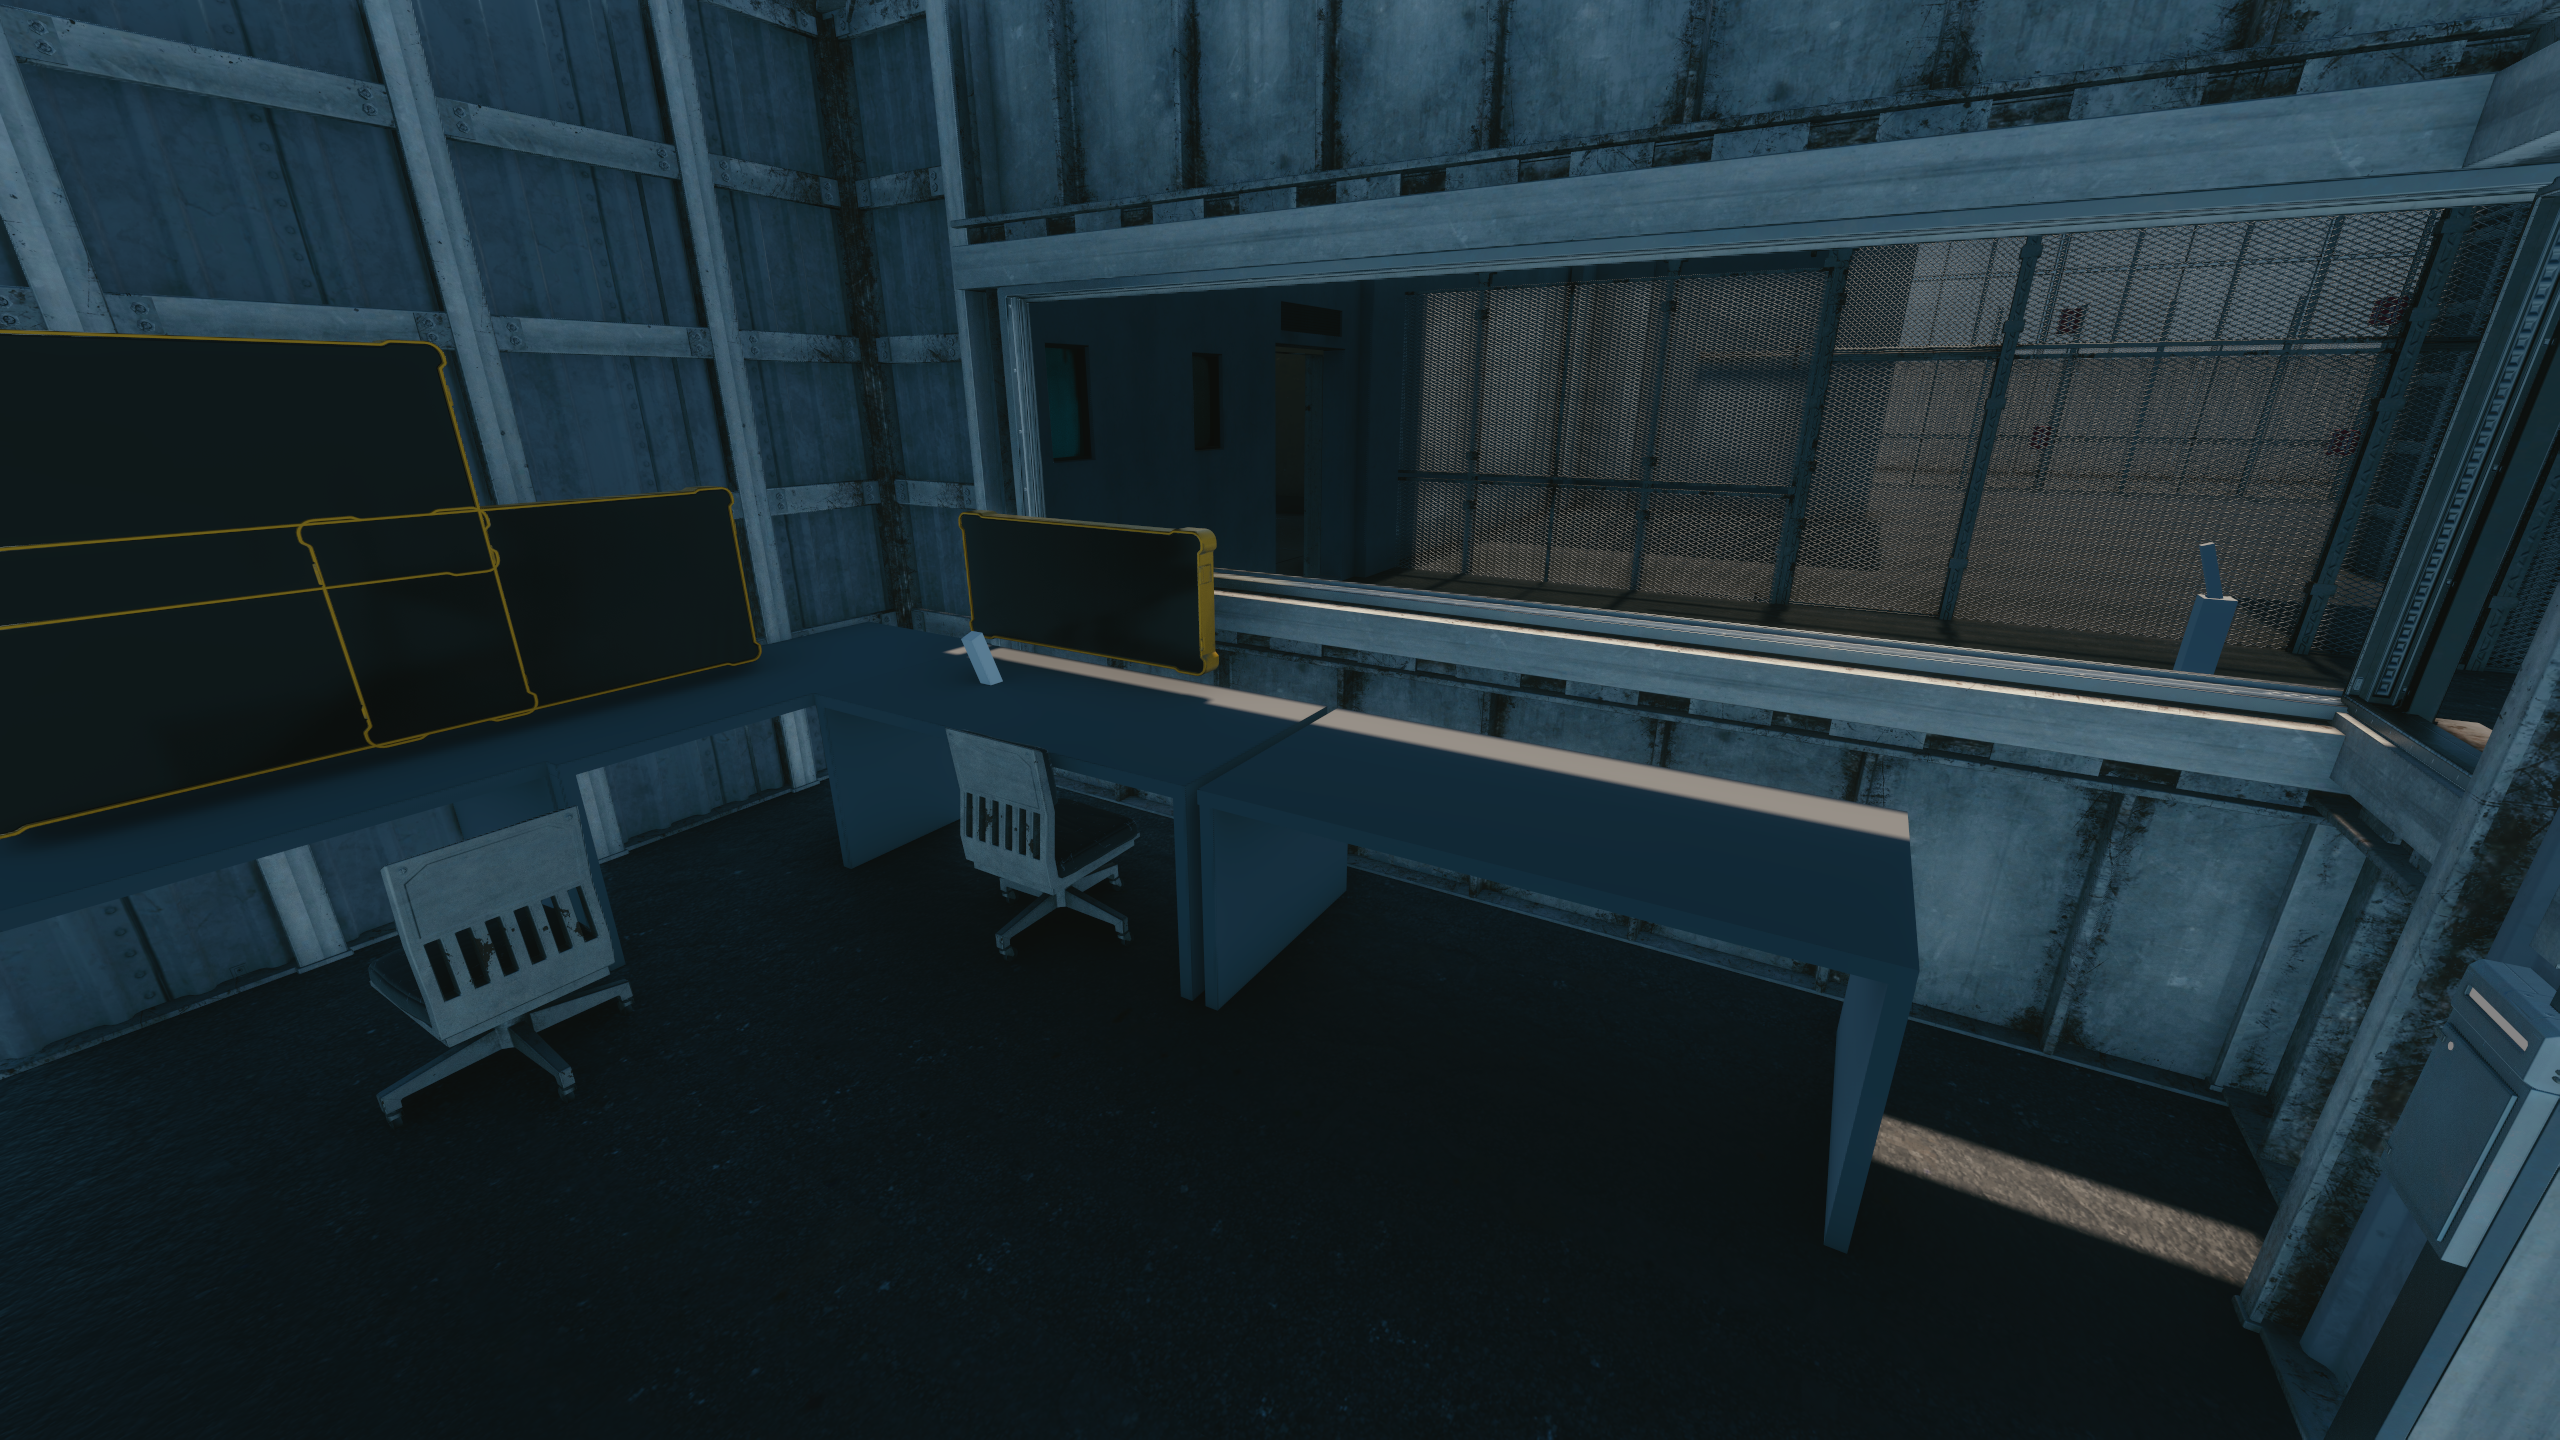
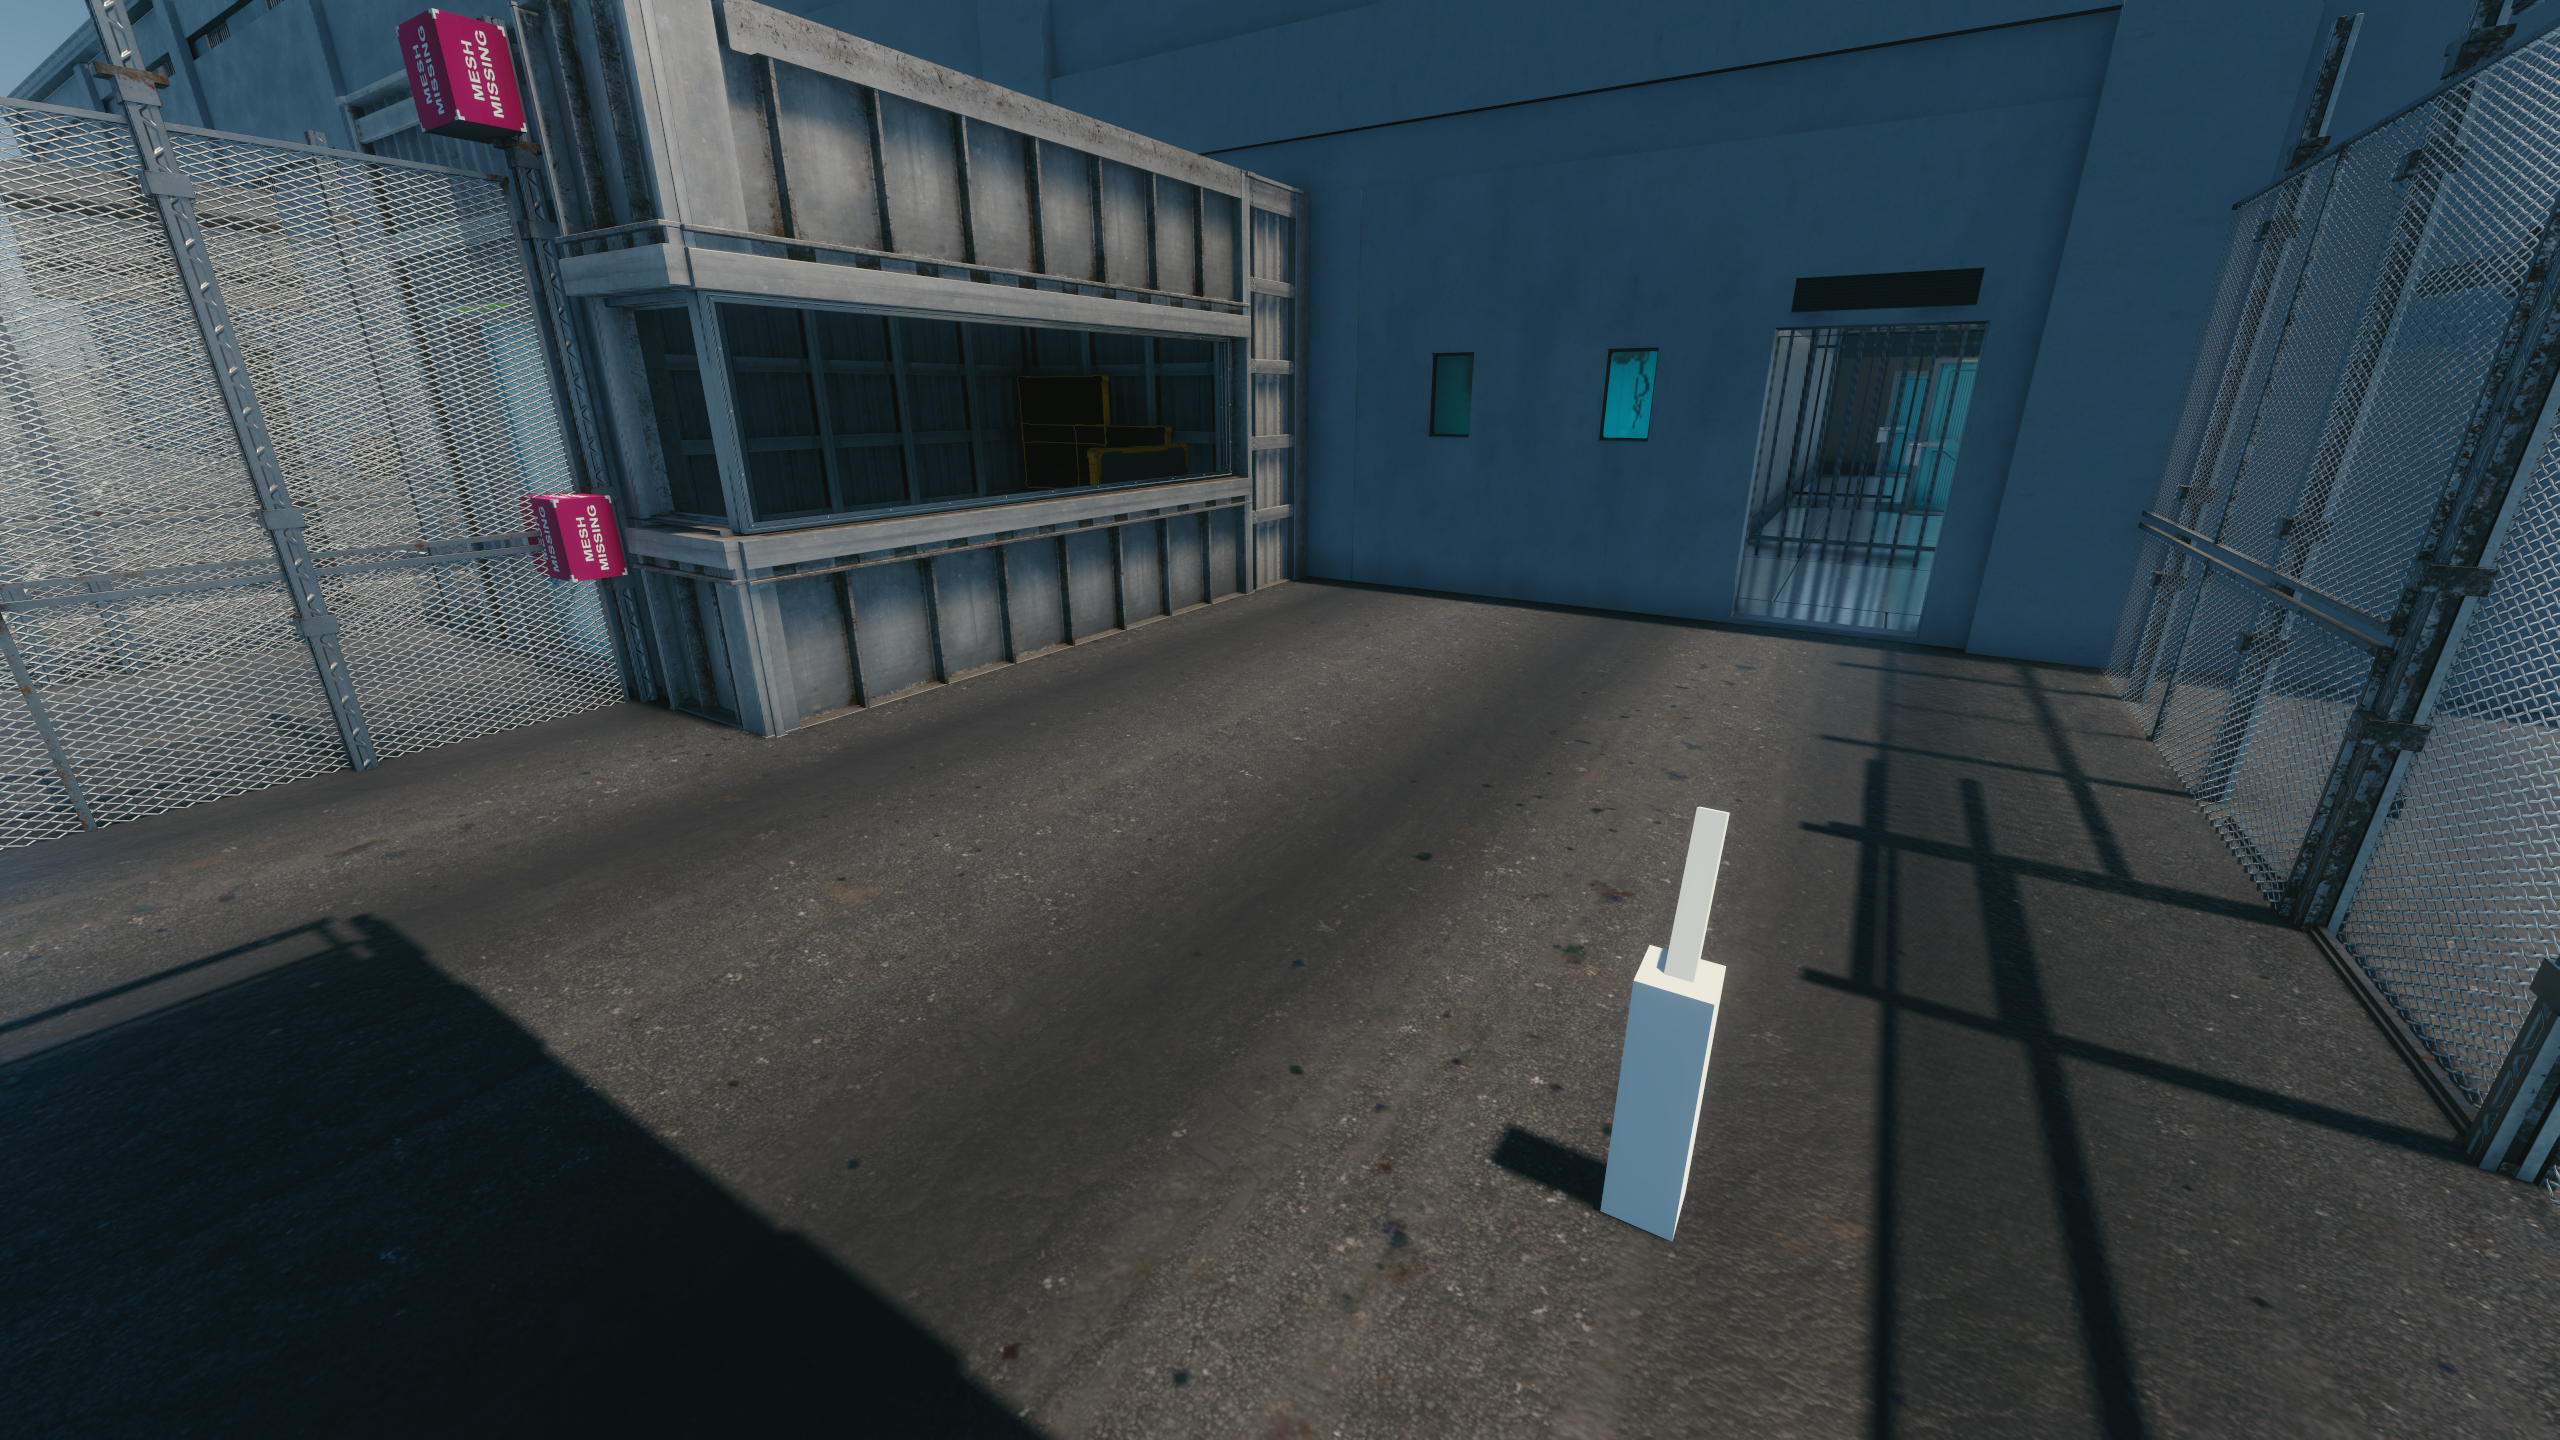
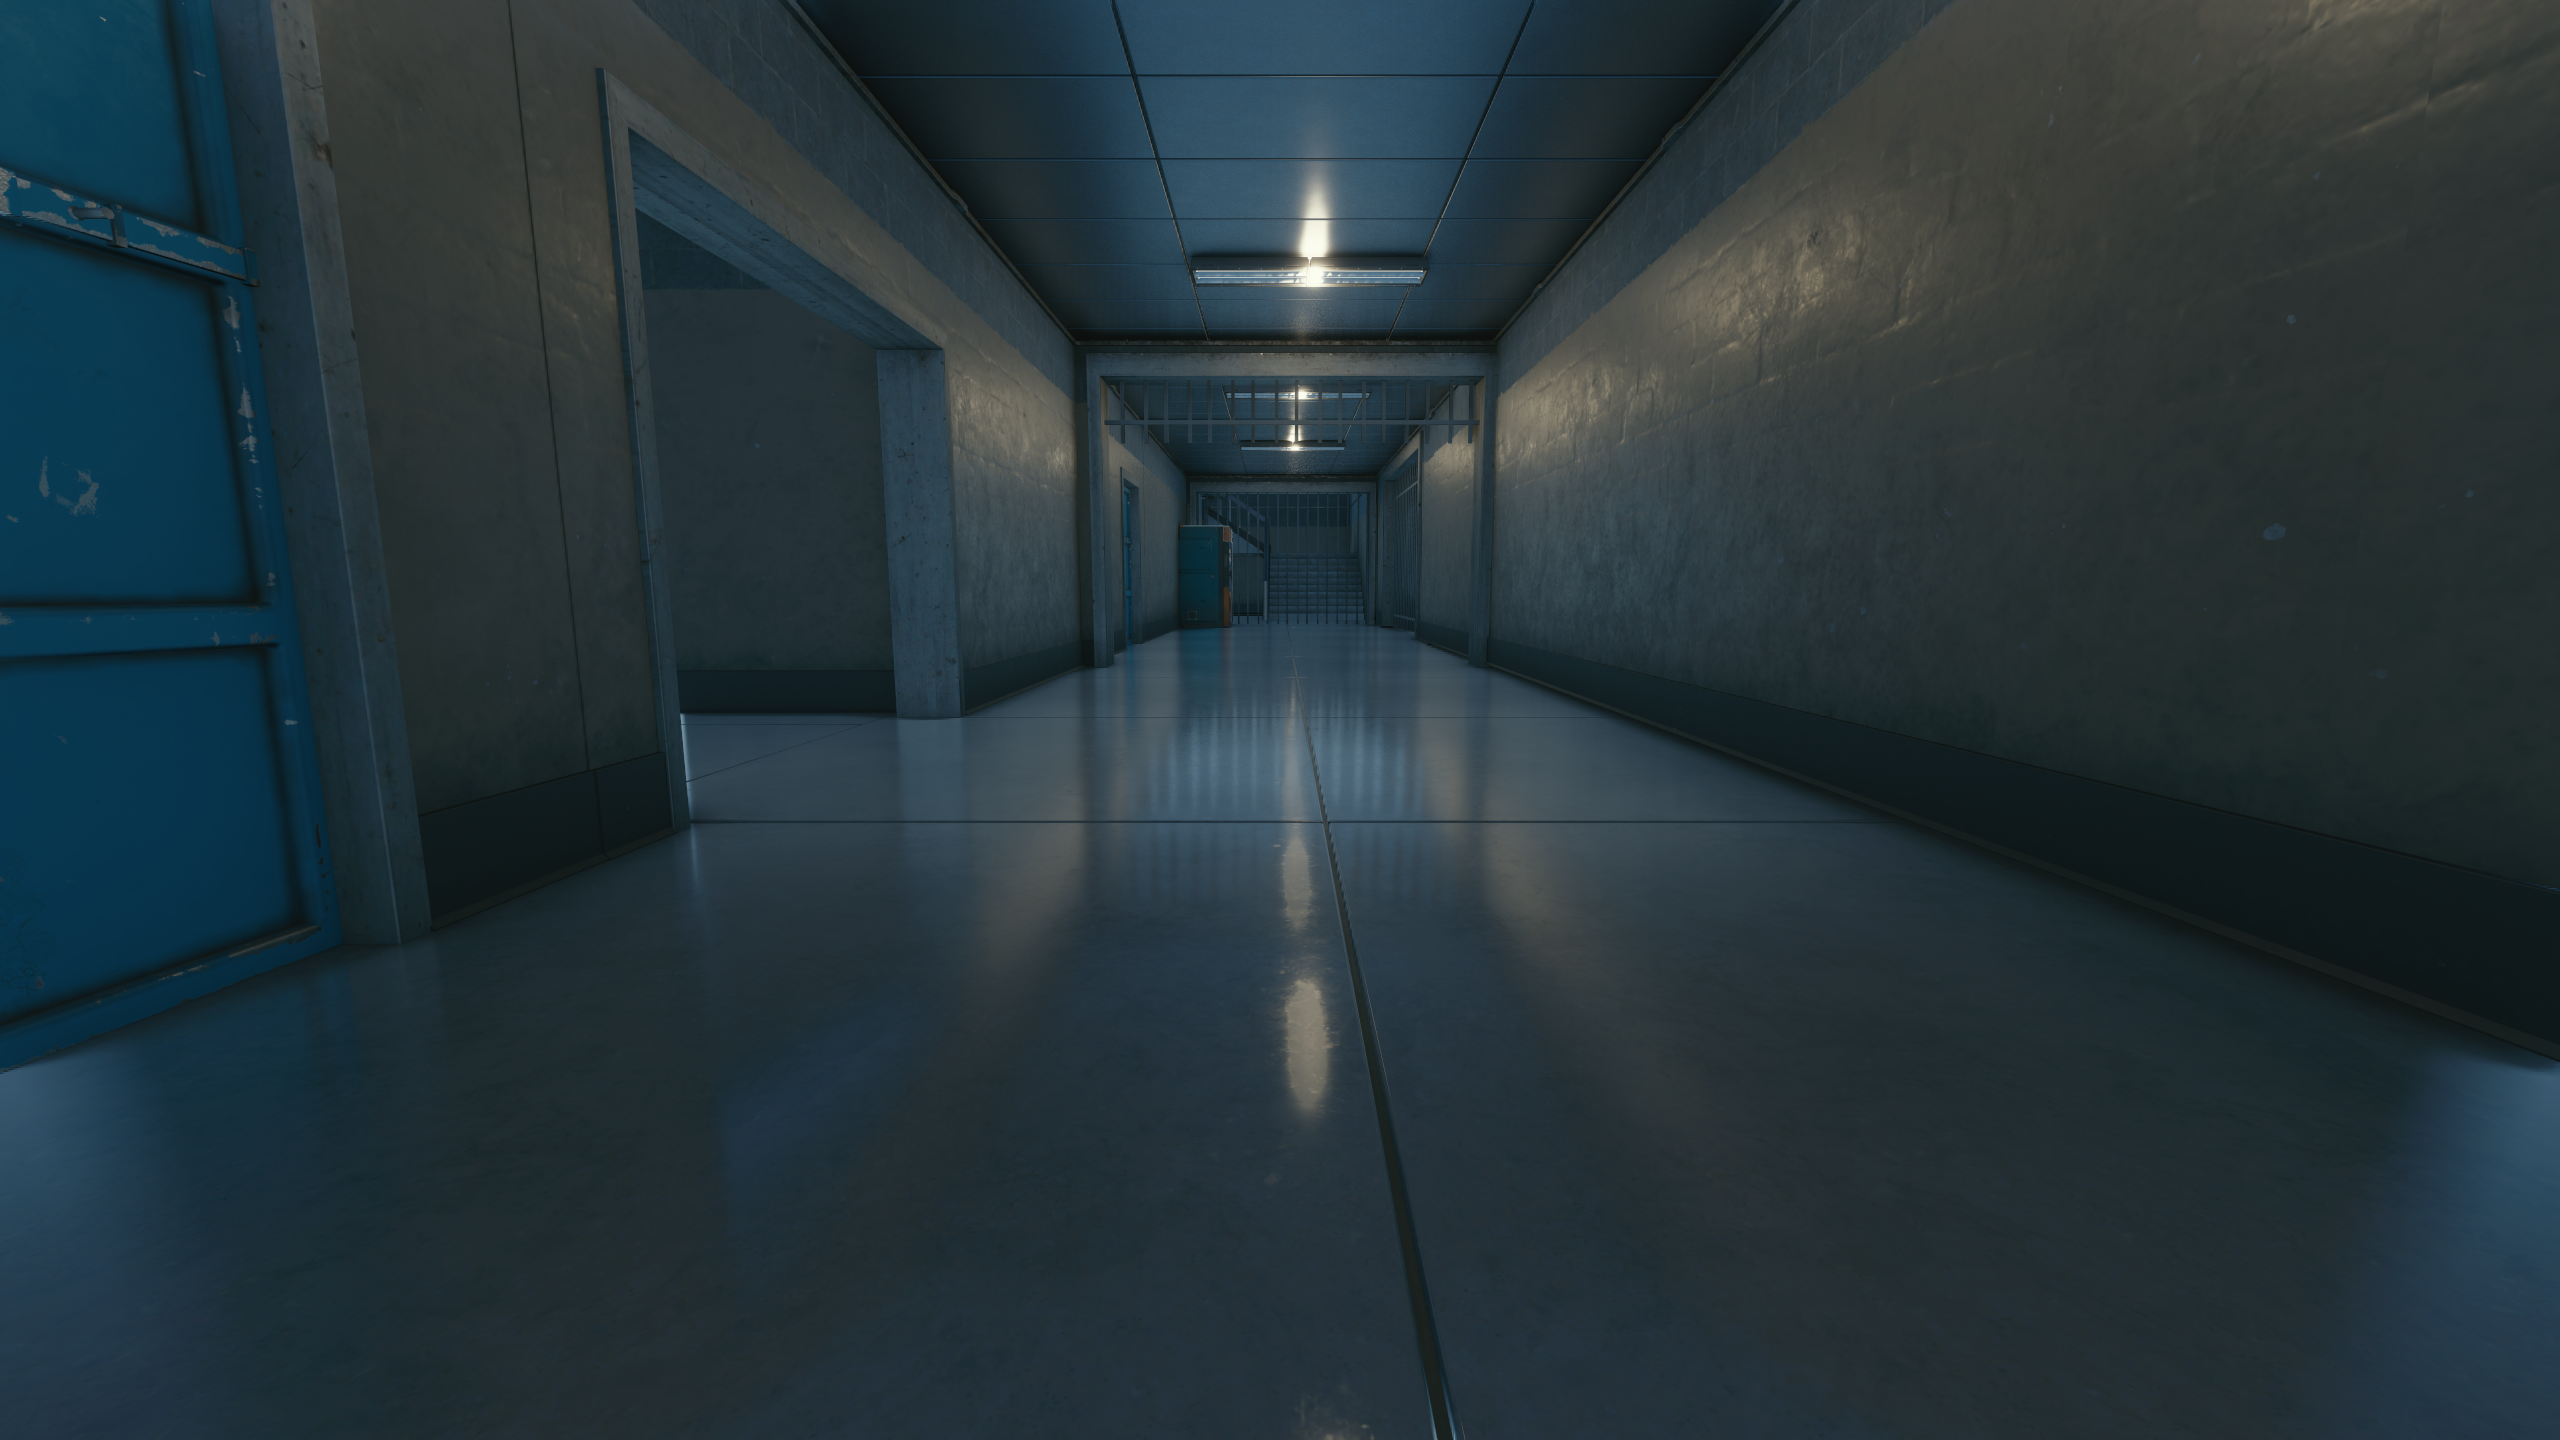
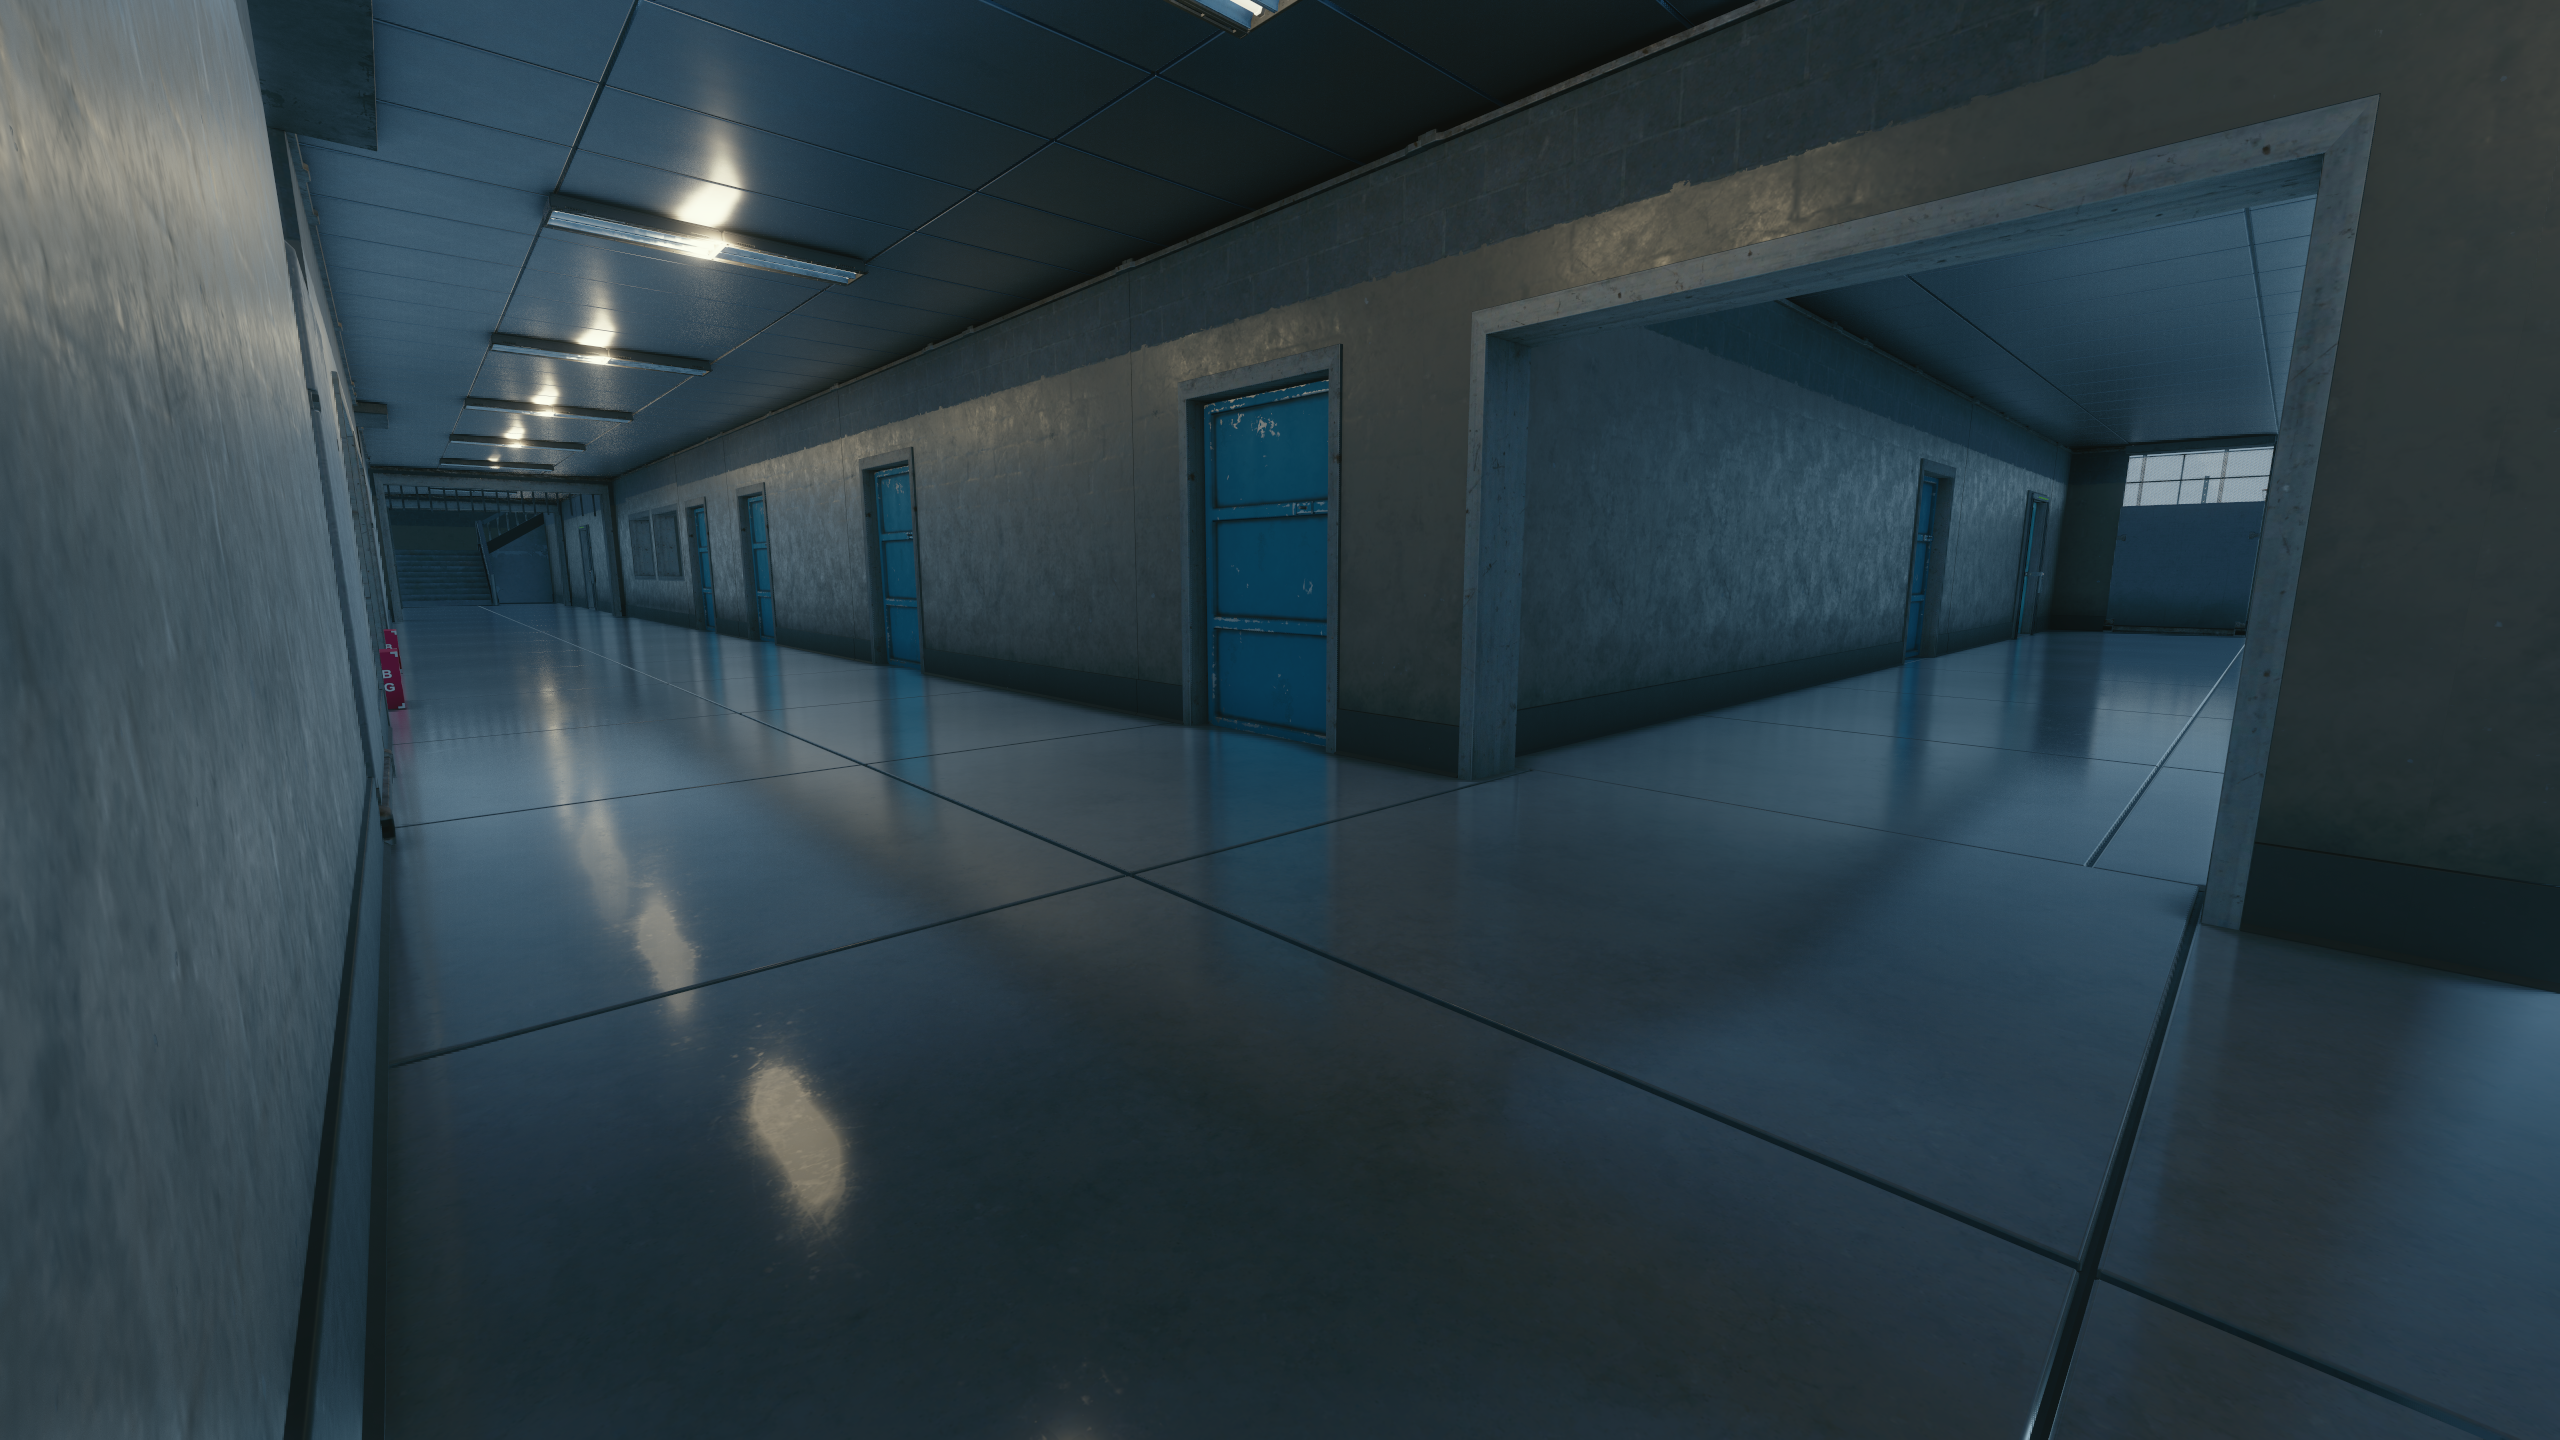
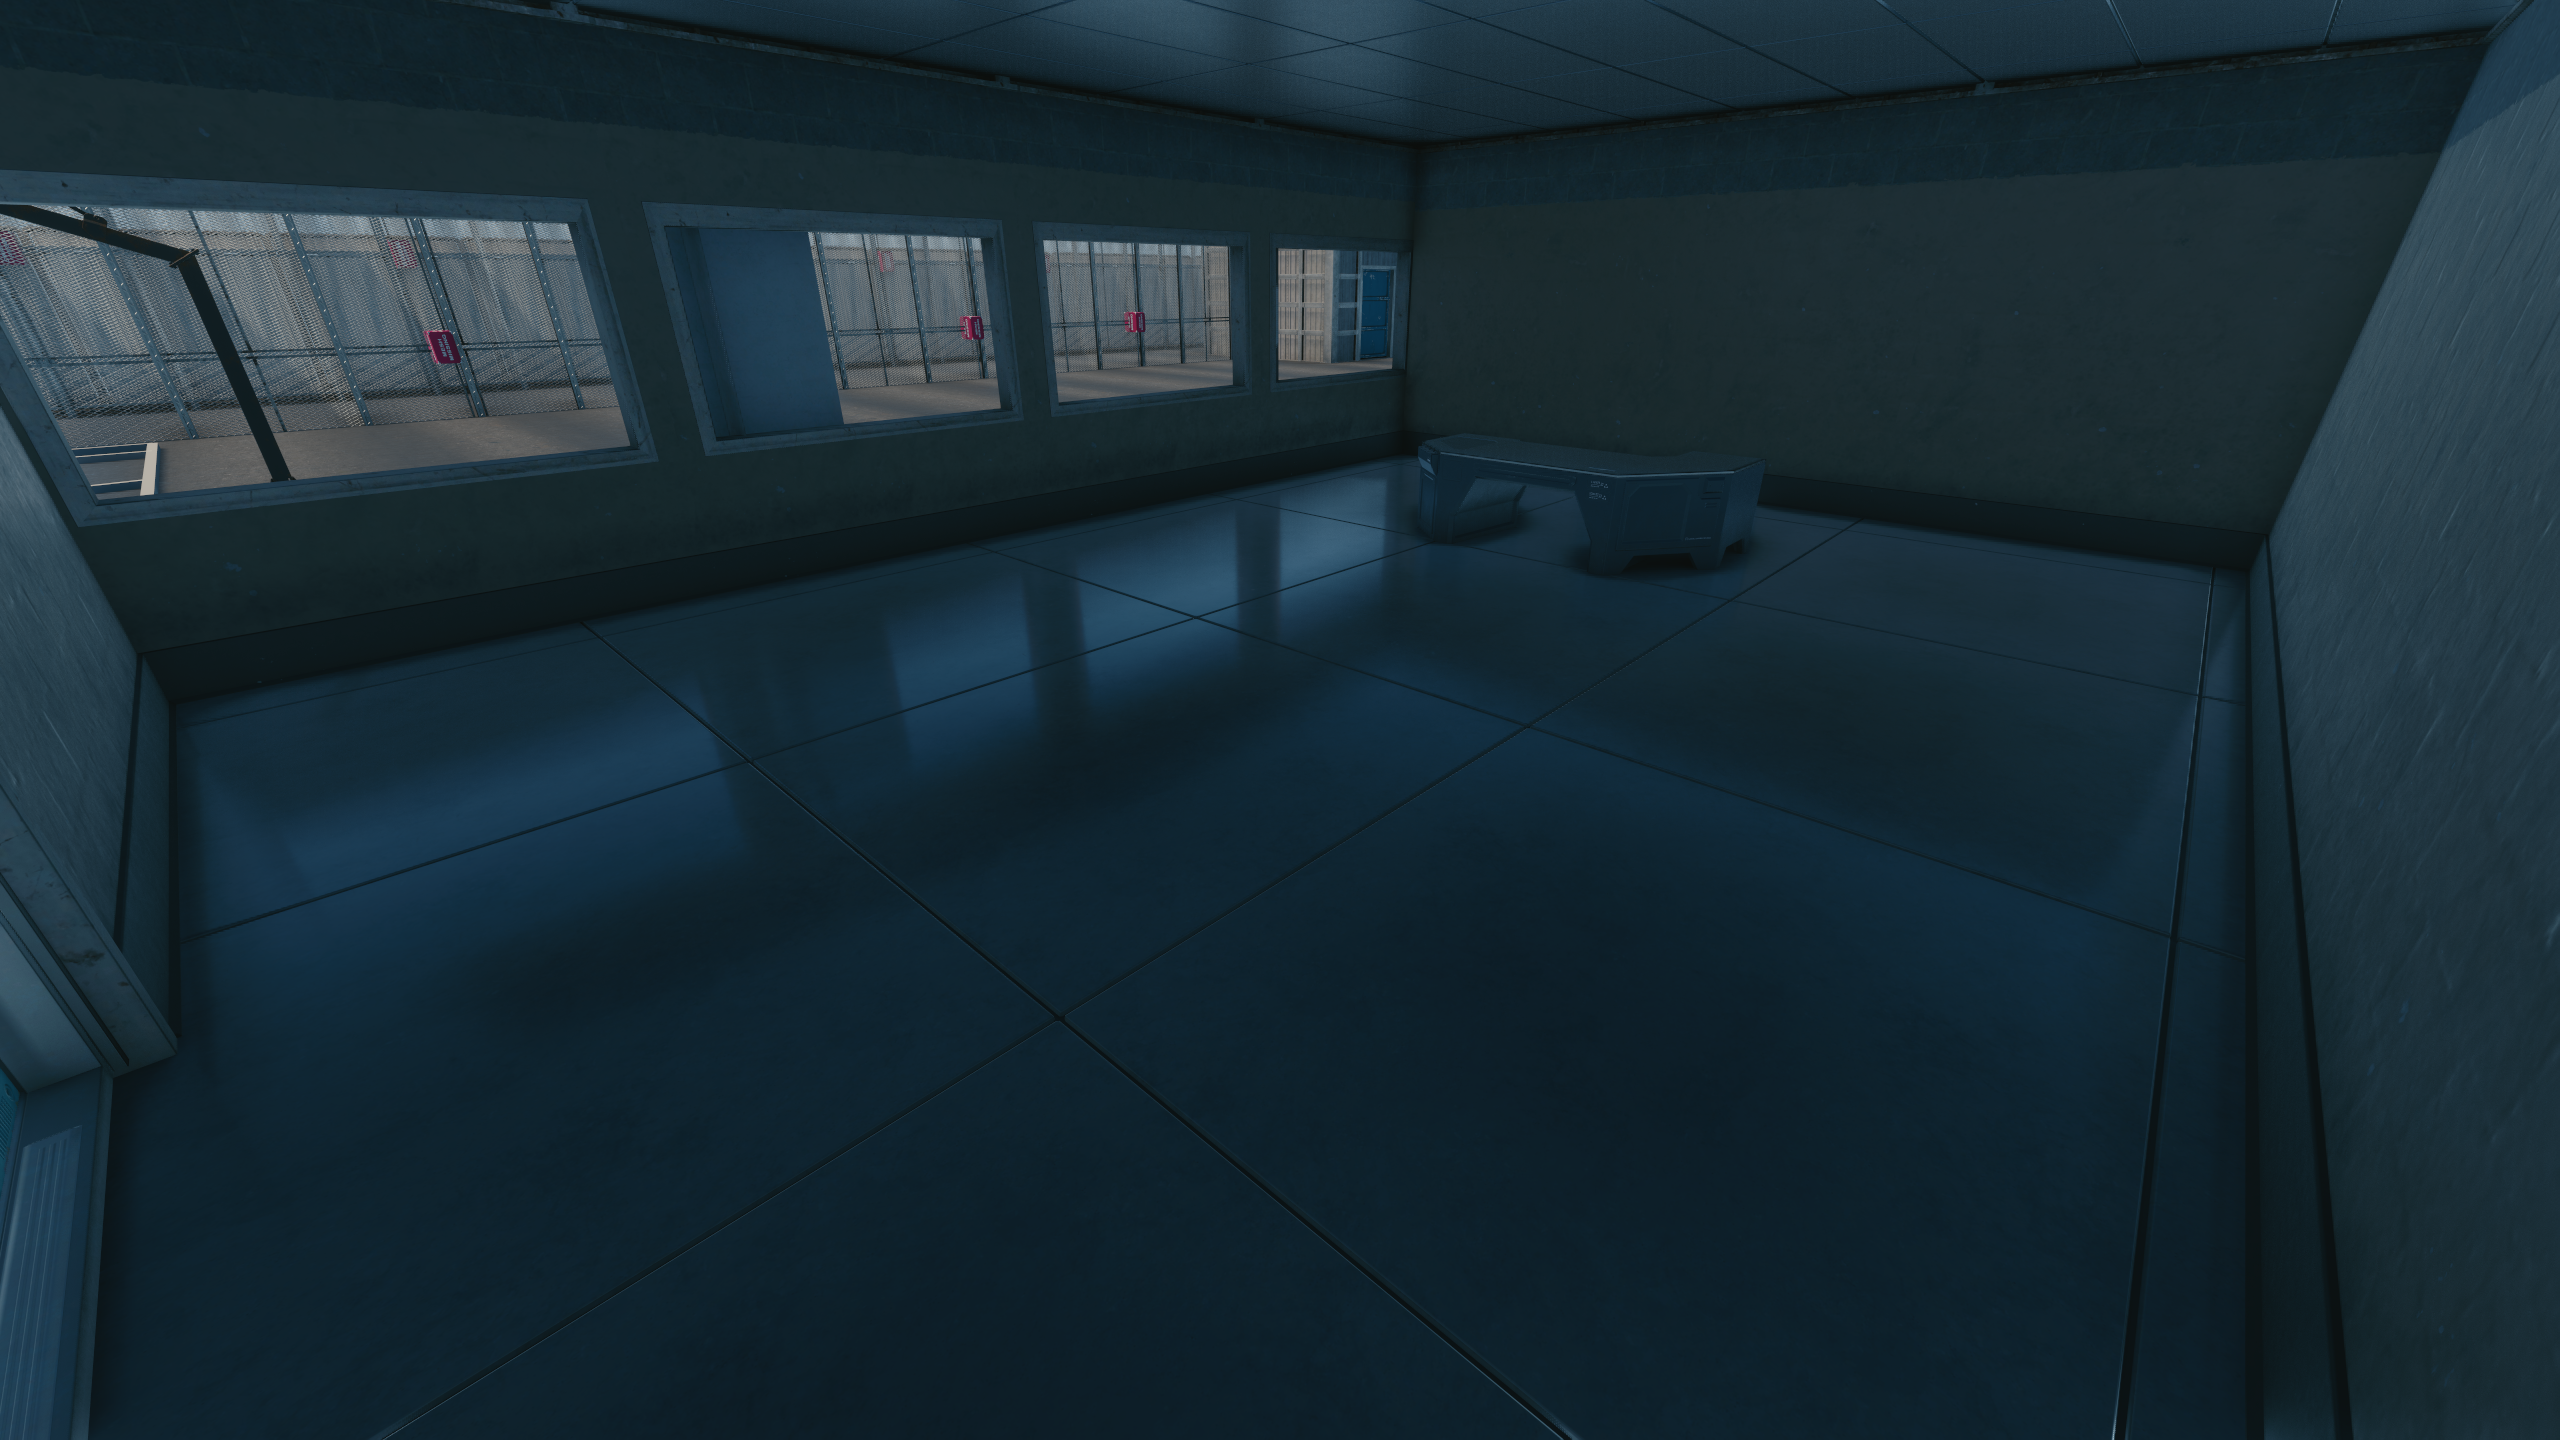
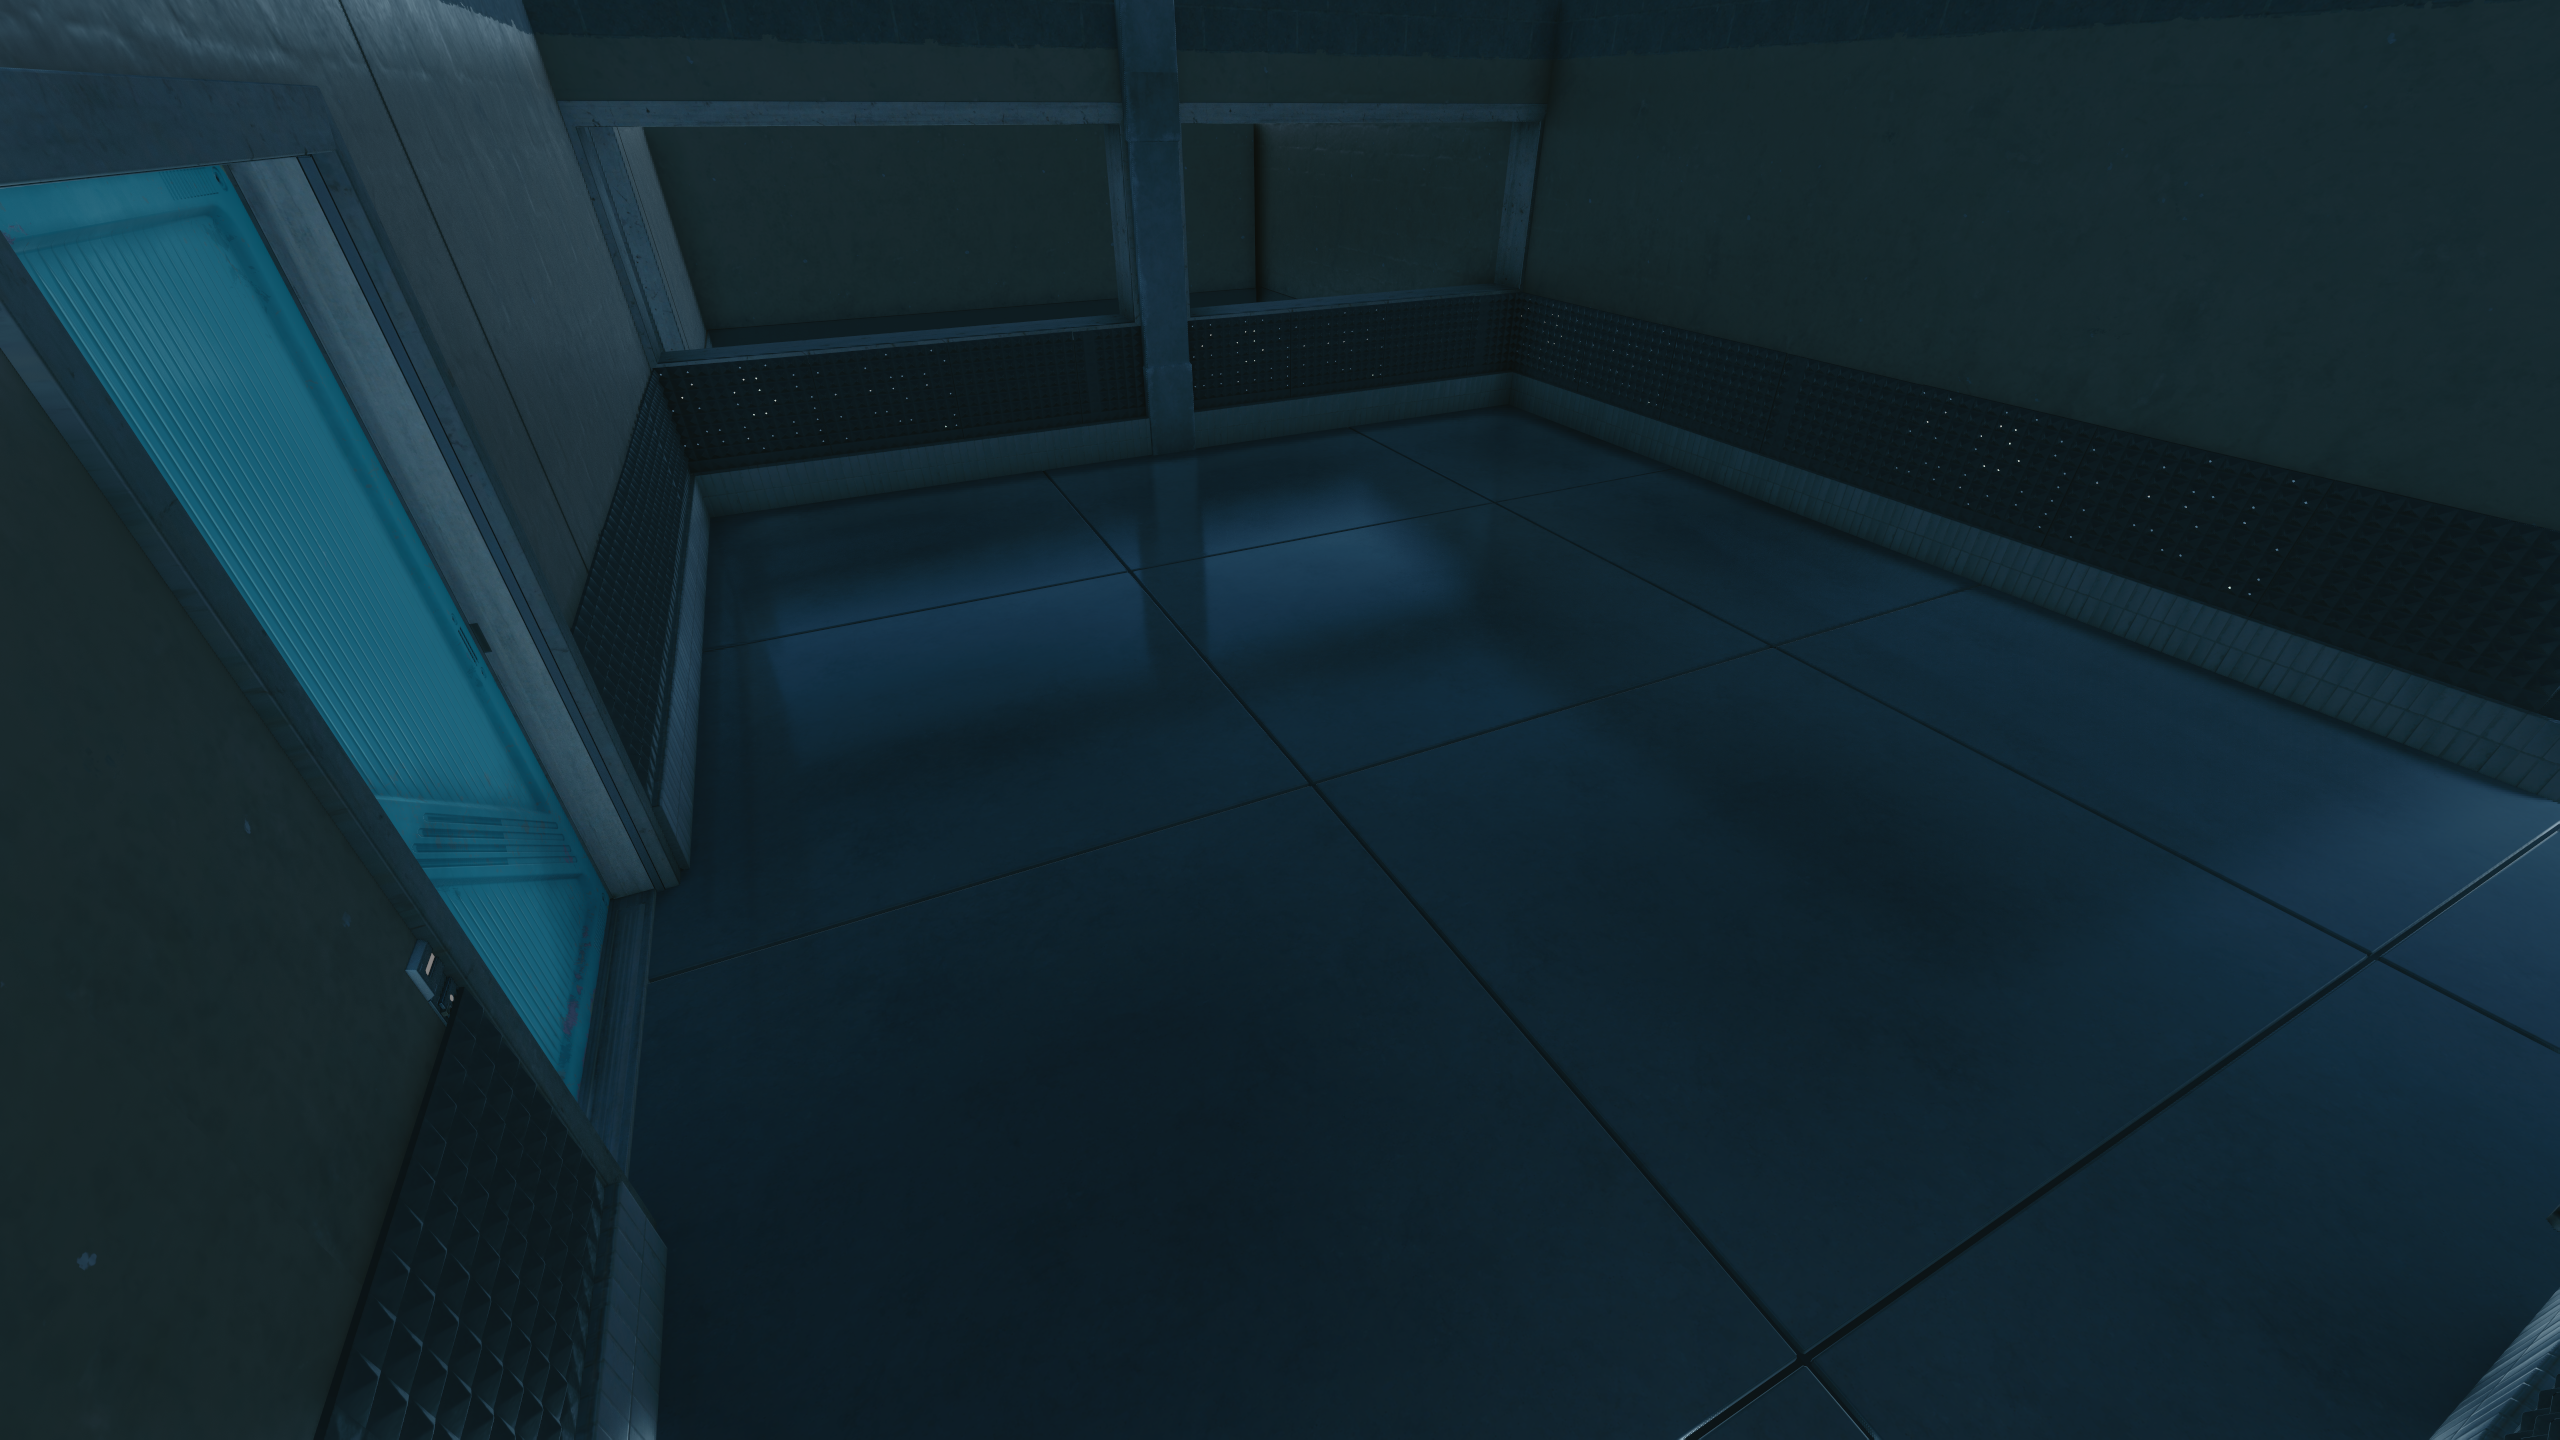
A braindance took place here, which would have shown when project:GHOST operators attacked a limo containing a Militech asset. V would have seen this braindance as part of interviewing Locke in prison. The taller building was likely the place where the operators attacked the limo from, as it is more detailed than other buildings on the map.
loc_q111_detention_center_backup2#
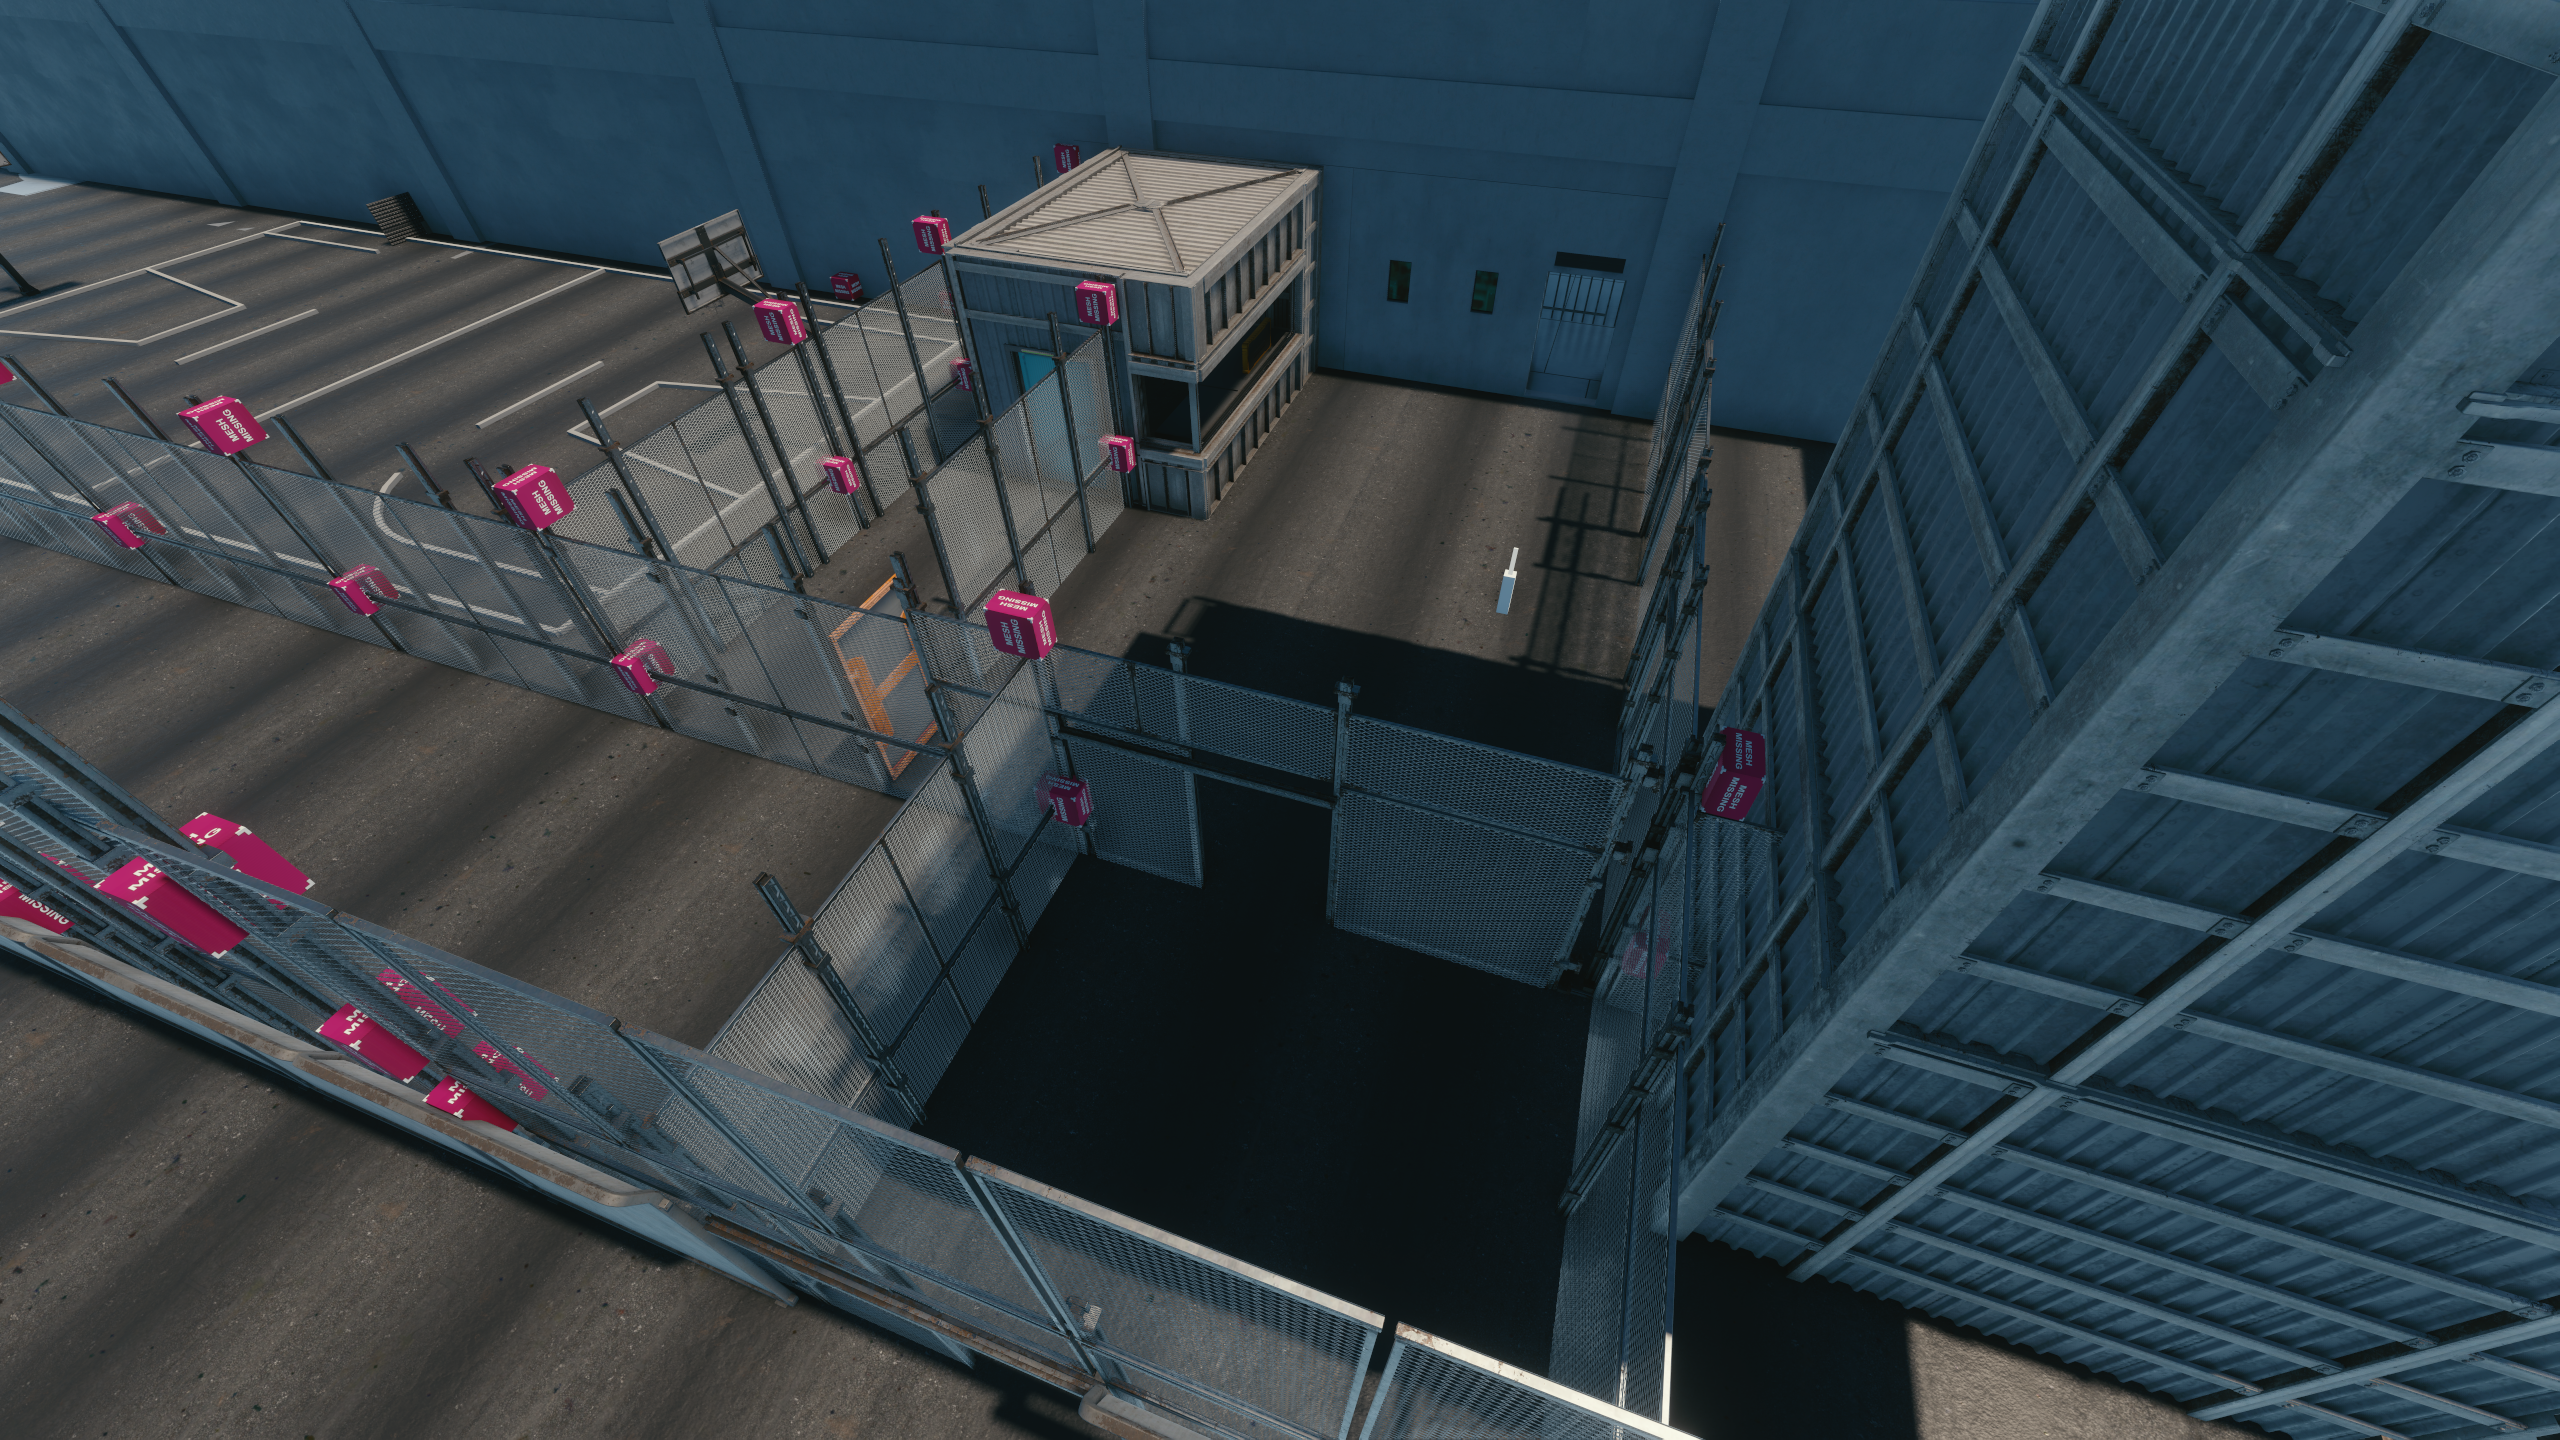
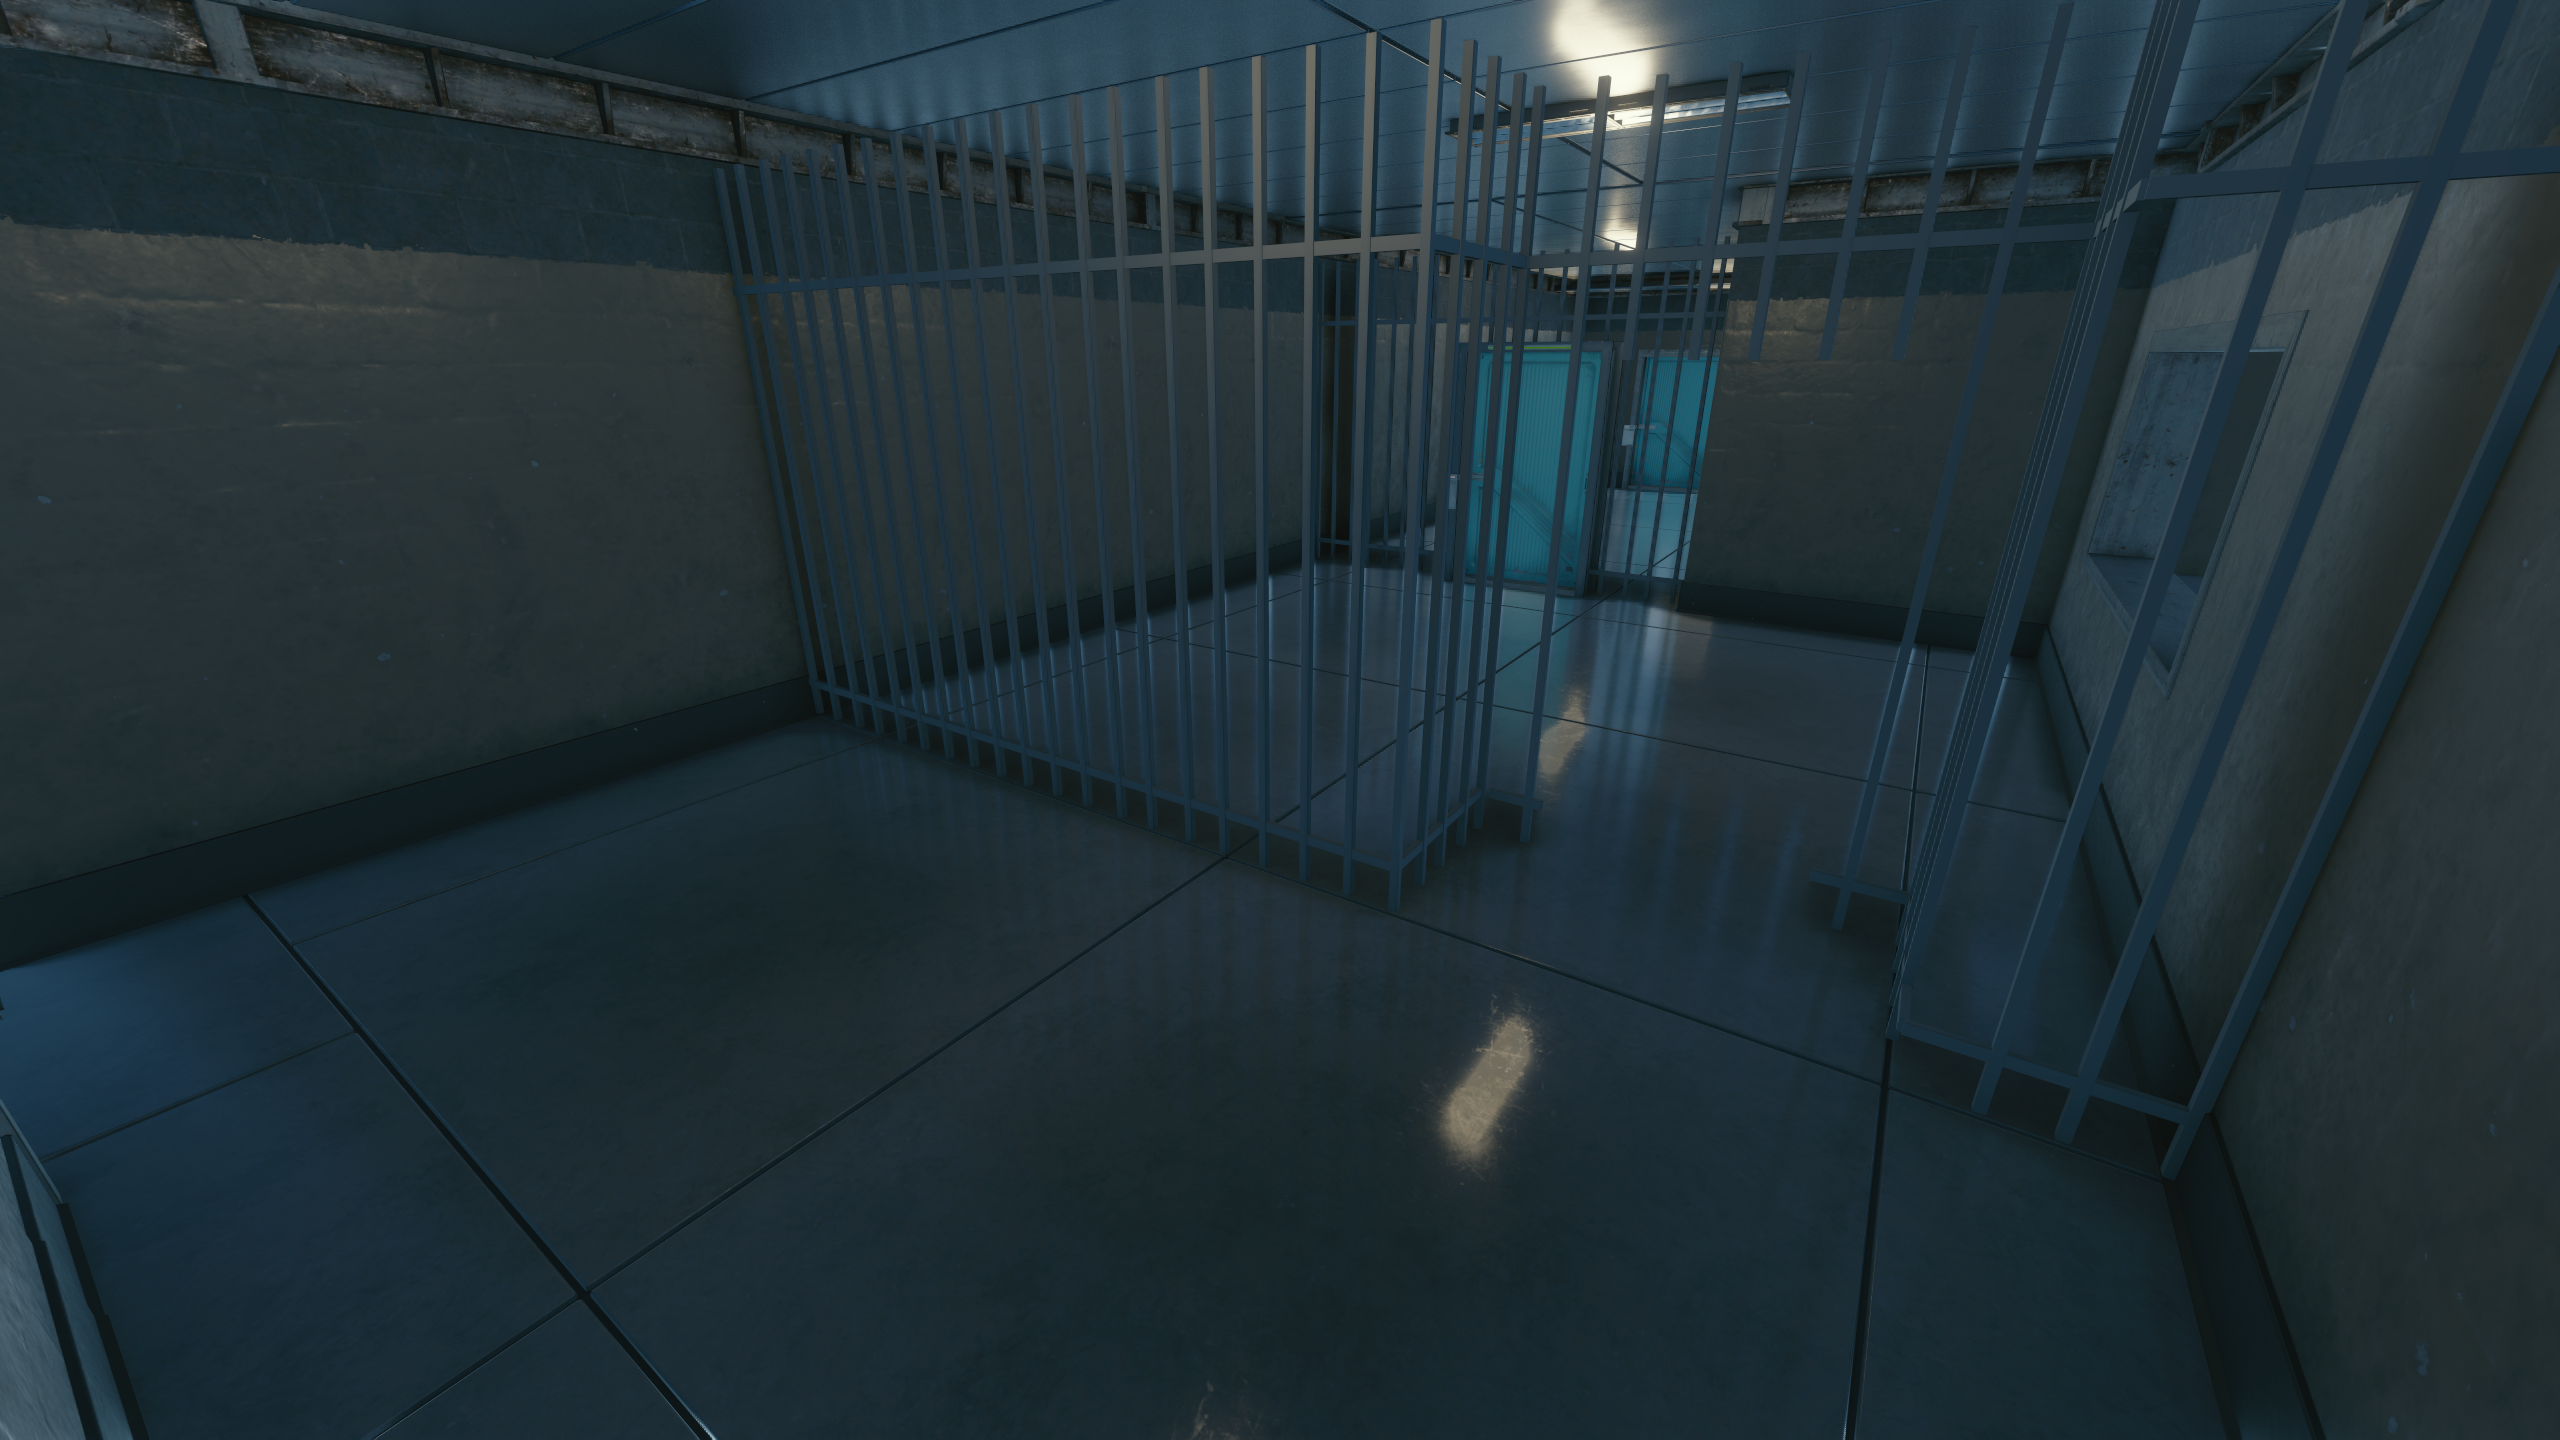
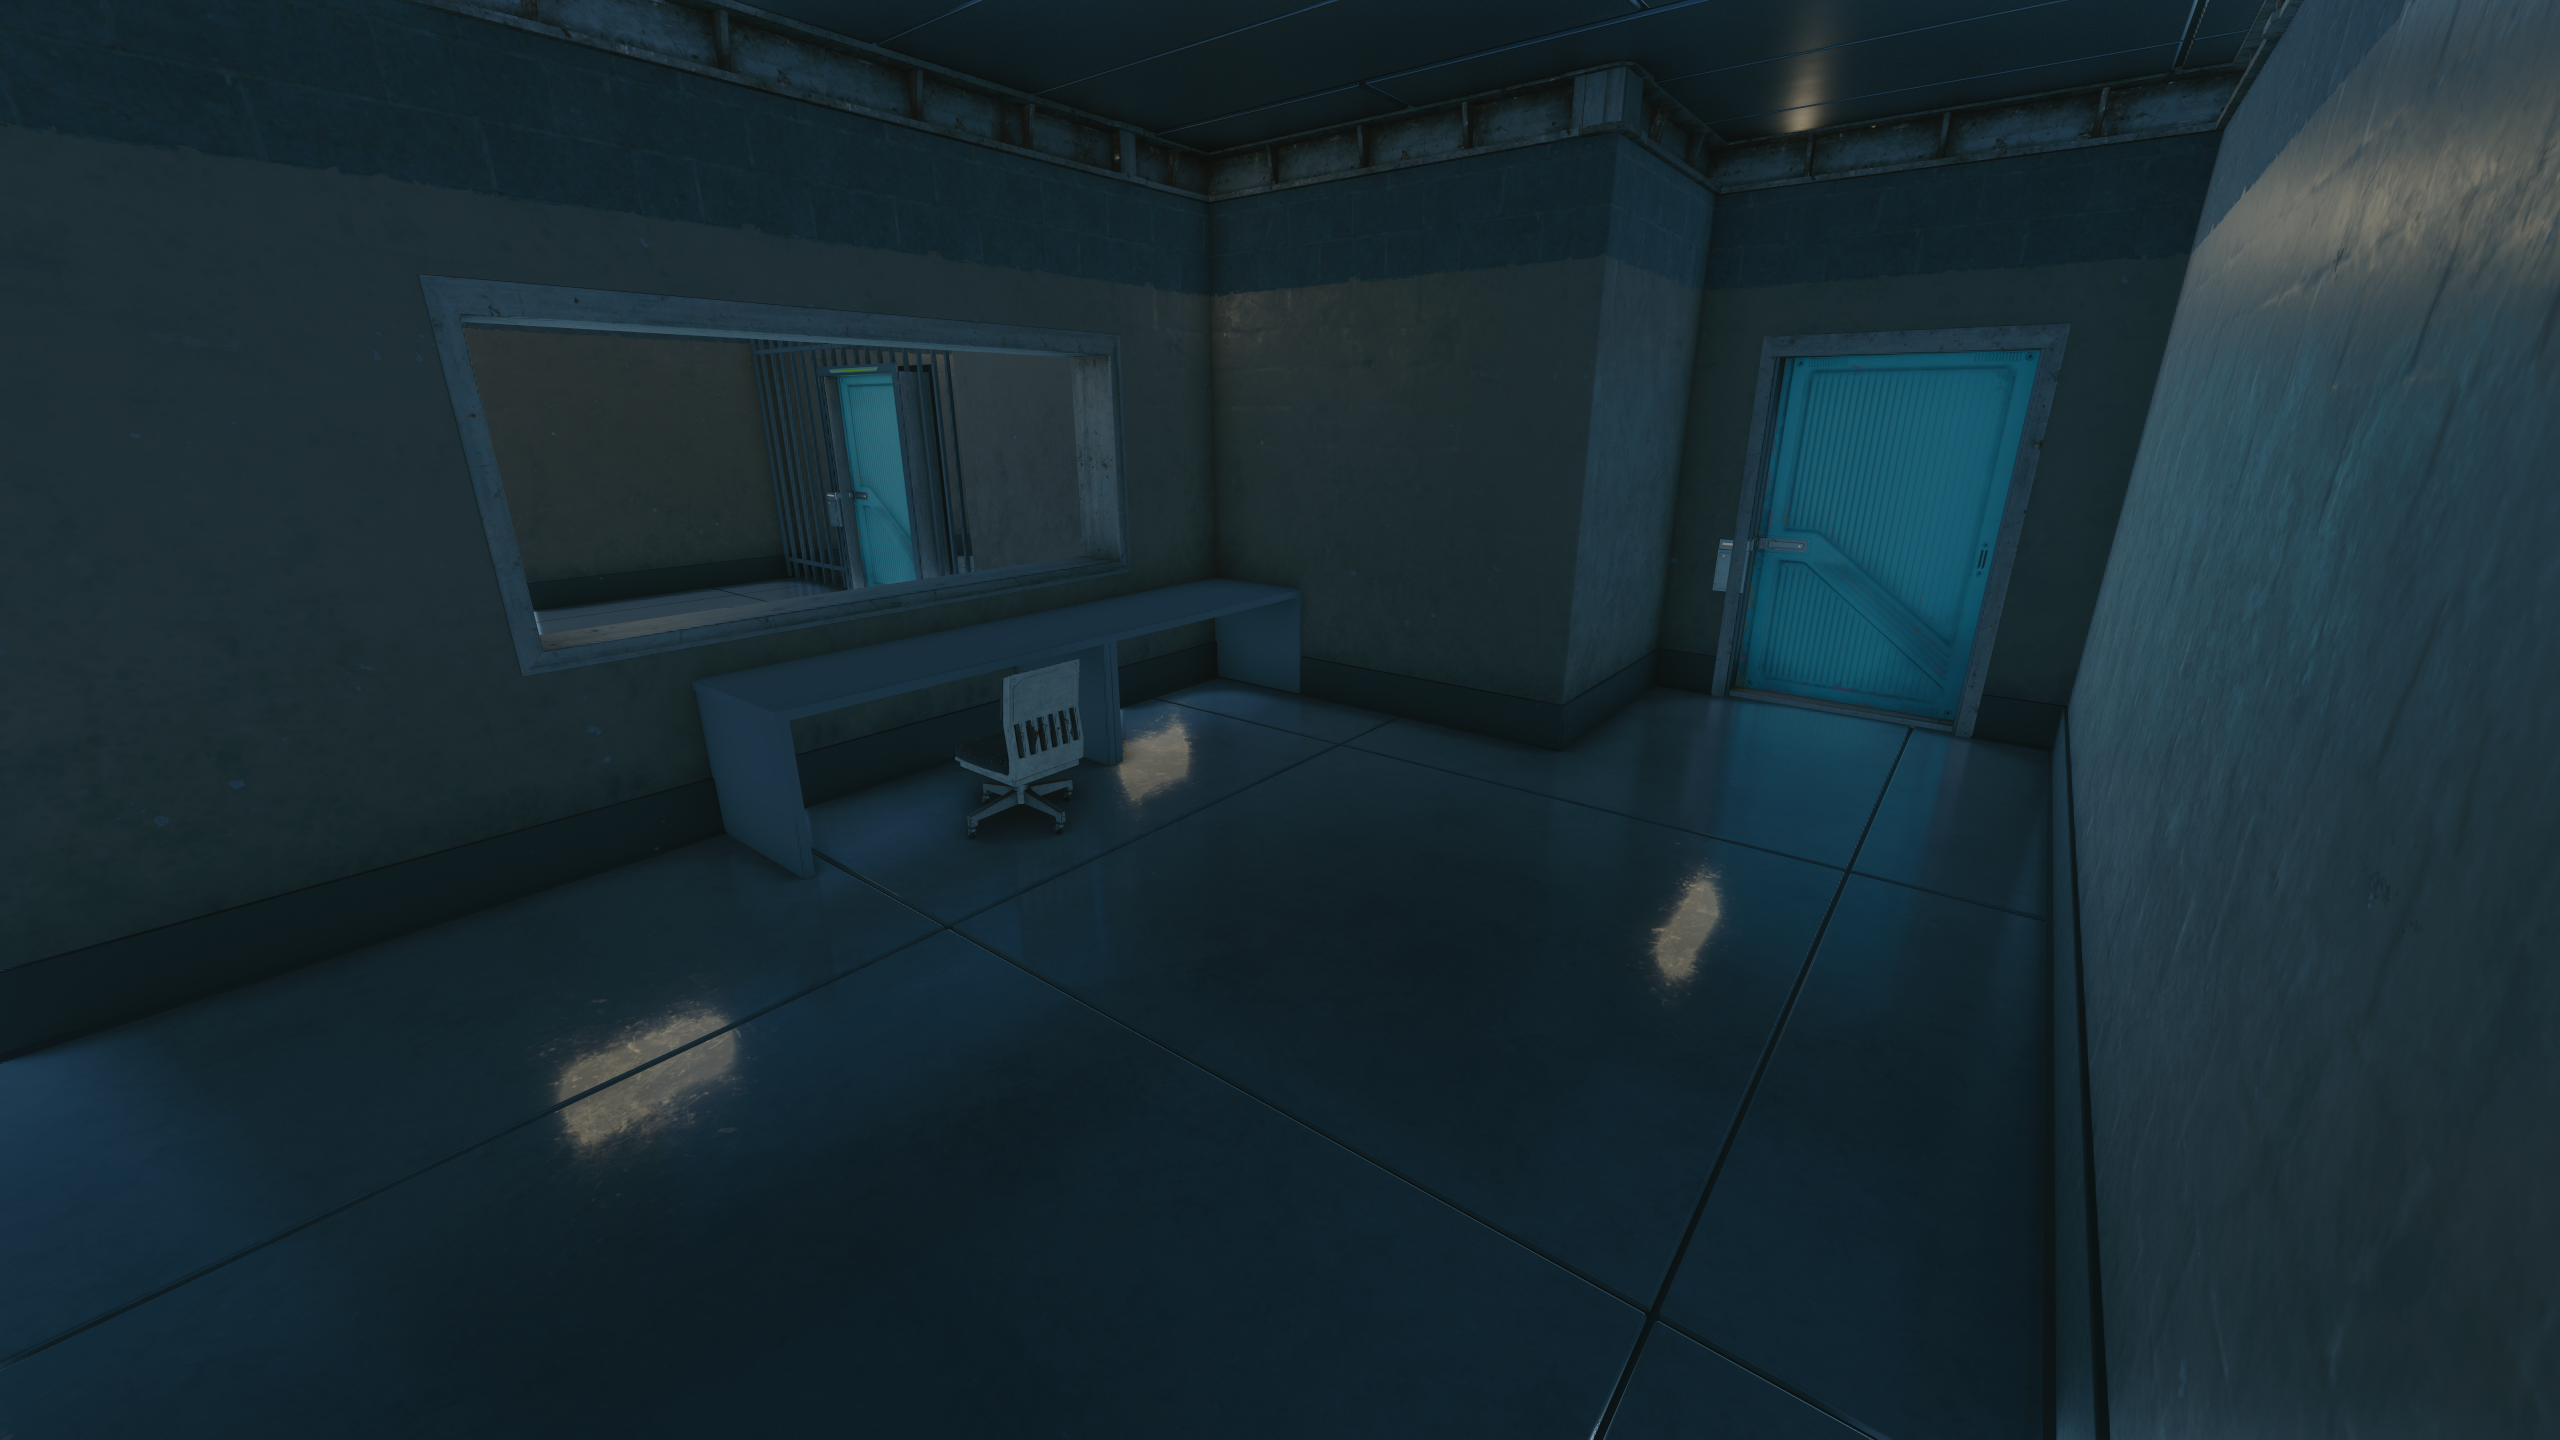
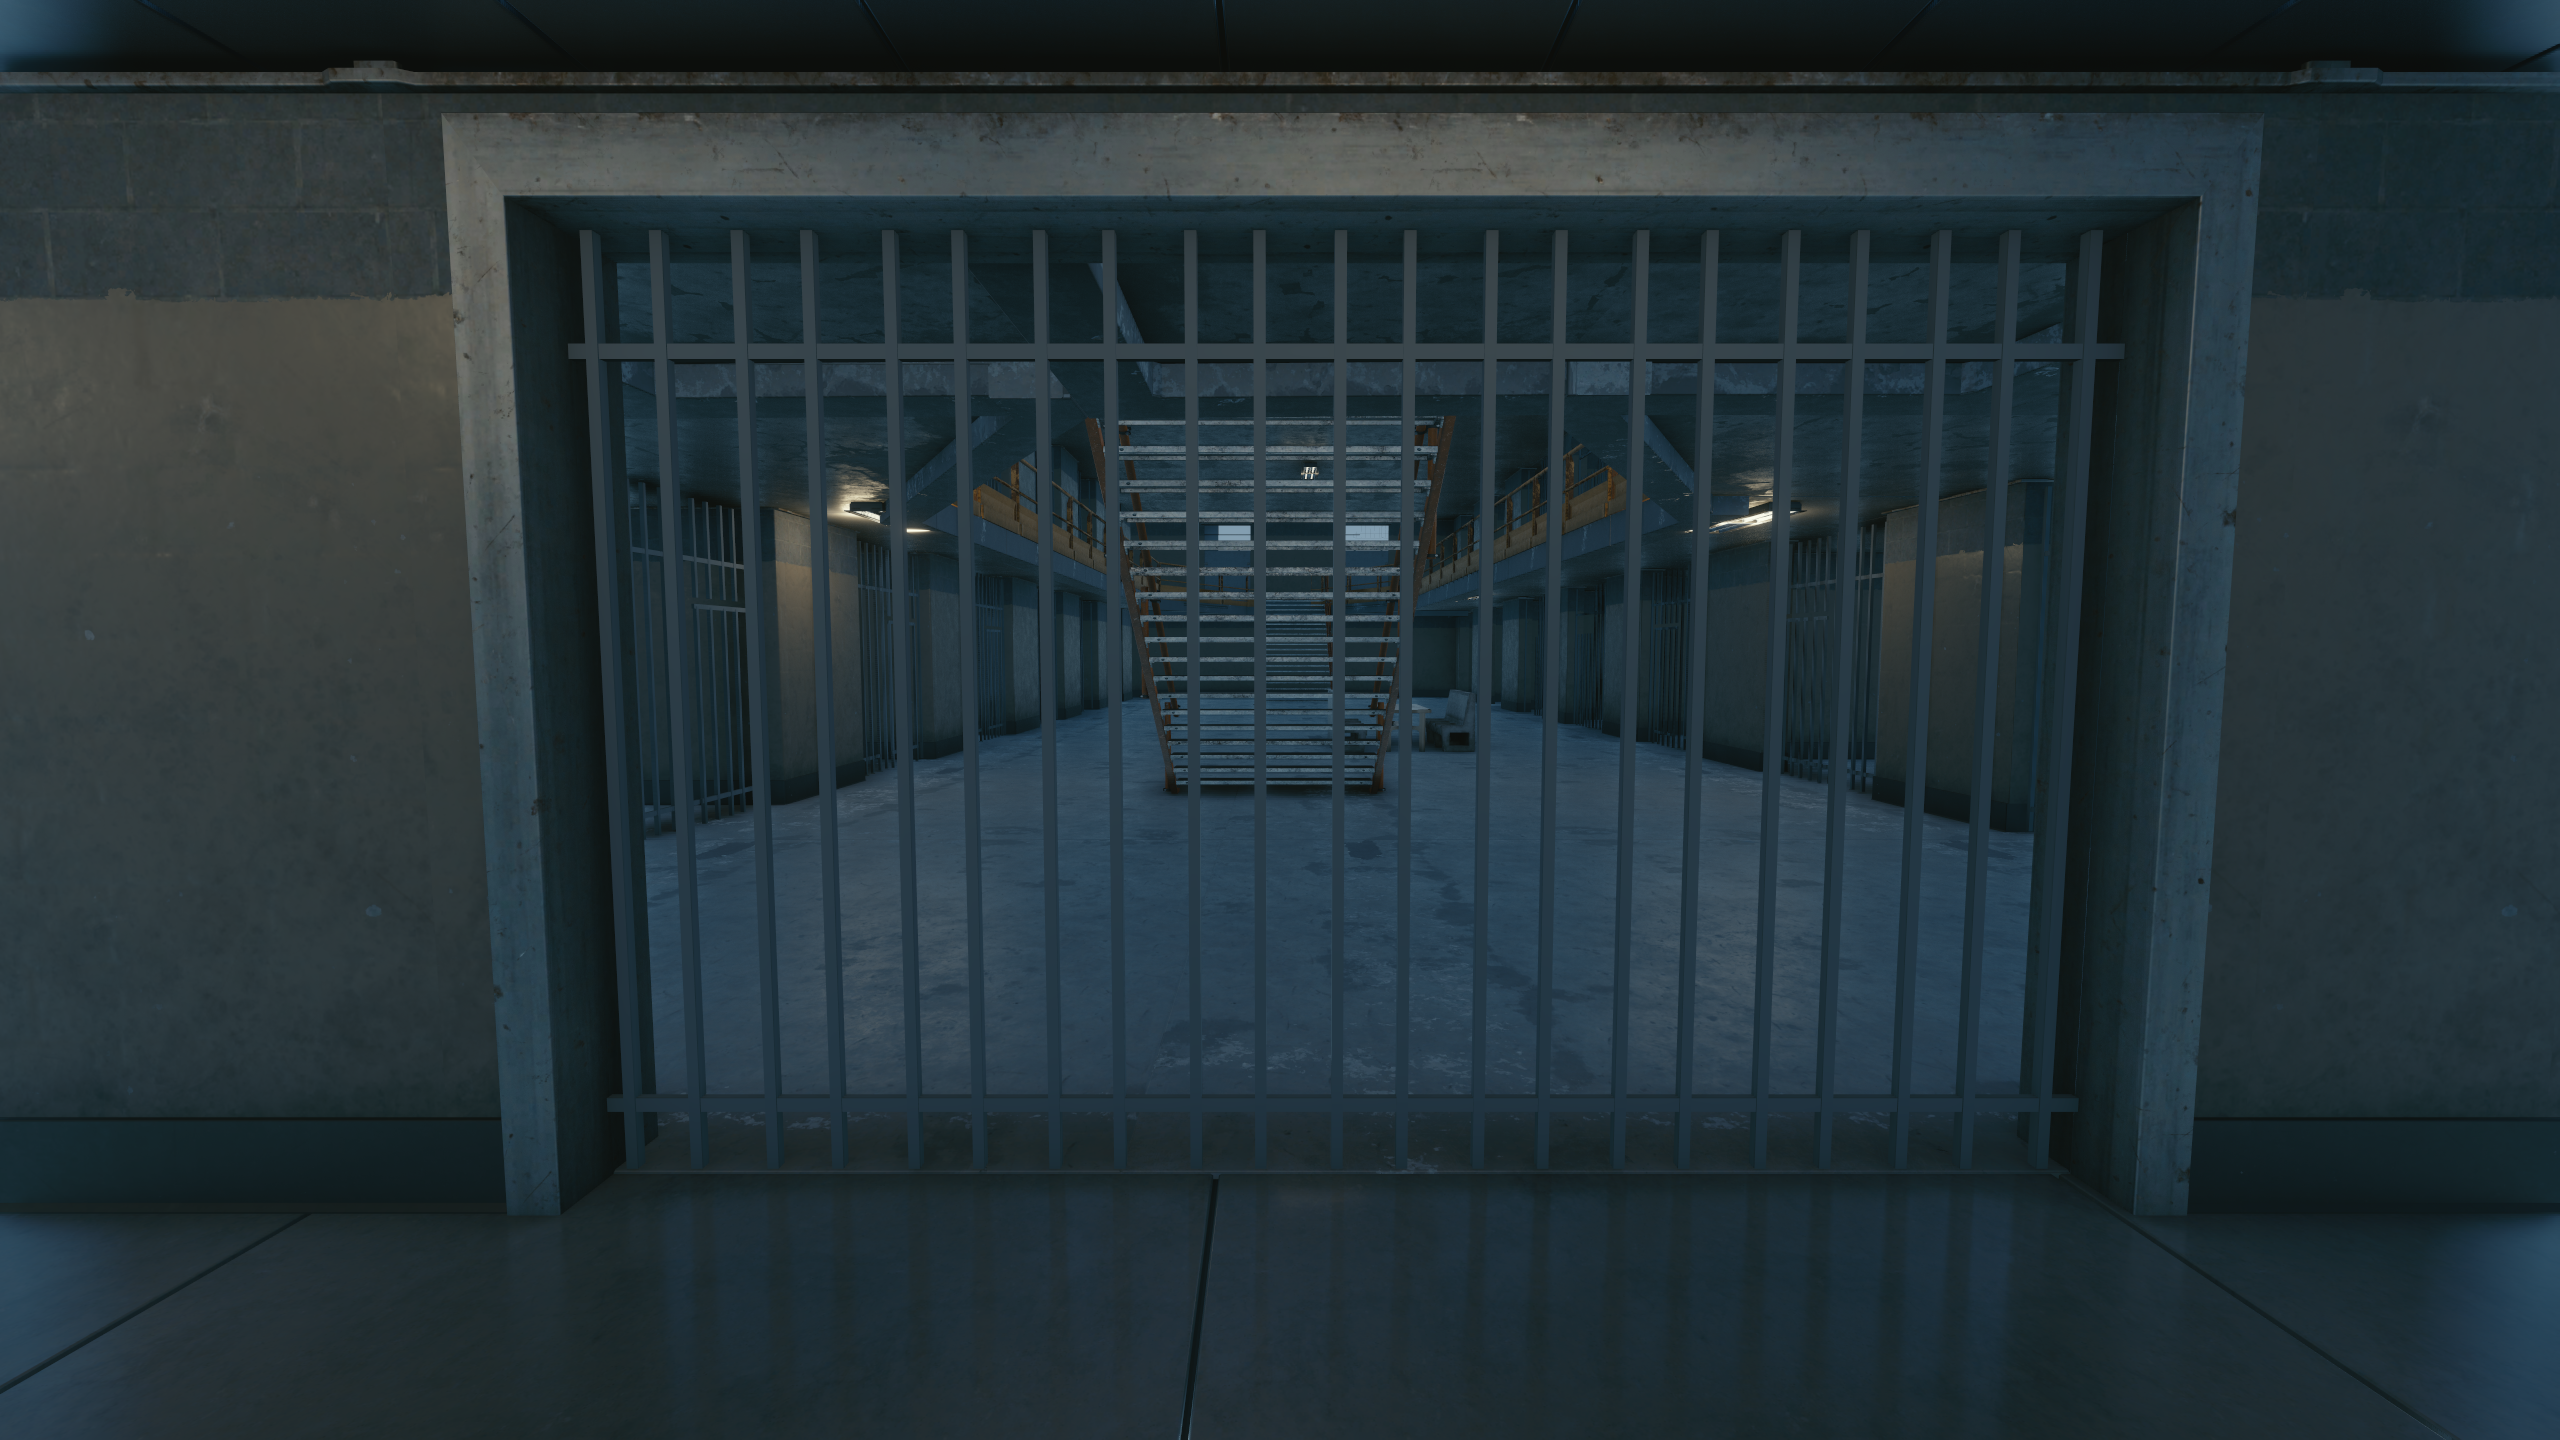
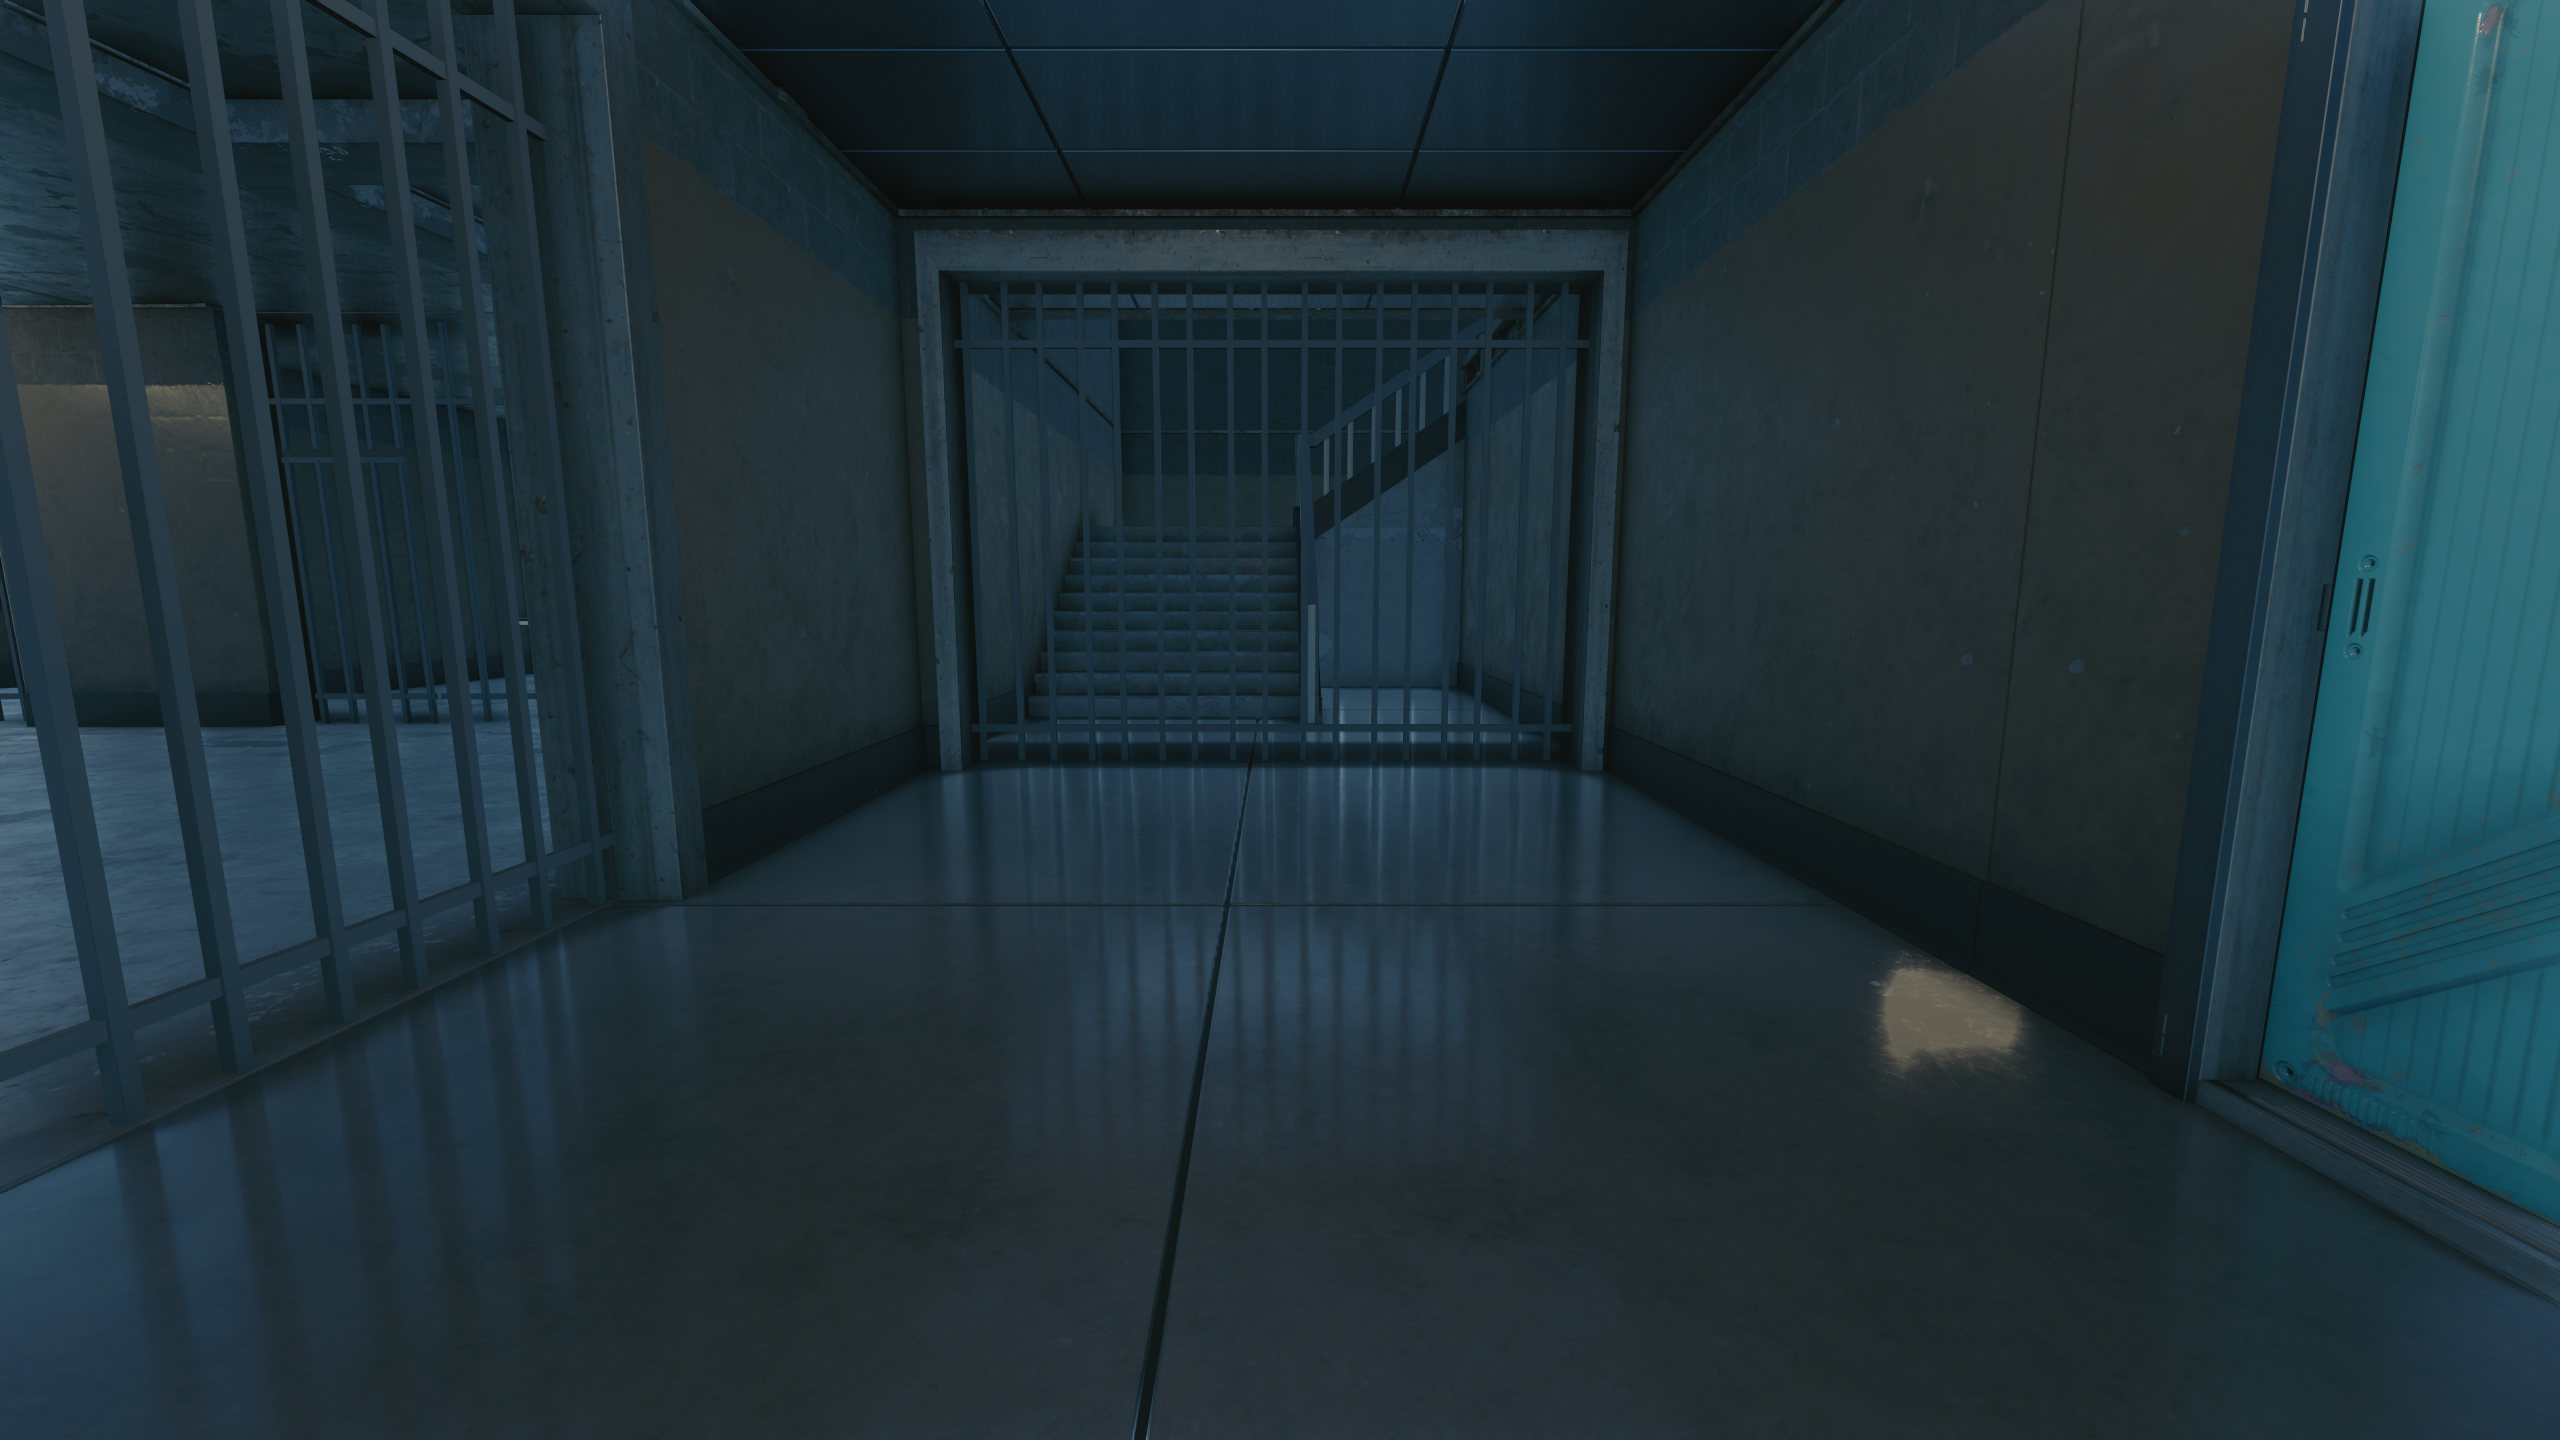
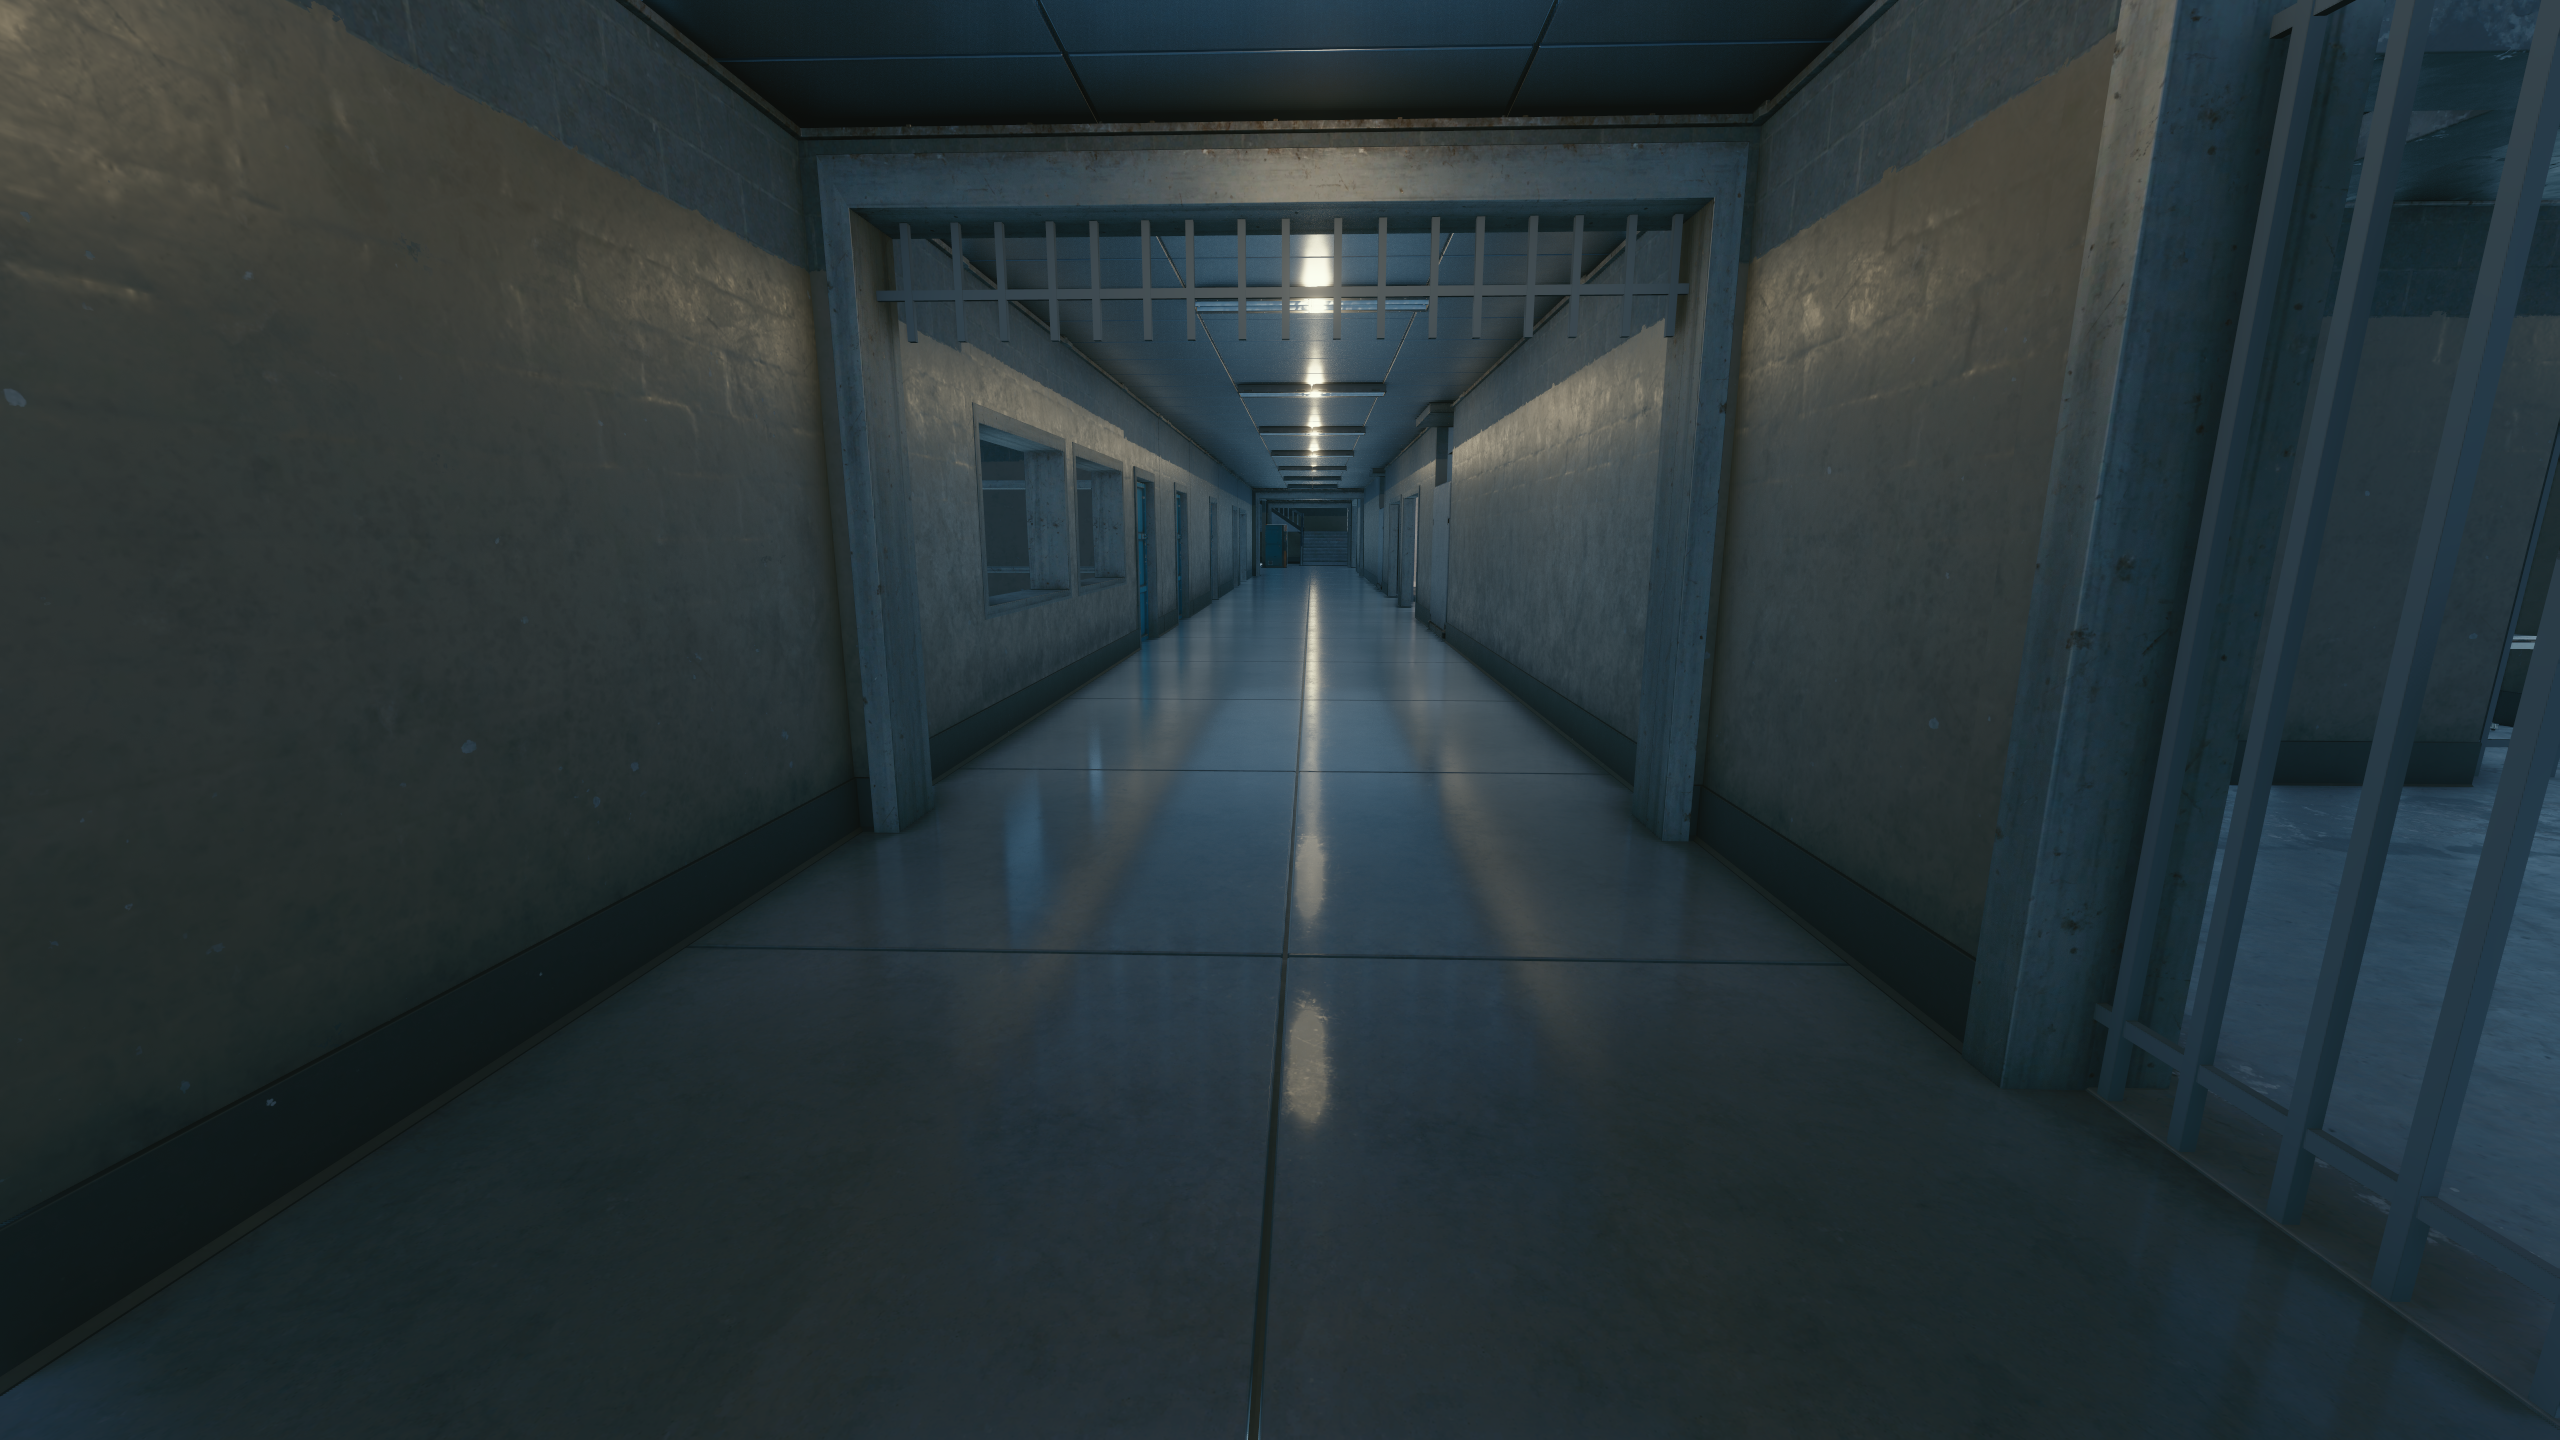
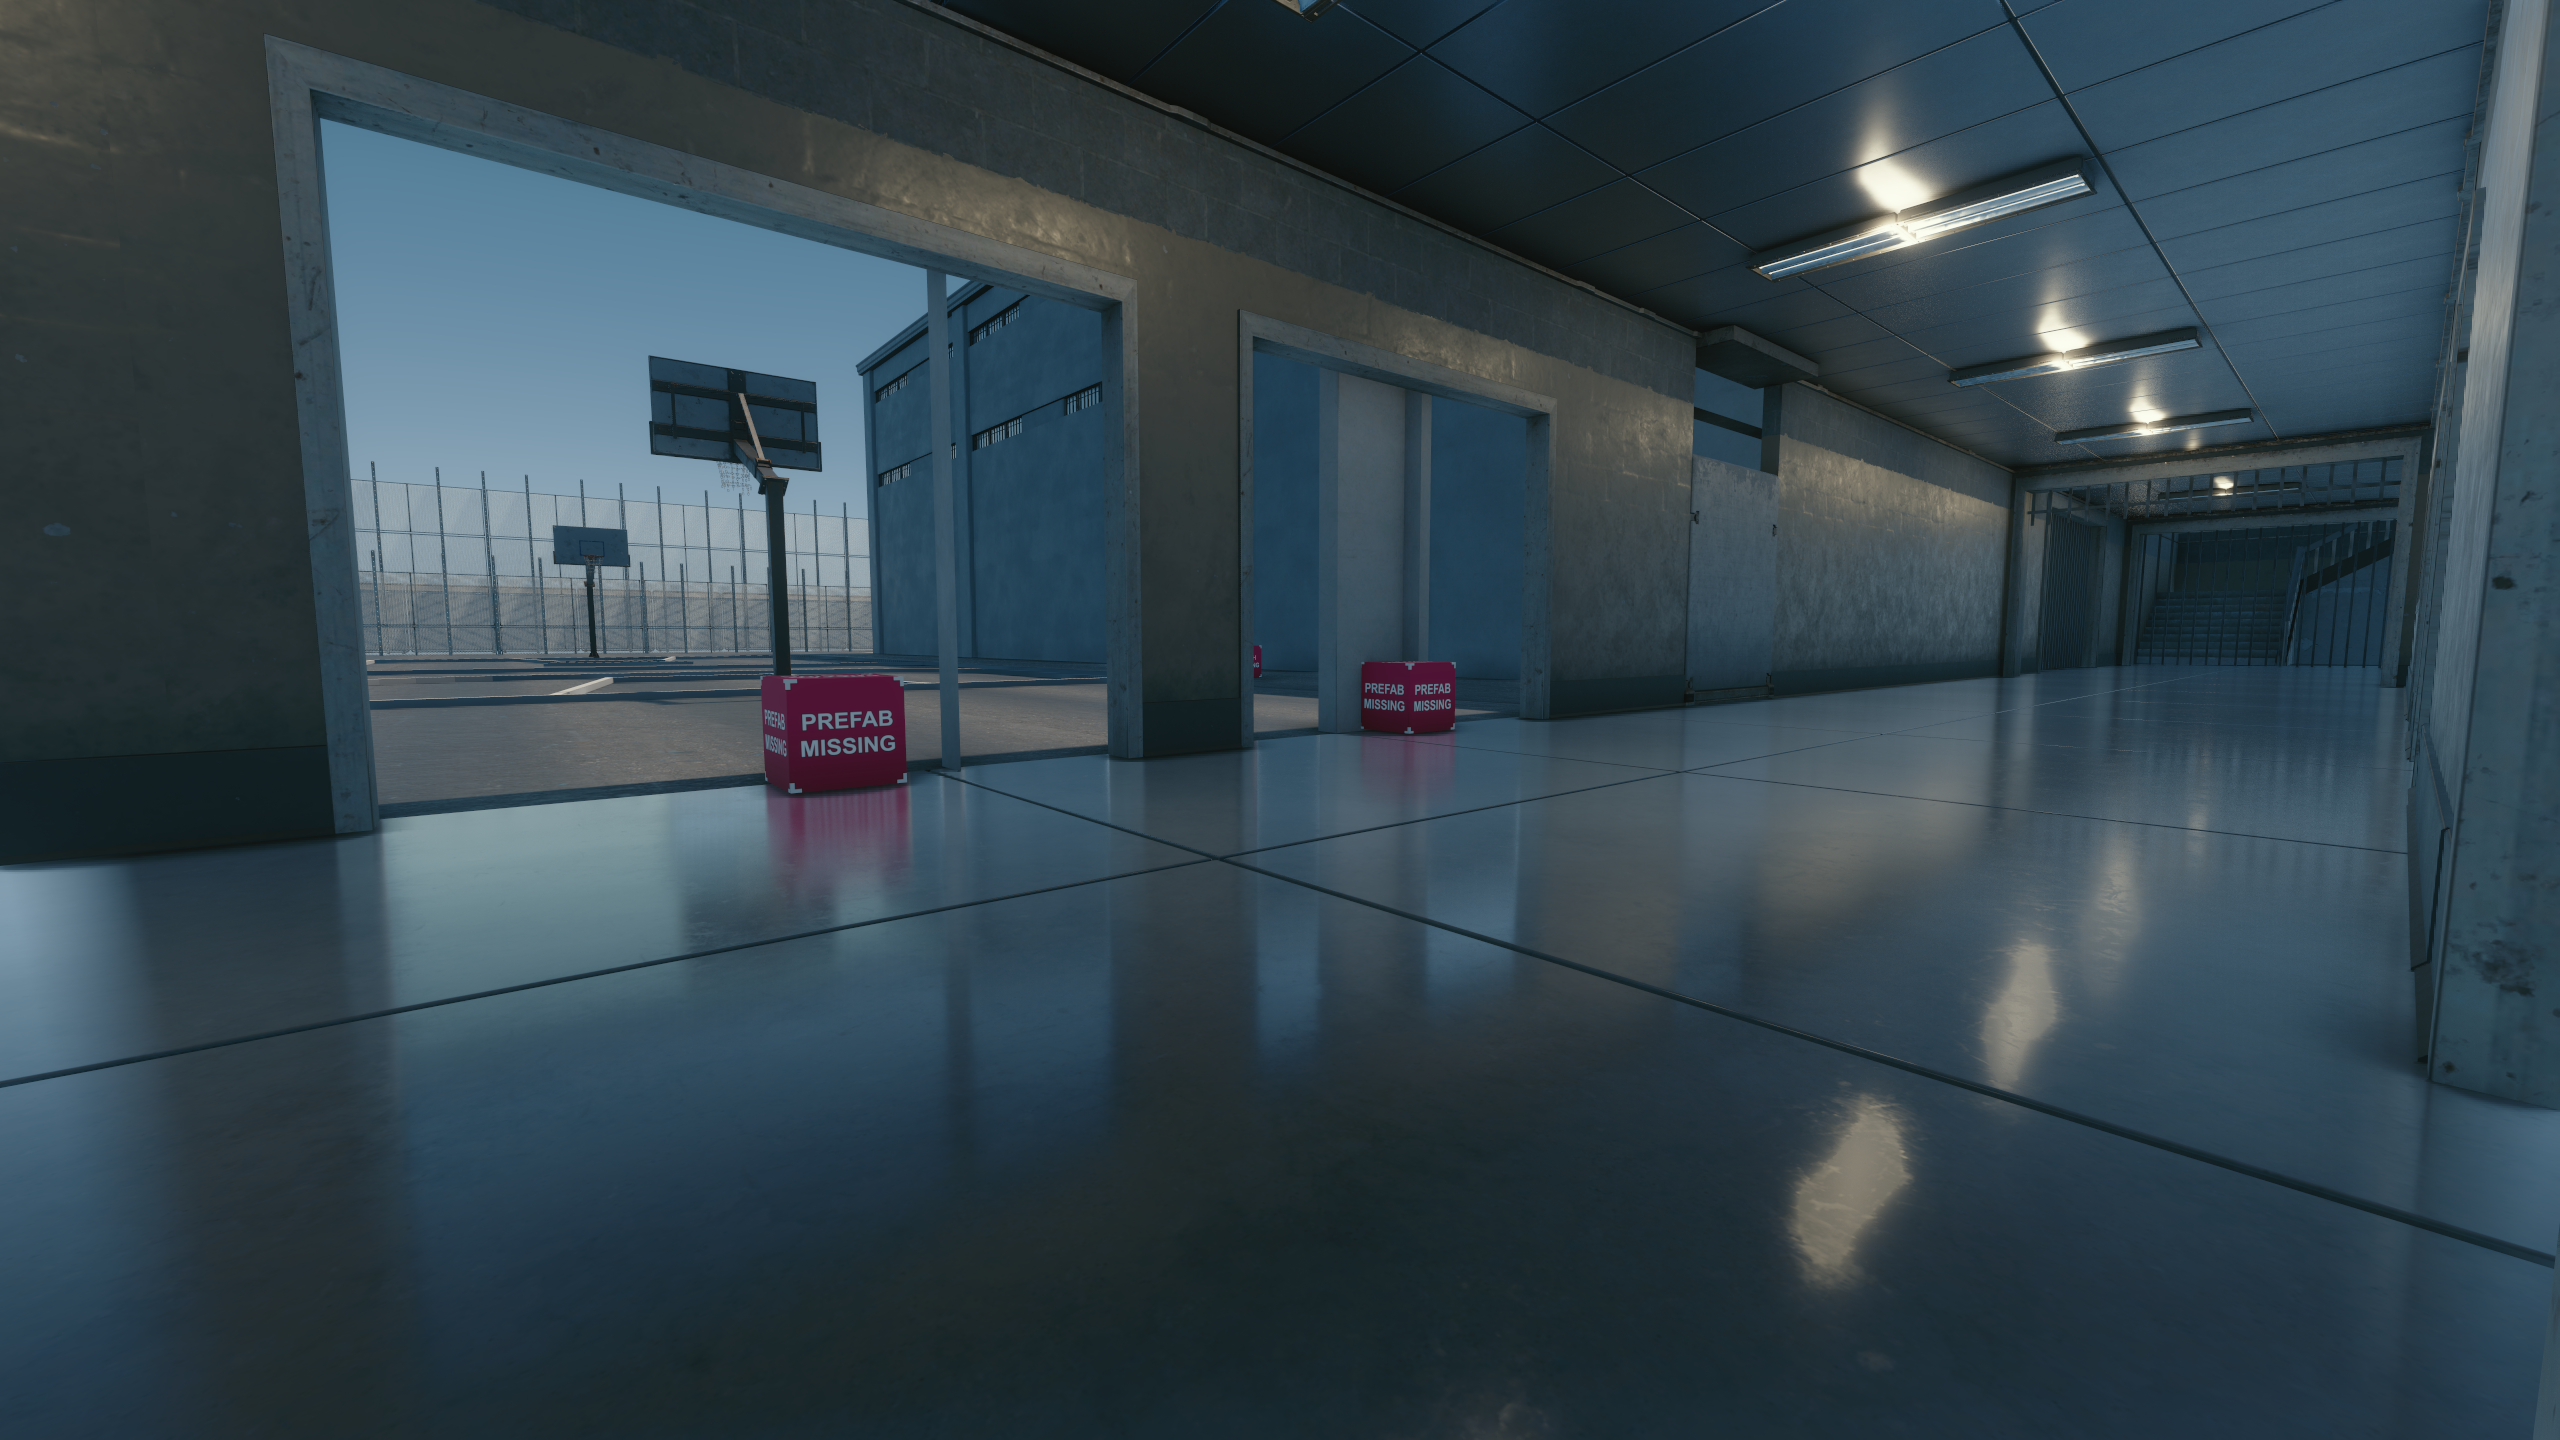
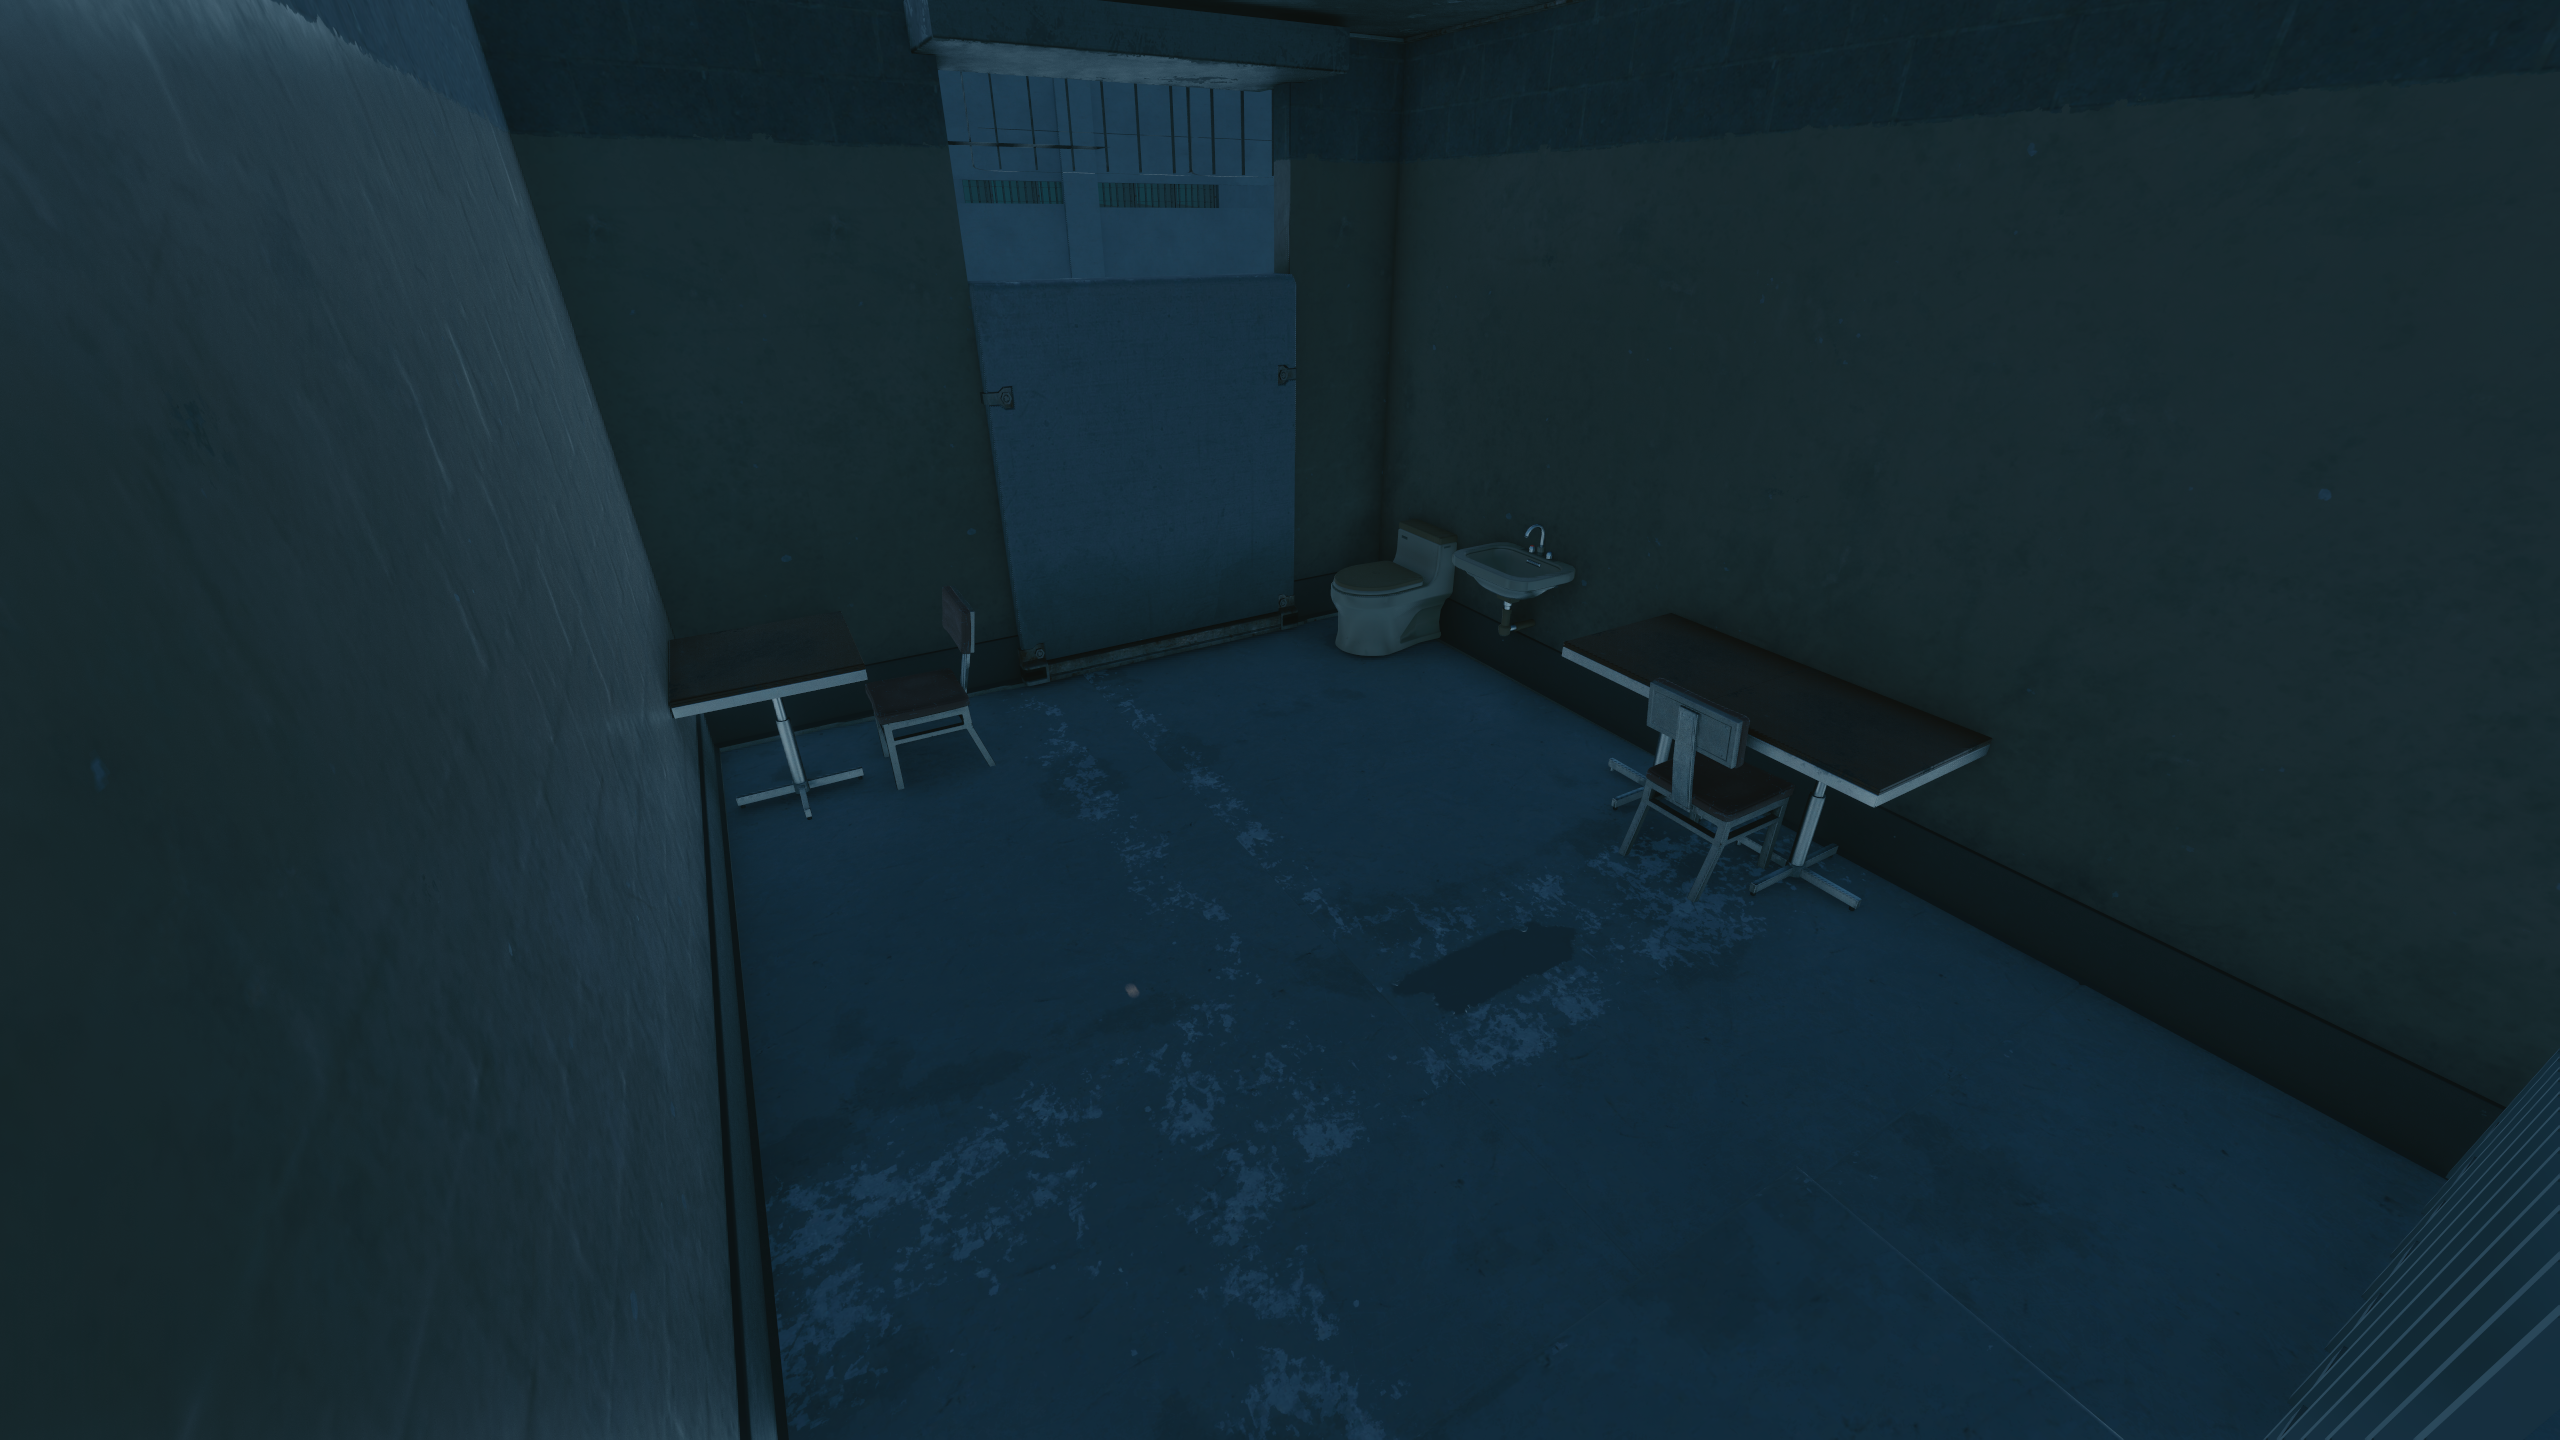
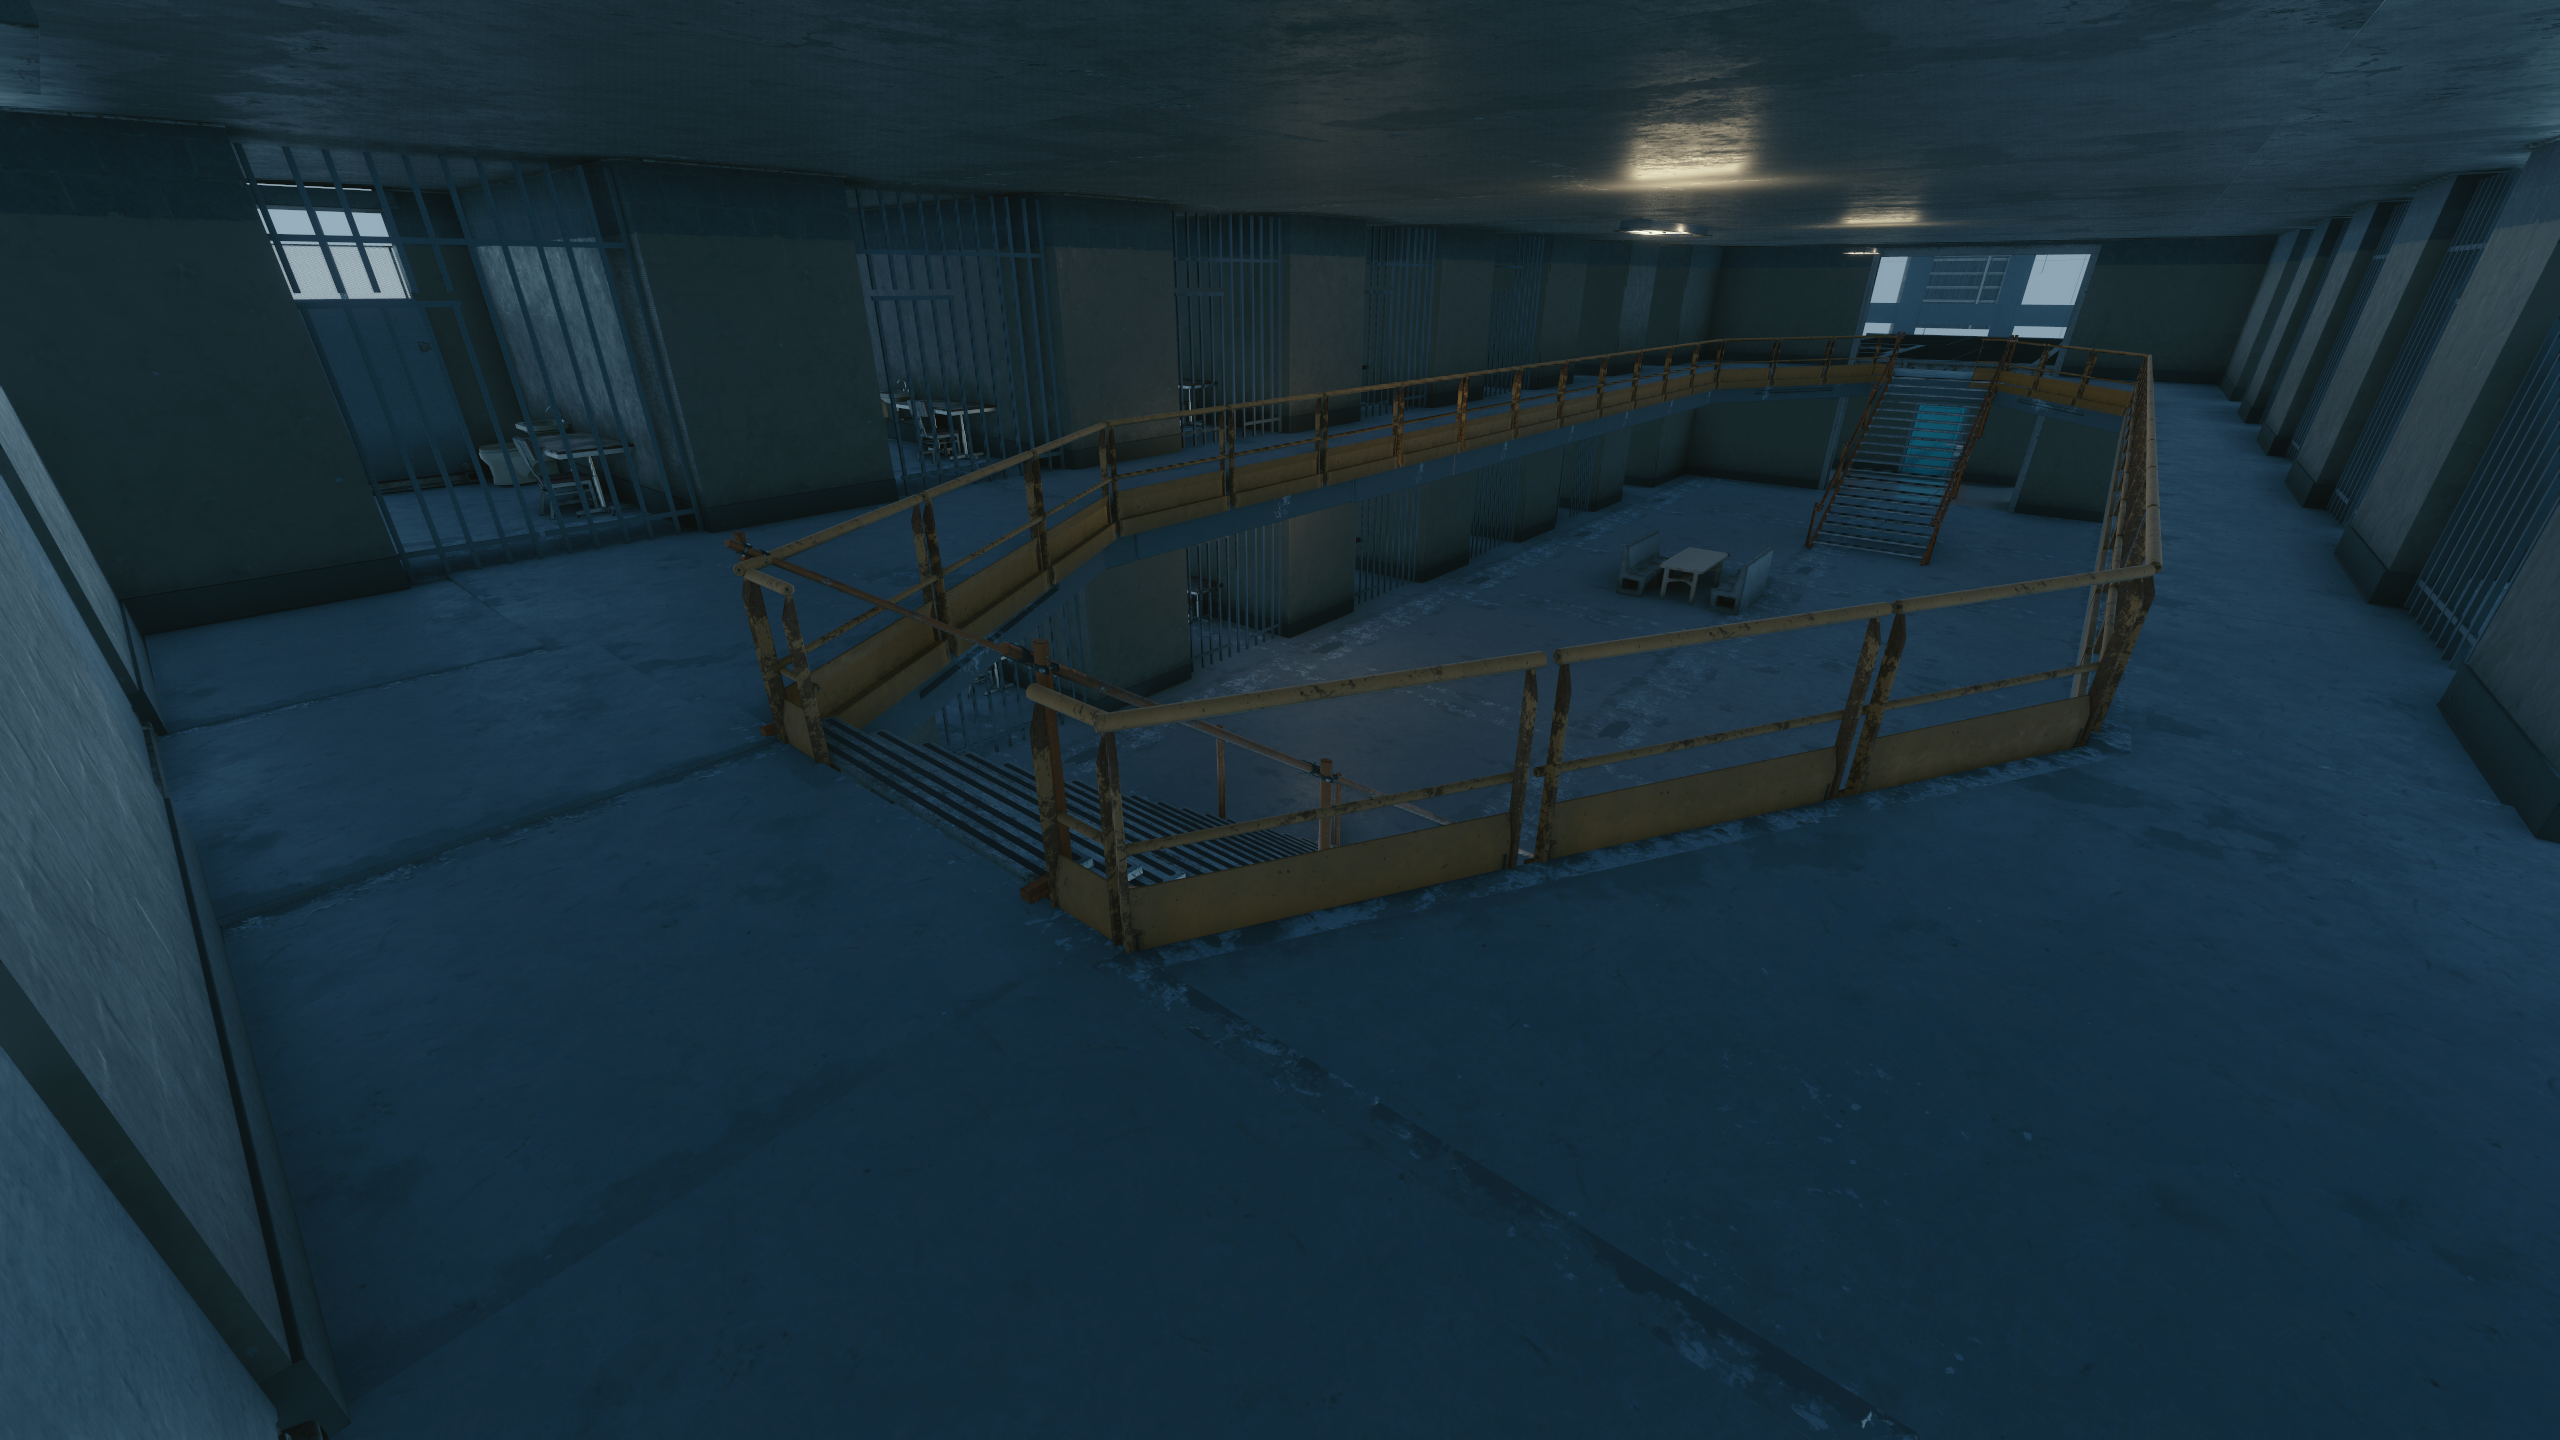
This is the prison that V and River would visit as part of their investigation into V's murder in the quest q111. The warden would be found in the office, and the interrogation room would be used twice in the story. The first time Bubba Jones would be interviewed in the room, who would mention where the characters Reginald and Carbide were located. The second time Locke would be interviewed, who would give information about project:GHOST and theorize why Arasaka had reactivated the Ghosts and are now chasing V. Later, V would take part in two braindances inside the room. The first one is from the Corporate War, where V relived the experiences of Ghost operators retrieving a Militech asset. The second braindance is from a therapy session with Locke and Cross. Locke was the therapist and Cross was the patient, and Cross talks about what happened in a very cold way, apparently so cold that Locke left Reginald project:GHOST.
The prison cells are possibly just a form of set dressing, as leftover text strings do not mention the player entering the cell area.
q111_pump_station_boss_battle (v2)#
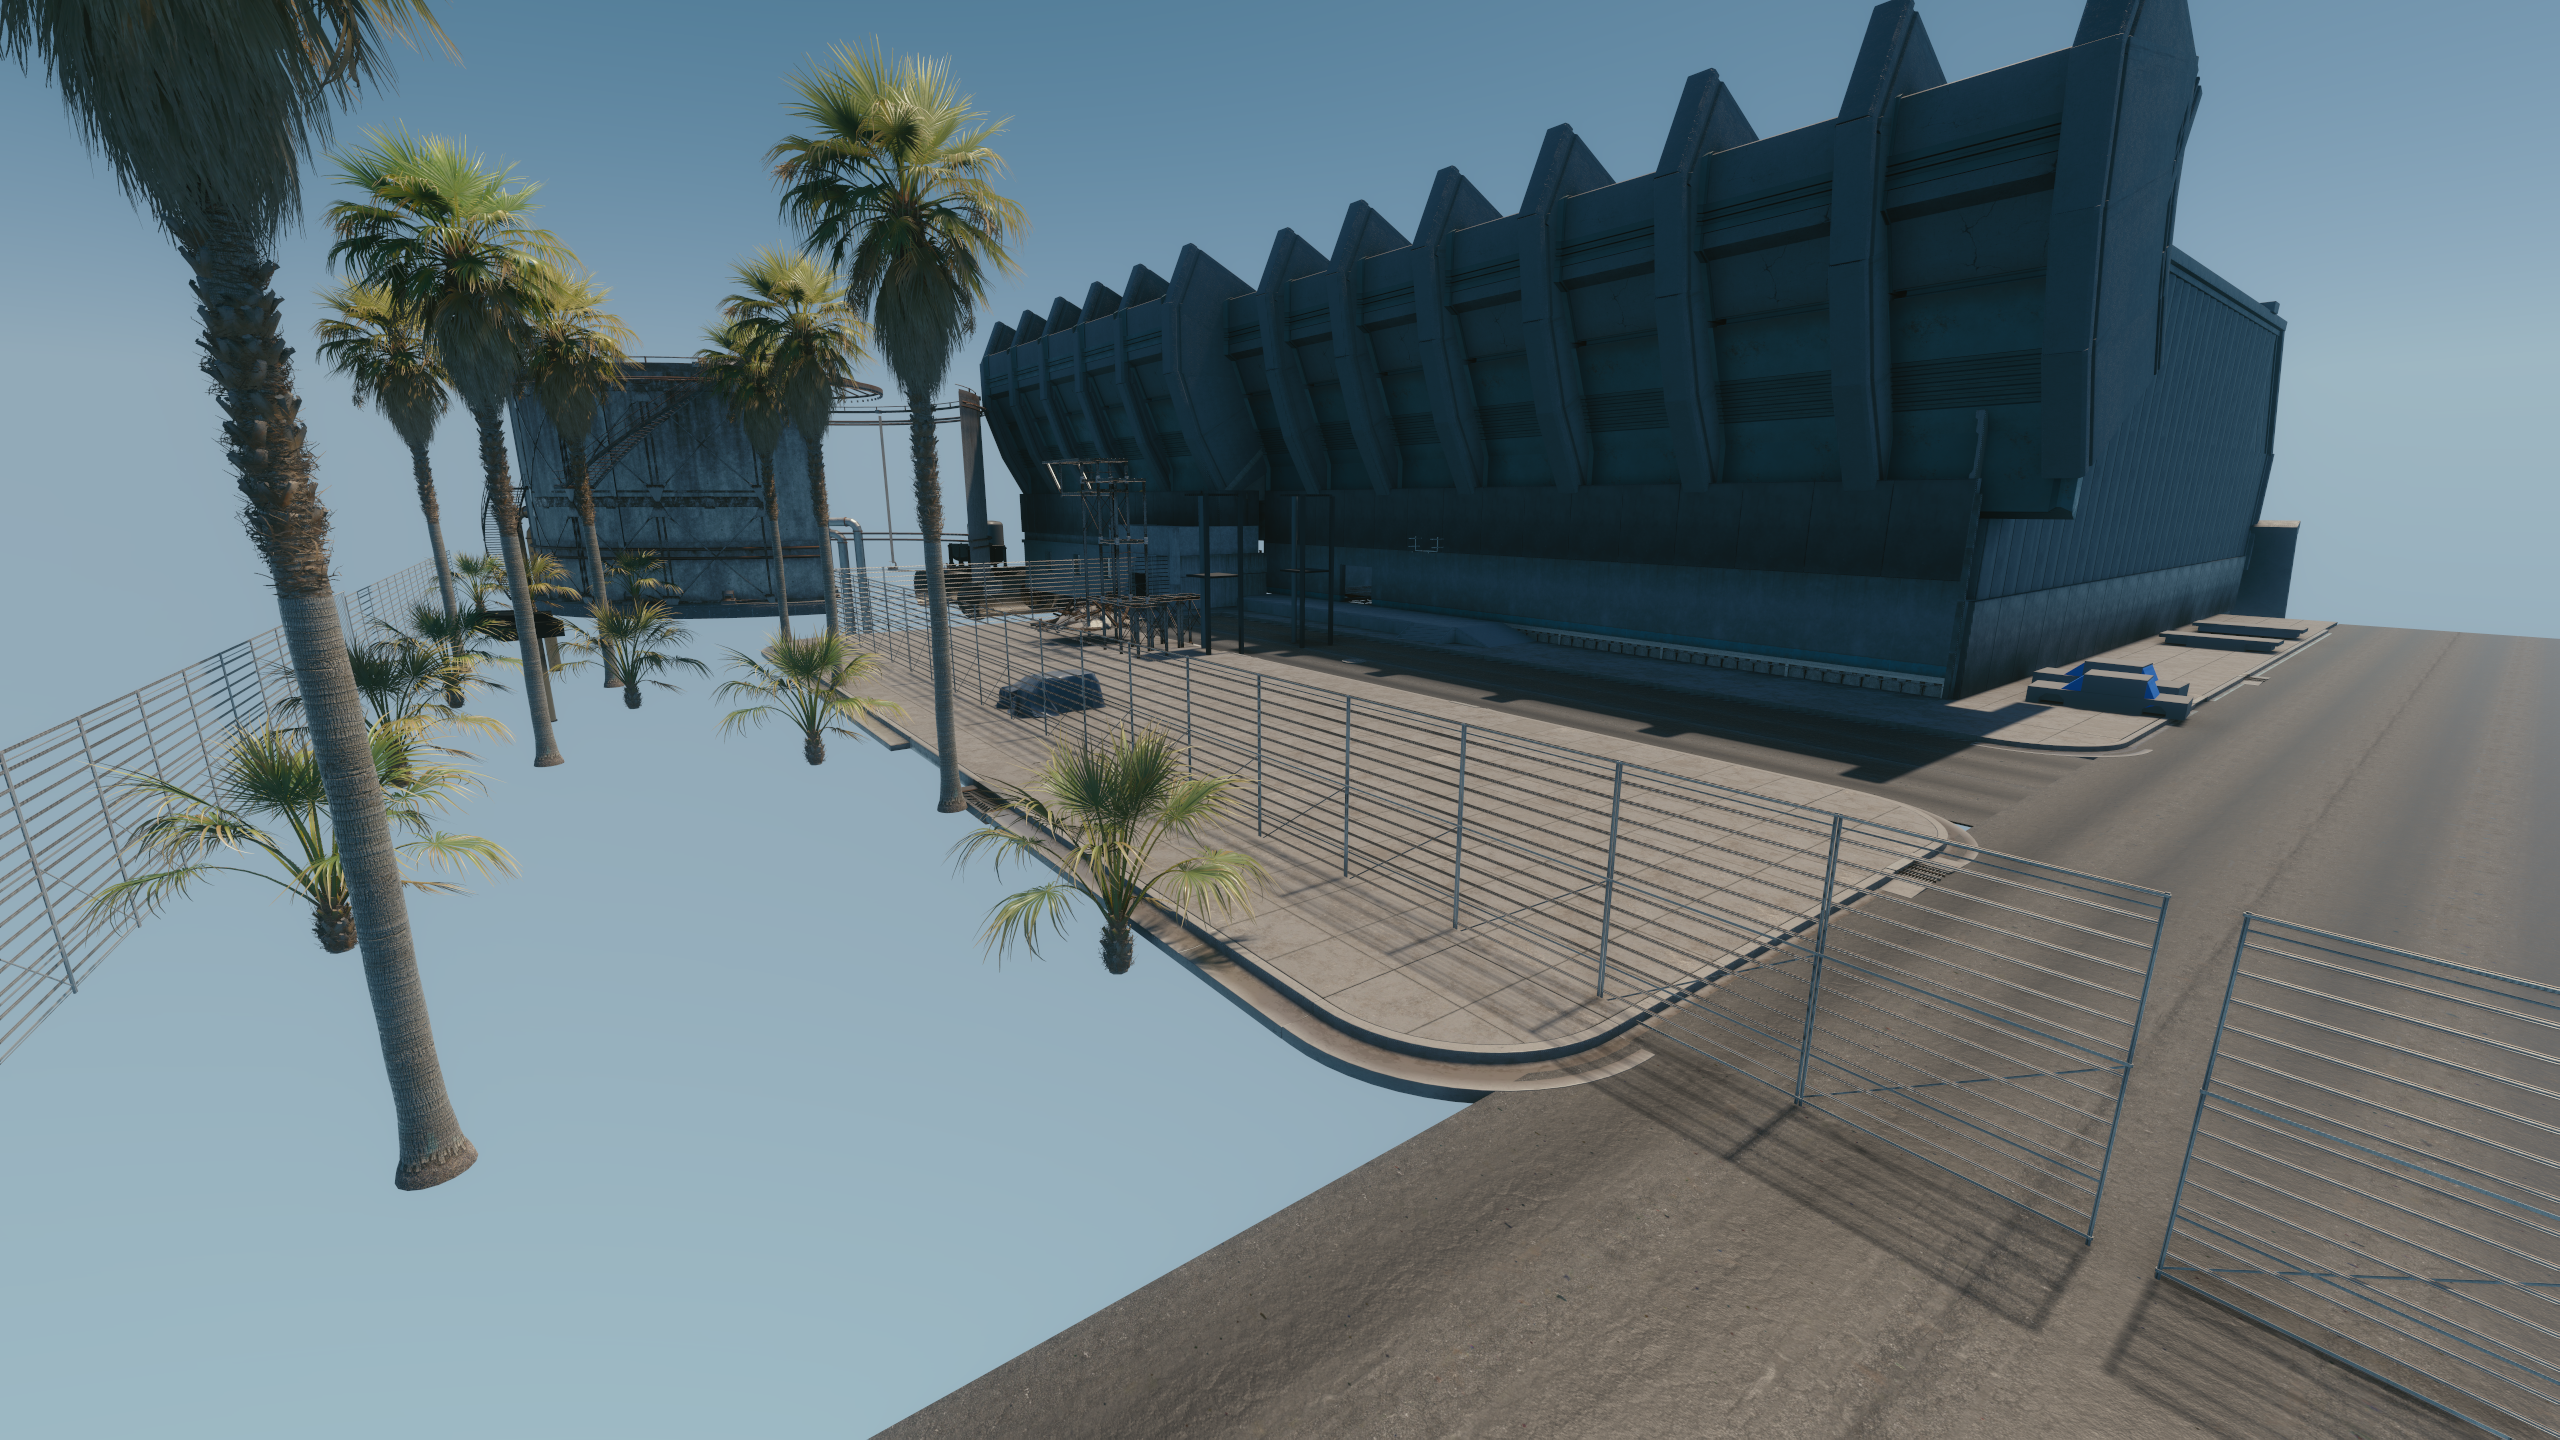
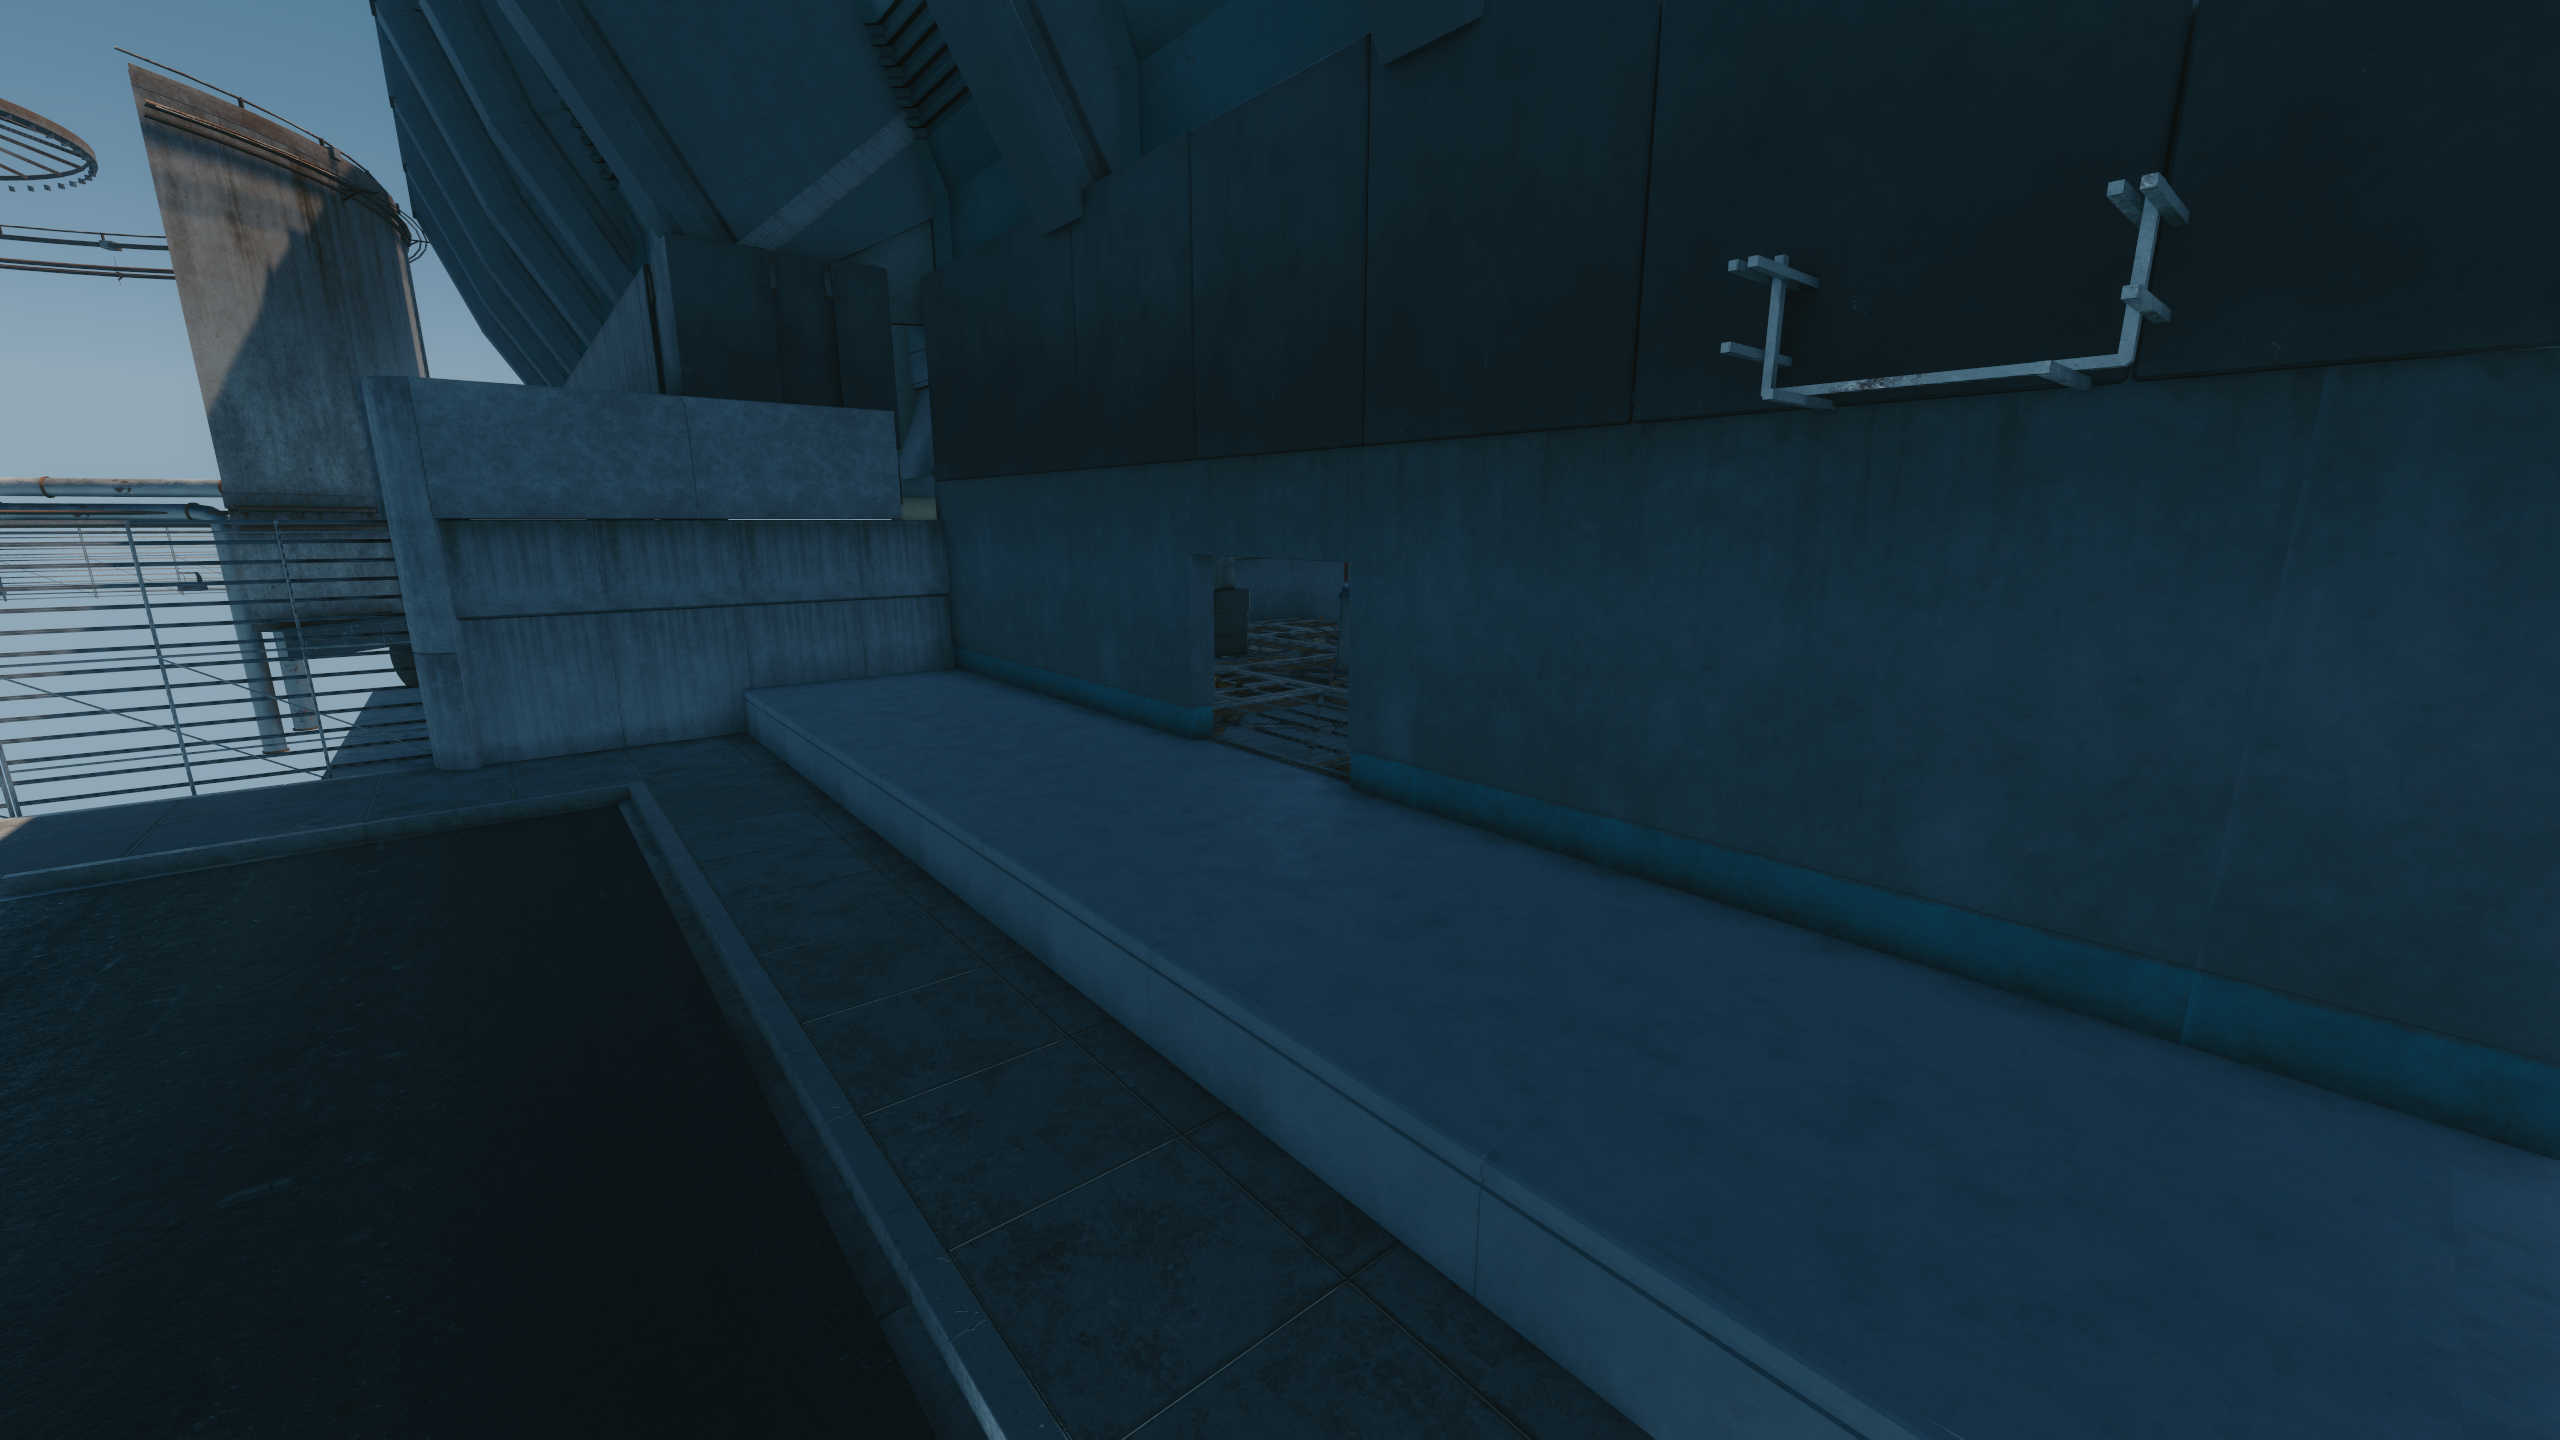
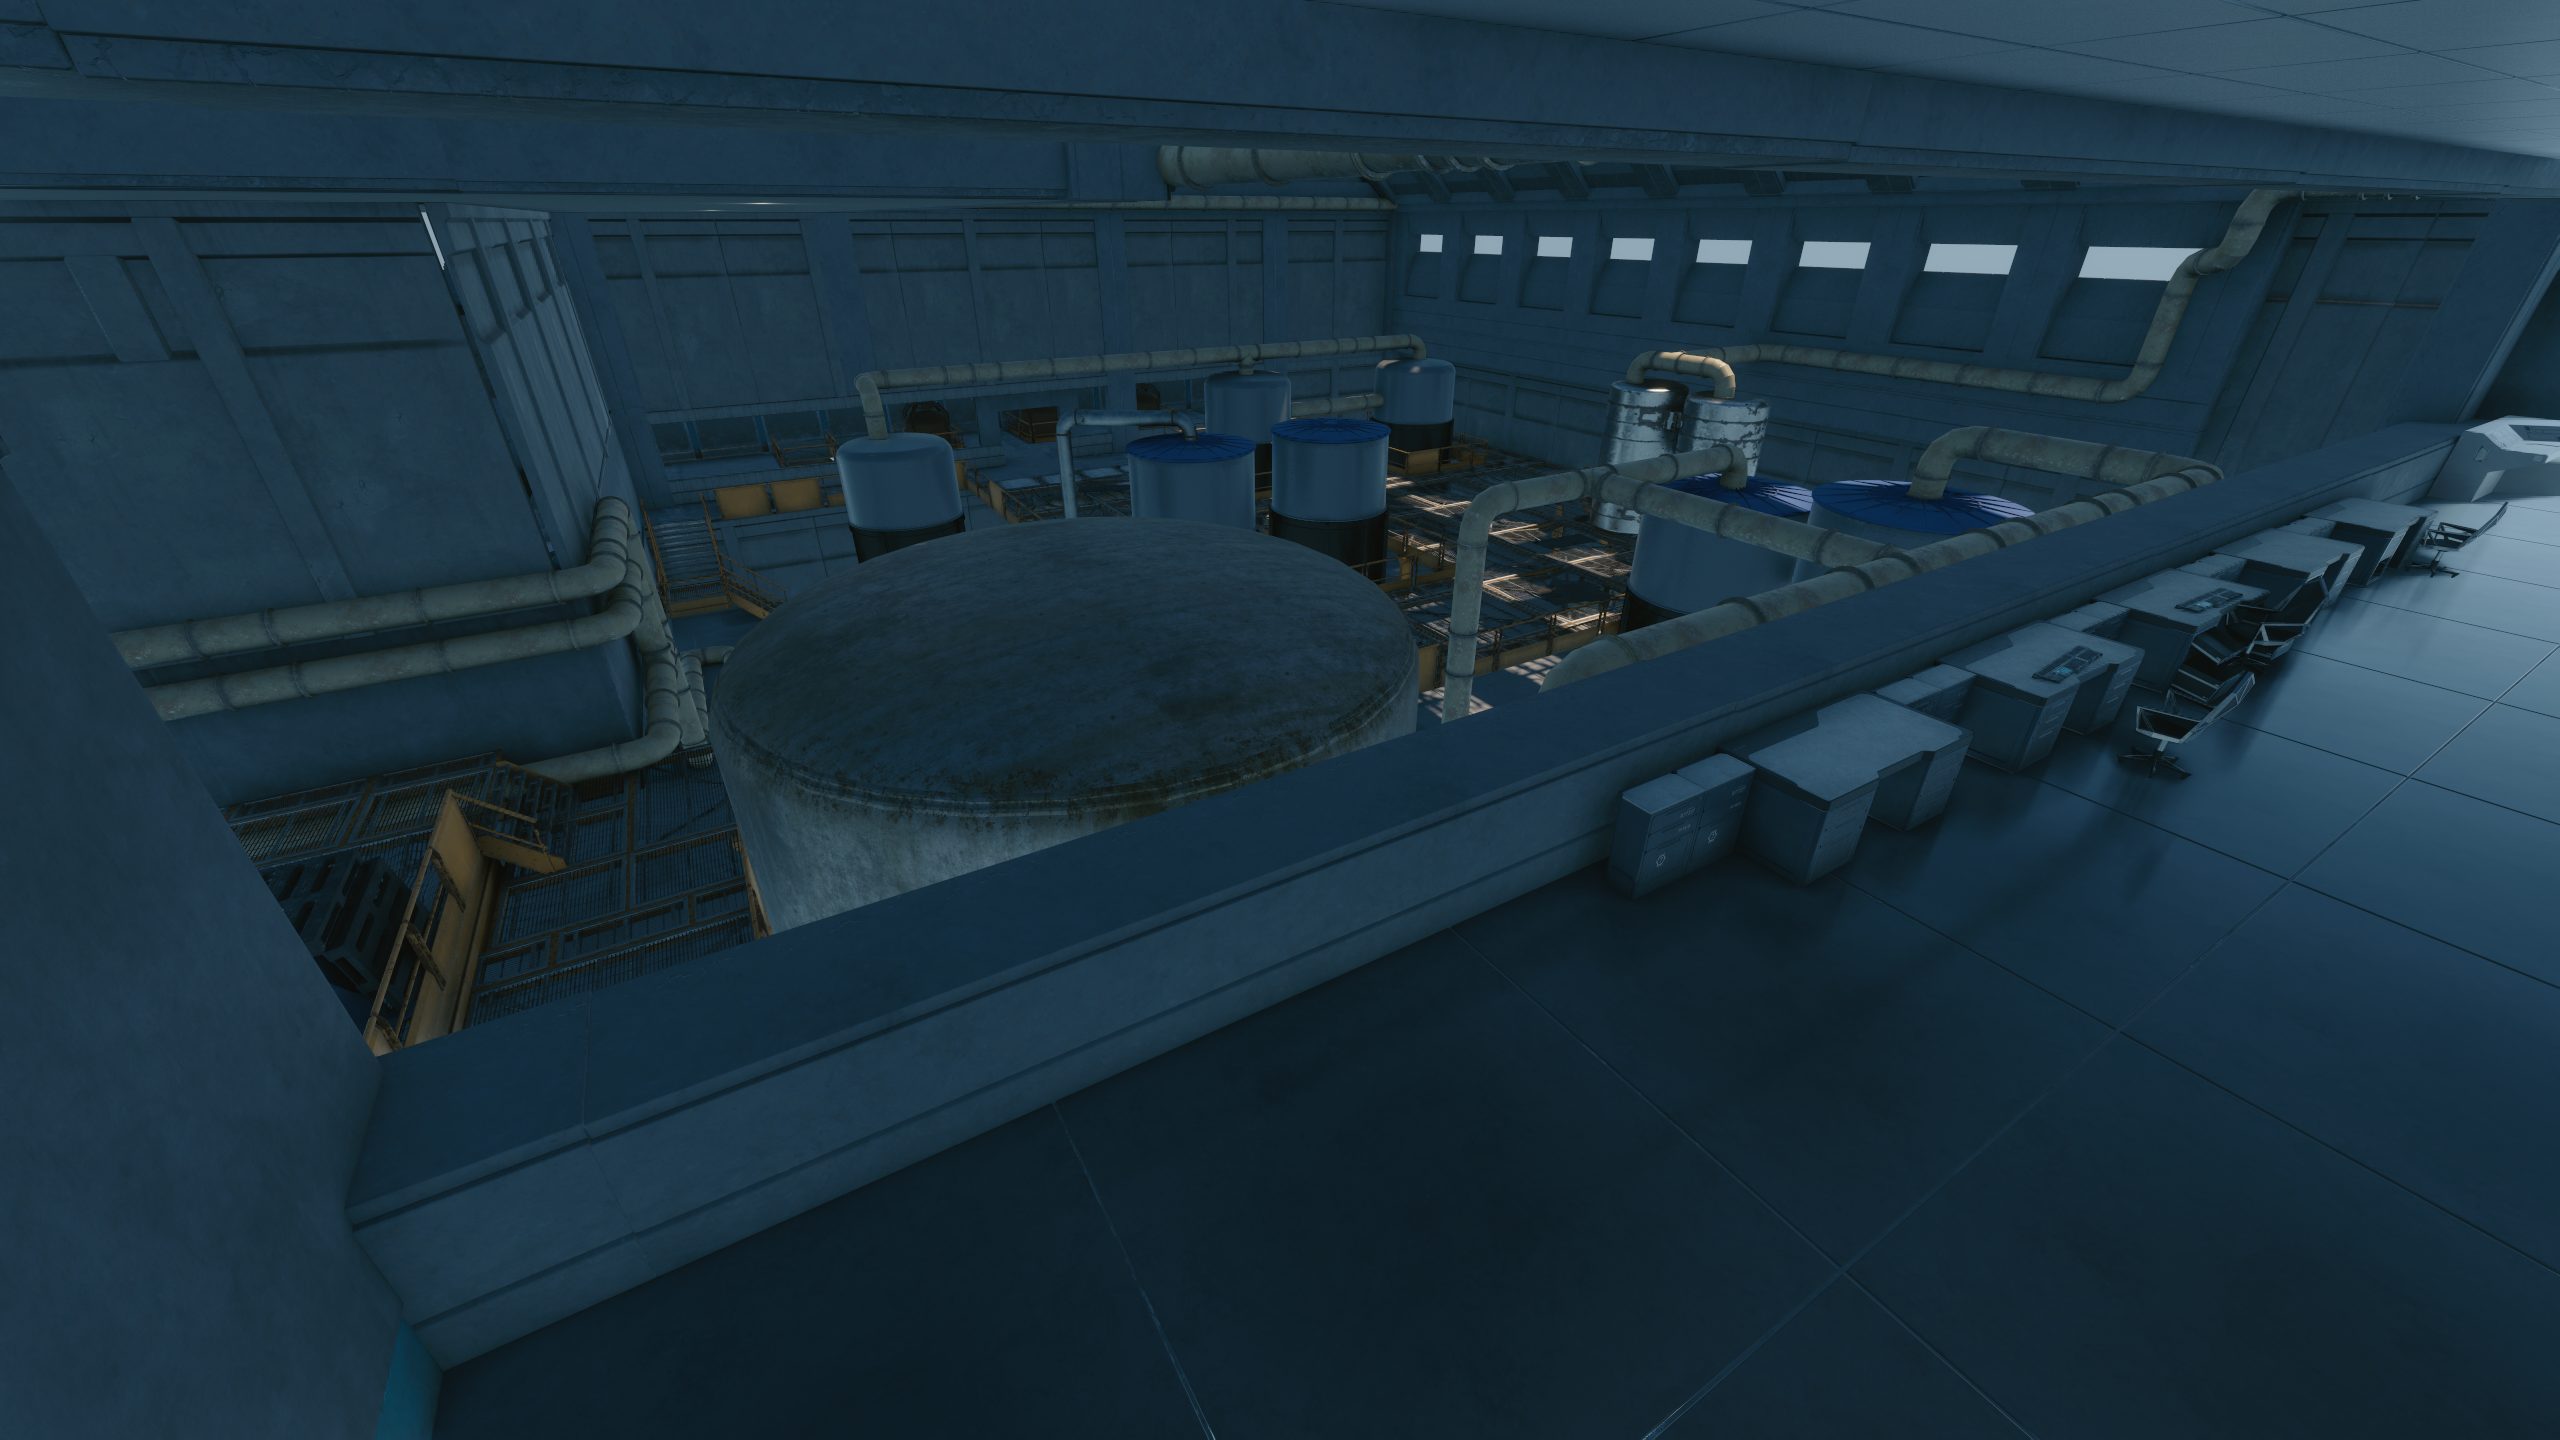
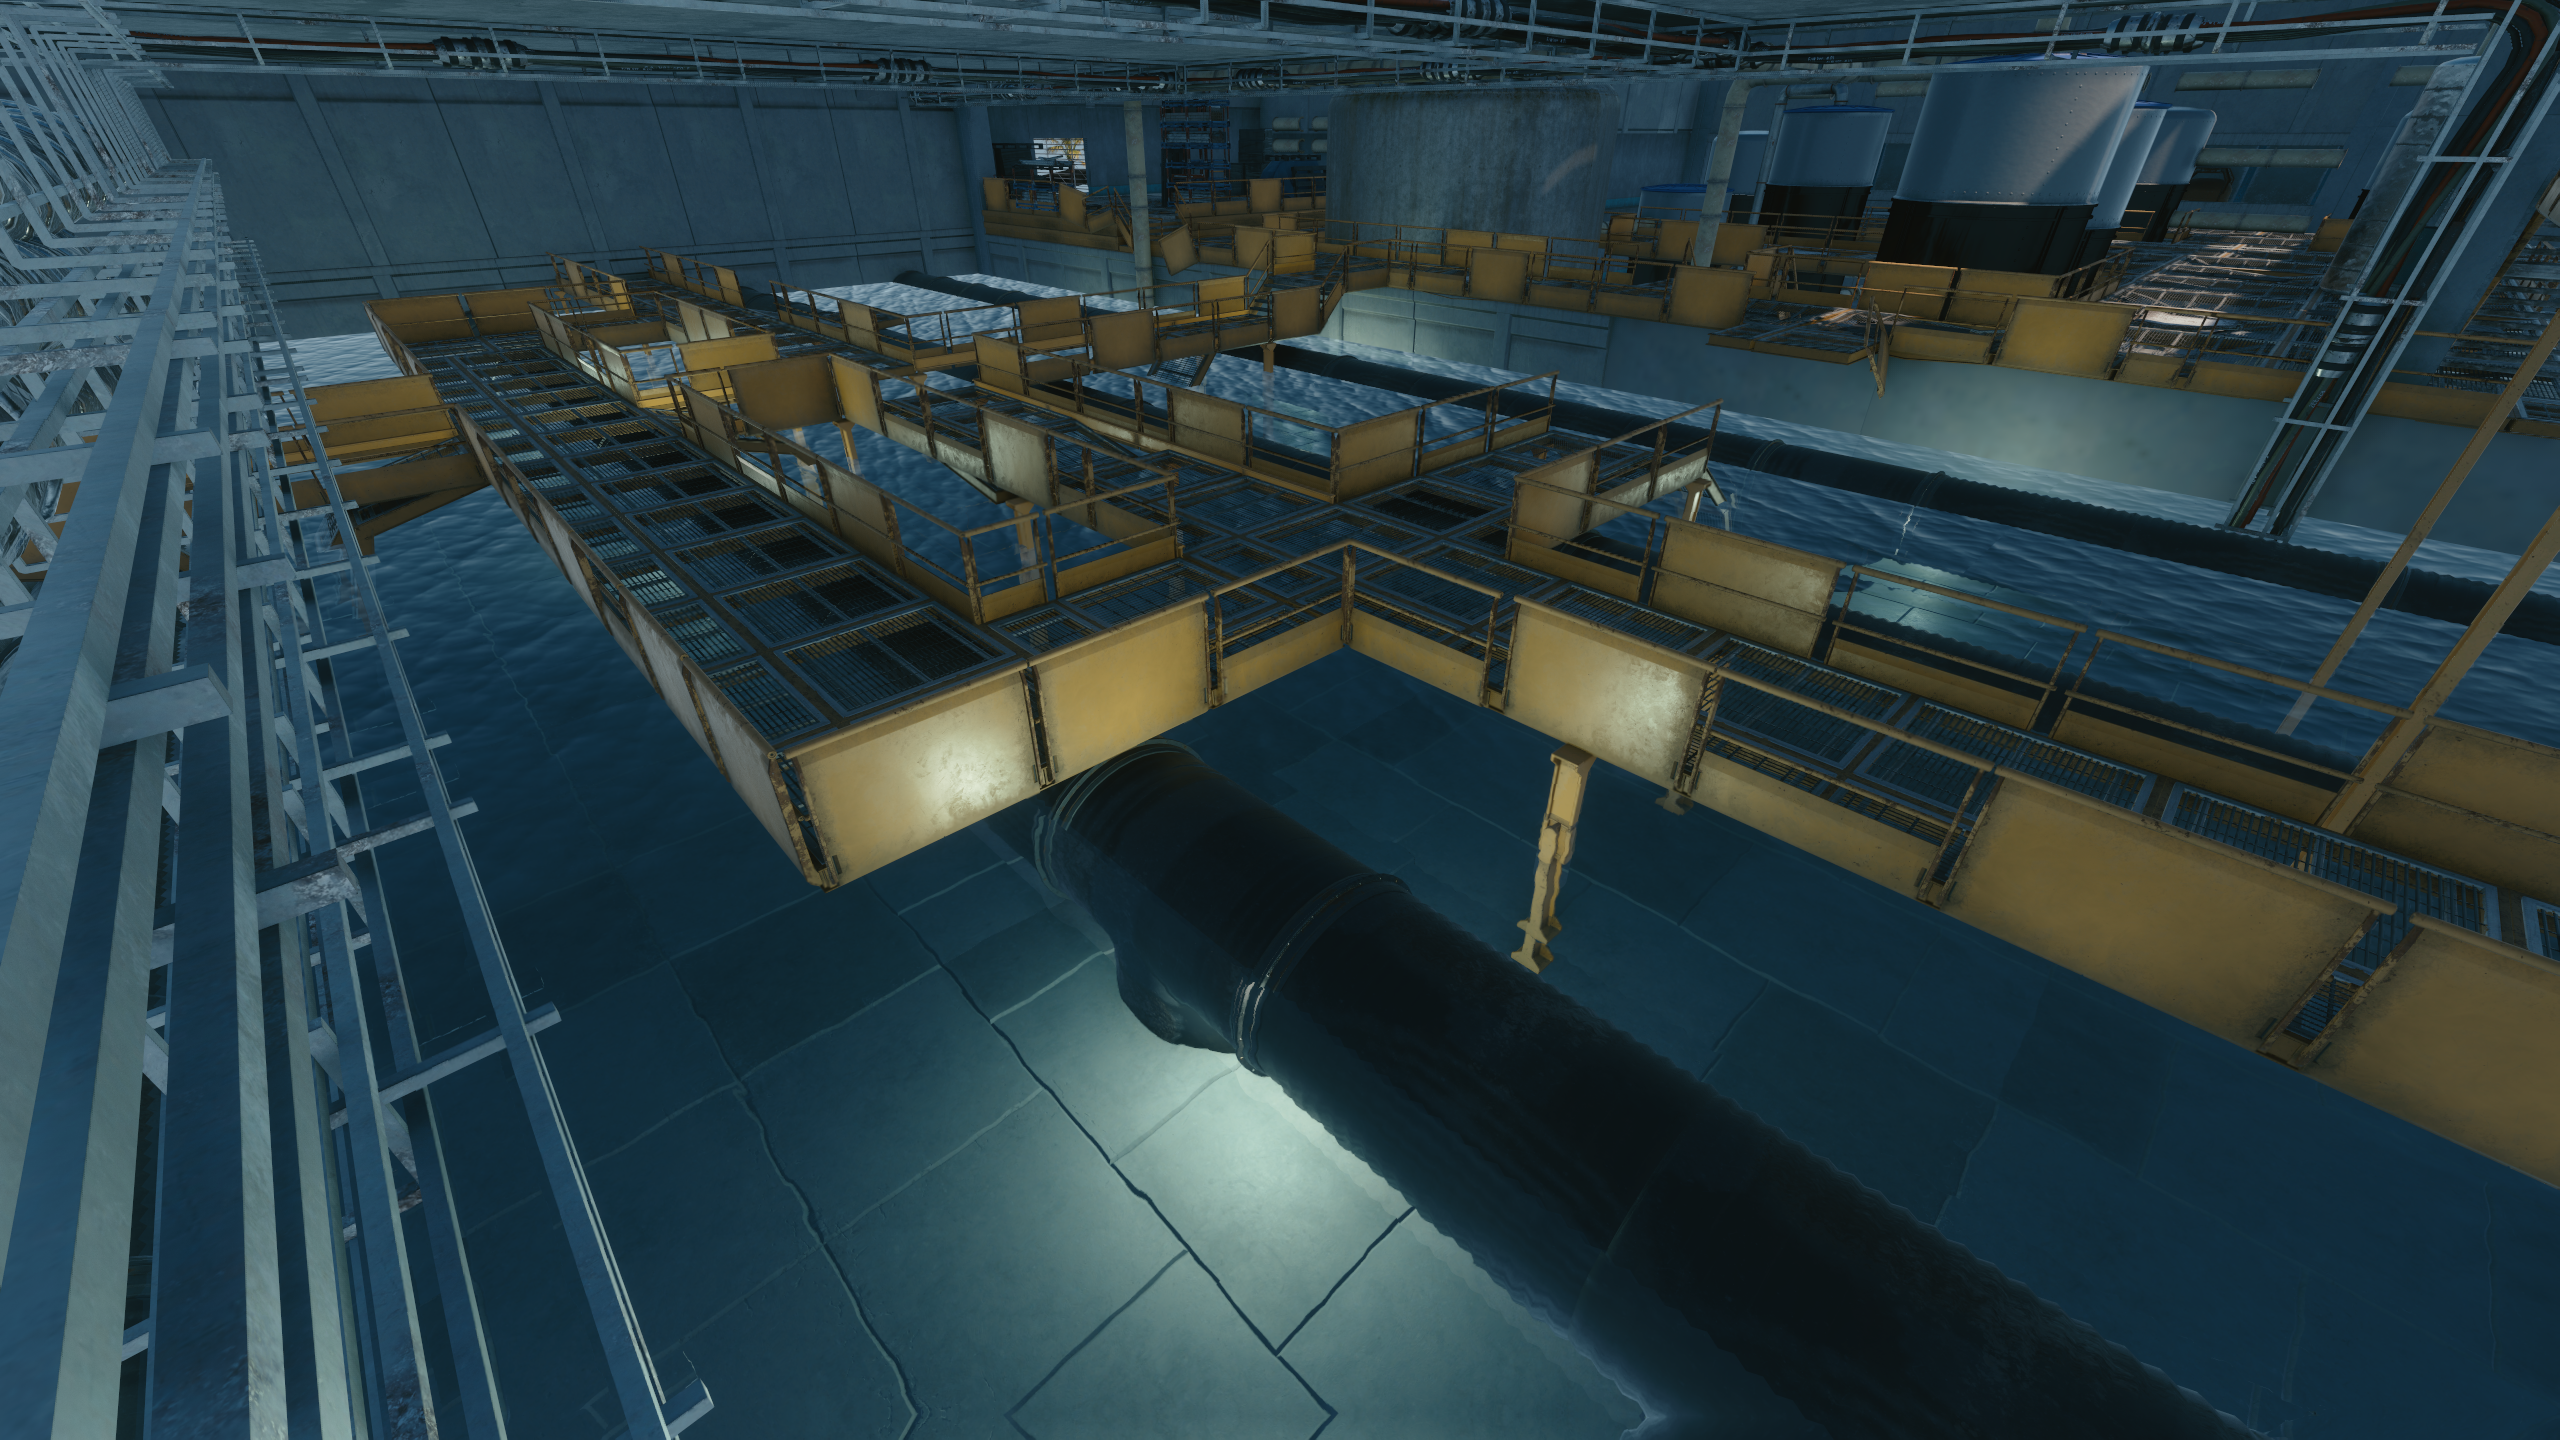
Contains a mostly finished version of the interior used for the pump station. This pump station is the location of the boss fight with Colonel Cross, who is some sort of leading member of project:GHOST. After the bossfight, V would likely learn of the character Brightman who was related to one of the cut endings.
Exterior
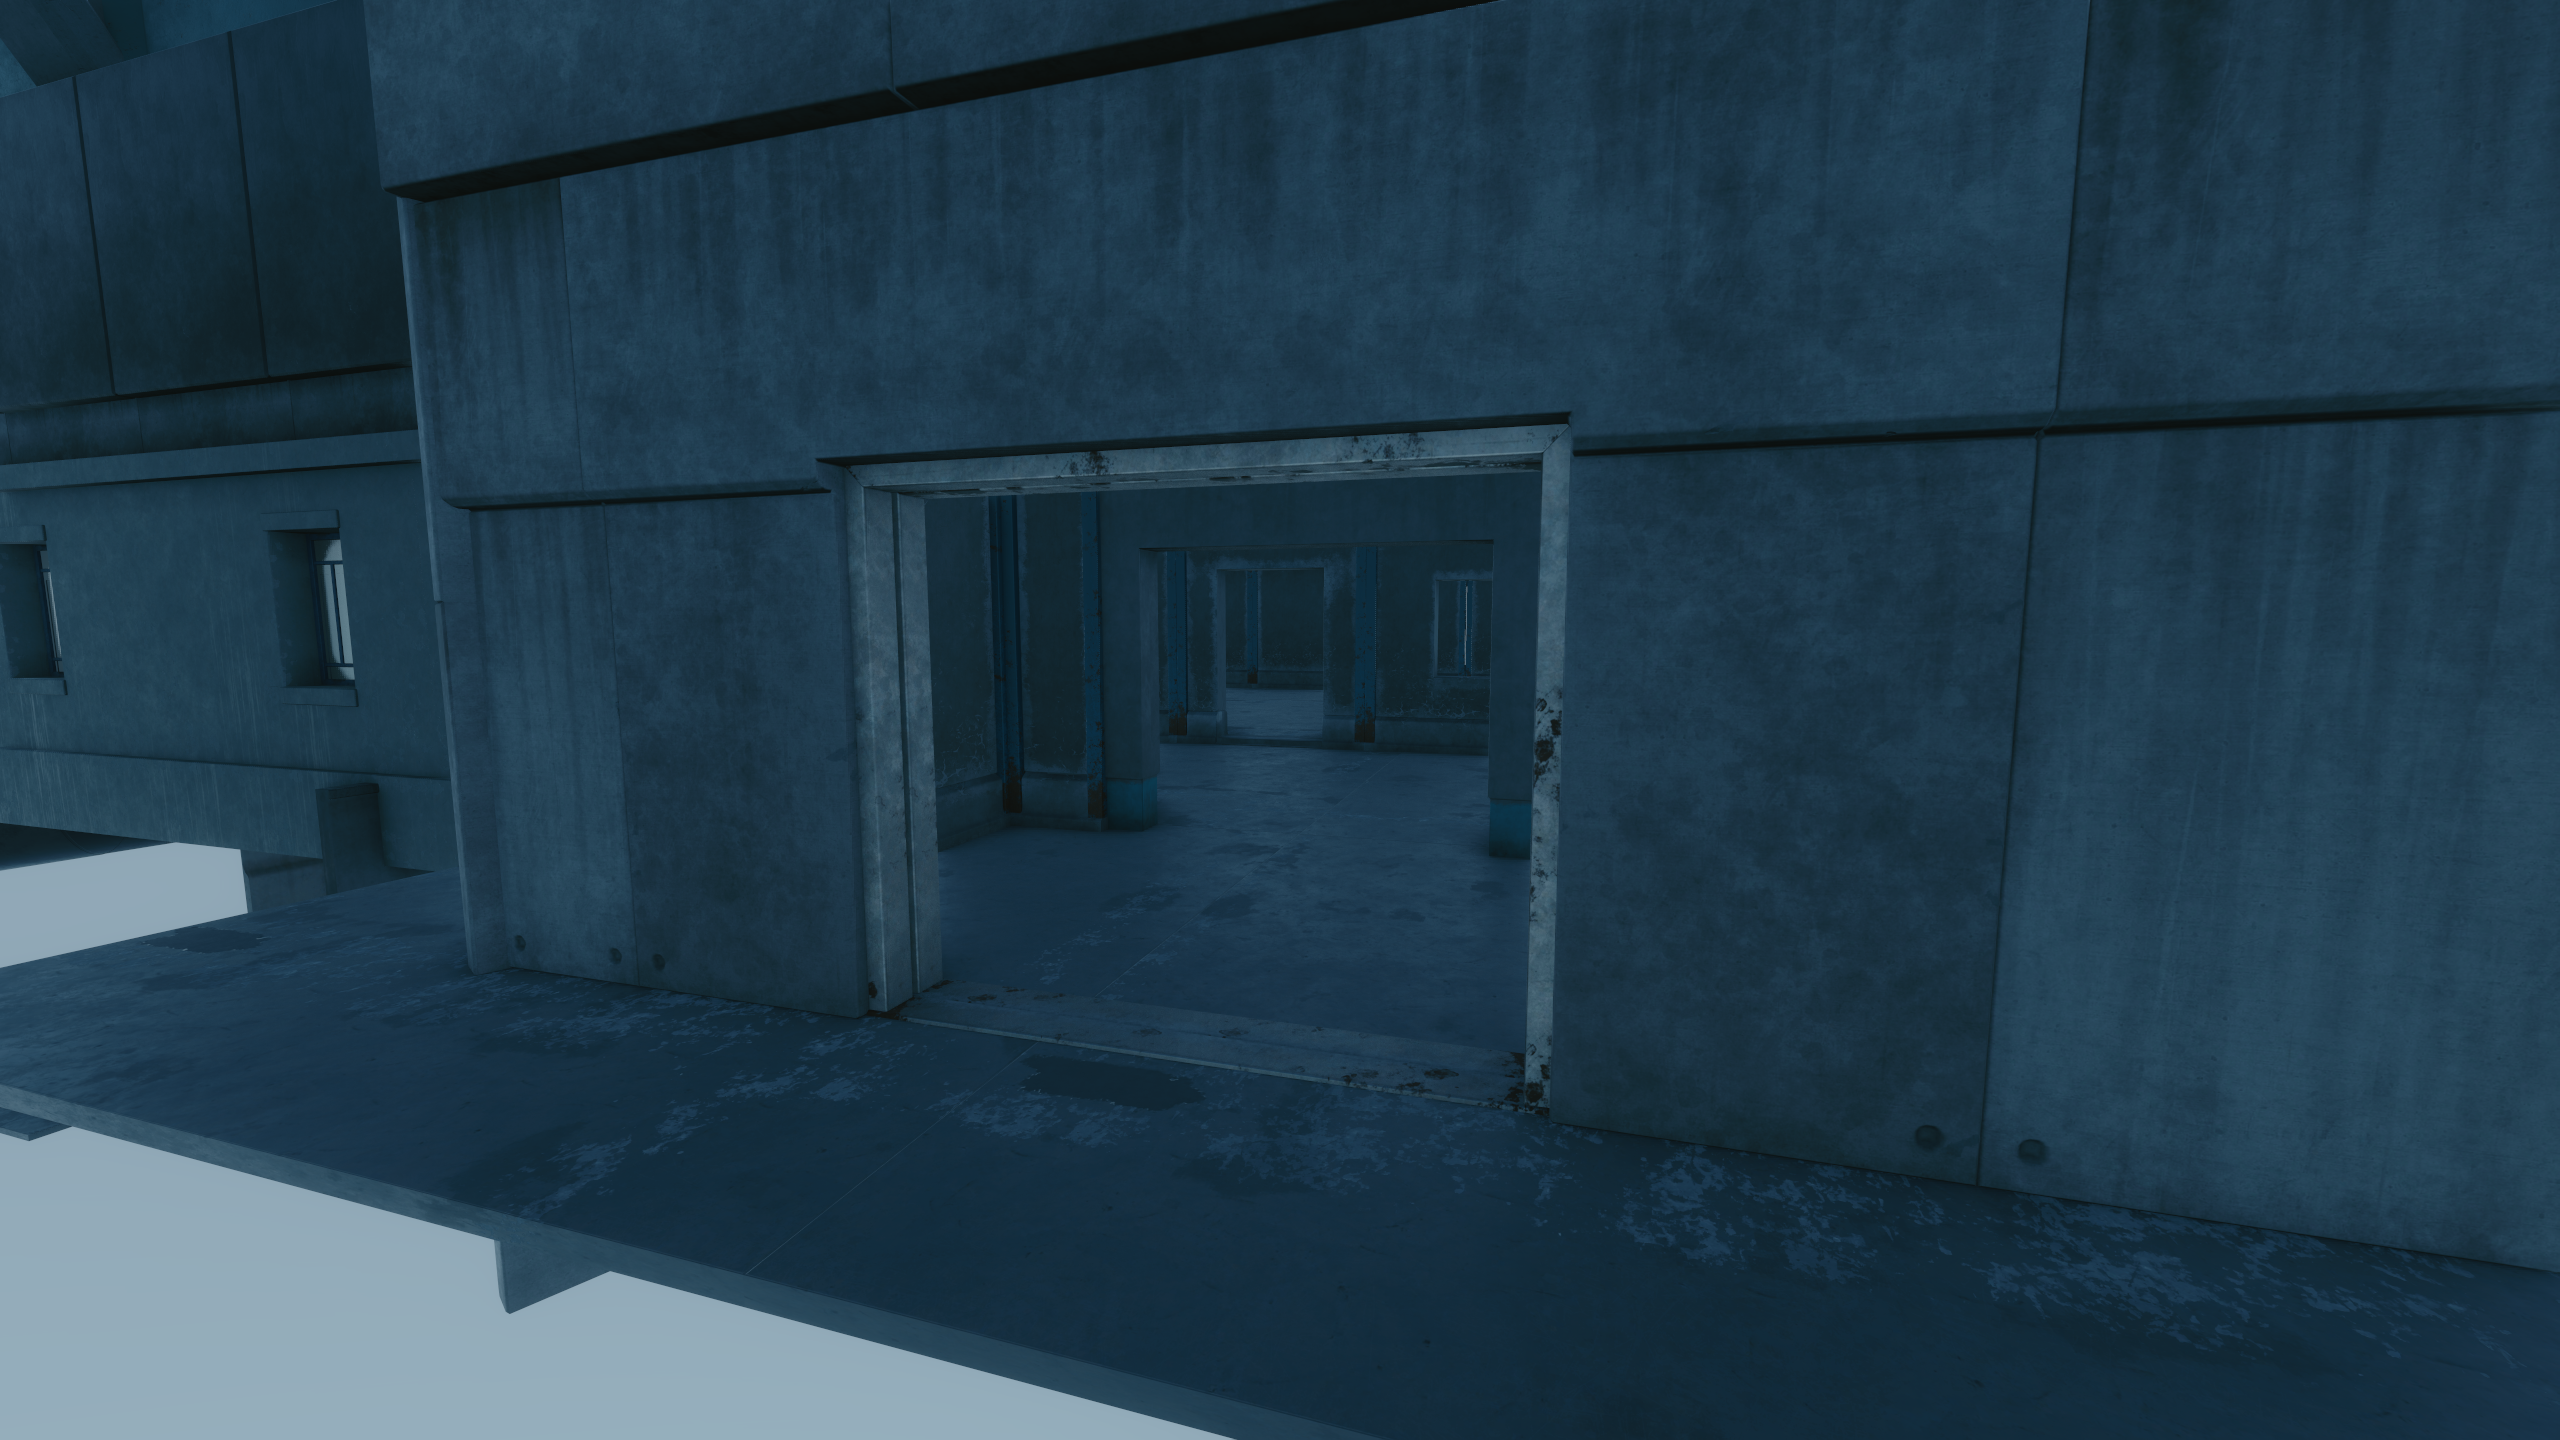
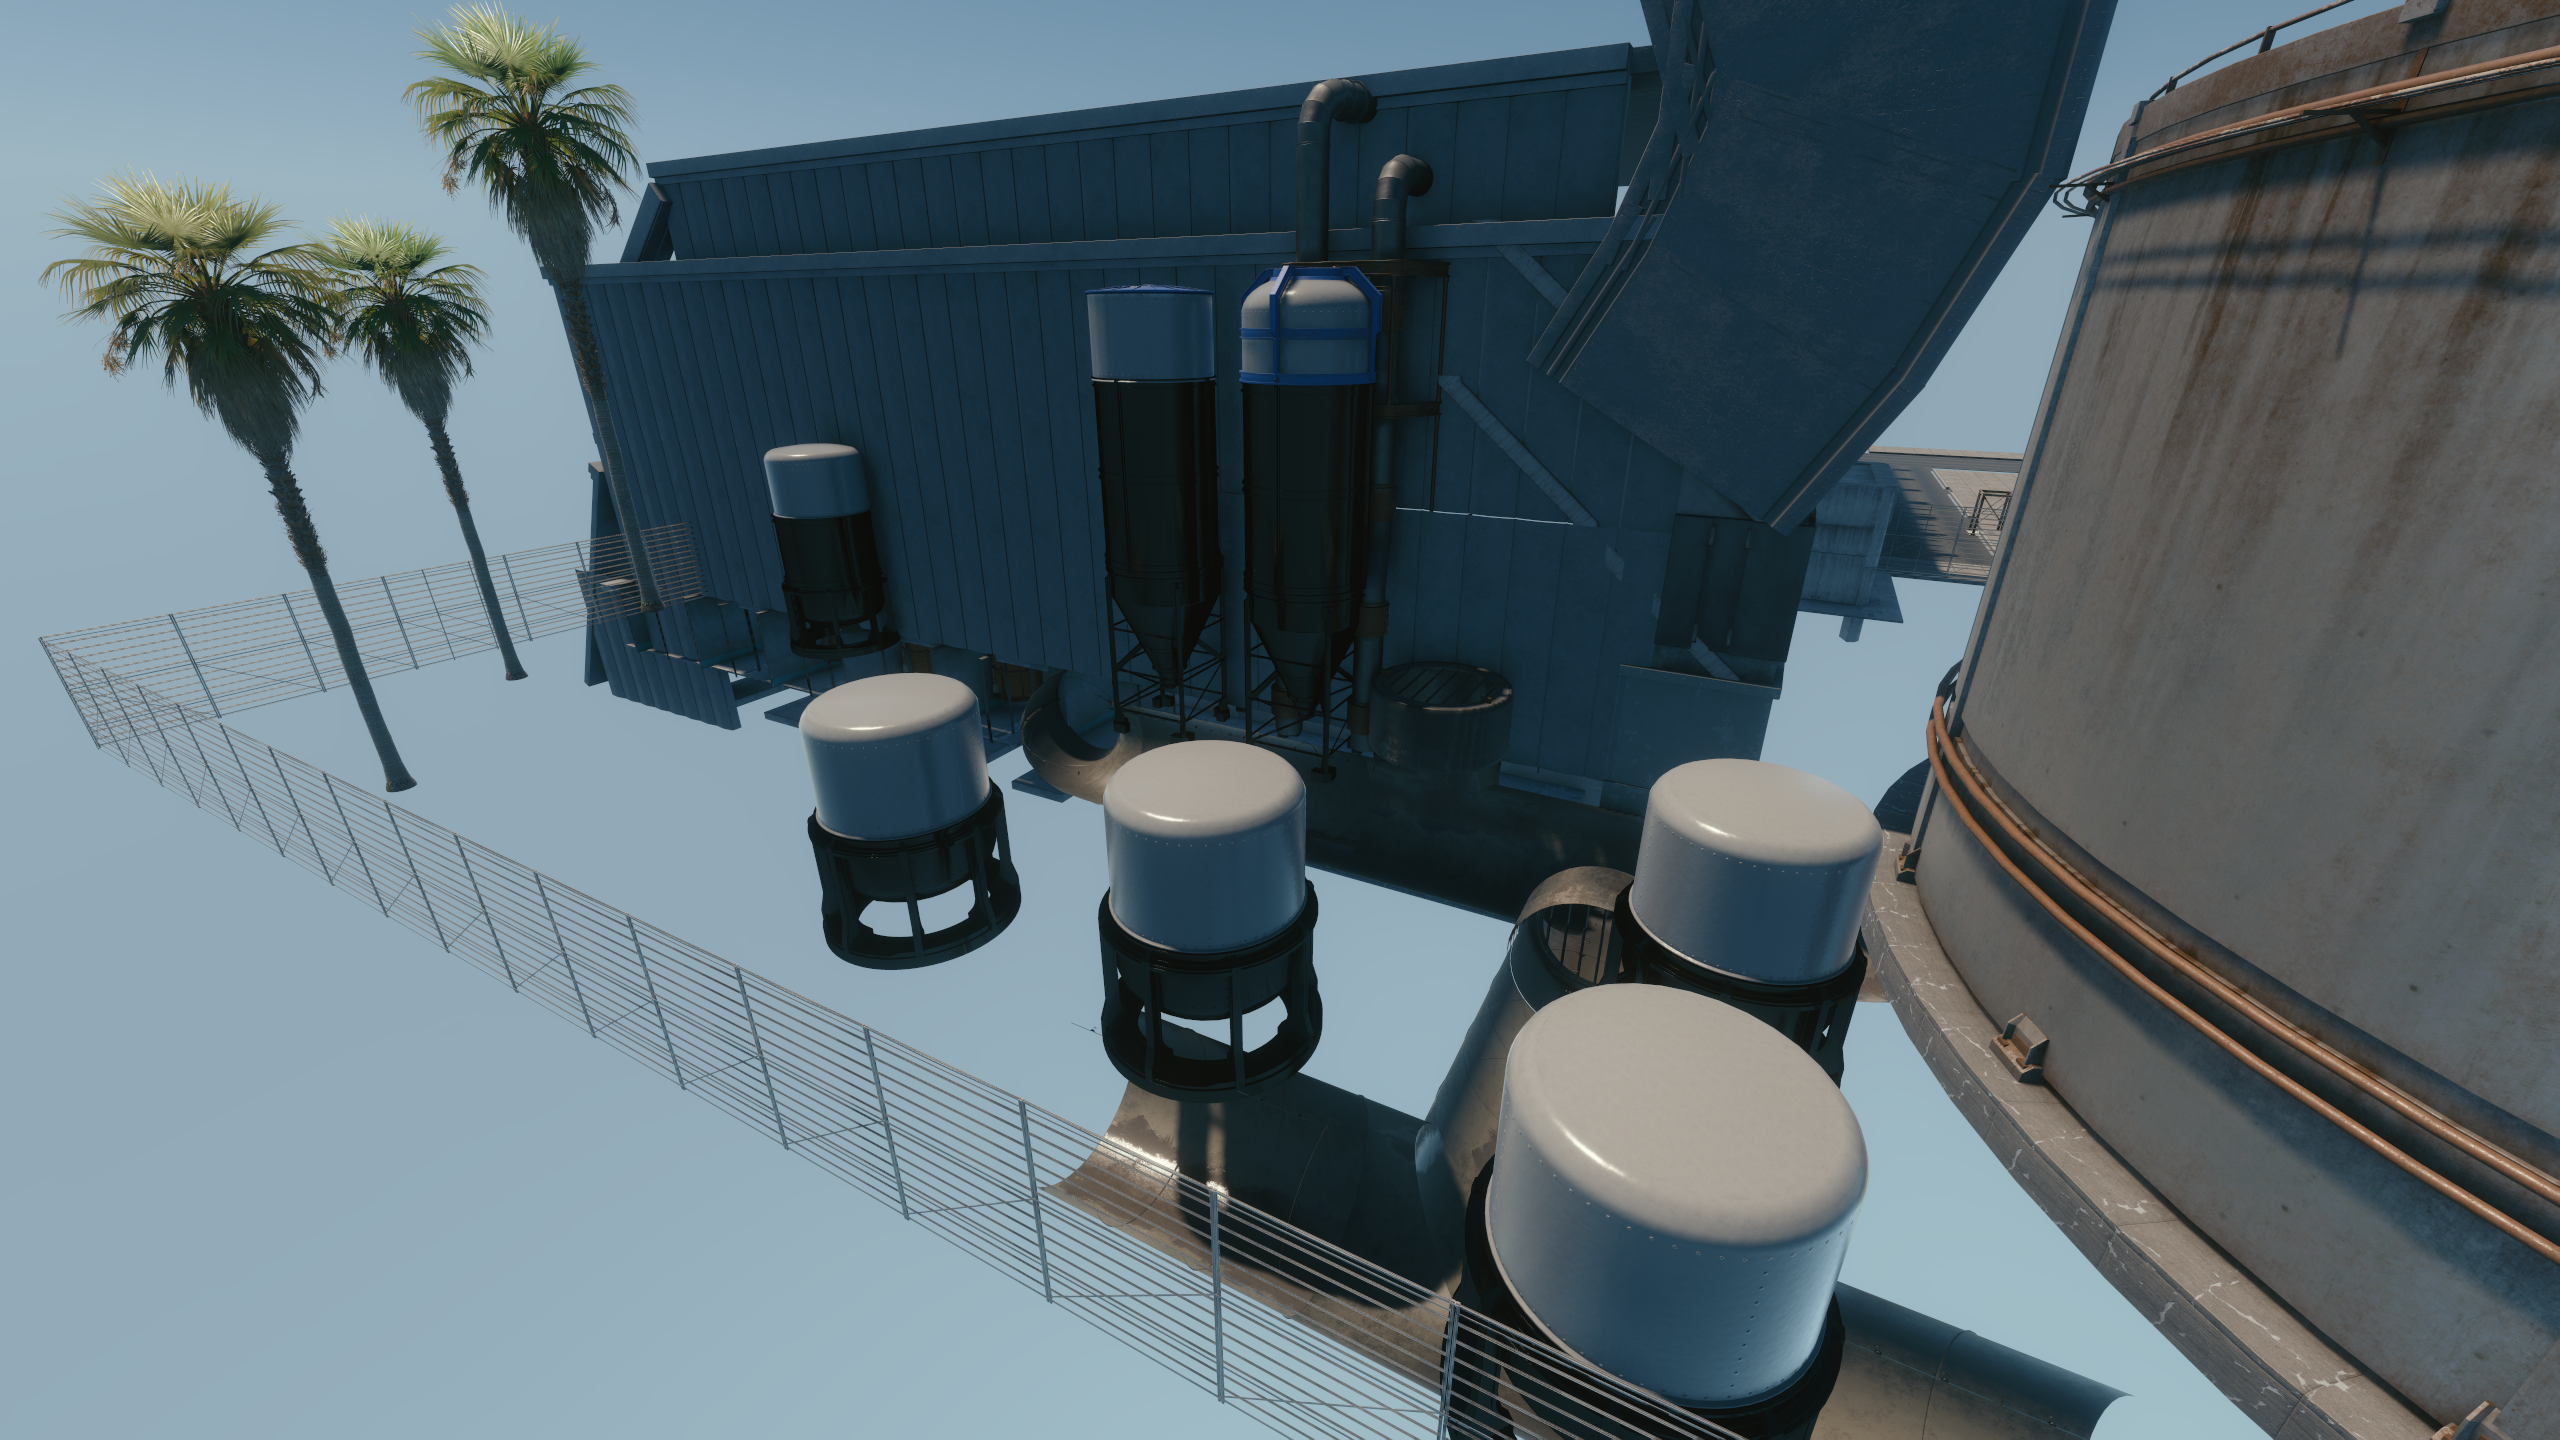
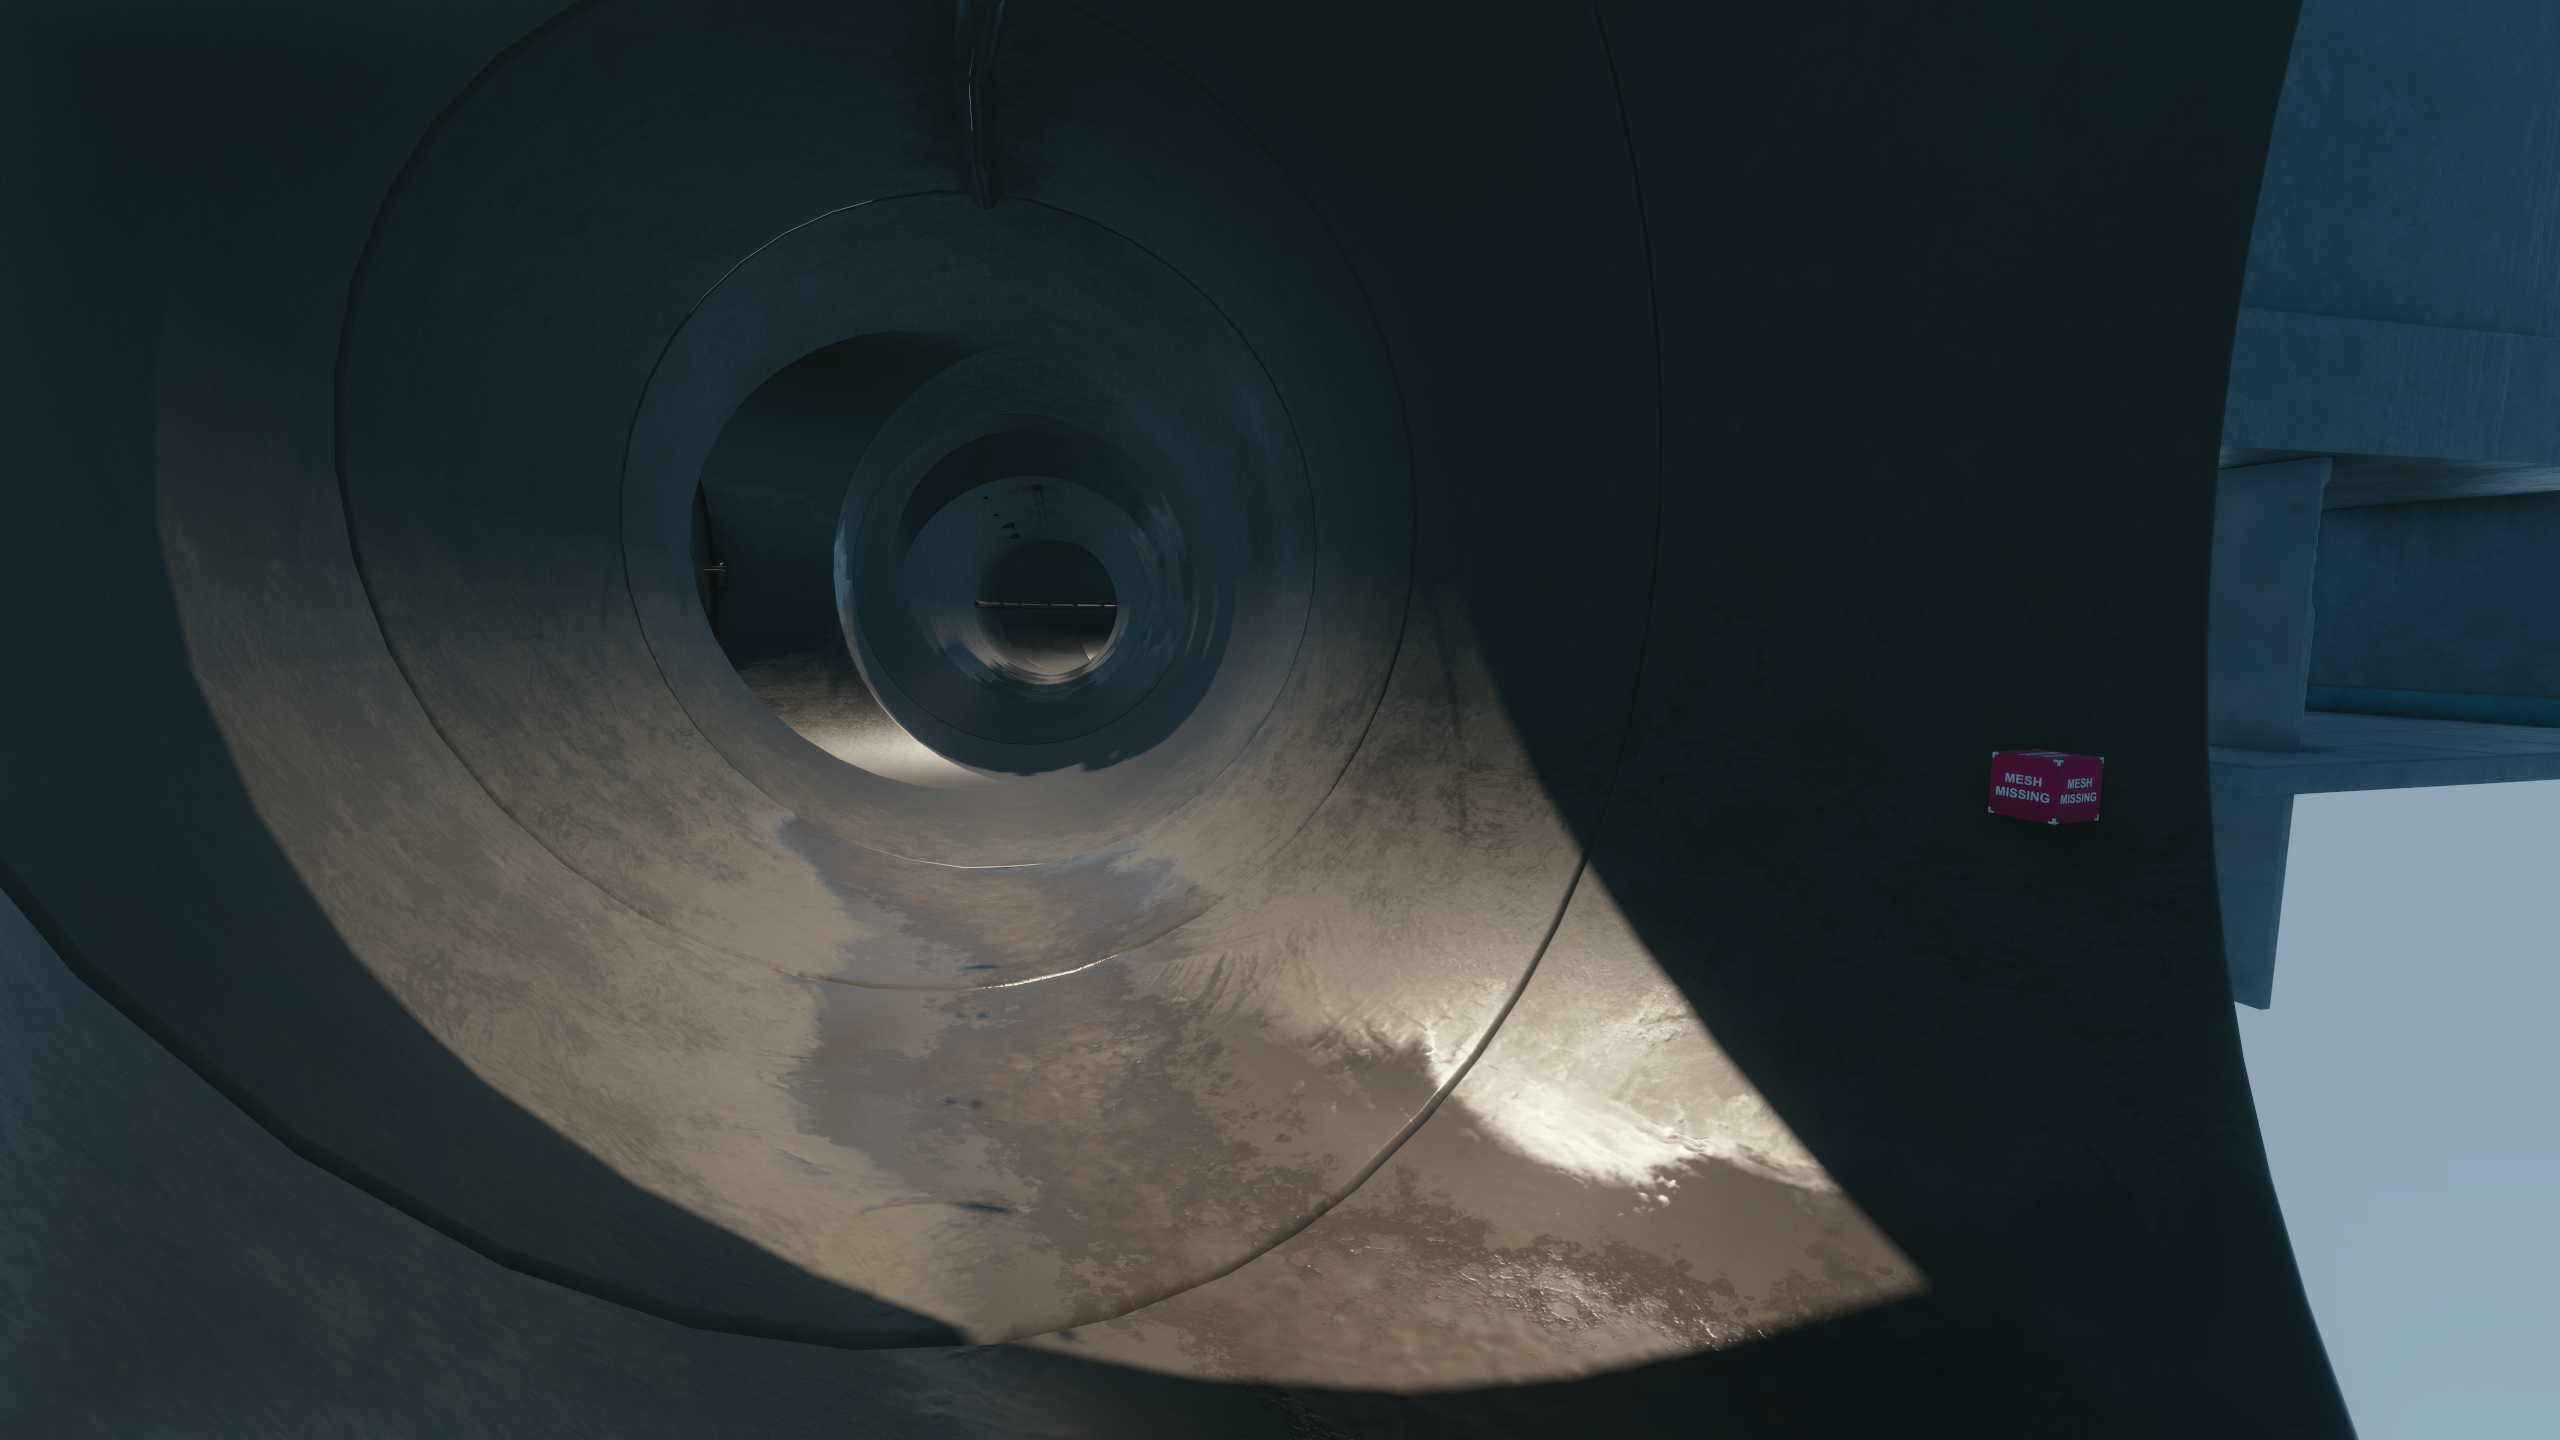
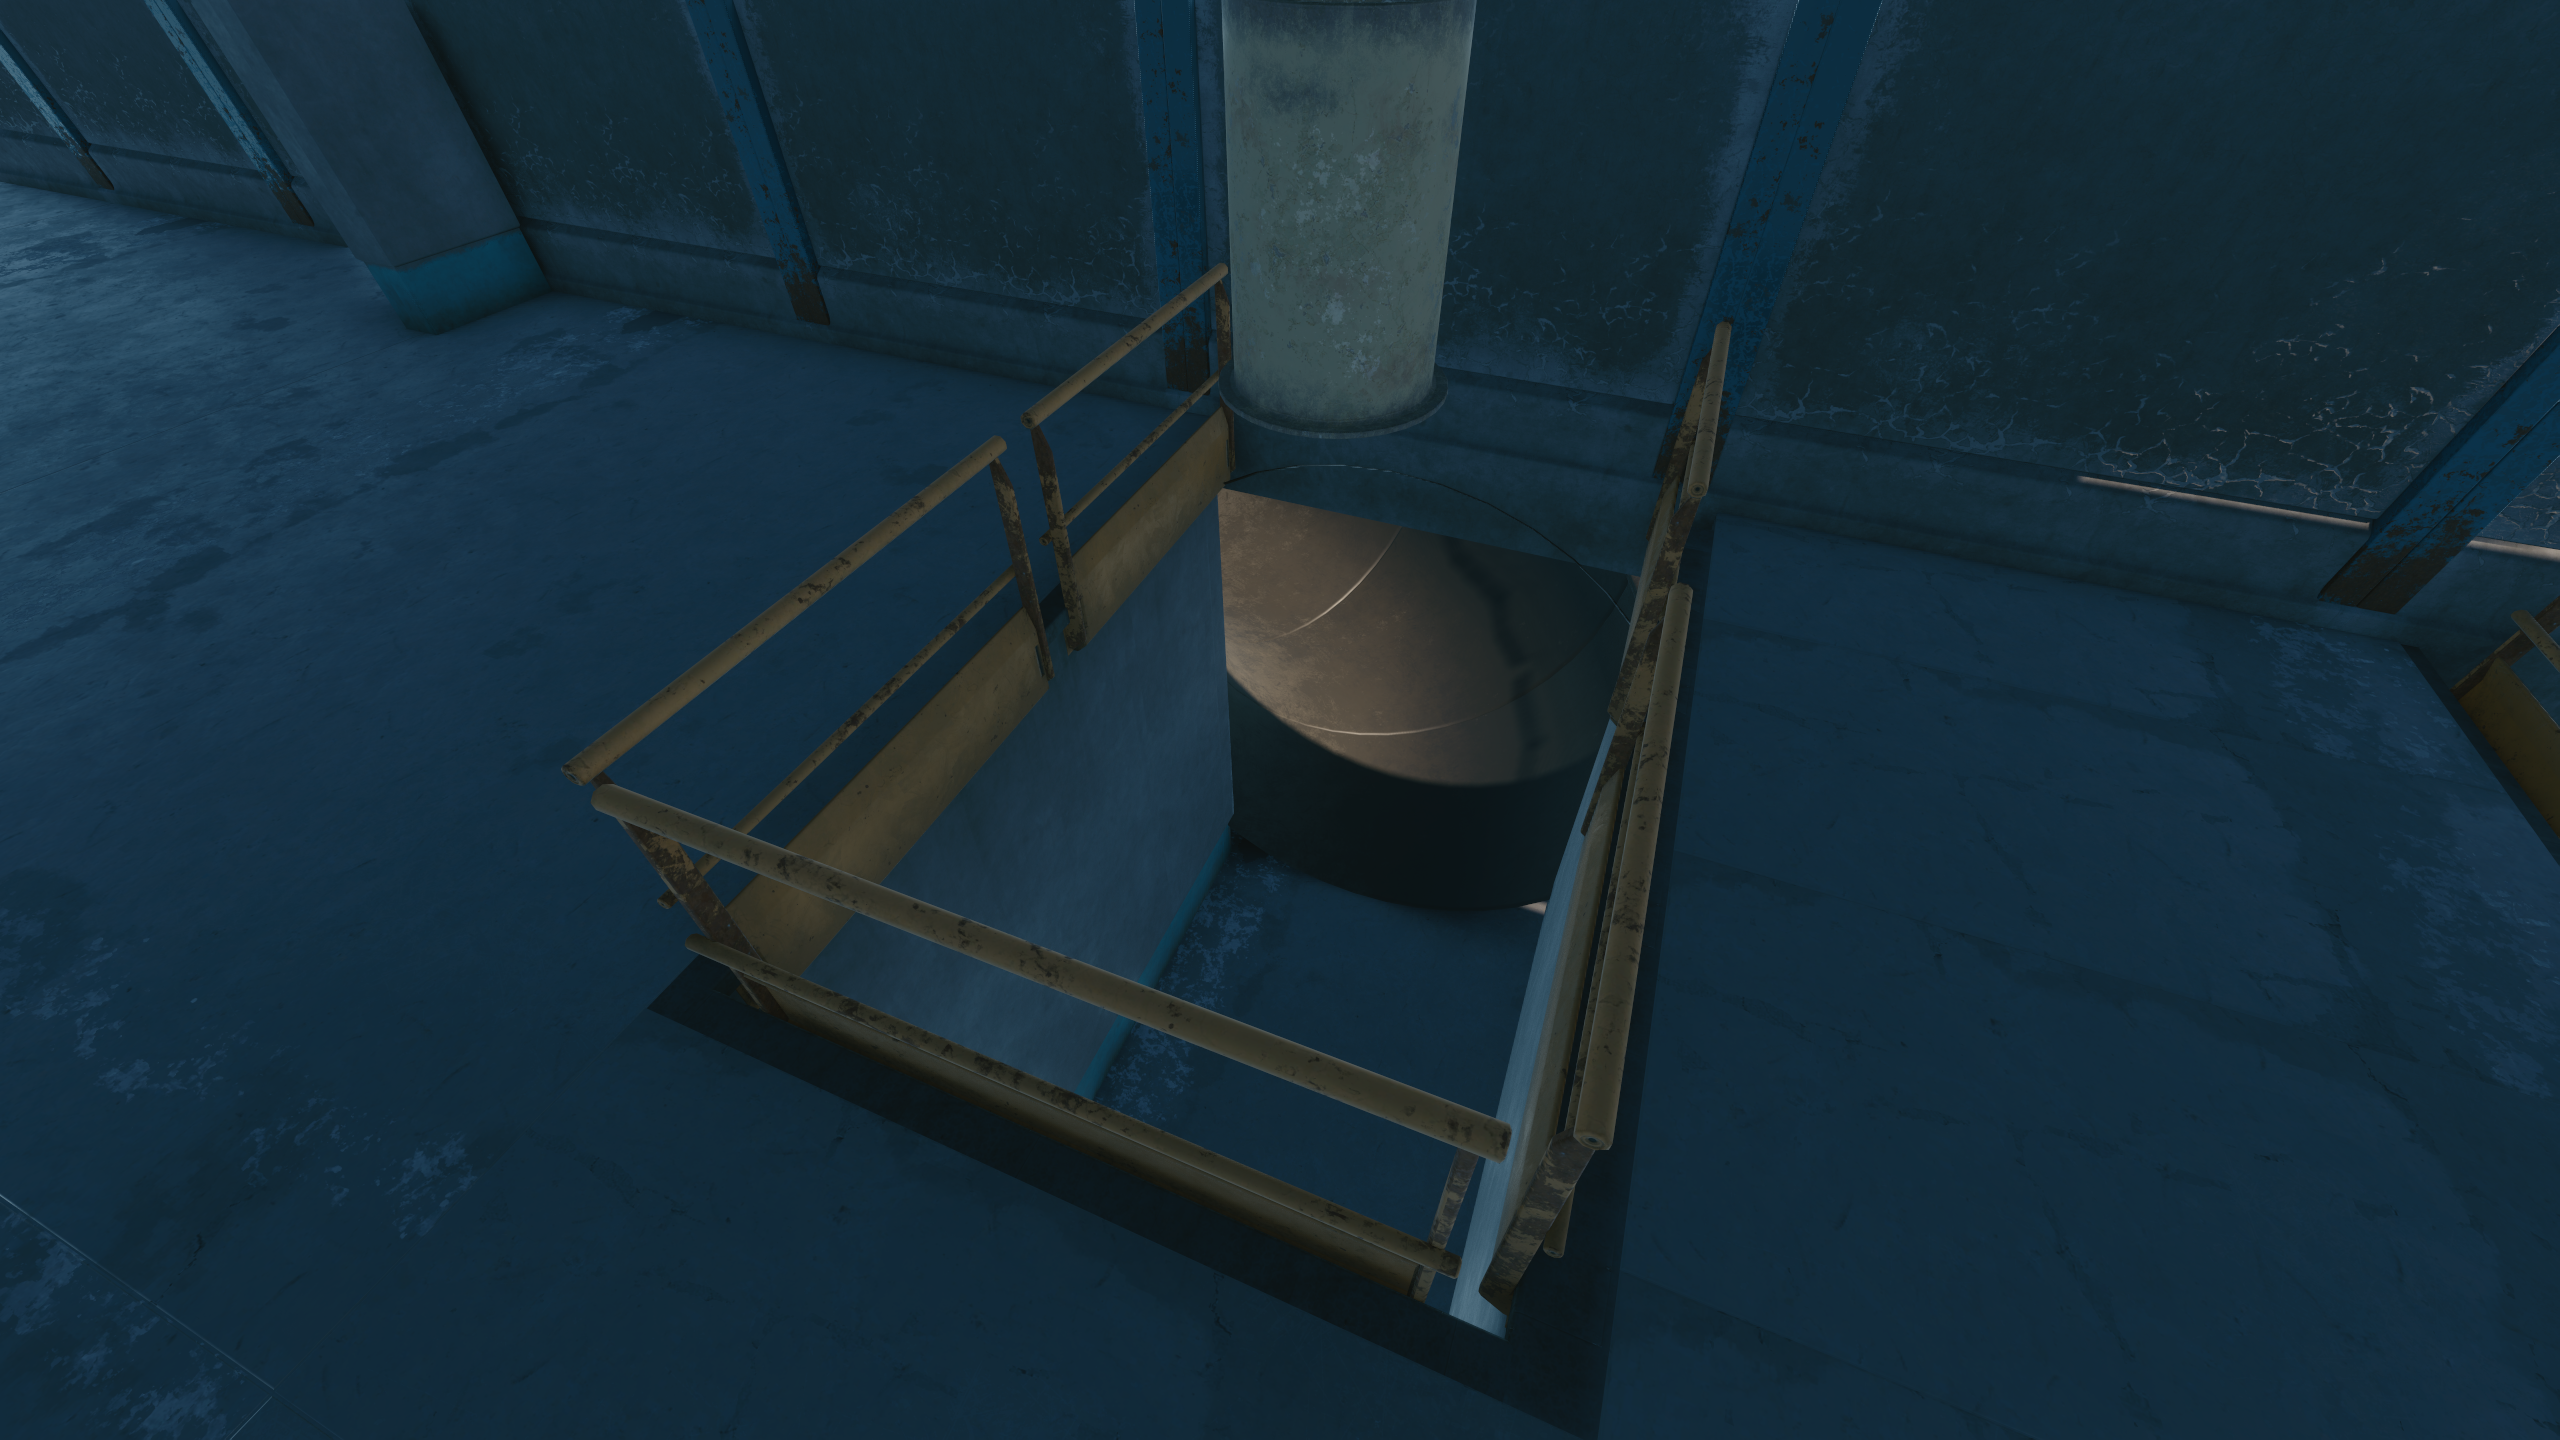
Interior
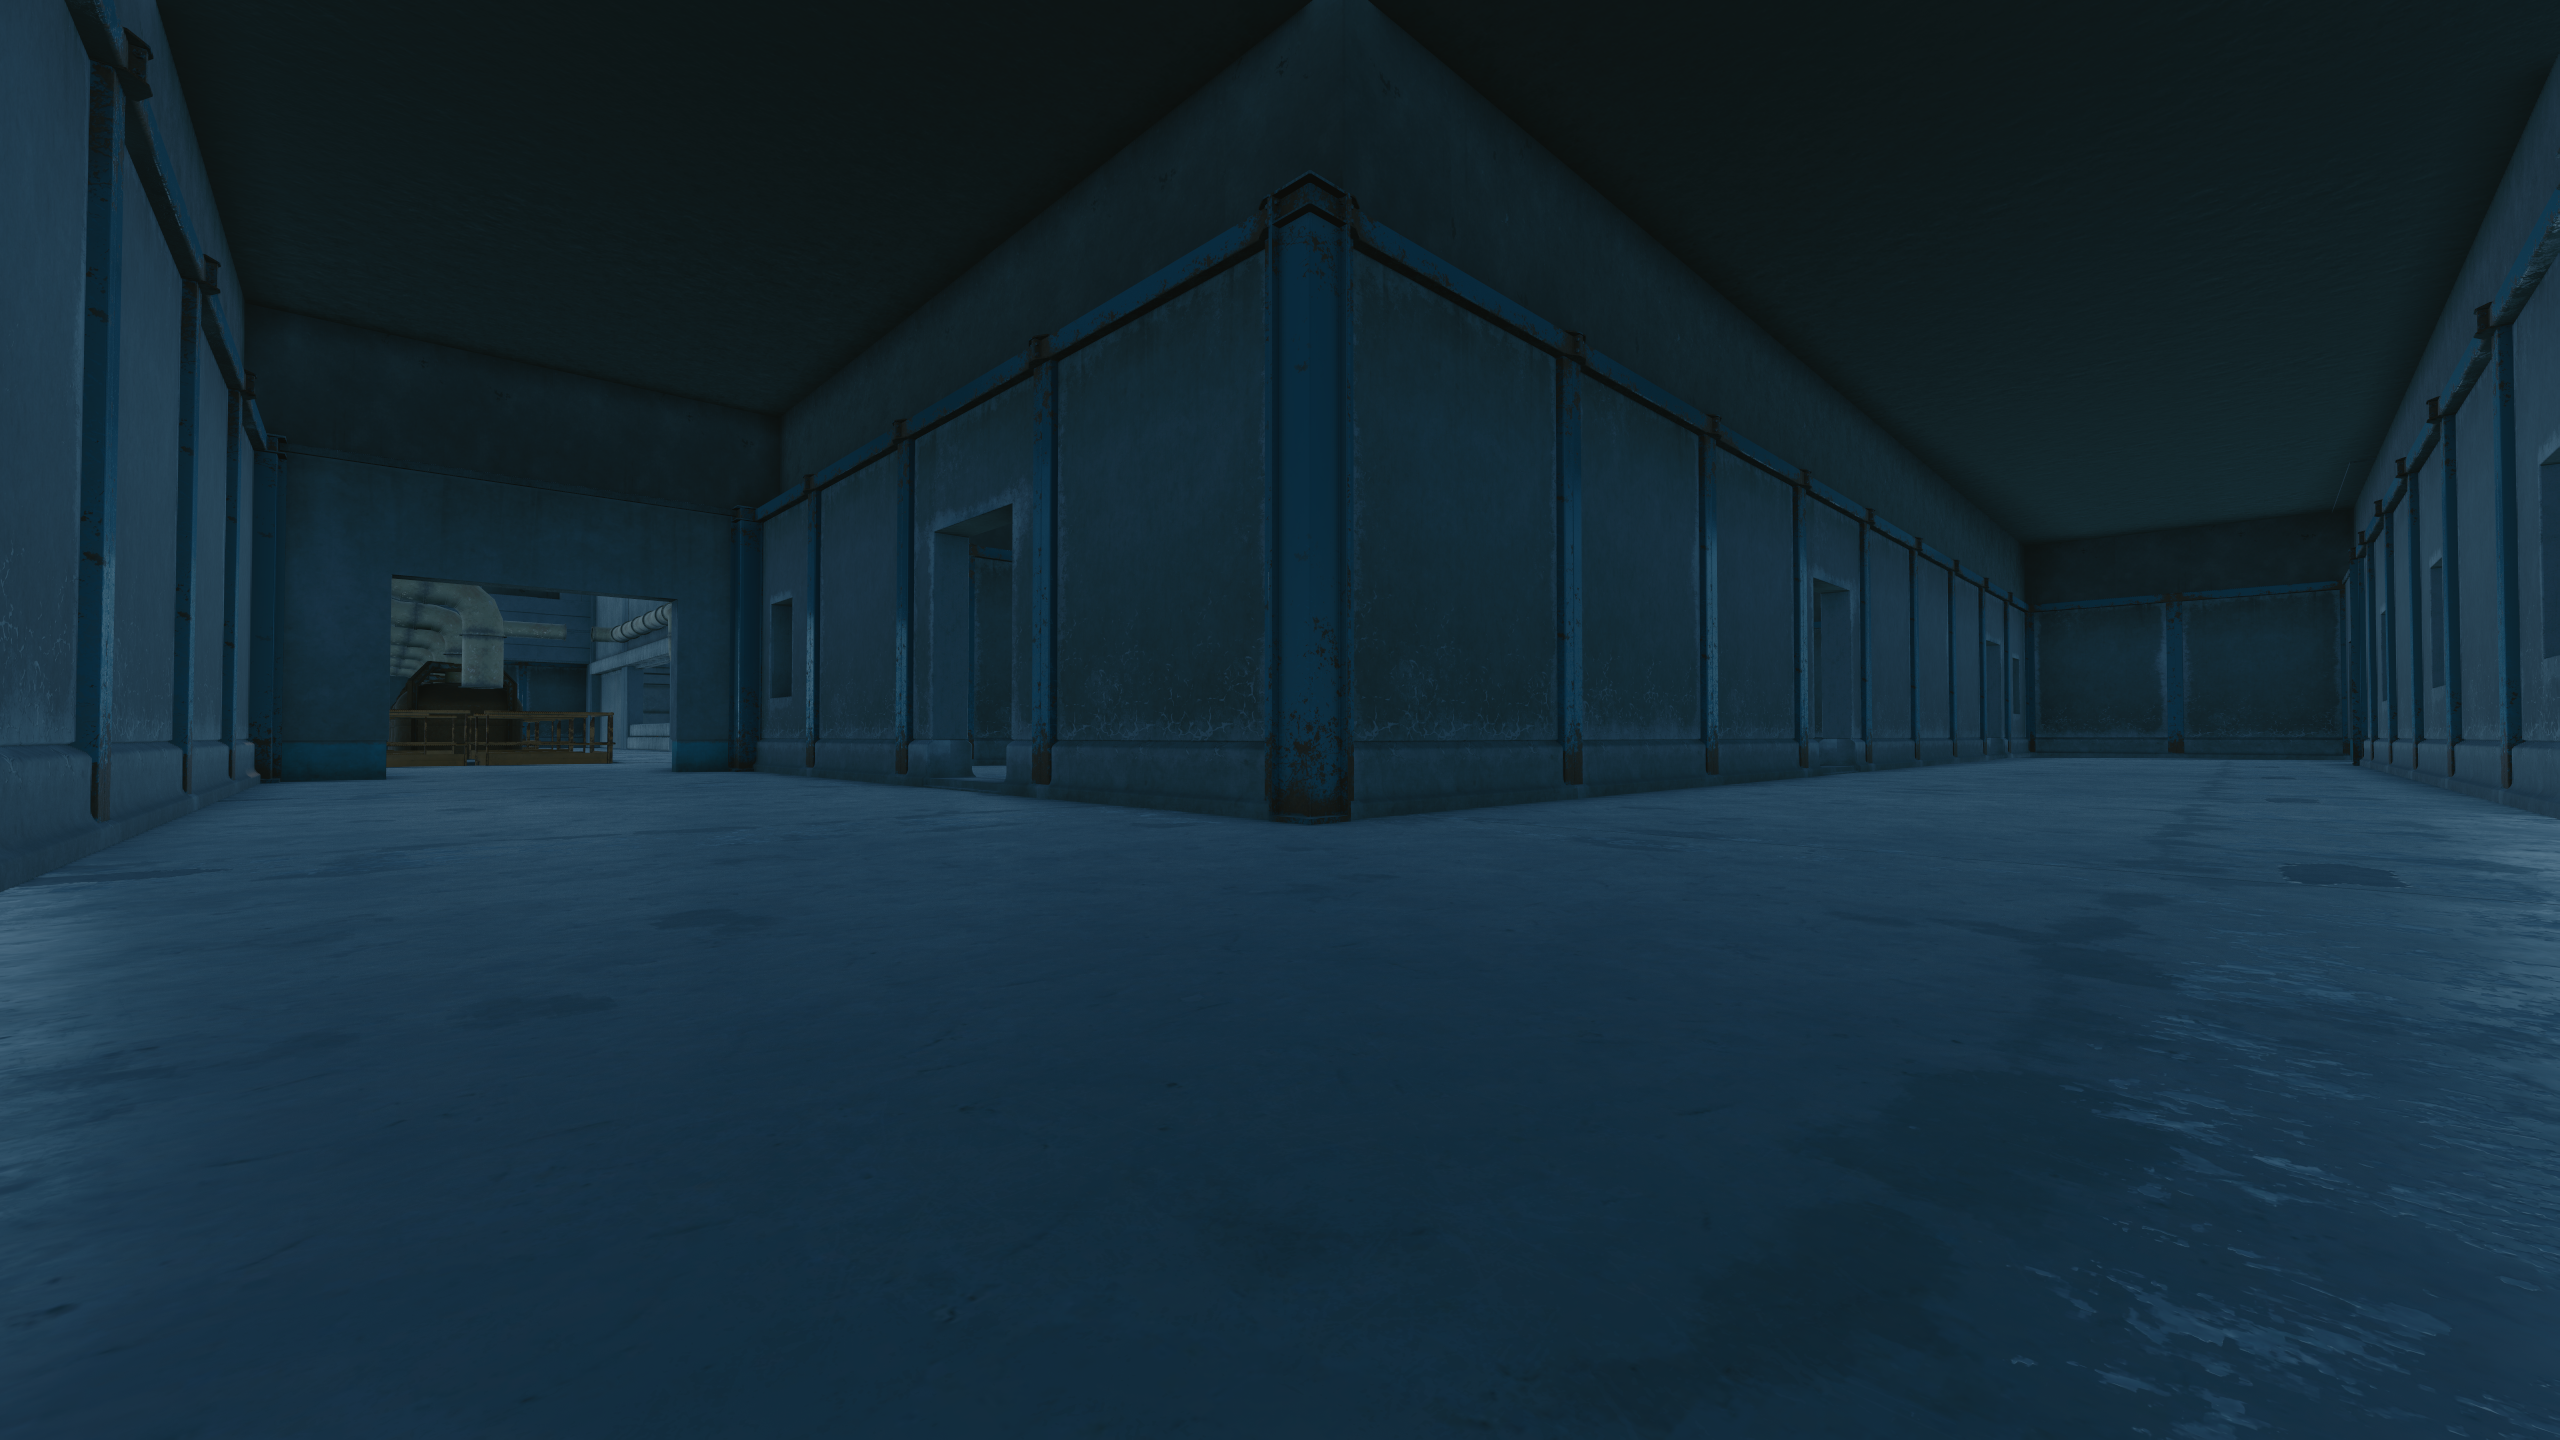
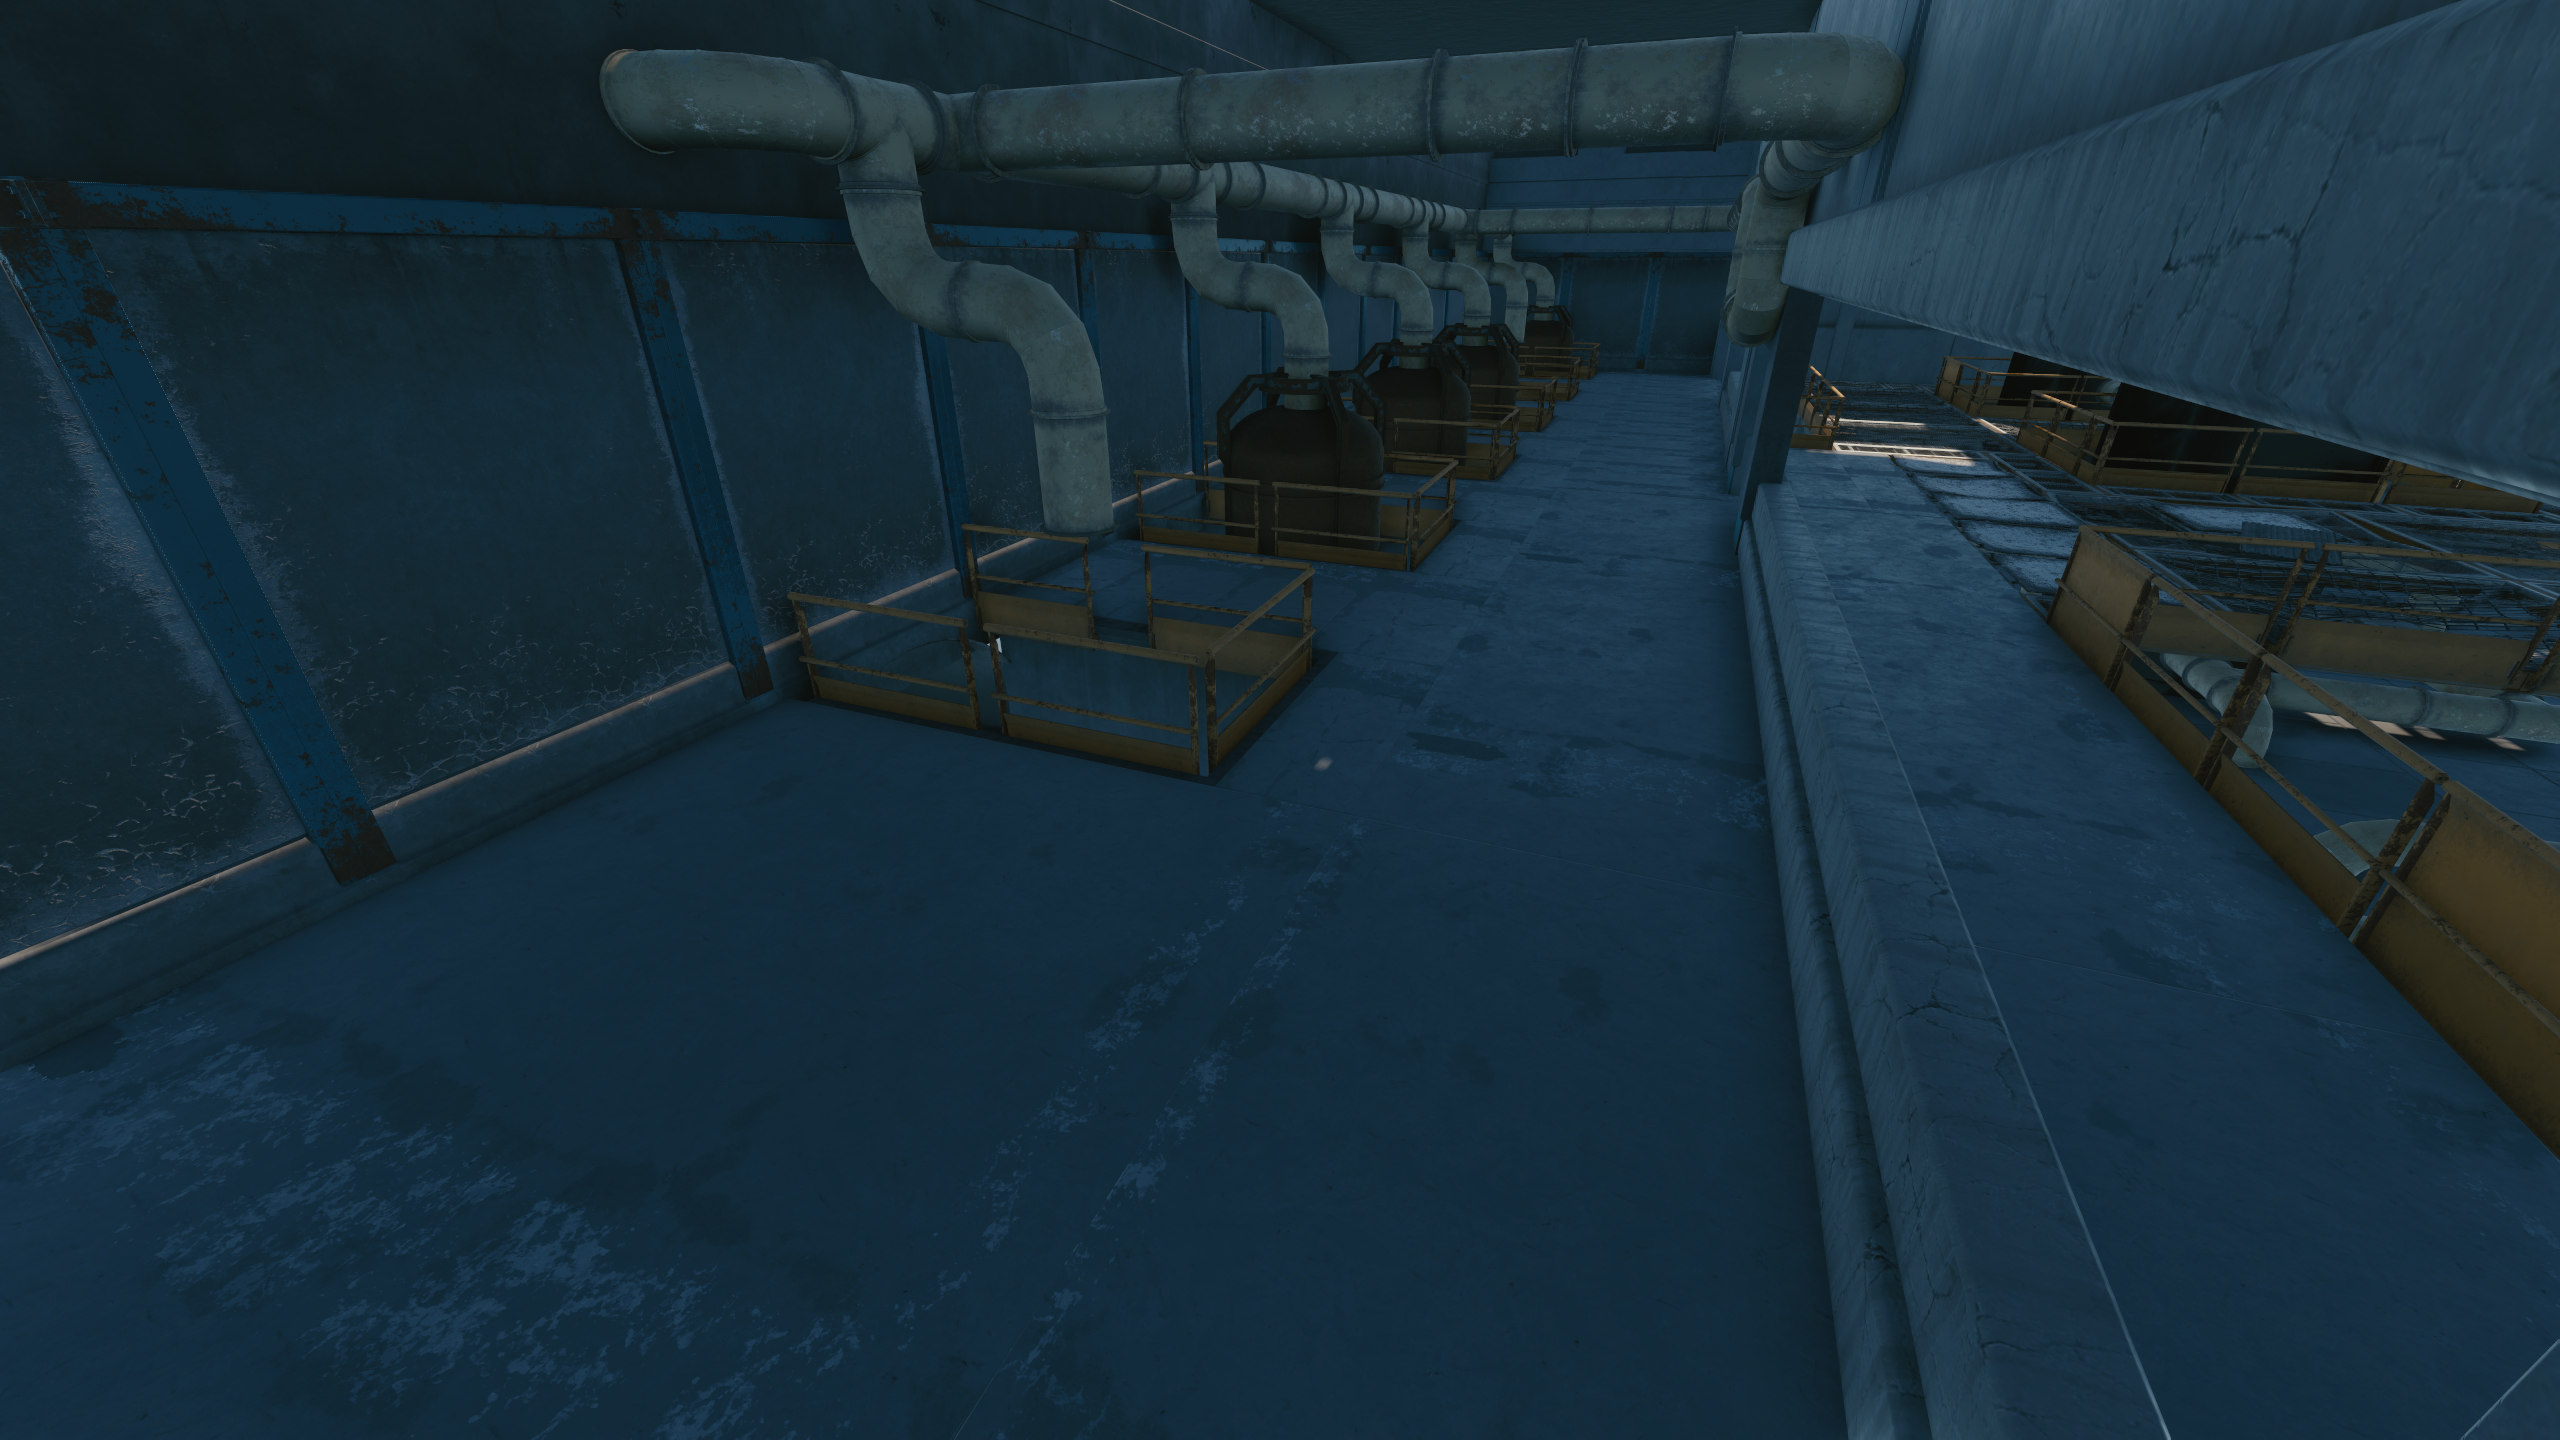
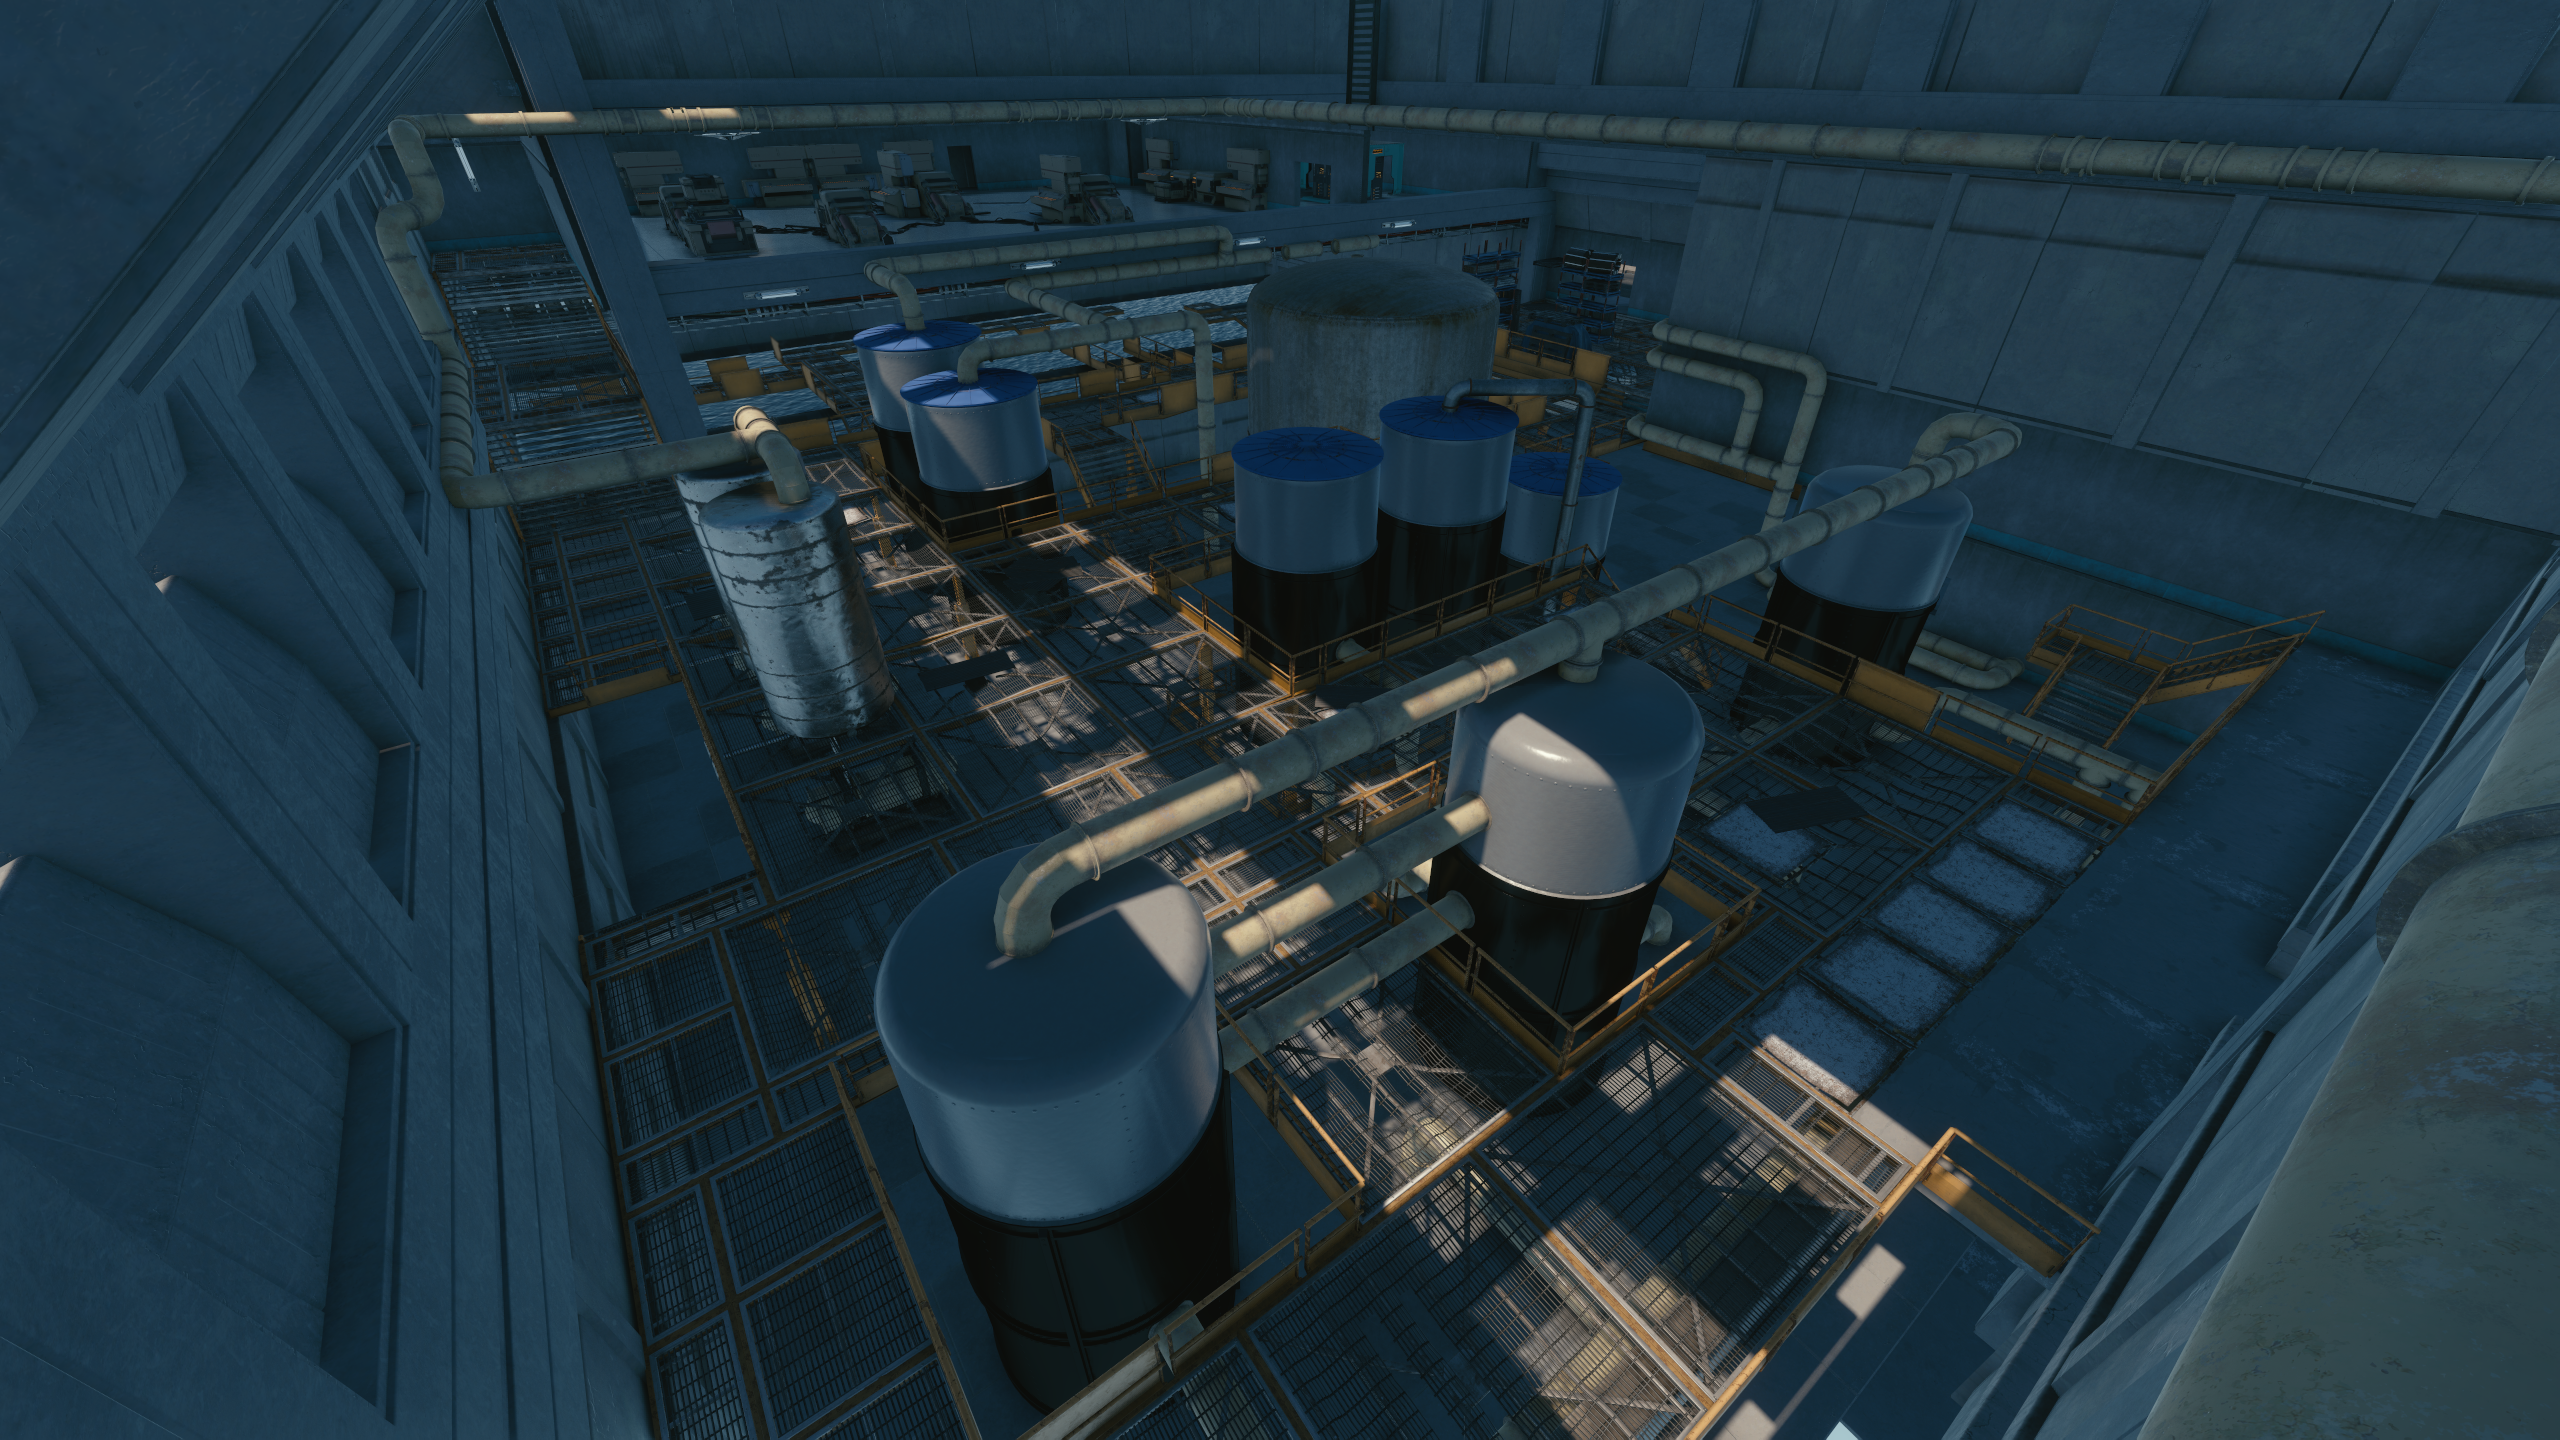
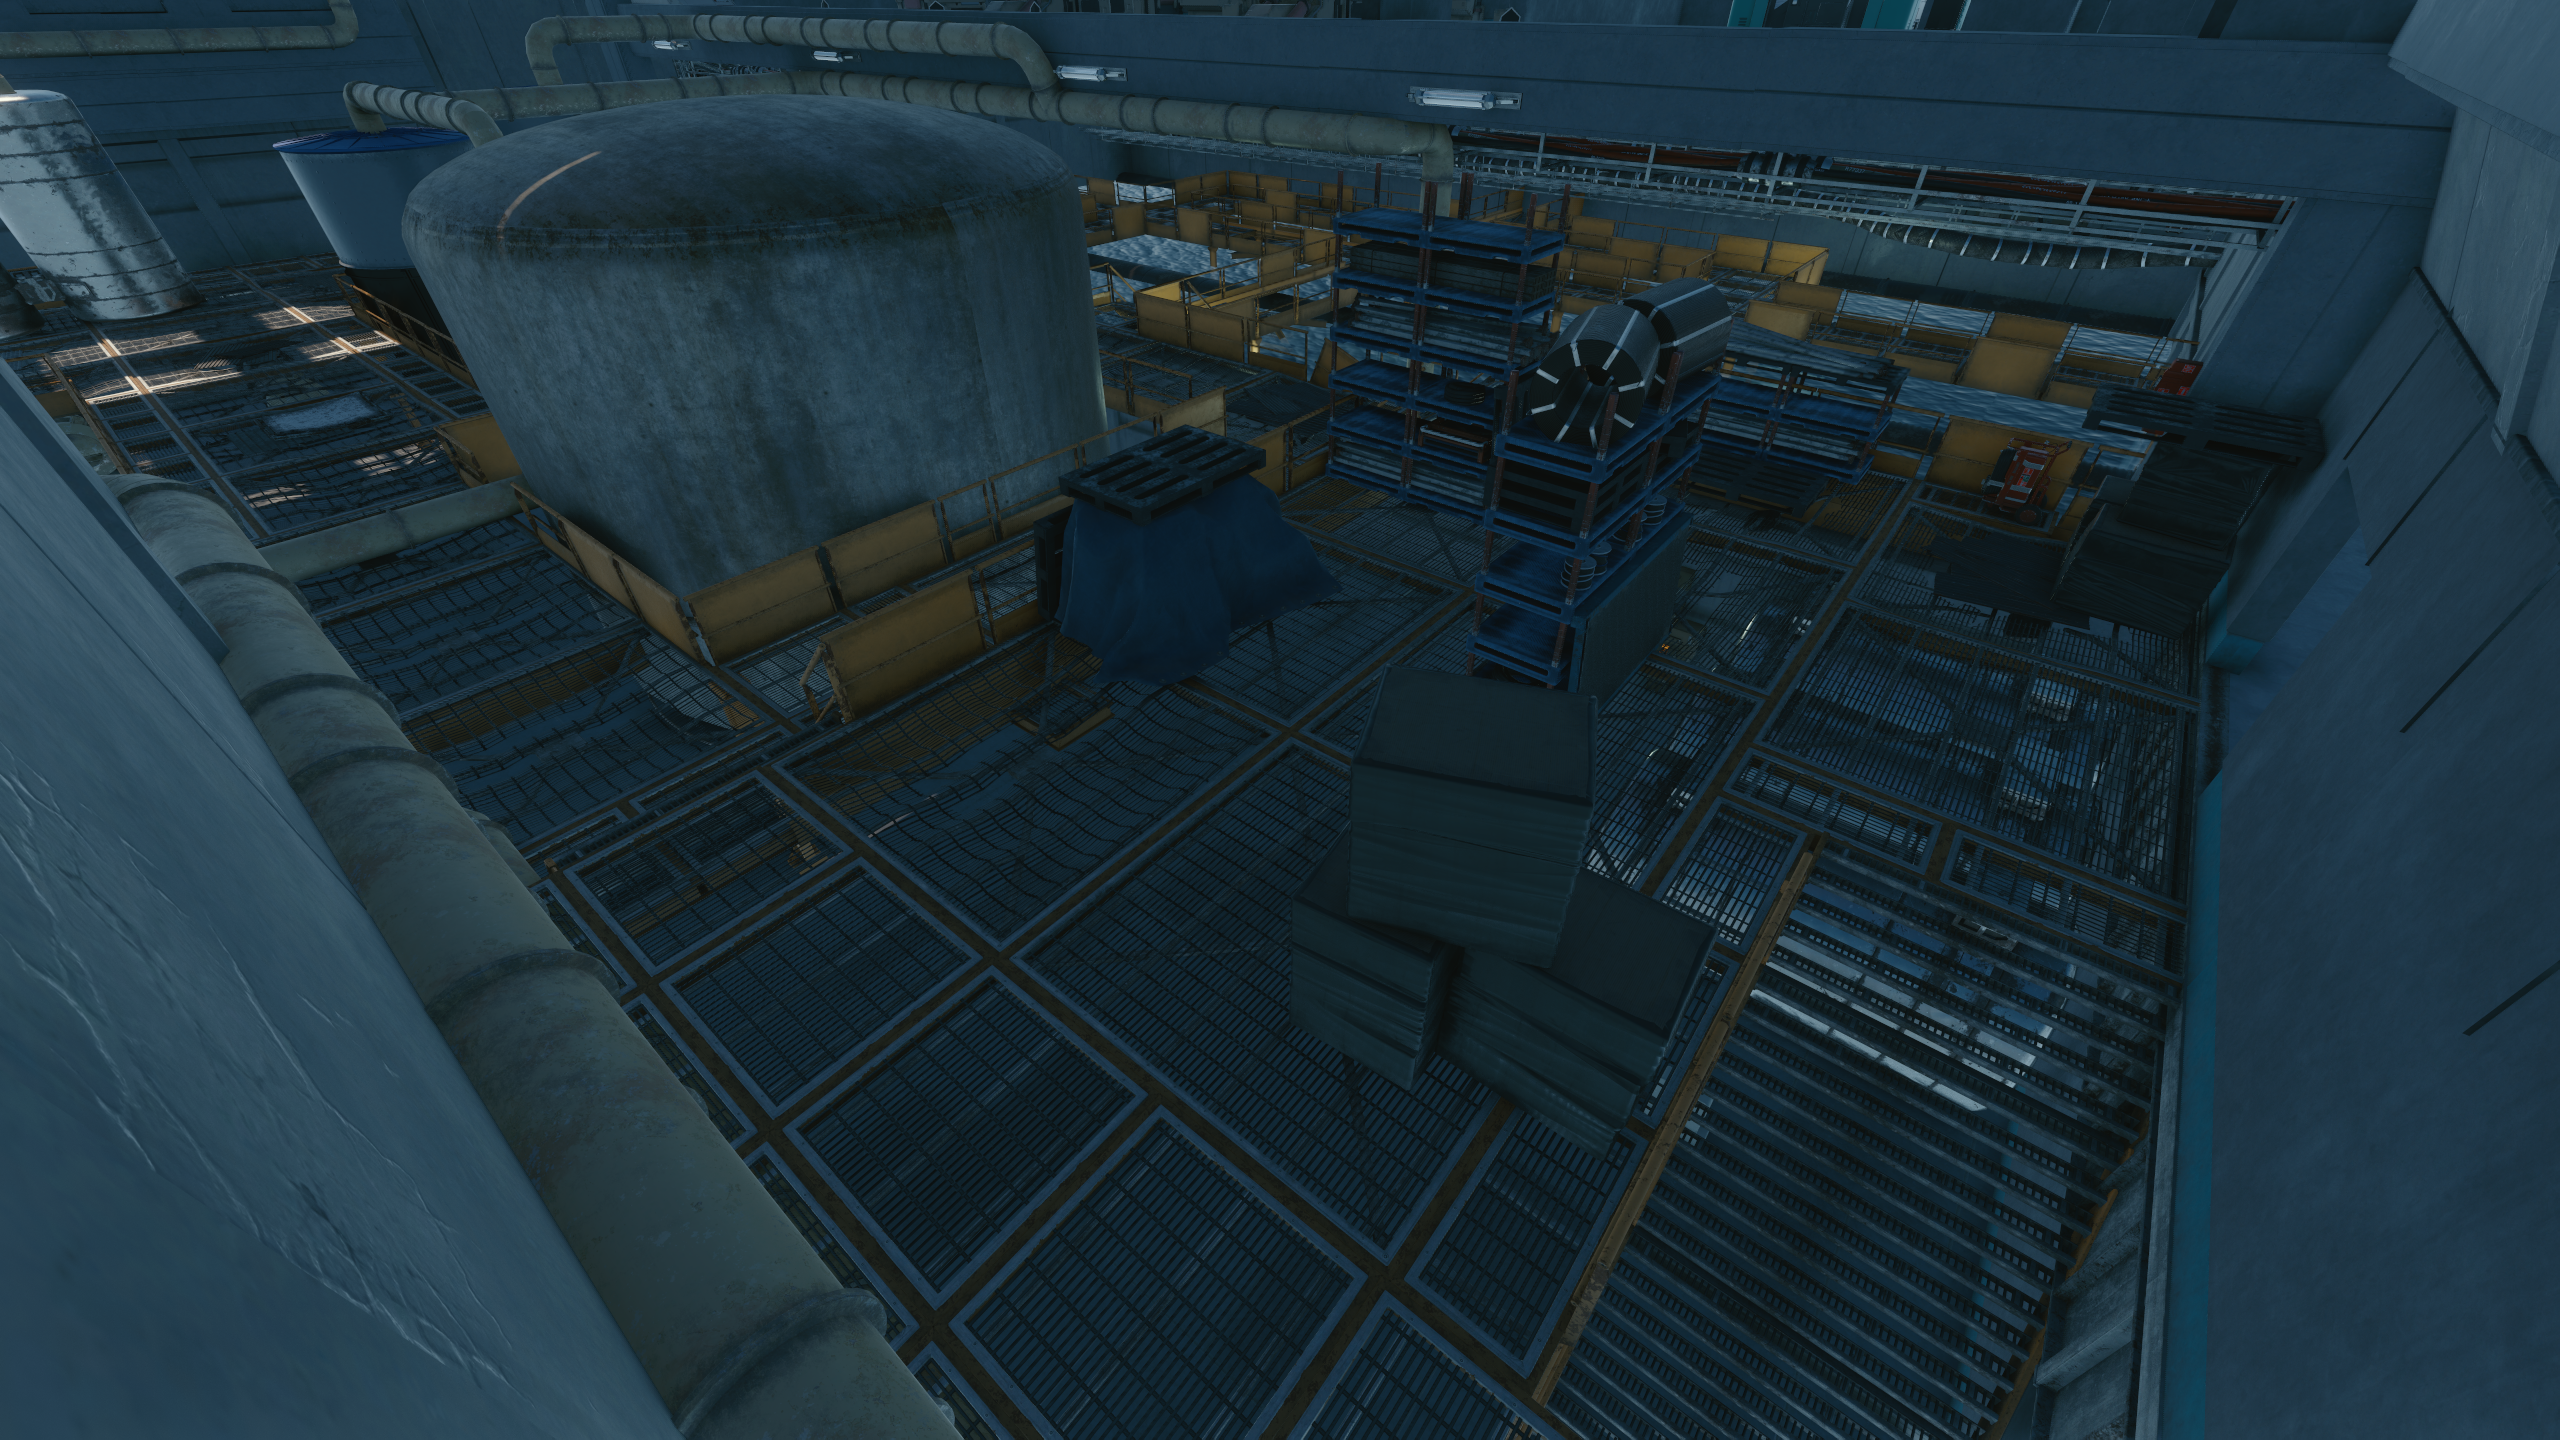
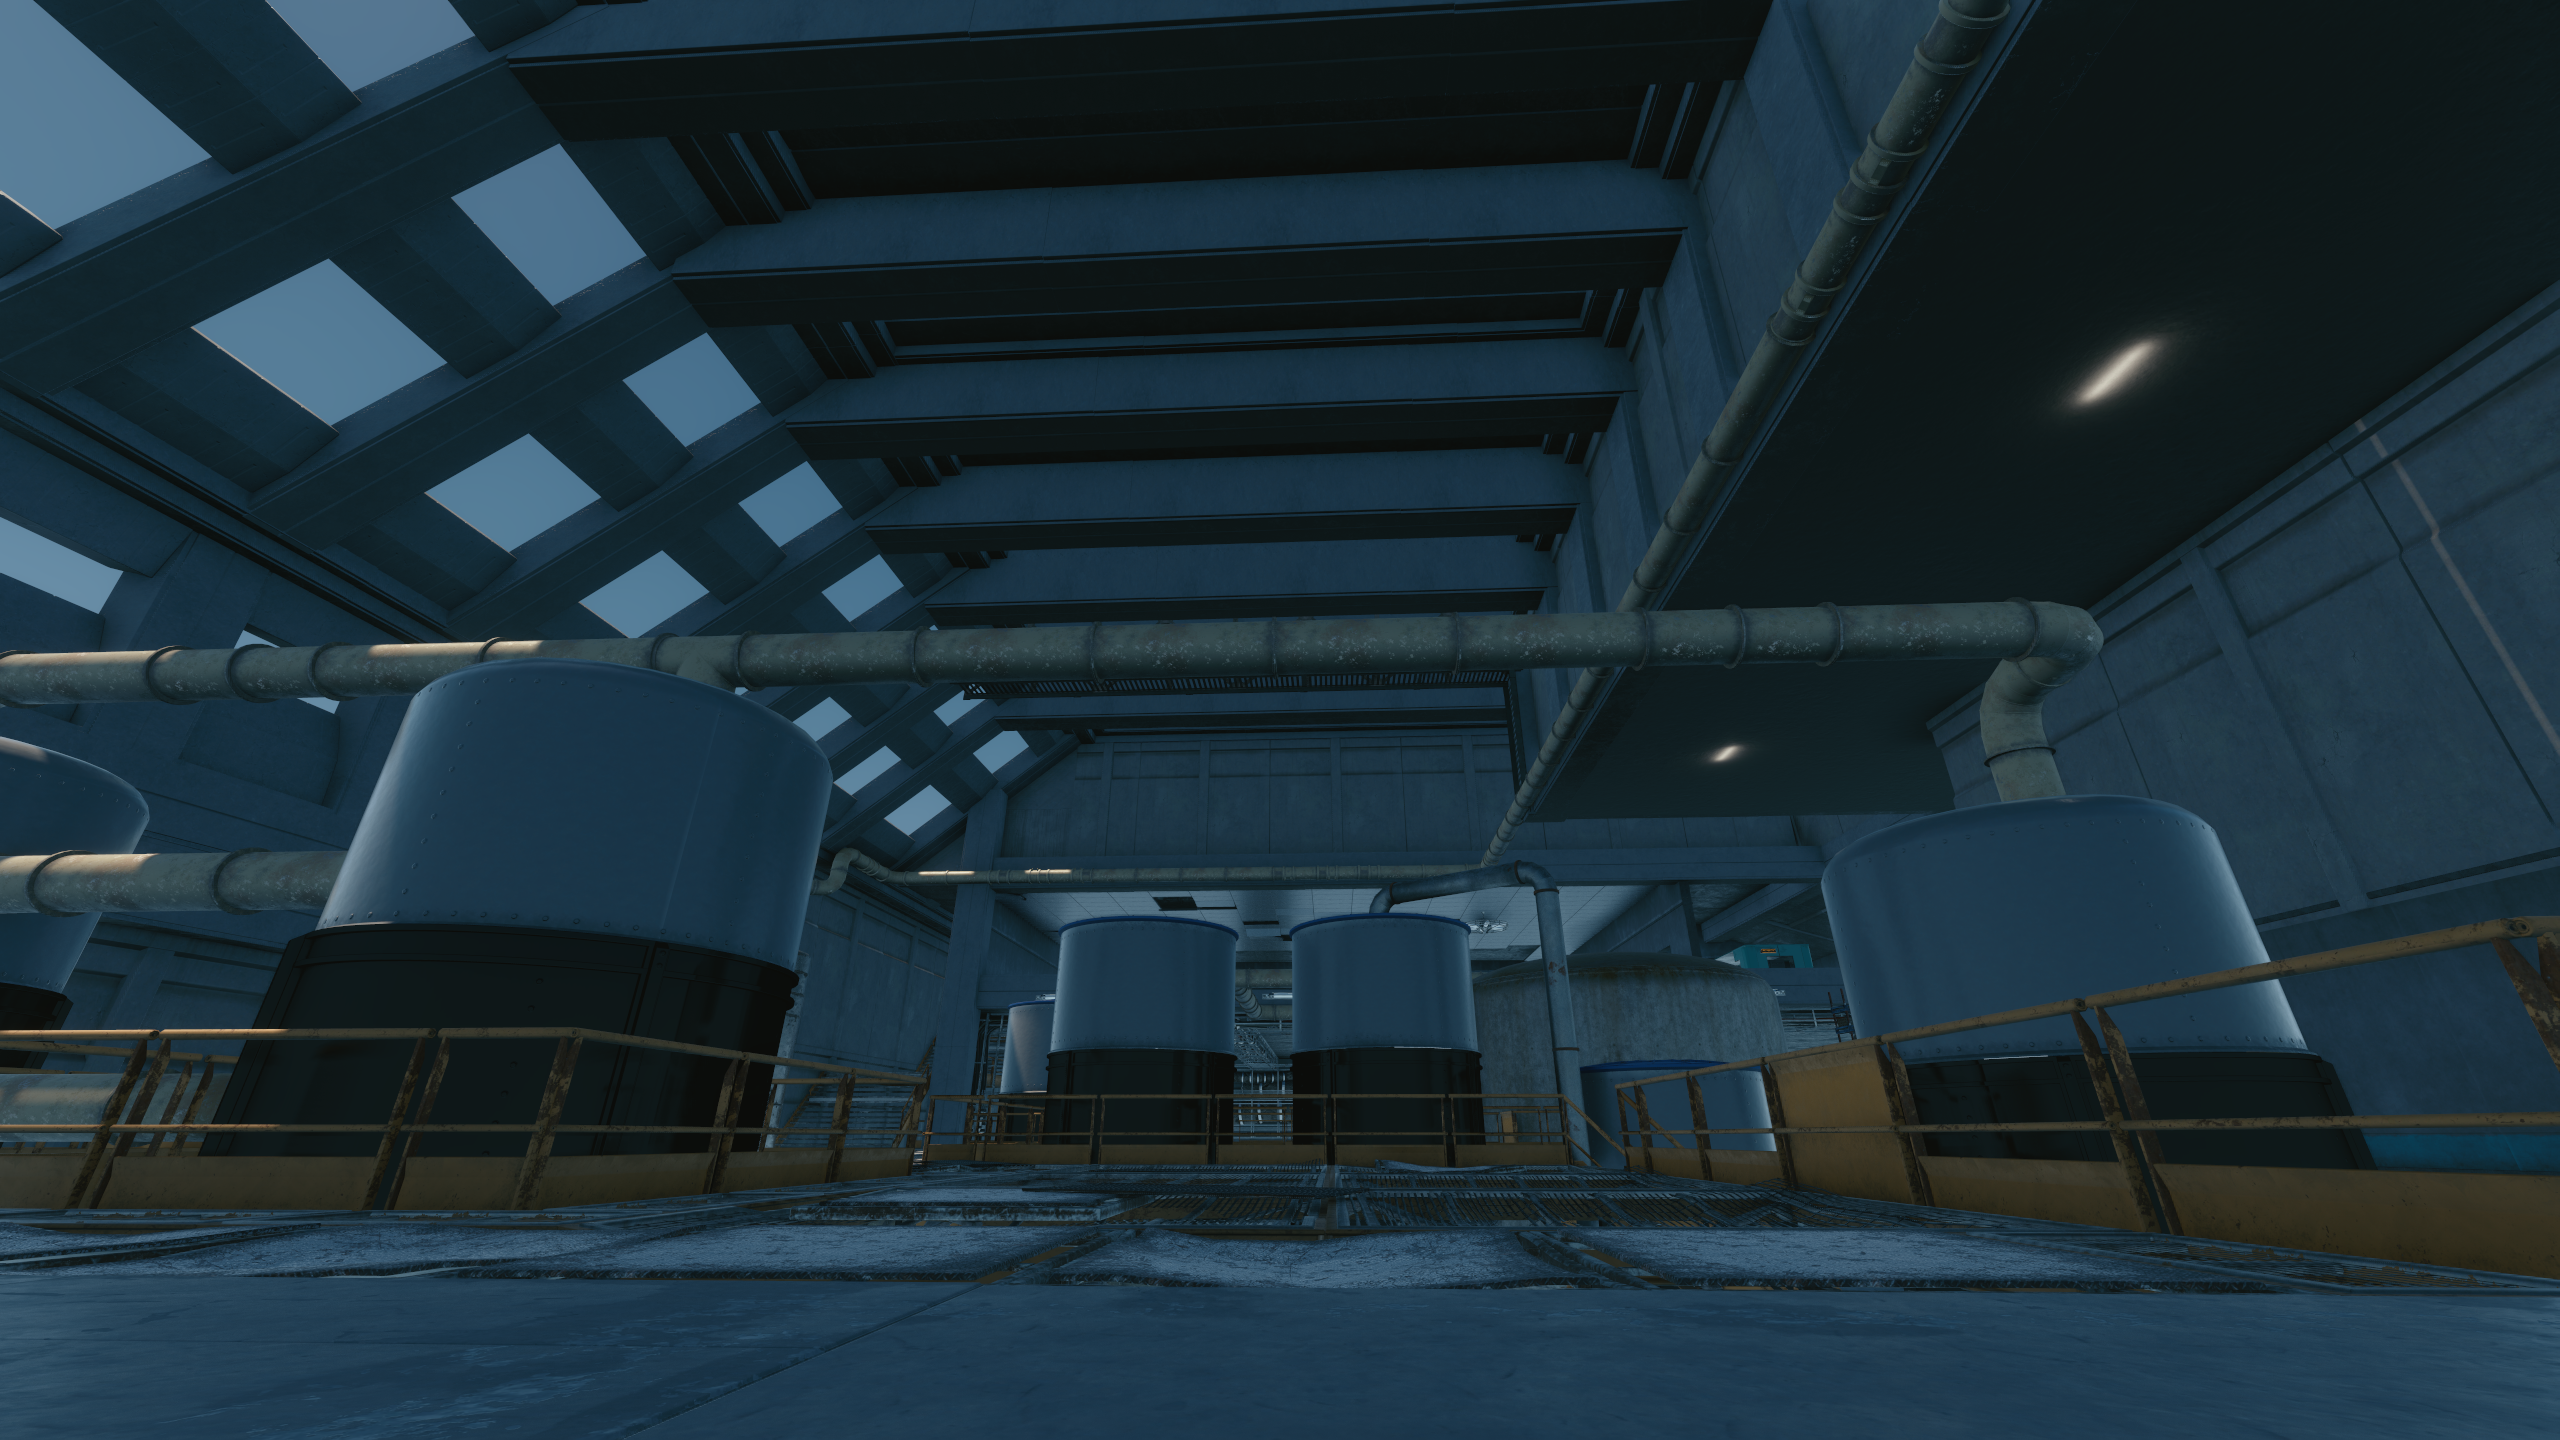
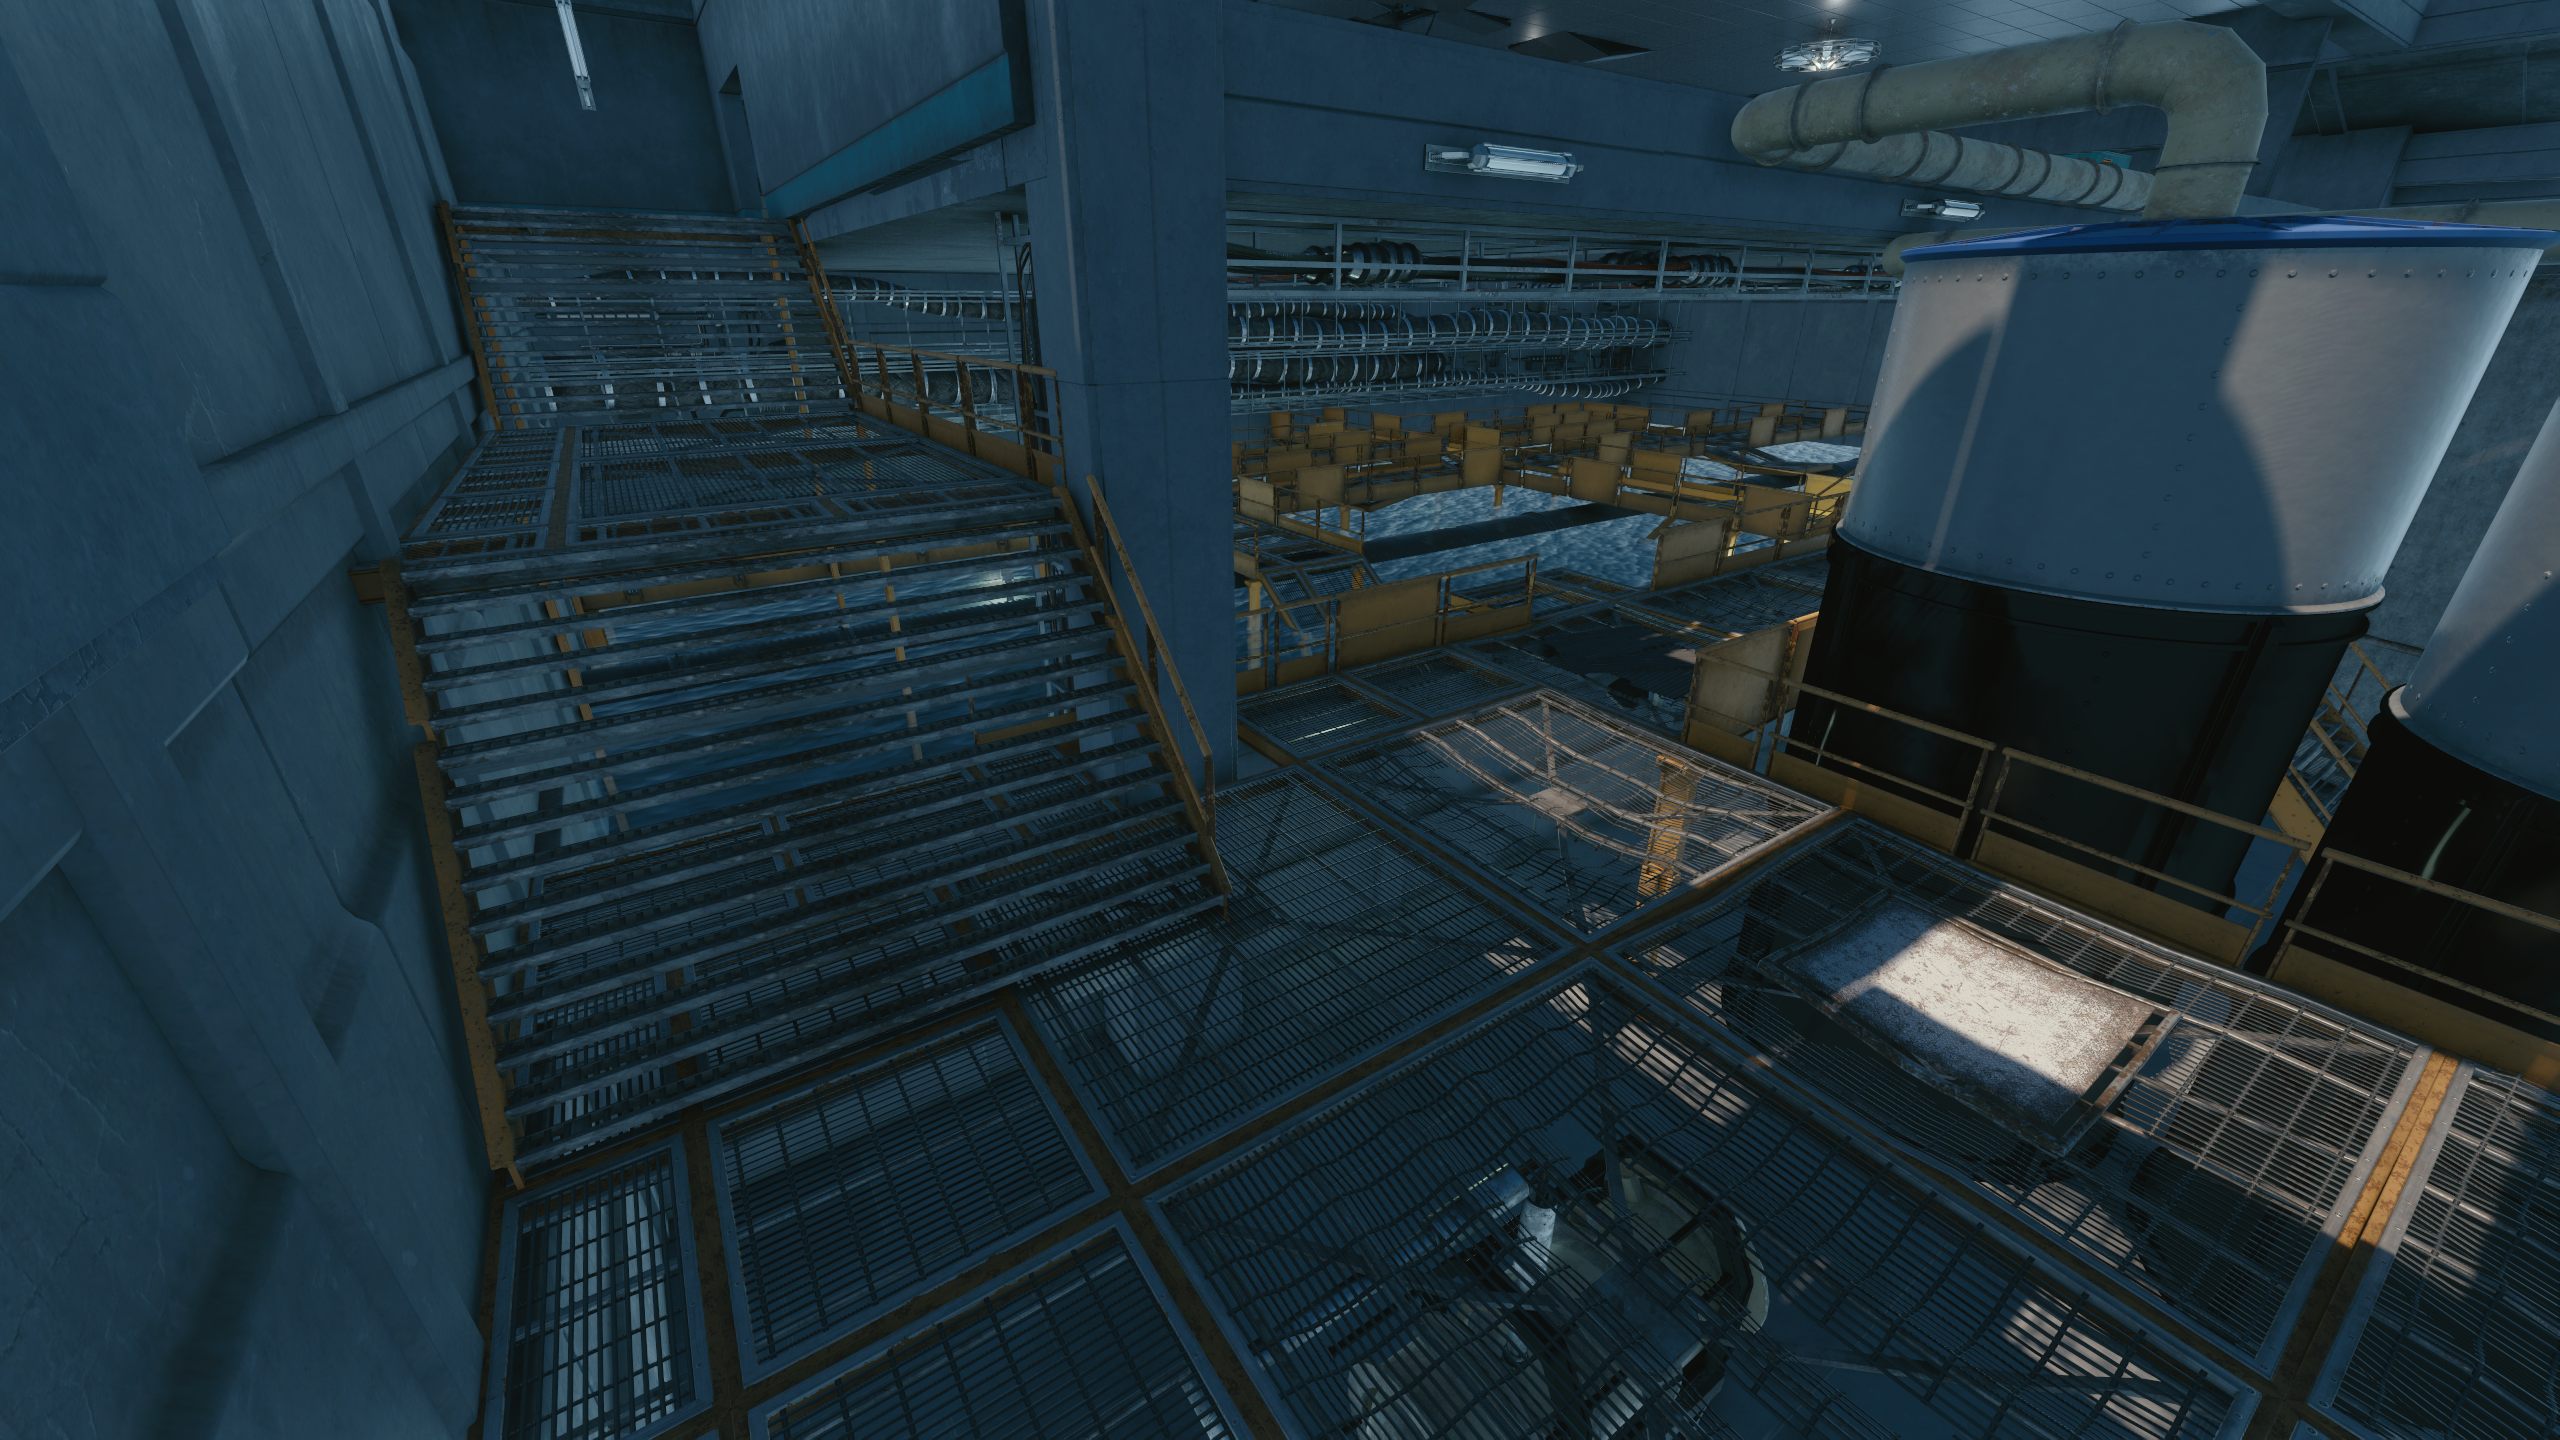
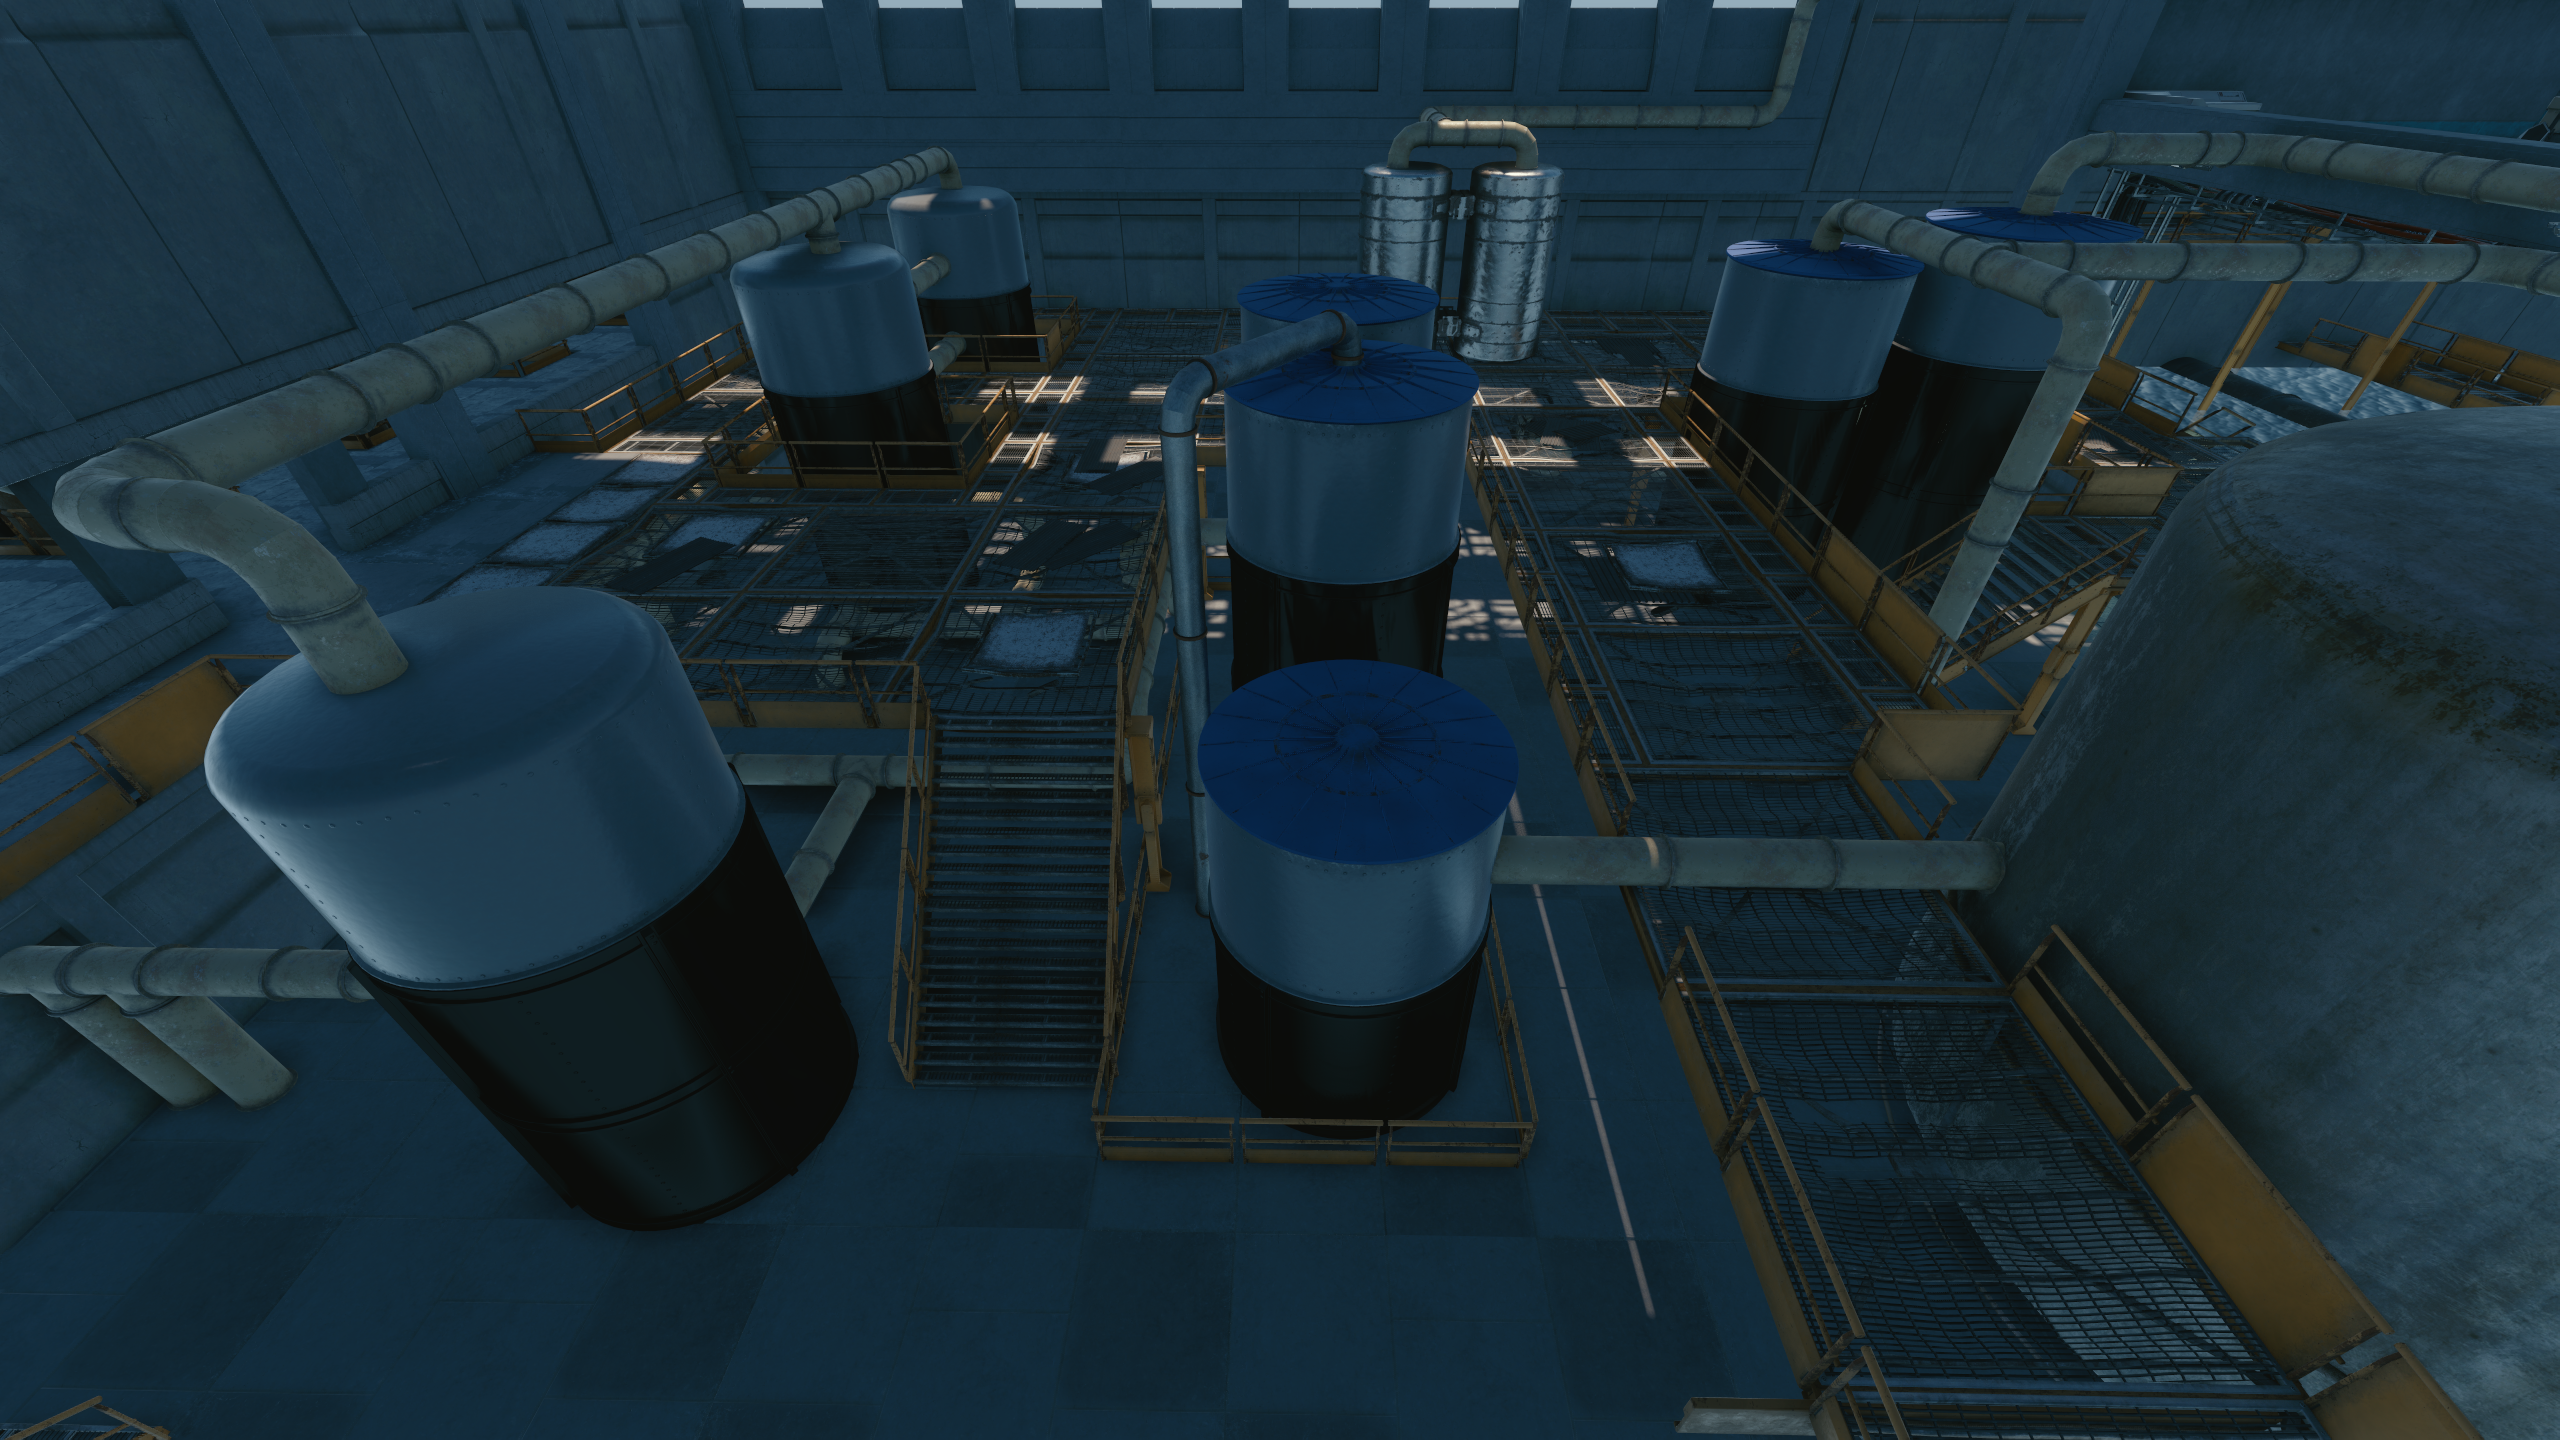
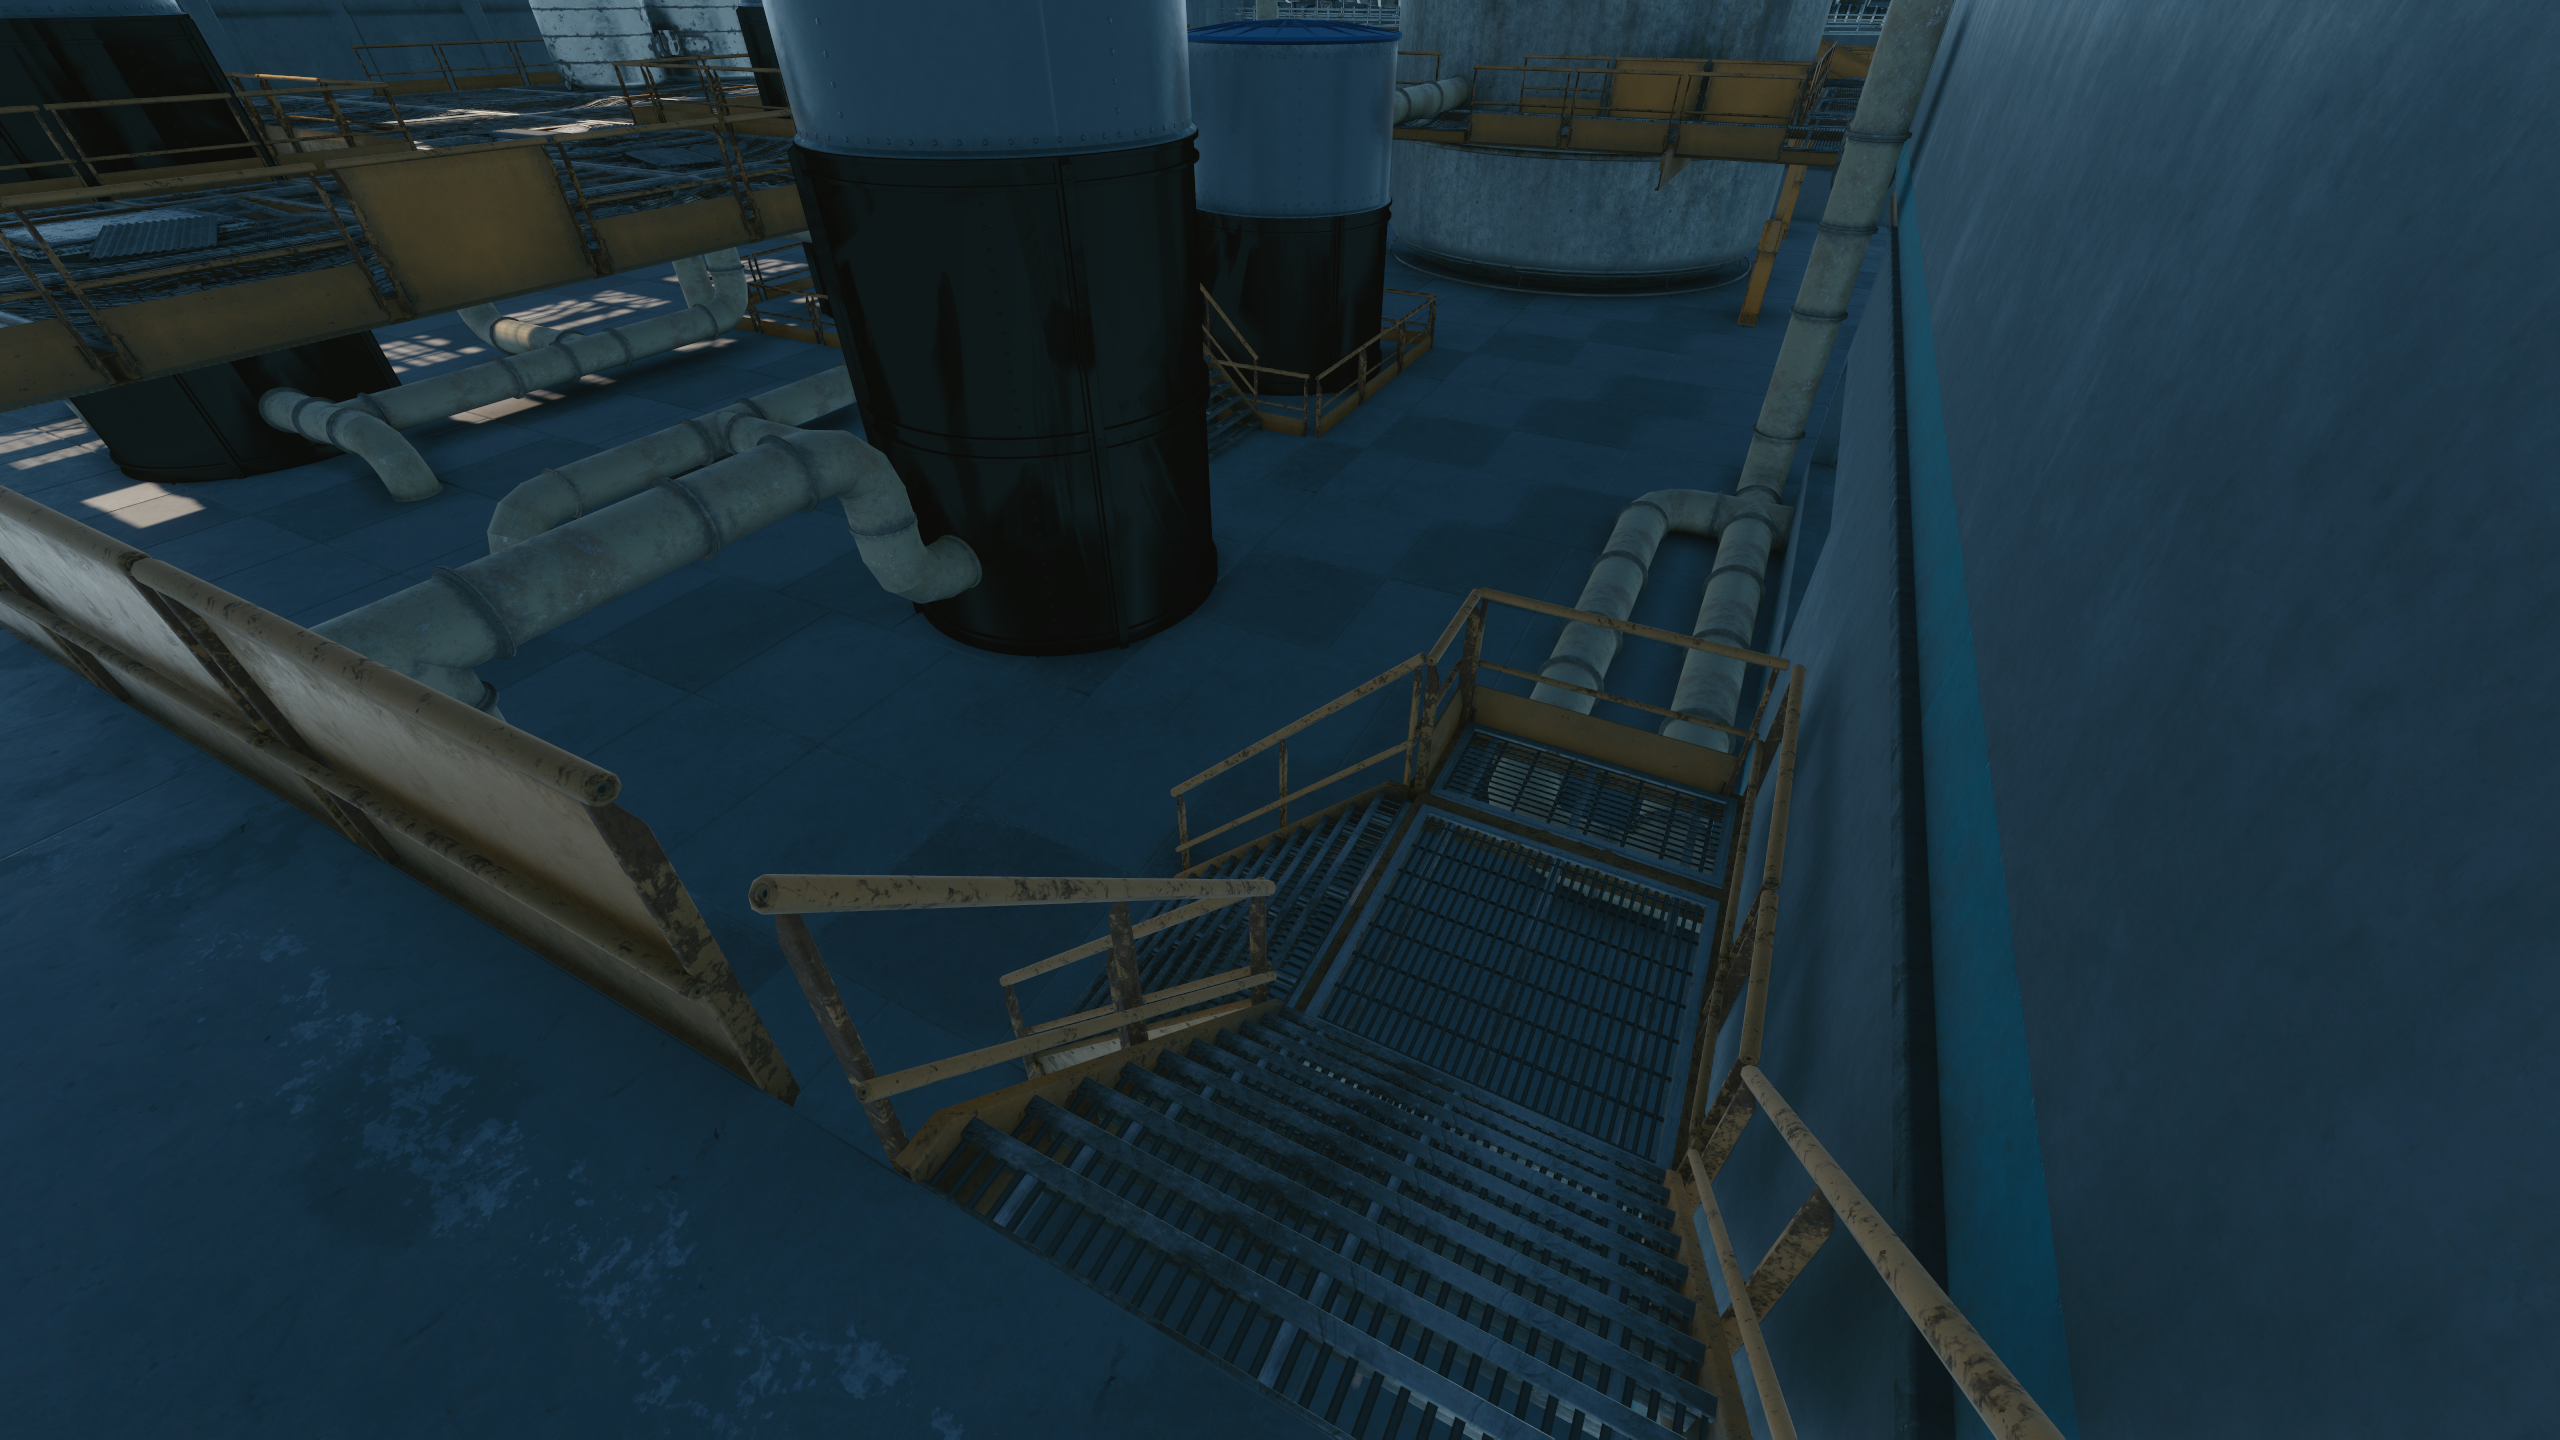
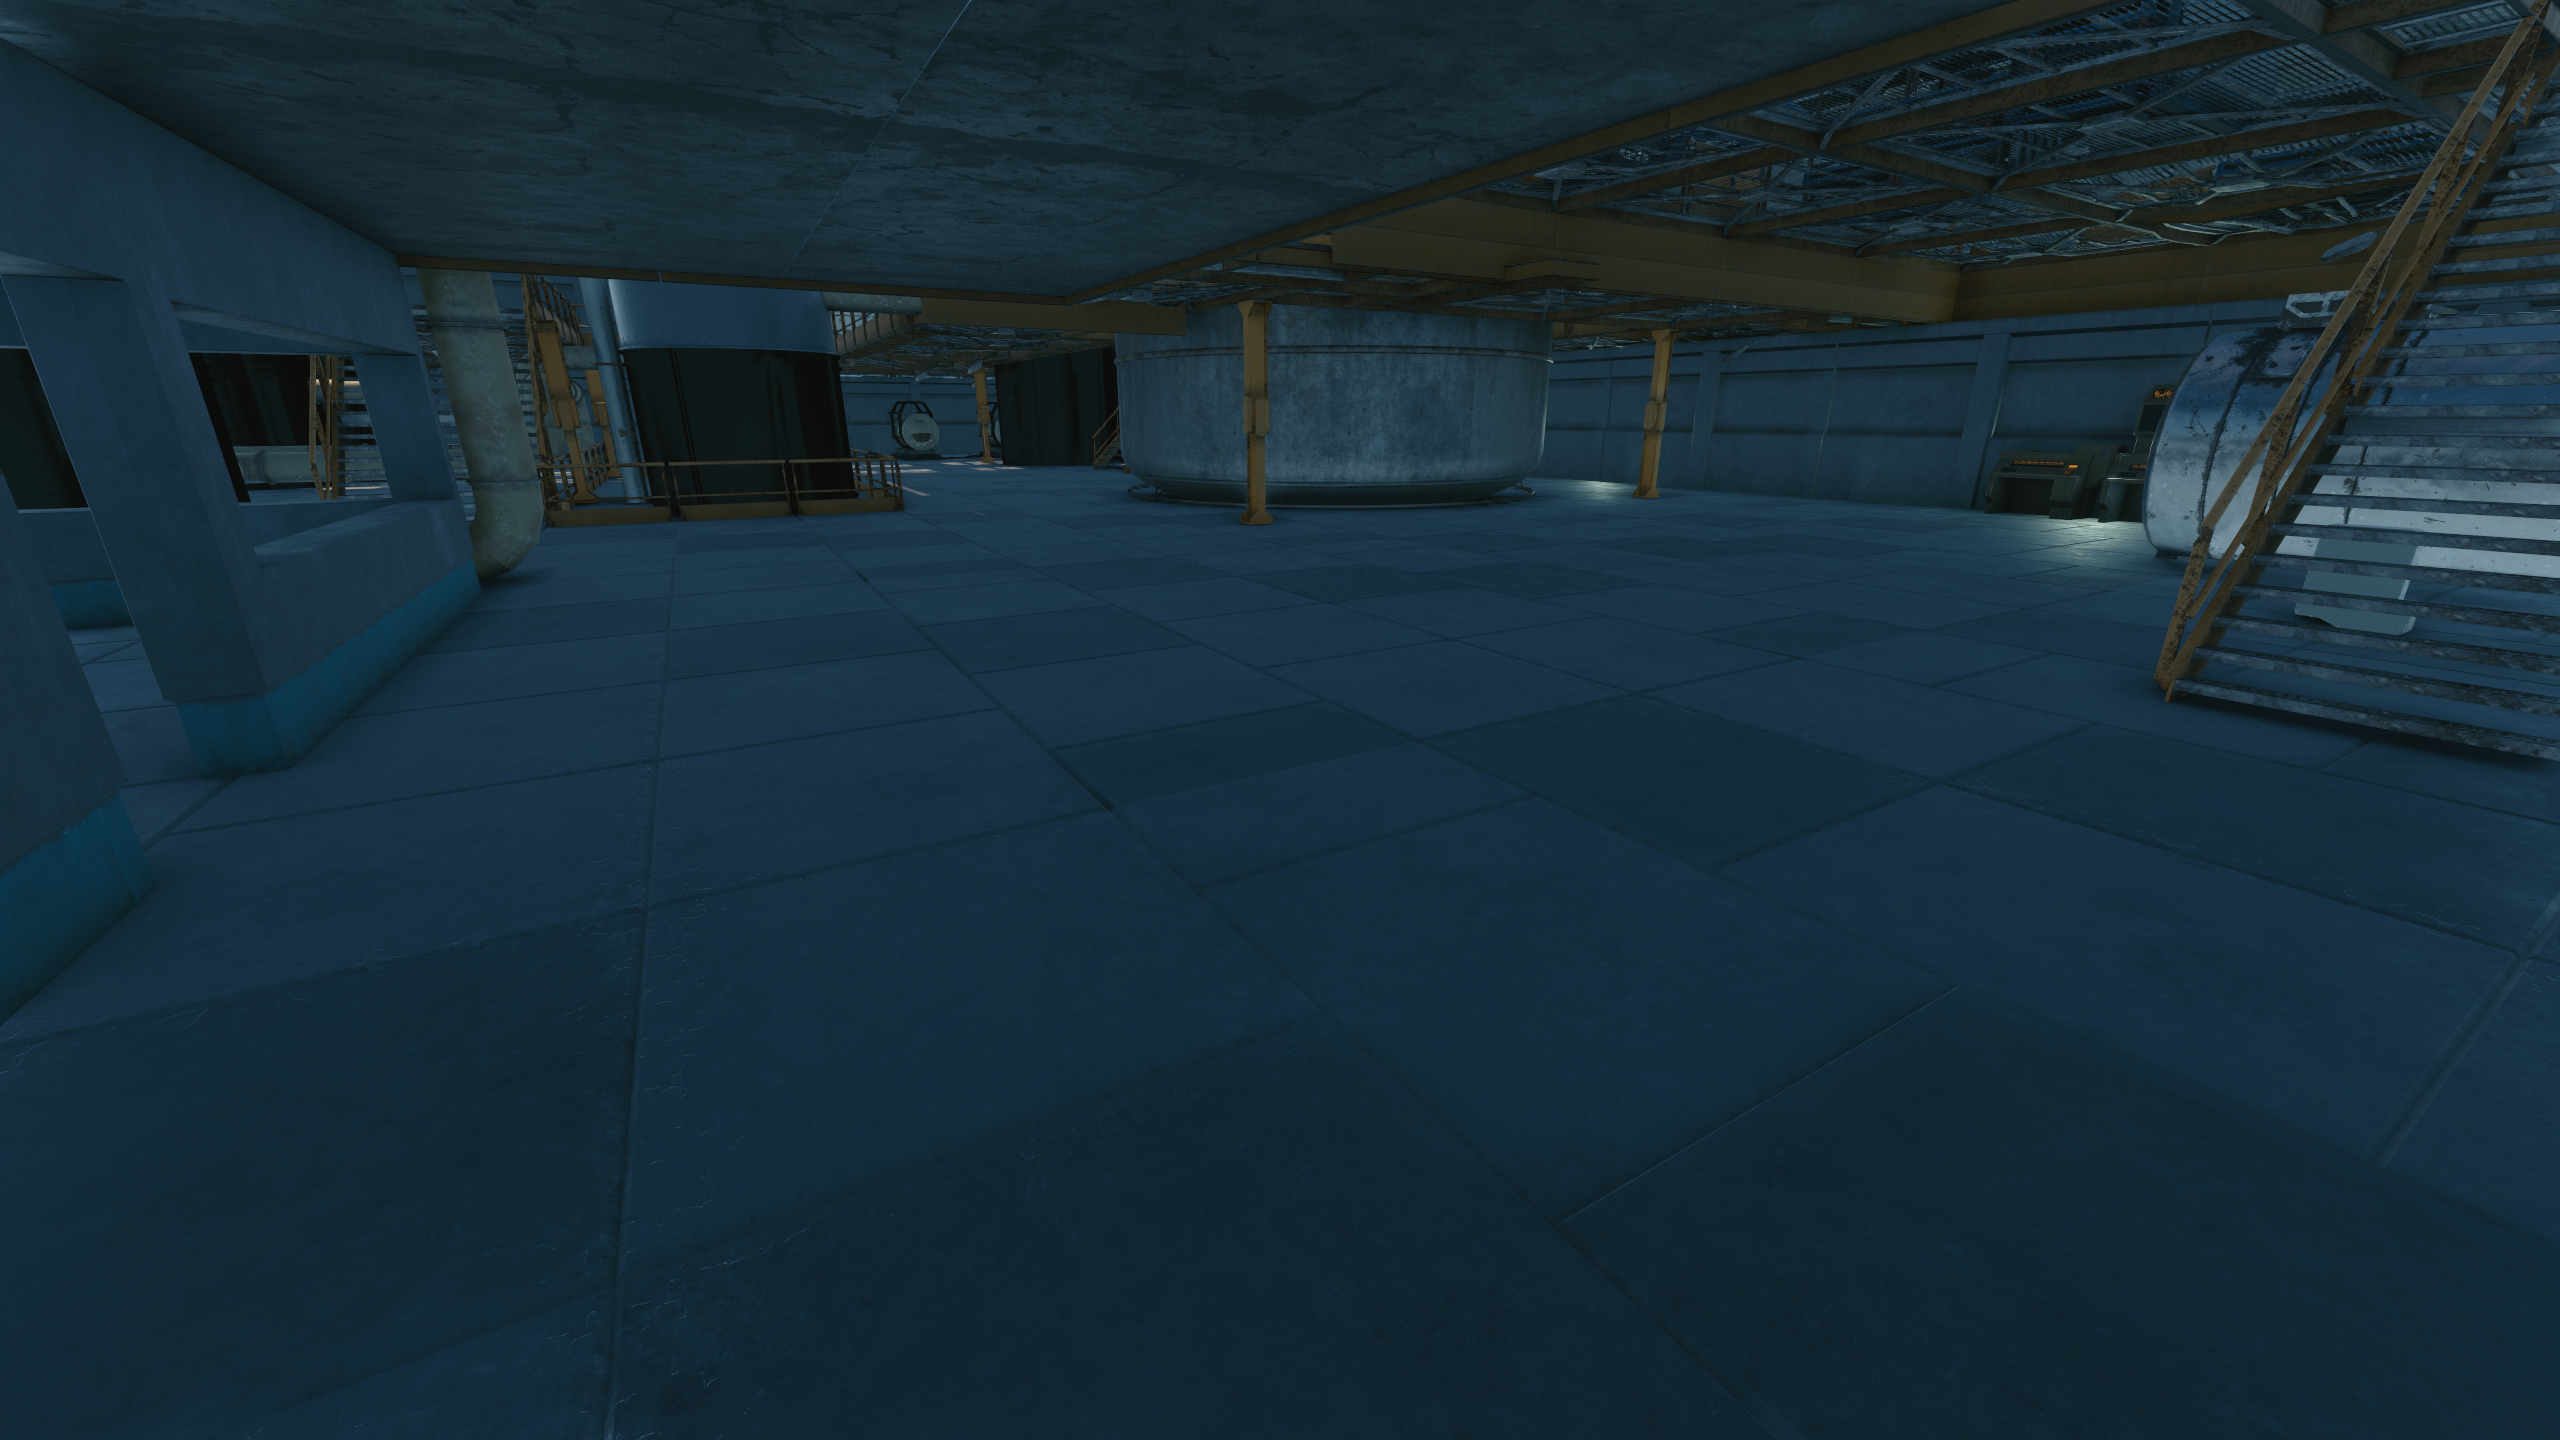
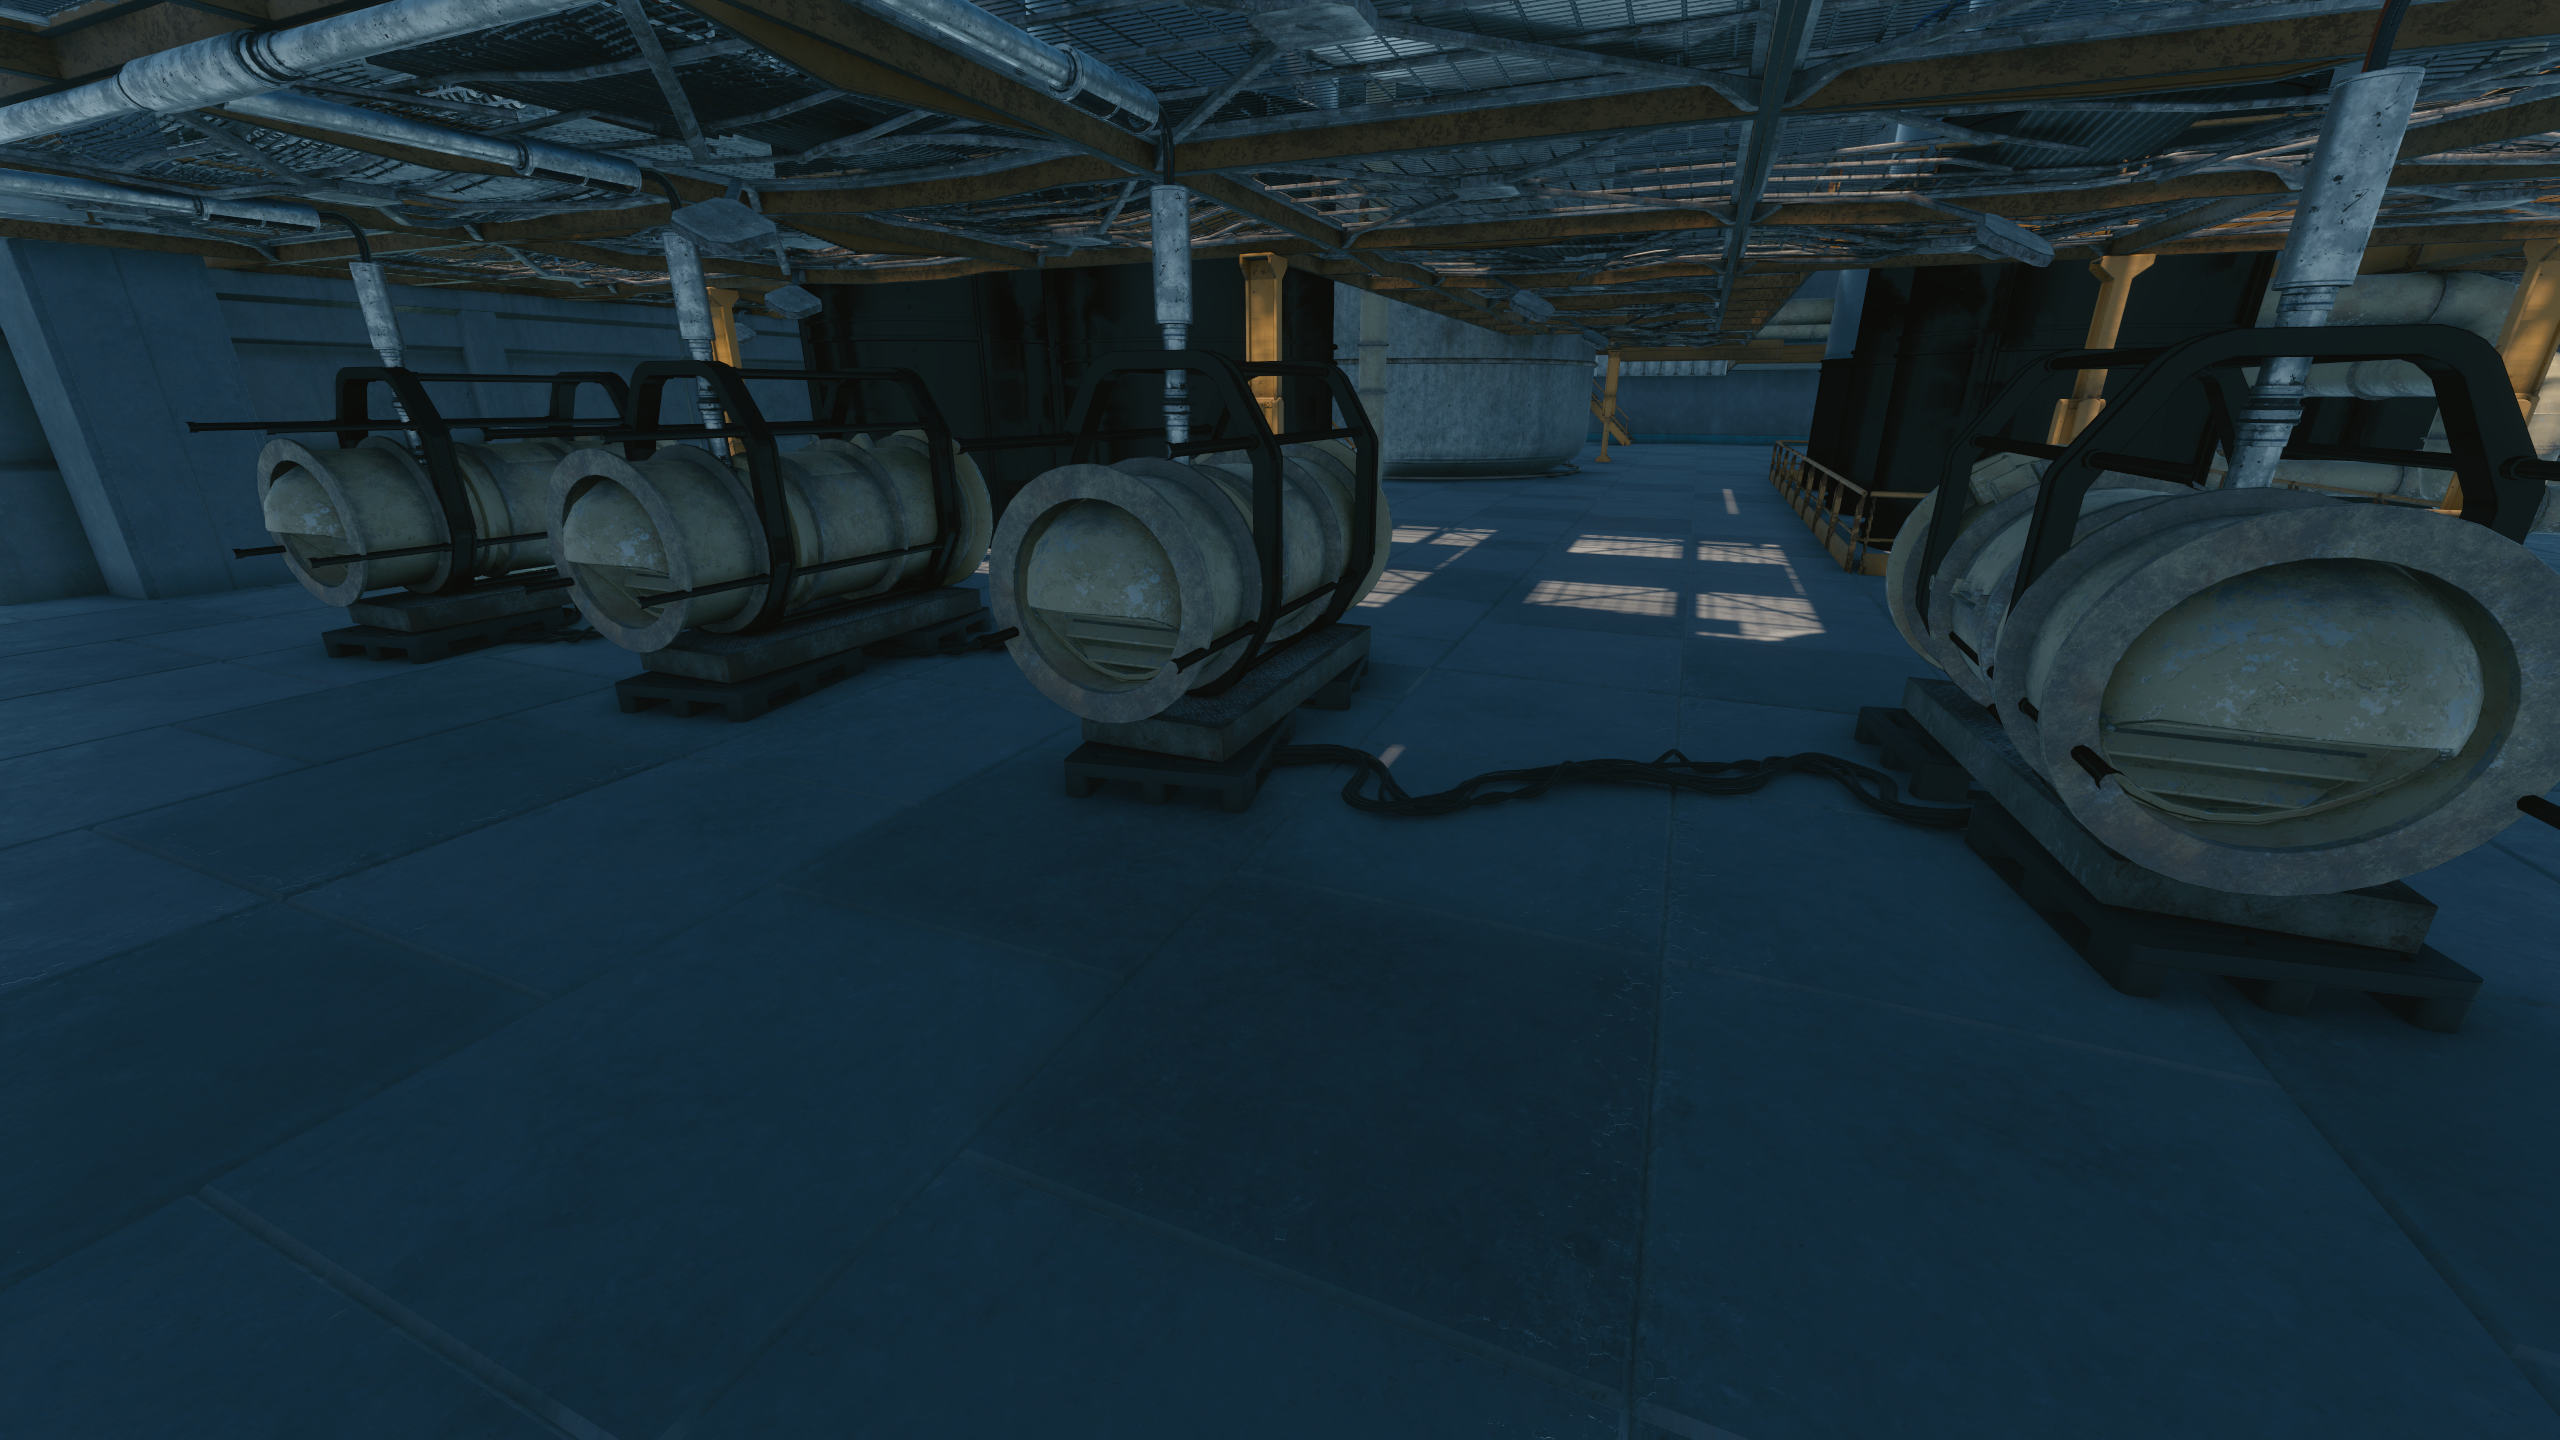
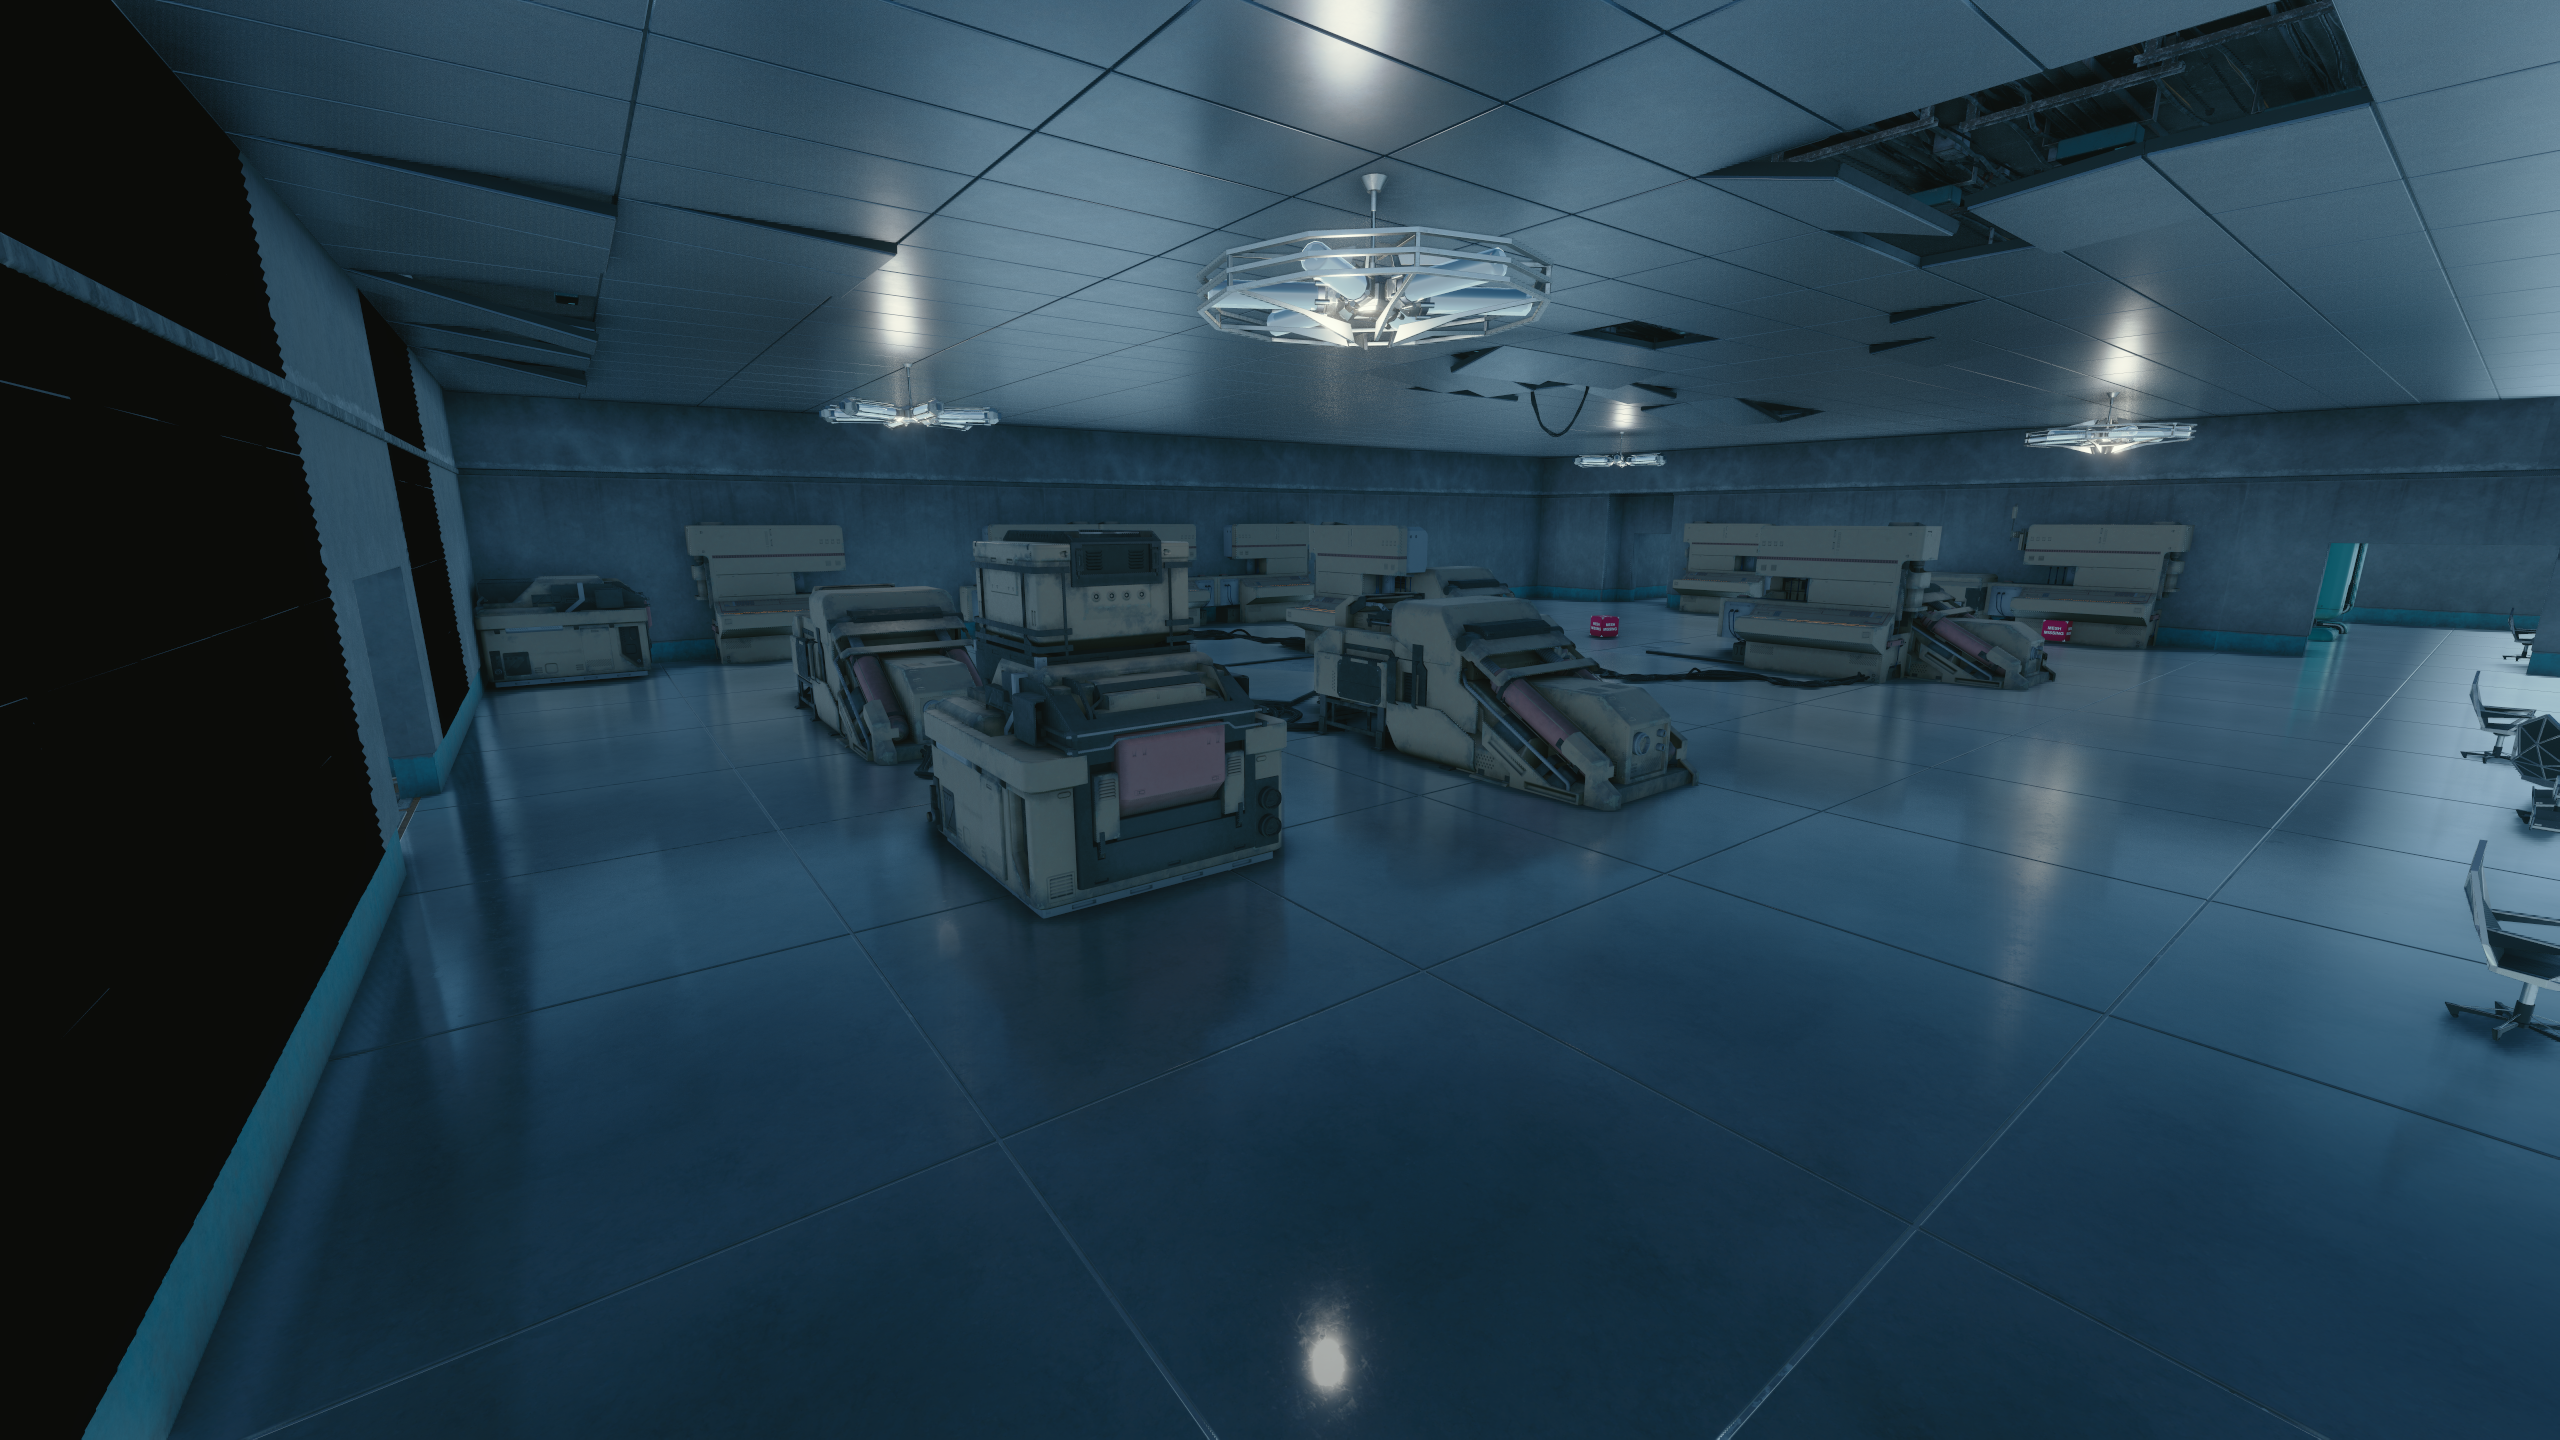
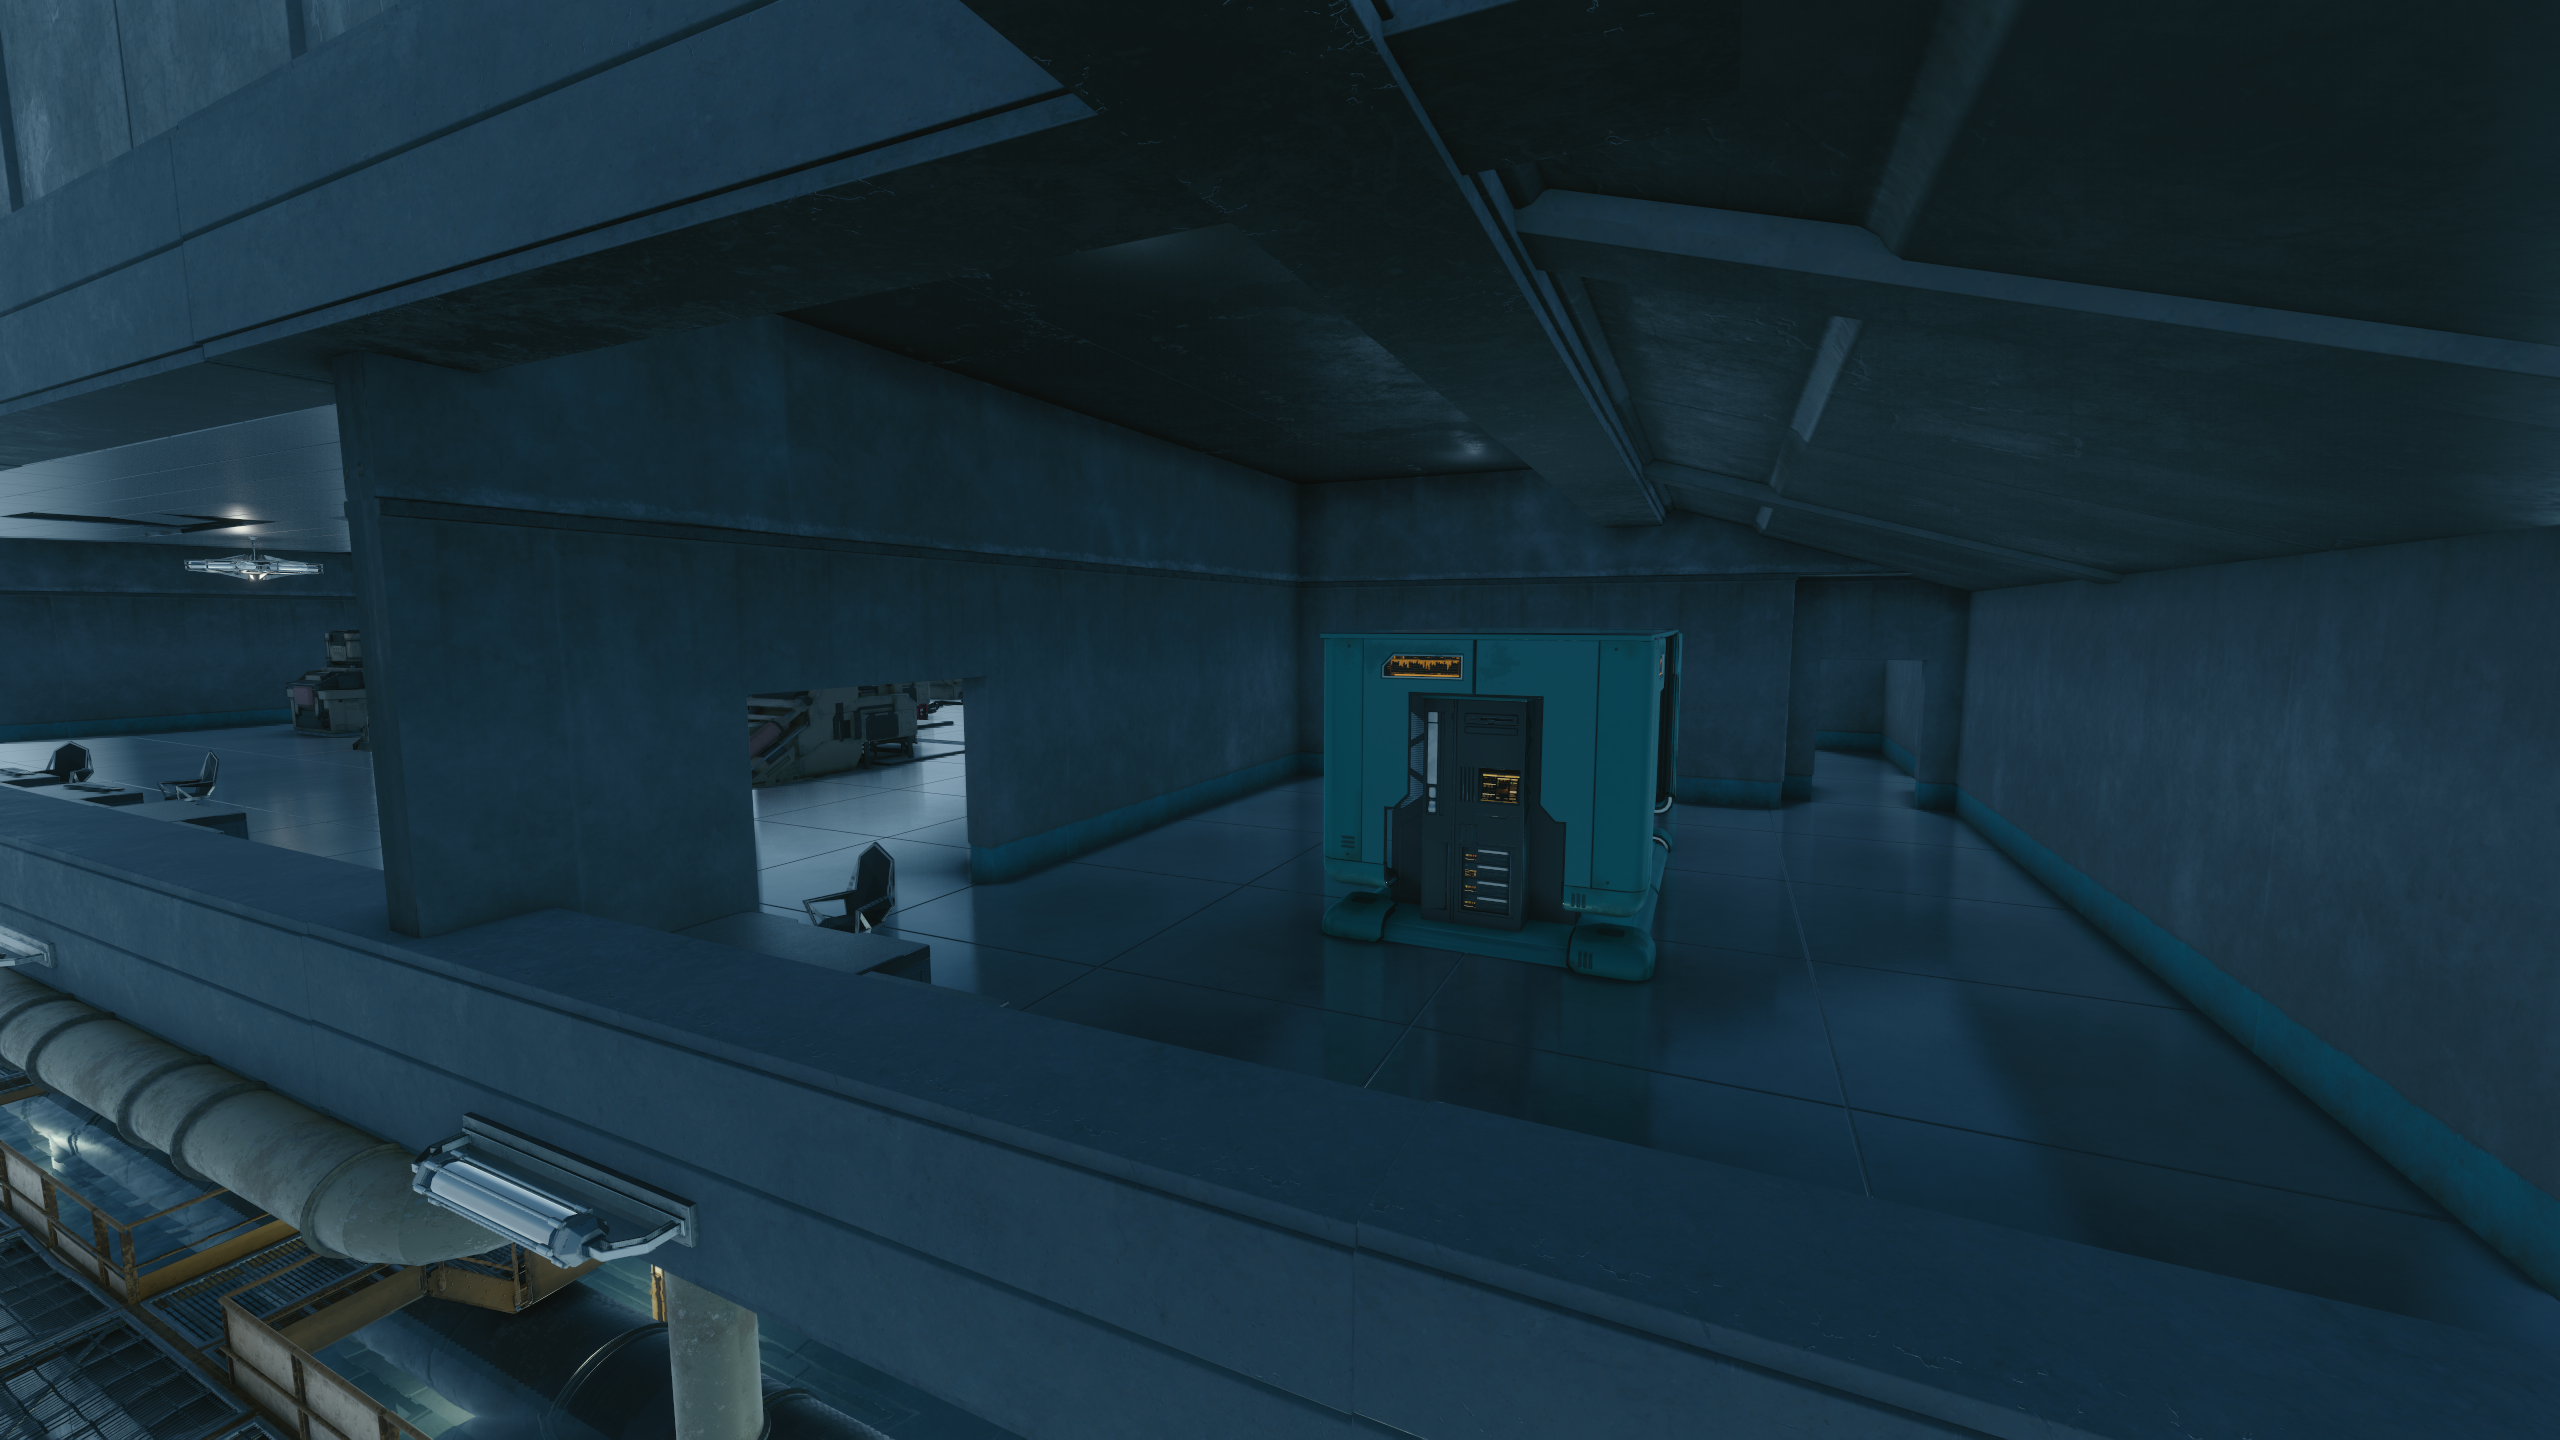
q111_cathedral#
|
|
To do: |
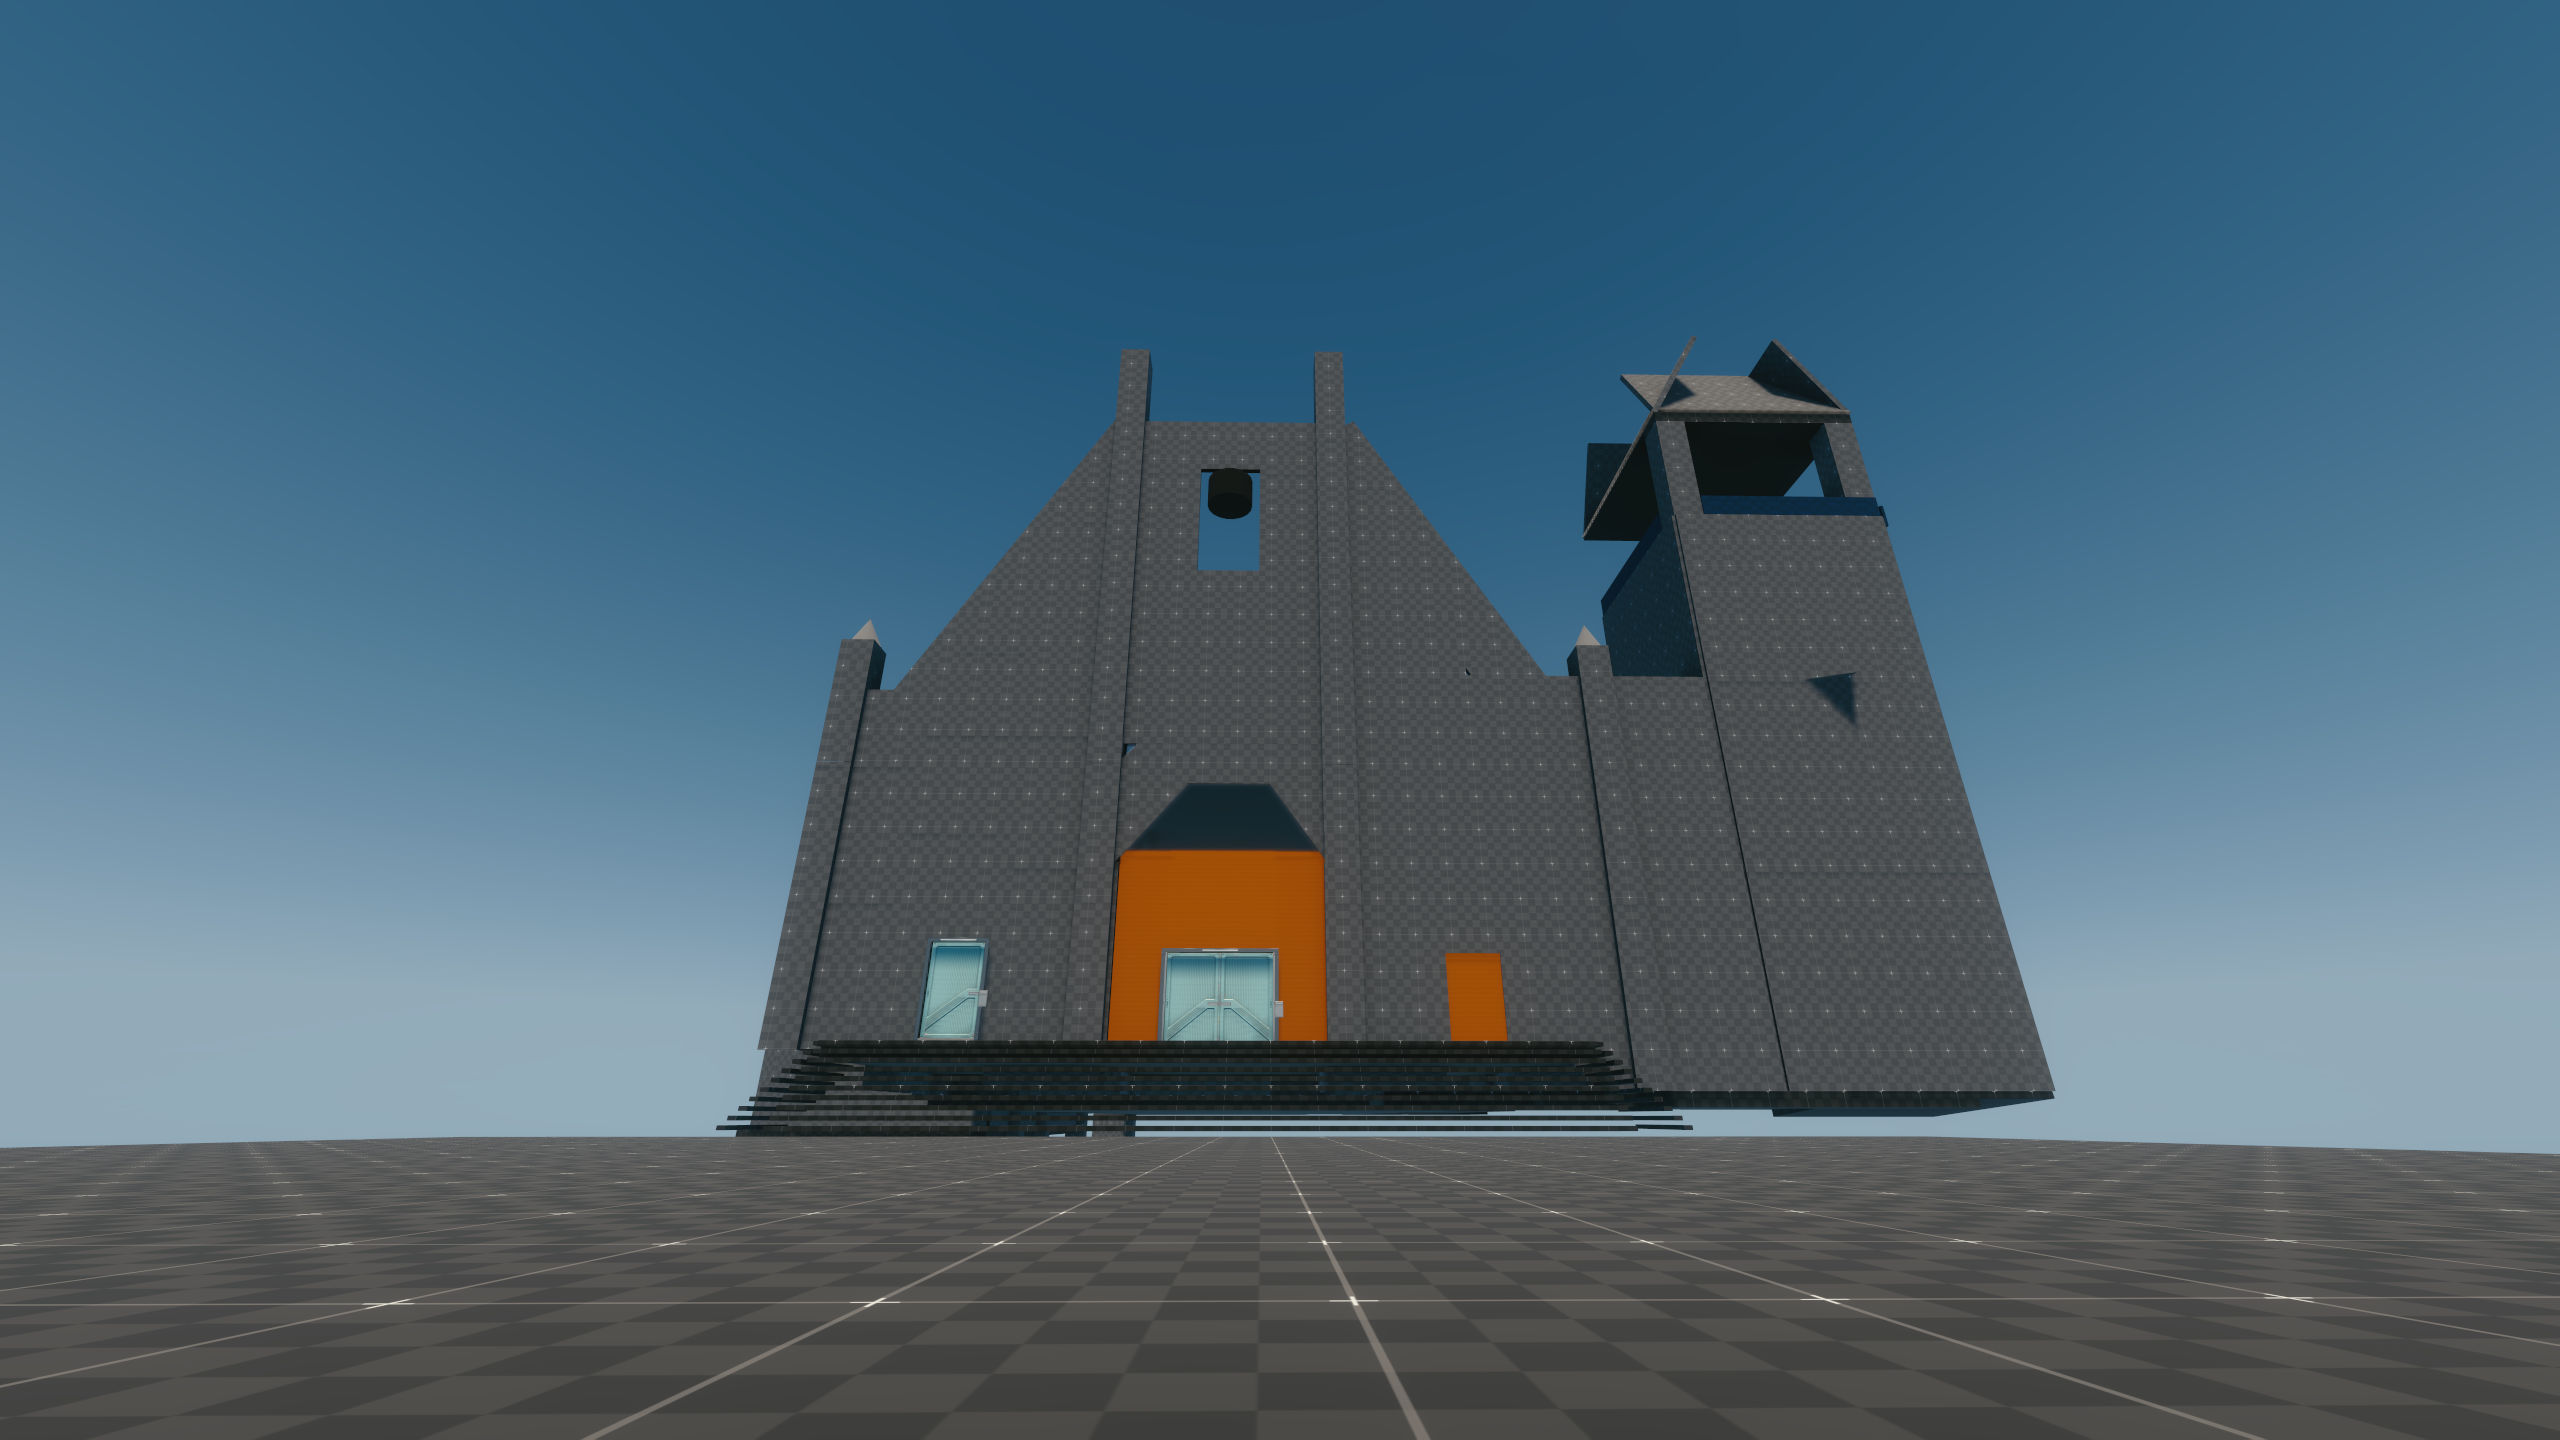
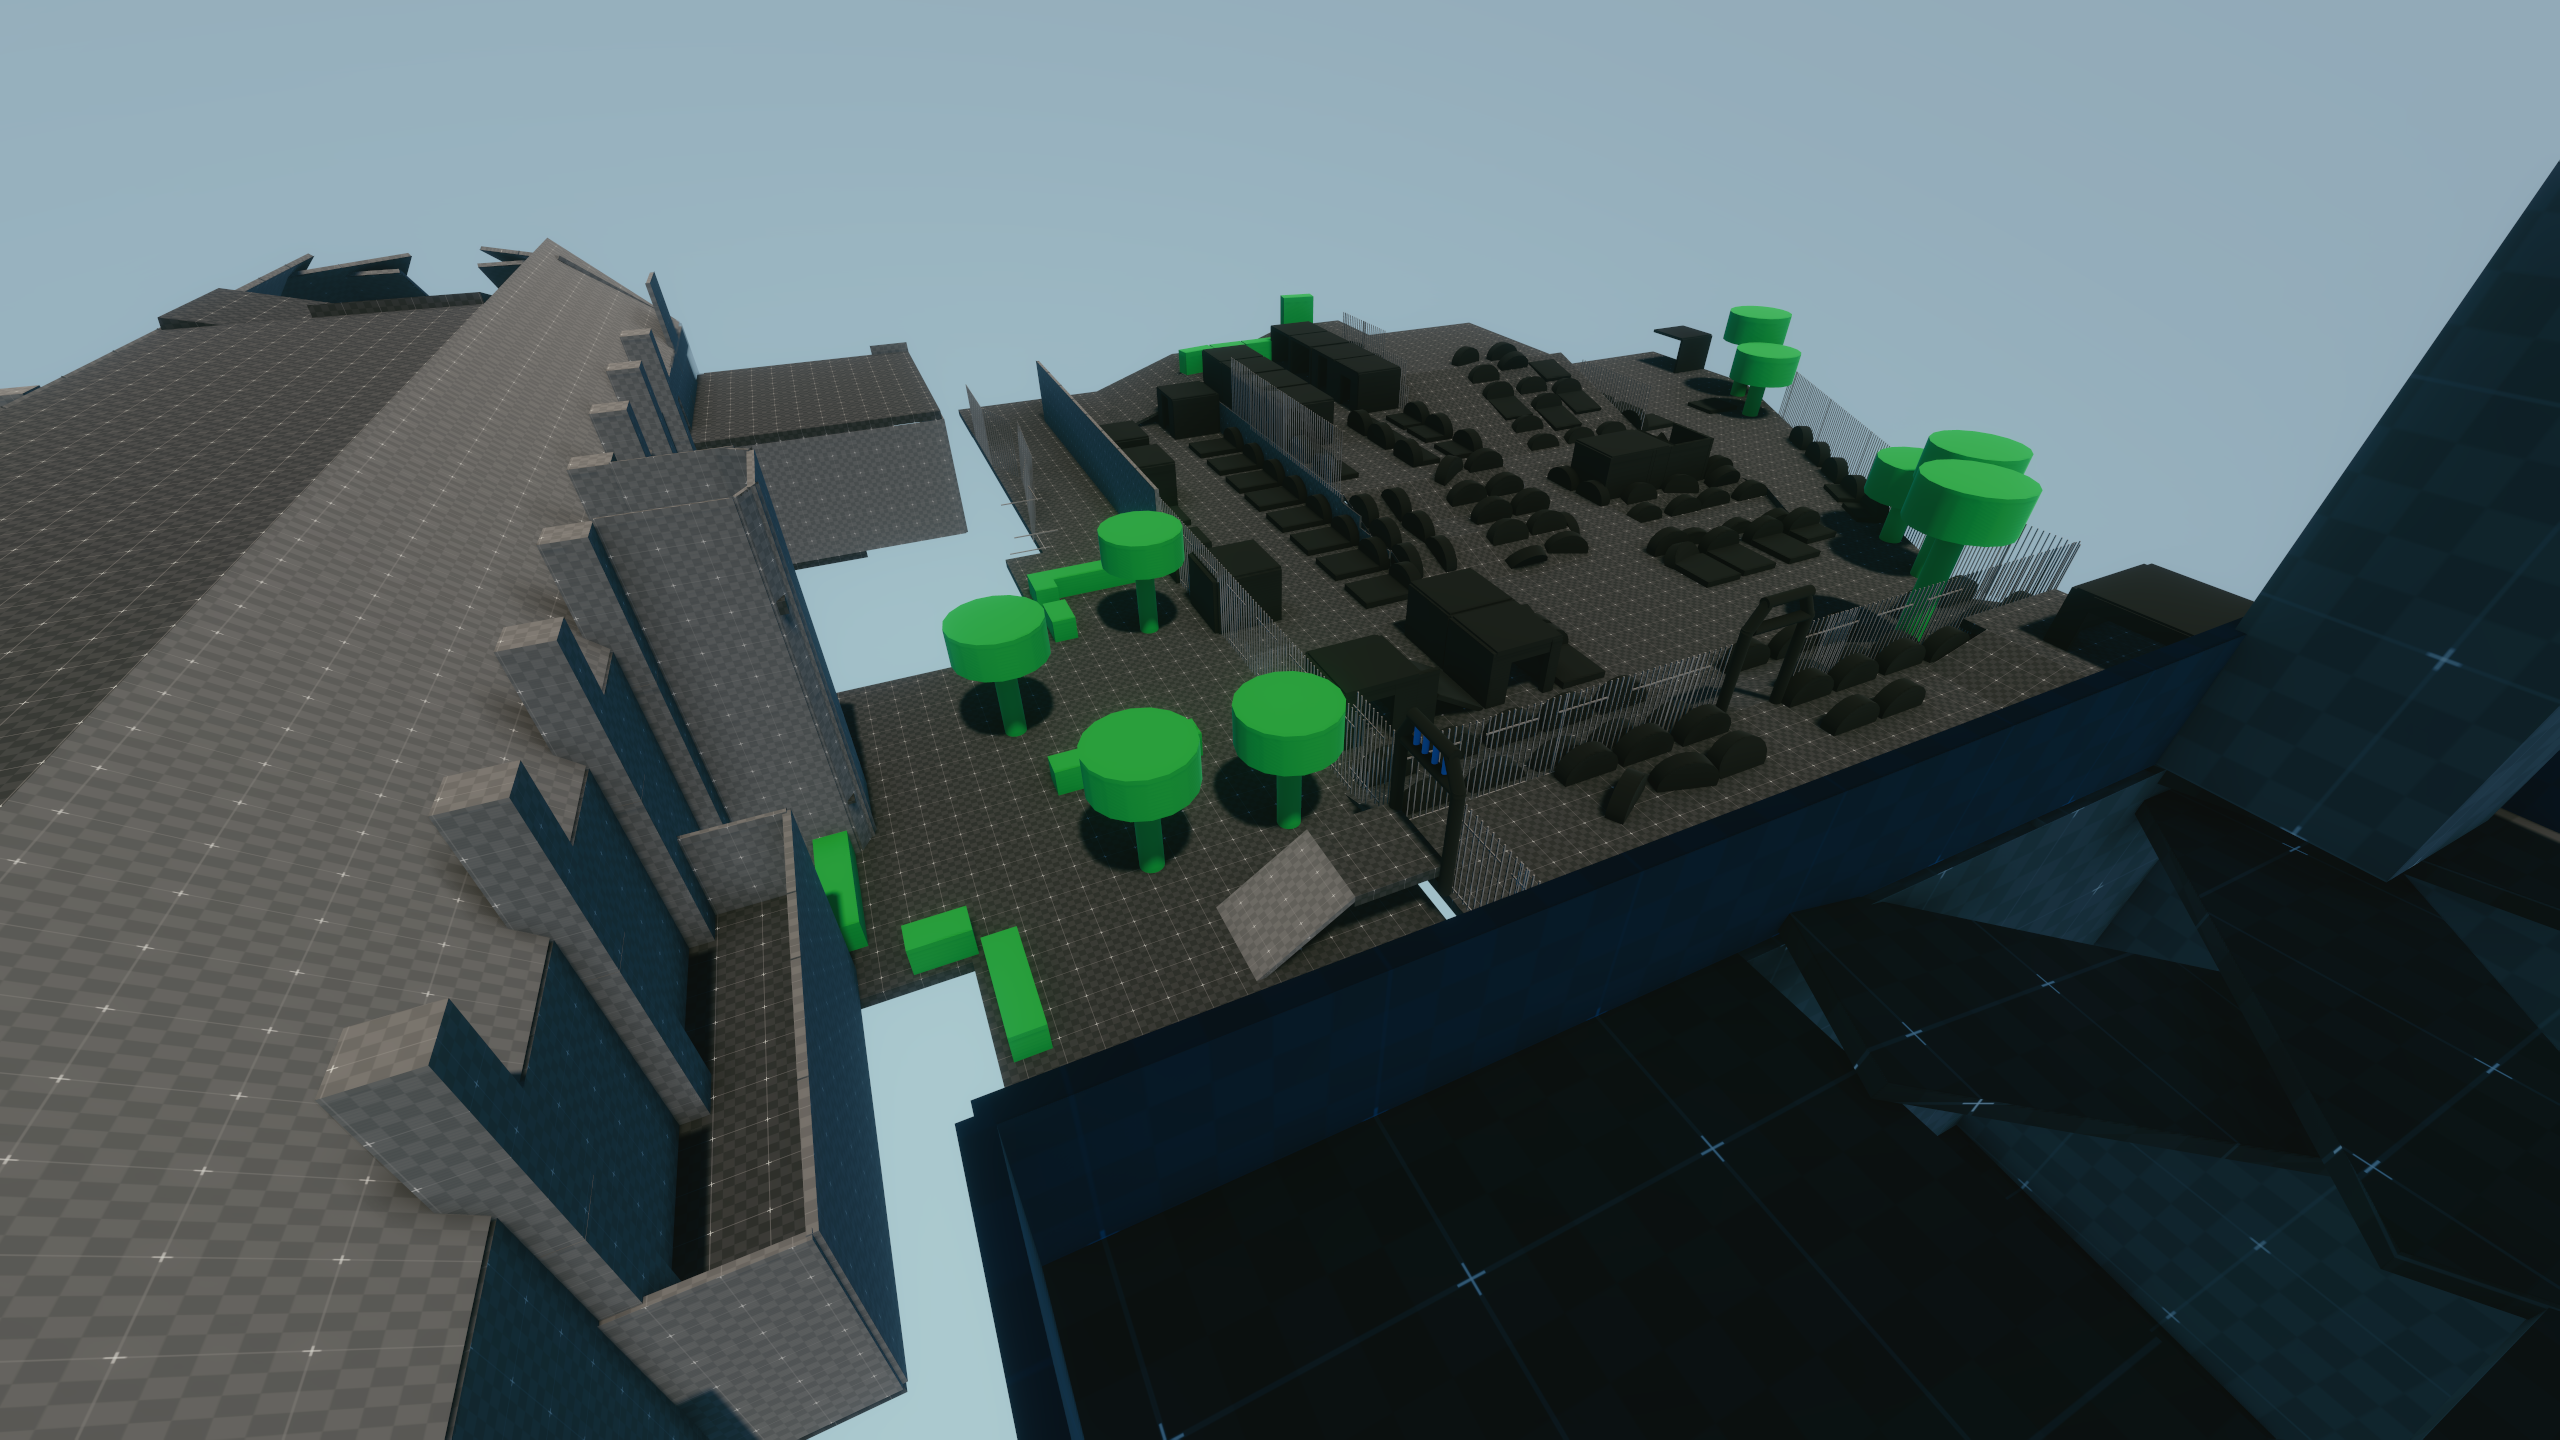
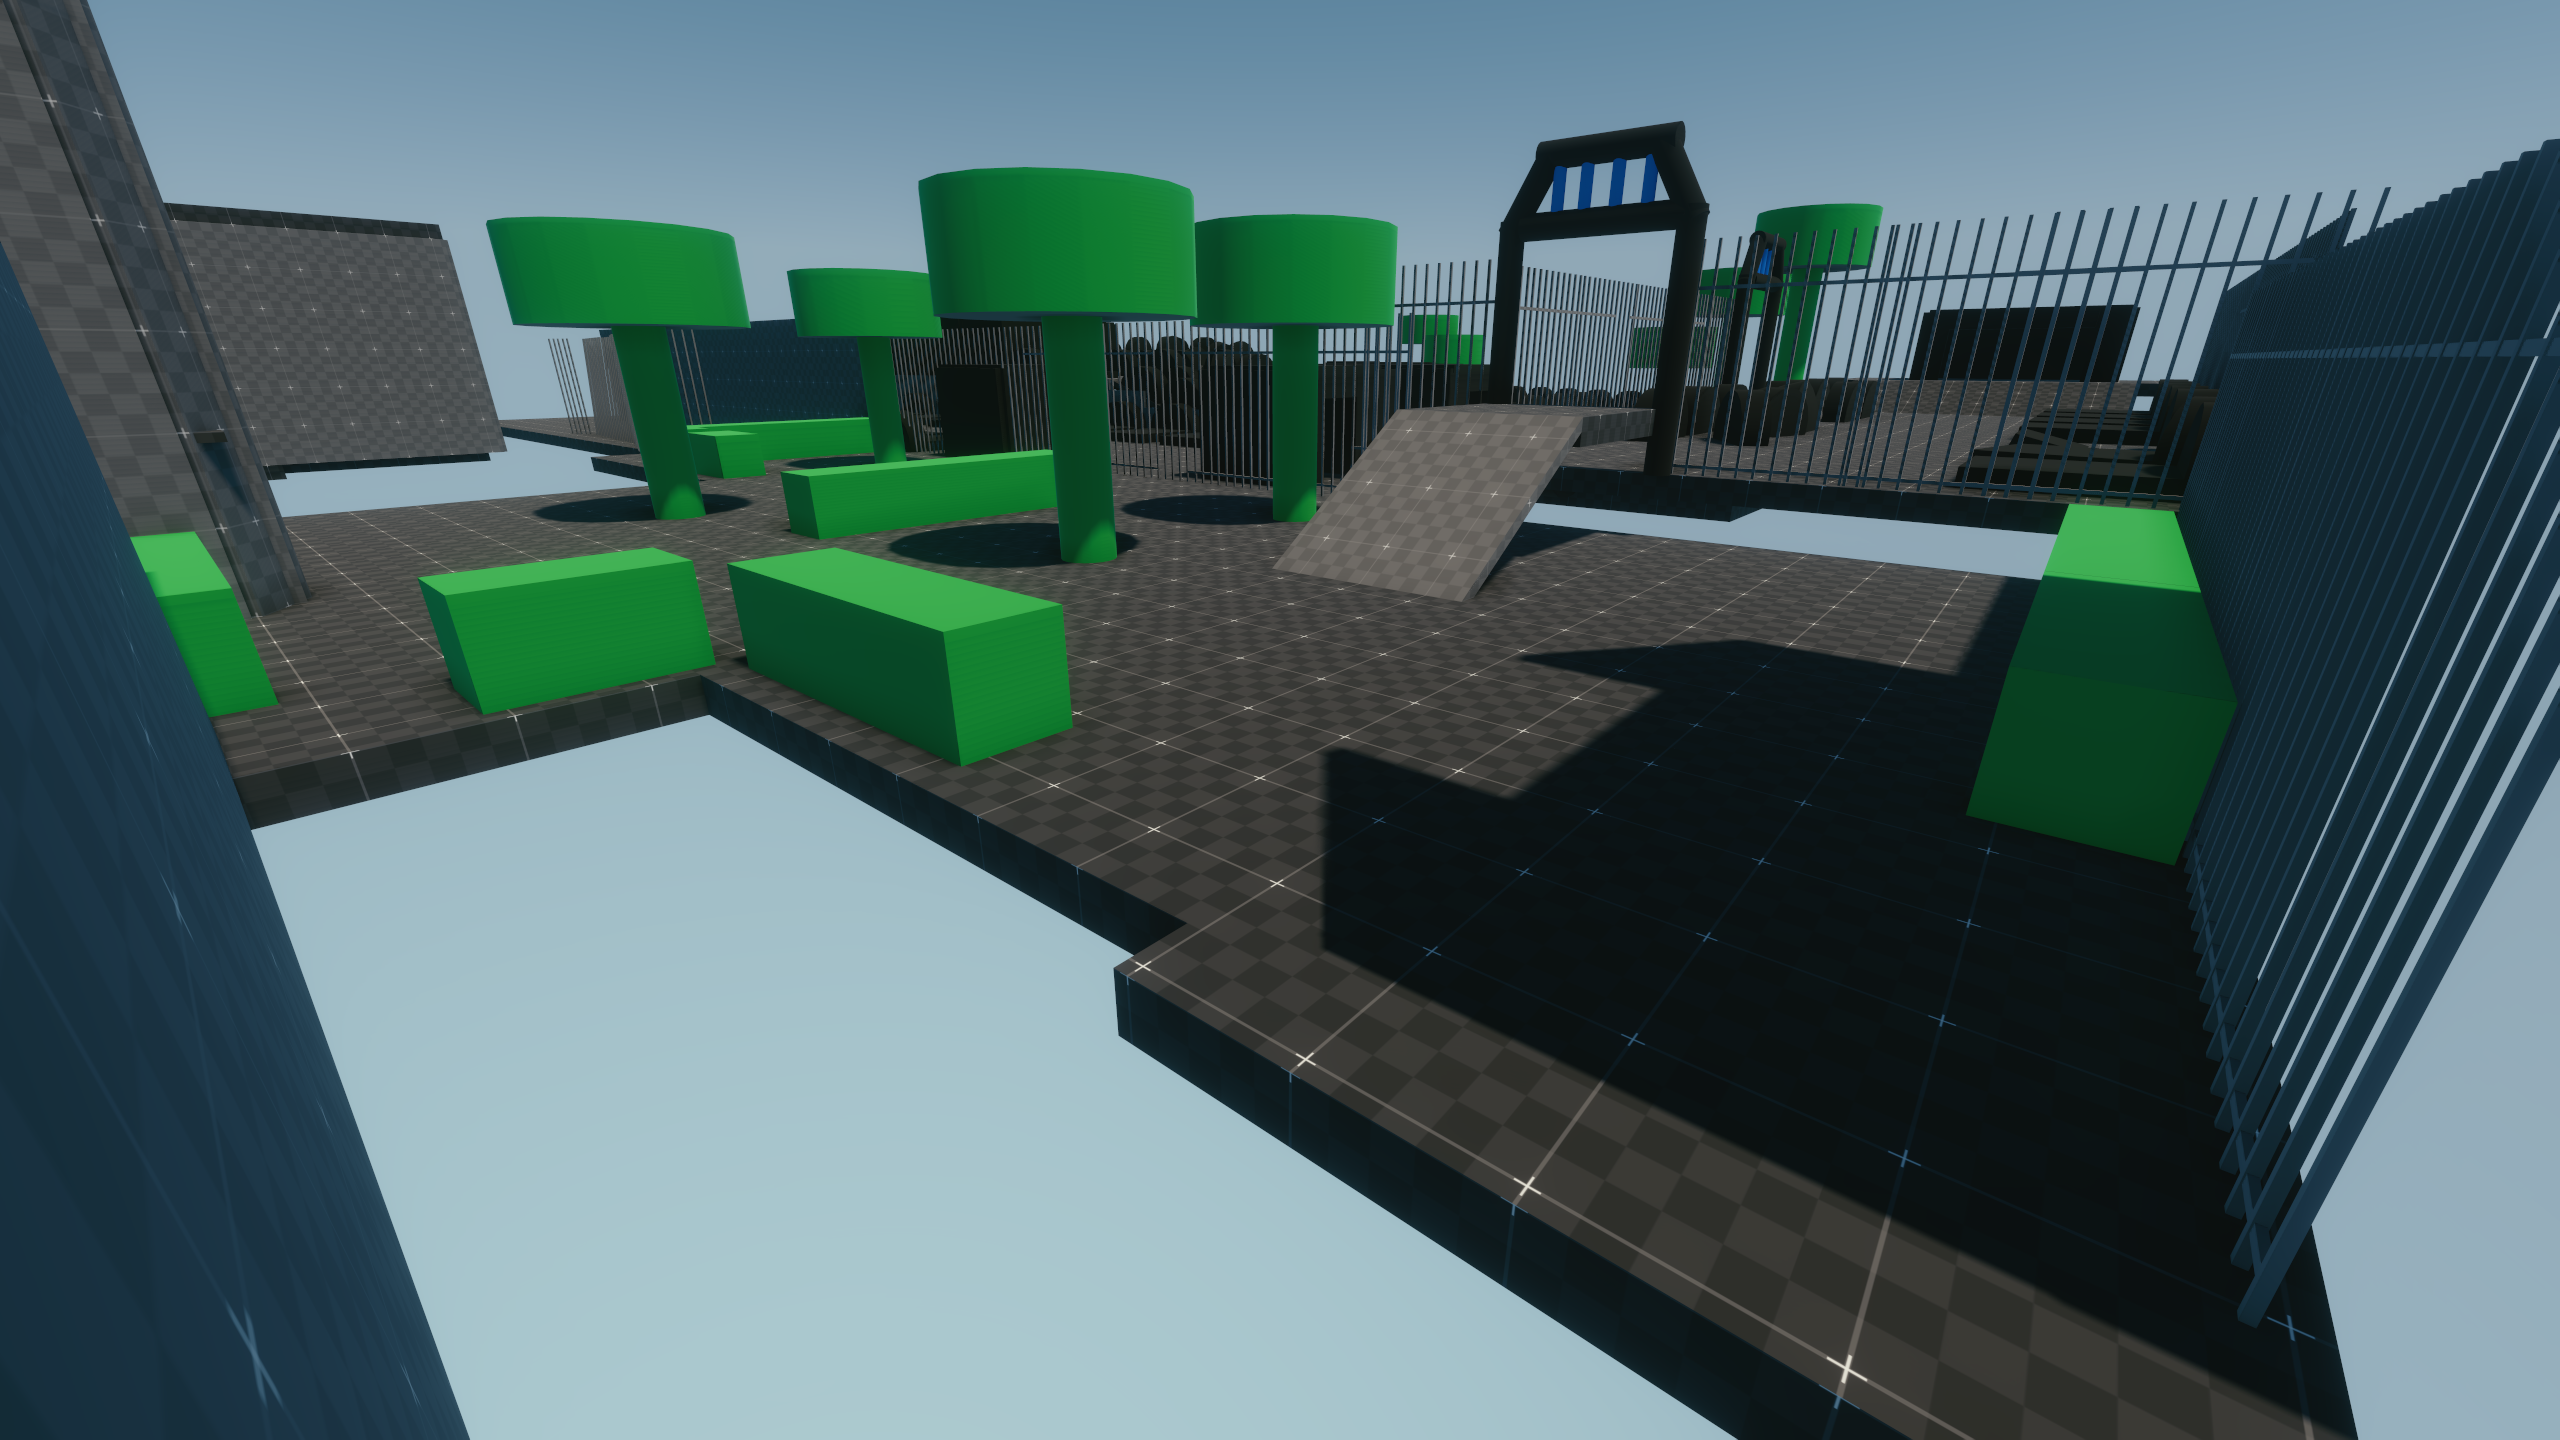
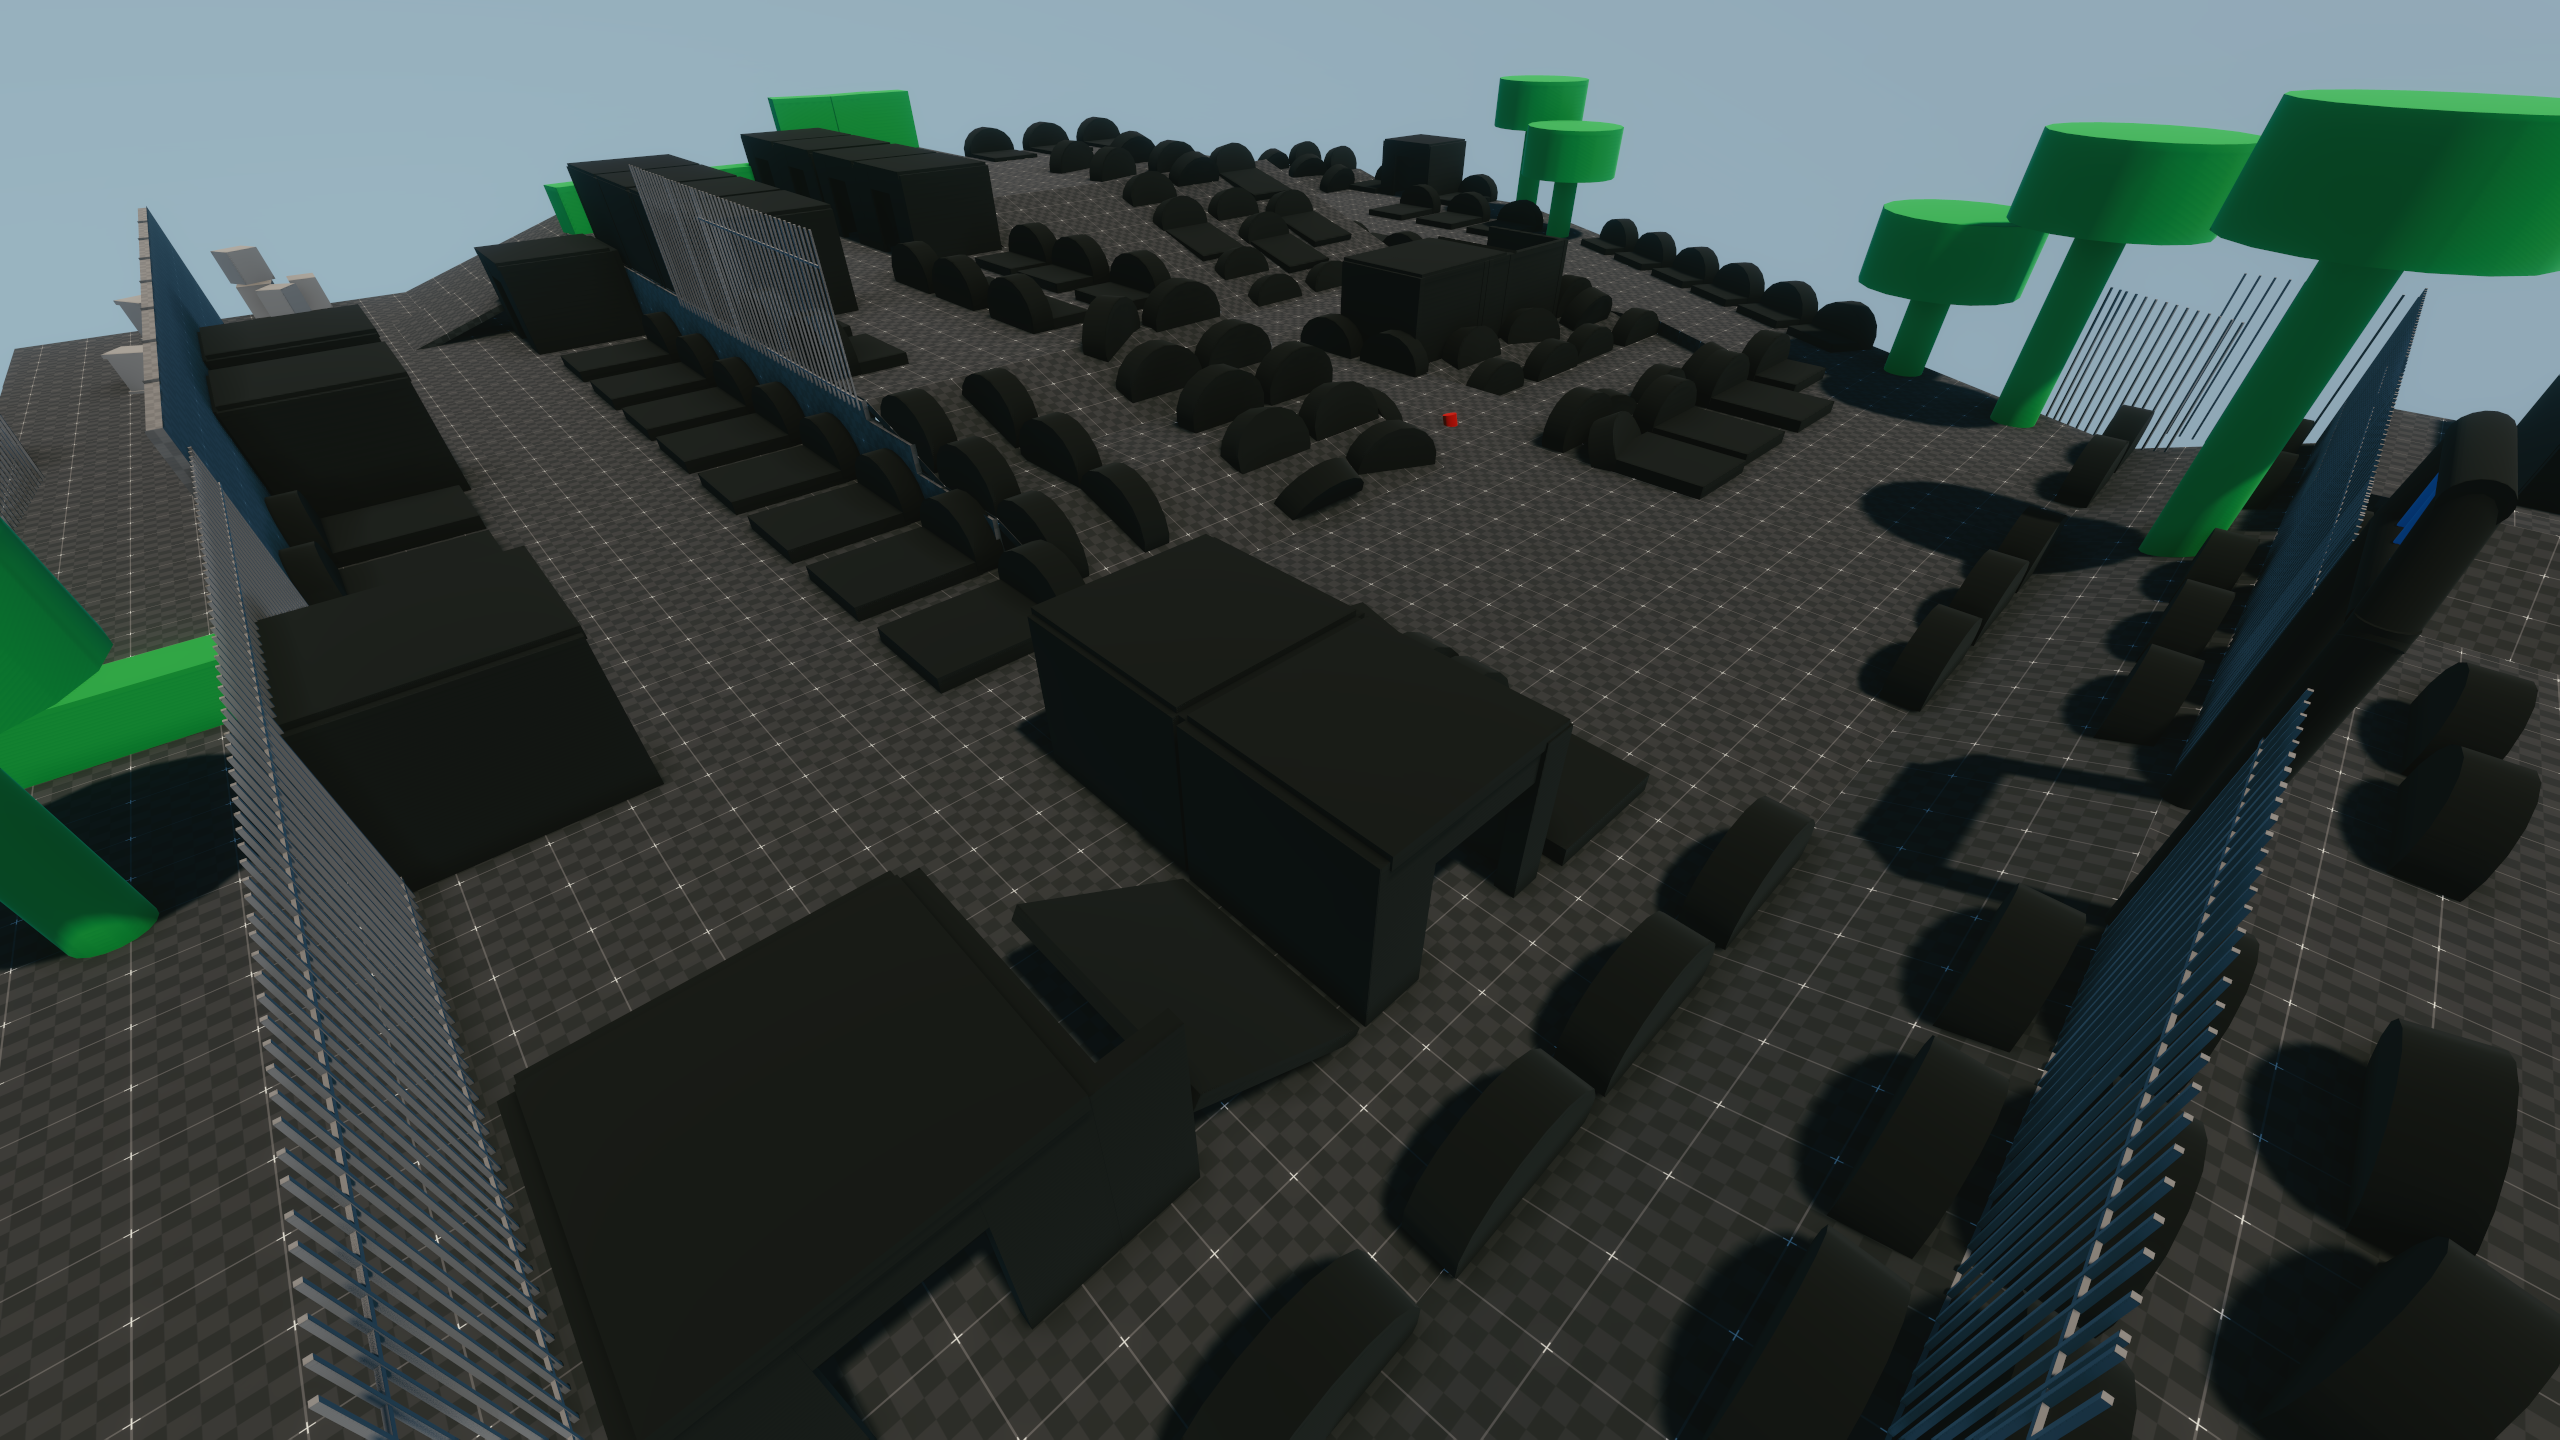
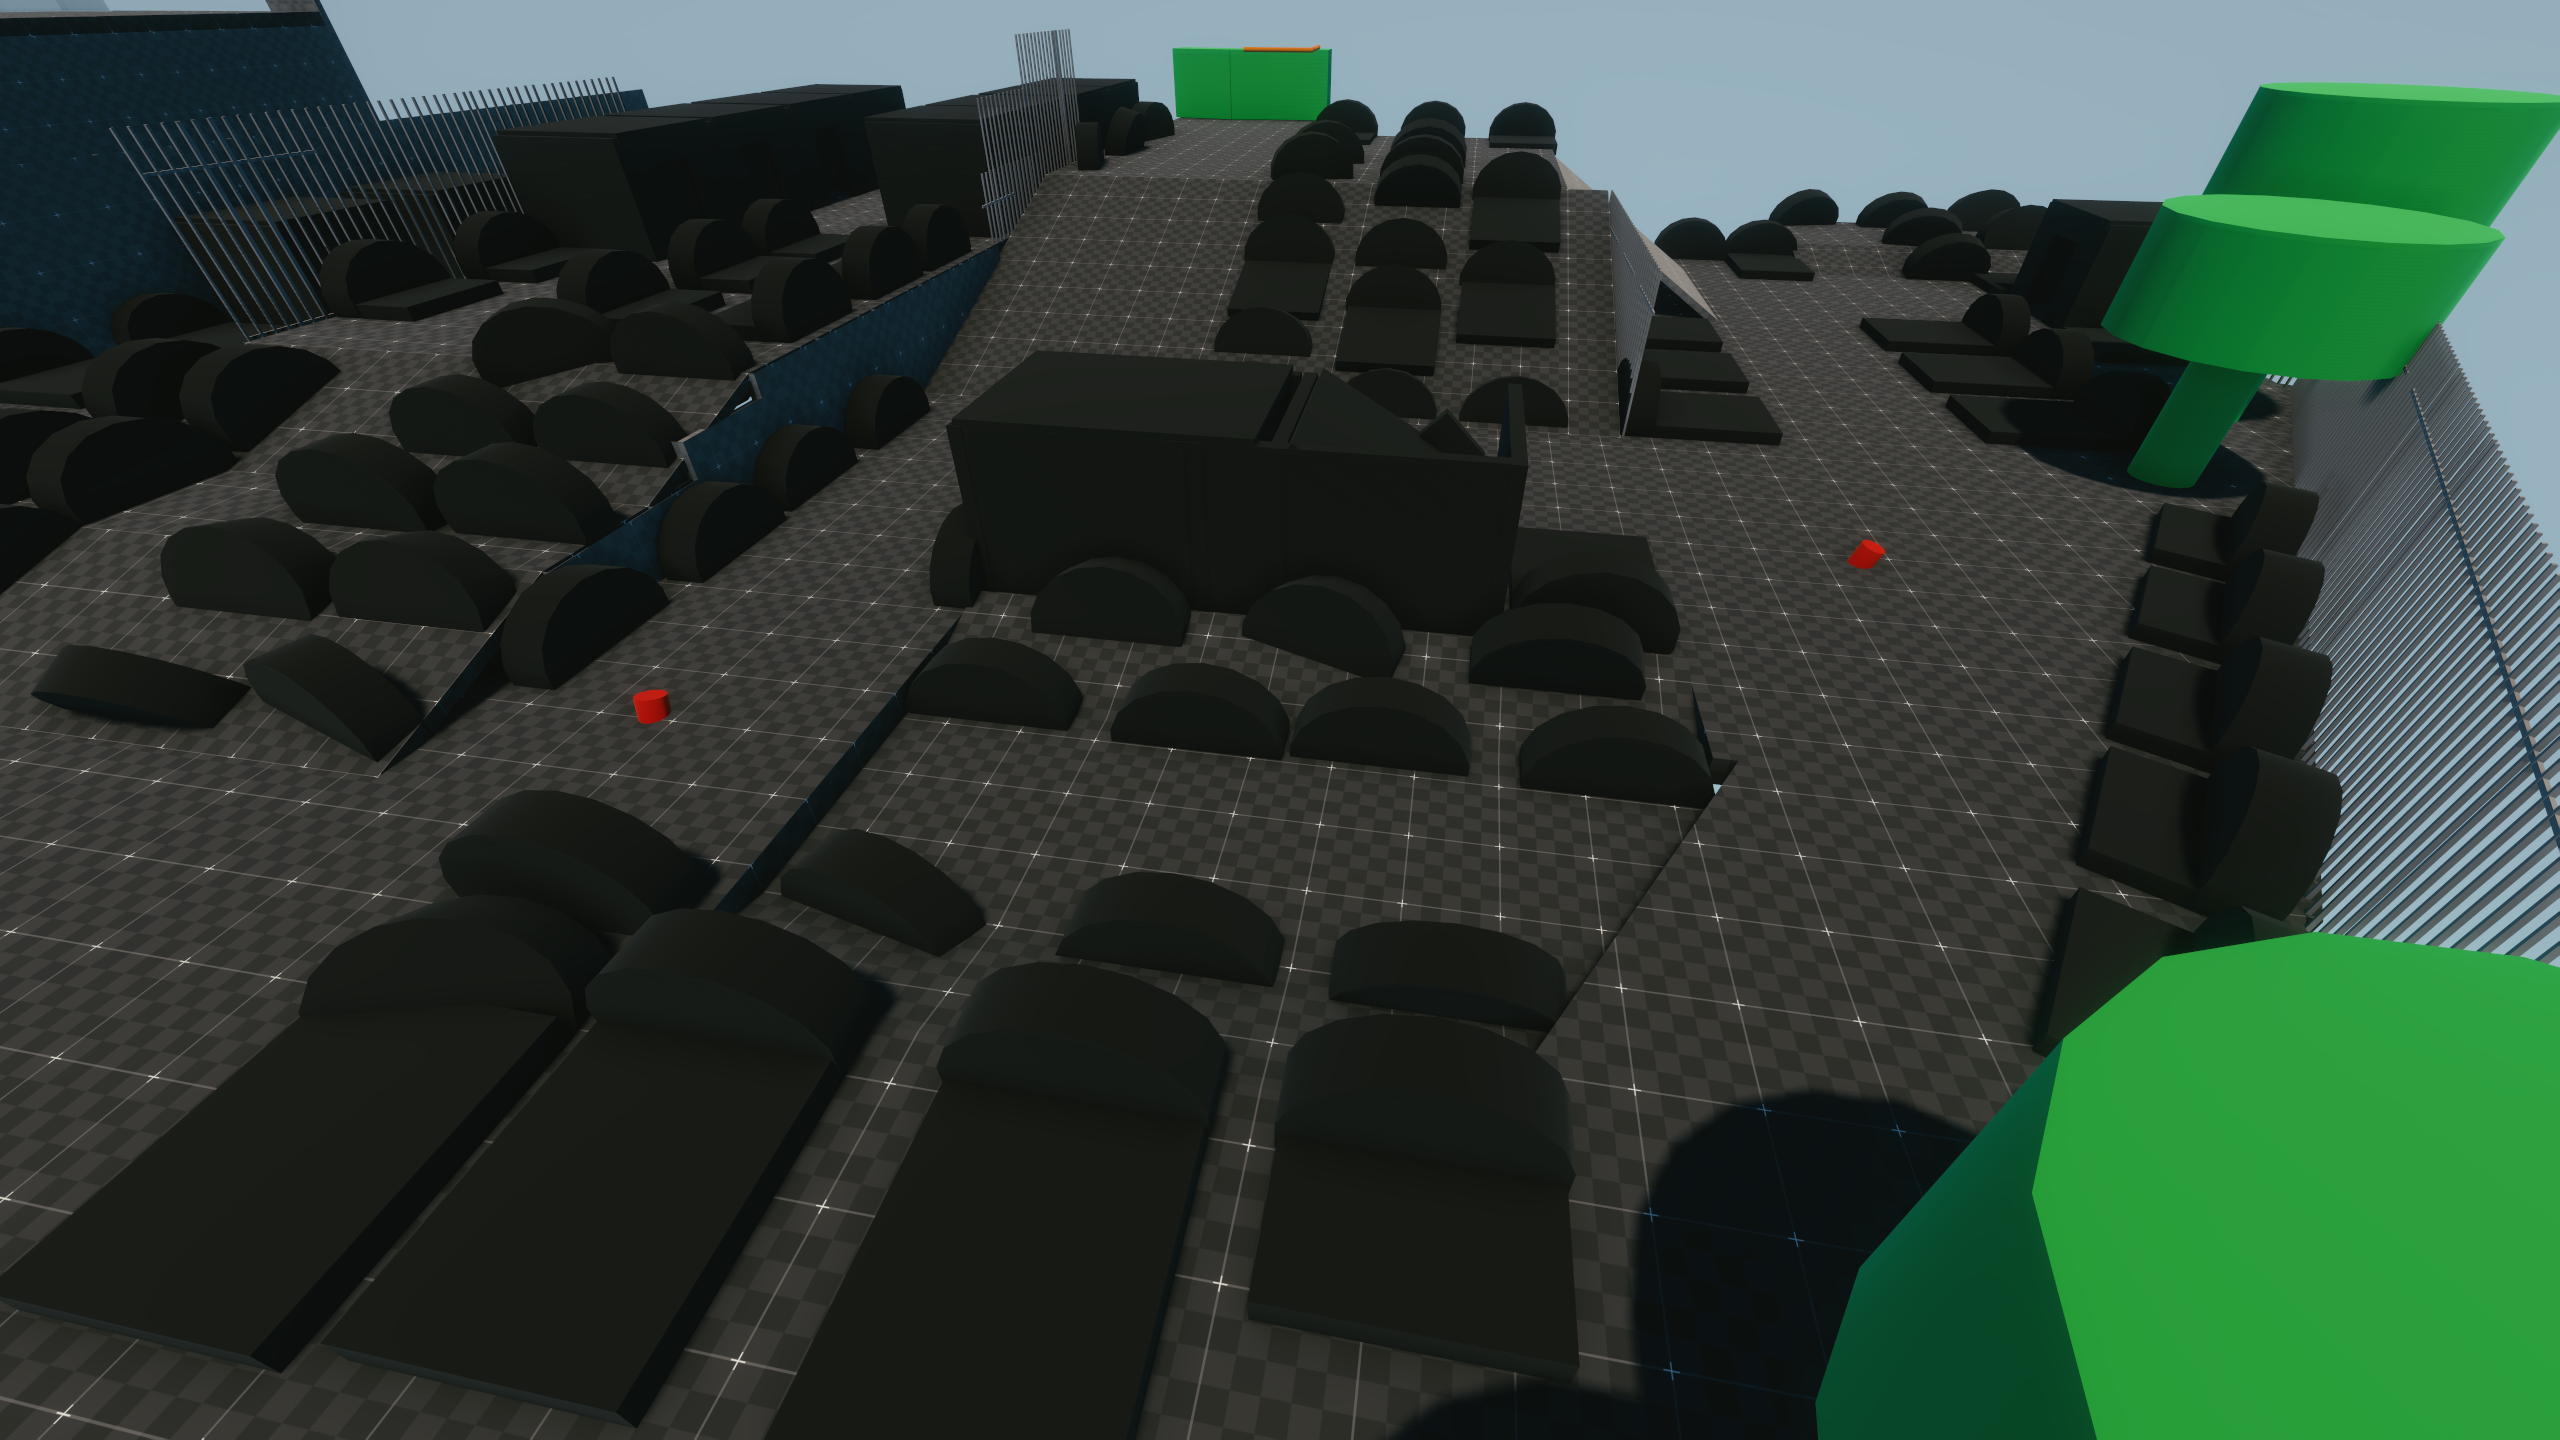
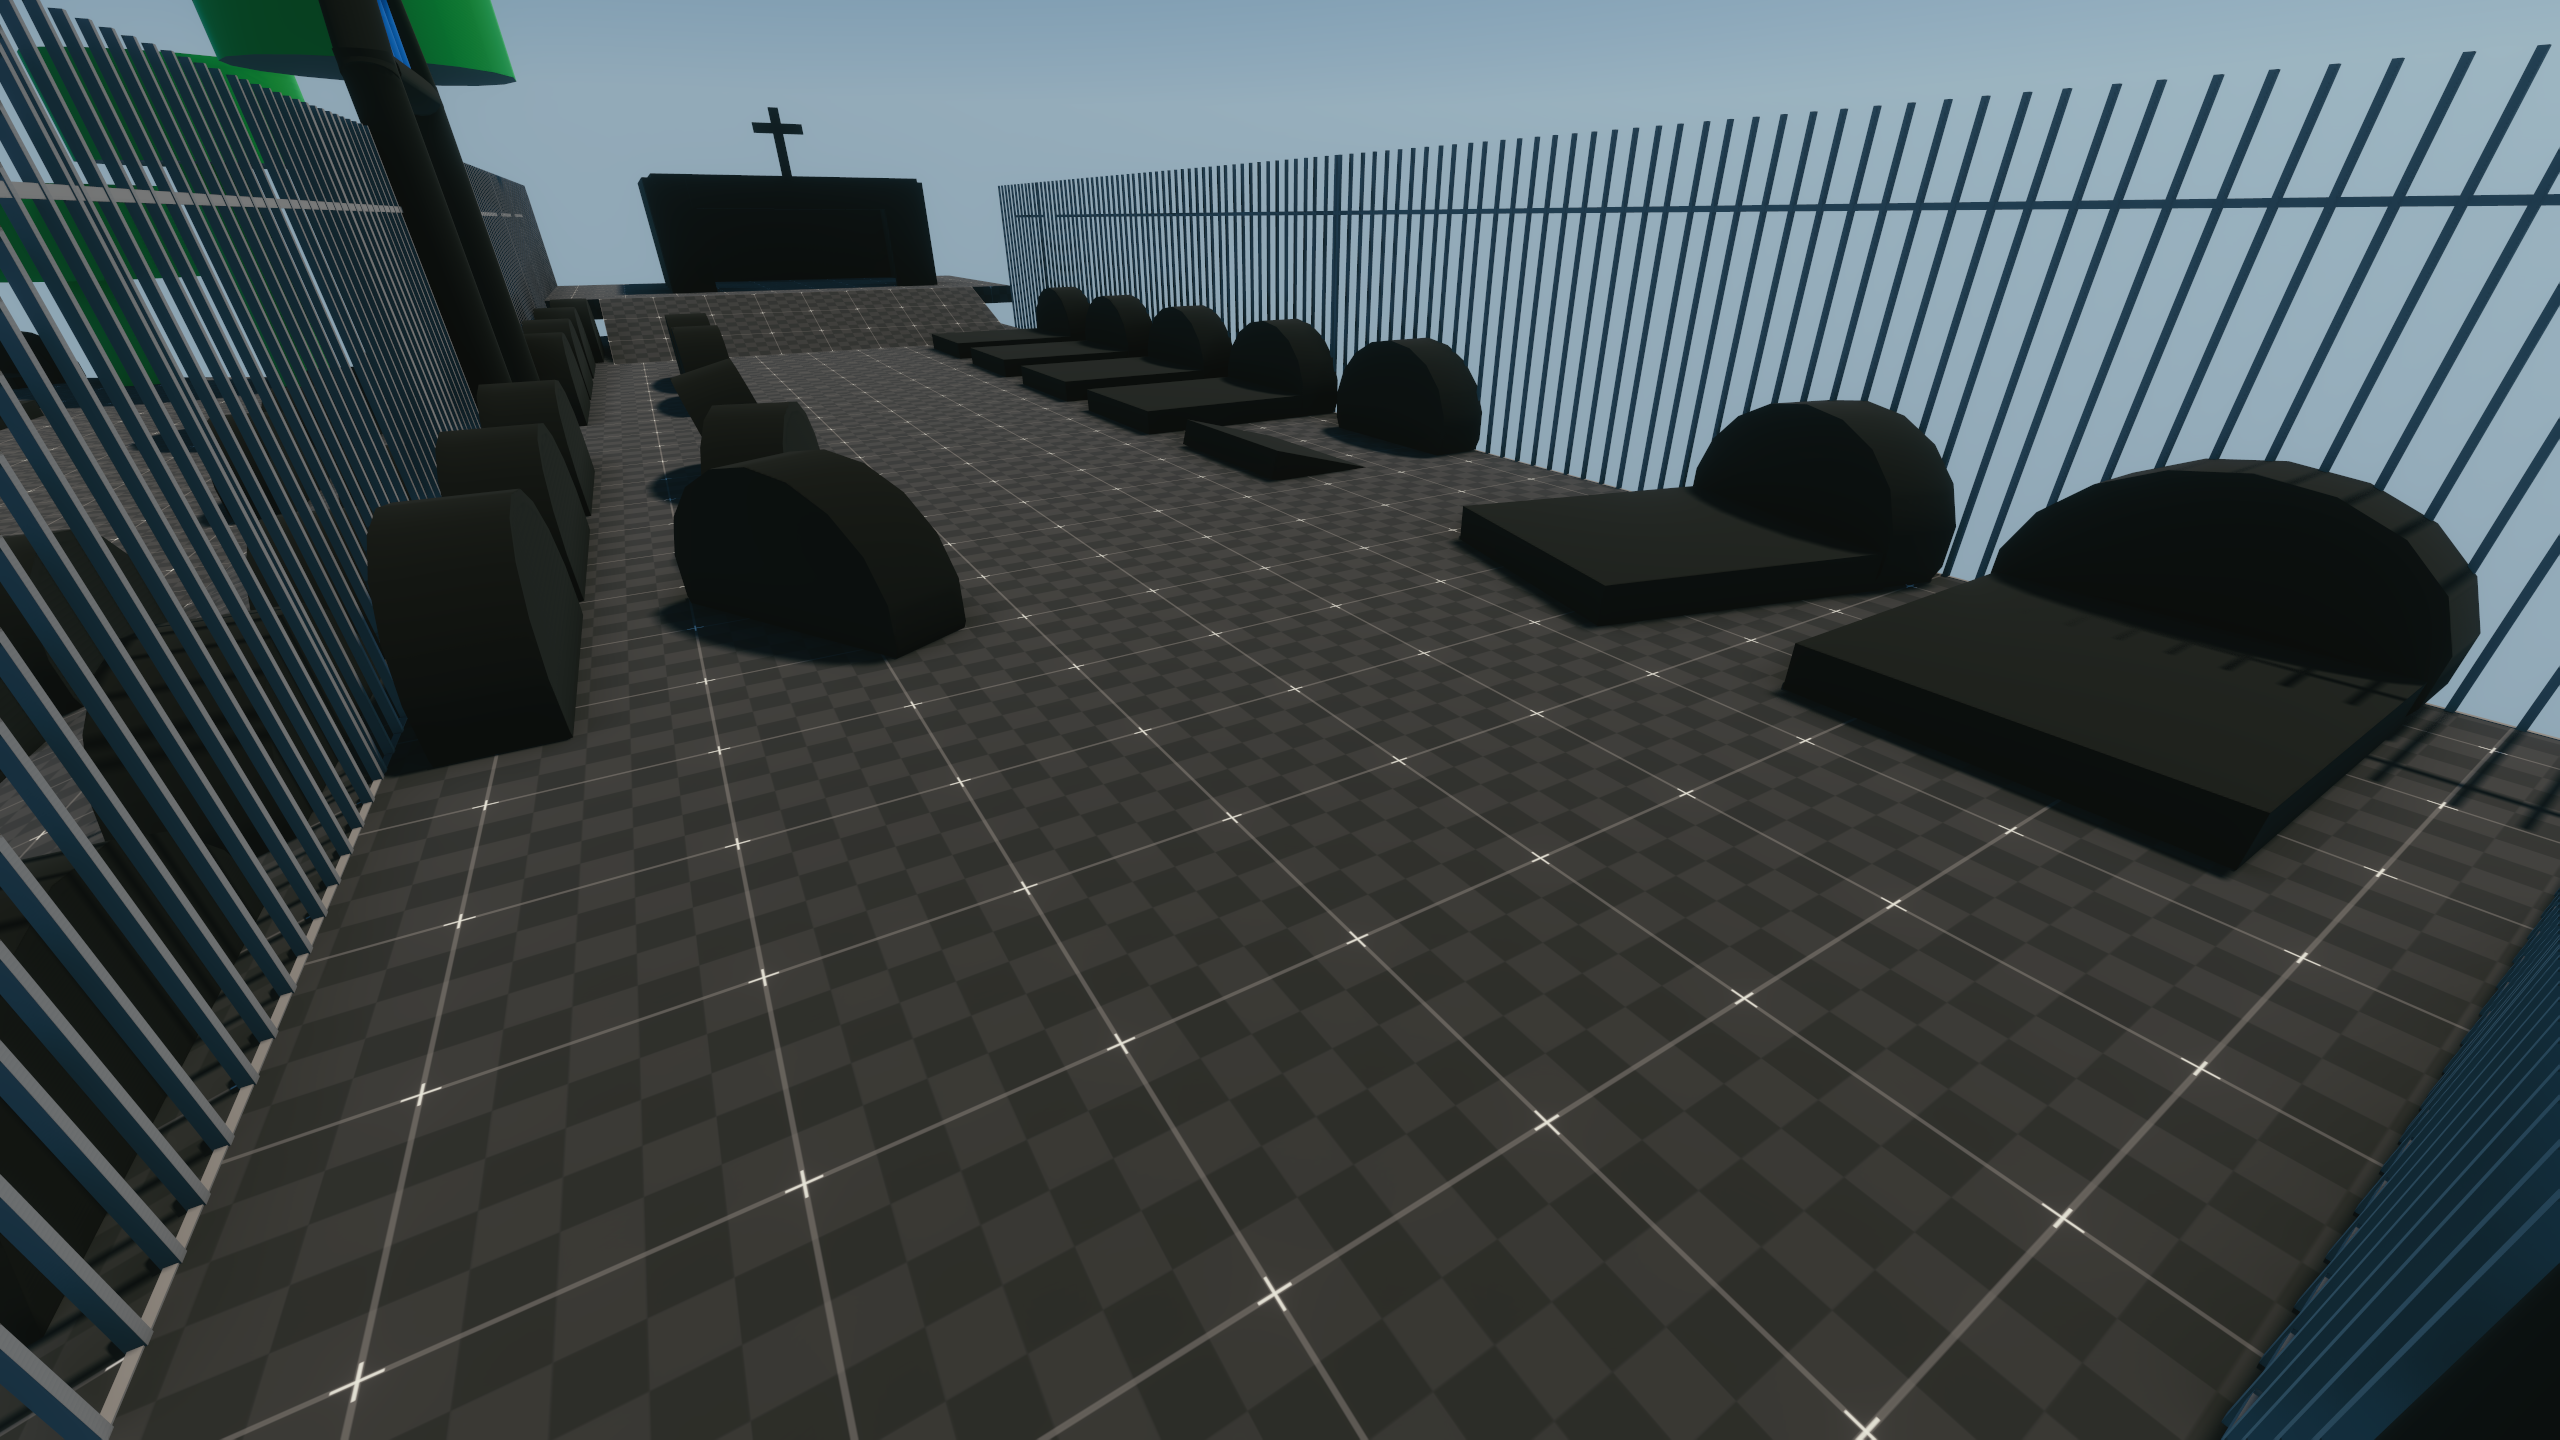
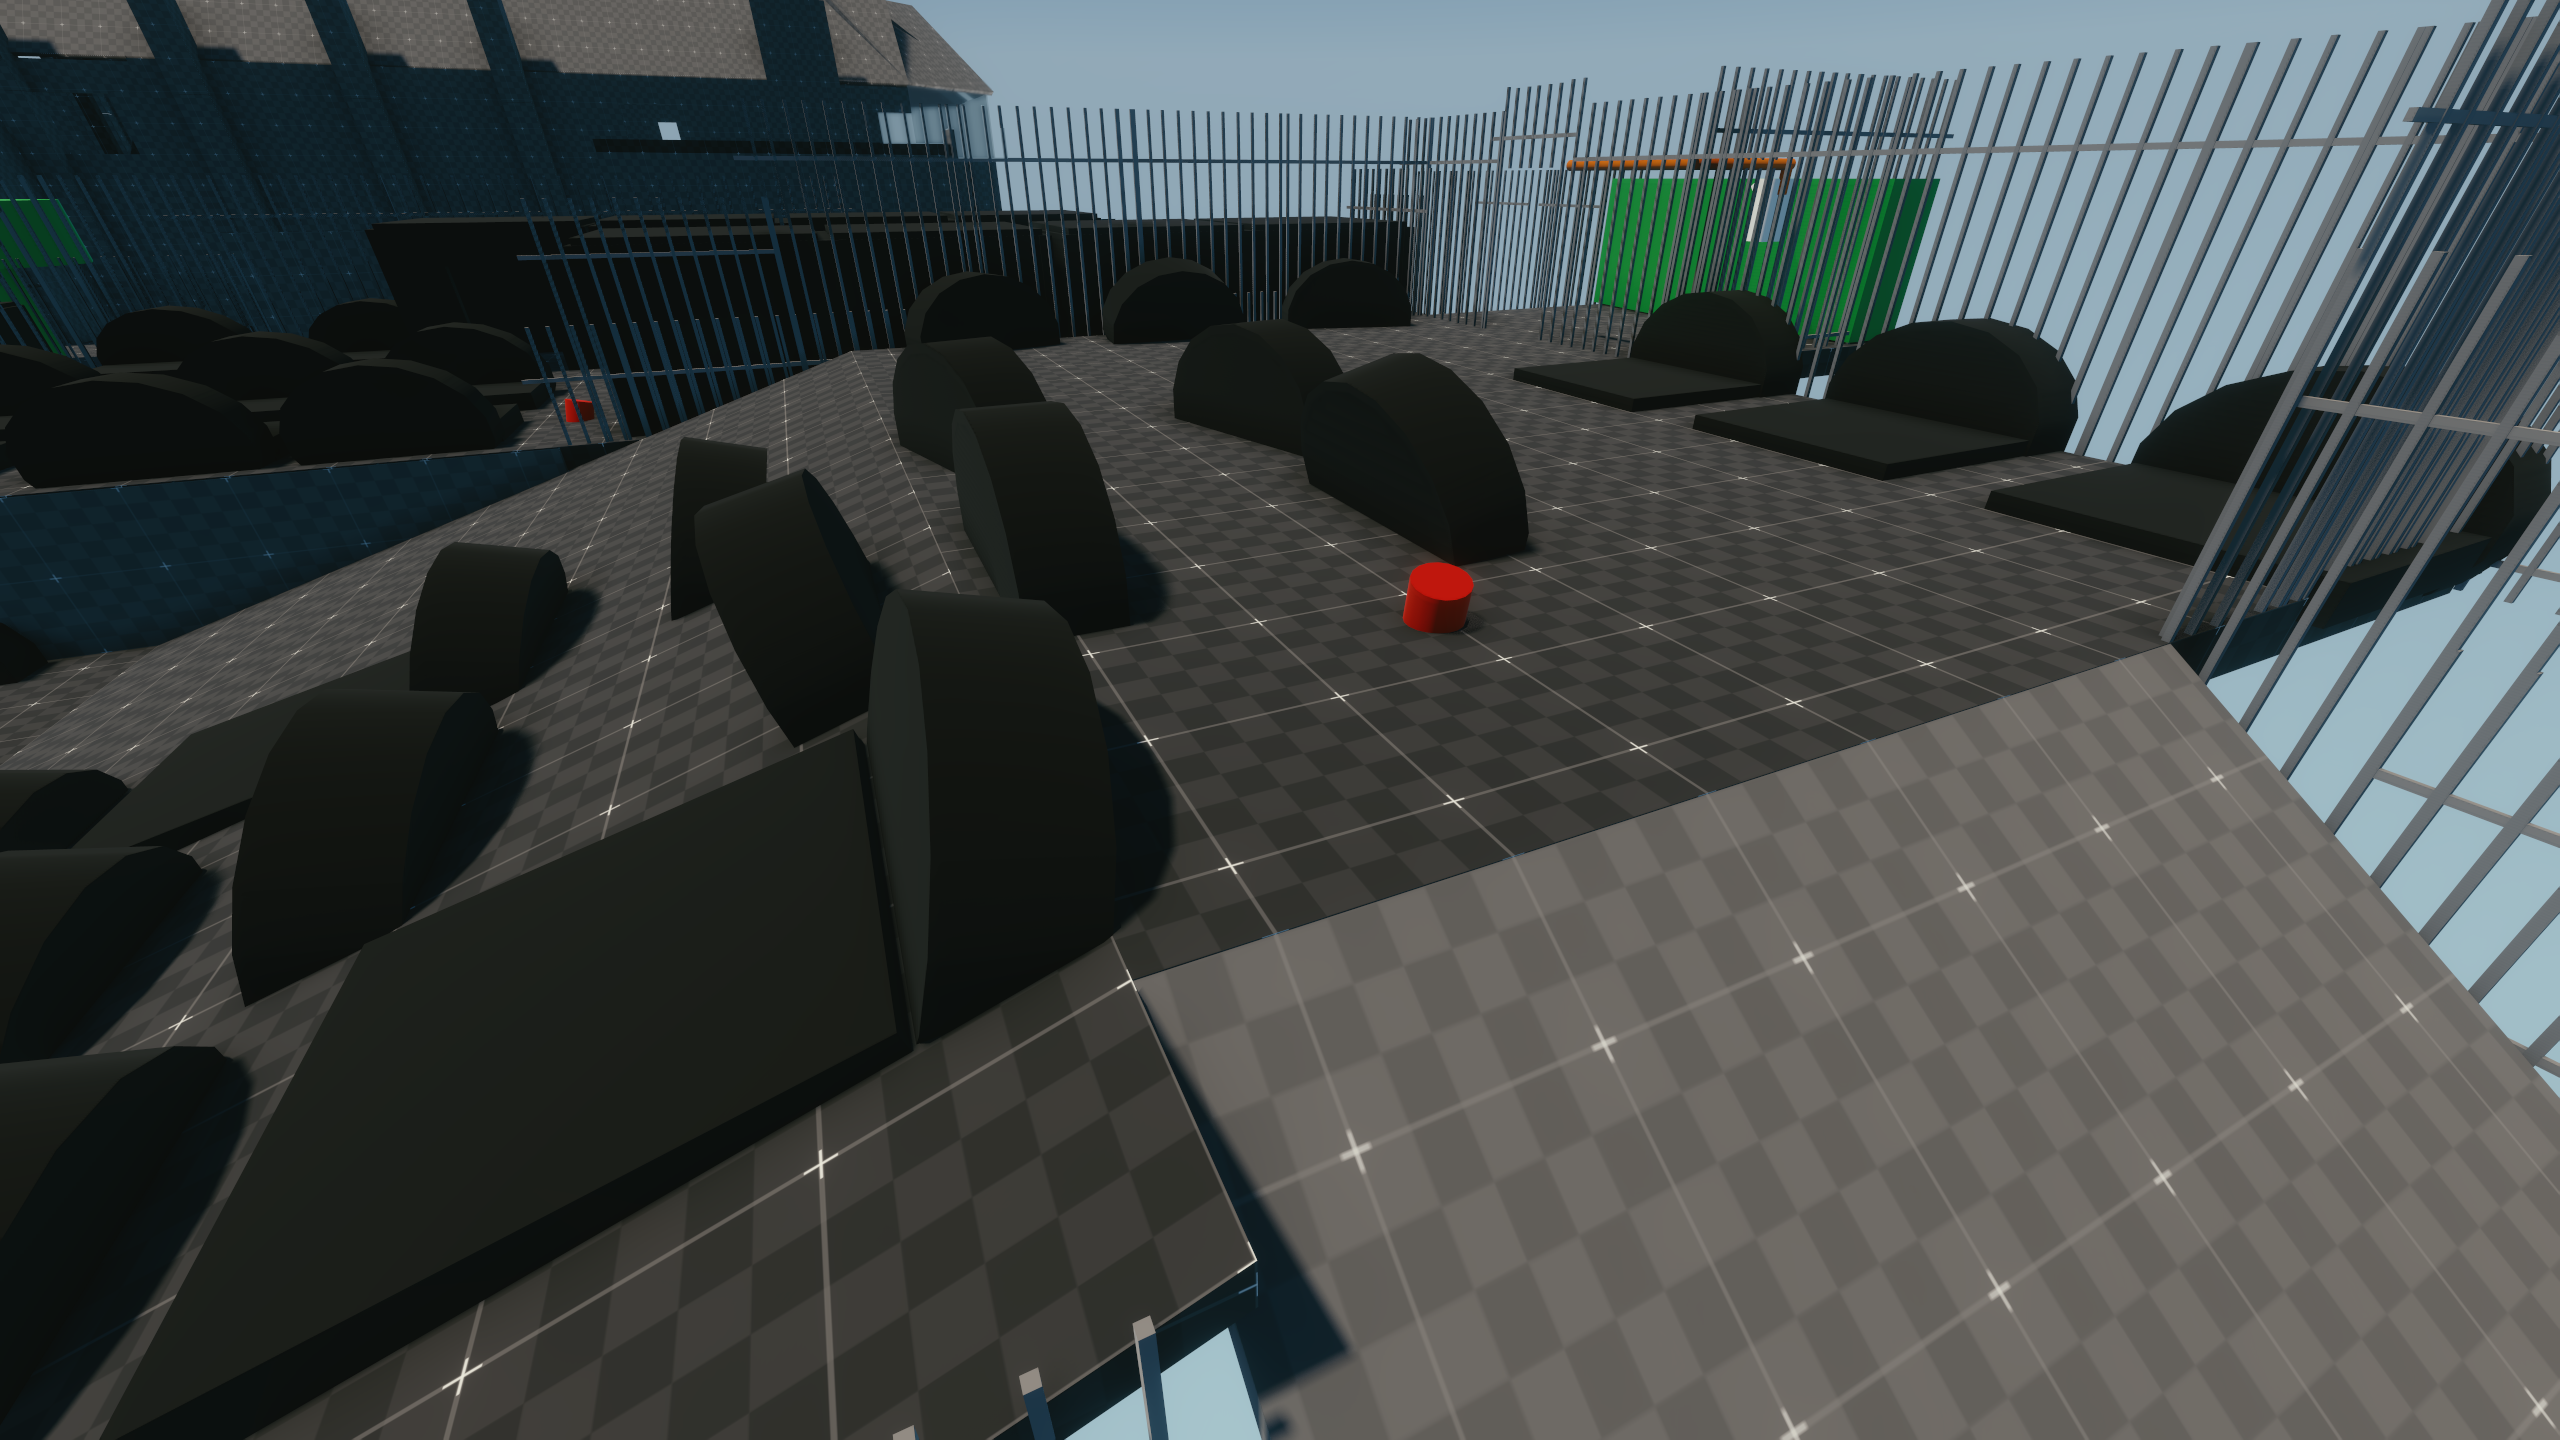
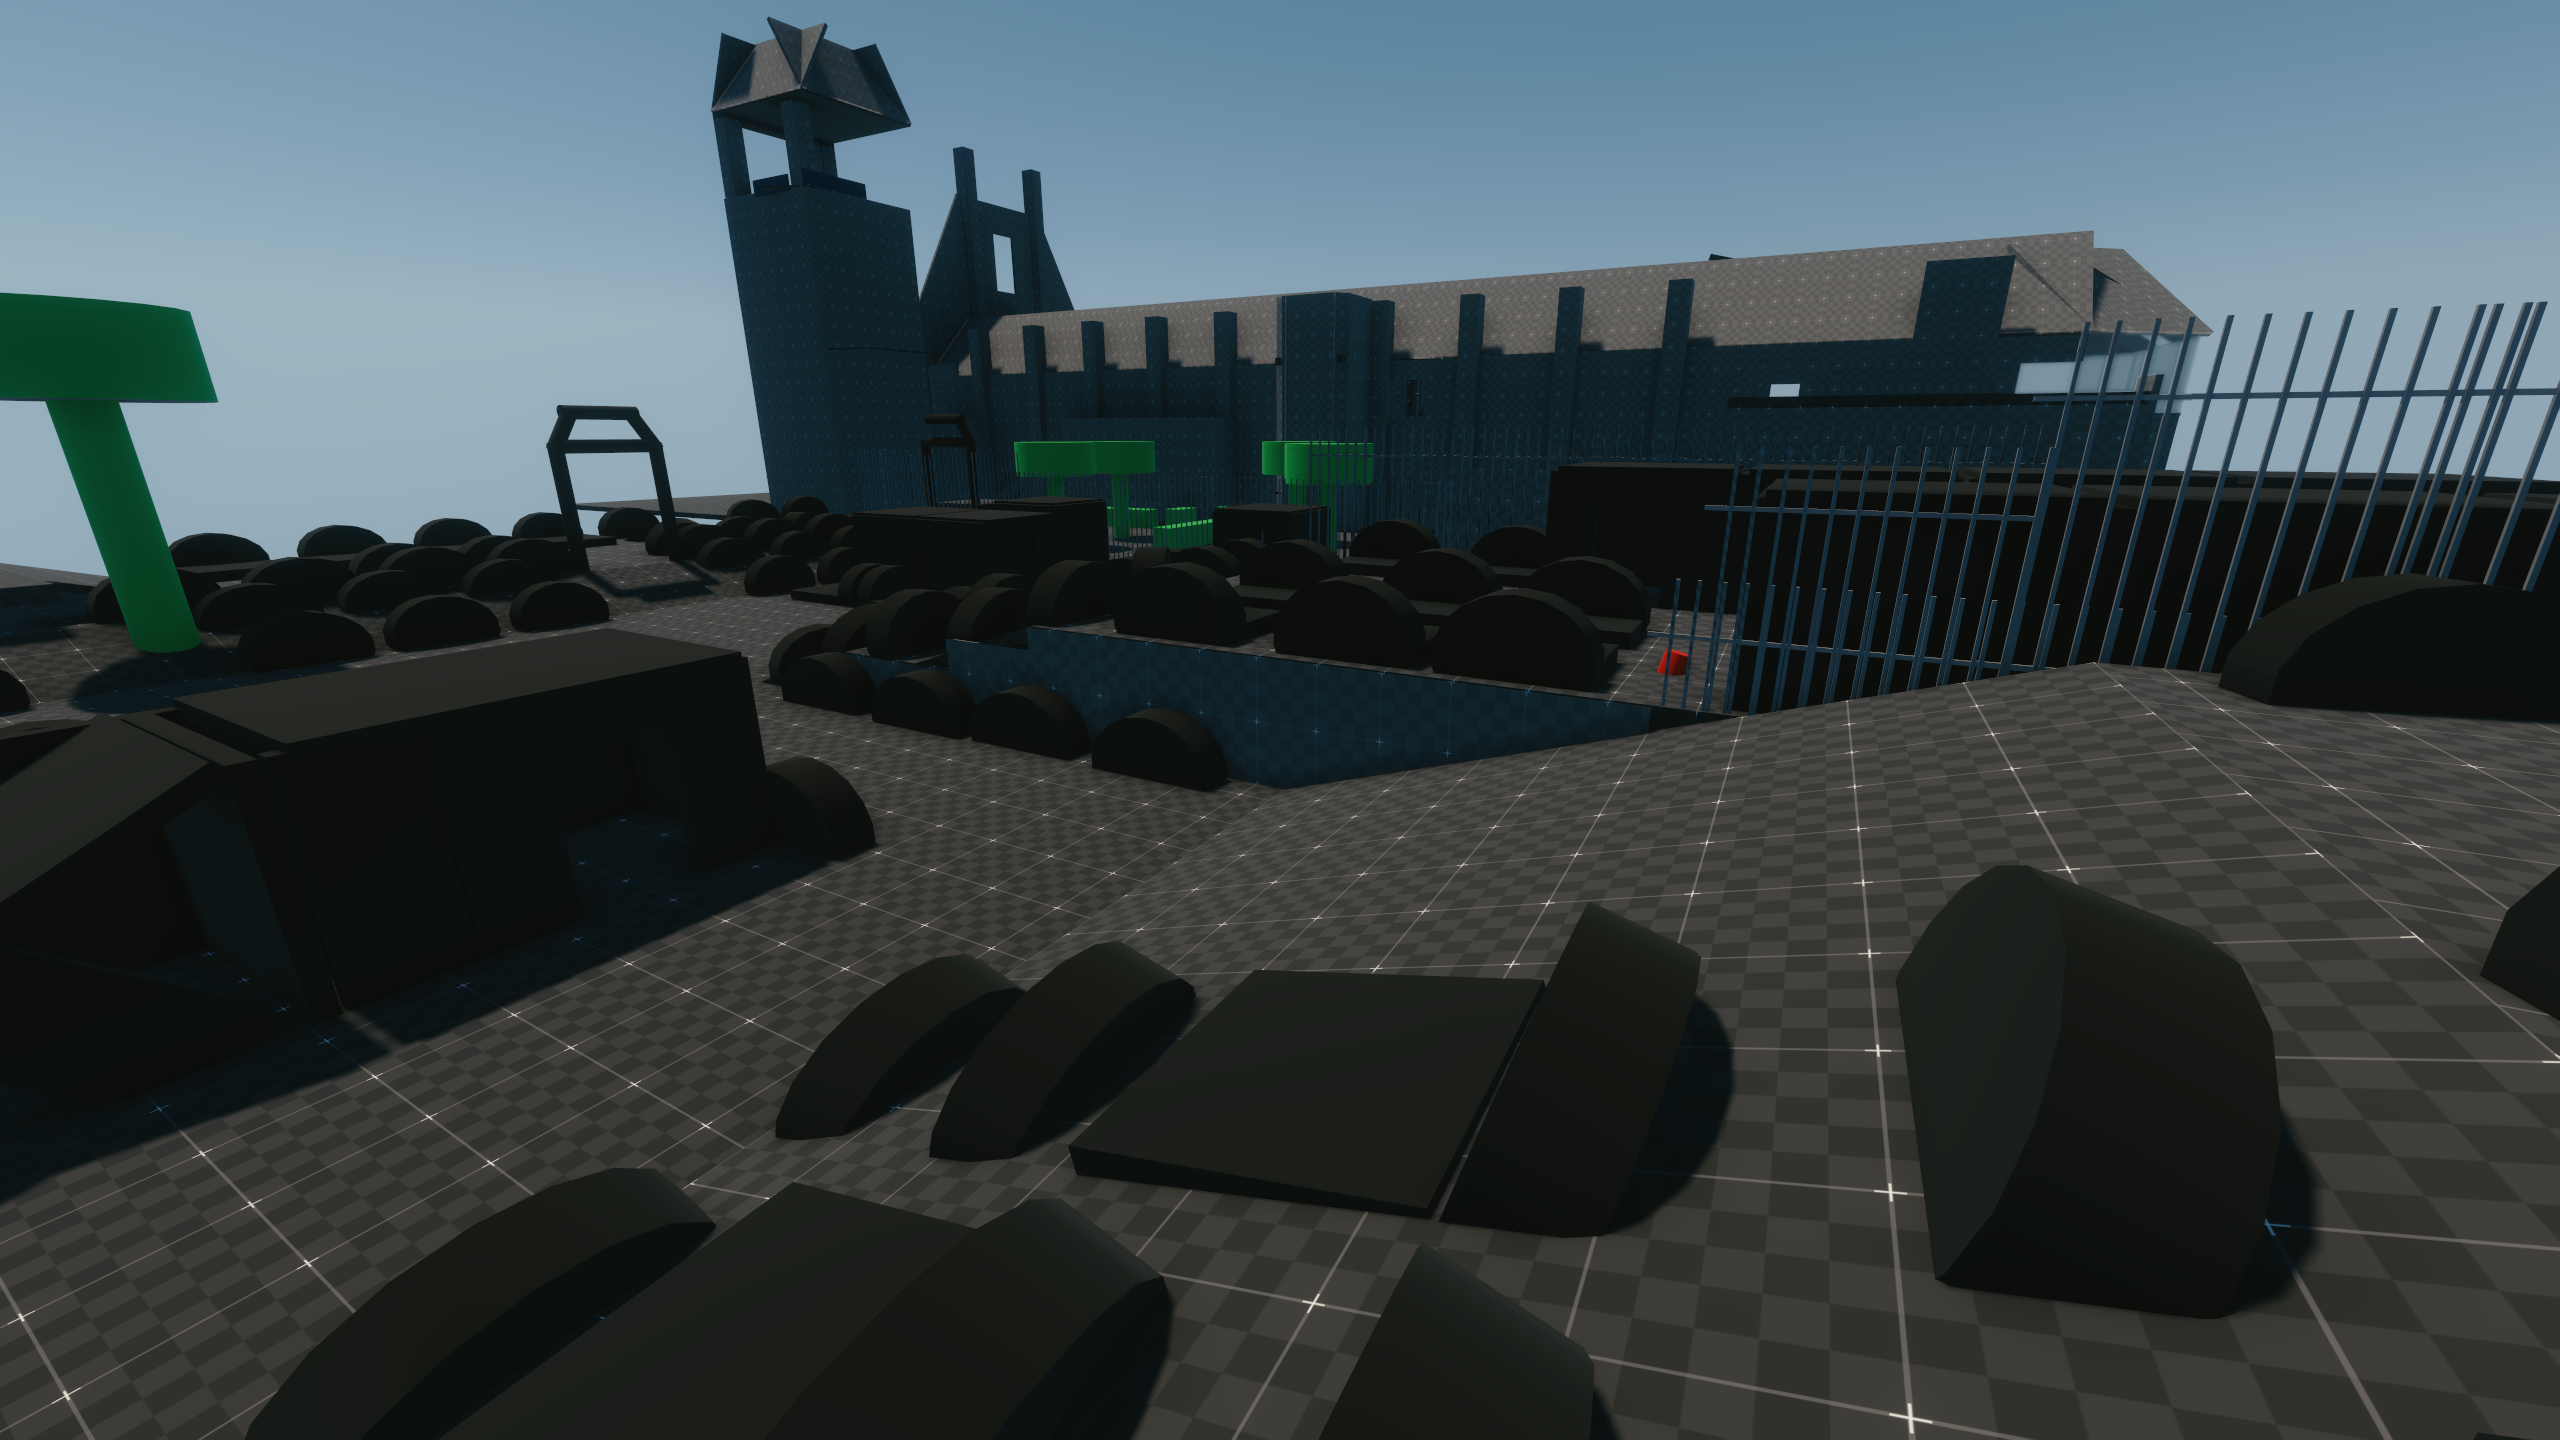
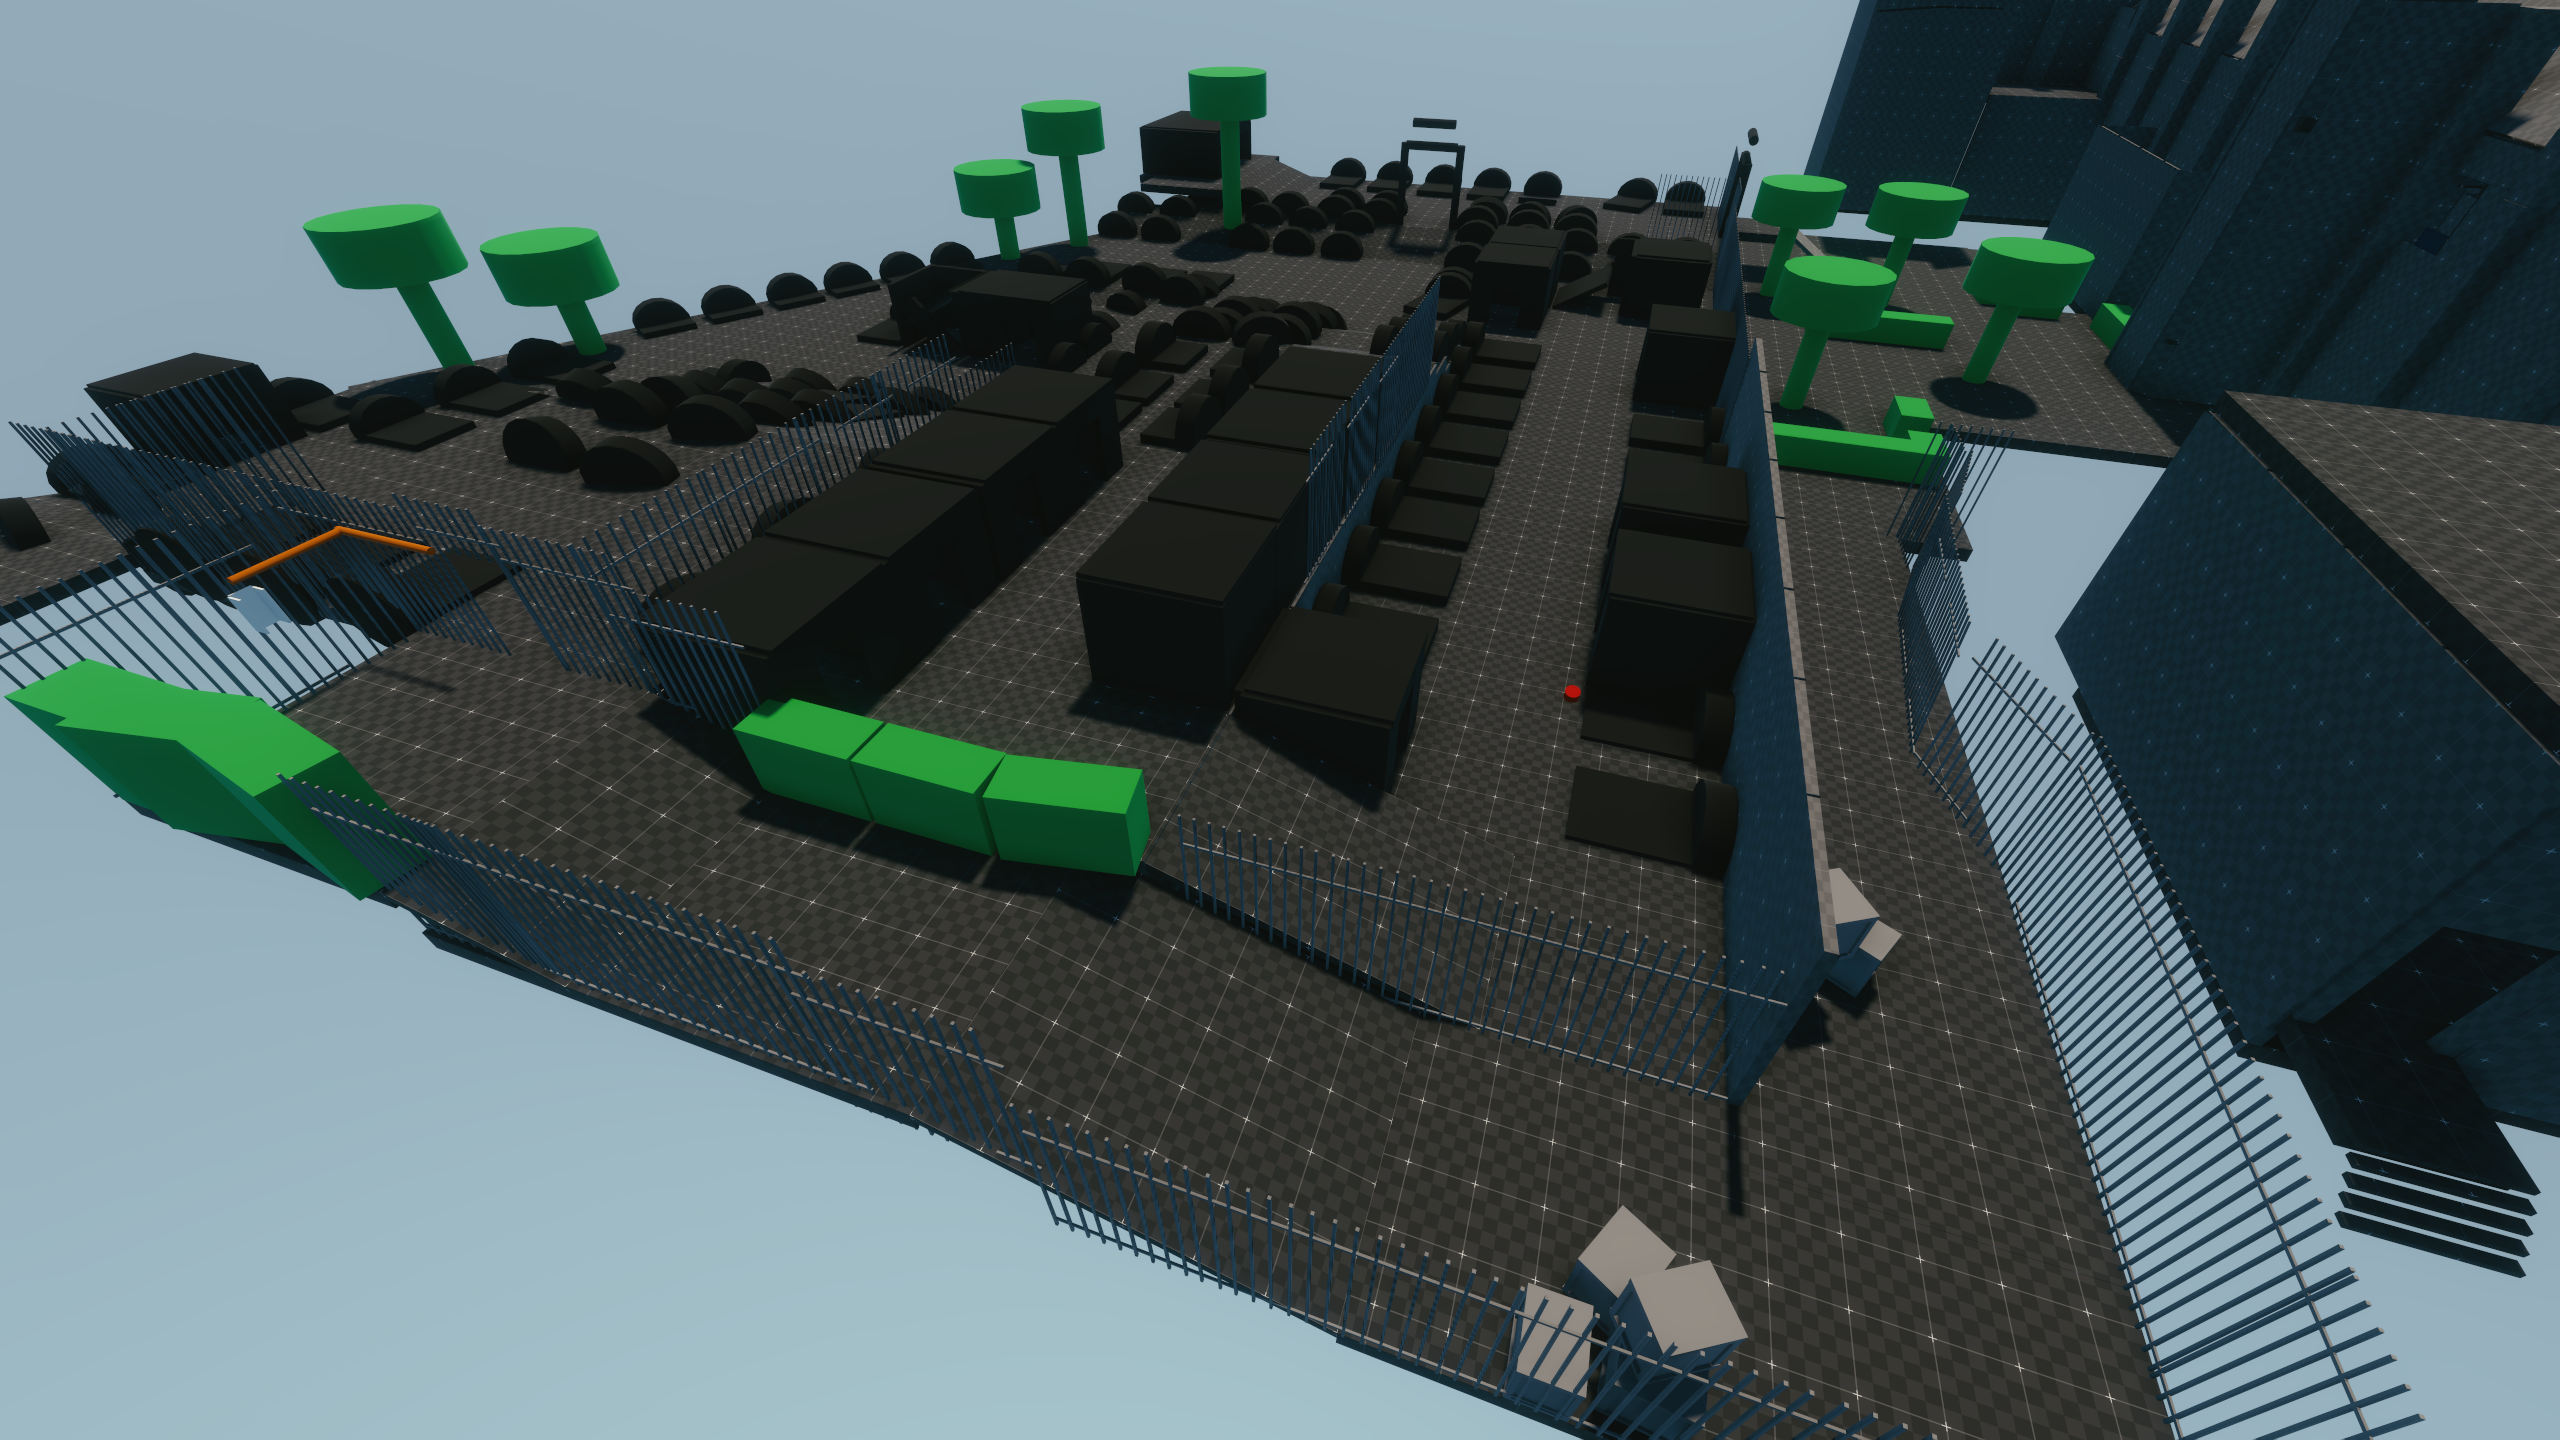
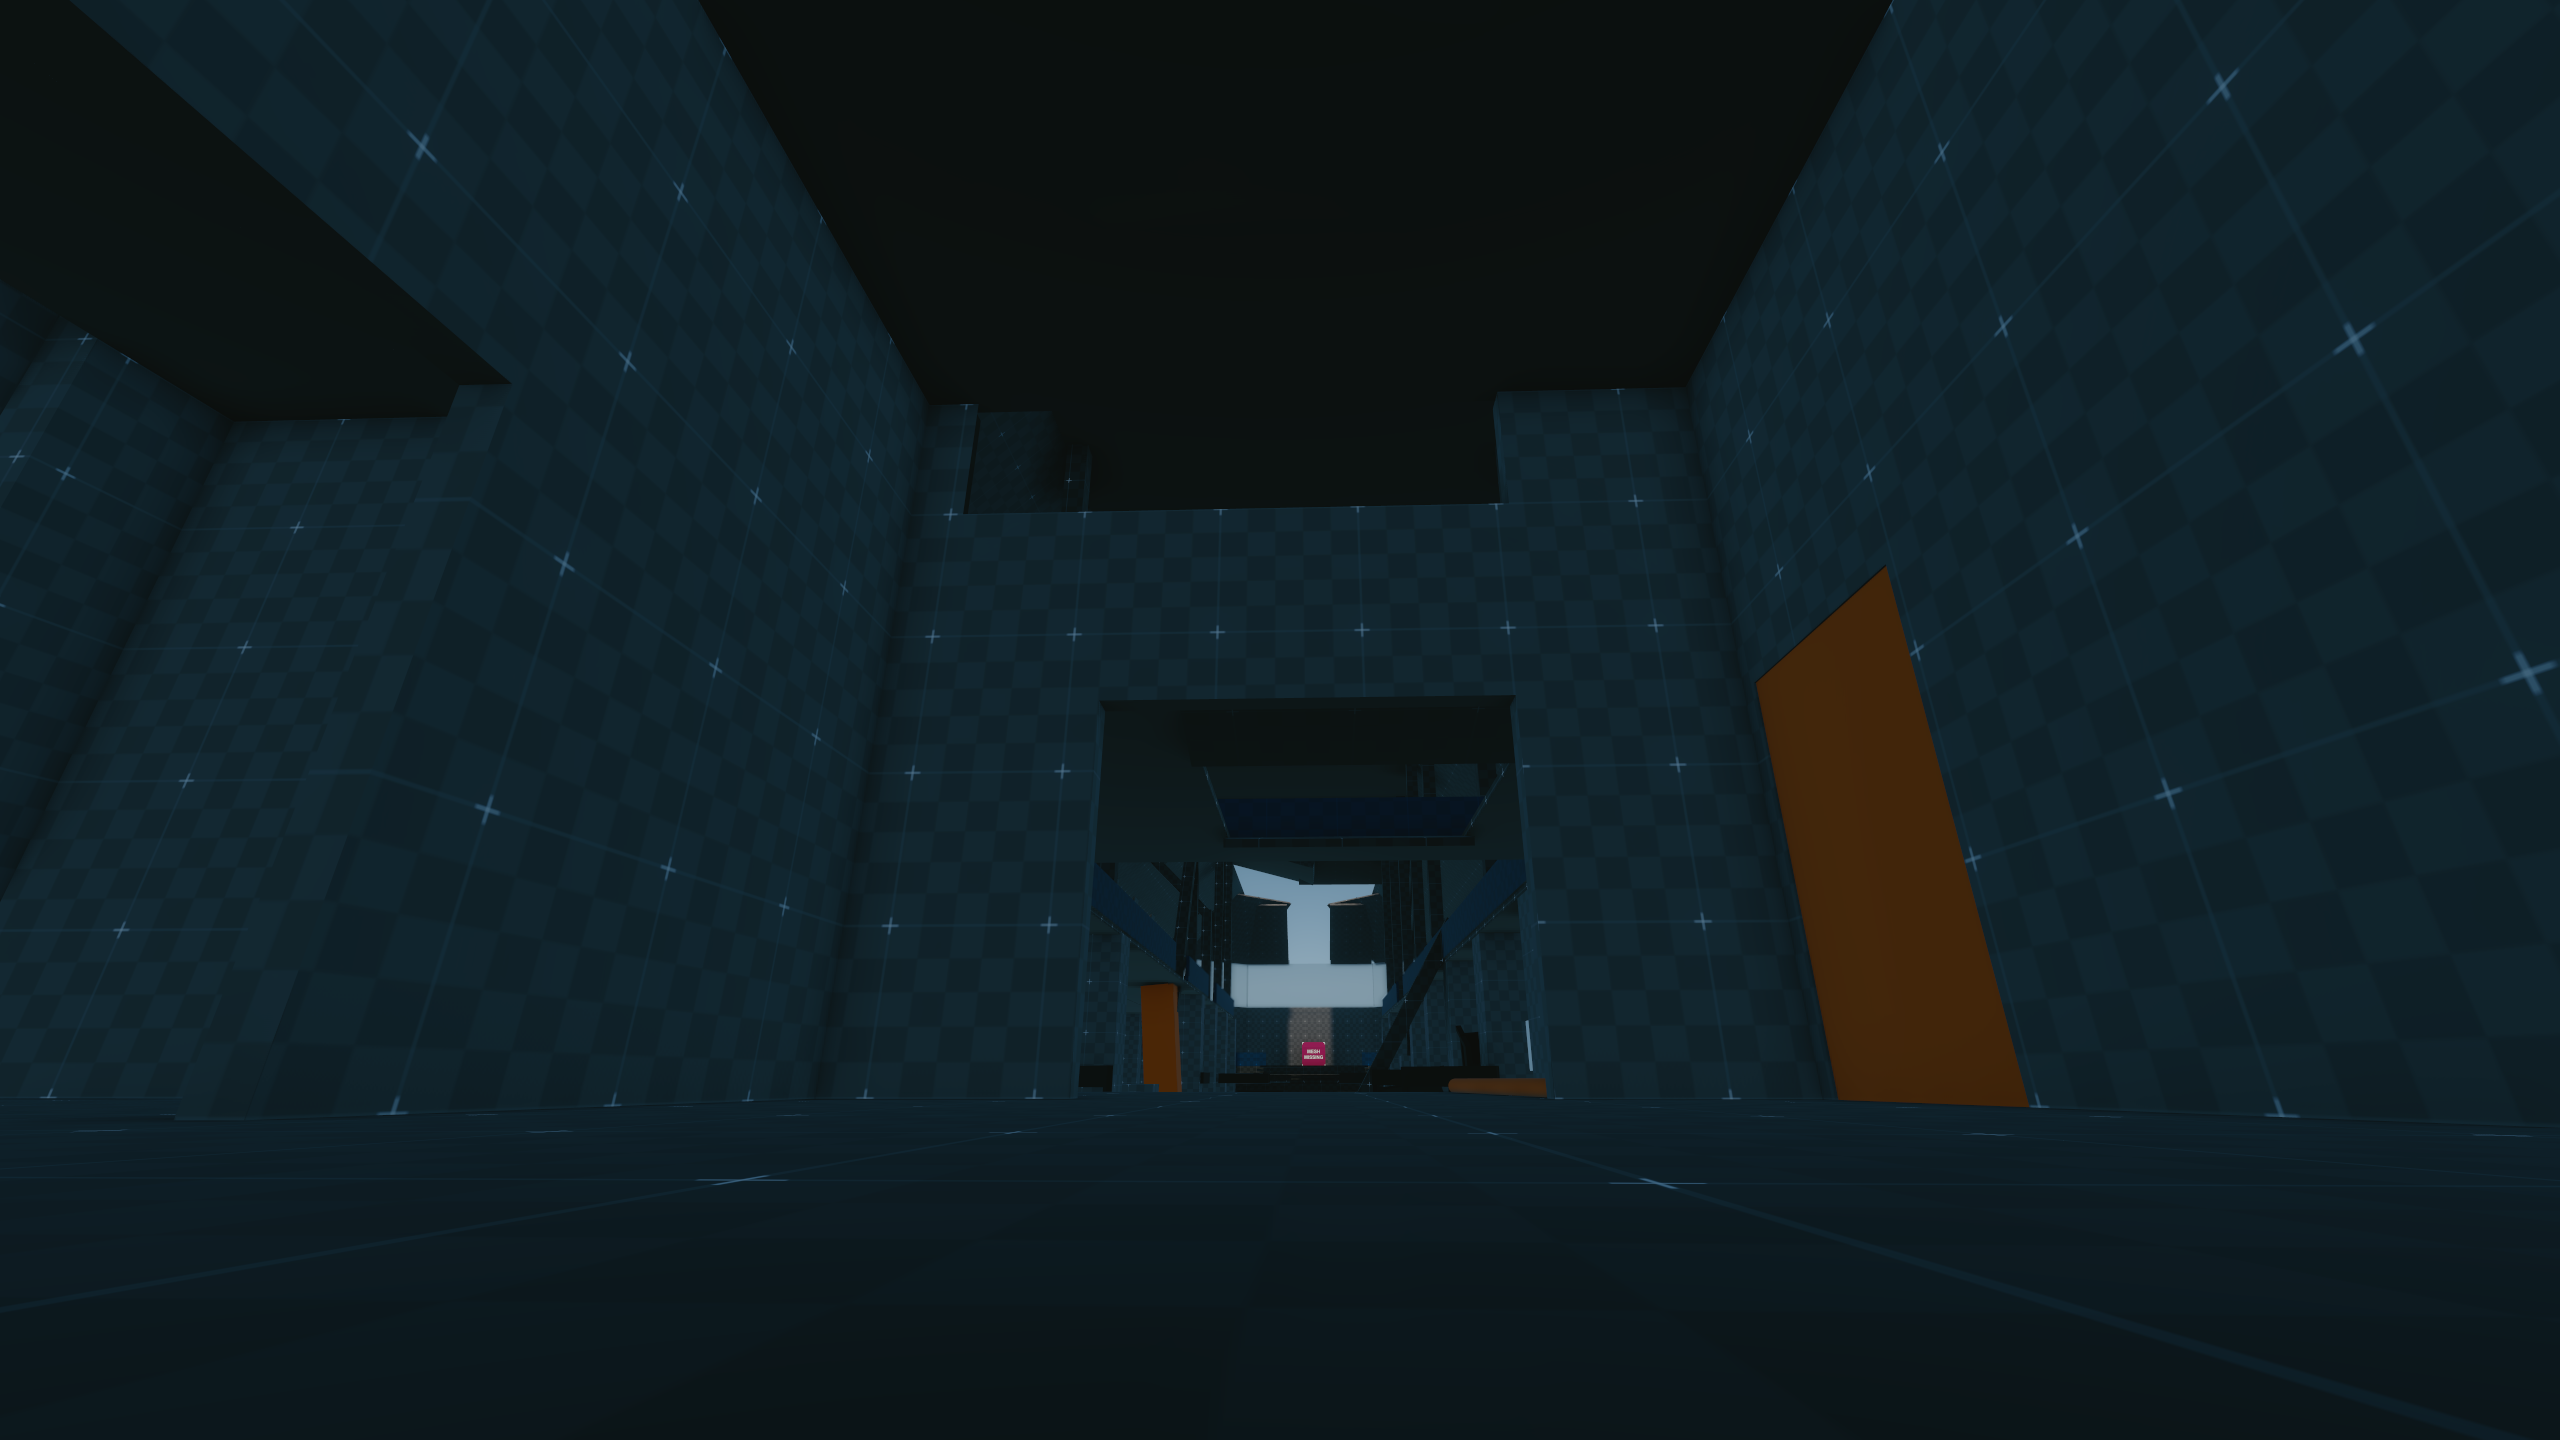
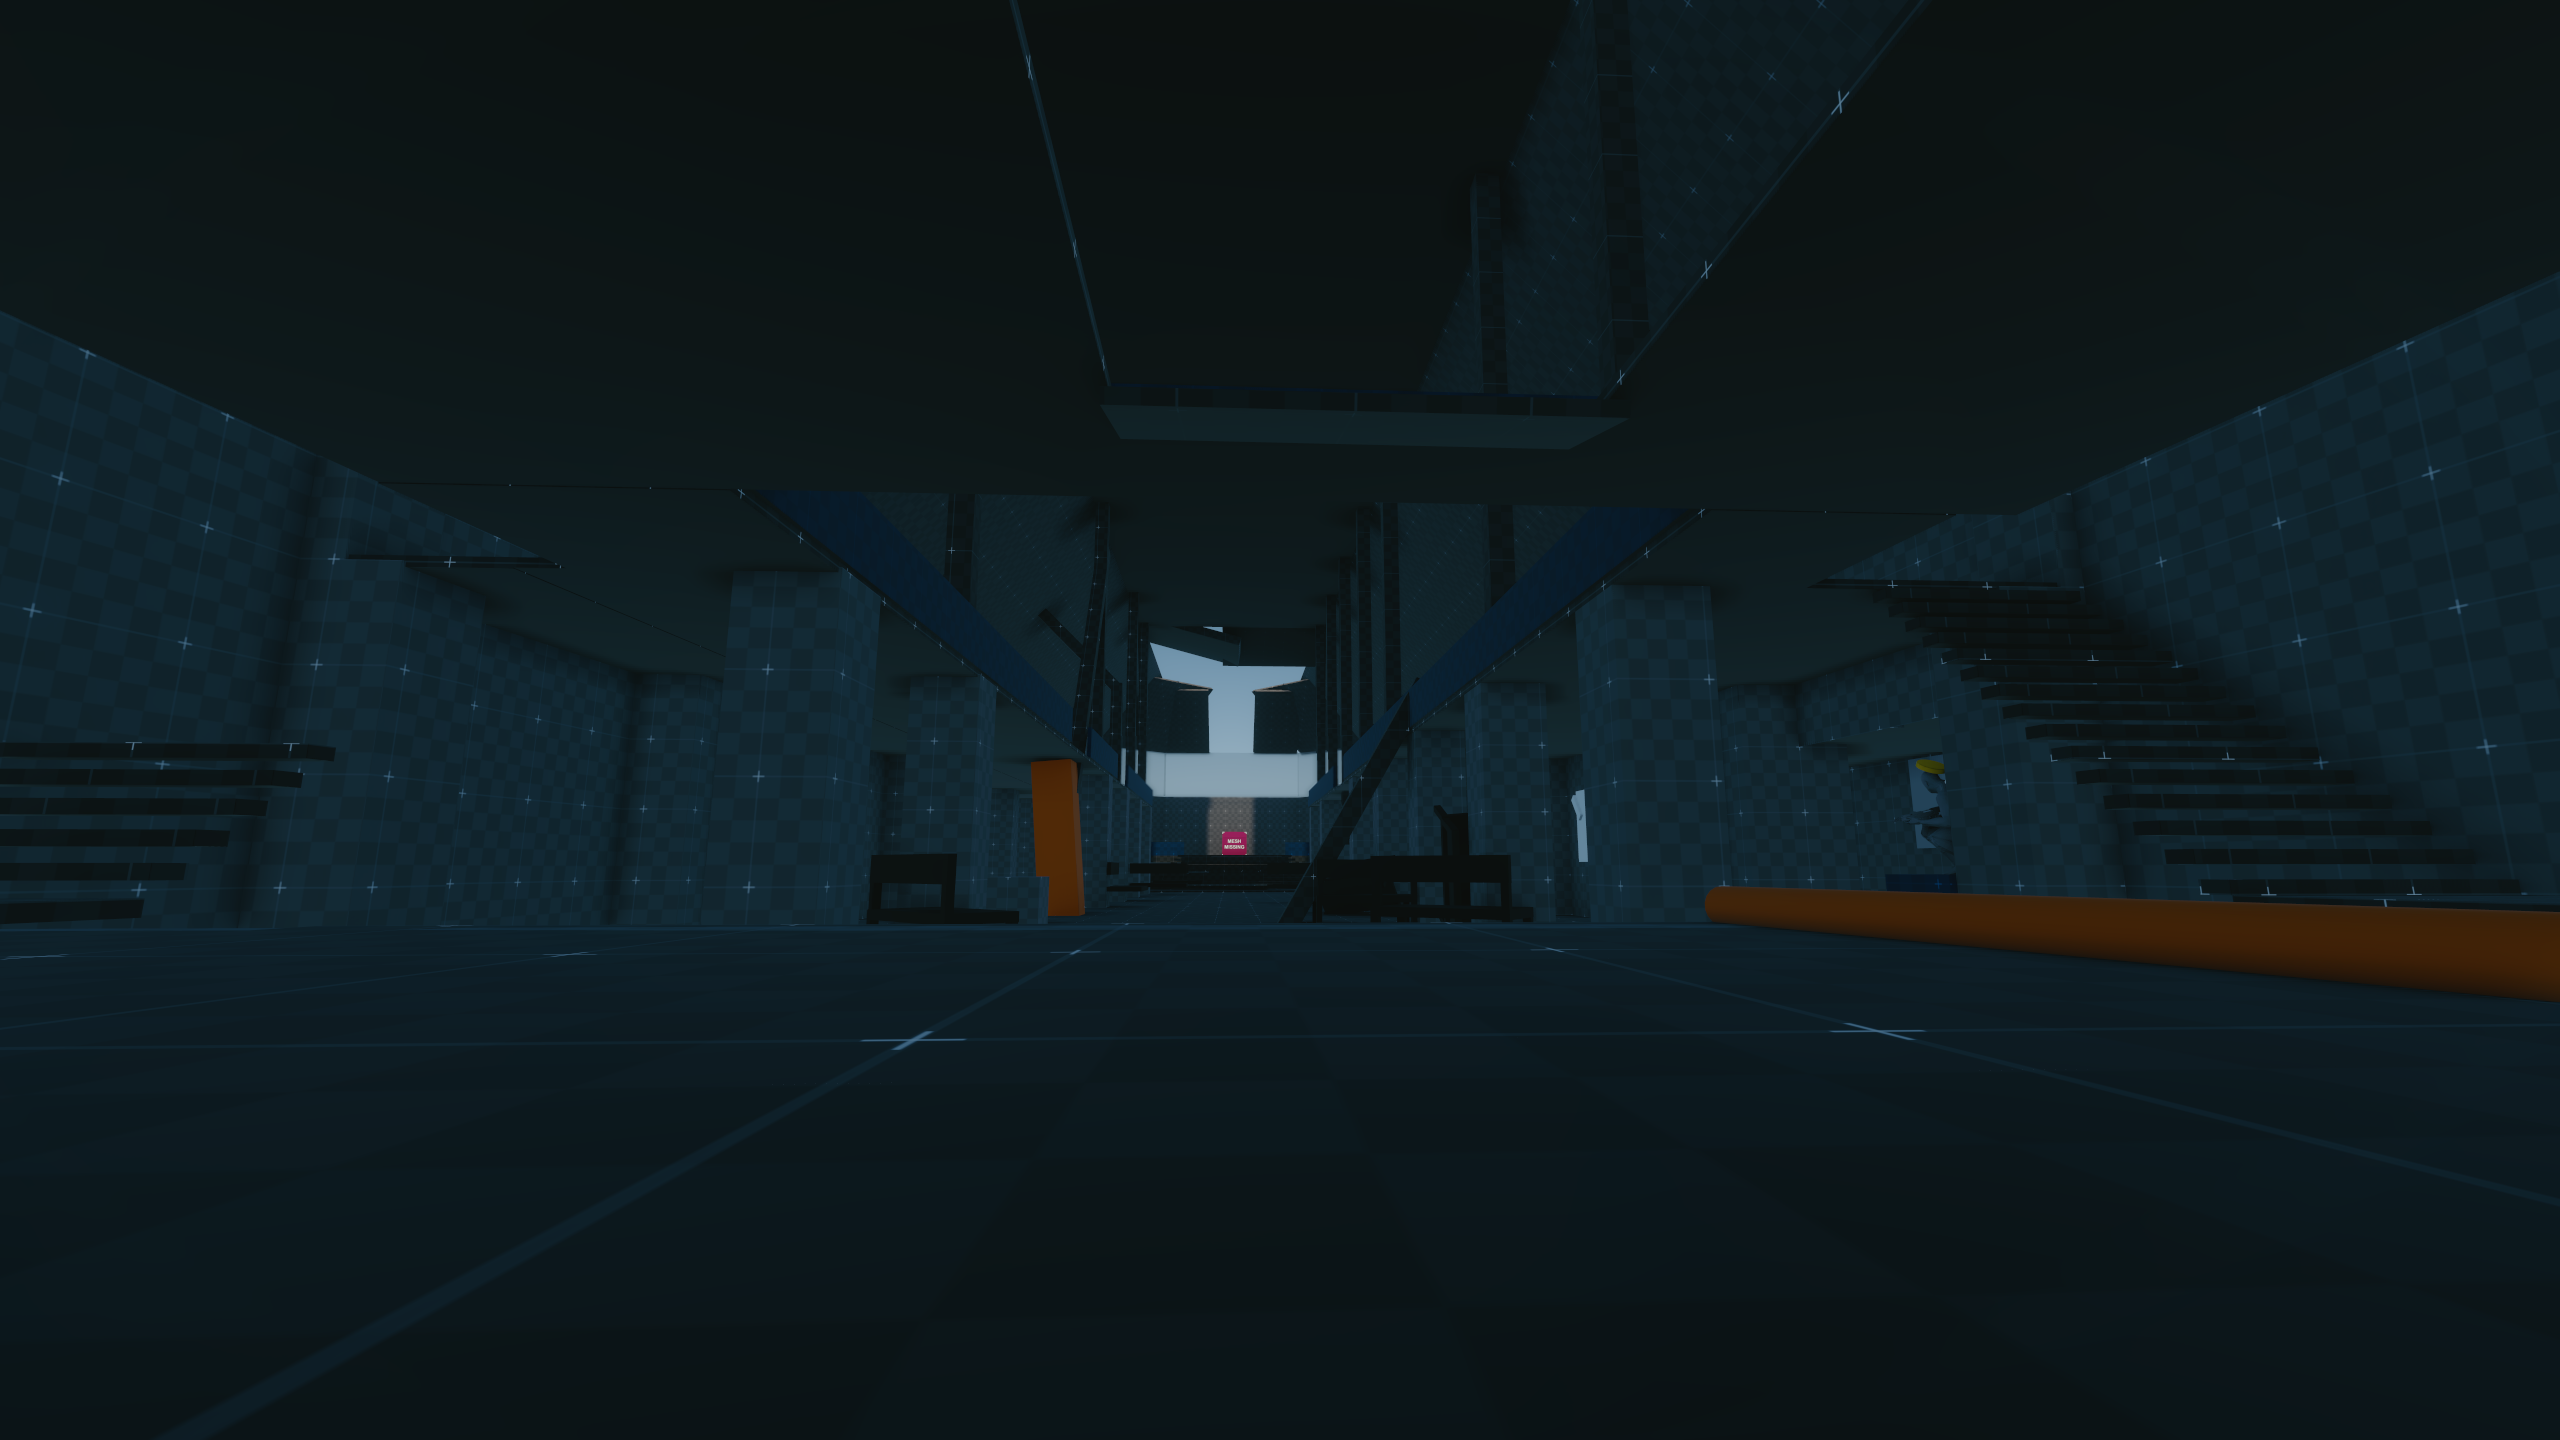
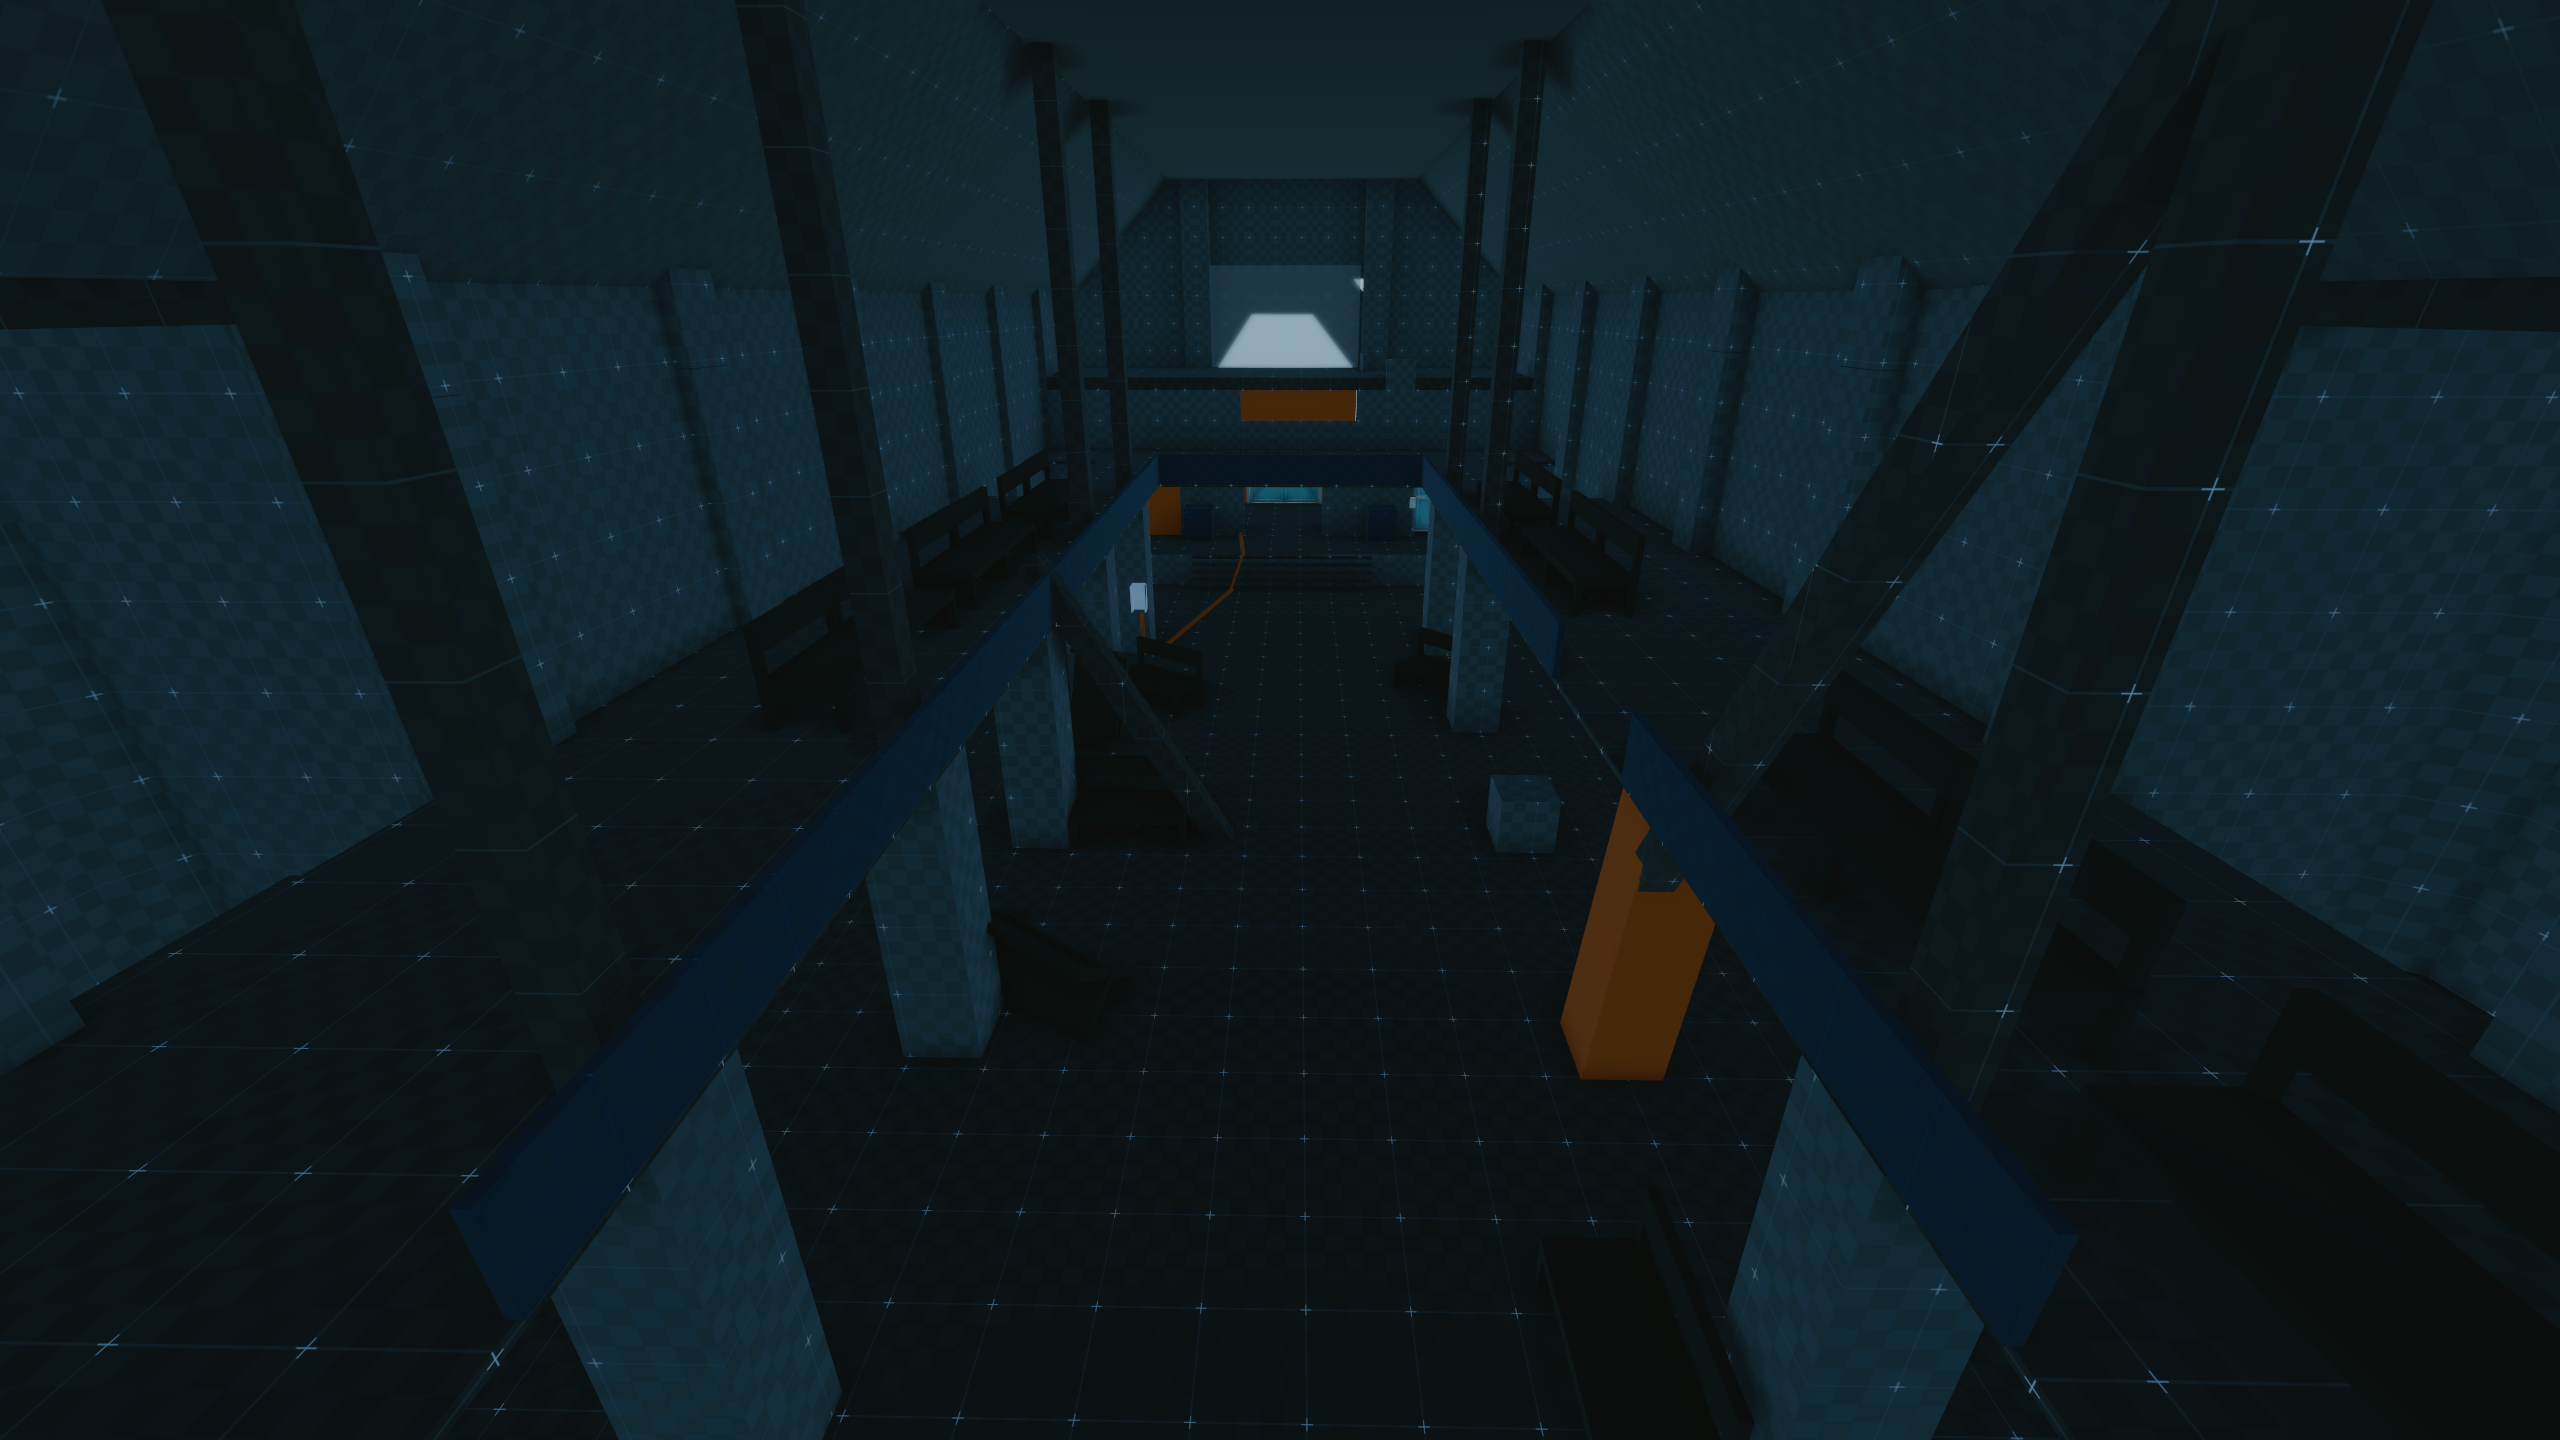
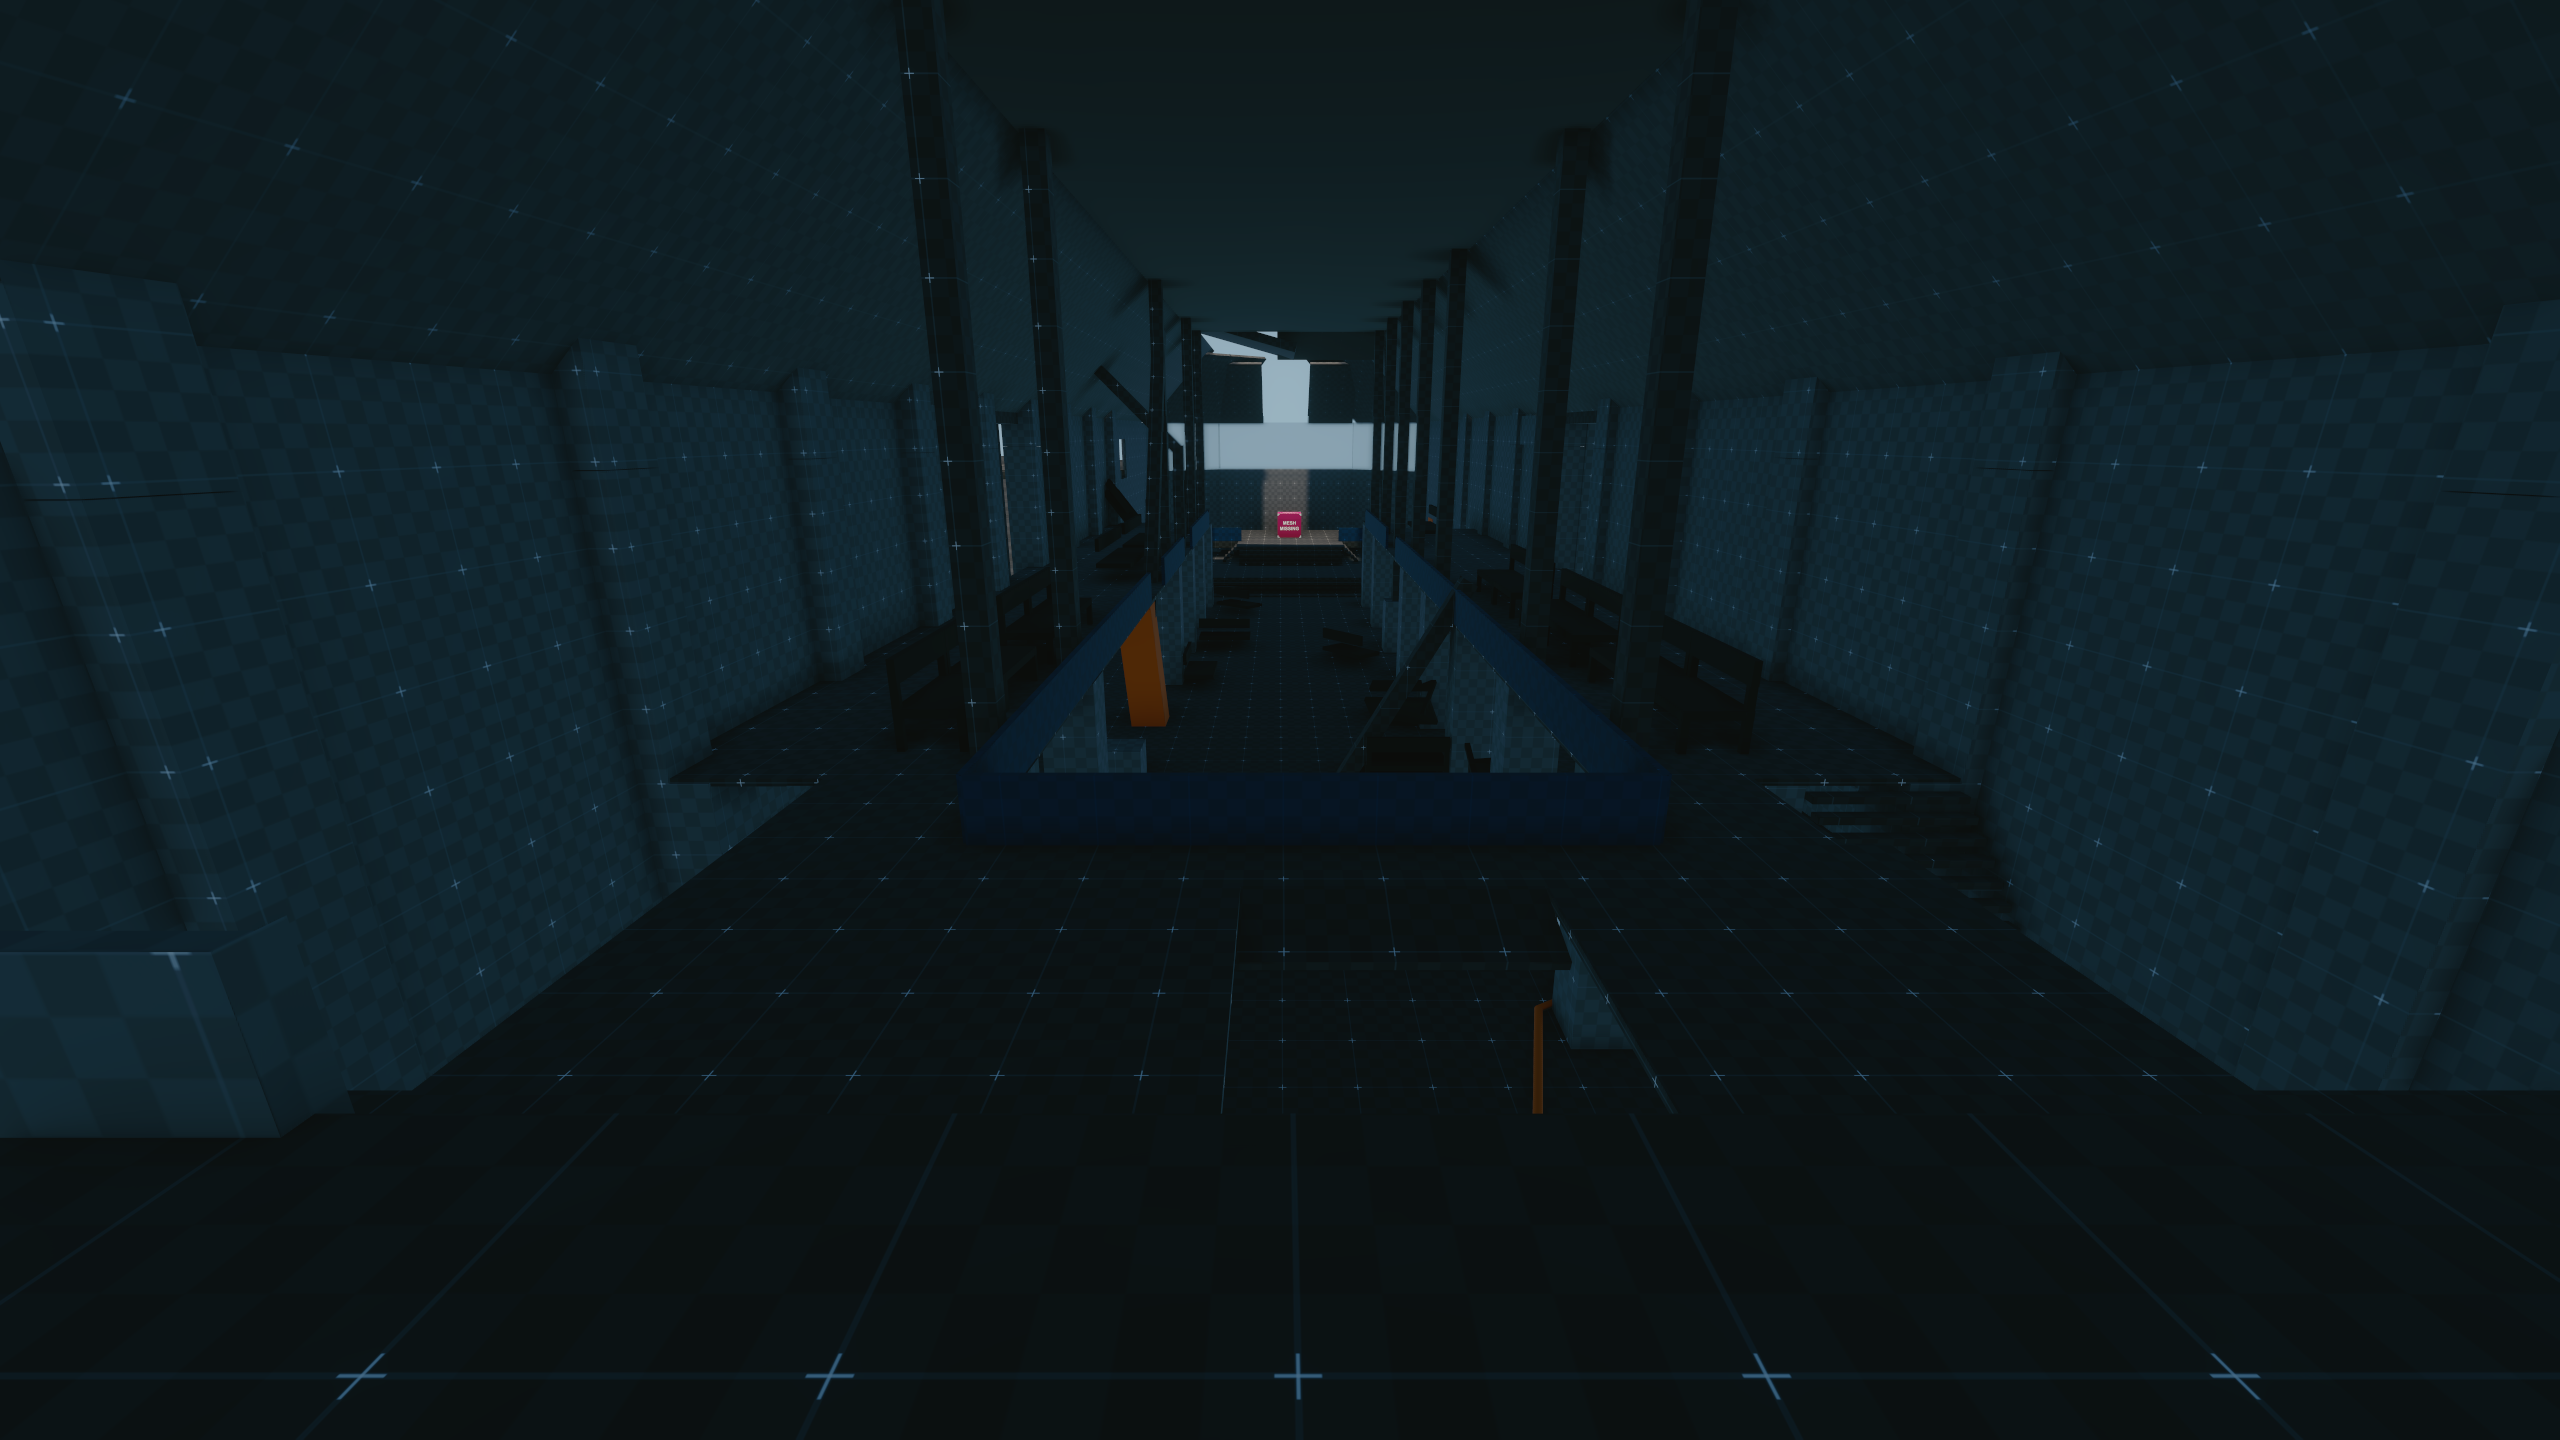
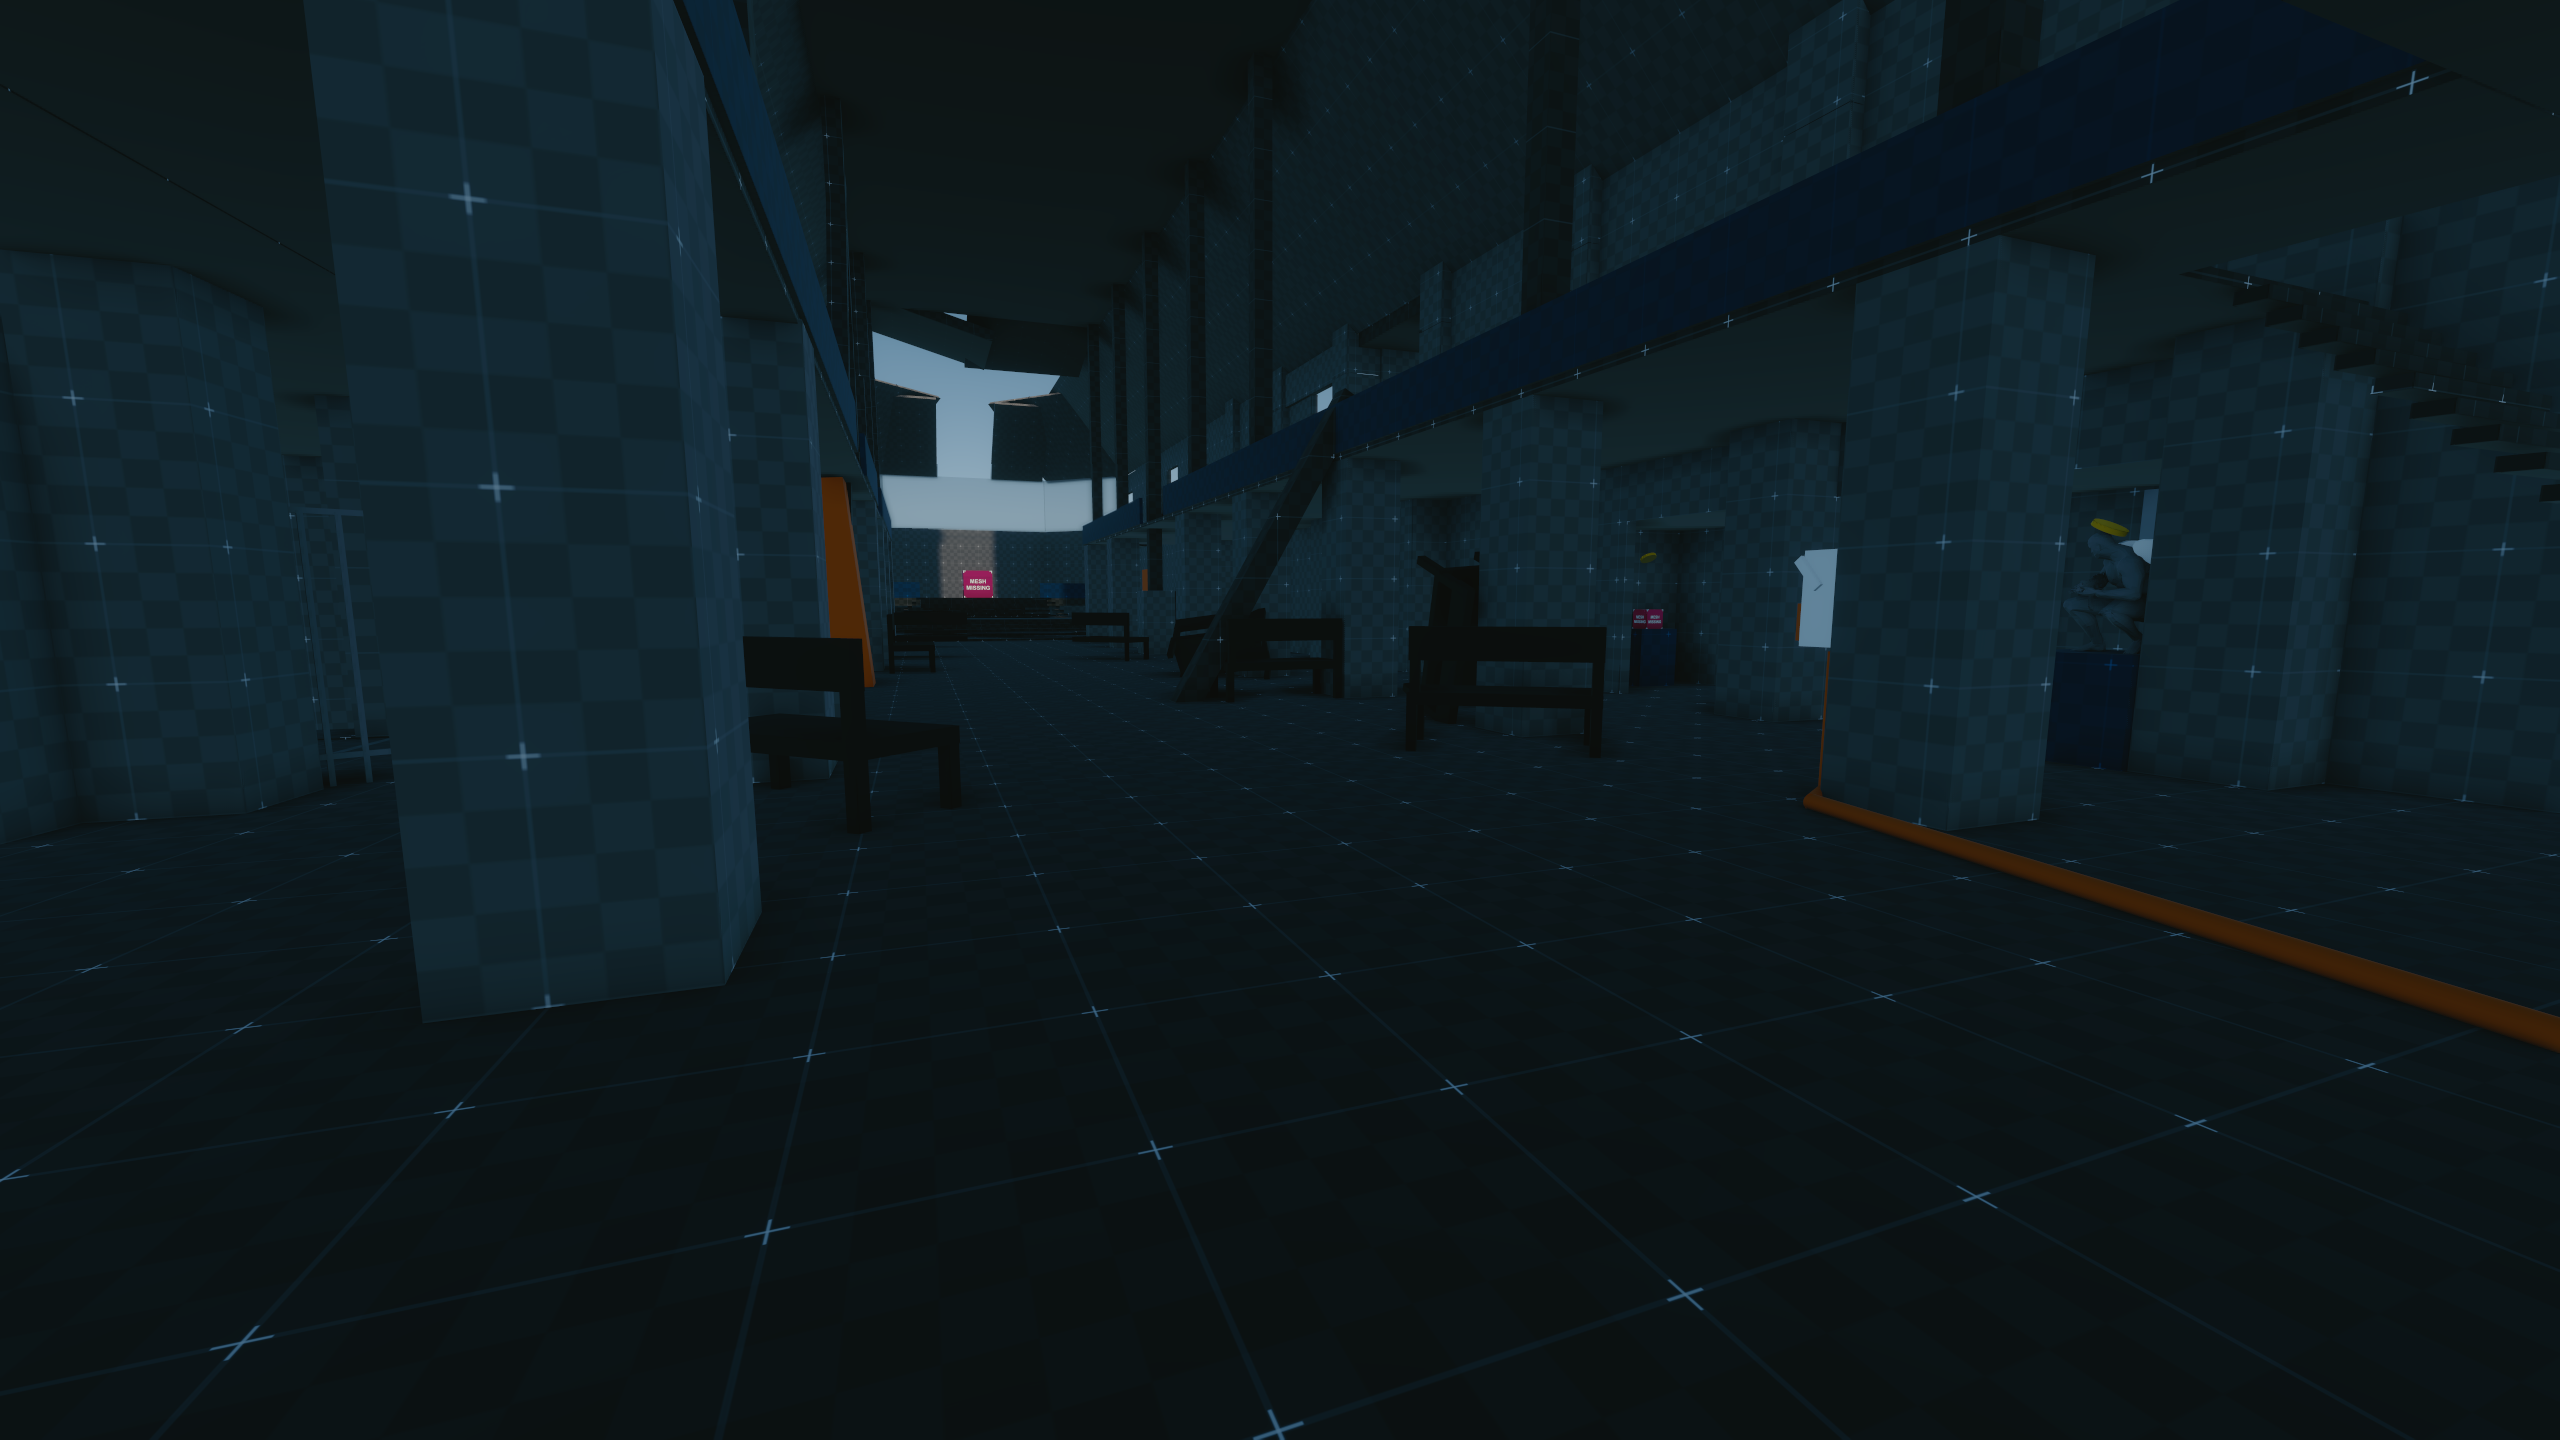
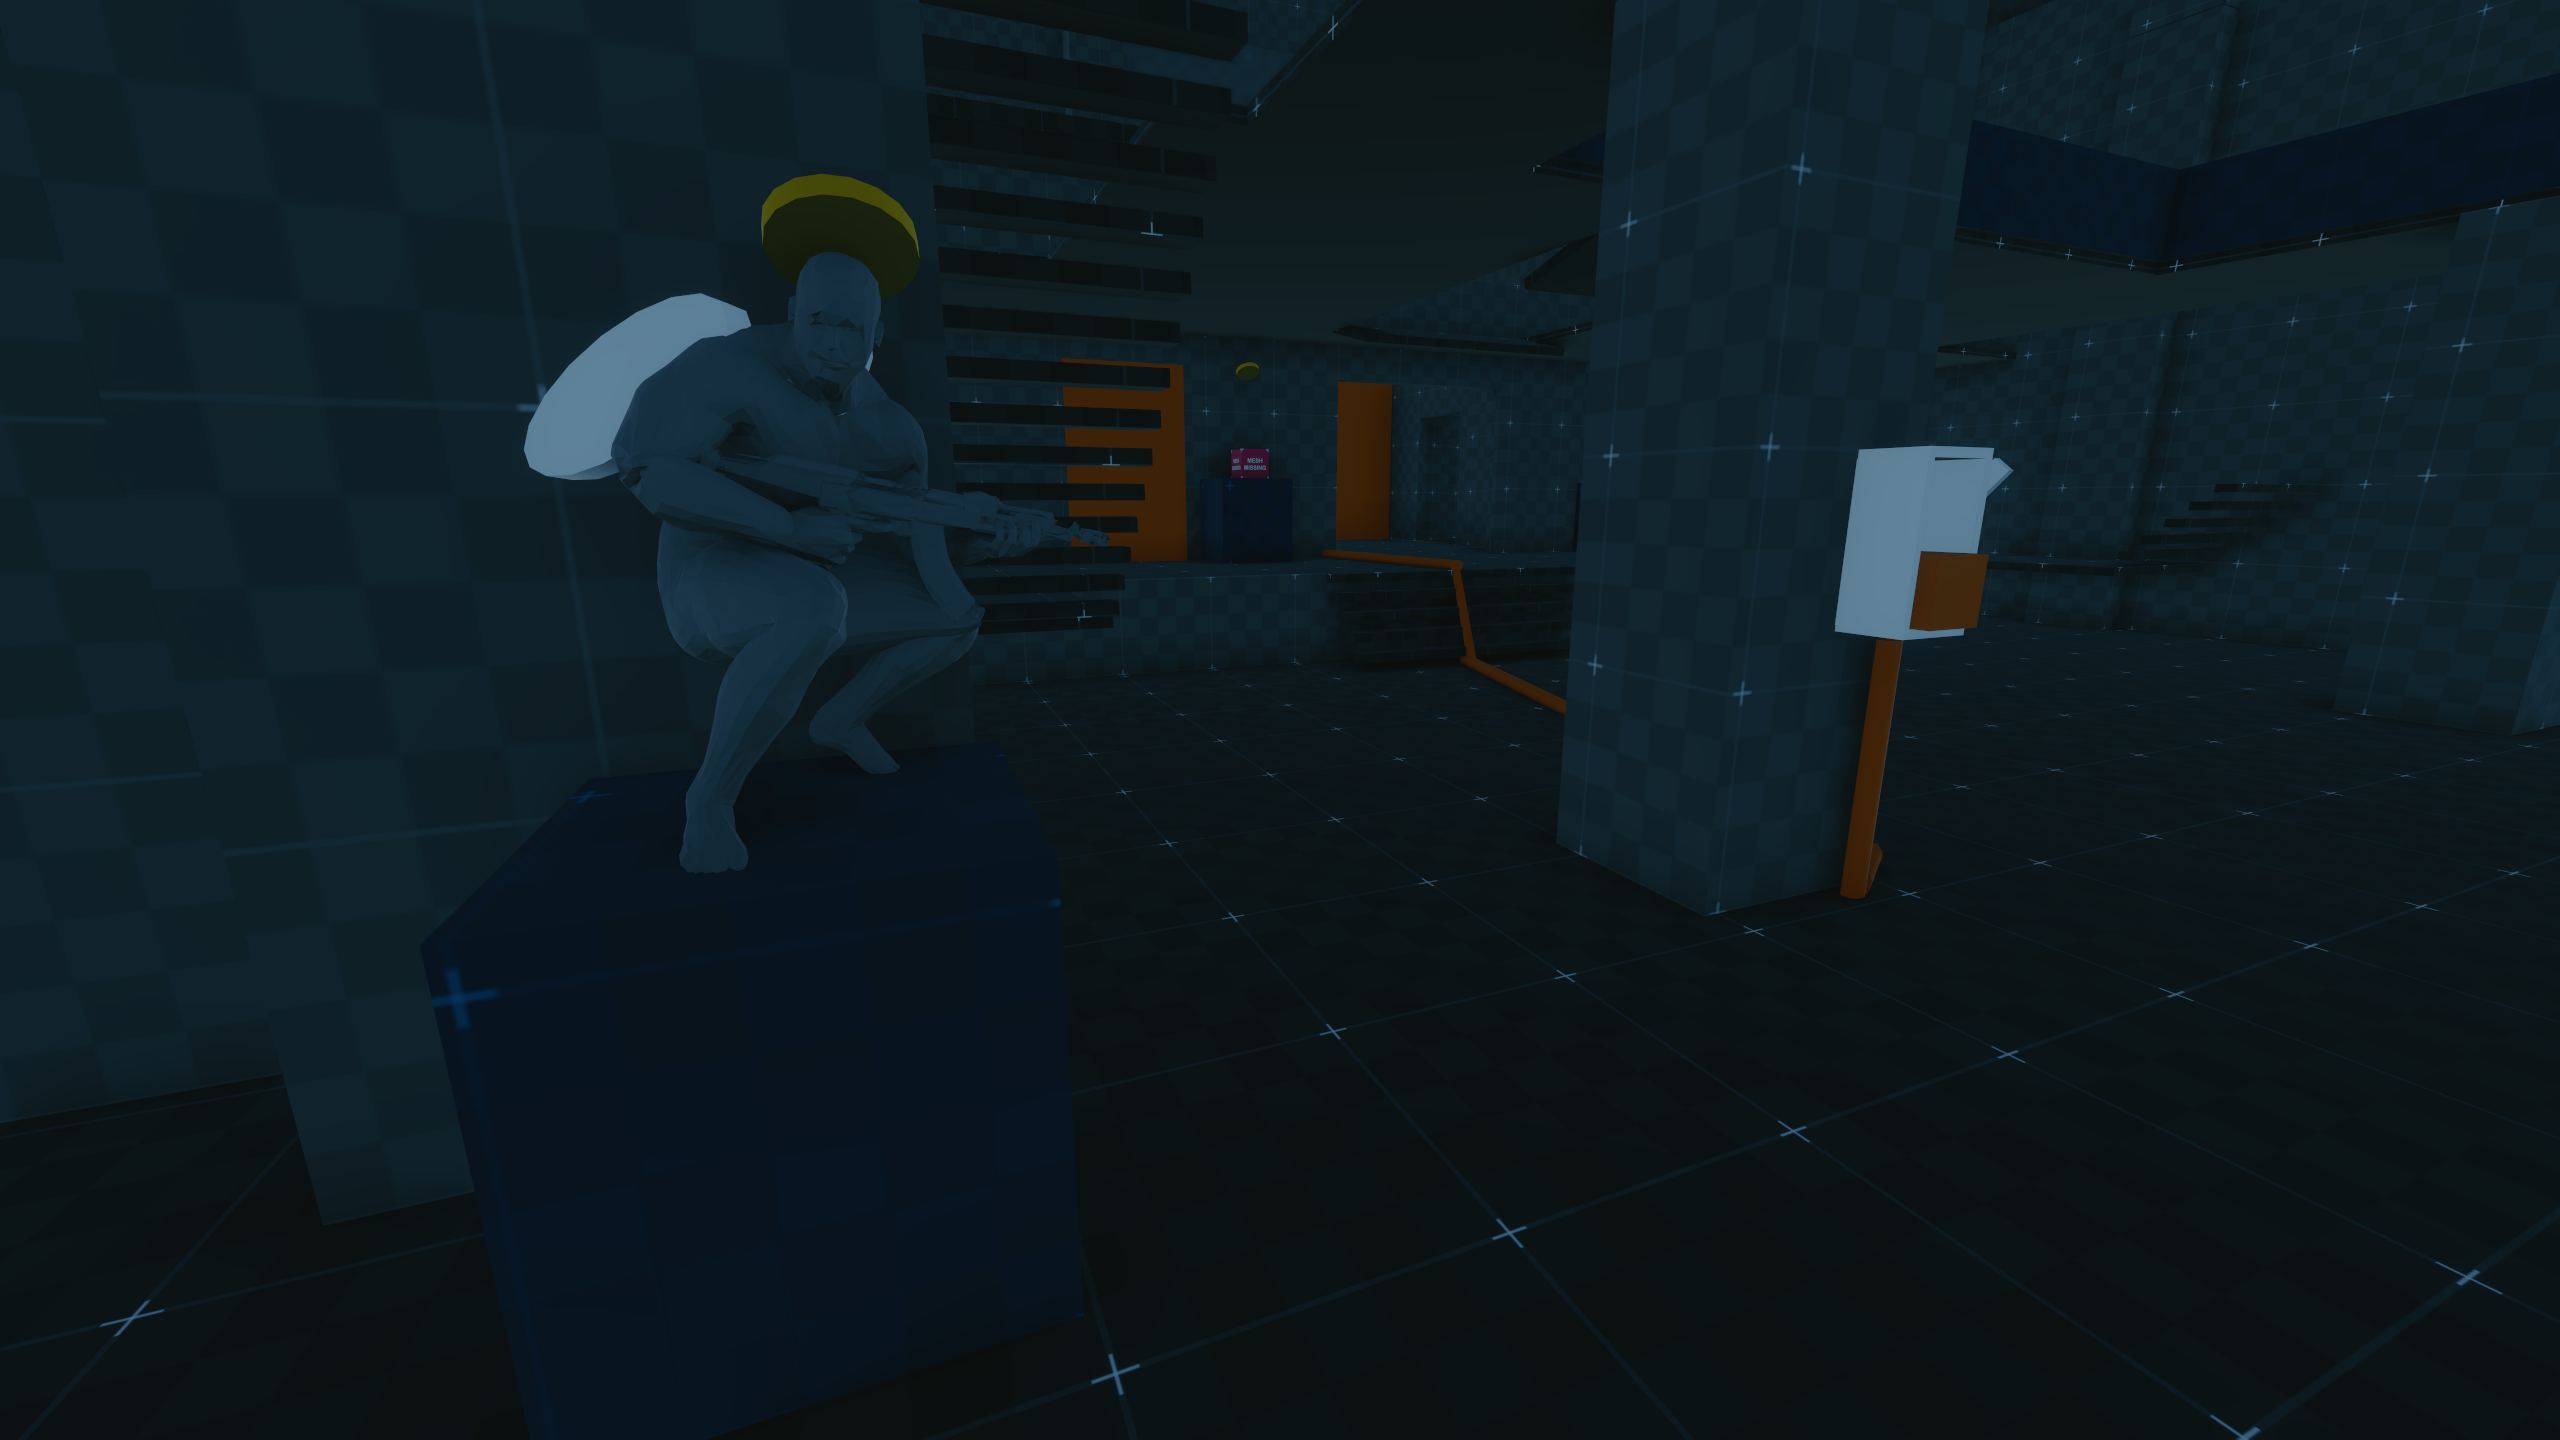
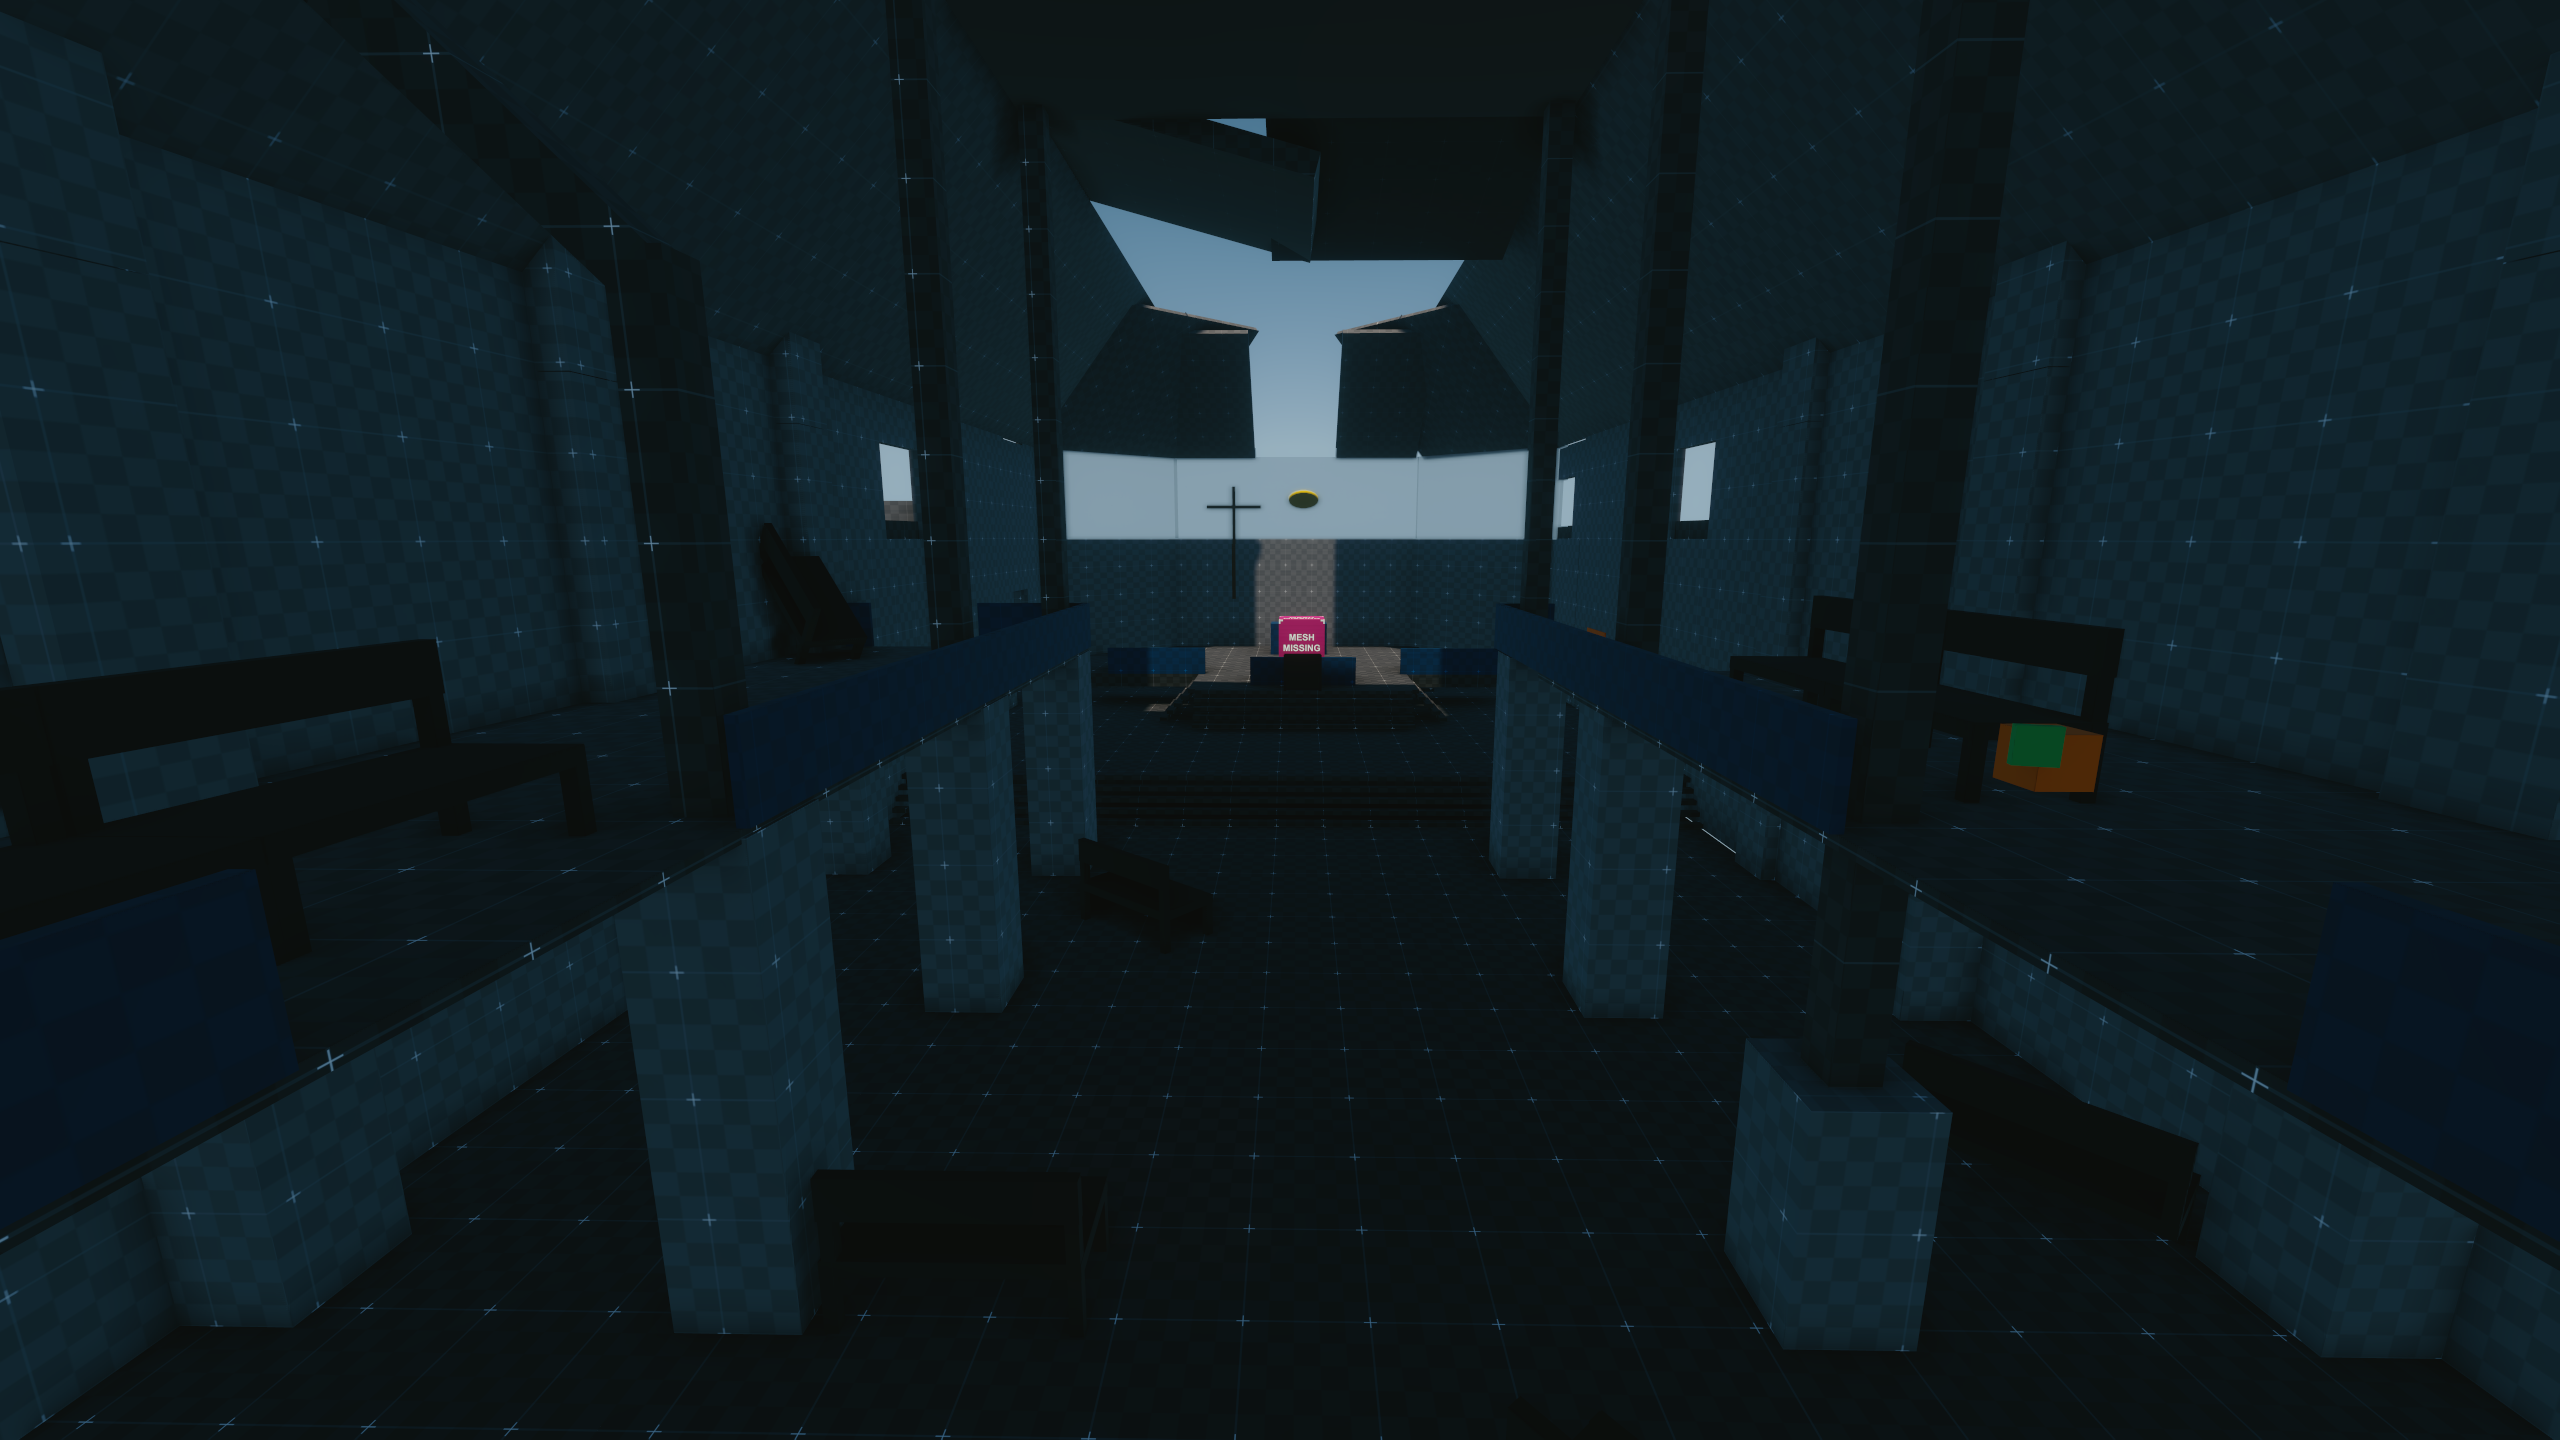
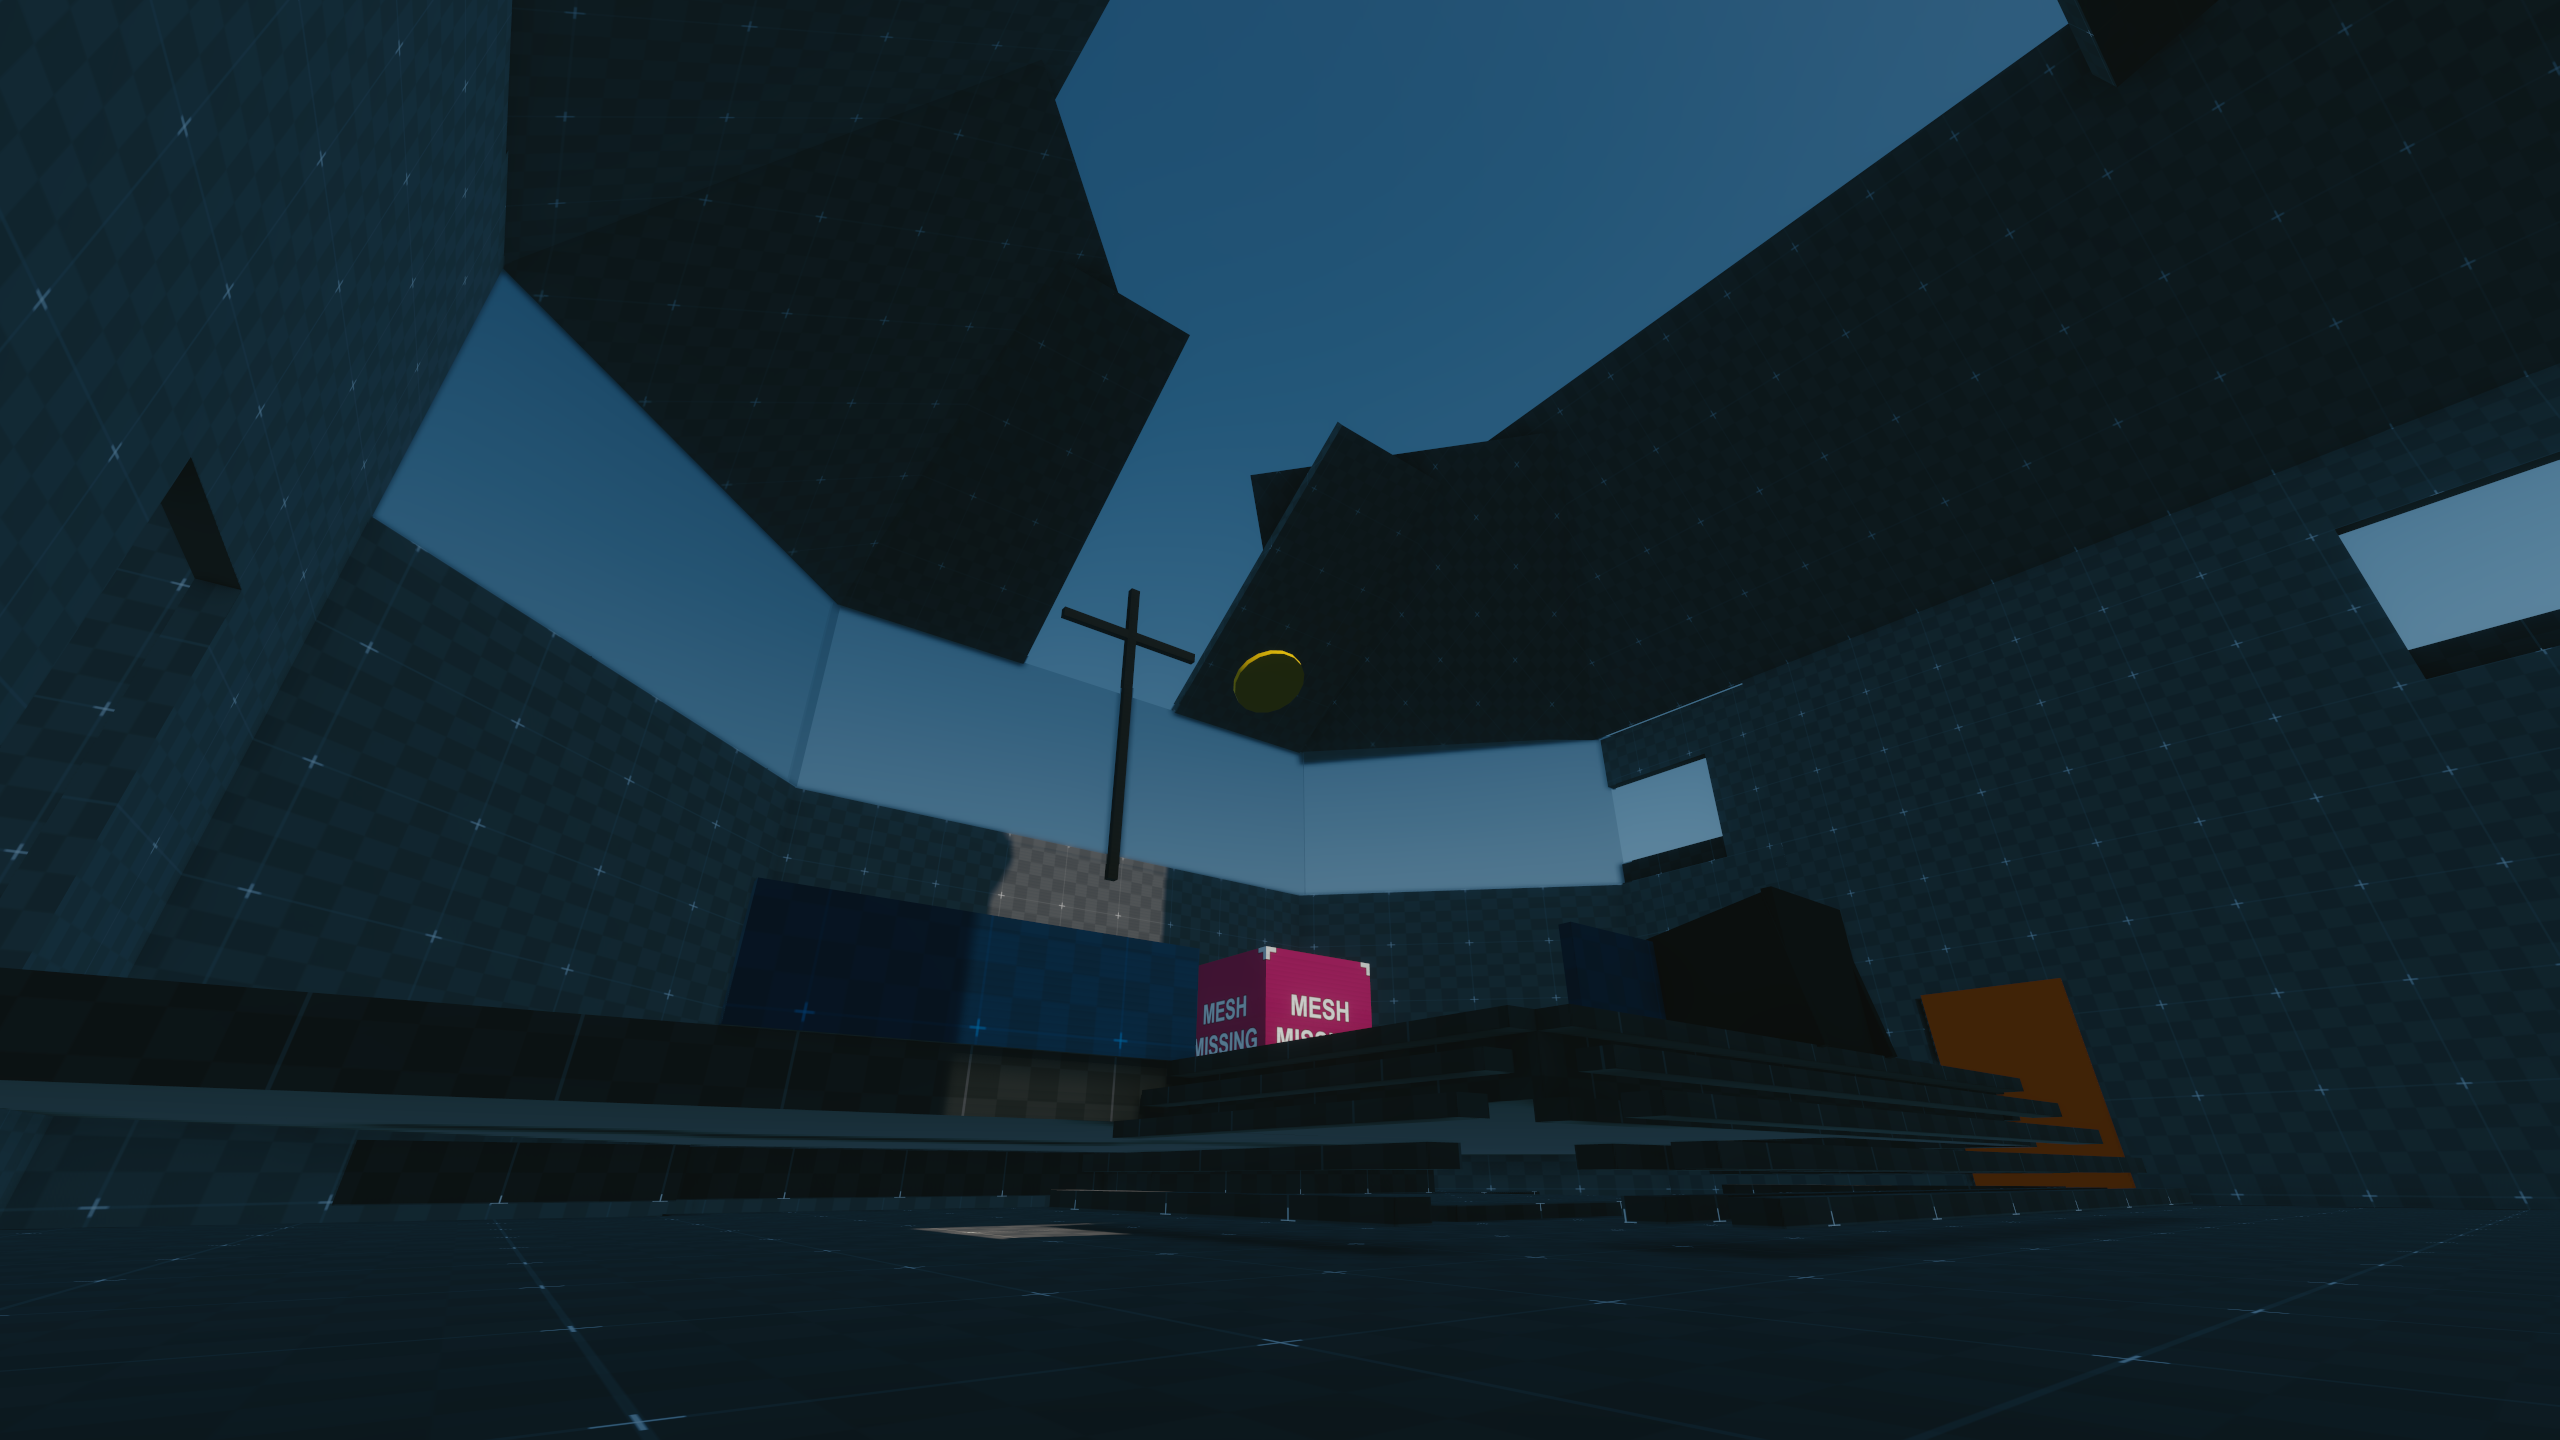
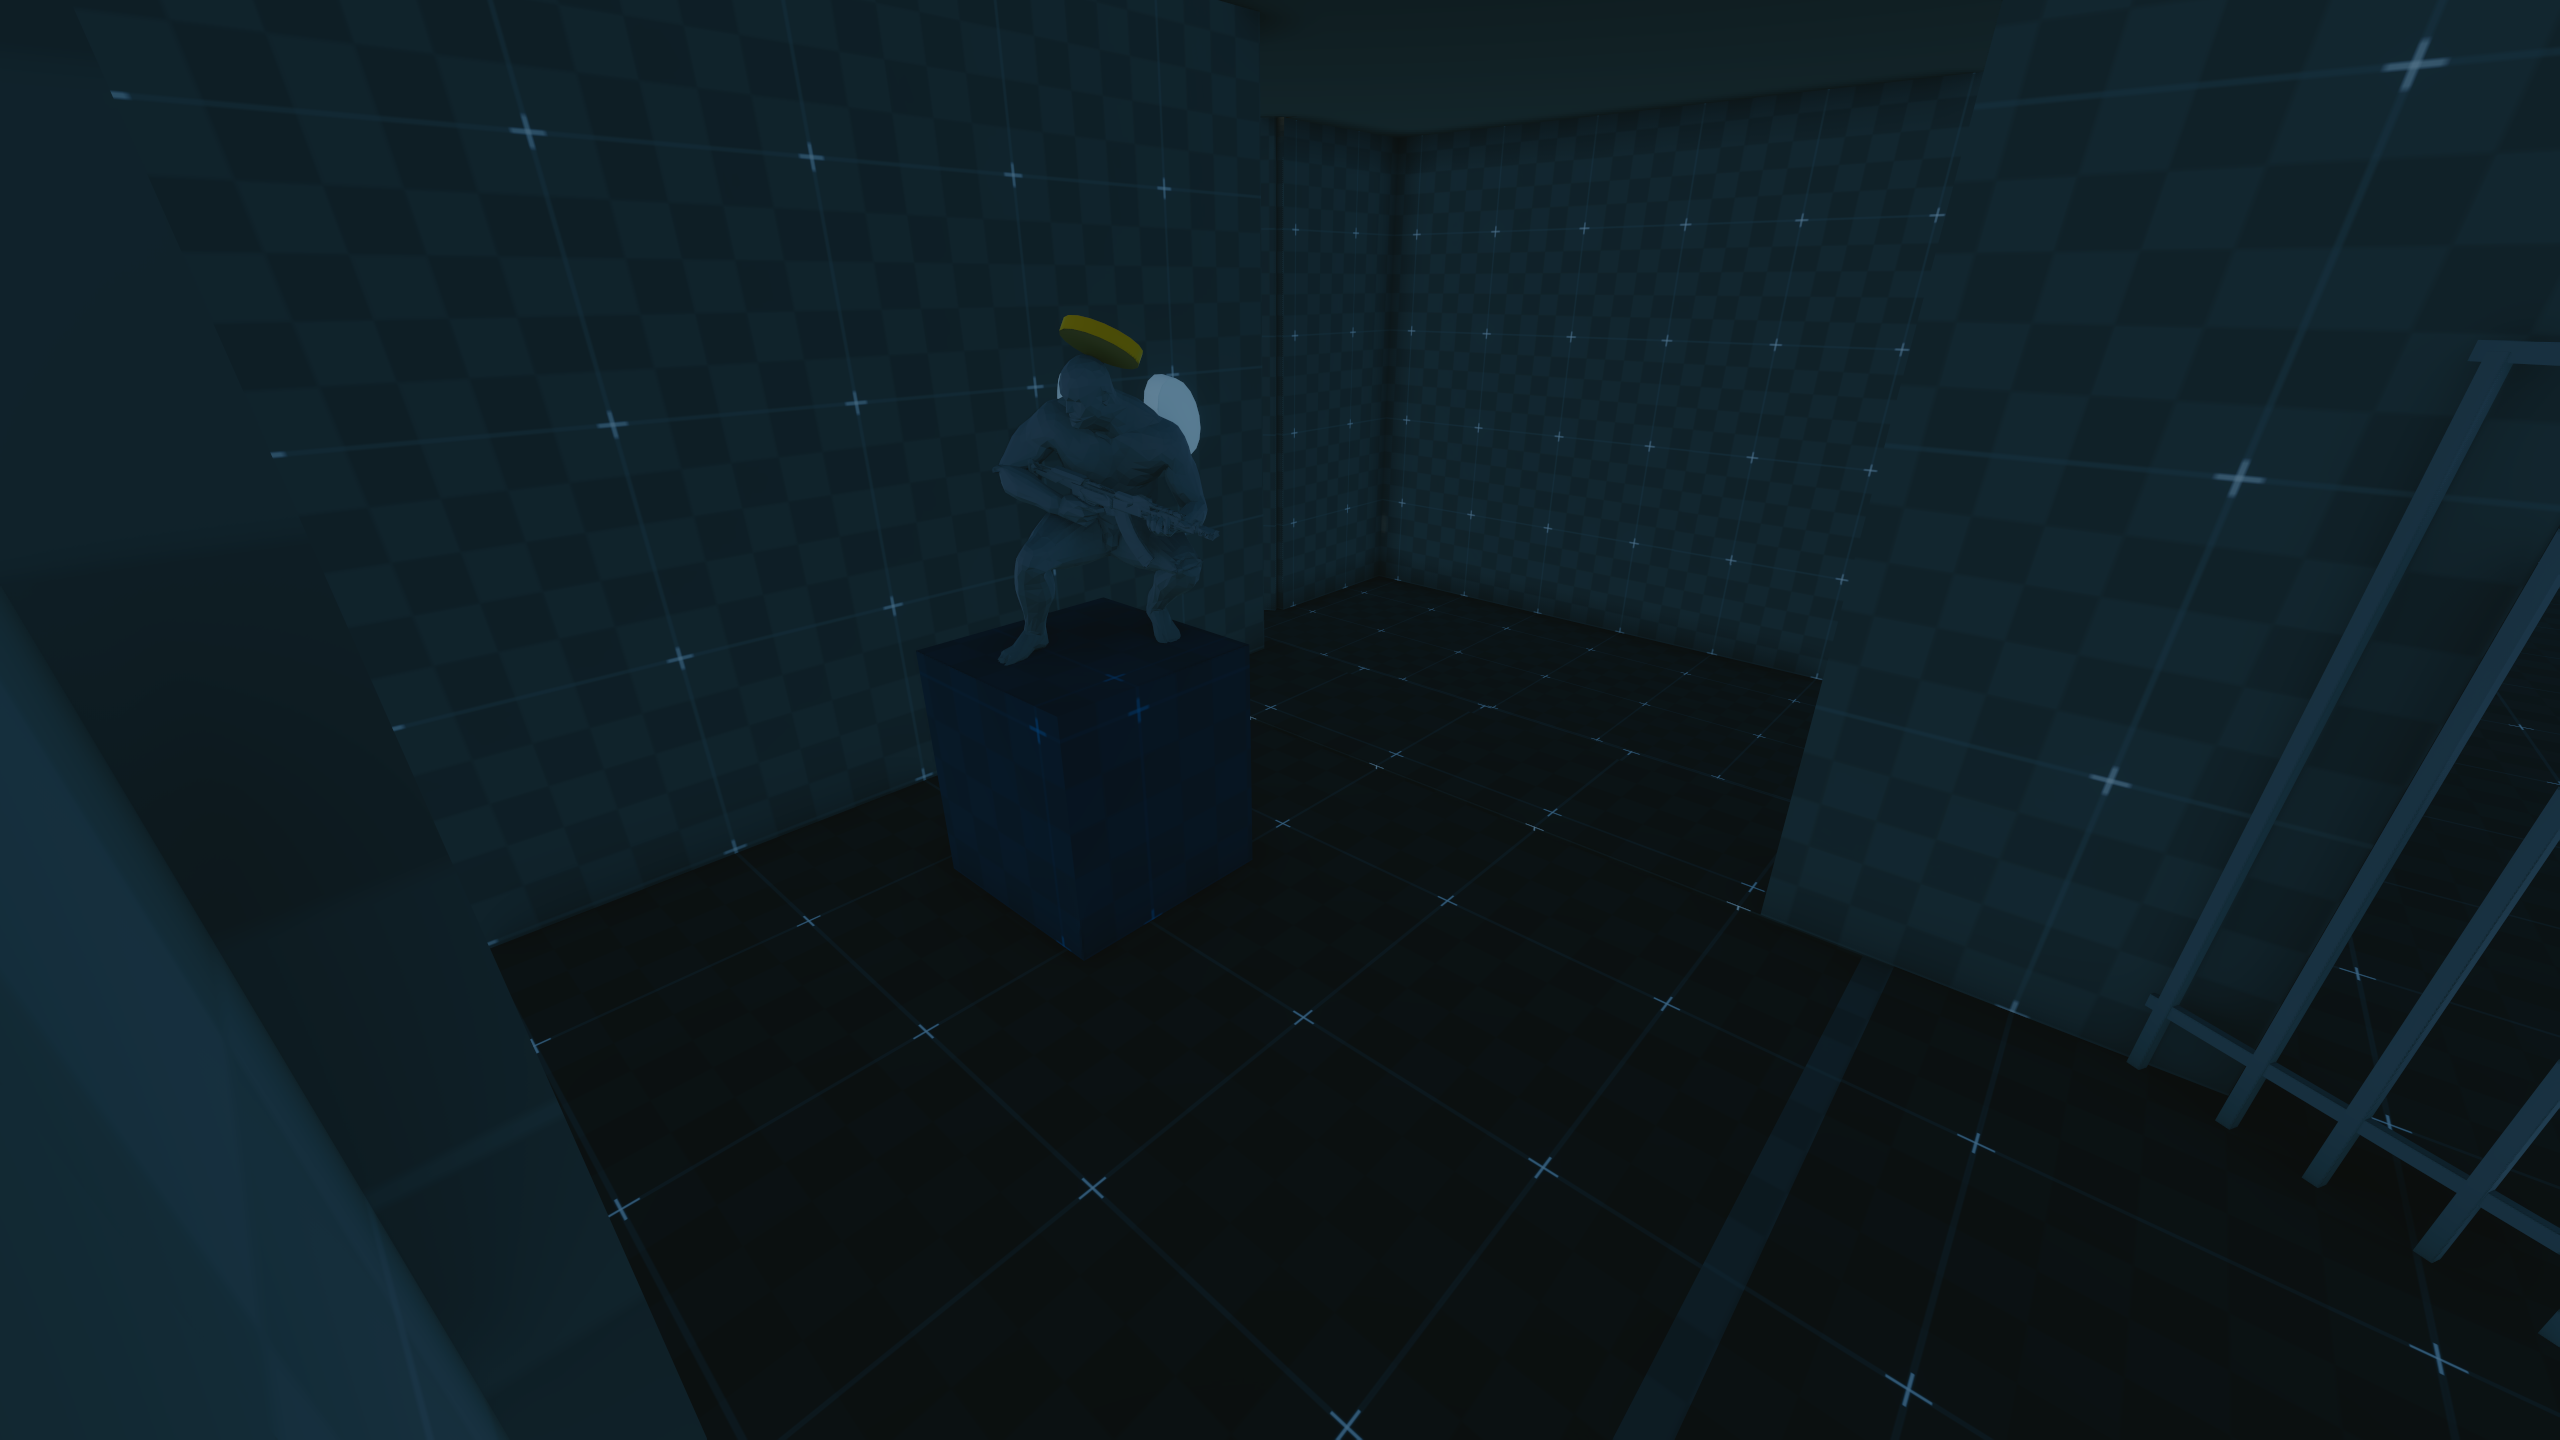
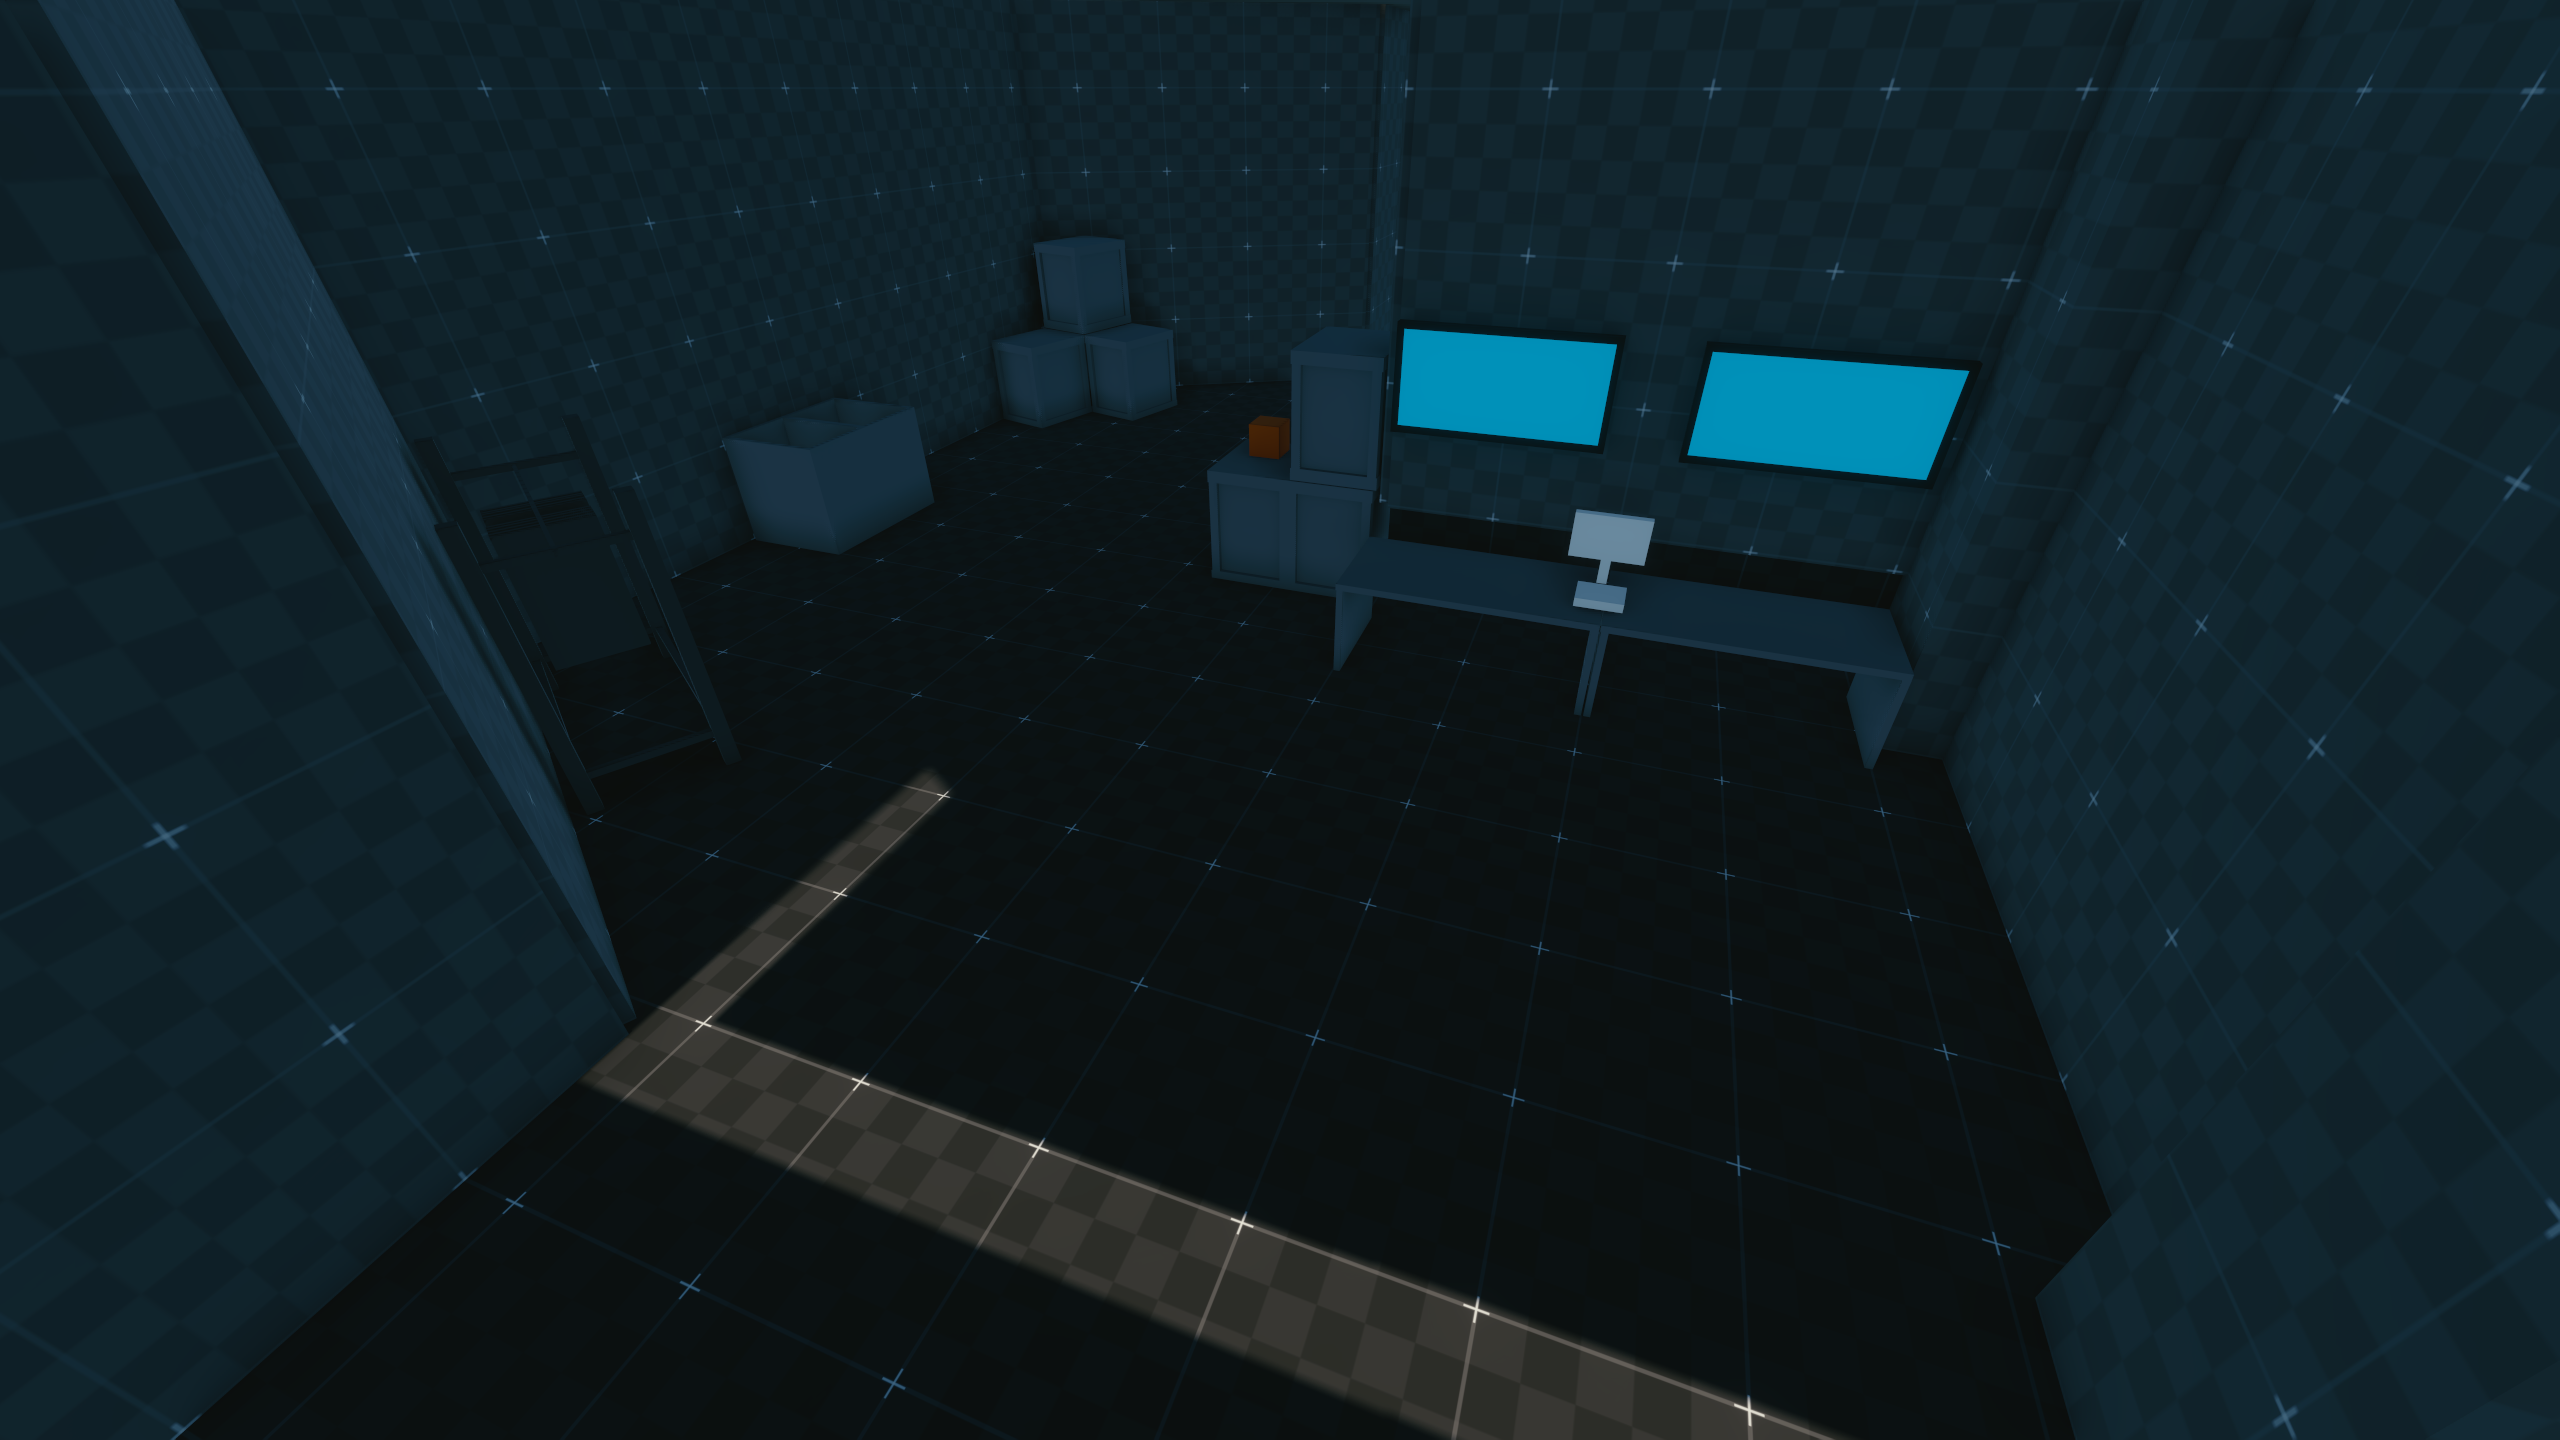
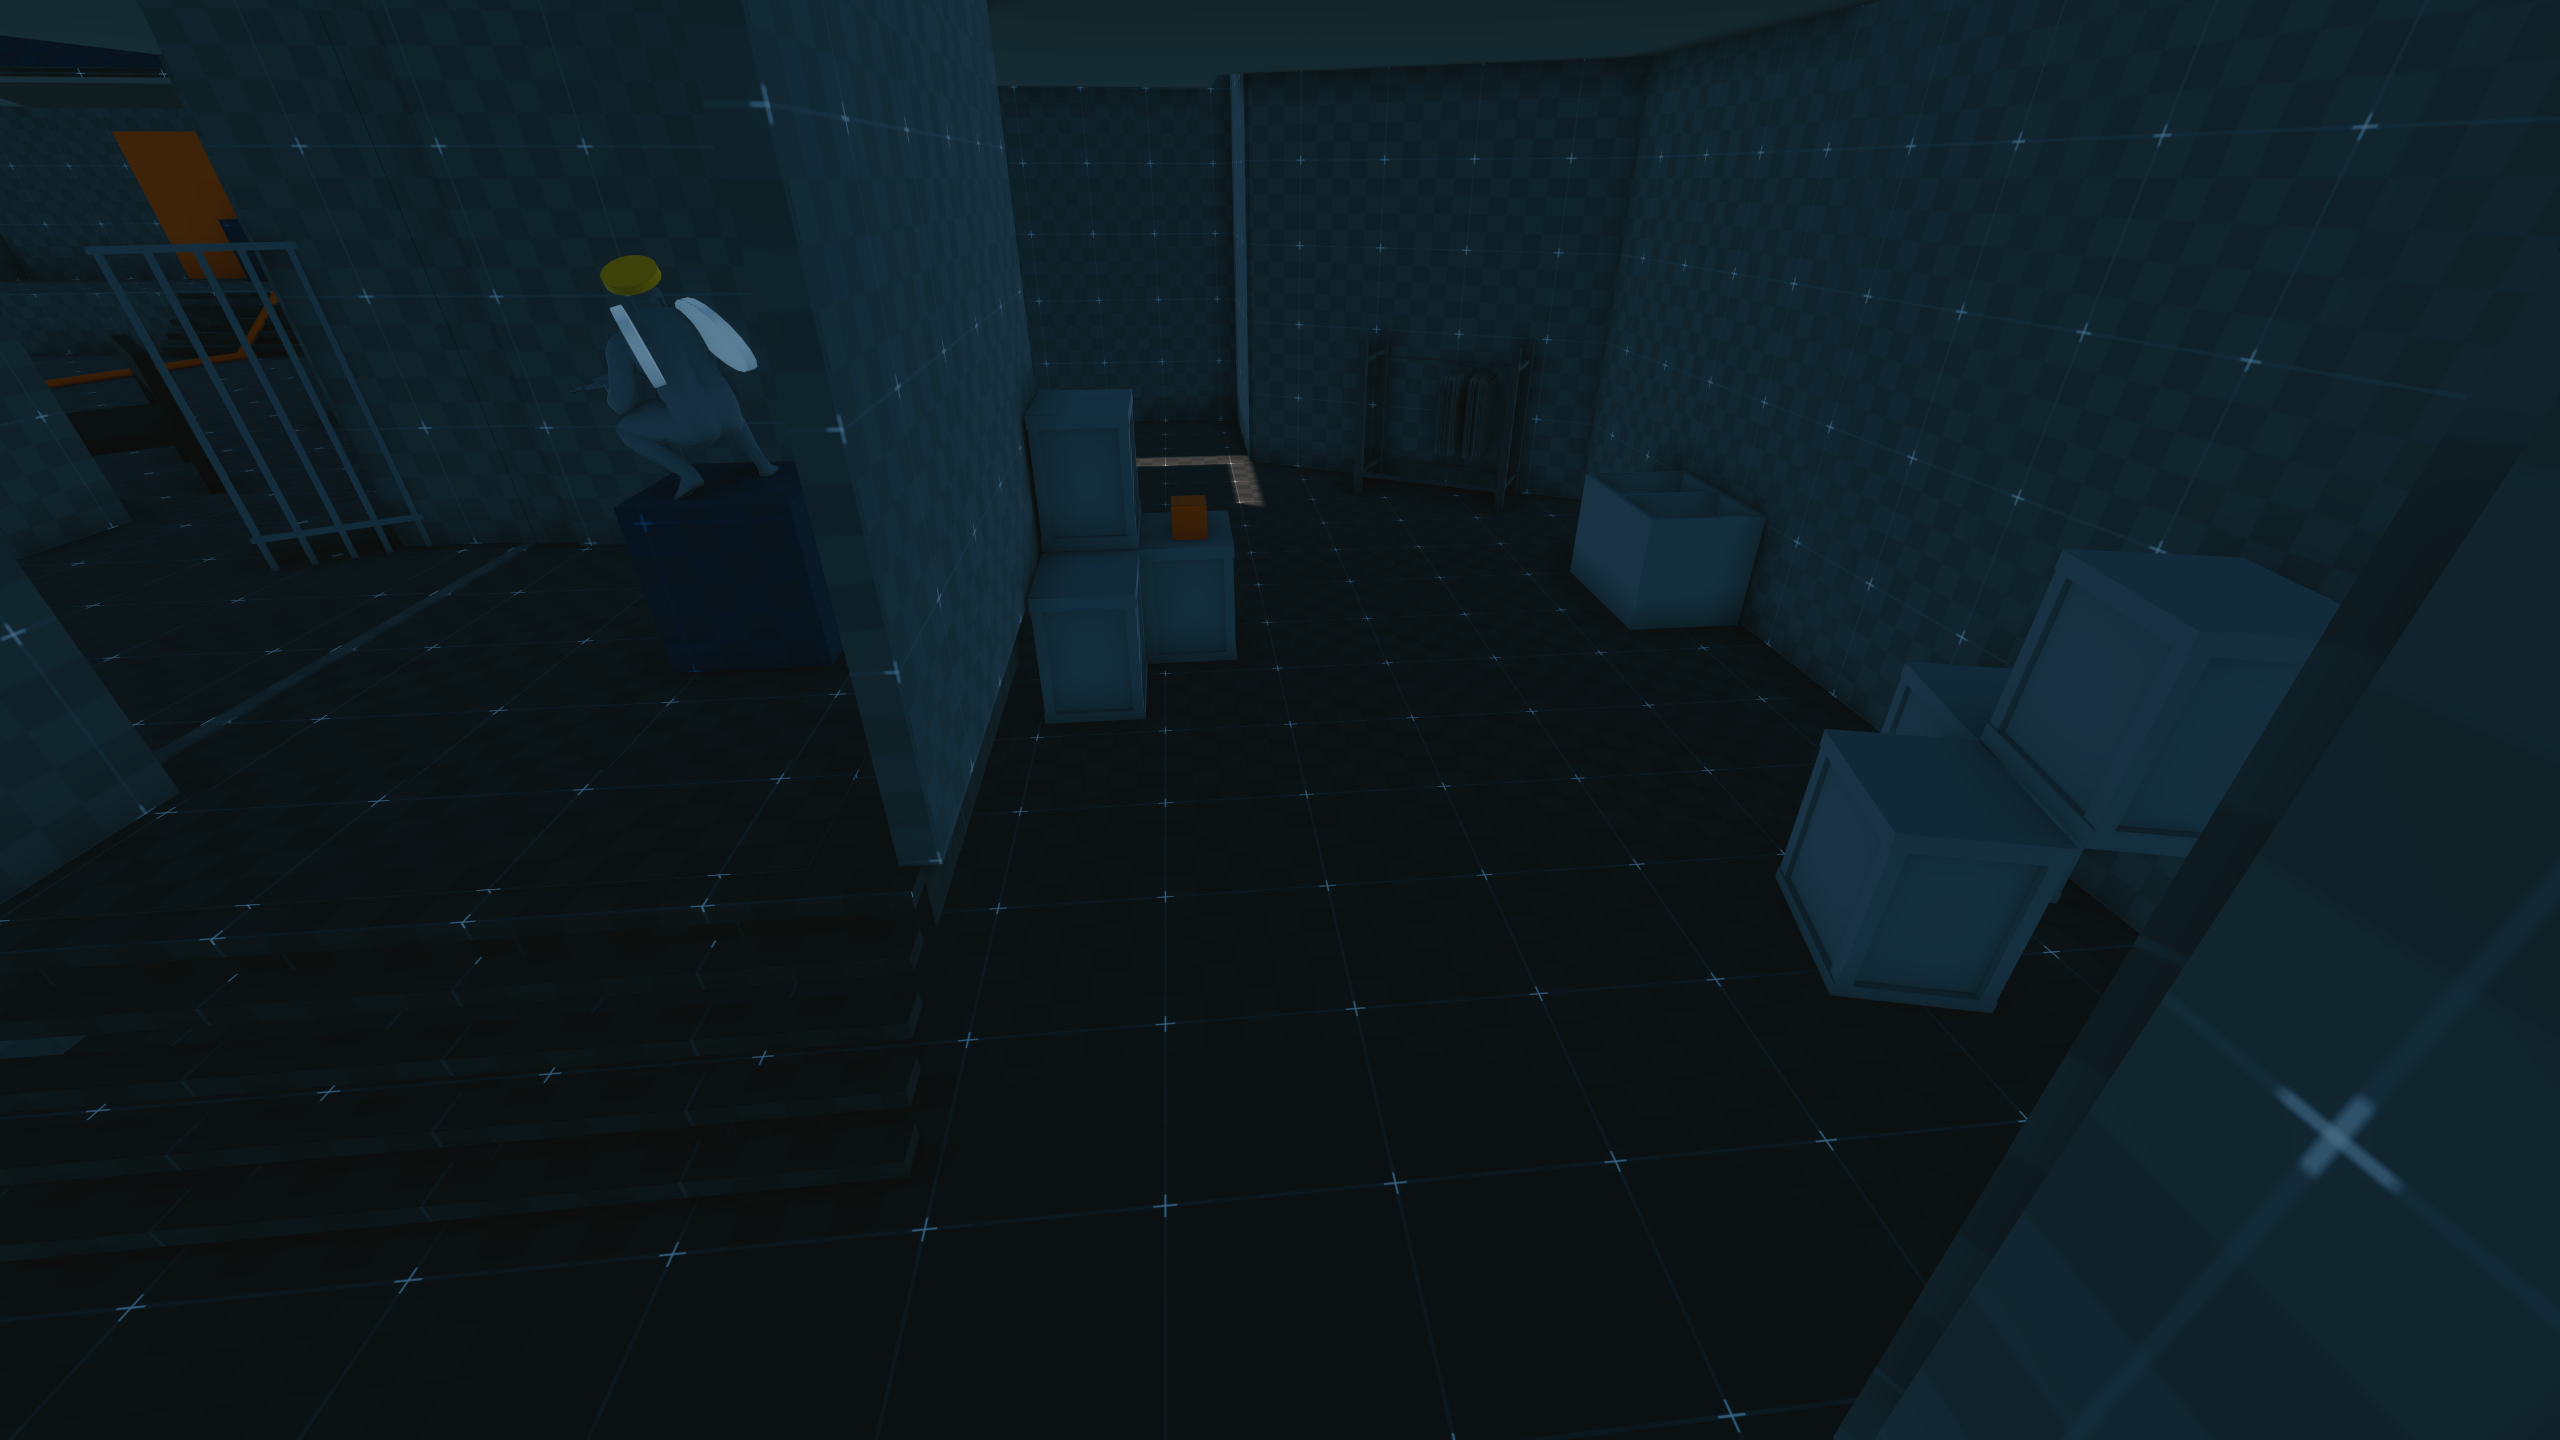
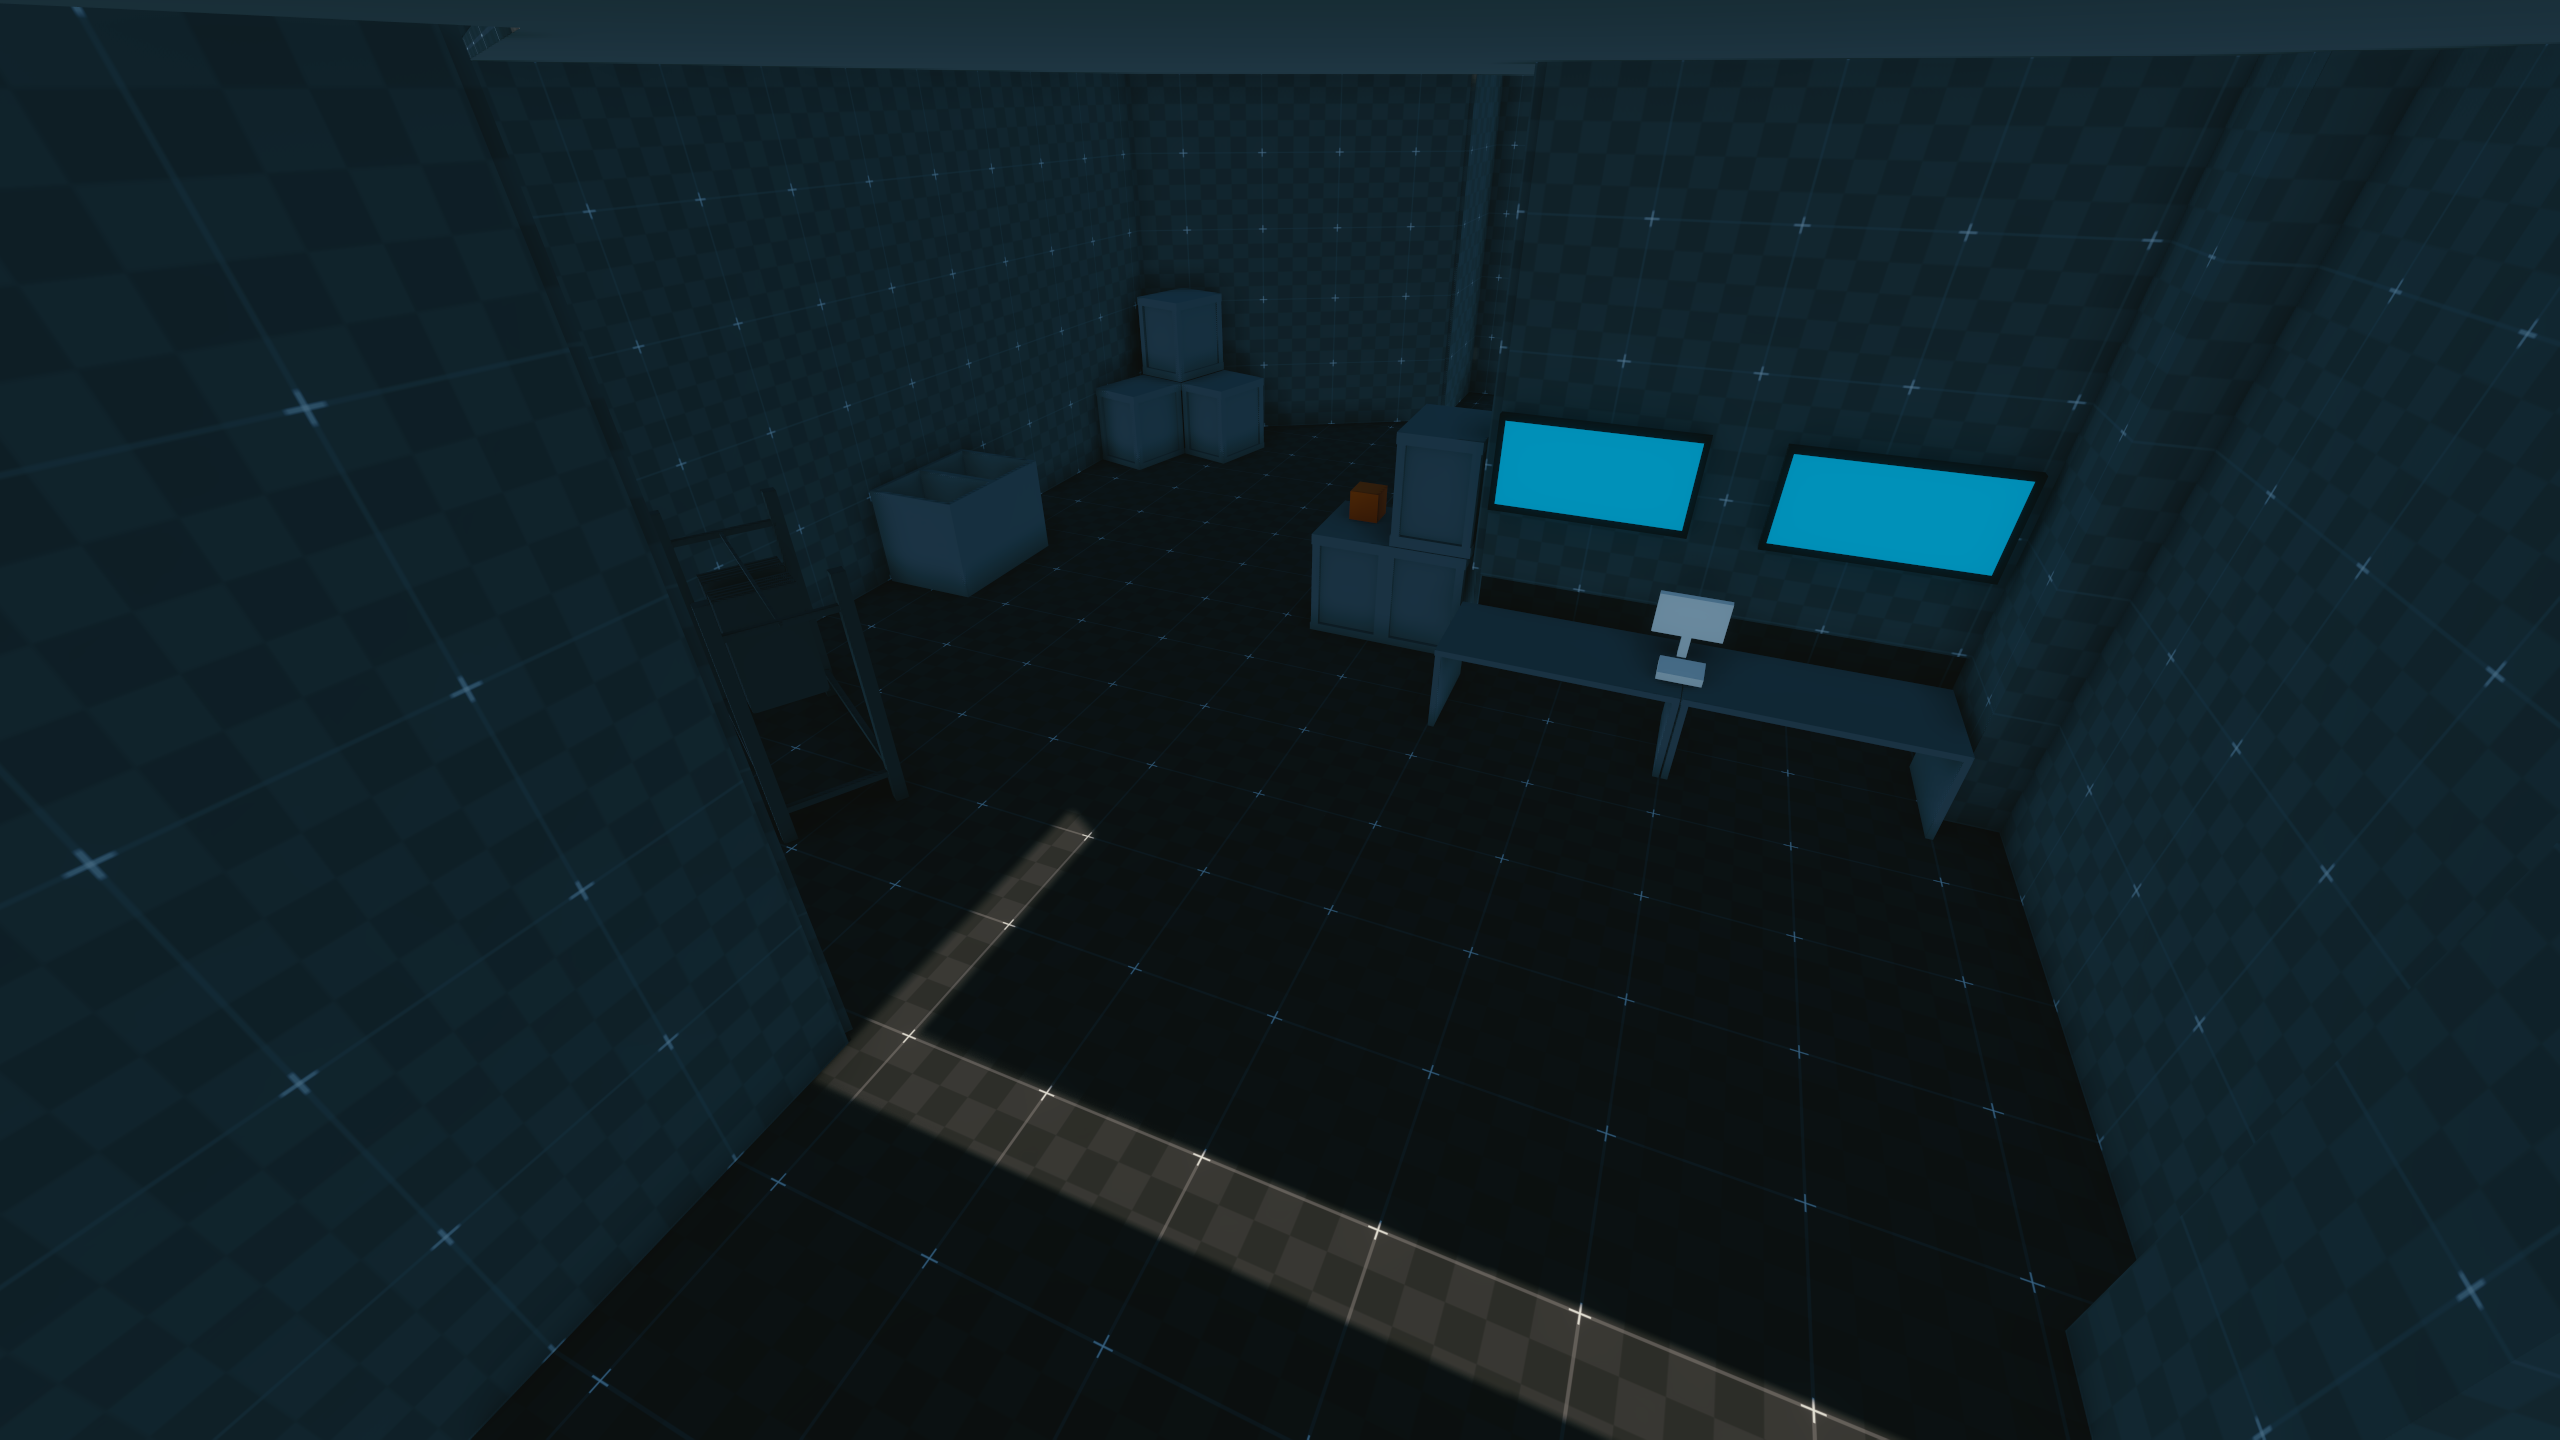
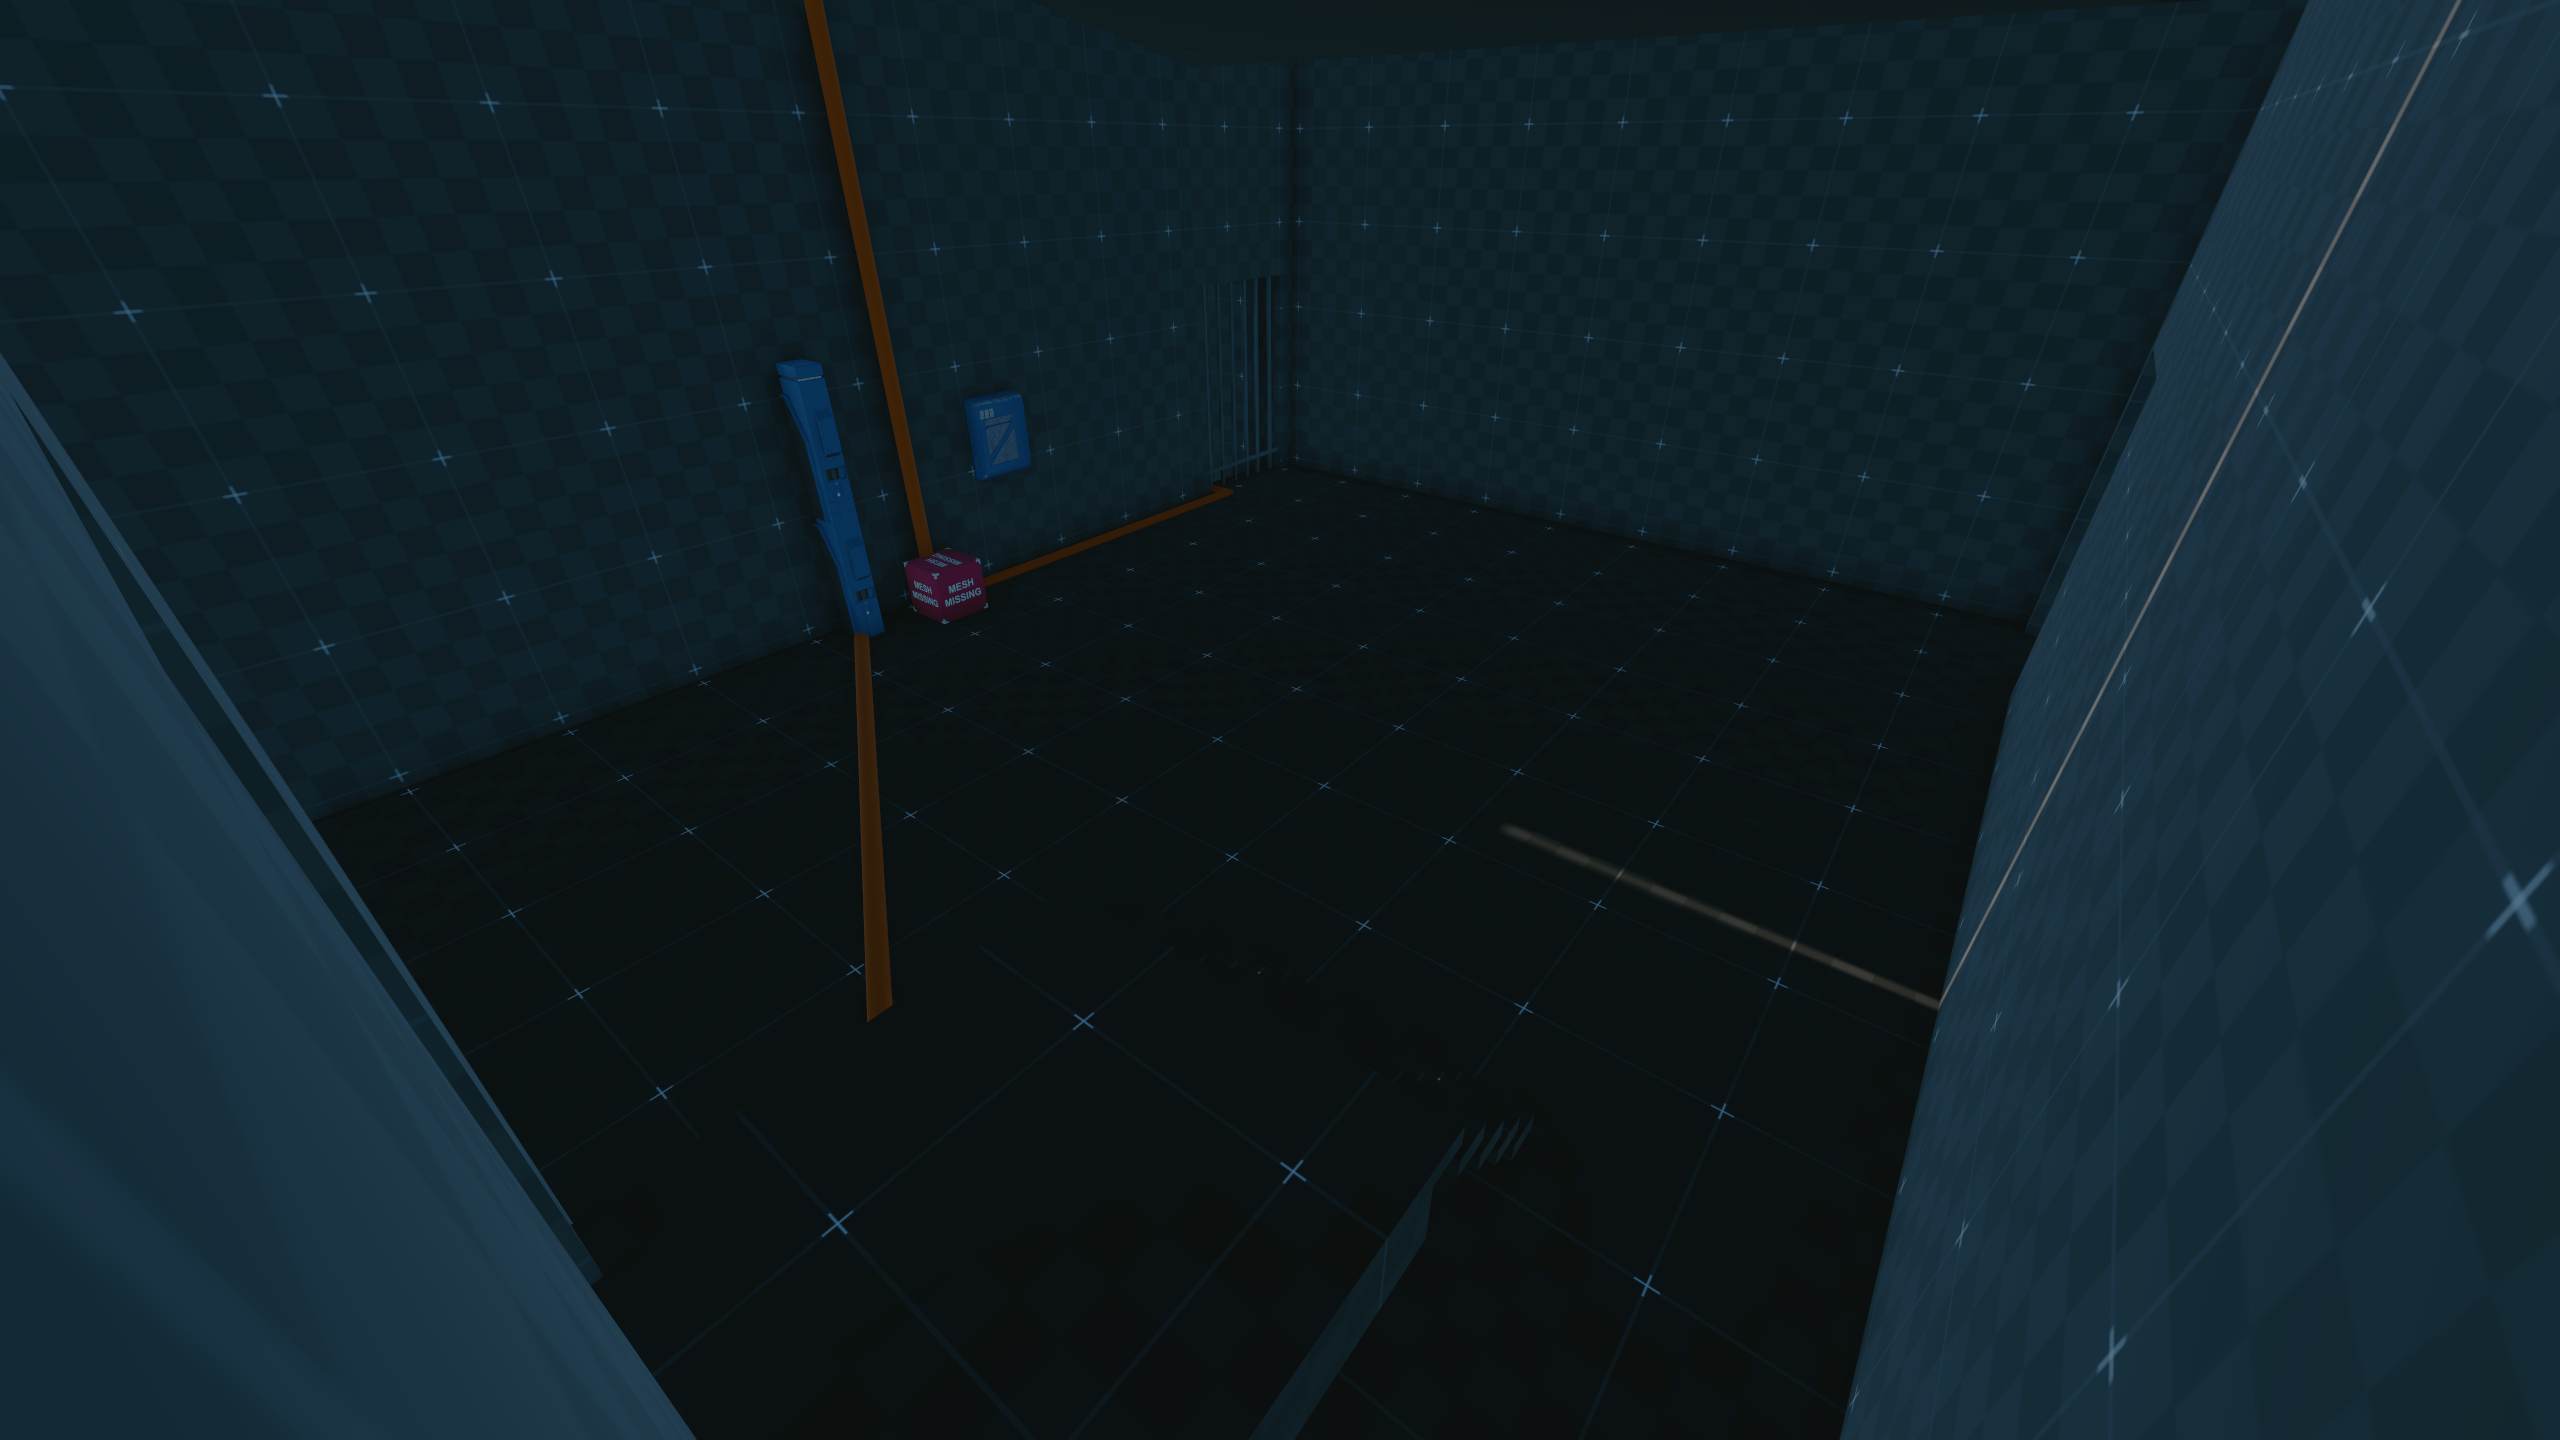
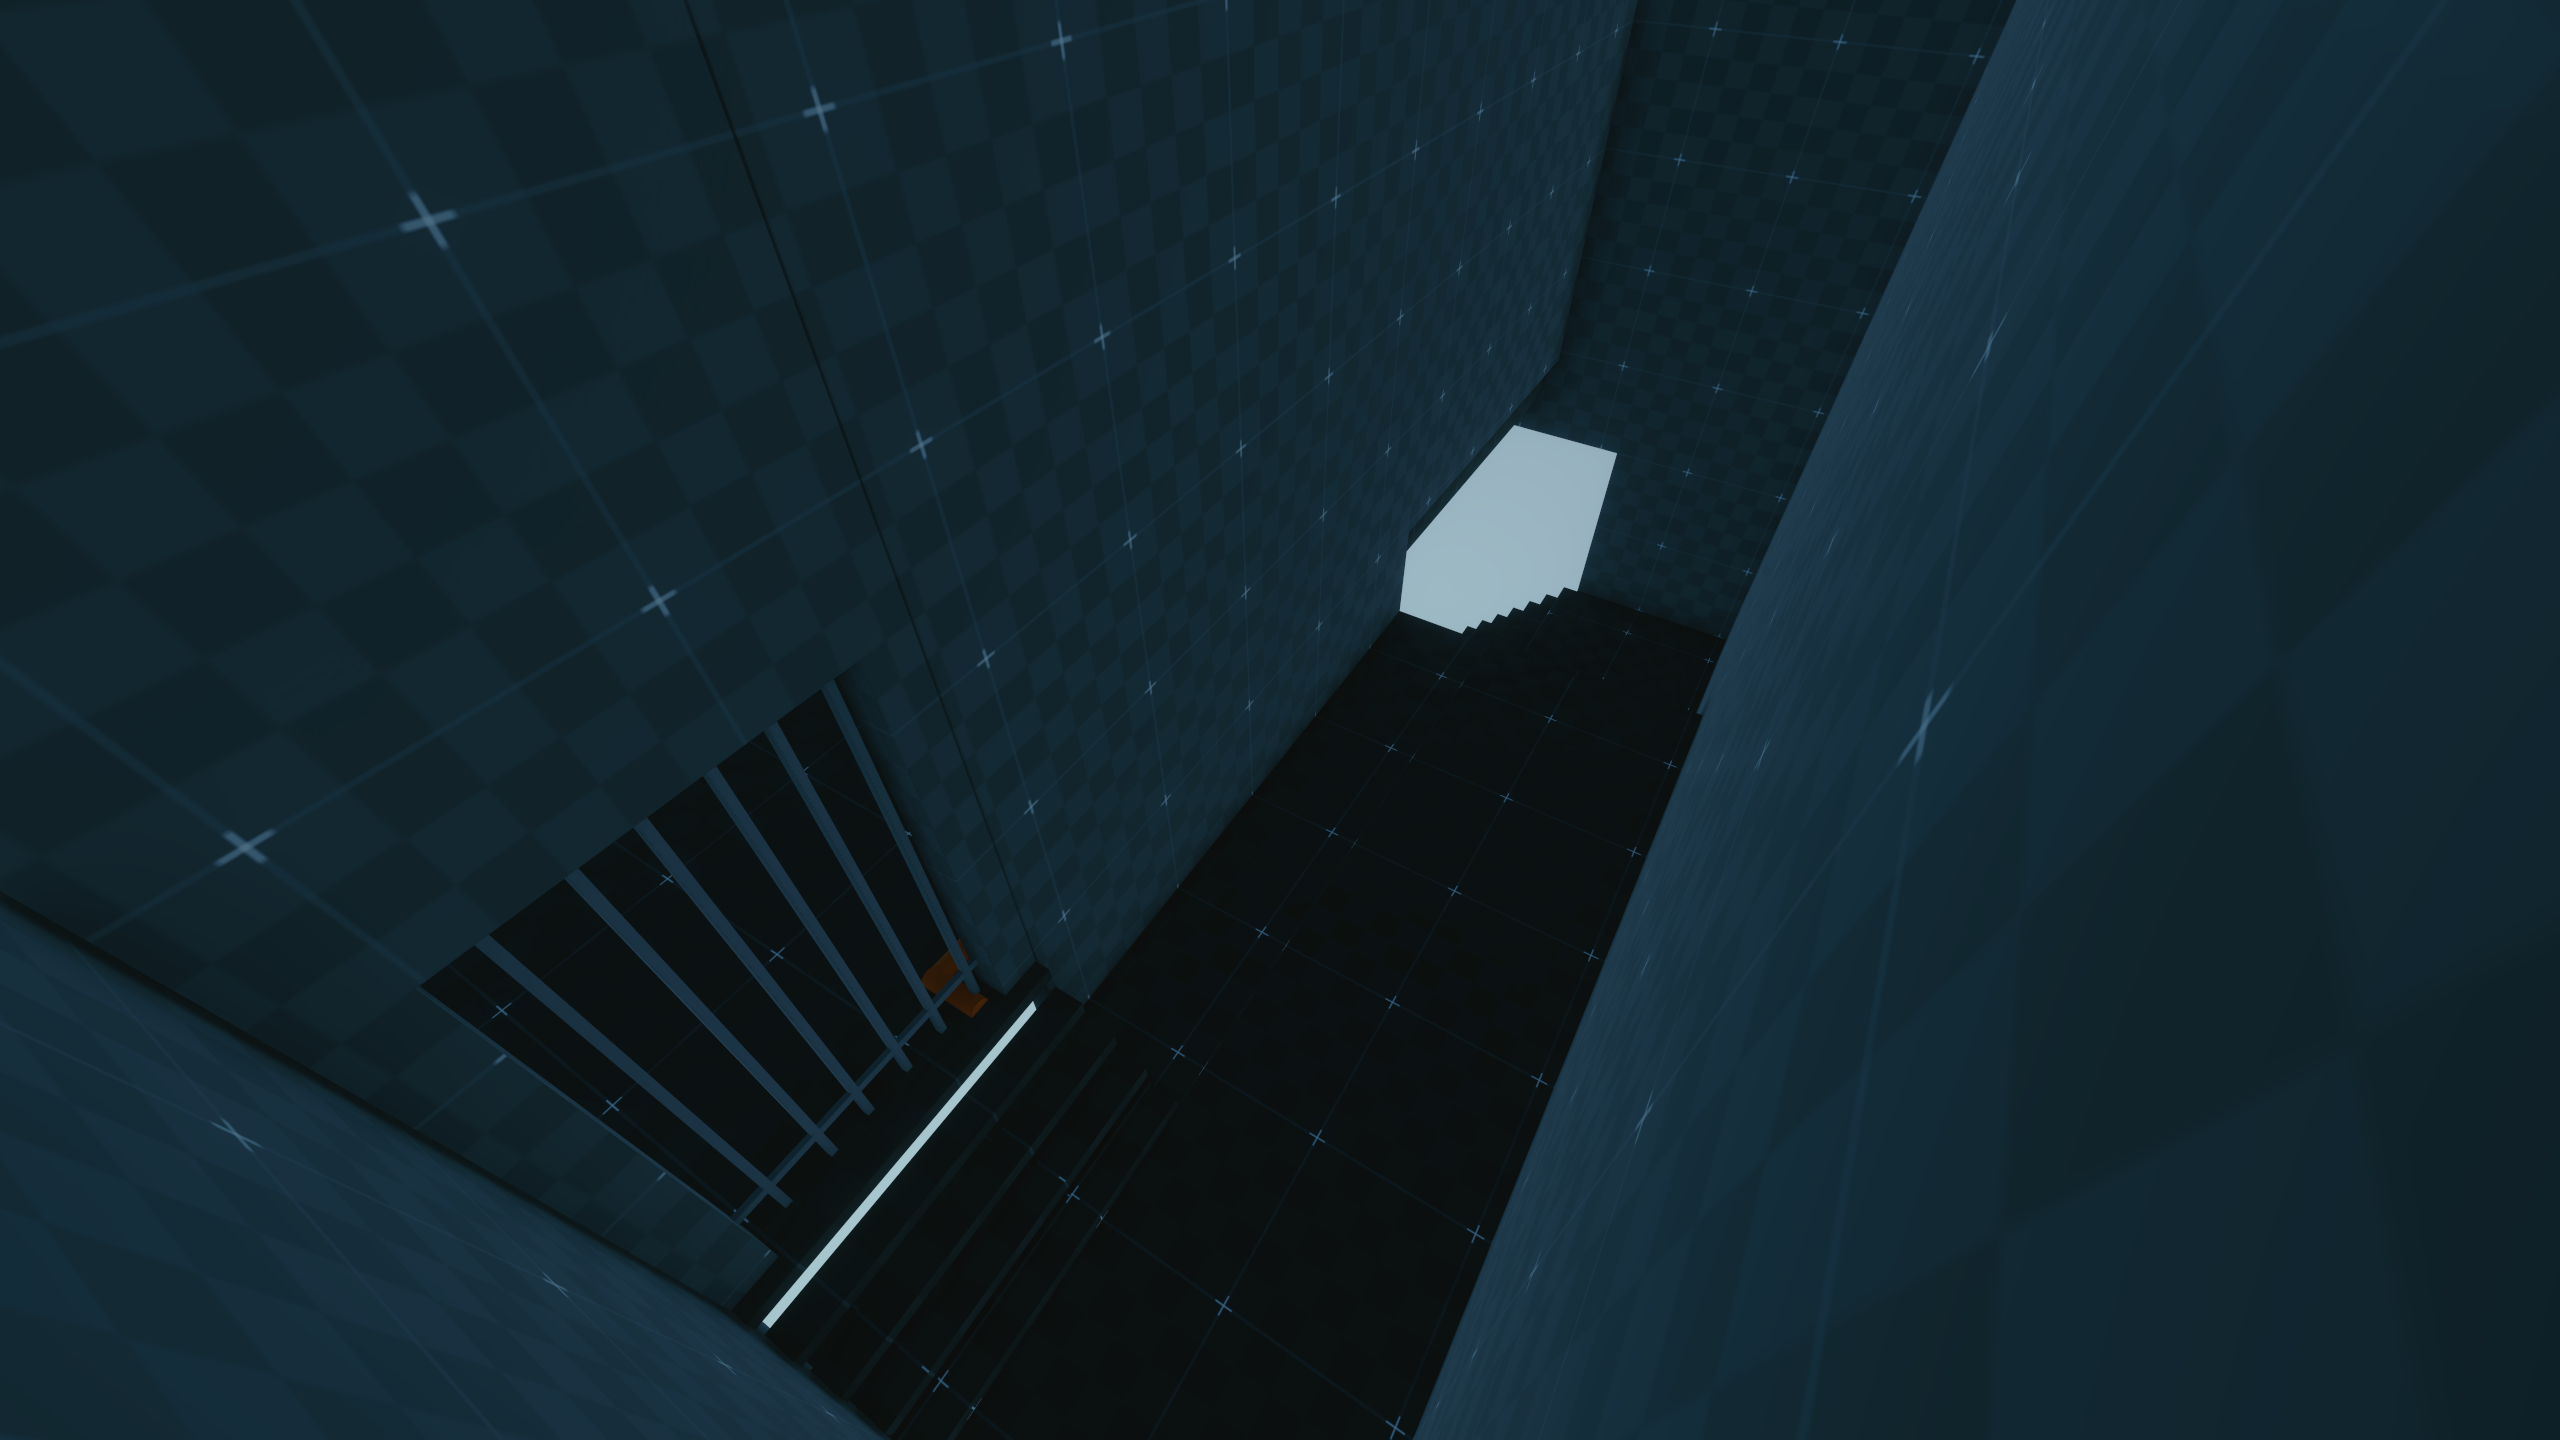
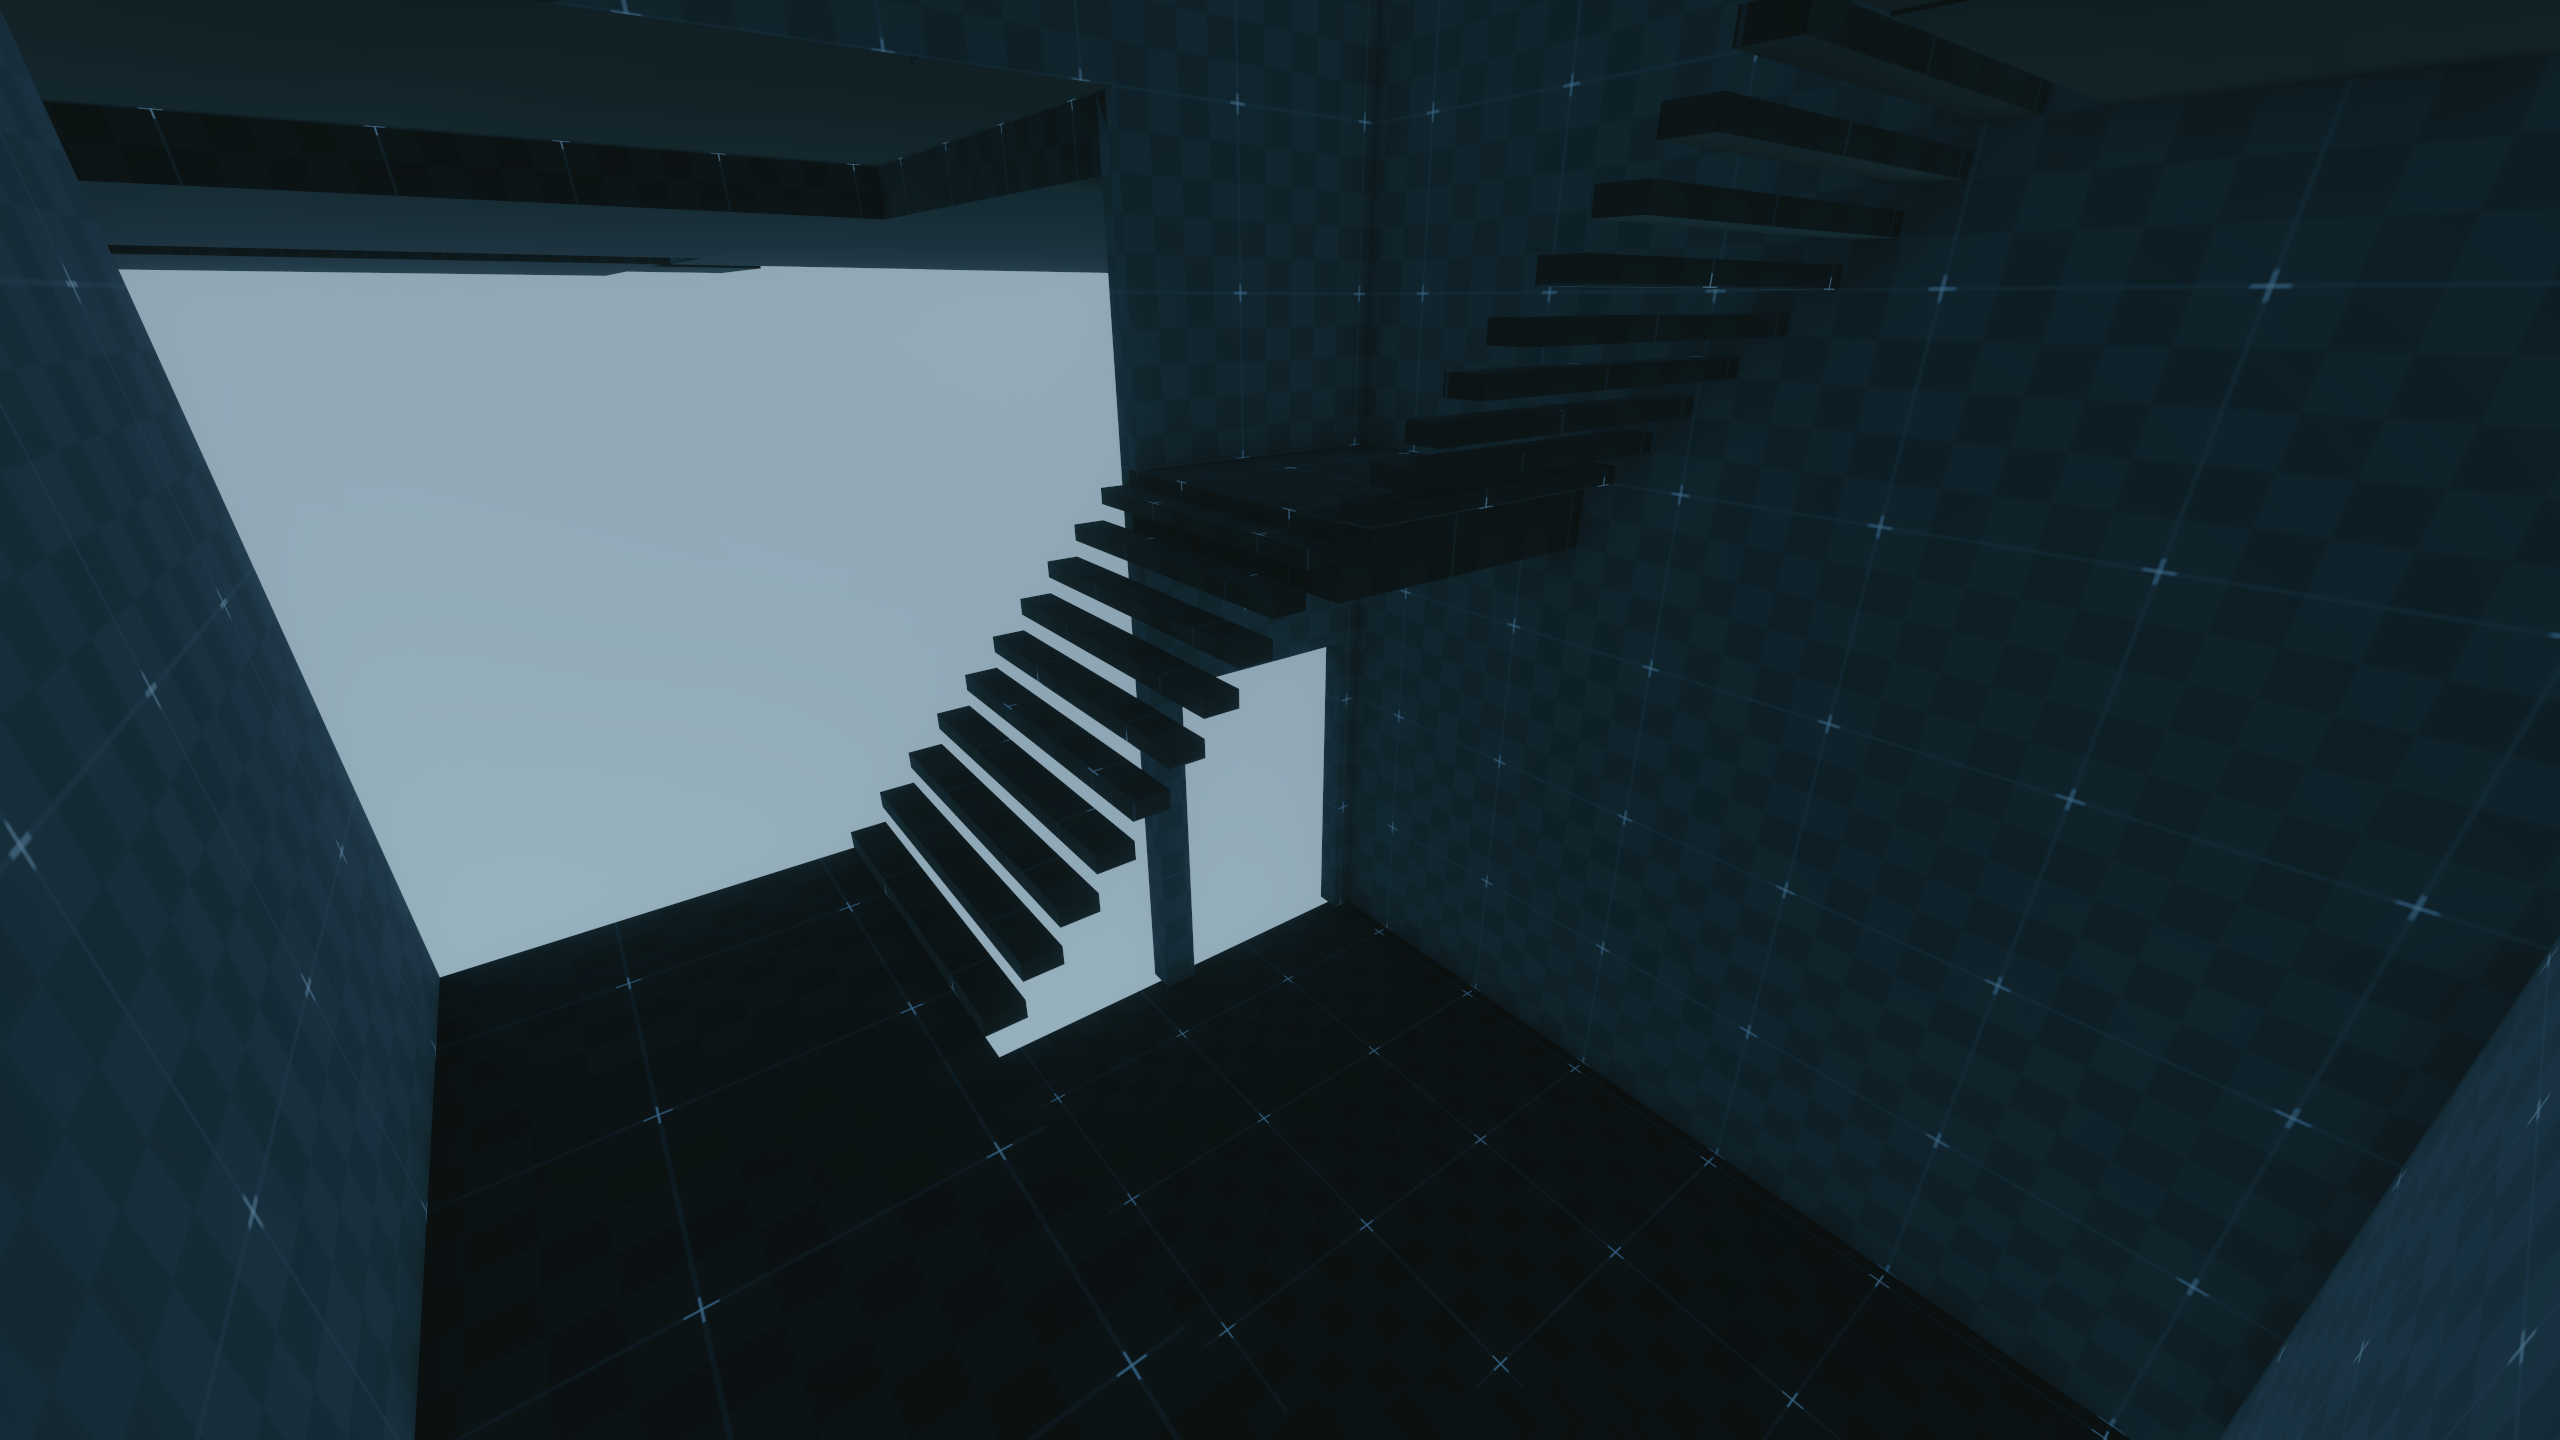
This cathedral was once a hideout used by Jackie, possibly after the heist. It's a leftover from one of the earliest revisions of the game's story (as suggested by this level being stored in a folder containing the name legacy, separate from Project Ghost related q111 content), and in this location V and Sobchak/River would find Jackie, who was seemingly still alive after the heist. Inside the cathedral the player would have performed various tasks, as seen in old quest objectives, such as opening wooden crates and picking up tranquilizing ammunition, which would have possibly been later used to take down a character named Brightman. More tasks given to the player were retrieving fuel for a power generator, going to the crypt, waking up in a lab, "finding out what happened with Sobchak and Jackie" and leaving the place in what was either an NCPD or MaxTac AV depending on which text string you look at. The belltower would have been the location of some sort of bossfight with the puppet of Brightman.
Graveyard
It is unknown what the player would do in the graveyard. The red blobs represent mines.
Interior
q203#
Moon Vision#
q203_vision.prefab, stored in the path \R6.Root\Mainline\r6\depot\non_production\test\moon\prefabs\vision , contains interiors of a diner and an office that are placed on the surface of the moon. The locations have lunar rock elements combined with them and buildings from Night City visible in the background, which are stored in a group named "night_city_vista" in the editor. Curiously, the .prefab file of the aquarium used in the office prefab is stored in the folder \R6.Root\Mainline\r6\depot\non_production\test\august_2018_cleanup , which suggests that work on the moon level was still ongoing in August 2018. The diner has a similar interior to the one used in the 01_nightcity map, where it is internally named demo_diner.
Due to the map combining elements from both the moon and Night City at the time and it uses the q203 quest identifier which is the last known identifer belonging to the moon quests, this map was possibly used for an ending.
Diner
Office
Background
sq003#
Various interiors that belong to the cut quest sq003. See the sq003 page on the loc.json subpage for text strings and some more details about this quest. The following .prefab files are located in \R6.Root\Mainline\r6\depot\non_production\remap\level_design\cp2077_blockouts\side_quests\sq003 .
sq003_priestfamilyhome.prefab#
Gabriela's room was located in this house, where the player would also meet Rabbi/Priest Mikael's father. The exterior and the buildings surrounding it has a slightly similar appearance to the dead end street area at the apartment building in Rancho Coronado where V goes to in the quest Killing in the Name.
sq003_hotelroom.prefab#
This is the hotel where Mikael would have been found inside, together with Gabriela.
Police Precinct#
Several maps belonging to a Police Precinct can be found in the leak files. These maps are likely some sort of leftover from the early stages of development, as the name w1_gameplay_proto implies it was the first prototype map made for Cyberpunk 2077. A map named w5_precinct also exists, that appears to be almost identical to the w1 map. A later version of the precinct named loc_q101_police_station appears to be more developed version of the prototype map.
w1_gameplay_proto.world#
This map is located in the path \R6.Root\Mainline\r6\depot\non_production\test\test_worlds\w1_gameplay_proto . The "w1" prefix implies it is one the very first maps made for the game. Several missing meshes in the map also use .w2mesh extentions, stored in paths that are missing from the leak such as base\environment\architecture\police_station\exterior\parking_garage.w2mesh, base\environment\architecture\_temp\police_station\ps_cable_connector.w2mesh and base\environment\architecture\police_station\interior\office_light.w2mesh . The use of the .w2mesh extensions instead of .mesh extensions indicate that this map was created during early development of the game, when it still used the same extension for mesh files as in The Witcher 3. The map also tries to load a missing file stored in a prototype folder, base\entities\test\prototype2\guardspawner.ent which implies this map was created for a prototype of the game.
It contains a few spawn points for the player, guards and food in the reception area. The office area on the upper floor contains spawnpoints for several NPCs and the player.
loc_q101_police_station.prefab#
This appears to be a more developed and finished version of the w1_gameplay_proto map. It is stored in the folder \R6.Root\Mainline\r6\depot\base\worlds\03_night_city\sectors\c_santo_domingo\arroyo , indicating it was at one point made for the same map used in the final game. The questdesign prefab file belonging to this map includes nodes referencing several quest identifers, q101_pr_police_station, q108_pr_police_station, q113_pr_police_station, sq021_pr_base, sq021_01_hook, sq021_02_ride and sq021_12_revenge. The use of the sq021 quest identifier suggests the building was used for quests related to Sobchak/River.
Phantom Liberty#
The leak contains data from an early version of Phantom Liberty. During this time of development in early 2021, the map the DLC was set in was named the "Combat Zone" rather than Dogtown.
loc_q302_rayfield_dealership#
|
|
To do:
|
This prefab contains a Rayfield dealership cut from the final game. V and Myers would enter this location as part of their escape from the Combat Zone and steal an AV here to leave the area. The player would require a key to access the upper floor where the AV is located, and the computer in the office would aid the player towards finding it in a nearby garage.
Videos#
CYB-4006(a).bk2#
This video features some very early gameplay of Cyberpunk 2077. The quest id tracked in the video is q002 Evelyn, with the quest objective "Get information about Arasaka security". While this quest identifier is unused in the final game, the scene likely evolved into the braindance sequence with Judy at Lizzie's in the final version.
The filename is likely the ID of a bug in the game's bug tracker. Quest facts in the final game include references to bug reports that almost reach the CYB-690000 range. There are also developer notes from April 2018 in the source code of bug reports in the CYB-210000 range, which indicates that this video is likely from a very early stage in development, possibly from a prototype.
kereznikov_bullet.bk2#
*LOUD VOLUME WARNING*
This video shows the player in Sandevistan mode shooting an enemy, which triggers a bug where damage is constantly applied to the body of the enemy. Features a similar but more developed HUD seen in the CYB-4006(a) video, so the video is likely from an early stage of the development of the game. A similar style of overhead subtitles as seen in this video can be seen at 10:03 and 10:06 in this internal bug compilation video, so this video is likely from the "01_nightcity era" of the game, back when developers worked on a different version of Night City.
gun_inspect_4_bink_video.bk2#
A video that contains what is likely a mockup of what the HUD would look like while inspecting a weapon. The pink/magenta theme in the video likely dates the video to around late 2017 to early 2018, as it is similar to the HUD seen in the 2018 E3 demo, but different to the blue/magenta style seen in the 2017 build of the game. This video does however still include the "four segmented bars theme" seen pre-reboot.
studio_720p300k.bk2.bin#
|
|
This needs some investigation. |
Renaming this file to studio_720p300k.bk2 makes it a playable Bink video file, which shows part of a WNS News broadcast that has a very different visual and presenting style compared to the final game, with also a different intro and newscasters. The metadata of the file shows that it was encoded with Bink 2.6g. This version was released in April 2017, which possibly dates this file to around that time.
Early Quest Objectives#
|
|
To do:
|
The following text strings are found in questJournal.xml, located in the folder \R6.Root\Mainline\r6\config. The fact that these quest objectives are stored in an XML file, which is different from the way quest objectives are stored in the final game, and the content is different from the content in the loc.json file, suggest these quest objectives were created before development of the game was rebooted.
The q111 quest, cut in the final game, would have in this version had V and Sobchak/River investigating the whereabouts of Jackie, who was seemingly still alive after the heist in this revision of the game's story. This is also completely different from the version of the quest as written in the game's story post-reboot of the game's development, where in the later version V investigated who murdered themselves and Dexter.
After Sobchak got involved in the investigation, they would have found Jackie's girlfriend, who would have sent V to a strip club called "Mezcal Joe's", where V would talk to some Valentinos who sent him to Jackie's hideout, which was located in a cathedral. Here Jackie possibly made V pick up a crowbar to get some tranquilizing ammunition, possibly to take down a character named Brightman. Here Jackie and Sobchak would later somehow disappear, and V would have to fight "Brightman's puppet", who would trap V but V would be able to free themselves later and kill Brightman's puppet. After this fight, V would help Sobchak and leave in an NCPD AV.
Quest objectives:
Quest ID |
Quest name |
Parent ID |
Parent name |
Objective ID |
Objective name |
|---|---|---|---|---|---|
q001_miss0 |
Q000 Mission0 |
mission0 |
Mission 0 |
get_to_door |
Go with Jackie to the door |
q001_miss0 |
Q000 Mission0 |
mission0 |
Mission 0 |
wait_door |
Wait for TBug to open door |
q001_miss0 |
Q000 Mission0 |
mission0 |
Mission 0 |
kill_dealers |
Get inside the room and defeat scavengers |
q001_miss0 |
Q000 Mission0 |
mission0 |
Mission 0 |
go_balcony |
Get to boss through the balcony |
q001_miss0 |
Q000 Mission0 |
mission0 |
Mission 0 |
defeat_cyborg |
Defeat the cyborg |
q001_miss0 |
Q000 Mission0 |
mission0 |
Mission 0 |
search_room |
Rescue the girl |
q001_miss0 |
Q000 Mission0 |
mission0 |
Mission 0 |
help_girl_av |
Help the girl to get to the AV |
q001_miss0 |
Q000 Mission0 |
mission0 |
Mission 0 |
back_to_jackie |
Get back to Jackie |
q001_miss0 |
Q000 Mission0 |
mission0 |
Mission 0 |
goto_elevator |
Go to the elevator |
q001 |
Q001 Intro |
megabuilding |
Megabuilding |
explore_apartment |
Explore the apartment |
q001 |
Q001 Intro |
megabuilding |
Megabuilding |
meet_jackie |
Meet with Jackie downstairs |
q001 |
Q001 Intro |
megabuilding |
Megabuilding |
foll_jackie_dex |
Follow Jackie to Dex |
q001 |
Q001 Intro |
megabuilding |
Megabuilding |
decide_call_militech |
Decide to call Militech agent |
q001 |
Q001 Intro |
ripperdoc |
Doctor Vektor |
goto_ripperdoc |
Go to ripperdoc |
q001 |
Q001 Intro |
ripperdoc |
Doctor Vektor |
instal_cyber |
Install cyberware at ripperdoc's |
q001 |
Q001 Intro |
ripperdoc |
Doctor Vektor |
meet_jackie_rd |
Go back to Jackie |
q001 |
Q001 Intro |
ripperdoc |
Doctor Vektor |
follow_jackie |
Follow Jackie |
q001 |
Q001 Intro |
ripperdoc |
Doctor Vektor |
use_vehicle |
Use the vehicle |
q001 |
Q001 Intro |
maelstrom |
Highway to Maelstrom |
goto_factory |
Get to Maelstrom factory |
q001_wilson |
Q001 Gun from Wilson |
wilson |
Wilson |
goto_wilson |
Go to Wilson's workshop |
q001_wilson |
Q001 Gun from Wilson |
wilson |
Wilson |
follow_wilson |
Follow Wilson |
q001_wilson |
Q001 Gun from Wilson |
wilson |
Wilson |
listen |
Listen to Wilson |
q001_wilson |
Q001 Gun from Wilson |
wilson |
Wilson |
shoot |
Test the weapon |
q003_part_02 |
The Deal. |
deal |
Meet the crew at the food factory. |
go_maelstrom |
Go to the All Foods factory |
q003_part_02 |
The Deal. |
deal |
Meet the crew at the food factory. |
militech |
(Optional) Go to the contacts location |
q003_part_02 |
The Deal. |
deal |
Meet the crew at the food factory. |
militech_jackie |
Talk to Jackie |
q003_part_02 |
The Deal. |
deal |
Meet the crew at the food factory. |
militech_recon |
Scan the Drone |
q003_part_02 |
The Deal. |
deal |
Meet the crew at the food factory. |
militech_meet |
Meet with the Corporate |
q003_part_02 |
The Deal. |
deal |
Meet the crew at the food factory. |
maelstrom_jackie |
Talk to Jackie |
q003_part_02 |
The Deal. |
deal |
Meet the crew at the food factory. |
maelstrom_intercom |
Use the intercom to enter the factory |
q003_part_02 |
The Deal. |
to_royce |
Make the deal with Maelstrom |
way_to_royce |
Follow Jackie to the Meeting with Royce |
q003_part_02 |
The Deal. |
to_royce |
Make the deal with Maelstrom |
get_bot |
Aquire the spiderbot |
q003_part_02 |
The Deal. |
to_royce |
Make the deal with Maelstrom |
check_box |
Check the spiderbot |
q003_part_02 |
The Deal. |
to_royce |
Make the deal with Maelstrom |
kill_bodyguards |
Kill Royce's bodyguards. |
q003_part_02 |
The Deal. |
shootout |
Escape from the factory |
office |
Find a way to get out of Royce’s office |
q003_part_02 |
The Deal. |
shootout |
Escape from the factory |
fight_lab |
Fight your way out of the lab |
q003_part_02 |
The Deal. |
shootout |
Escape from the factory |
escape_lab |
Find a way out of the lab |
q003_part_02 |
The Deal. |
shootout |
Escape from the factory |
fight_factory |
Defeat the gangsters on the factory floor |
q003_part_02 |
The Deal. |
shootout |
Escape from the factory |
escape_factory |
Find a way out of the factory floor |
q003_part_02 |
The Deal. |
shootout |
Escape from the factory |
open_garage |
Open the door to the garage |
q003_part_02 |
The Deal. |
shootout |
Escape from the factory |
into_garage |
Exit to the garage |
q003_part_02 |
The Deal. |
shootout |
Escape from the factory |
fight_garage |
Fight your way out of the garage |
q003_part_02 |
The Deal. |
shootout |
Escape from the factory |
kill_royce |
Kill Royce |
q003_part_02 |
The Deal. |
shootout |
Escape from the factory |
escape_garage |
Find a way out of the garage |
q003_part_02 |
The Deal. |
end |
Close the Deal |
meet_dex |
Meet Dex |
q003_part_02 |
The Deal. |
end |
Close the Deal |
militech |
Optional: Call the Militech Agent |
q003_part_02 |
The Deal. |
end |
Close the Deal |
car |
Go back to your bike. |
q004_braindance |
Q004 Braindance |
evelyn |
The employer |
go_to_nightclub |
Go to Lizzies' Nightclub. |
q004_braindance |
Q004 Braindance |
evelyn |
The employer |
find_evelyn |
Ask bartender about Evelyn. |
q004_braindance |
Q004 Braindance |
evelyn |
The employer |
find_evelyn_vip_room |
Talk with Evelyn in the club's VIP room. |
q004_braindance |
Q004 Braindance |
evelyn |
The employer |
follow_evelyn |
Follow Evelyn. |
q004_braindance |
Q004 Braindance |
evelyn |
The employer |
use_editor |
Use the braindance editor. |
q004_braindance |
Q004 Braindance |
braindance |
Braindance |
scan_gate |
Scan the hotel's security gate. |
q004_braindance |
Q004 Braindance |
braindance |
Braindance |
scan_badge_f_w |
Scan an ID badge of a white female hotel employee for yourself. |
q004_braindance |
Q004 Braindance |
braindance |
Braindance |
scan_badge_f_b |
Scan an ID badge of a black female hotel employee for yourself. |
q004_braindance |
Q004 Braindance |
braindance |
Braindance |
scan_badge_f_a |
Scan an ID badge of an asian female hotel employee for yourself. |
q004_braindance |
Q004 Braindance |
braindance |
Braindance |
scan_badge_m_w |
Scan an ID badge of a white male hotel employee for yourself. |
q004_braindance |
Q004 Braindance |
braindance |
Braindance |
scan_badge_m_b |
Scan an ID badge of a black male hotel employee for yourself. |
q004_braindance |
Q004 Braindance |
braindance |
Braindance |
scan_badge_m_a |
Scan an ID badge of an asian male hotel employee for yourself. |
q004_braindance |
Q004 Braindance |
braindance |
Braindance |
scan_badge_jackie |
Scan an ID badge of a white male hotel employee for Jackie. |
q004_braindance |
Q004 Braindance |
braindance |
Braindance |
scan_badge_double_0 |
Scan ID badges of two white male hotel employees. (0/2) |
q004_braindance |
Q004 Braindance |
braindance |
Braindance |
scan_badge_double_1 |
Scan ID badges of two white male hotel employees. (1/2) |
q004_braindance |
Q004 Braindance |
braindance |
Braindance |
scan_badge_double_2 |
Scan ID badges of two white male hotel employees. (2/2) |
q004_braindance |
Q004 Braindance |
braindance |
Braindance |
scan_badges_0 |
Scan hotel employee's ID badges. (0/3) |
q004_braindance |
Q004 Braindance |
braindance |
Braindance |
scan_badges_1 |
Scan hotel employee's ID badges. (1/3) |
q004_braindance |
Q004 Braindance |
braindance |
Braindance |
scan_badges_2 |
Scan hotel employee's ID badges. (2/3) |
q004_braindance |
Q004 Braindance |
braindance |
Braindance |
scan_badges_3 |
Scan hotel employee's ID badges. (3/3) |
q004_braindance |
Q004 Braindance |
braindance |
Braindance |
find_servers |
Learn the location of the hotel's servers. |
q004_braindance |
Q004 Braindance |
braindance |
Braindance |
scan_suitcase |
Scan the courier's suitcase. |
q004_braindance |
Q004 Braindance |
braindance |
Braindance |
wait_for_end |
Wait for the recording to end. |
q004_braindance |
Q004 Braindance |
braindance |
Braindance |
call_dex |
Exit nightclub and call Dex. |
q005_heist |
Q005 Layoffs |
phase1 |
Plan the heist |
go_diner |
Meet Dexter at the diner |
q005_heist |
Q005 Layoffs |
phase1 |
Plan the heist |
diner_sit |
Get a drink and sit down. |
q005_heist |
Q005 Layoffs |
phase2 |
Gear Up |
ripperdoc |
Visit the ripperdoc |
q005_heist |
Q005 Layoffs |
phase3 |
Heist |
van |
Get in the van. |
q005_heist |
Q005 Layoffs |
phase3 |
Heist |
lobby |
Get up to the lobby. |
q005_heist |
Q005 Layoffs |
phase3 |
Heist |
lobby_02 |
Find a path through the building. |
q005_heist |
Q005 Layoffs |
phase3 |
Heist |
weapons_locker |
Infiltrate the weapon's locker |
q005_heist |
Q005 Layoffs |
phase3 |
Heist |
server_room |
Infiltrate the server room. |
q005_heist |
Q005 Layoffs |
phase3 |
Heist |
server_wait |
Wait for Stash to finish. |
q005_heist |
Q005 Layoffs |
phase3 |
Heist |
continue |
Continue through the building |
q005_heist |
Q005 Layoffs |
phase3 |
Heist |
shaft |
Get into the shaft. |
q005_heist |
Q005 Layoffs |
phase3 |
Heist |
dome |
Find a way out of the dome |
q005_heist |
Q005 Layoffs |
phase3 |
Heist |
follow_stash |
Follow Stash's voice. |
q005_heist |
Q005 Layoffs |
phase3 |
Heist |
tech_open_door |
Find a way to open the door. |
q005_heist |
Q005 Layoffs |
phase3 |
Heist |
wait |
Wait for Jackie and Stash. |
q005_heist |
Q005 Layoffs |
phase3 |
Heist |
locate |
Locate the courier. |
q005_heist |
Q005 Layoffs |
phase3 |
Heist |
sedate |
Sedate the courier. |
q005_heist |
Q005 Layoffs |
phase3 |
Heist |
help_stash |
Help Stash. |
q005_heist |
Q005 Layoffs |
phase3 |
Heist |
ice |
Check the ice. |
q005_heist |
Q005 Layoffs |
phase3 |
Heist |
open_suitcase |
Put the courier's hand on the suitcase. |
q005_heist |
Q005 Layoffs |
phase3 |
Heist |
bodyguard |
Defeat the bodyguard. |
q005_heist |
Q005 Layoffs |
phase3 |
Heist |
take_chip |
Take the chip and jack it in. |
q005_heist |
Q005 Layoffs |
phase3 |
Heist |
wait_jackie |
Wait with Jackie. |
q005_heist |
Q005 Layoffs |
phase3 |
Heist |
combat_cab |
Get into the combat cab. |
q005_heist |
Q005 Layoffs |
phase3 |
Heist |
find |
Meet Dexter and Evelyn in the No-Tell Motel. |
q103_warhead |
Q103 Warhead |
afterlife |
Afterlife |
go_to_afterlife |
Go to Afterlife |
q103_warhead |
Q103 Warhead |
afterlife |
Afterlife |
talk_ape |
Talk with Ape |
q103_warhead |
Q103 Warhead |
afterlife |
Afterlife |
talk_barman |
Talk to Barman |
q103_warhead |
Q103 Warhead |
afterlife |
Afterlife |
talk_weyland |
Talk to Weyland |
q103_warhead |
Q103 Warhead |
afterlife |
Afterlife |
talk_ape2 |
Talk with Ape |
q103_warhead |
Q103 Warhead |
afterlife |
Afterlife |
fight_ape |
Fight with Ape |
q103_warhead |
Q103 Warhead |
afterlife |
Afterlife |
talk_weyland2 |
Talk to Weyland |
q103_warhead |
Q103 Warhead |
maelstrom_deal |
Weapon deal |
go_to_warehouse |
Go to warehouse |
q103_warhead |
Q103 Warhead |
maelstrom_deal |
Weapon deal |
deal_maelstrom |
Talk with Maelstrom |
q103_warhead |
Q103 Warhead |
maelstrom_deal |
Weapon deal |
kill_maelstrom |
Kill Maelstromers |
q103_warhead |
Q103 Warhead |
maelstrom_deal |
Weapon deal |
take_emp |
Take the EMP rockets |
q103_warhead |
Q103 Warhead |
panam_mission |
Panam Mission |
call_panam |
Call Panam |
q103_warhead |
Q103 Warhead |
panam_mission |
Panam Mission |
meet_panam |
Meet with Panam |
q103_warhead |
Q103 Warhead |
panam_mission |
Panam Mission |
drive_with_panam |
Drive with Panam |
q103_warhead |
Q103 Warhead |
panam_mission |
Panam Mission |
deal_with_ambush |
Deal with ambush |
q103_warhead |
Q103 Warhead |
panam_mission |
Panam Mission |
open_passage |
Make the passage for Panam's vehicle |
q103_warhead |
Q103 Warhead |
panam_mission |
Panam Mission |
drive_with_panam2 |
Drive with Panam |
q103_warhead |
Q103 Warhead |
panam_mission |
Panam Mission |
talk_panam_gtown |
Talk with Panam |
q103_warhead |
Q103 Warhead |
panam_mission |
Panam Mission |
prep_ghosttown |
Use vision mode to prepare the meeting place |
q103_warhead |
Q103 Warhead |
panam_mission |
Panam Mission |
tell_ready_panam |
Tell Panam when we're ready |
q103_warhead |
Q103 Warhead |
panam_mission |
Panam Mission |
defeat_ambush |
Defeat ambush |
q103_warhead |
Q103 Warhead |
panam_mission |
Panam Mission |
get_payment |
Try to retrieve Panam's payment |
q103_warhead |
Q103 Warhead |
panam_mission |
Panam Mission |
runaway_w_panam |
Get back to Panam's car |
q103_warhead |
Q103 Warhead |
panam_mission |
Panam Mission |
talk_panam_aft_ambush |
Talk to Panam |
q103_warhead |
Q103 Warhead |
panam_mission |
Panam Mission |
add_coolant |
Add coolant |
q103_warhead |
Q103 Warhead |
panam_mission |
Panam Mission |
drive_with_panam3 |
Drive with Panam |
q103_warhead |
Q103 Warhead |
panam_mission |
Panam Mission |
follow_panam |
Follow Panam |
q103_warhead |
Q103 Warhead |
panam_mission |
Panam Mission |
talk_panam_garage |
Talk with Panam |
q103_warhead |
Q103 Warhead |
panam_mission |
Panam Mission |
get_to_scrapyard |
Get to scrapyard |
q103_warhead |
Q103 Warhead |
panam_mission |
Panam Mission |
look_for_scrap |
Search for parts on scrapyard |
q103_warhead |
Q103 Warhead |
panam_mission |
Panam Mission |
drive_with_panam4 |
Drive with Panam |
q103_warhead |
Q103 Warhead |
panam_mission |
Panam Mission |
back_panam_fixing |
Go back to Panam to garage |
q103_warhead |
Q103 Warhead |
panam_mission |
Panam Mission |
talk_panam_garage2 |
Talk with Panam |
q103_warhead |
Q103 Warhead |
panam_mission |
Panam Mission |
follow_panam2 |
Follow Panam |
q103_warhead |
Q103 Warhead |
panam_mission |
Panam Mission |
talk_panam_bar |
Talk with Panam |
q104_courier |
Q104 Courier |
preparations |
Preparations |
q104_meet_panam |
Meet with Panam |
q104_courier |
Q104 Courier |
preparations |
Preparations |
q104_drive_panam |
Drive with Panam |
q104_courier |
Q104 Courier |
preparations |
Preparations |
q104_setup_emp_gun |
Set up the EMP gun |
q104_courier |
Q104 Courier |
preparations |
Preparations |
q104_ready_av |
Tell Panam when ready |
q104_courier |
Q104 Courier |
chasing_av |
AV chase |
q104_shoot_av |
Shoot the AV |
q104_courier |
Q104 Courier |
chasing_av |
AV chase |
q104_back_car |
Go to car |
q104_courier |
Q104 Courier |
chasing_av |
AV chase |
q104_chase_av |
Chase the AV |
q104_courier |
Q104 Courier |
chasing_av |
AV chase |
q104_deal_with_drones |
Deal with the drones |
q104_courier |
Q104 Courier |
chasing_av |
AV chase |
q104_kill_arasakas_av |
Kill the Arasaka men |
q104_courier |
Q104 Courier |
chasing_av |
AV chase |
q104_deal_with_av_turret |
Deal with the AV turret |
q104_courier |
Q104 Courier |
helping_panam |
Help Panam |
q104_check_panam |
Check Panam |
q104_courier |
Q104 Courier |
helping_panam |
Help Panam |
q104_find_health_system |
Find health system in AV |
q104_courier |
Q104 Courier |
helping_panam |
Help Panam |
q104_return_panam |
Return to Panam |
q104_courier |
Q104 Courier |
helping_panam |
Help Panam |
q104_help_panam |
Help Panam to get to the AV |
q104_courier |
Q104 Courier |
tracking_arasaka |
Tracking Arasaka |
q104_scan_av_crash |
Use scanner to find tracks of Arasaka |
q104_courier |
Q104 Courier |
tracking_arasaka |
Tracking Arasaka |
q104_follow_tracks |
Using scanner follow the tracks |
q104_courier |
Q104 Courier |
tracking_arasaka |
Tracking Arasaka |
q104_kill_arasaka_addons |
Kill Arasaka men |
q104_courier |
Q104 Courier |
gas_station |
Gas Station |
q104_find_courier |
Find courier |
q104_courier |
Q104 Courier |
gas_station |
Gas Station |
q104_gas_recon |
(optional) Do the recon on gas station |
q104_courier |
Q104 Courier |
gas_station |
Gas Station |
q104_kill_brightman |
Kill Brightman |
q104_courier |
Q104 Courier |
gas_station |
Gas Station |
q104_call_sobczak |
Call Sobczak |
q104_courier |
Q104 Courier |
gas_station |
Gas Station |
q104_call_burondo |
Call Burondo |
q105 |
q105 Dollhouse |
lizzies |
Gather Informations from Judy |
holocall_judy |
(Optional) Call Judy |
q105 |
q105 Dollhouse |
lizzies |
Gather Informations from Judy |
meet_judy |
Meet with Judy at the Lizzies Nightclub |
q105 |
q105 Dollhouse |
lizzies |
Gather Informations from Judy |
kill_yakuza |
Defeat the Yakuza goons |
q105 |
q105 Dollhouse |
lizzies |
Gather Informations from Judy |
talk_judy |
Talk to Judy |
q105 |
q105 Dollhouse |
dollhouse |
Find Sophie in the Dollhouse |
enter_dollhouse |
Go to the Yakuza Dollhouse |
q105 |
q105 Dollhouse |
dollhouse |
Find Sophie in the Dollhouse |
find_sophie |
Gain information about Sophie's whereabouts |
q105 |
q105 Dollhouse |
dollhouse |
Find Sophie in the Dollhouse |
bar |
Go to the bar |
q105 |
q105 Dollhouse |
dollhouse |
Find Sophie in the Dollhouse |
talk_roxanne |
Talk to Roxanne |
q105 |
q105 Dollhouse |
dollhouse |
Find Sophie in the Dollhouse |
trap |
Meet the informant in her room |
q105 |
q105 Dollhouse |
dollhouse |
Find Sophie in the Dollhouse |
defeat_woodman |
Defeat the Yakuza forces |
q105 |
q105 Dollhouse |
dollhouse |
Find Sophie in the Dollhouse |
interrogate_woodman |
Gain information from Woodman |
q105 |
q105 Dollhouse |
dollhouse |
Find Sophie in the Dollhouse |
leave_dollhouse |
Leave the Dollhouse |
q105 |
q105 Dollhouse |
fingers |
Discover the whereabouts of Sophie |
go_jigjig |
Go to JigJig Street |
q105 |
q105 Dollhouse |
fingers |
Discover the whereabouts of Sophie |
jigjig_doll |
Find the doll Roxanne described |
q105 |
q105 Dollhouse |
fingers |
Discover the whereabouts of Sophie |
jigjig_follow |
Follow the doll and gain information about Sophie |
q105 |
q105 Dollhouse |
fingers |
Discover the whereabouts of Sophie |
jigjig_chase |
Chase and catch the doll |
q105 |
q105 Dollhouse |
fingers |
Discover the whereabouts of Sophie |
jigjig_kill_goons_opt |
(Optional) Kill the goons |
q105 |
q105 Dollhouse |
fingers |
Discover the whereabouts of Sophie |
jigjig_kill_goon_opt |
(Optional) Kill the goon |
q105 |
q105 Dollhouse |
fingers |
Discover the whereabouts of Sophie |
jigjig_kill_goons |
Kill the goons |
q105 |
q105 Dollhouse |
fingers |
Discover the whereabouts of Sophie |
jigjig_kill_goon |
Kill the goon |
q105 |
q105 Dollhouse |
fingers |
Discover the whereabouts of Sophie |
jigjig_info |
Gain information from the doll |
q105 |
q105 Dollhouse |
fingers |
Discover the whereabouts of Sophie |
jigjig_dealer |
Find the dealer |
q105 |
q105 Dollhouse |
fingers |
Discover the whereabouts of Sophie |
go_fingers |
Go to Finger's Apartment |
q105 |
q105 Dollhouse |
fingers |
Discover the whereabouts of Sophie |
enter_fingers |
Enter the apartment |
q105 |
q105 Dollhouse |
fingers |
Discover the whereabouts of Sophie |
meet_fingers |
Meet with Fingers |
q105 |
q105 Dollhouse |
fingers |
Discover the whereabouts of Sophie |
find_doll |
Find the doll |
q105 |
q105 Dollhouse |
fingers |
Discover the whereabouts of Sophie |
interrogate_fingers |
Gain informations from Fingers |
q105 |
q105 Dollhouse |
fingers |
Discover the whereabouts of Sophie |
fingers_pc |
Gain informations about Sophie and the Braindance Studio |
q105 |
q105 Dollhouse |
fingers |
Discover the whereabouts of Sophie |
leave_fingers |
Leave Fingers' apartment |
q105 |
q105 Dollhouse |
braindance |
Find Sophie |
call_ripperdoc |
Call your Ripperdoc |
q105 |
q105 Dollhouse |
braindance |
Find Sophie |
call_judy |
Call Judy |
q105 |
q105 Dollhouse |
braindance |
Find Sophie |
braindance_studio |
Go to the braindance studio |
q105 |
q105 Dollhouse |
braindance |
Find Sophie |
enter_studio |
Find a way into the Studio |
q105 |
q105 Dollhouse |
braindance |
Find Sophie |
search_studio |
Search the Braindance Studio for Sophie |
q105 |
q105 Dollhouse |
braindance |
Find Sophie |
info |
(Optional) Gather information about the braindance studio |
q105 |
q105 Dollhouse |
braindance |
Find Sophie |
free_sophie |
Free Sophie |
q105 |
q105 Dollhouse |
sophie_save |
Get Sophie to the Safehouse |
van |
Get to the Ripperdoc's van |
q105 |
q105 Dollhouse |
sophie_save |
Get Sophie to the Safehouse |
escort |
(Optional) Escort Sophie and Ripperdoc |
q105 |
q105 Dollhouse |
sophie_save |
Get Sophie to the Safehouse |
destroy_studio |
(Optional) Destroy the factory |
q105 |
q105 Dollhouse |
evelynn |
Gain informations about Evelynn |
operation |
Wait for the operation to finish |
q105 |
q105 Dollhouse |
evelynn |
Gain informations about Evelynn |
op_techie |
Help Judy with her devices |
q105 |
q105 Dollhouse |
evelynn |
Gain informations about Evelynn |
check_braindance |
Check the braindance |
q105 |
q105 Dollhouse |
evelynn |
Gain informations about Evelynn |
braindance_01 |
Investigate the 1st Braindance section |
q105 |
q105 Dollhouse |
evelynn |
Gain informations about Evelynn |
braindance_02 |
Investigate the 2nd Braindance section |
q105 |
q105 Dollhouse |
evelynn |
Gain informations about Evelynn |
braindance_03 |
Investigate the 3rd Braindance section |
q105 |
q105 Dollhouse |
evelynn |
Gain informations about Evelynn |
braindance_04 |
Investigate the 4th Braindance section |
q105 |
q105 Dollhouse |
evelynn |
Gain informations about Evelynn |
exit_bd |
Exit the braindance |
q105 |
q105 Dollhouse |
evelynn |
Gain informations about Evelynn |
talk_judy |
Talk to Judy |
q107_delamain |
q107 Delamain |
call |
Get a Delamain Cab |
call_judy |
Call Judy. |
q107_delamain |
q107 Delamain |
call |
Get a Delamain Cab |
talk_judy |
Talk to Judy. |
q107_delamain |
q107 Delamain |
call |
Get a Delamain Cab |
call_delamain |
Call a Delamain Cab |
q107_delamain |
q107 Delamain |
call |
Get a Delamain Cab |
wait_delamain |
Go to the pickup location. |
q107_delamain |
q107 Delamain |
delamain |
Get information out of Delamain |
get_in |
Get into the cab. |
q107_delamain |
q107 Delamain |
delamain |
Get information out of Delamain |
plug_in |
Get info from the cab’s on-board computer. |
q107_delamain |
q107 Delamain |
delamain |
Get information out of Delamain |
call_judy_02 |
Call Judy for tech support. |
q107_delamain |
q107 Delamain |
delamain |
Get information out of Delamain |
call_judy_optional |
(Optional) Call Judy for tech support. |
q107_delamain |
q107 Delamain |
delamain |
Get information out of Delamain |
follow_instructions |
Follow Judy's instructions. |
q107_delamain |
q107 Delamain |
delamain |
Get information out of Delamain |
hack_delamain |
Hack into the computer. |
q107_delamain |
q107 Delamain |
delamain |
Get information out of Delamain |
rewire_delamain |
Rewire the computer. |
q107_delamain |
q107 Delamain |
delamain |
Get information out of Delamain |
deal_delamain |
Deal with Delamain. |
q107_delamain |
q107 Delamain |
pacifica |
Escape Pacifica |
theatre |
Escape the Theater. |
q107_delamain |
q107 Delamain |
pacifica |
Escape Pacifica |
escape |
Find a way out of the mall. |
q107_delamain |
q107 Delamain |
pacifica |
Escape Pacifica |
leave_area |
Leave the area. |
q107_delamain |
q107 Delamain |
pacifica |
Escape Pacifica |
call_sobchak |
Call Sobchak. |
q107_delamain |
q107 Delamain |
pacifica |
Escape Pacifica |
drive_delamain |
Drive to Delamain's address. |
q107_delamain |
q107 Delamain |
delamains_garage |
Delamain's Garage |
break_in |
Find a way into the garage. |
q107_delamain |
q107 Delamain |
delamains_garage |
Delamain's Garage |
go_to_office |
Investigate the office. |
q107_delamain |
q107 Delamain |
delamains_garage |
Delamain's Garage |
delamain_appears |
Deal with Delamain. |
q107_delamain |
q107 Delamain |
delamains_garage |
Delamain's Garage |
survive_standoff |
Survive the Standoff. |
q107_delamain |
q107 Delamain |
johnny_nightmare |
Johnny's Nightmare |
fight_arasaka |
Defeat the Arasaka assassins. |
q107_delamain |
q107 Delamain |
johnny_nightmare |
Johnny's Nightmare |
help_alt |
Help Alt. |
q107_delamain |
q107 Delamain |
johnny_nightmare |
Johnny's Nightmare |
merc_car |
Get into the car. |
q107_delamain |
q107 Delamain |
johnny_nightmare |
Johnny's Nightmare |
talk_delamain |
Talk to Delamain. |
q107_delamain |
q107 Delamain |
lawyer |
The Lawyer |
talk_delamain_lawyer |
Talk to Delamain when you're ready. |
q107_delamain |
q107 Delamain |
lawyer |
The Lawyer |
call_delamain_lawyer |
Call Delamain. |
q107_delamain |
q107 Delamain |
lawyer |
The Lawyer |
get_in_delamain_lawyer |
Get into the Delamain cab. |
q107_delamain |
q107 Delamain |
lawyer |
The Lawyer |
get_in_lawyer |
Make an appointment with the lawyer. |
q107_delamain |
q107 Delamain |
lawyer |
The Lawyer |
talk_lawyer |
Talk to the lawyer. |
q107_delamain |
q107 Delamain |
lawyer |
The Lawyer |
get_books |
Get Delamain's items. |
q107_delamain |
q107 Delamain |
lawyer |
The Lawyer |
deal_gangers |
Deal with the gangers. |
q107_delamain |
q107 Delamain |
lawyer |
The Lawyer |
return_delamain |
Return to Delamain. |
q110 |
q110_voodoo |
q110_1 |
Meet Placide |
q110_1a |
Go to Placide's place. |
q110 |
q110_voodoo |
q110_1 |
Meet Placide |
q110_1b |
Wait for Placide. |
q110 |
q110_voodoo |
q110_1 |
Meet Placide |
q110_1c |
Convince Placide to take you to Evelyn. |
q110 |
q110_voodoo |
q110_2 |
A taste of gang life |
q110_2a |
Follow Placide to Roseline's Emporium. |
q110 |
q110_voodoo |
q110_2 |
A taste of gang life |
q110_2b |
Optional - Help Placide defeat the Valentinos. |
q110 |
q110_voodoo |
q110_3 |
The plan |
q110_3a |
Make a battle plan. |
q110 |
q110_voodoo |
q110_4 |
Assault on the Farm |
q110_4h |
Rendezvous at night with Placide's crew. |
q110 |
q110_voodoo |
q110_4 |
Assault on the Farm |
q110_4a |
Infiltrate the Farm. |
q110 |
q110_voodoo |
q110_4 |
Assault on the Farm |
q110_4b |
Place explosive in the Great Apes area. |
q110 |
q110_voodoo |
q110_4 |
Assault on the Farm |
q110_4c |
Place explosive in the Jungle area. |
q110 |
q110_voodoo |
q110_4 |
Assault on the Farm |
q110_4d |
Place explosive in the Aquarium area. |
q110 |
q110_voodoo |
q110_4 |
Assault on the Farm |
q110_4e |
Place explosive in the Savannah area. |
q110 |
q110_voodoo |
q110_4 |
Assault on the Farm |
q110_4f |
Optional - Find Jean-ki-ri's stash. |
q110 |
q110_voodoo |
q110_4 |
Assault on the Farm |
q110_4g |
Exfiltrate the Farm. |
q110 |
q110_voodoo |
q110_5 |
Aftermath |
q110_5a |
Optional - Show the evidence about Jean-ki-ri to Placide. |
q110 |
q110_voodoo |
q110_5 |
Aftermath |
q110_5b |
Follow Placide. |
q110 |
q110_voodoo |
q110_5 |
Aftermath |
q110_5c |
Defeat Jean-ki-ri and the Arasaka commando. |
q110 |
q110_voodoo |
q110_5 |
Aftermath |
q110_5f |
Listen to the Voodoo Boys Elders. |
q110 |
q110_voodoo |
q110_5 |
Aftermath |
q110_5d |
Execute Jean-ki-ri. |
q110 |
q110_voodoo |
q110_5 |
Aftermath |
q110_5e |
Talk to the Voodoo Boys Elders. |
q110 |
q110_voodoo |
q110_6 |
Reunion |
q110_6a |
Catch up with Evelyn. |
q110 |
q110_voodoo |
q110_6 |
Reunion |
q110_6b |
Listen to the Elders. |
q110 |
q110_voodoo |
q110_7 |
Johnny's last minute |
q110_7a |
Talk to the Elders to start the ritual. |
q110 |
q110_voodoo |
q110_7 |
Johnny's last minute |
q110_7c |
Jack in. |
q110 |
q110_voodoo |
q110_7 |
Johnny's last minute |
q110_7b |
Stay focused on Johnny's last minute of Earth. |
q111 |
q111 Veterans |
q111_old_threads |
Old Threads |
q111_talk_to_sobczak |
Talk to Sobczak about his investigation. |
q112 |
q112 Corpo Job |
q112_burondo |
Big Blind, Small Blind: Meeting Burondo |
q112_plan_with_sobczak |
Plan with Sobczak. |
q112 |
q112 Corpo Job |
q112_burondo |
Big Blind, Small Blind: Meeting Burondo |
q112_meet_burondo |
Meet the Blonde Man. |
q112 |
q112 Corpo Job |
q112_burondo |
Big Blind, Small Blind: Meeting Burondo |
q112_bargain_burondo |
Bargain with the Blonde Man. |
q112 |
q112 Corpo Job |
q112 |
q112 Corpo Job |
q112_facility |
The Draw: Arasaka R&D Division |
q112 |
q112 Corpo Job |
q112 |
q112 Corpo Job |
q112_truck |
The Flop: Prototype Theft |
q112 |
q112 Corpo Job |
q112 |
q112 Corpo Job |
q112_fixer |
The Turn: A Crooked Fixer |
q112 |
q112 Corpo Job |
q112 |
q112 Corpo Job |
q112_data |
The River: Getting the Data |
q113 |
Q113 Mikoshi |
plan |
The Plan |
call_miriam |
Call Miriam to inform her about Mikoshi. |
q113 |
Q113 Mikoshi |
plan |
The Plan |
talk_miriam |
Talk to Miriam to inform her about Mikoshi. |
q113 |
Q113 Mikoshi |
plan |
The Plan |
return_miriam |
Leave Miriam's mansion and wait for her call. |
q113 |
Q113 Mikoshi |
plan |
The Plan |
go_miriam |
Attend the meeting at Miriam Night's mansion. |
q113 |
Q113 Mikoshi |
plan |
The Plan |
ready_miriam |
Talk to Miriam when you're ready to attack Mikoshi. |
q113 |
Q113 Mikoshi |
compound |
Jacking In |
get_in |
Get inside the compound. |
q113 |
Q113 Mikoshi |
compound |
Jacking In |
open_gates |
Open the gates for the Voodoo Boys. |
q113 |
Q113 Mikoshi |
compound |
Jacking In |
get_through |
Fight your way through the compound. |
q113 |
Q113 Mikoshi |
compound |
Jacking In |
elevator |
Get the elevator working. |
q113 |
Q113 Mikoshi |
compound |
Jacking In |
find_node |
Find the Mikoshi access port. |
q113 |
Q113 Mikoshi |
compound |
Jacking In |
jack_in |
Jack in. |
q113 |
Q113 Mikoshi |
mikoshi |
Mikoshi |
enter_mikoshi |
Find and enter the virtual entrance to Mikoshi. |
q113 |
Q113 Mikoshi |
mikoshi |
Mikoshi |
talk_johnny |
Talk to Johnny. |
q113 |
Q113 Mikoshi |
mikoshi |
Mikoshi |
go_sphere |
Go to the sphere. |
q113 |
Q113 Mikoshi |
mikoshi |
Mikoshi |
find_out |
Find out how to get inside the sphere. |
q113 |
Q113 Mikoshi |
mikoshi |
Mikoshi |
enter_outer_layer |
Enter the outer layer. |
q113 |
Q113 Mikoshi |
mikoshi |
Mikoshi |
find_tbug |
Find T-Bug. |
q113 |
Q113 Mikoshi |
mikoshi |
Mikoshi |
talk_tbug |
Break T-Bug's simulation. |
q113 |
Q113 Mikoshi |
mikoshi |
Mikoshi |
enter_middle_layer |
Enter the next layer when you're ready. |
q113 |
Q113 Mikoshi |
mikoshi |
Mikoshi |
find_subject |
Find the subject of this simulation. |
q113 |
Q113 Mikoshi |
mikoshi |
Mikoshi |
break_simulation |
Find out how to break the simulation. |
q113 |
Q113 Mikoshi |
mikoshi |
Mikoshi |
follow_evelyn |
Follow Evelyn's advice. |
q113 |
Q113 Mikoshi |
mikoshi |
Mikoshi |
layer_techie |
Rewire the system. |
q113 |
Q113 Mikoshi |
mikoshi |
Mikoshi |
layer_netrunner |
Counterhack Arasaka's security. |
q113 |
Q113 Mikoshi |
mikoshi |
Mikoshi |
layer_base |
Find a way to stop Soulkiller. |
q113 |
Q113 Mikoshi |
mikoshi |
Mikoshi |
enter_last_layer |
Enter the next layer when you're ready. |
q113 |
Q113 Mikoshi |
mikoshi |
Mikoshi |
find_out |
Find out where you are. |
q113 |
Q113 Mikoshi |
mikoshi |
Mikoshi |
spacesuit |
Get into the spacesuit. |
q113 |
Q113 Mikoshi |
mikoshi |
Mikoshi |
leave_shuttle |
Leave the shuttle and enter the space station. |
q113 |
Q113 Mikoshi |
mikoshi |
Mikoshi |
fight_space |
Fight your way through the space station. |
q113 |
Q113 Mikoshi |
mikoshi |
Mikoshi |
space_netrunner |
Find a way to stop Soulkiller. |
q113 |
Q113 Mikoshi |
mikoshi |
Mikoshi |
enter_alt |
Enter the core of Mikoshi. |
q113 |
Q113 Mikoshi |
mikoshi |
Mikoshi |
talk_alt |
Talk to Alt. |
quest_sceneInitiator |
Scene Initiation |
phase1 |
Reach table |
objective1 |
Reach the table on the right to initiate the scene |
quest_sceneInitiator |
Scene Initiation |
phase2 |
Scene initiated |
objective1 |
Scene initiated |
quest_sceneInitiator |
Scene Initiation |
phase3 |
Great |
objective1 |
Great! |
mm_inv |
Miriam's Murder Investigation |
mm_main |
Miriam tell? |
mm_obj_main |
FIND OUT WHAT MIRIAM WANTED TO TELL YOU. |
mm_inv |
Miriam's Murder Investigation |
mm_main |
Miriam tell? |
mm_obj_dig |
Check what Miriam left for you inside the pot. |
mm_inv |
Miriam's Murder Investigation |
mm_main |
Miriam tell? |
mm_obj_secret |
Find a way to open the secret doors. |
mm_inv |
Miriam's Murder Investigation |
mm_main |
Miriam tell? |
mm_obj_pc |
Use the password to unlock the PC. |
mm_inv |
Miriam's Murder Investigation |
mm_main |
Miriam tell? |
mm_obj_panic |
Carefully search the panic room. |
mm_inv |
Miriam's Murder Investigation |
mm_main |
Miriam tell? |
mm_obj_push |
Push the bookshelf to learn what's behind it. |
mm_inv |
Miriam's Murder Investigation |
mm_optional |
Miriam how? |
mm_obj_optional |
(Optional): FIND OUT WHAT HAPPENED TO MIRIAM. |
q205_crossroads |
Crossroads |
q205_mansion |
Mansion |
q205_to_mansion |
VISIT MIRIAM. |
q205_crossroads |
Crossroads |
q205_mansion |
Mansion |
q205_talk_del |
Talk with Delamain. |
q205_crossroads |
Crossroads |
q205_mansion |
Mansion |
q205_call_sob |
Call Sobchak. |
q205_crossroads |
Crossroads |
q205_mansion |
Mansion |
q205_office |
GET TO MIRIAM'S OFFICE. |
q205_crossroads |
Crossroads |
q205_mansion |
Mansion |
q205_attorney |
Follow Miriam's attorney. |
q205_crossroads |
Crossroads |
q205_mansion |
Mansion |
q205_reason |
LEARN WHY MIRIAD DIED. |
q205_crossroads |
Crossroads |
q205_mansion |
Mansion |
q205_robot |
Search for the cleaning robot. |
q205_crossroads |
Crossroads |
q205_mansion |
Mansion |
q205_fake |
FIND MAYOR. |
q108_johnny |
Q108_Johnny |
q108_01_rockerboy |
Rockerboy |
q108_get_ready |
Talk with Kerry before concert |
q108_johnny |
Q108_Johnny |
q108_01_rockerboy |
Rockerboy |
q108_play |
Play Chippin In |
q108_johnny |
Q108_Johnny |
q108_01_rockerboy |
Rockerboy |
q108_next_song |
Prepare for next song (optional) |
q108_johnny |
Q108_Johnny |
q108_01_rockerboy |
Rockerboy |
q108_ready |
Start playing when ready |
q108_johnny |
Q108_Johnny |
q108_01_rockerboy |
Rockerboy |
q108_song |
Play next song |
q108_johnny |
Q108_Johnny |
q108_01_rockerboy |
Rockerboy |
q108_find_your_way |
Address the crowd |
q108_johnny |
Q108_Johnny |
q108_01_rockerboy |
Rockerboy |
q108_help |
Help the Girl (optional) |
q108_johnny |
Q108_Johnny |
q108_02_silverhand |
Silverhand |
q108_find_silverhand |
Find the source of music |
q108_johnny |
Q108_Johnny |
q108_02_silverhand |
Silverhand |
q108_talk_silverhand |
Convince Silverhand to help you |
q108_johnny |
Q108_Johnny |
q108_03_kerry |
Kerry Eurodyne |
q108_talk_delamain |
Talk with Delamain |
q108_johnny |
Q108_Johnny |
q108_03_kerry |
Kerry Eurodyne |
q108_get_delamain |
Get into car |
q108_johnny |
Q108_Johnny |
q108_03_kerry |
Kerry Eurodyne |
q108_find_kerry |
Find Kerry Eurodyne at his North Oak villa |
q108_johnny |
Q108_Johnny |
q108_03_kerry |
Kerry Eurodyne |
q108_talk_with_guards |
Convince guards to grant you entry |
q108_johnny |
Q108_Johnny |
q108_03_kerry |
Kerry Eurodyne |
q108_find_another_way |
Find another way in |
q108_johnny |
Q108_Johnny |
q108_03_kerry |
Kerry Eurodyne |
q108_talk_with_fans |
Talk with Samurai fans (optional) |
q108_johnny |
Q108_Johnny |
q108_03_kerry |
Kerry Eurodyne |
q108_follow_guard |
Follow Guard |
q108_johnny |
Q108_Johnny |
q108_03_kerry |
Kerry Eurodyne |
q108_follow_boyfriend |
Follow Assistant |
q108_johnny |
Q108_Johnny |
q108_03_kerry |
Kerry Eurodyne |
q108_talk_kerry |
Talk with Kerry |
q108_johnny |
Q108_Johnny |
q108_03_kerry |
Kerry Eurodyne |
q108_learn_more |
Learn more on how SAMURAI broke up |
q108_johnny |
Q108_Johnny |
q108_03_kerry |
Kerry Eurodyne |
q108_look_around |
Look around |
q108_johnny |
Q108_Johnny |
q108_04_forlorn |
Forlorn Hope |
q108_find_forlorn |
Find Forlorn Hope |
q108_johnny |
Q108_Johnny |
q108_04_forlorn |
Forlorn Hope |
q108_get_into |
Get into Forlorn Hope |
q108_johnny |
Q108_Johnny |
q108_04_forlorn |
Forlorn Hope |
q108_find_drink |
Find whiskey |
q108_johnny |
Q108_Johnny |
q108_04_forlorn |
Forlorn Hope |
q108_drink_whiskey |
Drink with Johnny |
q108_johnny |
Q108_Johnny |
q108_04_forlorn |
Forlorn Hope |
q108_convince_punks |
Convince punks and plan heist |
q108_johnny |
Q108_Johnny |
q108_04_forlorn |
Forlorn Hope |
q108_get_mainframe |
Get into mainframe |
q111_jackie |
Jackie |
phase1 |
Crime Scene |
arrive |
Meet Sobchak at the Crime Scene |
q111_jackie |
Jackie |
phase1 |
Crime Scene |
talk_sobchak |
Talk to Sobchak |
q111_jackie |
Jackie |
phase1 |
Crime Scene |
follow_sobchak |
Follow Sobchak |
q111_jackie |
Jackie |
phase1 |
Crime Scene |
wait_sobchak |
Wait for Sobchak |
q111_jackie |
Jackie |
phase1 |
Crime Scene |
turn_projector |
Turn on hologram projector |
q111_jackie |
Jackie |
phase1 |
Crime Scene |
investigate_footstamp |
Investigate the Footstamps |
q111_jackie |
Jackie |
phase1 |
Crime Scene |
investigate_staircase |
Investigate the staircase |
q111_jackie |
Jackie |
phase1 |
Crime Scene |
investigate_car |
Investigate Jackie's car |
q111_jackie |
Jackie |
phase1 |
Crime Scene |
hack_cameras |
Hack the cameras |
q111_jackie |
Jackie |
phase1 |
Crime Scene |
wait_recording |
Wait for a recording from Police |
q111_jackie |
Jackie |
phase1 |
Crime Scene |
lower_ladder |
Lower the ladder for Sobchak |
q111_jackie |
Jackie |
phase1 |
Crime Scene |
arrive |
Meet Sobchak at the Crime Scene |
q111_jackie |
Jackie |
phase1 |
Crime Scene |
investigate |
Investigate crime with Sobchak |
q111_jackie |
Jackie |
phase1 |
Crime Scene |
sum_up |
Talk to Sobchak and sum up the investigation |
q111_jackie |
Jackie |
phase2 |
Moto Cielo |
meet_moto_cielo |
Meet with Sobchak in Moto Cielo |
q111_jackie |
Jackie |
phase2 |
Moto Cielo |
talk_sobchak |
Talk to Sobchak |
q111_jackie |
Jackie |
phase2 |
Moto Cielo |
arrive_workshop |
Find Jackie's girlfriend workshop in Moto Cielo |
q111_jackie |
Jackie |
phase2 |
Moto Cielo |
find_girl |
Look for Jackie's girlfriend |
q111_jackie |
Jackie |
phase2 |
Moto Cielo |
catch_girl |
Chase Jackie's girlfriend |
q111_jackie |
Jackie |
phase2 |
Moto Cielo |
get_girl |
Get Jackie's girlfriend |
q111_jackie |
Jackie |
phase2 |
Moto Cielo |
ask_girl |
Ask Jackie's girlfriend where Jackie is |
q111_jackie |
Jackie |
phase2 |
Moto Cielo |
contact_sobchak |
Call Sobchak |
q111_jackie |
Jackie |
phase2 |
Moto Cielo |
talk_sobchak |
Talk to Sobchak |
q111_jackie |
Jackie |
phase2a |
Apartment |
arrive_apartment |
Go to Jackie's girlfriend apartment |
q111_jackie |
Jackie |
phase2a |
Apartment |
get_into_apartment |
Get inside apartment |
q111_jackie |
Jackie |
phase2a |
Apartment |
get_girl |
Find Jackie's Girlfriend |
q111_jackie |
Jackie |
phase2a |
Apartment |
ask_girl |
Ask Jackie's girlfriend where Jackie is |
q111_jackie |
Jackie |
phase2b |
Mezcal Joe's |
arrive_mezcal_joes |
Go to the Mezcal Joe's |
q111_jackie |
Jackie |
phase2b |
Mezcal Joe's |
ask_jackie |
Ask about Jackie |
q111_jackie |
Jackie |
phase2b |
Mezcal Joe's |
defeat |
Beat the Gangsters |
q111_jackie |
Jackie |
phase2b |
Mezcal Joe's |
talk_to_boss |
Talk to Valentinos leader |
q111_jackie |
Jackie |
phase2b |
Mezcal Joe's |
run |
Leave the Stip Club |
q111_jackie |
Jackie |
phase3 |
Cathedral |
arrive_chapel |
Find Jackie in his hideout |
q111_jackie |
Jackie |
phase3 |
Cathedral |
talk_jackie |
Talk to Jackie |
q111_jackie |
Jackie |
phase3 |
Cathedral |
follow_jackie |
Follow Jackie |
q111_jackie |
Jackie |
phase3 |
Cathedral |
get_crowbar |
Take the crowbar |
q111_jackie |
Jackie |
phase3 |
Cathedral |
open_crates |
Open crates |
q111_jackie |
Jackie |
phase3 |
Cathedral |
take_ammo |
Pick up tranqulizing ammunition |
q111_jackie |
Jackie |
phase3 |
Cathedral |
load_turret |
Load tranqulizing ammunition to the turret |
q111_jackie |
Jackie |
phase3 |
Cathedral |
talk_sobchak |
Talk to Sobchak |
q111_jackie |
Jackie |
phase3 |
Cathedral |
inspect_brightman |
Examine unconcious Brightman |
q111_jackie |
Jackie |
phase3 |
Cathedral |
go_to_chapel |
Go to the chapel |
q111_jackie |
Jackie |
phase3 |
Cathedral |
take_fuel |
Pick up the gas tank |
q111_jackie |
Jackie |
phase3 |
Cathedral |
fill_generator |
Add fuel to the power generator |
q111_jackie |
Jackie |
phase3 |
Cathedral |
trap_belltower |
Go to the crypt |
q111_jackie |
Jackie |
phase3 |
Cathedral |
trap_belltower_top |
Fix the power generator |
q111_jackie |
Jackie |
phase3 |
Cathedral |
trap_catherdal |
Find out what happened with Sobchak and Jackie |
q111_jackie |
Jackie |
phase3 |
Cathedral |
bossfight |
Defeat the Brightman's puppet |
q111_jackie |
Jackie |
phase3 |
Cathedral |
lab_wake_up |
Free yourself |
q111_jackie |
Jackie |
phase3 |
Cathedral |
trap_belltower |
Kill the Brightman's puppet |
q111_jackie |
Jackie |
phase3 |
Cathedral |
find_sobchak |
Help Sobchak |
q111_jackie |
Jackie |
phase3 |
Cathedral |
wait_maxtac |
Wait for NCPD AV |
q201_lone_wolf |
Q201 Lone Wolf |
q201_lone_wolf |
Lone Wolf |
q201_finish_up_mercs |
Kill the Remaining Mercs |
q201_lone_wolf |
Q201 Lone Wolf |
q201_lone_wolf |
Lone Wolf |
q201_talk_to_burondo |
Talk to Burondo |
q201_lone_wolf |
Q201 Lone Wolf |
q201_lone_wolf |
Lone Wolf |
q201_kill_burondo |
[OPTIONAL] Kill Burondo |
q201_lone_wolf |
Q201 Lone Wolf |
q201_lone_wolf |
Lone Wolf |
q201_leave_the_gym |
Leave the Gym |
q201_lone_wolf |
Q201 Lone Wolf |
q201_lone_wolf |
Lone Wolf |
q201_go_to_bar |
Take a seat by the bar |
q201_lone_wolf |
Q201 Lone Wolf |
q201_lone_wolf |
Lone Wolf |
q201_have_a_drink |
Have a drink |
ss_watson_nhr_02 |
Nhr_02 |
resources |
Resources |
start |
Find a way to loot container |
sts_watson_nid_04 |
sts_watson_nid_04 |
sts_watson_nid_04 |
sts_watson_nid_04 |
get_recording |
Find and loot BD recording |
ss_watson_nid_06 |
A tough nut |
A tough nut |
A tough nut |
start |
Find a way to loot container |
ss_watson_nhr_12 |
Nhr_12 |
Neighbourhood_watch |
Neighbourhood_watch |
start |
Check why Wyatt is not responding |
ss_watson_nhr_10 |
Bring, Cash & Leave |
looters |
Looters |
start |
Help Gavin with Maelstorm gangers |
ss_watson_nhr_10 |
Bring, Cash & Leave |
looters |
Looters |
end |
Talk with Gavin |
sts_watson_nhr_09 |
Ragnarok Tattoos |
looters |
Looters |
kill_gangers |
Deal with Japan Claws at Ragnarok Tattoos |
sts_watson_nhr_09 |
Ragnarok Tattoos |
looters |
Looters |
talk_with_owner |
Talk with Ragnarok Tattoos owner |
sts_watson_jpn_01 |
Braindance storens |
the_pit |
resources |
find_way |
Find a way to reach braindancer |
sts_watson_jpn_02 |
Tyger Claws warehouse |
the_pit |
the_pit |
kill_gangers |
Deal with Tyger Claws at the warehouse |
sq001_straydog |
Straydog |
hook |
Hook |
sq001_start |
Find shop Techie told you about |
sq001_straydog |
Straydog |
hook |
Hook |
sq001_check_merch |
Find parts for Spiderbot XS |
sq001_straydog |
Straydog |
hook |
Hook |
sq001_ask_owner |
Ask owner about parts |
sq001_straydog |
Straydog |
hook |
Hook |
sq001_check_terminal |
Check terminal |
sq001_straydog |
Straydog |
hook |
Hook |
sq001_help |
Help owner |
sq001_straydog |
Straydog |
hook |
Hook |
sq001_stimpack |
Find stimpack |
sq001_straydog |
Straydog |
hook |
Hook |
sq001_give |
Give stimpack to the owner |
sq001_straydog |
Straydog |
hook |
Hook |
sq001_talk_owner |
Talk to owner |
sq001_straydog |
Straydog |
hook |
Hook |
sq001_check_owner |
Check up on owner |
sq001_straydog |
Straydog |
hook |
Hook |
sq001_hack_phone |
Hack phone |
sq001_straydog |
Straydog |
hook |
Hook |
sq001_hack_gun |
Hack gun |
sq001_straydog |
Straydog |
hook |
Hook |
sq001_follow_owner |
Follow owner |
sq001_straydog |
Straydog |
hook |
Hook |
sq001_kill_gangers |
Kill gangers |
sts_wat_kab_02 |
Wife knows best |
client_in_distress |
Wife knows best |
rescue |
Rescue Chester Walker from Maelstorm |
sts_wat_kab_02 |
Wife knows best |
client_in_distress |
Wife knows best |
kill |
Kill Maelstrom gangers |
sts_wat_kab_02 |
Wife knows best |
client_in_distress |
Wife knows best |
talk |
Talk with Chester |
sts_wat_kab_02 |
Wife knows best |
client_in_distress |
Wife knows best |
drive_home |
Drive Chester home |
sts_watson_kab_08 |
Man Of La Mancha |
bounty_hunt |
Man Of La Mancha |
talk_with_dave |
(Optional) Convince Dave Hamill to drop his investigation |
sts_watson_kab_08 |
Man Of La Mancha |
bounty_hunt |
Man Of La Mancha |
kill_dave |
Get rid of Dave Hamill |
sts_watson_kab_08 |
Man Of La Mancha |
bounty_hunt |
Man Of La Mancha |
find_dave |
Find Dave Hamill |
sts_watson_kab_08 |
Man Of La Mancha |
bounty_hunt |
Man Of La Mancha |
talk_with_shopkeeper |
Talk with people on a market about Dave Hamill |
sts_watson_kab_09 |
Expensive Tattoo |
client_in_distress |
Expensive Tattoo |
kill_gangers_and_rescue_scotty |
Rescue British and Scotty |
sts_watson_kab_09 |
Expensive Tattoo |
client_in_distress |
Expensive Tattoo |
open_scott_cage |
Open Sctottie's Cage |
sts_watson_kab_09 |
Expensive Tattoo |
client_in_distress |
Expensive Tattoo |
rescue_british |
Rescue British |
sts_watson_kab_09 |
Expensive Tattoo |
client_in_distress |
Expensive Tattoo |
use_elevator |
Use elevator to exit Clinic |
sts_watson_kab_09 |
Expensive Tattoo |
client_in_distress |
Expensive Tattoo |
eliminate_tygerclaws |
Eliminate Tyger Claws |
sts_watson_kab_09 |
Expensive Tattoo |
client_in_distress |
Expensive Tattoo |
take_british_body |
Carry British Body to the Car |
sts_watson_kab_04 |
Two's company, three's a crowd. |
retrieving |
Two's company, three's a crowd |
enter_penthouse |
Enter penthouse |
sts_watson_kab_04 |
Two's company, three's a crowd. |
retrieving |
Two's company, three's a crowd |
extract_data |
Extract data |
sts_watson_kab_04 |
Two's company, three's a crowd. |
retrieving |
Two's company, three's a crowd |
leave_penthouse |
Leave the penthouse |
q101 |
Q101 Resurrection |
landfill |
Landfill |
free_yourself |
Dig through the trash to free yourself |
q101 |
Q101 Resurrection |
chase |
Chase |
aaa |
Look around the new base (optional) |
q101 |
Q101 Resurrection |
chase |
Chase |
bbb |
Talk with Sobchak when you'll be ready |
q101 |
Q101 Resurrection |
new_base |
New Base |
ccc |
Talk with Delamain |
ASCII Art#
This lengthy ASCII Art sequence describing various stages of the game's build process together with related cat art can be found in the file dummy.txt, located inside a user's private folder under \R6.Root\Mainline\r6\depot\non_production\user .
_._ _,-'""`-._ P0!
(,-.`._,'( |\`-/| /
`-.-' \ )-`( , o o) /
`- \`_`"'-
"Kot Zródlowy"
,-. _,---._ __ / \
/ ) .-' `./ / \
( ( ,' `/ /|
\ `-" \'\ / |
`. , \ \ / |
/`. ,'-`----Y |
( ; | '
| ,-. ,-' | /
| | ( | RedEngine4 | /
) | \ `.___________|/
`--' `--'
_
\`*-.
) _`-.
. : `. .
: _ ' \
; *` _. `*-._
`-.-' `-.
; ` `.
:. . \
. \ . : .-' .
' `+.; ; ' :
: ' | ; ;-.
; ' : :`-: _.`* ;
[bug] .*' / .*' ; .*`- +' `*'
`*-* `*-* `*-*'
|\ _,,,---,,_
ZZZzz /,`.-'`' -. ;-;;,_
|,4- ) )-,_. ,\ ( `'-'
'---''(_/--' `-'\_)
. ,.
T."-._..---.._,-"/|
l|"-. _.v._ (" |
[l /.'_ \; _~"-.`-t
Y " _(o} _{o)._ ^.|
j T ,--. T ]
\ l ( /-^-\ ) ! !
\. \. "~" ./ /c-..,__
^r- .._ .- .-" `- . ~"--.
> \. \
] ^. \
3 . "> . Y -Smol Refactor
,.__.--._ _j \ ~ . ; |
( ~"-._~"^._\ ^. ^._ I . l
"-._ ___ ~"-,_7 .Z-._ 7" Y ; \ _
/" "~-(r r _/_--._~-/ / /,.--^-._ / Y
"-._ '"~~~>-._~]>--^---./____,.^~ ^.^ !
~--._ ' Y---. \./
~~--._ l_ ) \
~-._~~~---._,____..--- \
~----"~ \
\
_.---.
|\---/| / ) CP|
------------; |-/ /| 77|---
) (' / `---'
===========( ,'==========
|| _ | |
|| o/ ) | | o
|| ( ( / ;
|| \ `._/ QA /
|| `._ /|
|| |\ _/||
__||_____.' ) |__||____________
________\ | |_________________
\ \ `-.
`-`---'
._ __ ____
; `\--,-' /`) _.-' `-._
\_/ ' | /`--,' `-. .--....____
/ `._.' `---...
|-. _ ; .-----..._______)
,,\q/ (q_>'_... .-'
===/ ; _.-'~~- / ,'
`""`-'_,; `"" ___( |
\ ; /'/ \ \
`. //' ( ;`\ `\
/ \ ; `- / `-. /
( (; ; (__/ / /
\,_)\ ; ,' /
.-. | | `--'
("_.)-._ (__,> CP Code
green build
__..--''``---....___ _..._ __
/// //_.-' .-/"; ` ``<._ ``.''_ `. / // /
///_.-' _..--.'_ \ `( ) ) // //
/ (_..-' // (< _ ;_..__ ; `' / ///
/ // // // `-._,_)' // / ``--...____..-' /// / //
/// // Deploy Engine and Editor /// //
(:`--..___...-''``-._ |`._
```--...--. . `-..__ .`/ _\
`\ ' ```--`. />
: : : `:`-'
Random `.:. `.._--...___ ``--...__
Fail ``--..,) ```----....__,)
.--.
`. \
\ \
. \
: .
| .
| :
| |
..._ ___ | |
`."".`''''""--..___ | |
,-\ \ ""-...__ _____________/ |
/ ` " ' `"""""""" .
\ L
(> \
crash / \
\_ ___..---. L
`--' '. \
. \_
_/`. `.._
.' -. `.
/ __.-Y /''''''-...___,...--------.._ |
/ _." | / ' . \ '---..._ |
/ / / / _,. ' ,/ | |
\_,' _.' / /'' _,-' _| |
' / `-----'' / |
`...-' `...-'
.--.
J L
| |
F F
J J
/ /
/ /
.' /
.--""--._ / /
_.-' `-. / /
__ .' `. / /
_-'-."`-. J \ / /
.---( `, _ `'| `. J /
`. ) "" /
F J
L | J
` (/ / | F
| ._' | |
/'`--'`. | J
'||\ |-._ `. ___. |
` \ `. |/ `- J
F L / J /
| J J F J
| \ J | J
| |L J J J
| FJ | L |
| J L | L\ F
| F | | L\ J
F F | | | L |
J J | | | | F
/ ) F J F F J
( .' ) F J J F
`" ( J /.' J
`-' ||-' |)
RED '-'
PreDeploy
____________________________________________________________________________.-------------'Footnotes#
- Seen at 4:32, 9:11, 9:50, 9:59, 10:17 and 10:53.↩︎