This is a sub-page of Pikmin (GameCube).

|
This page is rather stubbly and could use some expansion. |
Many unused areas remain on the game disc. Some are test maps, while others were used in prerelease trailers. Only their models and collision data remain, so in order to access them in-game, they must replace an existing level. The objects, music, and other properties will belong to the replaced level.
Watch on YouTubeWatch on YouTubeWatch on YouTube
play_3/E3play_3#
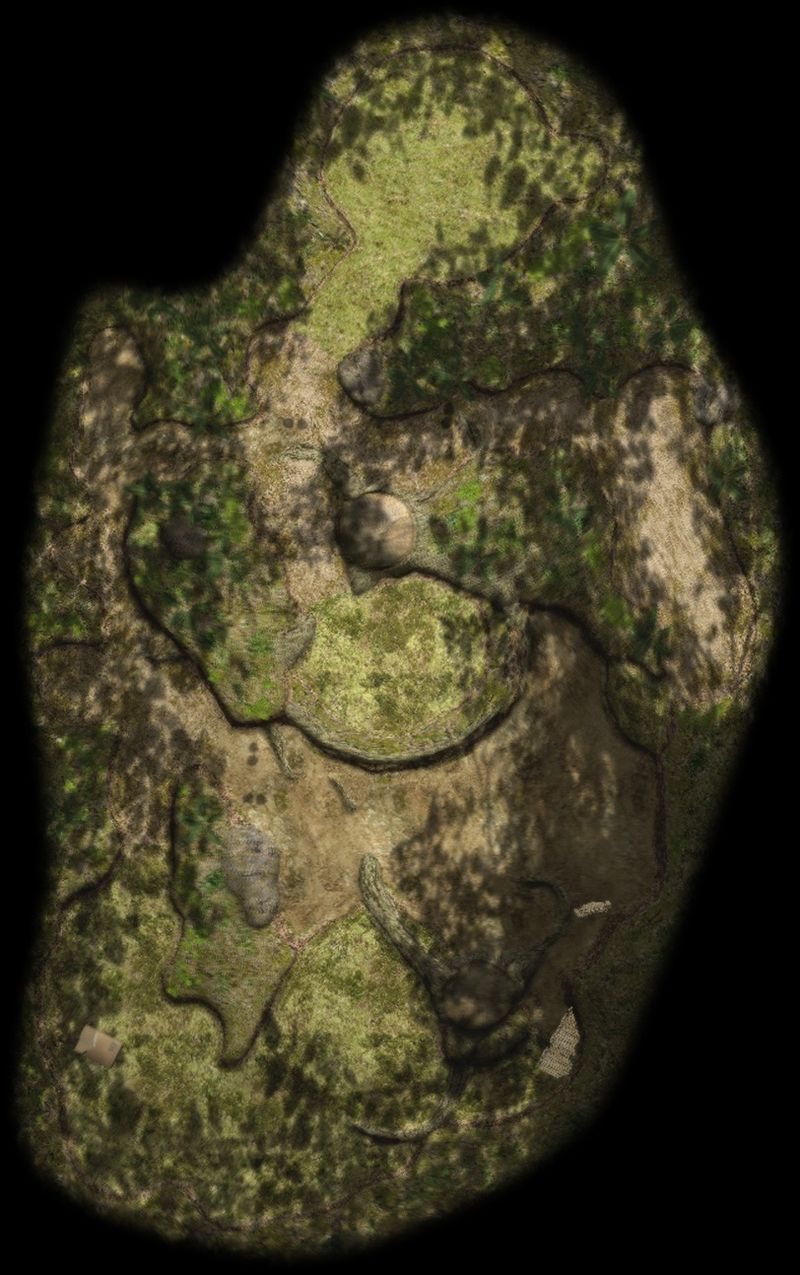
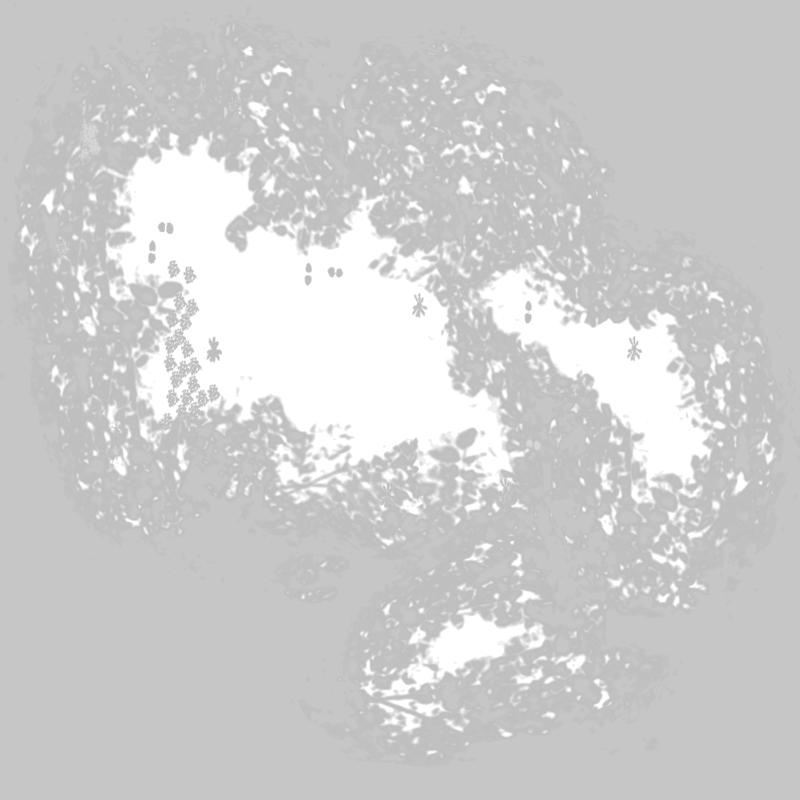
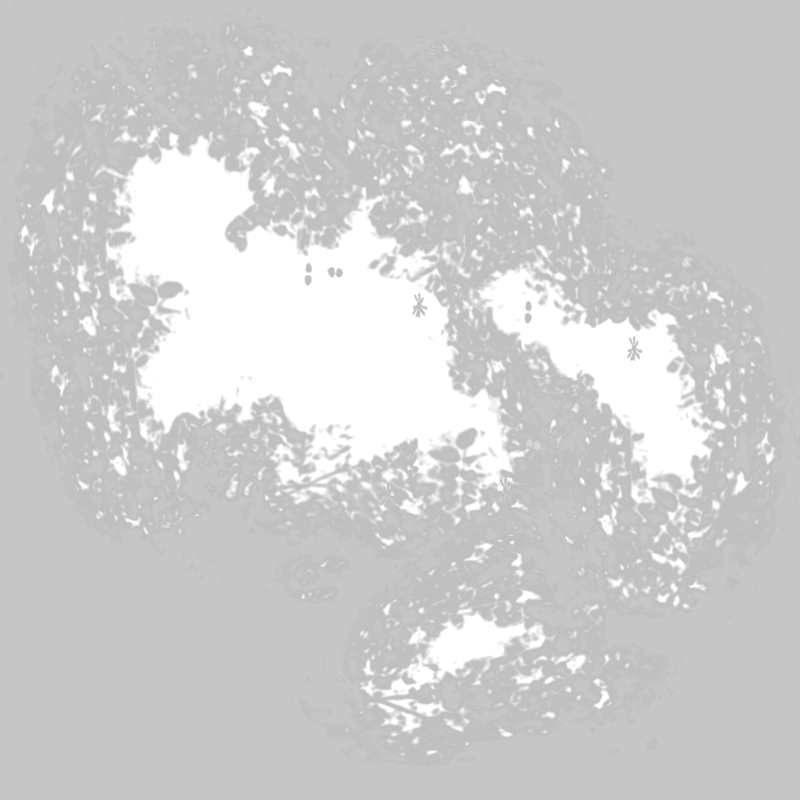
E3play_3 is an unused area in Pikmin. A near-duplicate of this area also exists, under the name play_3, that uses a different shadow projection. It is an earlier version of The Forest of Hope, devoid of water, and with some sections aligned differently. This map was seen in a 2000 E3 tech demo as the last map shown to demonstrate Pikmin.
In terms of geometry, this area is identical to The Forest of Hope. The differences come mainly in the fact that all bodies of water are lacking, often replaced with high walls, and that a few sections are arranged differently. The only bodies of water that have not been replaced with high walls are the ones near the cardboard box, where there is only flat ground. There is also flat ground in the easternmost area, creating a clear path between the area with the Shock Absorber from the rest. One important difference is the fact that the landing site only has one exit: the north one. There are walls enclosing the site in all other directions. The section holding the Burrowing Snagrets in The Forest Of Hope now has a large stump to the east of it. To the east of the stump is a small pathway leading downwards.
Shadow Projections#
E3play_3
play_3
shapetst#

There are two main sections to the map: a circular pond, and a square flat area. Many textures are unused, and the map has many openings where Captain Olimar can easily fall off into an endless abyss.
The pond is textured with a regular water effect, but it acts as solid ground, not even causing splashes. In the middle of the area there are large hill-like structures that add to the evidence of the map being originally used for testing shapes. There are also many lily pads in the water, but these break the water effect beneath them.
There is a small path made of "YAKU" tiles connecting the two parts of the map, the island and the square section. The square section has many tin cans and the word "YAKU" in English tiled on the ground, and a small leafy shadow texture. There are also Codd-neck bottles (such as those used in Ramune soda) that have no collision at all, with a specific bottle that has a texture reflection, akin to the one on The Forest Navel, and each has a different texture and reflection effect. Instead of an actual background, there is a large wall that envelopes most of the pond area, with a generic realistic forest texture on it.
"Yaku" is short for 屋久島, which is the internal name of The Distant Spring (and the Perplexing Pool), meaning that this pond area may have been intended for The Distant Spring.
Bottle Textures#
Bottle With Reflection Texture

Marbled Bottle Texture

Normal Bottle

tuto2#
A small forest area with an inaccessible wooden bridge near the edge of the map that may have been intended for the cut 2-player mode based on the files.
map_06#

map_06 is an unused area in Pikmin that was left in the disc. It is a very basic forest-type map, with no defining features. This map actually appeared in an old Pikmin commercial. There are no borders, so be careful not to walk off the edge.
The map has many plants, static objects, formations in the ground, and textures not featured in the final areas. It has no real boundaries, and Olimar can easily fall into the bottomless abyss. However, he will simply be returned to the base, completely unaffected, unlike the frozen leader glitch of the second game. The ground is mostly dirt with rock and grass patches about.
Most of the map is composed of one large, circular section. The southern half of the main area is a grassy plain, while the northeastern part is under water, but said water is not animated, and not responsive. At the northwest of the main area, there is a hollow stump that can be walked in. At the right, there is a rocky formation. Nearby, there is a zigzagging path that leads to another part of the map. This area is set up like a bowl in a fashion similar to Emperor Bulblax's arena in The Final Trial, but it is covered in grass rather than sand.
play_4#
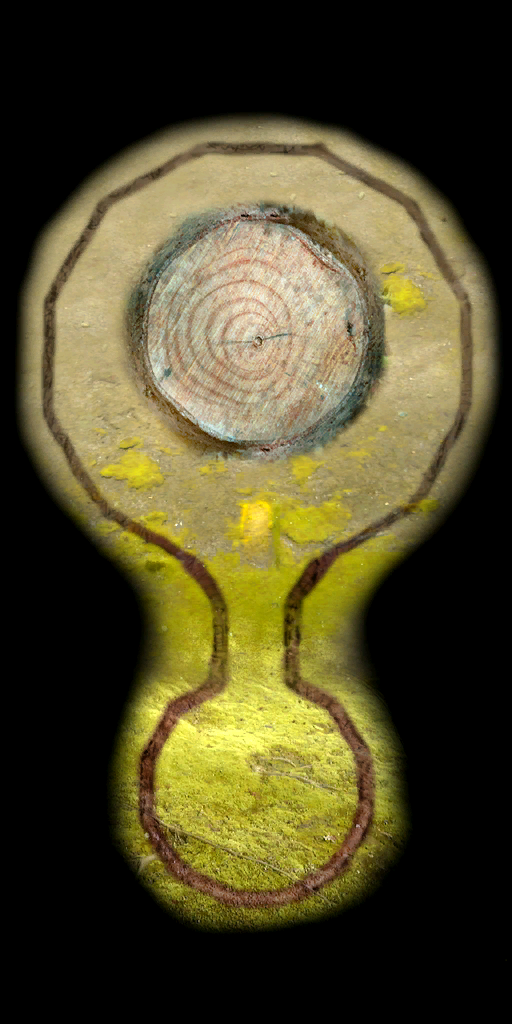
This map, in comparison to others, is very large and has very little actual textures; The area is also, for the most part, very barren and unclear if it was used for testing or if it was an early version of an area in the game. In the middle of the map, there is what appears to be a very large stump with a helicopter pad symbol on it. This could be where the S.S. Dolphin could've landed if the map were more complete, or where something else unknown was planned for later. To the northwest of the area, there is an arena with two large ramps in it. The north of the area is rather intricate, and vaguely resembles the northern wing of the The Forest of Hope. There also seem to be three little caves that Olimar can enter, but they terminate almost instantly.
The texture used for the stump is half-unused; while the top section of the texture is present as the texture for the large stump, the bottom section is almost completely unused, showing a circular arena.
testmap#
The area consists of a very complicated design with many pathways and arches. The area's textures are mostly for testing and typically aren't very special in particular. There are many polygons with holes in them that Olimar can fall through and walk around on, most likely for testing purposes. There are also step-like platforms probably used for measuring the height of some objects in the game, and even a pathway with many deep holes that the captain and/or his Pikmin can get trapped in. There are also many bright red paths that lead above the ground and in many directions.
The map is probably the largest in size compared to even play_4. It doesn't have any boundaries either, so if Olimar were to accidentally walk off, the only solution would be to reset the game. Ordering the Pikmin to carry something will make the game freeze.
Some ship parts, miscellaneous bosses, and other objects are scattered around. One interesting thing to note is one of the objects not seen anywhere else in the game, near the starting point – its internal name is iwagen. It is similar to a vase, and it periodically shoots rocks, similar to those of the Armored Cannon Beetle, except smaller. Like the beetle's rocks, these can be destroyed with a punch.
tuto1#

tuto1 is an unused area, From the name and layout, it appears that initially, there were plans to have this area serve as a tutorial, linearly guiding the player through some of the game's concepts. Despite being extremely similar in name to tuto2, the two are radically different.
The area starts out at the beginning of a large path, on a small circular room. There are a handful of arches as the path continues, leading to another room, with some holes that lead very far down; once Olimar falls down, it's impossible to get back up. On the final room, there is a half completed bridge leading towards a raised circular platform.
The only two textures in the entire area are checkerboard-like patterns with flowers on some of the squares, one of the textures having the squares green, the other yellow. Its geometry is quite simple, barred with walls steep enough for Olimar to not be able to cross them.
tuto2#

tuto2 is an unused area located in Pikmin. The "tuto" in its name indicates that it belonged to a tutorial of sorts, whereas the "teki" in the name of the "stages" that use this area indicate that they are used for enemy testing. In addition, because of the 2-player references in its configuration files, it could've been a two player arena at one point. There is also the possibility that it could have served for all three purposes. Additionally, this area appeared in multiple prerelease trailers and gameplay videos, and was clearly meant to be an main area at some point in development. Despite being extremely similar in name to tuto1, the two are radically different.
It is found under /dataDir/courses/test/tuto2.mod, and can be played on by forcing the game to load one of the "stages" that uses it.
It has many unused walls and textures, for example, a stump near a destroyed wall not seen in the final game. There is a large rock immediately next to the S.S. Dolphin at the start of the map, that has textures not found in the retail game. It's by far one of the smallest maps in the game.
There are two main sections to the map. The starting area is slightly oval and small. A small passageway leads to the second, larger section. In it, there are two large cut trunks on the ground, and a stump to the north. This stump has a large root transversing most of the western section. Finally, there is a small raised ledge to the southwestern bit of this section.
Stages#
Several "stages" use this area. These might have been used to test enemies, seeing as "teki" is the internal name for "enemy".
teki5 and teki8 actually do not use tuto2 as a map.
teki1
This stage features a Fiery Blowhog to the west, a male and female Sheargrub and a Shearwig after the entrance to the second area, and two Pearly Clamclamps to the north. One of the Pearly Clamclamps has the Positron Generator, while the other has a simple pearl. There is also a lone Positron Generator and pearl standing outside of any Pearly Clamclamps, to the southeast. These are still enveloped in the membrane that must be destroyed before they can be set free.
teki2
This stage has a Swooping Snitchbug at the starting area, an Iridescent Flint Beetle after the pathway that joins the two main sections, two Burrowing Snagrets, on the circles, and a Puffy Blowhog to the northwest. The Western Snagret only comes out if the player goes to the center of the circle, whereas the eastern one actives if the player goes to any point of a considerably large rectangle around the circle.
teki3
The only enemy on this stage is a Goolix, located on the westernmost wooden circle.
teki4
This stage starts with a white bramble gate blocking the secondary area. This gate, however, can be destroyed with a single Pikmin attack. There are two Blue 1-pellets, and a Breadbug, that goes for one of the pellets shortly after the map starts. To the north, there are three fire geysers and a Mamuta.
teki5
This stage is actually The Distant Spring, but with some oddities, such as different ship parts, two Smoky Proggs, a misplaced climbing stick and a floating Golden Candypop Bud.
teki6
This stage features two Swooping Snitchbugs, the Analog Computer and the UV Lamp, guarded by a Beady Long Legs.
teki7
This stage features some members of the Breadbug and Grub-dog families: Dwarf Bulborbs, a Spotty Bulborb, a Spotty Bulbear, Dwarf Bulbears, and an Emperor Bulblax. There is also a Yellow Wollywog to the north.
teki8
This stage is actually The Forest of Hope, but with different objects, notably: the only enemies are Wollywogs and Yellow Wollywogs, that are on the main area after the start, along with several male and female Sheargrubs and Shearwigs, some Wogpoles on the pond, and a Burrowing Snagret on the nearby ledge. An Extraordinary Bolt is next to where the Yellow Pikmin Onion is found, and a gate is close by.
animtest#
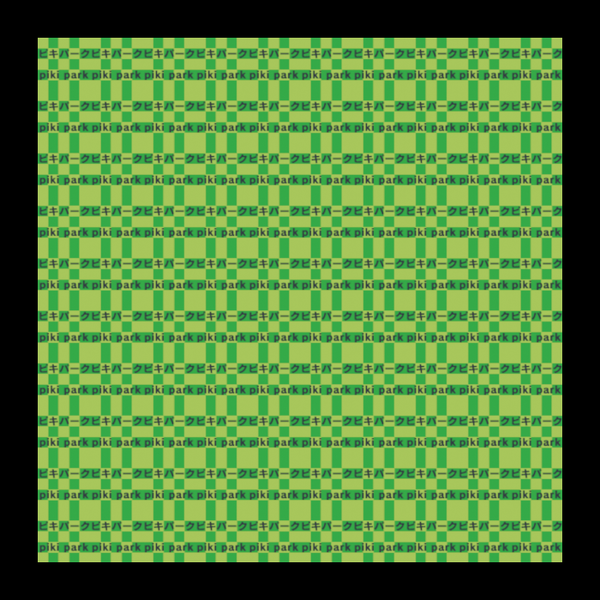
The entire area is a single large rectangle, with no walls, slopes, or other terrain features. The texture of the ground is an uneven checkerboard pattern in green and light green. There is text on the ground in English and Japanese; the Japanese text reads "ピキパーク", and the English text reads "piki park", which is a romanization of the Japanese text.
codetest#
codetest is a small, rectangular, relatively featureless area surrounded by ledges to prevent escaping its boundaries. A black void serves as the area's background. On most surfaces is Japanese writing indicating what surfaces create what sounds when walked on by Captain Olimar. The only surfaces not featuring Japanese writing are the ones composing the raised ground serving as the level boundary. The color-coded ground is labeled as follows:
White: なにもないです。 (makes dirt sounds), Brown: つち (lit.: "dirt"), Gray: いわ? (lit.: "rock"), Green: くさ (lit.: "grass"), Beige: き (lit.: "wood"), Pink: ぬかるみ (lit.: "mud"), Light blue: みず (lit.: "water"), Black: あな (lit.: "pit") (makes dirt sounds). Interestingly, a bridge is present and centered on top of the area's northern ledge.
The landing site of codetest is on the right-hand side of the area. The red Onion lands just in front of the last three colored squares, with two of its three legs touching the pink and black squares. Watch on YouTube
route#
This area seems to be an early version of The Impact Site. There are only some differences; the textures are a little broken on the walls and slopes. Seeing as how the final The Impact Site is identified in the game as "practice," there are some theories that it was used as a tutorial level, and that this "route" map was going to be the final The Impact Site, as a regular area. It's so similar, in fact, that by replacing The Impact Site's files with route's, as shown in the video, the Pikmin carry objects following the correct paths.
(Source: gabrielwoj)