This is a sub-page of Parasite Eve II/Unused Backgrounds.
Area 4 (Abandoned Mine and Shelter, B1)#
Image |
Info |
|---|---|
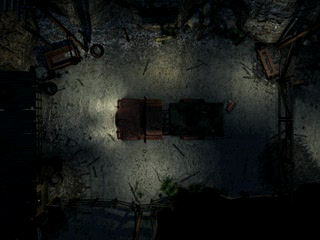 |
Room #1 (Mesa), Screen #1 File #42512 |
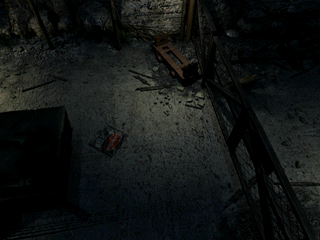 |
Room #1 (Mesa), Screen #3 File #42535 |
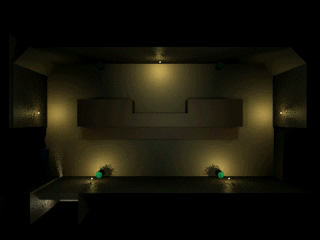 |
Room #2 (Cavern), Screen #1 File #42980 |
 |
Room #3 (Tunnel Entrance), Screen #1 File #43234 |
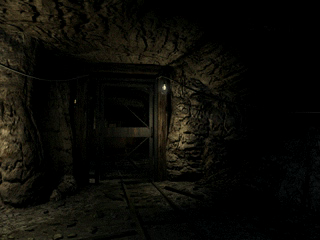 |
Room #3 (Tunnel Entrance), Screen #5 File #43262 |
 |
Room #4 (Tunnel), Screen #1 File #43311 |
 |
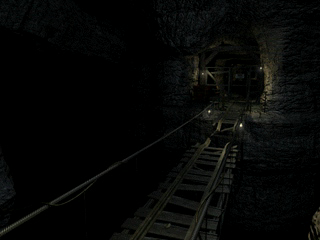
Room #5 (Gorge), Screen #1 File #43443 |
 |
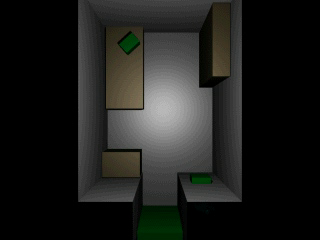
Room #5 (Gorge), Screen #5 File #43475 |
 |
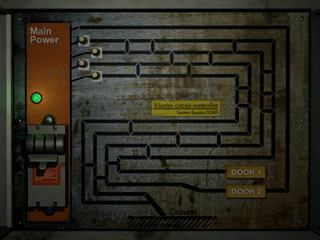
Room #6 (Refuge), Screen #1 File #43611 |
 |
Room #6 (Refuge), Screen #5 File #43635 |
 |
Room #7 (Forked Tunnel), Screen #1 File #43730 |
 |
Room #8 (Secret Passage), Screen #1 File #43836 |
 |
Room #9 (Elevator Hall, B1), Screen #1 File #43992 |
 |
Room #10 (South Maintenance Walkway, B1), Screen #1 File #44054 |
 |
Room #11 (Storage Room), Screen #1 File #44116 |
 |
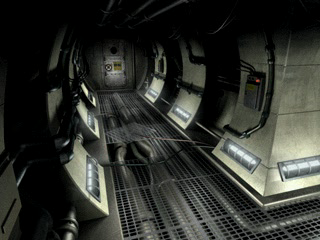
Room #12 (North Maintenance Walkway, B1), Screen #1 File #44245 |
 |
Room #12 (North Maintenance Walkway, B1), Screen #6 File #44259 |
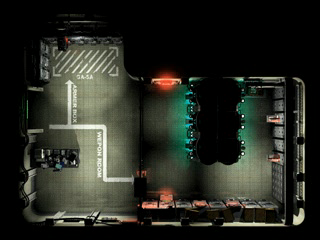 |
Room #13 (Armory), Screen #1 File #44326 |
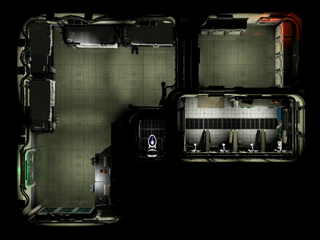 |
Room #14 (Sleeping Quarters), Screen #1 File #44442 |
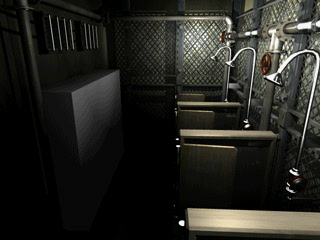 |
Room #14 (Sleeping Quarters), Screen #11 File #44538 |
 |
Room #15 (Main Corridor, B1), Screen #1 File #44586 |
 |
Room #16 (Sterilization Room), Screen #1 File #44760 |
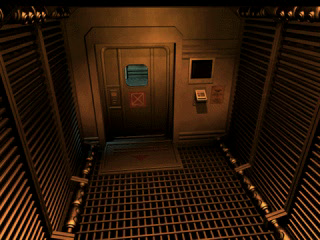 |
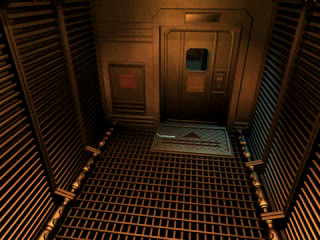
Room #16 (Sterilization Room), Screen #12 File #44780 |
 |
Room #16 (Sterilization Room), Screen #13 File #44781 |
 |
Room #17 (Pod Access Tunnel, B1), Screen #1 File #44867 |
 |
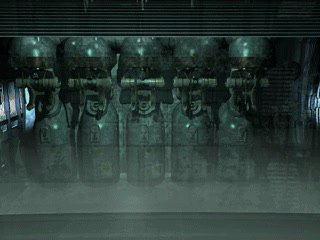
Room #18 (Control Rool), Screen #1 File #46873 |
 |
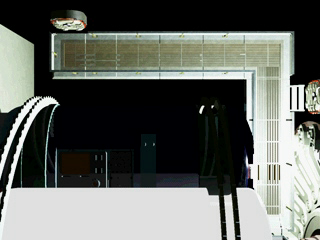
Room #18 (Control Rool), Screen #8 File #46908 |
 |
Room #19 (Access tunnel), Screen #1 File #47899 |
 |
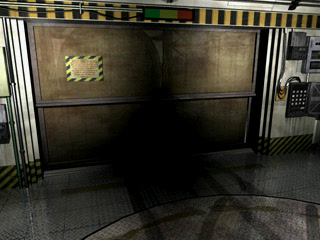
Room #20 (Underground Parking), Screen #1 File #48076 |
 |
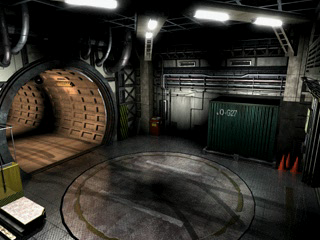
Room #20 (Underground Parking), Screen #6 File #48094 |
 |
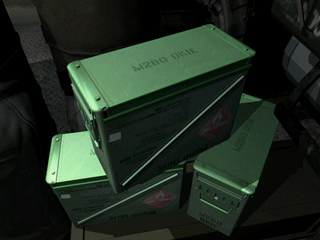
Room #20 (Underground Parking), Screen #8 File #48109 |
 |
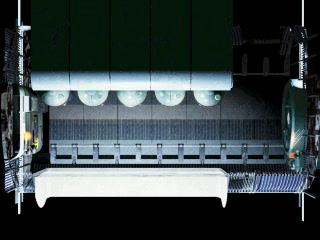
Room #20 (Underground Parking), Screen #23 File #48169 |
 |
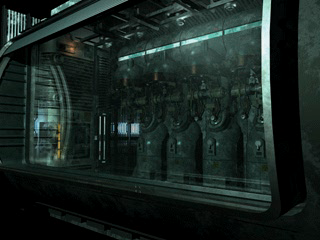
Room #21 (Golem Freezer 1), Screen #1 File #48208 |
 |
Room #21 (Golem Freezer 1), Screen #4 File #48219 |
 |
Room #22 (Pod Bottom), Screen #1 File #48351 |
Room #23 (Pod Service Gantry), Screen #'s 6 and 35
File #'s 74033 and 74165
The Pod Service Gantry is used for Room #'s 23 and 47. Both rooms use a complete, but duplicate set of background images. Each room only uses part of their full set. None of the backgrounds are used by both rooms.
Room #23 does not use #'s: 2-5, 7-19, 36-40 and 43.
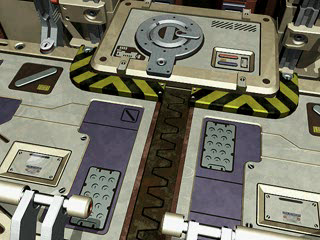
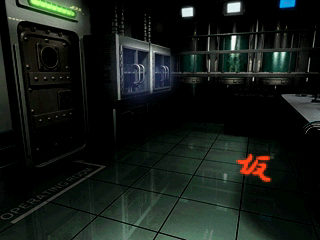
Image |
Info |
|---|---|
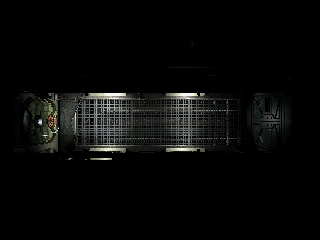 |
Room #24 (Transfer Tunnel), Screen #1 File #67380 |
 |
Room #25 (Control Room Access Tunnel), Screen #1 File #67427 |
 |
Room #26 (Elevator *), Screen #1 File #67487 |
Notes#
Rooms marked with a * are speculation; They are not given a proper name within the game.
(Source: Orin(Images) & Kuro-chan(Research))