This is a sub-page of Parasite Eve II/Unused Backgrounds.
Area 3 (Dryfield, nighttime)#
Image |
Info |
|---|---|
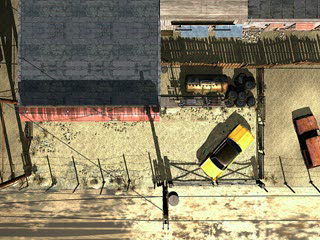 |
Room #1 (Gas Station), Screen #1 File #91793 |
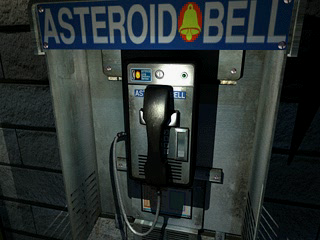 |
Room #1 (Gas Station), Screen #8 File #91824 |
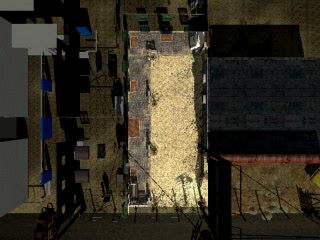 |
Room #1 (Main Street), Screen #1 File #92603 |
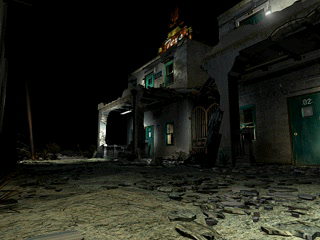 |
Room #1 (Main Street), Screen #10 File #92686 |
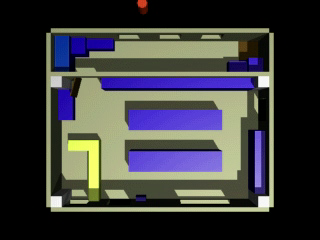 |
Room #3 (General Store), Screen #1 File #92878 |
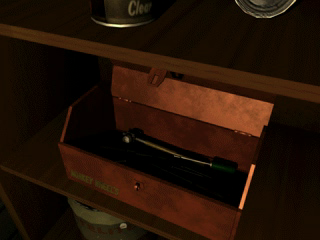 |
Room #3 (General Store), Screen #15 File #93102 |
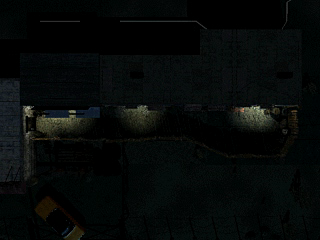 |
Room #5 (Back Street), Screen #1 File #93162 |
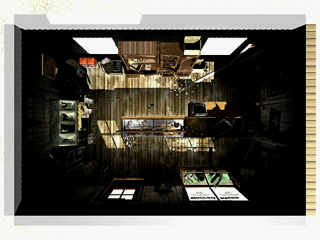 |
Room #6 (Souvenir Shop), Screen #1 File #93220 |
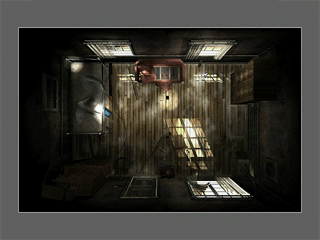 |
Room #7 (Warehouse), Screen #1 File #93315 |
 |
Room #8 (B1 Main Corridor), Screen #1 File #93362 |
 |
Room #9 (Dilapidated House), Screen #1 File #94802 |
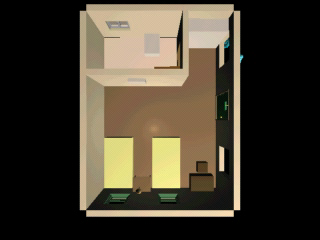 |
Room #11 (Room 1), Screen #1 File #96946 |
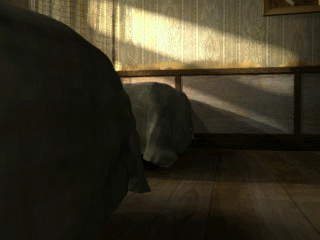 |
Room #11 (Room 1), Screen #7 File #97022 |
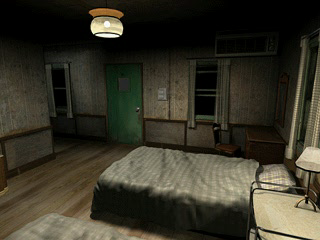 |
Room #11 (Room 1), Screen #8 File #96947 |
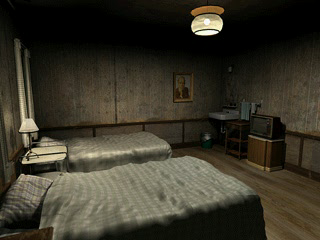 |
Room #11 (Room 1), Screen #9 File #96948 |
 |
Room #12 (Room 2), Screen #1 File #97103 |
Room #13 (Room 3), Screen #'s 1-5
File #'s 97266, 97267, 97268, 97269 and 97270
A few of the unused angles for daytime also appear at night.

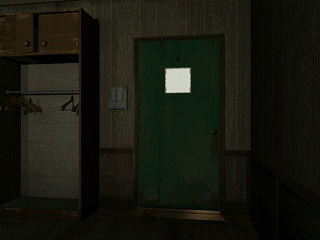
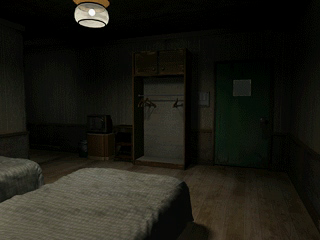
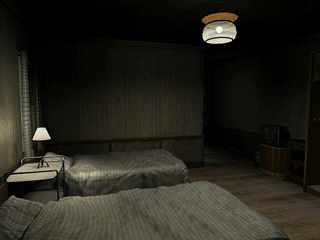
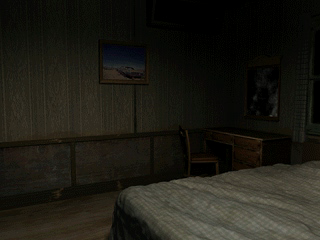
Image |
Info |
|---|---|
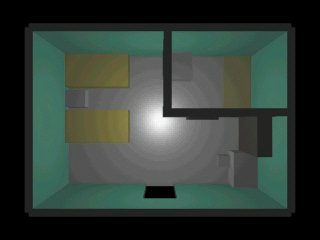 |
Room #14 (Room 4), Screen #1 File #97440 |
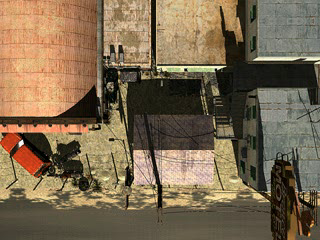 |
Room #15 (Parking Lot), Screen #1 File #97604 |
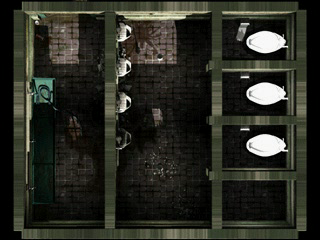 |
Room #16 (Toilet), Screen #1 File #97725 |
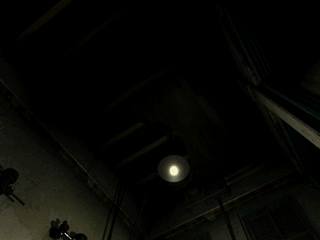 |
Room #16 (Toilet), Screen #9 File #97792 |
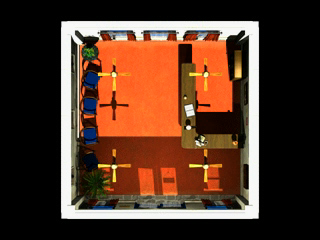 |
Room #17 (Motel Lobby), Screen #1 File #97868 |
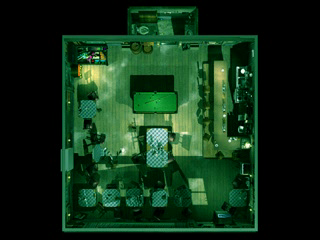 |
Room #18 (Saloon G & R), Screen #1 File #97991 |
 |
Room #19 (G & R Kitchen), Screen #1 File #98135 |
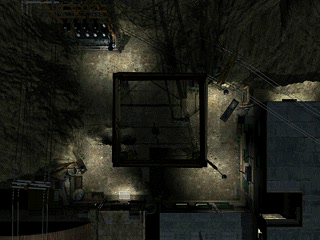 |
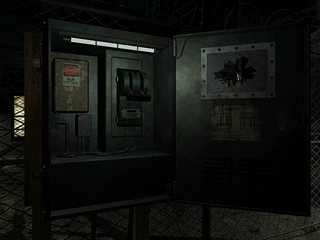
Room #20 (Water Tower), Screen #1 File #79693 |
 |
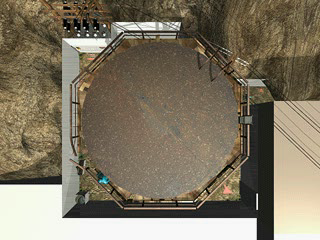
Room #20 (Water Tower), Screen #9 File #98301 |
 |
Room #21 (Water Tank), Screen #1 File #98390 |
 |
Room #22 (Breezeway), Screen #1 File #98484 |
 |
Room #22 (Breezeway), Screen #6 File #98534 |
Room #23 (Factory), Screen #'s 1, 10, 11, 13-18
File #'s 98634, 98714, 98715, 98717, 98738, 98754, 98755, 98762
A number of unused images are here, including shots daytime and close-ups 'normally' used by daytime, only. The puzzle in this room is not pre-solved for the nighttime version of Dryfield (which is the normal for most of the other rooms) and should the player 'warp' to this location, they will have to solve it to enter the Garage. The last image is missing a grate on the floor.

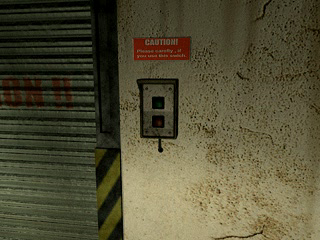
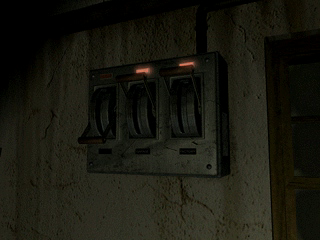
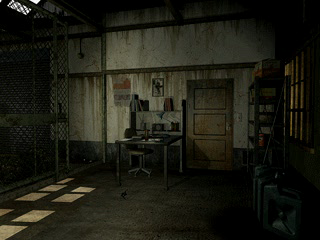
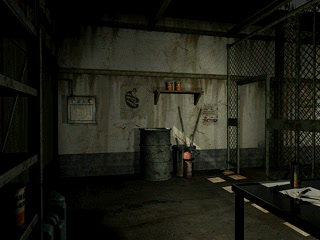
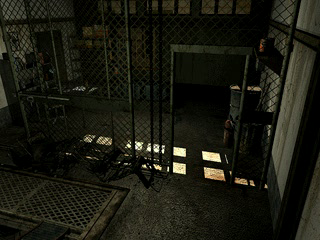
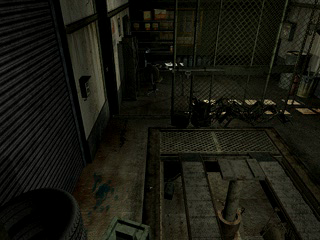
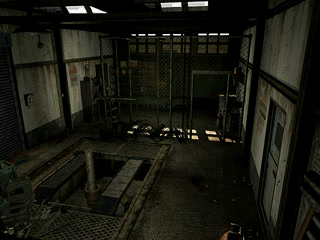
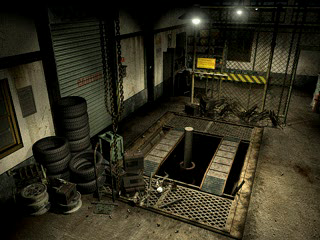
Image |
Info |
|---|---|
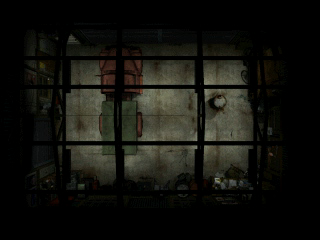 |
Room #24 (Garage), Screen #1 File #98841 |
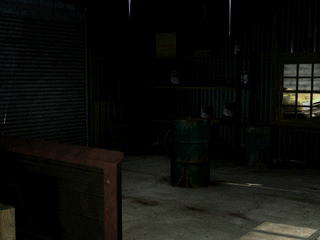 |
Room #24 (Garage), Screen #16 File #98950 |
 |
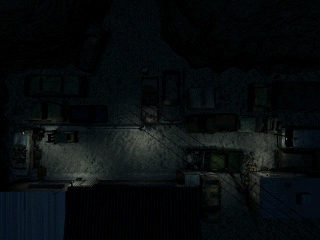
Room #25 (Driveway), Screen #1 File #99493 |
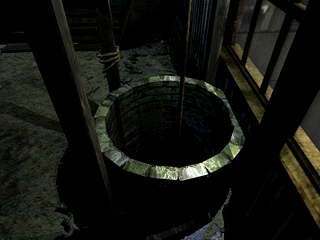 |
Room #25 (Driveway), Screen #6 File #99533 |
 |
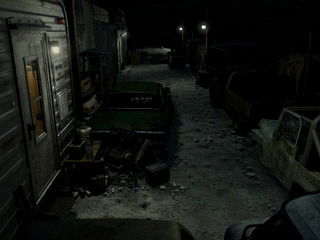
Room #26 (Junk Yard), Screen #1 File #99613 |
 |
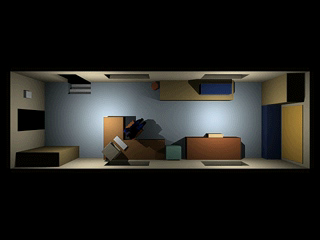
Room #26 (Junk Yard), Screen #5 File #99686 |
 |
Room #27 (Trailer Coach), Screen #1 File #99865 |
 |
Room #28 (Room 5), Screen #1 File #99975 |
Room #29 (Factory), Screen #'s 1, 13-16, 27, 28, 30, 31 and 38
File #'s 100246, 98714, 98715, 98717, 98738, 98754, 98755, 98762
Plenty of unused images.
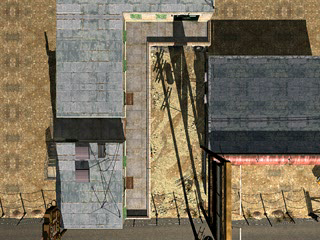
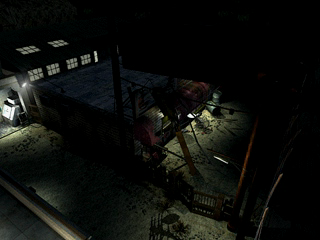


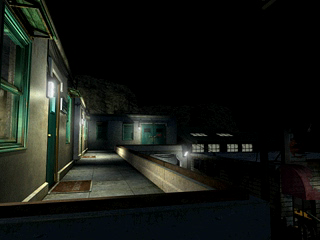
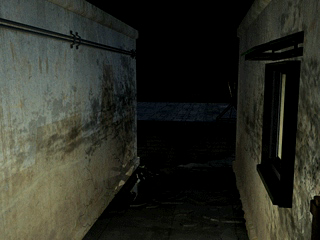
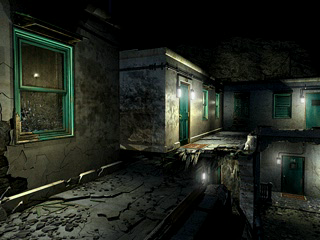
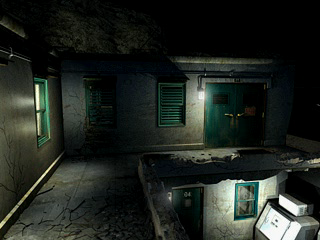
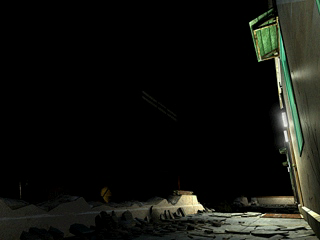
Image |
Info |
|---|---|
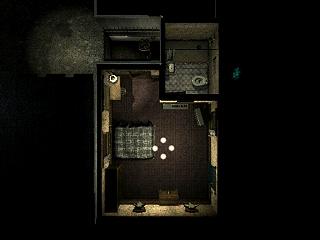 |
Room #30 (Room 6), Screen #1 File #103596 |
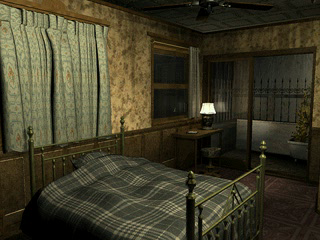 |
Room #30 (Room 6), Screen #6 File #103646 |
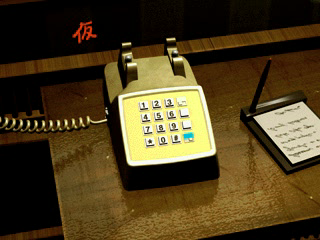 |
Room #30 (Room 6), Screen #10 & 11 File #103698 & 103699 |
 |
Room #31 (Motel Balcony), Screen #1 File #103789 |
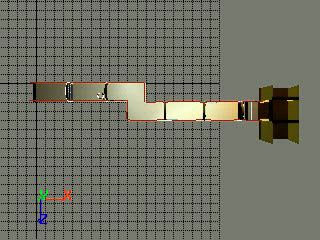 |
Room #32 (Water Hole), Screen #1 File #103946 |
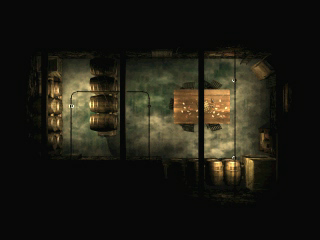 |
Room #34 (Cellar), Screen #1 File #104102 |
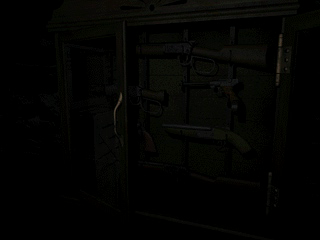 |
Room #34 (Cellar), Screen #6 File #104204 |
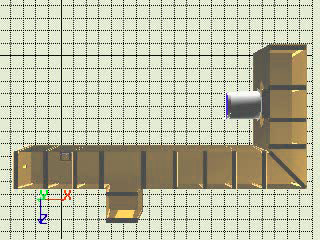 |
Room #38 (Underpass), Screen #1 File #104260 |
(Source: Orin(Images) & Kuro-chan(Research))
Notes#
Room #'s 4, 10, 33, 35, 36 and 37 do not exist. Attempting to access them will crash the game.