 This article has a talk page!

Unused Graphics#
CGs#
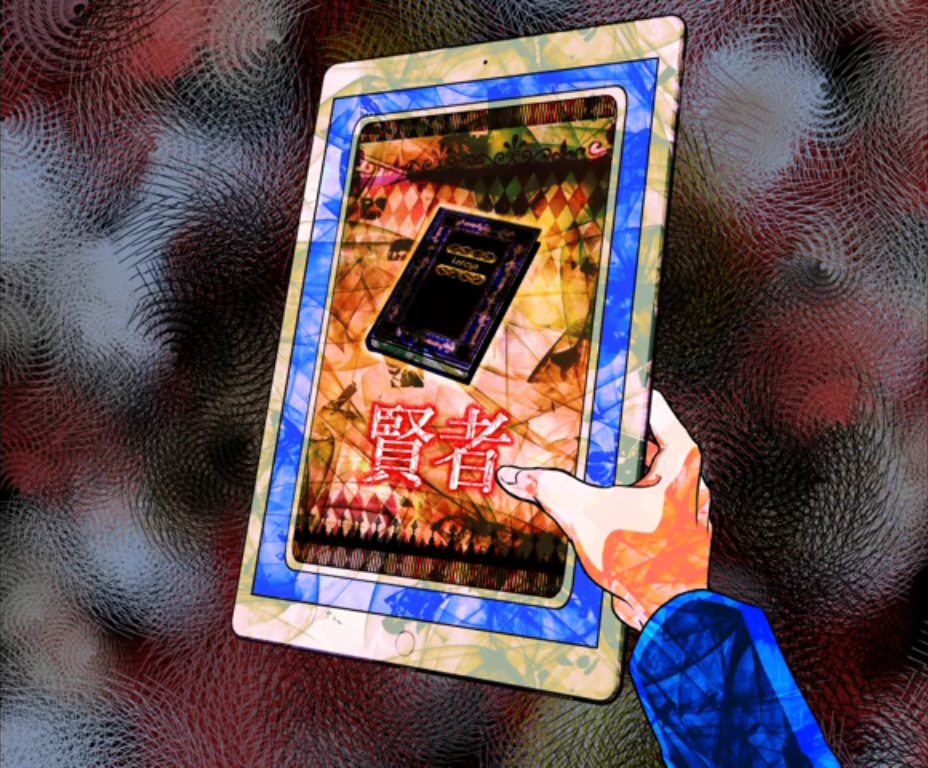
A CG of Sara holding the Sage card. Was to be used in a cut scene with Sara starting with the Sage during the card trading in Chapter 2-2, which never happens in the final game.
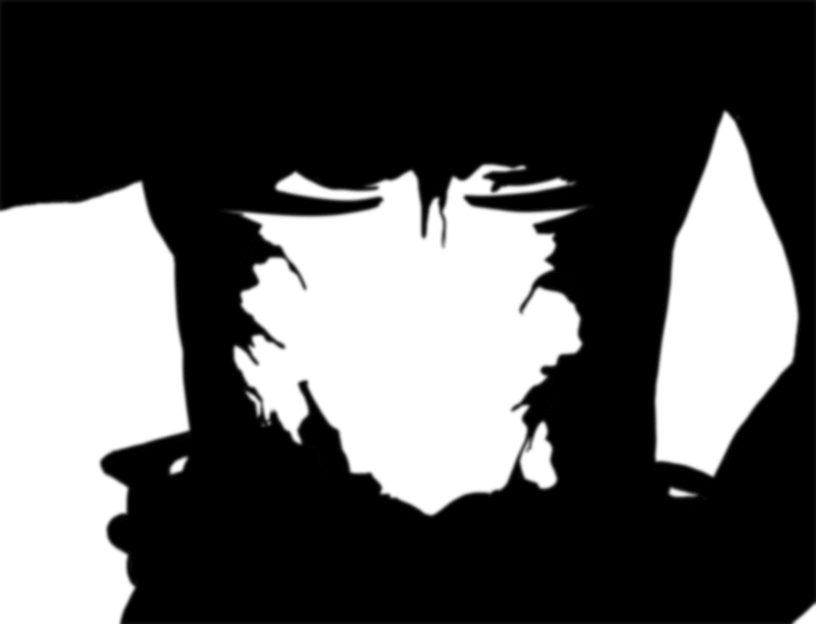
An early version of Alice's Death CG during near the end of Chapter 1, Part 2. This version appears to use his in-game sprite, along with a clearer wound outline and partly visible ribcage.
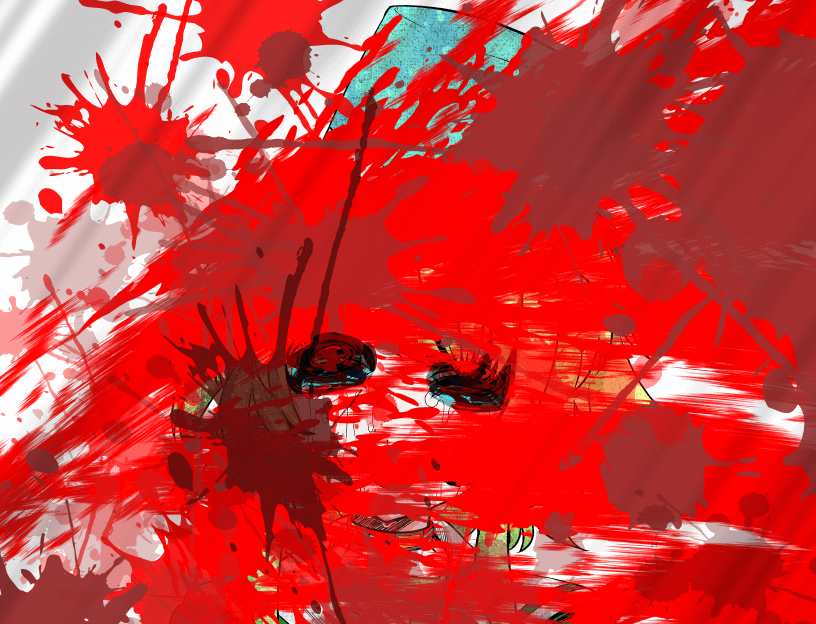
A CG of a crudely-drawn Kanna covered up with tons of blood. Where it would've been used is unknown, though it probably would've been related to Kanna dying in some way.
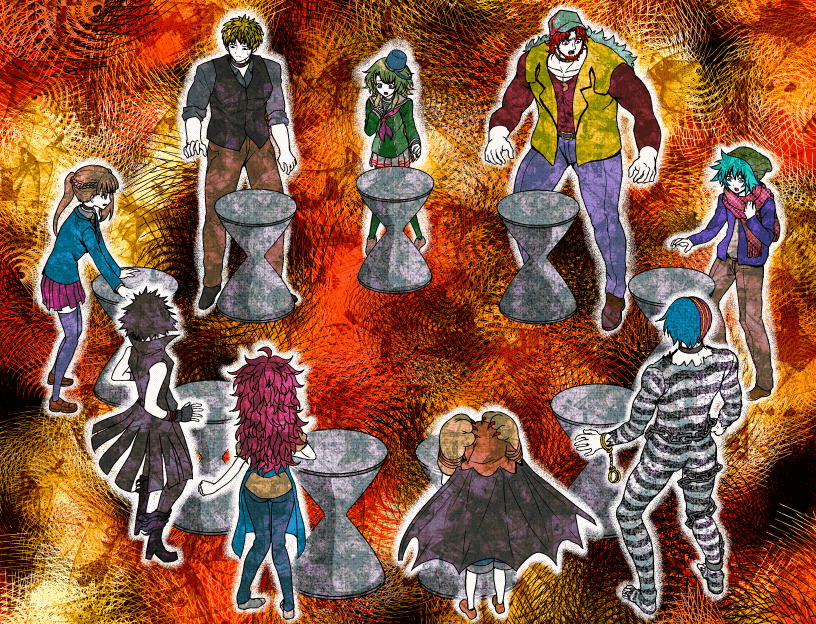
An alternate version of a CG used during the 2nd Main Game that has both Reko and Alice present, which isn't possible in the final game.
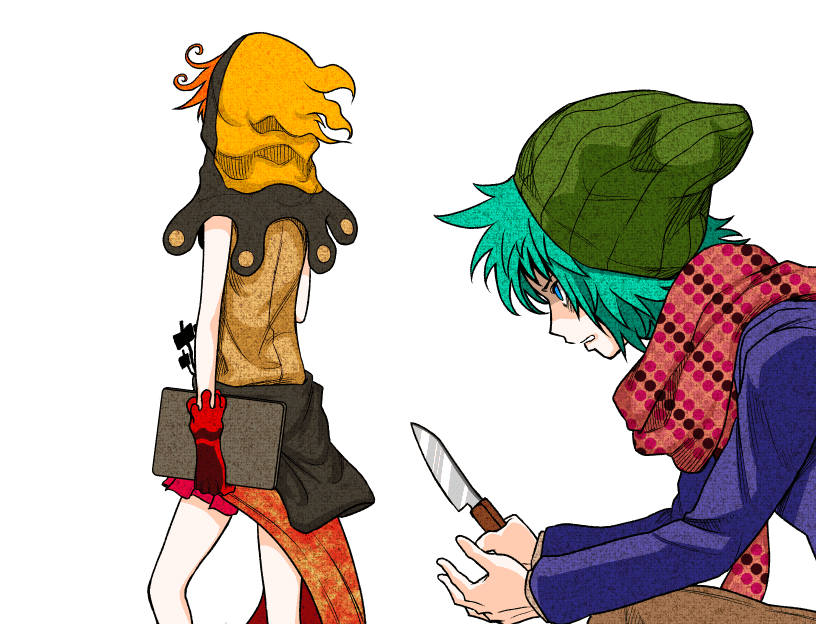
An unfinished CG of Sou trying to take back Kai's laptop from Ranger. Associated with an unused event where.... Sou tries to take back Kai's laptop from Ranger.
Backgrounds#


Two unused versions of the Central Hall; one of its initial state with no characters present, and one with Q-taro, Sou, and the stairs to 2F.


The Bar, with the sliding door closed and no characters present. In the final game, Mishima and Gin are always there before the door is opened, and it never closes again afterwards.

The Pink Room, with the vent on the wall missing.

An unknown room that has a checkerboard pattern on the floor, viewed from above. Interestingly, this is the only non-placeholder background image in the game that doesn't include any extra black space to account for the UI, implying that it might be left over from an earlier stage of development.
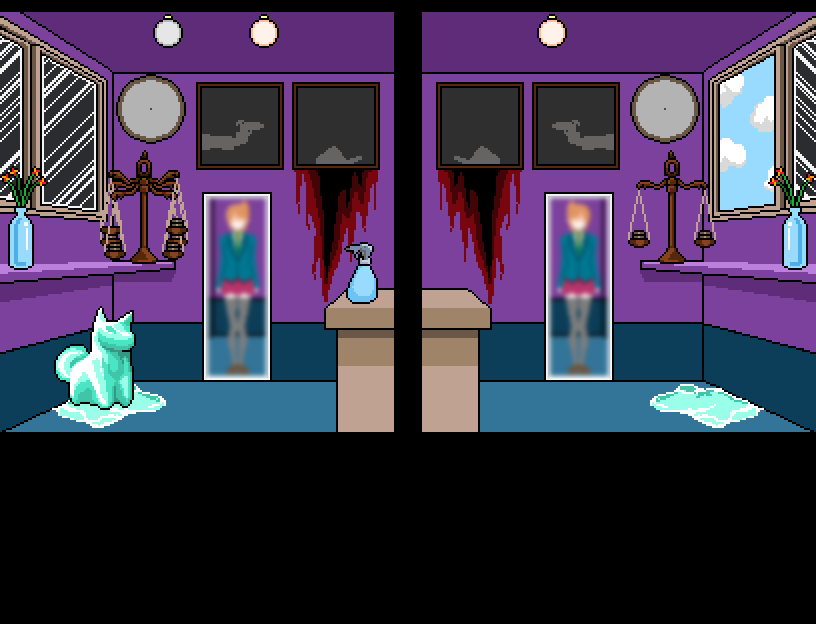
The mirror room, with some of its puzzle elements present. In the final game, those elements are handled by separate images rather than being baked into the background like this.

The hidden room on 1F, with Sou's shoes visible; this is another case of a graphic that's instead stored in a separate image layered onto the regular background in the final game.

The White Room, with the lights off. Presumably meant for the 1F/2F exploration segment in 2-2, but in the final game this room can't be entered at that point.


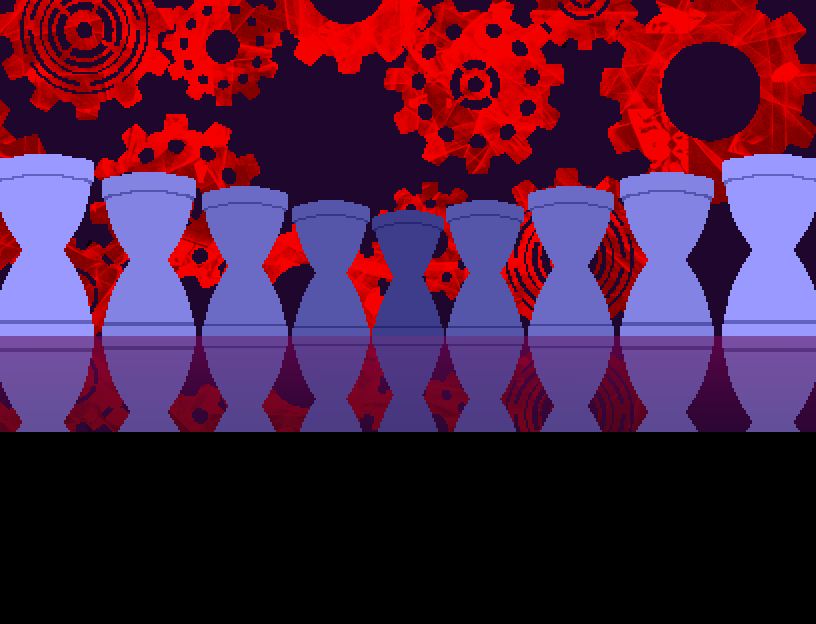
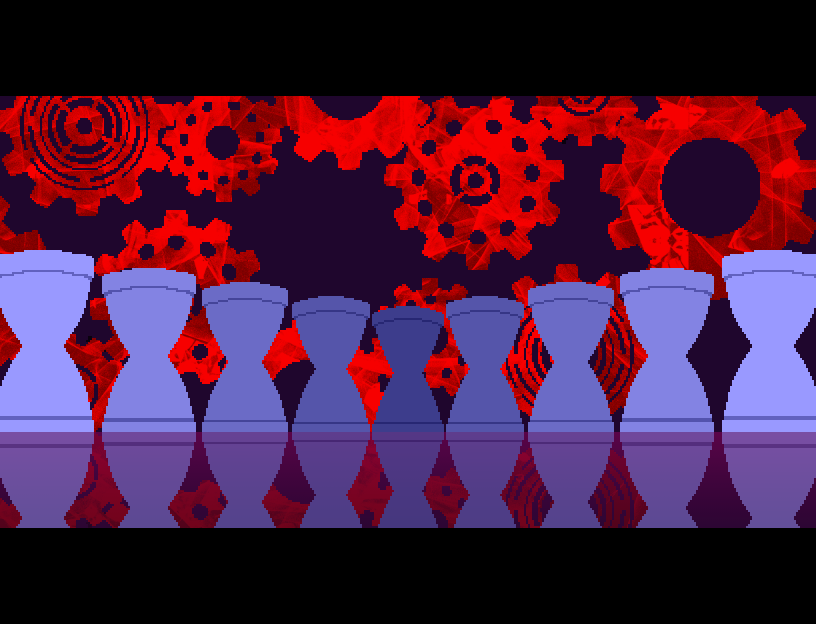
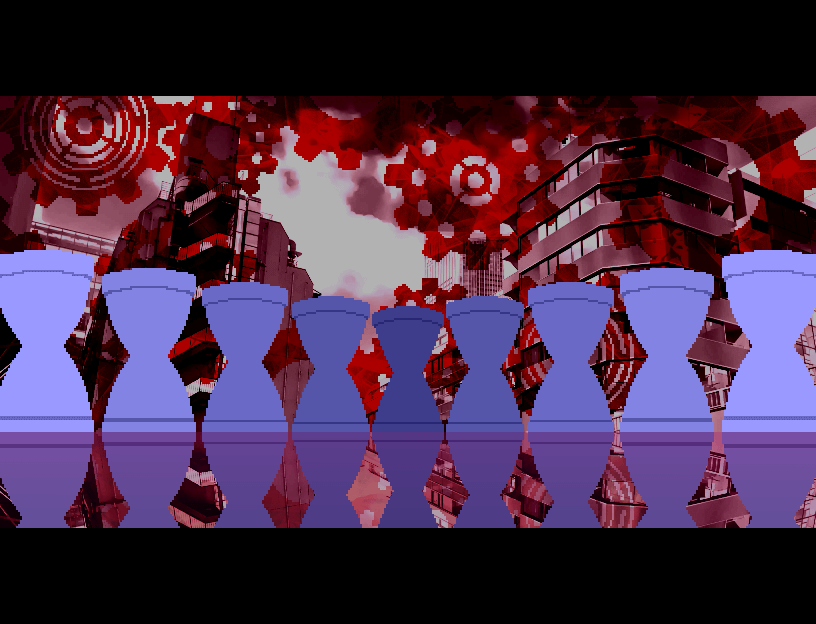
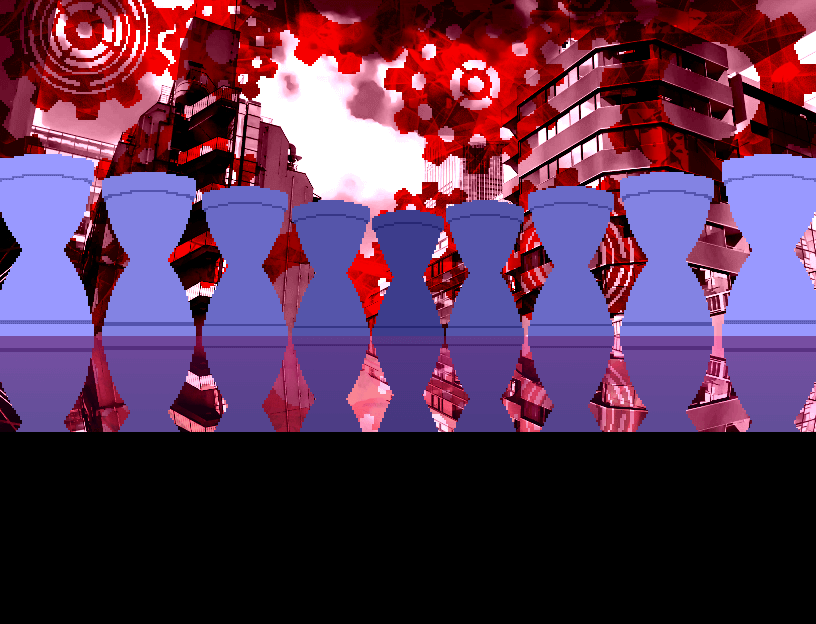
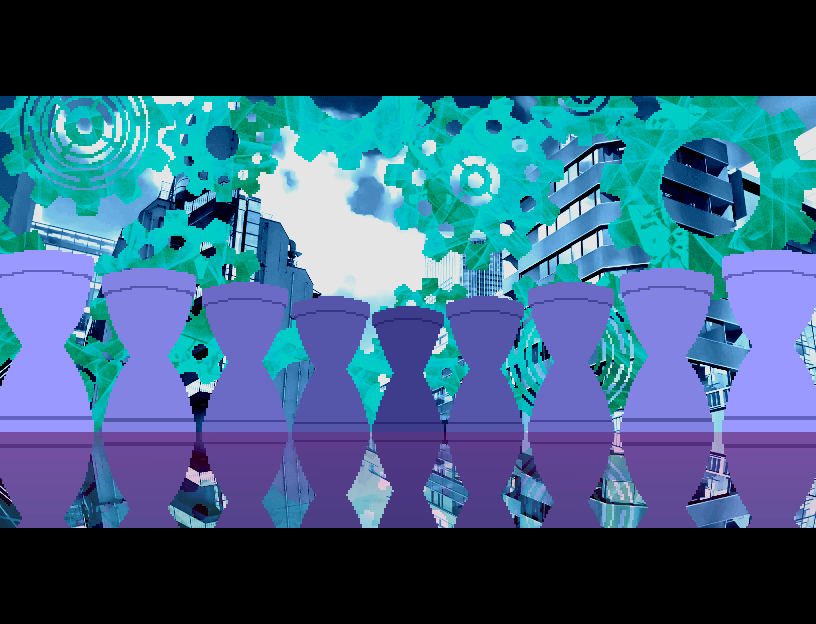
The Main Game Grounds background has quite a few unused variations:
- Two versions with the bottom of the hourglass podiums filled with "sand", one formatted for regular scenes and one for Discussions.
- Two versions of the background used for the first part of the second Main Game, but with brighter colors compared to the used one.
- Two versions of the background used for the second part of the second Main Game; one uses darker colors than the used background, and the other uses the same colors but is formatted for the standard interface instead of the Discussion one (whereas in the final game, that background is only used during a Discussion segment).
- A version of the background used for the final part of the second Main Game with darker colors than the used one.
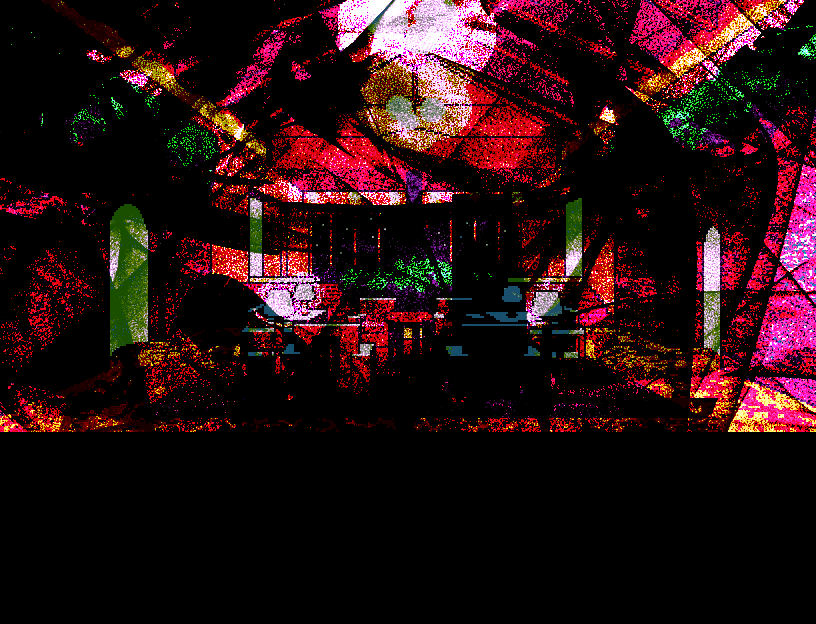
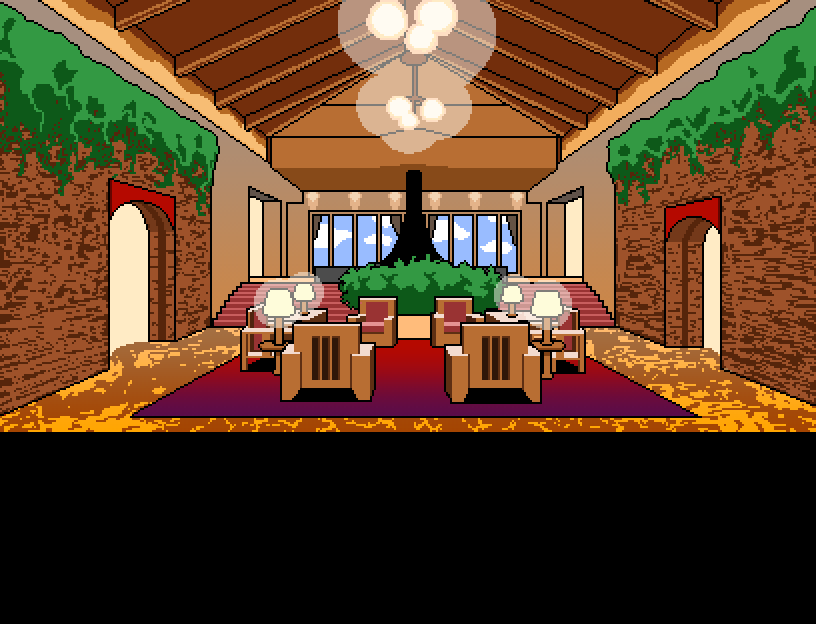
Two alternate versions of the 3F Lobby; the first matches the image used for the hallucination "negotiations" scene on Day 3 of 2-1, but in the final game that's handled by a sprite overlay rather than a background change. The second is similar to the Lobby's standard daytime background, but with the stool in the center of the room removed for some reason.

The front side of Kanna's First Trial room. Once again, the used version of this image is stored as a regular sprite rather than as a background, oddly enough.

The Impression Room from the Final Attraction, with the loose tile removed. In the final game this change is, you guessed it, handled by layering a separate image of the hole over the regular background instead.

The Room of Lies, with the pillar closed and both Ranger and Safalin present; this particular combination of elements is never shown in the final game.
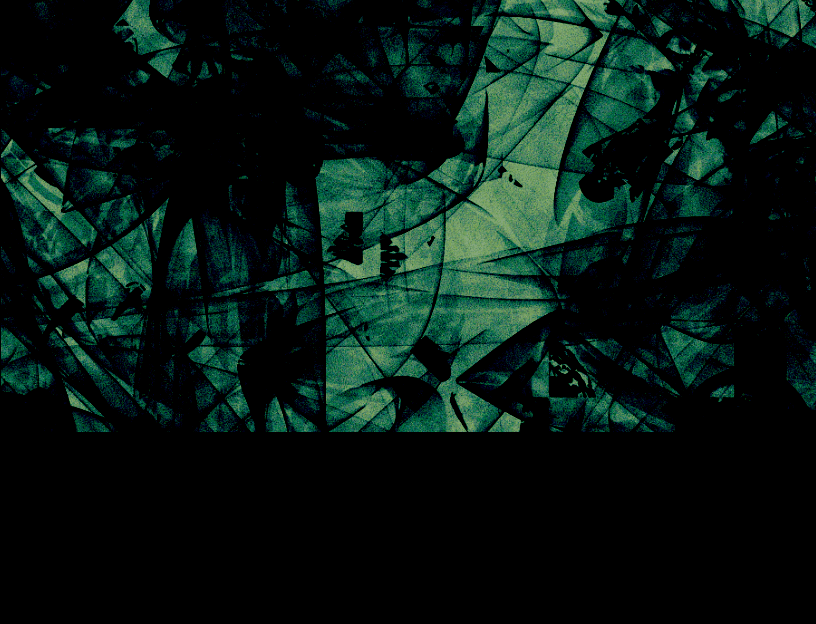
From its positioning and appearance, this background was probably meant for Nao's death scene, which instead reuses the background from the similar scene with Joe in 1-2. The used background has the bottom half of the sprite for Sara's hand baked in, but it's absent in this version.

The Cemetery, with all coffins opened and the central marker shifted downwards compared to its normal position. The former is yet another dynamic element that's instead handled by separate images, while the latter never happens at all.
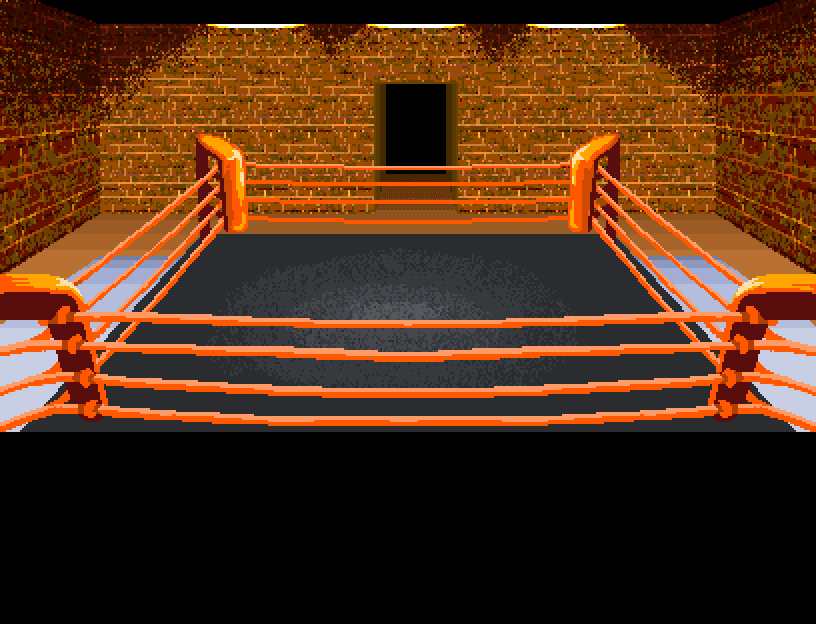

A version of the boxing ring on 4F with orange ropes and posts rather than the multicolor setup seen in the final game, and one that resembles the backgrounds used for this room's puzzle segment, but without the rising "magma".
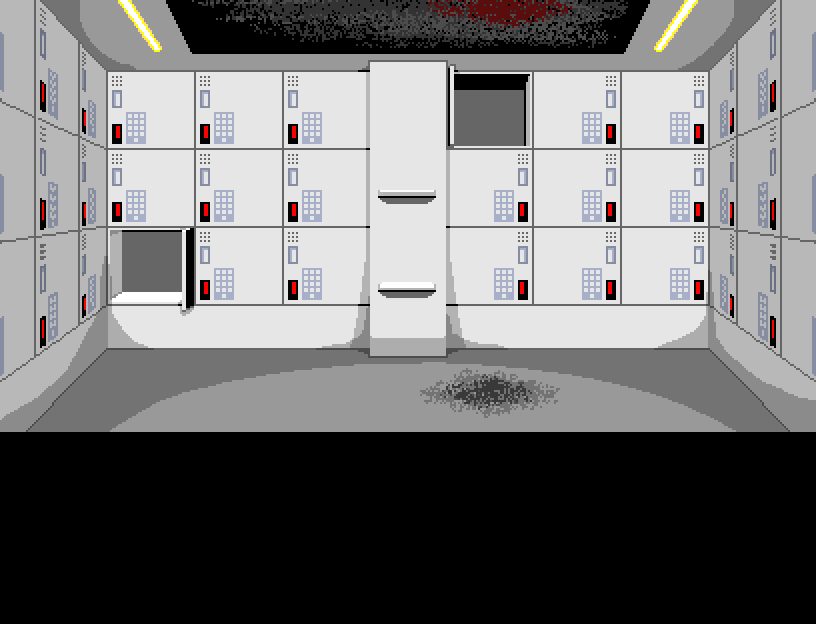
The 4F locker room, with only two lockers open rather than three.

A version of the damaged Discussion Room background that's formatted for a Discussion segment, which never happens there in the final game.

The 5F elevator room, with "Midori" looking out from an open elevator door. At last, the final instance of "used version layers separate images instead of changing the background"!


The Security Office on 5F with the monitors in their initial configuration; the used version of the first image is stored as a background-sized regular sprite rather than as a background in the final game, while the second image is never used at all.

The police station from Keiji's flashback at the Police Box on 5F, which is stored as a background-sized regular sprite rather than as a background in the final game.
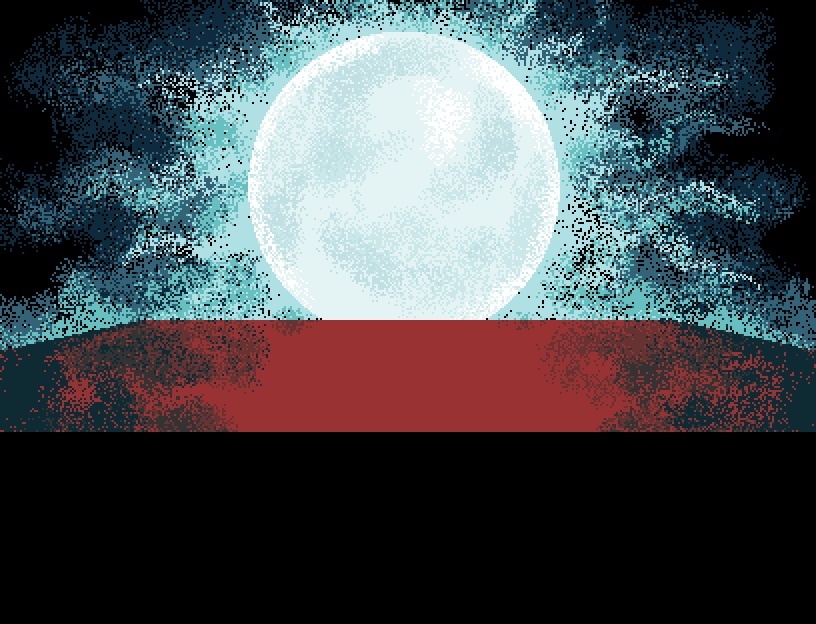
A version of the Banquet Grounds background that has an elevated floor and is formatted for a regular scene rather than a Discussion, a combination that never happens in the final game.
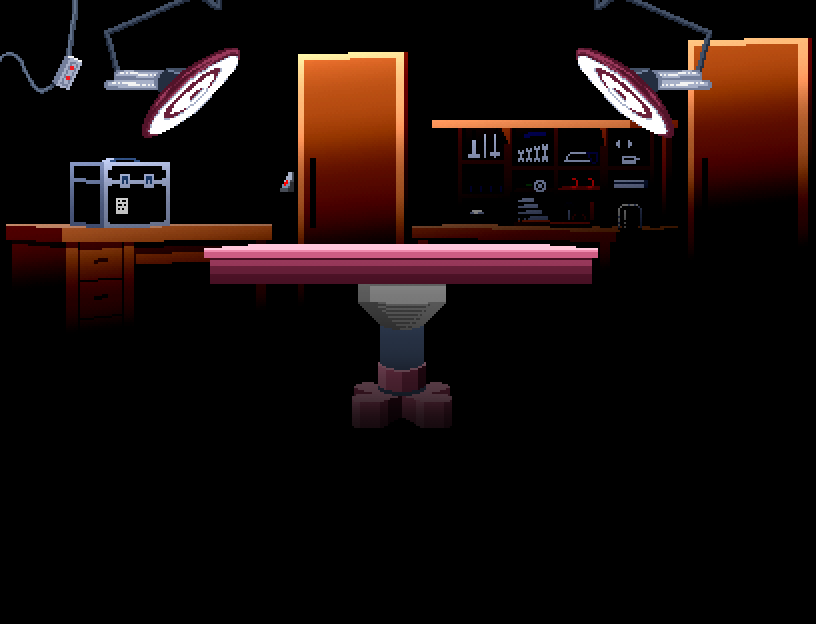
The operating room on 4F, with dim lighting and a second door in place of the drink machine. Also, both doors and the tool bench are shifted to the right compared to the used background, for some reason.

An unused monitor readout, featuring what appears to be the AI-Ceiver in the center.

The Dummies Control System's readout on Ranmaru's status, which is stored as a background-sized regular sprite rather than as a background in the final game.

What appears to be the inside of an elevator, possibly one of the ones on 4F and 5F.

A simple white screen.

A bright green screen without any space for the UI, presumably meant as a placeholder. Its filename labels it as "sample" (見本).
Sprites#
Joe#
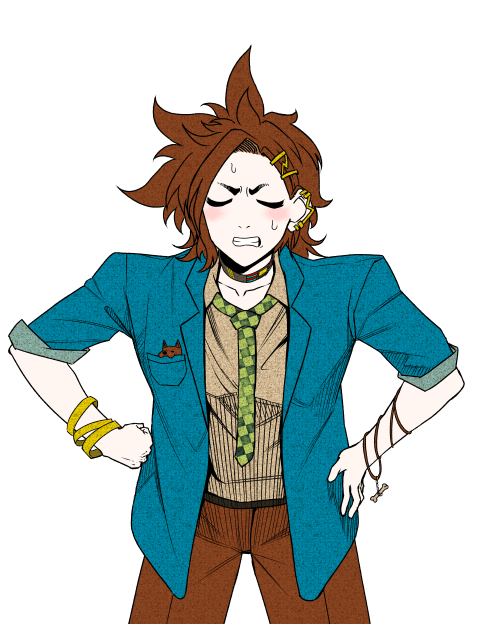
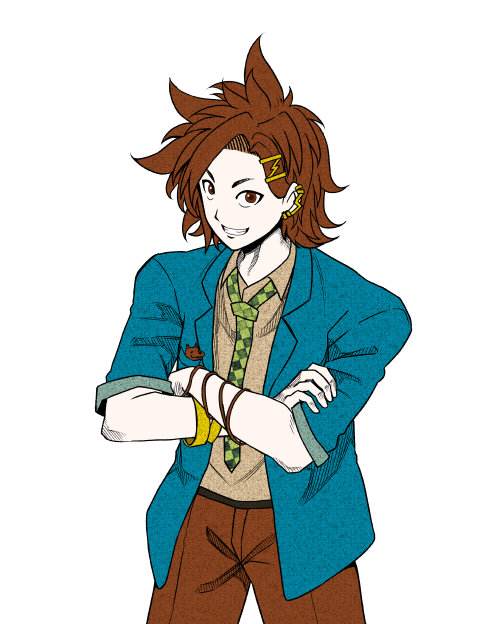
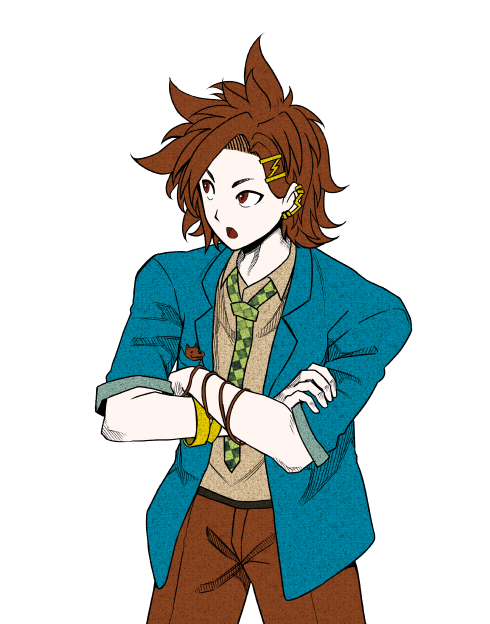
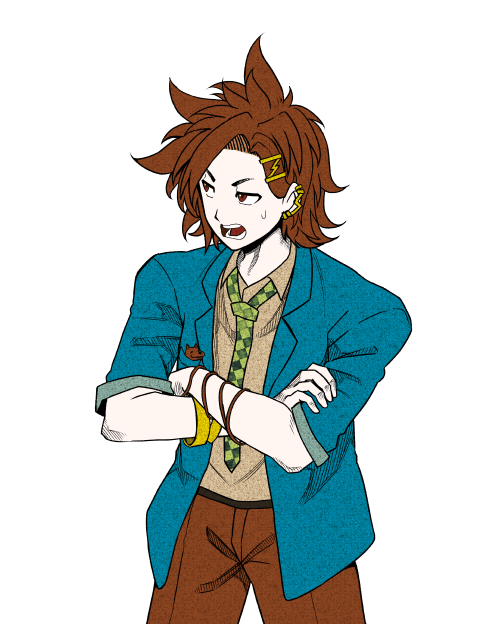
Q-Taro#
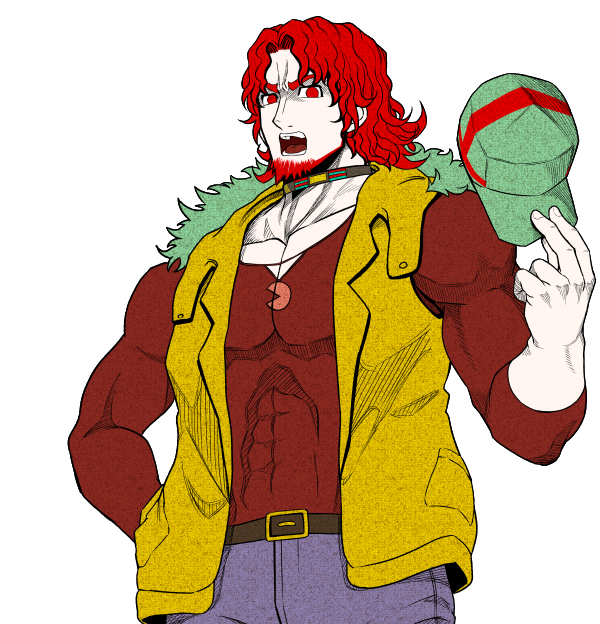
Reko#
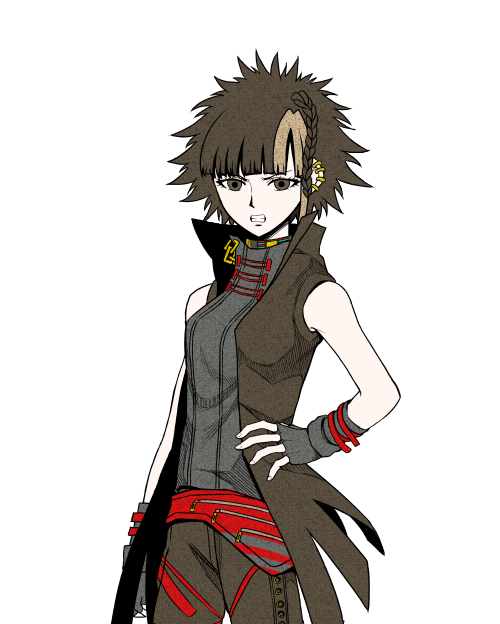
Nao#
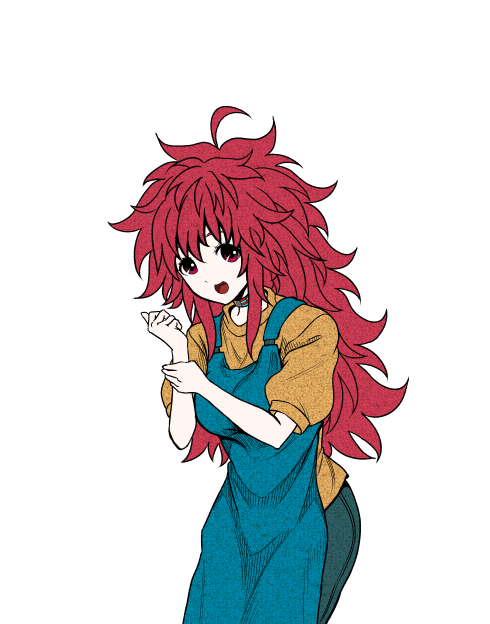
Kai#
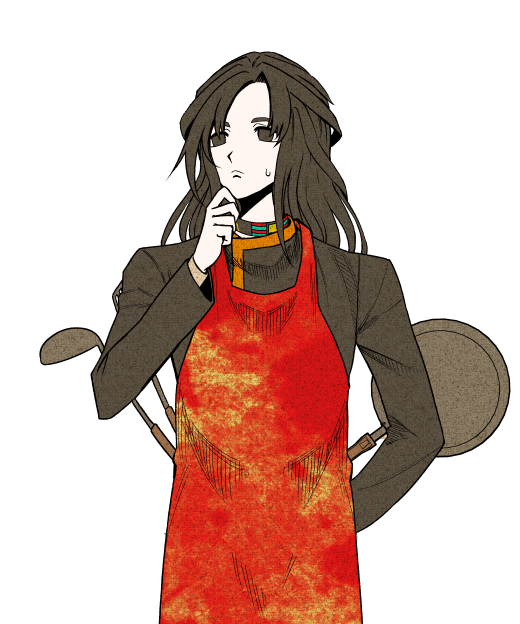
Alice#
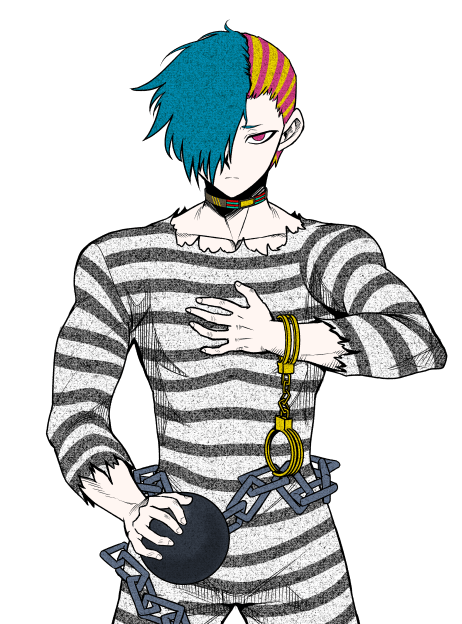
Mishima#
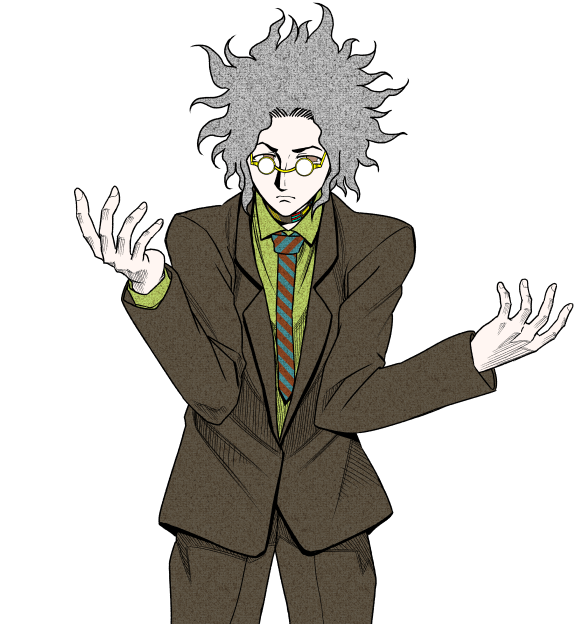
Maple#


Other#

An unused sprite of an alternate facial expression for Mai Tsurugi during the Maple fight.

An unused piece of pixel art of Anzu Kinashi, meant for when she was in the Art Gallery.

Unused prize exchange icons of Mishima, Joe, and Kai. Similar icons are used in the hallucinatory negotiation sequence involving them on Day 3, Noon.
Unused Music#
kakure2 |
|
|---|---|
kakure3 |
|
keiji-han3 |
|
Log |
|
michi |
|
sin1 |
|
sin2 |
|
sin3 |
|
sin4 |
|
sin5 |
|
sin7 |
These music tracks aren't referenced anywhere in the game's script.
Unused Sounds#
botan_b20 |
|
|---|---|
button19 |
|
click05 |
|
costume-drama1 |
|
select04 |
|
SIN-cursor9 |
|
SIN-decision18 |
|
SIN-Rei-Yumesaki-E01-Image_Cute |
|
SIN-tokei2 |
|
wallet1 |
|
WON-baratto01 |
|
WON-robo3 |
These sounds aren't referenced anywhere in the game's script.
ata_a26 |
|---|
This sound is only called in an unused alternate version of Alice's death scene in Chapter 2-1, rendering it effectively unused as well. In the used version of the scene, no sound is played at that point.