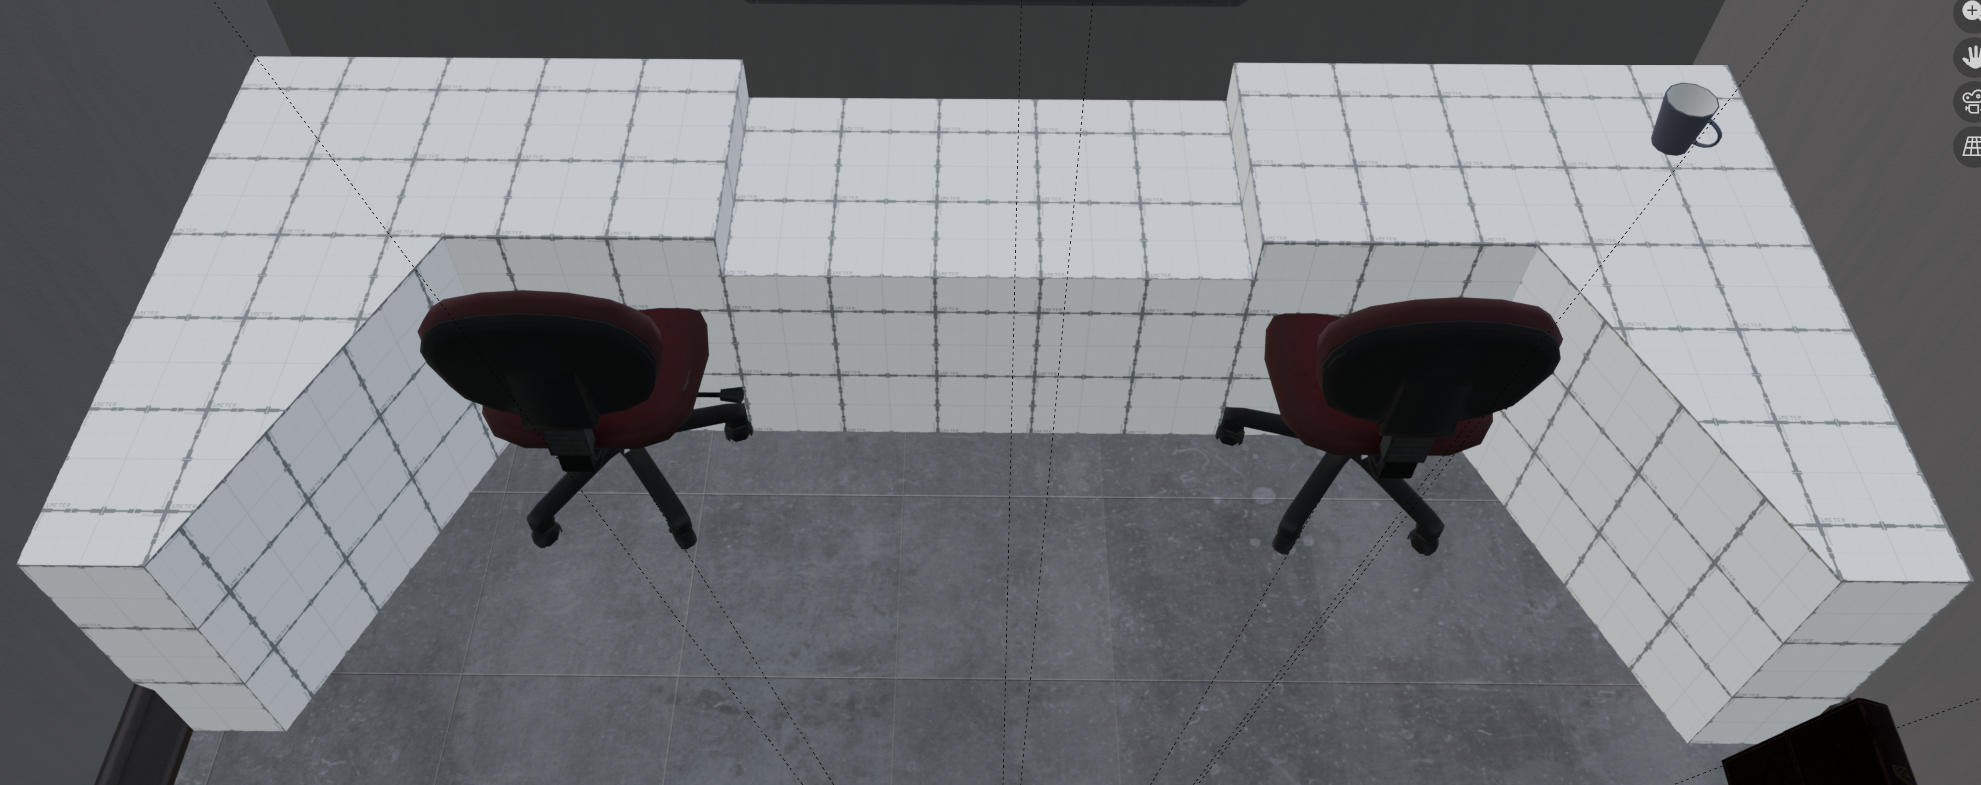
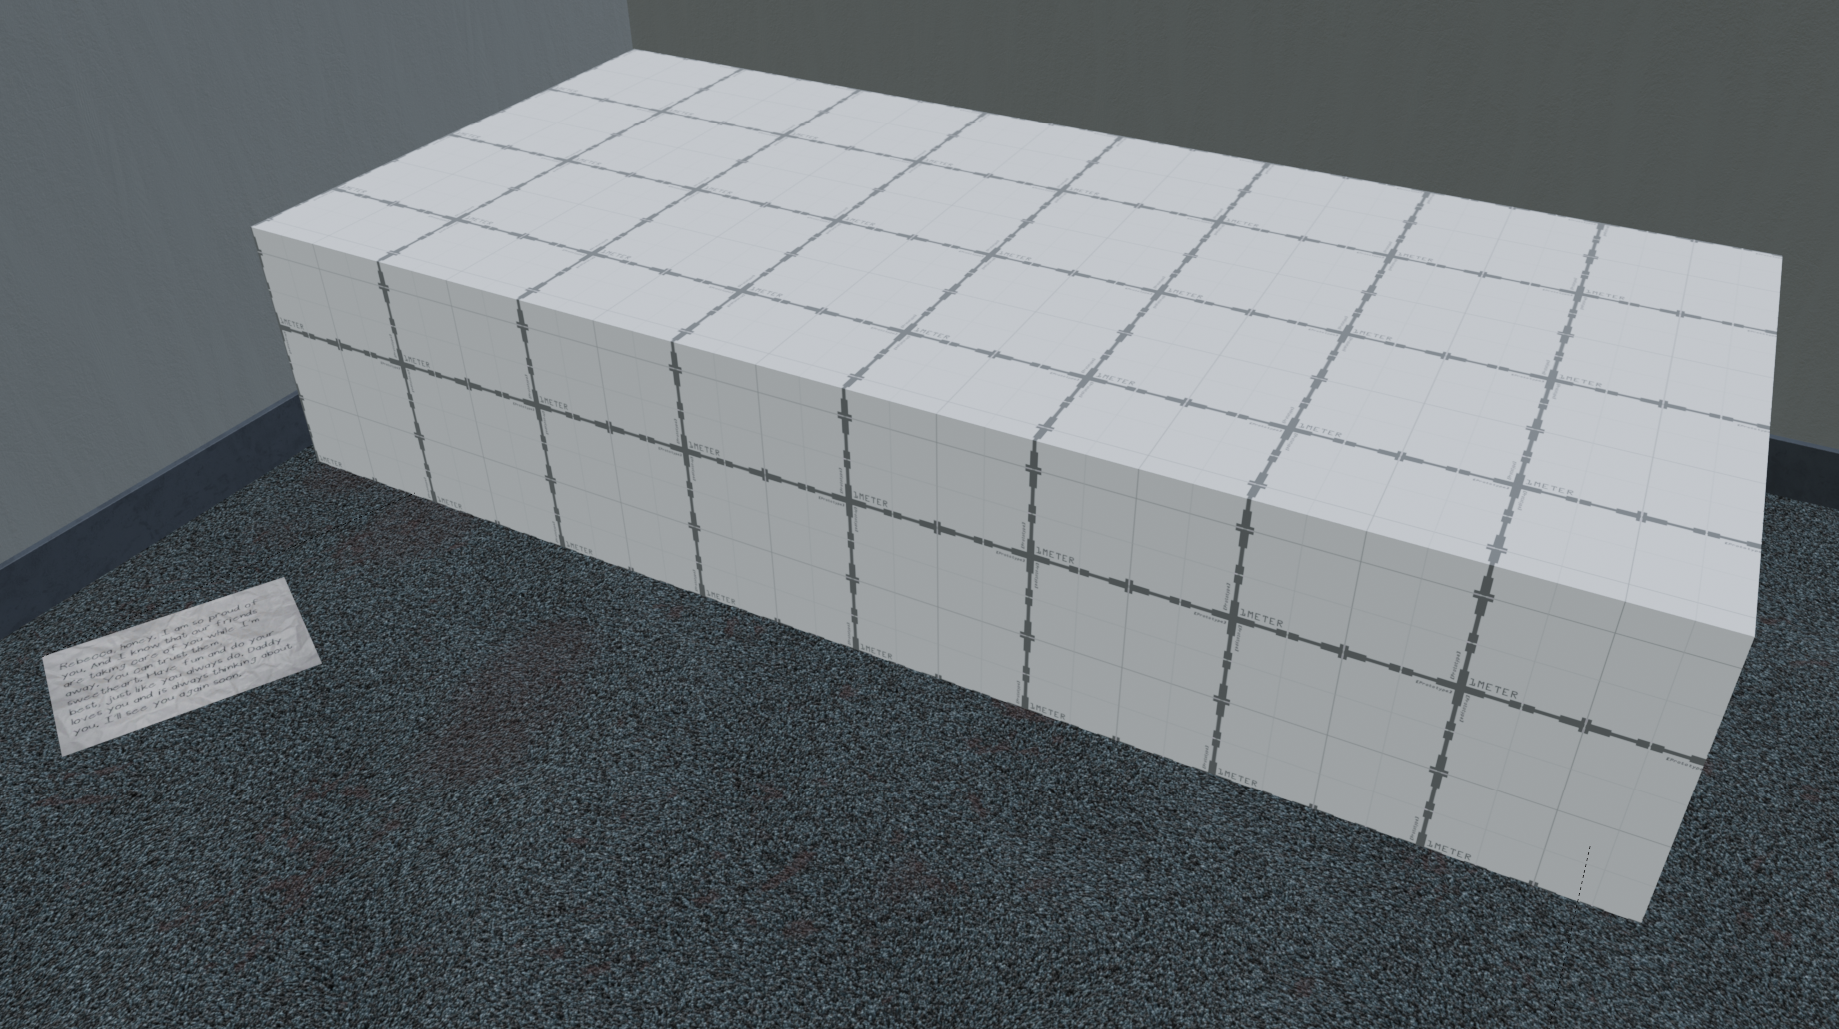
This is a sub-page of Amanda The Adventurer 3.
Just like the second game, there are Asset Meshes of placeholder objects used to sculpt the level to where it is in the final game. Compared to the previous game, the models are actually loaded into the level itself and are not found scattered out of playing area and in fact line up with most of the objects used in the base game. There are mostly two sets of them, and are mostly exactly similar to the final layout with some major changes in a few areas.
Main Lobby#
This area contains the first rooms that are accessible to the player upon spawning in: The hallway, office, meeting room, and kitchen.
Hallway#
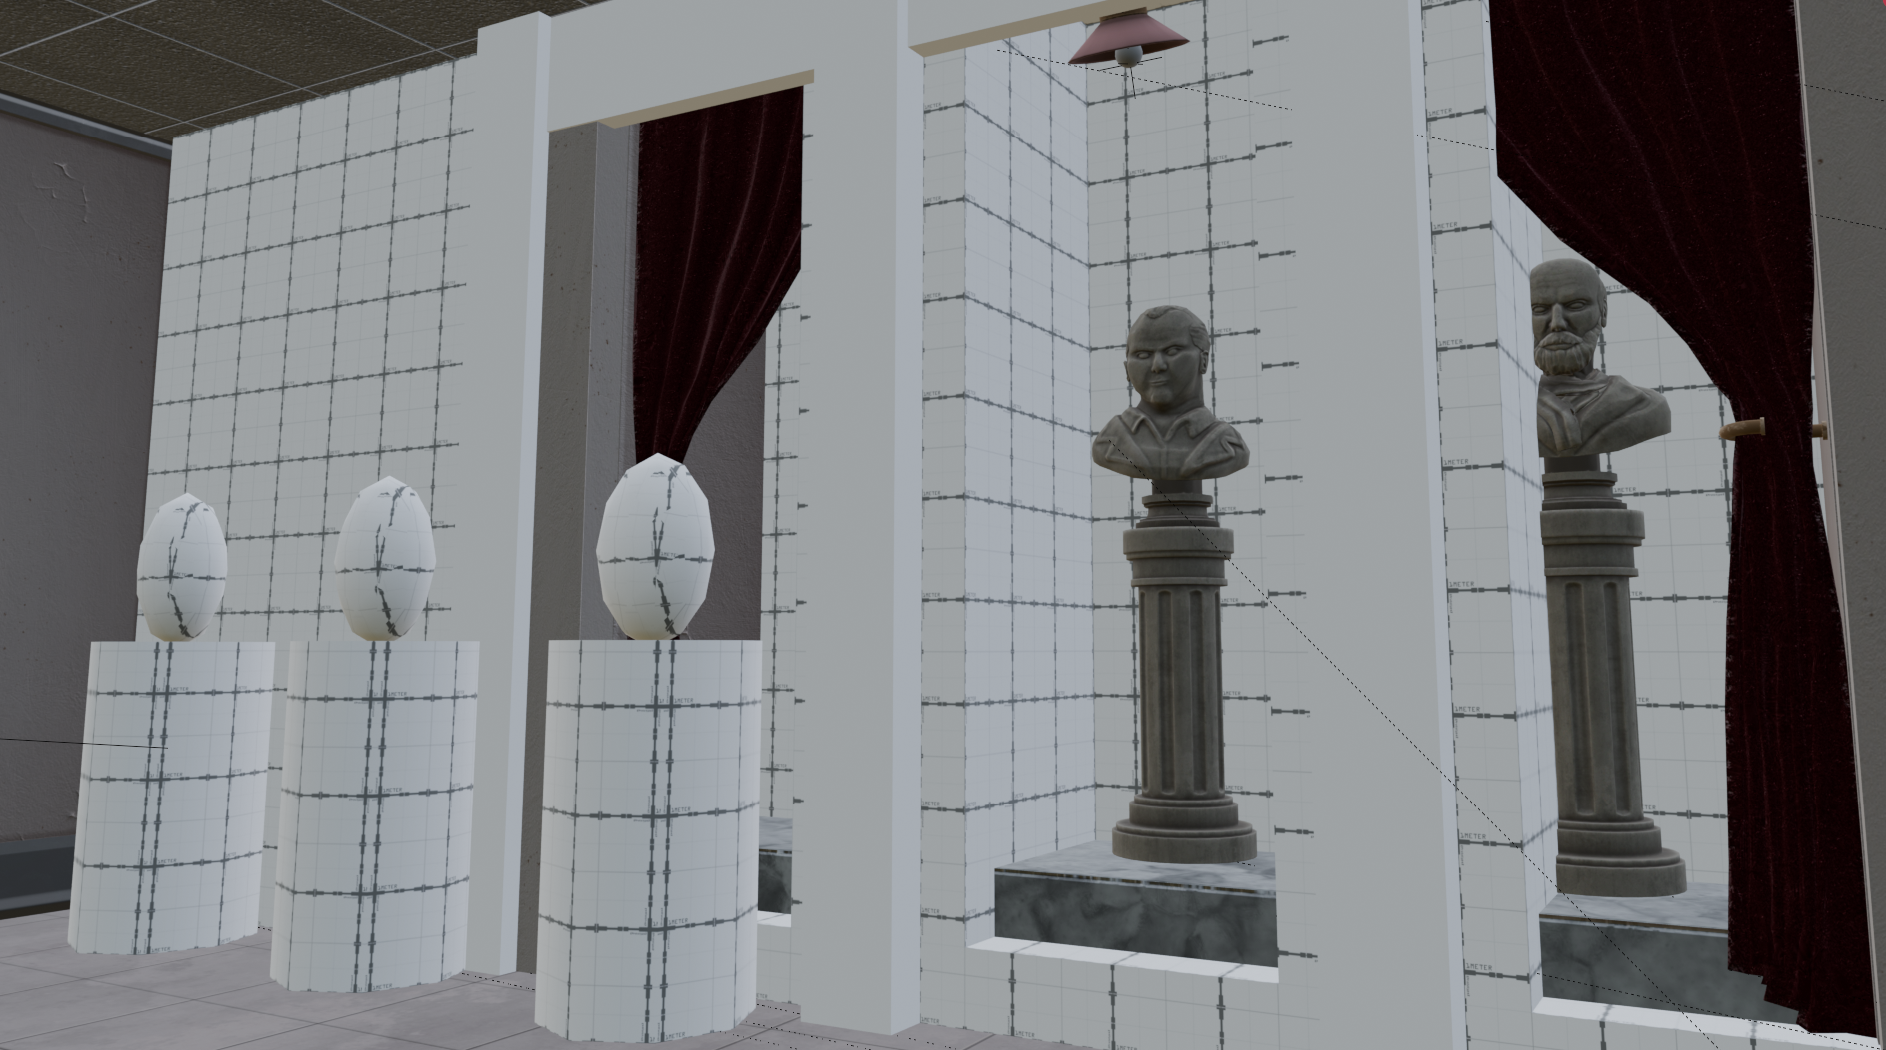
The area with the three statues was originally going to be separated by two walls in between. There are also placeholder models for the three statues, with shapes being cylinders with ovals on top.
Office#
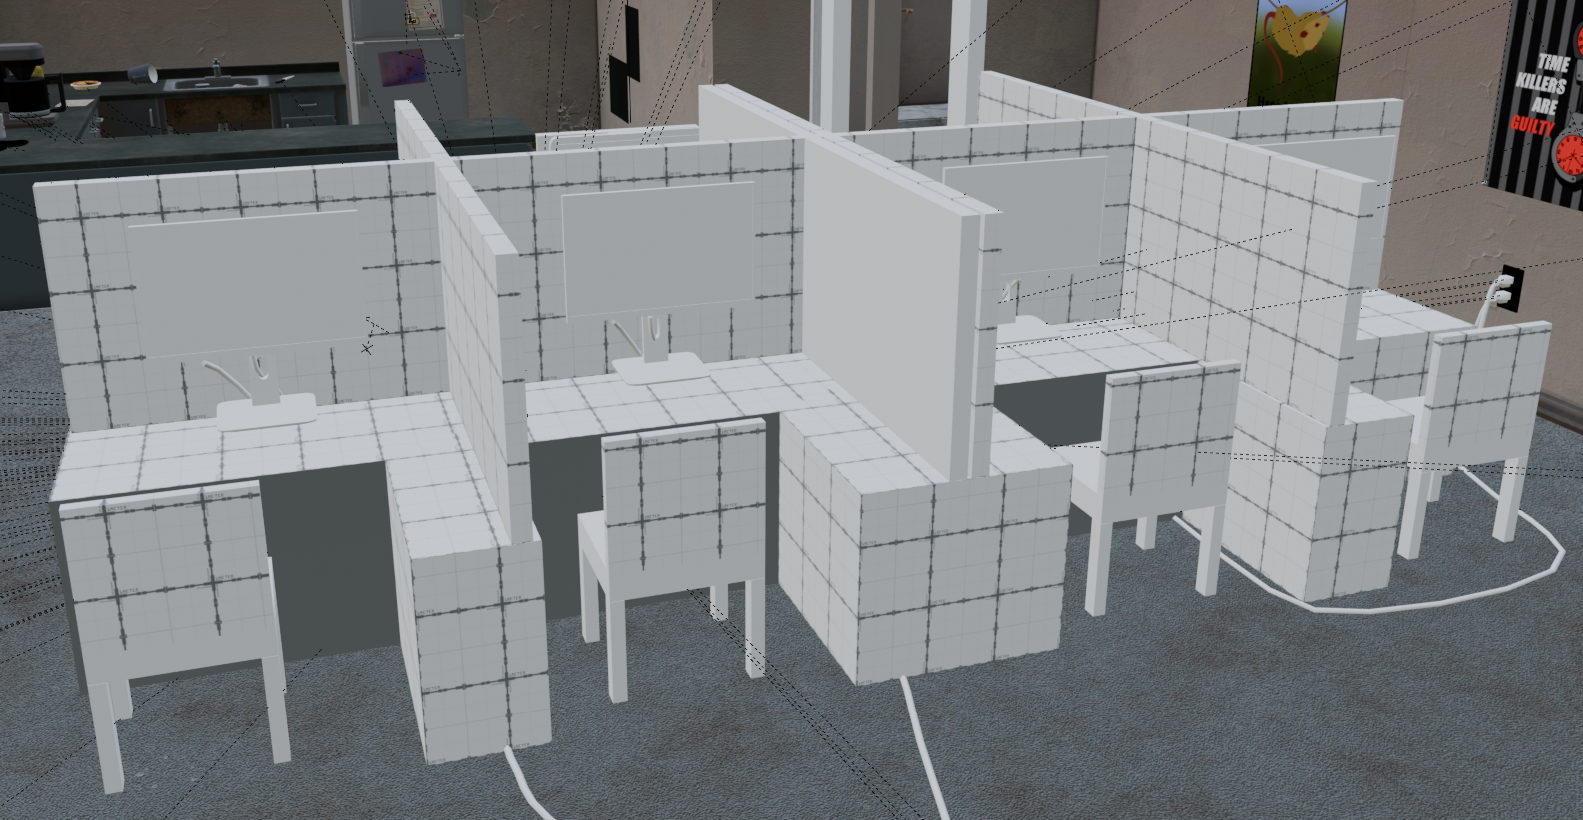
Layout 1#
The chairs were later changed to an office variant, and the desk is more wider on the bottom that it makes the objects below it not see-able.
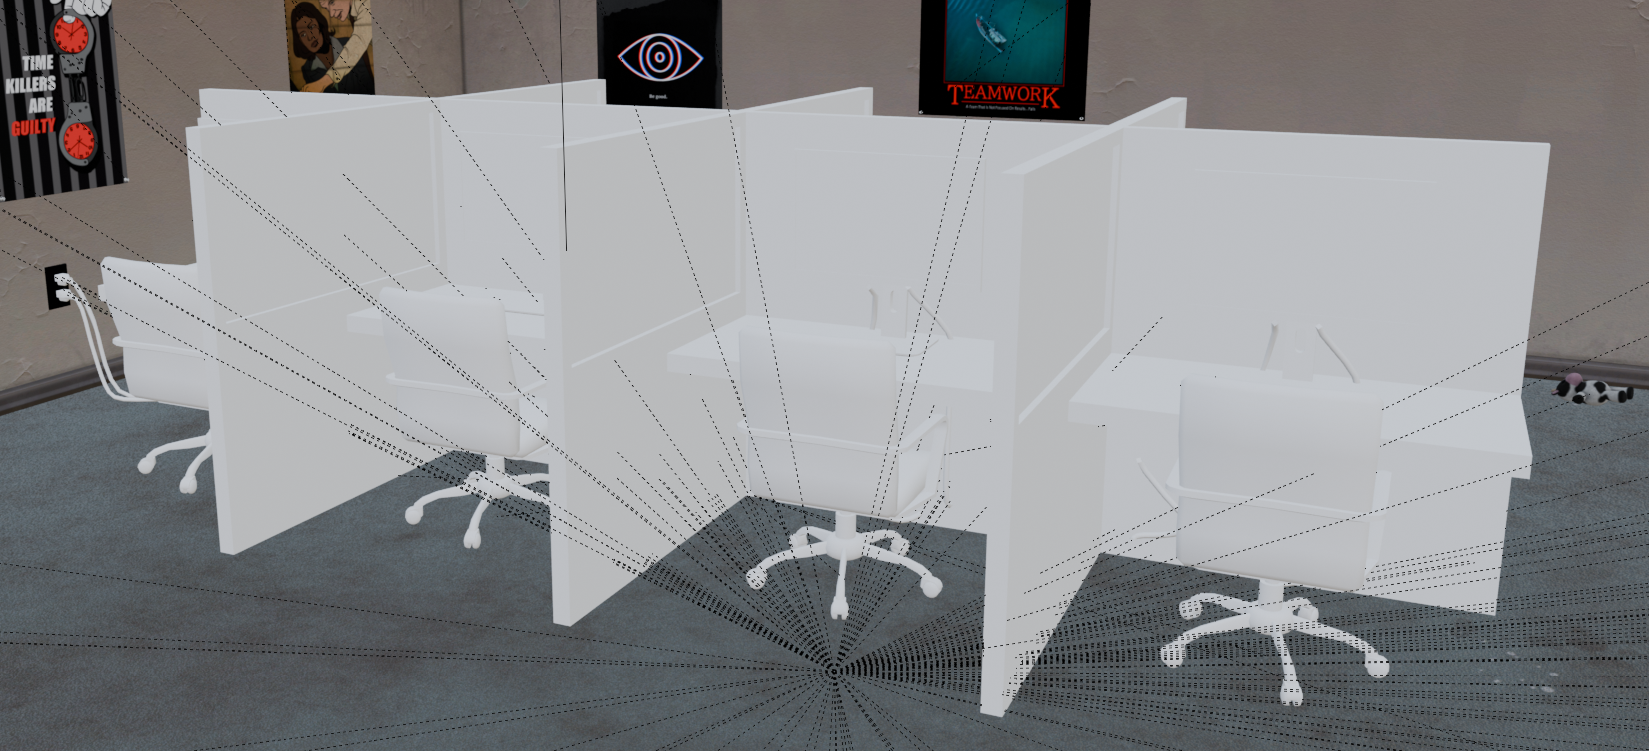
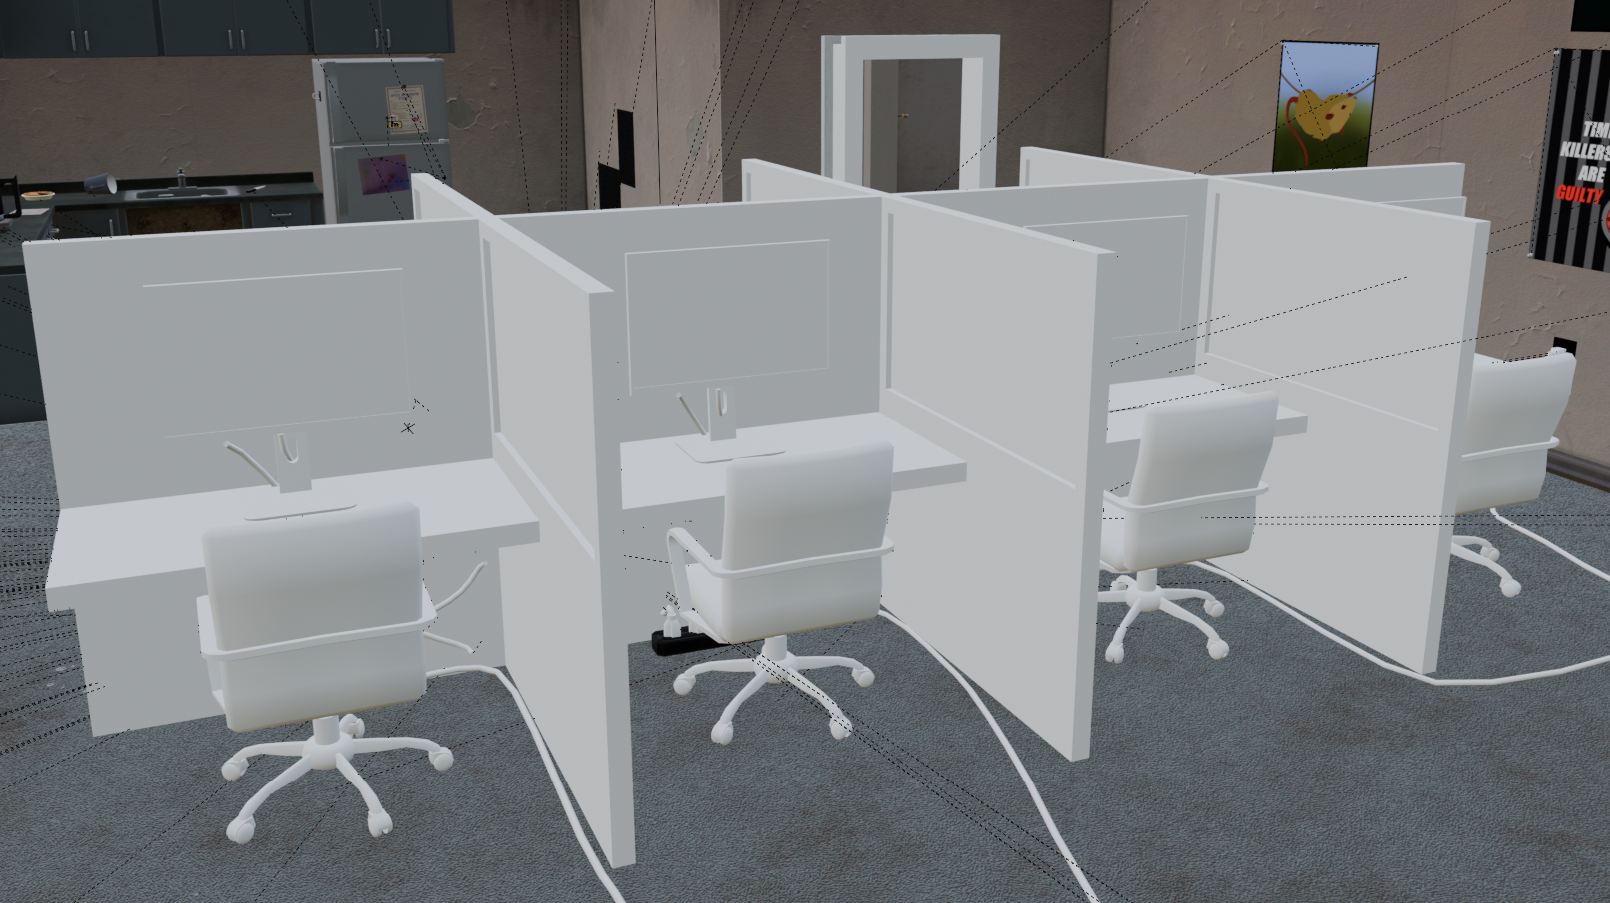
Layout 2#
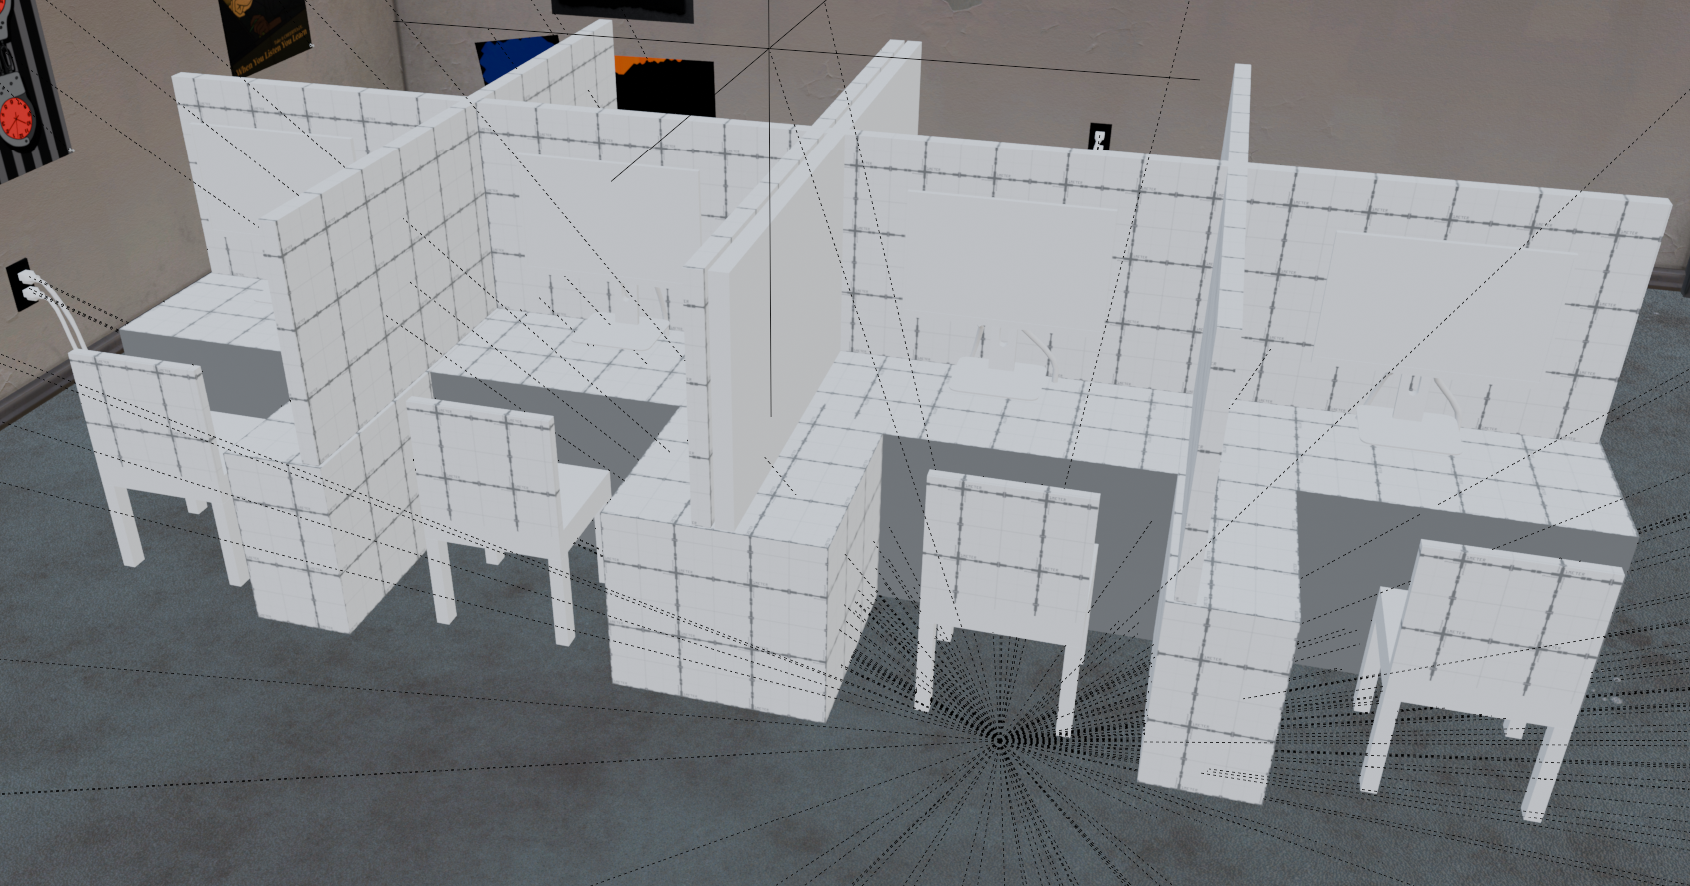
The desk now has opening, and the office chairs were originally using the ones from the meeting room until the other variants were made.
Meeting Room#
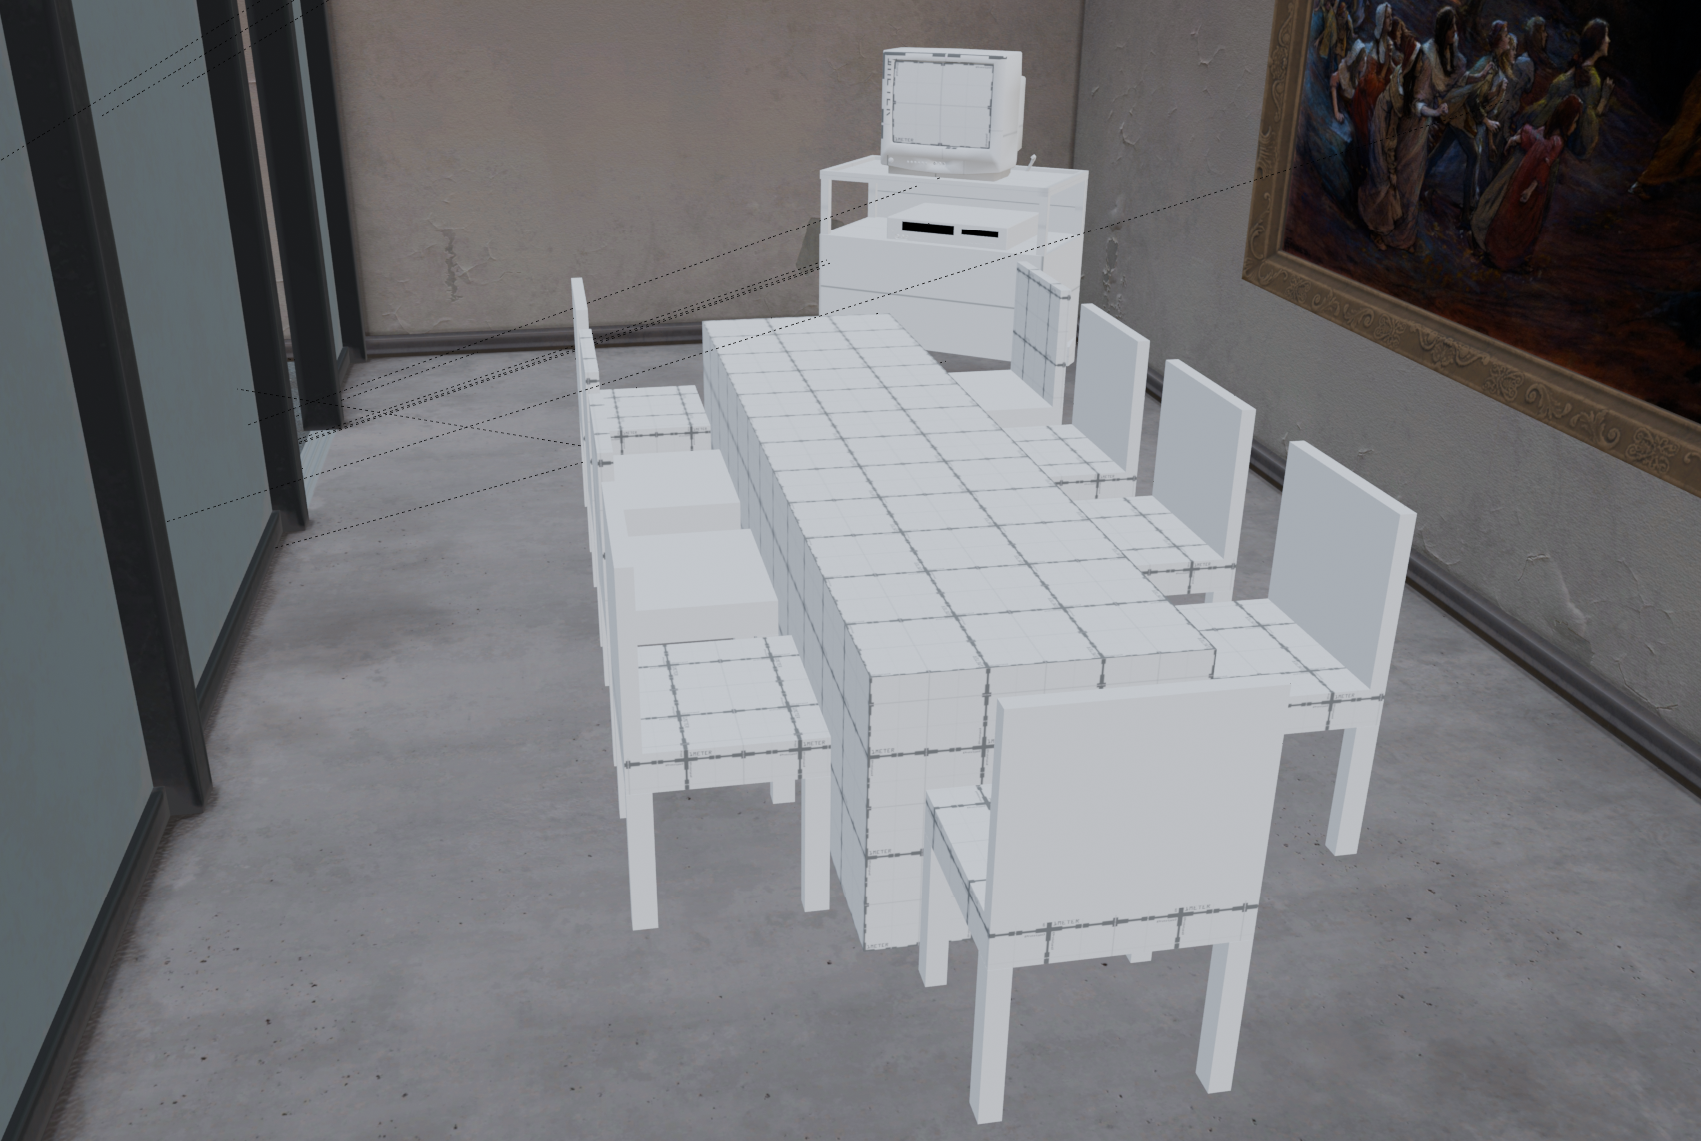
Placeholder Layout#
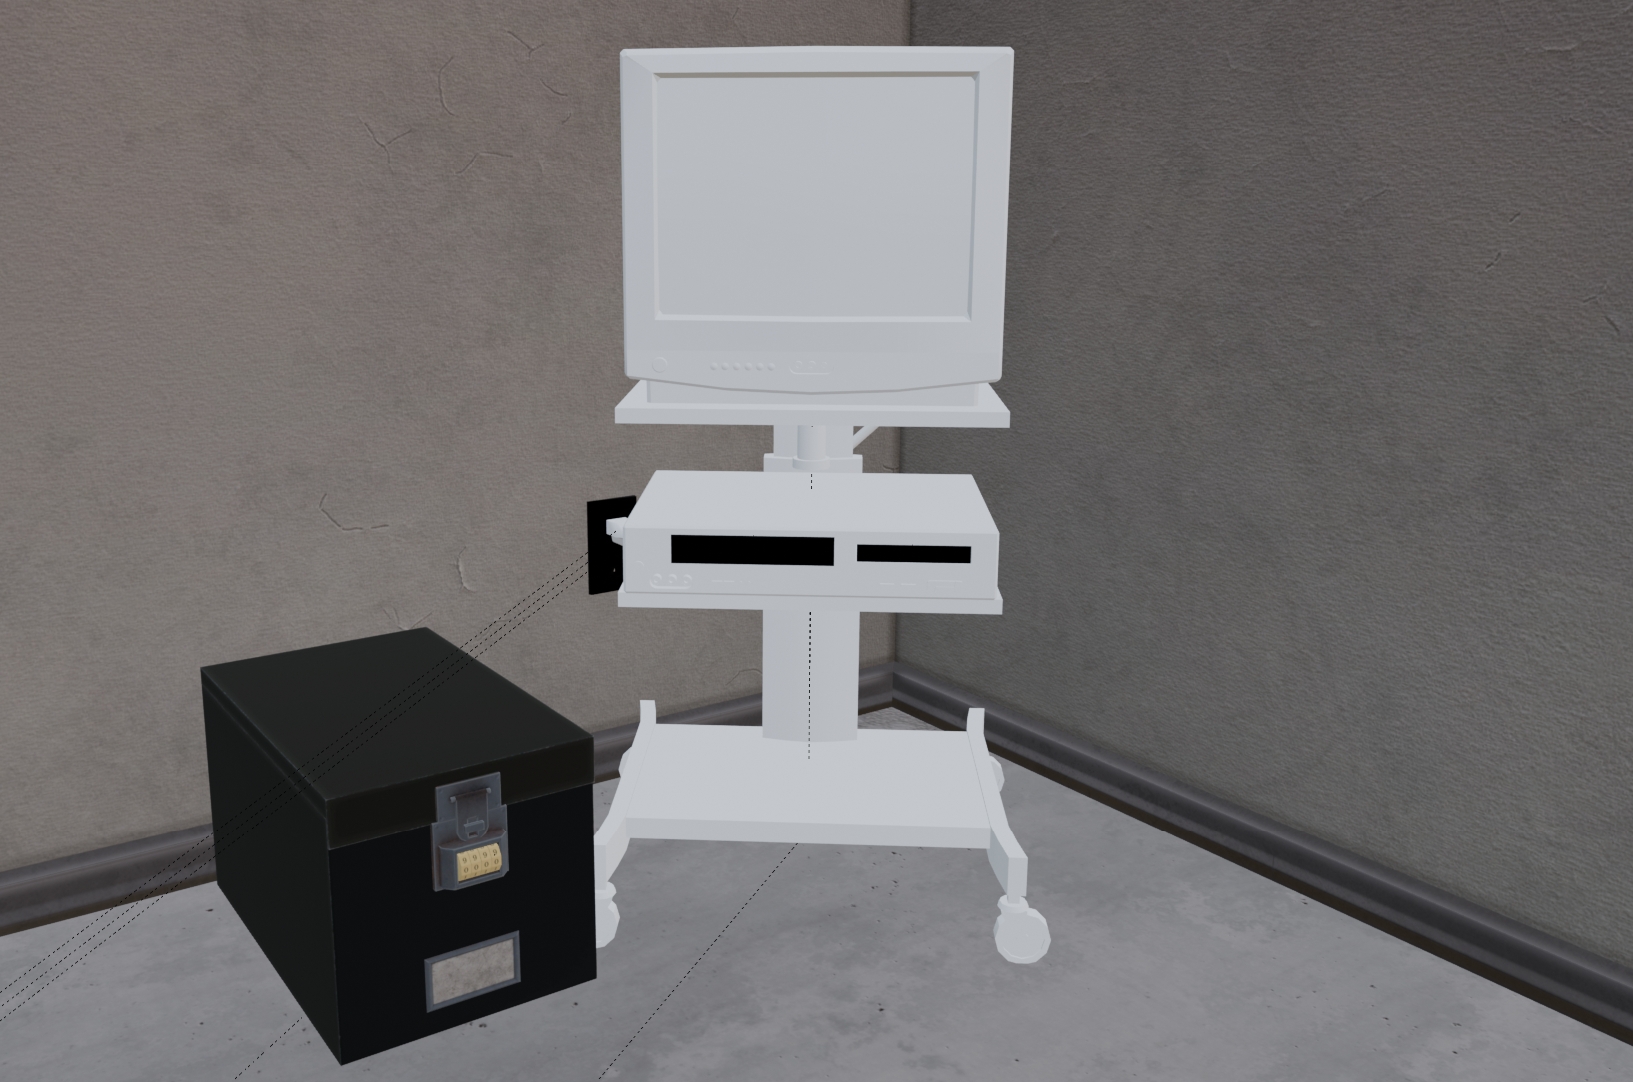
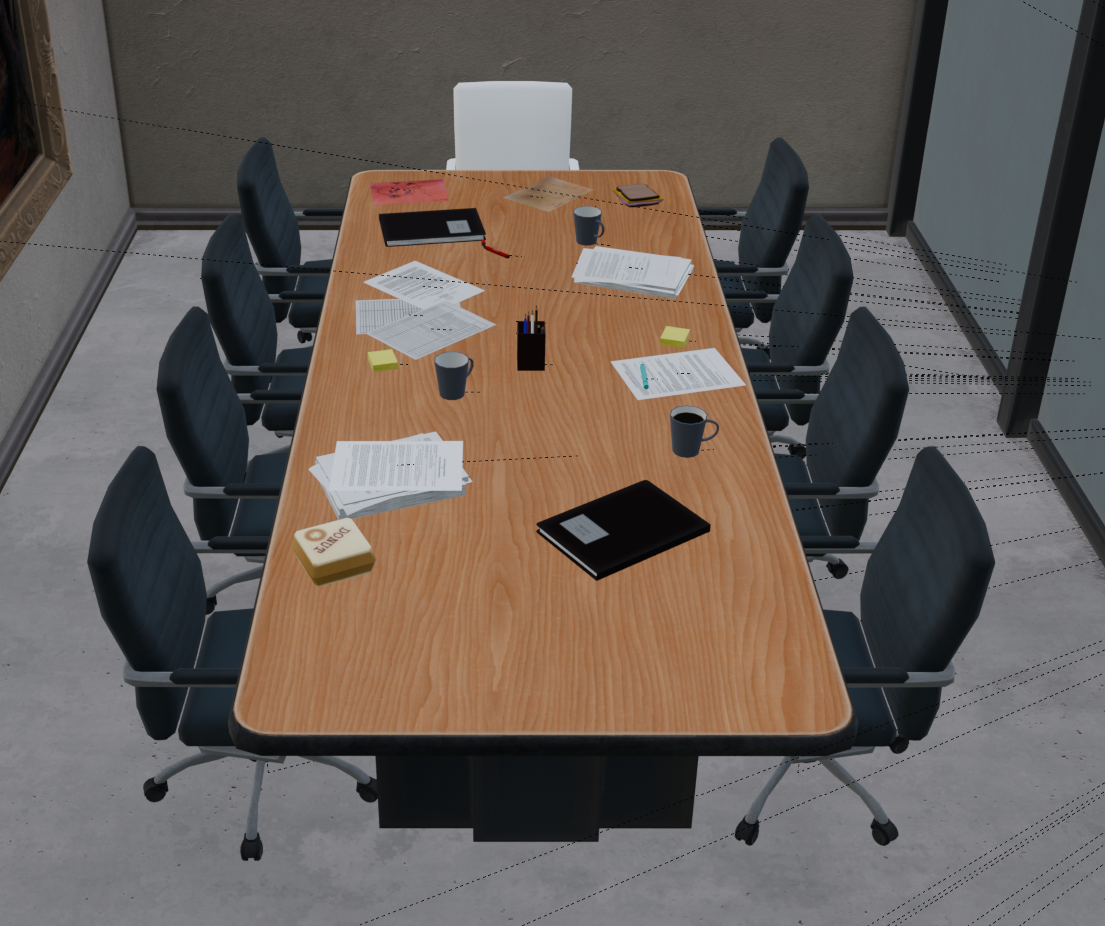
The table and office chairs are the same as the final, aside the placeholder models, with the only major differences on it being the size of the table and an extra chair in the middle at the end of the room. The TV and the stand stand in the background reuse the same models from Amanda the Adventurer 2 as placeholders.
Minor Object Placeholders#
Nothing else seems to have changed here, other than a slight movement with the TV Stand. The asset mesh for the office chair model is also present here, with the other eight being absent. (Possibly due them being used for the office room)
Kitchen#
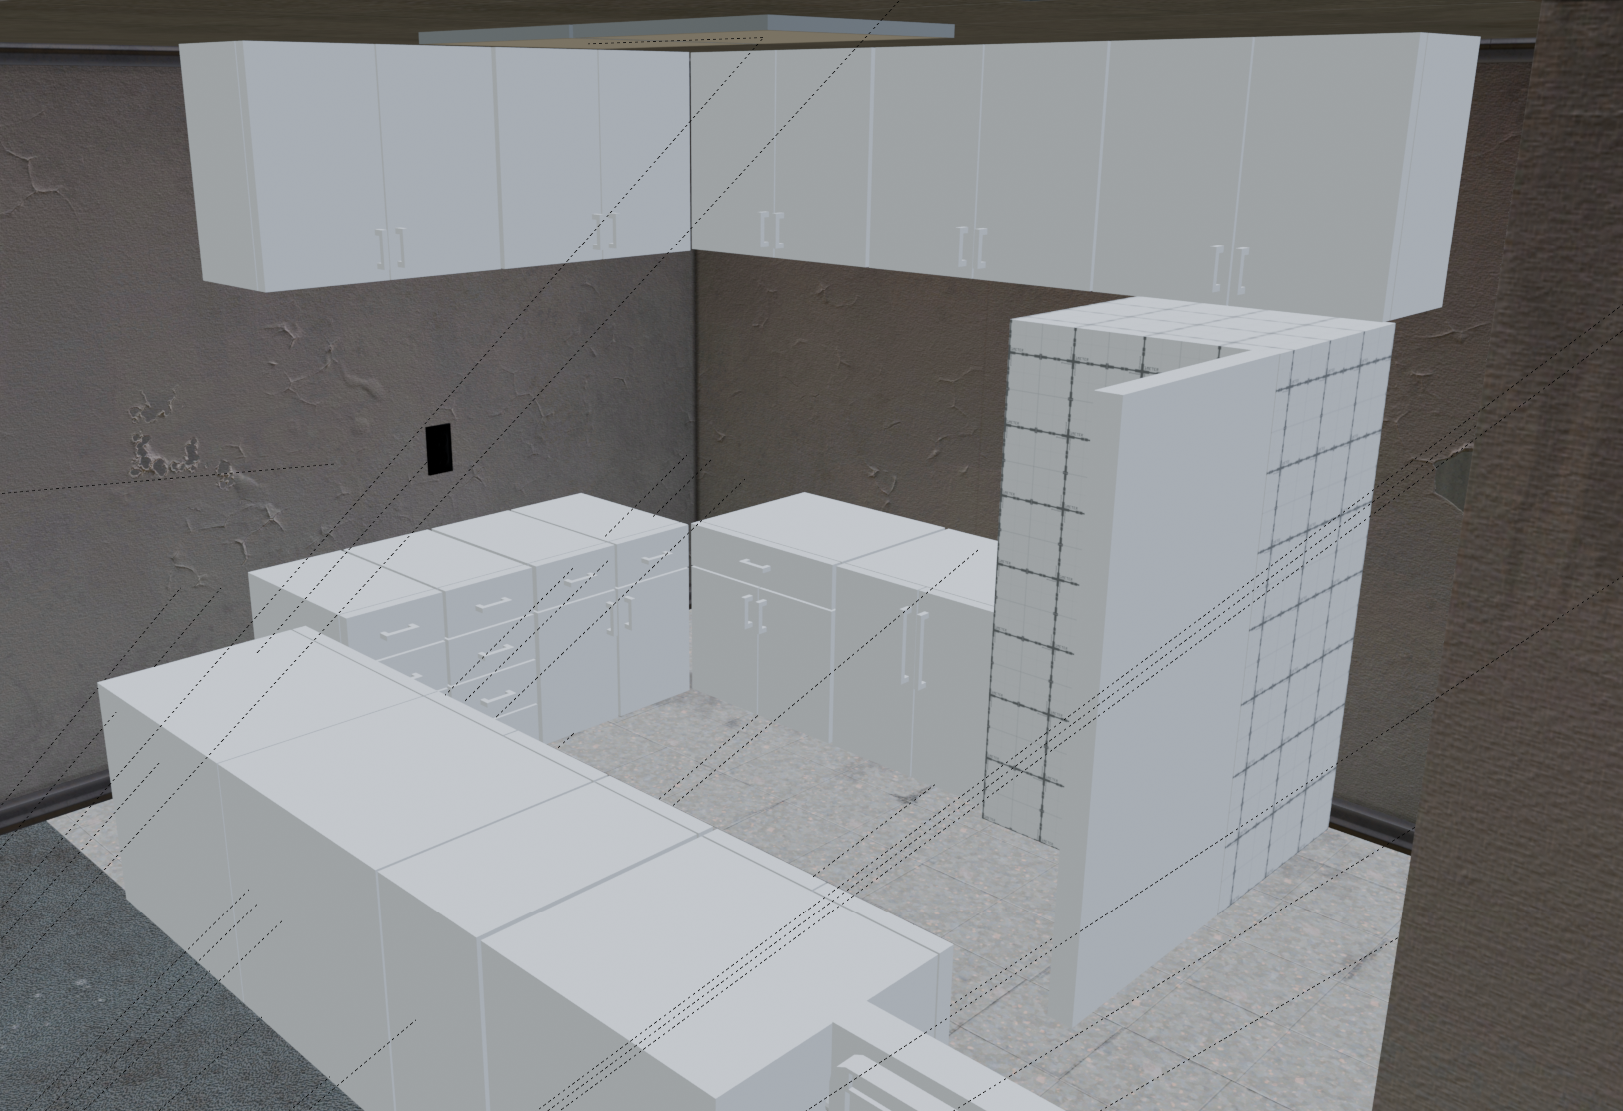
Interesingly, this area has a third layout when being constructed during development.
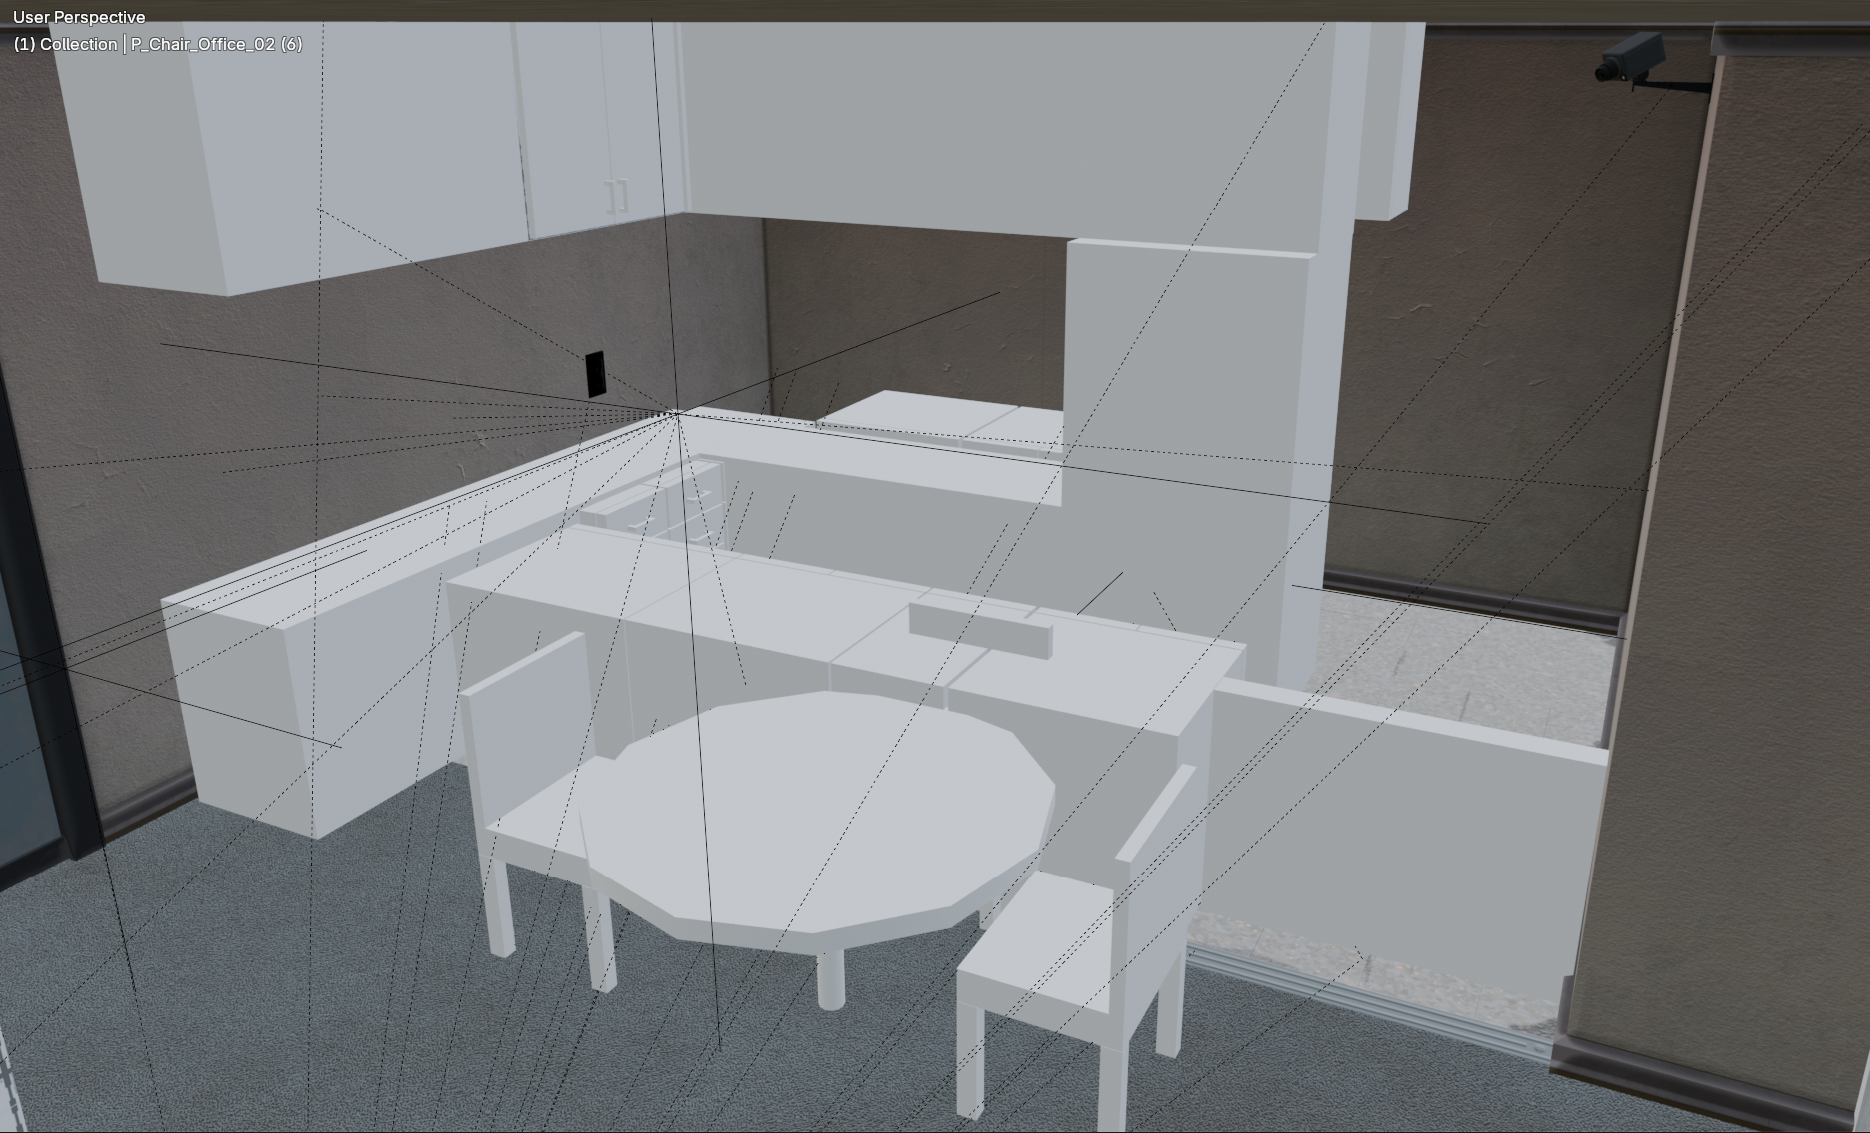
Layout 1#
Originally, the design of the kitchen had some major differences.
- The cabinets and counters are the same length, but are shifted about a square away from the far wall.
- There is an extra counter and cabinet behind the fridge. (It's unknown if the fridge door was in the front or behind the image here)
- There is a set of three chairs with a table in the middle that was cut from the final game. The third one in the middle can be seen clipping through the countertop.

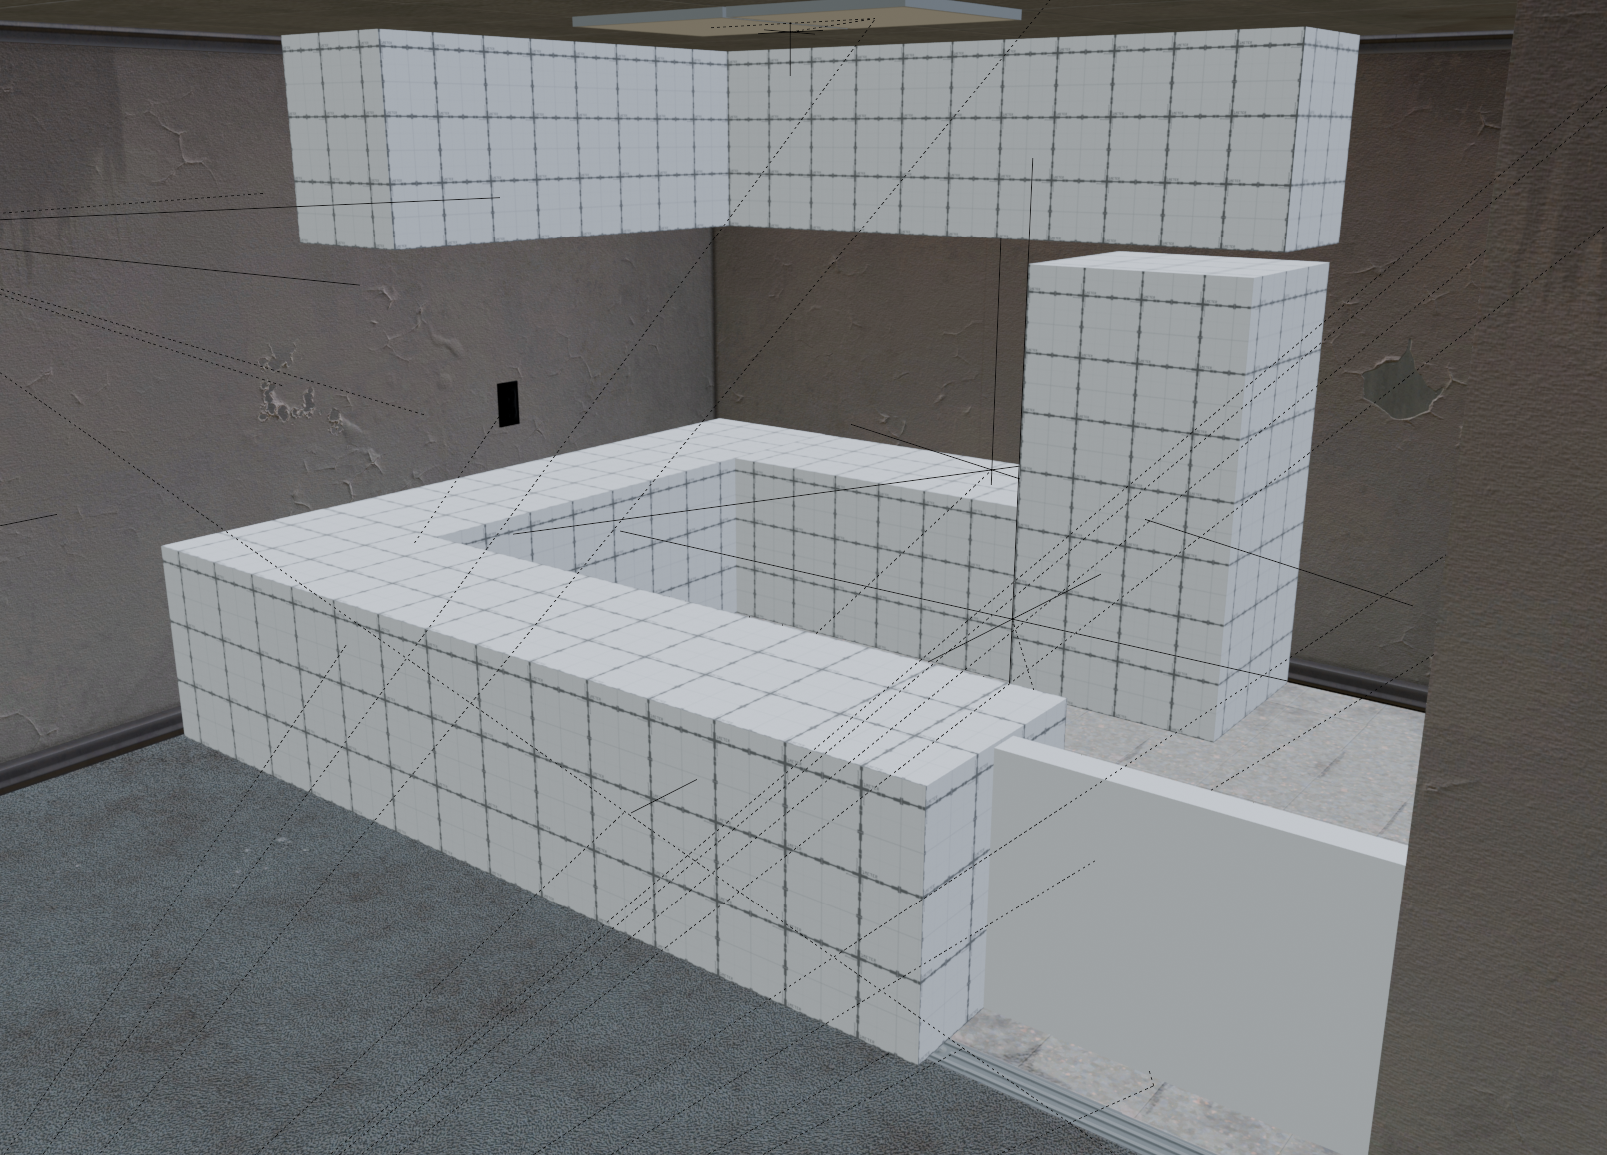
Layout 2#
The area was changed to have corners and a smaller extension for the counters and cabinets, looking more similar to final.
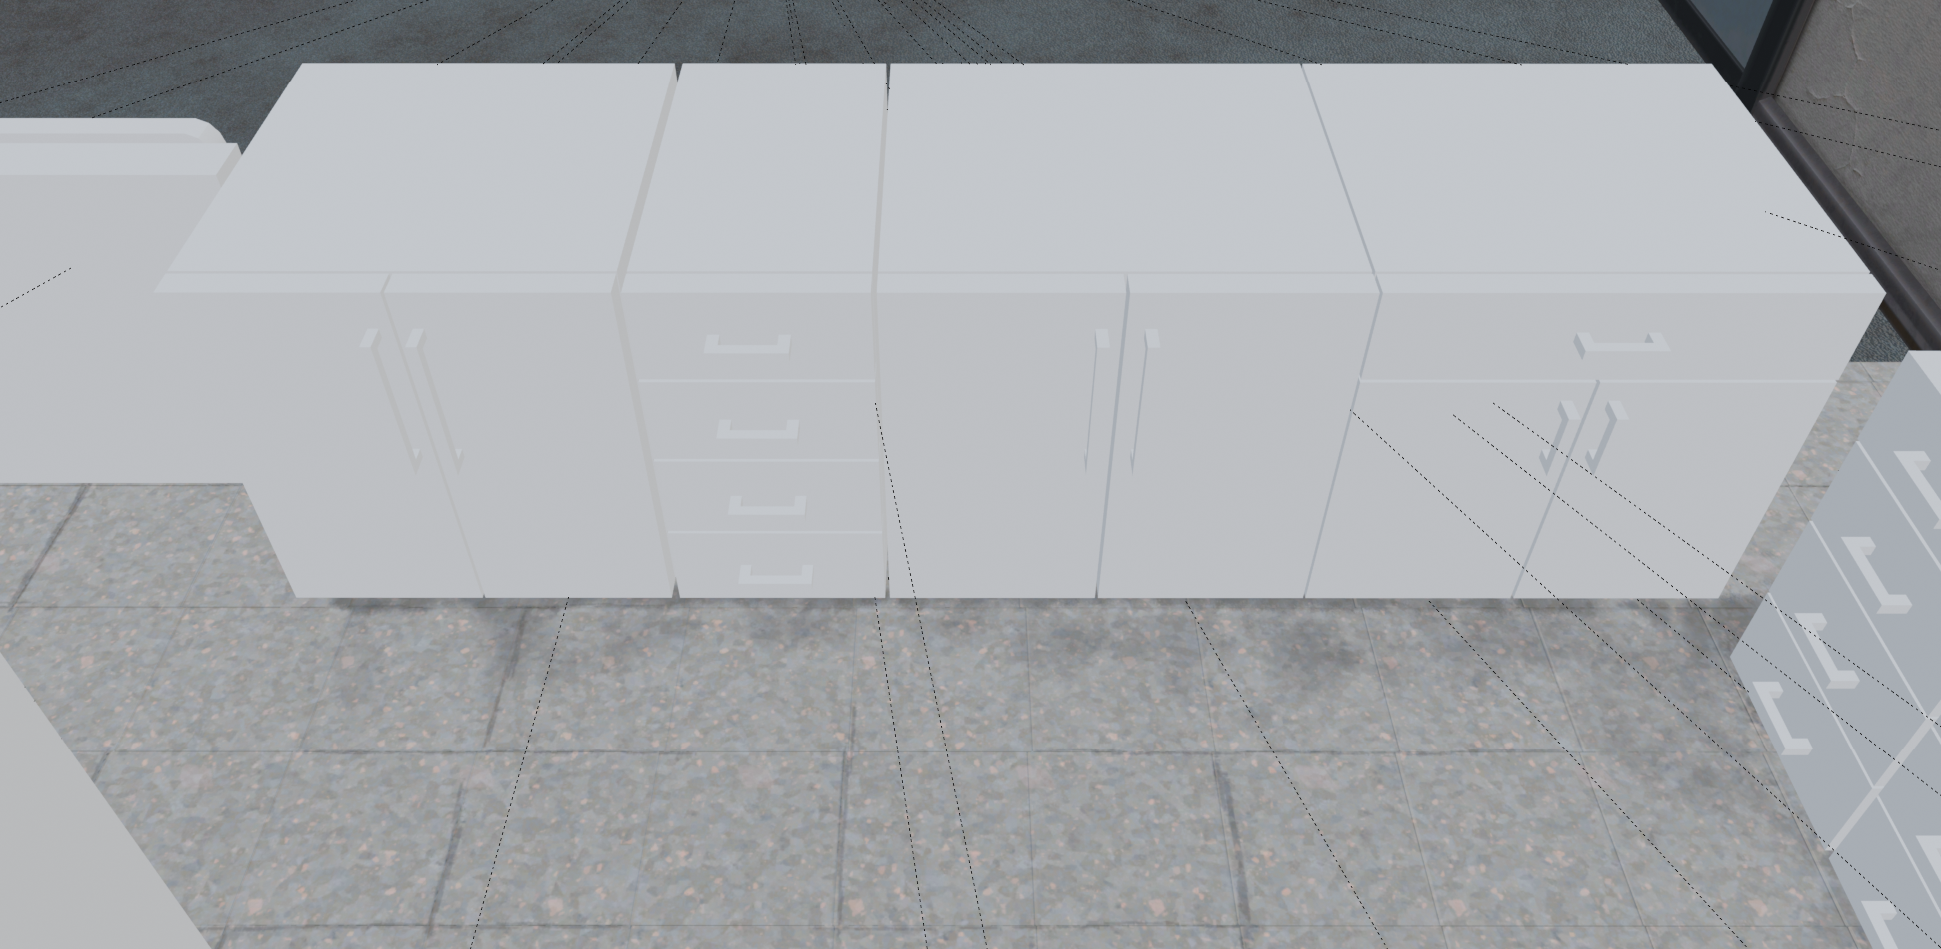
Layout 3#
Mainly just changes on the handles for the cabinets, with cabinets absent in the corners of the wall. Otherwise, similar to final.
Pod Room and Security#
The section contains both the Pod Room and Security Room, which would be a room the player can access by having a key card.
Pod Room#
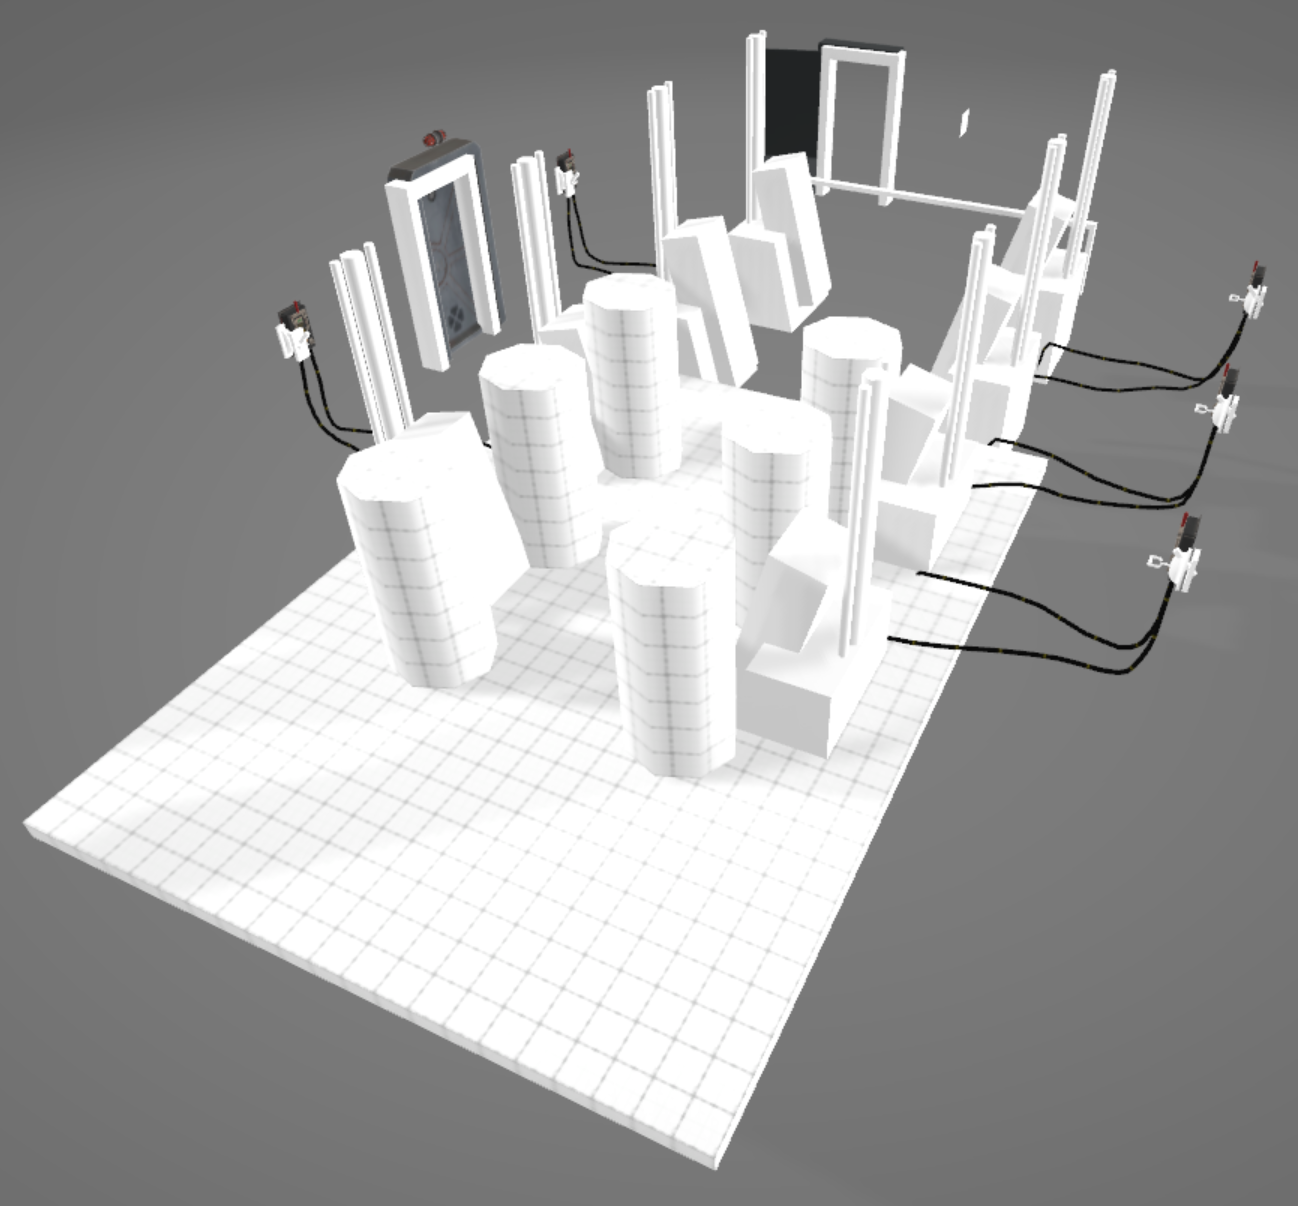
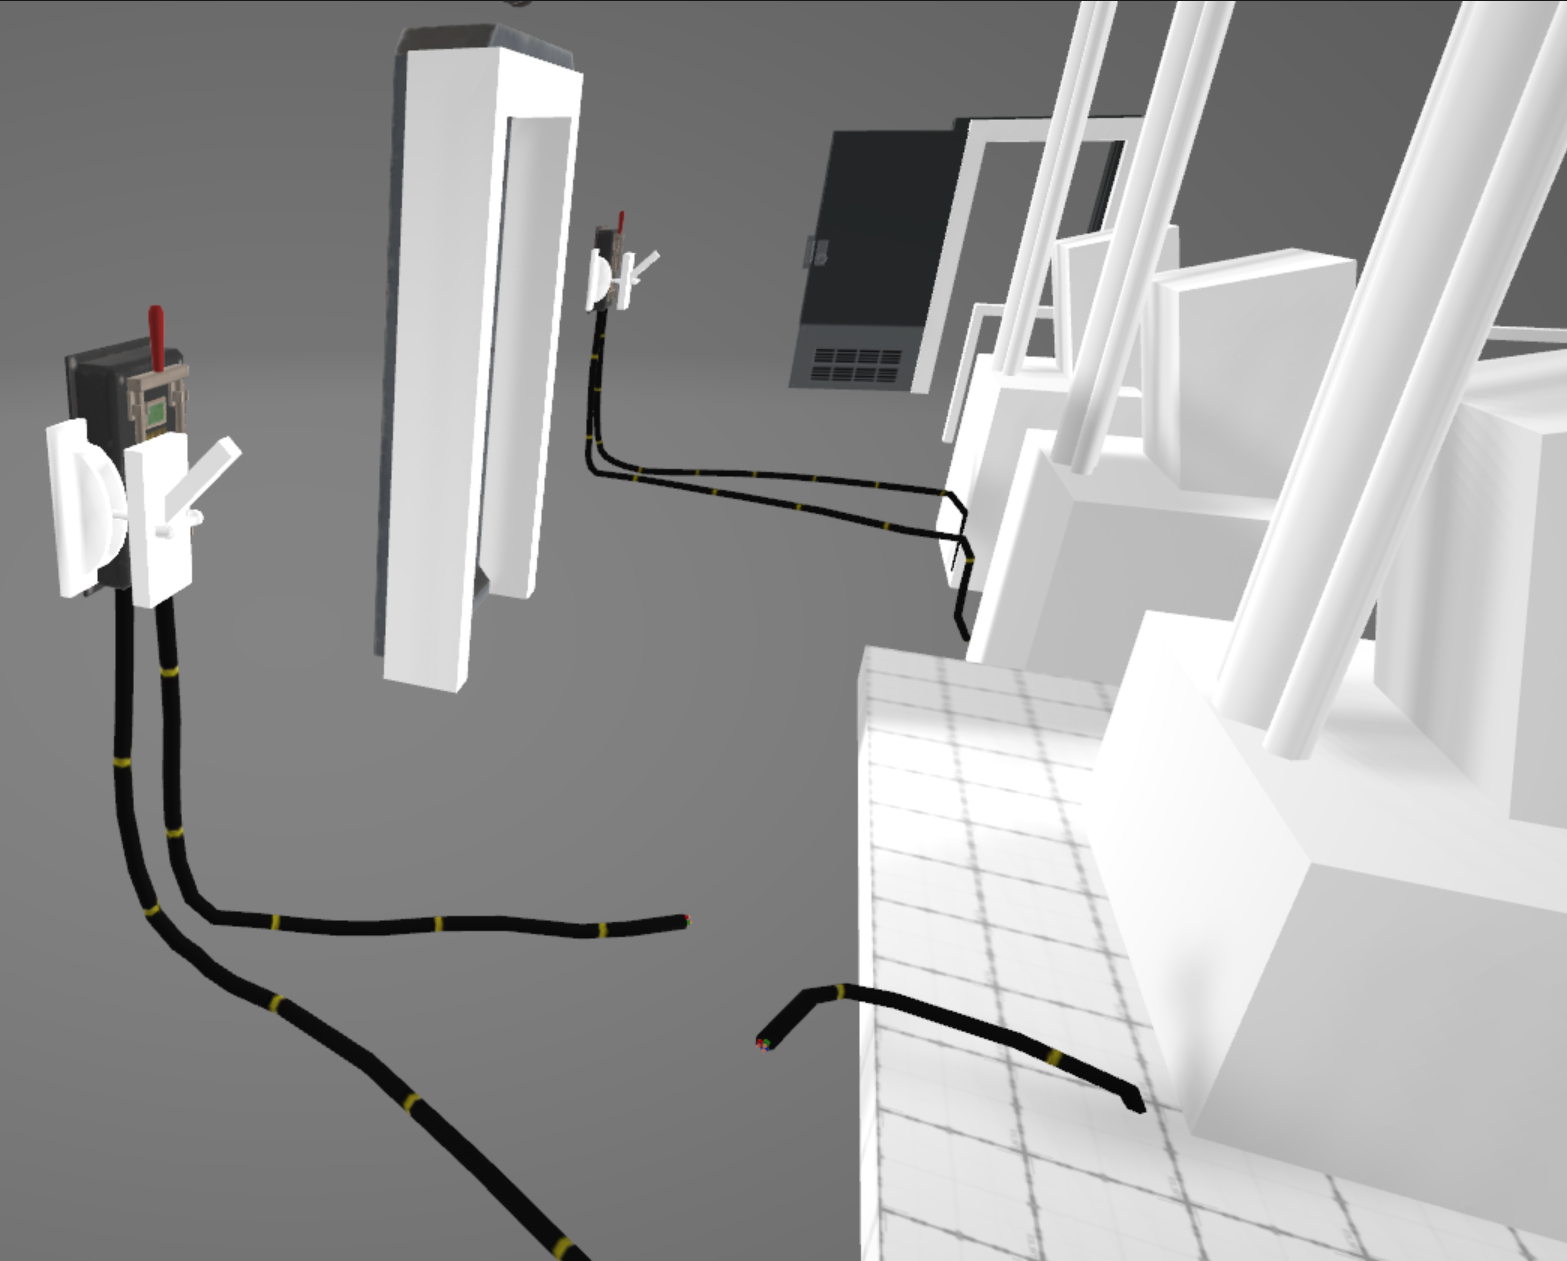
There were originally going to be six pillars, according to this asset layout (the cylinder shaped models). In the final game, only the first two were added, suggest the other four were scrapped. There are also placeholder levers, using two different variants. (One being a stick while the other looking to be a leftover from the previous game of the escape room for when closing the door from Monster Amanda/Wooly).
Security Room#
Originally, the security desk was going to be just around the corner when the player walks in. In the final game, this was changed to it being right in front of the player.
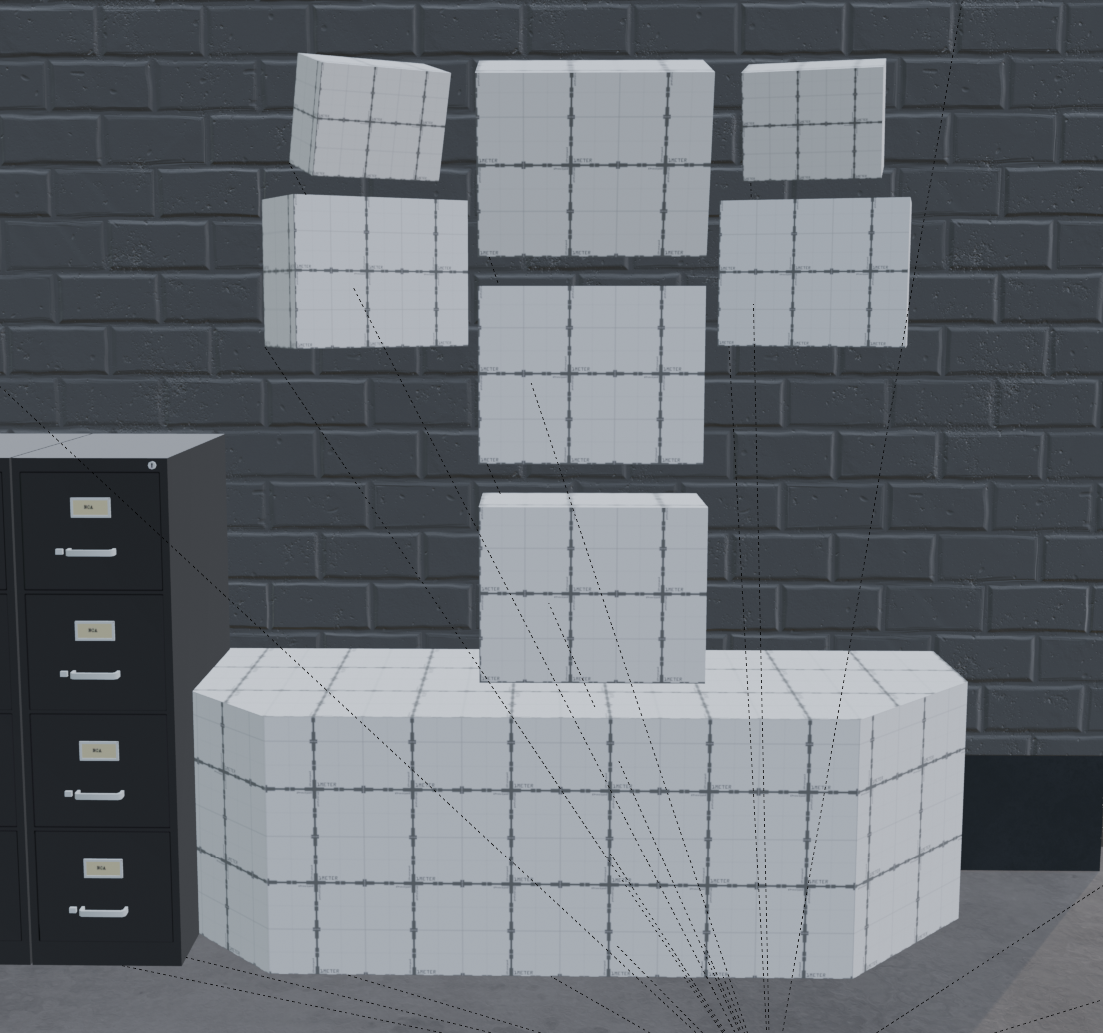
Desk Layout 1#
The first layout has mesh shapes of a desk, with a TV on top of it. And above it, six monitors in various sizes and angles.
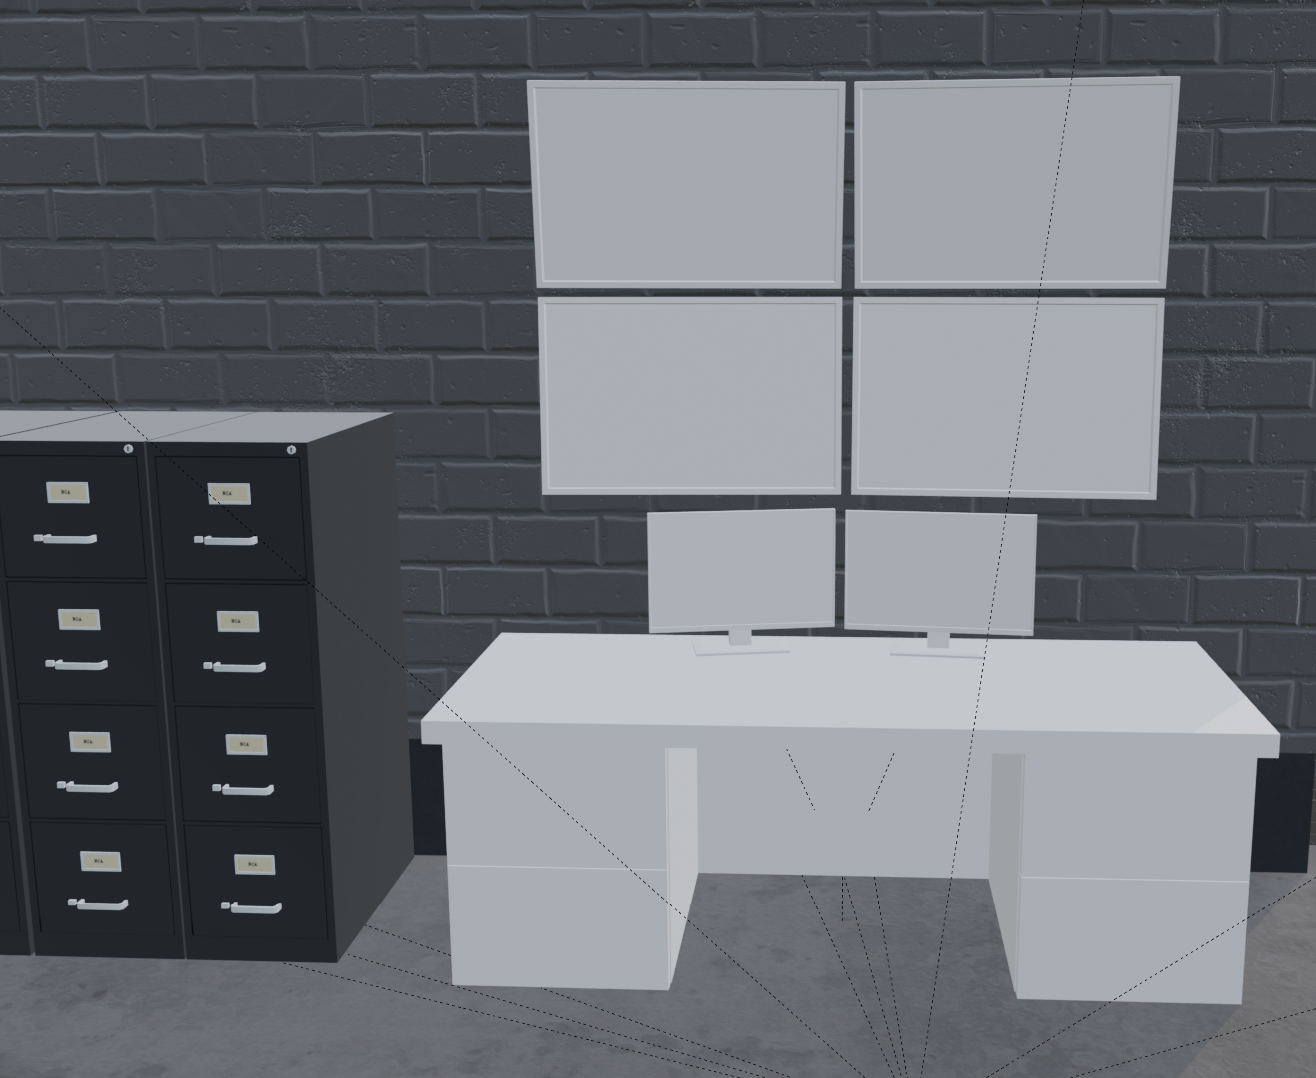
Desk Layout 2#
These asset meshes have the desk more shaped to the one unused in the files. There are two computer monitors placed on the desk, and four additional monitors above it that would attach to the wall. There is no model of a TV here, so unknown what happened here from that point.
Miscellaneous#
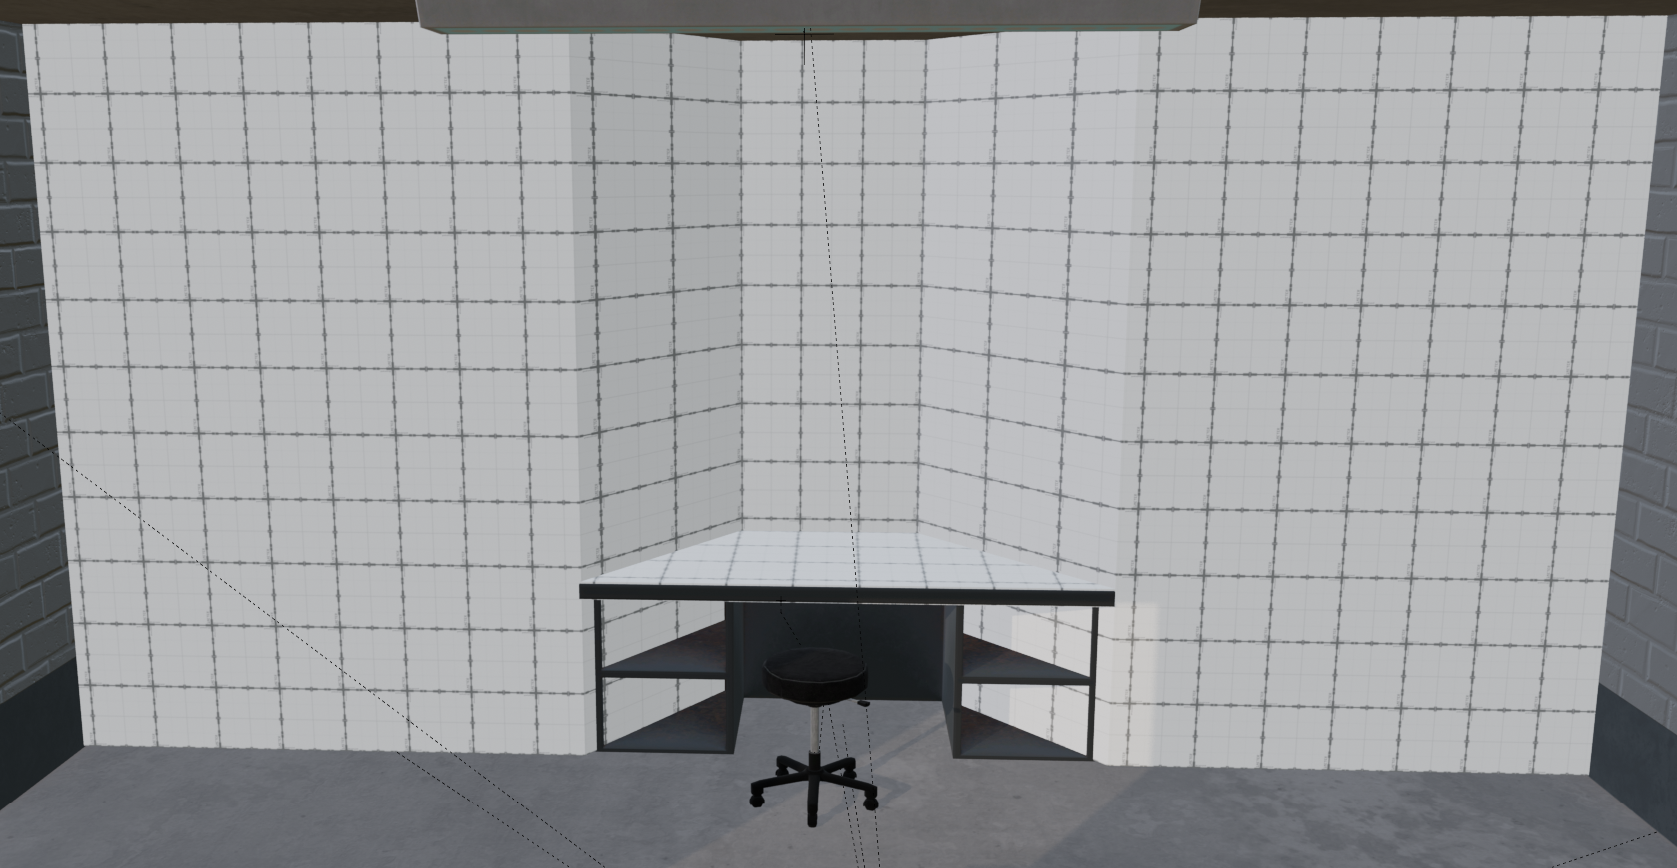
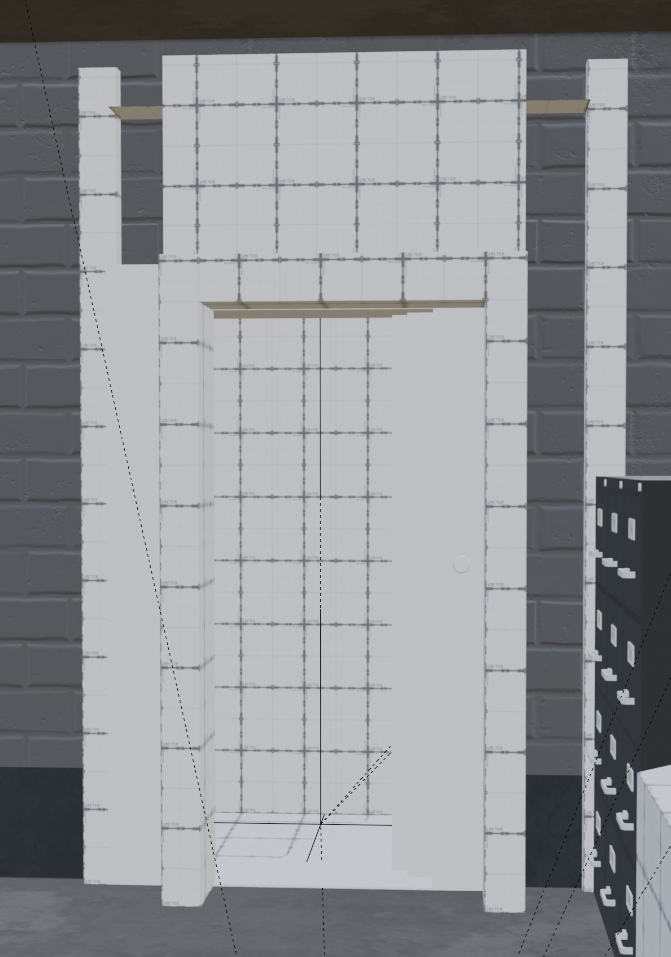
The elevator and security console are the same as final. In fact, the early mesh for the security console itself seems to fit perfectly on the unused desk itself.
Chapel Room#
There doesn't seem to be any major changes here in the second area, as it is mostly the same as the final. There is only one major difference that can be found in this area.
Hallway#
All that remains here is the elevator and floor plain. Weirdly, there is an elevator and mirror frame that can be found out of bounds when loading the level in a model viewer.
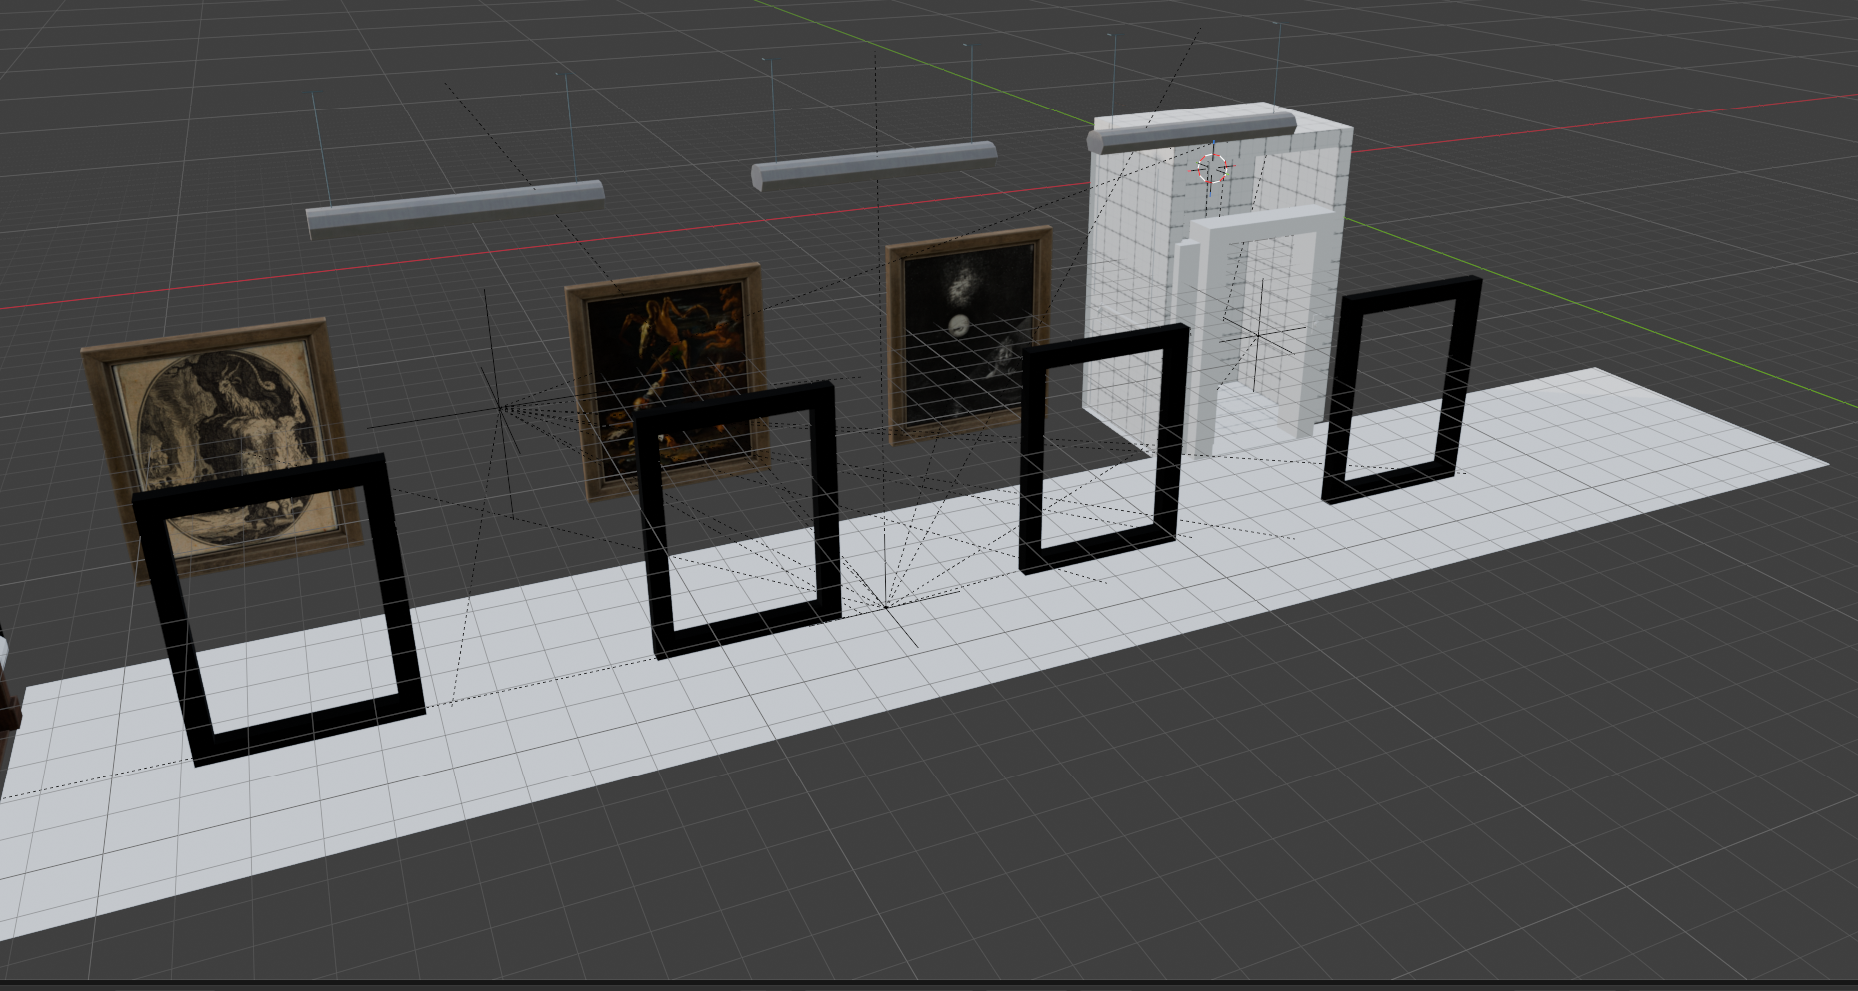

Main Area#
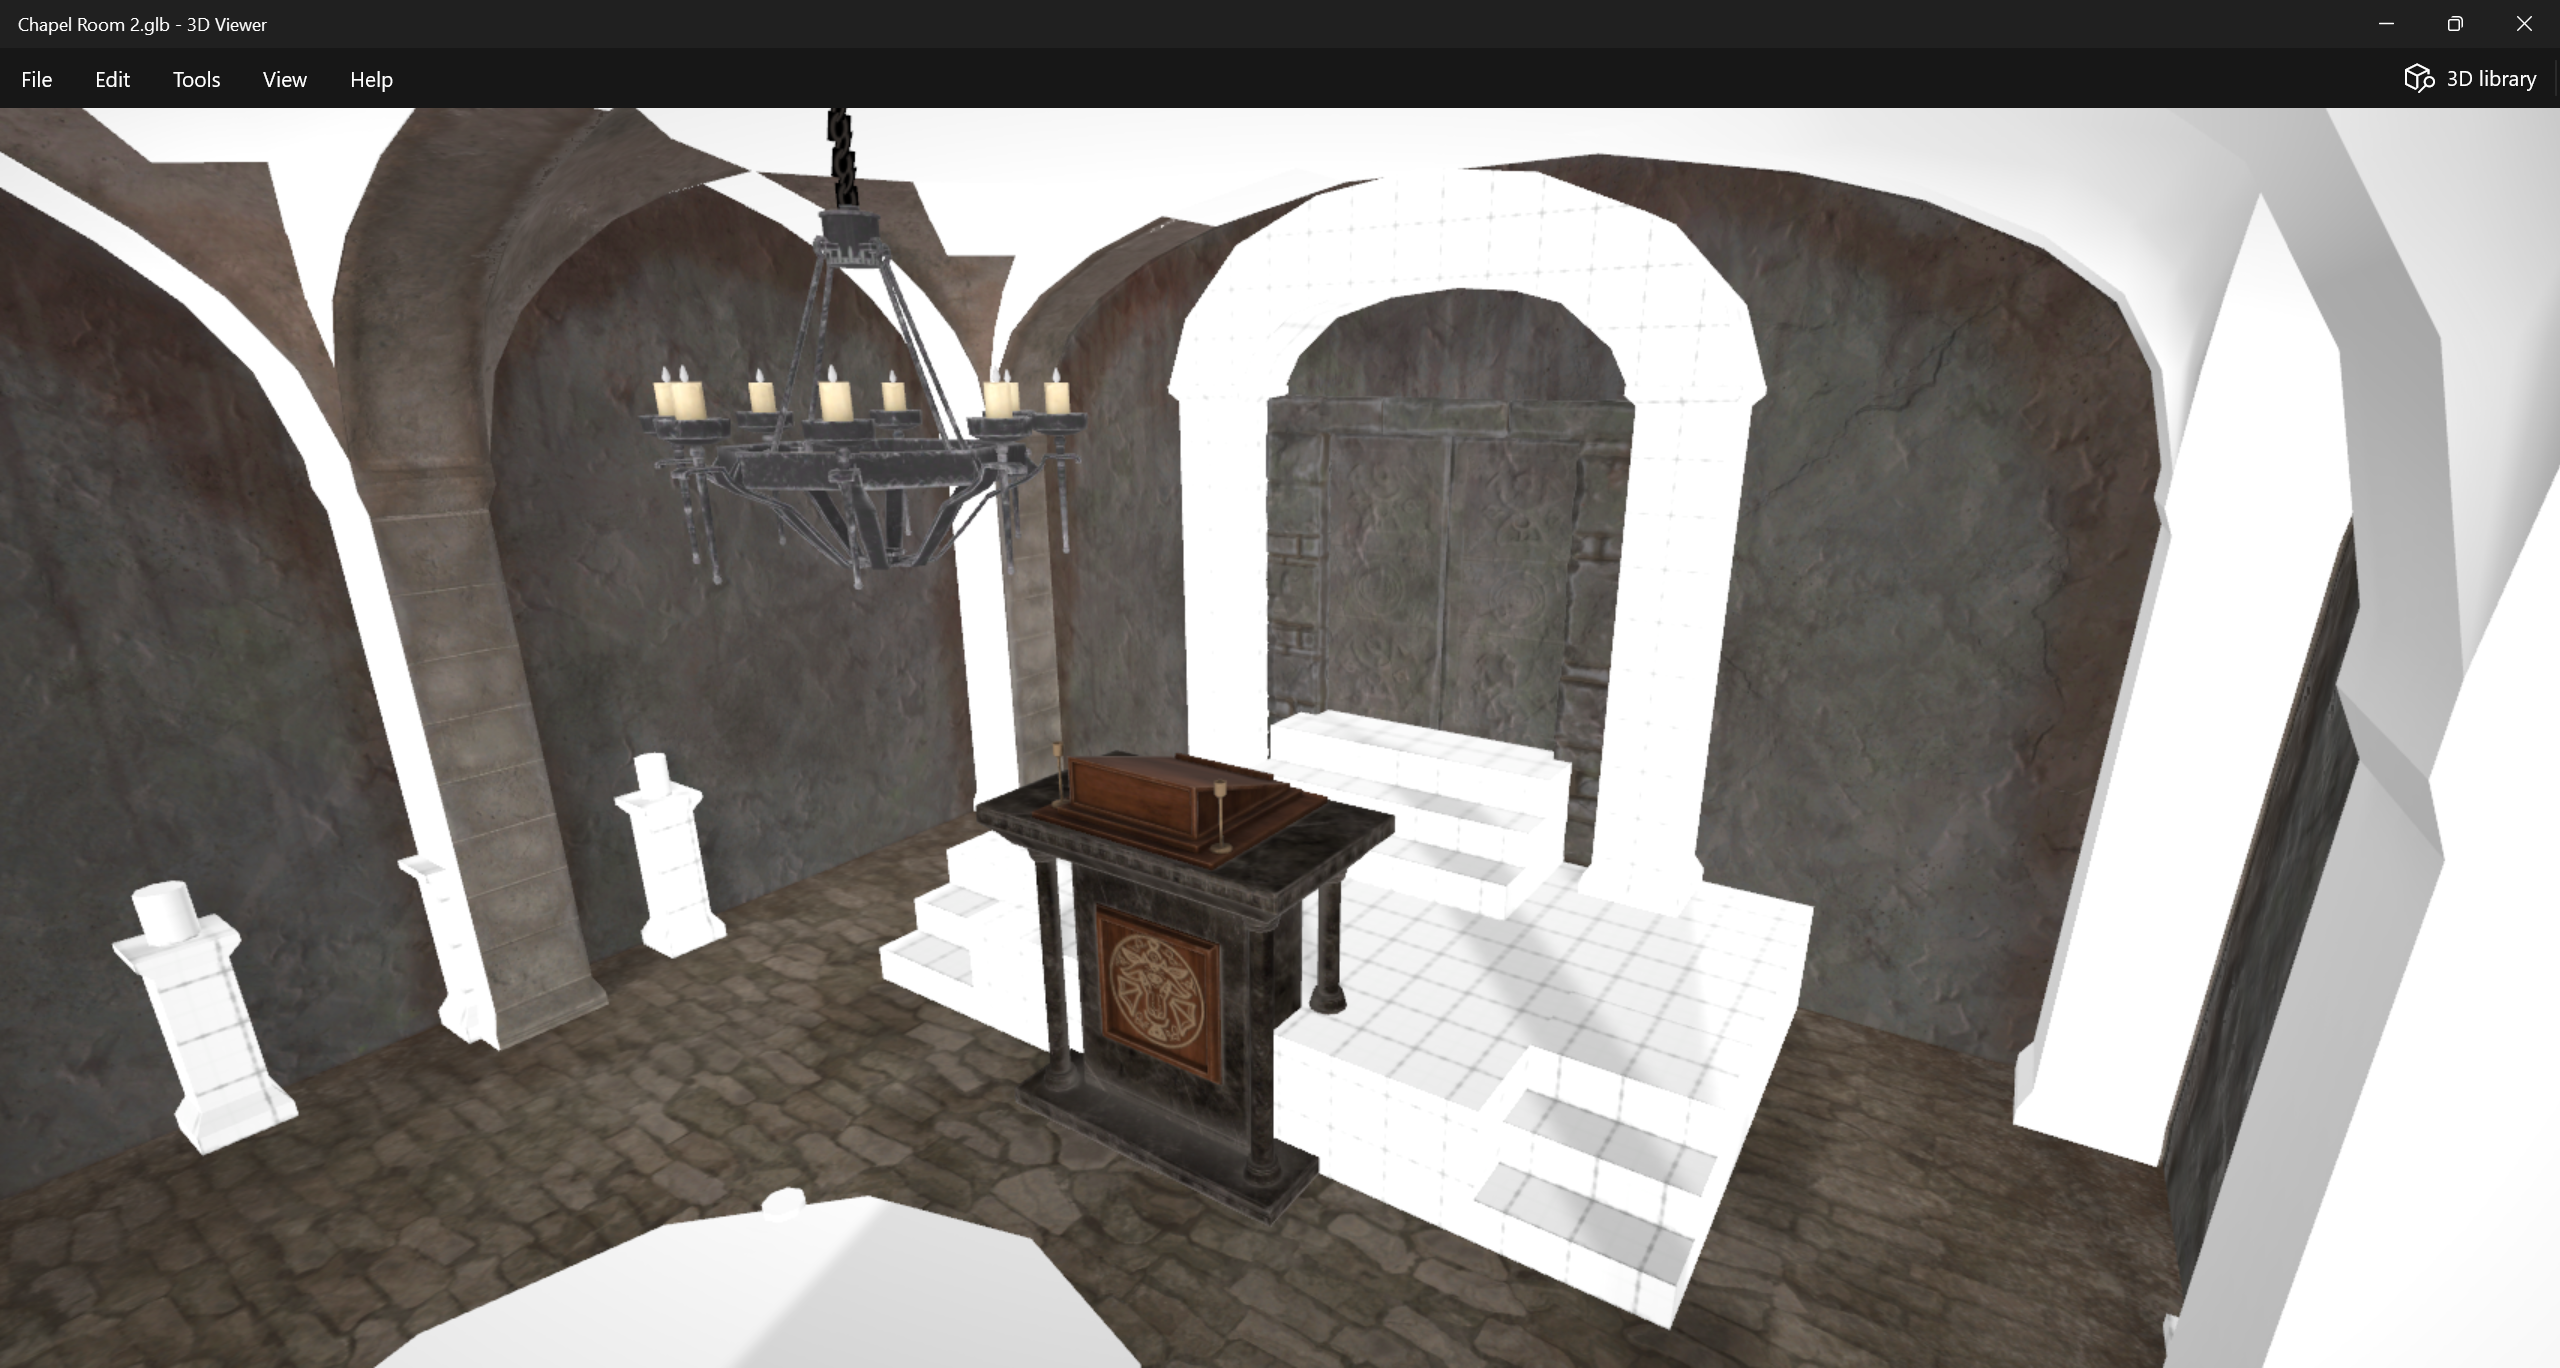
This room is mostly unchanged from the final, with the only exception being the two candles in both of the further corners.
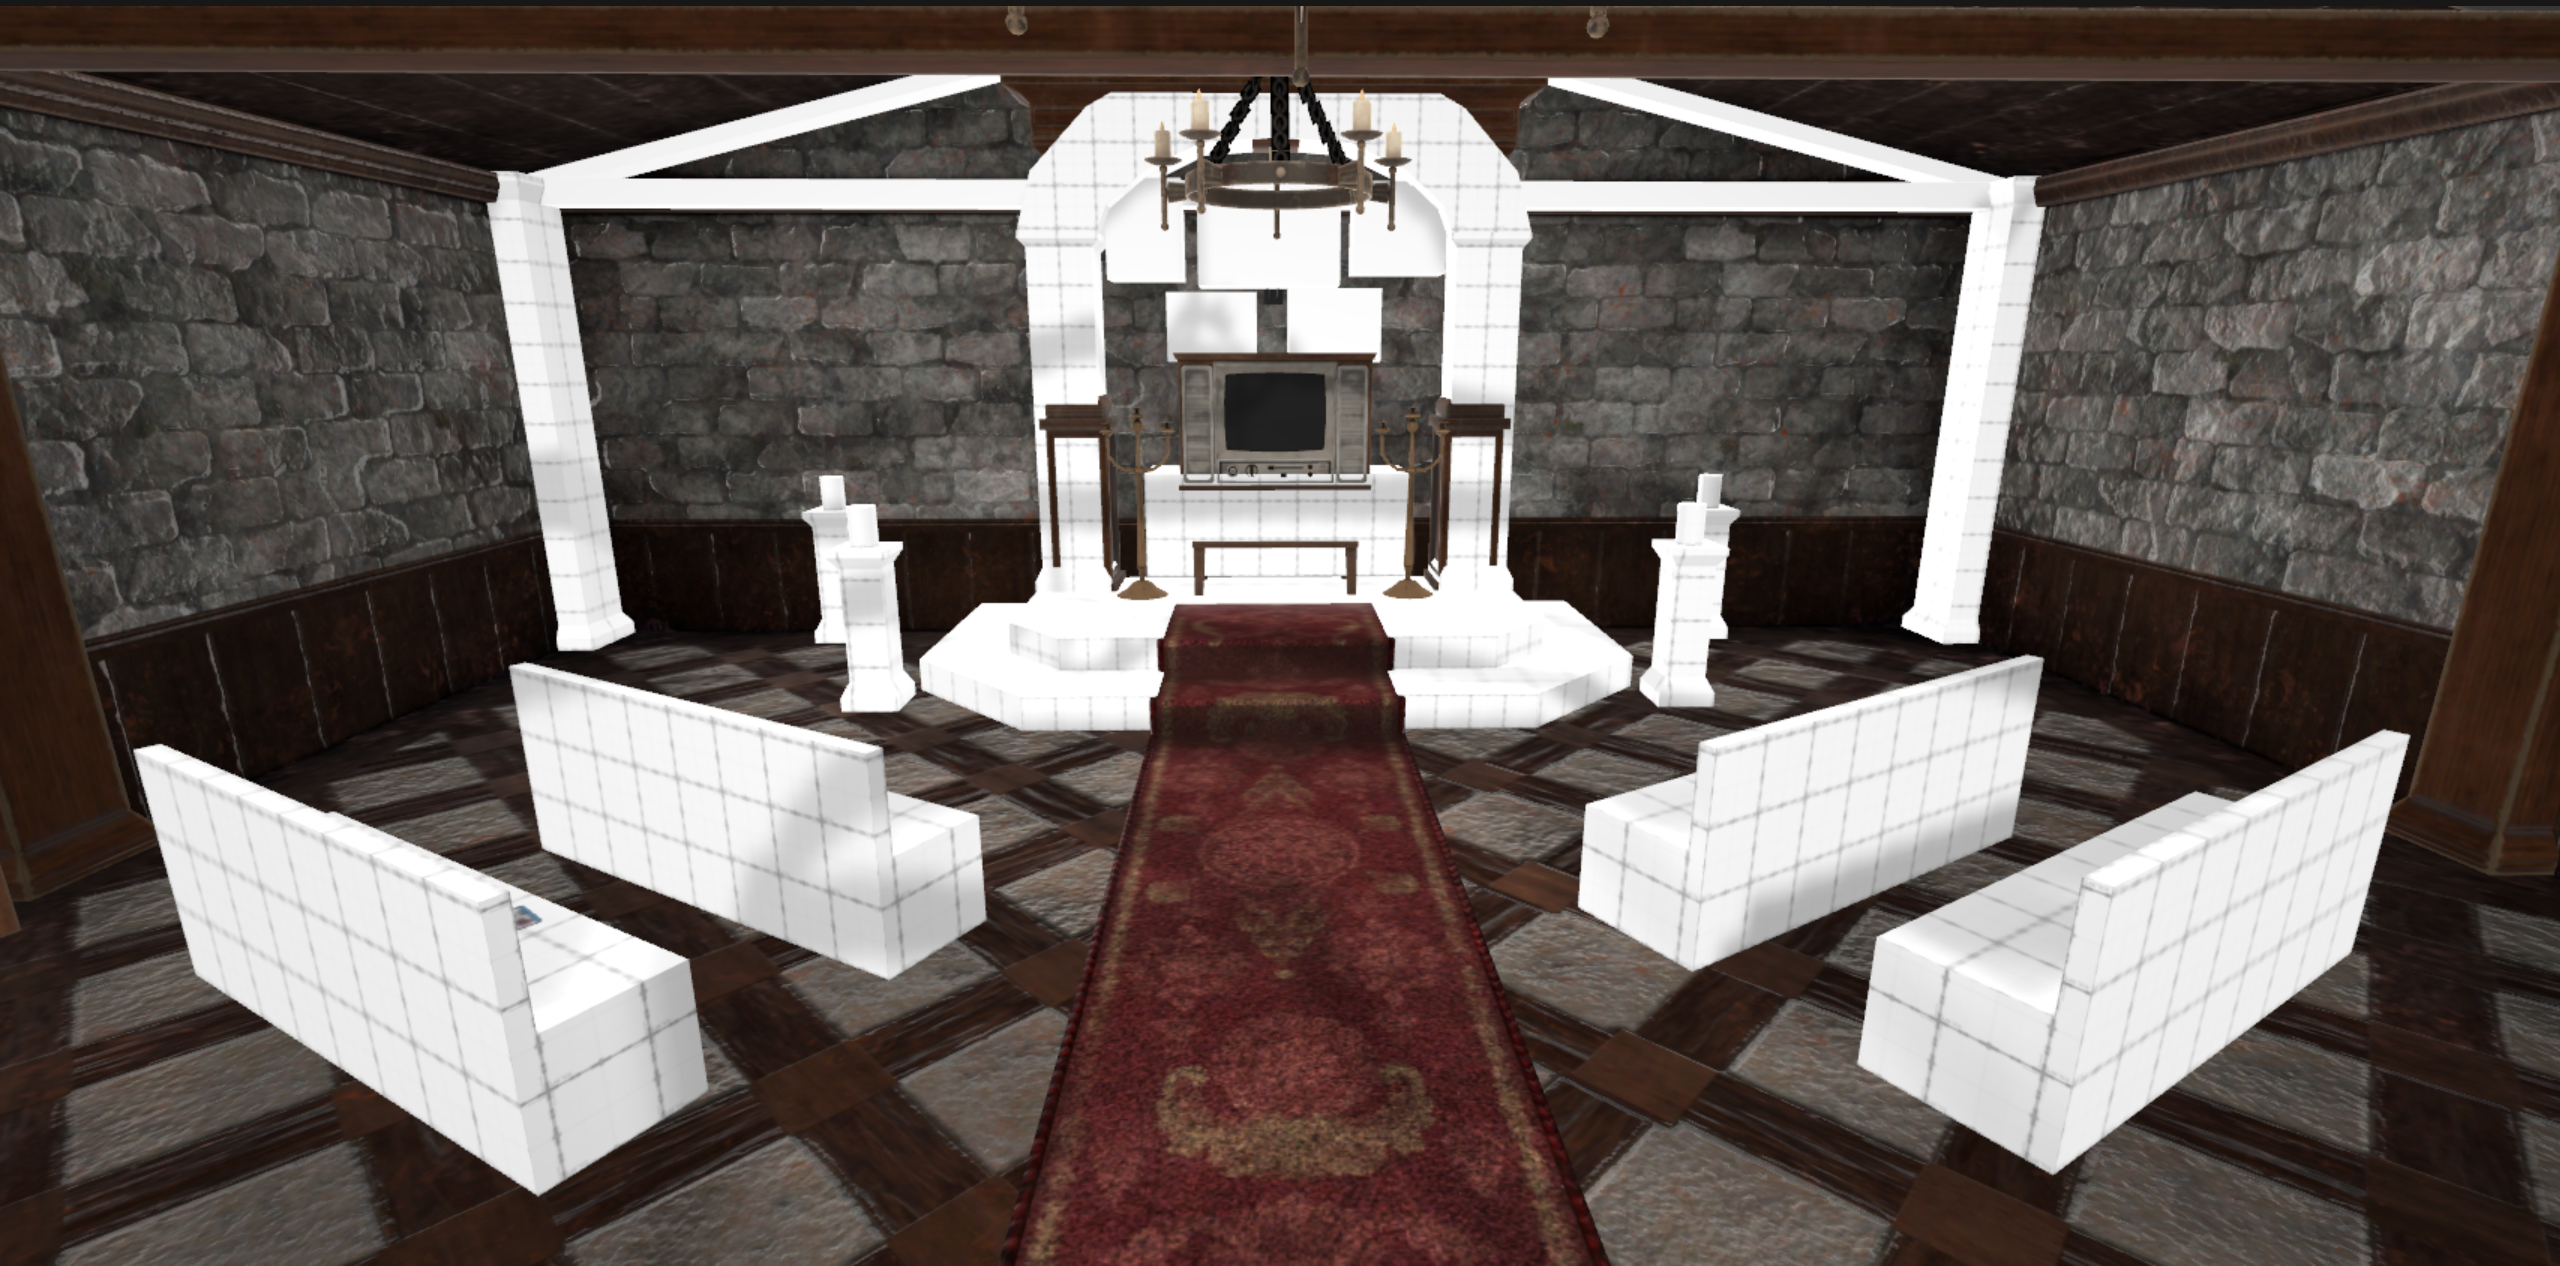
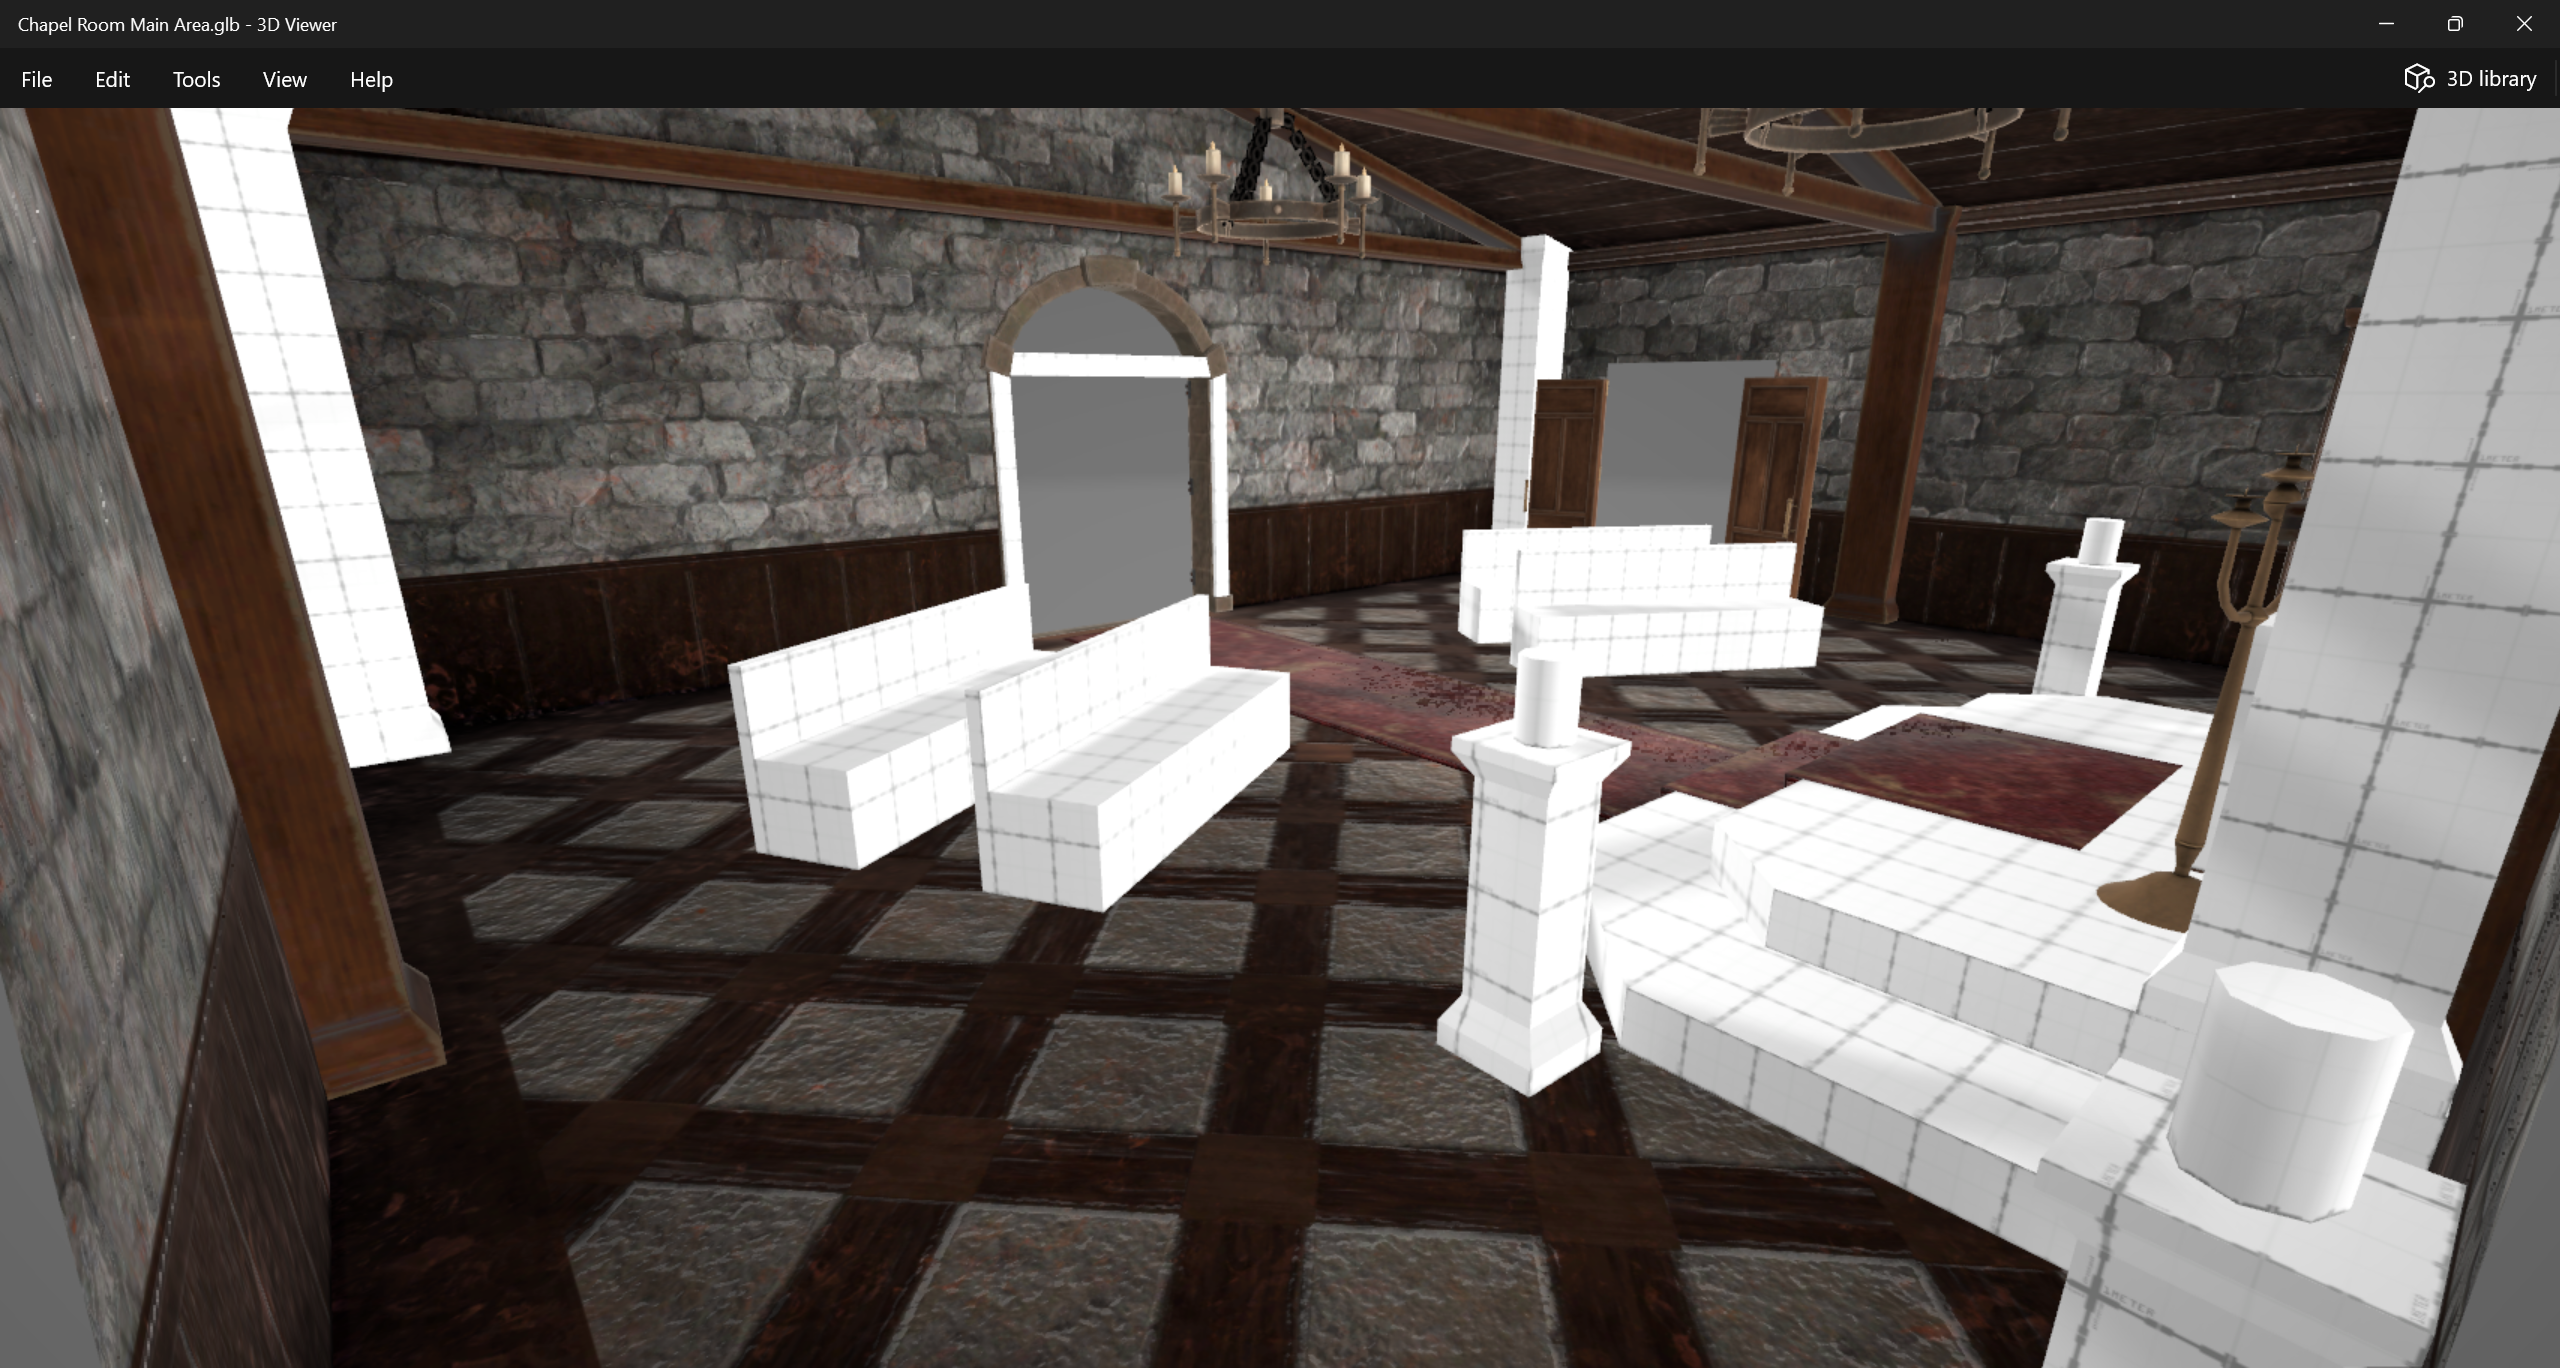
Ritual Room#
The candles on the sides were once on stands, but were later replaced to be lantern-like objects. There seems to also be an extra step behind the stand, to where the player would enter Rebecca's Pod Room.
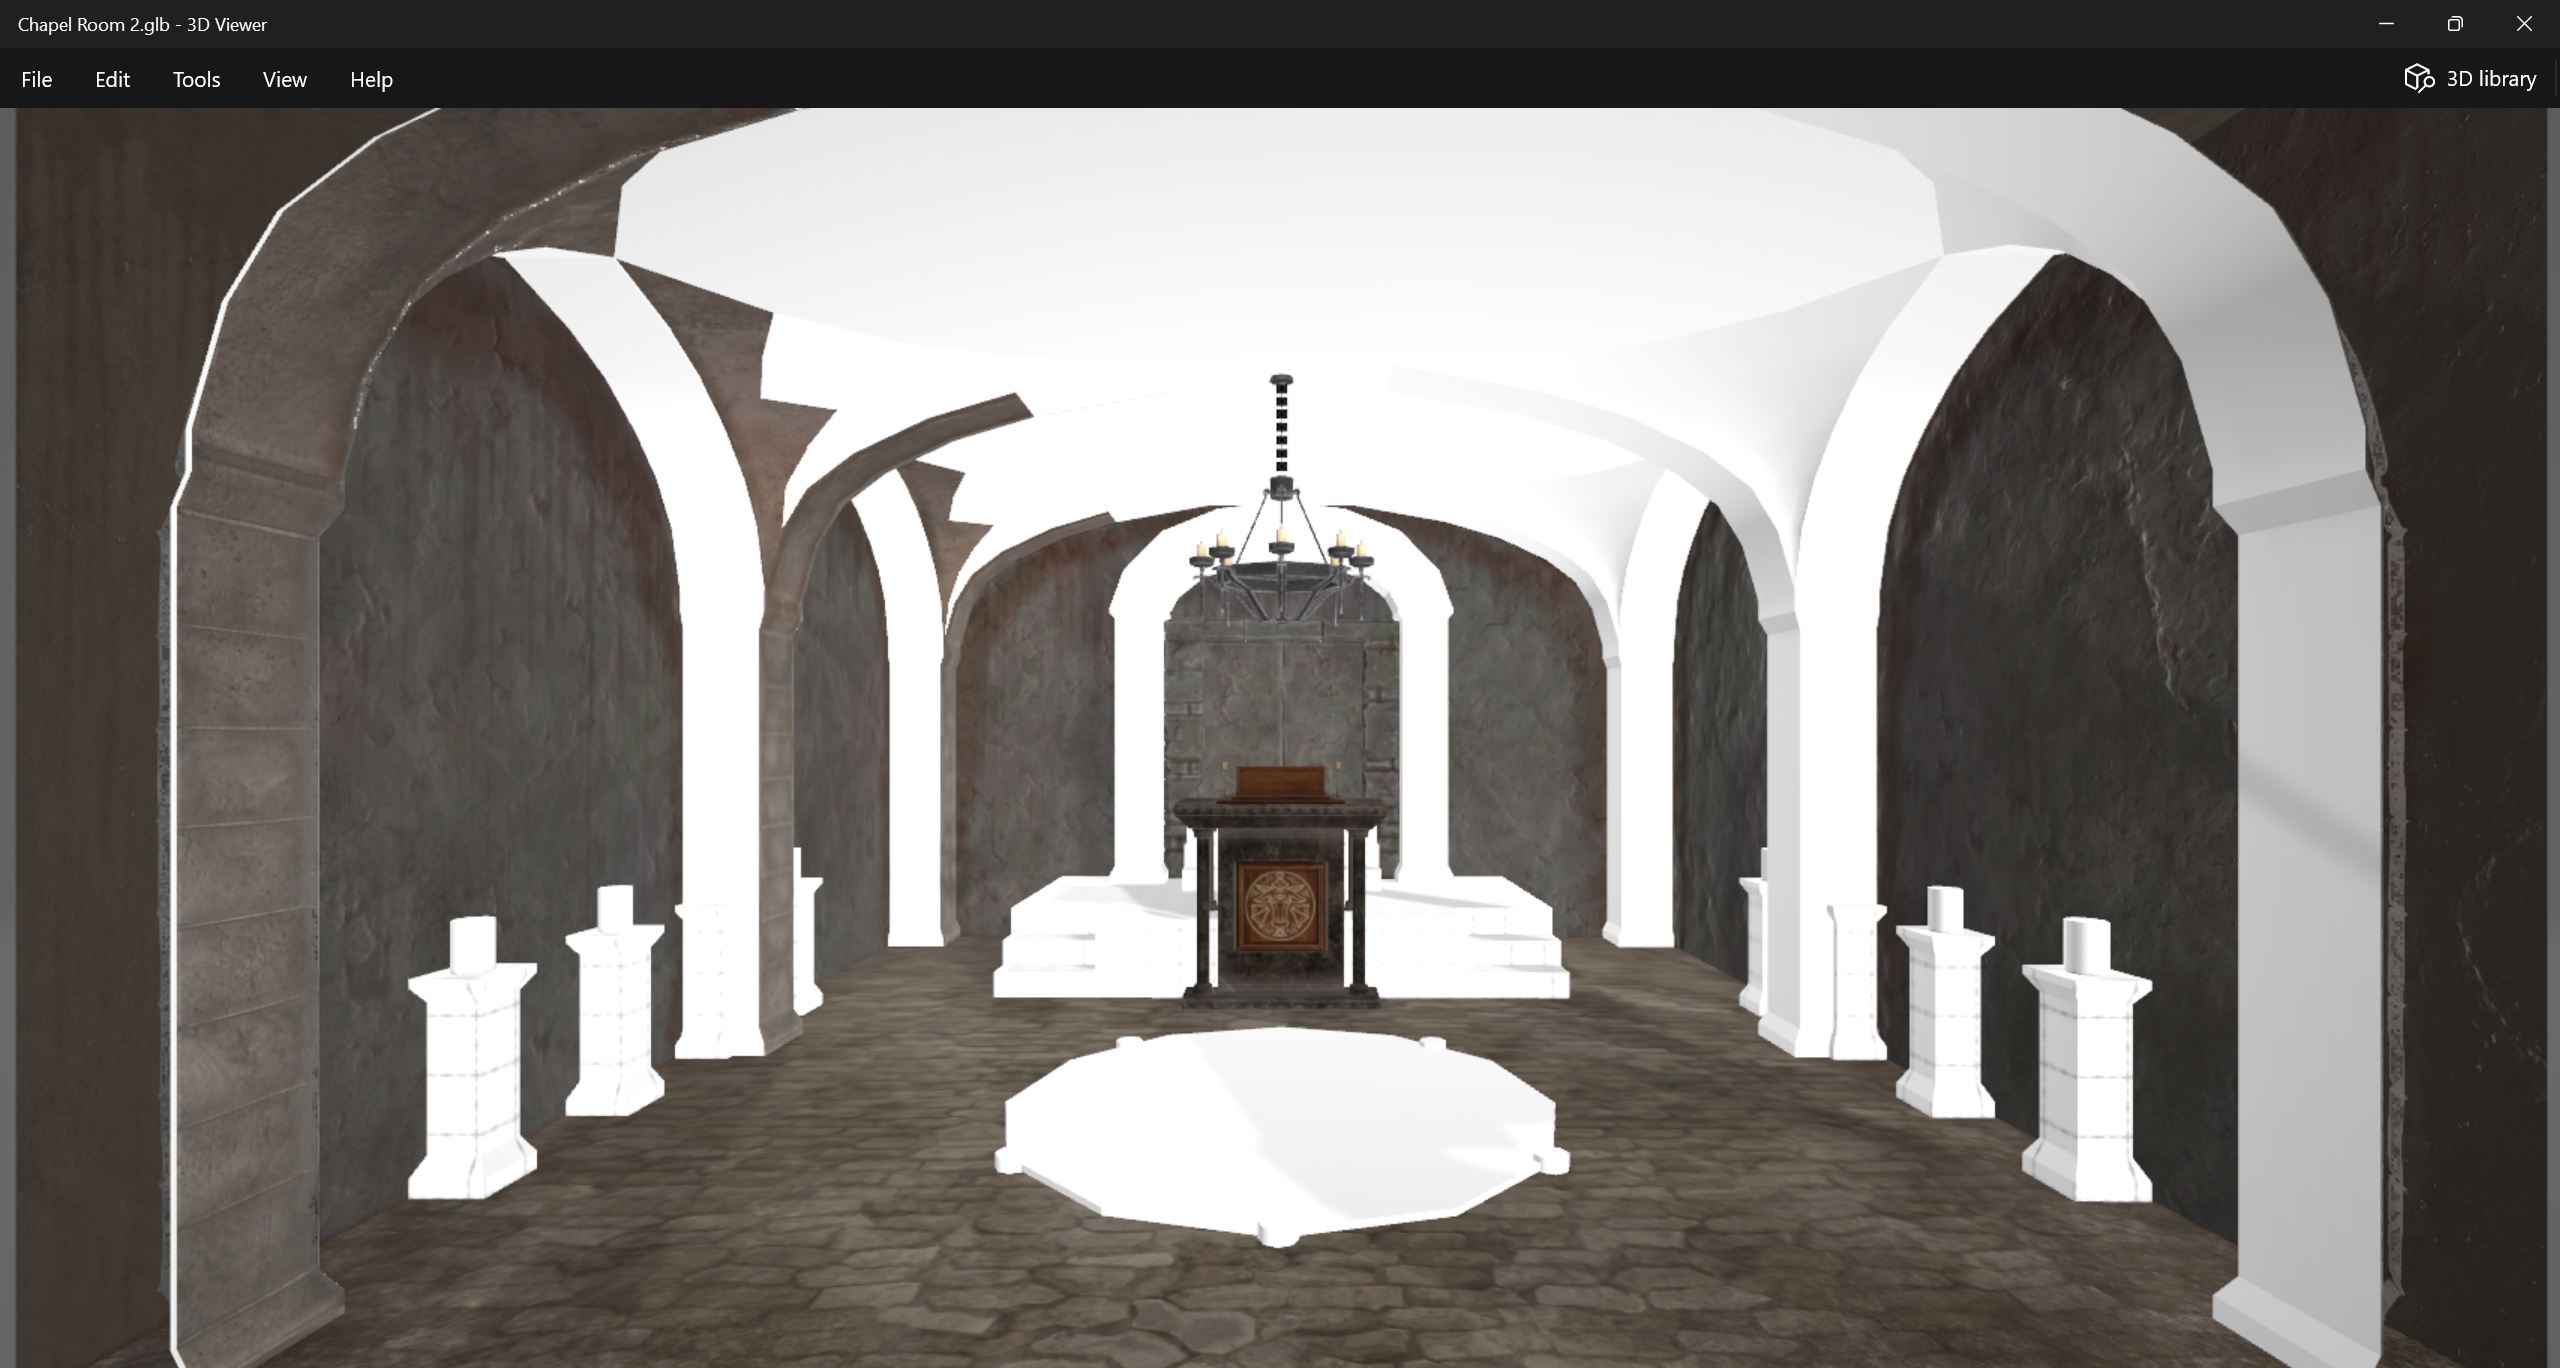
Rebecca's Pod Room#
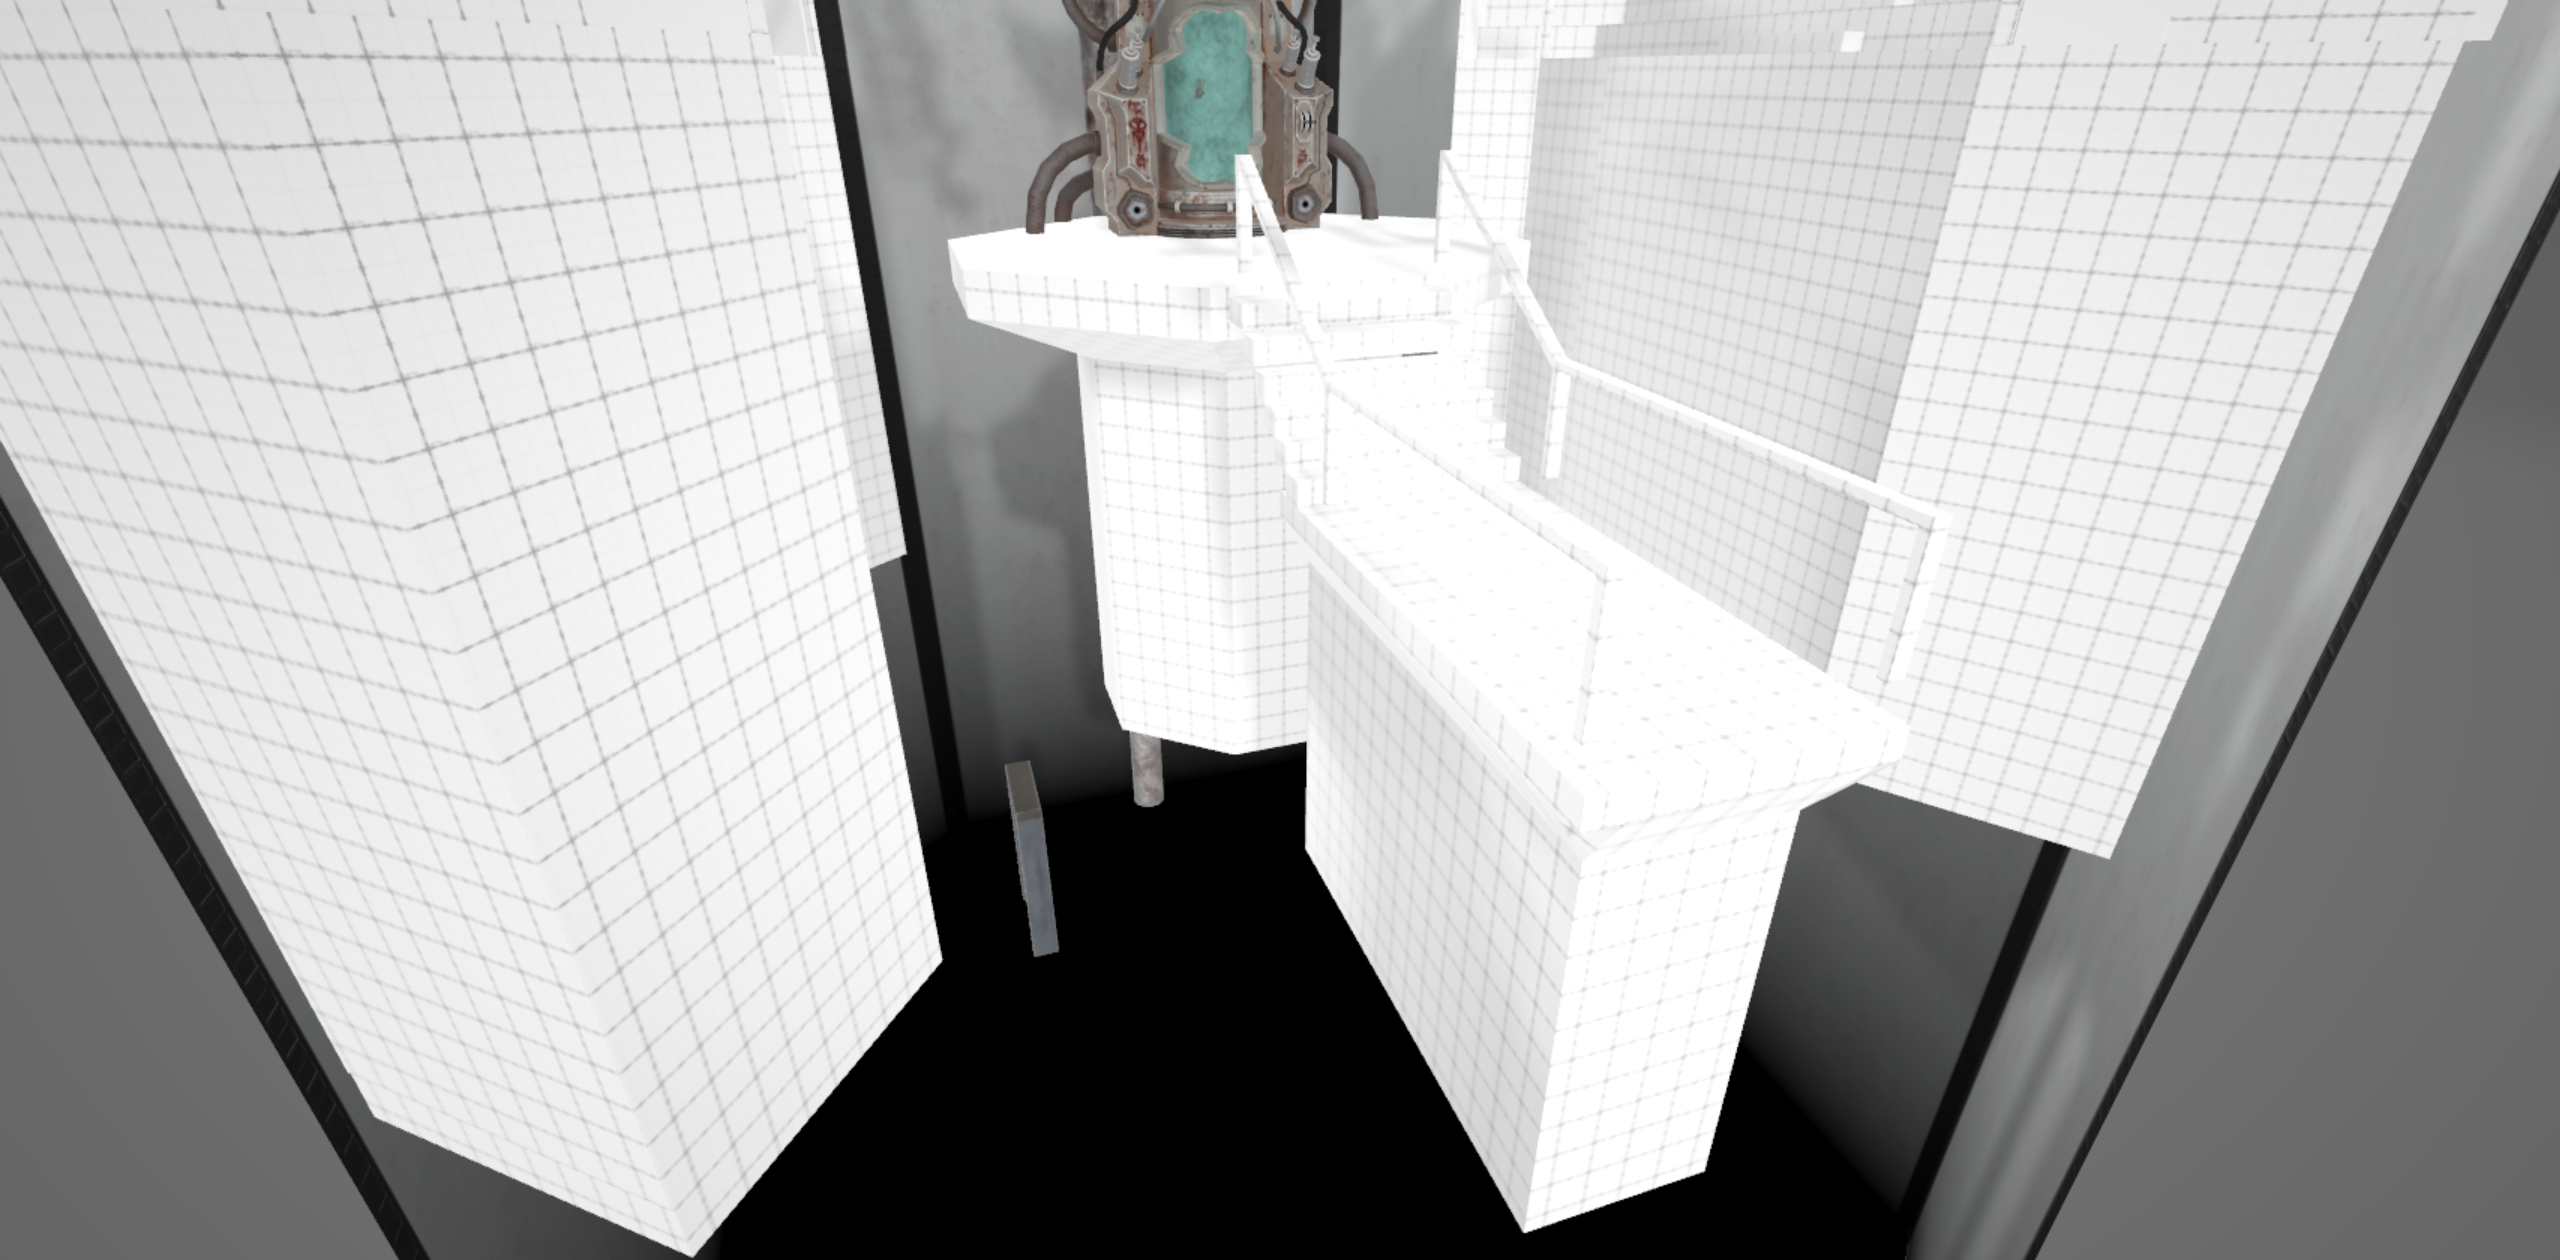
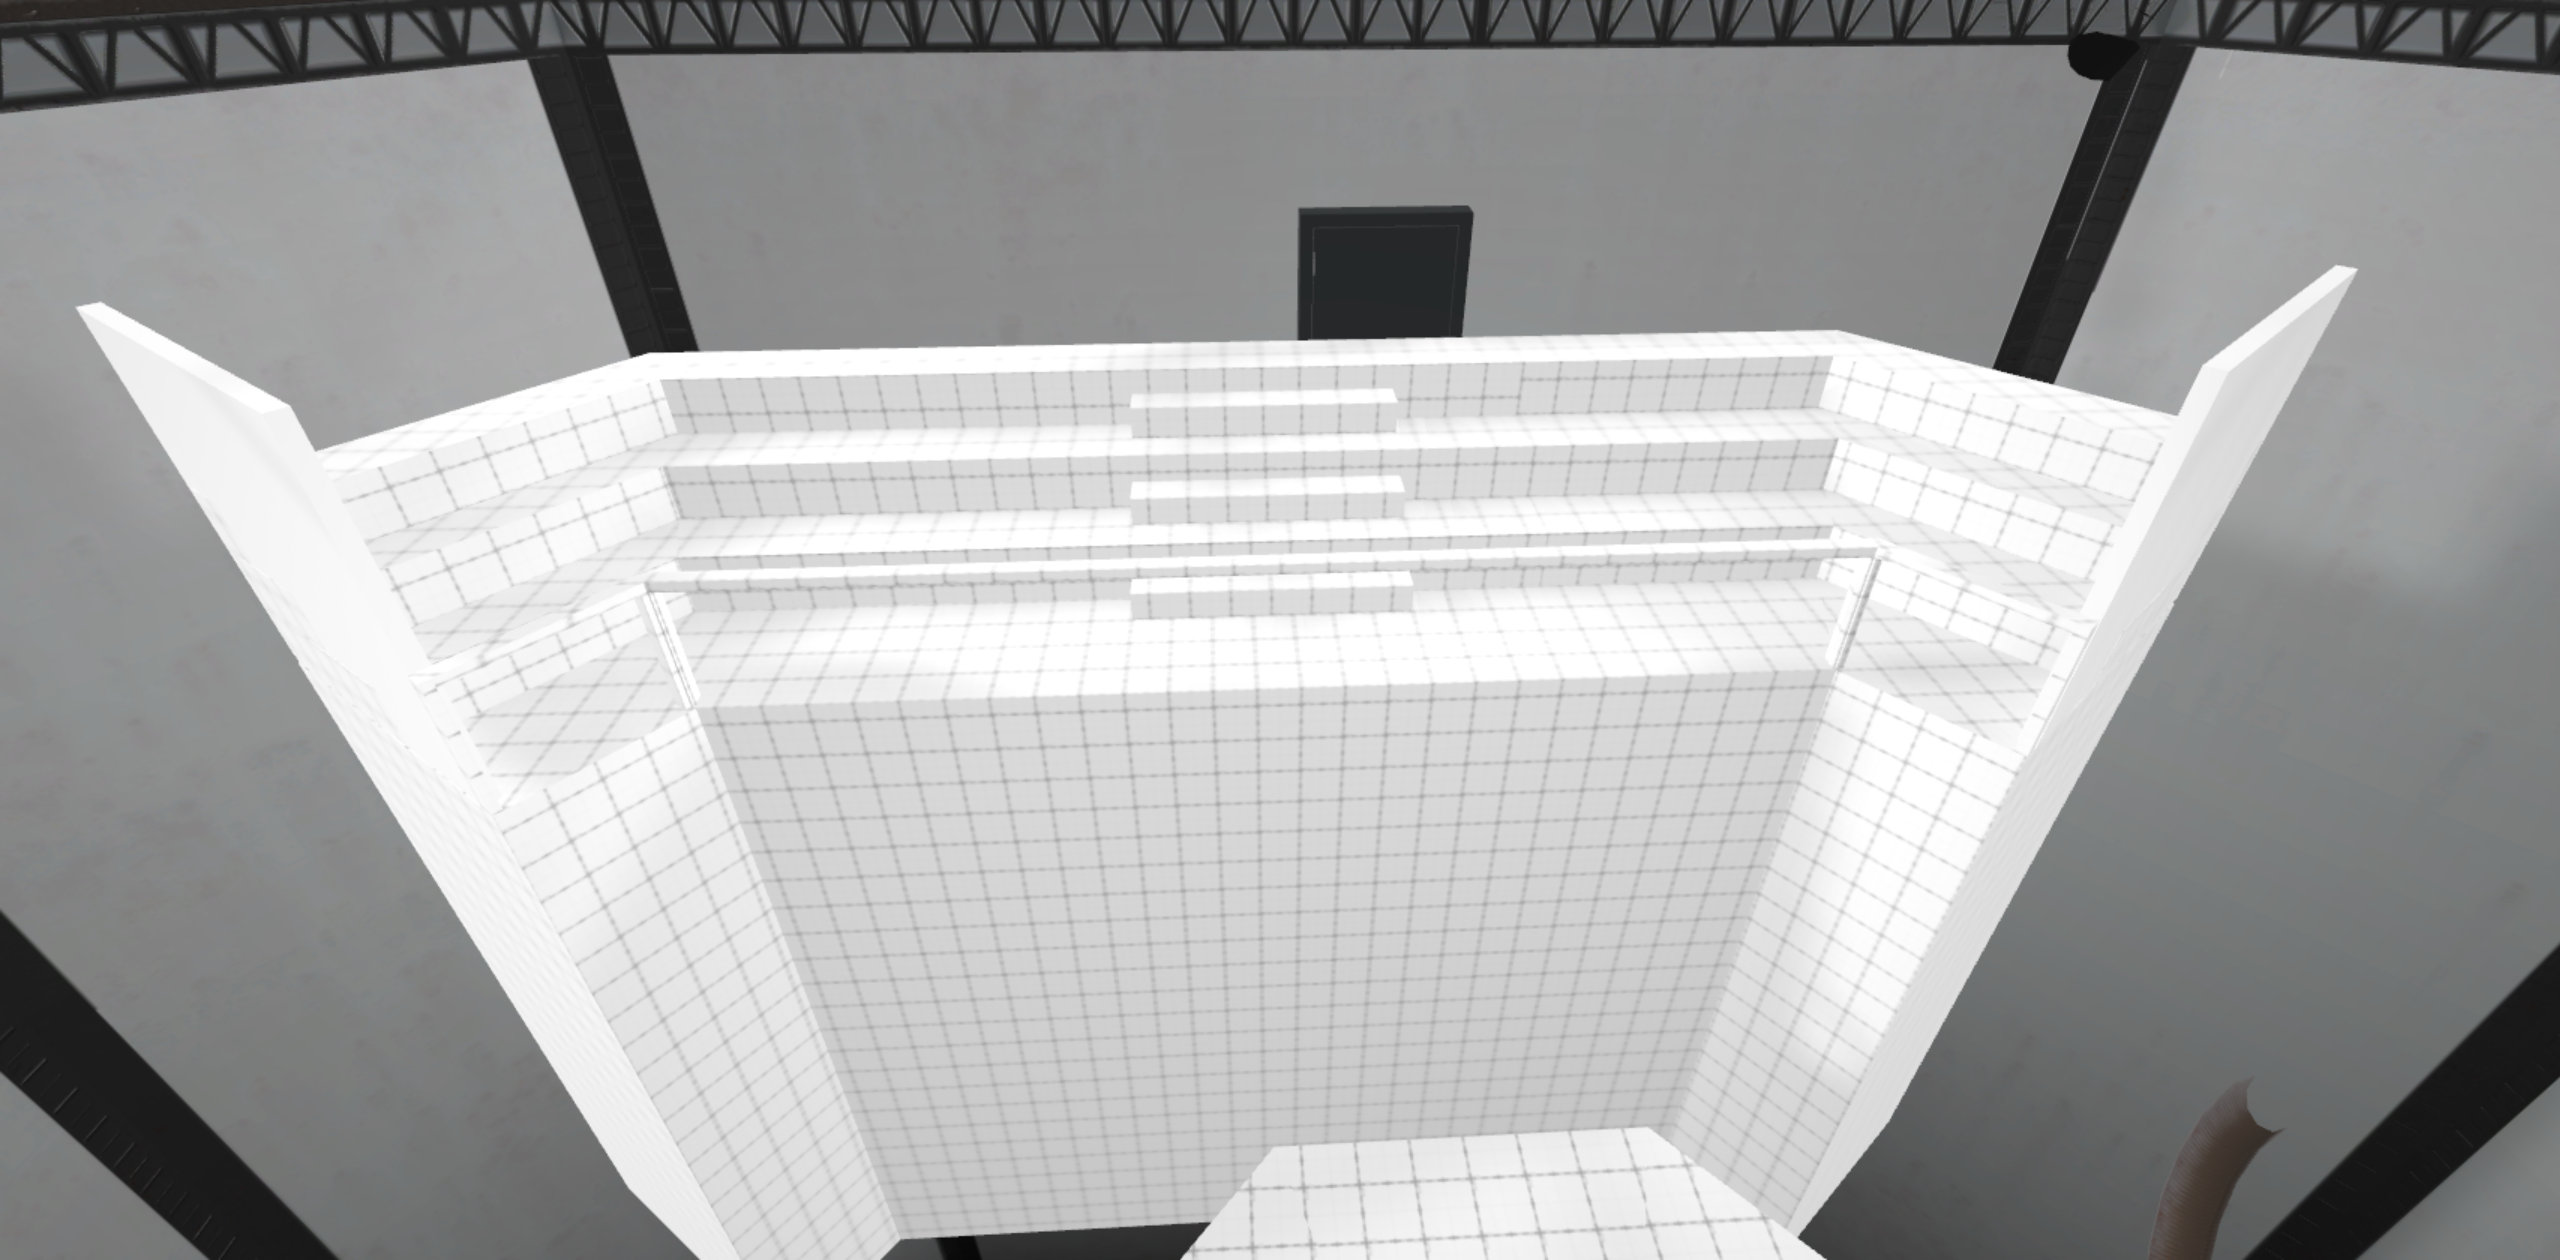
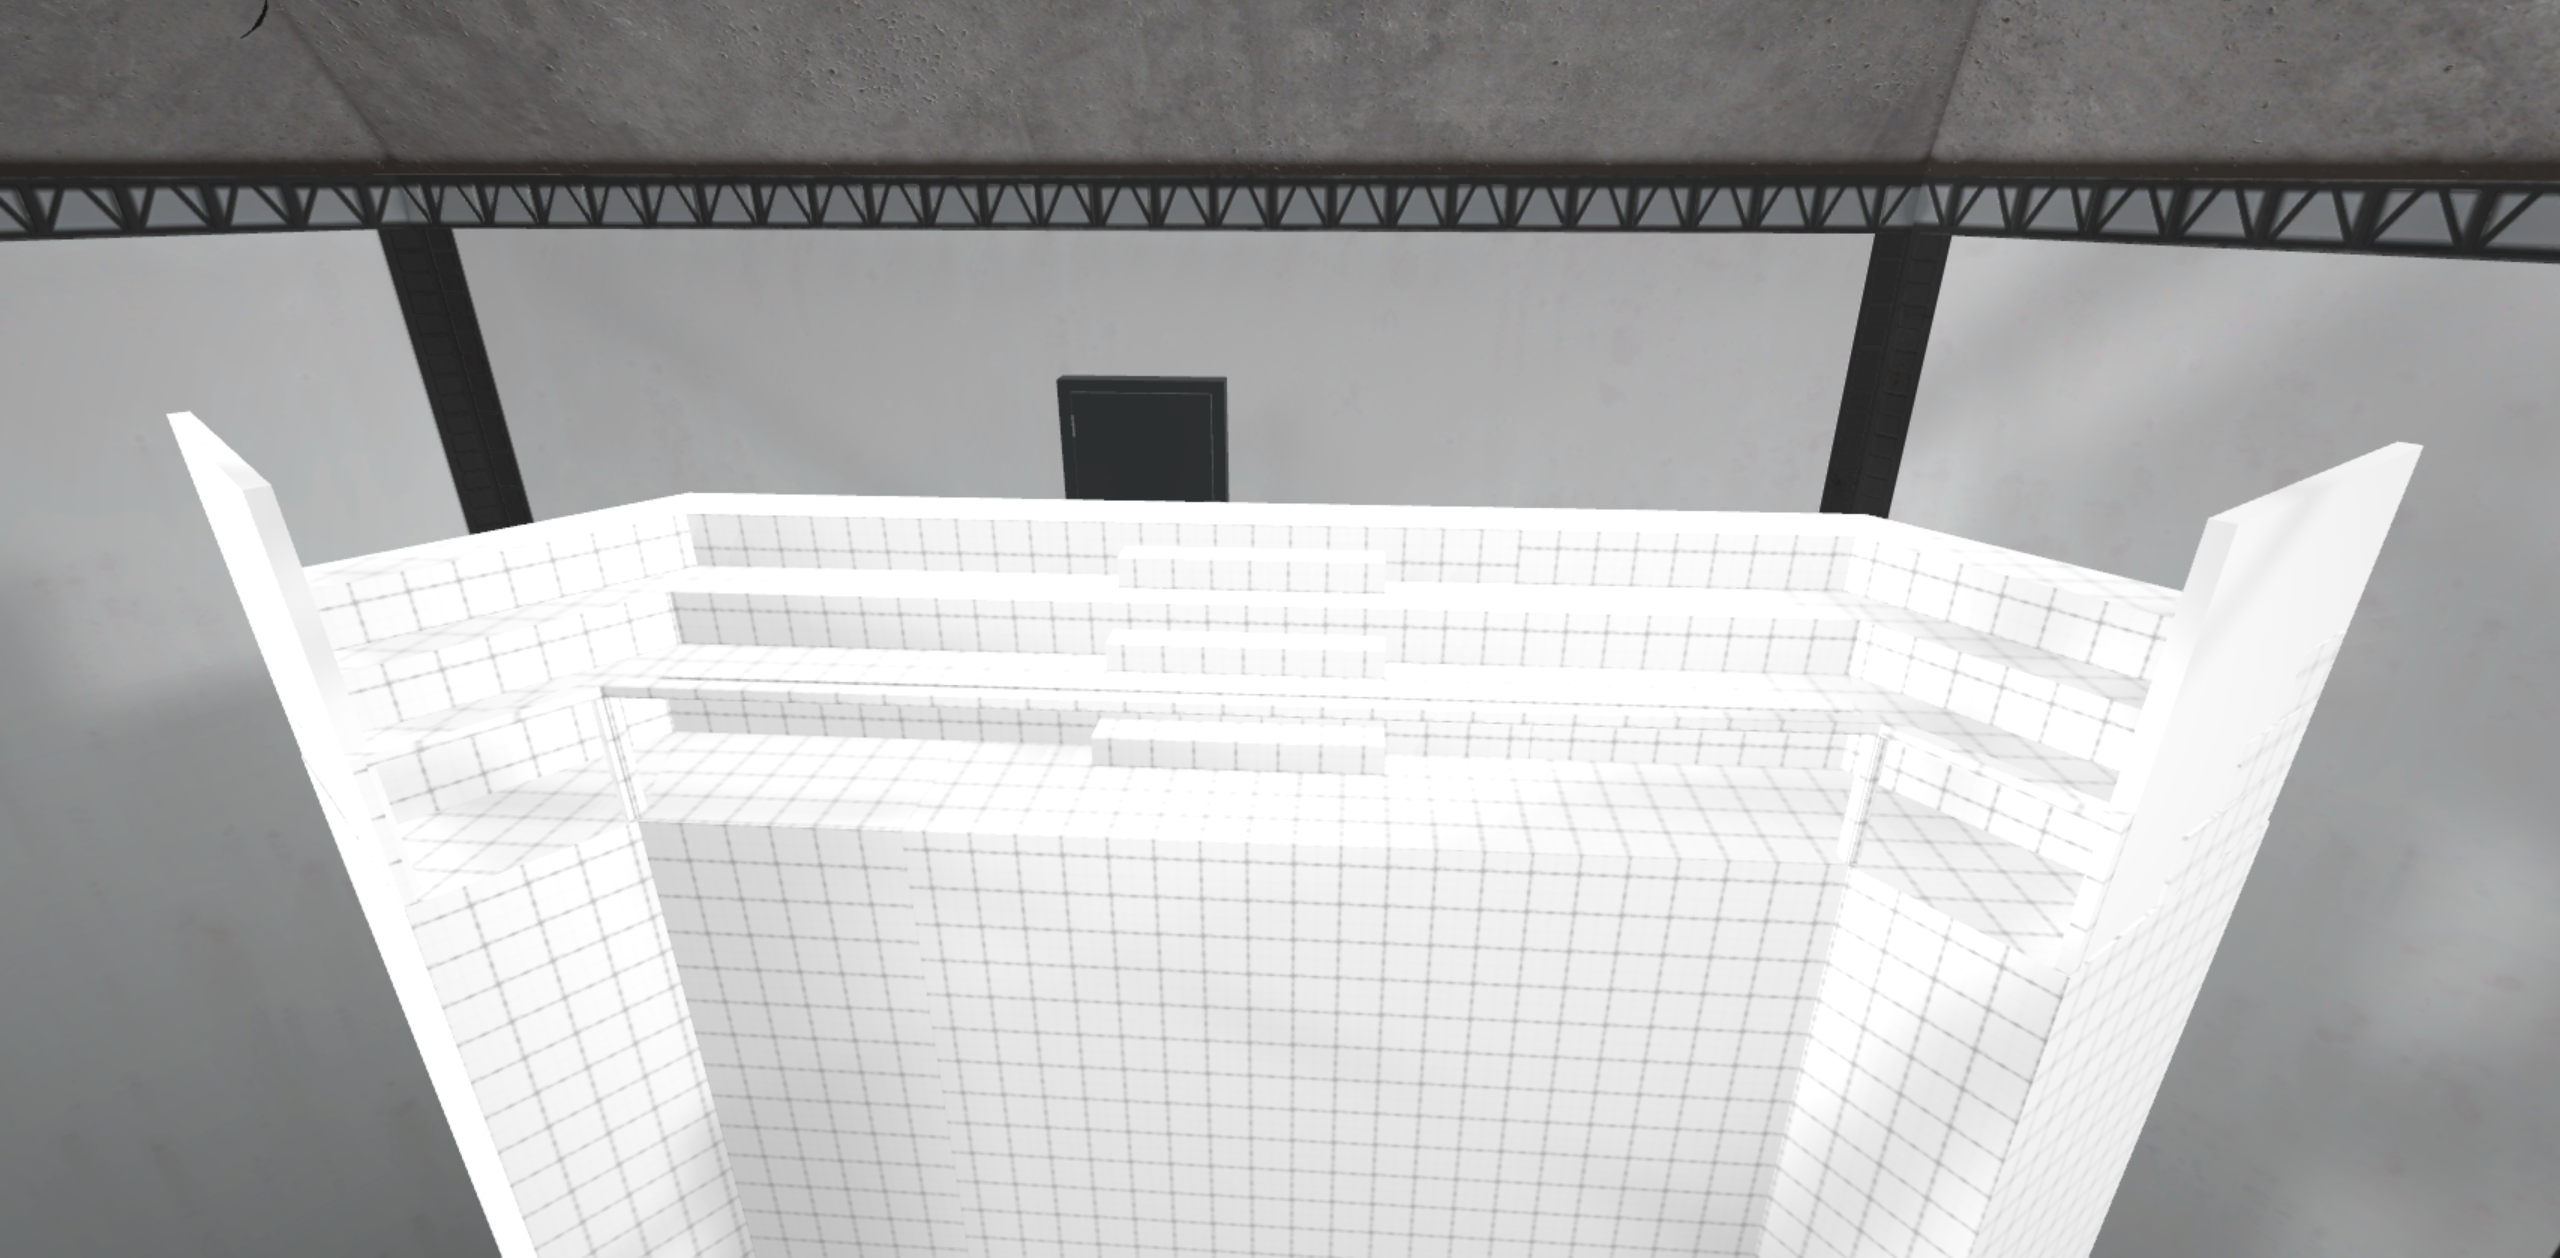
This area can be seen in both the first room and second room, with the only major difference being the bridges at the bottom of the pit being absent in the firs room. Otherwise, the meshes are the same as final.
Miscellaneous Rooms#
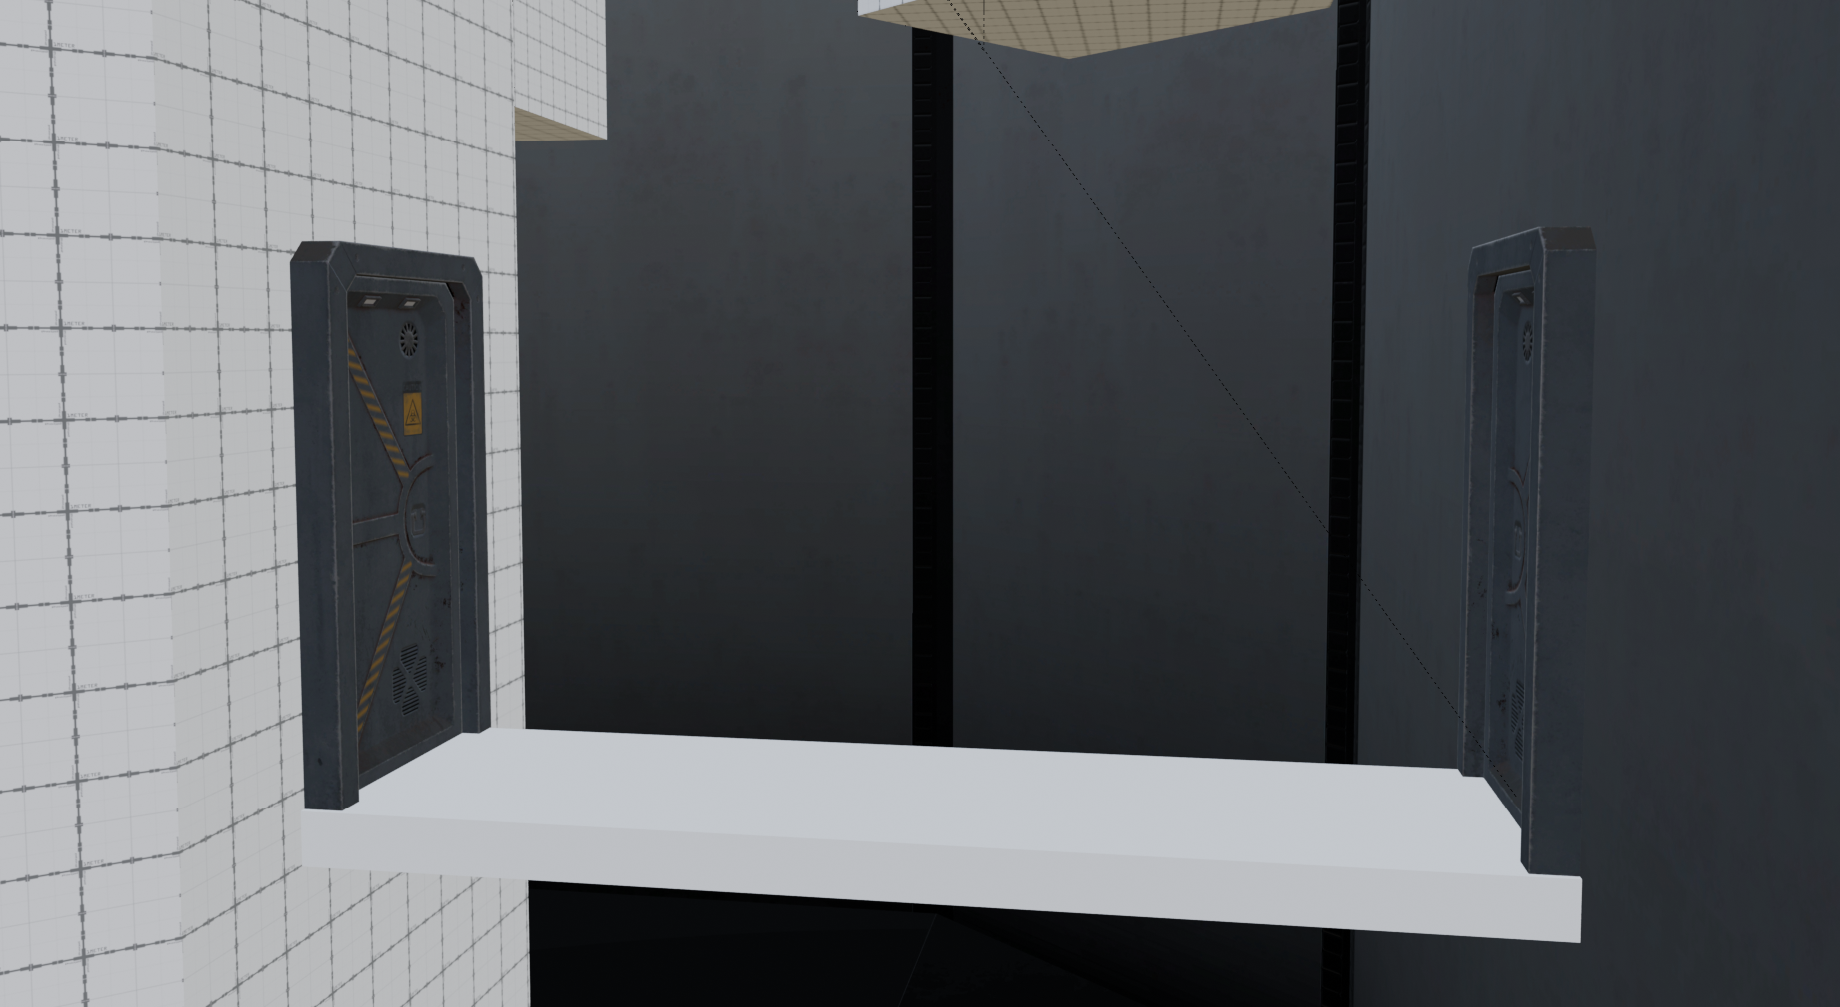
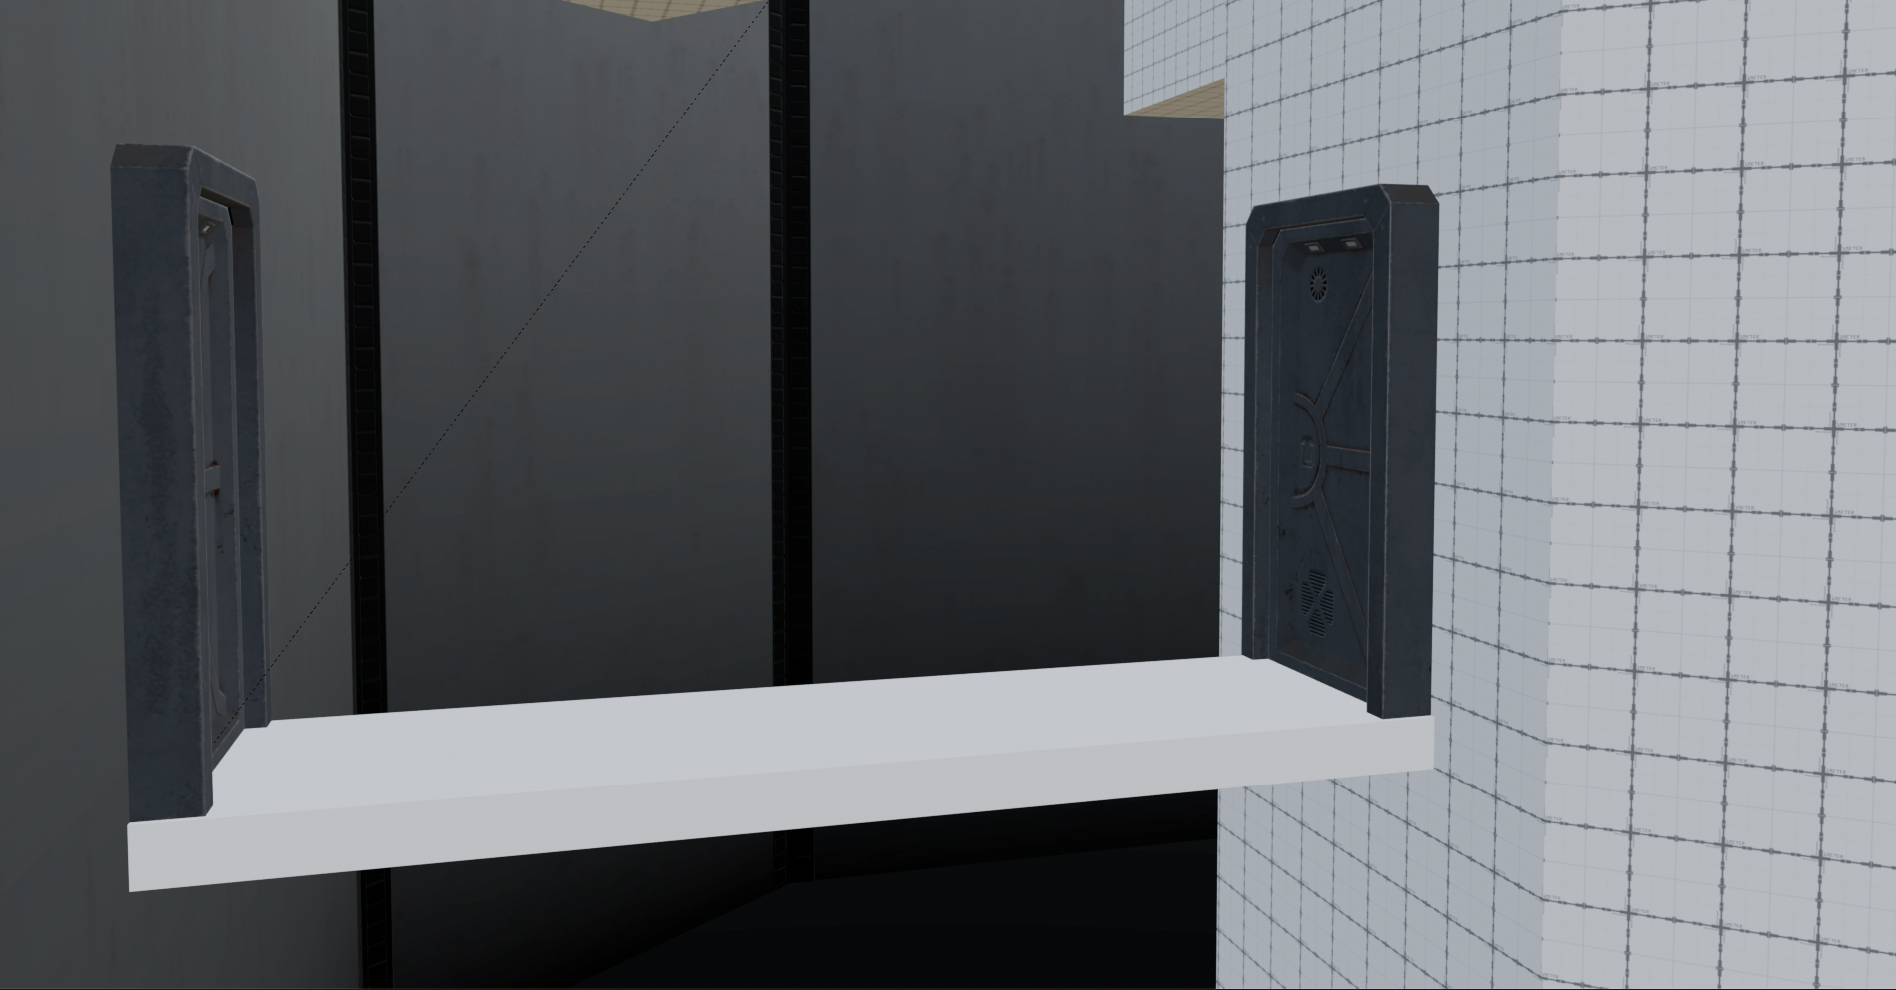
Both the Control room and Sam's Room have only one asset mesh model each. They both are basically the same as final.