 This article has a talk page!
This is a sub-page of Development:The Simpsons: Hit & Run.
Included in the QA folder of the 2021 source code leak are images of the collision for the original layout of the suburbs area, prior to being totally reworked and reduced in size. These are incomplete and are missing the connecting area(s) between the Power Plant and the area of the Simpson house, but the rest link up perfectly and match with the few in-game images we have of this alternate version of Level 1. Many of the building models were reused in the final pass of the level, as they can be identified through the wireframes.
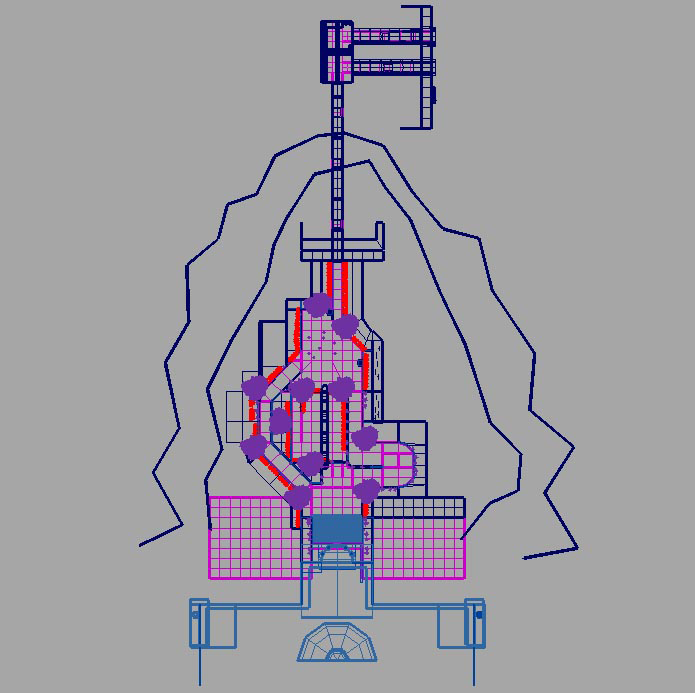
These low-quality but tantalizing screenshots of the overhead view of the map are split into zones and rails, much like the maps in the final game.
- Zones are considered main areas with recognisable landmarks.
- Rails are connecting areas with more generic scenery.
Images#
Zone 1#
|
|---|
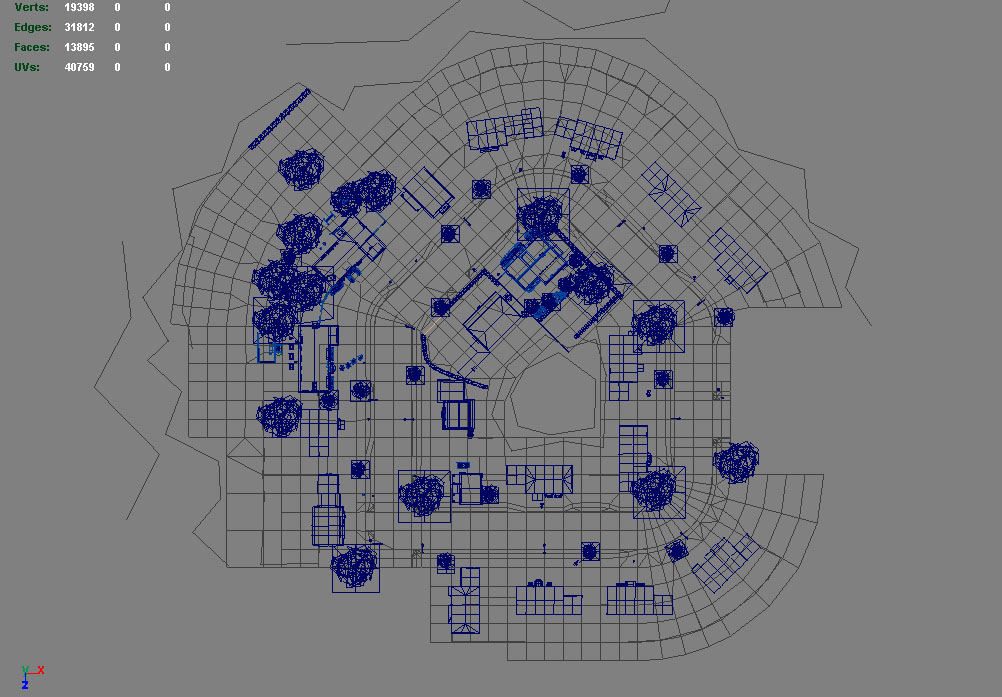 |
This is the zone containing the Simpsons' and Flanders' houses. The bottom left intersection leads to Rail 1.
- The Simpsons' house is facing diagonally on the left corner and the Flanders house below it, consistent with the layout seen in the intro cutscene.
- The Simpsons' garage appears to be open and partially modelled.
Rail 1#
|
|---|
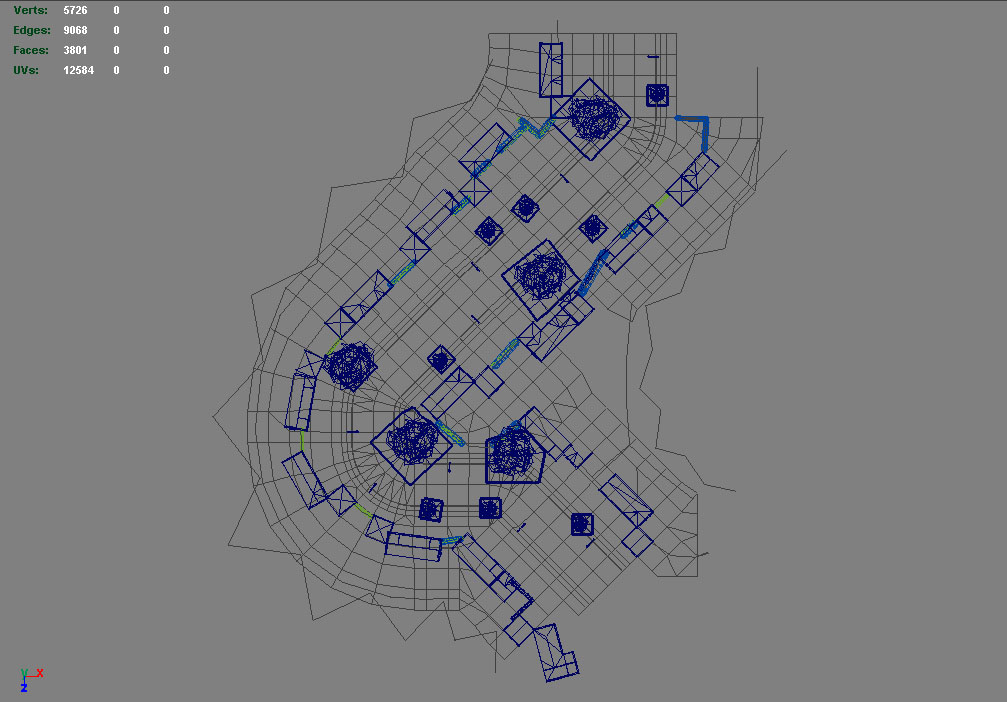 |
This is the area linking Evergreen Terrace and the Kwik-E-Mart.
- The Burlesque house is not present here.
Zone 2#
|
|---|
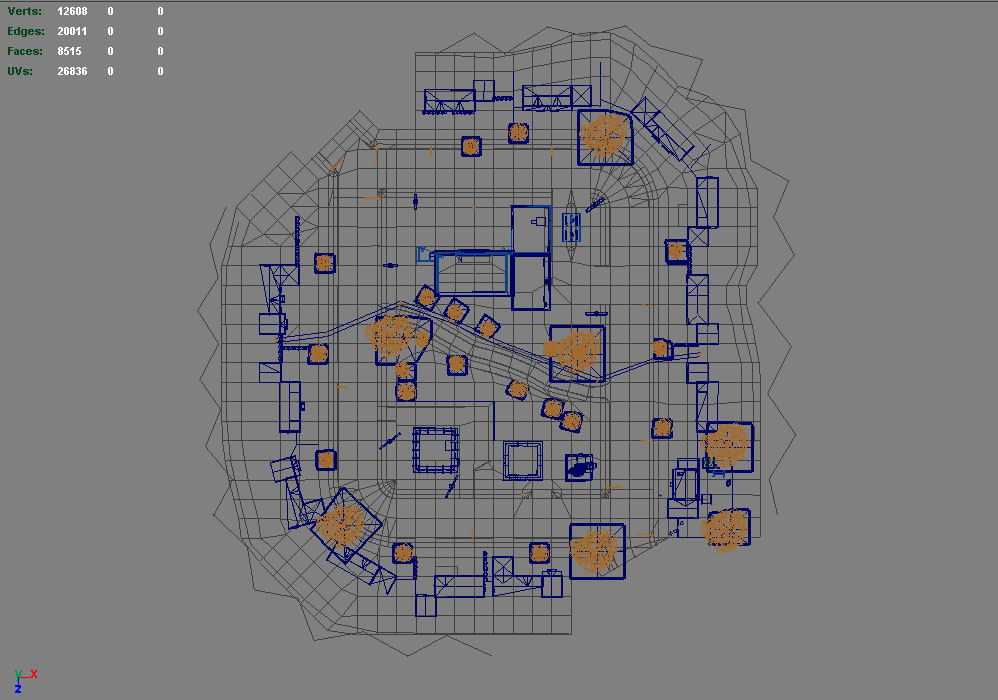 |
This is the zone containing the Kwik-E-Mart.
- The gas station is still next to the Kwik-E-Mart, much like the final game.
- There's a shortcut leading diagonally behind the Kwik-E-Mart. Based on the jaggedness of the collision mesh, it seems to be a dirt path.
- Krusty Burger and Lard Lad's seem to be present still, positioned further apart due to the increased scale of the map.
- The Wiggums' house is in the bottom right.
Rail 2#
|
|---|
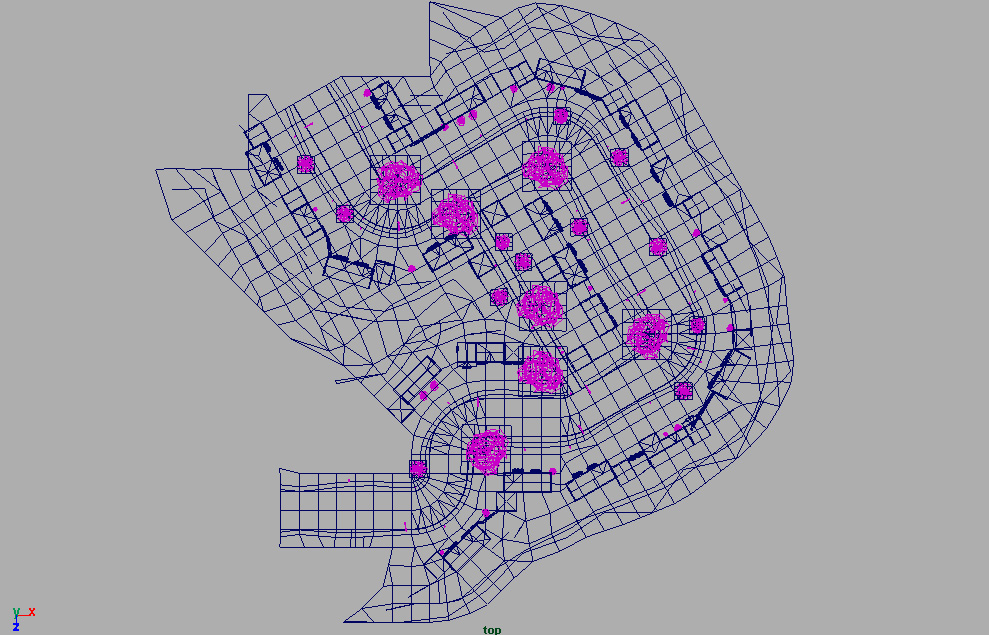 |
The rail linking the commercial district and the School.
- There's an alley pathway at the centre which could be used as a shortcut.
Zone 3#
|
|---|
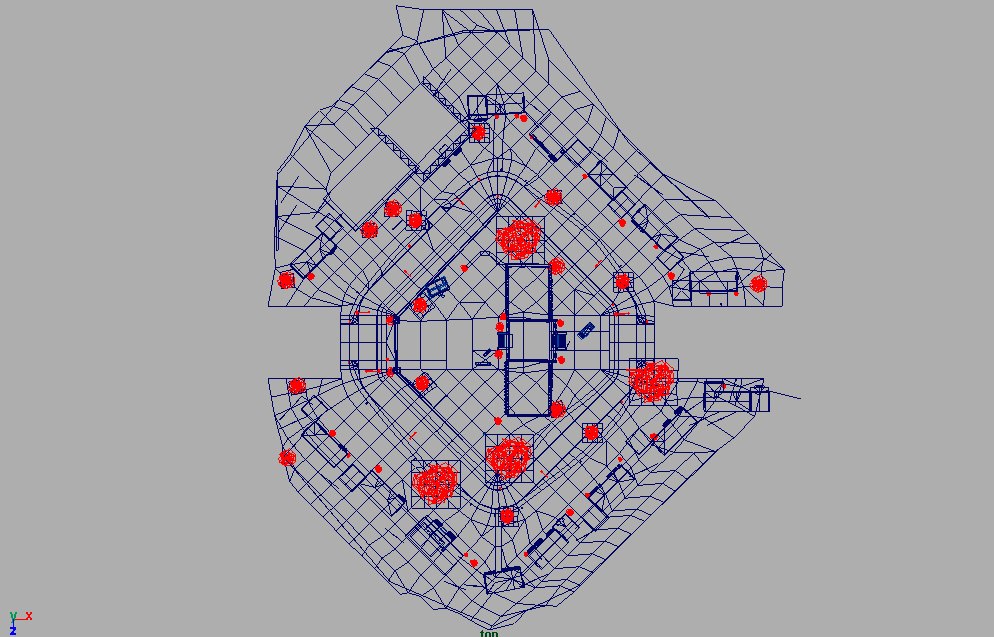 |
The zone featuring Springfield Elementary School.
- The Springfield Public Library is in the top left, using what appears to be the same model as the final game.
Rail 3#
|
|---|
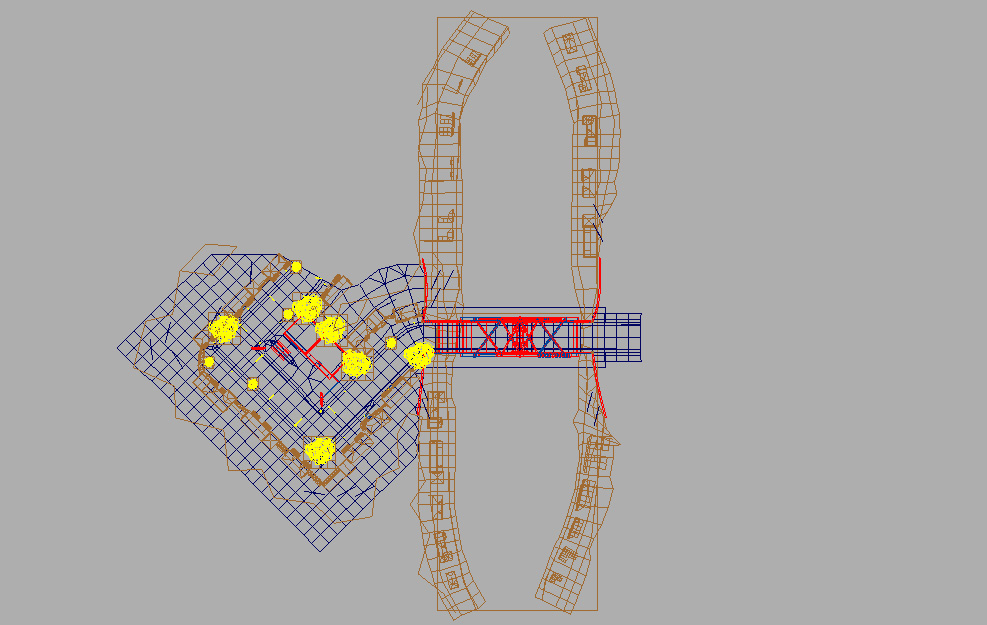 |
The bridge over the river and another gas station, leading into the Rich Side.
- The bridge here appears to be the one adjacent to the cemetery in the final Level 1 rather than the broken one next to the school.
Zone 4#
|
|---|
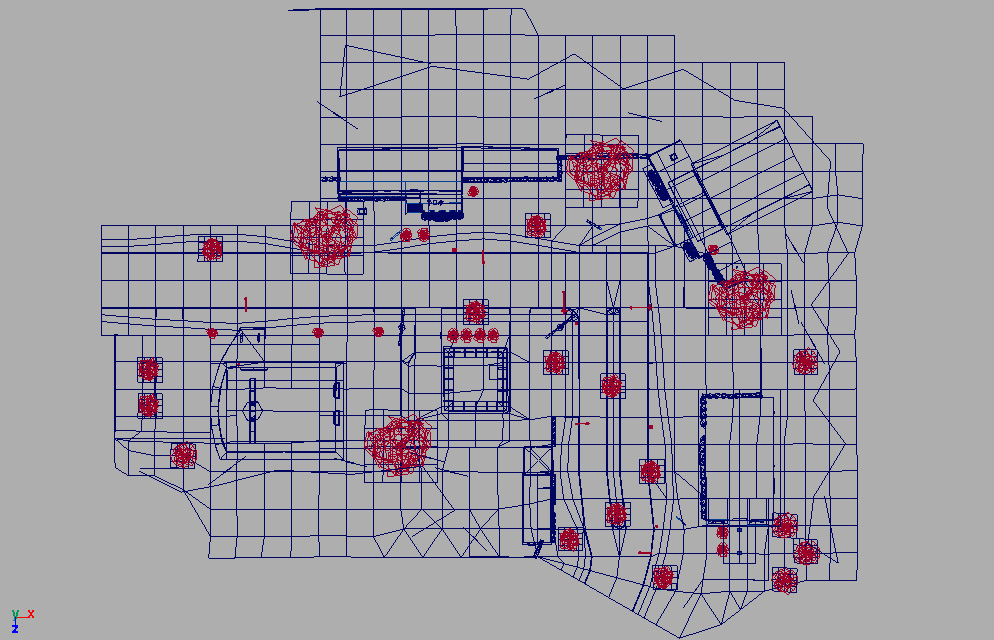 |
The Rich Side.
- The Retirement Castle is at the top left.
- There's a Krusty Burger just below the centre of the Zone.
- The Church is in the top right, facing diagonally.
- What appears to be the Grocery store is in the bottom left. It appears to be rotated and mirrored compared to the final game, and the sign on top is straight rather than angled.
Rail 4#
|
|---|
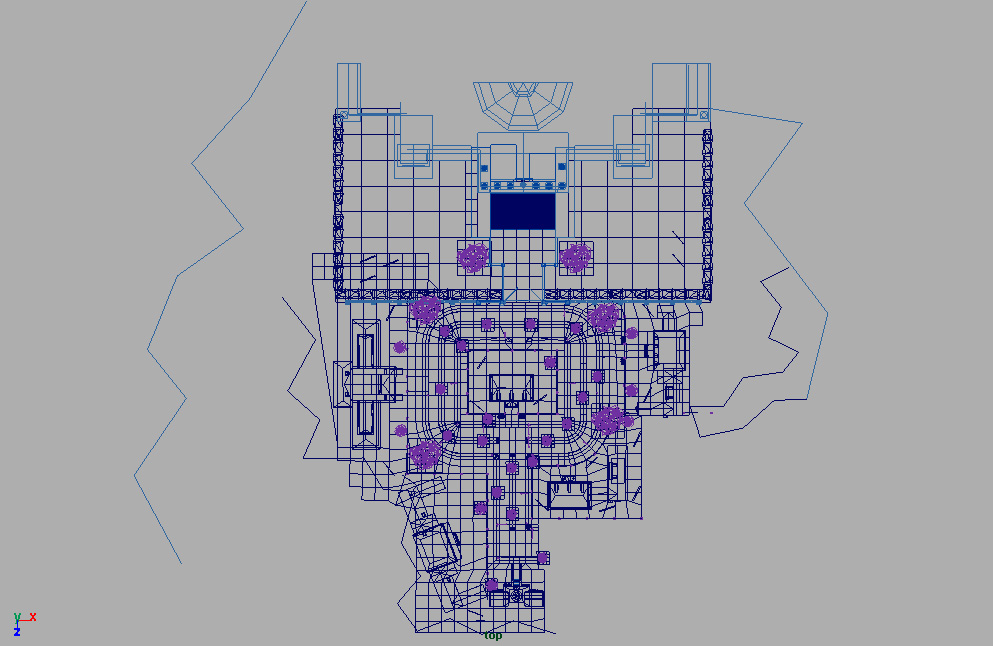 |
The Rich Side, leading into Burns' Mansion's front garden. It seems like you would have to go through the mansion, rather than it being an alternate path in later levels.
- The Stonecutters' Hall is at the bottom.
- Quimby's estate appears to be positioned to the right of Burns' mansion, with the same relative placement and model as the final.
Zone 5#
|
|---|
 |
Burns' Mansion interior.
- The foyer was much, much bigger. It was symmetrical, with two sets of staircases leading up to the dining room.
- The dining room itself was rotated 90 degrees relative to the foyer in the final pass.
Rail 5#
|
|---|
 |
Zone 6#
|
|---|
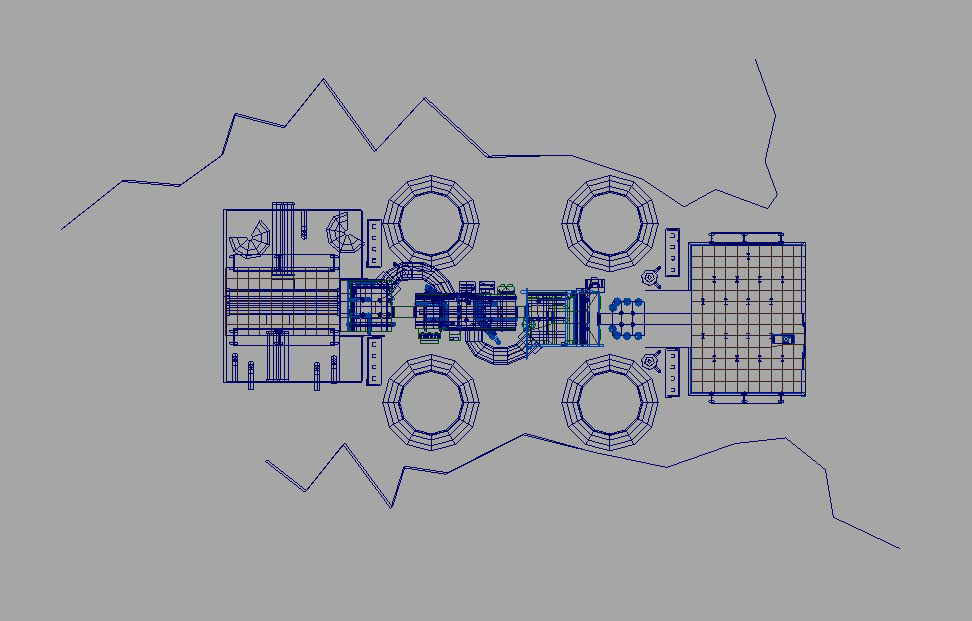 |
The Power Plant and its parking lot. The interior of the plant seems to be very close (if not identical) to the final version.