This is a sub-page of Ys Origin.
Ys Origin has many unused areas, all of which were retained in DotEmu's ports.

|
To do:
|
Access#
The following methods also apply to Ys VI and The Oath in Felghana.
Scene List#
This method works for most maps on this page, but does not allow entry into maps that need case-by-case fixes.
It can quickly be done with Cheat Engine. In this example, we will be replacing Velagunder's room in the Scene List so that it can load S_9000, the NPC test map.
- Warp to 5F - Beast's Chamber in the game.
- Attach the yso_win.exe process to Cheat Engine.
- Change the Value Type to String.
- In the Value box, enter
s_10\s_1099\and make sure the Case Sensitive box is checked. - Click on First Scan. Two addresses should appear. Click the first one, then press CTRL + B to browse the memory region.
- Make sure that the string shown in this region is only
s_10\s_1099\. If any text follows it, scroll up a bit to find the actual string. - Replace the string with the path to another map. For example,
s_90\s_9000\ - Enter Velagunder's room, and you should instead enter S_9000!
- If you want to re-enter 5F - Beast's Chamber, make sure to restore the string back to
s_10\s_1099, or the game will crash.
Data.na Modification#
This method is more time-consuming due to the data.na archive needing to be rebuilt, but it offers more control than the Scene List method. Due to the excessive amount of writes, it is not recommended that this be done on an SSD.
- Download ysext by Luigi Auriemma. A ReadMe with more detailed usage is also included.
- Make copies of data.na and data.ni from your Ys Origin folder.
- Make a new folder to hold the extracted data.
- Run ysext to extract the data.na archive. Example:
ysext -n conf.txt C:\data.na C:\ysodata - Make changes to the desired files.
- Rebuild data.na with ysext. Example:
ysext -r -n conf.txt C:\data.na C:\ysodata
If you are playing an English version, there are a few additional steps to be done before rebuilding so that the game won't display mojibake.
- Make copies of data_us.na and data_us.ni from your Ys Origin folder.
- Run ysext to extract the data_us.na archive. Example:
ysext -n conf-us.txt C:\data_us.na C:\yso-us-data - Merge the contents of both the ysodata and yso-us-data folders, and append the contents of conf-us.txt to conf.txt.
- Rebuild data.na with ysext. Example:
ysext -r -n conf.txt C:\data.na C:\ysodata
SEN File Modification#
Modifying SEN files will allow you to change where the entry points of maps lead to. This is technically a cleaner method than doing it with Cheat Engine, since it pulls the existing data from within the Scene List, and can work with any version of the game.
In this example, we will be modifying the first room of the Silent Sands, S_4000, to replace one of its entry points with an exit to S_9100, an object test map.
- In your extracted folder, navigate to
data\map\s_40\s_4000. - Open S_4000.SEN in a hex editor. You should see strings in the text view showing what maps this area connects to.
- Overwrite the string(s) with the names of the maps you want to enter. Example: Replace
s_30\s_3097\withs_91\s_9100\ - Rebuild data.na with your edited files.
- Warp to 14F - Silent Sands.
- Walk back downstairs towards the Guilty Fire and you should end up in S_9100 instead.
Note: For some maps, you may need to remove excess parts of the old string. Replace the residual bytes with 00. This applies to both methods.
(Source: Original TCRF research)
S_0X Series#
S_0004#
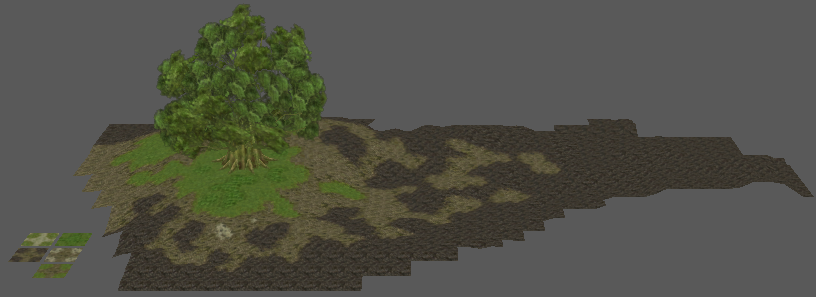
Internal Name: EP Roda Tree (Younger)
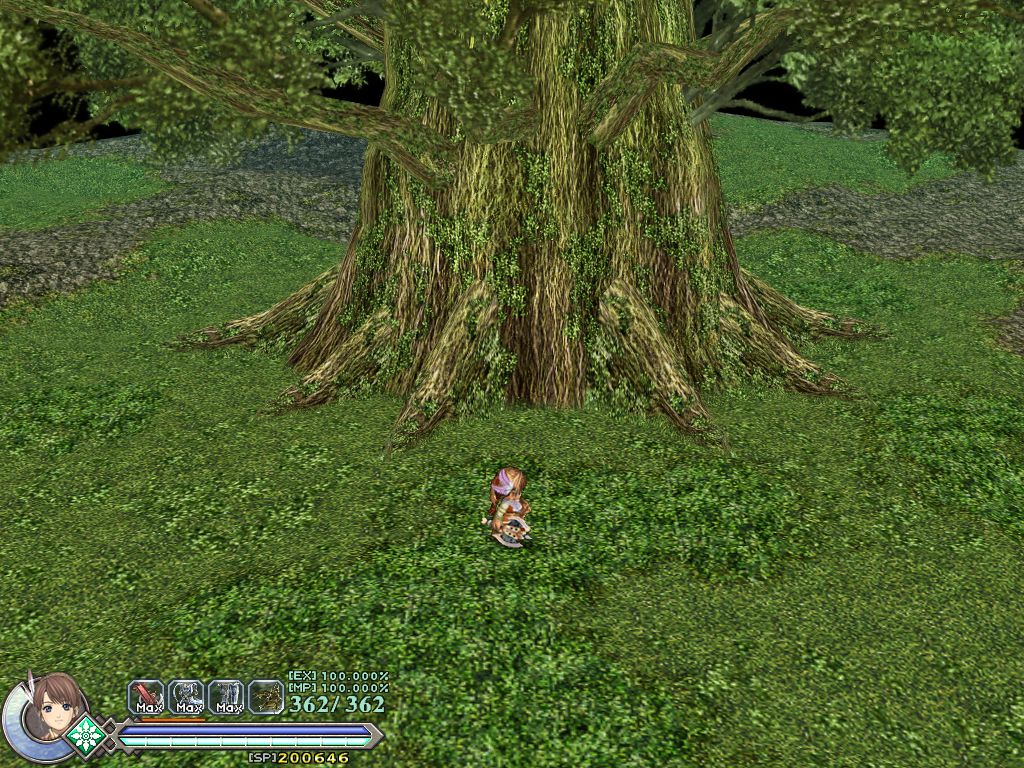
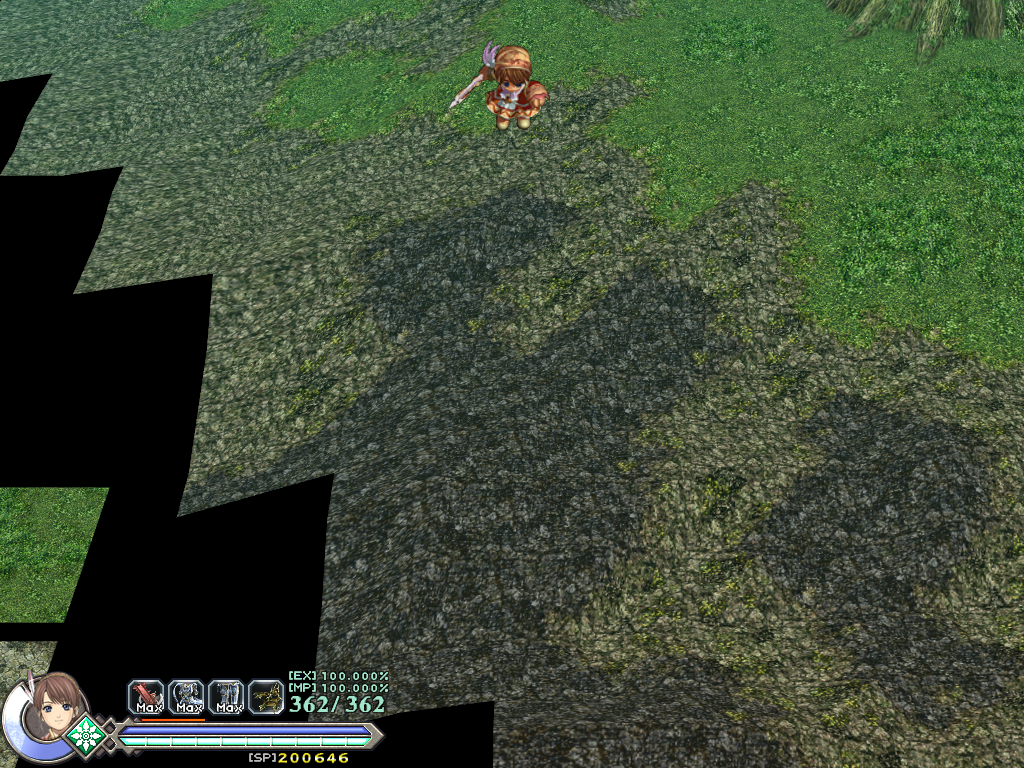
This map presumably would have been used for Hugo's ending, but all epilogues use S_0003 instead, where the Elder Roda Tree is located. The Roda Tree has no collision, and some textured tiles can be seen on the southwest edge of the map.
S_0100#

Internal name: Scenario Jump
This map has a number of scripts related to jumping to different events in the game, but the menu containing them doesn't seem to get called anymore.
XSEED's localization programmer, Sara Leen, added additional scripts prefixed with "SARA" for testing the Roos, goddess statue blessings, bosses and achievements.
S_02 Series#
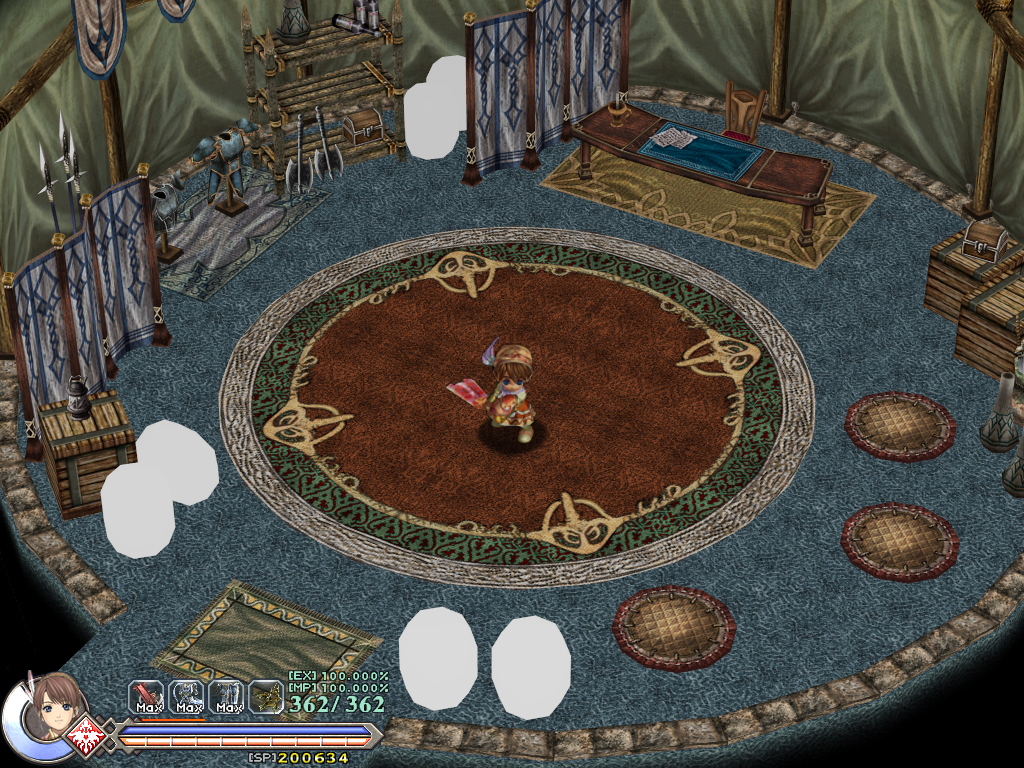
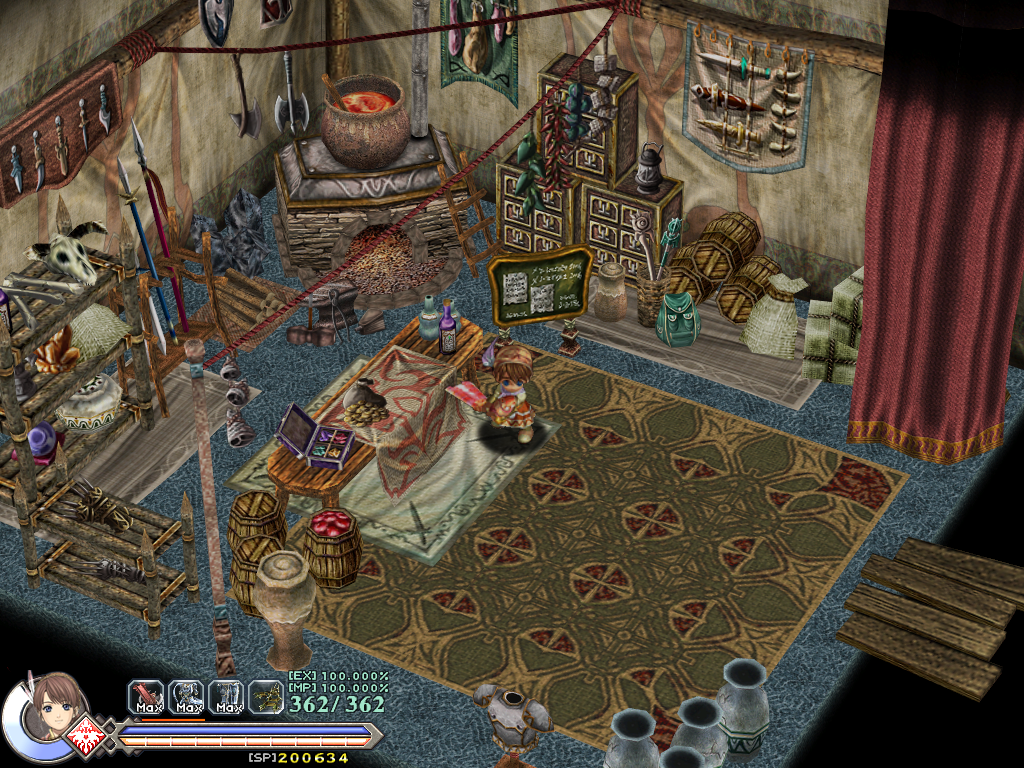
Both of these maps resemble Ys VI-styled rooms. Exiting them will warp to S_0000, starting a new game with the current character.
S_61 Series#
Scrapped outer sections of Darm Tower intended for the Demonic Core, which doesn't have any outside areas in the final game.
All three of these maps need to have their skybox paths fixed in order to load. To do this, open the map's SOB file in a hex editor, and replace the string data\map\b_100\b_100.ymo with data\map\skybox\b_100\b_100.ymo.
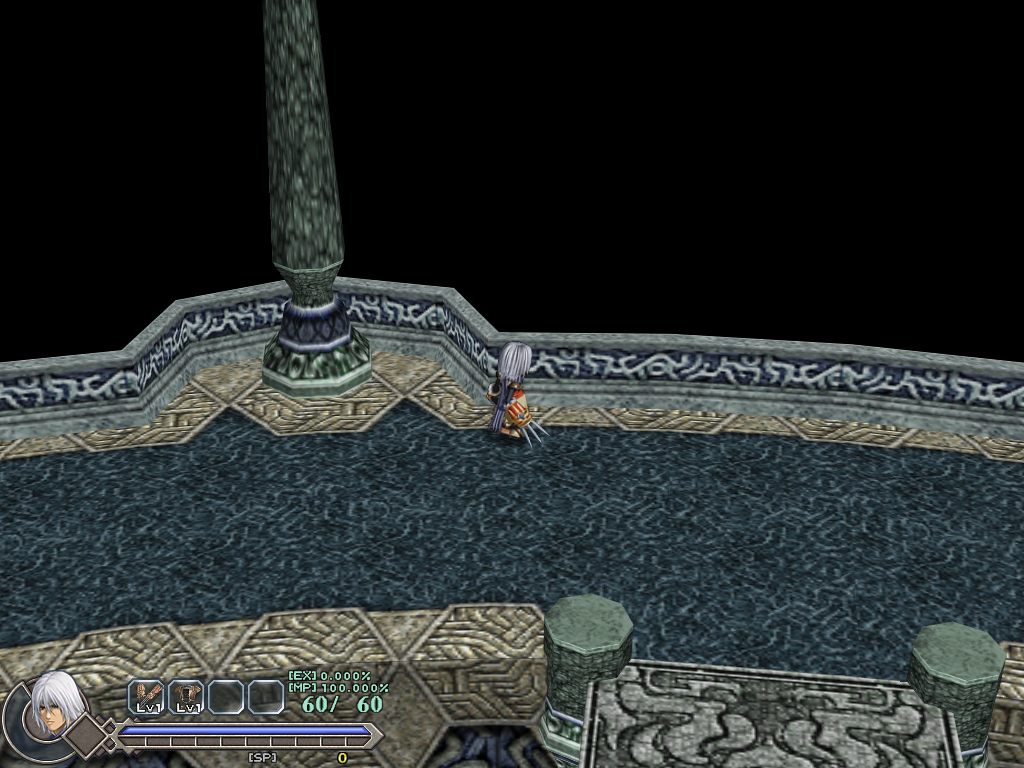
S_6100#
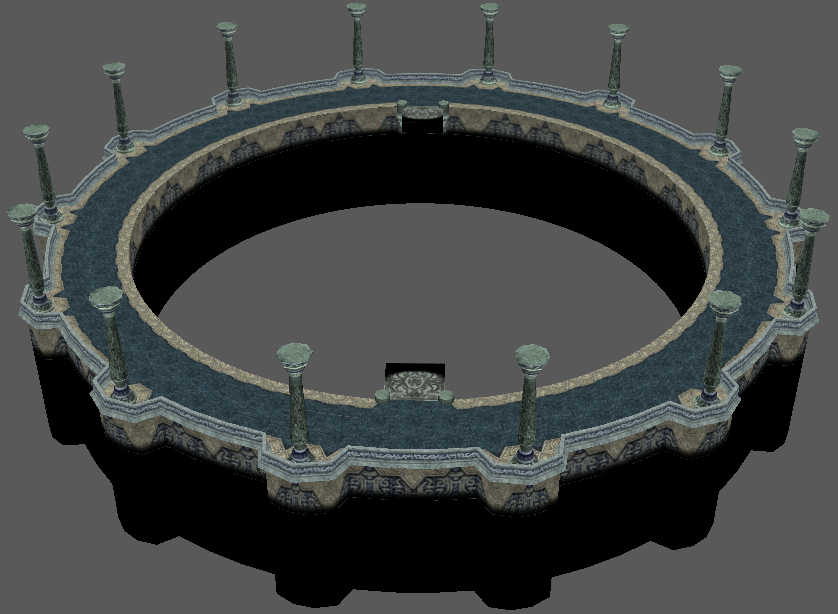
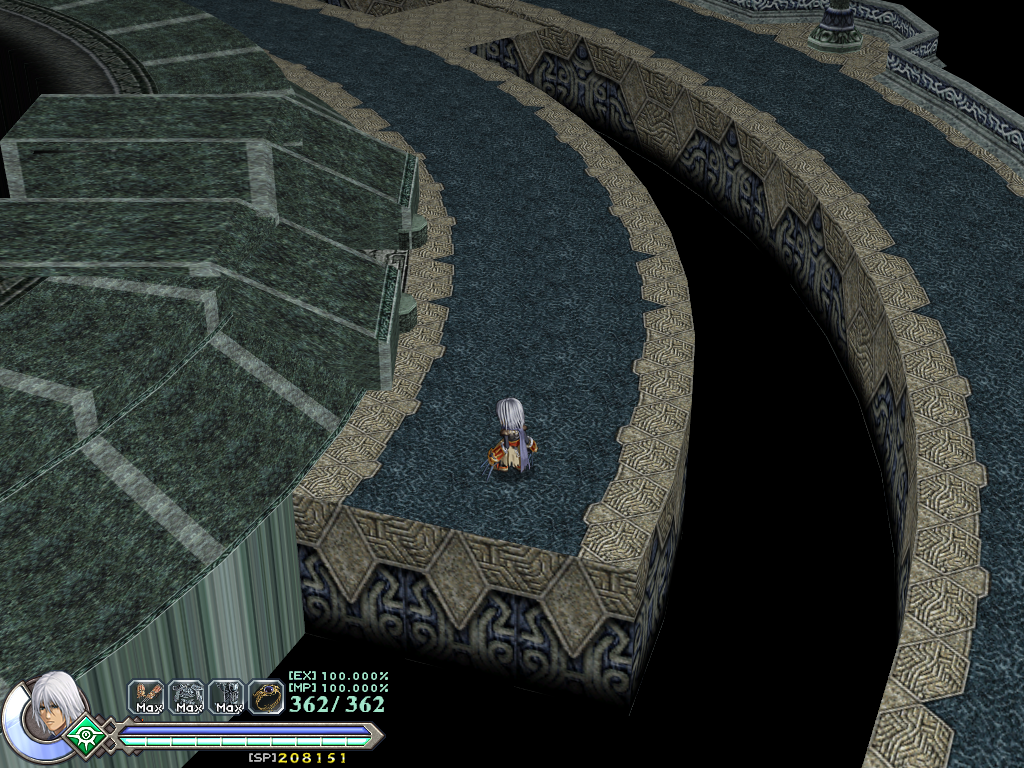
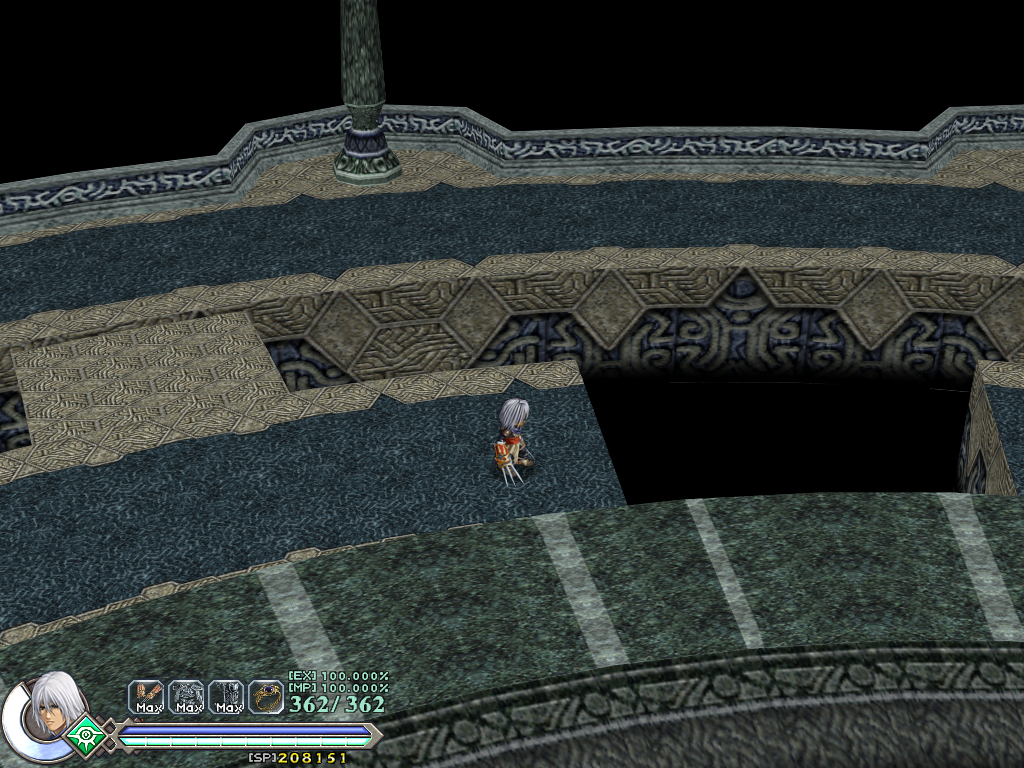
Internal name: 23F Outer Corridor
The most complete map of this set, featuring a fully functional camera, and connections to existing maps.
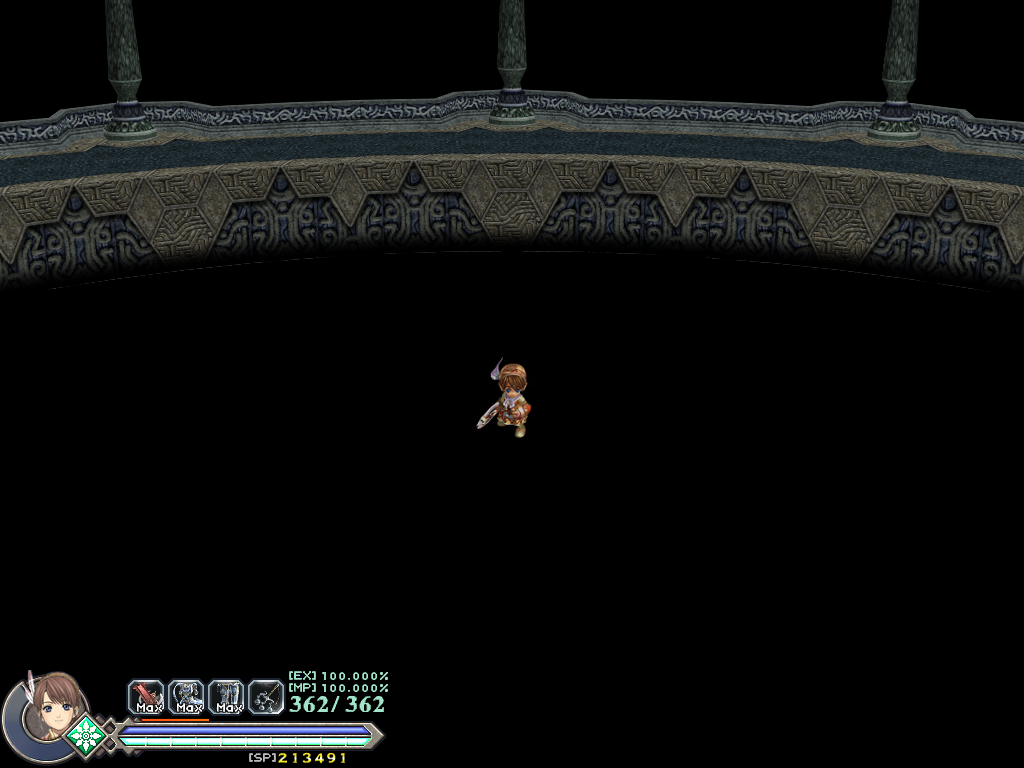
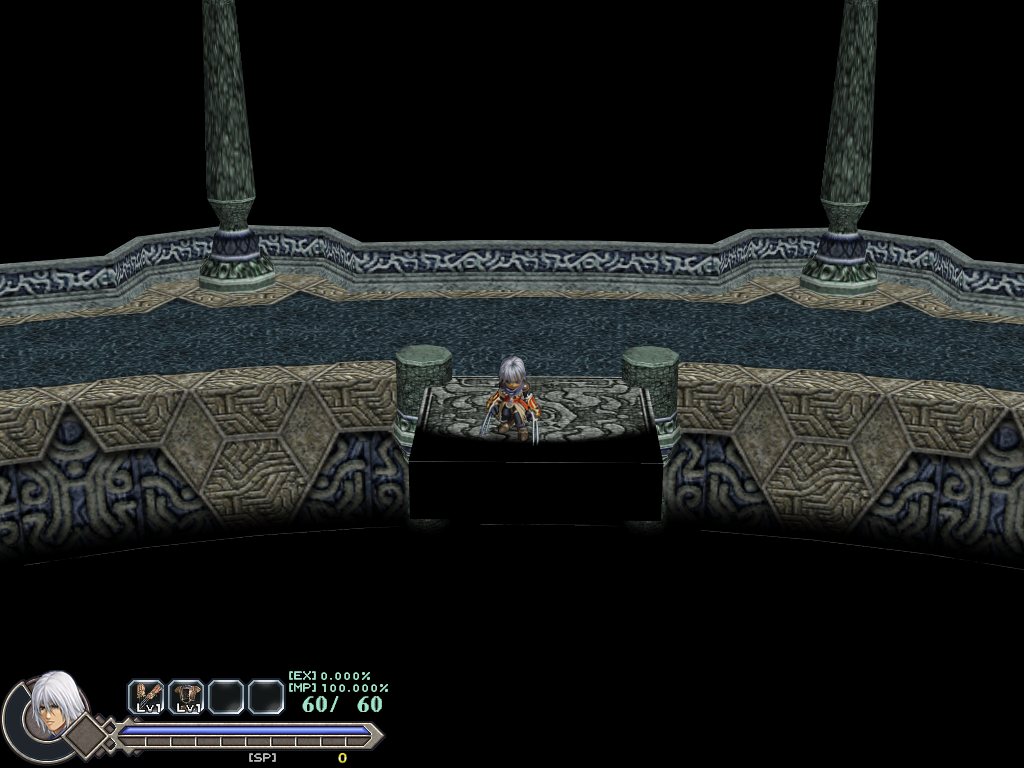
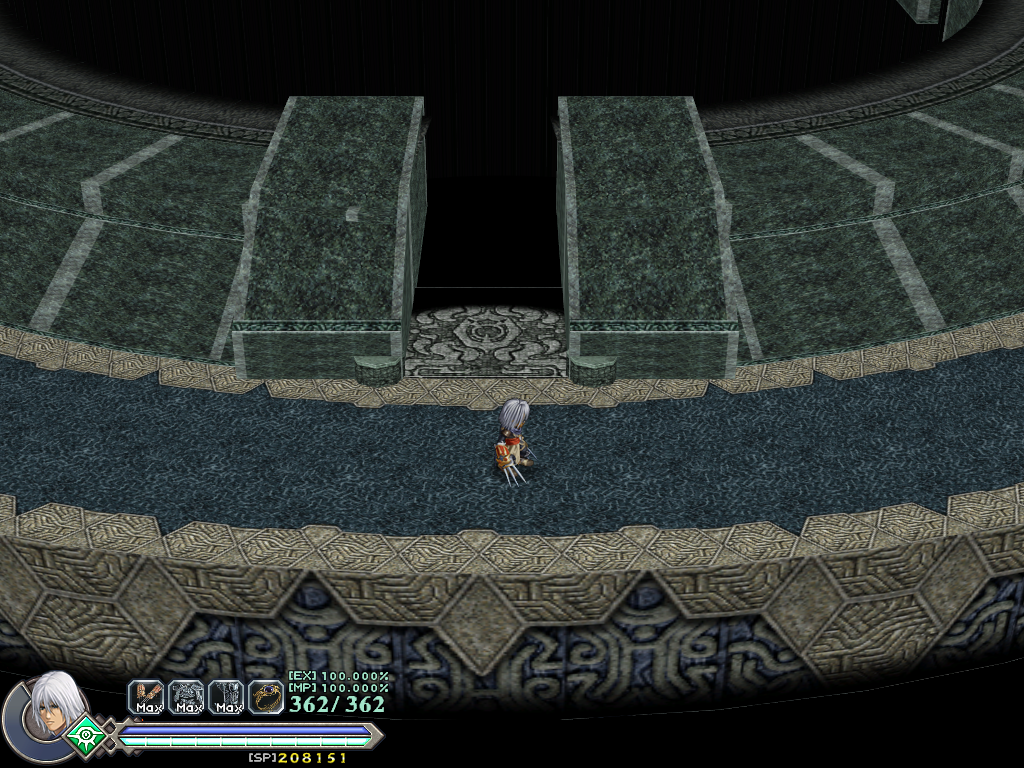
- The camera zooms out as you approach the entryways, and is zoomed in while travelling on the ring path.
- This map connects to S_6014 (Hall of Reflection) and S_6015 (22F Path 3).
- Under normal circumstances, loading it in the game places you in the center where you cannot move.
- It's possible to spawn at the entry point for the Hall of Reflection if you modify
s_00\s_0000\in the Scene List to load this map instead, then start a new game. - Since you literally spawn at the entry point with this method, you must null out the entry point strings in S_6100.SEN with 00 bytes if you want to actually explore the map, otherwise you'll immediately enter the Hall of Reflection after spawning.
- It's possible to spawn at the entry point for the Hall of Reflection if you modify
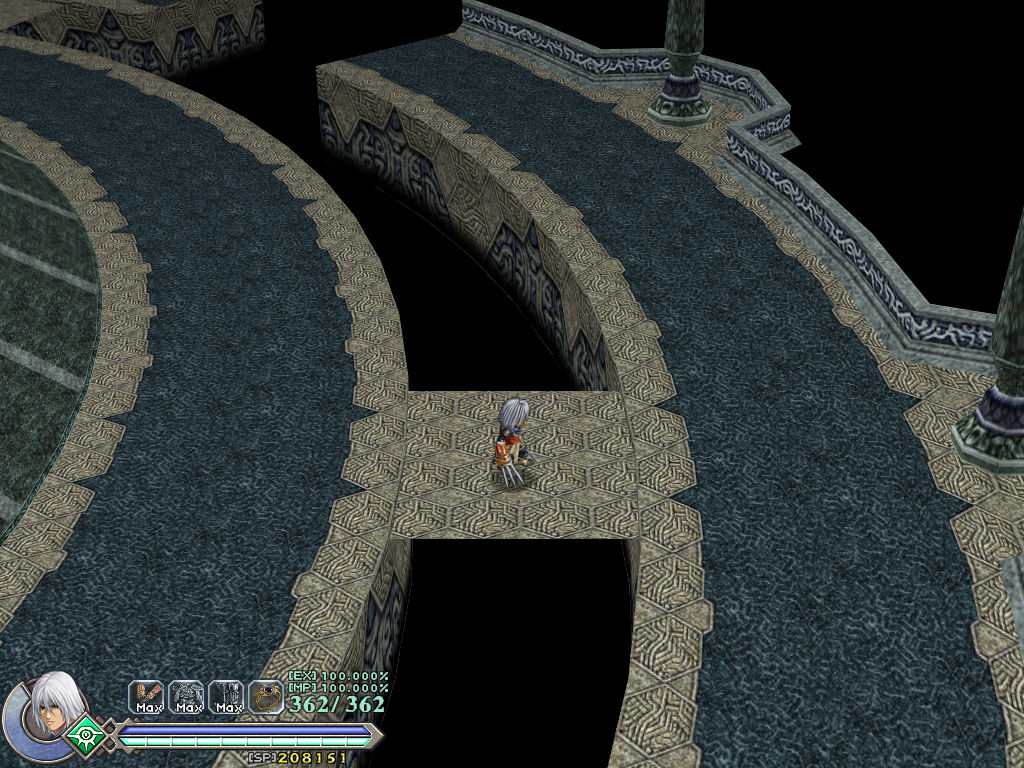
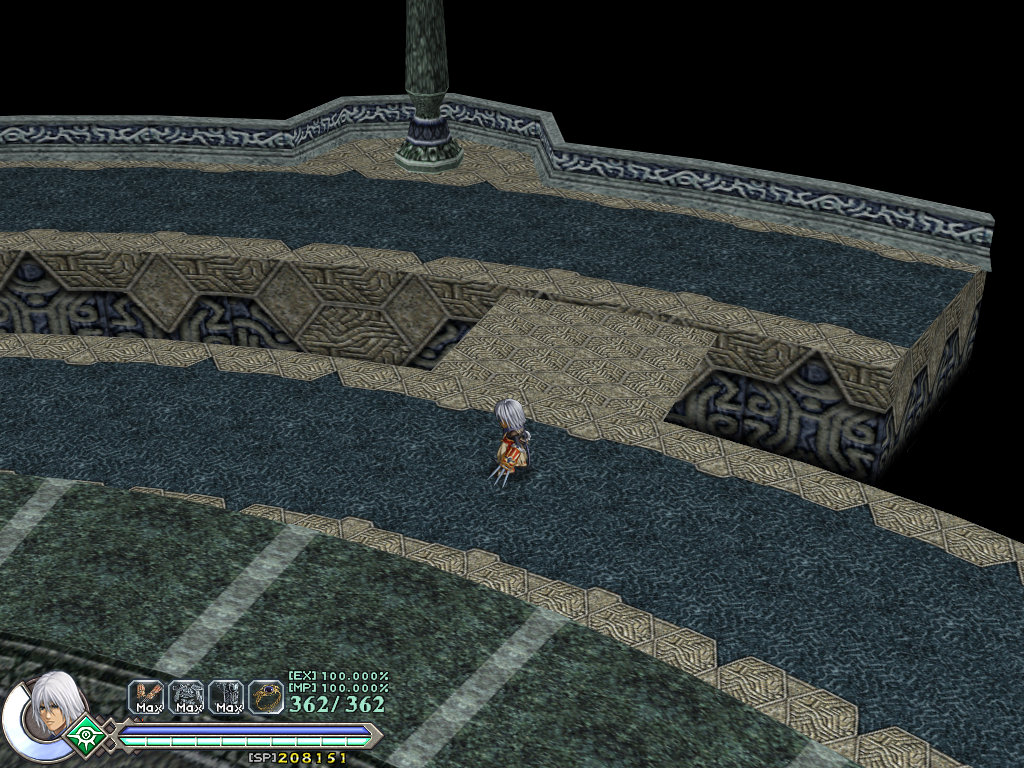
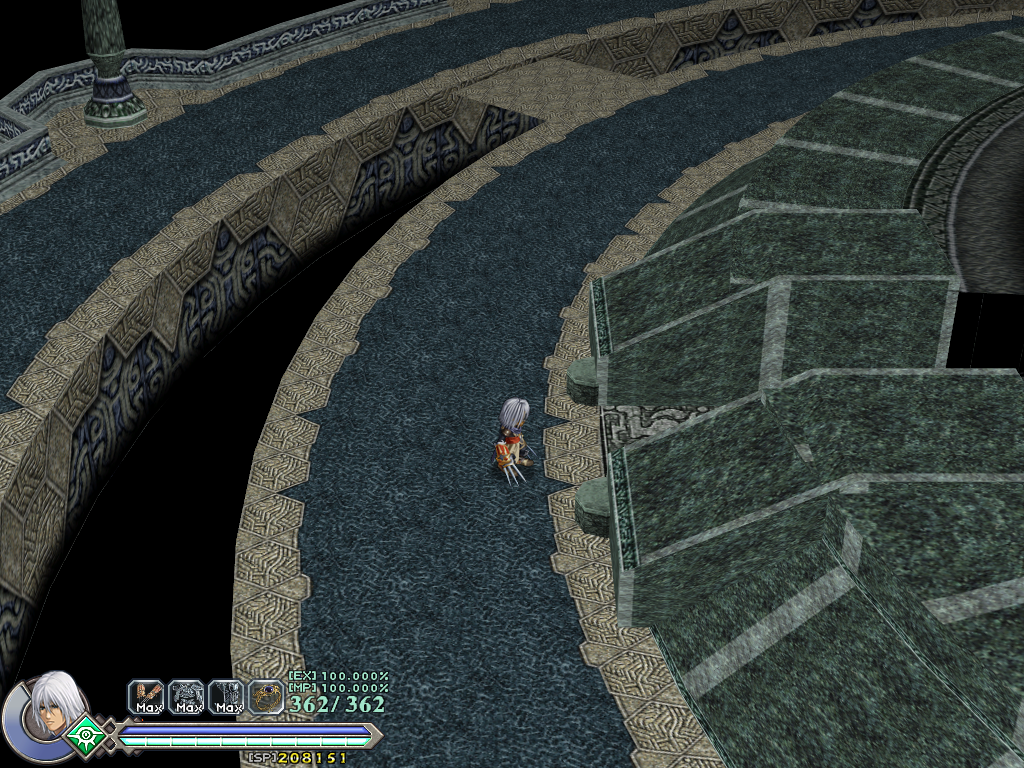
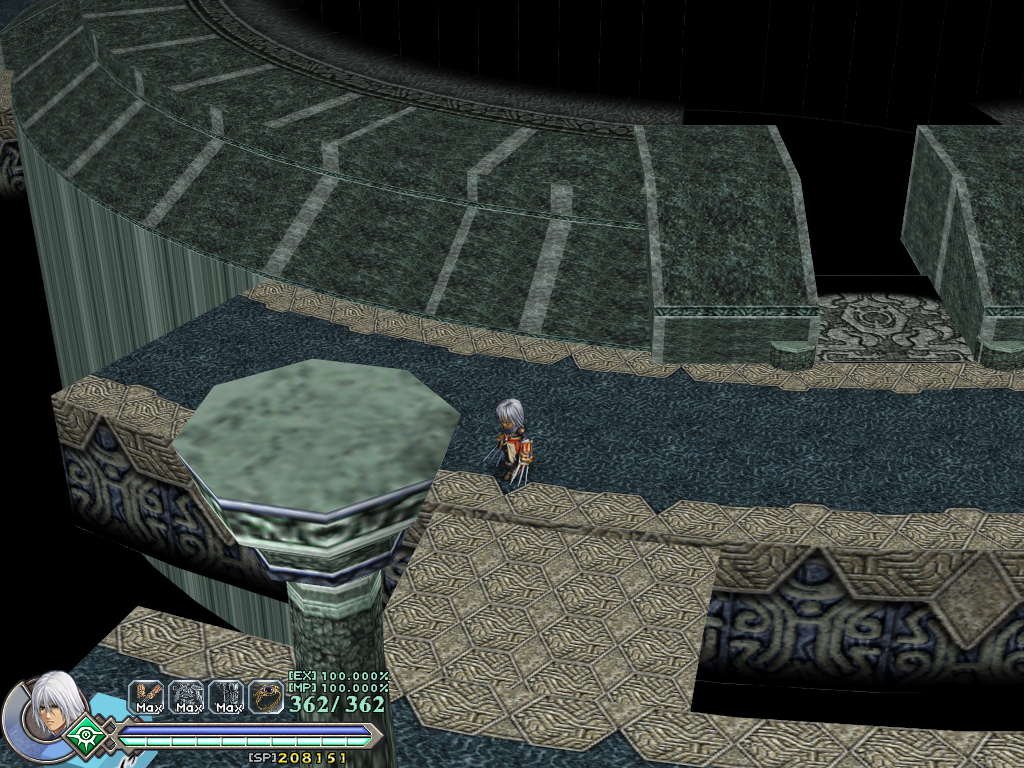
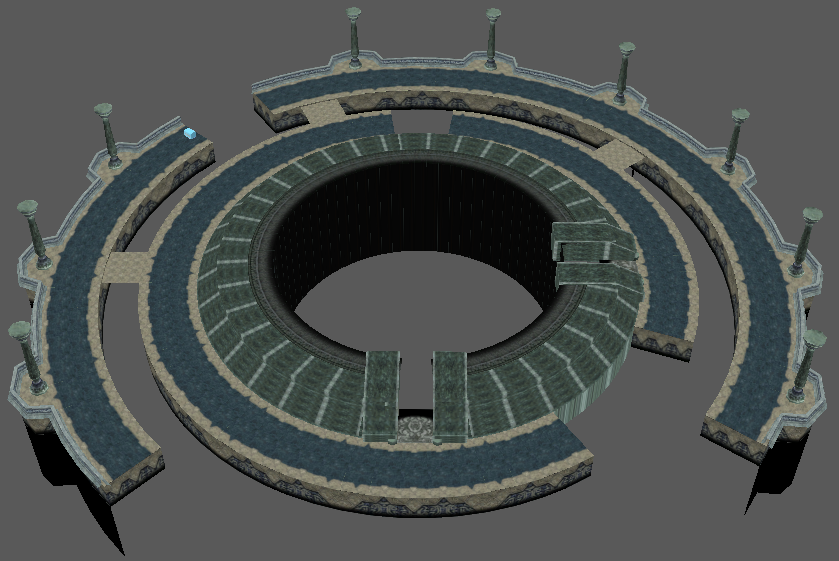
S_6150#
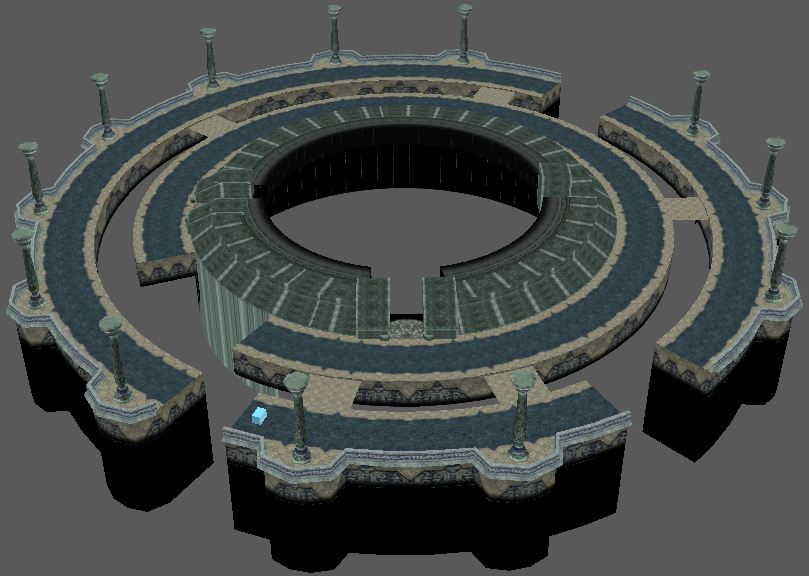
Internal name: 24F Outer Corridor 1
- This map connects to S_6057 and S_6060, two maps from the Demonic Core that do not exist in the final game.
- Because those two maps are absent from the Scene List, this map's SEN file needs to be modified to remove/change those entry points to avoid crashing.
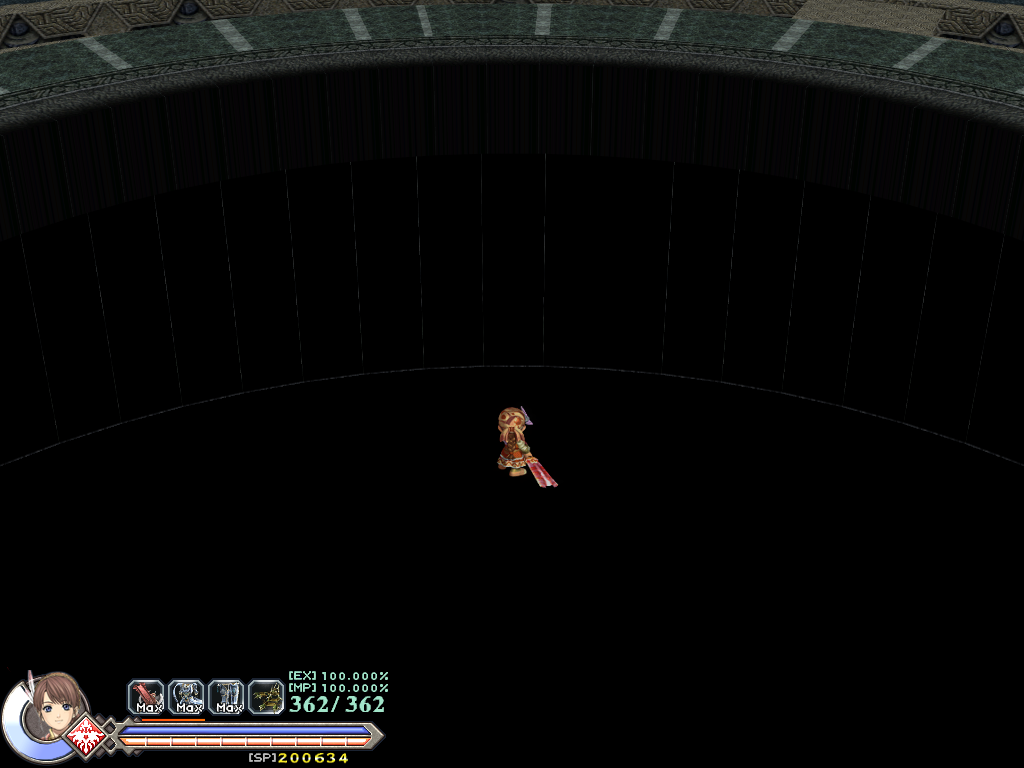
- Loading it in the game places you in the center where you cannot move.
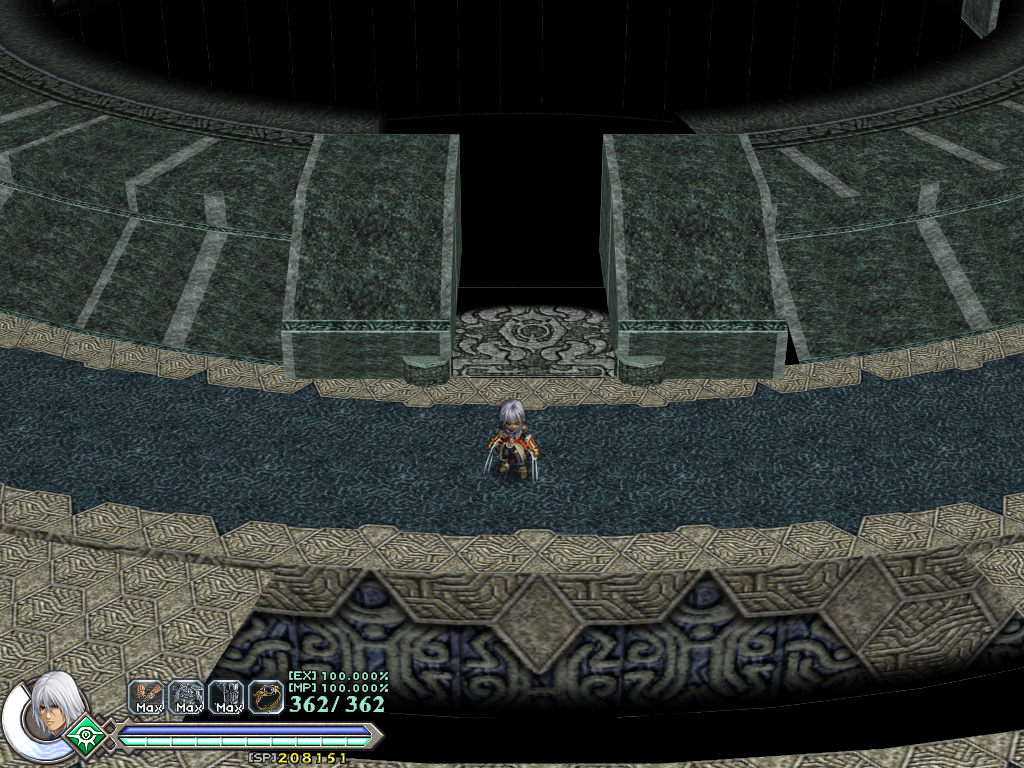
- By swapping out the collision model (S_6150_.ymo) with the one from S_9100 (S_9100_.ymo), you can explore most of the map, since it has no walls. This method is inaccurate, but it works if you just want to see the rest of the map in-game.
- This issue mainly stems from the lack of an SCT file, which can call the "CAST_ADOL" function to aid in setting the player's initial position on the map.
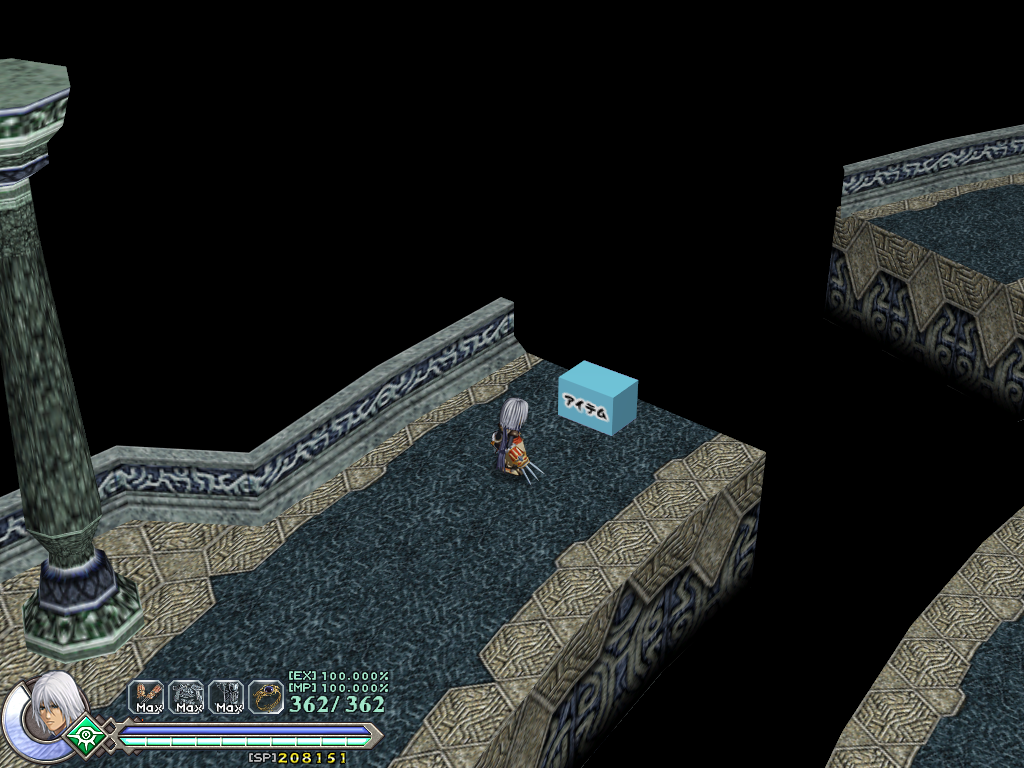
- There is a blue placeholder box with the text "アイテム" (Item).
S_6151#
Internal name: 24F Outer Corridor 2
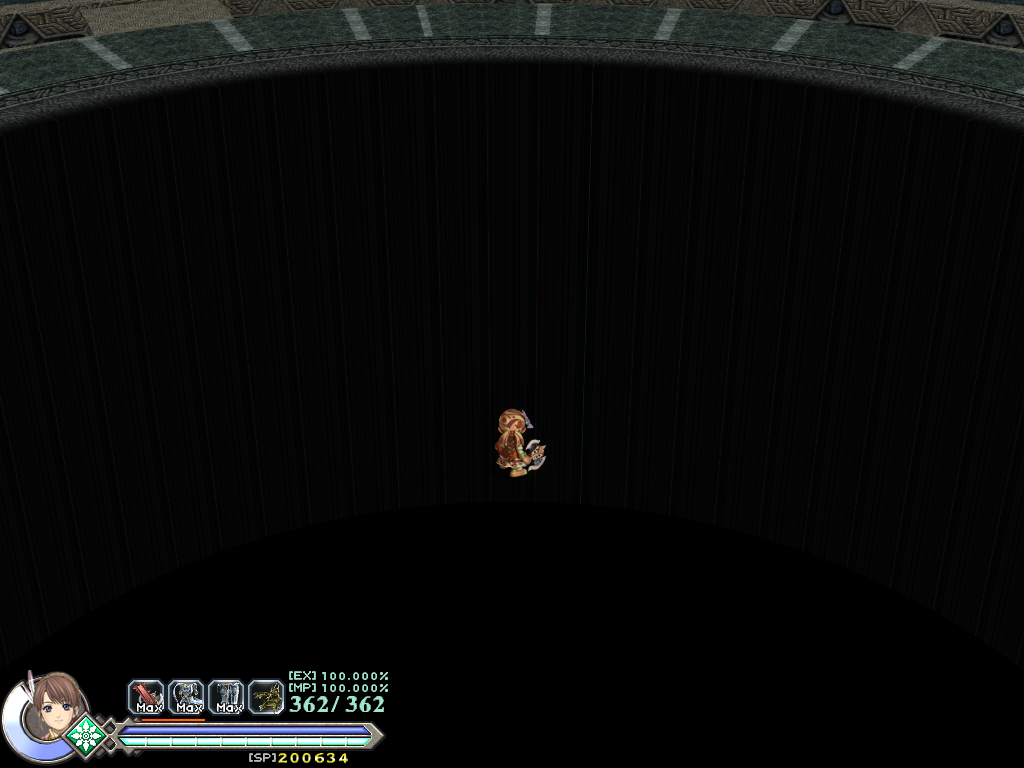
- This map connects to S_6060 and S_6061, two maps from the Demonic Core that do not exist in the final game.
- Because those two maps are absent from the Scene List, this map's SEN file needs to be modified to remove/change those entry points to avoid crashing.
- Loading it in the game places you in the center where you cannot move.
- By swapping out the collision model (S_6151_.ymo) with the one from S_9100 (S_9100_.ymo), you can explore most of the map, since it has no walls. This method is inaccurate, but it works if you just want to see the rest of the map in-game.
- This issue mainly stems from the lack of an SCT file, which can call the "CAST_ADOL" function to aid in setting the player's initial position on the map.
- There is a blue placeholder box with the text "アイテム" (Item).
S_90 Series#
S_9000#
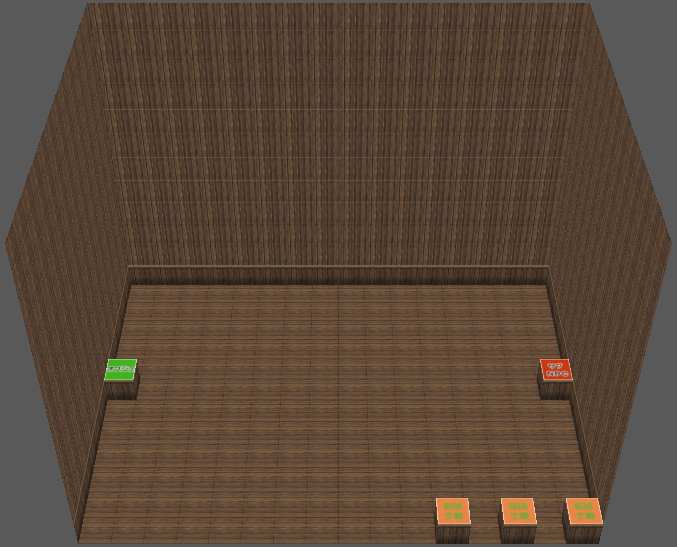
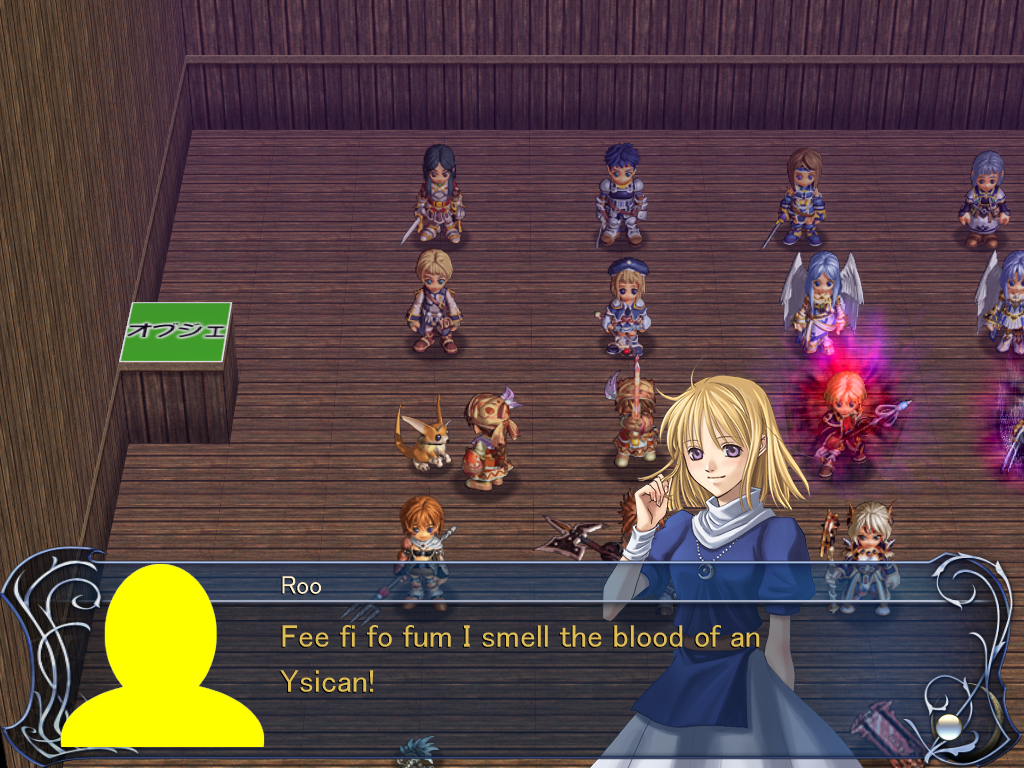
Internal name: NPC Test Main
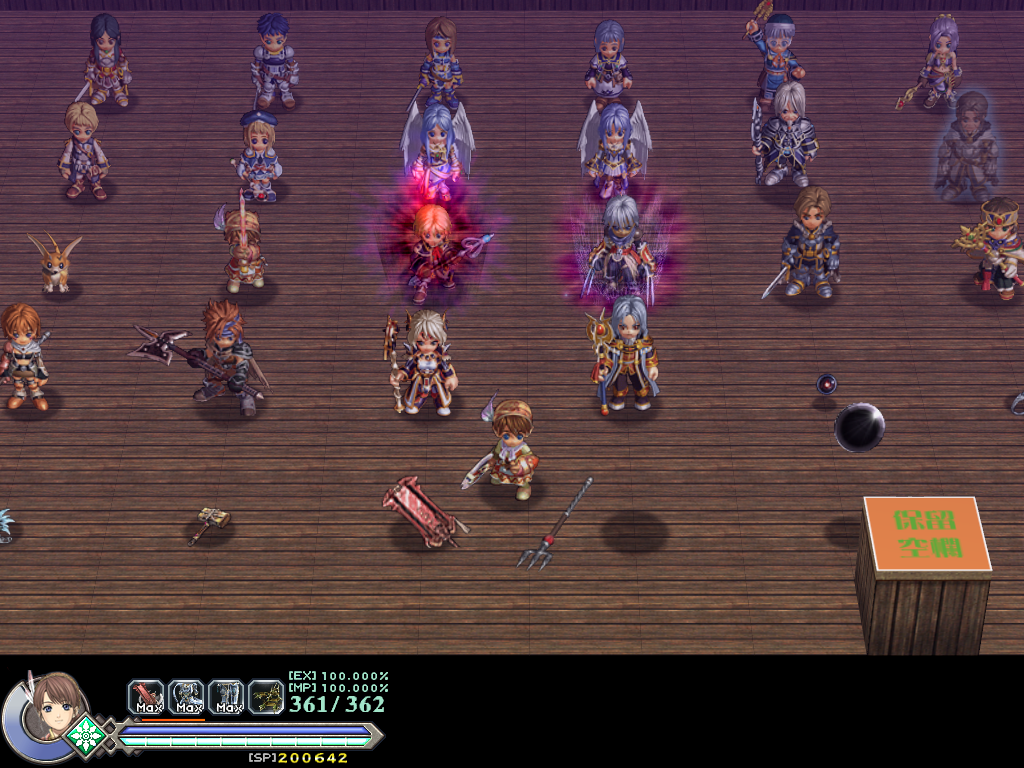
Contains all the NPCs and some objects.
- Speaking to a character will show you all of their face portraits.
- Speaking to the Roo will show a few event-related sprites for your character, then display a portrait of Elena from The Oath in Felghana, along with the placeholder portrait.
- The Roo does normally speak in Roonic, but its text can be printed in English by setting EnglishRoonic=1 in
%userprofile%\Saved Games\FALCOM\yso_win\yso_win.iniin the XSEED version.
- The Roo does normally speak in Roonic, but its text can be printed in English by setting EnglishRoonic=1 in
- The three blocks in the southeast side of the map don't do anything.
- The left block leads to S_9009, and the right block leads to S_9001.
S_9001#
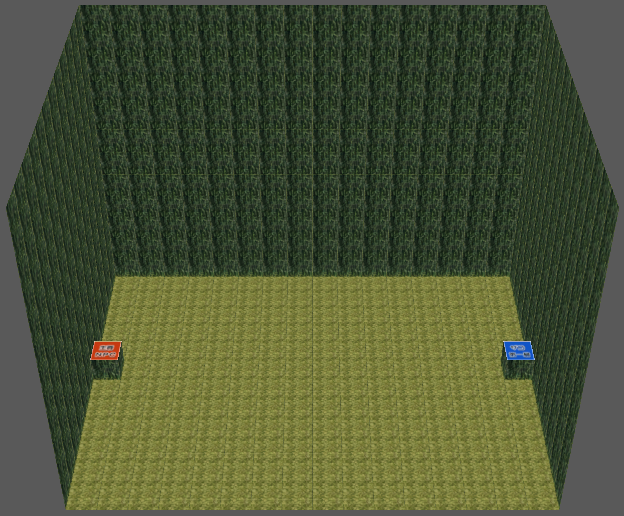
Internal name: NPC Test Sub
- Actually contains a variety of enemies instead of NPCs.
- The left block takes you back to S_9000, and the right block leads to S_9002.
S_9002#
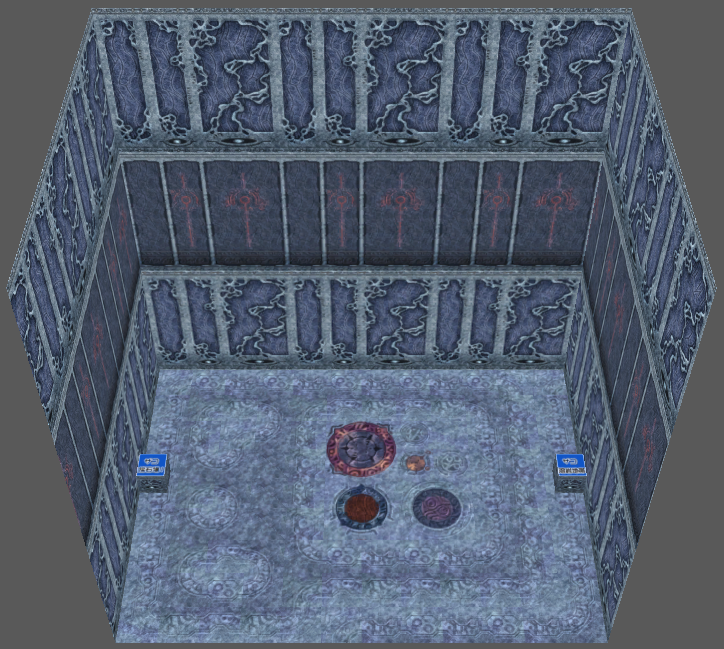
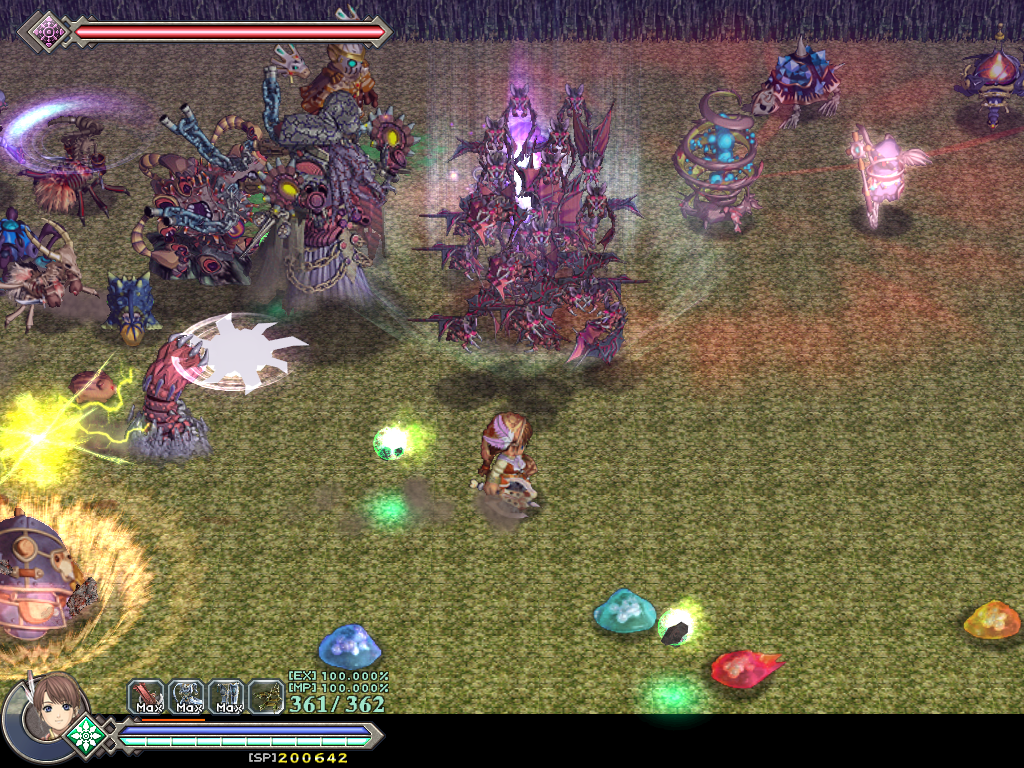
Internal name: Enemy Test 1
- Contains enemies from the Wailing Blue.
- The left block leads back to S_9001, and the right block leads to S_9003.
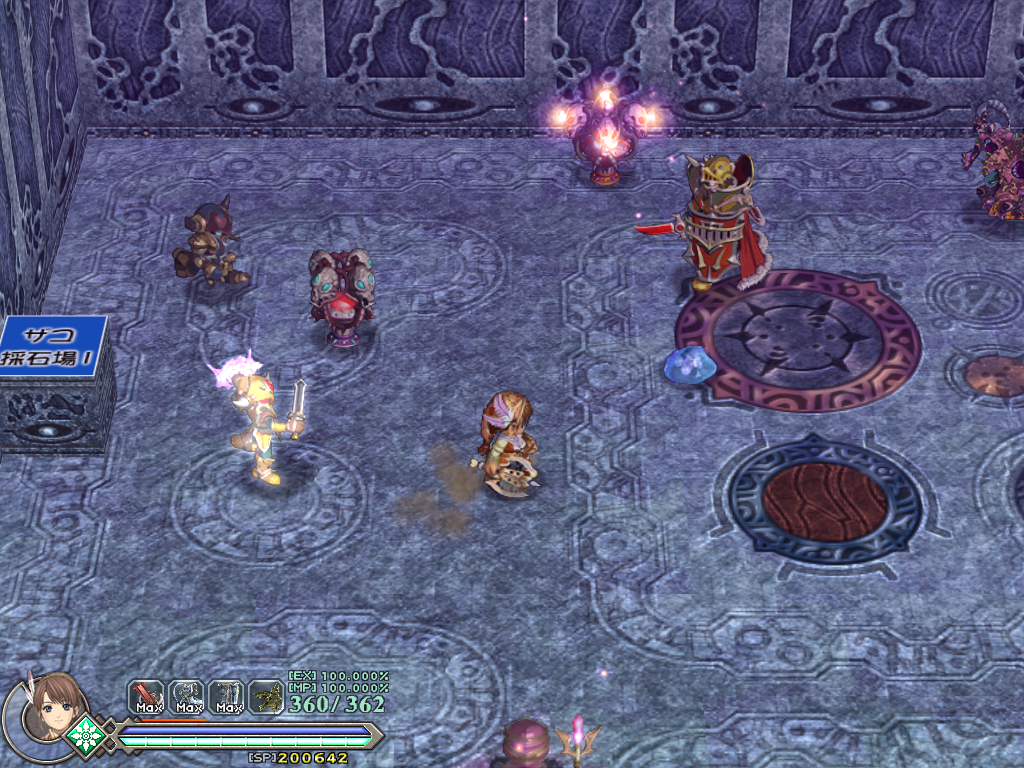
S_9003#
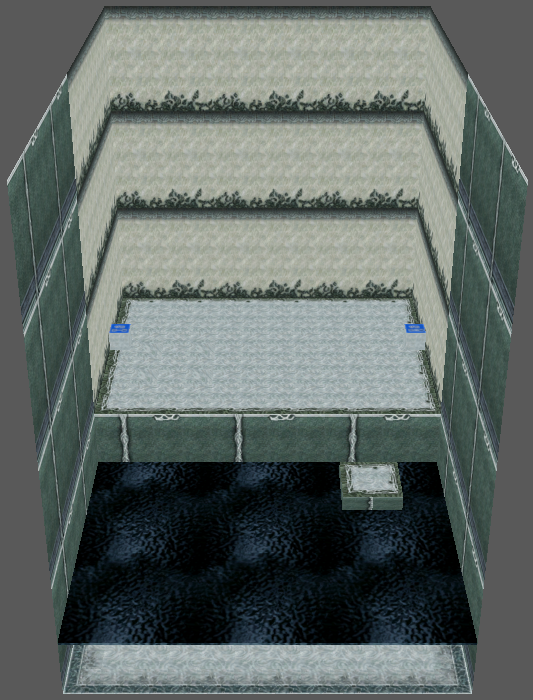
Internal name: Enemy Test 2
- Contains enemies from the Flooded Prison. There's also a pool of water with a platform.
- The left block leads back to S_9002, and the right block leads to S_9004.
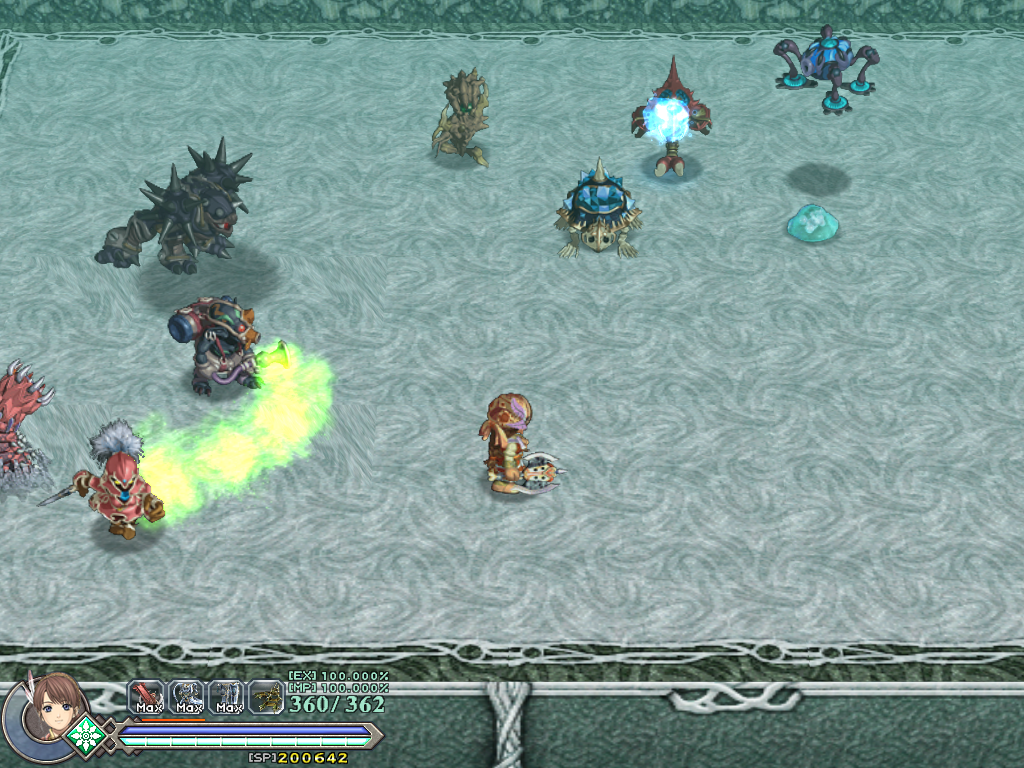
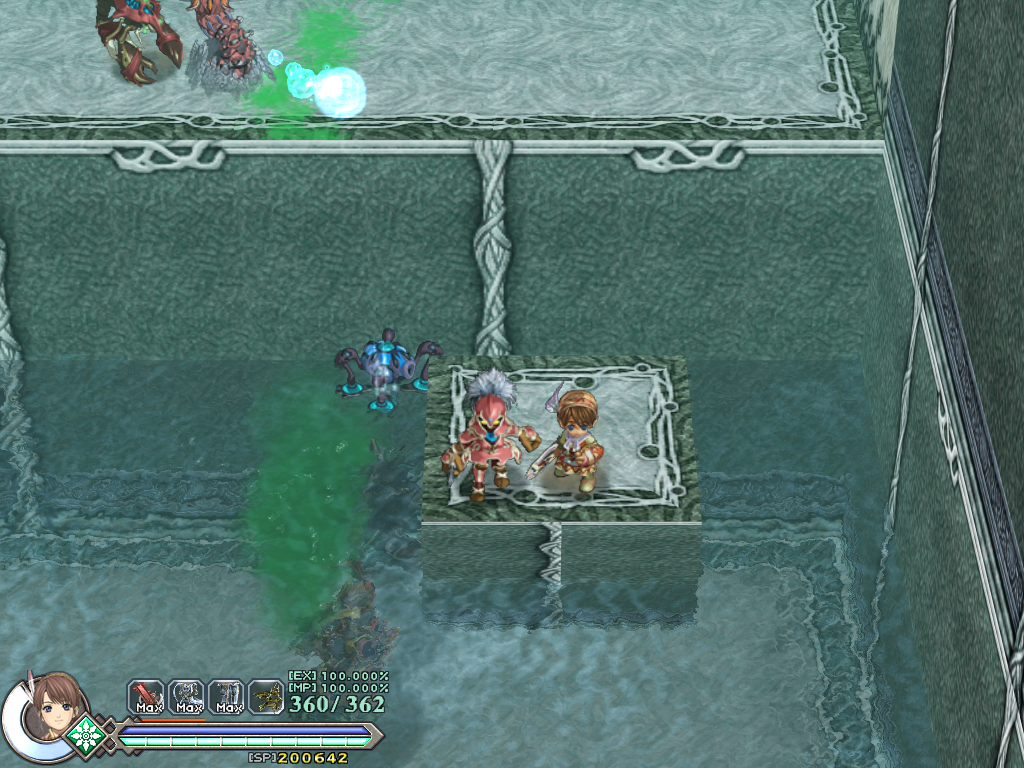
S_9004#
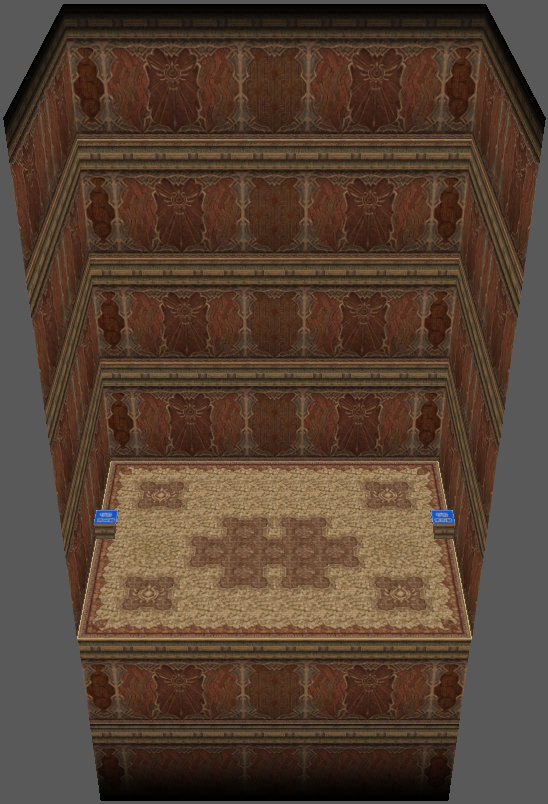
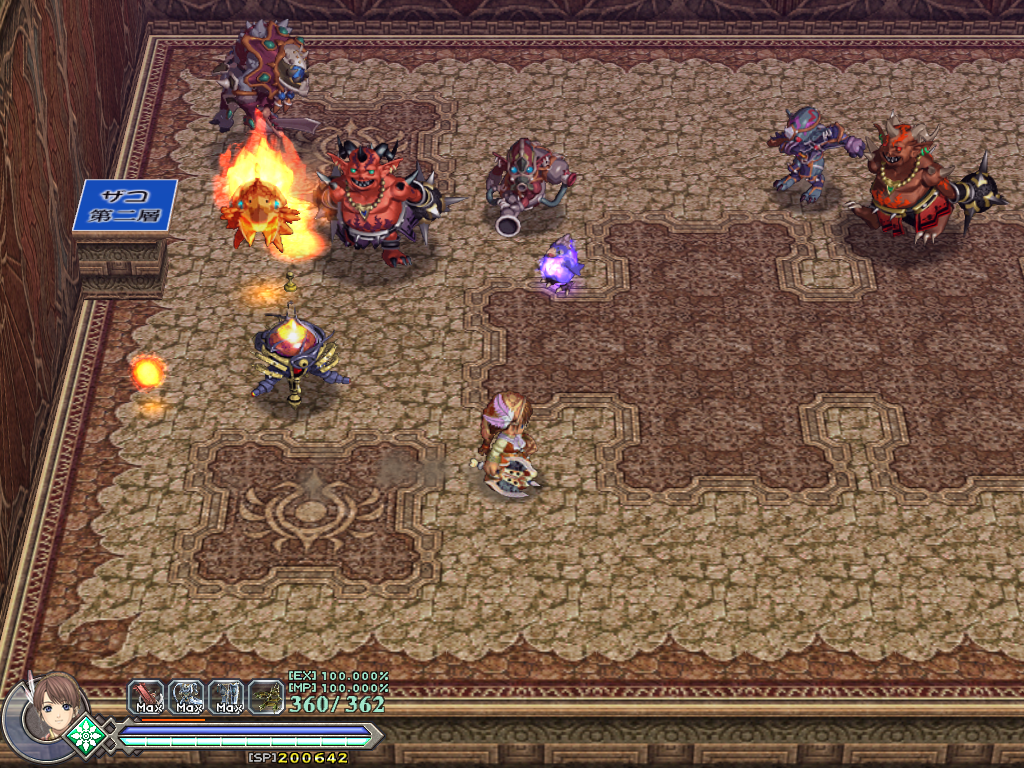
Internal name: Enemy Test 3
- Contains enemies from the Guilty Fire.
- The left block leads back to S_9003, and the right block leads to S_9005.
S_9005#
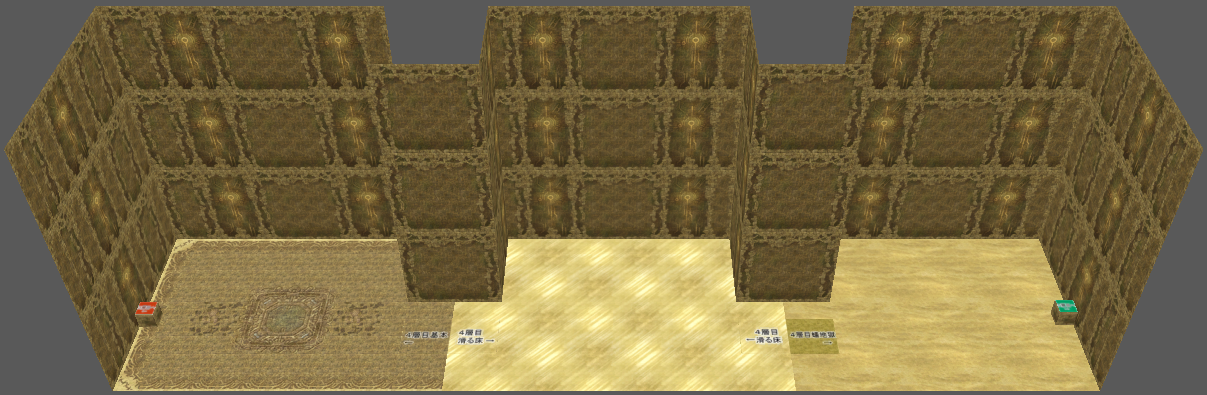
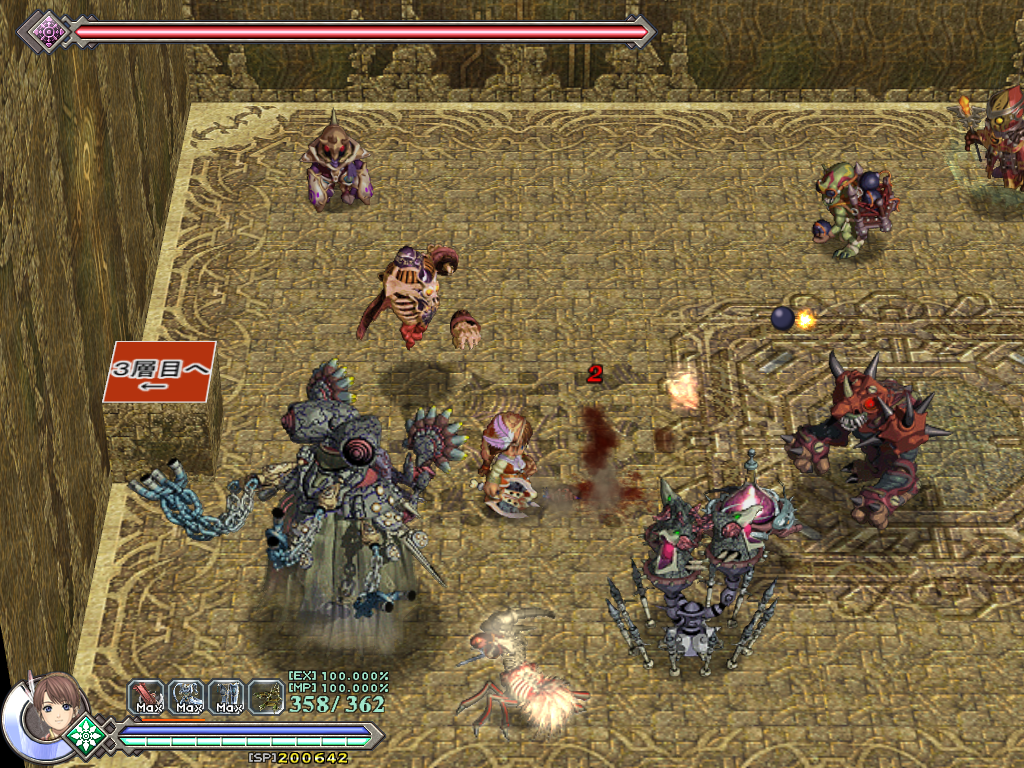
Internal name: Enemy Test 4
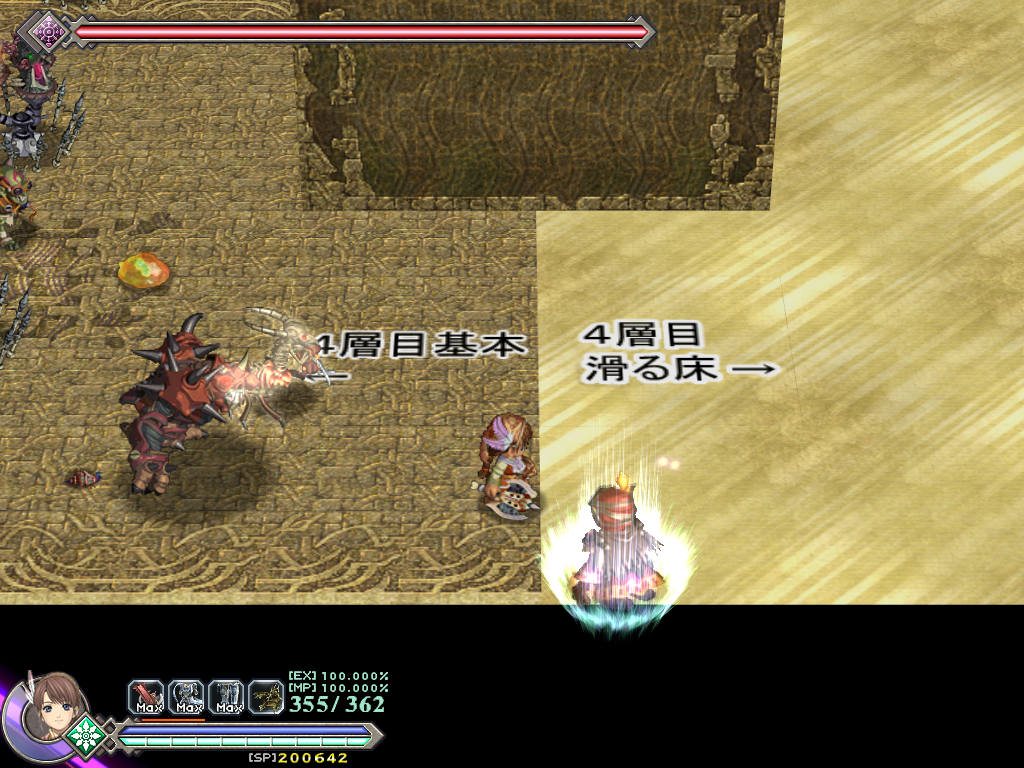
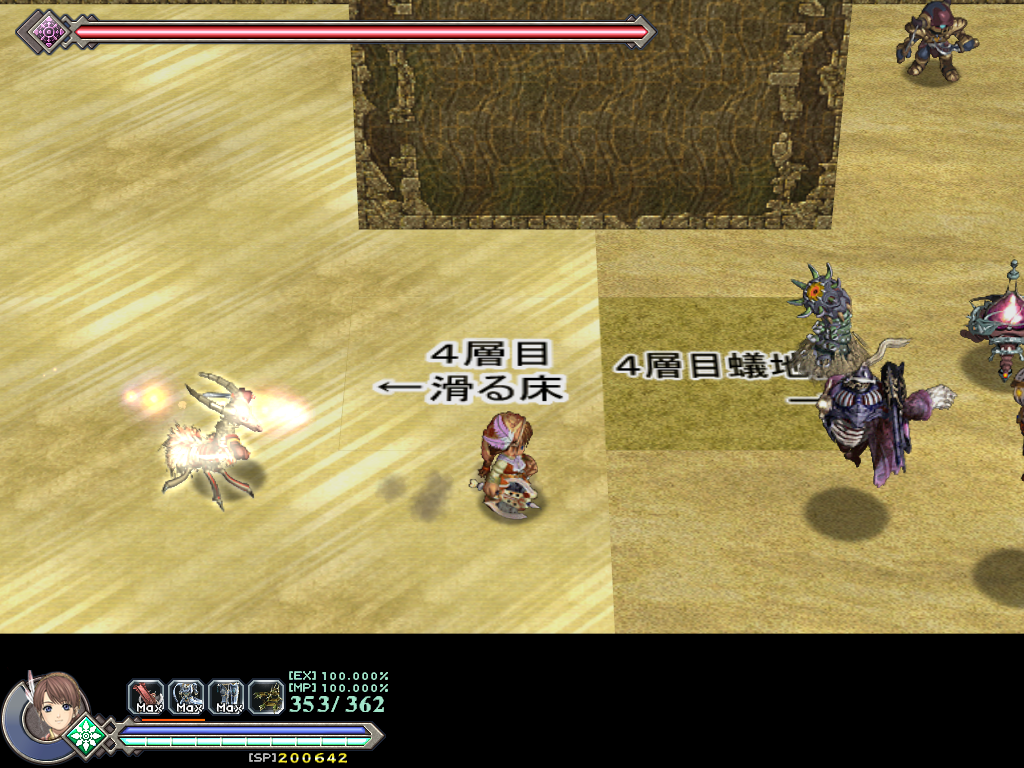
- Contains enemies from the Silent Sands.
- This map is larger than the previous Enemy Test maps, with three sections.
- The left block leads back to S_9004, and the right block leads to S_9006.
- There is some text on the ground describing the texture use. From left to right, the textures say:
Japanese |
Translated |
|---|---|
4層目基本 |
4th stratum basis |
4層目滑る床 |
4th stratum slippery floor |
4層目蟻地獄 |
4th stratum antlion pit |
4層目滑る床 |
4th stratum slippery floor |
S_9006#
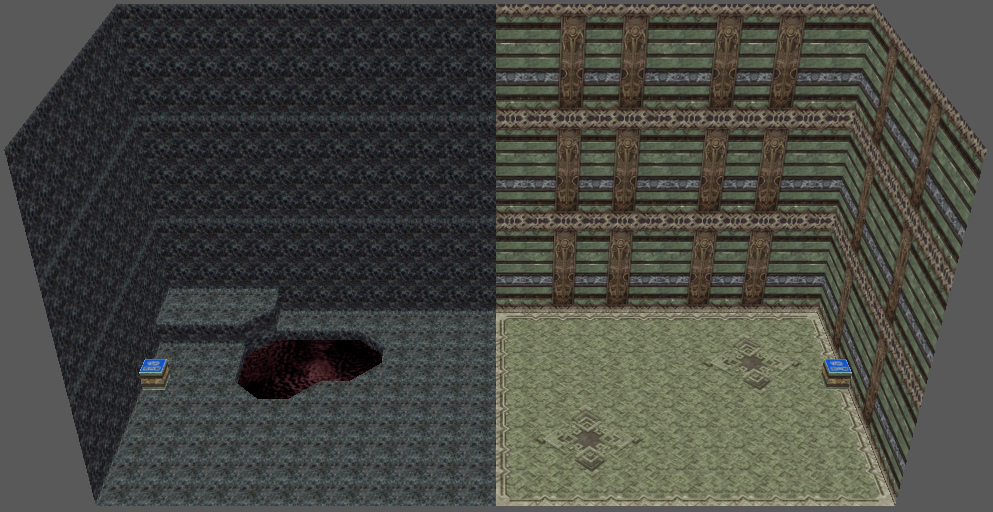
Internal name: Enemy Test 5
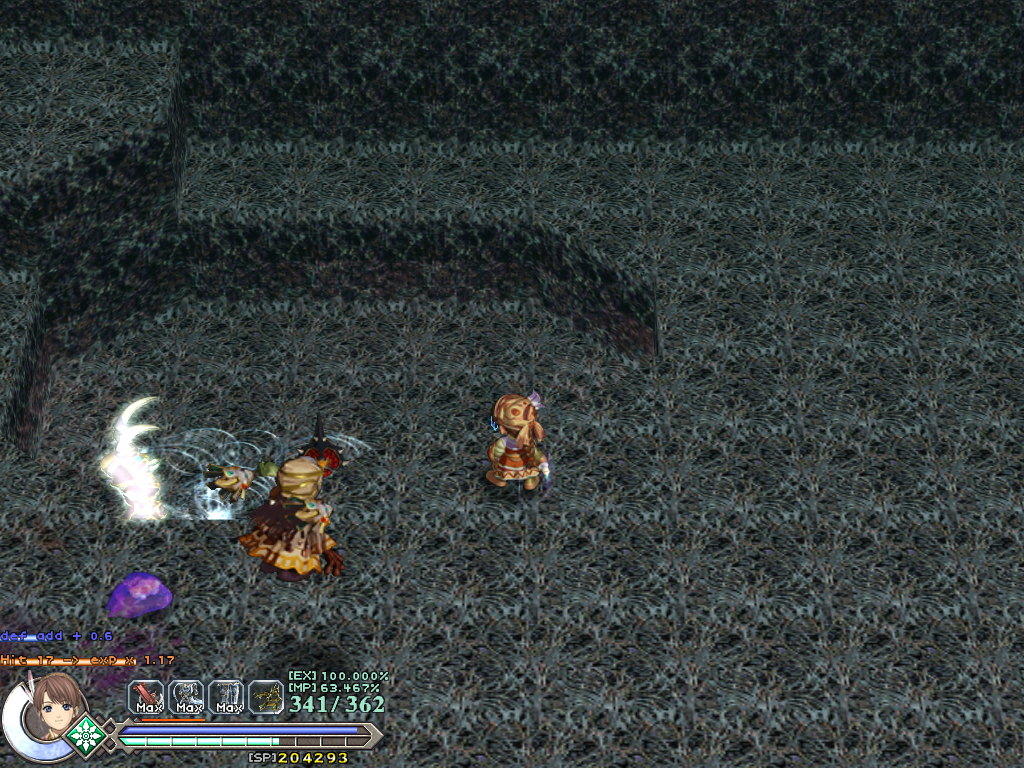
- Contains enemies from the Blighted Blood.
- The map is divided by the two area themes.
- The pool of water is slightly tinted red. When viewing the model, it is textured like the blood pools found in the Blighted Blood.
- The left block leads back to S_9005, and the right block leads to S_9007.
S_9007#
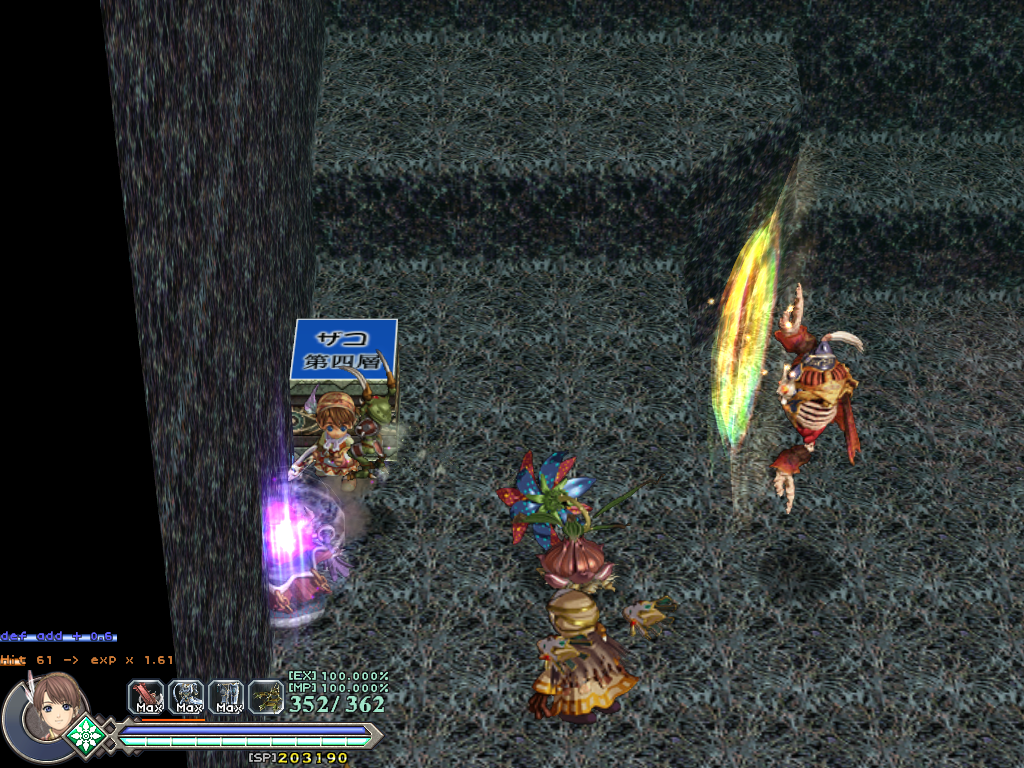
Internal name: Enemy Test 6
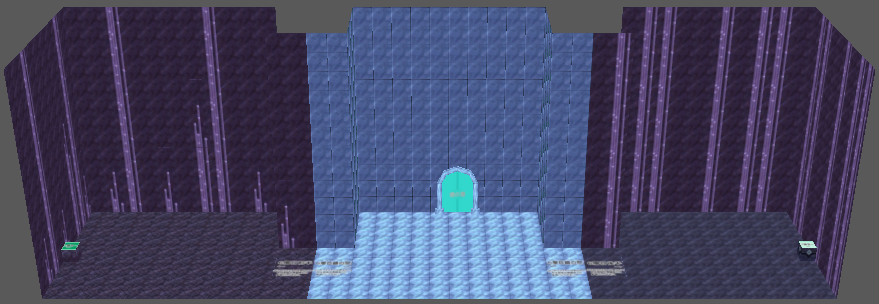
- Contains enemies from the Demonic Core.
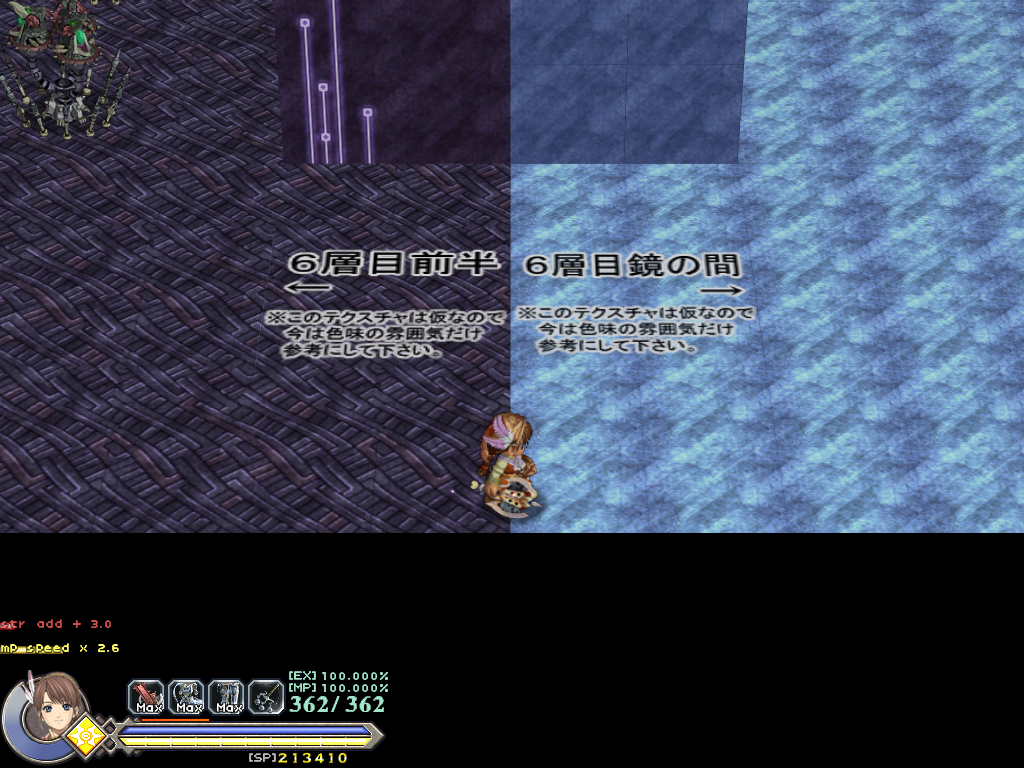
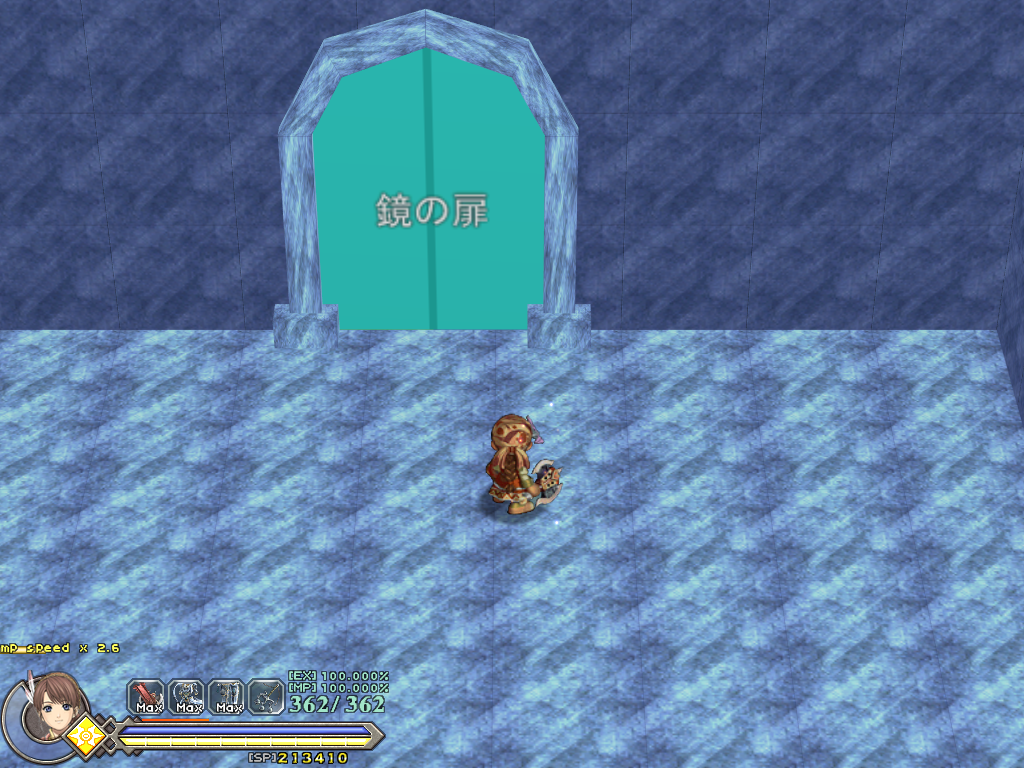
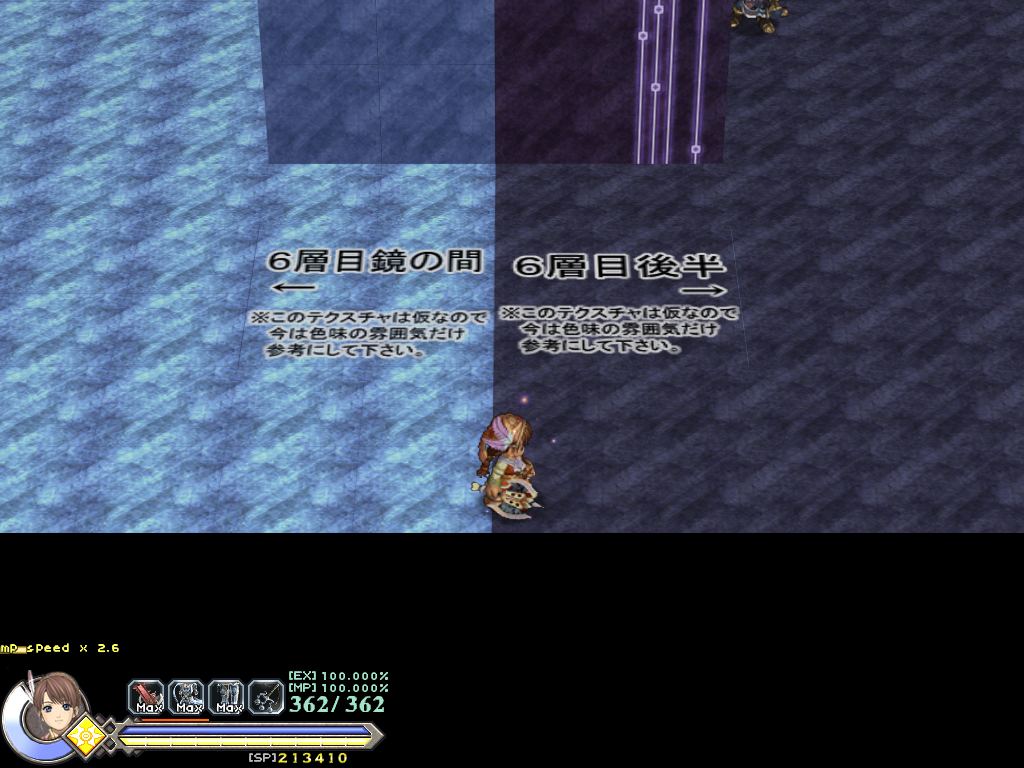
- It is split into three sections, with the middle being themed after the Hall of Reflection.
- The left block leads back to S_9006, and the right block leads to S_9008.
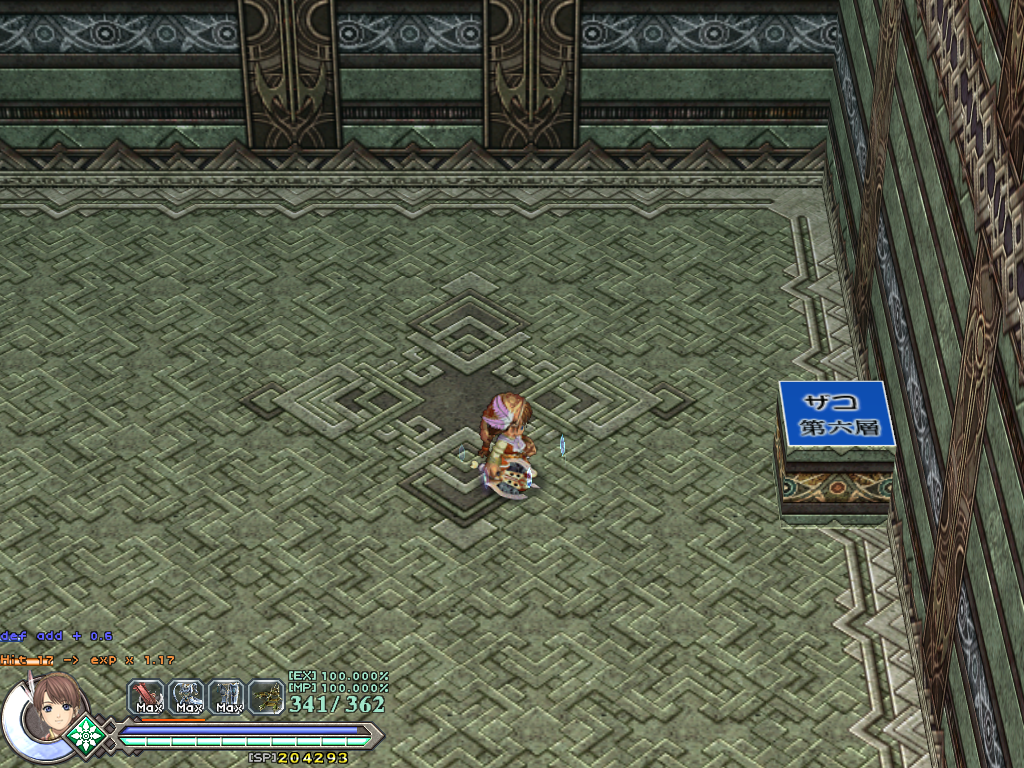
- There is some text on the ground describing the texture use. From left to right, the textures say:
Japanese |
Translated |
|---|---|
6層目前半 |
6th stratum first half |
6層目鏡の間 |
6th stratum Hall of Reflection |
6層目後半 |
6th stratum second half |
6層目鏡の間 |
6th stratum Hall of Reflection |
※このテクスチャーは仮なので、今は色味の雰囲気だけ 参考にして下さい。 |
*This texture is tentative, so please only refer to the atmosphere of the color for now. This text can be seen below all textures described above. |
S_9008#
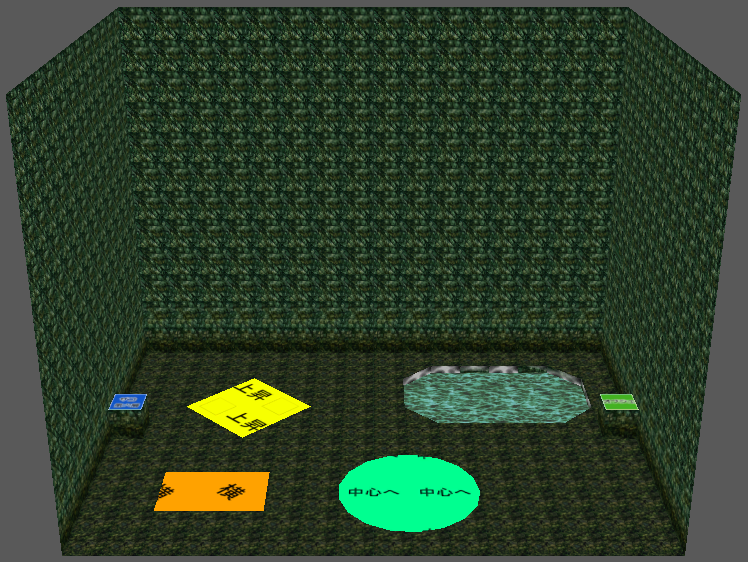
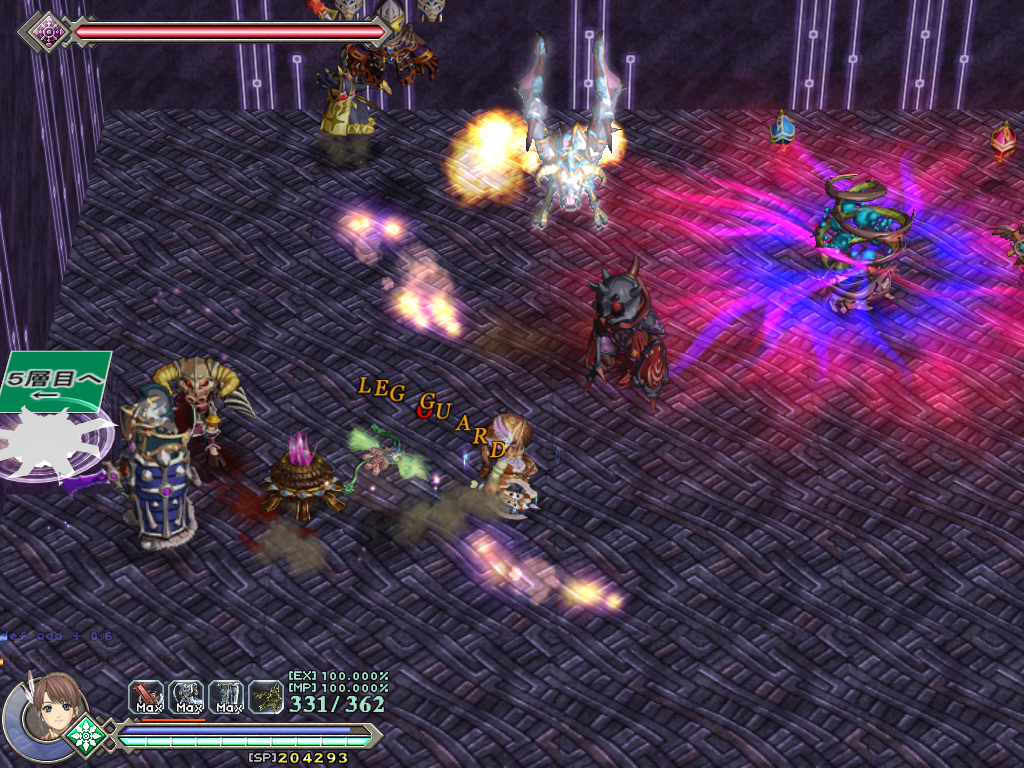
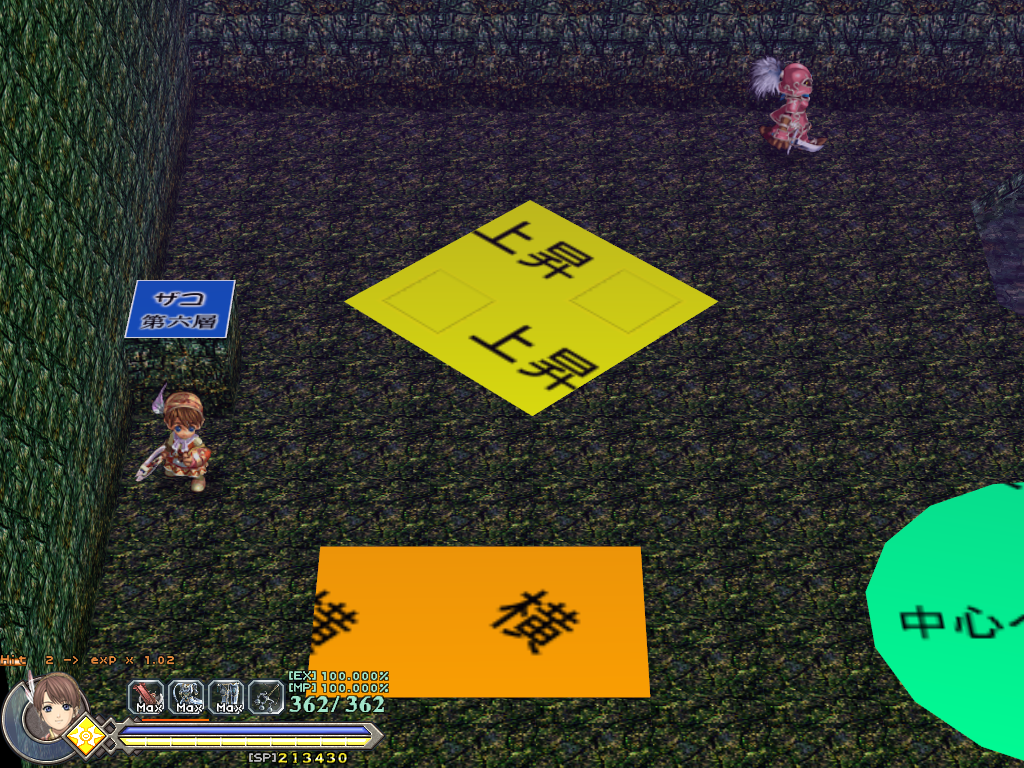
Internal name: Enemy Reserve 1
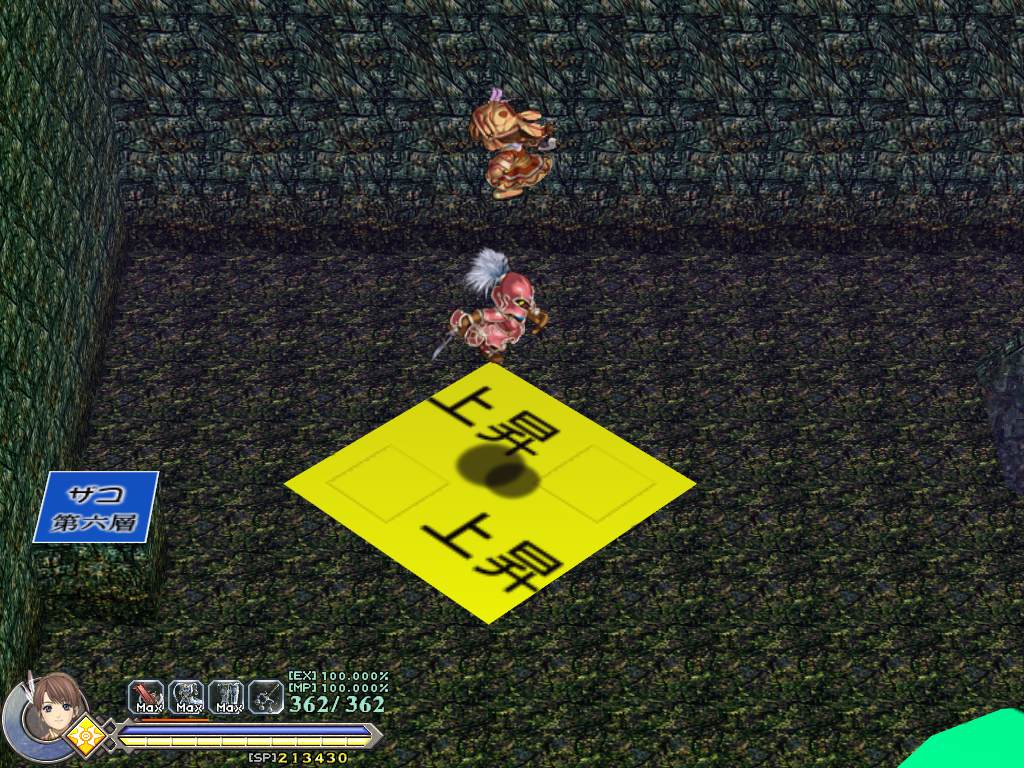
This is more of a terrain test map than an enemy test map.
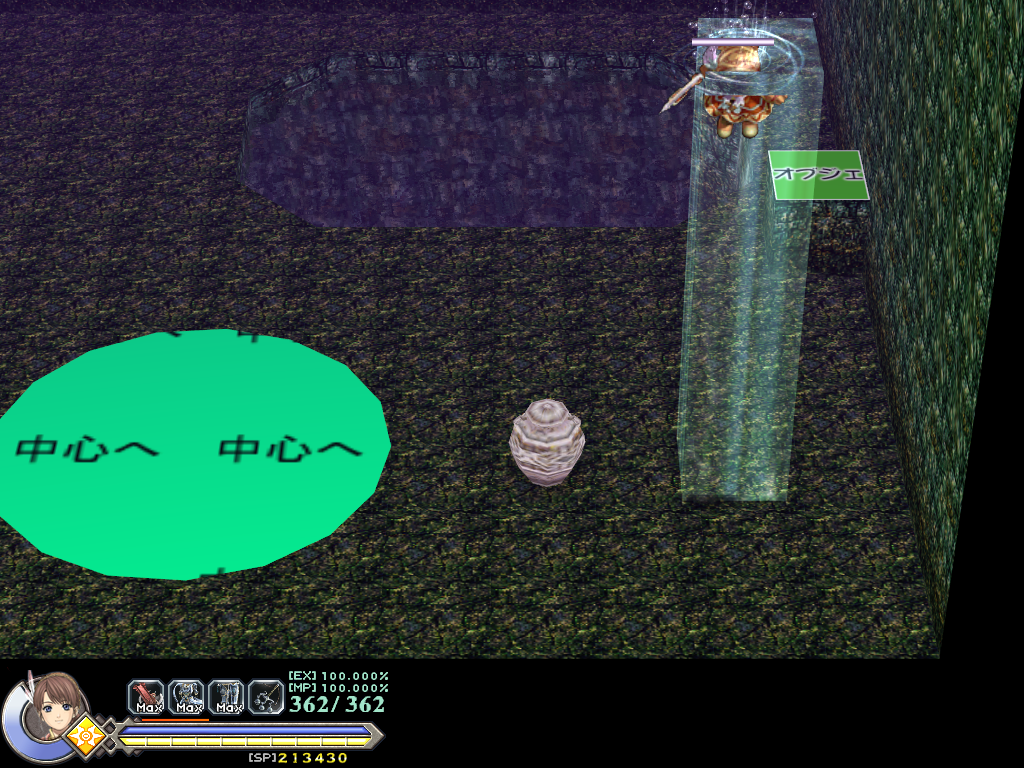
- The text on each shape describes their action.
- The yellow diamond raises you up into the air.
- The orange rectangle pushes you to the right side.
- The green circle pulls you toward the center.
- You can jump up the pillar of water.
- The left block returns you to S_9007, and the right block goes to S_9009.
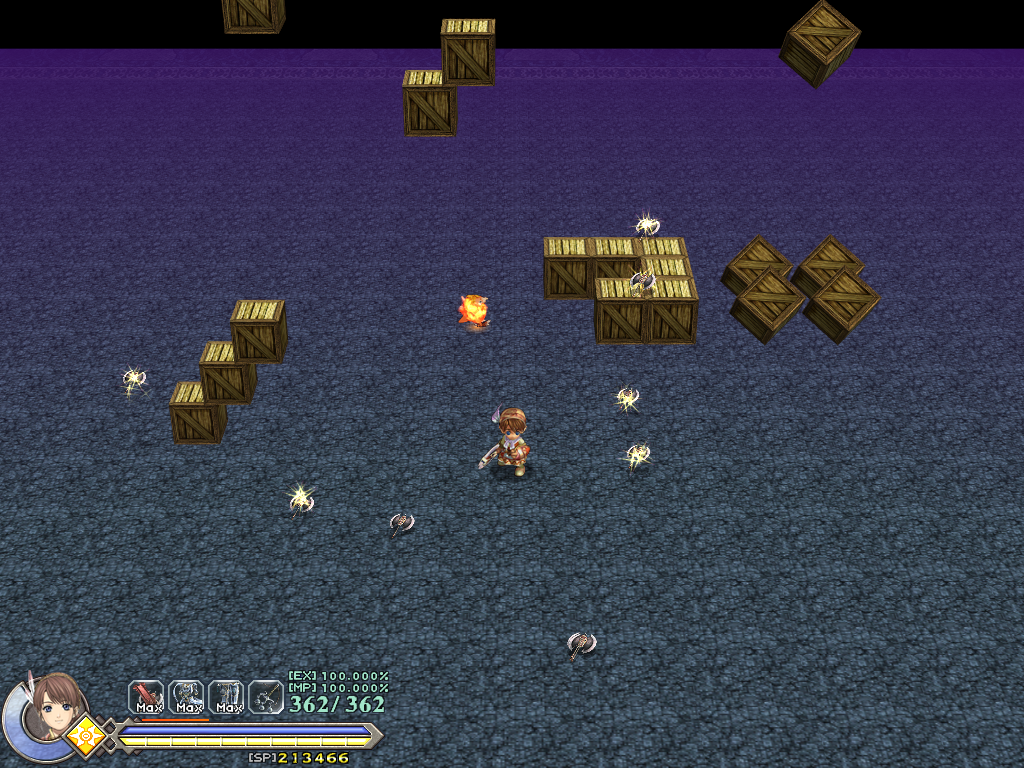
S_9009#
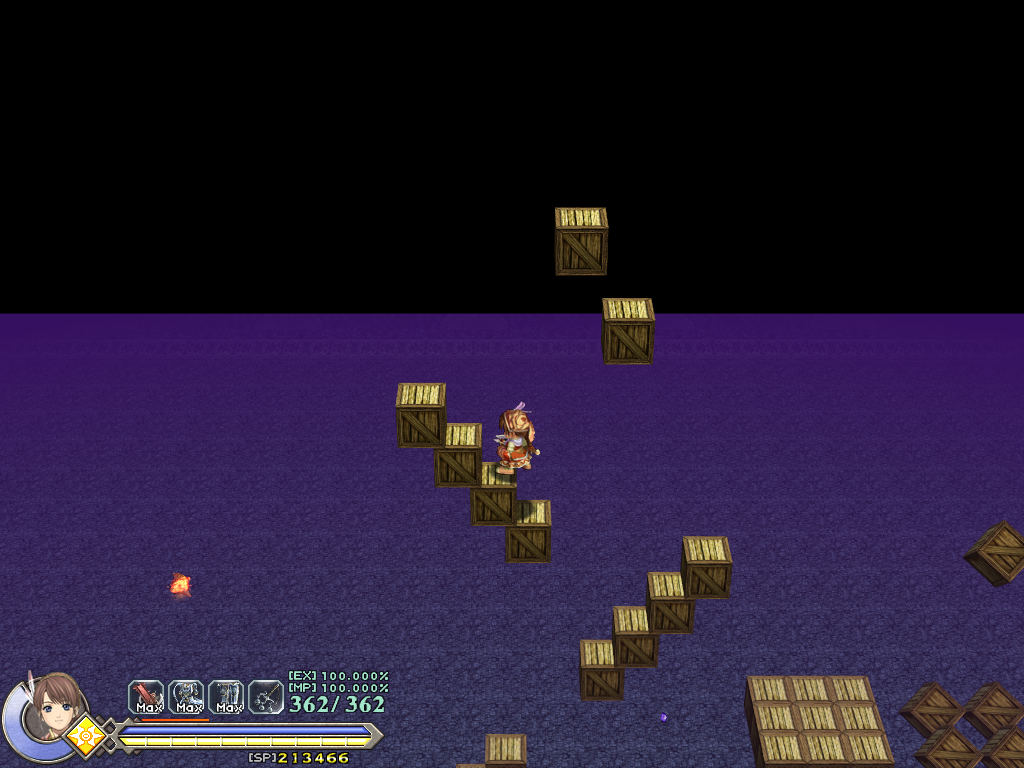
Internal name: Enemy Reserve 2
Has a bunch of crates placed in midair that drop Yunica's axe when broken. Picking up the axes doesn't seem to do anything.
S_9010#
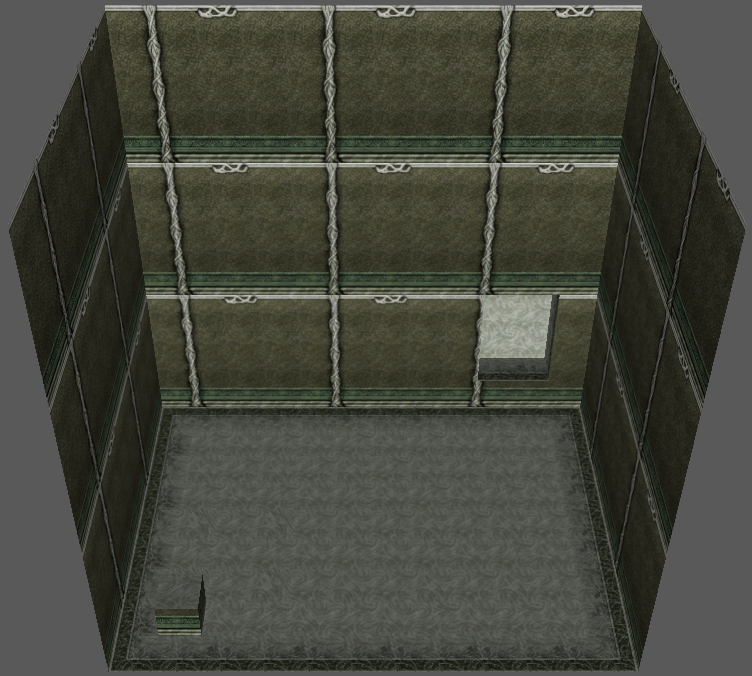
Internal name: Enemy Arena
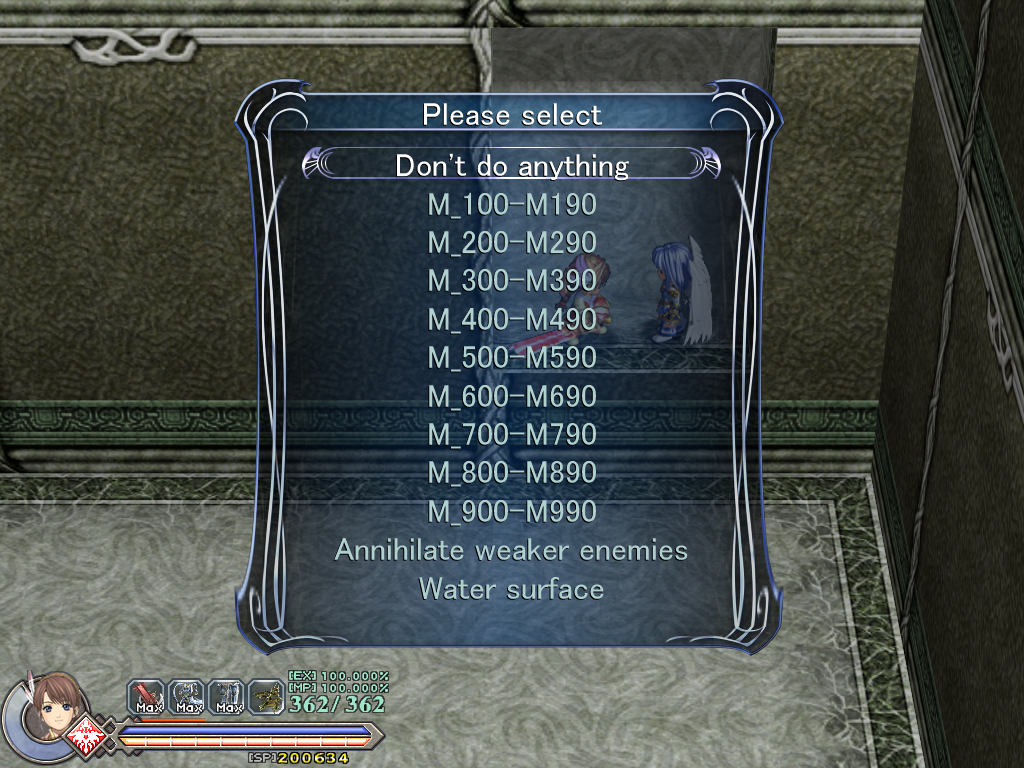
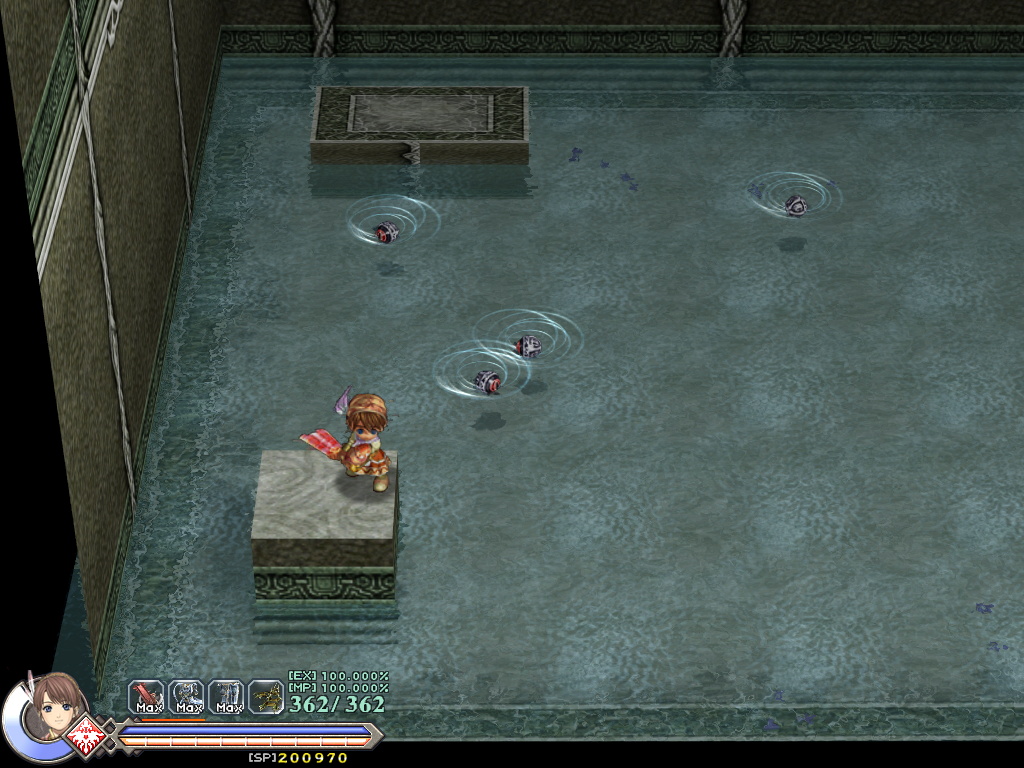
- Speaking to Reah offers a menu where you can spawn just about any enemy in the game.
- You can also make water with additional platforms spawn.
- According to this map's SEN file, it once had connections to S_9002 and S_9004, though there isn't a way to trigger these exits in the map's current form.
S_91 Series#
S_9100#
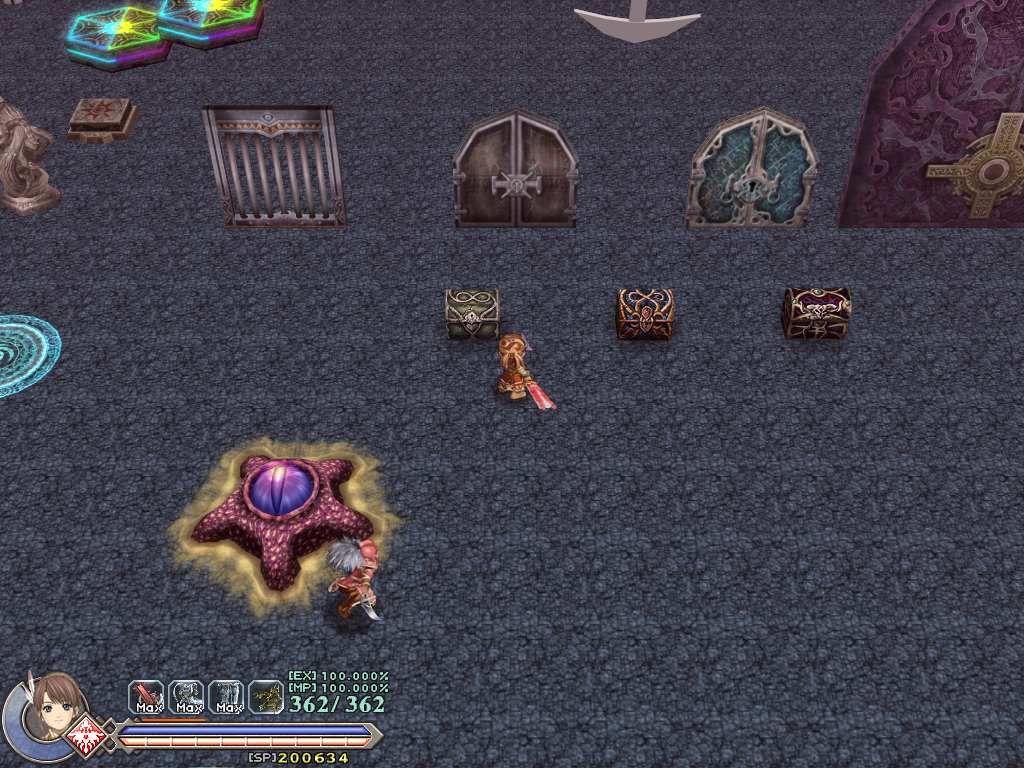
Internal name: Object Test 1
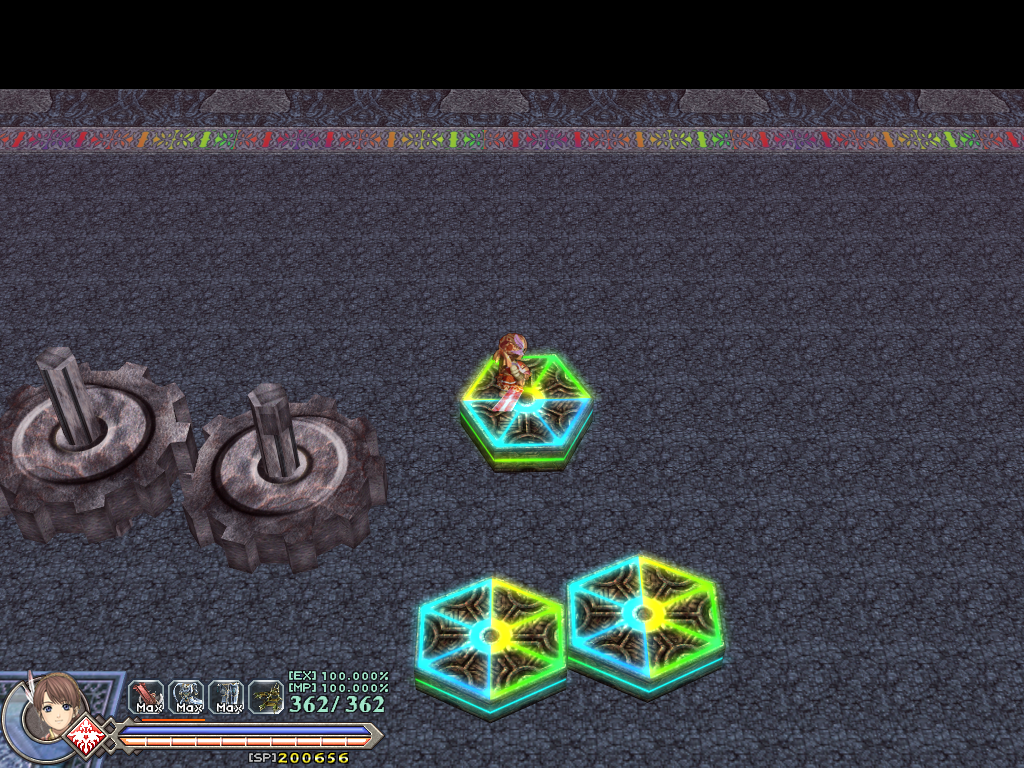
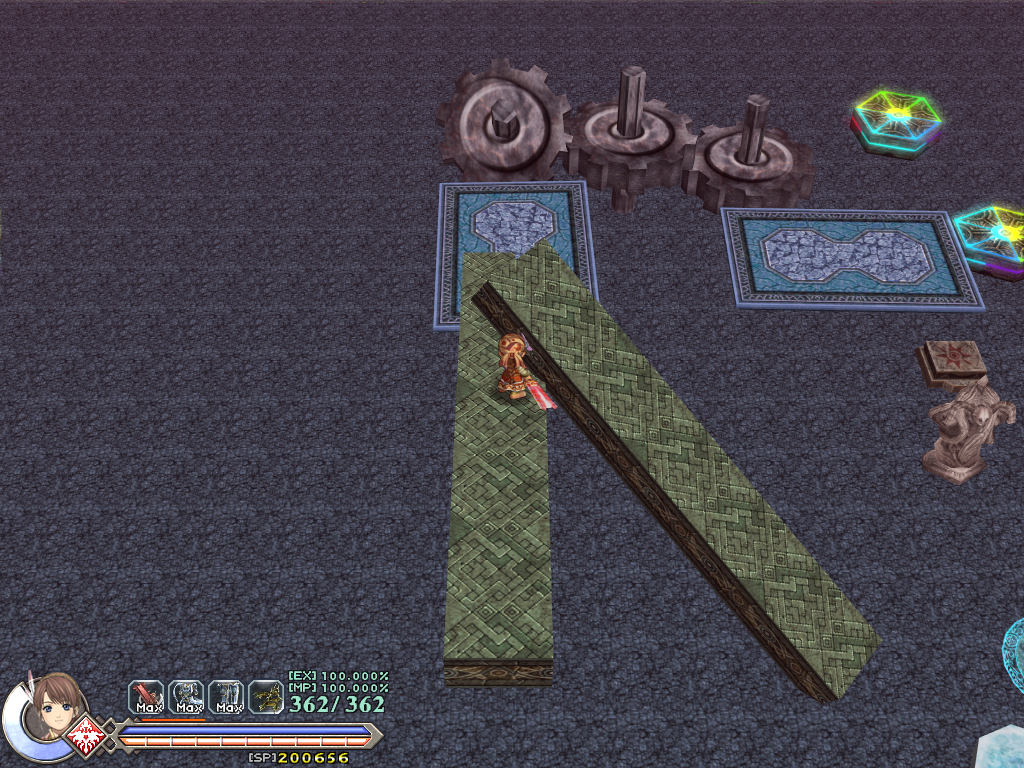
Contains an assortment of used and unused objects.
- The spinning gears are leftovers from Valestein Castle from The Oath in Felghana.
- You can save by interacting with the demon statue.
- One of the unused rainbow platforms will float up and spin around in a path if you are on top of it.
- The two unused floating rectangular platforms kind of act like magic carpets. They fall if you step on them, but travel in a path after respawning.
- None of the doors or treasure chests can be opened.
S_9101#
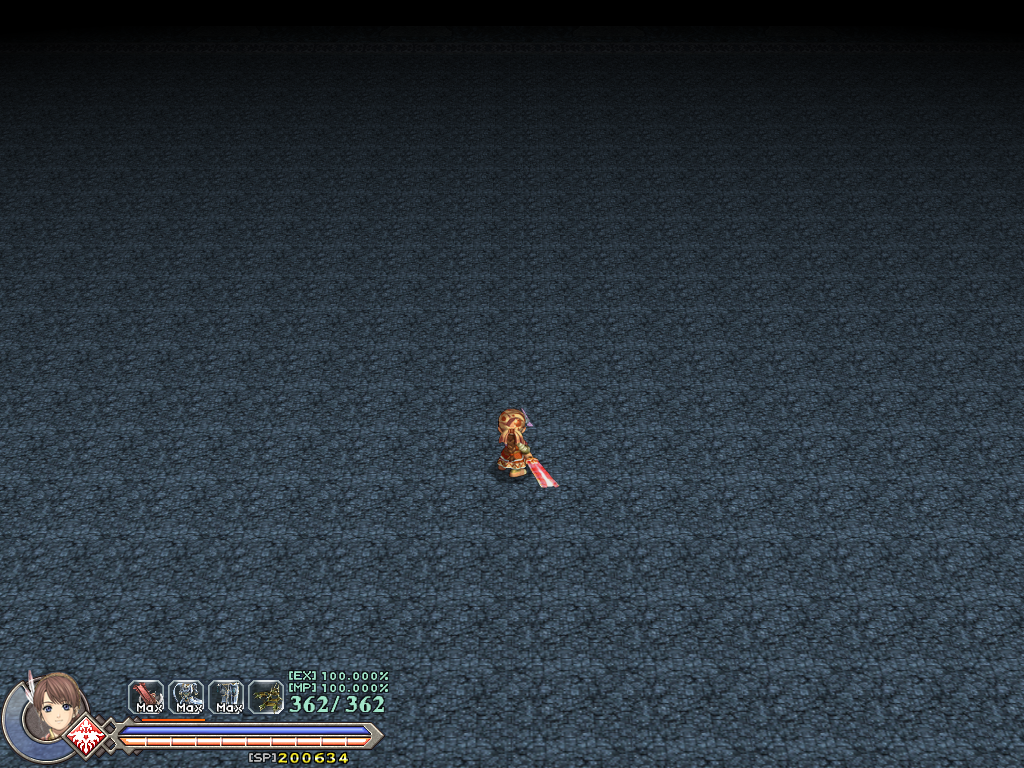
Internal name: Object Test 2
This map has a vignette effect, but there's nothing else to find here.
S_9105#
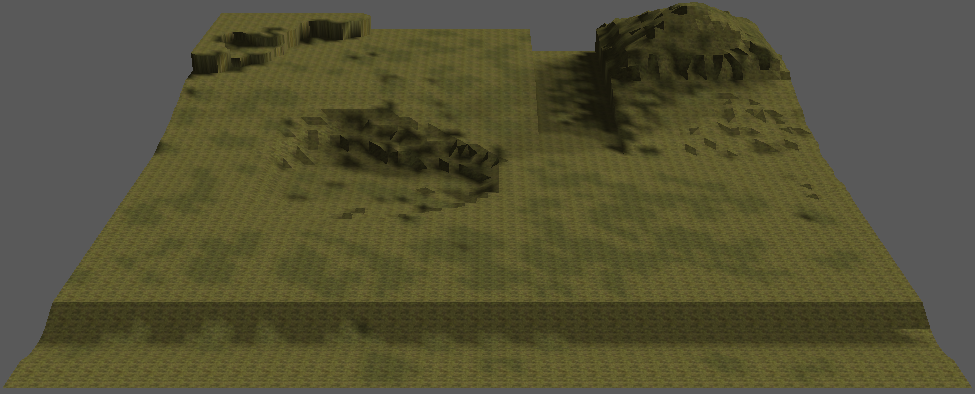
Internal name: Gimmick Test 1
This map's skybox path needs to be fixed in order to load. To do this, open the map's SOB file in a hex editor, and replace the string data\map\b_100\b_100.ymo with data\map\skybox\b_100\b_100.ymo.
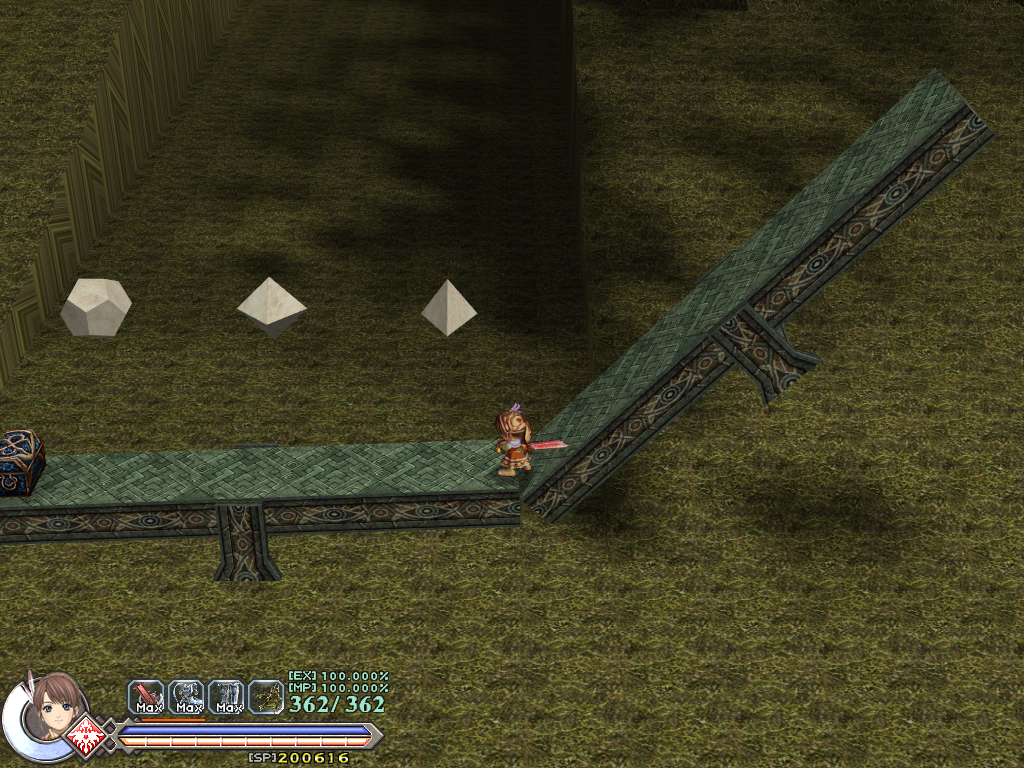
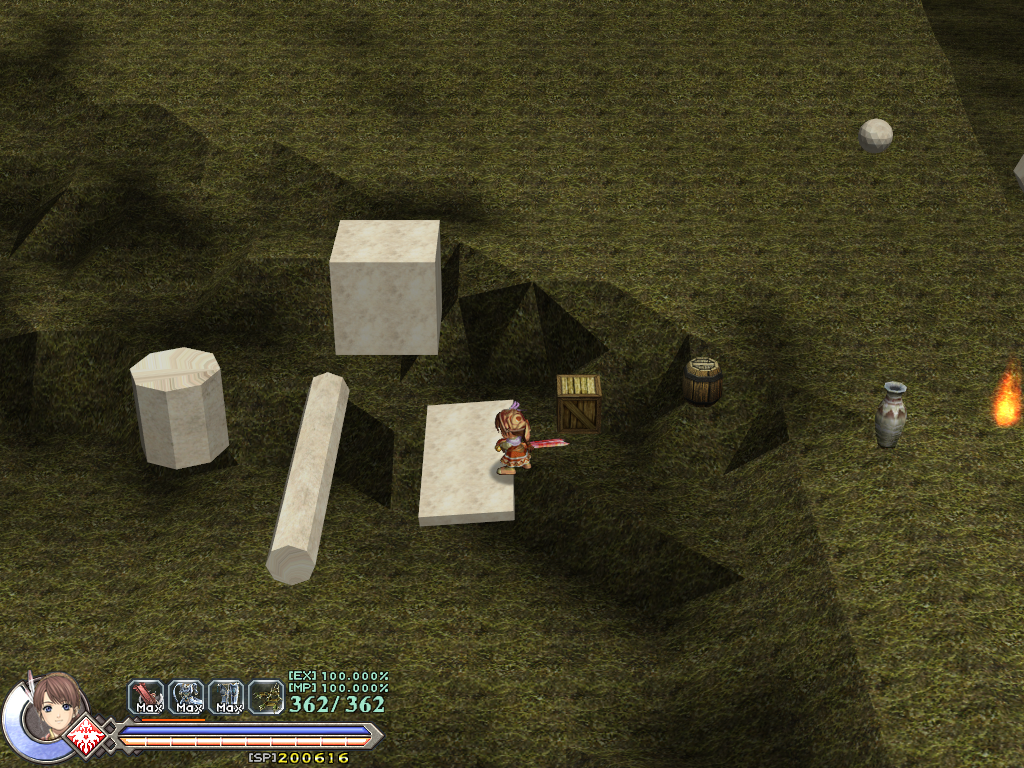
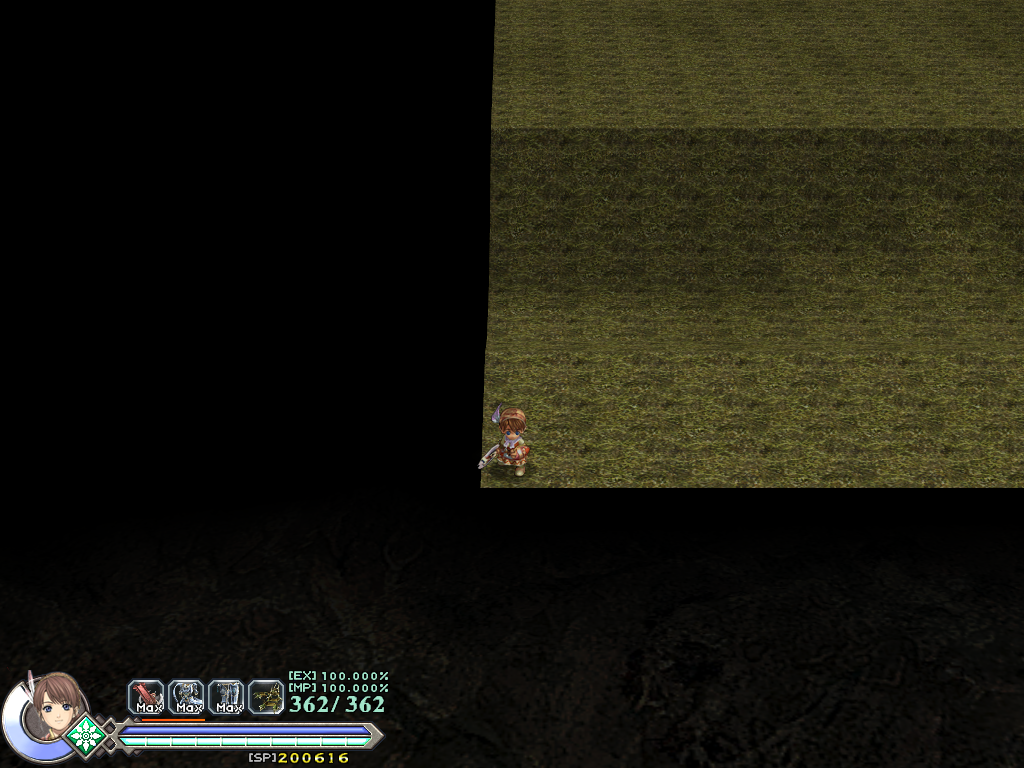
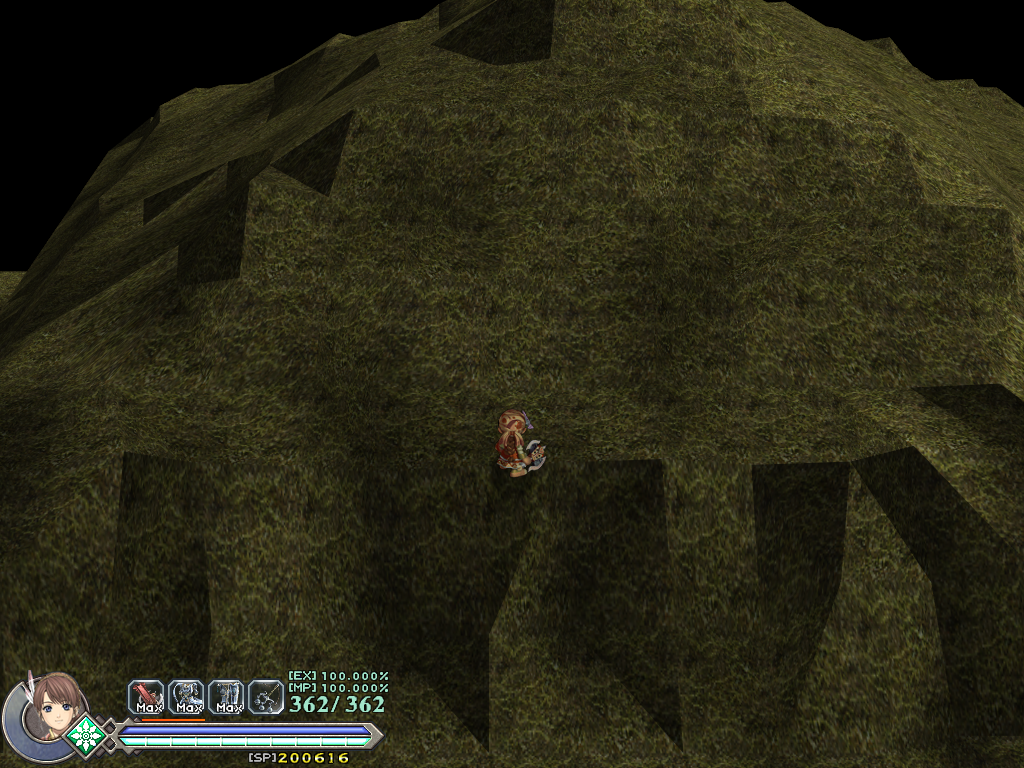
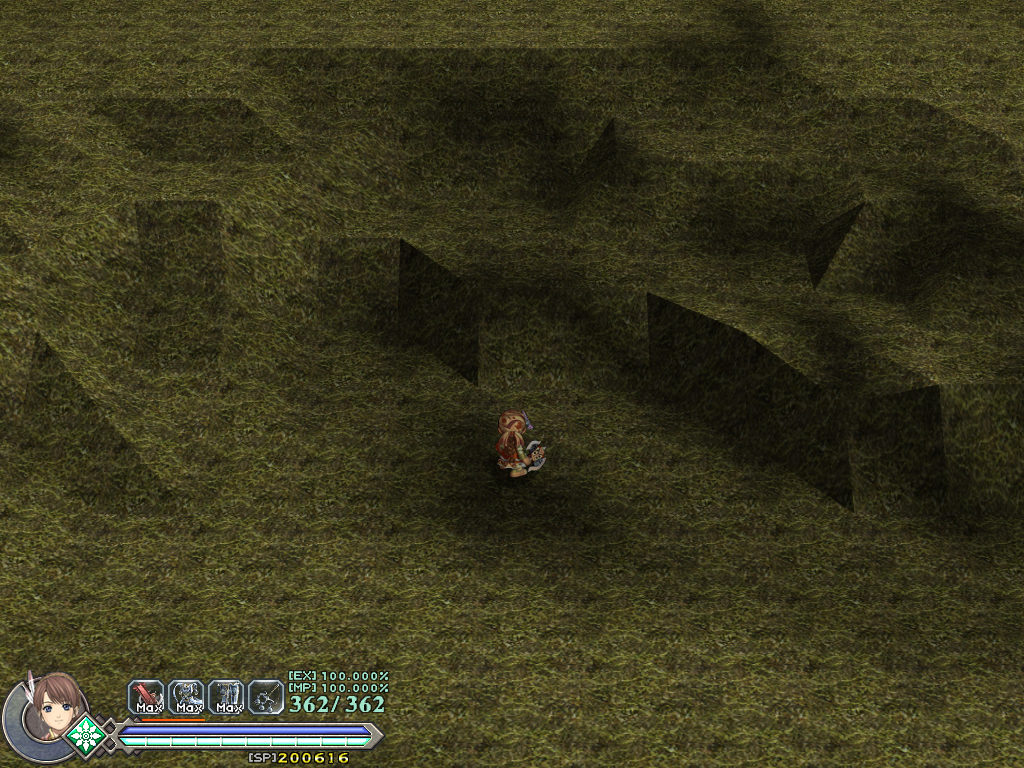
- Several test objects appear on this map, primarily simple shapes.
- Two unused seesaws that look like they belong in the Blighted Blood also appear here.
- The treasure chest cannot be opened.
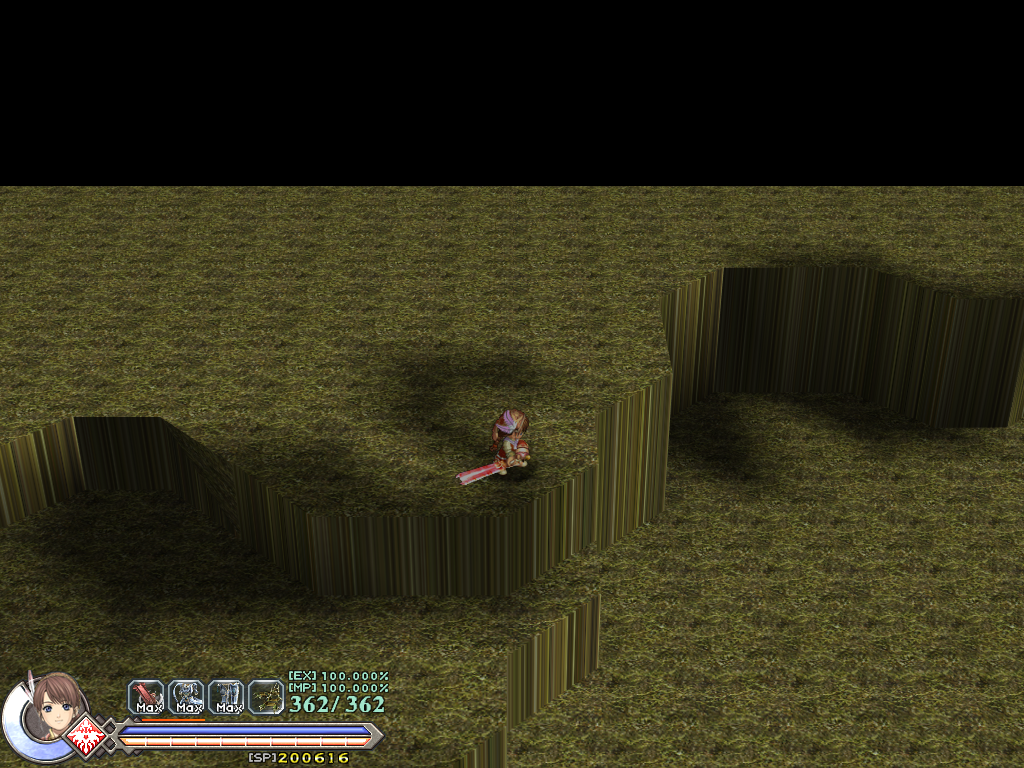
- Only one texture is used for the landscape, and it looks horribly stretched on the walls.
- Bumps on the ground have very rough shading.
- The hill is actually steep enough to slow you down.
- The skybox can just barely be seen on the southern corners of the map.
S_9106#
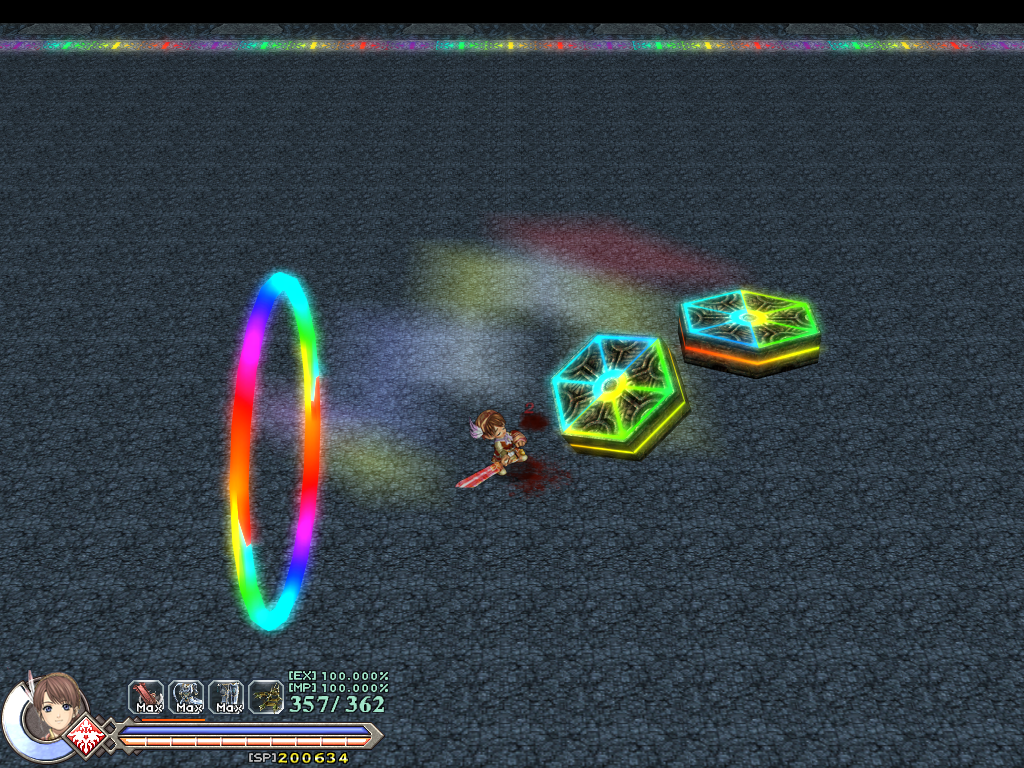
Internal name: Gimmick Test 2
- Two of the unused rainbow platforms previously seen in S_9100 appear here. The edges of titled one can actually hurt you.
- There's also an unused rainbow ring here.
- The edges of this map have a flowing rainbow texture.
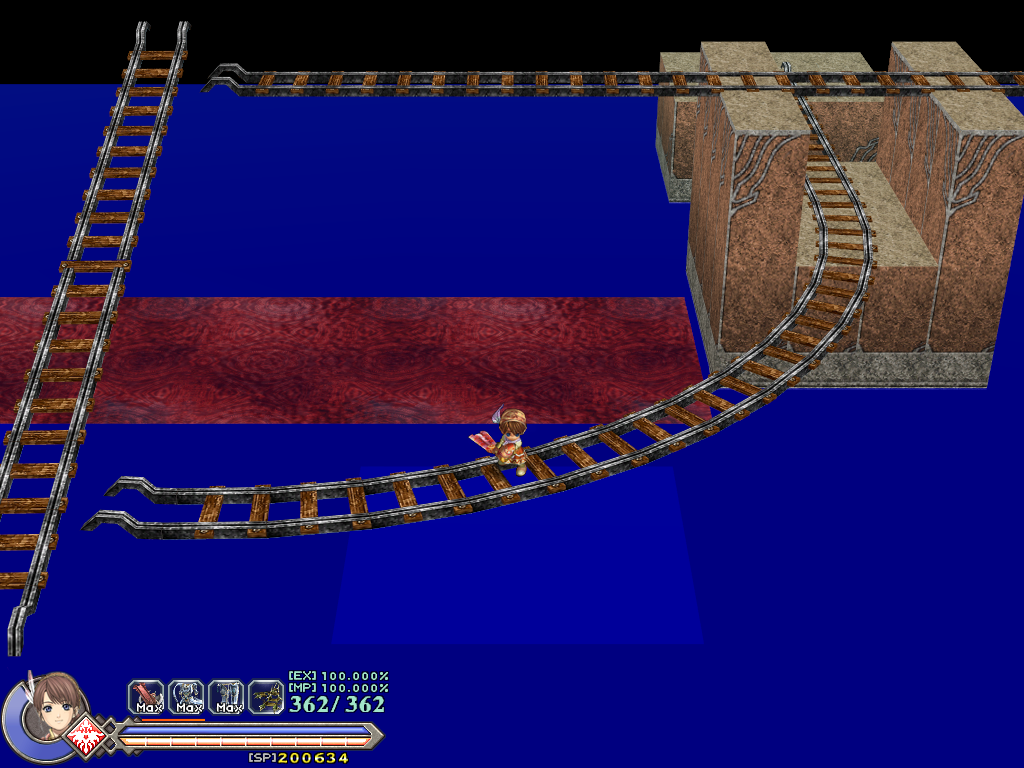
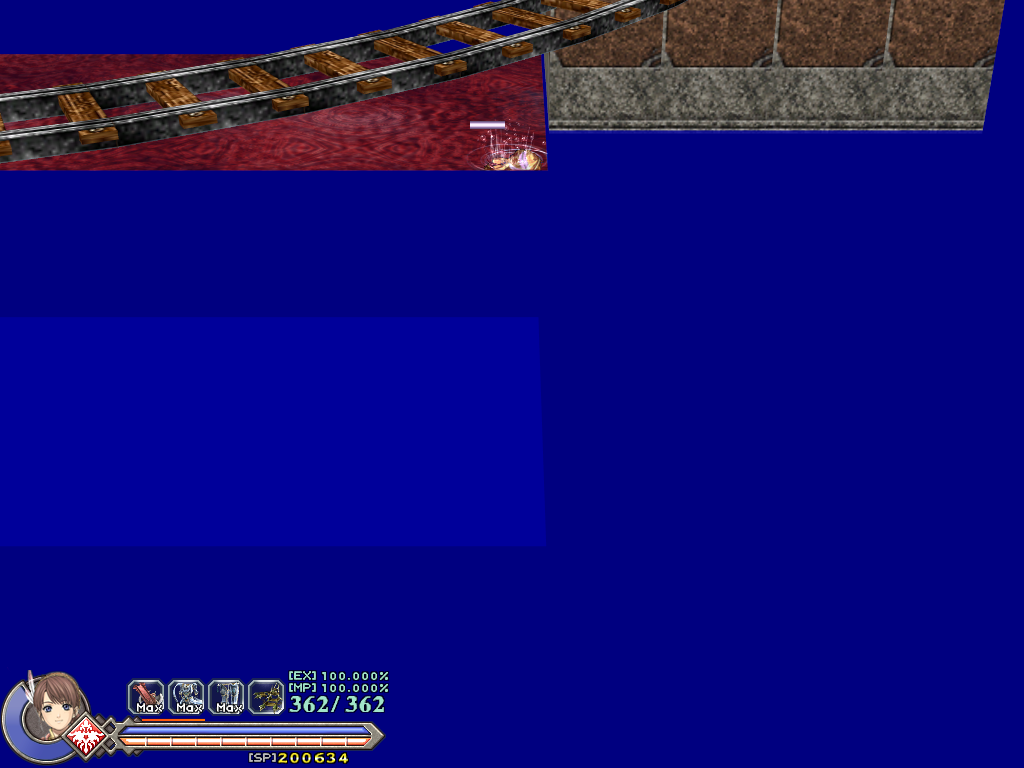
S_9107#

Internal name: Elevator Sample
- This map features mine cart tracks, which are not used anywhere in the game.
- The two platforms look like they belong in the Guilty Fire.
- The pool of blood acts like water instead of hurting you.
S_9108#
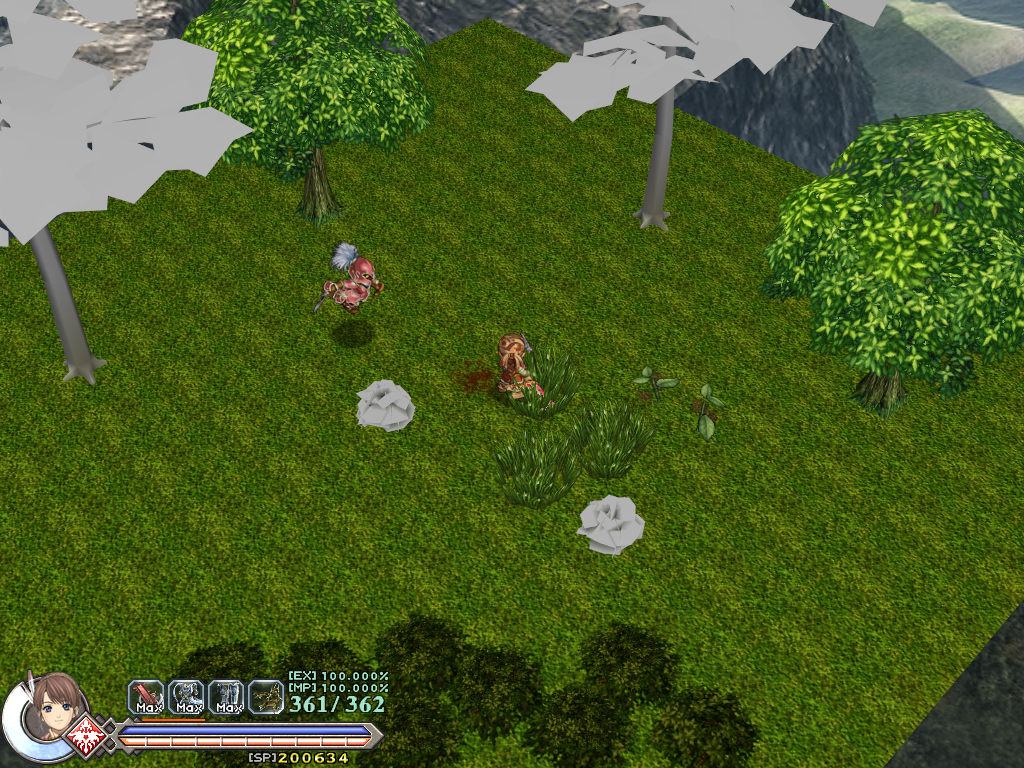
Internal name: Thursday Grass Test
- A grassy platform with some untextured trees and plants.
- Fun fact, the skybox can also be found in other Falcom games, such as Trails of Cold Steel I and II.
S_9110#
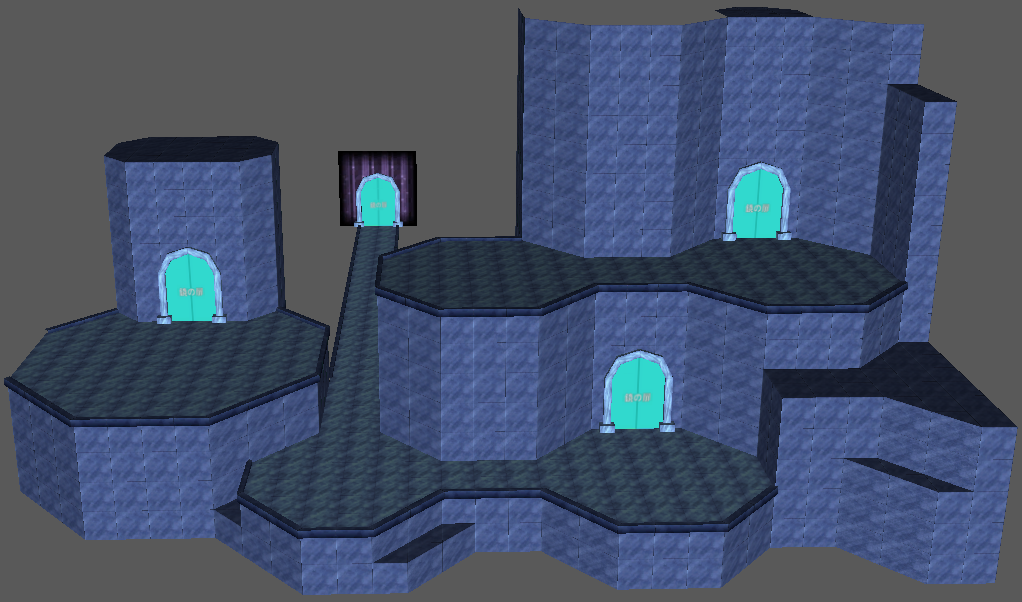
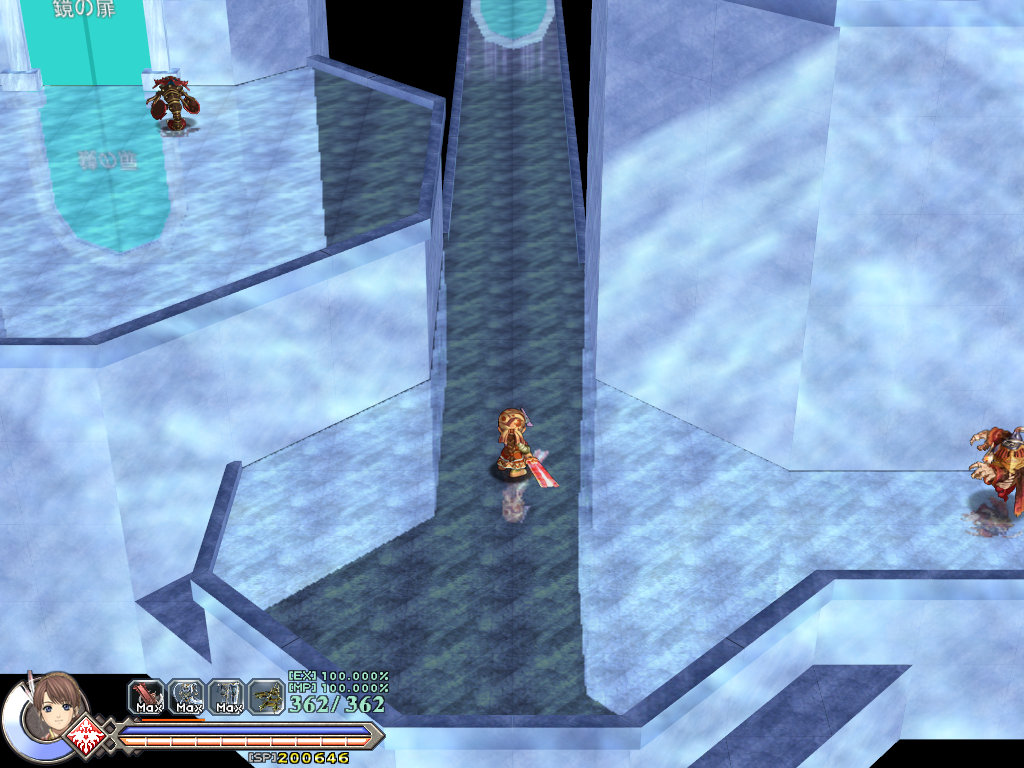
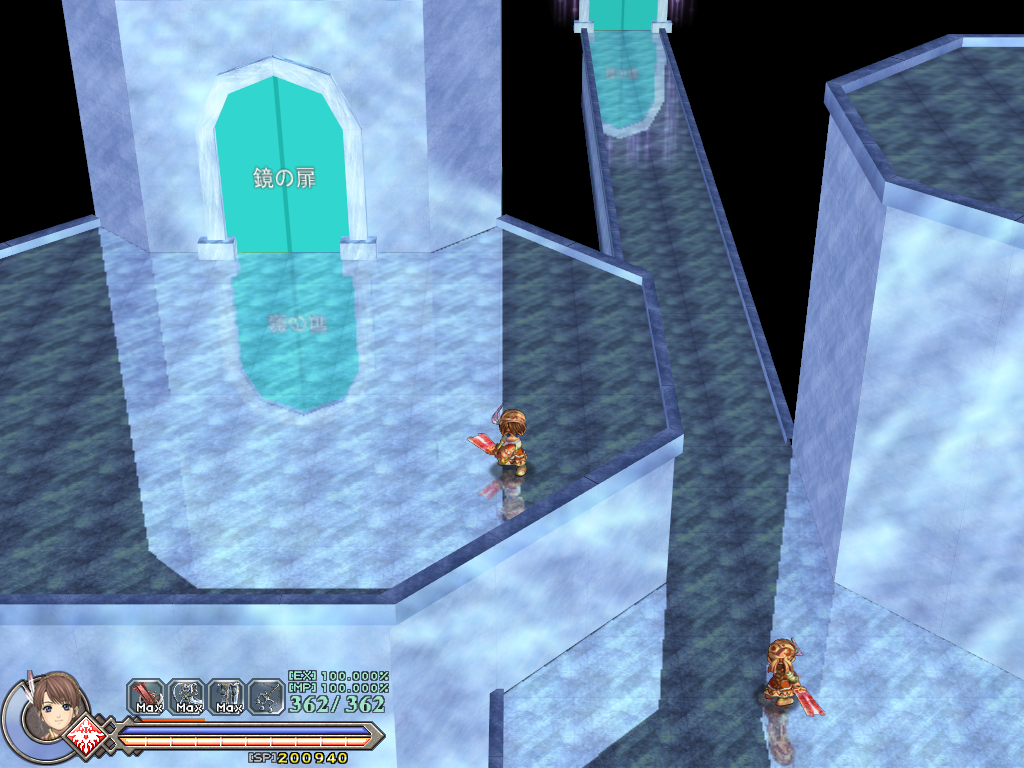
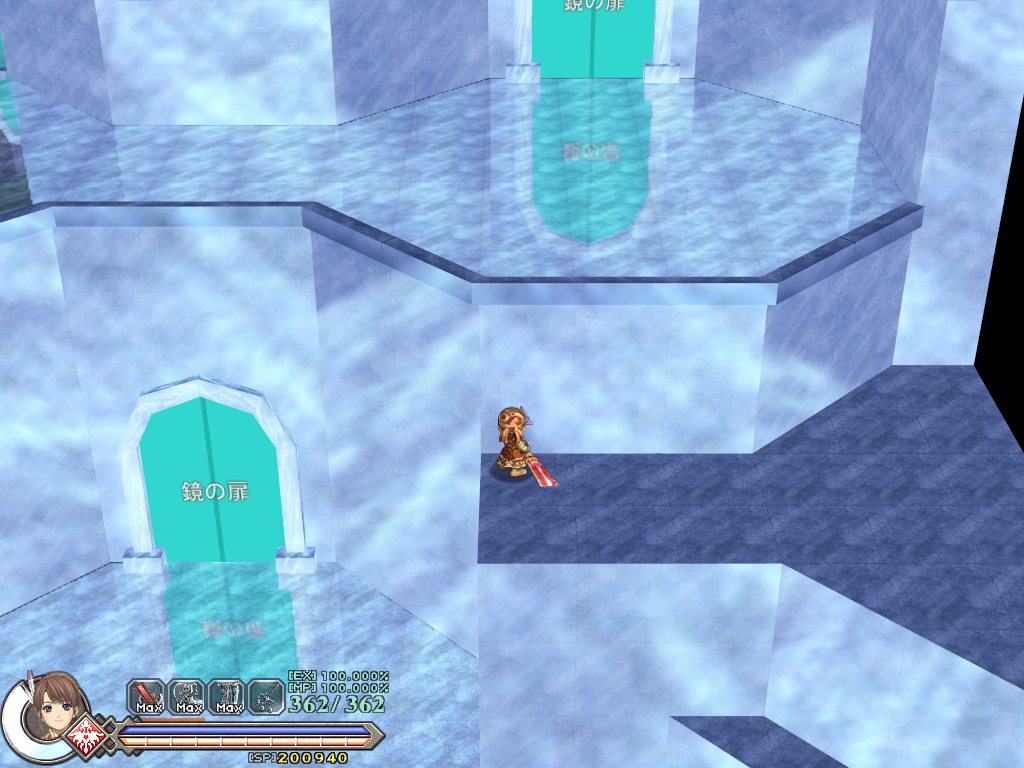
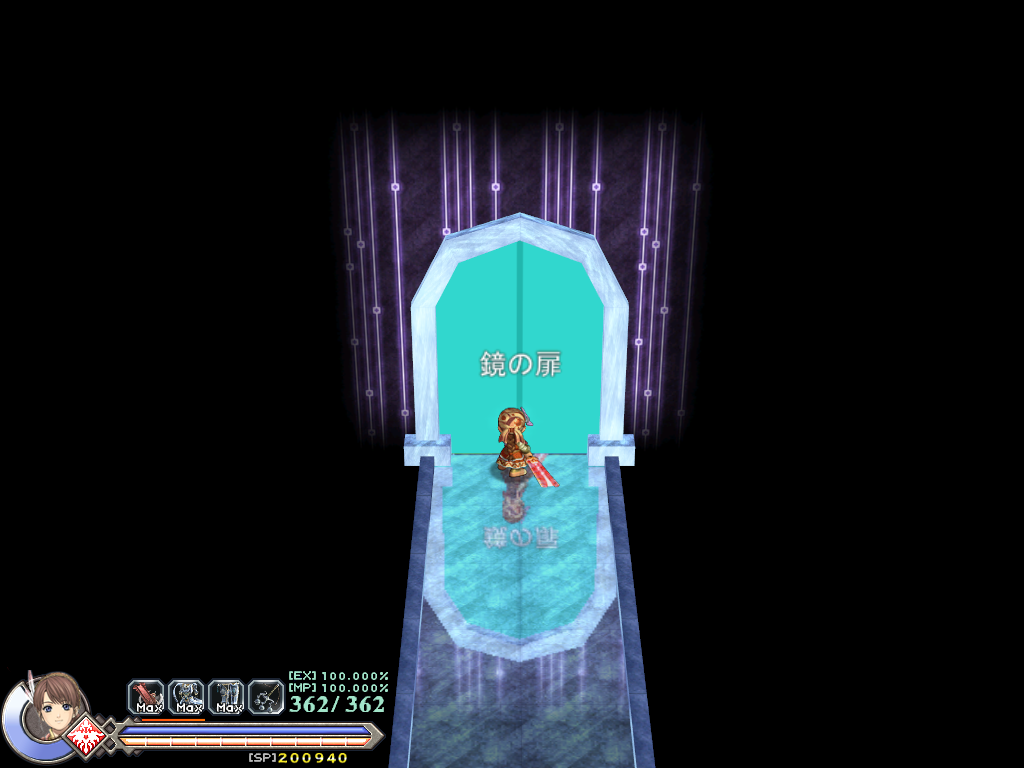
Internal name: Mirror Test
This is a Hall of Reflection test map, testing how the reflective surface works.
- The text on the doors translates to "Mirror Door".
- Moving from the spawn point will reveal a copy of your character that does not move.
- The enemies here are from the Blighted Blood.
S_9111#
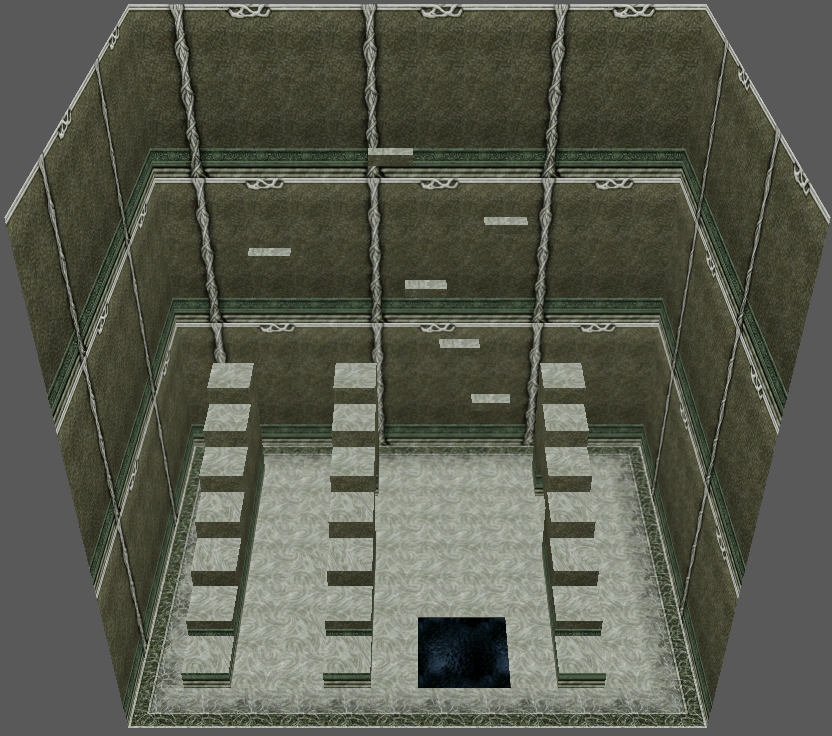
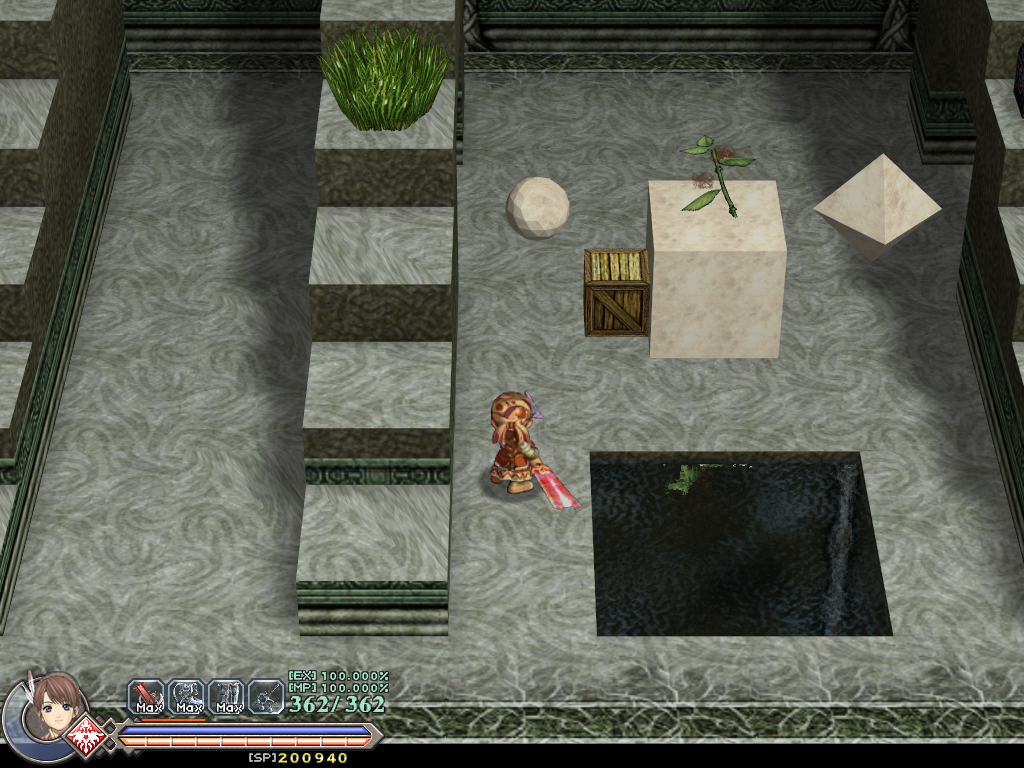
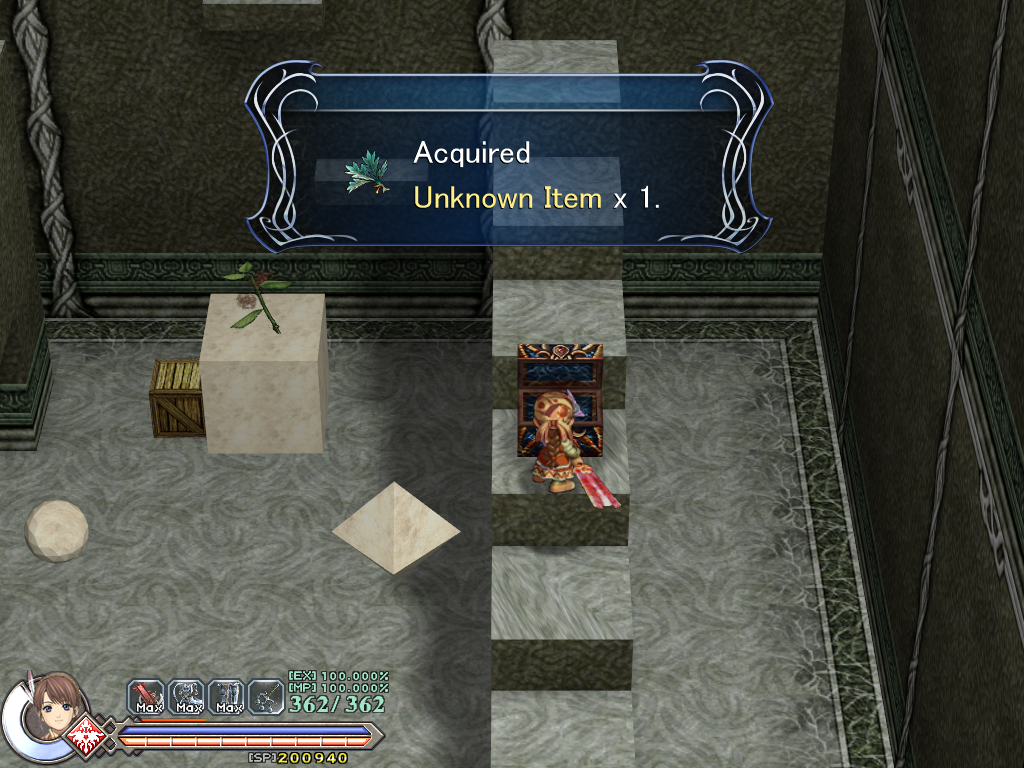
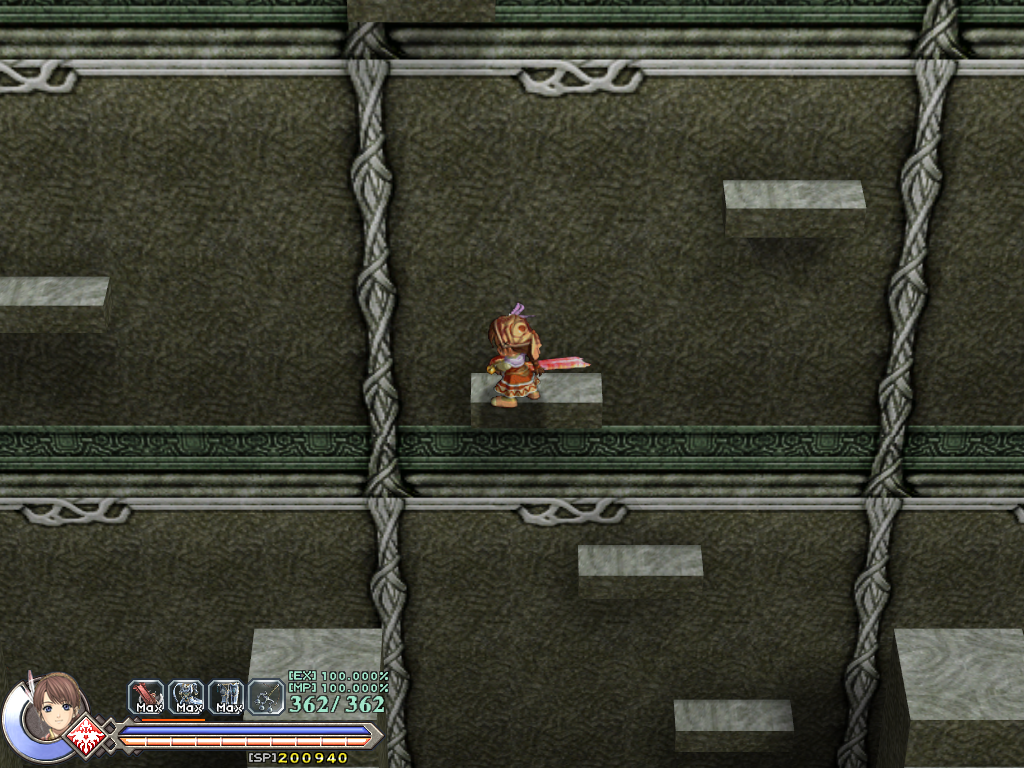
Internal name: Torch Test
Contrary to the name, there aren't any torches to be found here, but there are plenty of steps to jump up.
- Some simple test shapes previously seen in S_9105 can also be seen here. The cube moves back and forth with the box attached to it.
- Opening the treasure chest will give you a healing herb, though it is simply named "Unknown Item".
- The wall has several ledges to jump onto.
S_9112#
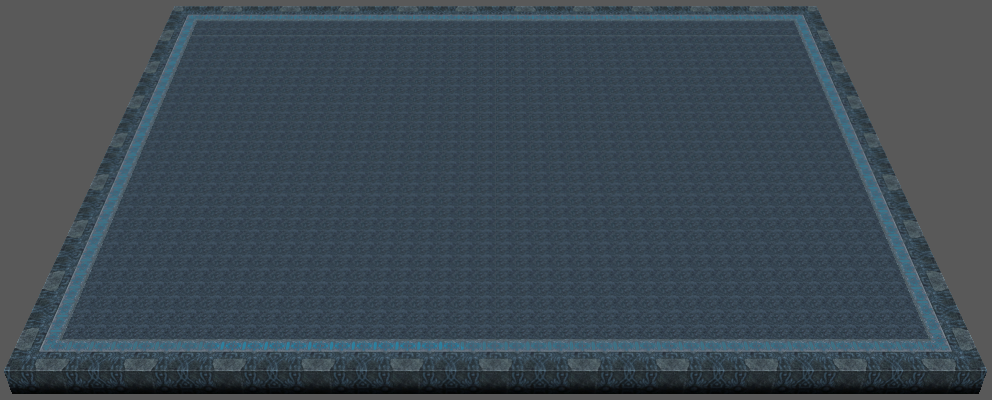
Internal name: Boss Rush
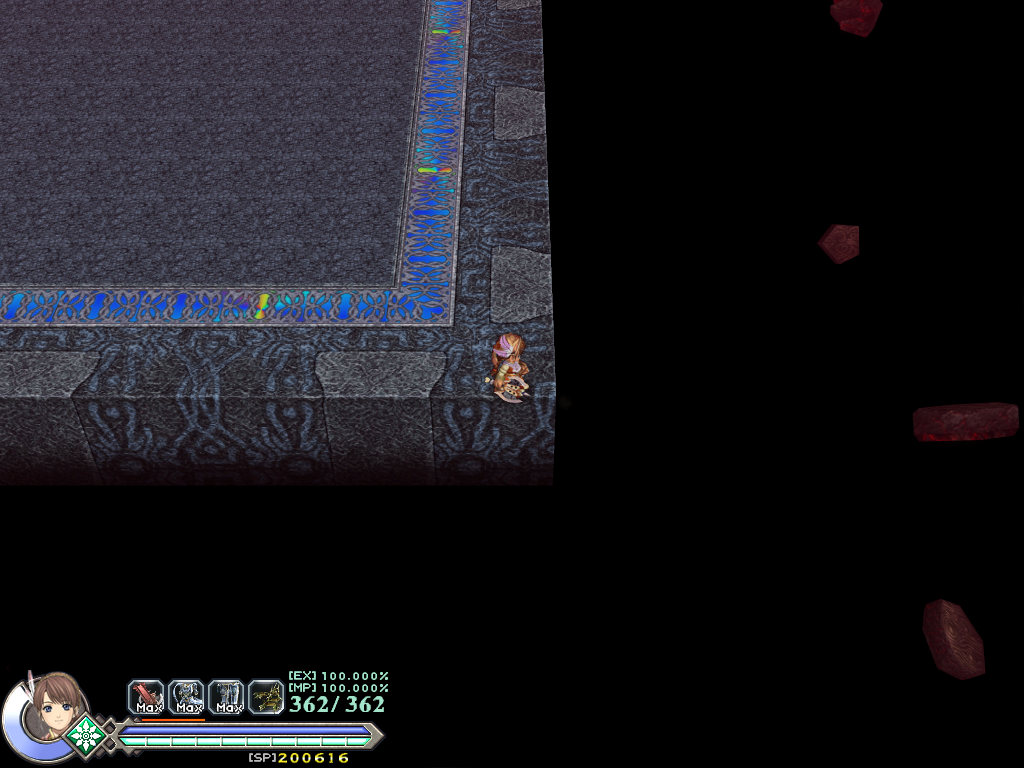
Attempting to load this map will cause the game to crash, with no error code given. This is because the SOB file is trying to have Velagunder spawn without a script to handle it.
- If you remove or replace the strings
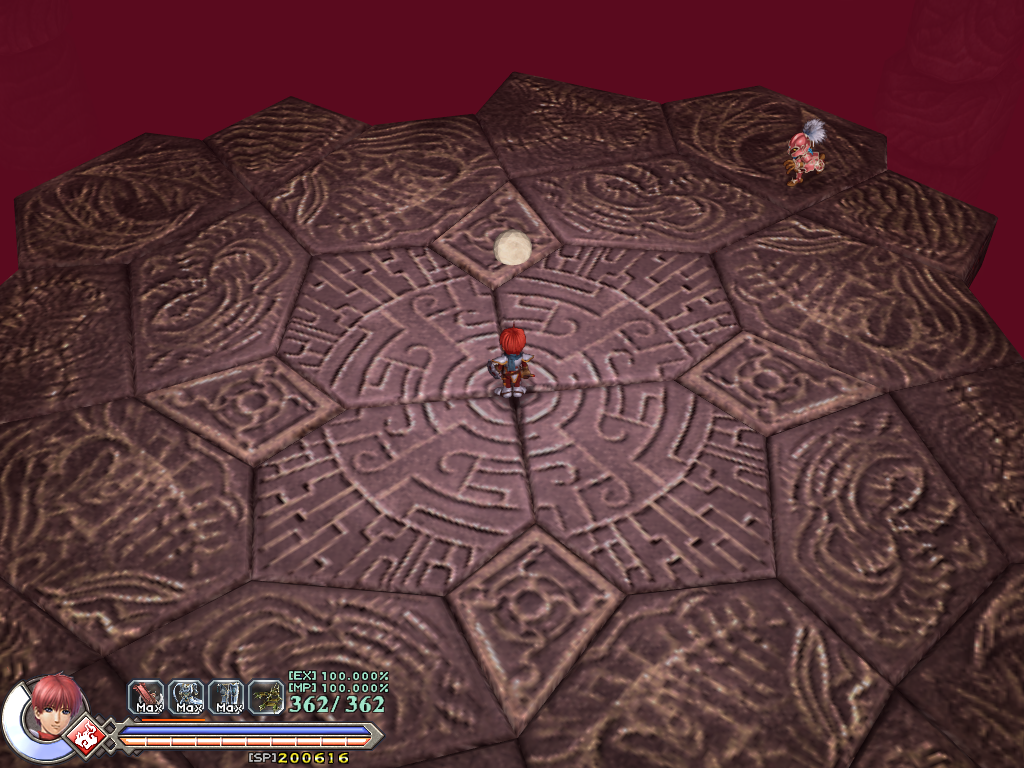
data\enemy\boss01\boss01.ymoandboss01in the SOB file, this map will load fine.- In the screenshots below, they were replaced with
data\map\mapobj\z_simple\z_sphere00.ymoandz_sphere00.
- In the screenshots below, they were replaced with
- It normally loads up S_7099 for its map model, which is used for the true final boss, Darm.
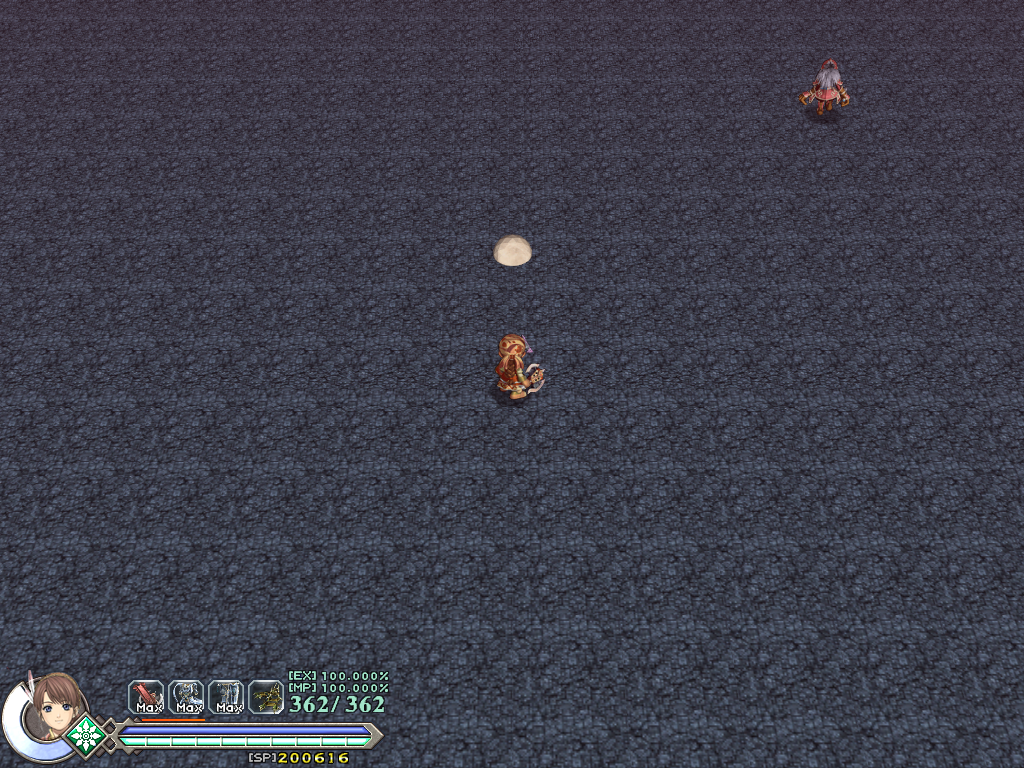
- To load up S_9112's own model, replace
data\map\s_70\s_7099\s_7099.ymowithdata\map\s_91\s_9112\s_9112.ymoin the SOB file.
- To load up S_9112's own model, replace
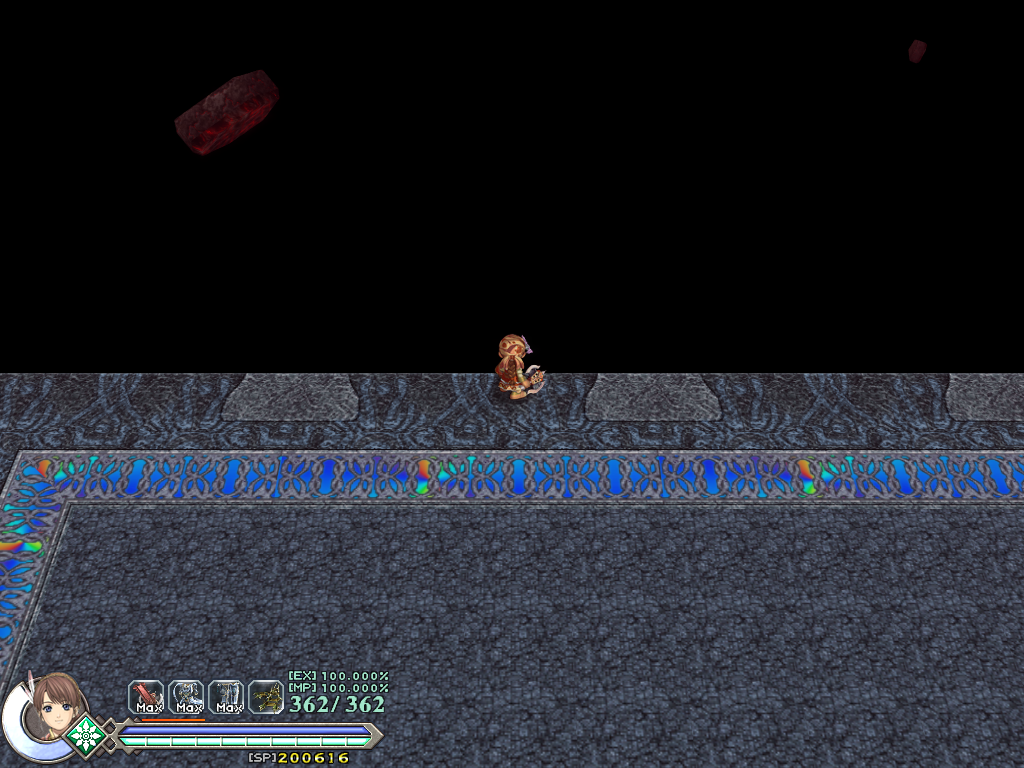
- S_9112's model covers up the rock platform, but the floating debris can still be seen around the edges of the map.
- There's also a Jestona from the Flooded Prison here.
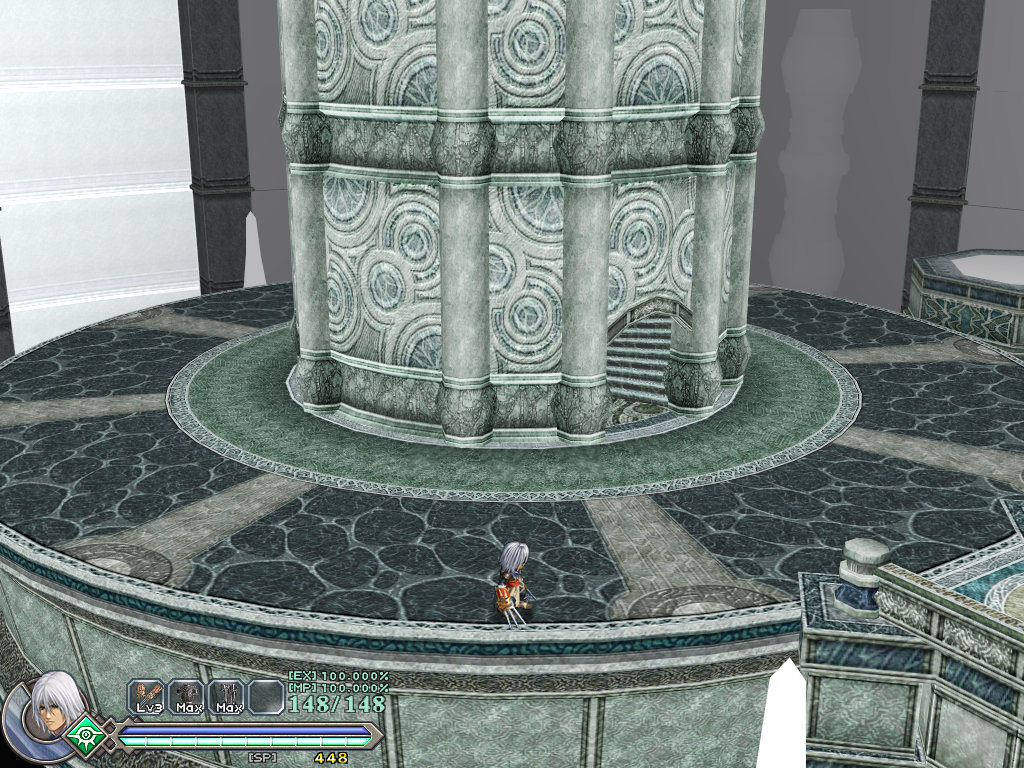
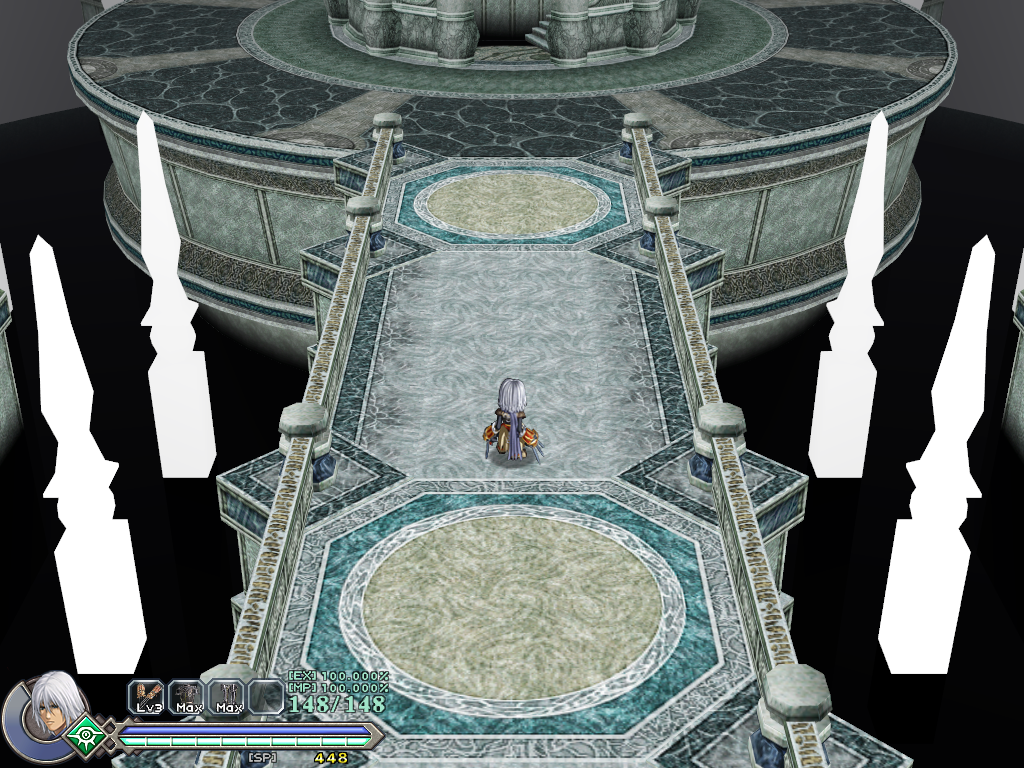
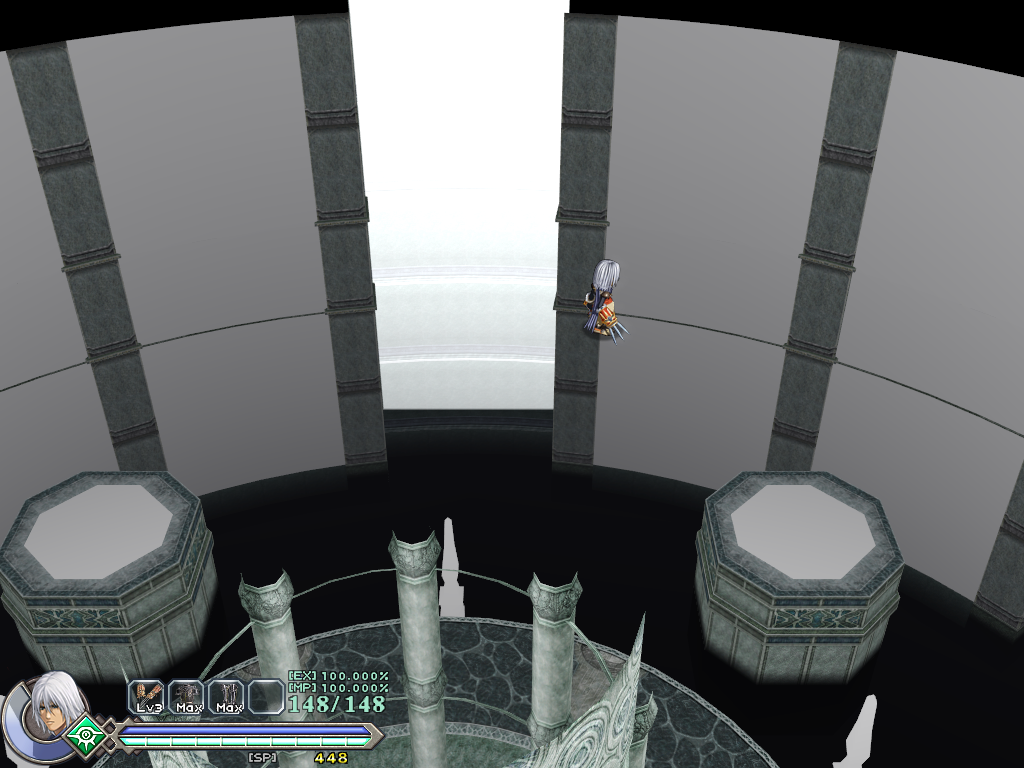
S_9113#
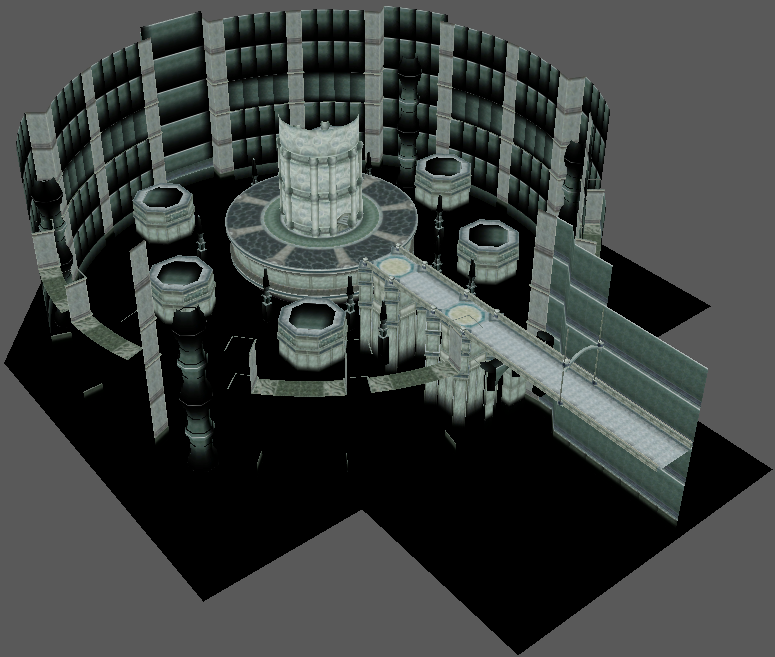
 Internal name: Insect Test
An early version of Nygtilger's room.
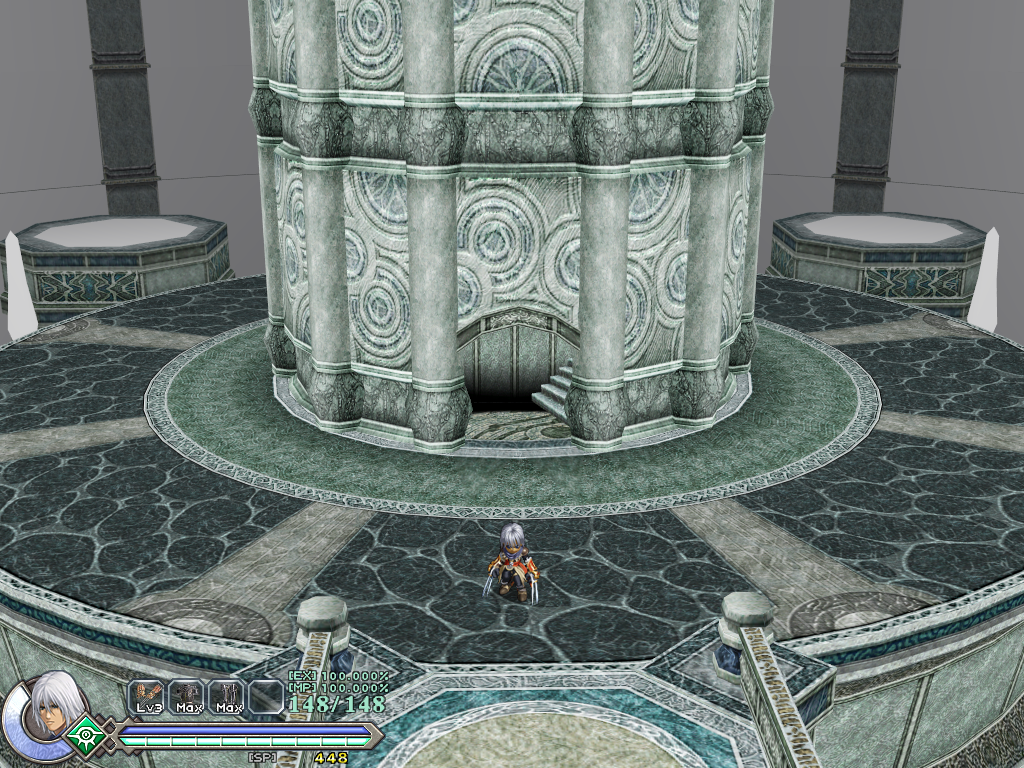
- You spawn inside the spiral staircase. It's possible to escape from it if you replace the SEN file with an empty one from another map, and use Toal's charged Godspeed.
- Alternatively, you can simply replace
s_00\s_0000\withs_91\s_9113\in the Scene List, and start a new game to spawn on the bridge instead.
- Alternatively, you can simply replace
- Upon entering the map, your stats and equipment are set up similarly to when fighting Nygtilger in Time Attack.
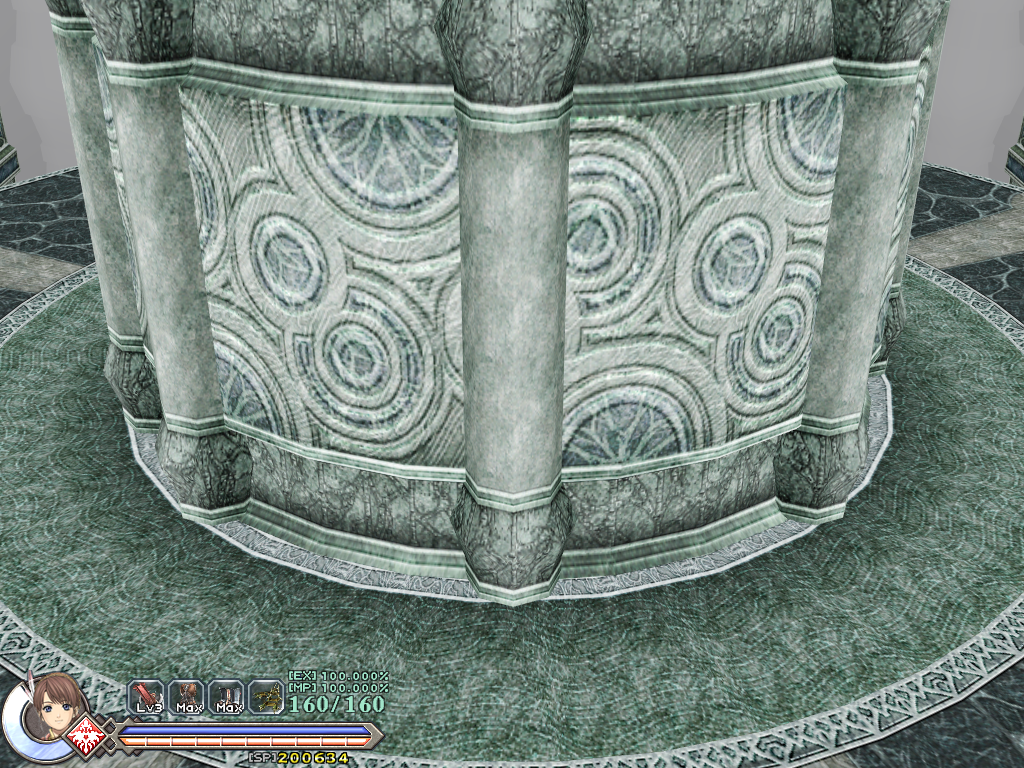
- Several parts of the map are untextured. (Incorrectly shown when viewing the model in Noesis.)
- The waterfall is missing.
- The background is covered in fog.
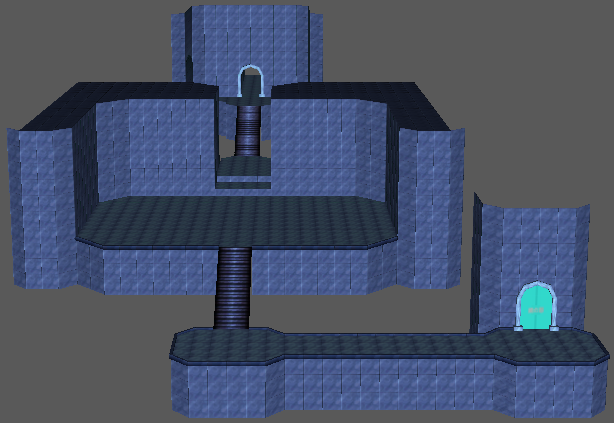
- The collision model is different from the final's, having an additional staircase above where the actual one is.
- If you use an infinite jump cheat, you can walk around the area where the upper staircase would be.
- It comes with scripts that appear to be used for testing Nygtilger's actions, however, the menu for them does not get called.
- It is connected to the same maps as the final.
S_9114#
Internal name: Face Test
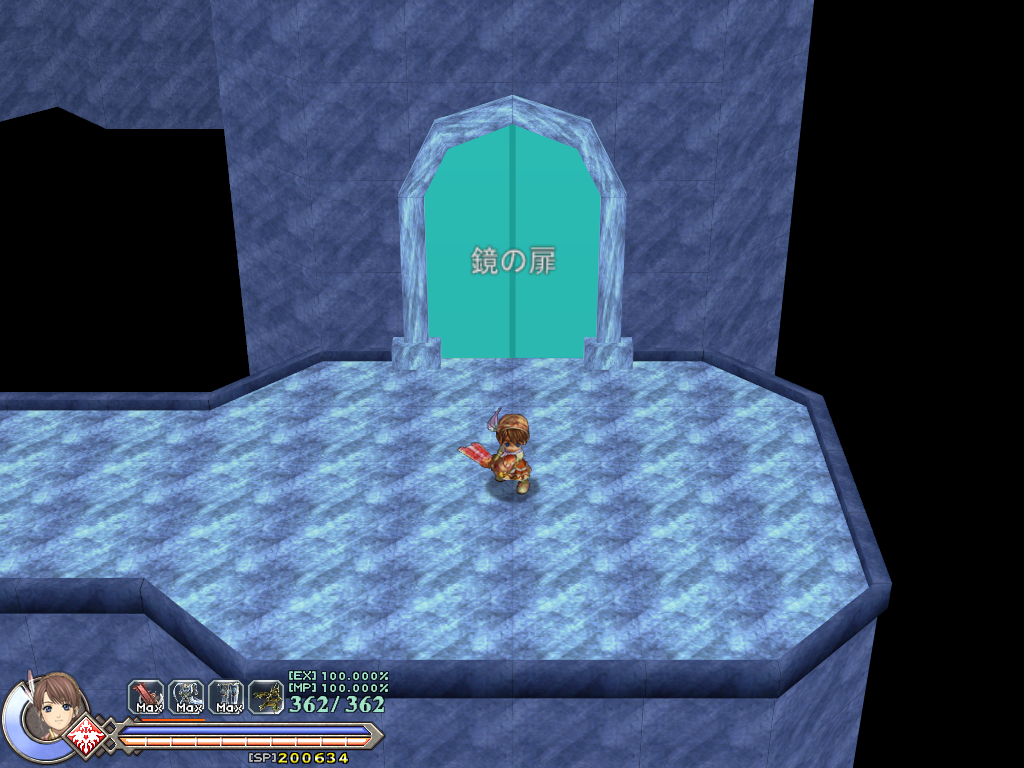
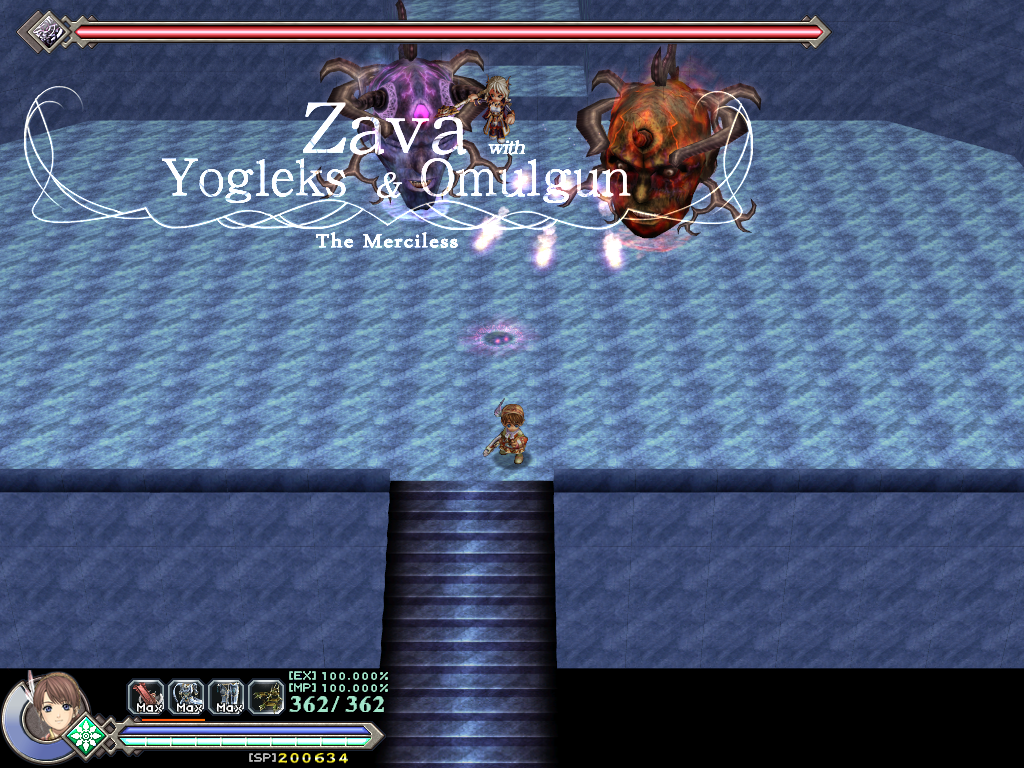
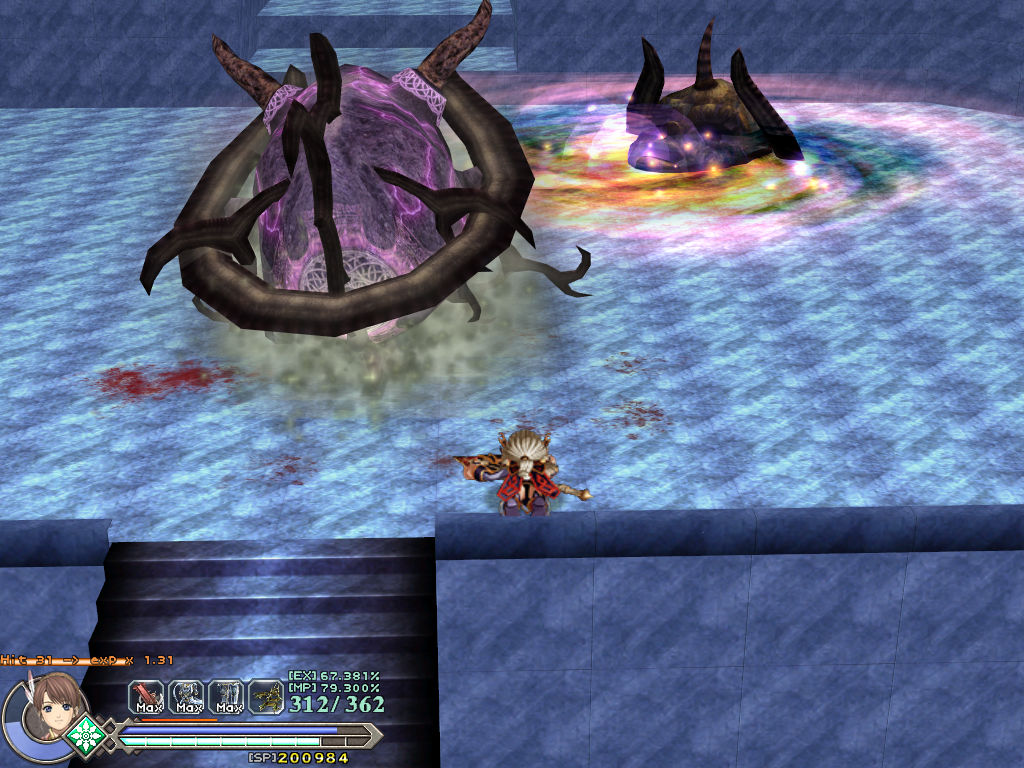
Another Hall of Reflection test map, this time testing the fight with Zava with Yogleks & Omulgun.
- Unlike S_9110, the reflective surface is disabled.
- You can walk through the mirror door, but there's nothing behind it.
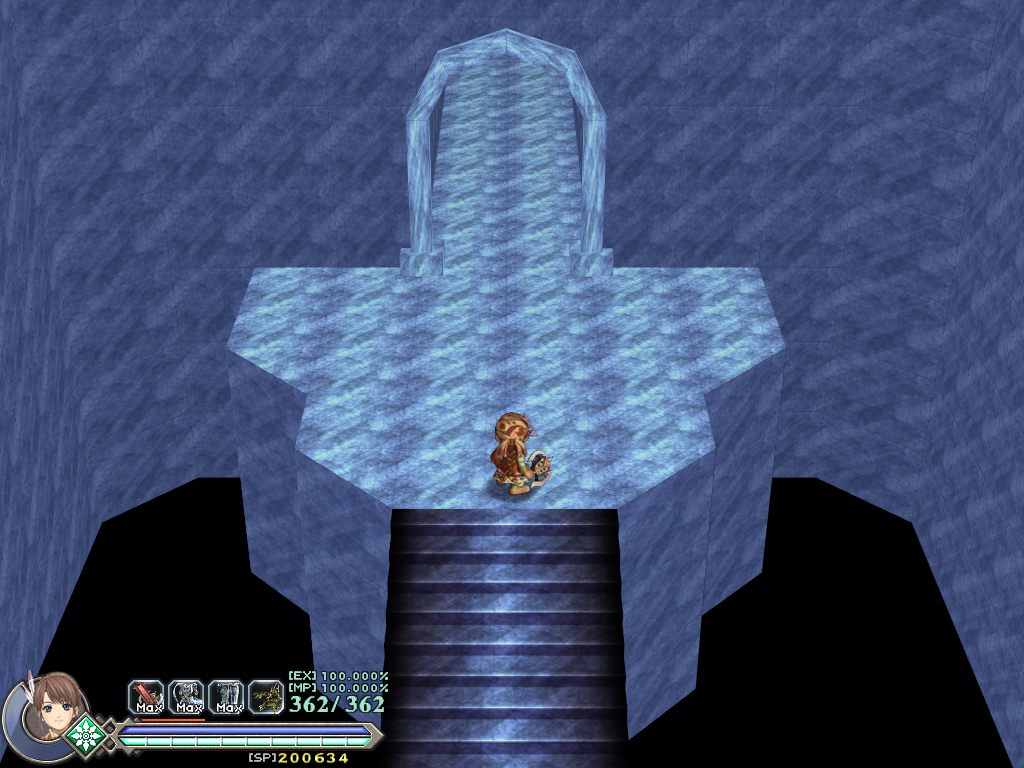
- There's a hallway behind Zava that leads to nowhere.
- Defeating the boss keeps the game in the boss fight mode, so you can't open the menu afterward. Because of this, you must close and re-open the game to get out of here.
S_BATTLE0#
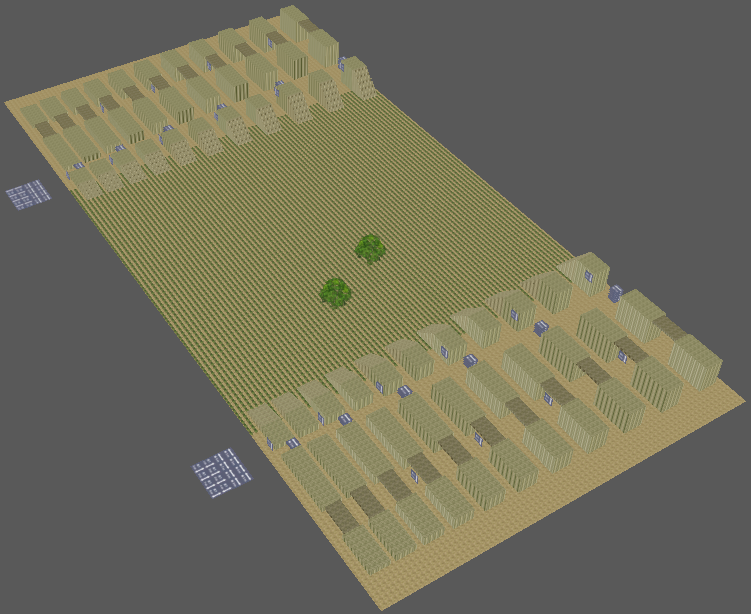
Another iteration of S_BATTLE0 found in the previous games.
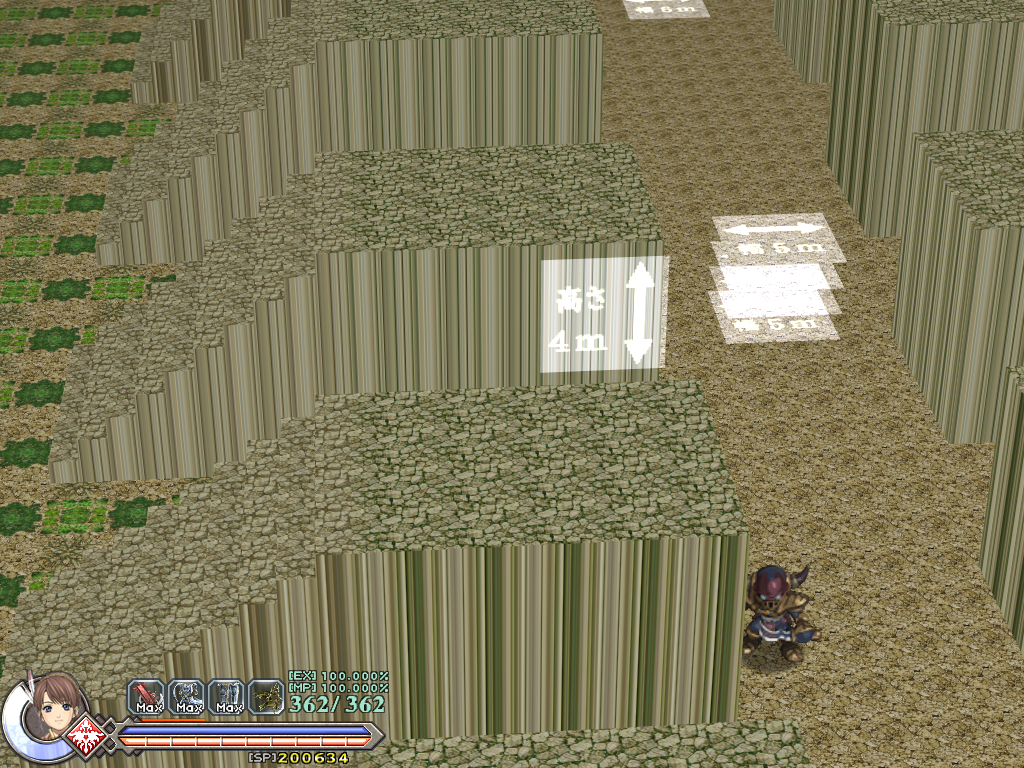
- You spawn inside one of the platforms. Thankfully, you can escape from it.
- Only one enemy is here.
- The skybox has been removed since the previous games.
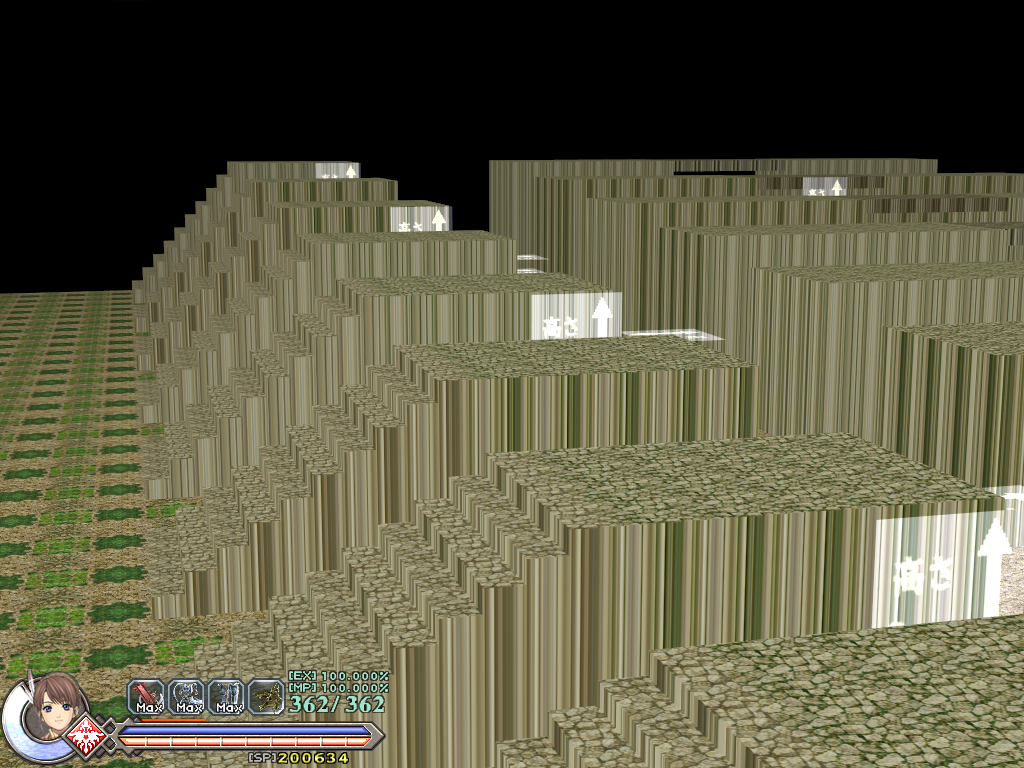
- The platforms are all the same color, unlike Ys VI.
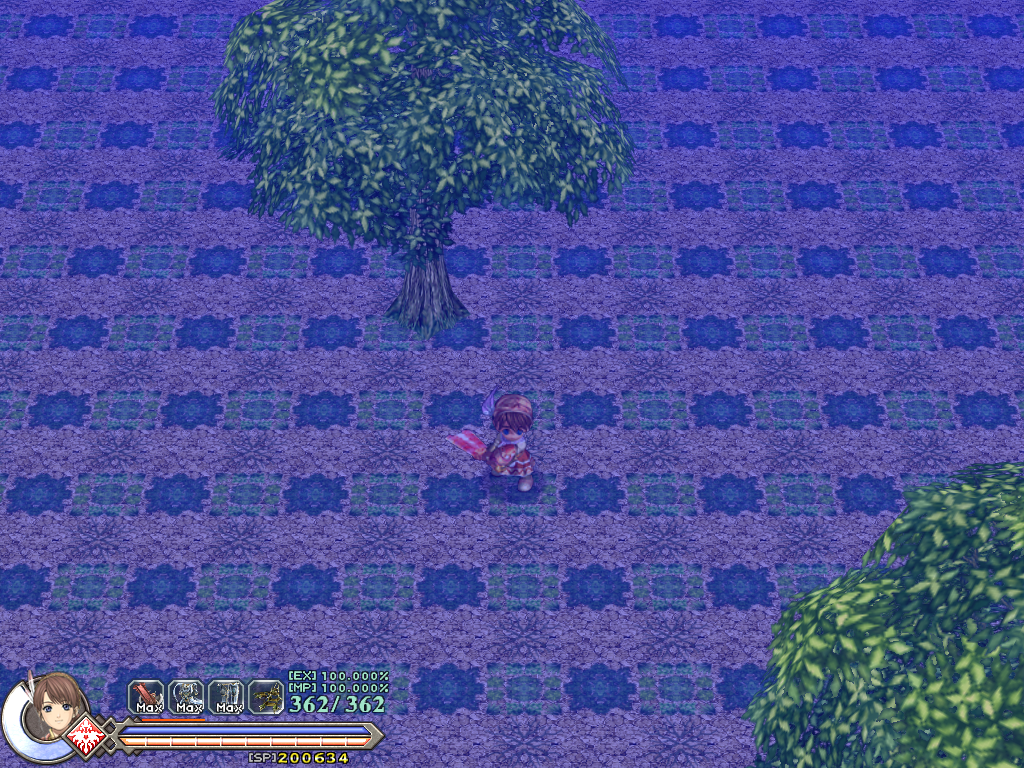
- Approaching the trees will tint the screen blue.
- The camera stops following you if you go west past the trees, preventing the other half of the map from being seen in-game.
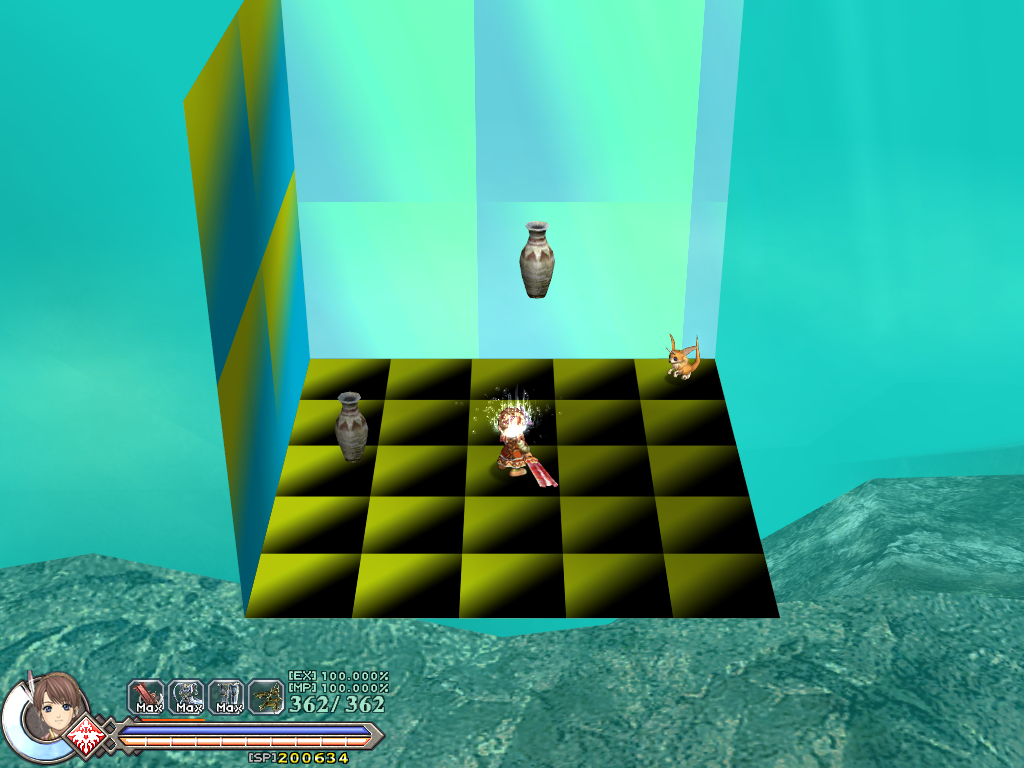
S_HIDDEN0#

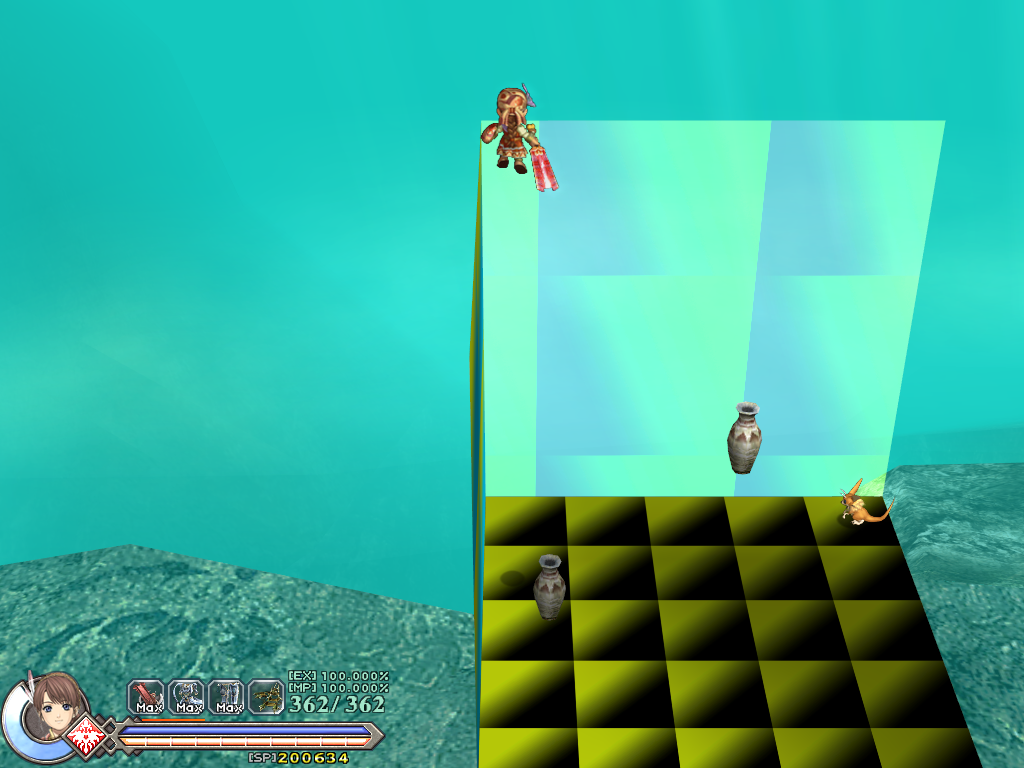
Has the same model as the previous games, but the walls no longer feature Sakura from the Ukagaka software. Maybe someone at Falcom couldn't handle having a hidden waifu room.
- The back wall's texture scrolls southwest.
- The left vase will shoot you up into the air.
- The midair vase acts like a waterfall when standing underneath it.
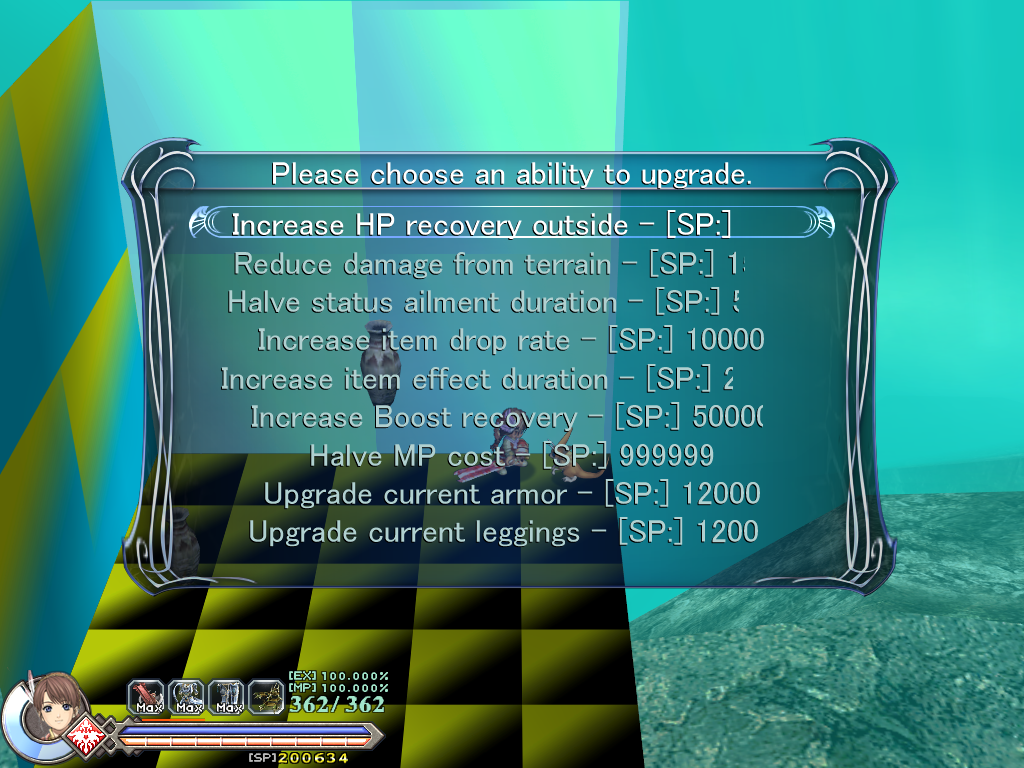
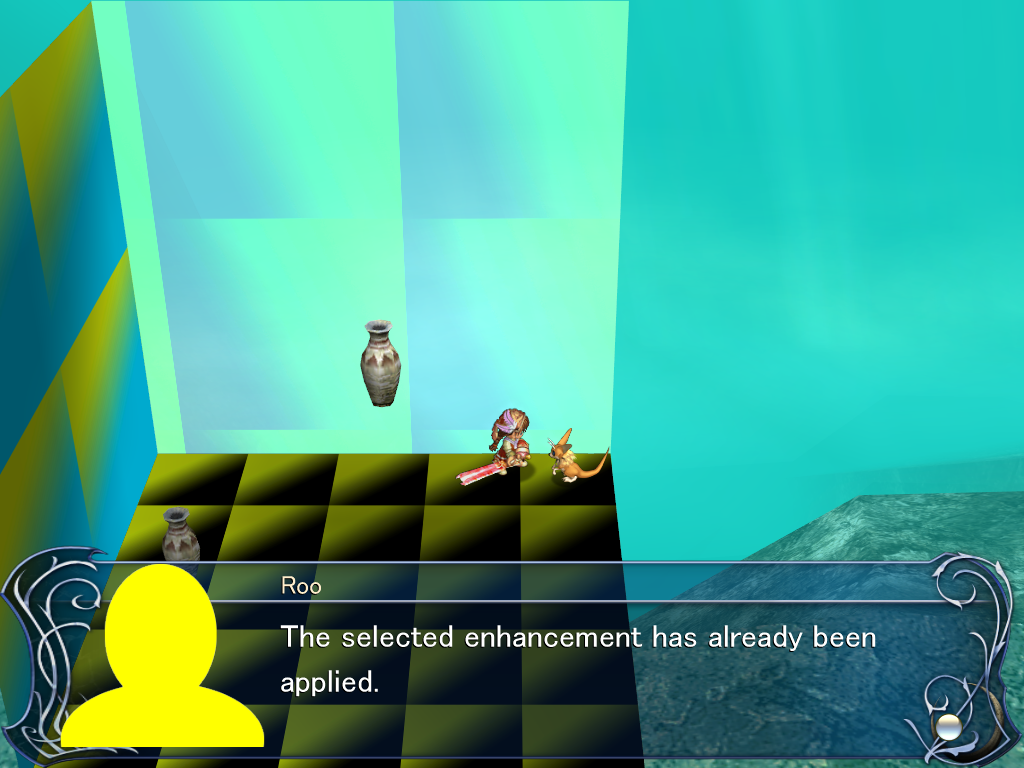
- The Roo can provide most of the same enhancements as the goddess statues, though some have different names.
- If you don't have the selected enhancement already, you will be granted it without warning. If you already have the enhancement, the Roo's placeholder portrait can be seen.
S_TEST Series#
S_TEST0#
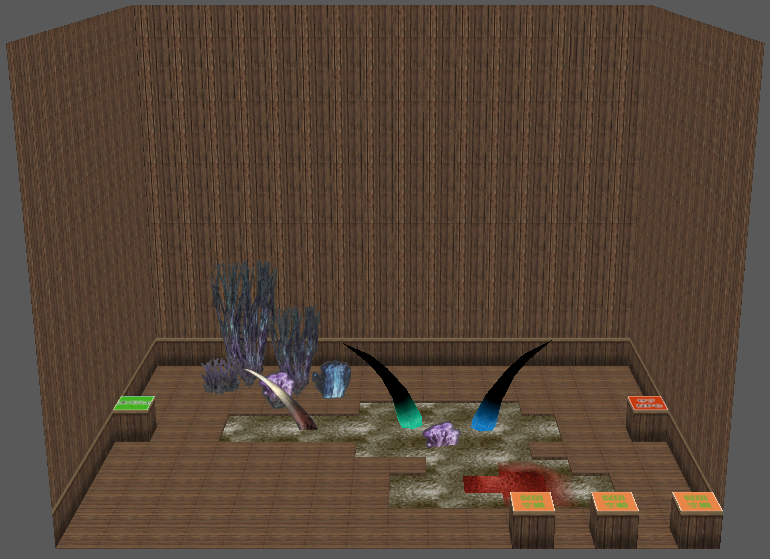
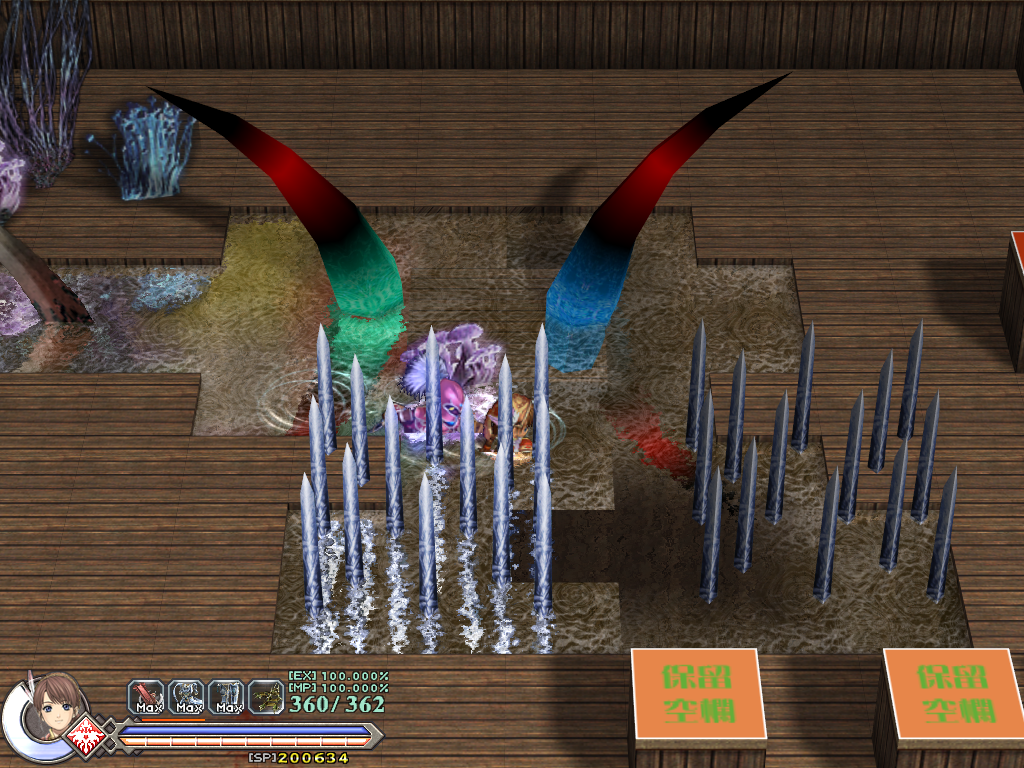
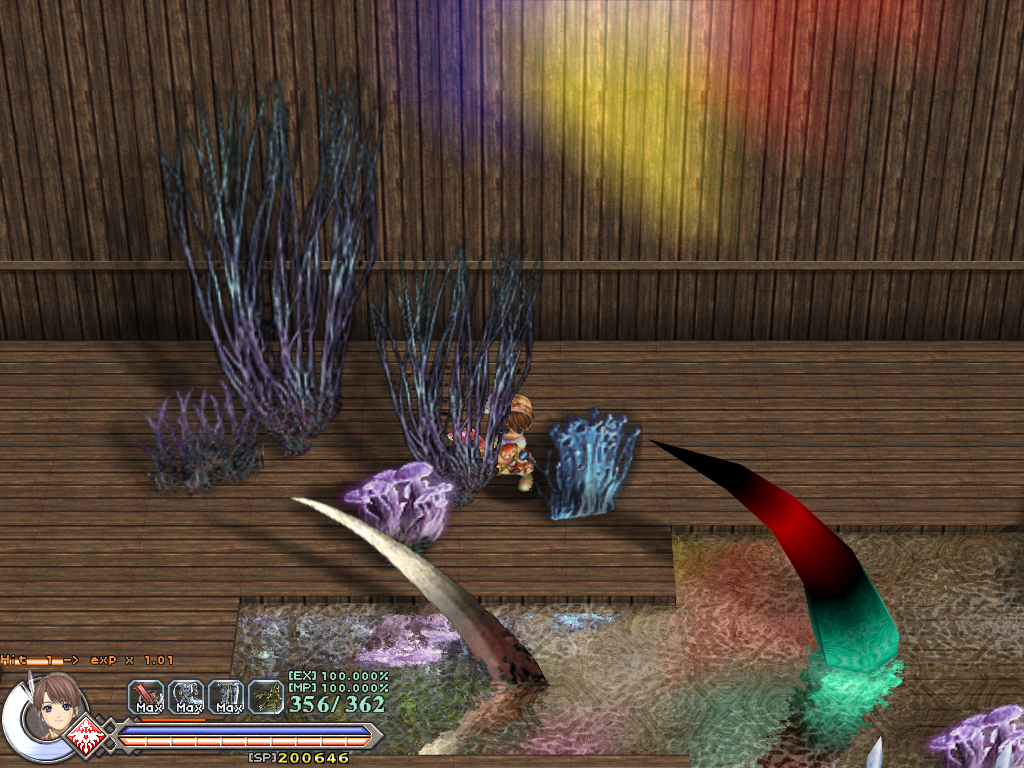
A variant of S_9000 with somewhat of an aquatic theme. Maybe this map was meant to test water reflections?
- This map is connected to the same areas as S_9000.
- The colored thorns are simply part of the map's model, and do not harm you.
- You can take damage from touching the sides of the spikes.
- Part of the back wall is covered in light colors in the primary colors.
S_TEST1#
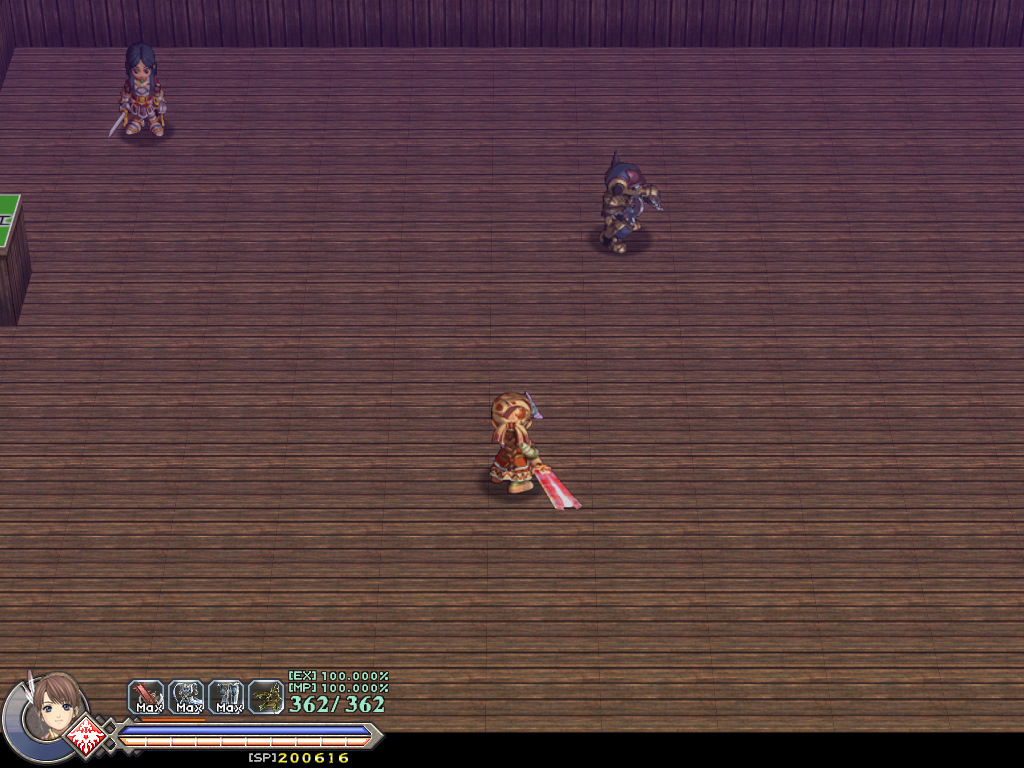
This map normally crashes due to the C_200.ANI file being missing. This can be fixed by editing S_TEST1.SCT in a hex editor to load a different character instead, such as C_210 (Cecilia) shown in the screenshot.
- C_200 was Elena in The Oath in Felghana, and Ur in VI.
- This map actually loads the model in S_90\S_9000\, which is the same model as what's in the S_TEST1 folder. Redundant, yes.
- It's connected to the same maps as S_9000.
- The NPC doesn't do anything, so there isn't much to do here besides kill the enemy.
S_TEST2#

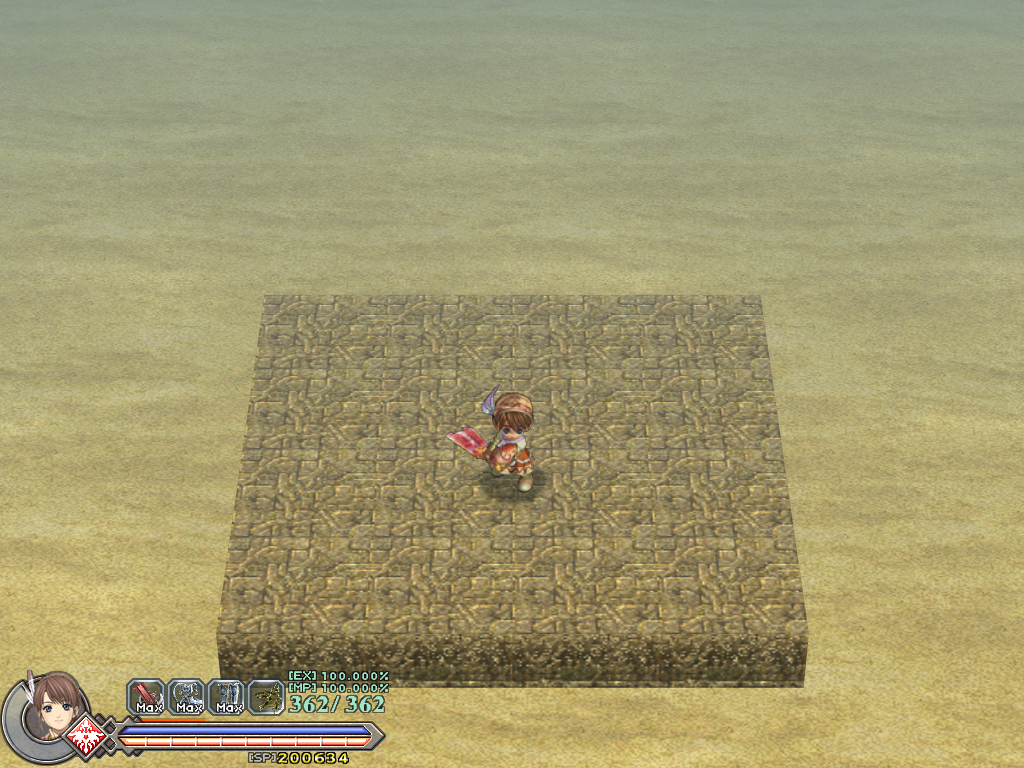
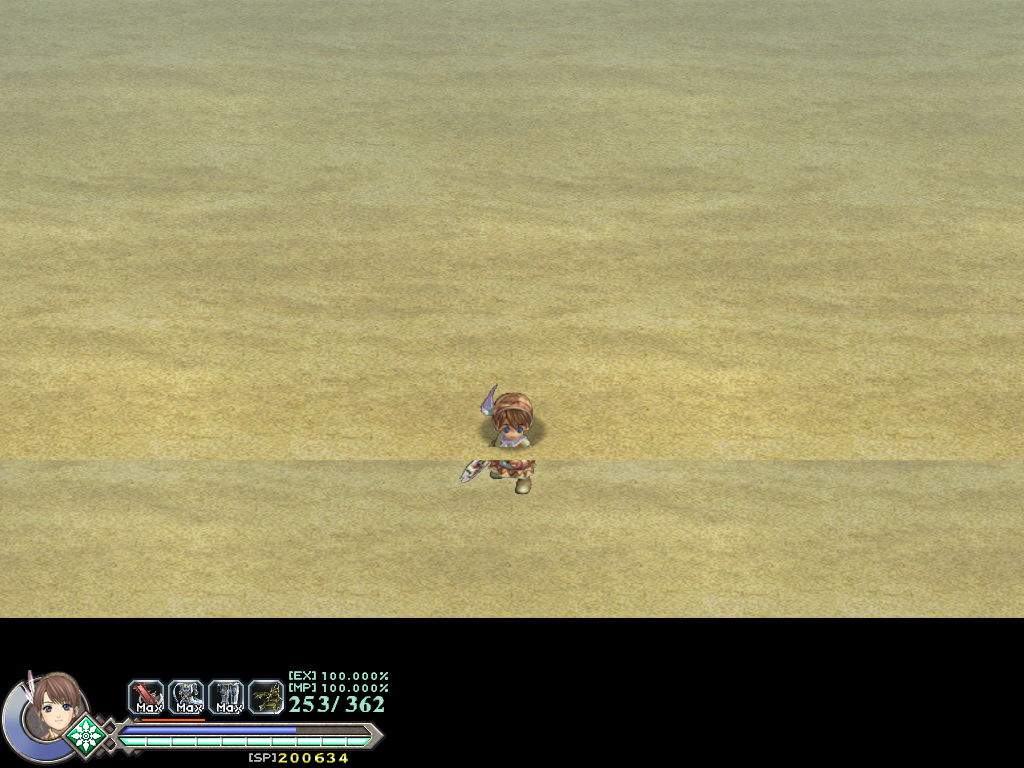
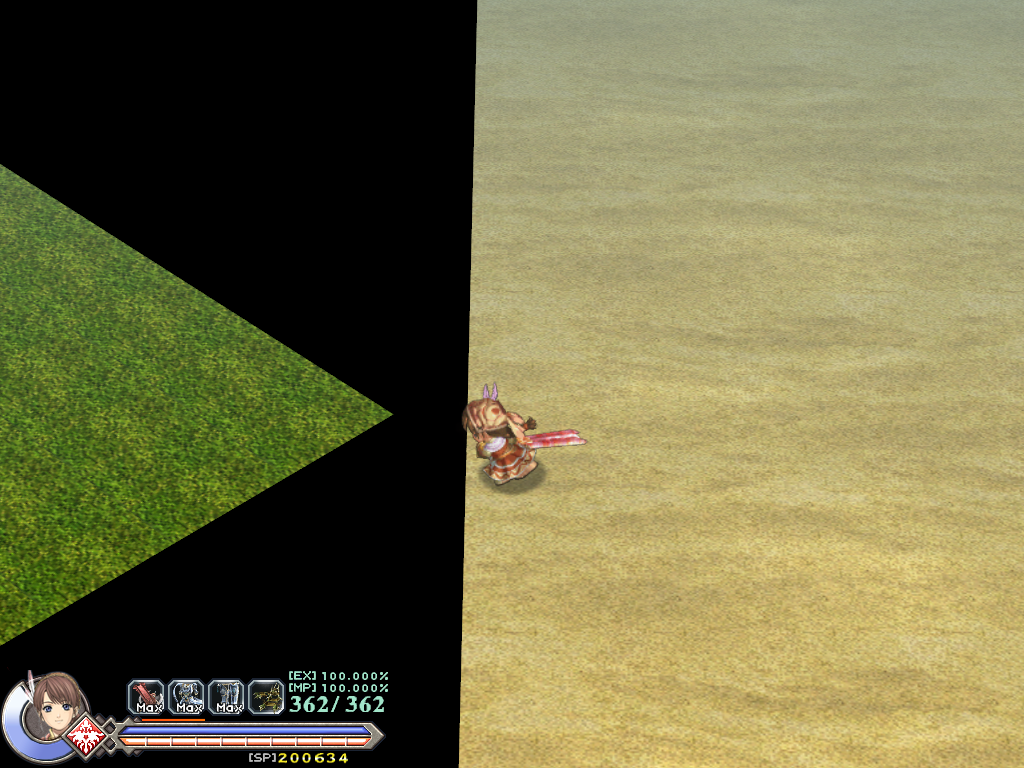
Tests how the player sinks in sand.
- Appears to be an extended version of S_TEST2 from The Oath in Felghana.
- You spawn in the sandy area, but the original tree platform can still be seen off to the left.
- It's not possible to get to the original tree platform due to this map's collision model blocking it off from the sandy area.
S_TEST3#
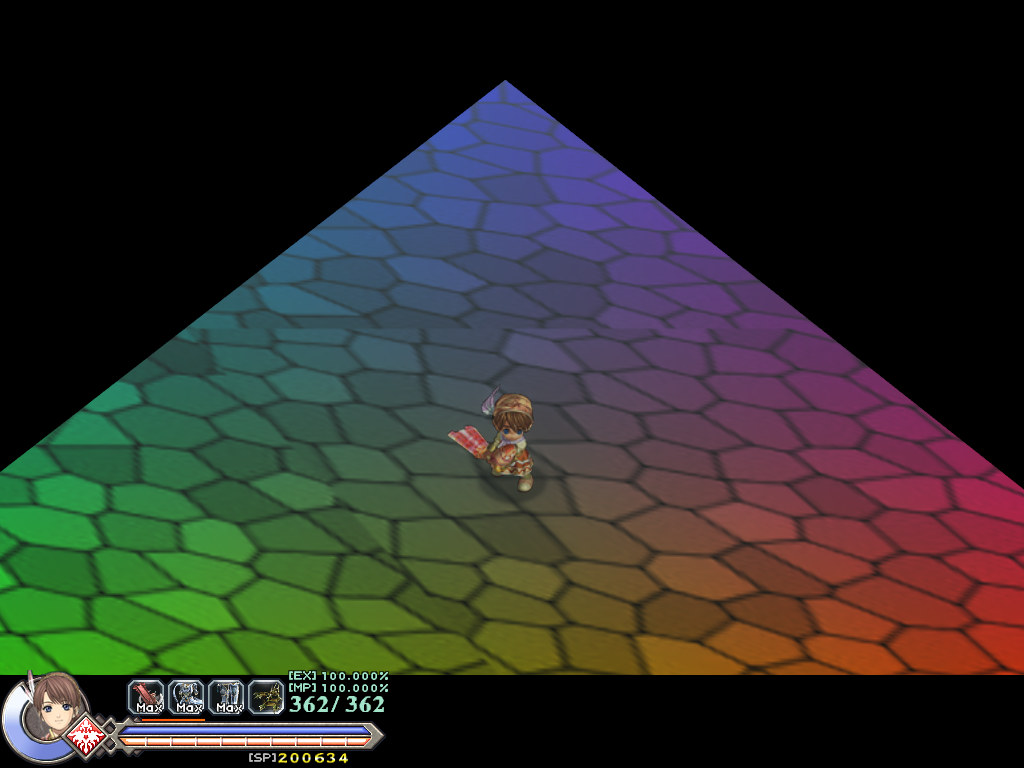
A rainbow triangle probably made to test ambient lighting, since the colors extend to your character's sprite.
S_TEST4#
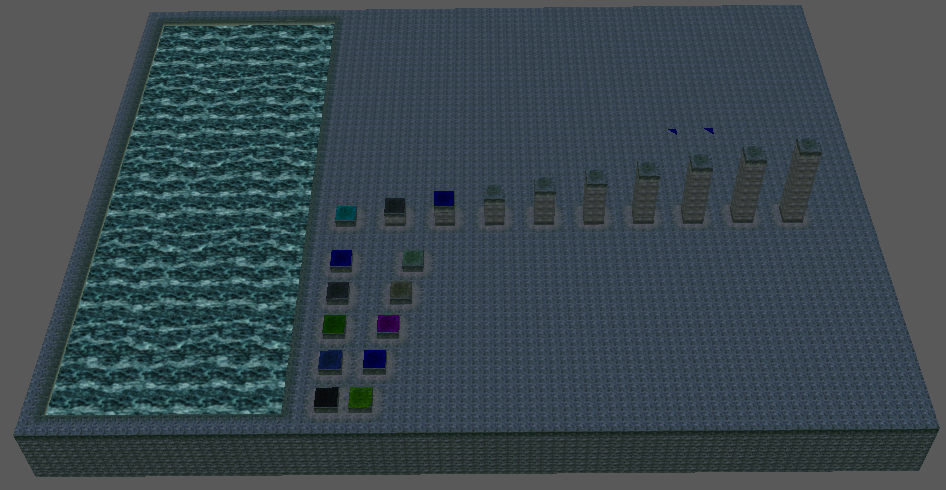
Internal name: Test 4 (Stats)
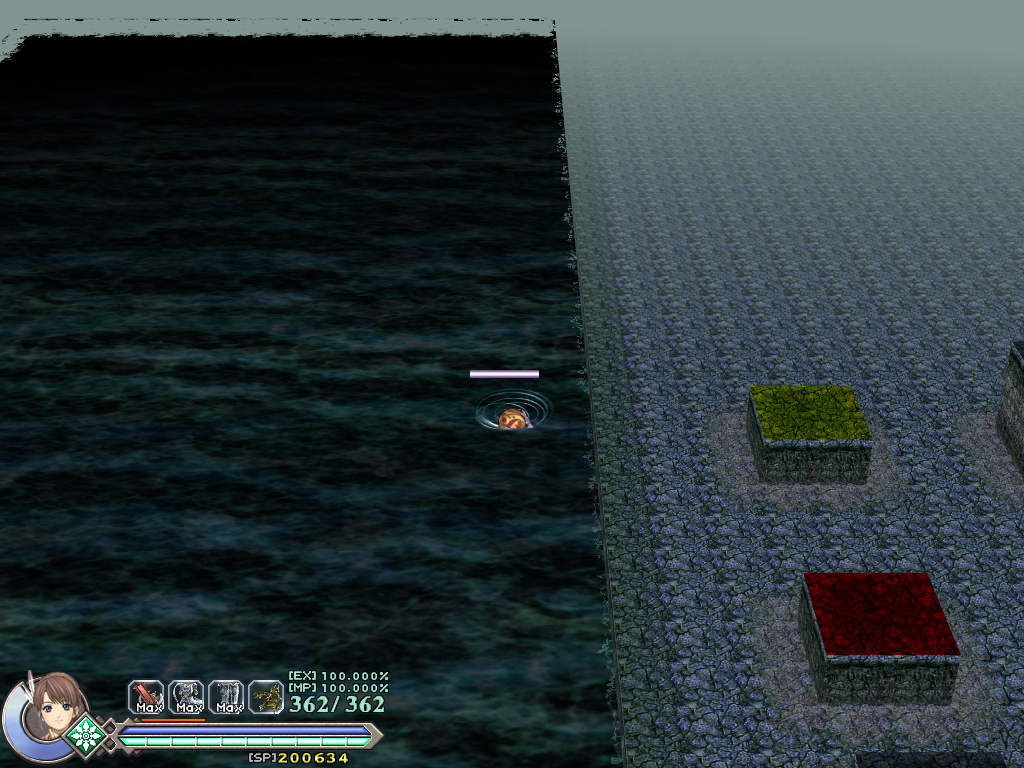
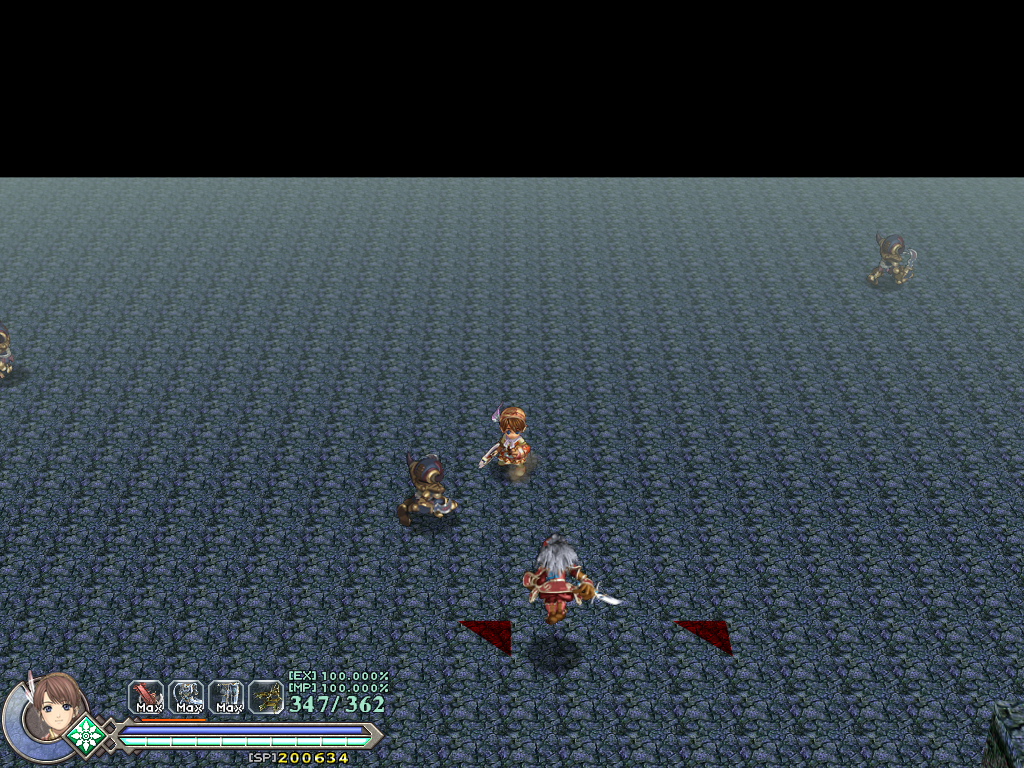
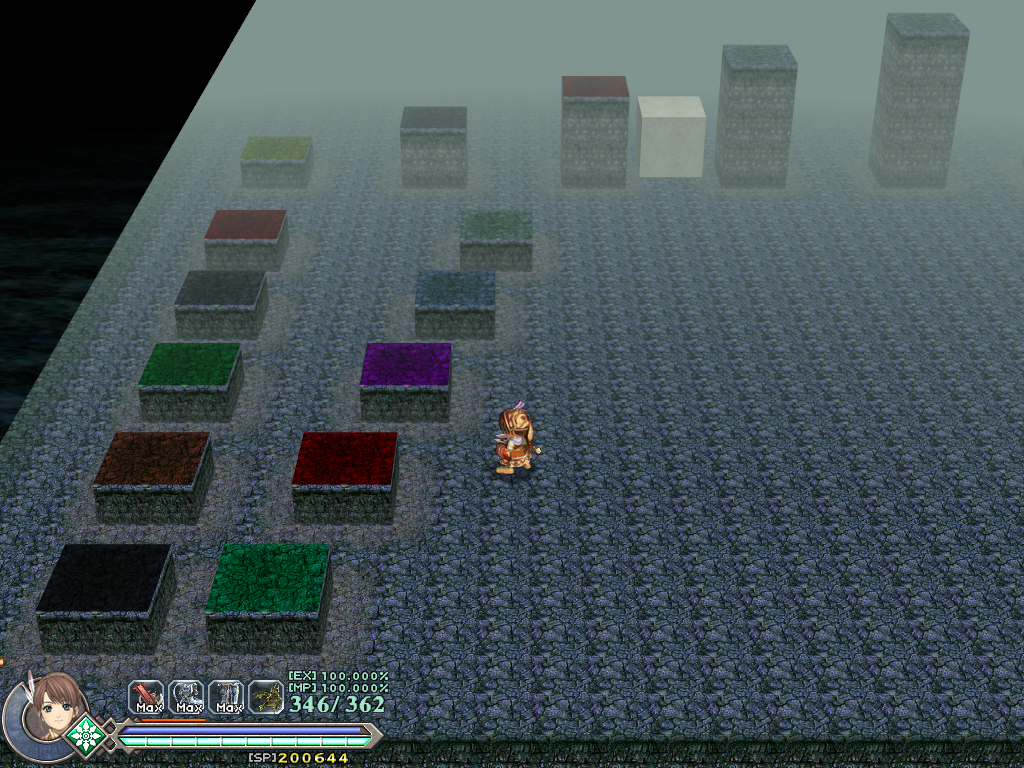
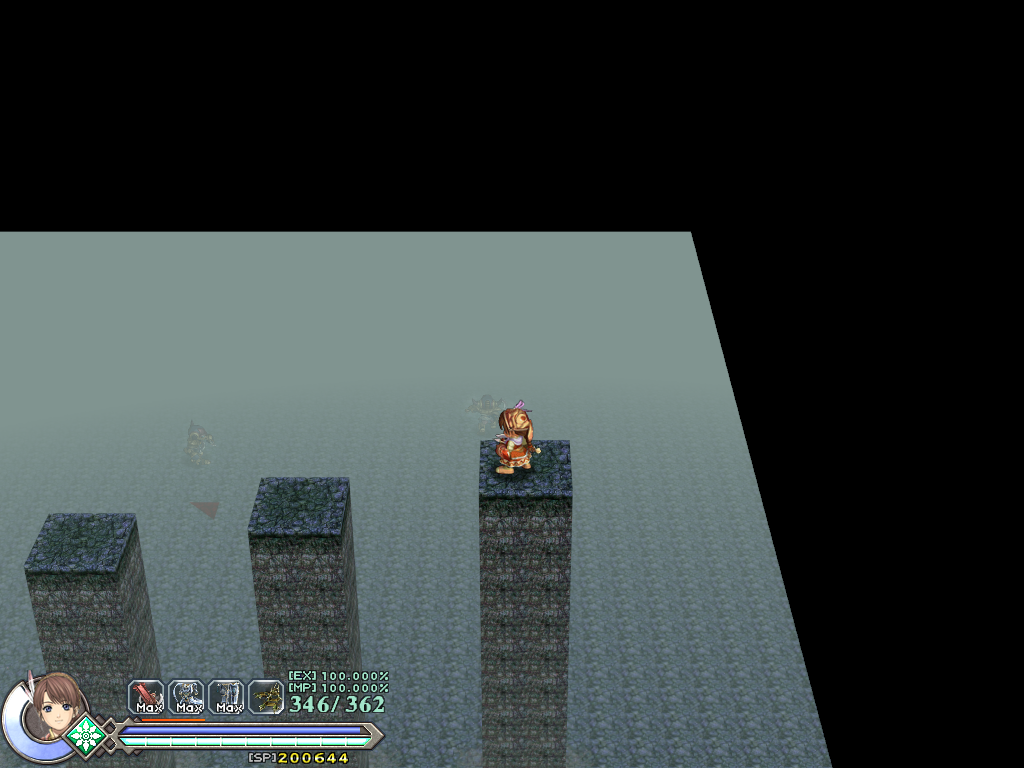
A platforming test map. Each platform has a different type of terrain assigned to it, and there is also a pool of water.
S_TEST5#
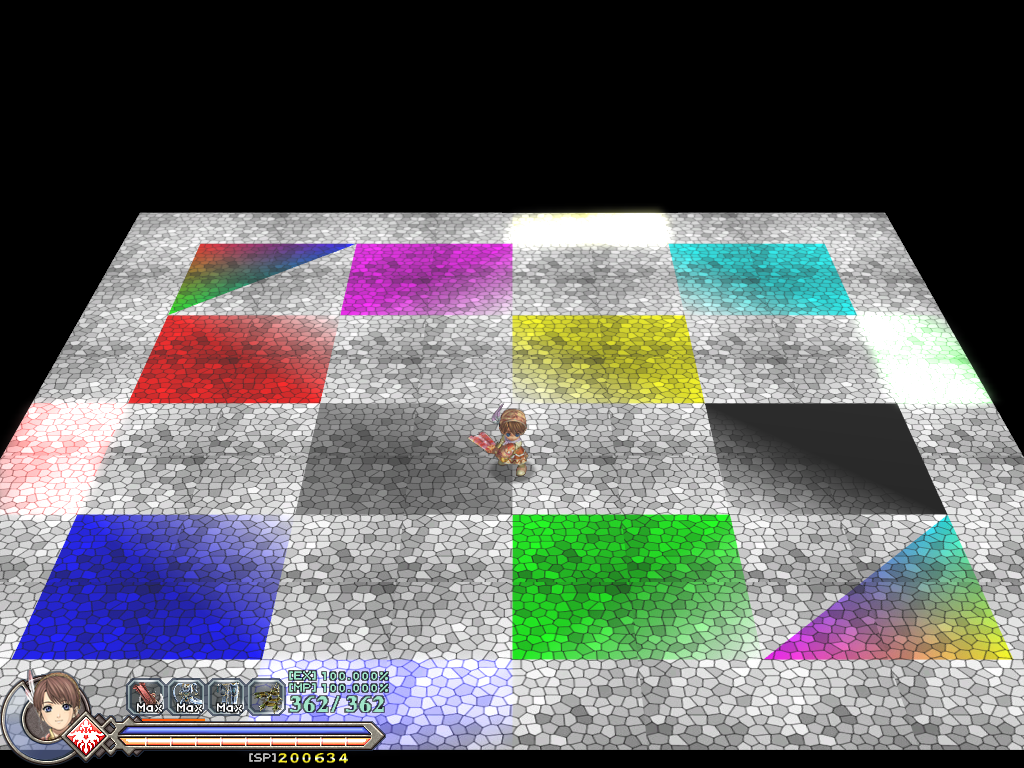
A platform with colored tiles. Probably used to test ambient lighting, since the color of each tile extends to your character's sprite.
(Source: Original TCRF research)