 This article has a talk page!
This is a sub-page of The Legend of Heroes: Trails of Cold Steel (PlayStation 3).

|
To do: |
Access#
You can access everything in this page with hex editor and a decrypted save from this game. It is advised to download HxD as your hex editor, however you can use any that you are comfortable with.
- Download a hex editor such as HxD. Any hex editor will do.
- Decrypt your save file with something like Brute Force Save Data.
- Go to offset 0x41C in your decrypted save file with your hex editor.
- Once at 0x41C you should see something like this in the text section of your hex editor: m2563. Depending on where you saved this text will be different.
- In the hex section of your hex editor, not the text section, overwrite that spot with the hex string: 613030303000. If done that, you will see a0000 in the text section of the hex editor.
- Save your edit in your hex editor.
- Re-encrypt your save file.
Doing these steps will take you to a0000 (Main Debug Map) the next time you load your save file.
(Source: Original TCRF research)
Debug Maps#
a0000 (Main Debug Map)#
Internal map name: Test-Base
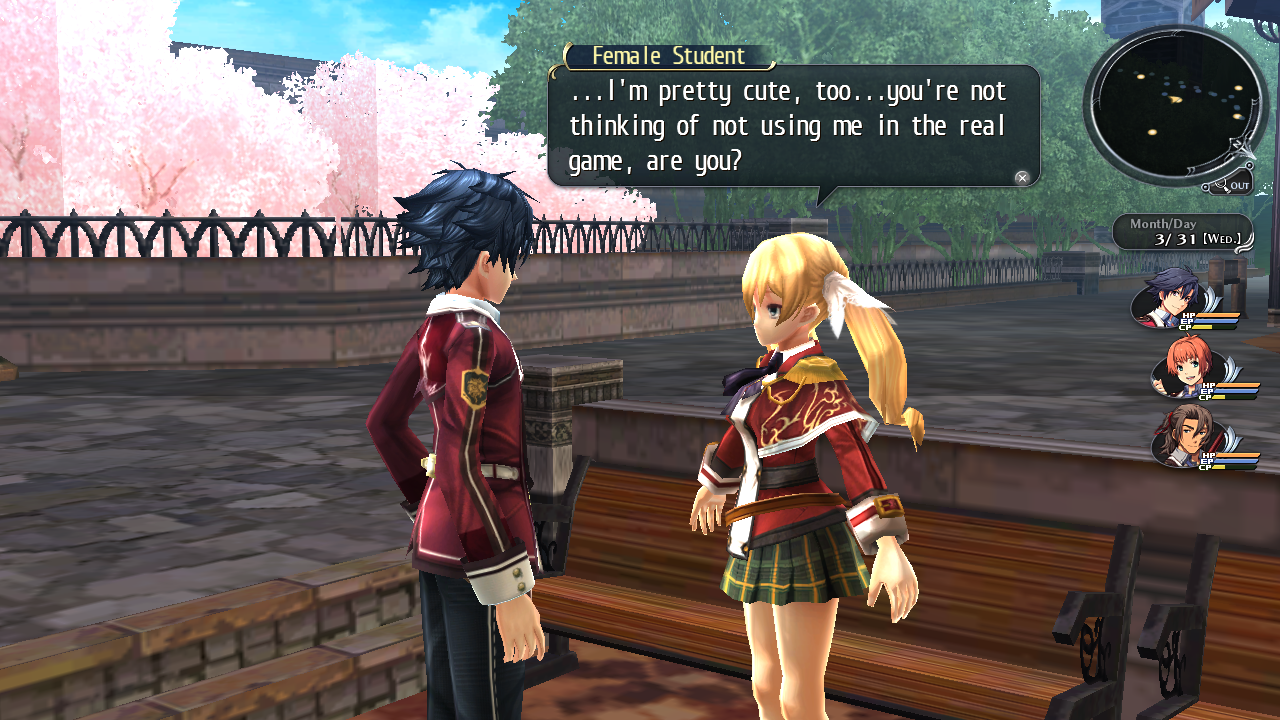
The main test map with a lot of options. All of these options listed below start from the very left of the map. In order to correctly view this map, enter a0100 first and then come back to this map otherwise some NPCs will not show here. Interestingly enough, all of the debug options are fully translated in English in the overseas version.
The following map exits here do not work and crash the game: a0600, a1000, and a1100.
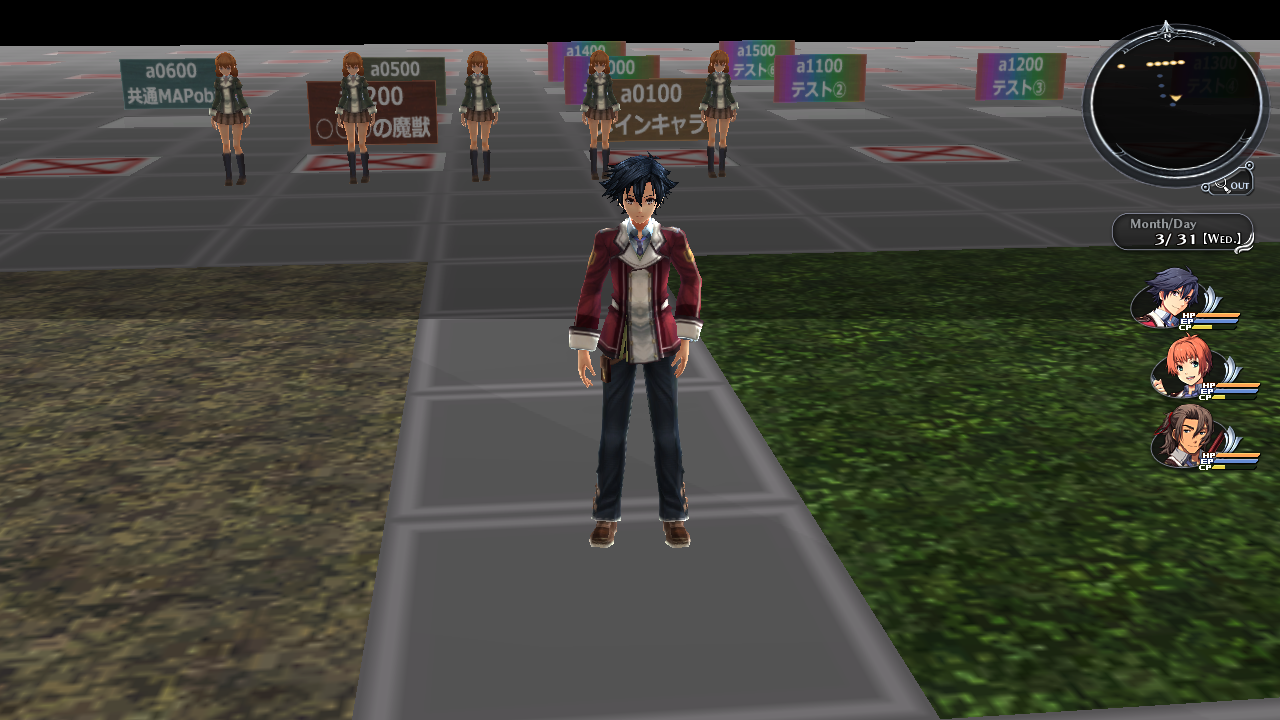
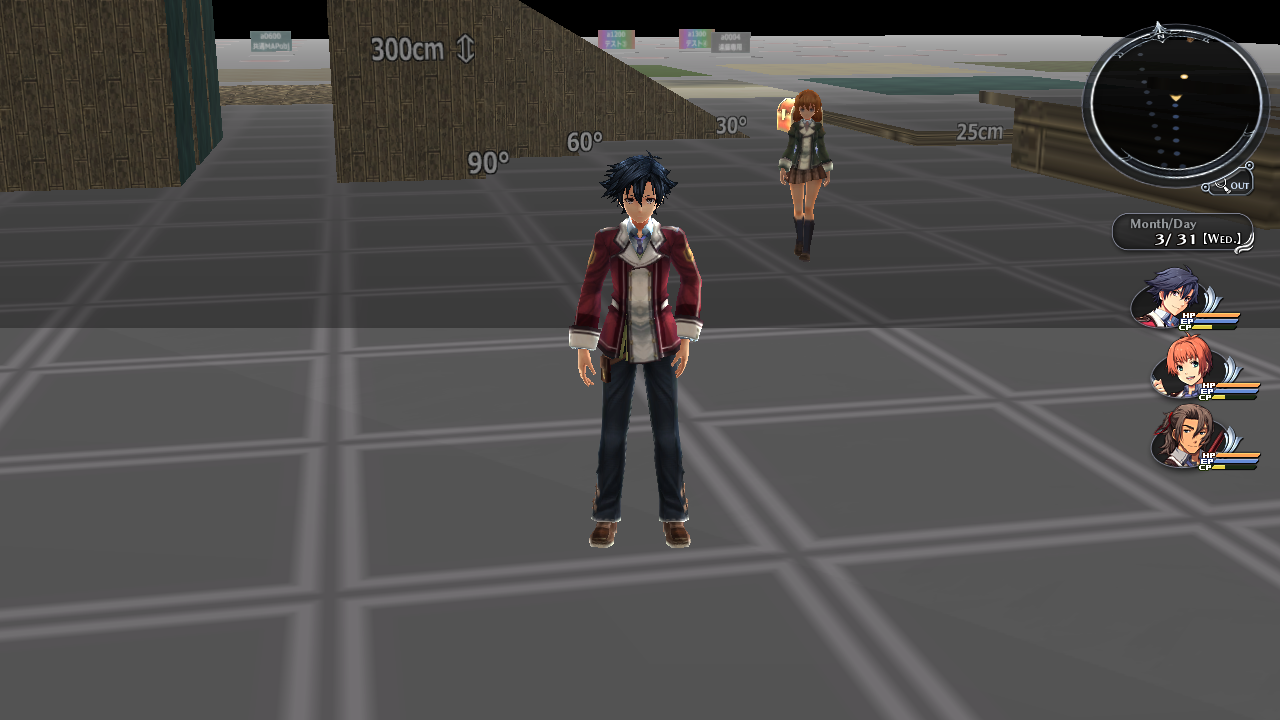
- First Pom will send you to Nord. The game treats it as your first time on the Nord field.
- First female student NPC (Mr Data Test) will give you these options:
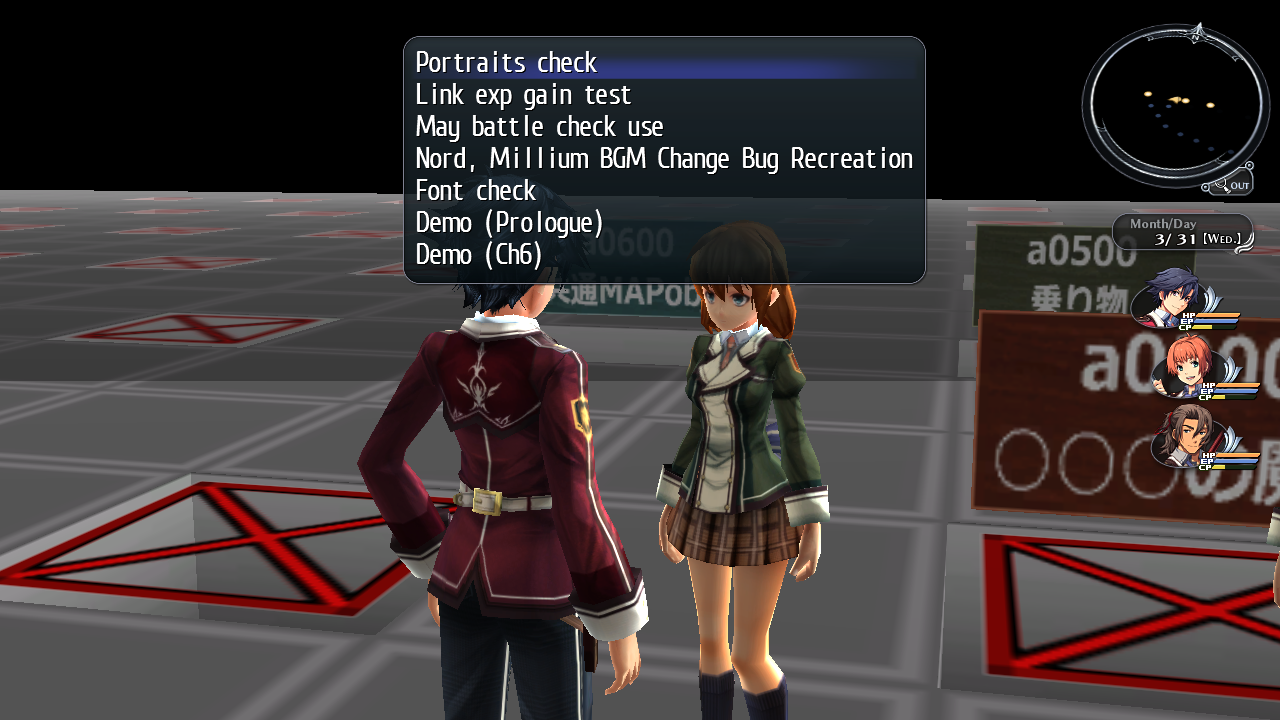
Menu Option |
Effect |
|---|---|
Portraits check |
This shows a few flashback scenes from Rean's childhood. |
Link exp gain test |
Gives you 300 link exp for each party member. |
May battle check use. |
Teleports you to a few dungeon locations. |
Nord, Millium BGM Change Bug Recreation |
This will play a song for a few seconds then fade out. It will play a battle theme afterwords. |
Font check |
This will display a few fonts. Some will be invisible. |
Demo (Prologue) |
This will send you to the starting of the game. |
Demo (Ch6) |
This will send you to the Old Schoolhouse 6F. |
- Second female student NPC (Mr System Test) will give you these options:
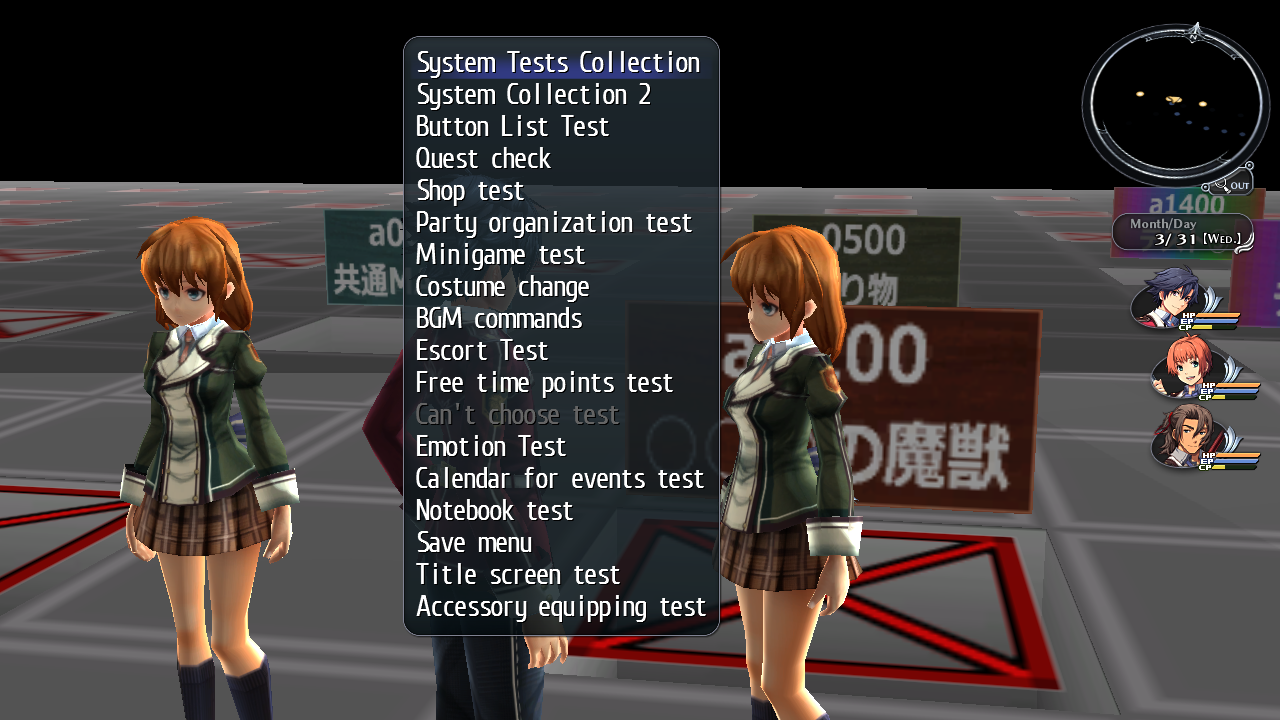
Main Options:
Menu Option |
Effect |
|---|---|
System Tests Collection |
Sends you into a sub menu. See below for more details. |
System Collection 2 |
Sends you into a sub menu. See below for more details. |
Button List Test |
Sends you to a menu with four options that do nothing. |
Quest check |
You can view quests and automatically submit them here. |
Shop test |
Sends you to another menu where you can choose all the shops in the game. |
Party organization test |
Forces certain party restrictions in this menu. |
Minigame test |
Allows you to play all the minigames here. |
Costume change |
Allows Rean to change into his Class 7 outfit, his sleeveless shirt, or his swimwear. |
BGM command |
It's unclear how this menu works. |
Escort Test |
Sets the accompanying party member here. |
Free time points test |
You can set the icons for free time and other icons to appear here. Most notably there are unused icons here. |
Can't choose test |
You can't choose this. |
Emotion Test |
Allows you to set various emotion states, such as to display a angry bubble or a exclamation mark over a NPC. |
Calendar for events test |
Allows you to advance time here. |
Notebook test |
Allows you to set various unlocked states of the student notebook. |
Save menu |
Allows you to set various save data here, such as NG+. |
Title screen test |
Sets various flags for the title screen, such as more party members appearing and if they are wearing their stage costumes or not. |
Accessory equipping test |
Sets a armband on Rean. It does not appear to work. |
Inside System Tests Collection menu
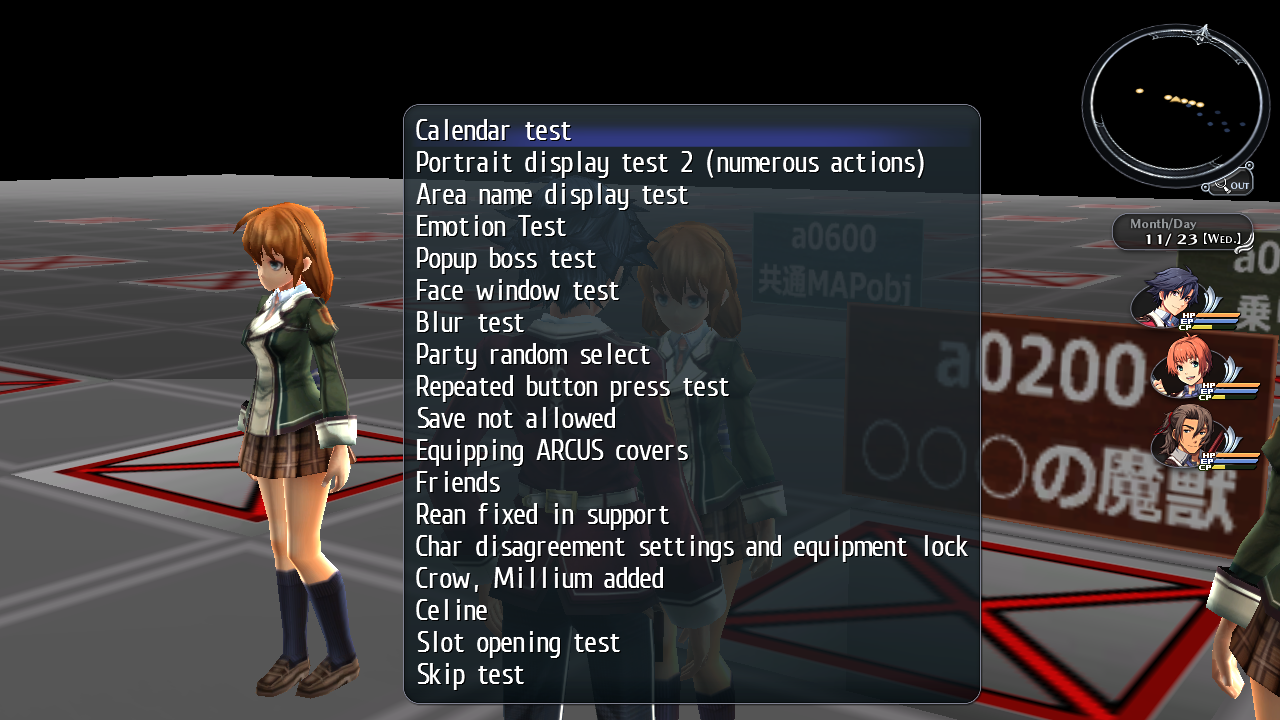
Menu Option |
Effect |
|---|---|
Calendar test |
Doesn't appear to do anything. |
Portrait display test 2 (numerous actions) |
Displays a logo that goes through a series of scripting tests. |
Area name display test |
Displays the text "Thors Military Academy" in Japanese. |
Emotion Test |
Doesn't appear to do anything. |
Popup boss test |
Displays a test text box that goes through a series of scripting tests. |
Face window test |
Displays a test text box that goes through a series of scripting tests and also moves Rean around. |
Blur test |
Blurs the screen for a few seconds. |
Party random select |
Randomly selects a party member and displays their name in a text box. |
Repeated button press test |
Displays the swimming minigame button press icons here. |
Save not allowed |
Disables saving. |
Equipping ARCUS covers |
Doesn't appear to do anything. |
Friends |
Displays who you're closest to. |
Rean fixed in support |
Rean will not be active in the party when selecting this. |
Char disagreement settings and equipment lock |
It's unclear what this does. |
Crow, Millium added |
This makes it so you can modify Crow and Millium's equipment slots. |
Celine |
Celine will appear behind you with glowing green eyes. |
Slot opening test |
It's unclear if this works. |
Skip test |
Sends you to Brandon's General Goods shop. |
Inside System Collection 2
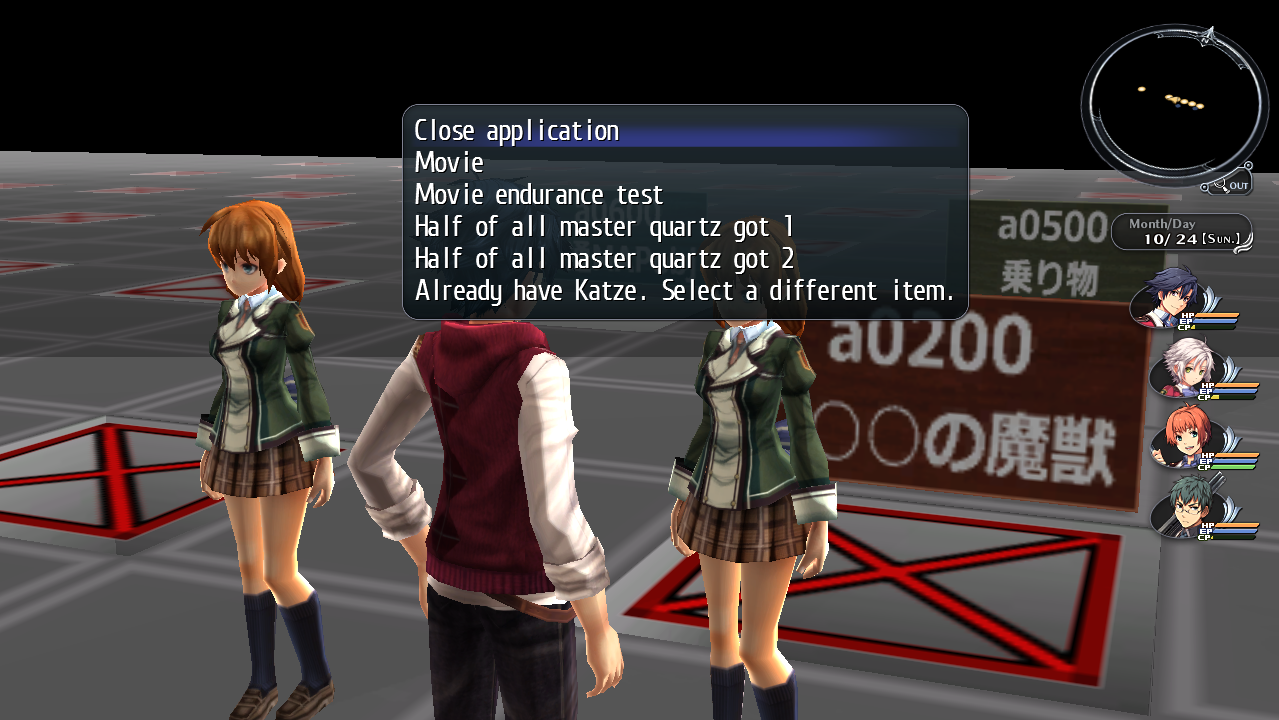
Menu Option |
Effect |
|---|---|
Close application |
Shuts down the game. |
Movie |
Plays the opening movie. |
Movie endurance test |
Plays the movie after the prologue then plays the opening movie. |
Half of all master quartz got 1 |
Gives you half of all master quartz in the game. |
Half of all master quartz got 2 |
Gives you another half of all master quartz in the game. |
Already have Katze. Select a different item. |
This gives you Zeram Powder if you already have the Katze master quartz. |
- Third female student NPC (Mr Battle Test) will give you these options:
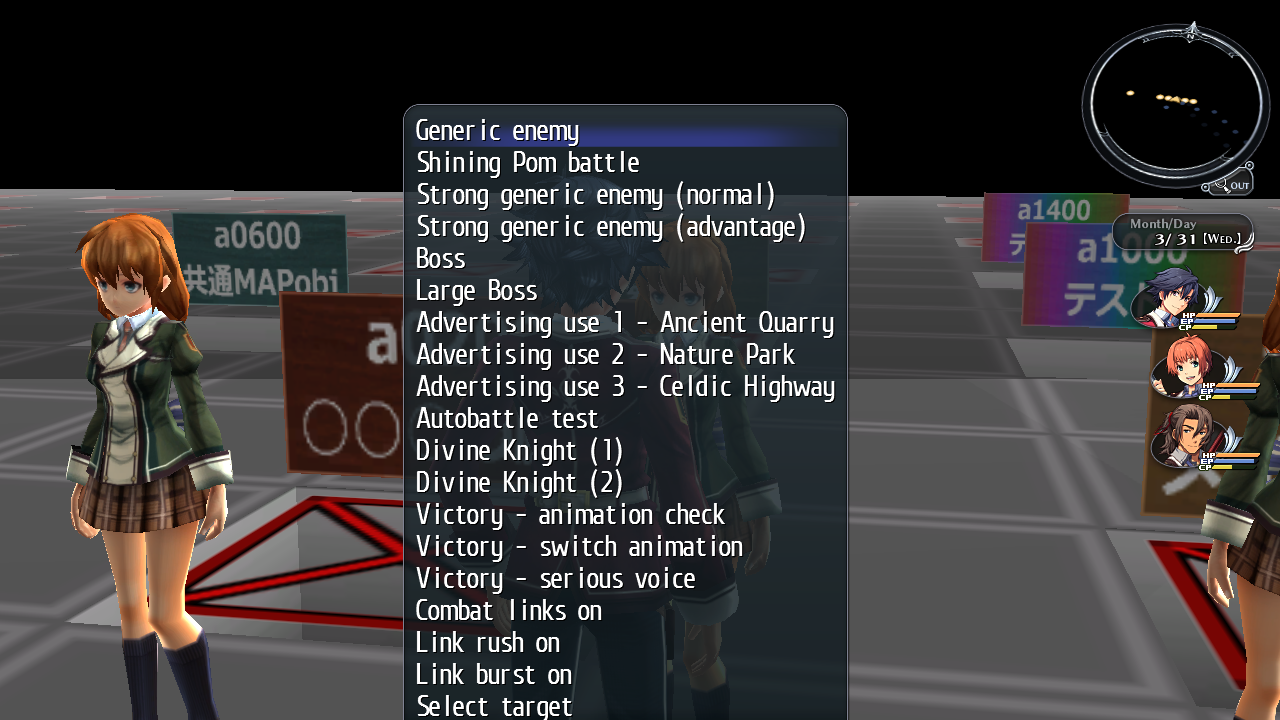
Field music will start playing when you open this menu. Selecting the Advertising use 1 option does not appear to work and will soft lock the game. Autobattle test makes you watch Laura and Fie fight each other. It is unclear what the options Victory - switch animation and Victory - serious voice do. Select target sends you in battle with an unused enemy named Bozuonga which first appeared in Ys: Memories of Celceta.
- Fourth female student NPC (Mr Event Select) will give you these options:
|
|
To do: |
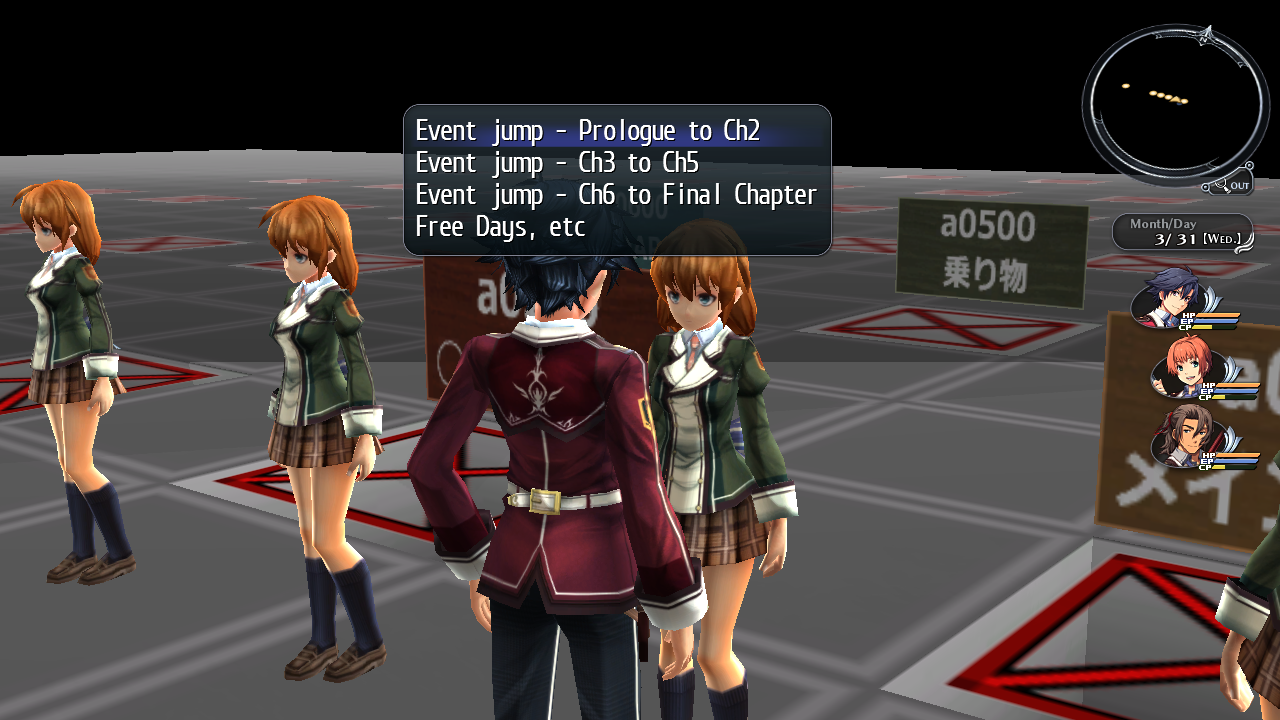
This will send you to spots in the story, including all of the free days to choose from. Selecting the options Event Jump - Ch6 to Final Chapter > Final Chapter 3-5 (E21 S20 ~ S25) > [C08EXXS00][Scene for capturing 1] / [C08EXXS01][Scene for capturing 2] are unused.
- Fifth female student NPC (Mr Regular and Quest) will give you these options:
|
|
To do: |
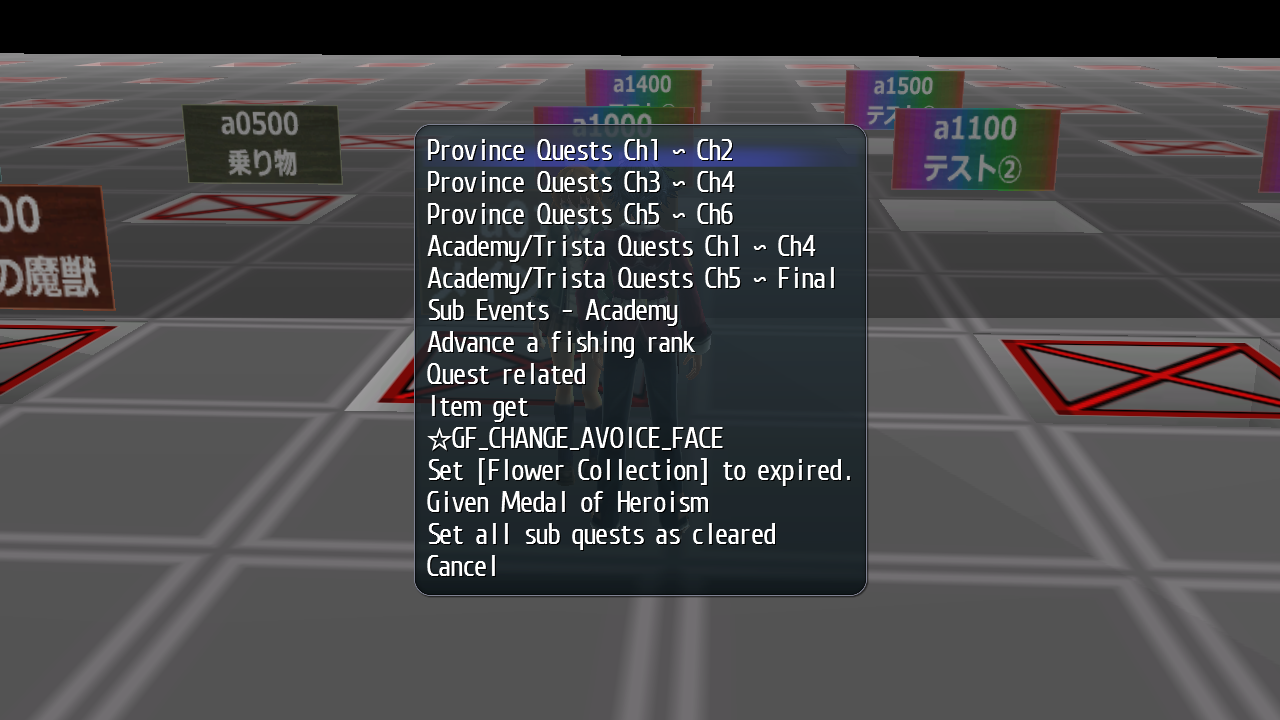
This menu lets you view quests and places you next to their spot in the story. Selecting Item get and GF_CHANGE_AVOICE_FACE doesn't appear to work.
The Poms on the very right of this map all send you to different event spots in the story.
- First Pom (Monster A) will give you these options:
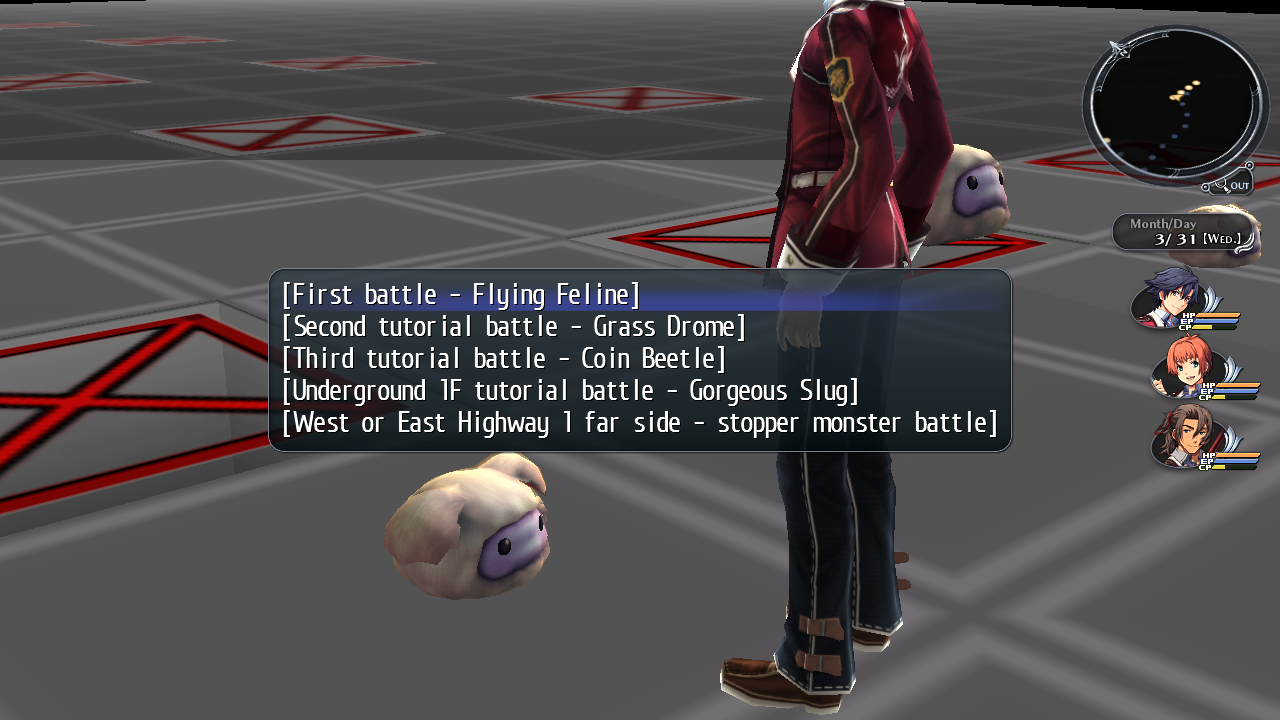
- Second Pom (Monster B) will give you these options:
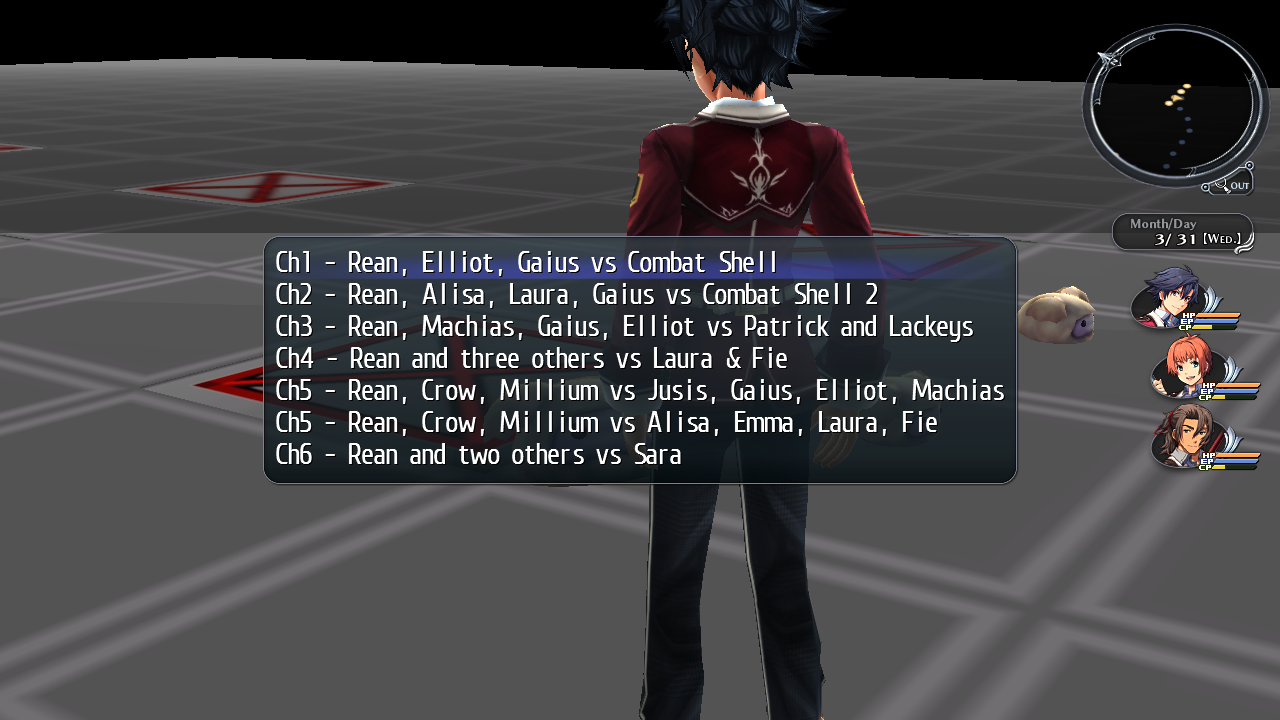
- Third Pom (Monster C) will give you these options:
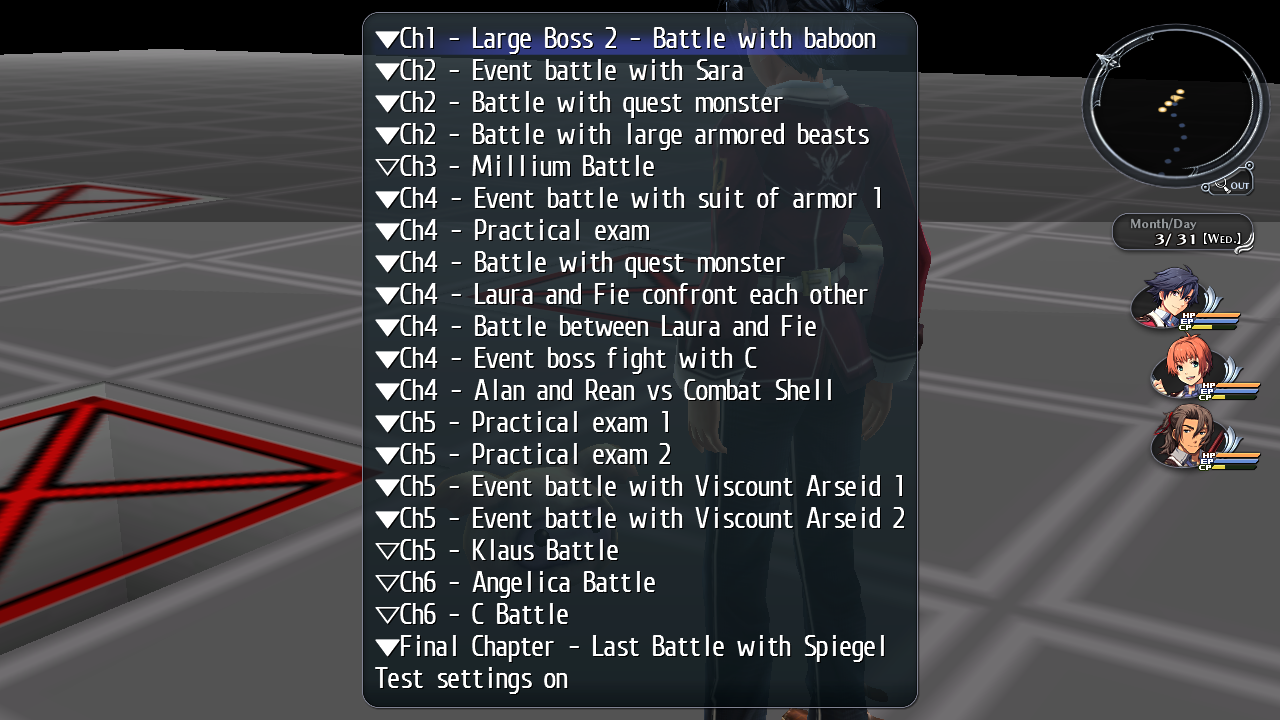
Selecting the option Test settings on then selecting any of the choices in this menu gives you the party members, exp, items, orbments, and weapons at that time in the story.
- Fourth Pom (Monster D) will give you these options:
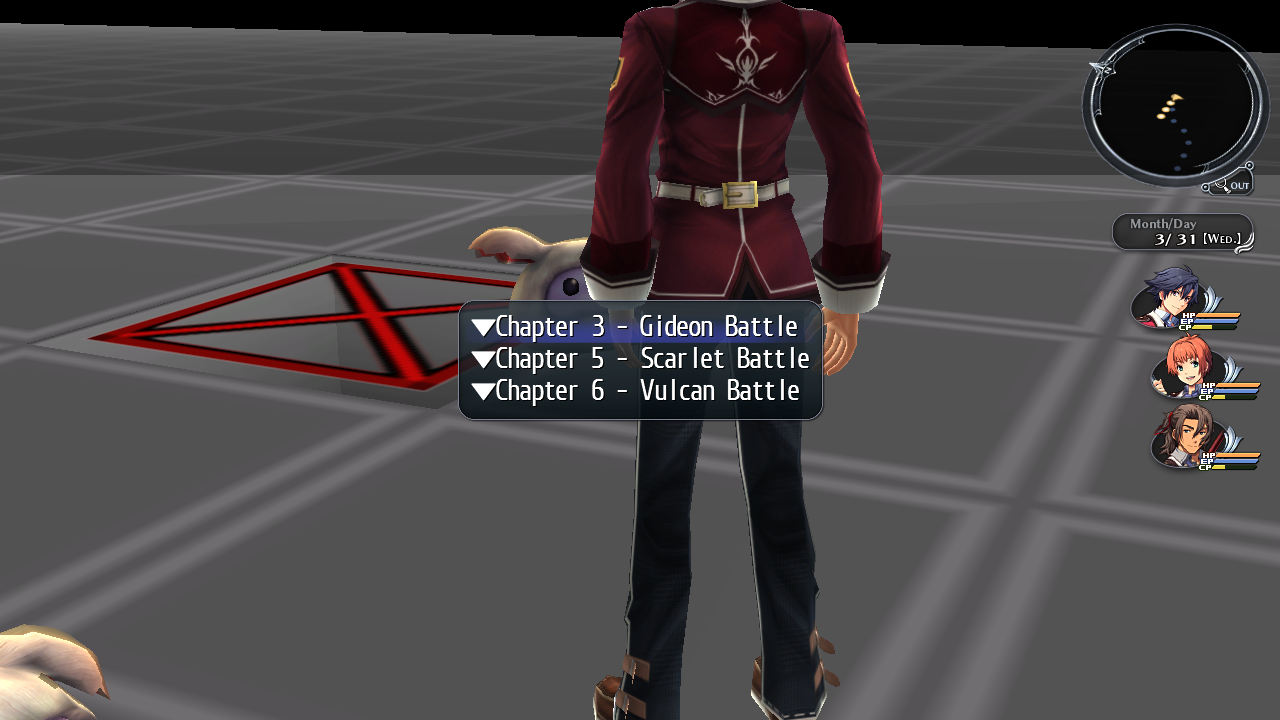
a0004 (Object Test Map)#
Internal map name: Prog004
This map has a assortment of random objects and platforms. Some of the objects are unused, like the AIR sign, the rising elevator and the boxes that make a cat meow SFX when the player breaks them.
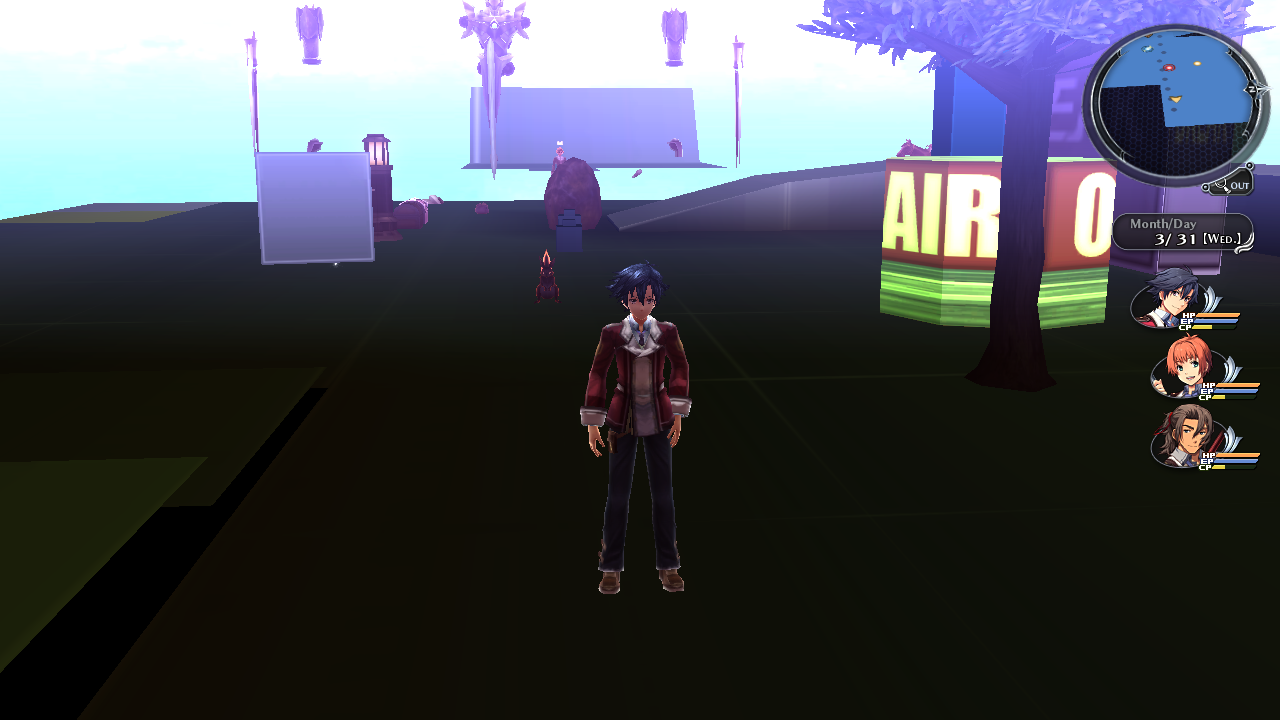
- Speaking to the male NPC will give you a lot of random text on screen and play speech from your party.
- Speaking to the Pom near the male NPC will open this window:
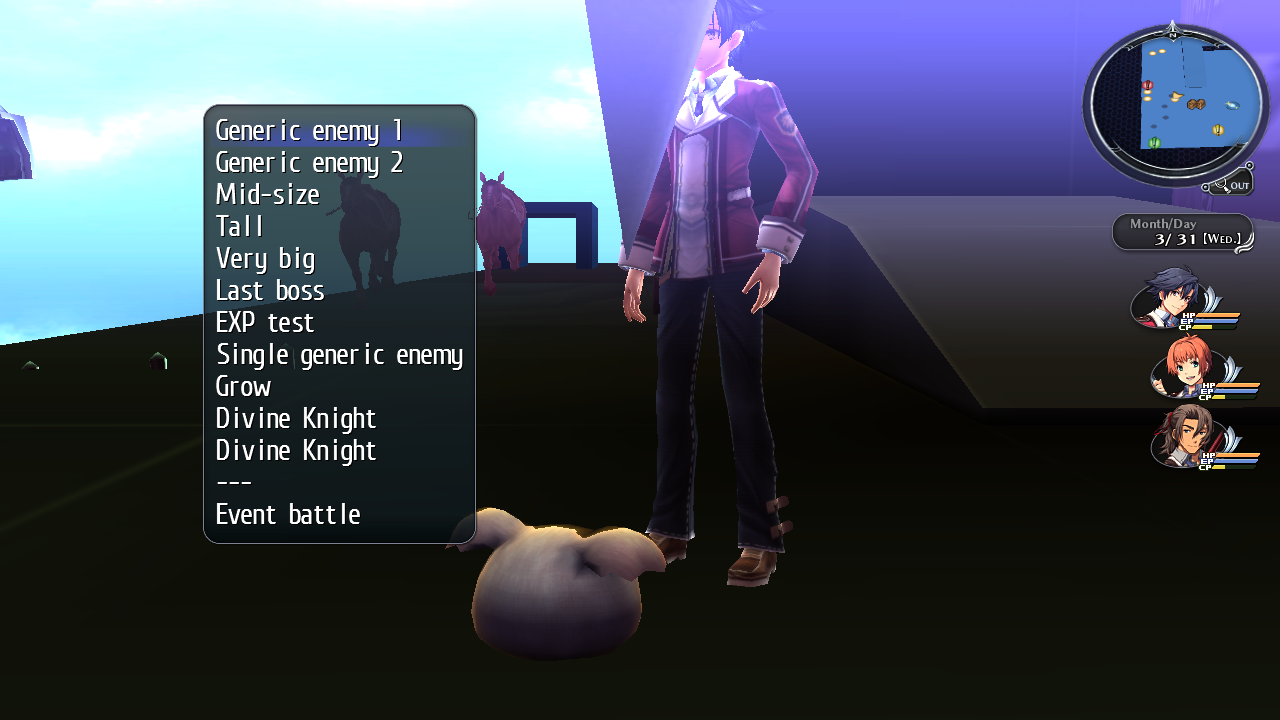
These options put you in battle with different enemies.
- Speaking to the Pom near the AIR sign will open this window:
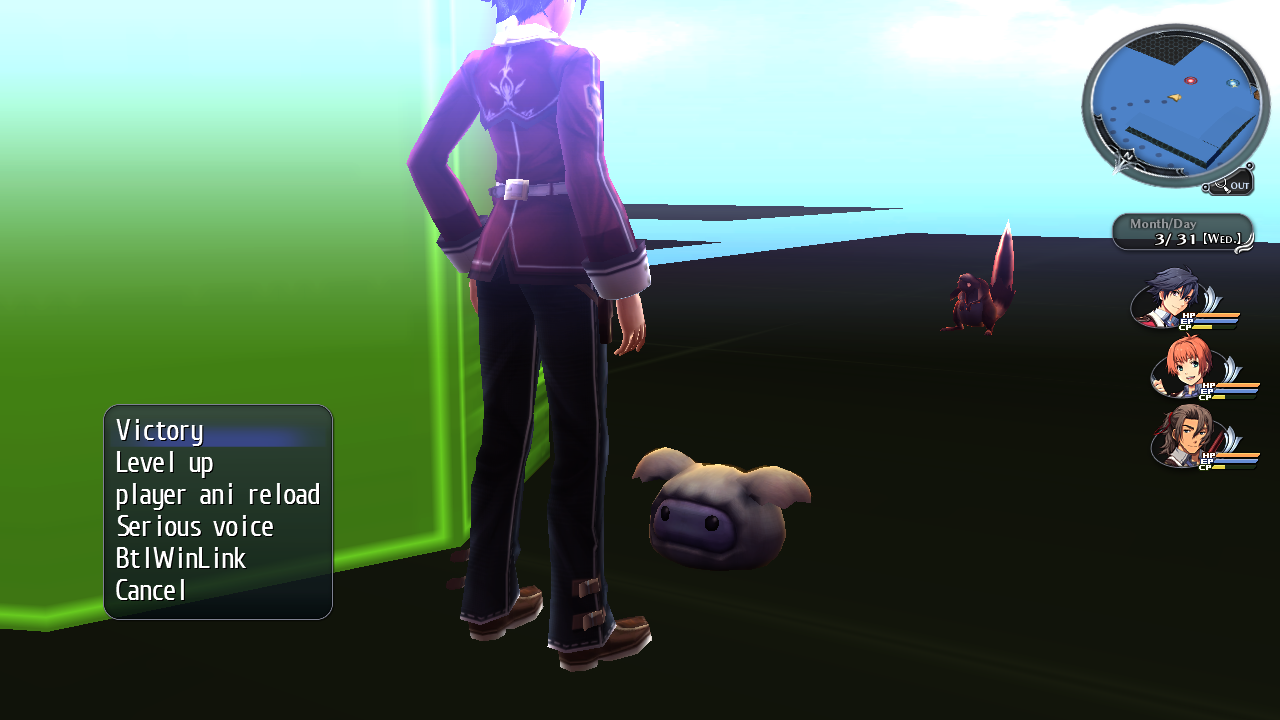
These options relate to battle animations.
a0100 (Character Test Map)#
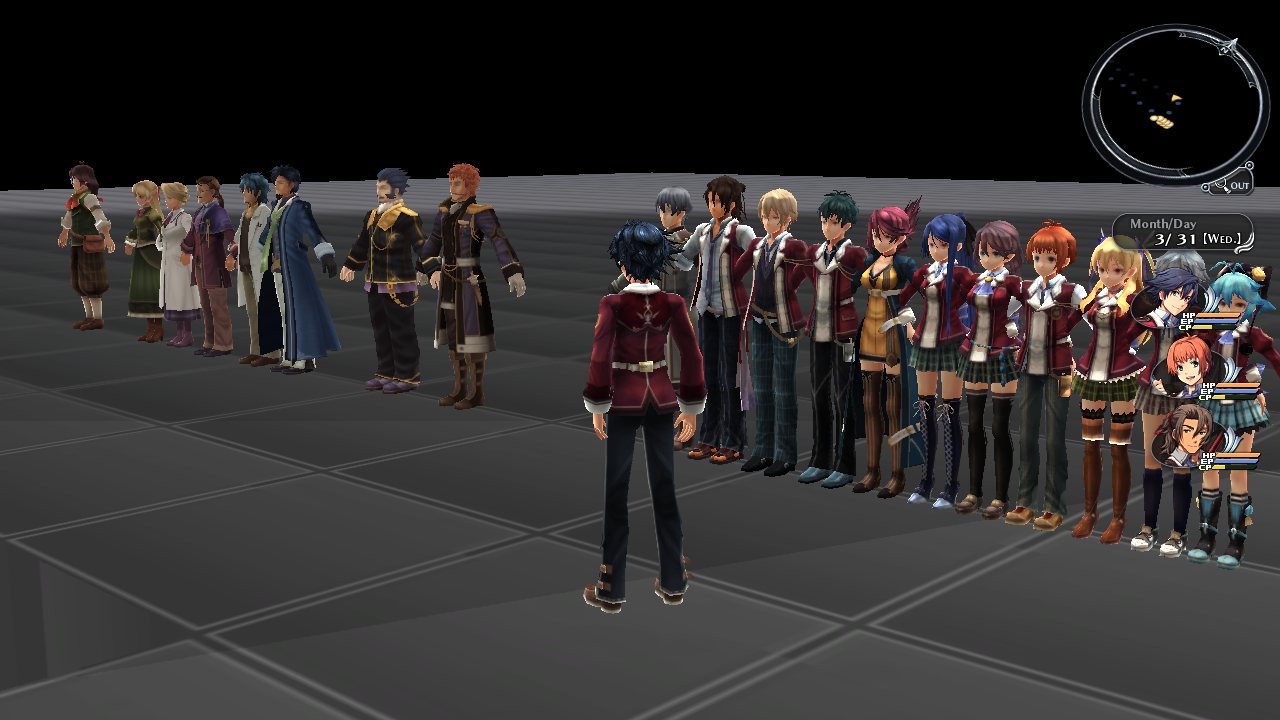
Internal map name: Character Room 0 (Test)
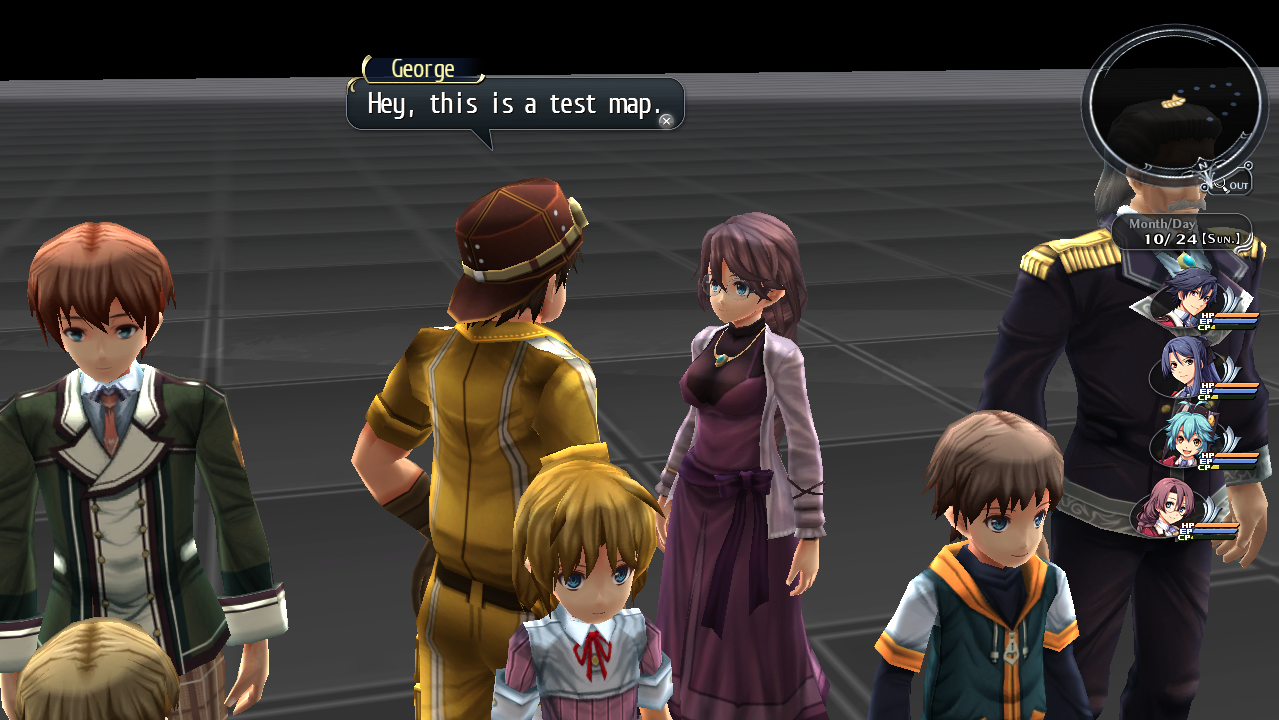
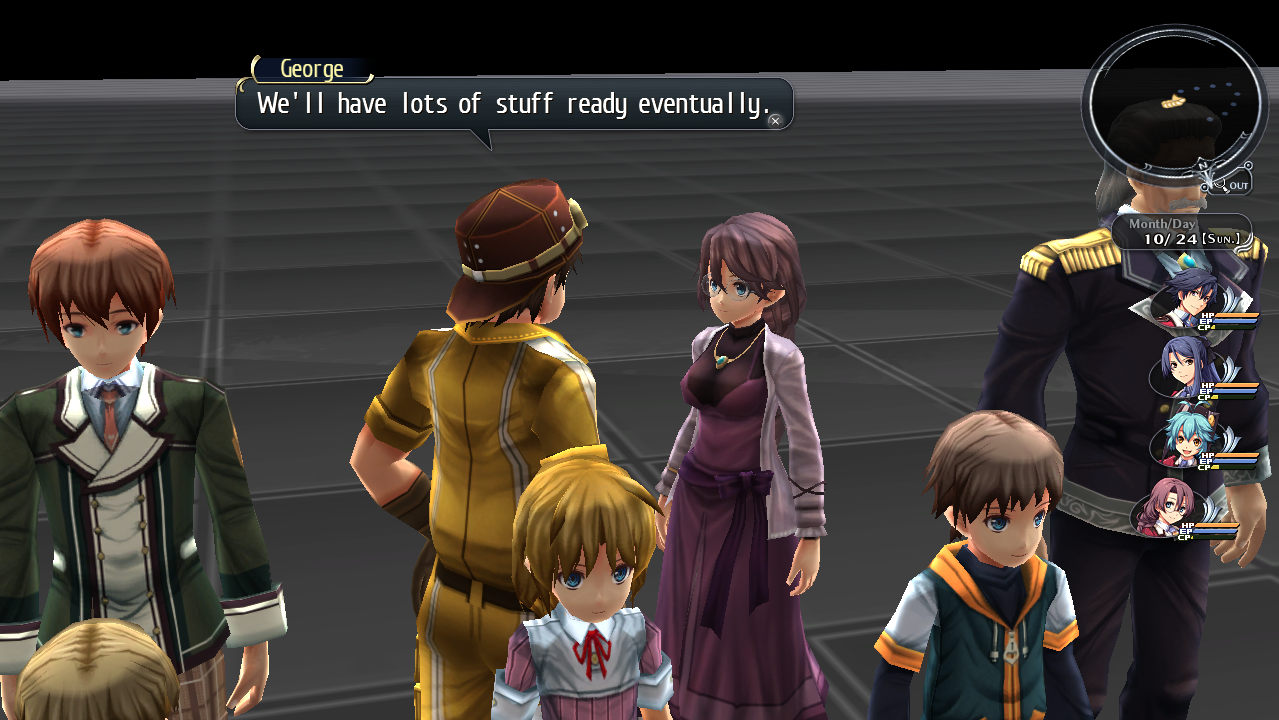
In this map you can see the main cast as well as some of the secondary NPCs. Oddly, Gideon is among the main cast here. Talking to the NPCs behind you will start a mini cutscene that animates the NPCs.
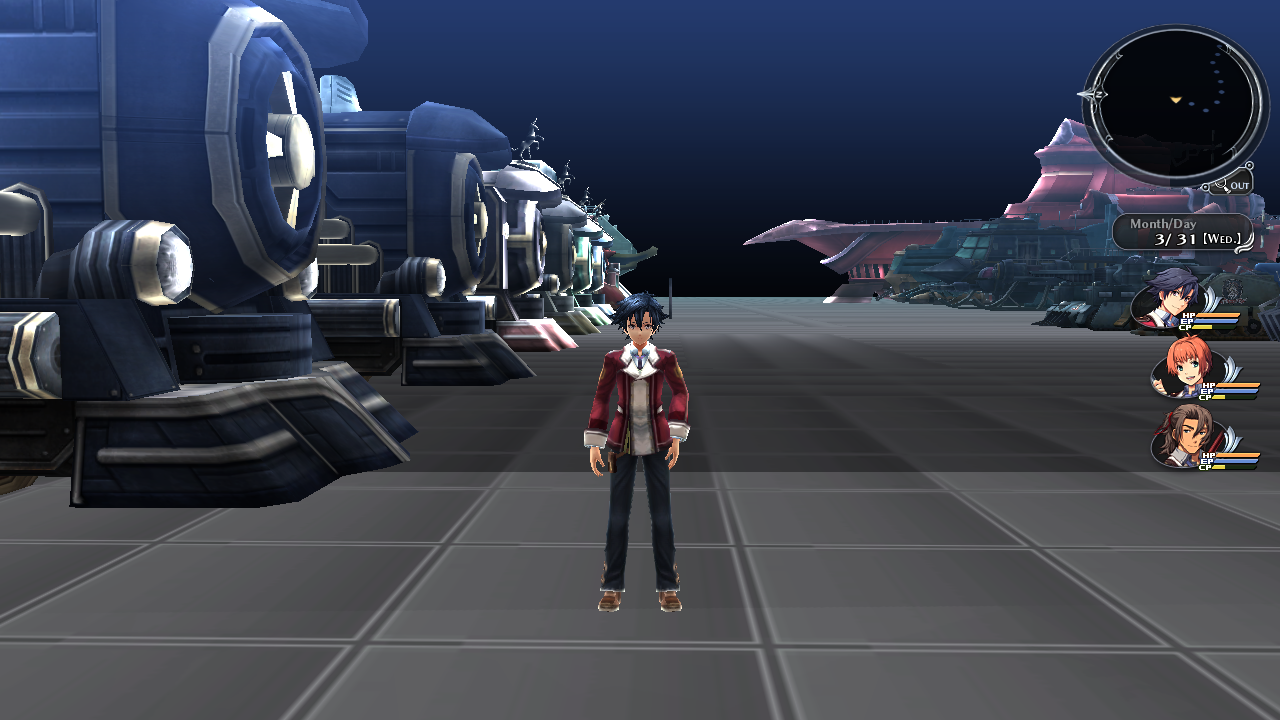
a0500 (Vehicle Test Map)#
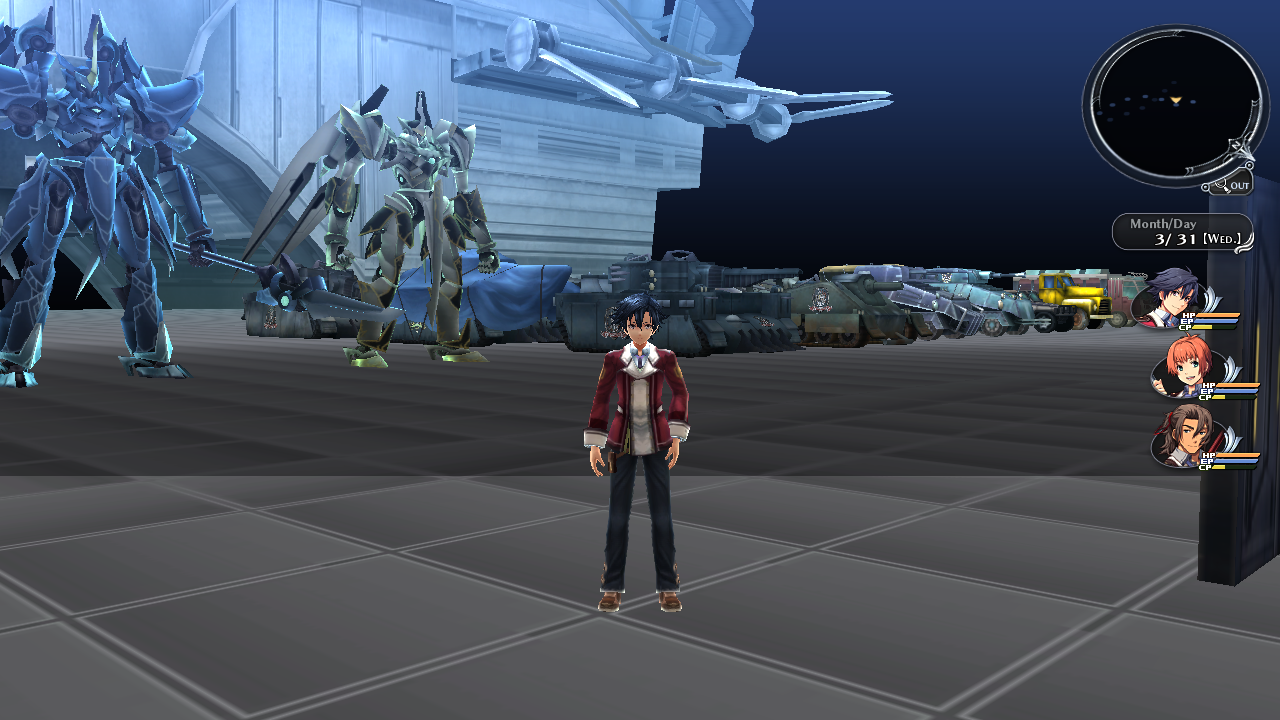
Internal map name: Vehicle storage area
Inside this map is all of the vehicles in the game, including the trains.
a0200 (Monster Viewer Map)#
Internal map name: Monster Room (000~029)
You can enter this map from the main debug map. You can view a lot of enemies and their default attack animations here. This map contains a few unused enemies. They are Needle Poe, Golden Axe, Lesser P, Green Bear, War Mantis (unused variation) and a Nix Cyron which only appears in the sequel.
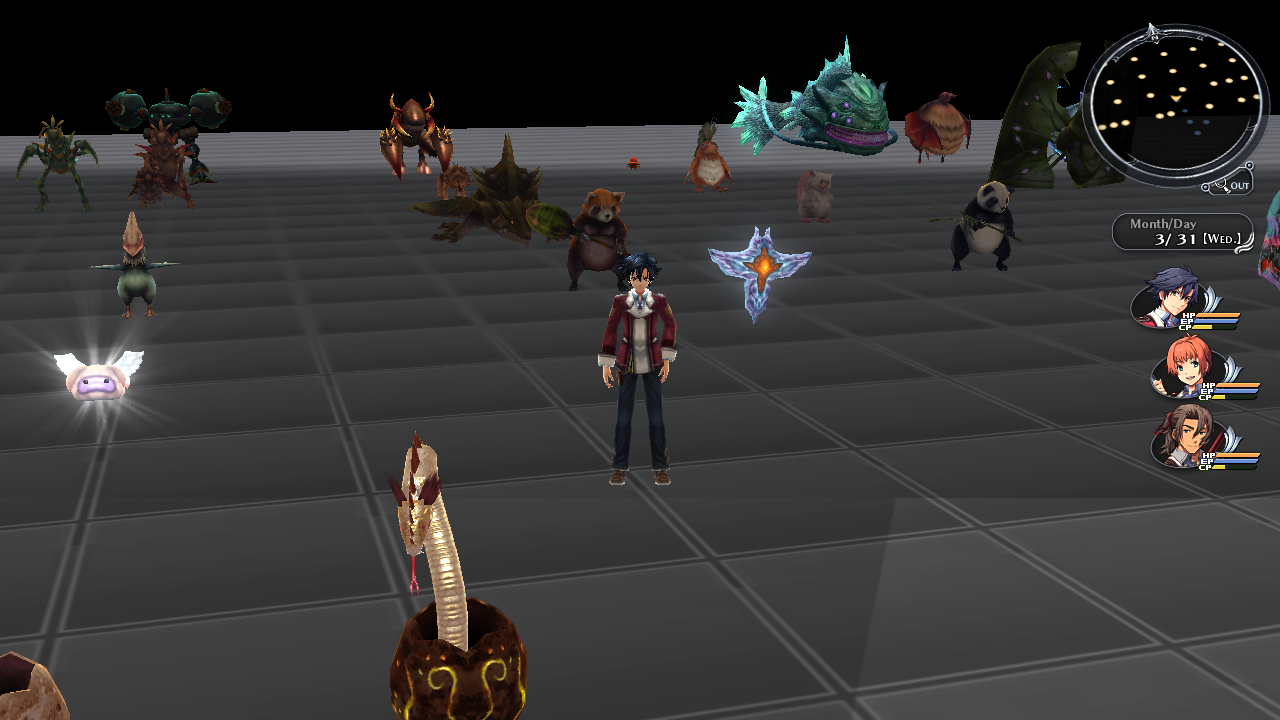
Here you can see the map and as well as the Nix Cyron which only appears in the sequel.
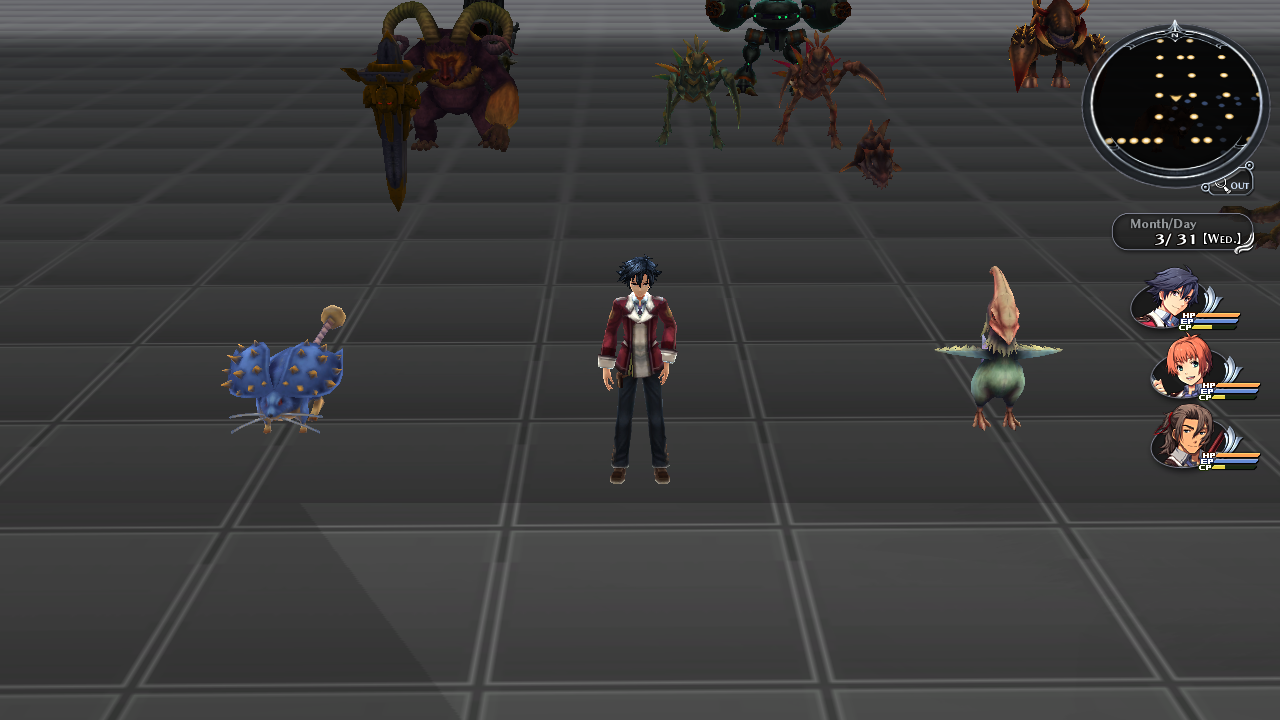
Rean standing next to the unused monsters, Needle Poe and a Golden Axe. In the background you can see the unused variation of the War Mantis.
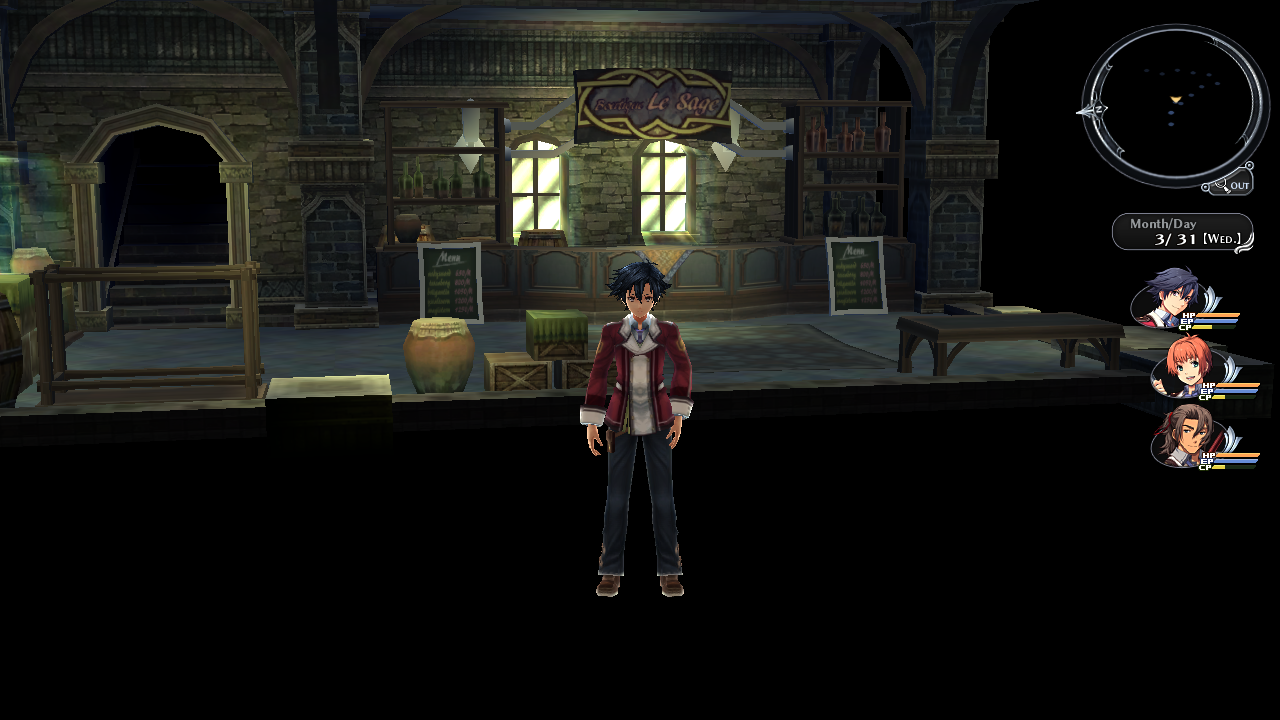
a1300 (Incomplete Shop Map)#
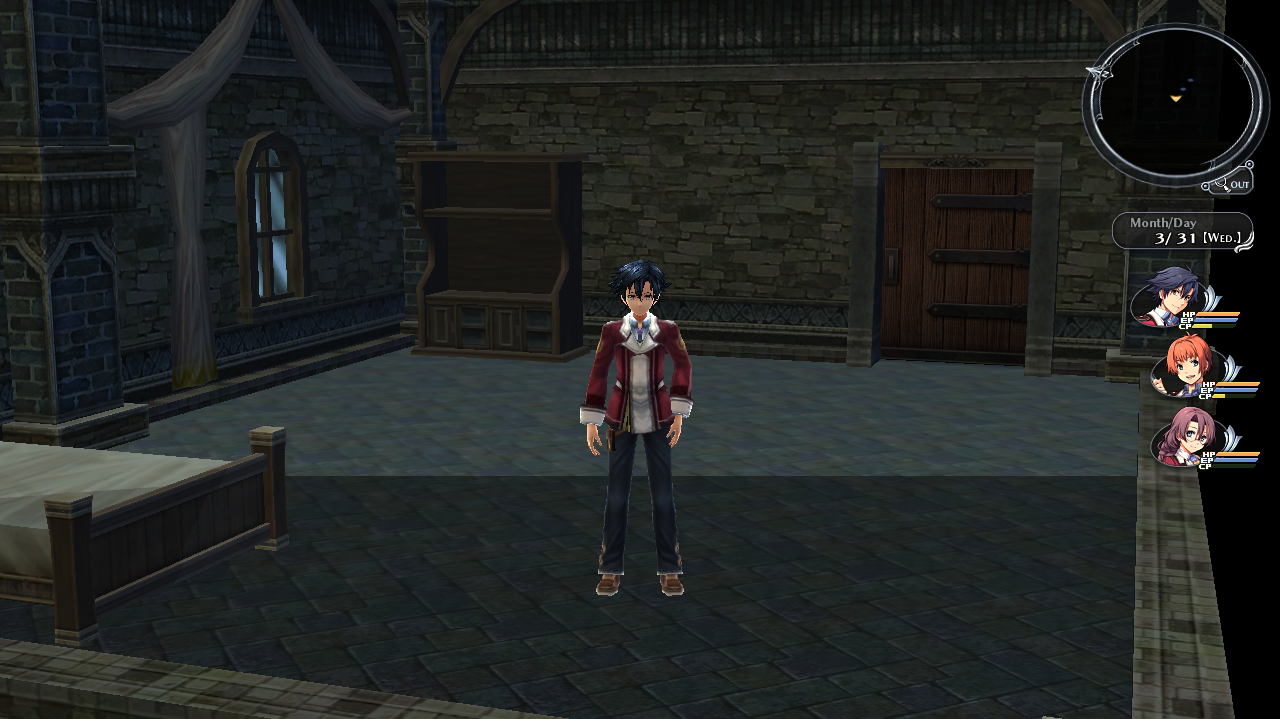
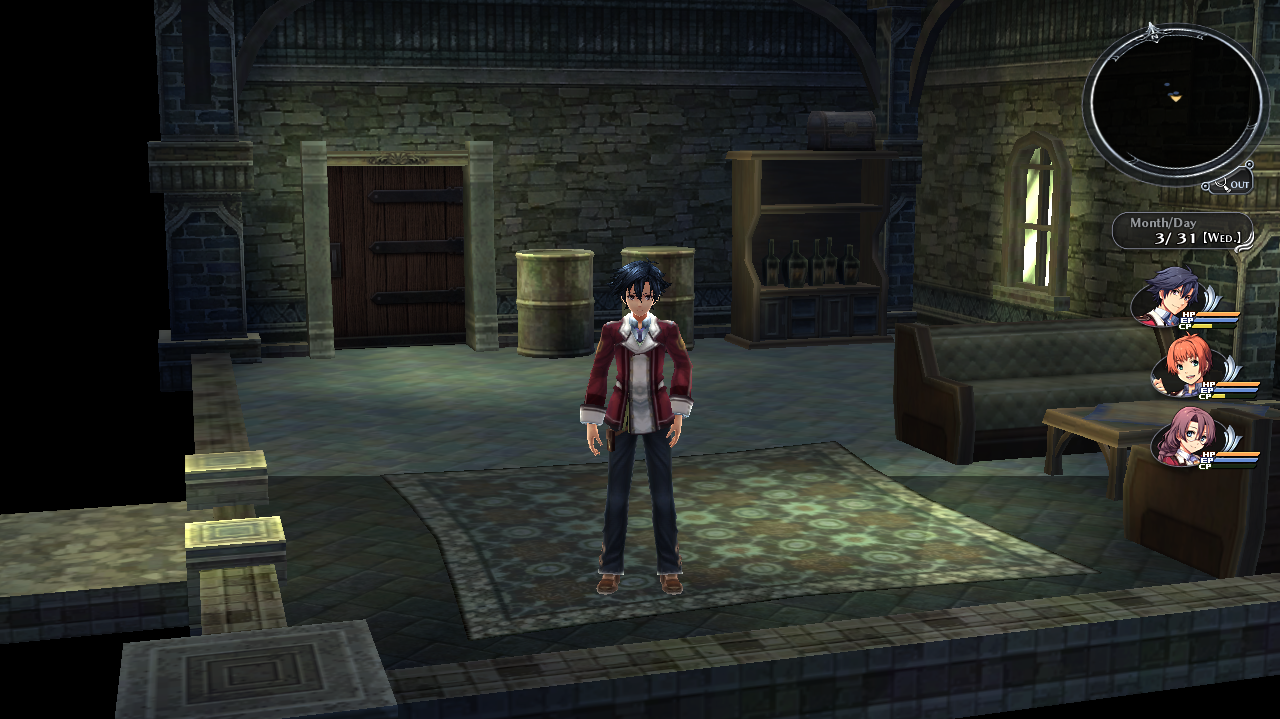
Inside this map is an incomplete shop map. It appears to be a work in progress version of Heimdallr's shops. There is no collision in this map.
a1200 (Field Test Map)#
Internal map name: Overlapping polygons load test
You can enter this map from the main debug map. This will take you to an unused field location. All of the treasure chests here cannot be opened.
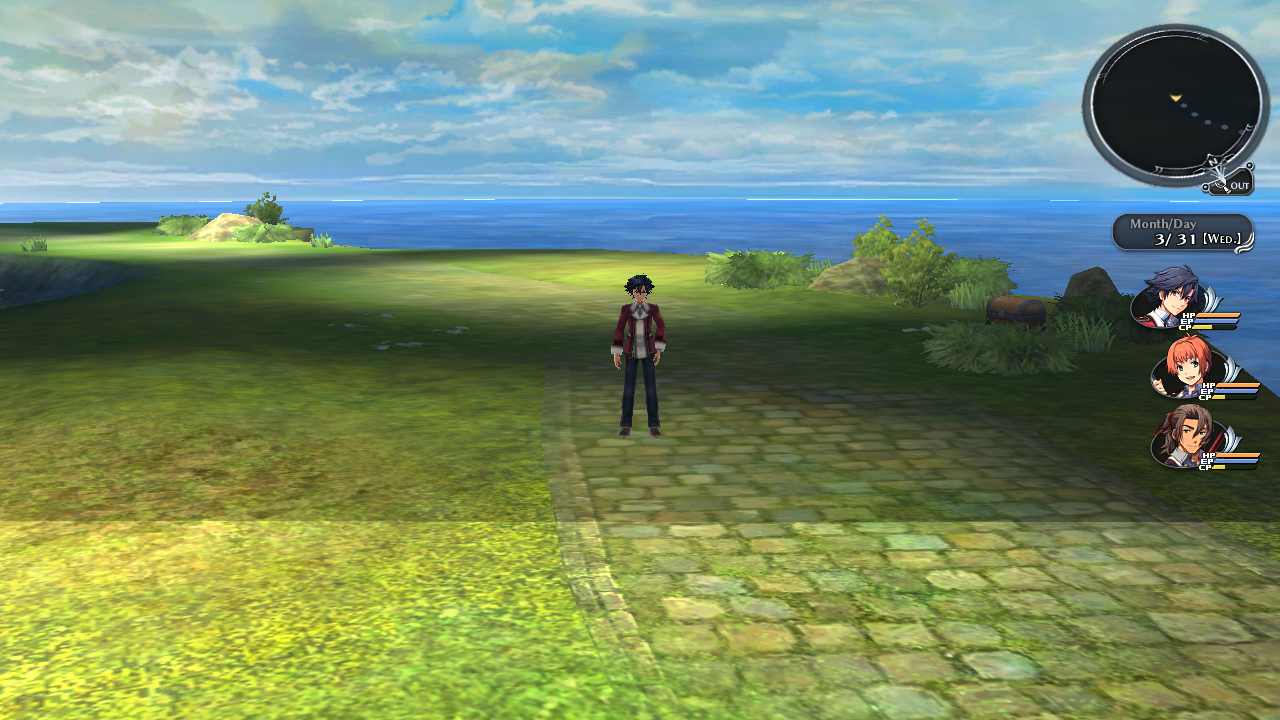
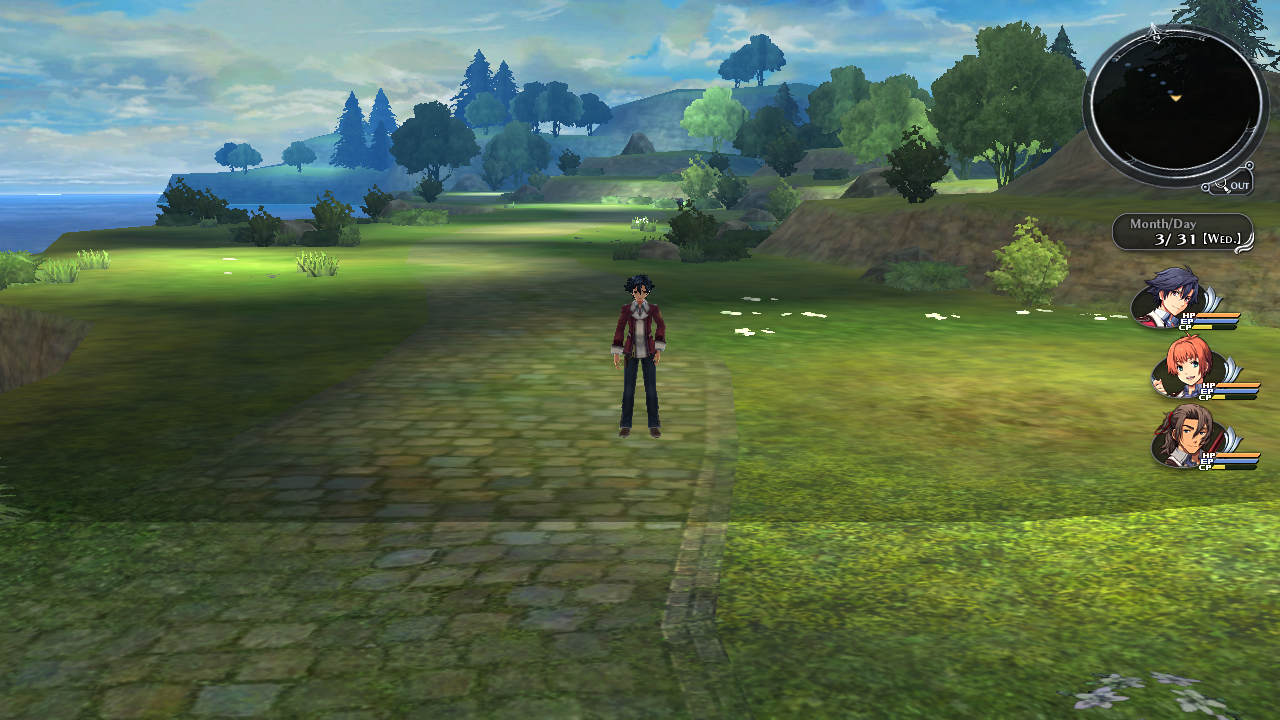
- Following the path directly behind you will send you to a1500 (Test Dungeon 1).
- Following the path directly in front of you will send you to a1400 (Unused Version of Heimdallr).
a1500 (Test Dungeon 1)#
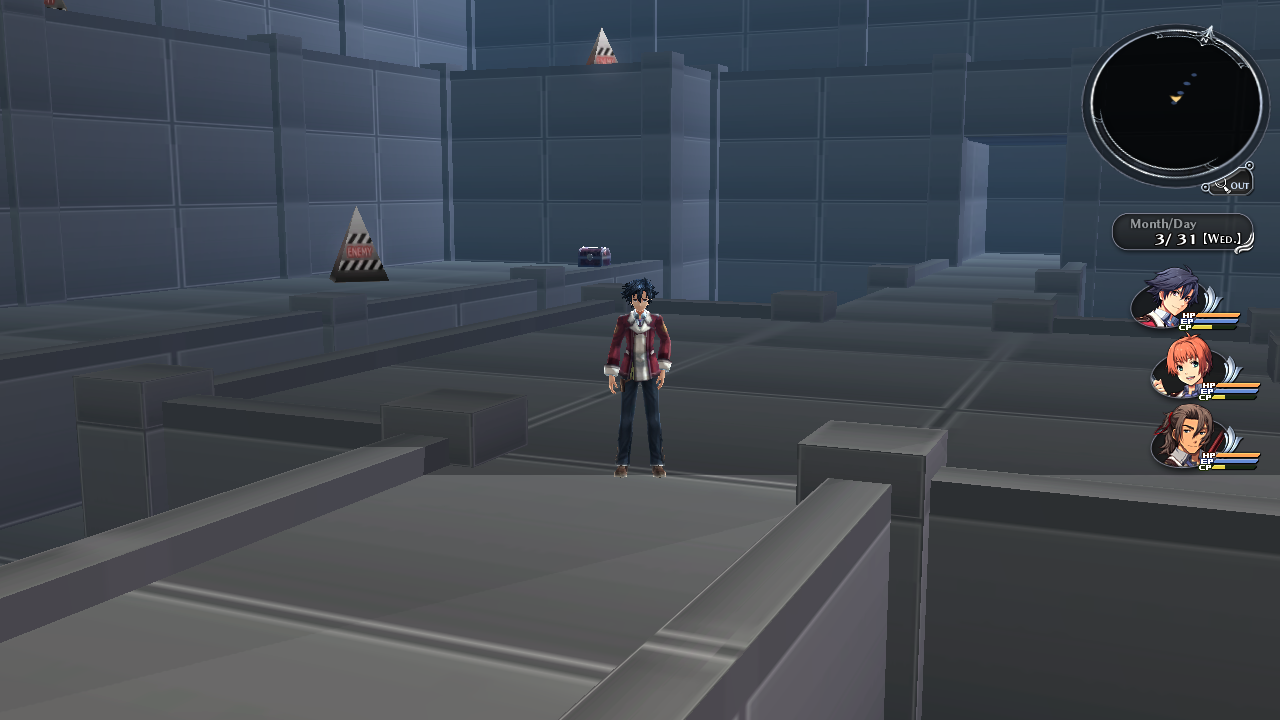
Inside this dungeon there will be test cones for where enemies would be placed. The treasure chests here cannot be opened.
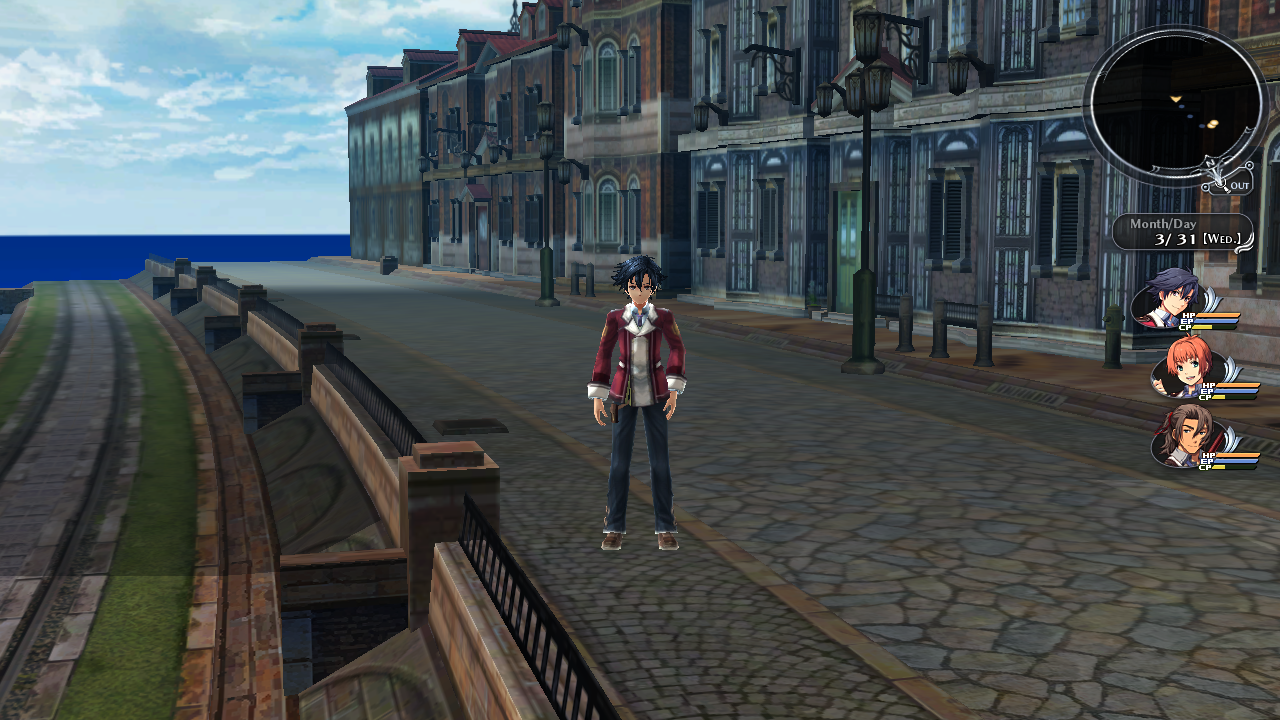
a1400 (Unused Version of Heimdallr)#
This map does not have collision on the buildings, meaning you can walk through them.
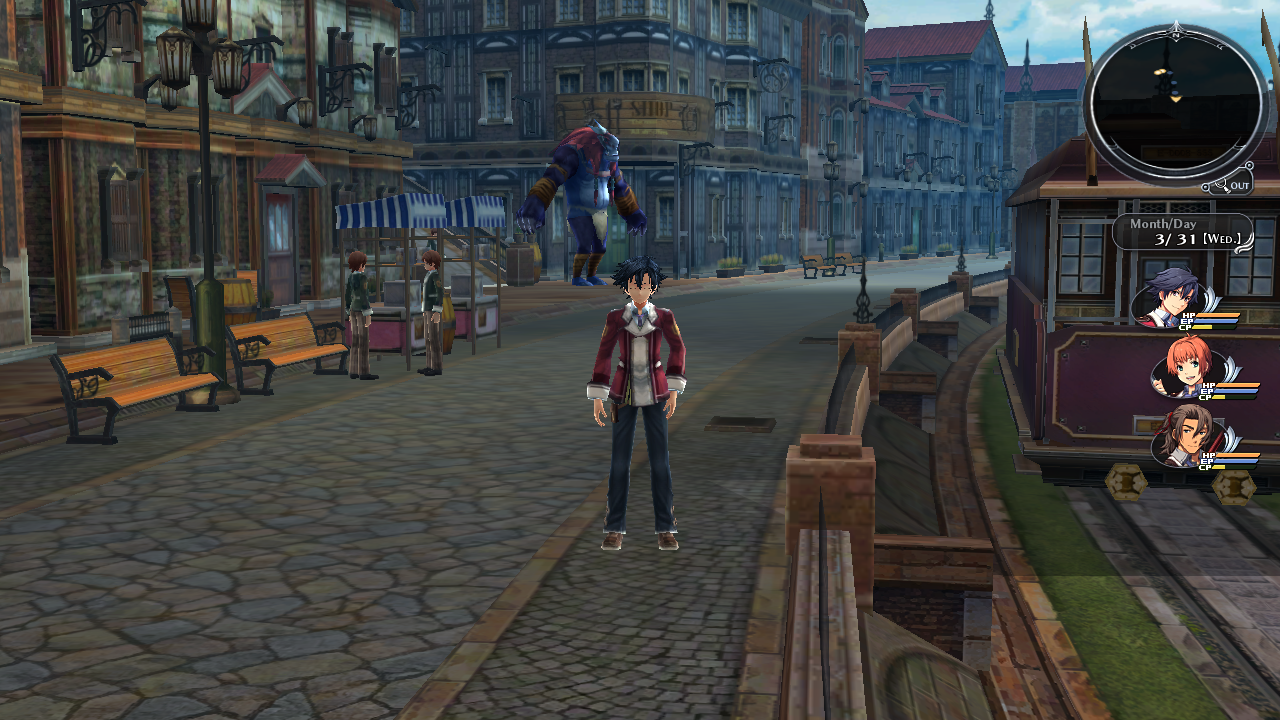
While inside this Heimdallr, speaking to the giant enemy (Mr Battle Test) will bring you to this menu:
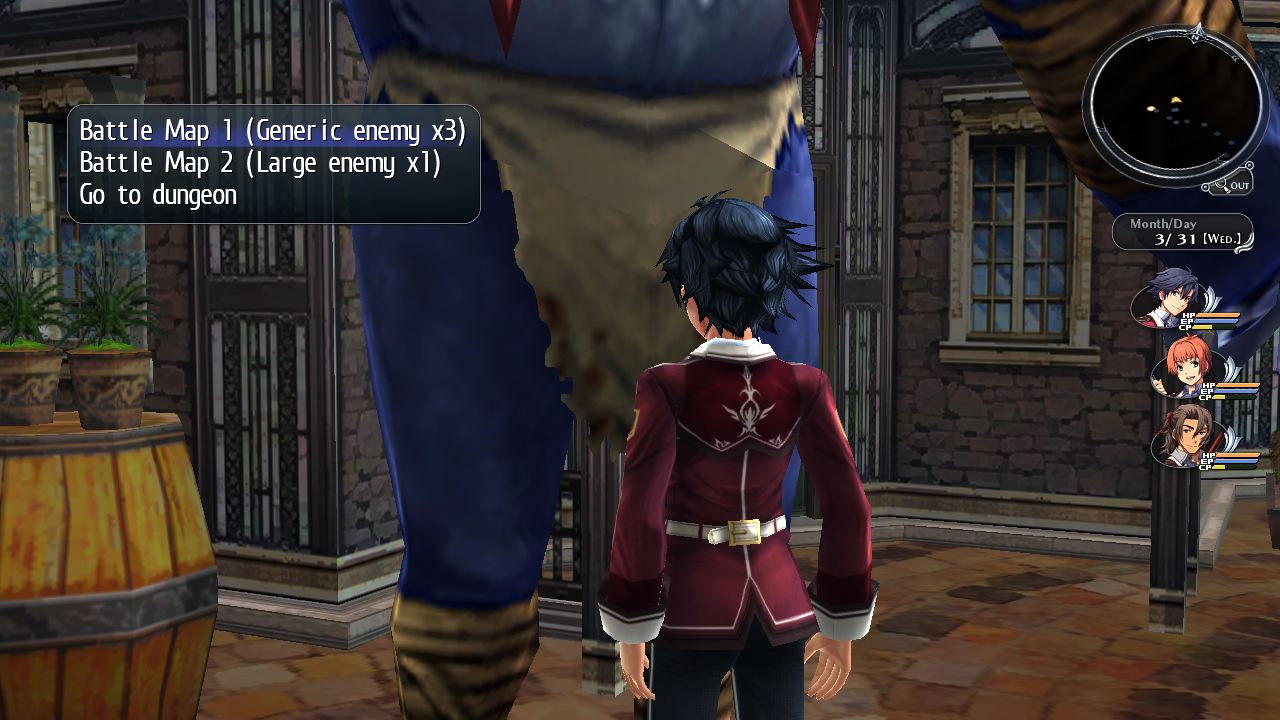
Selecting Go to dungeon will put you in yet another test dungeon. This dungeon has a design scheme like Lohengrin Castle. This dungeon is seen below.
Apparently, according to this map's data, the following text would have been displayed in this area somehow. Perhaps it would be displayed by accessing this area with the debug menu:
The Legend of Heroes VIII March 2012 Sample Ver. The following features are implemented:

Field

- Can change player character with the L button
- In dungeons, circle (R) can execute field attacks
- Can start a battle with roaming enemies by touching

Field

- R Stick operates the camera. (Can switch mode using (DebugMenu(1/5)'s [Camera Control 0]

Post-effect

Water processing and screen display gradation are now added. What will you do? After canceling, talk to the monster deep inside.
a1700 (Test Dungeon 2)#
When you first enter this map from the Go to dungeon option in the previous section, it will not be correctly loaded and the first time entering here will look like this:

In order to correctly load this map you will need to go into the unused version of Trista which is in the exit directly behind you and do a few things described in the next section. Once done that it will look like this:
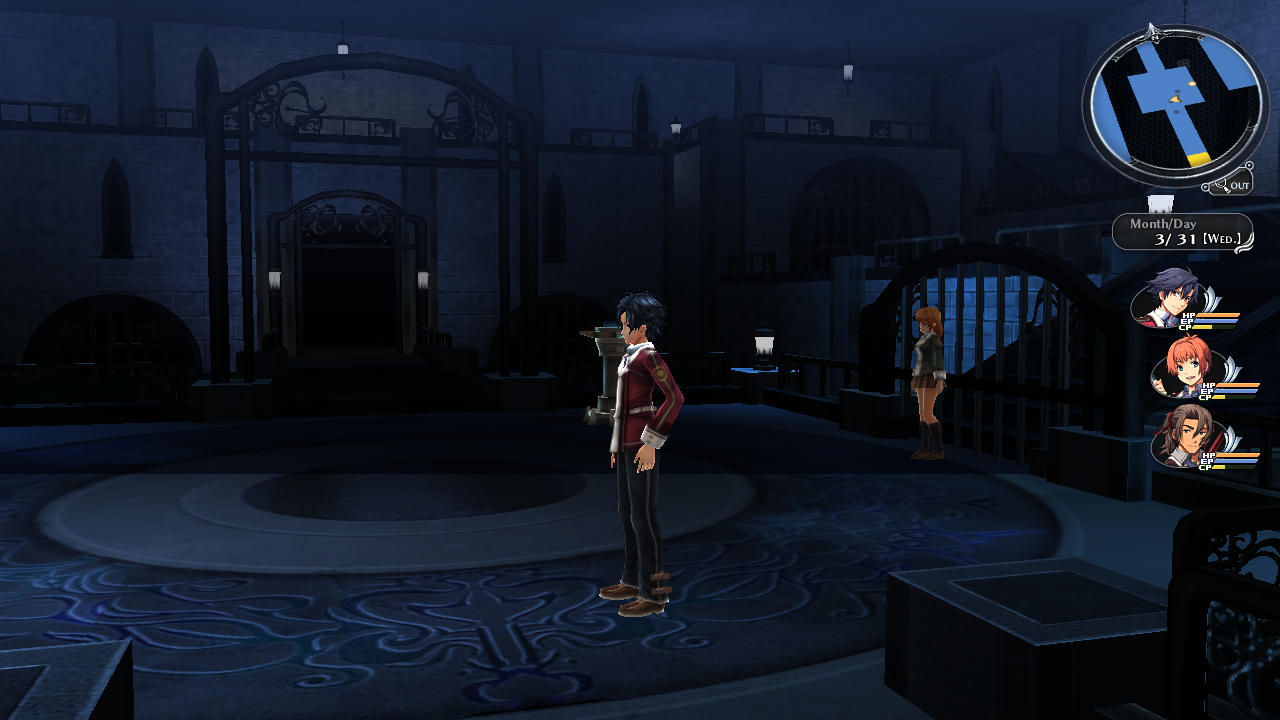
Talking to the NPC here yields no text. There is no enemies or treasure chests. You can traverse this map only so far. Eventually a cutscene will trigger that will lock the game meaning you cannot press any button to get out of the cutscene.
a1902 (Unused Trista)#
Internal map name: Trista Rail Camera
Inside this map you will notice that it has almost an entirely different layout than its used version. In order to properly load the a1700 (Test Dungeon 2) map, you will need to travel to the Trista station. First, you will come across an unused Alisa cutscene where she talks about her grandfather's bank account. Skip this for now as it does not work correctly. Once skipped, enter Trista station. Doing this will make it so you can load the Alisa cutscene and properly load a1700 (Test Dungeon 2).
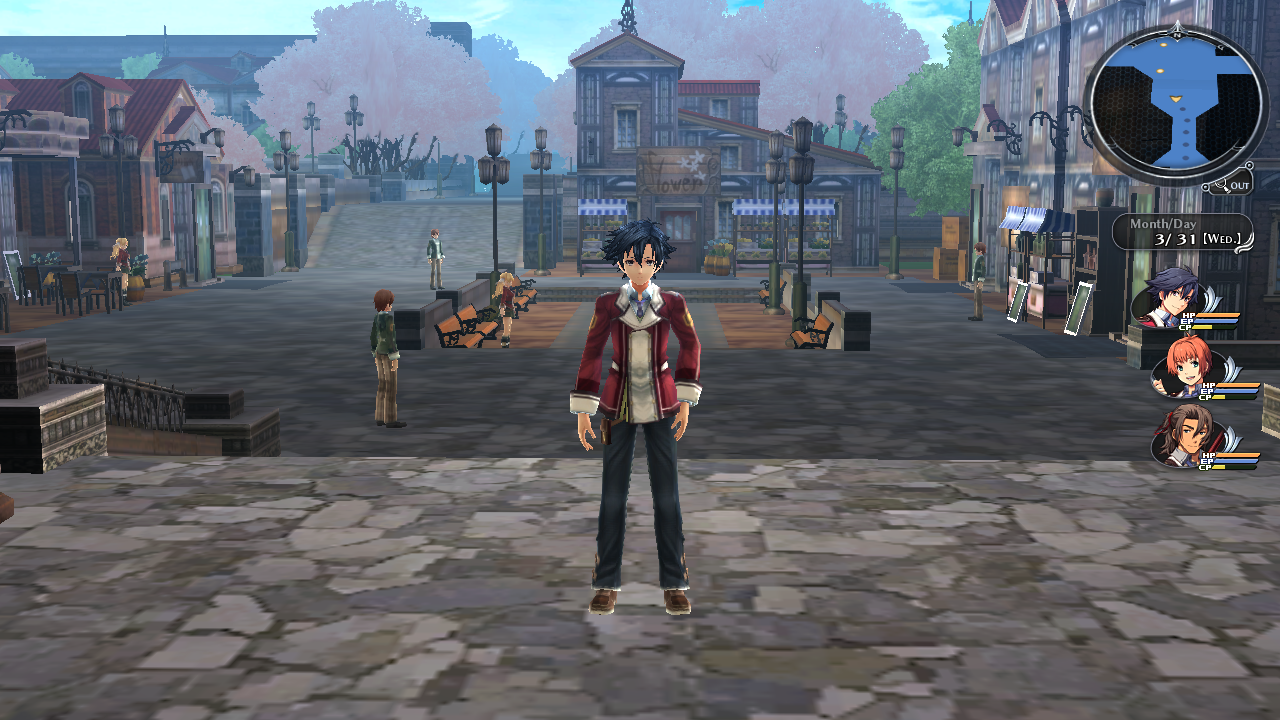
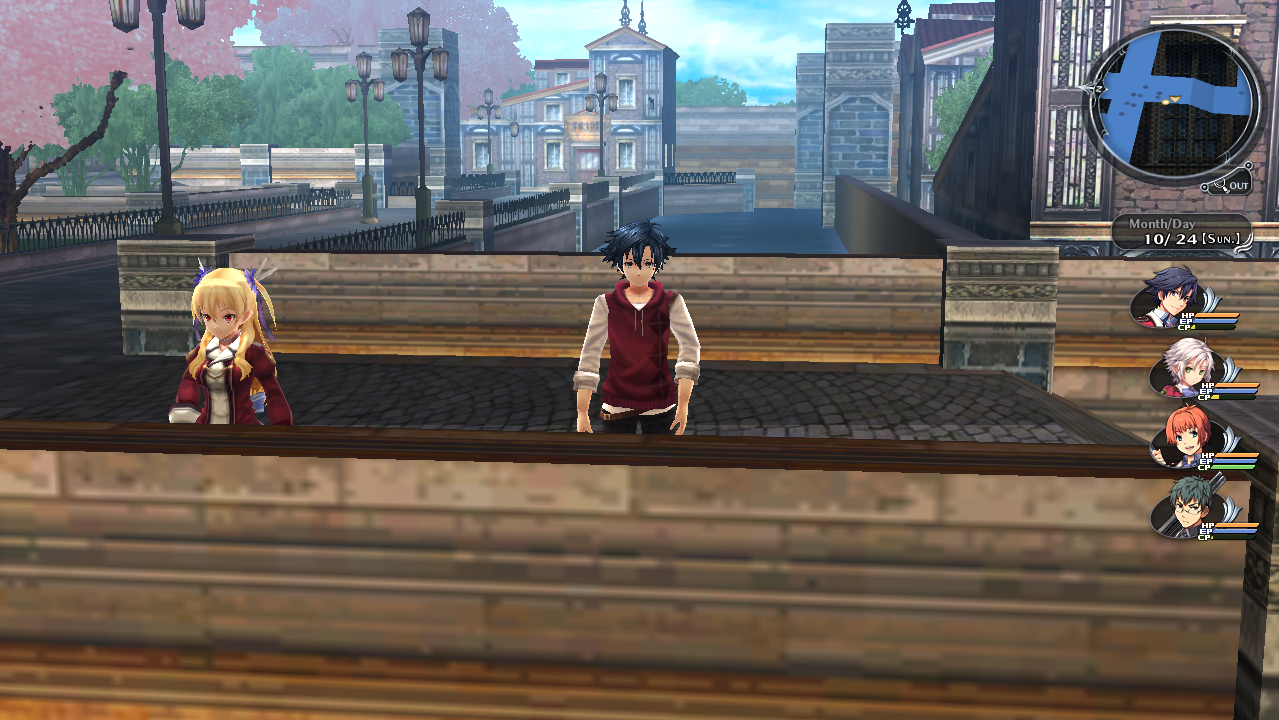
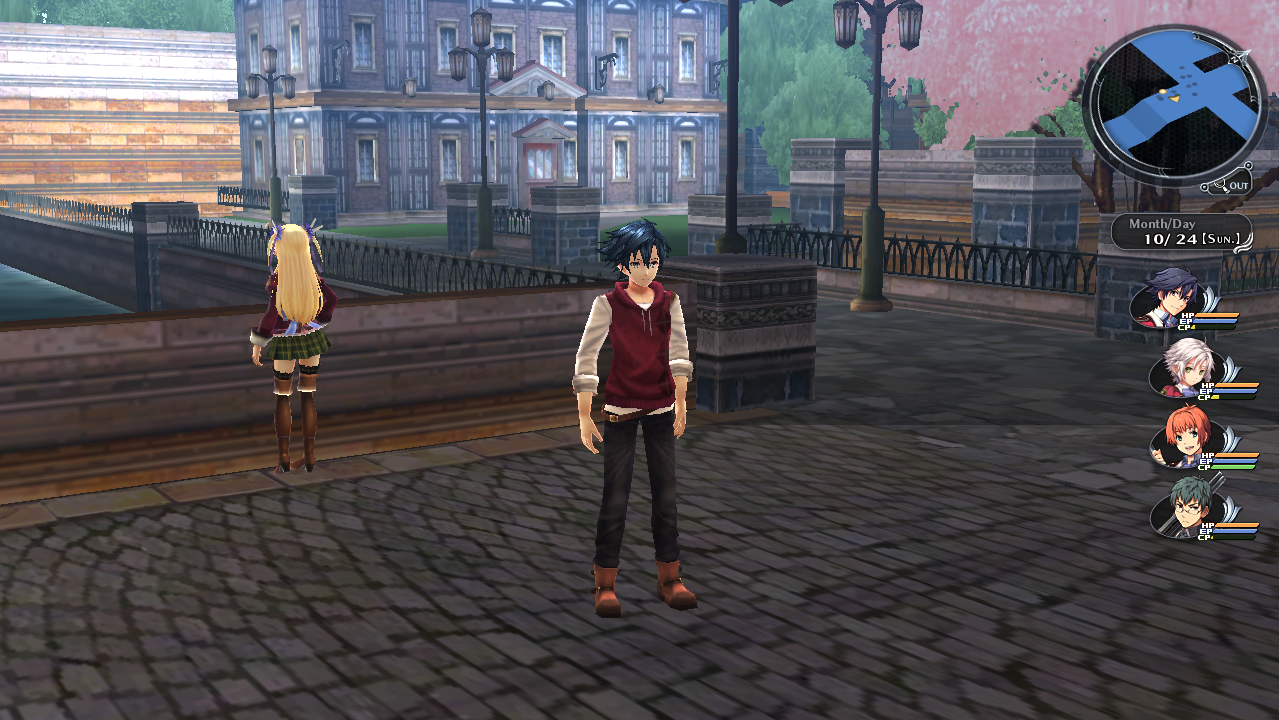
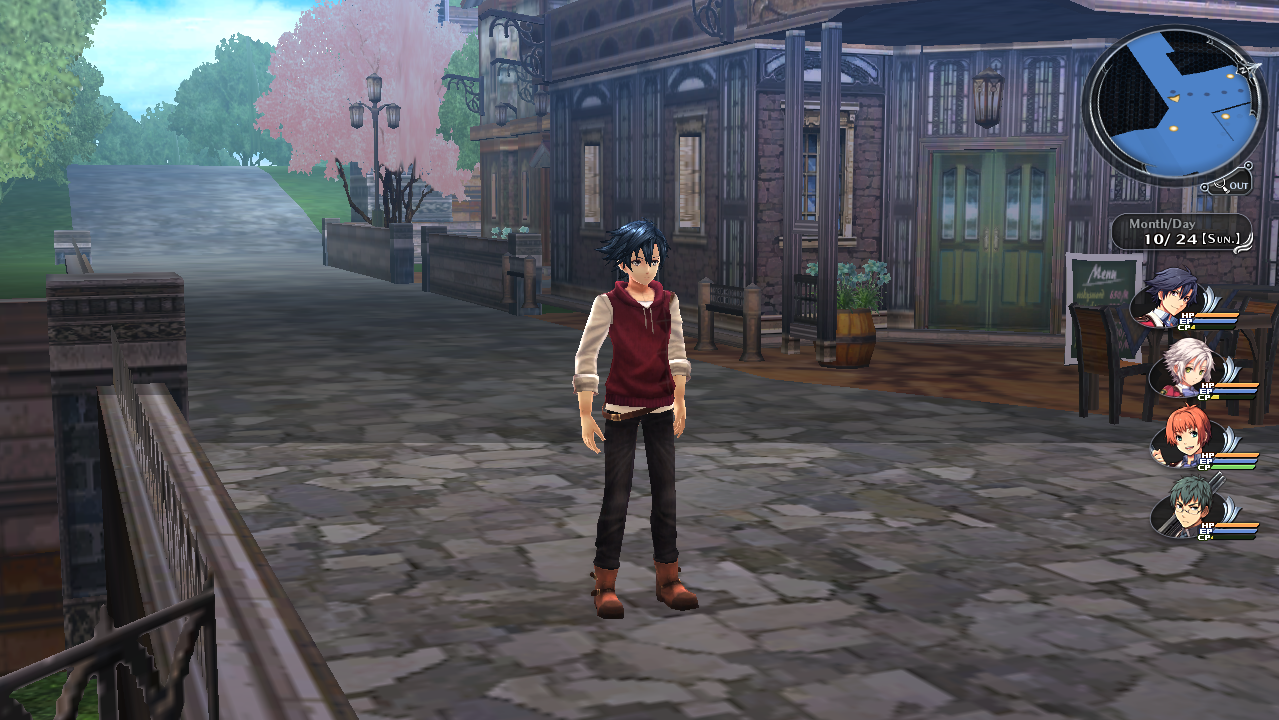
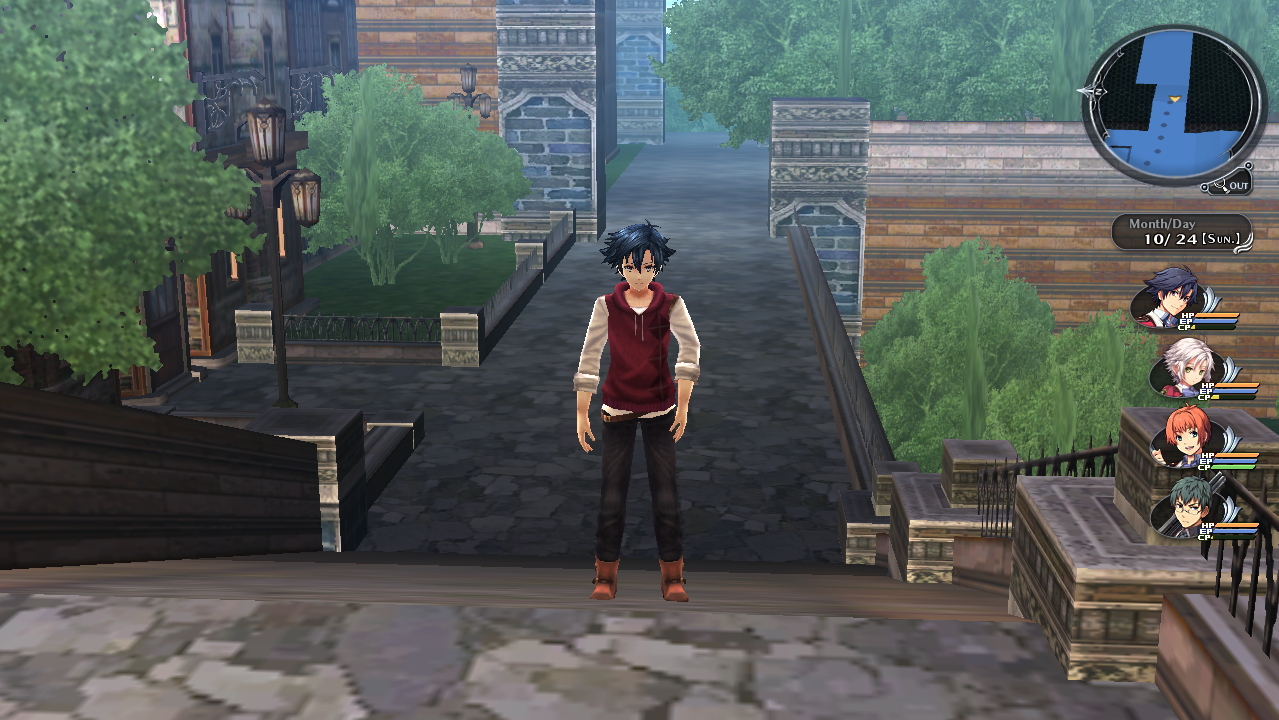
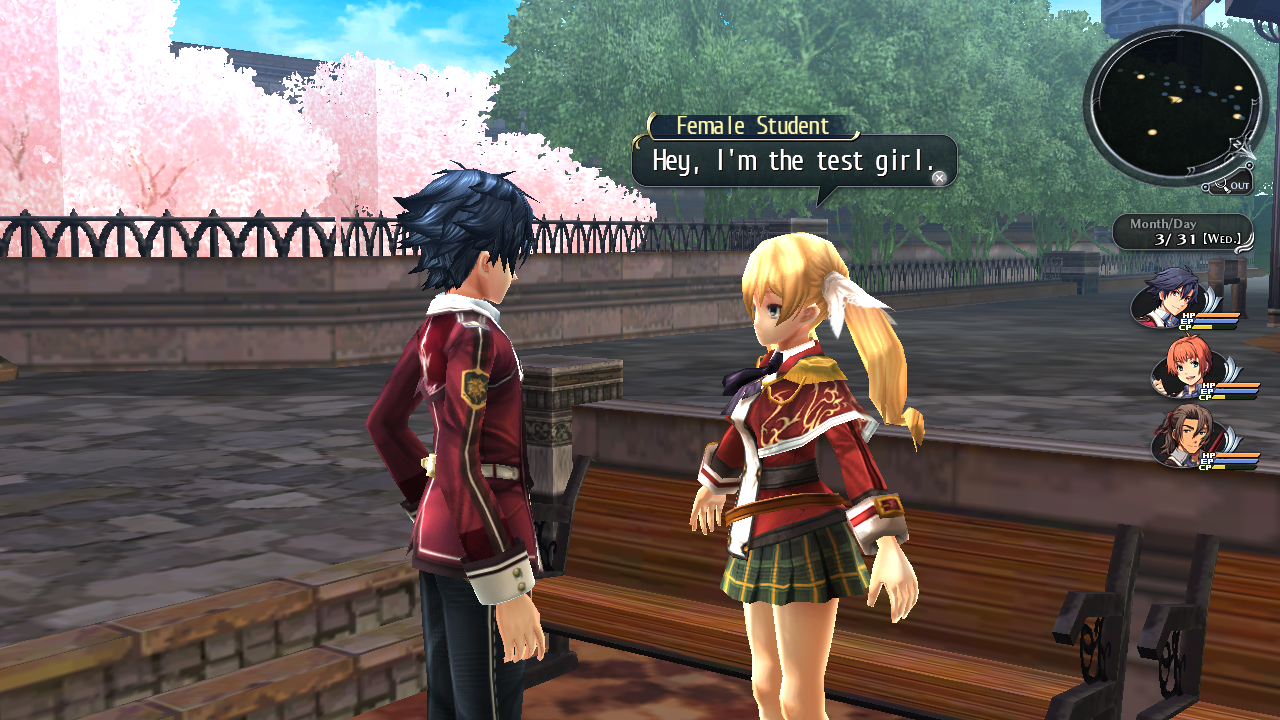
Most of the dialog in this map from the NPCs appear to be unused. The female NPC below is not seen anywhere in game besides this map.
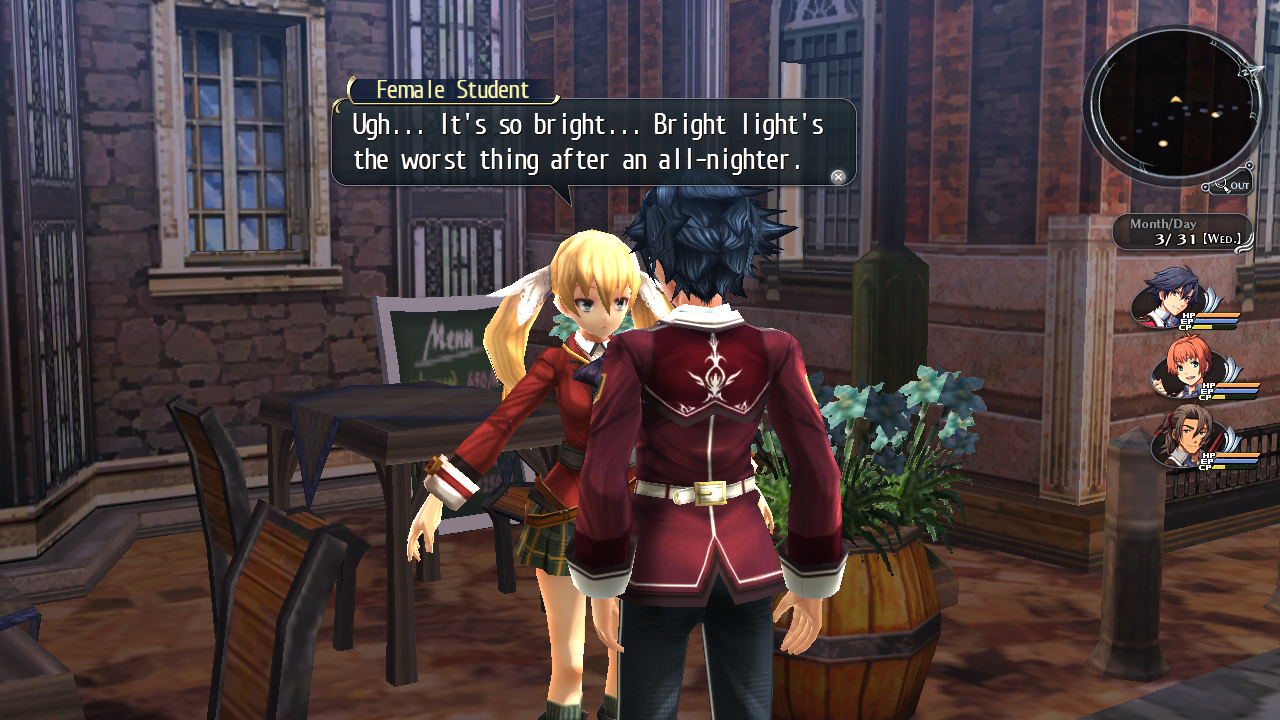
Some dialogs are plainly meant to be only seen by the developers, such as the one below.
Extra Test Maps#
These sections cover the other test maps in this game not linked to the main debug map. In order to access them you will need to refer to the method described in the Access section. Each section here will come with a hex string in order to enter their maps. In order to correctly load NPCs and maps in this section, follow these steps:
- Go into the map e0080 using hex string 653030383000. This will load a blank map.
- Once in this map save your game.
- Now, hex edit the string of your choice from one of the sections below into your save file. Save your edit then load that save file afterwords.
Doing these steps will insure you that all of the maps in this section load correctly.
a0001#
Hex string: 613030303100
Internal map name: Prog001
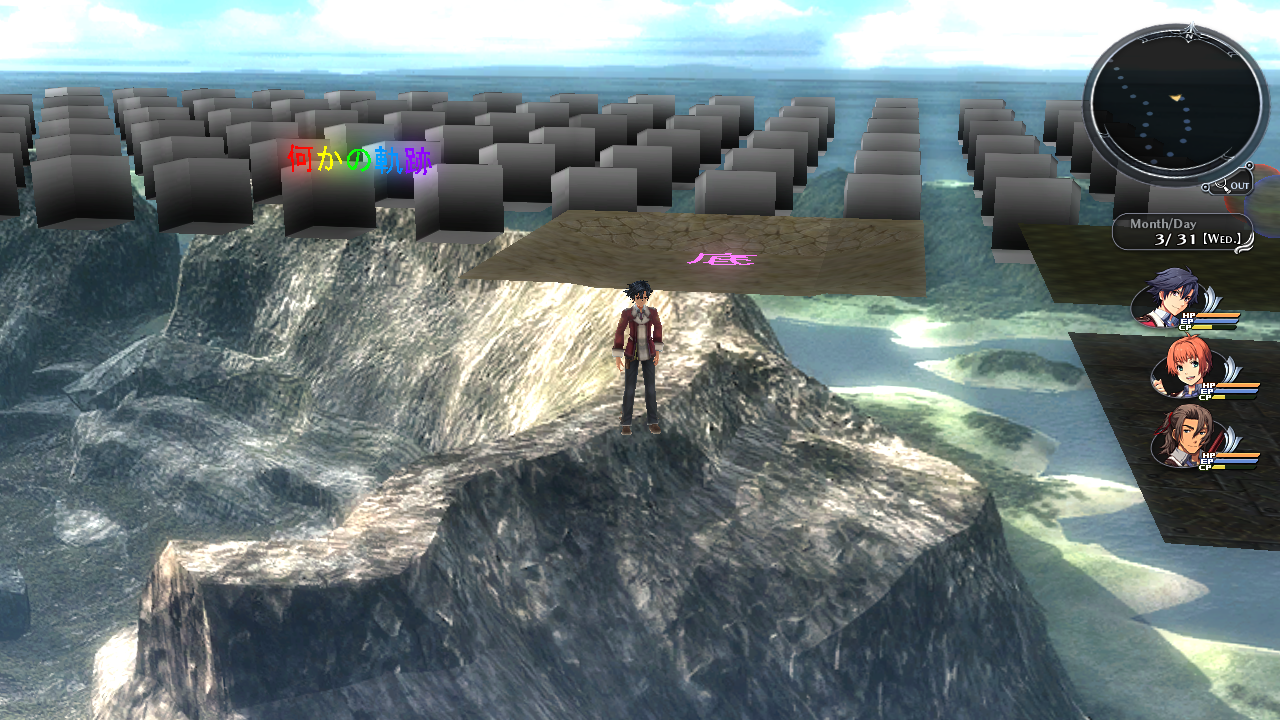
This map appears to be a early version of a0000 (Main Debug Map). The background overlay is not seen anywhere else in the game but this map. On the right of the map there is a blue and red sphere. The rainbow Japanese text on the left translates to Trails of Something. Considering that, this map was likely the first to be put in the game before the developers knew what to name this game.
a0002 (Lighting Test Map)#
Hex string: 613030303200
Internal map name: Prog002
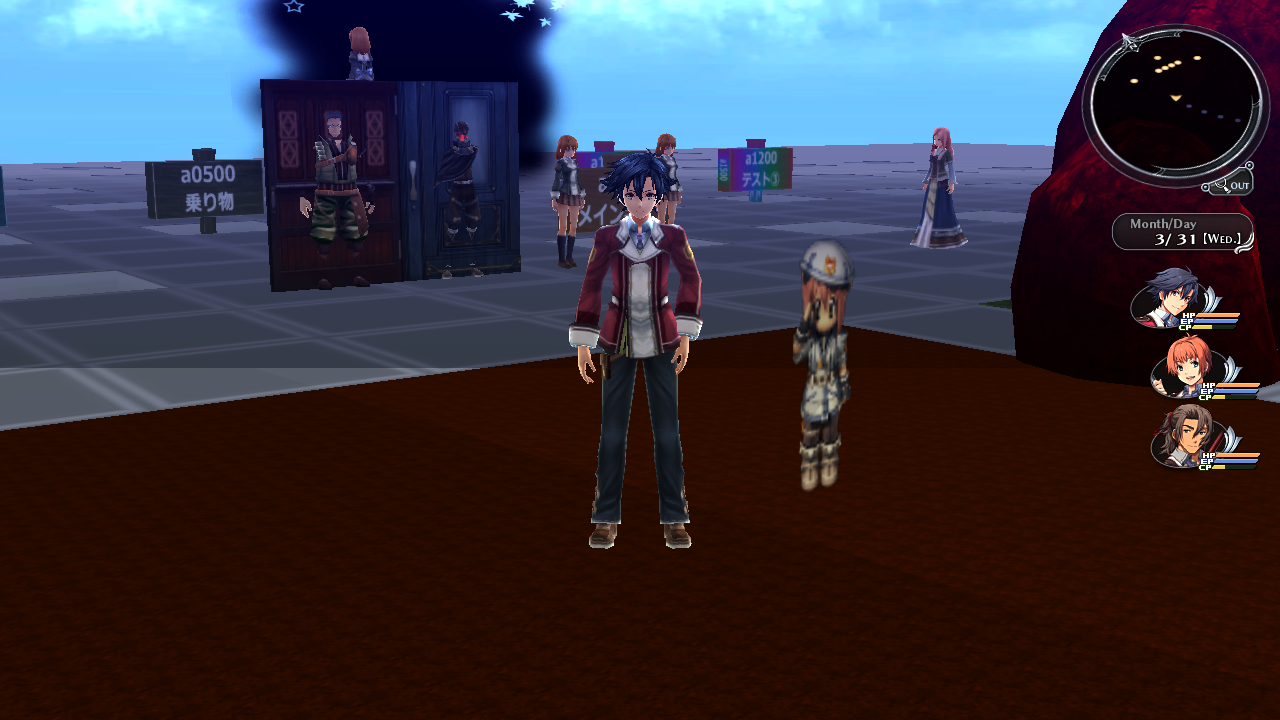
This map is mostly a copy of a0000 (Main Debug Map), however it has a few glowing textures in it, red rocks, and different NPCs that yield different options. This map also has a 2D sprite of Noel Seeker from Zero no Kiseki in it (?).
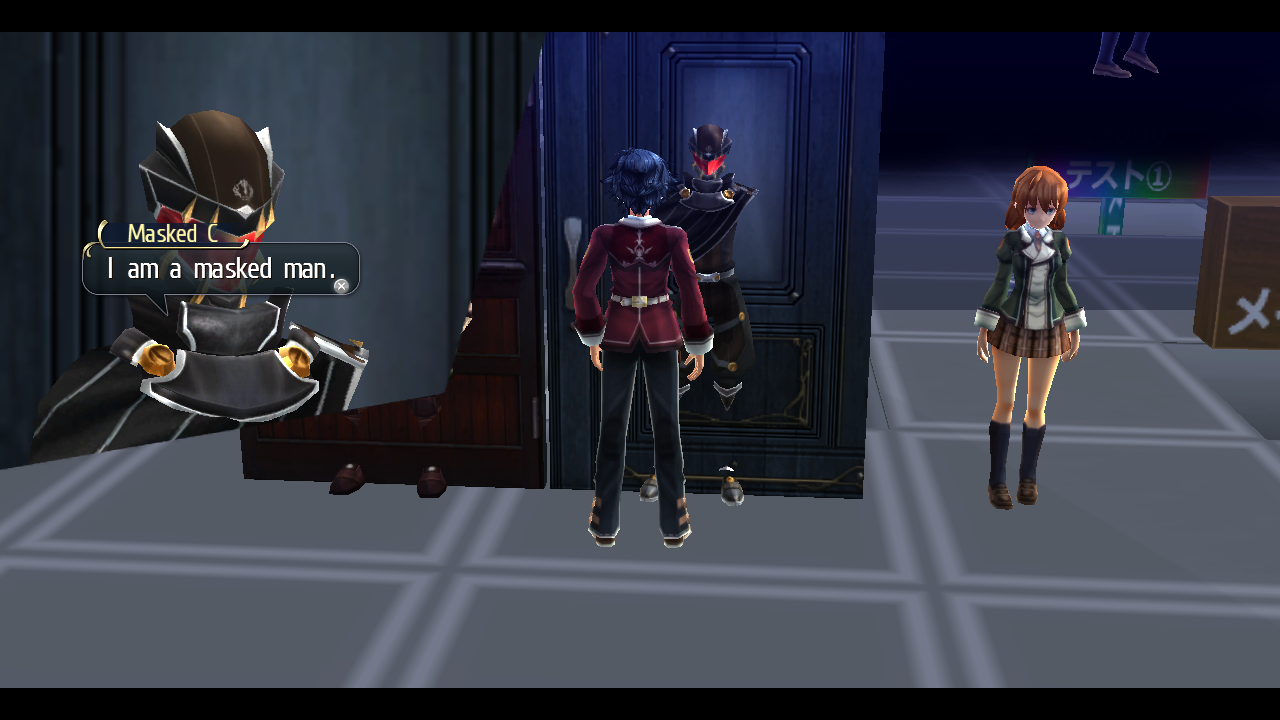
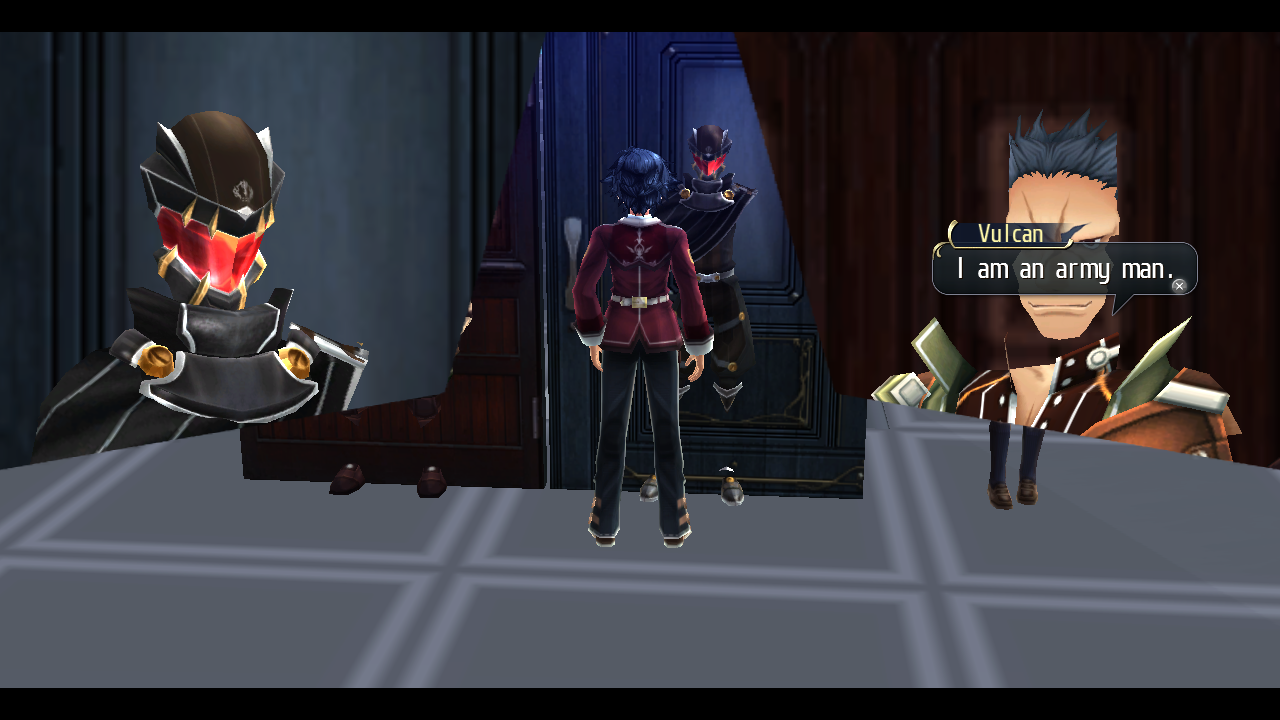
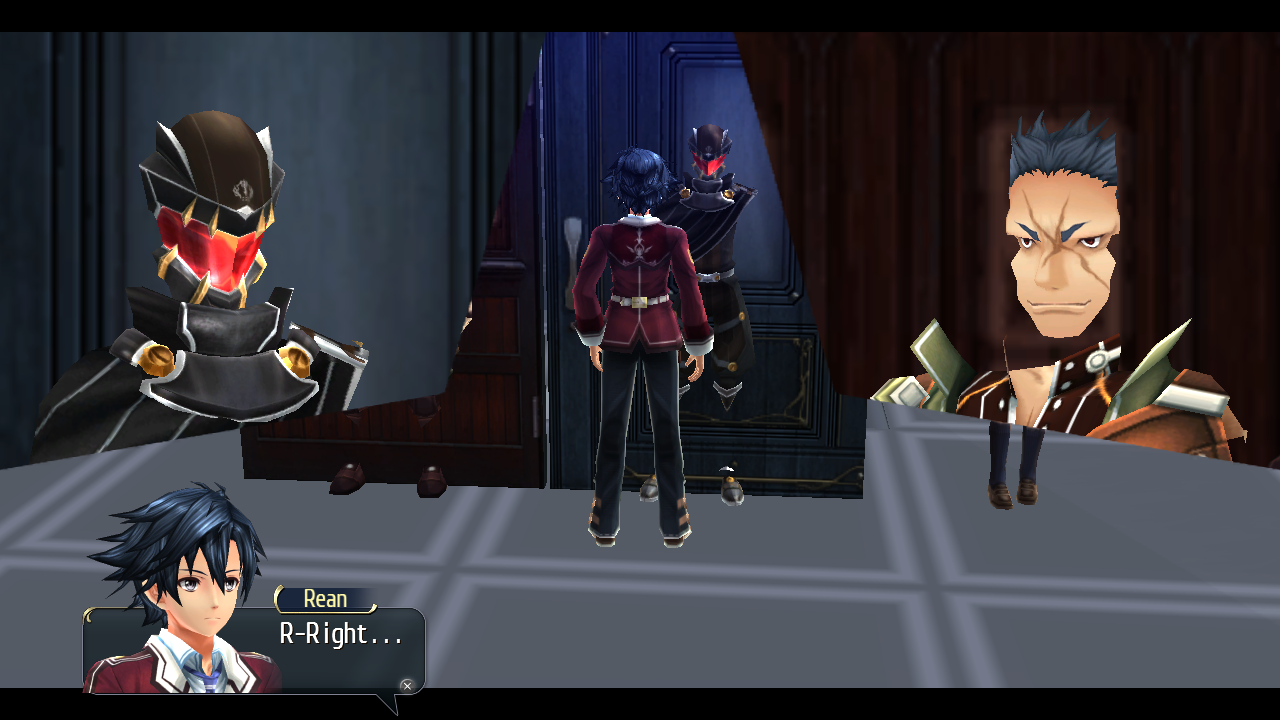
- Talking to C or V will yield this conversation:
- Talking to NPCa will yield these options:
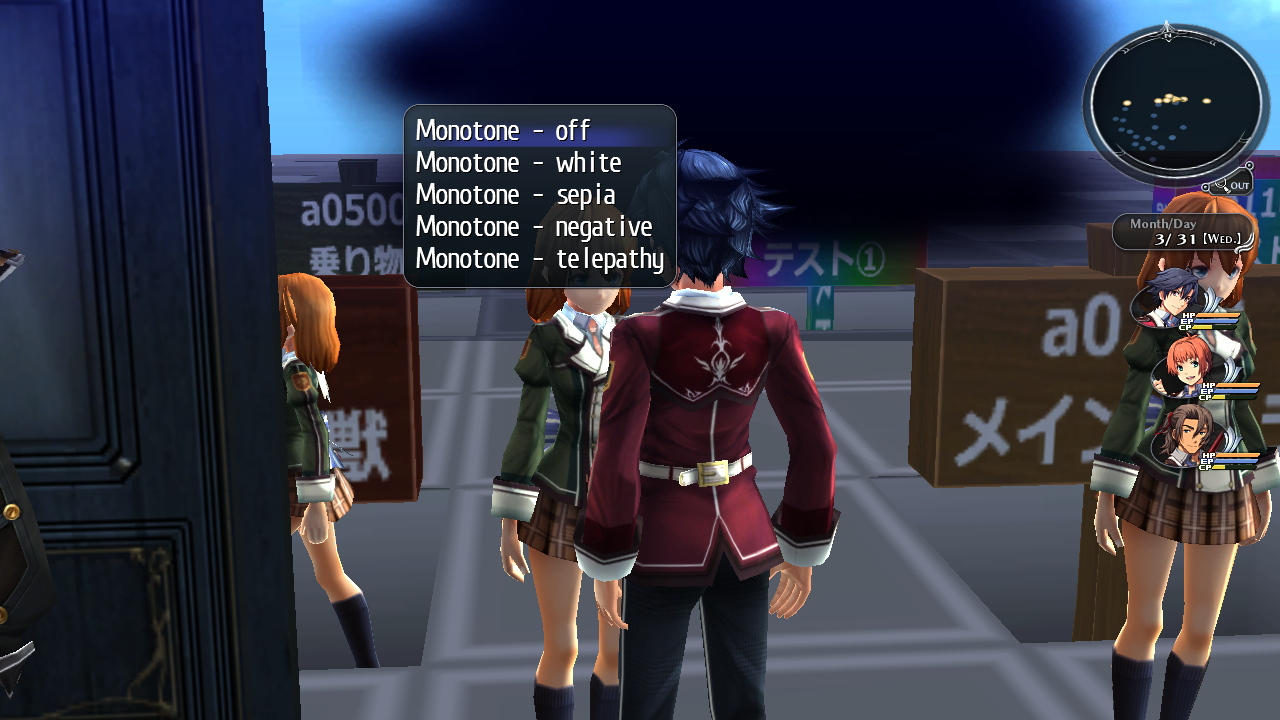
These options allow you to change the screen tint.
- Talking to NPCb will yield these options:
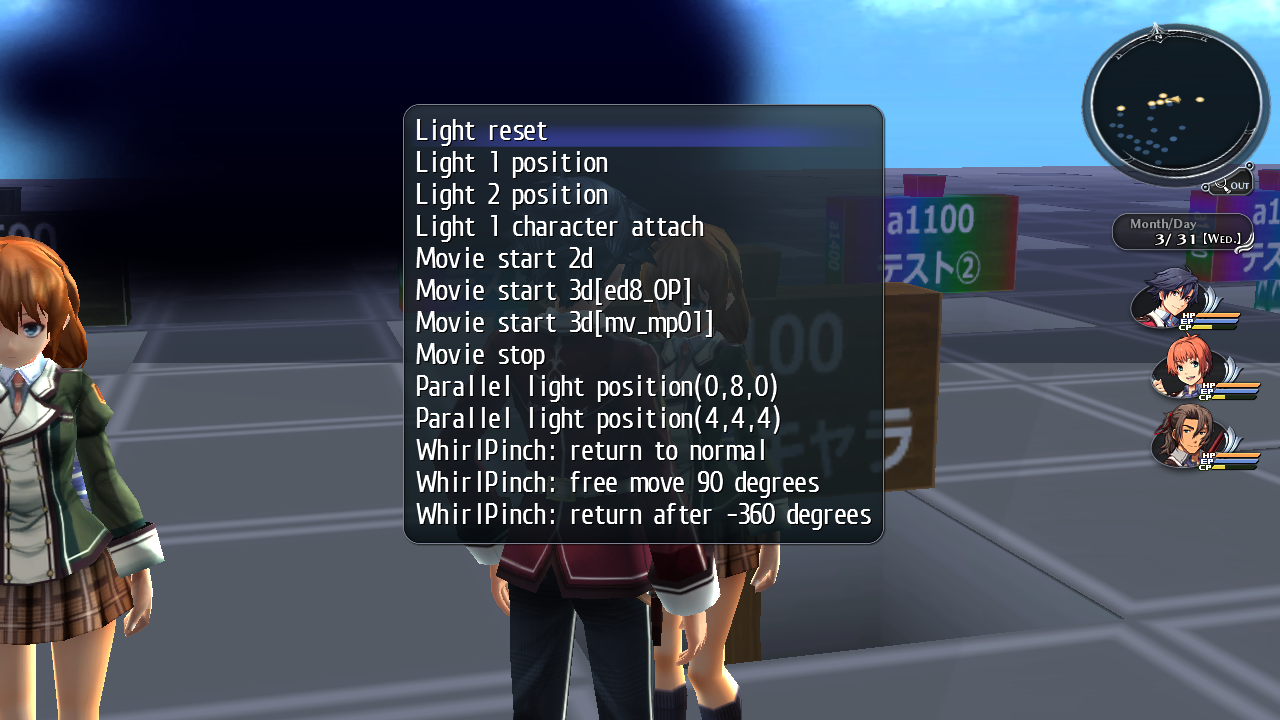
These options allow you to change the map color and lighting.
- Talking to NPCc will start a NPC movement test script.
a0003#
Hex string: 613030303300
Internal map name: Prog003
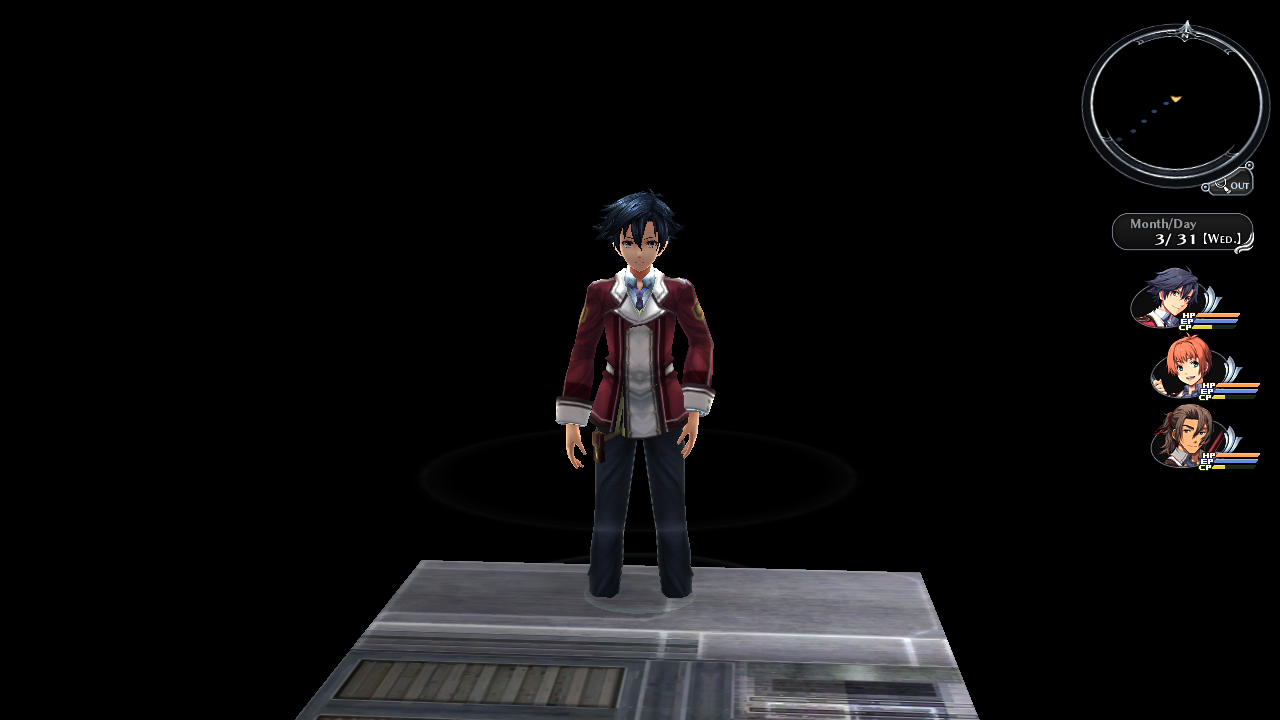
This map only has some sort of door texture in it. That's all this map contains.
a0005 (Animation Test Map 1)#
Hex string: 613030303500
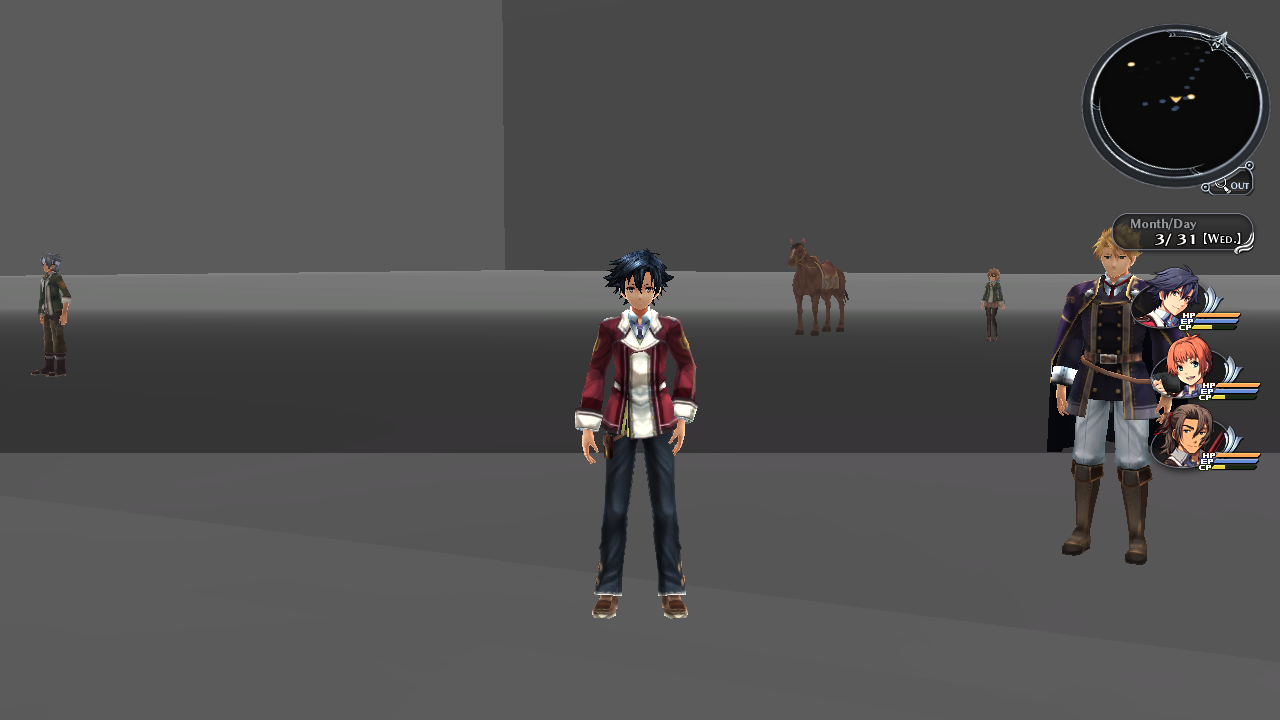
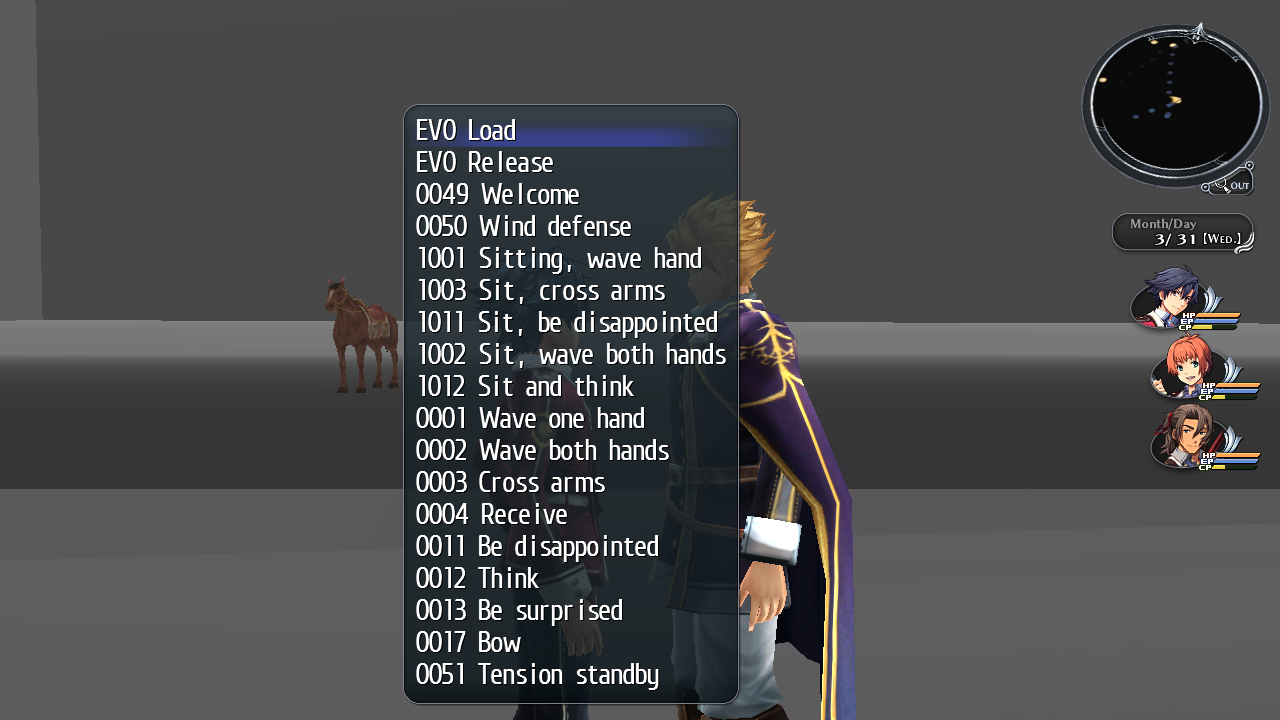
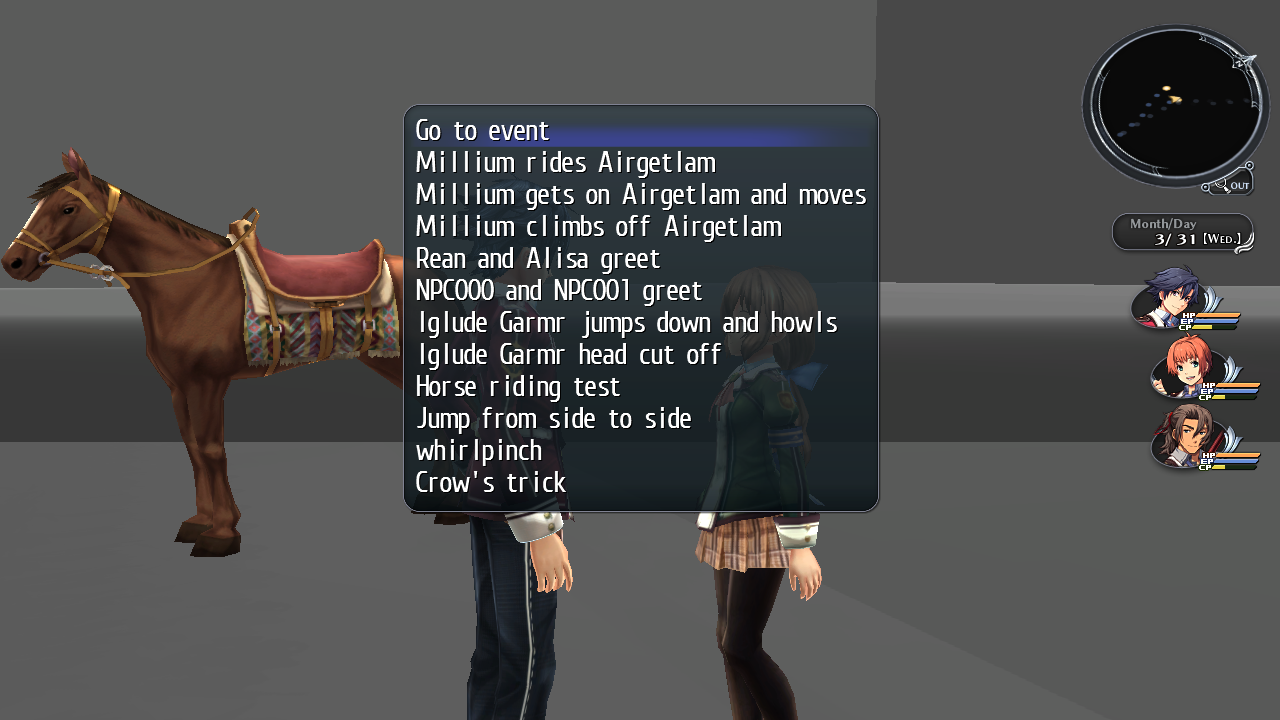
Internal map name: Okada's Room
This map contains various options to change NPC character animations. Both Crow and Neithardt have the same menu options when talking to them. Not all of these options appear to work.
a0006 (Trista Test Map)#
Hex string: 613030303600
Internal map name: Script Test (Trista)
This map contains a lot of NPCs. Talking to some of them yield actual conversations while others simply display "test". Talking to Alisa here will display a work in progress version of the unused cutscene where she talks about her grandfather's bank account. The game also thinks you are walking on watery terrain in this map. There is also another unused conversation about a potential stalker of Alisa which is not seen anywhere else.
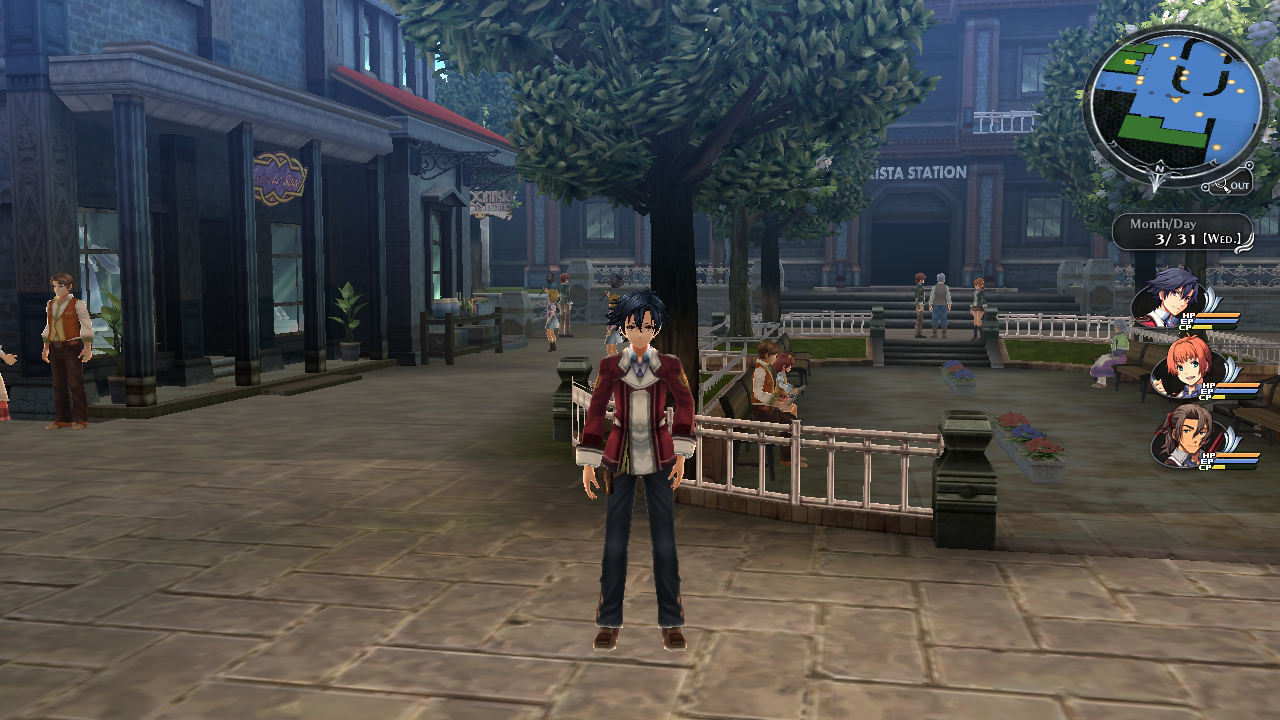
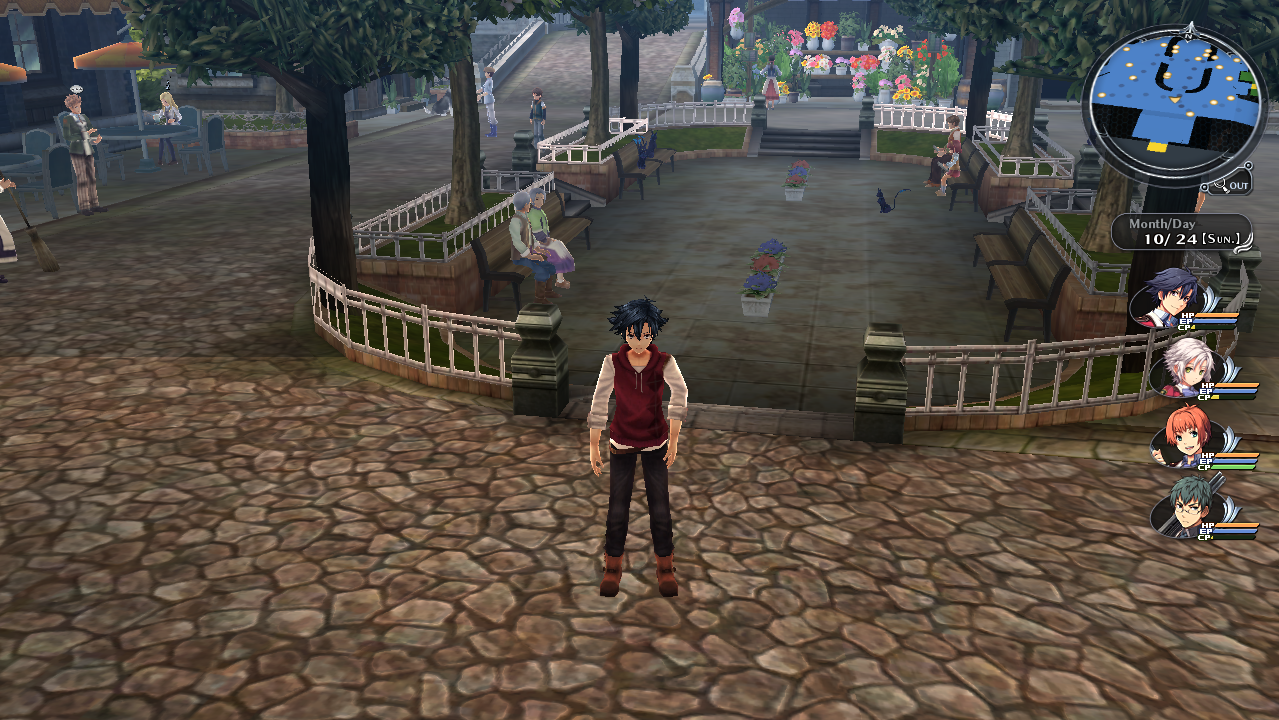
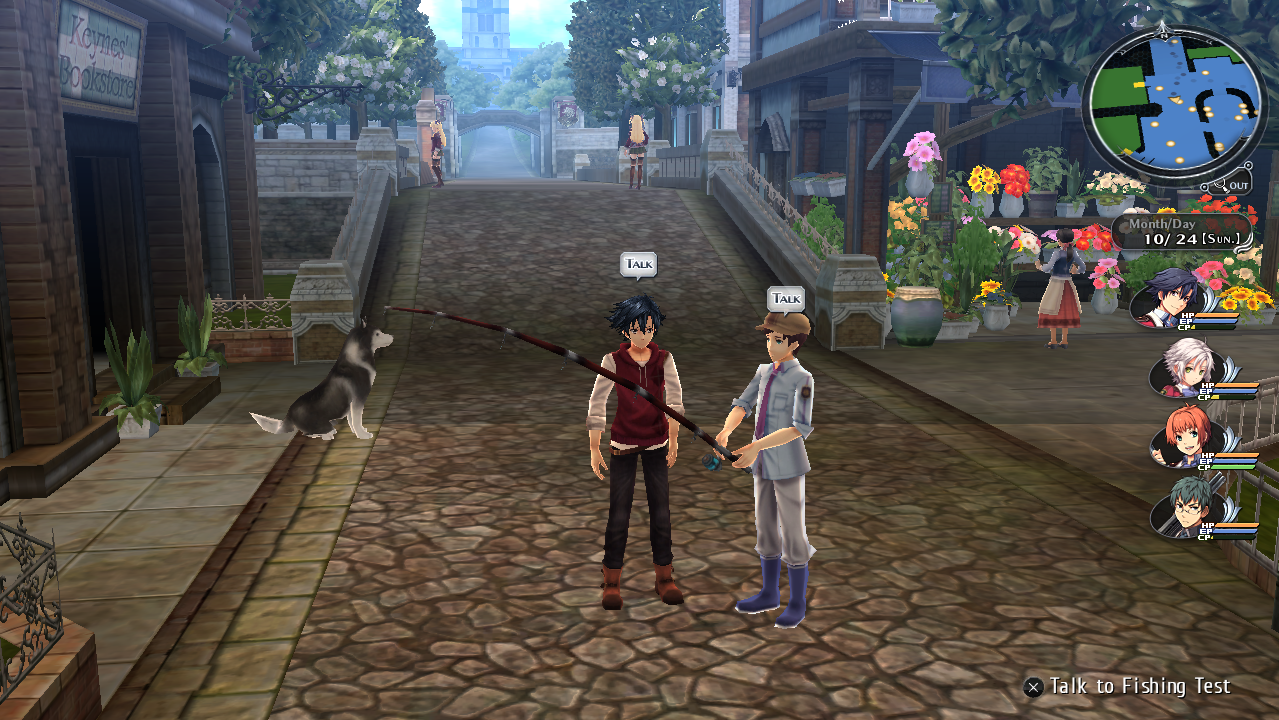
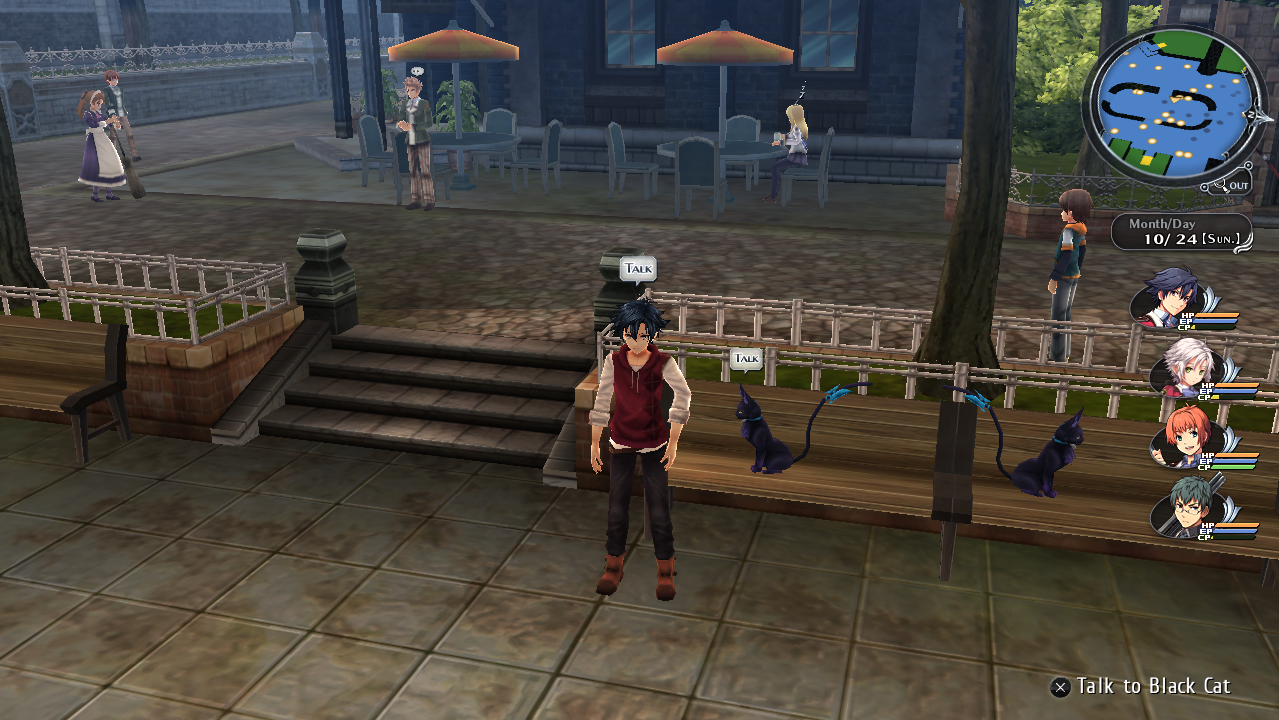
All of these Celines are named Cat, or Kitten in this map for some reason. You will also find this odd text box in this map:
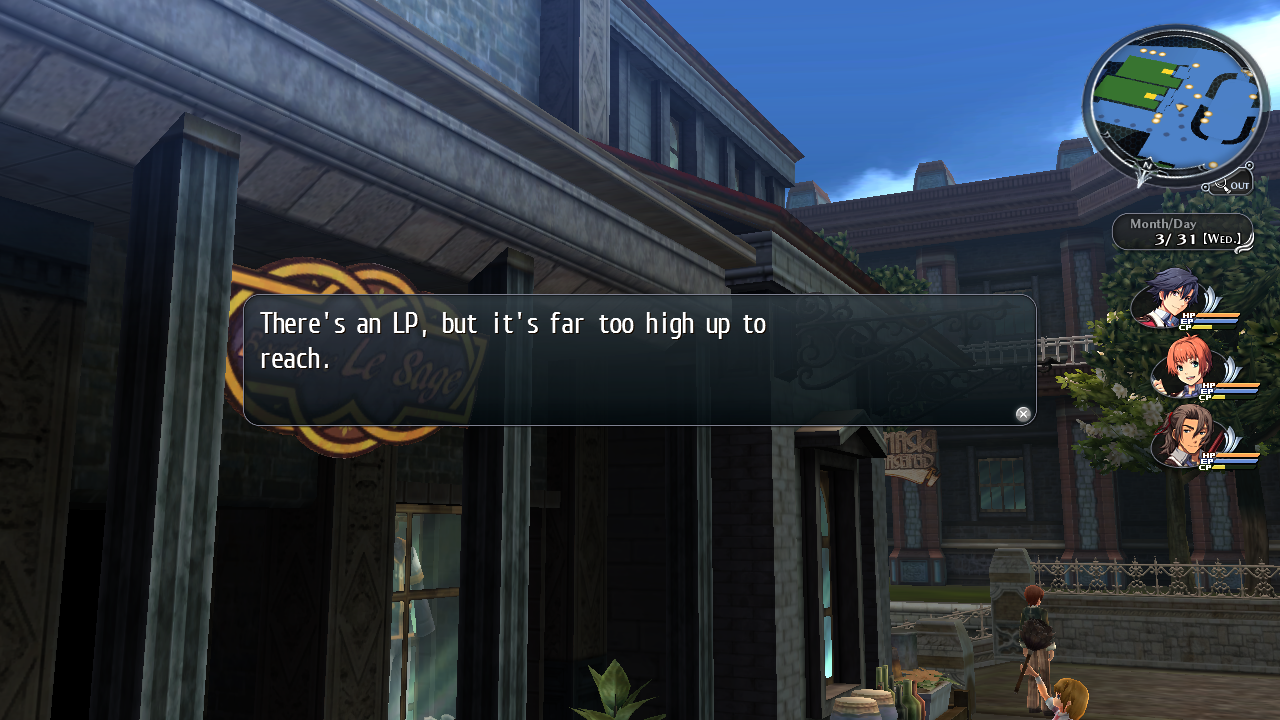
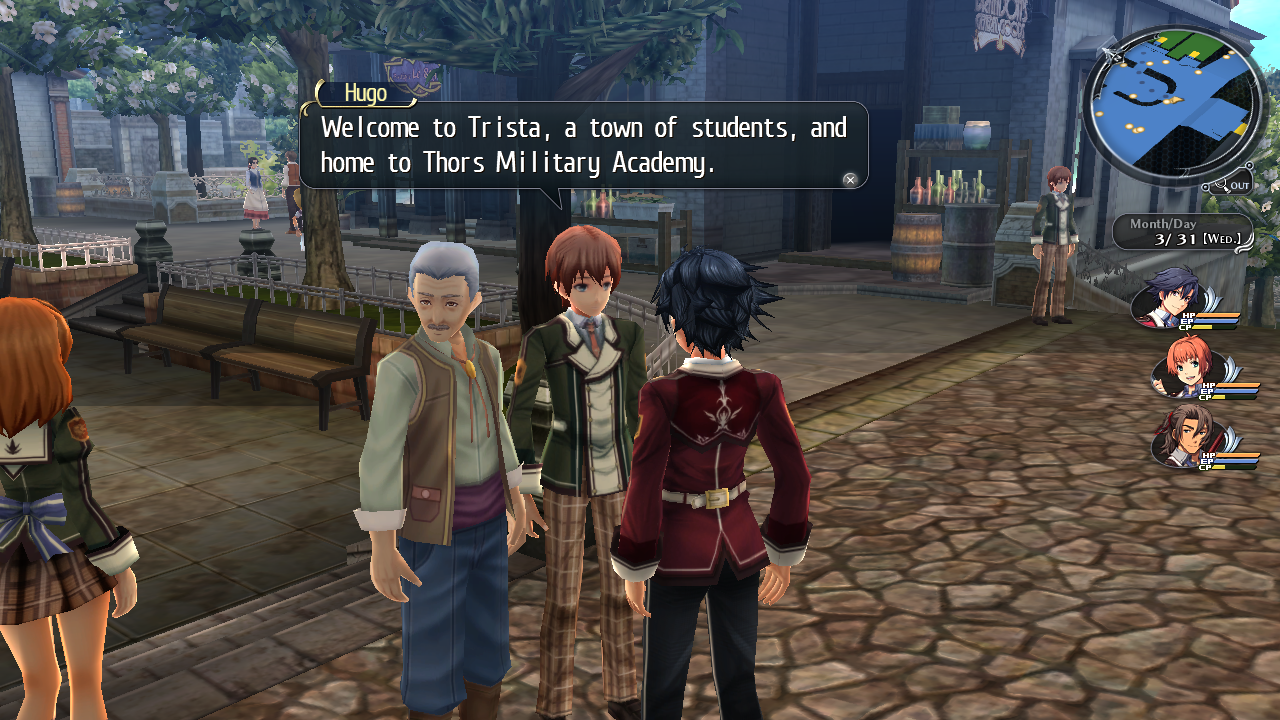
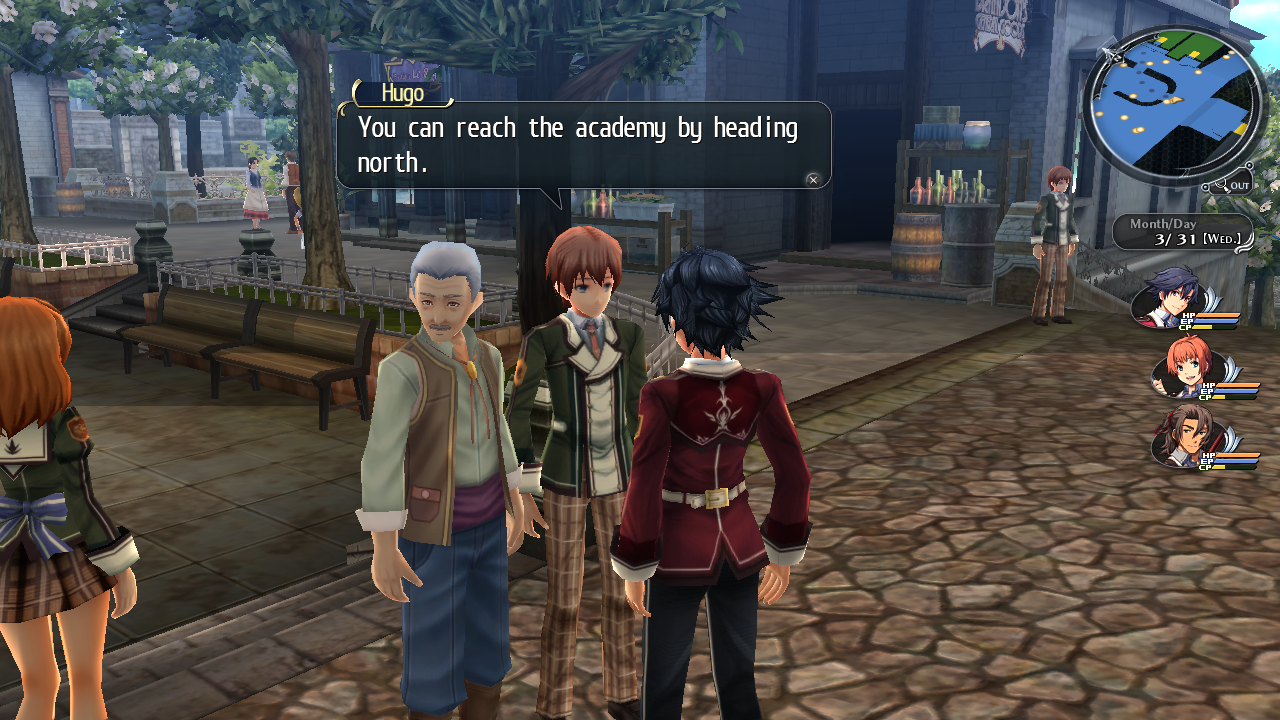
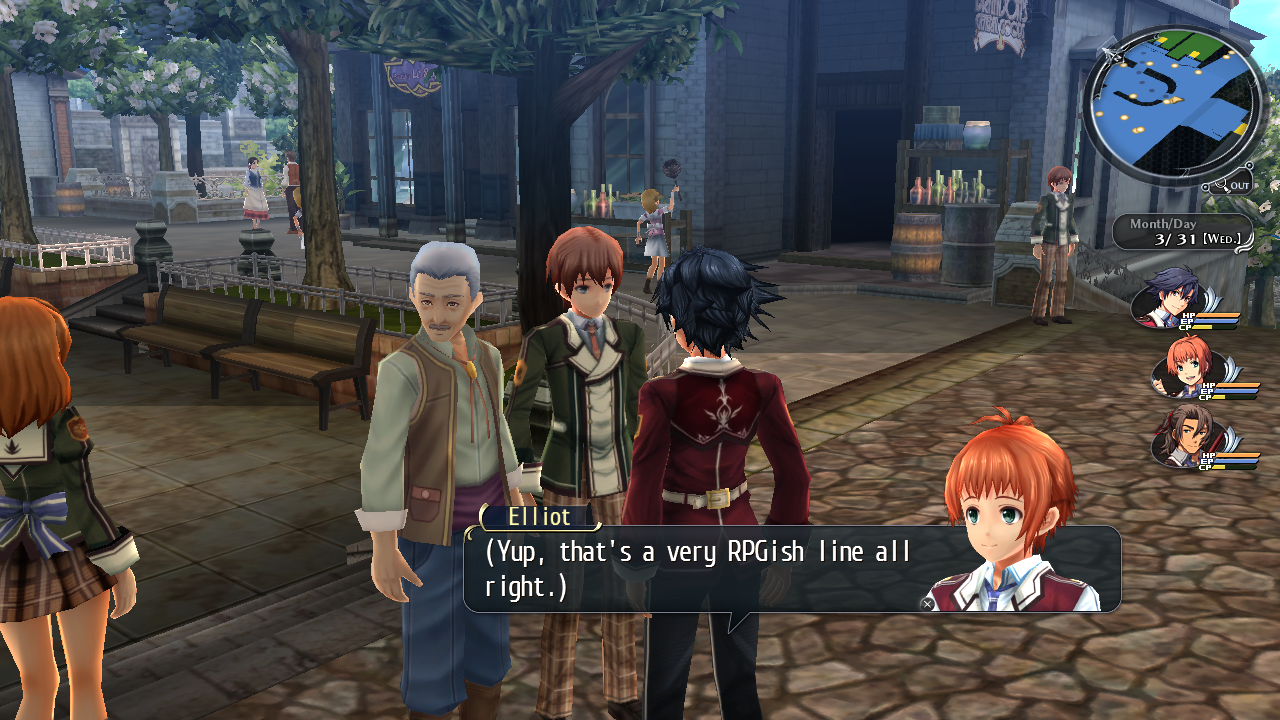
There is no such thing as a "LP" in this game. Talking to Hugo in this map will yield this conversation:
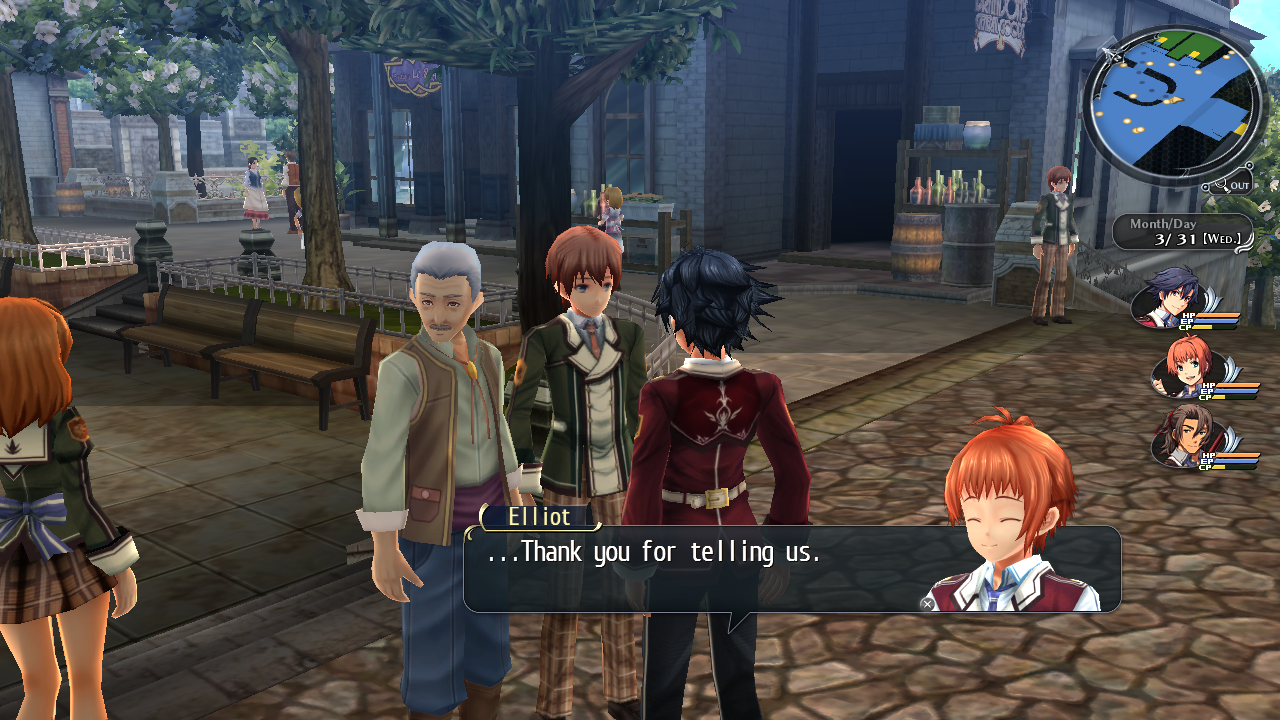
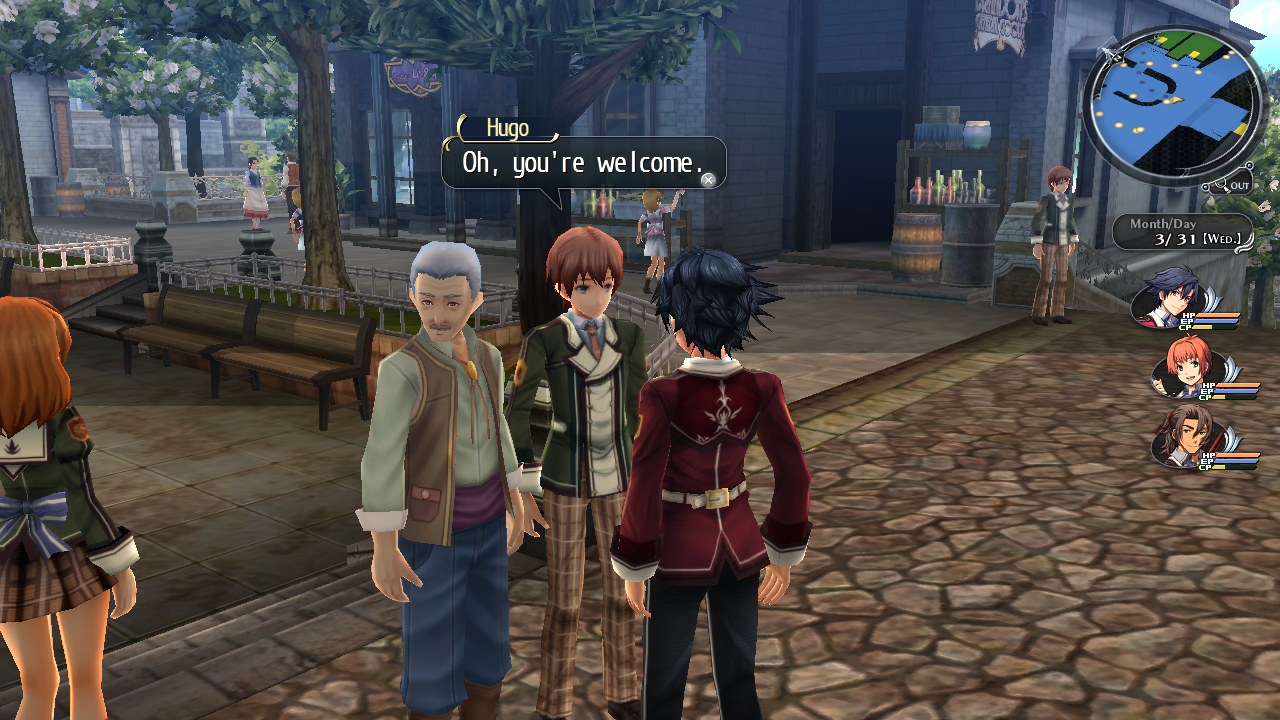
a0007 (Heimdallr)#
Hex string: 613030303700
Internal map name: Hioki Room
This version of Heimdallr has no NPCs in it. There is nothing else of significance here.
a0008 (Terrain Test Map)#
Hex string: 613030303800
Internal map name: Footsteps Room
This will take you to a map with large square tiles on the ground that play different SFX and visual effects when walking on them.
a0009#
Hex string: 613030303900
Internal map name: Porg009 1
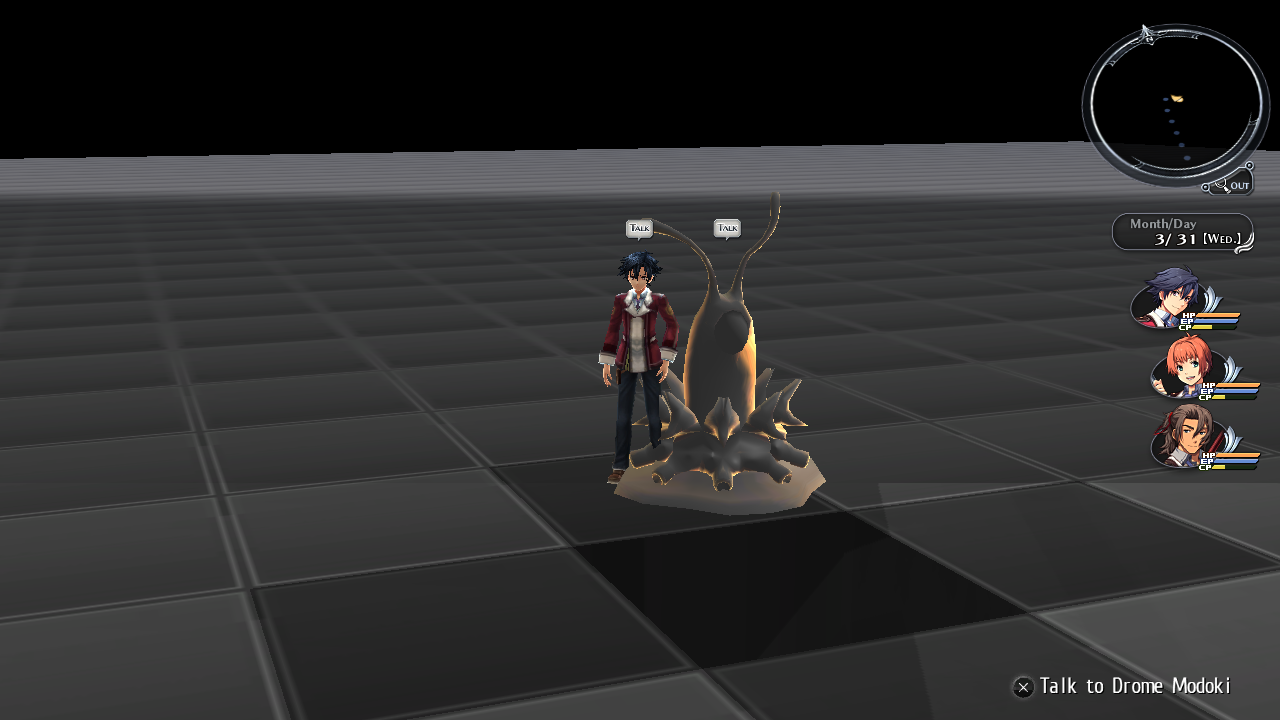
This map contains only a Drome Modoki monster that is unused. Speaking to it will make it change color.
a0010 (Battle & Animation Test)#
Hex string: 613030313000
Internal map name: Porg010 Victory Room 2
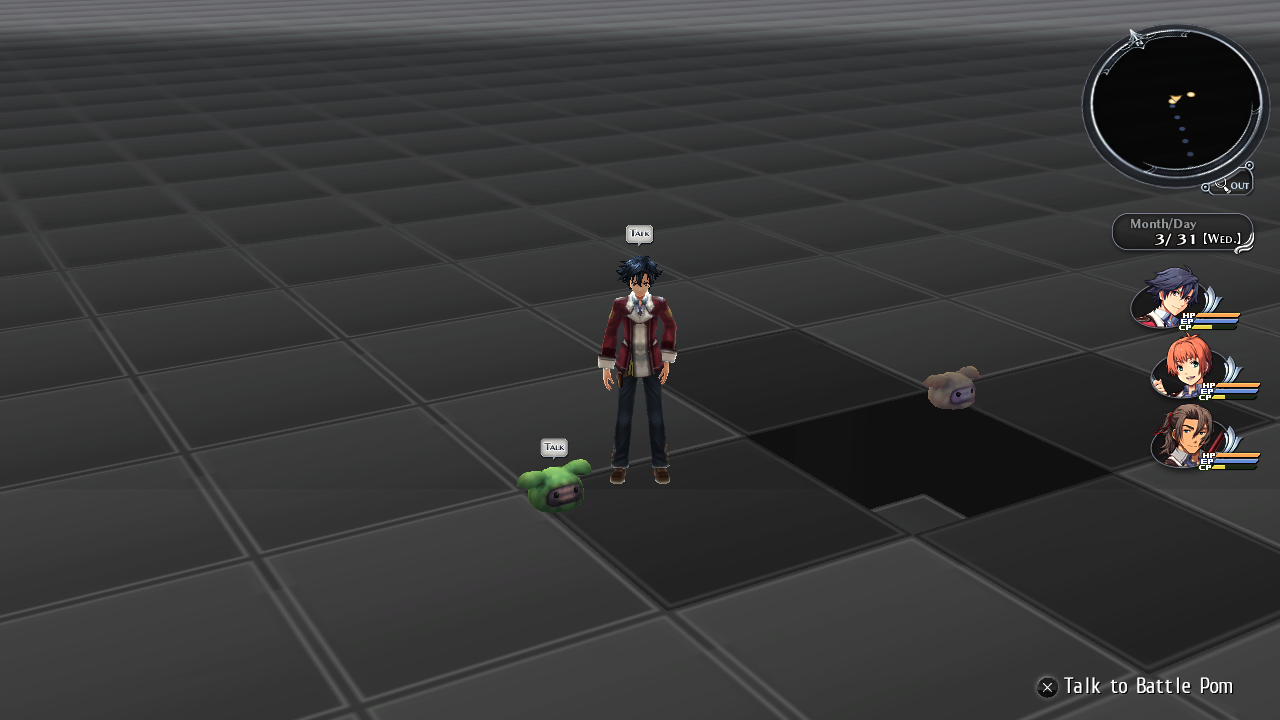
This map allows you to go into battle and view battle animations here. The green Pom sends you into battle with low level enemies. The white Pom displays various in battle animations.
a0011 (Portrait Test)#
|
|
To do: |
Hex string: 613030323000
Internal map name: Porg011 Portrait 4
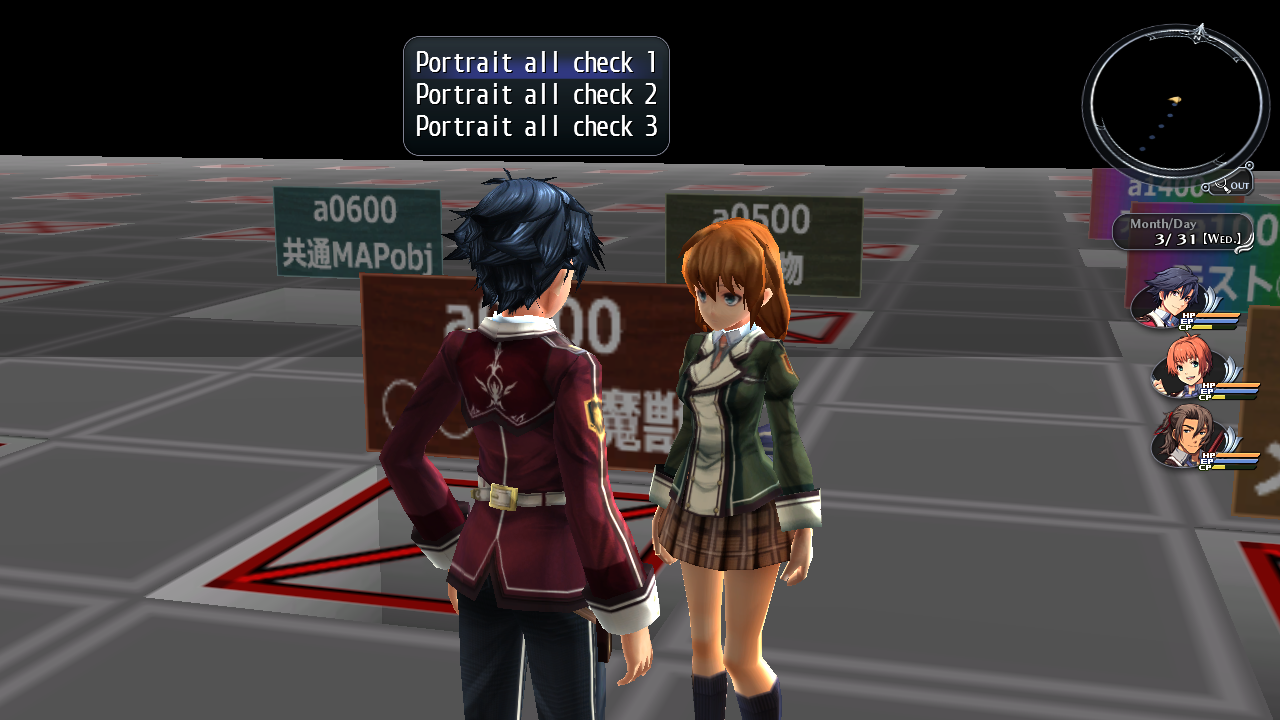
This map allows you to go through every graphic in the entire game by speaking to the NPC here. The layout is the same as a0000 (Main Debug Map).
a0101 (Character Viewer Map 1)#
Hex string: 613031303100
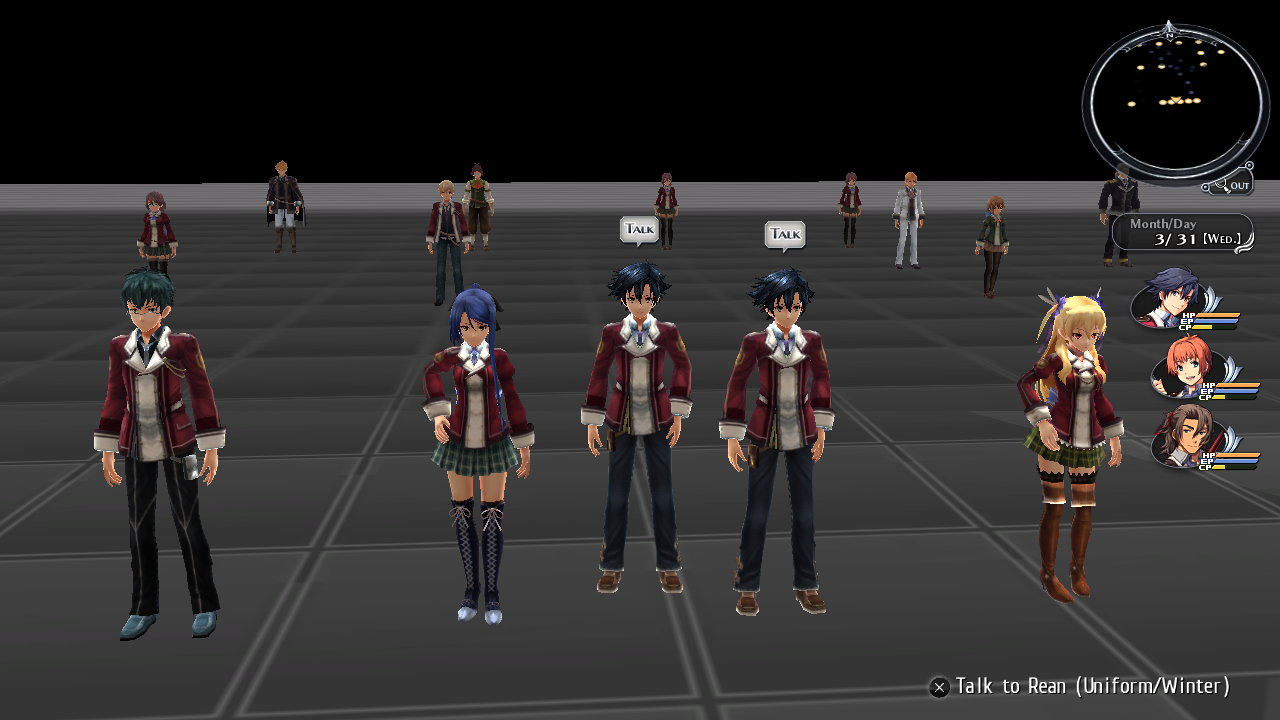
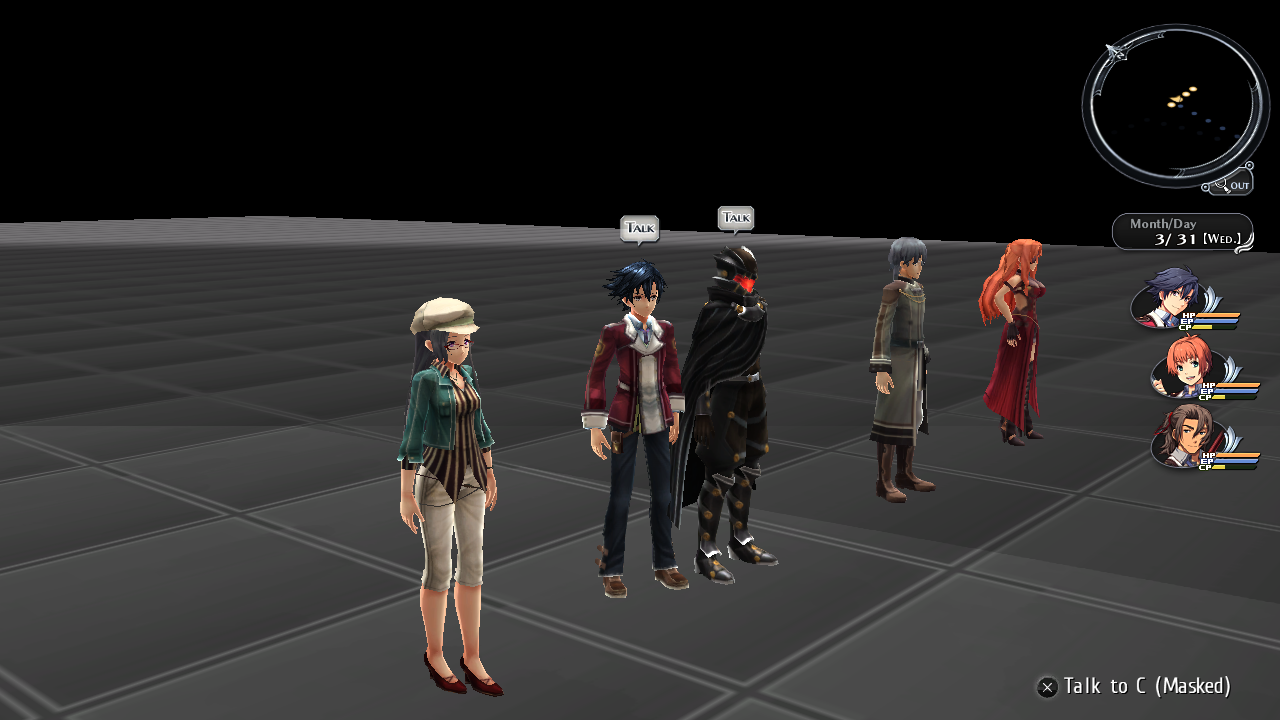
Internal map name: Character Room 1 (PLY000~NPC008)
This map contains all of the main characters in it and a few supporting characters. For some reason there is three Emma's in this map.
An interesting text associated with Instructor Thomas's name is seen below:
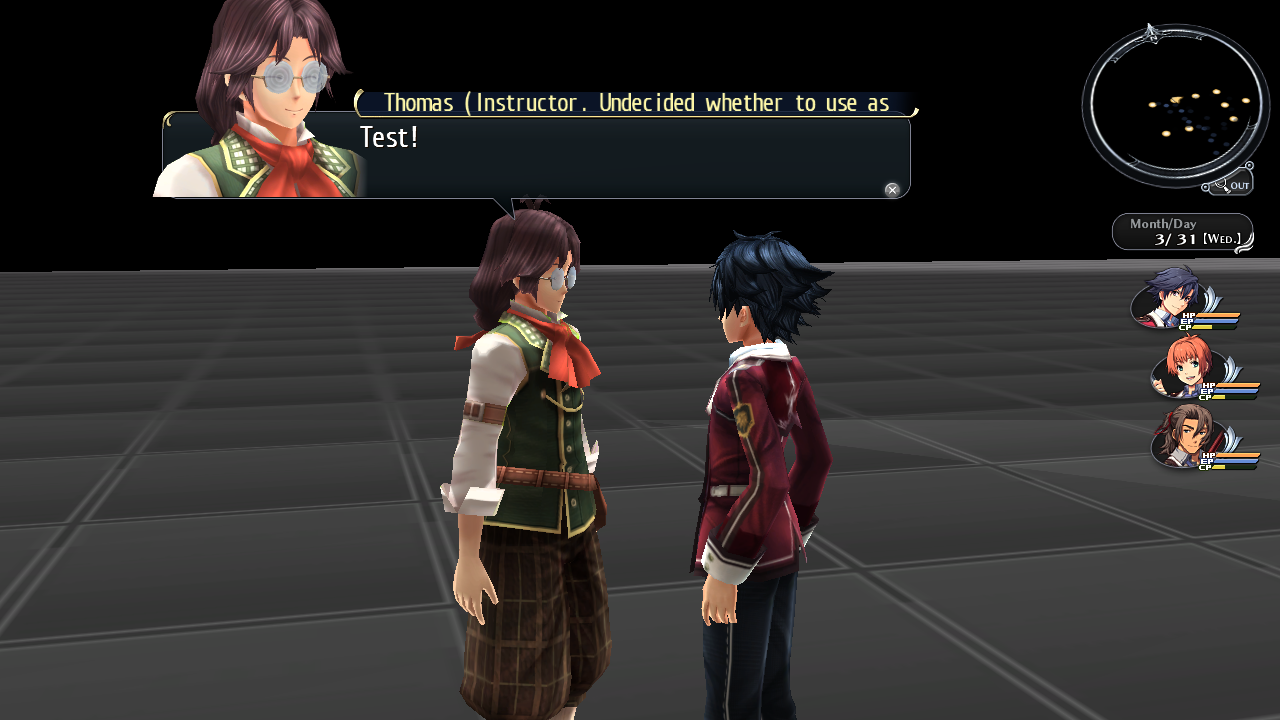
The message cuts off. However, in the game's text files it displays this: "Thomas (Instructor. Undecided whether to use as Gralsritter outfit too)". Perhaps he was meant to show his true colors in this game rather than the sequel. Another odd text in this map is Patrick's name. It is displayed as this in the game's text files: "Patrick (Noble Uniform Winter) (Rean Machias Modded)".
a0102 (Character Viewer Map 2)#
Hex string: 613031303200
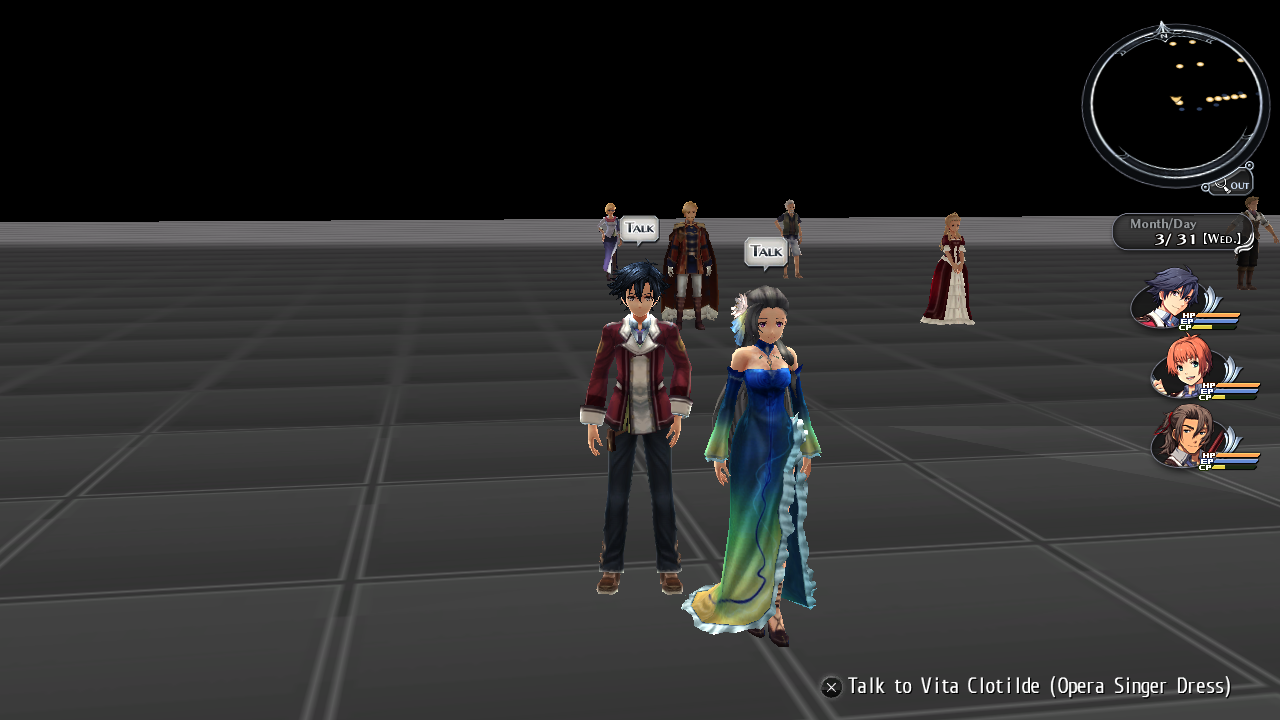
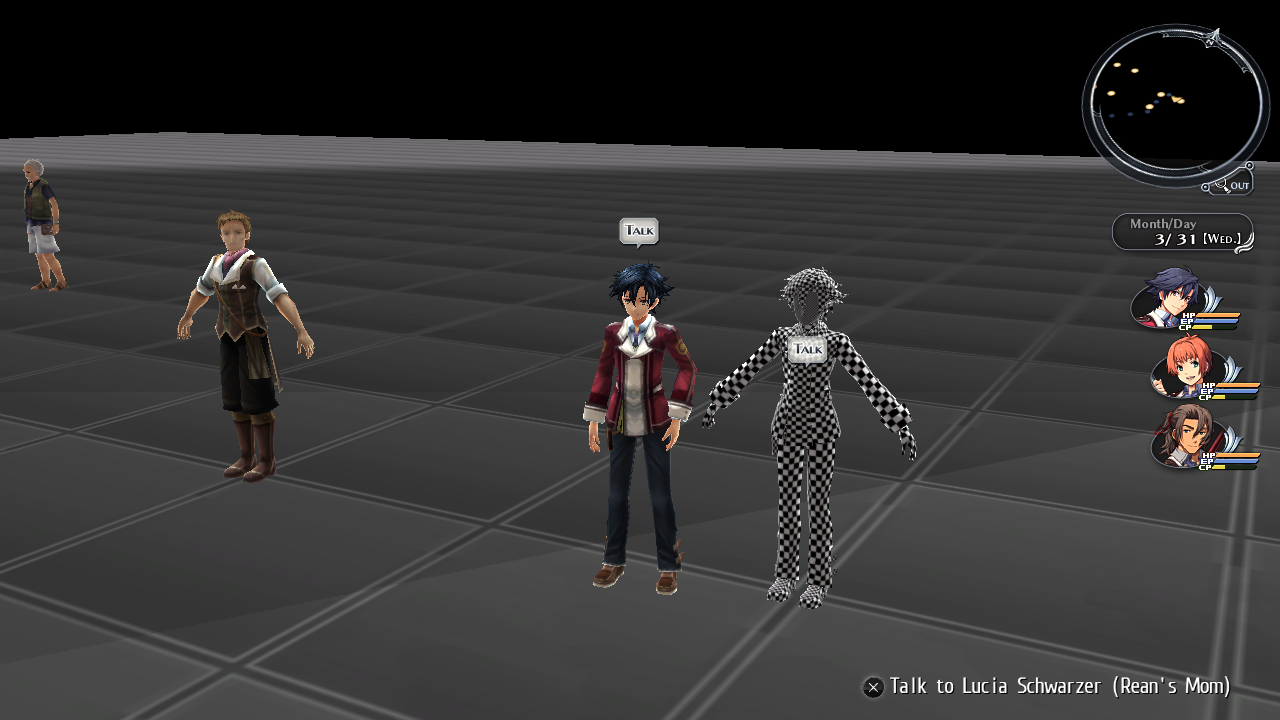
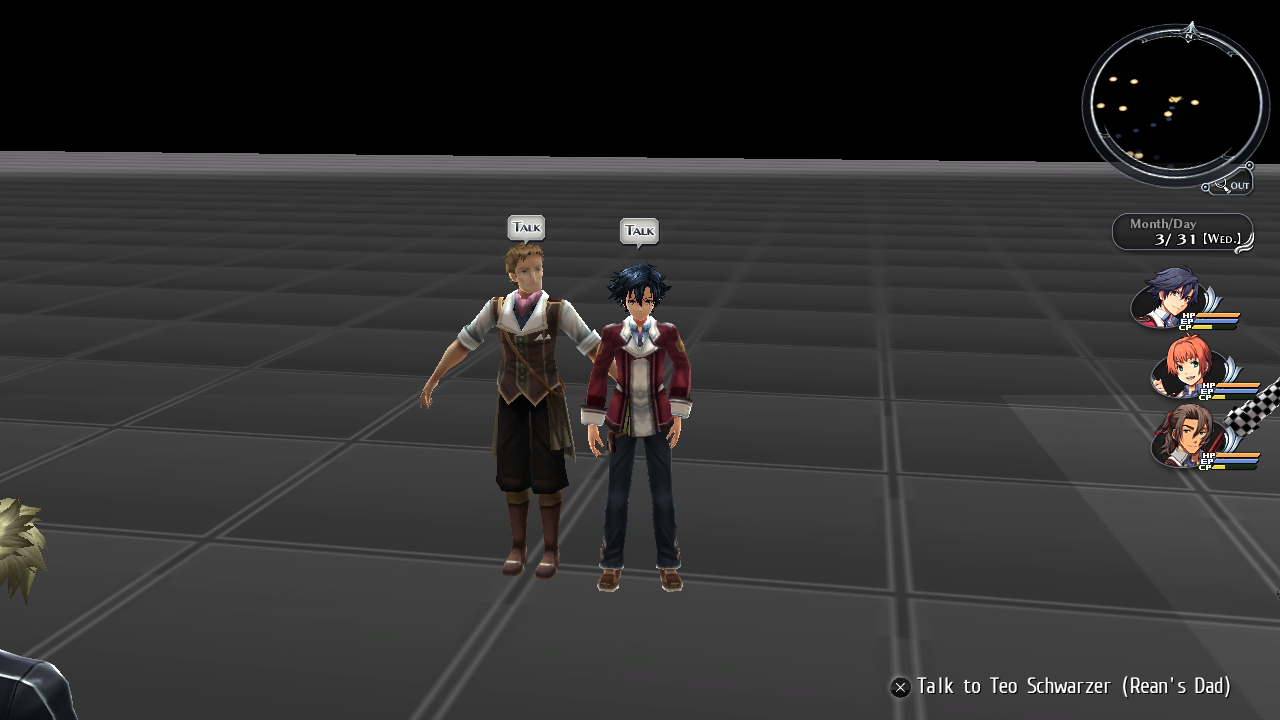
Internal map name: Character Room 2 (NPC009~NPC028)
This map contains all the main enemies in the game in it, as well as Zephyr and the Arnor family. An interesting point in this map is that Xeno is unnamed, and that Rean's mom and dad were supposed to appear in this game.
a0103 (Character Viewer Map 3)#
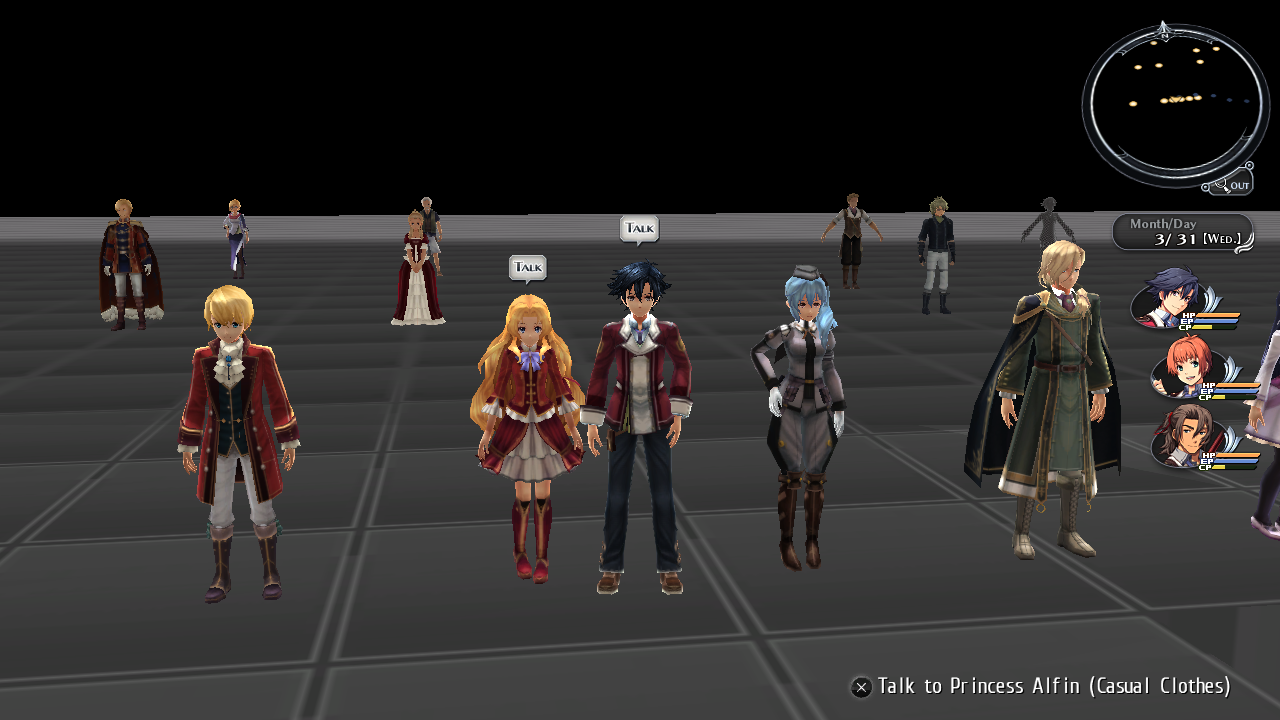
Hex string: 613031303300
Internal map name: Character Room 3 (NPC029~NPC040)
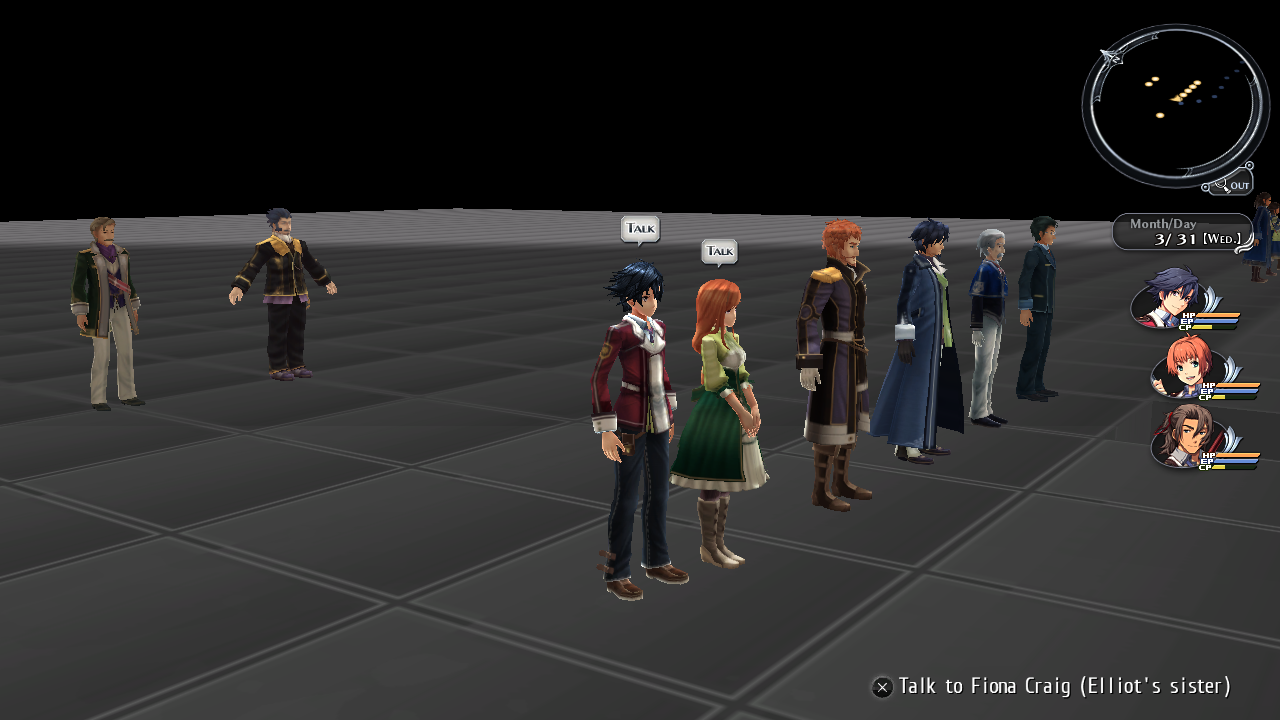
This map interestingly shows NPC's full names and who they are related to in the story.
a0104 (Character Viewer Map 4)#
Hex string: 613031303400
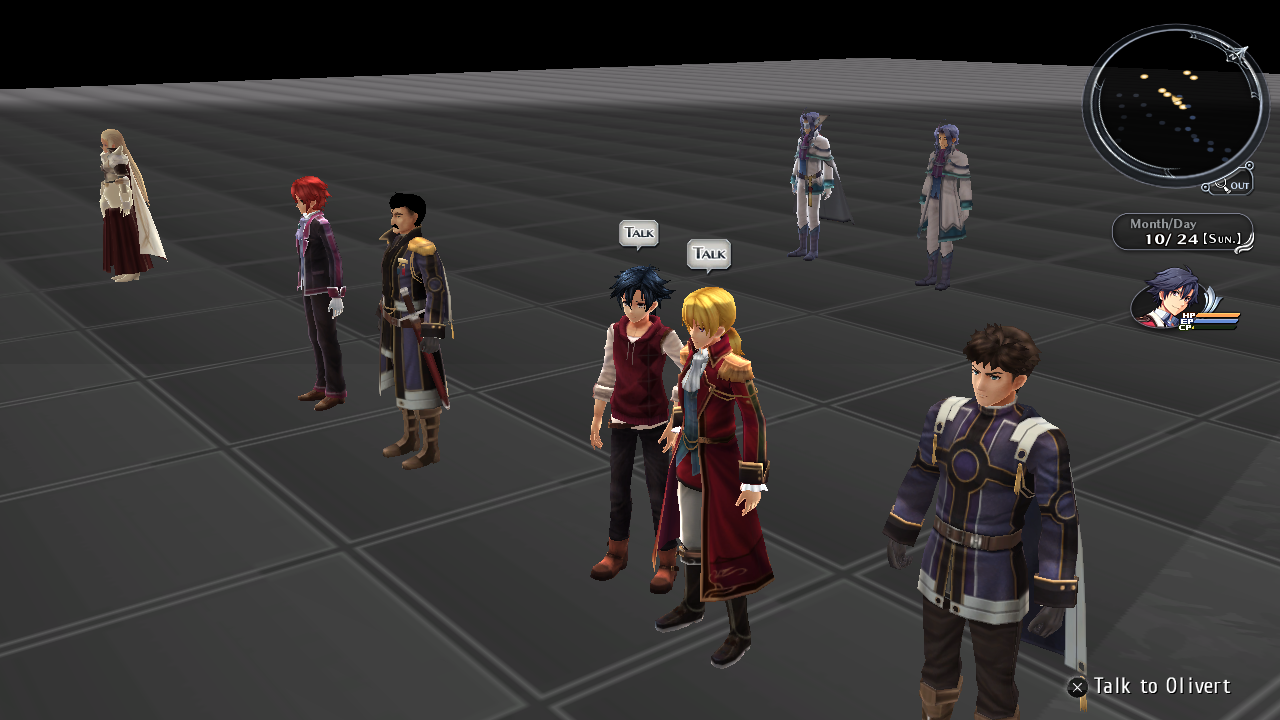
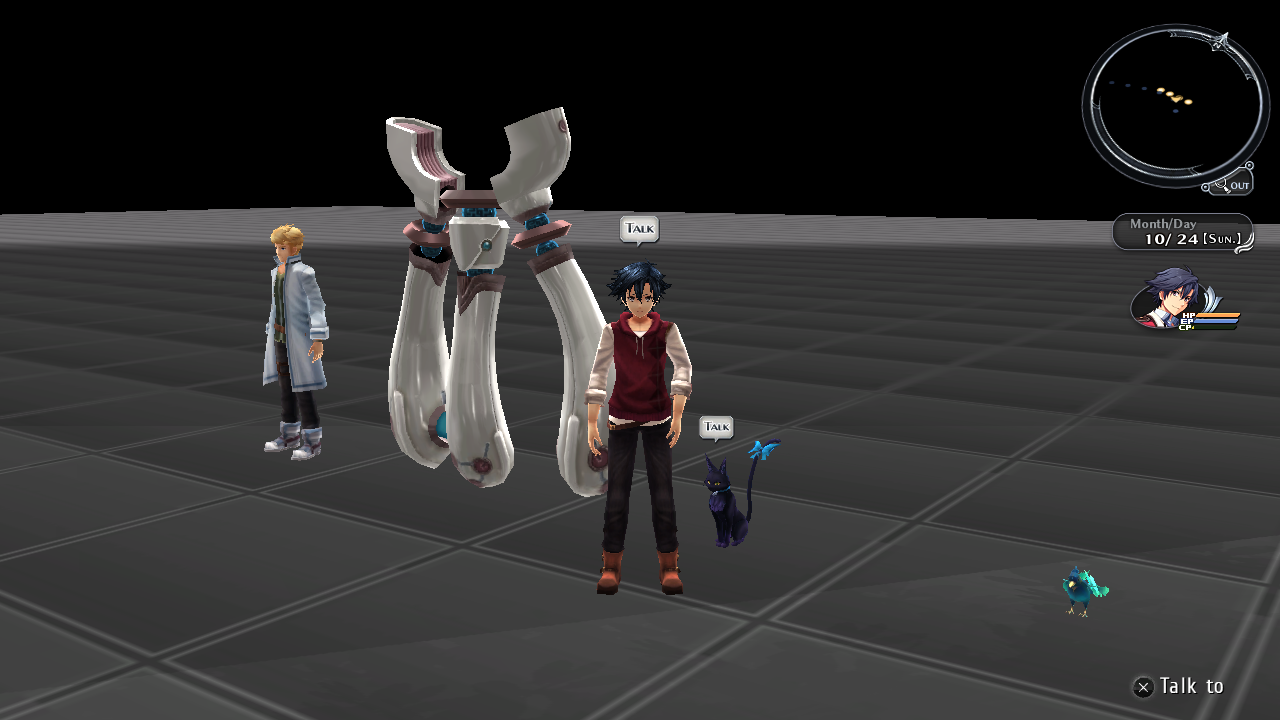
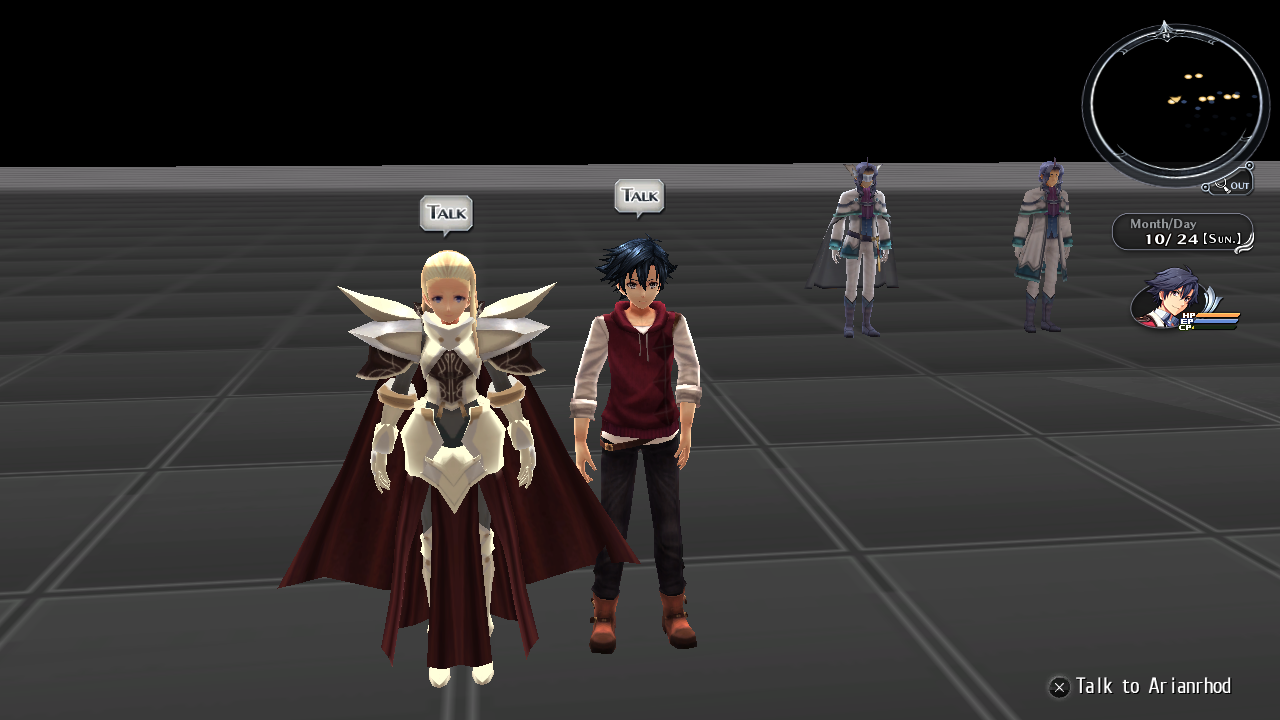
Internal map name: Character Room 4 (NPC042~NPC050)
This map mostly contains important side characters. A point of interest in this map is that Arianrhod appears here and has a full model, though at low quality.
a0120 (Character Viewer Map 5)#
Hex string: 613031323000
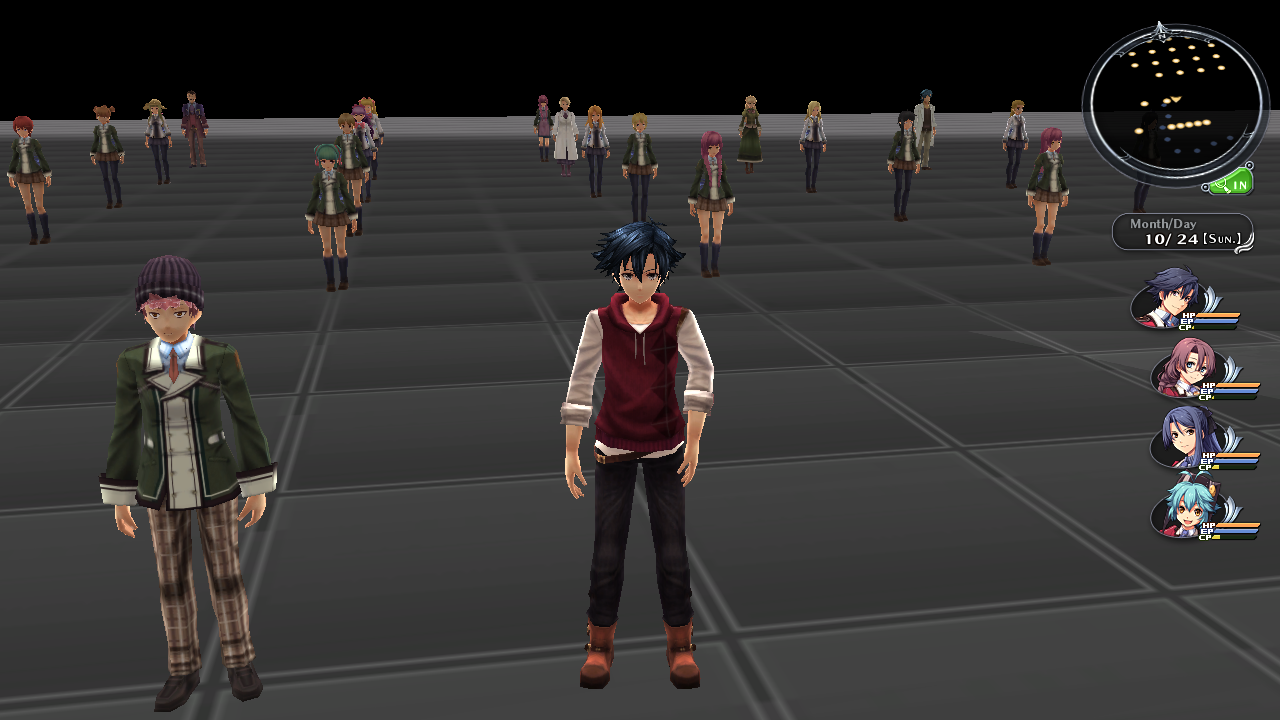
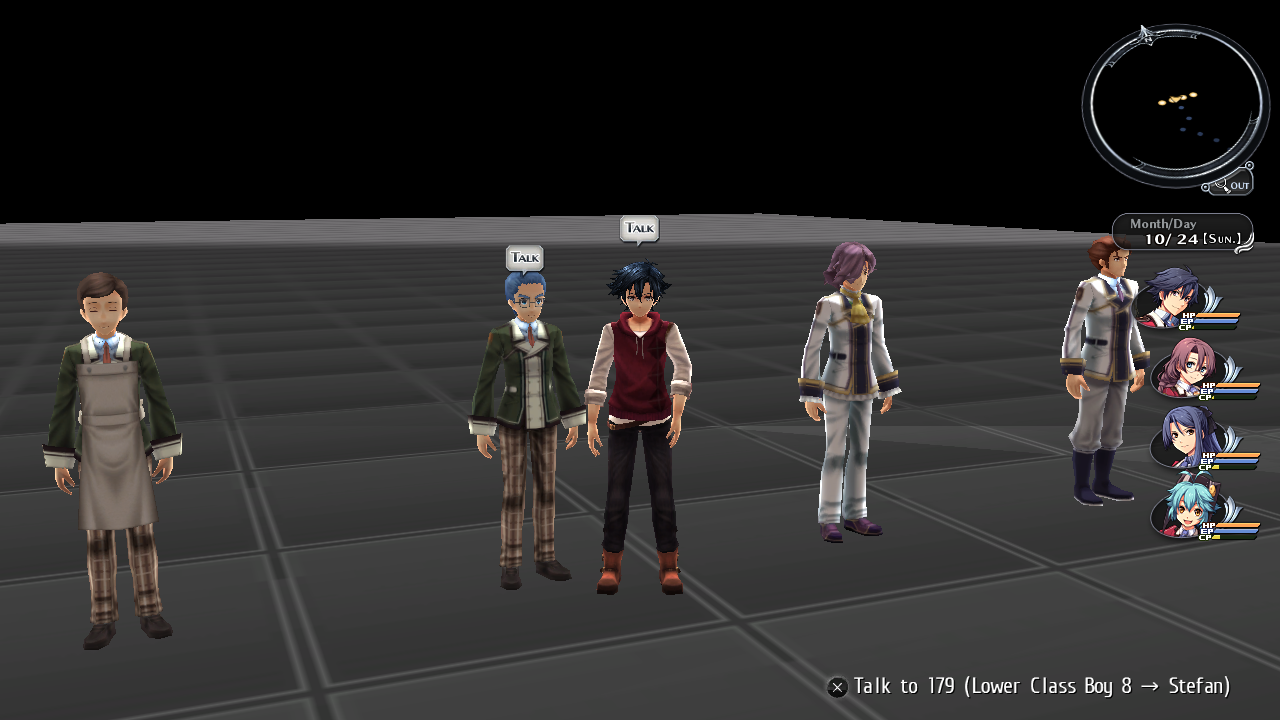
Internal map name: Character Room (Academy related)
This map contains all of the students in it. Talking to NPCs here will display their internal file name.
a0121 (Character Viewer Map 6)#
Hex string: 613031323100
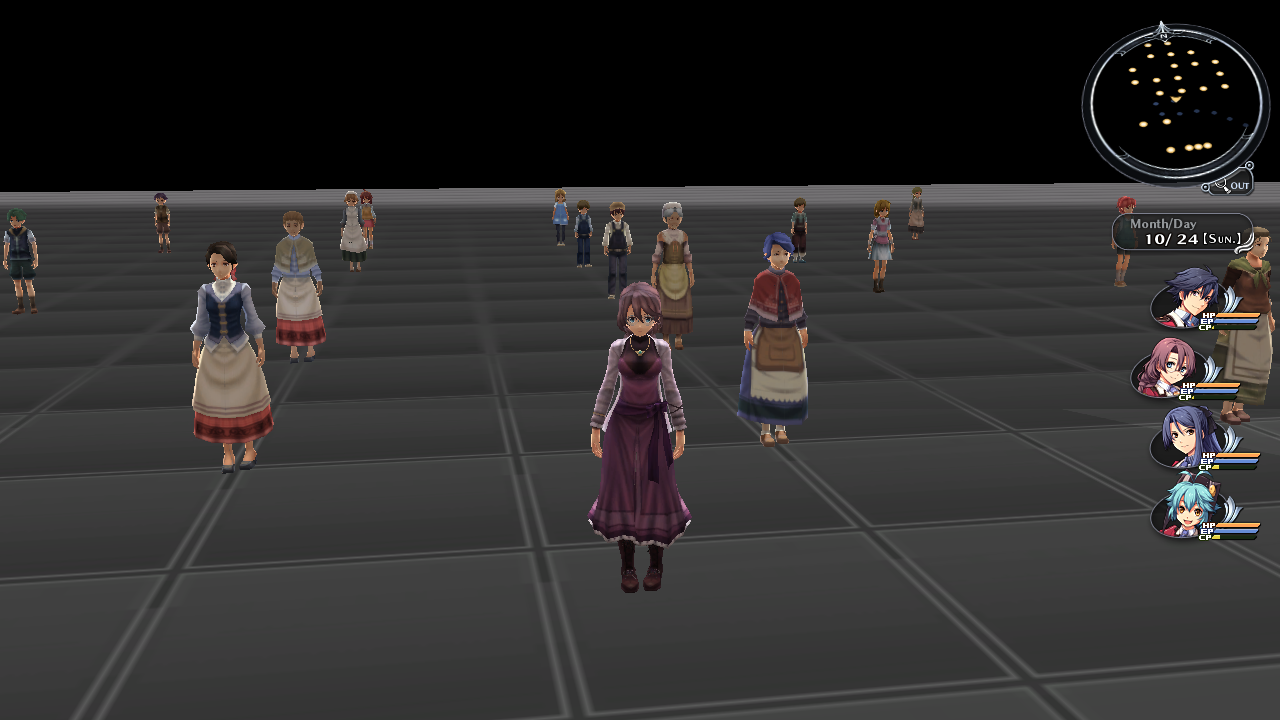
Internal map name: Character Room (Commoners, rural commoners)
This map contains all of the town NPCs in it. Talking to NPCs here will display their internal file name.
a0122 (Character Viewer Map 7)#
Hex string: 613031323200
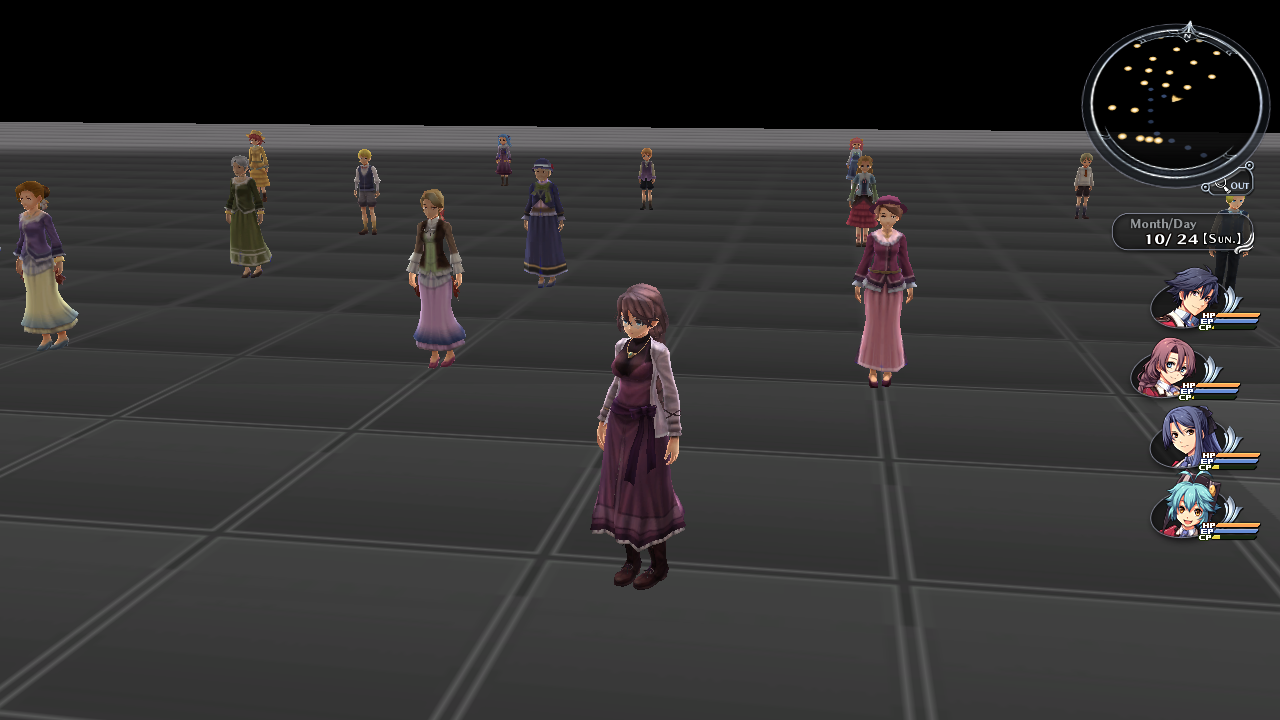
Internal map name: Character Room (Nobles, wealthy people)
This map contains all of the noble NPCs in it. Talking to NPCs here will display their internal file name.
a0123 (Character Viewer Map 8)#
Hex string: 613031323300
Internal map name: Character Room (Special 1)
This map contains all of the Roer NPCs in it. Talking to NPCs here will display their internal file name.
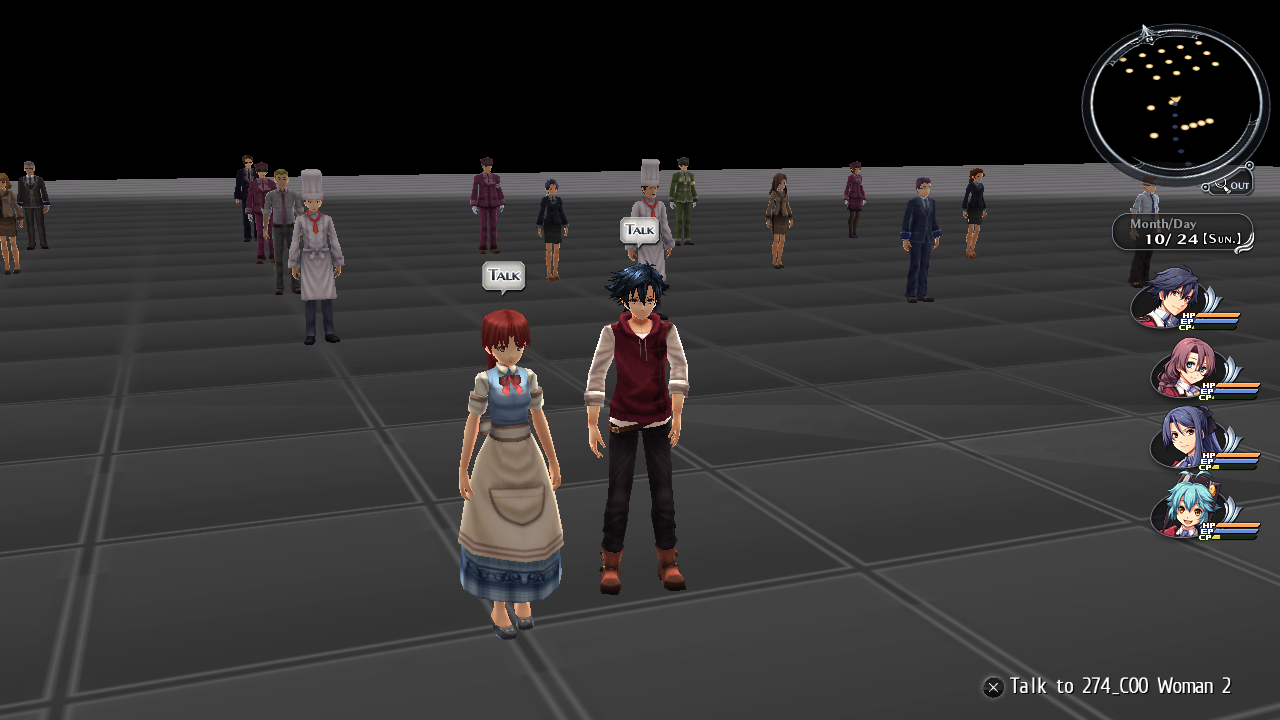
a0124 (Character Viewer Map 9)#
Hex string: 613031323400
Internal map name: Character Room (Special 2)
This map contains all of the workers, maids, butlers, and Nord villager NPCs in it.
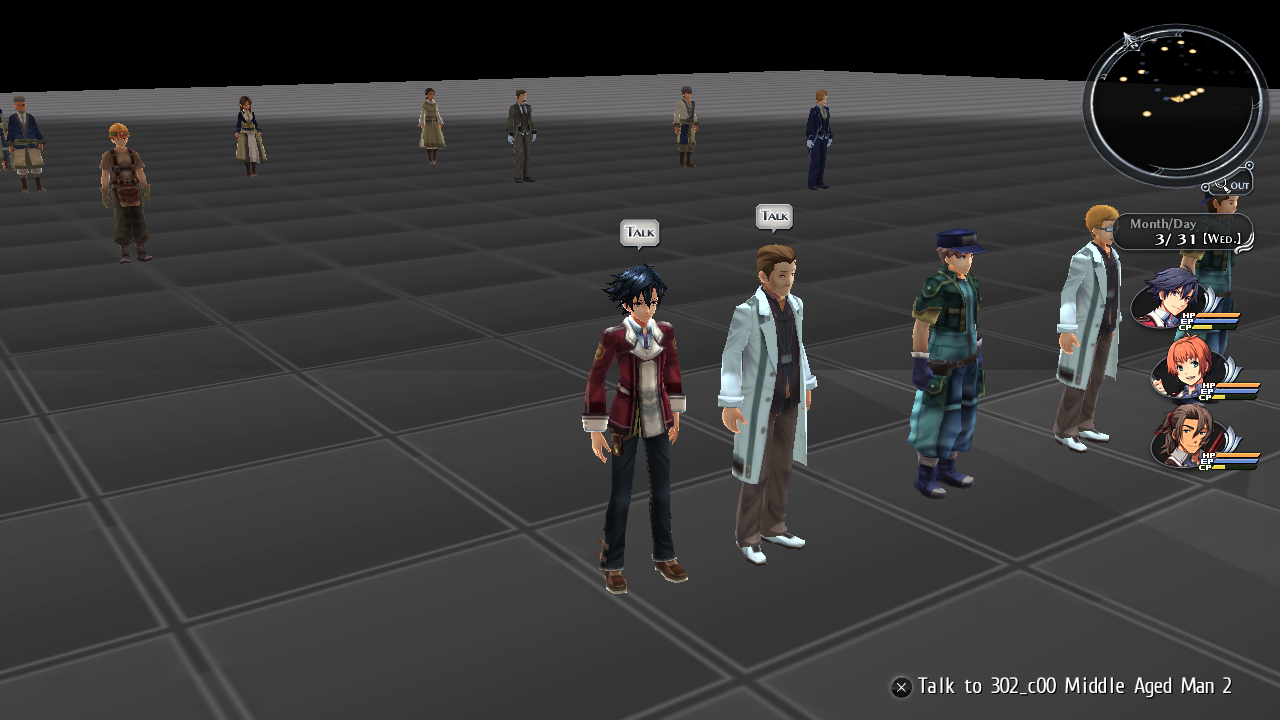
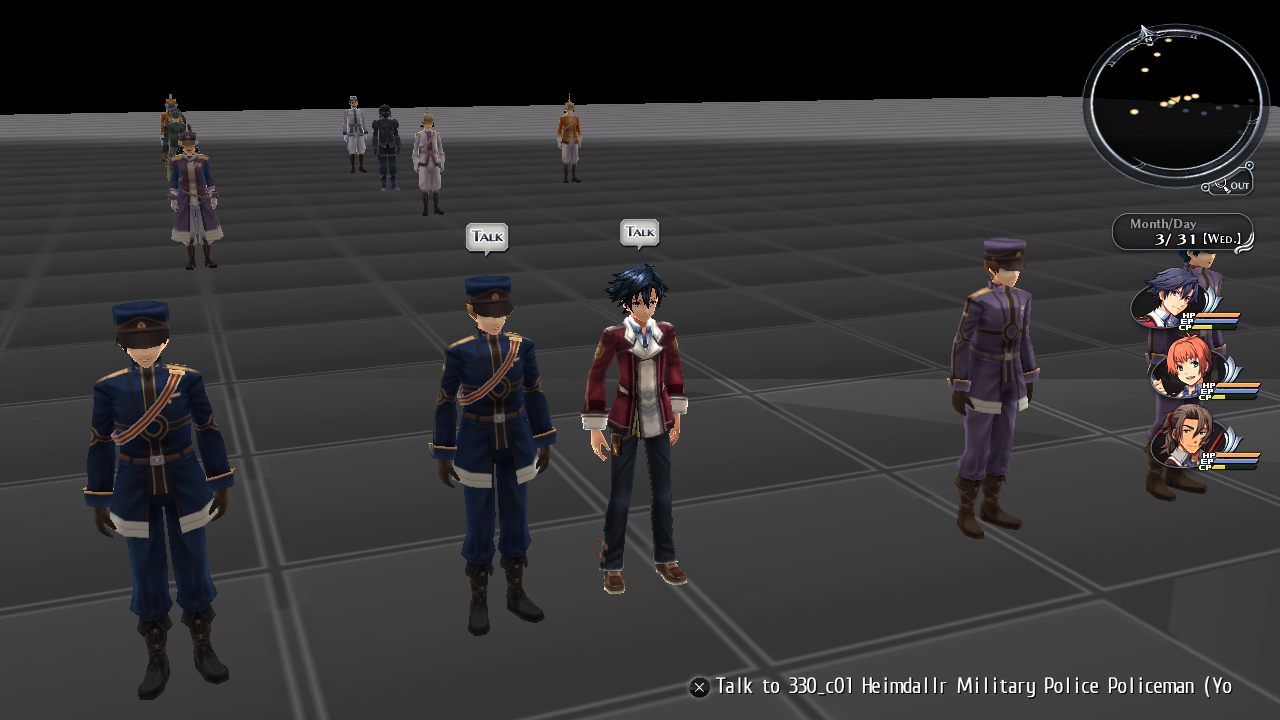
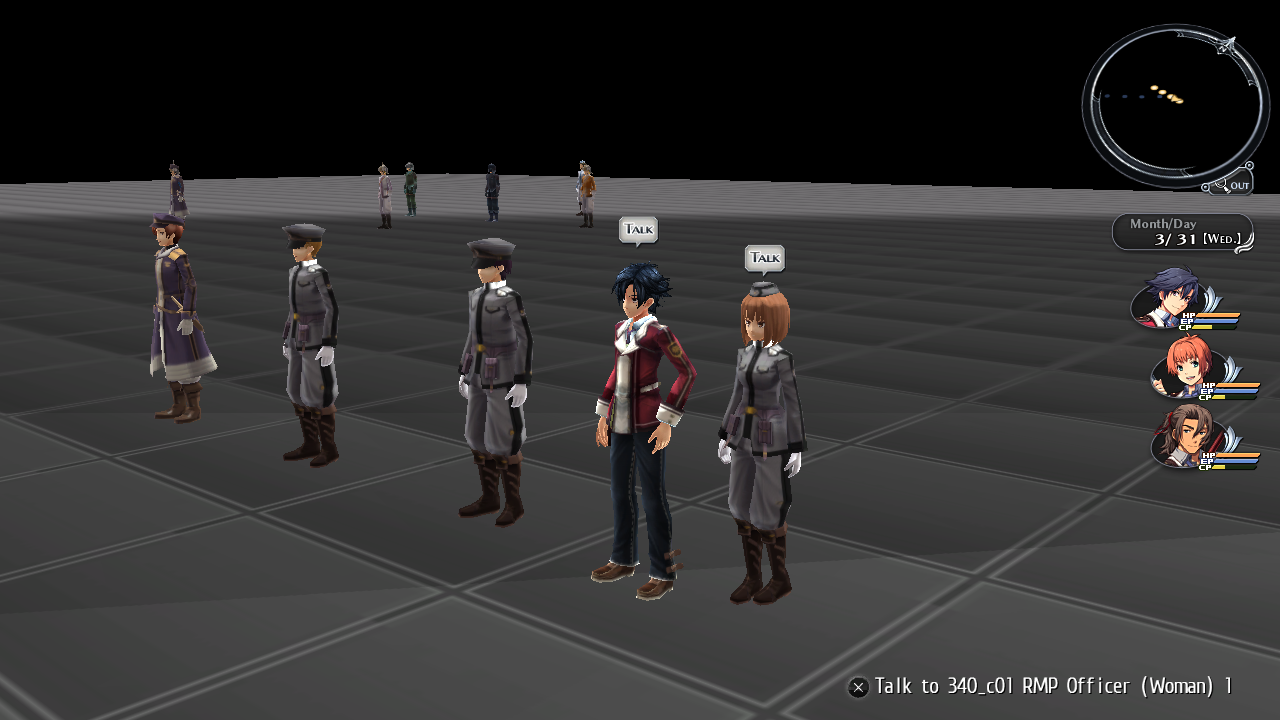
a0125 (Character Viewer Map 10)#
Hex string: 613031323500
Internal map name: Character Room (Army related)
This map contains all of the Soldier and Railway Military Police NPCs in it. Talking to NPCs here will display their internal file name.
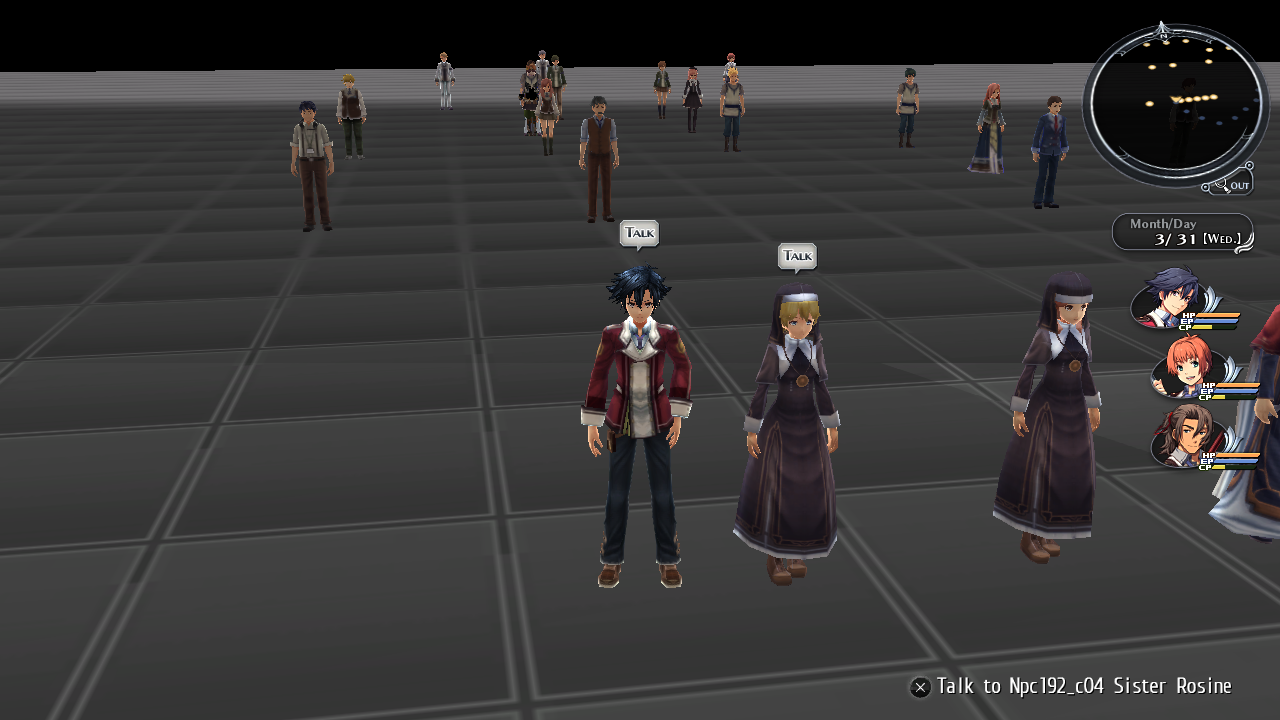
a0126 (Character Viewer Map 11)#
Hex string: 613031323600
Internal map name: Character Room (Church, etc.)
This map contains all of the commoners and church NPCs in it.
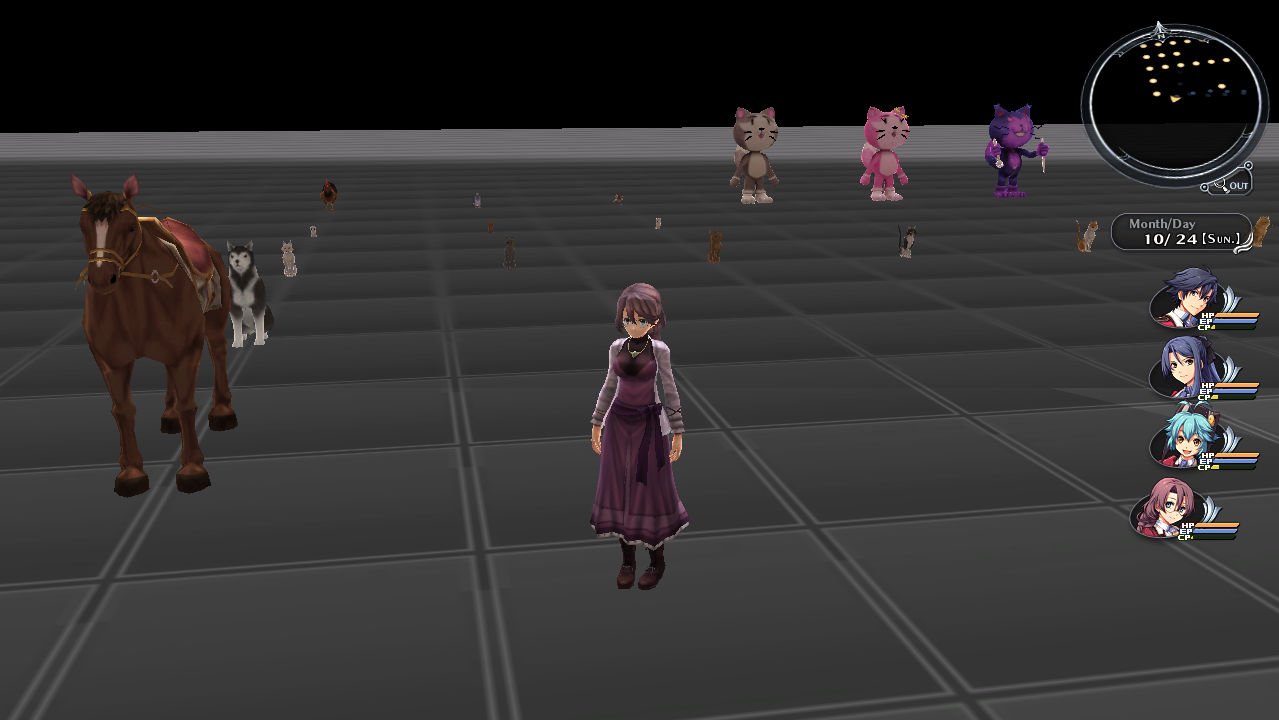
a0127 (Character Viewer Map 12)#
Hex string: 613031323700
Internal map name: Character Room (Animals)
This map contains all of the animal NPCs in it.
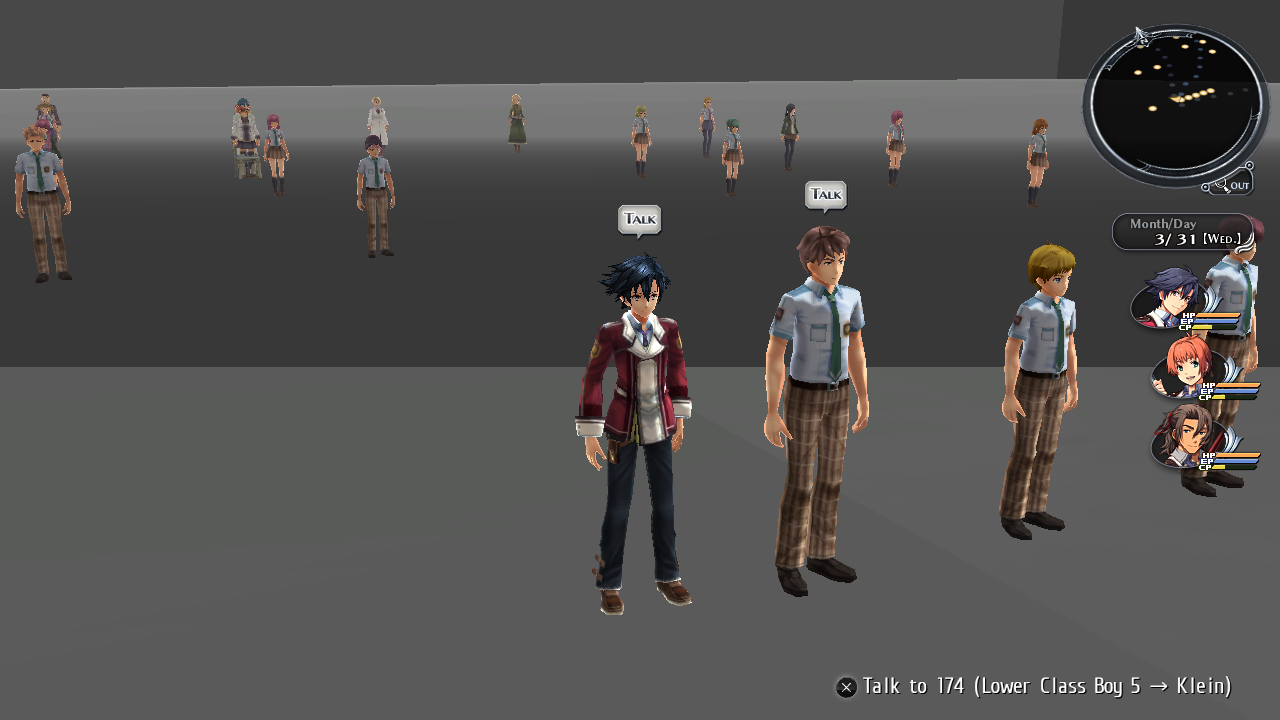
a0193 (Character Viewer Map 13)#
Hex string: 613031393300
Internal map name: Kanemoto's Room
This map contains all of the student NPCs in their summer uniforms.
a0194 (Animation Test Map 2)#
Hex string: 613031393400
Internal map name: Momo's Room
This map contains various options to change NPC character animations.
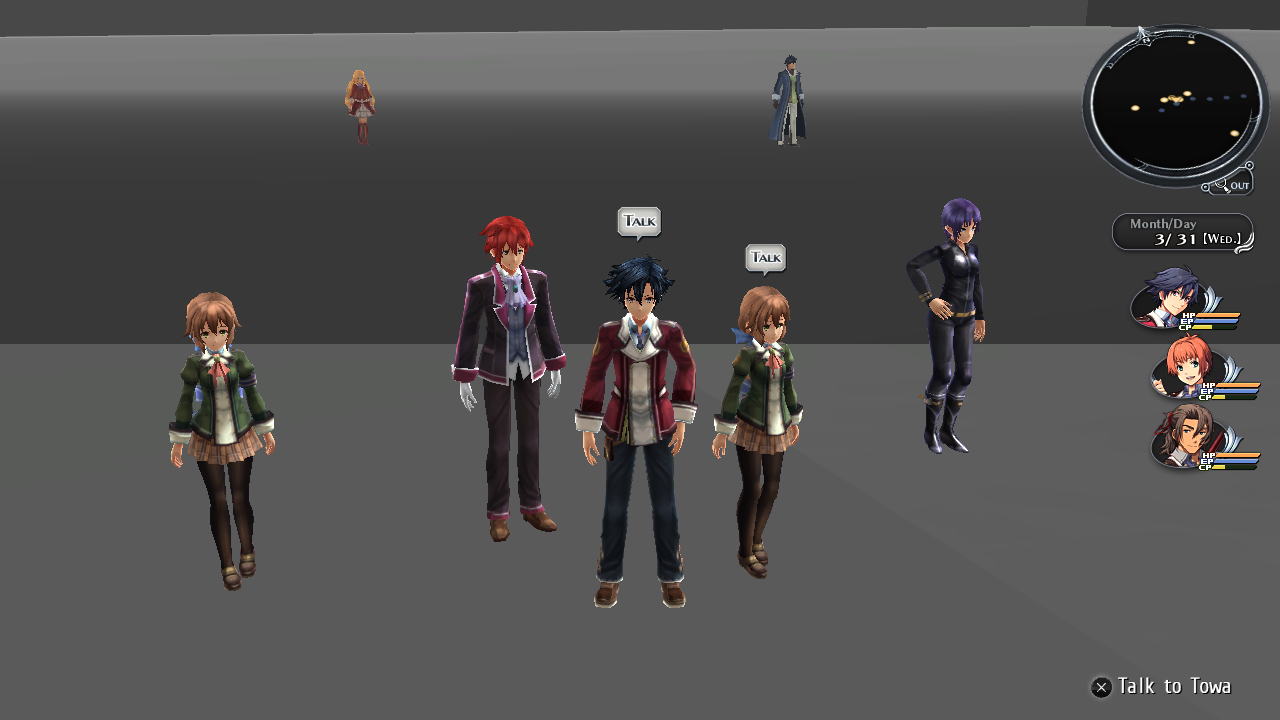
Speaking to Towa yields these options:

These animations relate to Vita's animations when she sends Grianos up in the air and Alfin and Elise getting captured underneath Heimdallr.
a0195 (Character Viewer Map 14)#
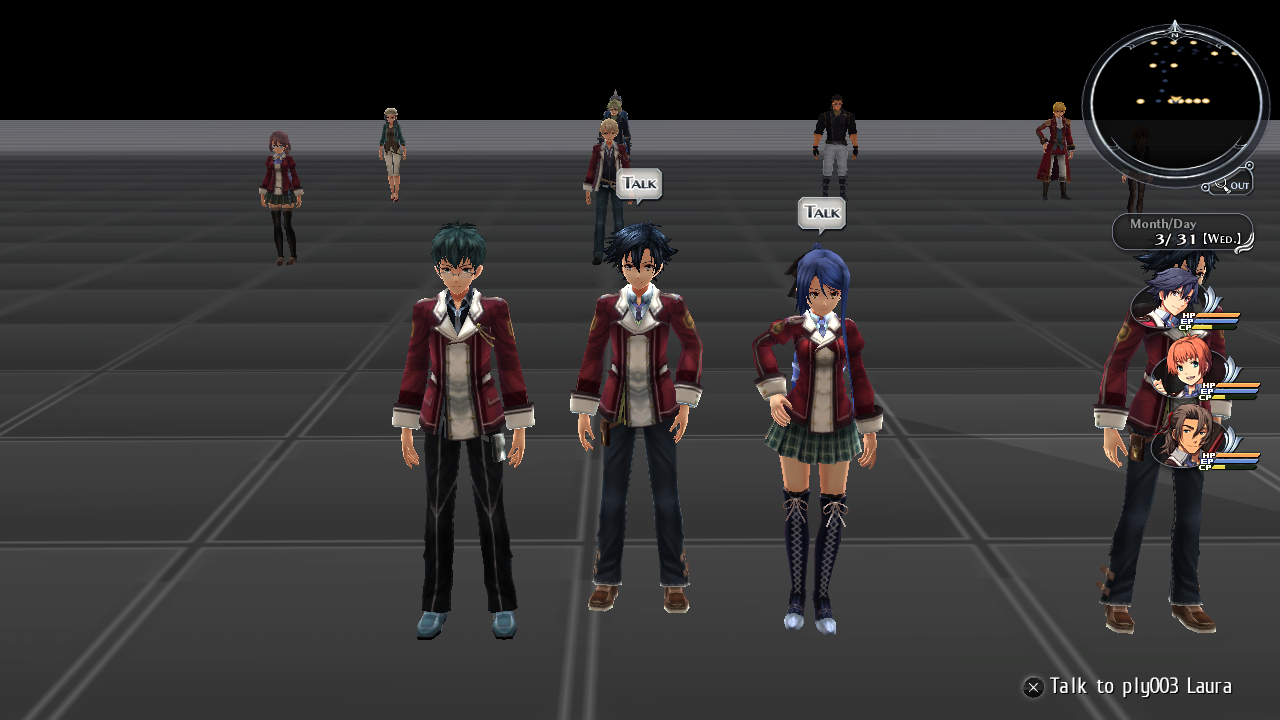
Hex string: 613031393500
Internal map name: BeXide's Room
This map contains all of the main characters in it and a few antagonists present in this game.
a0196 (Animation Test Map 3)#
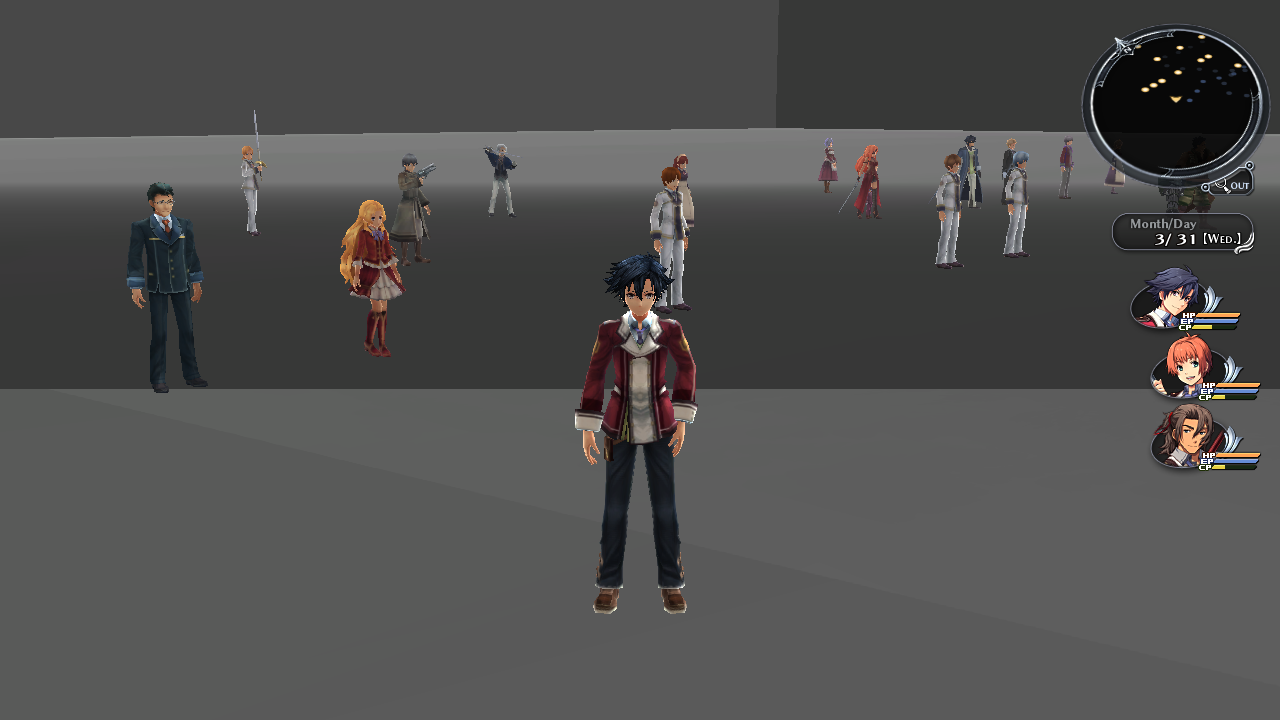
Hex string: 613031393600
Internal map name: Yabuki's Room
This map contains a assortment of NPCs. You would be able to play animations here by speaking to Towa, however they do not appear to work.
a0197 (Animation Test Map 4)#
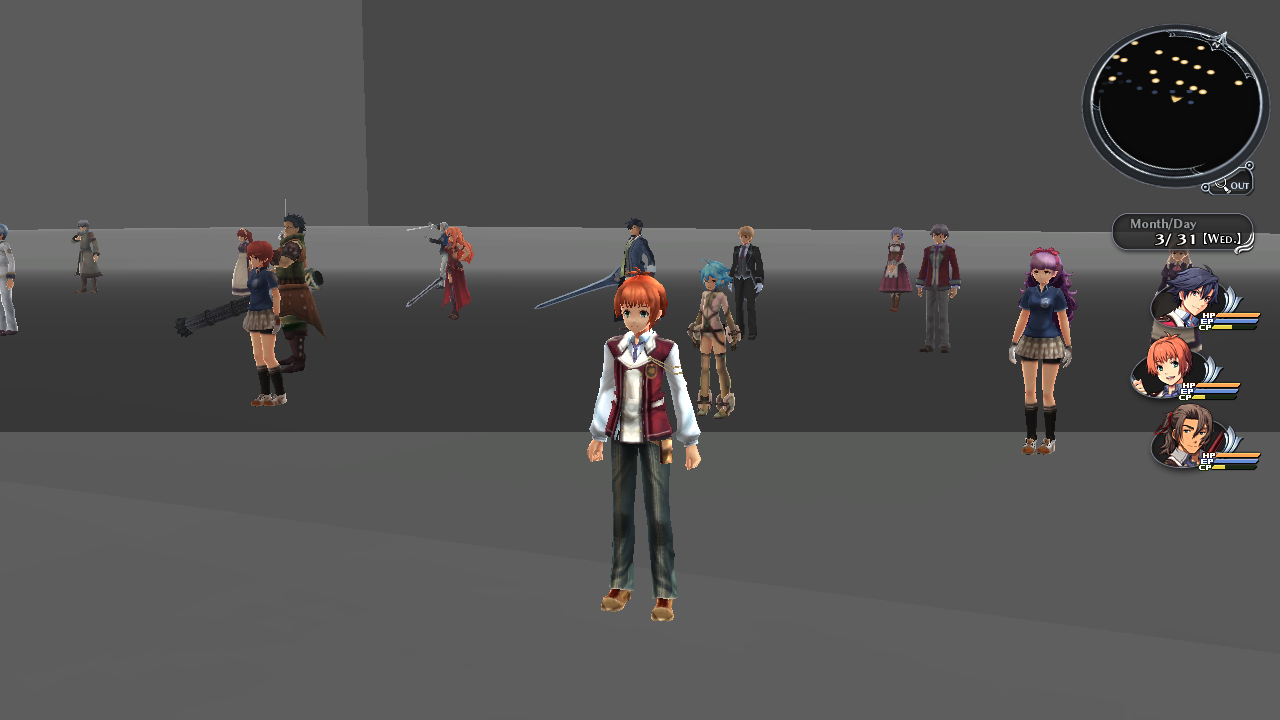
Hex string: 613031393700
Internal map name: Yamada's Room
This map contains a assortment of NPCs. You would be able to play animations here by speaking to Towa, however they do not appear to work.
a0198 (Animation Test Map 5)#
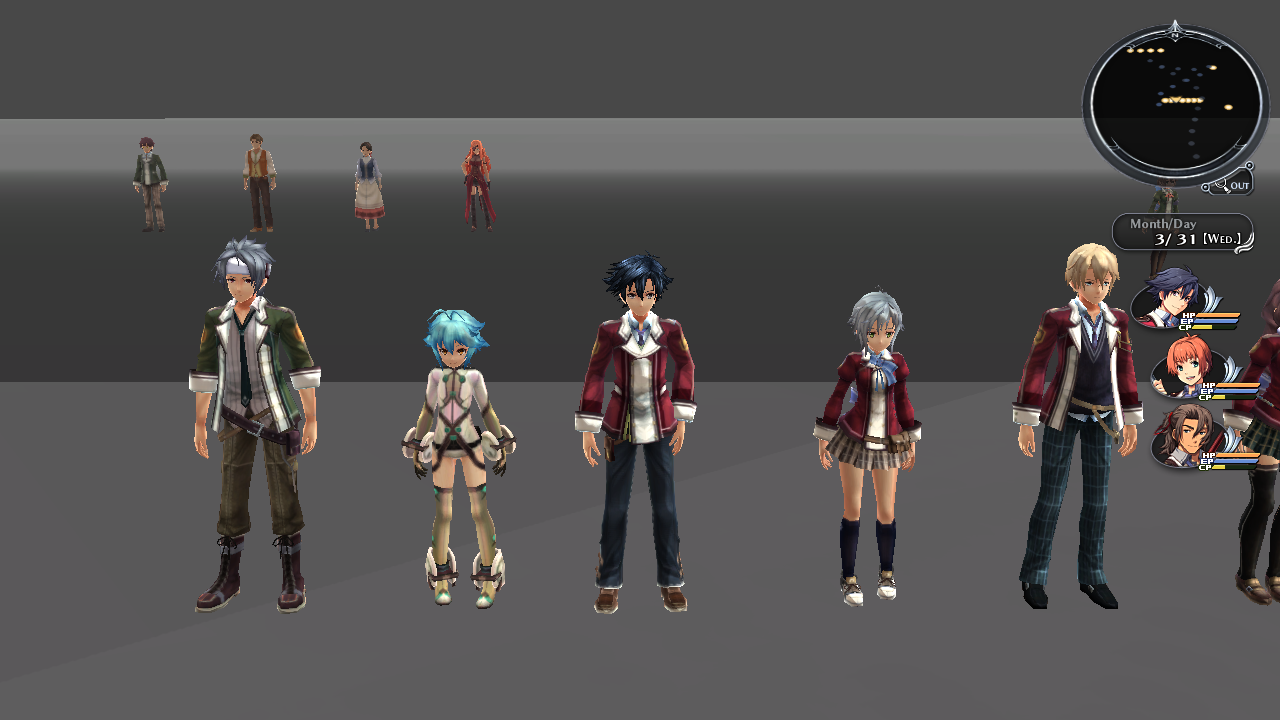
Hex string: 613031393800
Internal map name: Murakami's Room
This map contains a assortment of NPCs. You would be able to play animations here by speaking to Towa, however they do not appear to work.
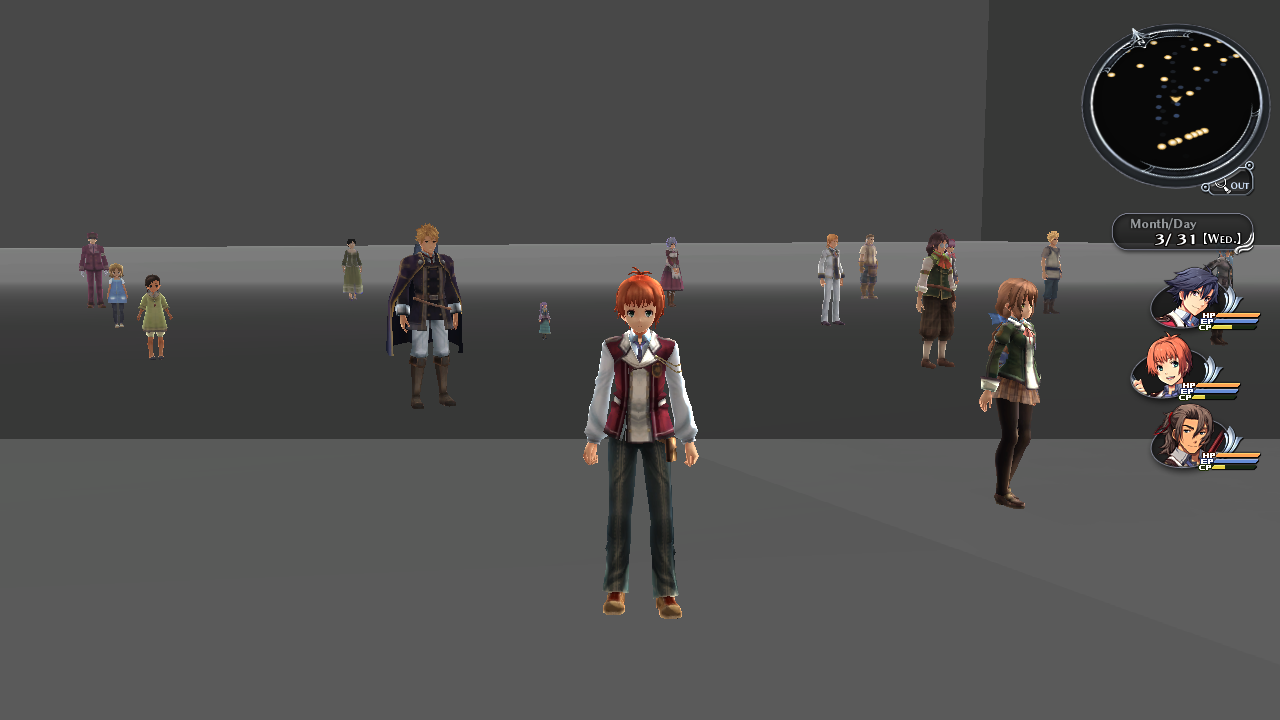
a0199 (Animation Test Map 6)#
Hex string: 613031393900
Internal map name: Tanaka's Room
This map contains a assortment of vehicles and character NPCs. Speaking to Towa will allow you to play animations, such as riding a boat or riding the orbal bike.
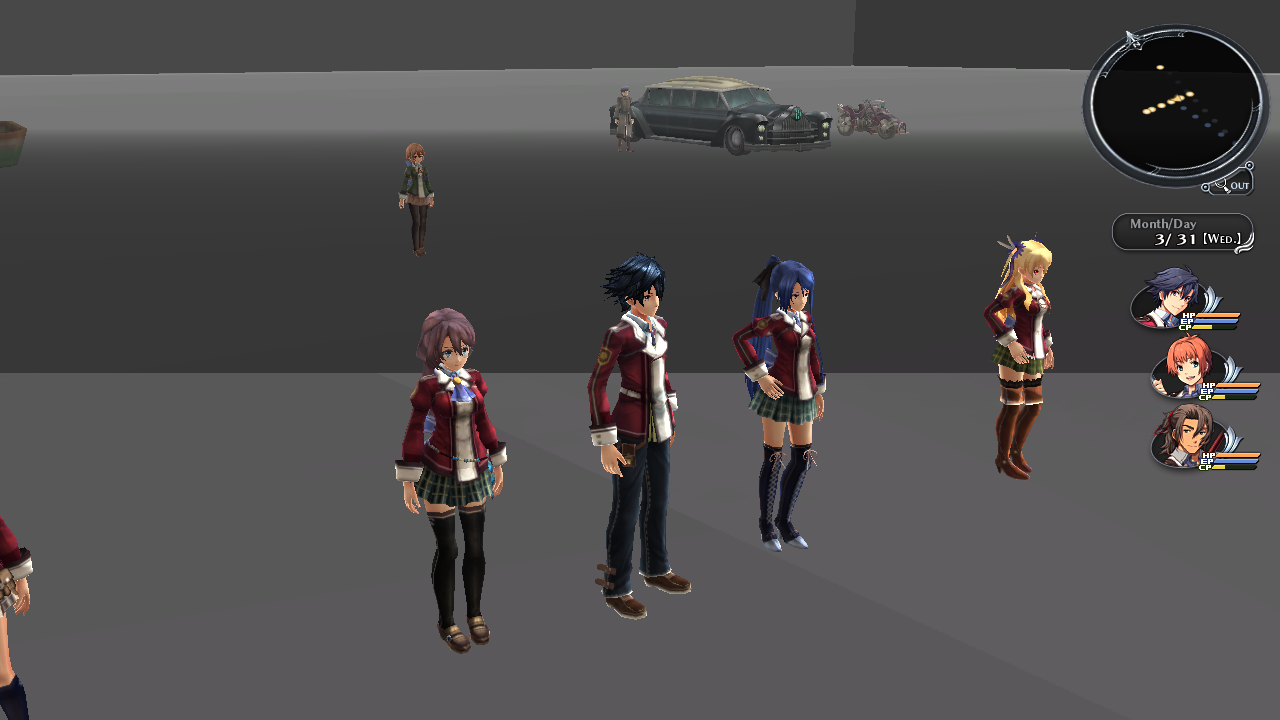
a0201 (Monster Viewer Map 1)#
Hex string: 613032303100
Internal map name: Monster Room (030~059)
This map contains a set of enemies in it.
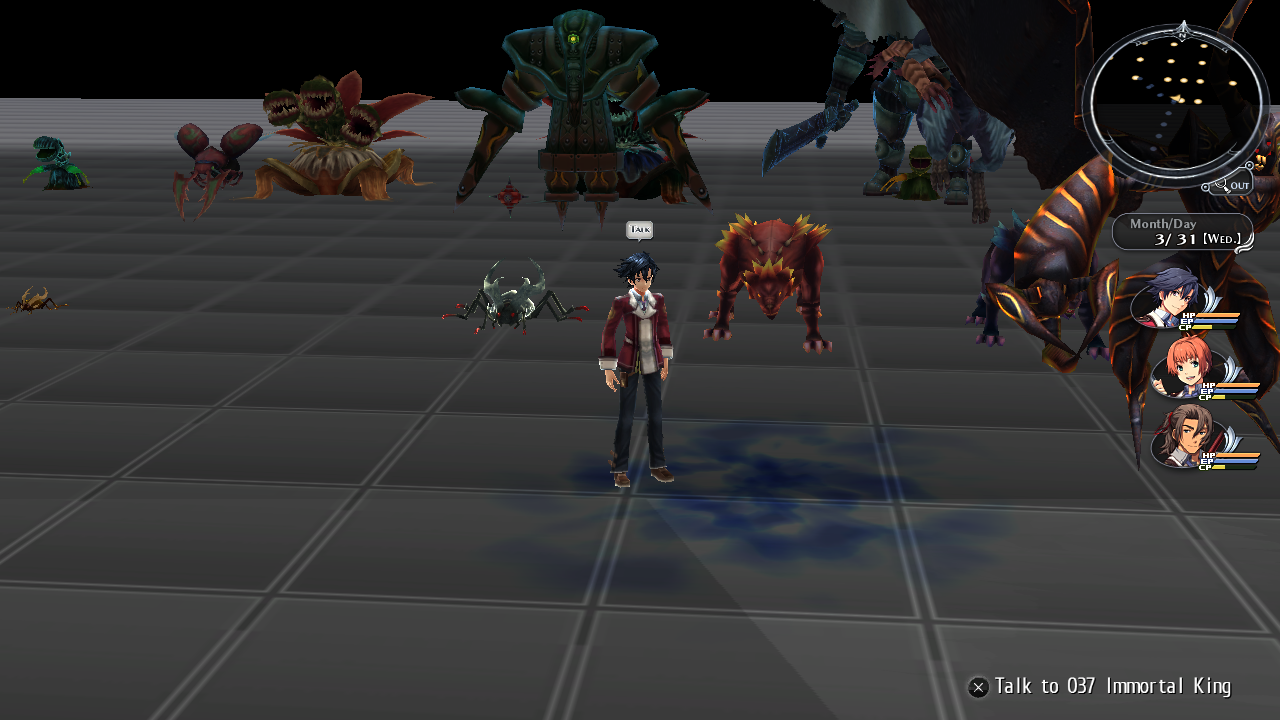
a0202 (Monster Viewer Map 2)#
Hex string: 613032303200
Internal map name: Monster Room (060~089)
This map contains a set of enemies in it. The enemy Zesvia has an unused color variation in this map.
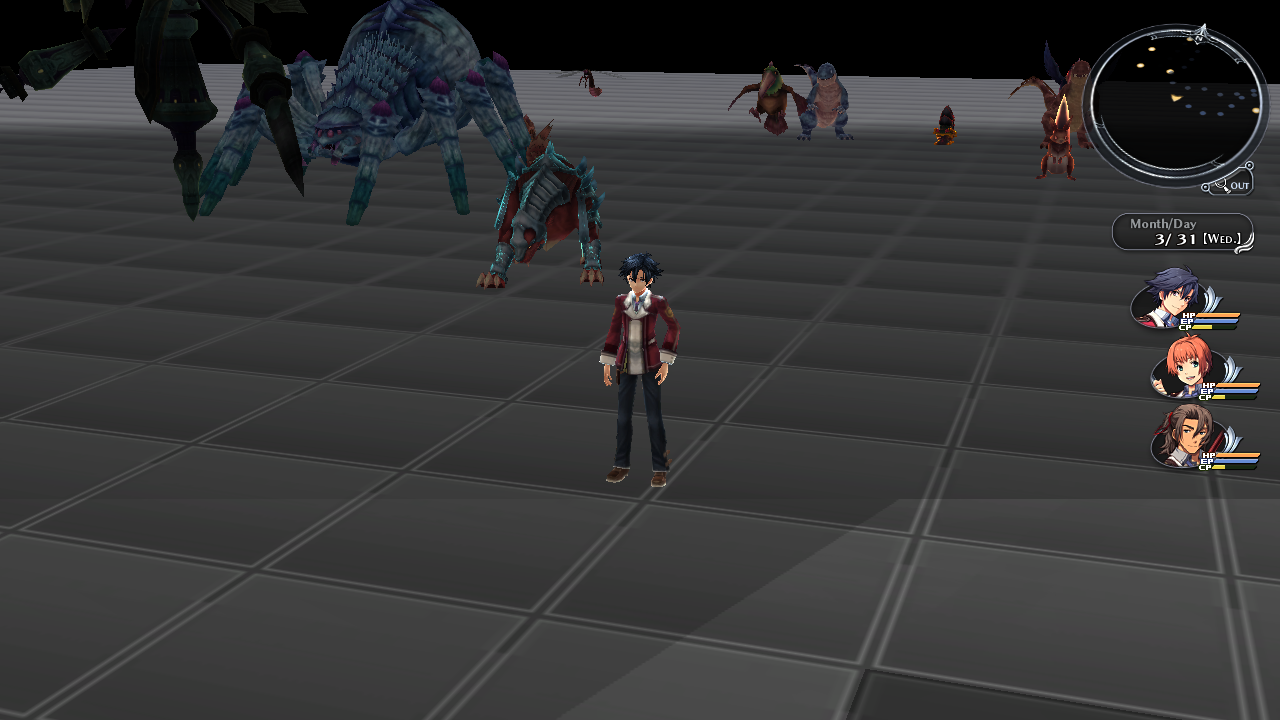
a0203 (Monster Viewer Map 3)#
Hex string: 613032303300
Internal map name: Monster Room (090~119)
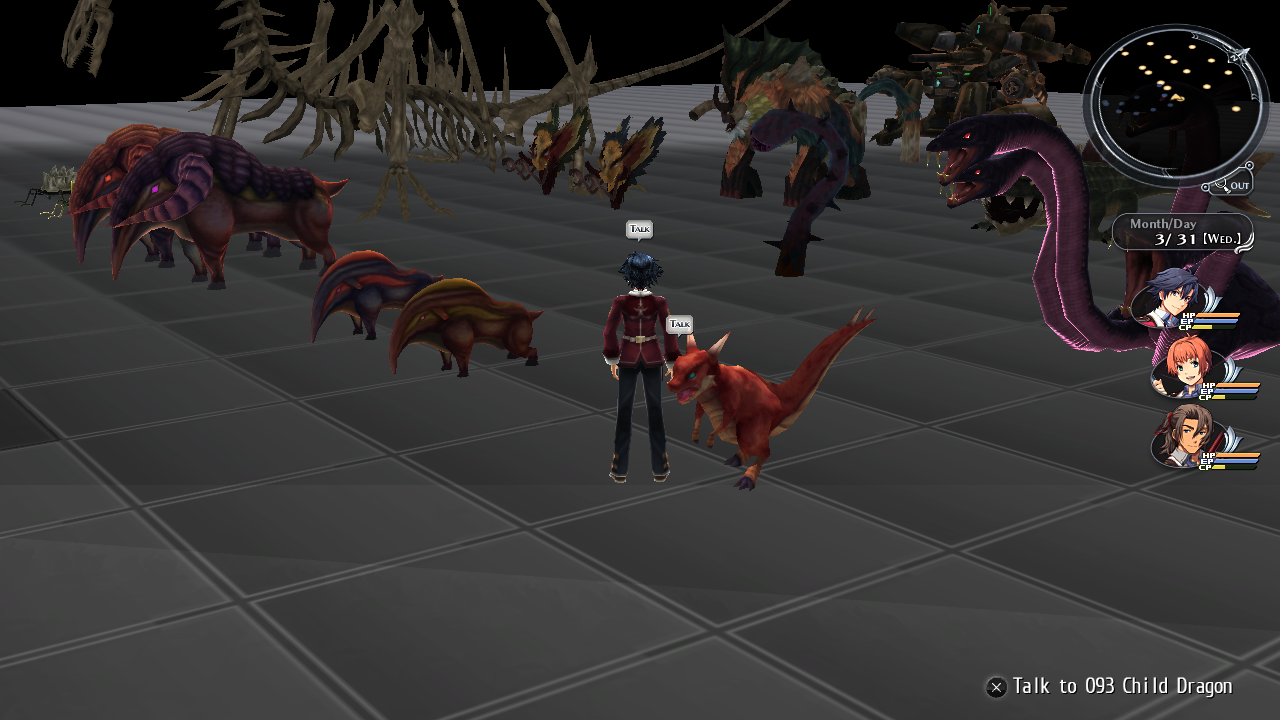
This map contains a set of enemies in it. The Child Dragon, Gespard Raphe and the Dachono (alternate skin of Cockatrice) are unused.
a0204 (Monster Viewer Map 4)#
Hex string: 613032303400
Internal map name: Monster Room (120~149)
This map contains a set of enemies in it. This map mostly contains archaisms. The Red Leech, Evil Ark (found in Reverie Corridor from the sequel), Dimensional Bug, Black Rose, and the Bolceron are unused. As well as the four Leorlgun's in this map.
a0205 (Monster Viewer Map 5)#
Hex string: 613032303500
Internal map name: Monster Room (150~179)
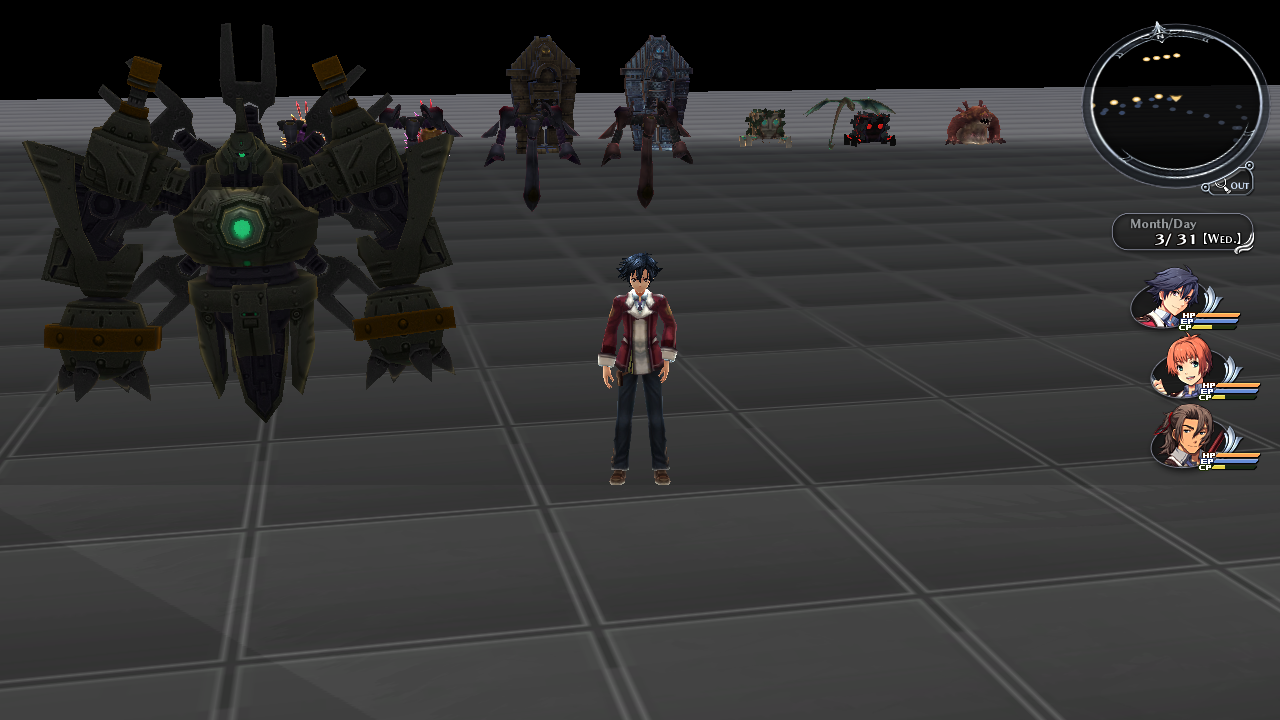
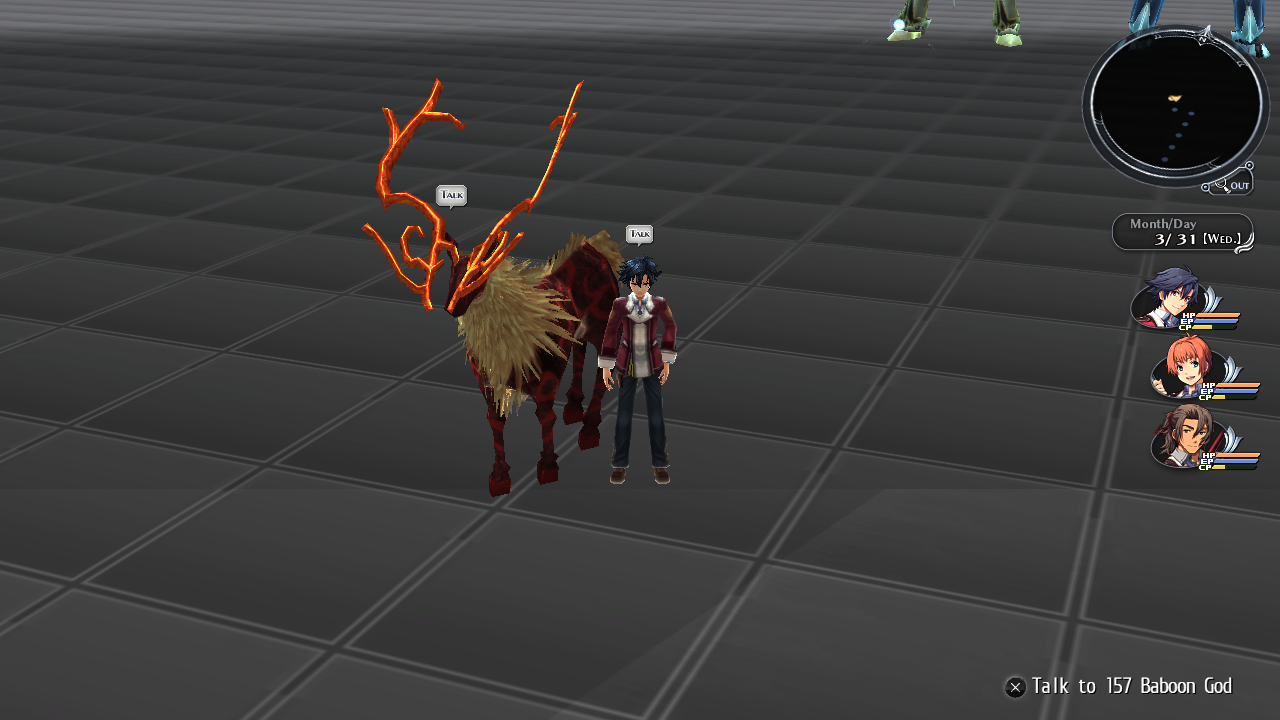
This map contains a set of enemies in it. This map mostly contains Soldat units. The Baboon God, and the SkyGod are unused.
a0206 (Monster Viewer Map 6)#
Hex string: 613032303600
Internal map name: Monster Room (180~209)
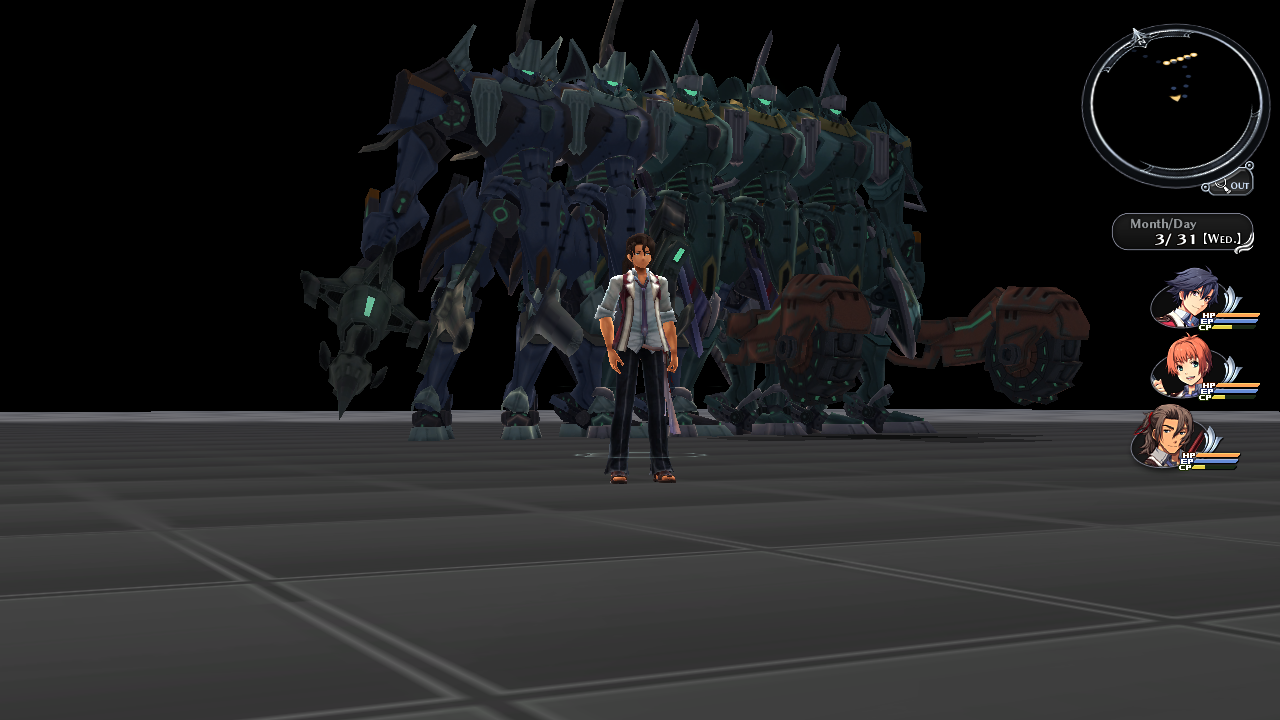
Only five Soldat units are here.
a1301 (Incomplete Shop Map 2)#
Hex string: 613133303100
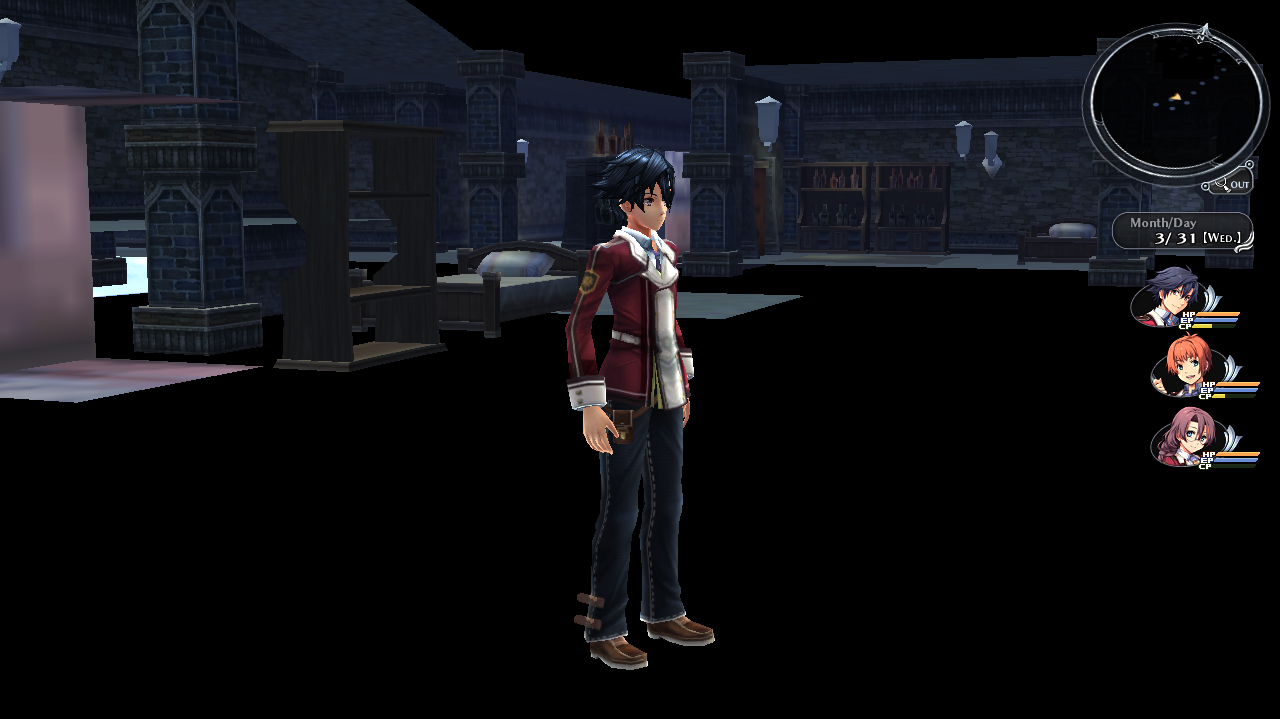
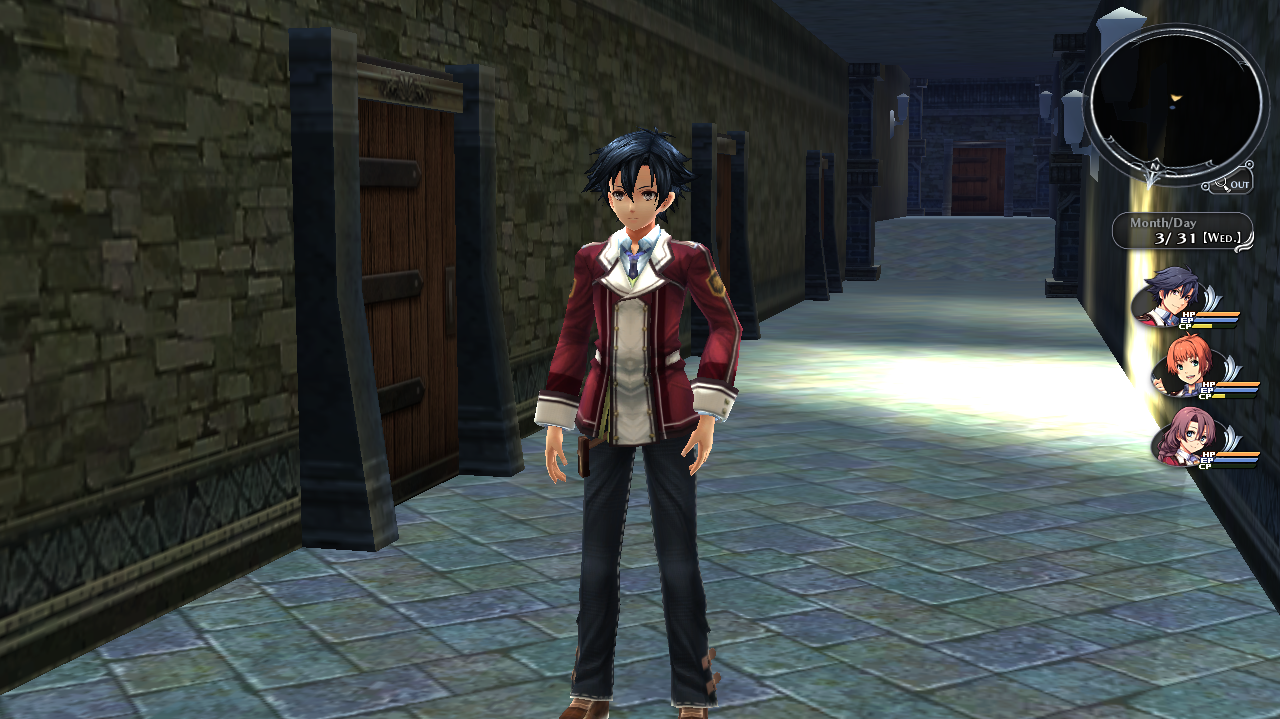
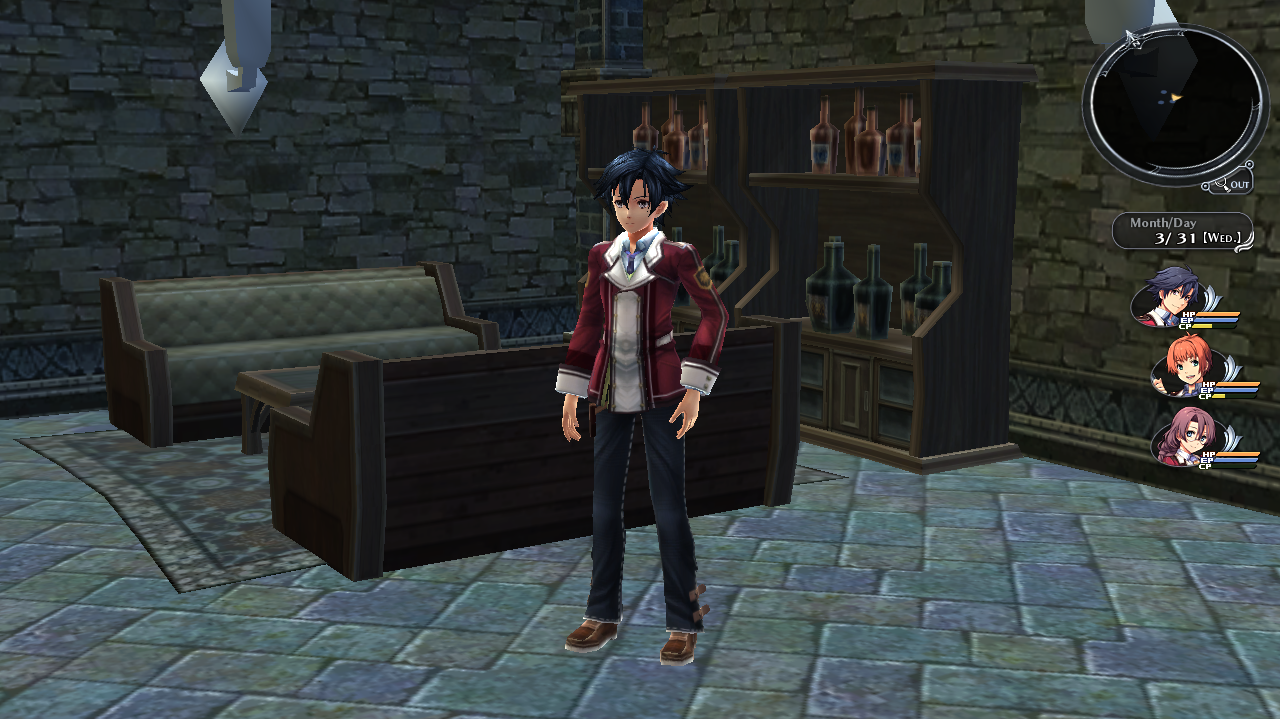
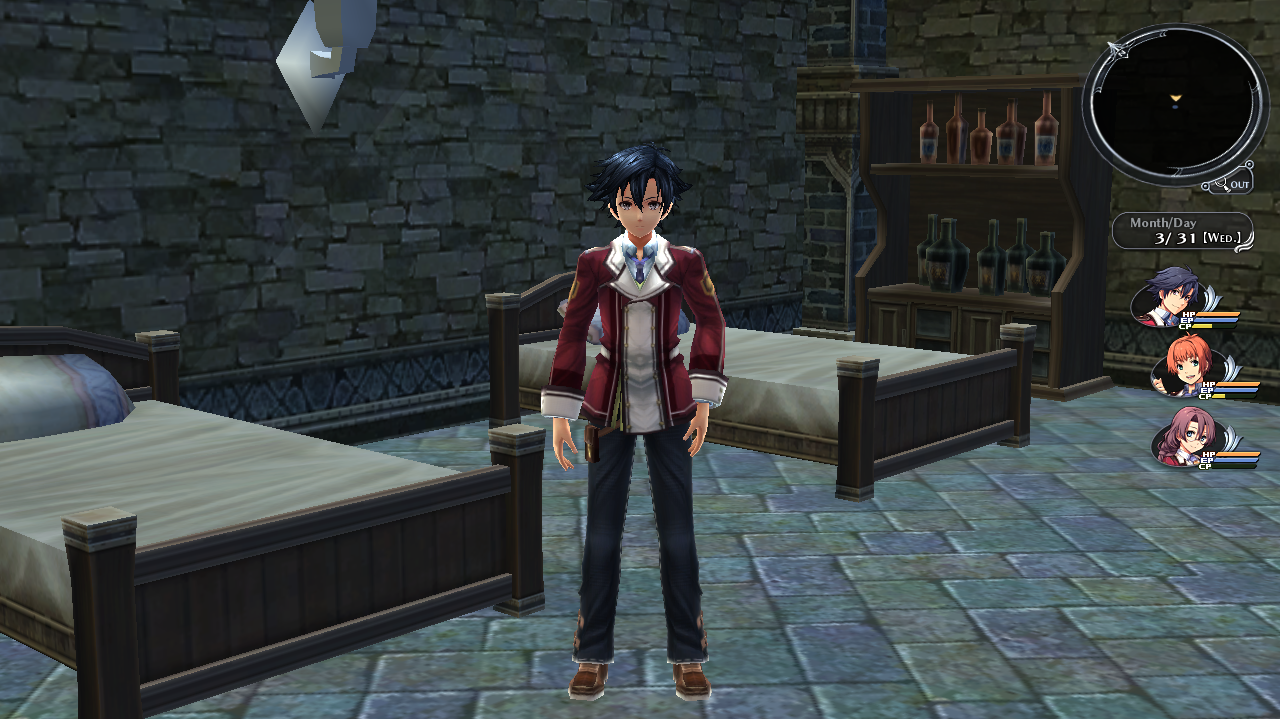
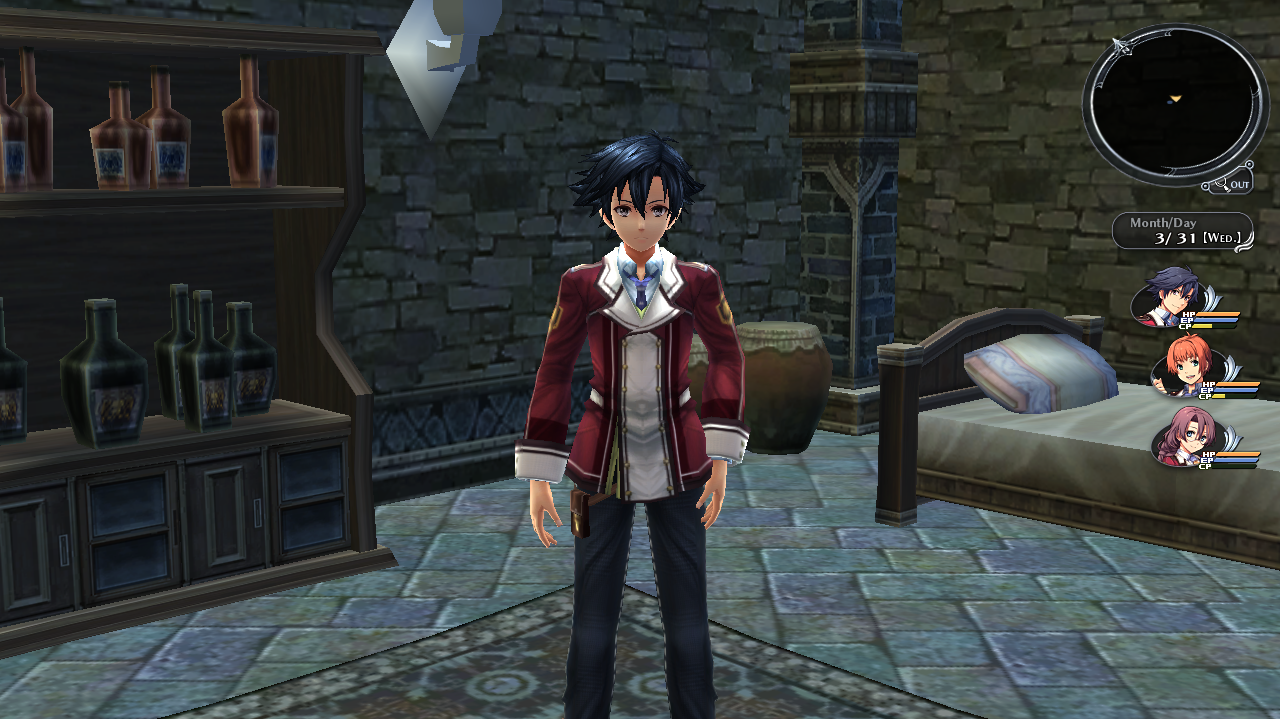
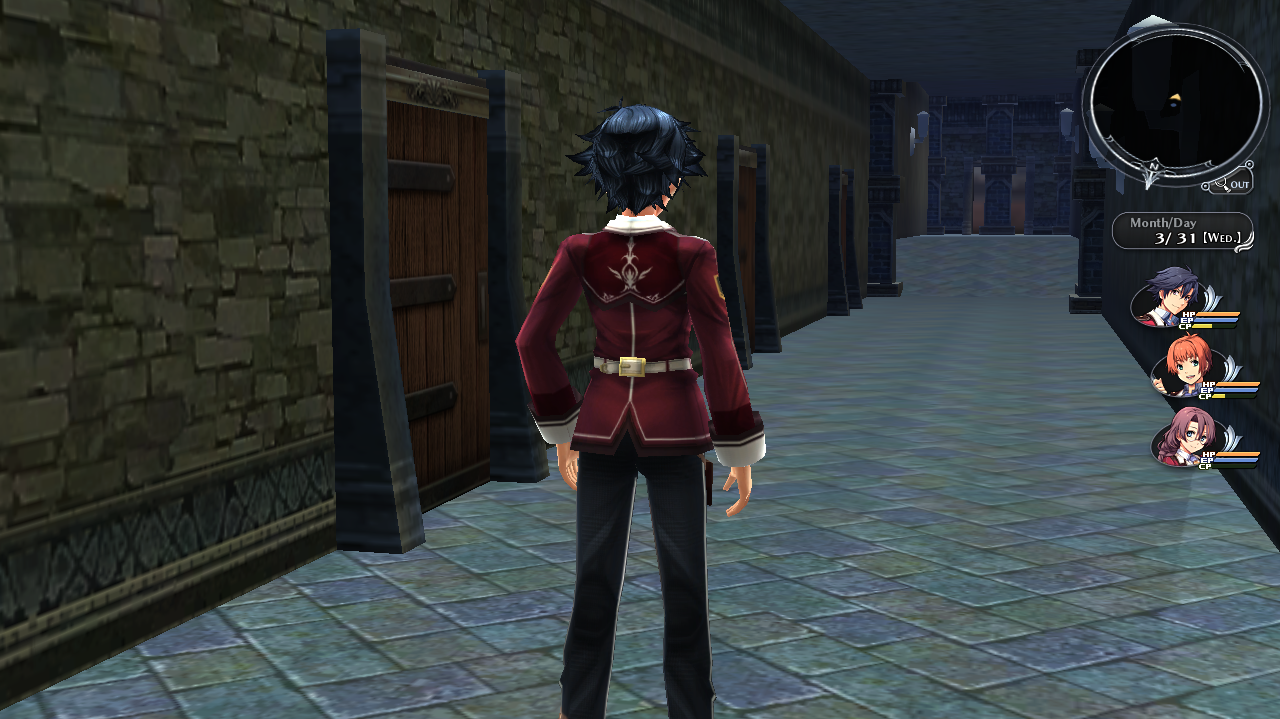
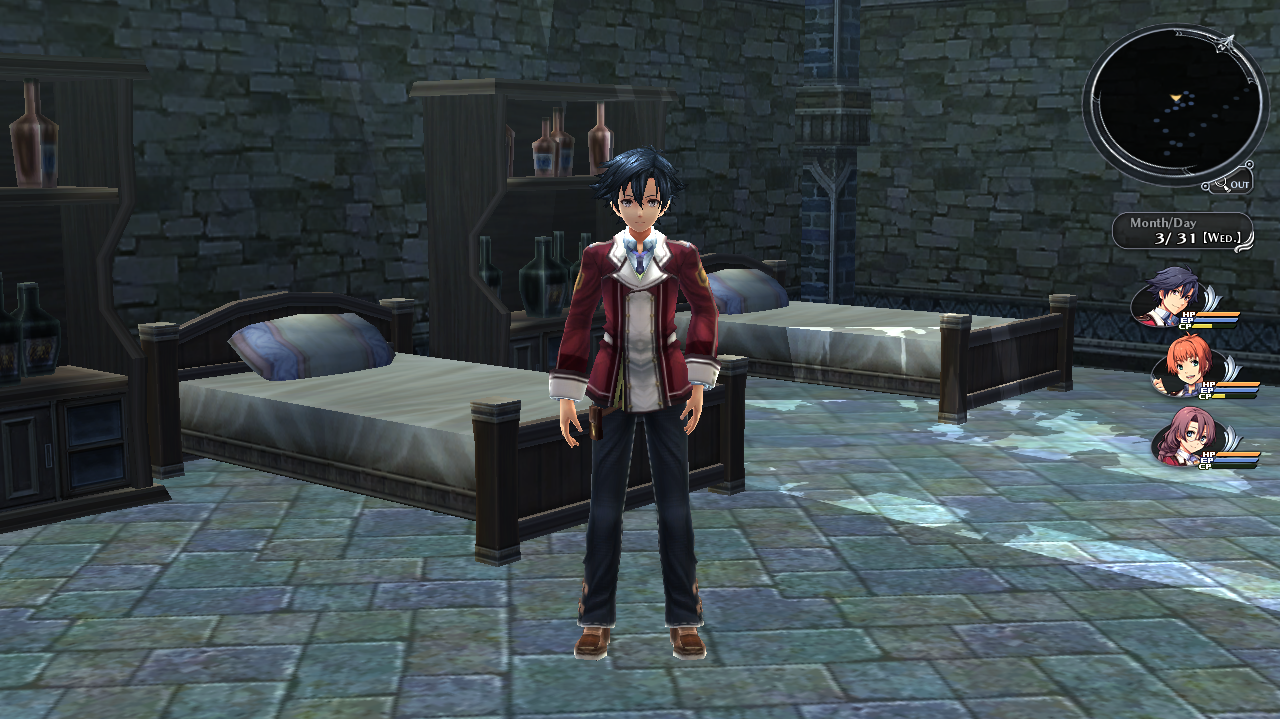
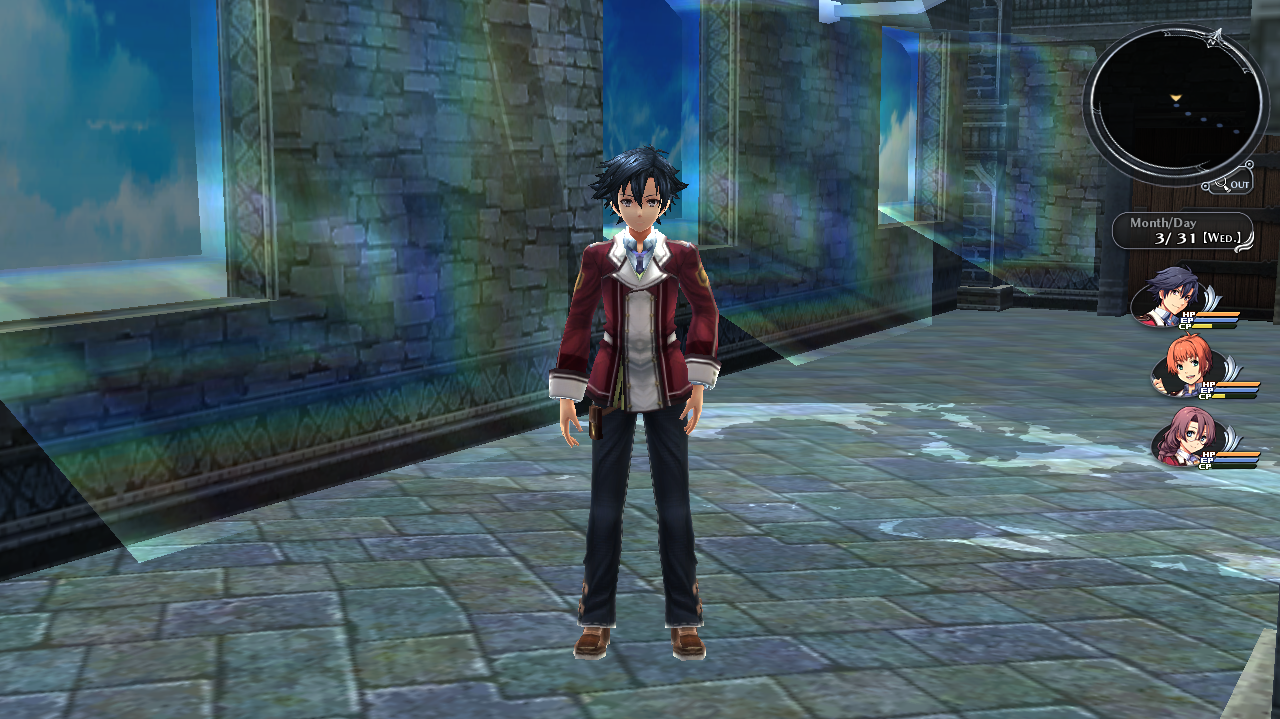
Another shop map which is a more complete version of a1300 (Incomplete Shop Map) . This version has proper collision and has more areas you can enter. There is a few objects floating out of bounds as well. The first area contains separate loading zones for the rooms, while the section down the hall repeats the same rooms from the first section but does not have any loading zones for its separate rooms.
a1800#
Hex string: 613138303000
Internal map name: Shader Test
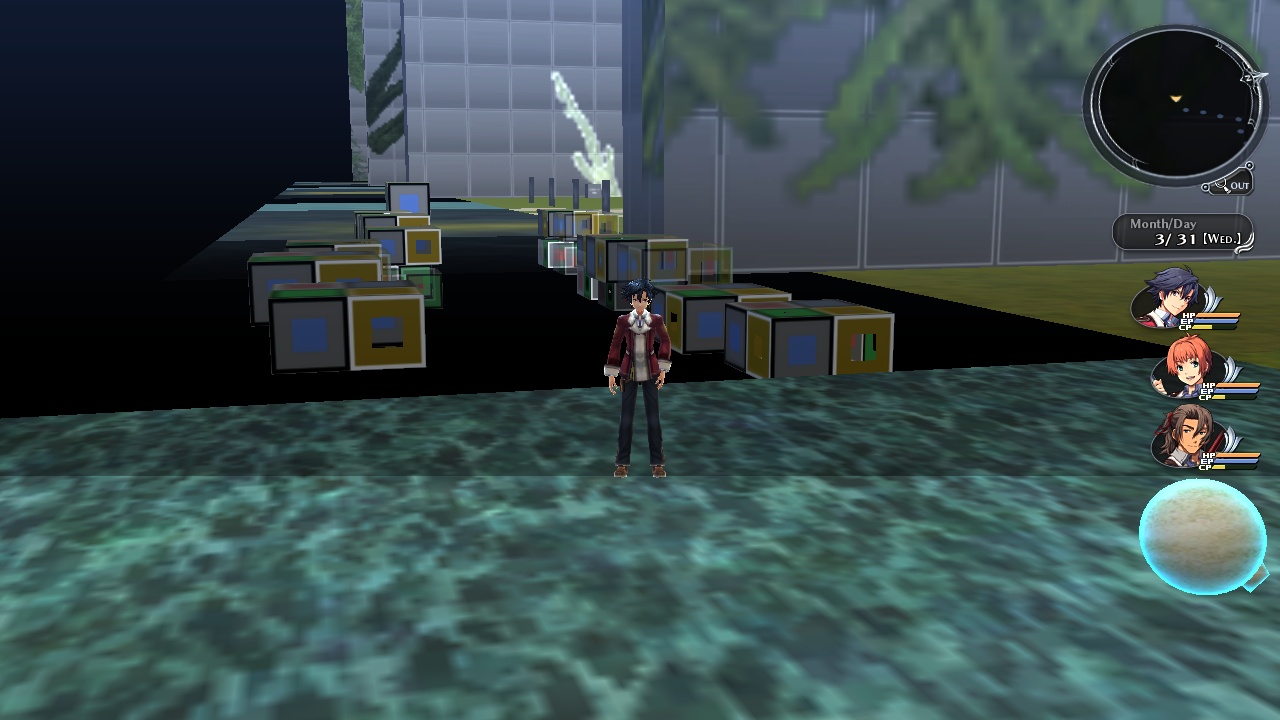
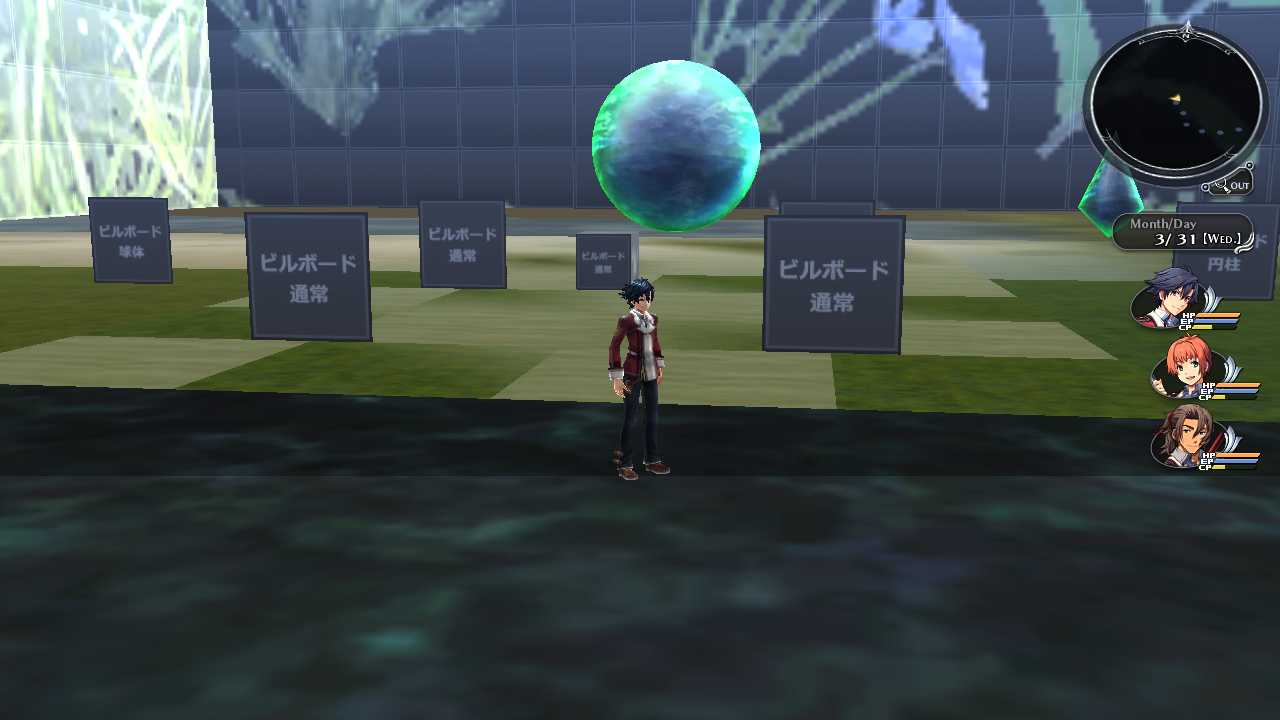
This map has a lot of scrolling textures, test cubes, and spheres in it.
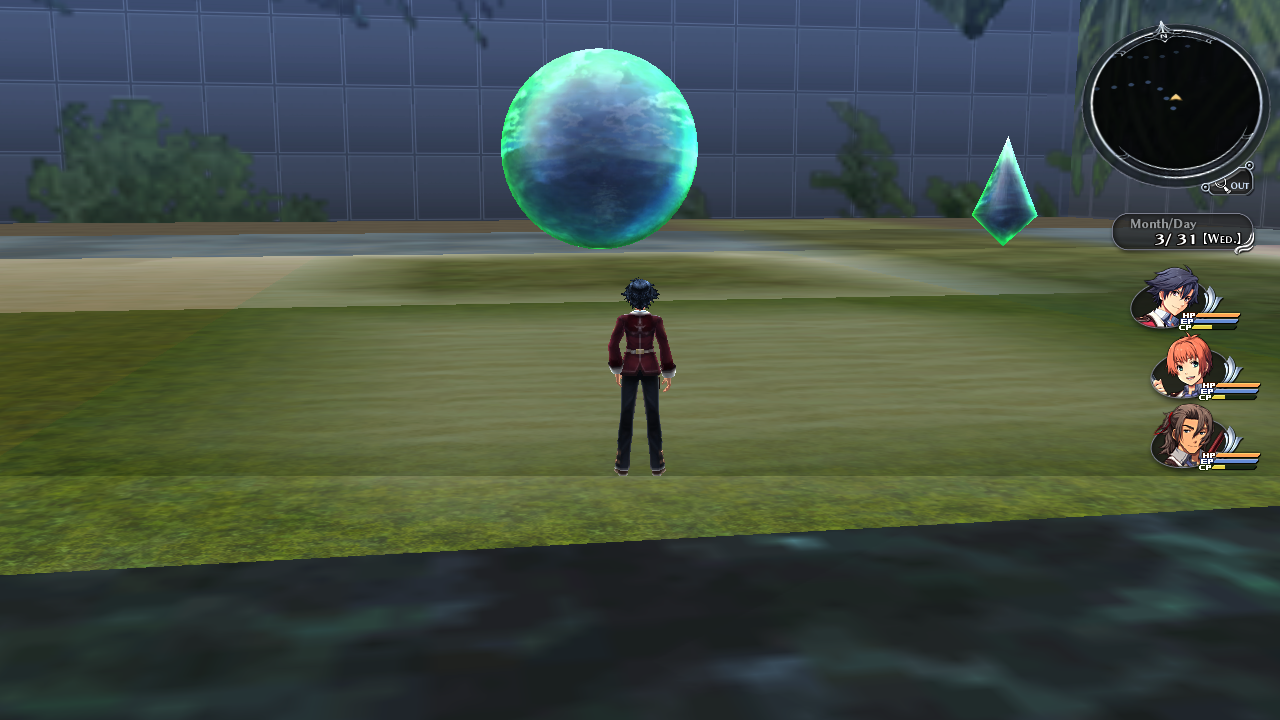
Japanese |
Translation |
|---|---|
ビルボード 通常 |
Billboard - Normal |
ビルボード 球体 |
Billboard - Spherical |
ビルボード 円柱 |
Billboard - Cylindrical |
(Source: Translation: GlitterBerri)
a1900 (Unused Trista Version 1)#
Hex string: 613139303000
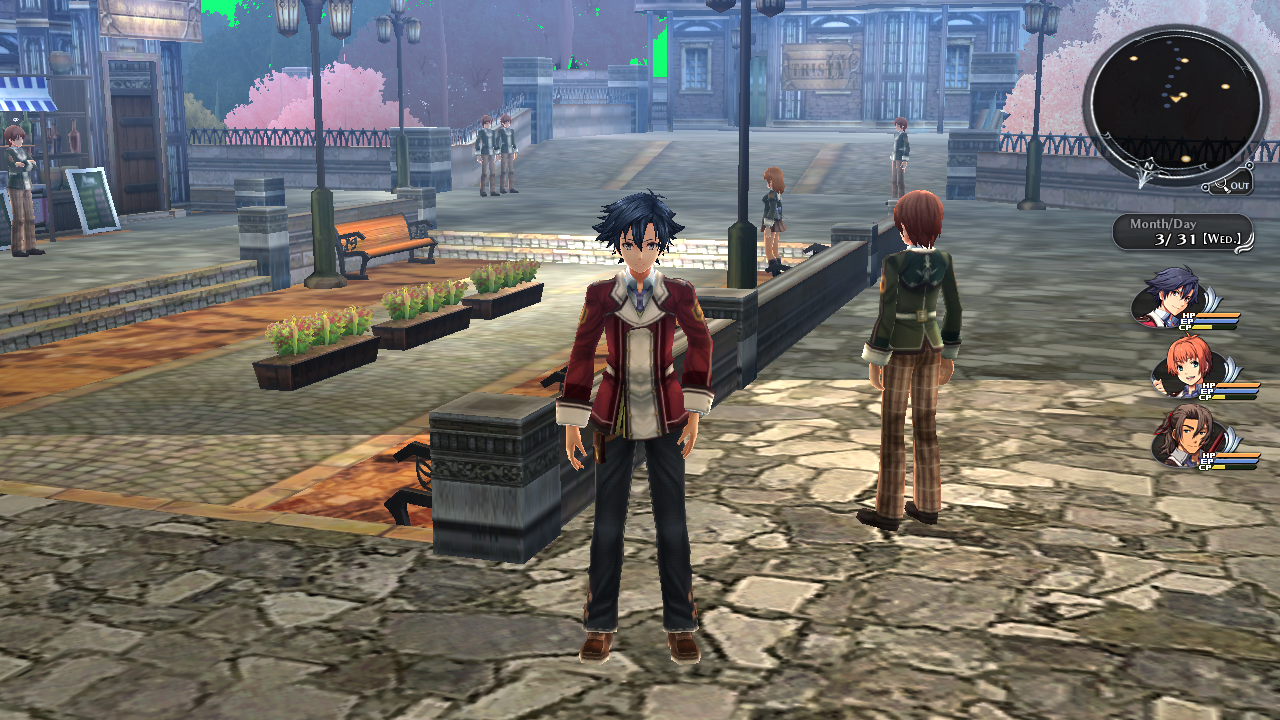
This map is mostly the same as a1902 (Unused Trista), however this version has different NPCs with different text, a green sky and shop exists that lead to unused shops.
a1901 (Unused Trista Version 2)#
Hex string: 613139303100
This map is mostly the same as a1900 (Unused Trista Version 1), however this version has a proper sky.
a2000 (Shared Objects Room)#
A map that normally crashes the game. This map contains quite a few objects such as decorations, chests, and beds.
a2001 (Unused Shop 1)#
Hex string: 613230303100
This takes you to an unused shop map. This map can also be accessed from a1900 (Unused Trista Version 1) and a1901 (Unused Trista Version 2).
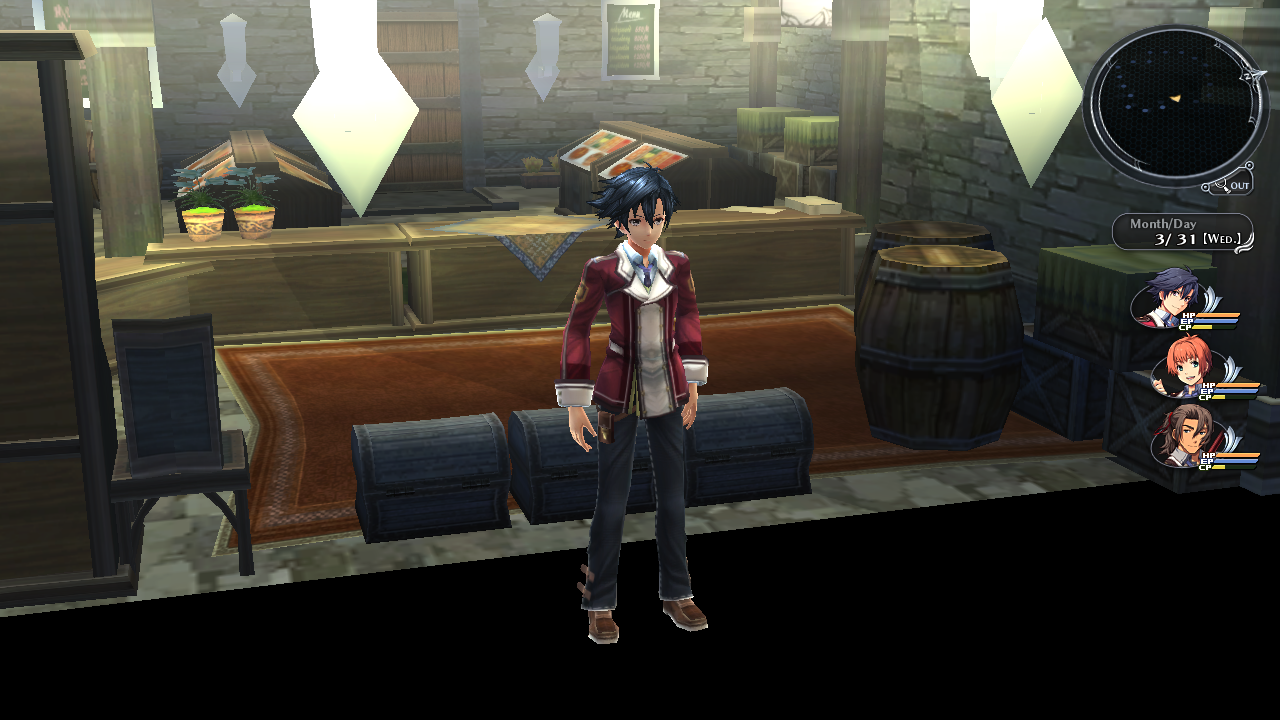
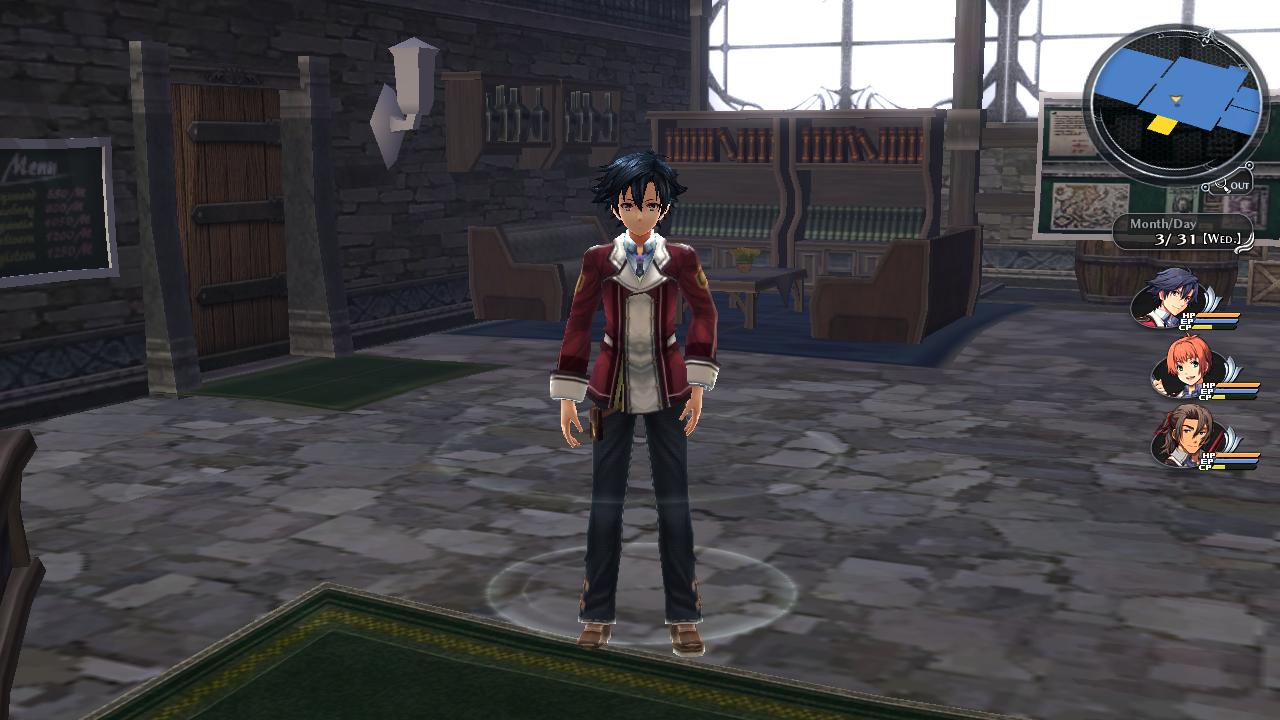
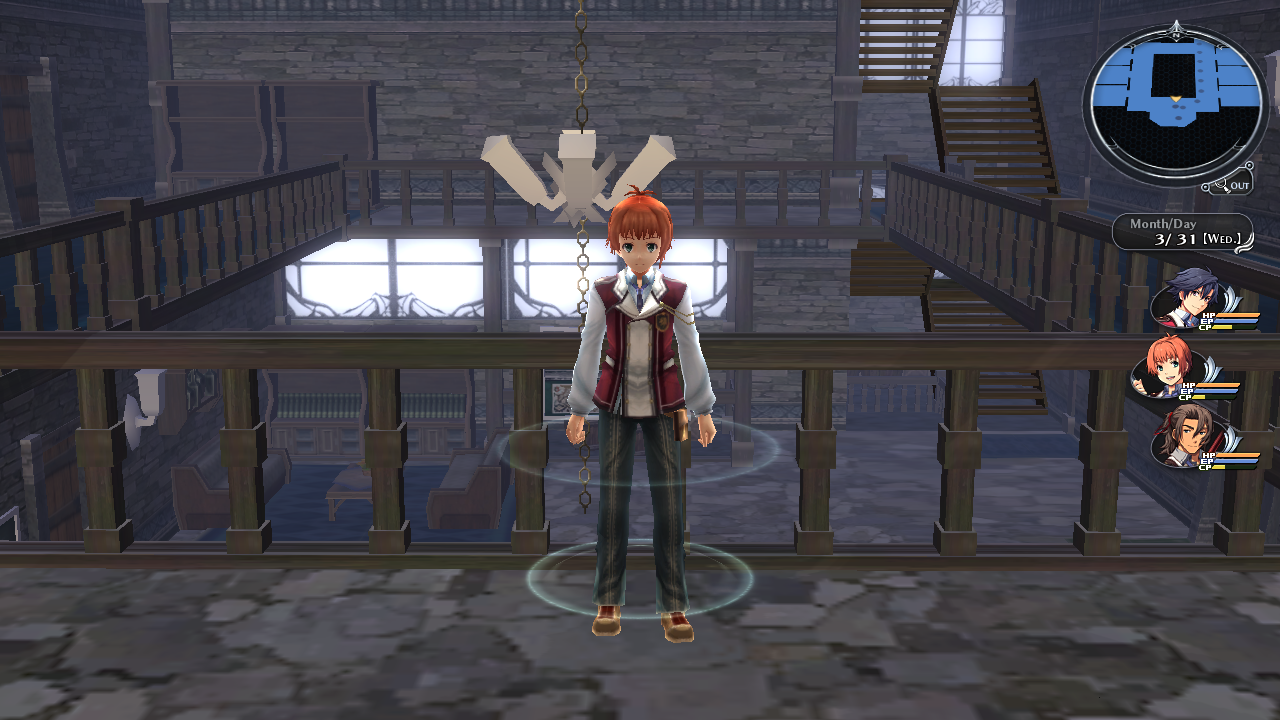
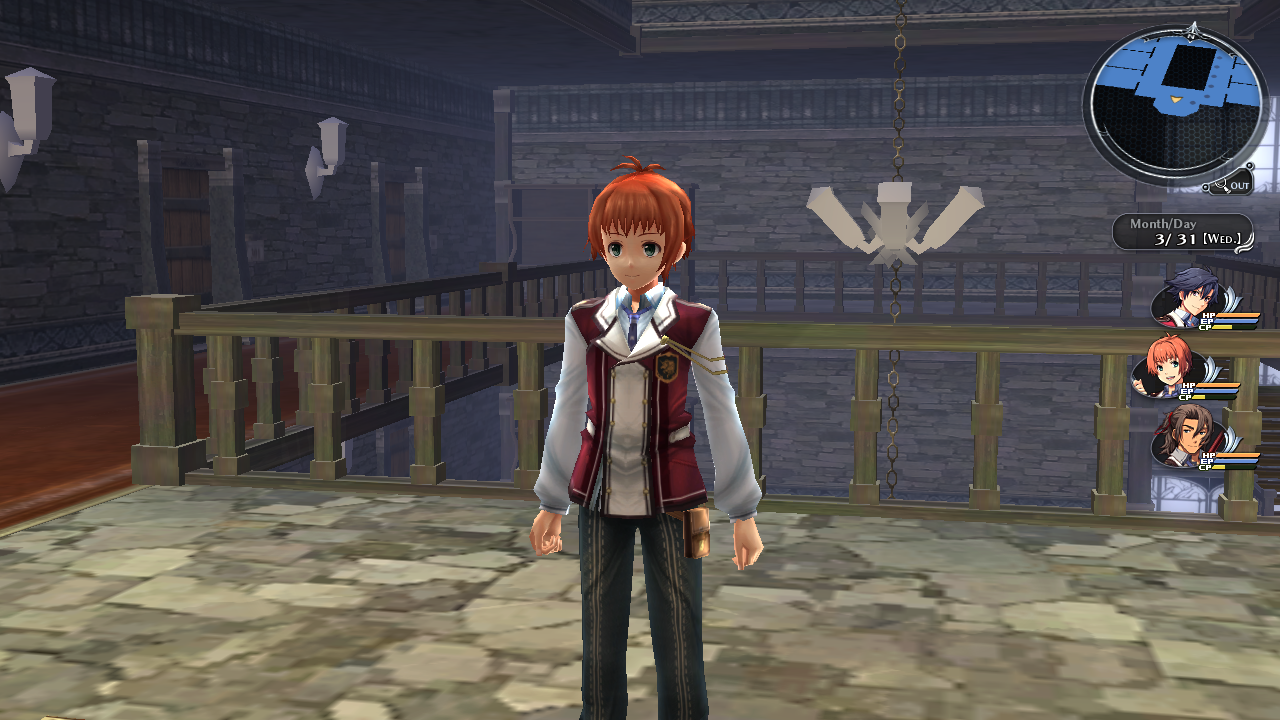
a2002 (Unused Class 7 Dormitory)#
Hex string: 613230303200
This map is an unused version of Class 7's Dormitory. This map can also be accessed from a1900 (Unused Trista Version 1) and a1901 (Unused Trista Version 2).
According to the game files for this map, there was going to be one NPC in this map that said this:
Okay, what classes have we got today... Oh no, we've got a military science lesson with Instructor Neithardt!This text is repeated one more time after this line.
a2003 (Unused Shop 2)#
Hex string: 613230303300
This takes you to an unused shop map with the test girl in it. This map can also be accessed from a1900 (Unused Trista Version 1) and a1901 (Unused Trista Version 2).
a2005#
Hex string: 613230303500
Internal map name: Inoue's Room
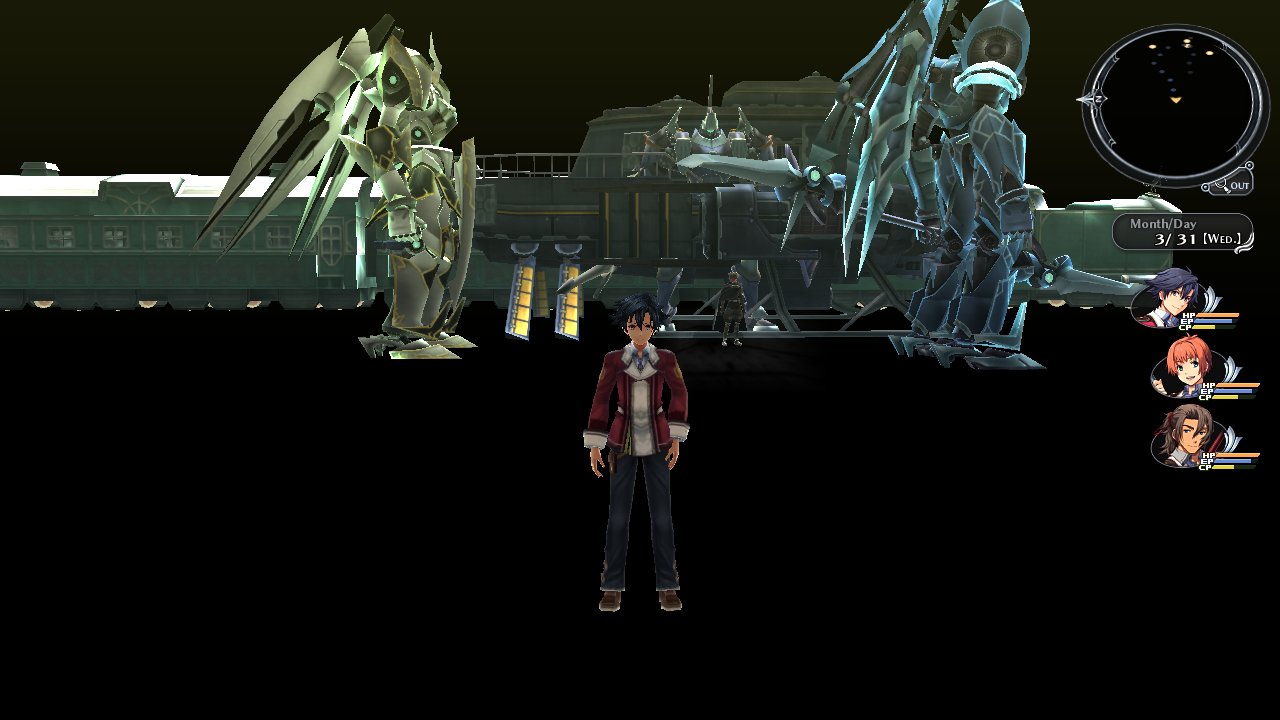
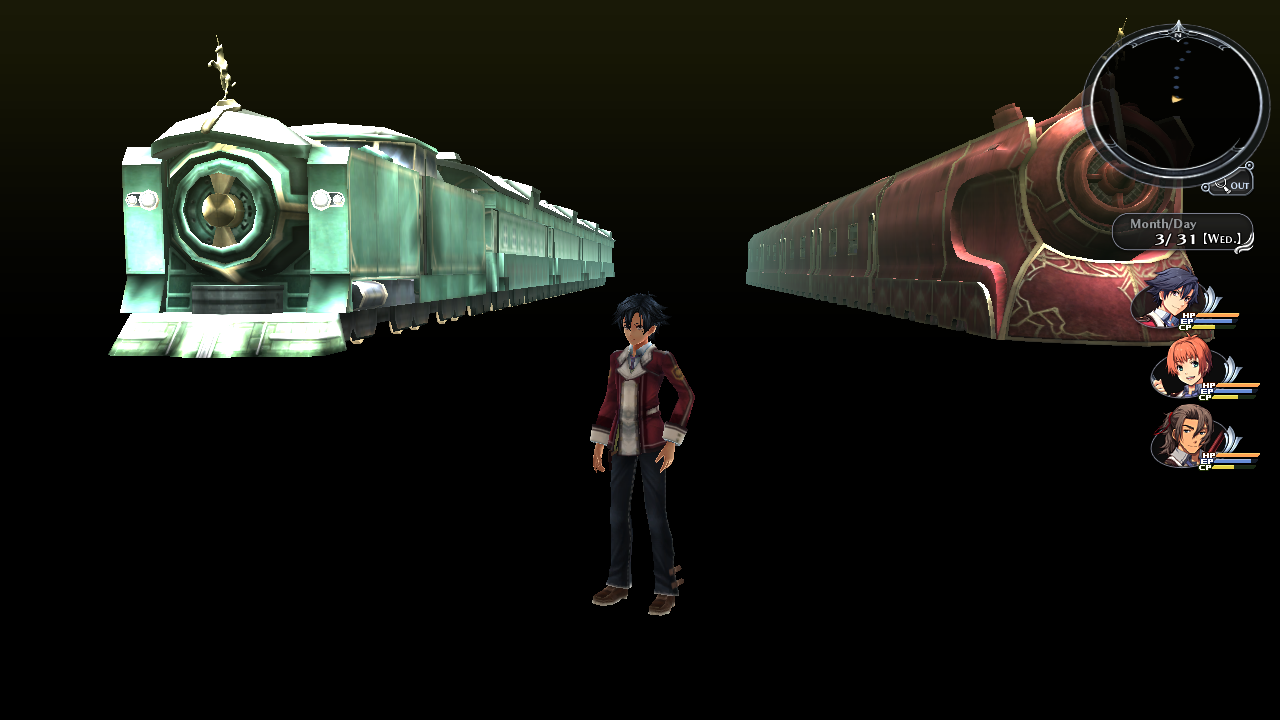
A Random test map with two trains slowly moving. One train has Rean on it and another unseen NPC. The other train has Towa, Osborne and Olivert along with Mueller on it. This map also contains a airship, Masked C, the Ashen Knight and the Azure Knight. Masked C will give you a handful of battle options.
a2007#
Hex string: 613230303700
Internal map name: Sawamura's Room
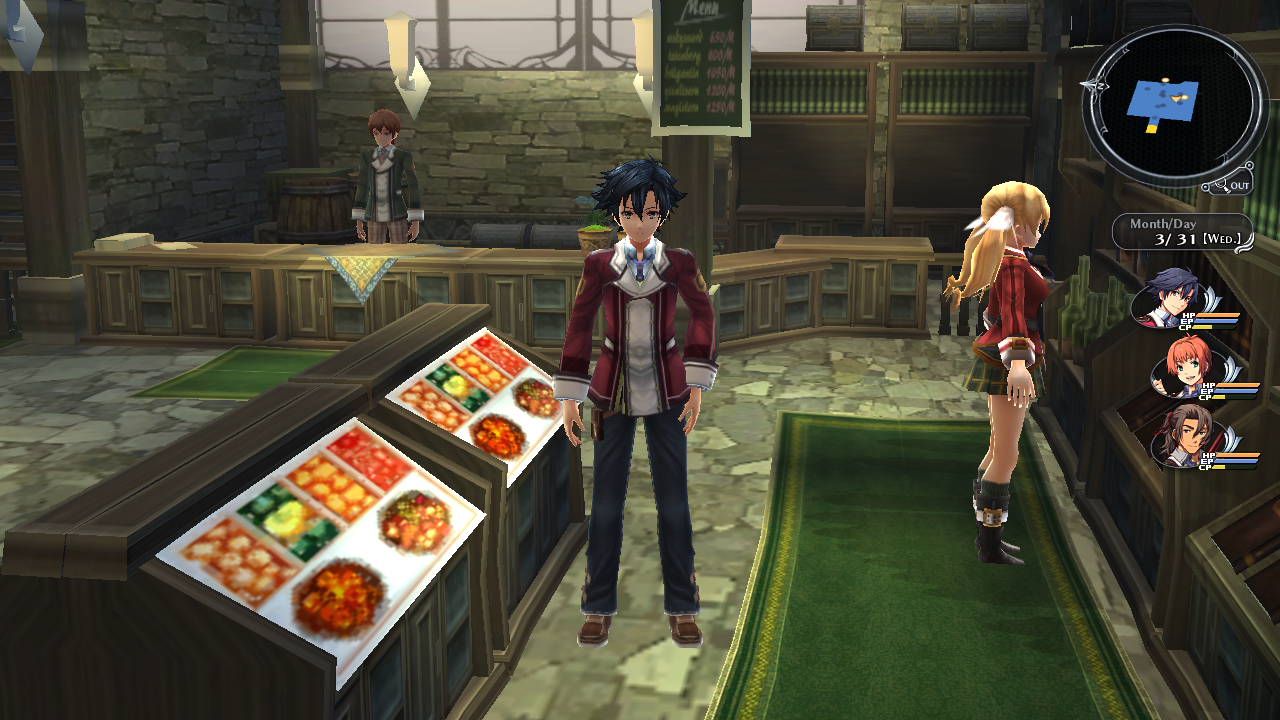
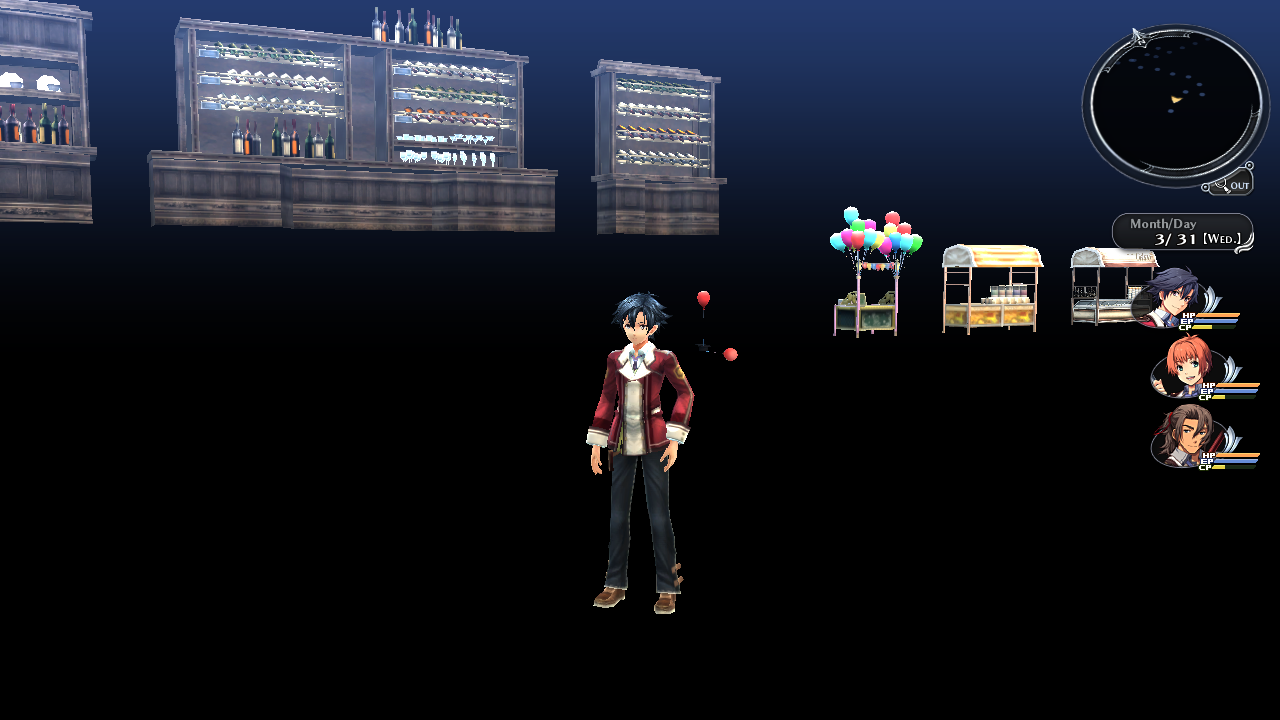
This map contains food stalls and sets of dishes. Yummy. Free food.
a2008 (Unused Valflame Palace's Terrace)#
Hex string: 613230303800
Internal map name: Takai's Room
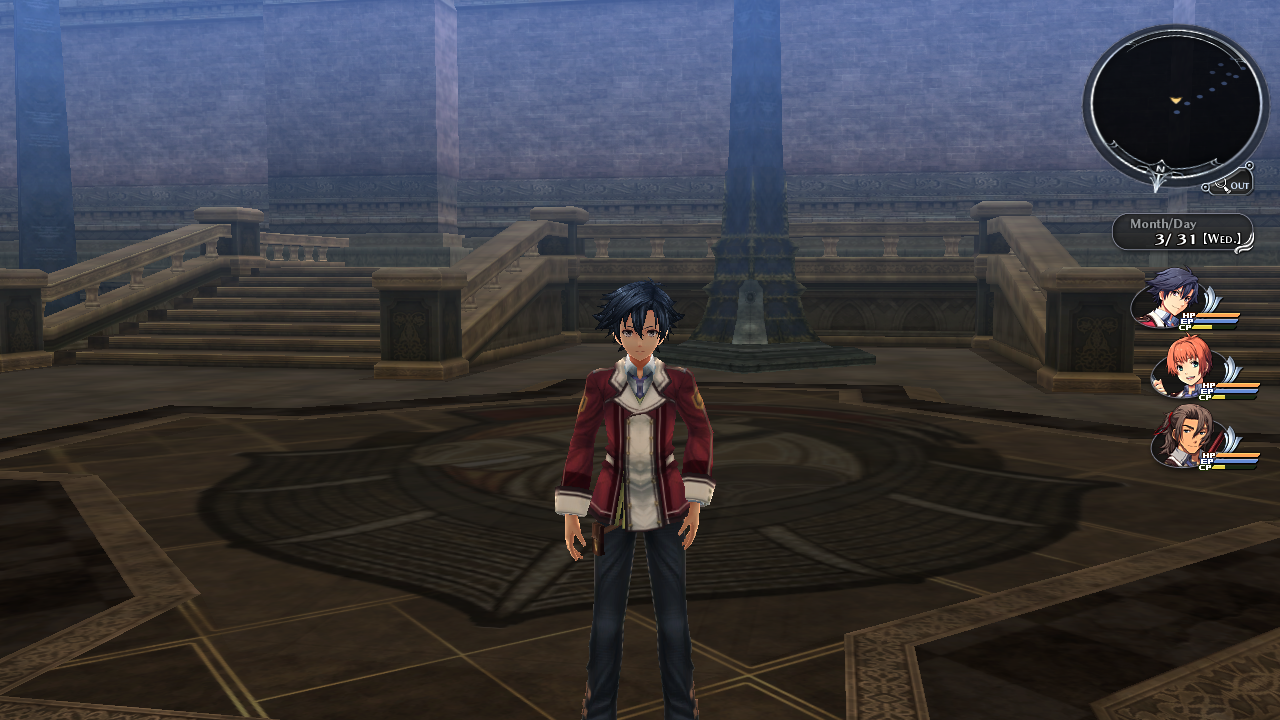
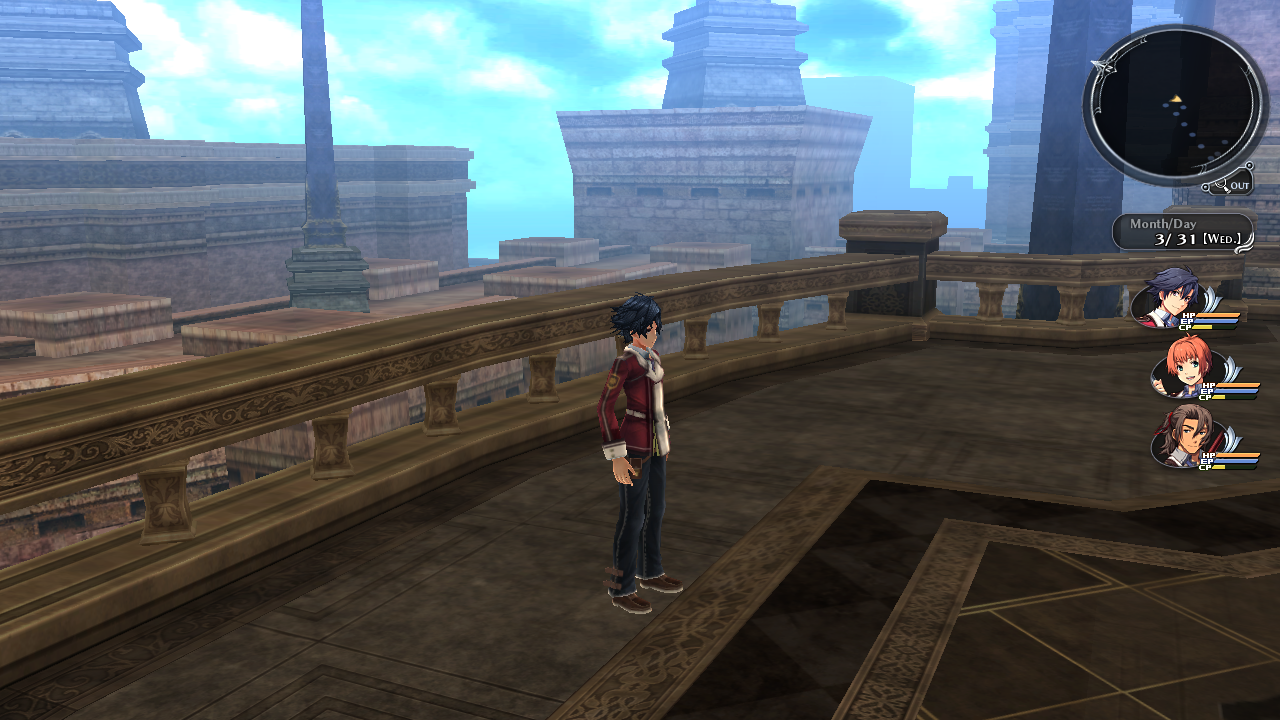
This sends you to Valflame Palace's Terrace. There isn't much different here. The only main difference is the lack of most buildings. Walking towards the middle of the map will send you into a empty void. This is the incomplete version of Valflame Palace's Terrace (c0960). The only difference is the lack of door to Valflame Palace's Parlor (c0930).
a2009#
Hex string: 613230303900
Internal map name: Ichiba's Room
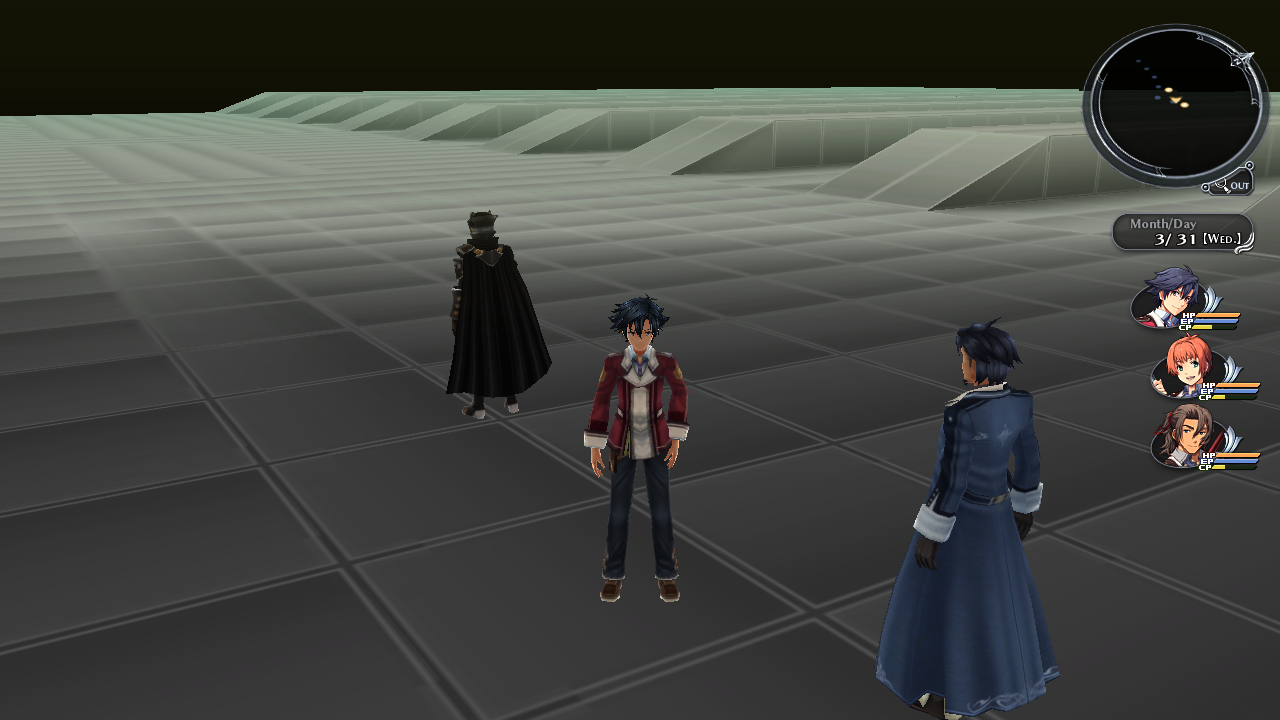
This map contains only Masked C and Viscount Arseid. You cannot interact with them. There is also a sun in the sky in this map.
a3000 (Heimdallr)#
Hex string: 613330303000
Internal map name: Water Surface Development
The map is Heimdallr's Port, however it has no NPCs in it.
a4600 (Lake Lacrima)#
Hex string: 613436303000
Internal map name: UV Scroll Test
The only thing different here is some of the trees have a white outline to them and the water is not animated.
a9999 (Ladder Test)#
Hex string: 613939393900
Internal map name: Ladder Room
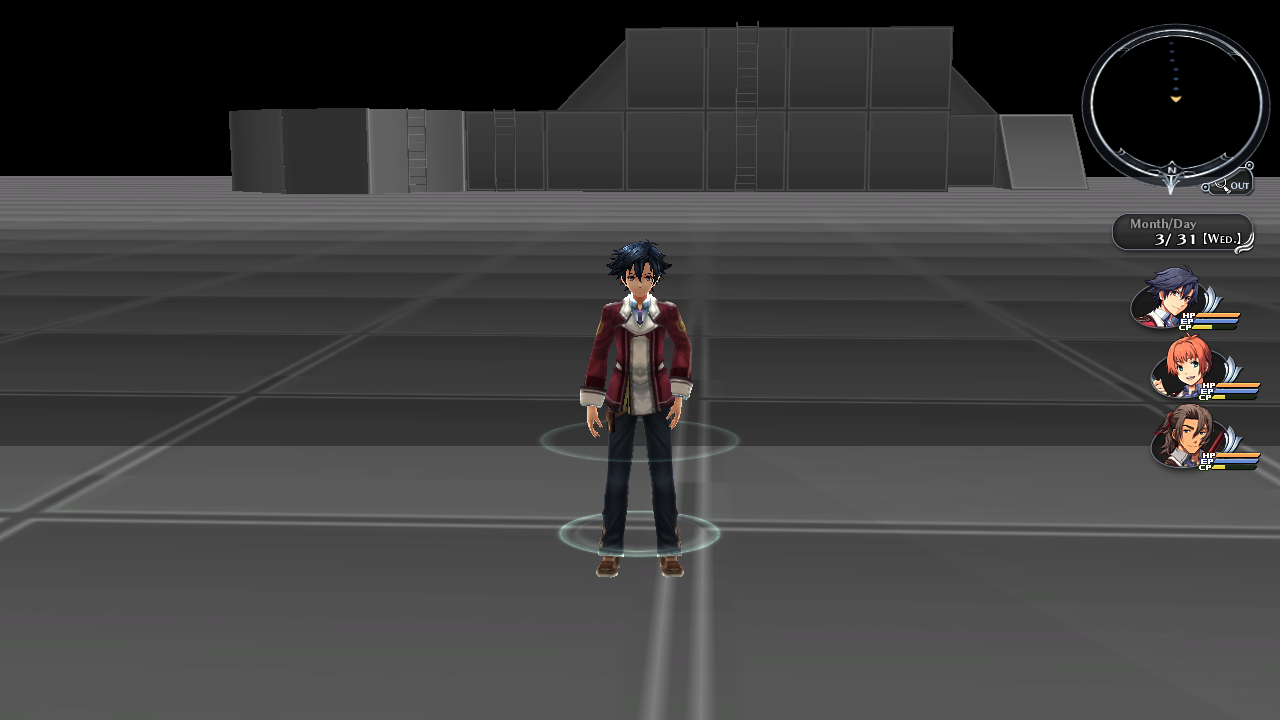
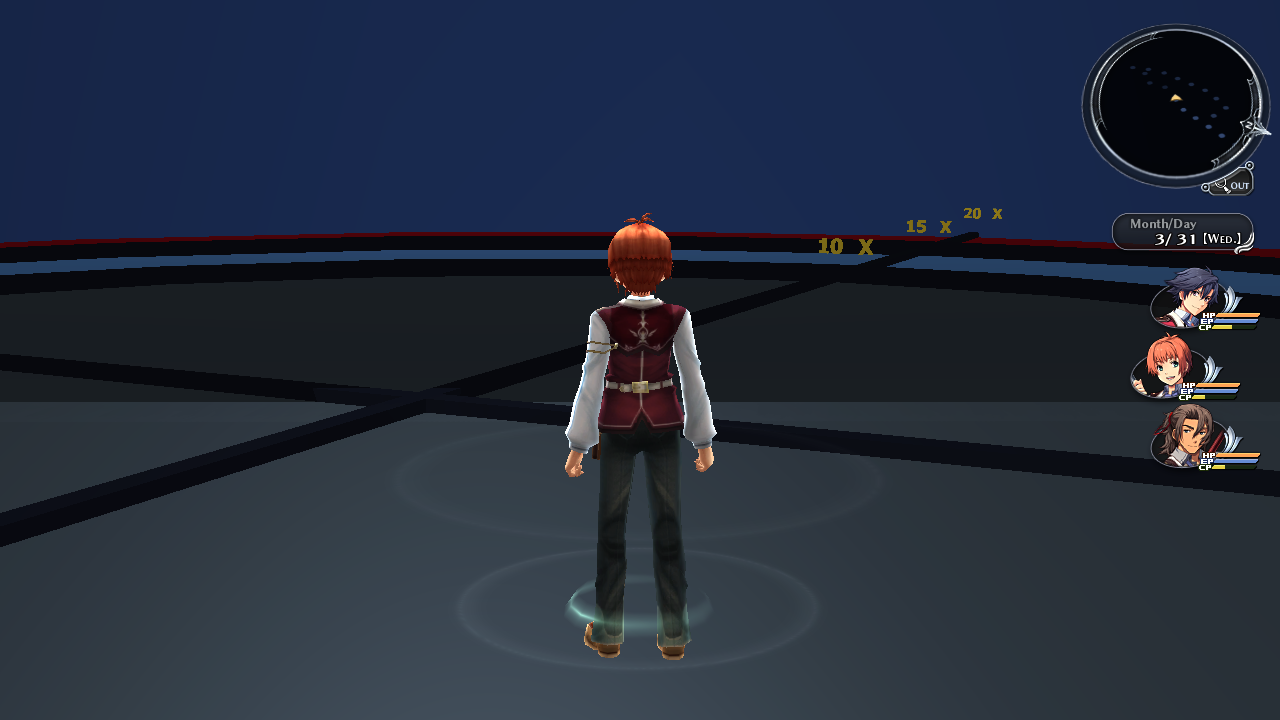
This map contains large walls with ladders you can climb up.
ba0000 (Size Sample)#
Hex string: 626130303030
This map is a battle test map. It was most likely used to determine battle field size.
Unused Maps#
For a complete video listing of all the major unused maps, head over to this link.
Battle Maps#
ba1200#
Hex string: 62613132303000
This map is the same as a1200 (Field Test Map), however this is it's battle version. The only thing different is it does not have the treasure chests. There was no monsters to fight in its field counterpart.
ba1500#
Hex string: 62613135303000
This map relates to a1500 (Test Dungeon 1), however this version is a large platform for fighting on. There was no monsters to fight in its dungeon counterpart.
ba1700#
Hex string: 62613137303000
This map relates to a1700 (Test Dungeon 2). There was no monsters to fight in its dungeon counterpart.
ba3050#
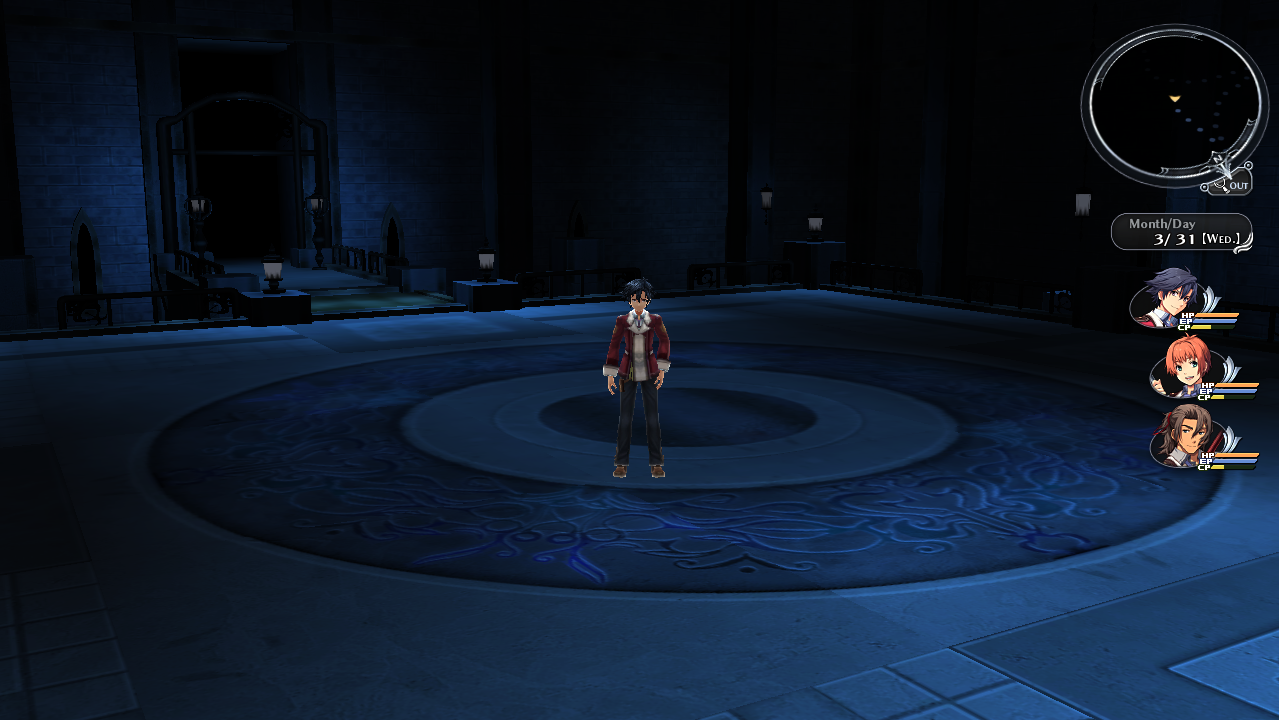
This map is a carbon copy of the Arseid School arena where you fight the students in.
Dungeon Maps#
m1250 (Sachsen Iron Mine Unused Section)#
Hex string: 6D313235300 This map appears somewhere in between Sachsen Iron Mine - Relay Area and Sachsen Iron Mine - Front in the game's files. It has six treasure chests, however you cannot open them.
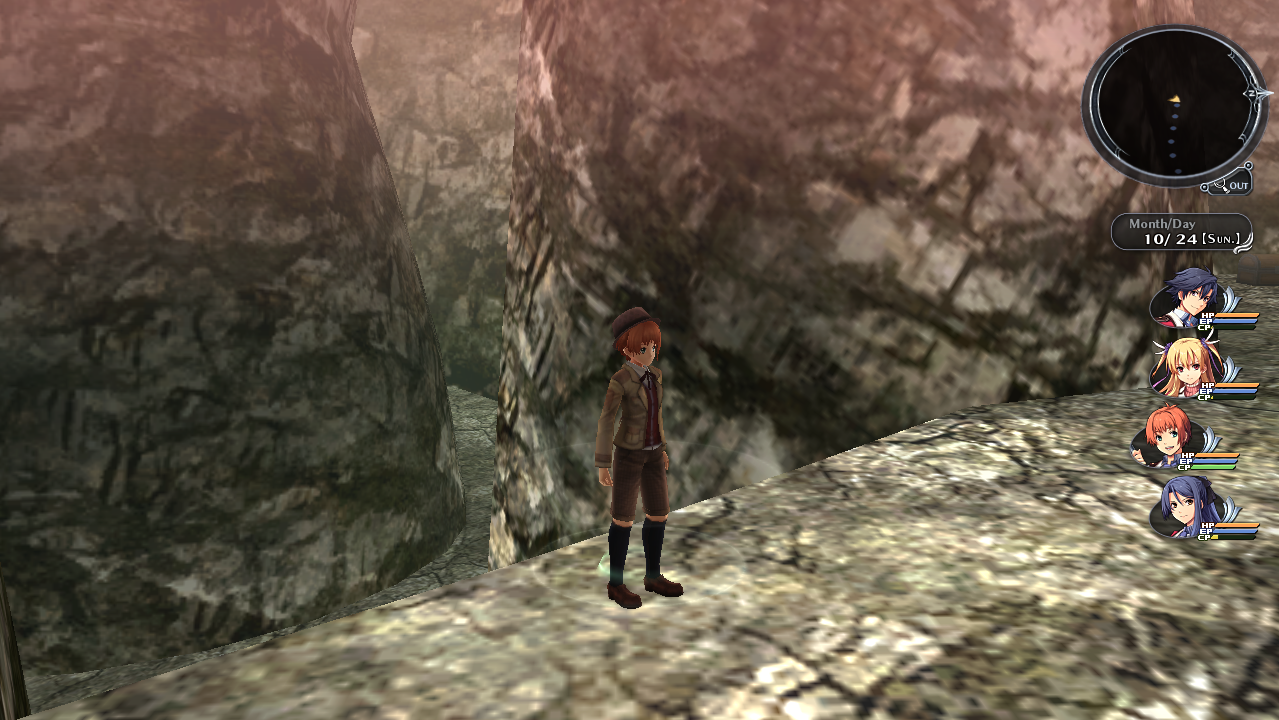
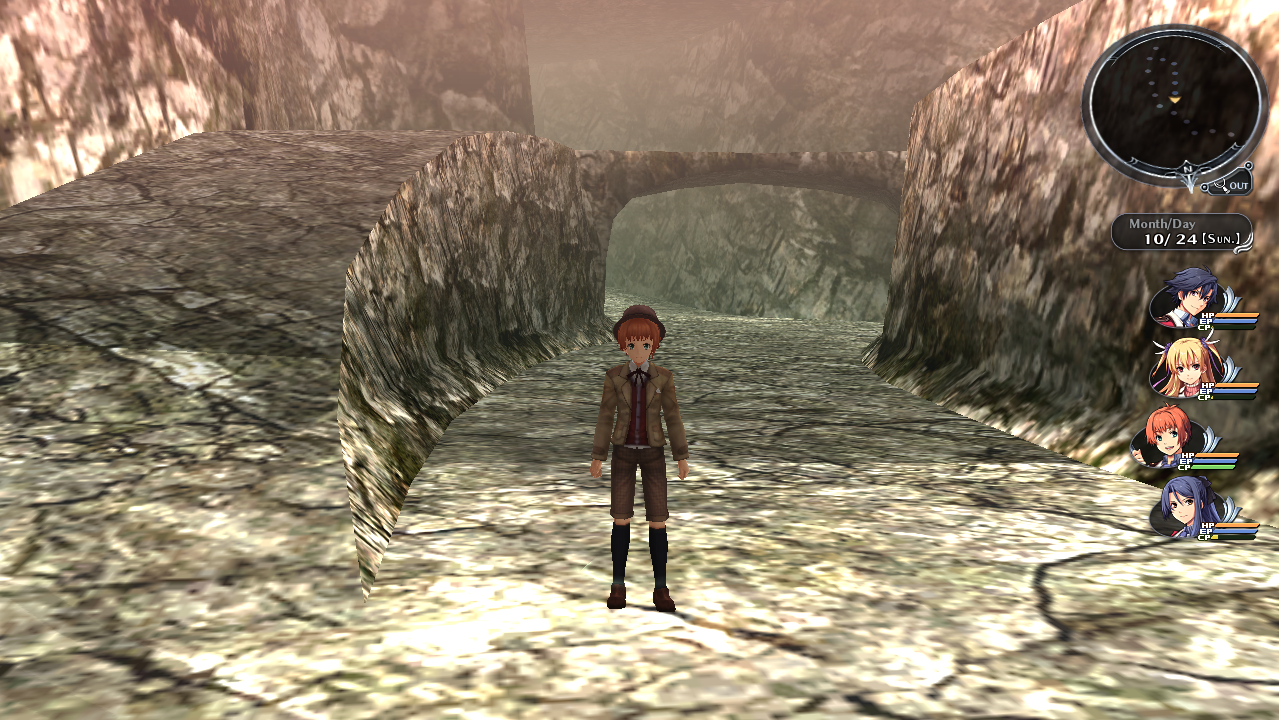
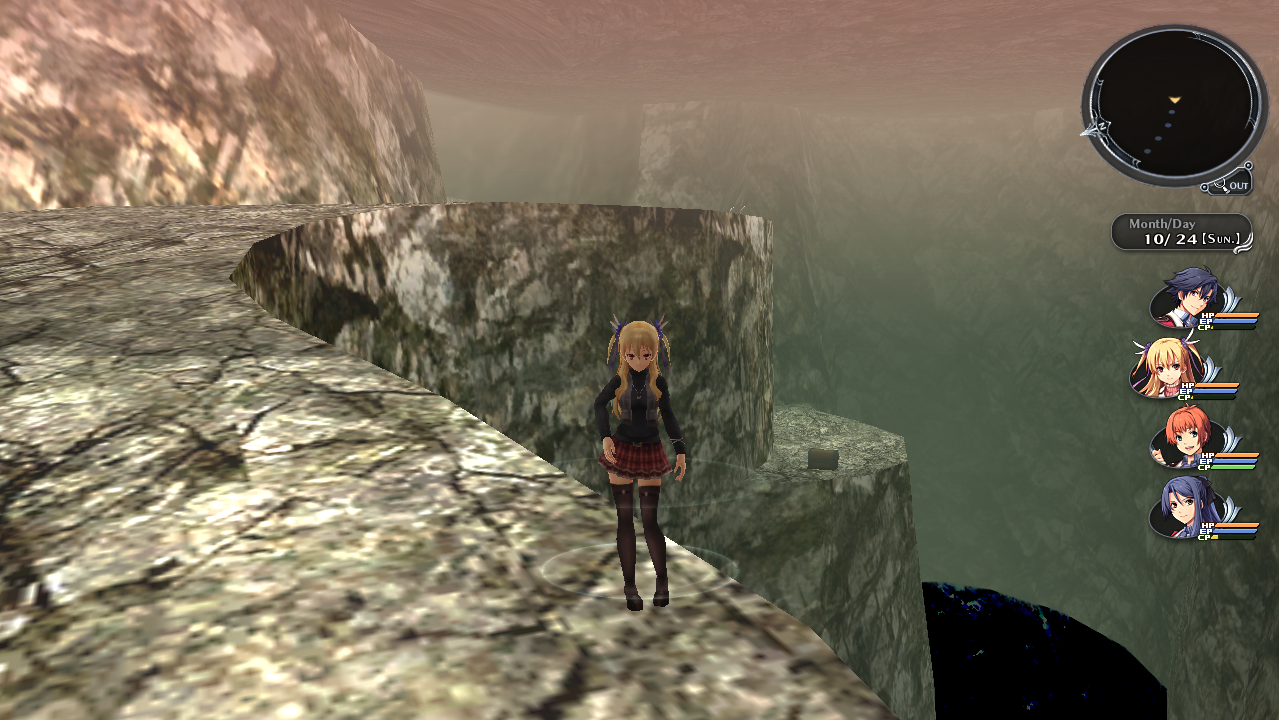
m1510 (Unused Ancient Quarry)#
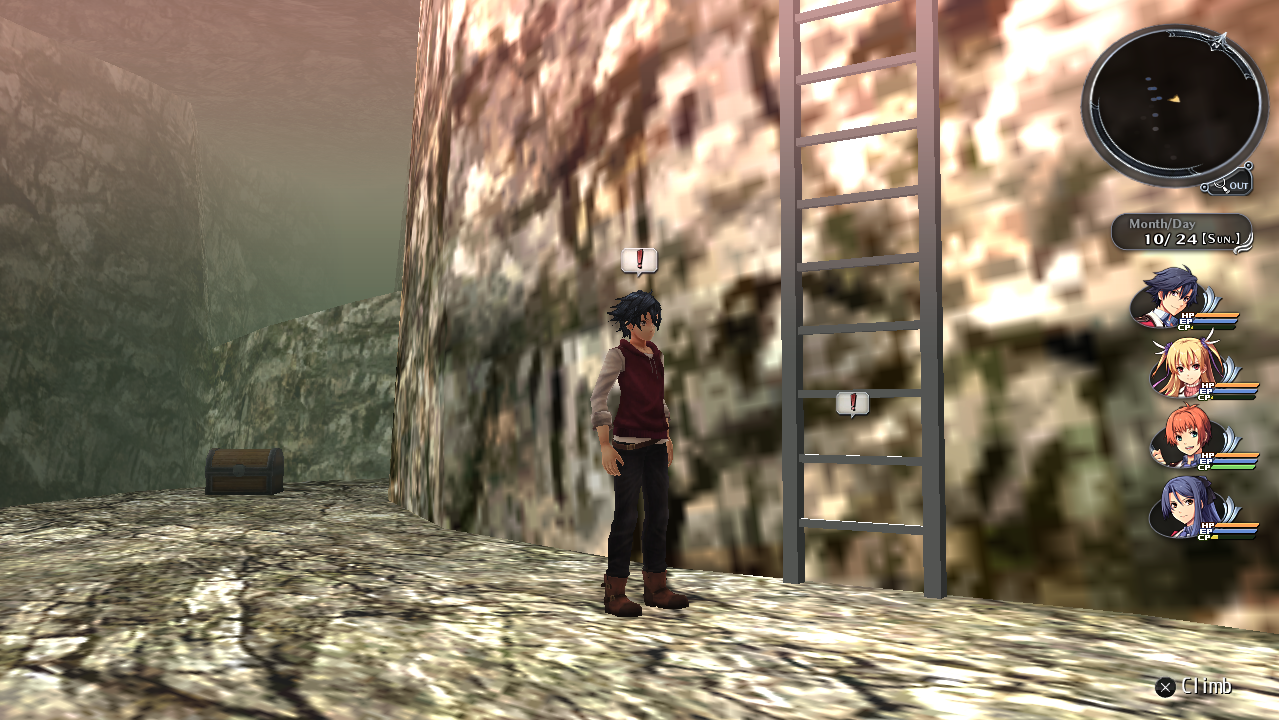
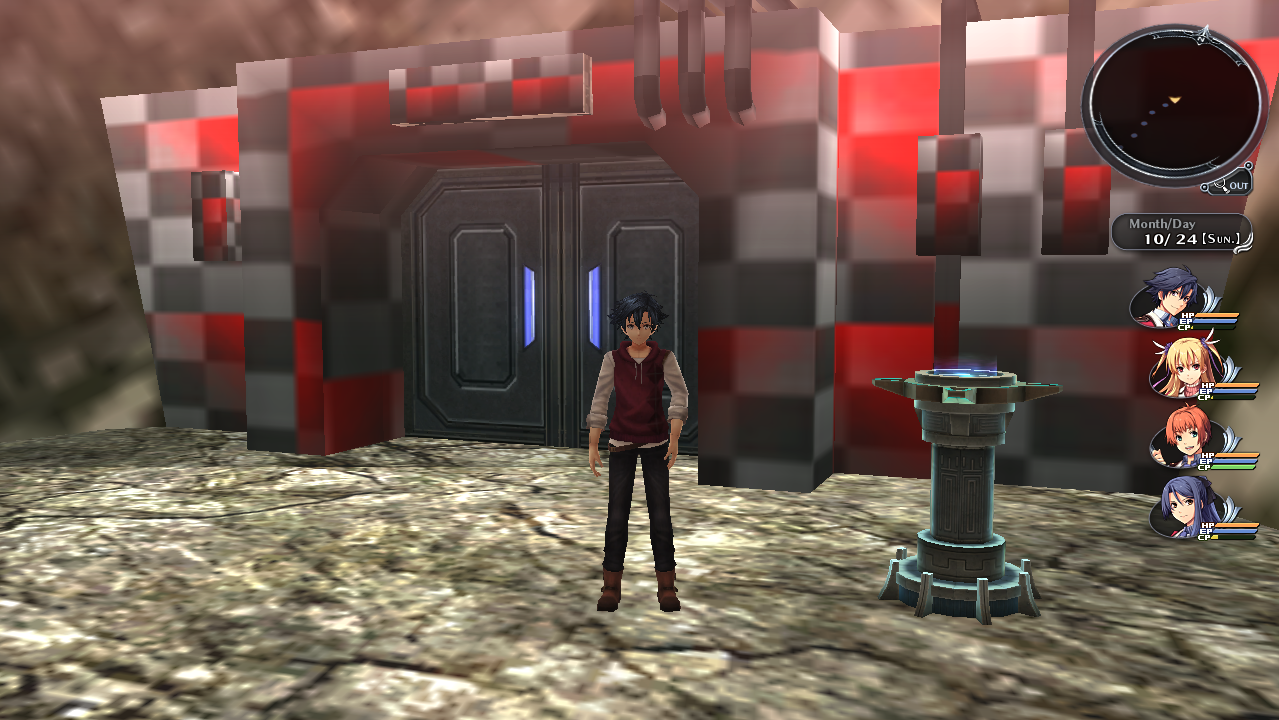
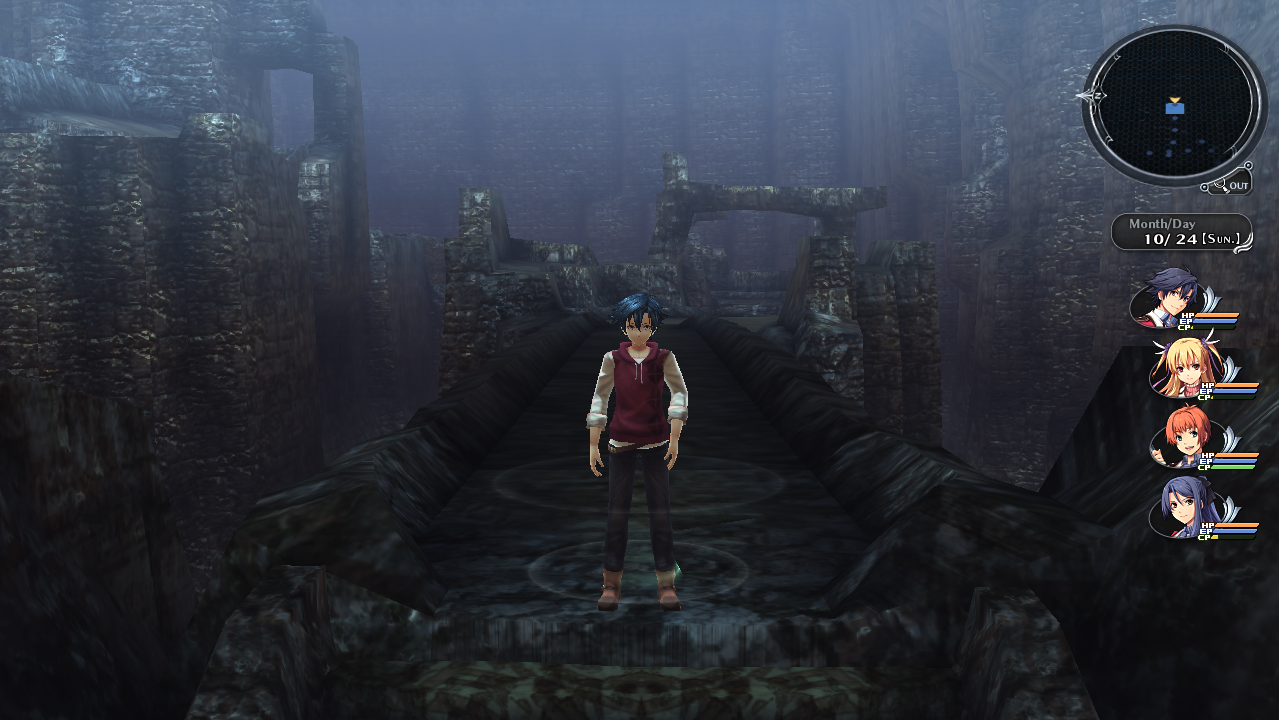
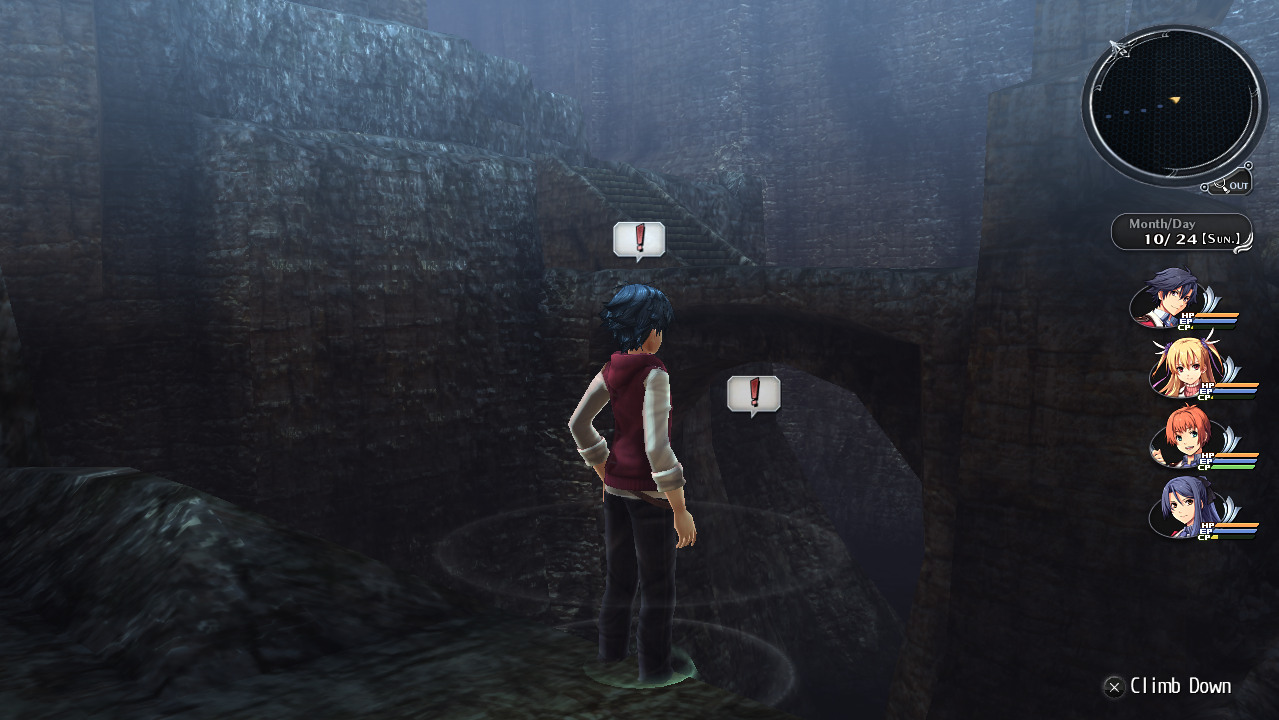
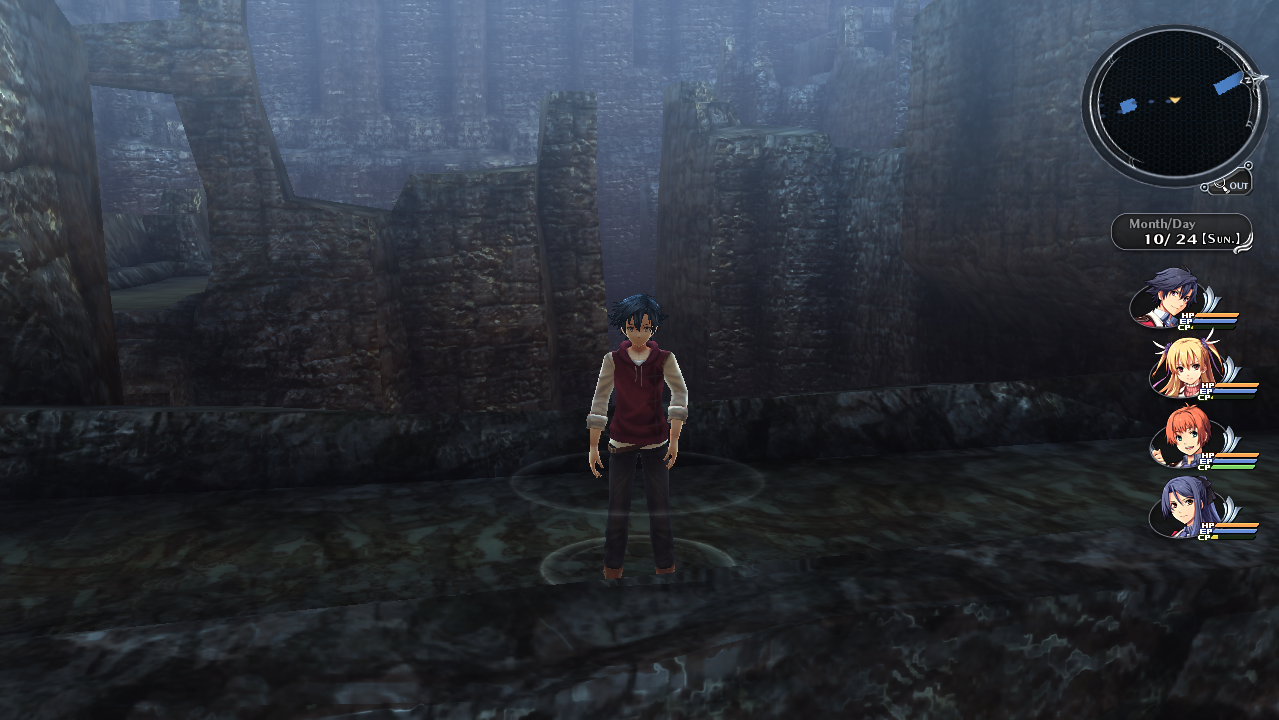
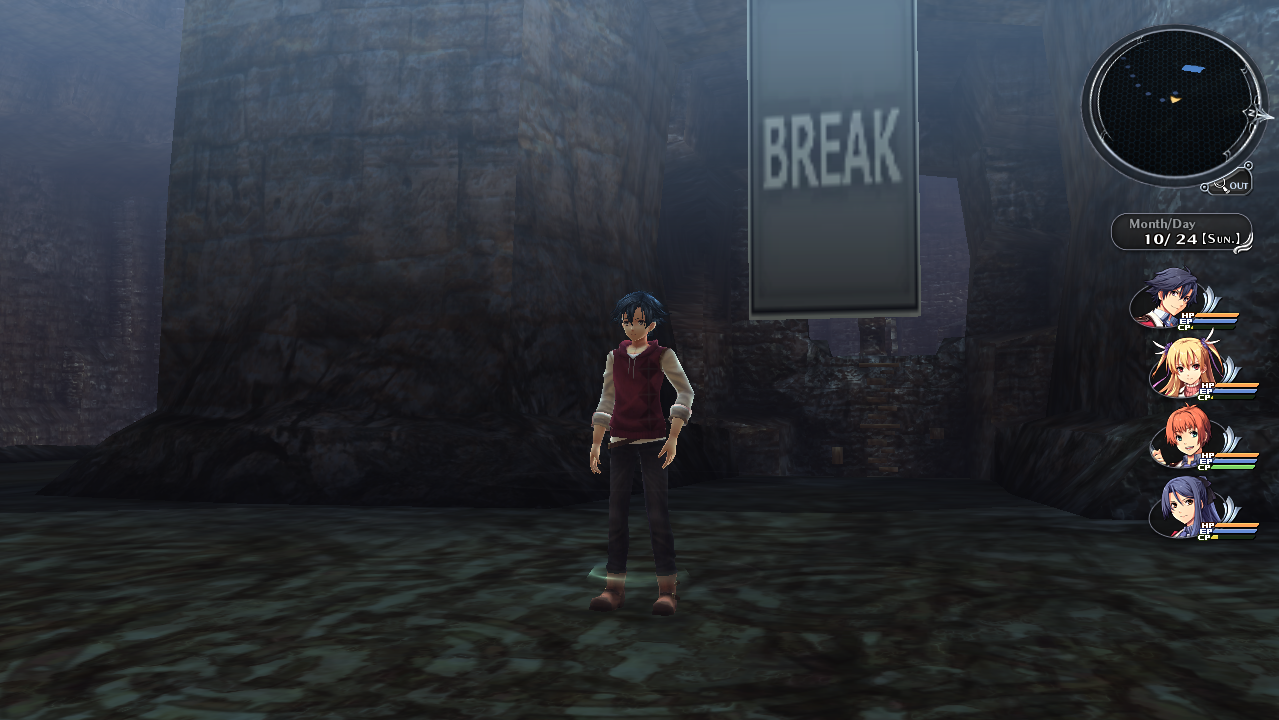
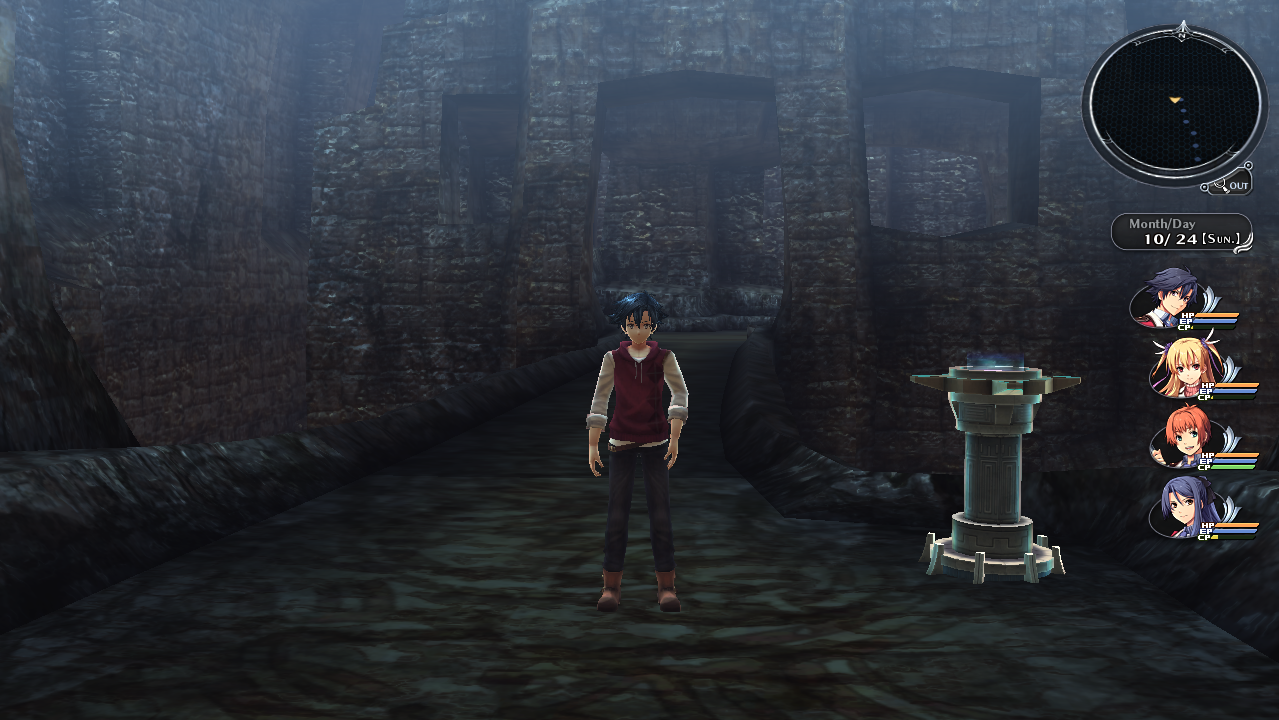
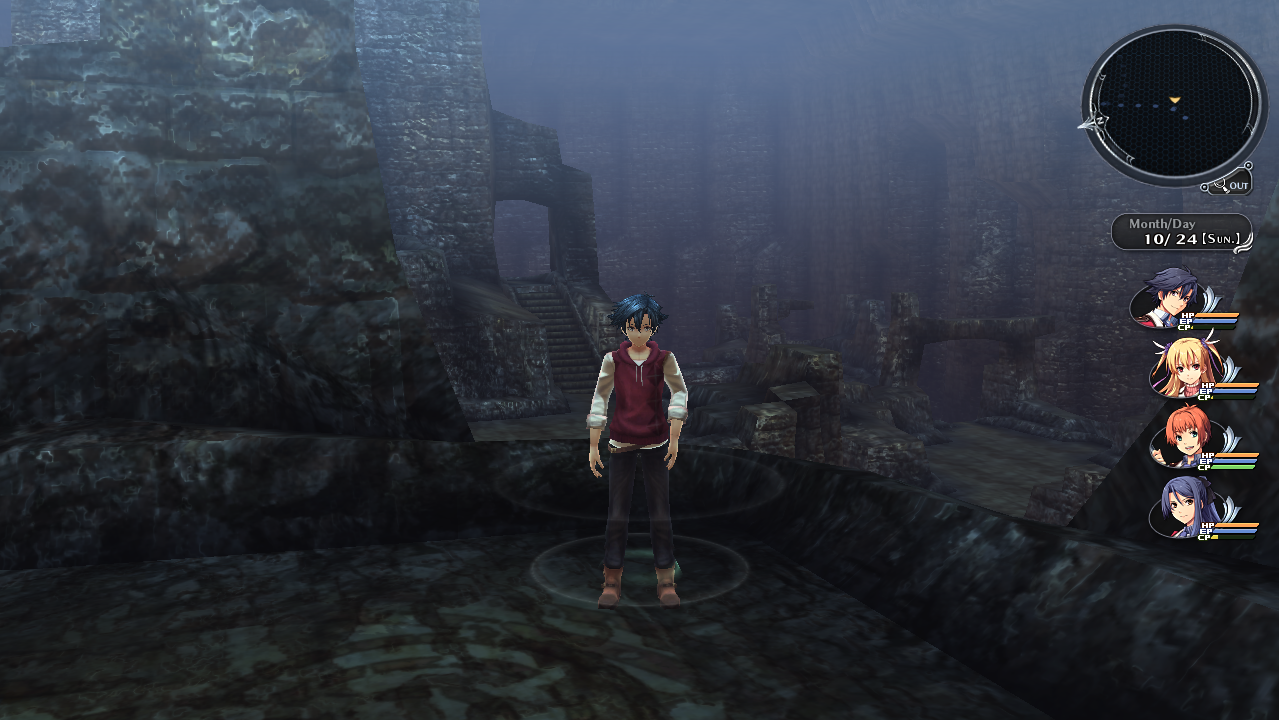
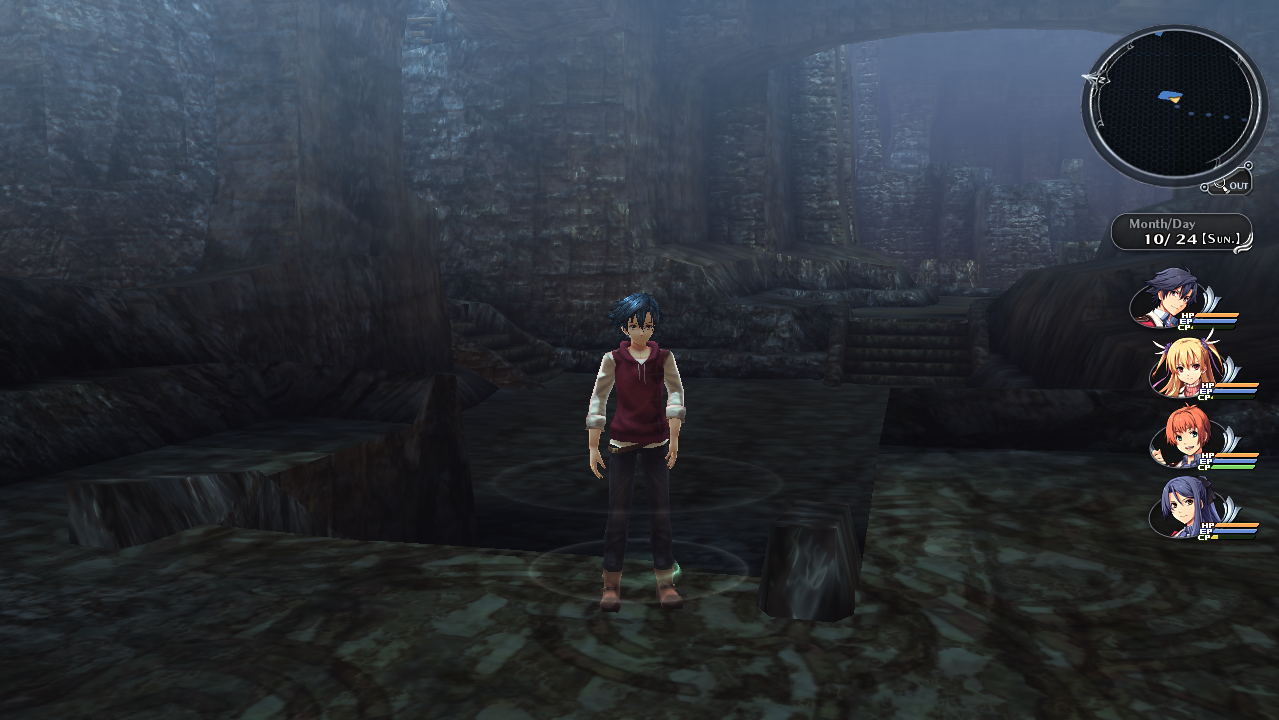
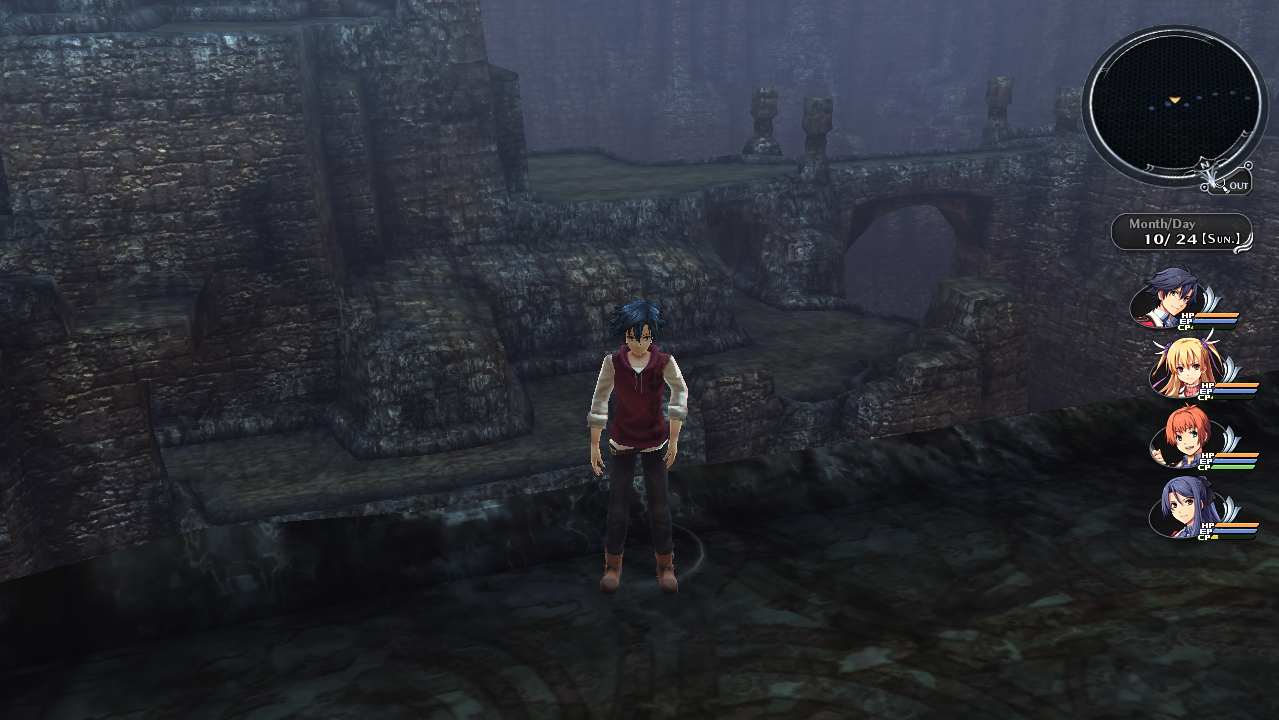
This map cannot be normally loaded. This map is a entirely different version of Ancient Quarry. Normally in the game it is split into two small sections, however this version has a entirely different layout and is split into two gigantic sections. This place has a very neat layout and its unclear why this was never used. It even has proper collision.
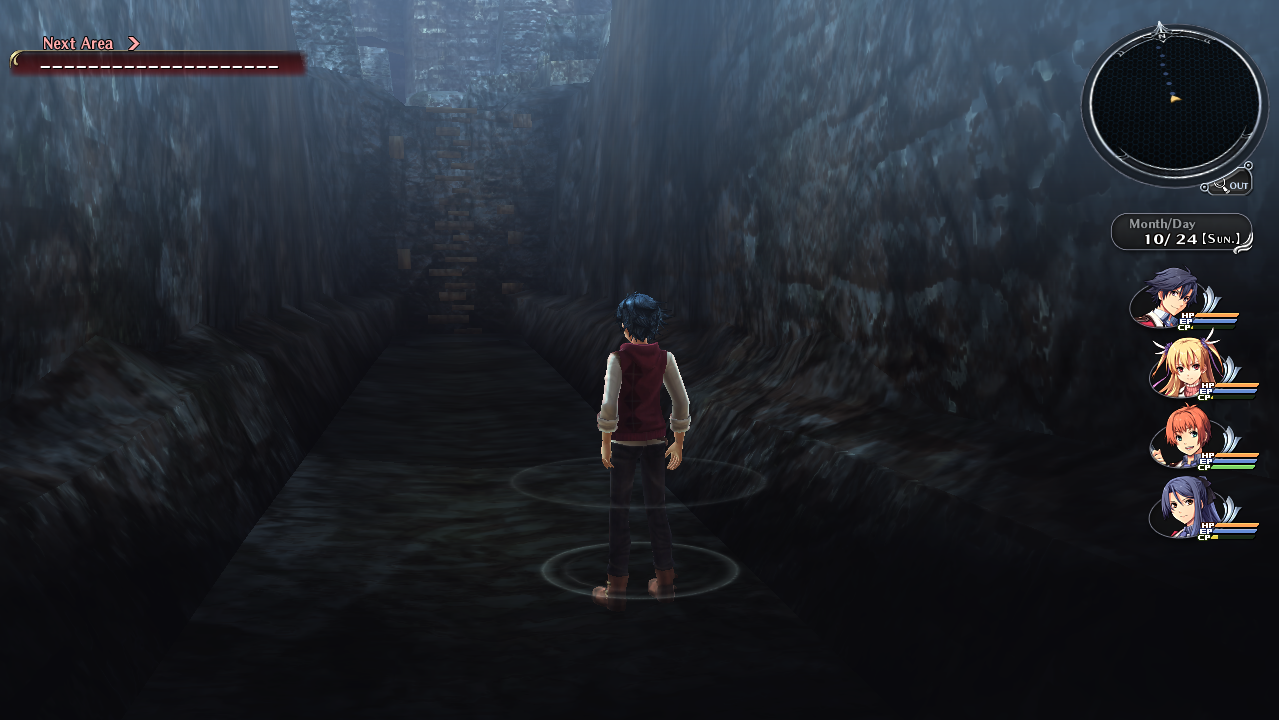
m1520 (Unused Ancient Quarry)#
Hex string: 6D3135323000
The second and last part of the unused Ancient Quarry.
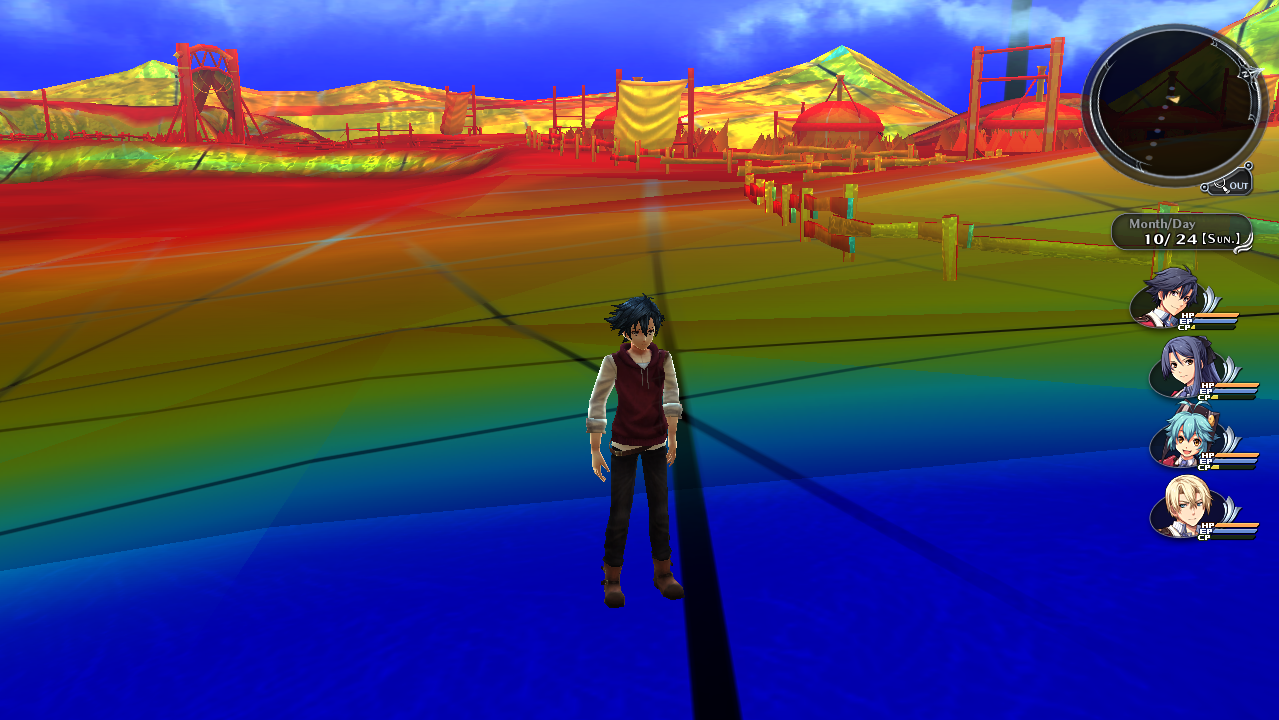
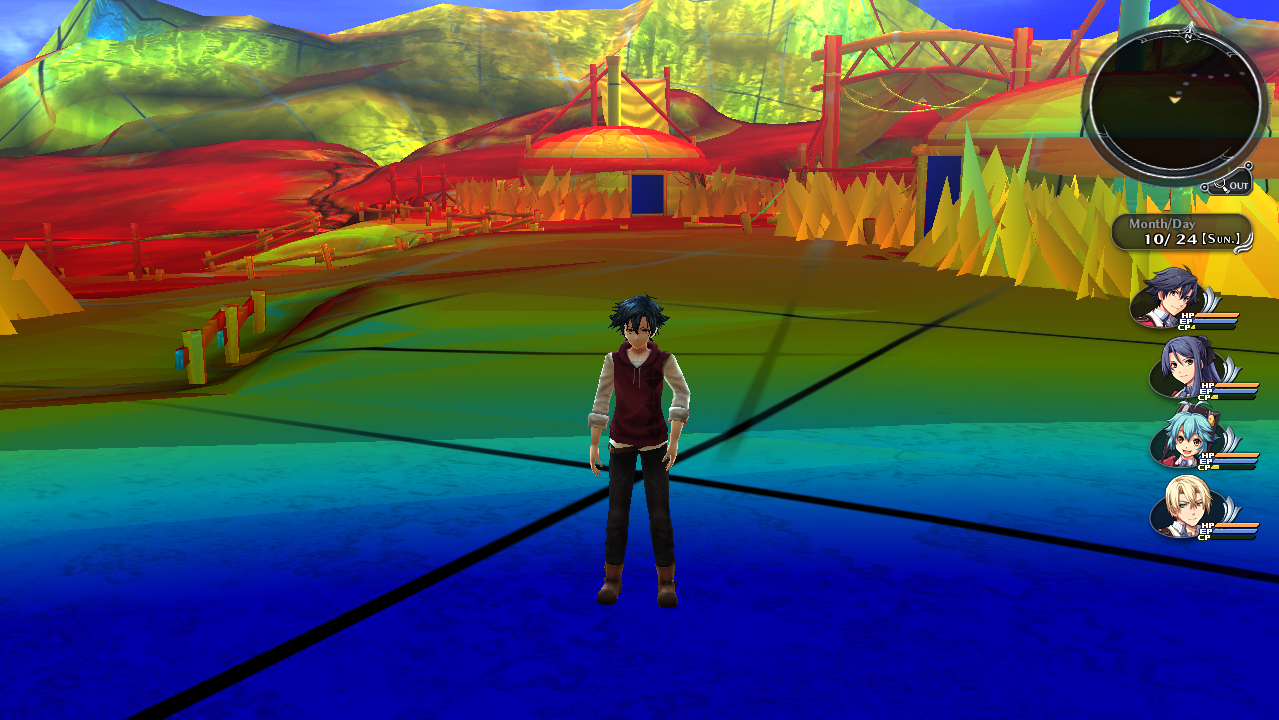
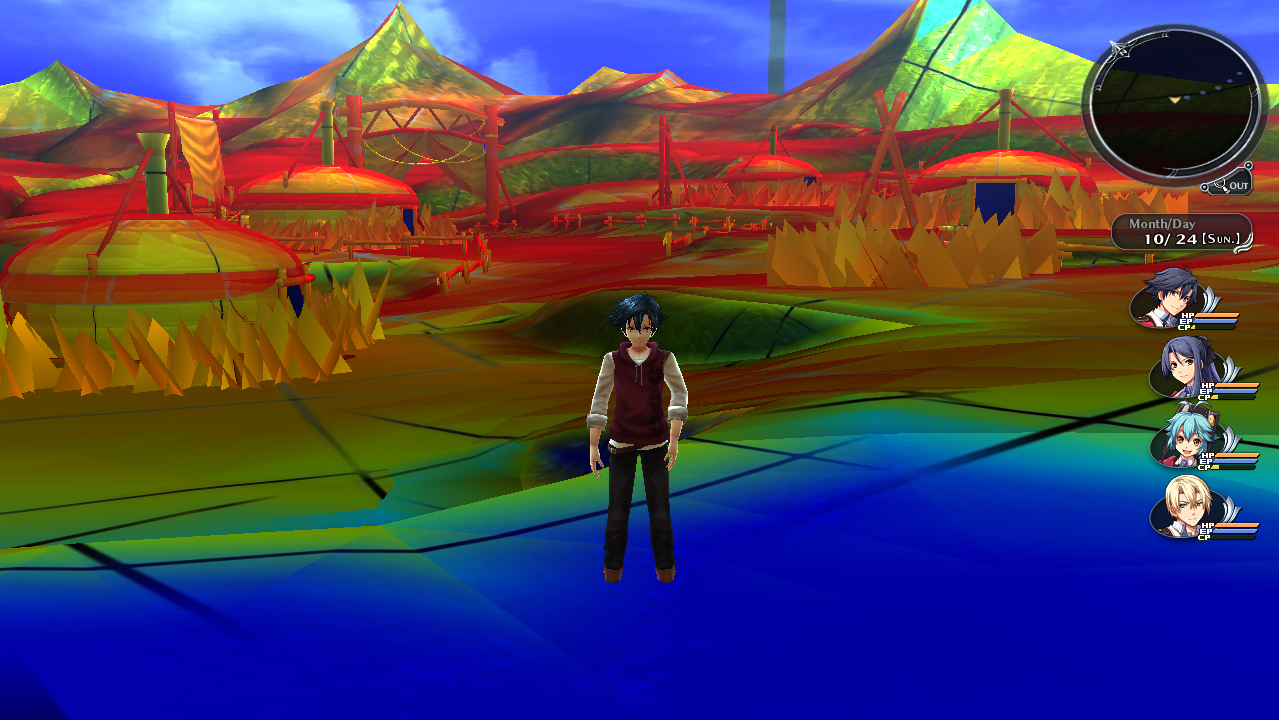
m1530 (Unused Nord Settlement)#
Hex string: 6D3135333000
Interestingly this map appears to be linked to the above unused dungeon map. This is also oddly labeled as a dungeon, not a town location. The geography also is different compared to its used version. This map is placed further away from its used counterpart. The boundaries of where you can walk inside this map is also quite different from its used counterpart.
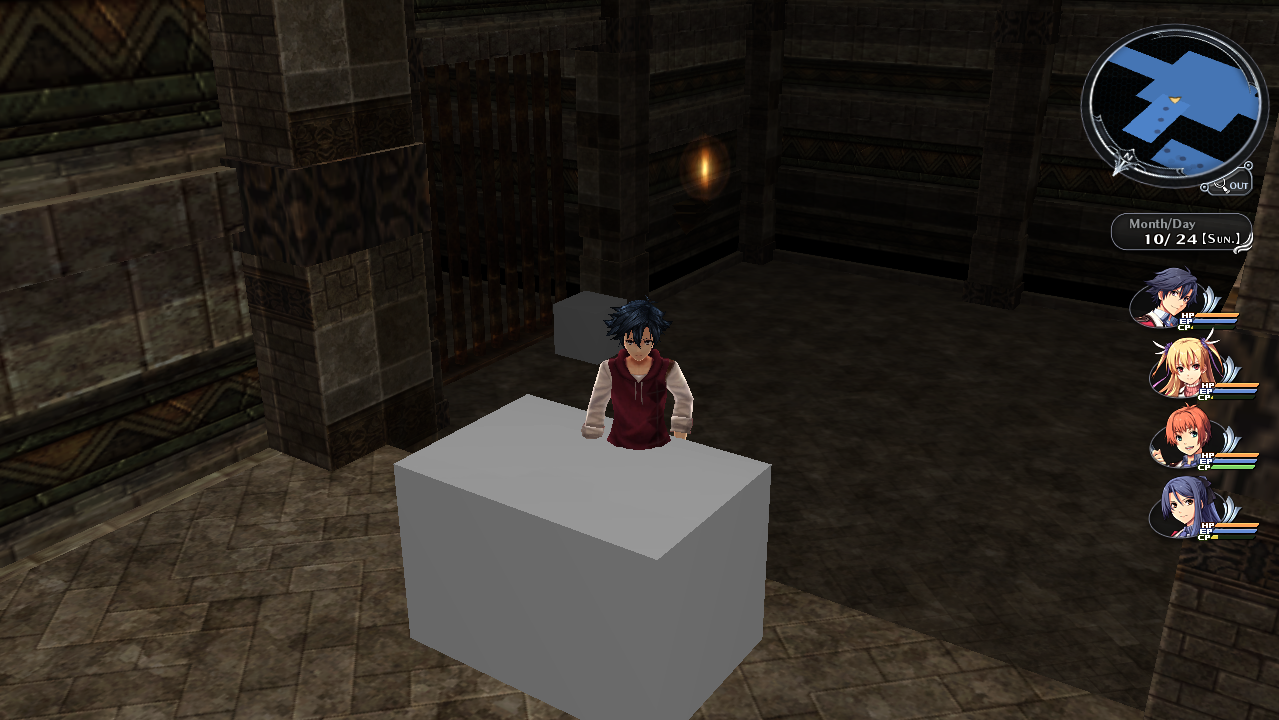
m2002 (Unused Heimdallr Underground Passage Section)#
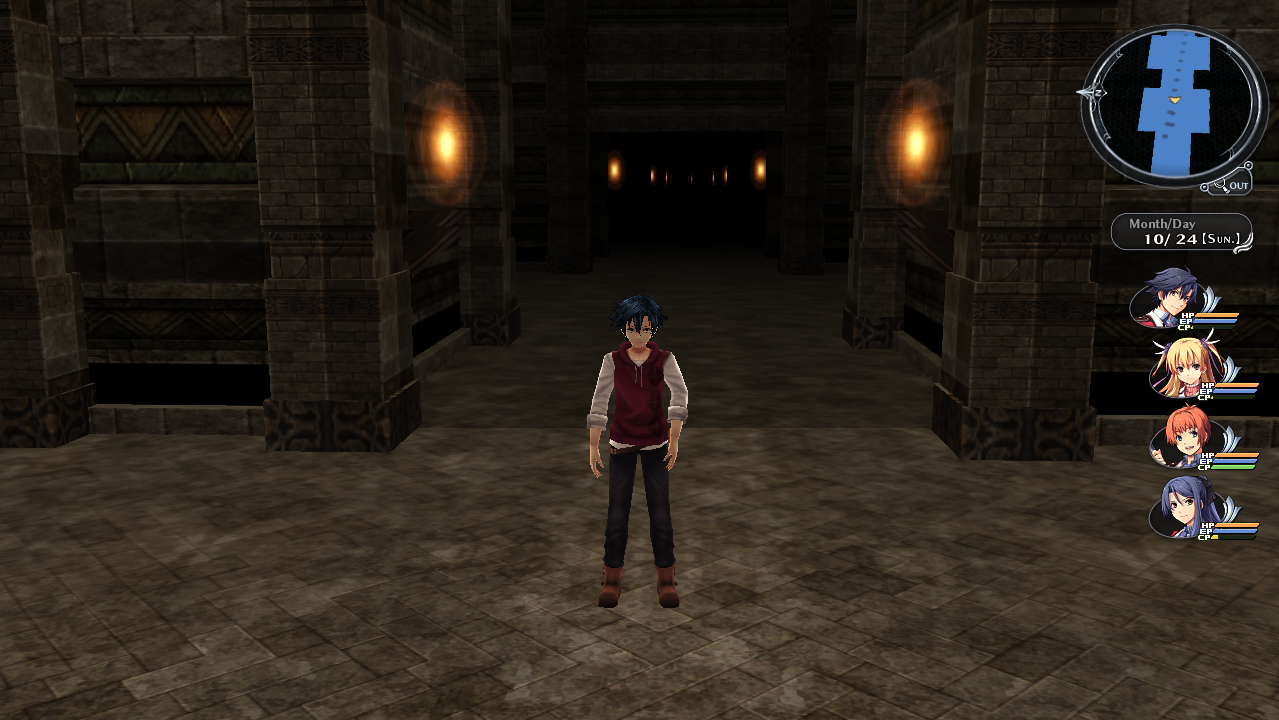
Hex string: 6D3230303200
This looks like it was going to serve as a different final area once reaching the end of the Heimdallr Underground Passage.
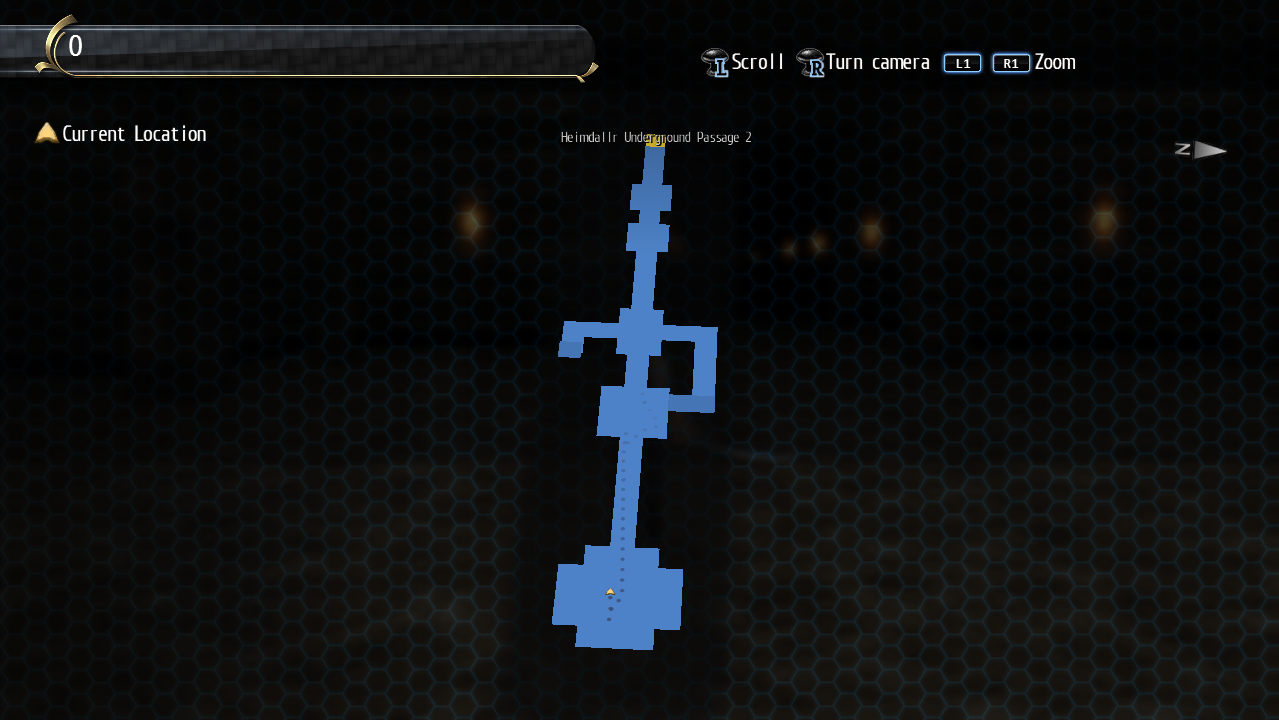
m2100 (Unused Heimdallr Underground Passage Section 2)#
Hex string: 6D3231303000
A very large unused section. Appears to be a alternate Heimdallr Waterway section. Contains eight treasure chests that cannot be opened. This map even leads to another large unused section (seen below).
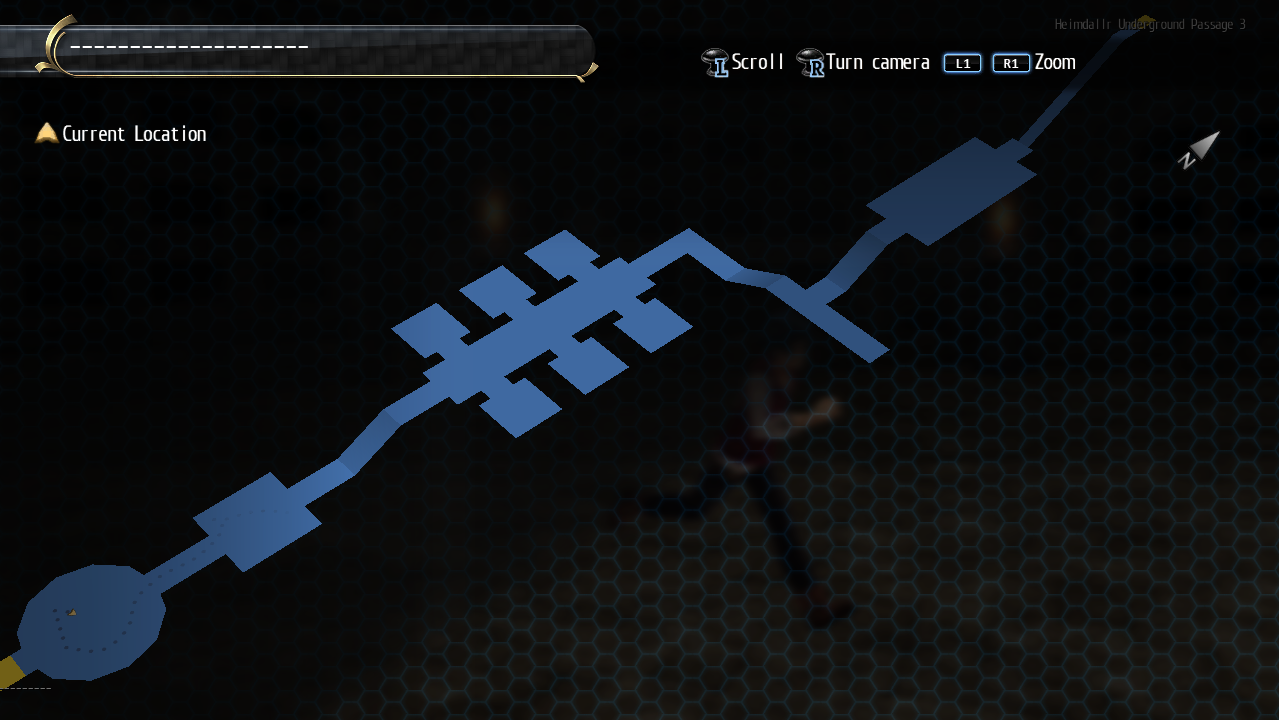
m2110 (Unused Heimdallr Underground Passage Section 3)#
Hex string: 6D3231313000
This map can be also be accessed from above map. Has six treasure chests that cannot be opened. This also leads to yet another unused section seen below.
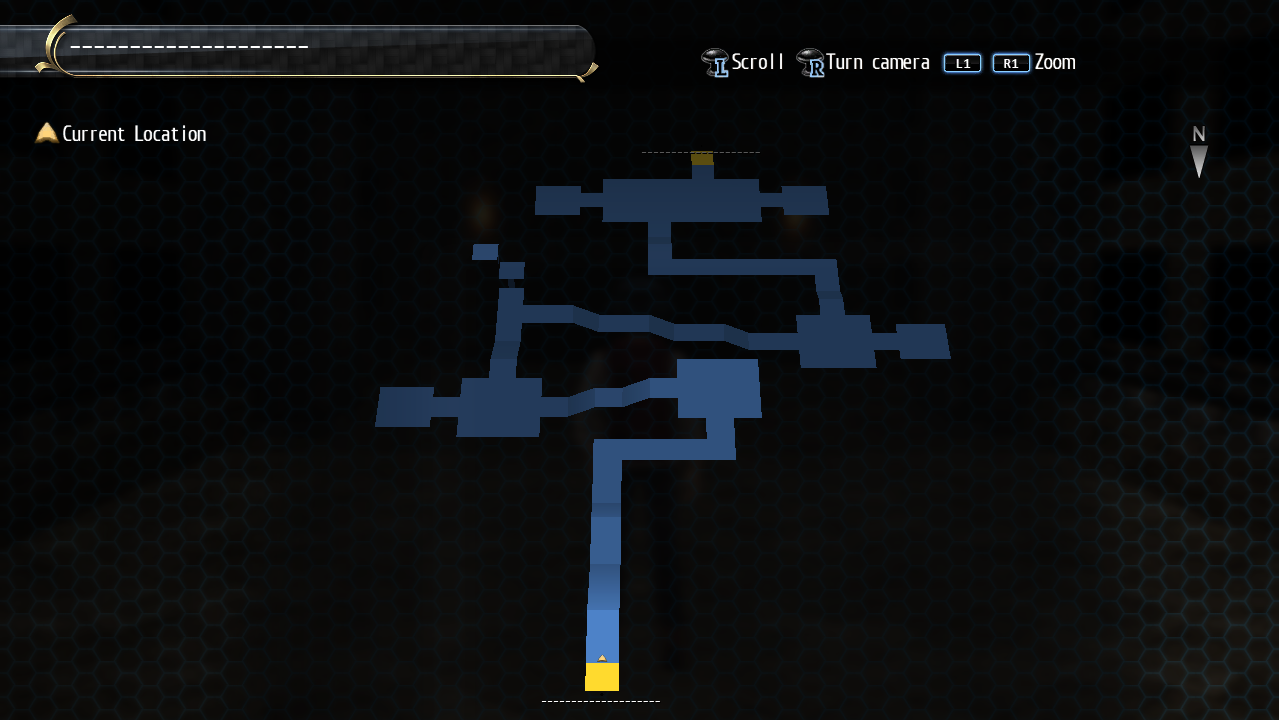
m2120 (Unused Heimdallr Underground Passage Section 4)#
Hex string: 6D3231323000
The final map of the the unused versions of Heimdallr Underground Passage. This one has eleven treasure chests that cannot be opened.
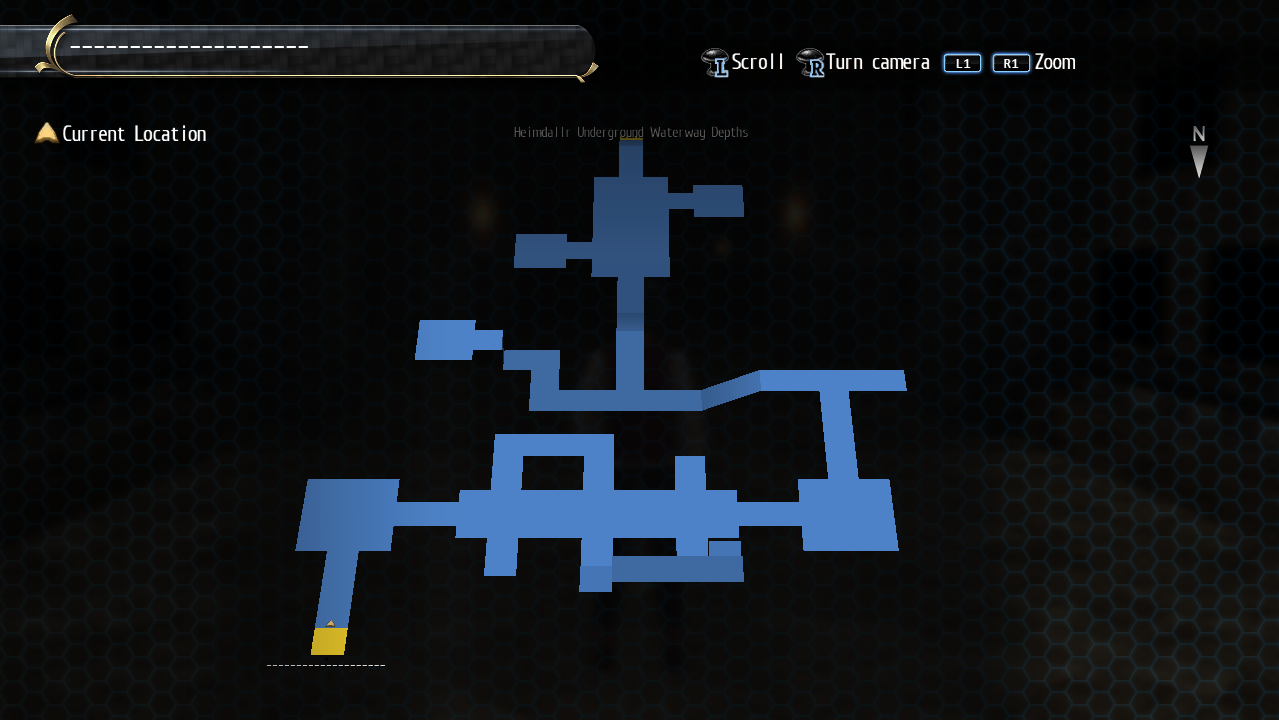
m2505 (Unused Old Schoolhouse Stairway Room)#
Hex string: 6D3235303500
This appears to be a small version of the room you fight the first gargoyle in the game. It leads either to the elevator room or the first floor of the schoolhouse. After exiting this area, you cannot return to it.
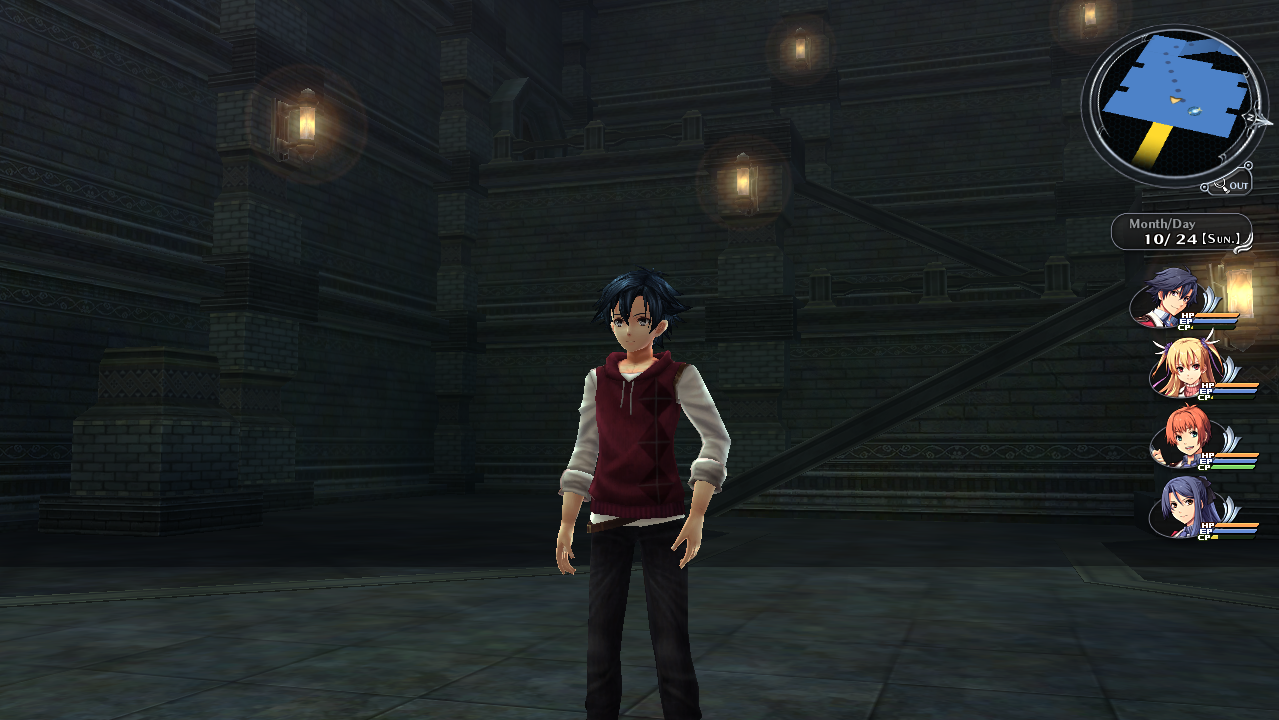
m3004 (Unused Realm of the Great Shadow 1)#
|
|
To do: |
Hex string: 6D3330303400
This appears to be just a empty void of the used version which is m3001.
m3005 (Unused Realm of the Great Shadow)#
Hex string: 6D3330303500
Internally, this map is ironically named Unused. The only thing this map has is a background overlay.
m3006 (Unused Realm of the Great Shadow)#
Hex string: 6D3330303600
Another ironically internally named Unused map. This version is just a black void of nothing.
m3050 (Unused Old Schoolhouse Floor 7)#
Hex string: 6D3330353000
There isn't anything too interesting in this map other than its darker than normal and the door leading to Realm of the Great Shadow is closed.
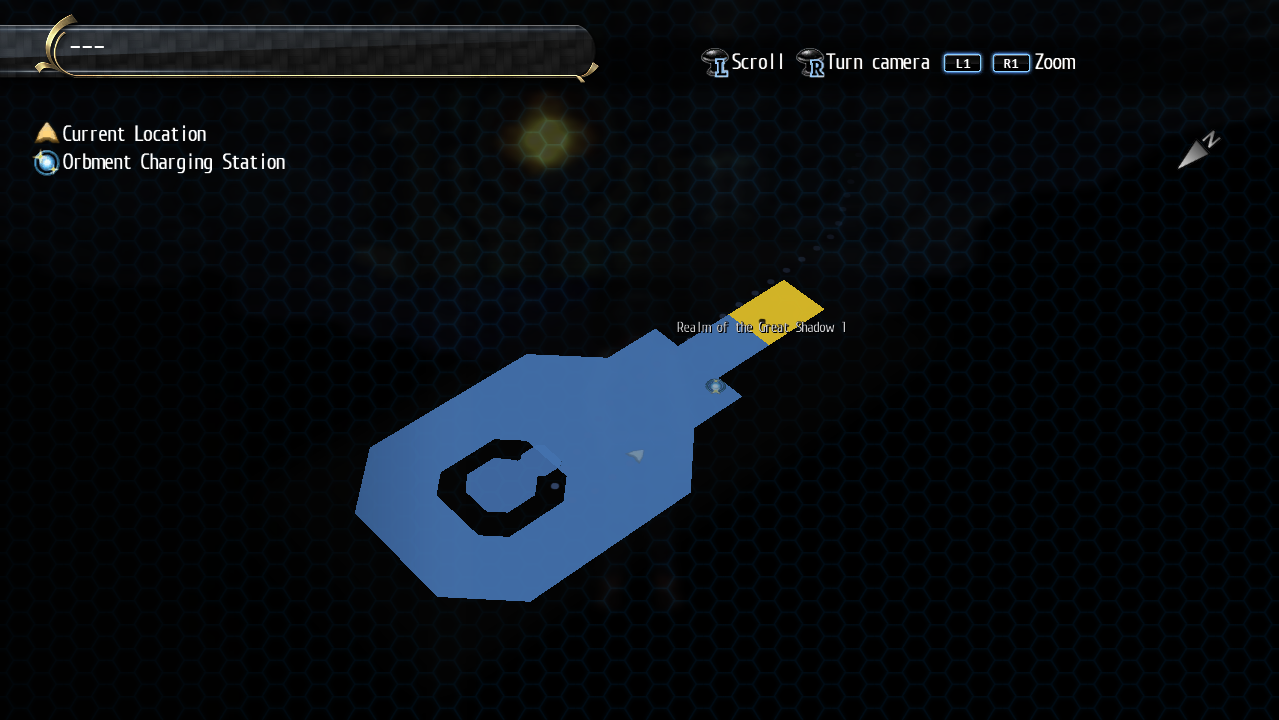
Cutscene Related#
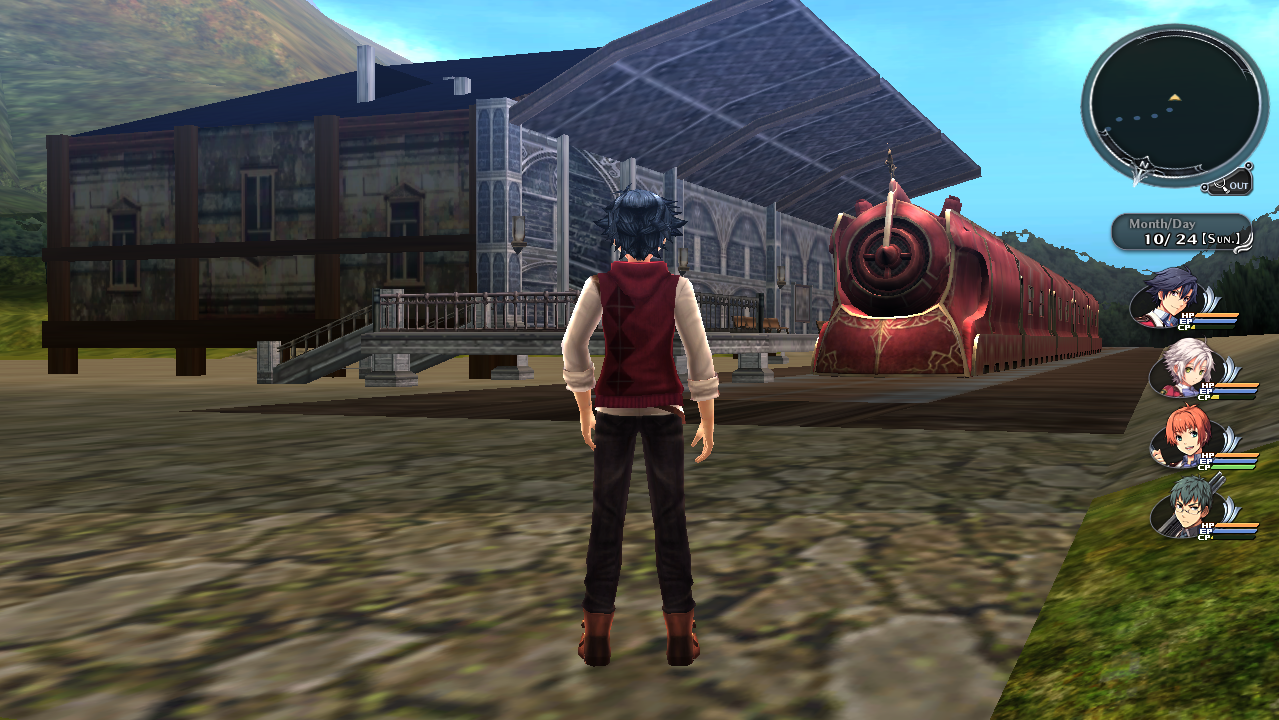
e0100 (Unused Eisengraf Cutscene Map)#
Hex string: 653031303000
This map contains an unused station which the Eisengraf is stationed at. It even has proper collision on the building, the Eisengraf and stairs.
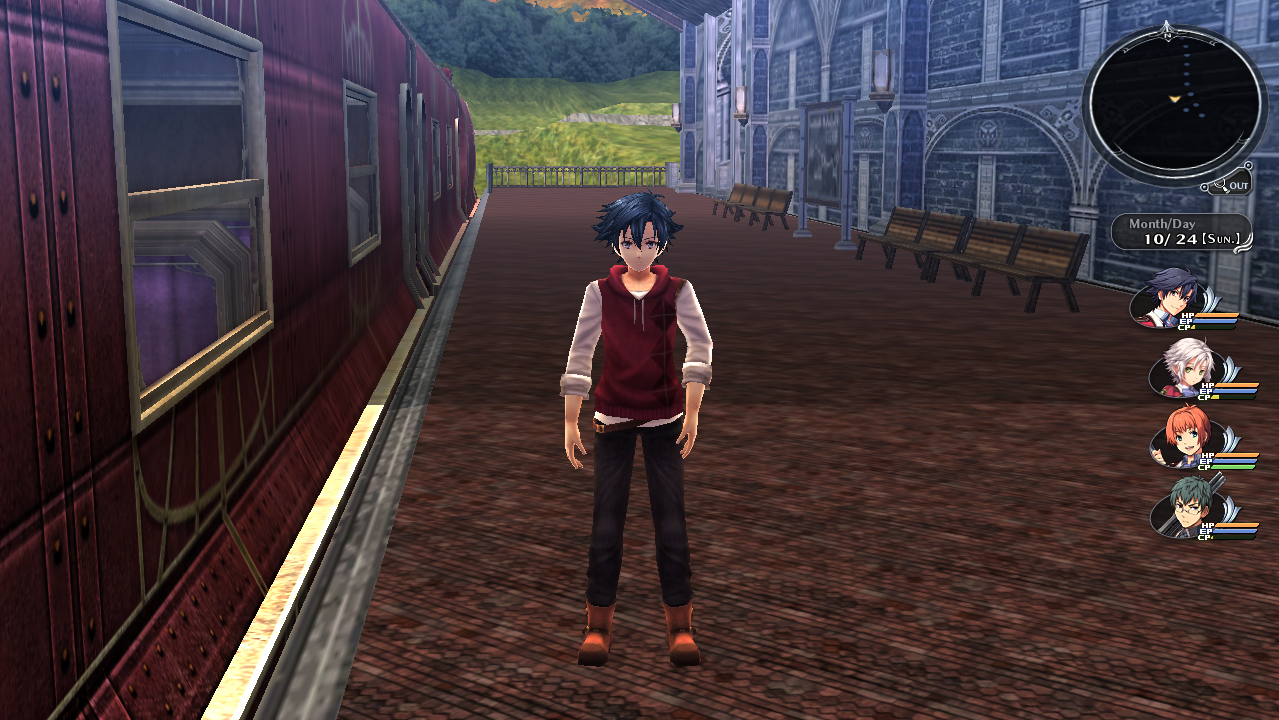
e5210 (Unused Train Interior)#
Hex string: 653532313000
This would have been used for a cutscene of some type.
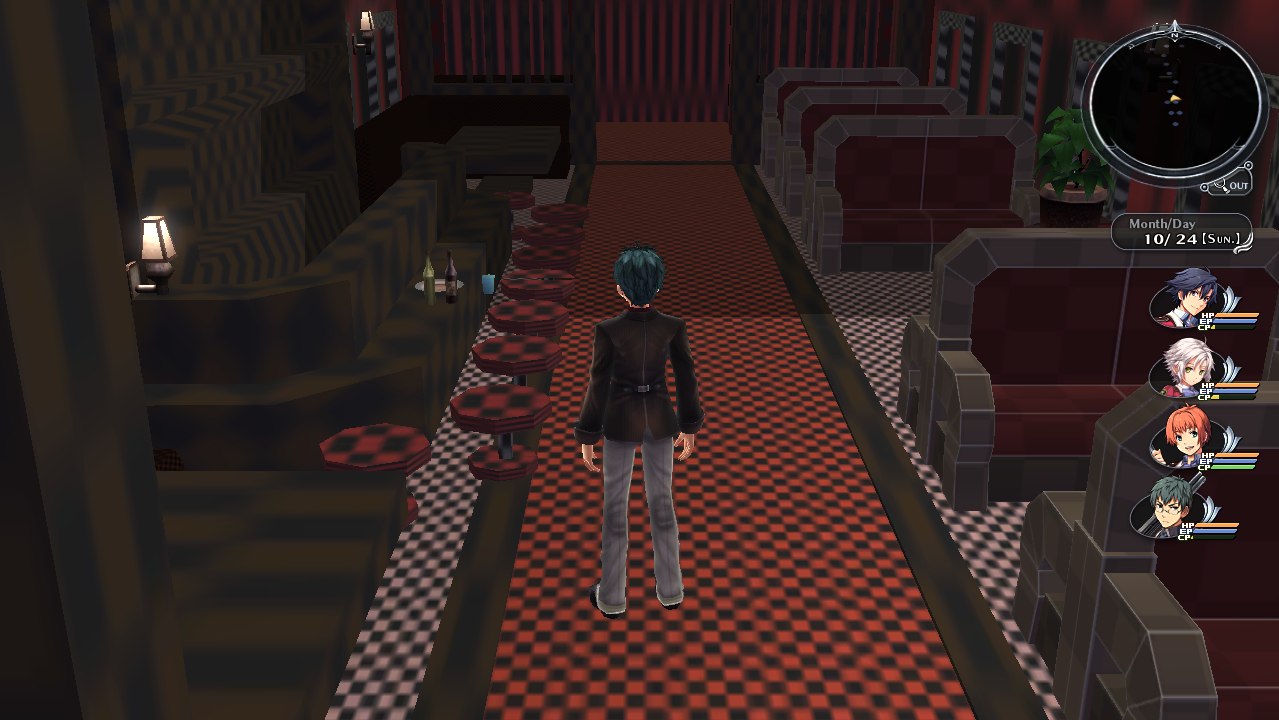
e5420 (Unused Train Interior)#
Hex string: 653534323000
This would have been used for a cutscene of some type.
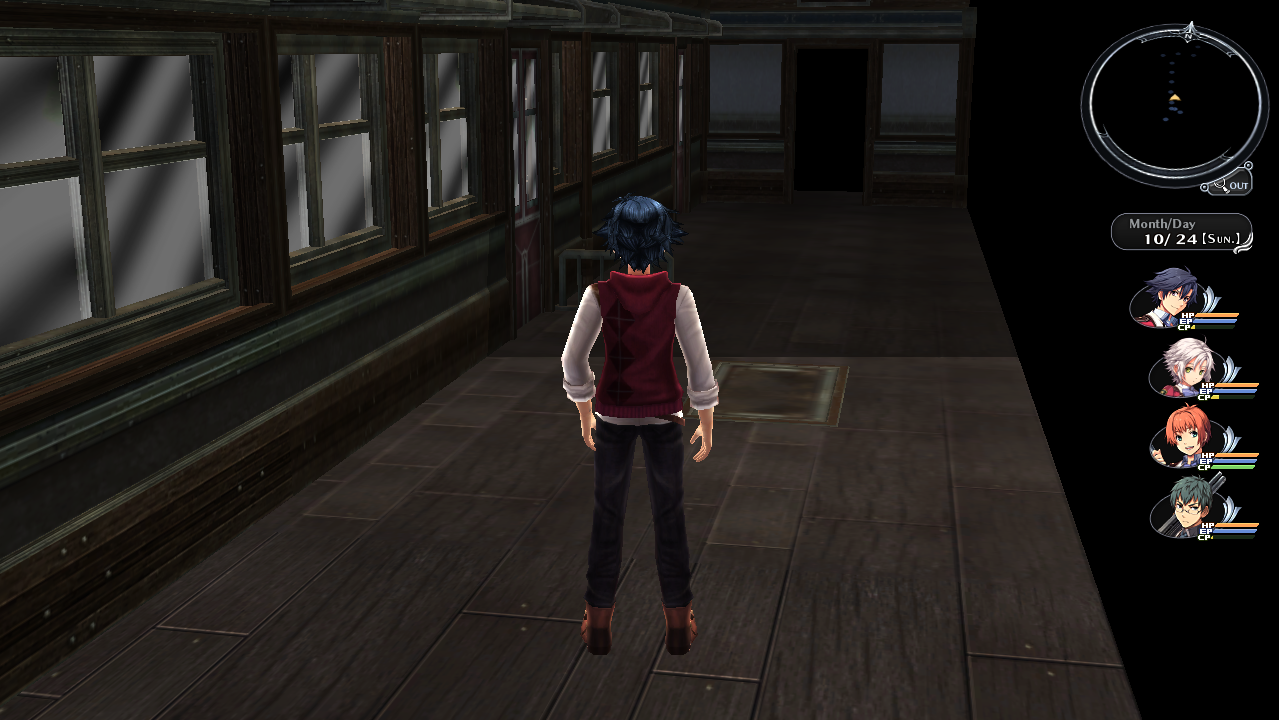
e5510 (Unused Transport Interior)#
Hex string: 653535313000
It's unclear what this could be. Perhaps a airship interior. This also has the test girl in it.
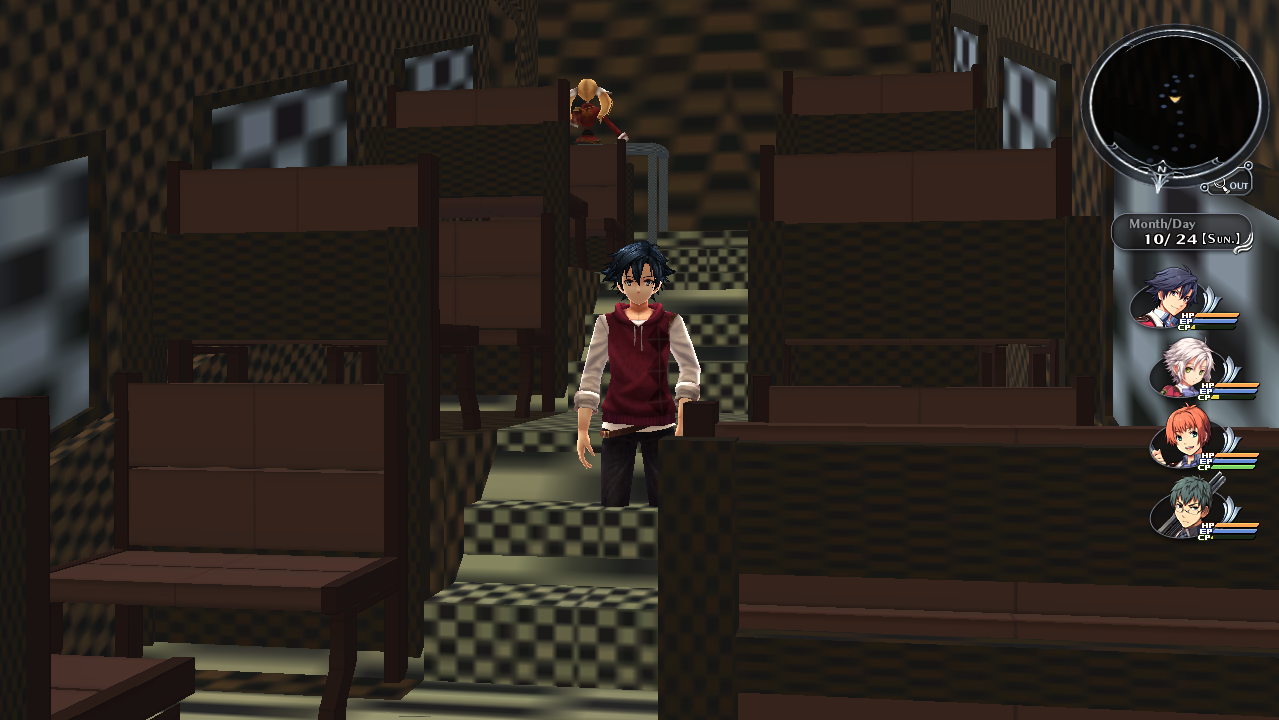
e5610 (Unused Car Interior 1)#
This is some sort of car interior that never was completed.
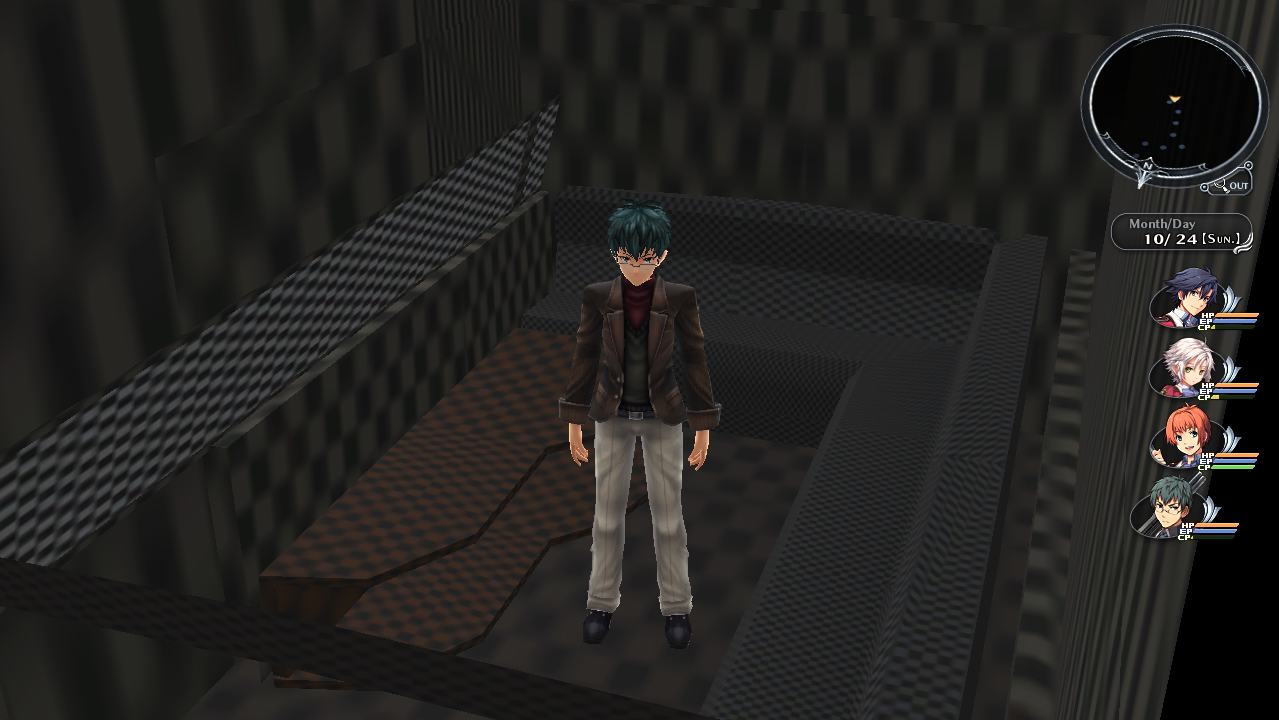
e5710 (Unused Car Interior 2)#
Hex string: 653537313000
This is also some sort of car interior that never was completed. It is the same as above.
Field Maps#
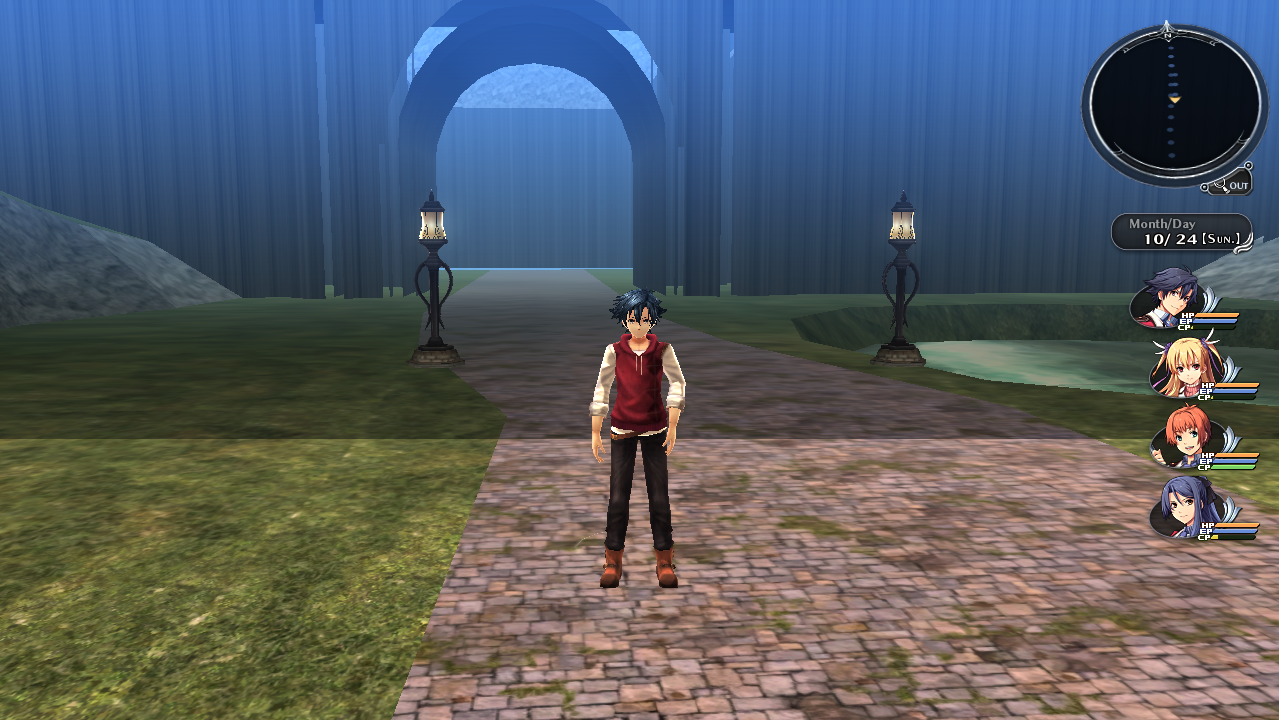
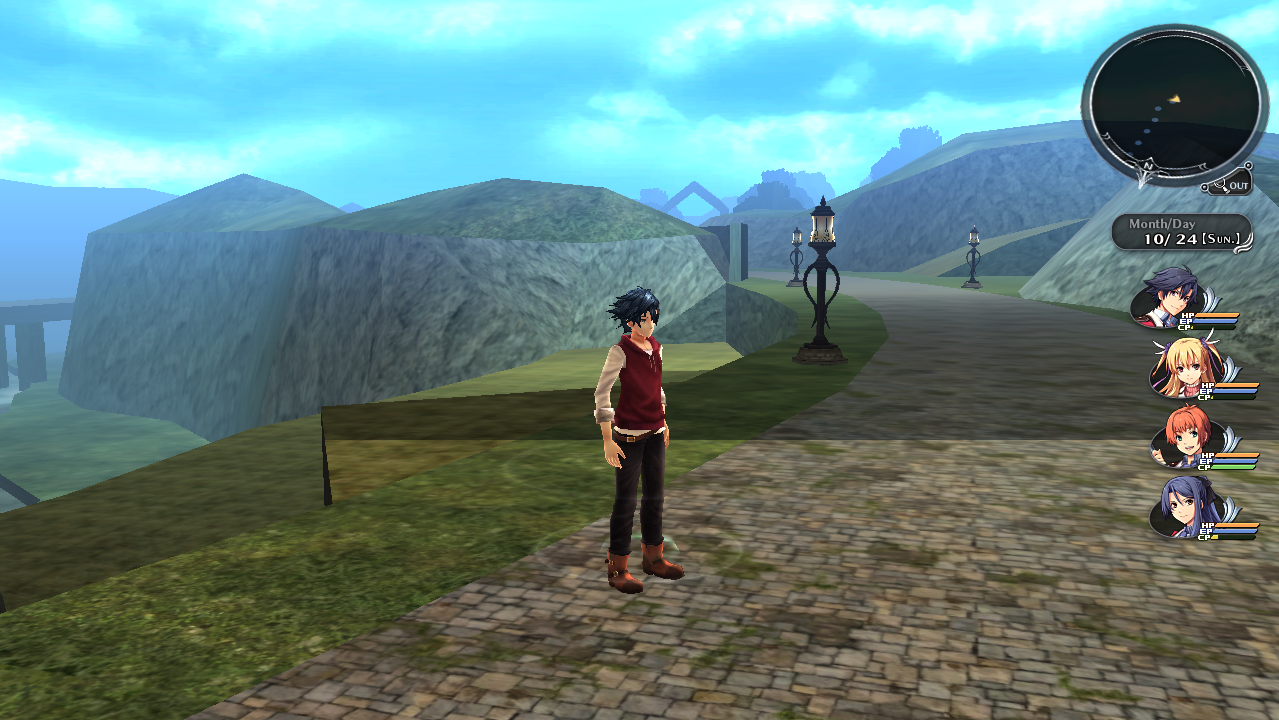
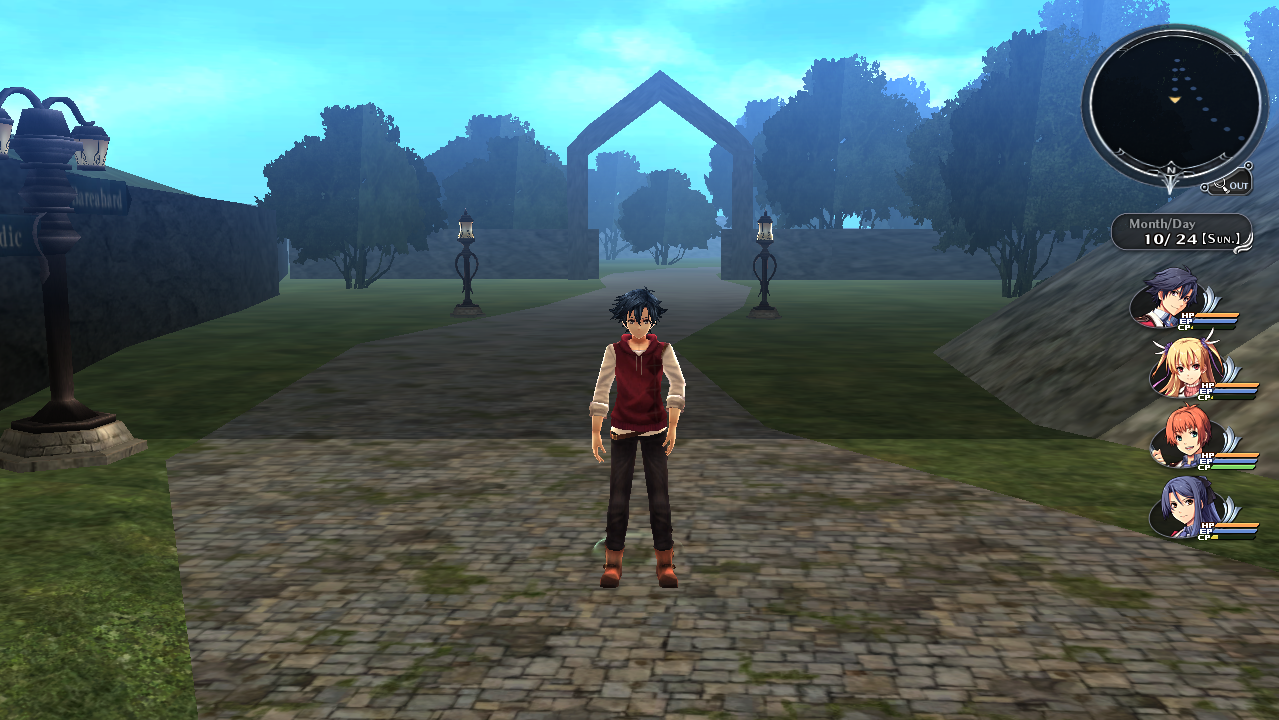
r0130 (Unused Field)#
Hex string: 723031333000
This map was once going to be linked to Bareahard and Celdic. This map has no music. One of the paths lead up onto a cliff top overlooking the mountains. This map also has no collision boundaries meaning you can walk everywhere.
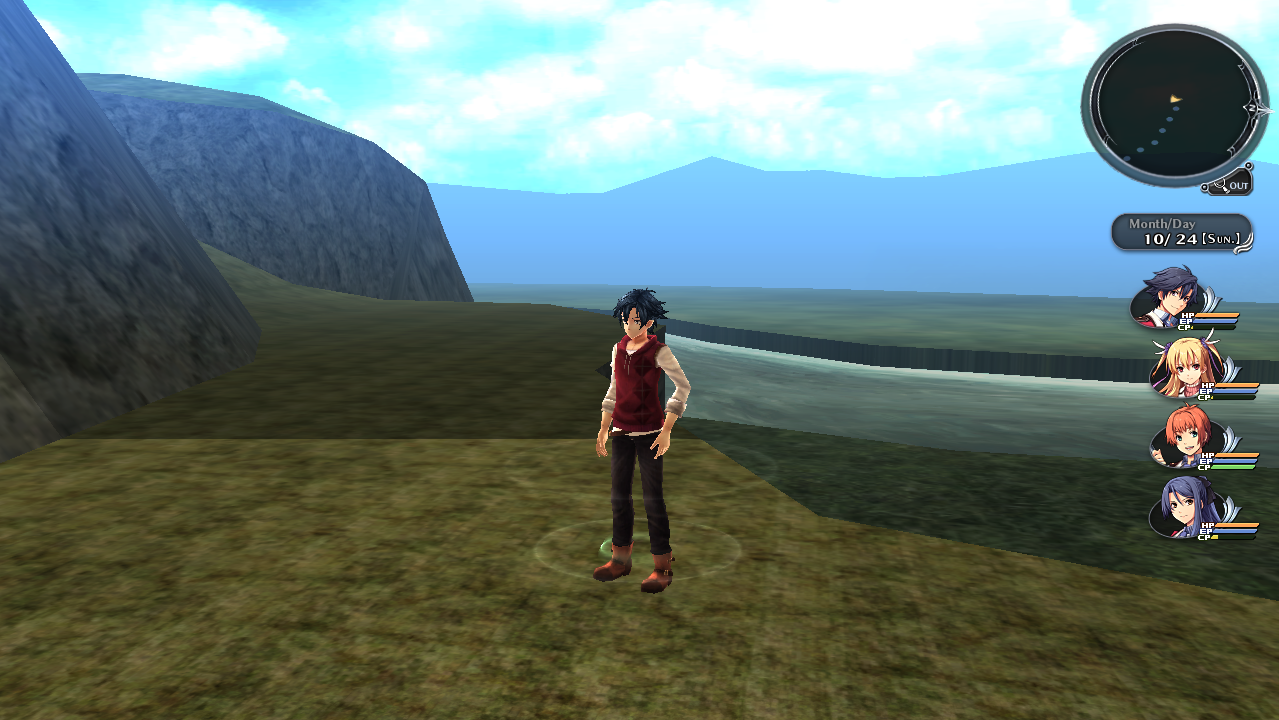
r0500 (Ymir Canyon Path 1)#
Hex string: 723035303000
An unused location not appearing until the sequel.
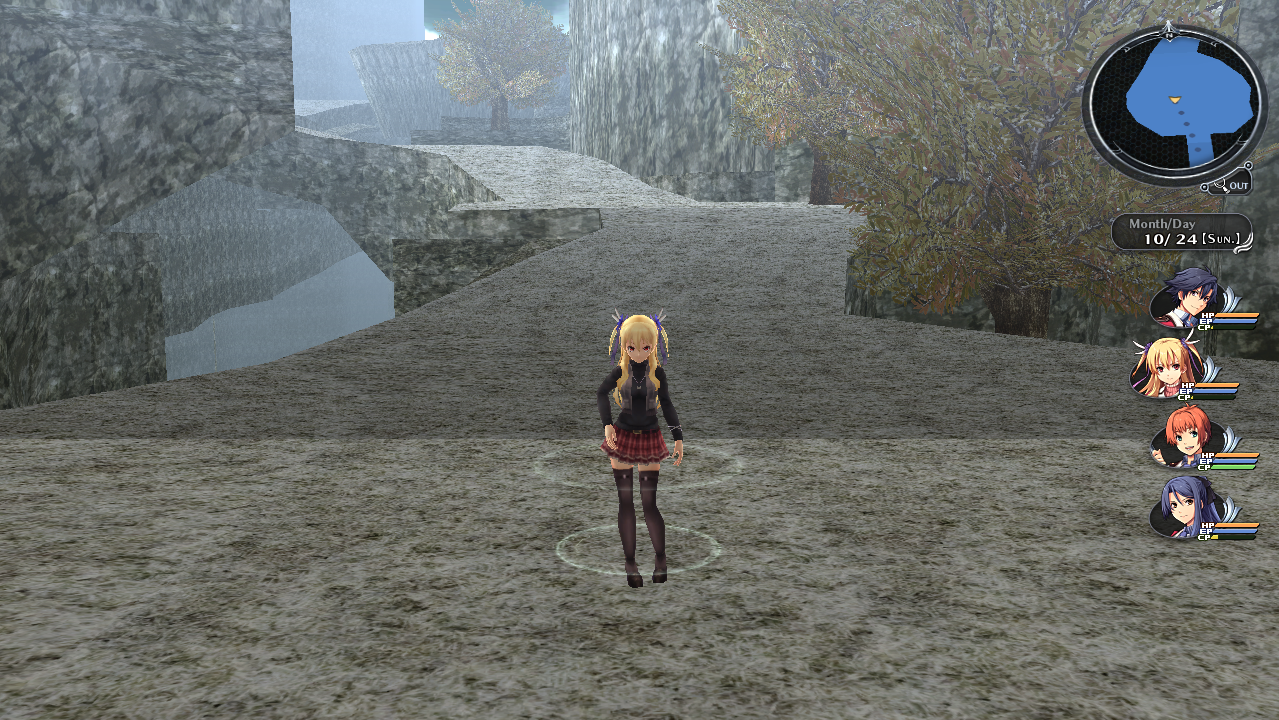
r0510 (Ymir Canyon Path 2)#
Hex string: 723035313000
An unused location not appearing until the sequel.
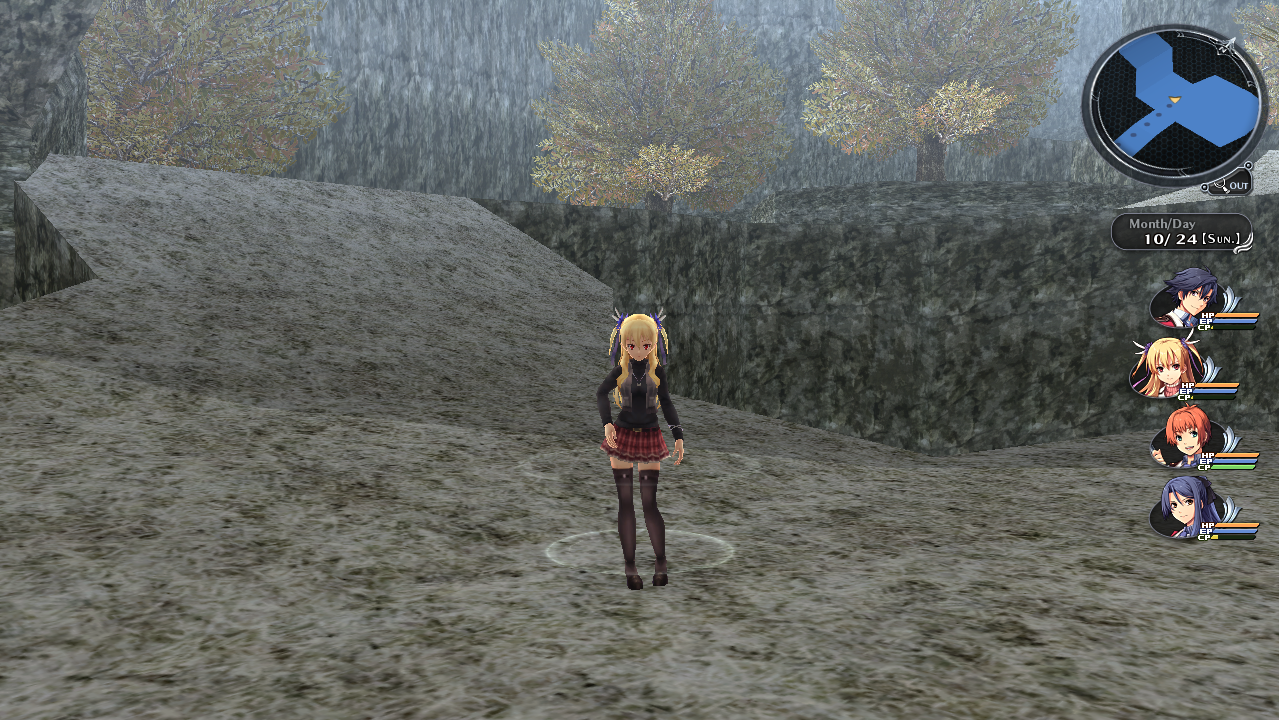
r0520 (Ymir Canyon End)#
Hex string: 723035323000
An unused location not appearing until the sequel.
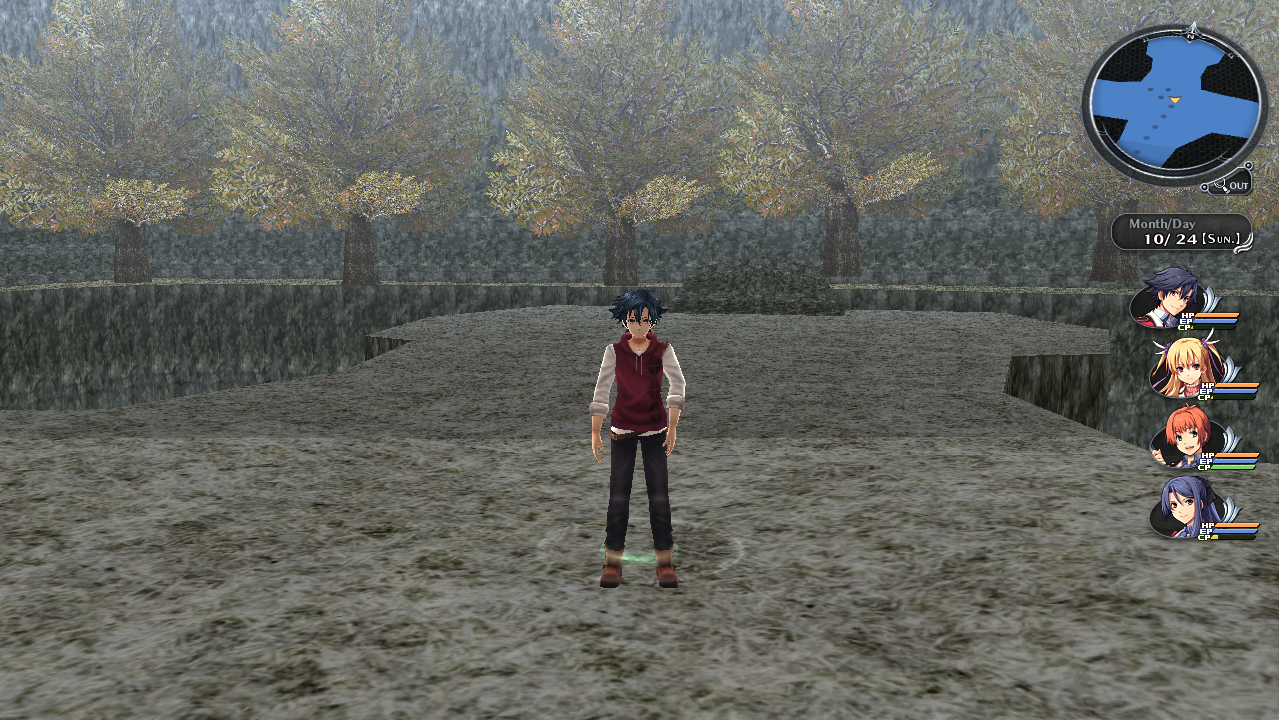
r0610 (Final Trista Unused Version)#
Hex string: 723036313000
This map appears to be exactly the same as the final version. However, it is labeled as a field map. There are no exits in this map.
Town Maps#
c0210 (Heimdallr Opera House)#
Hex string: 633032313000
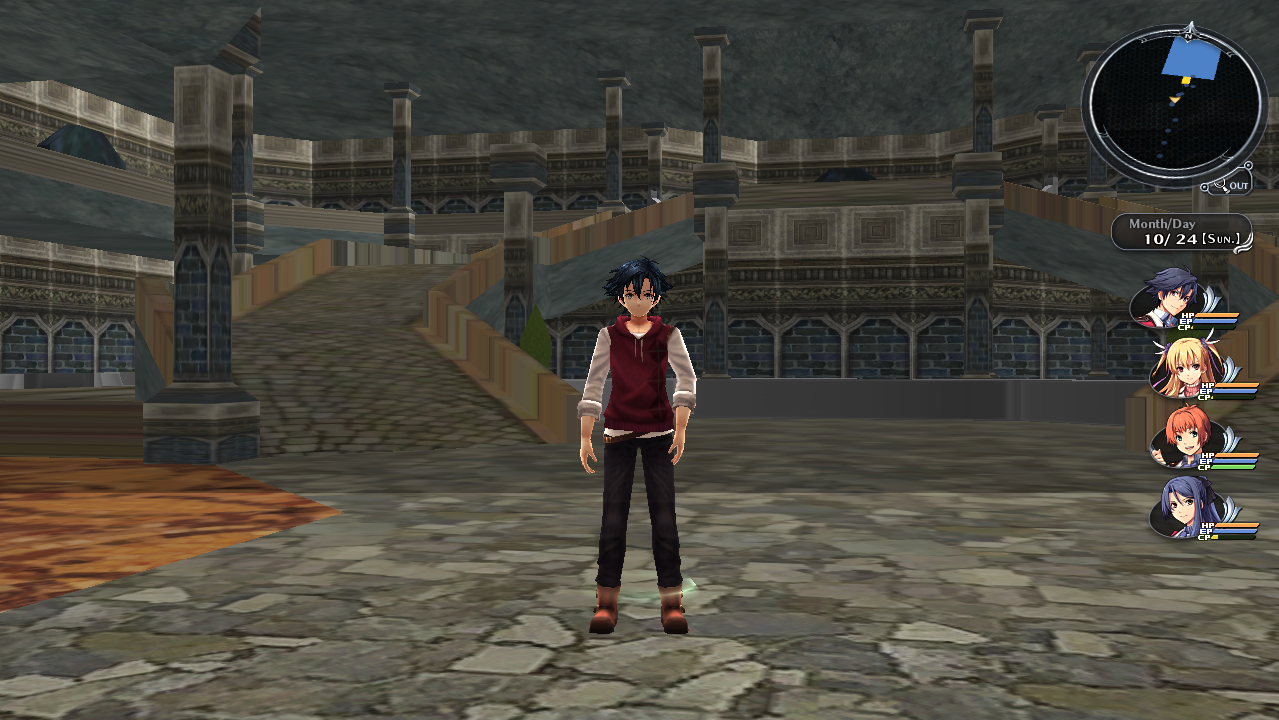
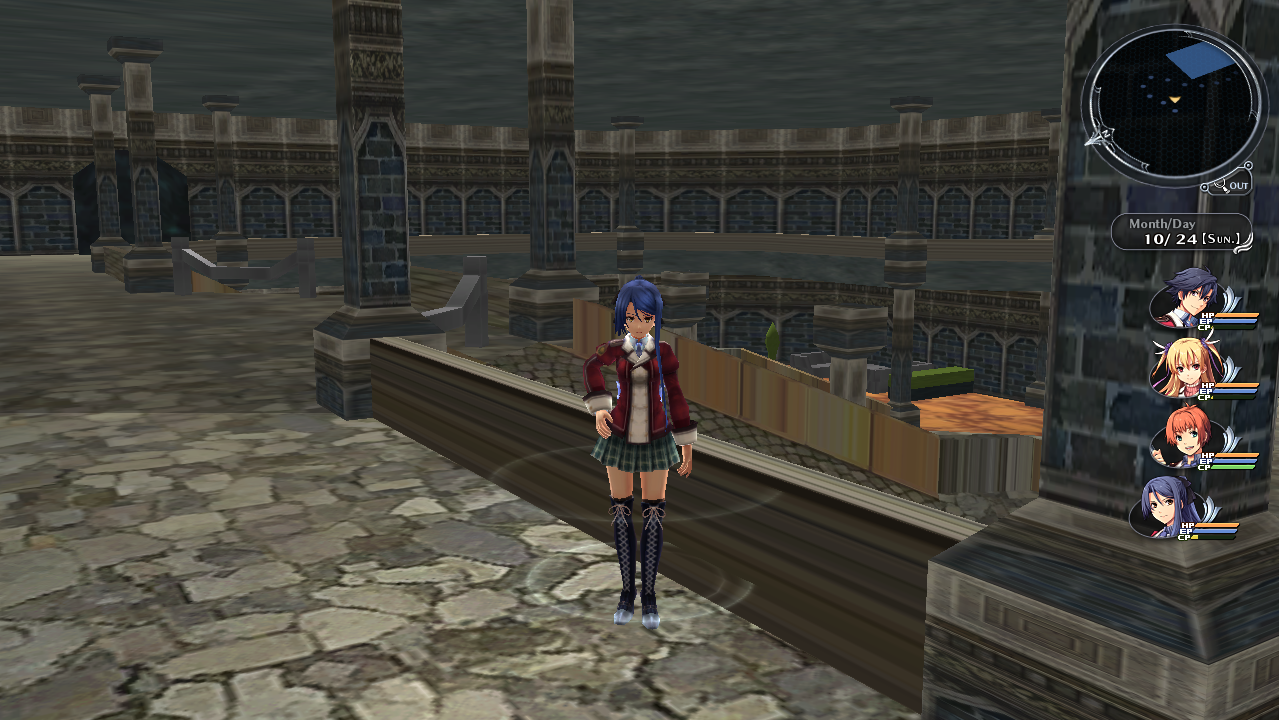
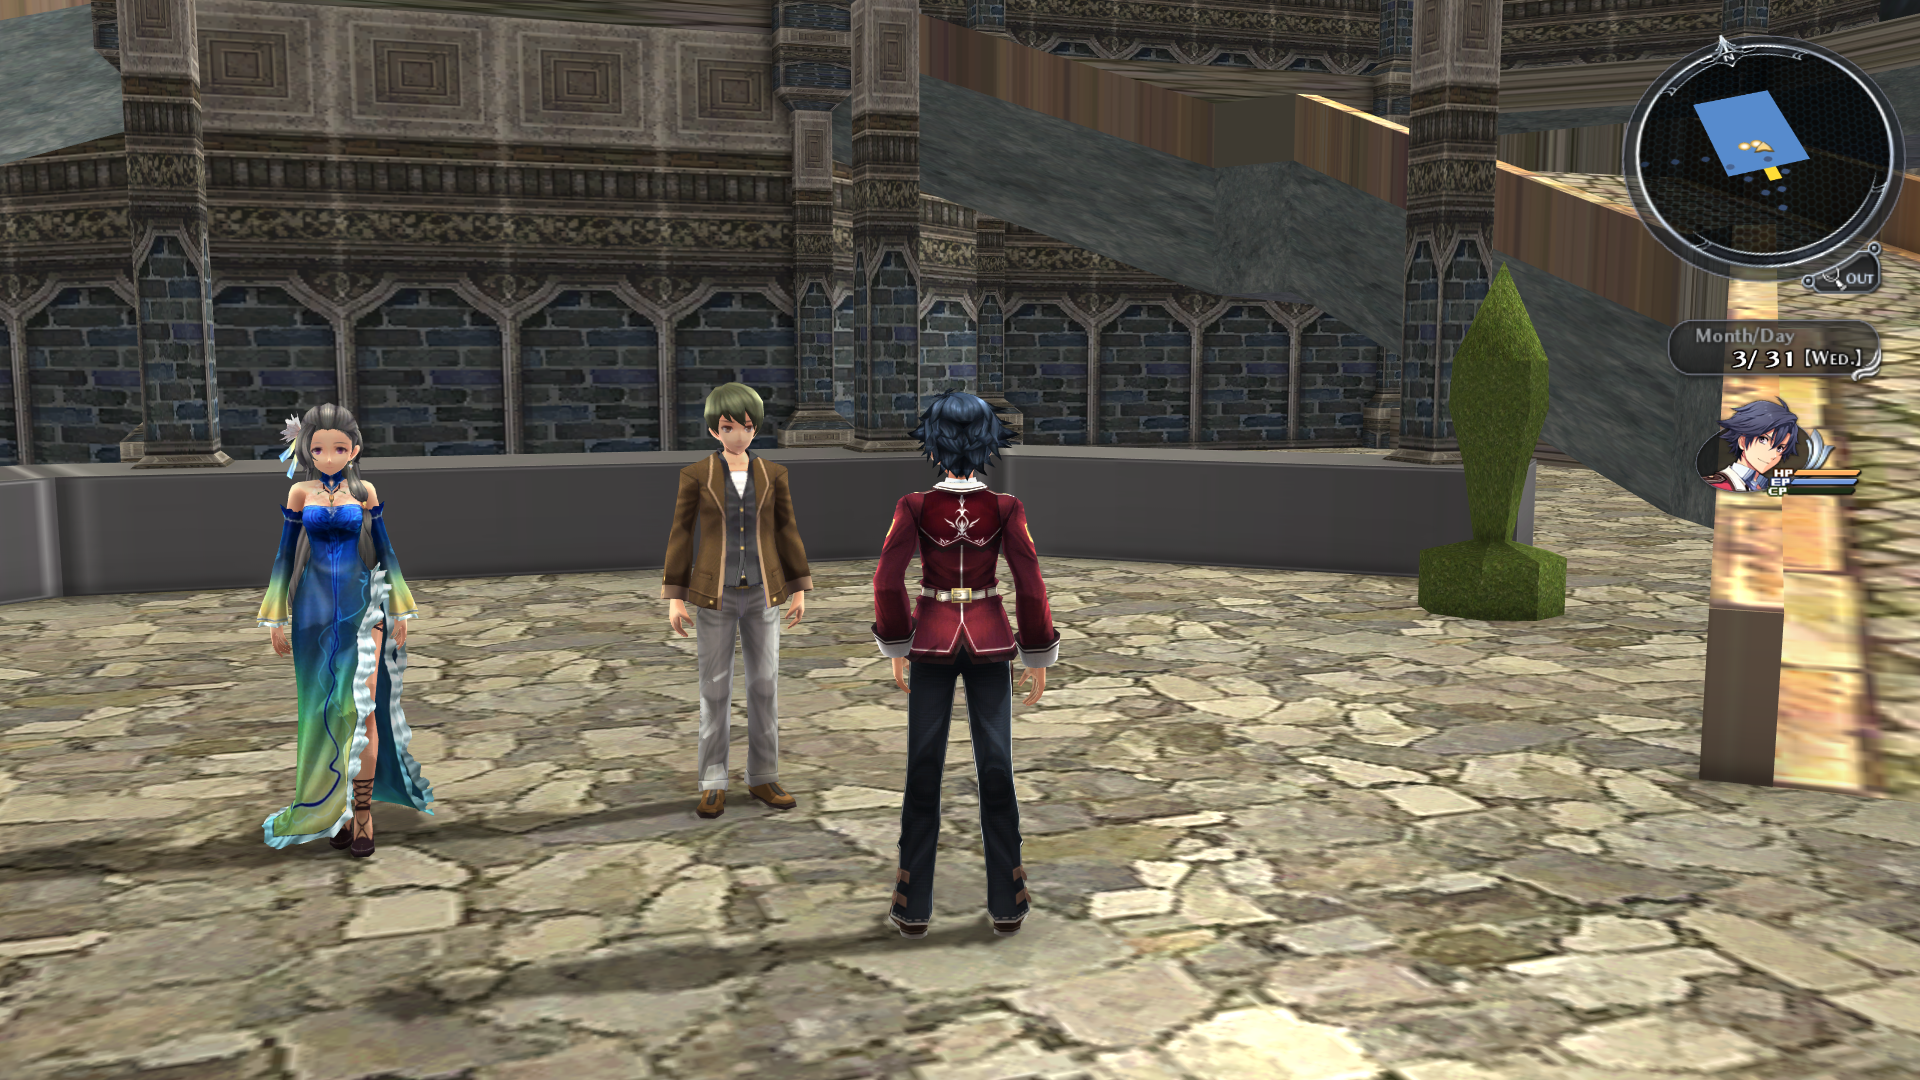
An incomplete Heimdallr Opera House map. You can never enter this place in the game. At one point in development perhaps you would have met Vita Clotilde here. Vita Clotilde and an NPC can be seen on the center of the map. Going through the door will get you stuck in the middle of the fountain in Garnier District, in front of the Heimdallr Opera House.
c0920 (Valfame Palace Unused Section)#
An unused section of Valflame Palace that normally crashes the game. judging from the compass points, the door should connect to the eastern door of c0930.
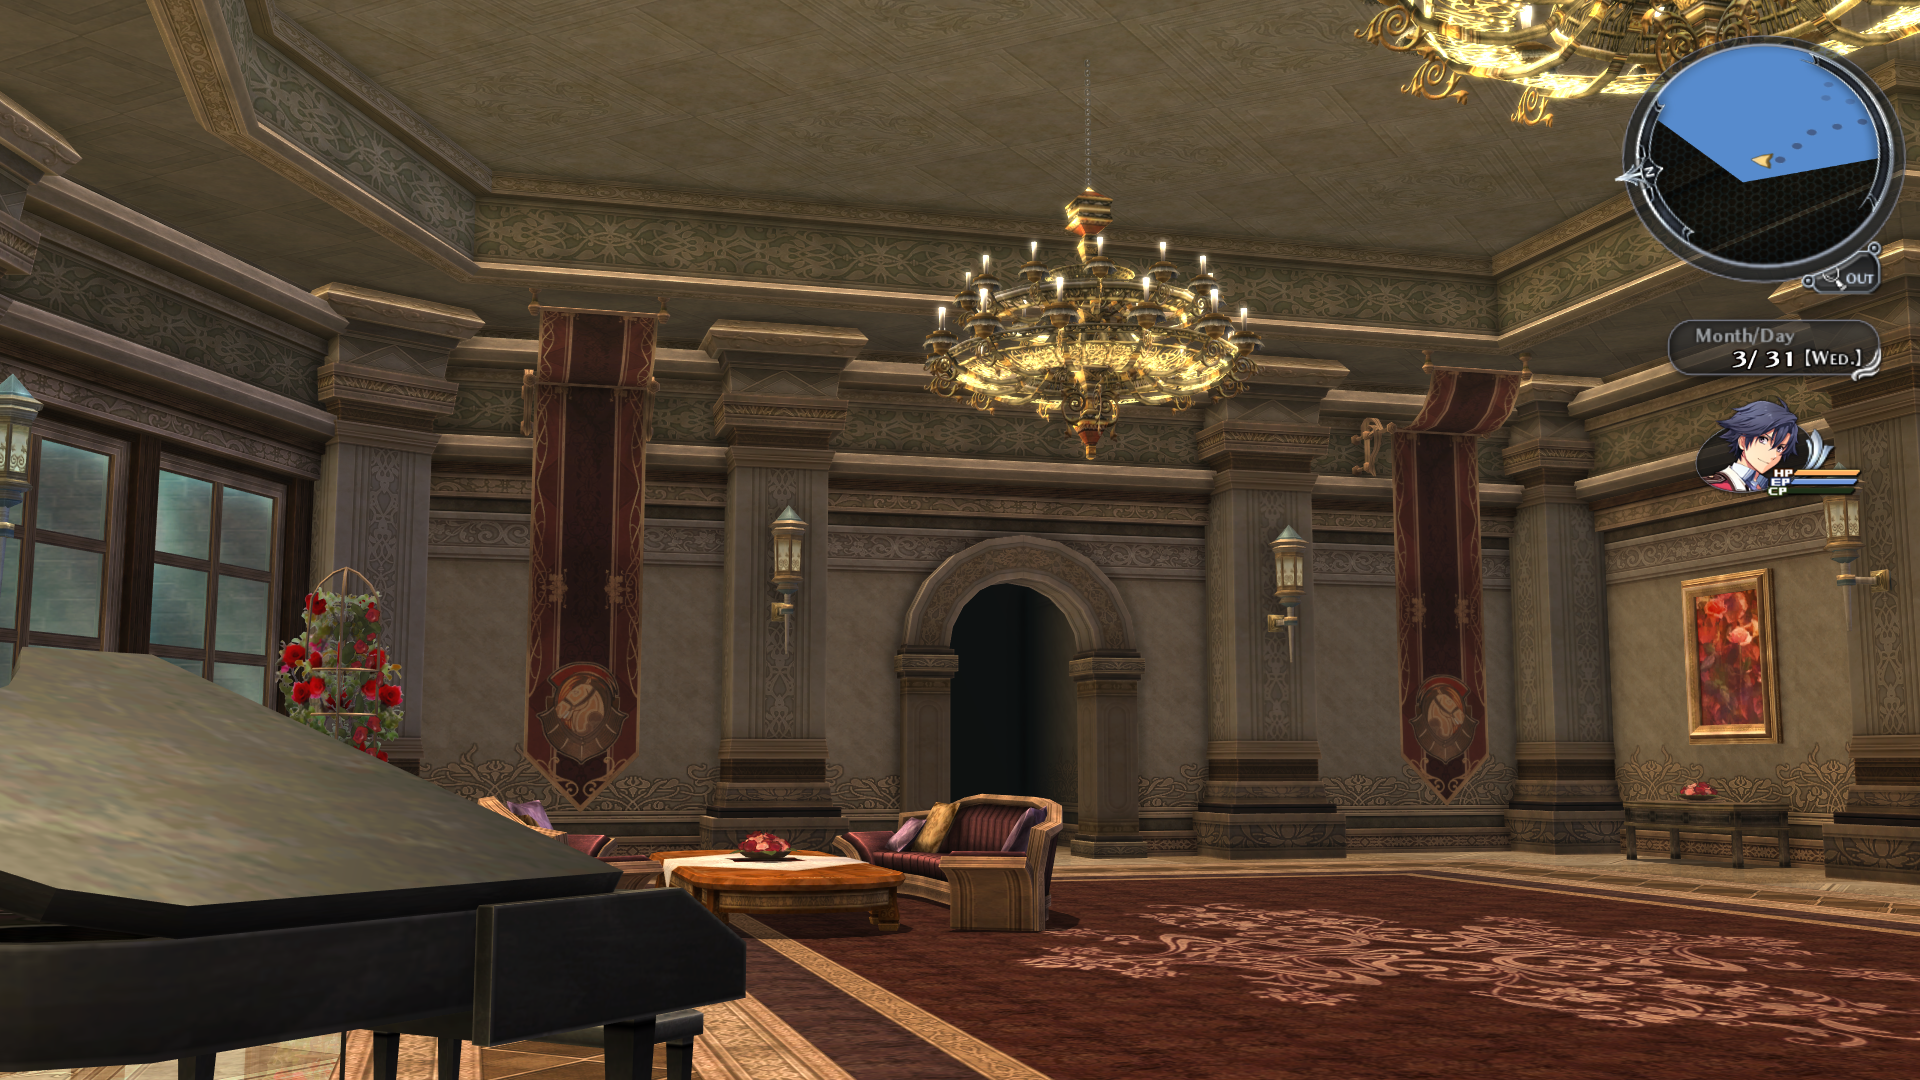
c0930 (Valflame Palace's Parlor)#
An unused section of Valflame Palace. The western door lead to c0960.
c0960 (Valflame Palace's Terrace)#
An unused section of Valflame Palace. The southern door lead to c0930. However, to go to c0930 we need to clip through the wall or go from behind it.
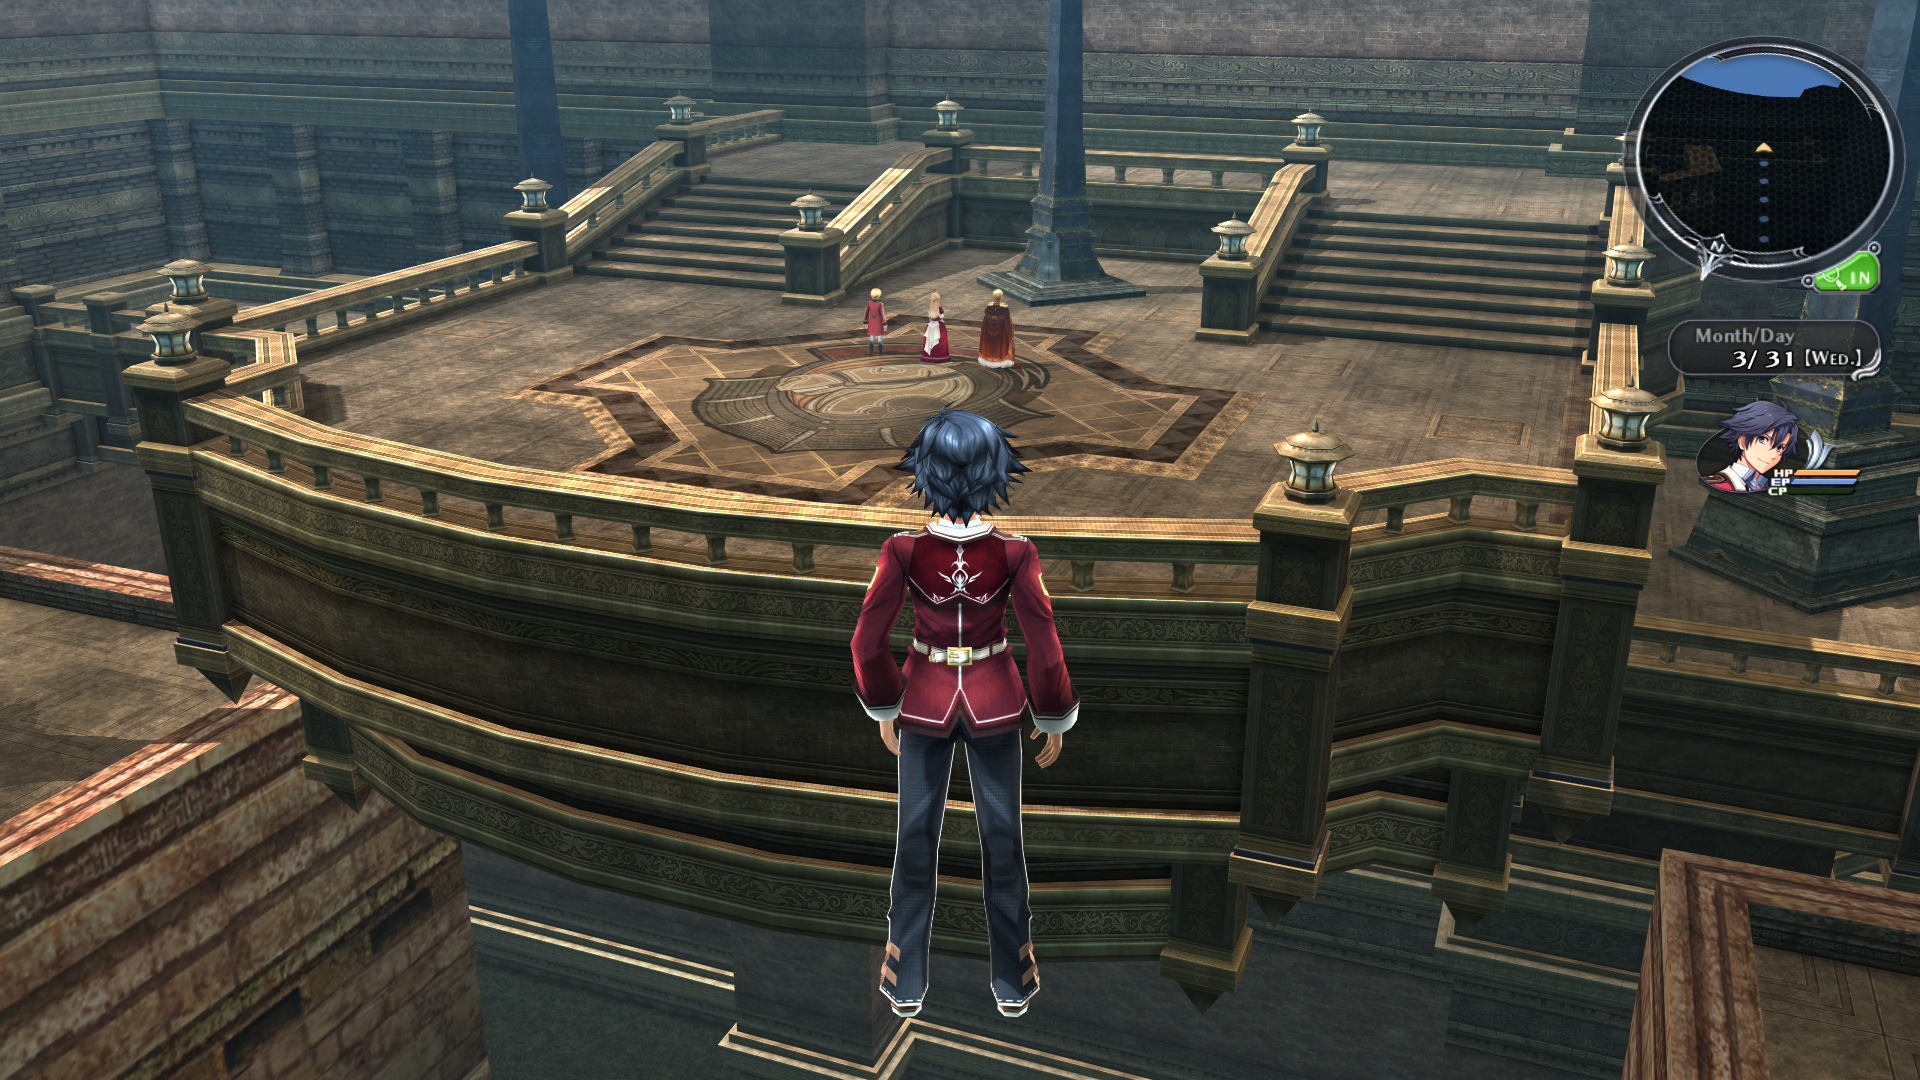
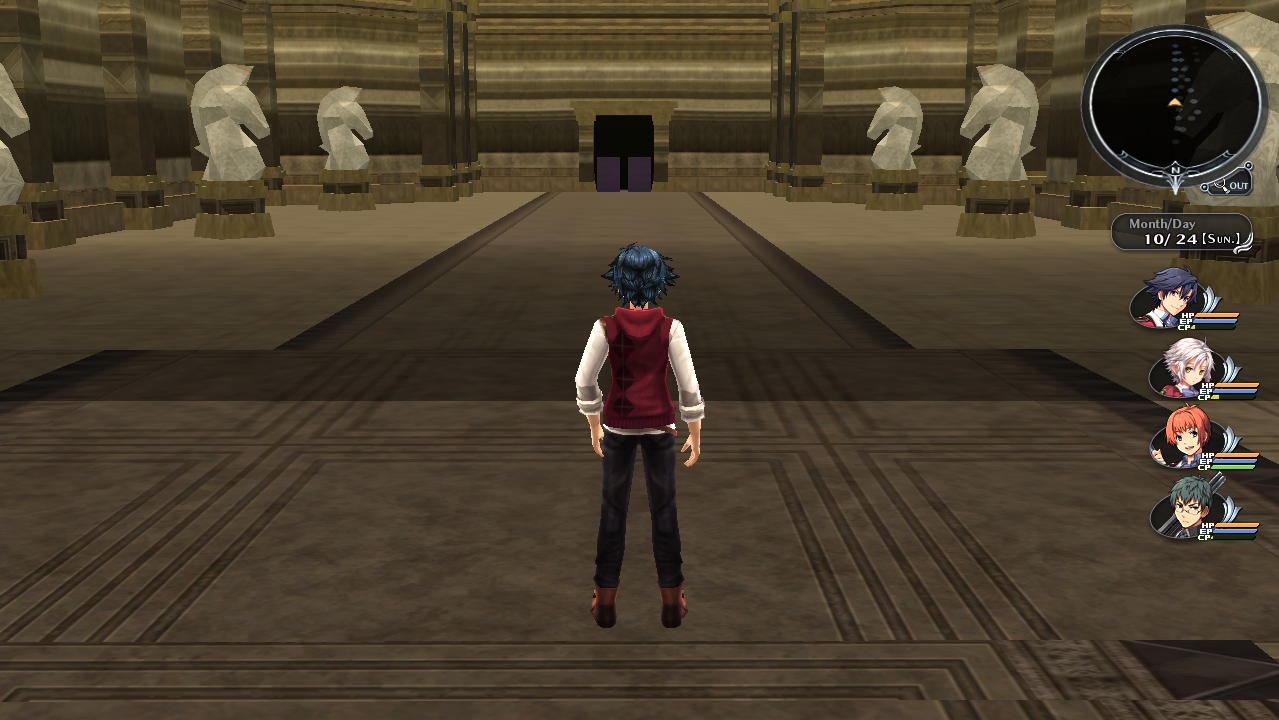
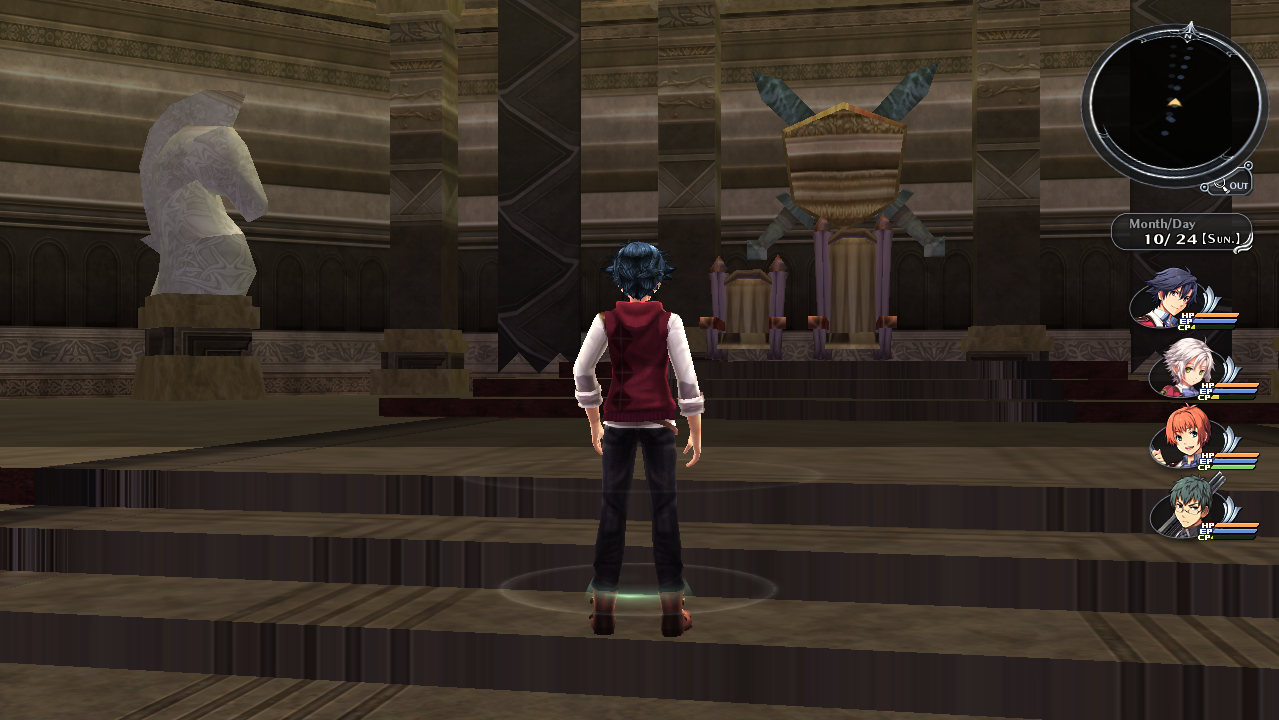
c0940 (Valflame Palace - Audience Chamber)#
Hex string: 633039343000
An unused section of Valflame Palace.
t3080 (Viscount Arseid's Mansion)#
Hex string: 743330383000
This is a very work in progress version of Viscount Arseid's Mansion.
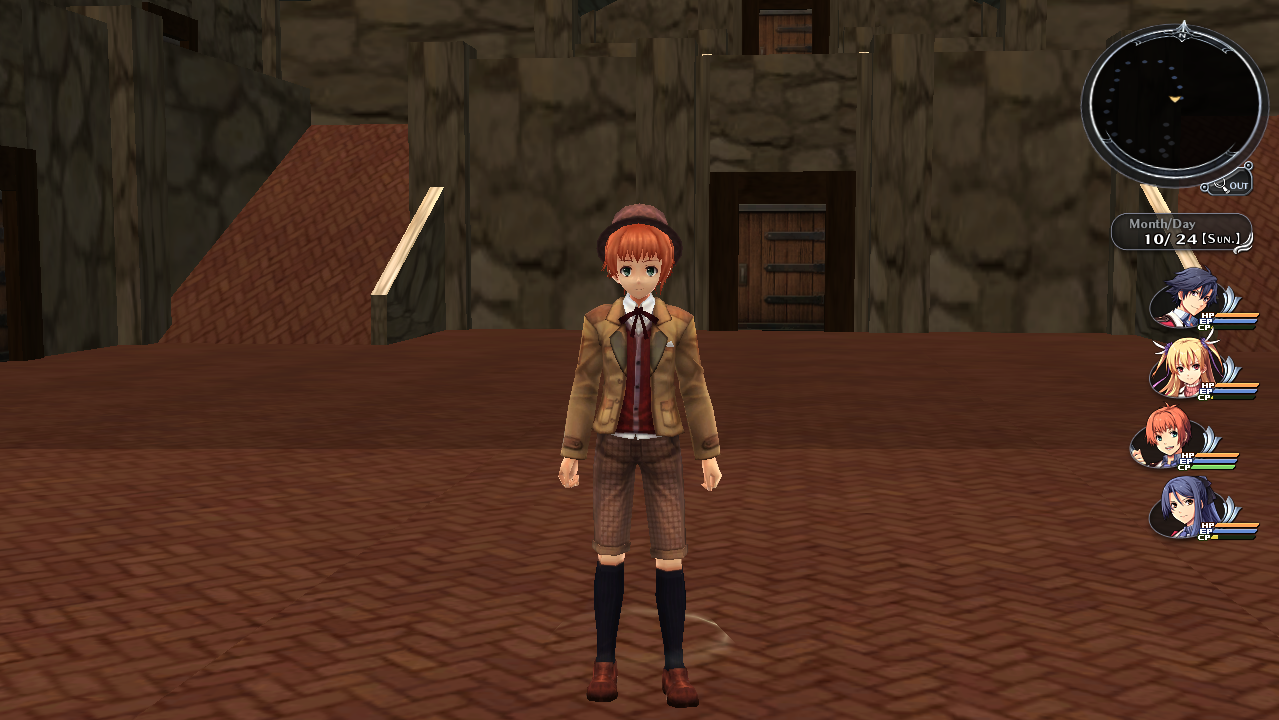
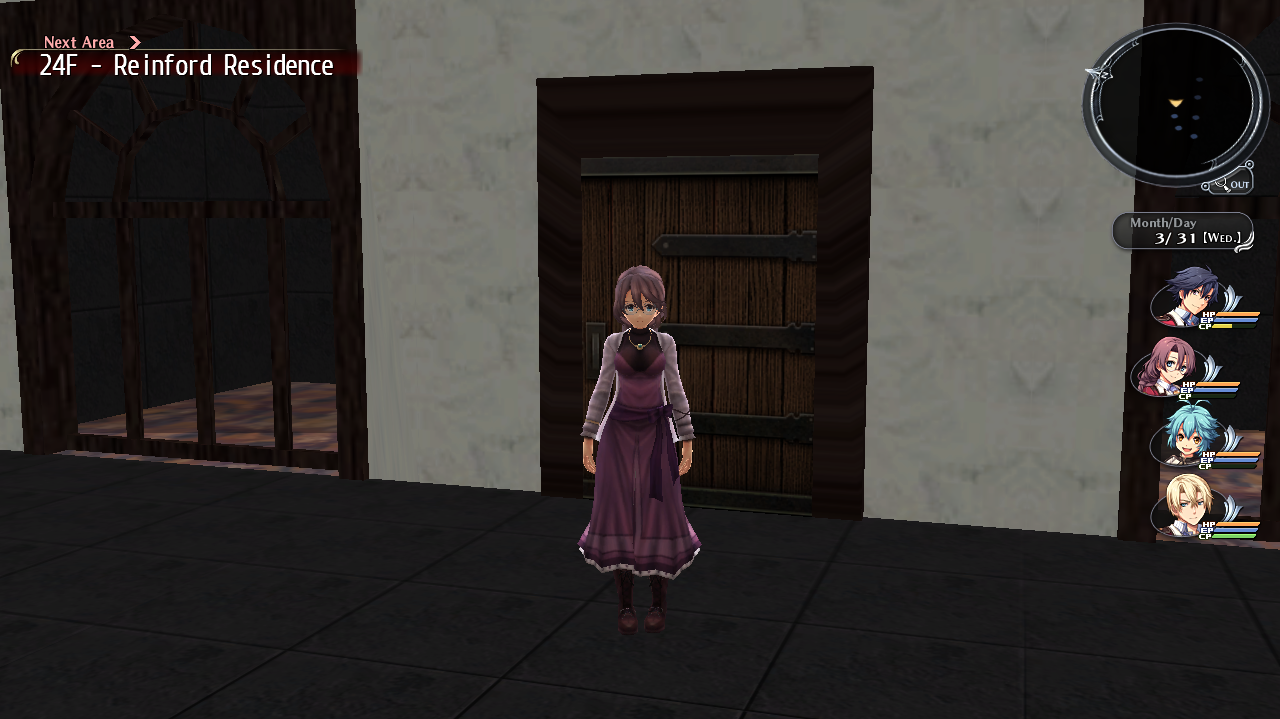
t3540 (Unused Reinford Residence Balcony)#
Hex String: 743335343000
An unused section of the Reinford Residence.
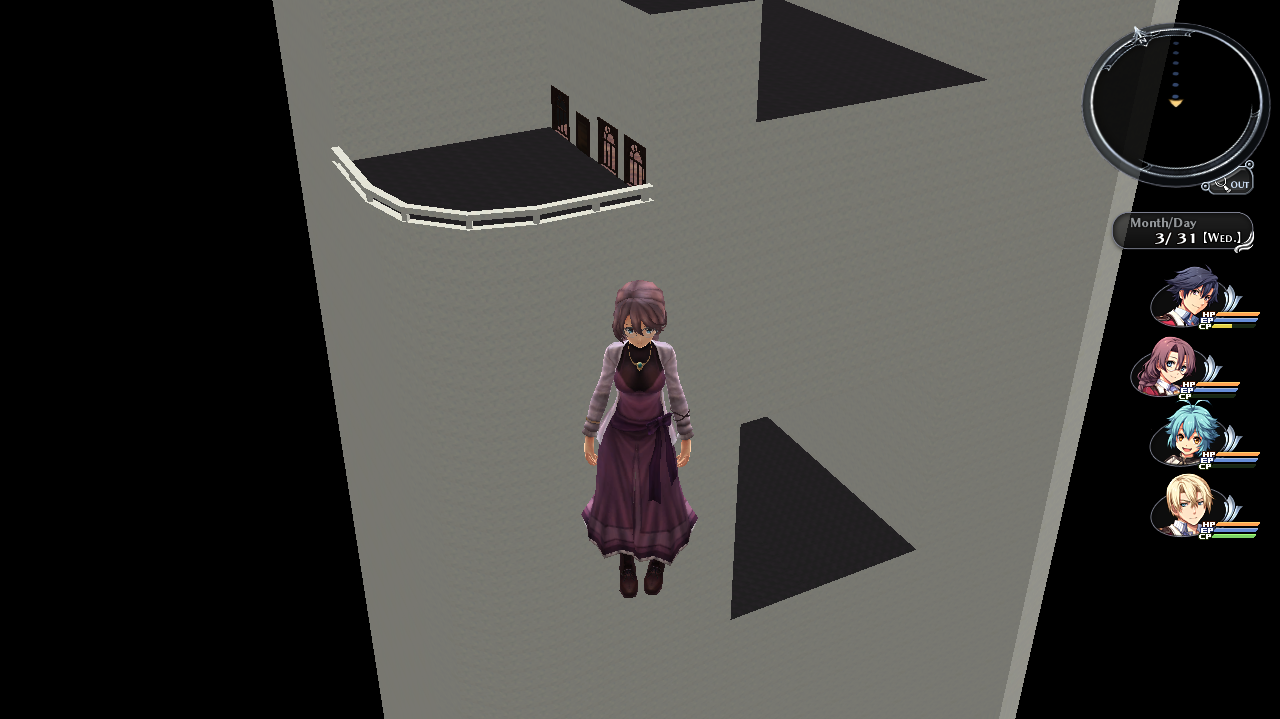
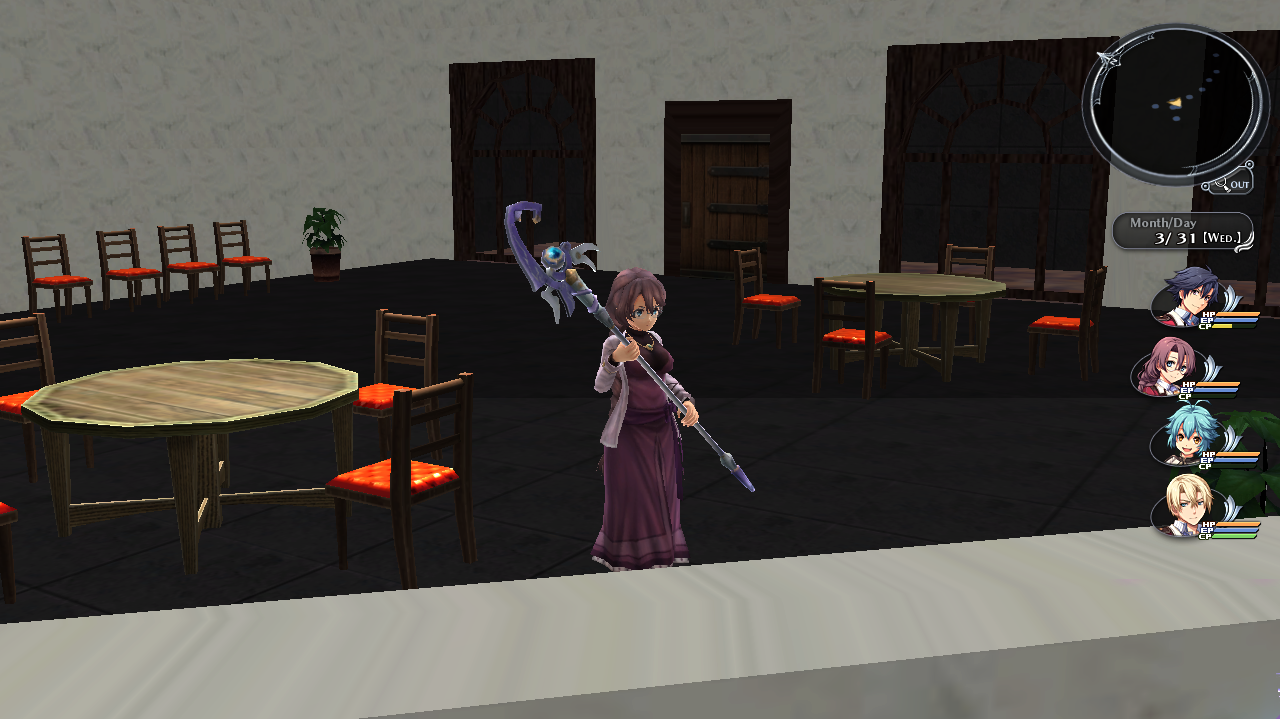
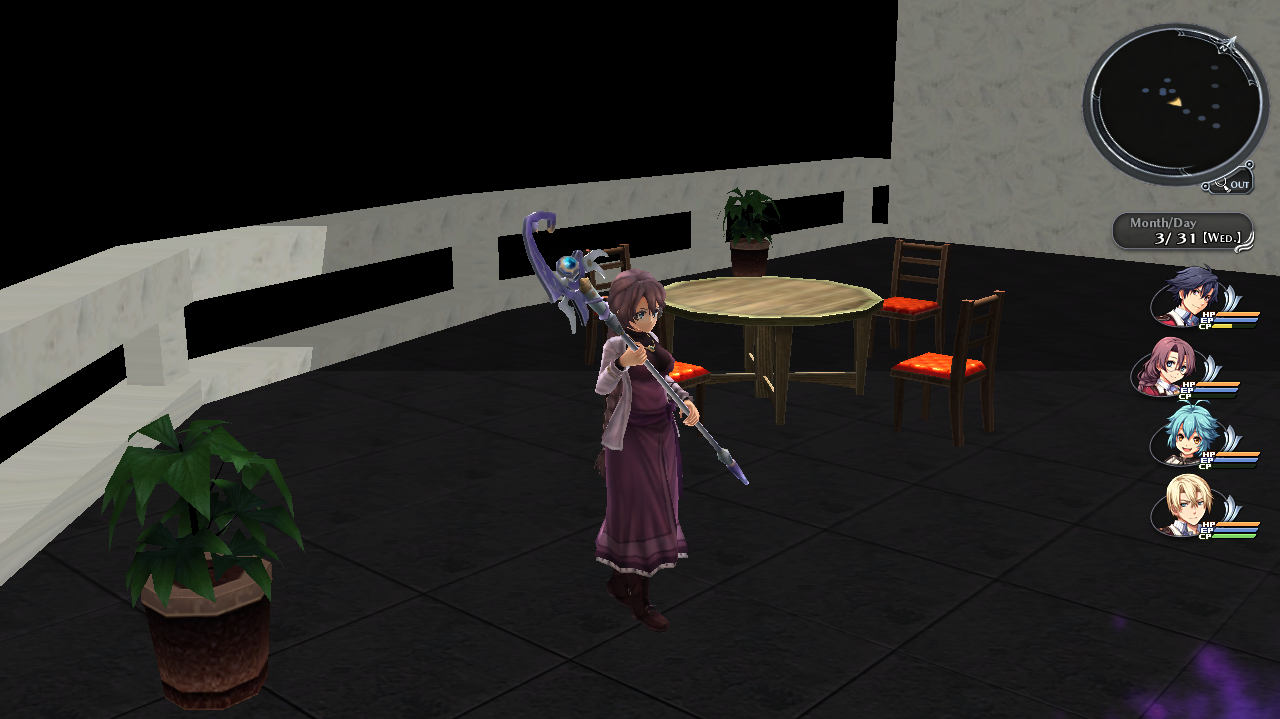
t3760 (Unused Reinford Military Factory 2)#
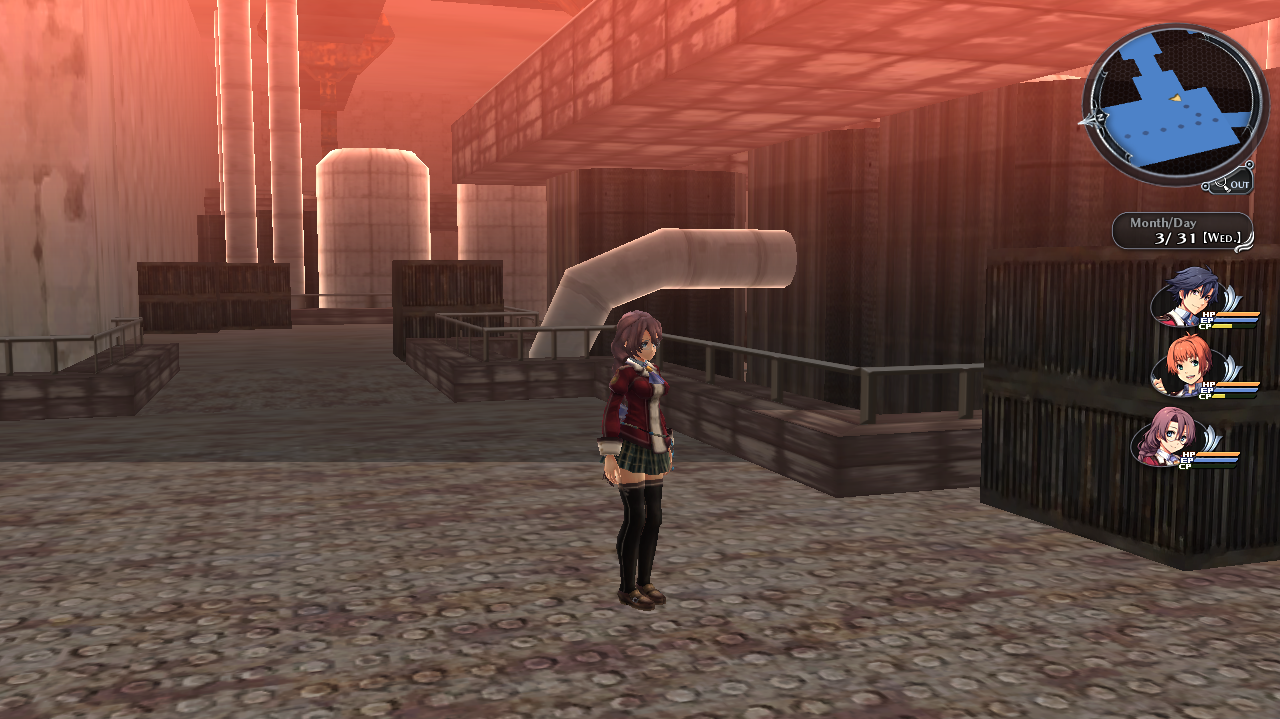
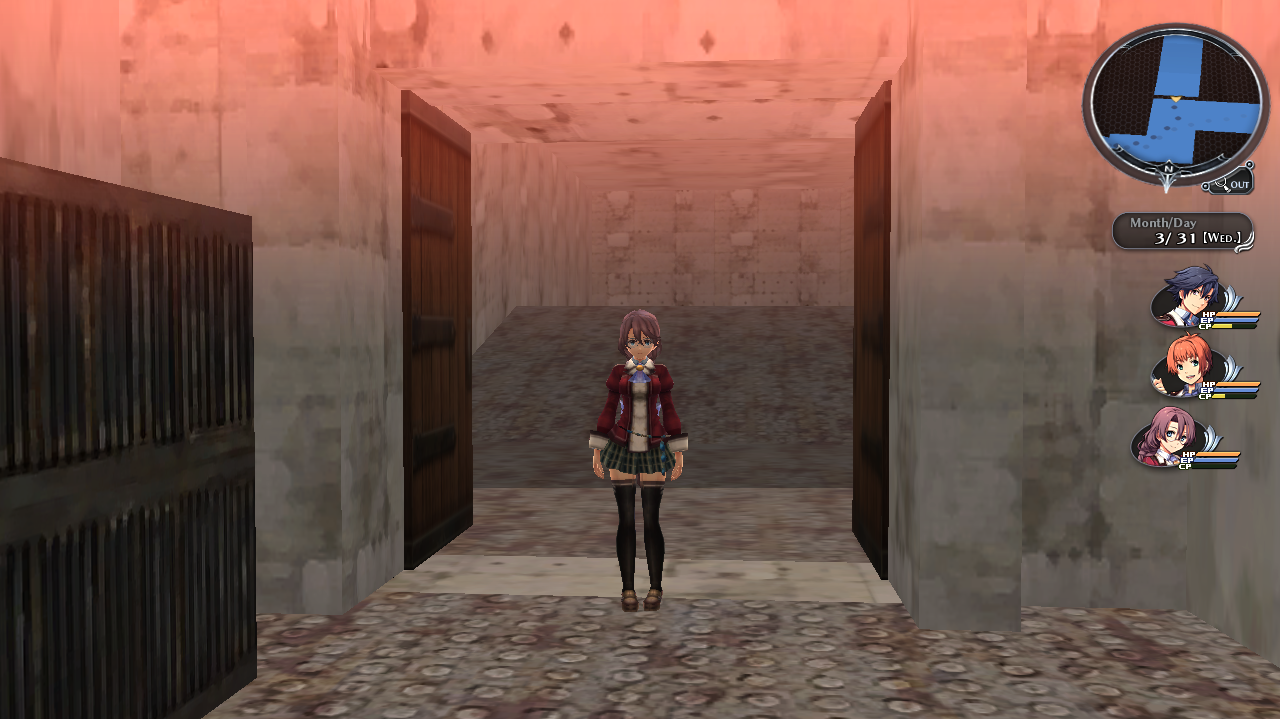
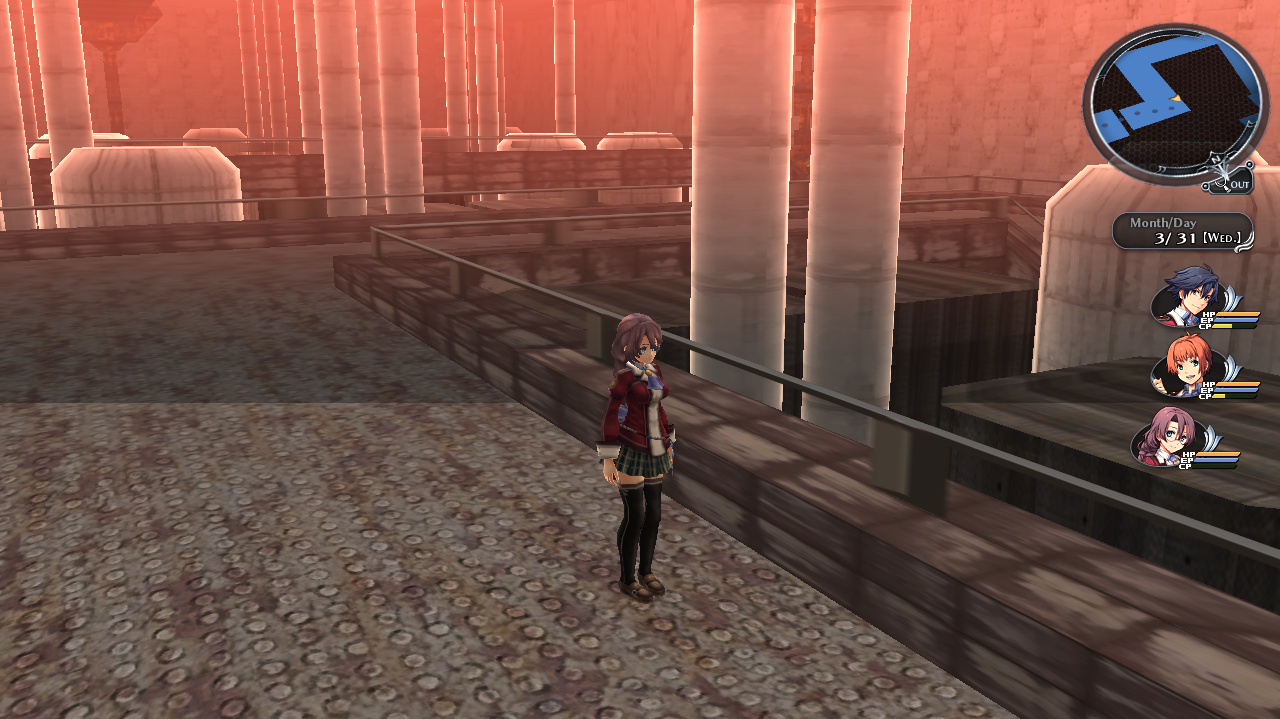
Hex String: 743337363000
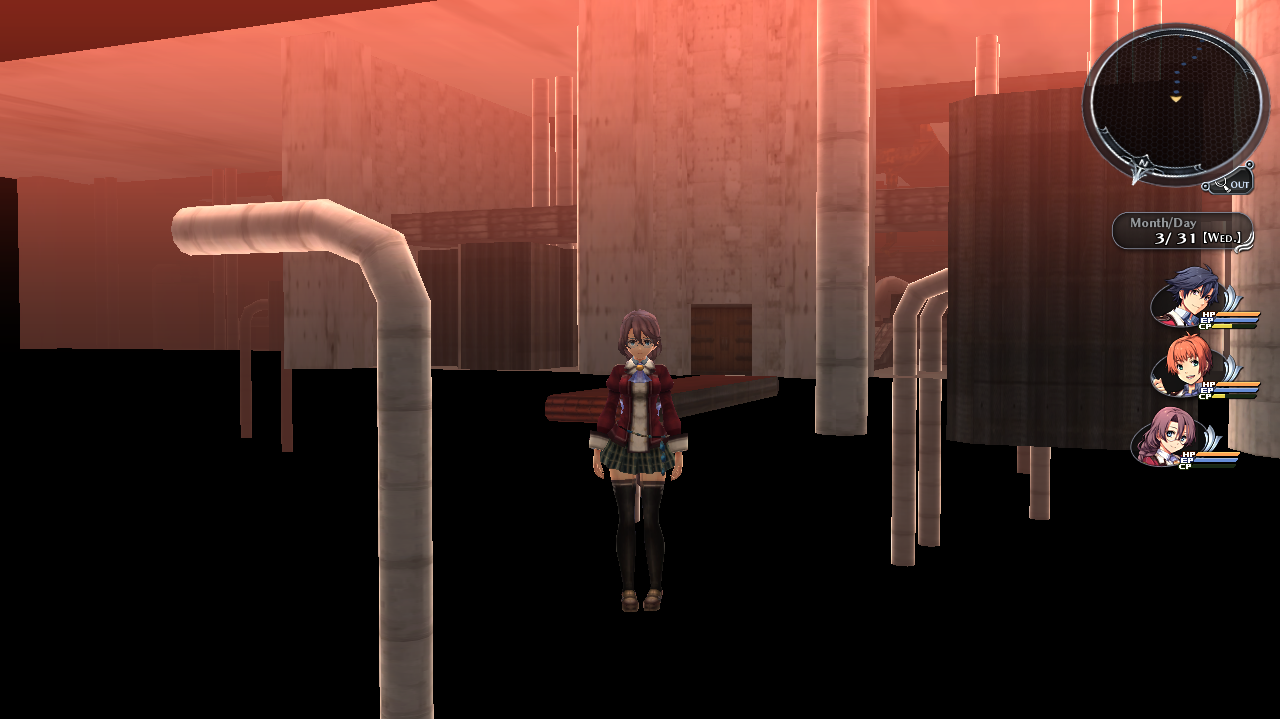
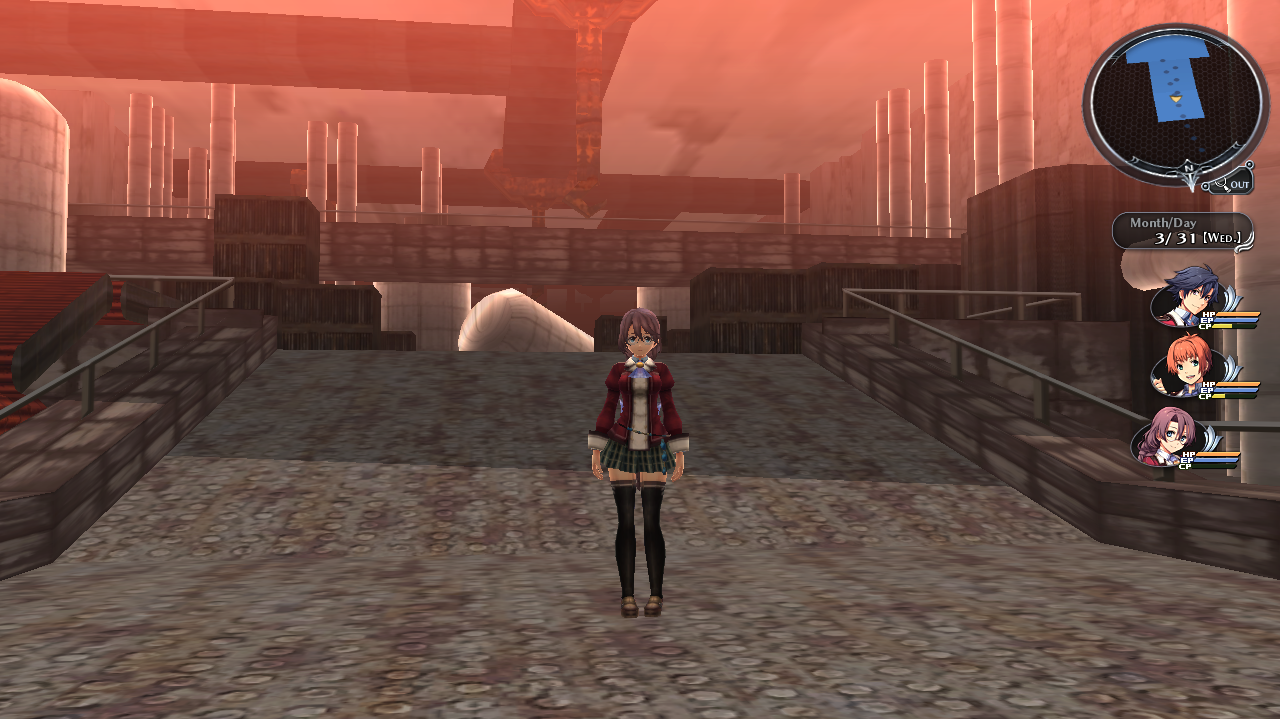
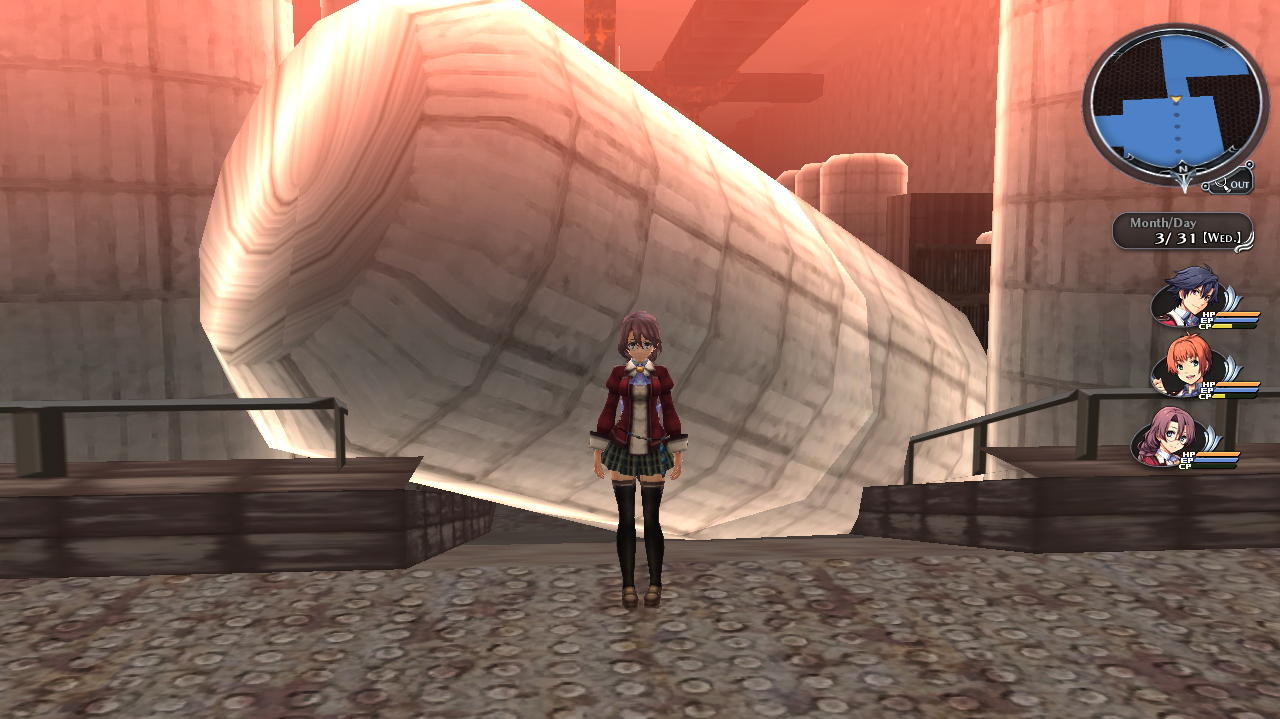
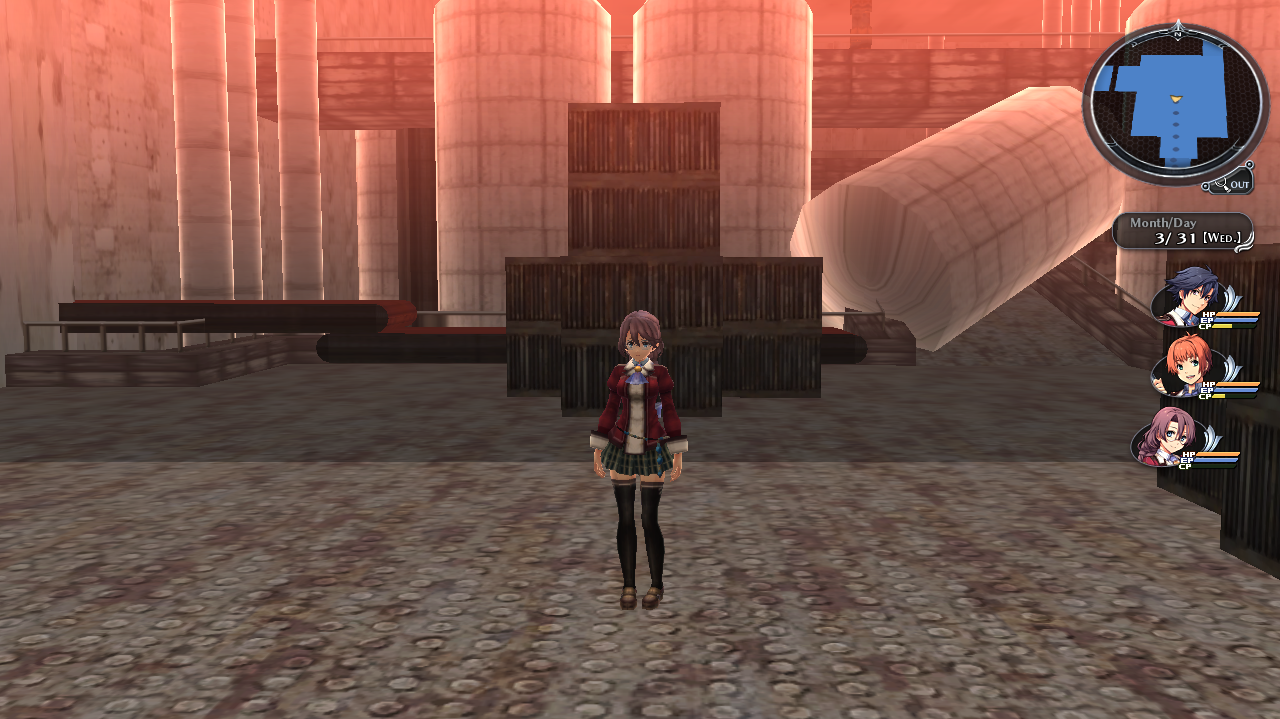
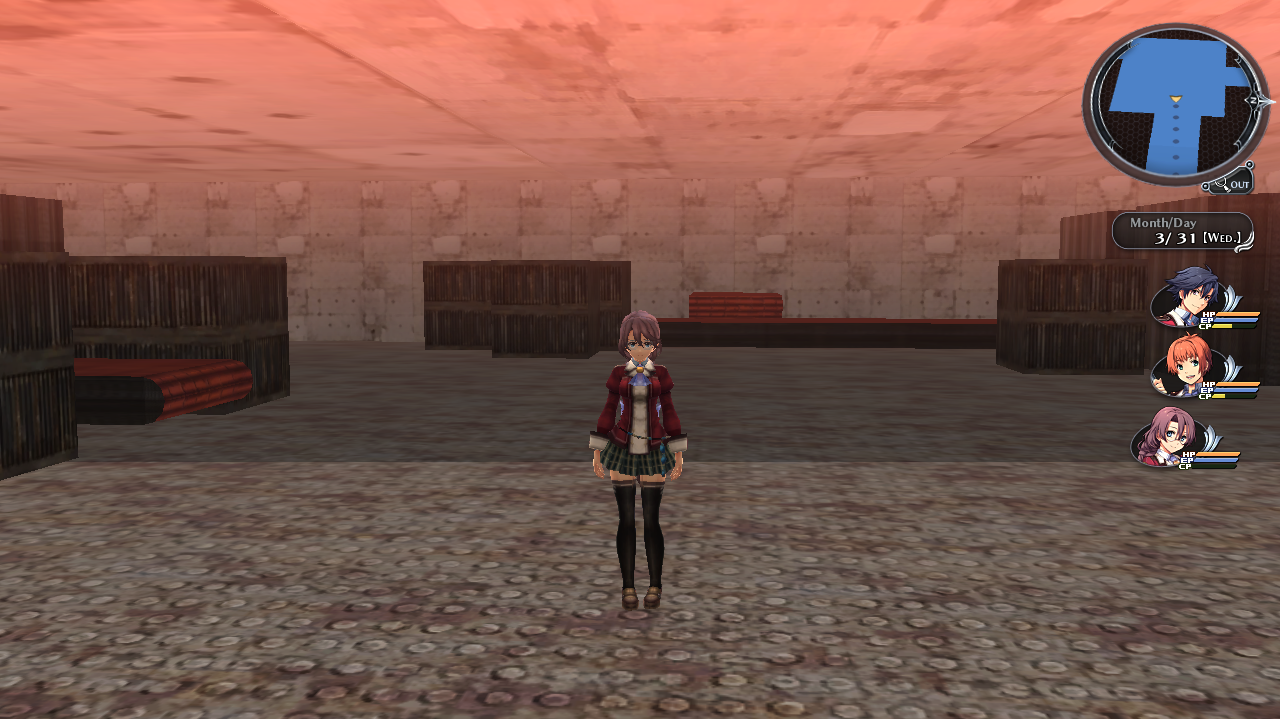
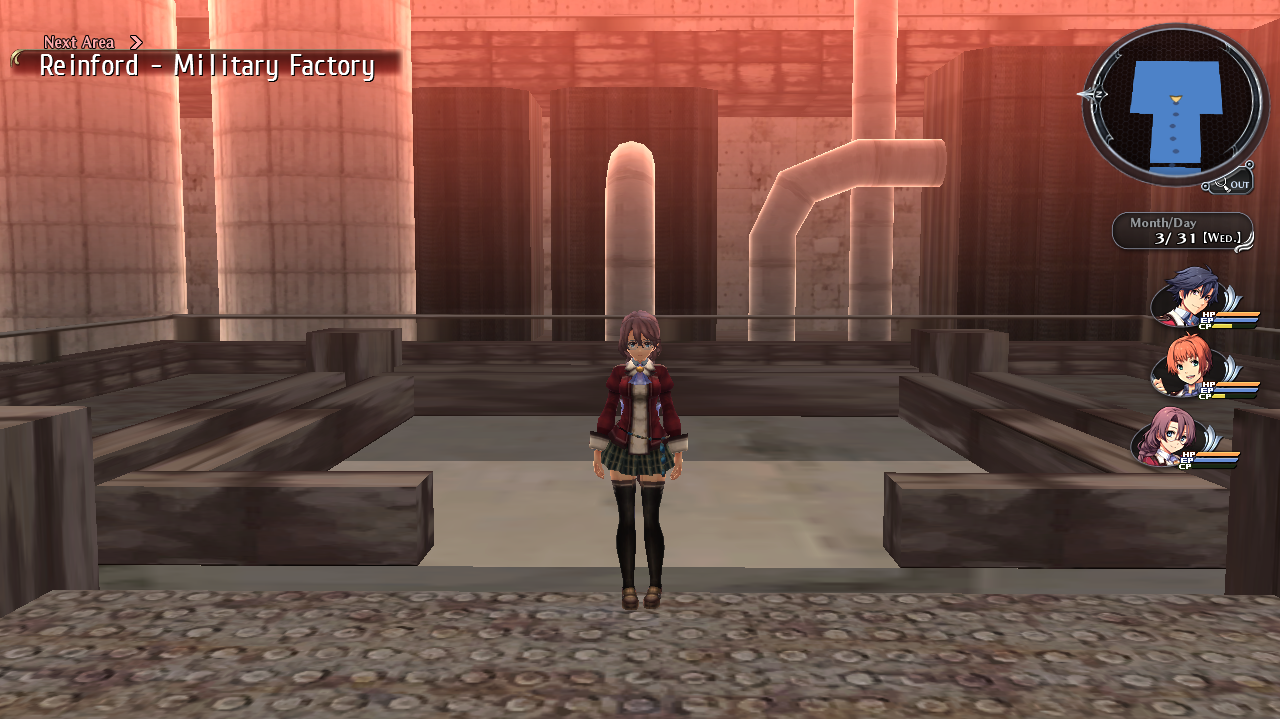
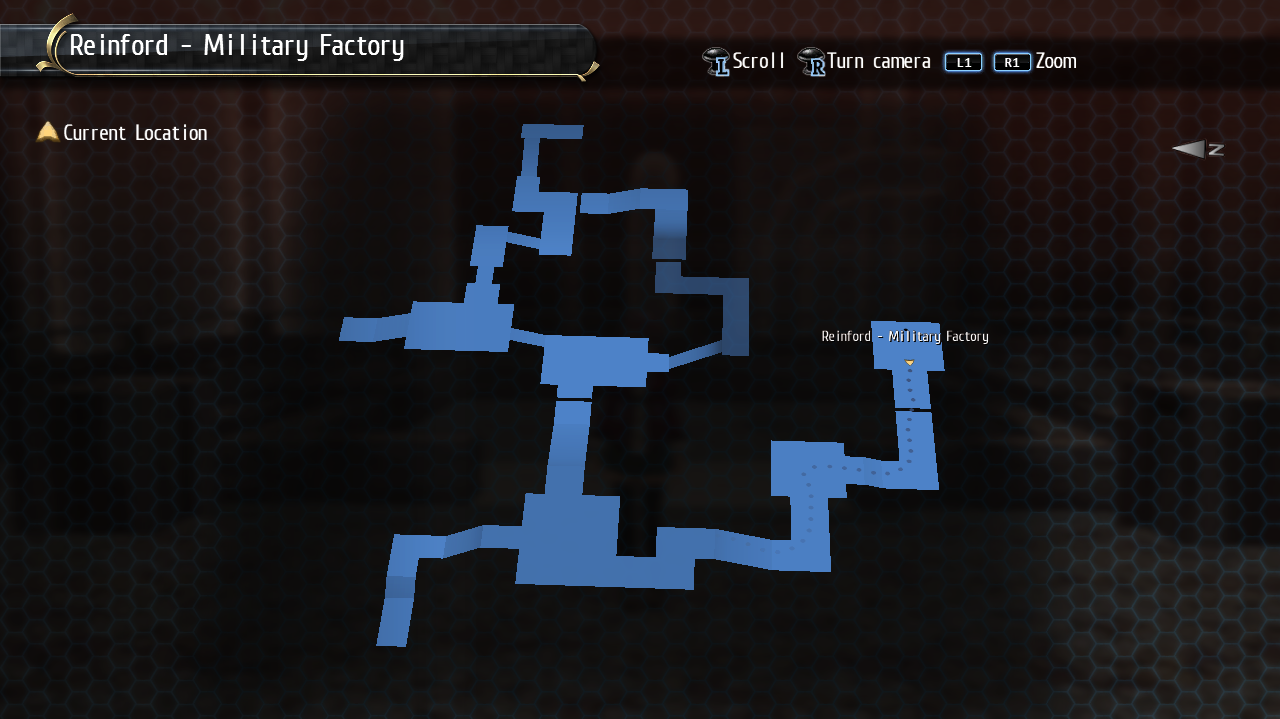
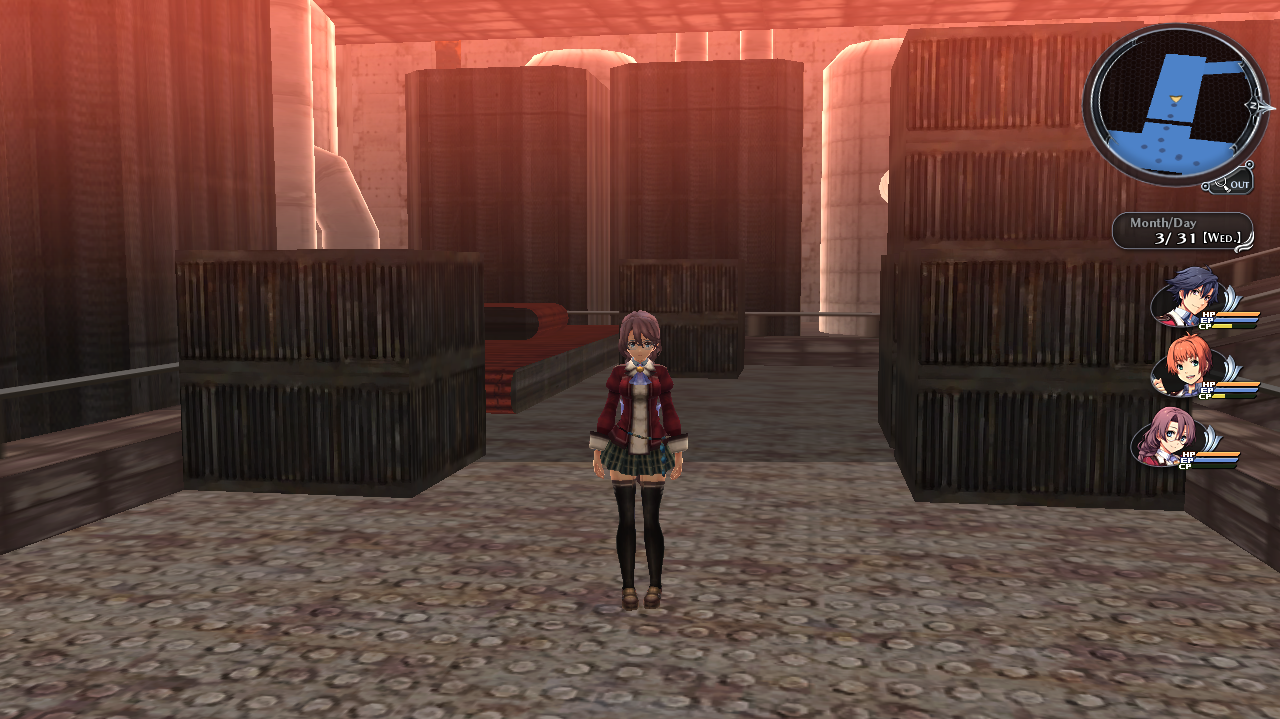
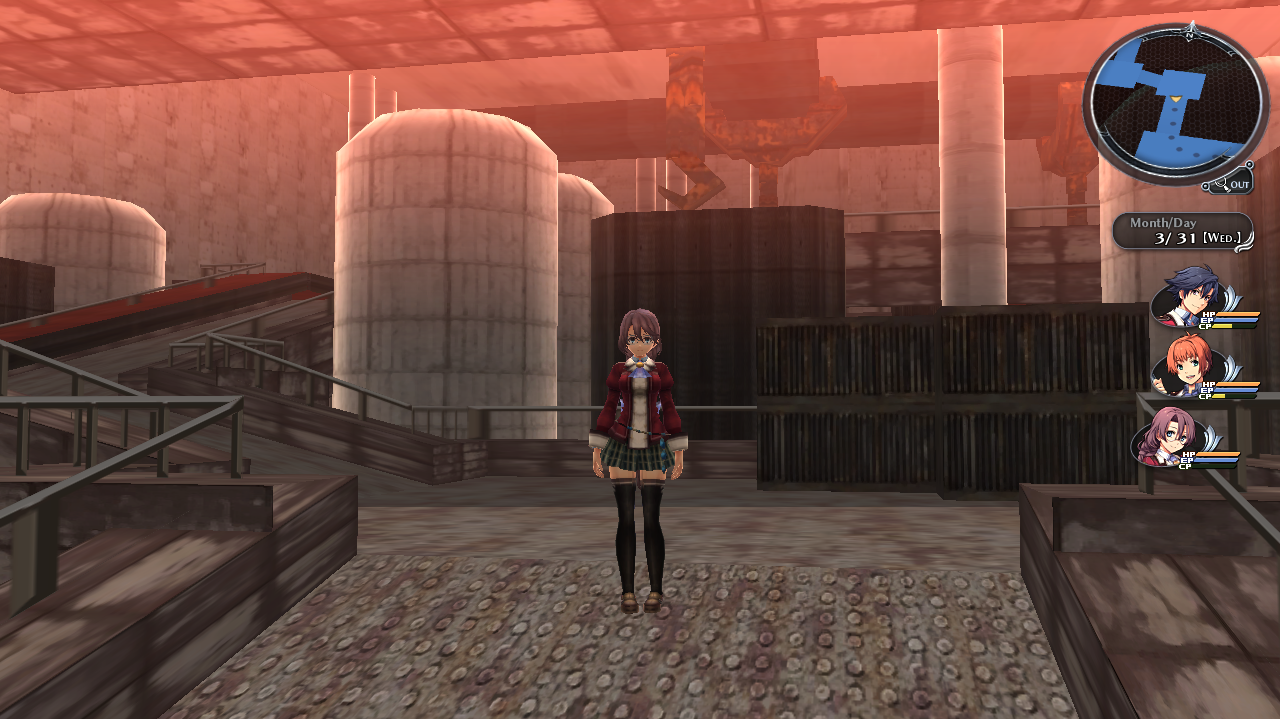
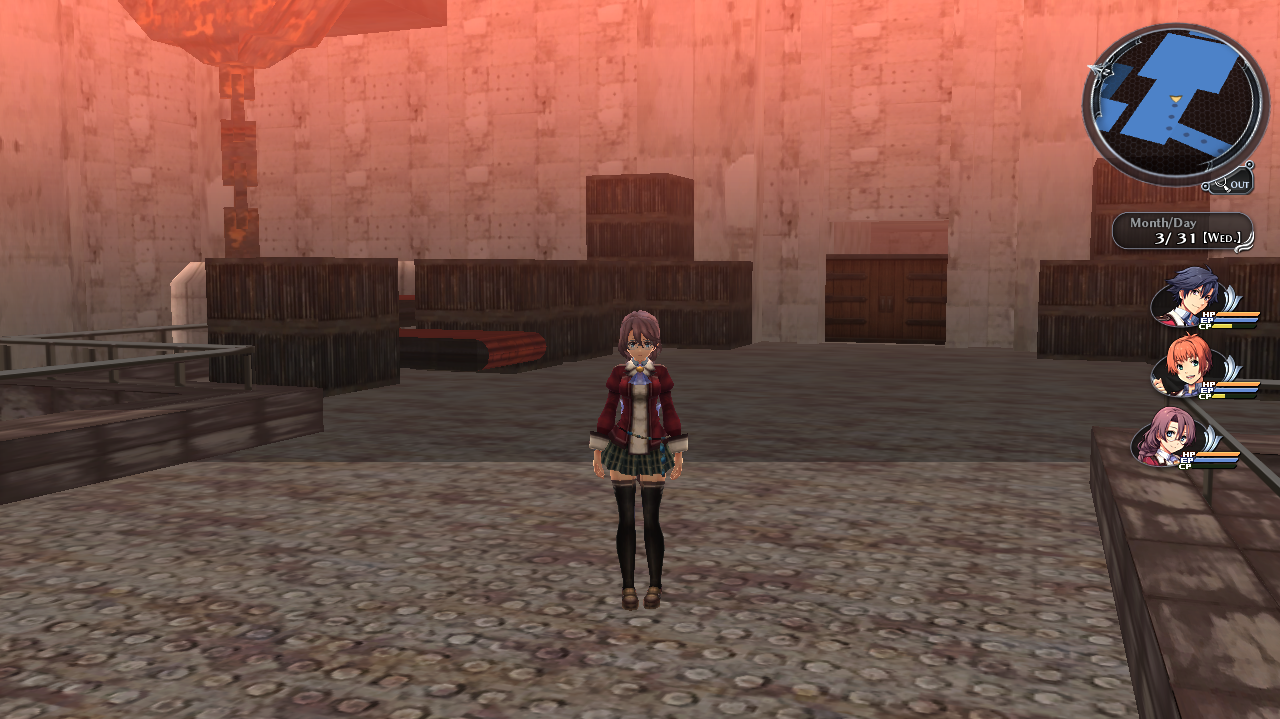
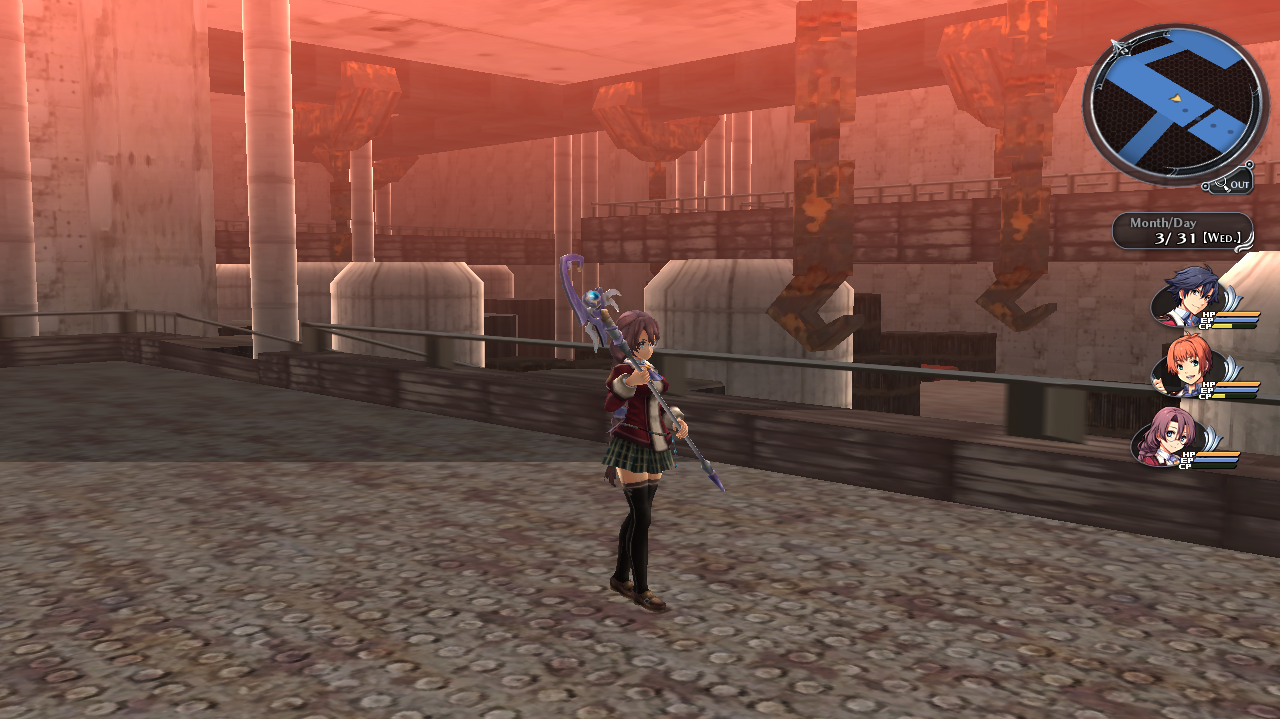
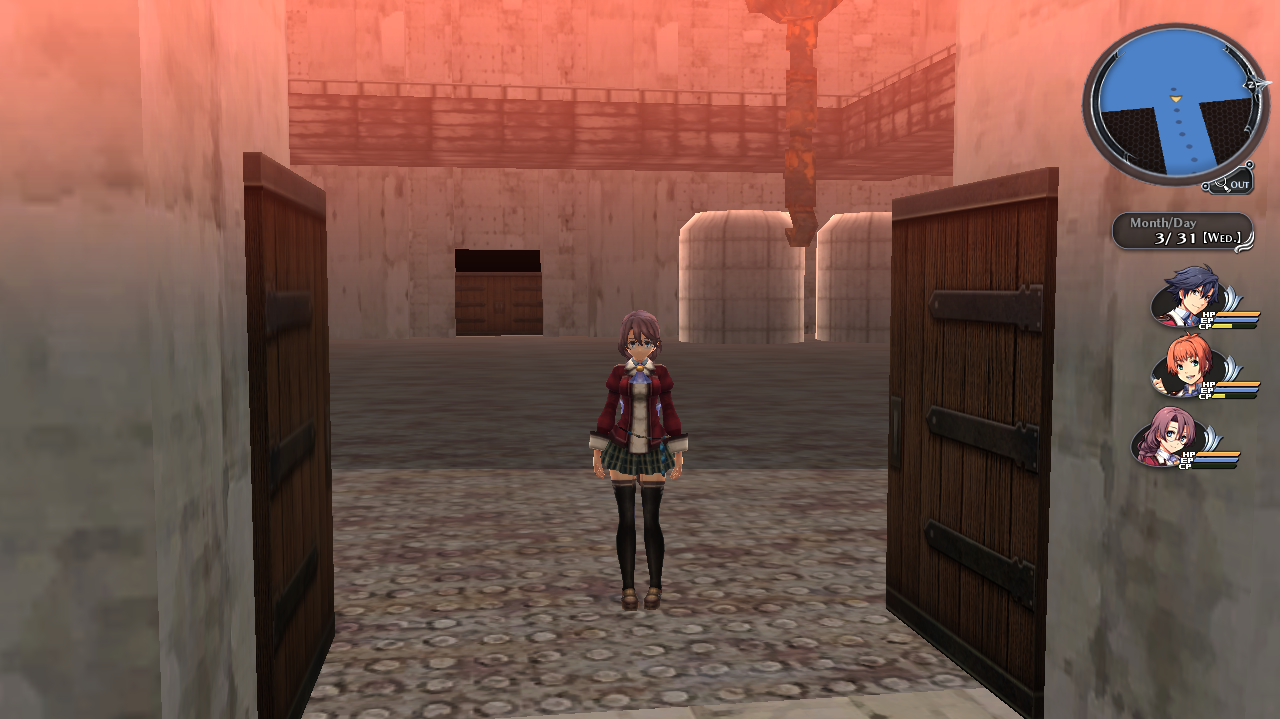
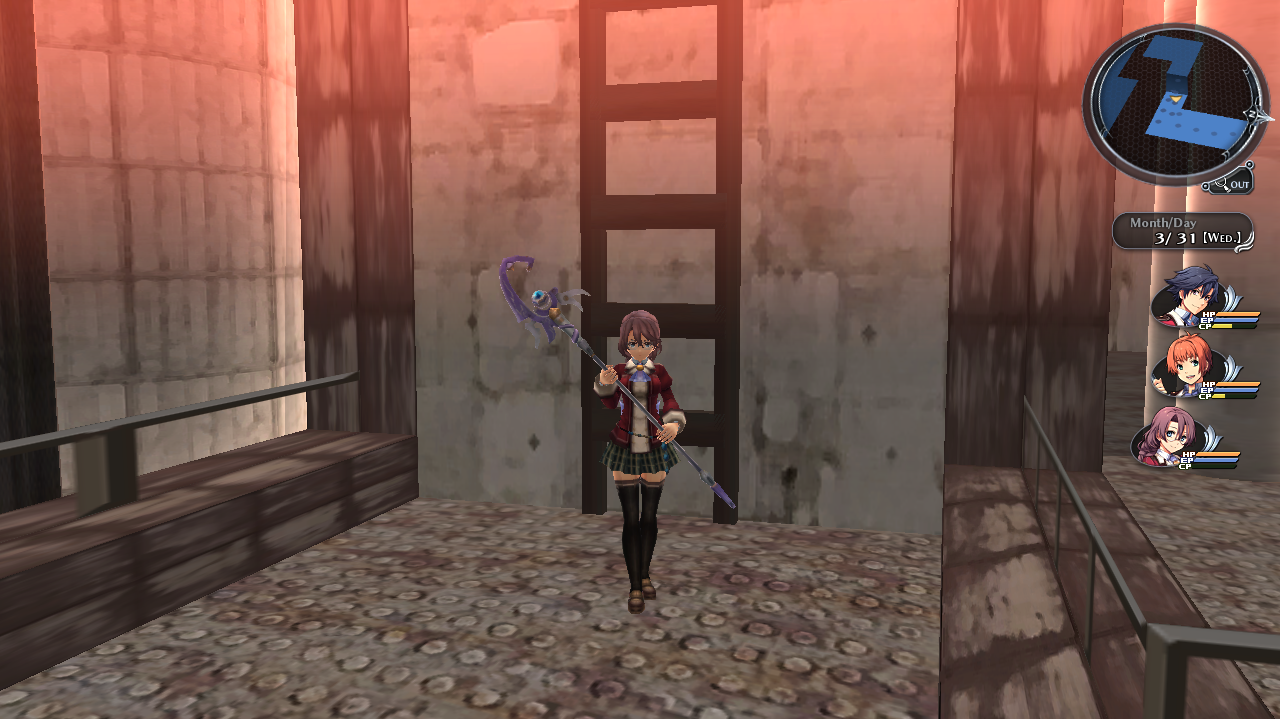
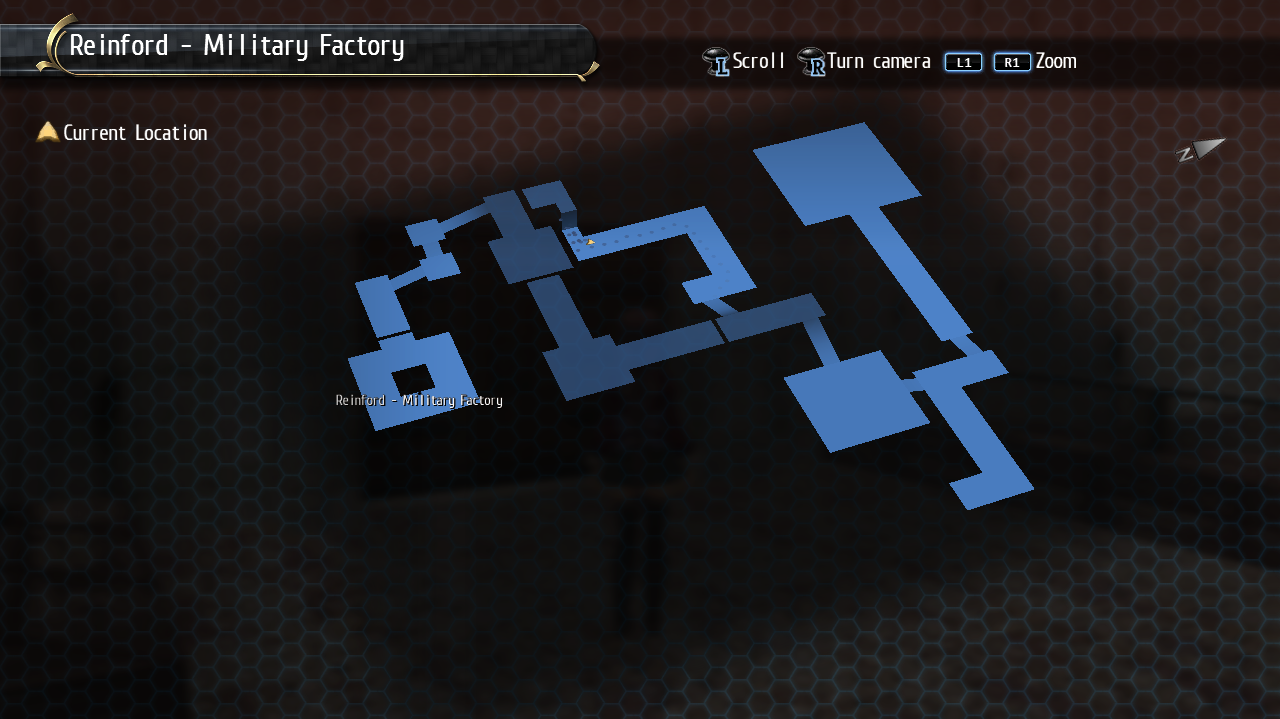
An unused section of the Reinford Military Factory from Chapter 6. The layout is that of a dungeon but this map is labeled as a town map. The map contains one exit leading to another unused section seen after this section. A total of two regular treasure chests can be found in this map but cannot be obtained.

t3770 (Unused Reinford Military Factory 3)#
Hex String: 743337373000
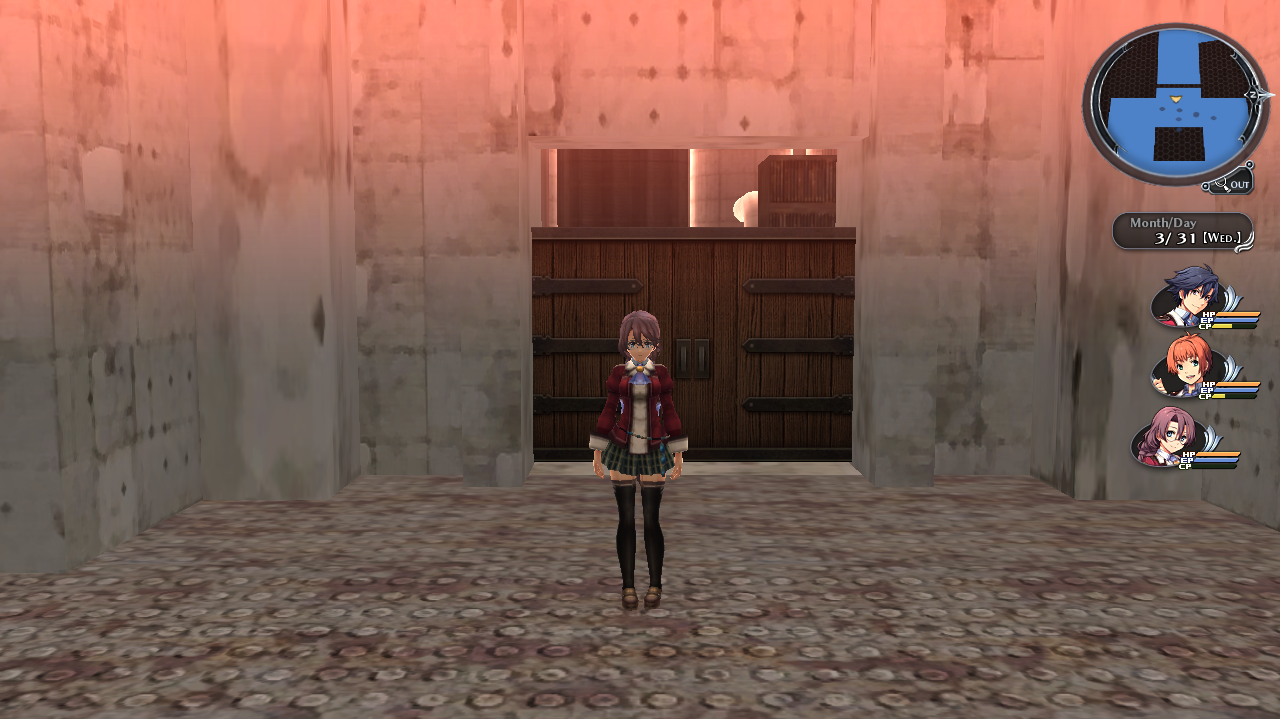
The final unused section of these maps. A total of two regular treasure chests can be found in this map but cannot be obtained.
t3900 (Unused Airship Map)#
A map that normally crashes the game. When loaded it has the Courageous and another ship named Lusitania from The Legend of Heroes: Trails in the Sky the 3rd.
t4000 (Ymir, the Hot Springs Paradise)#
Hex string: 743430303000
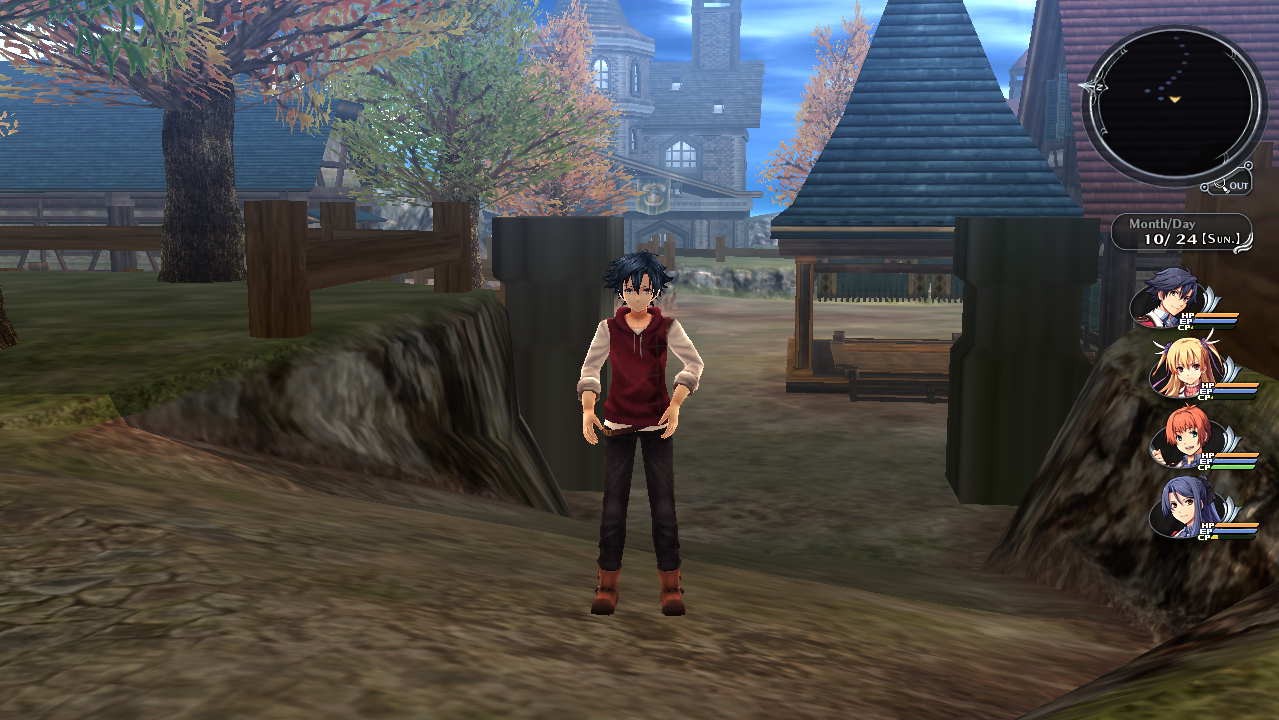
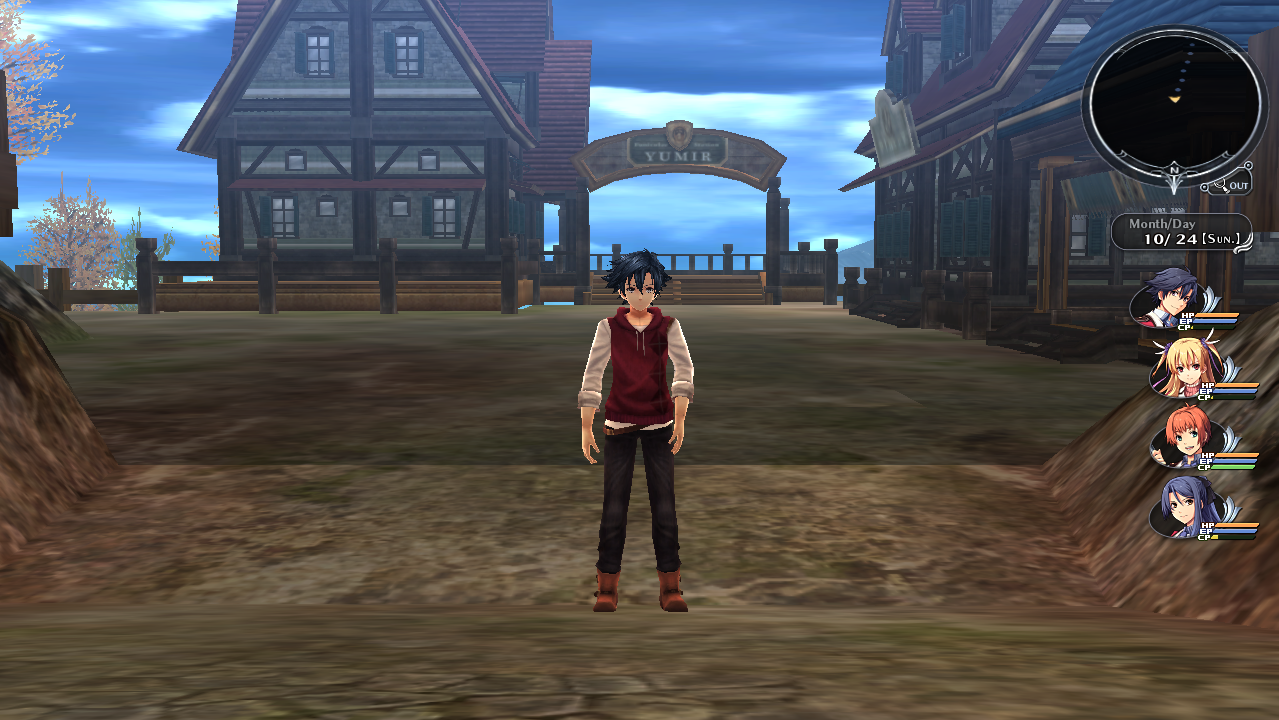
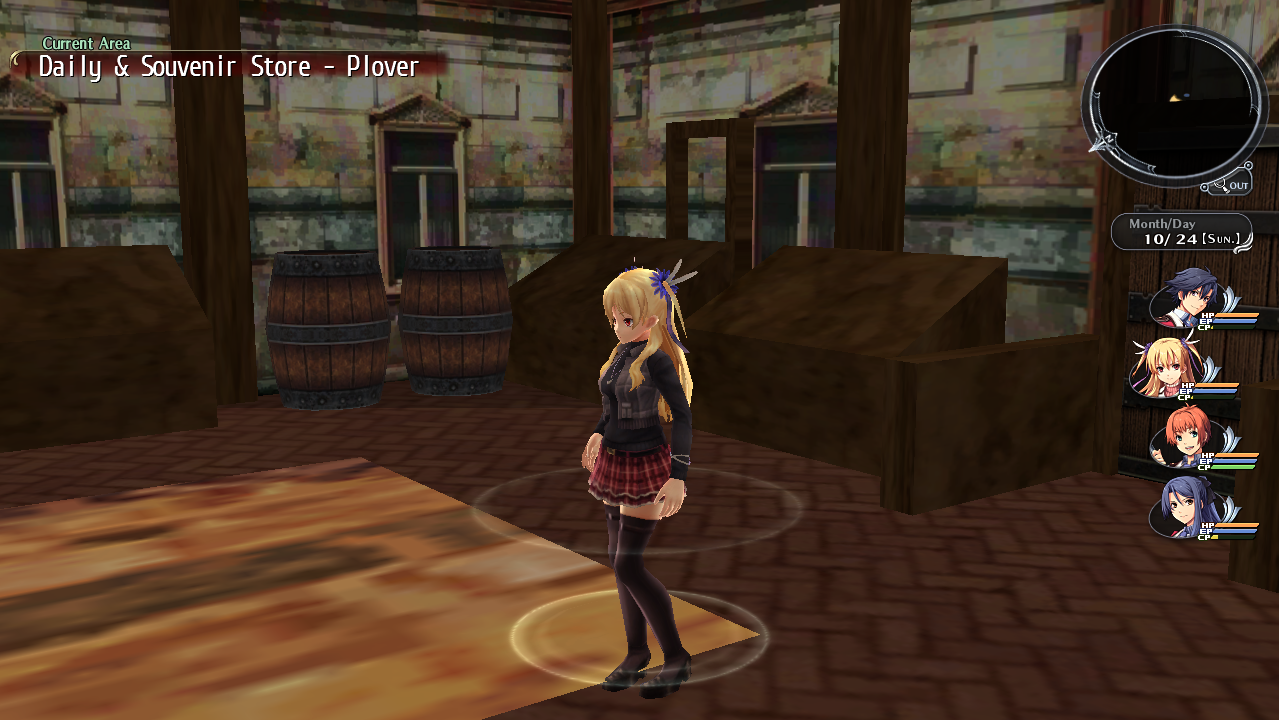
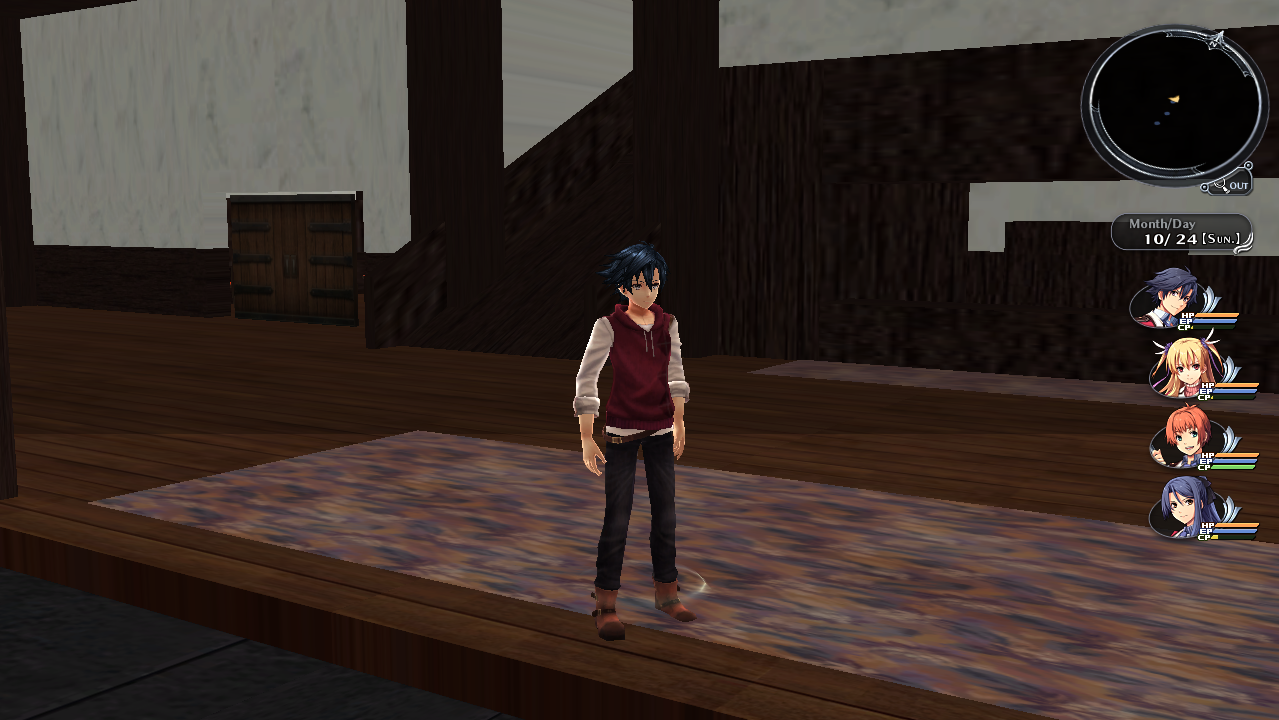
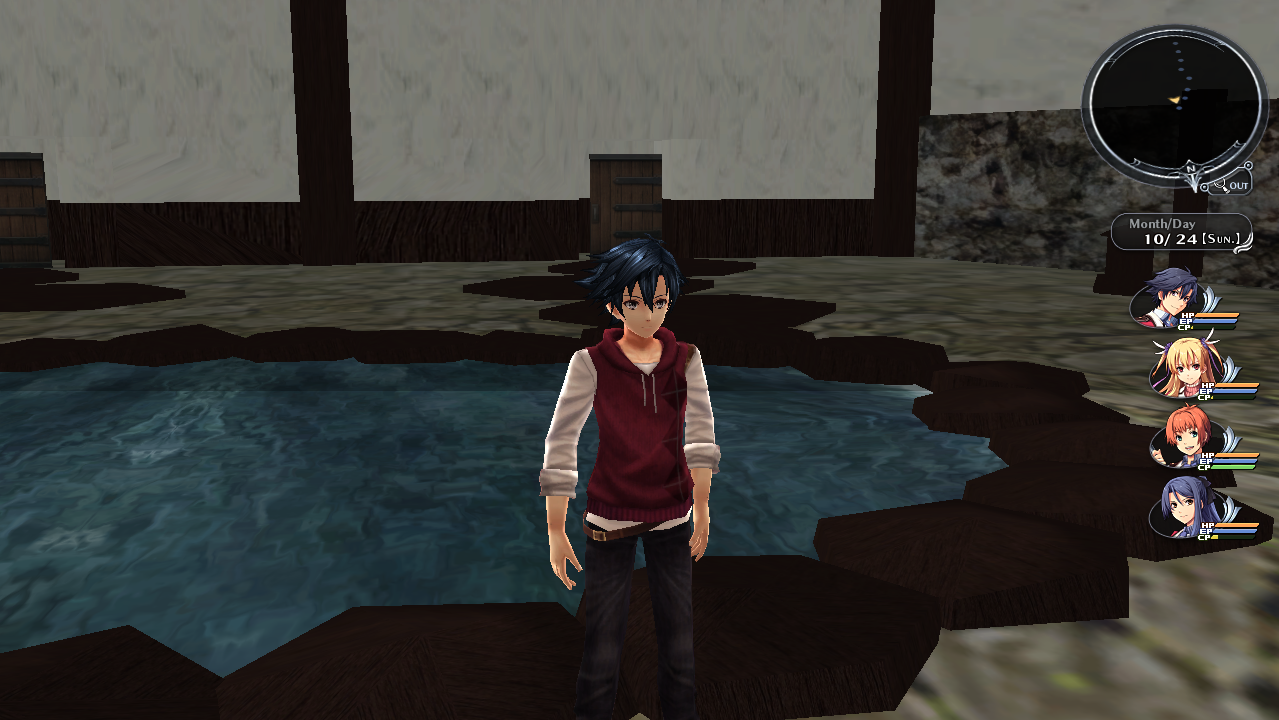
Apparently this was a planned location in the game. It has a shop not found in the sequel located in the middle of this map named "Daily and Souvenir Store - Plover". You can access all of the locations here like you would in the sequel, such has the Phoenix Wings and Rean's house. You can even go up to Ymir Canyons.
Miscellaneous Information#
This section covers maps that are either blank, crash the game, or general interesting information. These maps all relate to town maps, cutscene maps, or dungeon maps. Perhaps there was more content planned for this game at one point.
- The maps c0420 and c0320 are related to Ost District. The former is a blank map, while the latter crashes the game. When forcefully loaded, it is a completely blank map.
- The maps c0900 was once connected to Valflame Palace. When loaded it is a blank map.
- The maps e0080, e0000, e0010, e0020, e0040, e0060, e0070, and e0090 relate to Trista's cutscene maps which are blank.
- The map e2001 is a blank cutscene map relating to the Courageous.
- The map e6501 is a blank cutscene map and is unclear where this is related to.
- The map e1000 is a blank cutscene map and is unclear where this is related to.
- The maps r0820, r0830, and r0840 are relate to the Nord Highlands but crash the game. When forcefully loaded, they are completely blank.
- The map t0040 relates to Trista's town maps but is blank.
- The map t0211 is a glitched version of t0210 which is the Old Schoolhouse entrance.
- The map t0300 is a blank town map. It's unclear where this is related to.
- The map t0600 which is a town map crashes the game. It's unclear where this is related to.
- The map t2140 which is related to Bareahard crashes the game. When forcefully loaded, it is a completely blank map.
- The map t4830 which is related to Zender Gate crashes the game. When forcefully loaded, it is a completely blank map.
- The map t3700 which is related to Roer is a blank map.
- The map t5650 which is related to Garrelia Fortress crashes the game. When forcefully loaded, it is a completely blank map.
- The map t2010 which is Bareahard's train station can be accessed. However, once leaving this area you will be placed inside of a building in Bareahard.
(Source: Original TCRF research)