 This article has a talk page!
This is a sub-page of Development:Portal.
 Campaign MapsThe main campaign maps, from the relaxation vault to GLaDOS' lair.
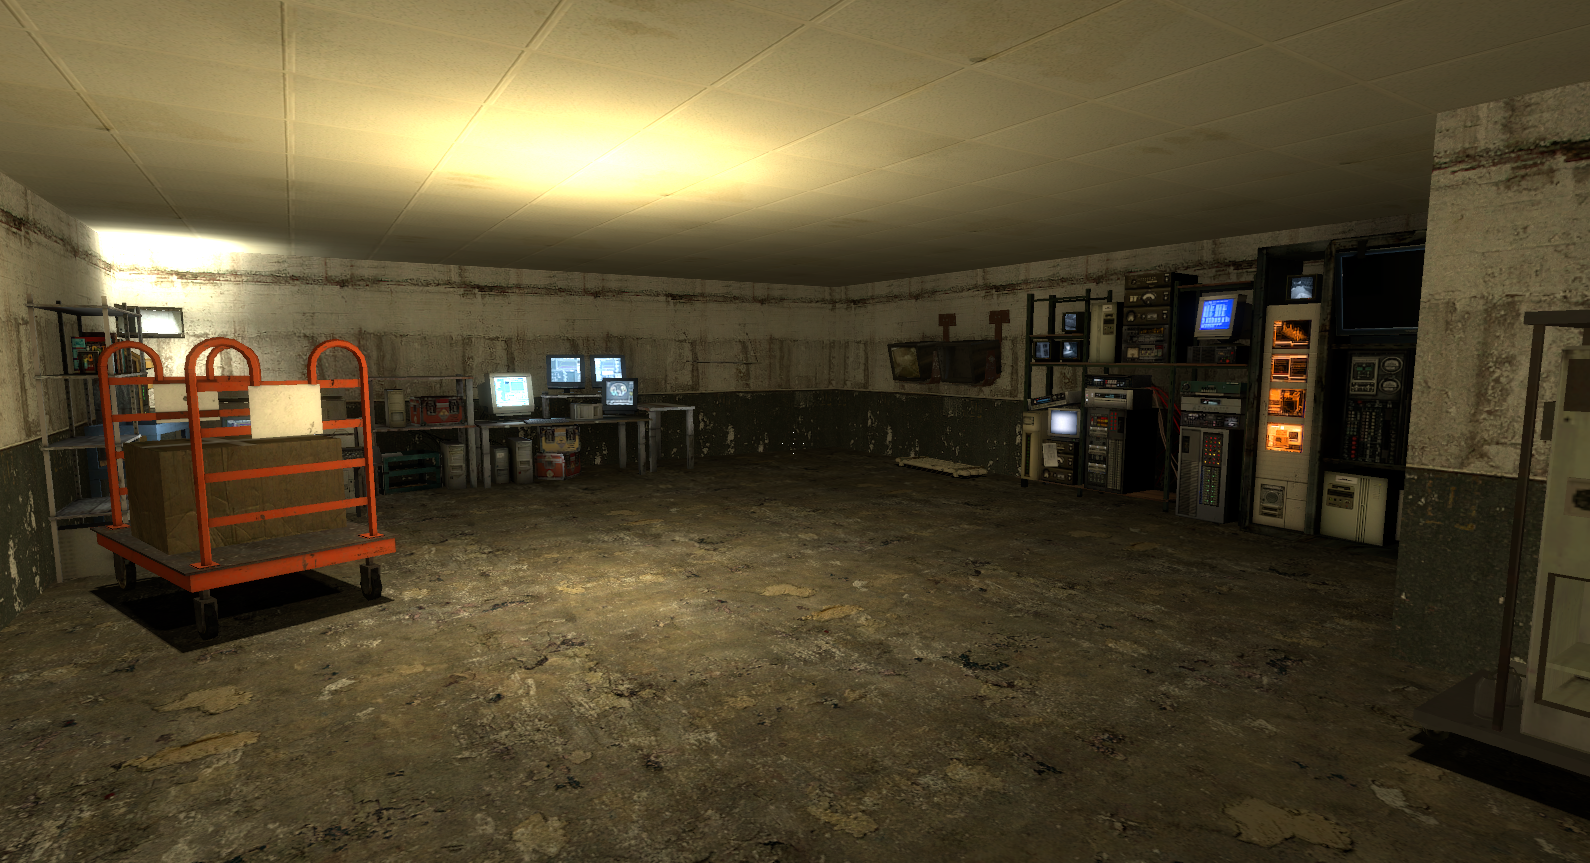 Test MapsDeveloper-only levels used to test the functionality of all of Portal's features.
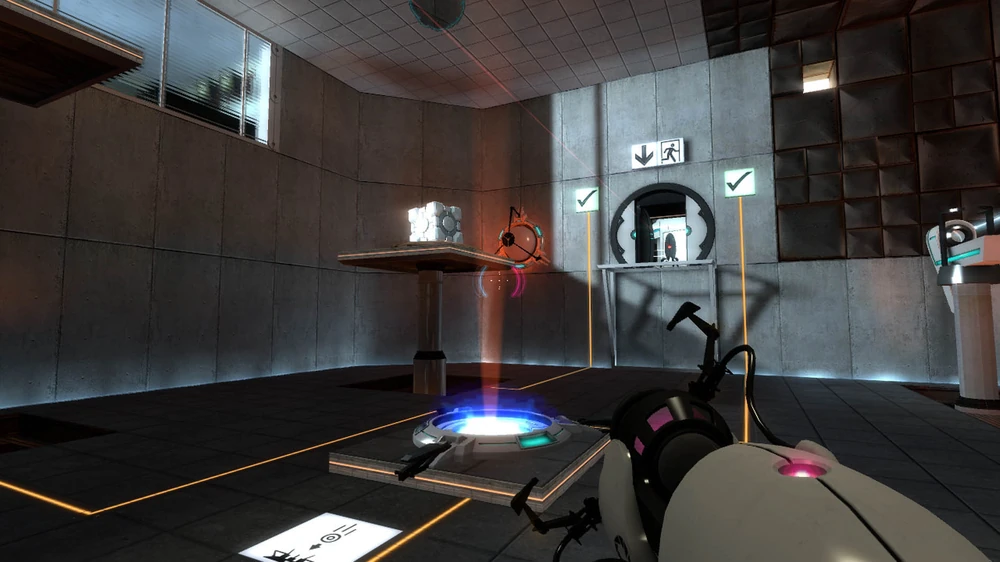 Demonstration MapsLevels made for showing at various gaming events.
Note about "Beans Leak" levels
The "beans Leak" - a leak of the internal developmental version of the Portal mod "Portal Project Beta" from 2016 that happened as a result of a developer's computer being compromised through a malicious program - included a number of level recreations by a member of the mod's team, ReepBlue. These levels include "lvl1," "lvl3," "lvl5," "lvl7," "testchmb_a_08_leipzig0," "testchmb_a_09_leipzigera," and "testchmb_a_10_leipzigera." This has led to many people confusing these maps as real Valve-made maps from Portal's development and these maps have also been included in beta recreation mods for Portal such as "Portal: Prospekt", "Portal 2005" and "Portal 2006". These levels are not original levels created by Valve Software. As a result, they should not be included on these pages unless they are clearly marked as recreations.
Campaign maps#
intro_lvl1#
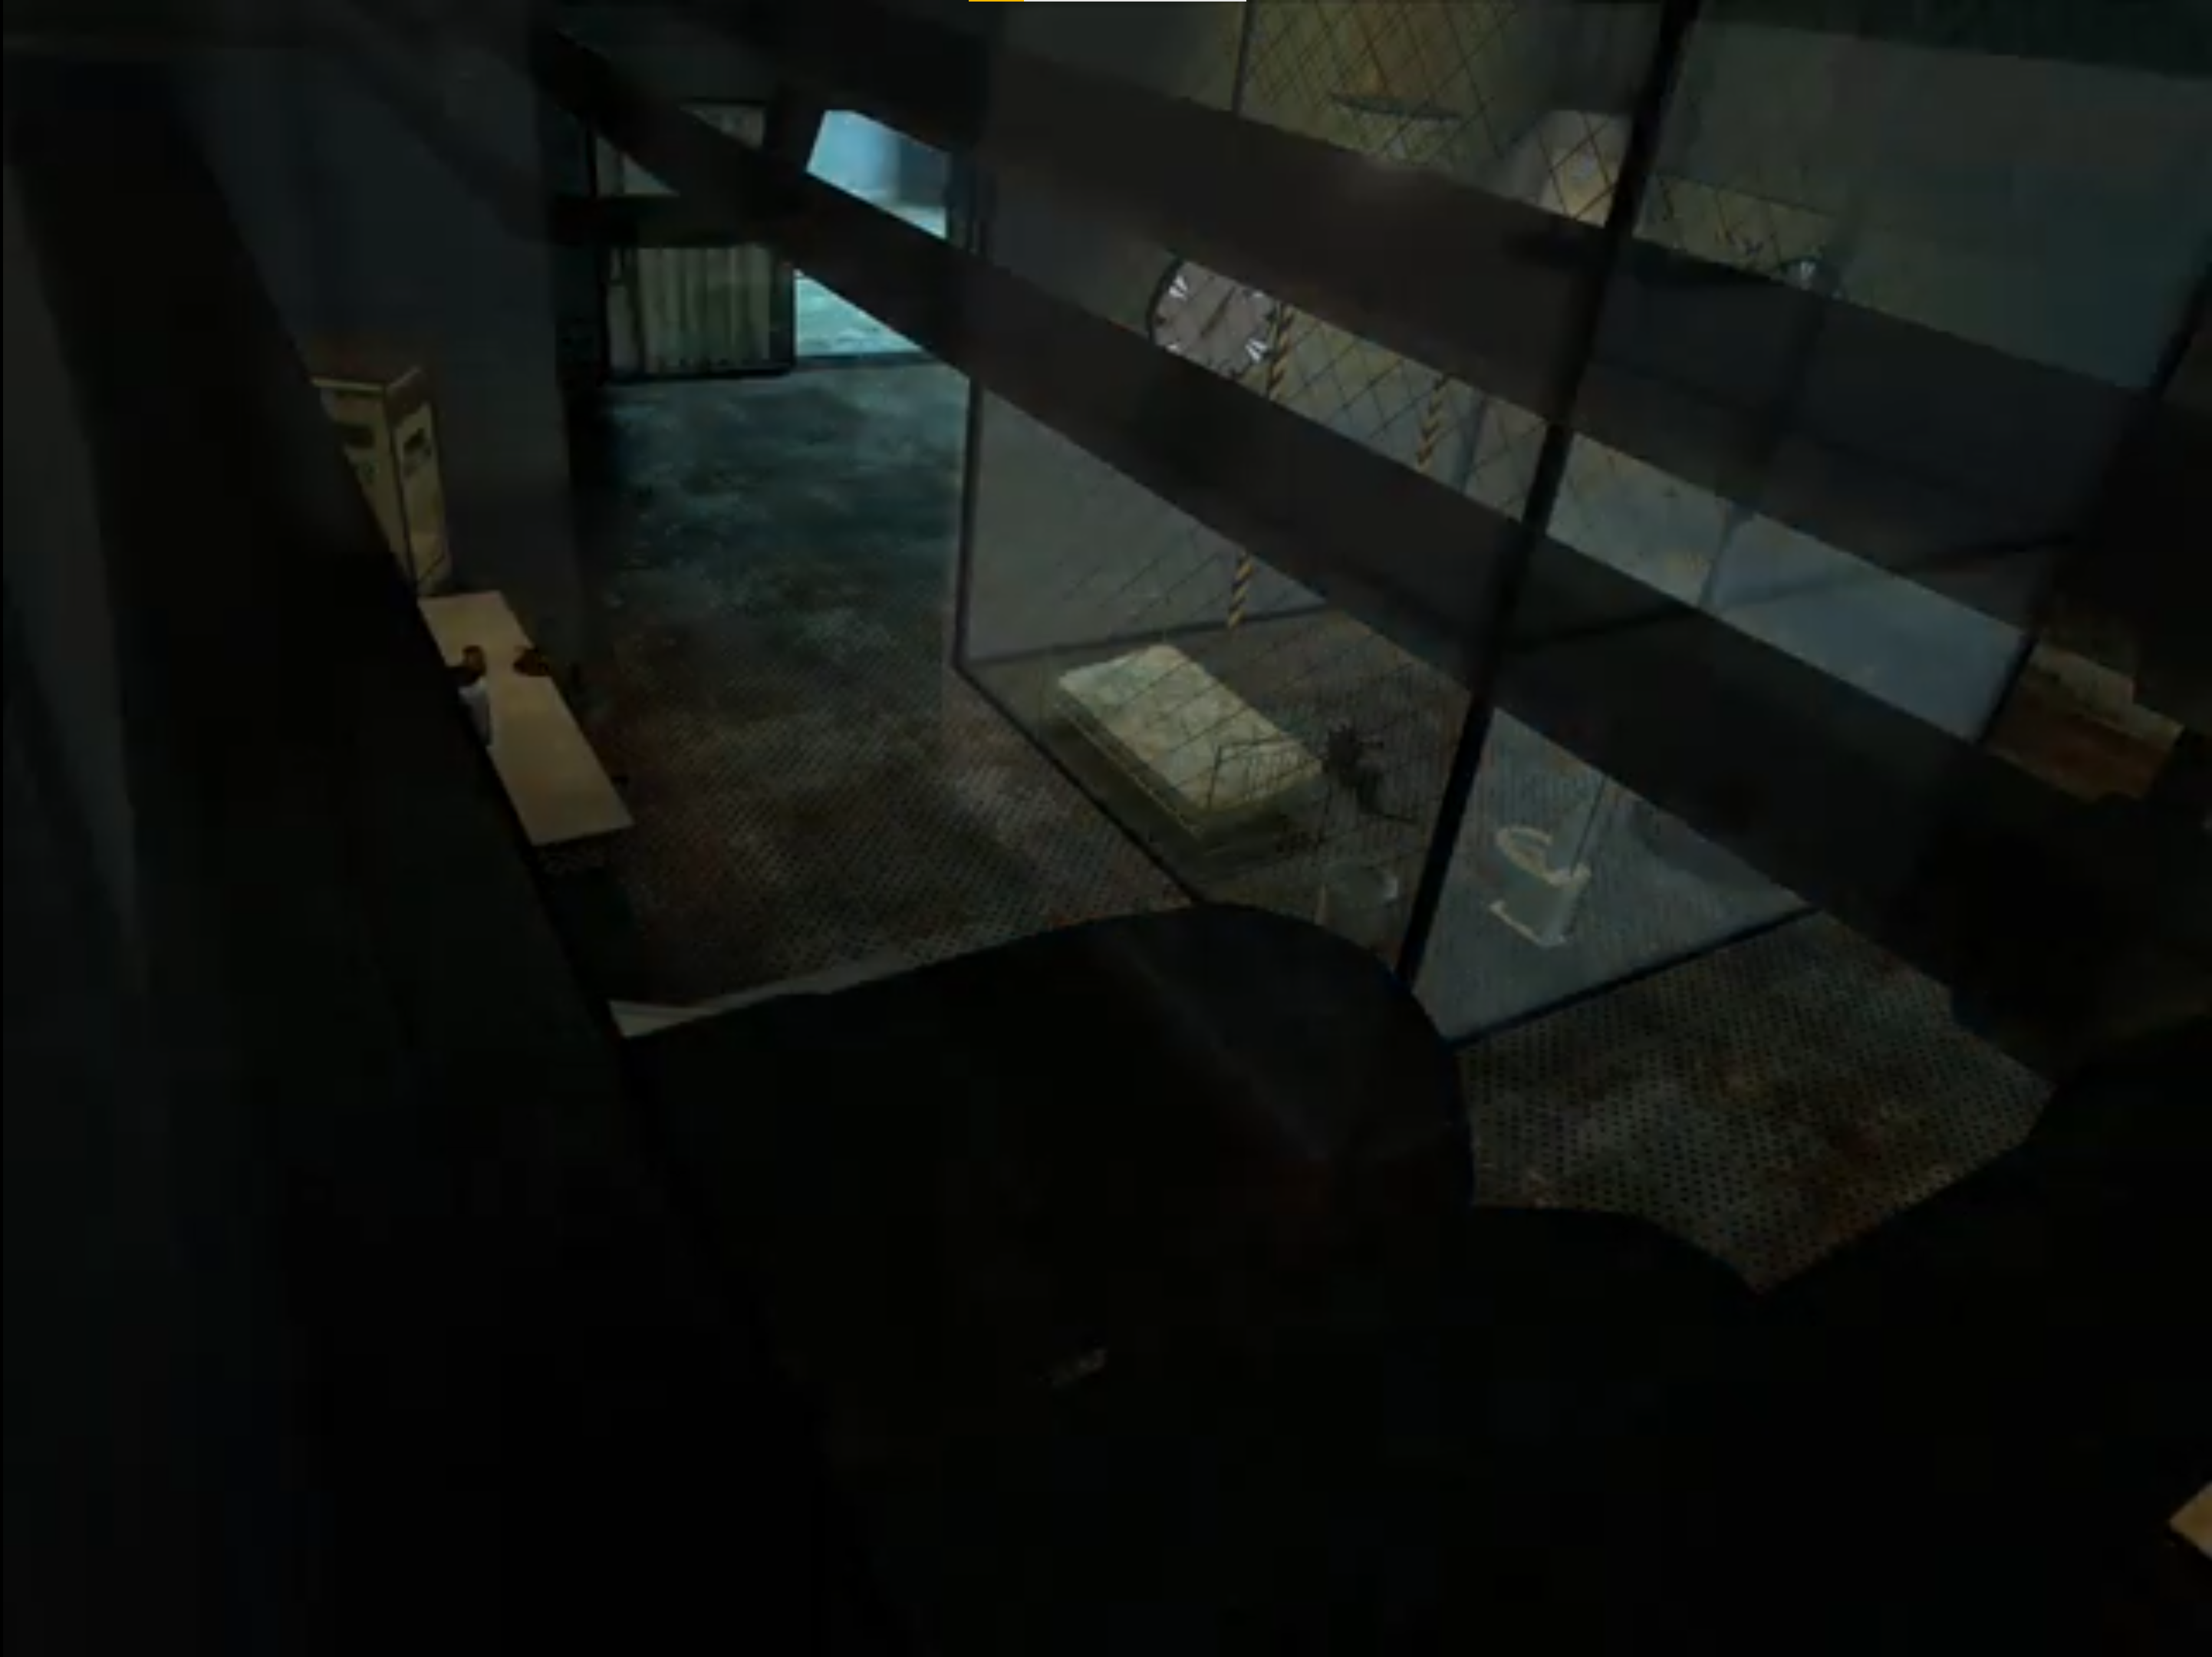
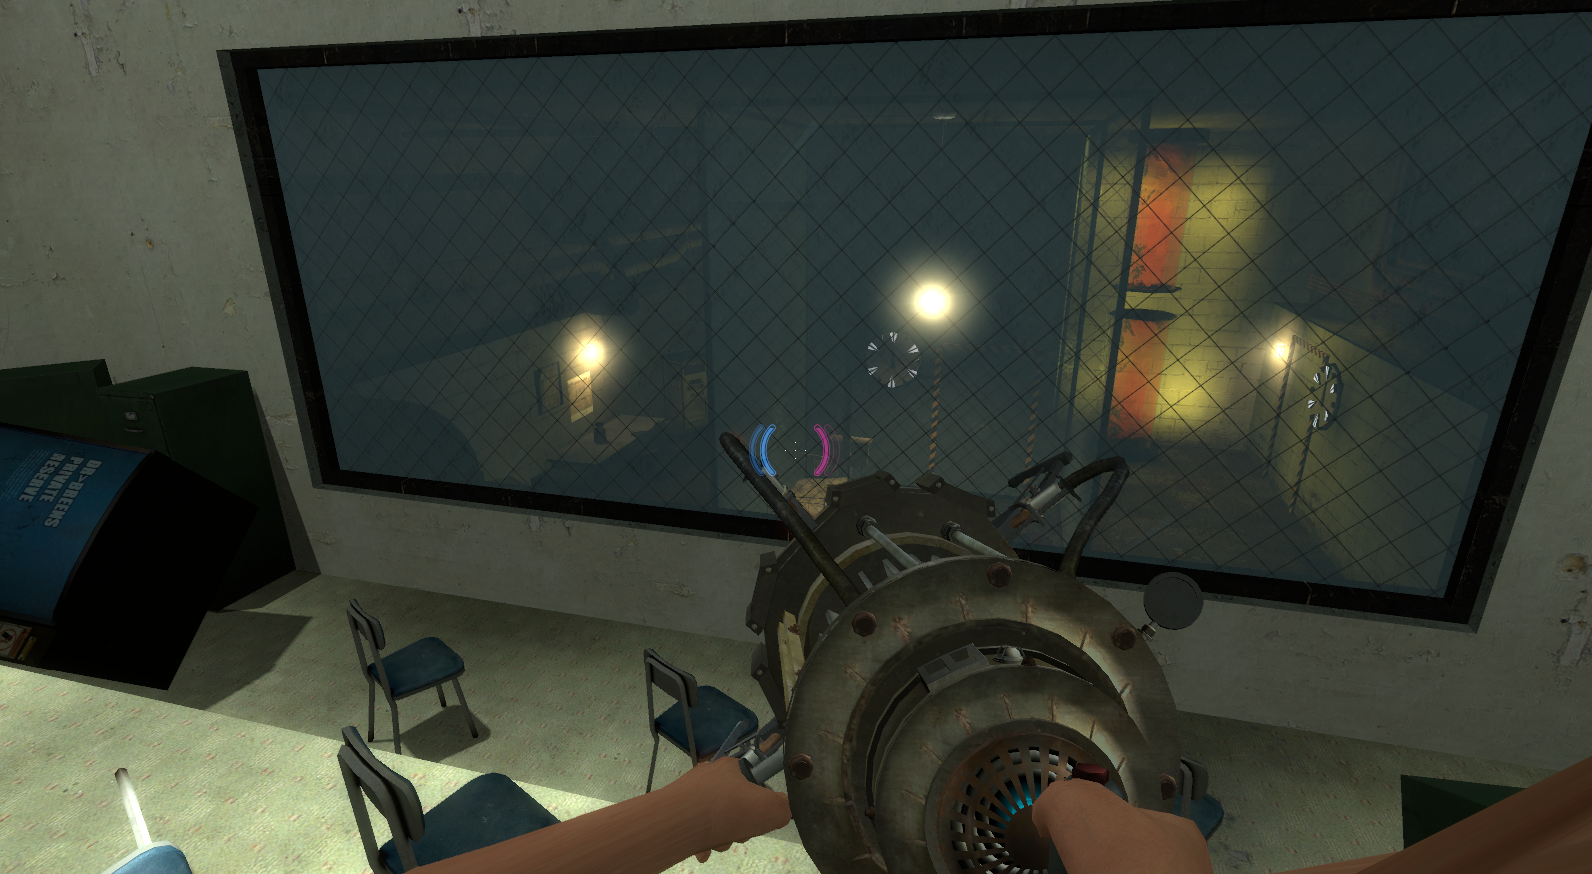
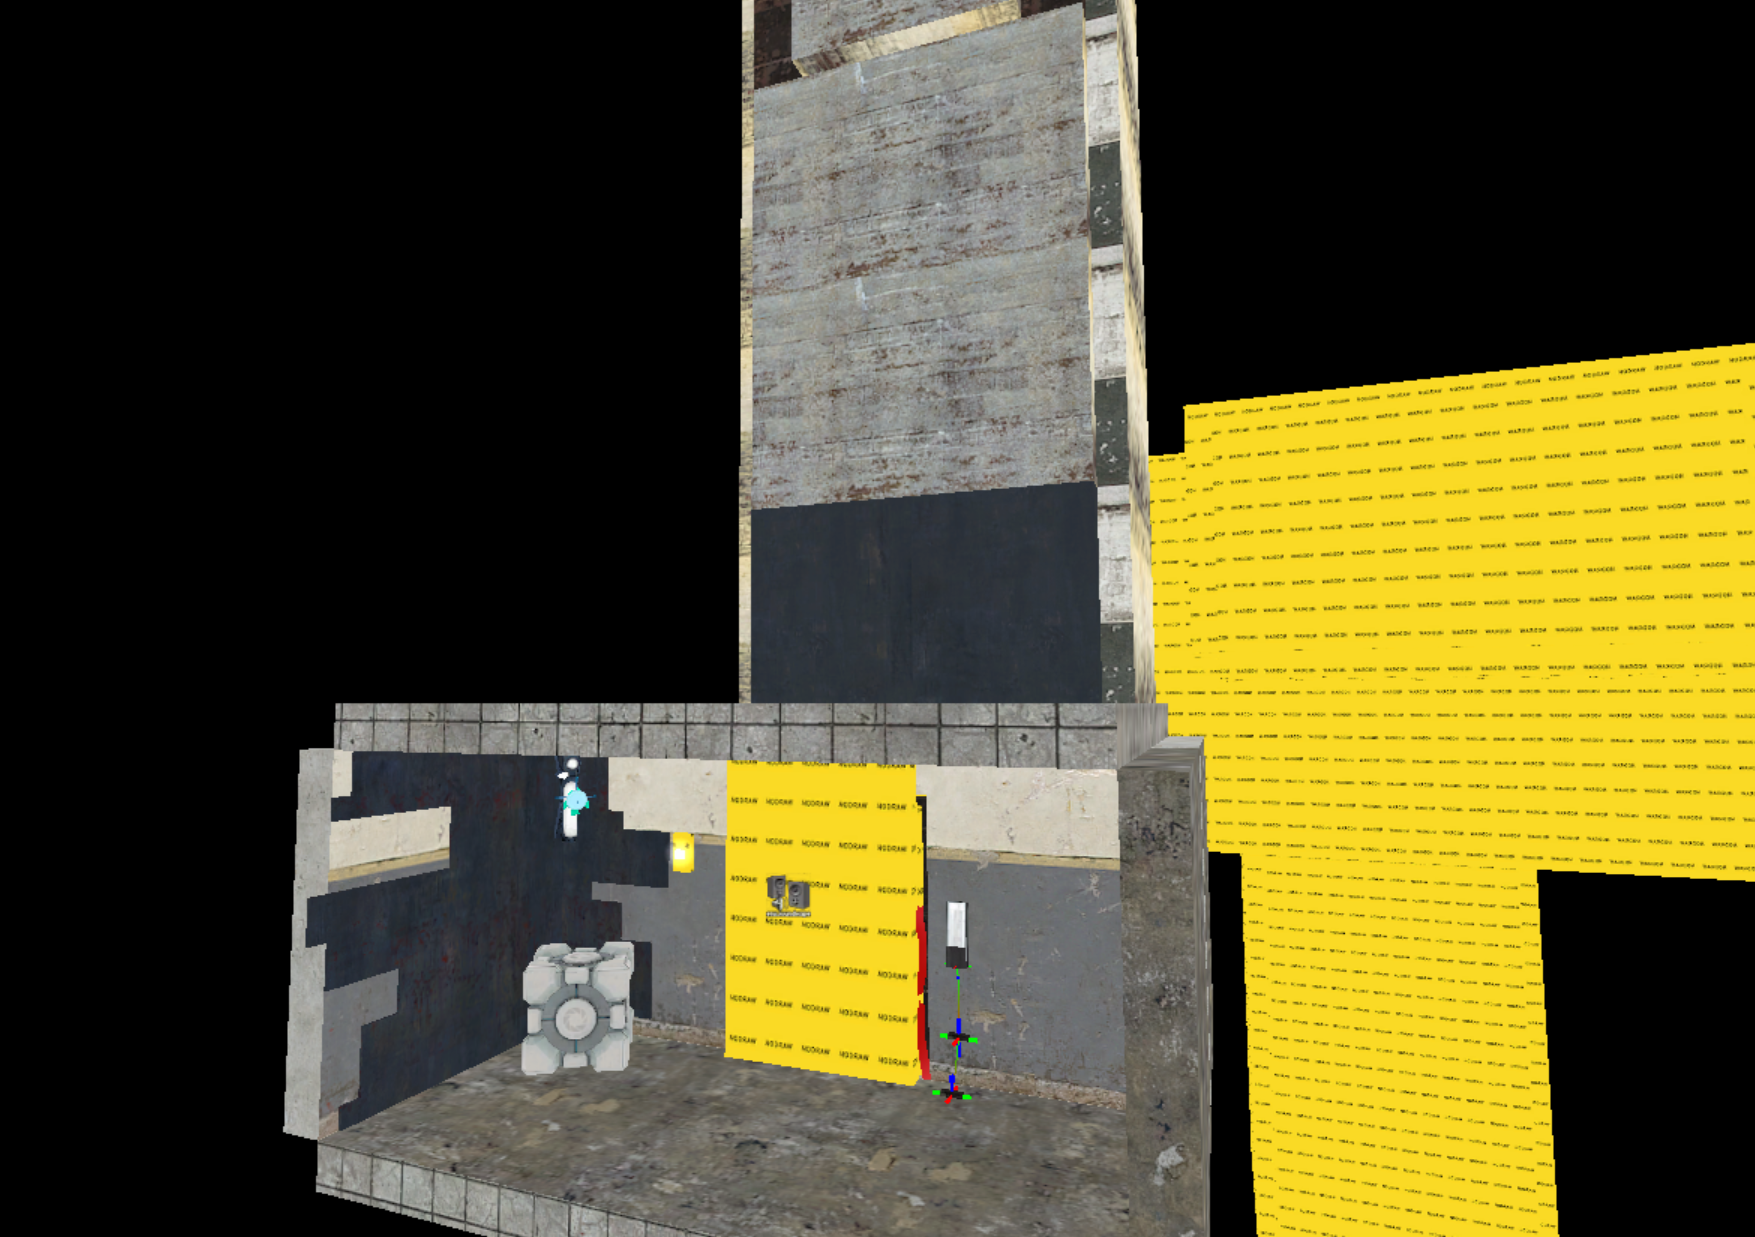
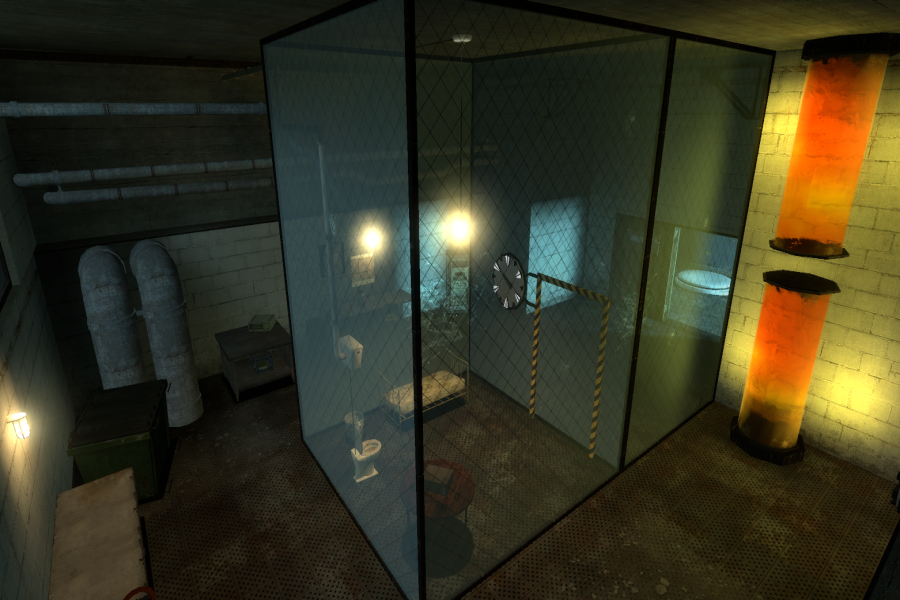
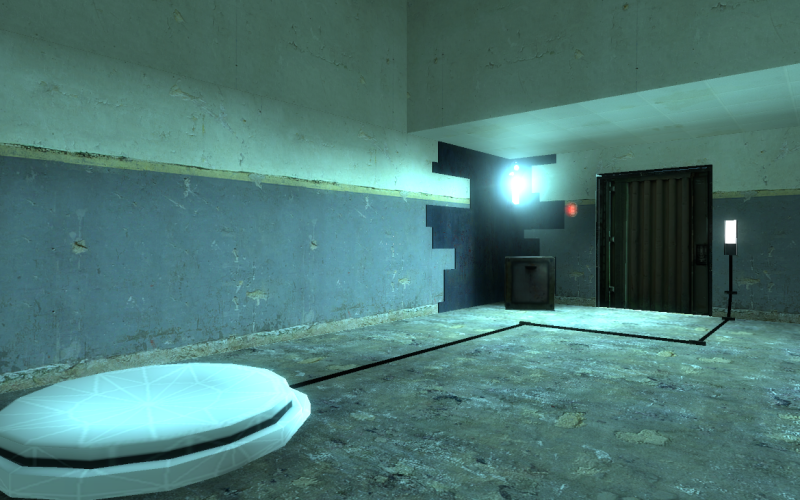
intro_lvl1 was the original version of Test Chamber 00 from 2005 to early 2006. This is the map we have the most of in terms of content. Screenshots of this map were included in an official video 1 that detailed the evolution of Test Chamber 00, 13, 18 and 16. Another screenshot was found in vgui\chapters\xbox\demo\chapter1.vtf that was included in an asset leak in 2016. The majority of the map was copied to the official lab_lvl3a map that the player sees when going inside one of the many open observation rooms in the map. Due to the most of the main campaign maps from 2005 still remaining un-leaked, these are the only real genuine level geometry of these maps that we currently have. The cube and button with the elevator geometry was hidden in the uncompiled file of the main background map for Portal (background01.vmf). This geometry includes a portion of the exit door, where the cube would sit and the elevator that would have led to the next chamber. The elevator used here is the Combine elevator. An early version of this map's elevator was used as a prefab for the developers to use, called transition_elevator.vmf that uses the Half-Life 2 model elevator.

intro_lvl3#
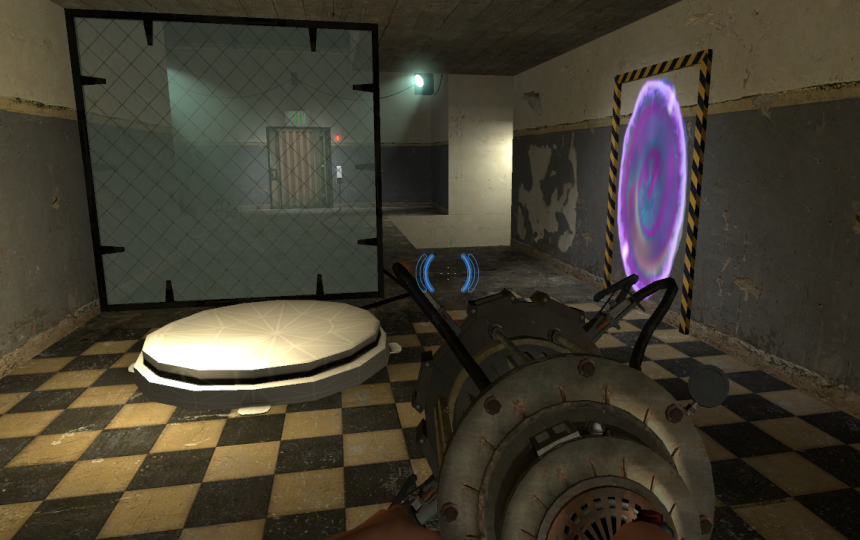
intro_lvl3 was the original version of Test Chamber 04 from 2005 to early 2006 that is currently missing. A low-resolution screenshot of this map was found in vgui\chapters\xbox\demo\chapter2.vtf from the "Beans Leak" from 2016-2017. The design is quite close to the final version, but it sized a bit differently and features spot lights and decals.

intro_lvl5#
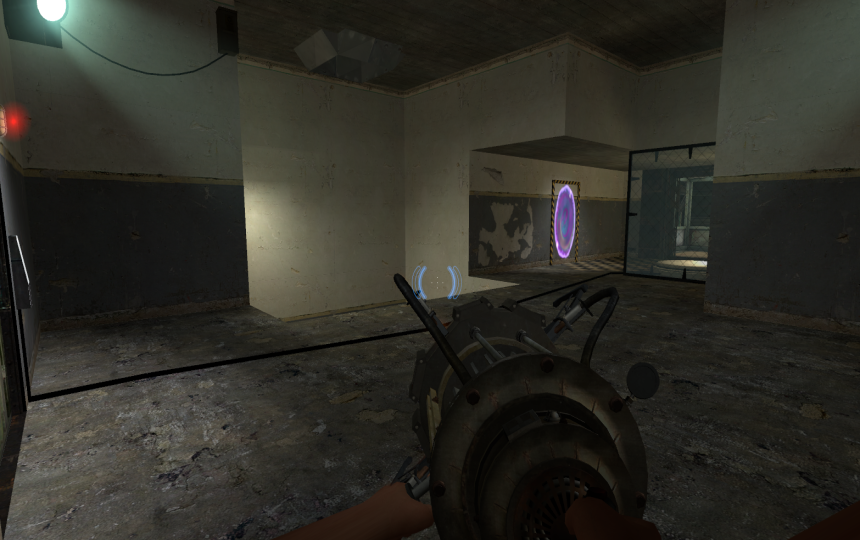
intro_lvl5 was the original version of Test Chamber 08 from 2005 to early 2006 and can be seen on VGUI\chapters\xbox\demo\chapter3.vtf. Like all other 2005 chambers, it's visual design here is significantly different to how the final version of the chamber looks. A Half-Life 2 corpse in the toxic goo in the map zoo_testarea named 'floating_body_lvl5' in Valve's Hammer level editor shows that there used to be a floating ragdoll in this level.

intro_lvl7#
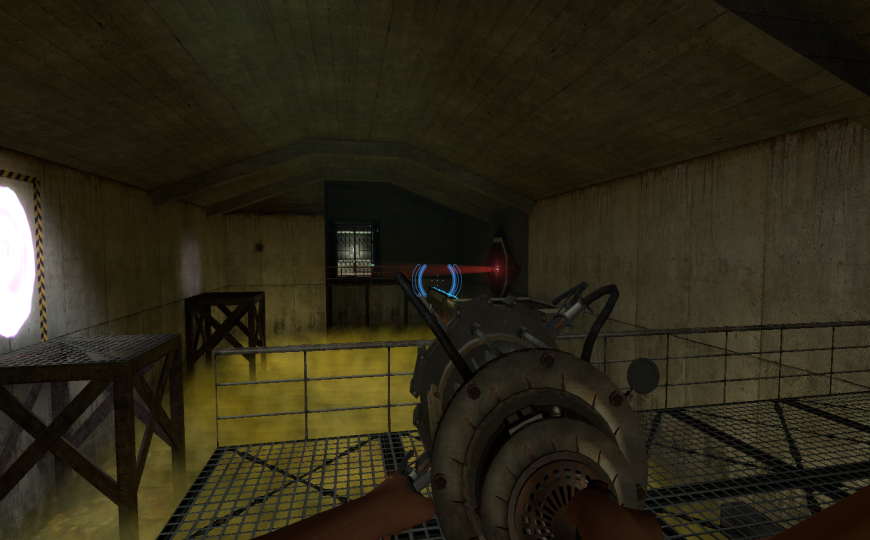
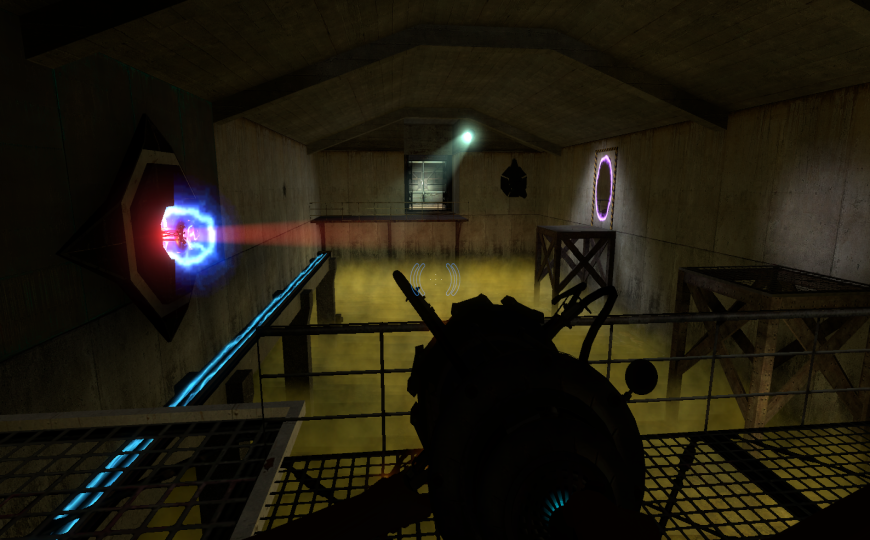
intro_lvl7 was the original version of Test Chamber 13 from 2005 to early 2006. Like intro_lvl1, a dozen screenshots were taken of the evolution of this map and were turned into a video (with a couple of other chambers). And nearly the entire chamber was copied to be used in lab_lvl3a that the player sees when going inside one of the many open observation rooms in the map. Like most of Test Chambers in the game, the layout is pretty much the same but here Combine metal is seen on the walls and different lighting and detailing overall is used.
lab_lvl1#
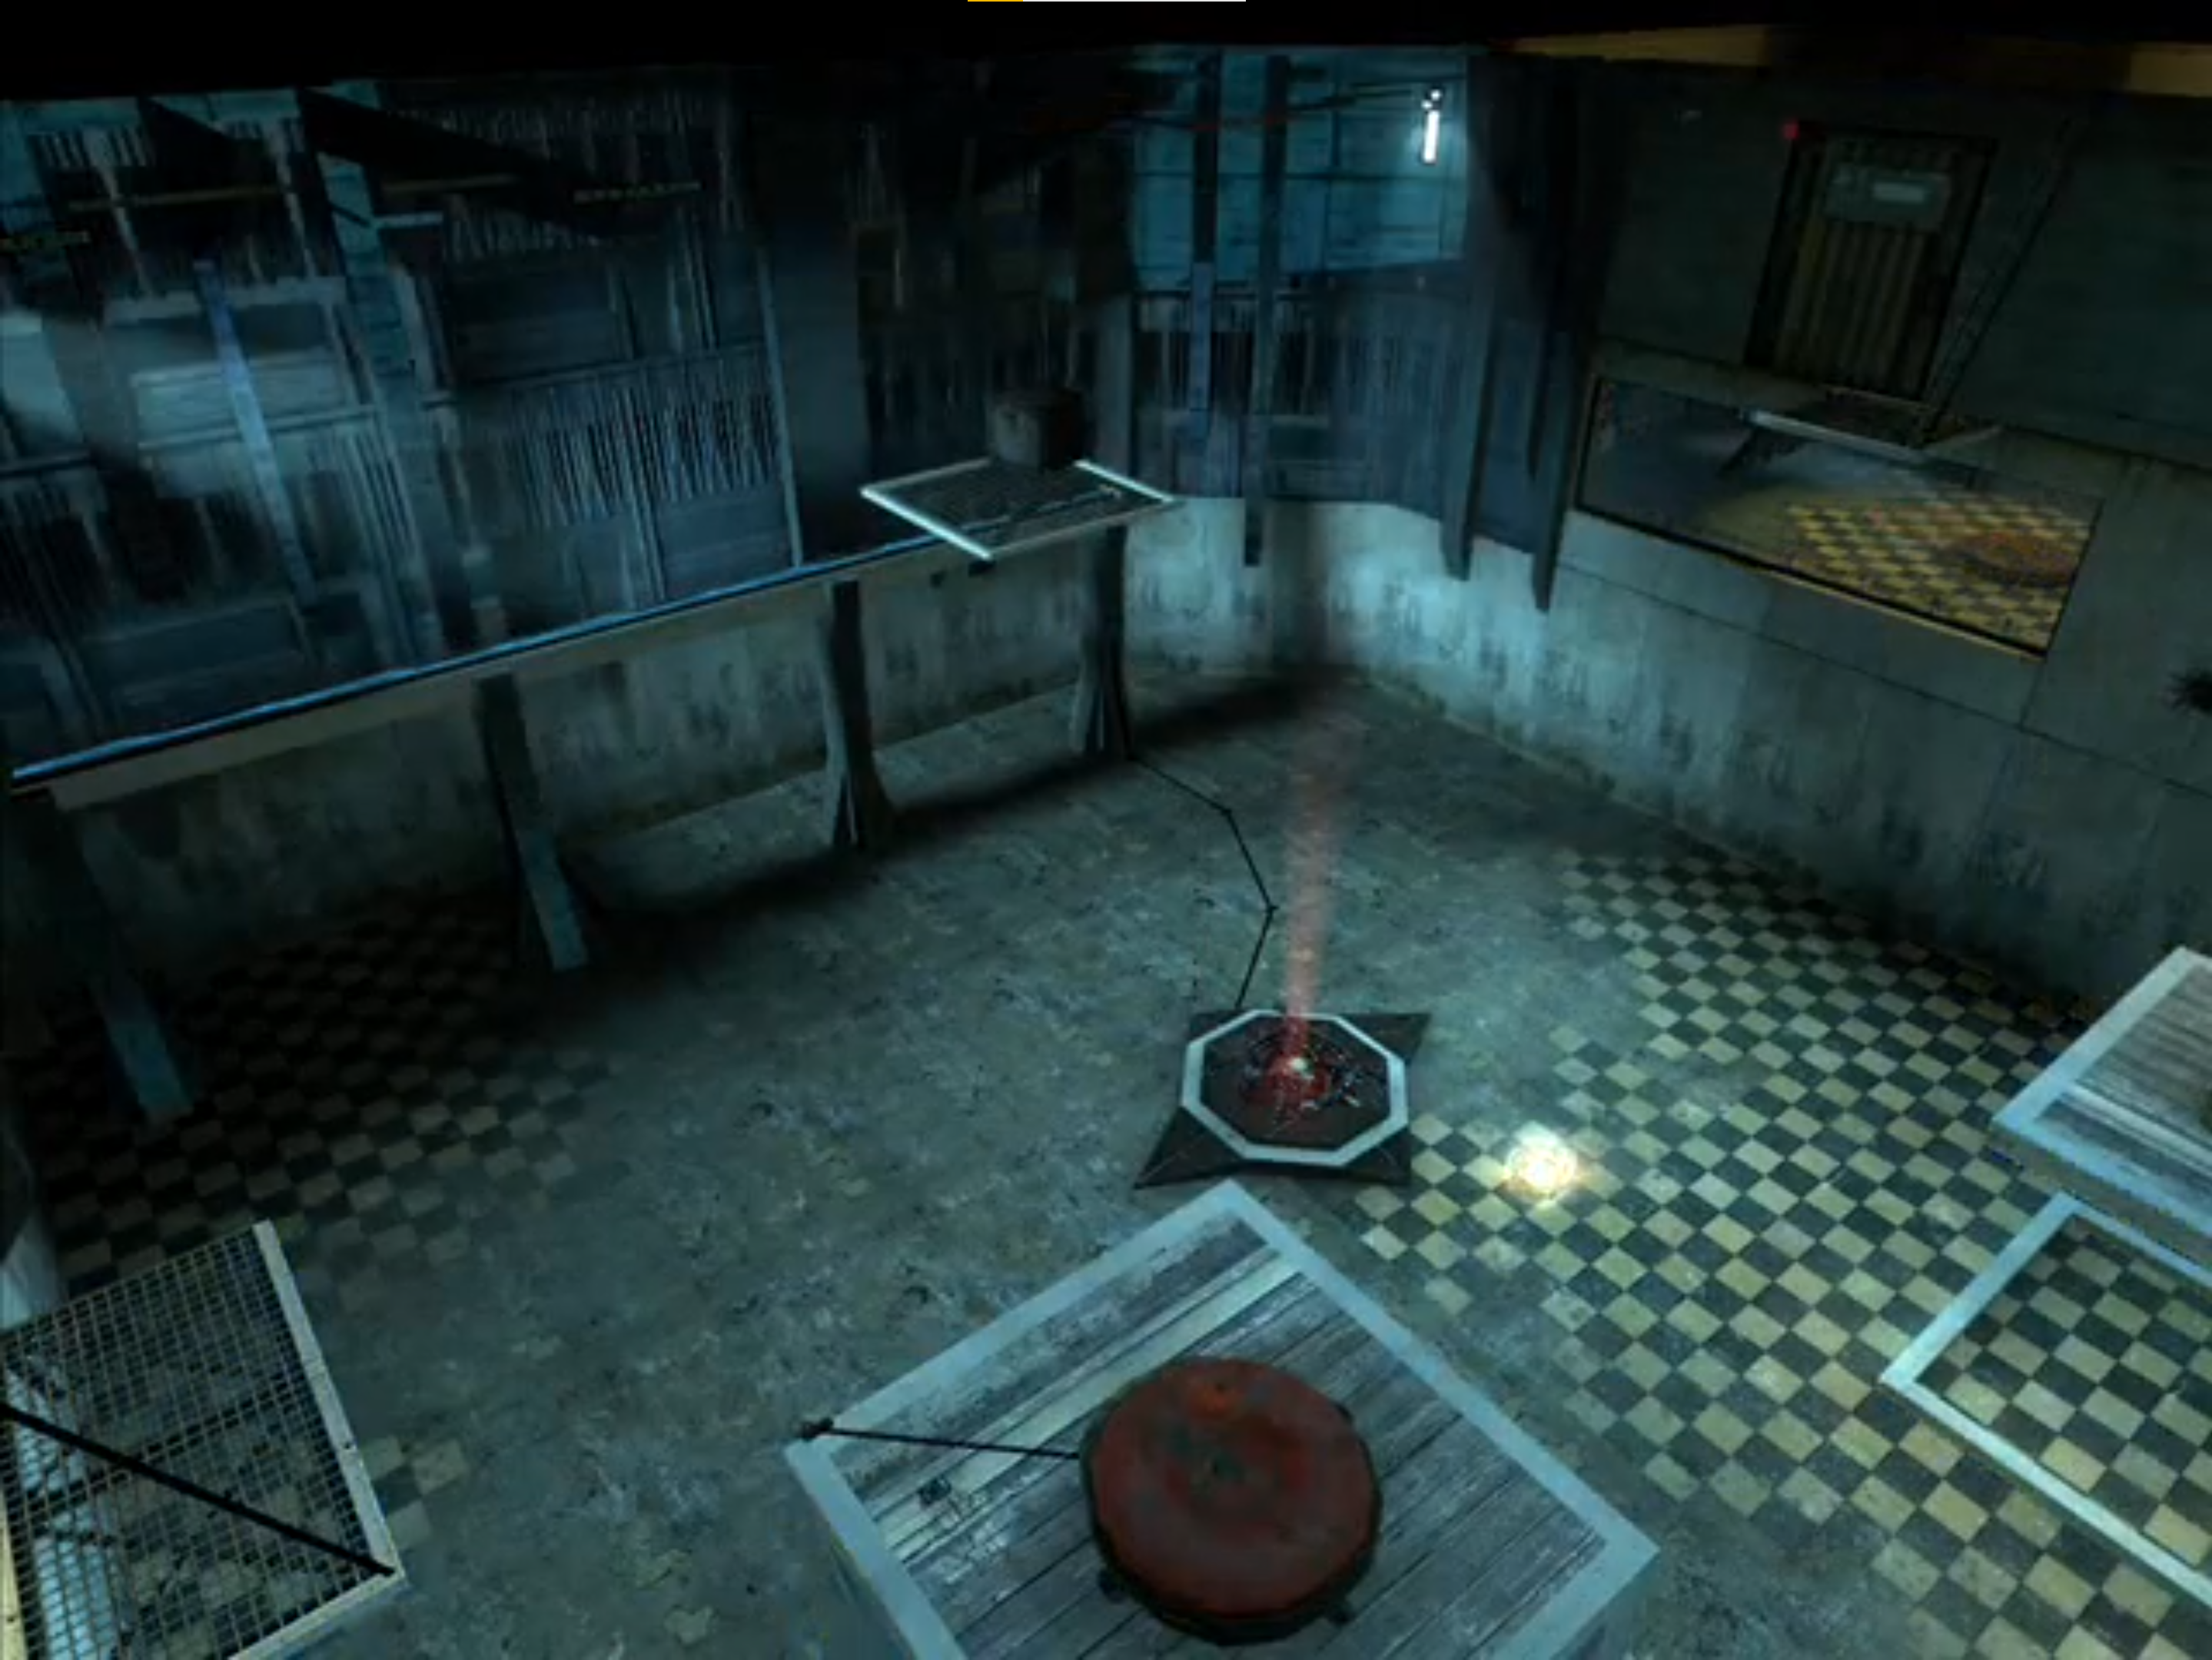
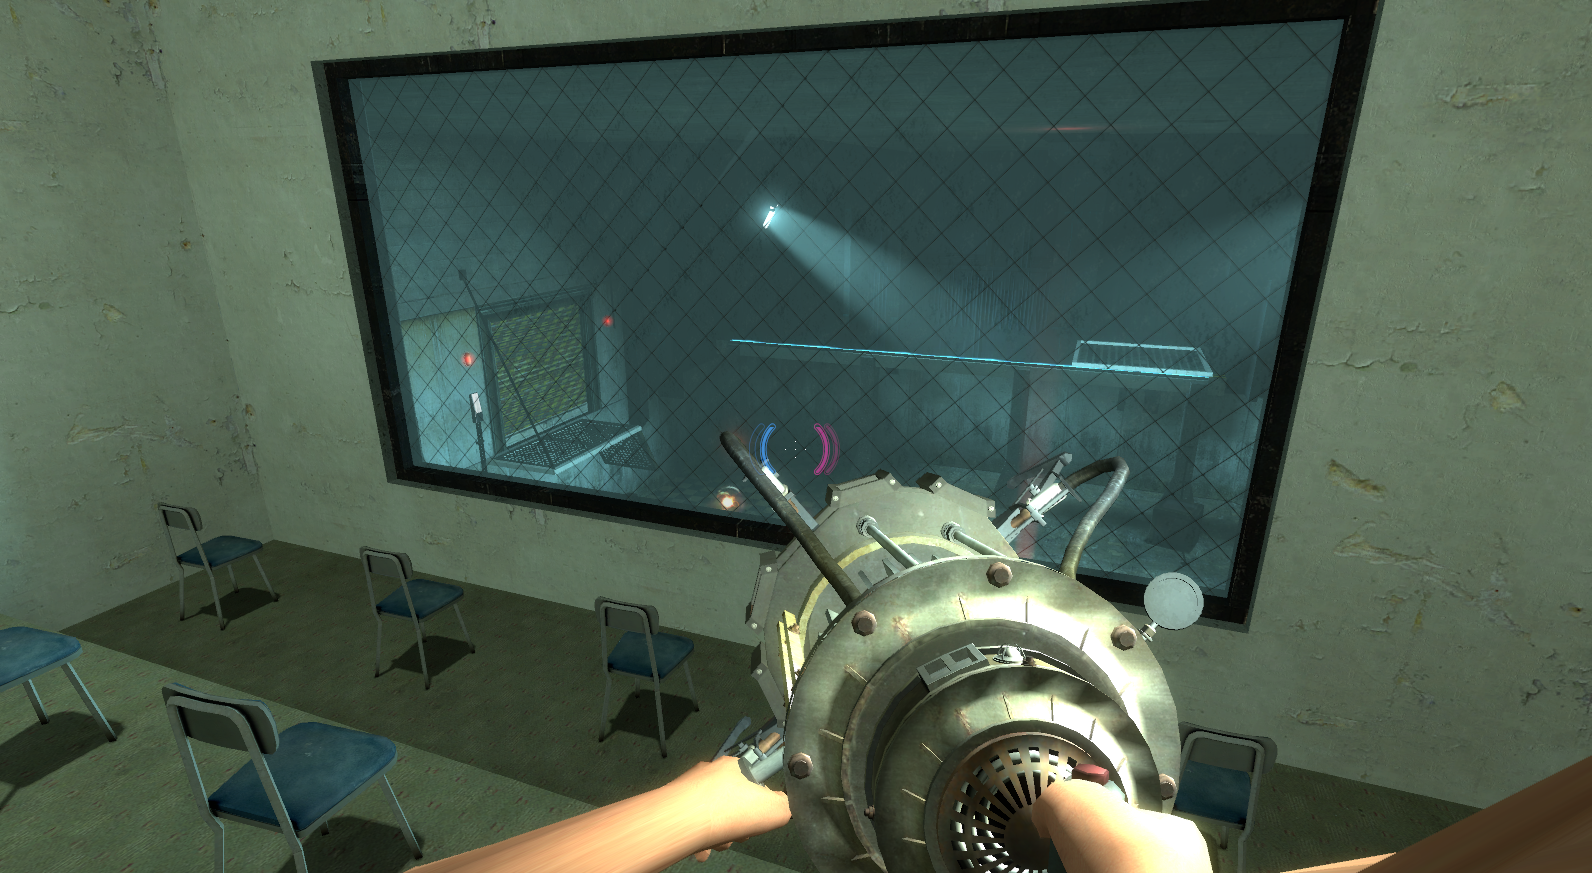
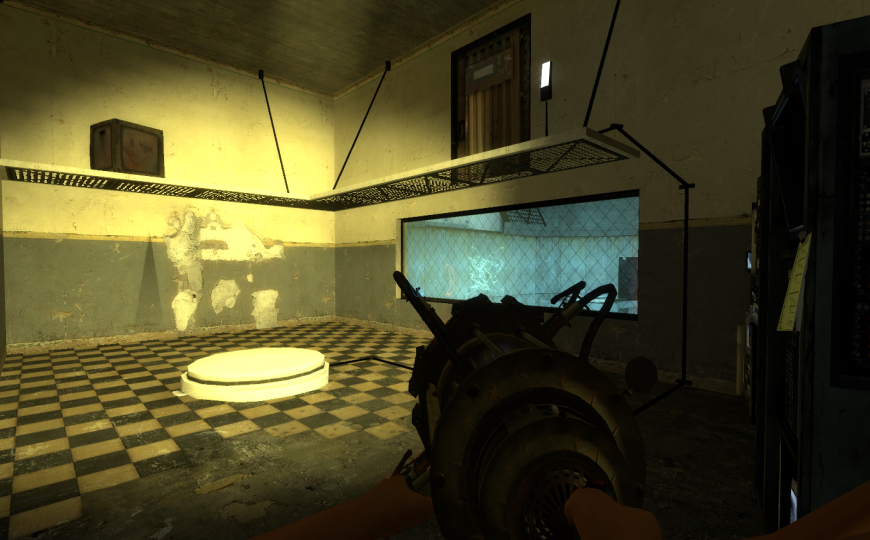
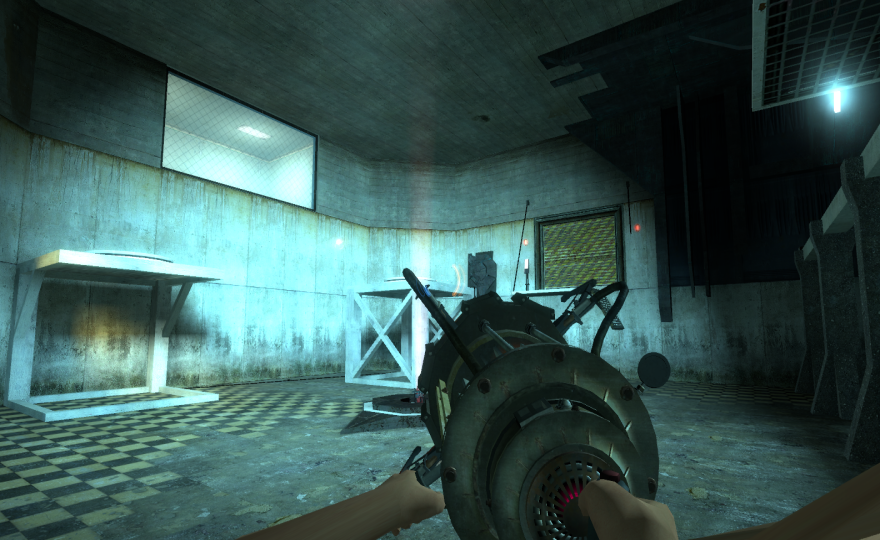
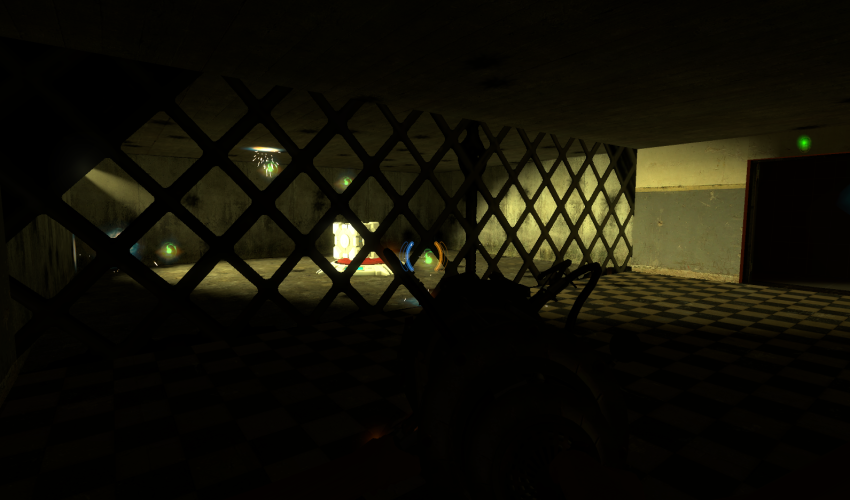
An official map from 2005 to early 2006, that features a small room split in two by a fence, one side has the player and the exit, the other features a cube on a button, surrounded by many infinite health High Energy Pellets. The player must portal into the room, and place the cube from the button to proceed. The exit does not lead to anything. For some reason by default the Cube is already on the button, removing it causes the door to close. Judging by its name this map was intended to be part of the post-escape sequence levels where the player would start to explore the 'Behind The Scenes' (BTS) areas of Aperture Science.
In the portal\maps\custom directory from the asset leak shows custom_example.tga a low resolution screenshot of lab_lvl1 with the early cube and button designs present. The description actually gives this map a name, "Cage o' Balls" and it credits the map to Jeep Barnett who was a developer of Portal with the comment: "It's a cage full of deadly energy balls!".
This is possibly meant to be an example some sort of custom map for the custom folder that was in place.
It's been suggested that lab_lvl1 is a early version of the infamous missing 'testchmb_a_12' but it is unconfirmed.
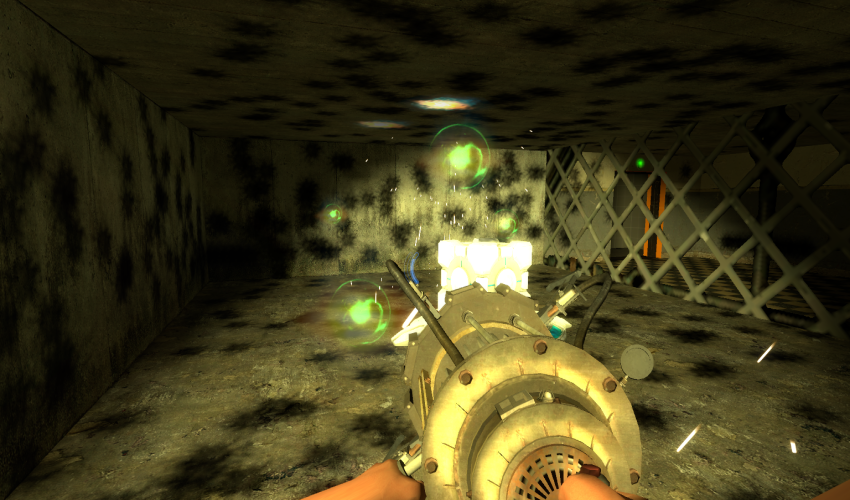
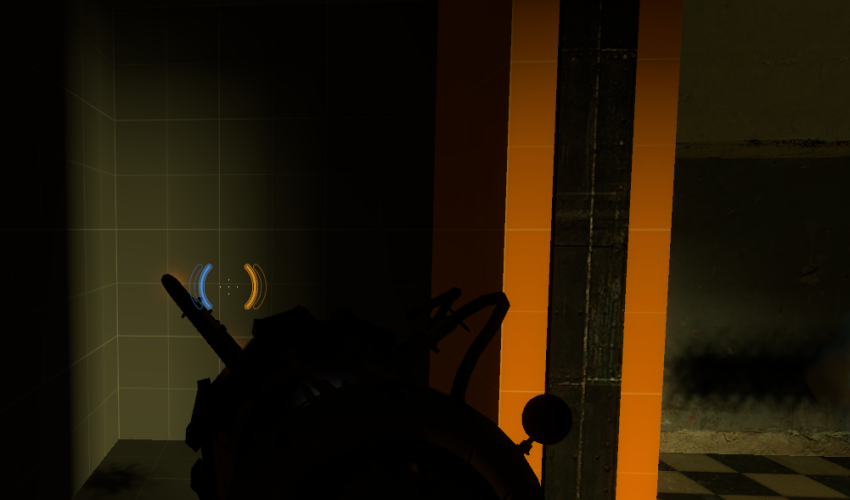
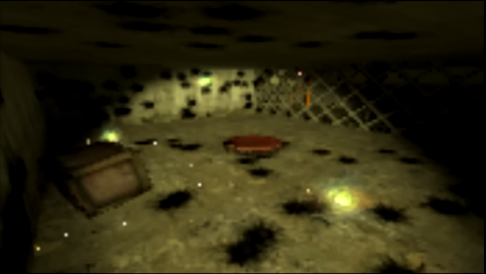
(Source: Ossy Flawol)
lab_lvl3#
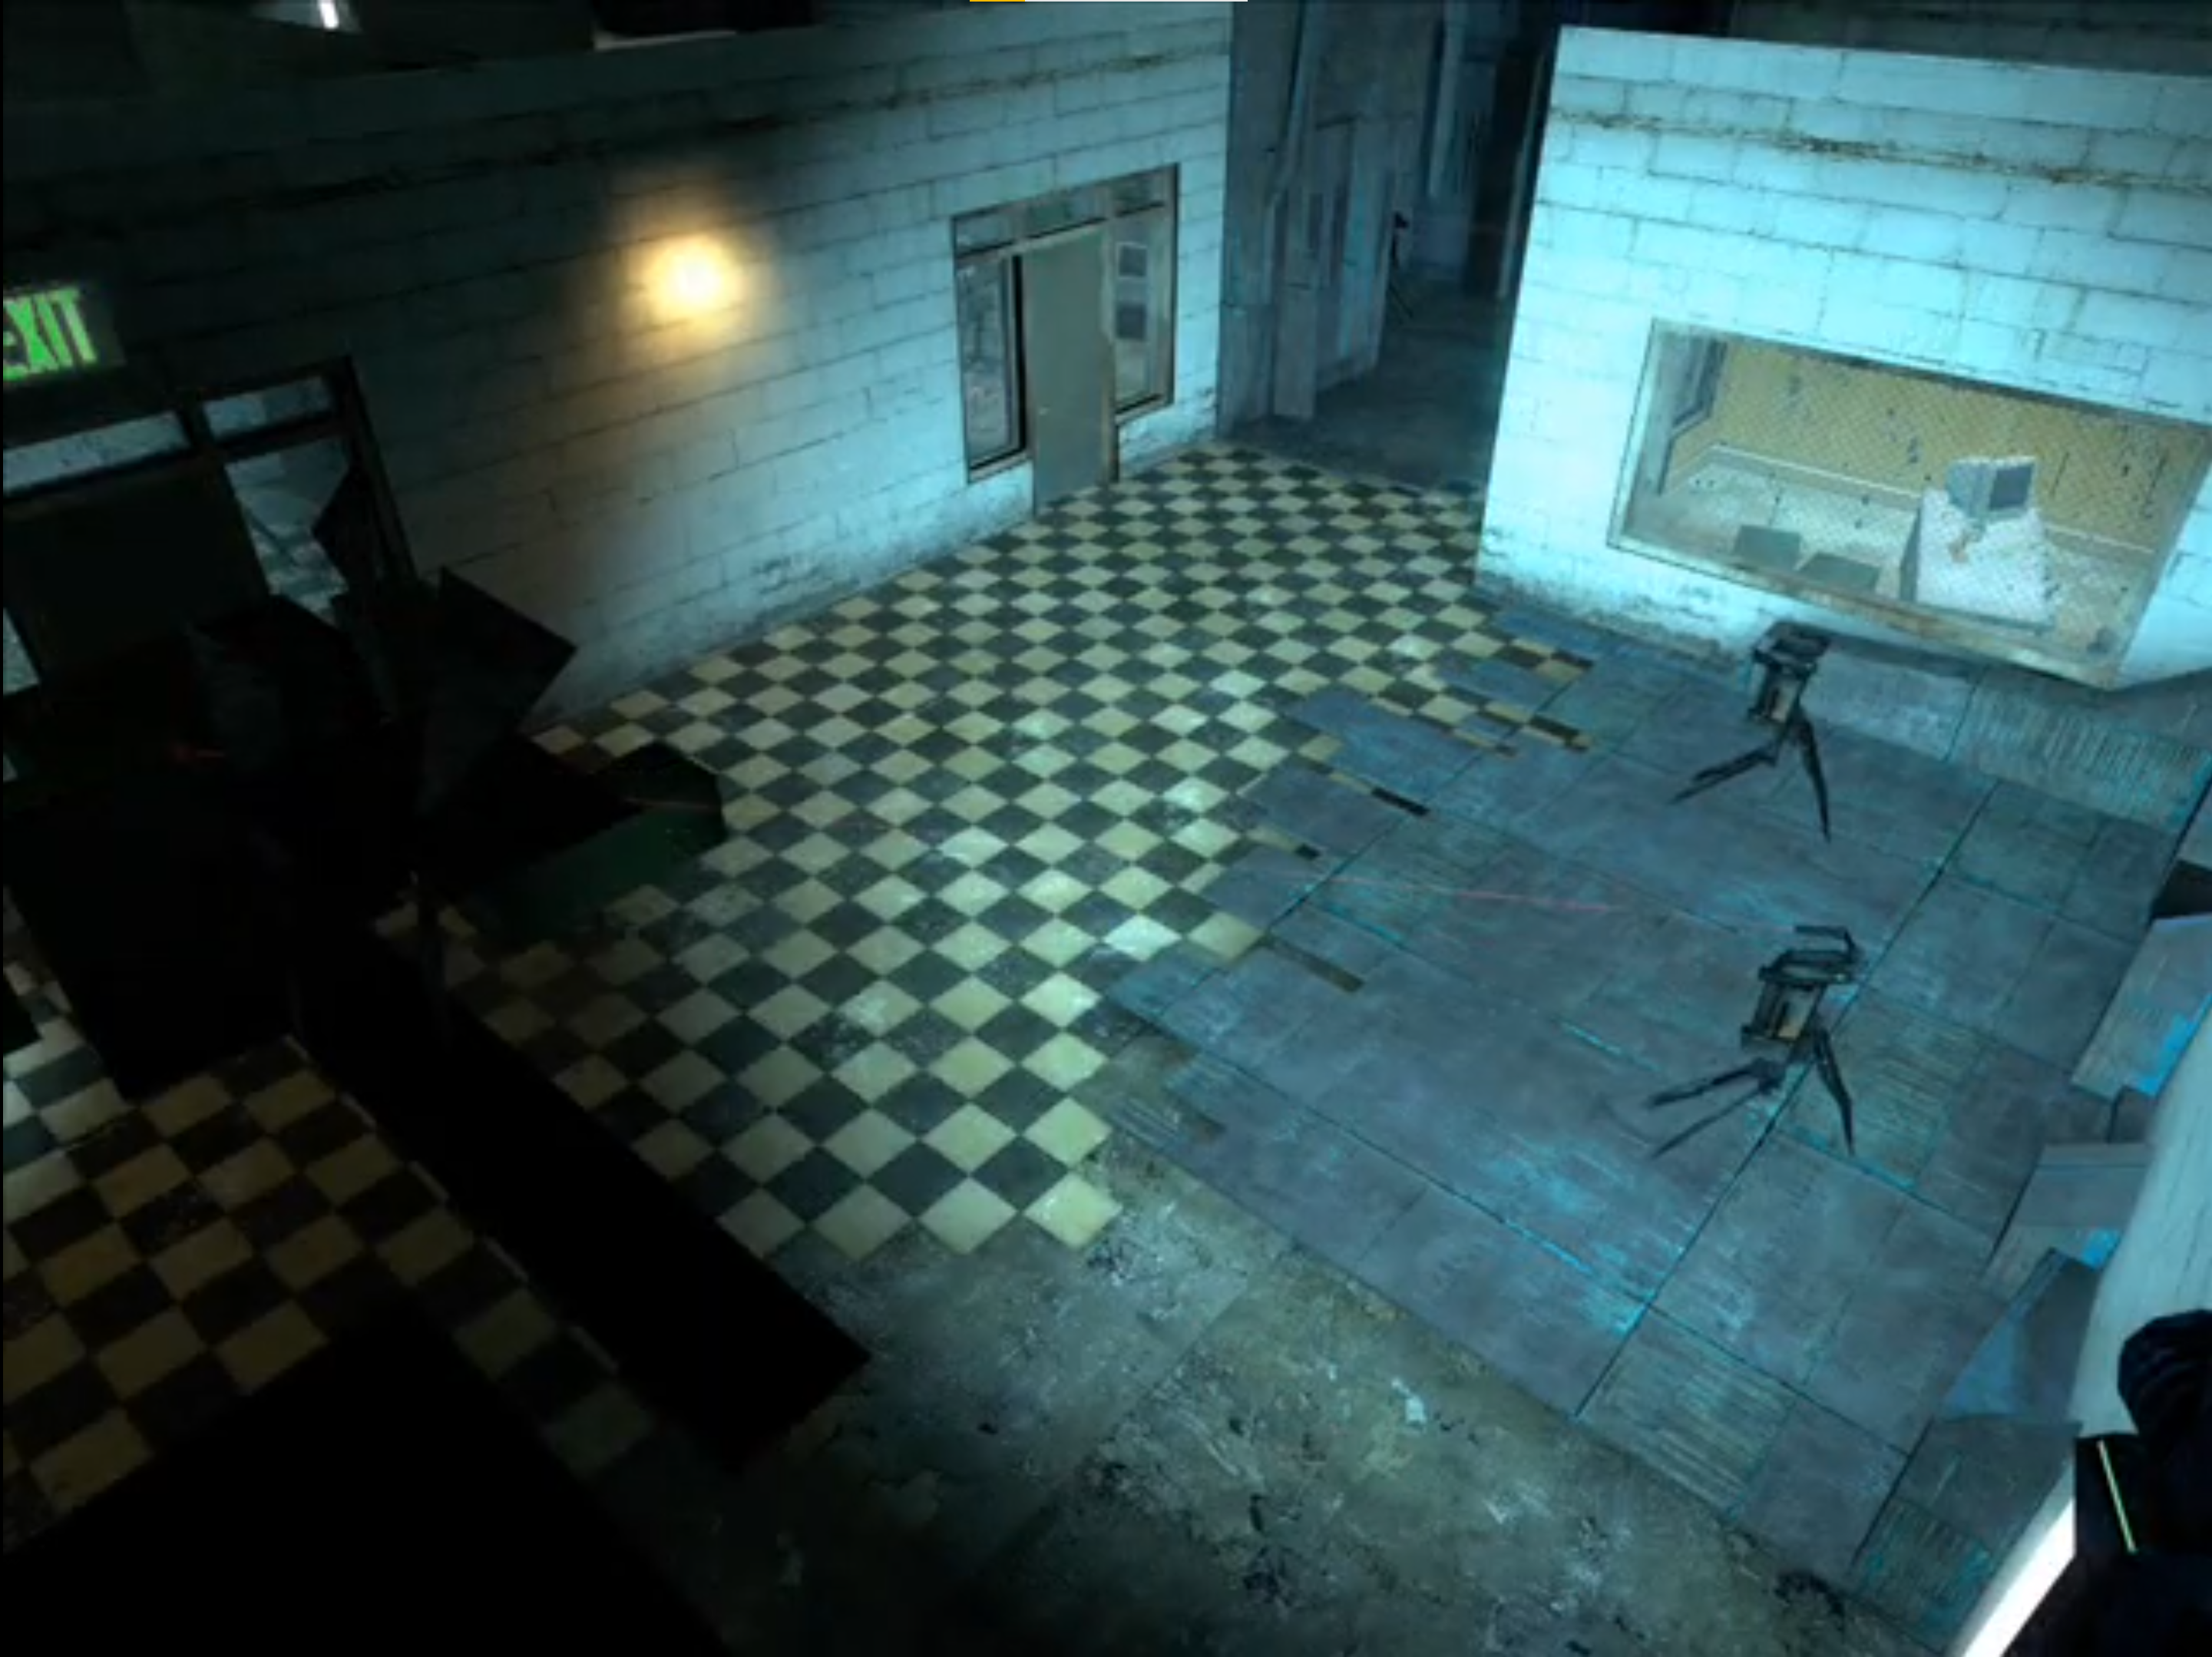
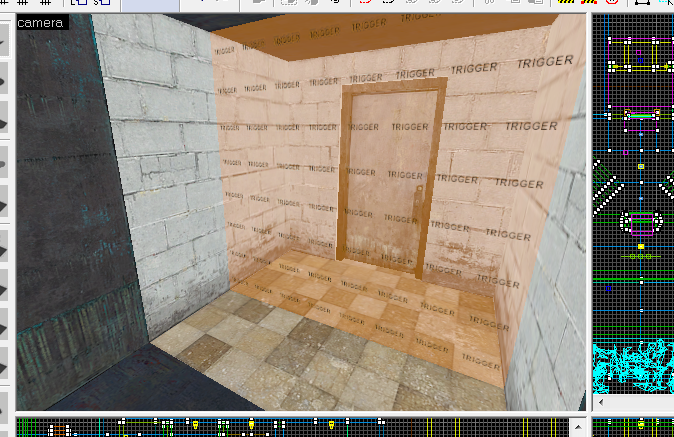
lab_lvl3 is actually the 2005 to early 2006 version of Test Chamber 16 that is currently missing. We can confirm this, as all 2006 and 2007 map's entities still have names that refer to older names of the level and in this case, all of the entities on the 2006 and 2007 source map files with actual names here have "_lab3" in all their names, and in one of the VisGroups (_c_lights_lab3). It appears that the turret take-down chamber was intended to be a part of the escape sequence in a more Combine office hallway sort of map. (Like intro_lvl1, intro_lvl7 and lab_lvl4) screenshots of development were brought into a presentation video to show the evolution of the chambers. So, these are therefore the only screenshots of the original lab_lvl3. A map trigger is seen in lab_lvl3a references this level.
lab_lvl3a#
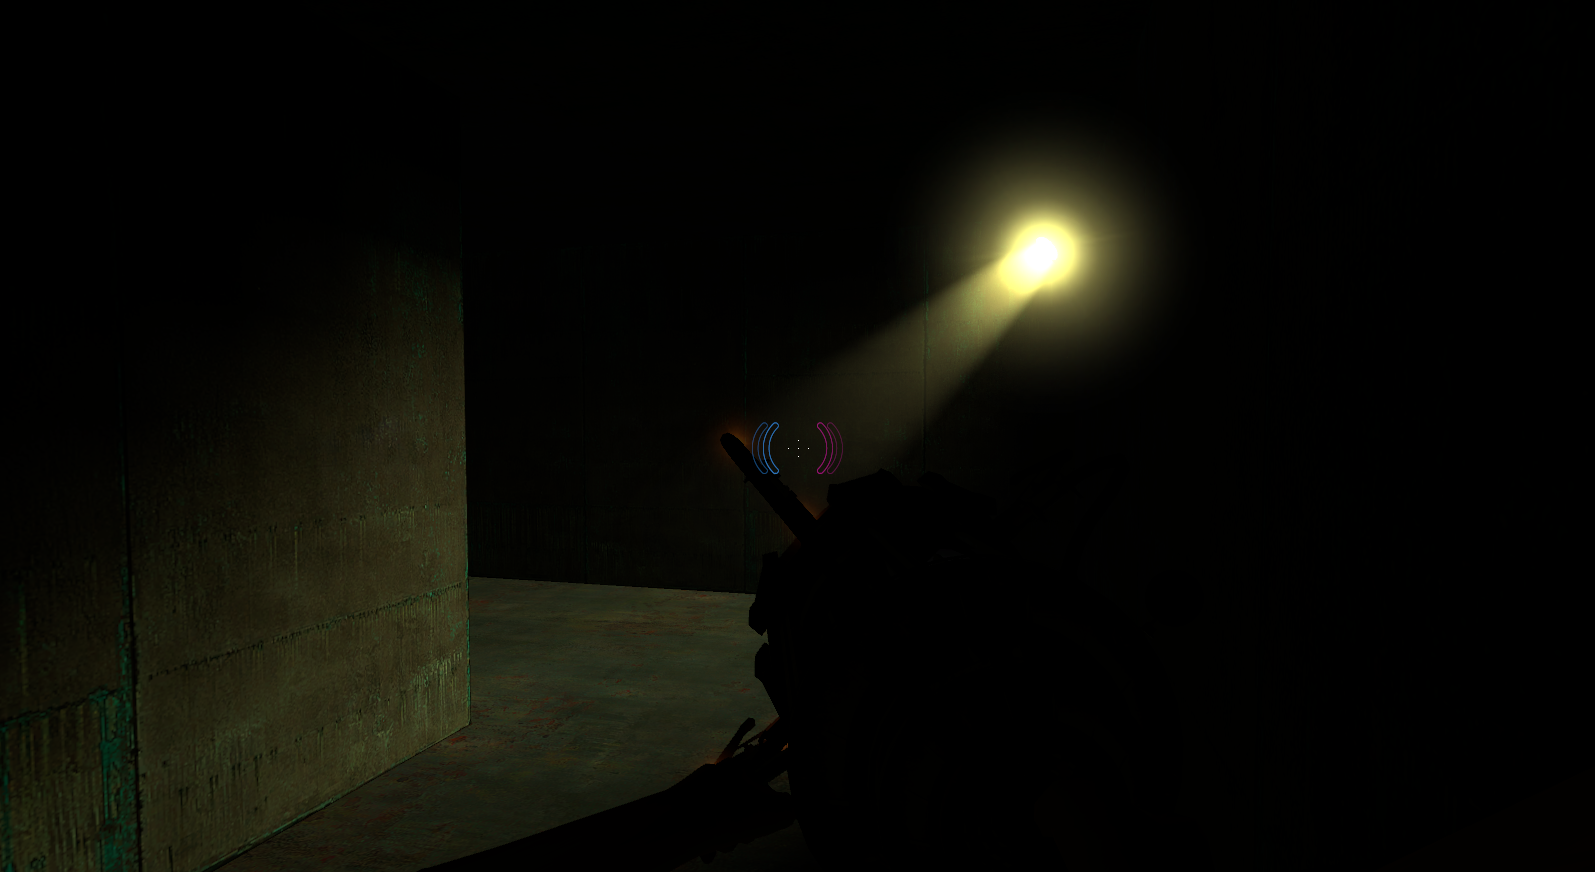
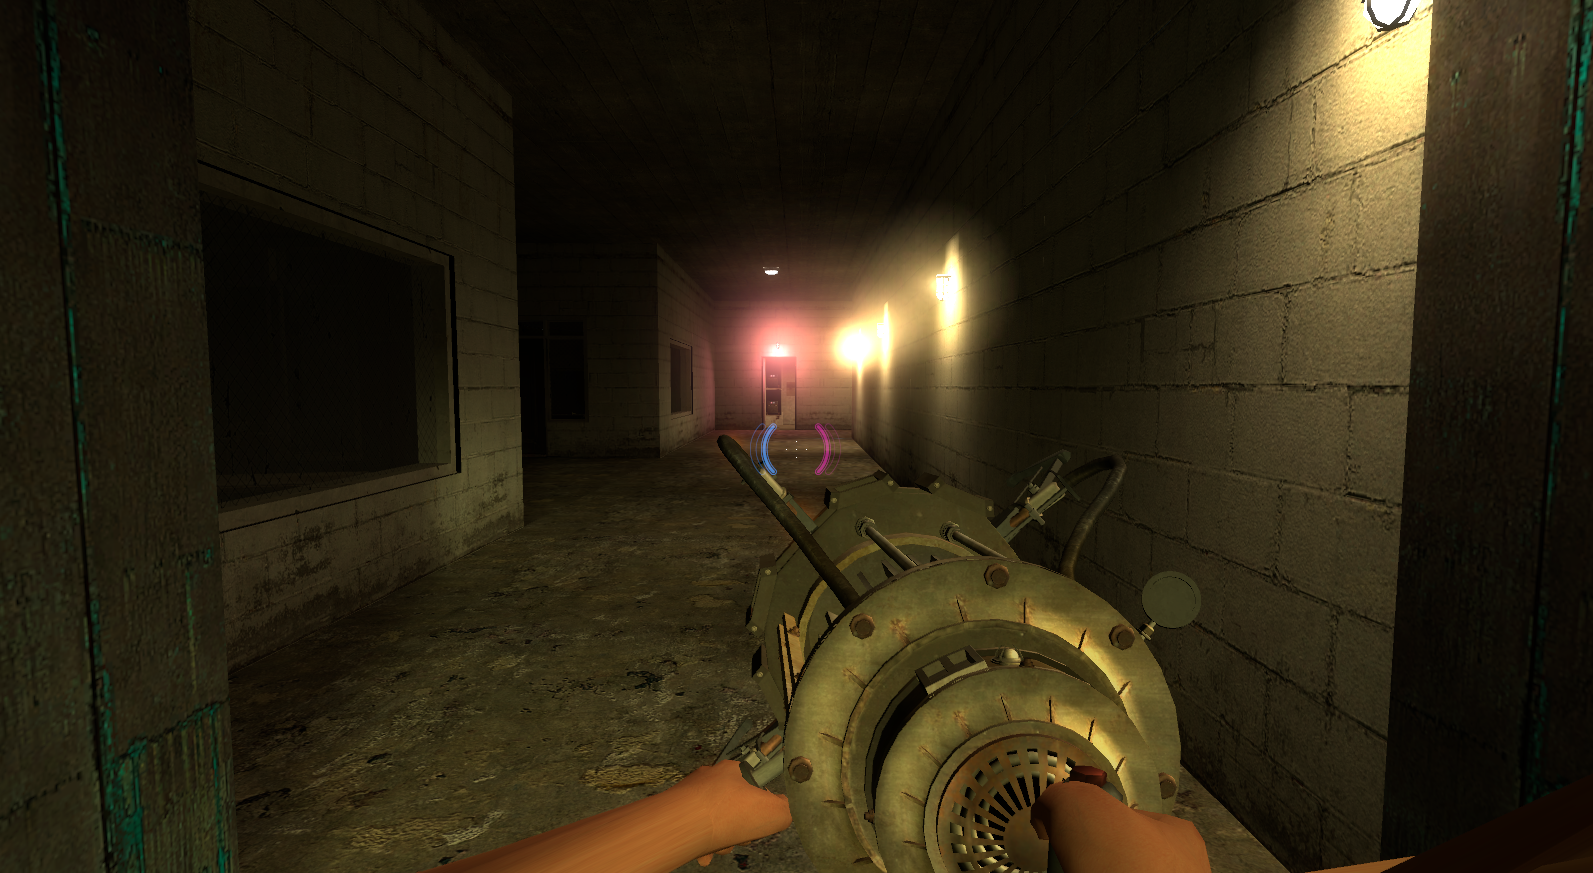
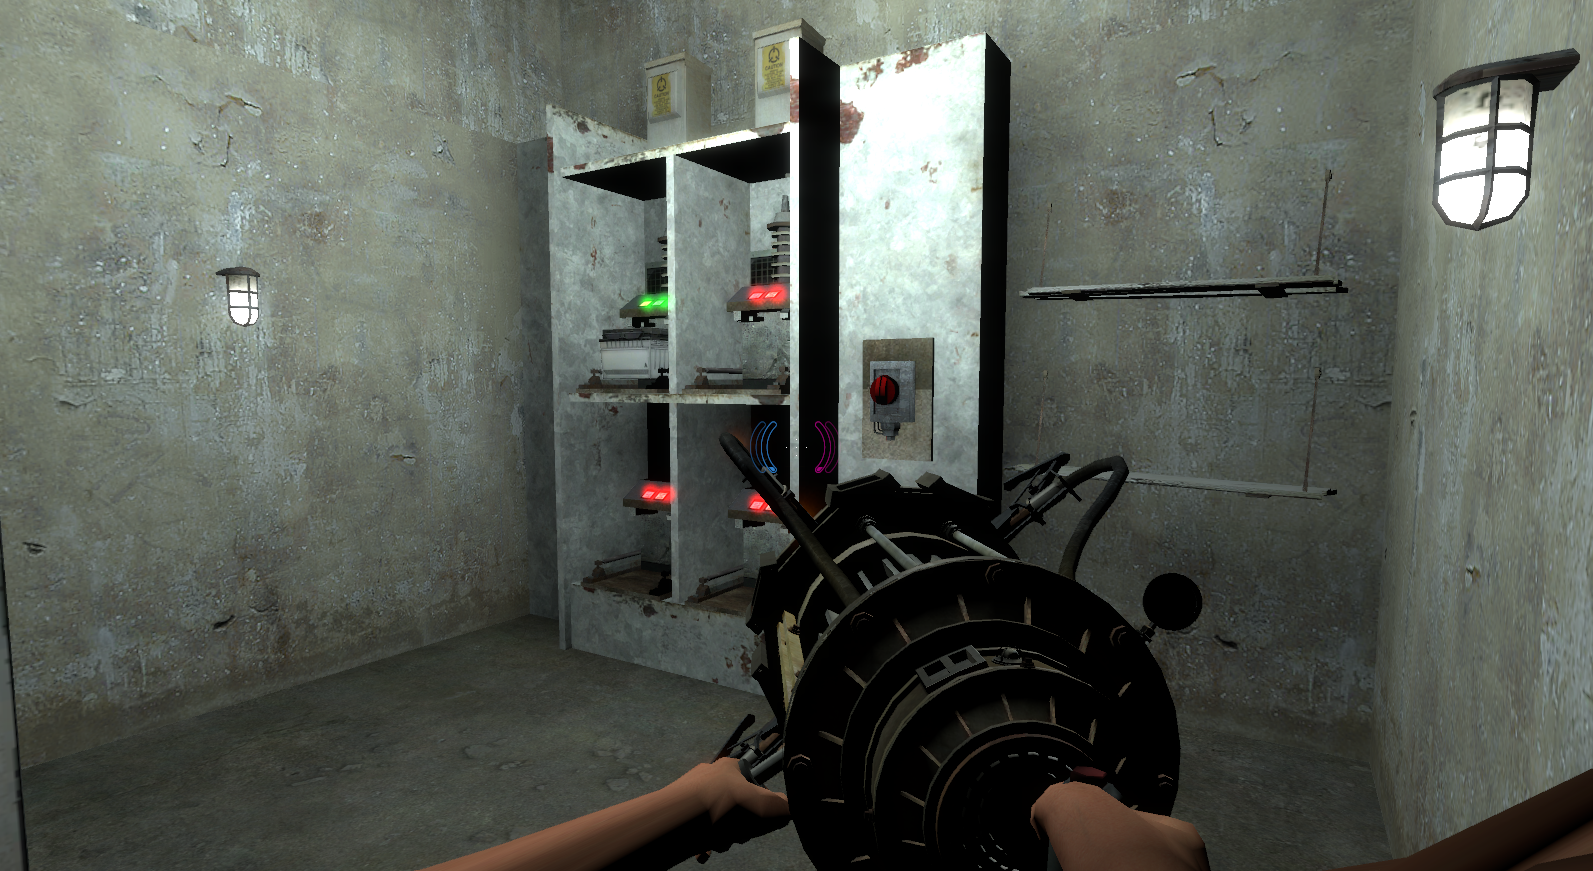
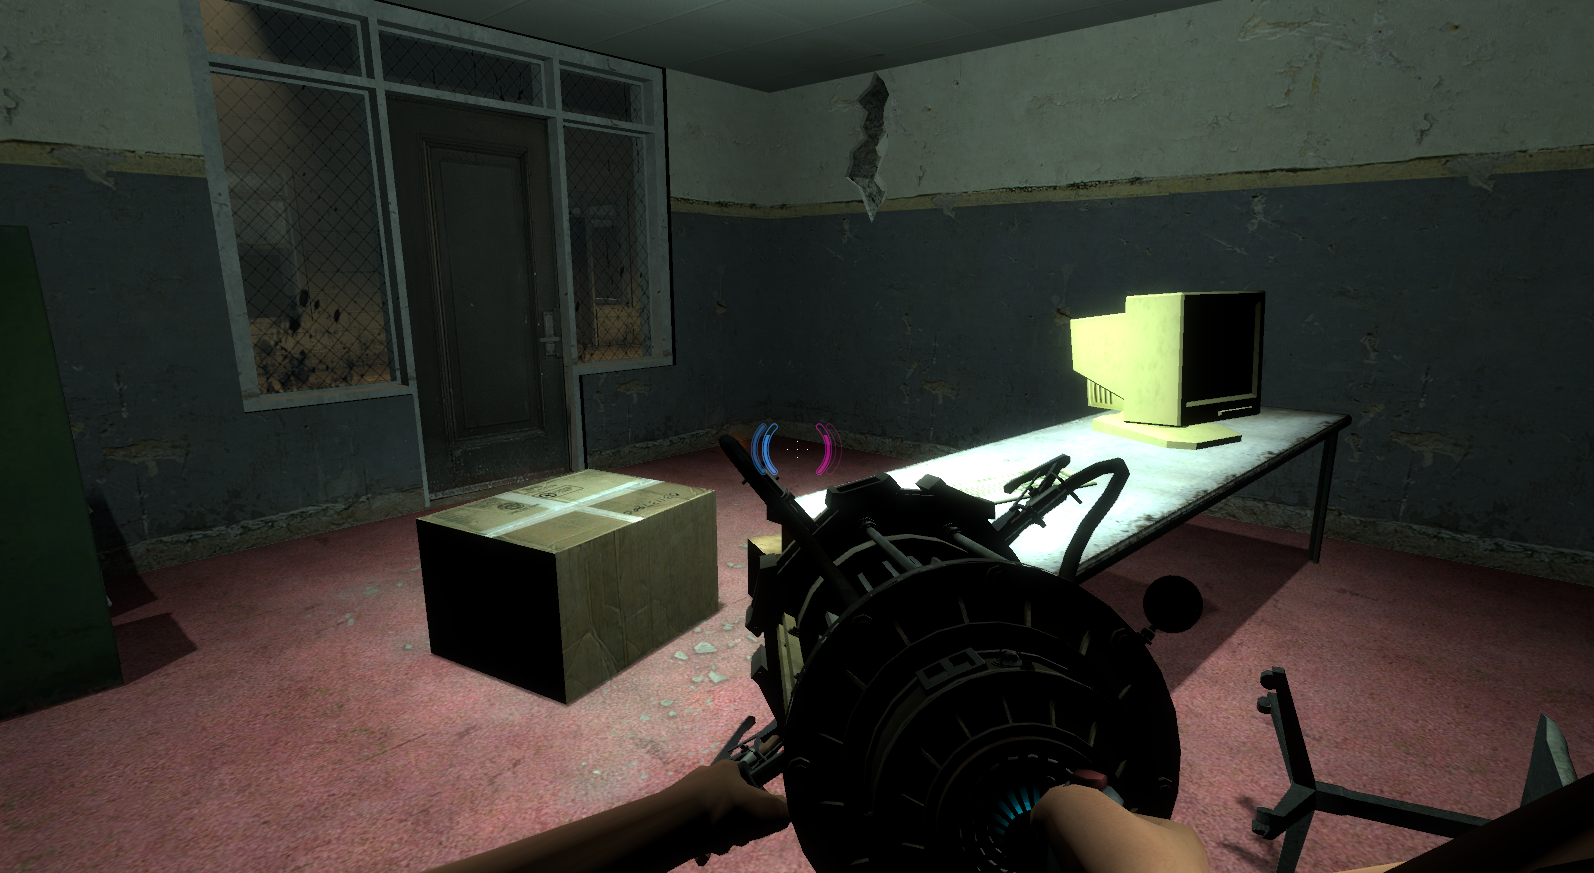
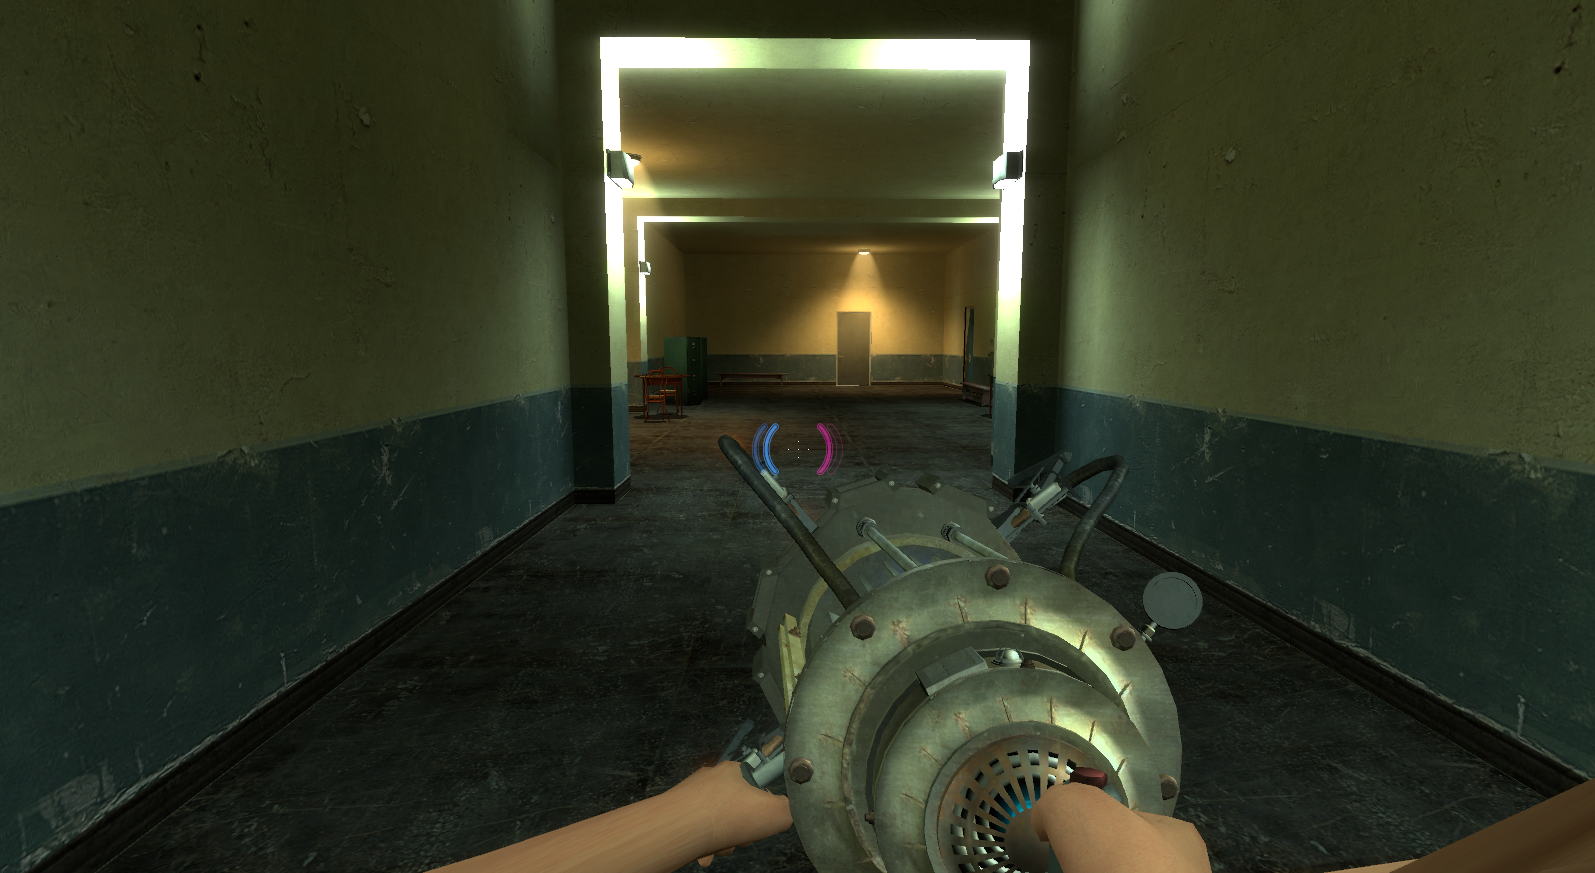
The earliest form of a final escape sequence for Portal from 2005. The player walks into the early halls of Aperture. They turn on the Auxiliary power in the Utility Closet and have to find three batteries to power a door to let them escape.
After going through, they stumble in the main large and open lobby area with a Half-Life 2: Episode One projector model and a giant floating Aperture logo model above, with changes movement depending how many batteries are plugged in.
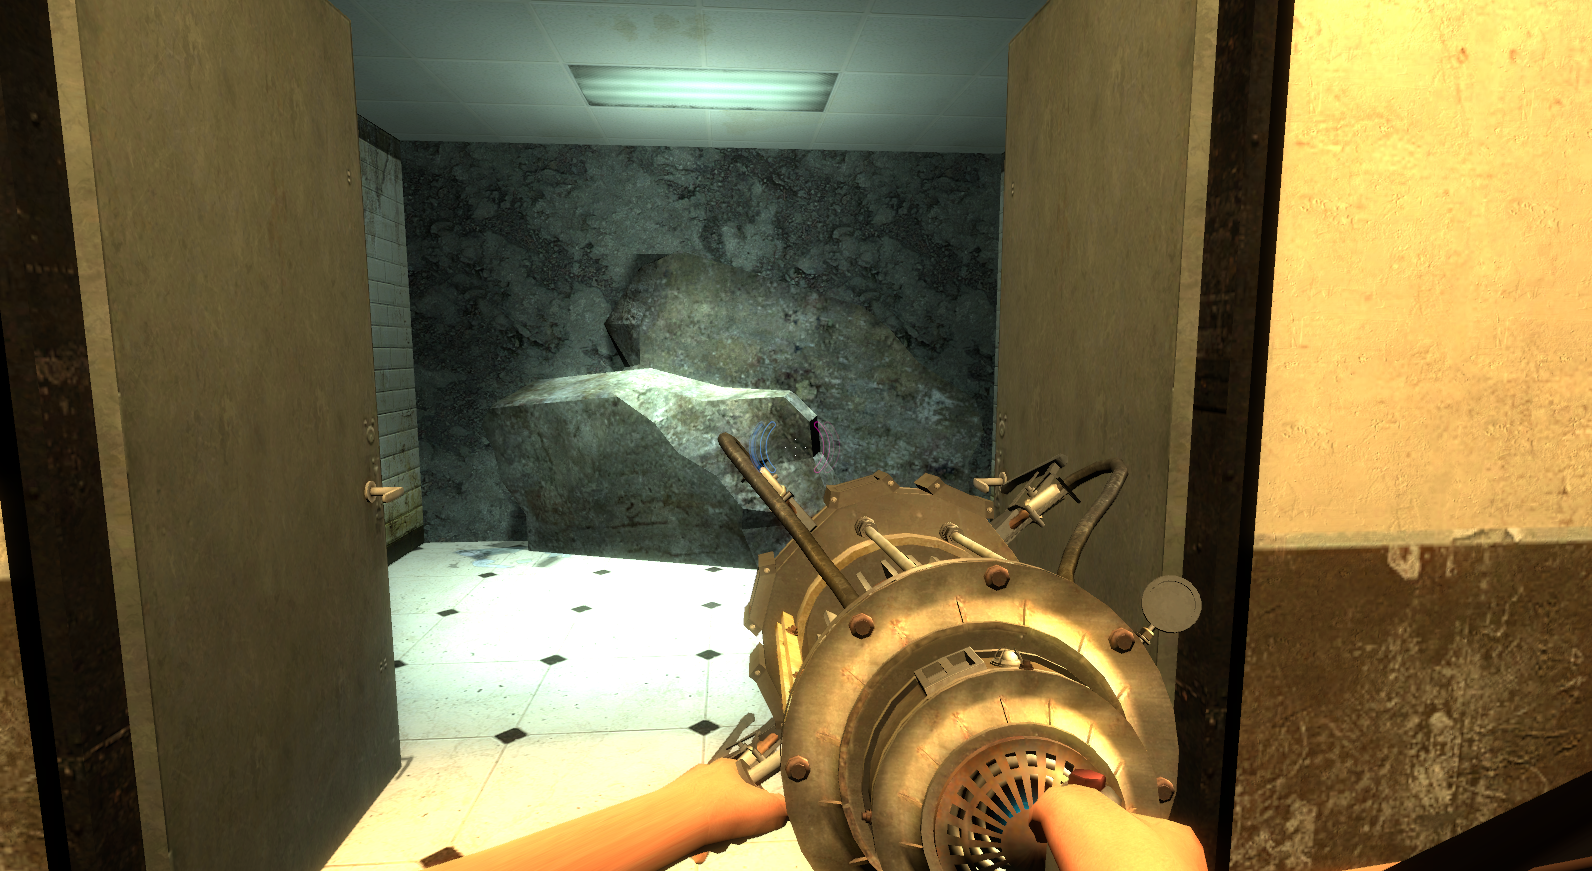
After entering the Kitchen, a broken Turret will see the player and attempt to fire at them which sets off the gas main, causing the kitting and the nearby lounge to go up in flames. The player must use portals to navigate through and avoid the fire to reach the pantry, under one of the many boxes is the second battery. Taking it back to the Utility Closet they put it in the second slot causing a distant explosion. The force causes the inside entrance to the kitchen to fall apart with rubble, preventing re-entry.
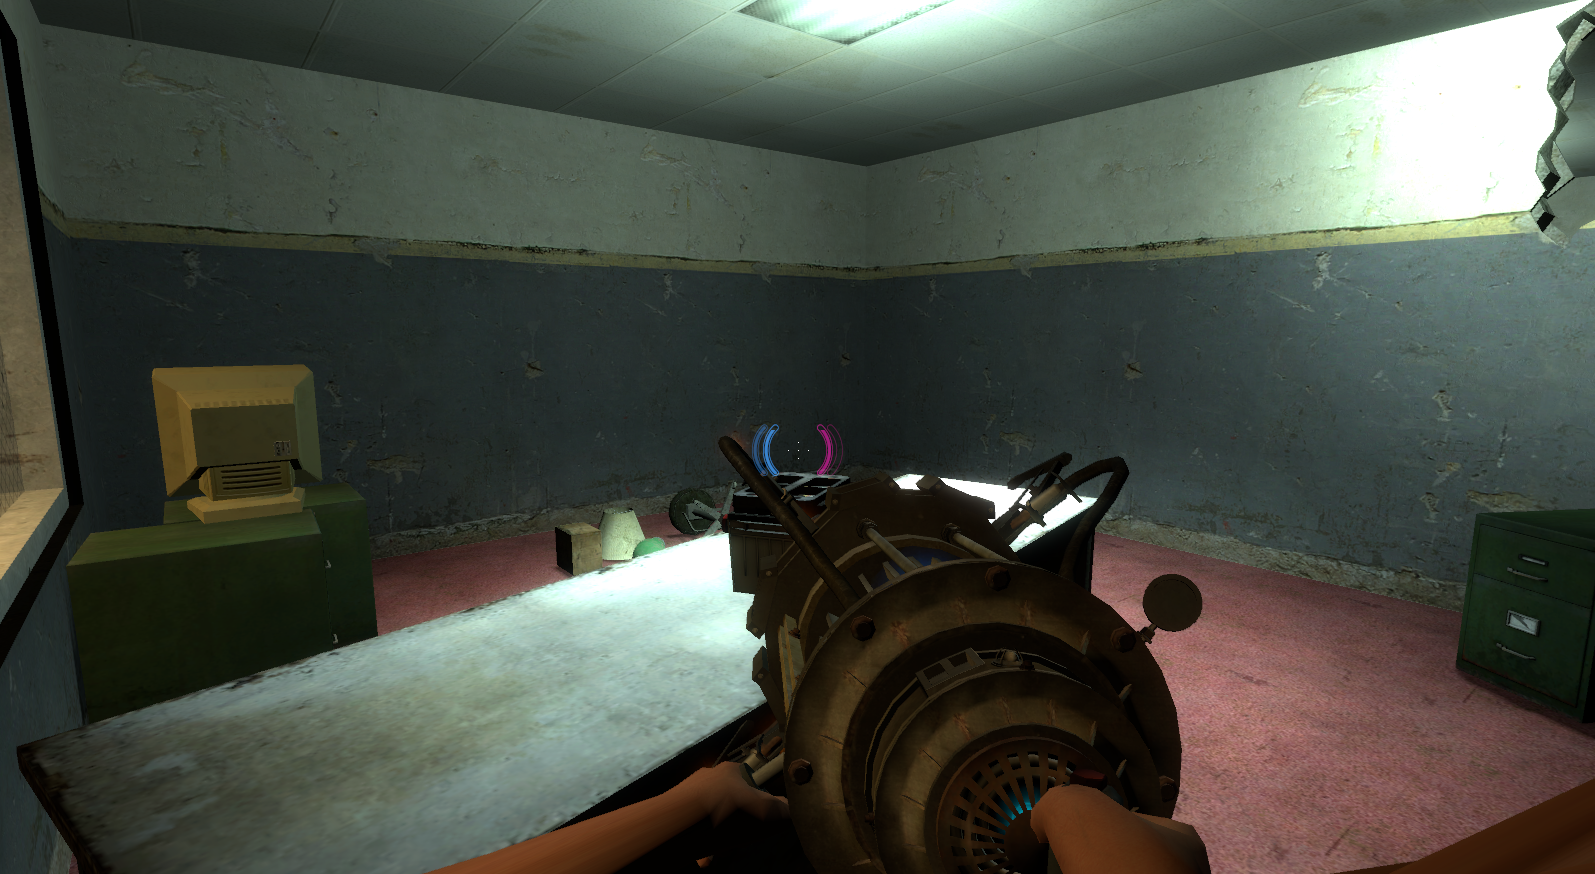
Next, the player needs to navigate through the nearby Office Wing to find the third battery. Most of the outside doors are locked apart from two, one that can be explored (but there is nothing of interest in it) and one that opens only halfway, the player is intended to fire a portal through the gap. However, the projectile gets stuck and floats at the face of the door, which is a bug in the game that can even been seen in escape_01 in the final game. Therefore, you need to use "noclip" to get past (or find a way to delete the door). The player then reaches a small office room with a crack in the wall where they fire a Portal to get into another office room where there is another crack in the wall, fire another Portal for the final time to get into the last office room and on the table is the third battery.
The fourth battery is located in the Observation area. This area features the observation rooms from the previous Test Chambers 00, 13 and even 18. In Valve's level design software Hammer, they are all contained in visgroups, with the names of the visgroups being the same as the original map file that they appeared in. Surprisingly, Test Chamber 18's starting fling area is featured, referred to as lab_lvl4 in Hammer's visgroup (meaning it takes place after this final escape map!). Inside the observation room for Test Chamber 18 features an exposed air vent. Crawling through, the player lands in some sort of Security Room with the fourth battery inside of a glass case with other junk that needs to be broken open with any physics prop.
Once all batteries have been found, the player can open the locked double door and leave in a small staircase room which leads to nothing - but there probably would have been a transition to the missing lab_lvl4 map or something similar to that nature.
The intro hallway has a small door further back from the start. In an error message printed to the console or in Hammer, it is revealed that there is a level transition that would've taken players back to a missing lab_lvl3 map.
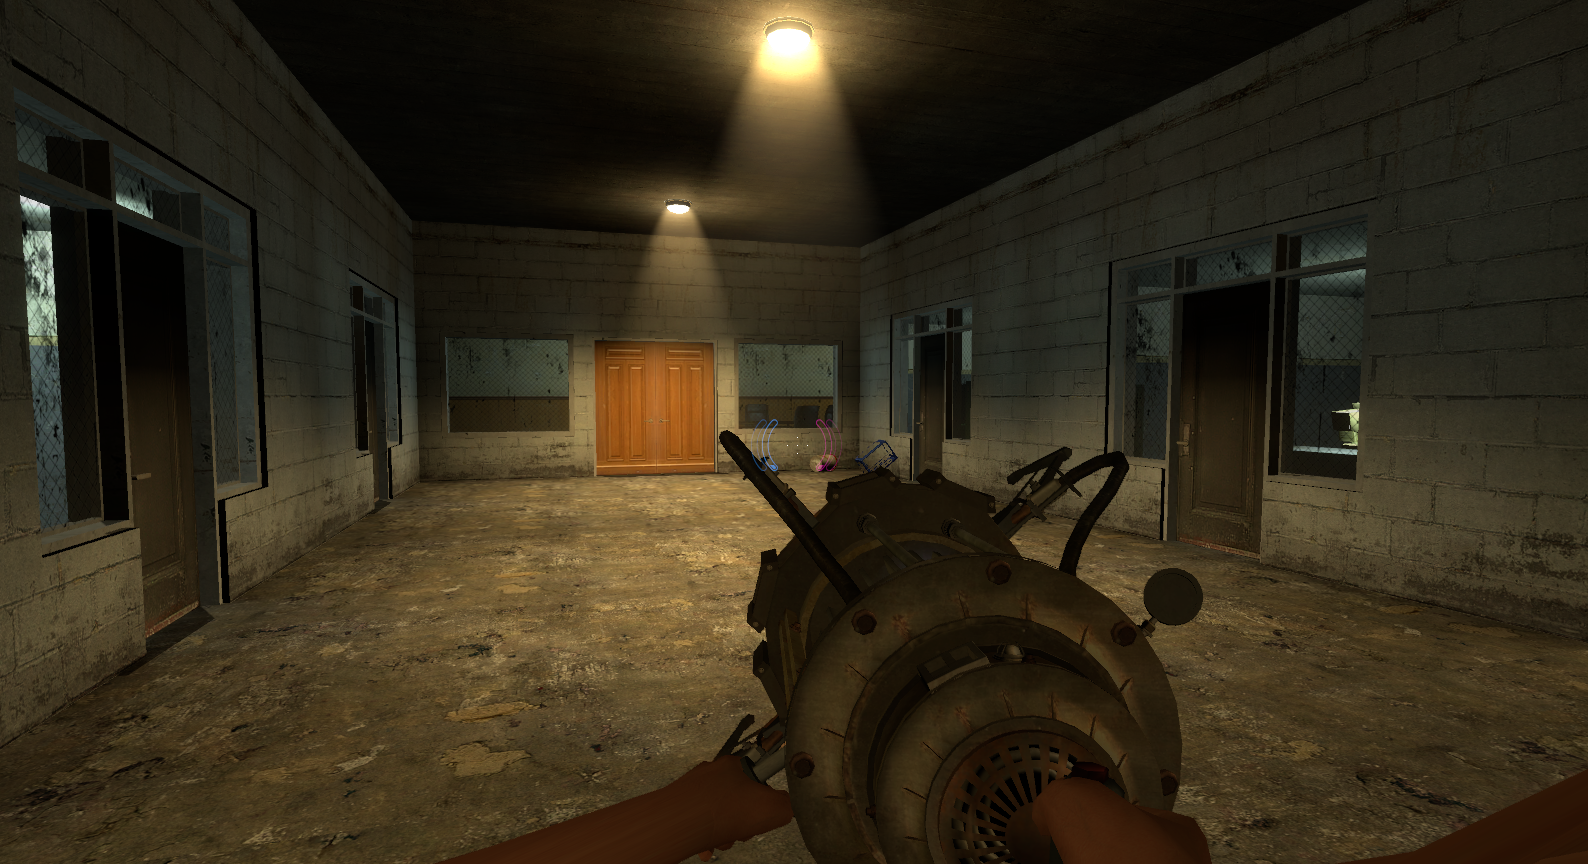
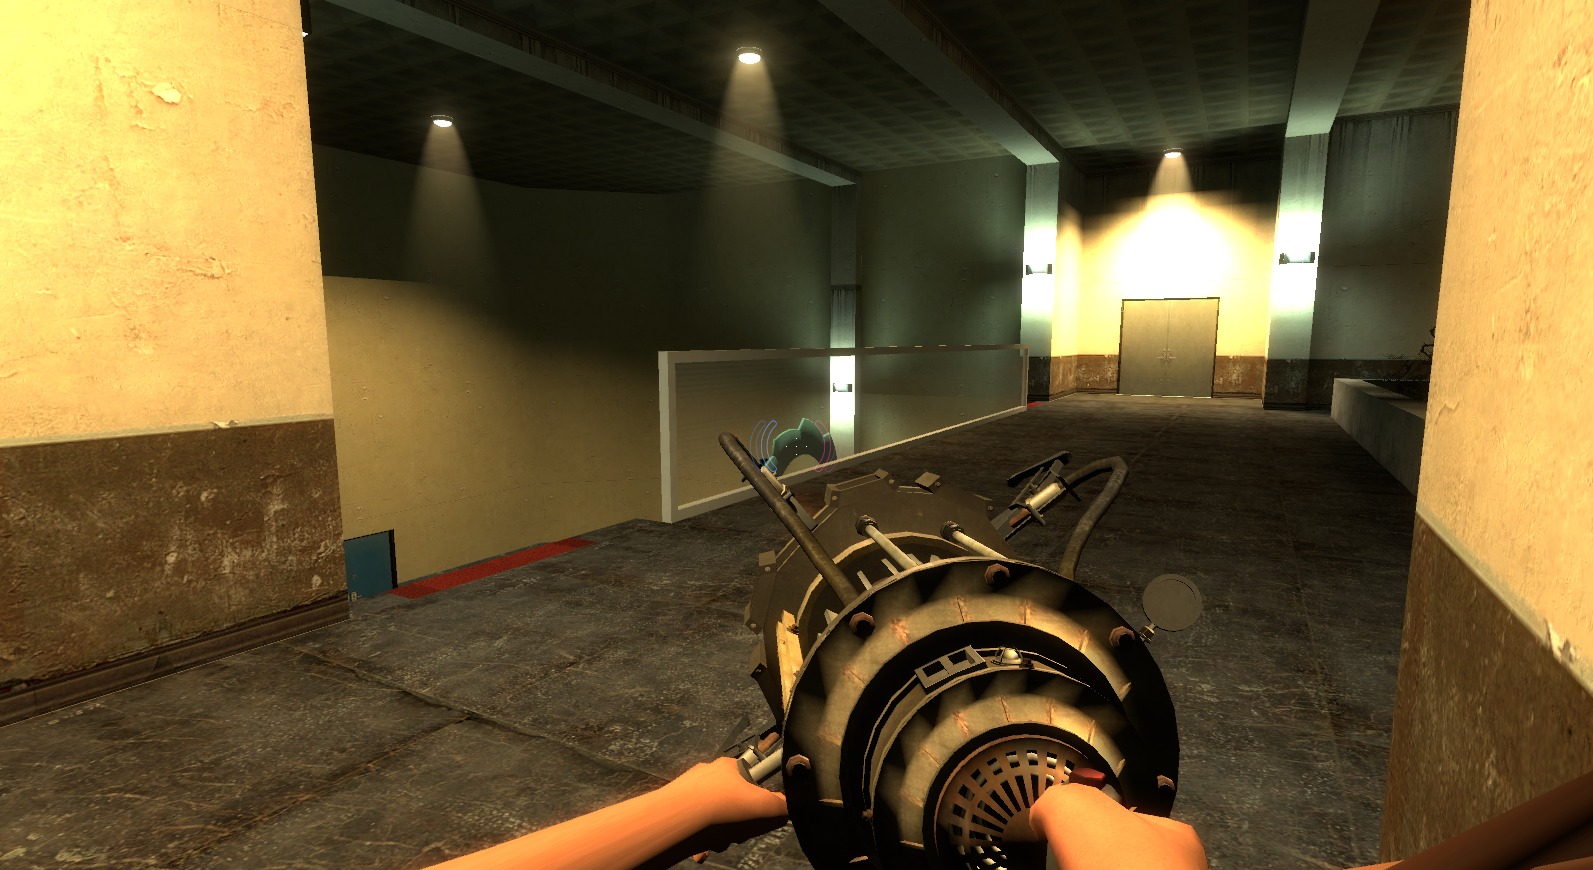
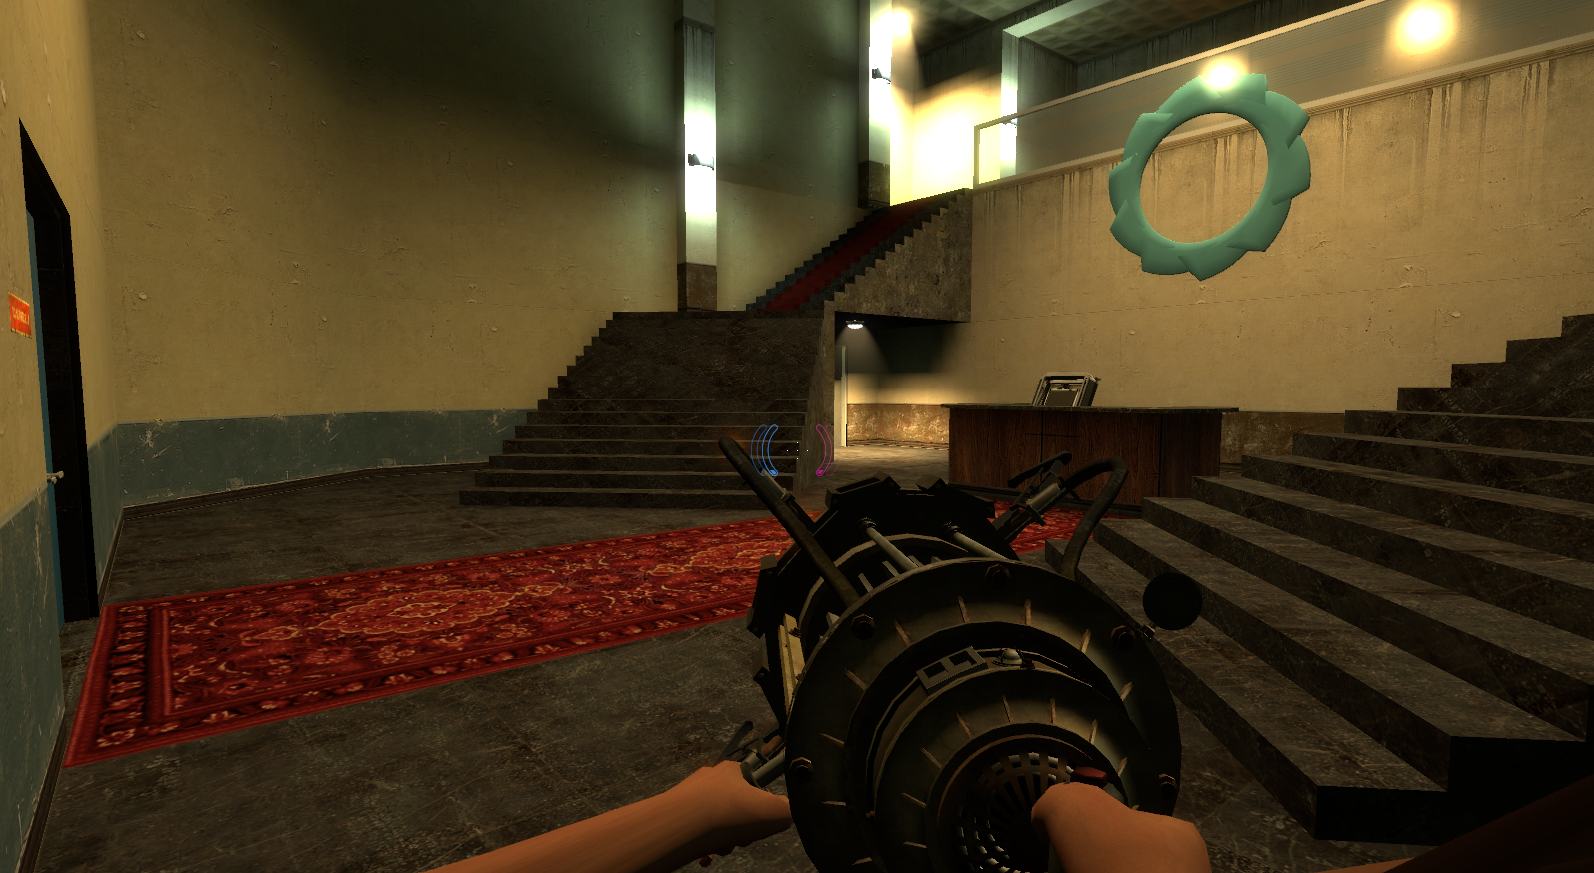
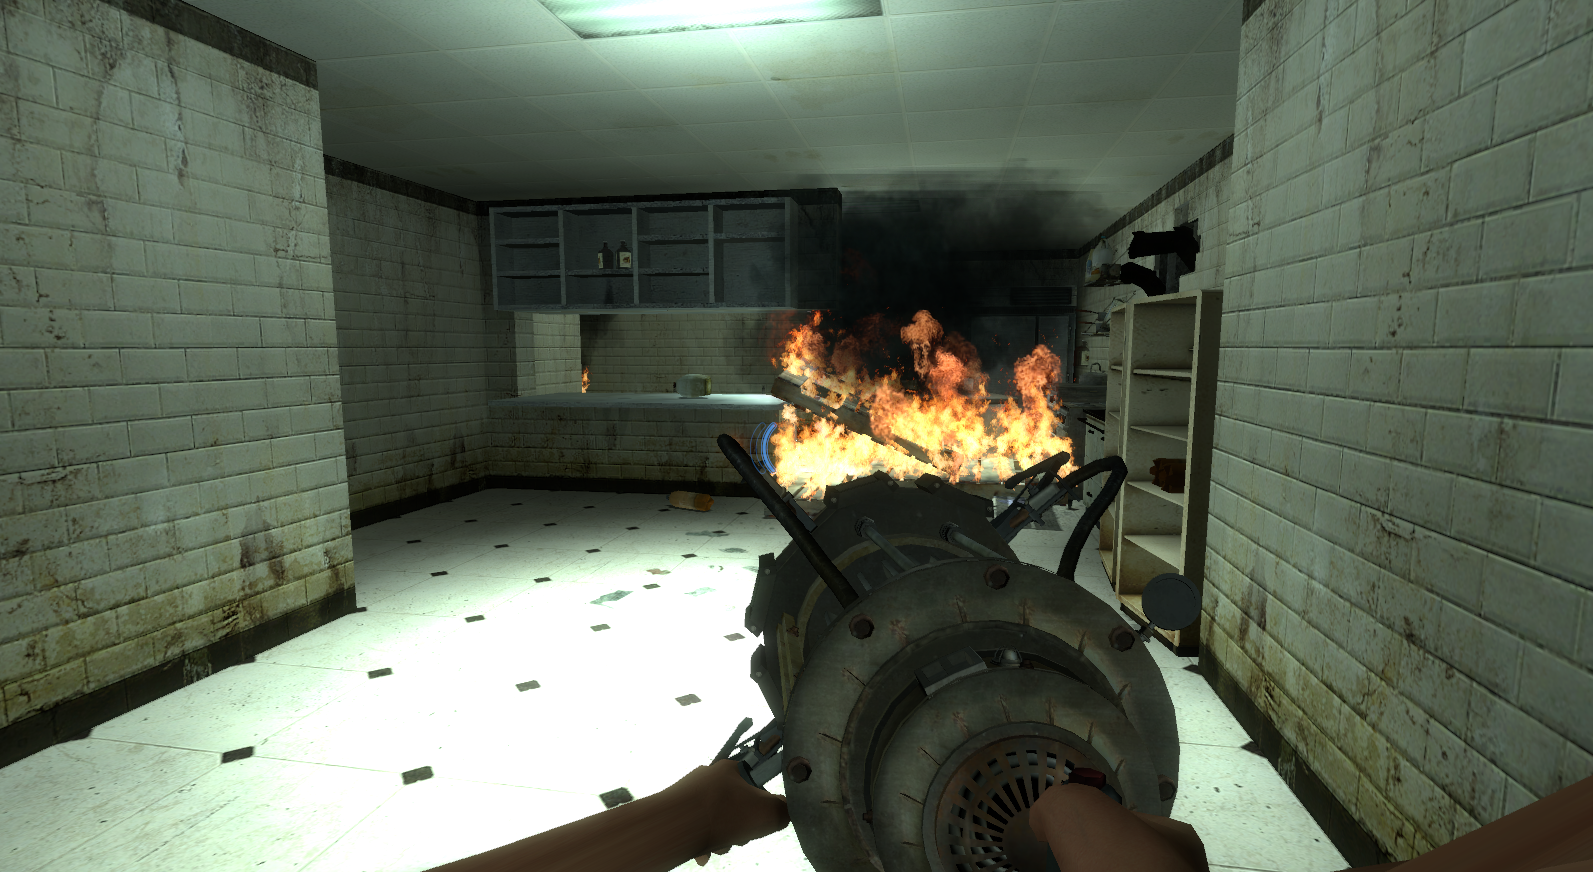
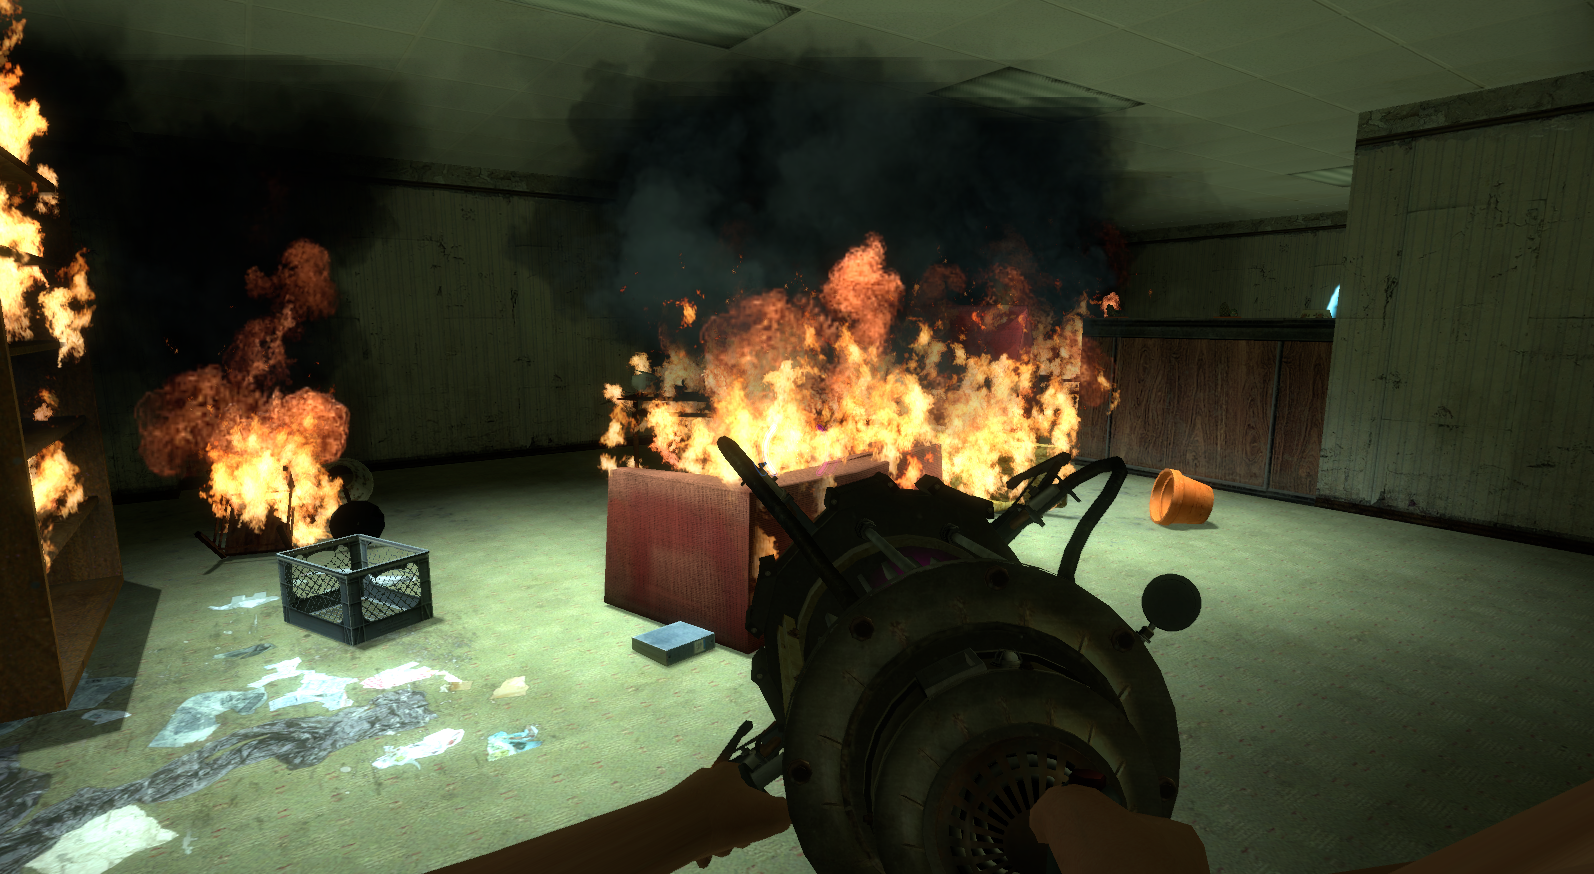
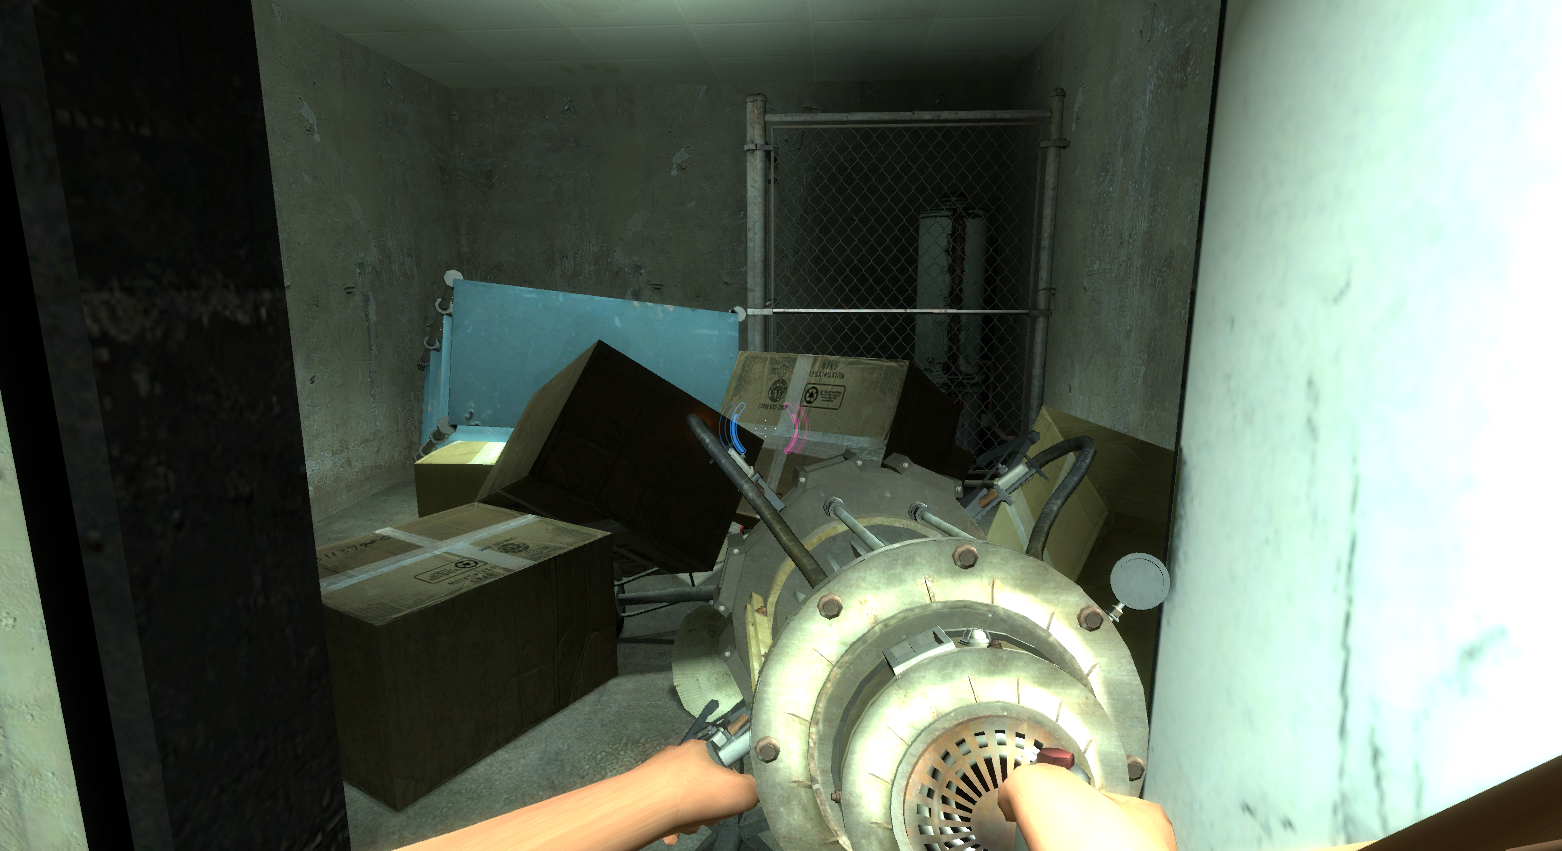
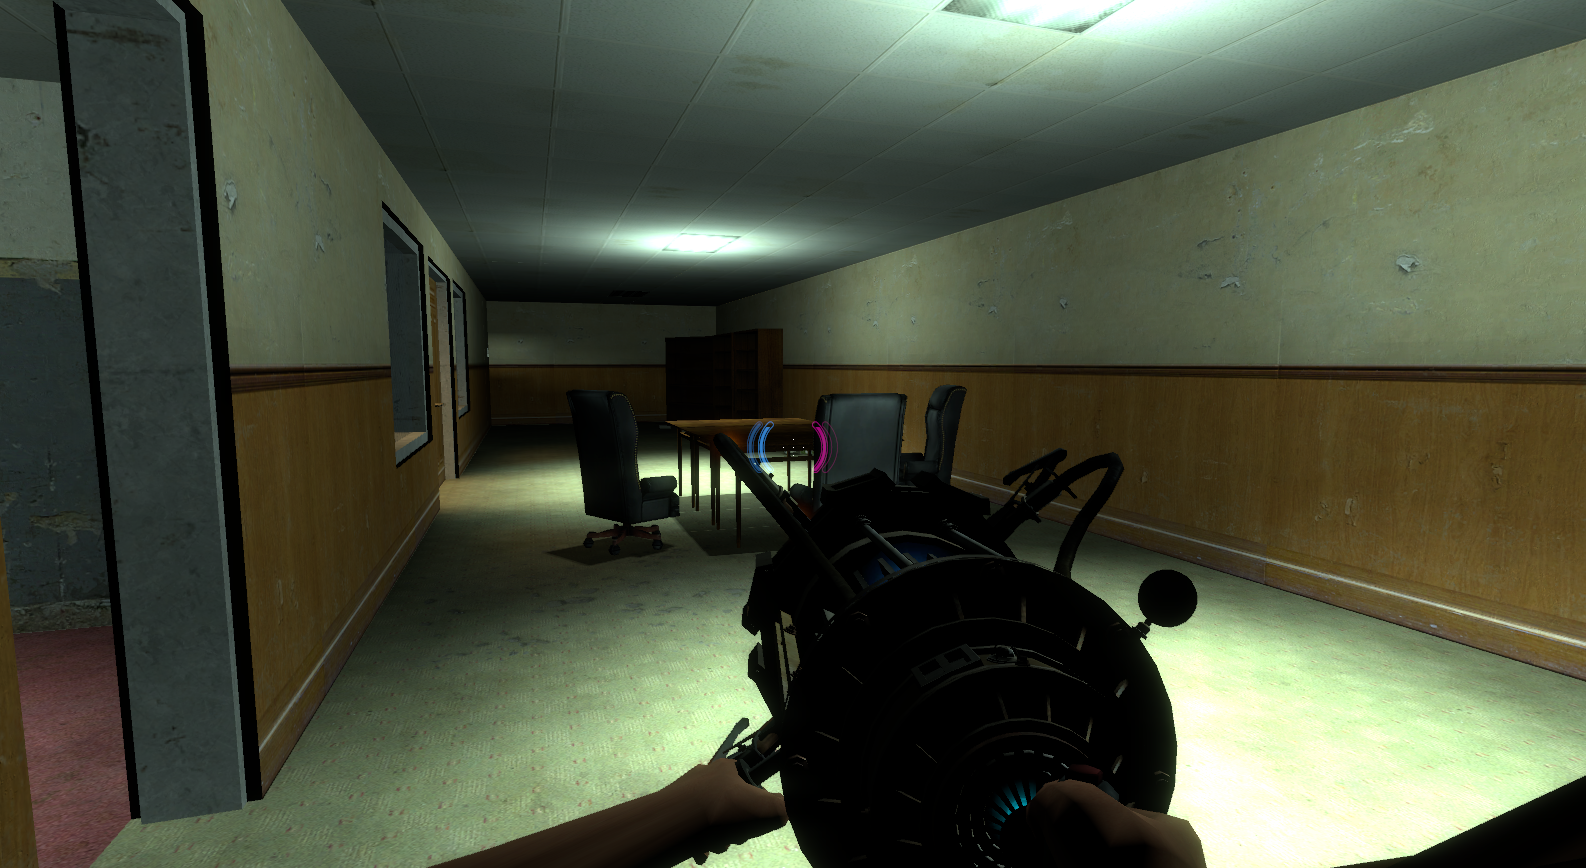
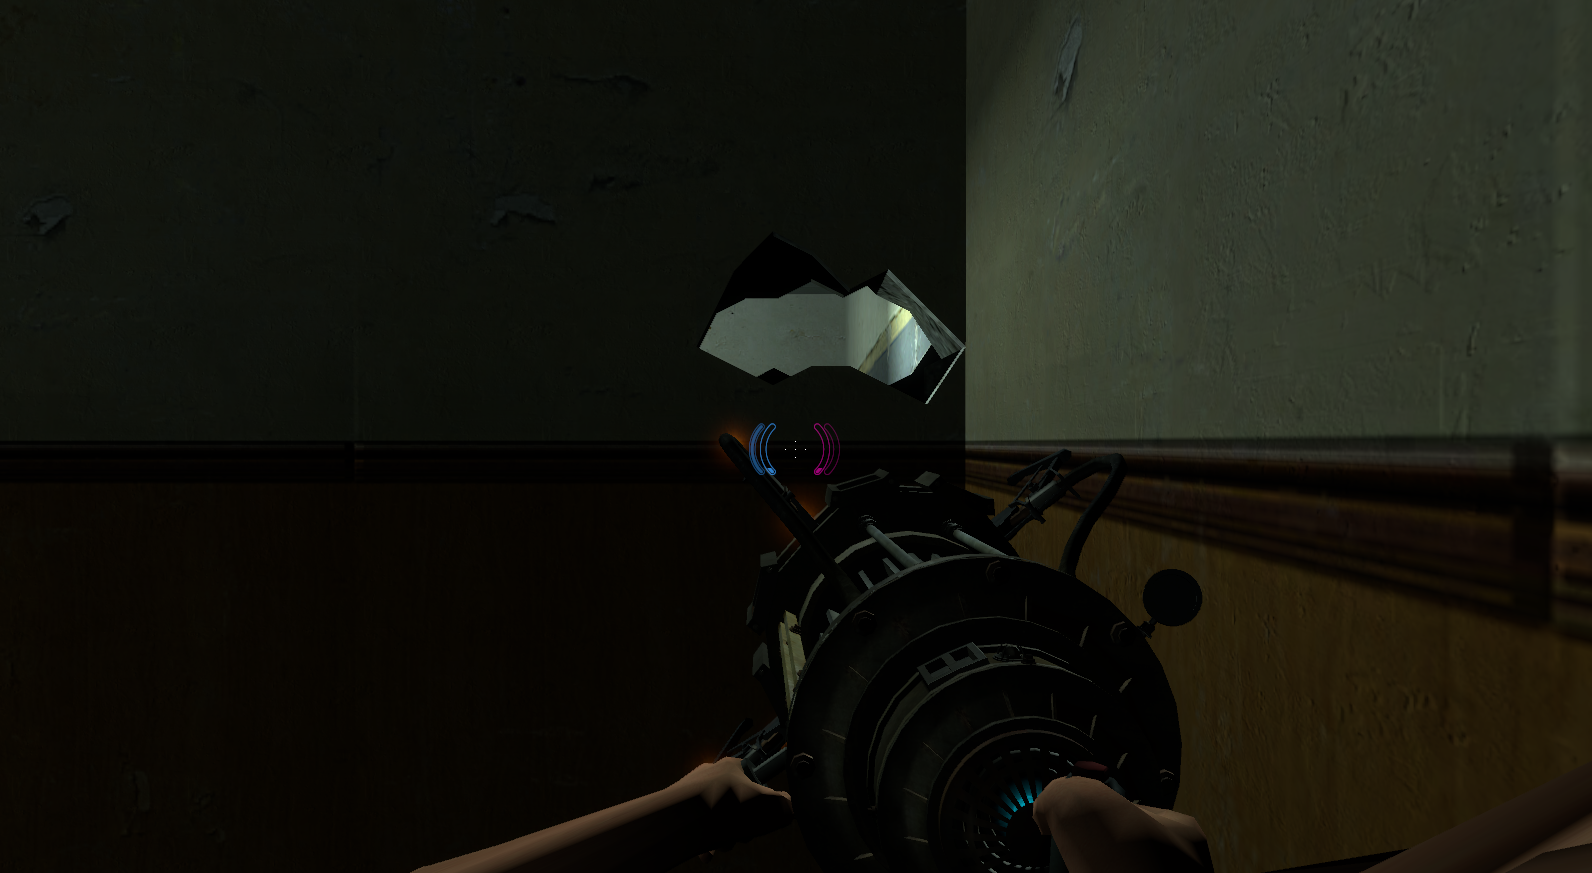
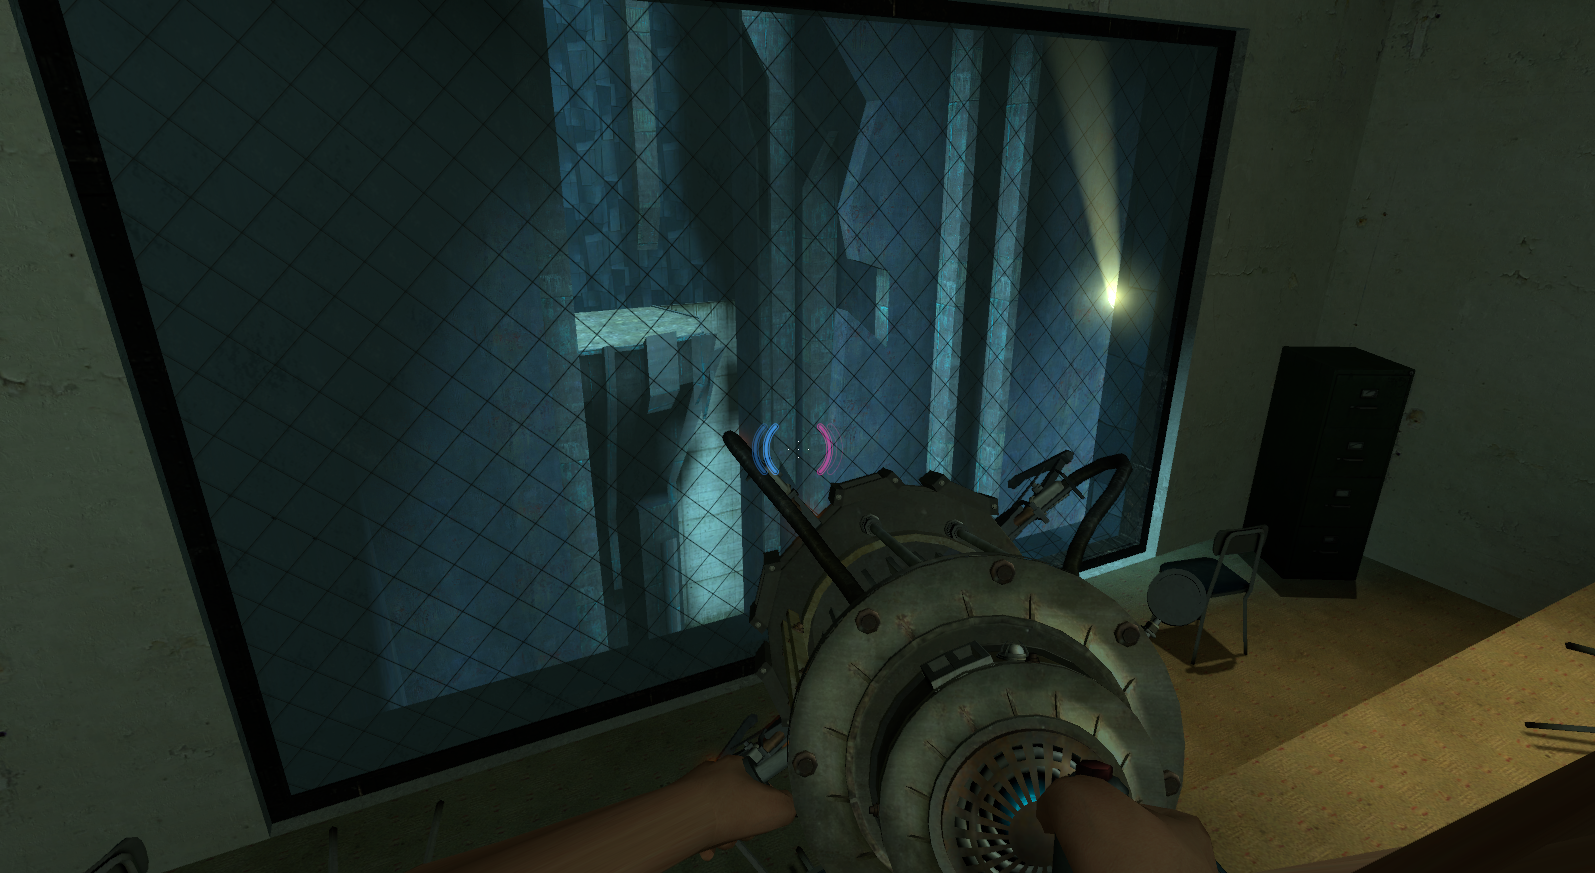
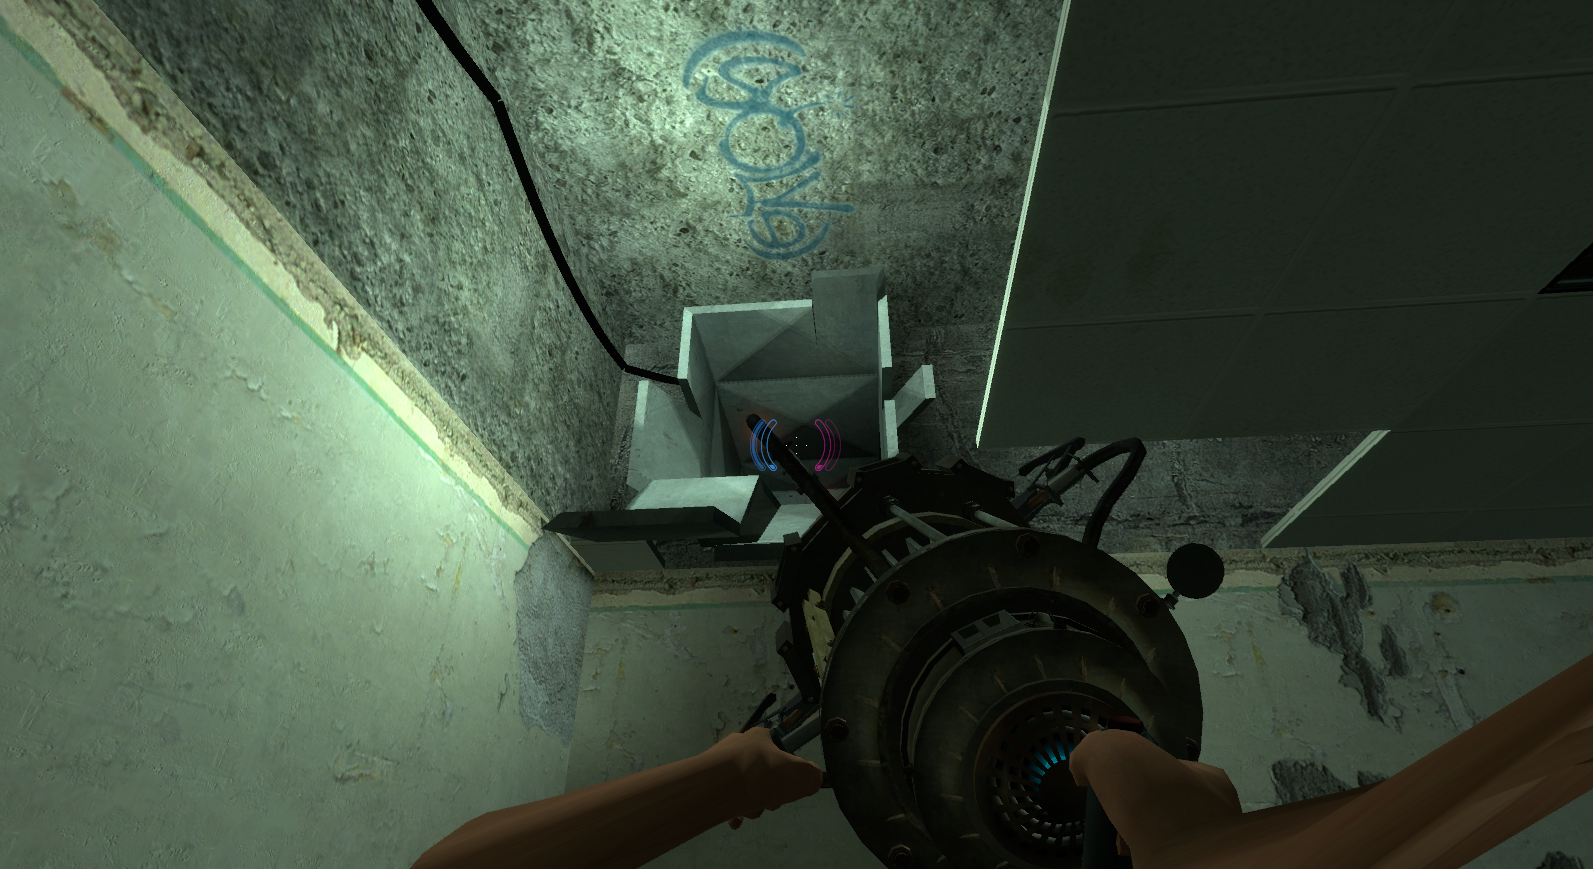
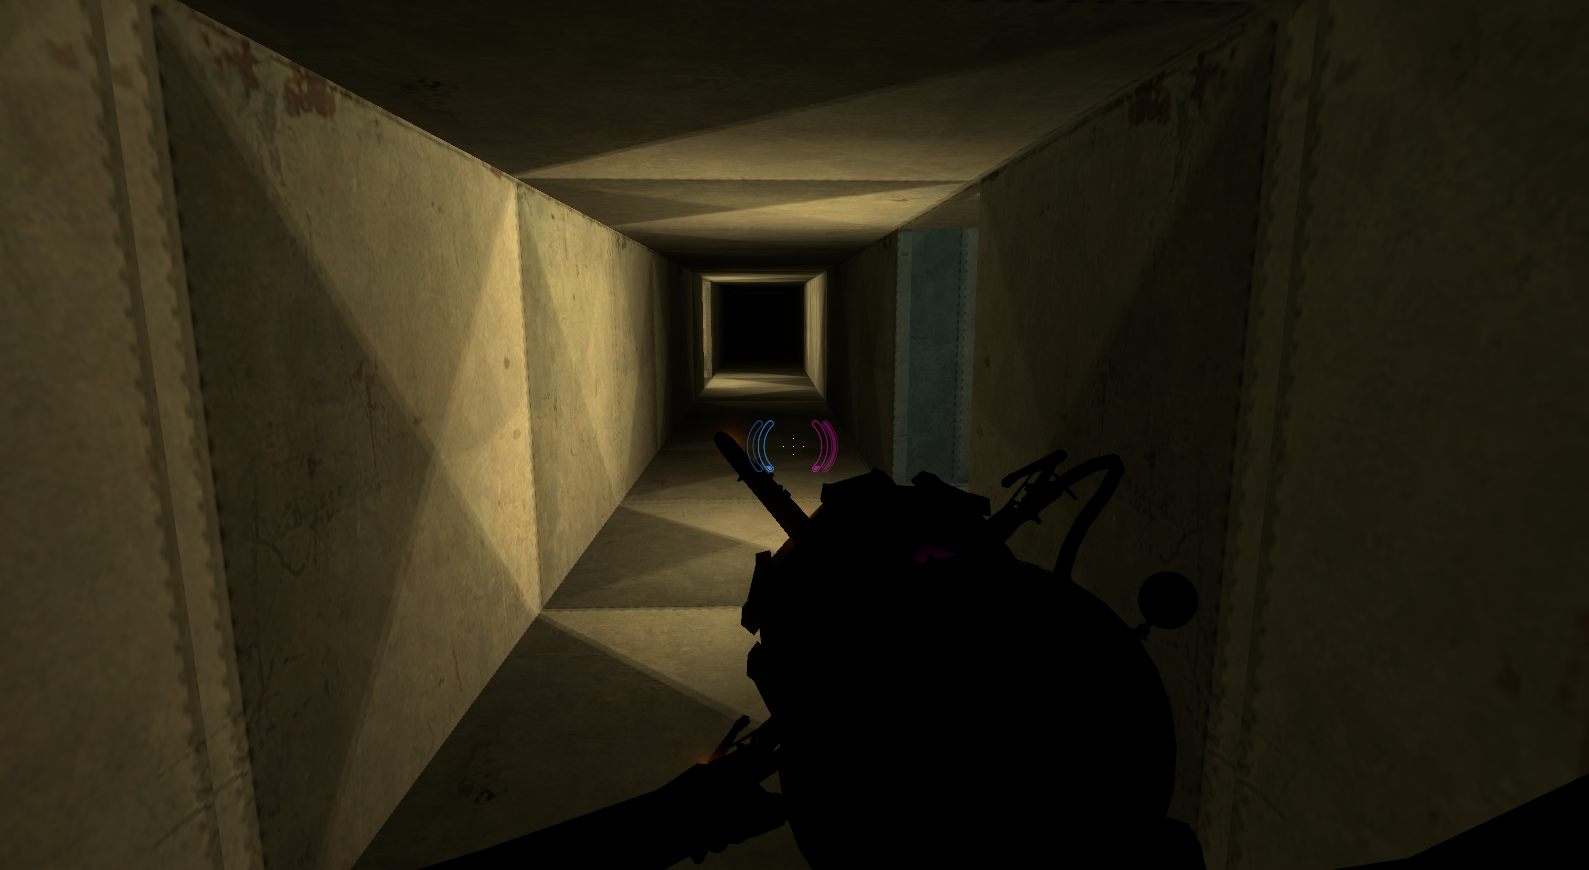
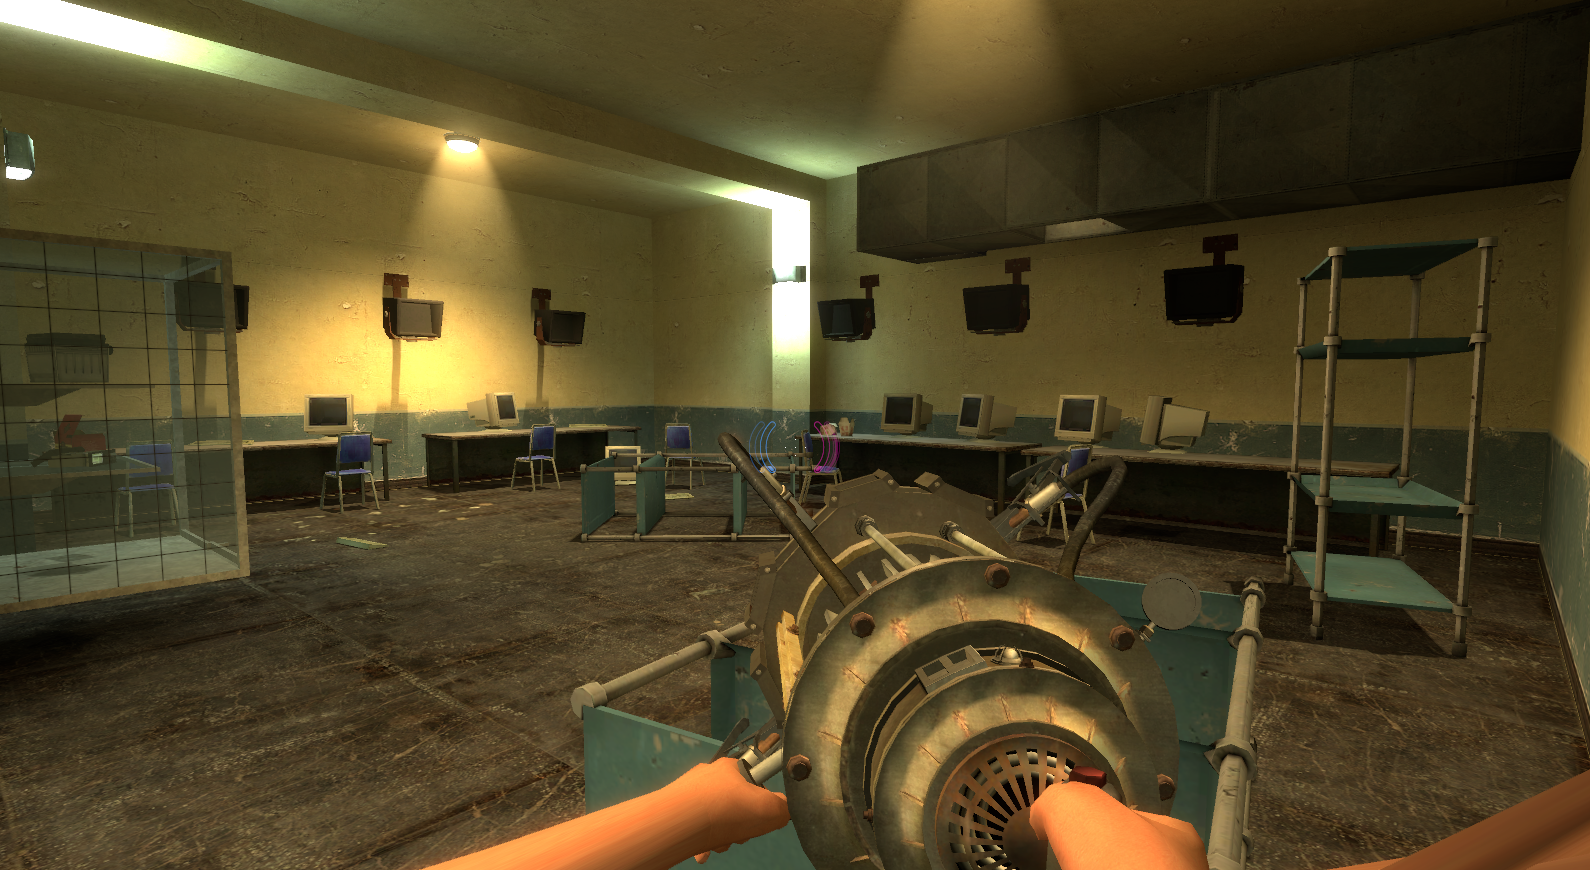
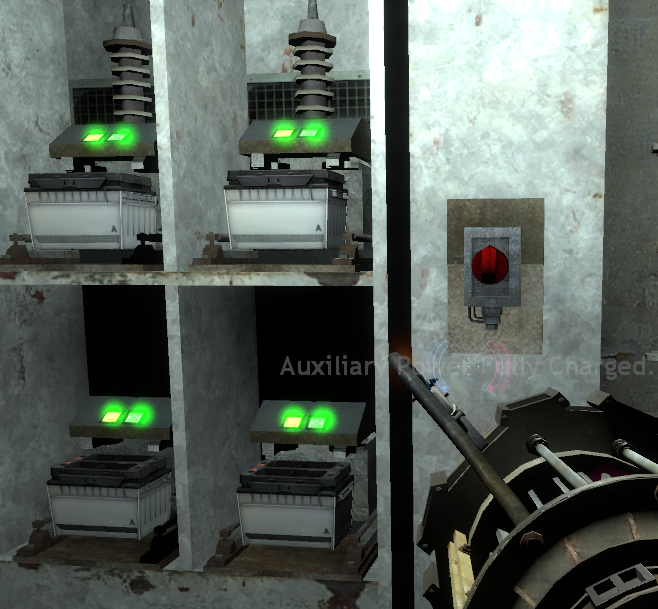
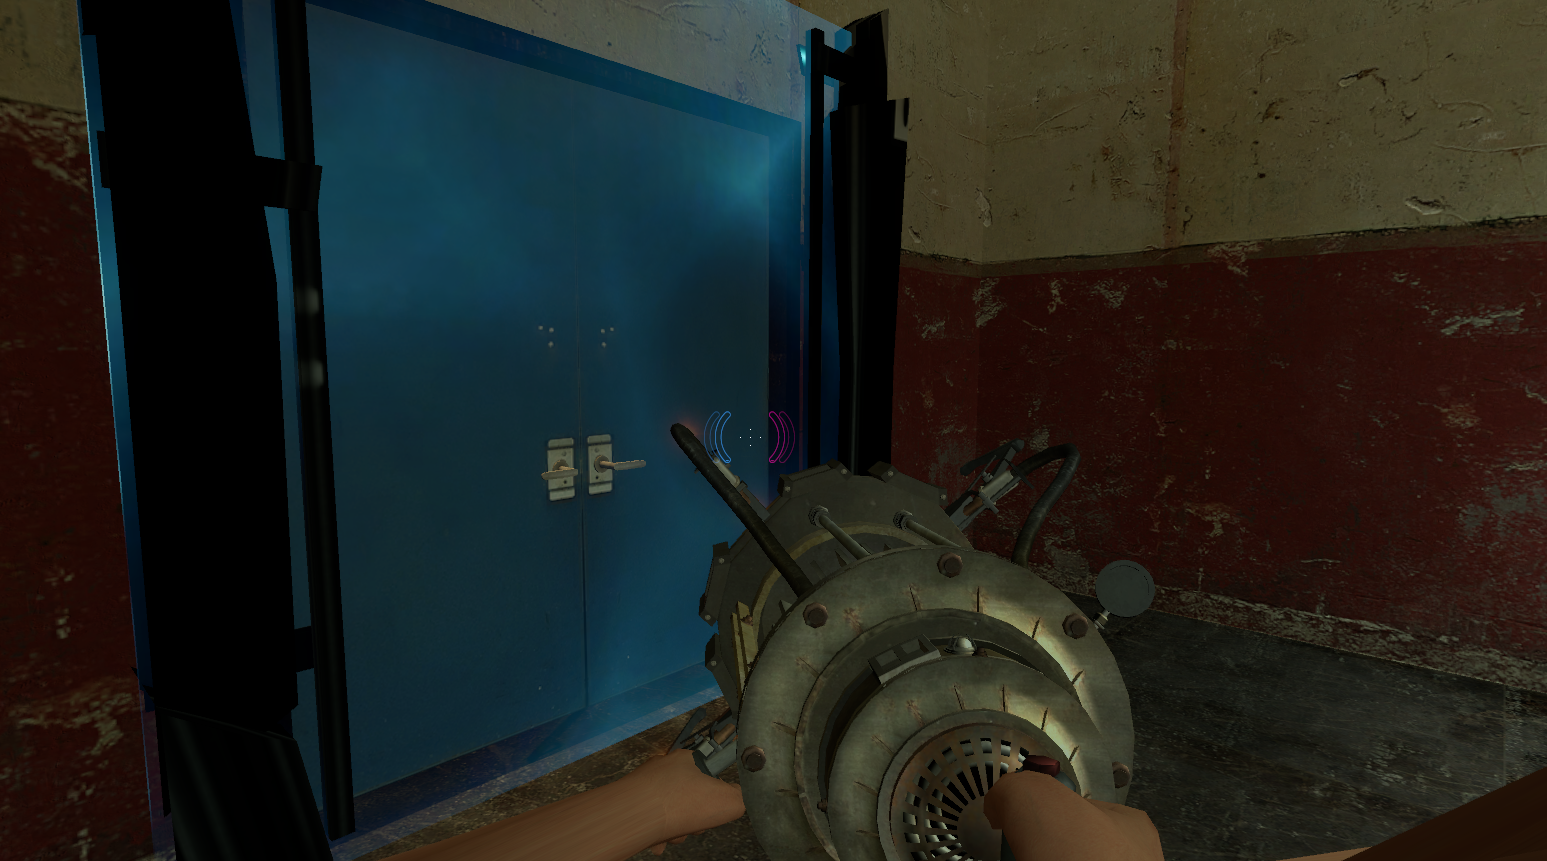
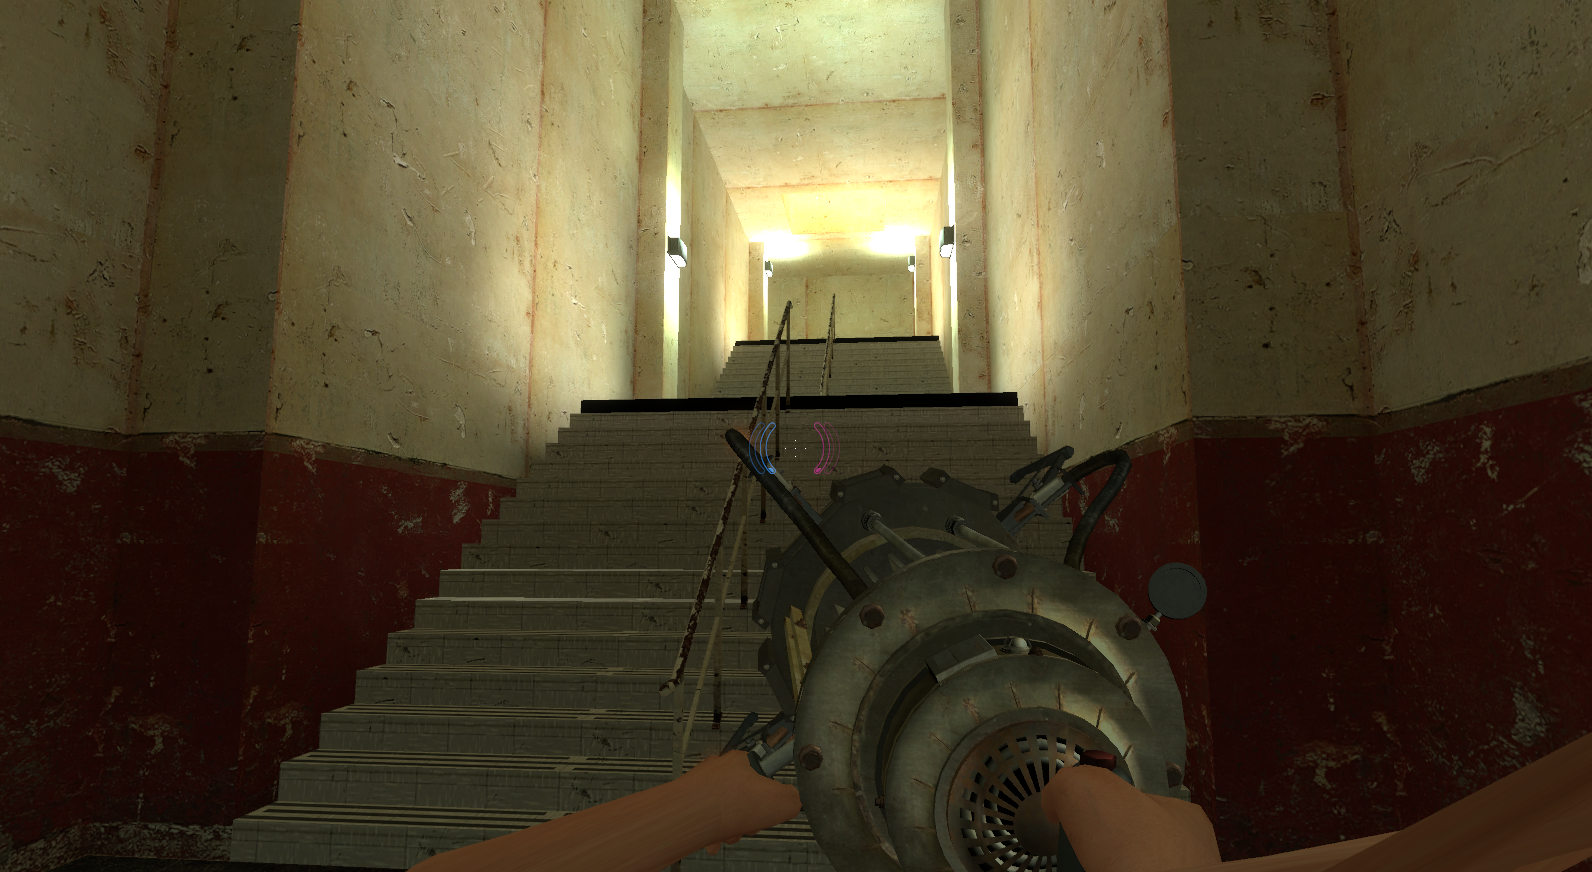
lab_lvl4#
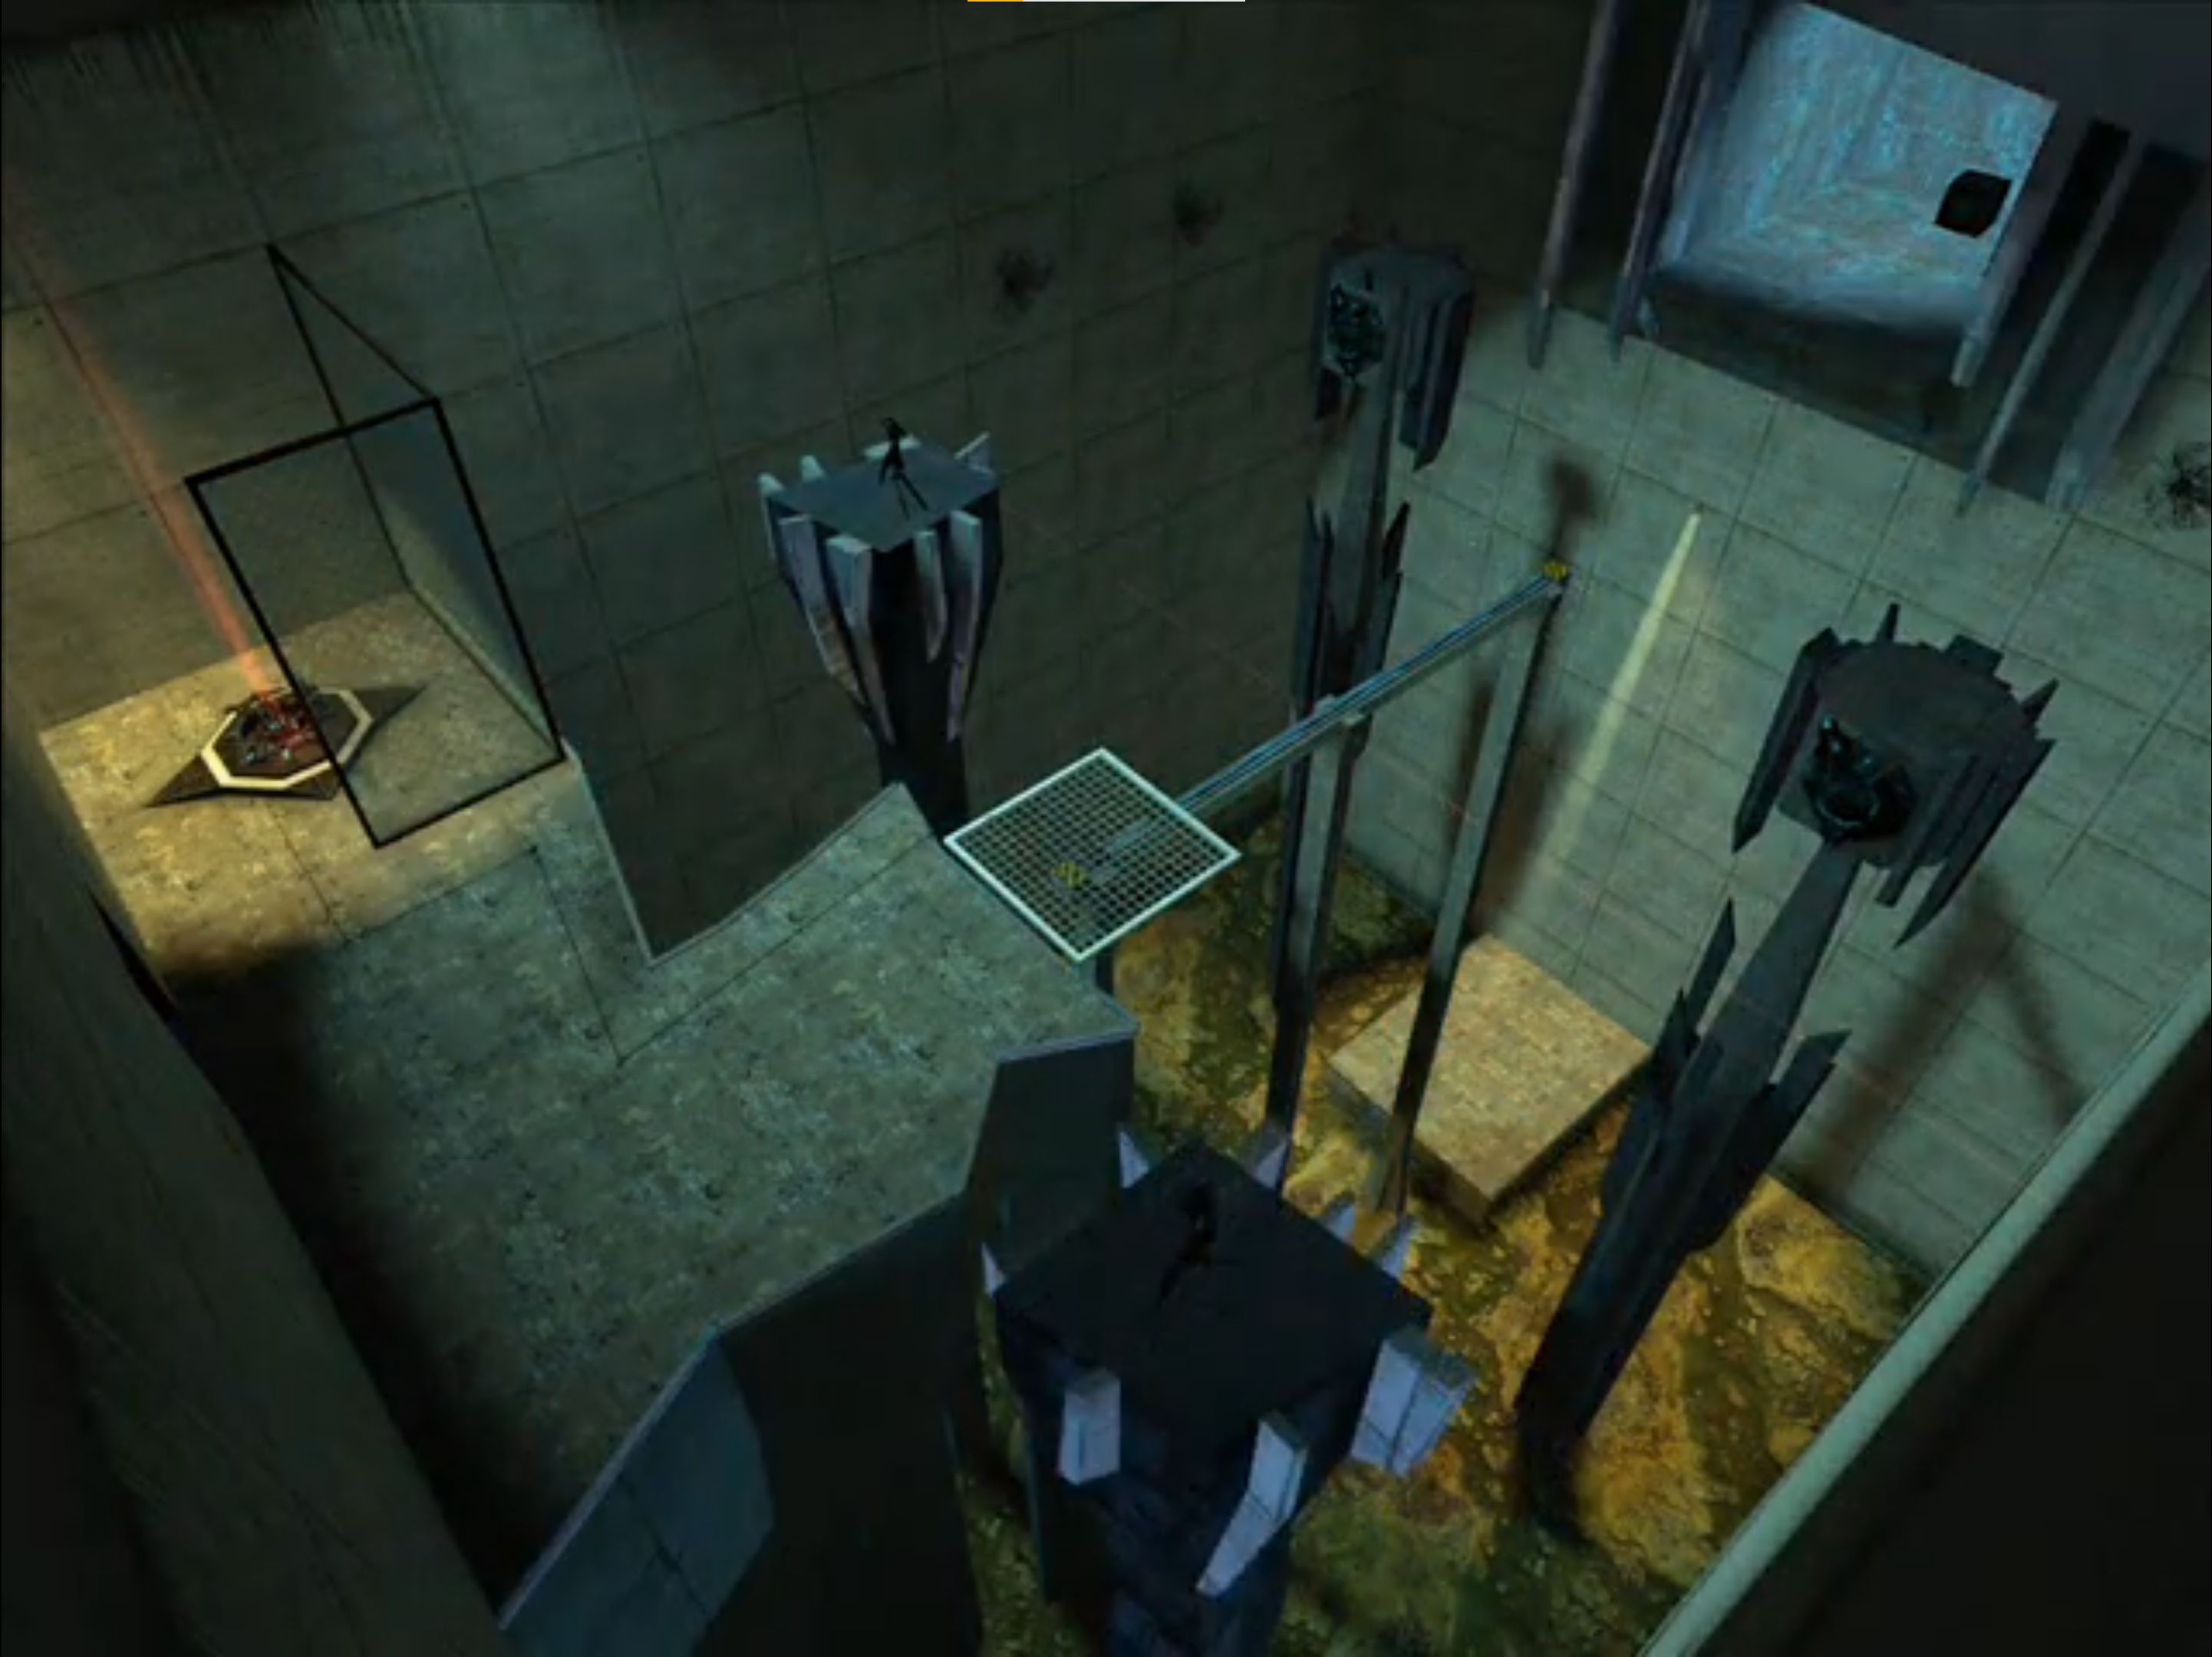
lab_lvl4 is the 2005 version of Test Chamber 18 that is also currently missing. A bunch of screenshots were brought into Portal's evolution video made by the developers. These screenshots show the main area whereas copied geometry that is seen in lab_lvl3a show the fling area that is seen in an observation window.
bonus_longjump#
A 2006 bonus map that was cut from the final game. The idea is that the player has to continuously double fling over and over again to see how far they're able to go, with text on the screen showing how many 'yards' they've travelled across. Likely cut due to it not being that much fun to play.
testchmb_a_00 (2006)#
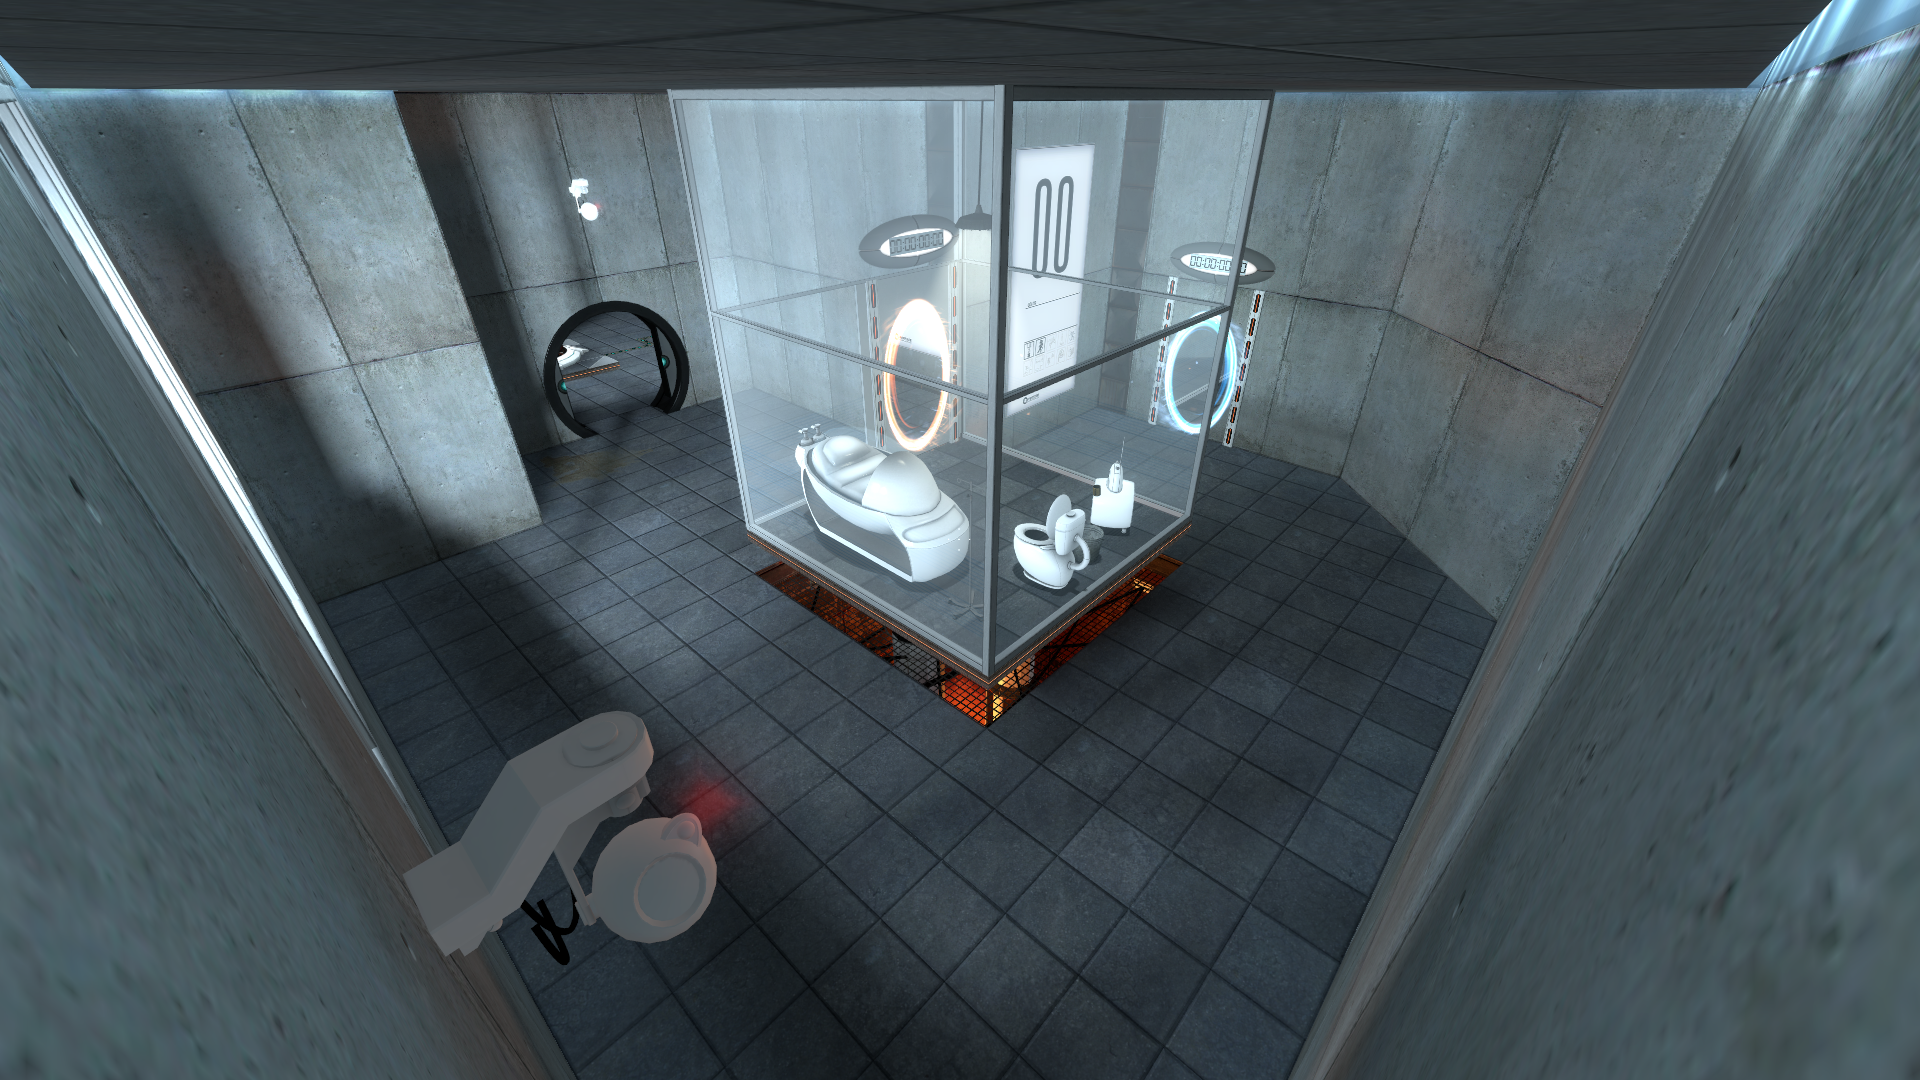
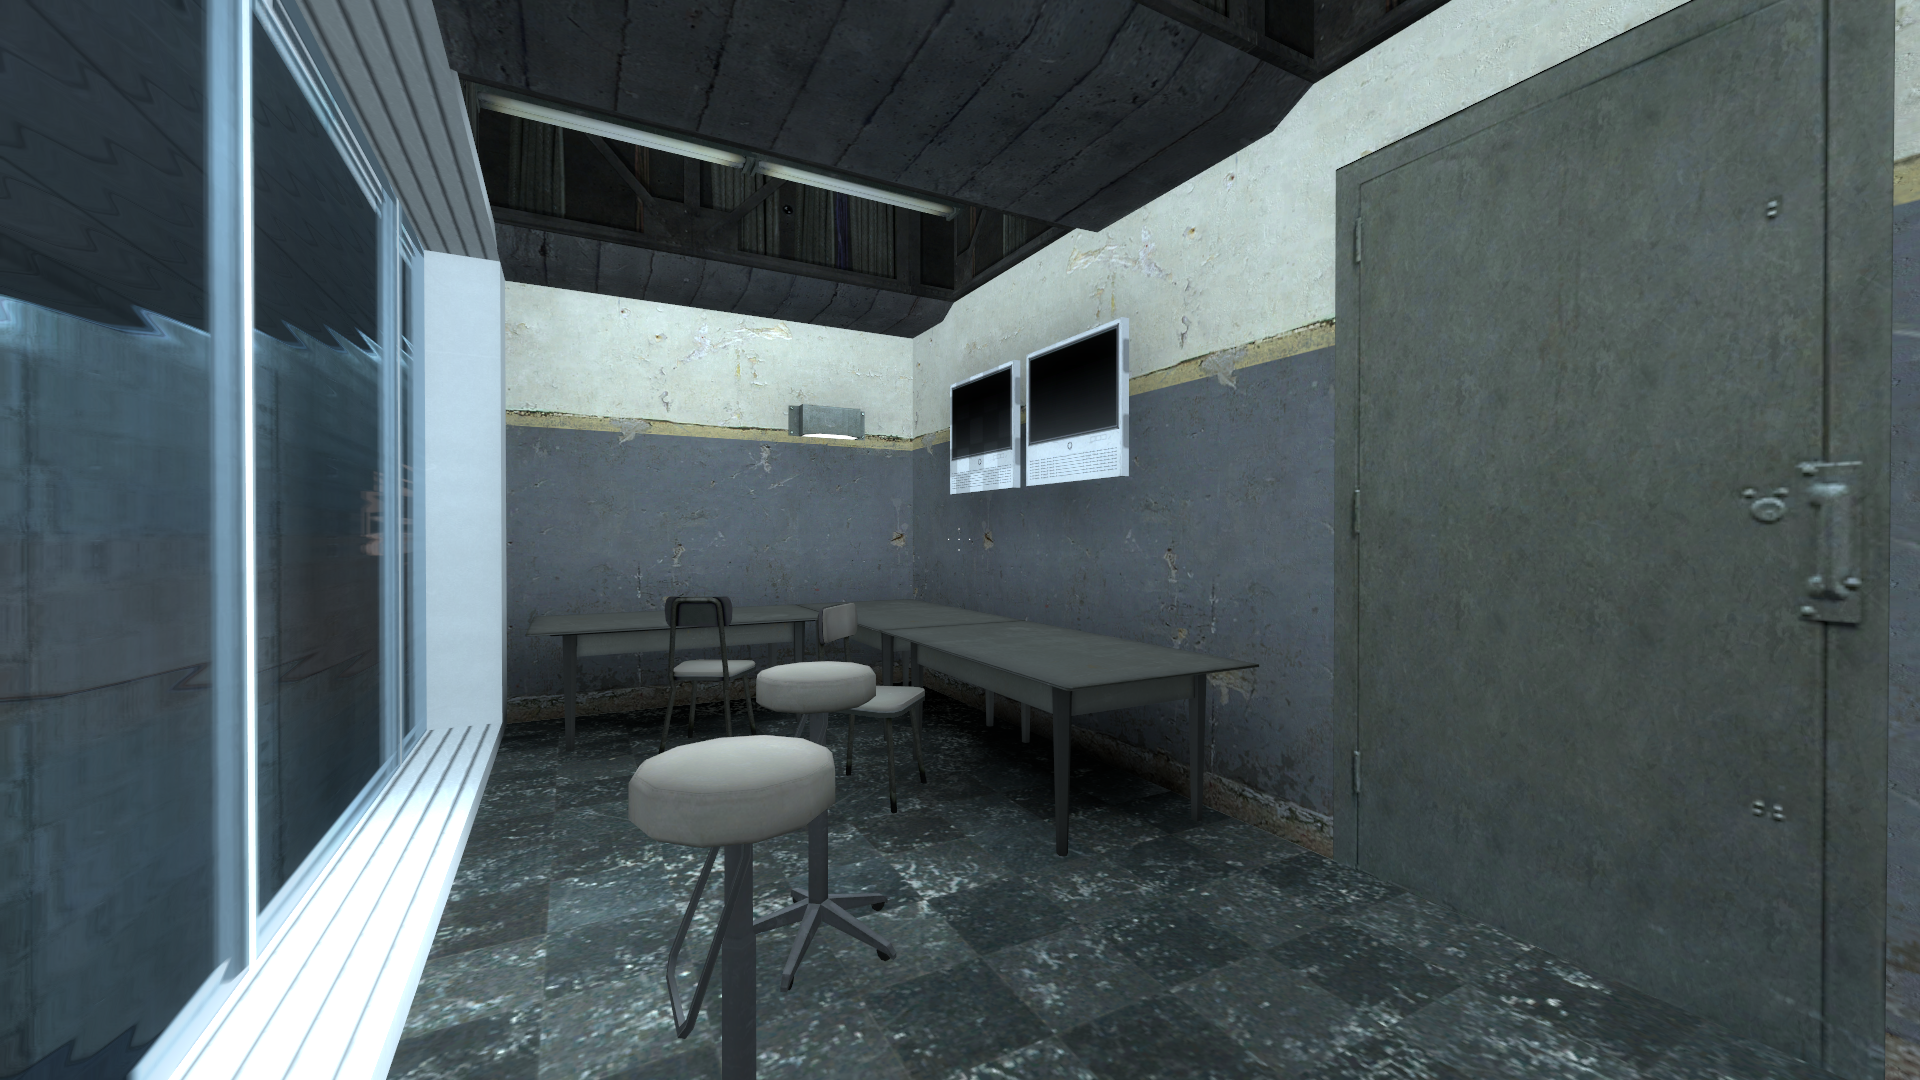
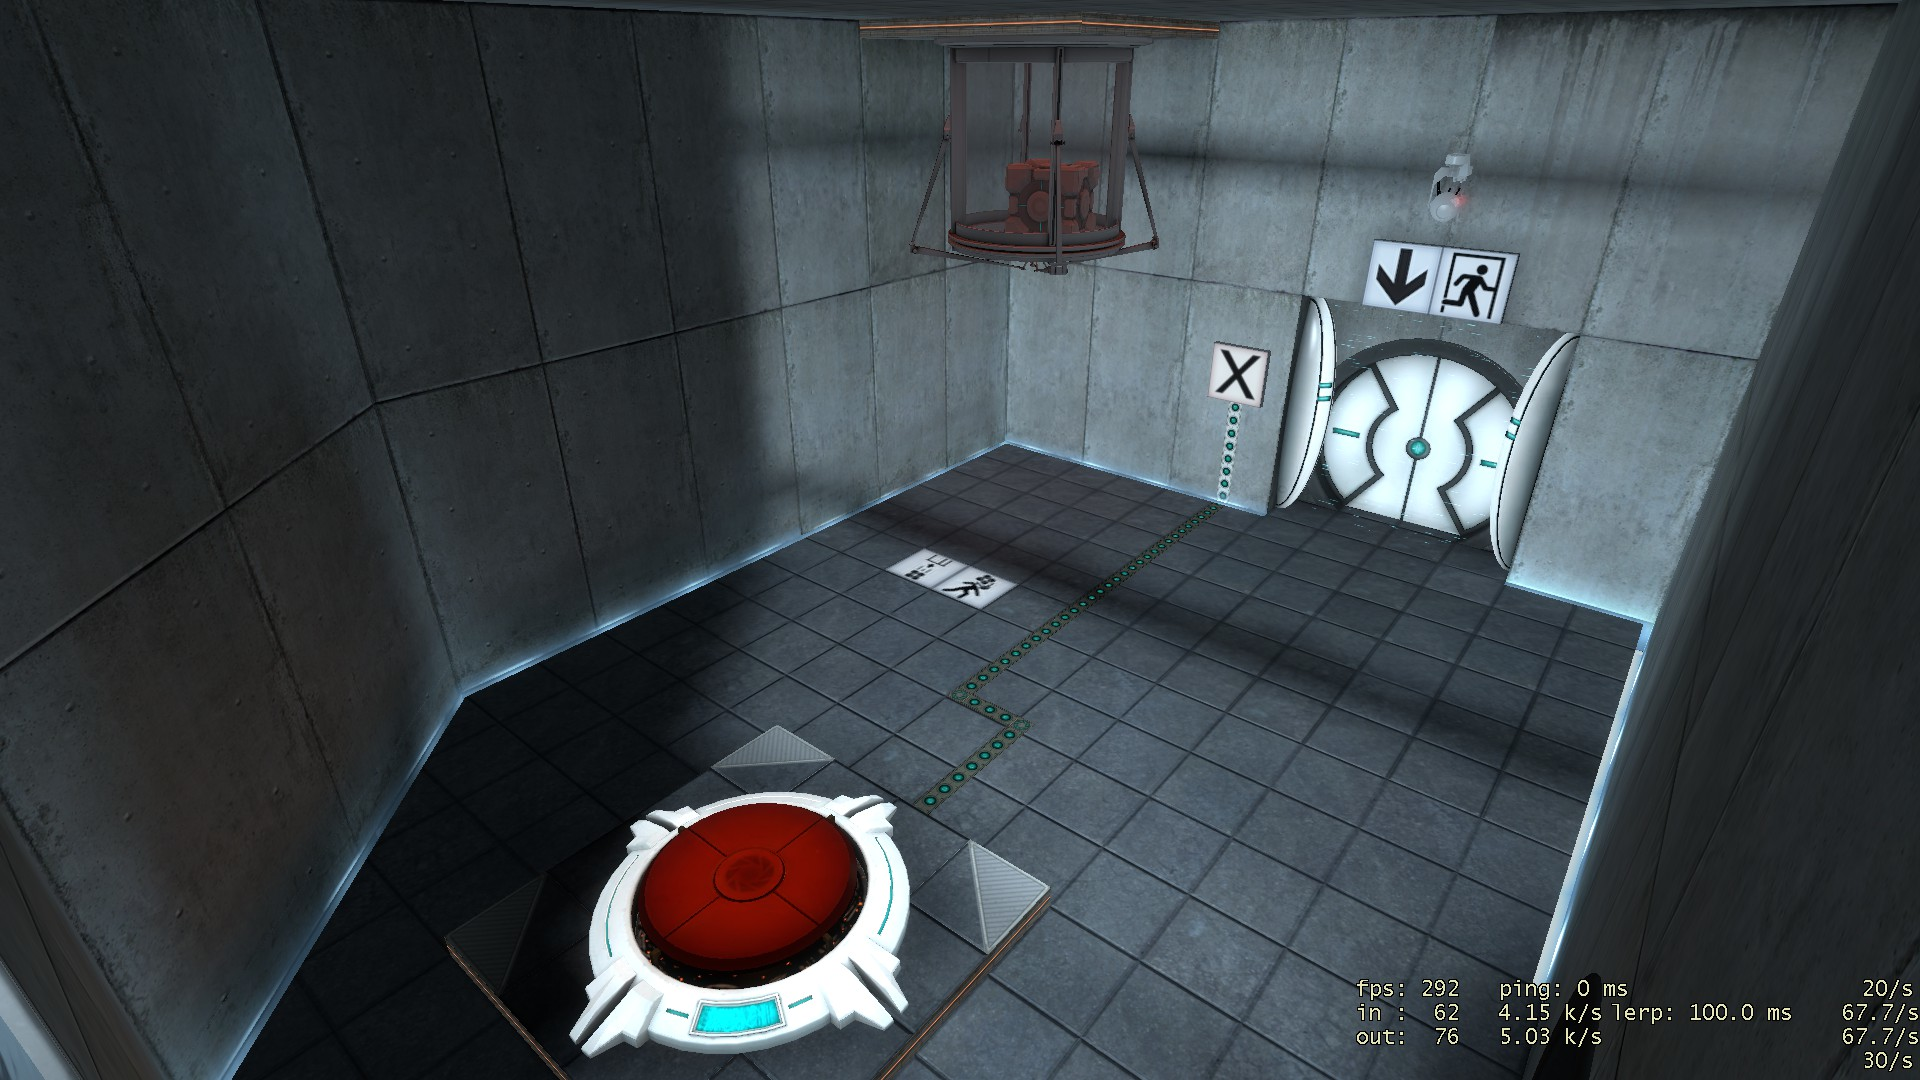
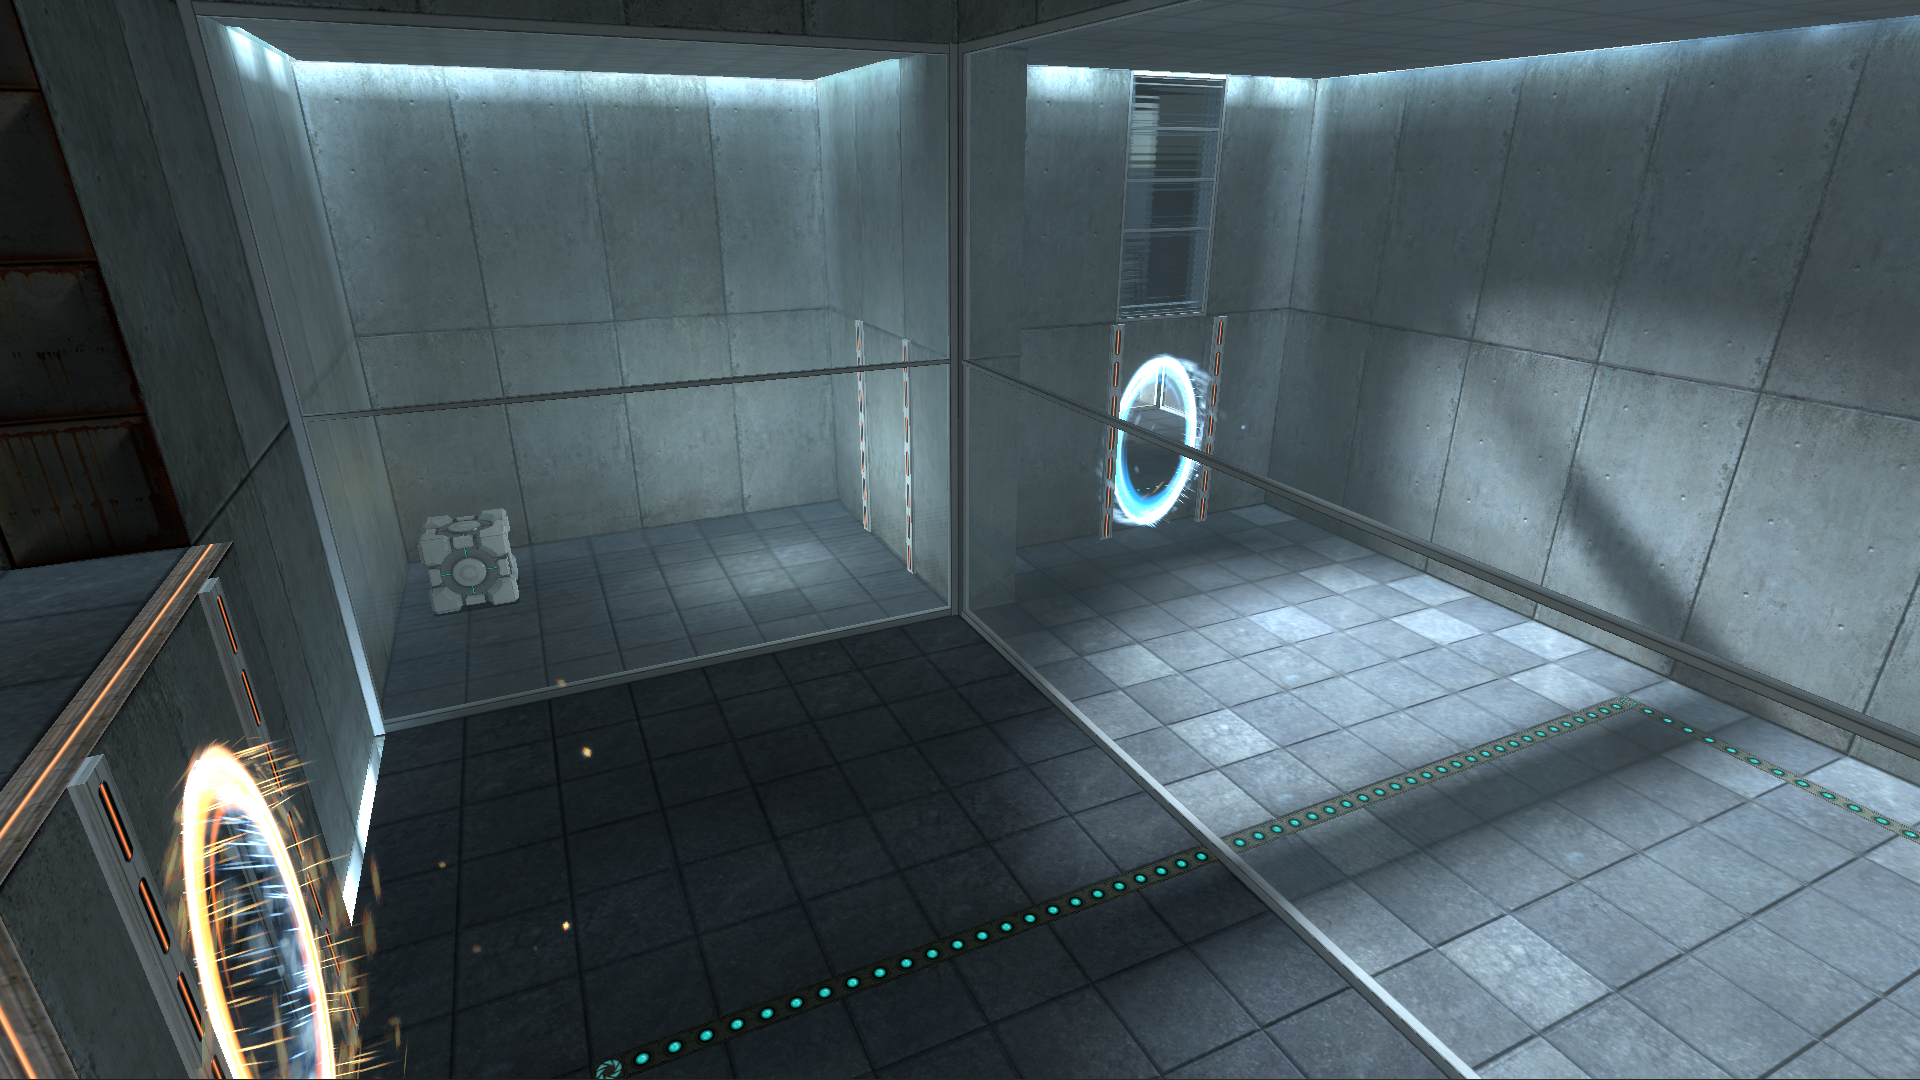
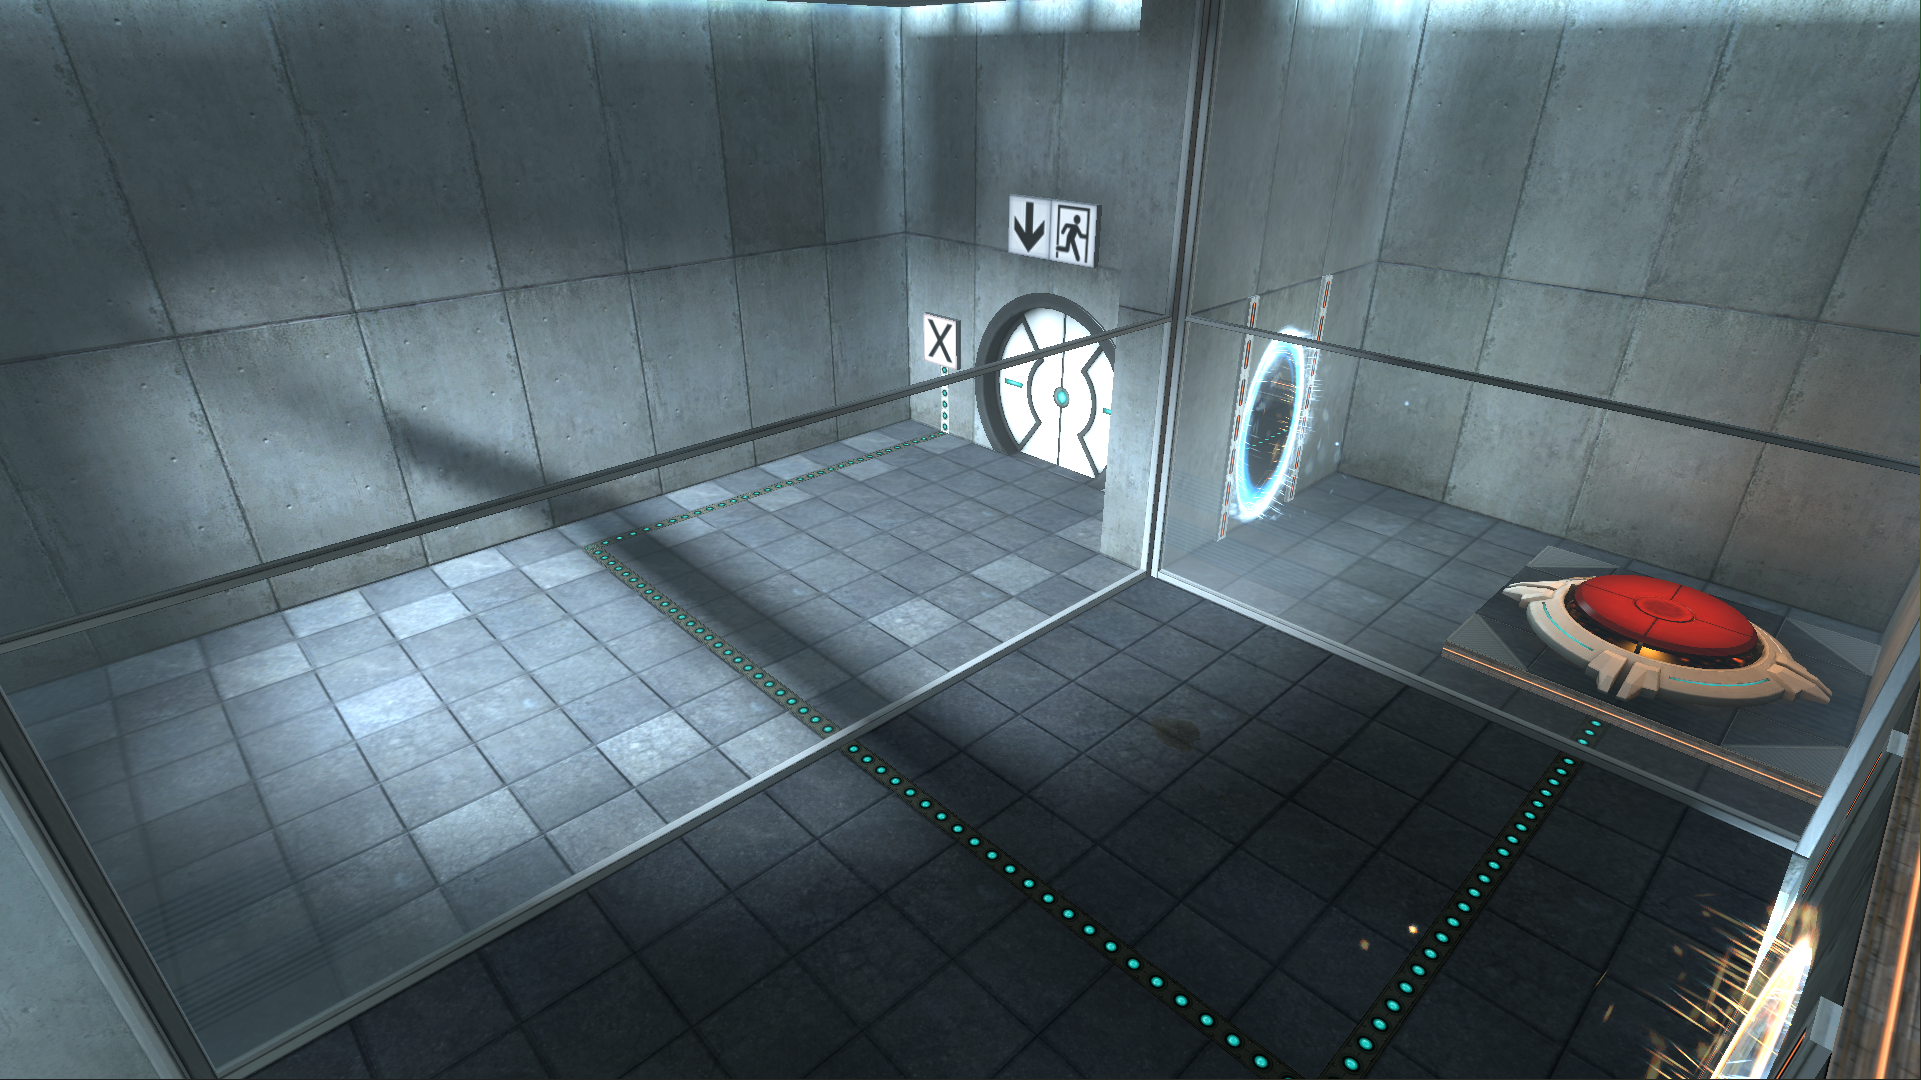
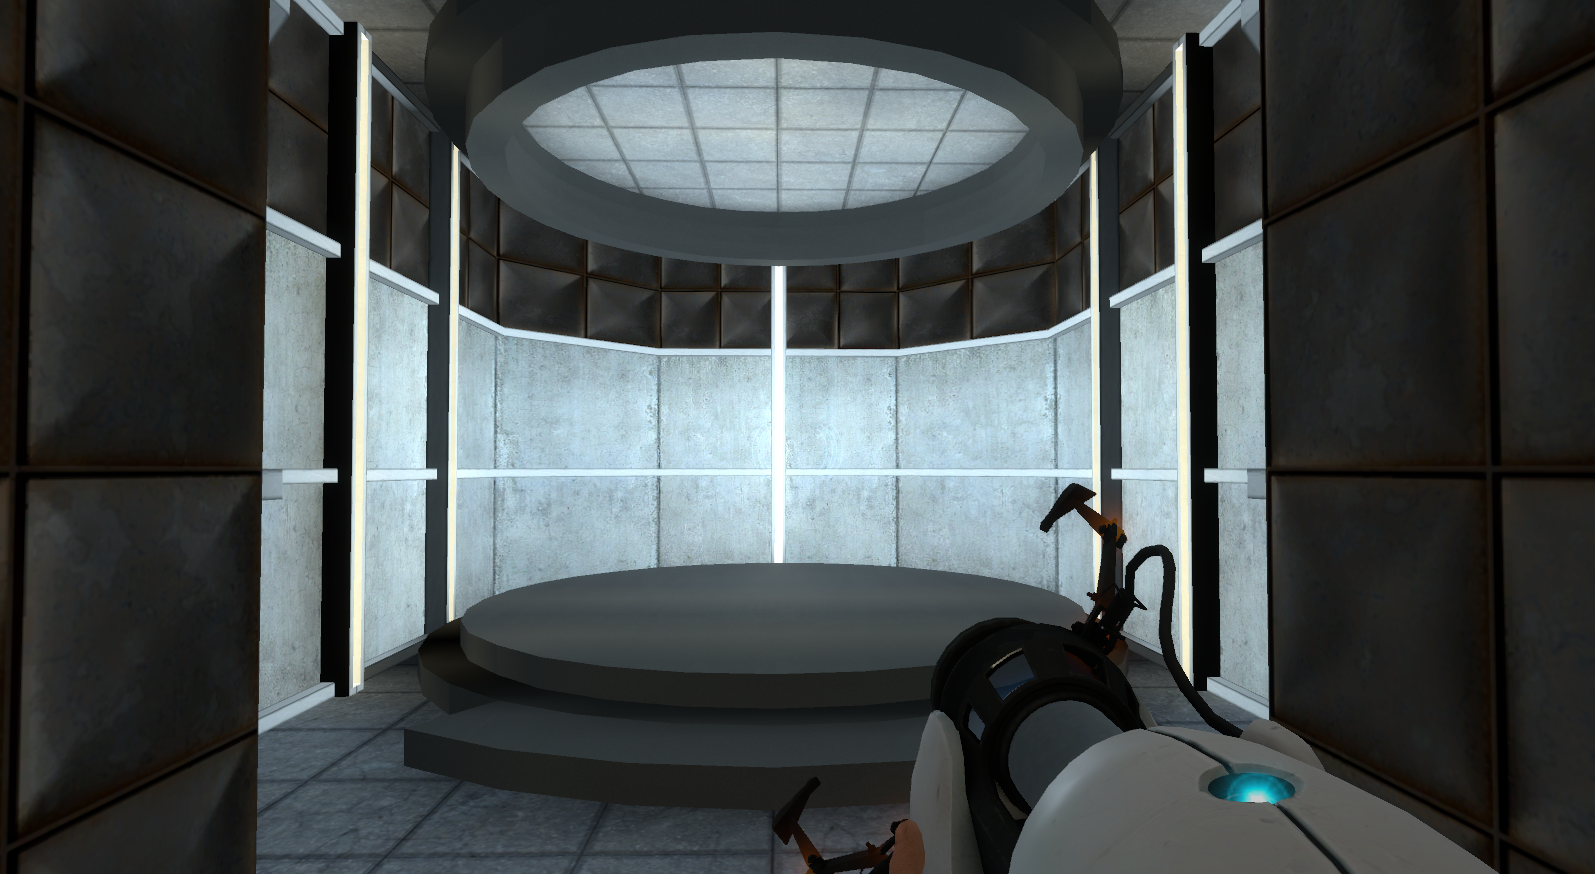
The 2006 version of Test Chamber 00 and 01. Mostly similar to the final version but in the 2006 aesthetic, as well as the fact a bucket and IV stand can be seen in the relaxation vault (the player also does the 'admire hands' animation from Half-Life 2 upon getting out of the bed). The later section of Chamber 00 has the Emancipation Grid on the outside of the exit door. GLaDOS refers to the first instance of this Grid as having horizontally arranged glowing bars, whereas the final is an incandescent particle field. Test Chamber 01 is almost identical to the final version but again in the 2006 aesthetic.
|
|
To do: |
testchmb_a_01 (2006)#
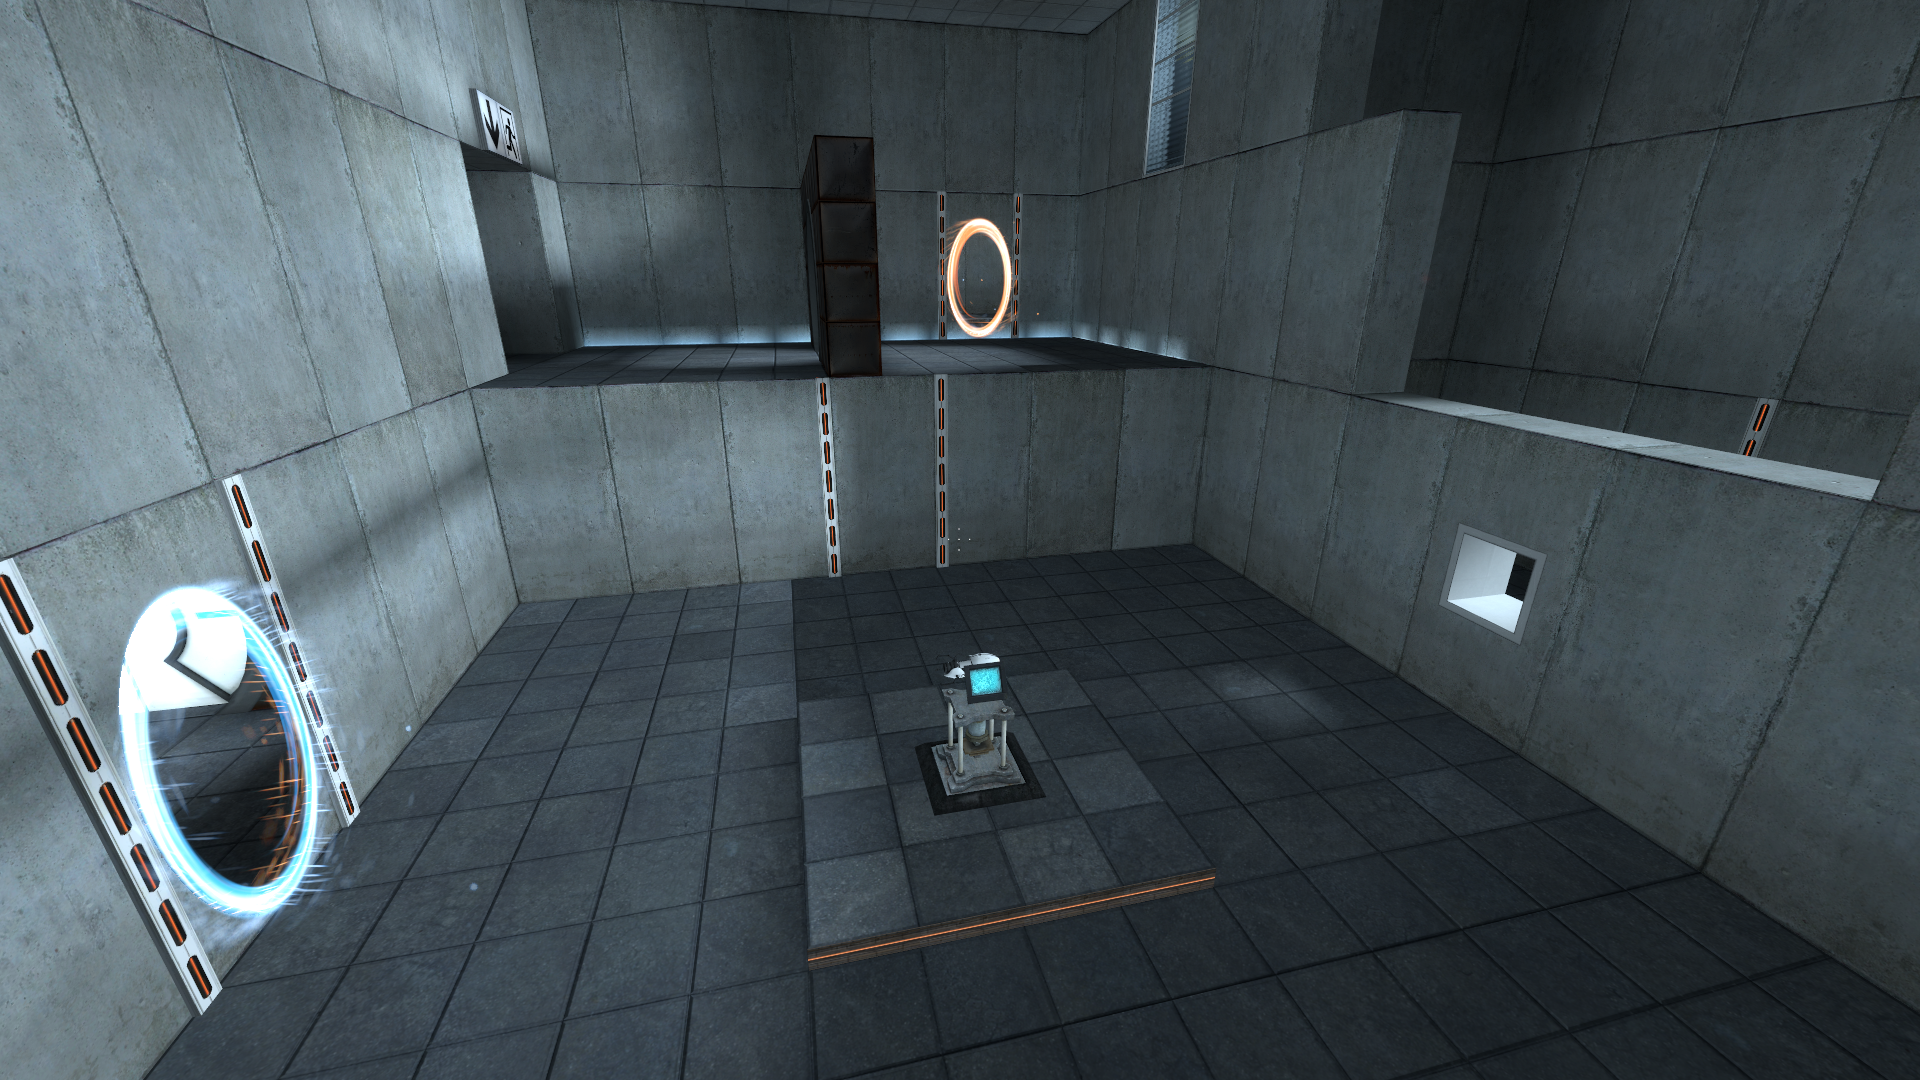
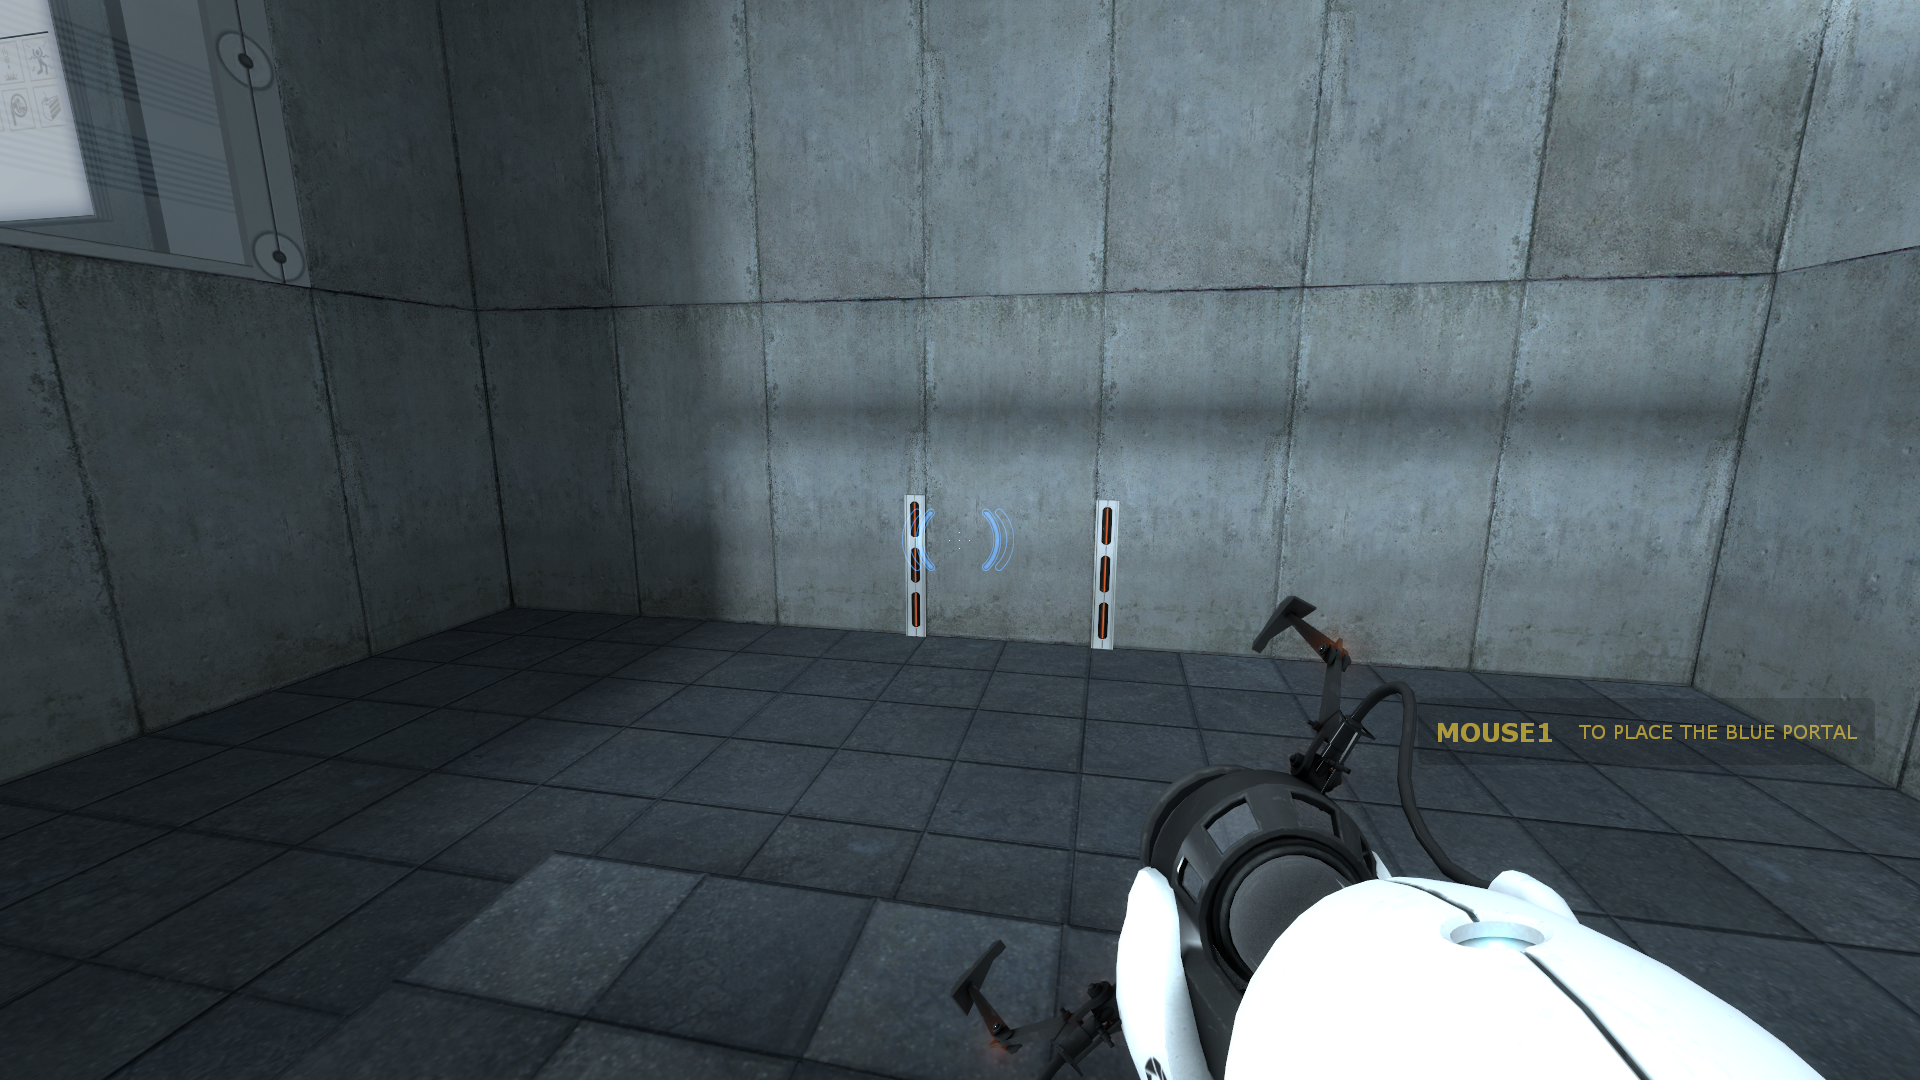
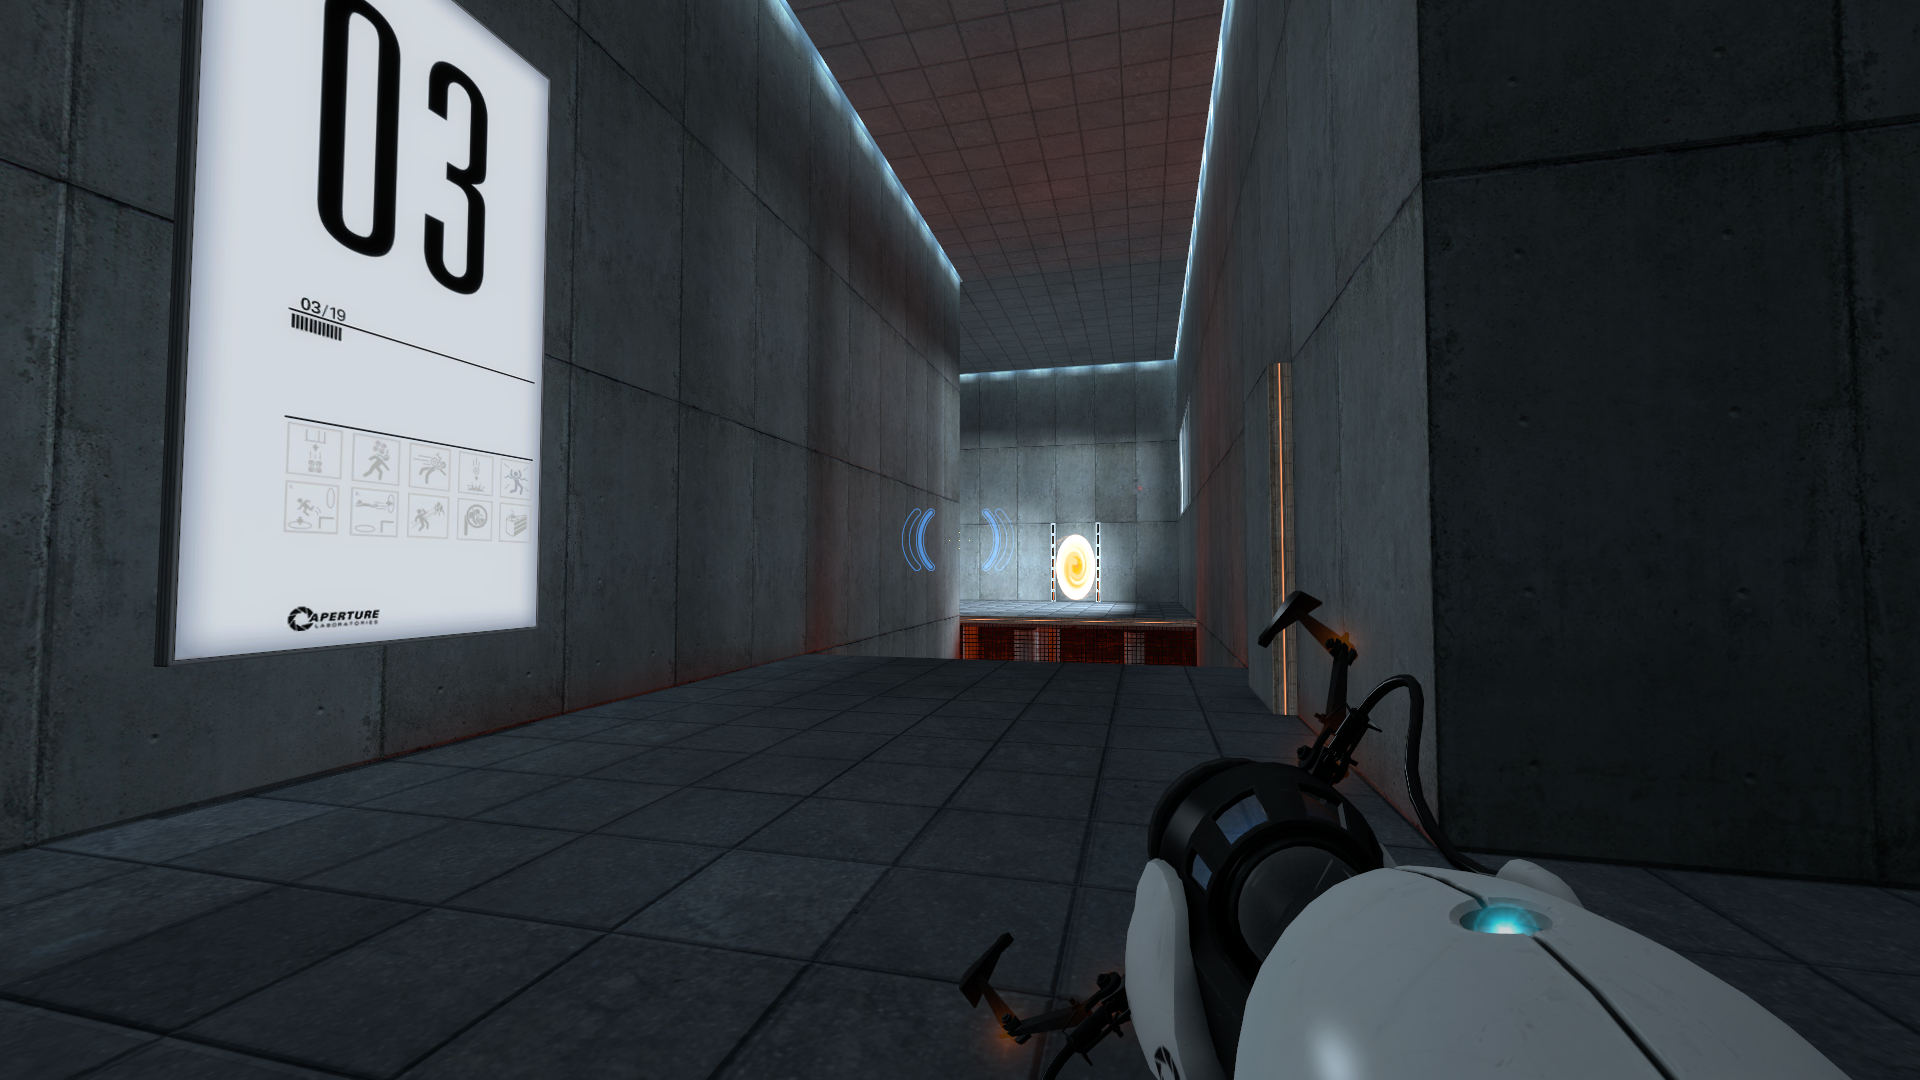
The 2006 version of Test Chamber 02 and 03. Unlike in the final game, when the portal gun is first picked up, the auto portal frames it was firing at will move directly into the floor. The observation rooms in Chamber 02 are connected on the inside, and the second pit in Chamber 03 features two slightly raised panels. GLaDOS's entry line for the Portal Device room has an old take of "but is an unintended side effect", and completion of the map's last chamber reminds of Aperture Science's gratitude towards participating test subjects (per portal.bonus01_1 in the caption files), whereas the final version establishes Bring Your Daughter to Work Day.
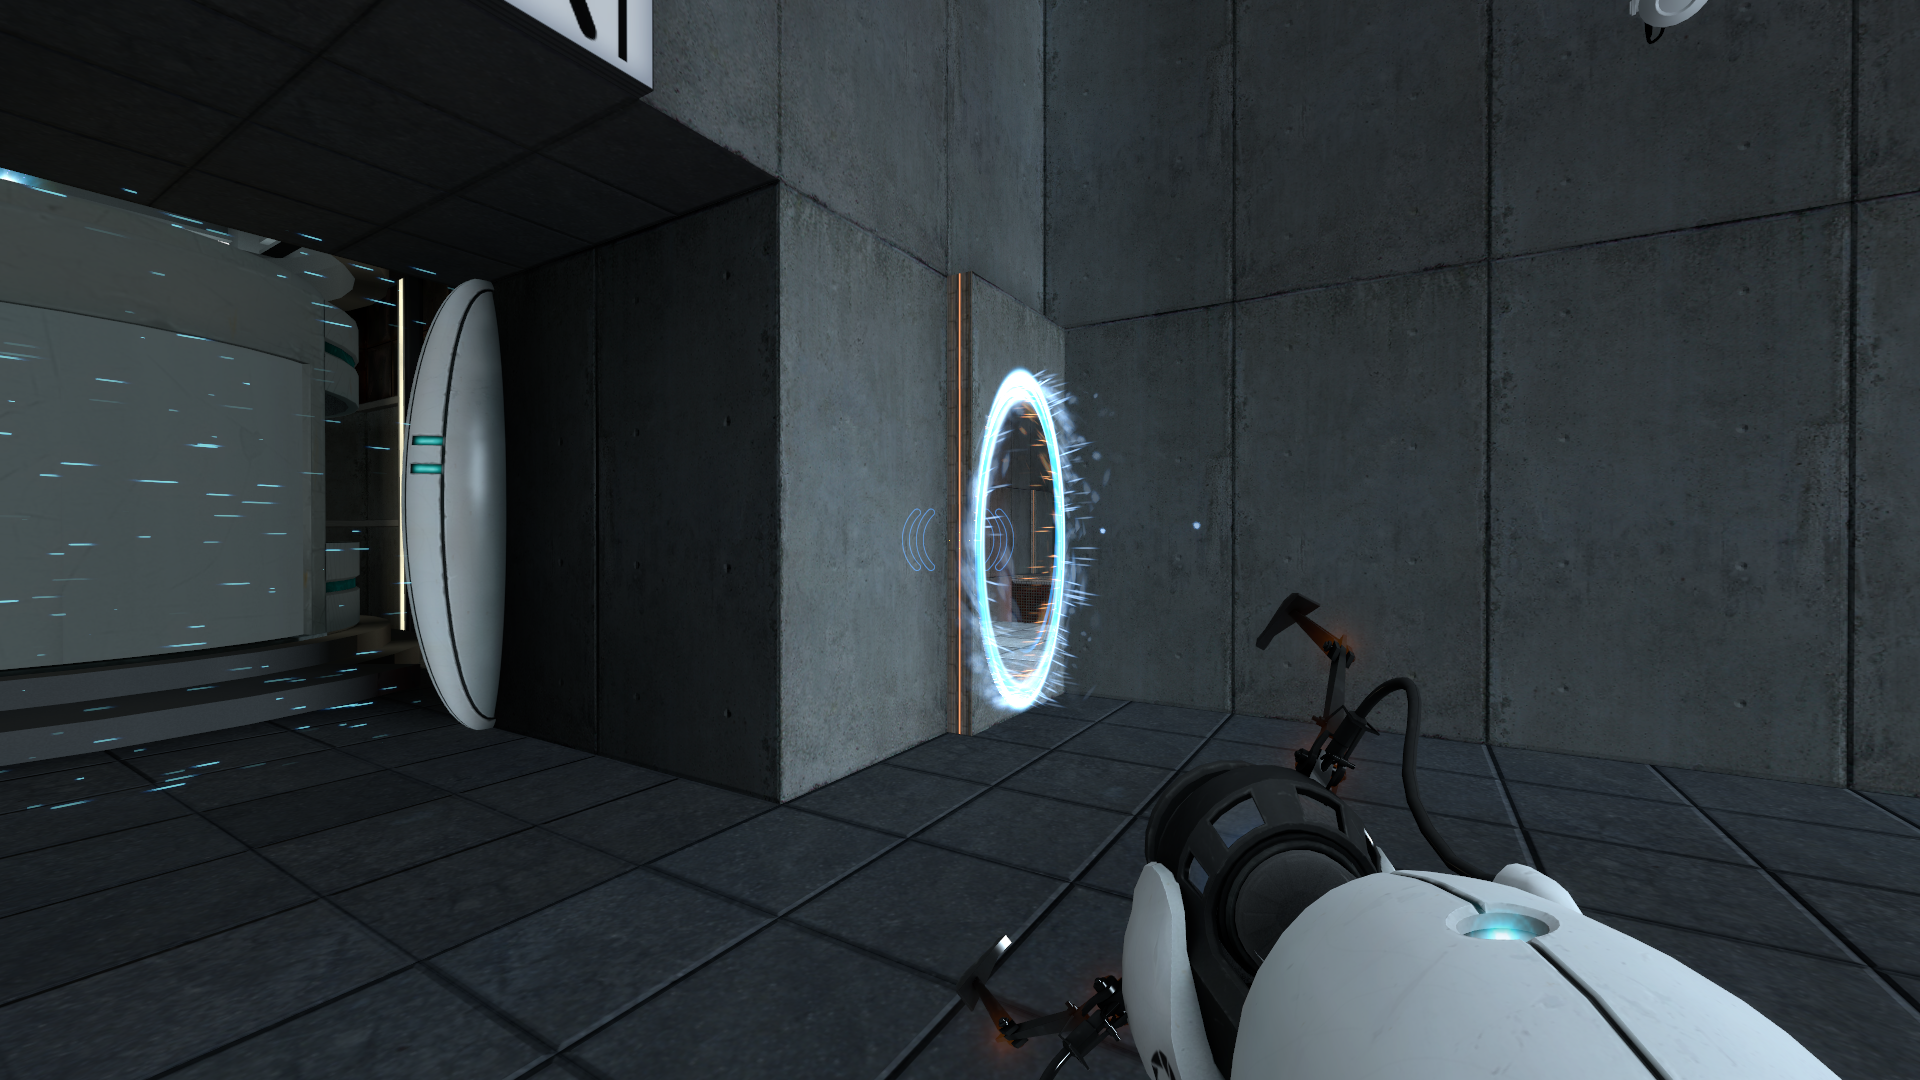
testchmb_a_02 (2006)#
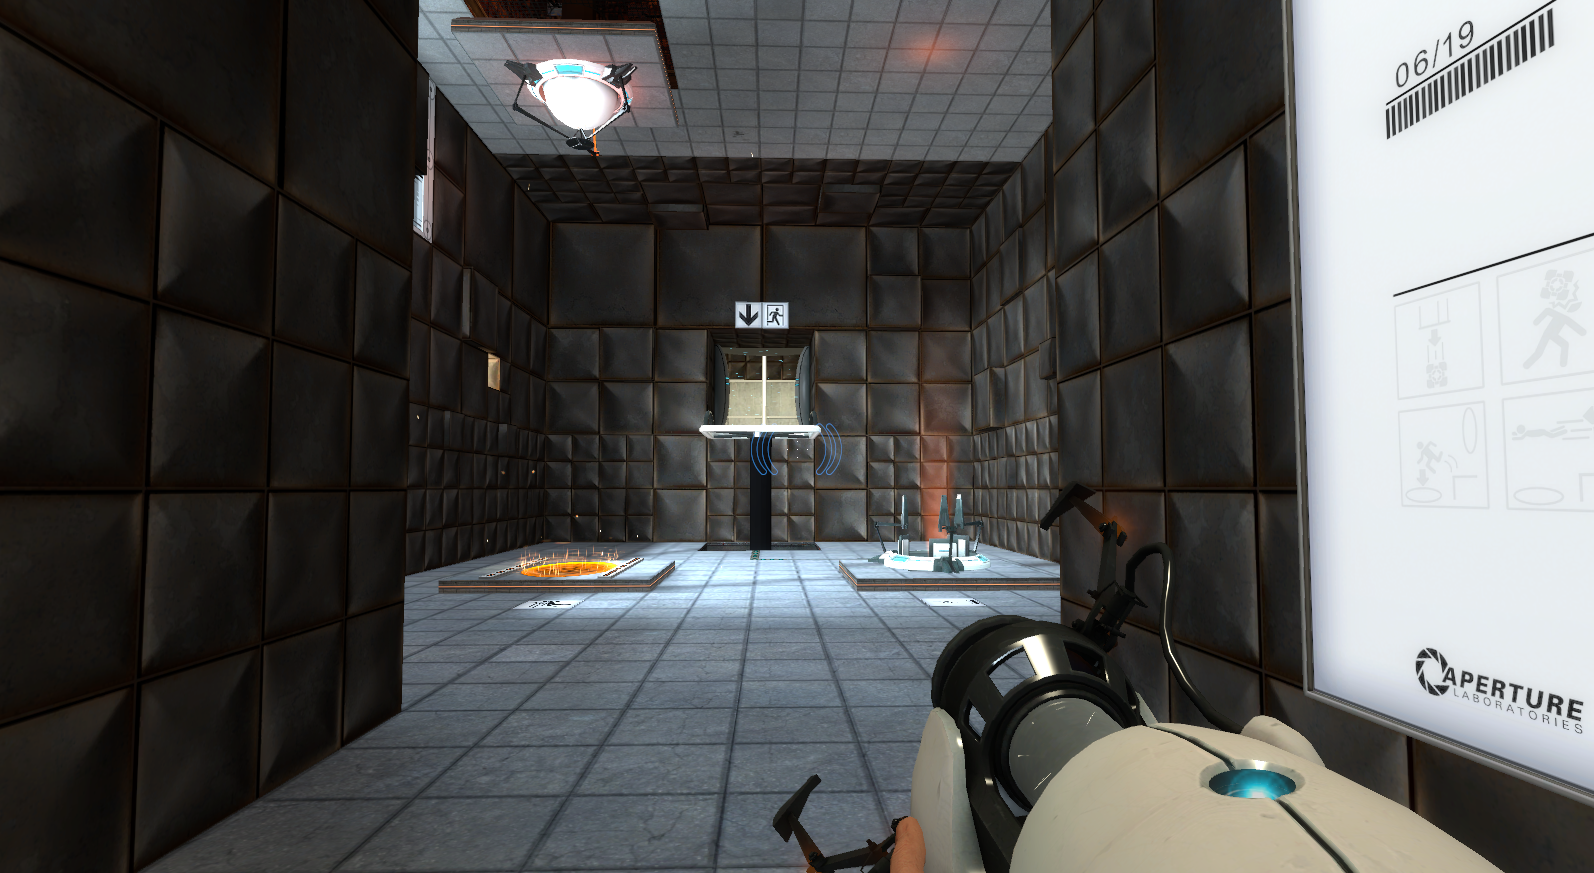
The 2006 version of Test Chamber 04 and 05. More or less the same as the final game, but in the 2006 aesthetic.
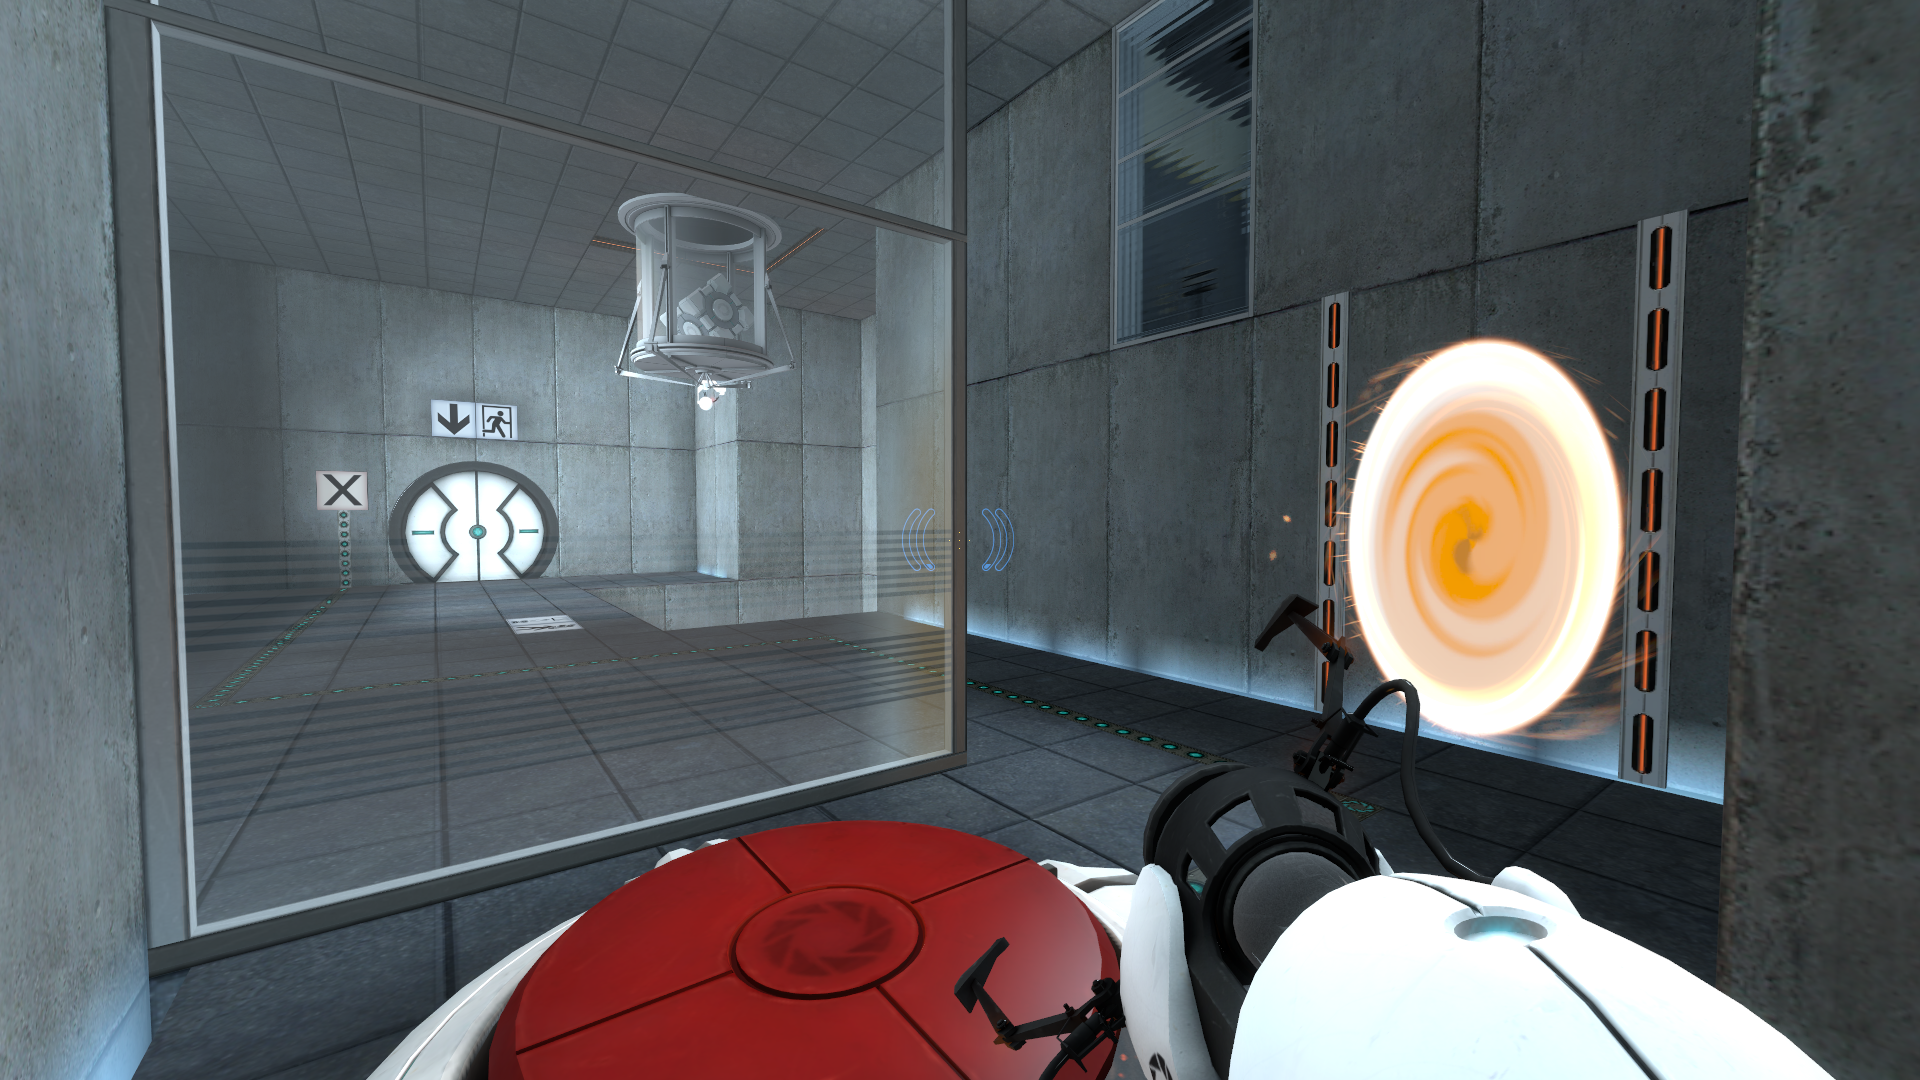
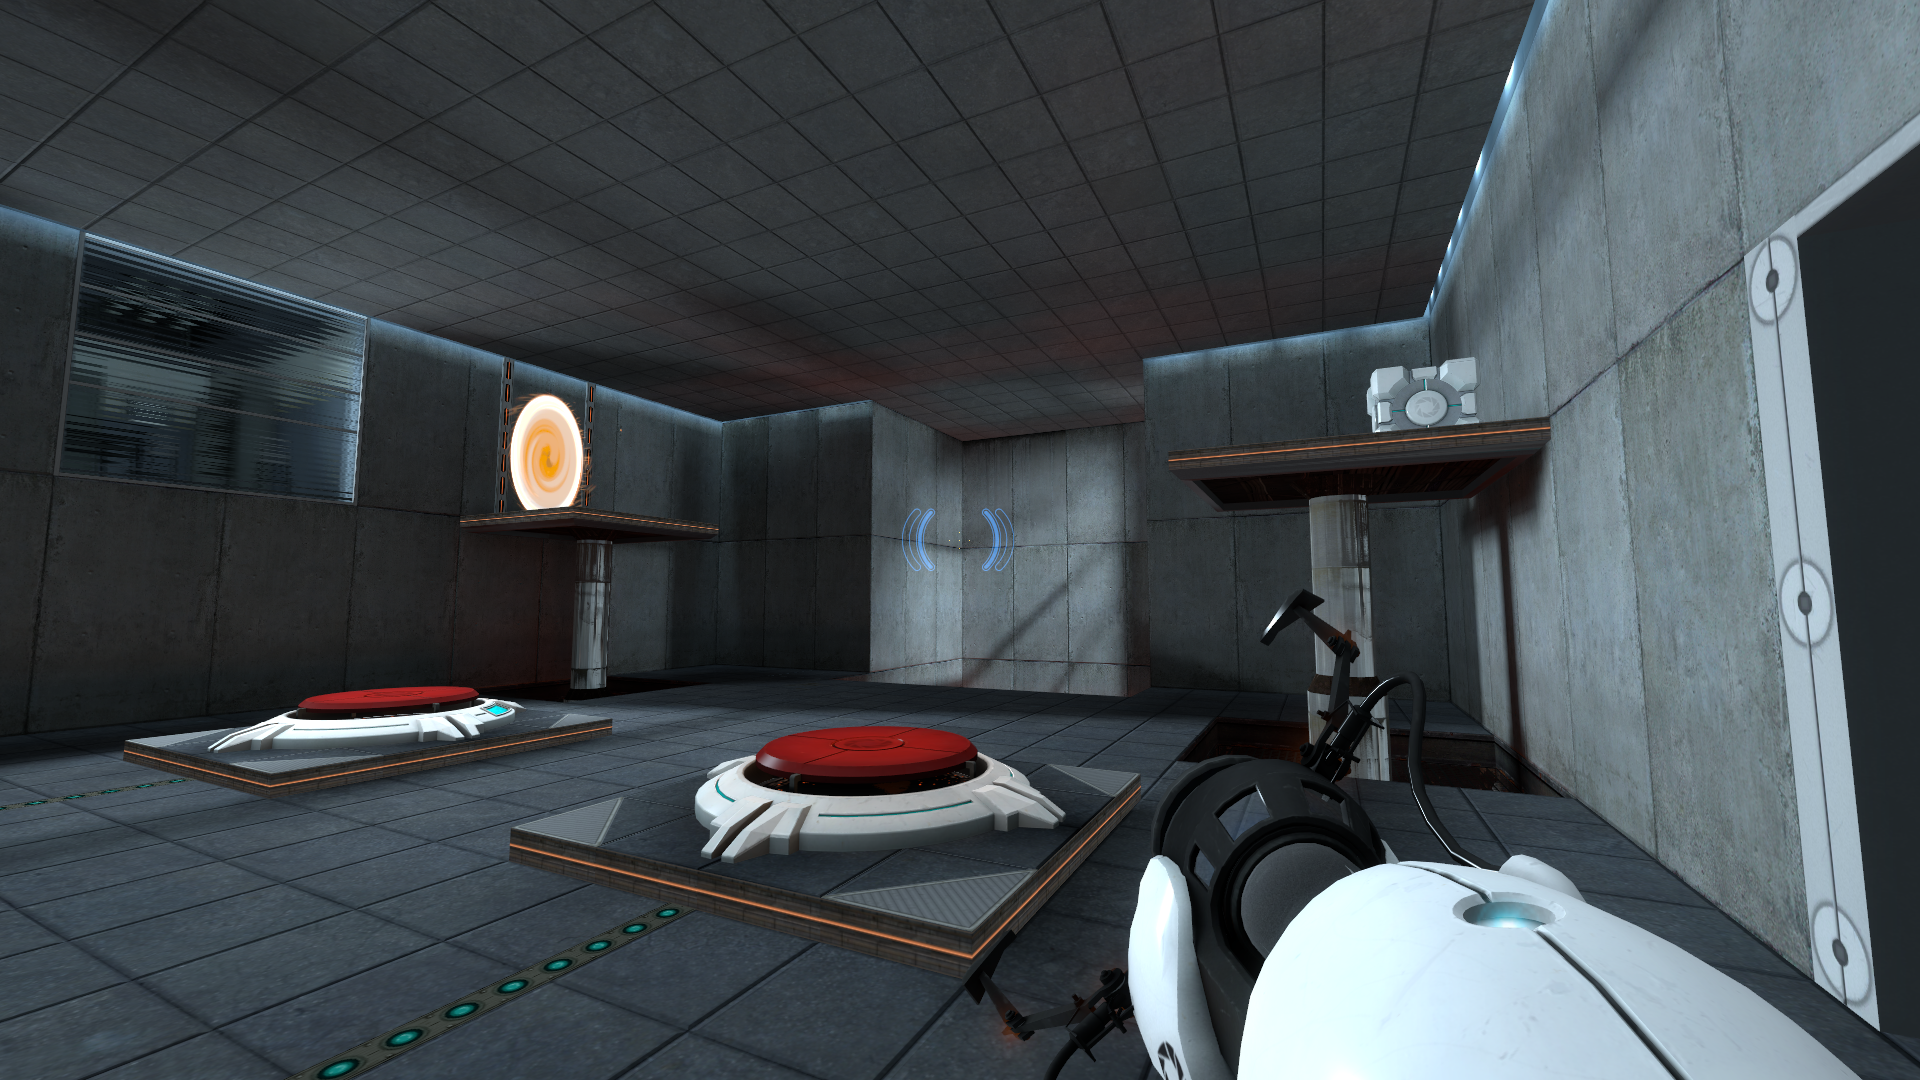
testchmb_a_03 (2006)#
The 2006 version of Test Chamber 06 and 07. More or less the same as the final game, but in the 2006 aesthetic.
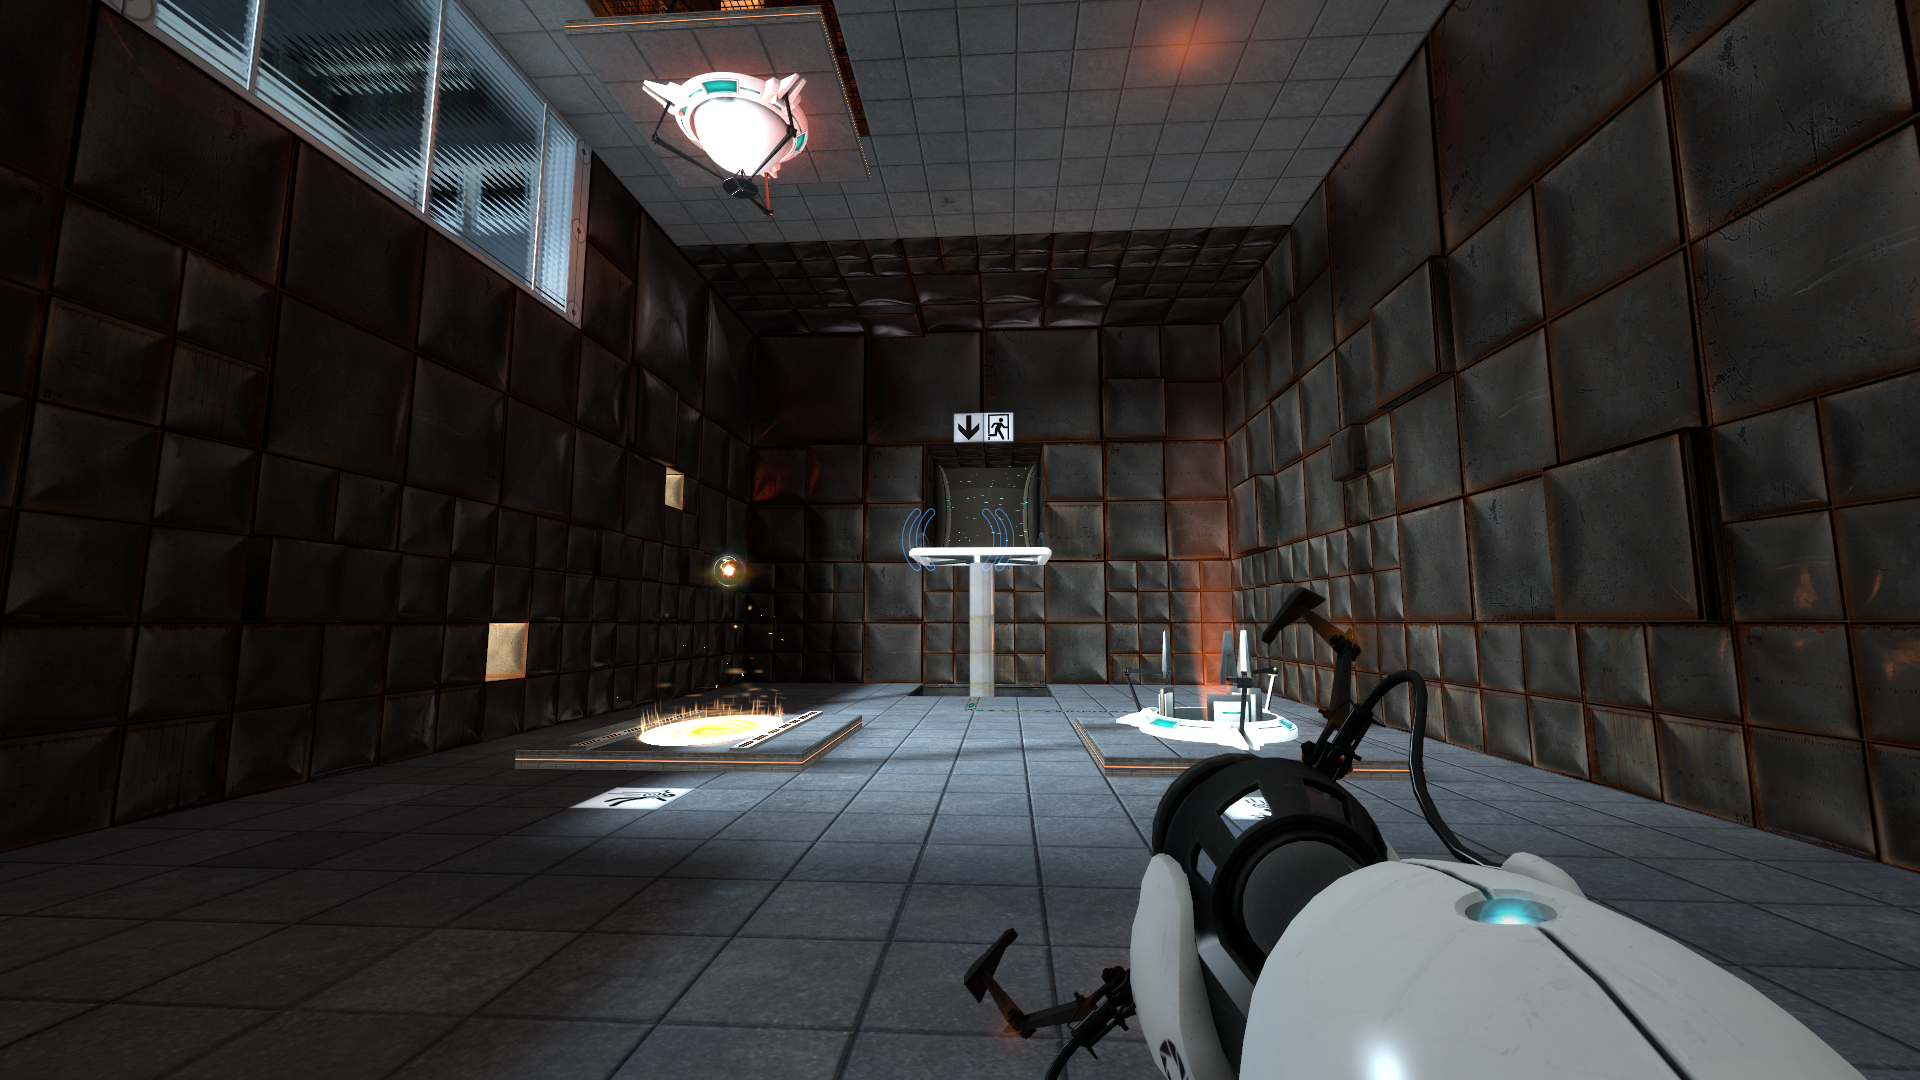
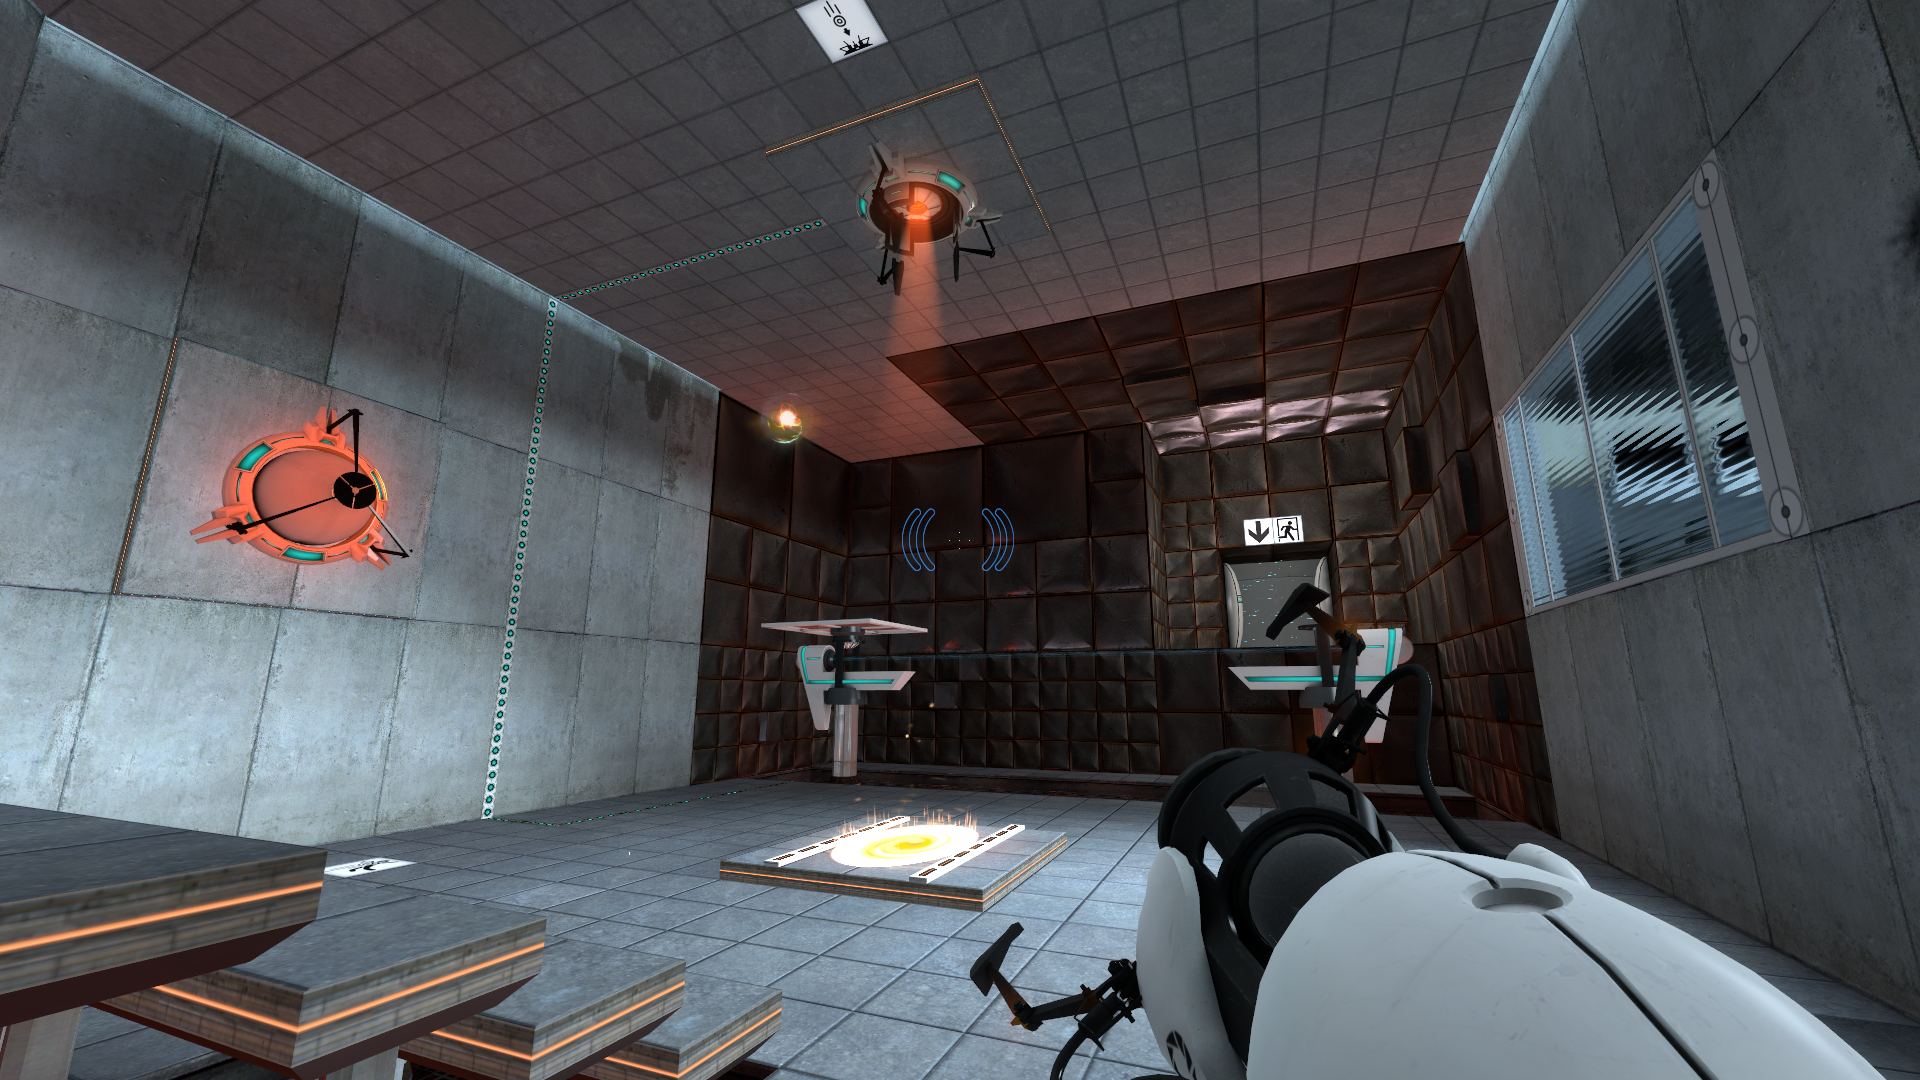
testchmb_a_04 (2006)#
The 2006 version of Test Chamber 08. More or less the same as the final game, only GLaDOS tries to warn that complacency (portal.bonus02_1) can result in failure, rather than stating the purposes of appearances of danger.
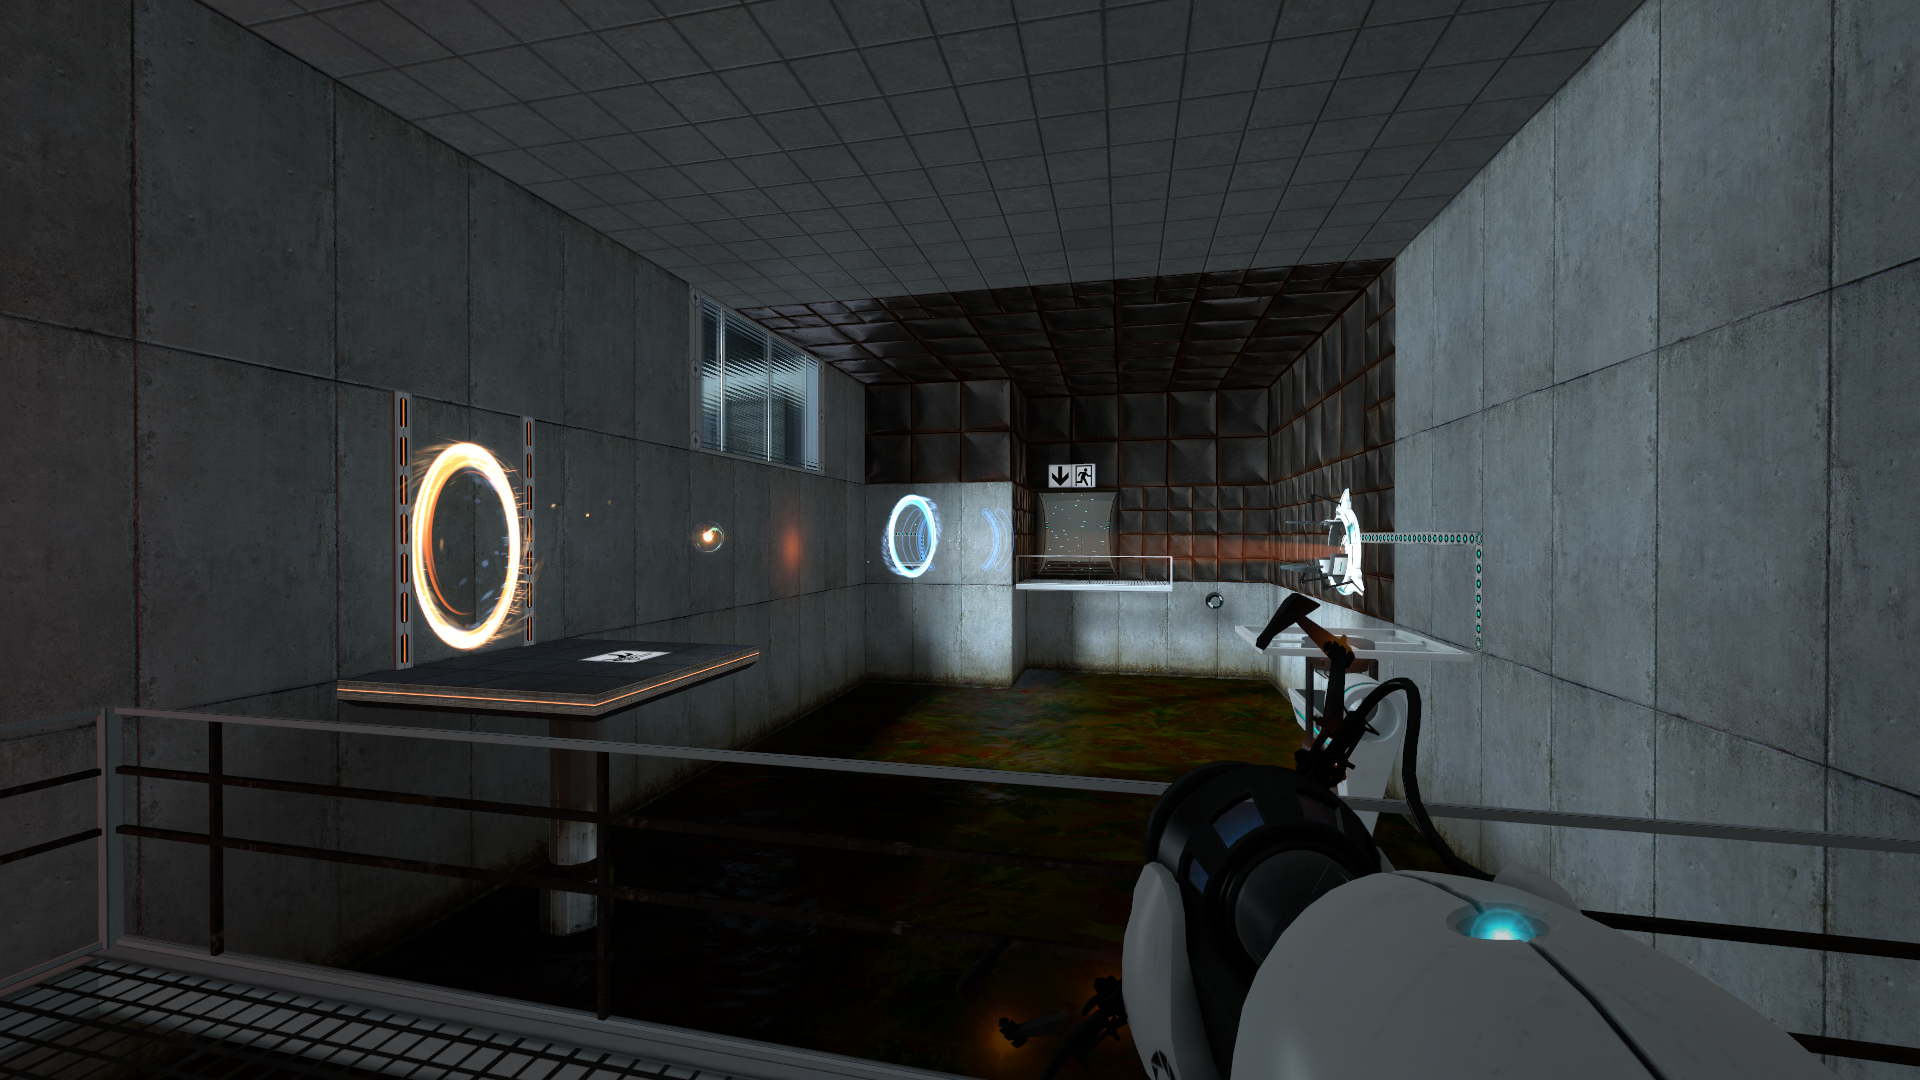
testchmb_a_05 (2006)#
The 2006 version of Test Chamber 09. More or less the same as the final game, but in the 2006 aesthetic.
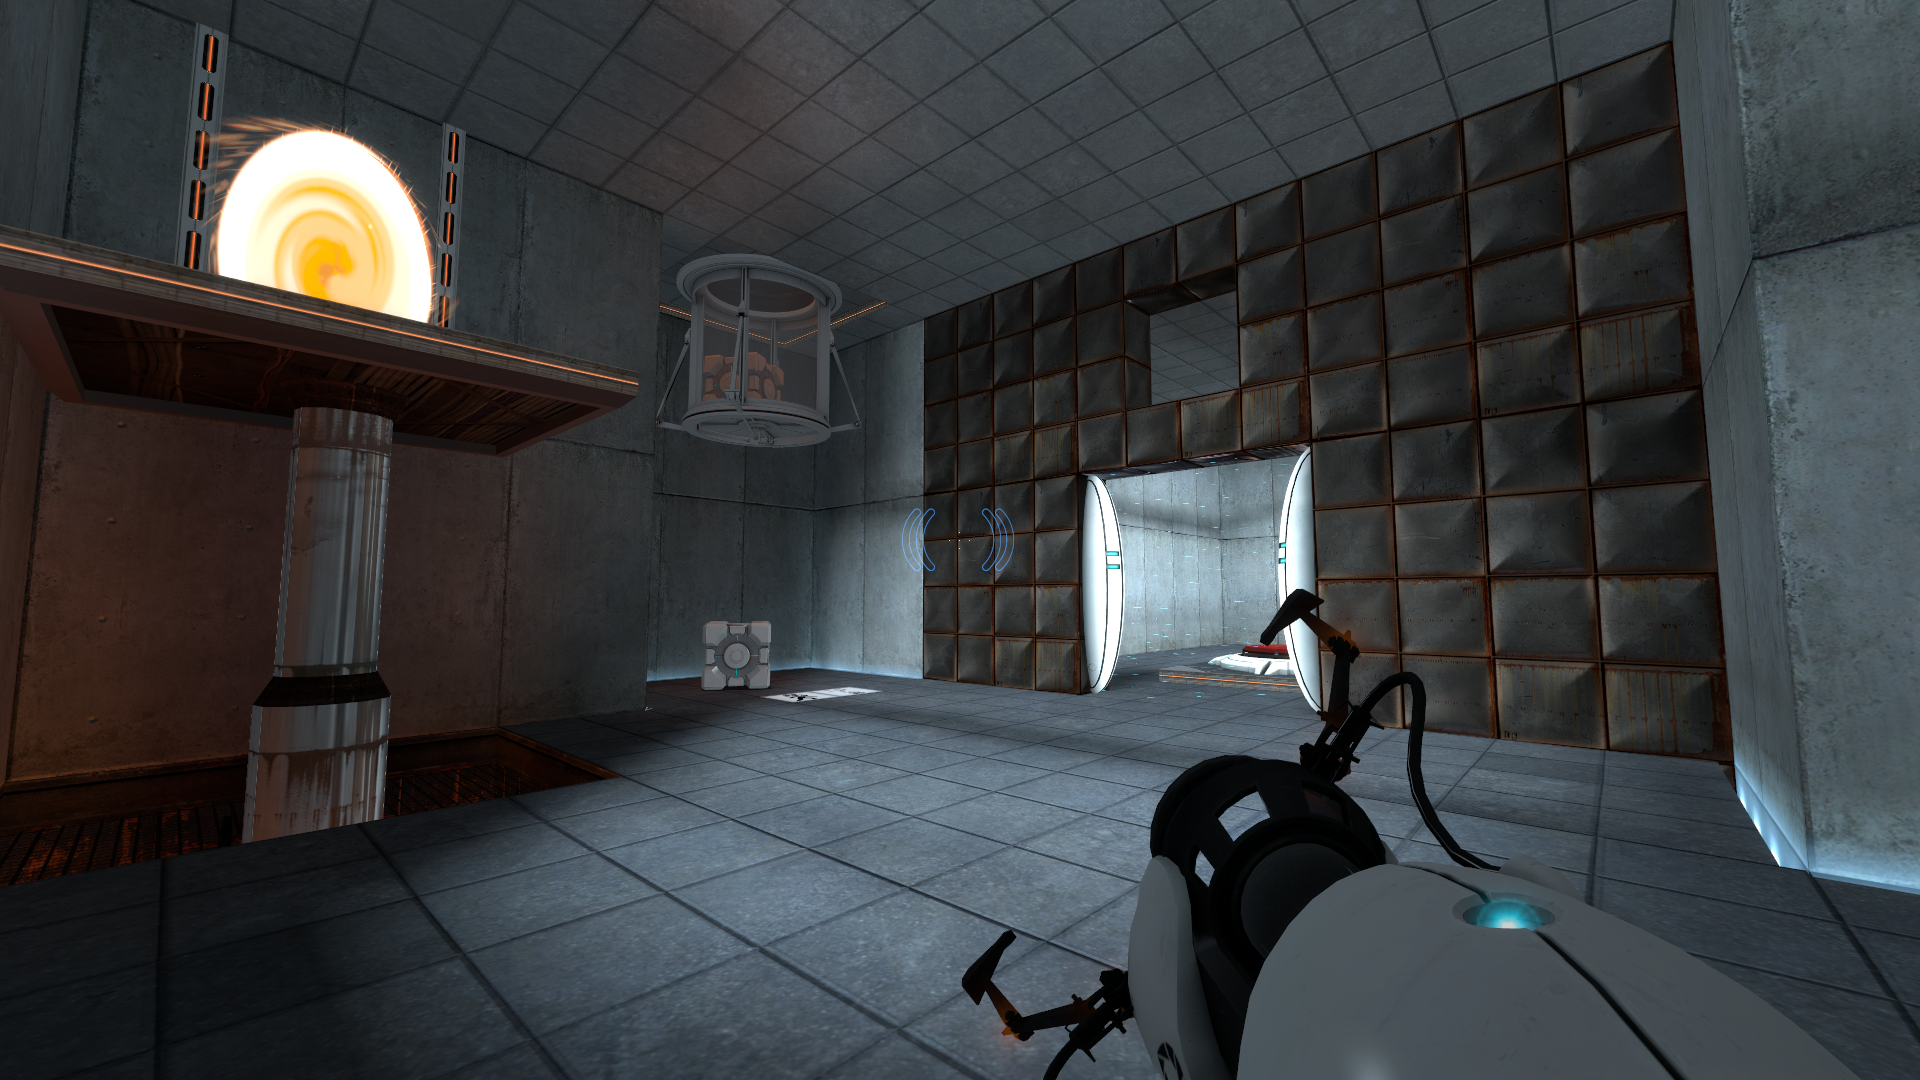
testchmb_a_06 (2006)#
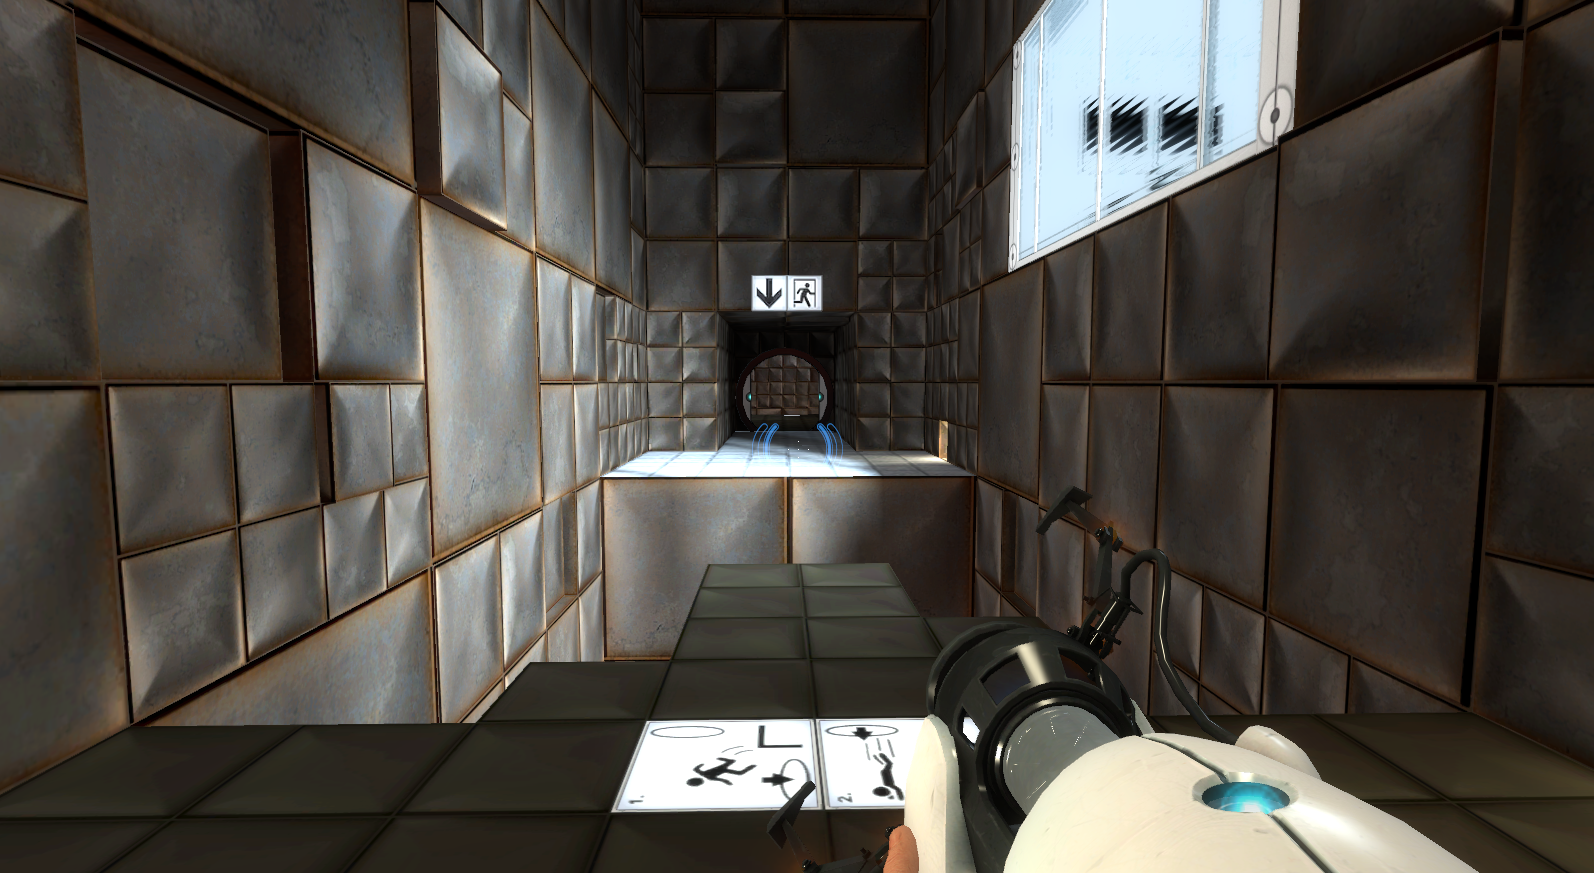
The 2006 version of Test Chamber 10. More or less the same as the final game, but in the 2006 aesthetic.
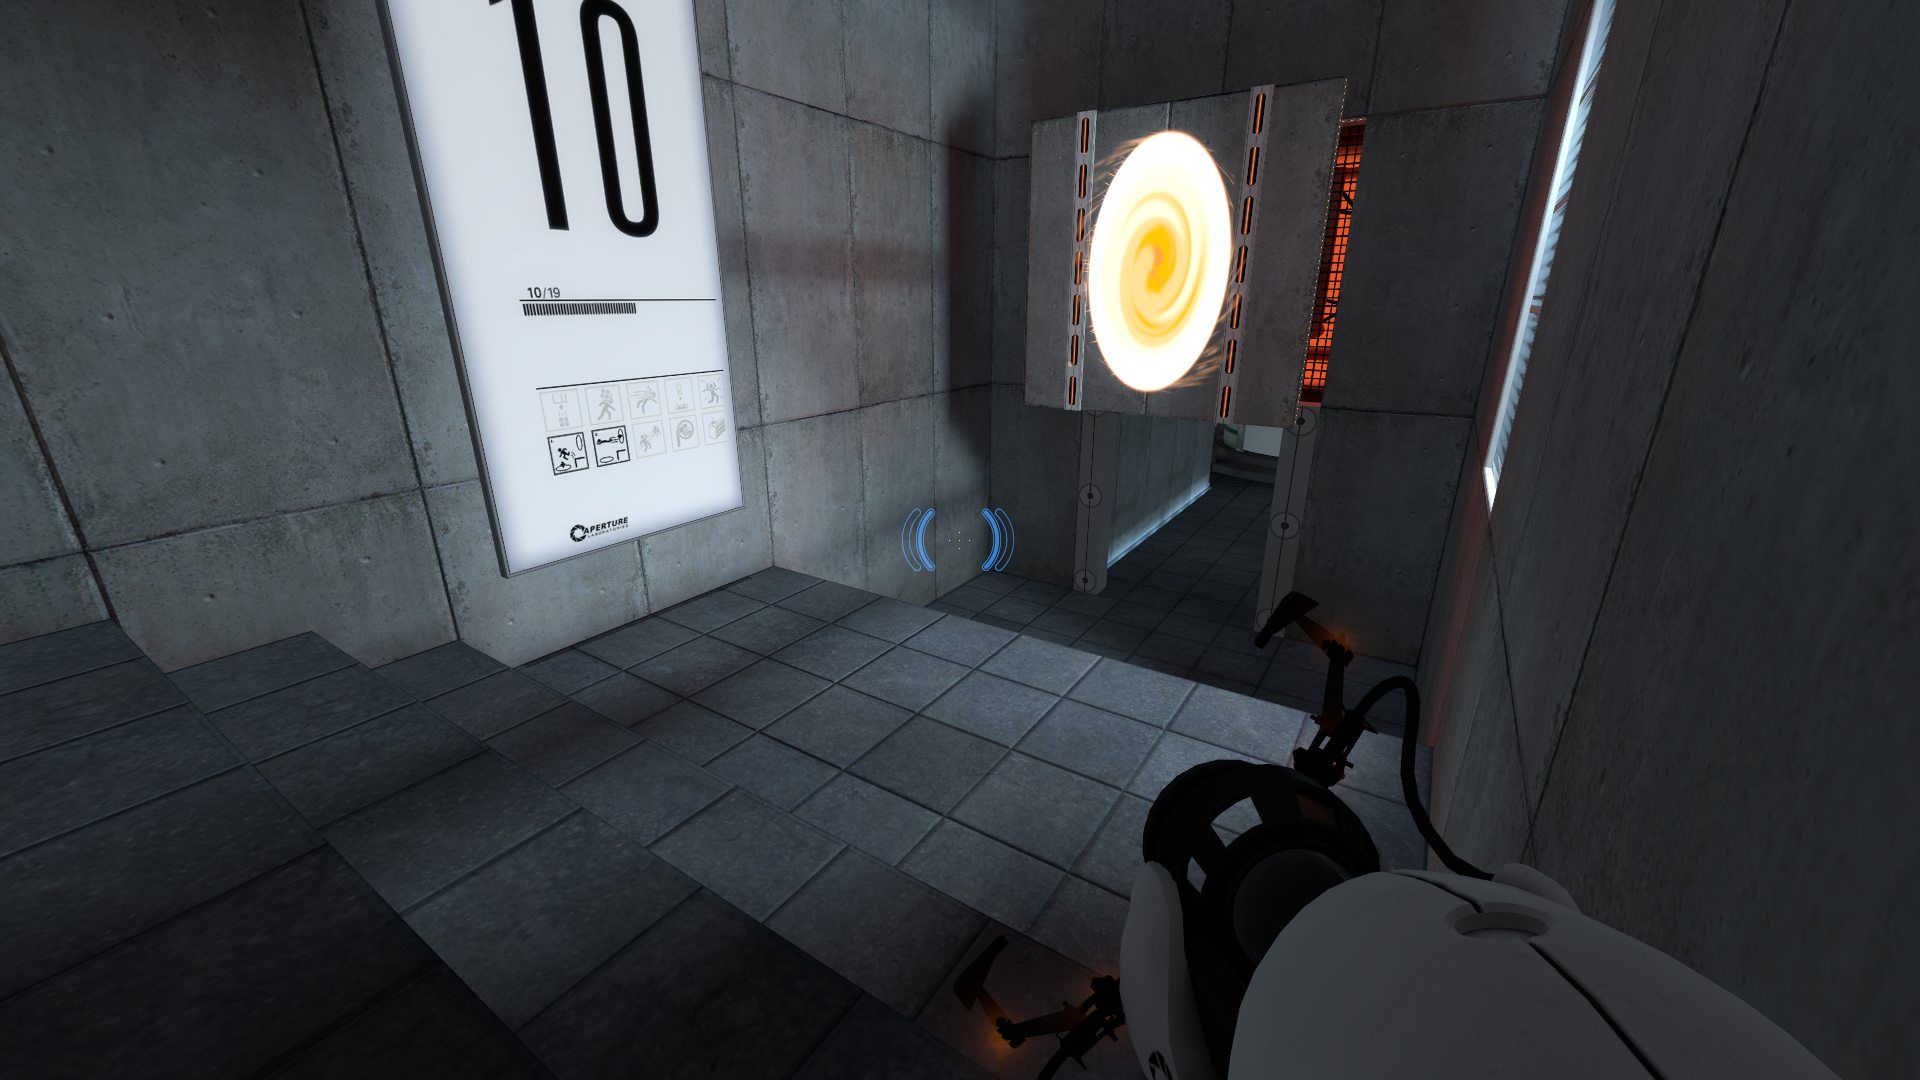
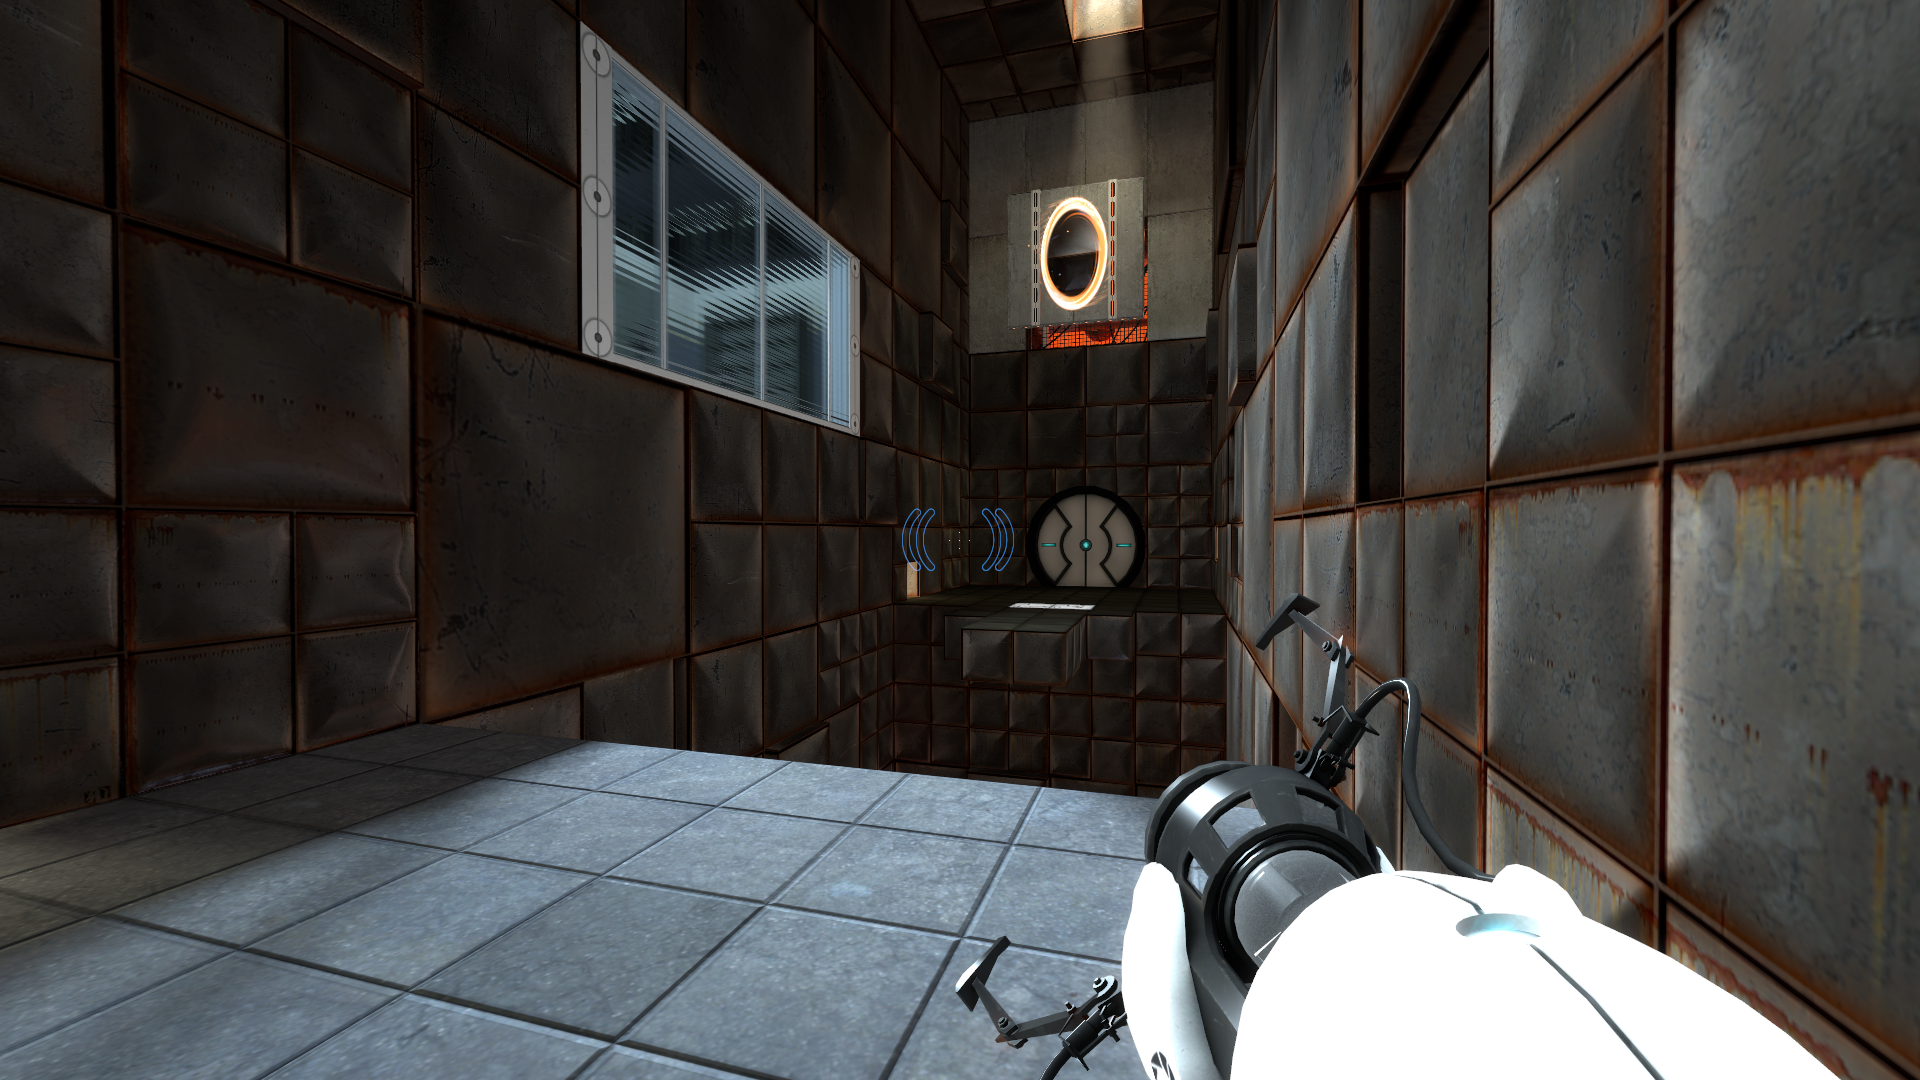
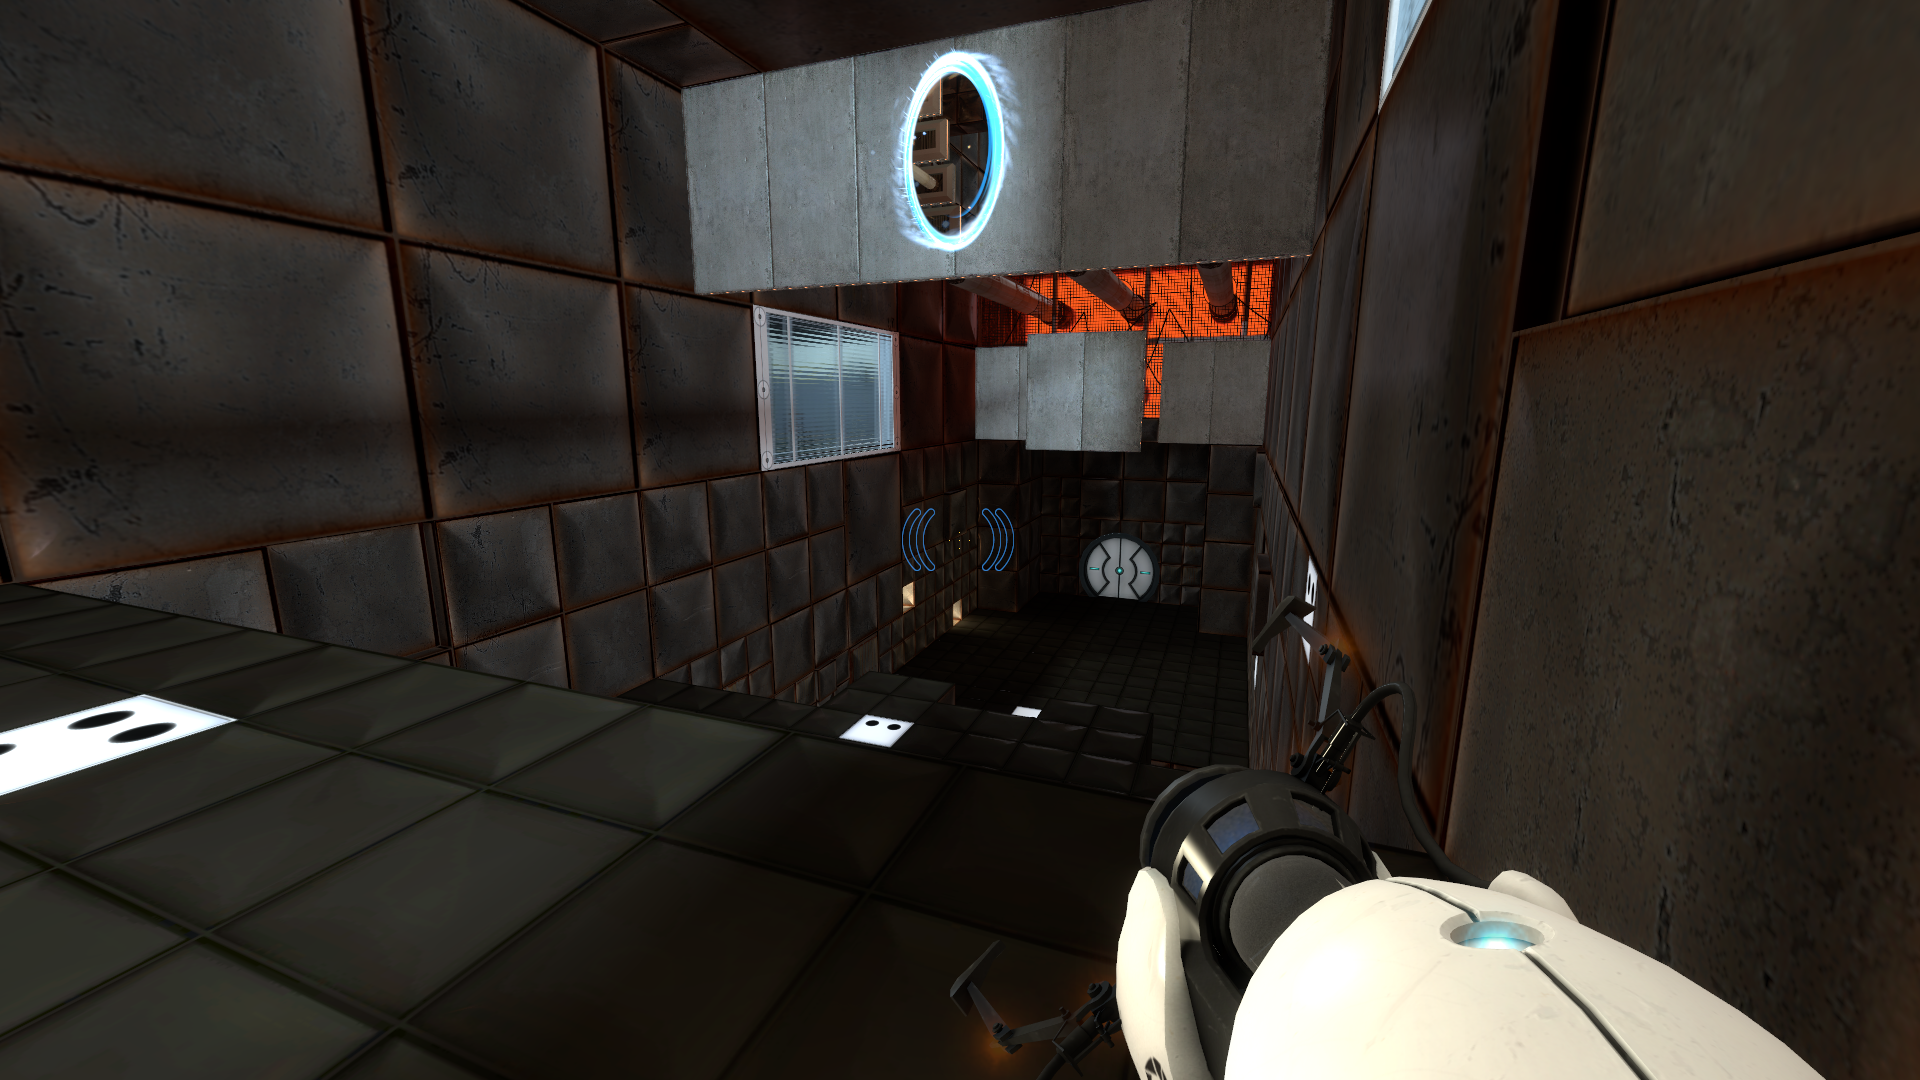
testchmb_a_07 (2006)#
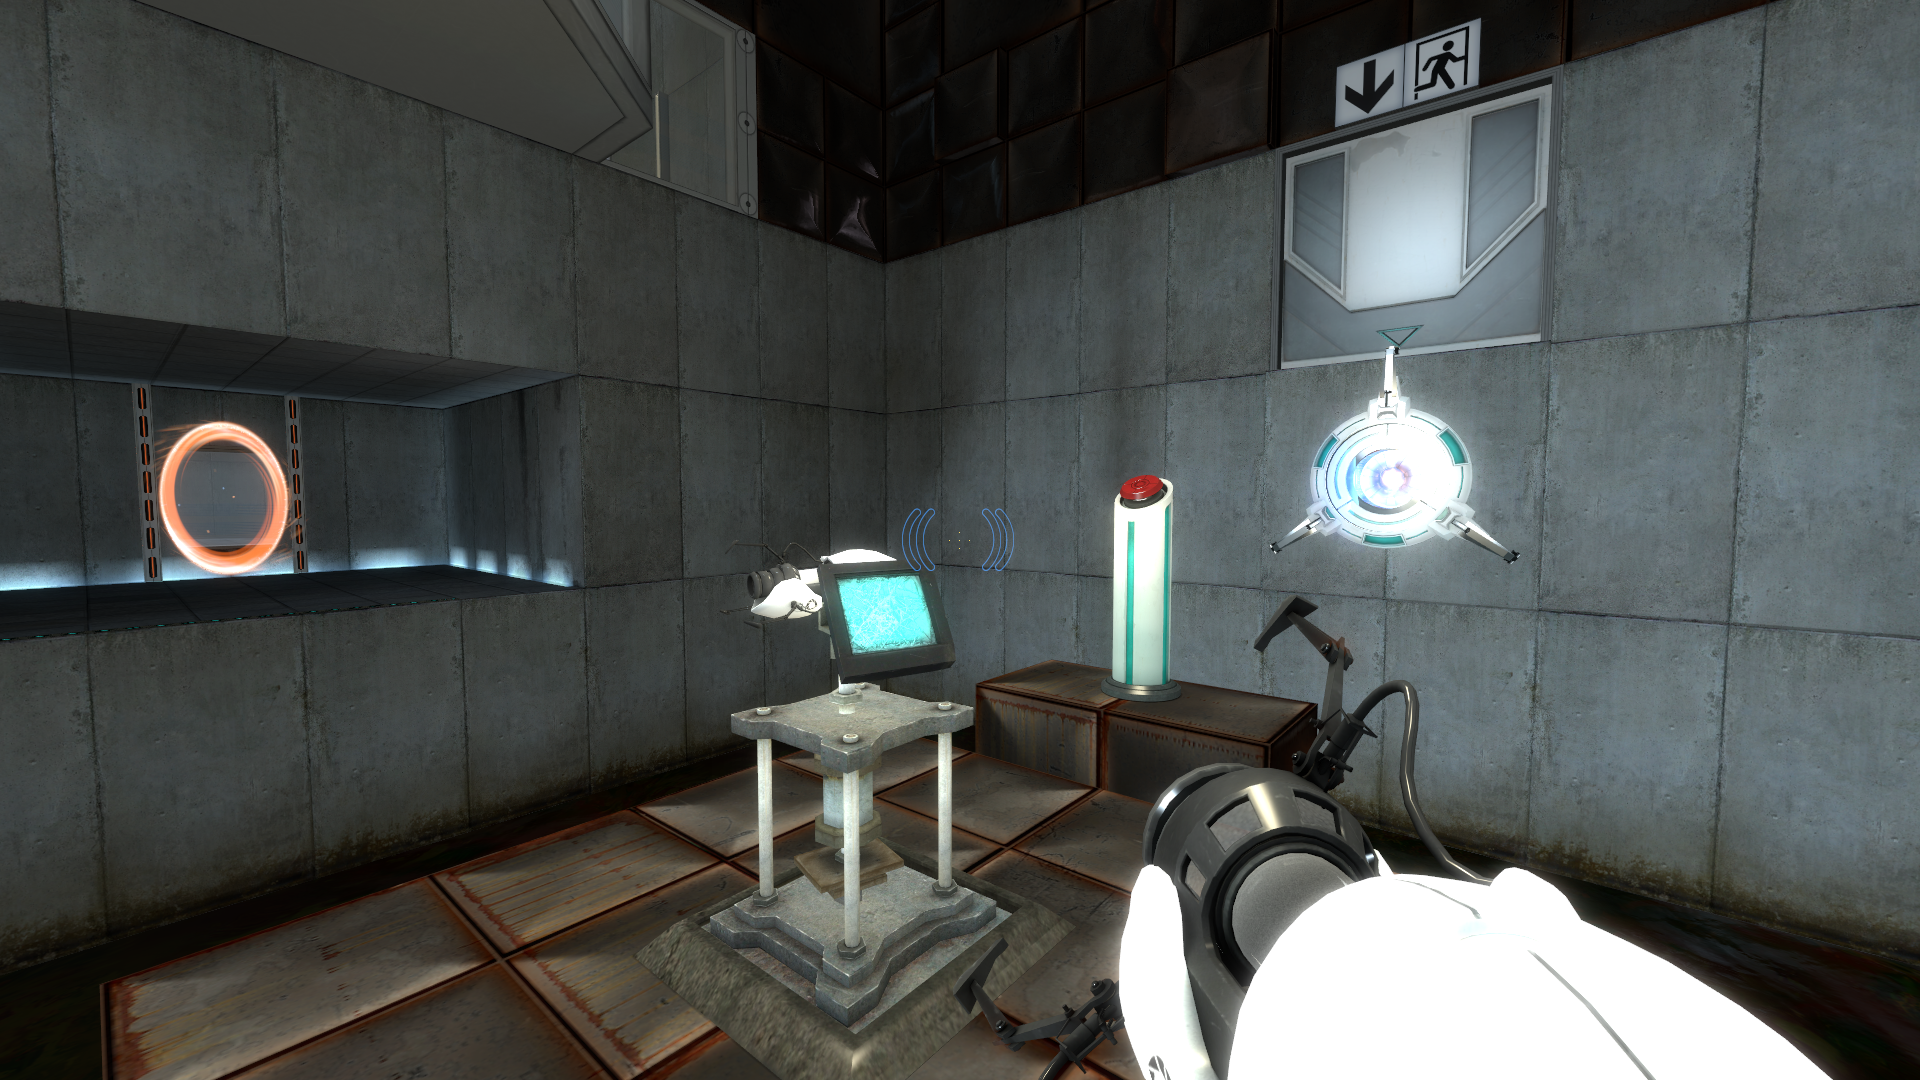
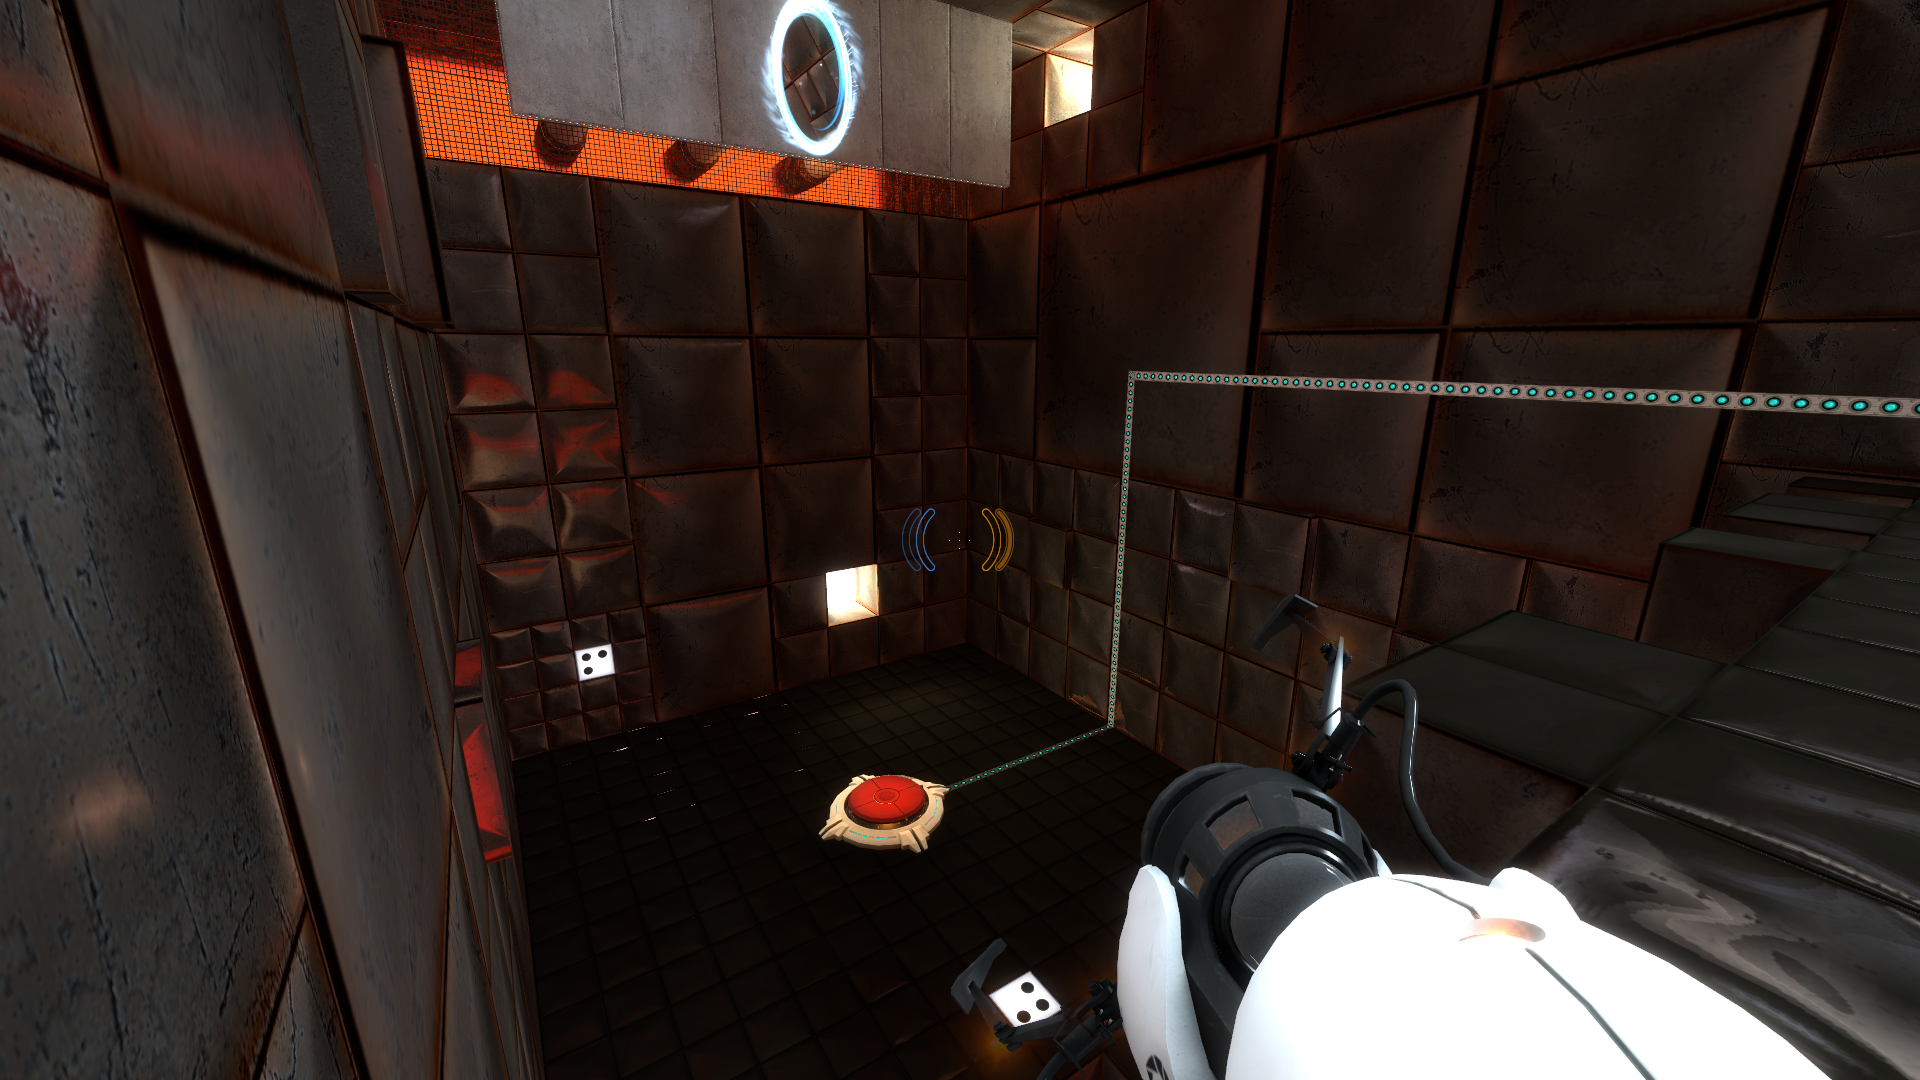
The 2006 version of Test Chamber 11 and 12. The entrance room features unique light sources. The button for the exit door in Chamber 11 rises when the lift is activated instead of after acquiring the Portal Gun. The latter section of Chamber 12 is set up differently as well, including having a different ending room that seems to be based on a large portion of the one from the previous chamber. GLaDOS refers to the protagonist's (who at this point in development was a male placeholder for Chell) residence as "[subject home floor here]" instead of "[subject home town here]".
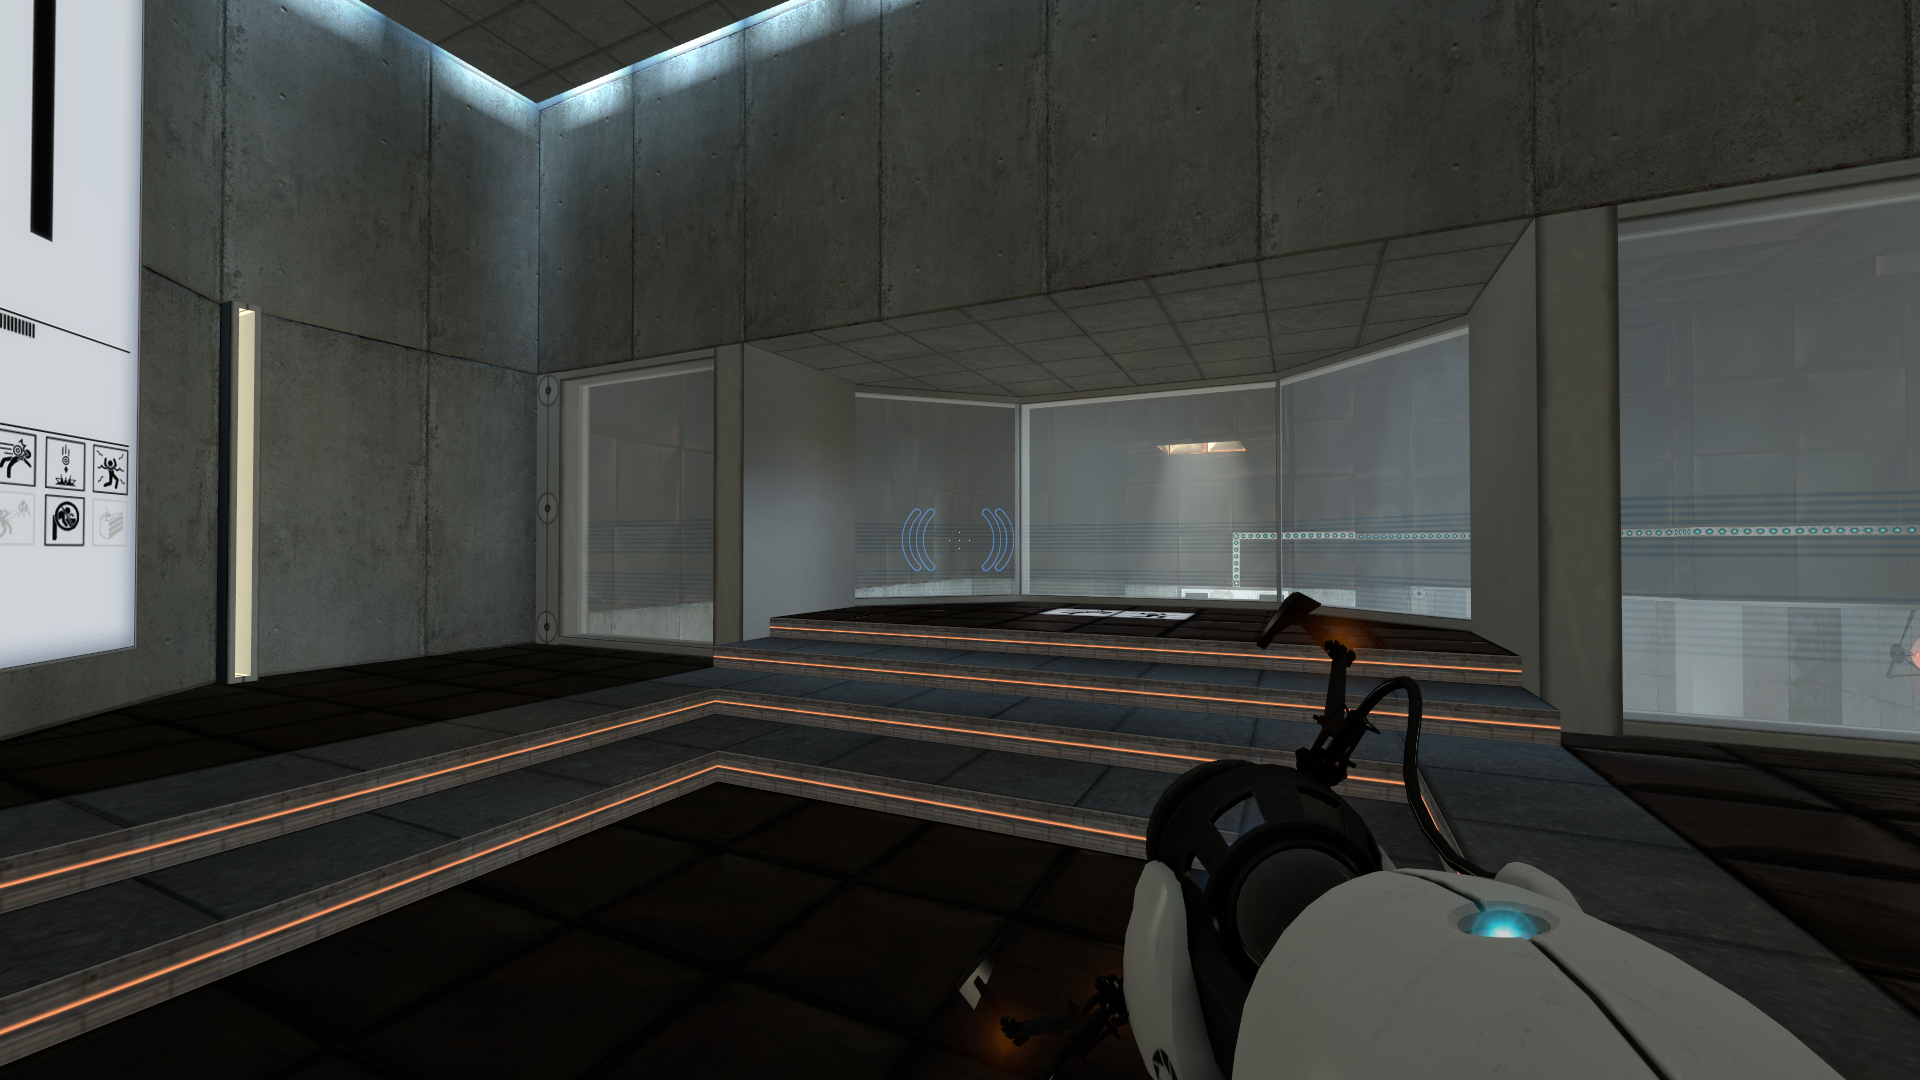
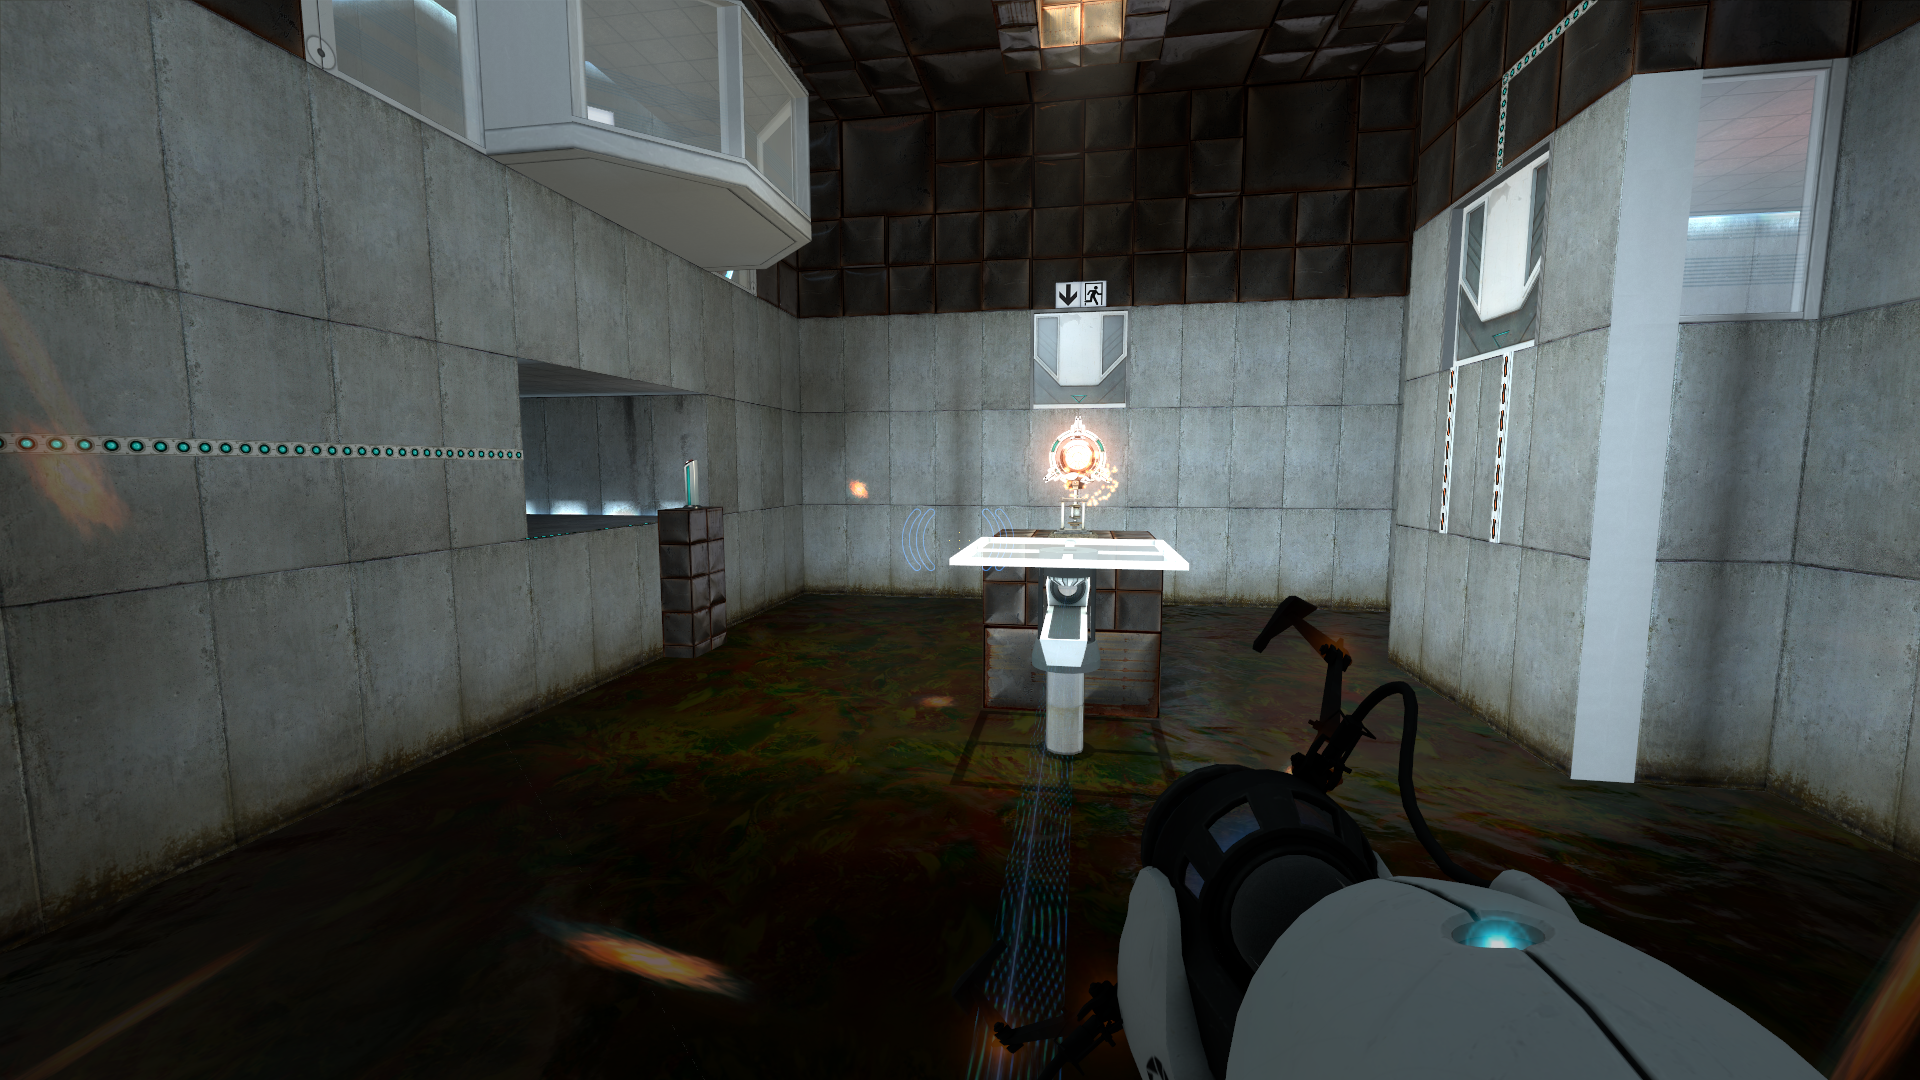
testchmb_a_08 (2006)#
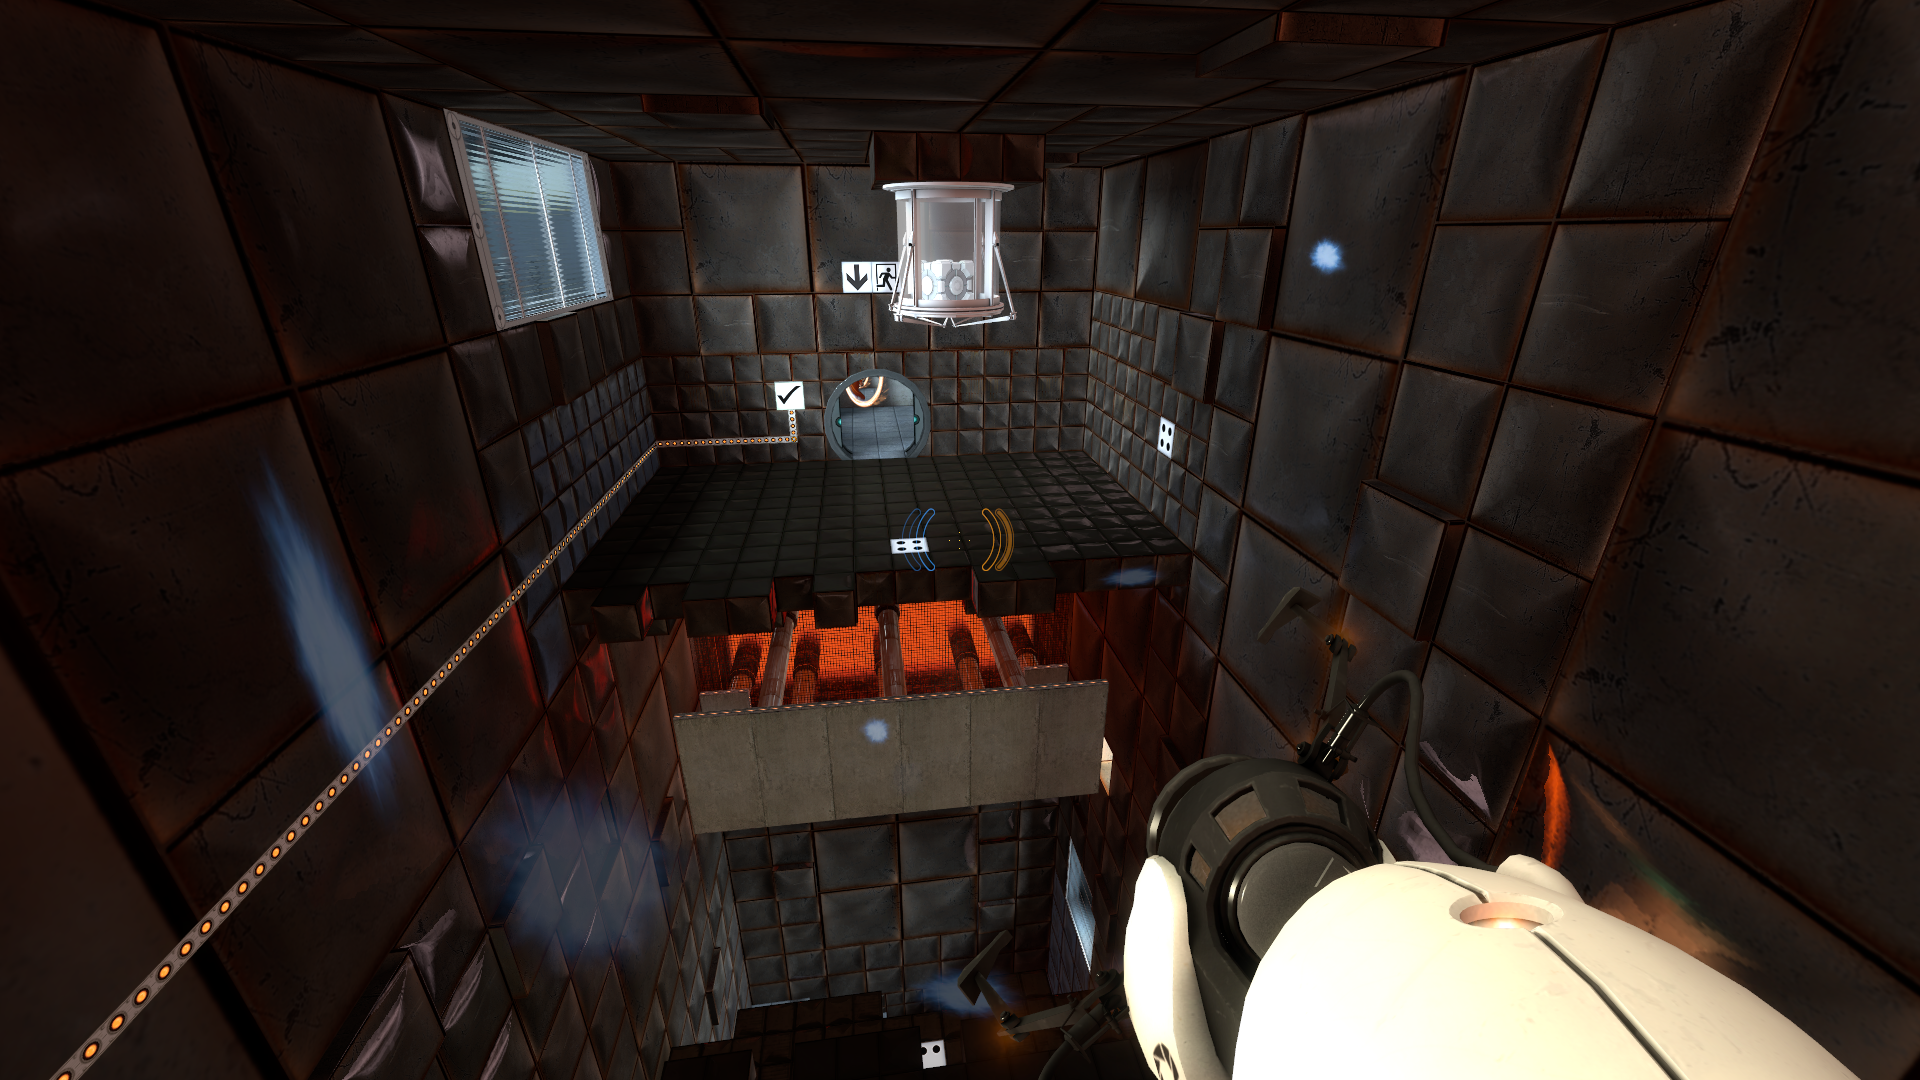
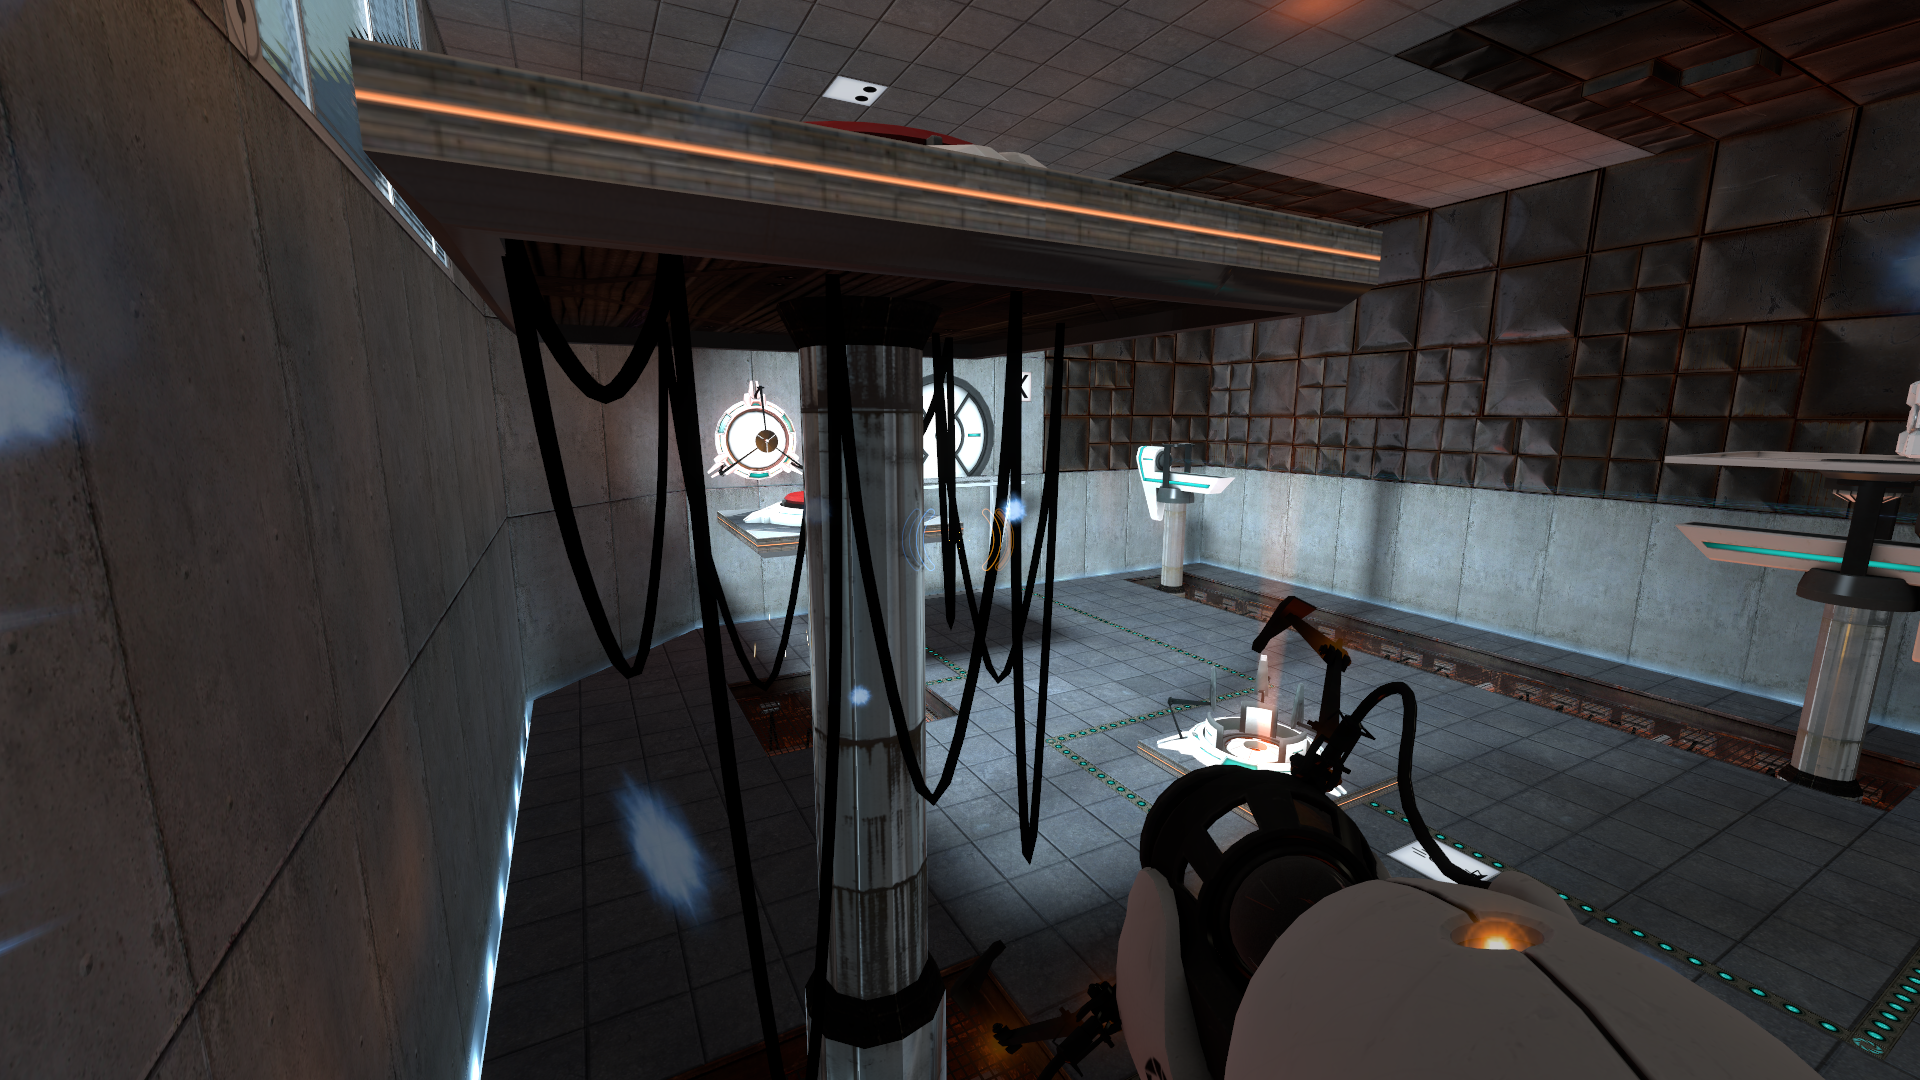
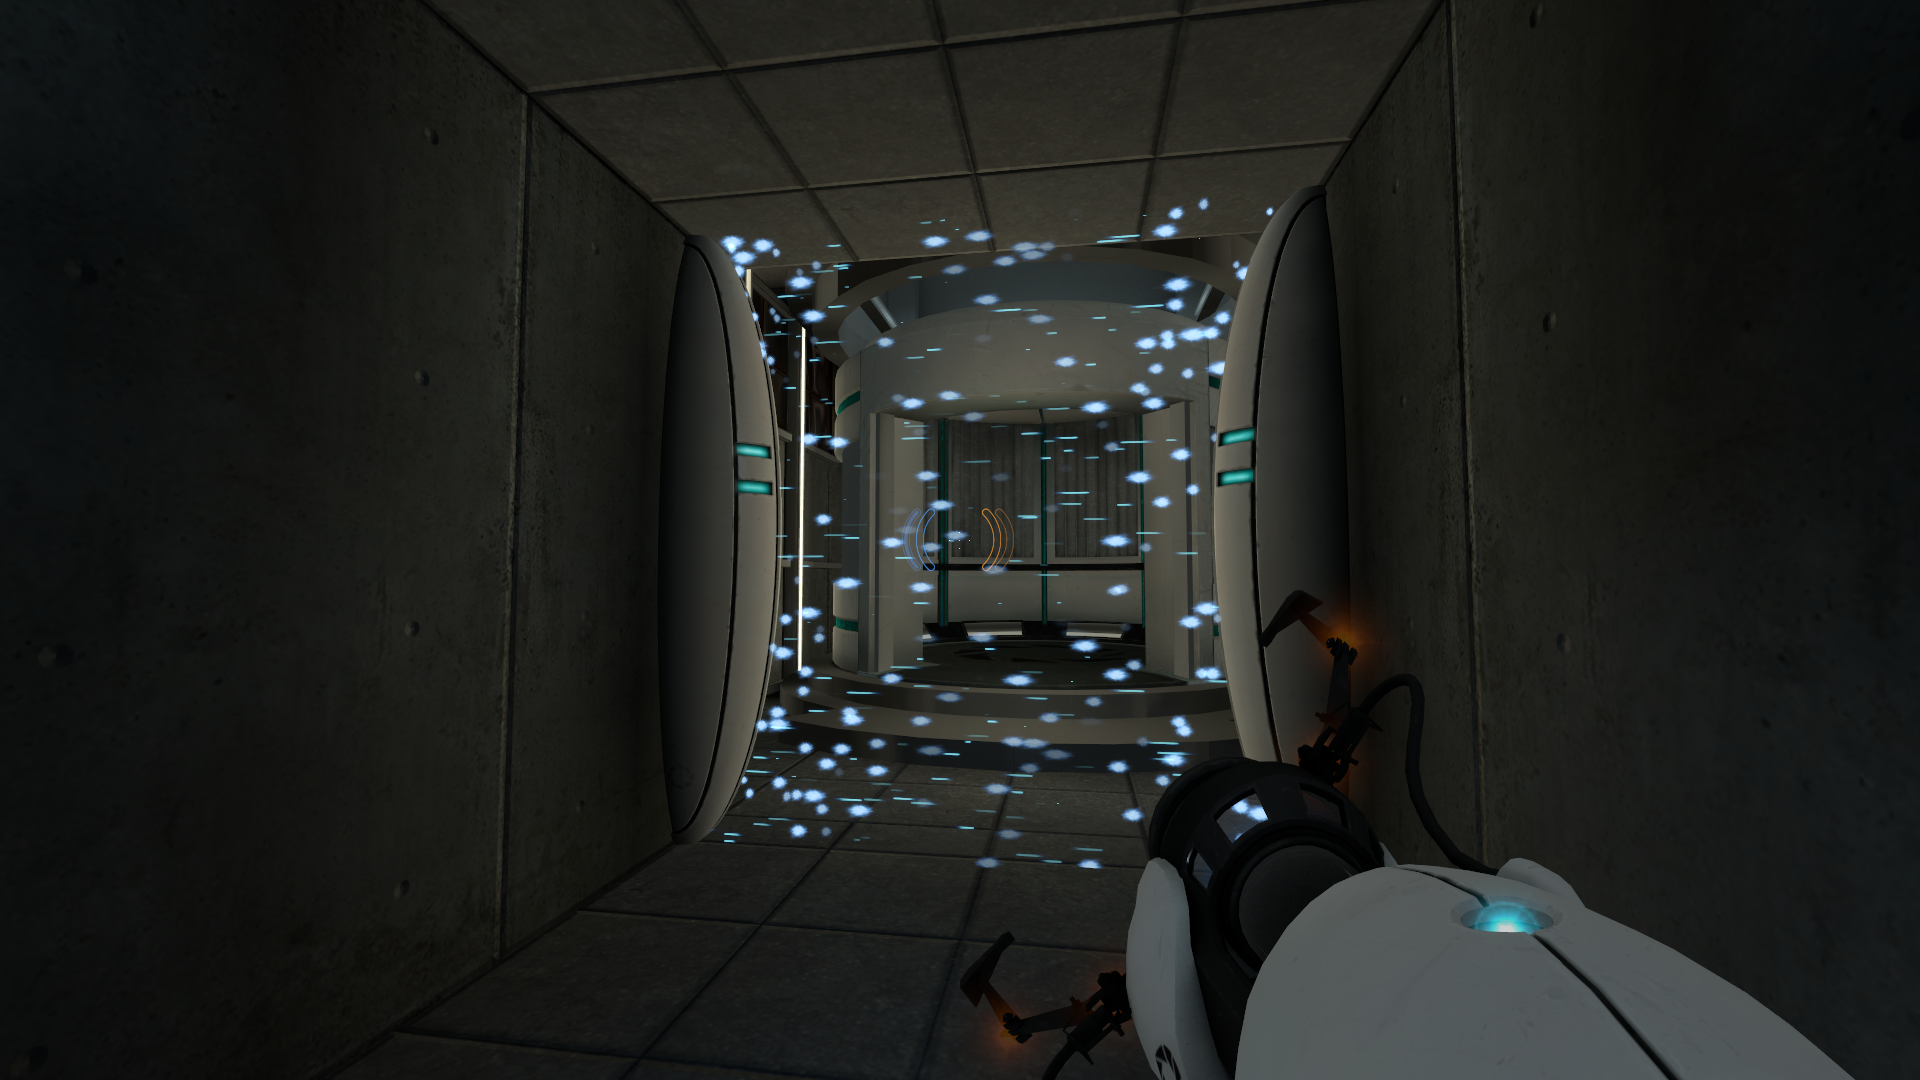
The 2006 version of Test Chamber 13. More or less the same. Wires are hanging out from beneath the tall button platform.
testchmb_a_09 (2006)#
The 2006 version of Test Chamber 14. More or less the same. Oddly uses a different Emancipation Grid design.
testchmb_a_10 (2006)#
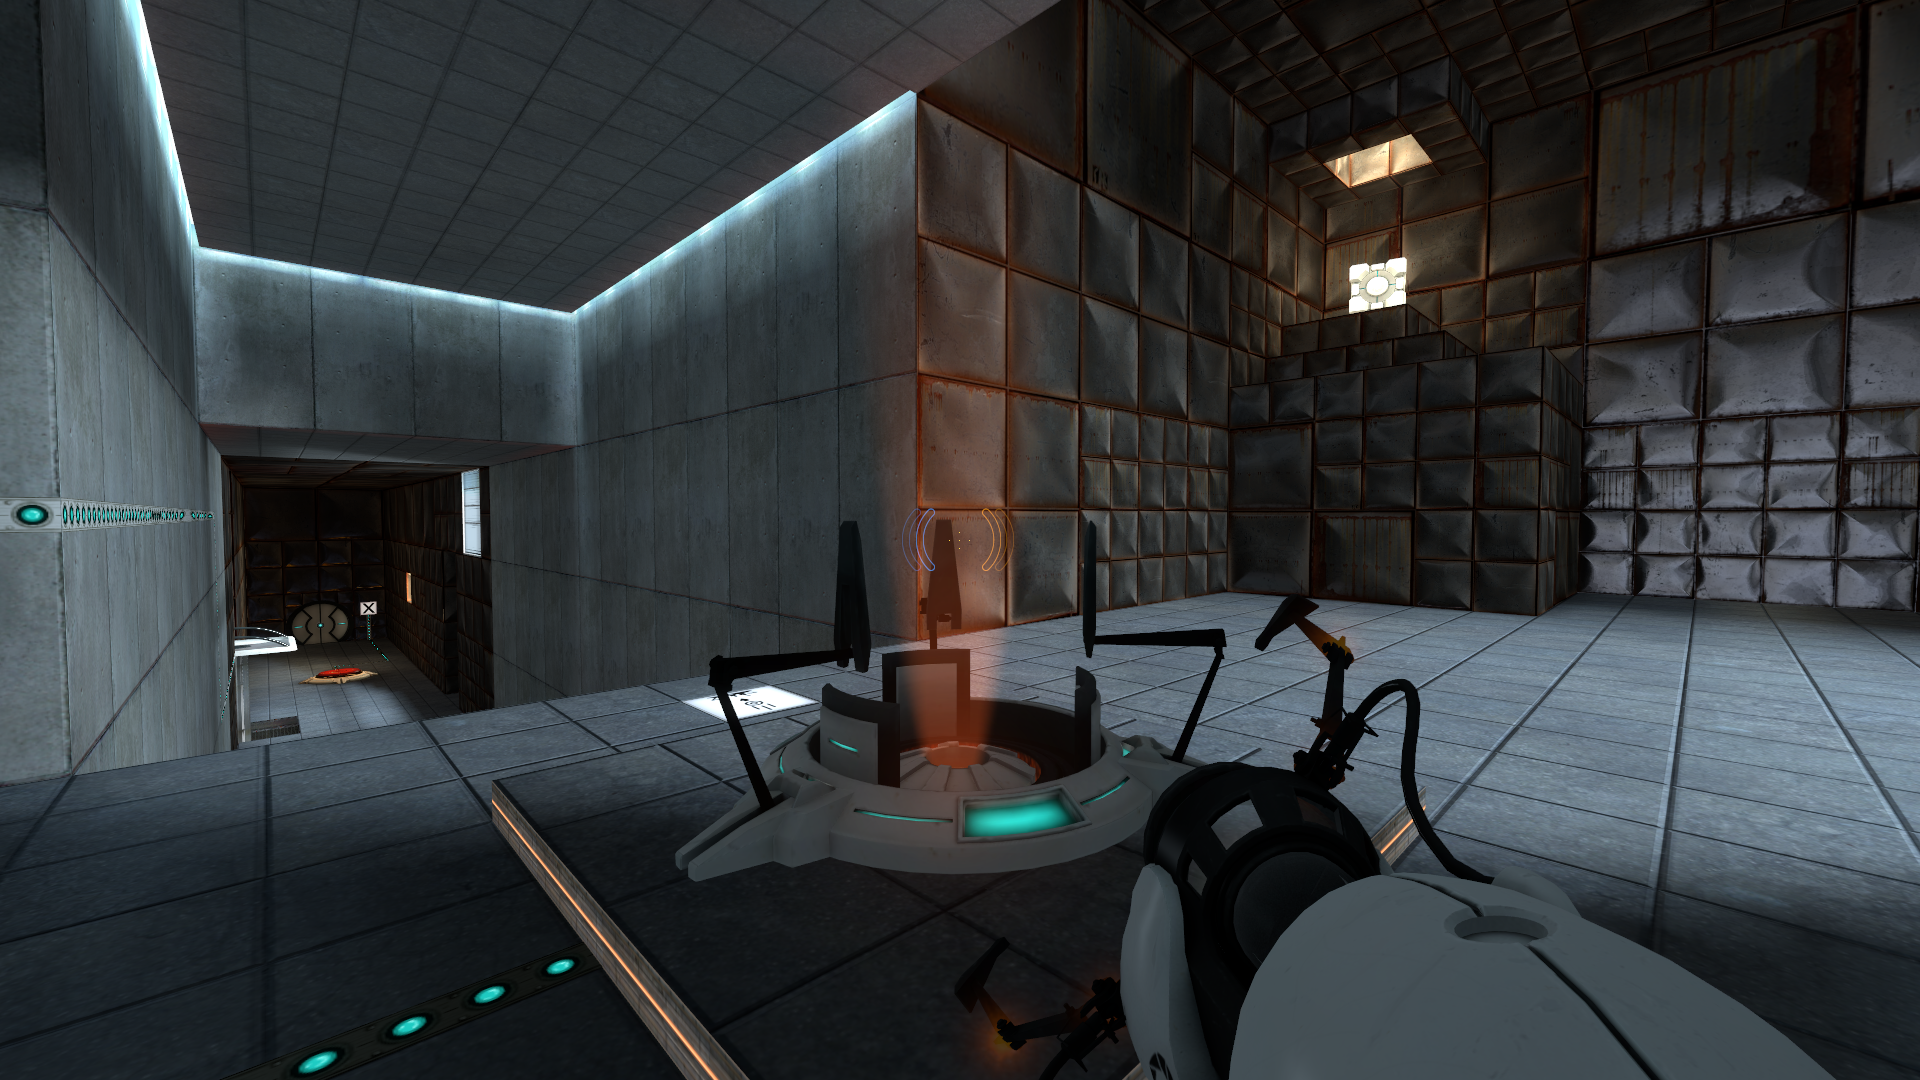
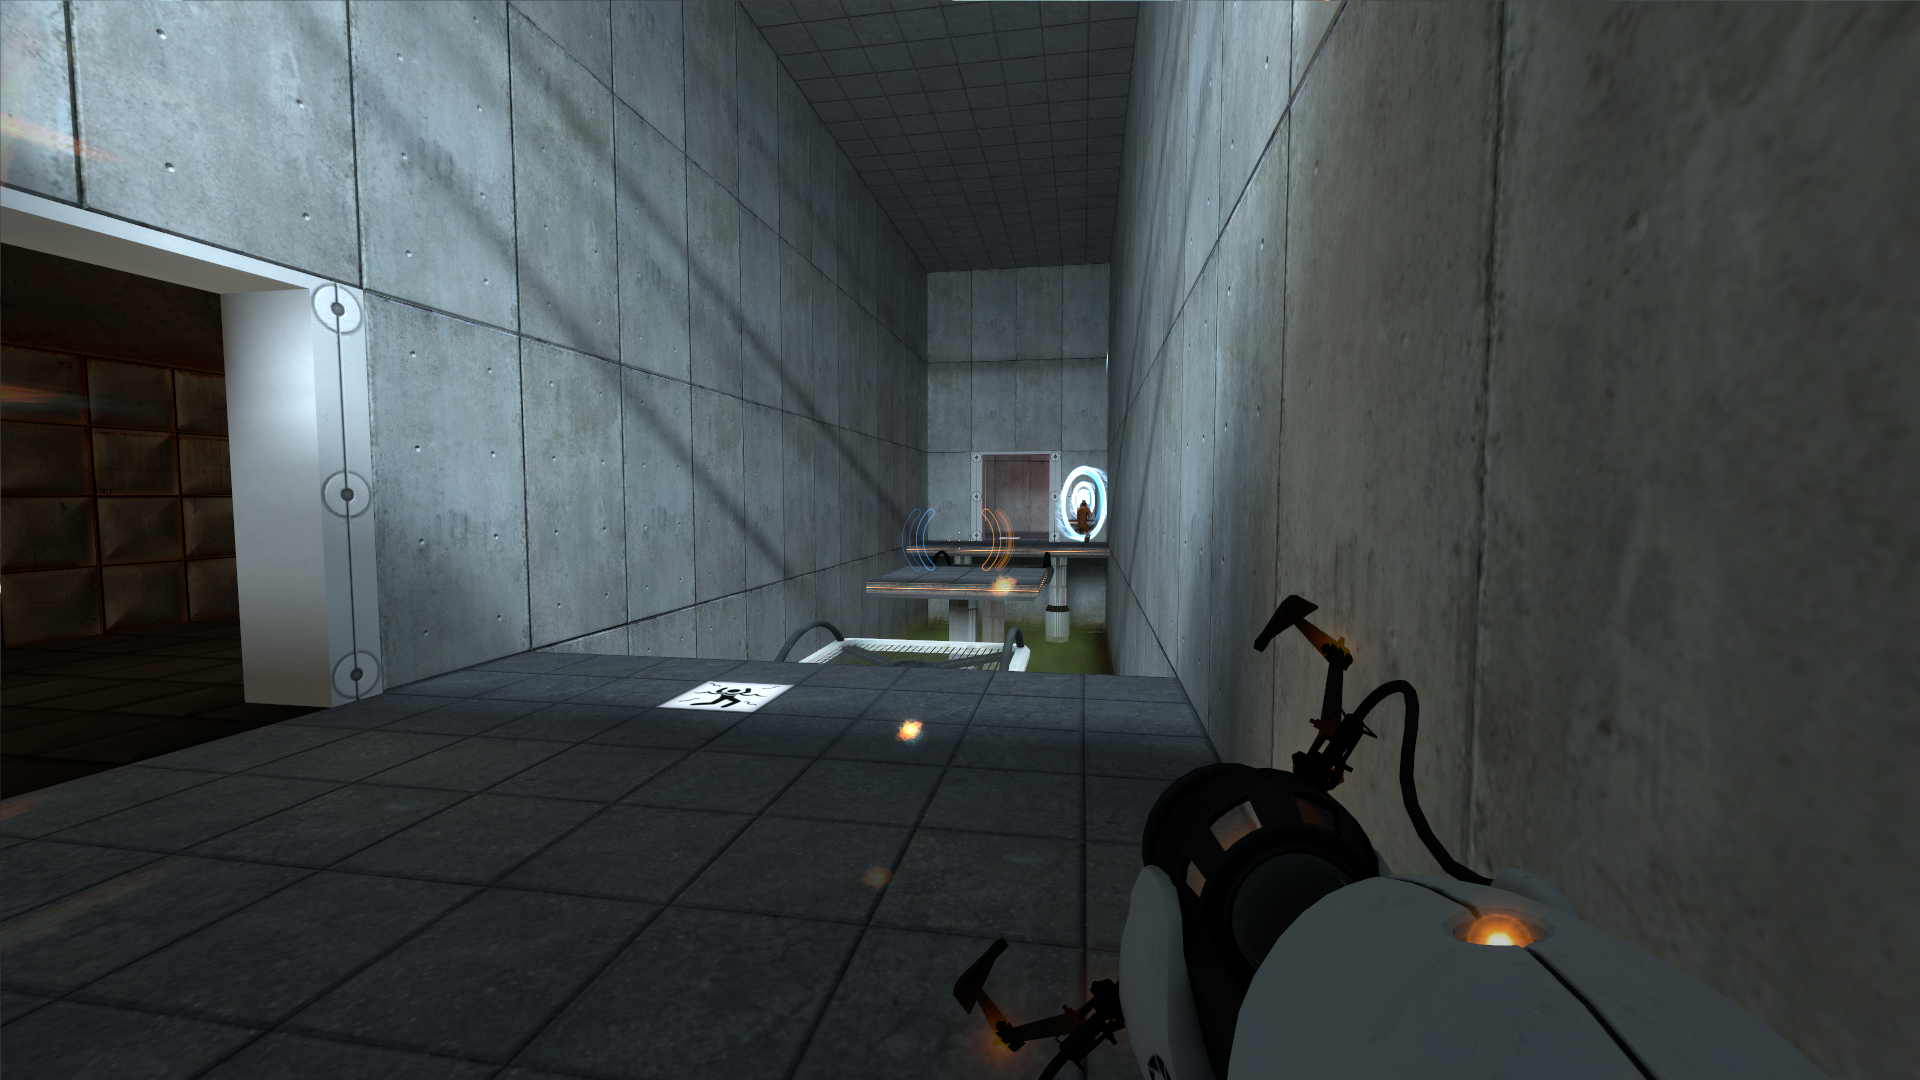
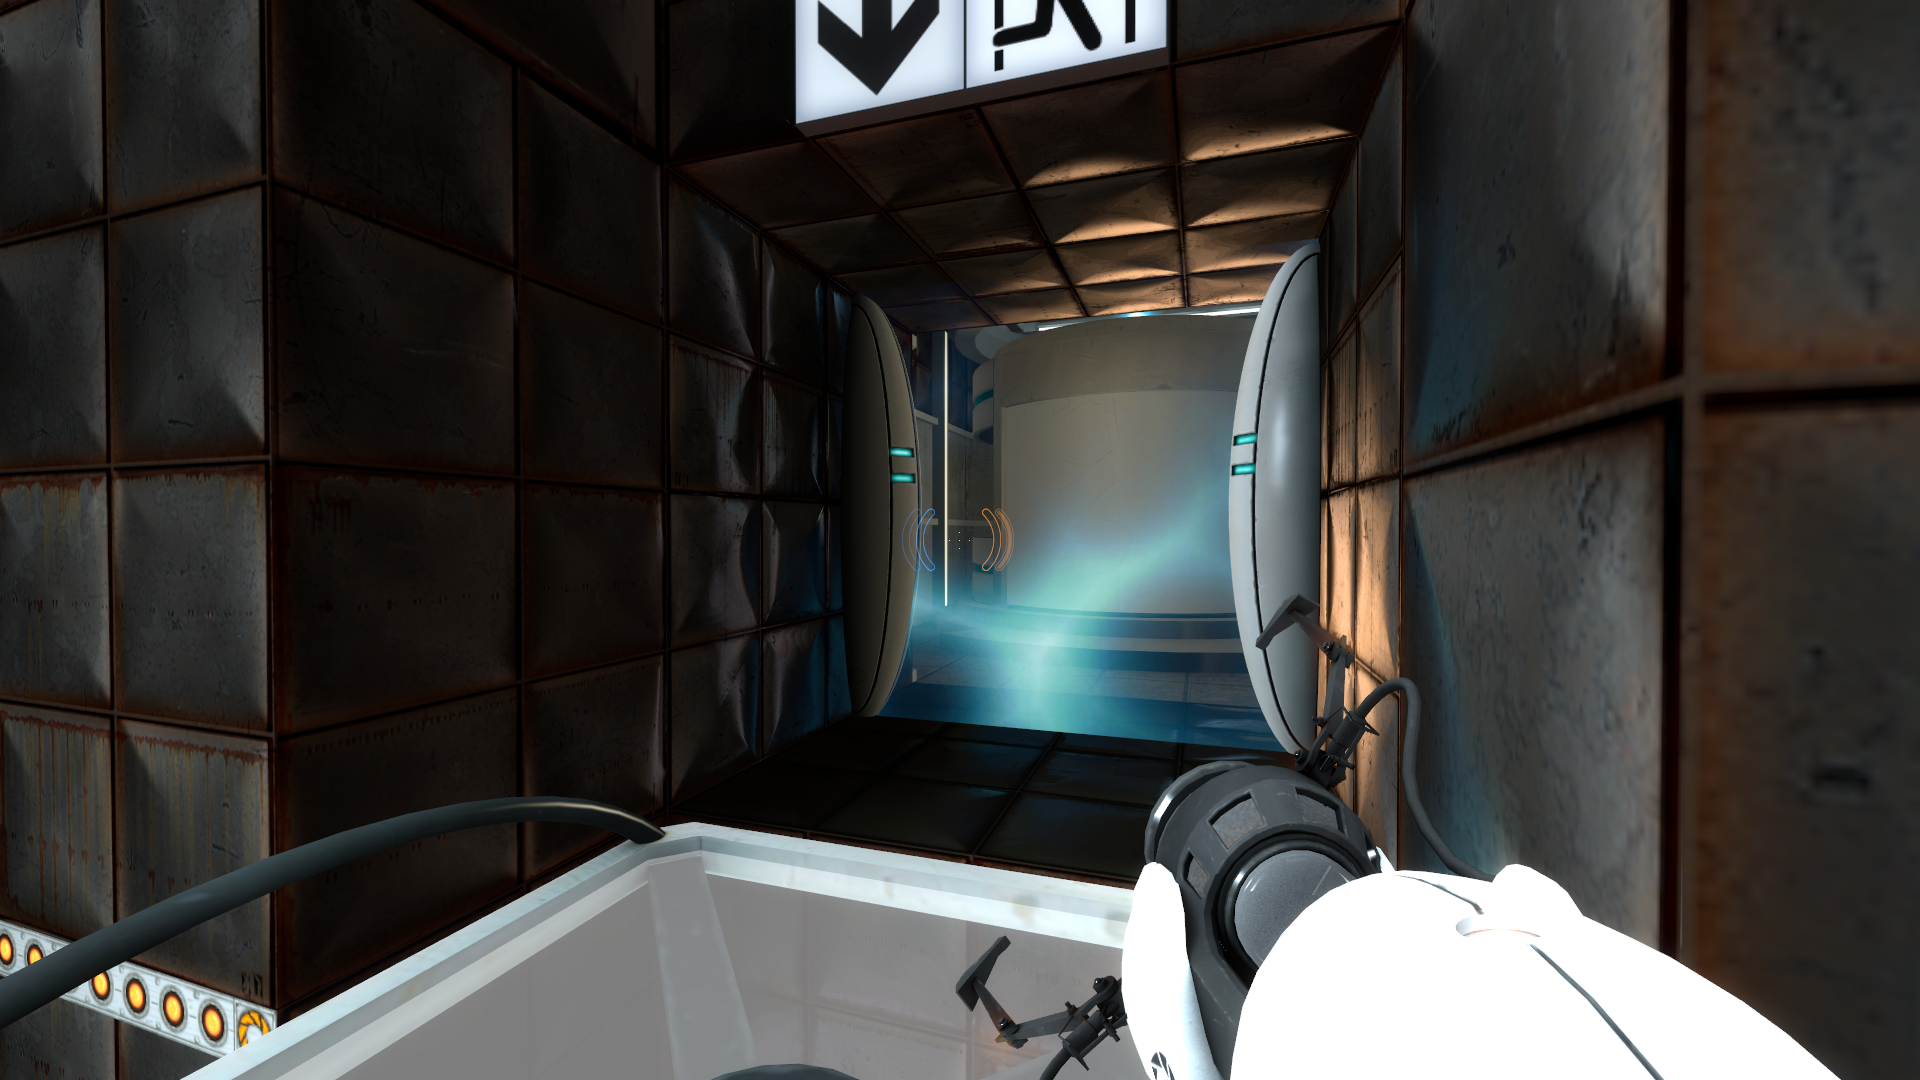
The 2006 version of Test Chamber 15. The second Emancipation Grid fling is a duplicate of the first one. The lift hall to the final room has different lighting, as well as a small observation room. The final room features an extra observation room, and GLaDOS notifies about the upcoming 16th test chamber; the final build of Portal repurposes this for that map with differently recorded lines.
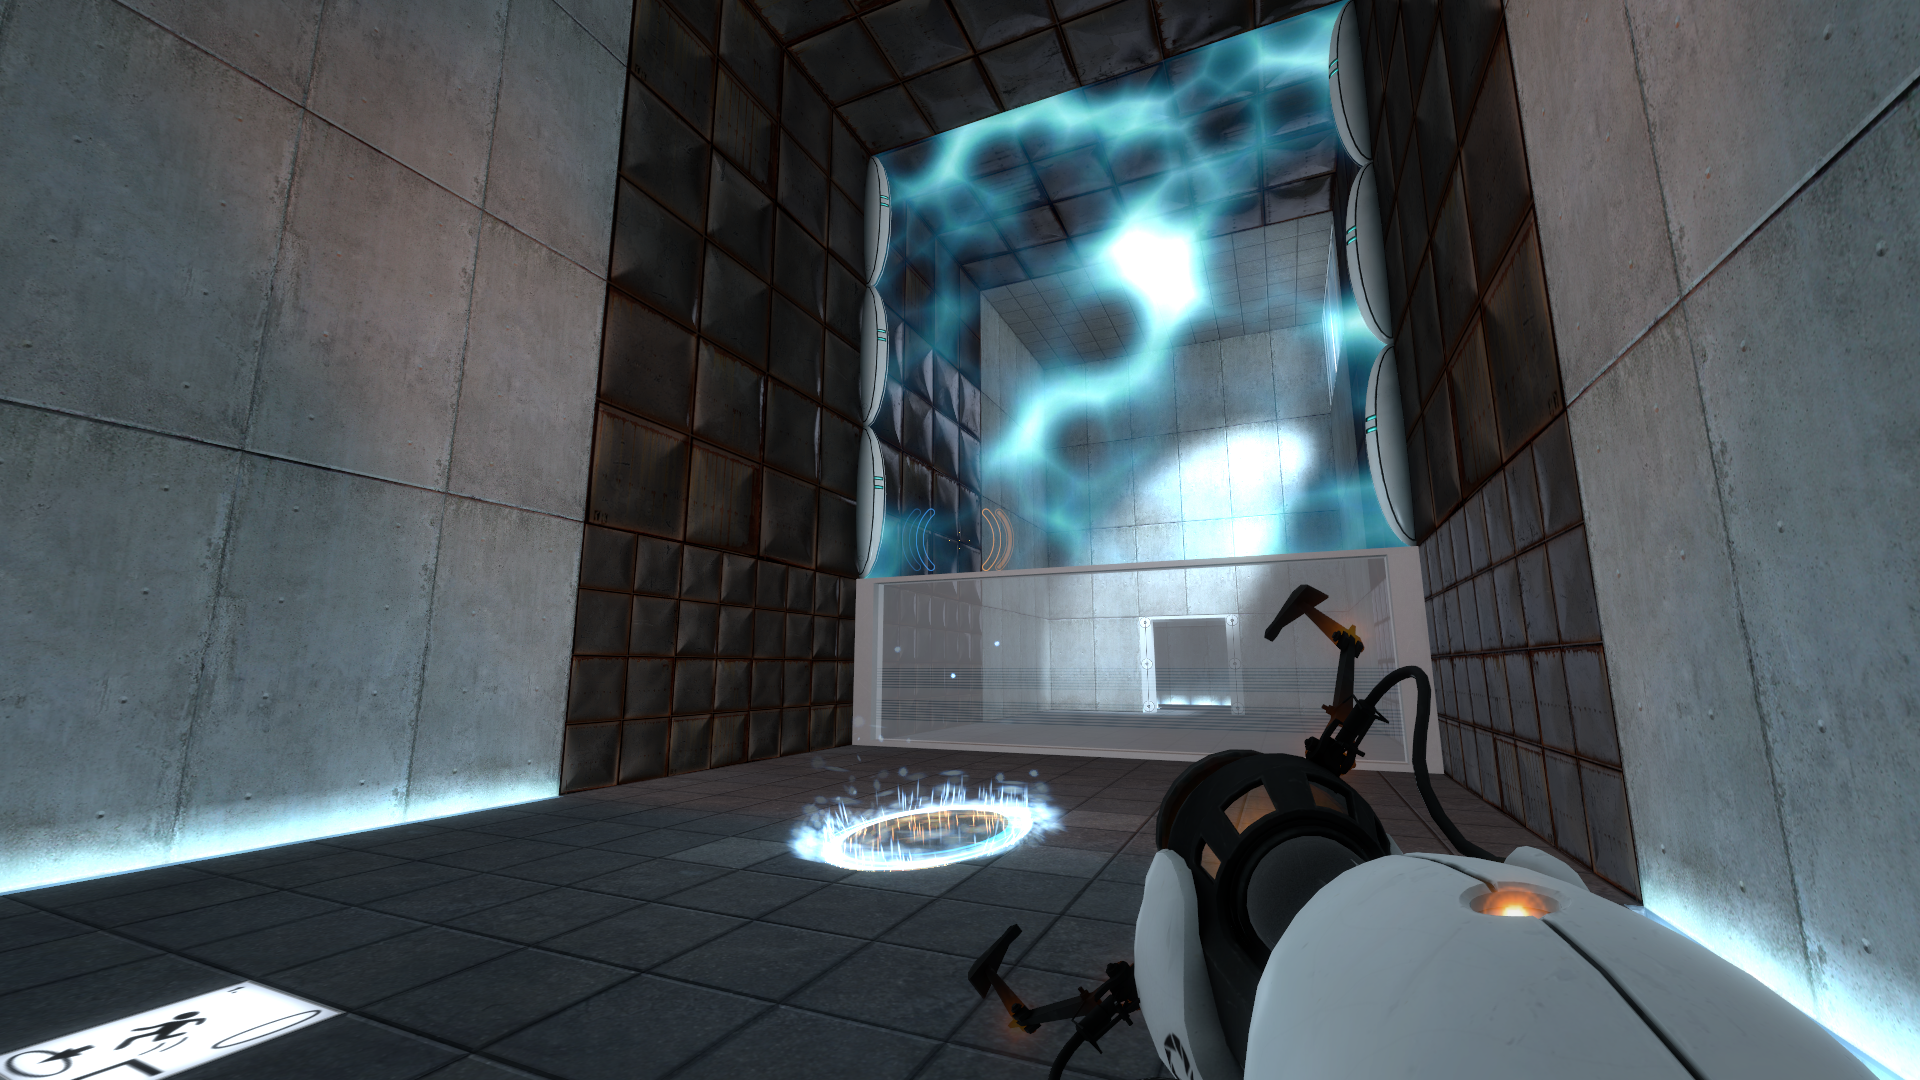
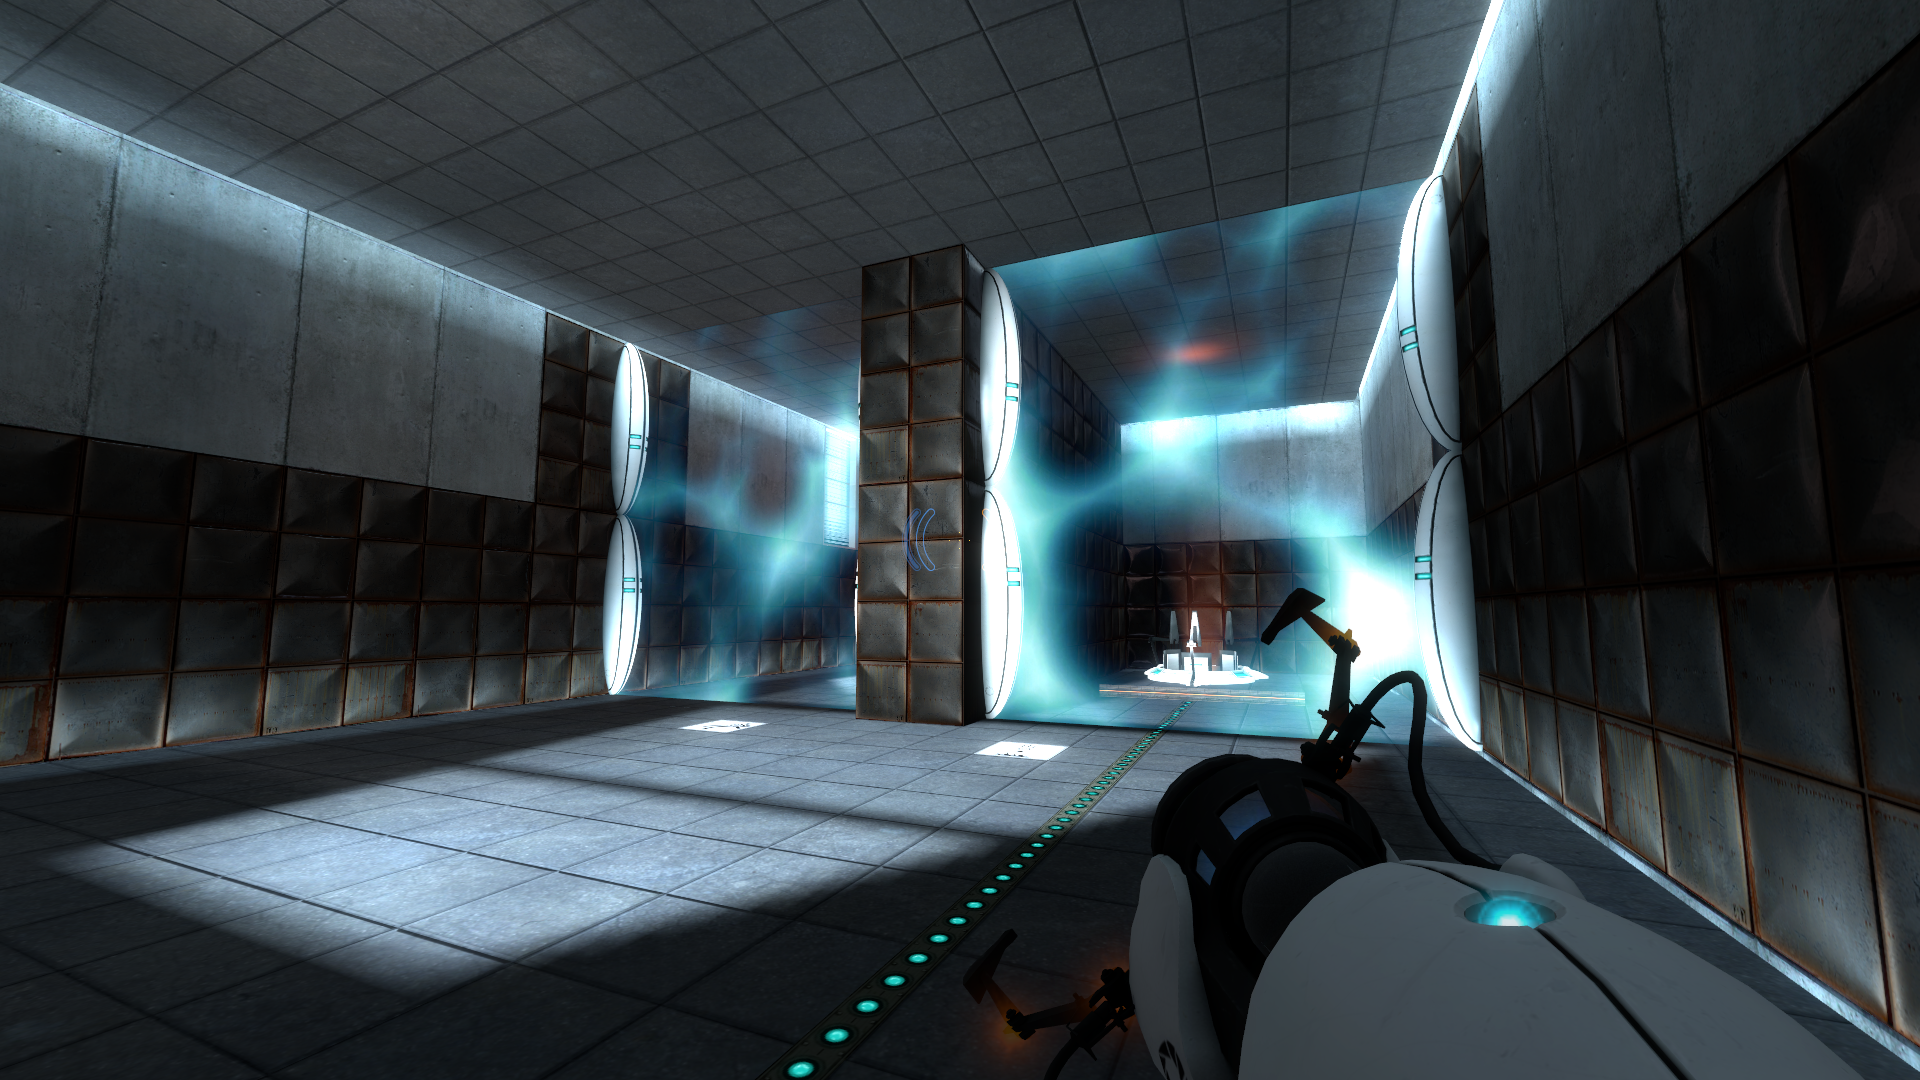
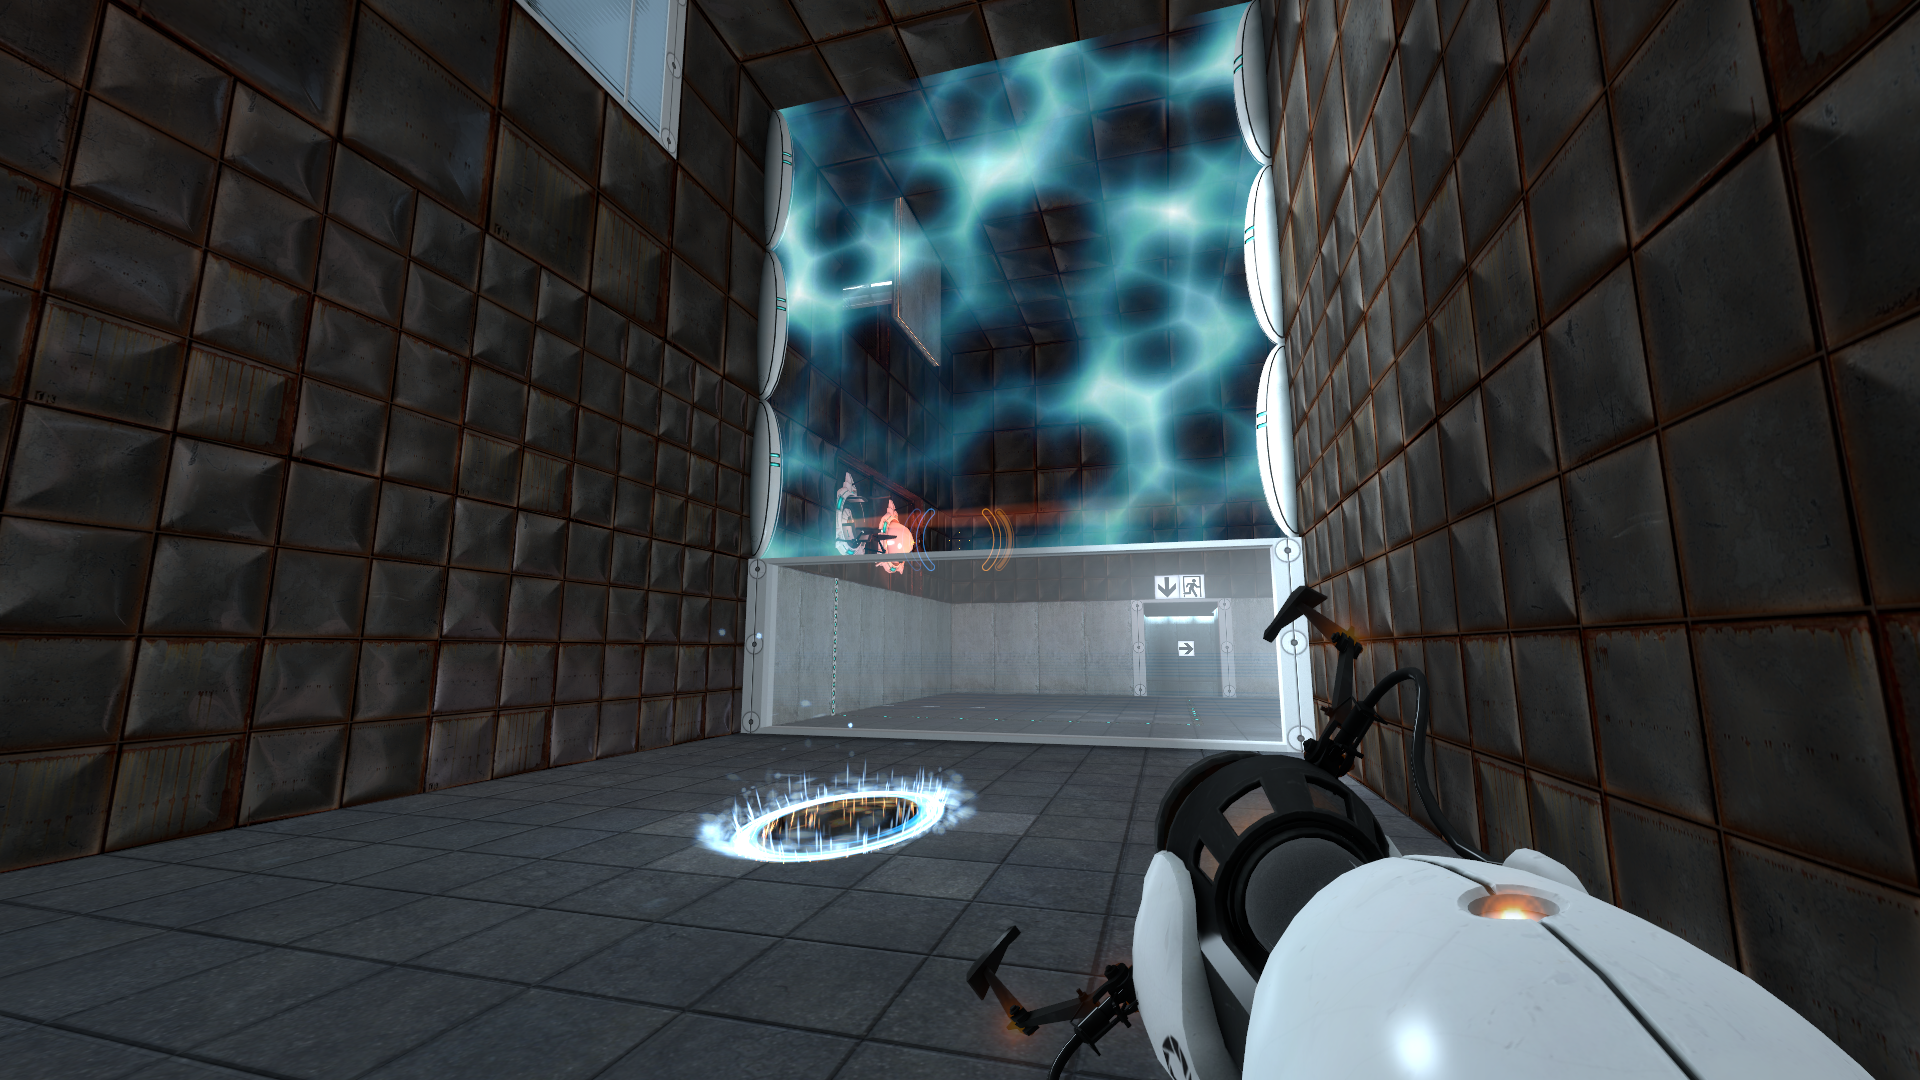
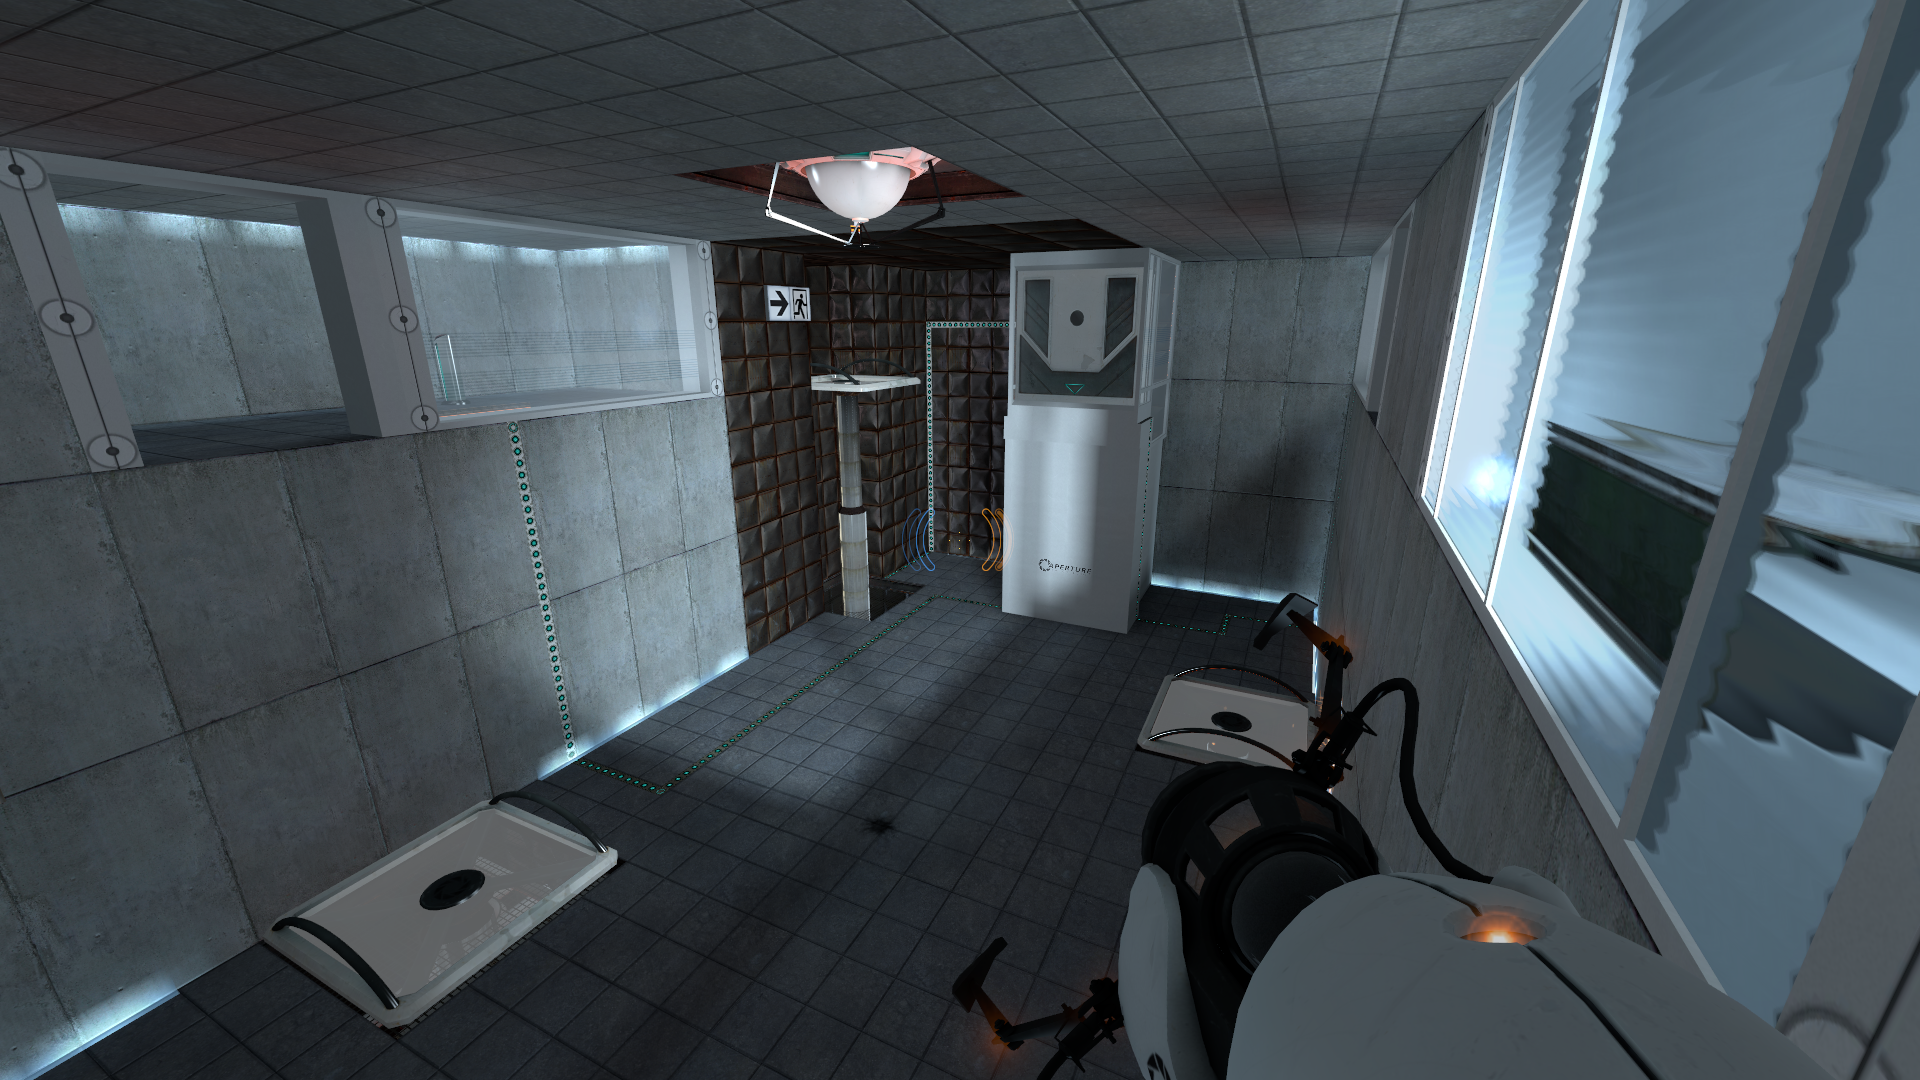
testchmb_a_11 (2006)#
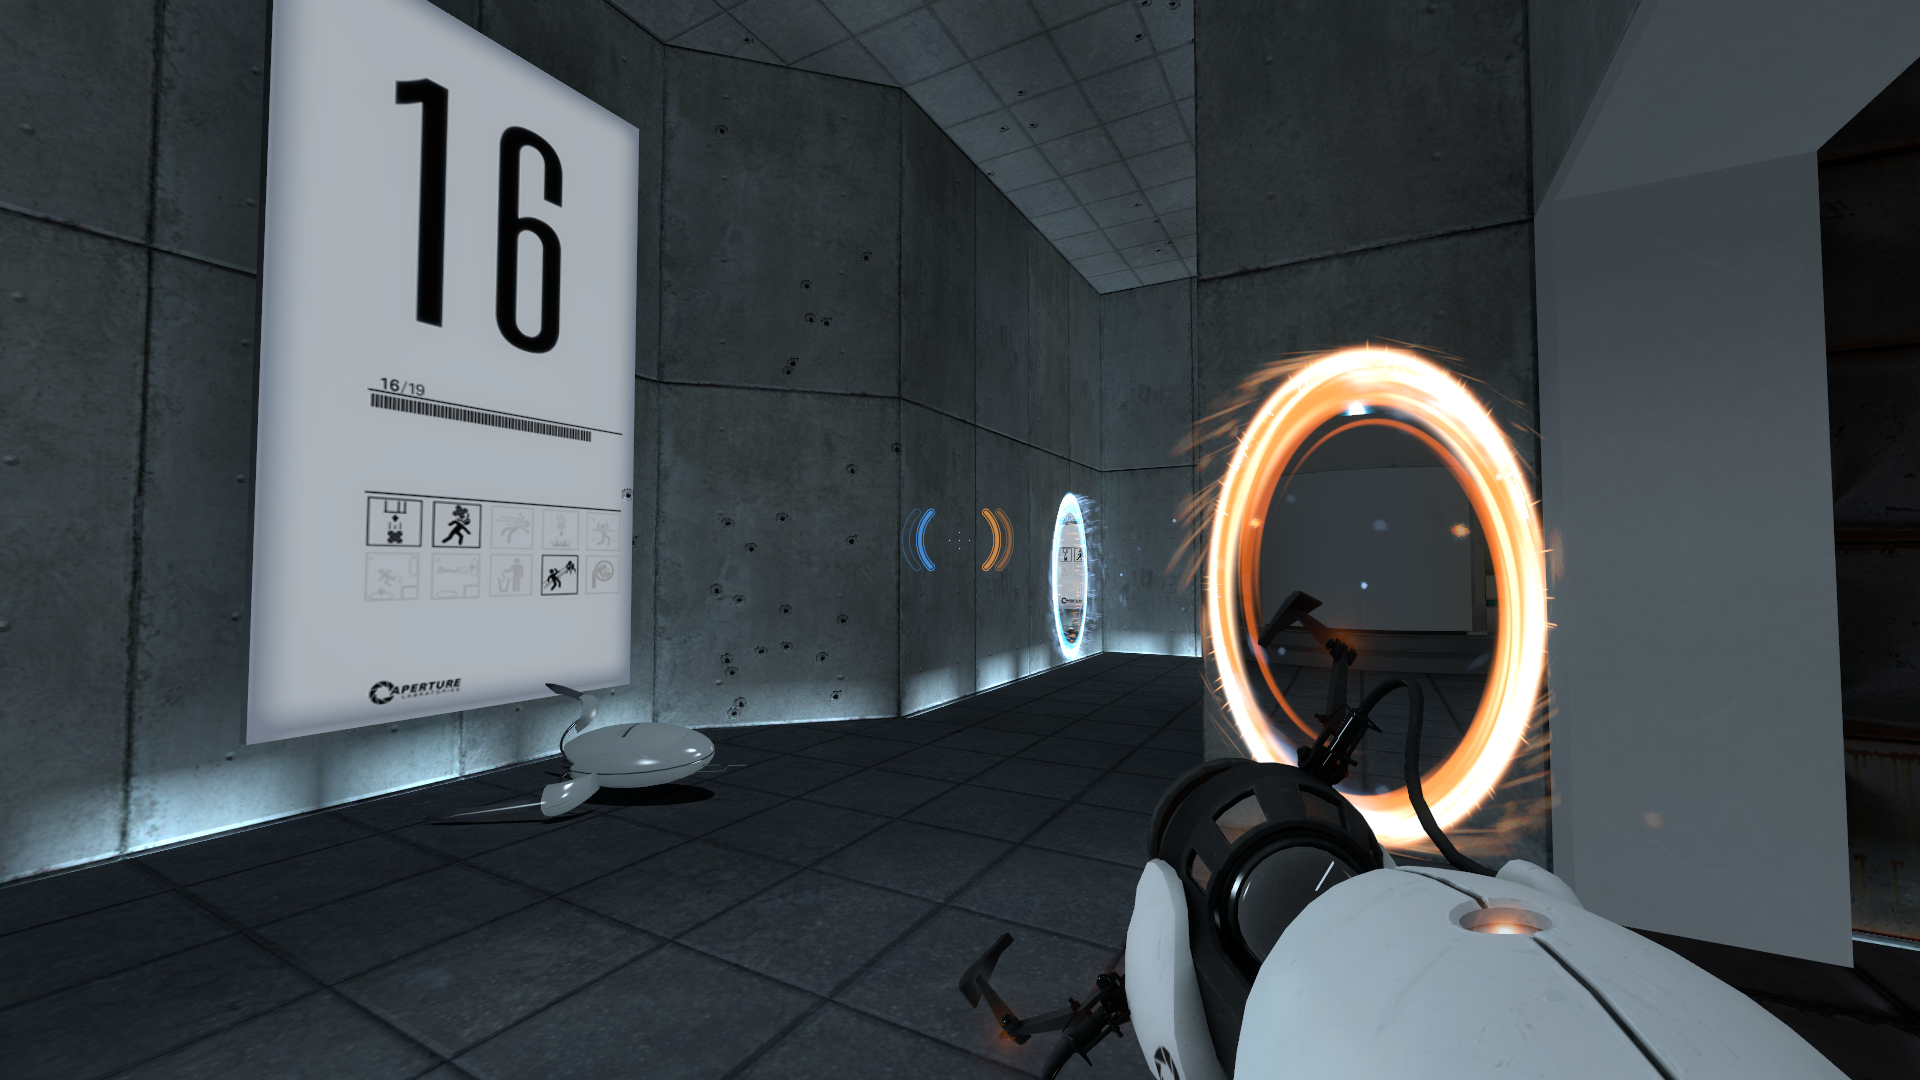
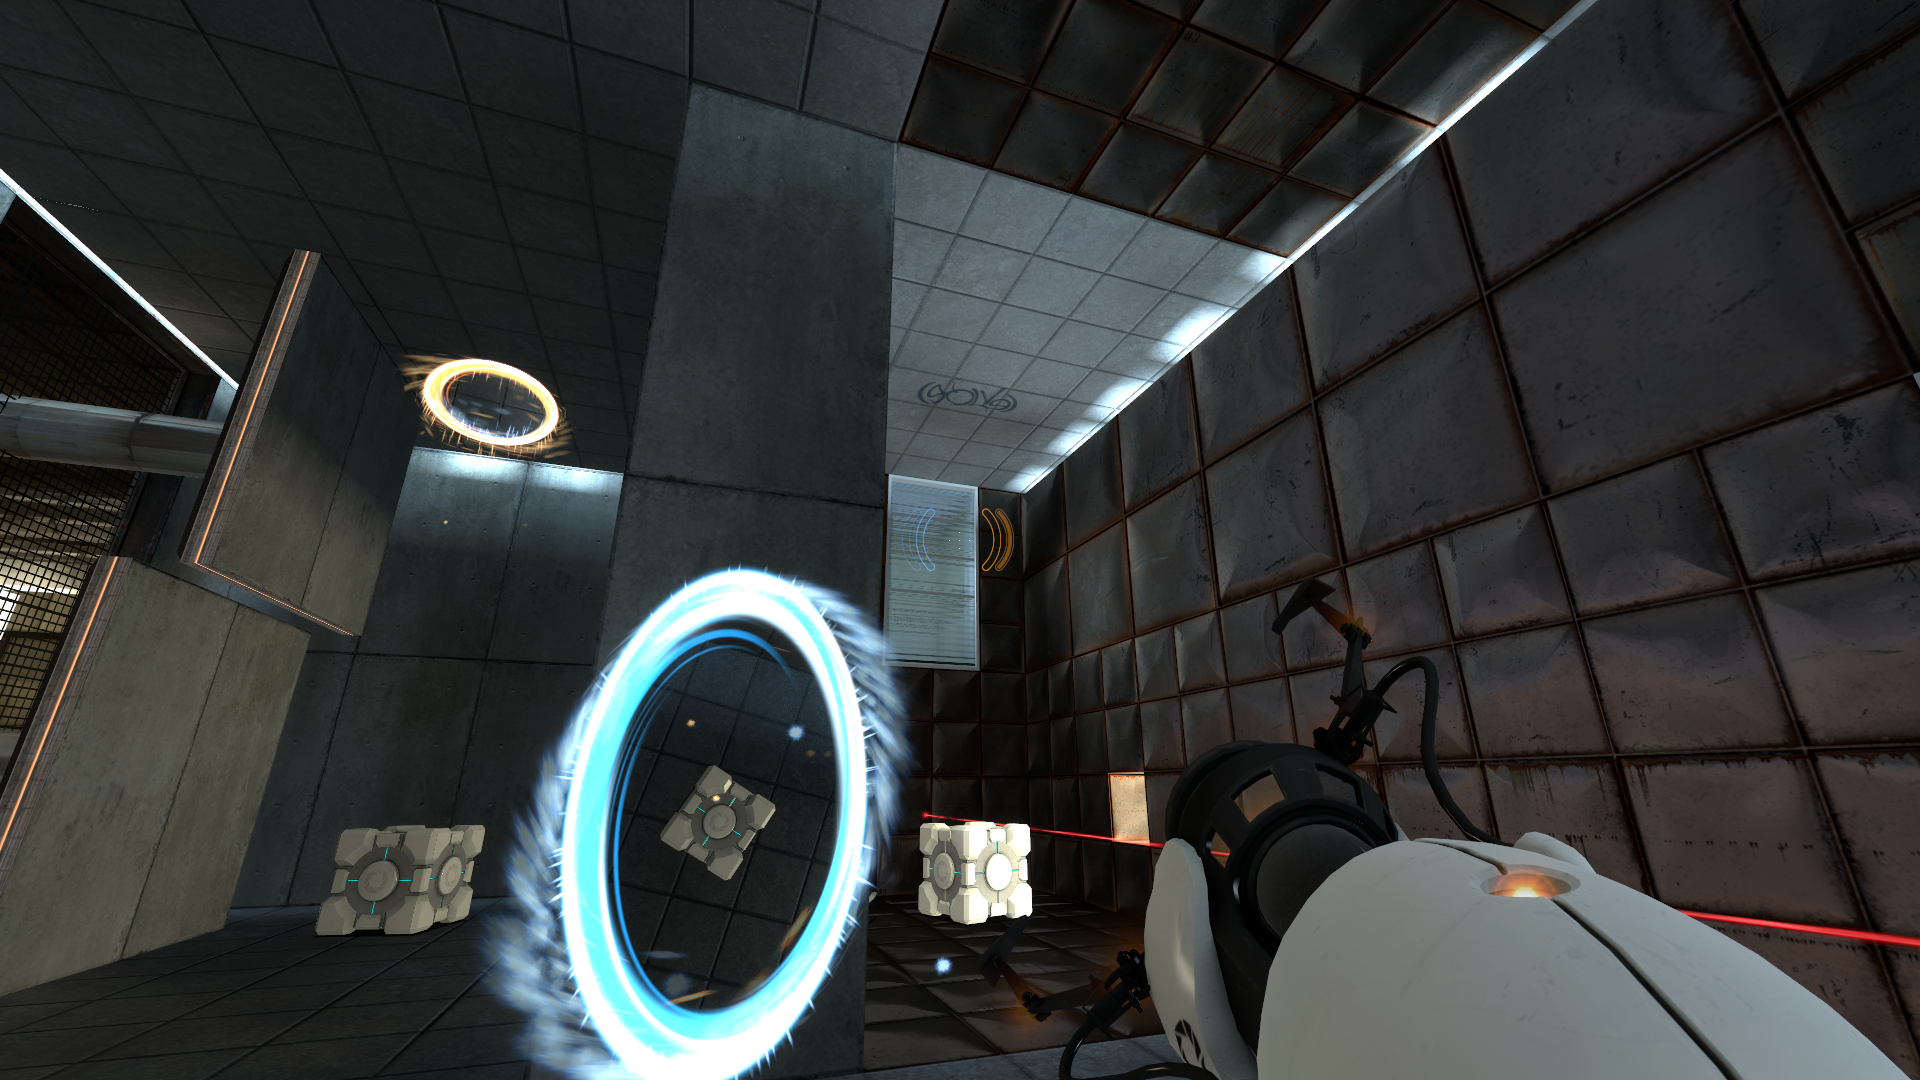
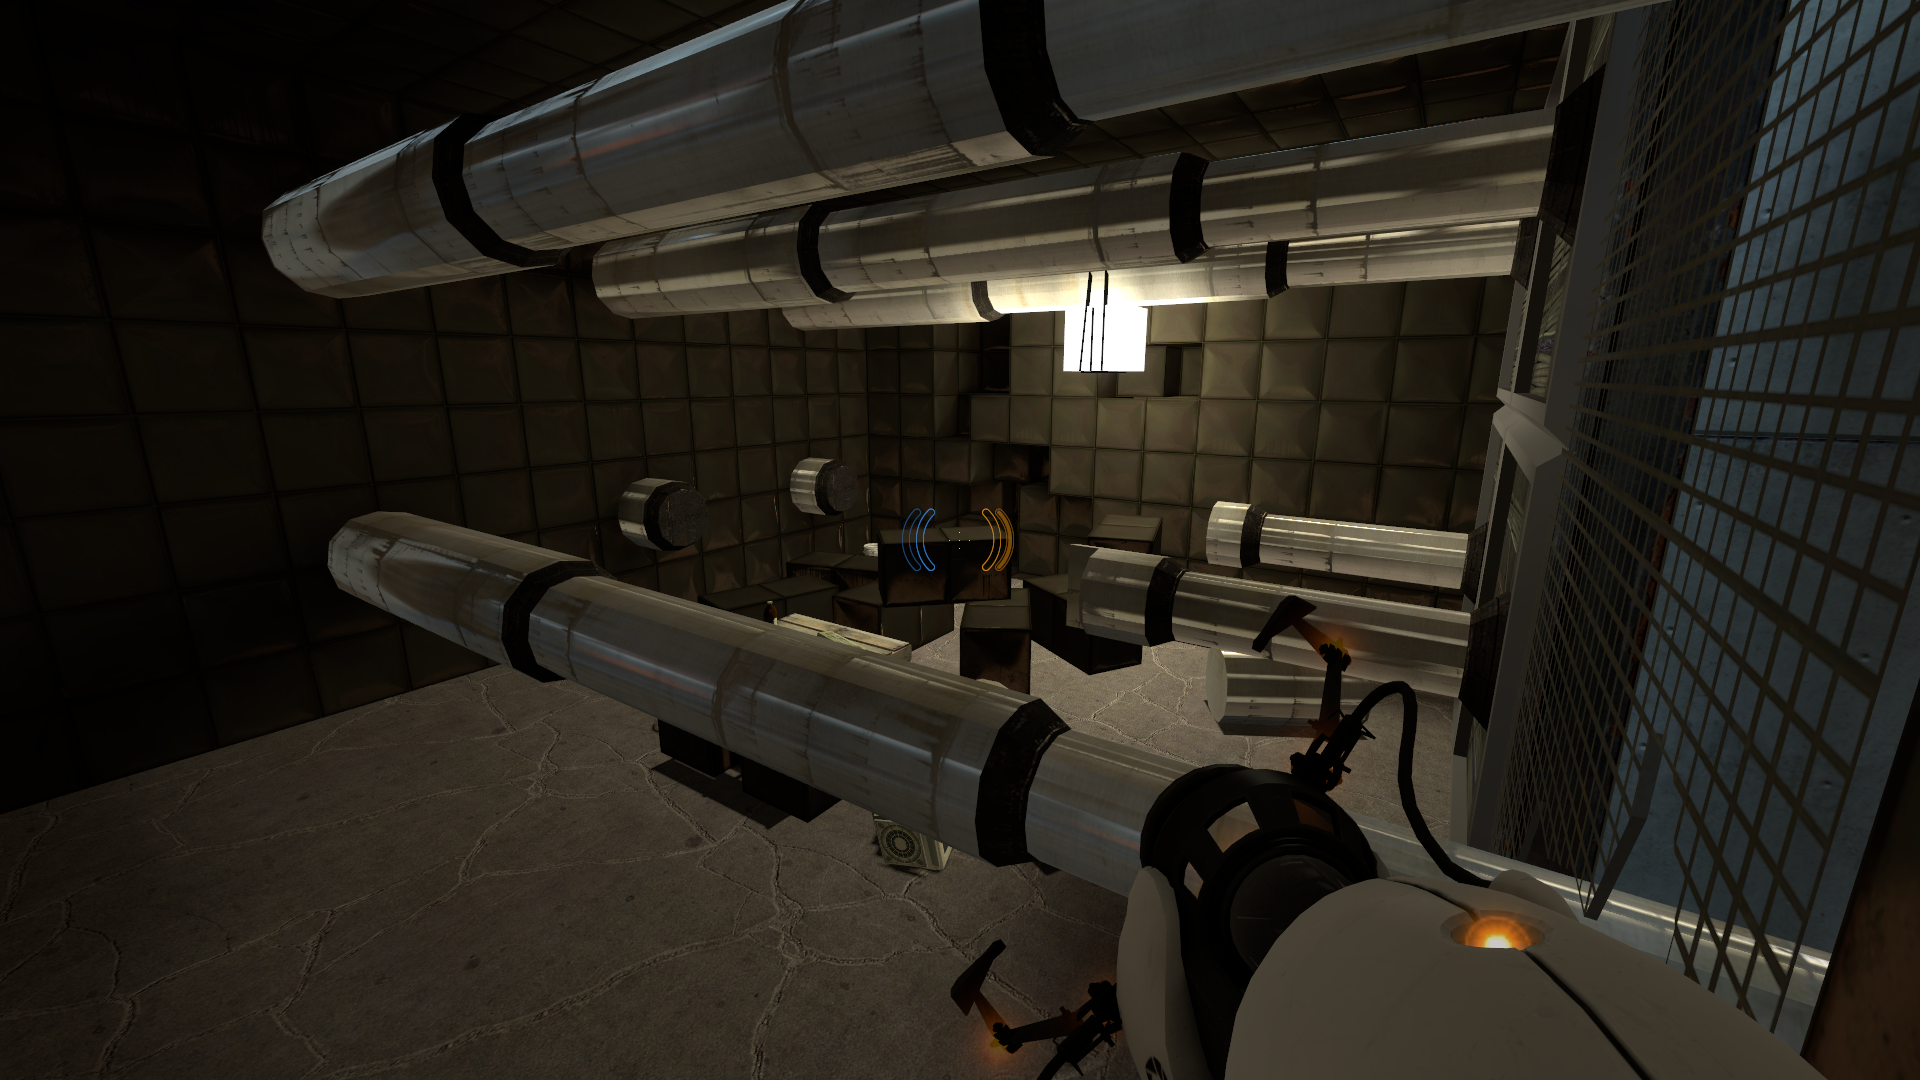
The 2006 version of Test Chamber 16. The chamber lacks an entrance door, and the decals for where to drop cubes on the turrets use Half-Life 2 graffiti (decals/decalgraffiti036a) as a placeholder. The Rattman Den or 'Behind The Scenes' (BTS) section of this map has a drastically different appearance.
testchmb_a_13 (2006)#
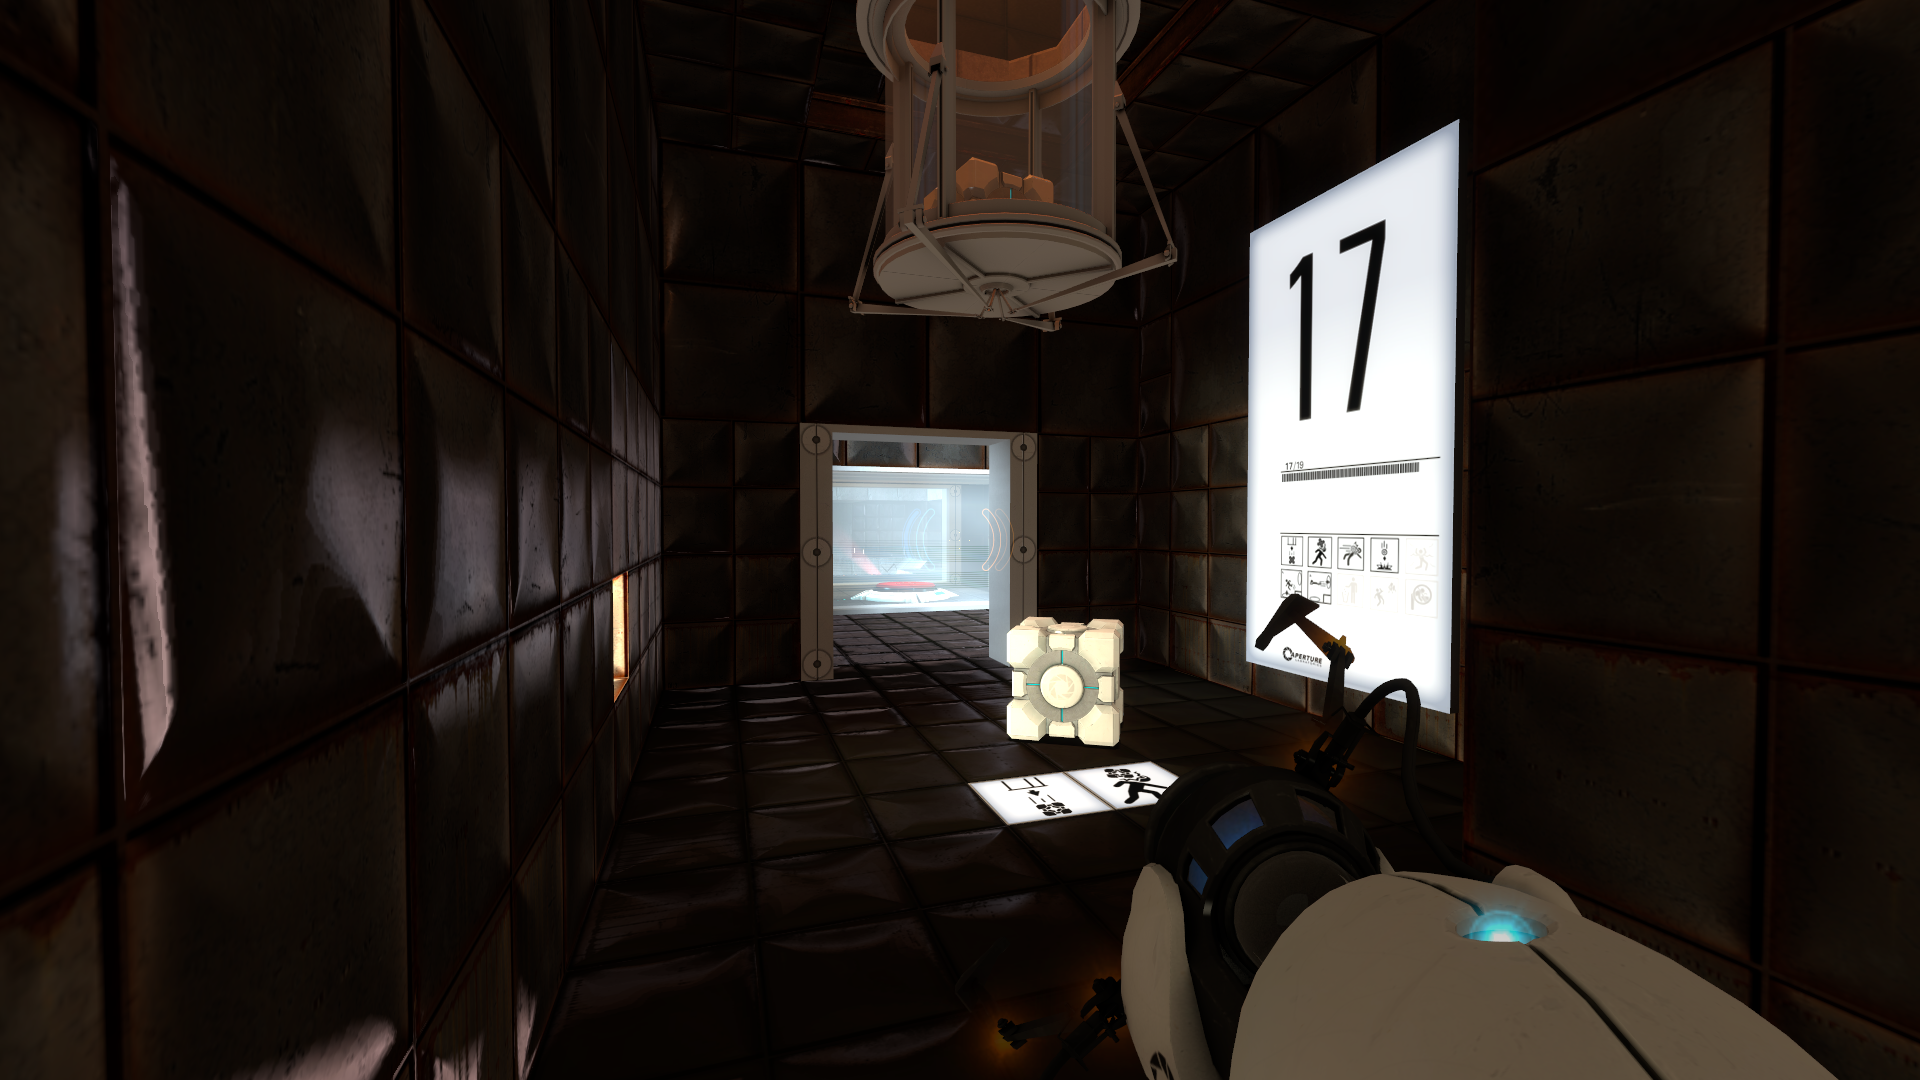
The 2006 version of Test Chamber 17. The Companion Cube is a regular one as it uses the standard skin for the cube instead of the separate skin for the Companion Cube, likely due to the skin not existing at the time. The behind-the-scenes section in the large room is also absent. Notably, the player doesn't destroy the Companion Cube in the final section, as the button just leads to the elevator and the player simply leaves their Companion Cube behind. Interestingly, the unused area seen in the final version of the map is also present here and is also unused and inaccessible without cheats.
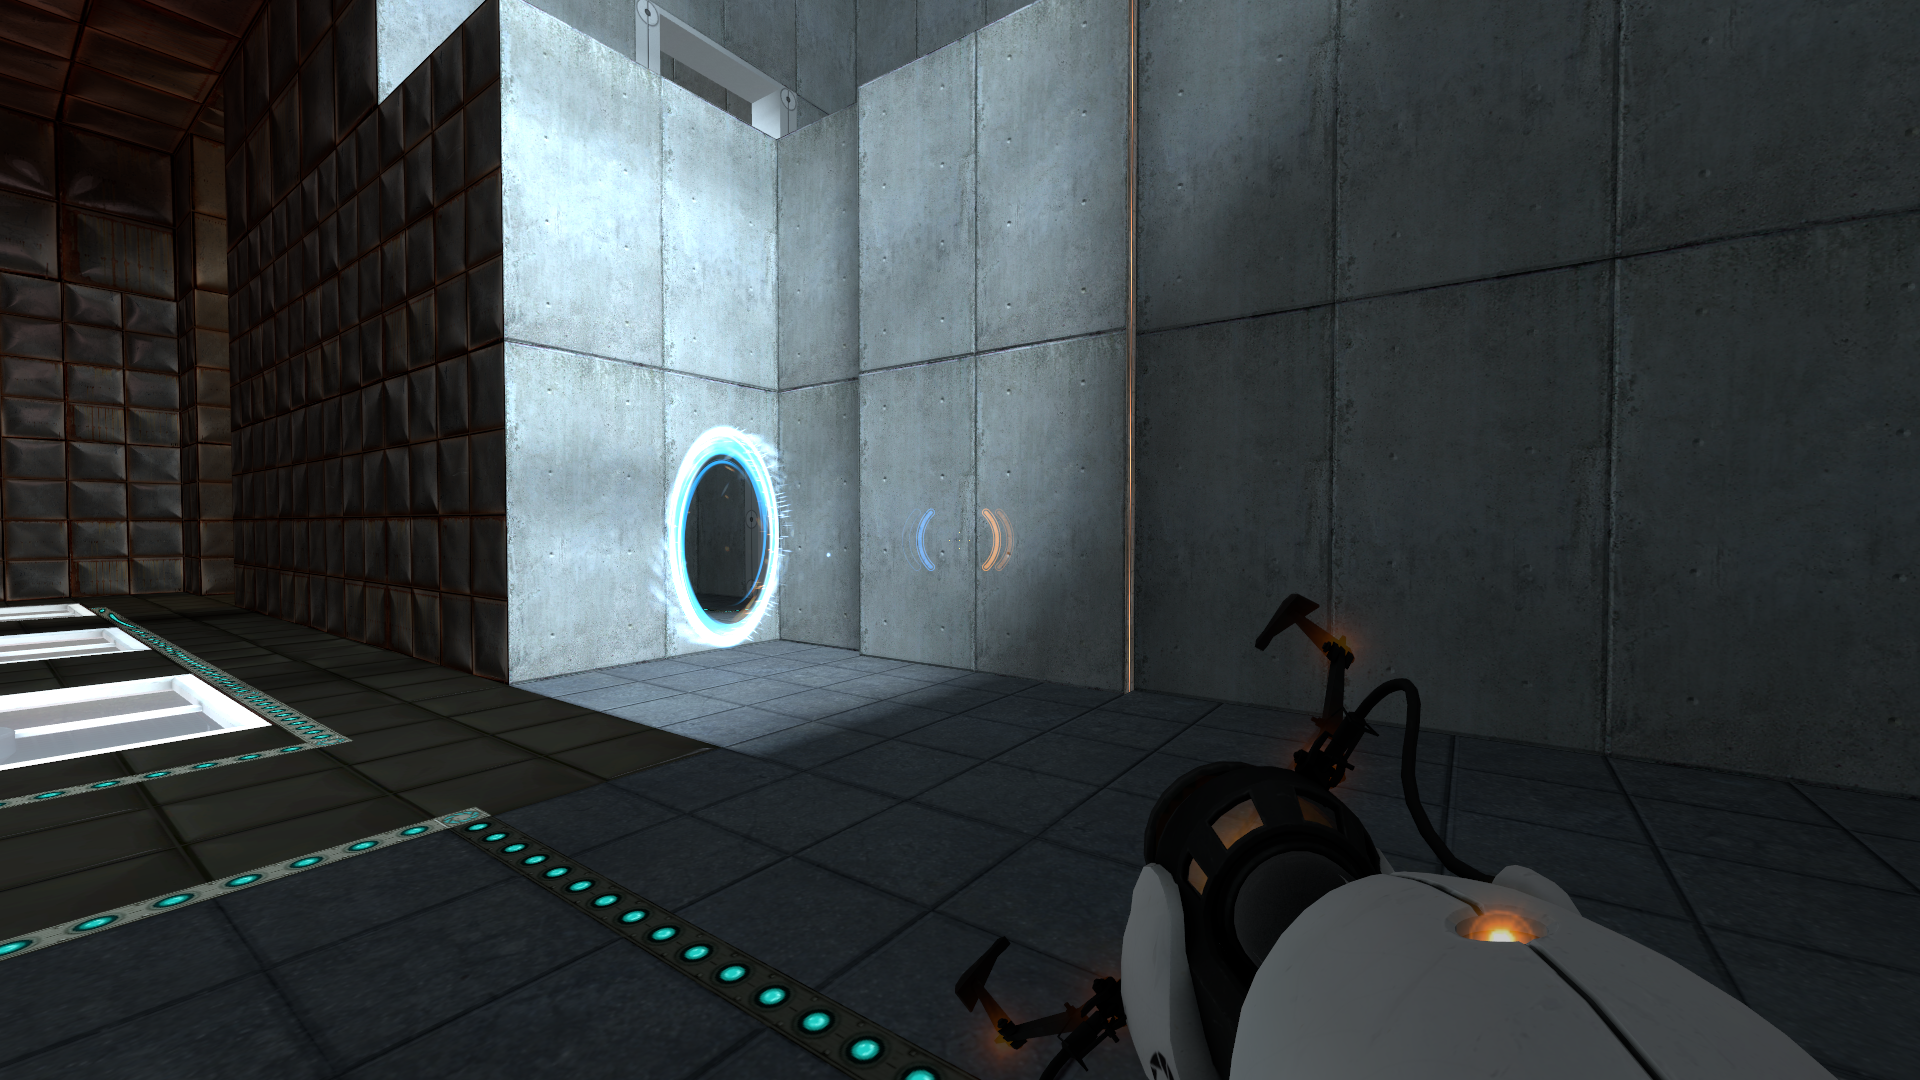
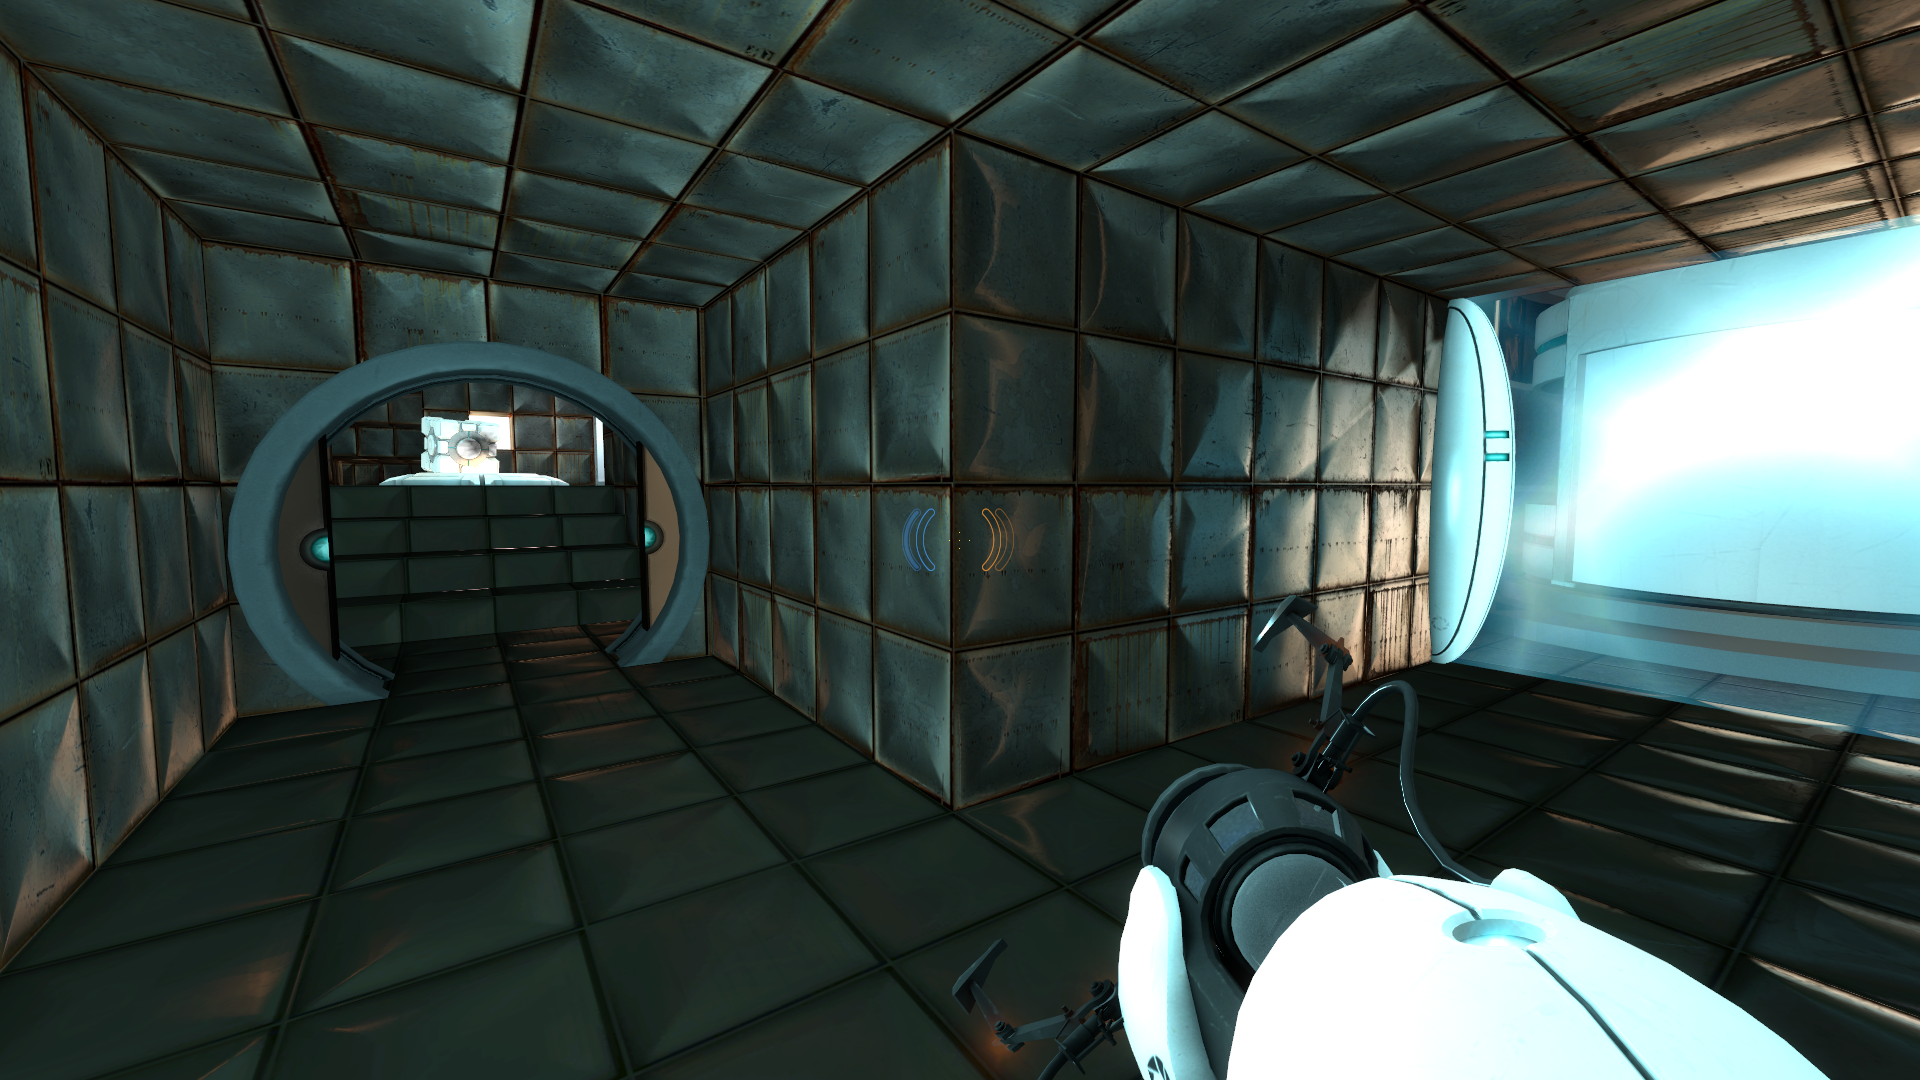
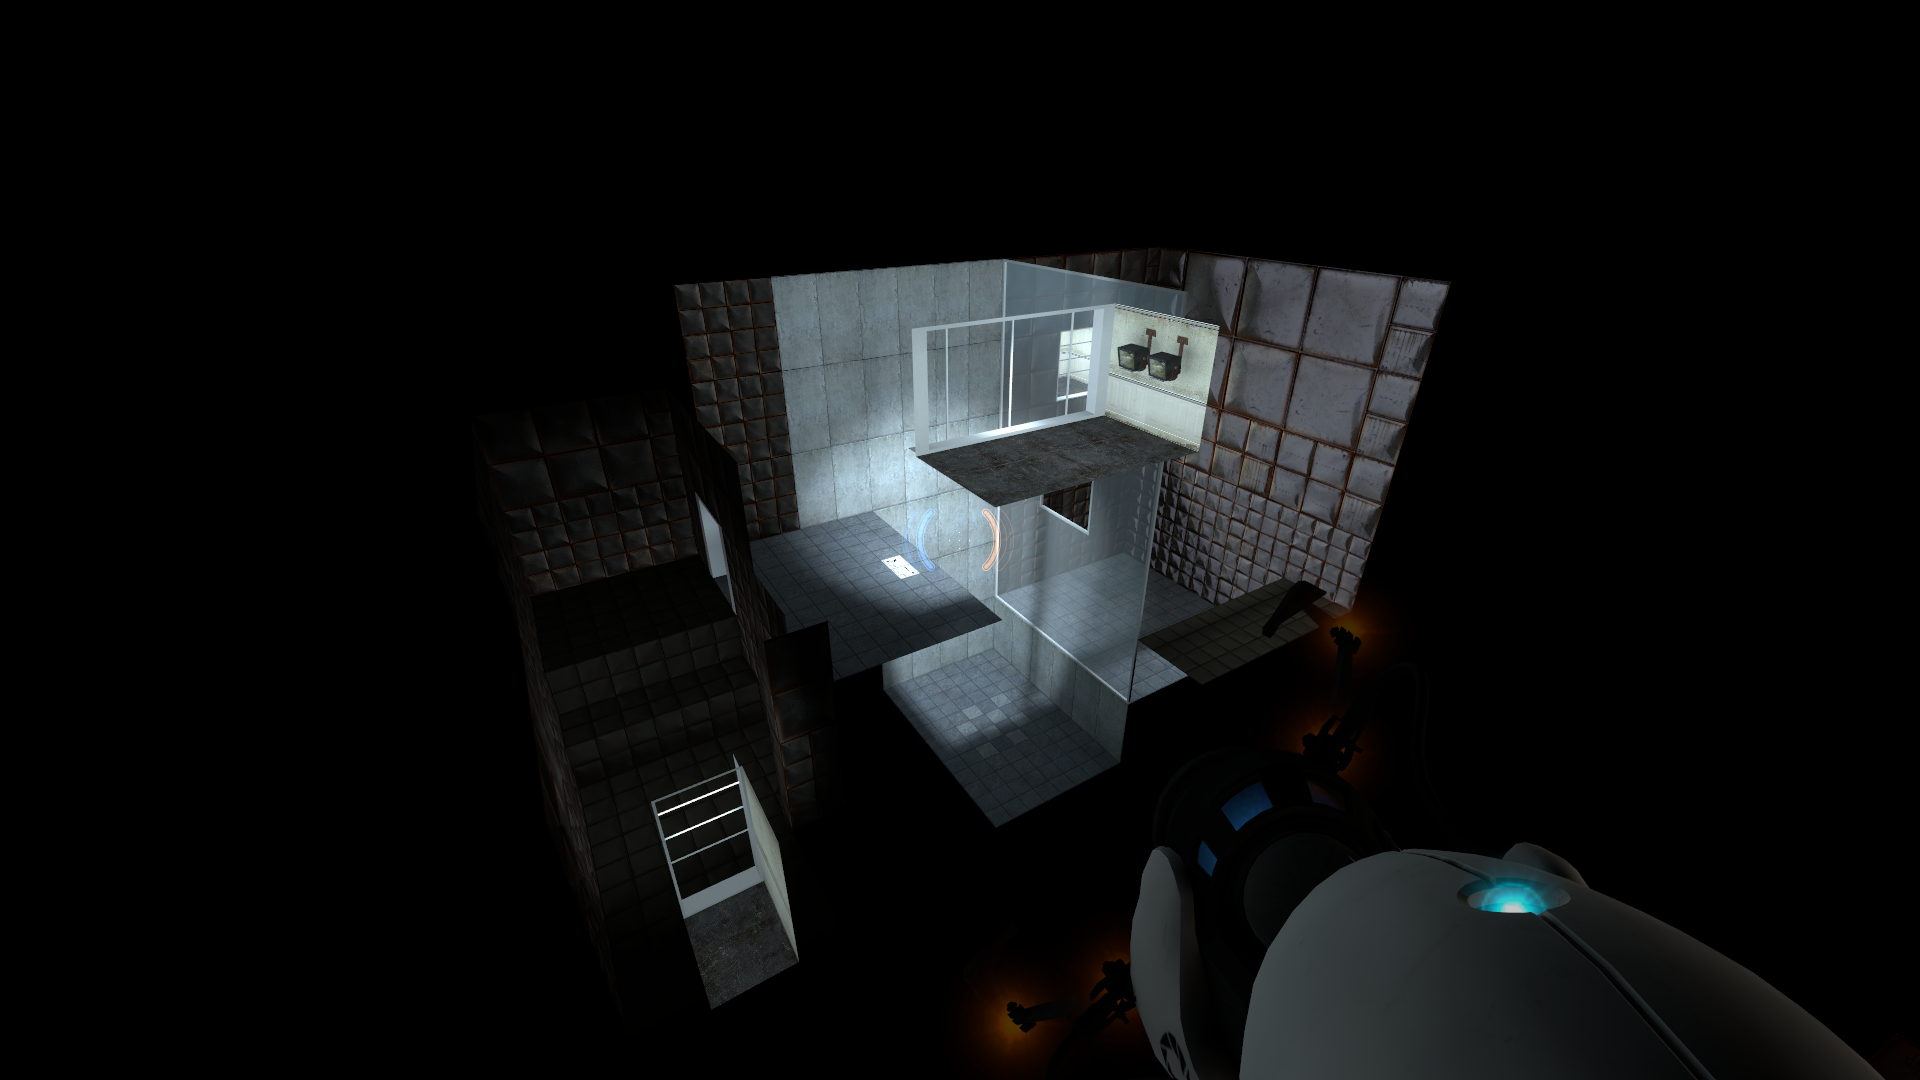
testchmb_a_14 (2006)#
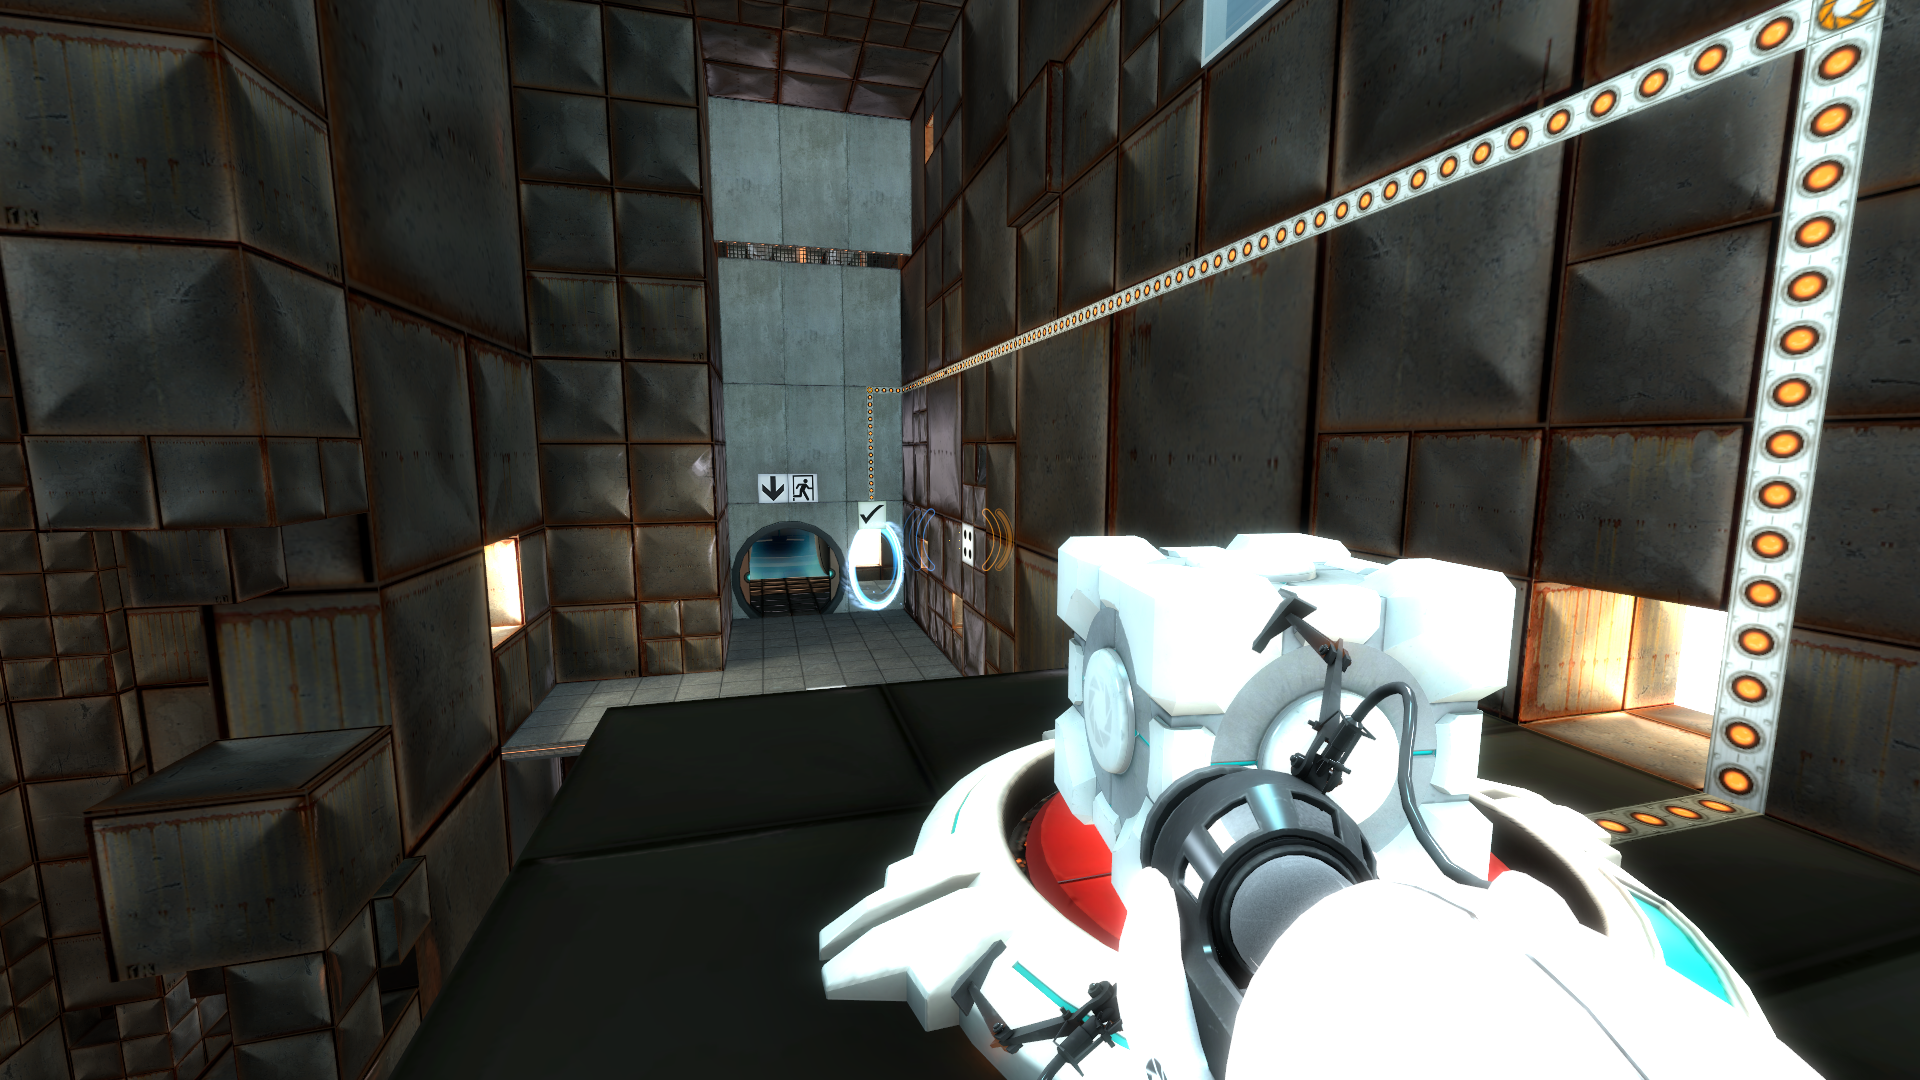
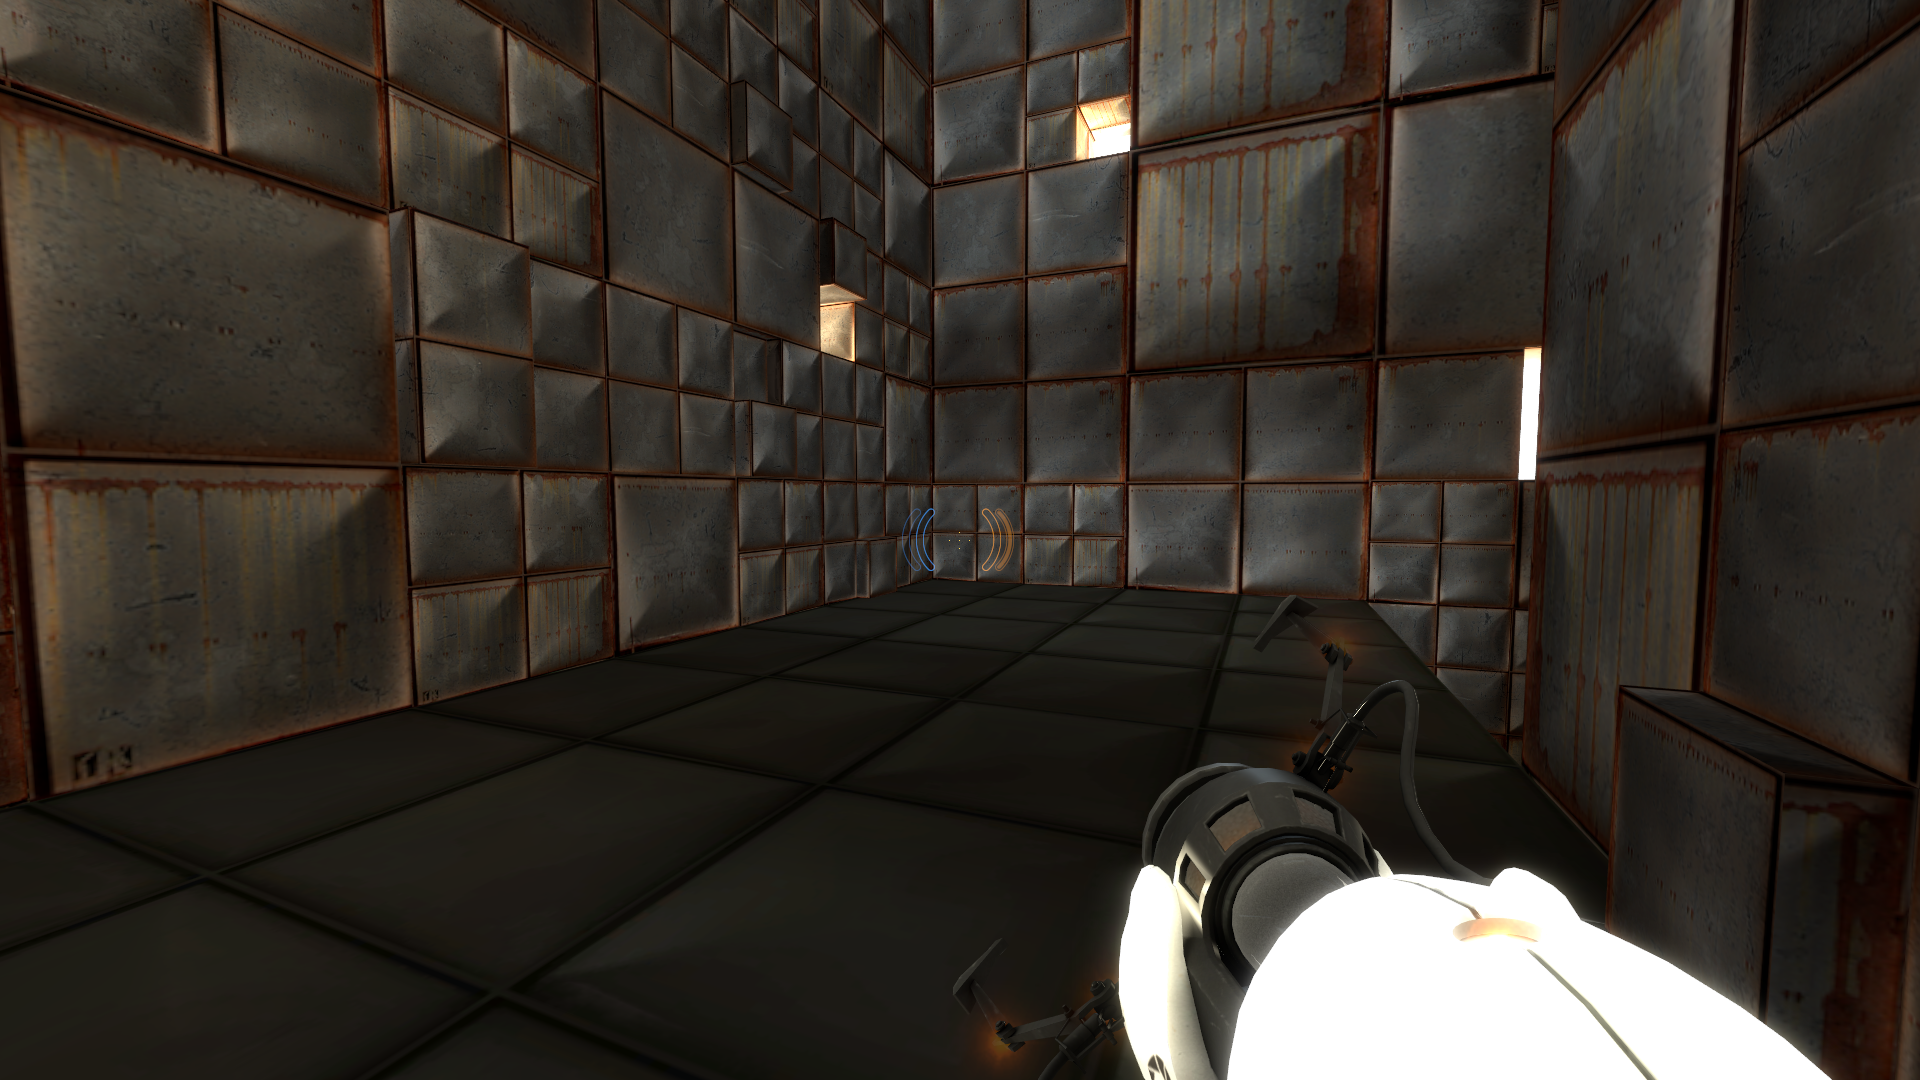
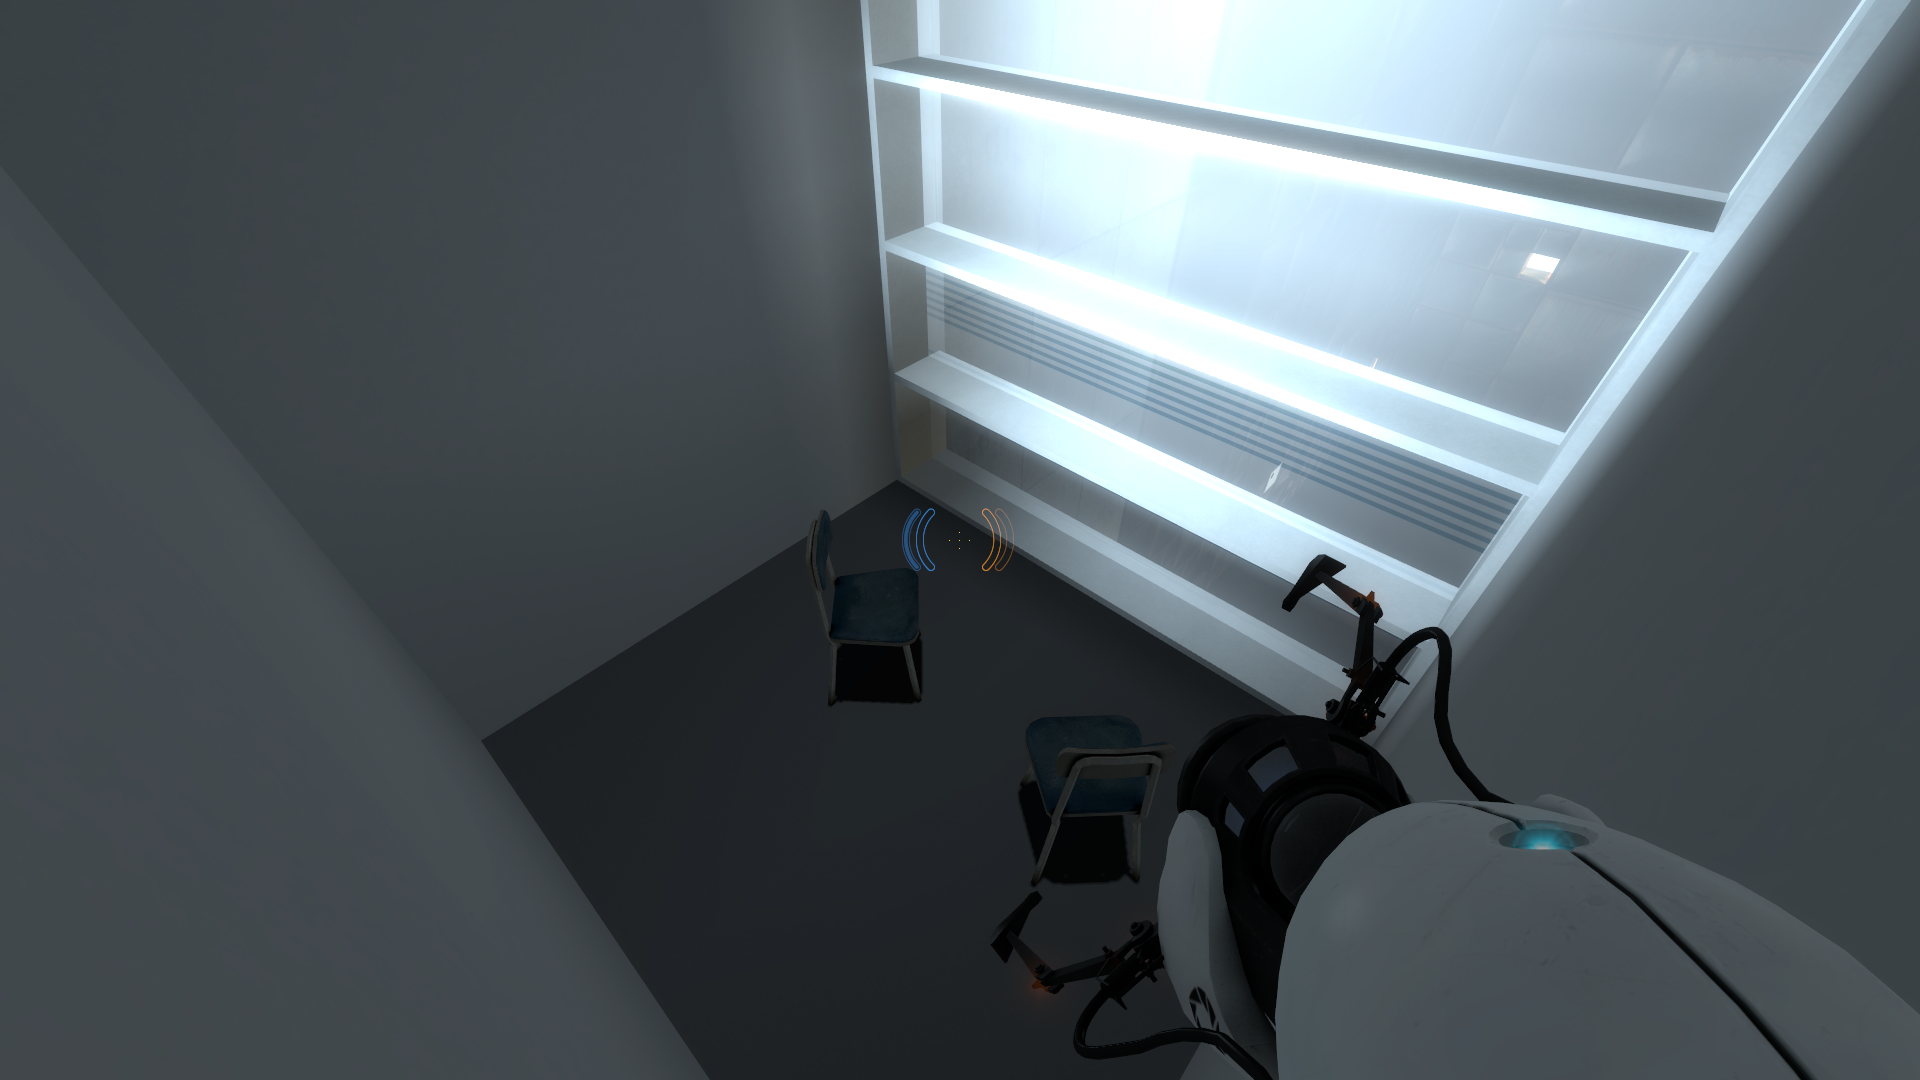
The 2006 version of Test Chamber 18. The beginning BTS area is absent. The turret-filled room features an open doorway instead of a moving platform, though the fling slope is still there. The final upward fling area is completely absent, and the door just leads to the exit elevator. What's interesting is that the observation room that is used to oversee the very beginning this chamber, is the same one from lab_lvl3a/lab_lvl4 in the 2005-2006 era of development, and features the same appearance here, albeit with missing props and looking quite empty.
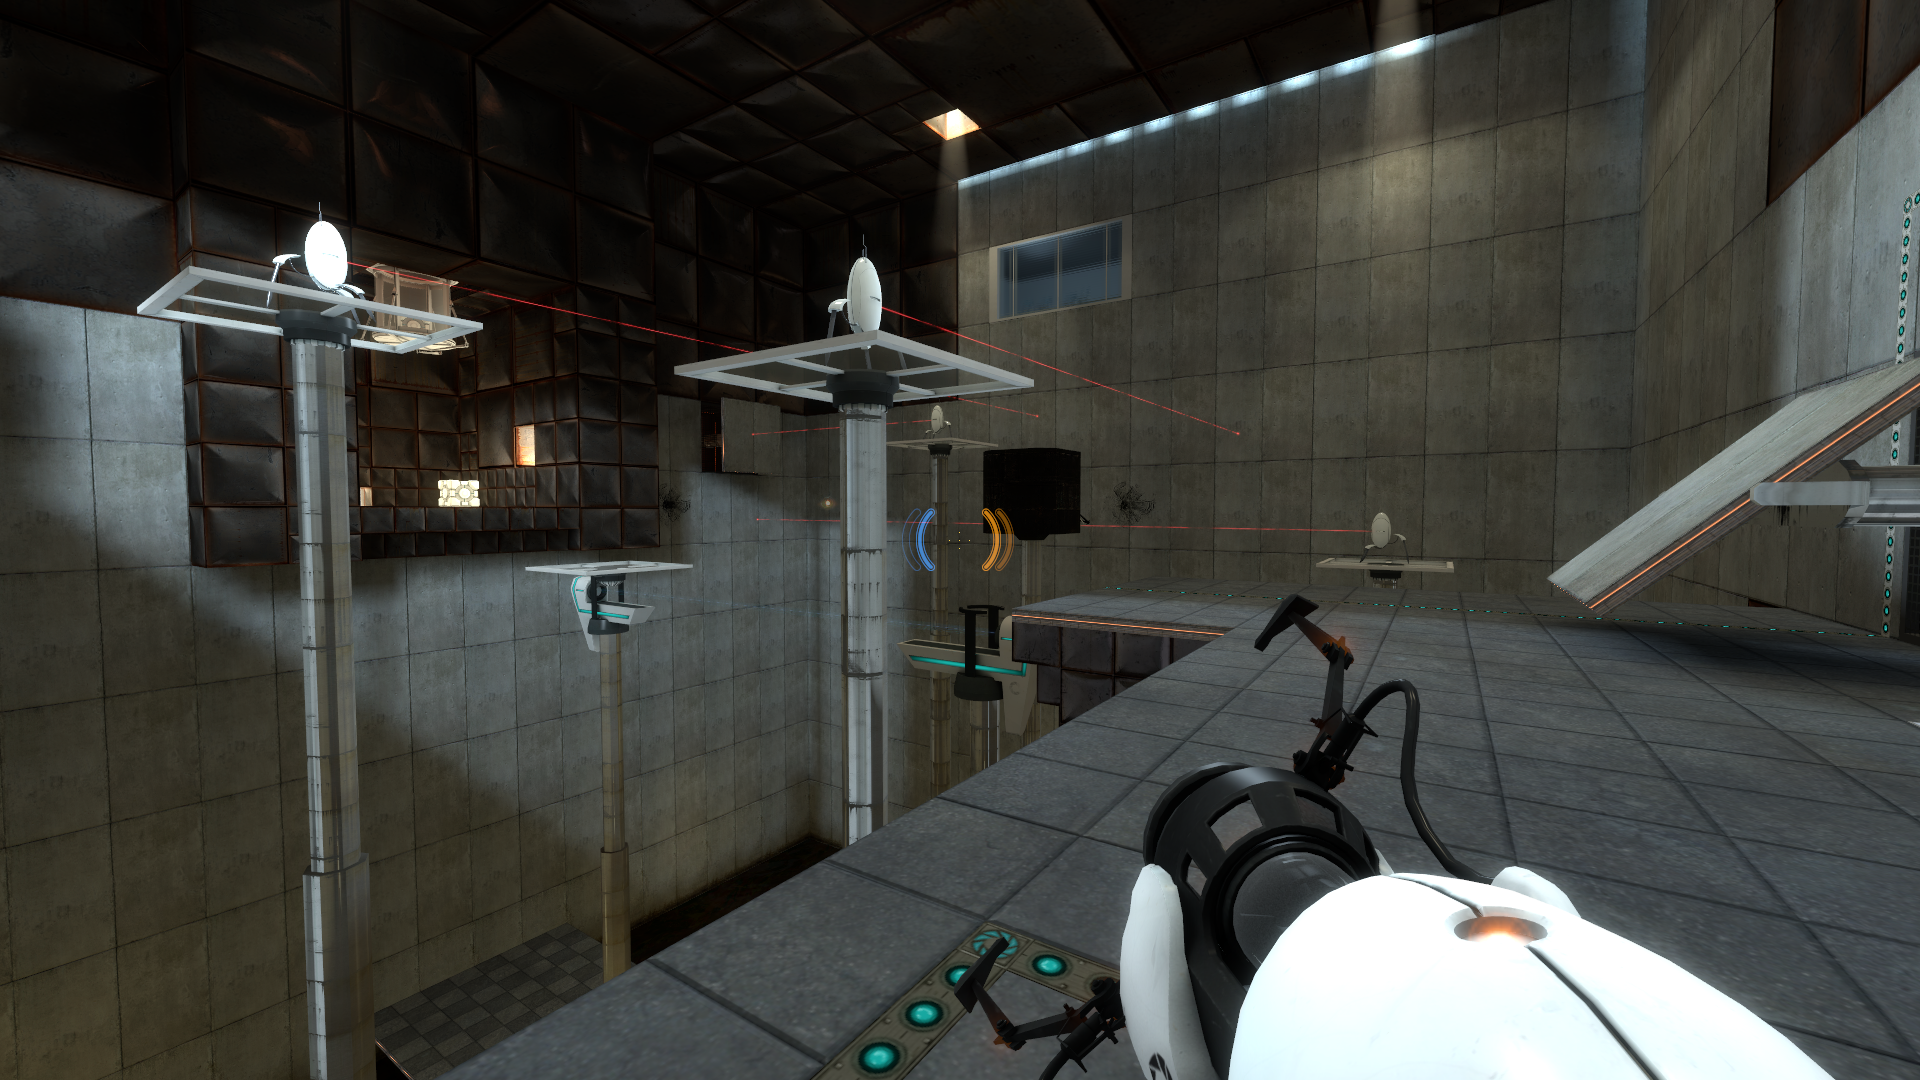
testchmb_a_15 (2006)#
The 2006 version of Test Chamber 19. The first puzzle has a different setup, and the escape sequence has an entirely different setup with early textures being used on the floors and walls.
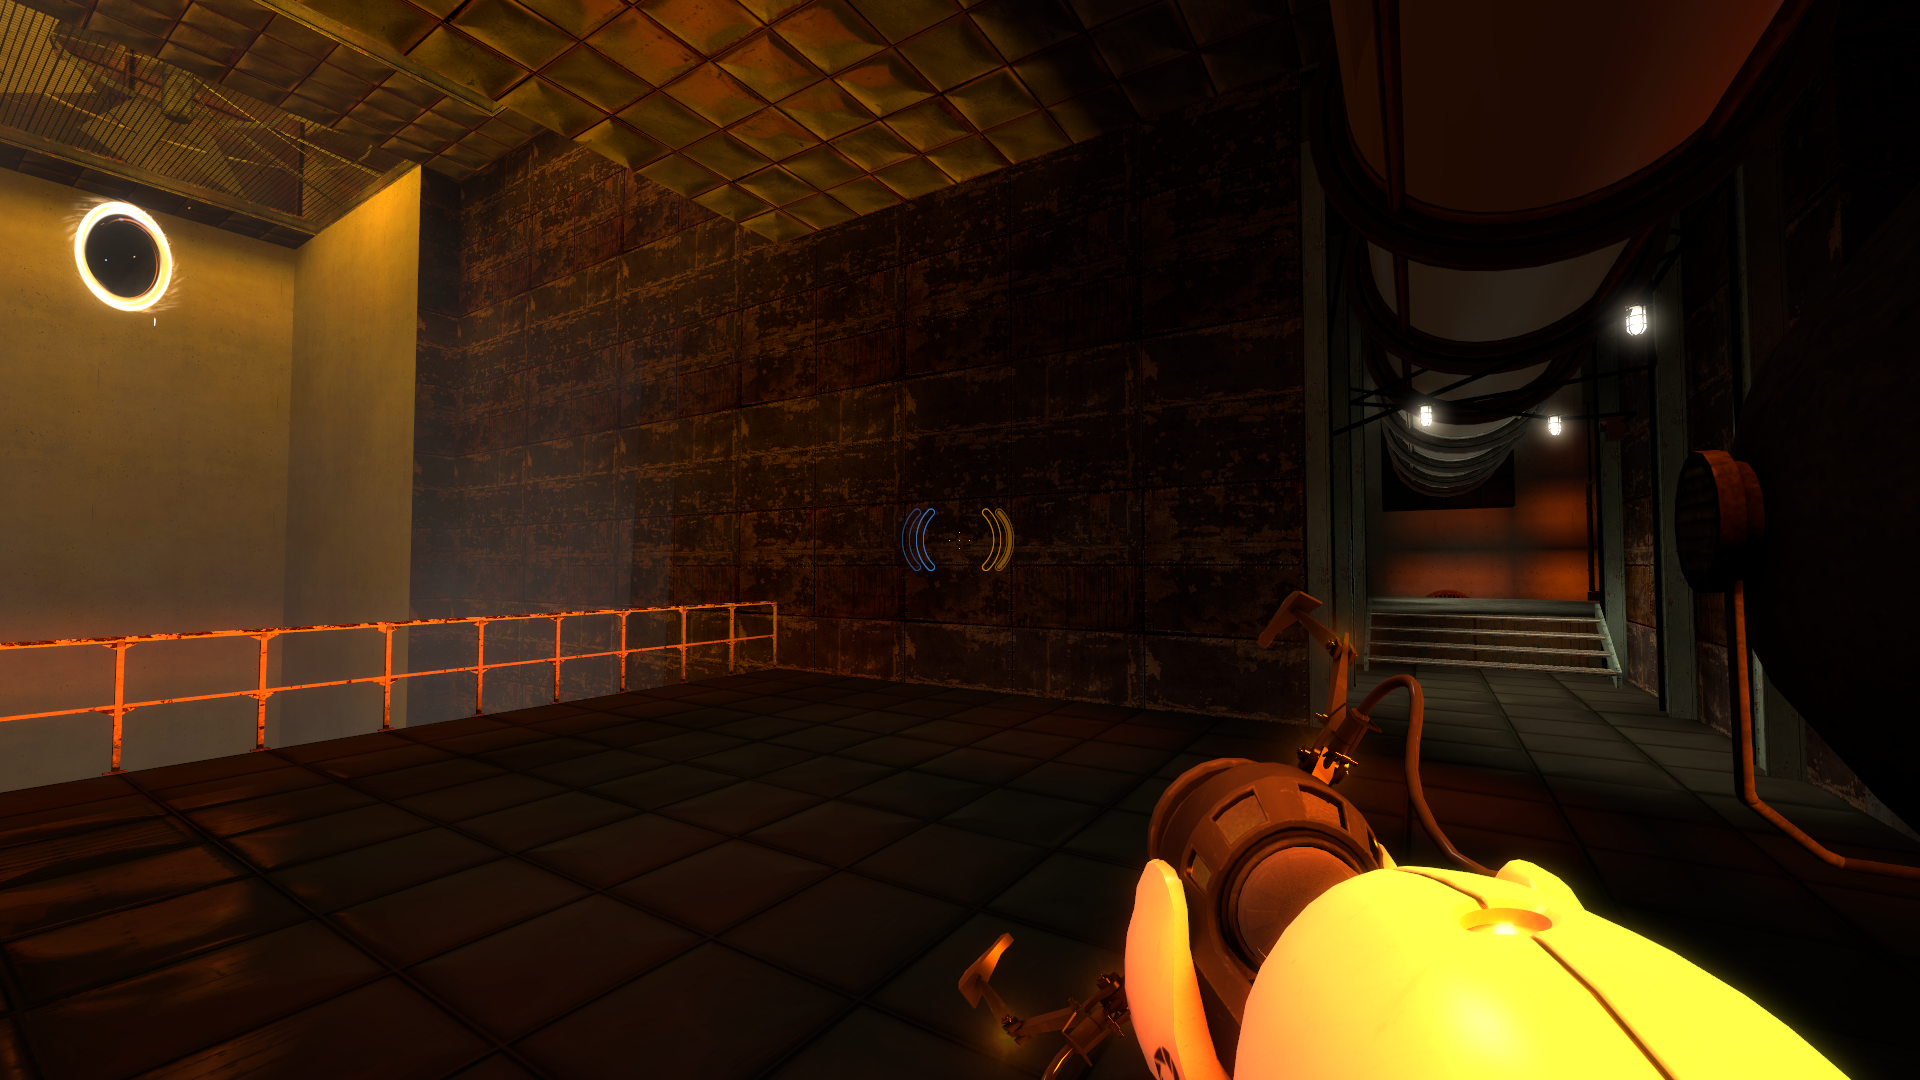
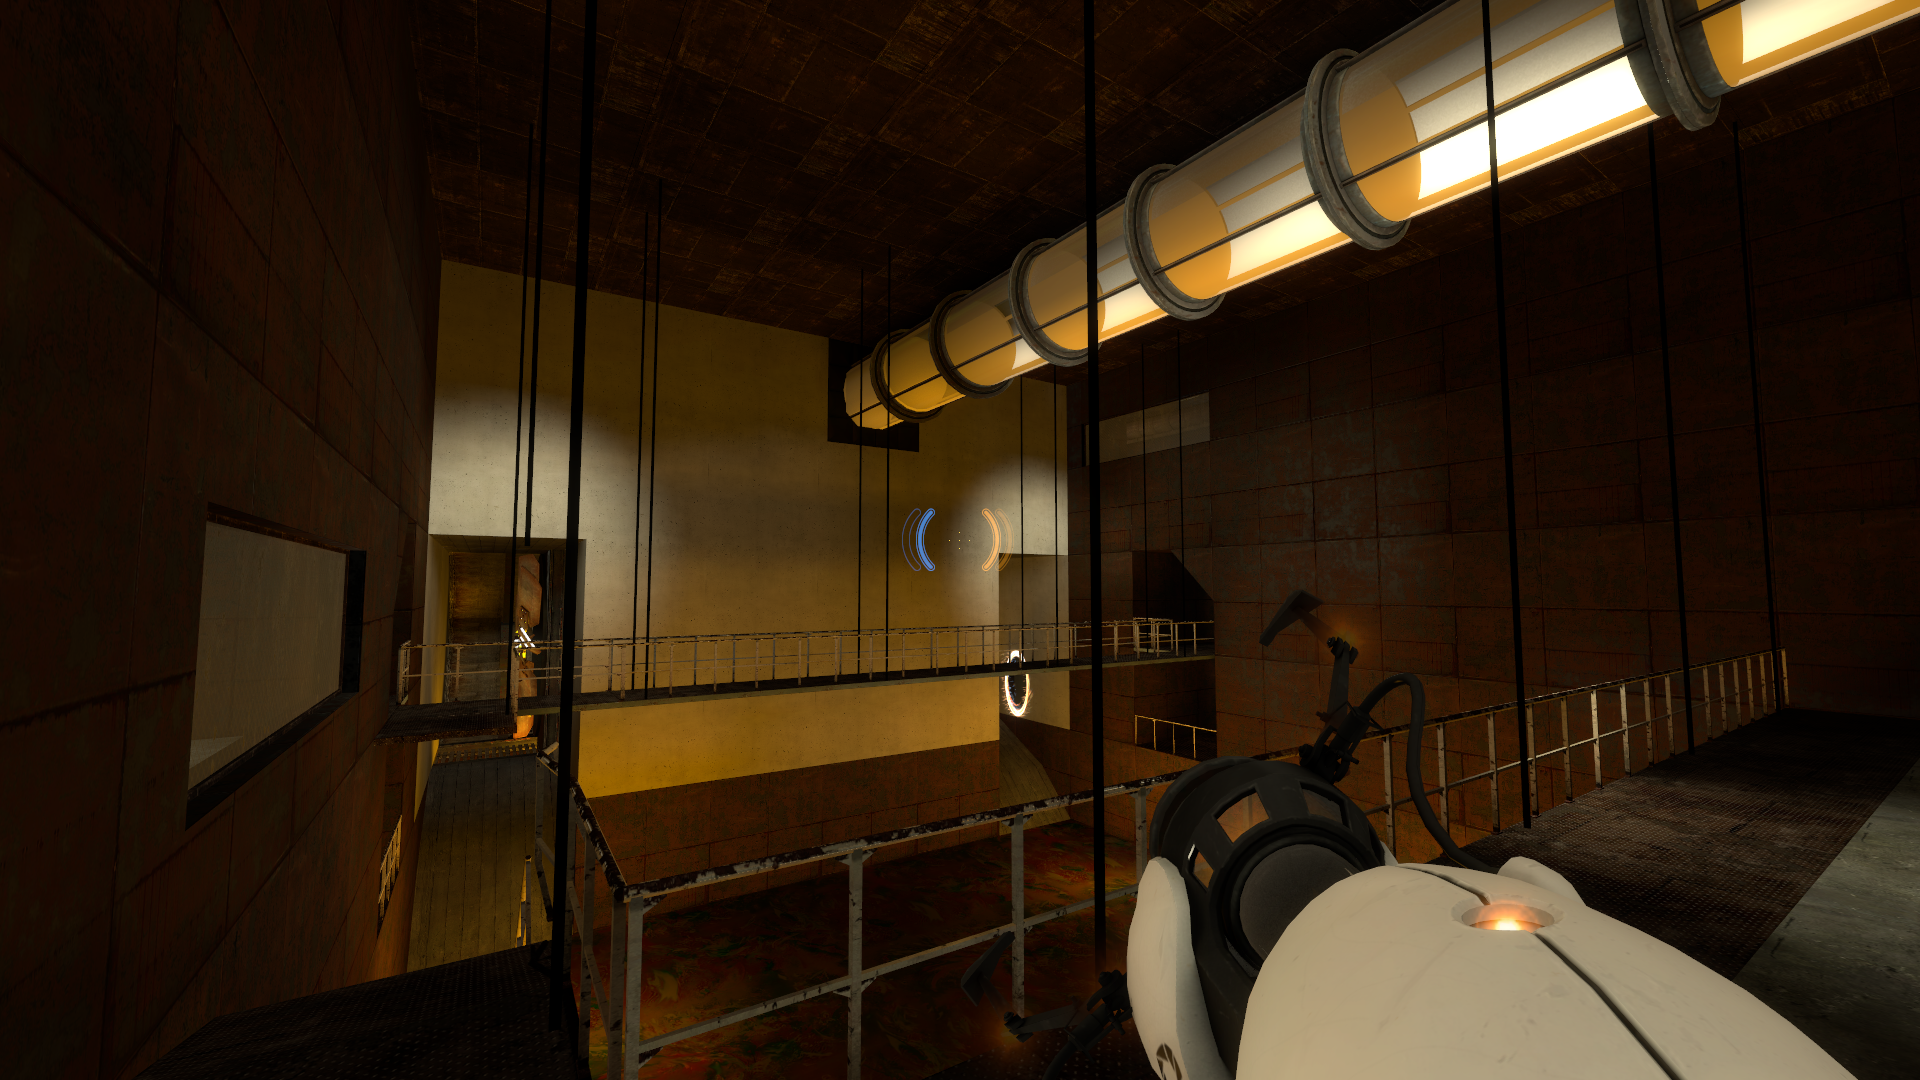
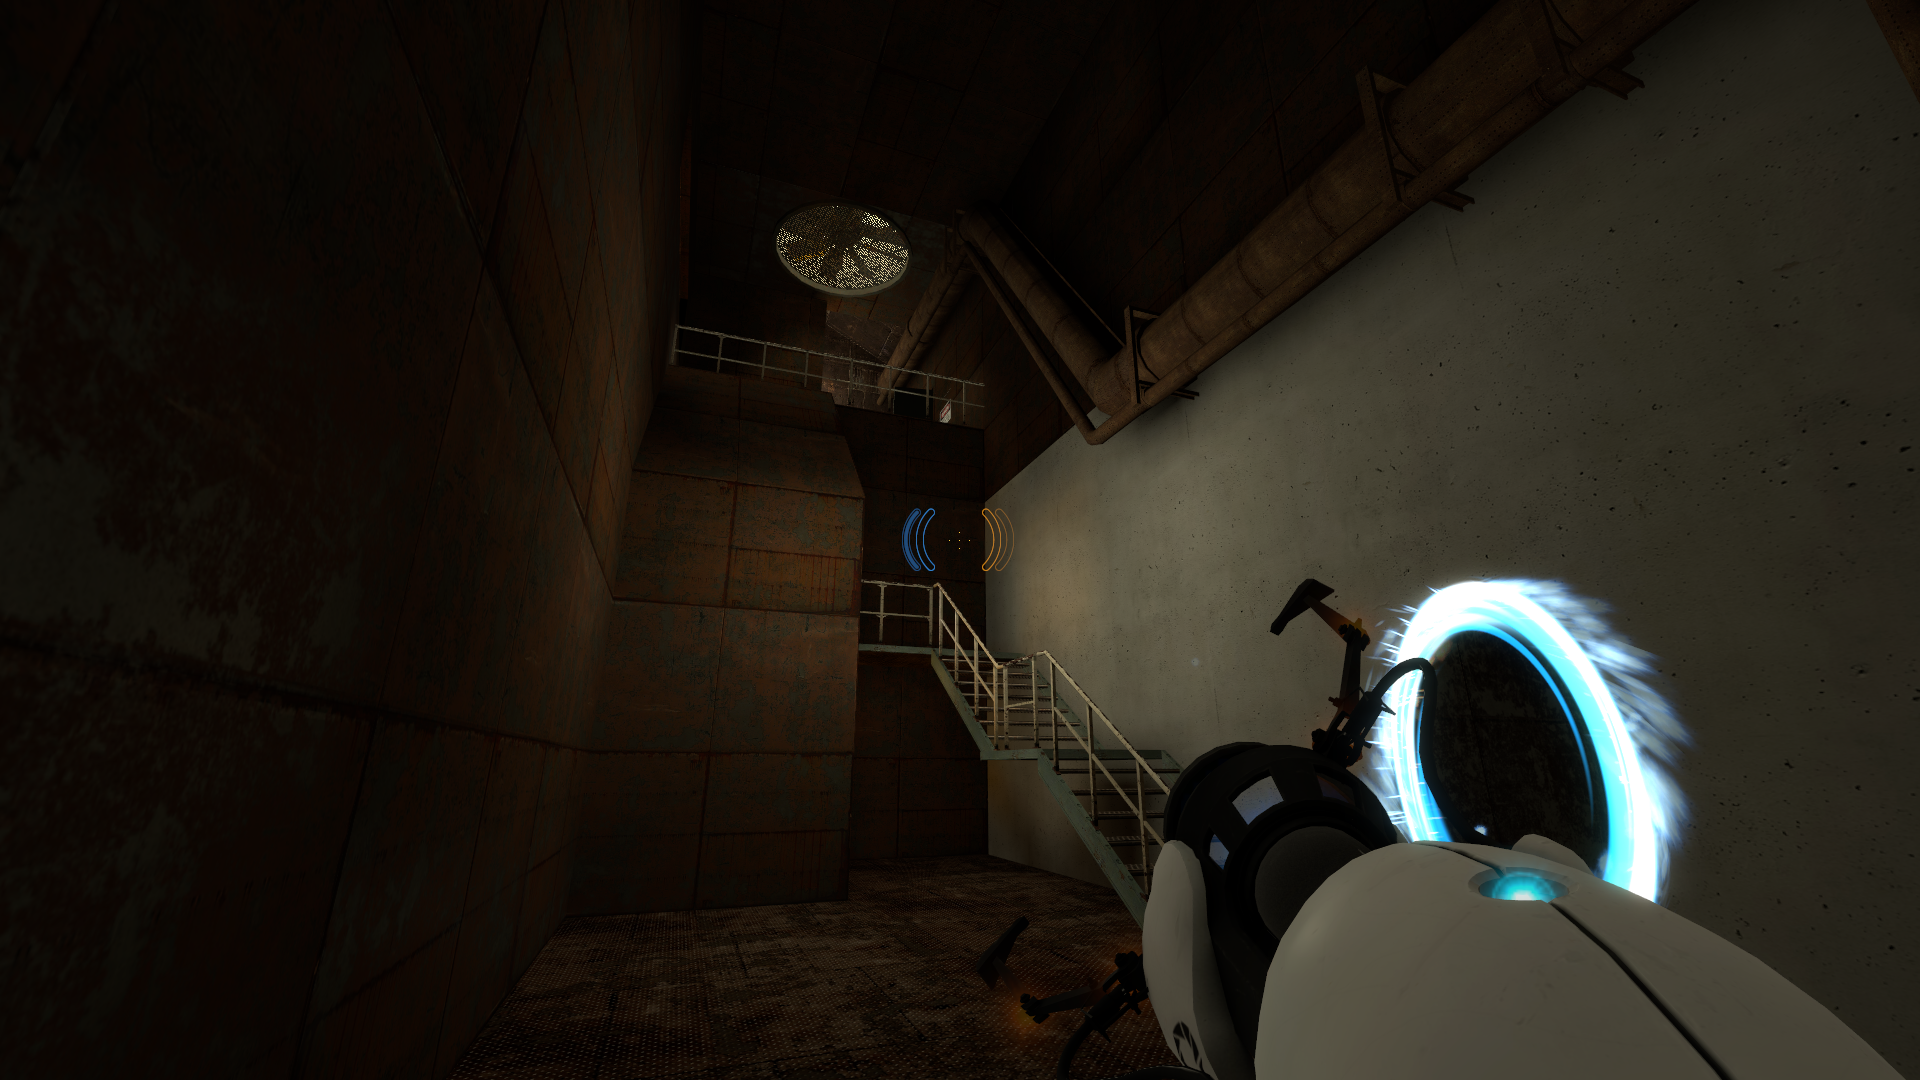
escape_00 (2006)#
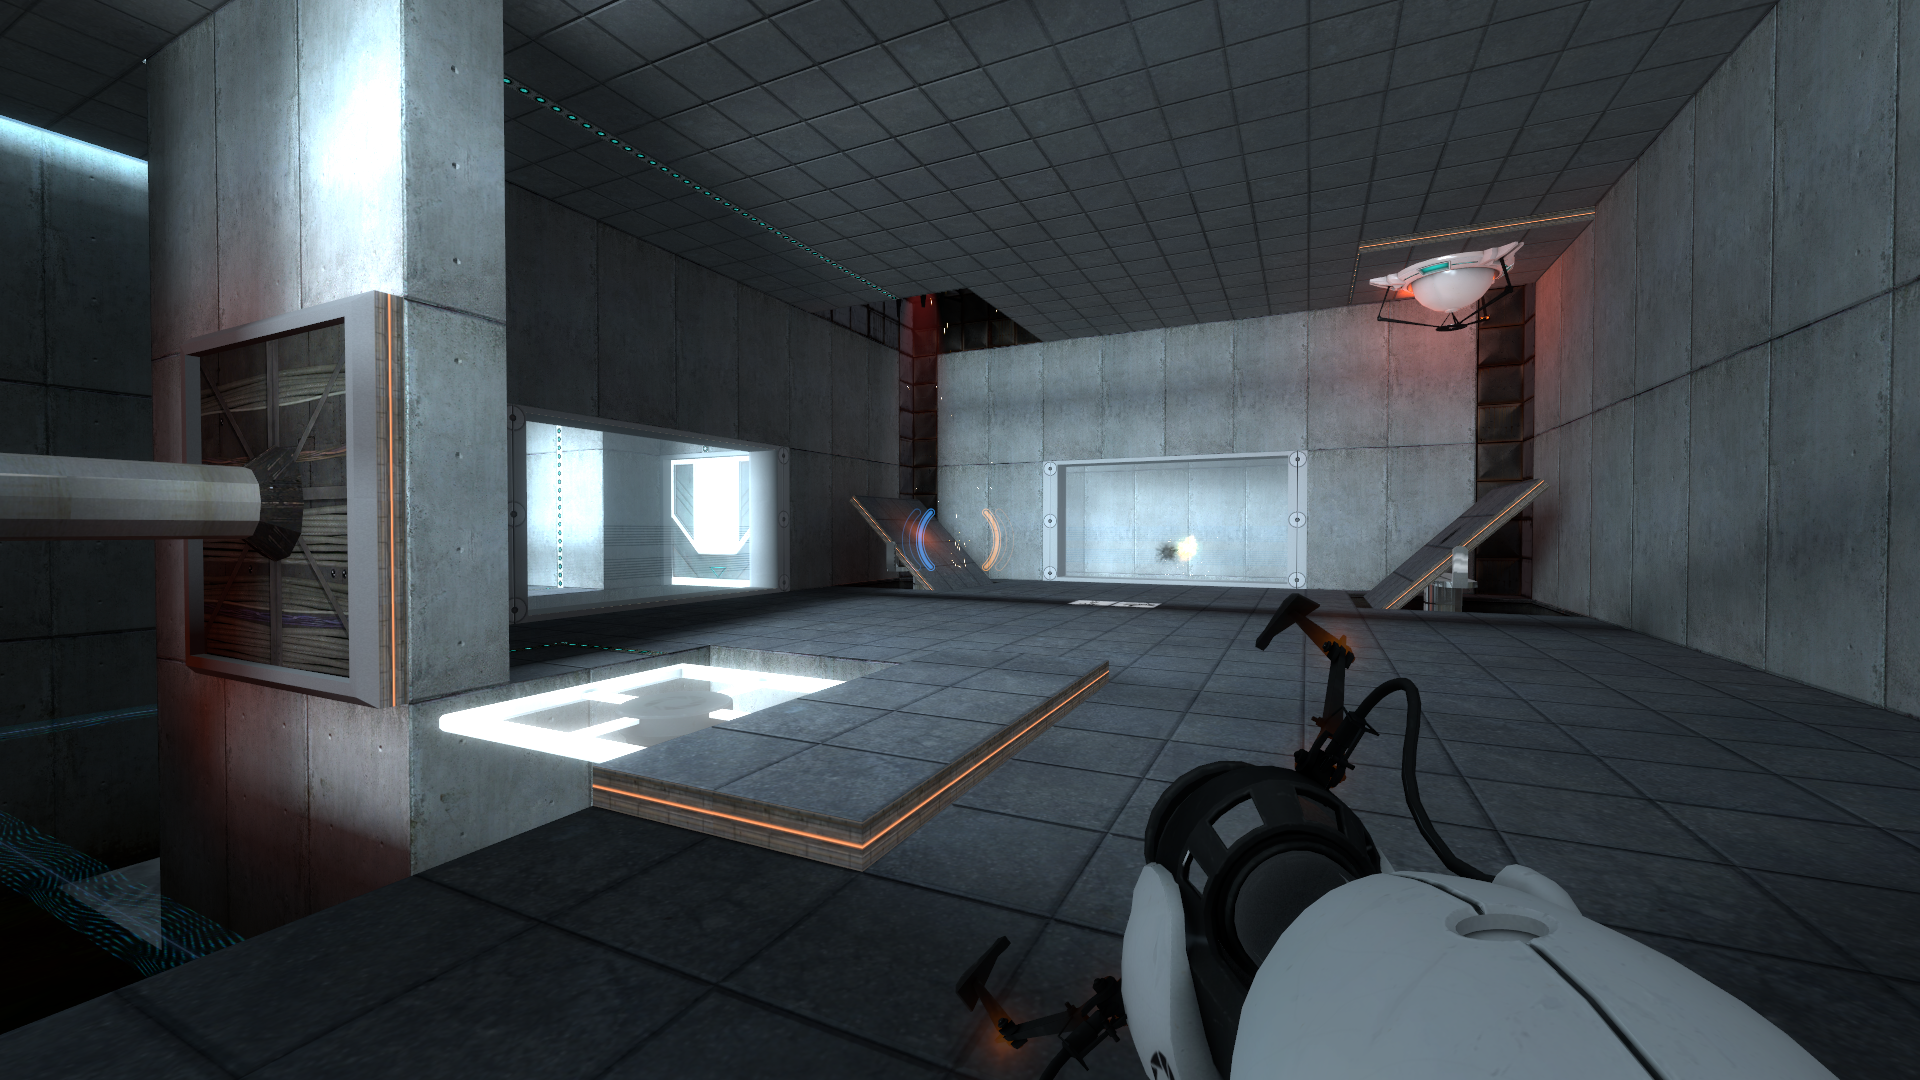
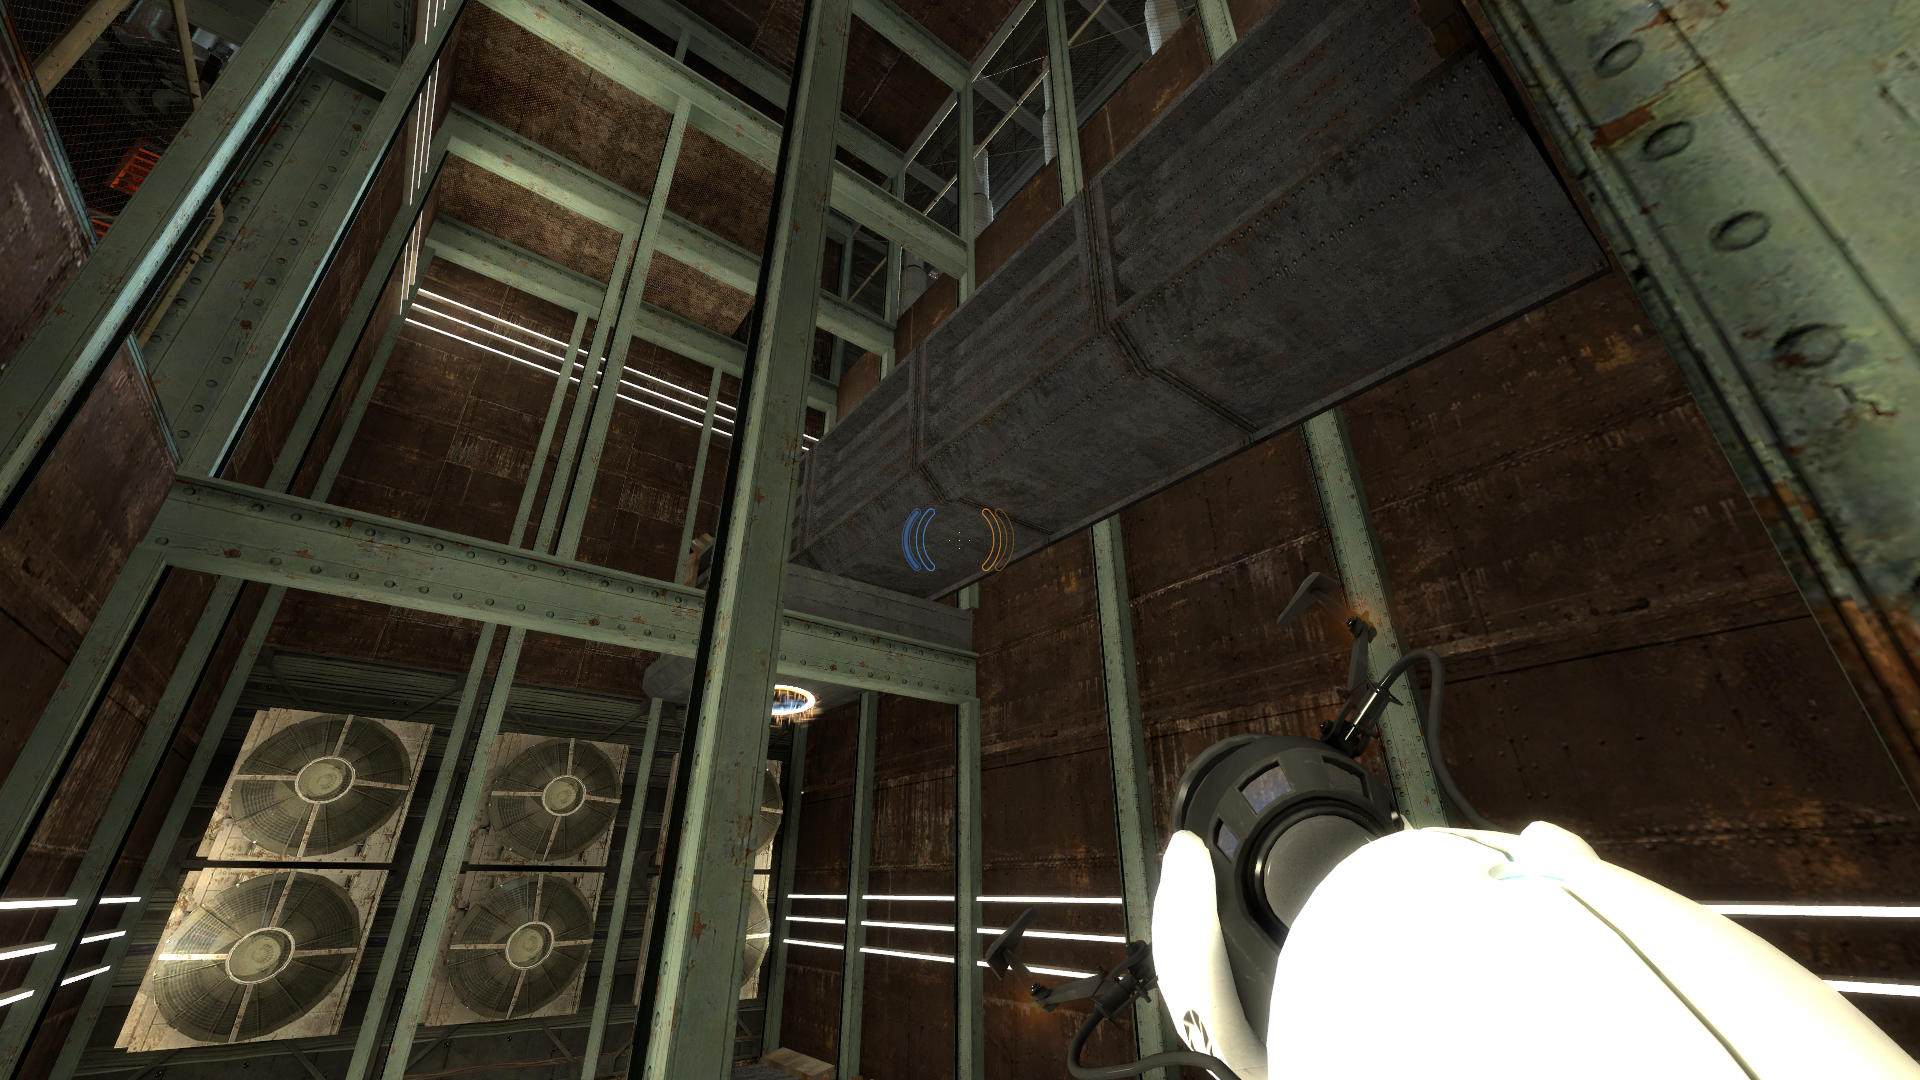
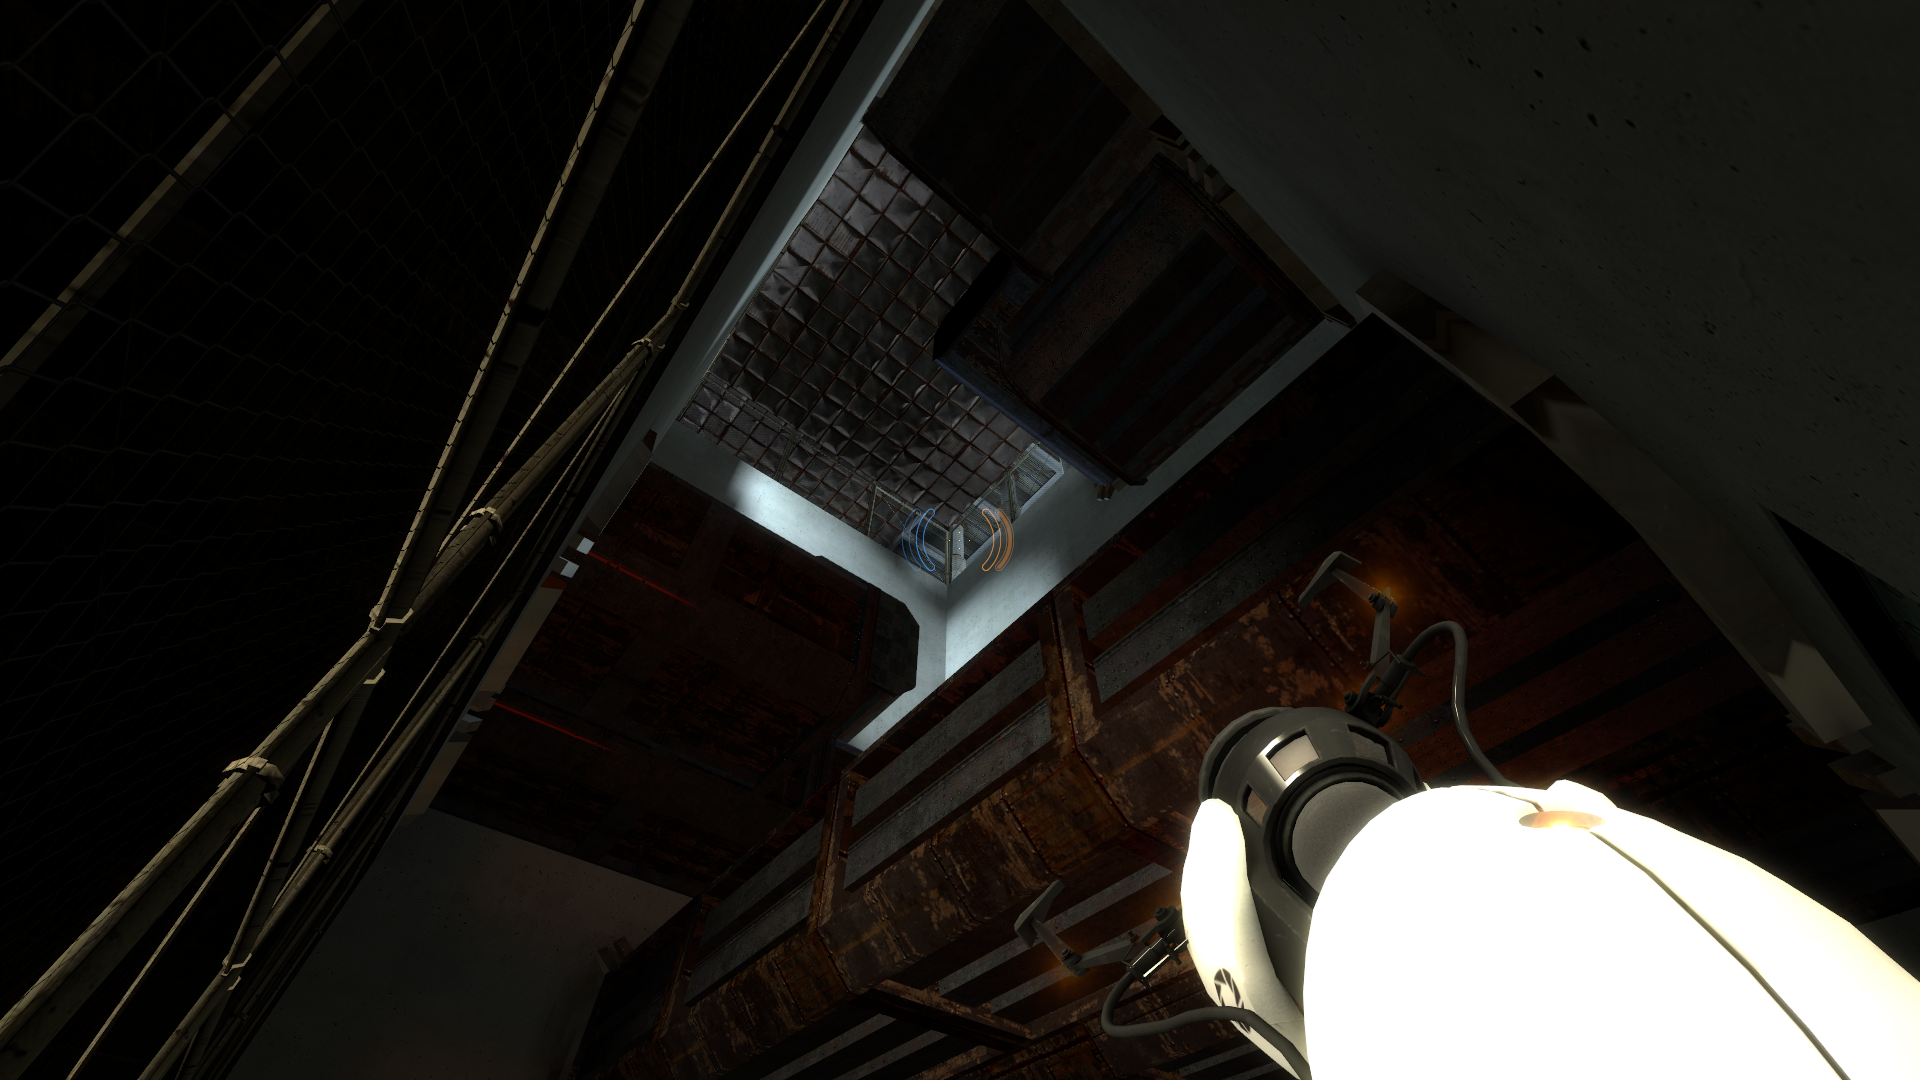
The escape sequence uses completley different textures for walls and different designs from some of the piston crushers but otherwise, the layout is fairly close to the final.
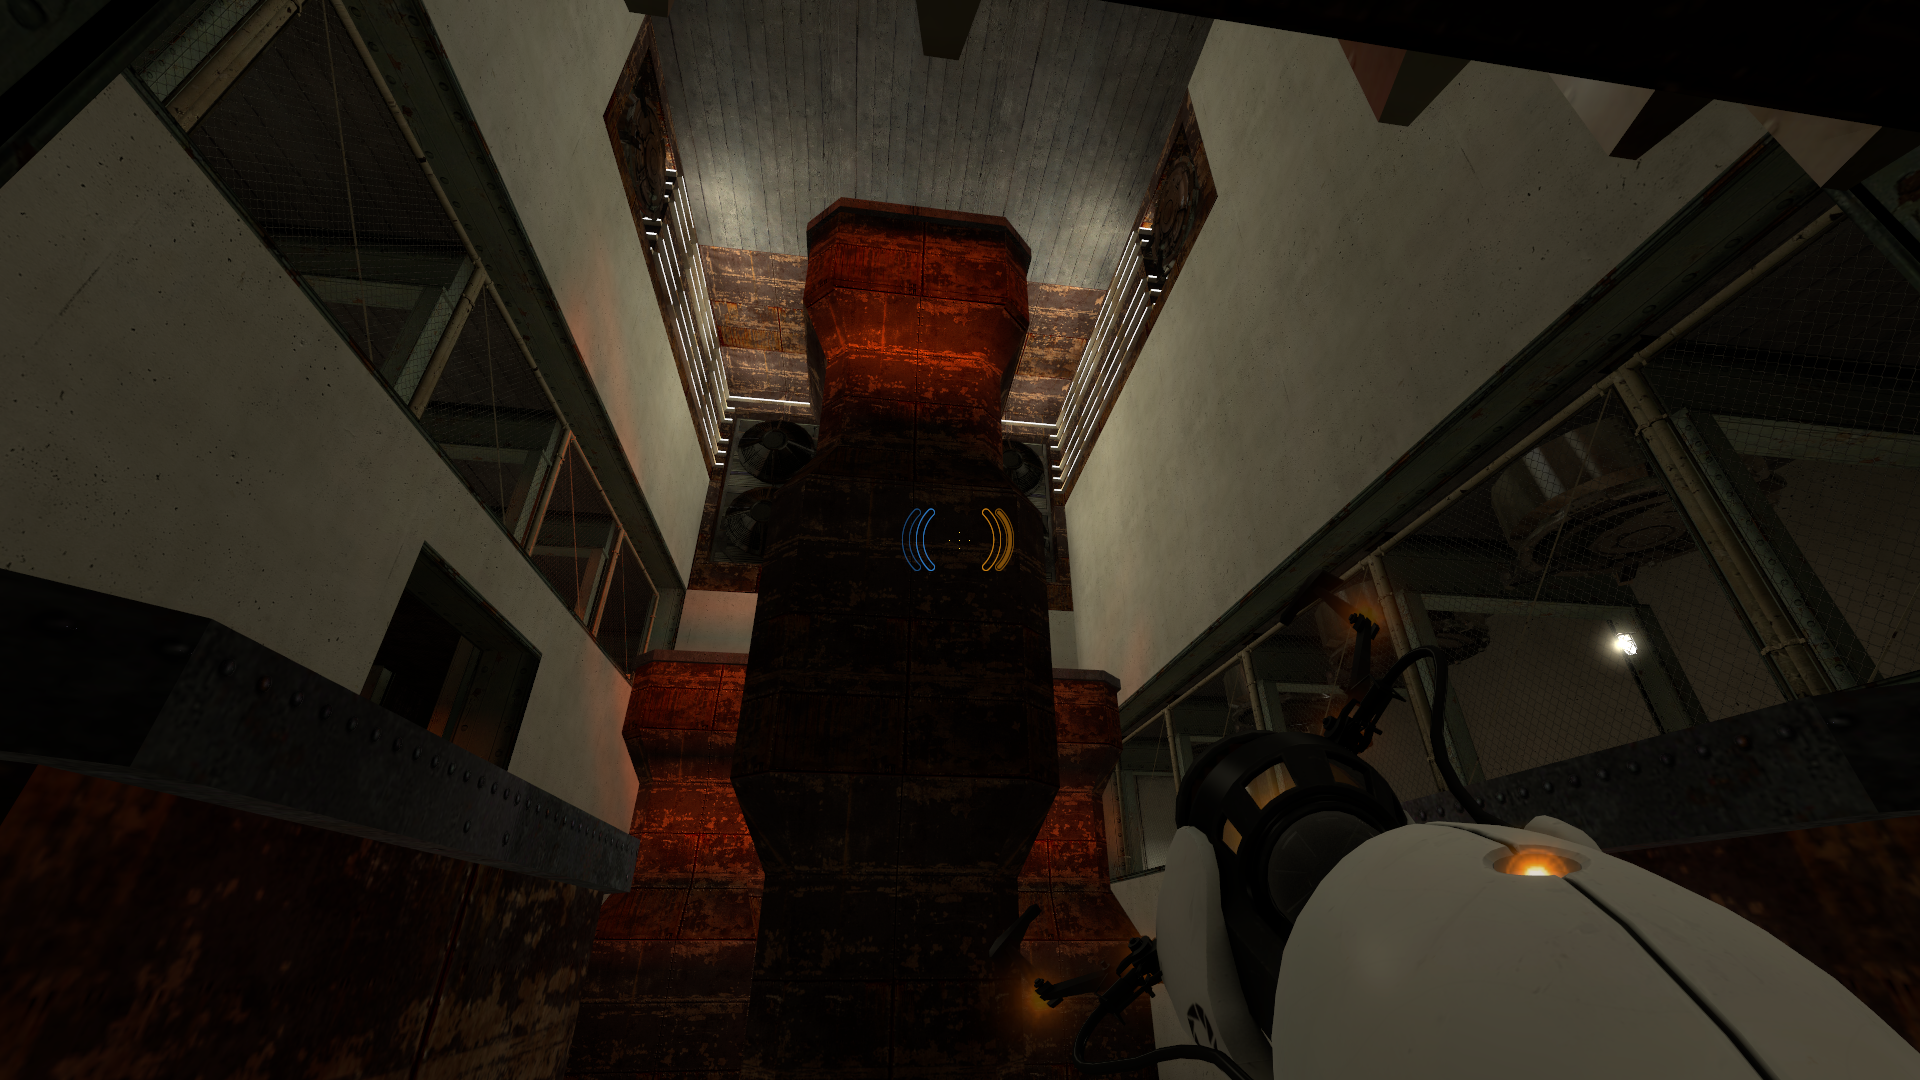
escape_01 (2006)#
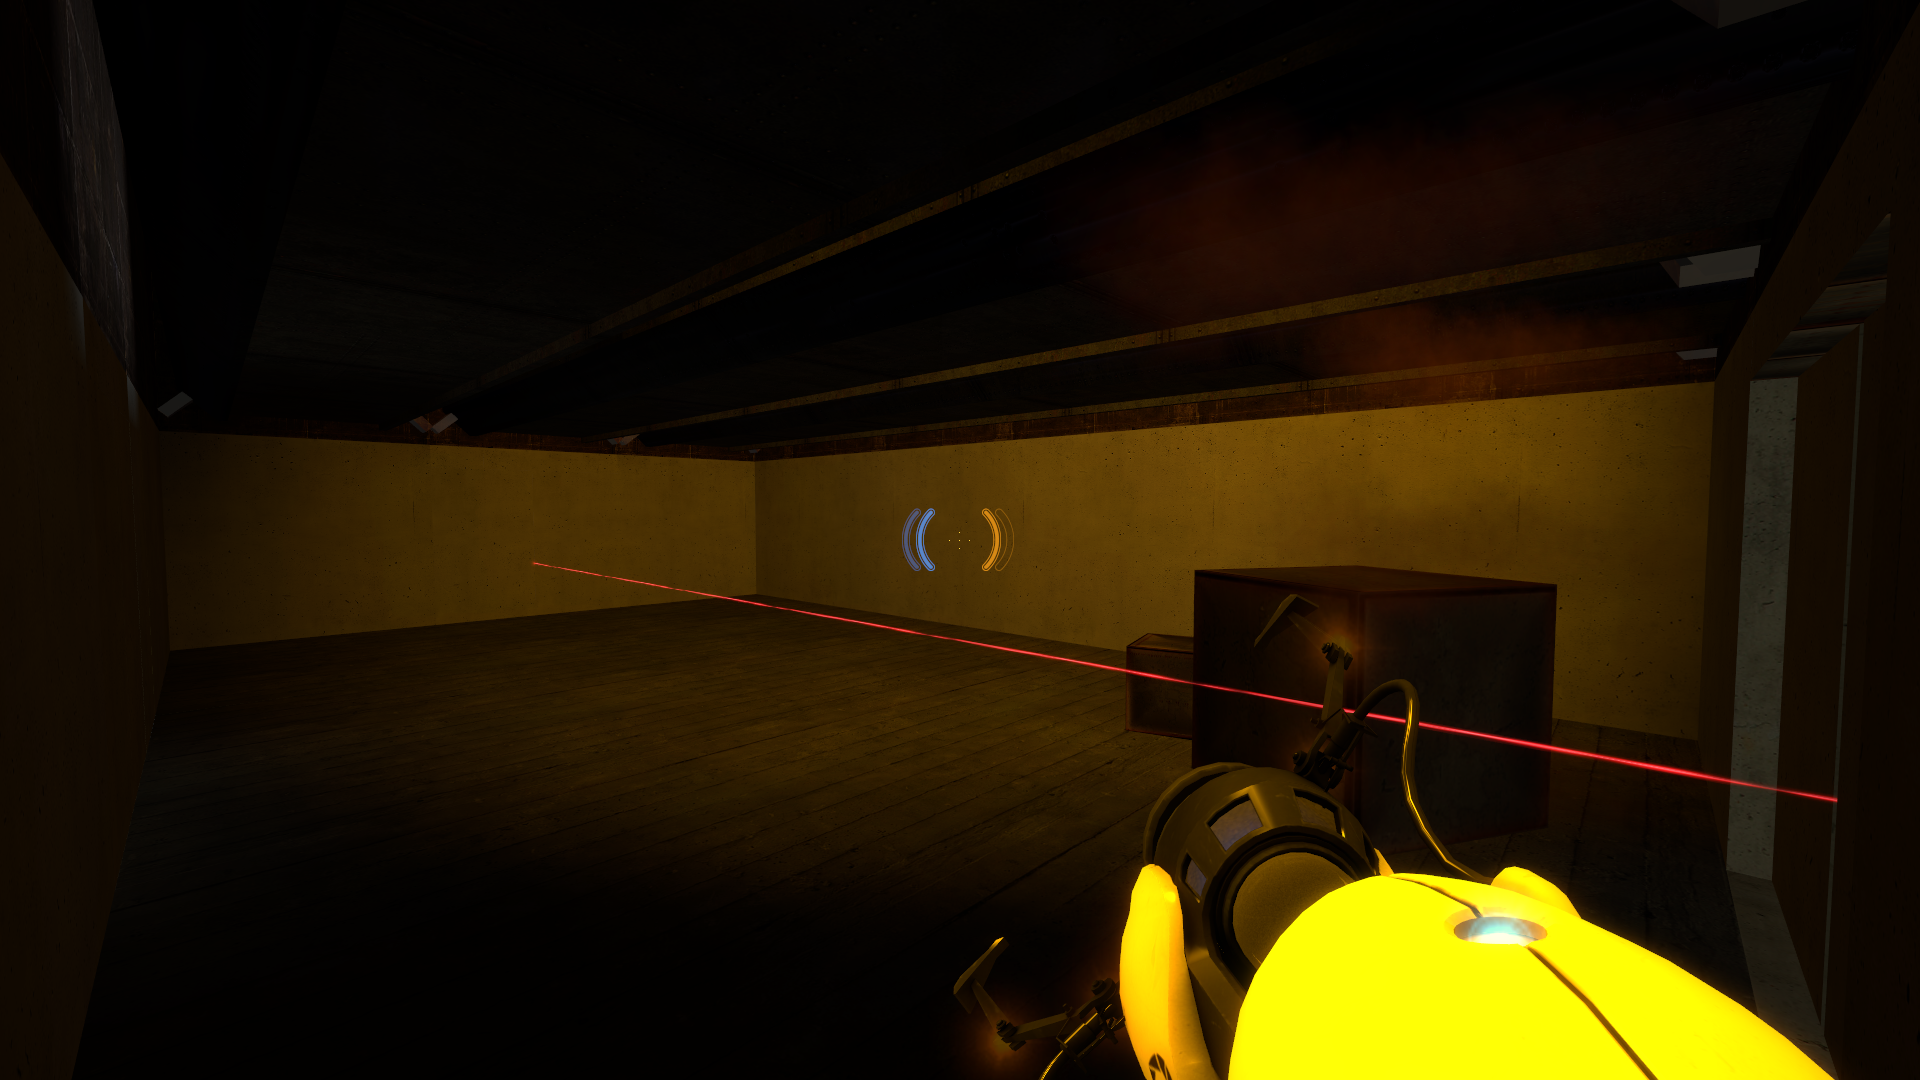
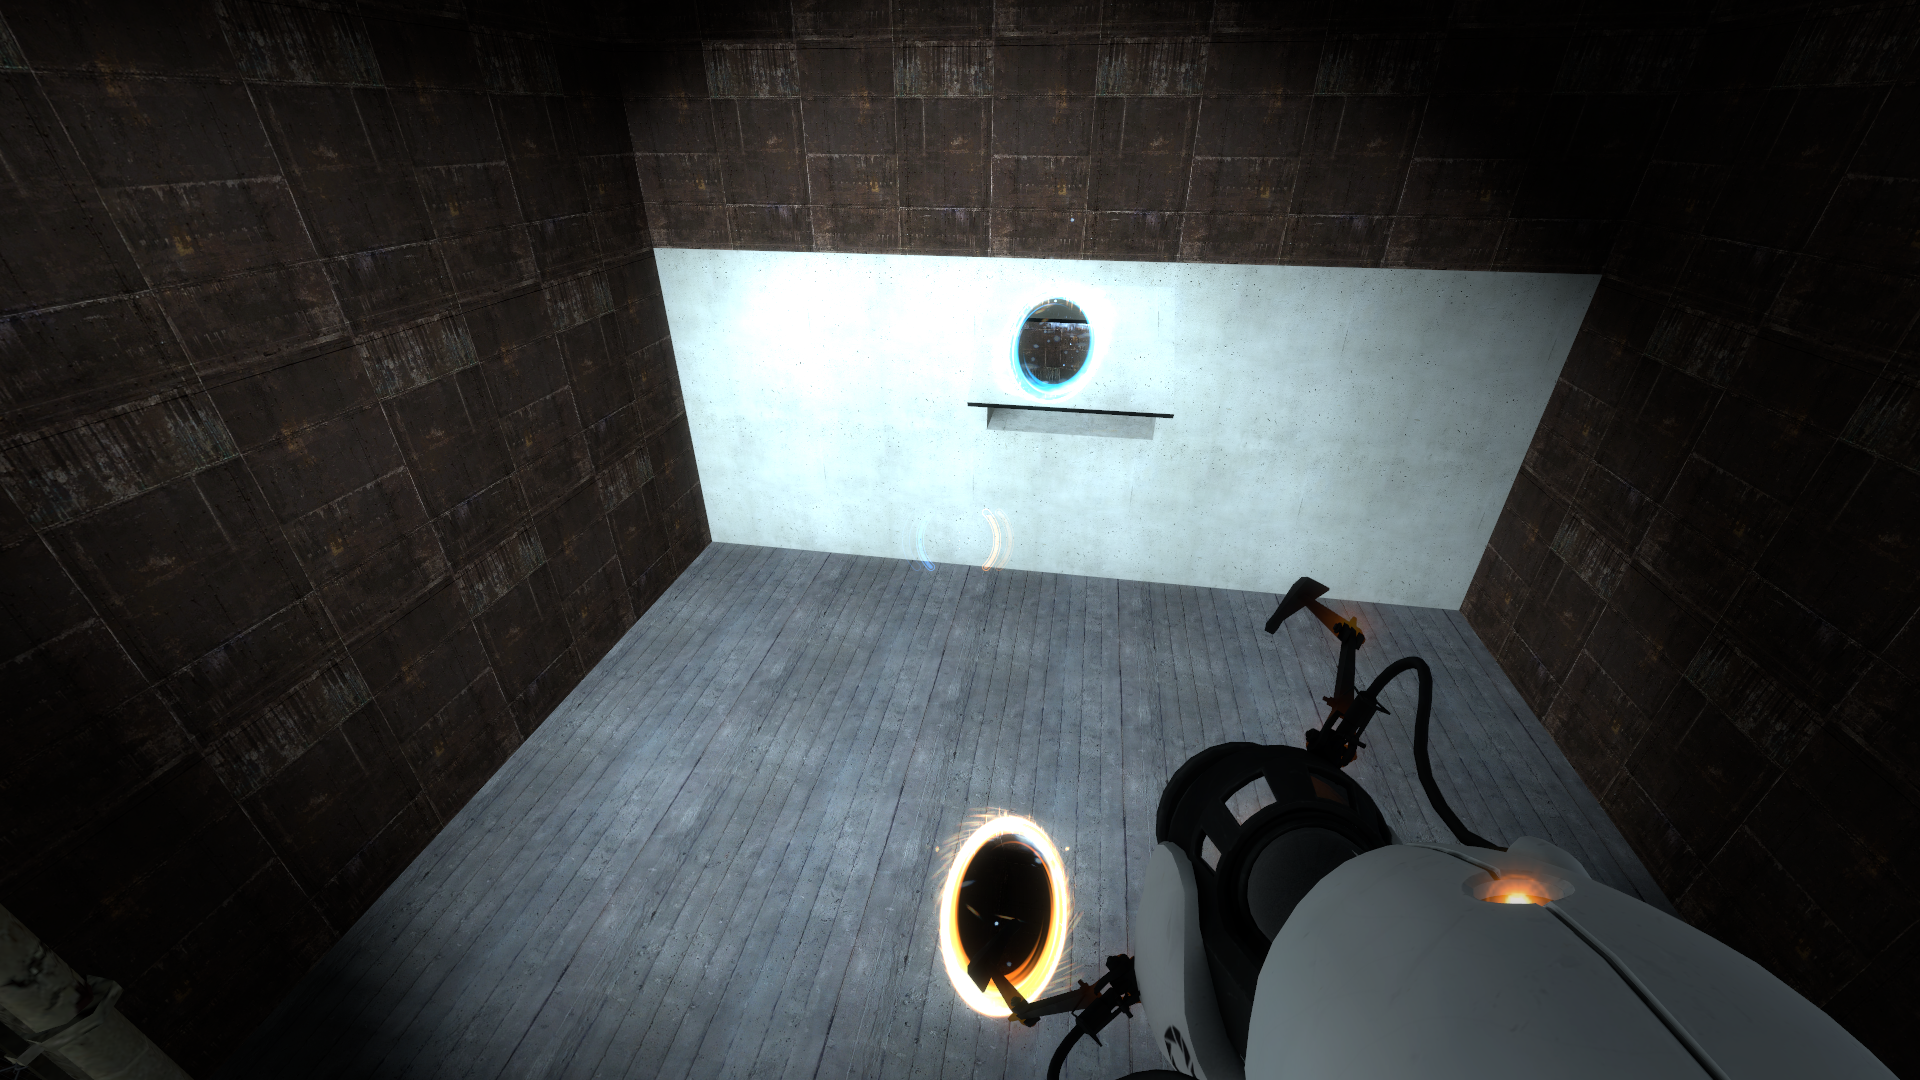
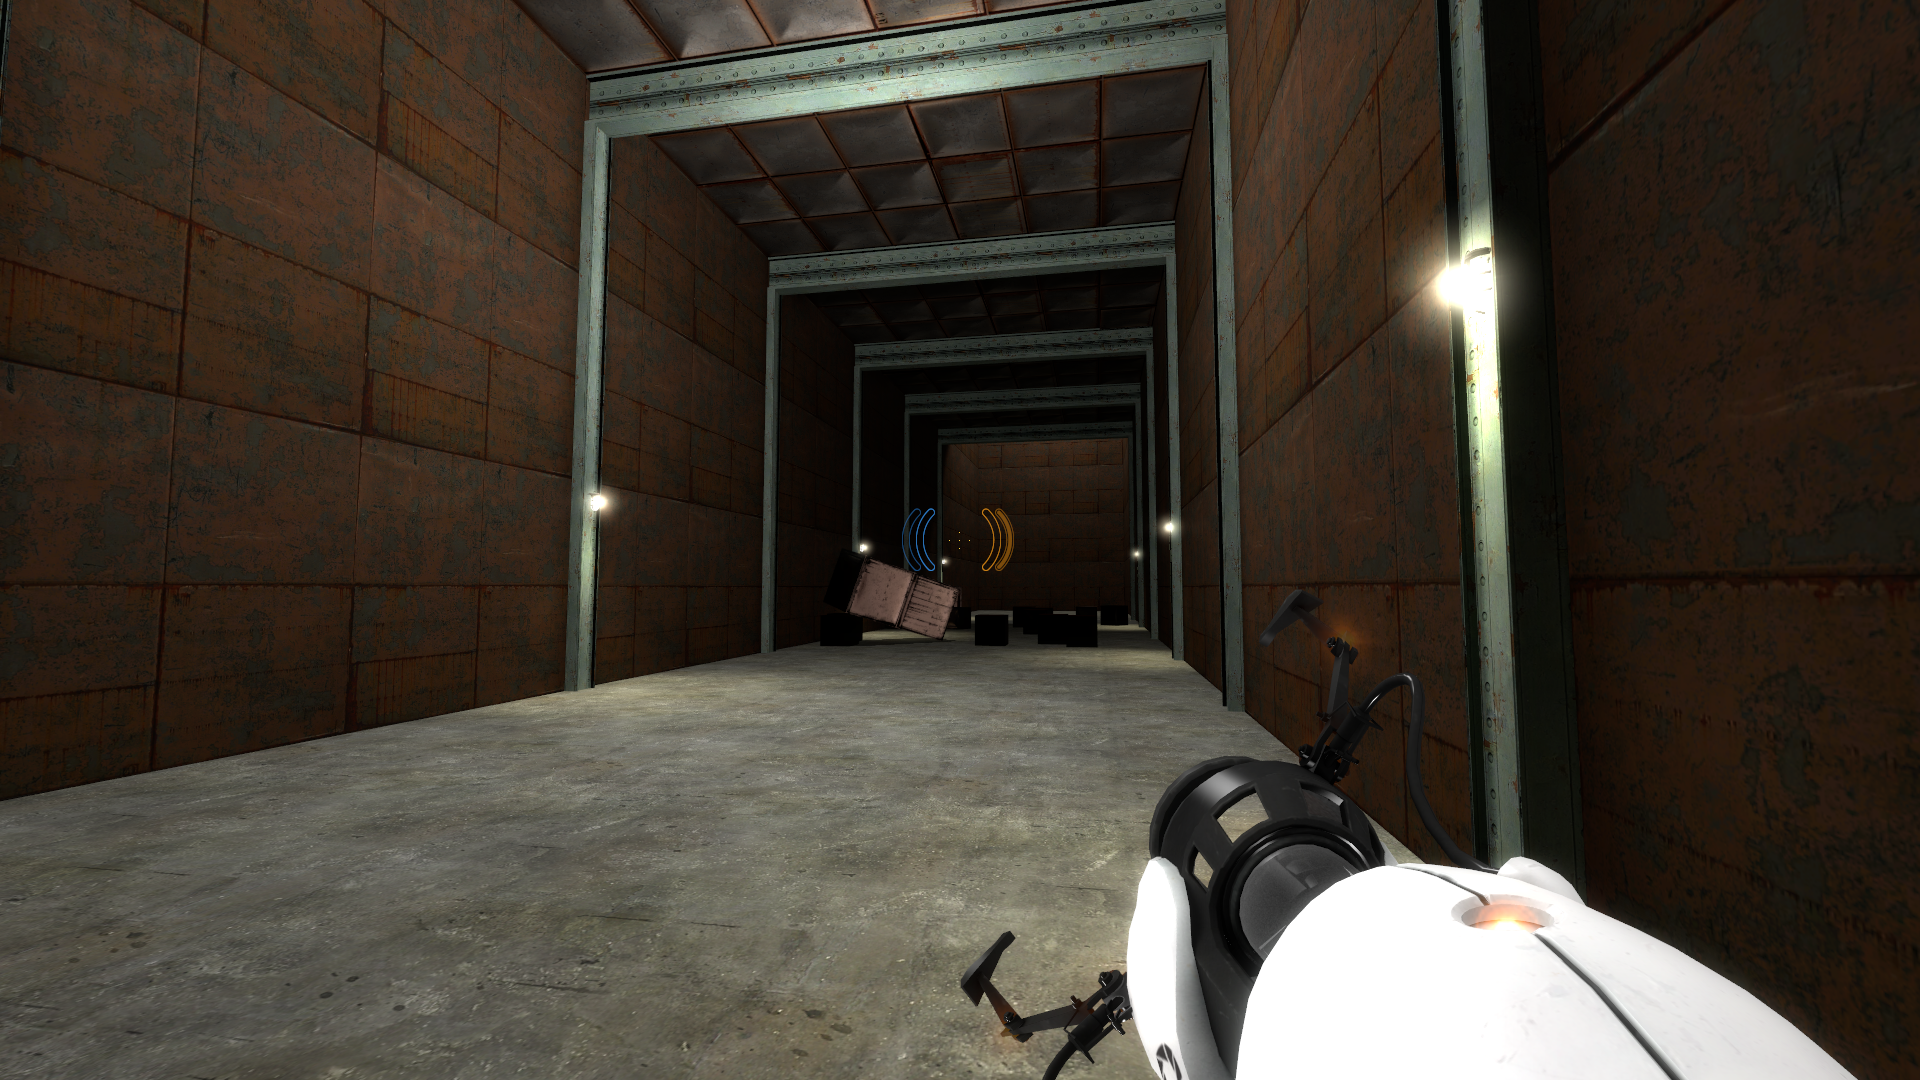
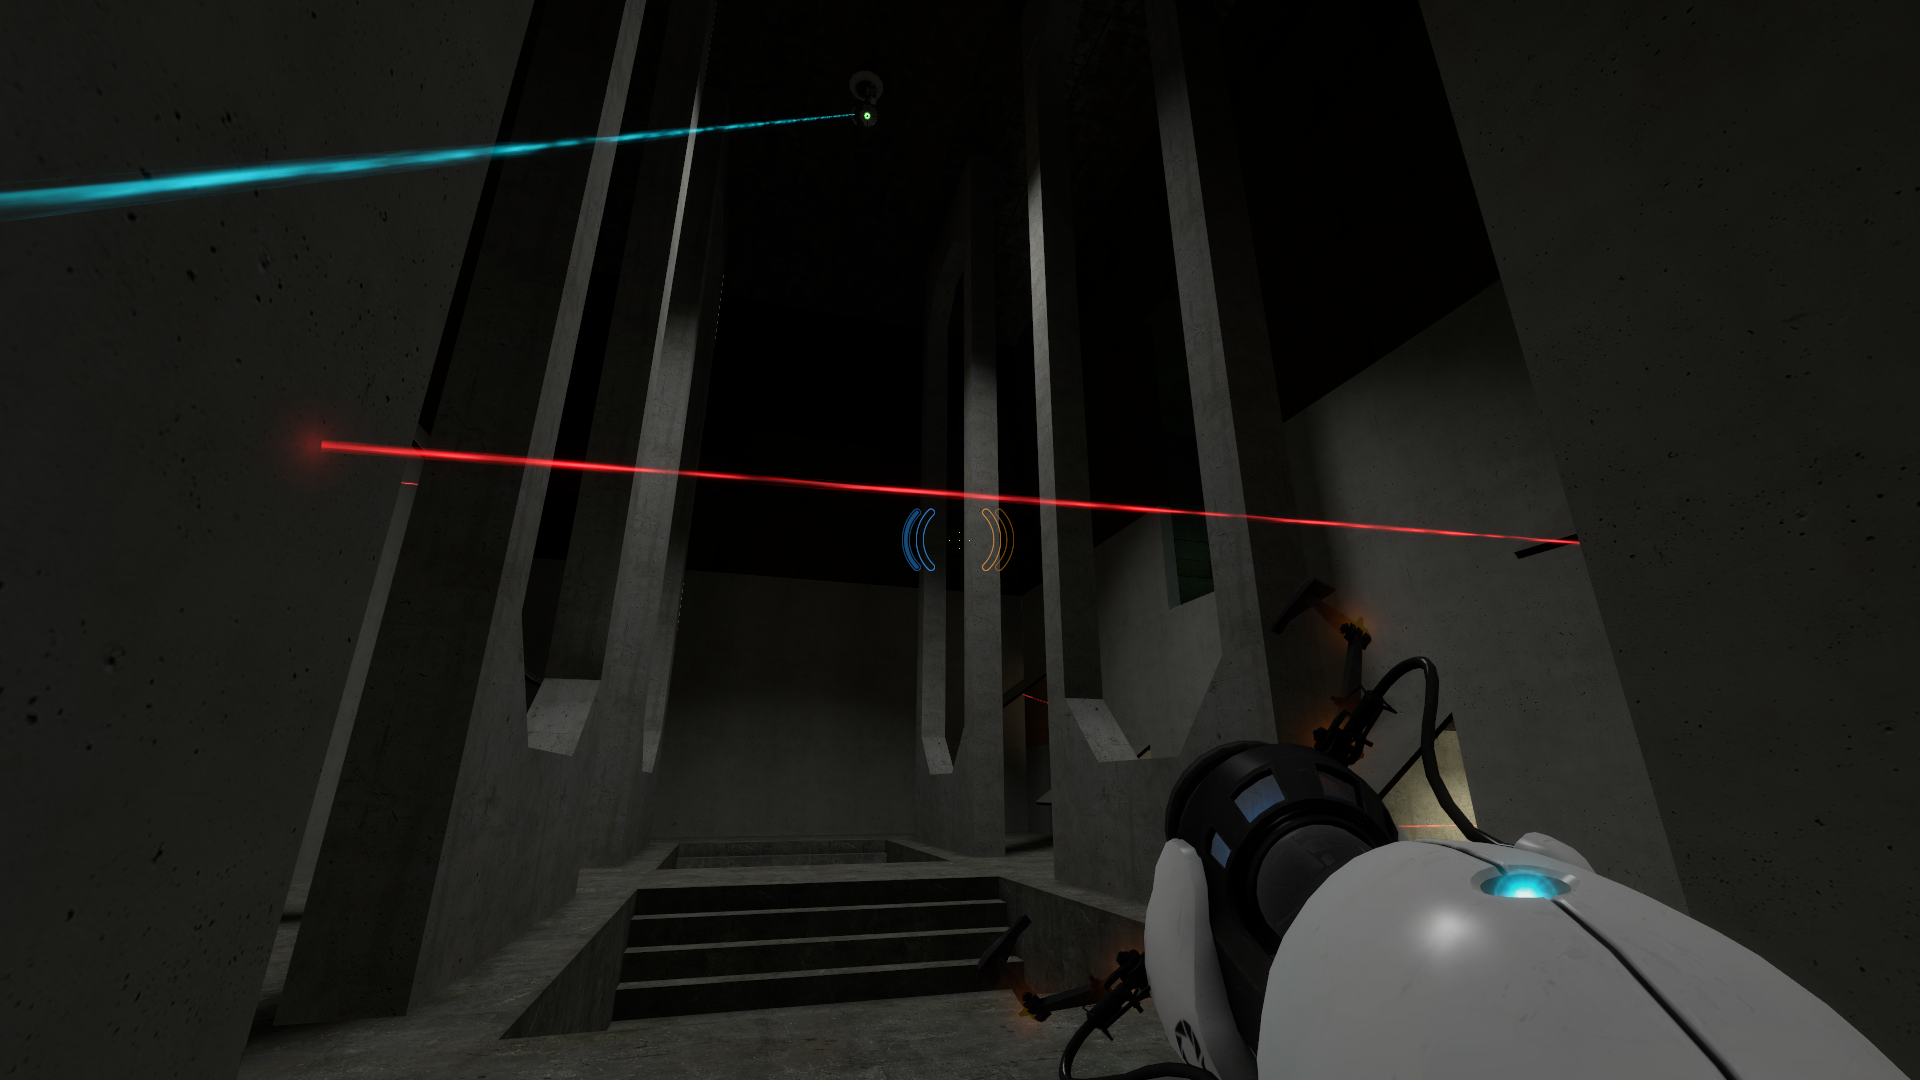
Uses the same early design for the escape areas as before. The starting area layout is fairly close to the final, but past the turret ambush area, the layout completely changes to something not seen in the final. Several parts of the layout from the final are not present and it features a different version of the rocket turret area like the one in devtest_01 and the map quickly moves to the area of the next map. The map source file contains a visgroup (titled '_steaming_refuse') containing a part of the early boss fight (which used to be in this map but was split into two for better optimization during this point in development) that includes a part with the sky_escape_01_ skybox visible.
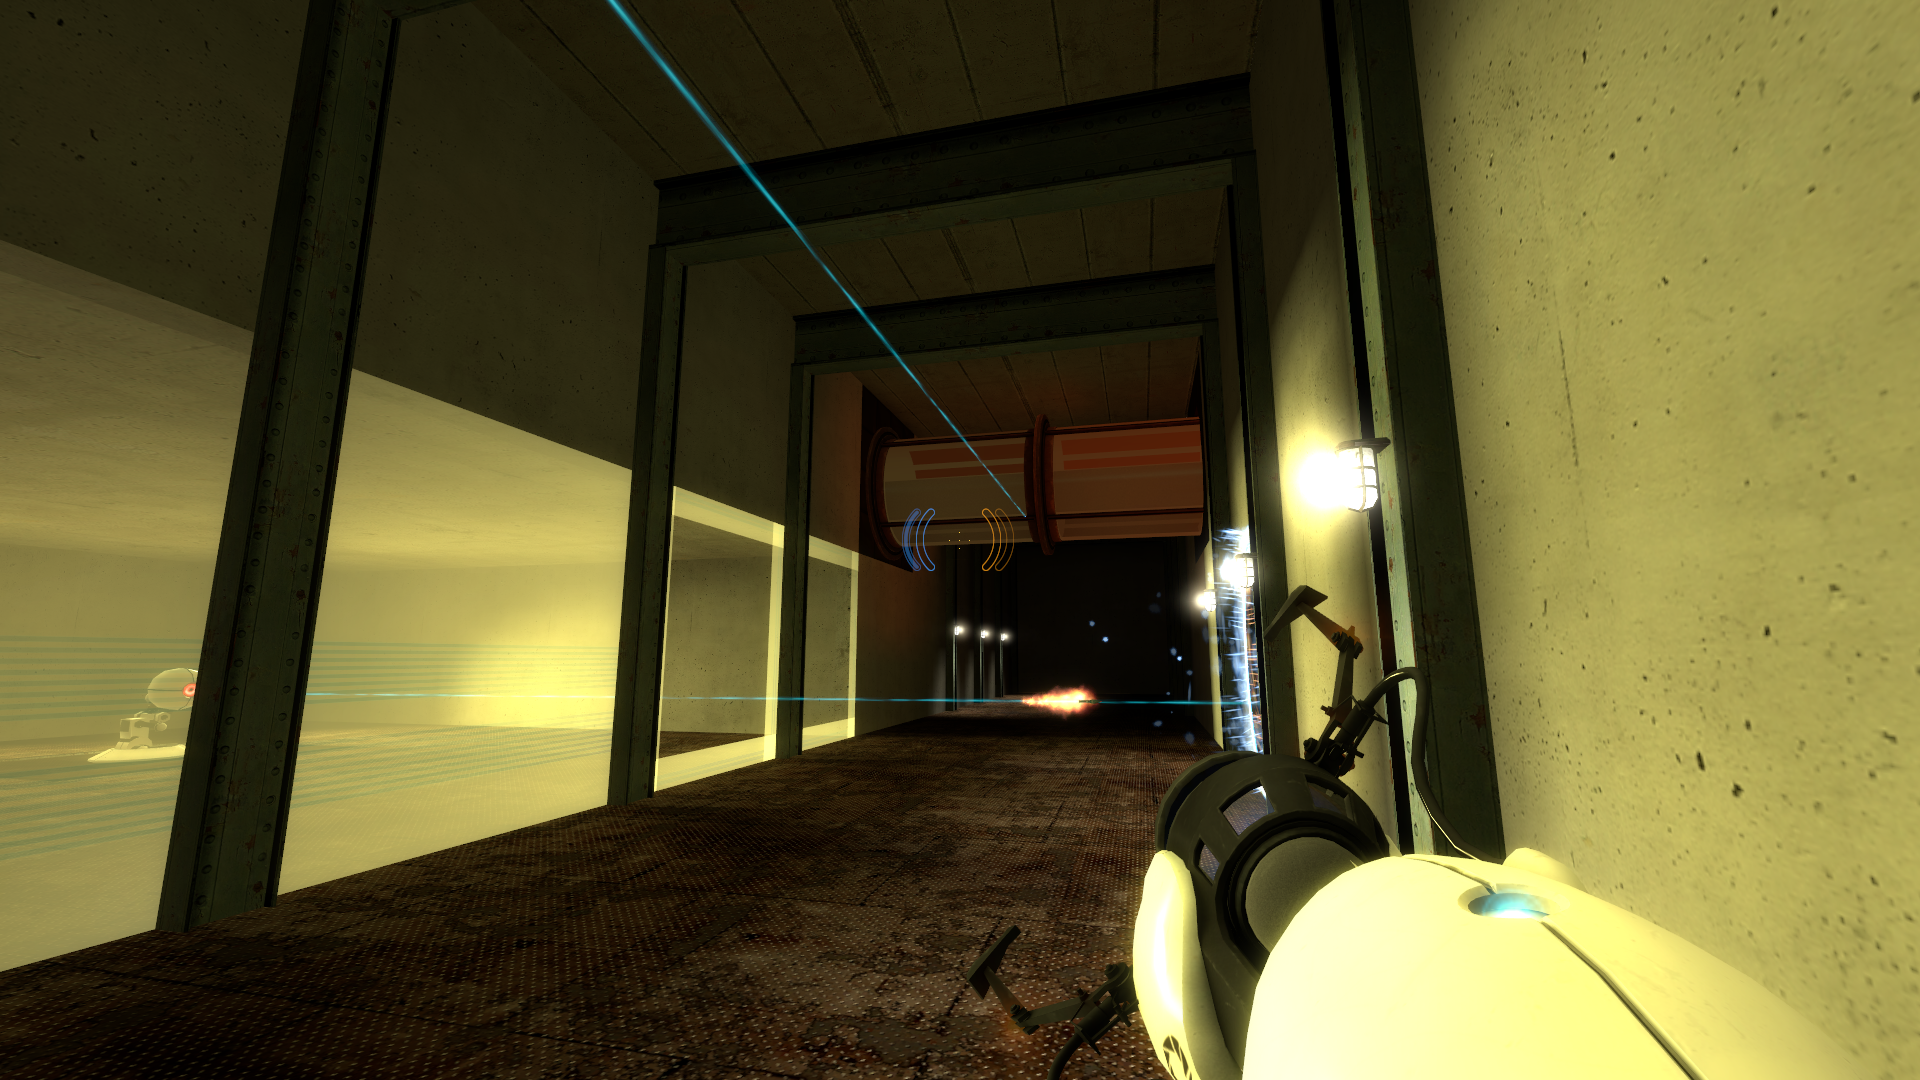
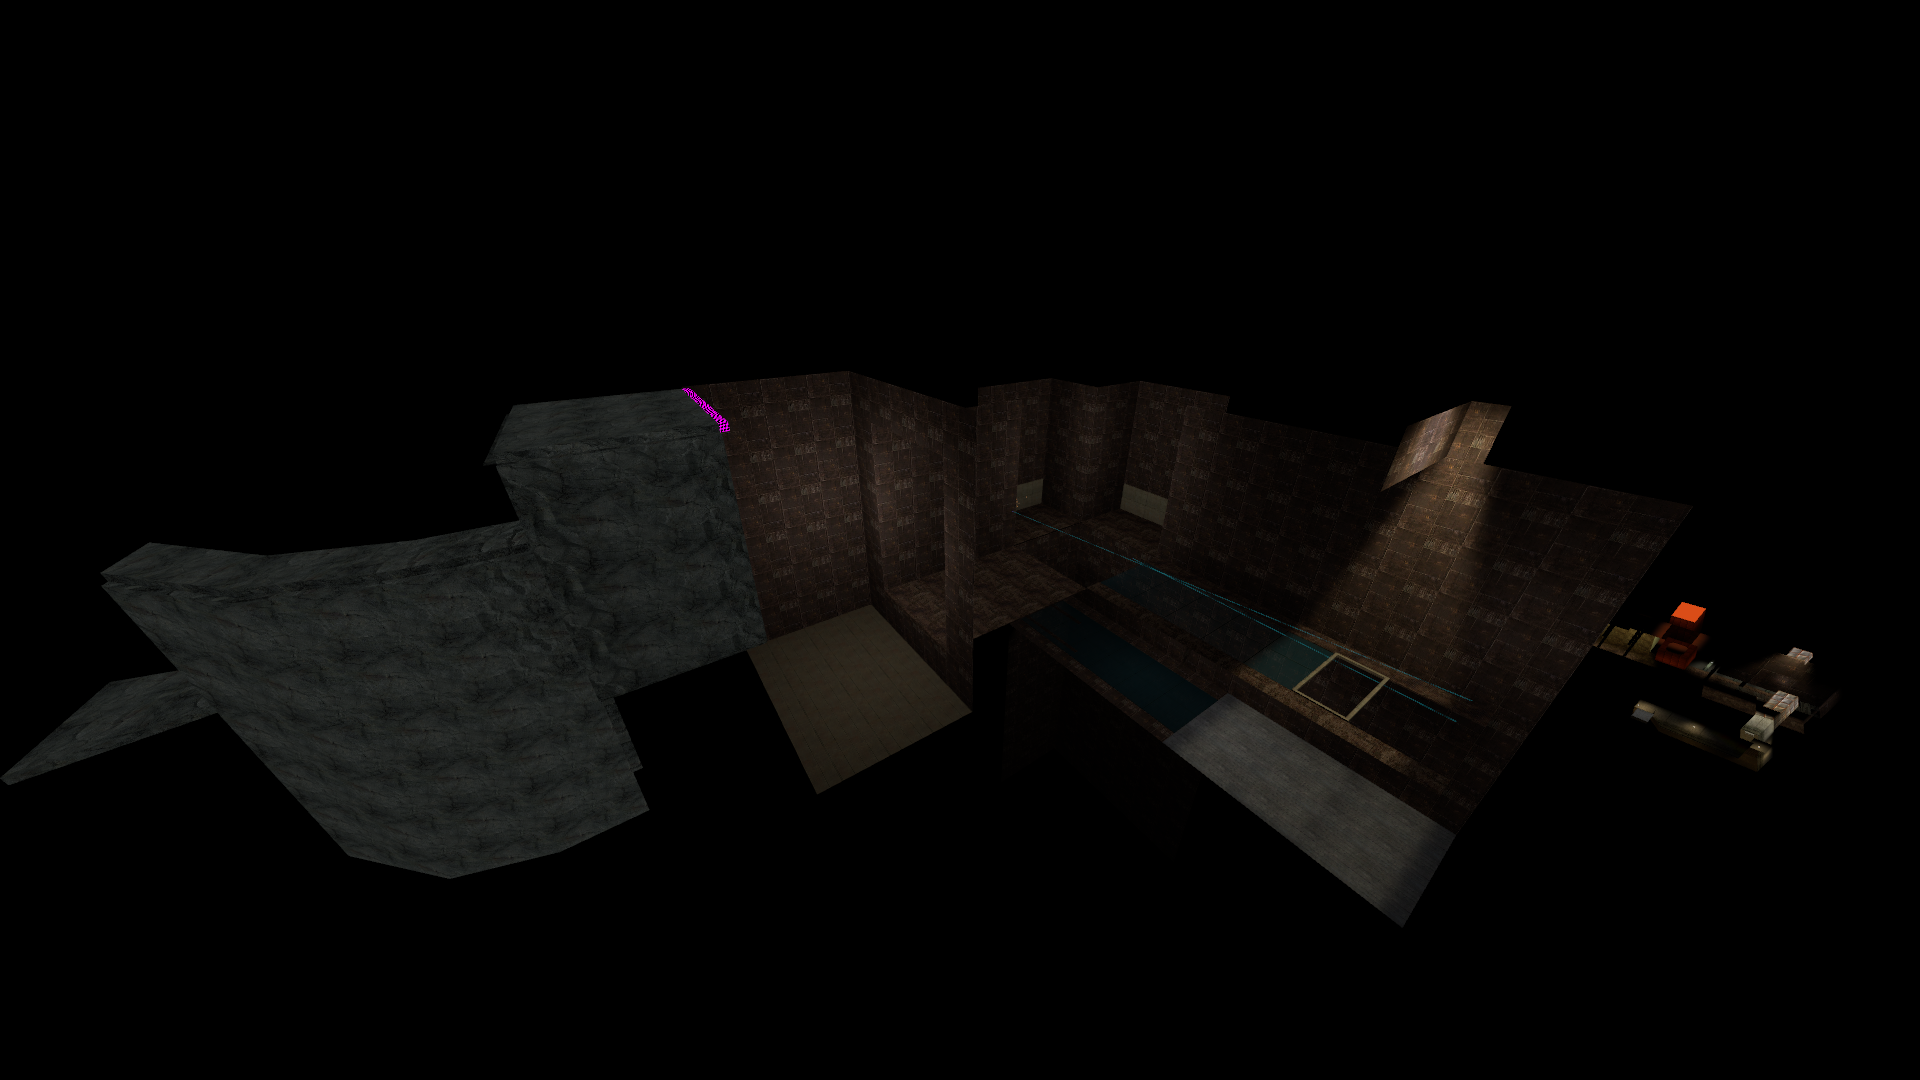
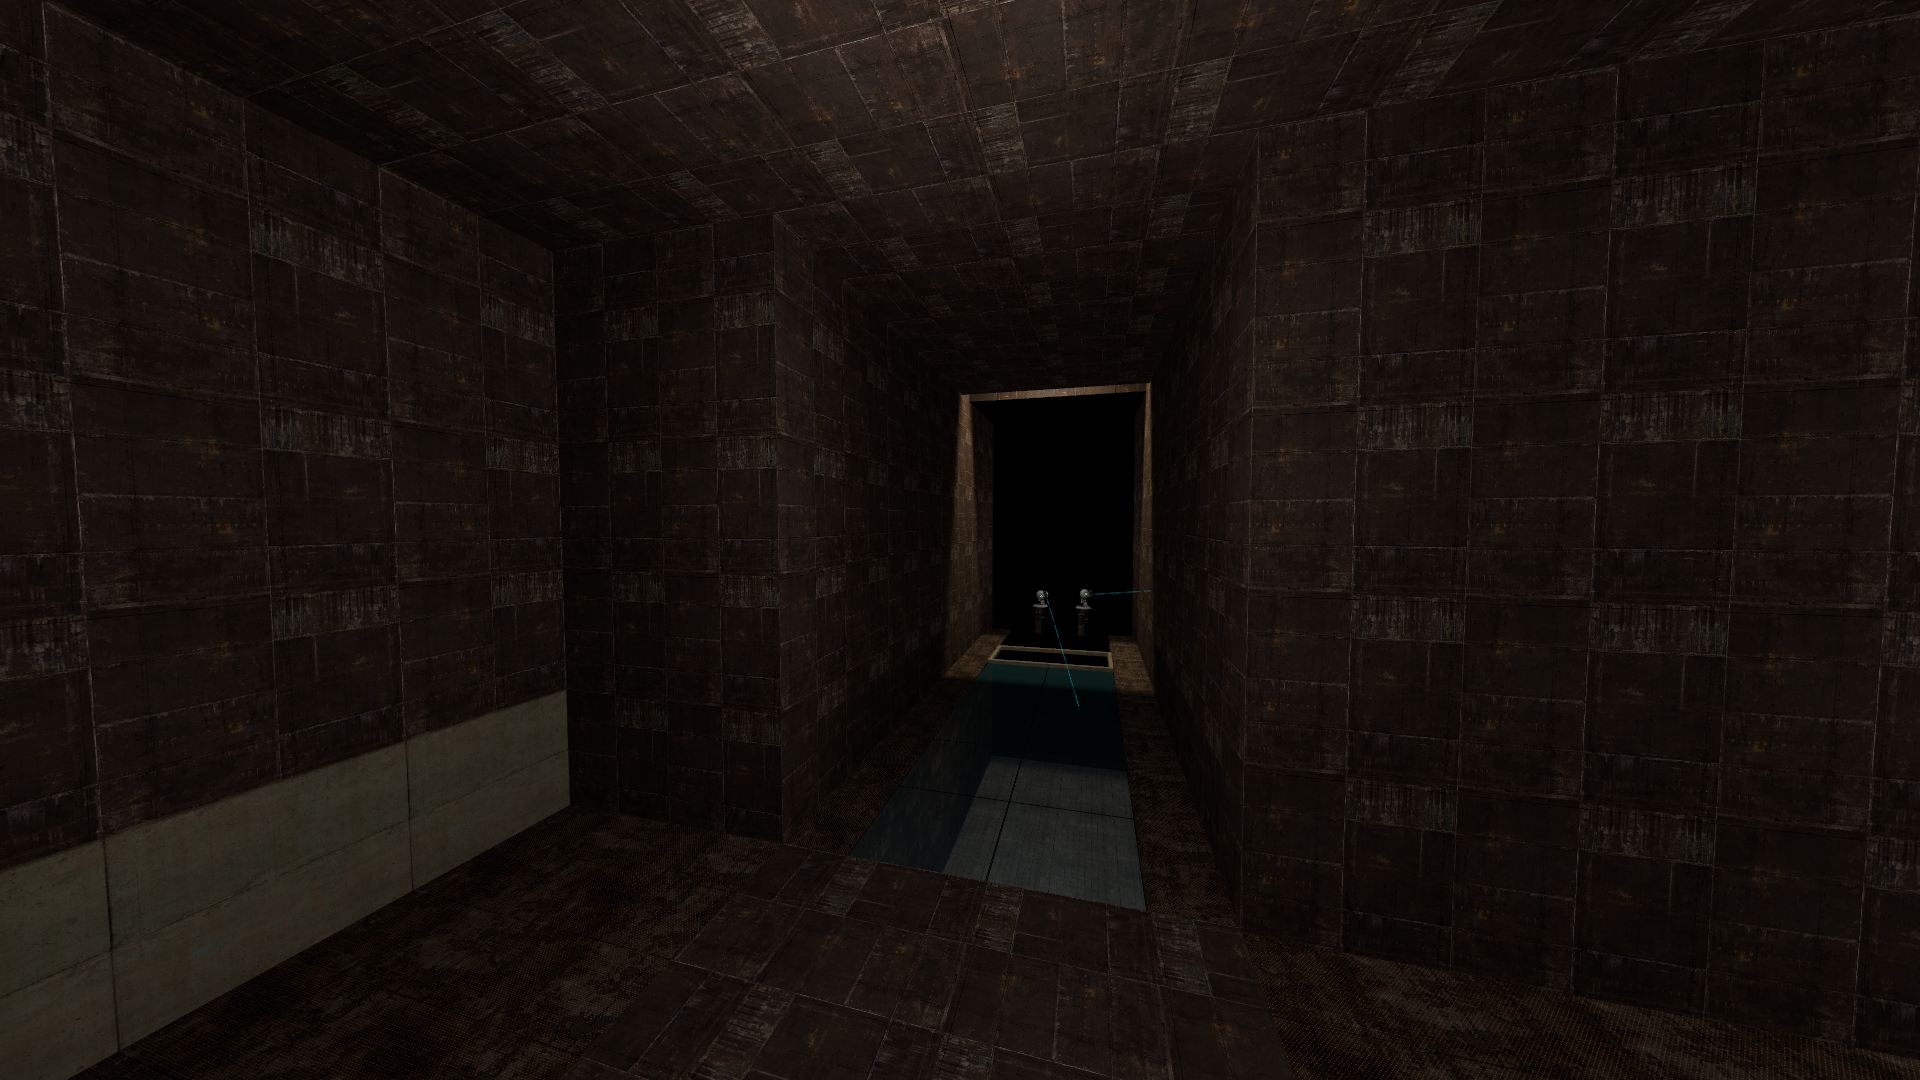
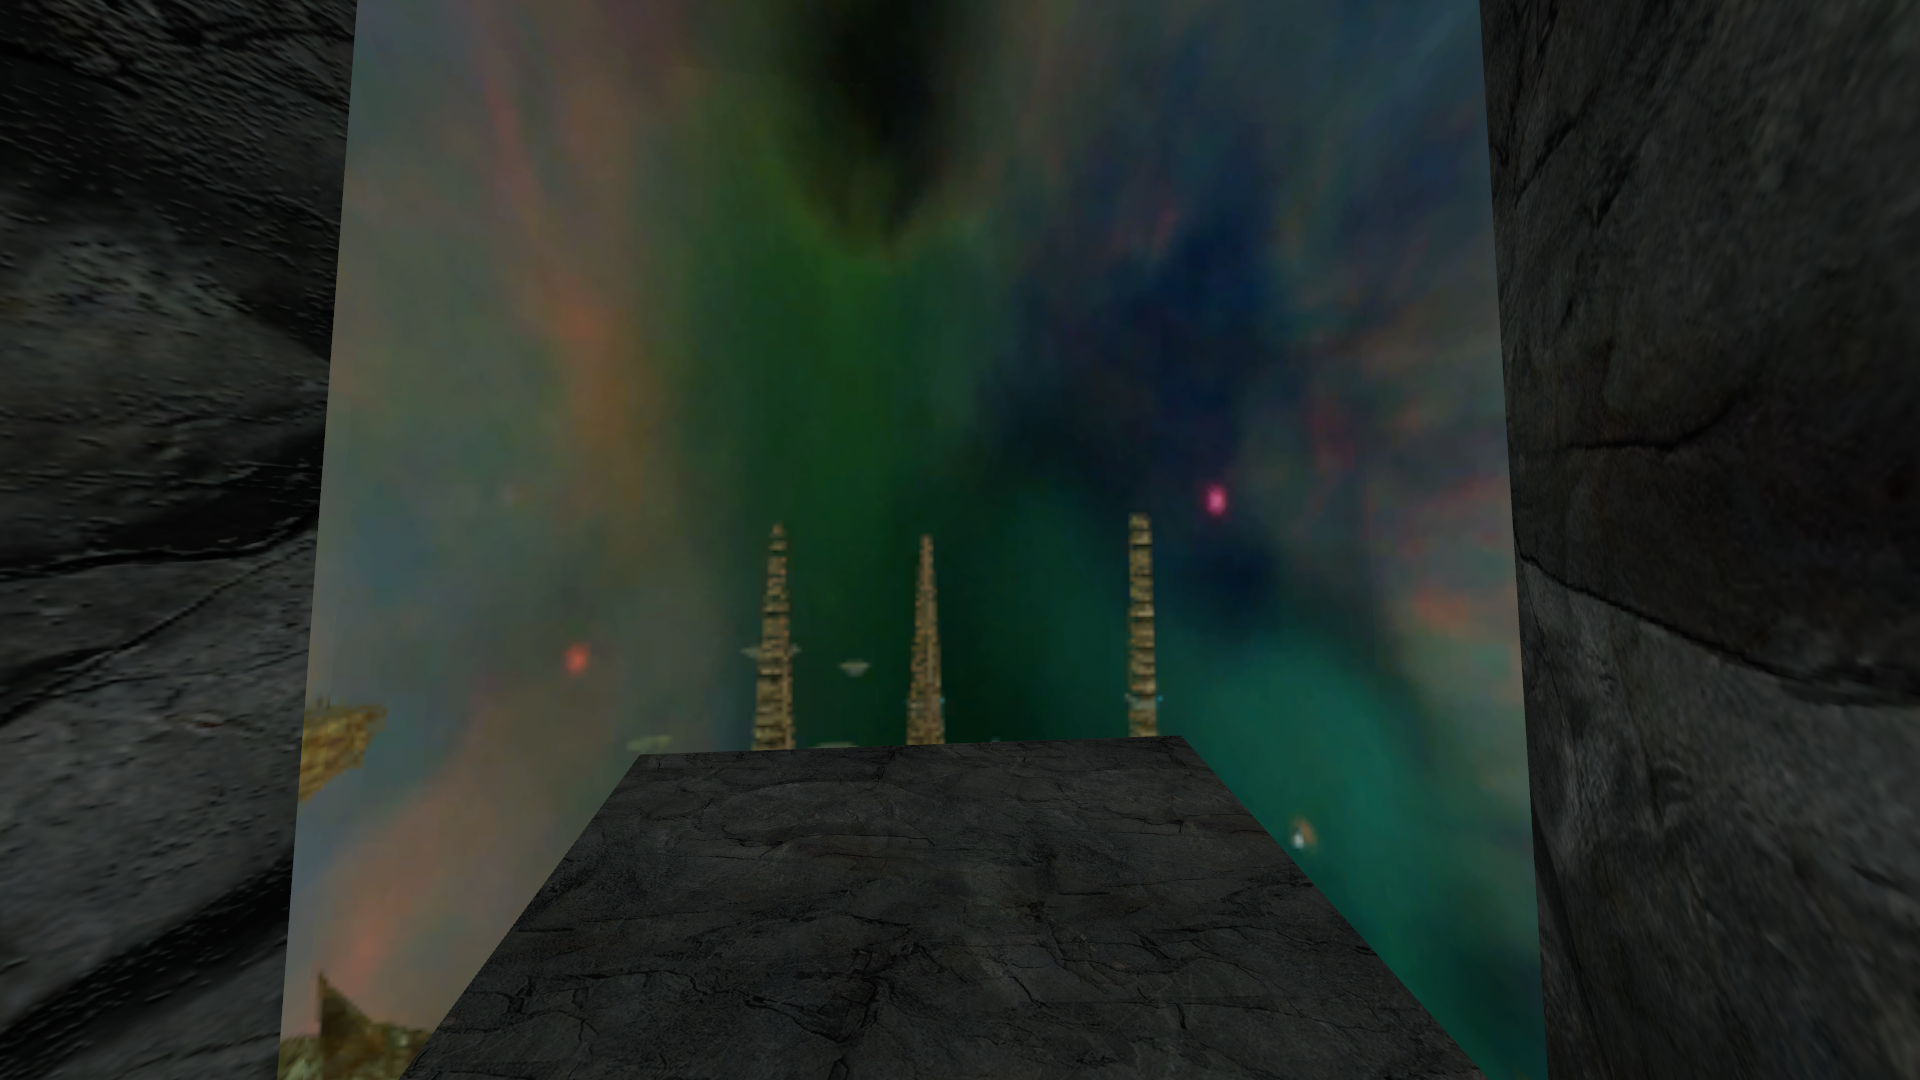
escape_02 (2006)#
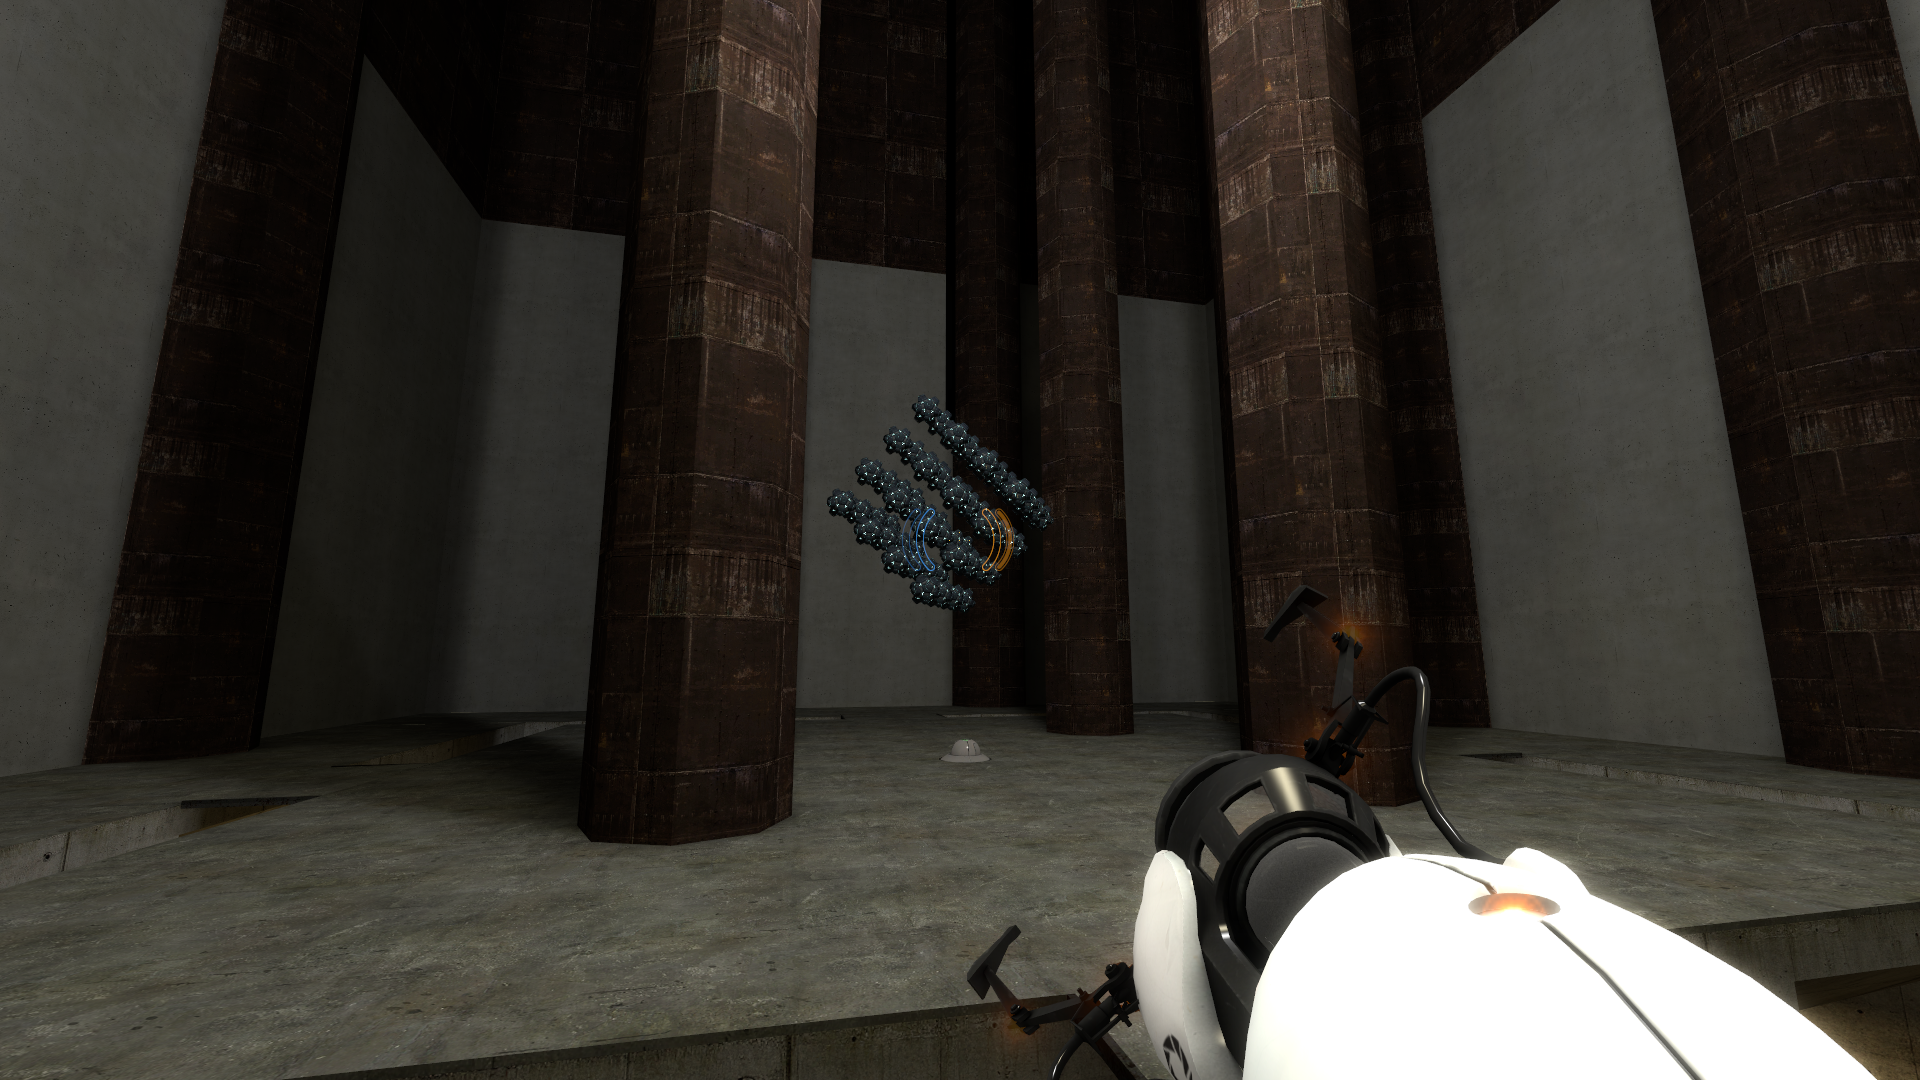
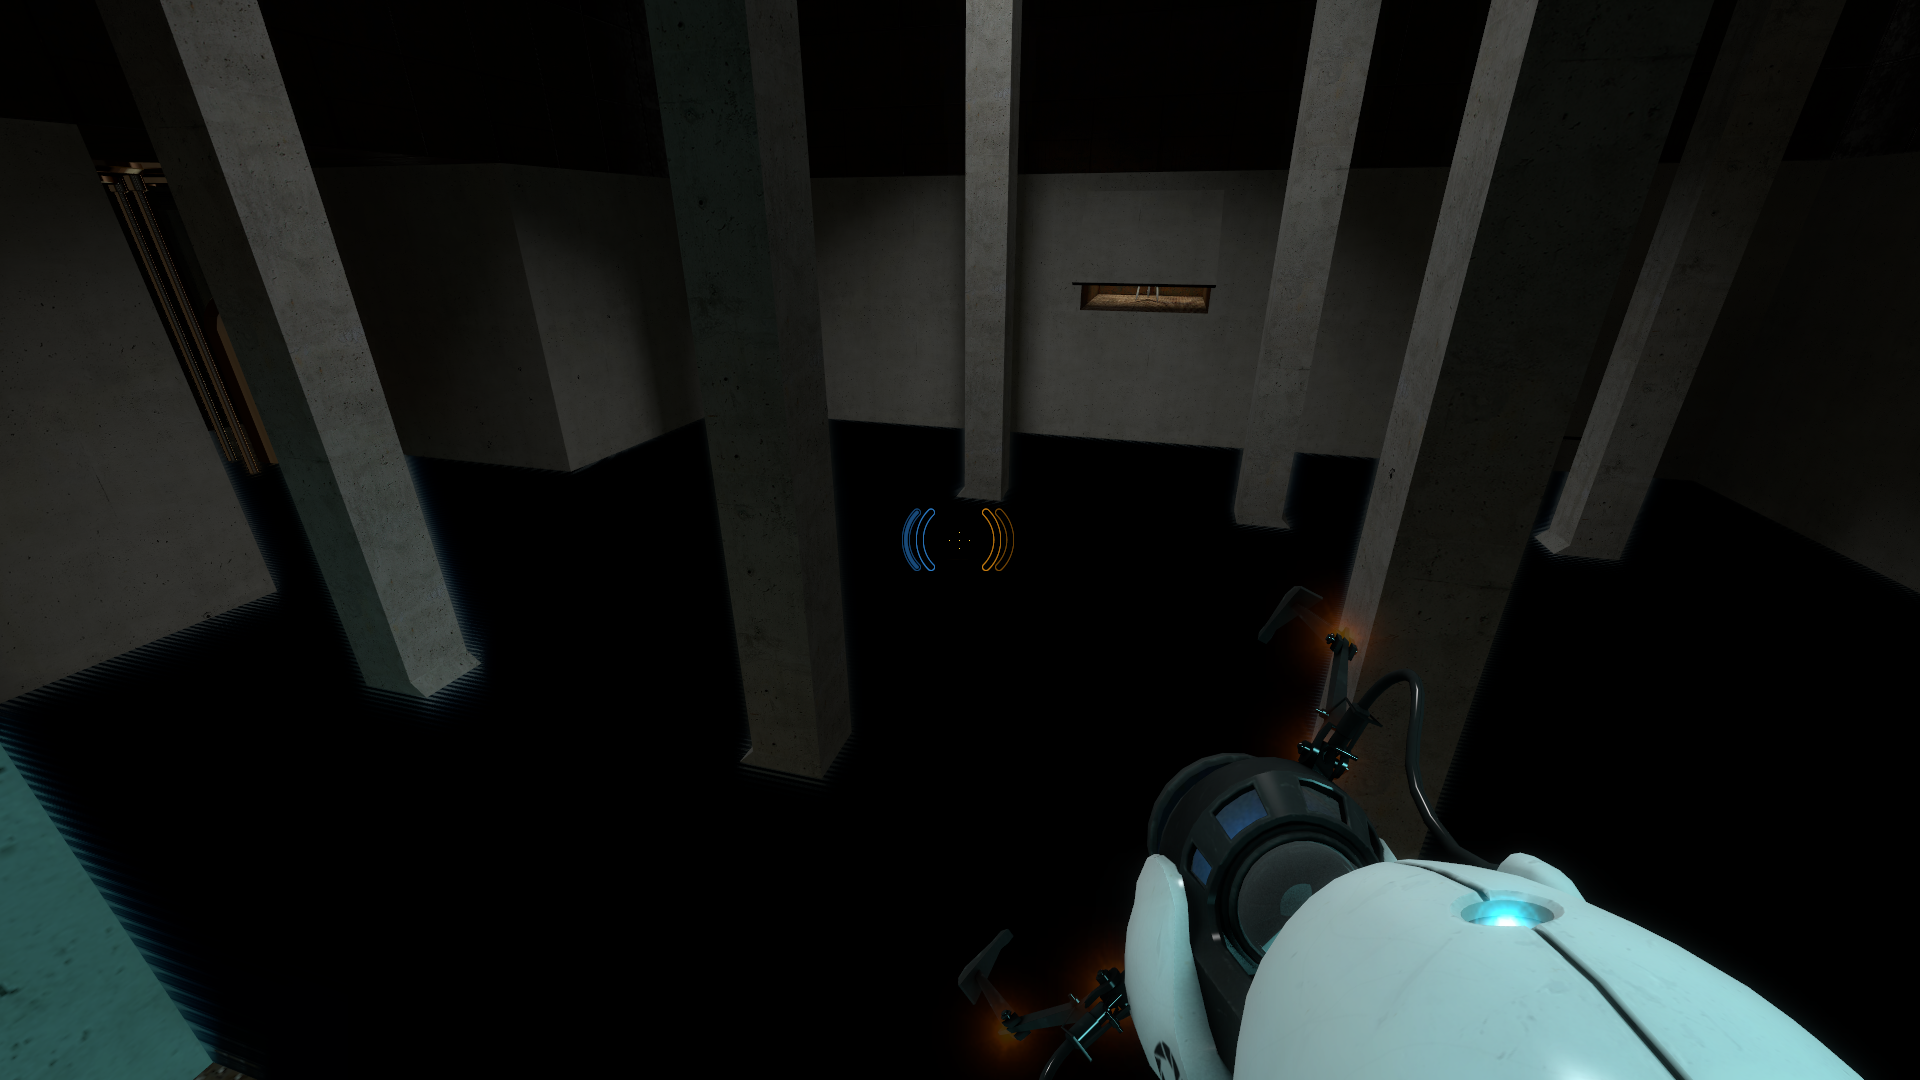
The infamous early GLaDOS boss fight map, it features early textures and the boss fight starts in what would be the turret ambush section of the final map, and then moves to another area that is very similar to the first after taking some damage from Rocket Turret missiles. The boss fight is very different to the final, with turrets that need to be brought down, no cores, a different GLaDOS design (a diamond Rollermines from Half-Life 2), no neurotoxin and multiple rocket turrets. After dealing enough damage the early version of GLaDOS retreats to another part of the map (in which the player has to portal across several different obstacles in order to get there) which then floods with a liquid portal when she is defeated, with her last words being "There really was a cake...". When the liquid portal fully submerges the player, they get teleported to a small cave area with a default sky skybox.
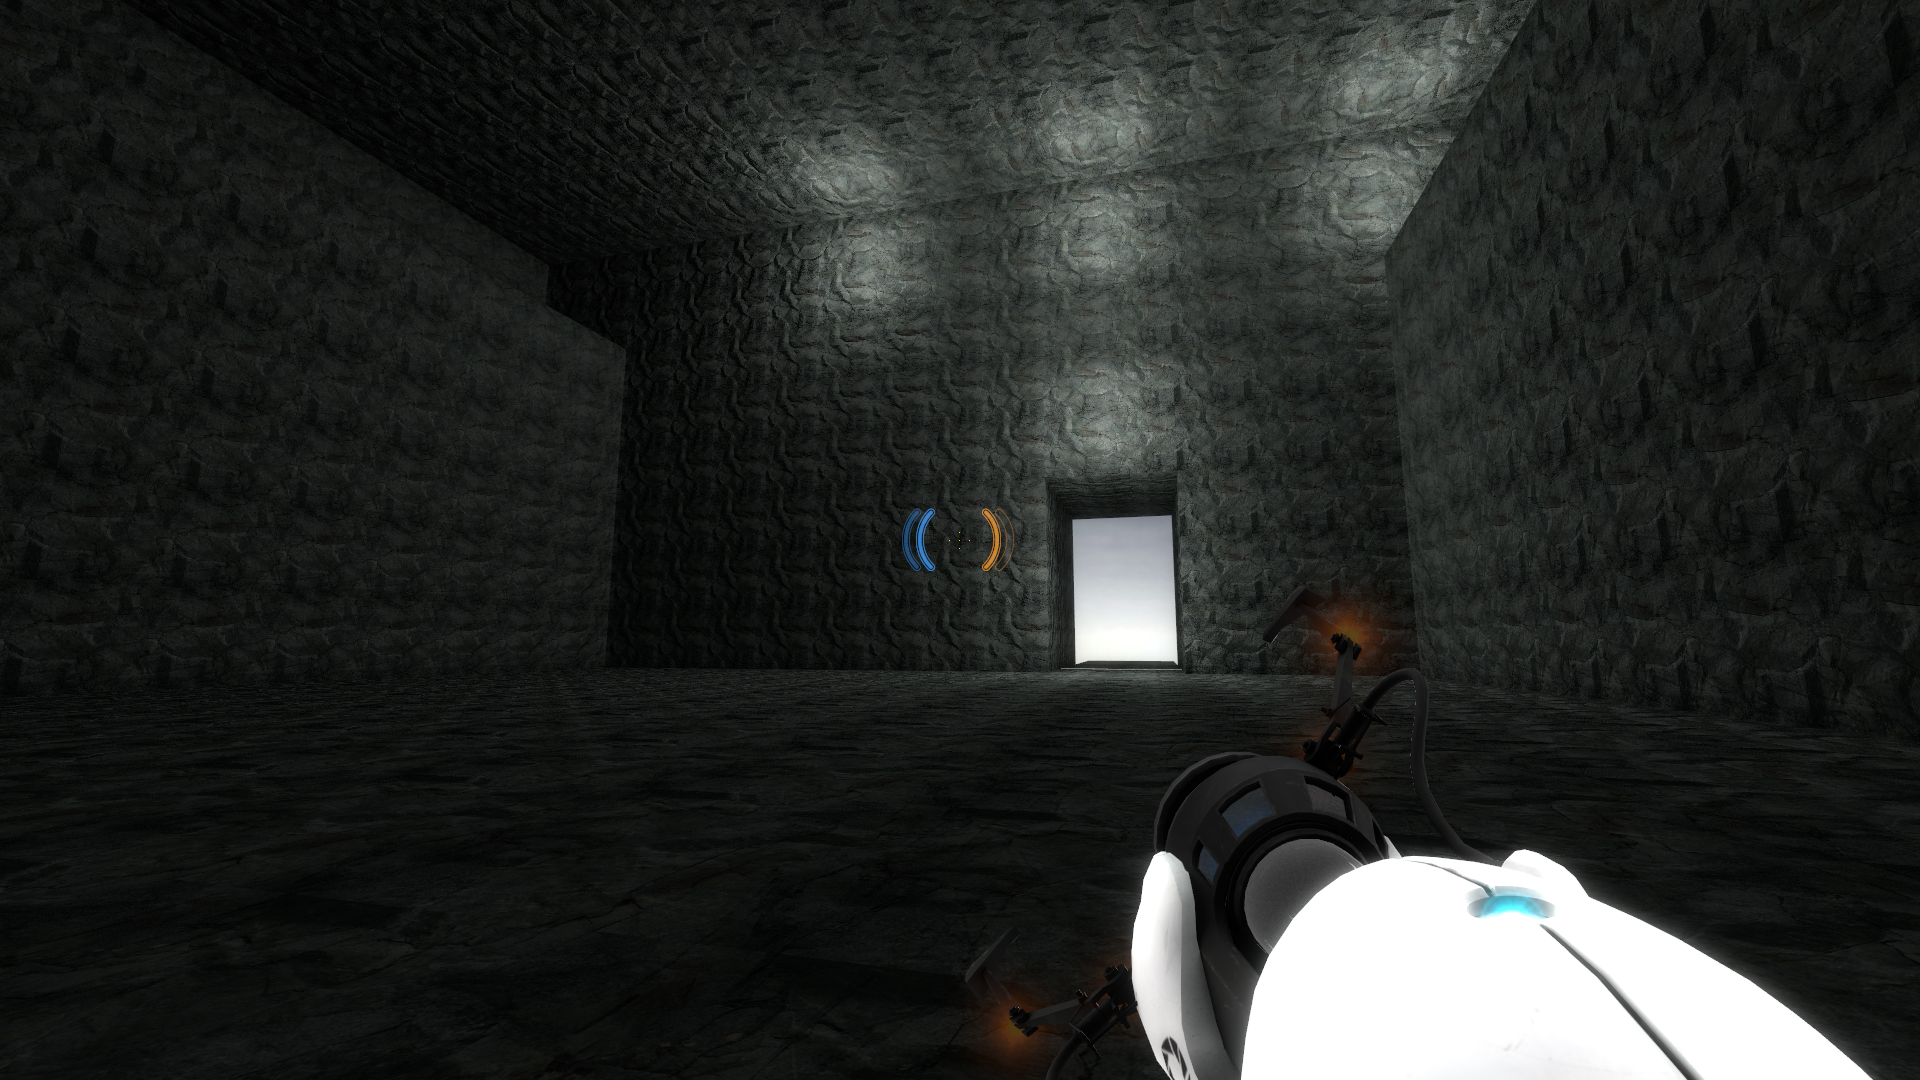
Developer test maps#
Developer-only levels used to test the functionality of all of Portal's features.
testroom_point_camera#
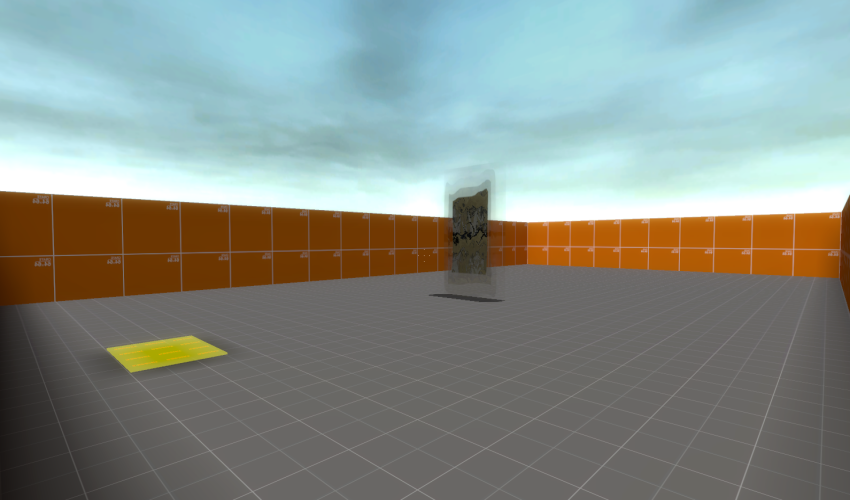
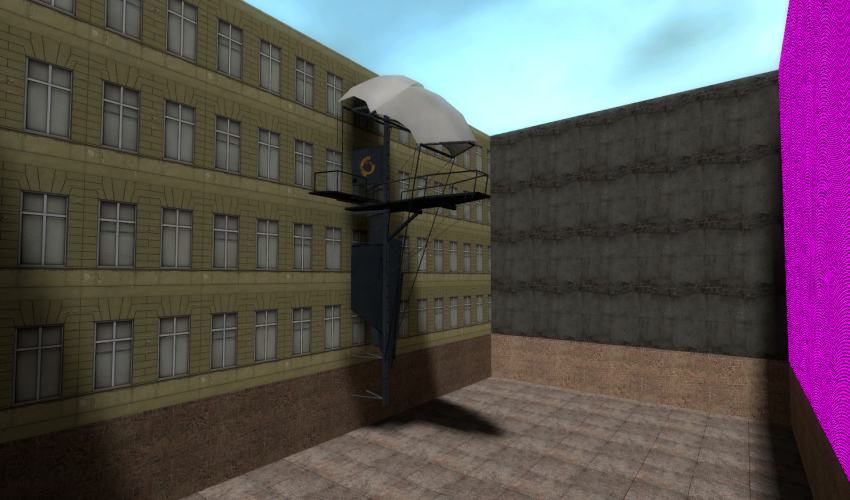
A map from the development of Half-Life 2, that was used to test the point_camera entity that was used heavily in the game which is camera that projects a live feed from itself in one part of the map to a screen from somewhere else. The map has two rooms that have a skybox on top, there is one where the player is spawned and uses placeholder textures and is mostly small and empty apart from the point_camera entity. A whole separate hidden area contains a building from City 17. This area is what the point_camera will display. This map is last edited from June 20th 2004, before Half-Life 2 released.
testroom_point_camera_teleport#
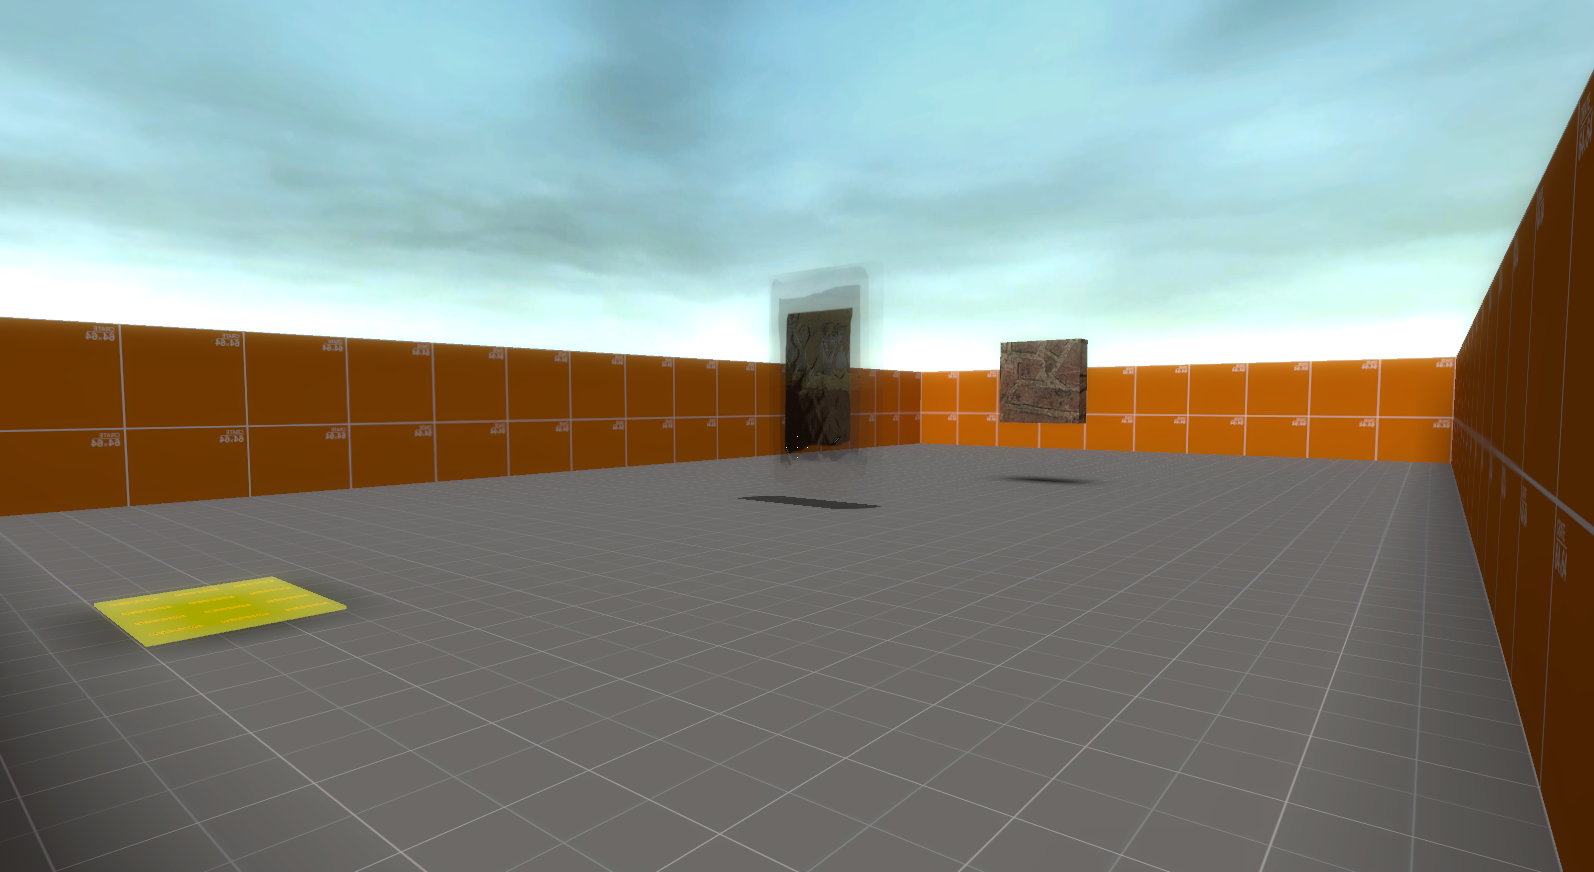
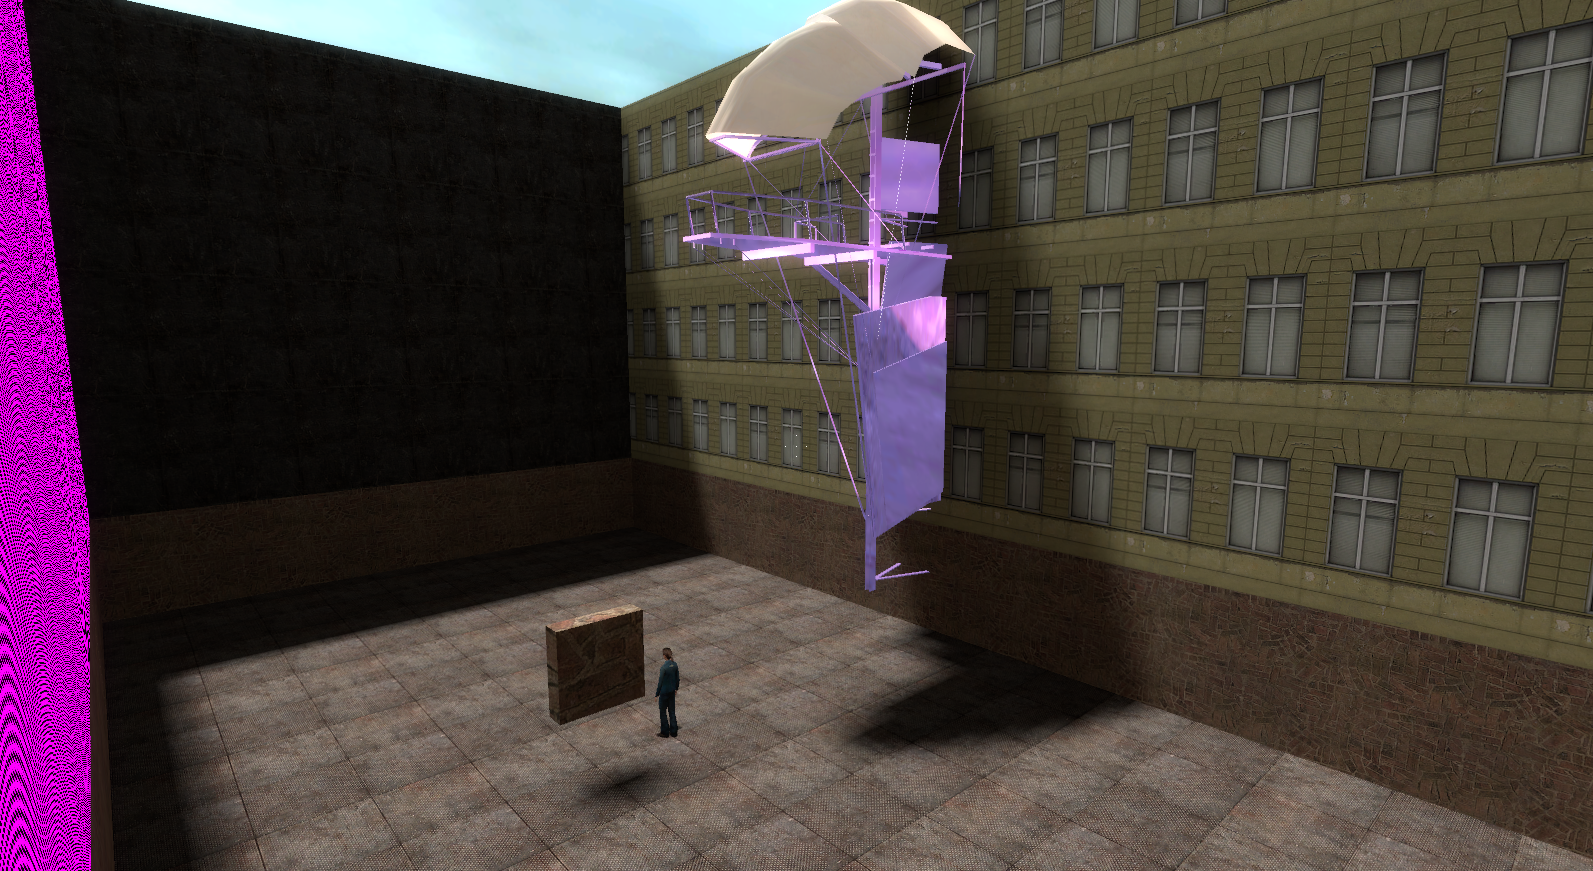
Another Half-Life 2 related development map, this one is identical to testroom_point_camera. Featuring the point_camera entity and the two areas of the map, though there is a wall and trigger in the first room and the scaffold is oddly missing a texture. However, there is a Half-Life 2 Citizen who will walk out the camera's end of the live feed almost like a Portal when you step on a visible trigger entity. This is why this map and 'testroom_point_camera' were borrowed for Portal's development. Likely done by the developers to see if Portals already existed in the Source Engine already and how they would work. Possibly making these the first portals for Portal, even though they are from Half-Life 2. This map is also last edited from June 20th 2004 so they are both from before Half-Life 2 was released.
This map's original purpose might have been likely to test the effects of Gunships coming out from the Combine Overworld portal seen in the end of Half-Life 2.
exit_test#
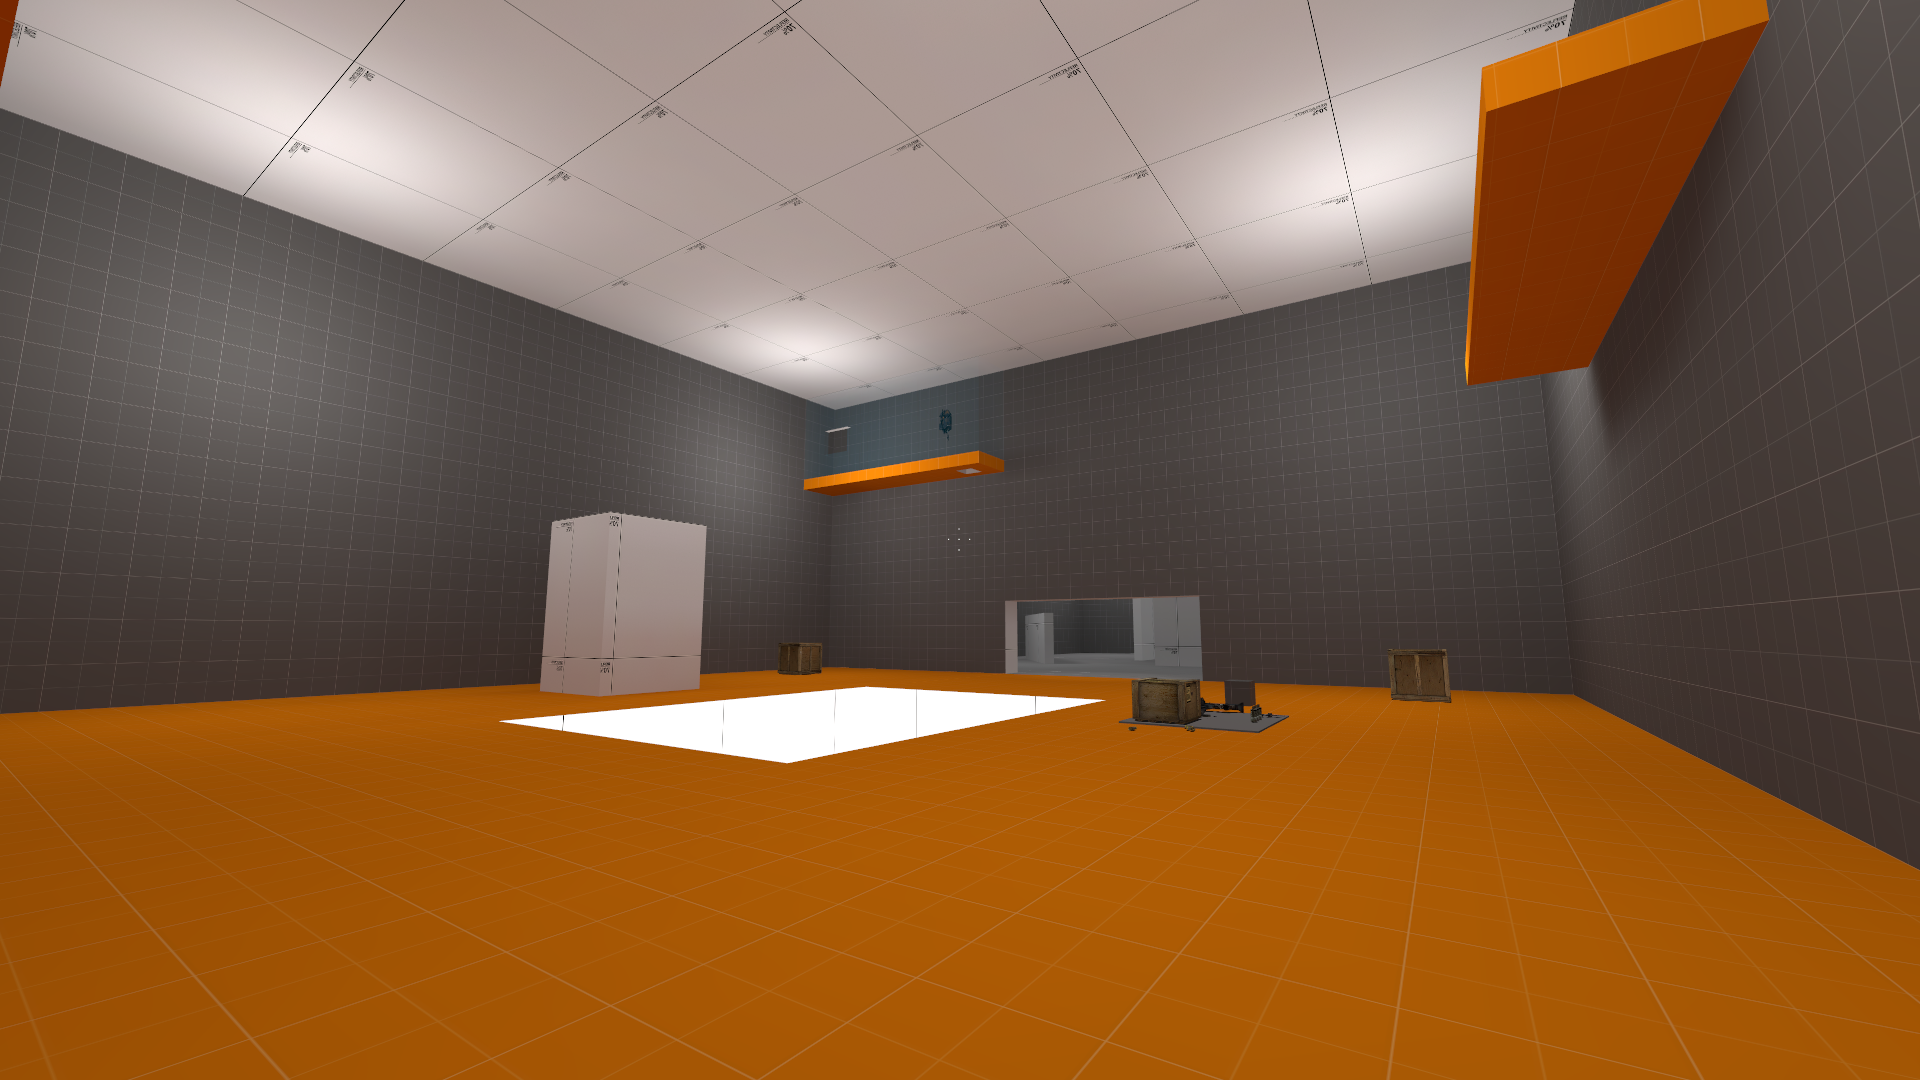
A strange developer test map, featuring two rooms with dev textures, a pit and also featuring a lot of Half-Life 2 weapon and ammo entities.
testroom_trigger_portal#
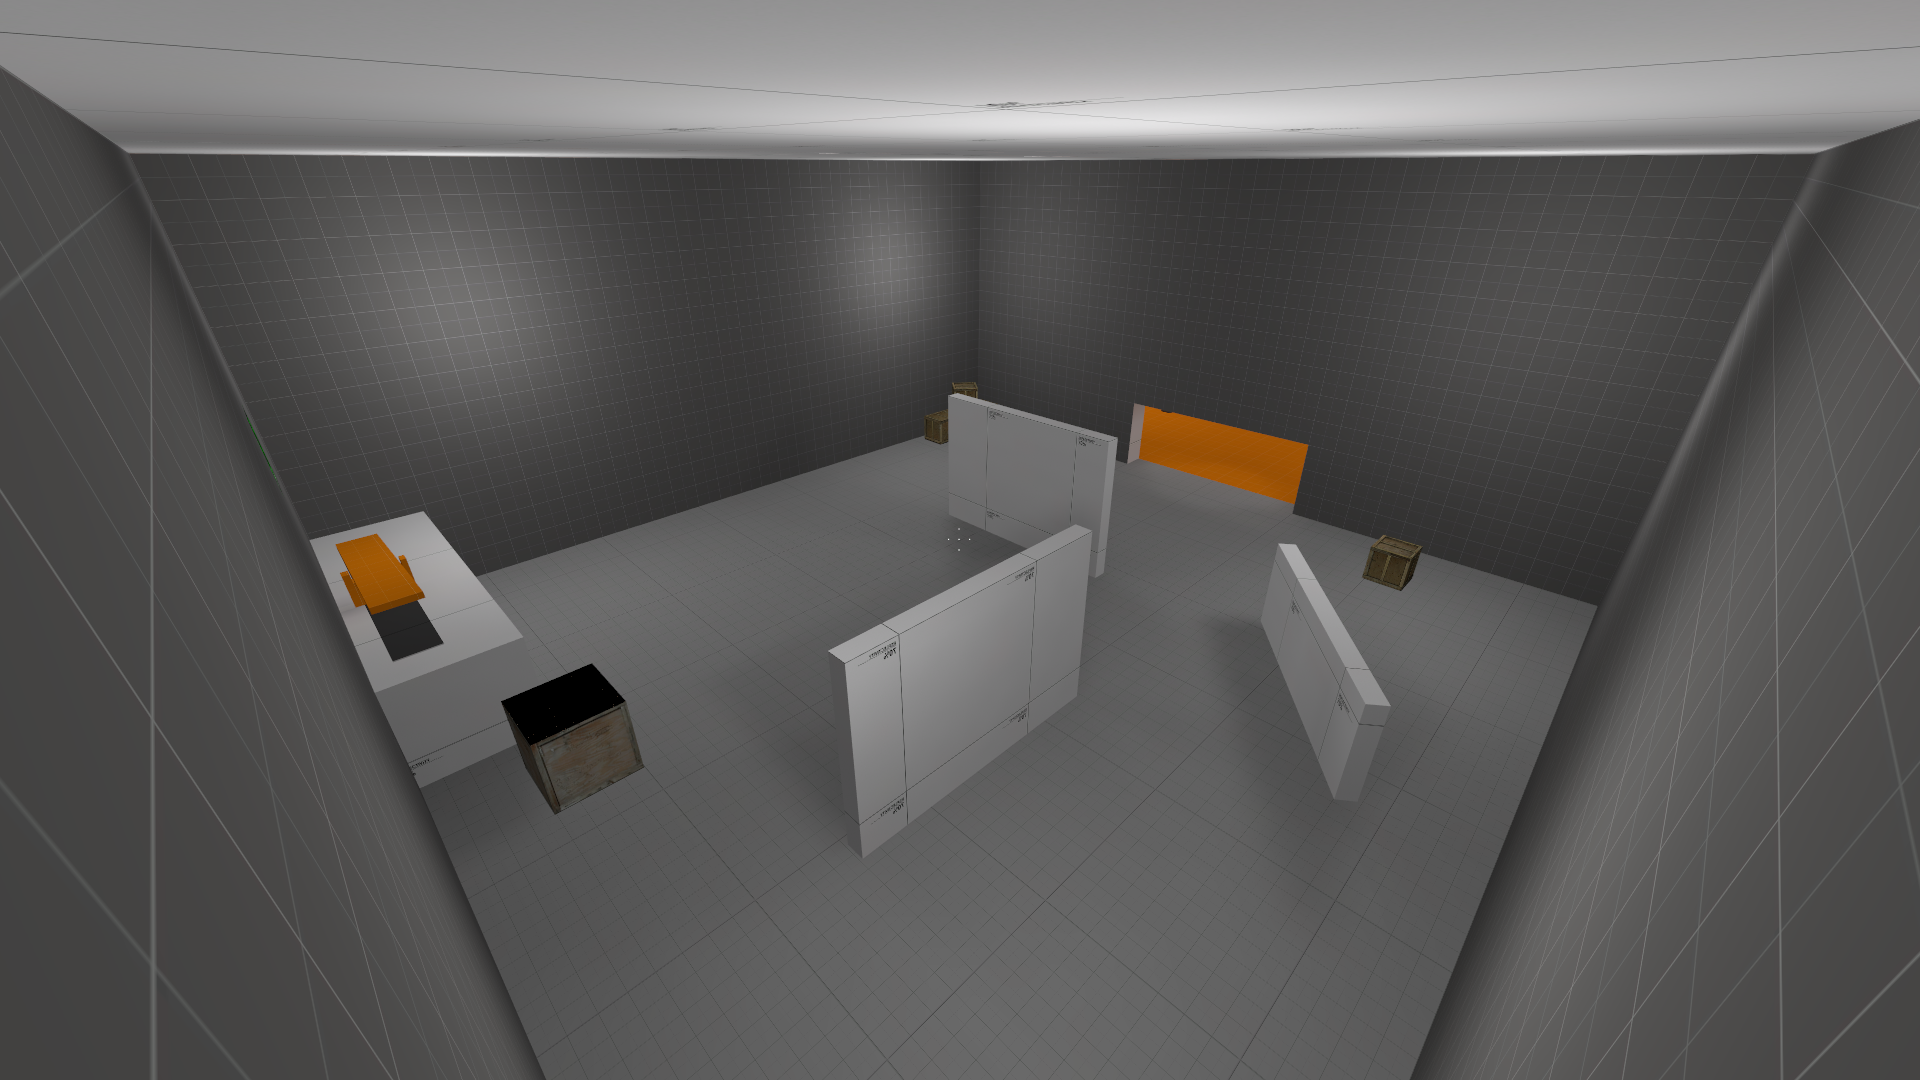
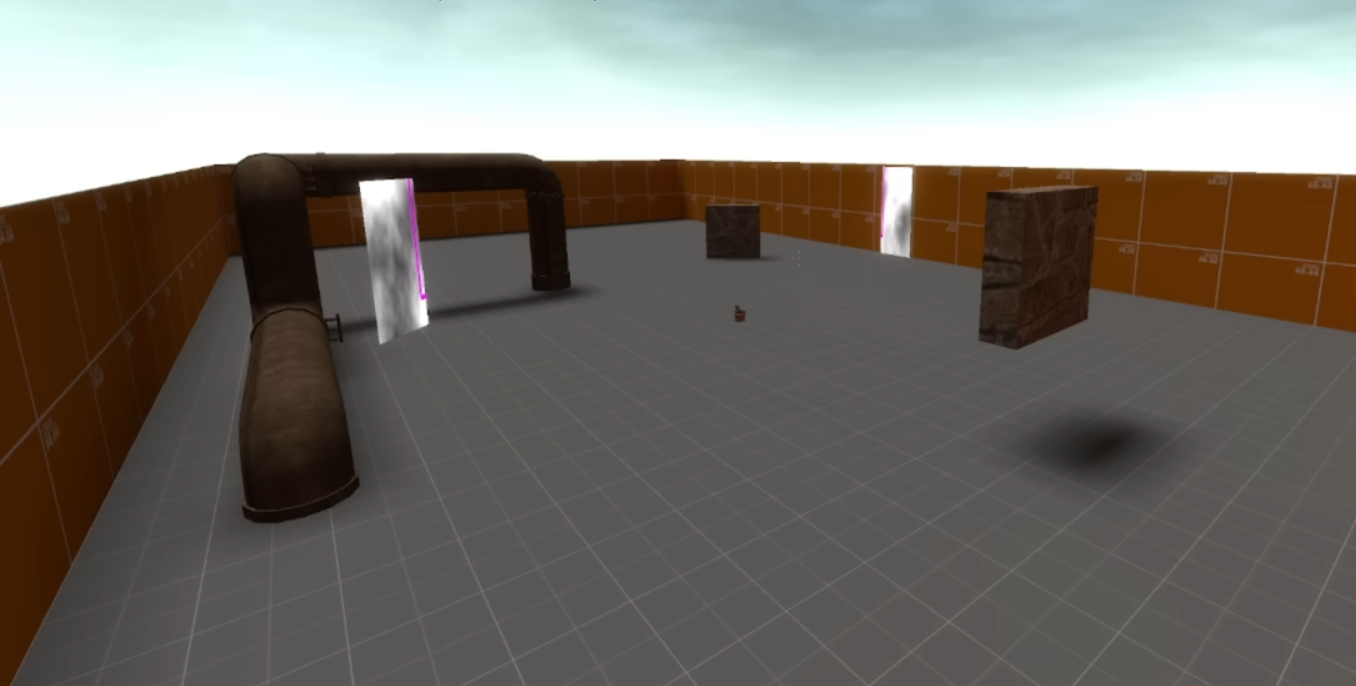
This 2005 map is a testroom area for testing the early 'noise Portals' (though for some reason the PORTAL_1 texture is shown on both) in an now removed entity known as a trigger_portal that was removed from the compiled code during development (but can be found and compiled in Source SDK Base 2013 mods, though it requires a couple minor code changes2). It features the same testroom area from testroom_point_camera and testroom_point_camera_teleport maps but with a pipe and a cactus pot to test physics objects through Portals. The Portals unfortunately don't work anymore due to aforementioned entity now being missing. The point_camera entities are also still is in the testroom. This map also features other map logic which doesn't seem to function anymore, using another entity that was removed from the compiled game code.
However there is an older version of the Portals seen leftover here. If you open the leaked map source file in Hammer, you can enable two hidden Visgroups which show Portals using the 'ShaderSlab' models from Valve's Shader testing.
(Source: Ossy Flawol)
zoo_lab#
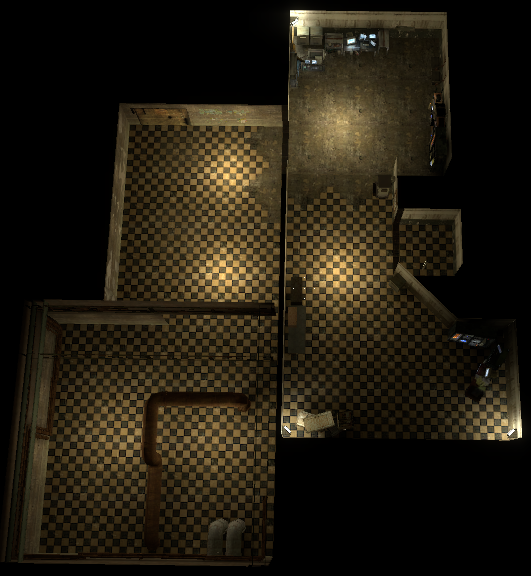
A 2005 map that contains a collection of mostly Half-Life 2 assets and a few unique 2005 only assets that the developers would reference hence the 'zoo' name. the 'lab_lvl' name was going to be used to the maps in the escape section and the 'bts' (Behind The Scenes) section of the game at the time. This is a map that would be a styleguide for assets to use in those lab_lvls.
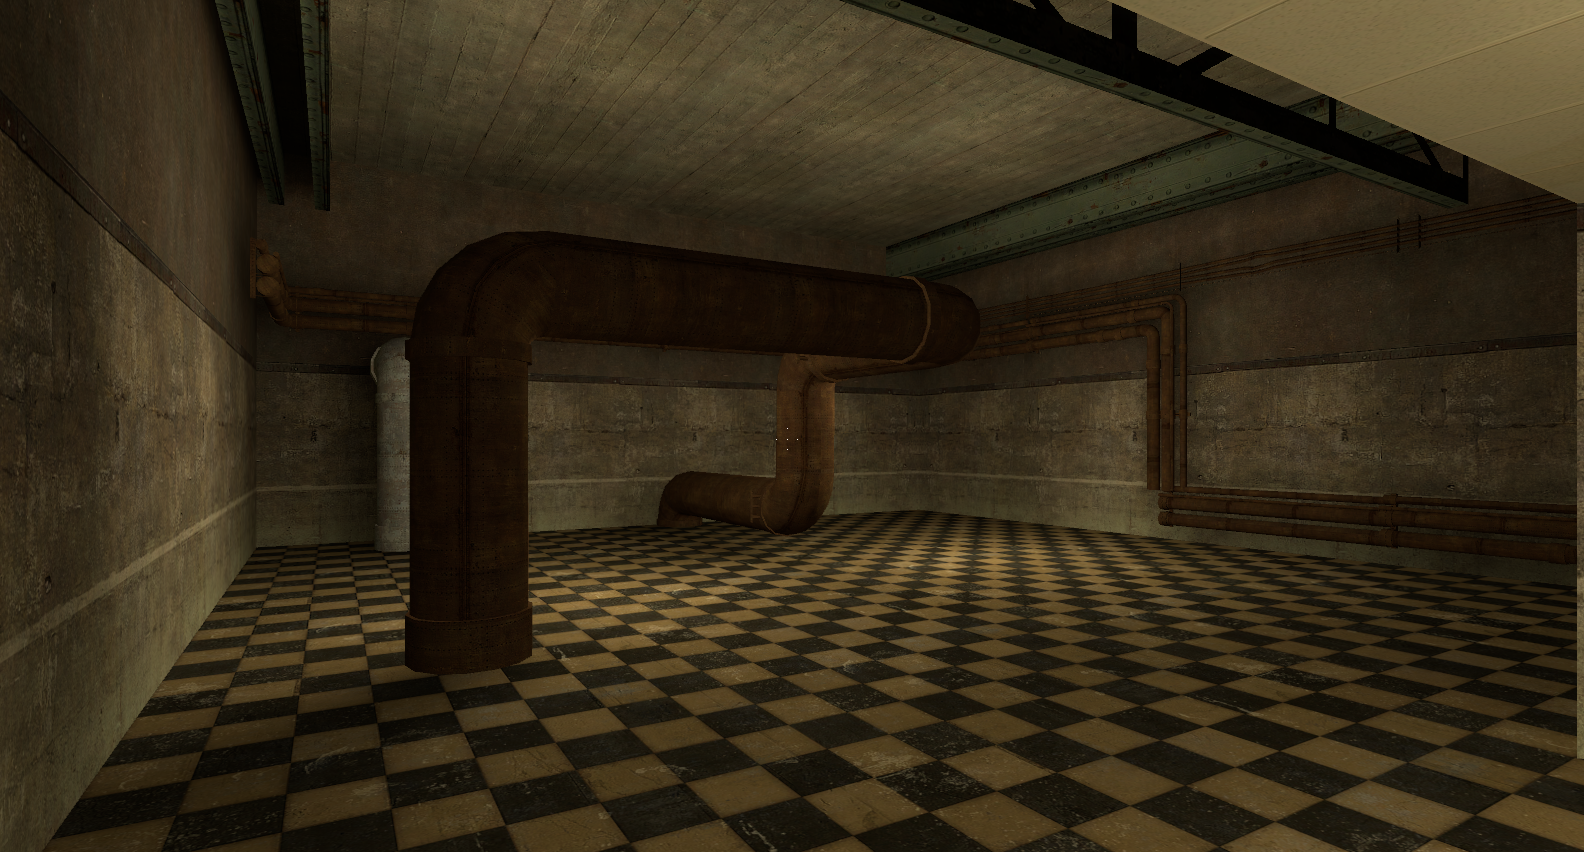
The Map features Three major rooms, two of which have names, one being the 'Prop Room' and the other being the 'Decal Room'. The third room might just be a part of the Decal Room but if it is a separate room then it could called the Pipe Room as there are lots of Pipe models in the room. Every single Model and Decal or texture, features a Text Entity in front, this details the file location so the developers know where to locate them. There are a lot of assets shown here most of them being from Half-Life 2 but there are some exceptions.
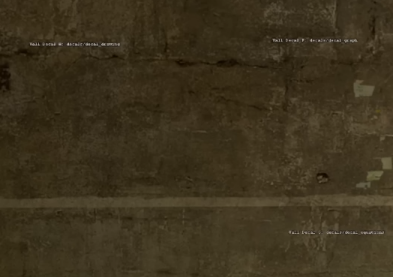
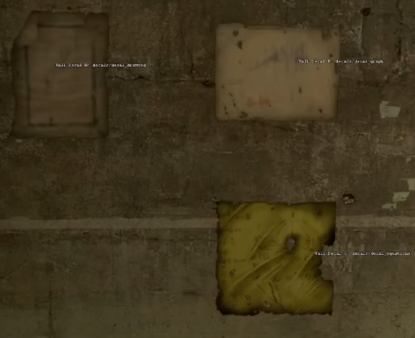
In the Decal Room on the side of the opening there is a wall that is supposed to feature three assets that aren't found in retail Portal nor Half-Life 2. Wall Decals F, G and H don't feature a texture as they are missing. However, since the map lists everything about these files we learn that they are supposed to use 'decals_drawing', 'decals_graph' and 'decals_equation' for Wall Decals F, G, and H respectively. These textures were found in the asset leak and can be viewed here.
There is also a light entity that references a missing map called 'lab_lvl2'. and a a receiver cart model and rope both reference another missing map 'rm6' which would have been the earliest name format for Portal. There is also a random vent model outside of the map in the void.
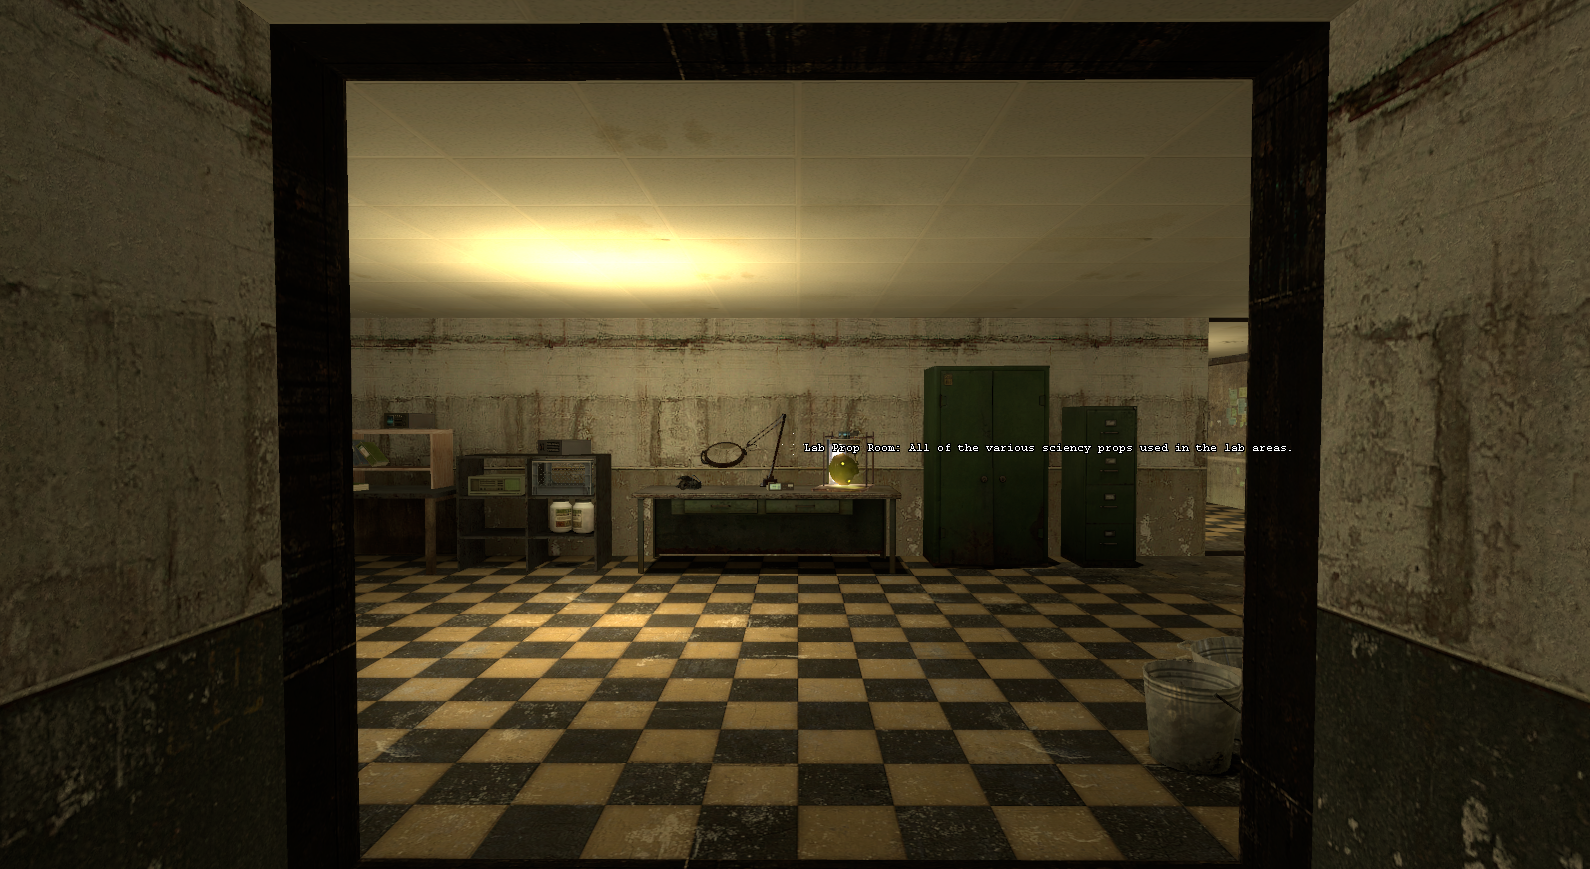

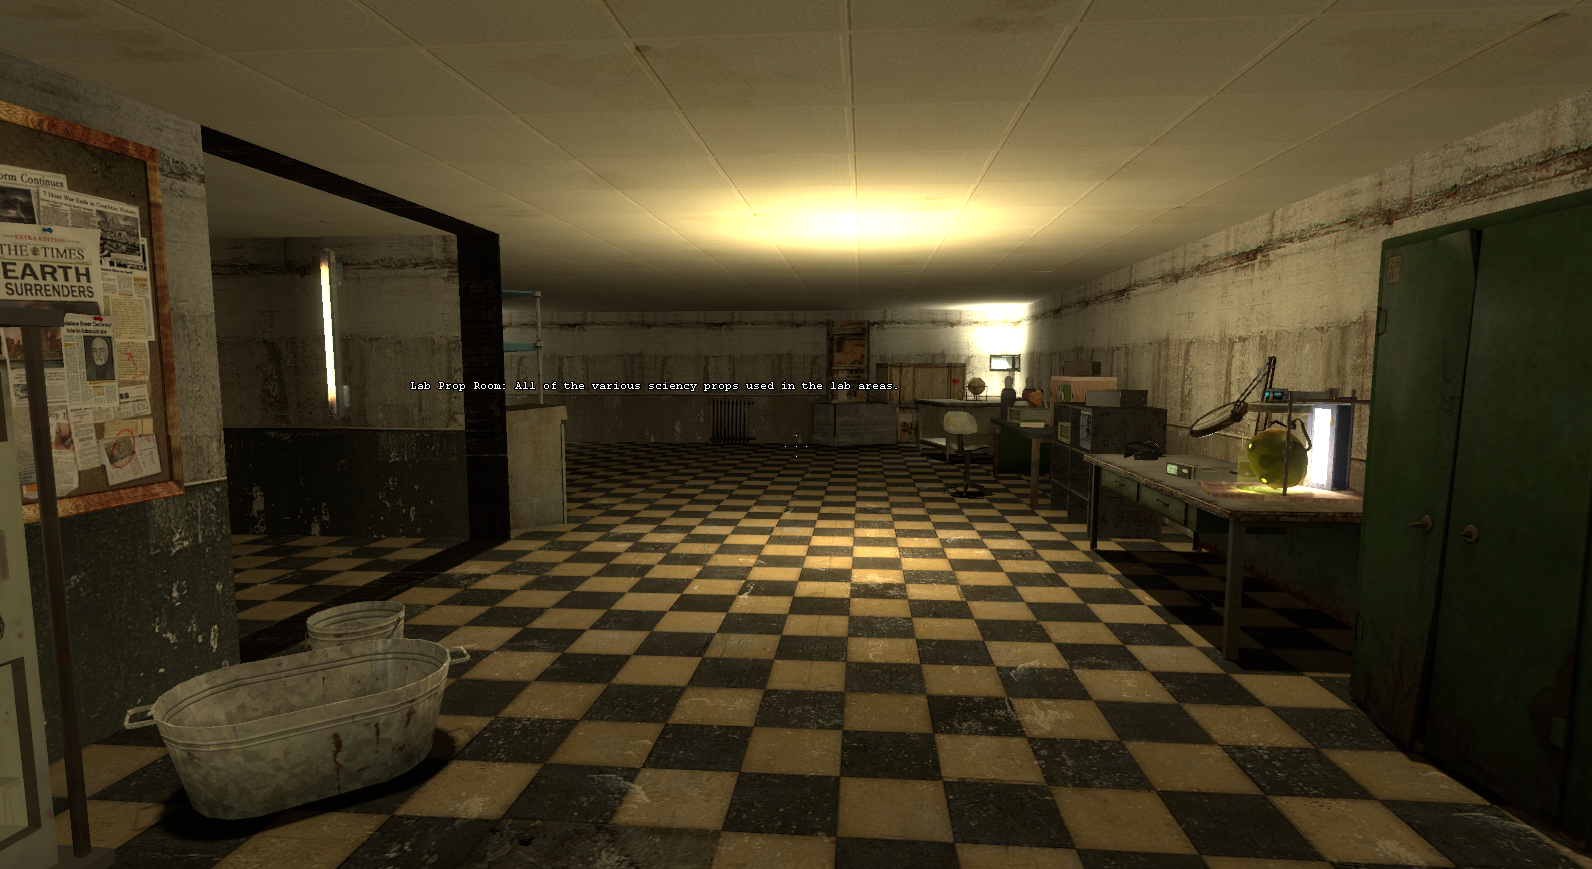

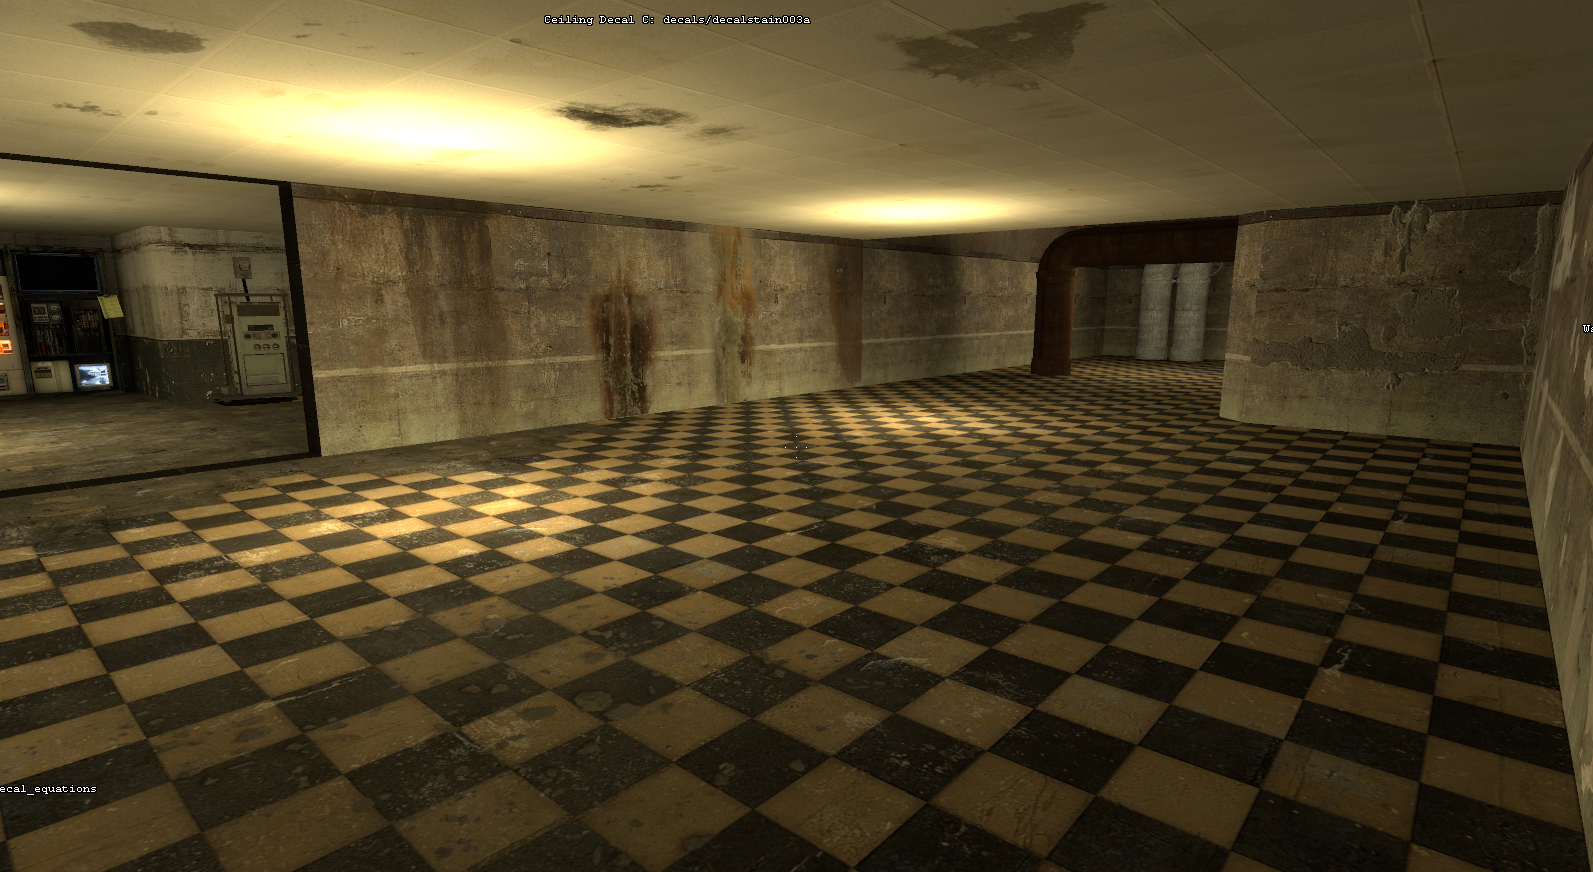
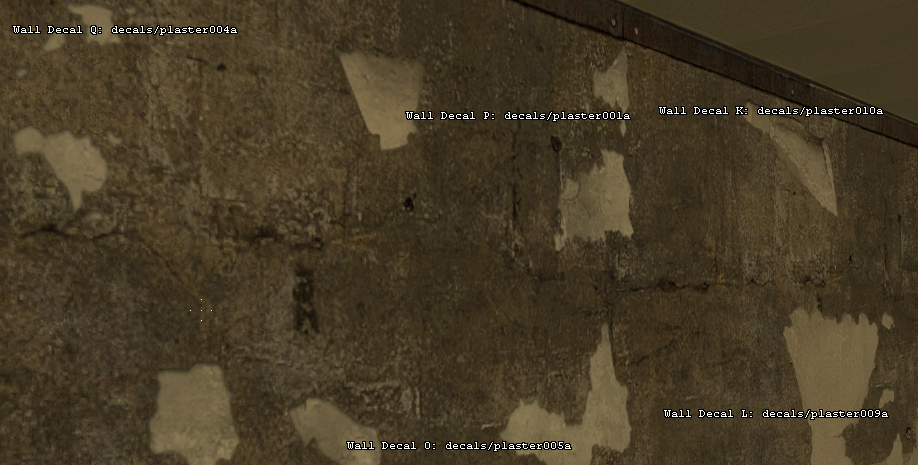

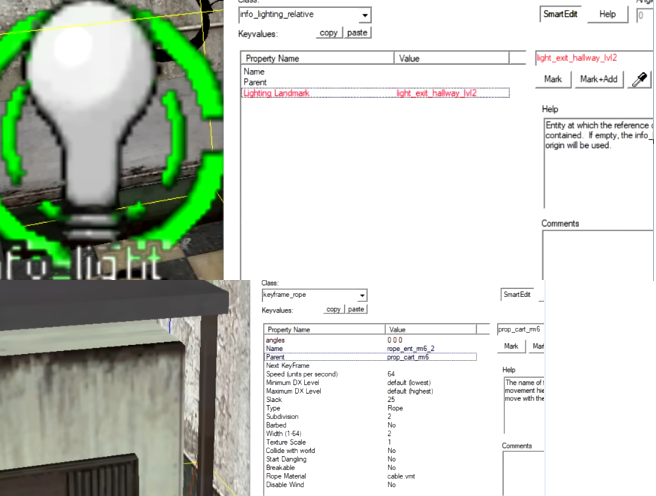
(Source: Ossy Flawol)
zoo_testarea#
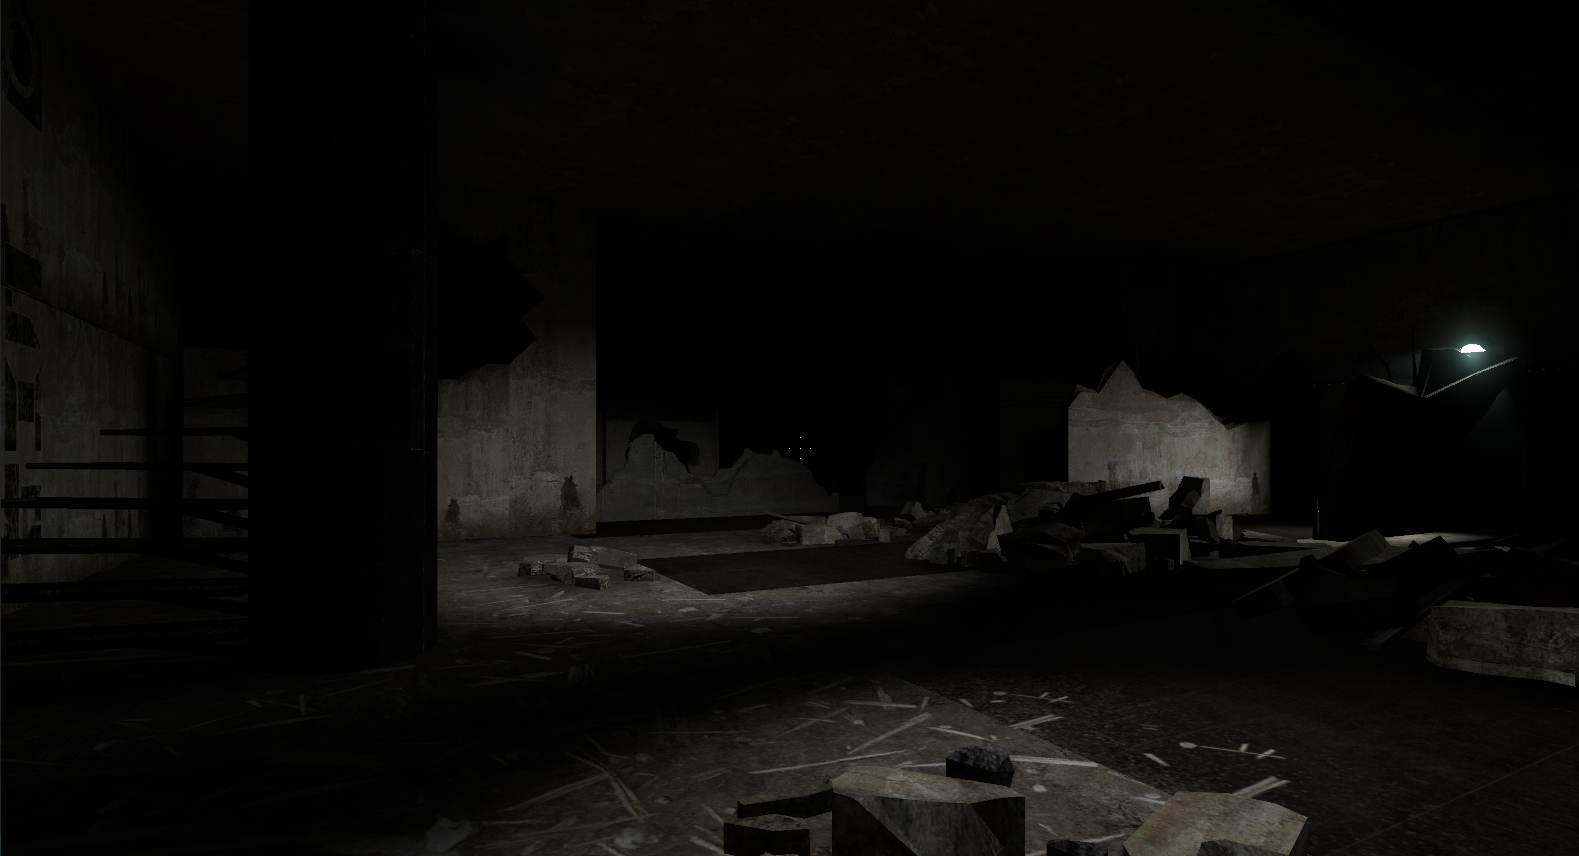
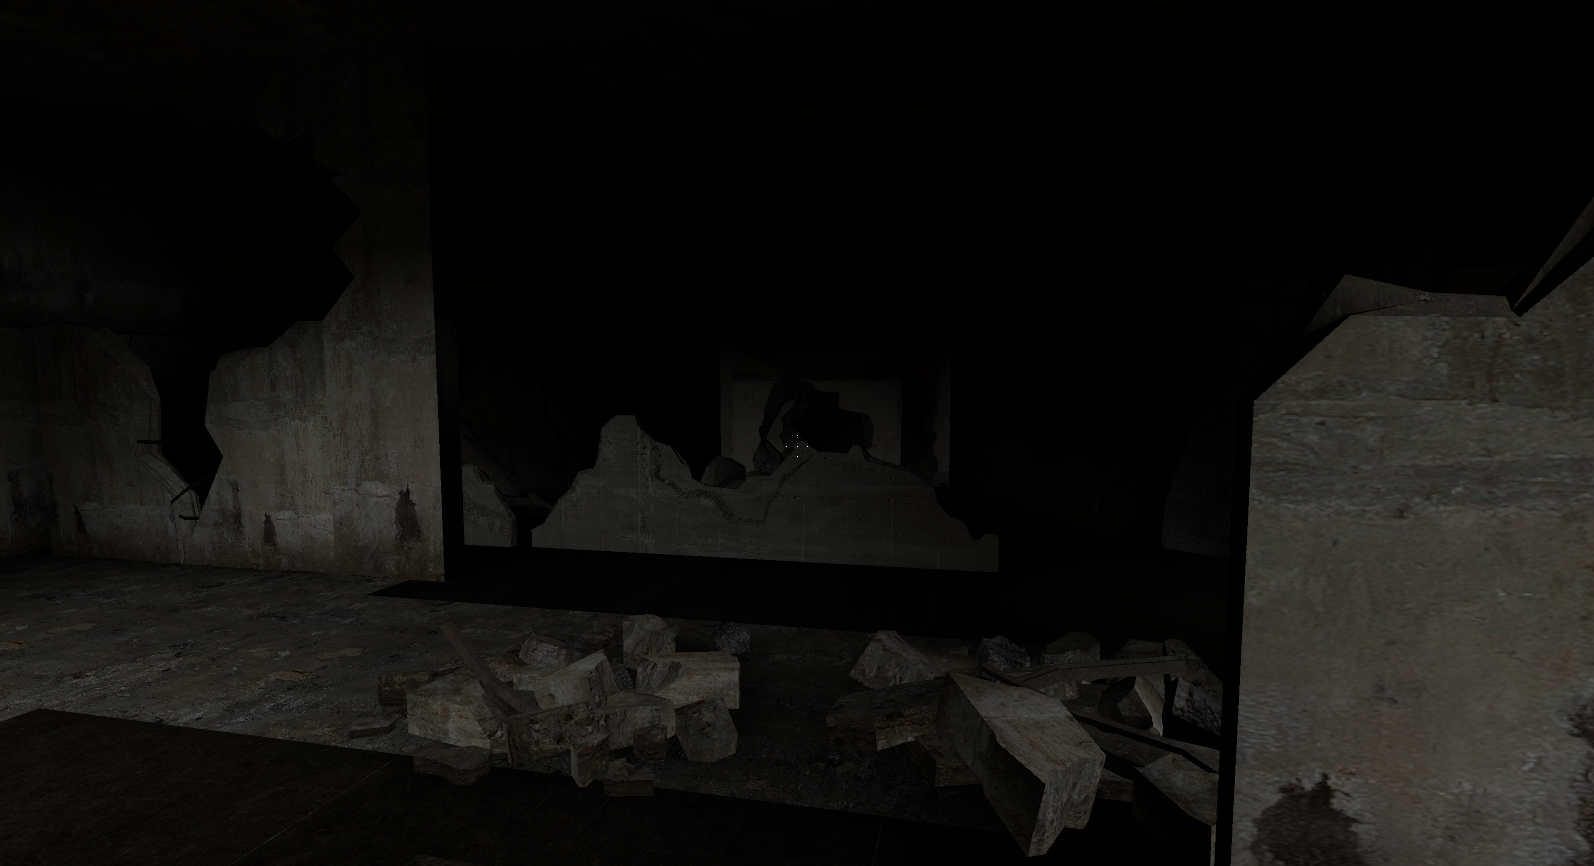
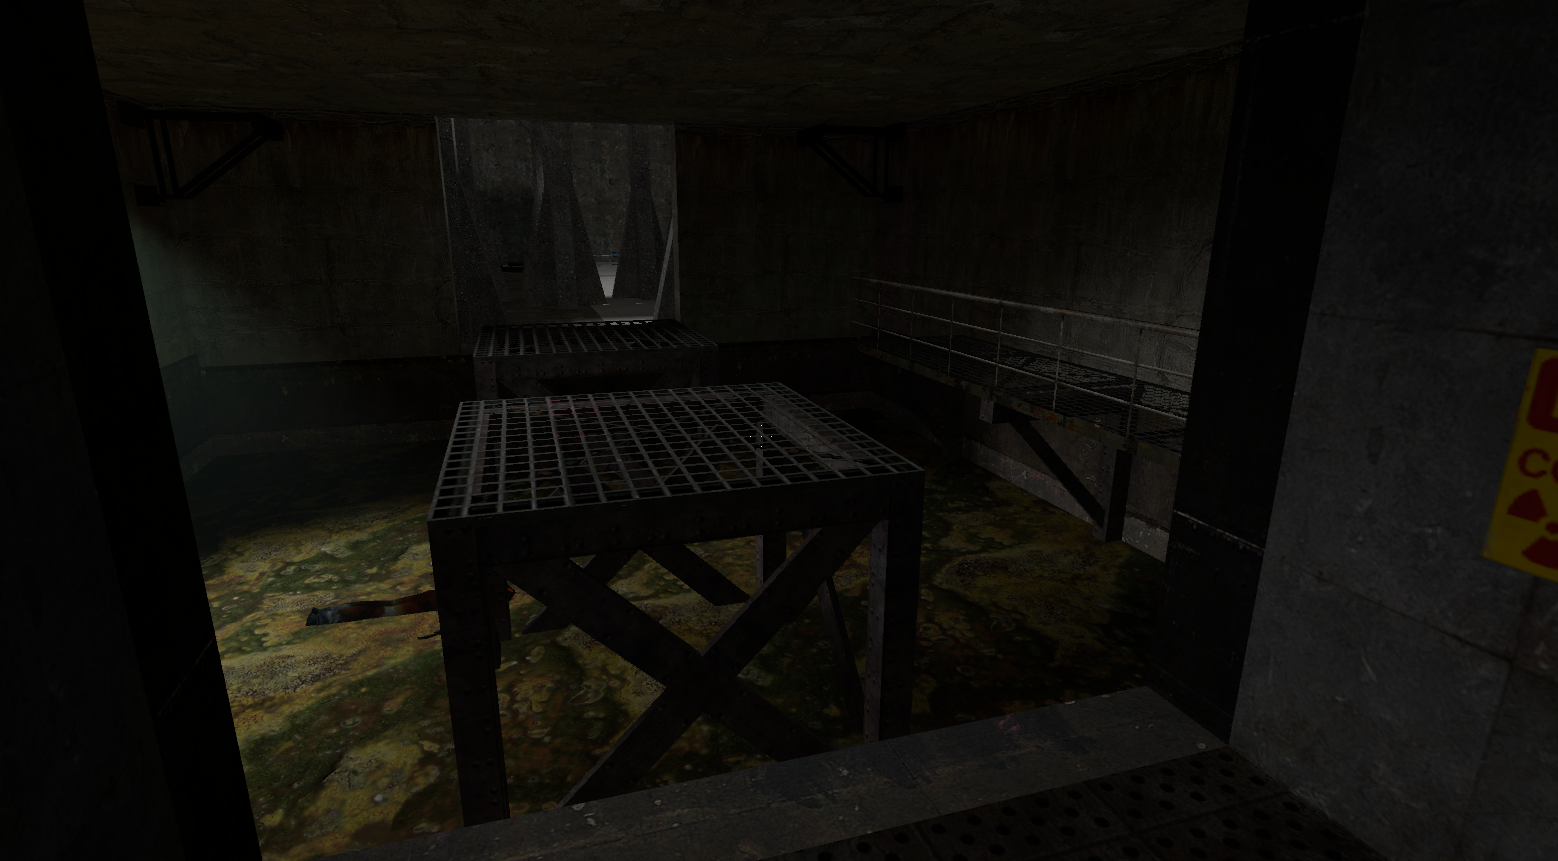
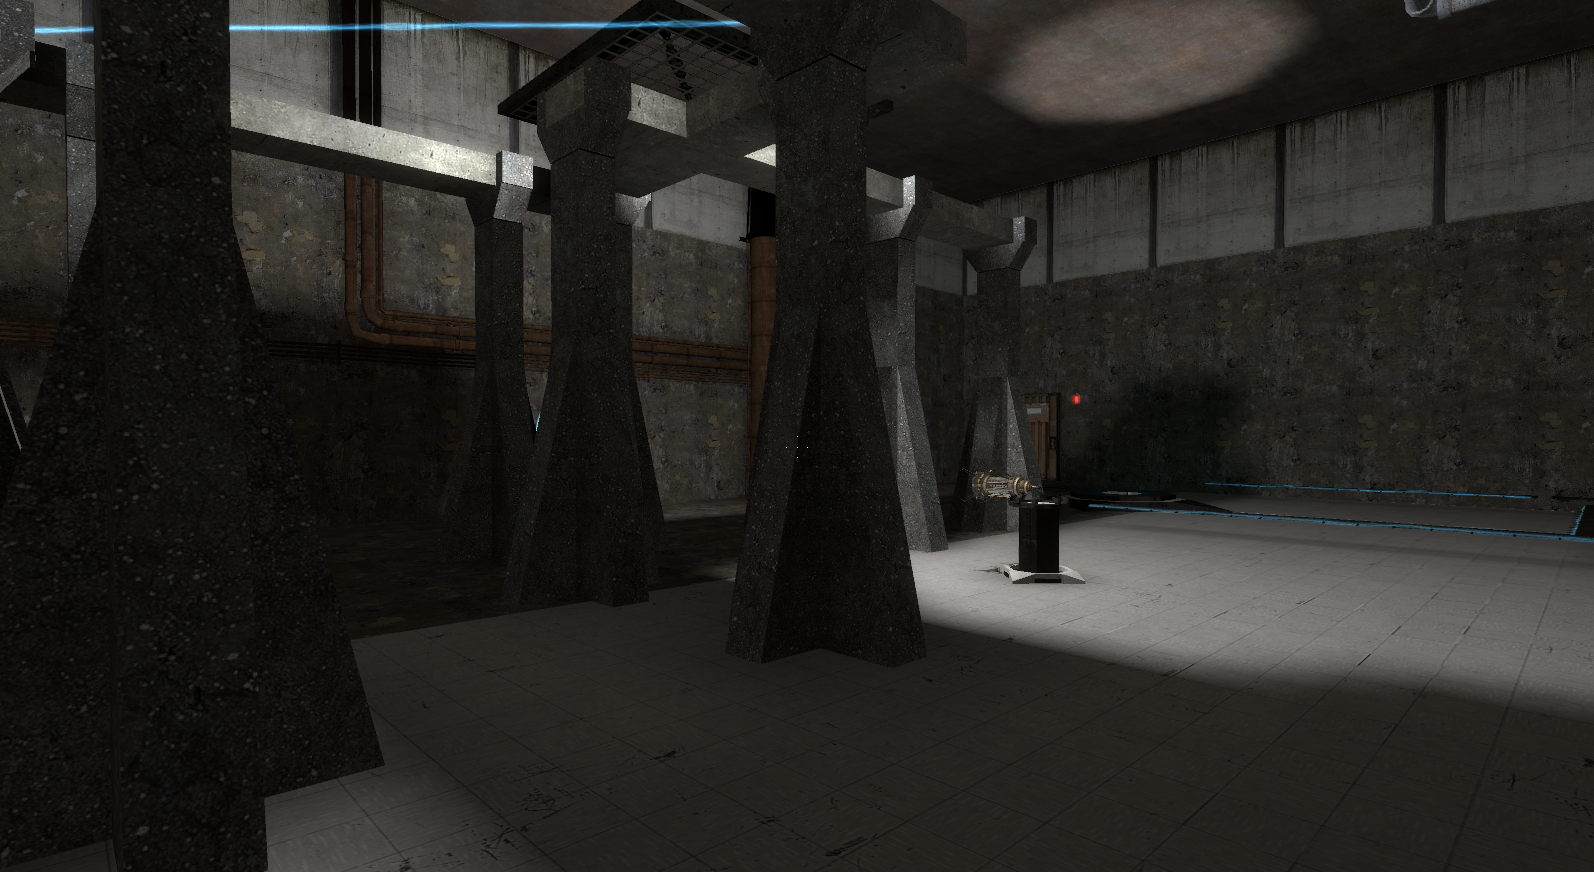
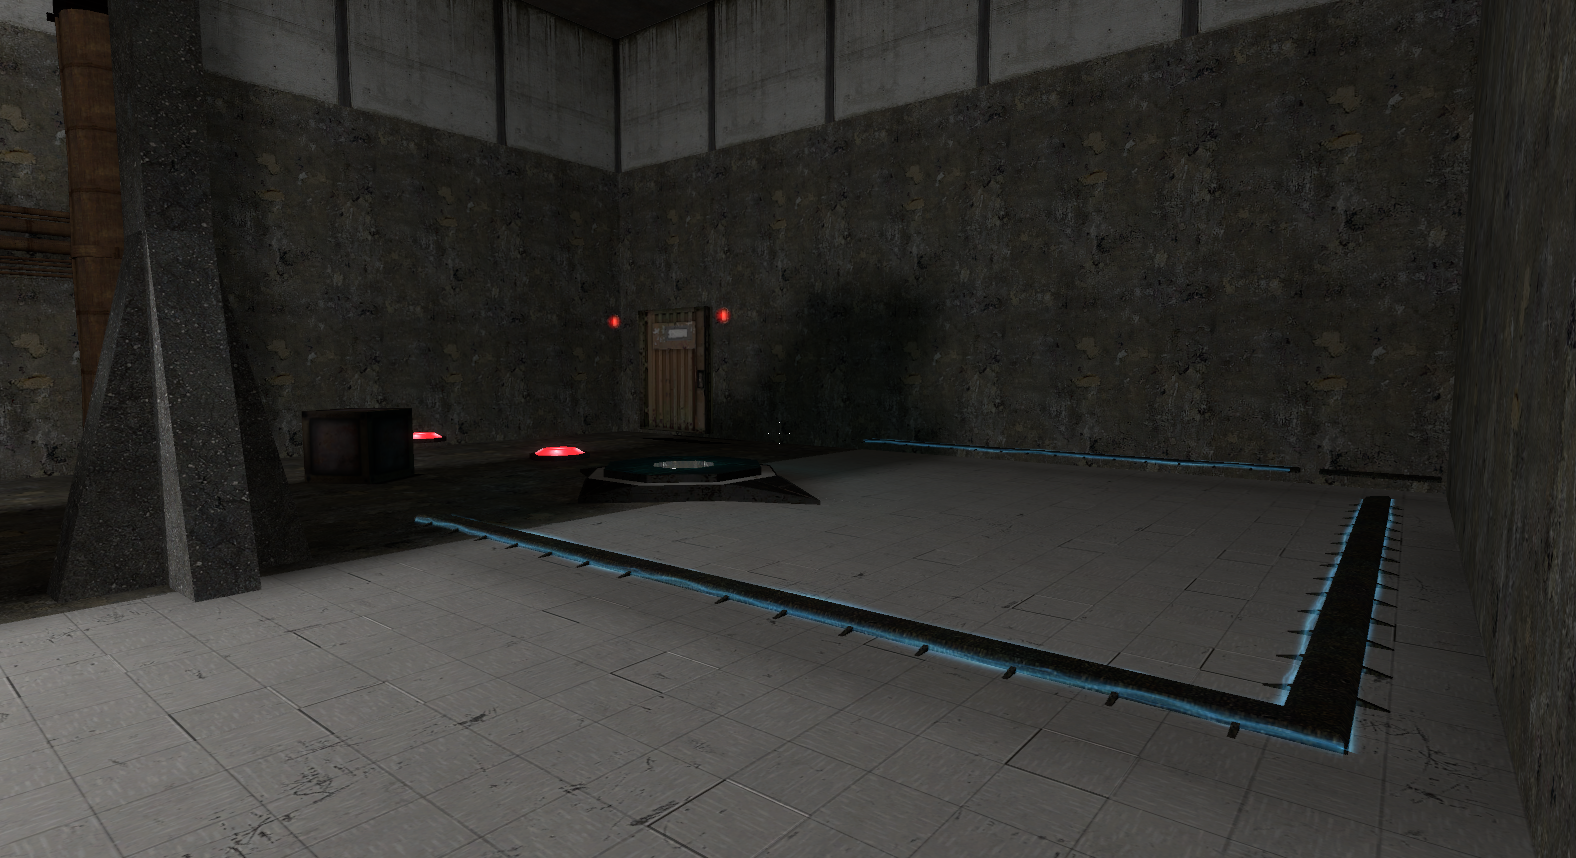
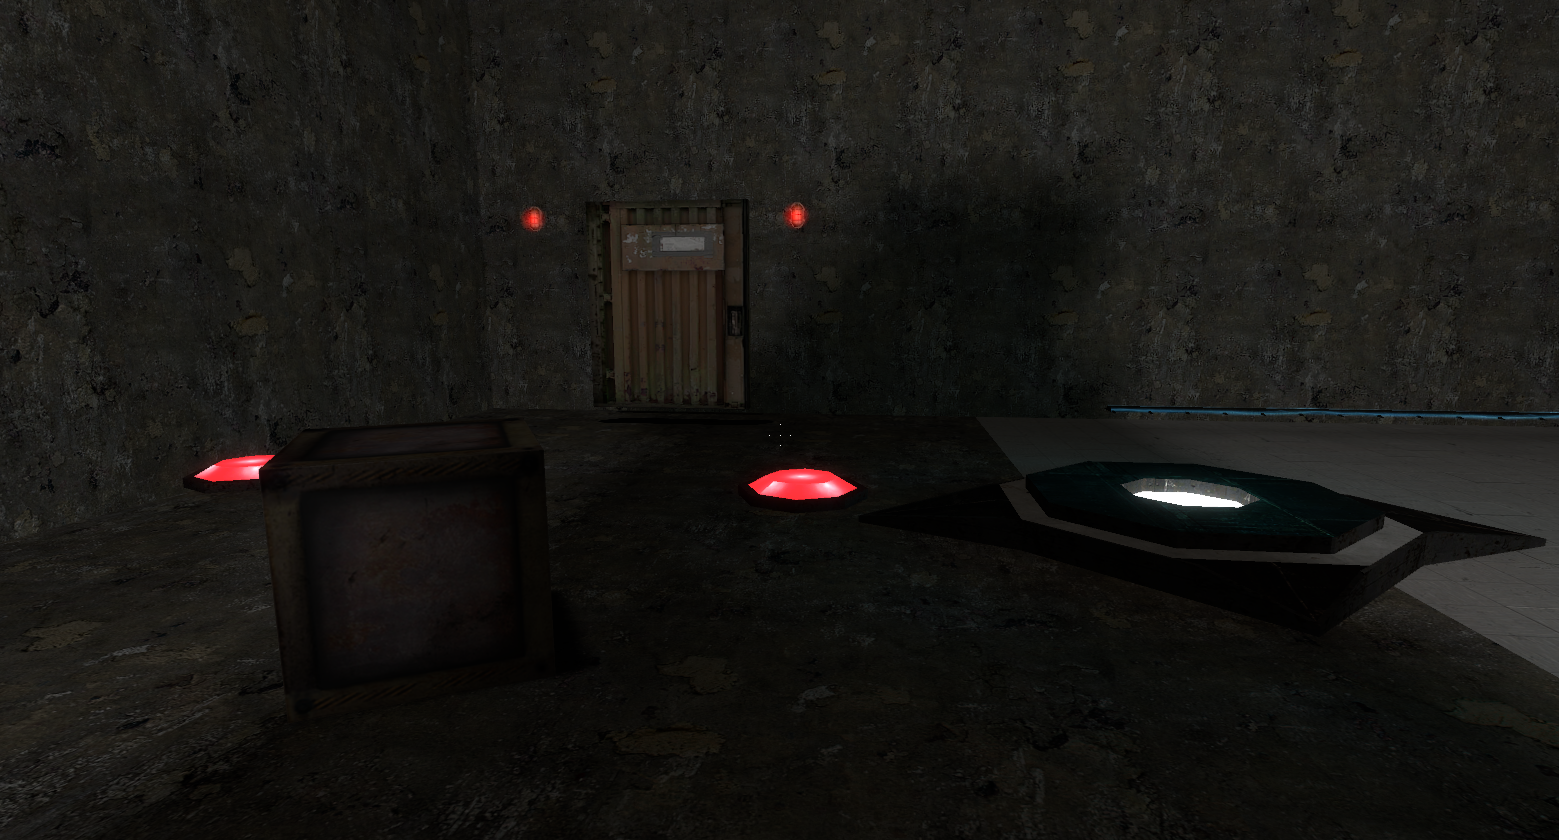
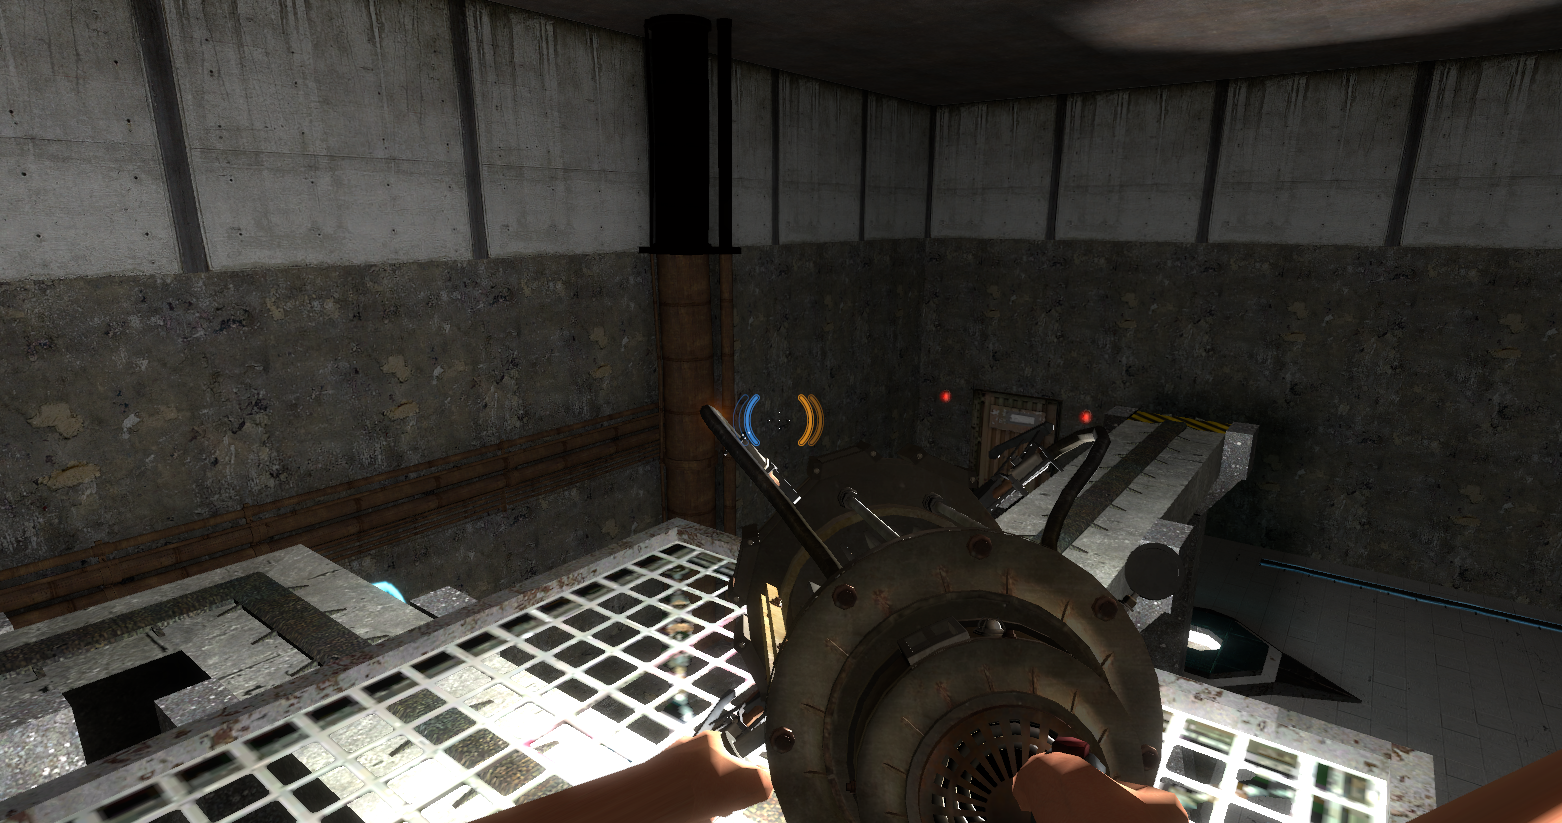
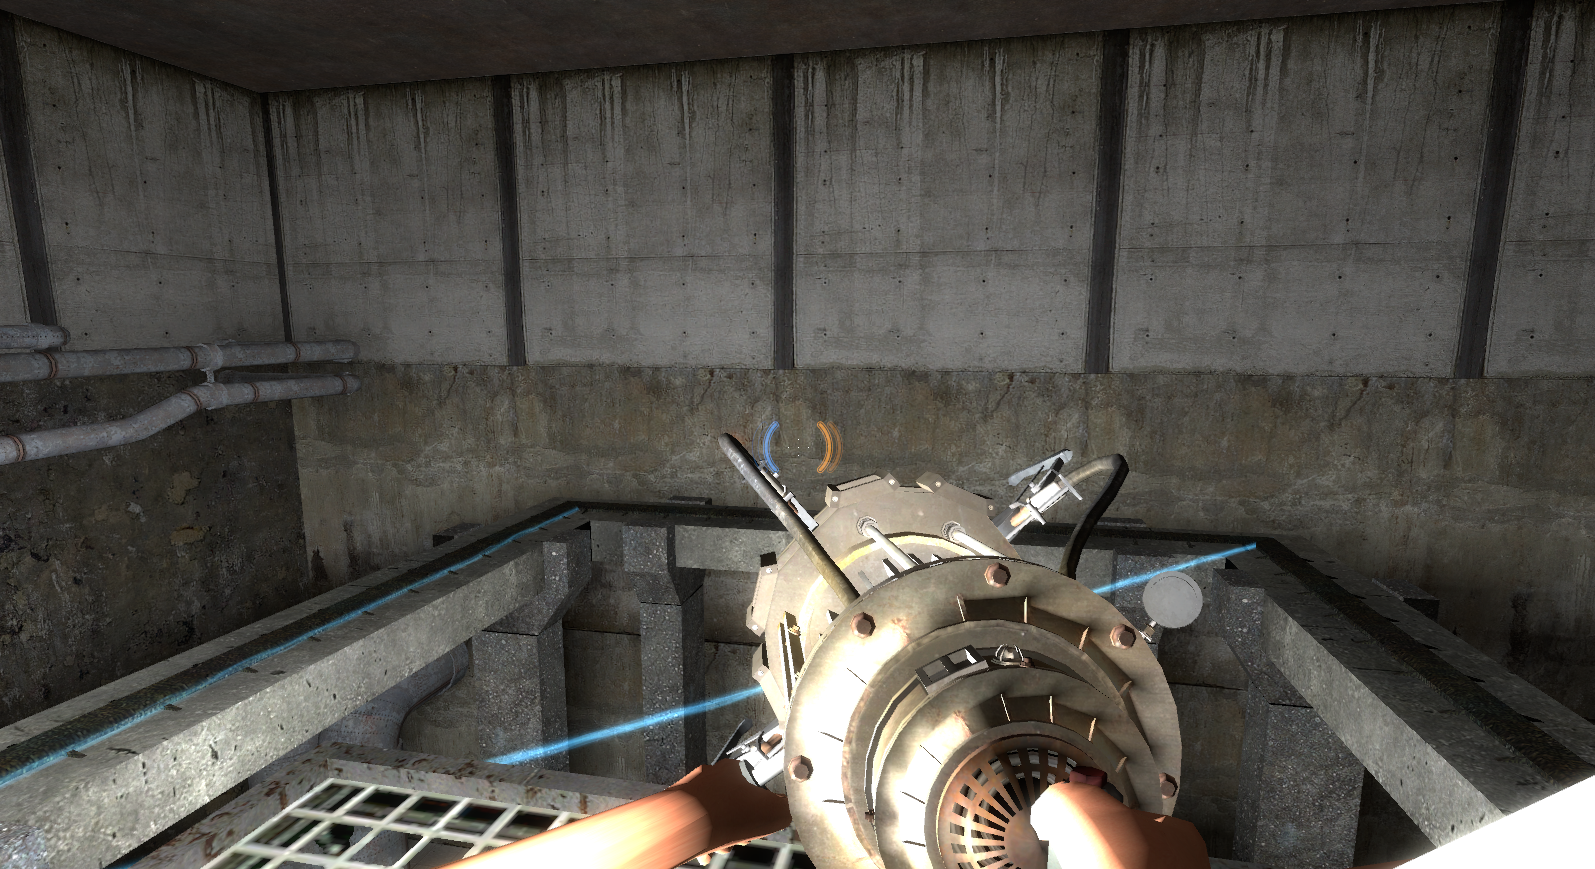
Another 2005 'zoo' map that features some early Test Chamber elements that would have appeared in the test chambers at the time. It features three sections, the first is one that is filled with debris and walls with holes models, the area is dark and features a spiral staircase that stops in mid-air. There is a combine logo in the wall and there is lots of rubble everywhere. The second section features two platforms that the player must jump over that are suspended over a pit of toxic goo, there is also a platform to side that is inaccessible apart from jumping. There is also a floating ragdoll from a Half-Life 2 City 17 Citizen in the Toxic Goo, which is named 'floating_body_lvl5' in the level editor, showing that was taken from intro_lvl5, an early version of Test Chamber 08.
The next and final area is large and open that resembles a concrete warehouse, almost like the late 2005/Prospekt Era screenshot of Test Chamber 08. It contains the first Portal Gun Pedestal design (it is made of brushes and also has a separate prefab file available), and an auto-portal frame from this time. It all still technically works as expected but there is an error in the map logic as the portal gun tries to fire a portal on the complete opposite side of the auto-portal frame at a small concrete pillar, causing no portal to spawn. Next, there is some early brush-based cubes and button designs featured here, and a door which leads to nowhere. There is also an early High Energy Pellet catcher design on the floor, though strangely there is no launcher seen anywhere. And finally, higher up, there is an early Unstationary Scaffold design, which is bulky, large, and goes in a loop around itself. Interestingly, instead of travelling on rails of light, they were originally on electrified rails that would instantly kill the player on contact. This was mentioned in the final game's developer commentary.
This map features one of the earliest cubes in Portal, being a func_physbox object and not a prop_physics model, and it is much lighter in behavior. The design resembles the cubes later on during 2005 - early 2006, albeit with a different texture design.
zoo_combine#
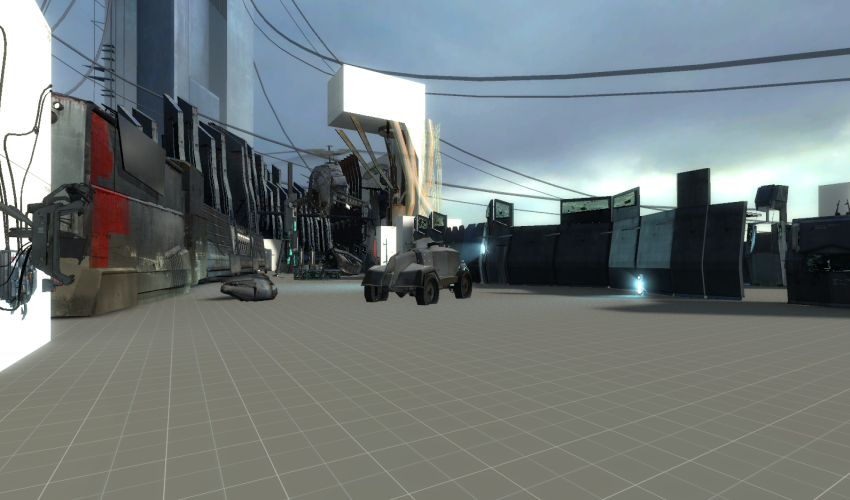
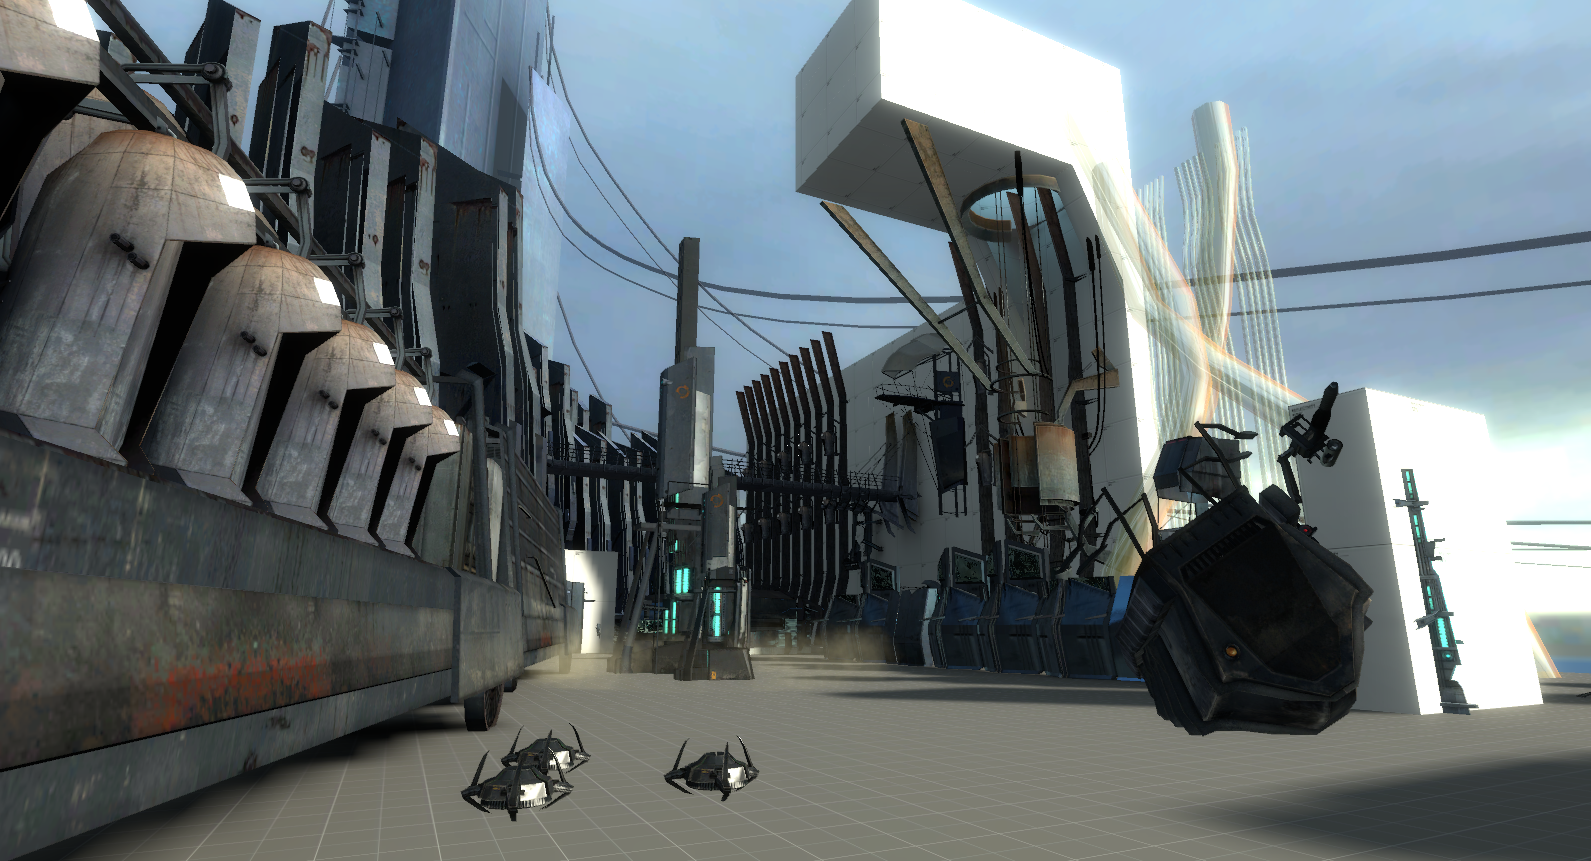
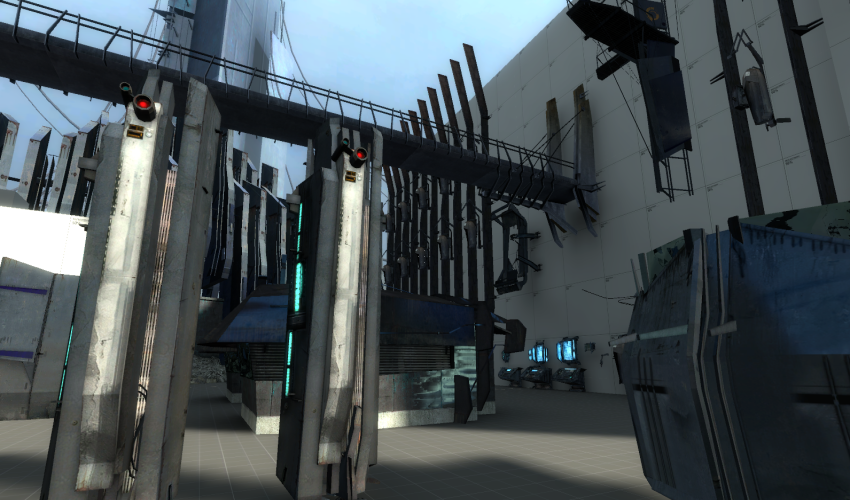
This map is interesting as it has every Combine related model and animation that the developers can reference, which is why it is called a 'zoo'. This map is also from Half-Life 2's development, possibly used for the early stages of the game's development.
Most of the entities appear functional. The map is quite large with a sky box and is quite open. It has four Citadels in the sky, gates, many objects, thumpers which scare of any antlions and a 'working' Combine APC vehicle which you can get into but the player is stuck inside and the camera is pushed to the slightly under the ground and you cannot drive it. There are two cycler_flex entities in the map that both use a Combine Soldier model, since they are a cycler_flex, they would play every animation that the model has when they take damage. One of them wields a shotgun however it is a prop_dynamic_ornament so it can be attached to the Solder model instead of it being a real weapon.
This map being used in Portal's development makes sense as the Prospekt era uses Combine assets and possibly set in a Combine Aperture.
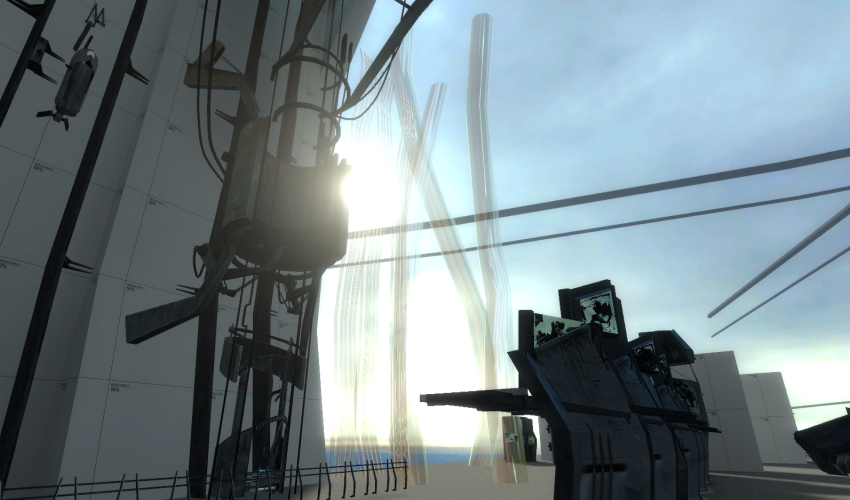
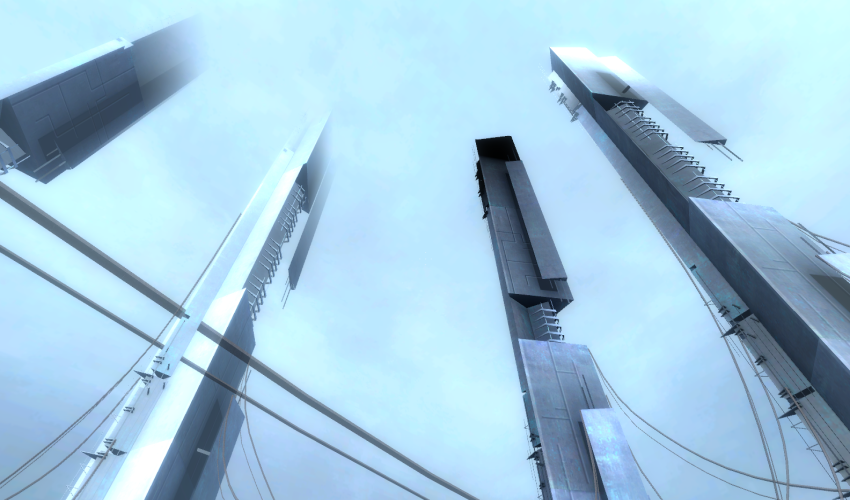
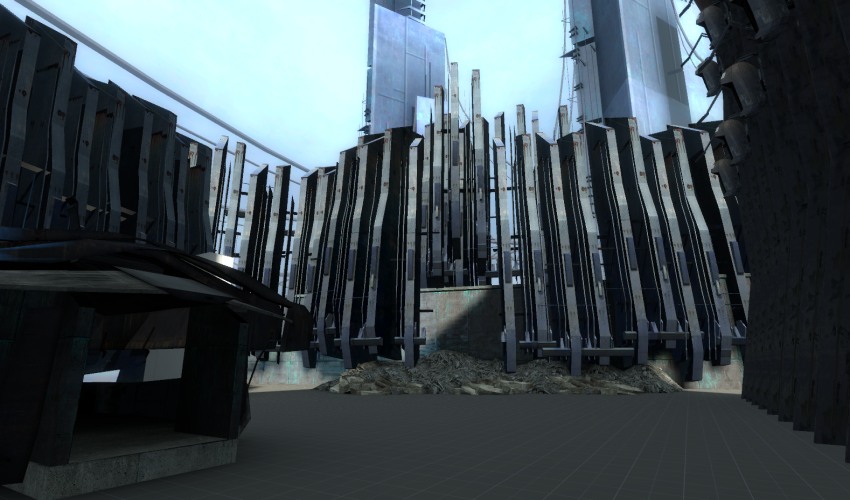
devtest and devtest_01 (2006)#
Early versions of devtest and devtest_01. Devtest is nearly identical to the final version aside from minor lighting differences, earlier fizzler textures, and the ending elevator being a regular prop_dynamic instead of a prop_portal_stats_display. Devtest_01 lacks the rocket turret section, ending immediately after the elevator.
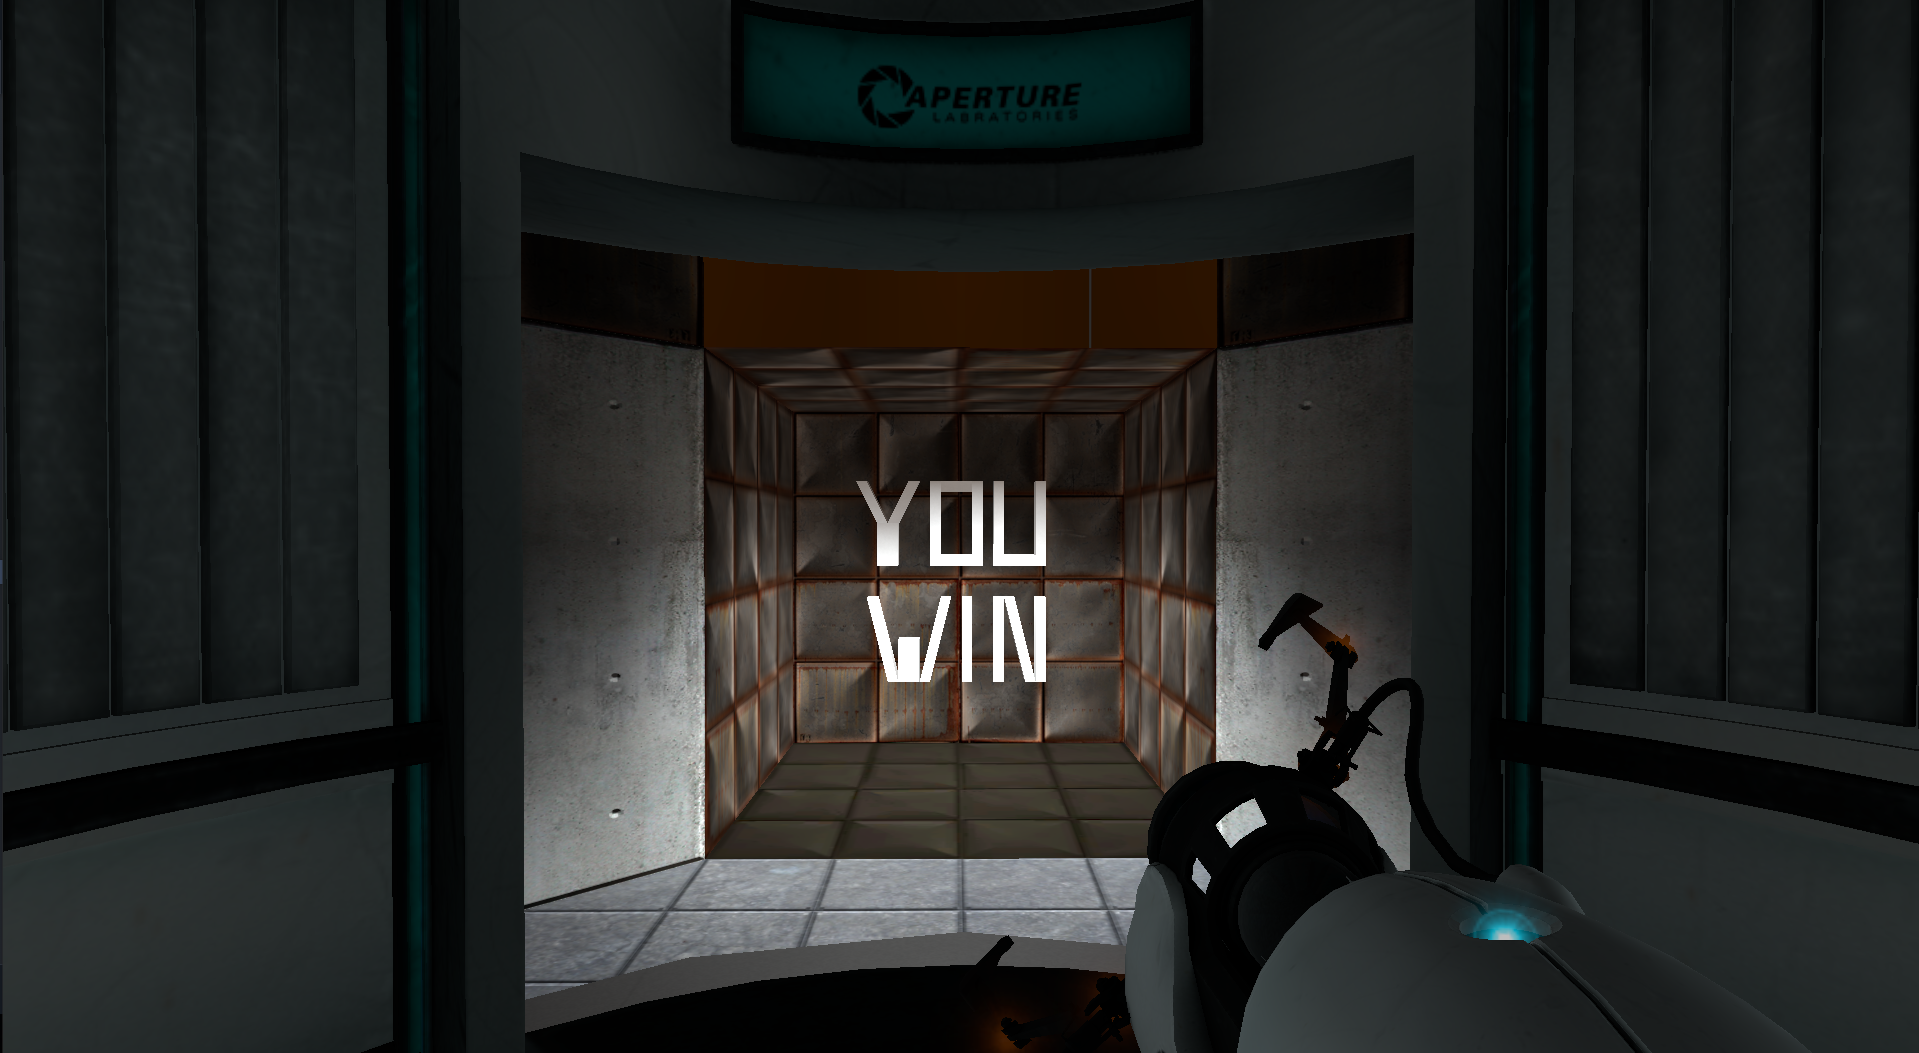
ragdoll_test#
A map from 2006 that was made to test ragdolls being featured on the cube droppers (as seen in the escape sequence when the player gets sent back to Test Chamber 09 by GLaDOS). The map features a standard Test Chamber room with odd open shape with an short empty corridor on the left that leads to nowhere.
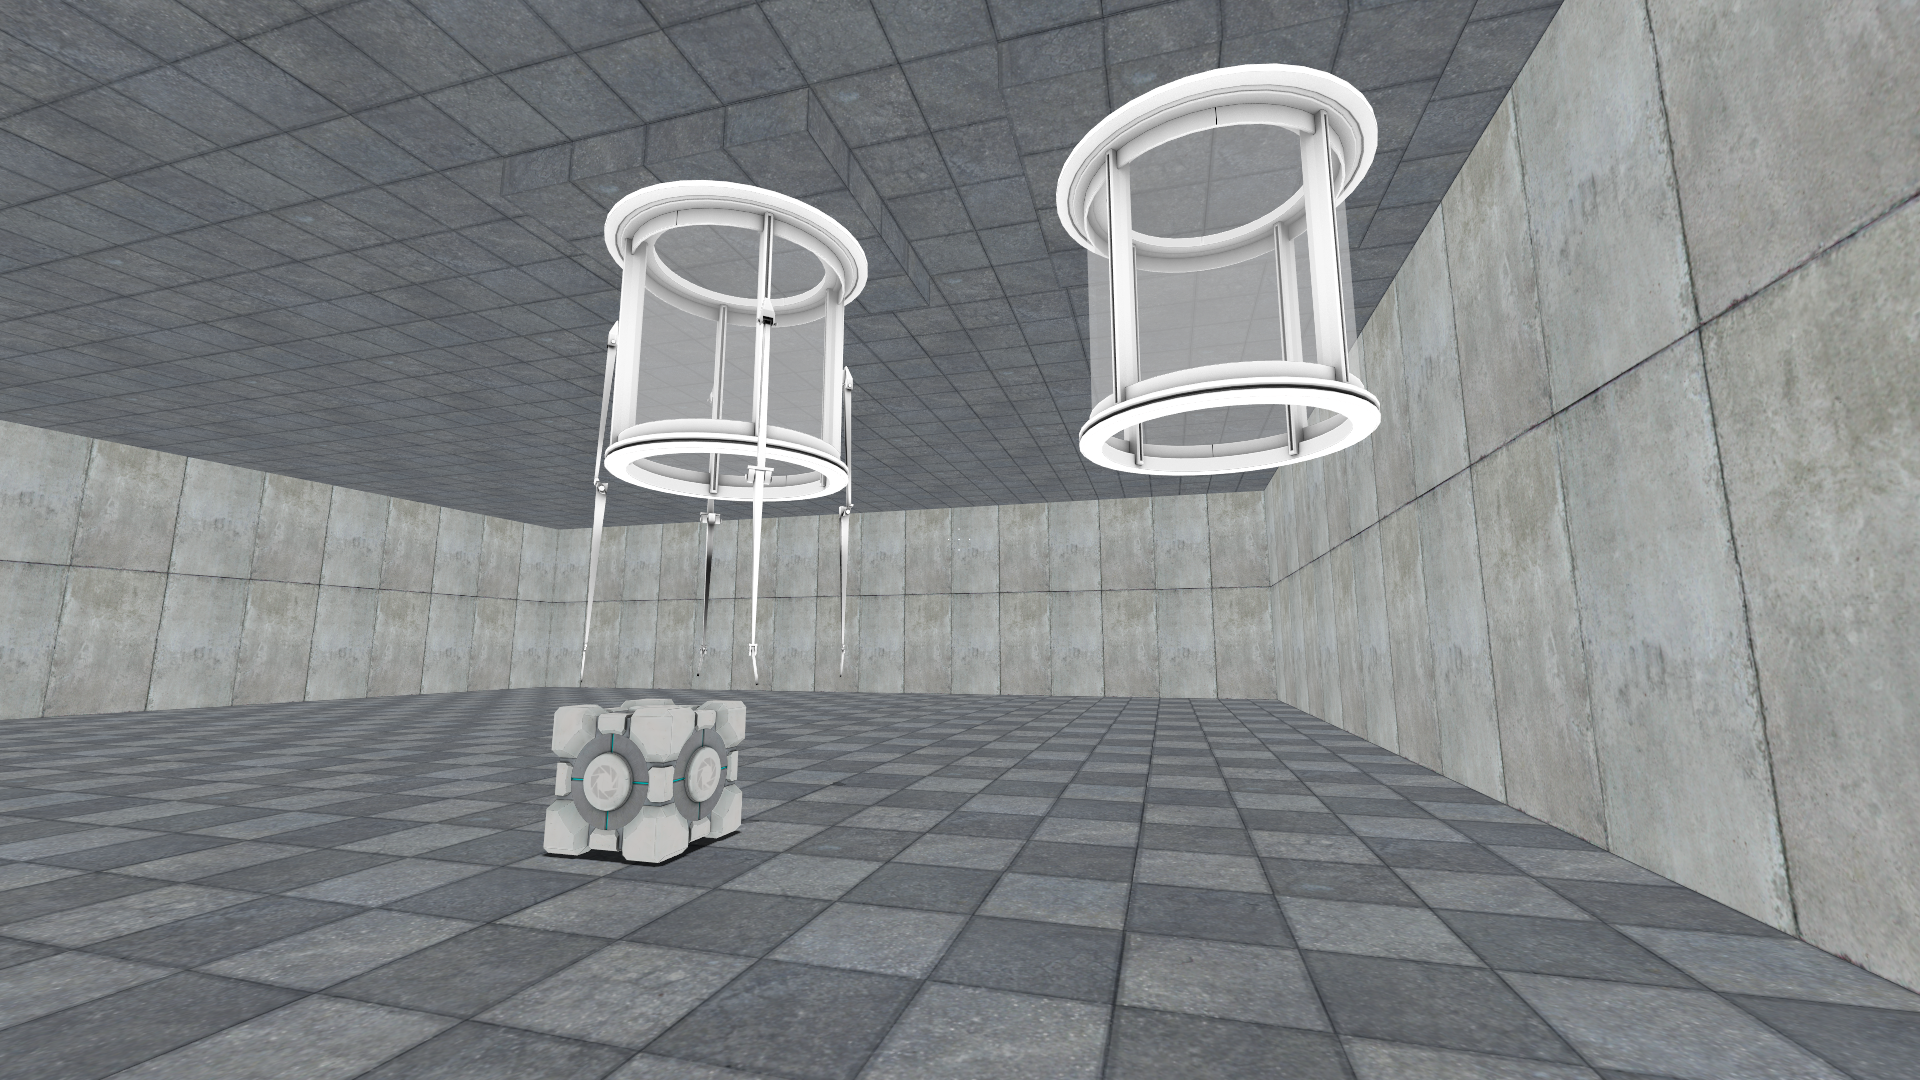
elevator#
A map that was used as reference on how the elevators look and work.
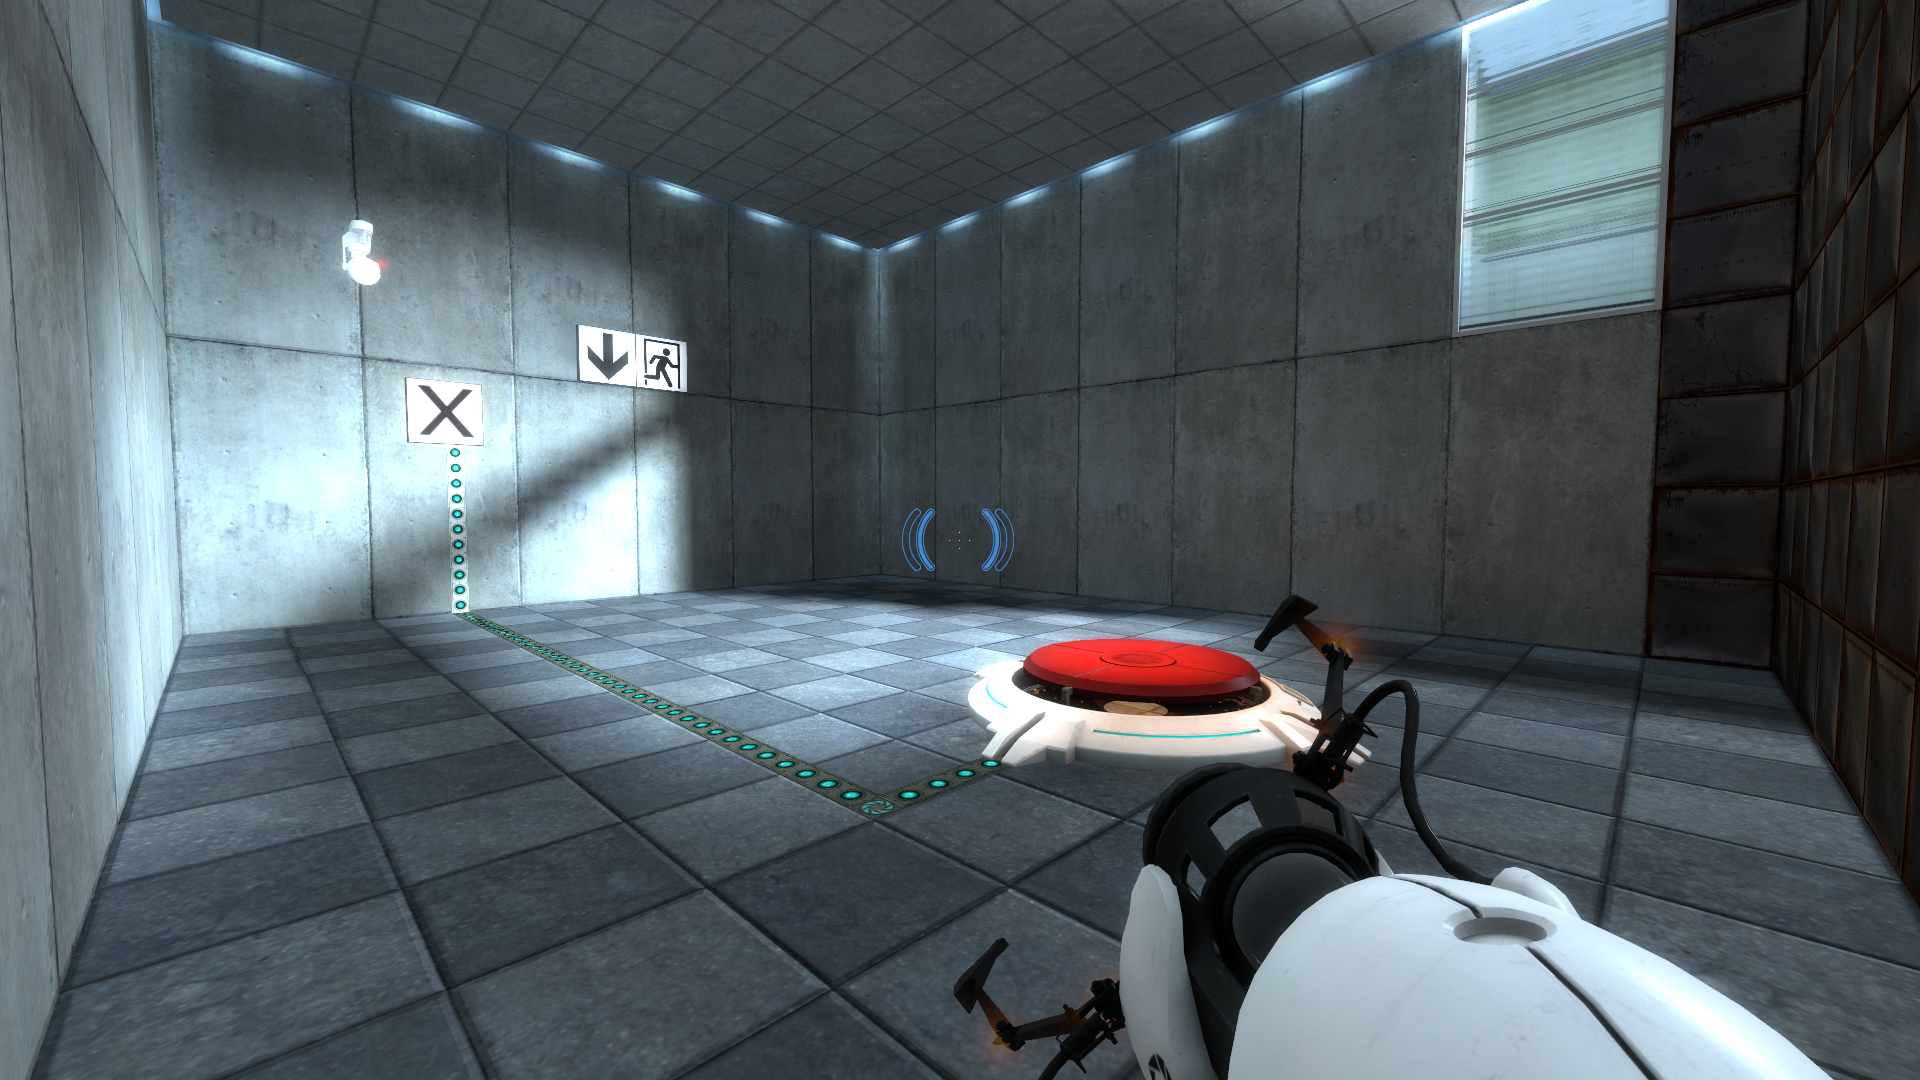
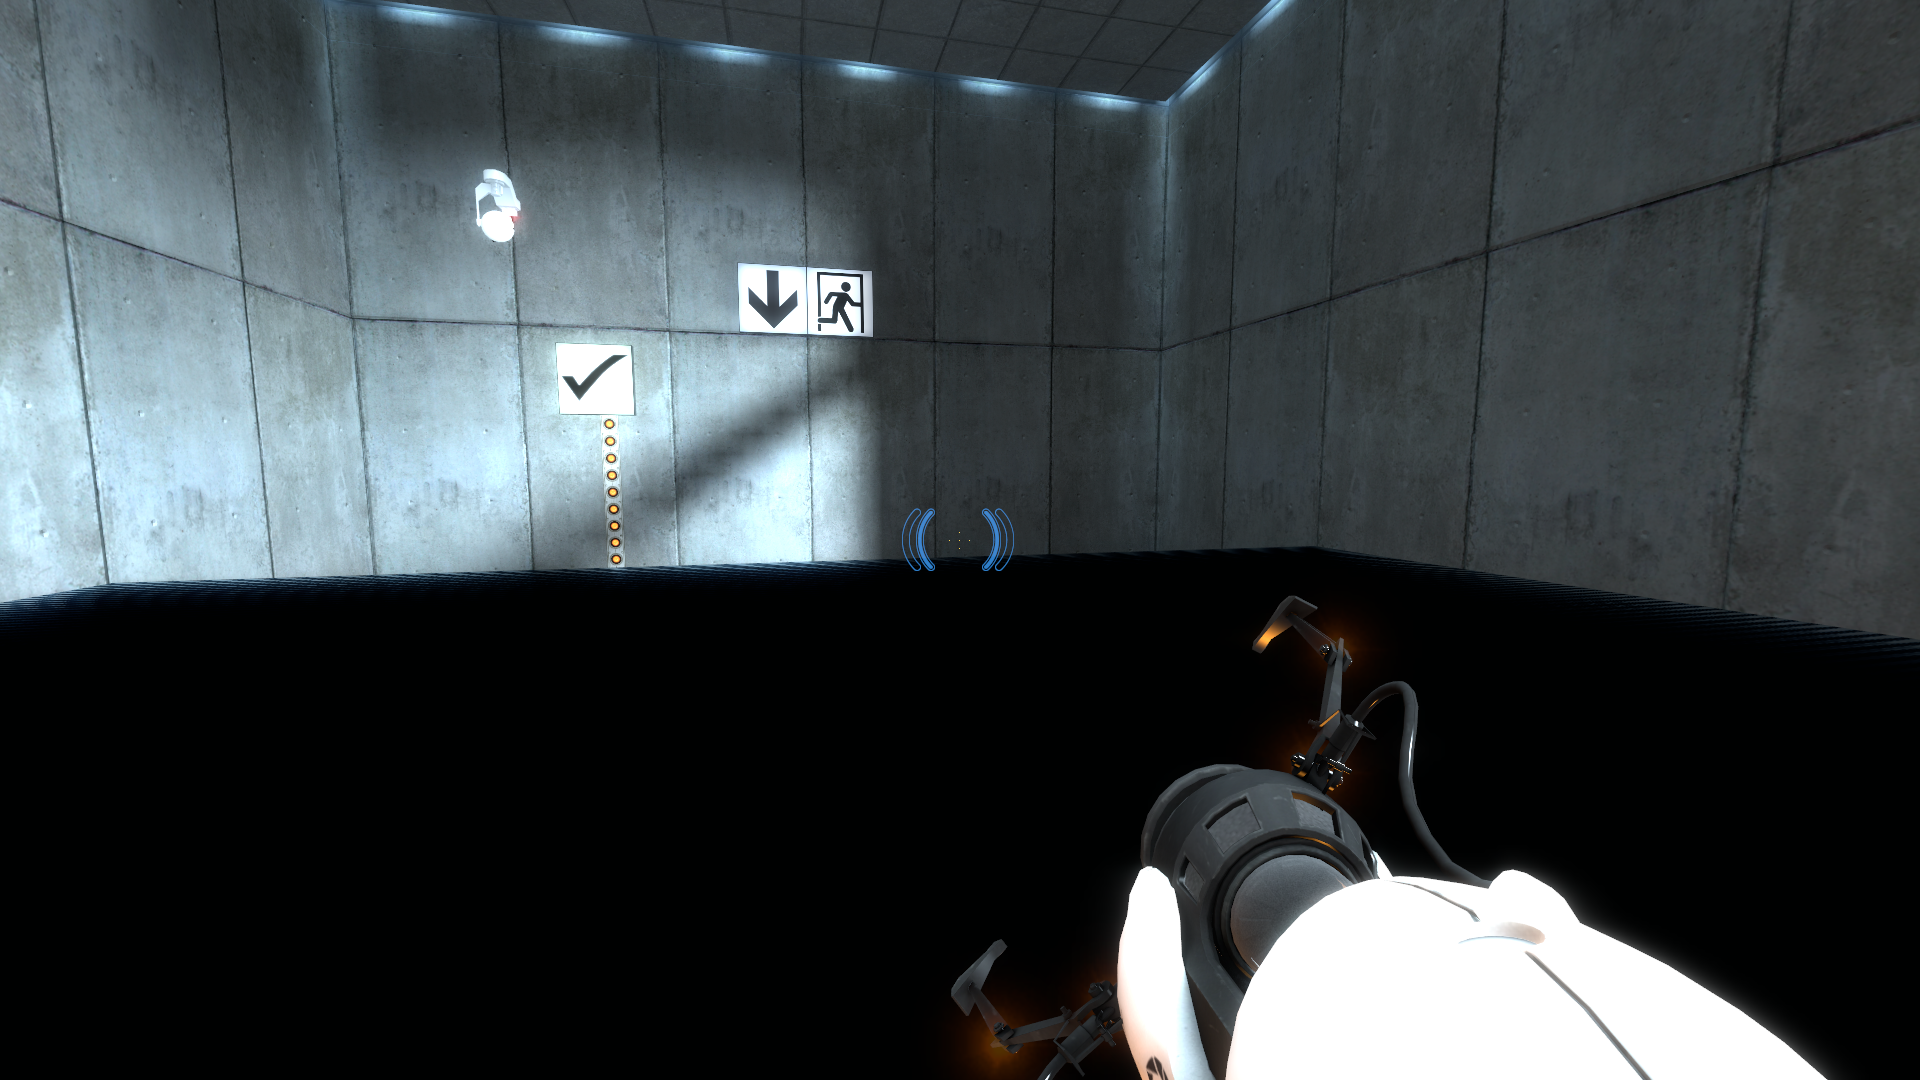
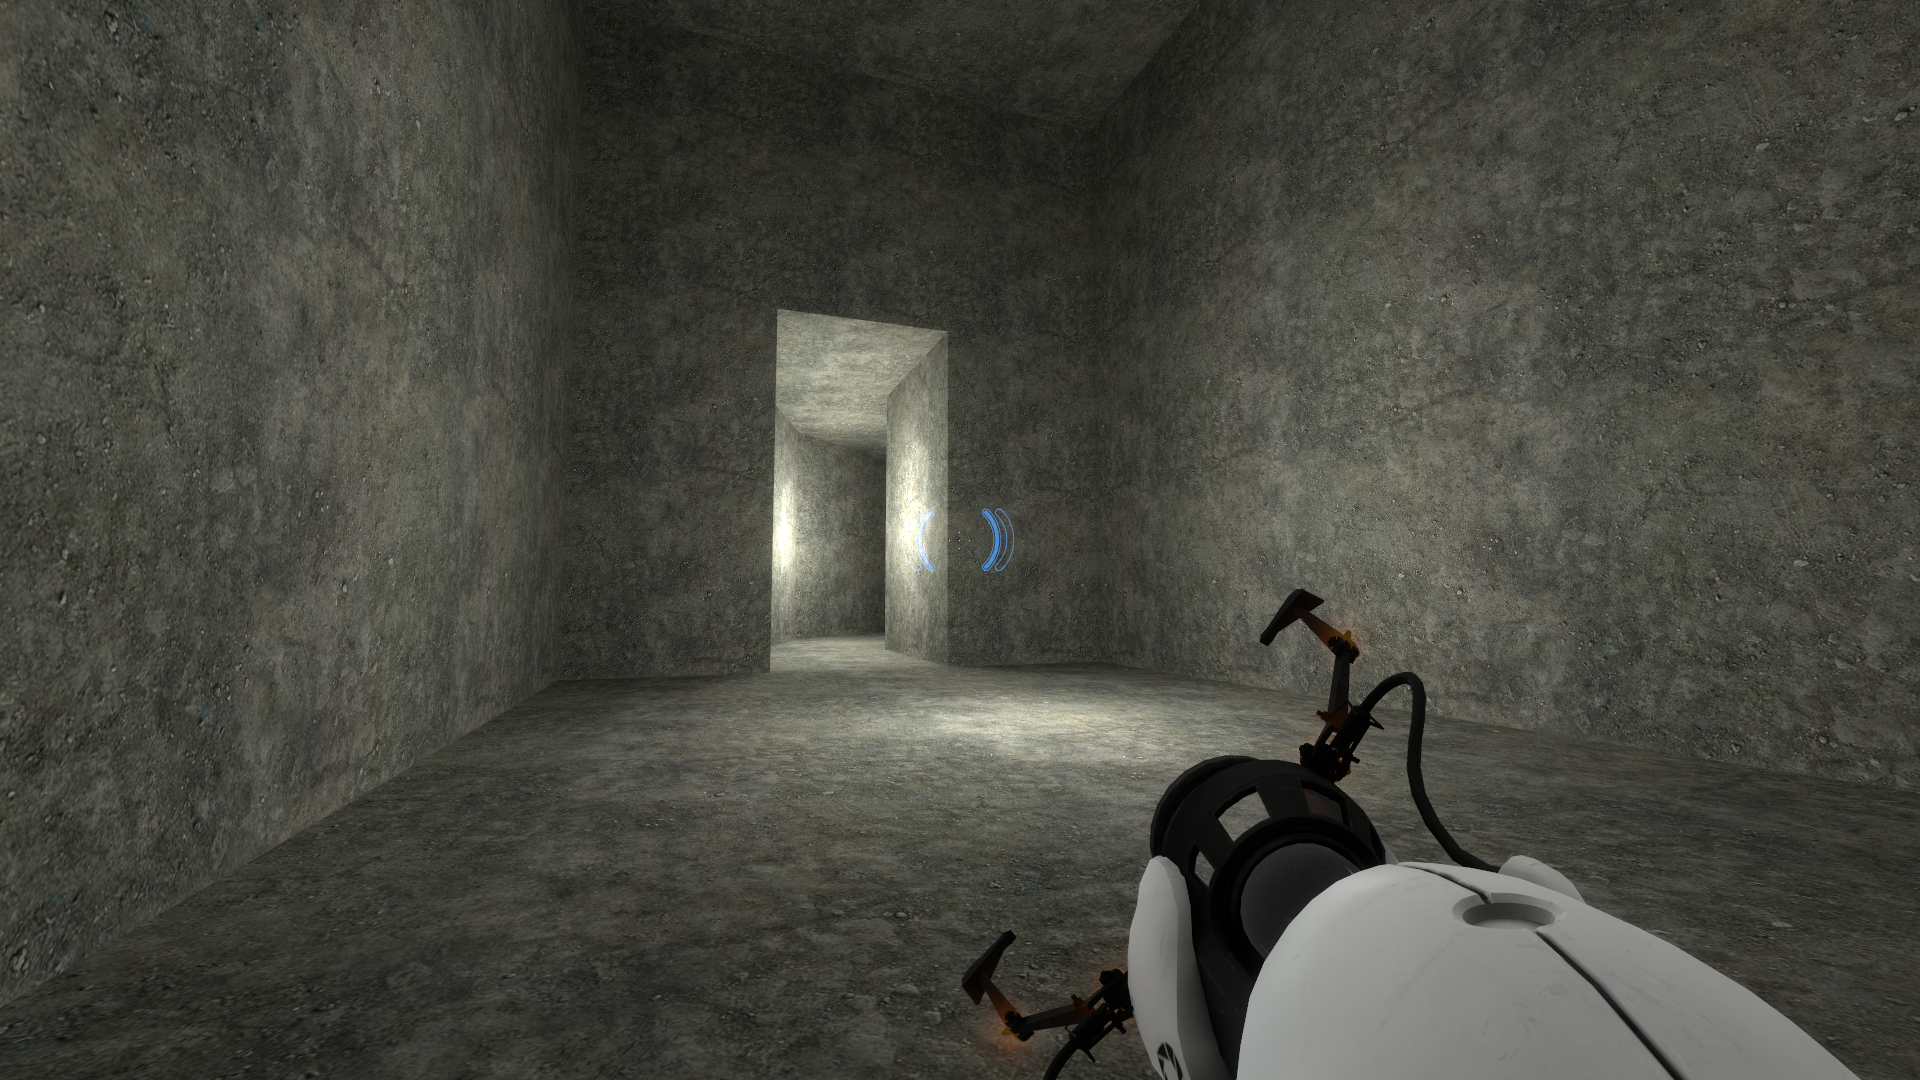
liquid_portal_test#
This map from 2006 was made to test the liquid portals that were being worked on at this time. A Liquid Portal is an entity that represents a rising liquid that teleports the player to a specific area when the player is fully submerged. It starts in the end area of Test Chamber 09 and when the player stands on the button, the Liquid Portal activates and teleports the player to the ‘XEN Ending’ area from the boss fight as the GLaDOS fight was changed slightly to include a Liquid Portal, which this map is testing.
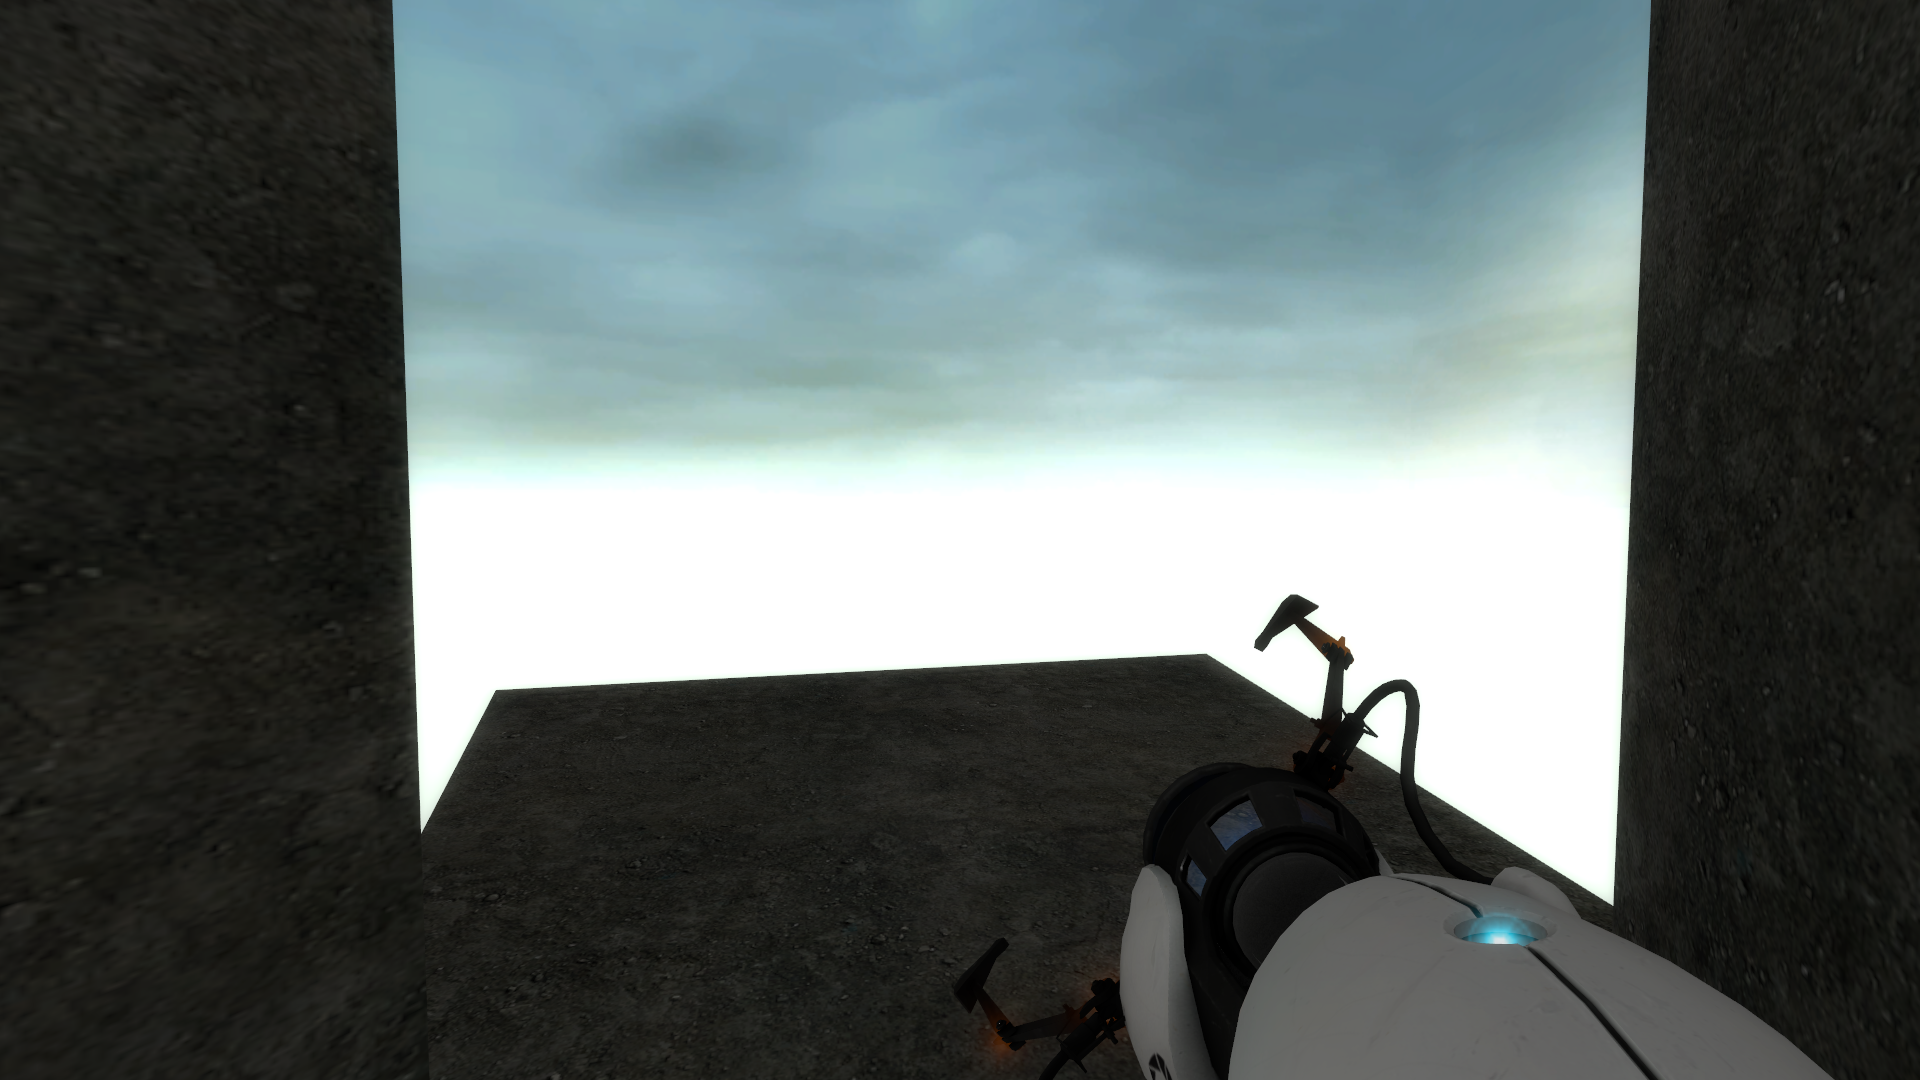
art_testroom#
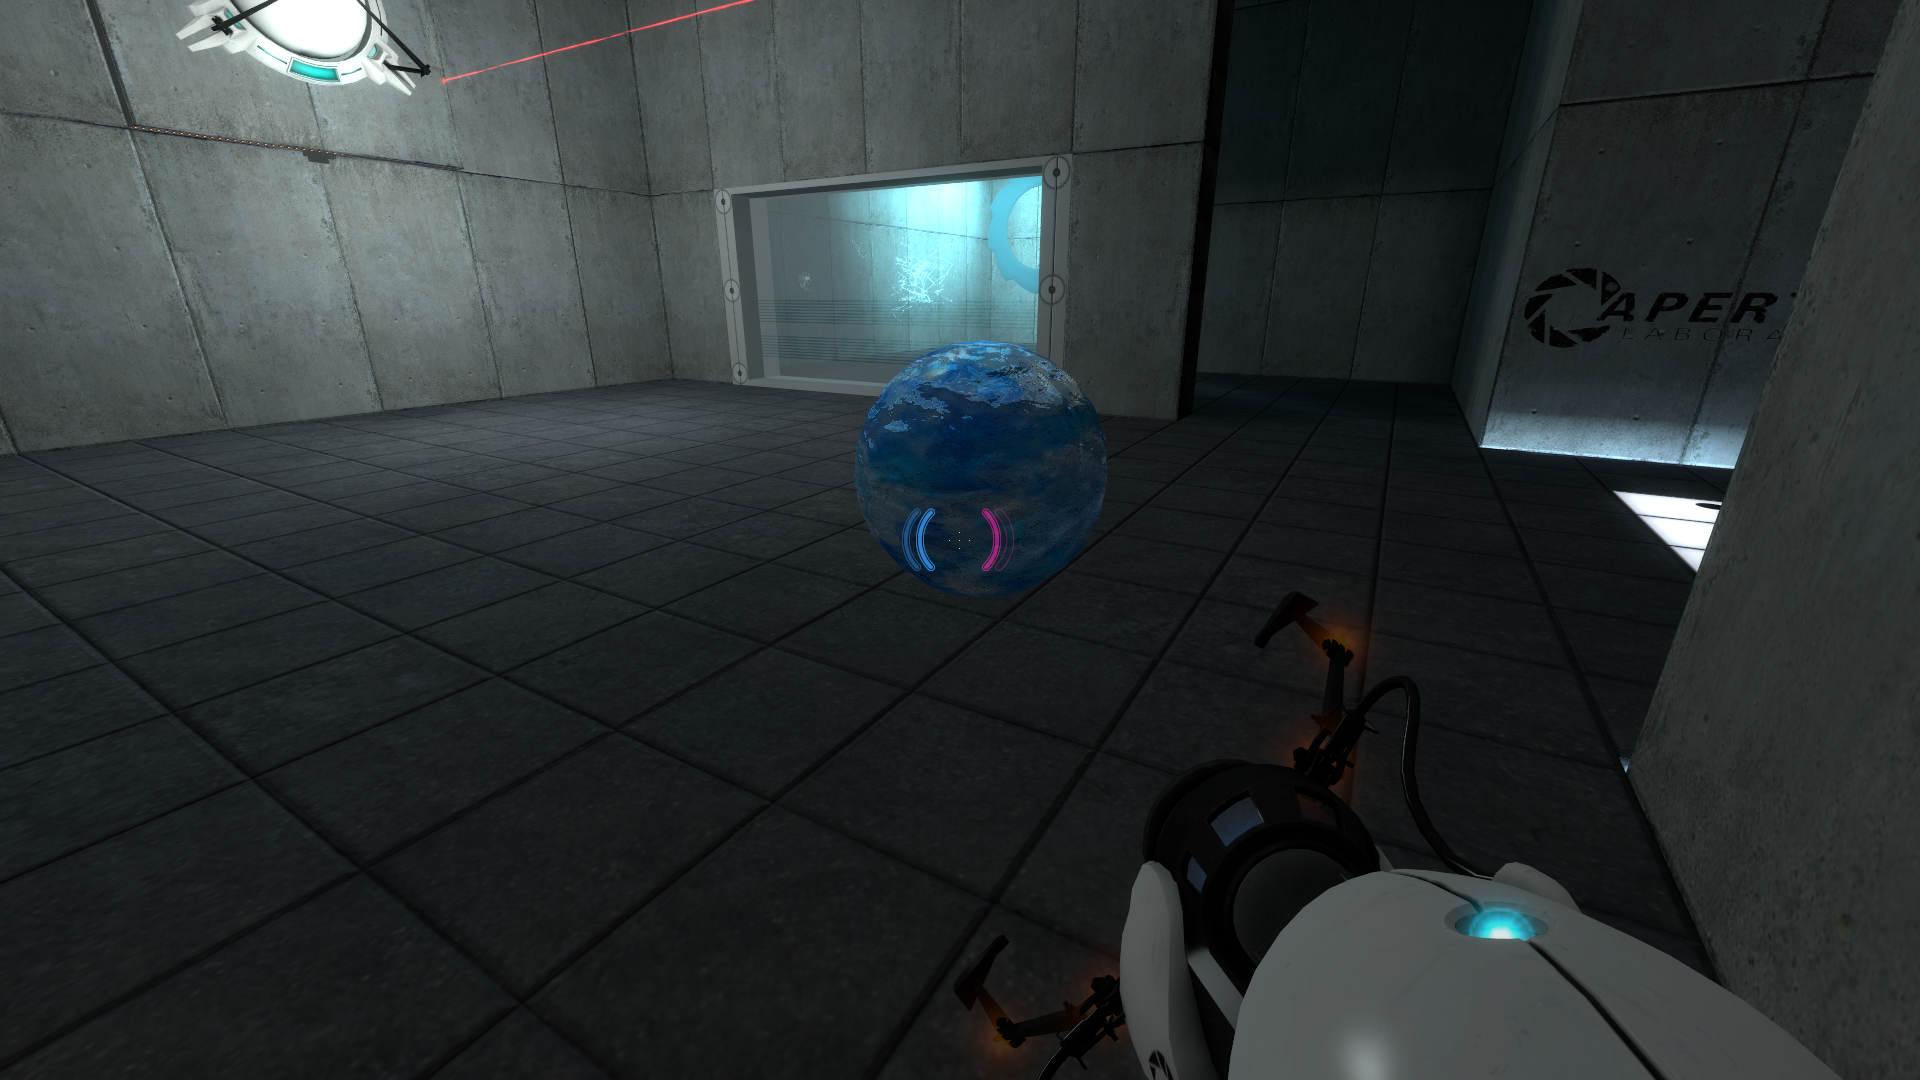
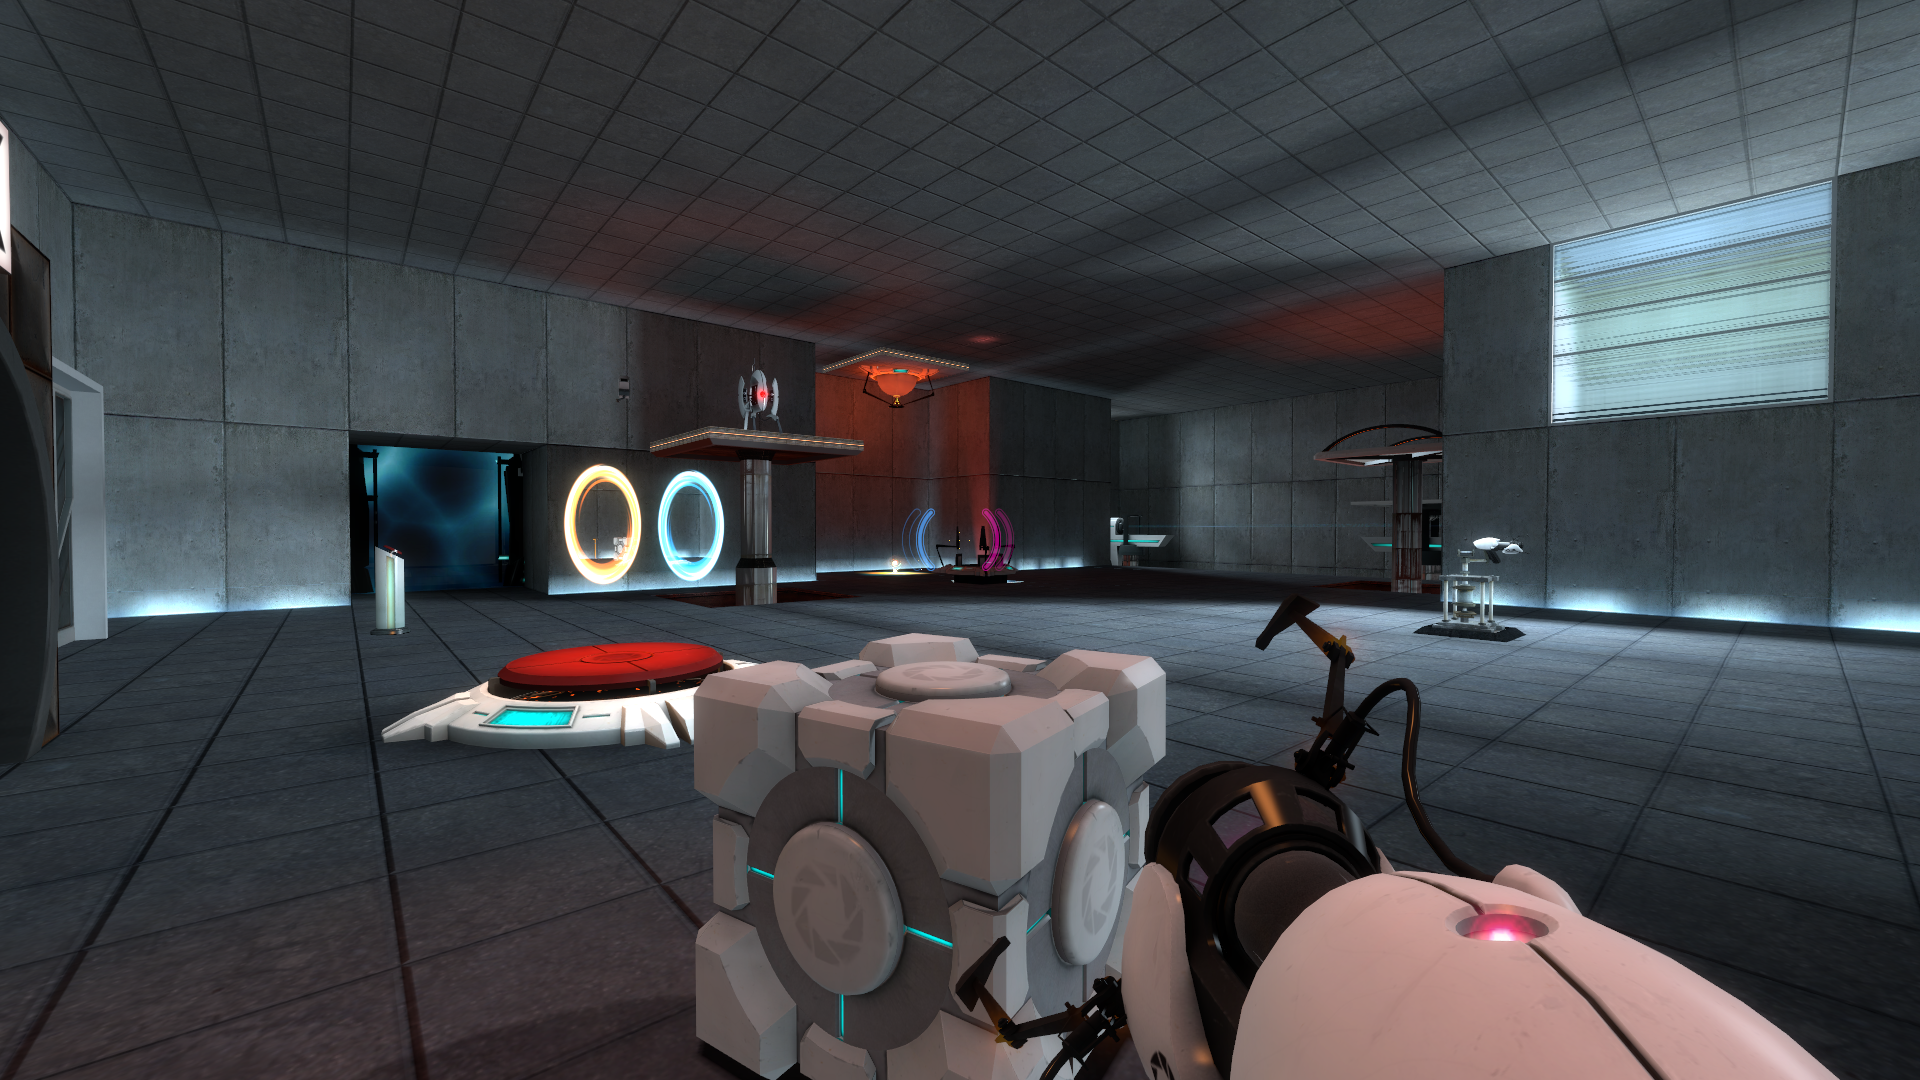
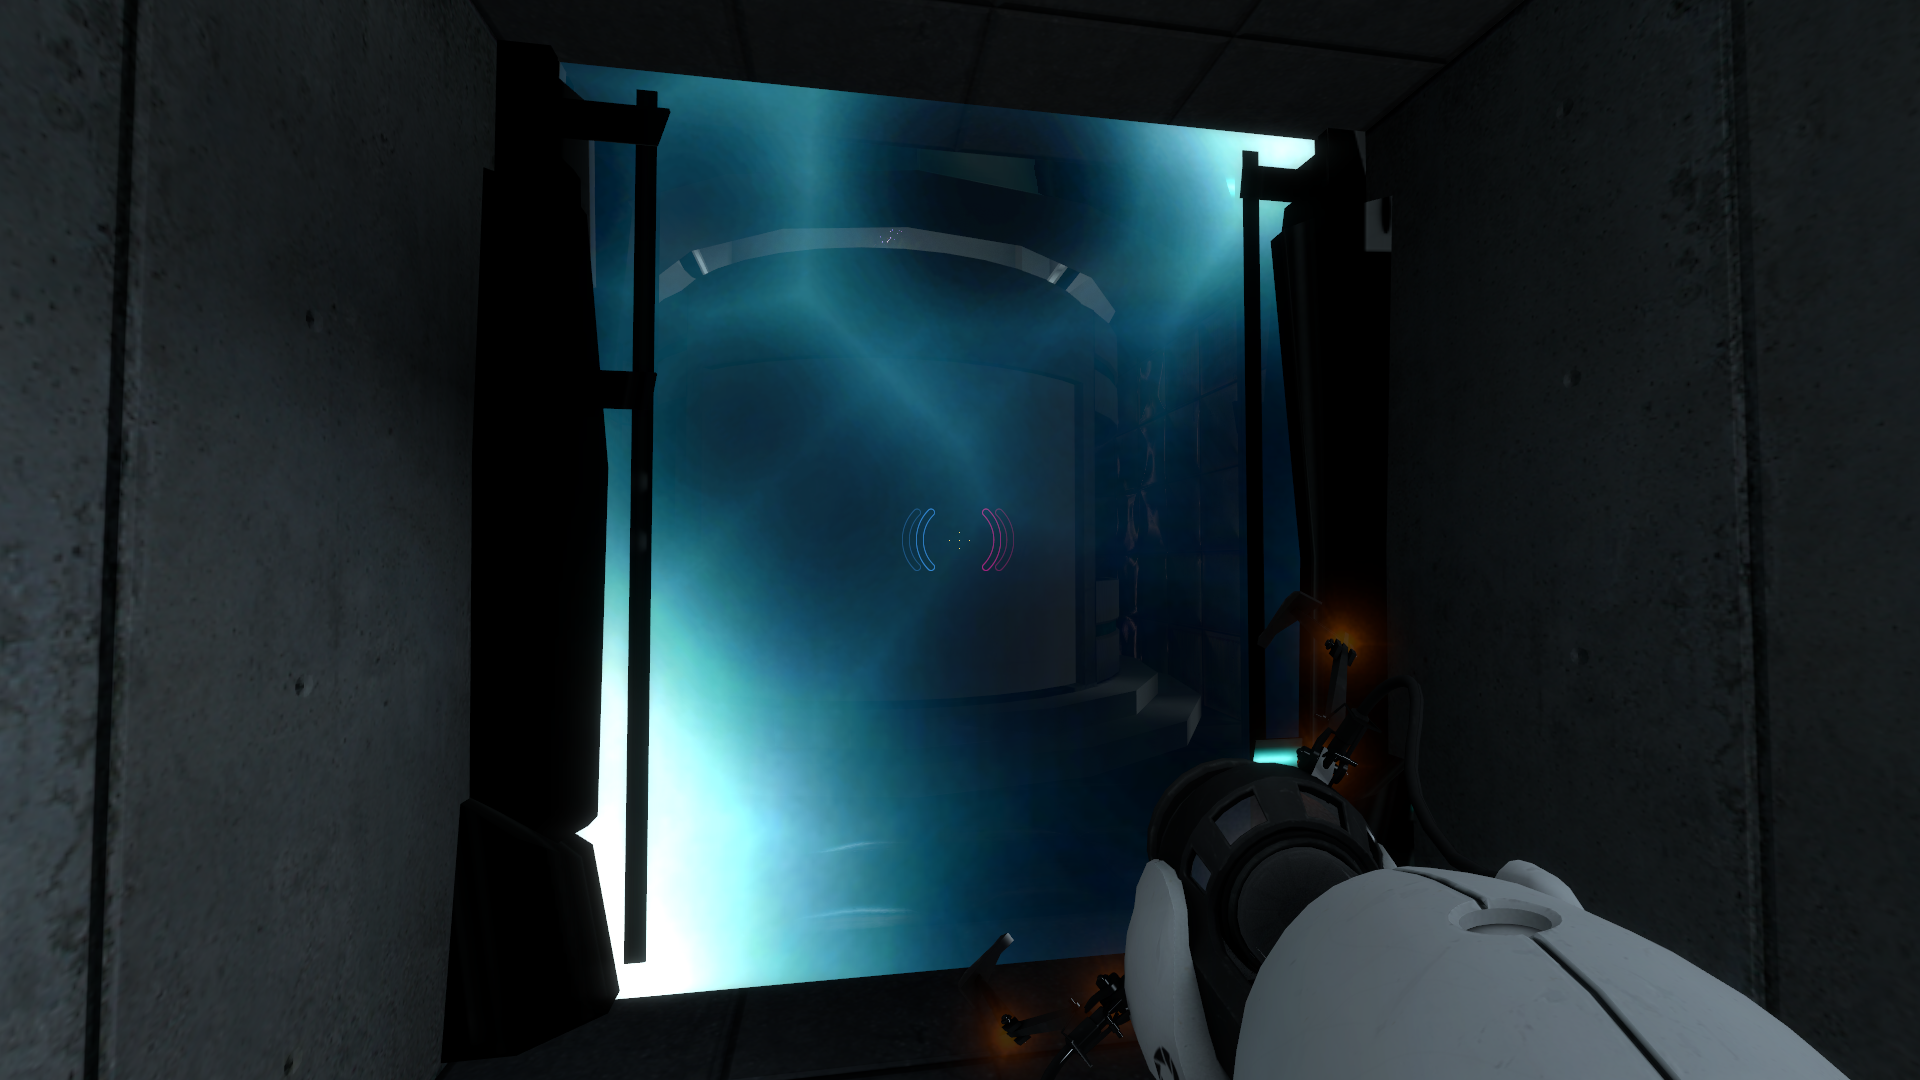
A 2006 map that was used to show all the assets to be used in the Test Chambers and how they should look. Includes a lot of testing elements and assets as a reference.
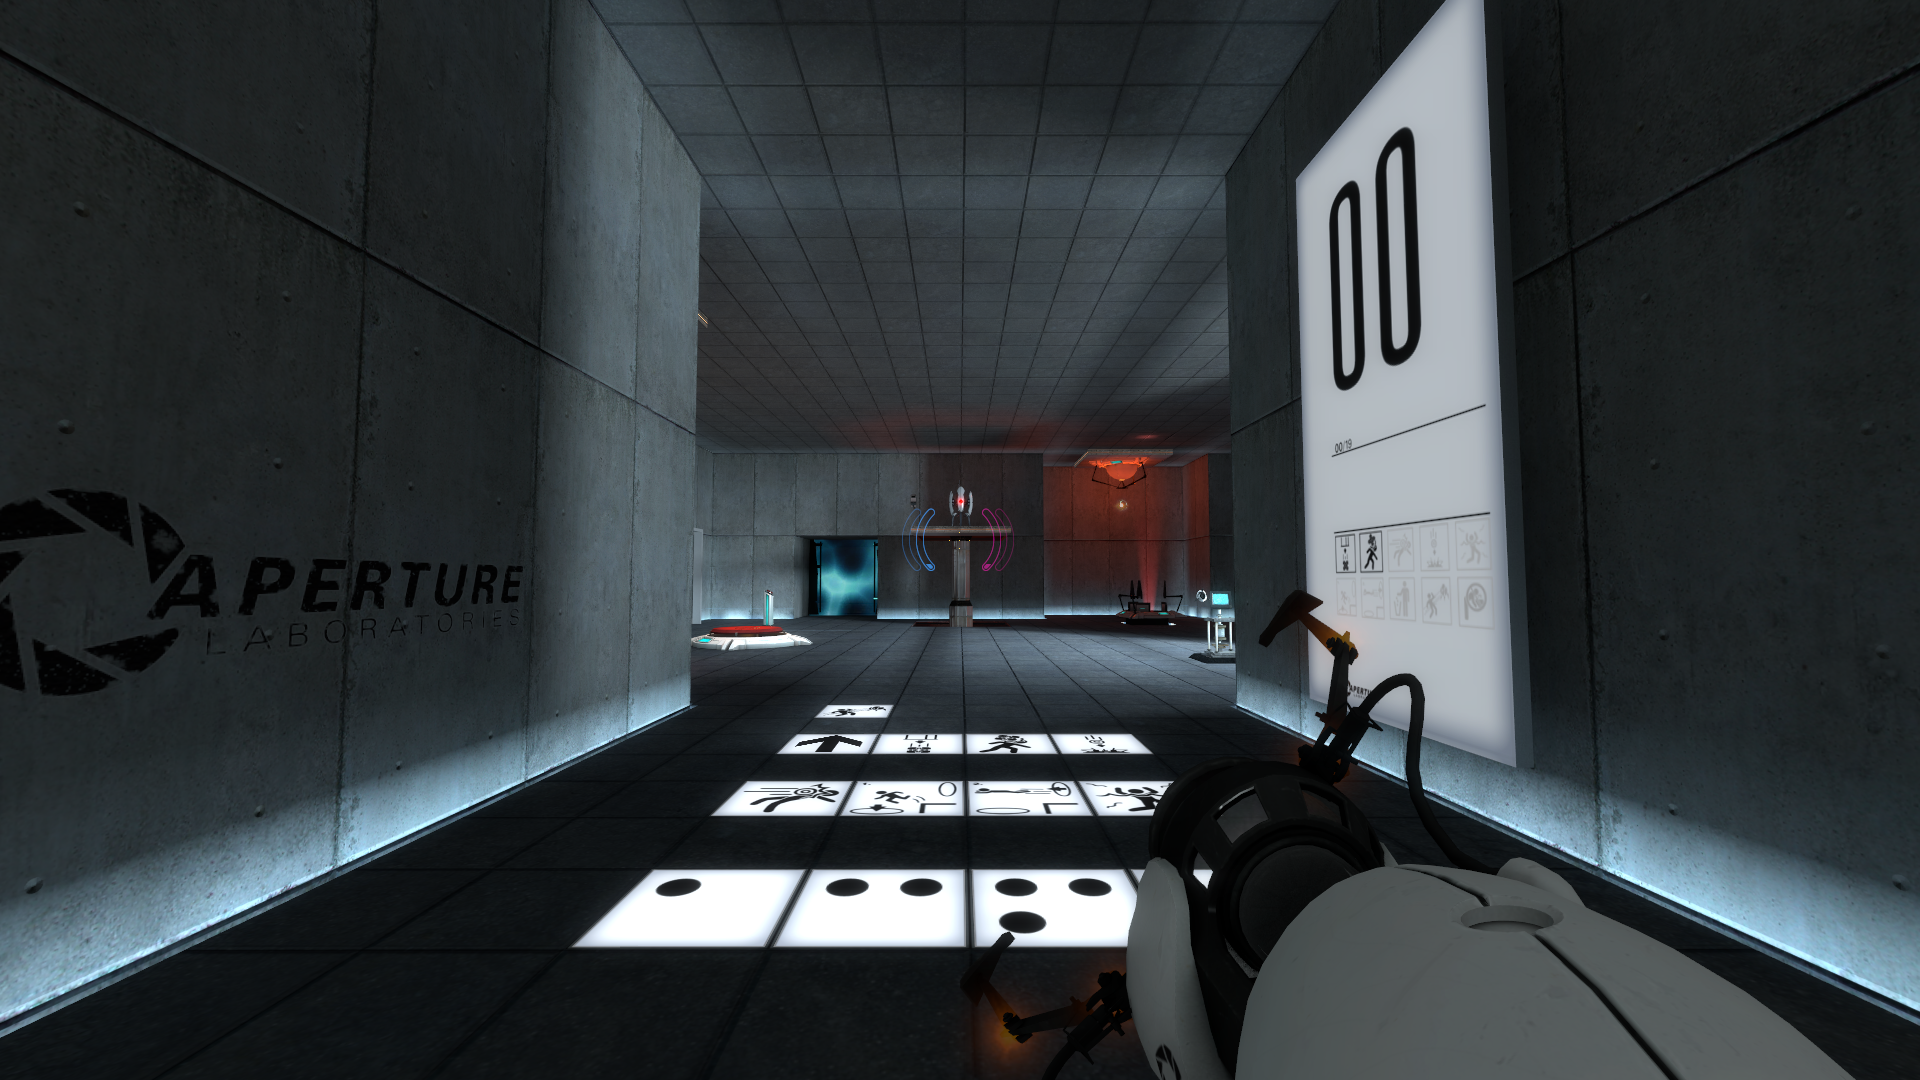
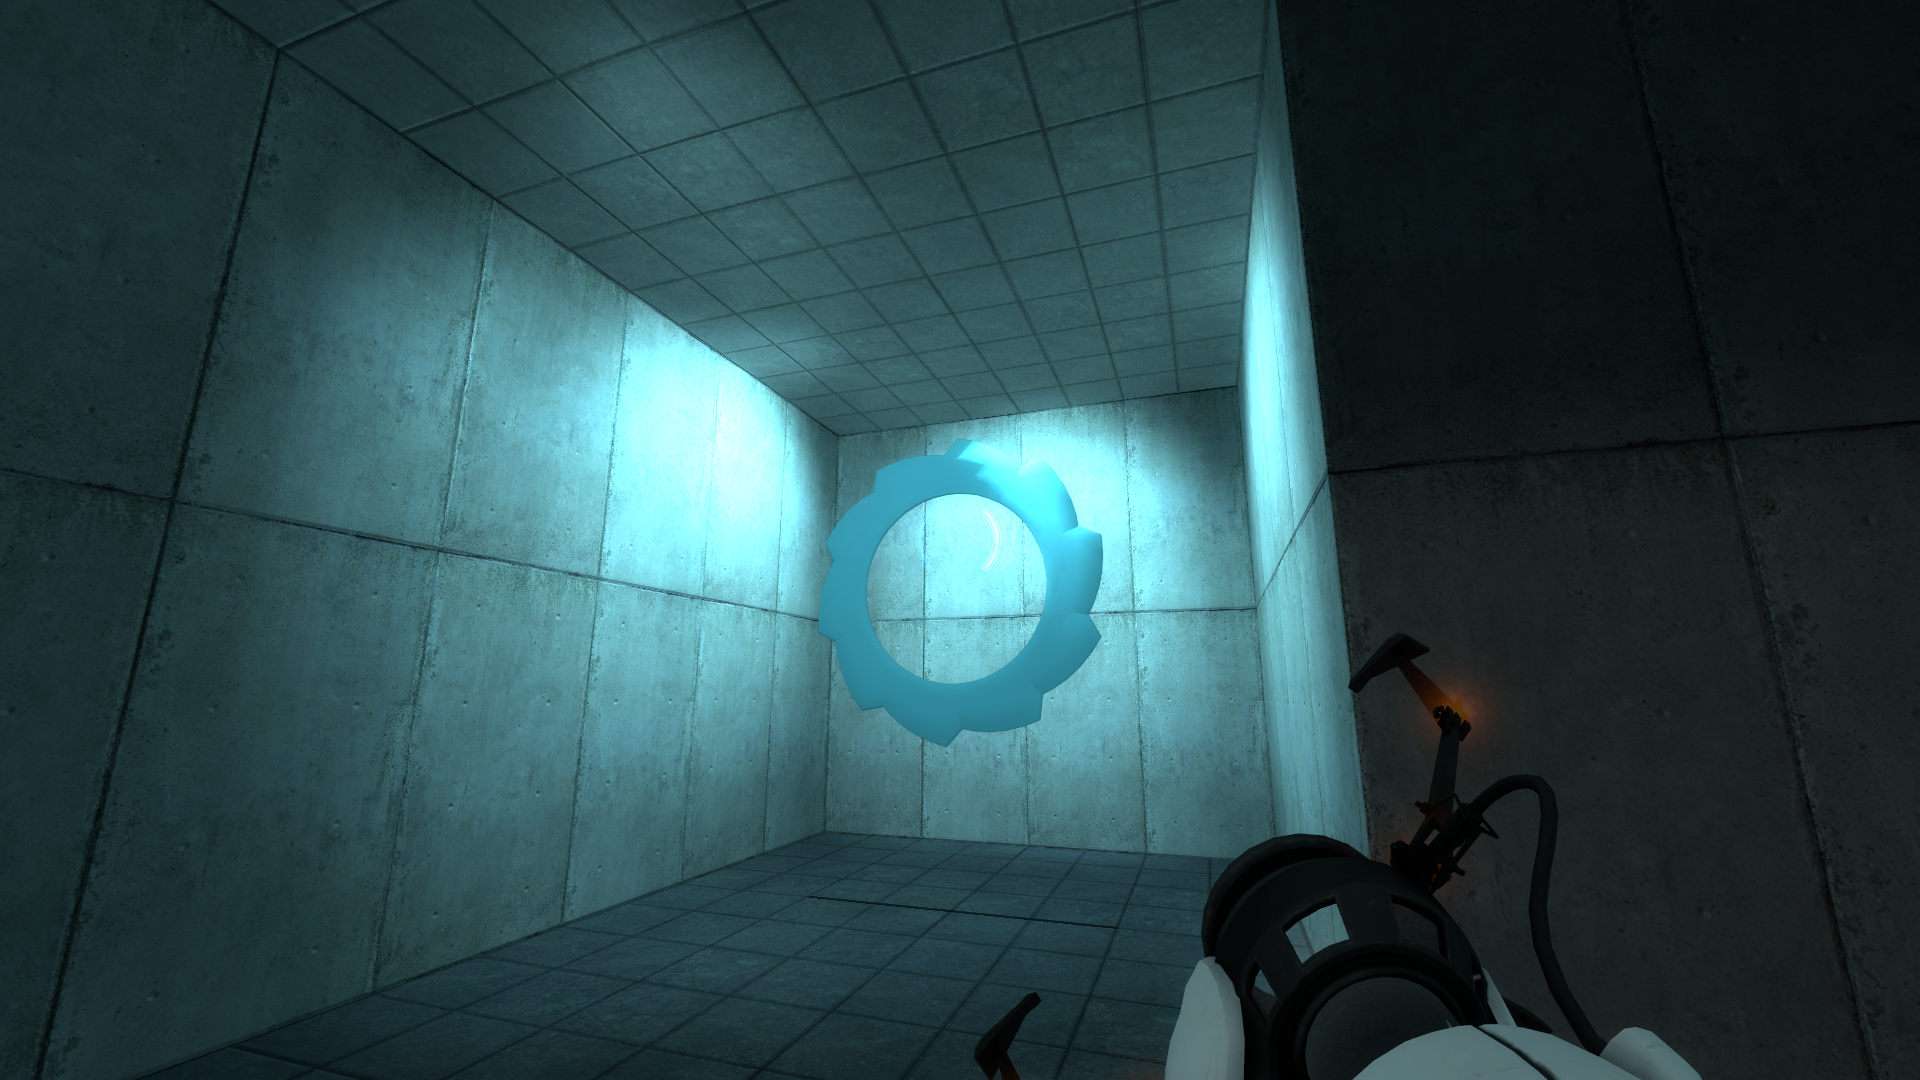
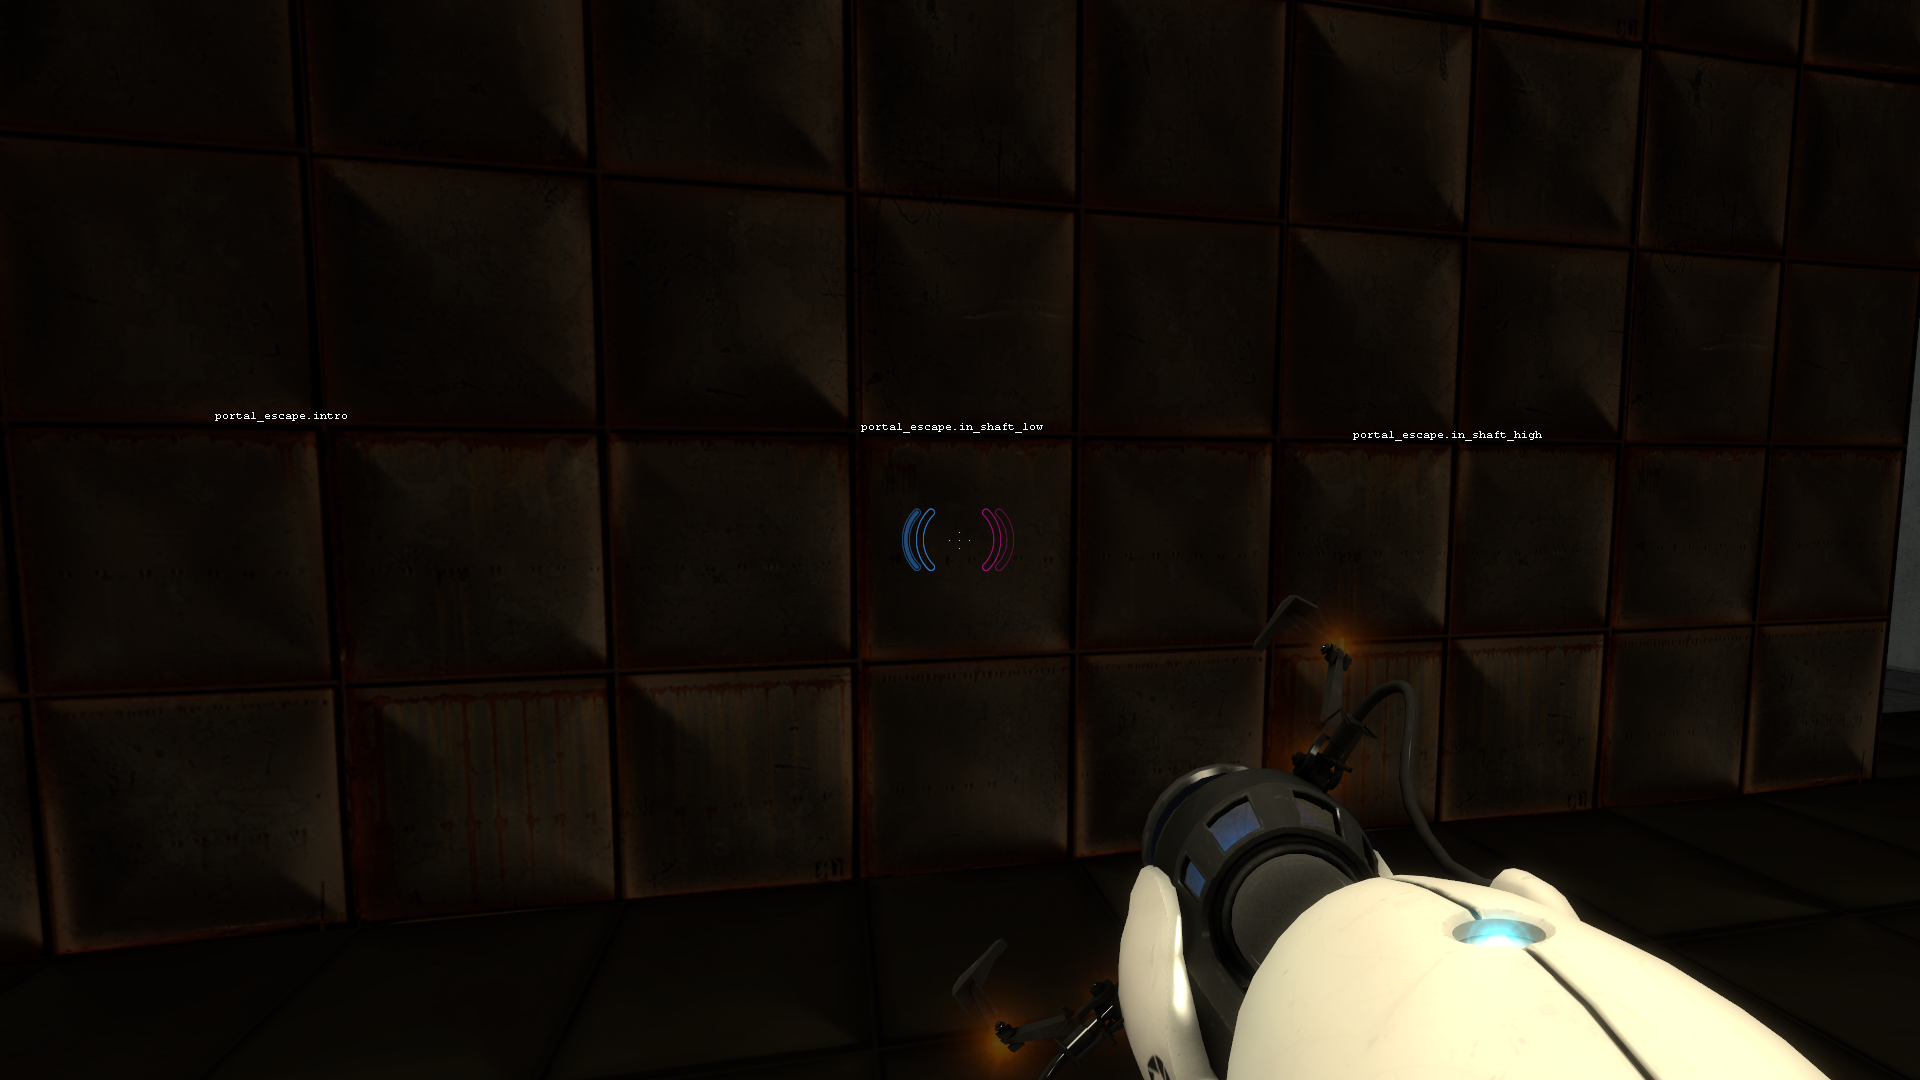
bts_styleguide#
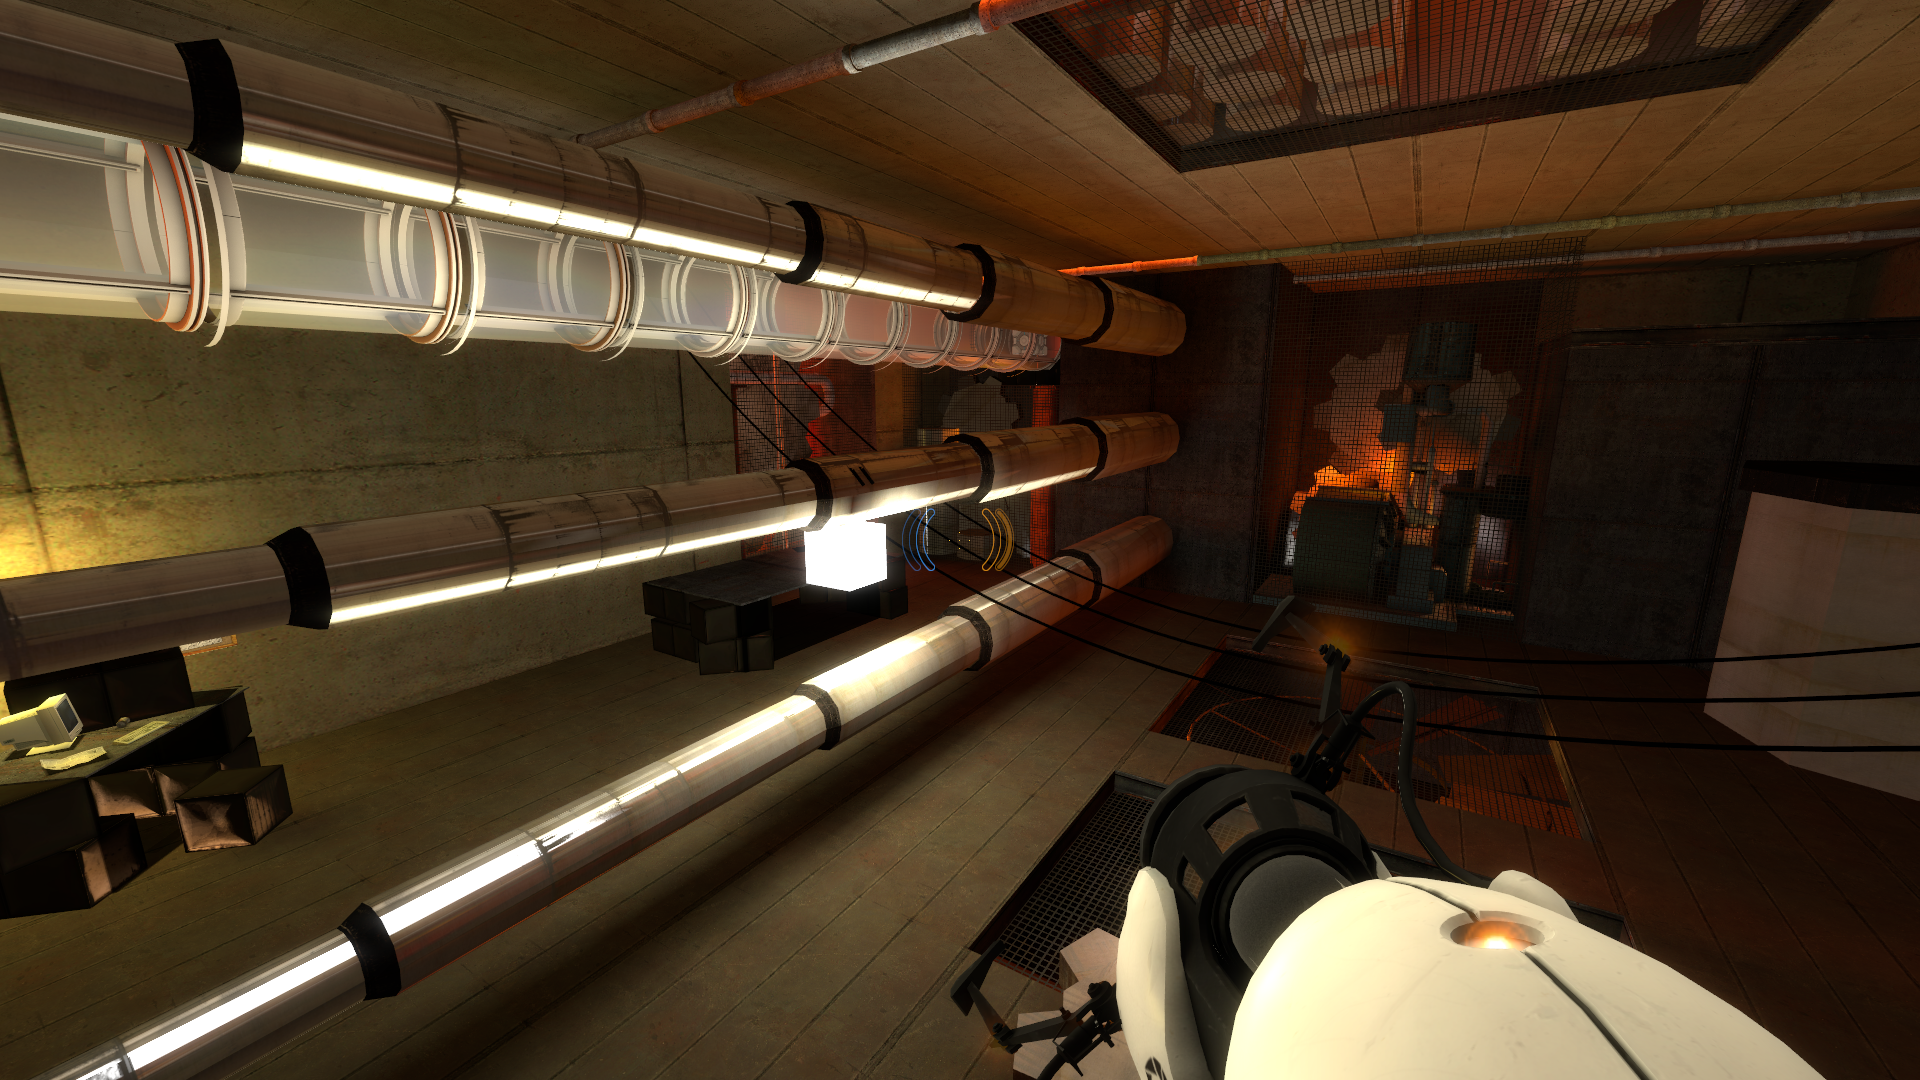
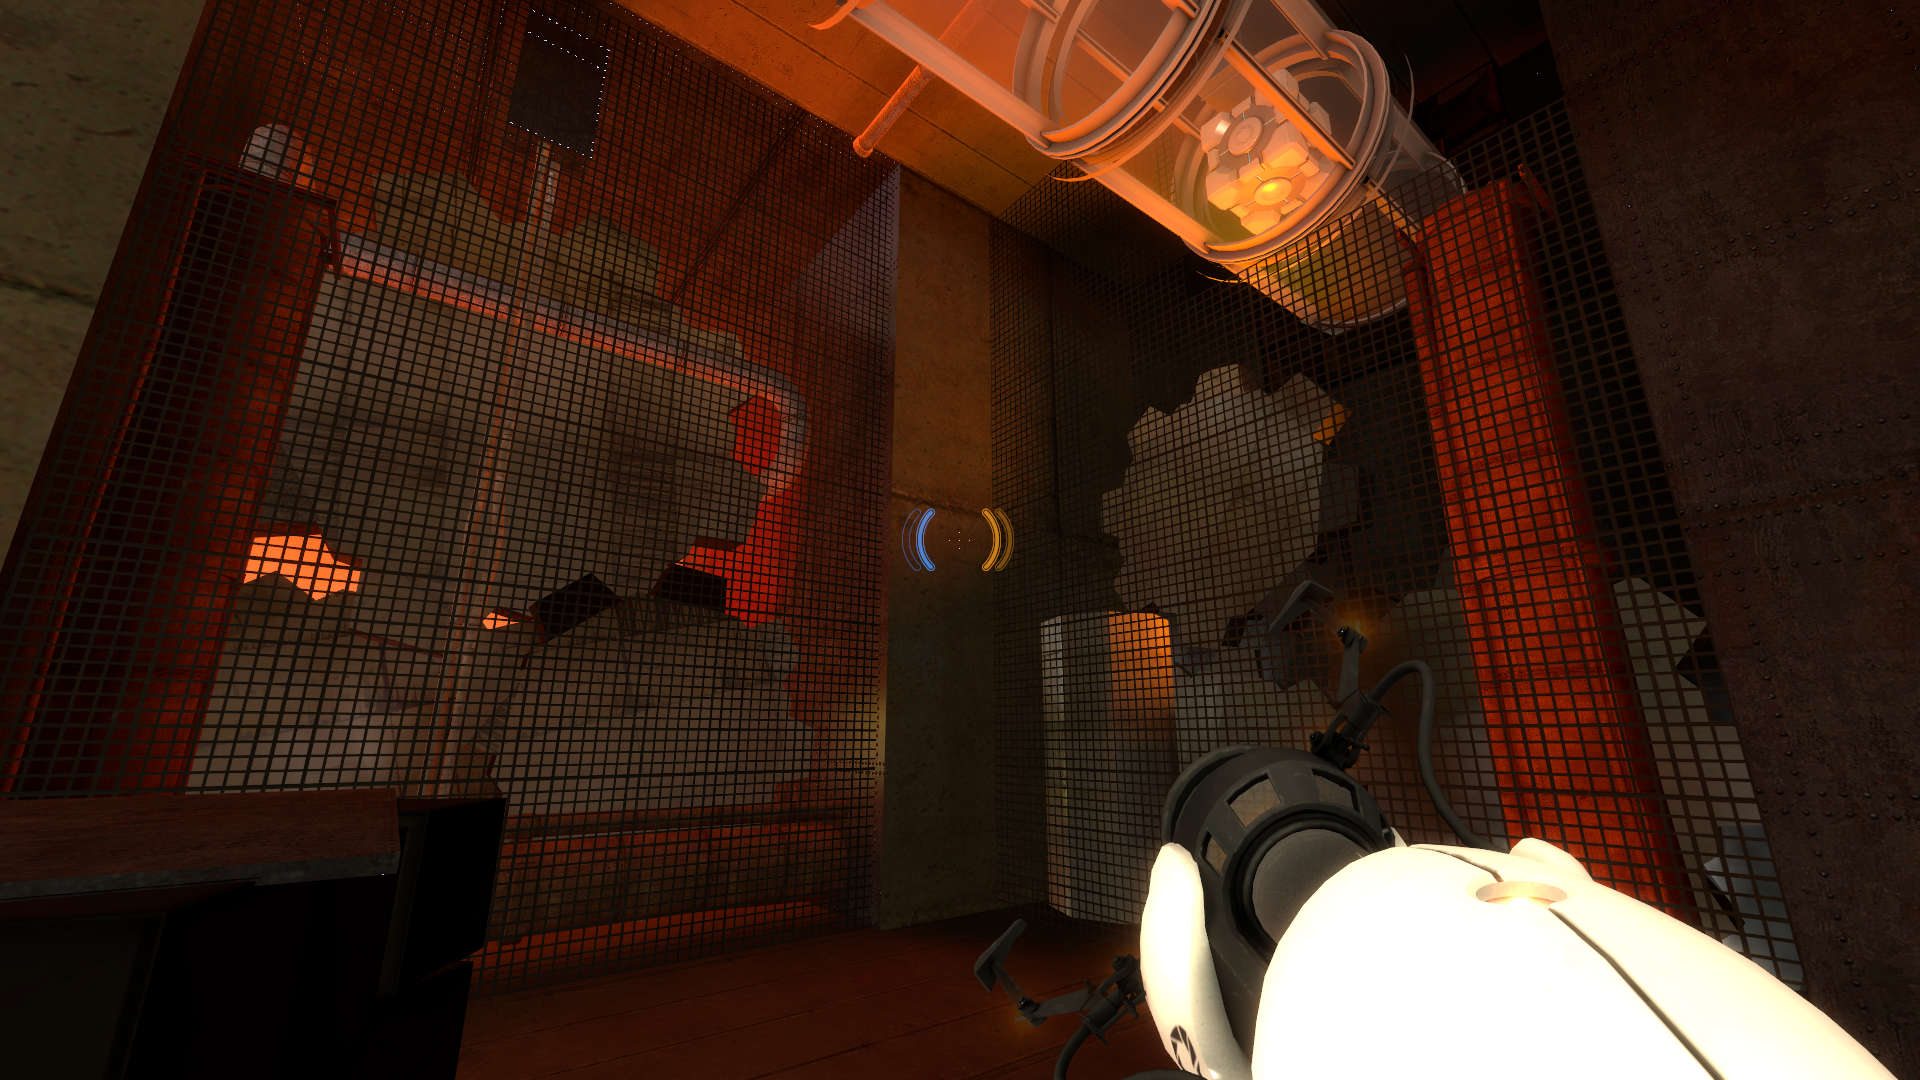
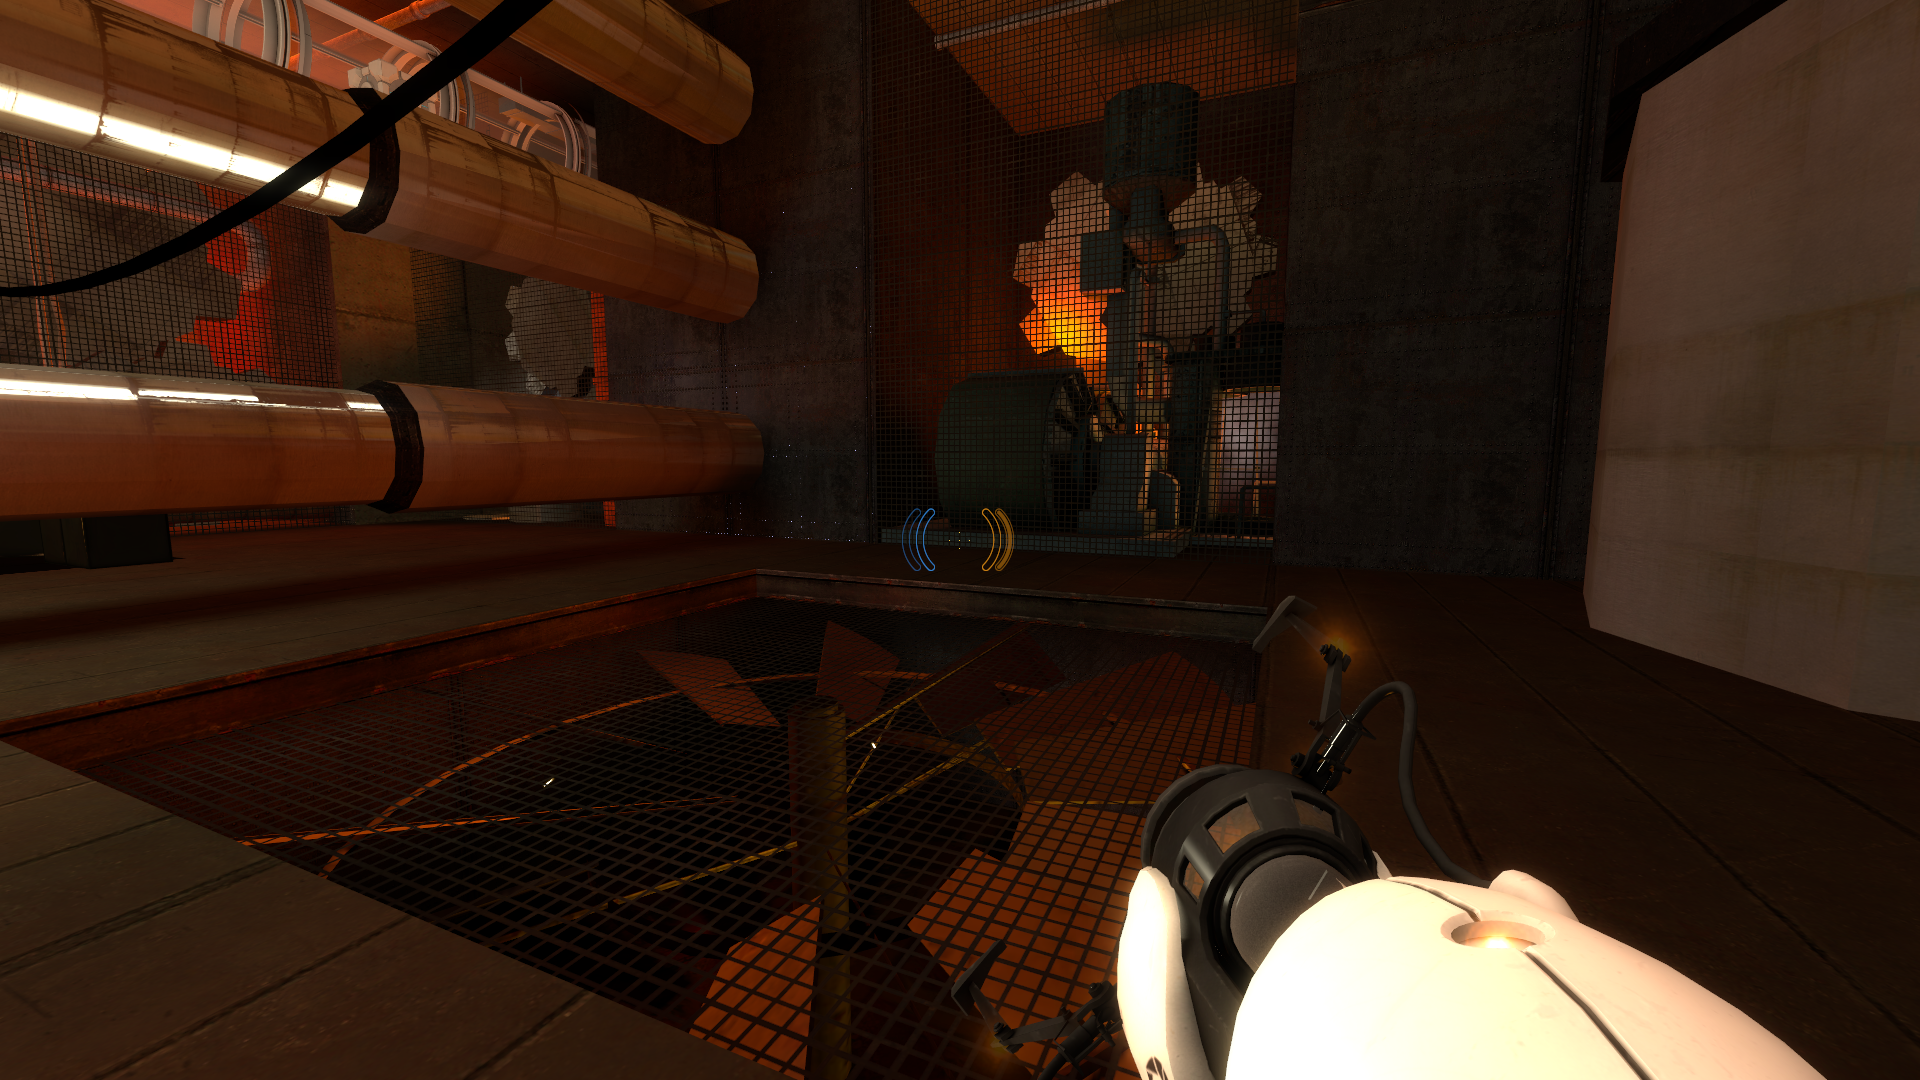
A map from 2006 that was used as a reference for how the escape areas of the game should looking like during this time.
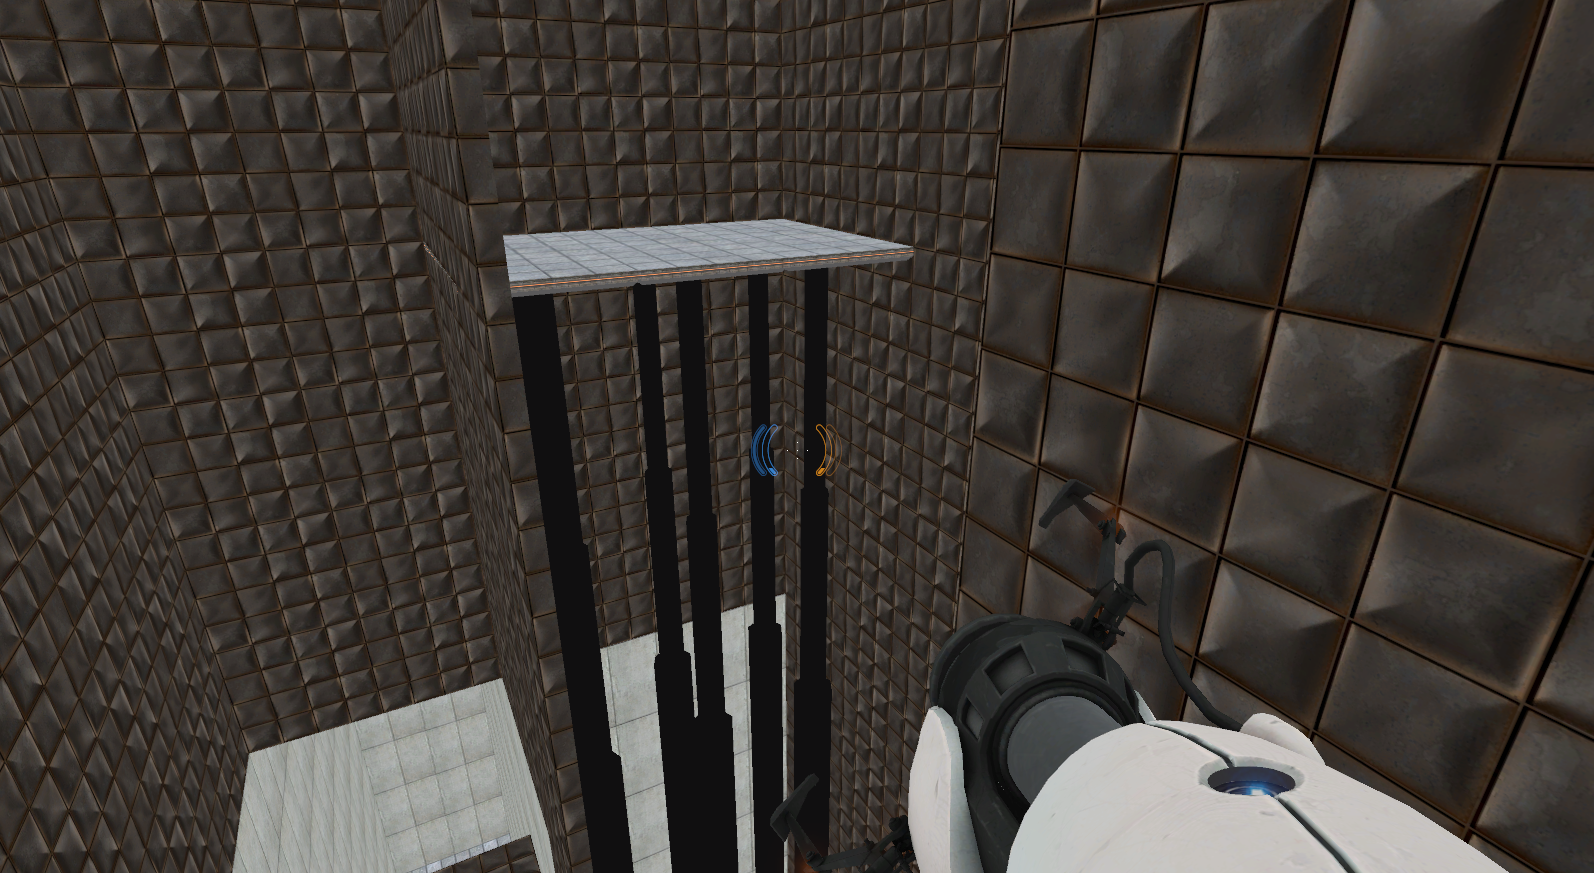
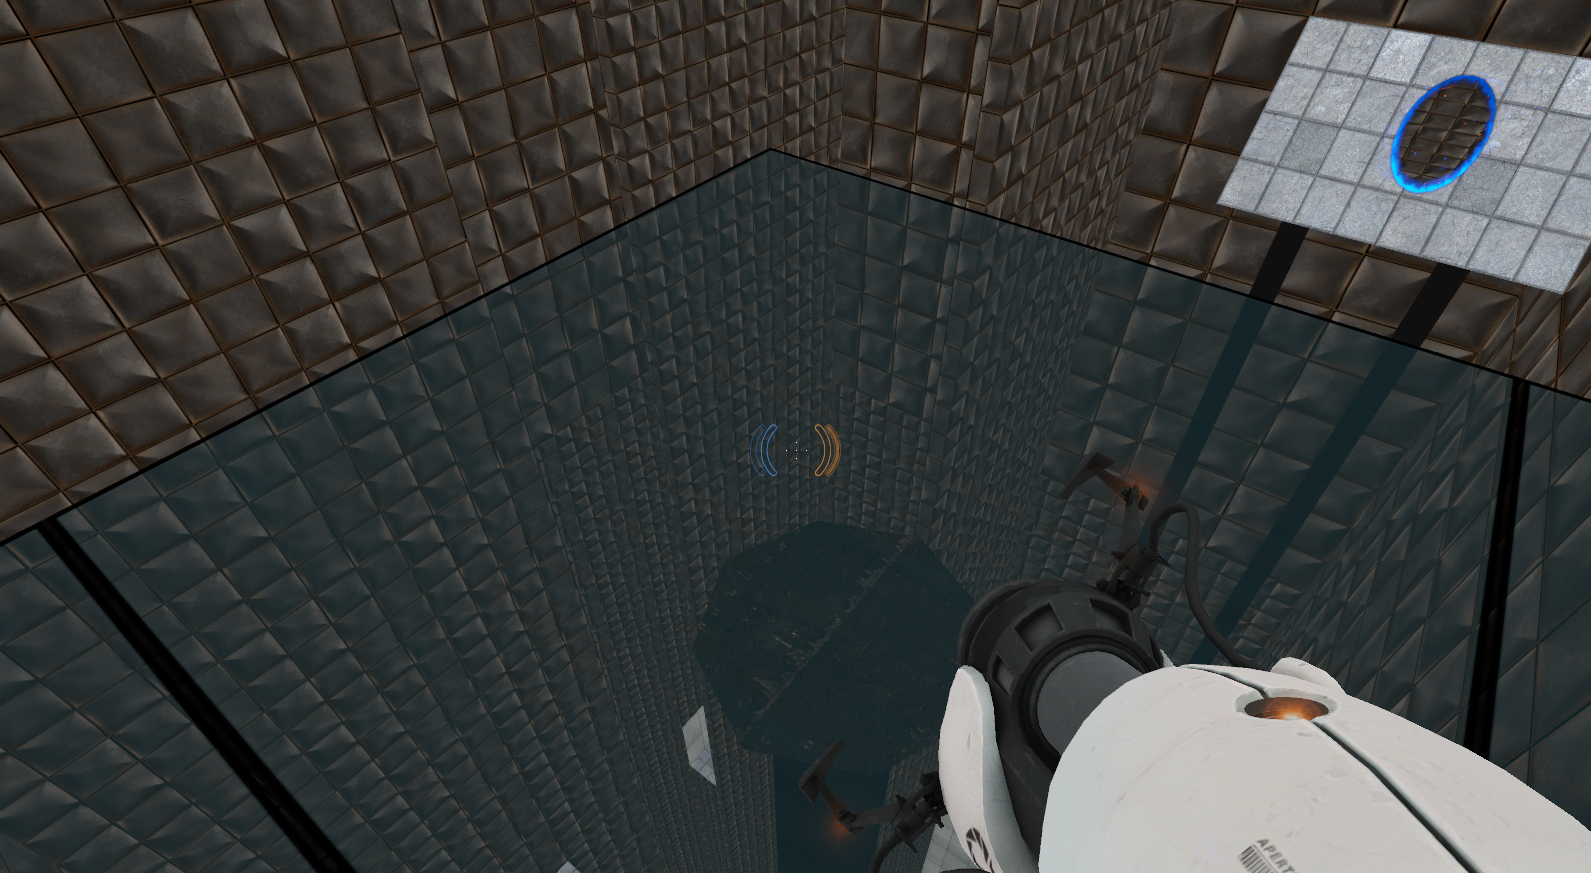
test_fling#
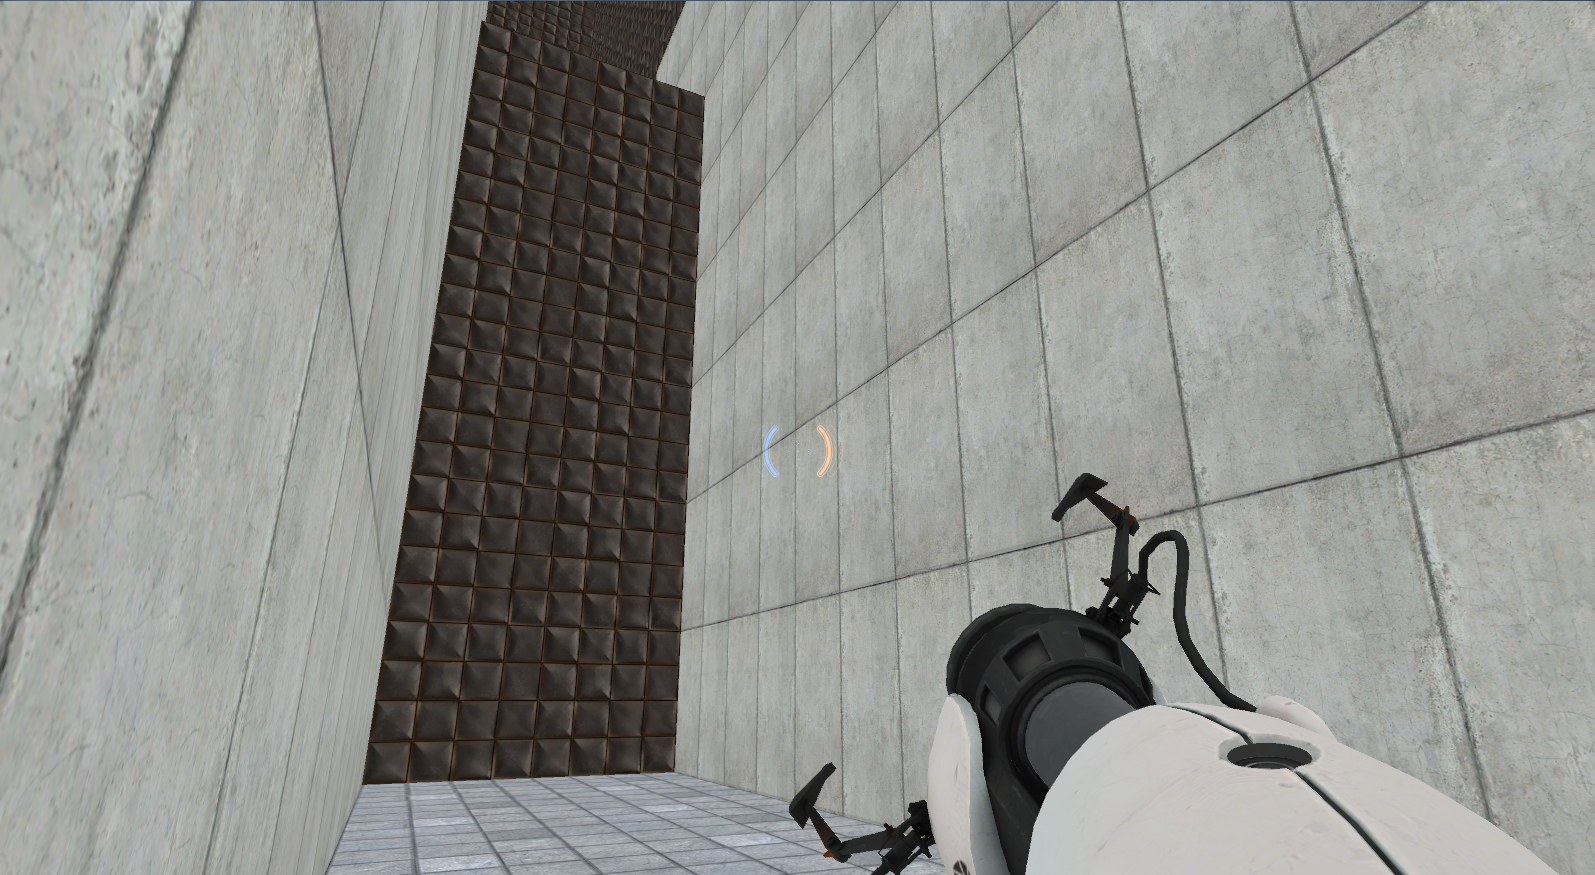
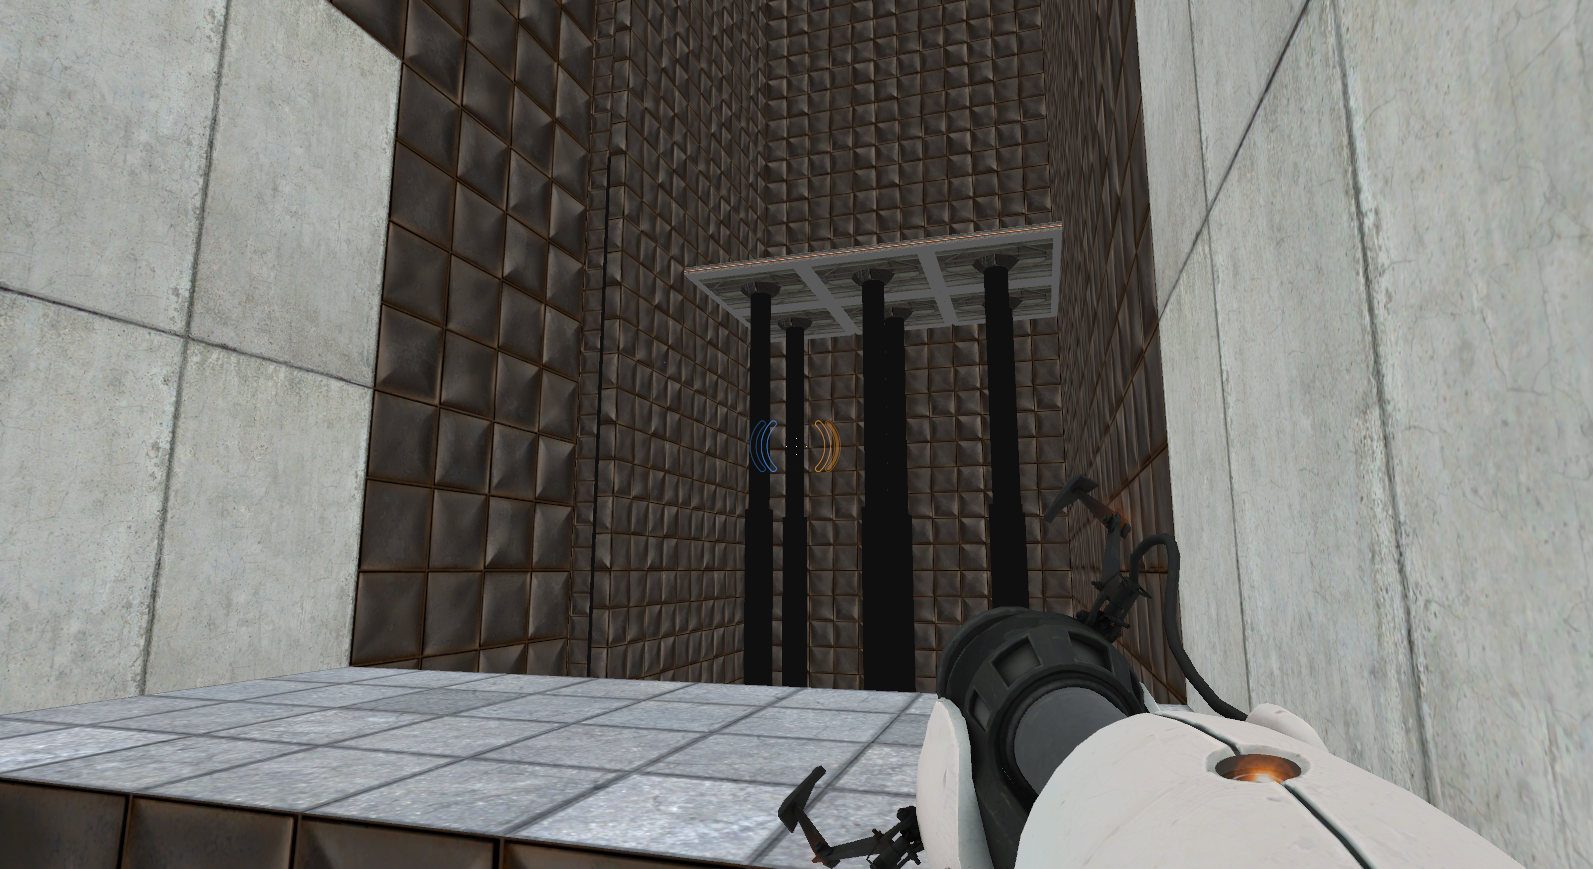
A very simple map, consisting of various vertical flings that would be reworked into the final section of Test Chamber 18.
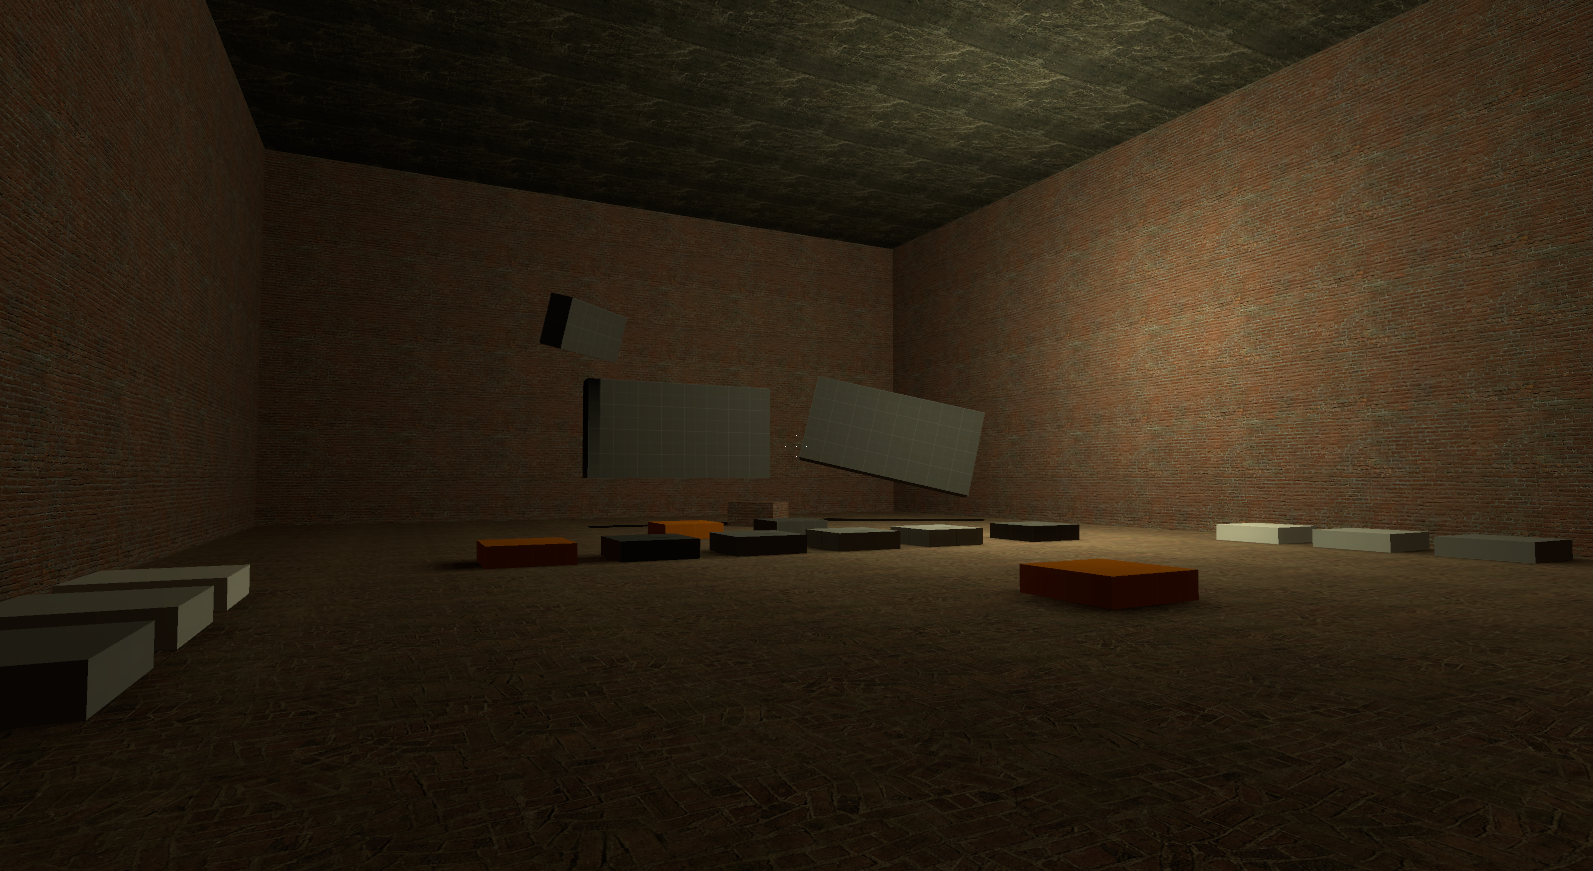
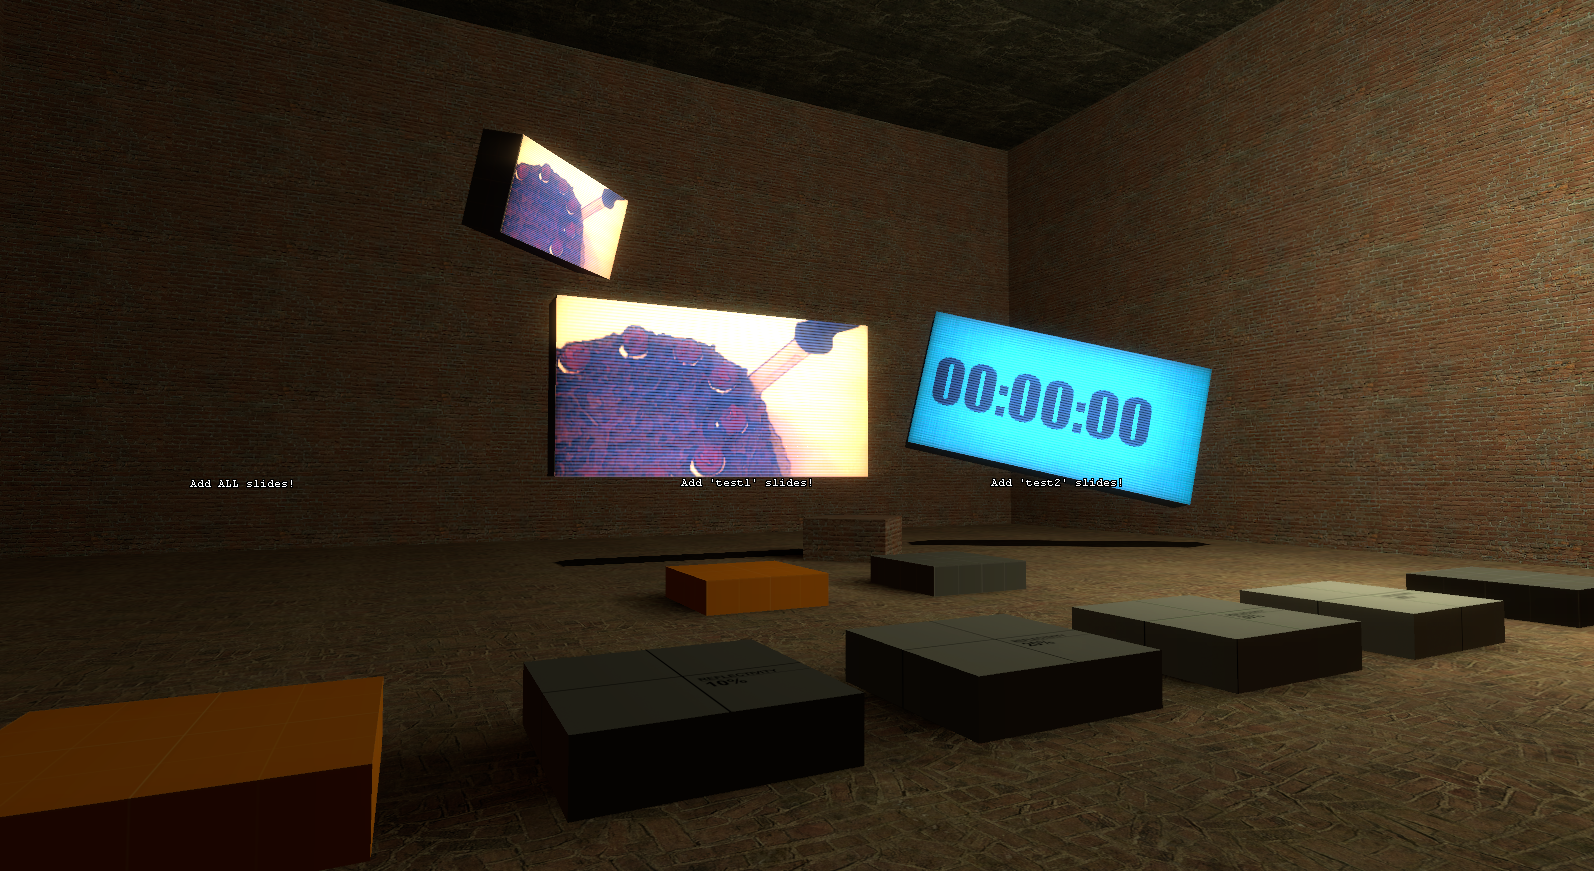
test_slideshowdisplay#
A map that tested the display screens in GLaDOS's chamber. In the map, there are parts of geometry shaped like buttons and when stood on, it will change the behavior of the displays with text above explaining what each button does.
portal_bts_styleguide#
A 2007 styleguide map made to test the BTS theme of Portal.
styleguide_escape_02#
Another early version of the final map escape_02. the halls leading to GLaDOS are slightly different, the lighting outside of GLaDOS's chamber is more ominous, and the chamber itself features a different layout, and is comprised mostly of brushwork rather than models. The doors in the turret standoff room are also brush-based, and feature an early design.
elevator_test#
Another map to test elevators for Portal. When the map loads the elevator has already completed is movement and the player spawns right in front of it (like when loading a map from the console or chapter selection screen). This map's elevator and overall geometry are directly taken from a version of Test Chamber 08 from 2007. This can be seen with the chamber sign, GLaDOS dialogue (which doesn't play as there is no actor entity present), triggers, entity names, hidden decals for the signs that are hidden by a wall right in front of the player and the 2005 leftover visgroups.
ending_2#
This 2007 map is a version of the ending map, though it seems a little incomplete, likely being an early copy of it. Camera angles when flying through the facility are off and unfinished, and the falling debris outside Aperture appears to be a placeholder. Certain sounds and other relating items to the map are missing and the debris that falls outside are all set to sphere cubes.

Early Advanced Maps#
Sometime around 2006, Valve began developing the advanced chambers, though they're named "hard" rather than "advanced" in the map filenames. They also had regular elevator level transitions; developer commentary mentions having tried fitting the concept (such as challenges) into the story mode maps.3
|
|
To do: |
testchmb_a_08_hard#
More or less the same as the final, just missing the small metal platform near the High Energy Pellet catcher.
testchmb_a_09_hard#
This map is oddly enough not much different from the normal chamber, but the path to the High Energy Pellet lacking the two platforms is still here.
testchmb_a_10_hard#
The starting fling area is the same but the first High Energy Pellet puzzle features a smaller room size like the regular 2006 version, and the High Energy Pellet launcher is also on the ceiling instead of the wall. The second fling is absent, and is replaced with a much larger and more complicated version of the second High Energy Pellet puzzle. The platform hallway to the final room features an infinite energy pellet that would be moved to the final game's Test Chamber 19. The final room is unchanged from the regular version of this map.
testchmb_a_11_hard#
The first turret is absent, and the cage designs are different, while also floating very few units above the floor (though the amount of units they are floating of off is very inconsistent).
testchmb_a_13_hard#
The companion cube is replaced by a sphere, as in the final game. Rather surprisingly, there are three Half-Life 2 manhacks in the large room, though they end up being more of an hindrance than an actual obstacle. Otherwise, this chamber is exactly the same as the normal one. The map does feature the extra area that the final advanced one has but it’s not connected to the main room and is otherwise in the exact same state as the normal version of the map.
testchmb_a_14_hard#
The exit was moved to just across from the entrance; however this is likely its original location as the exit is located the same way inside of the remnants of the 2005 era version of Test Chamber 18, lab_lvl4 that are seen in the leaked 2005 map lab_lvl3a. The large turret room is missing the moving platform and all High Energy Pellet elements. Despite this being the last official advanced map, this map features a level transition to a testchmb_a_15_hard, indicating an advanced version of Test Chamber 19 was at one point briefly planned.
Demonstration / Trailer Maps#
Maps made specifically for show at various events and demonstrational purposes. Or for Portal's Teaser Trailer.
testchmb_a_08_leipzig#
This is an early version of Test Chamber 13, last modified August 17th, 2006. This version of the chamber features a turret on the other side of the exit door, an earlier observation deck, and early orange hazard lights instead of antlines. It was planned to be showcased at Gamescom 2006 in Leipzig, Germany, hence its naming scheme. This is a slightly earlier version than what was ultimately used.
testchmb_a_08_leipzig2#
This map is identical to leipzig, save for 3 differences: 1. GLaDOS now has lines for the player entering the chamber and getting trapped. 2. The turret has been moved slightly. 3. The editor grid size has been changed from 4 to 16 (this has no bearing on the actual compiled map.) This is the version that was used at Gamescom, as well as a collection of screenshots released for the game.
The Chamber, as seen in pre-release media.
portalvideo_00#
One of the two maps used for Portal's teaser trailer in 2006. It features a pit on fire and a slow-moving crusher that the player has to escape from, by using portals to reach the other side. This map uses the old fire effects from early release versions of Half-Life 2 which were restored in the 20th anniversary update and if that map is loaded when classic fire is enabled, the fire will appear.
portalvideo_01#
The second map used for the teaser trailer. This one features a cube and a turret that the player needs to knock over by using said cube.
portaldemo_barcelona#
A demo map intended to be showcased at Barcelona as the name suggests. It features Test Chambers 13, 16, and 18 with similar elevators to gdc_portal_demo. The maps featured are earlier versions of the final ones with noticeable differences.
gdc_portal_demo#
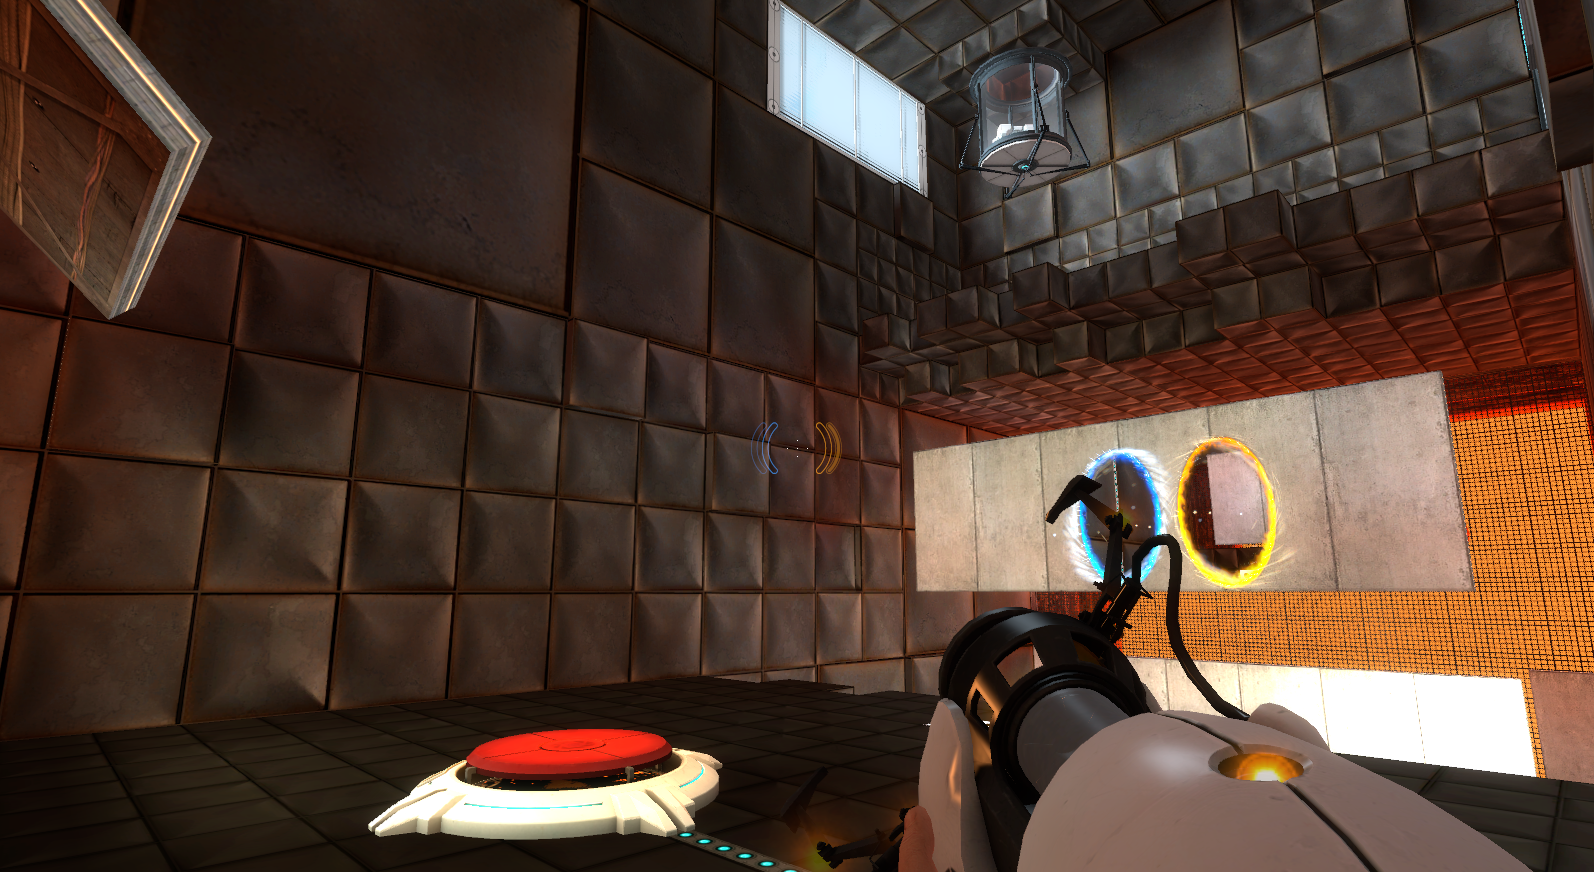
The original map shown at GDC 2007. It features Test Chamber 06, 10, and 12 linked in one map. Elevators were switched out with empty rooms that teleport the player to the next area, with the exit of Chamber 12 simply fading to black. Watch on YouTube
Miscellaneous#
Miscellaneous content that doesn't fit in any other category.
General Level Differences#
These are general differences seen across multiple different levels, like the style of an object seen in many of the campaign maps for example.
Auto-Portal Frames#
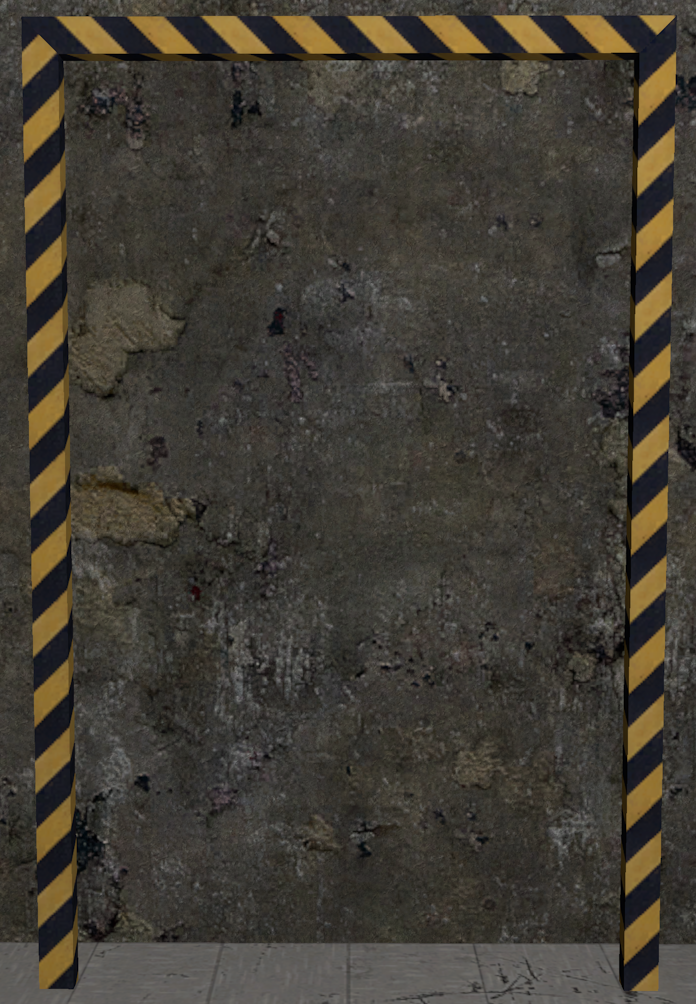
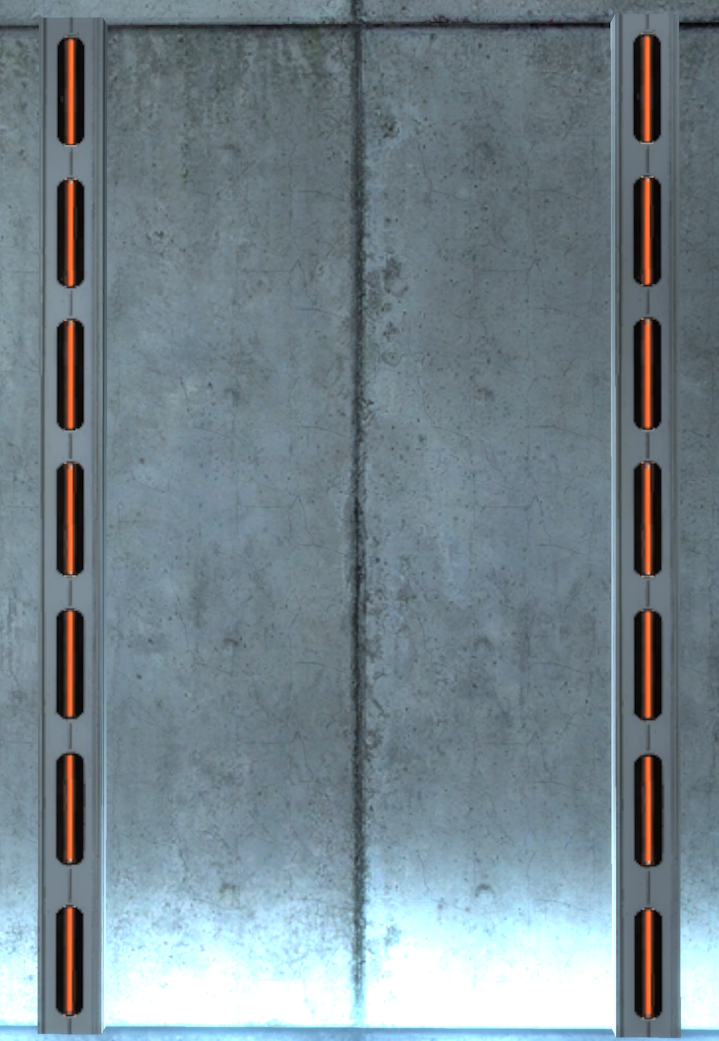
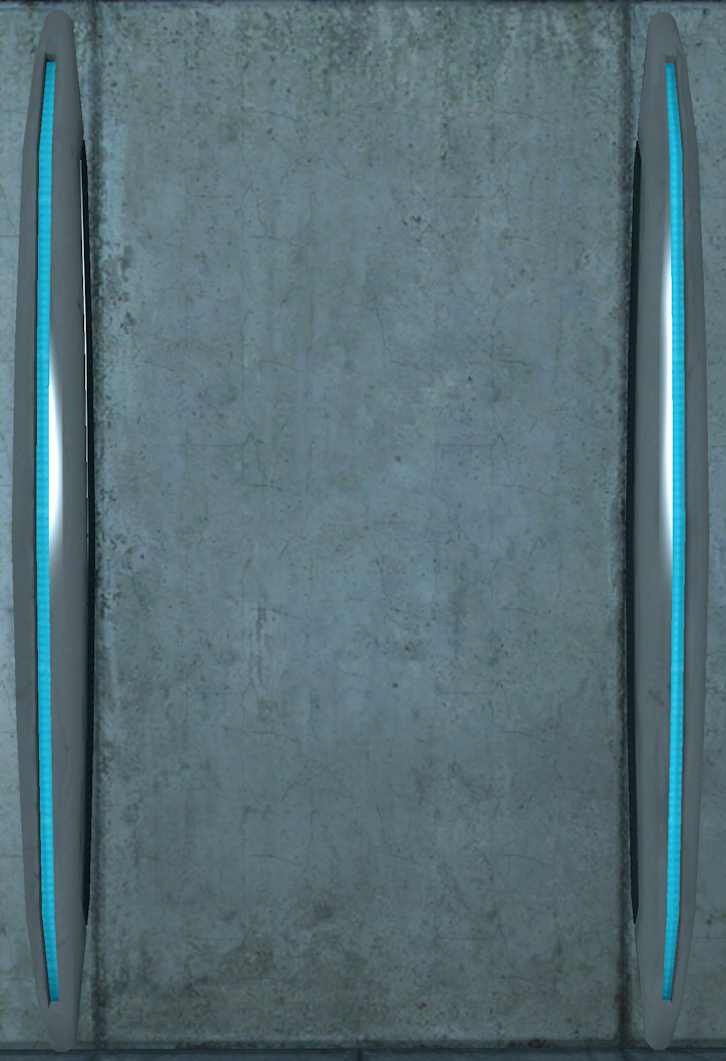
The frames around pre-placed/fixed Portals from the early Test Chamber levels saw quite a few changes during development. The first design that was used from 2005-2006, featured a rectangular boarder frame with a yellow and black hazard stripe pattern textured on top. It can be seen in zoo_testarea, lab_lvl3a, and also developer screenshots from around this time. The second design from 2006-2007 had a design change to better fit the new Aperture Science style and now only covers the sides of the portal, the design was around for longest in Portal's development (seen in the 2006-early 2007 development maps and many pre-release screenshots) and its texture is still leftover in the final game's files. The third and final design was changed around late 2007, and is an actual model instead of being made out of map geometry brushes like the other two. It features a much smoother and aerodynamic design with a lot more overall detail than before.
2005-2006 |
2006-2007 |
2007/Final |
|---|---|---|
 |
 |
 |
ending#
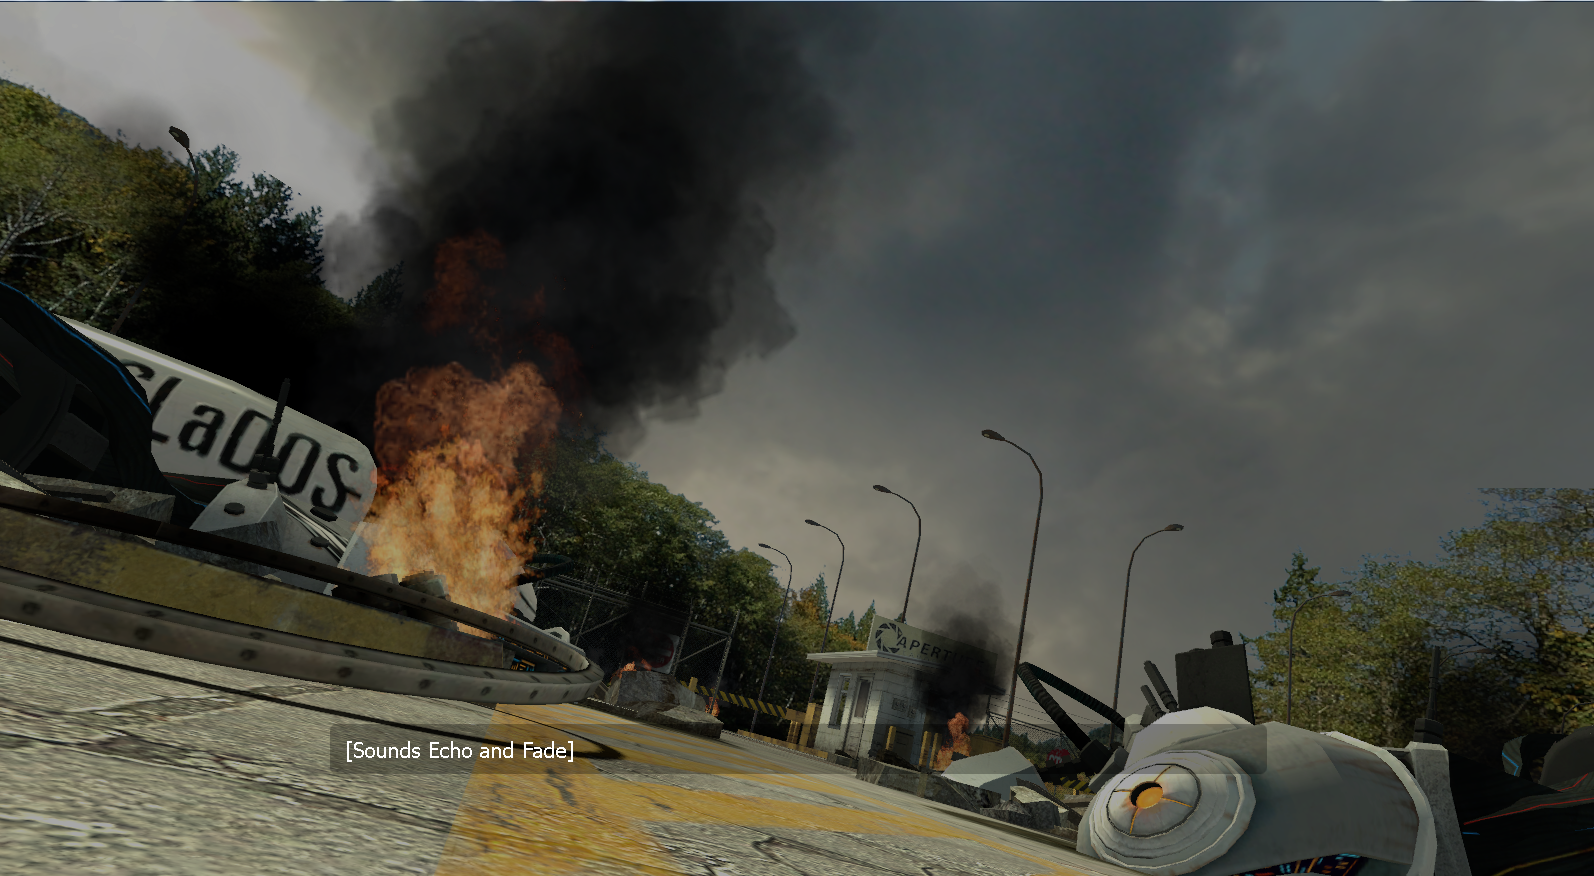
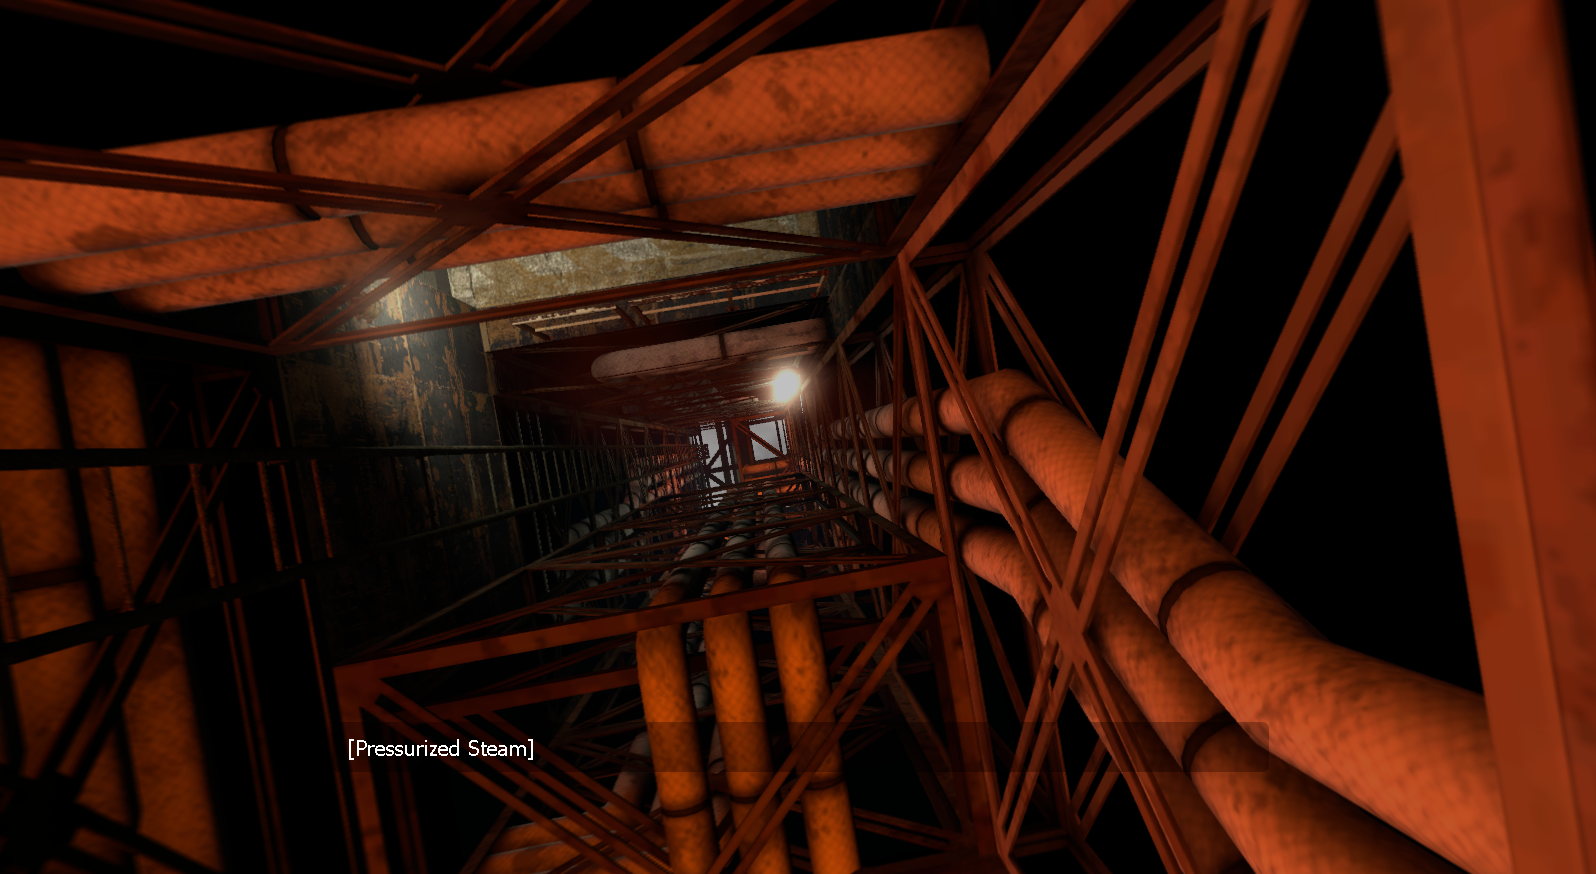
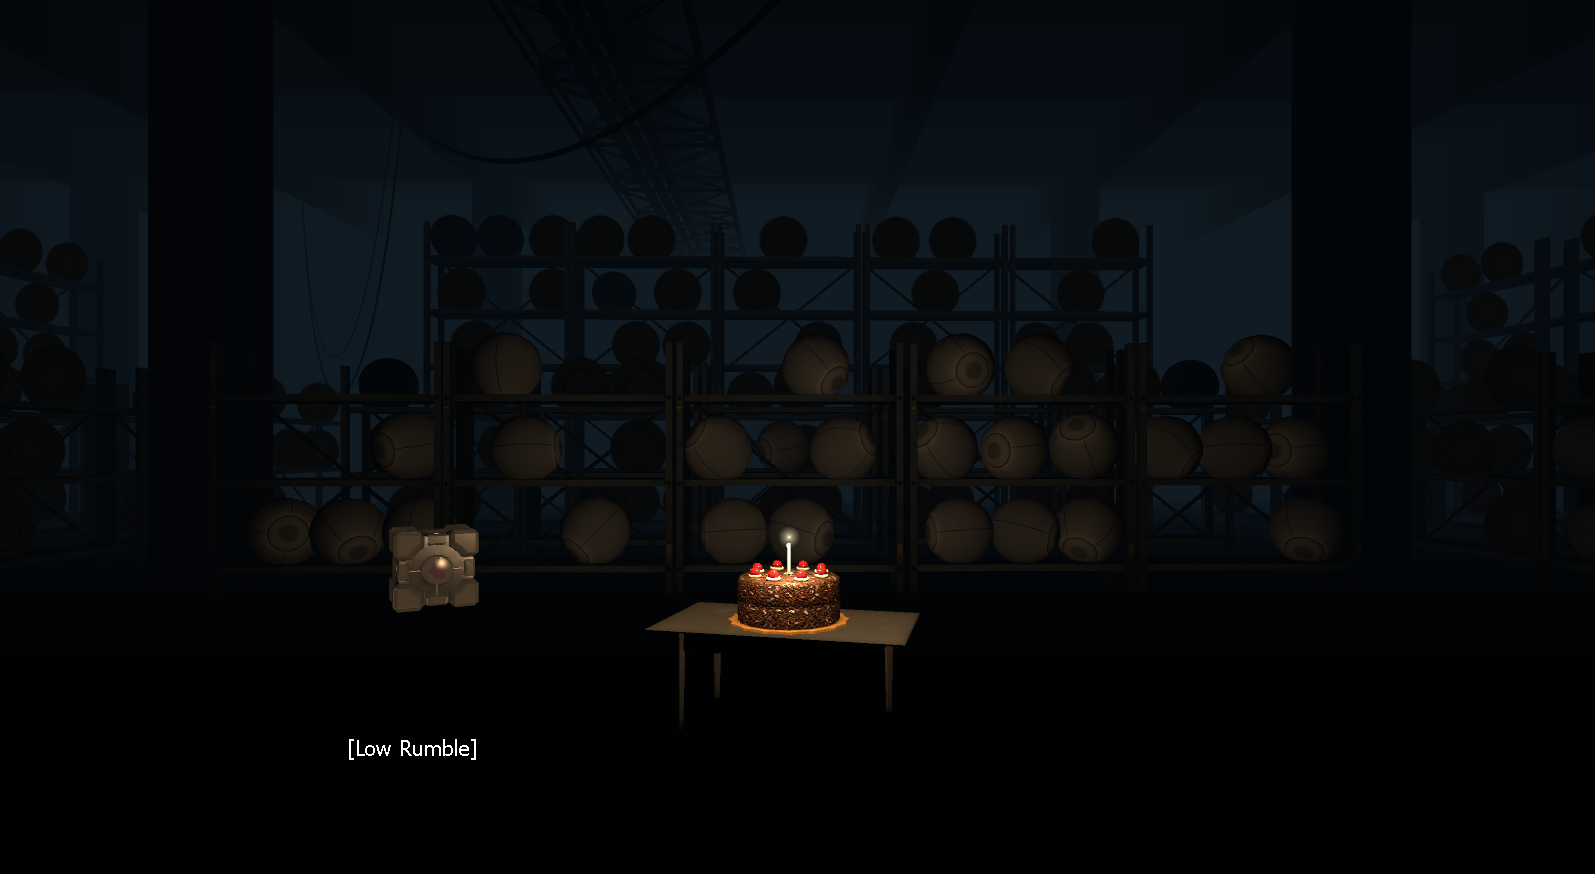
This 2007 map features an almost exact copy of the ending sequence from the map escape_02, prior to March 3, 2010, isolated in a separate map. It's unknown if this was intended to be a separate map for the final game or was developed individually at first and then integrated into escape_02.
proto_escape#
A very early version of the map escape_02. The map is comprised of brushwork instead of models and is incomplete.
testchmb_a_15_lightingpass#
An early version of Test Chamber 19 and the initial escape sequence, featuring unused GLaDOS voice lines while escaping.
Prefabs#
In Source Games with the Hammer Level Editor, prefabs are used for select certain objects to be used a reference and if they're needed more than once / show up on multiple maps. Portal has had a decent amount of its Prefabs made available, mostly dating from 2005 to 2006.
2005 Prefabs#
In the Source SDK for Half-Life 2: Episode One, exists the prefabs for Portal from around 2005-early 2006. They are located in: "steamapps\SourceSDK\bin\ep1\bin\prefabs\Prefabs Portal".
ball_catcher_base#
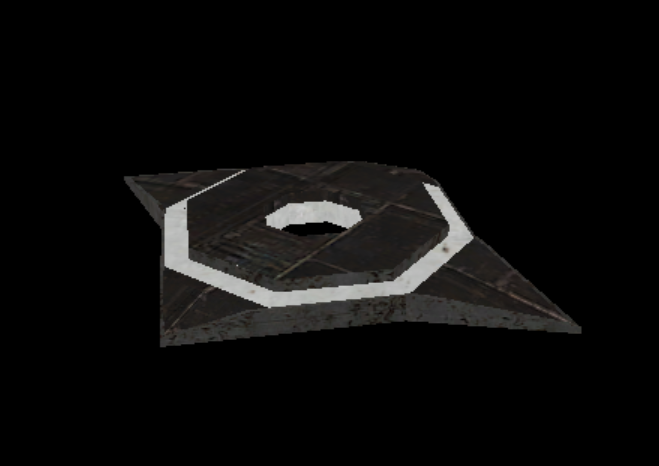
An early brush-based pellet catcher with Combine textures used. Last modified on August 8, 2005.
extreme_elevator#
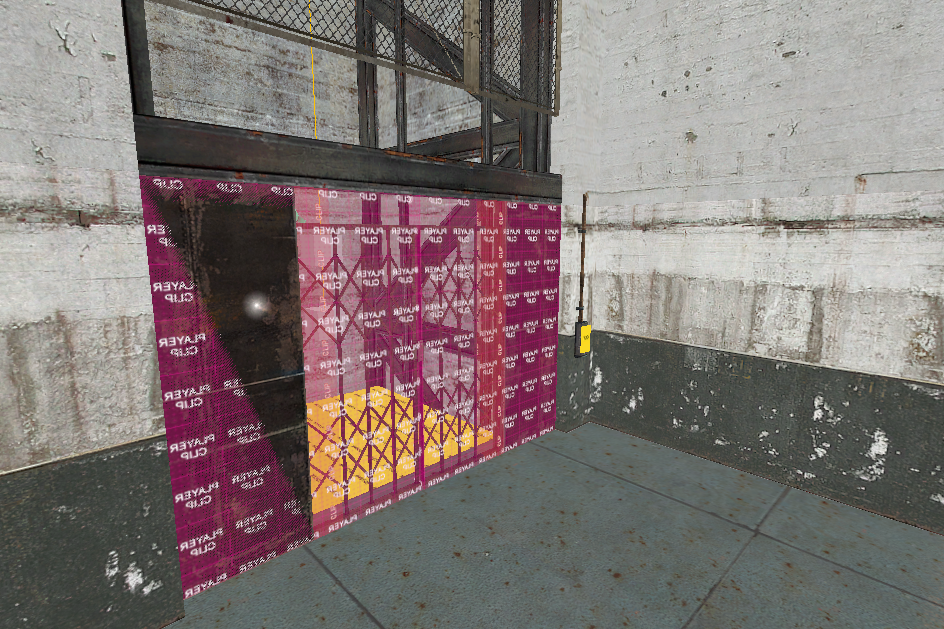
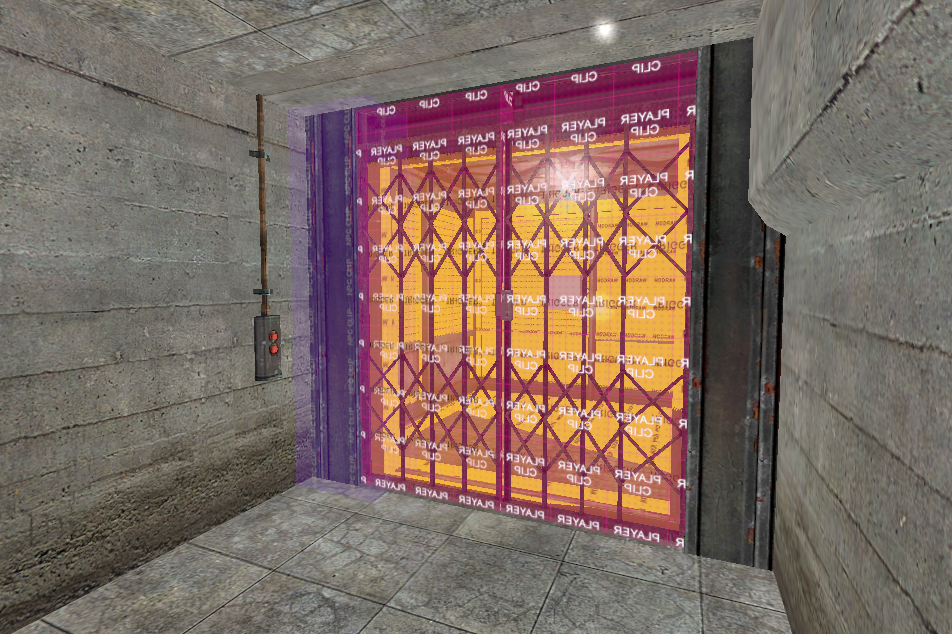
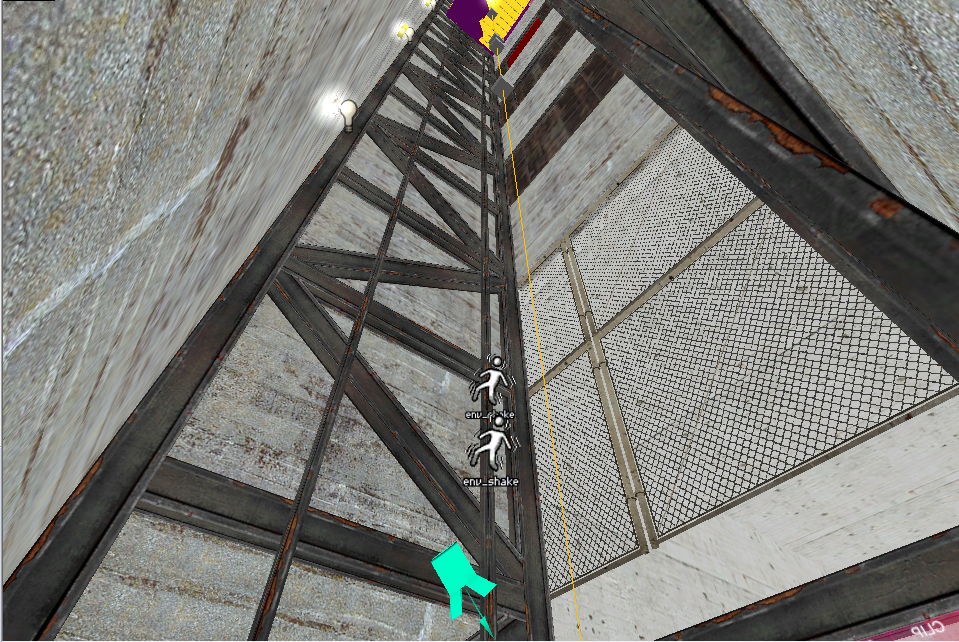
extreme_elevator.vmf last modified on July 15 2005, is modified from the one seen in Black Mesa East from Half-Life 2 that goes up instead of down. It also has a button that the user needs to press to open the door. Both this and transition_elevator.vmf feature the early Half-Life 2 style elevator.
glass_border#
Glass frame possibly for one of the observation windows (or other minor windows) from this time. Last modified on July 15, 2005.

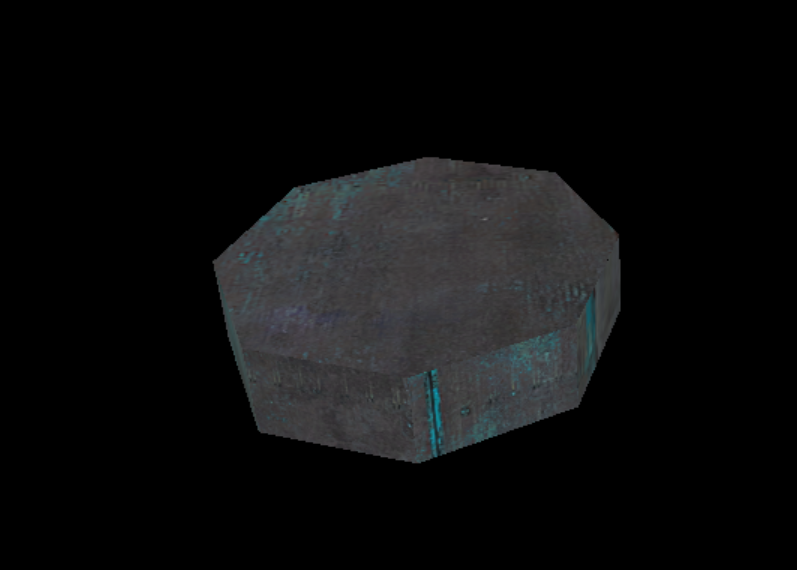
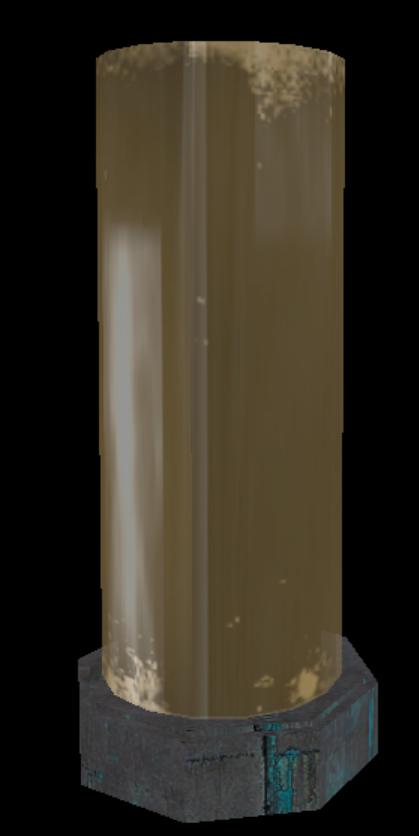
goopillar_base#
The base of the goopillar, a purely decorative prop seen in an early version of Test Chamber 00 from this time period. Last modified on July 1, 2005.
goopillar_bottom#
The rest of the goopillar from before. Last modified on July 1, 2005.
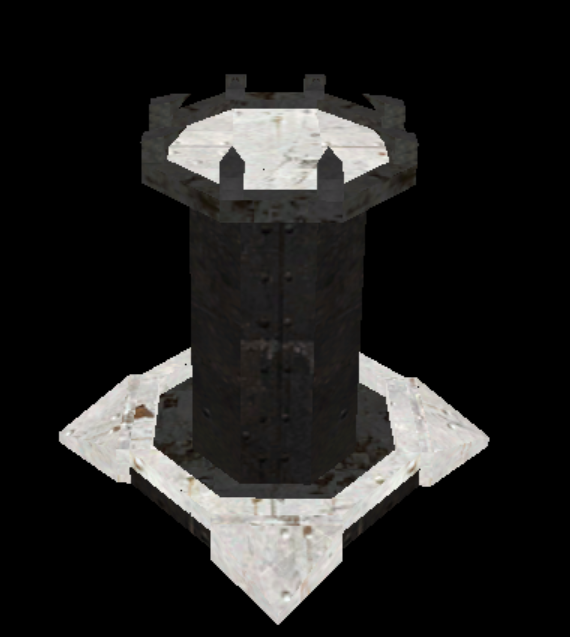
gun_pedestal#
One of the original Portal Gun pedestal designs, also seen in zoo_testarea.bsp. Last modified on August 8, 2005.
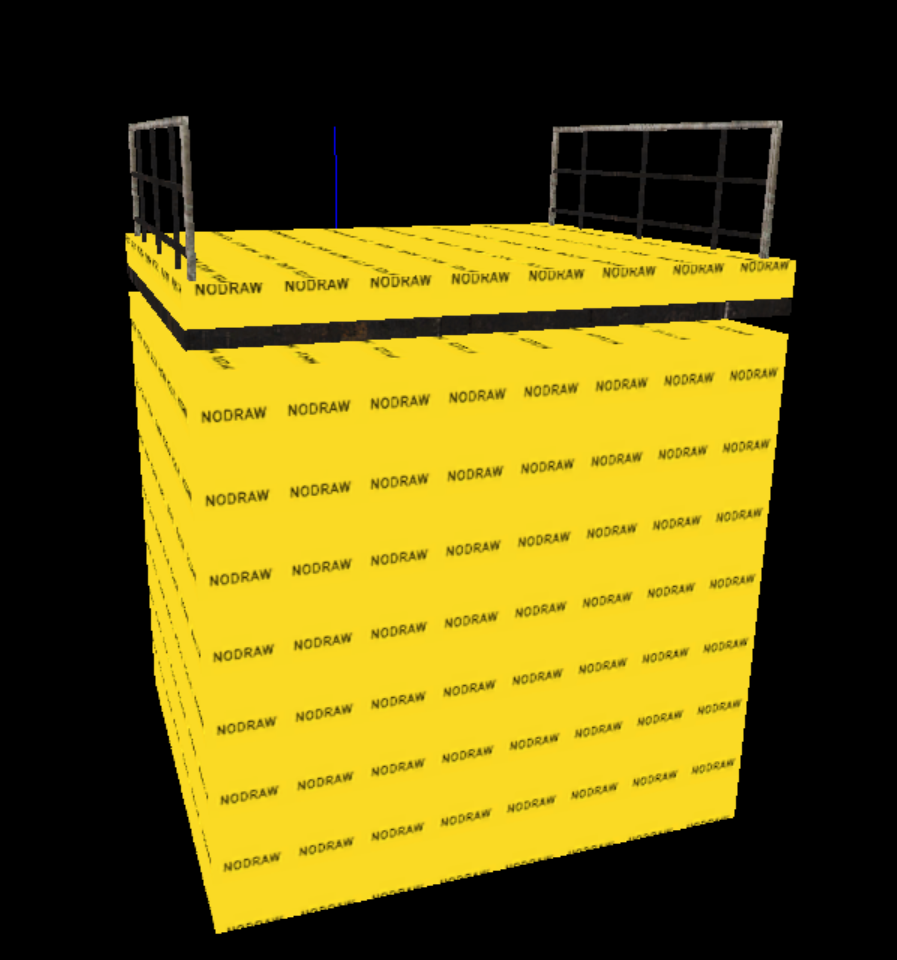
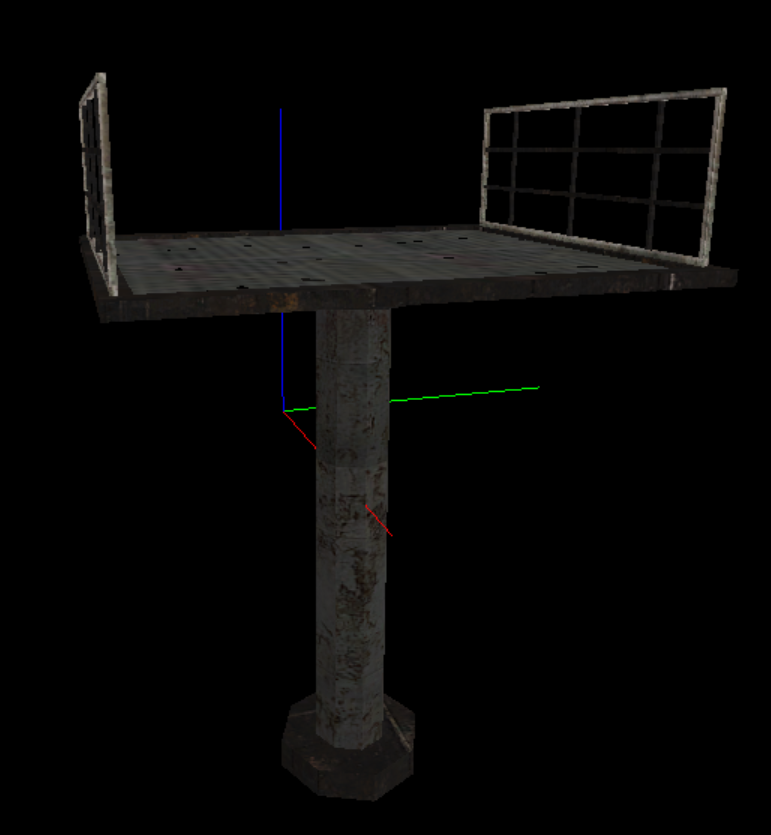
lift#
The early platform/Victory Lift, with a trigger_multiple (to detect the player) and a func_door (to actually move the lift) brush entities are also included. Last modified on July 29, 2005.
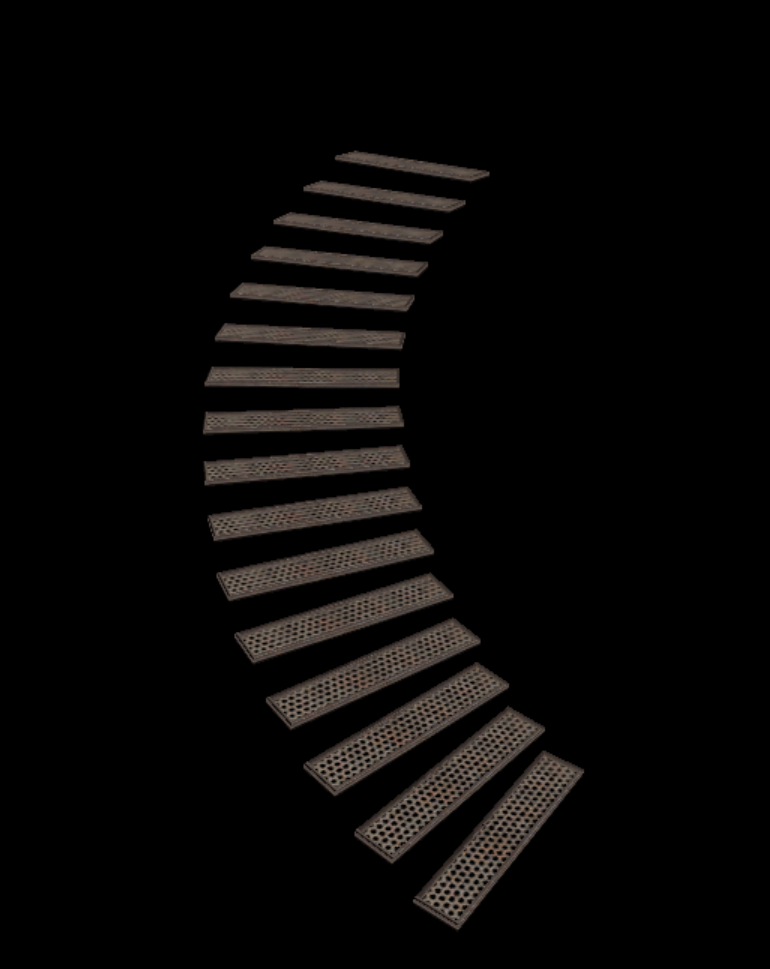
metal_stair#
A metal spiral staircase used in zoo_testarea.bsp. Last modified on August 8, 2005.
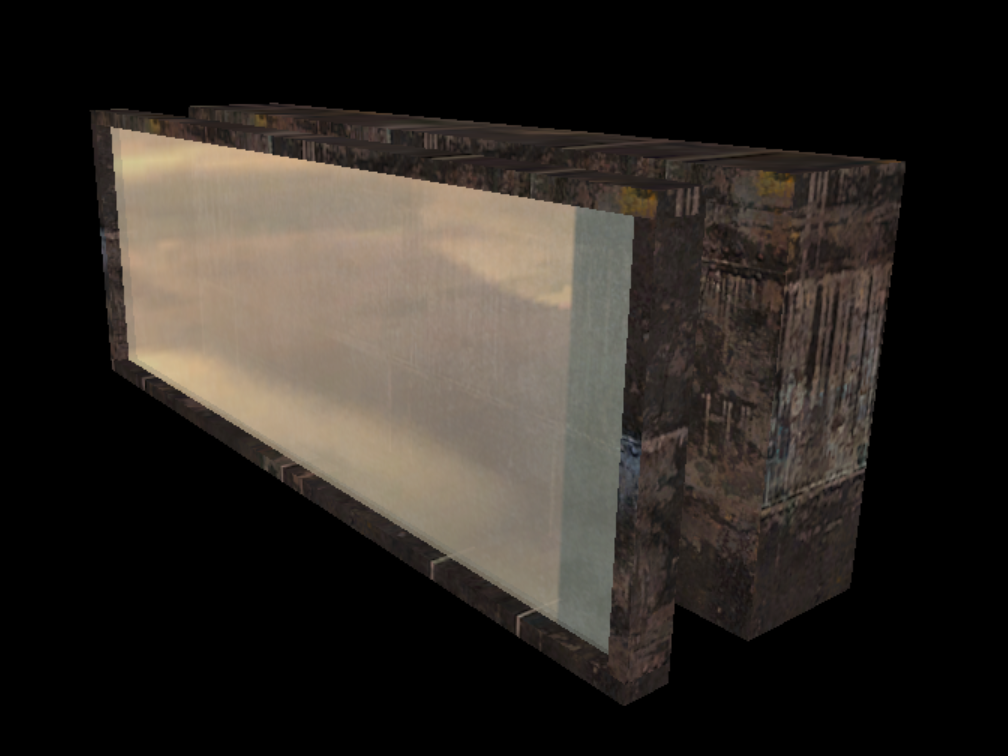
observation_window#
An early observation window that you can't see through. Last modified on July 1, 2005.
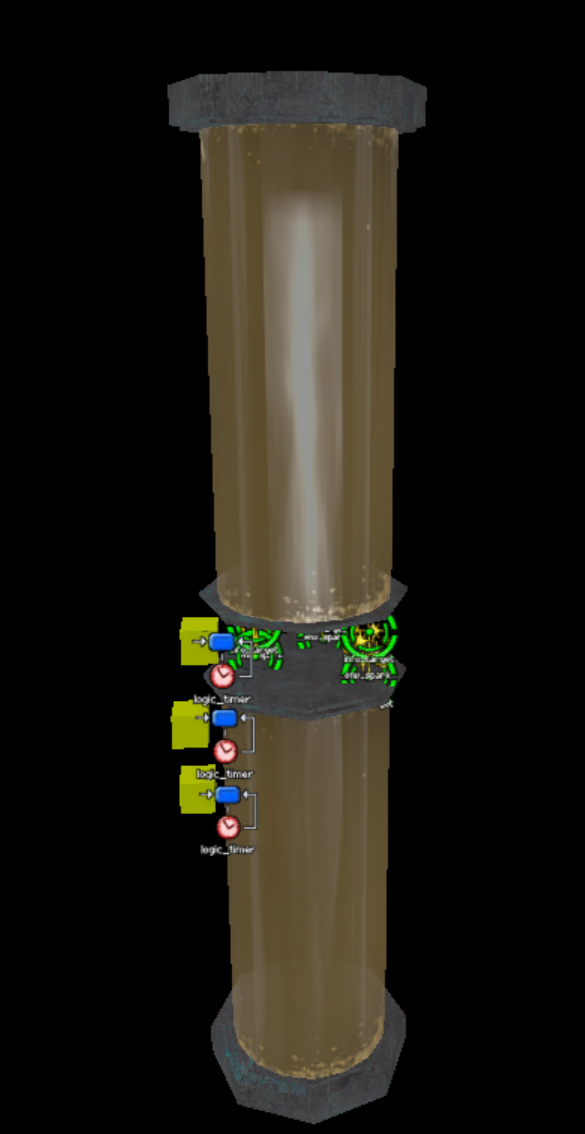
sparkling_goopillar#
A functioning goopillar that sparks in-between the two pillars every few seconds. Last modified on July 15, 2005.
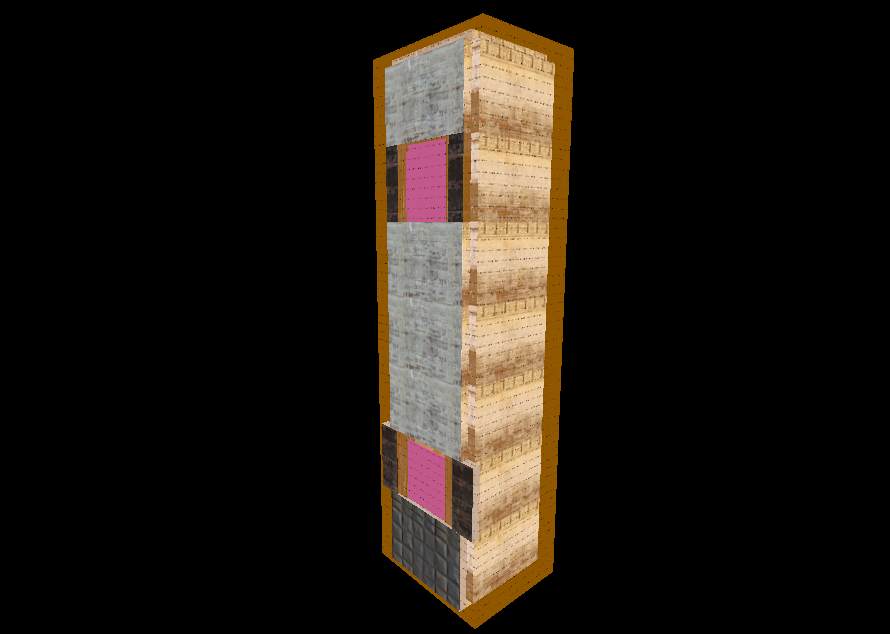
transition_elevator#
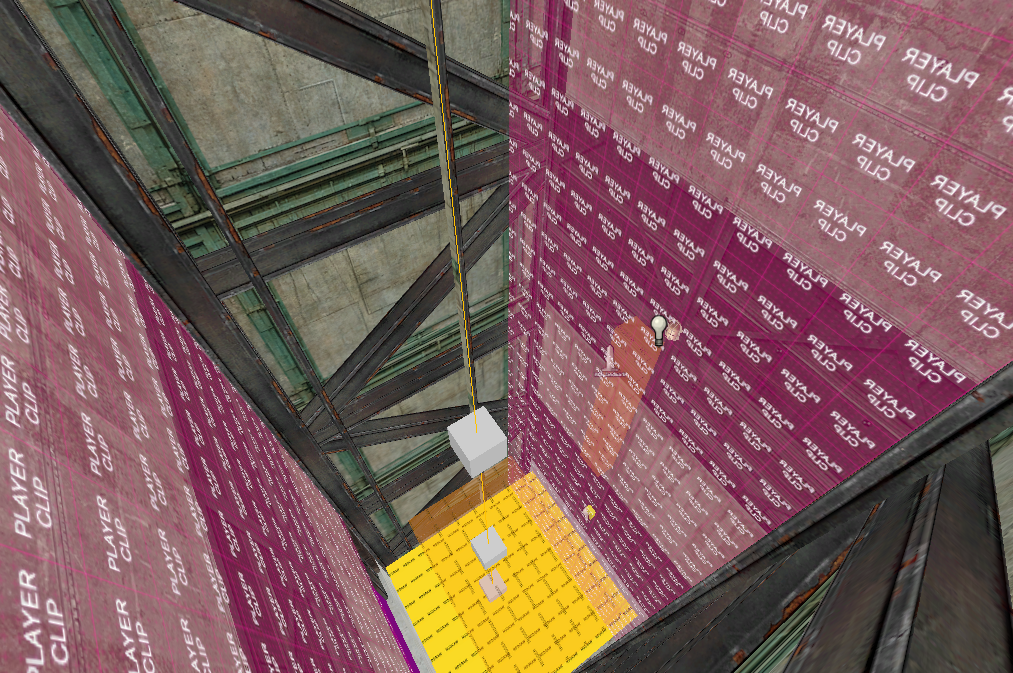
transiton_elevator.vmf last modified on July 29 2005, is from Kleiner's lab in Half-Life 2 and functions more like the ones in Portal. The elevator is also taken directly from Test Chamber 00 or intro_lvl1, as seen in the transition entity that would have taken the player in a missing intro_lvl2 map which would have been Test Chamber 02.

References#
- https://www.youtube.com/watch?v=OYoRBA_SsoE↩︎
- https://developer.valvesoftware.com/wiki/Trigger_portal#Code_Fixes↩︎
- "[testchmb_a_08] is the first map in which we experimented with solving the puzzle in as few portal placements as possible. We tried to fit that concept into the story mode, but were never quite able to sell it. Instead of abandoning the idea altogether, we added the concept to a series of post-game 'Challenge' maps." - Nick Maggiore↩︎