This is a sub-page of New Super Mario Bros. U.
Unused Levels#

|
This page or section needs more images. |
The New Super Mario Bros. U + New Super Luigi U releases don't have the following unused levels: 13-2, 13-4, 13-7, 18-1, 16-1 and 16-2.
(Source: Original TCRF research)
Early Layout of Frosted Glacier Ghost House#
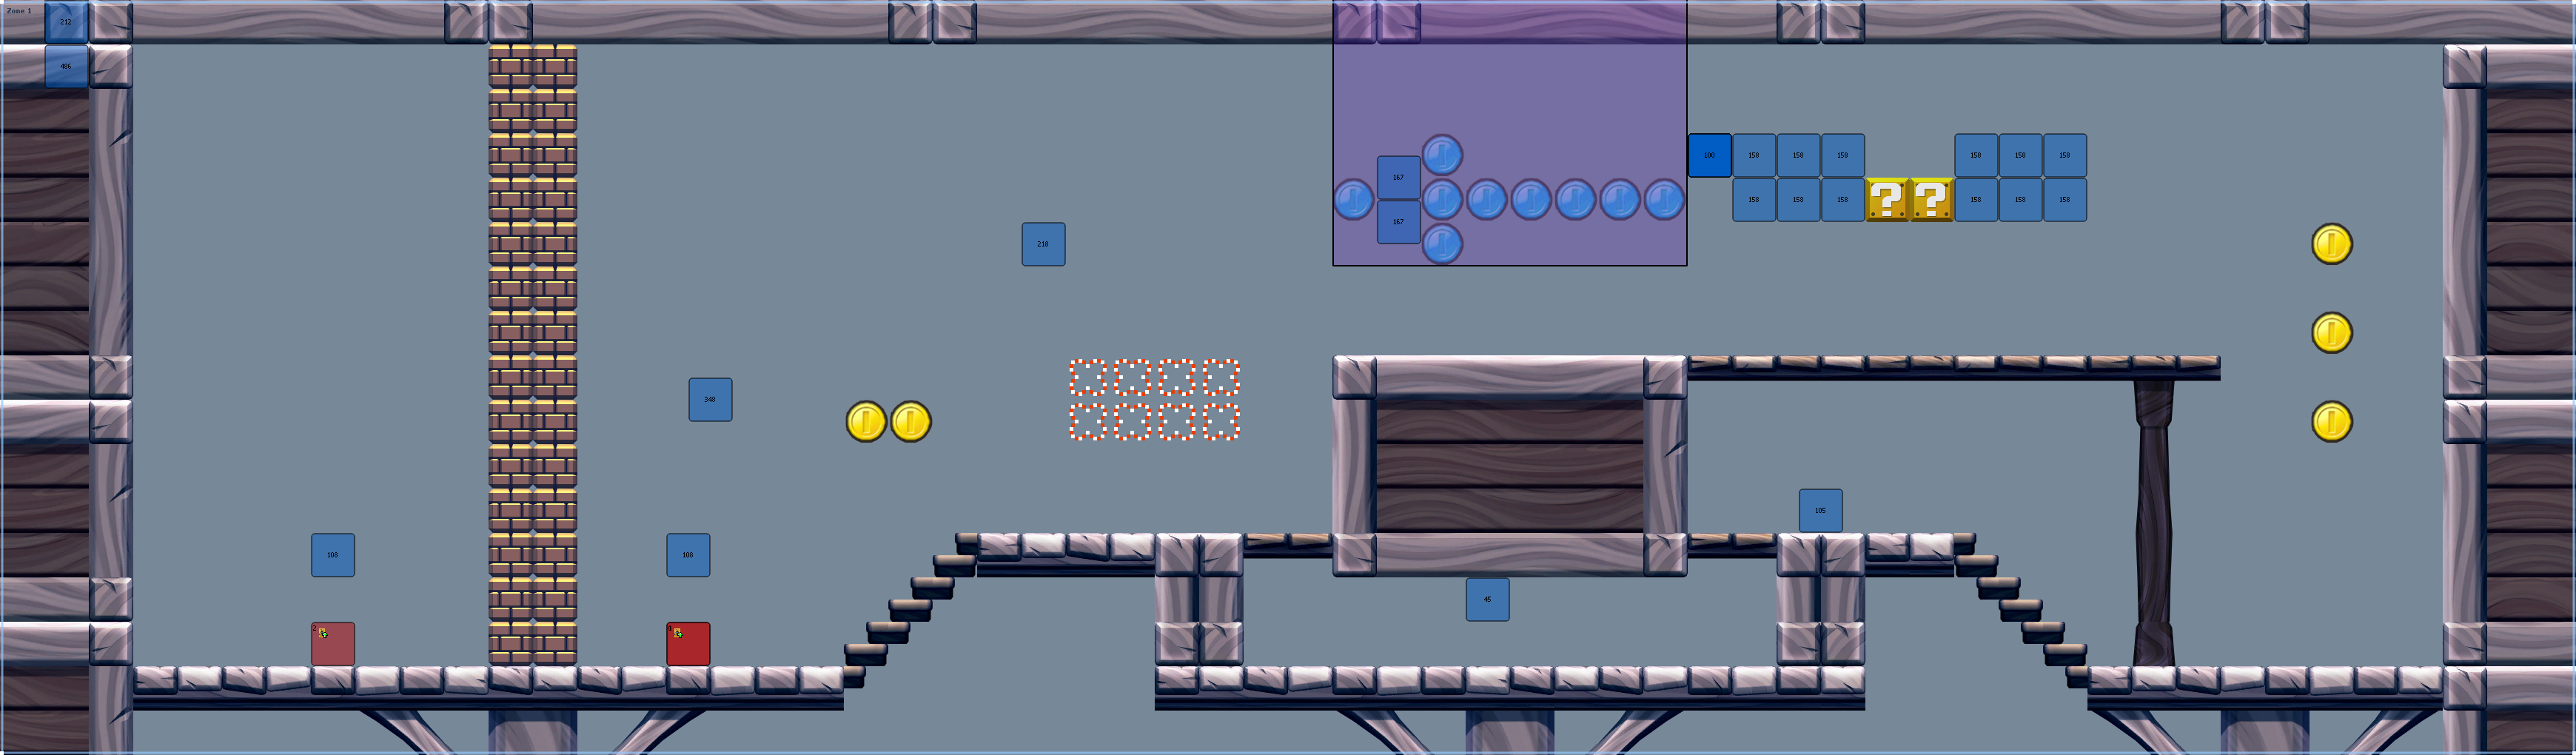
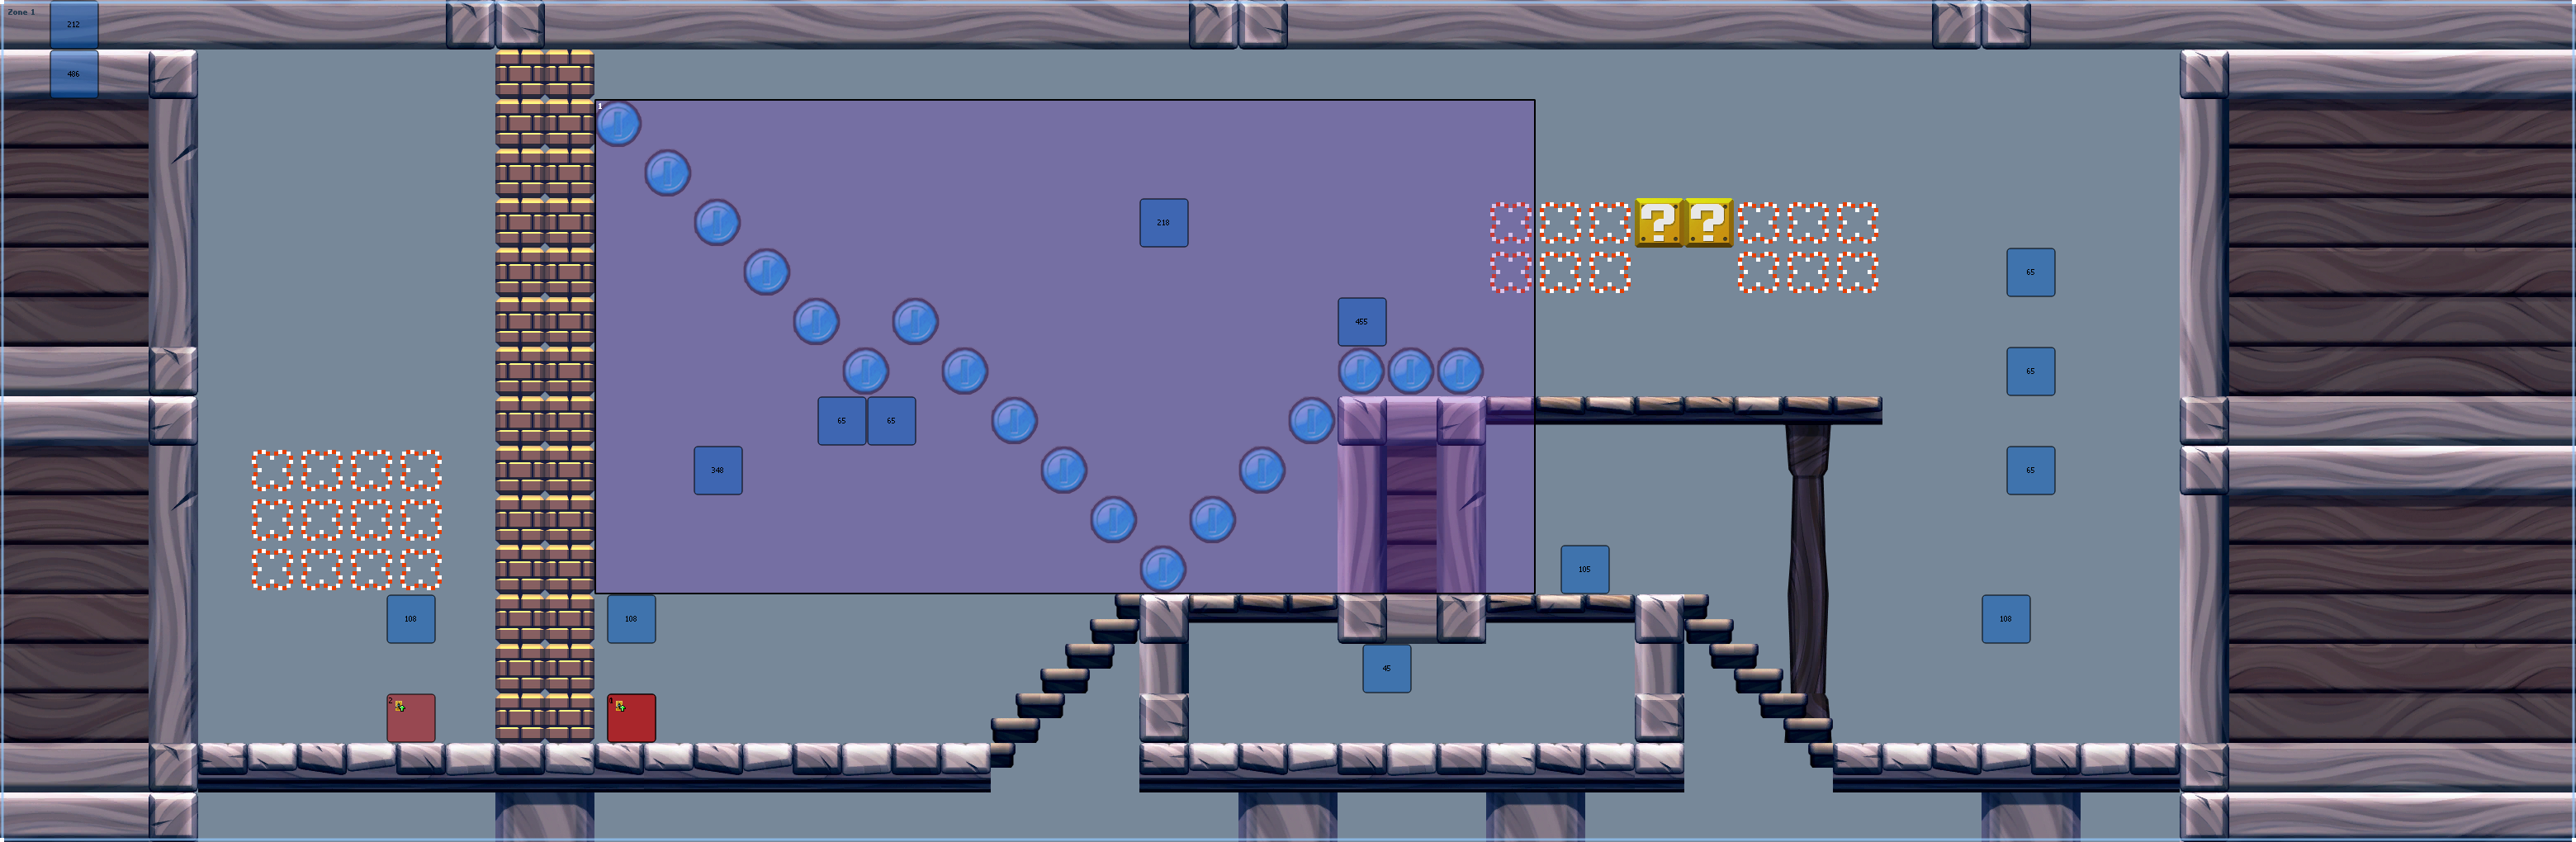
Area 3 of 4-20.szs contains an earlier layout for the level. None of the entrances in Areas 1 or 2 link to them, meaning they're all unused.
Zone 1#
|
Early |
Final |
|---|---|
|
|
The early area is longer than the final, meaning it was slightly more difficult to clear. The blue coin arrow was changed into a blue coin trail.
There was also no fake door at the end. The real doors both lead to Zone 2.
Zone 2#
|
Early |
Final |
|---|---|
|
|
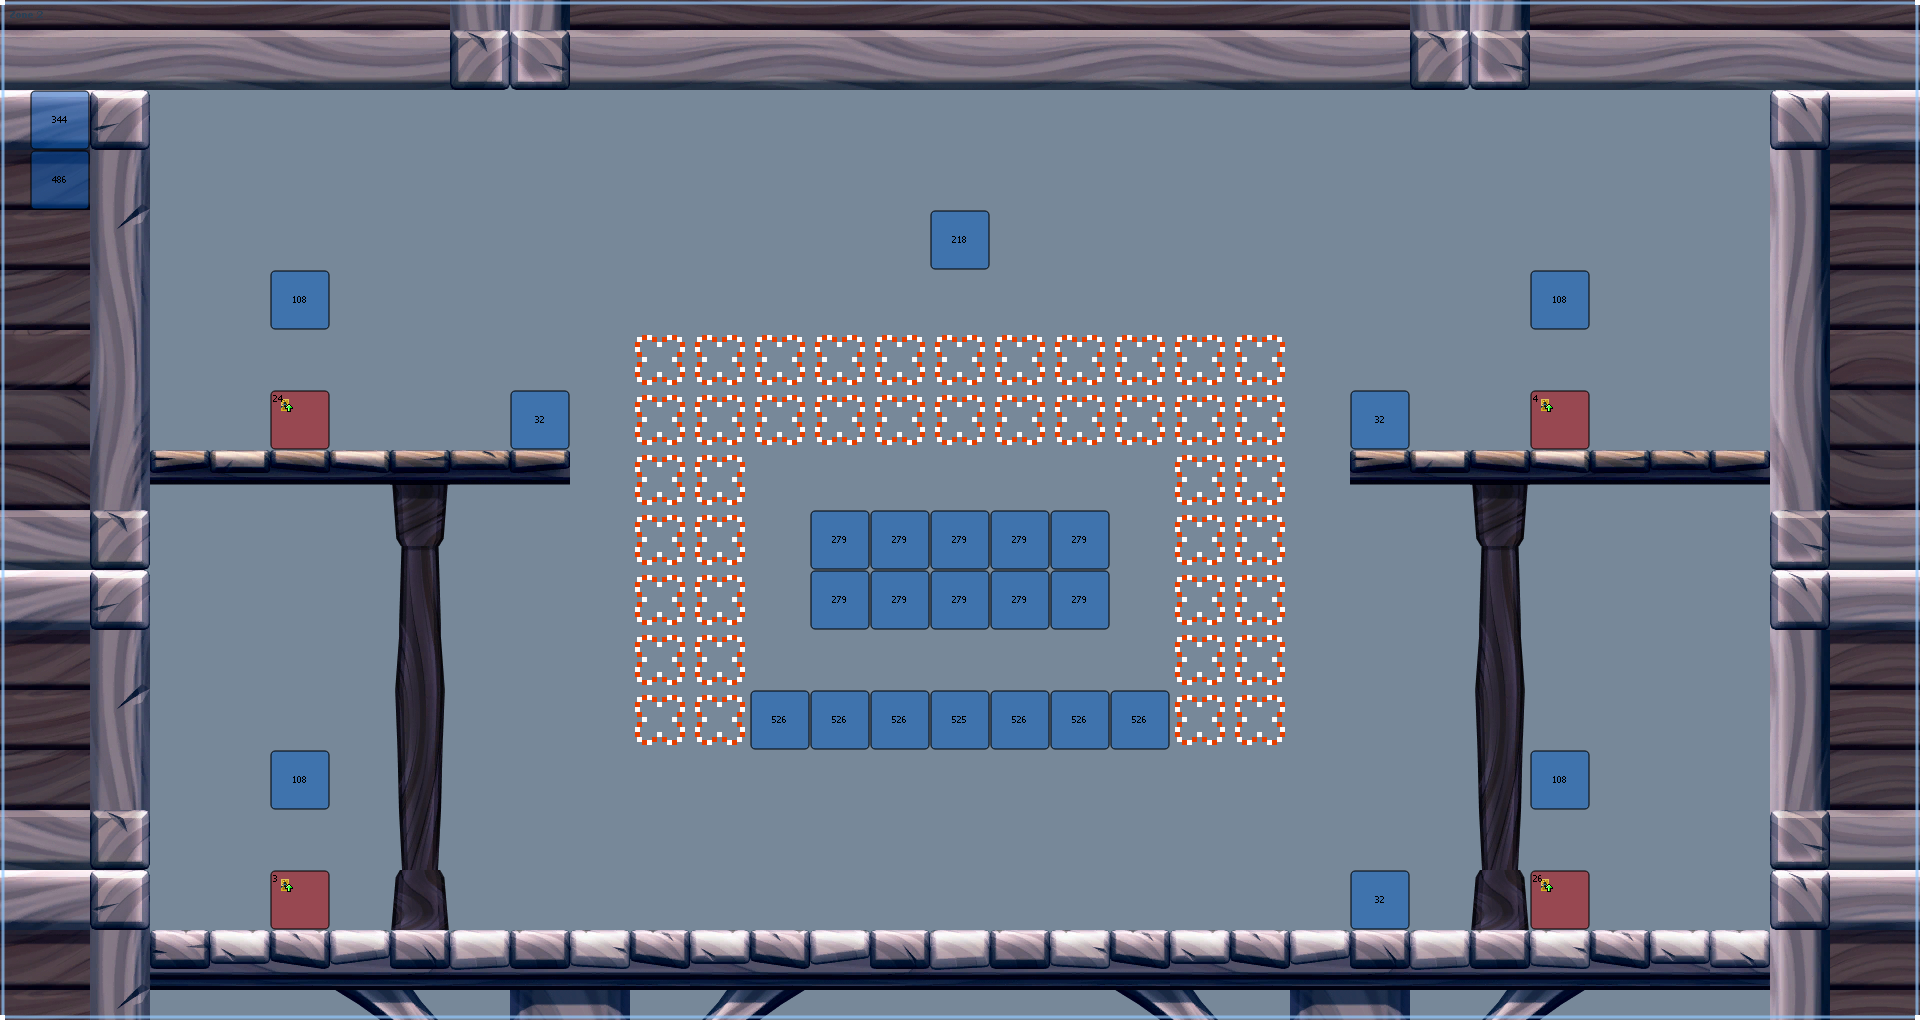
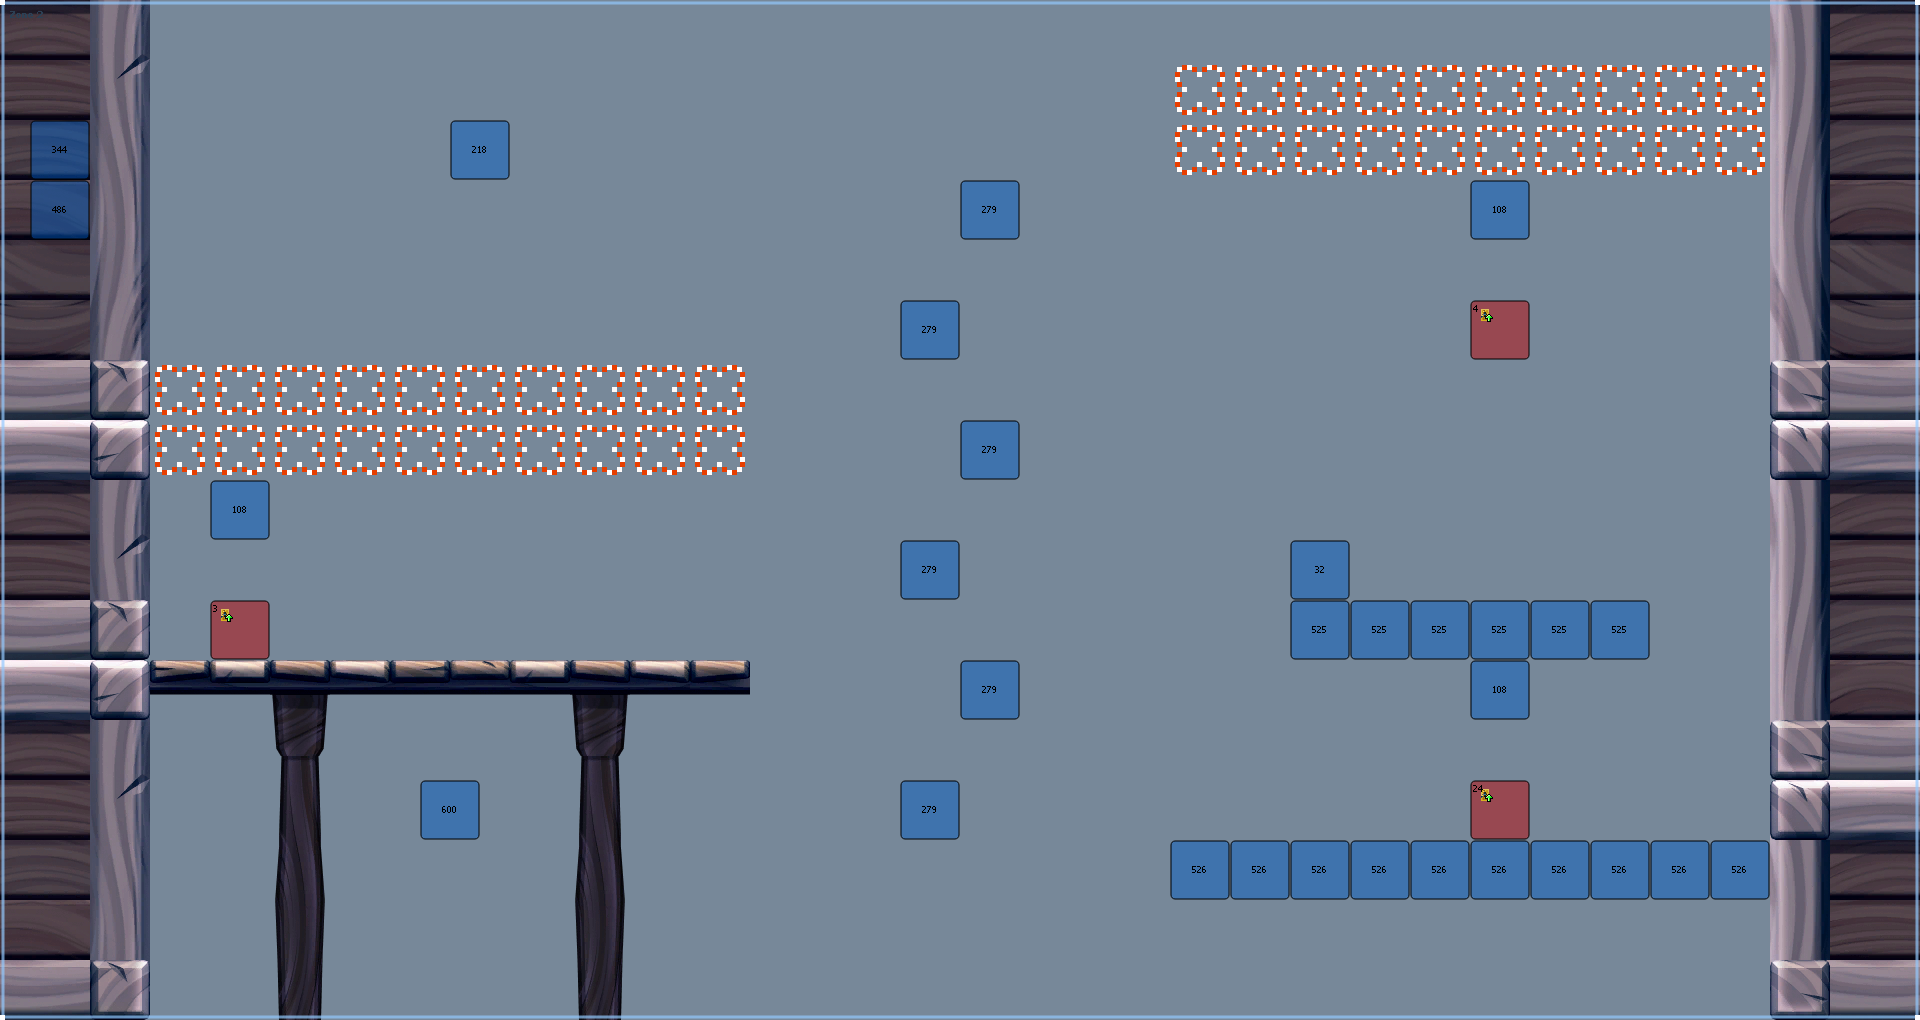
This area was completely redesigned; early one contains four doors, three of which are enterable; the top-left and bottom-right ones lead to Zone 8, top right to Zone 3. The final zone has only two enterable doors, which also lead to those two zones, but you have to wait for moving bricks to line up with a specific door.
Zone 3#
|
Early |
Final |
|---|---|
|
|
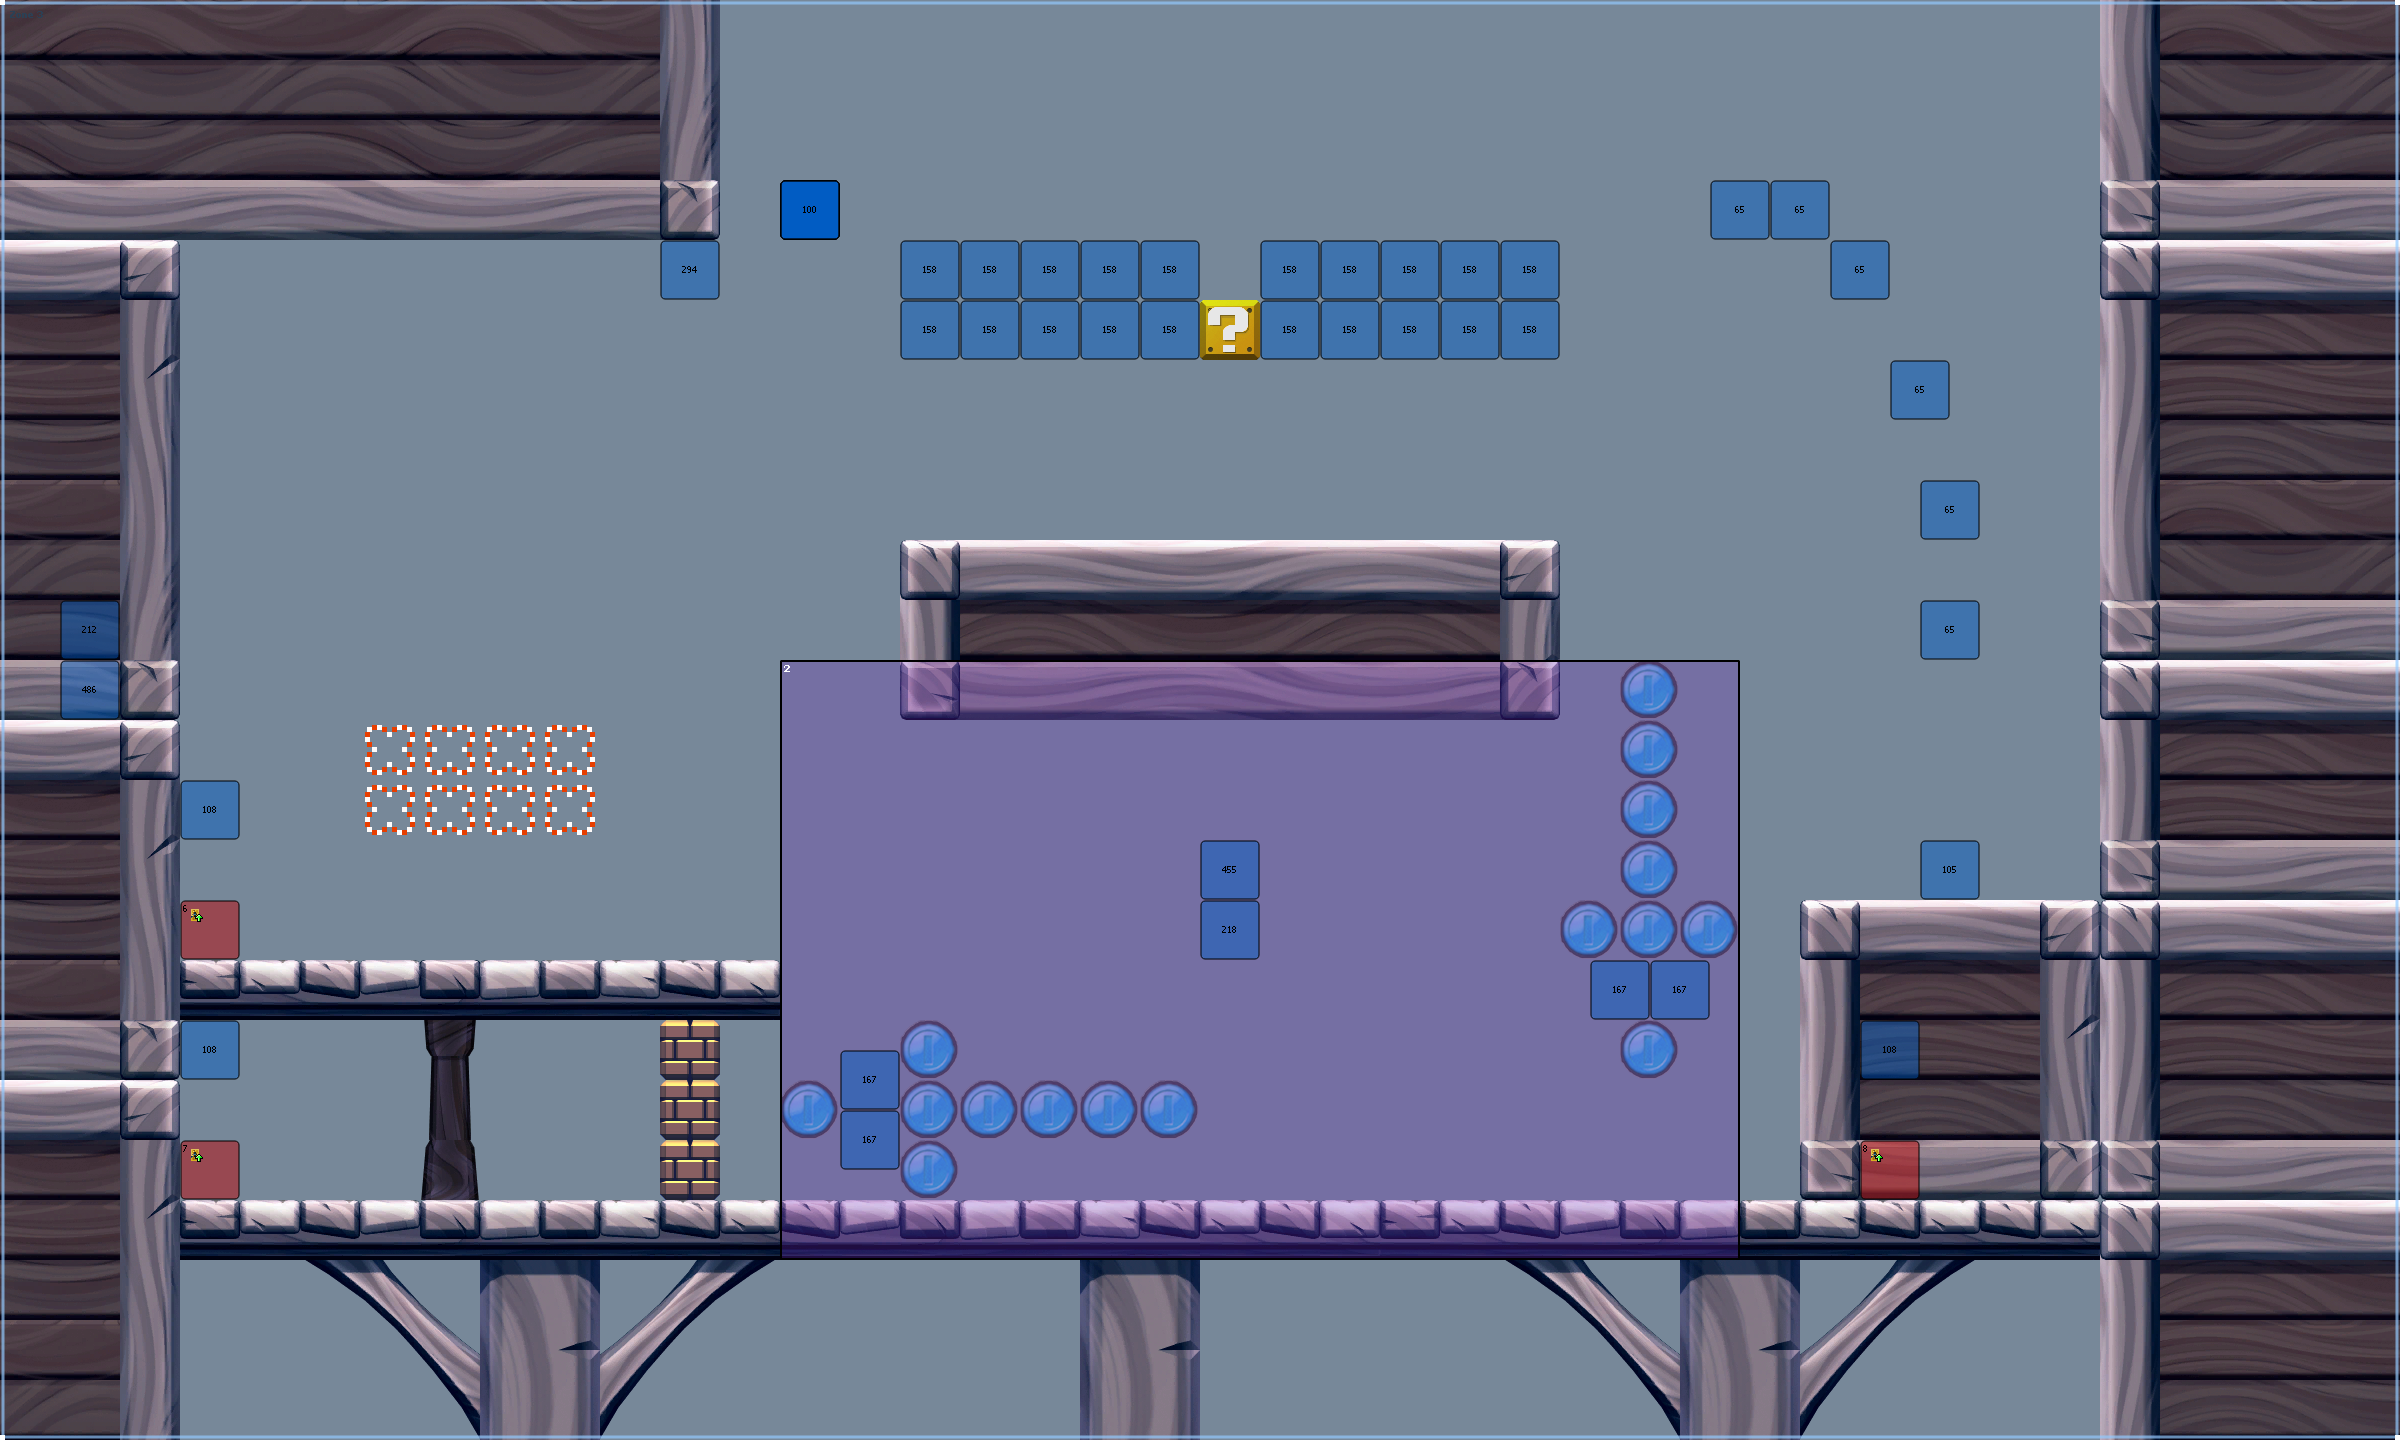
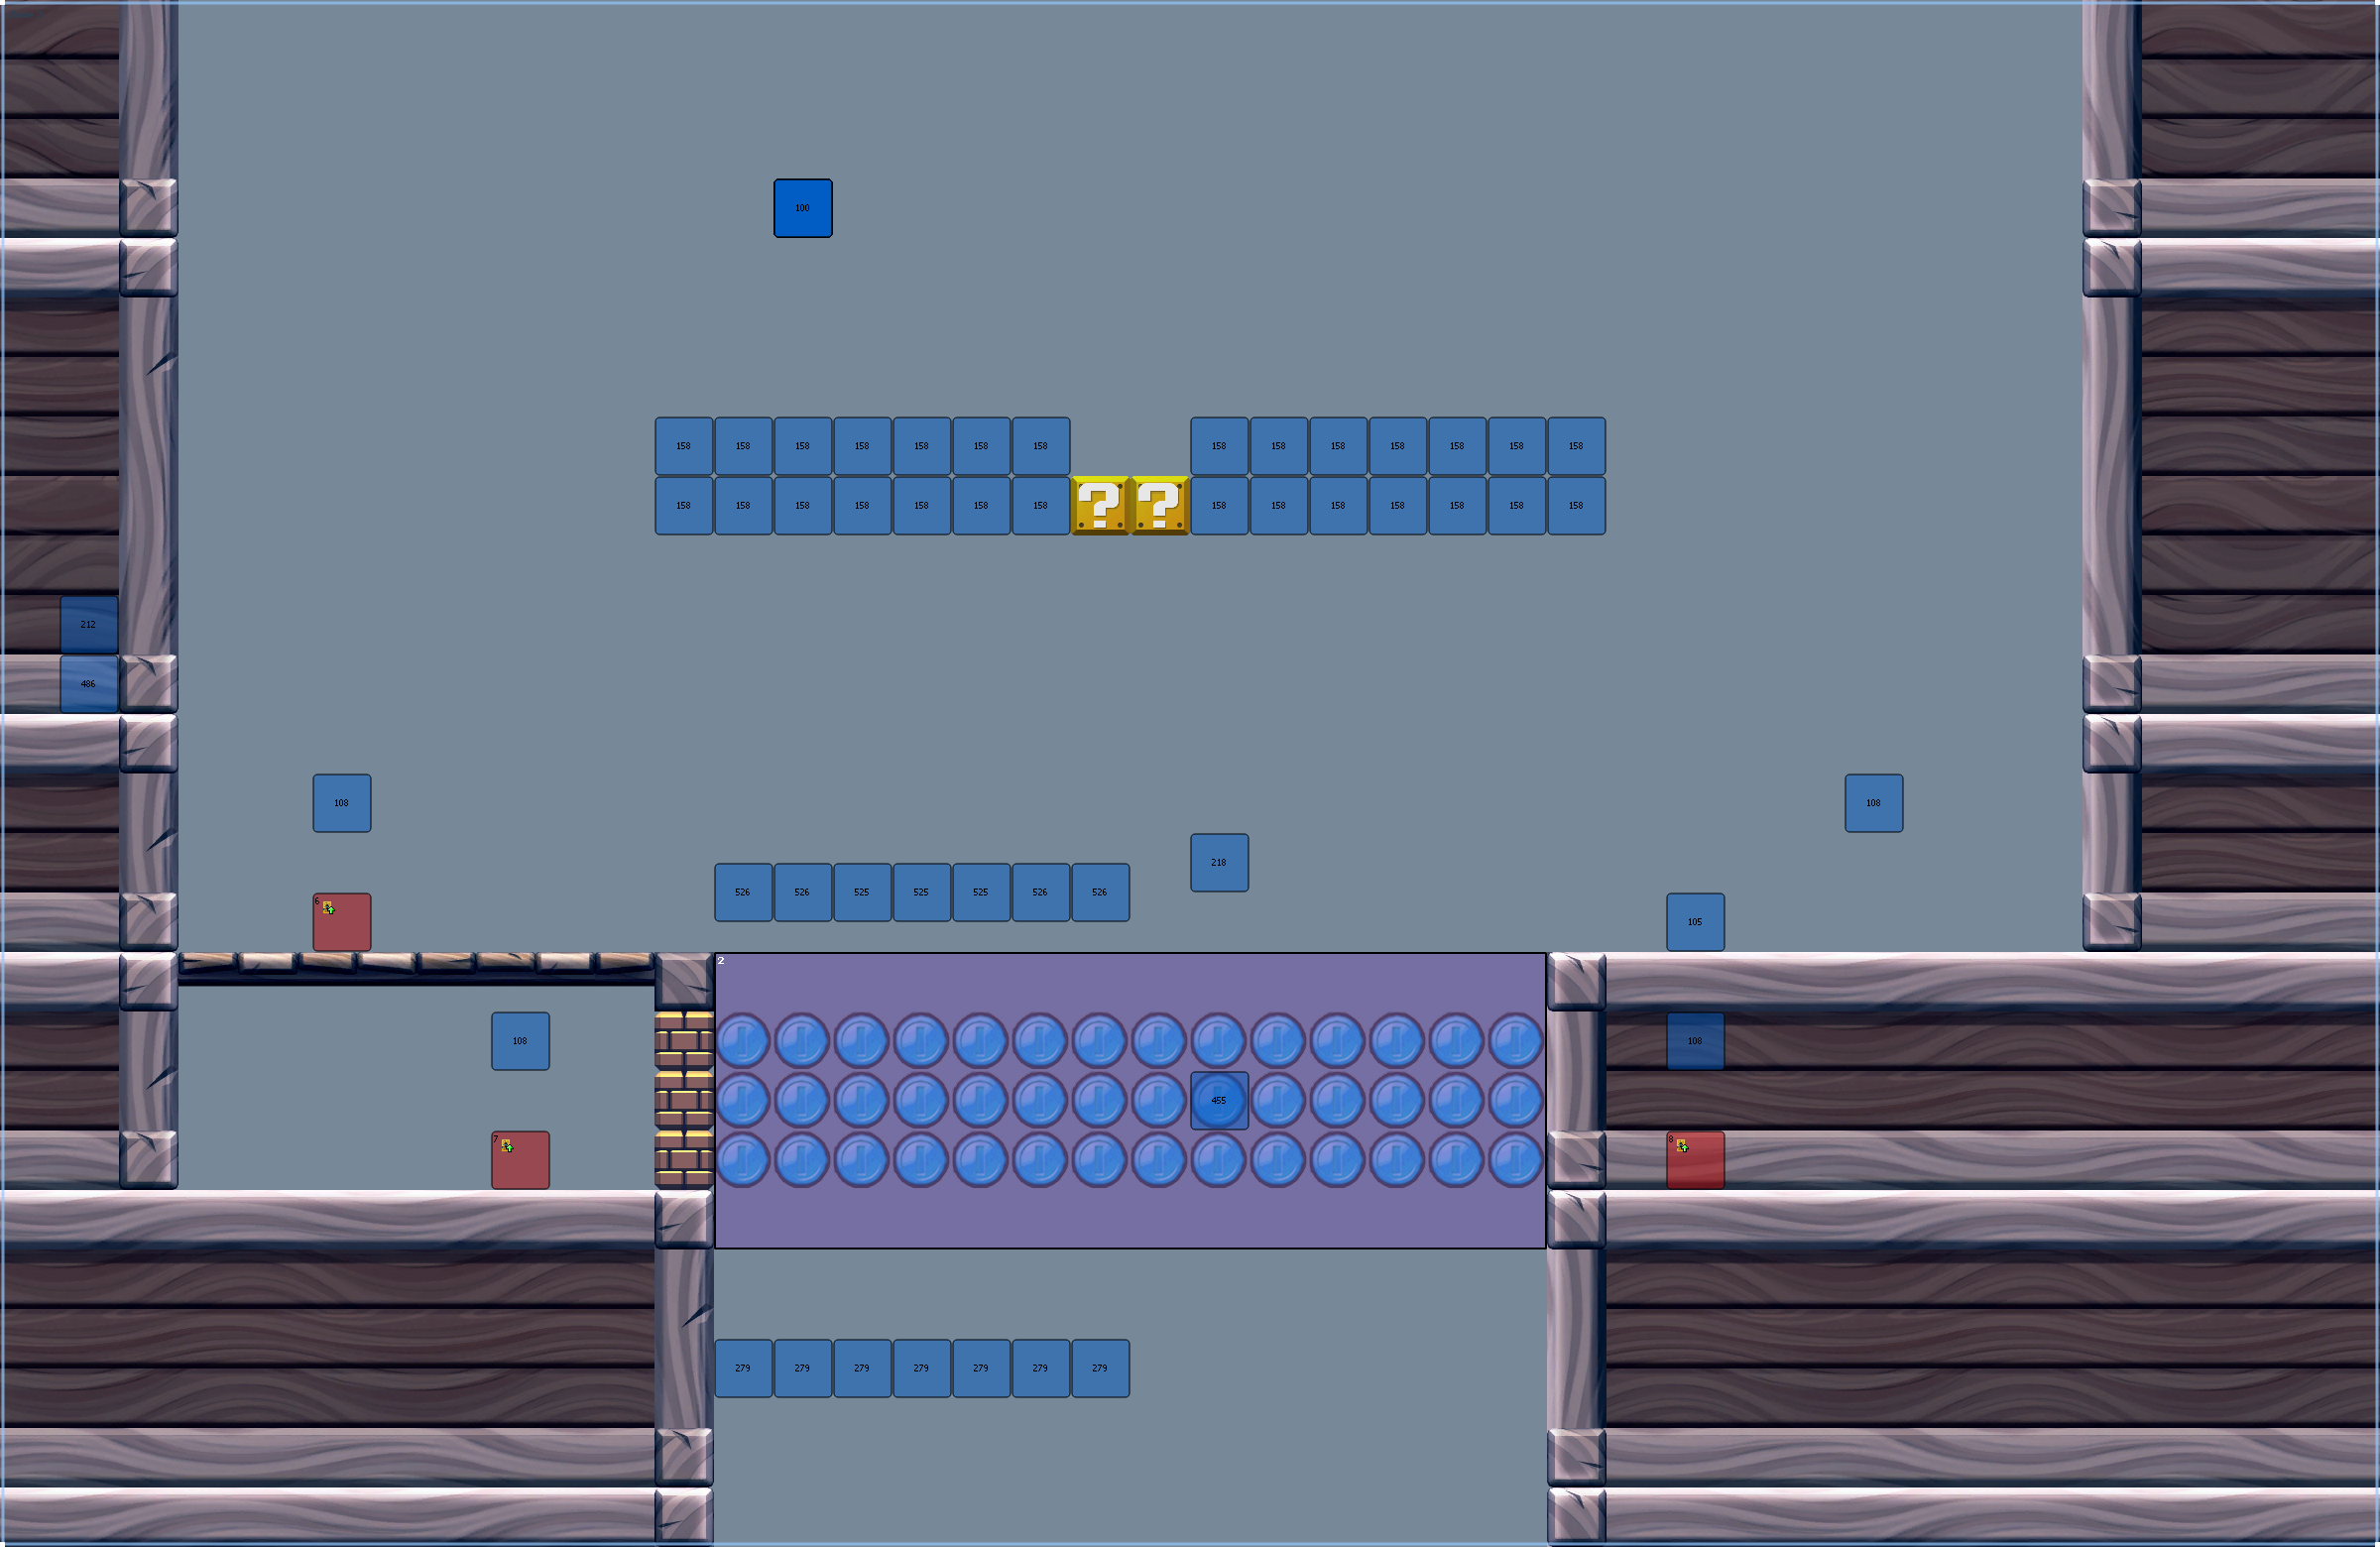
Another completely redesigned area; the early one guides you to doors using blue coin arrows and blue coin arches. The visible door leads to Zone 4, while the hidden one to Zone 7. The final one is made more dangerous by including a bottomless bit and excluding the arrows. The visible door leads to Zone 6, while the hidden one to Zone 4.
Zone 4#
|
Early |
Final |
|---|---|
|
|
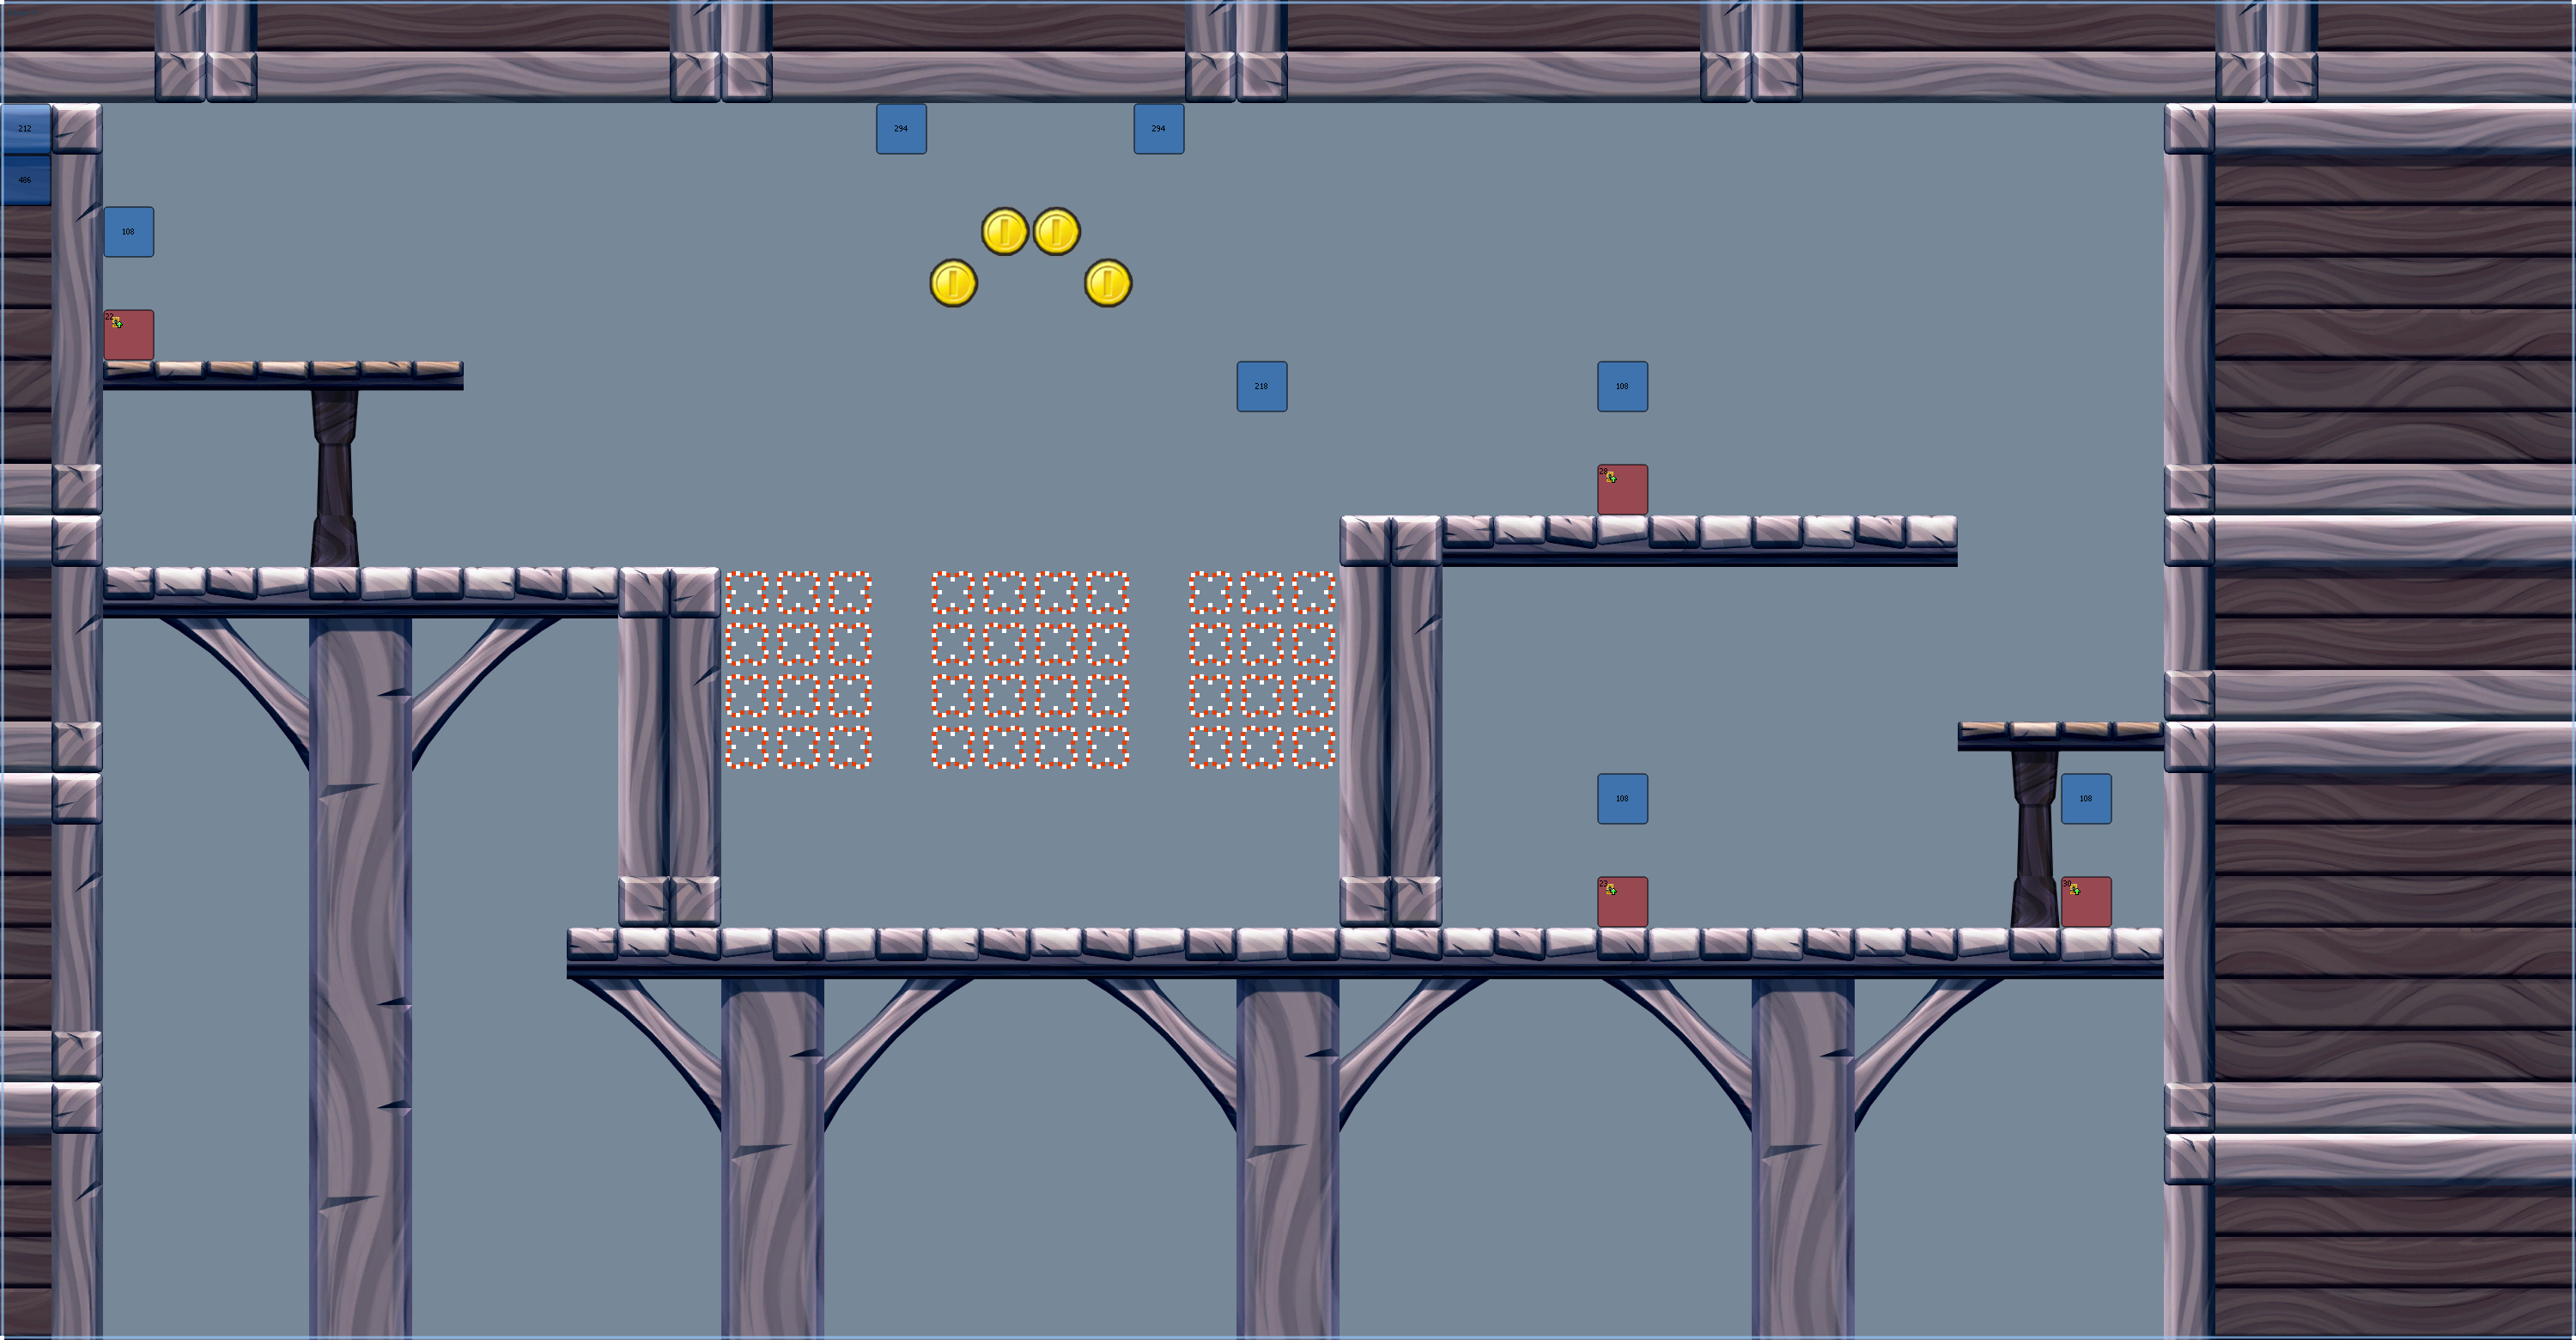
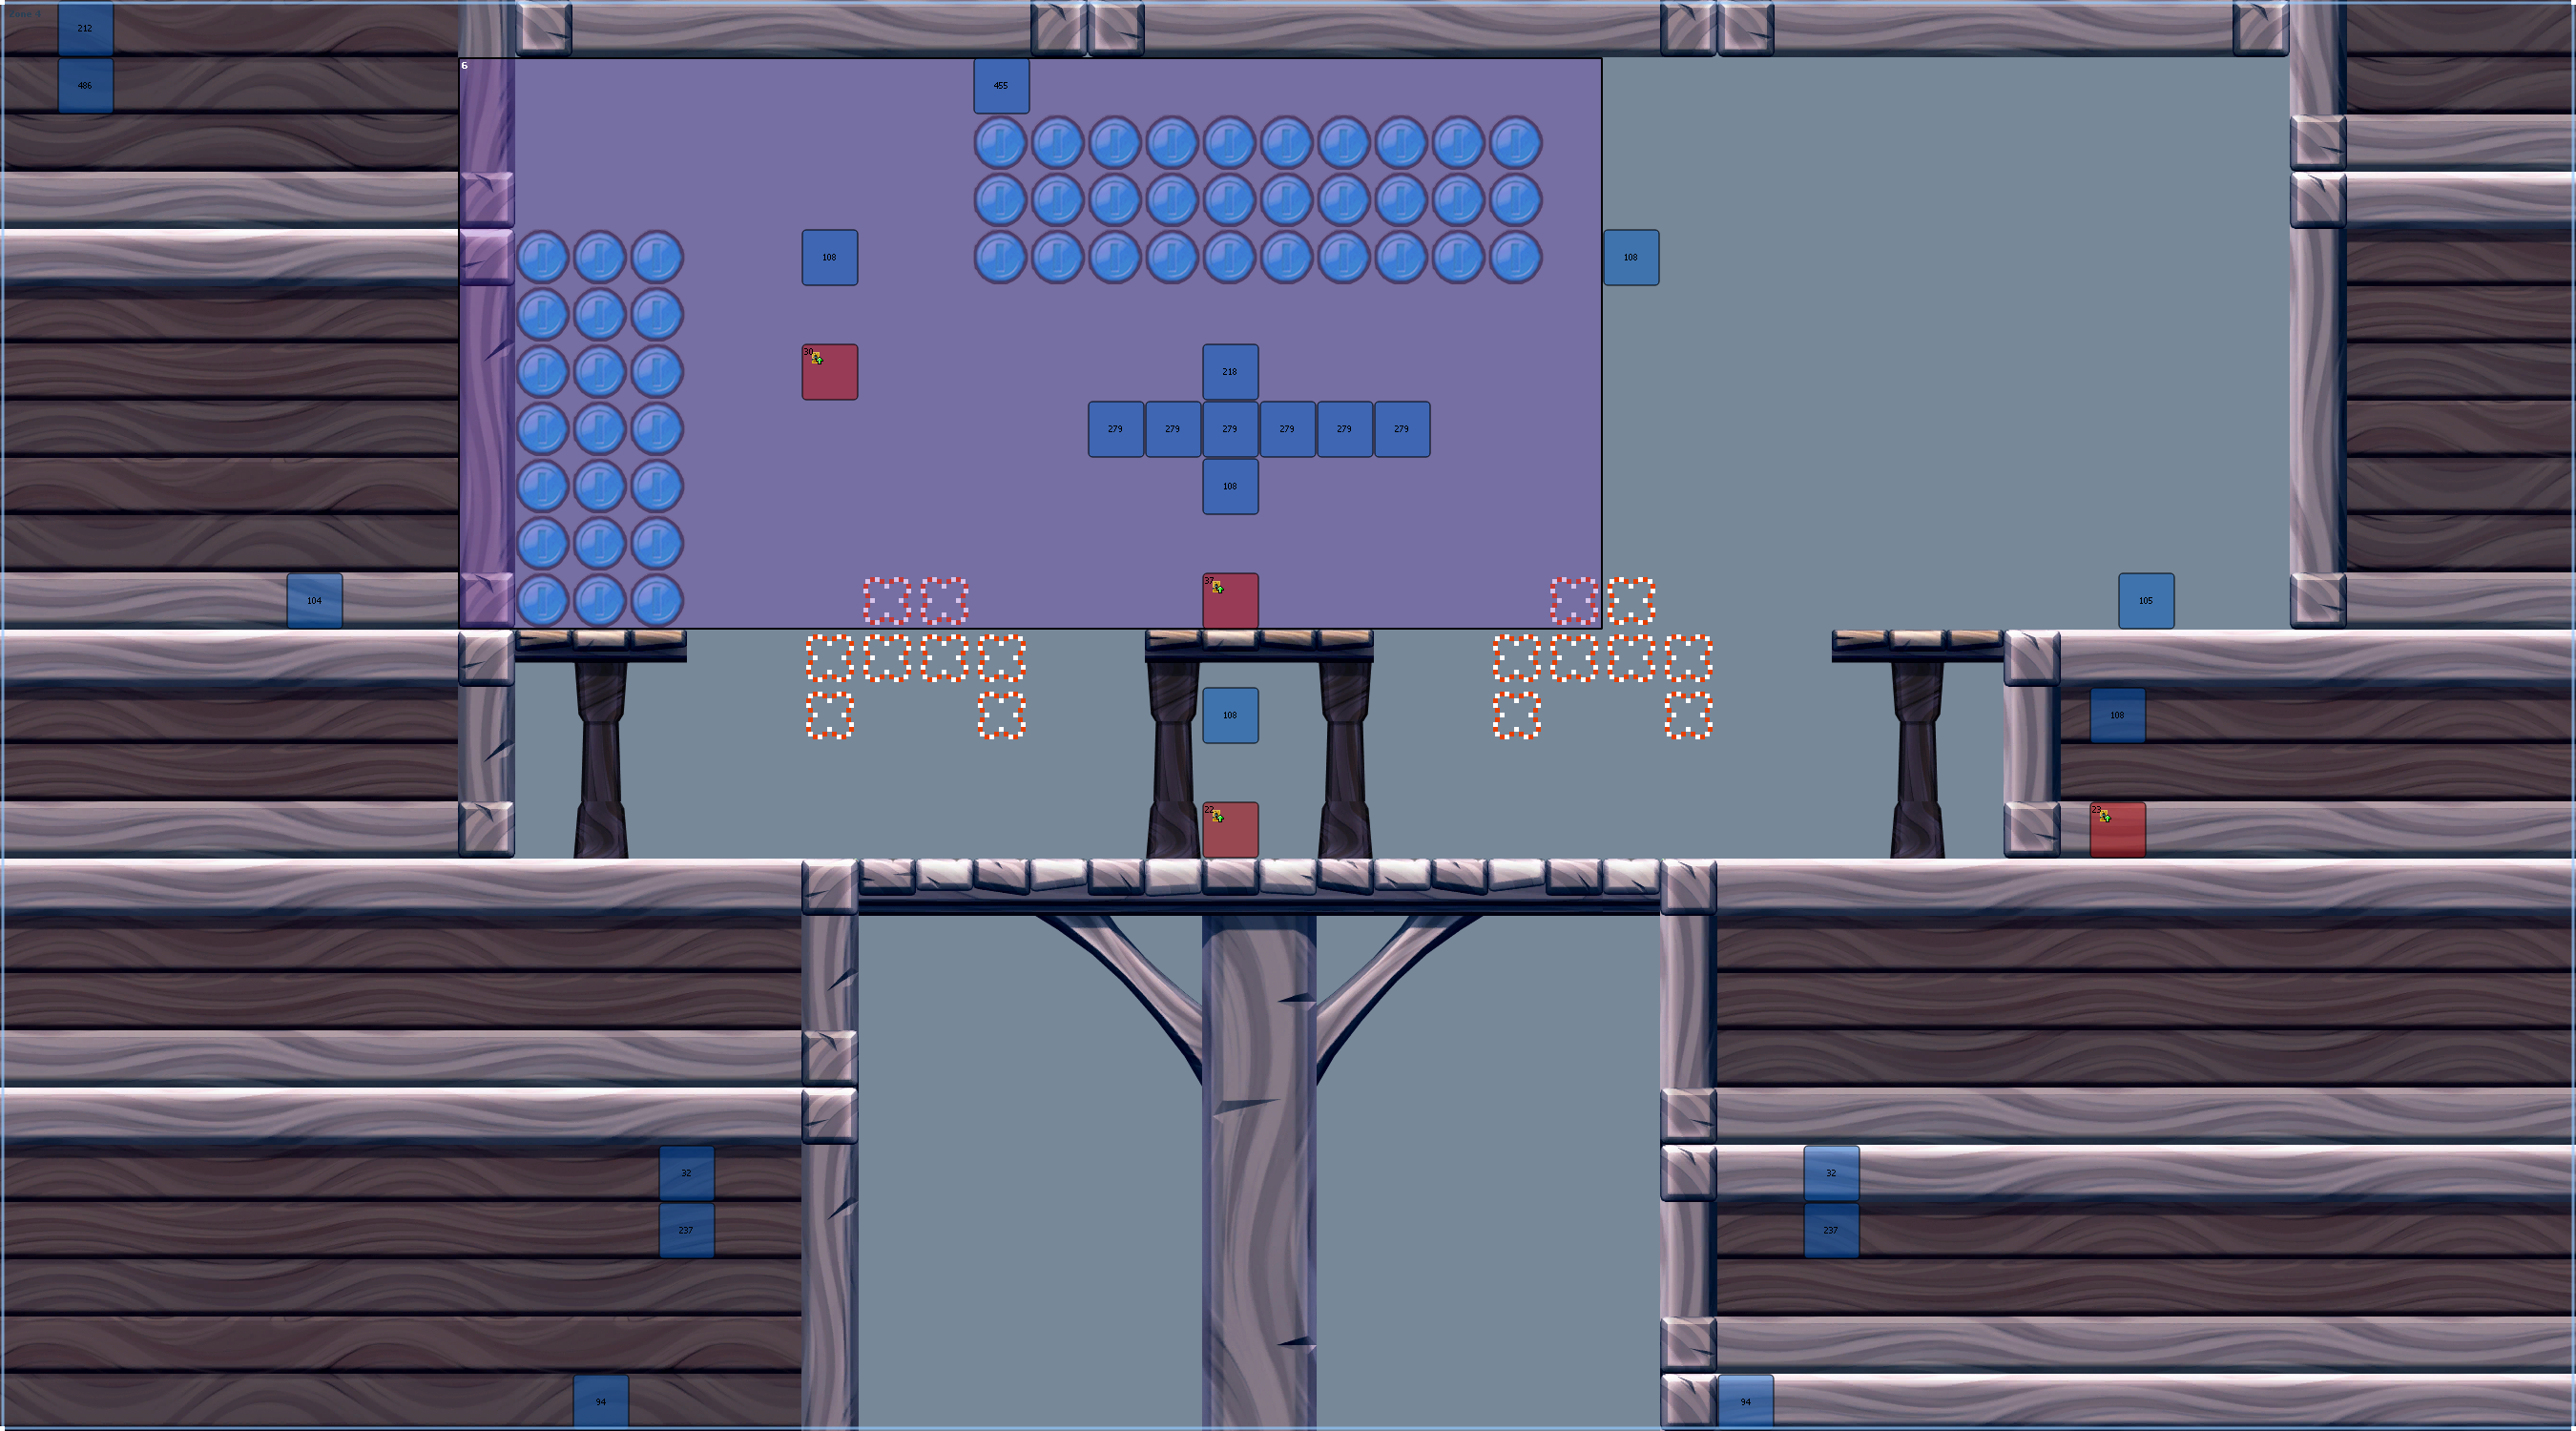
The early Zone 4 simply makes you choose between more doors; middle-bottom leads to Zone 5, middle-top and rightmost-bottom both to Zone 9 (albeit different doors). In the final one, a moving row of bricks is introduced as a way of accessing one of the doors. Furthermore, one of the choices is hidden behind some foreground tiles. The choices are also more varied; the leftmost door leads to Zone 9, the middle-top to Zone 11, the hidden one to Zone 5.
Zone 5#
|
Early |
Final |
|---|---|
|
|
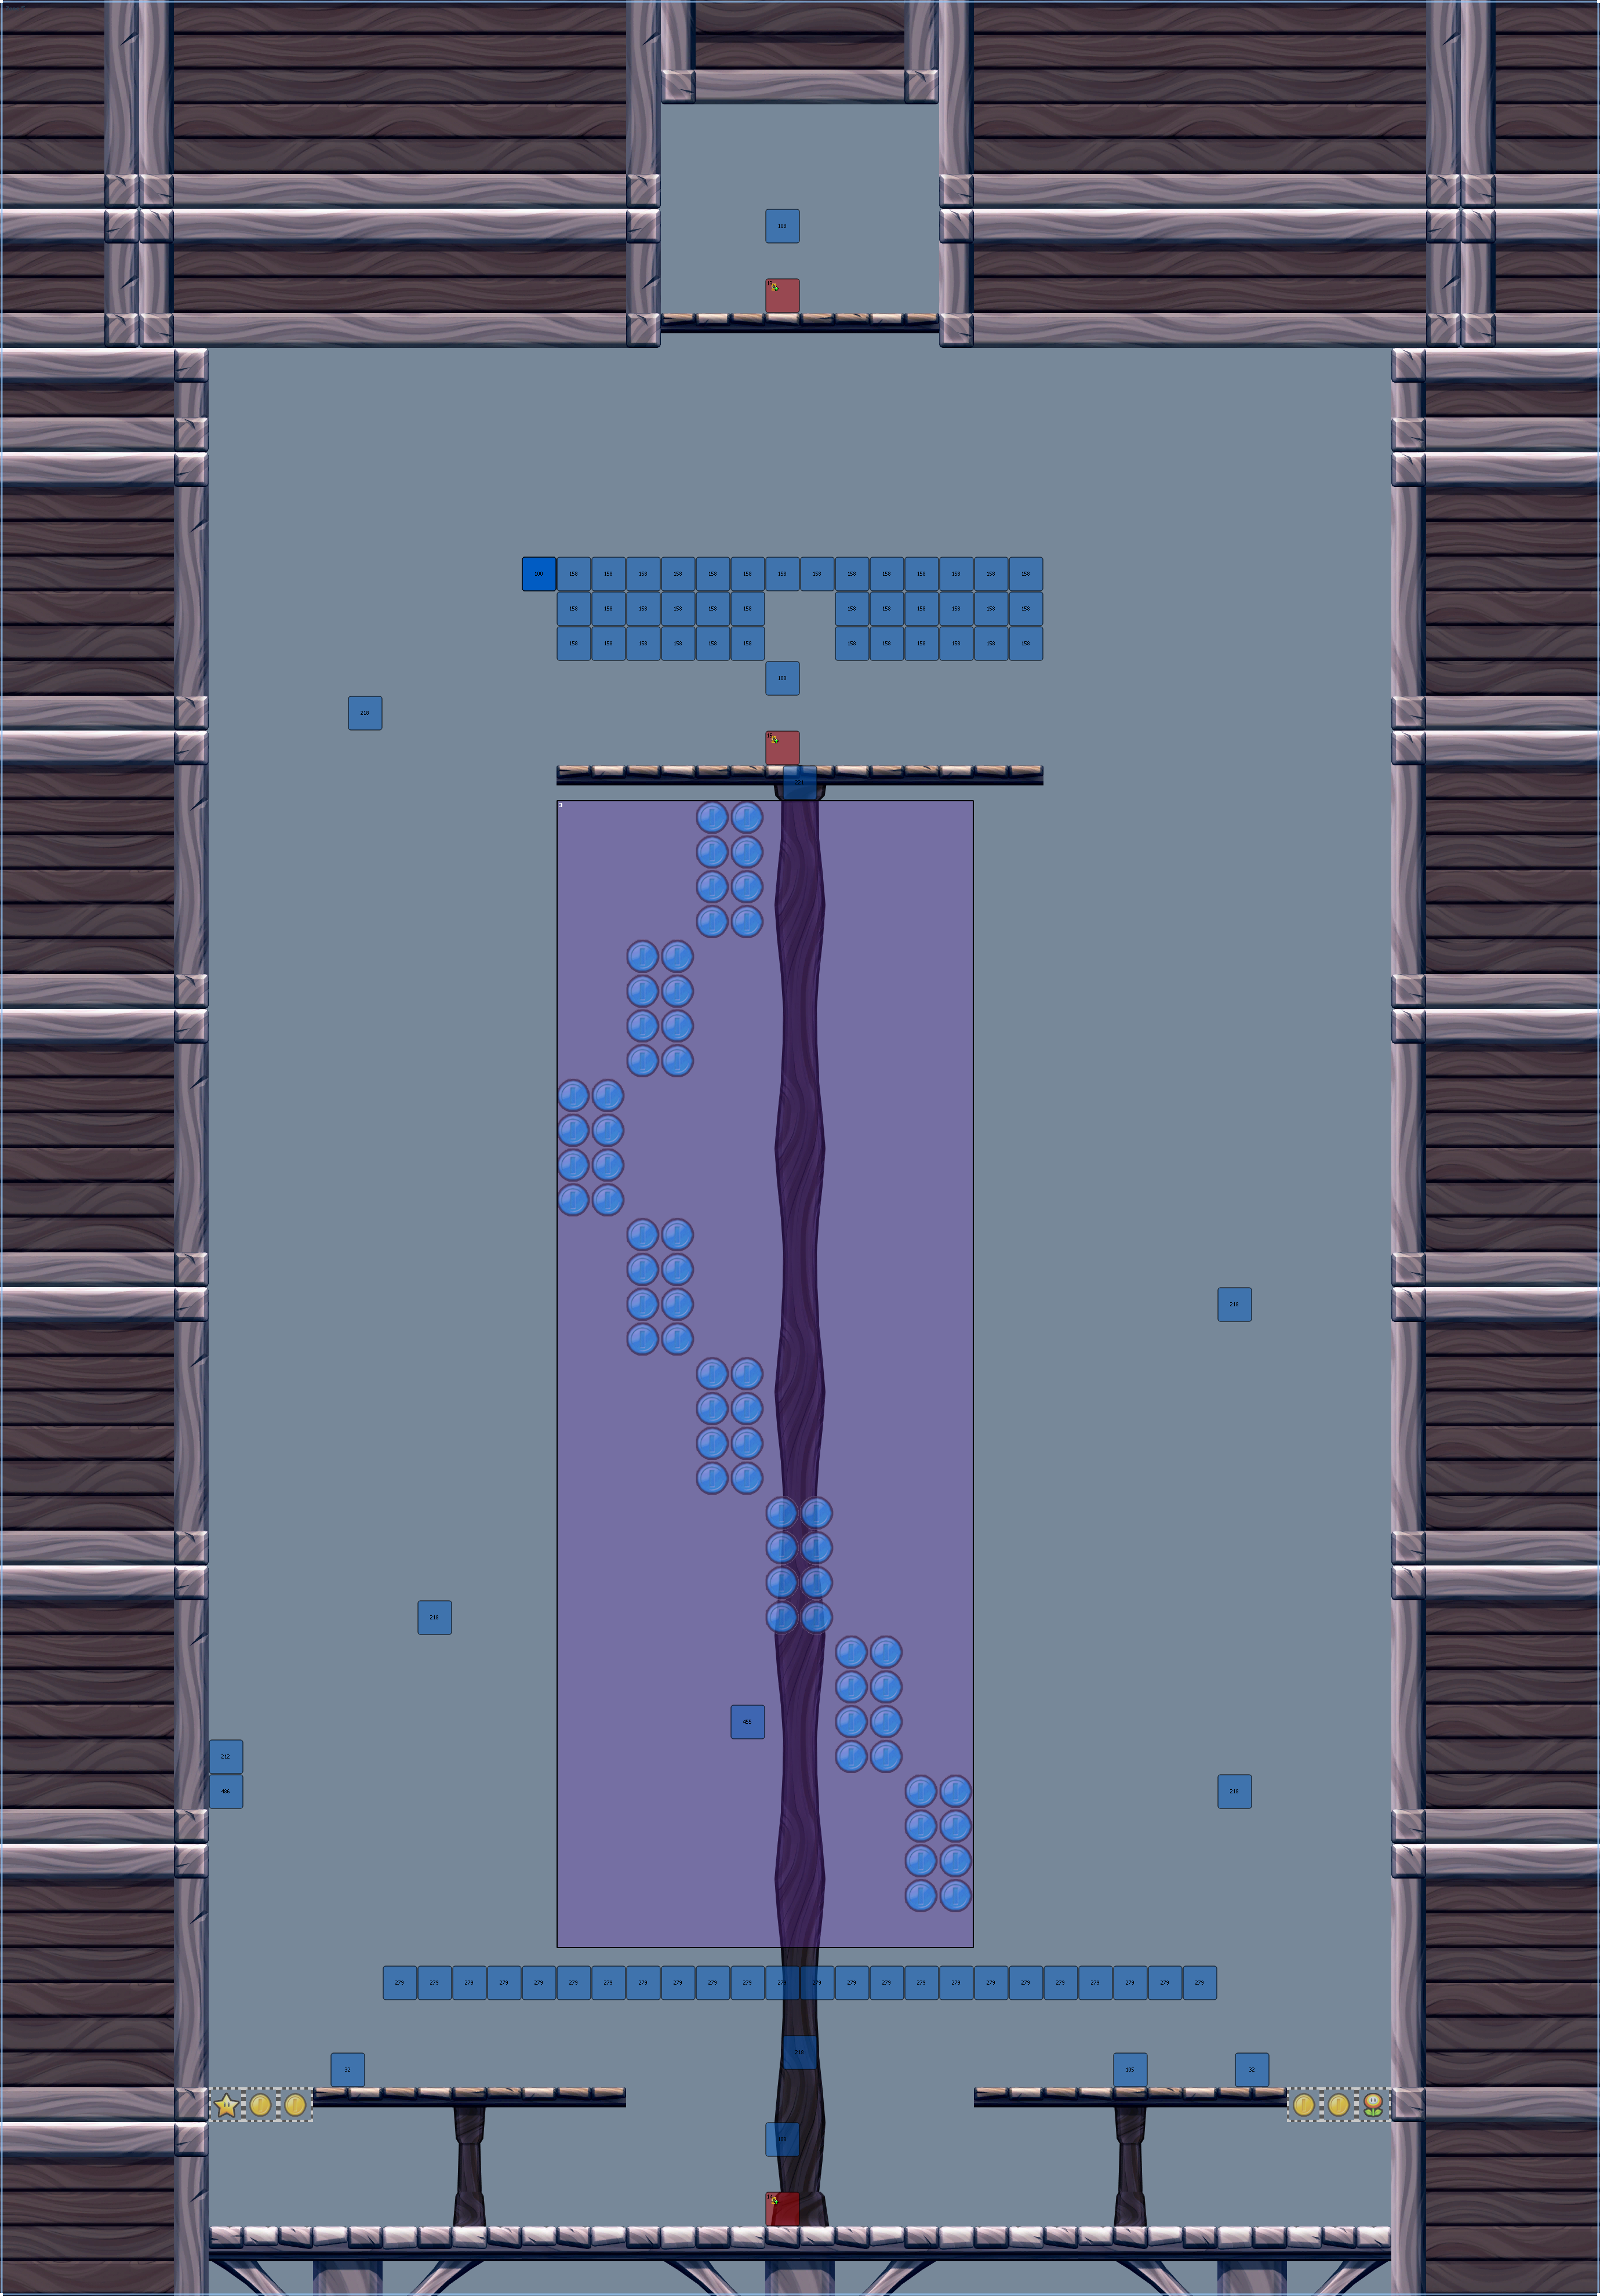
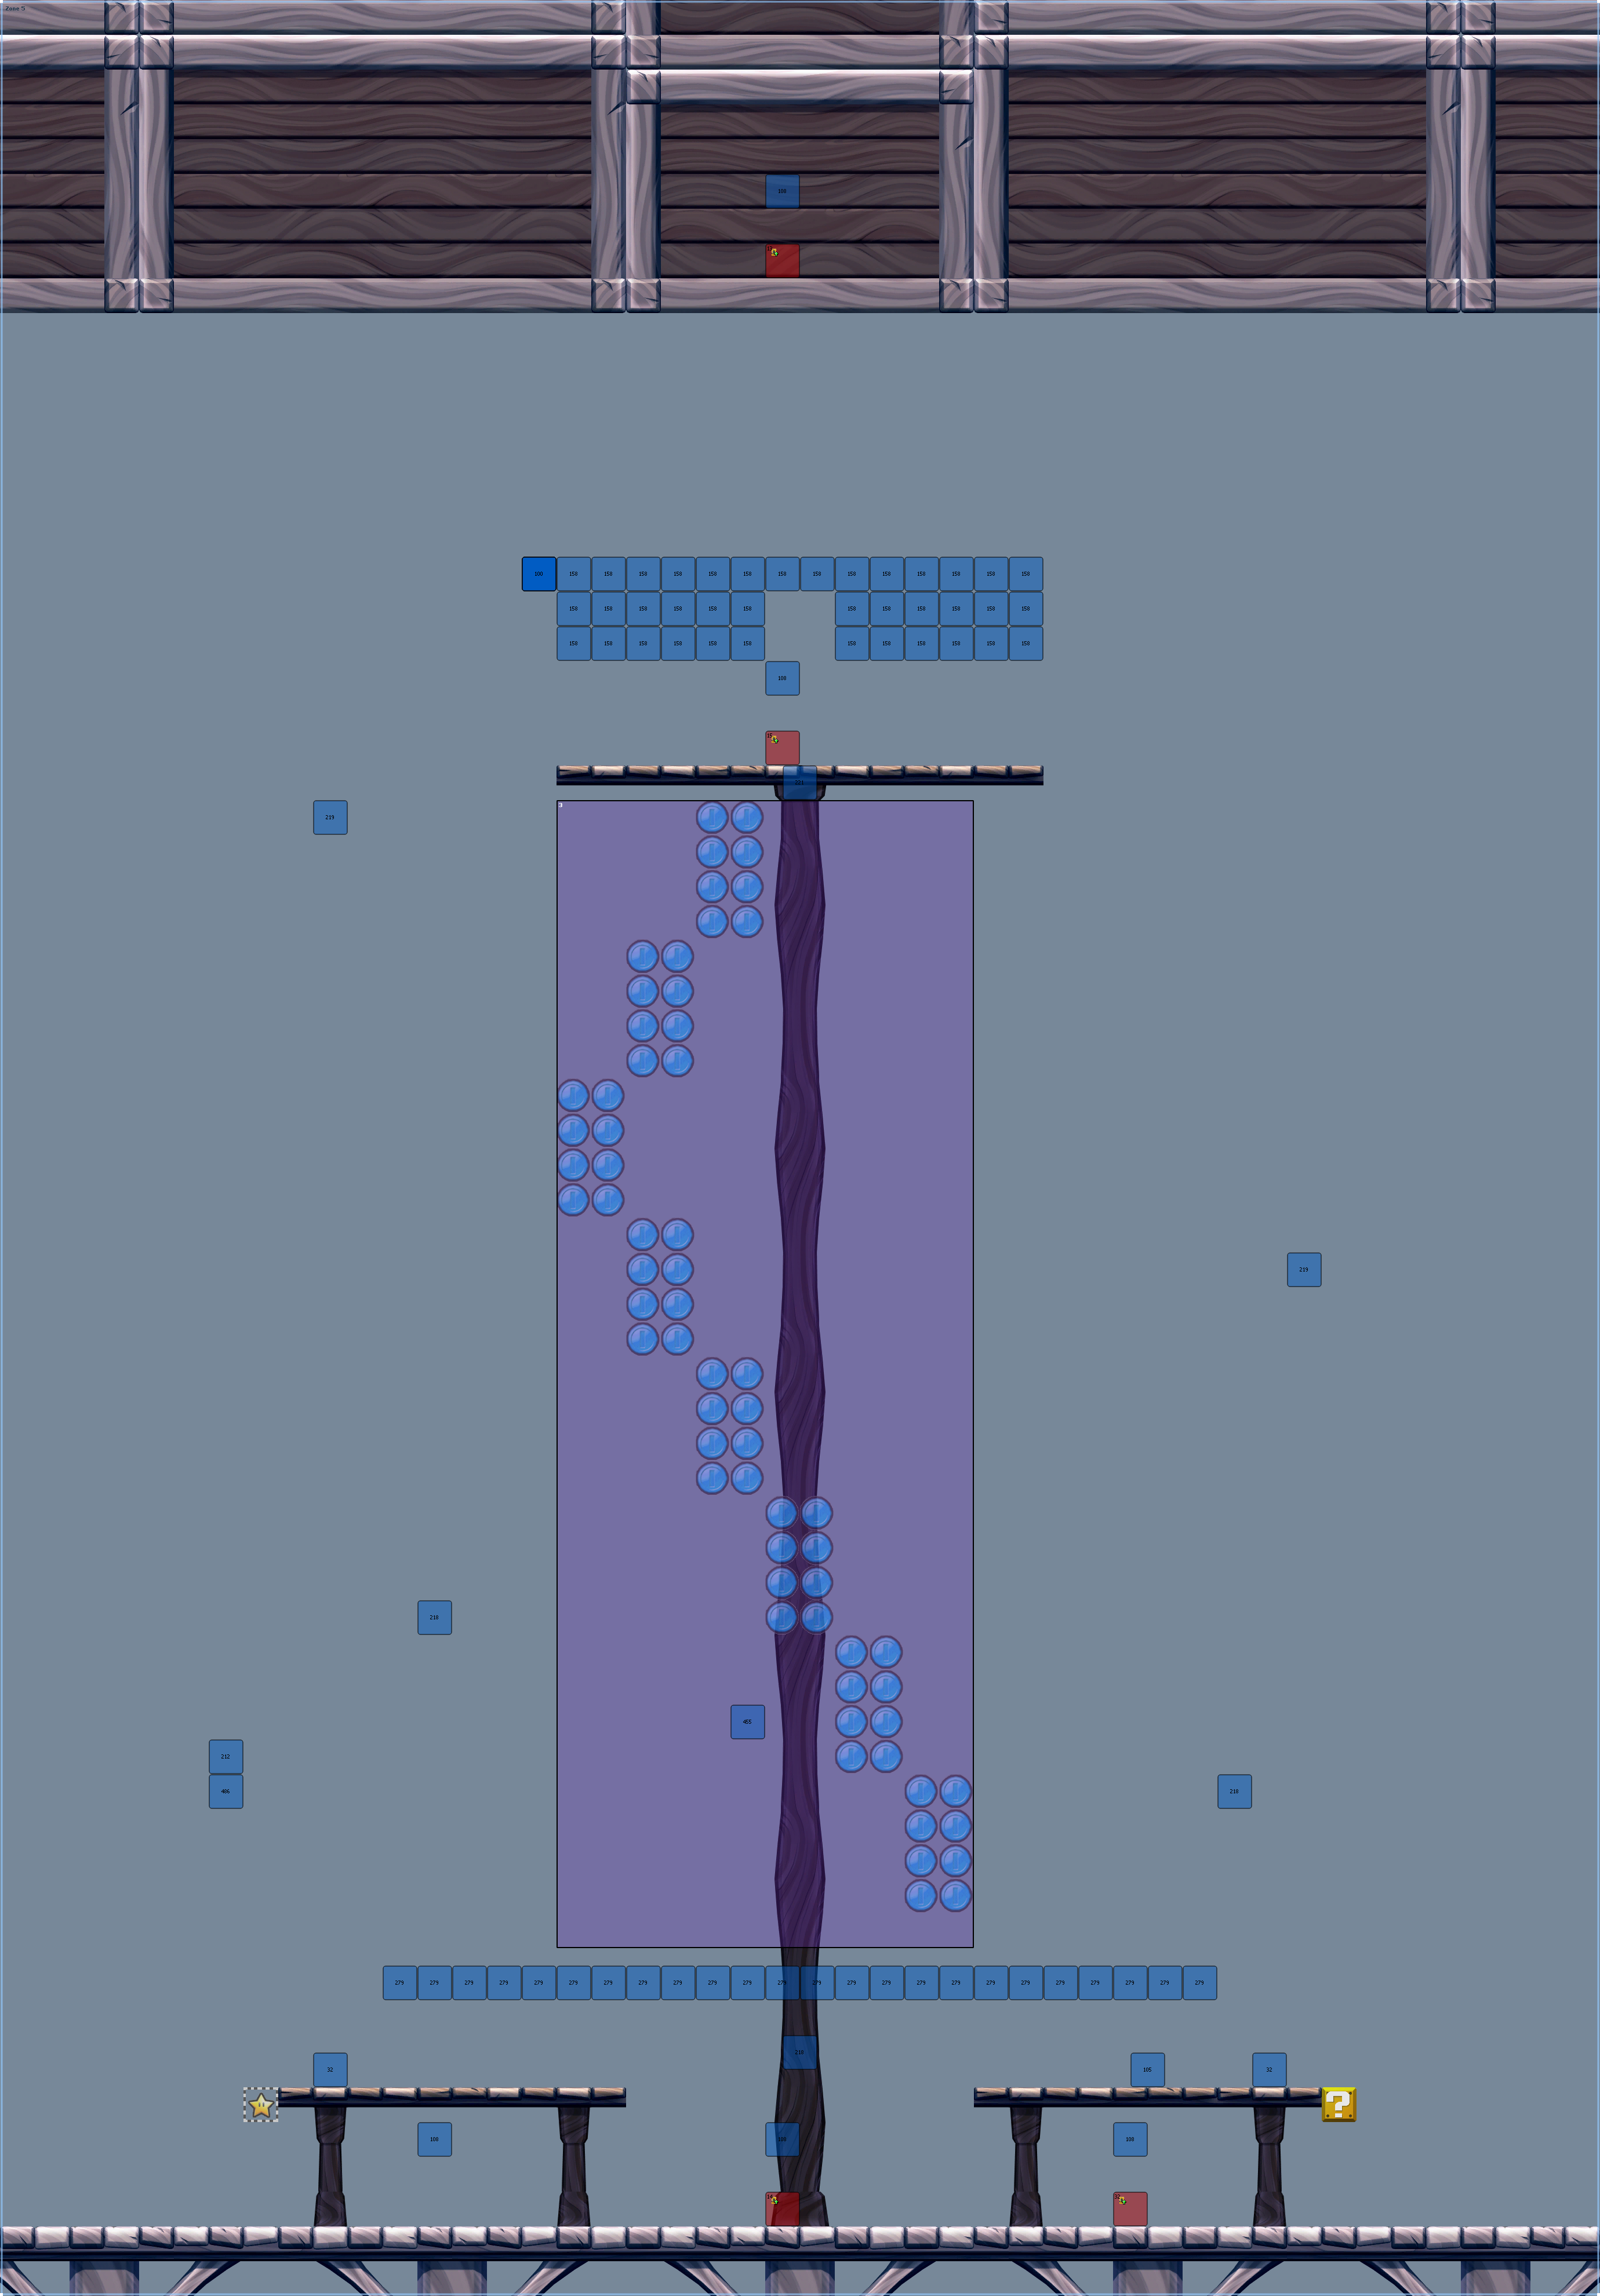
The early version of the zone has some boxes on the sides, which the final lacks. Also, at the bottom, there's an invisible Fire Flower powerup box in addition to the Starman one. The door at the top isn't hidden behind foreground tiles and leads to Zone 6 in the early version of the level, and Zone 7 in the final version. The door under that one leads to the normal flagpole area in both versions. The final level features a door at the bottom of the stage, meant to serve as a way of resetting the room (leads to Zone 10). However, this room is not beatable due to forced back-and-forth auto-scrolling, which prevents the player from moving the camera upward. (Here, as in the final version of this zone, the player would need to use the camera-following brick blocks to reach the exit door at the top of the zone.) Attempting to enter the door results in the player being brought back to the same room.
Zone 6#
|
Early |
Final |
|---|---|

|

|
Both of these are very similar, but the entrance door and one of the tiles was slightly moved in the final. What's more interesting, is that the early level leads to the Secret Exit room (or, at least, probably did, as entrance 2 doesn't exist in it anymore), while the final goes back to Zone 3.
Zone 7#
|
Early |
Final |
|---|---|
|
|
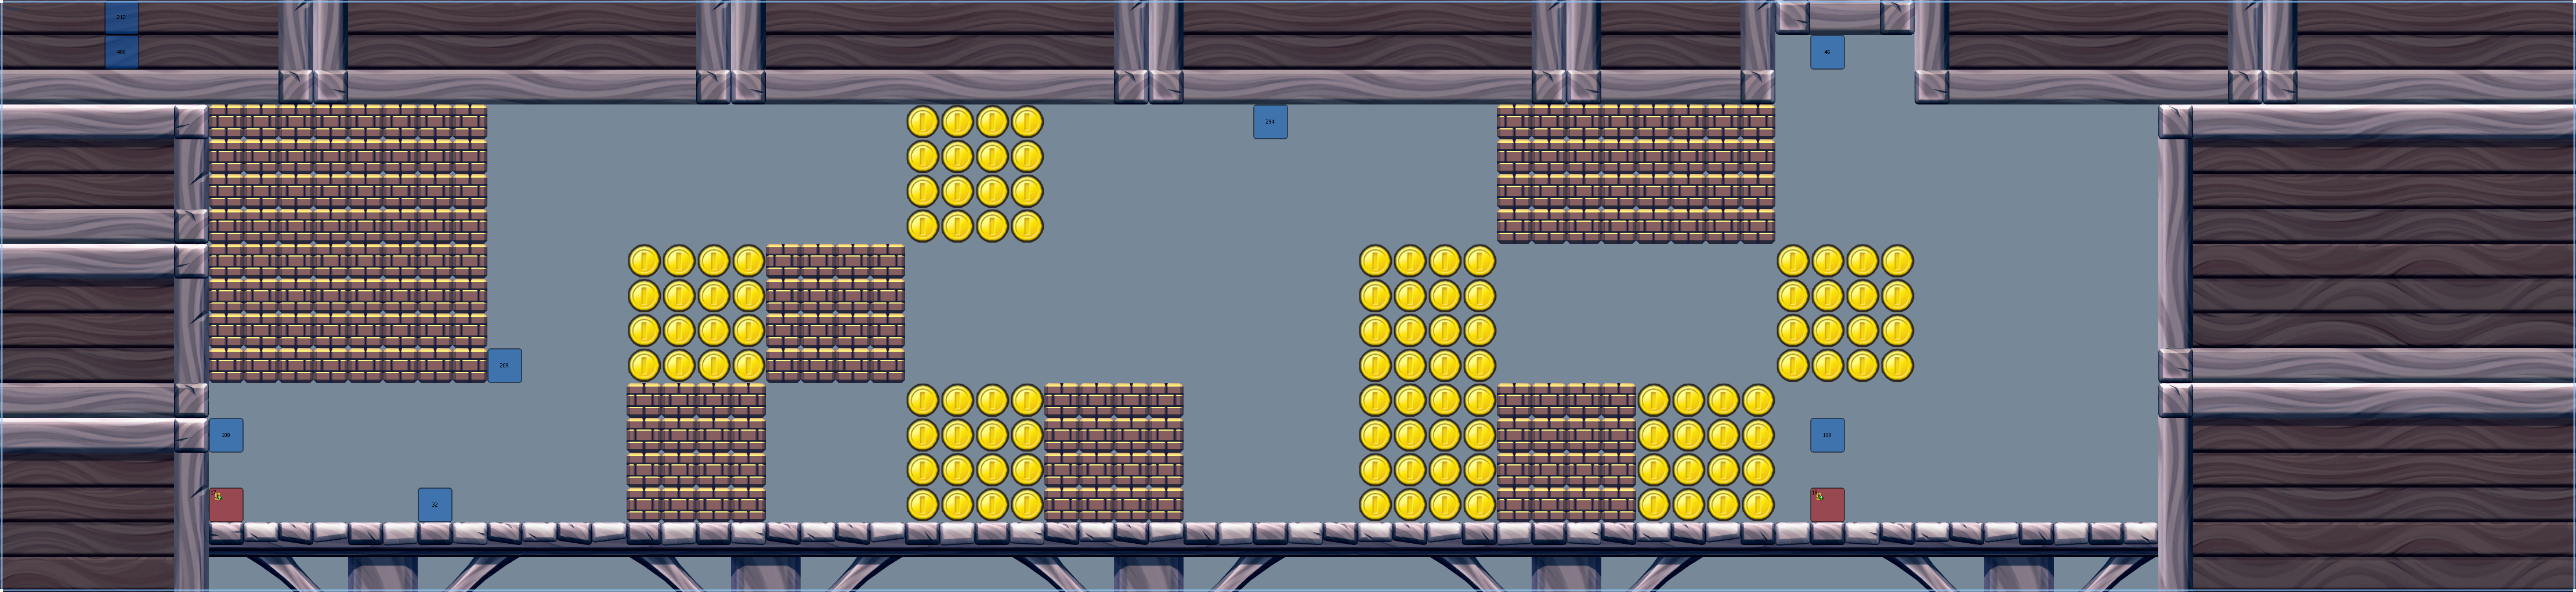
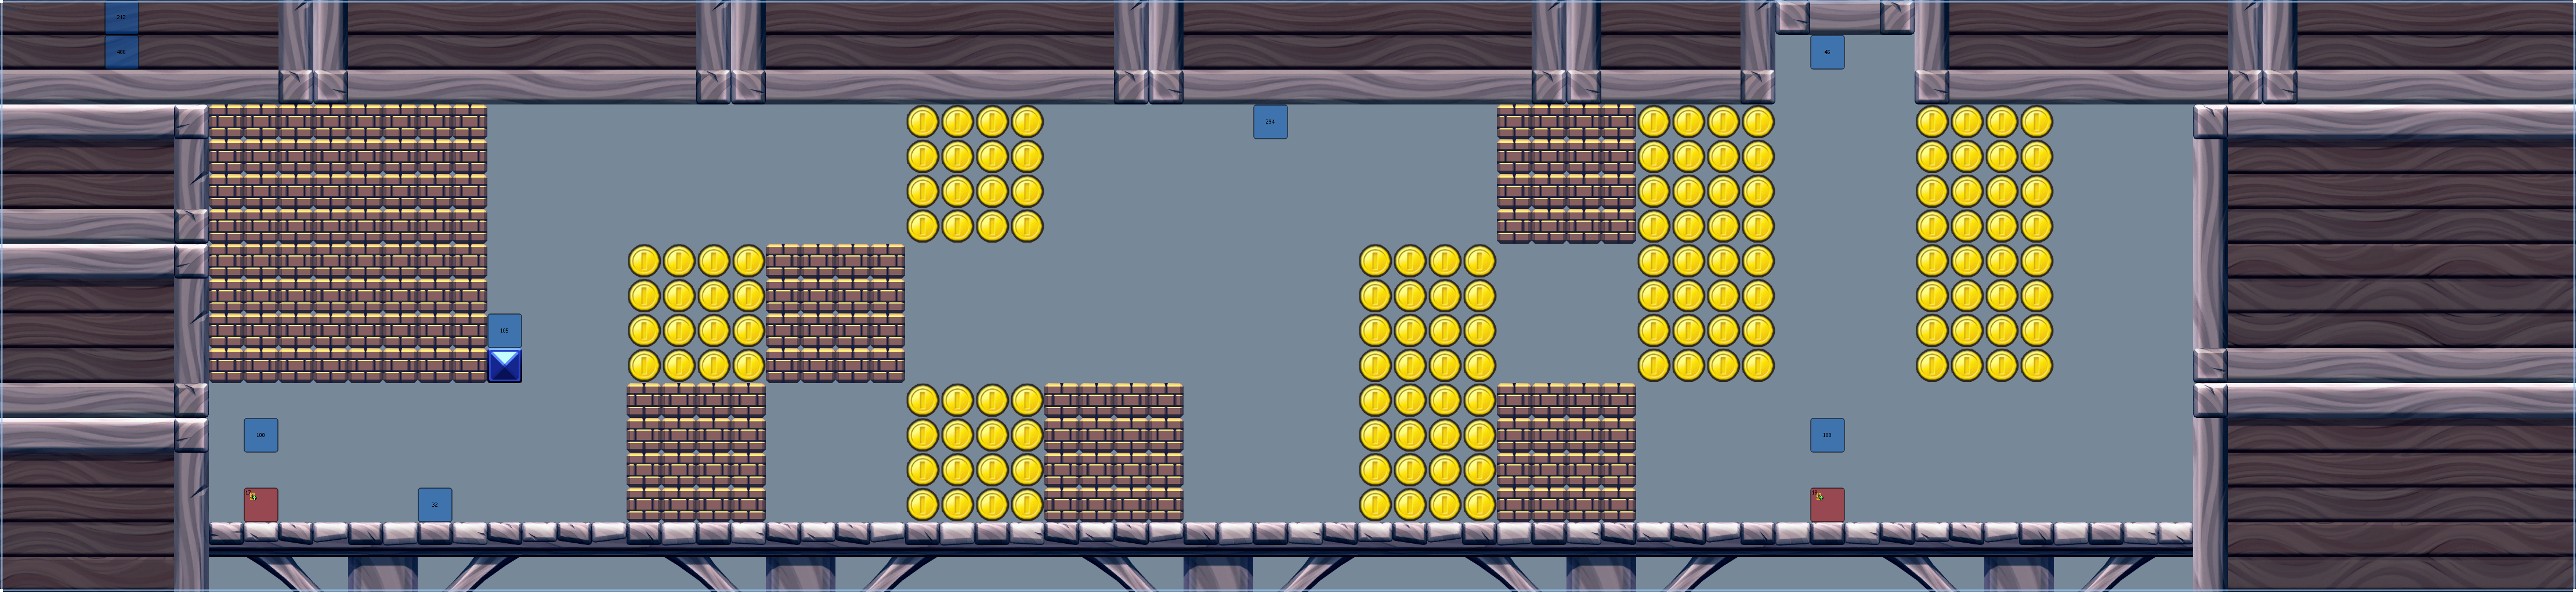
Also very similar, the final version makes you walljump to get the 3rd Star Coin of the level, while the early version is a bit easier and just gives it to you. Both lead to the Secret Exit room.
Zone 8#
|
Early |
Final |
|---|---|
|
|
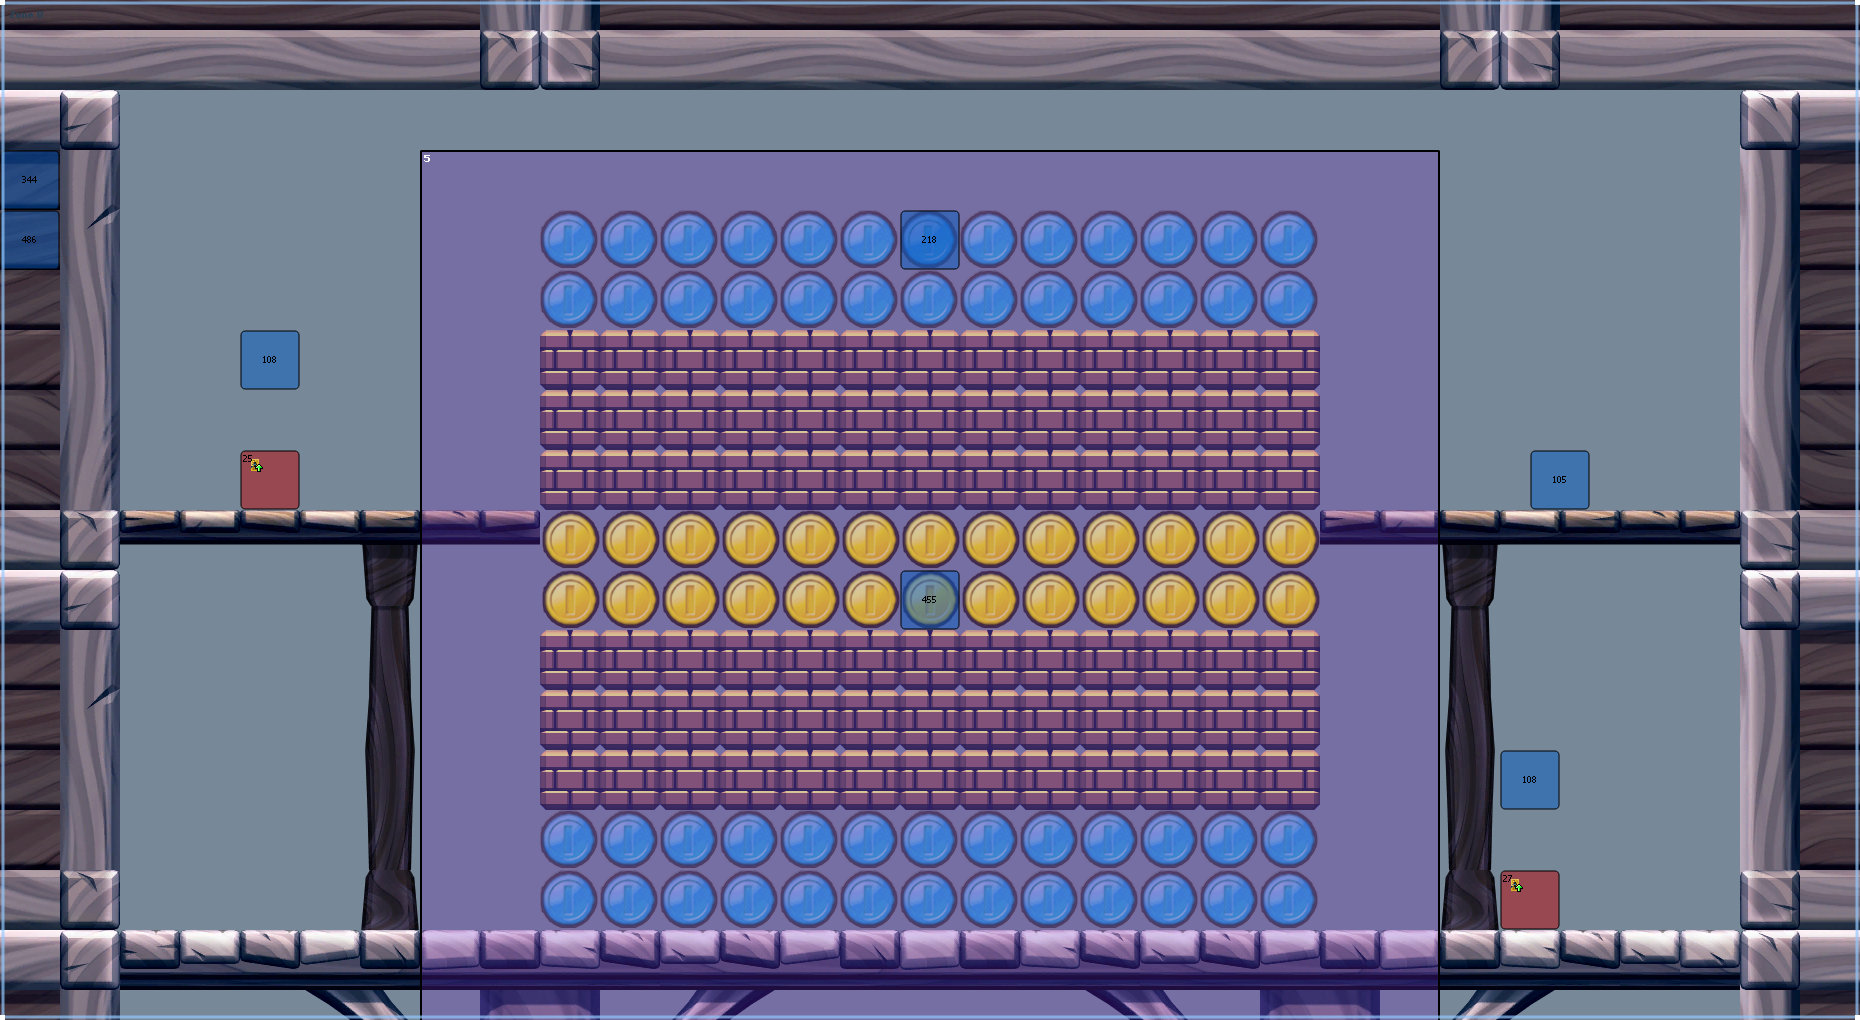
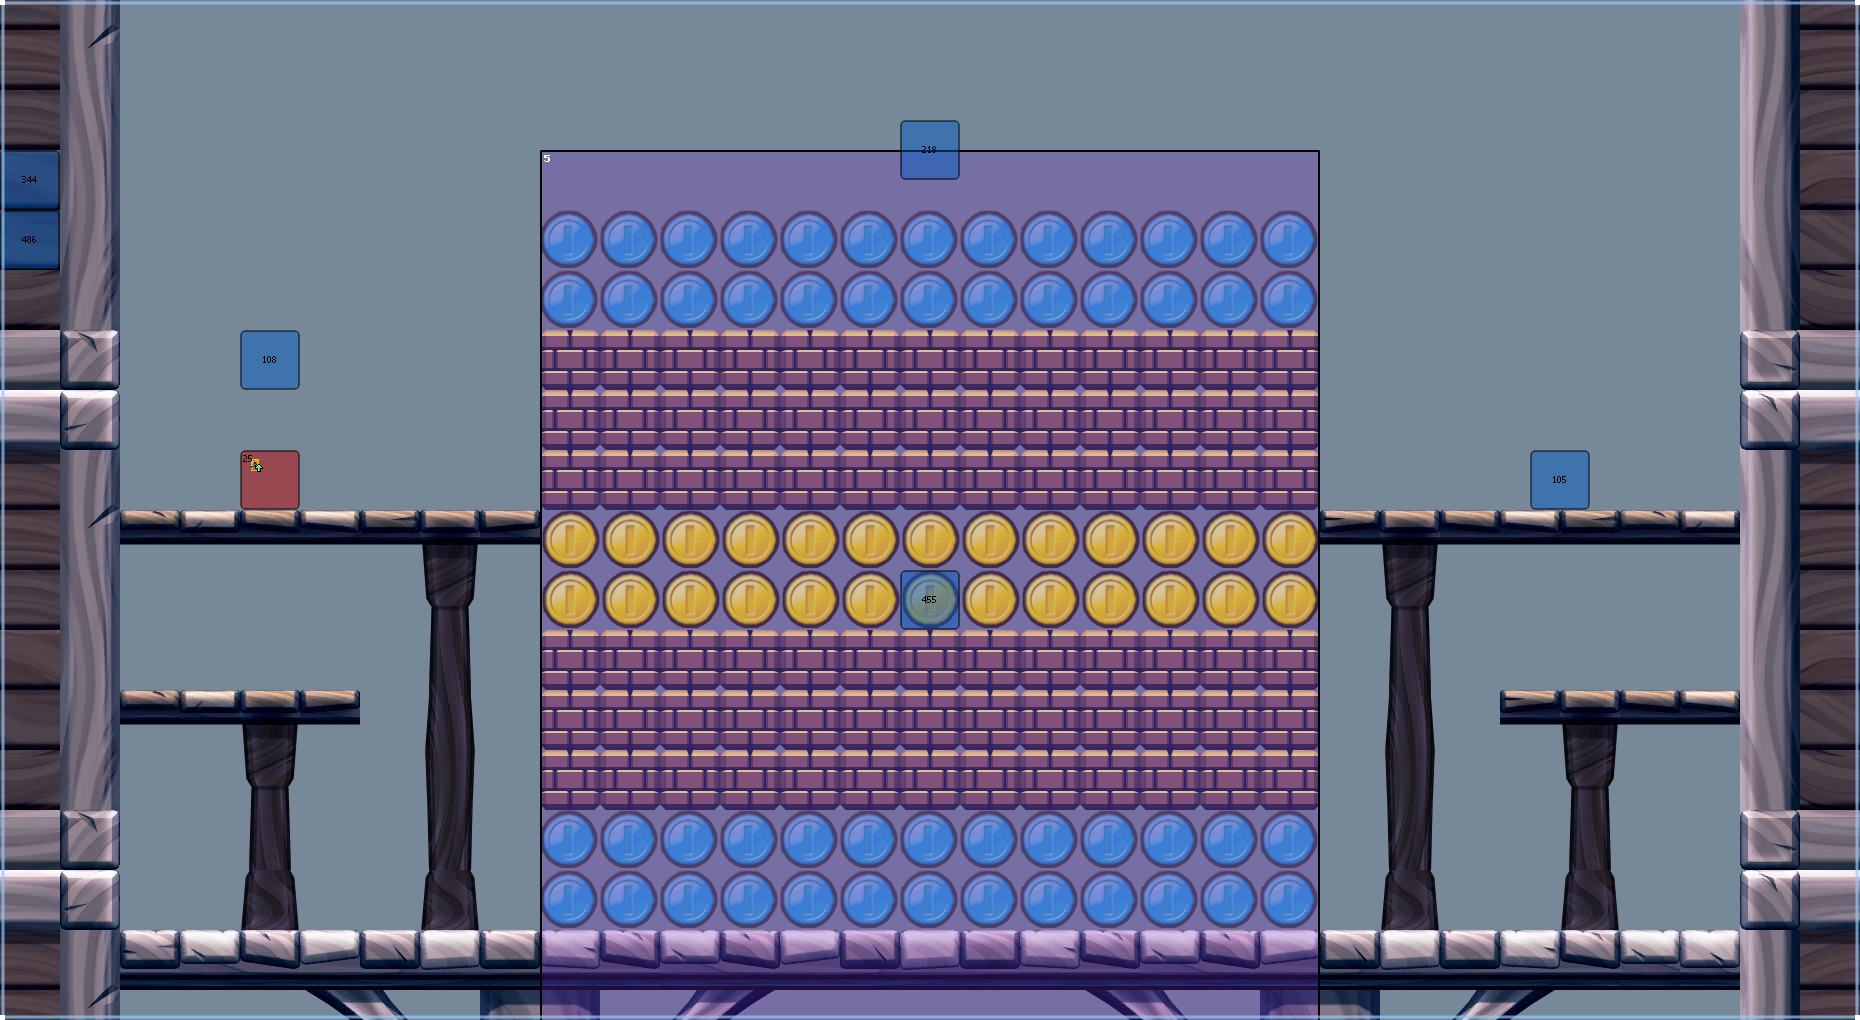
Aside from minor aesthetic changes, the final version doesn't have an exit door and makes you go back the way you came, which leads to Zone 2. The early one has an extra door, but they still both go to Zone 2.
Zone 9#
|
Early |
Final |
|---|---|
|
|
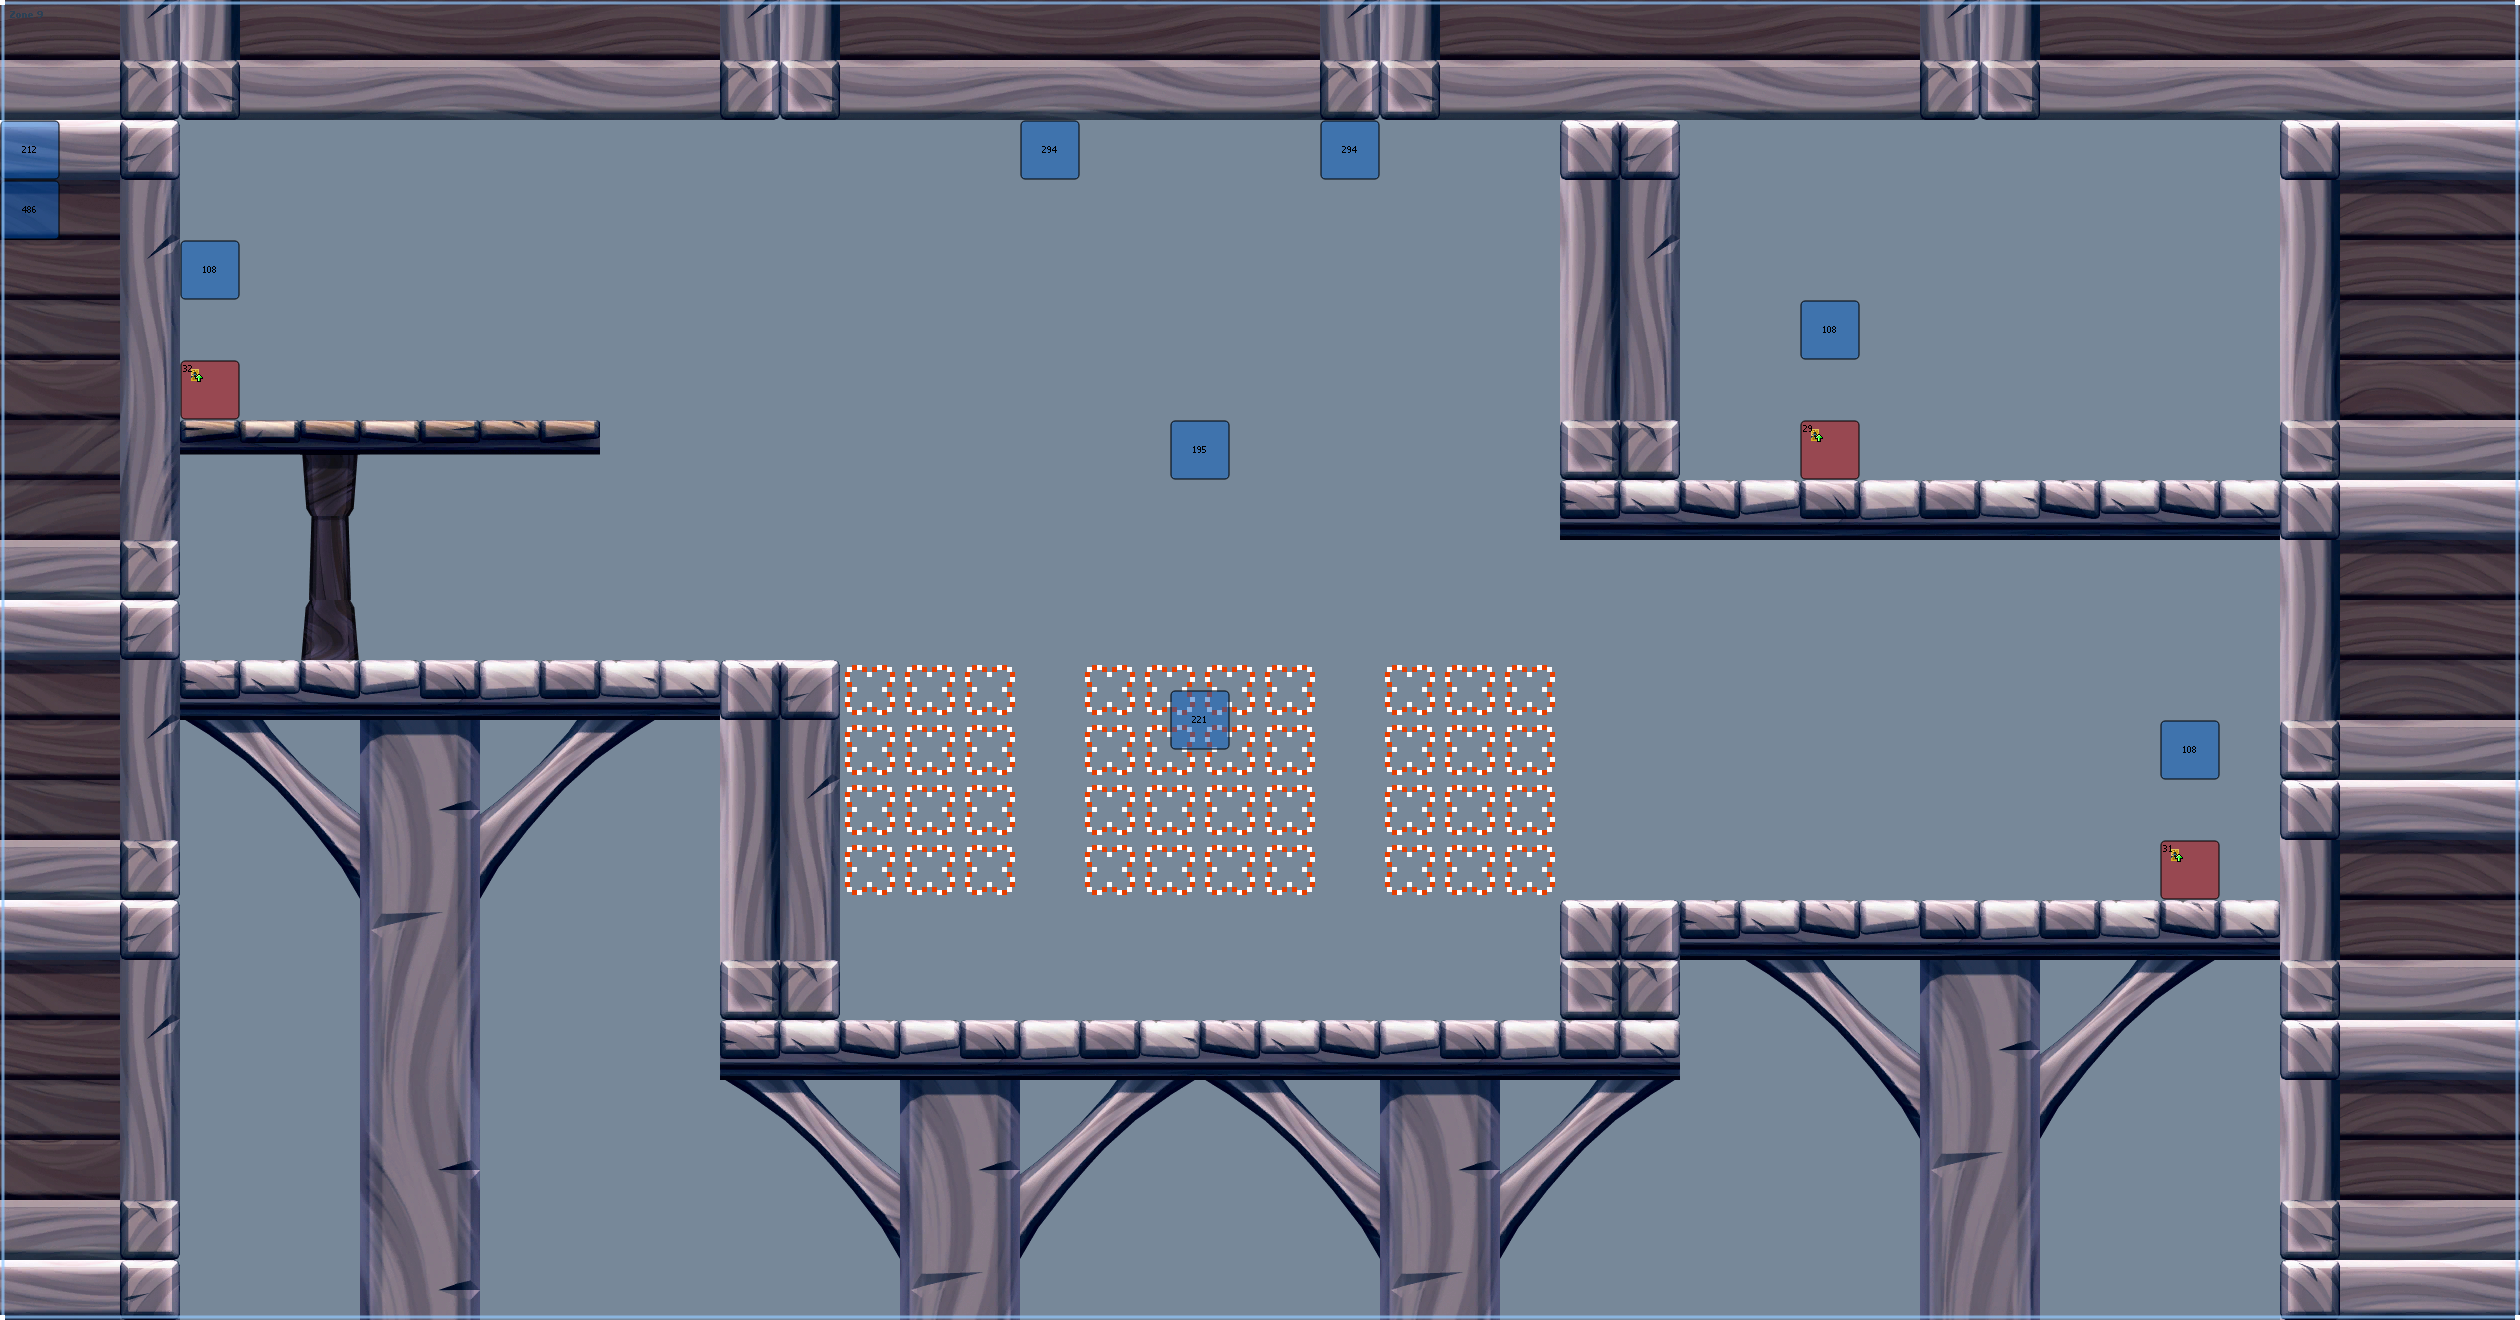
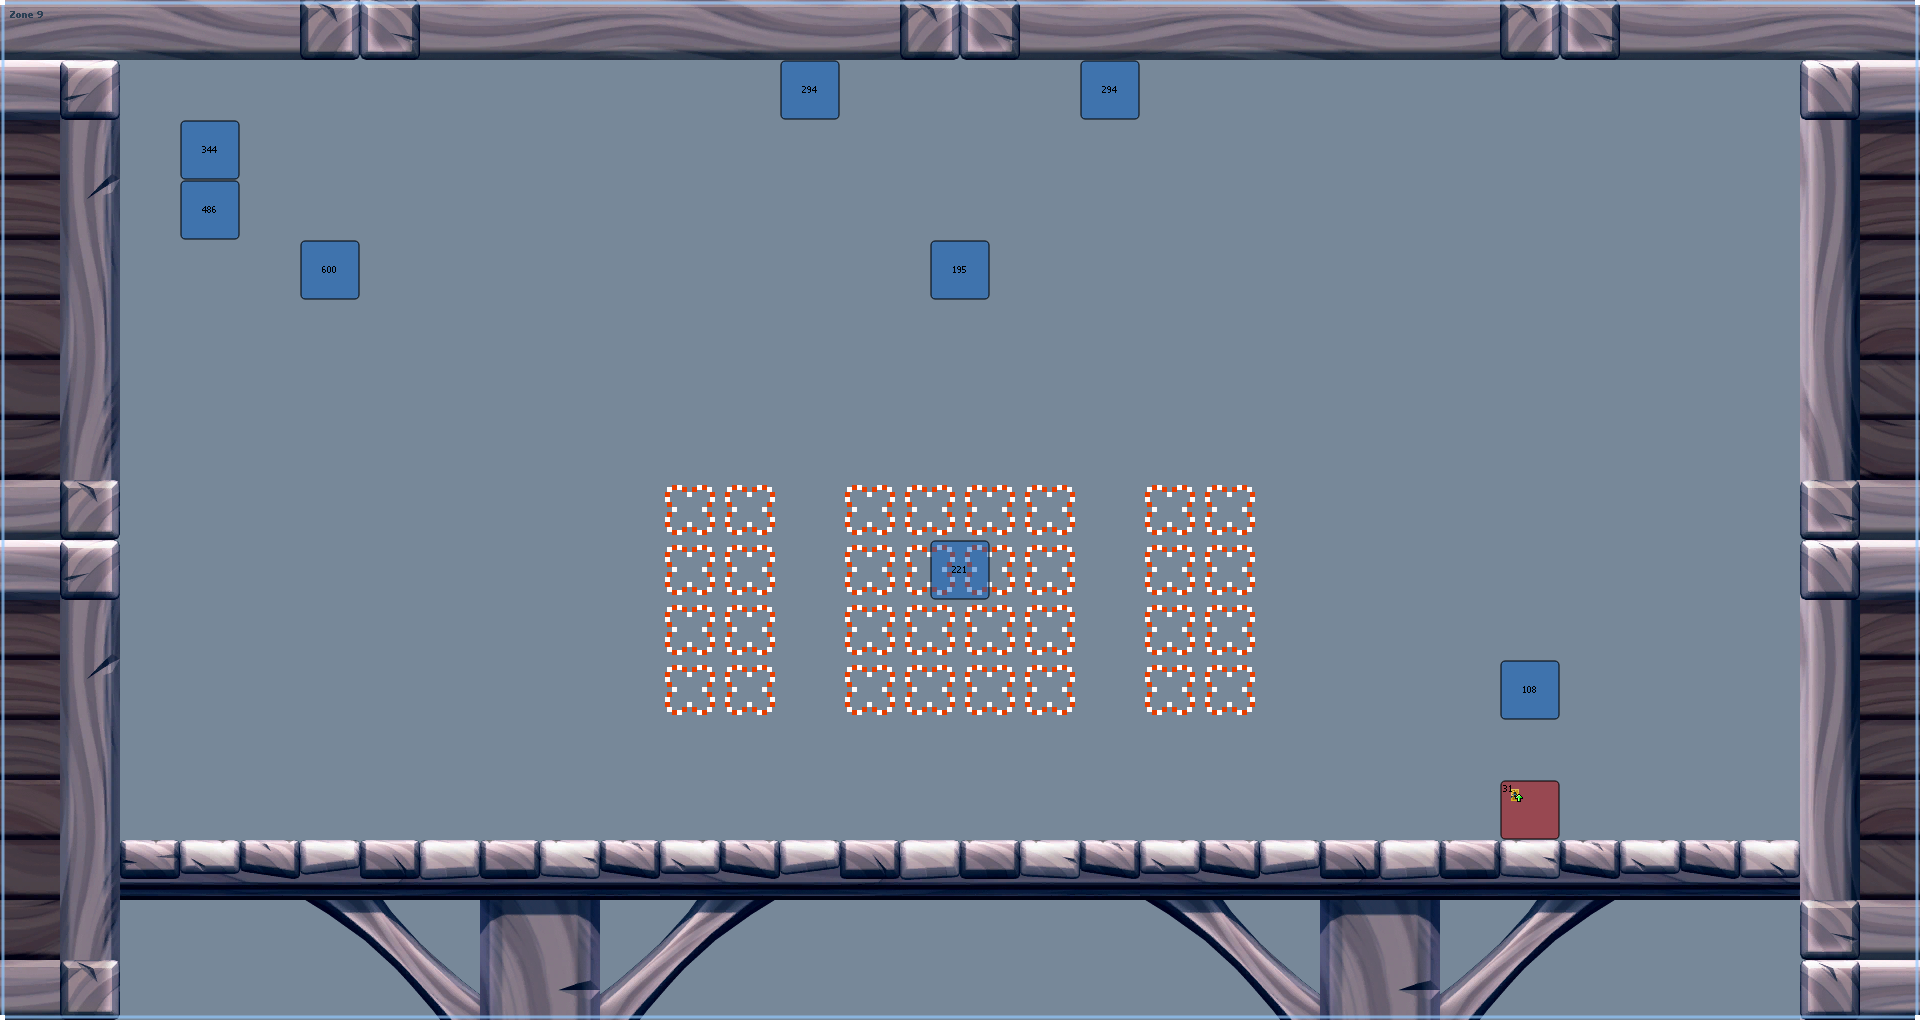
The final version just has some coins, the early has some extra doors, one in an secluded area. All doors lead to Zone 4.
The early layout doesn't have Zones 10 or 11.
Early Credits Stage#

4-25.sarc contains an early layout for the credits stage, seemingly meant to occur inside as opposed to the final game's outdoor setting. It crashes due to sprite 556 not working in the game. It's notable that the background music is assigned to ID 3, which is the Underwater theme.
Unfinished Water Level#
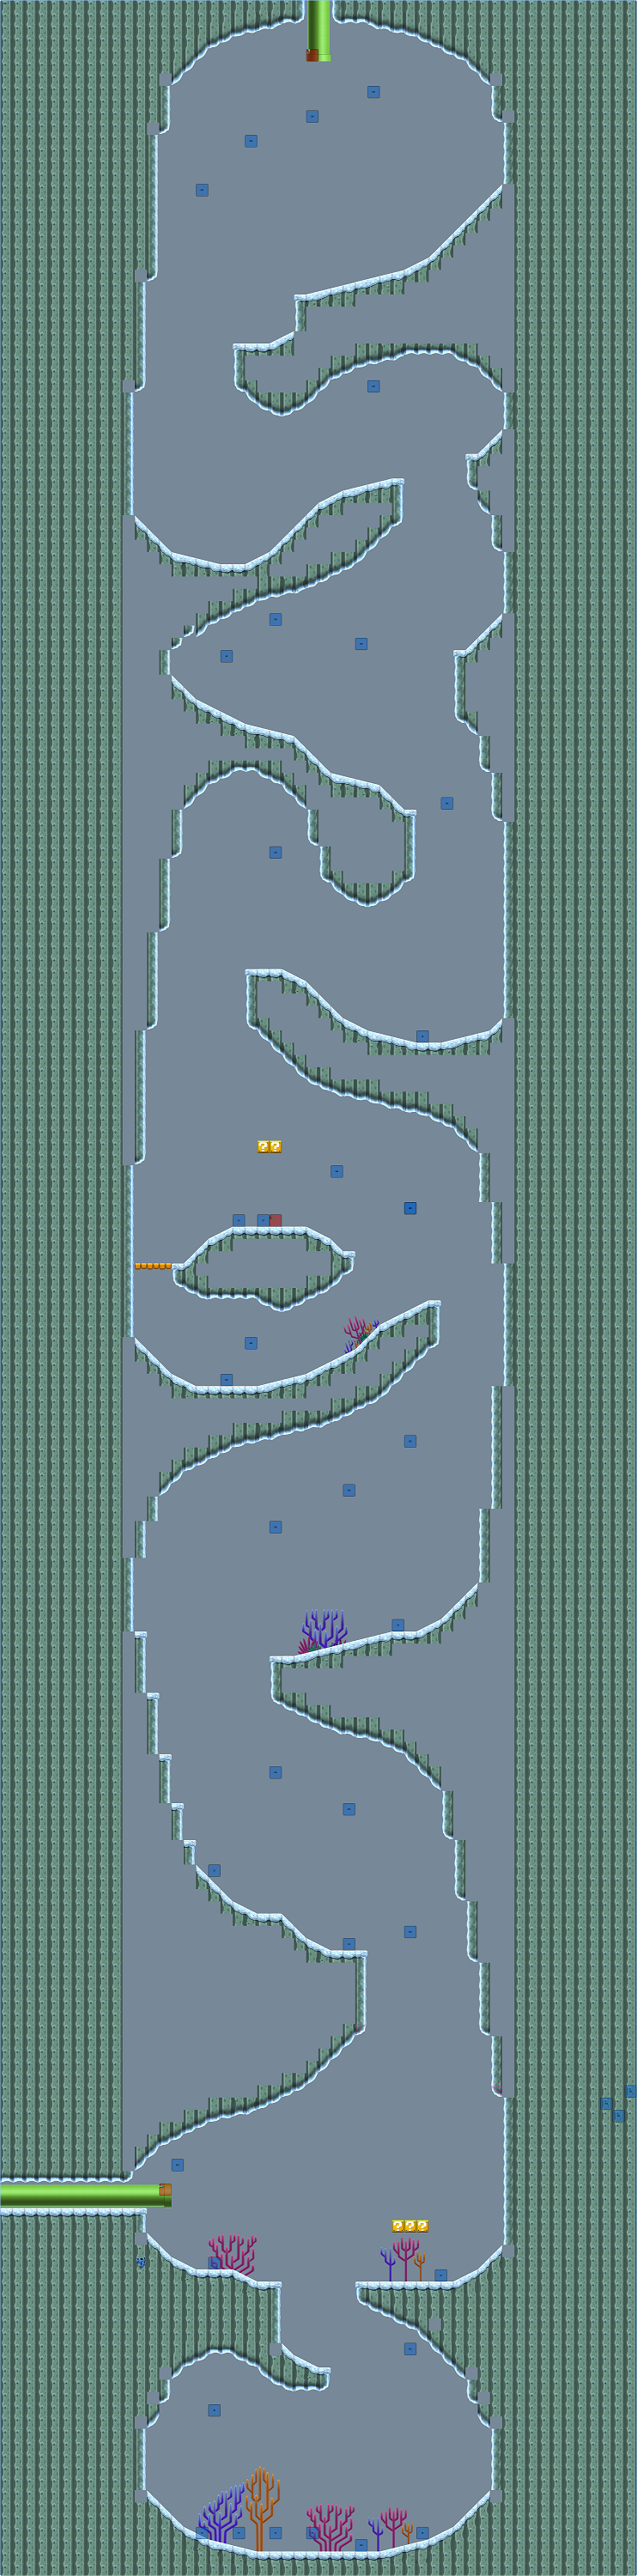
11-2.sarc, which is the second coin battle stage, contains an unfinished water area; while the overall shape is complete, the tiling and object placement is not. Outside of the zone is a tile scratch pad. This area does not fit at all with the rest of the coin battle level, and is probably a leftover from when someone used this stage's file; this is strangely consistent with New Super Mario Bros. Wii, which had the same thing happen with this same stage. The stage also introduces the vertical Dragoneel, which functions perfectly. The underwater background renders incorrectly above a certain height because it wasn't designed for vertical levels such as this.
Early Coin Battle#
|
Early |
Final |
|---|---|
|
|
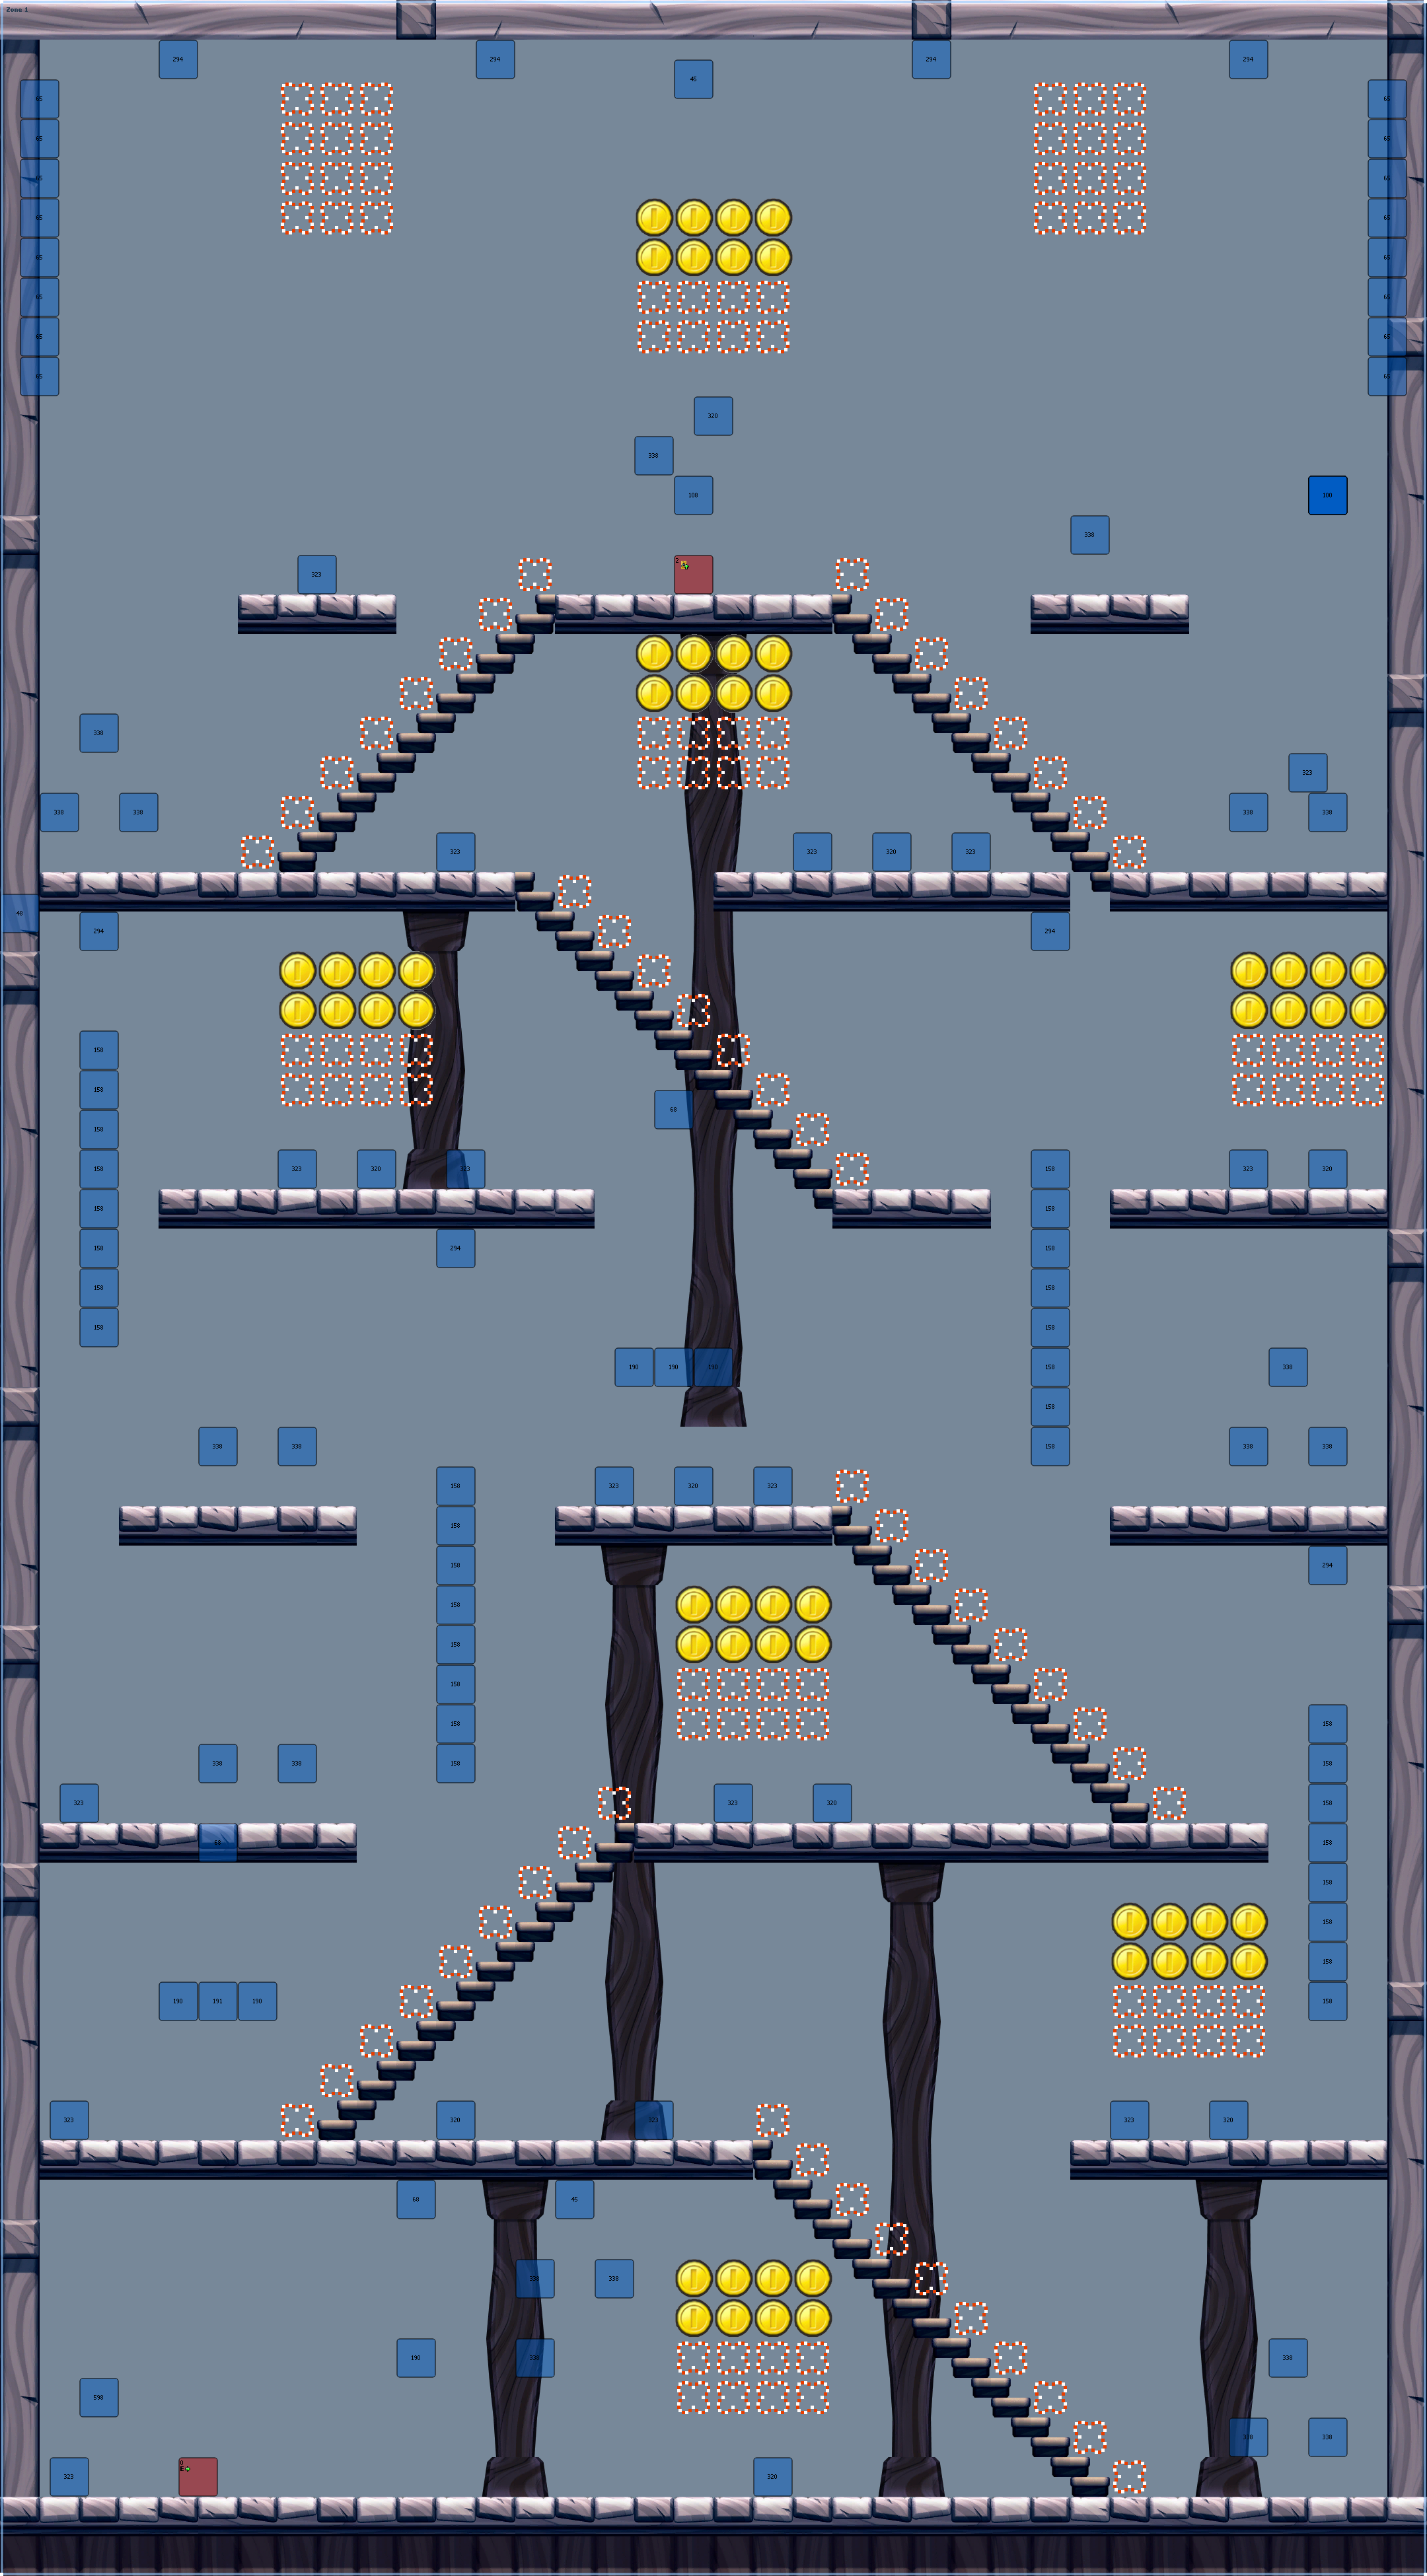
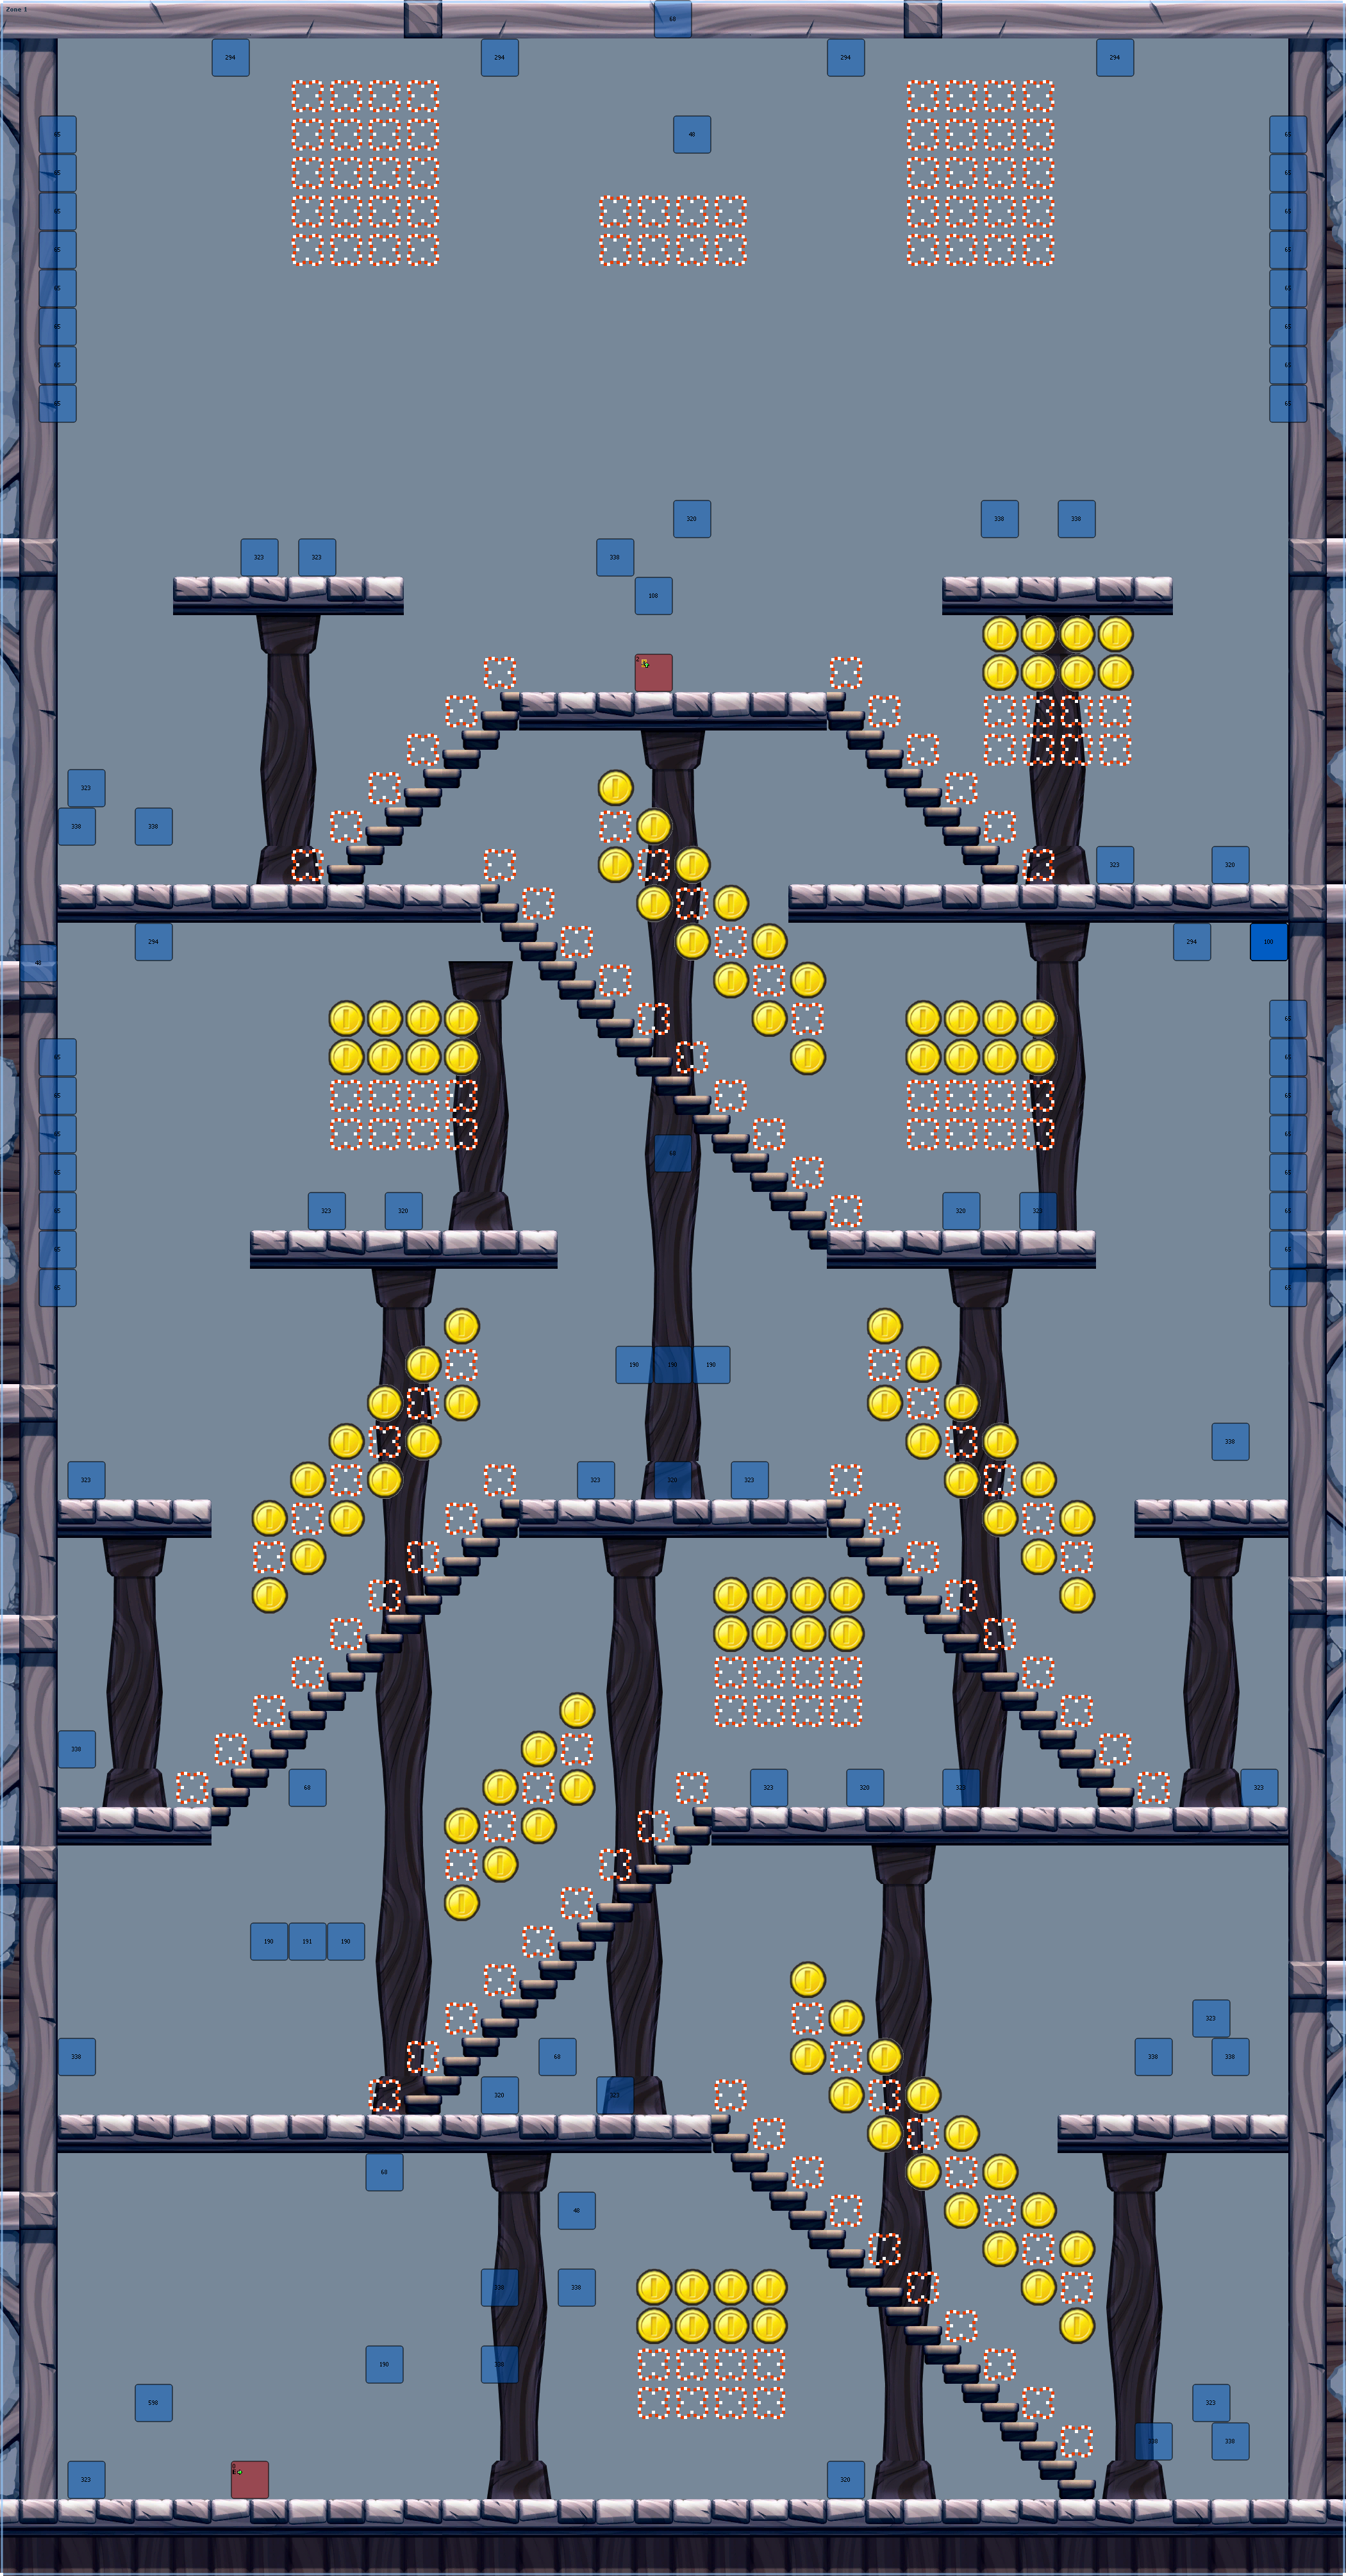
11-6.sarc has an early version of itself in Area 3. The early version features less coins and some improperly tiled pillars.
Another Early Coin Battle#
11-8.sarc features an early version of itself in Area 2. Zone 1 is the same between versions.
Zone 2#
|
Early |
Final |
|---|---|
|
|
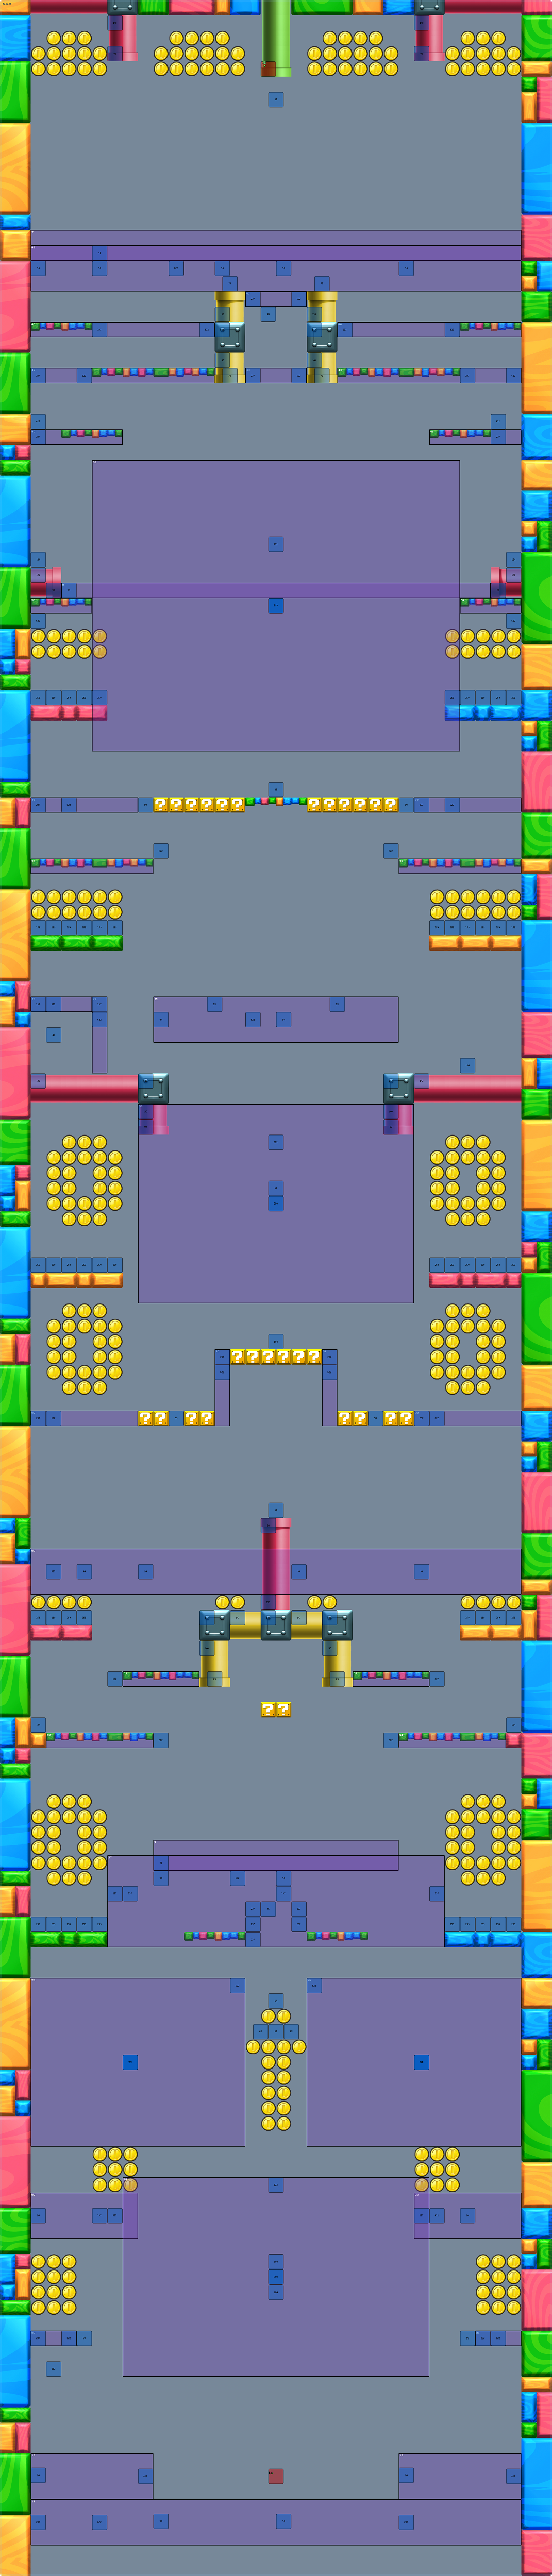
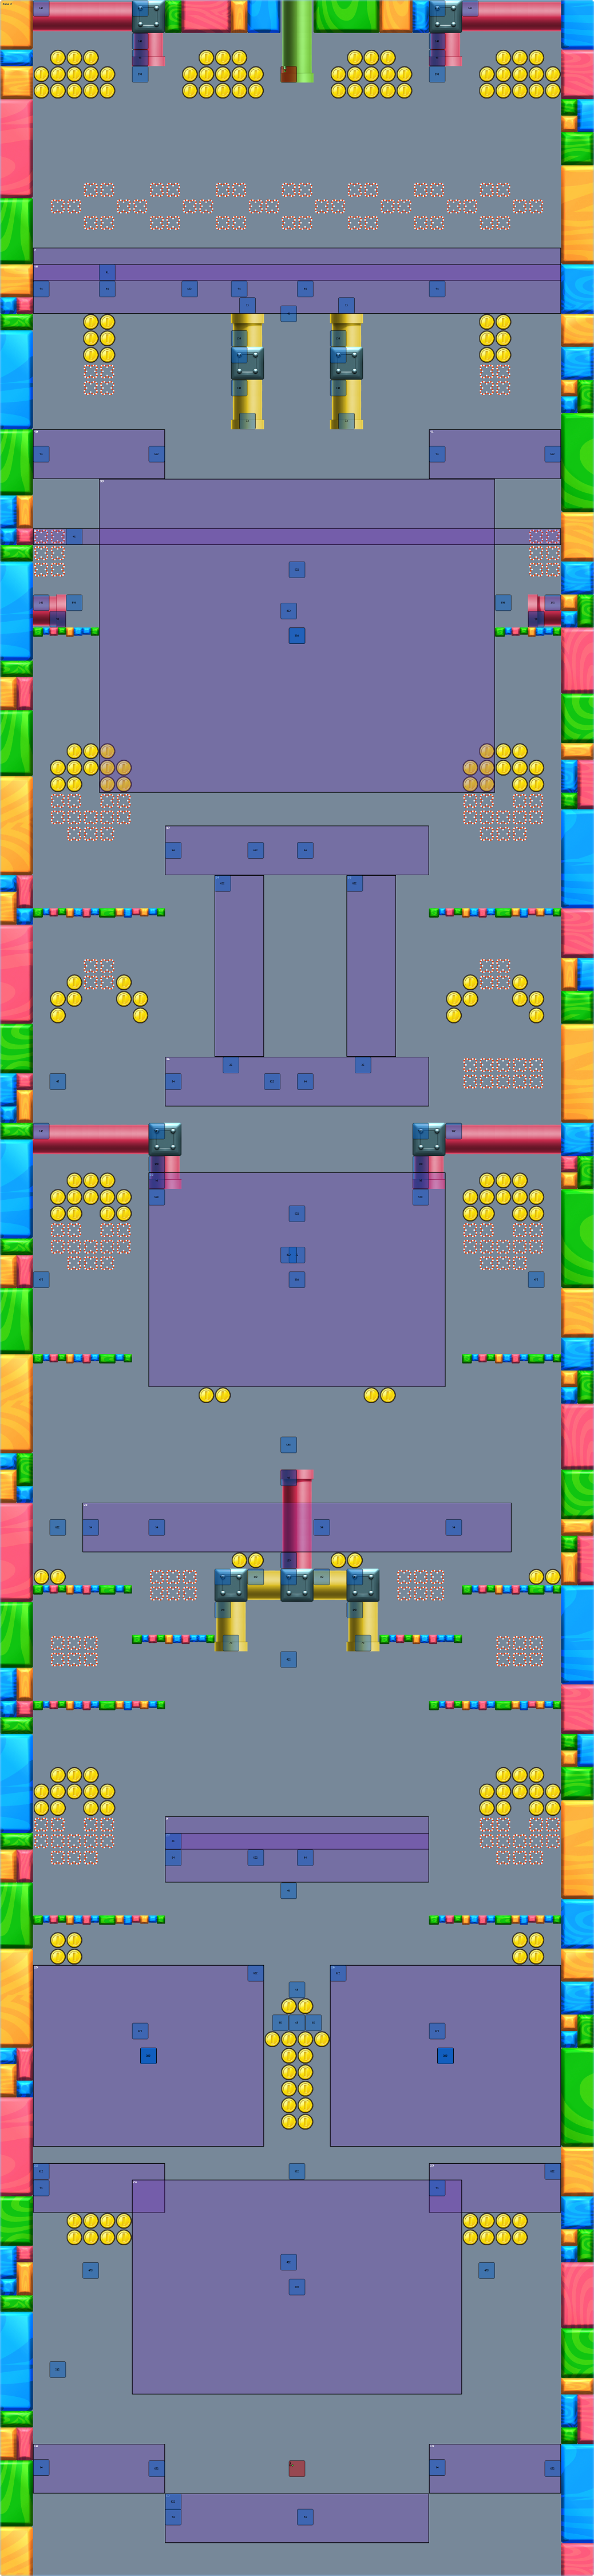
The early version of this level is a bit longer and uses no multiplayer-only passthrough coins; the final version balances gameplay by replacing roughly half of the regular coins with them. Final version also has more platforms that prevent falling to death as the stage keeps scrolling, and some of the pipes were moved upward by a few tiles relative to the early layout. It's also notable that the old version used the small blocks and tile creator/destroyer sprites rather than the bigger Question and Brick blocks in the final version. The early version also has Yoshi Eggs inside of the Question Blocks. The early version also has munchers.
Zone 3#
|
Early |
Final |
|---|---|

|

|
Similarly to Zone 2, the final has more multiplayer coins. A seemingly-useless sprite area was removed, the coins were moved upward to make them easier to collect when jumping for the top of the flagpole, and a red Koopa Troopa was added.
Entrance Area#
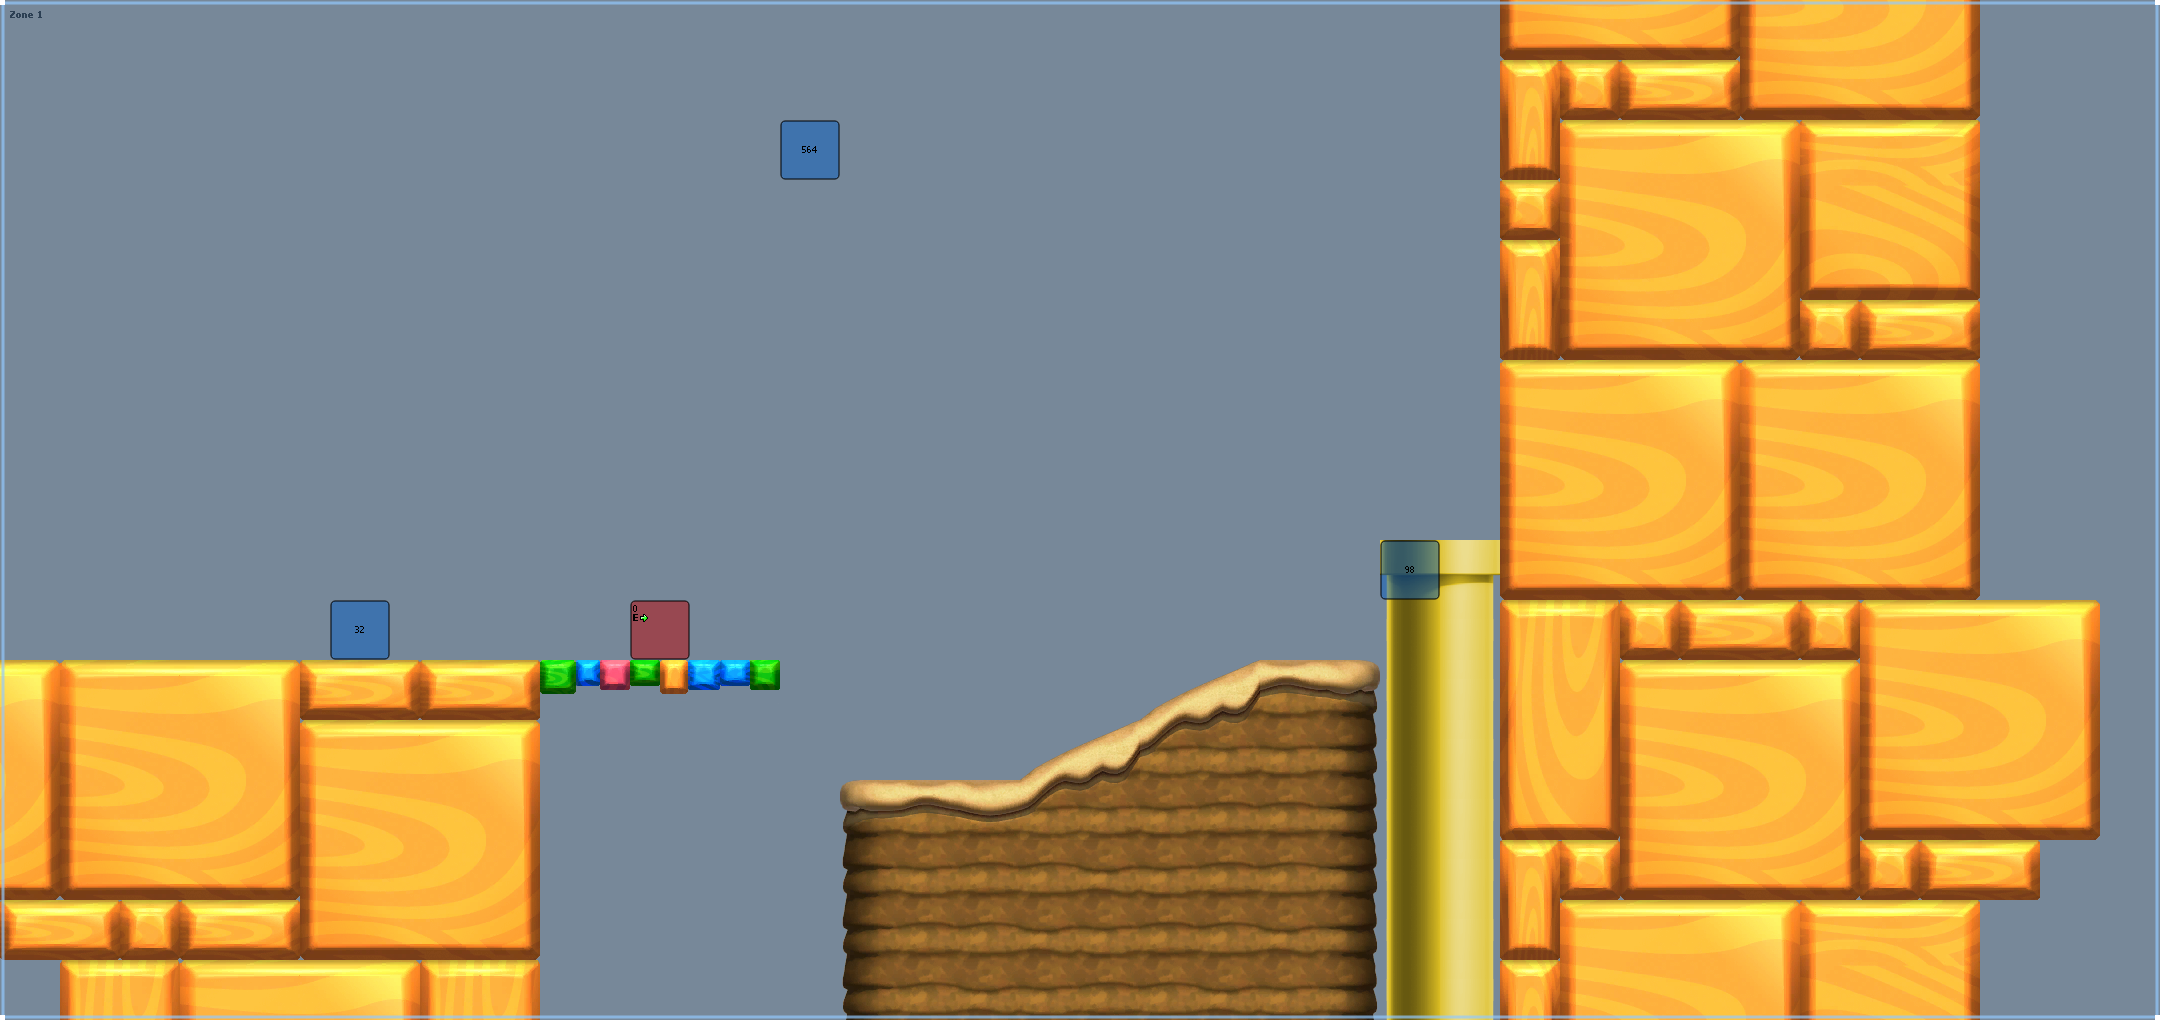
18-1.sarc, located between many of the challenge levels seems to feature nothing more but an unfinished entrance area that just has a pipe that spawns Goombas infinitely with a timer of 100 seconds.
Early World 1 Climbing Stage#
13-2.sarc originally instantly crashes the game by default when loaded, and it needs changes to load. It is missing the required Pa0 tileset in its archive, and the tileset string in the level file doesn't exist. The level also has objects placed that aren't in the tileset. After the level is fixed and loads, it's a bland walljumping level with green Paratroopas flying up and down. The level is very short and beatable.
Early Koopa Shell Following Level#
13-4.sarc contains a level that is similar to the final level in the original name, named Follow That Shell! which uses a similar gimmick of following a koopa shell to the finish. It uses seesaw mushrooms to get more coins, tile gods, and uses the unused sprite 329 which is a bolt-controlled metal platform used to raise the koopa shell.
Colored Block Level#
13-7.sarc contains a level that really serves no true purpose. It uses wooden colored blocks and is quite difficult if the player doesn't have a powerup. There are sections with fuzzies on lines (except for one frozen fuzzy that wasn't assigned to a line controller), Pipe Venus Fire Traps, Giant Goombas, Huckit crabs, and many coins. The level is beatable.
Early Lakitu Challenge Level#
16-1.sarc seems to be a very early challenge level. It contains 2 moving platforms that move left and right, a Koopa, 4 brick blocks, and a Lakitu that drops Spinies. It's not very clear what the challenge was, because it's not possible to have more than 5 Spinies dropped from a single Lakitu, and using the Koopa shell to get a 1-Up is almost impossible.
Early Fuzzy Cliffs#
16-2.sarc seems to be an early version of Fuzzy Cliffs. It is more of a vertical level, but by default the player spawns and dies. This is due to the level having a duplicate entrance 0 outside of the zone, causing the game to spawn the player through the entrance outside the zone. Deleting this zone lets the player play the level. Sadly by default, there is no way to progress from the start without the use of specific powerups, due to there being no platforms to stand on. There is a goal flagpole in the level, as well.