 This article has a talk page!
This is a sub-page of Nancy Drew: Stay Tuned For Danger.
Opening Letter#
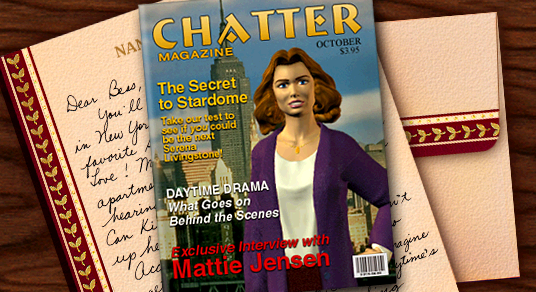
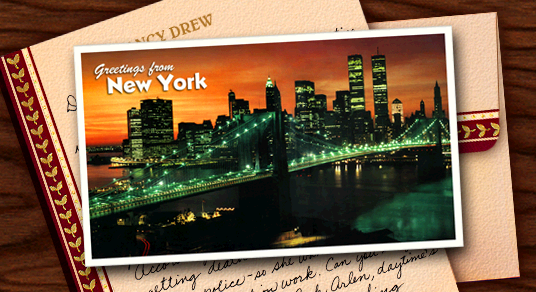
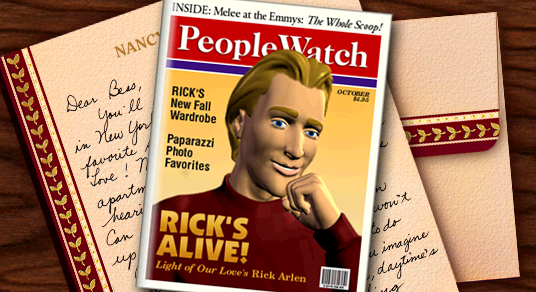
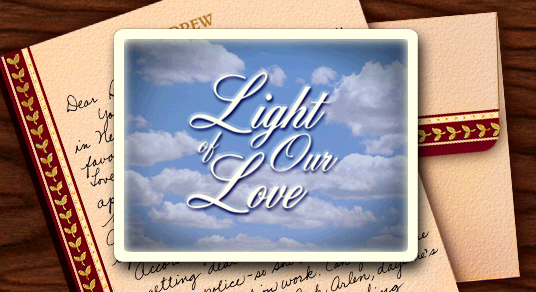
The files M01A.avf, M01B.avf, M01C.avf, and MO1D.avf are unused versions of the opening letter shots. The used versions swap between 0 and O in each of the filenames, and are identical to these. The existence of two versions of these letters is unclear, but it's possibly for gracefully handling confusion between zero and a capital O, or perhaps the result of such a confusion in the first place.
Mattie's Apartment#
|
Unused |
Used |
|---|---|
|
|
|
Unused |
Used |
|---|---|
|
|
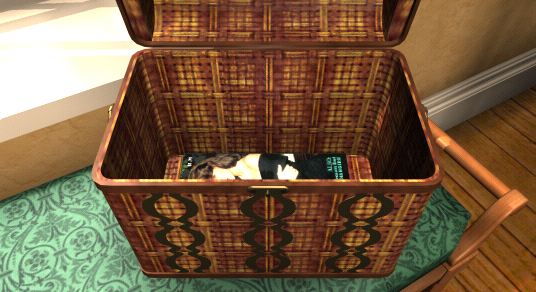
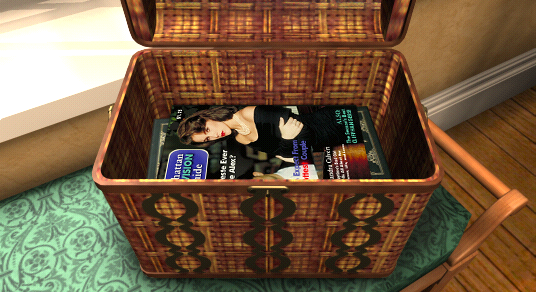
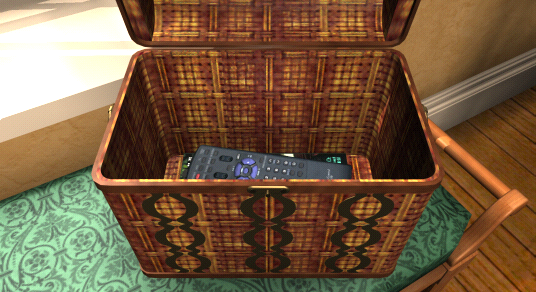
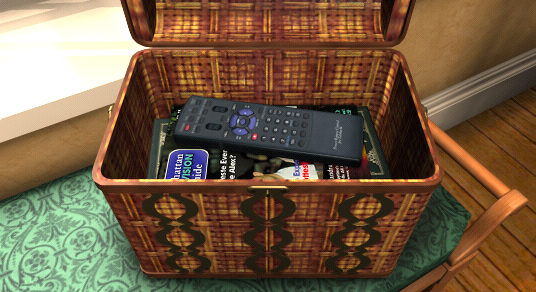
This box of magazines contains more magazines in the final pictures.
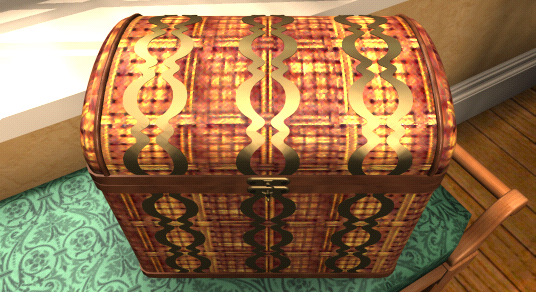
This box in closed form appears unused as MD3C.avf, and the identical used version is in MD1Y.avf.
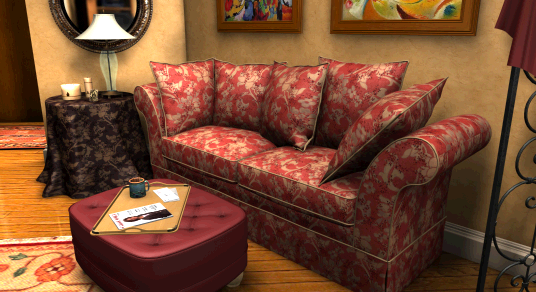
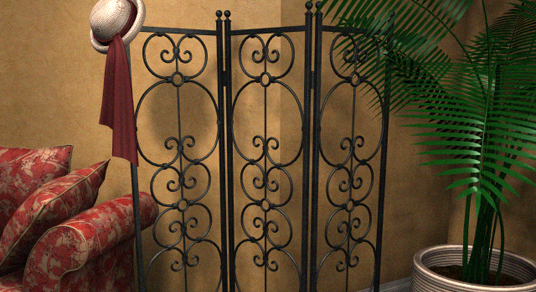
These parts of the apartment are only viewable as a panorama in the final.
|
Unused |
Used |
|---|---|
|
|
|
Unused |
Used |
|---|---|
|
|
|
Unused |
Used |
|---|---|
|
|
|
Unused |
Used |
|---|---|
|
|
|
Unused |
Used |
|---|---|
|
|
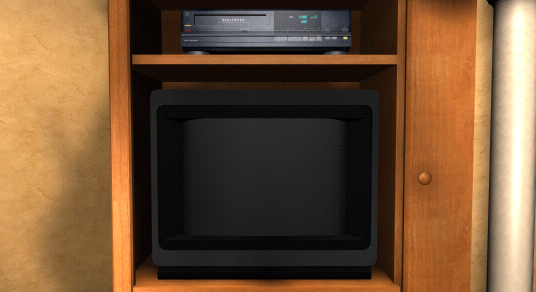
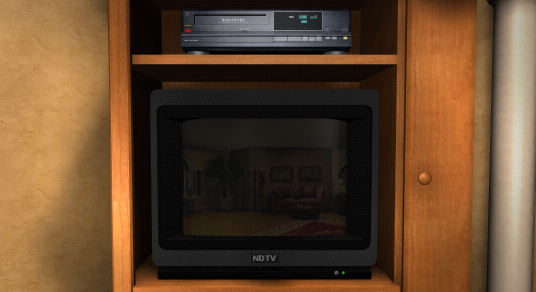
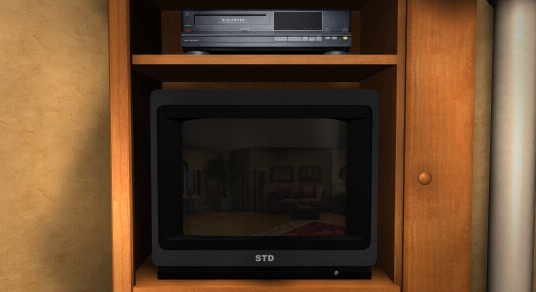
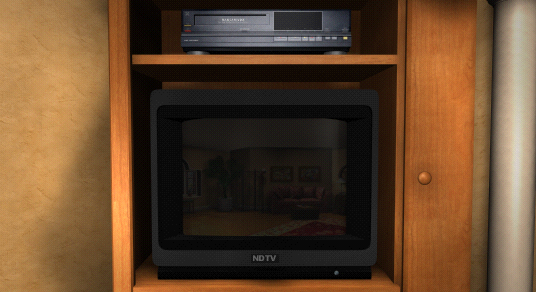
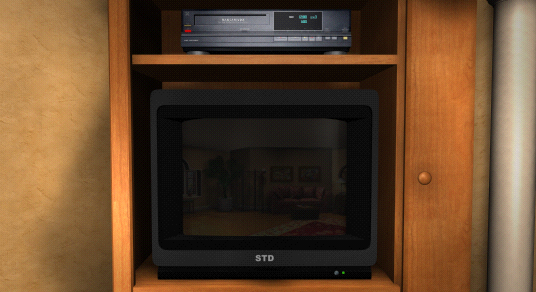
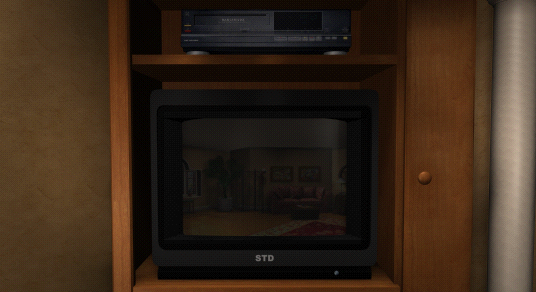
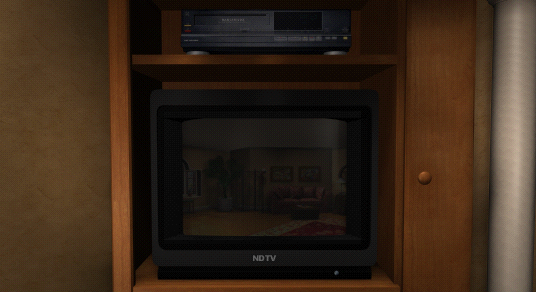
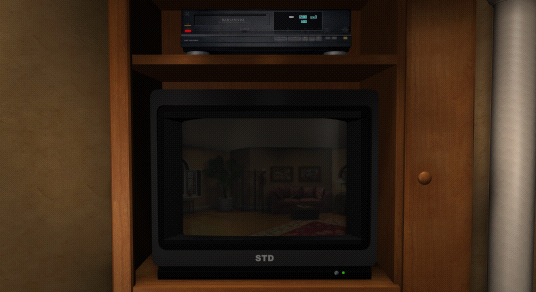
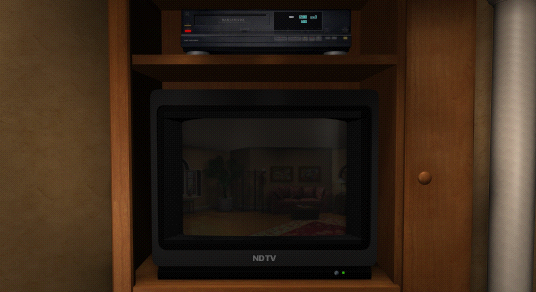
There are plenty of unused shots of the TV, at day and at night, on and off. The early TVs are branded "STD" (As in the game name), with one having no branding, while in the game these TVs are branded "NDTV" (Nancy Drew TV).
Additionally, this snow animation goes unused, replaced by a TGA image overlay in the final.
|
Unused |
Used |
|---|---|
|
|
|
Unused |
Used |
|---|---|
|
|
|
Unused |
Used |
|---|---|
|
|
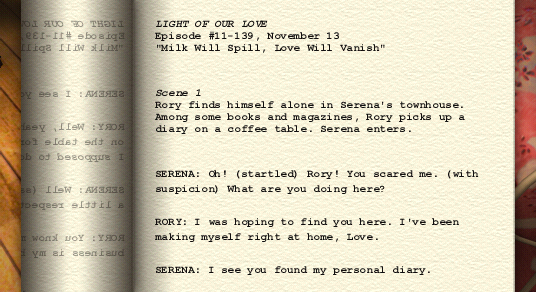
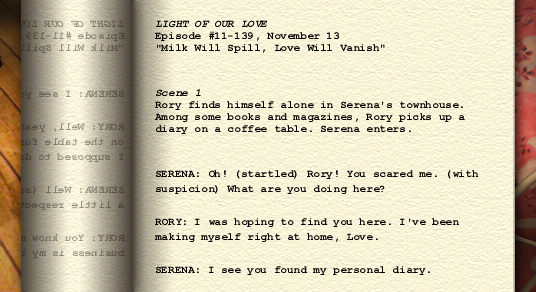
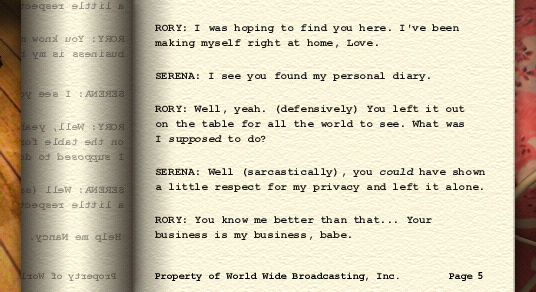
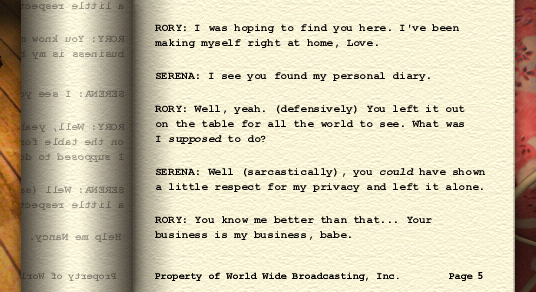
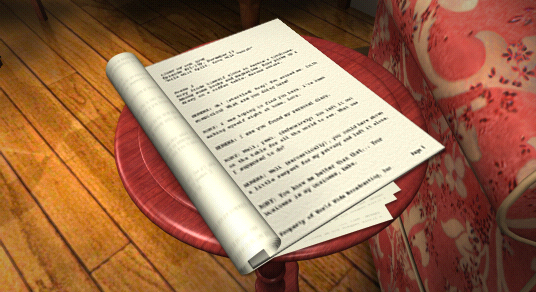
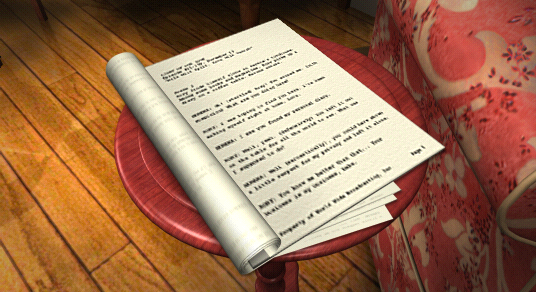
The texture of the script is more defined, and the image is generally slightly darker in the final version, causing the script text to contrast more with the paper.
|
Unused |
Used |
|---|---|

|

|
This idle (or "fidget") animation of Mattie goes unused, replaced by a much shorter one.
|
Unused |
Used |
|---|---|
|
|
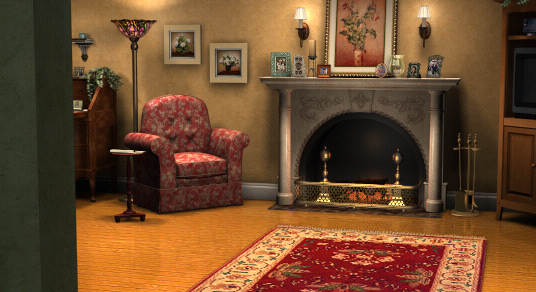
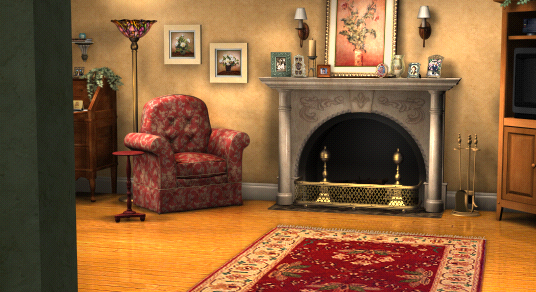
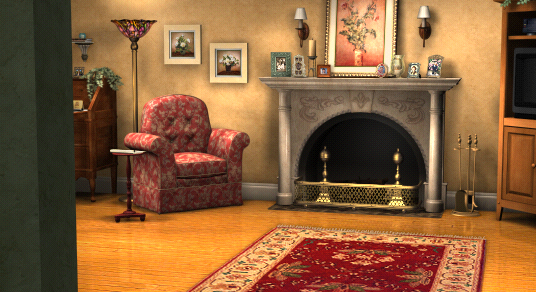
This is the view into the main room of Mattie's apartment when she's not there. For the daytime version, the final has the script on the table and a better-lit seat cushion. The nighttime version is identical between the unused and used versions.
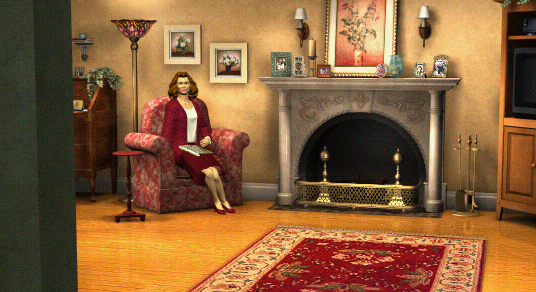
This shot, while used (for when Mattie is present), shows off a slightly different version of things on the fireplace mantle, notably the fact that the candle holder is green instead of light yellow.
|
Unused |
Used |
|---|---|
|
|
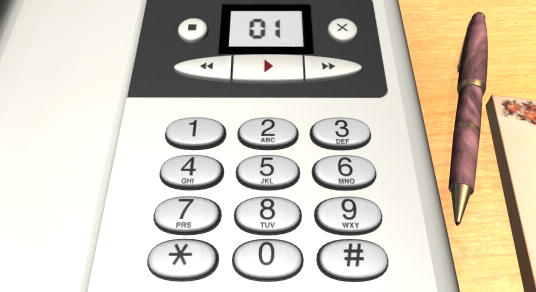
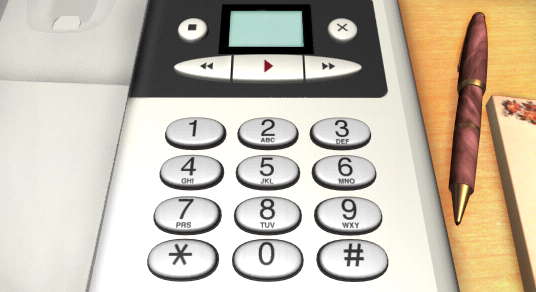
This image of Mattie's phone indicates that at some point, you would've received messages from the answering machine, instead of as notes written by Mattie. Digits for the display appear alongside the pressed button images in ME2MOVL.tga and, weirdly, with shots of the written notes in ME1LOVL.tga.
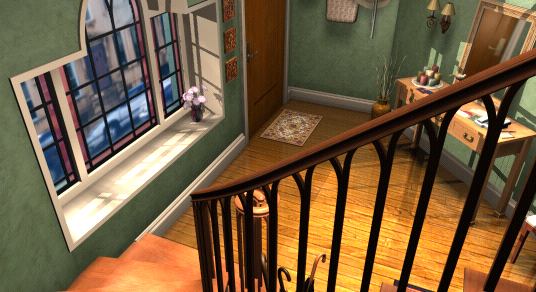
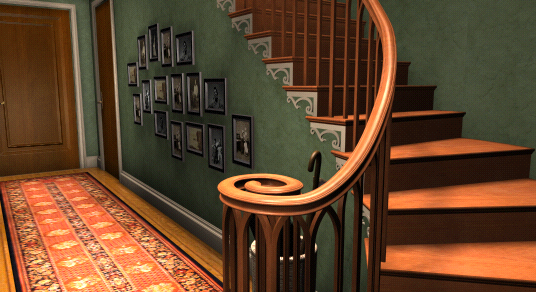
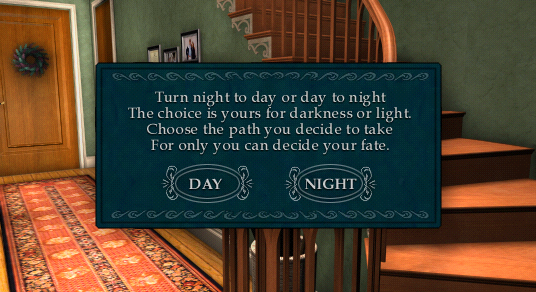
This file, ME2J.avf, an unused shot of coming down from the stairs after selecting "Day", is identical to the one in ME1J.avf, which is used.
|
Unused |
Used |
|---|---|
|
|
|
Unused |
Used |
|---|---|
|
|
|
Unused |
Used |
|---|---|
|
|
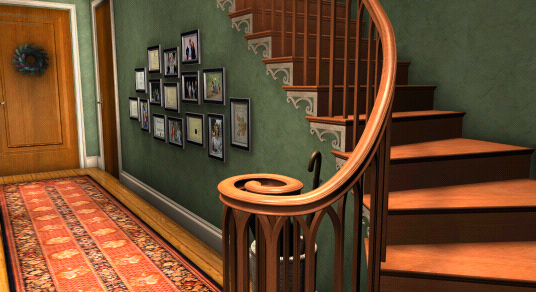
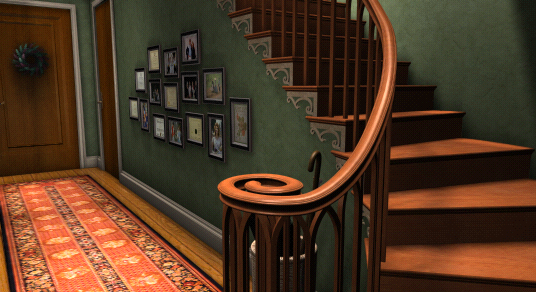
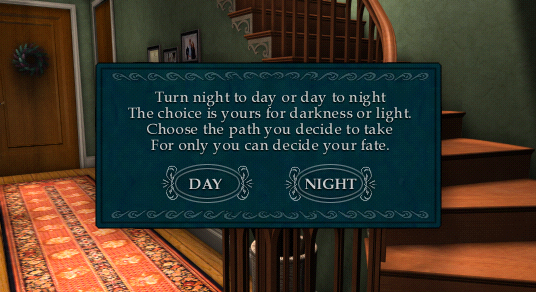
These shots of the apartment go unused, because clicking on the stairs from the panorama takes you directly to the skip time prompt, and there's otherwise no way to see the place from this angle. One of the daytime shots shows the apartment in an early state, with a different arrangement of the wall photos, as well as missing the wreath on the door.
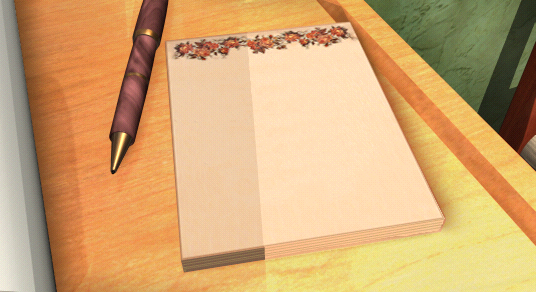
This is a shot of the message notepad when it's empty. In the game, you aren't able to examine the notepad when it's empty, so this goes unused. There is no nighttime version of this empty notepad.
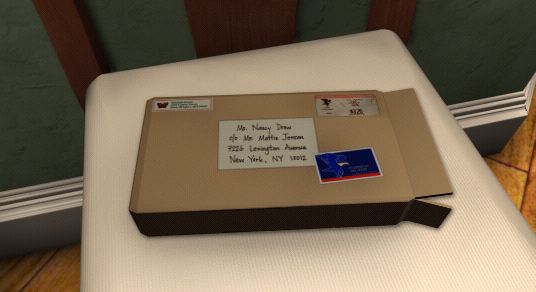
This is identical to the used image for this open and emptied interview tape package.
The Studio#
Lobby#
|
Unused |
Used |
|---|---|
|
|
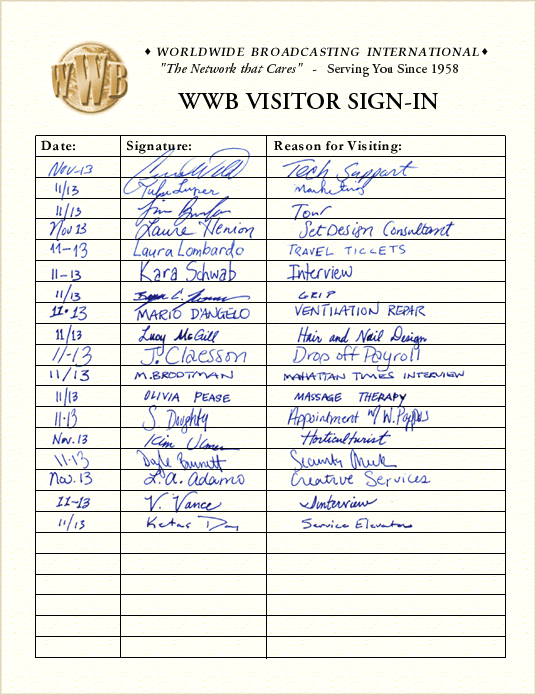
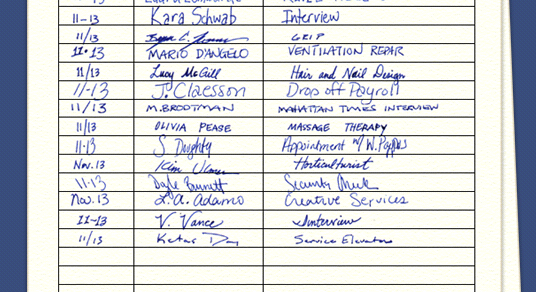
This is an unused close-up of the entire clipboard. In the final game, you only ever closeup on the lower half.
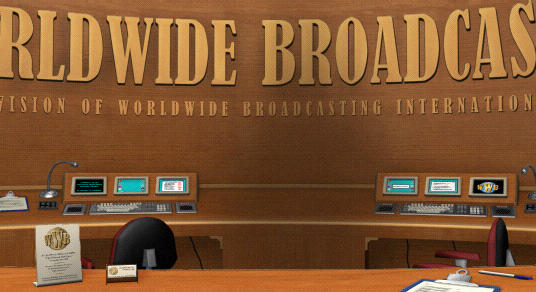
This image upon which Ralph's talking animation is overlayed is identical to the used version.
Sound Stage#
|
Unused |
Used |
|---|---|
|
|
|
Unused |
Used |
|---|---|
|
|
|
Unused |
Used |
|---|---|
|
|
|
Unused |
Used |
|---|---|
|
|
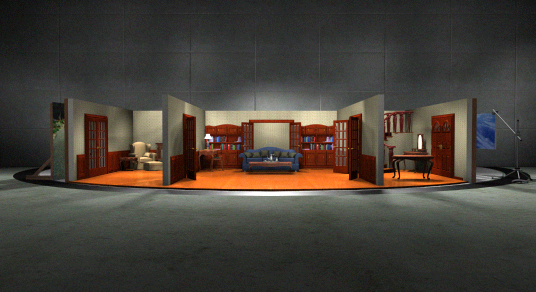
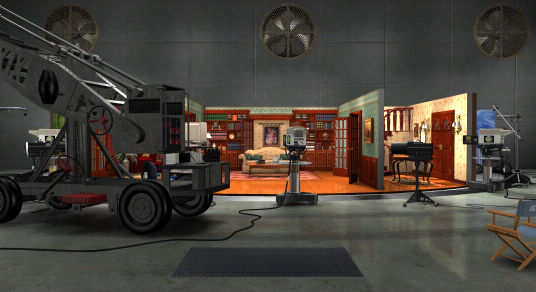
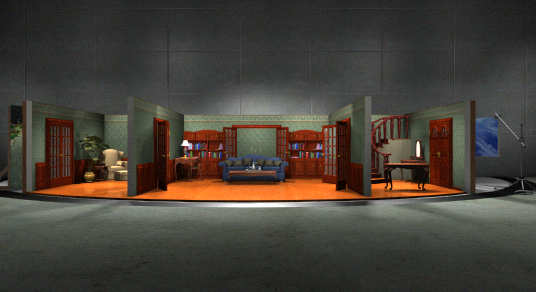
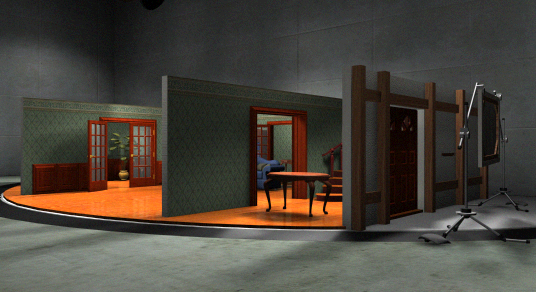
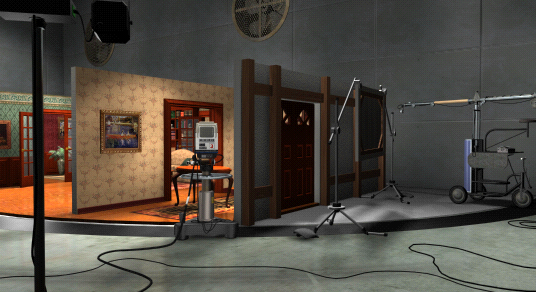
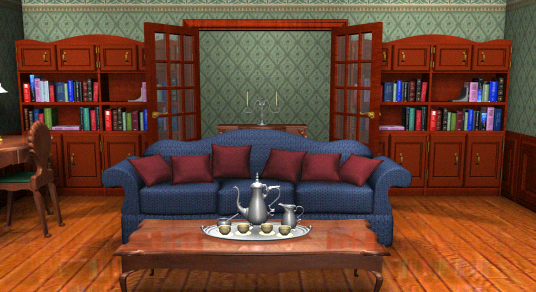
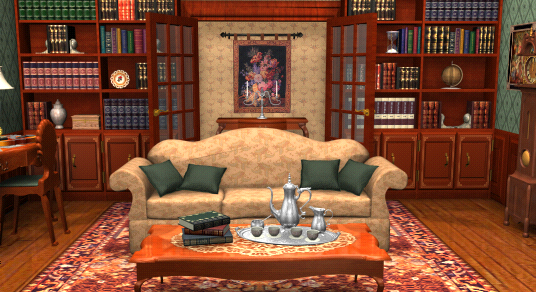
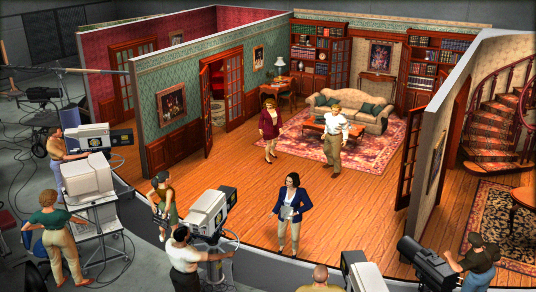
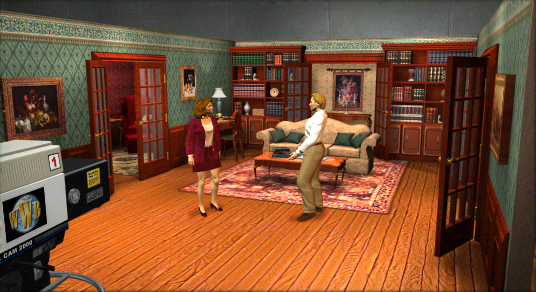
These images of the set of Light of our Love are replaced by panoramas in the final, and show off a much earlier (and much simpler) set design. The predominant features are a blue couch and no carpet in the main room, and the use of only one wall texture for every room. Additionally there isn't as much equipment surrounding the set in these earlier shots.
|
Unused |
Used |
|---|---|
|
|
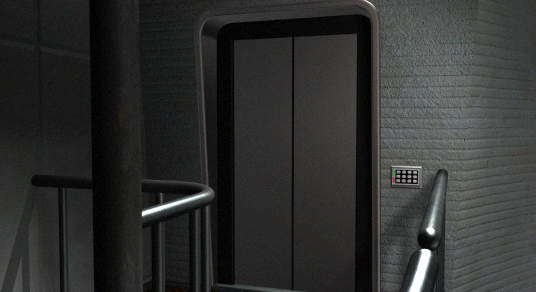
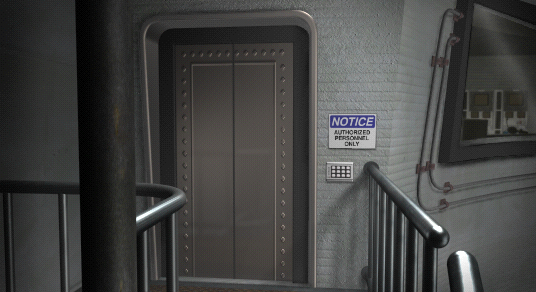
The entrance to the control room is much less detailed, missing the detailing on the door, the notice, or most importantly, the window to the rest of the sound stage.
|
Unused |
Used |
|---|---|
|
|
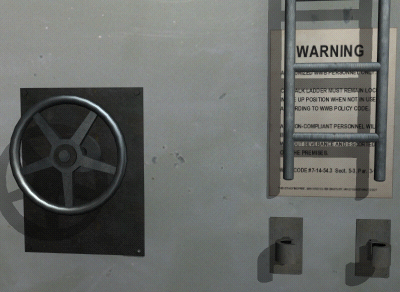
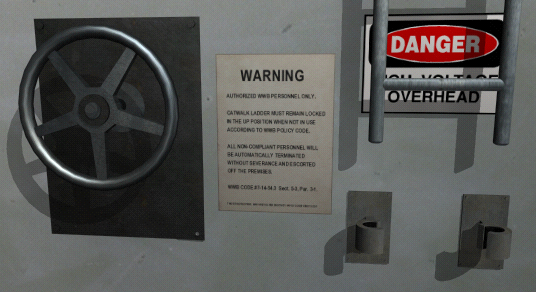
Early animations of the ladder lowering process (found in SF1JM and SV2AM) show the list of warnings behind the ladder, as opposed to next to it, and are in an unusual aspect ratio.
|
Unused |
Used |
|---|---|
|
|
|
Unused |
Used |
|---|---|
|
|
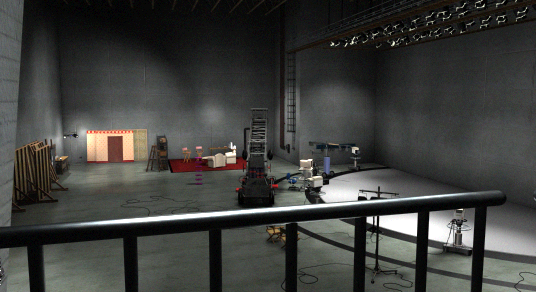
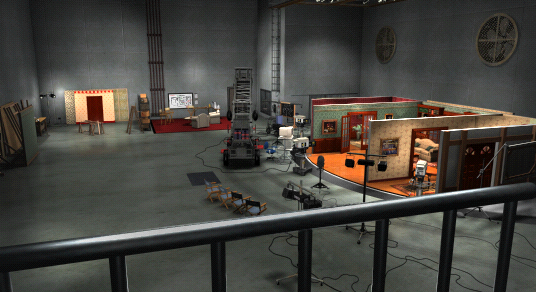
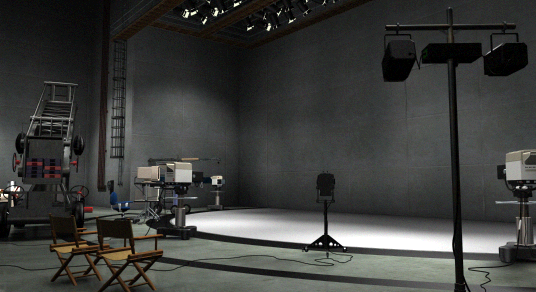
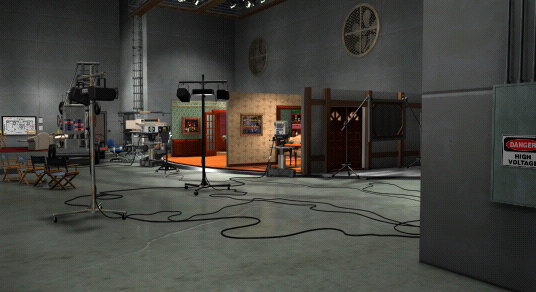
These early images of the sound stage show that the set wasn't always there. Whether exploring the sound stage while the set isn't there was possible at some point, or if it's simply a result of not modeling the set yet, is unclear.
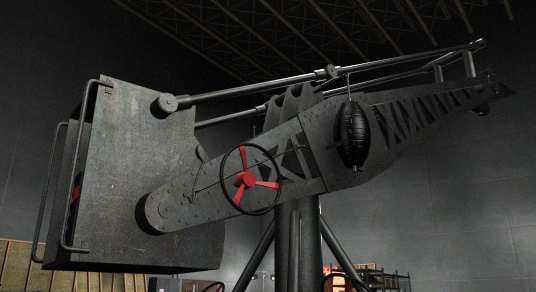
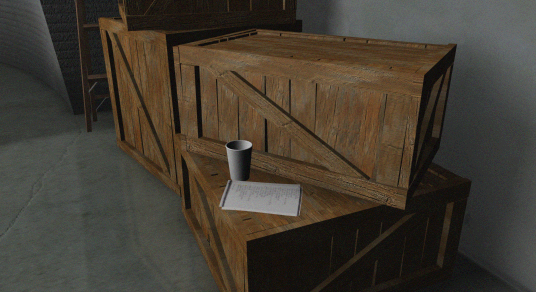
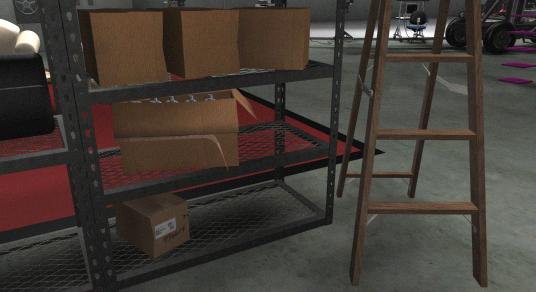
These closeups aren't viewable in the final version. What purpose they would've served is unknown.
|
Unused |
Used |
|---|---|
|
|
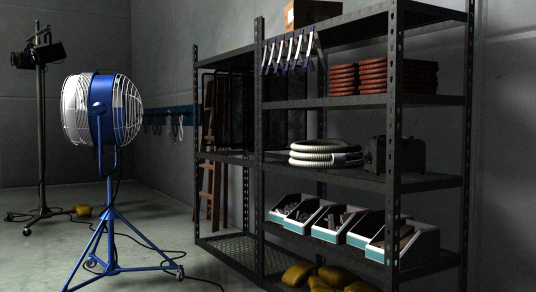
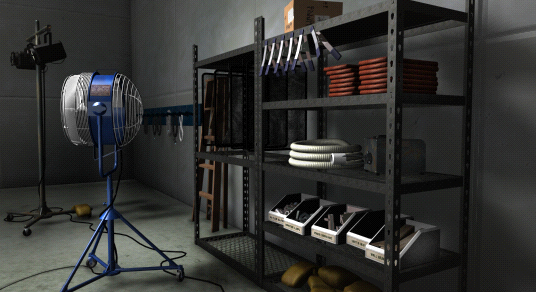
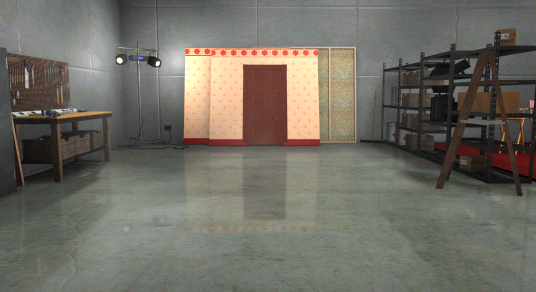
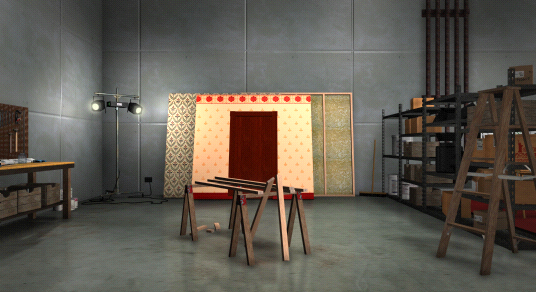
This, however, is examinable, but some changes exists. These include different lighting, a reflection off the fan, the bins being colored blue, and one slightly turned clamp.
|
Unused |
Used |
|---|---|
|
|
The early version of this image is missing the bench of the final.
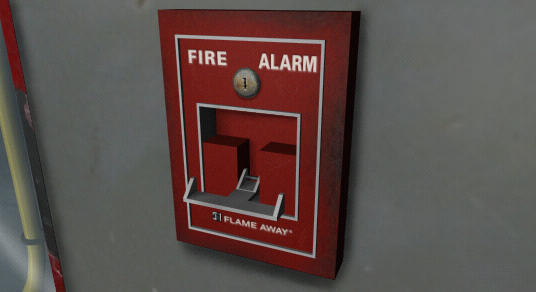
This pulled-down image of the fire alarm is unused. In the game, when you initially pull the fire alarm, the pulled-down state is achieved with an overlayed image. During the endgame (in which the studio is darker, thus using different images), once you back out of this closeup, and then re-examine the fire alarm, a separate "pulled-down" avf file is used. However, during the rest of the game, backing away from the alarm causes you to immediately lose the game. Thus, this specific pull-down image never gets used.
|
Unused |
Used |
|---|---|
|
|
|
Unused |
Used |
|---|---|
|
|
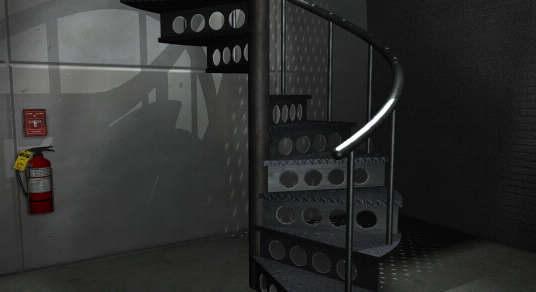
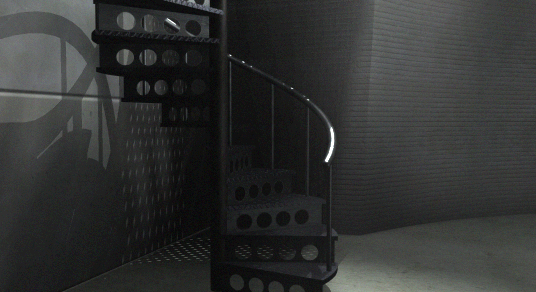
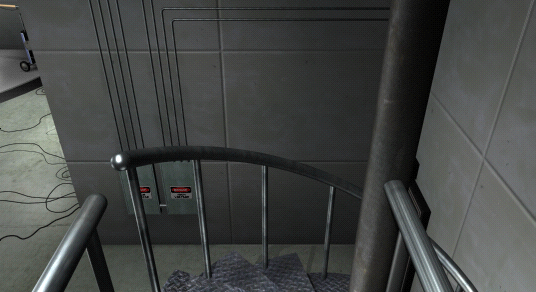
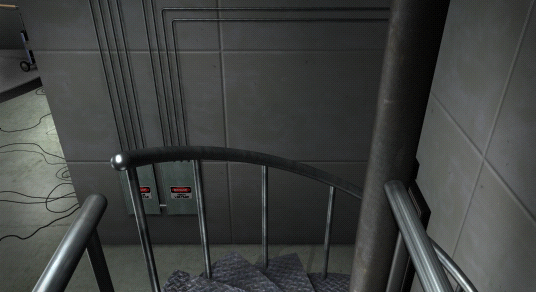
These shots of the control room stairs from the top and bottom are different between versions. For the bottom of the stairs, the perspective is shifted to preclude the fire equipment from view. For the top, it's really just a change in lighting to darken some portions of the shot.
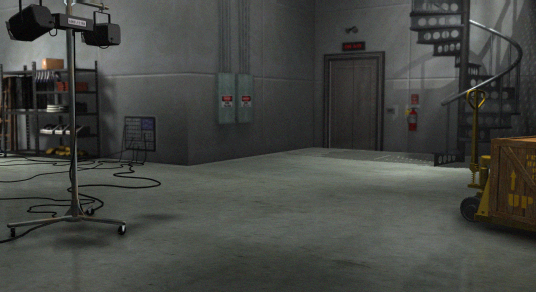
This shot looking towards the stairs of the control room has no exact replacement in the final; this shot seems to be in-between two of the sound stage's panoramas.
|
Unused |
Used |
|---|---|
|
|
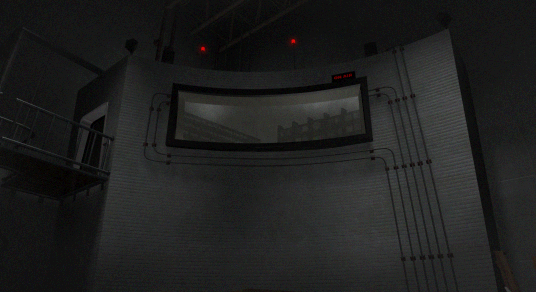
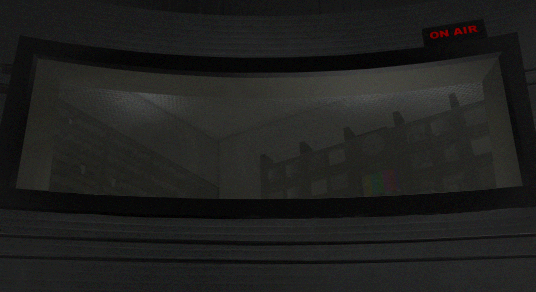
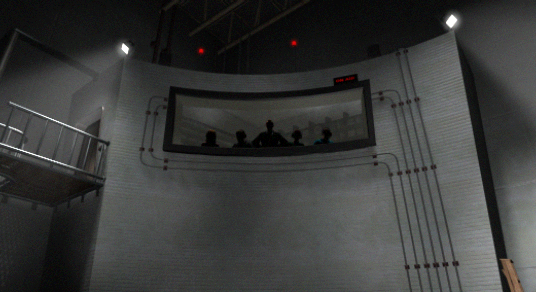
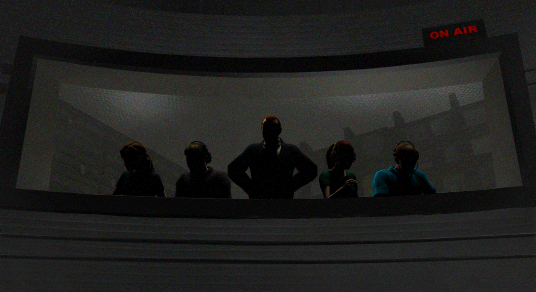
This view of the control room window is the same as the view in the falling klieg light scene, however it may have more likely been an early version of the background used for the perpetrator at the end of the game.
|
Unused |
Used |
|---|---|
|
|
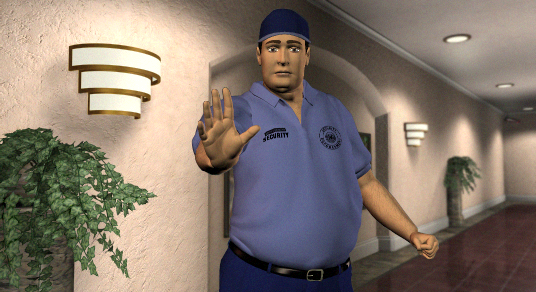
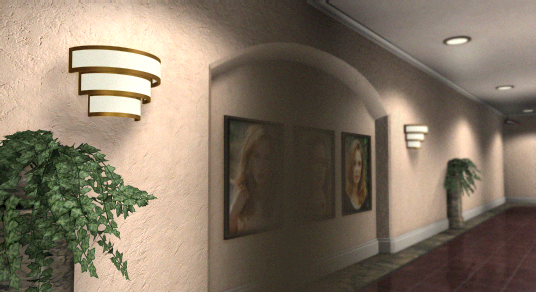
These backdrops for when Ralph busts you on pulling the fire alarm go unused. RHBK is identical to sh2w, while RAH features a still image of Ralph.
This unused gear spinning animation in SF5DOVL2.tga is identical to the used one in GEARSOVL.tga.
The Set#
|
Unused |
Used |
|---|---|
|
|
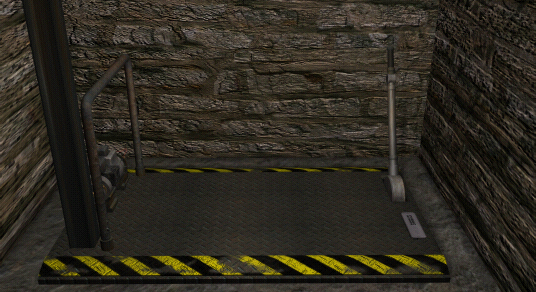
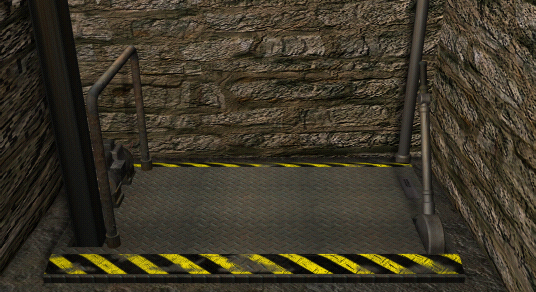
This early shot of a trapdoor platform goes unused. The lever and indent in the platform switch places between these shots.
|
Unused |
Used |
|---|---|
|
|
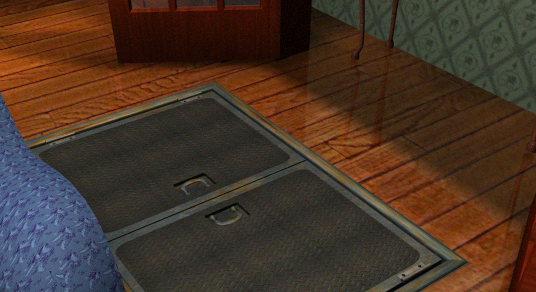
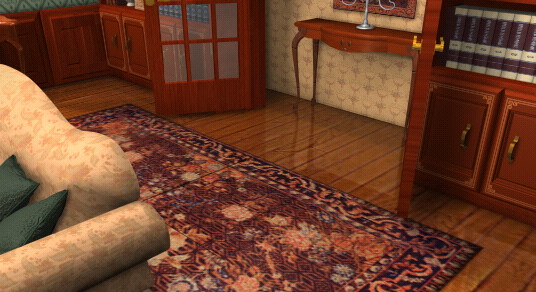
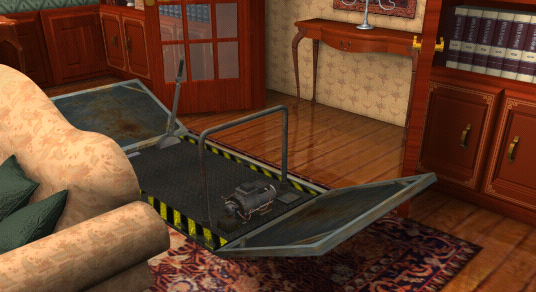
This image of when the trapdoor is open goes unused, replaced by a generic shot that works for either state of the trapdoor. Whether this was to more accurately reflect the size of the doors, or missing due to oversight, isn't clear, as there isn't another clear shot comparing the trapdoor to the couch.
|
Unused |
Used |
|---|---|
|
|
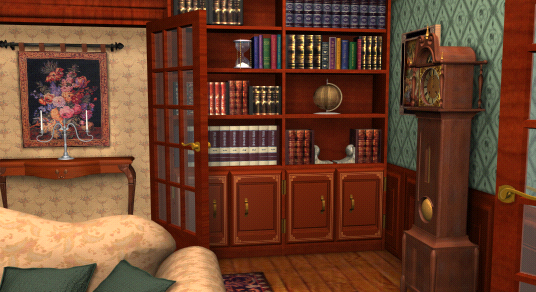
This image of the trapdoor when it's closed comes from the earlier set design, with all-green walls and a blue couch. The concealing carpet is also absent.
|
Unused |
Used |
|---|---|
|
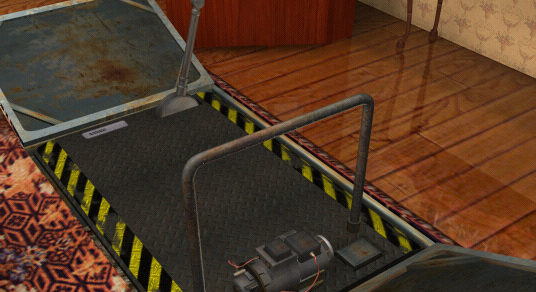
|
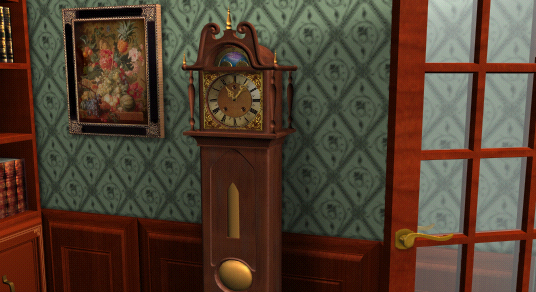
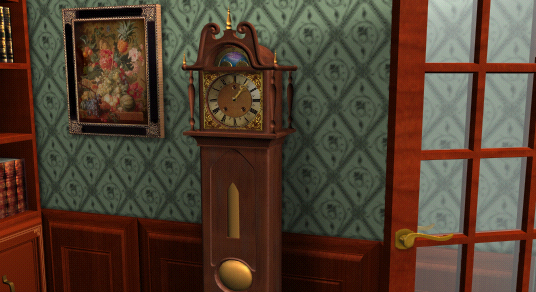
This view of the trapdoors when open isn't used, as the game takes you from the shot of the clock and couch to the used version shown here, with this intermediate view unused.
|
Unused |
Used |
|---|---|
|
|
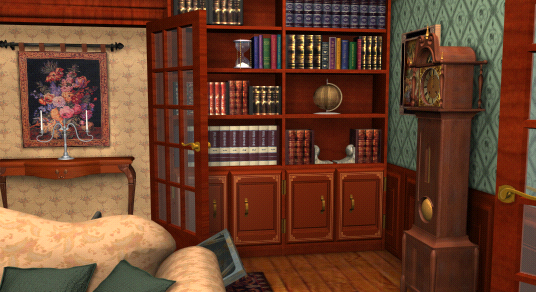
This image of the clock features the missing hand placed, but the puzzle yet solved (the blue/purple image above the clock face spins to present a key when solved, and stays there.) Since the game puts the hand back in your inventory when you haven't solved the puzzle, this half-finished image goes unused.
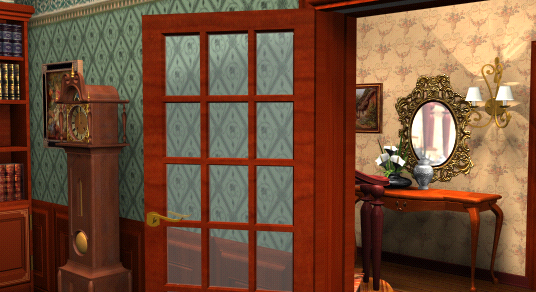
This view going towards the staircase room goes unused. There's no perfect replacement of this in the final game.
Falling Klieg Scene#
|
Unused |
Used |
|---|---|
|
|
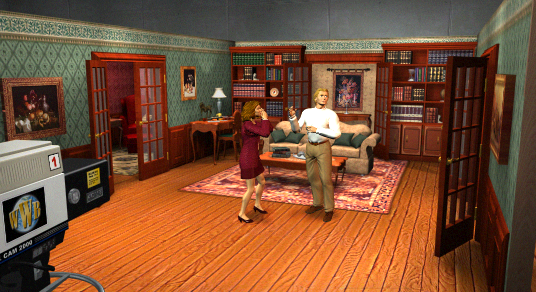
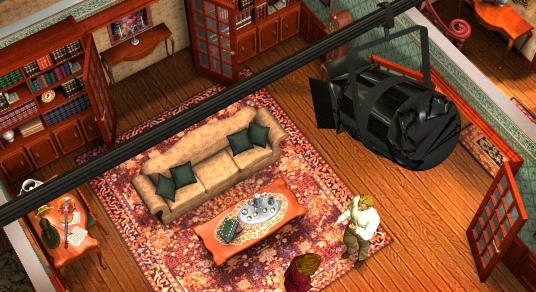
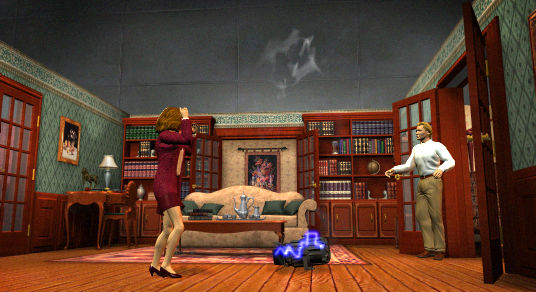
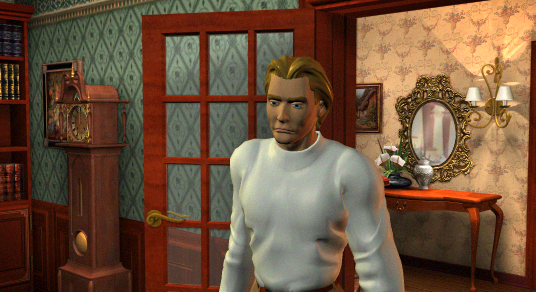
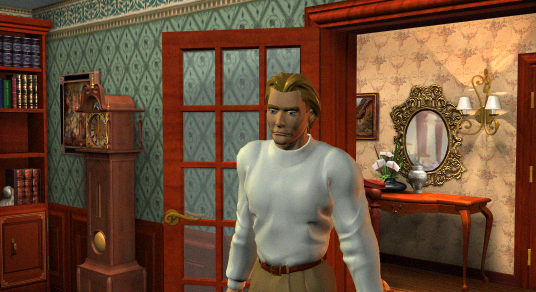
These stills are identical to the used files (which are displayed before every respective animation), except for cinebk8, which features a further Rick than what's in the used SV2N.
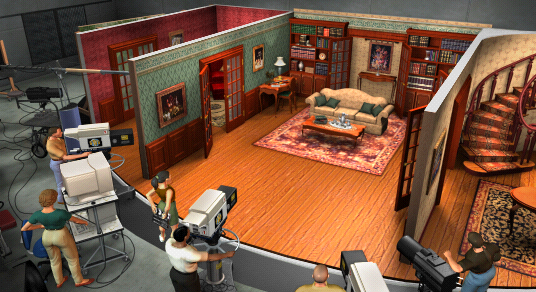
This image of an actorless set isn't used either.
The animations themselves are in various Opavf*.avf files. Notable however is that Opavf2.avf goes unused, and instead the still image at SV2B.avf is used for the entirety of that part of the scene. This may be because the animation is a simple zoom-in of the static image, and is thus unnecessary. Another possibility is that the animation is longer than the time it's part of the scene (this part is less than a second in the final game, whereas the zoom-in last a couple seconds).
Hallways#
|
Unused |
Used |
|---|---|
|
|
|
Unused |
Used |
|---|---|
|
|
|
Unused |
Used |
|---|---|
|
|
|
Unused |
Used |
|---|---|
|
|
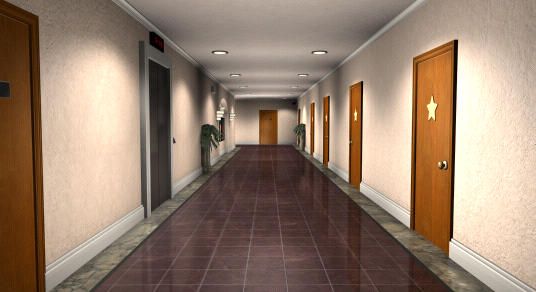
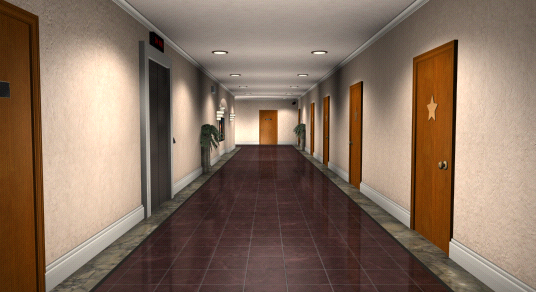
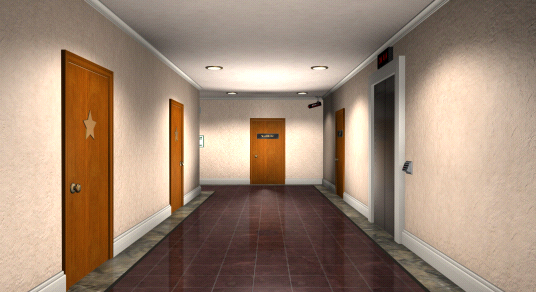
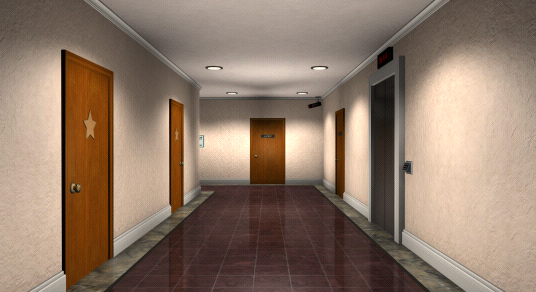
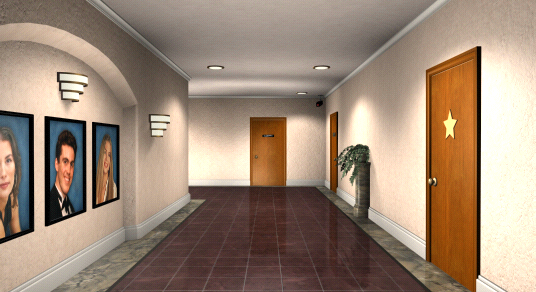
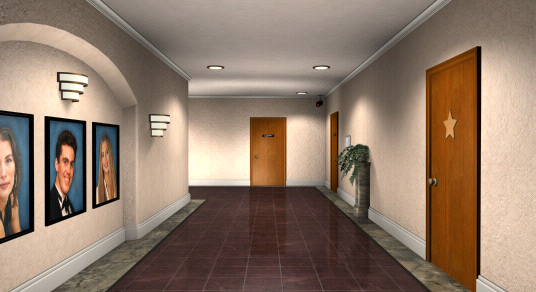
The lighting of the studio hallways generally got darker, in some cases noticeably removing light from the stars on various doors.
|
Unused |
Used |
|---|---|
|
|
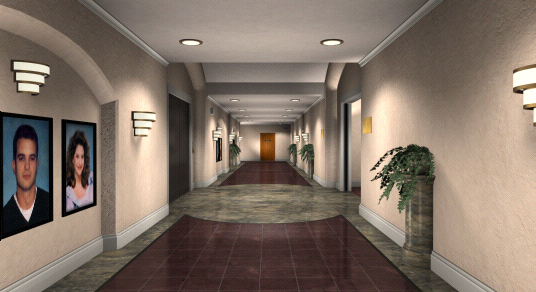
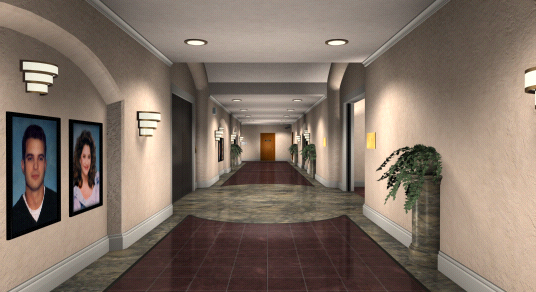
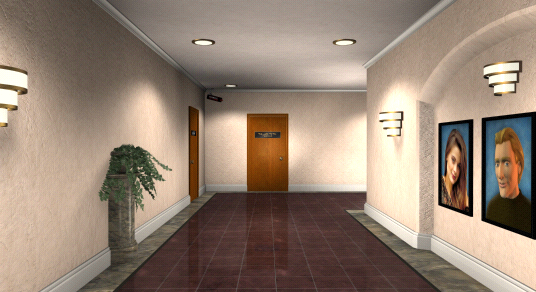
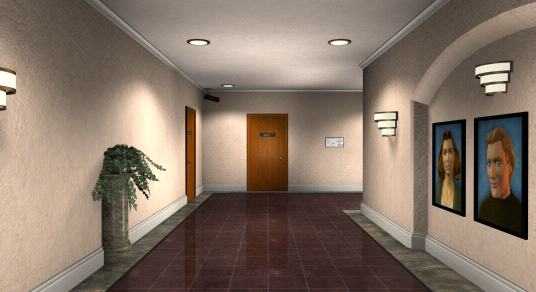
Additionally, in this part of the hallway a golden plaque on the wall has been repositioned.
|
Unused |
Used |
|---|---|
|
|
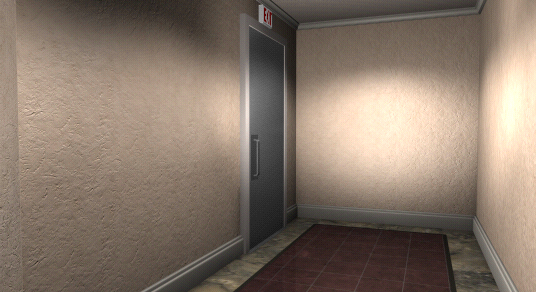
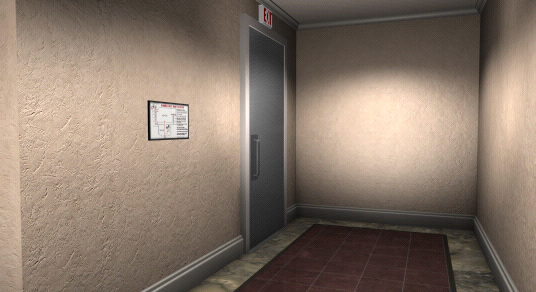
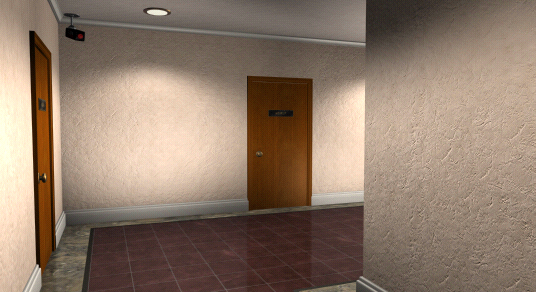
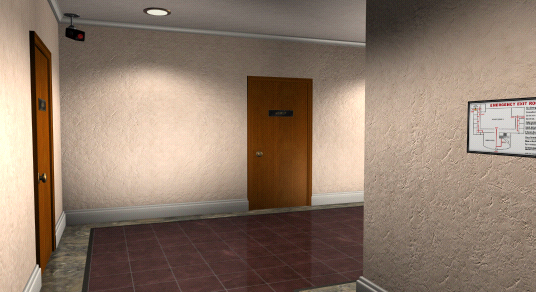
A fire escape plan was added next to Pappas' office.
|
Unused |
Used |
|---|---|
|
|
|
Unused |
Used |
|---|---|
|
|
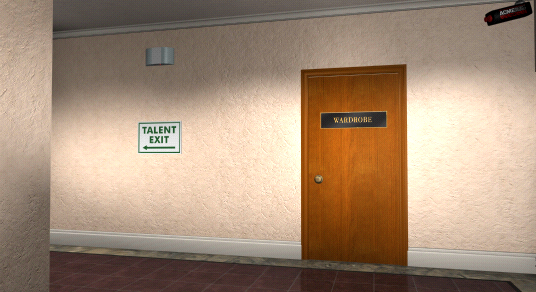
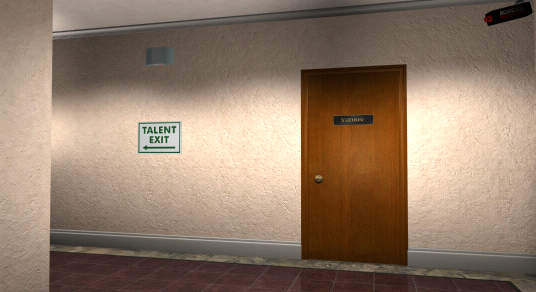
A fire escape plan was also added next to the talent entrance. However this one is a moot point, because...

...the associated plaque can't actually be examined, despite its presence in the game.
|
Unused |
Used |
|---|---|
|
|
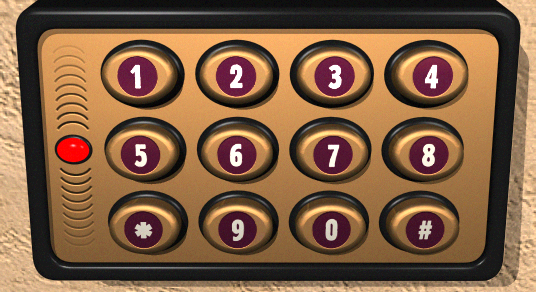
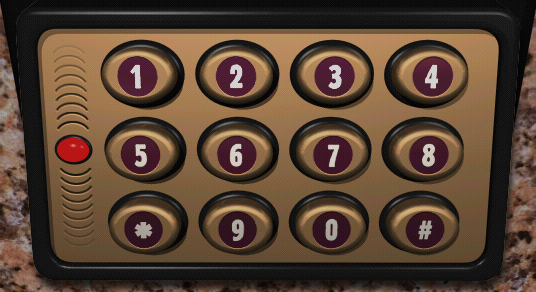
This keypad is on a different wall texture in the final, and isn't as well lit (presumably because in the early version, the red light looks to be lit already).
Mattie's Room#
|
Unused |
Used |
|---|---|
|
|
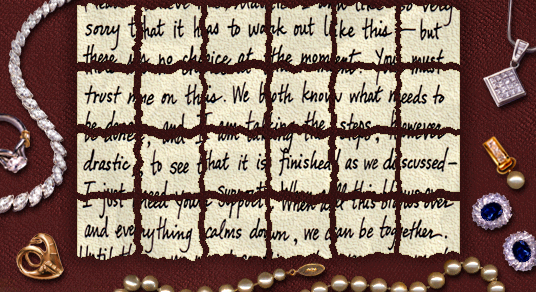
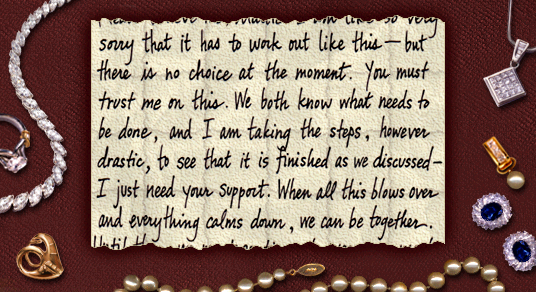
This image of the puzzle with all the pieces in place is unused, in favor of a version with the pieces put together. The purpose of this image is unclear; perhaps at one point the pieces wouldn't join together after solving the puzzle.
Rick's Room#
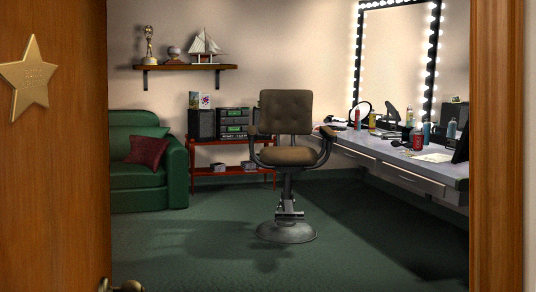
This view into Rick's room goes unused, though it's identical to the used version. The unused one is grouped with the hallway shots as SH2F.avf, while the used version is SR1Z.avf.
These various animations of Rick turning to talk to you go unused.
|
Unused |
Used |
|---|---|
|
|
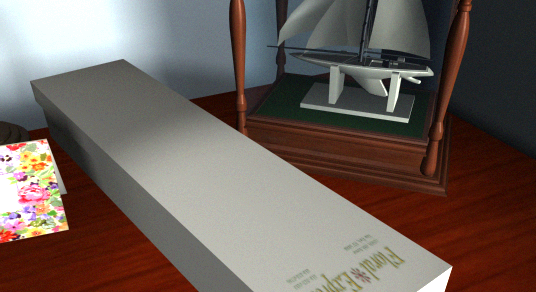
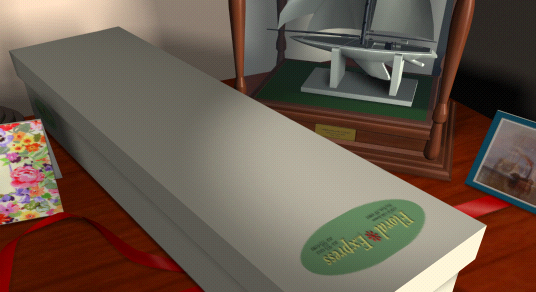
The logo of the flower place is improved in the final version, and Rick's room gets a warmer wall color as well.
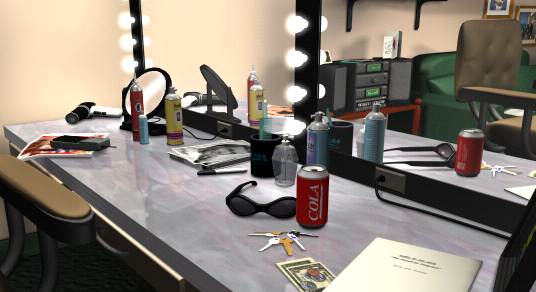
This is identical to the used version of this image.
|
Unused |
Used |
|---|---|
|
|
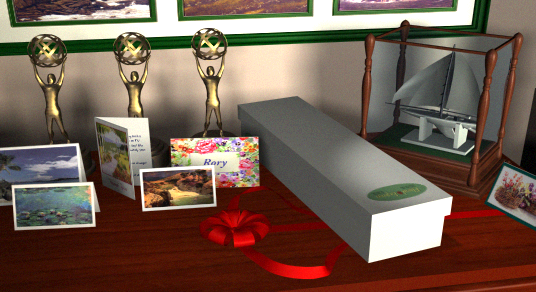
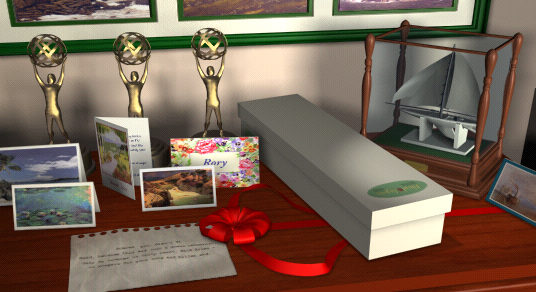
The unused version is missing the note that came with the dead flowers.
|
Unused |
Used |
|---|---|
|
|
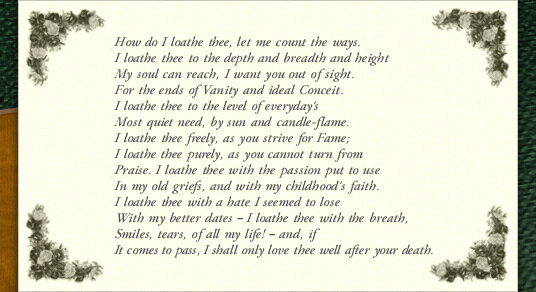
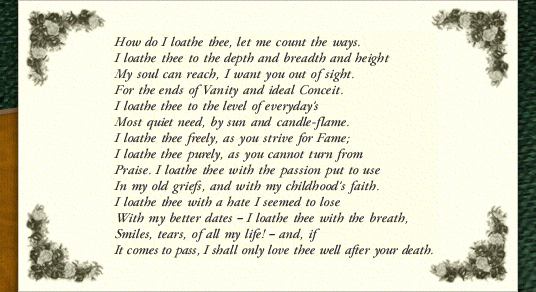
The ink used for the poem is darker in the final version.
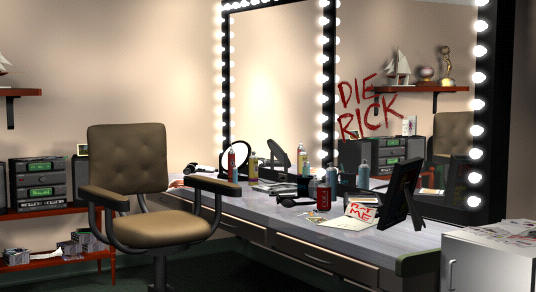
This is the first frame of the explosion animation in SR2G.avf, and isn't used anywhere.
Lillian's Office#
|
Unused |
Used |
|---|---|
|
|
|
Unused |
Used |
|---|---|
|
|
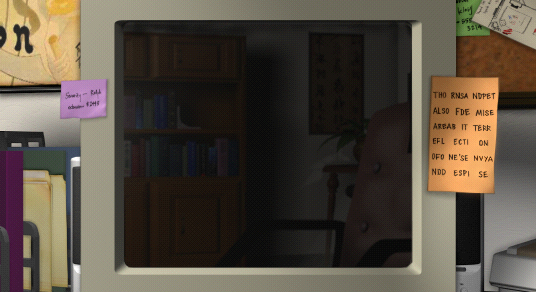
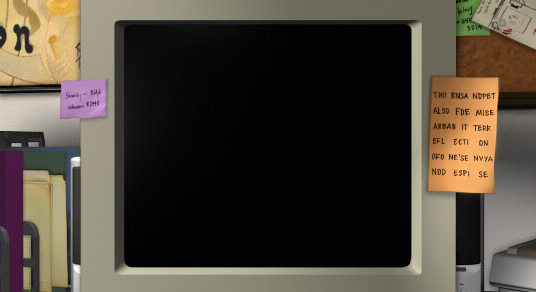
These images of the computer turned off are never used, because going to the computer immediately gives you the login screen.

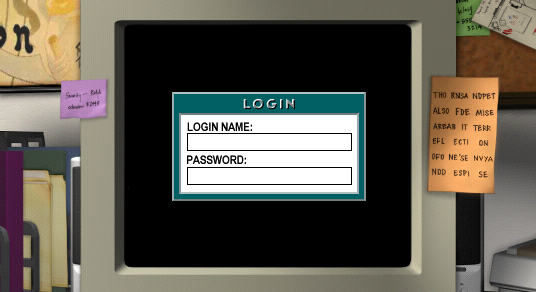
This old version of the login isn't used. The wall is exposed concrete, instead of the plain white walls they will be, and there's overall less detail around and behind the computer.
|
Unused |
Used |
|---|---|
|
|
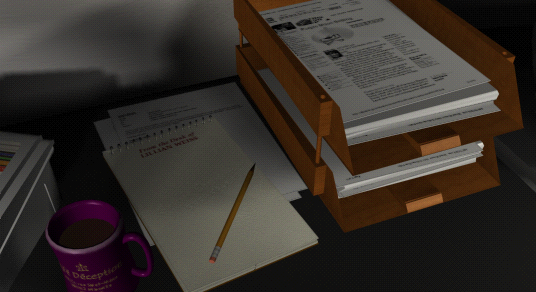
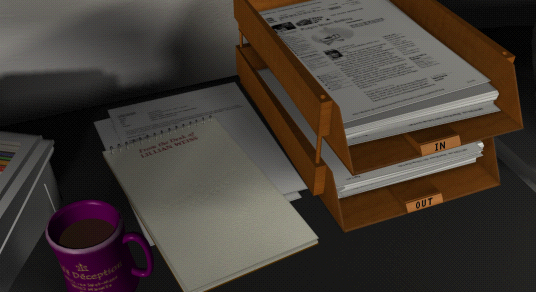
The pencil on this notepad is handled by an image overlay, leaving this separate pencil-on-notepad image unused.
|
Unused |
Used |
|---|---|

|
|
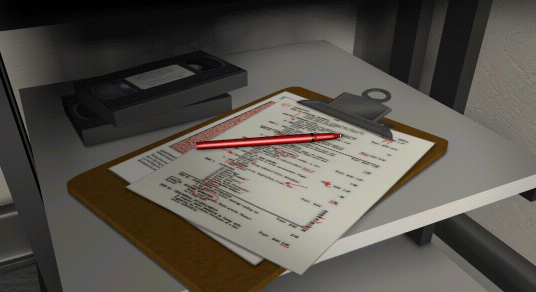
In addition to the somewhat typical lighting change, the early version of this clipboard apparently didn't obscure the pigpen cipher on the other page (you need the red lens of a pair of 3D glasses to read it in the final).
The Prop Room#
|
Unused |
Used |
|---|---|
|
|
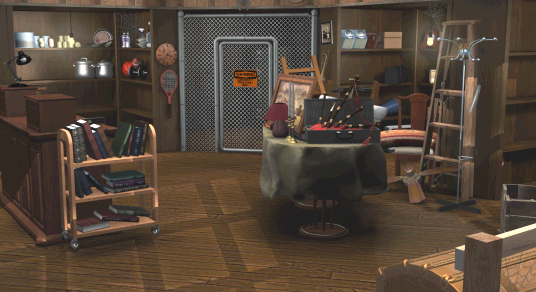
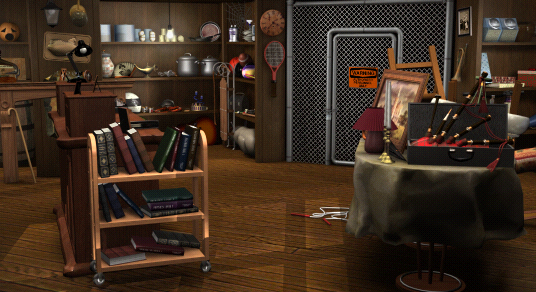
This view of the prop room is at a slightly different perspective, and changes the lighting to remove the sense that the air is filled with mist (or dust perhaps).
|
Unused |
Used |
|---|---|
|
|
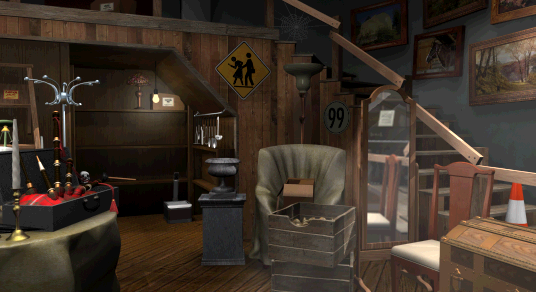
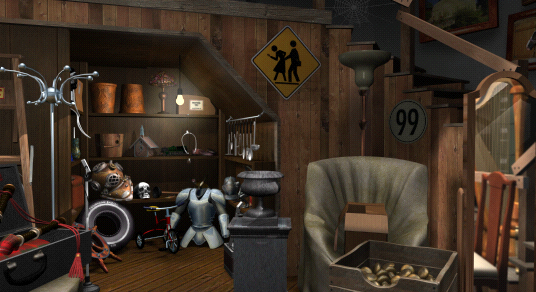
This image is replaced by a panorama, and features that same "misty" feel in the early version.
|
Unused |
Used |
|---|---|

|
|
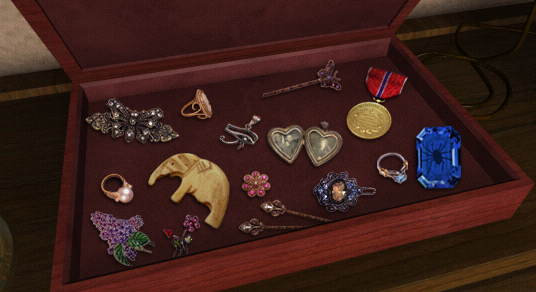
This case gets filled with stunning pictures jewels in the final.
|
Unused |
Used |
|---|---|
|
|
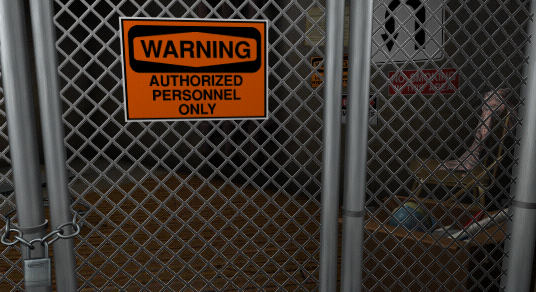
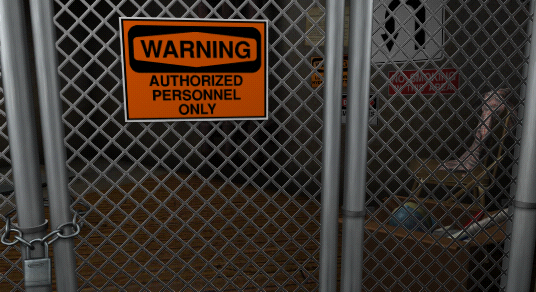
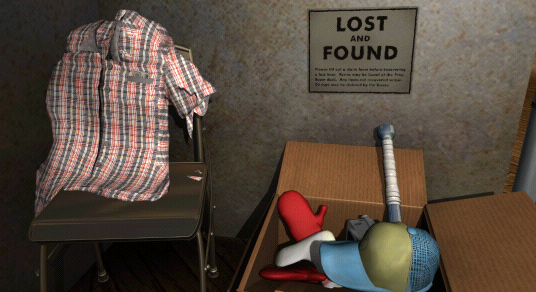
The light on the fence is slightly lessened, fixing some weird effects with the chain link fence over the U turn sign.
|
Unused |
Used |
|---|---|
|
|
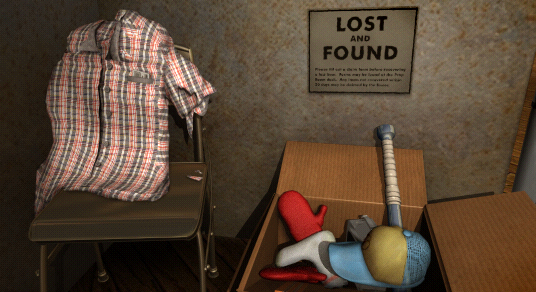
The lighting of this image is warmer in the final, and additionally the baseball cap shrunk a bit.
|
Unused |
Used |
|---|---|
|
|
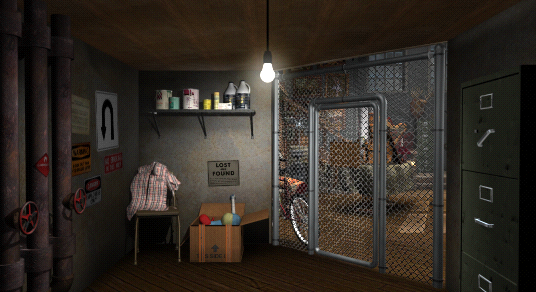
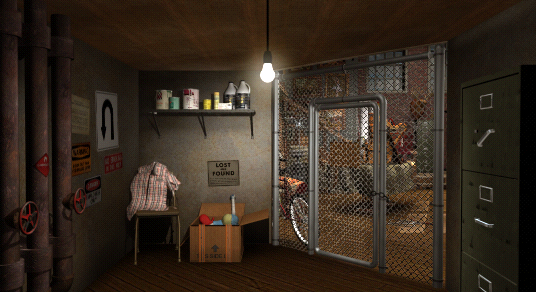
Again, the lighting of this area has been made warmer, and the cap's smaller. Also notable is the far wall, through the chain link fence, being given a brick texture in the final.
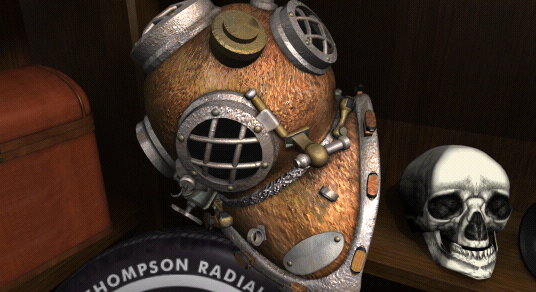
These prop images are identical to their used counterparts.
|
Unused |
Used |
|---|---|
|
|
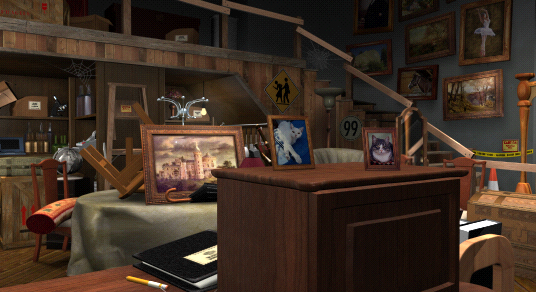
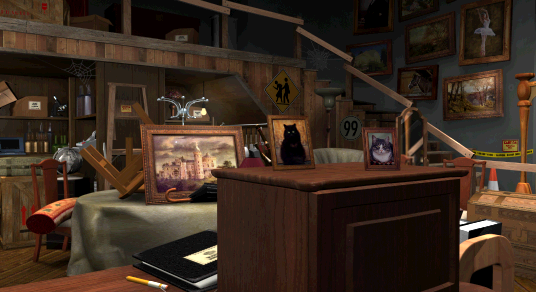
This panorama is replaced by SP1X.avf. The main change is one picture of a cat on the right side of the desk.
Dwayne's Office#
|
Unused |
Used |
|---|---|
|
|
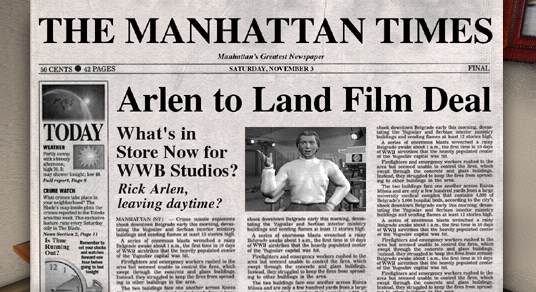
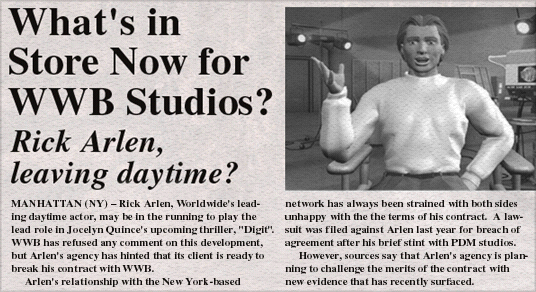
This image of a newspaper with its top story on Rick is discarded in favor of a closer look at the story itself.
|
Unused |
Used |
|---|---|
|
|
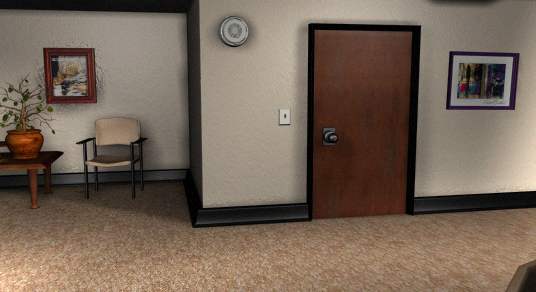
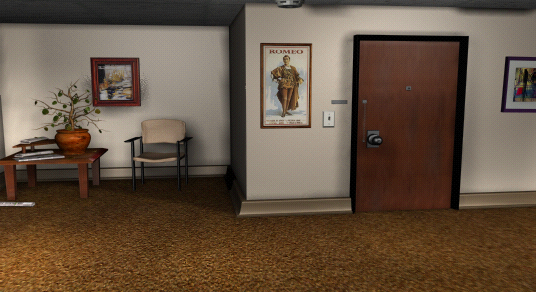
There are quite a few differences between these shots. The carpet is much darker, and the floor trimmings have gone from black to white. What looks to be a smoke detector of some kind has been apparently moved to the ceiling, with a poster taking the previous position. The door gains a latch and peephole. Finally, The whole room appears to have been squished, which also affects the door.
|
Unused |
Used |
|---|---|
|
|
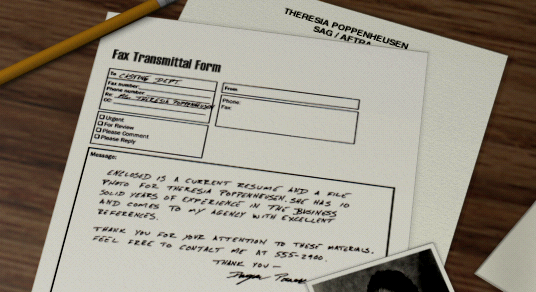
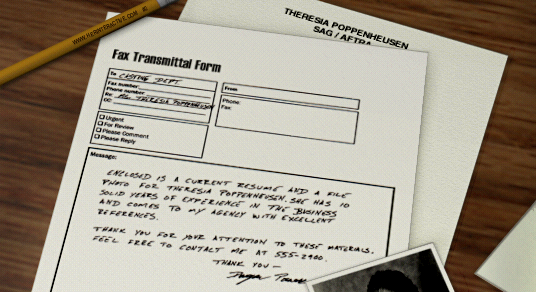
There's slightly more light on the form, and there's a shadow on the top and right edges. The pencil also gets Her's website on it.
Endgame#

This animation of Dwayne talking is identical to one of the used animations.

This animation, however, has no exact used version.
|
Unused |
Used |
|---|---|
|
|
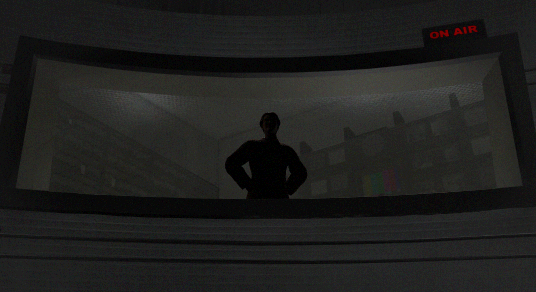
This image, which appears as both Dwayne114 and Dwayne175, is replaced with one that doesn't feature his silhouette in-place.
The name of this unused animation of the override lock orb (SF3MOVL3.tga) suggests that this was meant to be used for the harder version of the endgame puzzle. Since the animations are identical, however, this goes unused.
Closing Letter#
|
Unused |
Used |
|---|---|
|
|
|
Unused |
Used |
|---|---|
|
|
|
Unused |
Used |
|---|---|
|
|
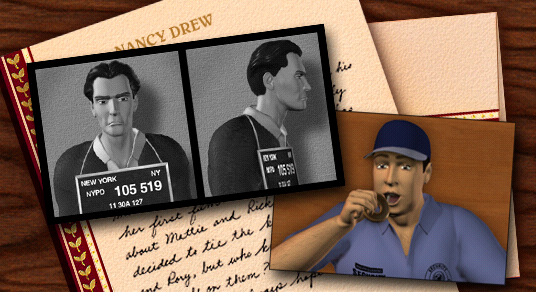
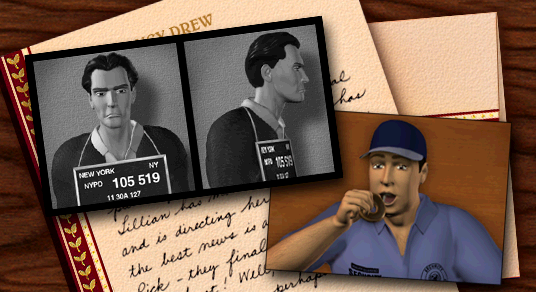
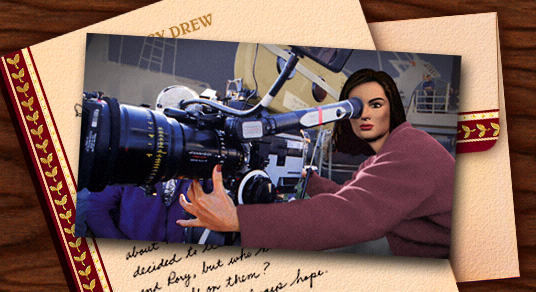
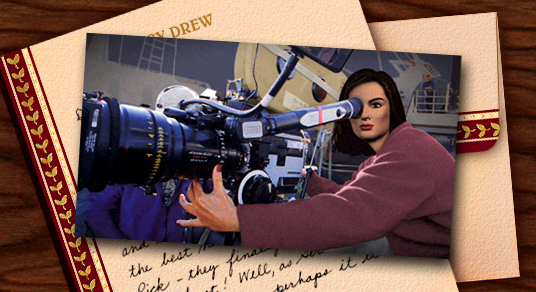
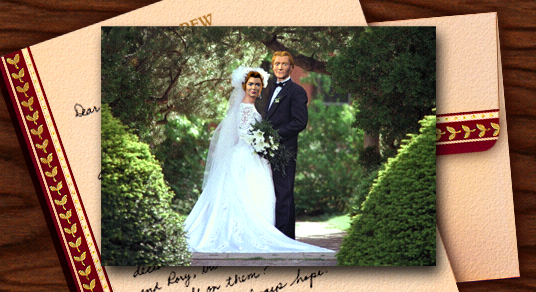
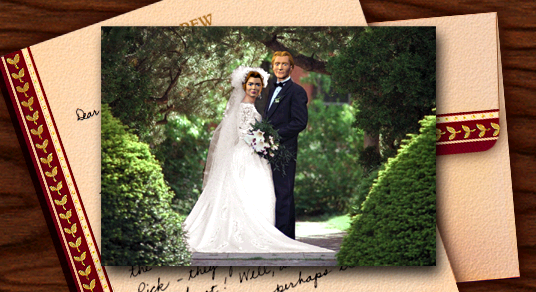
The only difference between these two sets of closing letter shots is that the final letter's writing is bigger. Additionally, there is no picture-less version of the early note present.
Previous Game#
These images are leftovers from the last game, Nancy Drew: Secrets Can Kill.
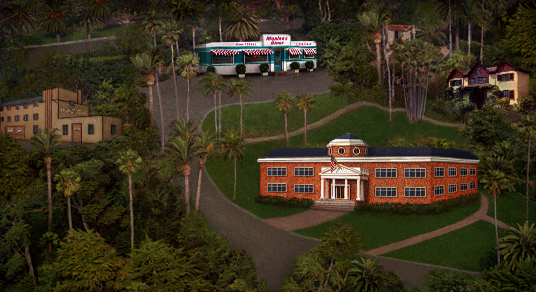
This is the daytime map of the various locations you can visit in the last game.
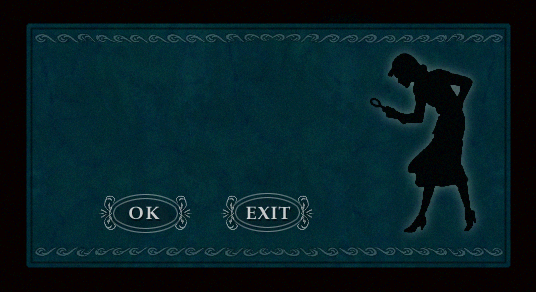
This dialog box is meant to ask you for the other disc. Since Secrets Can Kill is the only game to require disc switching, this goes unused.
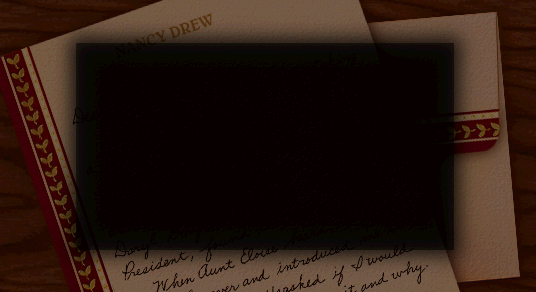
This backdrop for letter animations from the last game is, unsurprisingly, unused.

This animation of Connie's head appears to be from the end of the last game. The name of this file (contest.avf) likely refers to the judo contest Connie participates in.

These things you could pick up in Maxine's diner are, naturally, unused.
Development Images#
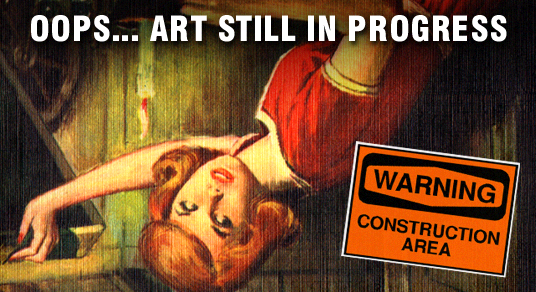
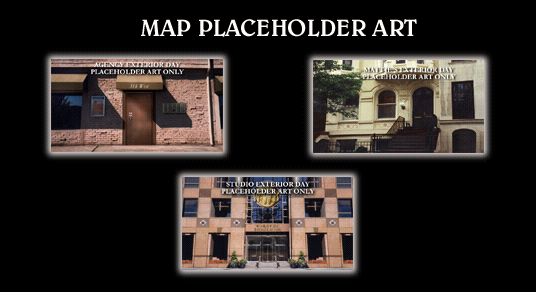
This image was presumably used for nodes whose artwork didn't yet exist. The art used is a version of the cover for The Secret in the Old Attic. This image can be found multiple times, as SF1E.avf, SF3K.avf, SH1C.avf, and SH2J.avf. Interesting is that SH2J is the only one of them actually referenced in a scene file, though the scene file itself appears to be unused.
|
Unused |
Used |
|---|---|
|
|
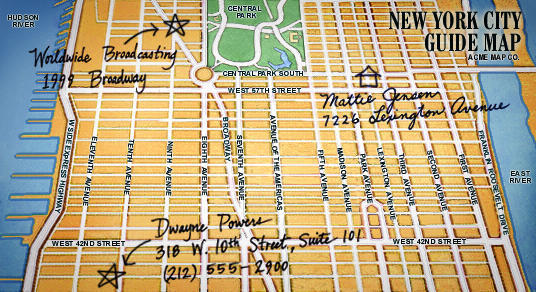
This image is very clearly an early version of the map, used during development.

This image, called Toast.avf, is a near-black test image. In the file (which uses 16-bit RGB values natively), each pixel has any number of its lowest color bits on, resulting in a collection of minimally-bright white, red, green, blue, cyan, yellow, magenta, and black. This image better demonstrates what the image is (brightness and contrast dramatically increased):

Miscellaneous#
|
Unused |
Used |
|---|---|
|
|
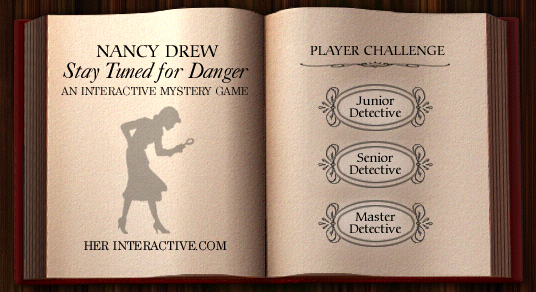
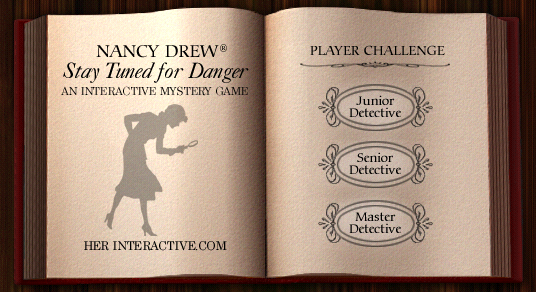
This early difficulty screen (present as both Dlevel and Dlevel1) is missing the ® for Nancy Drew, and features an untilted Nancy silhouette.

This UI frame goes unused. The used version makes the green areas black instead.