This is a sub-page of Dungeon Magic.
Unreferenced Maps#
Put the codes listed below in MAME's dungeonm.xml (Dungeon Magic) or lightbr.xml (Light Bringer) cheat file to replace Round 00 Room 1D (A normally unused slot that can only be accessed through the level select) with an unused map. There are four codes, each of which will change one of the layers of that map. If the room isn't Unused Room 1 or 2, leave the fourth cheat deactivated.
|
|
|
|
These maps have fully finished art and collision data but are missing all item data, object data, and warp points. The objects that do appear in the map are just a result of replacing Round 00 Room 1D; these are shared with the game's tutorial.
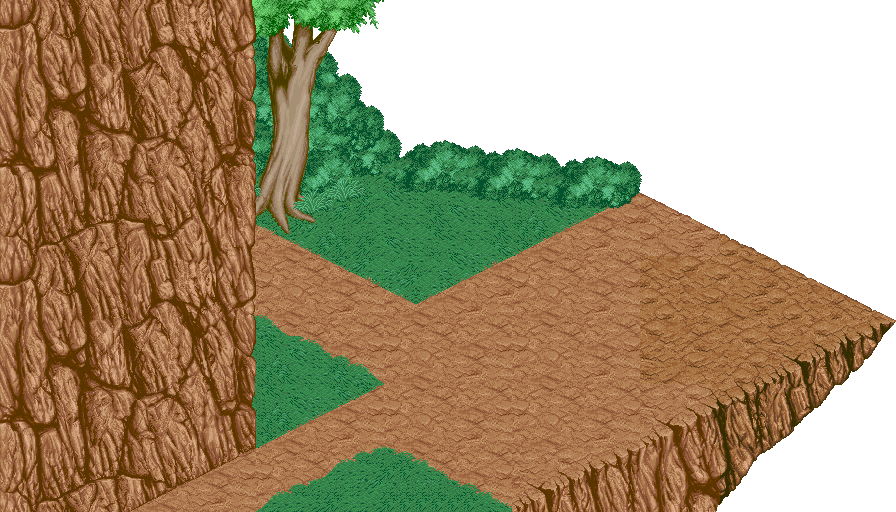
Layer 1 Offset: 0x139A7C
Layer 2 Offset: 0x13D5DC
Layer 3 Offset: 0x13DFA6
Layer 4 Offset: 0x13E81E
Original Slot: Round 00, Room 07
A cliffside with a lovely vista...or it would have if there was a background programmed in, anyway. Seems like the player would enter from the southwest and have to head northwest on the dirt path to progress, with the cliff keeping enemies to defeat and/or treasure to collect.
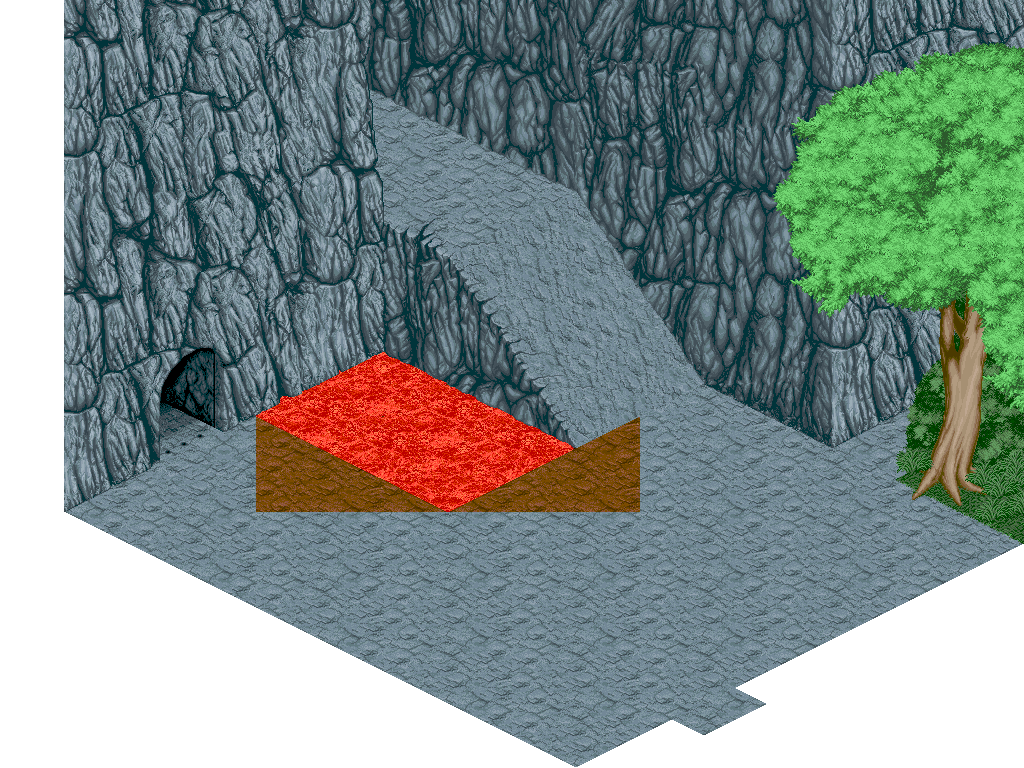
Layer 1 Offset: 0x139B9E
Layer 2 Offset: 0x13D636
Layer 3 Offset: 0x13E000
Layer 4 Offset: 0x13E850
Original Slot: Round 00, Room 0C
A mountainous area with a lava pit that uses a different palette that clashes with every other chunk in this map. The player would enter from the southeast and have to either defeat enemies, destroy objects, or hit switches to lower the bars on the cave door (not pictured) to proceed. There are two alcoves, one between a rocky wall and a chunk of greenery, and the other at the top of a steep slope.
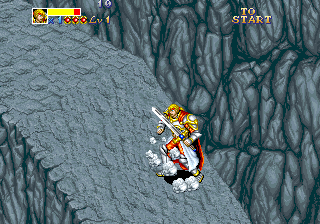
Said slope is steep enough to push the player back down if they stay on it too long without moving. None of the slopes in the final game are steep enough to do this.
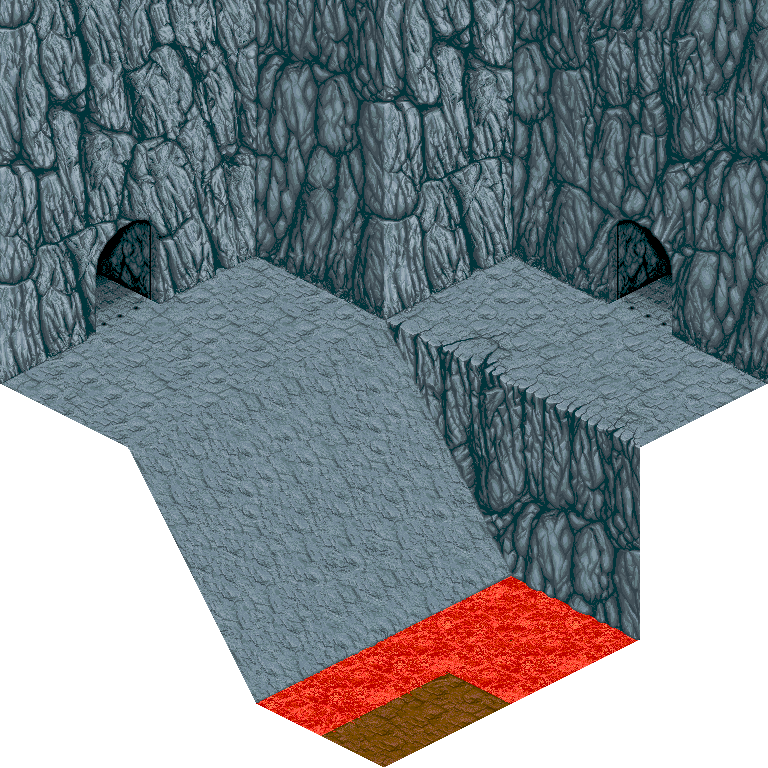
Layer 1 Offset: 0x139BD8
Layer 2 Offset: 0x13D648
Layer 3 Offset: 0x13E012
Original Slot: Round 00, Room 0D
More mountains, more lava, more slopes. The slope here is even steeper than in the previous unused map; players can only walk up it for a few seconds for being pushed back down, so they'll have to do a series of jumps to scale the whole thing. There would presumably be a treasure chest or something on the other side of the lava pit.
Layer 1 Offset: 0x139C4C
Layer 2 Offset: 0x13D66C
Layer 3 Offset: 0x13E036
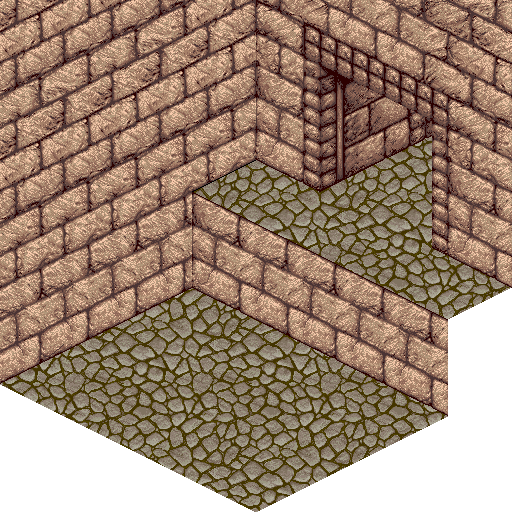
Original Slot: Round 00, Room 0F
An oversized stone gate area. The graphics used here are similar, but not identical, to the "PREMYTH" gate in the opening stage, so it's likely that this would have appeared between the opening town section and the forest split. The wall is too tall for the player to simply jump past - some of the game's seldom-used floating platforms would have been placed here to help the player ascend.
Layer 1 Offset: 0x139CFA
Layer 2 Offset: 0x13D6A2
Layer 3 Offset: 0x13E06C
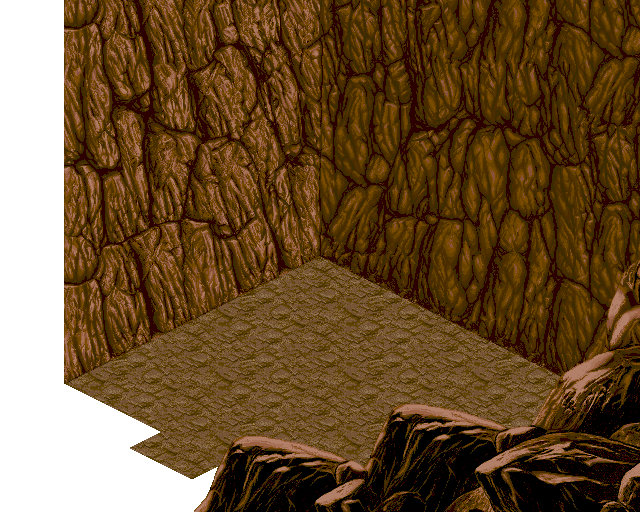
Original Slot: Round 00, Room 12
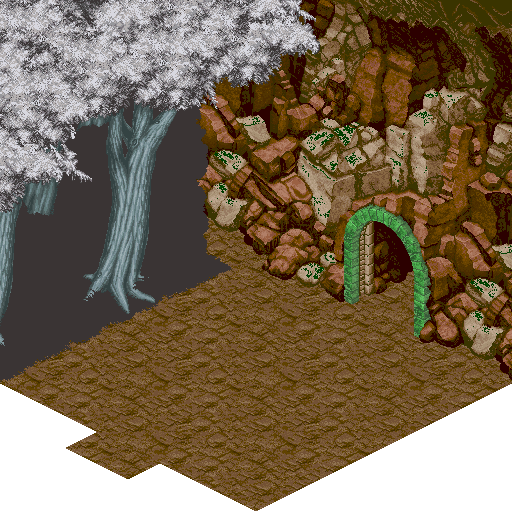
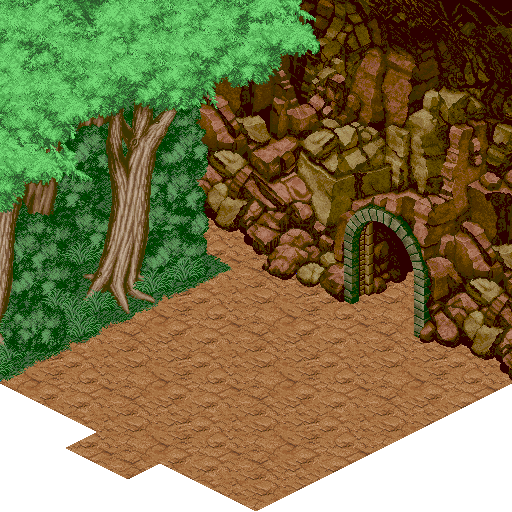
A cut side area. Of note is that the rock walls in the south-east corner are brown in this room, while in the final game they use a green palette.
|
Early |
Final (Round 00, Room 0D) |
|---|---|
|
|
Layer 1 Offset: 0x139D6E
Layer 2 Offset: 0x13D6C6
Layer 3 Offset: 0x13E090
Original Slot: Round 00, Room 14
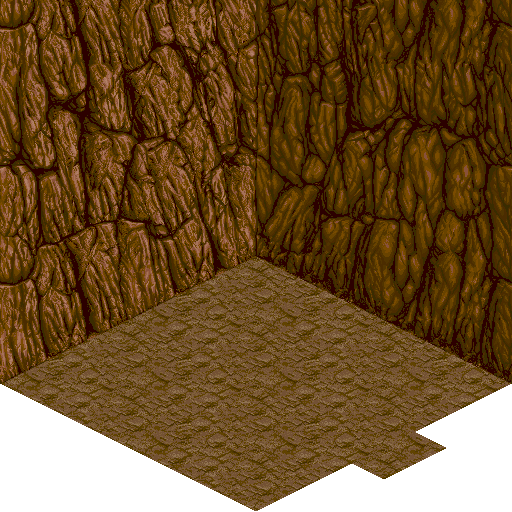
Identical to the setup used in Round 00, Room 0D (and the tutorial) except for the incorrect palettes. The game's FG/BG palettes were likely shifted around at some point during development.
Layer 1 Offset: 0x139E1C
Layer 2 Offset: 0x13D6FC
Layer 3 Offset: 0x13E164
Original Slot: Round 00, Room 17
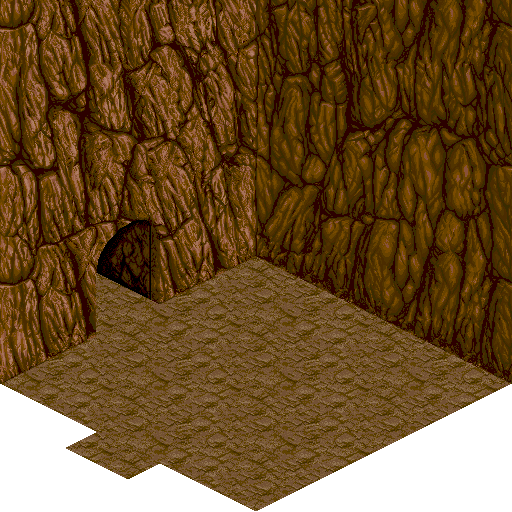
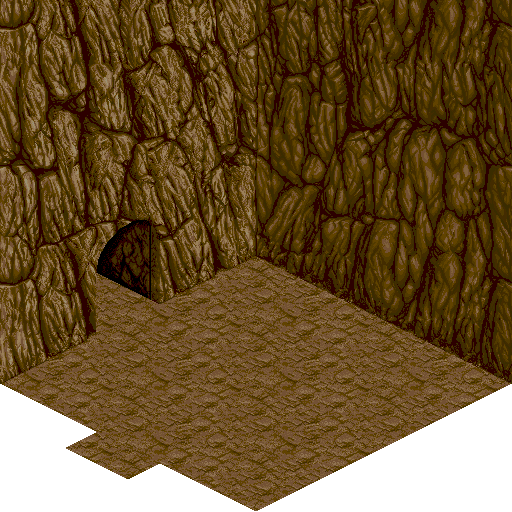
An unused side area. This could be an early version of the Goblin campfire room seen in the latter half of Round 1, but more likely it's a separate room that got cut.
|
Early |
Final |
|---|---|
|
|
Layer 1 Offset: 0x139E90
Layer 2 Offset: 0x13D720
Layer 3 Offset: 0x13E0B4
Original Slot: Round 00, Room 19
A near perfect match for Round 00, Room 17 in the final game, but the rock walls use a warmer palette in this version.
Sketch Maps#
Set 1#


Tilemap Offsets: 0x185580-0x185C19
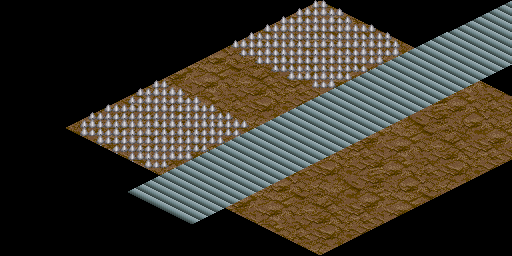
The first two sketch maps are much simpler than the rest. The first is a conveyor belt next to two spike pits (トゲ = Spike). The kanji on the second map is 溶岩, meaning lava, so this is a lava pit.
|
Sketch |
Finished |
|---|---|
|
|
|
Tilemap Offsets: 0x195368-0x1956F5
The first sketch map was the only one of these maps to get a finished version...but these chunks aren't used anywhere in the final game either. Based on the art used in these chunks, they were meant to appear somewhere in the first stage.
Set 2#
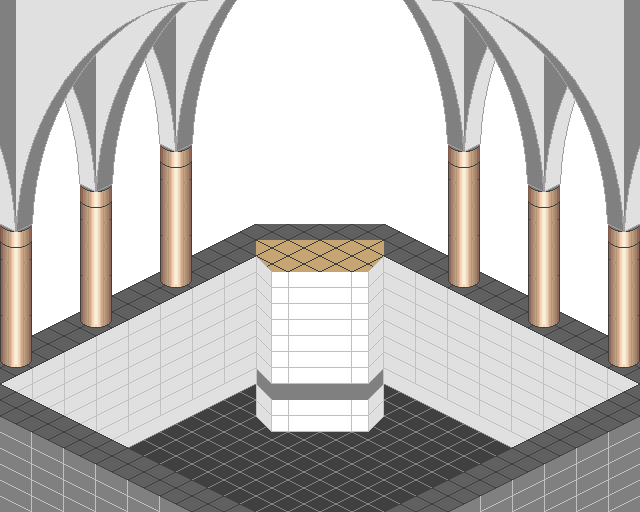
The maps in this section seem to be from a very early version of the Temple of Fontaine. Though these chunks aren't referenced in any extant layer data, they're easy to recreate: The chunks appear in the exact order they'd be assembled, left-to-right, top-to-bottom, and any chunks that would have been used multiple times in a map having exactly as many copies as needed in the chunk table. That is to say, a 512x512 map layer will always have exactly 16 separately defined chunks, even if one or more of those chunks have duplicate data.
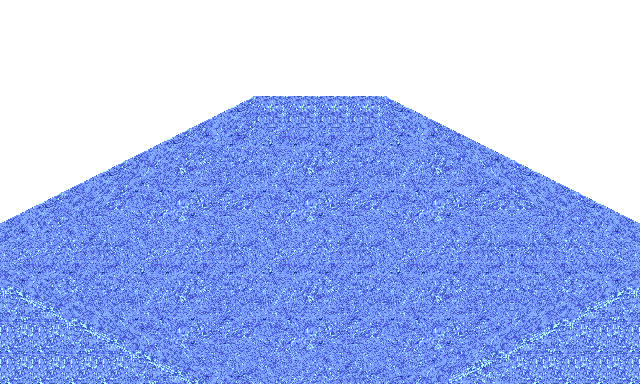
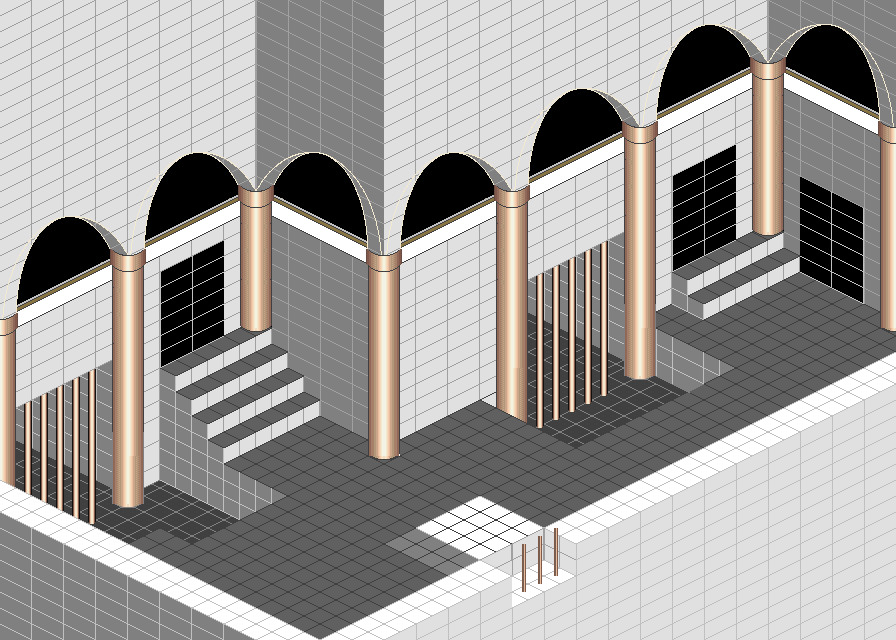
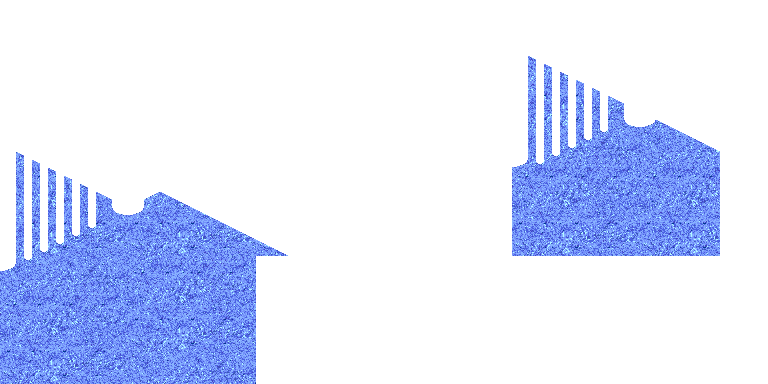
All but one of these maps have a separate water layer. These would have used palette cycling and be semi-transparent, blending in with the foreground layers like the waterfall area of the first round. It's not entirely clear how this would work, gameplay-wise: In some of the areas the water would only come up to the players' feet, but in other areas, players would be completely submerged. This would have most likely slowed down players' movements, possibly enemies' movements as well.
|
Main Map |
Water Layer |
|---|---|
|
|
Layer 1 Offset: 0x187786-0x187D1B
Water Offset: 0x1B5244-0x1B5653
The first room is an instance where the player would be entirely submerged. No obvious exits here, nor are there places to encounter enemies. Roman-style architecture in this room can be seen in this and many other rooms in this set...
|
Main Map |
Water Layer |
|---|---|
|
|
Layer 1 Offset: 0x187D1B-0x188BD5
Layer 2 Offset: 0x188BD6-0x18926F
Layer 3 Offset: 0x1A176C-0x1A1D83
Water Offset: 0x1B481C-0x1B4C2B
...like this room. Dig those semicircular arches. Water fills up the two gated areas in the left and center of the map, and what looks like a window appears in the south-center. Players would probably enter from the door on the west side, then would chose either one of the doors in the eastern section.
|
Main Map |
Water Layer |
|---|---|
|
|
Layer 1 Offset: 0x1892F2-0x189B11
Layer 2 Offset: 0x1A3666-0x1A3971
Water Offset: 0x1B4C2C-0x1B4E33
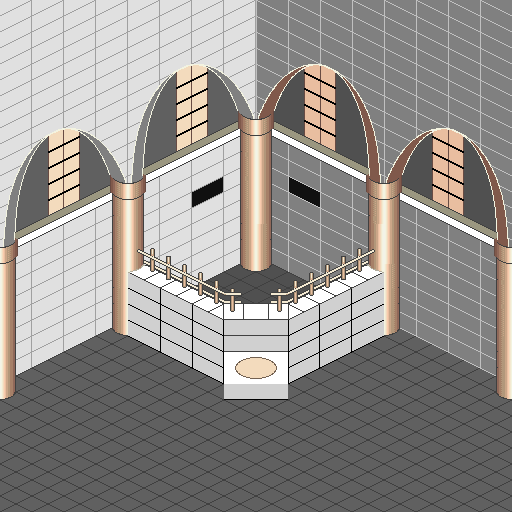
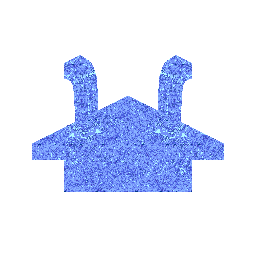
A small room with a gated-off pool of running water in the center. That white platform with the tan circle seems significant somehow. Other than that, not much to say about this room - no obvious exits.
|
Main Map |
Water Layer |
|---|---|
|
|
Layer 1 Offset: 0x189B12-0x18A025
Layer 2 Offset: 0x1A3F8A-0x1A45A1
Layer 3 Offset: 0x1A4CBE-0x1A4FC9
Water Offset: 0x1B4696-0x1B481B
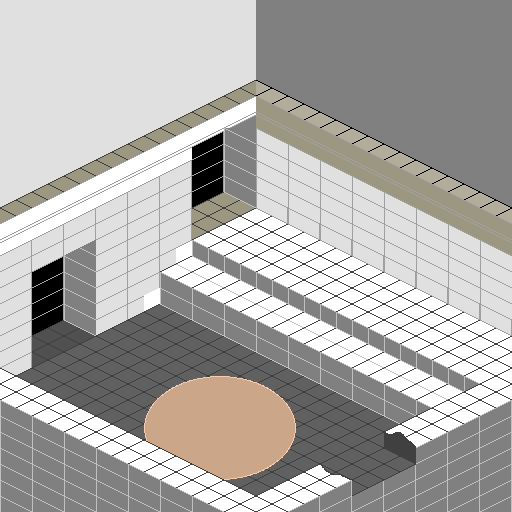
Two tiers of doors, a large crack in the southern wall (An entrance?) and a large brown circle of some sort. This room has a few errors that would have been corrected if it was developed further: The water layer doesn't fully cover the ground, and there are two holes in the wall between the two doors.
|
Main Map |
Water Layer |
|---|---|
|

|
Layer 1 Offset: 0x18A026-0x18A539
Layer 2 Offset: 0x1A45A2-0x1A4CBD
Water Offset: 0x1B503C-0x1B5243
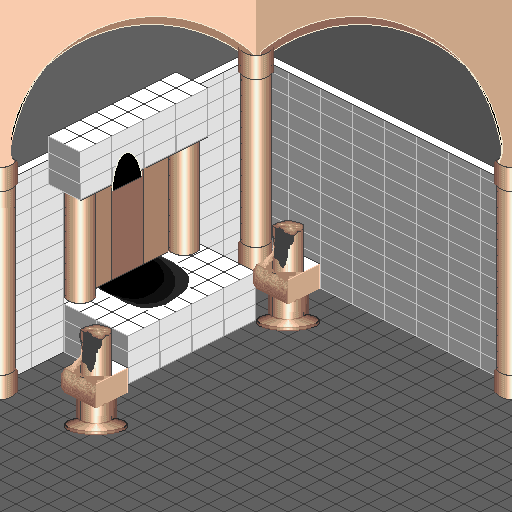
Just a little room with two broken columns and a stream of water flowing out of a hole in the wall. Those dark half-circles are likely supposed to be some kind of splash effect. No obvious exits in this room either.
|
Main Map |
Water Layer |
|---|---|

|
|
Layer 1 Offset: 0x18A53A-0x18B5FB
Layer 2 Offset: 0x1A3972-0x1A3F89
Water Offset: 0x1B3E76-0x1B4203
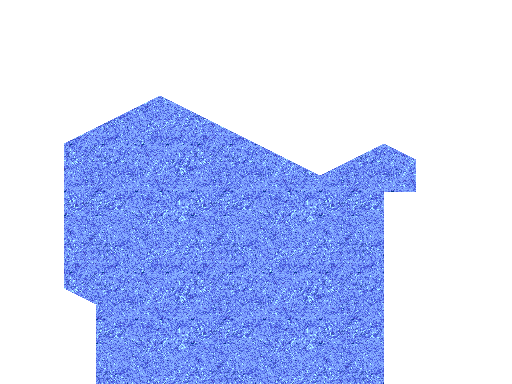
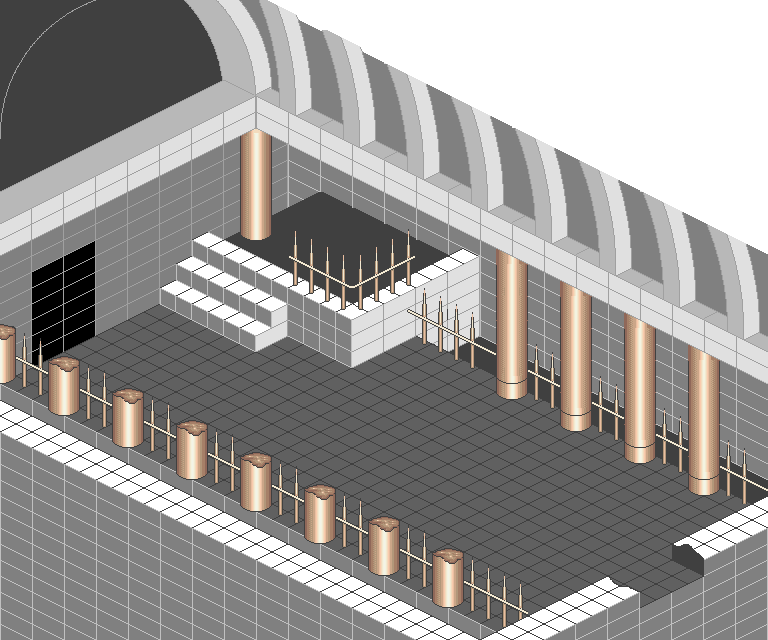
A large room outside of the main structure, with a partially broken wall in the north and a substantial pool of water in the southeast corner. The tan blocks in the southwest corner definitely mark an entrance point, and the two black doors are exit points.
Layer 1 Offset: 0x18B5FC-0x18BD99
Layer 2 Offset: 0x1A4FCA-0x1A596F
Layer 3 Offset: 0x1A59F2-0x1A5F05
The only room in this group that doesn't have a water layer: A tall entrance hall flanked by gates and columns on each side. The dark gray surfaces on the east side of the room might be water-related, but there's no way to tell for sure.
|
Main Map |
Water Layer |
|---|---|
|

|
Layer 1 Offset: 0x18BD9A-0x18C1A9
Layer 2 Offset: 0x1A5F06-0x1A6725
Layer 3 Offset: 0x1A6726-0x1A692D
Water Offset: 0x1B4E34-0x1B503B
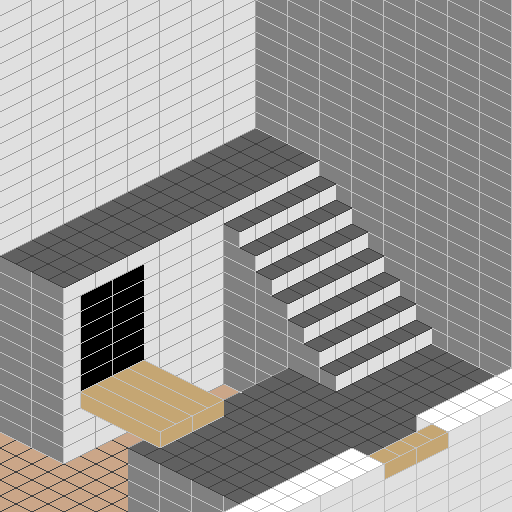
A small, fairly bland room -- The plank leading to the black door is probably the most interesting part, but that's not saying much. There'd presumably be treasure chests or something at the top of the stairs.
|
Main Map |
Water Layer |
|---|---|
|
|
Layer 1 Offset: 0x18C1AA-0x18D3F1
Layer 2 Offset: 0x1A2EC8-0x1A3665
Water Offset: 0x1B30C0-0x1B3655
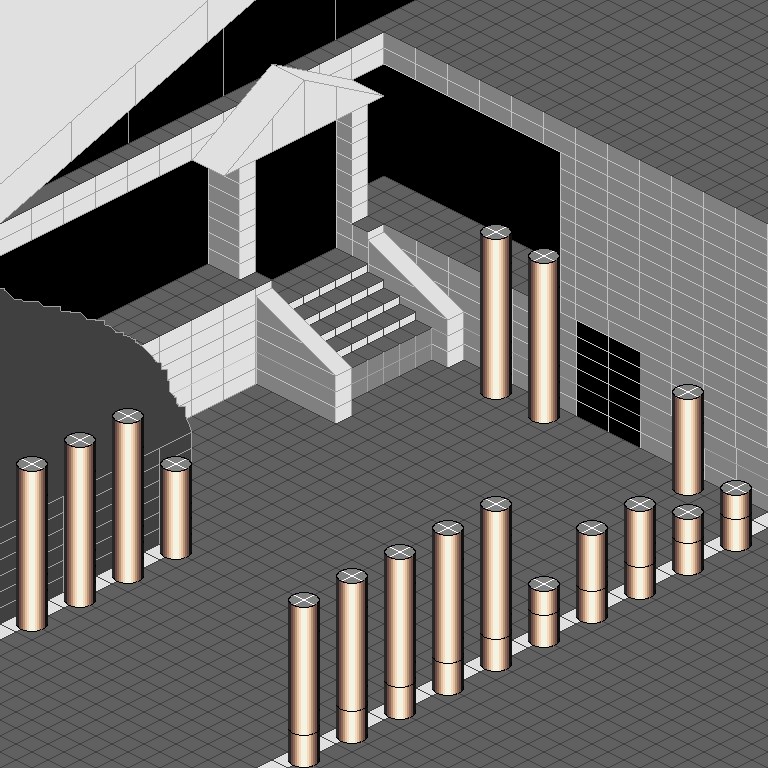
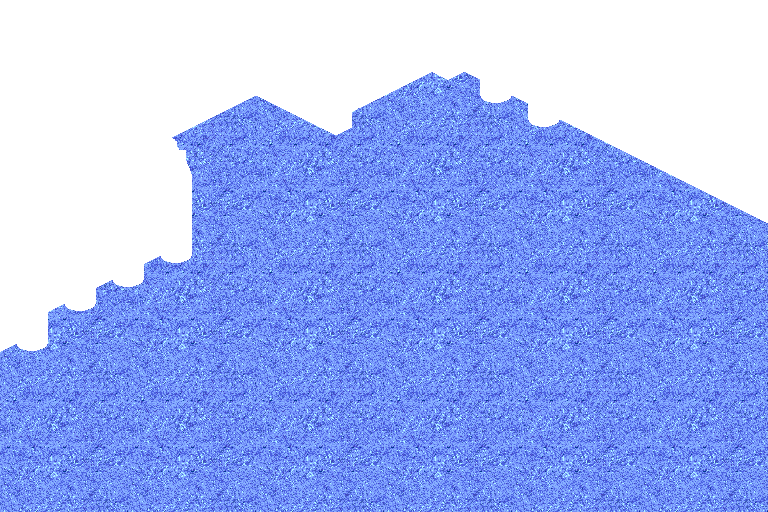
Now here's a a room with much more interesting architecture. Judging by the stairs, the fancy door, and the large roof graphic, this would be the first room players would see in this version of the Temple of Fontaine. The water level is low here, only come up two blocks in height. There's a side entrance to the east, just like in the final game.
|
Main Map |
Water Layer |
|---|---|
|
|
Layer 1 Offset: 0x1A692E-0x1A6F45
Layer 2 Offset: 0x1A6F46-0x1A7251
Water Offset 0x1B4204-0x1B4695
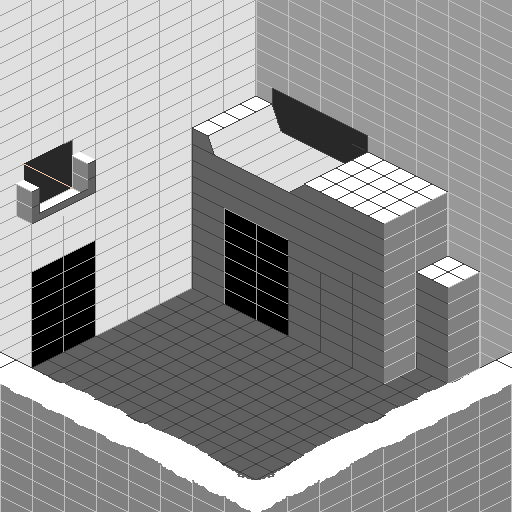
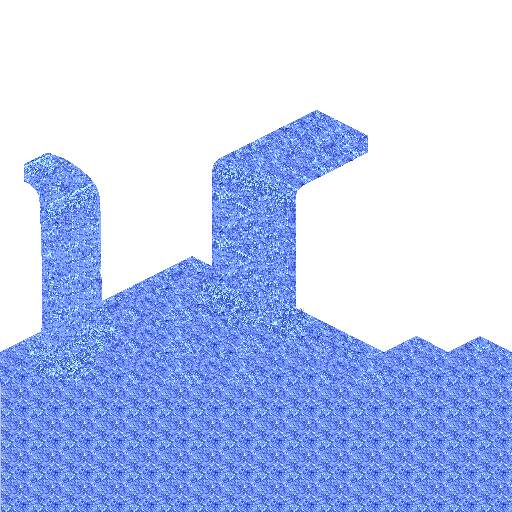
Lot of water flowing into this room. Fairly shallow water. Two doors. Let's move on.
|
Main Map |
Water Layer |
|---|---|
|
|
Layer 1 Offset: 0x1A1D84-0x1A2A35
Layer 2 Offset: 0x1A2A36-0x1A2EC7
Water Offset: 0x1B3656-0x1B3E75
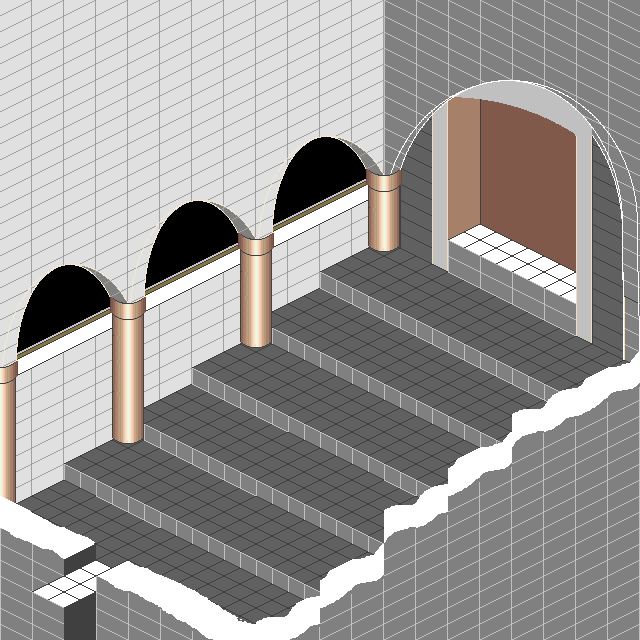
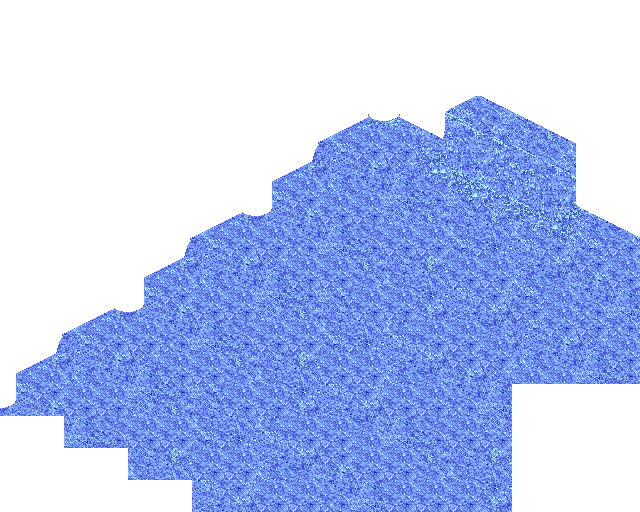
Water flows from the mysterious brown opening in the northeast, down the stairs, into the entrance point in the southwest. Would have been a nice effect if it was ever finished, but, well, it wasn't. The scope of the room and the lack of exits suggests that this would have been a boss arena, though whether or not that boss would have been the Queen Spider is anyone's guess.
|
Water Layer |
Water Layer Alt |
|---|---|
|
|
|
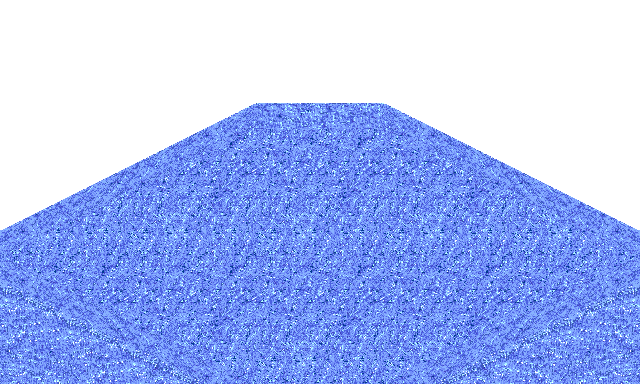

Water Offset (Alt): 0x1B5654-0x1B57D9 (First), 0x1B57DA-0x1B5D7F (Fifth)
There are alternate versions of the water layers for the first and fifth rooms. What these would be used for is uncertain, but one possibility is that these are toxic variants, like the poison water seen in the final game.
Set 3#
All of the maps in this groups seem to have been designed as test areas. It's likely that these were actually implemented in the game at some point during the game's development, but there's nothing left but the chunk graphics themselves in the finished game.

Tilemap Offsets: 0x198220-0x1984A9
A small, simple map that tests walking around and jumping on / falling off platforms of different heights.
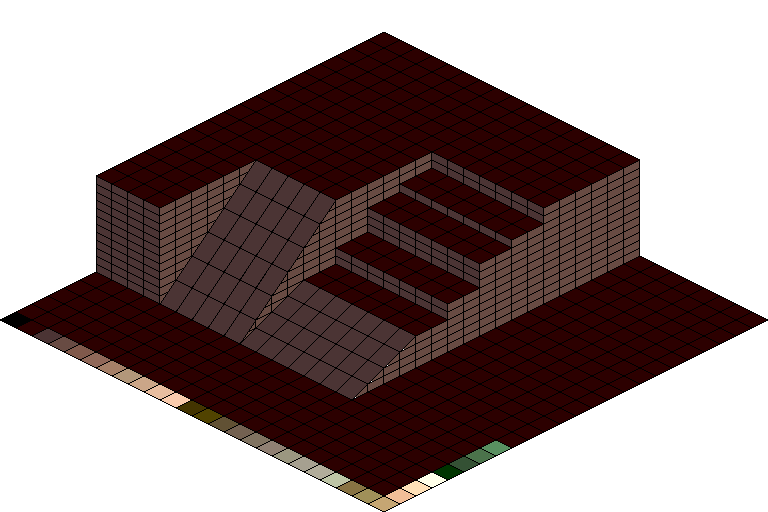

Tilemap Offsets: 0x19852C-0x1990D9
A larger map testing two different types of slopes, steps, and platforms. The tiles at the bottom of the map goes through all 32 colors of the map's palette sans the first transparent color. The square and circular columns would be placed somewhere on the map, likely at the top.


Tilemap Offsets: 0x1990DA-0x1999FD
Chunks for the three different types of slope tiles. These would be layered on top of each other in some way...

Tilemap Offsets: 0x1999FE-0x199D09
...as would these step chunks.
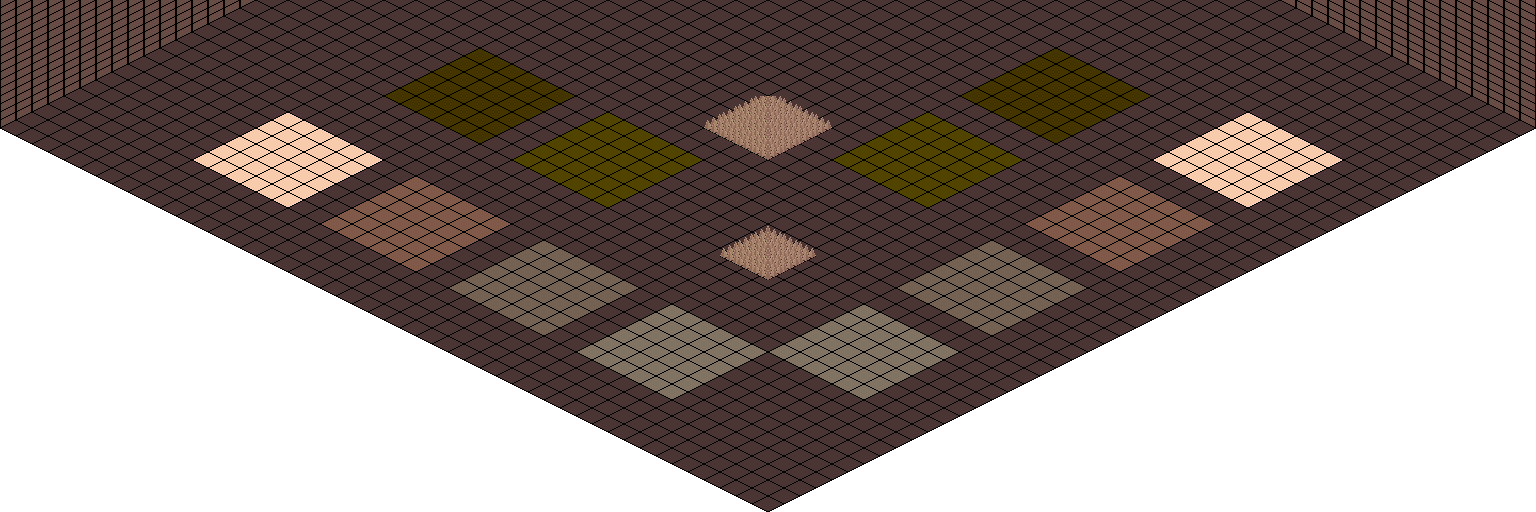
The largest of all test maps. This would test the different floor types: Spike floors, elemental hazard floors, water, ice, and spikes. Tilemap Offsets: 0x199D0A-0x19A62D
Unused Chunks#
Leftover chunks that can't be assembled into proper maps.
Sketch Art#
0x17E64A |
0x17E6CC |
0x17E74E |
0x17E7D0 |
0x18506C |
0x19A62E |
0x19A6B0 |
0x19A732 |
|---|---|---|---|---|---|---|---|
 |
 |
 |
 |
 |
 |
 |
 |
0x19A7B4 |
0x19A836 |
0x19A8B8 |
0x19A93A |
0x19A9BC |
0x19BC04 |
0x1B1CF2 |
0x1B1D74 |
 |
 |
 |
 |
 |
 |
 |
 |
0x1B1DF6 |
0x1B1E78 |
0x1B1EFA |
0x1B1F7C |
0x1B1FFE |
0x1B2080 |
0x1B2102 |
0x1B2184 |
 |
 |
 |
 |
 |
 |
 |
 |
0x1B2206 |
0x1B2288 |
||||||
 |
 |
Notable chunks include black border pieces that none of the sketch maps use, a doorway, and 12 placeholder pieces: E1 to E6 are transparent, and E7 to E12 have a black background.
Round 1#
0x1809D6 |
0x180F6C |
0x180FEE |
0x181070 |
0x181174 |
0x18178C |
0x18180E |
0x1822B8 |
|---|---|---|---|---|---|---|---|
 |
 |
 |
 |
 |
 |
 |
 |
0x18243E |
0x1824C0 |
0x182A56 |
0x182AD8 |
0x182B5A |
0x182BDC |
0x182C5E |
0x182D62 |
 |
 |
 |
 |
 |
 |
 |
 |
0x182DE4 |
0x182E66 |
0x182EE8 |
0x182F6A |
0x182FEC |
0x18306E |
0x1830F0 |
0x1831F4 |
 |
 |
 |
 |
 |
 |
 |
 |
0x183276 |
0x18337A |
0x18347E |
0x183582 |
0x183DA2 |
0x183FAA |
0x18612E |
0x1861B0 |
 |
 |
 |
 |
 |
 |
 |
 |
0x186232 |
0x1862B4 |
0x186336 |
0x1863B8 |
0x18643A |
0x1864BC |
0x18653E |
0x186642 |
 |
 |
 |
 |
 |
 |
 |
 |
0x1867C8 |
0x1869D0 |
0x186C5A |
0x186E62 |
0x187272 |
0x1872F4 |
0x187376 |
0x1873F8 |
|
 |
 |
 |
 |
 |
 |
 |
0x18747A |
0x1874FC |
0x18757E |
0x187600 |
0x187682 |
0x187704 |
0x19AF52 |
0x19B0D8 |
 |
 |
 |
 |
 |
 |
 |
 |
0x19B25E |
0x19B2E0 |
0x19B362 |
0x19B3E4 |
0x19B4E8 |
0x19B56A |
0x19B5EC |
0x19B66E |
 |
 |
 |
 |
 |
 |
 |
 |
0x19B6F0 |
0x19BB00 |
0x19C014 |
0x19C19A |
0x19C21C |
0x19E094 |
0x19E116 |
0x19E198 |
 |
 |
 |
 |
 |
 |
 |
 |
0x19E21A |
0x19E31E |
0x19E3A0 |
0x19E4A4 |
0x19E526 |
0x19E5A8 |
0x19E62A |
0x19F8F4 |
 |
 |
 |
 |
 |
 |
 |
 |
0x19F976 |
0x1A06AA |
0x1A072C |
0x1A07AE |
0x1A09B6 |
0x1A0A38 |
0x1A0ABA |
0x1A0B3C |
 |
 |
 |
 |
 |
 |
 |
 |
0x1A0BBE |
0x1A0C40 |
0x1A0CC2 |
0x1A0D44 |
0x1A0DC6 |
0x1A0E48 |
0x1A0F4C |
0x1A1050 |
 |
 |
 |
 |
 |
 |
 |
 |
0x1A1154 |
0x1AA92A |
0x1AA9AC |
0x1AAA2E |
0x1AAAB0 |
0x1AAC36 |
0x1AACB8 |
0x1AAD3A |
 |
 |
 |
 |
 |
 |
 |
 |
0x1AB2D0 |
0x1AB4D8 |
||||||
 |
 |
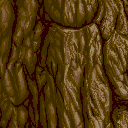
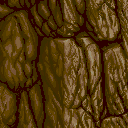
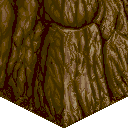
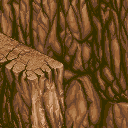
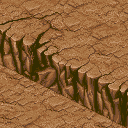
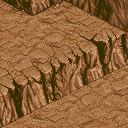
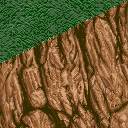
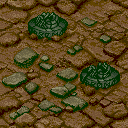
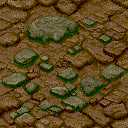
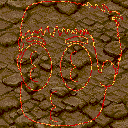
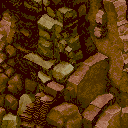
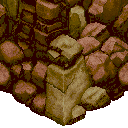
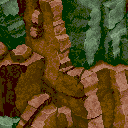
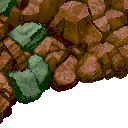
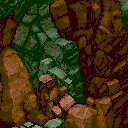
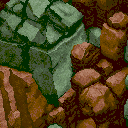
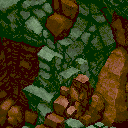
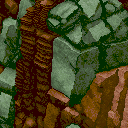
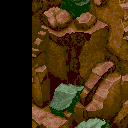
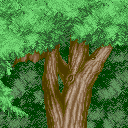
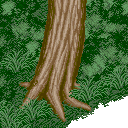
Stage 1 has, by far, the greatest amount of unused chunks, but most of these are just rearranged versions of chunks that are used in the final game. Some of the more notable chunks:
- Chunks 0x182A56 to 0x183582 seem to be from the same map, but there isn't enough information or chunks left in the game to properly assemble that map.
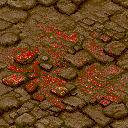
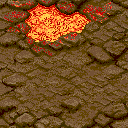
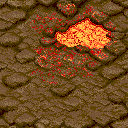
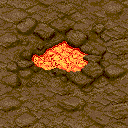
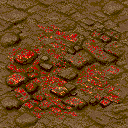
- Chunks 0x187272 to 0x187682 are from a cut lava room or rooms. 0x187272 and 0x18757E has bits of magma seeping in from the ground, and 0x187376, 0x1873F8, and 0x1874FC all have small pools of magma. The ground in 0x1872F4 and 0x18747A is more cracked than in any other chunk. 0x187704 is almost assuredly a developer joke, featuring a magma drawing of a short-haired man with a widdle kissy face.
- Chunks 0x19E526 to 0x19F976 are treetop tiles. The top of trees are never seen in any map except for a small tree in Round 00, Map 01.
Round 2#
0x18D802 |
0x18D906 |
0x18DA0A |
0x18DD98 |
0x18DE9C |
0x18DFA0 |
0x18E2AC |
0x18E32E |
|---|---|---|---|---|---|---|---|
 |
 |
 |
 |
 |
 |
 |
 |
0x18E73E |
0x18E946 |
0x18E9C8 |
0x18EA4A |
0x18EC52 |
0x1903AE |
0x190534 |
0x1905B6 |
 |
 |
 |
 |
 |
 |
 |
 |
0x190638 |
0x1906BA |
0x1907BE |
0x190840 |
0x1908C2 |
0x190B4C |
0x190BCE |
0x191678 |
 |
 |
 |
 |
 |
 |
 |
 |
0x1917FE |
0x1977F8 |
0x1A755E |
0x1A8314 |
0x1A8B34 |
0x1A8CBA |
0x1A8D3C |
0x1A8DBE |
 |
 |
 |
 |
 |
 |
 |
 |
0x1A914C |
0x1A92D2 |
0x1A95DE |
0x1A9CFA |
||||
 |
 |
 |
 |
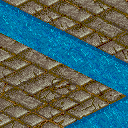
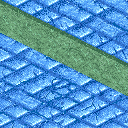
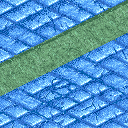
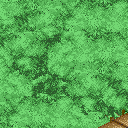
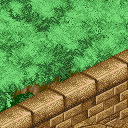
The bulk of these chunks are just-in-case blocks for the game's underground sections, both normal and icy variants. The last four chunks are extra pieces for the shrine entrance that were ultimately not needed.
Early |
Final |
Alternate |
|---|---|---|
|
 |
|
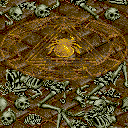
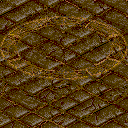
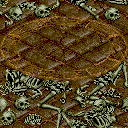
The most noteworthy chunk is 0x191678, which has a more elaborate summoning circle for the Queen Spider. There's also an alternate version of the summoning circle without the mass-o-skeletons.
Round 3#
0x19683A |
0x196B46 |
0x196C4A |
0x1ACA2C |
0x1ACAAE |
0x1ACCB6 |
0x1ACFC2 |
0x1AD24C |
|---|---|---|---|---|---|---|---|
 |
 |
 |
 |
 |
 |
 |
 |
0x1AD4D6 |
0x1AD65C |
0x1AD9EA |
0x1ADA6C |
0x1ADAEE |
0x1ADBF2 |
0x1ADC74 |
0x1ADCF6 |
 |
 |
 |
 |
 |
 |
 |
 |
0x1ADD78 |
0x1AE926 |
0x1AEA2A |
0x1AEAAC |
0x1AEBB0 |
0x1AEC32 |
0x1AEE3A |
0x1AF042 |
 |
 |
 |
 |
 |
 |
 |
 |
0x1AF146 |
0x1AF1C8 |
0x1AF24A |
0x1AF966 |
0x1AFC72 |
0x1AFE7A |
0x1AFF7E |
0x1B028A |
 |
 |
 |
 |
 |
 |
 |
 |
0x1B0AAA |
|||||||
 |
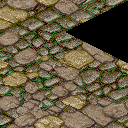
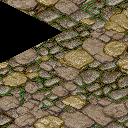
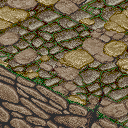
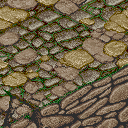
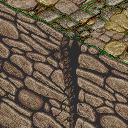
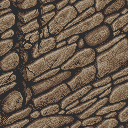
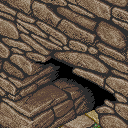
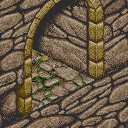
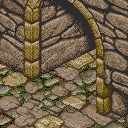
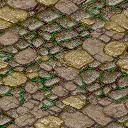
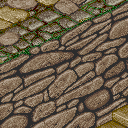
Almost all of these are alternate or rotated versions of used chunks. The crack graphics from 0x1ACA2C, 0x1ACAAE, 0x1ACCB6, 0x1ACFC2 don't seem to be used anywhere else, so that's pretty cool.
Round 4#
0x197B86 |
0x197C8A |
0x197E92 |
0x197F96 |
0x19819E |
|---|---|---|---|---|
 |
 |
 |
 |
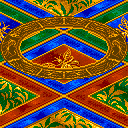 |
This tileset is only used in The Demon Lords's boss room, but it still has five unused chunks. The first four seem to be contingency chunks in case the developers wanted to move the boss entrance...
|
Early |
Final |
|---|---|
|
|
|
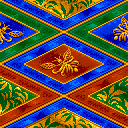
...while the last chunk is an ornate summoning circle that Venom would use to summon the demon. The final game has no graphic for this.
(Source: Original TCRF research)