 This article has a talk page!
Dino Crisis is a survival horror game directed and produced by Shinji Mikami, the creator of Resident Evil. The game has a lot in common with its predecessor, but pushes the survival mechanics to their extreme.

Unused Items#
The below GameShark code will give you every item in the game, including some that otherwise go unused. Enter the following code for the US version, then play as Regina.
800C15A4 FFFF
800C15A6 FFFF
800C15AC FFFF
800C15AE FFFF
800C15B0 FFFF
800C15B2 FFFF
800C15B4 FFFF
800C15B6 FFFF
800C15B8 FFFF
800C15BA FFFF
800C15BC FFFF
Locker Room Key#
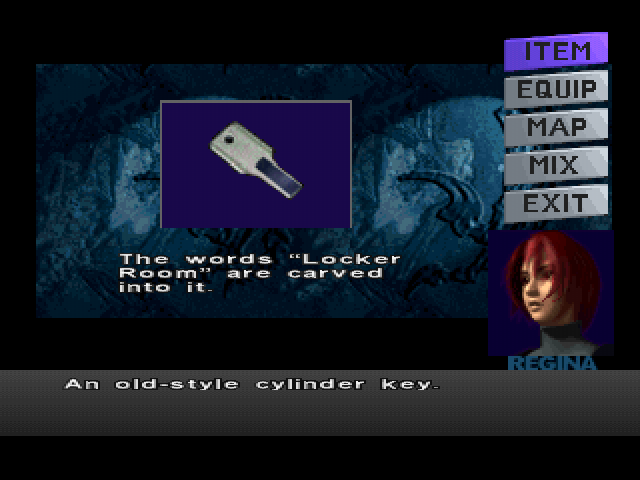
A key for the Locker Room door. Goes unused as the door is already unlocked.
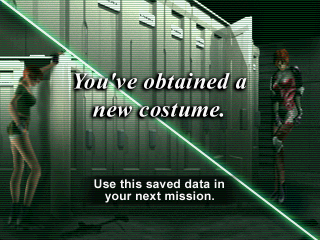
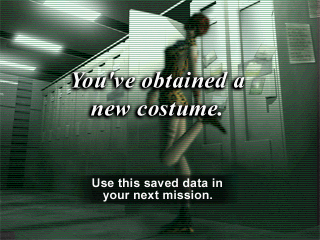
Rather than opening the room itself, possibly the key was meant for a locker inside the room. Indeed, upon completion of the game, both screens which indicate to the player that new costumes are unlocked show Regina changing clothes in the locker room, with the lockers opened. This would be similar to Resident Evil, which awards the Special Key for costumes while showing a picture of the room in which to use it. Instead, Dino Crisis uses a sub-menu in which costumes can be selected when starting or loading a game.
There is a third background image showing Regina in the locker room with one of the lockers opened. It was used for the score table of the Operation Wipe Out mini-game of the 2006 Windows version.
Unknown Item#
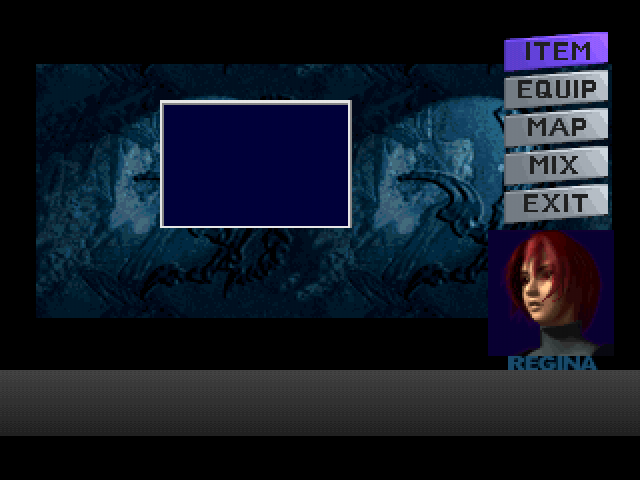
Has no name or image. The icon in the menu is the same as the keys. Likely intended as a placeholder.
Key Card Lv. D#
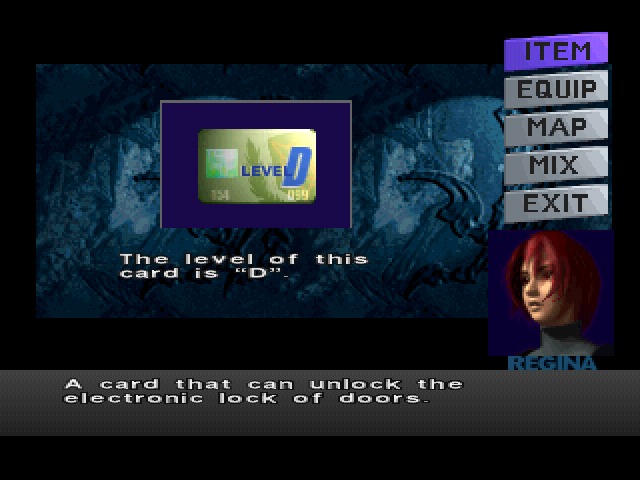
Another Key Card for the Security doors in the S3/S2 levels.
Unknown Battery#
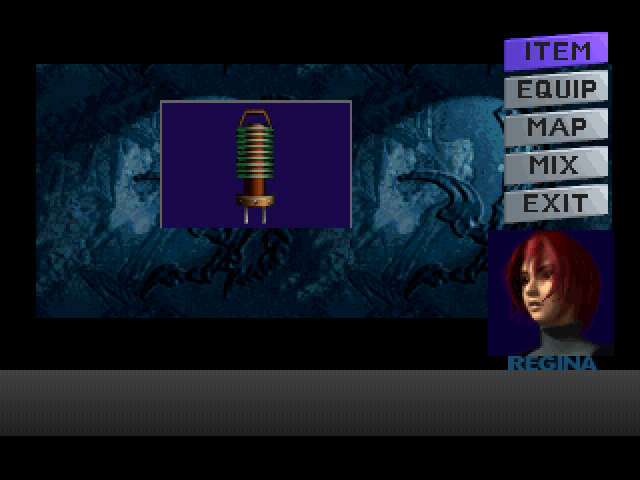
A green battery, purpose unknown.
Uncharged Red Battery#

You already pick up a charged red battery in Backup Generator Room B1, so this item goes completely unused.
The uncharged Startup Battery R. can be used and charged in either the 1F or B1 Backup Generator Room. When charging it, a small animation with a sound plays, which does not occur when attempting to charge an already-charged battery. Once the battery is charged, it can be picked up and turns into the charged Startup Battery R.
When charging the battery in the 1F Backup Generator Room, a message appears once the battery is fully charged. Oddly, this message does not appear when doing the same thing in the B1 Backup Generator Room.
Alternate Red Battery#

Another red battery. It shares the same description as the white battery item.
Unused Rooms#
Room |
Video |
|
|---|---|---|
Elevator Secret room named "Elevator". Seems like it is an early version of "Port" with no collisions, no footstep sounds, and a different door. |
||
Hidden Room #2 Looks like an early version of Control Room B3. Not much can be explored since if you get too close to the two doors the game will load the map again in an infinite loop. |
||
Unused Textures#
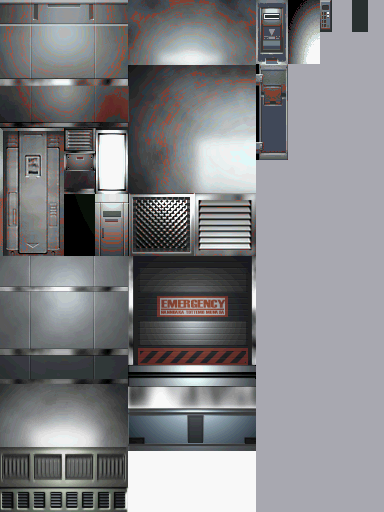
An unused emergency shutter exists in the "Hallway S1" room texture file.
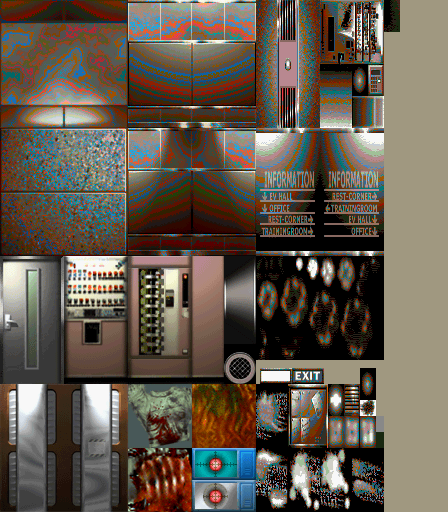
An unused door (bottom-left) exists in the "Lecture Room Hallway" room texture file.
(Source: SuperFrizzio)
Unused Dialogue#
Control Room Hall#
A cut conversation between Regina and Rick in the Control Room Hall. It was probably meant to be triggered after the cutscene with Gail in the Training Room.
Experiment Simulation Room#
Another cut conversation, this time between Regina and Gail. Seems like Gail would have entered the room after Regina and then immediately returned back to the Computer Room.
Researcher Rest Room#
Small cut speech involving Regina and Gail. Judging by the conversation, Regina was supposed to catch Gail taking a nap/relaxing in one of the beds of the room.
Port#
No such speech is played in this room. An almost identical version of this speech is played in the Computer Room.
Unused Door Animations#
Info |
Image |
|
|---|---|---|
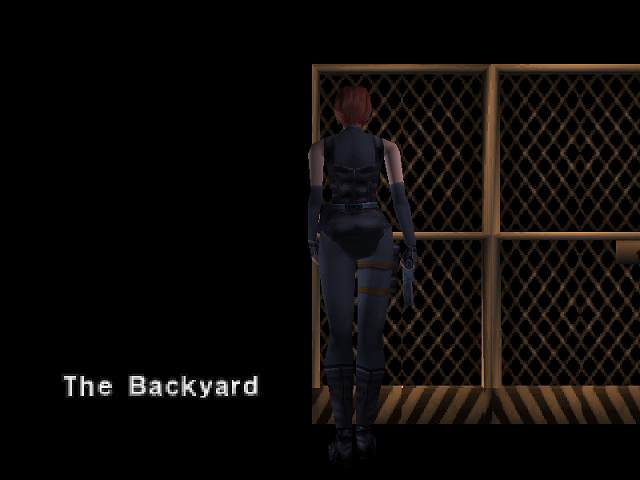
ID 32 Quite similar to the door used in the 1F Facility Backyard, but with two doors instead of one. |
 |
|
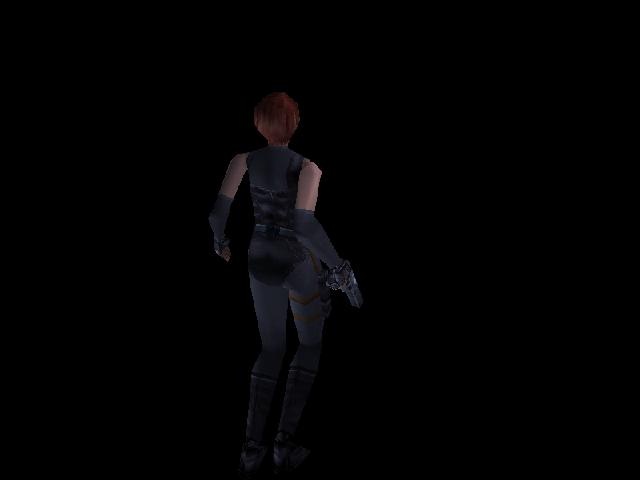
ID 74 Not much is known about this unused door animation. No footstep sounds are played and no textures/3D models are present. |
 |
|
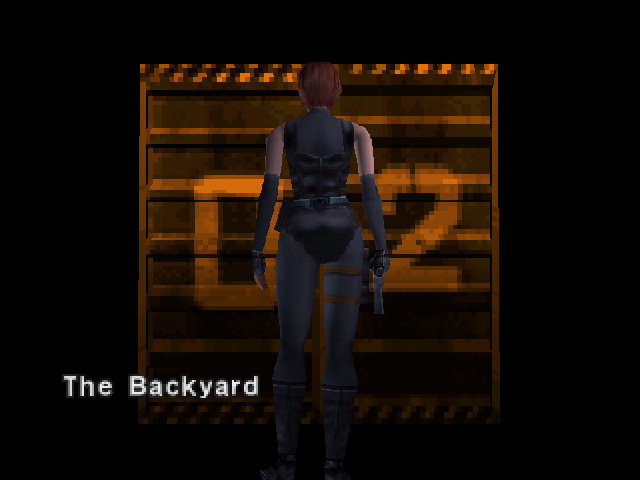
ID 89 As you can't go back to the Liaison Elevator No.2, this door animation goes unused. |
 |
|
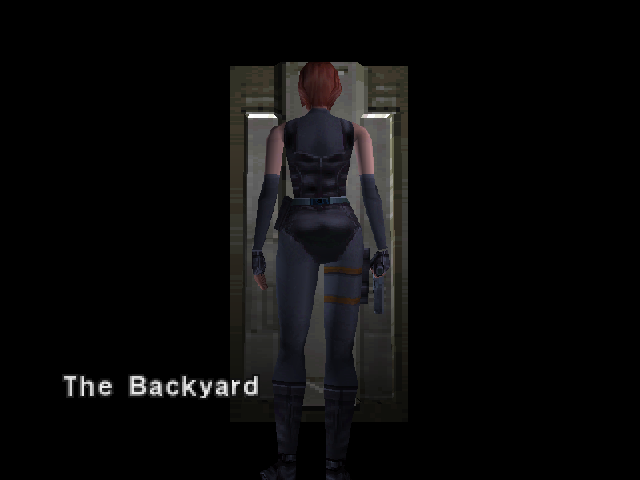
ID 102 While it shares the same texture as the doors of the B1 laboratories, the sound is different. |
 |
Hidden Text#
Room |
Text |
Explanation |
|---|---|---|
Management Office |
I don't need to check here anymore... |
Supposedly meant to be scripted after you pick up the Card next to the dead body. With some scripts it's possible to restore the message. |
Lecture Room Hallway |
Rest Area Ahead: Training Room Most of the body has been devoured. |
The first hidden script was meant to be triggered if you check the black sign next to the vending machines. Due to a programming error, the script played is the same as the other black sign on the other side of the room. The second script was meant to be triggered if you check the dead body, but it goes unused. |
Backyard of the Facility |
You have handed Gail the key to the Backup |
This line wasn't even properly finished. Most likely meant to be scripted after the second cutscene with Gail. |
Elevator Hall |
An elevator that descends into the Laboratory Area. It seems that you cannot operate this elevator without the correct ID Card data. |
While similar text exists ("An elevator that descends into the Laboratory Area. A researcher's ID Card is required to operate this elevator."), this one goes unused. |
Communication Room |
It seems to be a communications panel. Will you operate the panel? |
No such script is played during normal gameplay. It's possible that you had to activate the communication panel by yourself, instead of a cutscene. |
Medical Room |
Charts and files of patients are neatly filed. A file full of notes written by doctors. Will you read the file? |
Both scripts are unused. The second line is quite different compared to the one used during normal gameplay. |
Liaison Elevator No.1 |
Will you press the switch? |
Originally, you could use this elevator again. It is fully functional, but you can't normally access it as the door leading to is closed. One of the very first trailers for the game shows Regina using this elevator alone. |
Backup Generator Room B1 |
A battery charger. Unfortunately, it is broken and cannot be used. The battery charging has been completed. |
Both lines are unused as you already pick up a fully-charged battery in this room. |
Stabilizer Experiment Room |
You have used the Key Card. |
Most likely meant to be played when you open the door on the other side of the room. |
Power Freq. Room |
Machines that regulate the energy control devices. |
Another hidden text, probably due to a programming mistake. |
General Weapons Storage |
It's a container that holds weapons and other parts produced at this facility. |
Supposedly meant to be triggered if you check the big container next to the door. |
Central Stairway |
An ID Card is necessary. |
None of the doors in this room require an ID Card. |
Large Size Elevator |
There is something behind the body. |
Probably unused because the two key items in this room next to the corpses are fully visible. |
Resident Evil 2 Doors#
Many doors were taken from Resident Evil 2 and edited.
Resident Evil 2 |
Dino Crisis |
Notes |
|---|---|---|
 |
 |
Room ST40B |
|
 |
Room ST401. Variant of the above. |
 |
 |
Room ST603. A rising door in Resident Evil 2, but a sliding door (often used as double door) in this game. |
|
 |
Room ST60B. Variant of the above. |
 |
 |
Room ST303 |
 |
 |
Room ST303. Unused, replaced by the above door in the final version. |
 |
 |
Room ST405. Several variants exist. |
 |
 |
Room ST502 |
Regional Differences#
Inventory Menu#
|
Japan |
International |
|---|---|
|
|
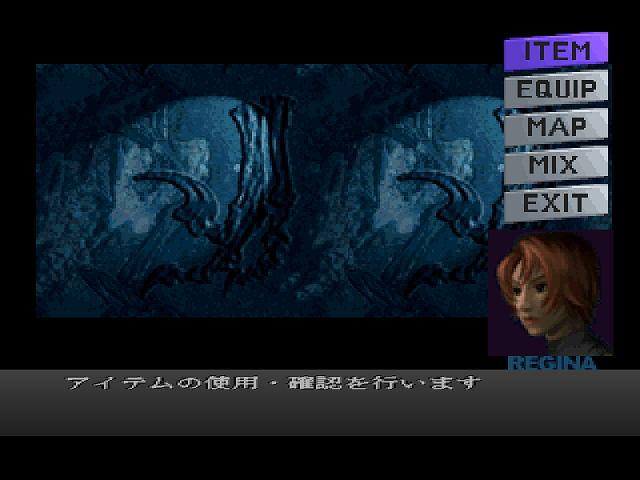
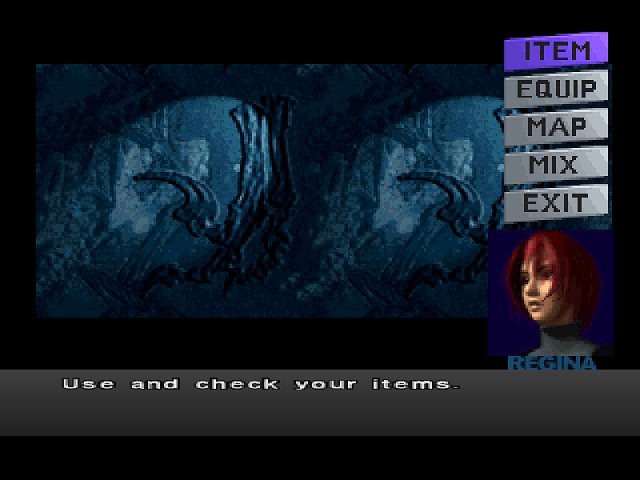
Regina's avatar looks different in the Japanese version.
Hangar#
|
Japan |
International |
|---|---|
|
|
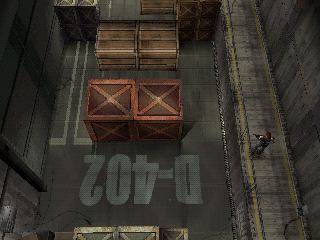
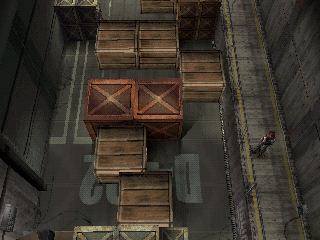
In the Hangar before the Heliport, three boxes were added in the international versions, two of which the player has to move.
Map#
|
Japan |
International |
|---|---|

|
|
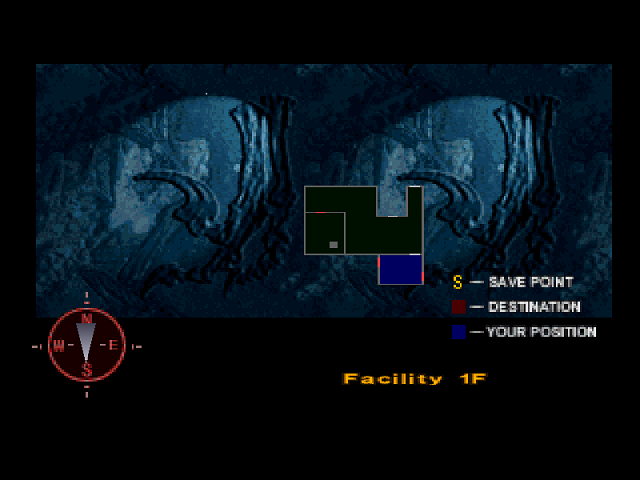
In the Japanese version of the game, room names are displayed along with the floor number on the map.
D.D.K#
|
Japan |
International |
|---|---|

|

|
- The Japanese version uses a very stylized font. It was changed in favor of a bolder and easier-to-read font for the international versions. Note also the brighter color scheme.
- "CODE Disk" was changed to "CODE Disc". As a consequence, the blue overlay was made slightly larger.
Codes & Passwords#
Japan |
International |
|
Management Office Safe |
0375 |
0426 |
Lounge Safe |
7687 |
8159 |
Computer Room Lock Code |
5037 |
7248 |
Mark Doyle's ID Number |
47812 |
57036 |
Paul Baker's ID Number |
46907 |
58104 |
Doctor Kirk's ID Number |
78814 |
31415 |
Several codes and passwords were changed for the international versions of the game.
Difficulty#
The game went through a series of balance changes for the international releases:
- While damage dealt by enemies is semi-randomized, the damage values can be higher in the international versions.
- There is more ammunition in the international versions.
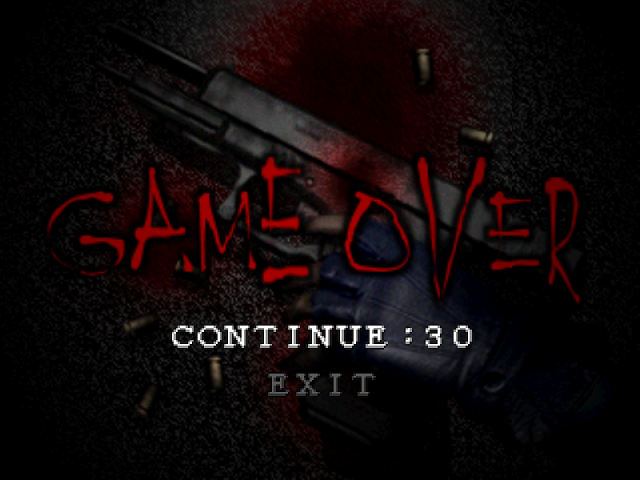
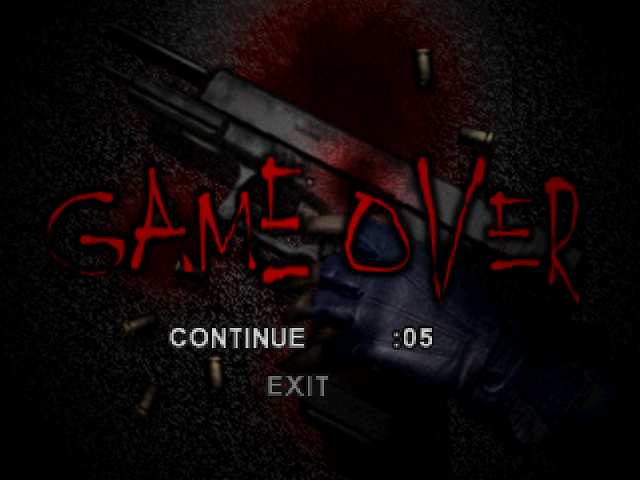
- In the Japanese version, Resuscitation is an extremely rare item that the player can only find once or twice in the entire game. In the international versions, there are about 15 of them total, mostly found in item boxes though a few are pick-up items in the wild. This makes up for the difference in the number of continues between the two versions (5 versus 30), but can also give an advantage to players of the international versions considering the other use that can be made out of the Resuscitation item.
- Although it may not be obvious at first due to the semi-random nature of some of the pick-up item placements and their content, but some of them do differ between the two versions.
Number of Continues#
|
Japan |
International |
|---|---|
|
|
The number of continues is drastically higher in the Japanese version of the game.
Item Boxes#
The content of item boxes can vary in the international versions of the game compared to the Japanese version.
- A total of 11 Resuscitation can be found in the boxes of the international versions while there are none in the Japanese version.
- Item boxes also have a bit more ammo in the international versions.
Green Boxes
All five green item boxes contain Resuscitation items in the international versions, while there are none in the Japanese version.
- Control Room Hall: +2x Resuscitation
- Research Area Hall: +2x Resuscitation
- Experiment Room Hall: +1x Resuscitation
- Power Freq. Room: +1x Resuscitation
- Central Stairway: +1x Resuscitation
Red Boxes
In the international versions, compared to the Japanese version:
- Elevator Hall: +17x 9mm Parabellum, +5x SG Bullets
- Communication Room: +5x SG Bullets
- Main Hallway B1: +5x SG Bullets
- Experiment Room Hall: +5x Slag Bullets
- Control Room B3: +3x Heat Bullets
Yellow Boxes
In the international versions, compared to the Japanese version:
- Strategy Room: +1x Resuscitation, +3x An. Dart M, -1x Hemostat
- Control Room B3: +1x Resuscitation
- Underground Heliport: +1x Resuscitation
- Hovercraft: +1x Resuscitation
Wipeout Mode Text#
|
Wipeout Mission 02/03: Italy/Spanish |
Wipeout Mission 02/03: International |
|---|---|
|
|
|
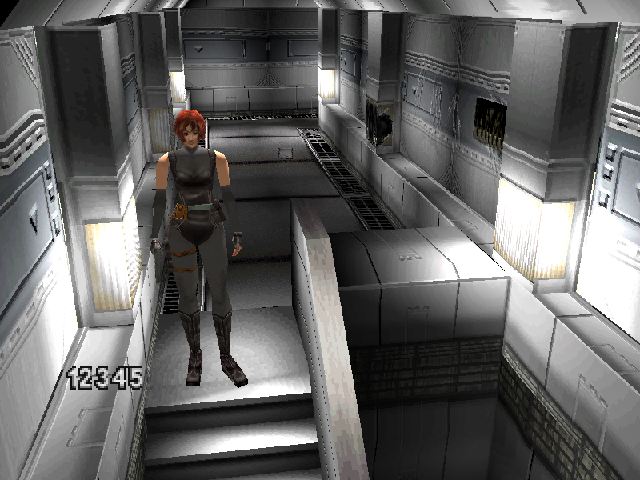
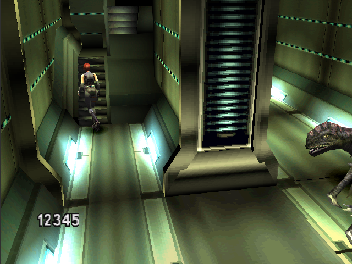
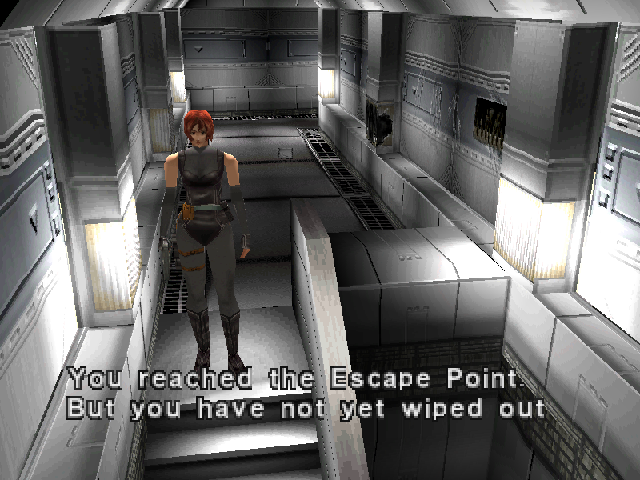
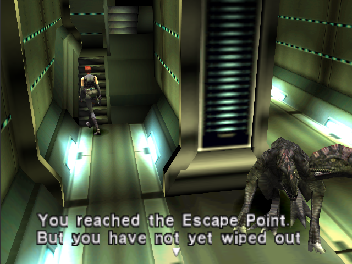
For some inexplicable reason, checking the evacuation point in Wipeout Mode before killing every dinosaur in the level displays random numbers in the Italian/Spanish version, as opposed to the proper script in other versions.
Revisional Differences#
There are two NTSC-U versions, 1.0 and 1.1.
D.D.K#
|
US v1.0 |
US v1.1 |
|---|---|
|
|

|
A small visual glitch on the top-left of the D.D.K screen was introduced in v1.1.
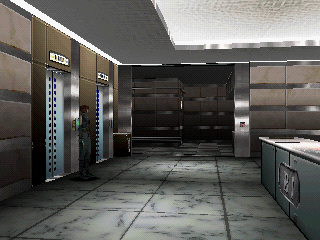
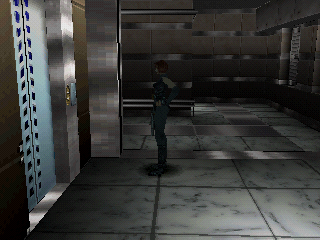
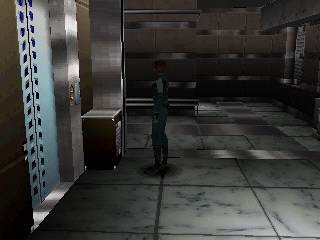
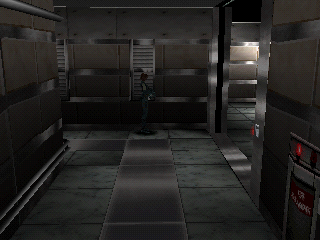
Room Hall B1#
Japan/US v1.0 |
US v1.1 |
|---|---|
 |
 |
 |
 |
 |
 |
 |
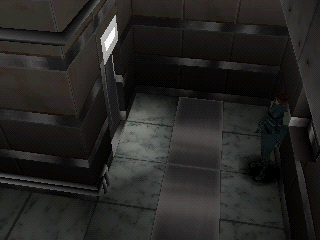 |
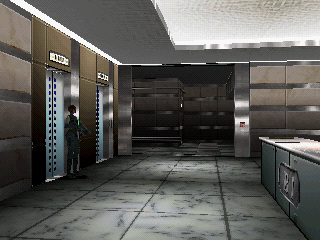
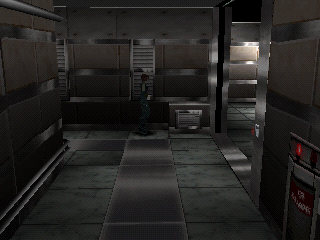
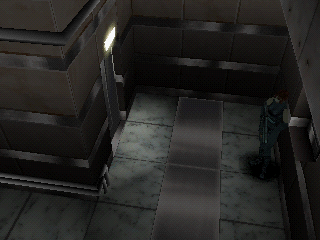
In the 1.1 version, some details were added in the Main Hall B1. Also, one of the lights is glitched.
Cutscene Version#
Japan/US v1.0 |
US v1.1/Europe |
|---|---|
 |
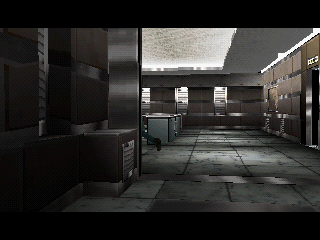 |
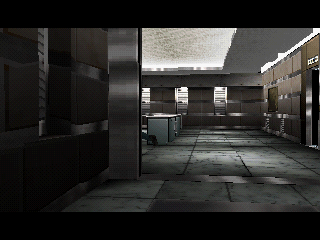
If the player chooses to follow Gail, he can reach the Hall B1 room a bit earlier and a cutscene is triggered. The version of the room used in this case is a different version than the one that is accessed later on by using the elevator. It is an earlier version of the room which is made evident by the lack of the floor map on the wall, as seen in pre-release material.
Version 1.1 uses an updated version of the room, though oddly it still doesn't match with the version of the room visited during later gameplay. Some details were updated like the lighting on and above the board, or on the floor.
Japan/US v1.0 |
US v1.1/Europe |
|---|---|
 |
 |
 |
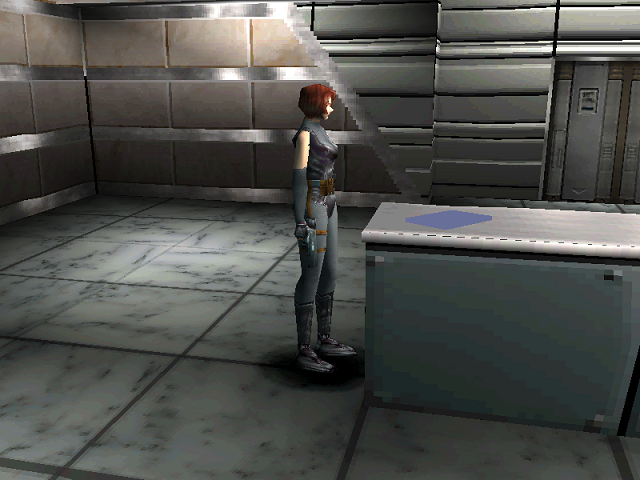 |
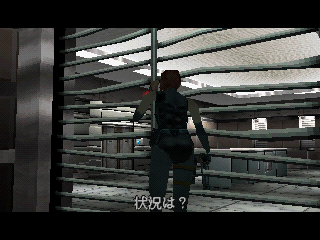
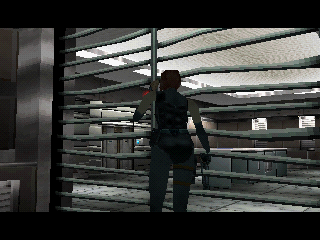
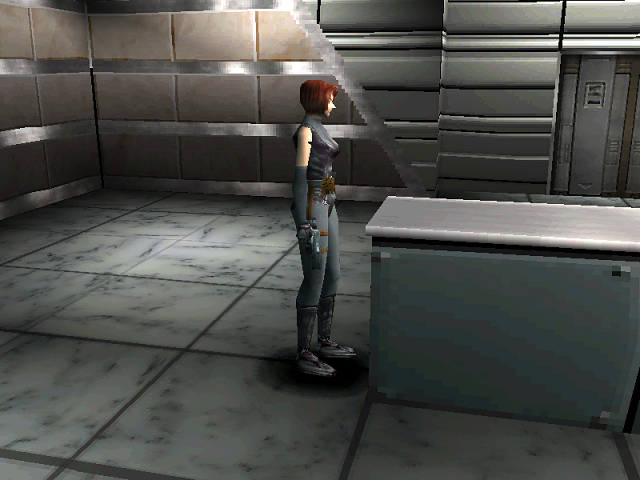
In v1.1 a blue file can be seen on the counter, while there is none in the other versions. Note that it can only be seen briefly during the cutscene, the area being inaccessible for gameplay at that moment, the second screenshot comparison was provided to have a clearer view on the file.
In the version of the room the player can access later on by using the elevator, there is indeed a file on the counter but it is yellow.
Anti-Piracy Screen#
Version 1.0 of the North American release incorrectly shows the Anti-Modchip message in Japanese. This was fixed in version 1.1.
|
Japan/US v1.0 |
US v1.1 |
|---|---|

|

|
On the other hand, the PAL version uses LibCrypt protection and, if tripped, hangs indefinitely on the warning screen about violent content. This unfortunately prevents the PAL version from being played on a PlayStation 3 due to the software emulation config not having an entry for the game, thus setting off this measure.
(Source: Original TCRF research)