 This article has a talk page!
This is a sub-page of Proto:Resident Evil 2 (PlayStation).

|
This page is rather stubbly and could use some expansion. |
The US version of the Trial Edition of Biohazard 2. The two versions predate the final by 5-6 months.
Rockman Neo, the demo of Rockman DASH was taken out in this version.
Rooms Data#

|
This page or section needs more images. |
Only a few rooms are available to the player, but rooms data for pretty much the entire game (and more) exist.
Notes:
- A few rooms of the police station, as well as the B scenario side of the streets, normally inaccessible during regular gameplay, are playable via hacking. Some of them even have enemies and pick-up items in them which in some cases are very close to that of the final Japanese version of the game (which is another clue towards revealing that, despite coming out 1 week before the Japanese version, the international versions was made after). A couple of rooms also have functional puzzles. Most of the rooms playable this way are buggy one way or another.
- The majority of rooms presented here are not playable and only backgrounds data for them seems to exist.
- The room numbers given here correspond to the rooms' .BSS filenames, but the names given to the rooms are in no way official. When they exist, the names given are that of the corresponding rooms in the final version (example: Room 50A is named "Laboratory B5" because it is on floor B5 in the final version, floor number is different in this version but it is currently difficult to know the floor numbers of every room then).
- There are sometimes several versions of the same room, with a different room number.
- The entire sewer area is nowhere to be found, except perhaps for room 703. Instead, a tech looking area which seems to be an Umbrella factory (room number ranges from 302 to 30F). Several of those seem to have been repurposed into the sewers for the final version of the game.
- From room 302 onwards, a lot of rooms are leftovers from Resident Evil 1.5. Some of the room backgrounds are identical to their counterparts from the November 5, 1996 prototype, but many others are in a more advanced state, including some that did not make it to the final. Everything has been posted here regardless of whether or not the room is identical in that version.
- Except from Room 10C (Police Station, 2F West Corridor) and Room 200 (Police Station, Main Hall) all the backgrounds are identical to the August 5, 1997 Japanese Trial Edition, but the content of the rooms may differ in most playable rooms.
Room 100: Streets#
|
Demo |
Final |
|---|---|
|
|
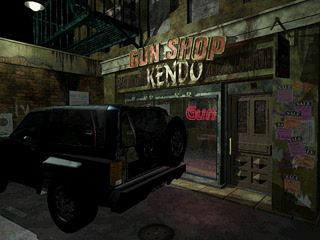
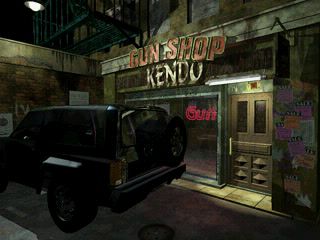
The lighting on the door was made brighter in the final.
See also room 705 for an early variant of this room.
Room 101: Kendo's Gun Shop#
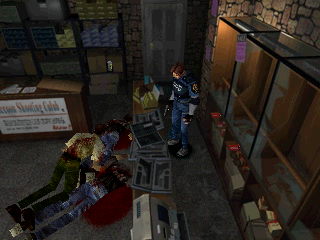
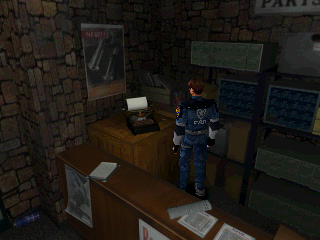
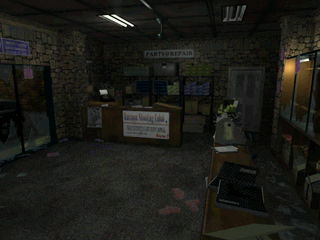
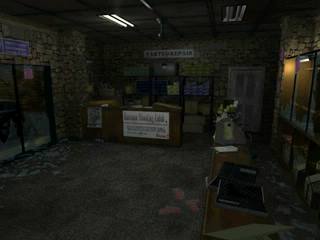
The placement of some items differ. Compared to the final, there are two extra items: an Ink Ribbon and a F. Aid Spray. In the final, one of the boxes of H.Gun Bullets takes the place of the Ink Ribbon from the preview.
|
Demo |
Final |
|---|---|
|
|
On top of the typewriter being gone, some broken glass was added on this screen in the final.
Room 102: Back Street#
Demo |
Final |
|---|---|
 |
 |
 |
 |
 |
 |
 |
 |
 |
 |
 |
 |
 |
 |
 |
 |
 |
 |
 |
 |
 |
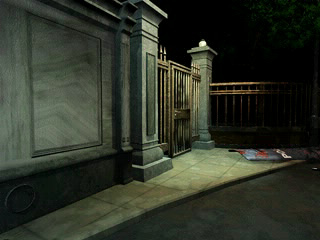 |
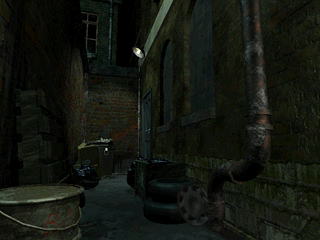
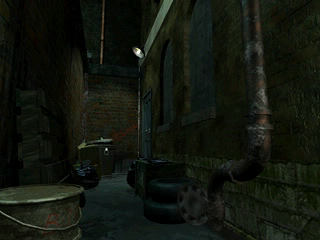
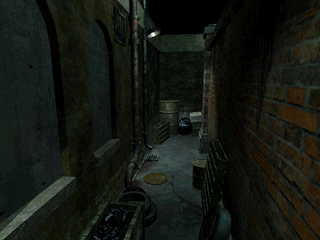
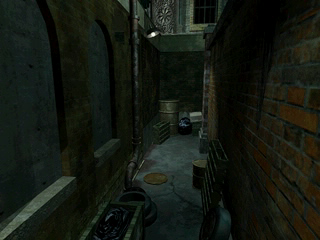
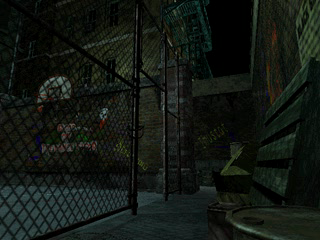
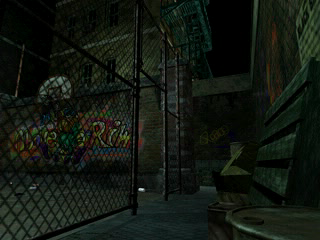
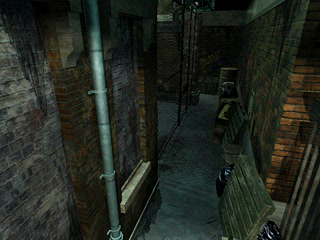
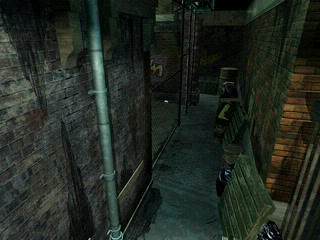
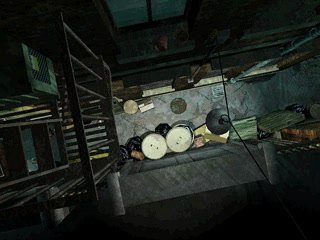
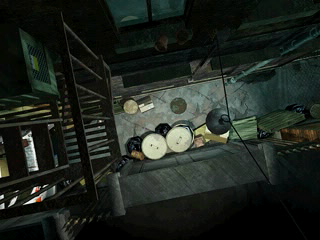
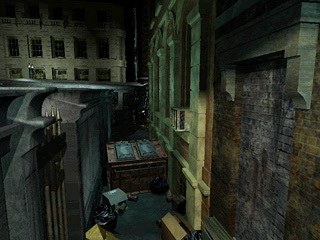
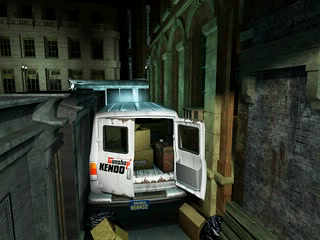
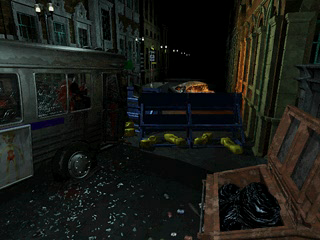
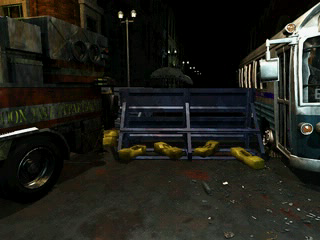
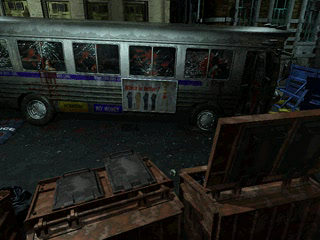
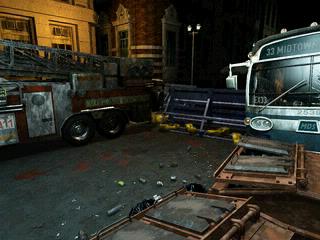
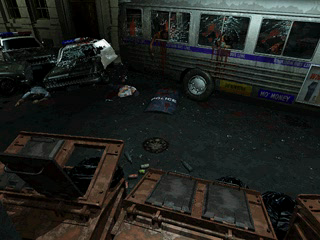
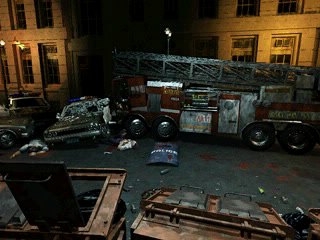
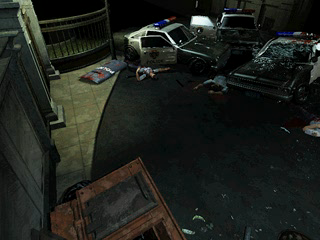
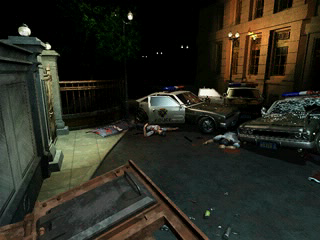
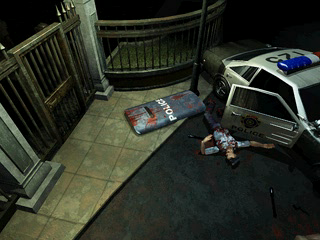
In the demo there is a single room leading straight to the entrance of the police station while in the final there is a total of 5 rooms: 4 streets and the interior of the bus, see also the maps section. The basketball court is not accessible in the demo, but the fact that the door leading to it was already a 3D model may be a clue that it was already planned. On top of this, many details differ on every screen.
Room 105: Police Station, Back Entrance#
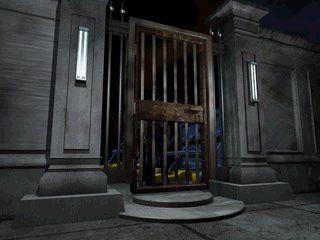
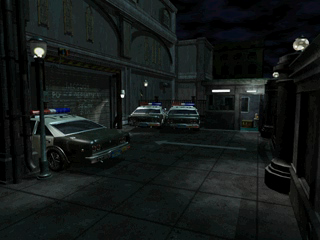
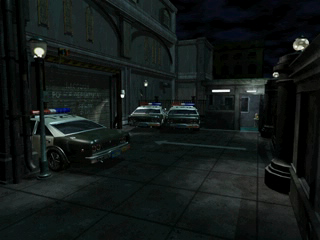
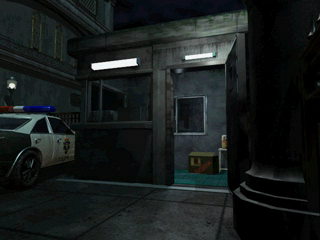
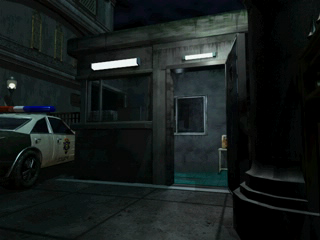
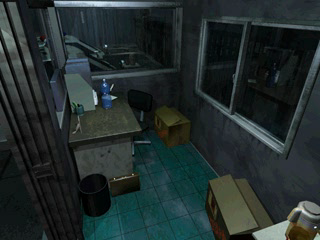
This room can be accessed through room 106, and it also possible to enter the streets using this door, both things are not possible in the final. Otherwise, the room is very close to the final: the three zombie police men as well as the key are there, their placements matching with final. See also room 302 and 30D for a room which shares similar concepts with this room.
Demo |
Final |
|---|---|
 |
 |
 |
 |
 |
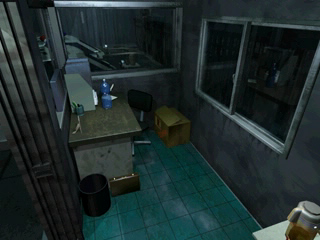 |
The cardboard box was taken out in the final, and lighting in the shed was made brighter in the first shot.
Room 106: Police Station, 1F East Generator#
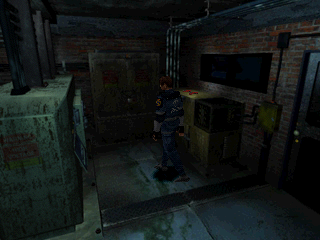
Two boxes of H.Gun Bullets can be found here. This part of the room is entirely useless in the final version. Also, the close-up camera angle on the desk with the typewriter doesn't exist in this version.
Also, it is possible to enter the parking from here, whereas in the final that is only possible in the B scenarios. However, there is a pitch black camera angle in the room's data, which in the final is used for the cutscene in which zombies burst through the door, indicating that the sequence was already planned.
Room 108: Police Station, Heliport#
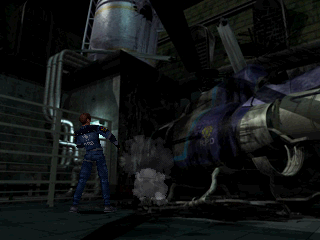
This room is very close to the final. It is possible to use the valve to extinguish the fire, though even after being extinguished, Leon still staggers where the fire used to be. The water effect during the cutscene is also in an early state.
Room 109: Police Station, 2F East Corridor#
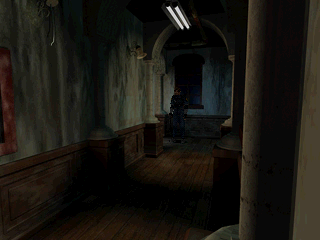
The outdoor staircase leads to this screen, despite the door being missing on this side. The door replaces the window in the final version. Once in this corridor, it is not possible to backtrack to the outdoor staircase area. Note that with both this access and the emergency ladder in the main hall missing, in theory the only way to reach to the first floor from here is to go all the way to the west staircase (which is not possible in this version as the Library room, which is on the way, is not playable).
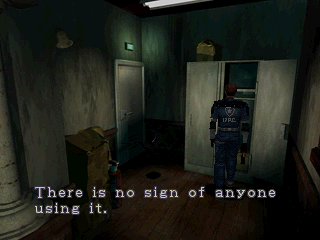
A couple of lockers are located in the back of the corridor, this message appears when checking it. If nobody is using the lockers, it may be the reason why they're gone in the final version... although the fact that the ceiling in this part of the corridor collapses in the final version, and that it wasn't done yet in the demo, may also play a part.
Room 10A: Police Station, Crashed Helicopter Corridor#
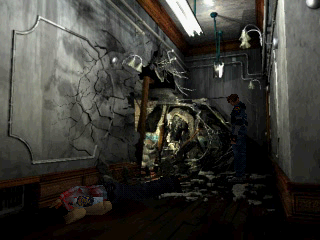
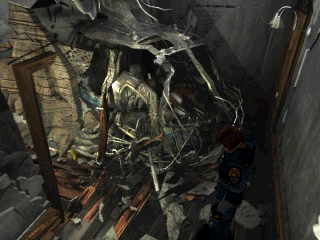
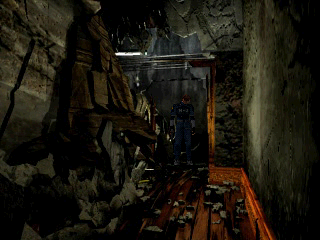
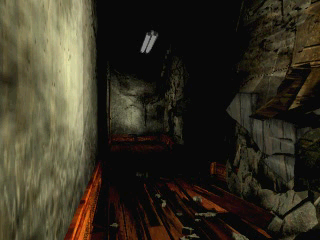
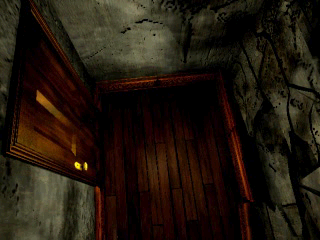
An early version of the corridor with the crashed helicopter, looking quite different from the final.
Room 10B: Police Station, 2F East Storeroom#
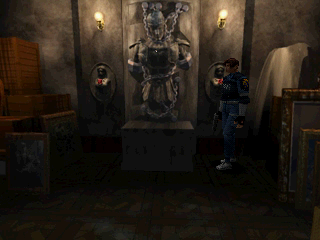
The puzzle is functional and a Bolt Plug can be found in the statue, confirming that Bolt Plugs are an early version of the chess-themed plugs from the final.
On the crate next to the statue, the (S) Precinct Key can be picked-up.
A couple of debug messages can freeze the game, the room is otherwise very close to the final.
Room 10D: Police Station, 2F East Corridor#


A very early version of the corridor in which there is a stuffed tiger in the final version of the game. The room is playable: there is collision with the walls and the door leading back to Chief Irons' Office is functional. The other door is not though, as no data for that other room seems to exist yet. The absence of a door on that side should not necessarily be taken as a clue that both rooms were intended to be one.
Room 110: Police Station, 2F Mezzanine#
A few zombies are present, their placement similar to that of the final Japanese version of the game.
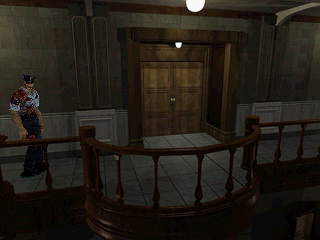
Some detailing around the door differ from final; although this version of the door can still be seen in the final version, in one of the camera angles of the downstairs 1F Main Hall room. The devs apparently forgot to update this door in the other room after updating it in this one.
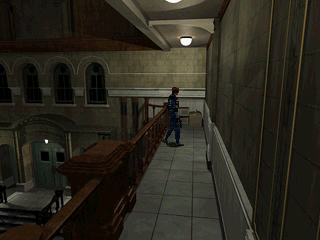
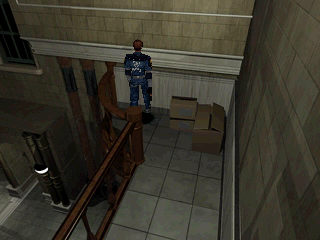
Cardboard Boxes can be found in place of the statue in the final.
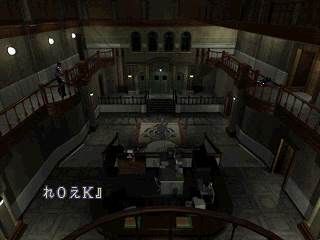
The emergency ladder is missing. Instead, pressing the action button on the same spot reveals this camera angle, which does exist with some minor differences in the final, where it is unused. A debug message appears and the game freezes. Note that adding the emergency ladder in the final version of the game makes the layout of the police station closer to that of the mansion in the first game. Indeed, just like in the first game, there is a staircase on the east and west side, while the emergency ladder in the police station's main hall serves a similar purpose to that of the staircase in the mansion's main hall.
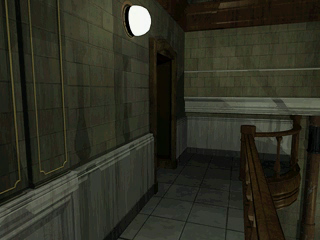
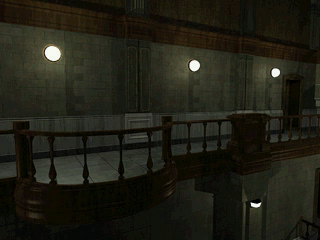
Two camera angles which differ from final. In the final's equivalent of the first shot, the door is visible.
Room 111: Police Station, Gear Room#
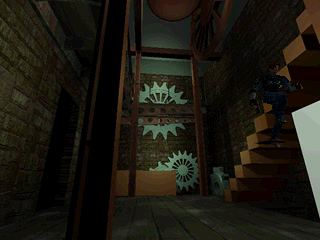
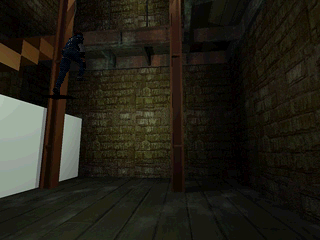
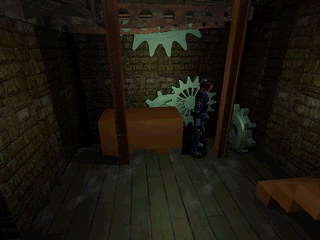
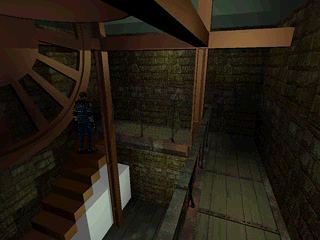
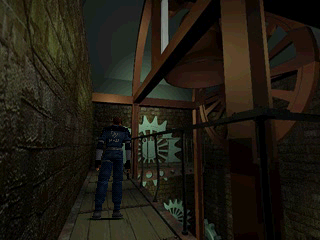
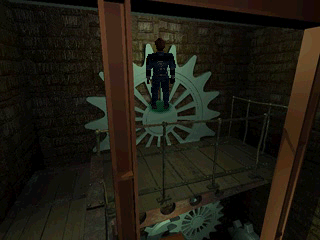
A very early version of the gear room. The puzzle with the crank does not exist yet, nor does the shaft that connects this room to the basement. Collision is off also and background objects do not obstruct the view of the 3D model.
Room 112: Police Station, Library#
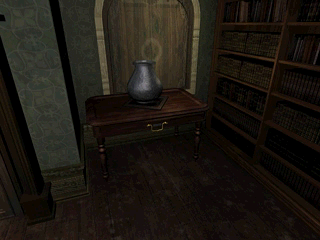
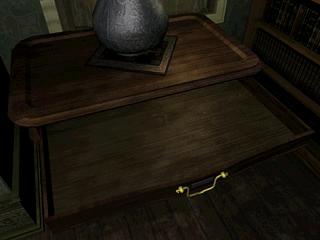
This room can not be accessed during gameplay, not even via hacking. It was planned for the player to be able to open the drawer. This feature and these two camera angles do not exist in the final version, they were sacrificed in favour of the two other things. Indeed, there can only be a maximum of 16 different camera angles per room, and the final version uses every slot which it needs for the non collapsed version of the floor as well as showing zombies which enter through windows in other rooms, two things which do not exist yet in this version. Note that an extra Small Key can be picked-up in the October 31, 1997 prototype, presumably a leftover intended for this drawer even though the drawer does not exist anymore in that version.
Room 113: Police Station, 2F West Corridor#
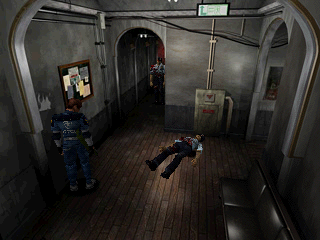
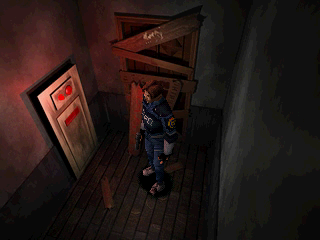
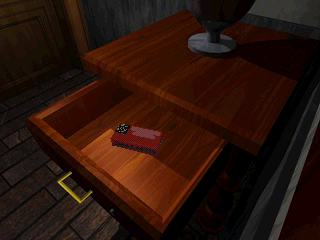
Two zombies are in the room. In the back, the lockers are missing. In the drawer: a box of H.Gun Bullets while it is an upgrade for the handgun in the final.
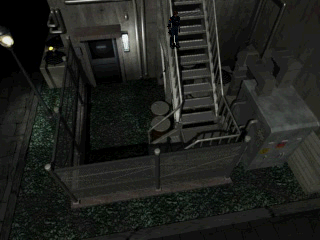
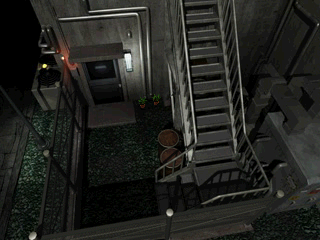
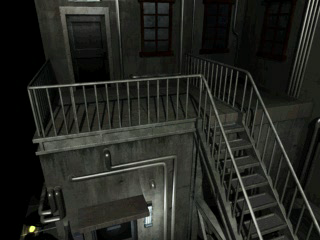
Room 116: Police Station, Outdoor Staircase#
Demo |
Final |
|---|---|
 |
 |
 |
 |
 |
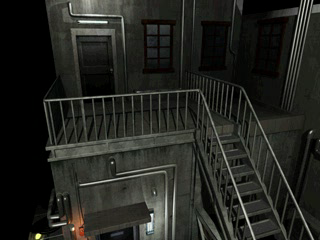 |
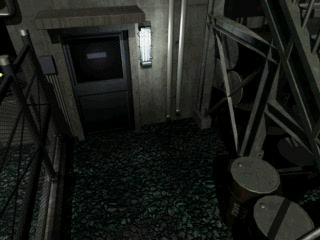
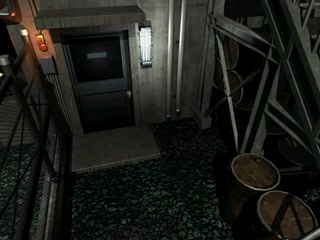
Some detailing and the second some camera angle differ. No sound plays while in the room and the collision with the background is off.
Room 117: Police Station, 3F Mezzanine#
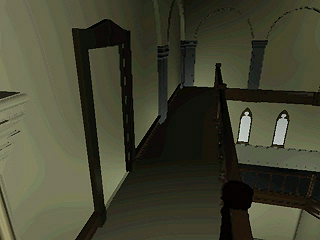
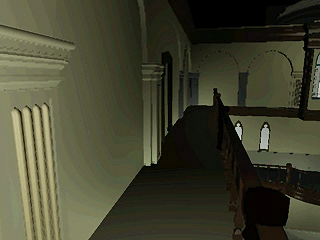
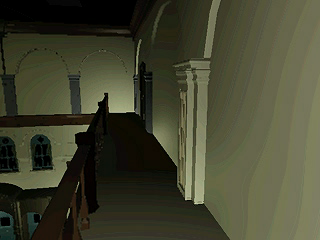
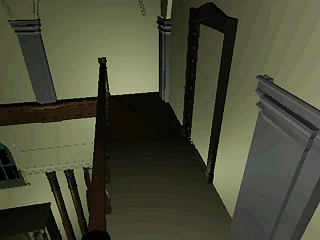
Early version of the room. Two more early yet slightly more advanced shots can be found in the final version.
Room 200: Police Station, Main Hall#
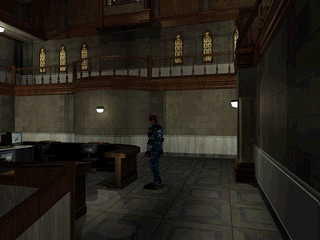
The emergency ladder does not exist yet. Note that there is a light in its place, in the final they got rid of the lightsource to make space for the ladder, but the lighting around where the light used to be remained the same.
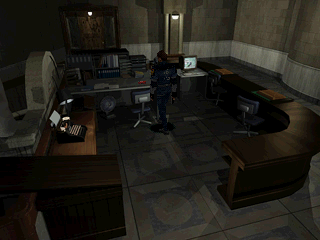
The box of H.Gun Bullets is located on the inner desk rather than on the outer counter. Note also that compared to the final, there is an extra chair.
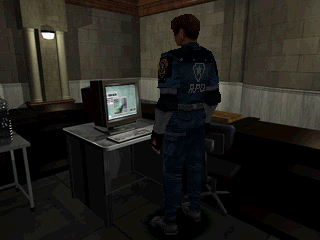
A close-up camera angle on the computer which does not exist in the final.
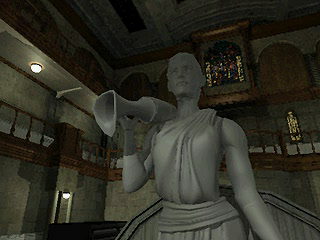
An unused background, a rough object serves as placeholder for the key.
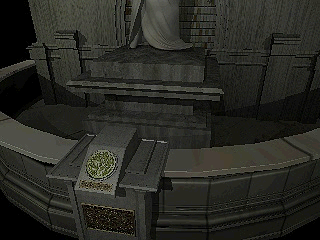
An early non polished version of the fountain can be found in the room's data.
See the August 5, Japanese Trial Edition page for a slightly earlier version of this room.
See also room 701 for a very early version of this room.
Room 201: Police Station, Waiting Room#
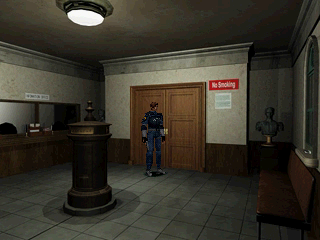
The item box is missing.
Room 202: Police Station, Marvin's Office#
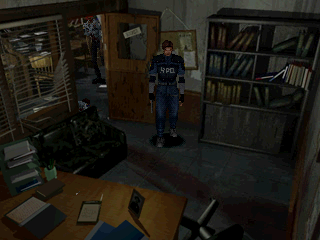
This room is accessible without the help of cheats. Marvin isn't in the room yet, though a 3D model for his zombie version can be found in the game's data. On the desk is the (P) Precinct key.
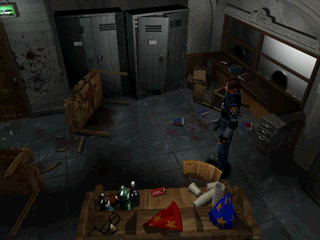
H.Gun Bullets can be found on the desk. In the locker there is a shotgun, which after the one in Kendo's shop and the one in the evidence room, makes it the third one. In the final, the H.Gun Bullets are in the locker, and on the desk is a file.
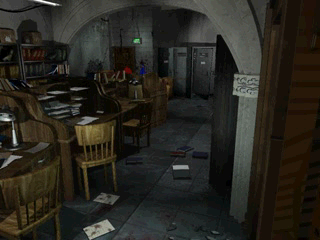
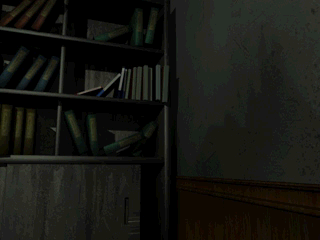
These two camera angles are found in the room's data, though not accessible during gameplay. The second one suggests that either it was planned for the player to be able to check the shelves, or it was for a cutscene. In the final version, the cutscene with Marvin turning into a zombie does take place in the same room with similar close-ups, though at a different spot.
|
Demo |
Final |
|---|---|
|
|
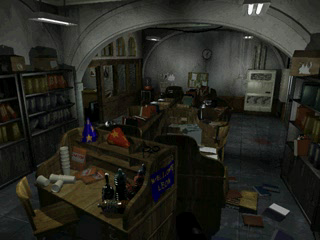
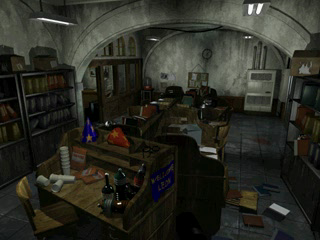
Compared to the final, in the entire room the walls have a different colour and some details are missing.
Room 203: Police Station, Archives#
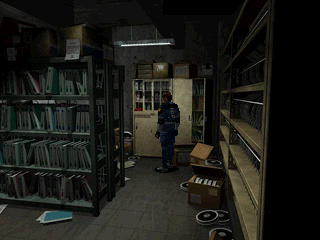
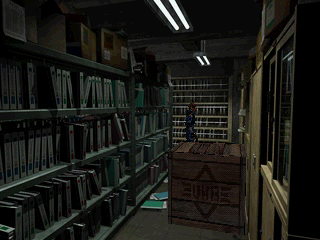
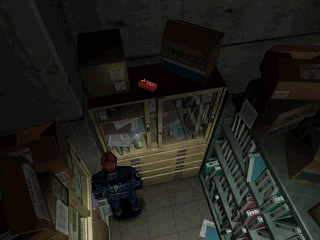
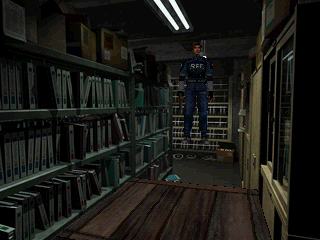
Item placements match with the final, but the actual items are different: H.Gun Bullets became hidden Ink Ribbon, F.Aid Spray became H.Gun Bullets, H.Gun Bullets became Crank.
A crate replaces the step ladder from the final. After climbing on it and picking-up the H.Gun Bullets, it is no longer possible to go back on the floor, the player walking in the air, soft-locking the game.
Room 204: Police Station, 1F West Corridor#
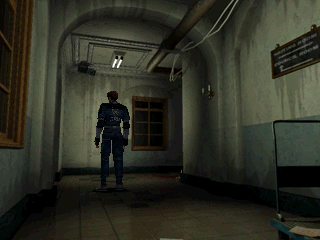
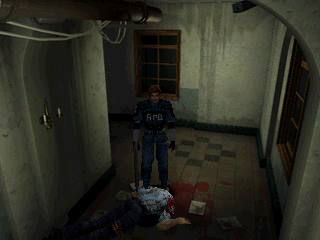
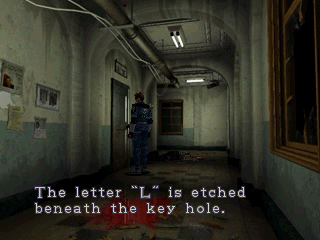
There are no electric shutters on the windows and the electric counter to bring down the shutters does not exist yet. Nothing can be found on the corpse of the zombie.
Room 206: Police Station, Meeting Room#
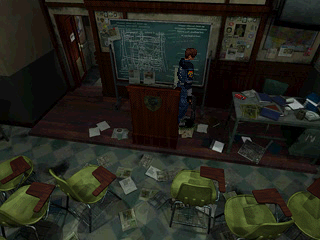
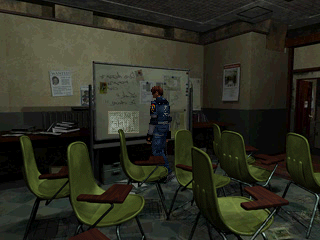
The placement of the H.Gun Bullets match that of the final Japanese version of the game. On the board there is the pick-up version of a map, though it can not be picked-up. In the final it is located in another room.
Room 207: Police Station, 1F West Corridor#
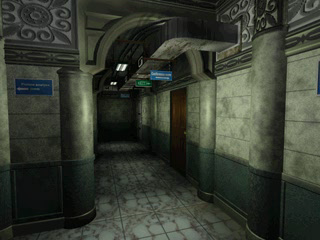
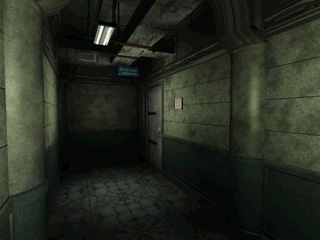

The door leading to the archives is a tech looking slide door, rather than the metallic swing door from the final. In the final this type of door is only used in the train platform and in the lab, as well as for the arms/lockers room in the police station basement. In the final, an unused camera angle of this early version of the door exists, with what seems to be a card reader similar to the one located in the basement.
Room 209: Police Station, Evidence Room#
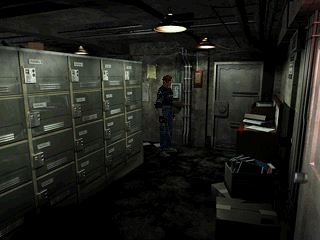
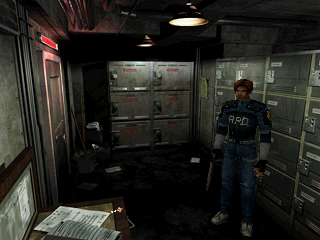
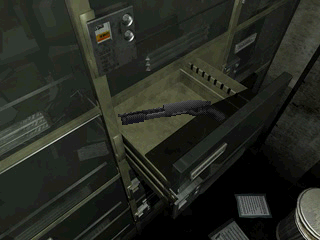
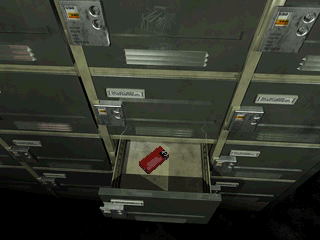
Except from the door (see room 207), the room is very close to the final. Another shotgun can be found. On the shelf there is another Precinct Key, while there is nothing in the final.
Room 20A: Police Station, 1F East Corridor#
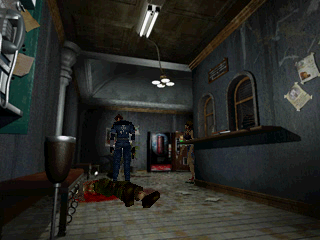
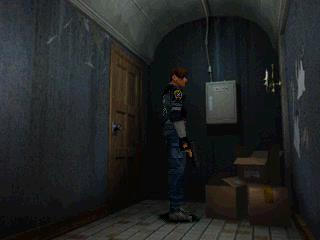
Three zombies are in a room, including a female one which uses the same voice clips as the males. In the back, a box of H.Gun Bullets is hidden in the cardboard boxes, while there is nothing in the final.
In the data of the room, the texture of the box used for gun upgrades can be found, but no such box can be picked-up in the room.
Room 20B: Police Station, 1F East Office#
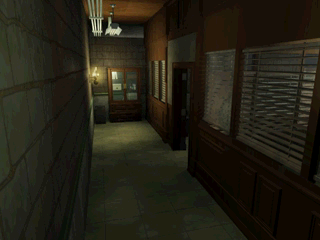
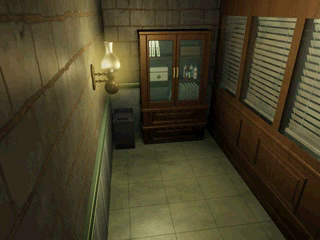
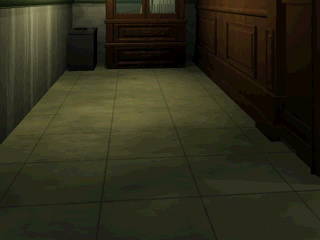
The 1F office with the ceiling fan and the small safe. The back of the room looks completely different than in the final version: there is a cabinet, a F.Aid Spray can be found inside. The corpse of the zombie police man is missing. The door is also missing, yet pressing the action button where the door is located in the final version does let the player access the outdoor staircase area. The last camera angle is still present in the data of the final version of the game.
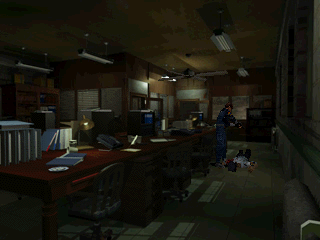
The zombie laying on the floor is there, although its precise location differ slightly from the final version and it is not functional. Its head does not move, it can not attack the player, and can not be shot at.
Room 20C: Police Station, Redrum Corridor#
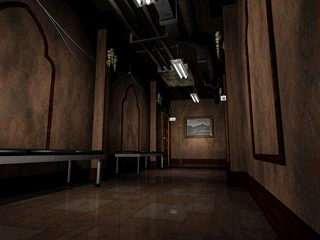
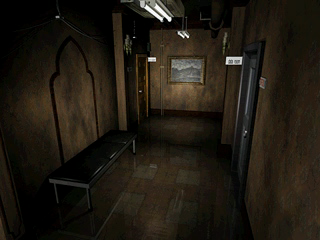
The entire corridor is very close to the final, except from these two screens. Two benches can be found, in the final, the one in the back is gone, a Red Herb in its place. Also the door in the back is green in the final. Also, the version of the room with the hole in the wall does not exist yet.
Room 20D: Police Station, Conference Room#
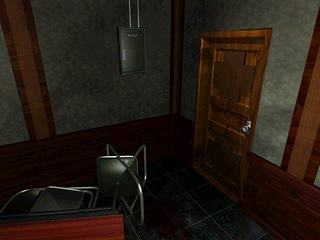
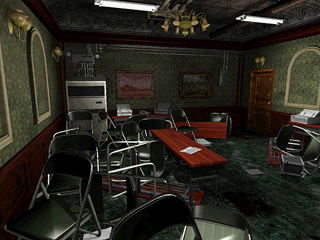
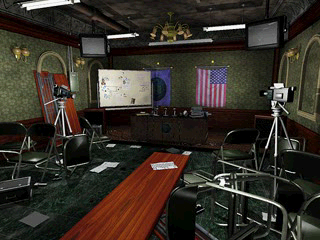
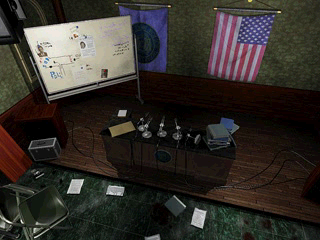
The conference room looks very different from the final. In some ways, like the desk and the flags, the room's equivalent in the 2019 remake resembles this version more than it does the final PlayStation version. There is no puzzle in the room and the version of the room with the hole in the wall does not exist yet.
A top down view of this version of the room can be found unused in the Nintendo 64 version of the final game.
Room 20F: Police Station, 1F East Corridor#
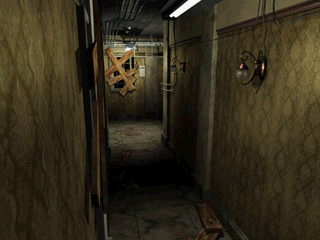
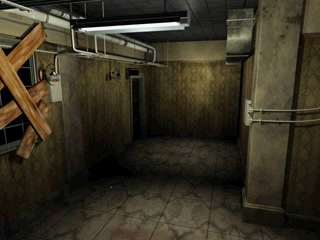
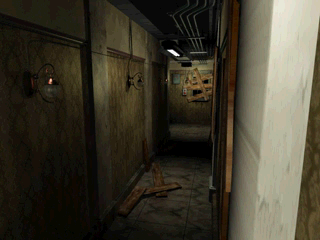
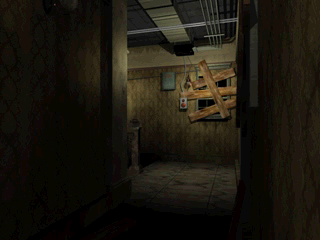
An early version of the corridor. Among other things, the electric shutters are missing.
Room 211: Police Station, Basement Corridor#
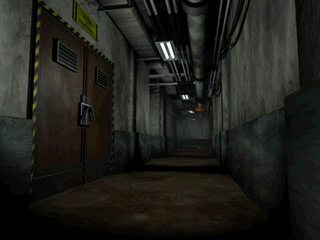
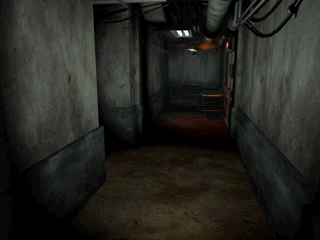
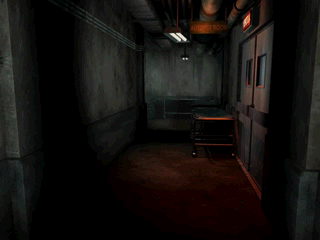
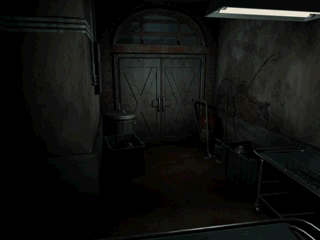
A few stretchers and some other detailing can be found, while the corridor is completely empty in the final. They were possibly taken out to give more room for gameplay.
See also room 700 for an early version of the room.
Room 212: Police Station, Outdoor B1#
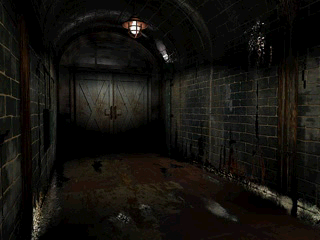
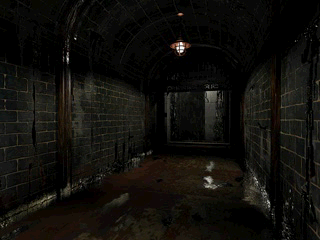
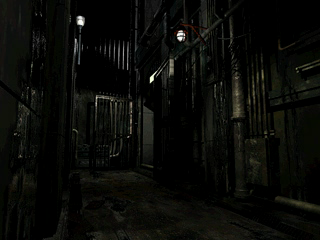
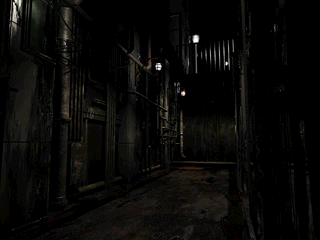
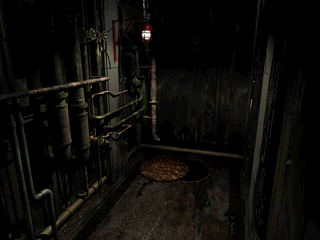
Some details are missing in the first two screens. Third shot: the lighting and some other detailing differ from the final. Last two shots, the manhole has a cover, while it does not in the final.
Room 213: Police Station, Basement Generator#
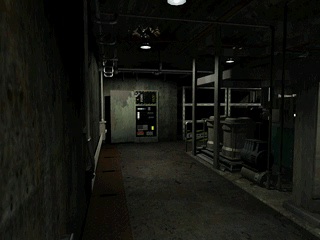
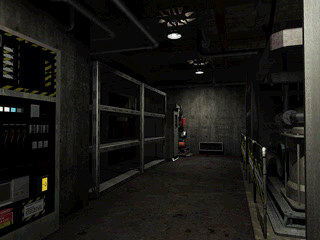

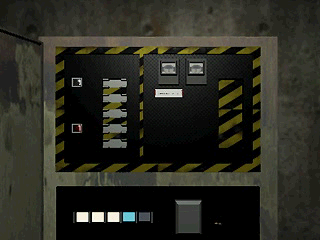
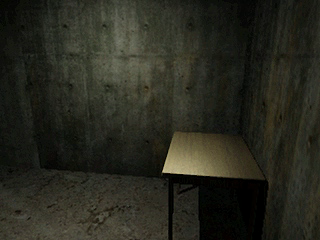
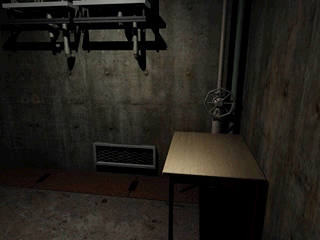
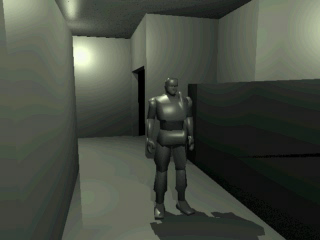
The power generator looks different than in the final version. There are two versions of the close-up on the small table, one of which is an earlier version which does not exist in the final version, while the other one looks very close to its equivalent from the final version in which it is also unused.
The reasons there is a shot of the previous room is most likely linked to the use of the power generator: indeed, when the game shows shots from a different room than the one the player is in, it does not show the actual other room, but a copy of it located in the data of the current room. Therefore, this last shot is an early version of room 211.
Room 214: Police Station, Basement Locker Room#
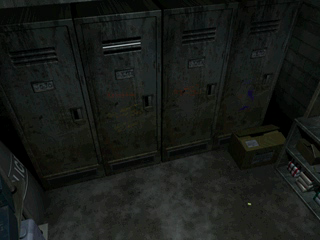
In the final, the lockers on the left and right sides are opened. Also, the same locker image found unused in the final version exists, but the other locker, the one with the S.Machine Gun in the final, does not yet.
Room 215: Police Station, Morgue#
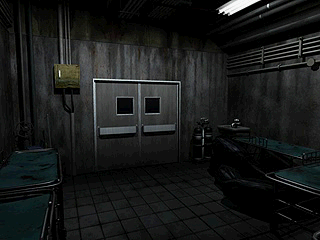
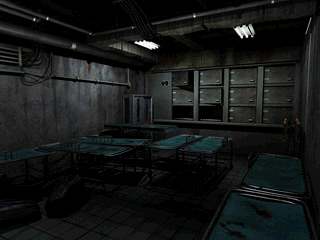
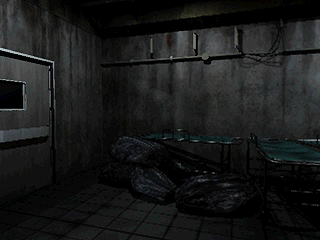
The morgue looks very close to the final, except for the fact that there are body bags on the floor. An unused variant of the last screen exists in the final version, in which the body bags are empty. It is possible they had planned for zombies to come out of the bags.
Room 216: Police Station, Parking#
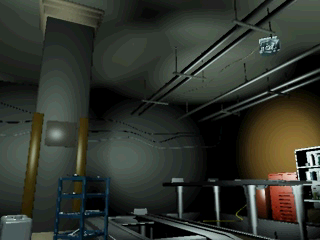


Three early camera angles can be found in the room's data. Two of those camera angles are only used in the cutscene when Leon meets Ada in the final version, which may indicate that, despite the equivalent of that cutscene taking place in the S.T.A.R.S. office in the demo, it may already have been planned for the parking area.
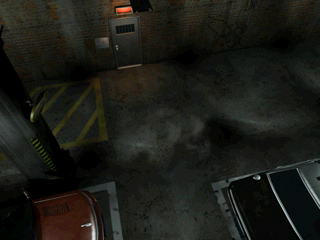
The rest of the room looks very close to the final, although compared to it the handle is on the right side of the door in the final. This is a rip of the background image which is why the 3D model of the police truck doesn't show, it is currently unknown if the truck is in the rooms' data.
Room 217: Police Station, Parking#
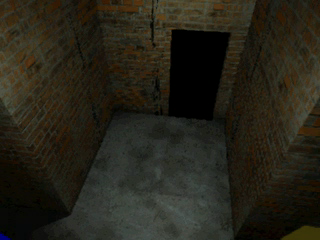
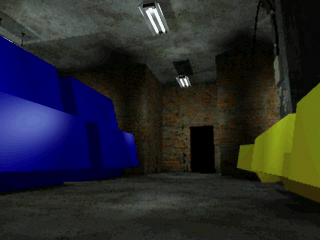
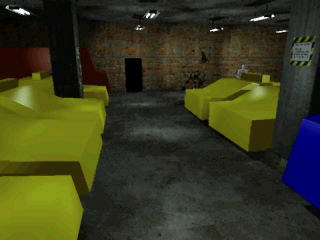
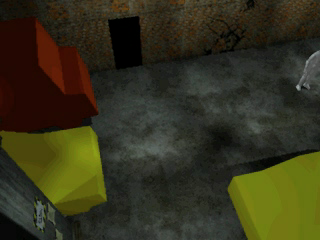
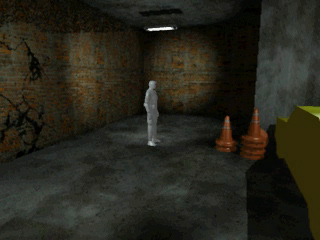
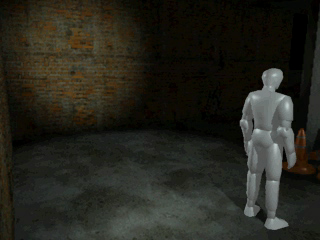
An earlier version of Room 216: Parking. The layout is identical but the camera angles pertaining to the cutscene are not present.
Room 219: Police Station, Basement West Corridor#
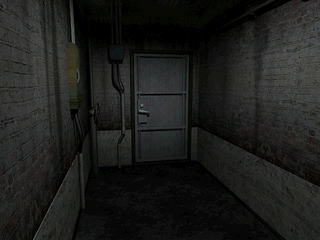
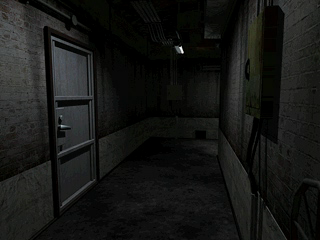
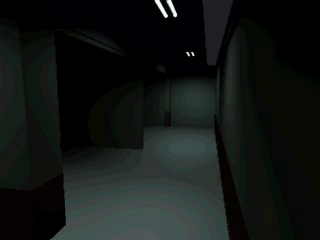
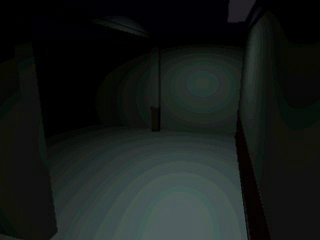
First shot: as with the doors' other side seen in Room 217:Parking, compared to the final the door uses a different design and the handle is on the other side.
Second shot: an extra door not present in the final. The door leading to Room 21A: Kennel does exist further down the corridor (not pictured here), but there is no extra unknown room for this area in the data. There is however, not pictured on this page, Room 21C which is an exact replica of Room 21A: Kennel. It may perhaps have been a placeholder for this extra room that never came to be.
Last two shots: early versions of Room 301: Jail. The fact that these two shots exist in this room may indicate that it was already planned to have a cutscene showing the jail while in this corridor, like in Leon's story in the final when he comes down the ventilation shaft (although said shaft does not exist yet in this version).
Room 21A: Police Station, Kennel#
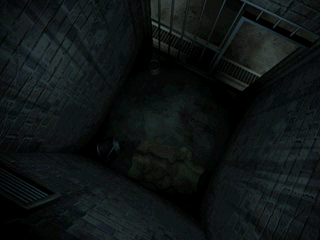
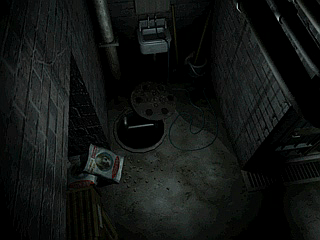
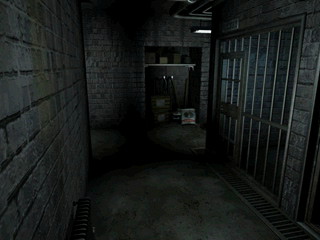
First shot: there is an air shaft on the wall not present in the final version. Second shot: the manhole cover is part of the background, in the final version it is a 3D model and needs to be opened with the help of tool. Third shot: the door to the first cell is part of the background, in the final version it is a 3D model. No data for the inside of the first cell exists.
See Room 21D for an earlier version of this room.
Room 21B: Police Station, Chief Irons' Office#
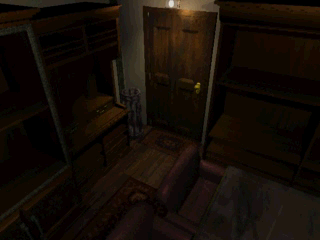
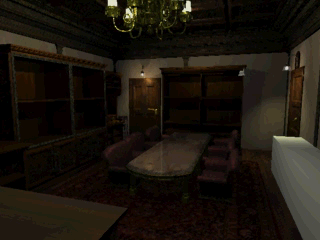
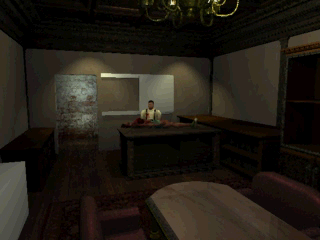
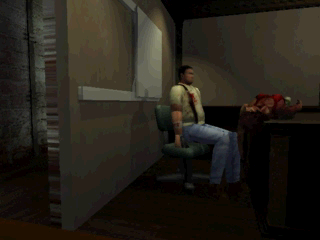
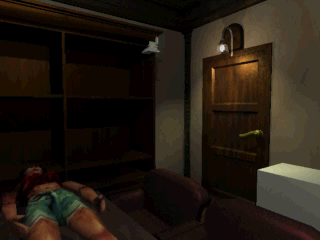
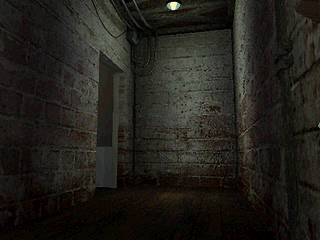
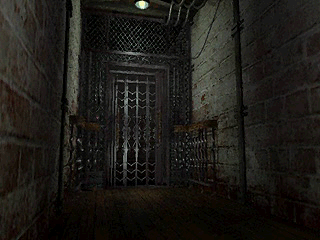
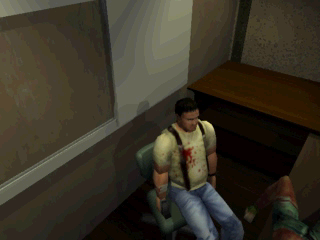

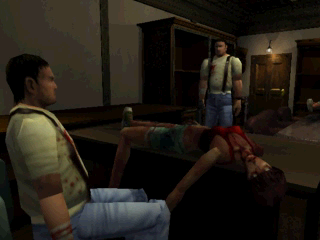
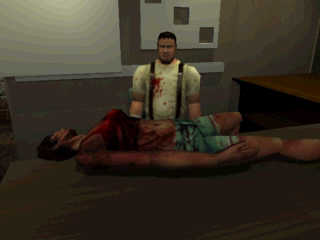
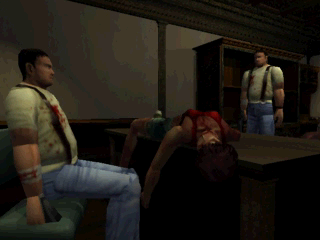
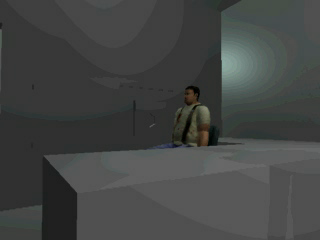
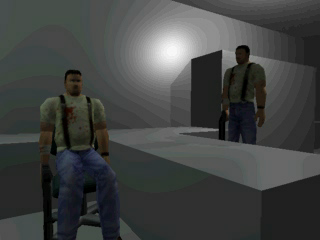
An early version of Chief Irons' office, with a female zombie serving as placeholder for the mayor's daughter, and Kendo serving as placeholder for everyone else. Notice how on one of the shots, the female zombie is laying on a table in the middle of the room rather than on the desk.
On the penultimate shot, it looks like the puzzle on the wall looks different than it does in the final (and in the other shots). All three doors are functional and connect to their respective rooms, except for the elevator door which also connects to the white corridor (early version of the corridor with the stuffed tiger)
Two more images belonging to the earlier version of the room can be found in Resident Evil 3: Nemesis. In one of those: the corpse of the mayor's daughter is in yet another place. In the other one: not two, but three placeholding Kendo!
Room 21D: Police Station, Kennel#
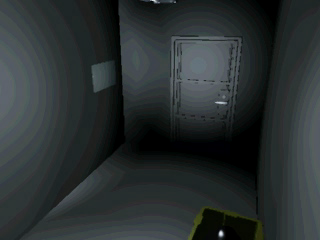
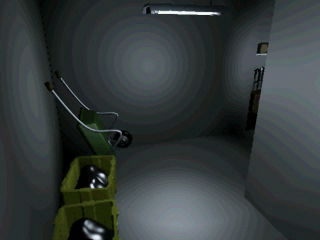
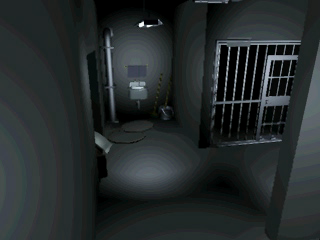
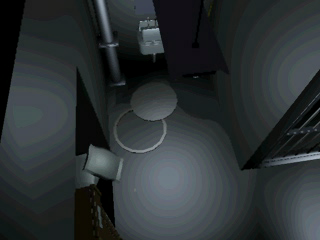
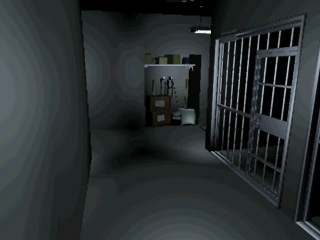
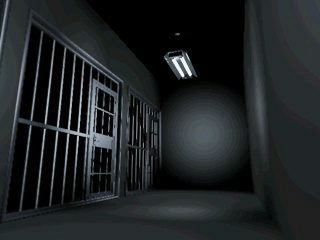

An earlier version of room 21A. Again, there is only data for one of the cells, versus two in the final. The placement of the cell doors differs from Room 21A and from the final.
Room 300: Police Station, Chief Irons' Lab#
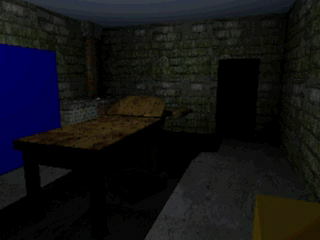
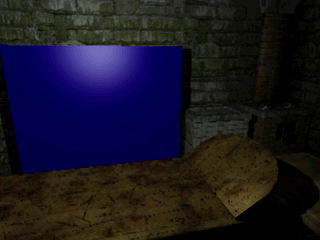
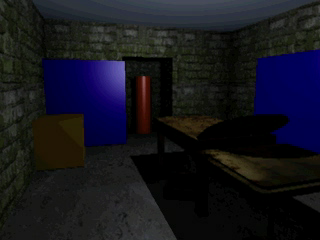
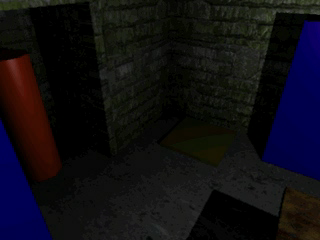
Early version of the room. The camera angles pertaining to the cutscenes do not exist yet.
Room 301: Police Station, Jail#
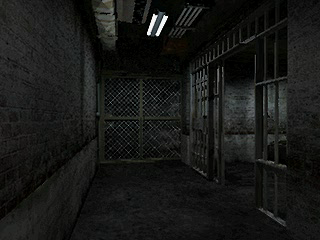
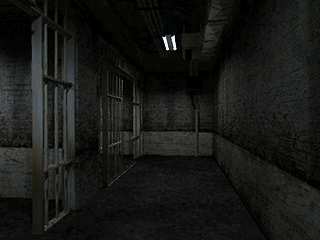
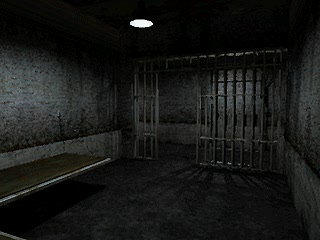
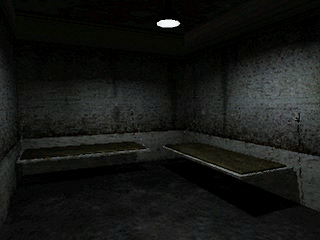
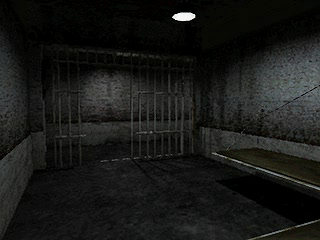
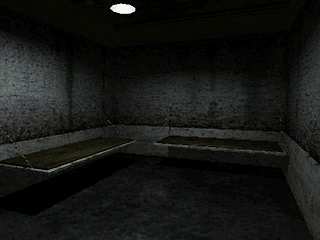
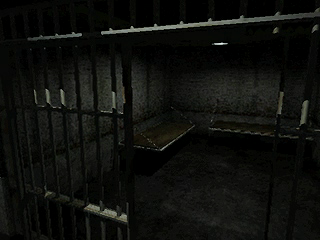
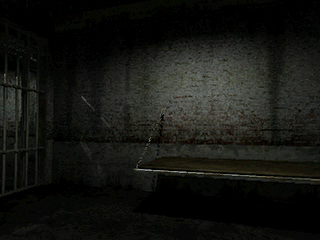
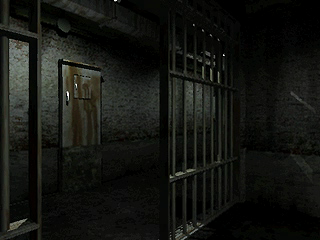
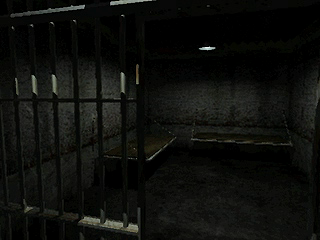
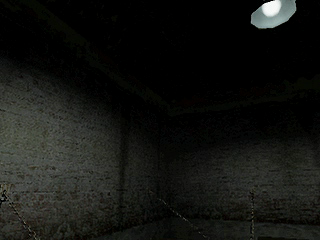
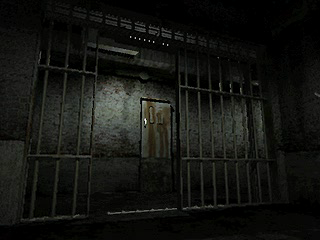
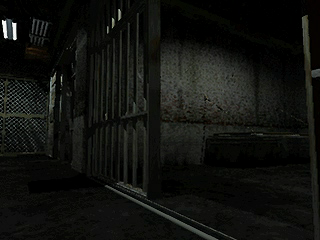
Early version of the jail area. Some of the odd camera angles indicates that cutscenes were already planned, although the angles differ from the final. Also, the cabinet which holds the crowbar in the final does not exist yet.
Room 302: Umbrella Factory, Entrance#
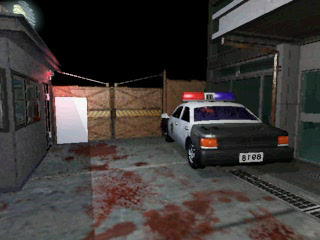
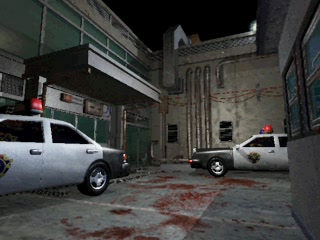
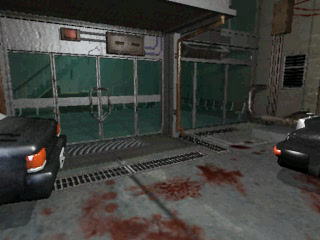
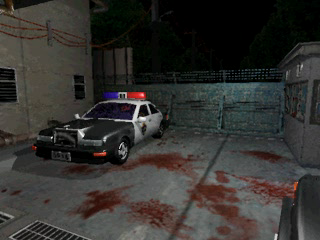
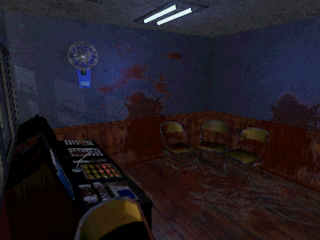
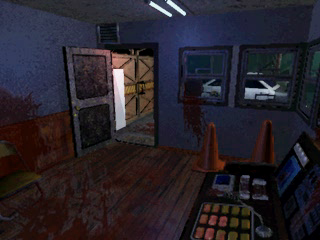
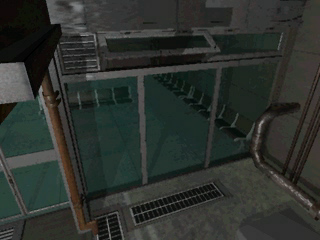
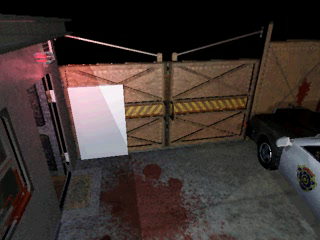
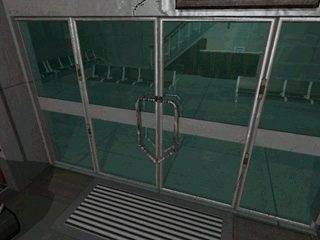
What seems to be the entrance to the Umbrella factory, as seen in room 30C and 30D. The police cars may be placeholders. There are some similarities with the back entrance of the police station in the final like the parking area and the guard's shack. See also Room 30D for another version of the room.
Room 303: Umbrella Factory, Unknown Corridor#
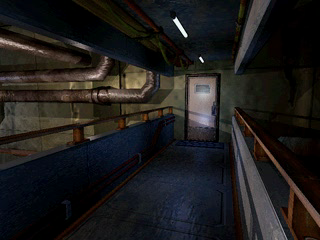
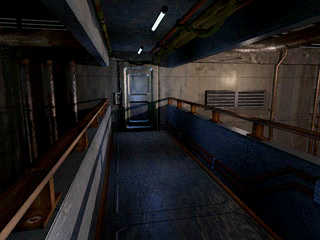
No real equivalent exists in the final.
Room 304: Umbrella Factory, Lower Floor Room#
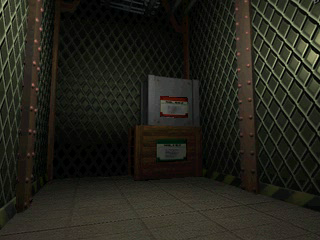
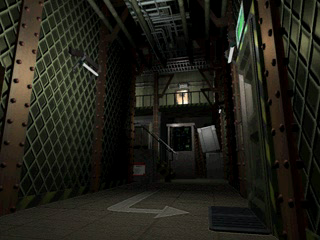
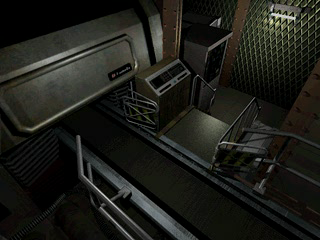
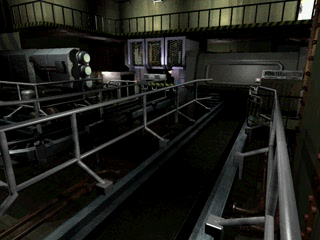
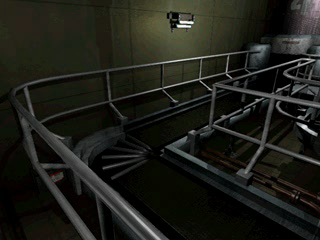
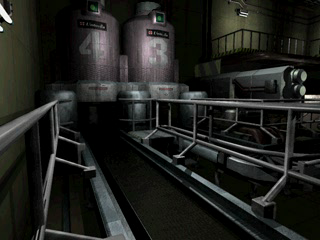
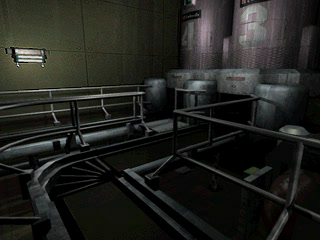
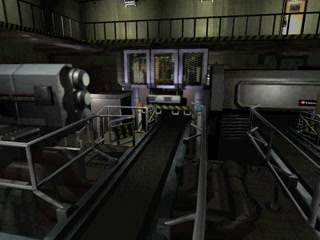
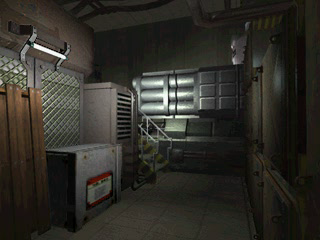
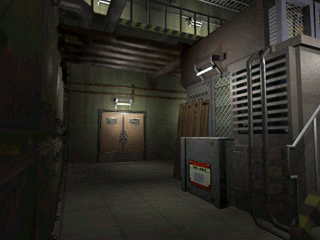
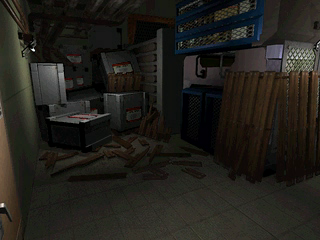
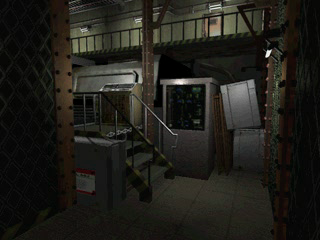
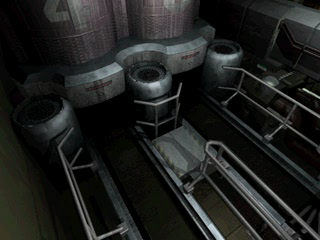
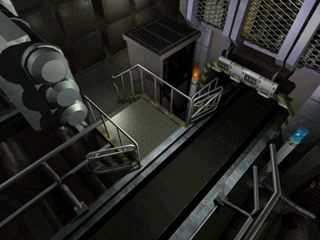
No real equivalent for this room exists in the final, it seems that the area was repurposed into the sewers in the final, in which the same upper/bottom floor concept exists. An upper floor can be seen on those of the shots, which corresponds to Room 30F.
Room 305: Umbrella Factory, Office#
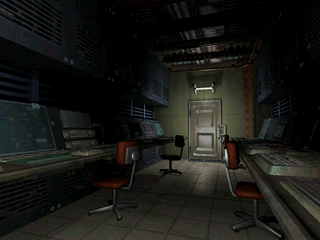
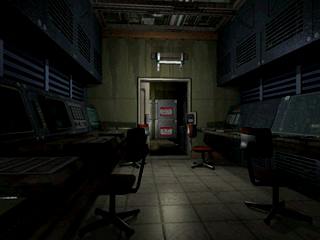
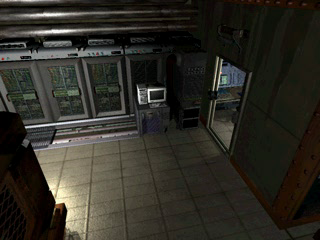
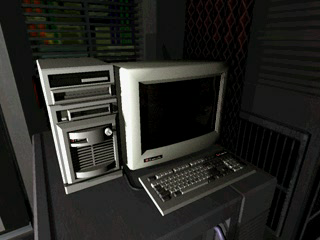
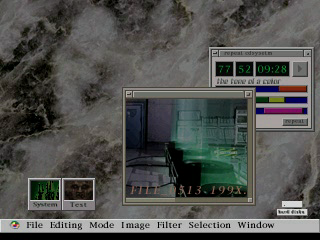
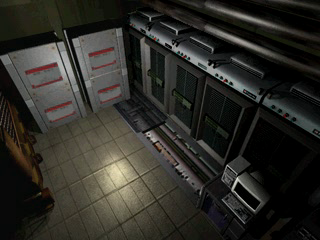
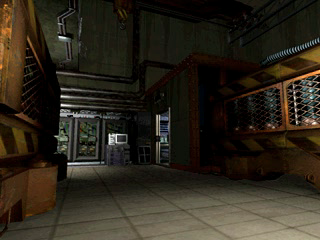
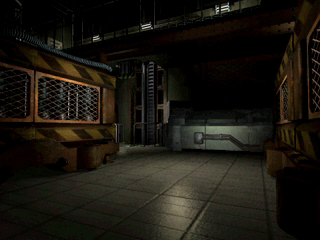
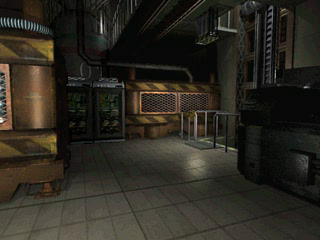
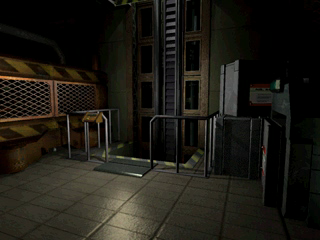
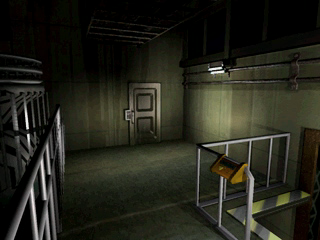
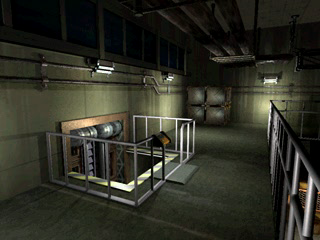
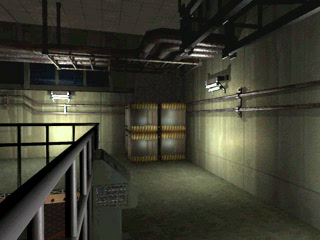
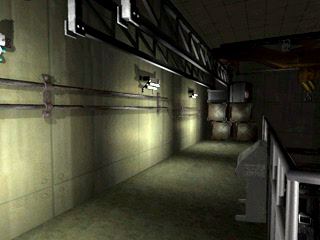
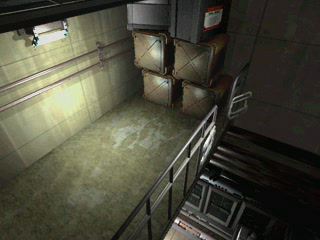
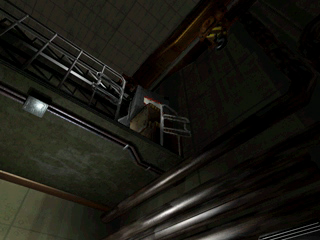
Room 306: Umbrella Factory, Court#
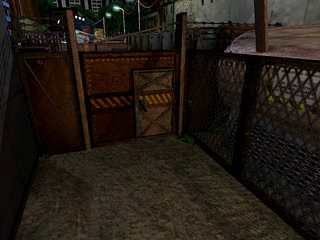
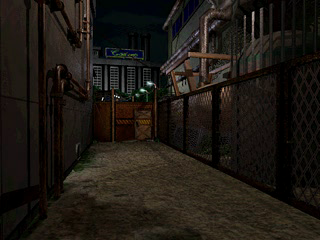
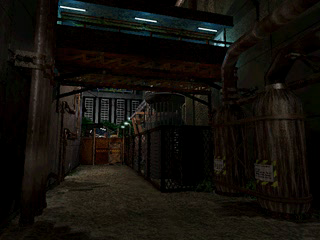
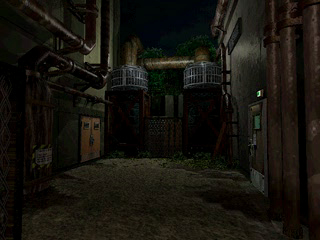
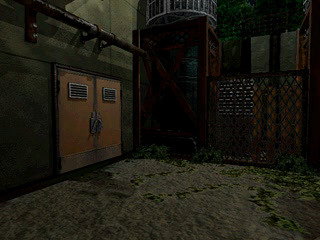
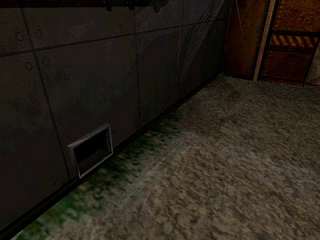
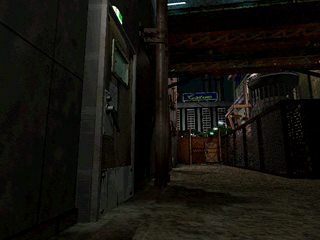
Some of this room can be seen in the RE1.5 footage found on the Biohazard Complete Disc, such as the close-up with the ventilation shaft on the wall which is where Elza Walker talks with Sherry Birkin.
The small grey-brown-green door connects to Room 309.
Room 307: Umbrella Factory, Hangar#
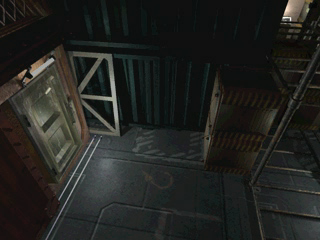
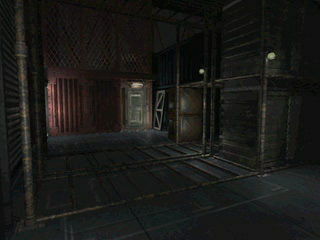
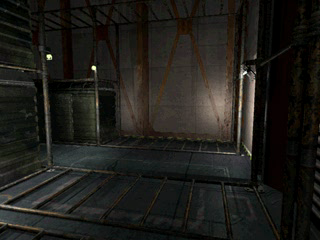
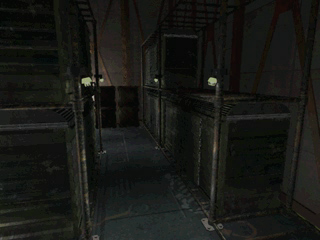
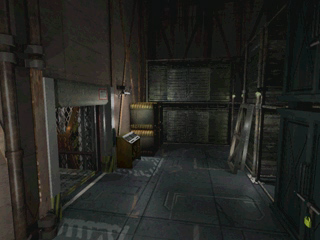
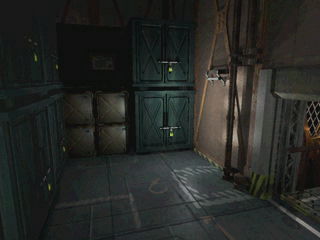
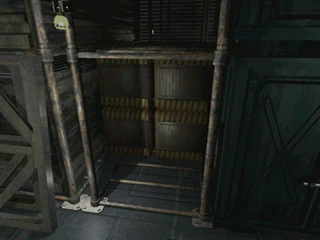
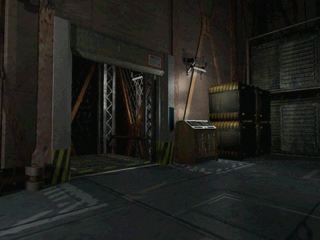
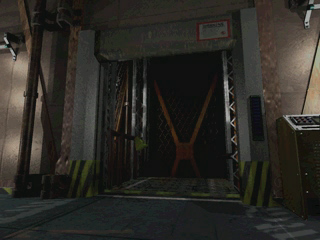
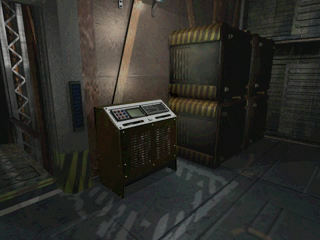
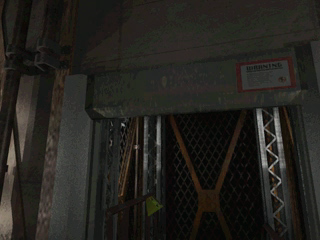
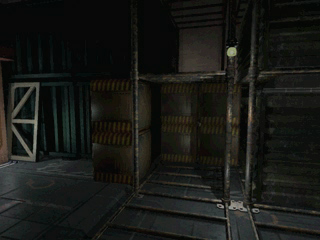
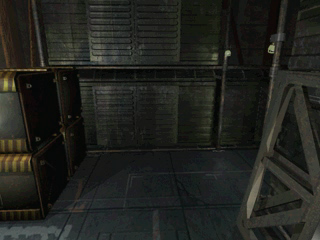
This room can also be seen in a RE1.5 video on the Biohazard Complete Disc: William Birkin can be seen coming out of the elevator. Considering this as well as the shape of the room and the camera angles, it is very likely a boss fight was planned here.
The door that can be seen on the first shot looks exactly like one of the doors in the Locker Room 30E, possibly the two rooms are connected and the player could retrieve the H.26K_MC51_Machine_Gun before the boss fight.
Room 309: Umbrella Factory, Unknown Corridor, leading to Court area#
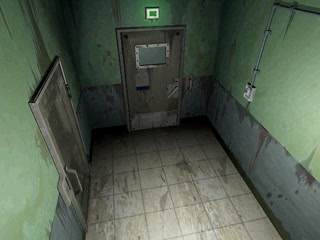
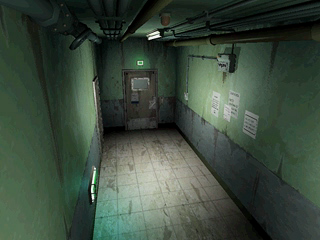
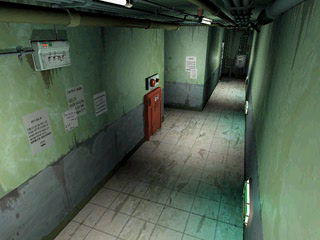
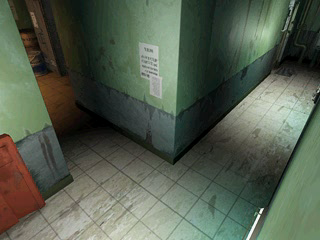
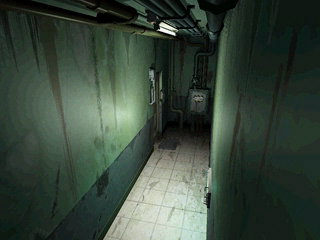
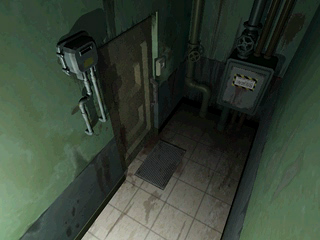
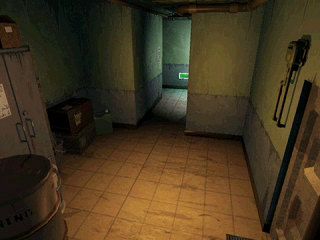
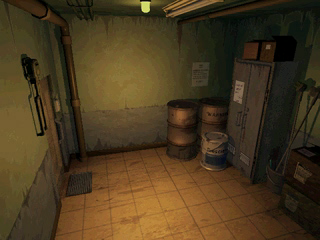
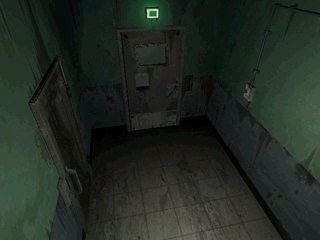
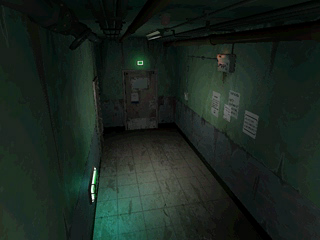
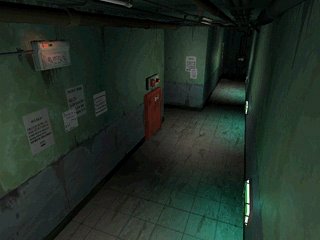
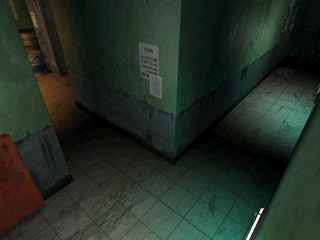
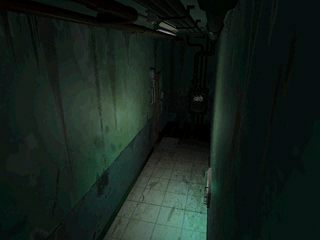
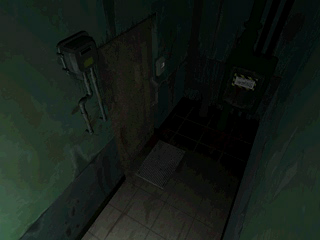
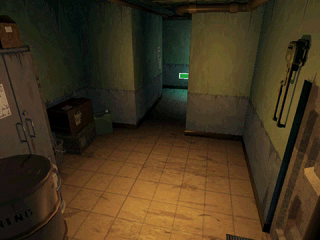
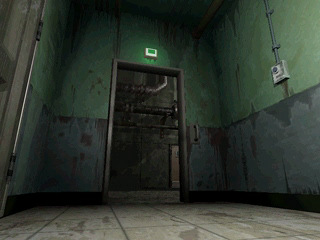
An unknown corridor. The last shot shows a glimpse of Room 306 through the opened window, revealing that both rooms are connected.
Room 30A: Umbrella Factory, Unknown Office#
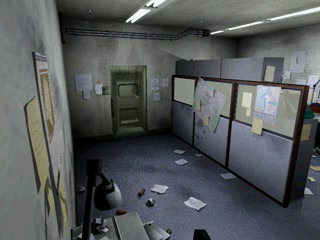
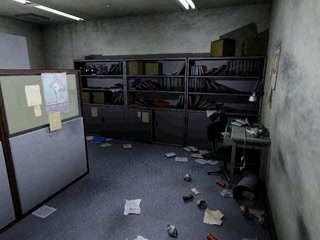
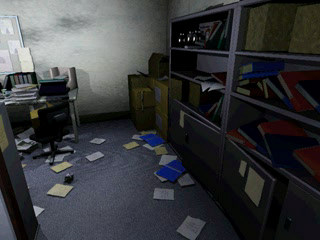
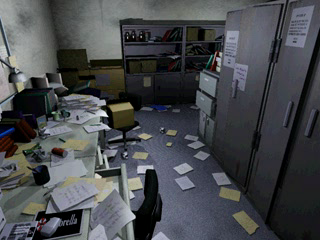
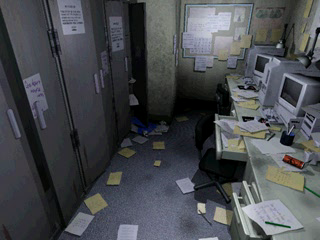
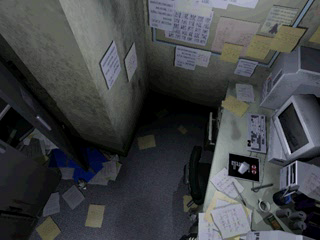
An office with no real equivalent in the final version. The room number, and the Umbrella mousepad, suggest that the room belongs to the factory.
Room 30B: Umbrella Factory, Pipe#
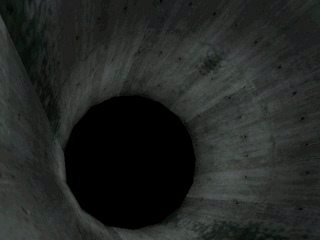
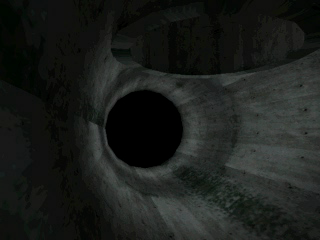
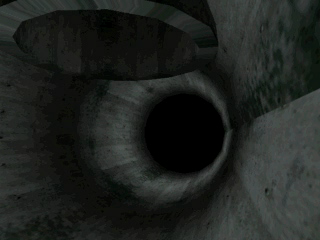
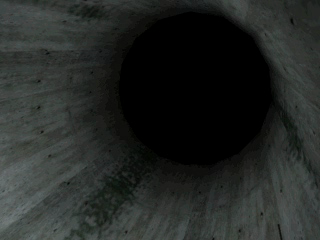
This pipe was repurposed into the ventilation shaft full of cockroaches in the final version: the size, shape and camera angles are identical.
Room 30C: Umbrella Factory, Main Hall#
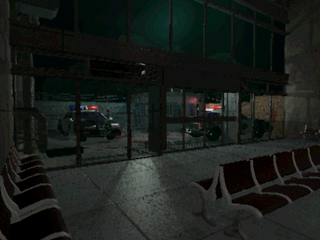
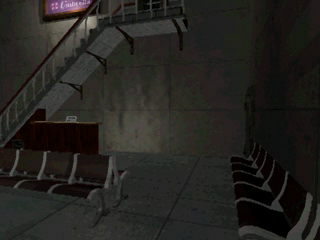
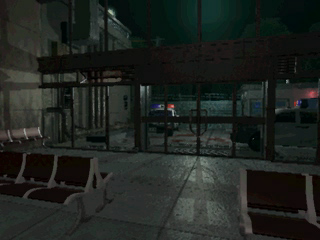
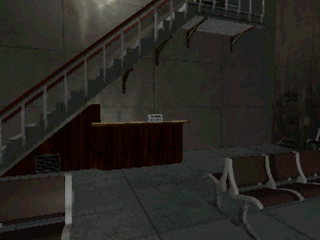
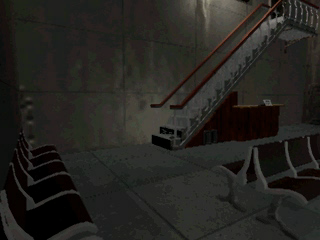
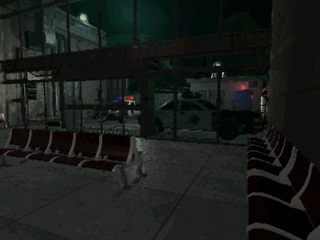
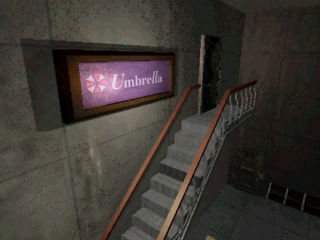
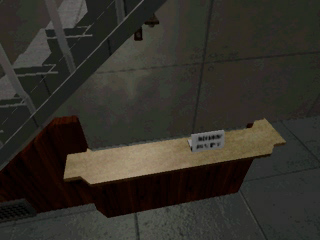
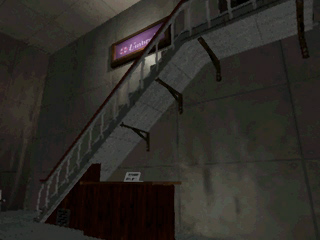
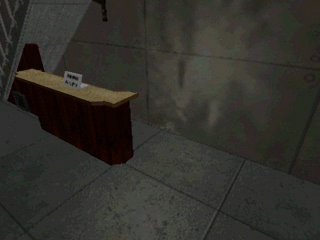
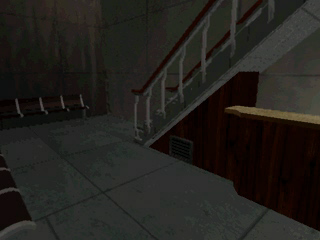
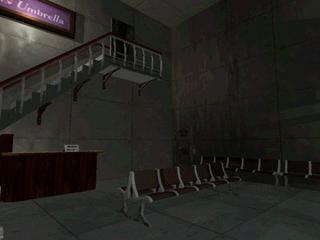
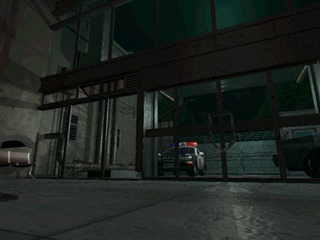
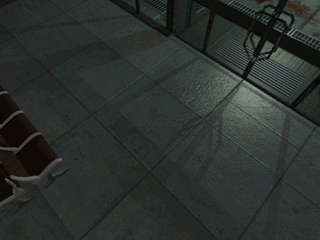
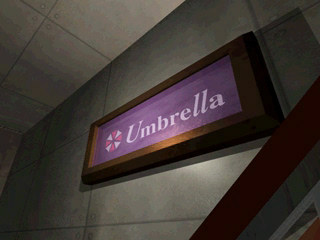
As seen with the Umbrella sign on the wall and the Umbrella mousepad in room 30A, this would be part of the factory. Possibly some concepts of this area were reused for the main hall of the police station (room 200) in the final, as concept arts show this room with a mezzanine.
Room 30D: Umbrella Factory, Entrance & Hall#
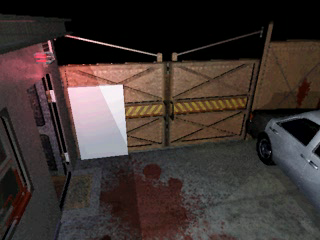
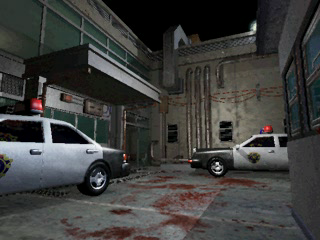
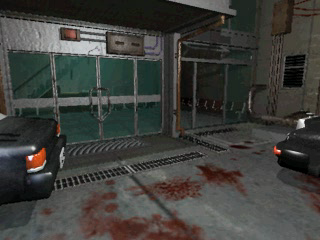
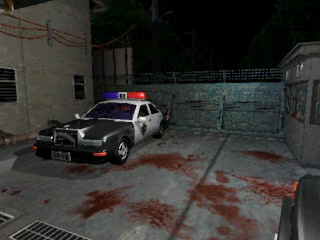
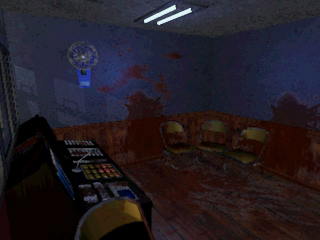
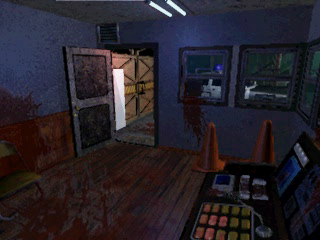
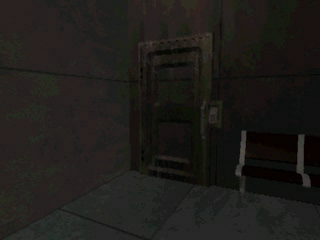
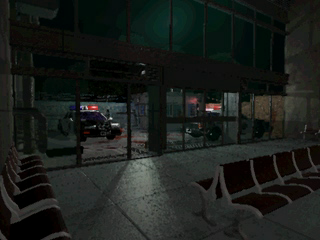
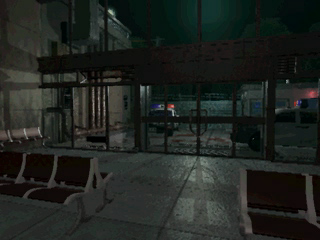
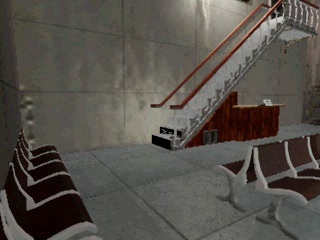
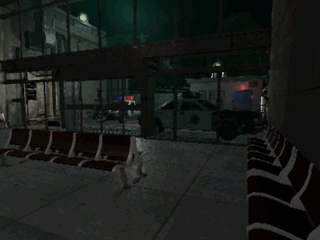
Duplicates of the same camera angles as in Room 302 and 30C exist, some with slight differences and different lighting (pictured), and some which are completely identical (non pictured).
Room 30E: Umbrella Factory, Locker Room#
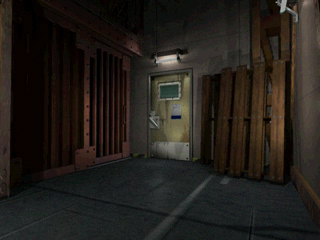
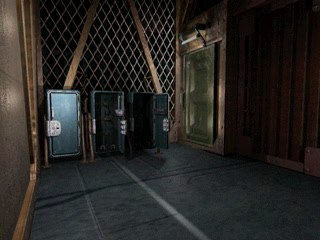
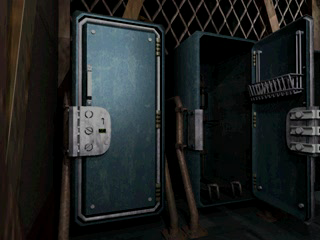
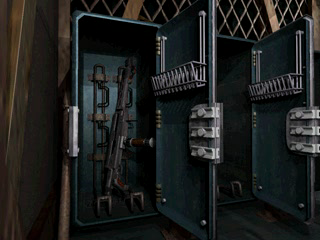
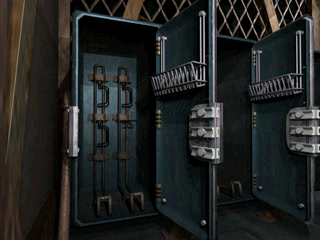
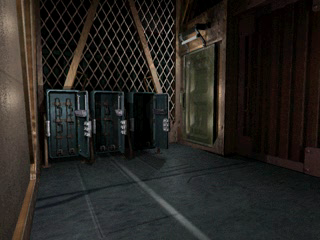
Where the H.26K_MC51_Machine_Gun could be found. This room is possibly connected to Hangar Room 307 via one of the doors.
Room 30F: Umbrella Factory, Upper Floor Room#
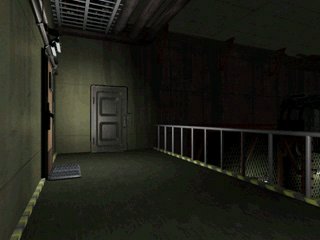
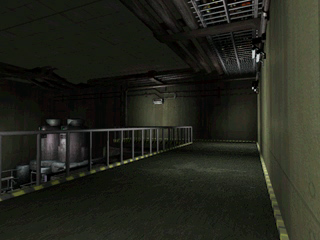
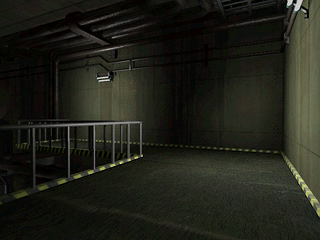
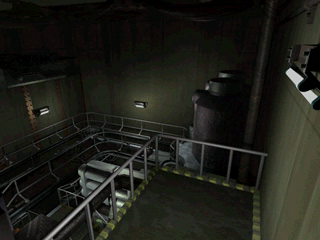
A lower floor can be seen, which corresponds to Room 304. This same "two-floors" concept will be reused in the sewers of the final game, with the room with the turn-table bridge.
Room 400: Laboratory, B4 Lobby#
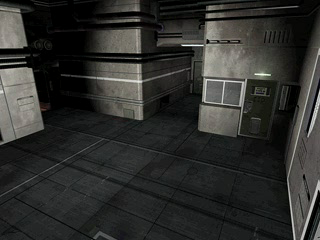
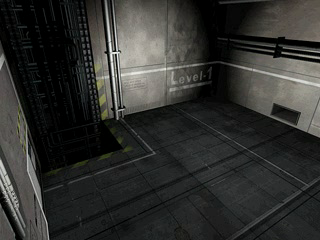
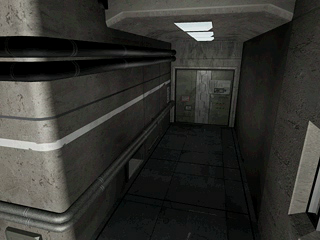
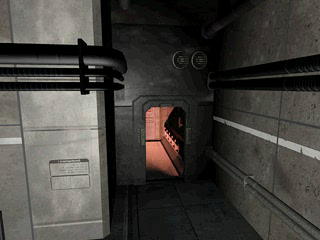
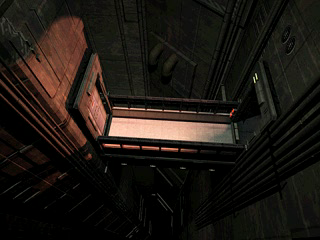
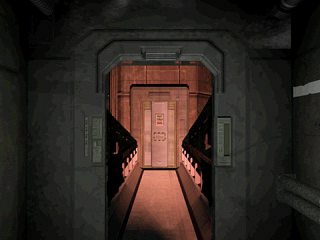
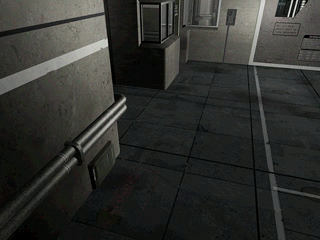
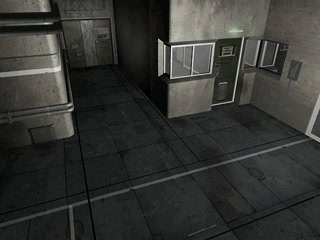
An early version of the room from the final. The second shot reveals that at this point, the room is connected to the surface via a simple elevator, rather than the train from the final.
Room 401: Laboratory, B4 Security Office#
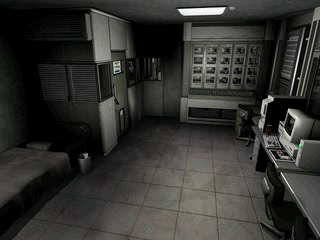
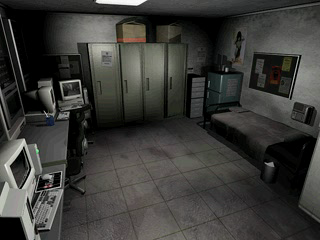
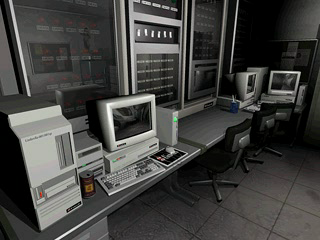
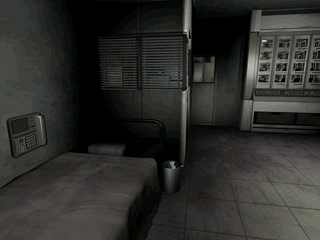
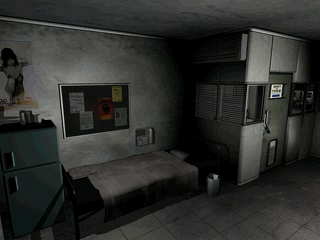
Early version of the room from the final, though some of the close-up shots pertaining to cutscenes from the final do not exist yet.
Room 501 is apparently another variant of this room.
Room 402: Laboratory, Elevator#
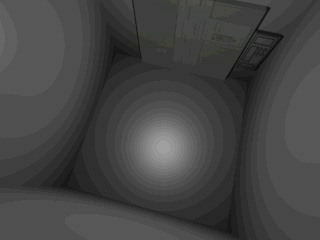
Very early version of the room from the final. Another early yet near final version of this room can be found unused in the data of the final game.
Room 403: Laboratory, B4 Center Room#
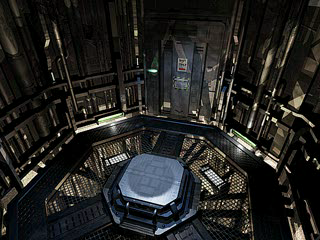
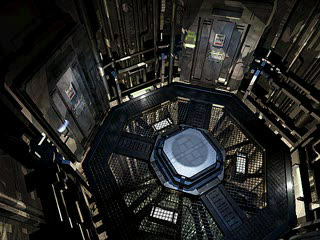
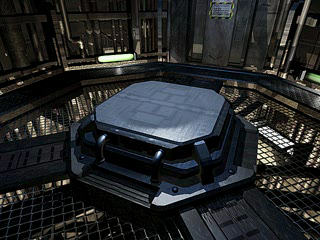
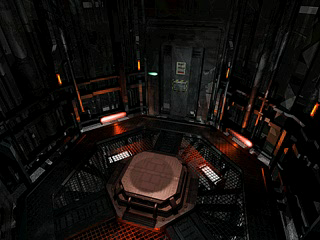
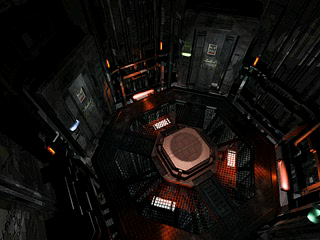
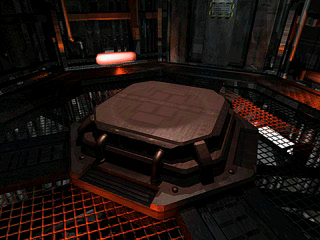
Early version of the room from the final. Note that in the final, the doors were moved further back. Indeed, in the final the catwalks all around are part of this room, but in this version they are part of the surrounding rooms. The result of this change probably makes the area less confusing to navigate.
Room 404: Laboratory, B4 West Corridor#
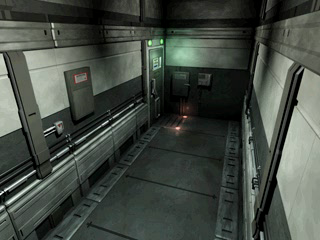
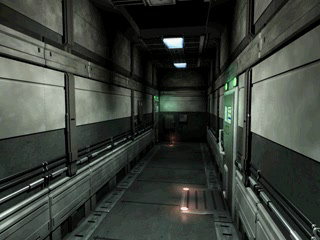
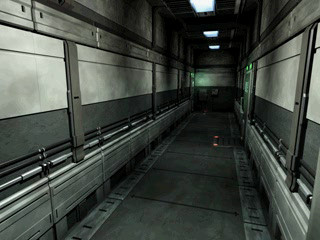
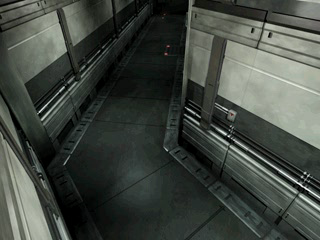
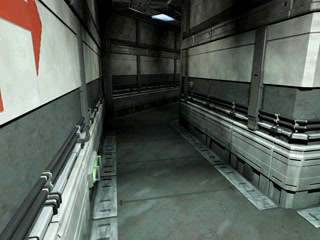
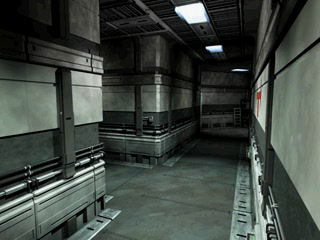
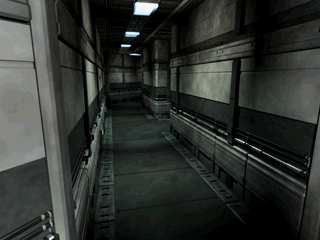
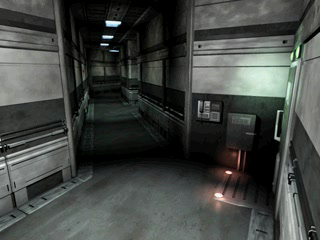
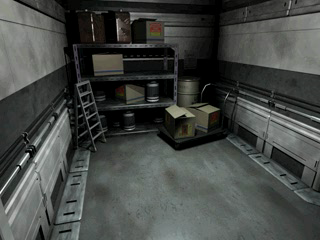
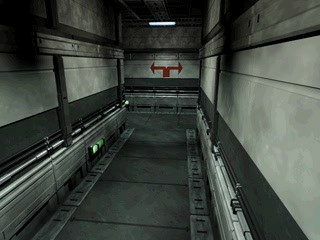
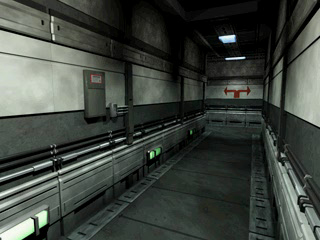
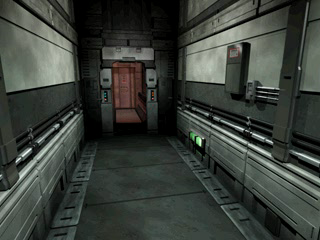
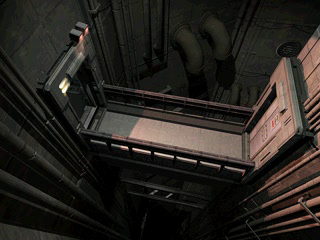
Early version of the corridor which connects to the two scientists quarters rooms (Room 405 and Room 406), which is made evident by how it also connects to the center room (Room 403). Note that the location of one of the quarters differ from the final, it was apparently moved in the final so that both rooms could be connected via the ventilation shaft. Note the door on the 8th shot which connects to the ladder area (Room 407), and next to it a dead end with shelves which does not exist in the final.
See also room 706 for a variant of this room.
Room 405: Laboratory, B4 Scientists Quarters 1#
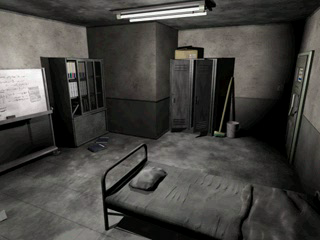
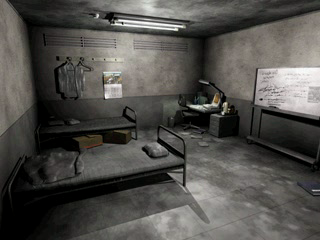
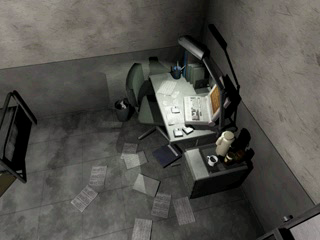
Early version of the room from the final version, hardly recognizable but it has a similar purpose. The lockers and the computer are there, looking very different from the final.
Room 406: Laboratory, B4 Scientists Quarters 2#
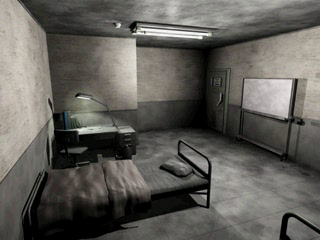
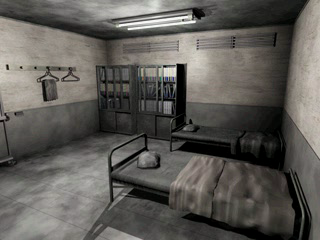
Early version of the second quarters room, again, hardly recognizable. As noted above the shaft connecting both quarters rooms does not exist yet.
Room 407: Laboratory, Ladder Area#


There are three floors, only two in the final. Note also that the position of the ladder was moved in the final to make place for the giant mutated plant.
Room 408: Laboratory, B4 East Corridor#
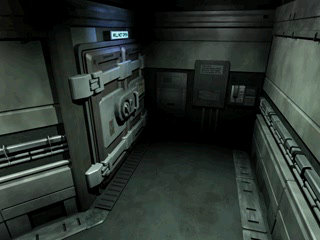
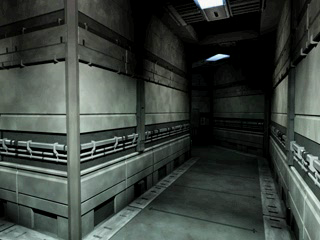
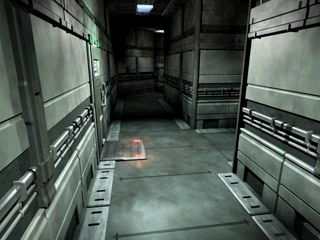
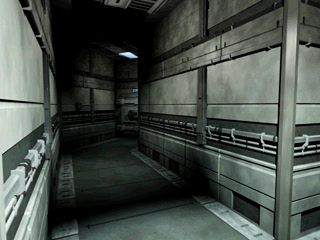
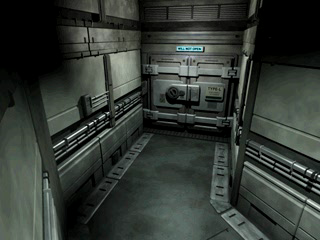
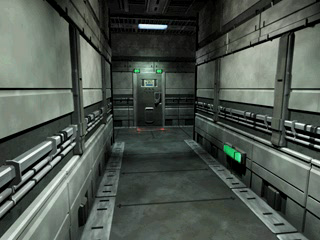
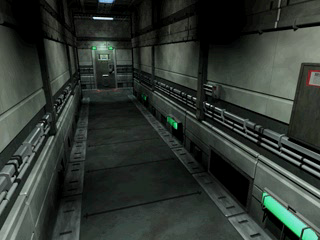
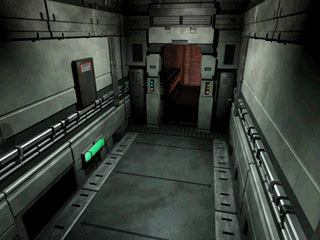
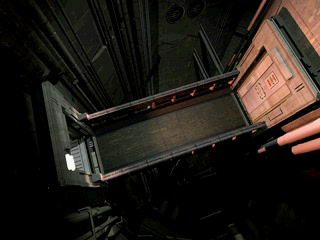
Except for the fact that the catwalk is part of the room, the layout is identical to the final.
Room 409: Laboratory, B4 Fuse Room#
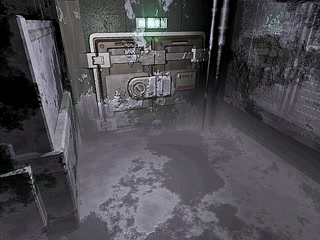
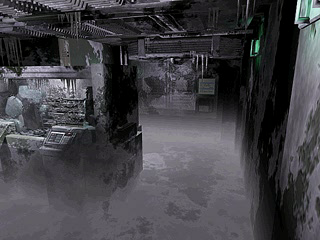
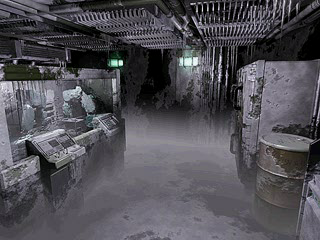
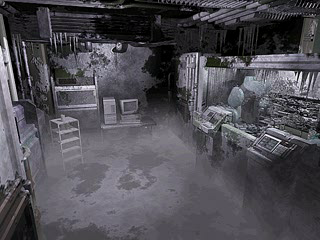
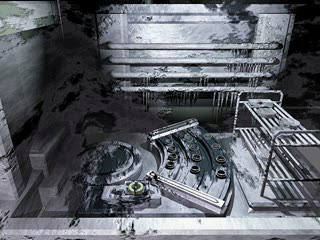
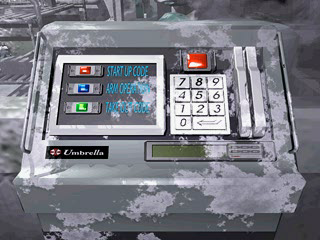
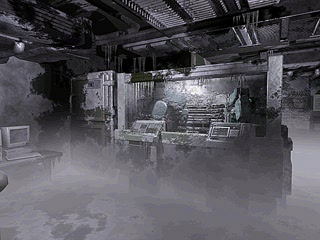
Except for some minor detailing on the fifth shot, another version of which can be found unused in the final, the room is identical to the final. The shot with the control panel does not exist in the final though, it looks like it was planned for the puzzle to be more advanced.
Room 40A: Laboratory B4, V.A.M. Room#
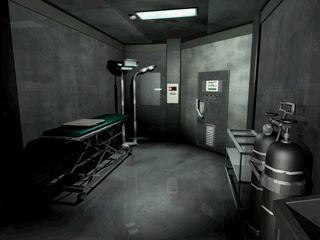
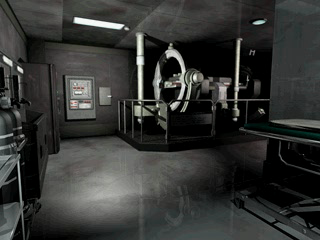
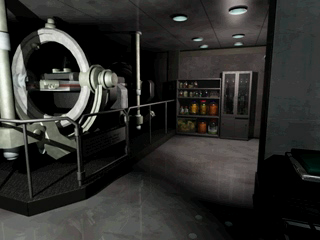
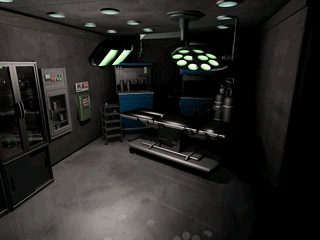
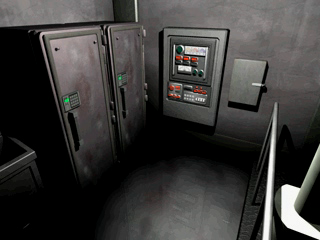
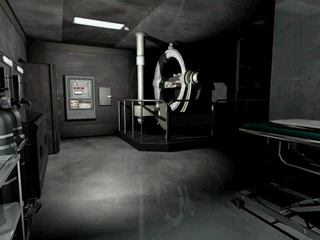
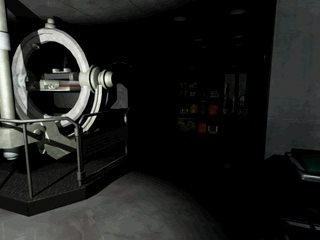
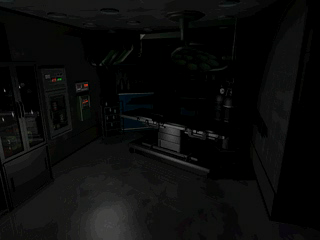
An early version of the room where the V.A.M. System is located in the final.
Room 40B: Laboratory B4, Culture Room#
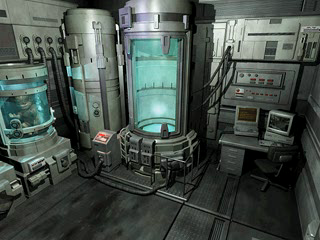
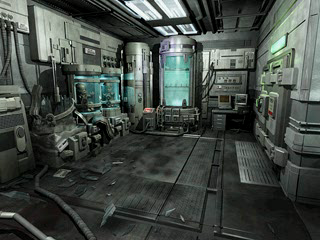
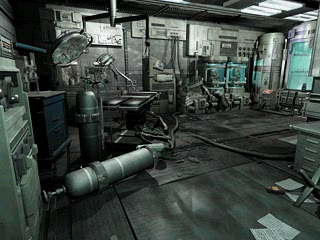
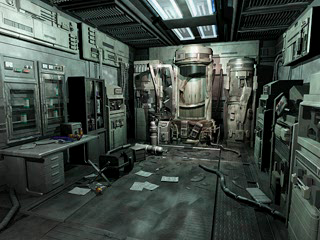
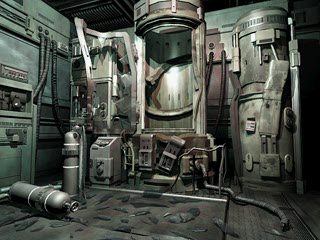
Early version of the room.
Room 500: Unknown Room#
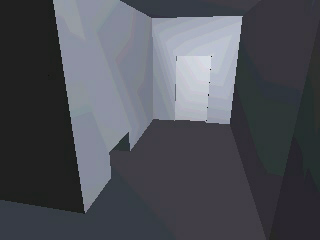
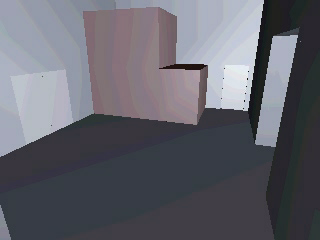
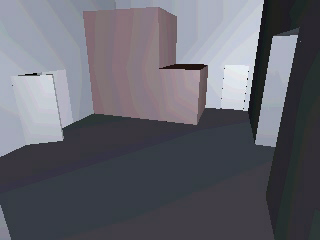
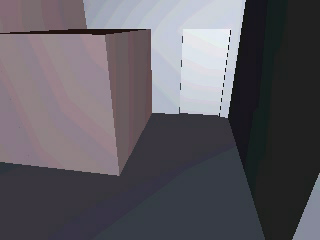
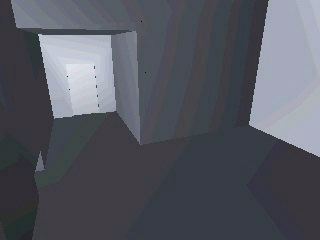
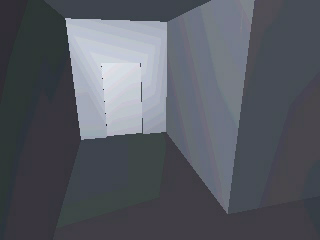
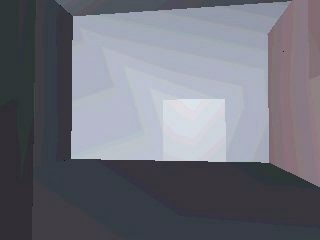
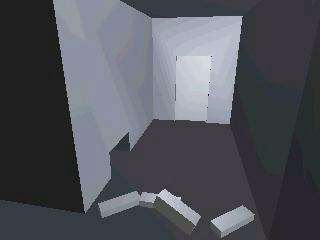
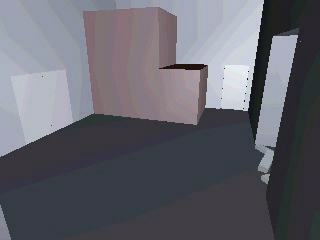
Duplicates of the 4th and 5th shots also exist. Possibly it is an early version of Room 306, the layout and placement of doors as well as that of the hole in the wall are similar.
Room 501: Laboratory, B4 Security Office (Earlier)#
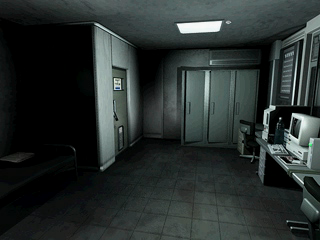
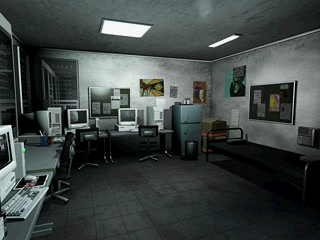
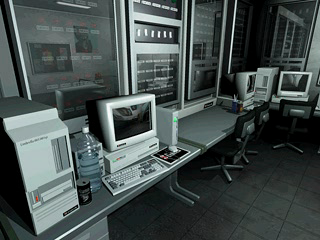
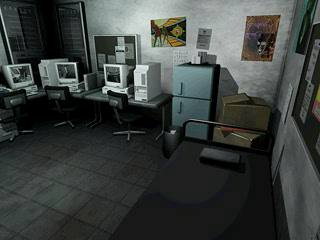
Apparently it is an earlier version of room 401, although the room number may be a clue that it is not. Possibly, a duplicate of room 401 was put in room 501 as a placeholder and the room never came to be, like there is a duplicate of Room 21A in Room 21C before the room disappeared completely.
Room 502: Laboratory, Unknown Room#
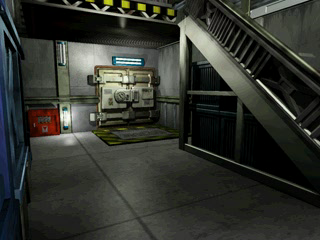
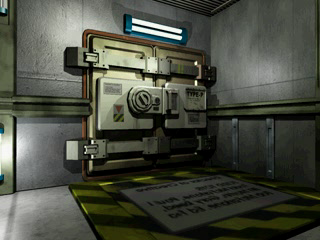
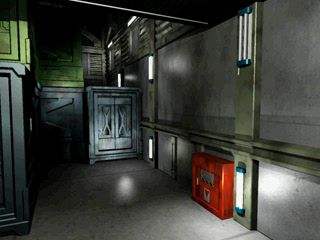
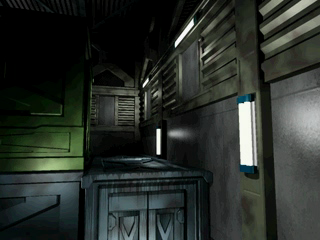
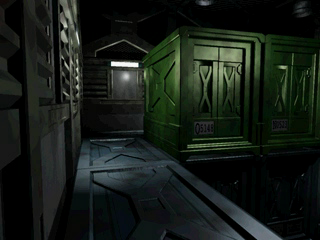
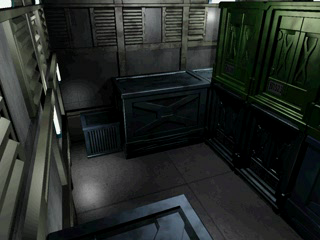
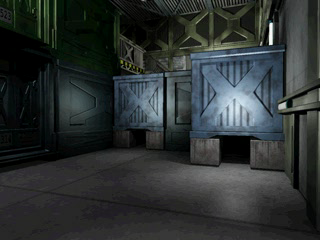
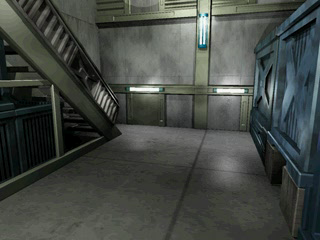
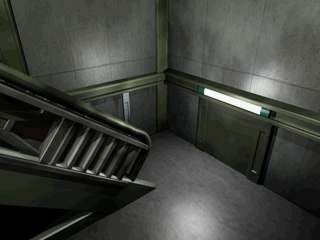
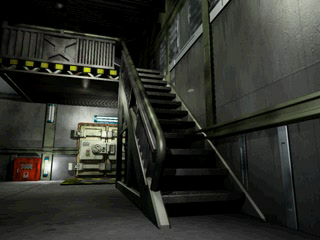
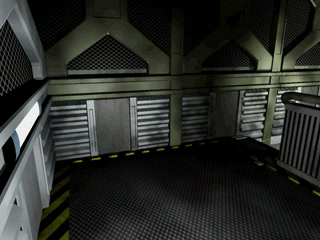
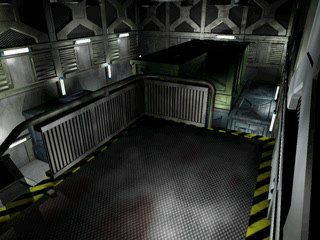
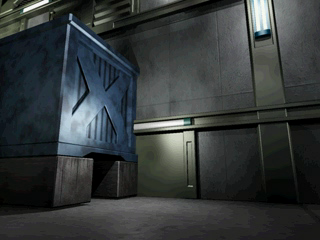
Perhaps a first part of the hangar, which would connect to room 50B?
Room 503: Laboratory, B5 Surveillance Room#
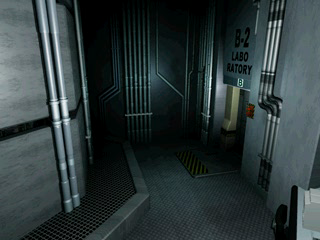
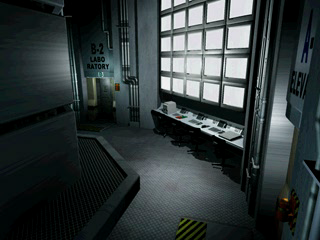
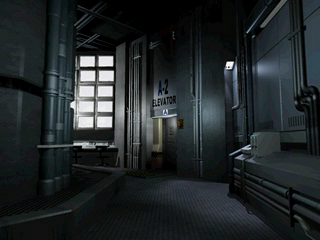
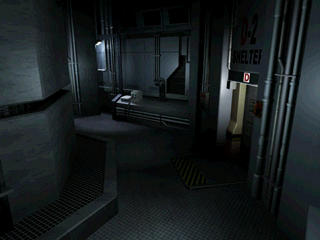
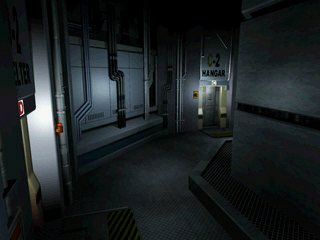
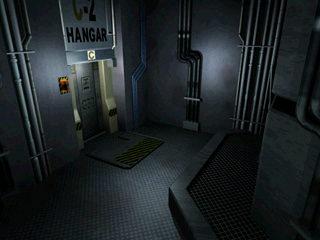
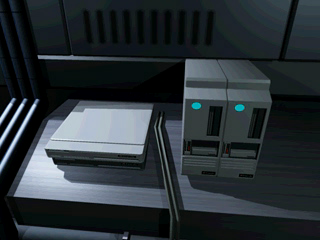
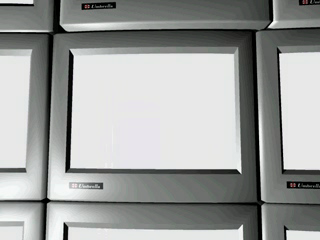
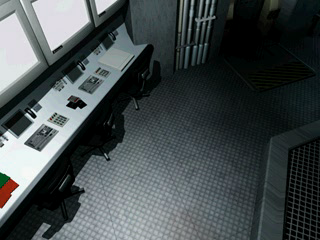
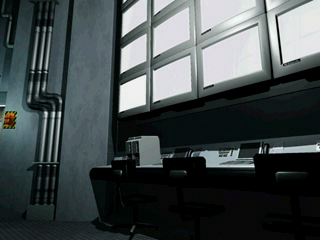
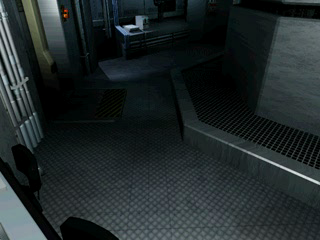
An early version of the room from the final. There are two extra doors compared to it, one of them reads "SHELTER", based on this and on the design of the door, it most likely connects to room 507, which itself connects to room 508 and 509. The door that reads "HANGAR" most likely connects to room 50A/514, which would correspond to the final version. The door that reads "Laboratory" would connect to room 504, also like in the final.
The last shot is a duplicate of room 500. That, and the angle of several of the shots, indicate that a cutscene was planned, with this shot of room 500 showing on one of the monitors. The final version has a cutscene similar to that.
Note also the computer, which does not exist in the final. The close-up on it should mean that it would either be used by the player, or part of the cutscene.
See also Room 511 for a variant of this room.
Room 504: Laboratory, B5 North West Corridor#
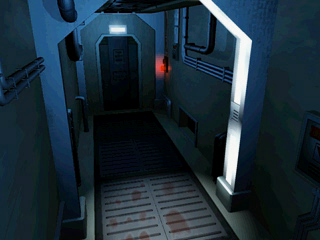
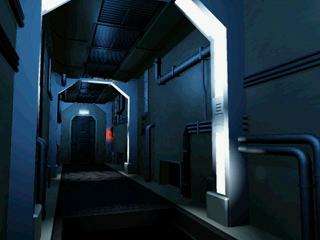
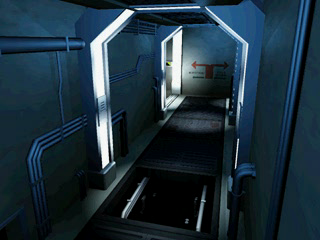
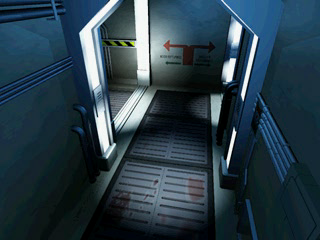
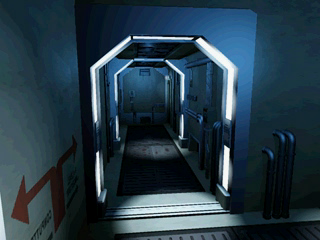
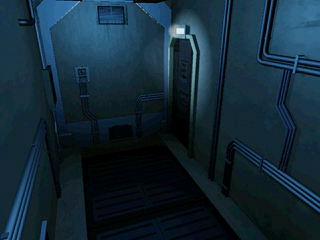
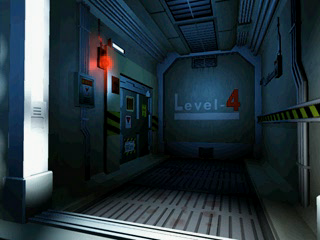
The distinctive RE1.5 blue tint. The layout of the corridor is almost identical to the final. It would lead to rooms 505 and 506, like in the final.
See room 512 for a variant of this room.
Room 505: Laboratory, B5 Computer Room#
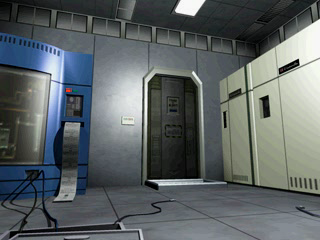
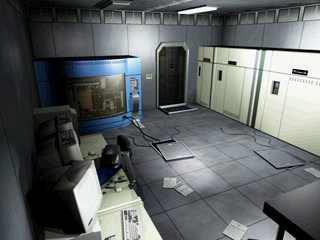
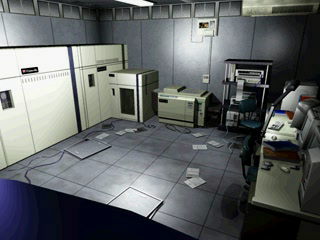
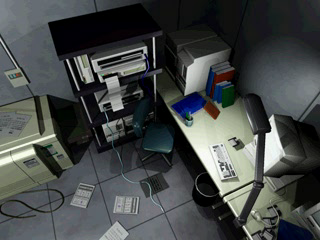
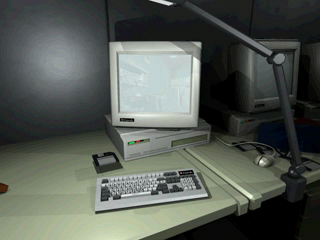
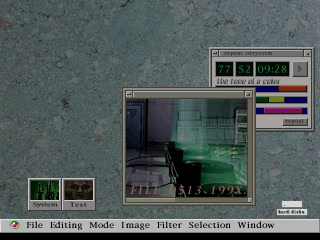
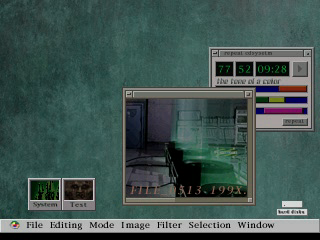
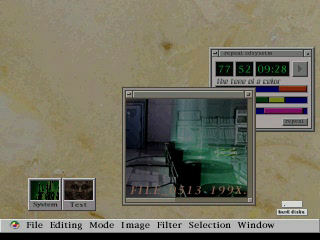
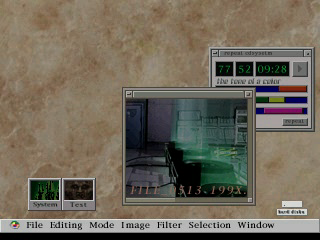
In the final, this is the room where the player can use the computer to register fingerprint for the culture room (room 40B). The room looks completely different from the final, no giant moth seems to inhabit it, though the layout and some of the camera angles match with the final.
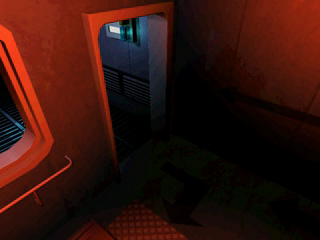
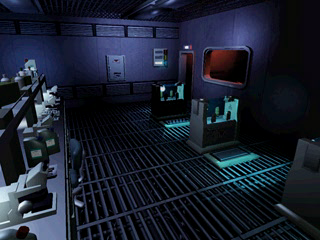
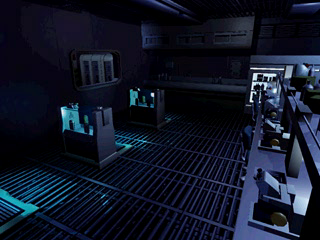
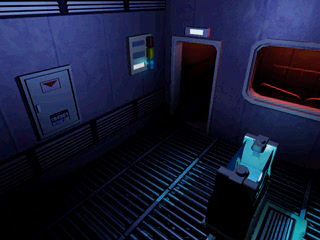
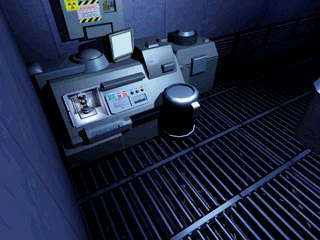
Room 506: Laboratory, B5 Experiment Room#
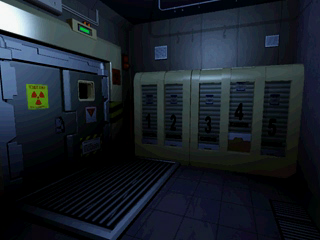
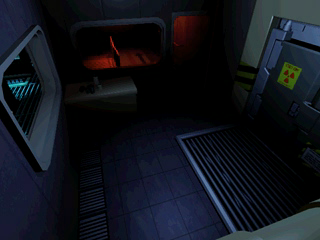
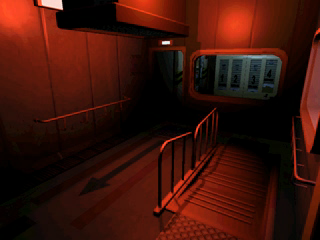
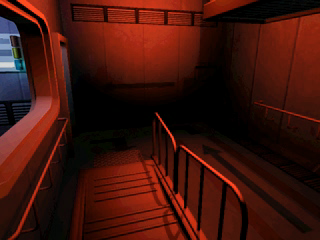
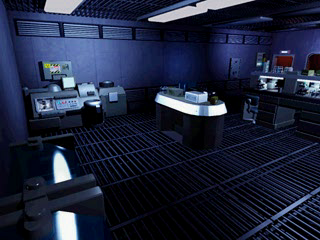
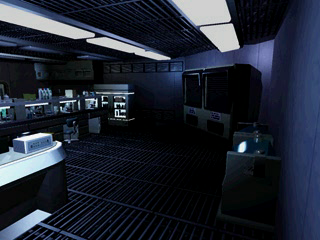
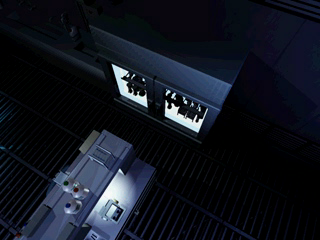
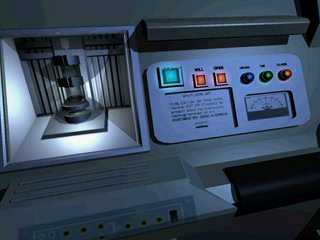
Room 507: Laboratory, Unknown Corridor#
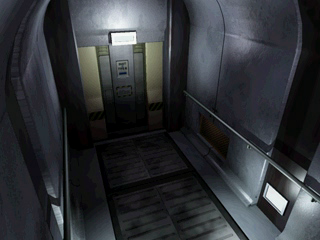
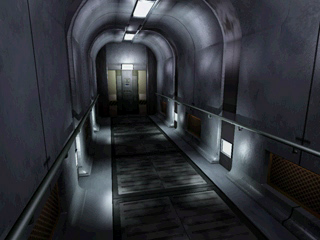
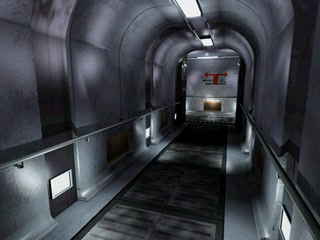
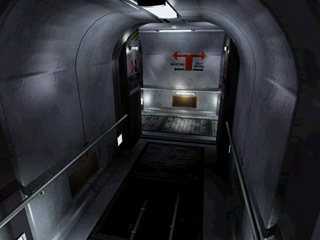
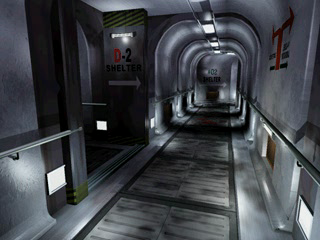
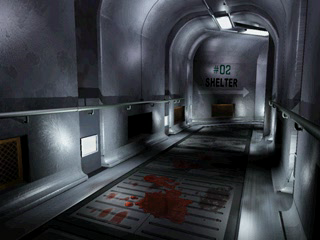
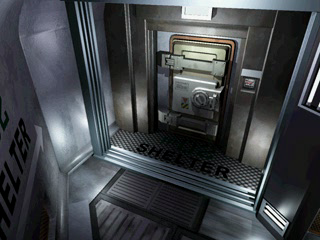
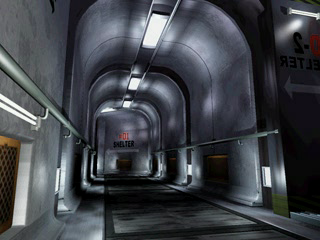
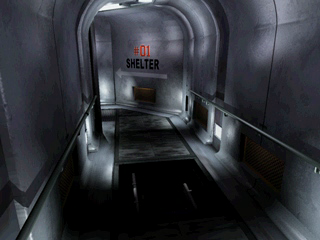
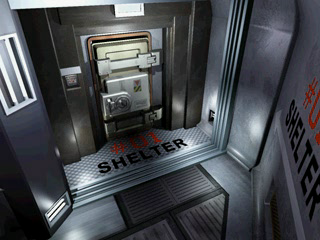
A corridor which does not exist in the final. Apparently it is accessed from Room 503 and leads to rooms 508 and 509.
See room 513 for an early version of this room.
Room 508: Laboratory, Shelter #01#
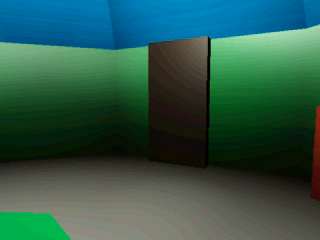
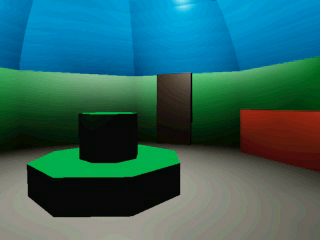
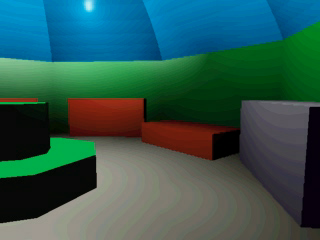
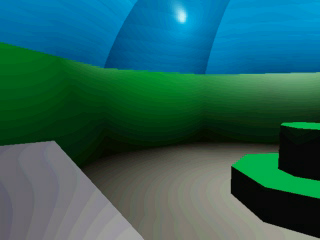
Presumably this is one of the shelter rooms referenced in Room 507. Both shelter rooms have no equivalent in the final.
Room 509: Laboratory, Shelter #02#
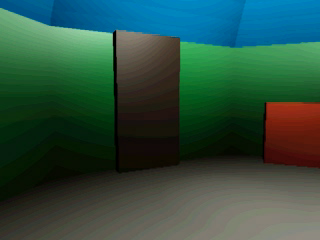
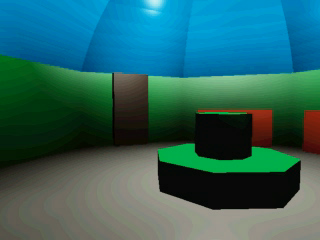
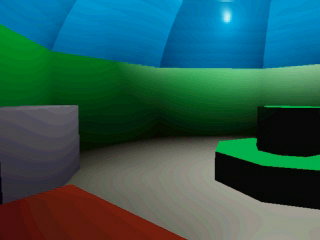
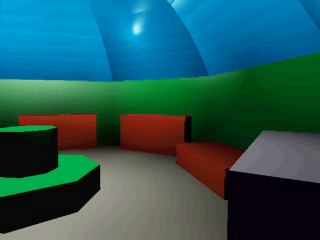
The second shelter room.
Room 50A: Laboratory B5, South West Corridor#
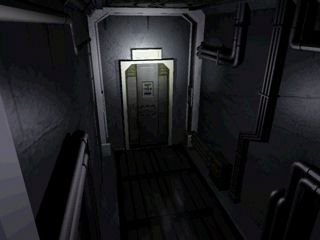

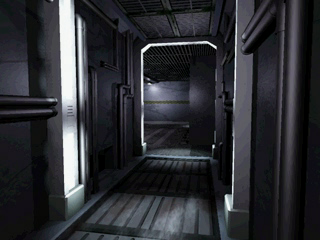
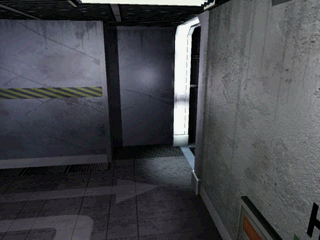
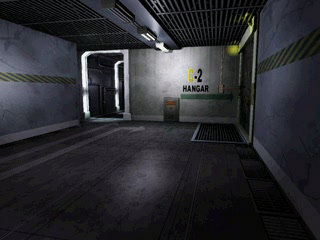
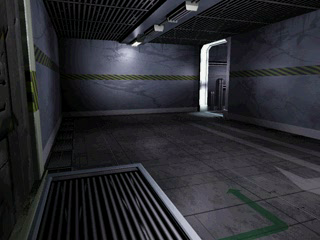
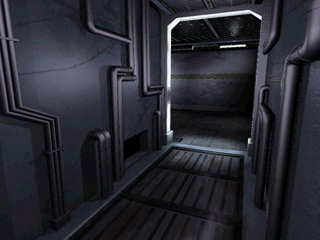
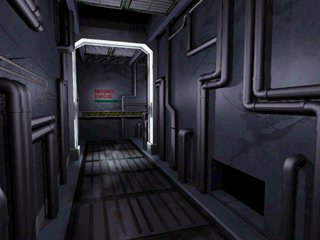
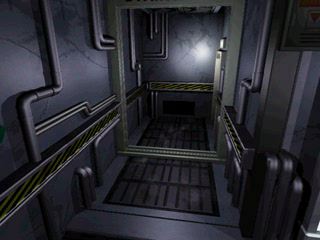
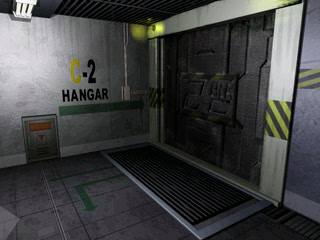
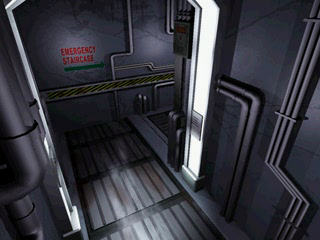
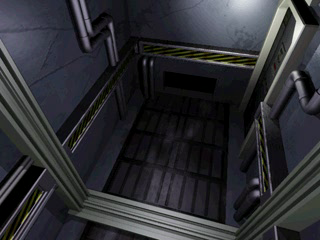
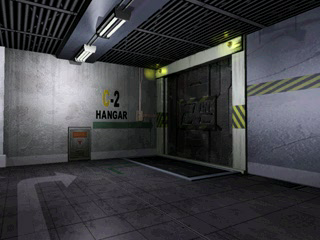
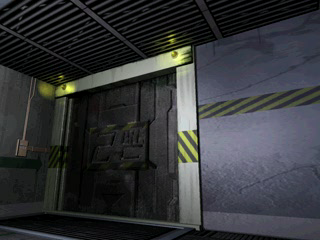
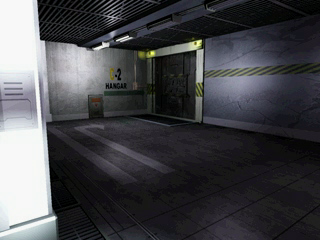
Early version of the room, the layout differs slightly.
See also room 514 for a variant of this room.
Room 50B: Laboratory, Hangar#
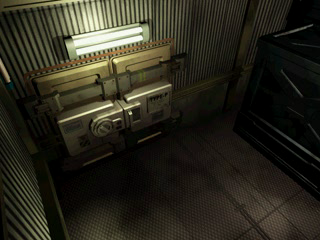
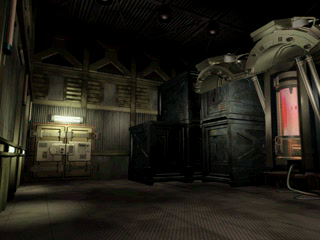
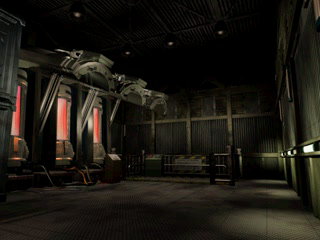
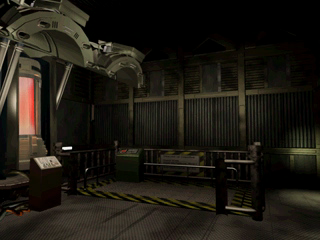
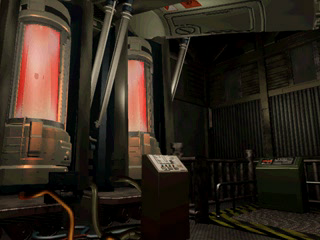
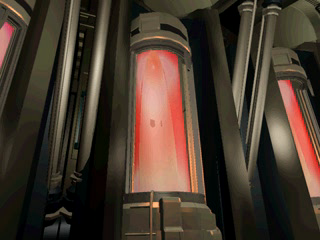
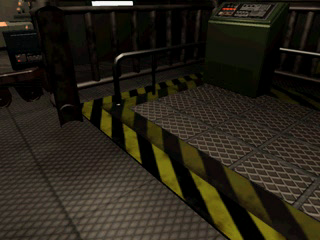
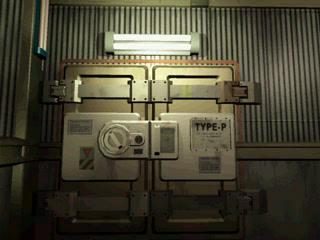
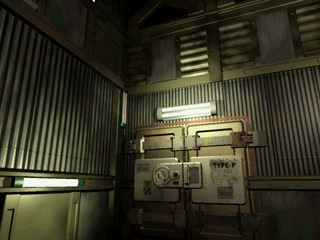
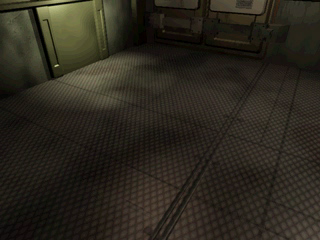
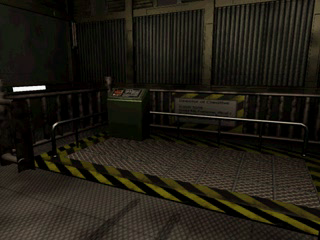
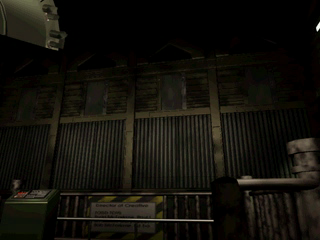
A very similar elevator and the same red vats can be found in the final game in the boss room of the A scenarios. It is likely that this is an early version of that room, some of the camera angles seem to be intended for cutscenes.
The October 31, 1997 prototype features a version of the boss room using the same wall textures as this room, which is another clue hinting at the fact that this is indeed an early version of the room.
Room 50C: Laboratory, B1 Corridor#
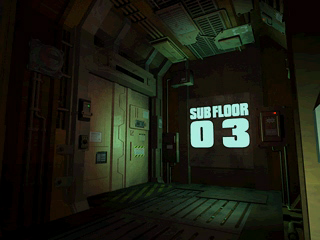
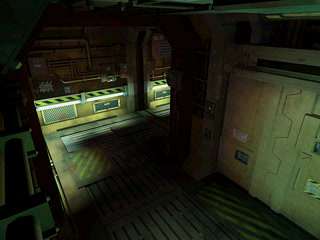
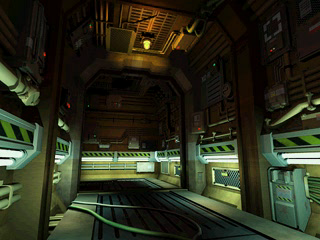
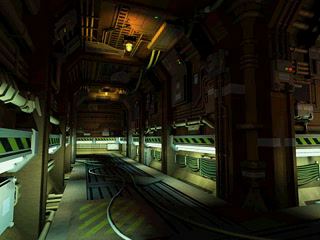
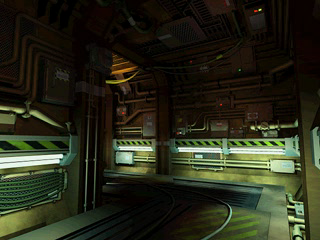
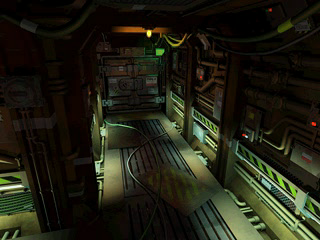
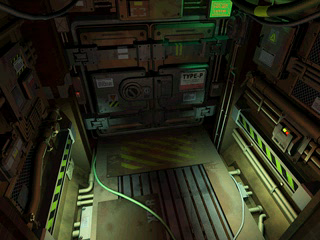
The corridor looks very close to its final version, except for the fact that it is located on floor B3 in this version.
Room 50D: Laboratory, B1 & B2 Engine Room 1#
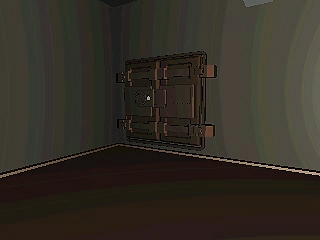
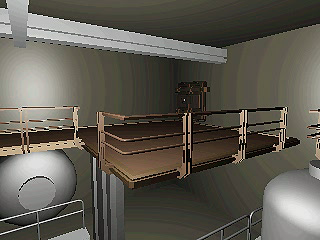
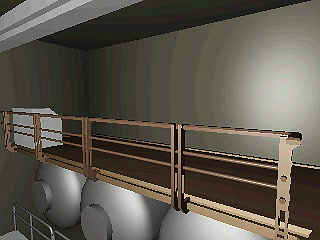
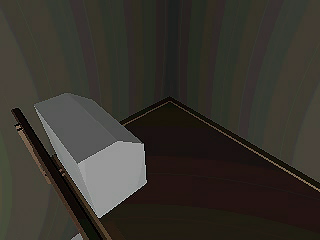
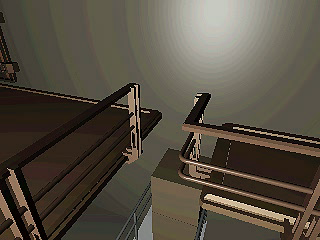
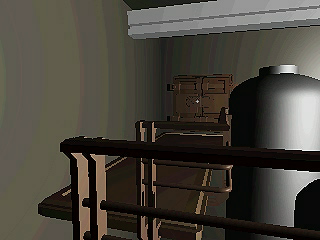
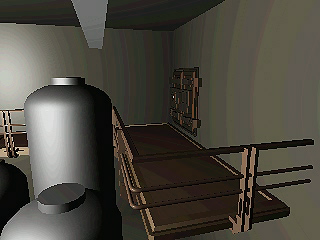
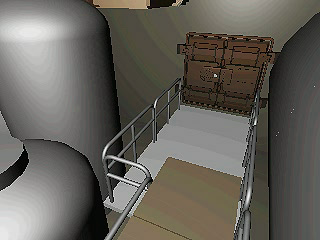
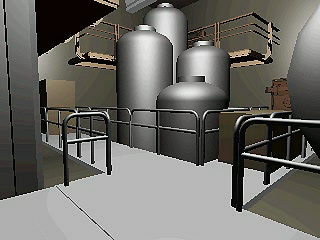
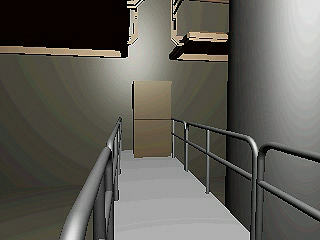
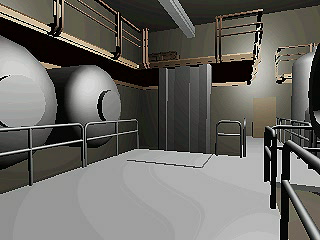
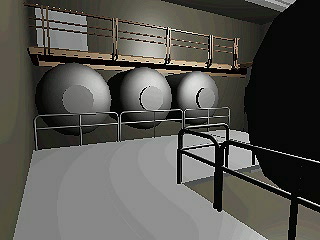
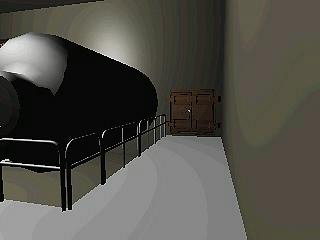
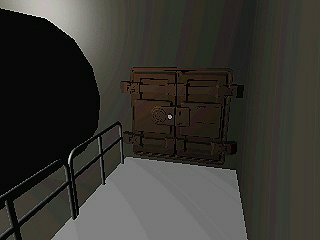
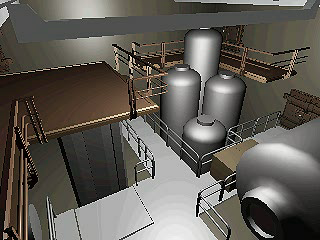
An early version of the room. The door in the middle of the bottom floor was turned into an elevator in the final. There is also an extra door in the back of the bottom floor, where the typewriter is located in the final version.
Room 50E: Laboratory, B1 Engine Room 2#
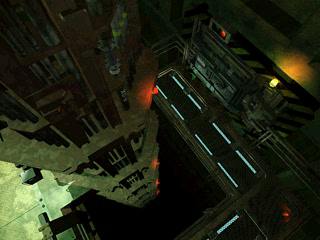
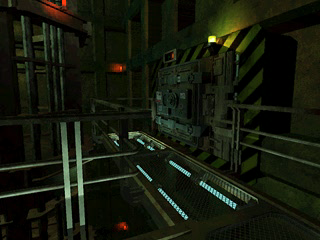
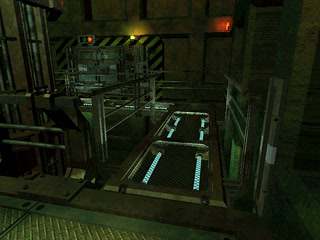
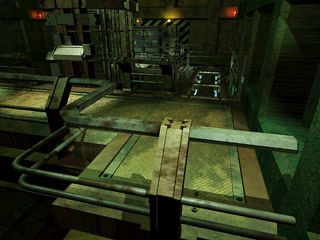
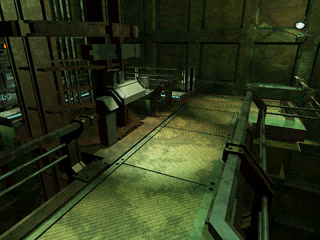
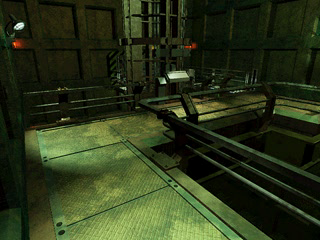
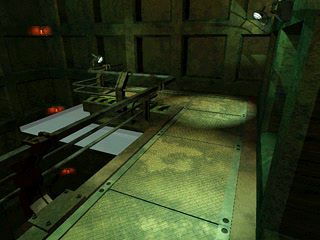
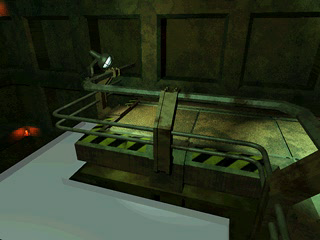
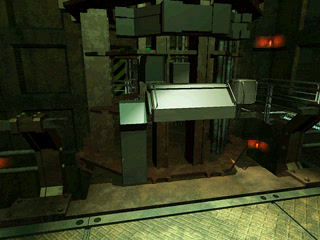
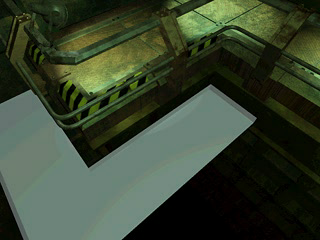
The layout of the room differs from the final.
Room 50F: Laboratory, B2 Engine Room#
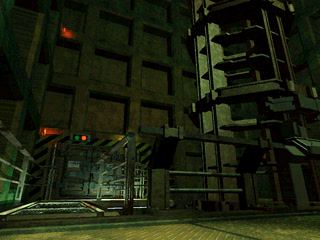
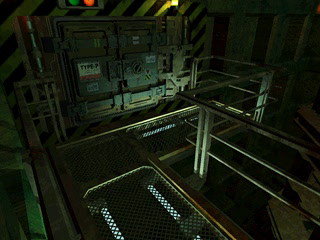
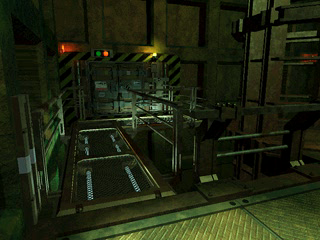
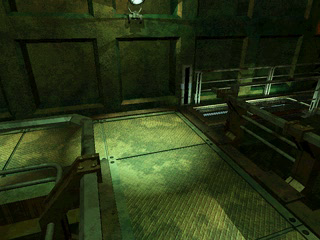
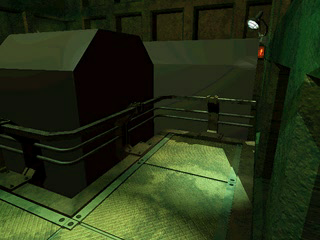
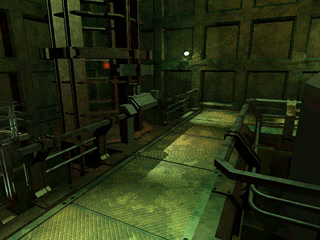
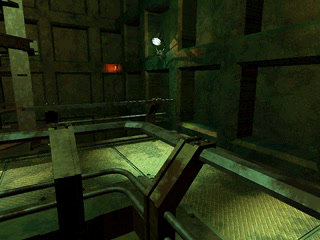
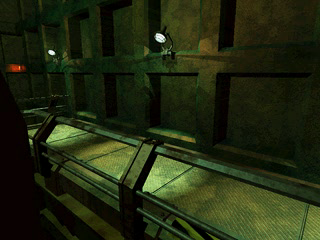
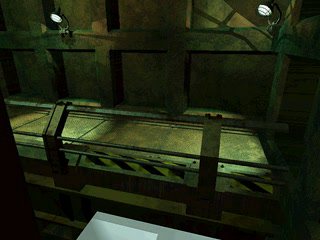
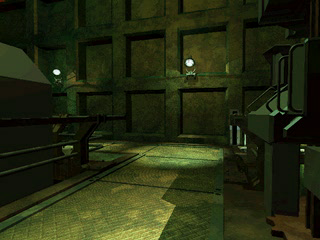
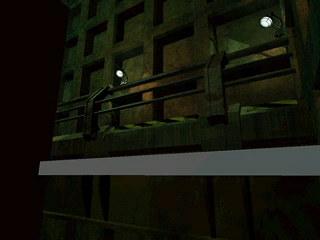
The layout differs slightly from the final and the power switch does not exist yet.
Room 510: Laboratory, Unknown Corridor#
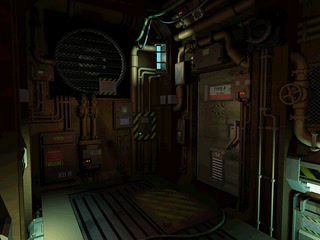
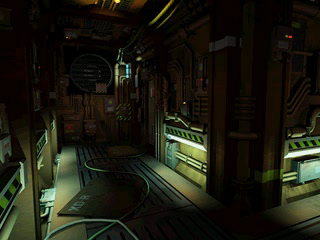
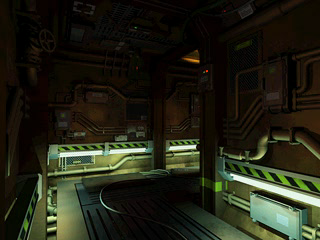
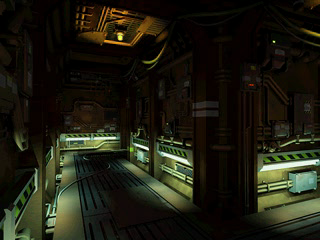
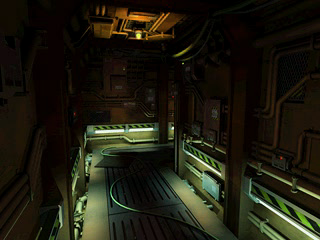
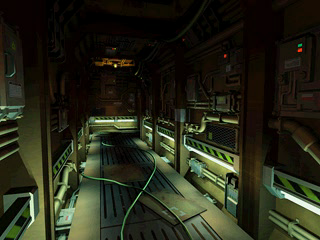
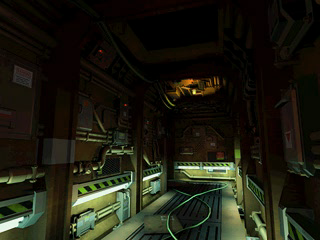
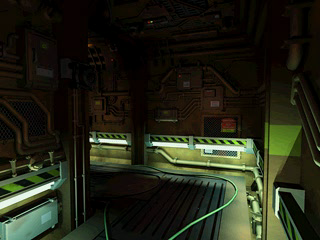
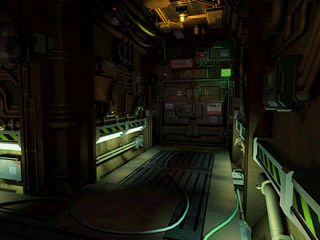
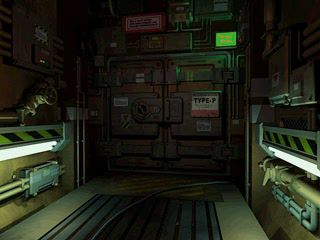
Although it resembles room 50C, it is a different room and no equivalent exists in the final.
Room 511: Laboratory, B5 Surveillance Room (Destroyed)#
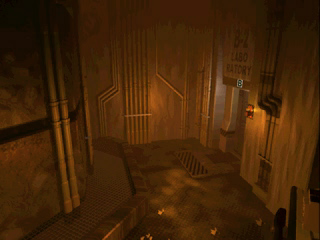
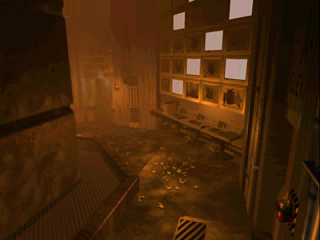
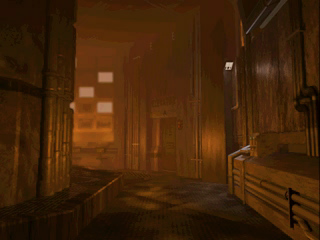
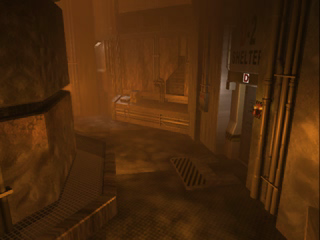
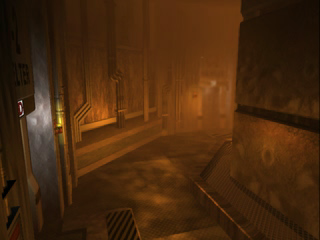
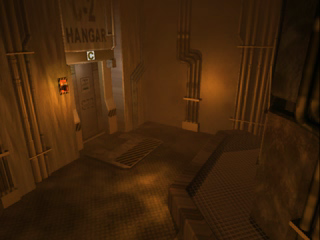
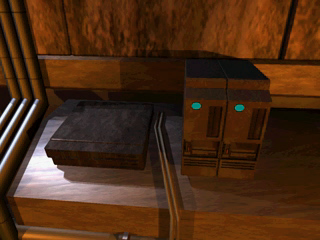
A destroyed variant of room 503, possibly meant to be in flames. Possibly it was planned for the player to escape the laboratory while the self-destruct system had already started.
Room 512: Laboratory, B5 North West Corridor (Destroyed)#
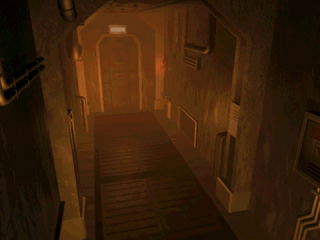
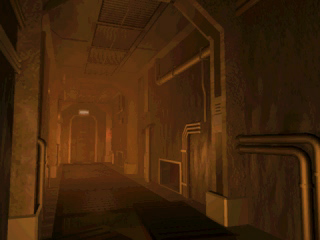
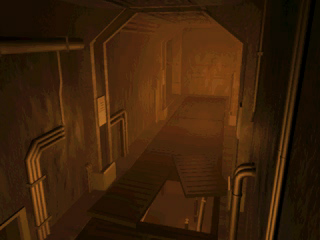
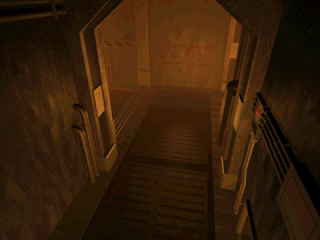
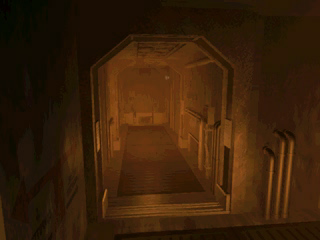
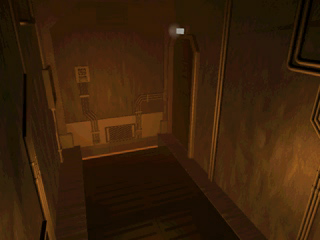
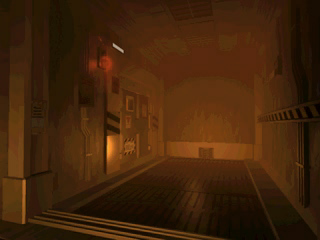
Same treatment as the above given to room 504.
Room 513: Laboratory, Unknown Corridor (Early)#
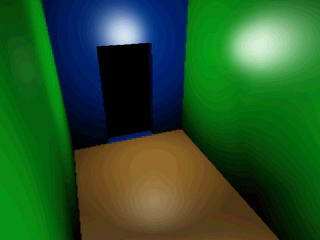
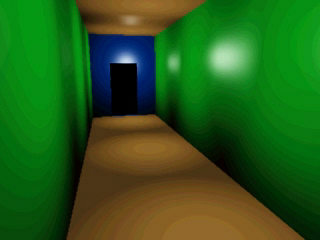
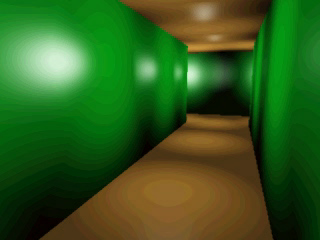
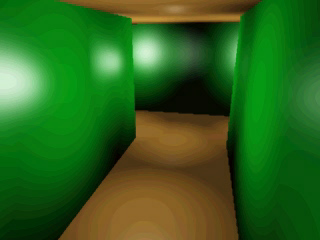
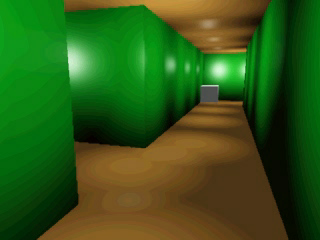
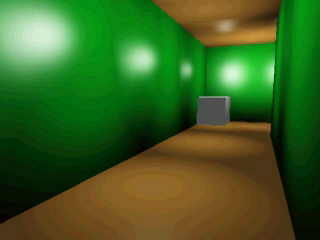
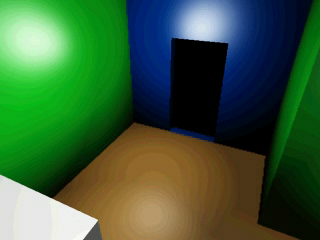
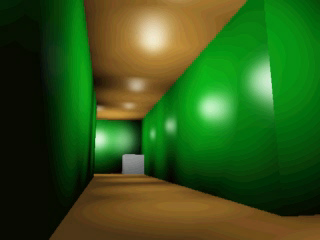
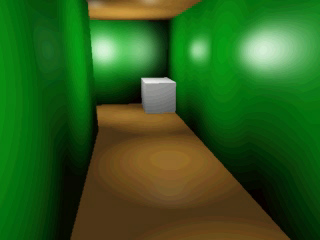
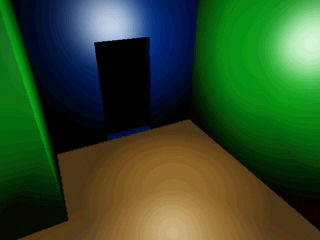
An earlier version of room 507.
Room 514: Laboratory B5, South West Corridor (Destroyed)#
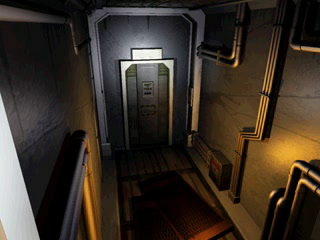
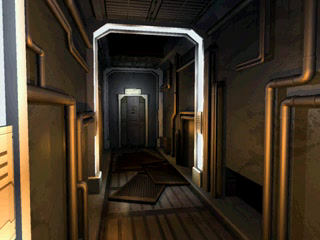
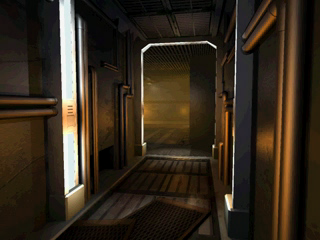
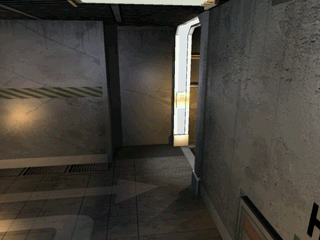
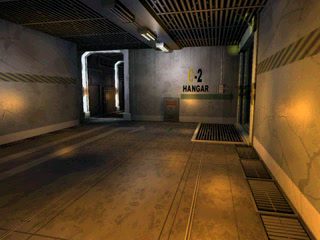
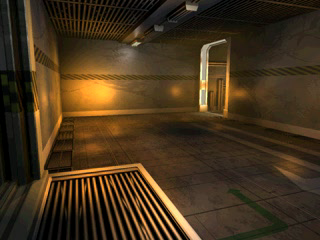
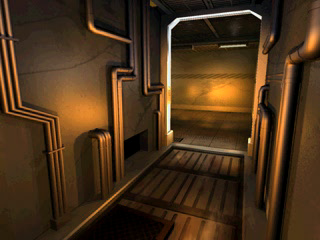
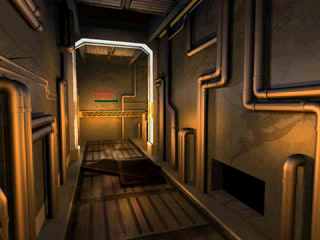
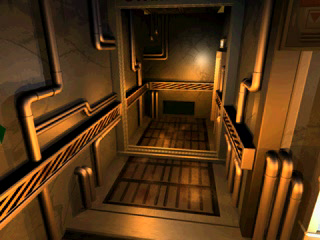
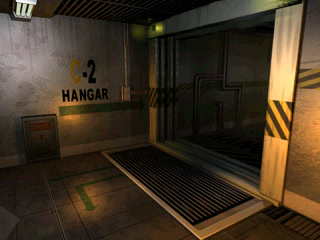
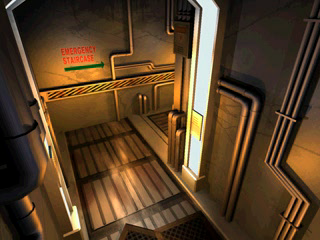
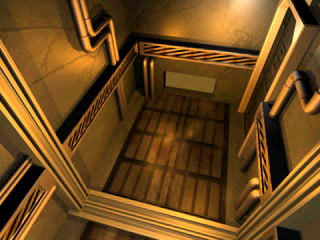
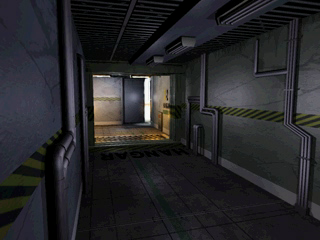
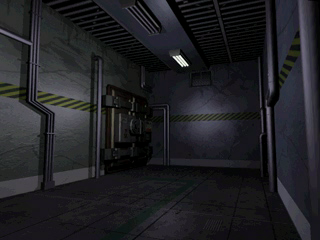
Variant of room 50A.
Room 600: Train Platform 1#
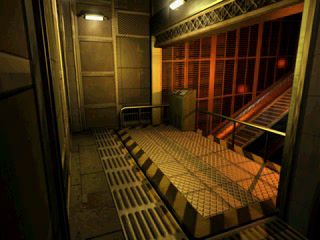
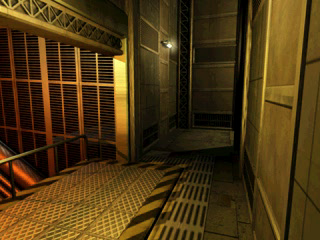
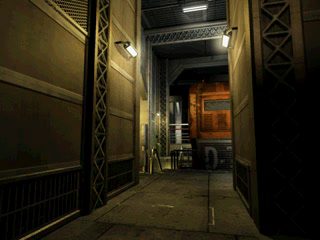
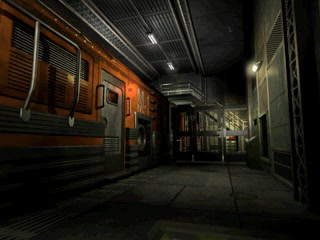
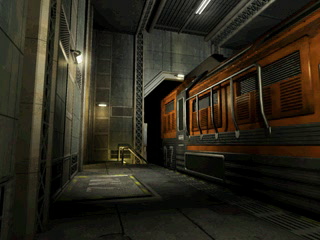
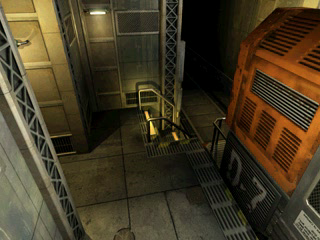
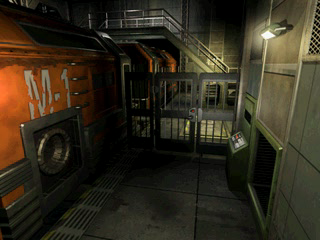
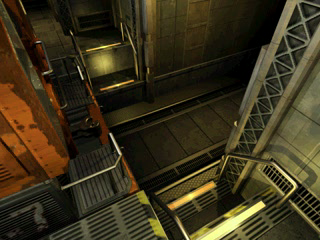
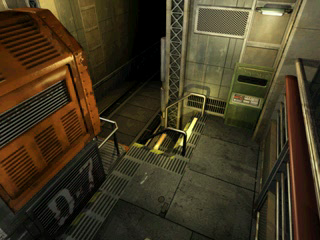
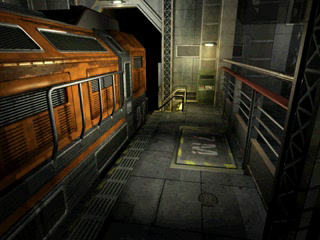
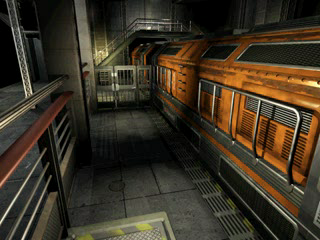
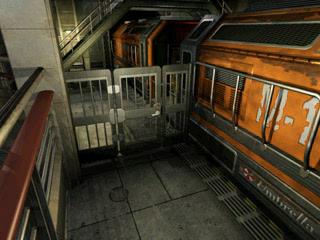
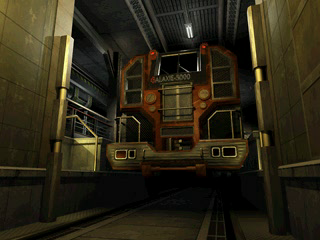
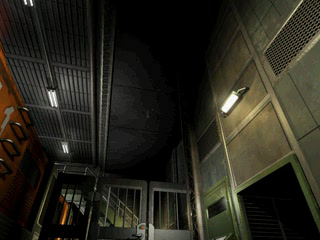
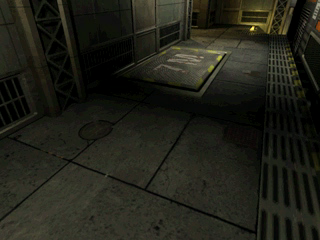
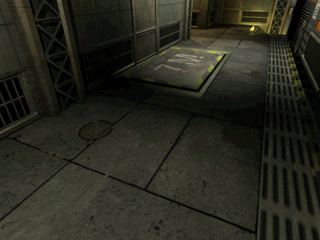
The room looks very close to the final but the layout differs: the room is twice as big and it is possible to go on the other side of the train, where the switch is located and where there is a second door leading to room 601.
Room 601: Train Platform 2#
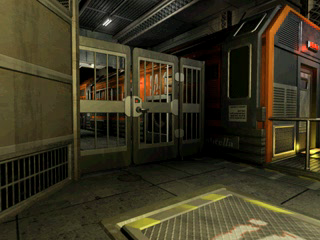
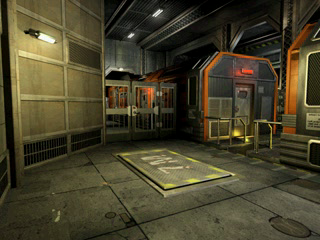
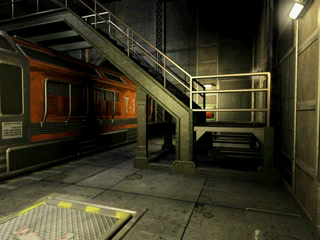
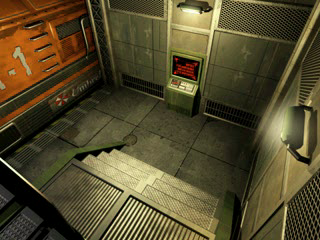
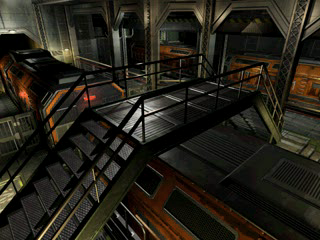
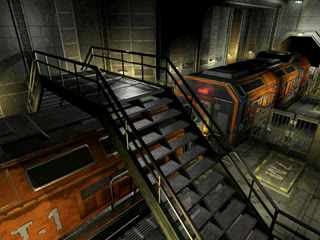
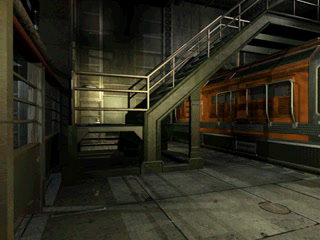
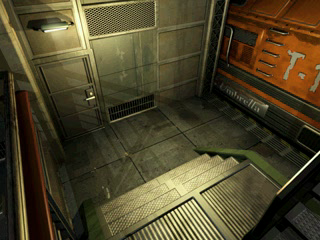
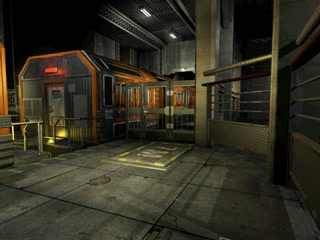
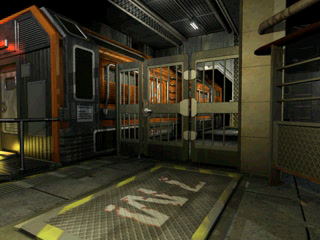
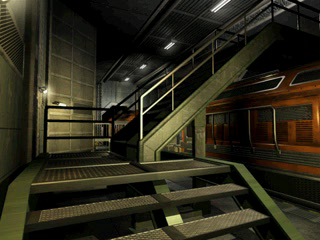
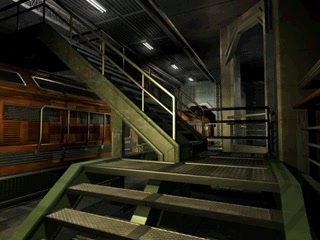
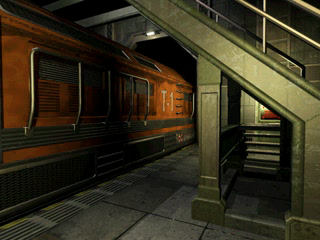
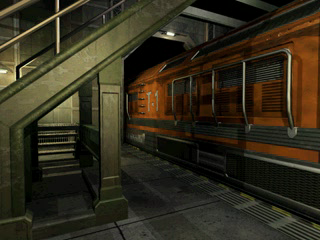
There is no item box yet. There is a computer panel but no Joint Plugs like in the final.
Room 602: Tyrant Boss Room#
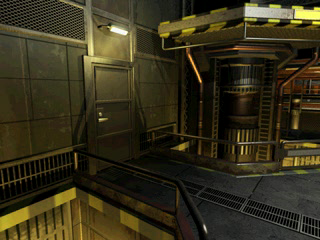
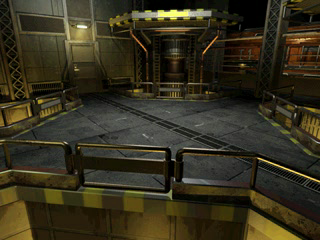
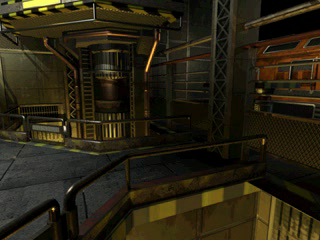
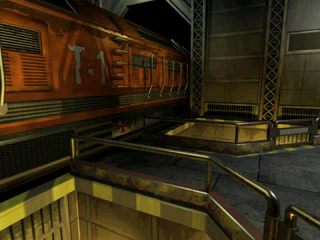
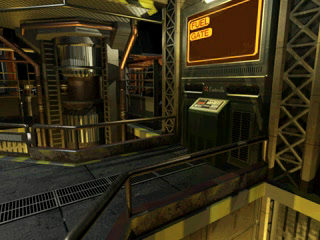
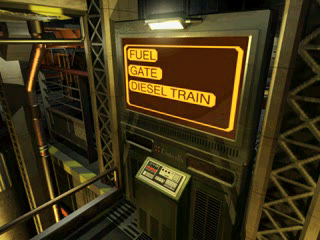
Where the boss fight against Tyrant takes place in the final. The layout differs, there is less place to maneuver. There is also no sign of any cutscene-related camera angle, or of the room going dark. Probably it wasn't planned to fight Tyrant in the room yet.
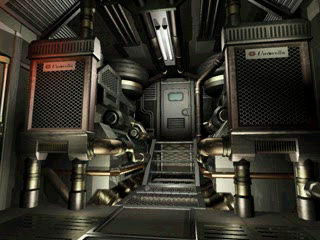
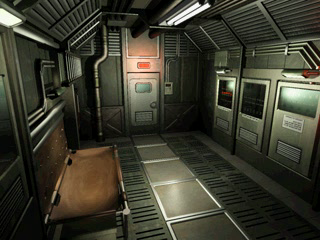
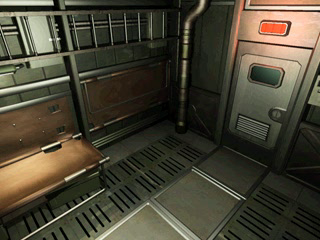
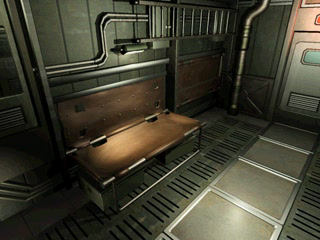
Room 603: Train Interior Front#
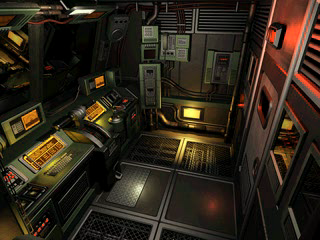
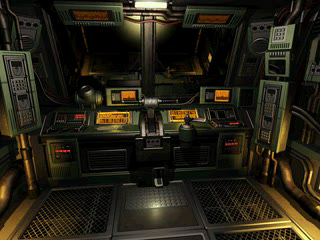
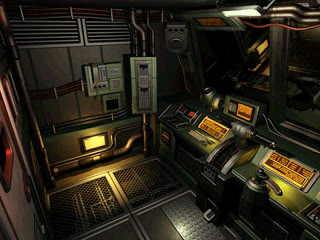
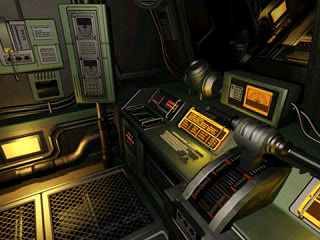
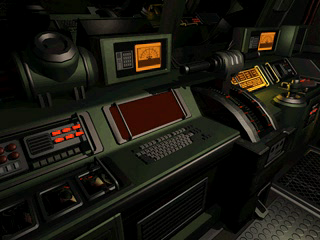
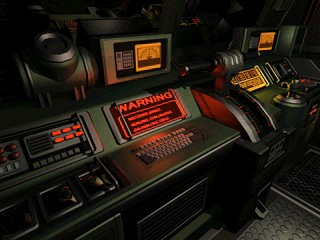
In this version, the front and middle parts of the train (room 603 and 604), are separate rooms. In the final they are part of the same one room.
Room 604: Train Interior Middle#
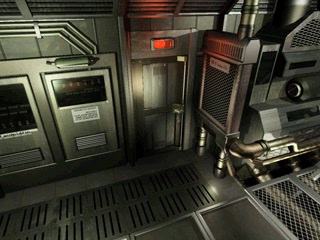
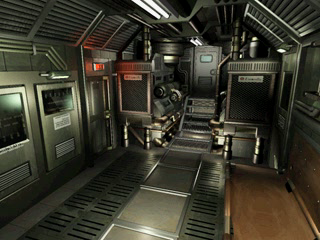
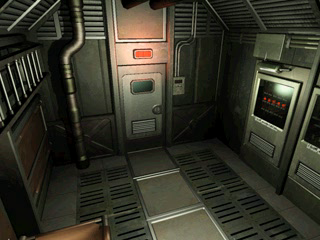
Room 605: Train Wagon 1#
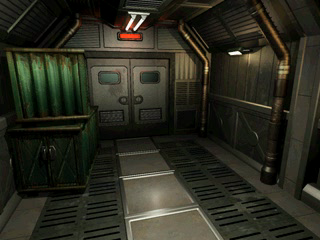
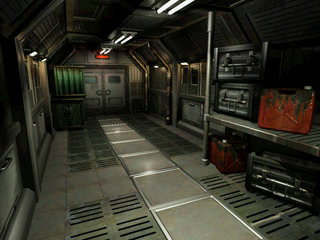
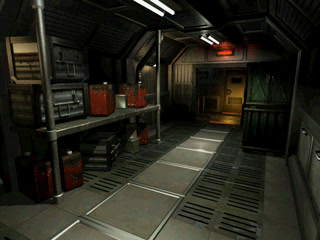
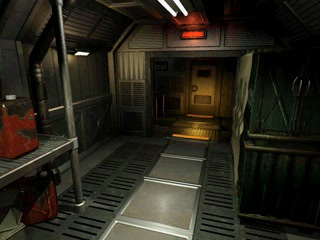
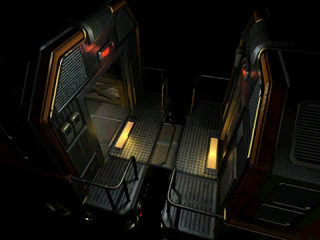
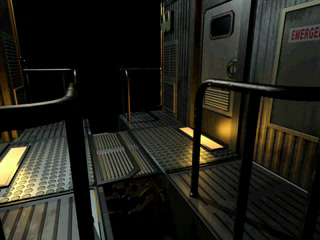
There are appears to be two wagons in the back, rather than a single one in the final. See also room 607 for a variant of this room.
Room 606: Train Wagon 2#
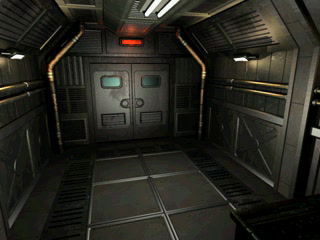
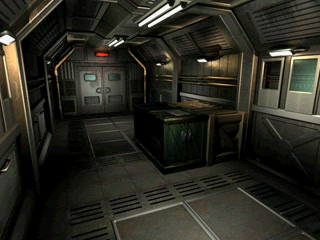
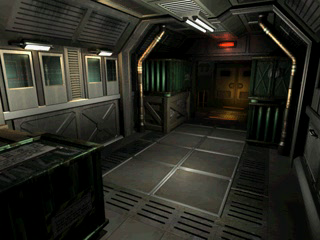
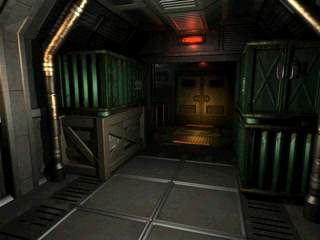
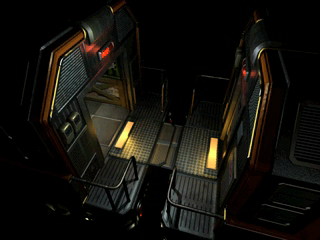
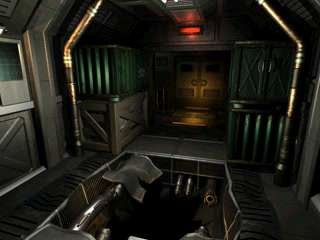
Room 607: Train Wagon 1 (Variant)#

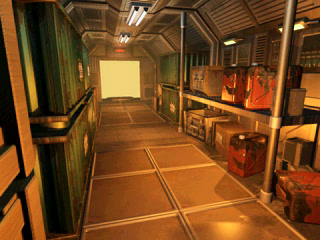
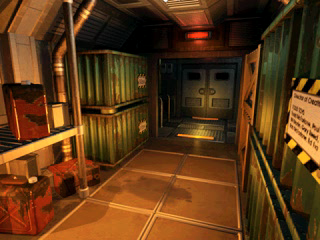
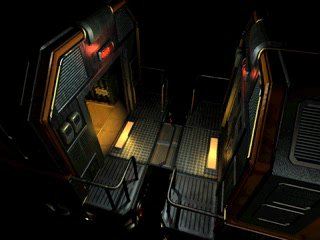
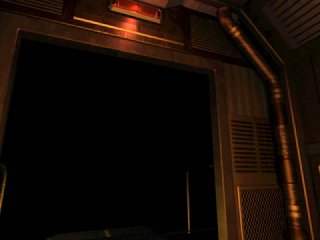
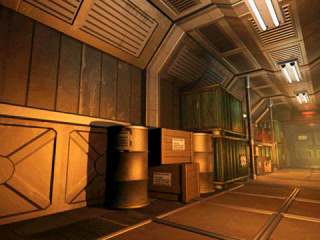
A variant of Room 605. Some of the camera angles seem to be intended for cutscenes.
Room 700: Police Station, Basement Corridor (Early)#
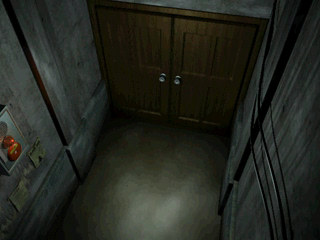
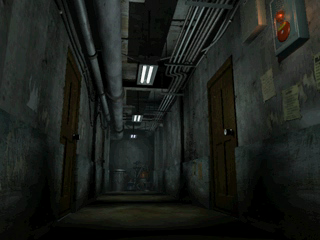
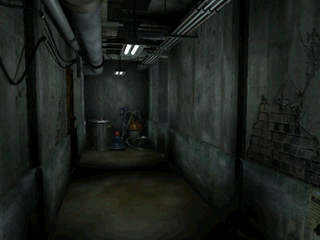
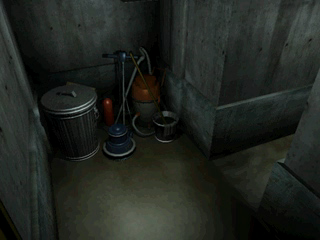
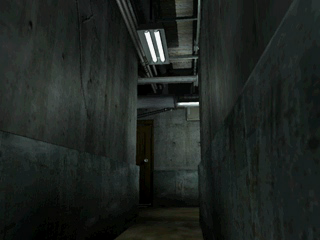
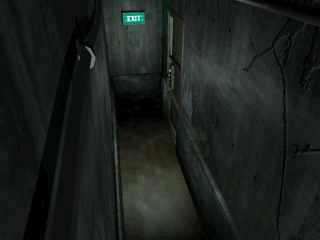
What seems to be an early version of room 211.
Room 701: Police Station, Main Hall (Early)#
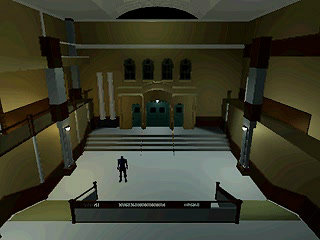
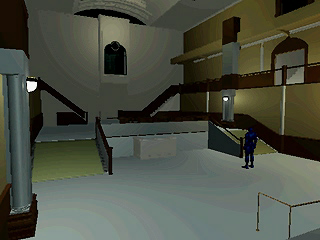
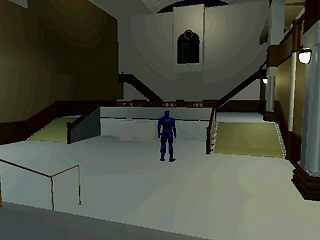
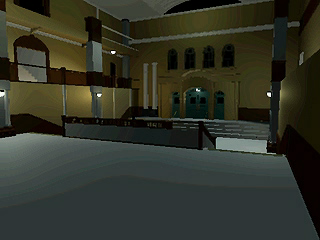
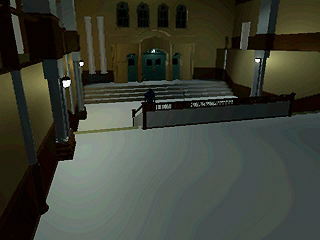
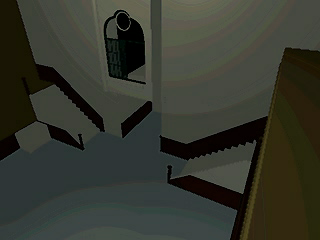

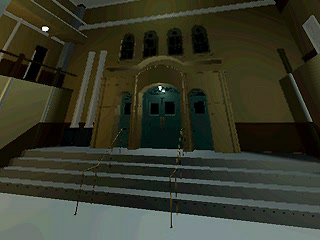
An early version of room 200. Notice the two staircases in the back, in the final they are gone, replaced by the mezzanine. In between the two staircases, possibly the placement for an extra door not present in the final.
Room 702: Police Station, Autopsy#
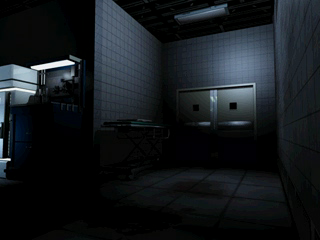
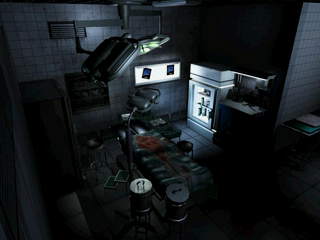
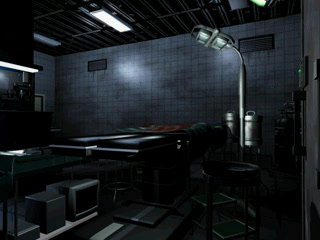
An autopsy room not present in the final.
Room 703: Unknown Basement Corridor#
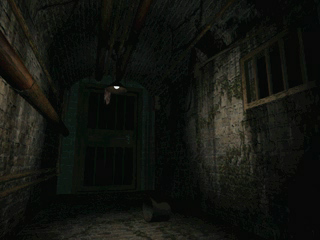
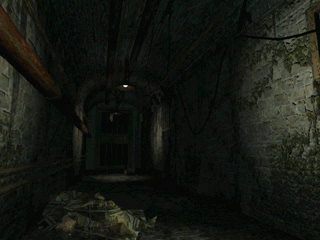
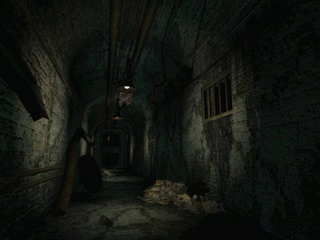
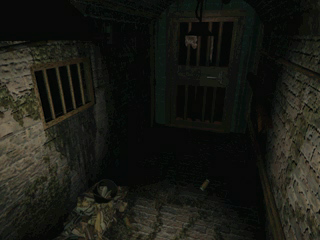
Unknown basement (sewer?) corridor.
Room 704: Train Turn-Table#


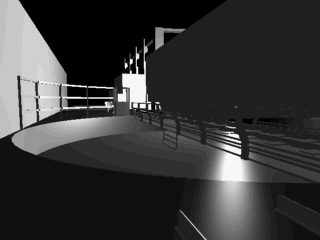
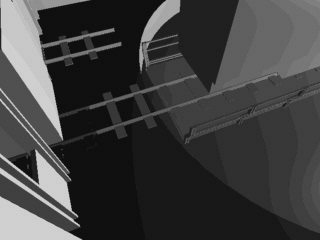

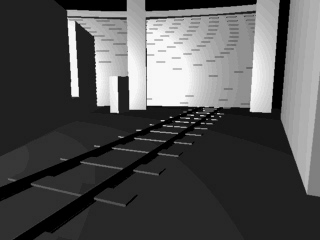
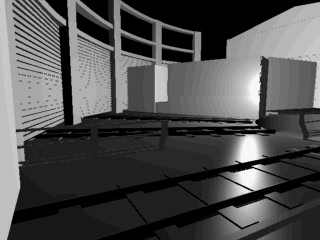
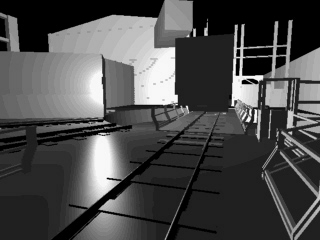
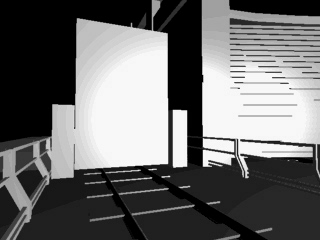
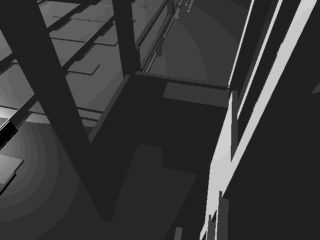
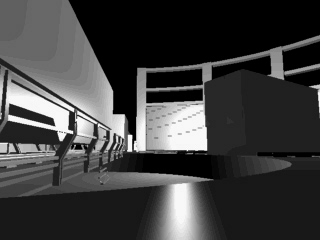

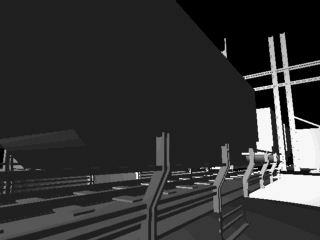
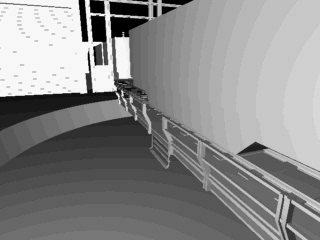
An early version of the room from the final. Compared to the final, it has a much more realistic design. The train tracks actually go somewhere other than down.
Room 705: Street#
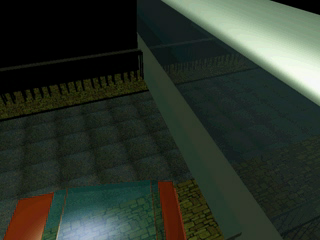
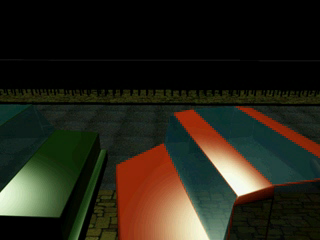
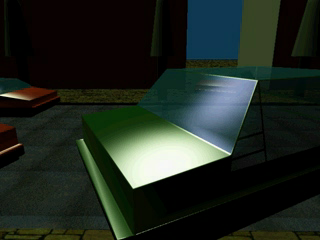
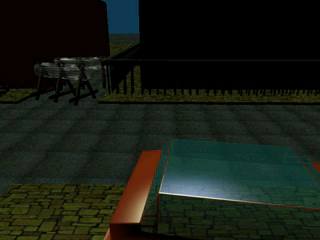
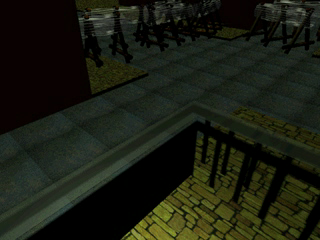
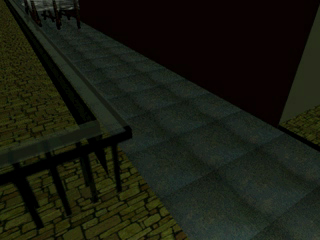
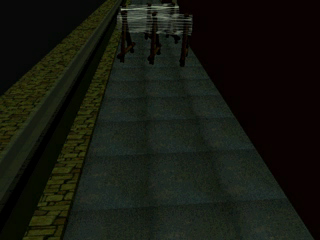
A very early version of the street, the first room of the A scenarios in the final (room 100).
Room 706: Laboratory, B4 West Corridor (Variant)#
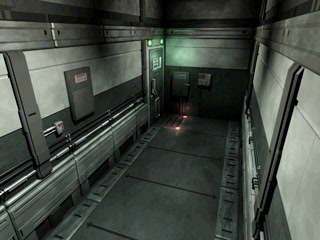
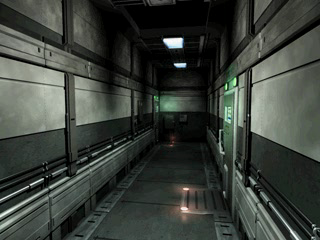
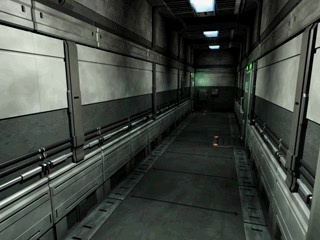
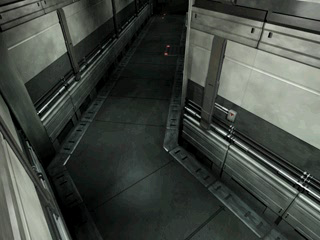
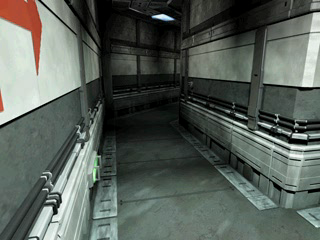
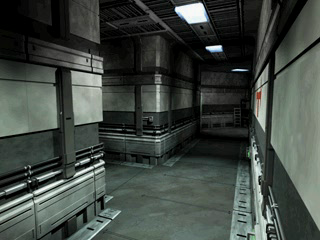
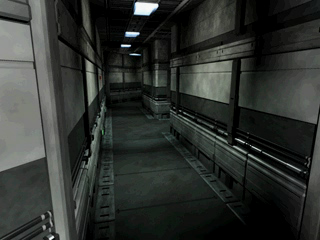
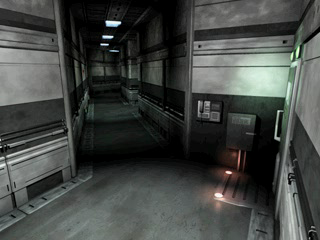
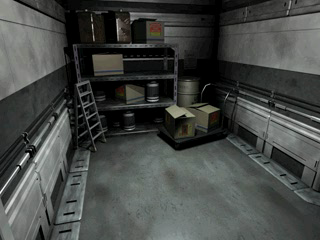
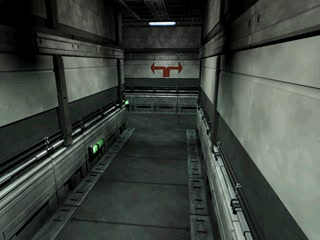
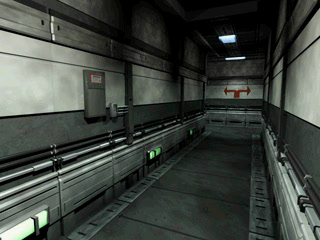
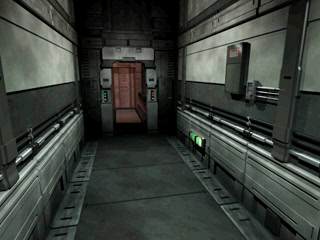
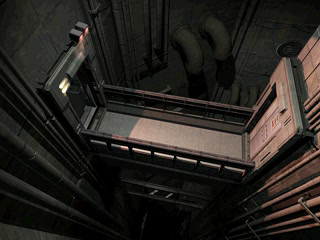
A variant of room 404.
Text Data#
Text data for a "Desk Key" exists, possibly meant to open the drawer of Chris' desk.
Maps#

|
This needs some investigation. |
Demo |
Final |
|---|---|
 |
 |
 |
 |
 |
 |
 |
 |
The colour of the background was changed to make the maps more readable. In the final, locked rooms as well as the current position of the player are marked.
Note: the files for the Police Station 1F and 2F maps differ in the August 5, 1997 Japanese Trial Edition.
Differences with Japanese Trial Edition and PAL Preview#
Japanese Trial Edition#
Both the August 5, 1997 Trial Edition and this version dated August 27, 1997 are very similar, but the following files differ:
BSS subfolder (room backgrounds):
ROOM10C.bss (2F West Corridor with the statue puzzle)
ROOM200.bss (Main Hall)
Data subfolder:
All the files pertaining to FILE00_0
All the files pertaining to FILE00U0
MAP01.pix and MAP02.pix (police station 1F and 2F maps)
NOZOKI.pix
NOZOKIR.pix
ST_MOJI.tim
TEX.tim
PL0 subfolder (3D models data):
CDEMD0.ems
RDT subfolder (rooms data):
ROOM10C0.rdt
ROOM20A0.rdt
ROOM1000.rdt
ROOM1010.rdt
ROOM1020.rdt
ROOM1030.rdt
ROOM1050.rdt
ROOM1140.rdt
ROOM1150.rdt
ROOM2000.rdt
ROOM2010.rdt
ROOM2020.rdt
ROOM2040.rdt
ROOM2050.rdt
ROOM2060.rdt
ROOM2070.rdt
.rdt files contain all the datas of a room minus the backgrounds: 3D layout of the room, enemy placement, items placement, doors placement, lights, etc.
PAL Preview#
|
|
This needs some investigation. |
The PAL preview, dated 10/04/97, is almost identical to this one. Apart from the addition of the Virgin Interactive publisher logo video and the piracy warning screen, the only difference seems to be with the file CDEMD0.EMS which contains 3D model data for several enemies and characters.
NTSC-U/J Previews |
PAL Preview |
Final |
|---|---|---|
 |
 |
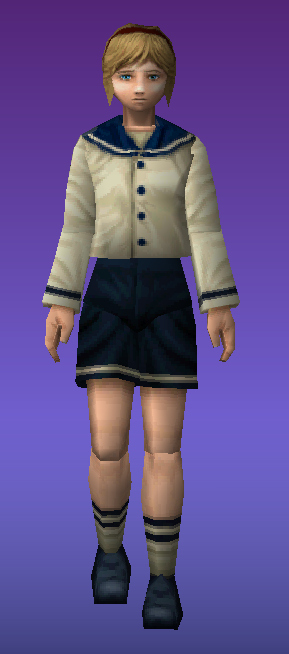 |
Despite being unused in all versions, the 3D model of Sherry differs in the PAL preview. In the NTSC-U and NTSC-J previews it is still the same model as seen in Resident Evil 1.5, but in the PAL preview the model looks much closer to the final.
Some of her animations also differ: in the NTSCU/J previews, her death animation is still identical to other characters like Claire Redfield, while in the PAL version it is the dedicated death animation she has in the final. However, even in the PAL version the animation used to push crates is still the same as other characters, while in the final Sherry has a unique animation in which she needs both hands to push a crate.