After the resounding success of the original game, Crash 2 was initially revealed at E3 during June 1997, touted as the main star of the PlayStation show. At the same time as this live showroom demo, several publications would go on to receive several press resources for an outline of the game. Initially, these press releases only covered a small range of levels like Snow Go and Sewer or Later and received very sparse information about the contents of the game itself - Crash's vehicles like his jetpack were initially kept a secret and N. Brio and Ripper Roo were the only other characters confirmed to be in the game besides Cortex - but would eventually continue on to behold a much wider range of levels and information for the game. Despite the spread-out distribution of information, the in-game footage which would be presented alongside it are mostly from three different batches of footage and stills acquired long before the initial reveal of the game:
- The earliest known version of the game is depicted in a large number of screenshots were released to the press for use in their publications - screenshots from this build is easily the most abundant source of content out of the three builds. There is a much greater variety of images and many of them made their way into magazine reviews and previews for the game. Oftentimes, the only indication that an image is part of this particular group of screenshots is that it's grouped in with other images which are already known to be part of this build. Screenshots from this build were released in batches, meaning that Snow Go may have been one of the initial levels shown but screenshots of Ruination weren't shown until later.
- Subsequently, a few trailers and previews were made during development using B-Roll footage, depicting the second earliest known build of the game. This build is slightly more advanced, but it's still a very early build with lots of missing, incomplete, and different elements. Alongside the early screens, this video footage was used for extensive coverage of the game after its showcase at E3 during June and July 1997, even being used in the official trailers from around this time. Screenshots also exist of this build besides the video footage, but are either rare or identical to the early screens.
- Leading up to E3 1997 and the big reveal of Crash 2, even more photos were taken. These photos largely depict the second warp room and the levels which would be found in it. These screens show previously-unseen levels in a more updated version much closer to the demo, but still contain holdover features from the B-roll build.
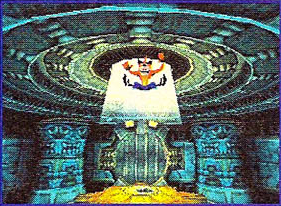
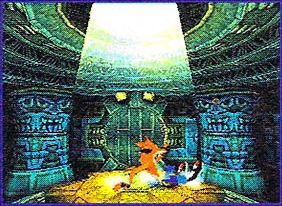

General Differences#
- The font from the first game is being used.
- Surfaces like ice do not have a reflective effect, instead being solid textures.
- Aku Aku's model is taken directly from the first game.
- Aku Aku is not banned in boulder levels.
- There is no music at any point heard in the footage.
- Crash can't slide to move when he is on ice.
- The "CHECK POINT" text from crates has an orange gradient applied to it.
- Oddly, Crash can be seen flying in the air right after sliding off of hilly ledges in the intro level, Diggin' It, and Night Fight.
- The game has several missing animations for Crash:
- Watching the Cortex hologram and scratching his head.
- Spawning into a warp room - it uses the model and animation from the first game as a placeholder.
- Turning into an angel when he dies - it uses the model and animation of him spinning around and falling from the first game as a placeholder.
Warp Room#
Early Screens#
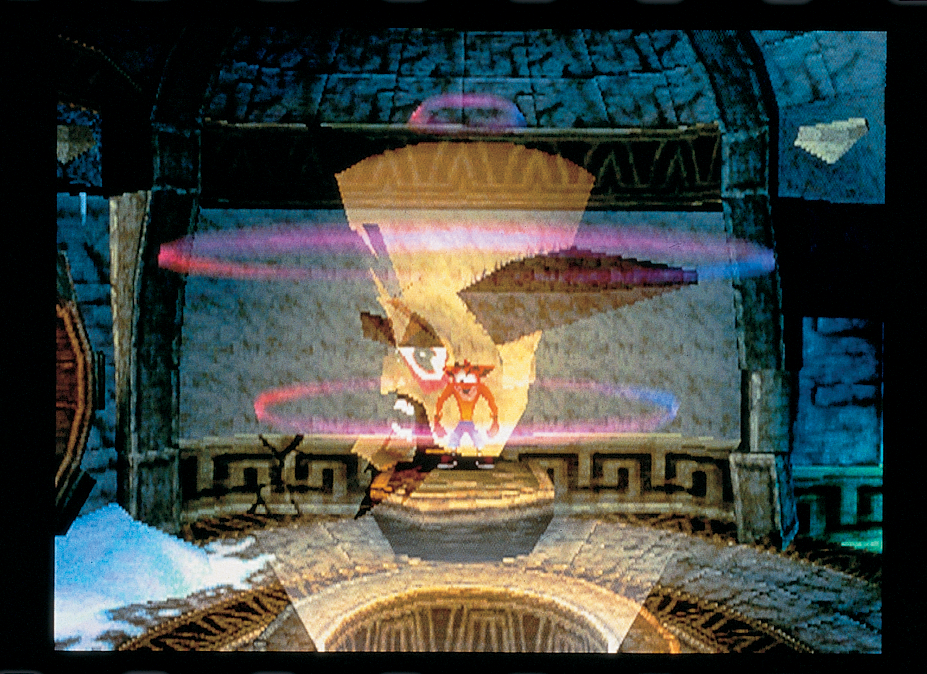
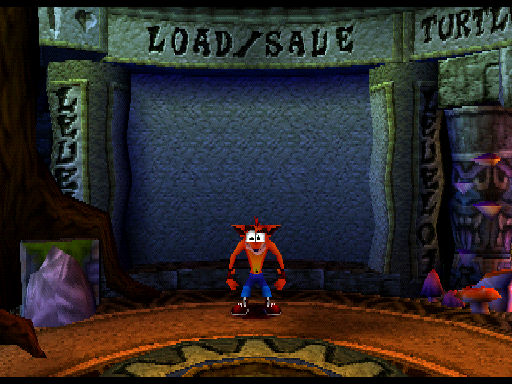
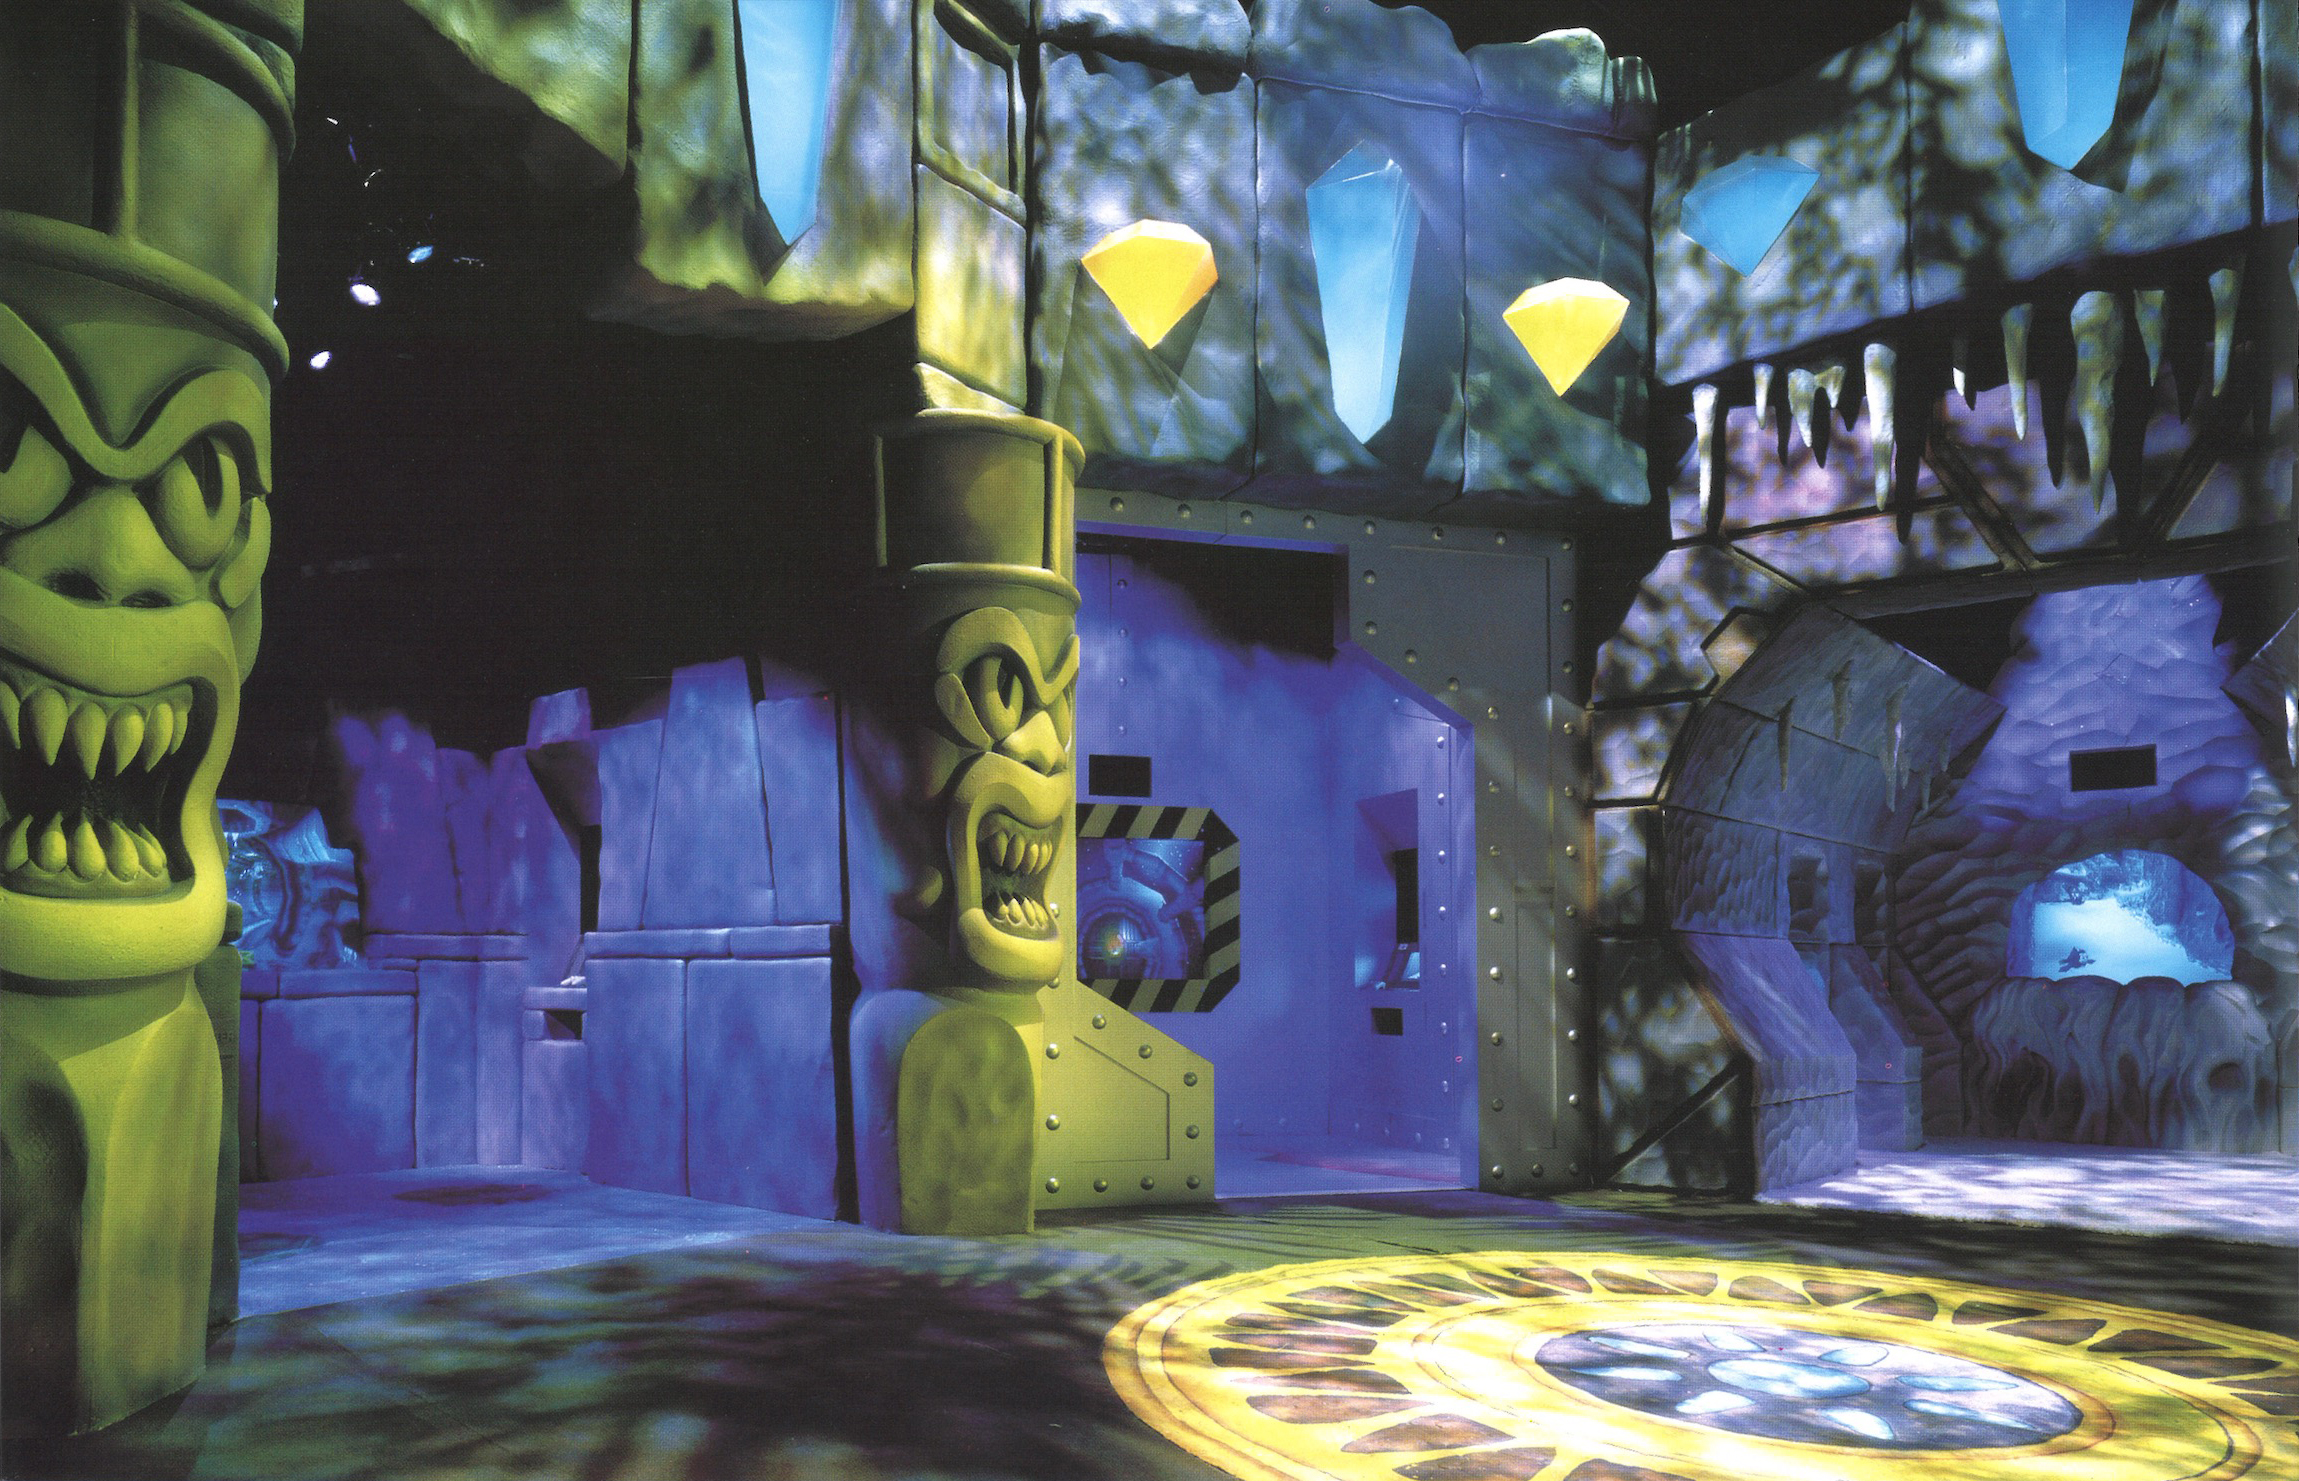
The screenshots depict a very early version of the warp room. While functionality was most likely similar if not identical and the visuals are mostly complete, there are still some noticeable differences. According to Naughty Dog co-founder Andy Gavin, it was quickly put together for the E3 1997 booth of the game, which does indeed use this warp room as a base for its appearance. The warp chamber inside levels is also based on this early version of the warp room.
|
Early |
Final |
|---|---|
|
|
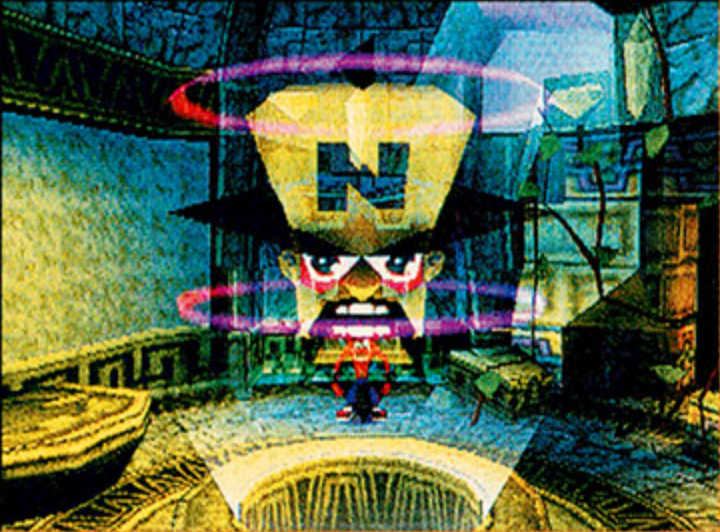
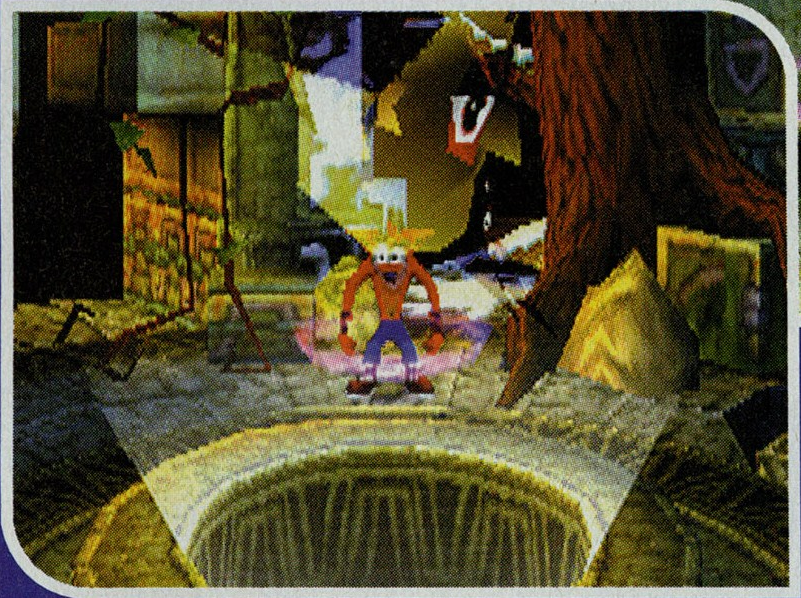
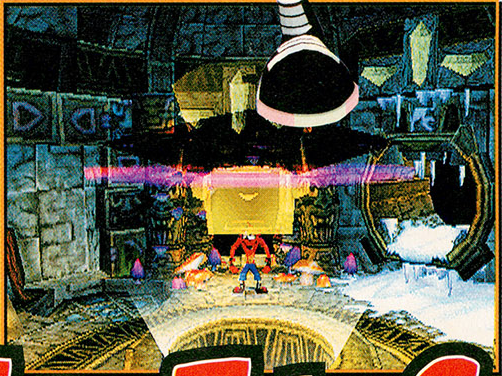
- The Cortex hologram appears from the center of the room in a straight angle, rather than being projected by the flying camera bot. It always faces the portal for Turtle Woods.
- Cortex's hologram is not animated and just sits frozen in a default pose in all screenshots.
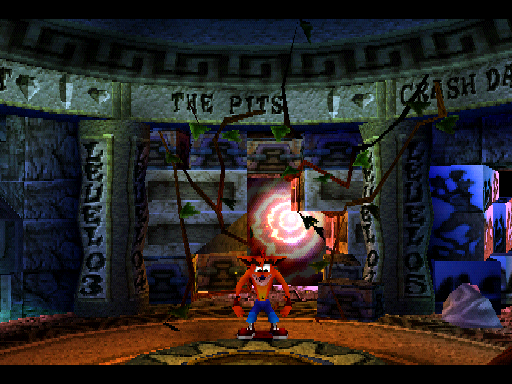
- The Save Wall is in a different location. Instead of sitting between Crash Dash and Turtle Woods, it sits between Snow Go and Hang Eight. Between Crash Dash and Turtle Woods sits a unique setpiece that was removed from the final game, though some of its textures remained in the files unused. The removed scenery piece is shaped very similar to a door frame and resembles a warp portal - however, it is blocked off and does not have a crystal or gem slots attributed to it. It has a small, shallow hole in front of it with blue triangles inside it. The final level order itself appears to be unchanged, however.
- The Save Wall also has a strange platform attached to it.
- The floor and ceiling use a different texture. Instead of the smoother brown and blue stone respectively, it uses the same stone block texture that is commonly used on walls for the ruins in the games. The ceiling appears to still be blue, however.
- All text is missing from the warp room - the "Load/Save" text is not on the Save Wall and the only way to tell the levels apart is by the design given around the warp area. Level names are missing from the top of the portal, and the crystal and gem display is much larger.
- None of the gems in each level do have a unique shape or color in the warp room, and the gems themselves have a shape more reminiscent of the original Crash Bandicoot.
- The pillars dividing each level with the level number on them are not present.
- The portal effect inside each warp area is not present, so each level entrance leads to a black void.
- The entrance to The Pits is noticeably different: different textures are used for the stone blocks, the textures on the top part of the portal are flipped vertically, there is a sunlight effect coming in front the top, and there is an additional stone block in front and to the left covered by a small root. The block was removed in the final game and the root was slightly moved.
B-Roll#
The warp room received a massive overhaul in time for the build which was recorded as B-roll. The warp room has now a similar design to the final, but uses a different font and icon slots for the level entrances and items. The slots are larger and the crystal slot is shaped closer to a generic rhombus than one of the game's own crystals. The early gem slot is still used in warp rooms after the second one and the texture is even erroneously used for the bonus gem in Hang Eight and Air Crash's warp room frames due to those gems being added later in development.
|
B-Roll |
Final |
|---|---|

|
|
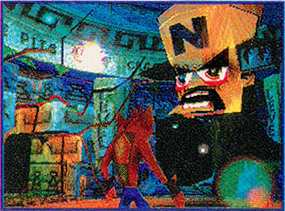
- The player is able to move Crash while the Cortex hologram is being projected.
- Cortex's hologram has no function beyond looking at Crash and appearing and disappearing, just like how it behaves in the E3 demo.
- The elevator in the middle is missing.
- The portal effect inside each warp area is not present, so each level entrance leads to a black void.
Pre-E3#
The elevator, portals, and the final font are now included in the warp room, making it much closer to the E3 demo's warp room and even the final one. Despite this, there are still some leftovers from the B-roll revision of the warp room such as the early gem and crystal slots.
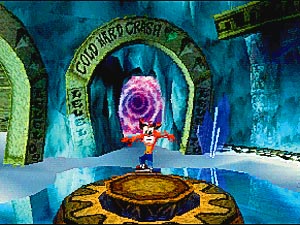
- Cold Hard Crash is the tenth level here instead of The Eel Deal. Consequently, Cold Hard Crash is also the level which contains the green gem. The hallway leading to the level also has a new design due to the different level assigned to it - it is similar to Snow Biz's portal scenery.
- The green gem slot uses the same shape as the clear gem.
- Crash can be seen sliding on ice in the second warp room. Leftover skating and wading animations in the E3 demo's warp room reveal that Crash was meant to be able to interact with the water and ice which appear in the warp room.
- The elevator appears to visually and functionally be the same as the E3 demo: it slightly sticks out of the middle and will automatically take Crash between the first and second warp rooms when he steps on it.
Intro#

|
To do: |
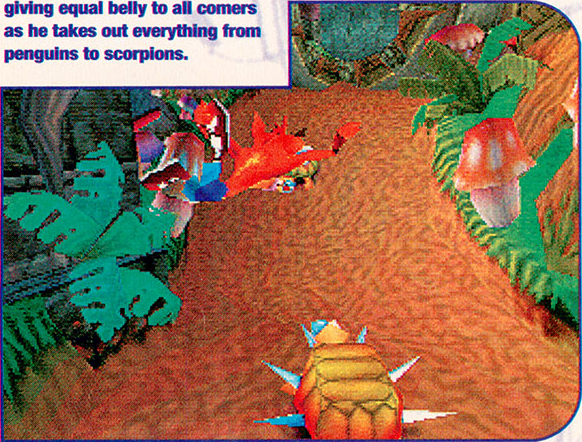
This mysterious jungle level may seem like either Turtle Woods or The Pits at first, but isn't either of these levels. However, taking a closer look reveals that it is actually the least obvious choice: the intro level.
|
Early |
Final |
|---|---|
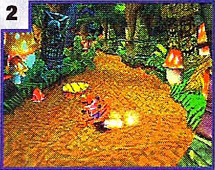
|
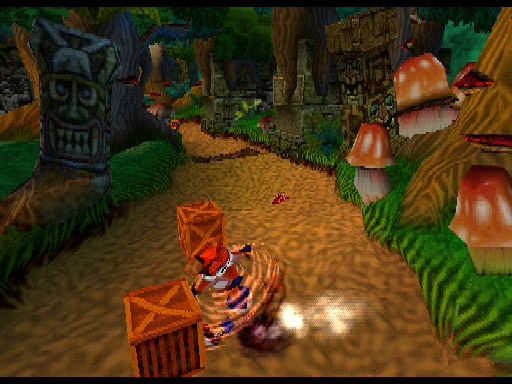
|

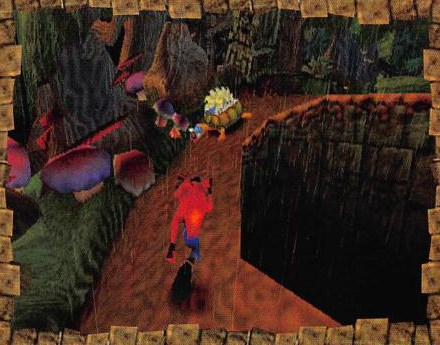
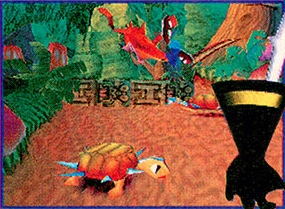
Turtle Woods#
From these builds, all the footage that exists from Turtle Woods only depicts the secret path. Subsequently, the current obtained B-roll footage combines into an almost-complete look into the 2D section at this time. It appears to be unchanged between the early screens and the B-roll, with some small differences.
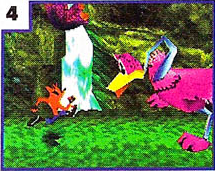
- Strangely, the secret area does not render the ground or walls at first but does render the plants, leaving the level completely black besides that and entities such as Crash and the crates.
- The walls in the secret area are lower down - this is noticeable due to the plants at the start being at the same height as Crash instead of near the top of the screen.
- The giant pink ostriches don't squat after Crash jumps onto them.
- An armored armadillo was going to appear near the last ostrich along with a TNT crate.
Snow Go#
A snow section was originally meant to be a part of the original Crash Bandicoot during pre-production of the game in early 1995, although it was cut in the long run. It would have consisted of two levels: a snowy mountain level and a fight against the Tasmanian Tiger - a character who was cut from the game and later added to Crash 2 as Tiny. The idea for a snow level was later revived as Snow Go, the first snow level made for the game.
3D Section 1#
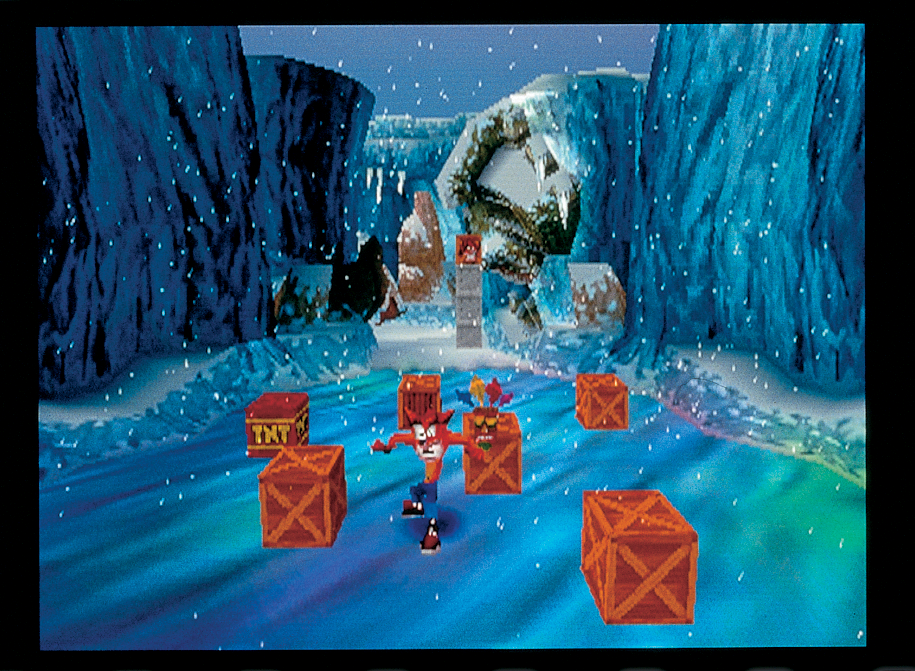
Early press for the game placed large emphasis on this level, boasting its slippery ice floor and snow weather effect.
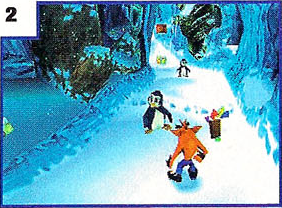
- The scenery in the 2D section generally appears to be lighter.
- There is more snow falling during the icy segment, whereas the effect lessens during this section in the final game. This could possibly be due to the result of the ice not being reflective and thus not as much computing power being required.
- The first ice-skating segment has a different crate layout - the three iron crates with the life crate on top were moved into the ice patch for the final game.
- The elevator moves quickly and freezes Crash in whatever animation he was playing during the transition instead of allowing him to move on the platform.
2D Section#
Due to the lack of reflective surfaces, the "mirror" scenery never appears in this section. The lack of these mirrors could explain some of the different layout choices which were changed in time for later builds:
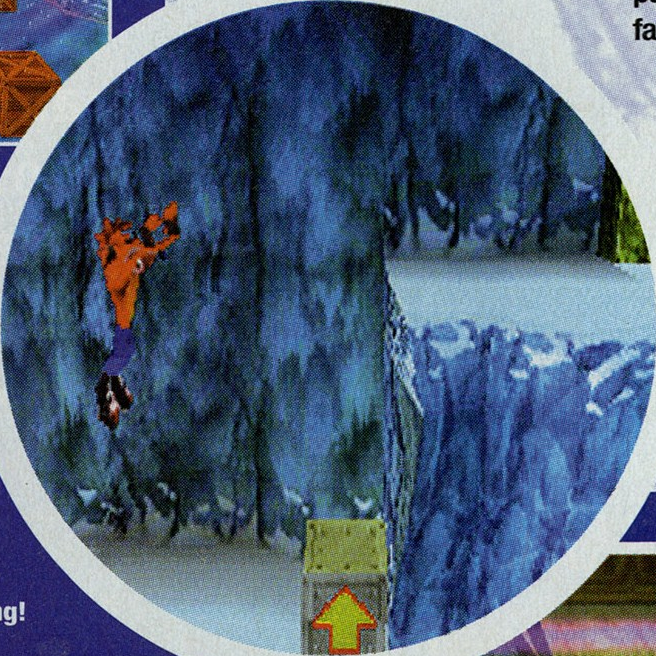
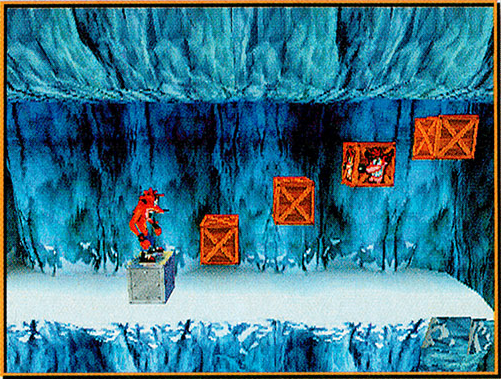
- The elevator is nowhere to be seen after Crash is moved to the 2D section.
- There is a pit after the first 2D penguin - a dark line in the scenery can still be seen where this hole previously was.
- The area with the two seals after the penguin do not have the mirror scenery that appears in the final game.
- There are no crates after the first crusher.
- An iron arrow and bounce crate appear after the second checkpoint in the 2D area which is nowhere to be seen.
- The arrow crate in the 2D section is much closer to the wall.
- After the arrow crate, the crushing trap is square-shaped instead of a triangle wedge shape, which means it is a crushing stone pillar and not a crushing log. Crushing stone pillars don't appear at all in the final version of Snow Go.
- The exclamation mark crate in the 2D section is closer to the crates that it activates.
3D Section 2#
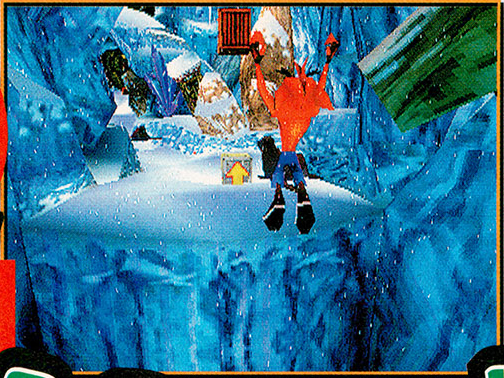
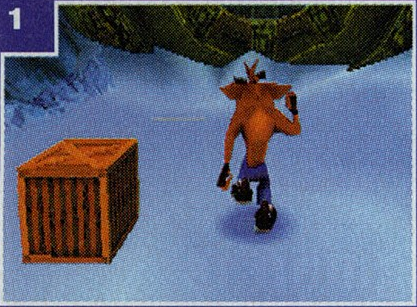
- The seal by the arrow crate in the post-2D section of the level is much further away from the edge.
- The arrow crate and bounce crate pair by the aforementioned seal appear to be placed inside a small concave area of the snow. The terrain was evened out a little more in the final level.
Hang Eight#
The only source of footage for this level comes from the unique B-roll footage only included with the Interactive CD Sampler Disk trailer. Based on the short clip of the level, it appears identical to the E3 demo's version of the level.
- The level only has one gem: the box gem, as the timer challenge wasn't implemented yet.
- The grass alongside the edges of the map use a different, greener texture.
The Pits#
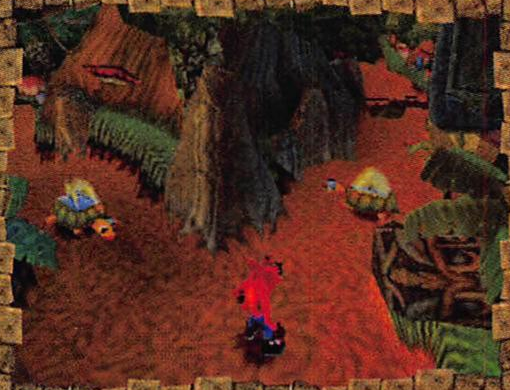
- There is no wooden log in the middle of the scenery splitting the entrance to both paths.
- There are two buzzsaw turtles on each side.
- Pits are placed further ahead.
Crash Dash#
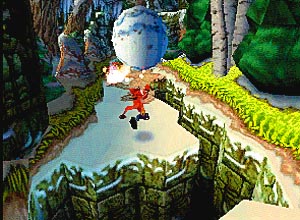
A staple of the franchise from the very first game, the boulder levels returned in a blanket of snow for the second game. Aesthetically, the level has not changed too much between the very earliest builds and the final game. However, the early stills show that the giant snowball was originally completely white and untextured, something which had been finalized even by the time the B-roll footage was recorded.
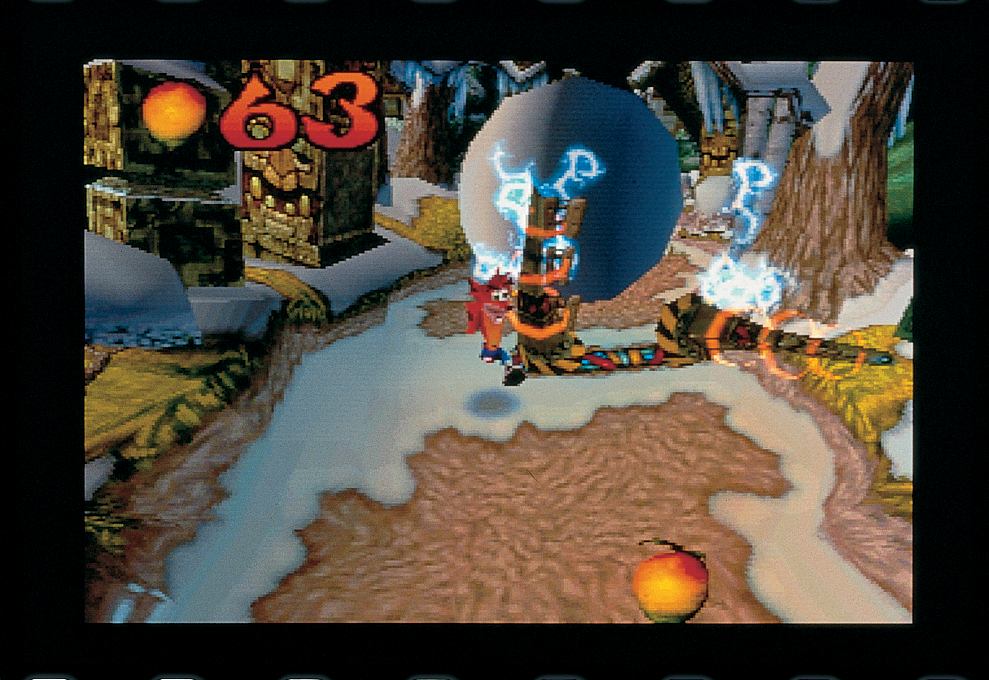
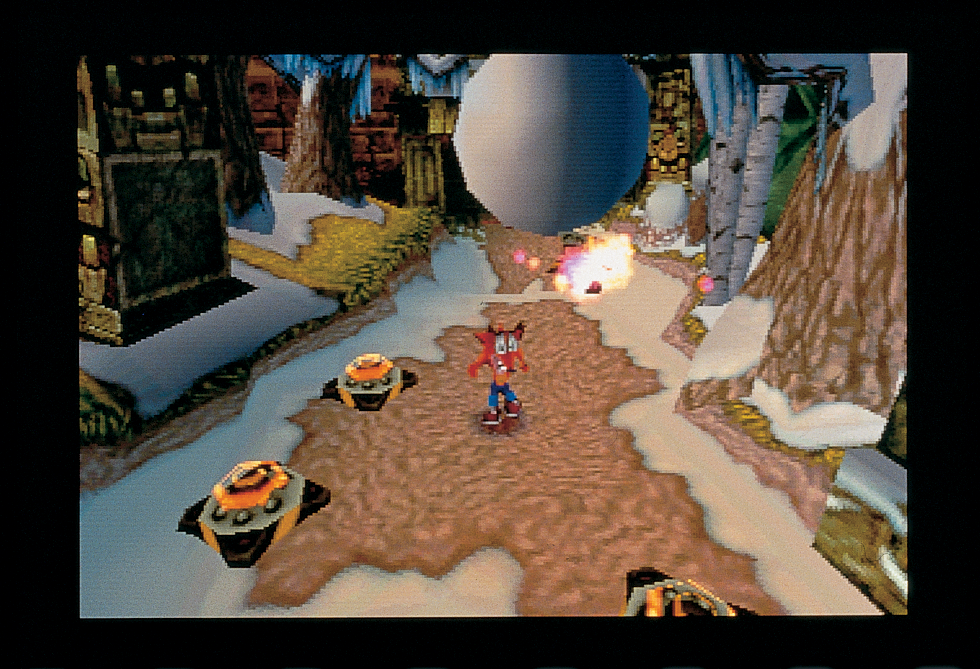
- An electric fence at the start of the level was replaced with a pit in the final game.
Snow Biz#
3D Section 1#
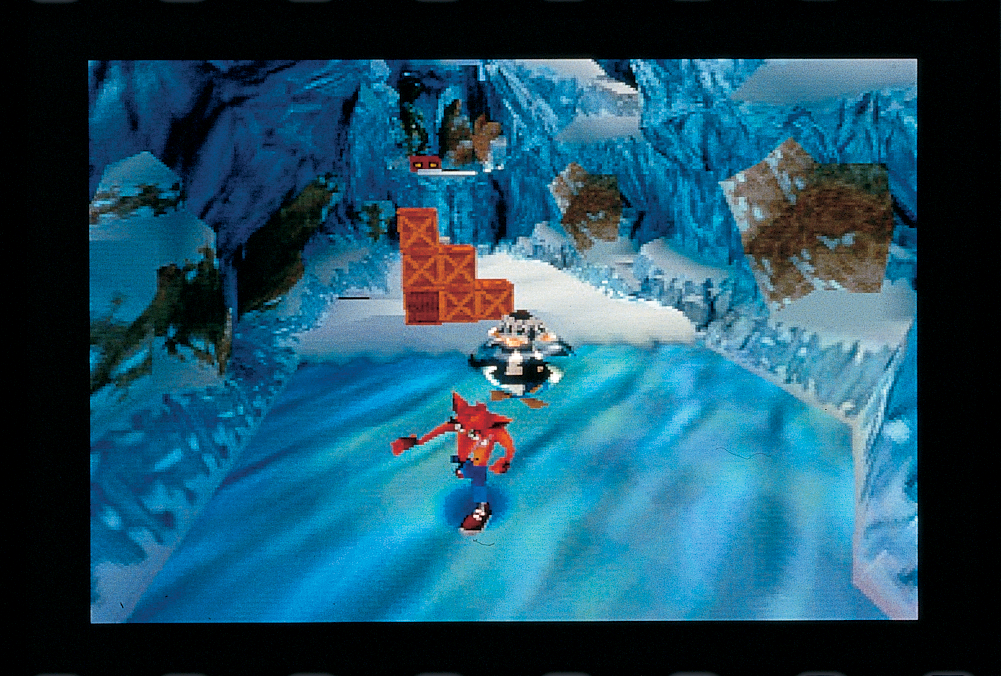
The earliest screenshots of this level reveal that it originally had the same basic white color scheme as Snow Go. However, in time for the pre-E3 build, it was updated to have a slight "early morning" yellow tint based on the concept art for the snow levels.
|
Early |
Pre-E3 |
|---|---|
|

|
2D Section#
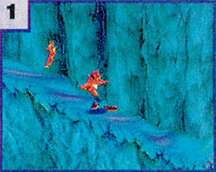
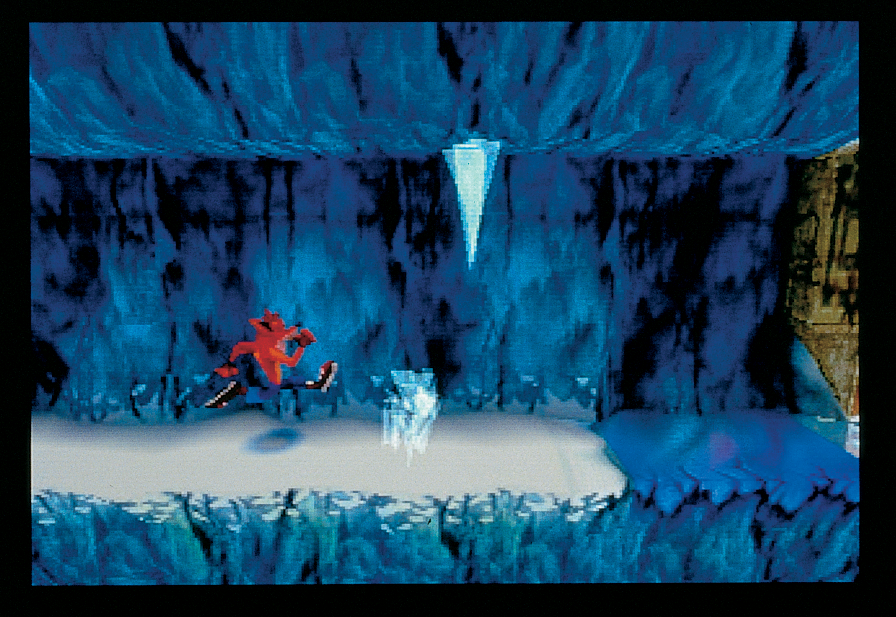
Early press for the game made a big deal out of one of Crash 2's new additions, one of the only features they were told about - a new kind of level which would completely switch from 3D to 2D halfway through, a novel choice of gameplay which was never explored in the first game. These levels eventually ended up being the snow levels, and Crash 3 even brought back this form of gameplay in the futuristic levels.
3D Section 2#
On top of making the level more difficult than Snow Go by adding new hazards like crushing stone pillars and falling icicles, Snow Biz marked the return of the rolling stones, a bygone staple of the first Crash Bandicoot.
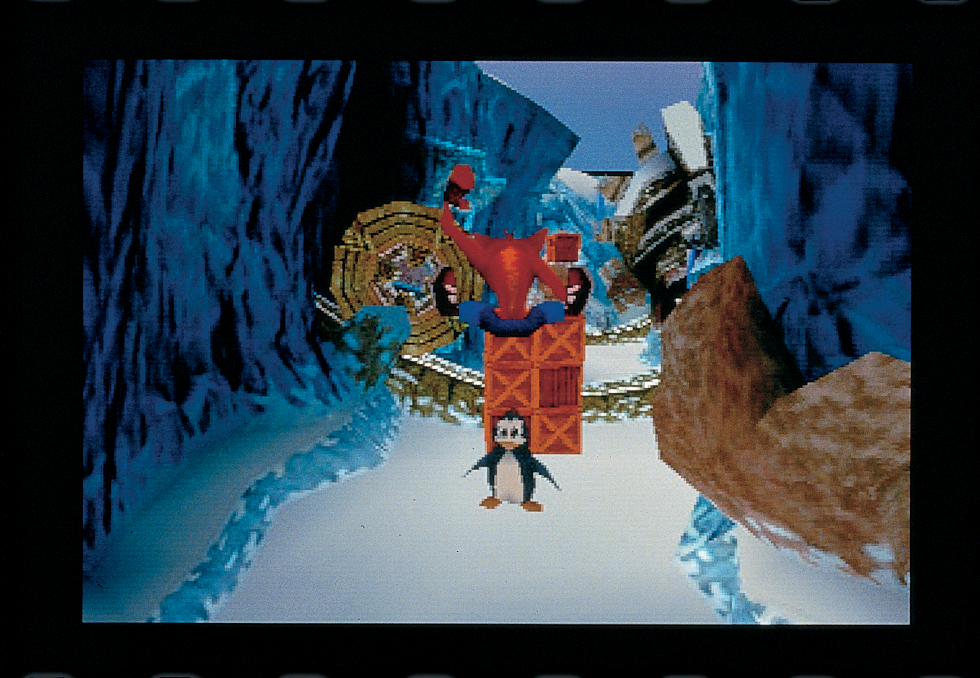
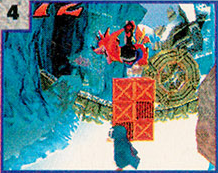
- The crate pile after the 2D section doesn't contain an Aku Aku crate.
Air Crash#
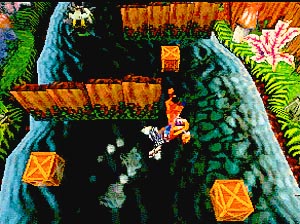
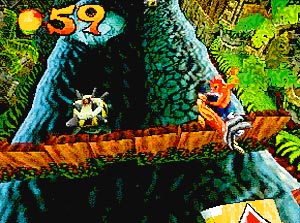
The only source for content pertaining to Air Crash comes from the pre-E3 screenshots. Other than the early grass texture which can also be seen in Hang Eight, the level seems identical to what appears in the final game.
Bear It#
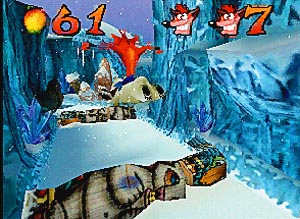

- Crash is way closer to Polar in the screenshot than the final game allows him to be.
- There is an small pond ahead that was removed in the final game.
Crash Crush#
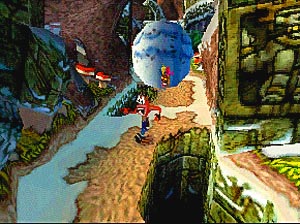
Just like Air Crash, Crash Crush had no coverage whatsoever before the pre-E3 screenshot batch. Unlike Air Crash, however, these screenshots reveal a very dramatic difference, showing that Crash Crush originally did not take place at sunset - it had the exact same scenery coloring as Crash Dash and Un-Bearable, the other two "chase" levels.
Sewer or Later#
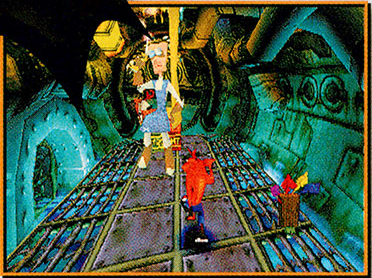
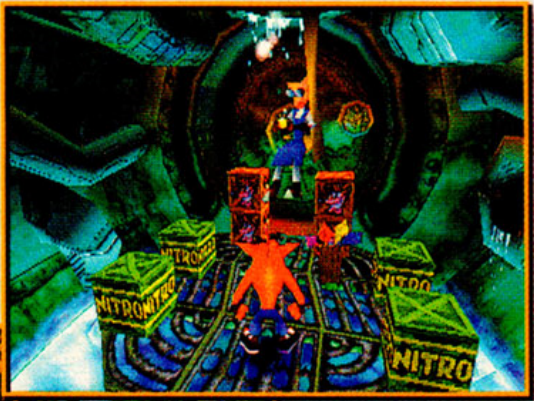
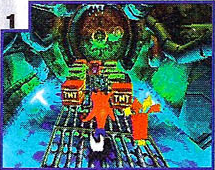
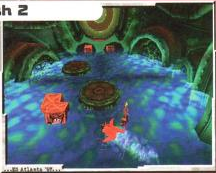
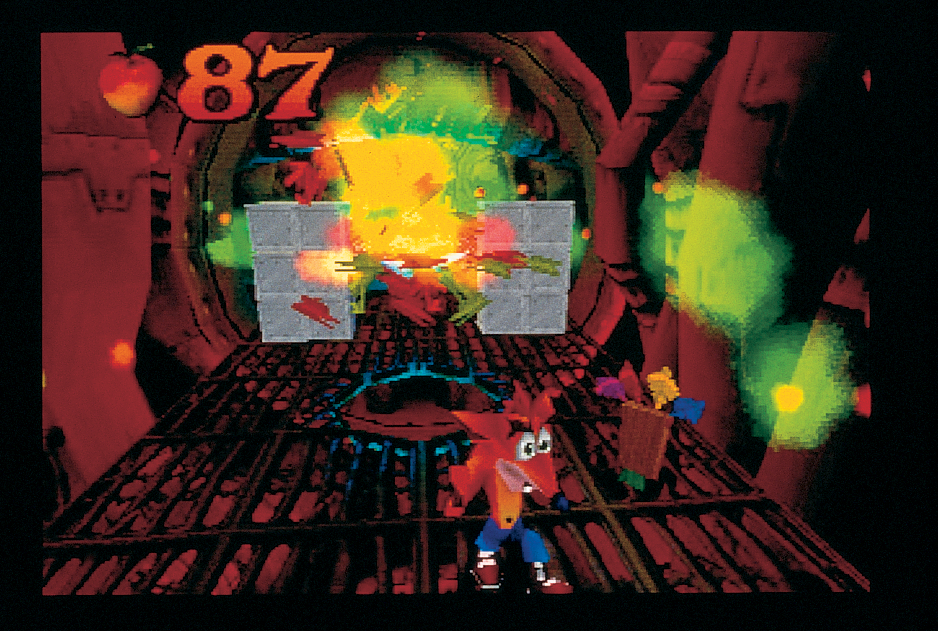
The sewer was meant to be its own level in the first Crash Bandicoot, but was cut early in development - Sewer or Later, one of the first levels made for Crash 2, brings this idea to life and is heavily based on the environmental concept art which would have appeared in the first game. Early screenshots and footage of the level reveal some very different gameplay, with stacks of life crates everywhere similarly to Crash 1, special crate placements otherwise unseen in any other level, and some bright blue water that doesn't have any electrical eels. The early version of the level appears to be identical to the one which appears in the E3 demo, albeit unplayable without hacks.
Diggin' It#
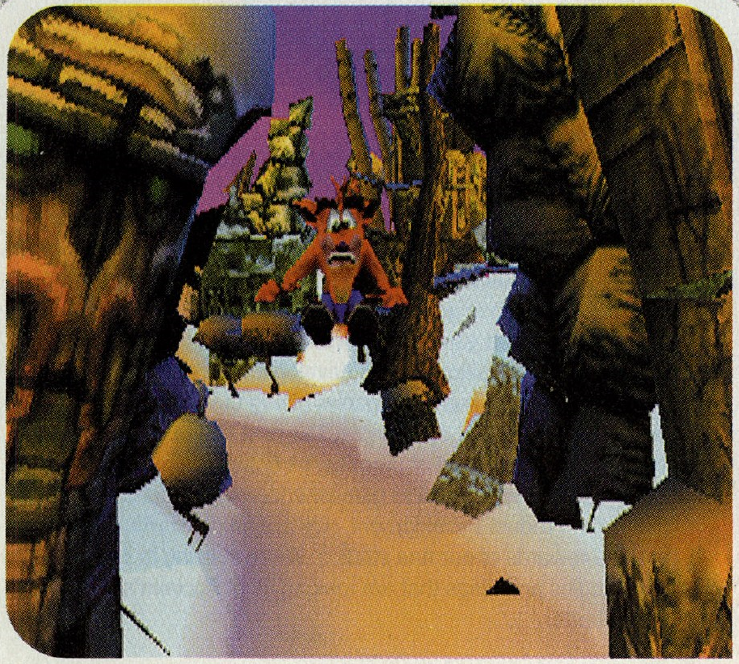
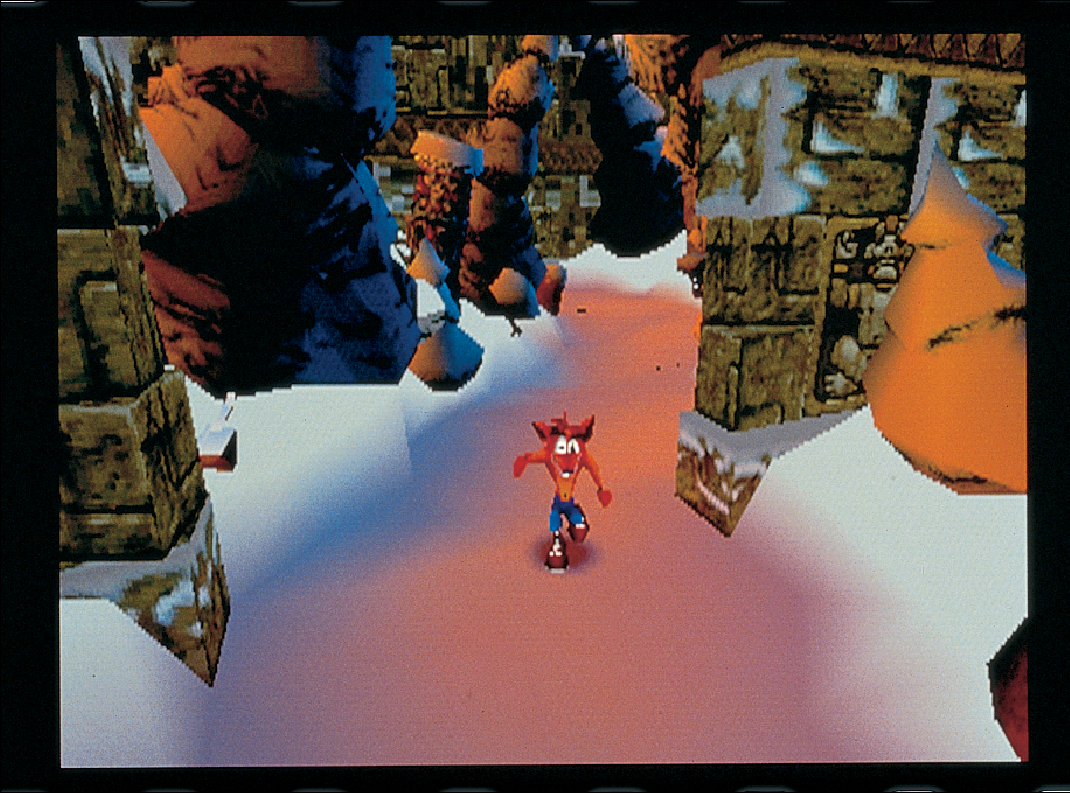
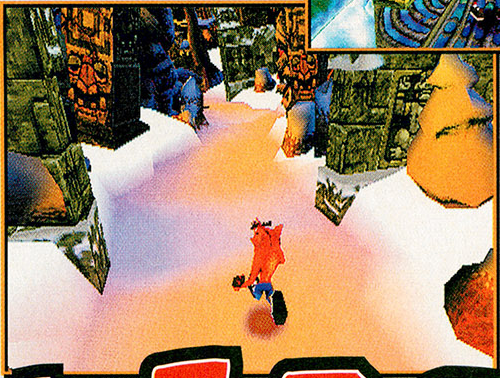
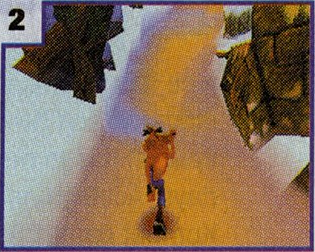
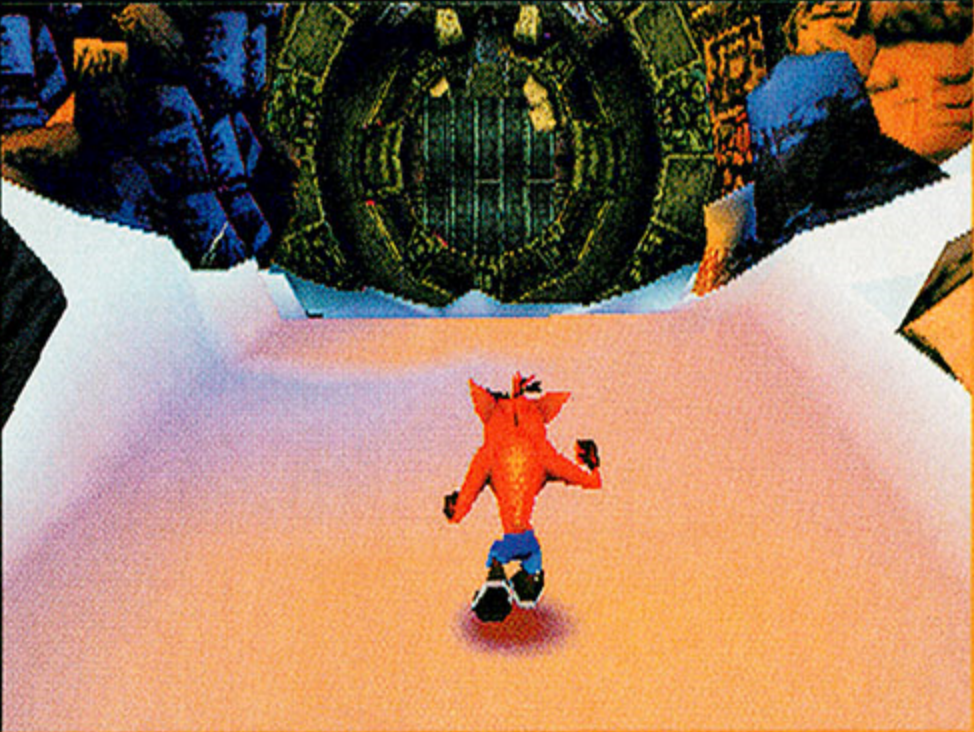
The earliest version of Diggin' It reveals a completely different layout, completely empty and seemingly being nothing more than a scenery demonstration for the Alpine levels. Very similarly to Crash Crush's final design, a sunset blankets the level, highlighting objects the sun hits in orange and leaving shadows in purple. The deep purple sky which appears in this level remains in Diggin' It in prototypes of the level albeit being replaced in time for the final game. A later version of this level in the B-roll footage show an identical layout, only with glitchy grass textures added alongside the edges of the map.
Hangin' Out#
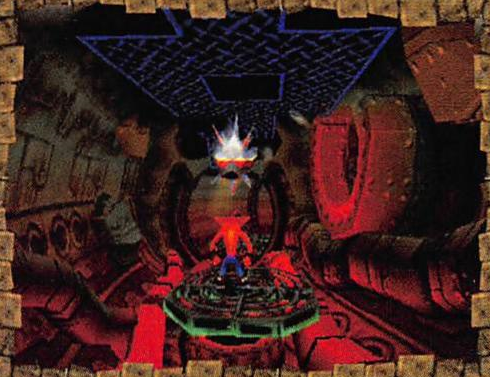
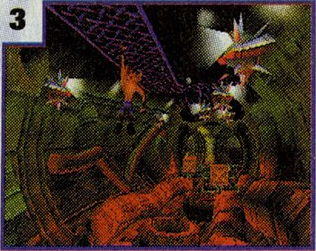
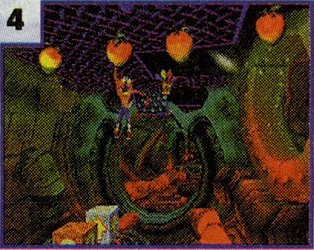
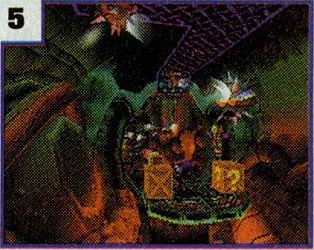
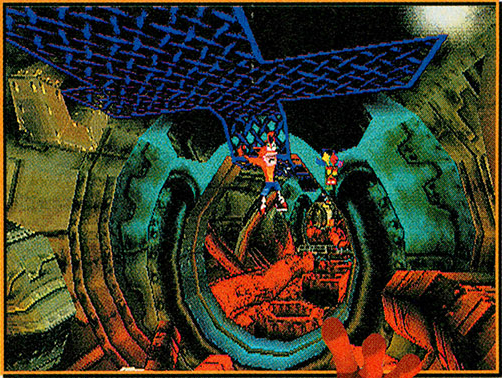
The earliest version of Hangin' Out reveals a completely different layout: the design was so drastically changed, it was once entirely unknown which level this was meant to be. The E3 demo showcases this level in action in the title screen's demo reels and can be added back into full gameplay from hacking.
Ruination#
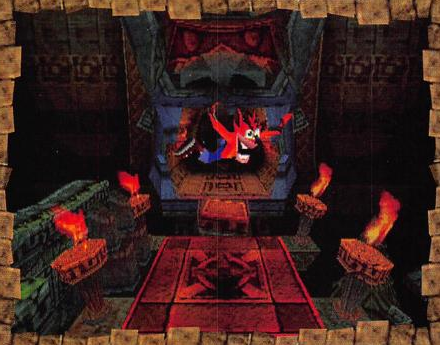
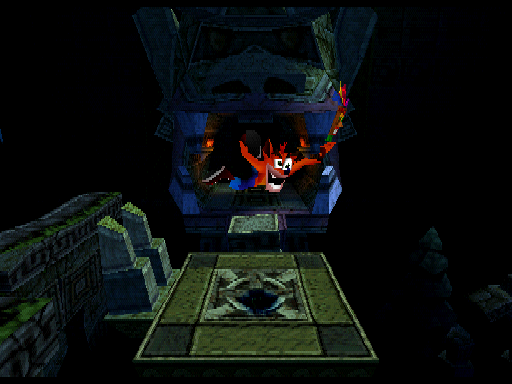
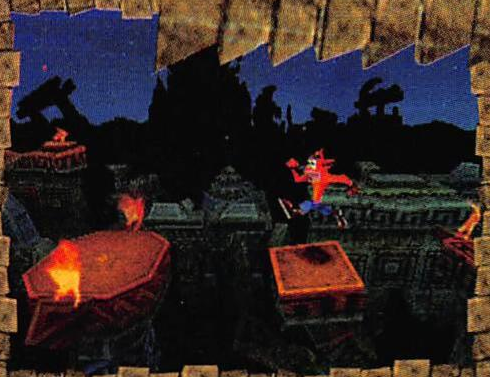
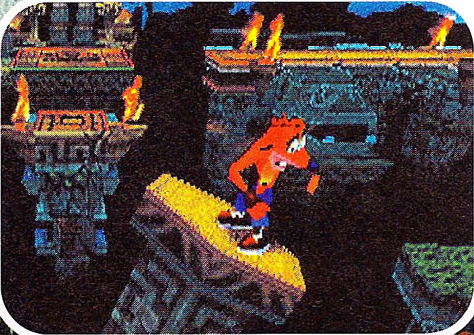
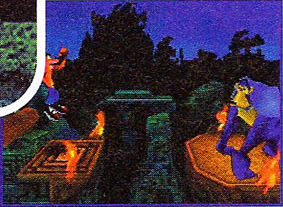
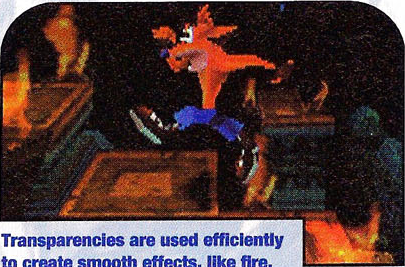
Ruination's layout was once much longer before it was revamped for the final game, resulting in screenshots and footage of a ruins level with a very unfamiliar layout. Two very distinct versions can be seen between the early screenshots and the B-roll footage:
- The early screenshots depict the level with torches everywhere, giving the level's main platforms an unique orange glow amongst the miscellaneous blue and green scenery akin to the temple ruins levels in the original Crash Bandicoot.
- The updated version found in the B-roll footage removes these torches, giving it the same color scheme as the final level.
Despite this, the changes are purely visual, and the layout ultimately appears to be the same. Once again, a prototype version of the level which seems identical to the B-roll version can be found in the E3 demo, albeit unplayable without hacking.
|
Early |
E3 Demo |
|---|---|
|
|
Rock It#
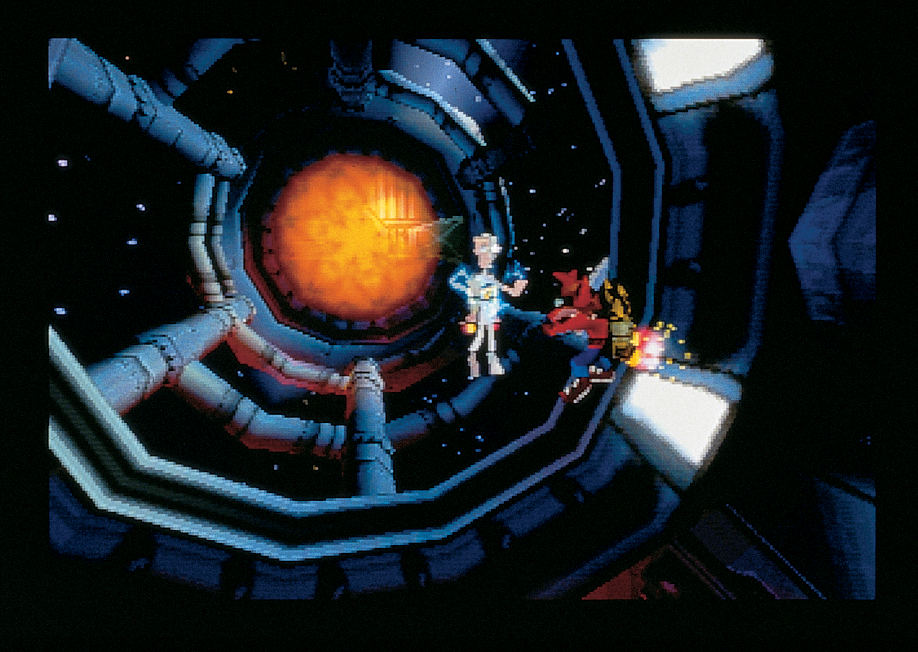
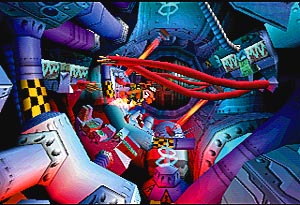
Rock It has several screenshots and footage clips from these different builds. Most of the level appears to be the same to what was included in the E3 demo, but the main point of interest in this early version of Rock It is the provisional warp chamber which can be seen in some B-roll footage.




- The checkpoint crate is placed in the middle of the path.
- Crash is using his normal spinning animation in the jet pack levels. In the final game, he has a new one for when he's using the jet pack.
- As Crash leaves the warp passage, a very plain sign that says "Space Station" is present outside of the window - this texture can be found in the texture pages of the E3 demo.
- An older version of the red space bomb which homes in on Crash is used instead.
- The exit passage looks very rough and incomplete.
Night Fight#
Night Fight is relatively different based on the trace amounts of footage obtained of the level. Similarly to early versions of Future Frenzy in Crash 3, the enemies were unique to the level and eventually all redesigned for the final version of the level - in this case, the enemies were replaced with ones from the ruins levels. In addition, the peculiar layout found in the early footage of the level implies that the level was totally redone at some point later in development, similar to many other levels in these builds.
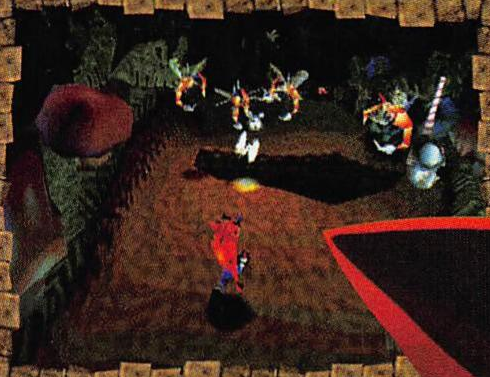
- The level uses the regular jungle textures instead of the special night jungle textures - mushrooms and other scenery bits are colored a darker purple tone in the final version.
- Dragonfly enemies would later be replaced by the spiked saucers, who internally still bear the name of
obj_dragonfly, enigmatically enough.