This is a sub-page of Portal 2.

|
To do: |
Paint Gun HUD Elements#
HUD textures used by the paint gun, including ones for stick paint. The SWAP indicator is used when standing near the other player in 2guns mode to indicate that the portal gun and paint gun can be swapped. The intended use for the "idle" paint icons is unknown.
There are also a set of textures called _paint_indicator
 |
 |
 |
 |
 |
current_paint_indicator |
paint_bounce_icon_idle |
paint_speed_icon_idle |
paint_stick_icon_idle |
swap_guns_indicator |
F-Stop Textures#
|
|
To do: |
Over time, several remnants of the F-Stop iteration of Portal 2 have been found in Portal 2 game files.
F-Stop HUD Elements#
HUD textures leftover from the F-Stop iteration of Portal 2. These include graphics for the camera HUD, photo inventory, and a locator for the cut chicken enemy. (Gray background added for visibility)
 |
 |
 |
 |
 |
 |
 |
 |
 |
 |
hud_icon_camera |
hud_icon_neutral |
hud_icon_picture |
hud_loc_arrow |
hud_loc_chicken |
inv_full |
inv_photo_numbers1 |
inv_photo_numbers2 |
inv_photo_numbers3 |
invalid |
The textures used to draw the viewfinder overlay seen when gesturing near one of GLaDOS's cameras in co-op are also located among these, implying that that overlay was originally created for F-Stop and later repurposed.
Placeholder Graphics#

Two placeholder graphics found exclusively in the PS3 version of the game.
Unused Rattmann Art#
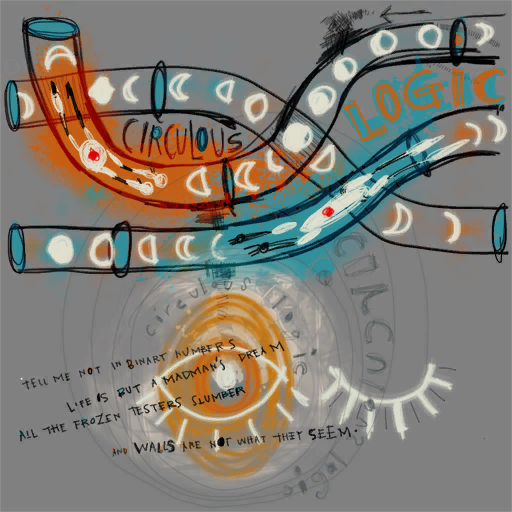
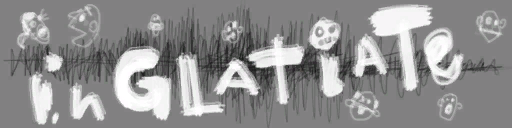
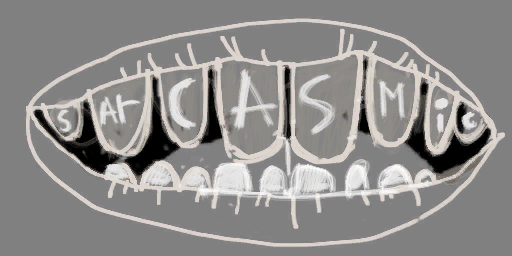
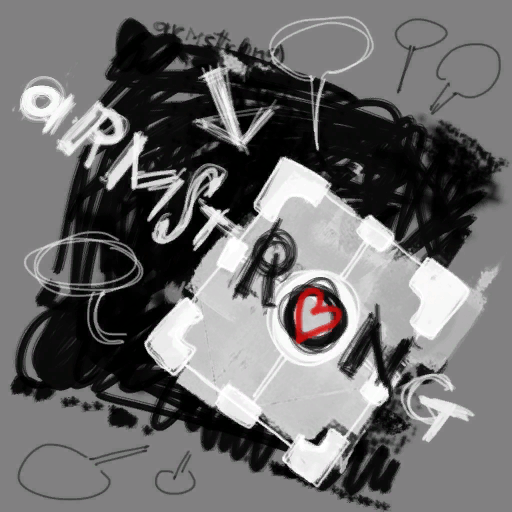
Additional Doug Rattmann scrawlings that don't appear in any maps.

Central AI Chamber Map#
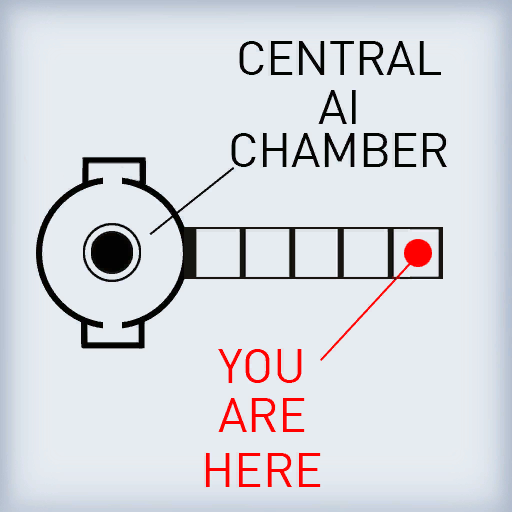
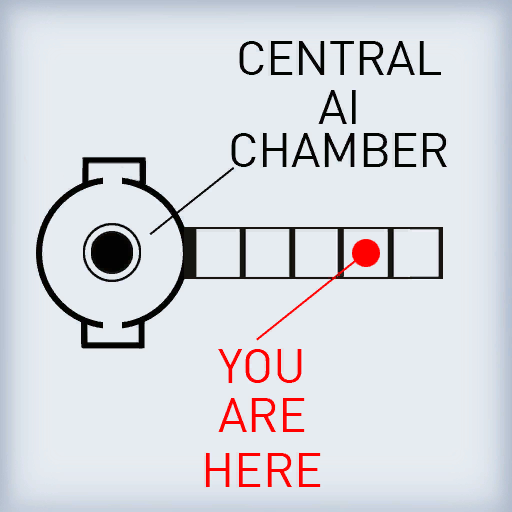
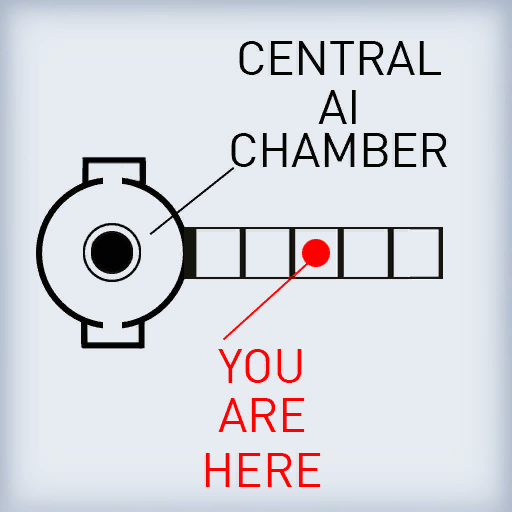
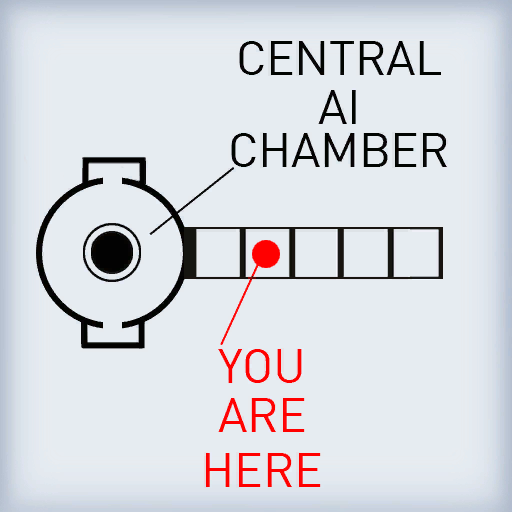
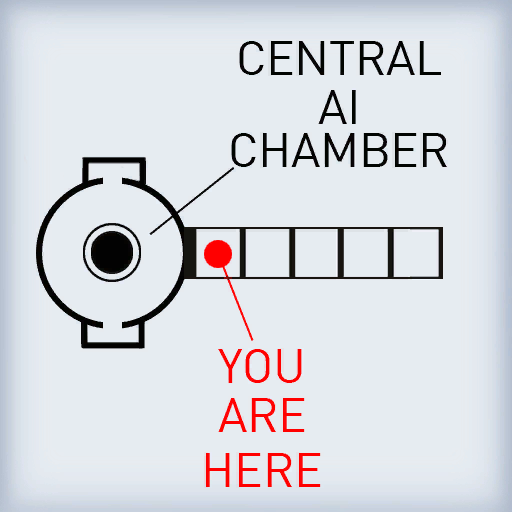
Five variations of a map showing the player's location relative to the Central AI Chamber used in the early "escape" maps which served as parts of an early version of the Act 4 (Chapters 8 and 9).
Core Transfer Screen#
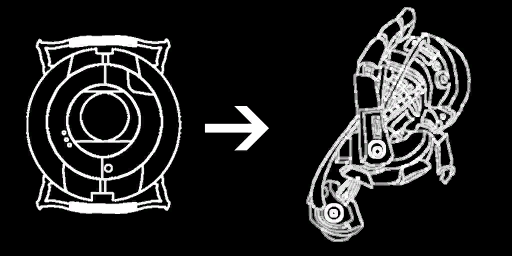
Graphics for a screen that would have been present during the core transfer sequence, indicating the current status and instructing the player what to do. These are located in a folder that implies they were intended to be used with the "slideshow display" entity from the first Portal, which was used to display the rapidly changing images on GLaDOS's screens in that game but goes unused in Portal 2. They are used in the July 22nd prototype.




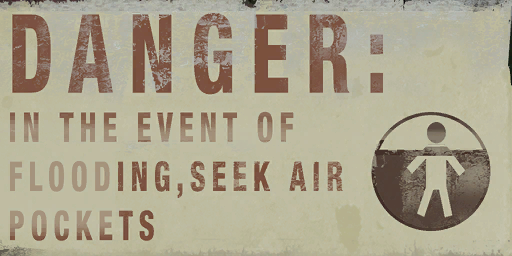
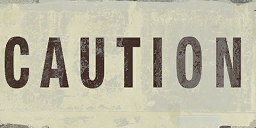
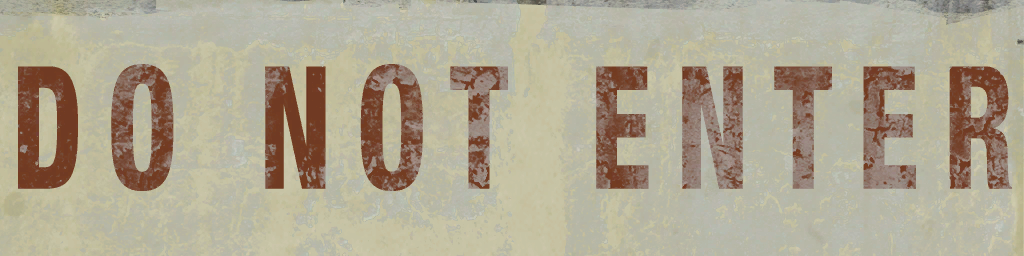
Unused Signs#
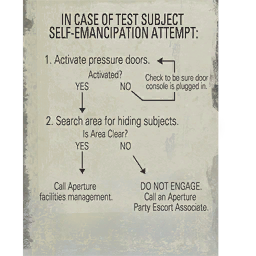
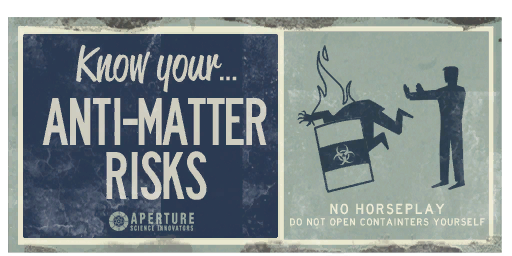
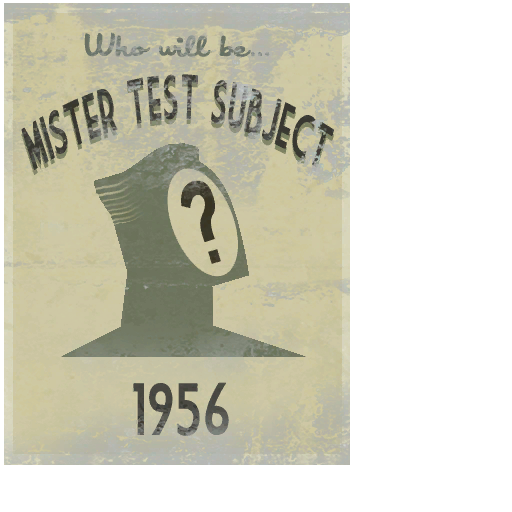
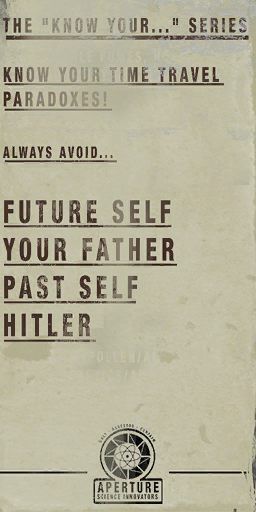
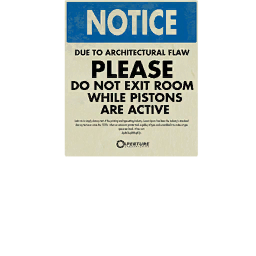
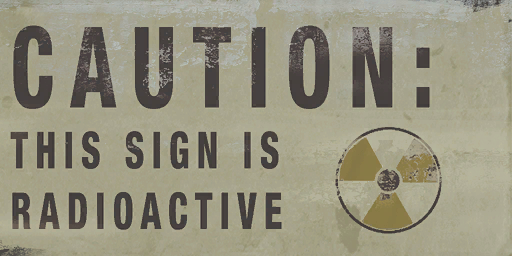
Various signs and posters intended for the Old Aperture section of the game, in varying states of completion.
1940s Aperture Logo#
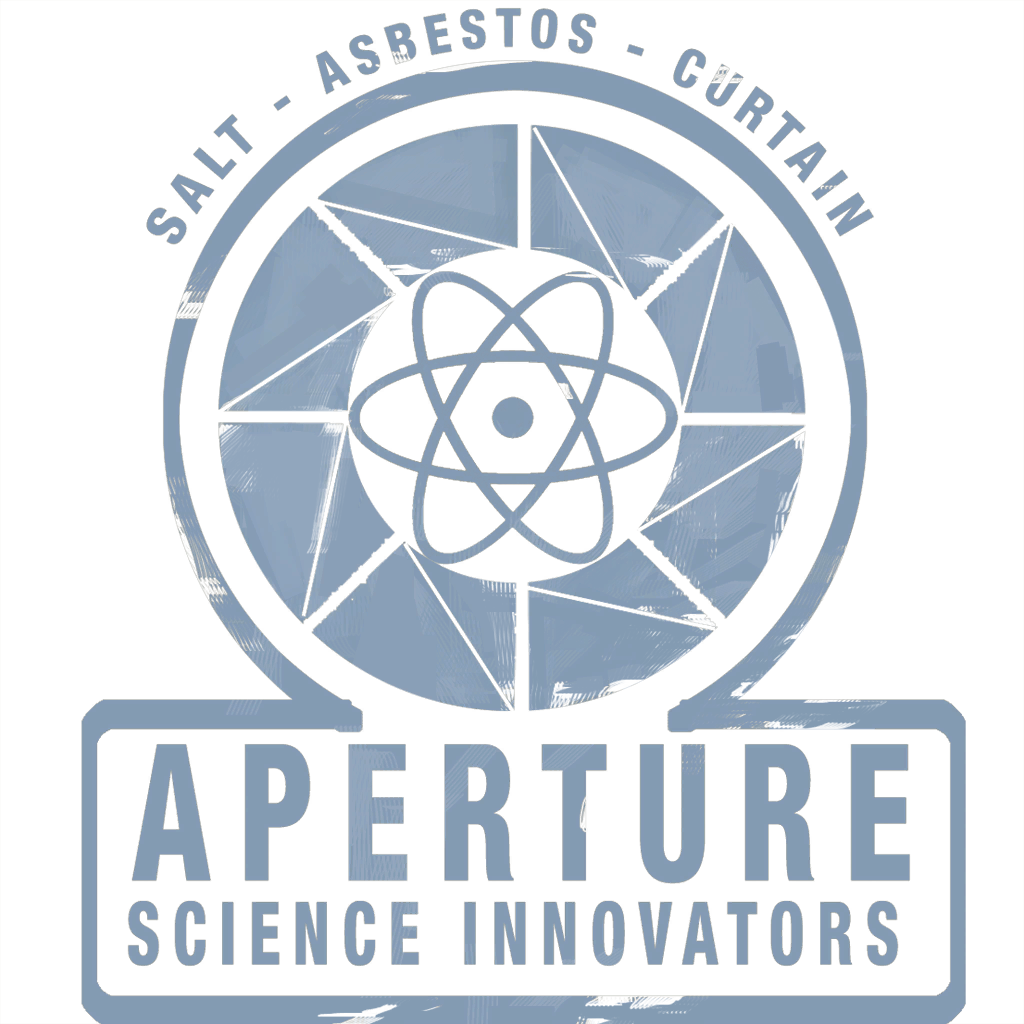
A vertical version of the Aperture Science Innovators logo, featuring the tagline "Salt - Asbestos - Curtain". Interestingly labeled as being from the 1940s - the earliest decade visited in the final game is the 50s. As seen in concept art and demo_underground, it was originally placed in the large window in the 1950s lobby.

Science Poster#
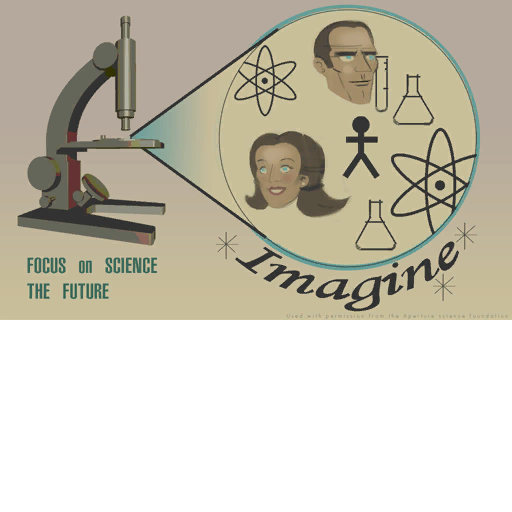
A texture labeled science_poster_04, although 01-03 don't exist. It doesn't have transparency implying it was meant to be used on a brush directly rather than as an overlay. The small text in the bottom-right interestingly mentions the "Aperture Science Foundation", this being the only mention of this organization.
Human Vault Sign#
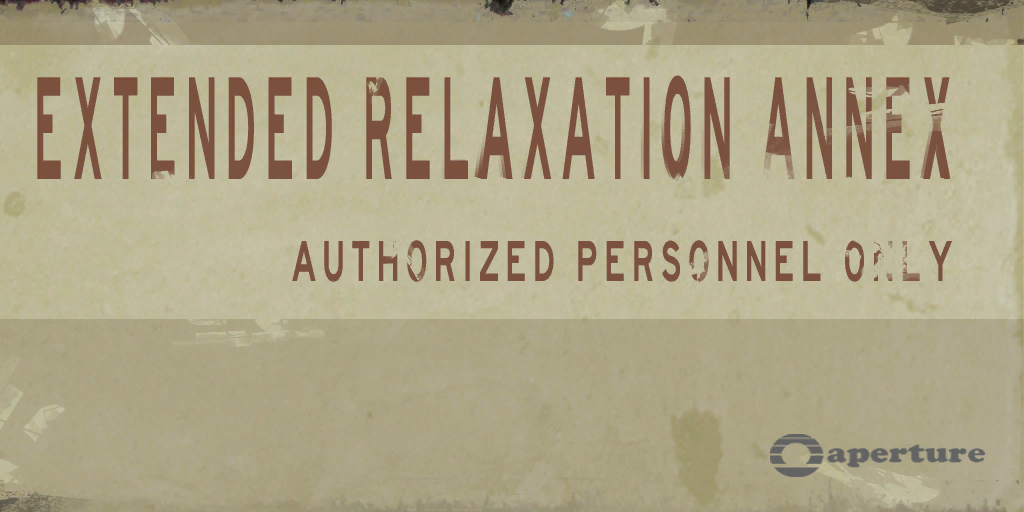
This sign appears in the co-op outro SFM video (and by extension in outro_map), but is never seen directly in the normal game.
Elevator Welcome Signs#
A whopping nine additional signs stored alongside the "this test requires a Quantum Tunneling Device" sign...all of which are placeholders.


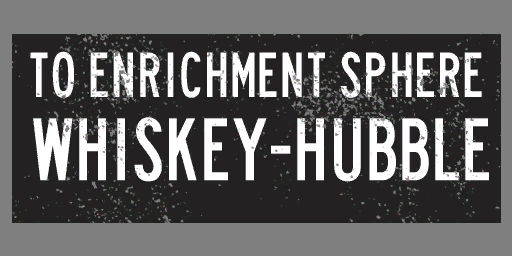
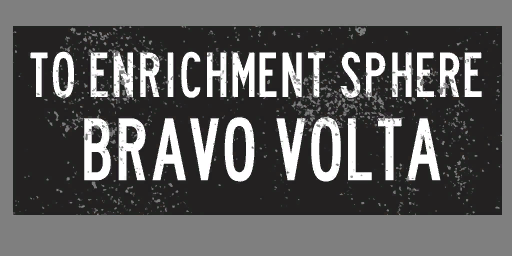
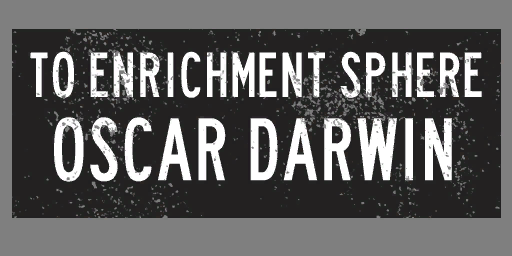
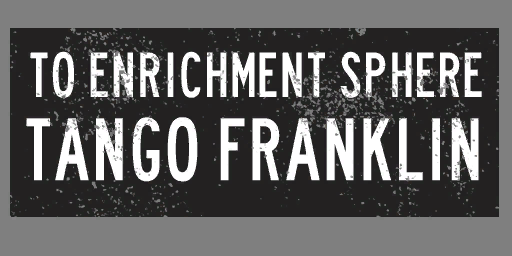
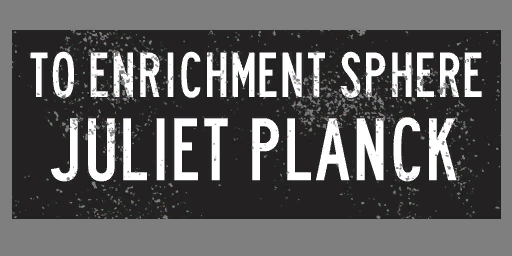
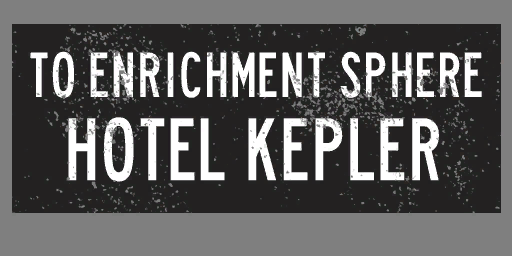
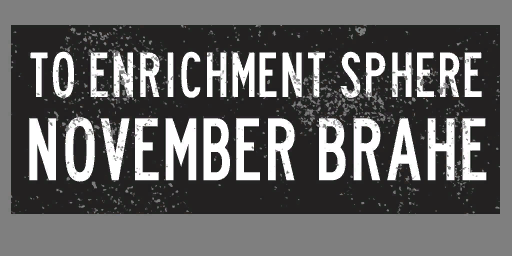
Enrichment Sphere Names#
Signs apparently displaying unique names for each enrichment sphere. In the final game, this naming scheme would instead be given to entire test shafts, with shaft 09 being named Zulu Bunsen (as seen next to the first vault door).
Strangely, Whiskey-Hubble is the only one of these names to include a dash in the middle. Bravo Volta was notably reused in the fanmade mod Portal Stories: Mel.
Others#


Old Core Eyes#
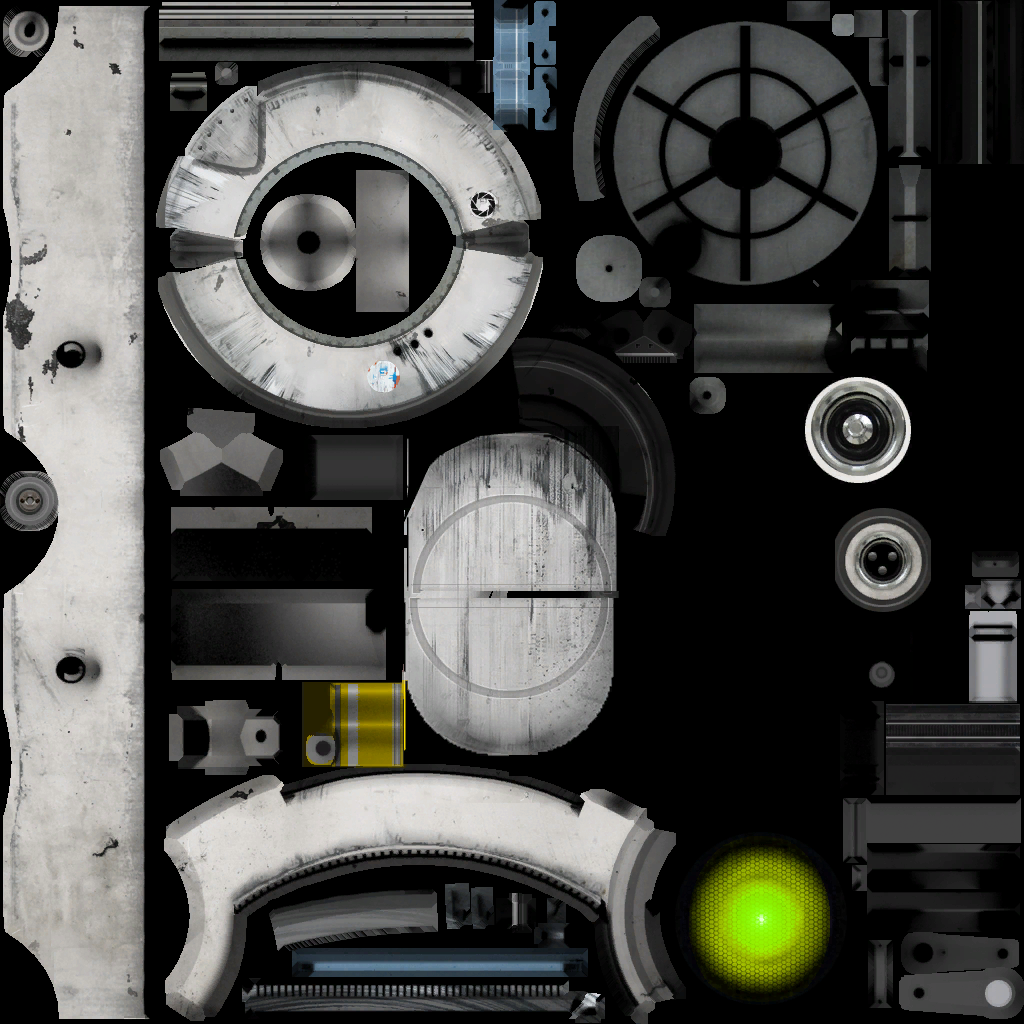
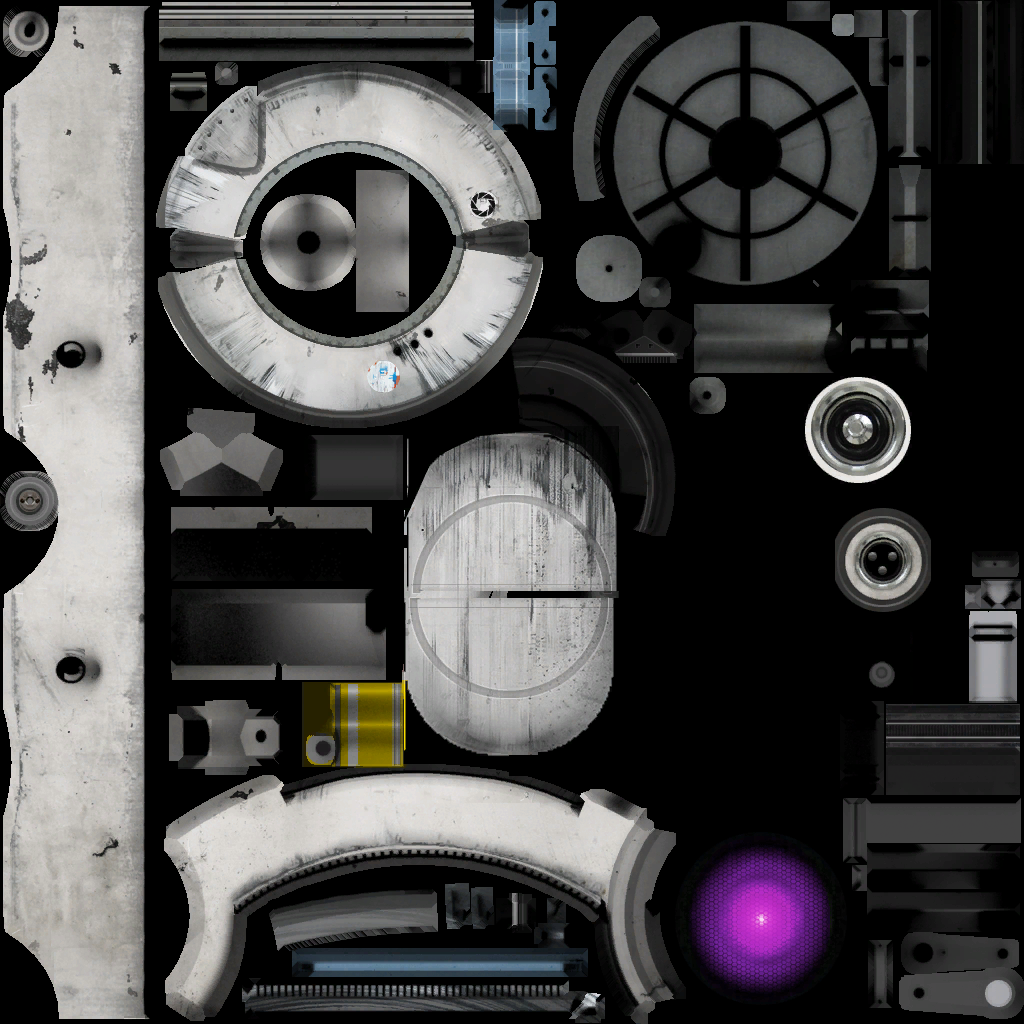
The textures used for the shells of all the cores in the game have eye textures in them, which go unused in favor of separated versions in order to achieve the effect of having the eye blink when the cores talk. The eye textures for Wheatley are the same as the used one, but the corrupted cores' textures contain early eye designs which correspond to the cores used earlier in development.
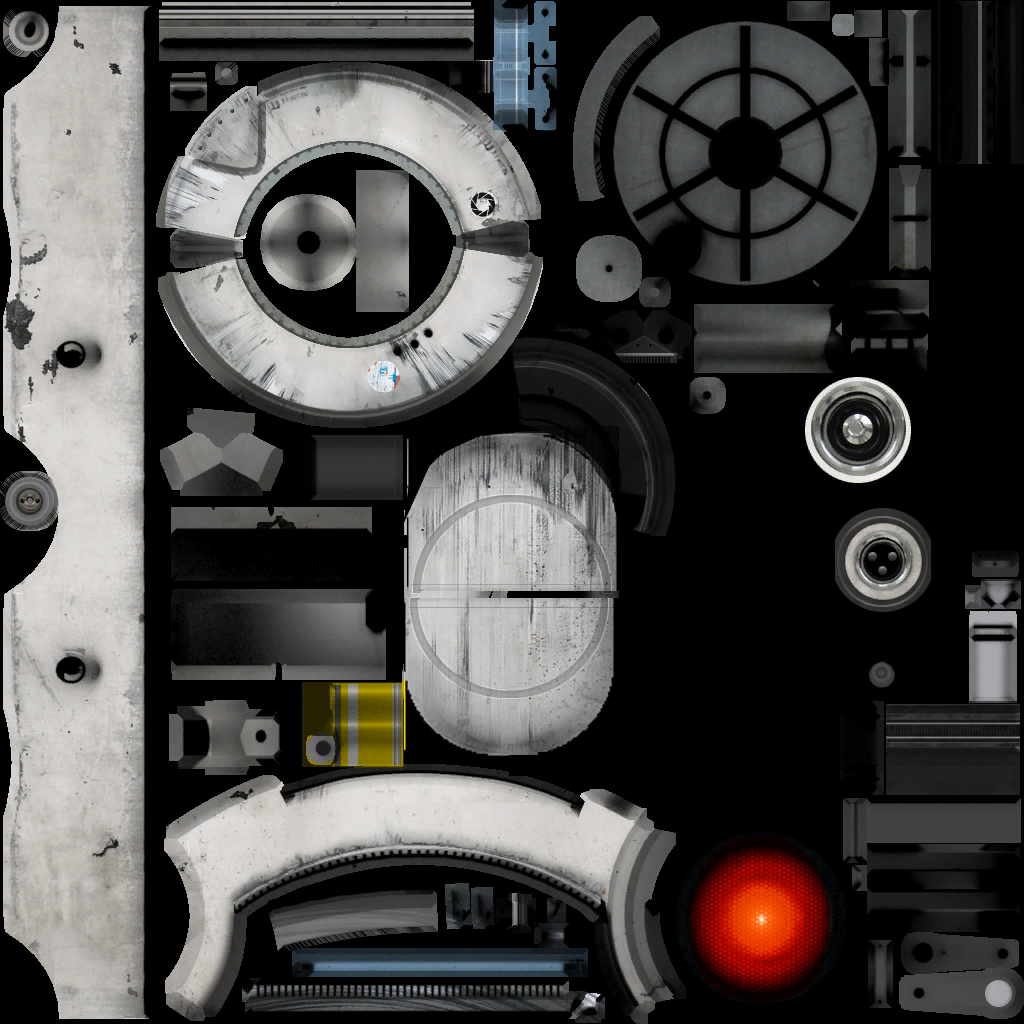
Old Disassembler Textures#
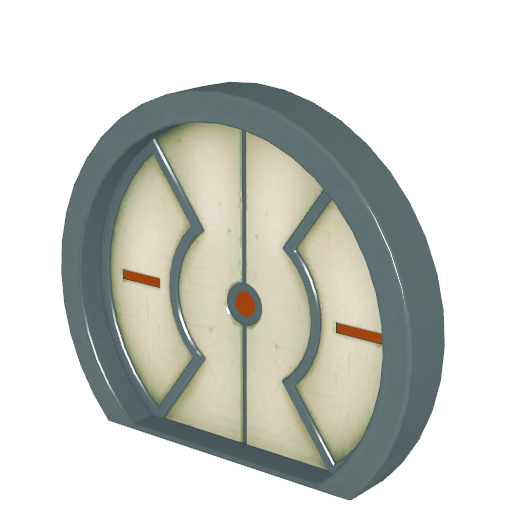
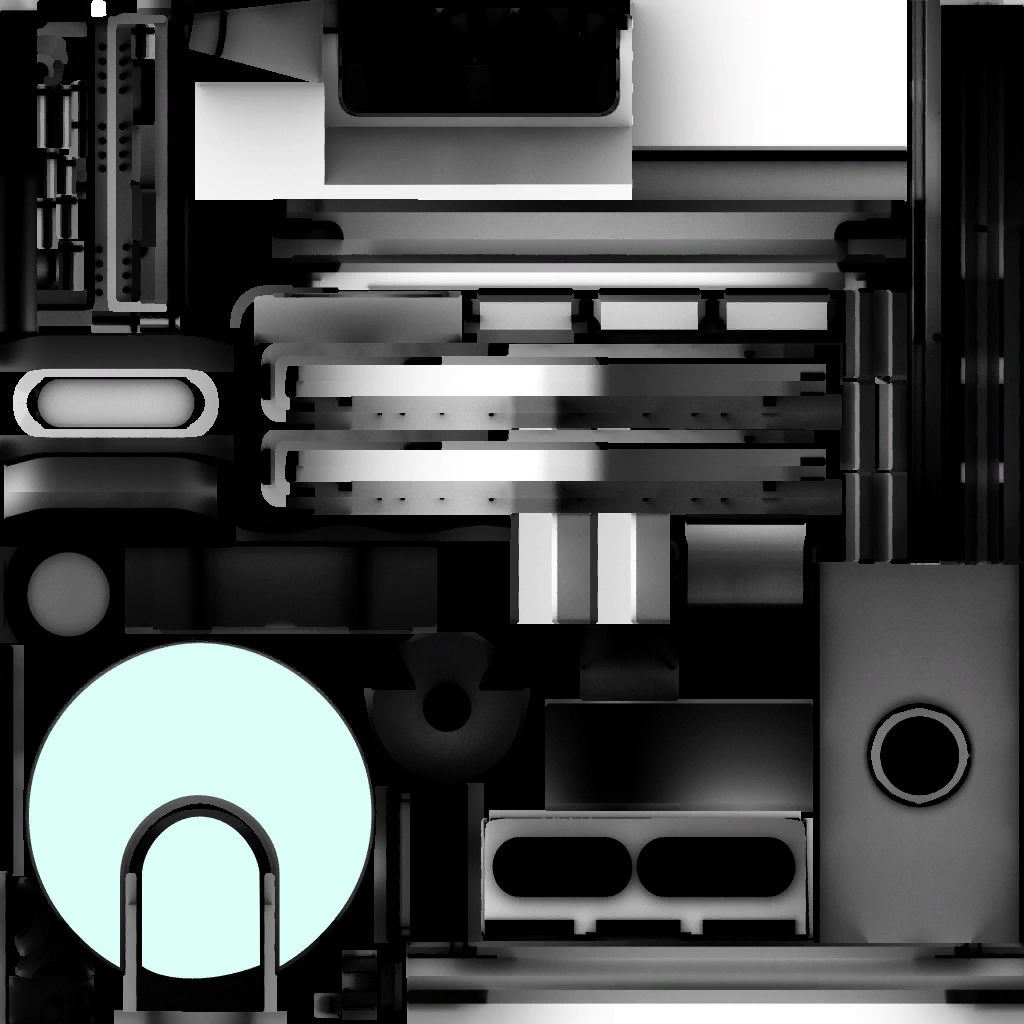
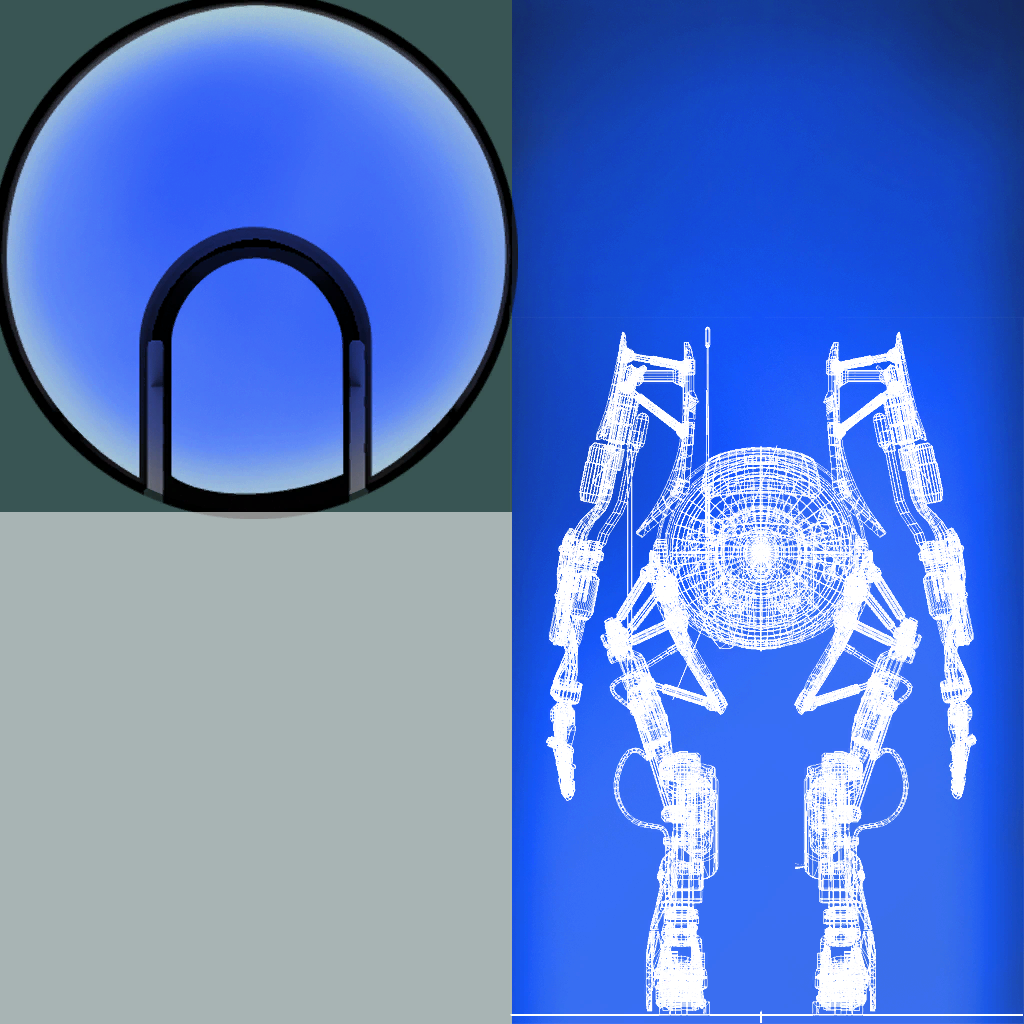
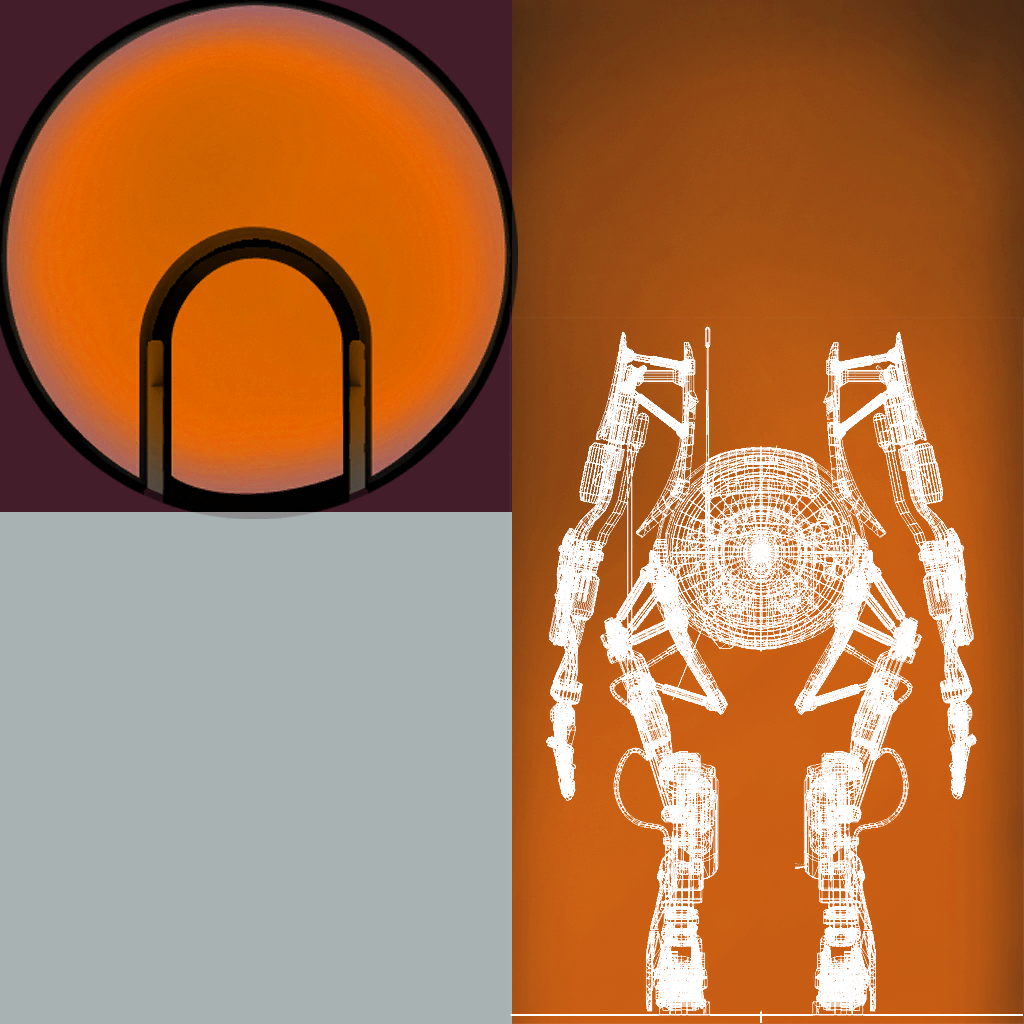
Unused textures for the co-op disassemblers. The first one matches the disassembler design seen in the co-op trailer. The lower left quadrant of the blue glass texture is in fact used for the disassembler doors, but the rest of the texture goes unseen, and seems to be from a version of the disassembler in between the trailer and final. The orange glass (which humorously just shows recolored Atlas instead of P-Body) is completely unused.
Early Gesture Icon#
|
Deleted |
Final |
|---|---|

|

|
A version of Atlas's dance emote icon in Co-op left over in the slack space of the package files, styled like the icons of purchasable gestures as seen in the inventory. The dance gesture isn't purchasable in the final game, so it doesn't appear in the inventory.
Hover Turret Screens#
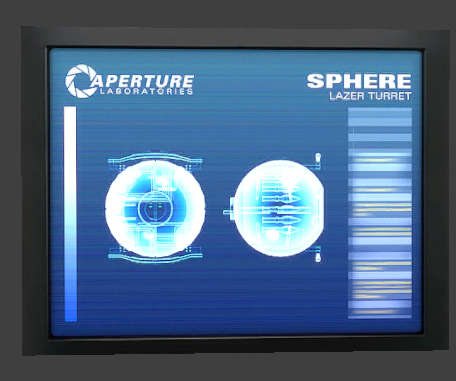
The TV screens for the tubes have an unused skin for Hover Turrets. The Hover Turret is called a 'Lazer Turret'.
Unused Achievement Icons#
Located under materials/vgui/achievements/ is a copy of the icons for every achievement in the base game (i.e. no Talent Show as it was added in an update), which go unused since Portal 2 doesn't have an in-game achievements menu like previous Valve games did. Most of these are identical to the versions seen on Steam (compression aside), but a few of them appear to be early versions of their respective icons.
Name |
Early Icon |
Final Icon |
Notes |
|---|---|---|---|
Schrodinger's Catch |
 |
 |
The final version was changed to show an old cube instead of a modern one. |
Team Building |
 |
 |
|
Confidence Building |
 |
 |
|
Bridge Building |

|
 |
Oddly, this is the only course completion achievement without a number as its icon. The achievement is internally called |
Obstacle Building |
 |
 |
|
You Saved Science |
 |
 |
|
Asking for Trouble |
 |
 |
Extremely basic looking and almost certainly a placeholder. The number 48 here is odd: this is the number of standard co-op maps currently in the game, but only if the Peer Review DLC maps are counted. Additionally, the achievement in the final game only requires taunting in front of a camera once in each of the five main courses, not in every level. |
Friends List With Benefits |
 |
 |
|
Iron Grip |
 |
 |
The early icon was reused for High Five. |
Some interesting details can be noted here:
- Only Wake Up Call and Good Listener have locked versions of their icons (though they are the same as the final versions). All others only have unlocked versions.
- Asking for Trouble and the co-op course completion achievements use the thicker gradient seen on the singleplayer achievements (and Party of Three) in the final game, indicating that this distinction may have not existed initially.
These would later be used in the Nintendo Switch port of the game, which does have an in-game achievements menu. Talent Show had its icon added, but no attempt was made to add locked versions or replace the early icons with their final versions...even the awkward co-op course completion ones.
More Unused Achievement Icons#
Exclusively in the Nintendo Switch version of the game (and uncleaned dev builds) are unused copies of all the singleplayer achievements (and Party of Three again!) in JPEG format. These contain the early Schrodinger's Catch icon seen above as well as several additional early icons that don't appear in the VTF versions (which are used in this port).
Name |
Early Icon |
Final Icon |
Notes |
|---|---|---|---|
Wake Up Call |
 |
 |
|
Good Listener |
 |
 |
|
You Made Your Point |
 |
 |
Redrawn in a more angular style |