 This article has a talk page!
This is a sub-page of Half-Life (Windows).
Unlike most 90s shooters before it, Half-Life's levels don't end in a stats screen. Instead, the developers opted to chain levels together to create the illusion of a continuous, (relatively) more logical world to explore. To accomplish this, the end of most maps have a chunk of the next map attached to them, which lines up with a section on the map the player is transitioning into. Occasionally, the entrances and exits of these maps contain leftovers from earlier map designs, especially just out of sight of where the player can usually see. These leftovers can be briefly seen in-game by moving through a changemap trigger very quickly, or by using noclip to go around the trigger.
Do note that in most cases, a majority of entities have been culled from these sections for performance concerns. For this reason, this page will not be documenting missing entities that were likely the result of culling, such as ladders, pickups, and moving brushes. Similarly, textures that are not used elsewhere in the map are often replaced with similar textures to save on memory, so texture differences are evaluated on a case-by-case basis as most are not worth mentioning.
Hazard Course#
t0a0a#
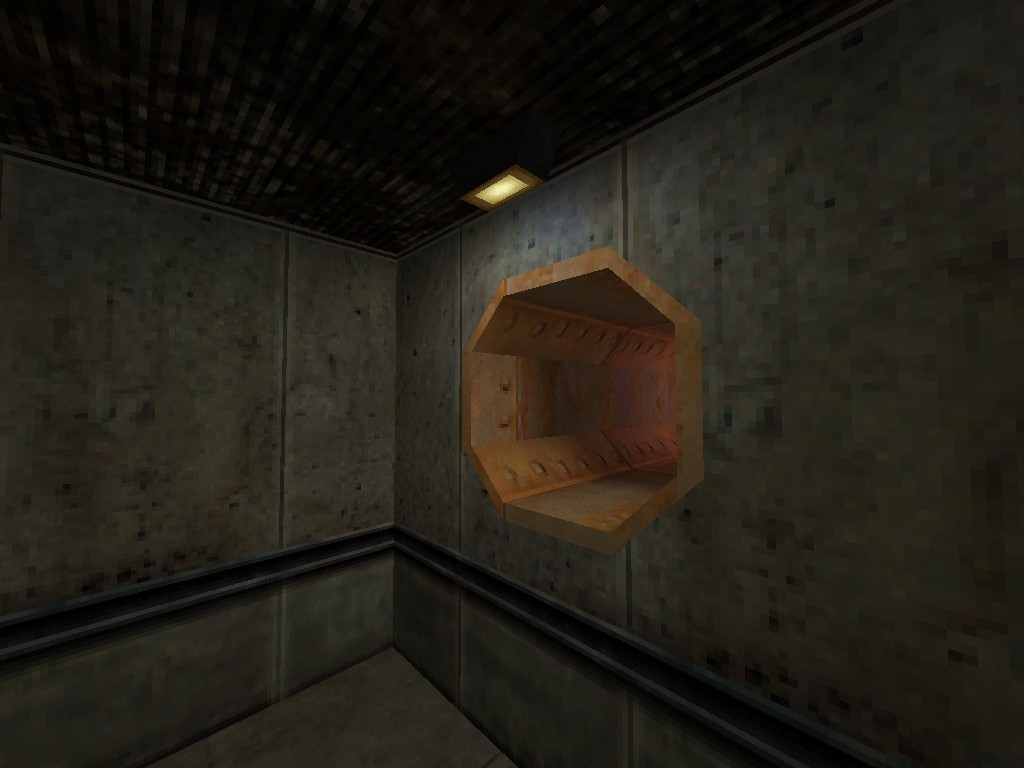
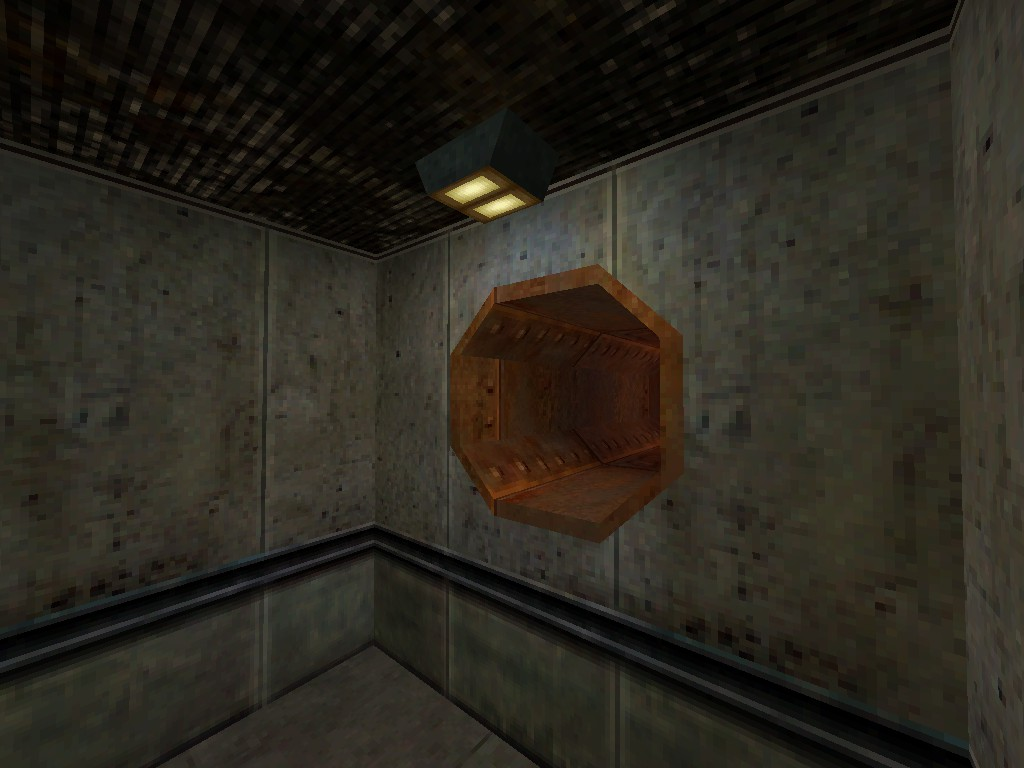
The light above the pipe at the entrance of t0a0a is double the width in t0a0a compared to t0a0.
|
t0a0a |
t0a0 |
|---|---|
|
|
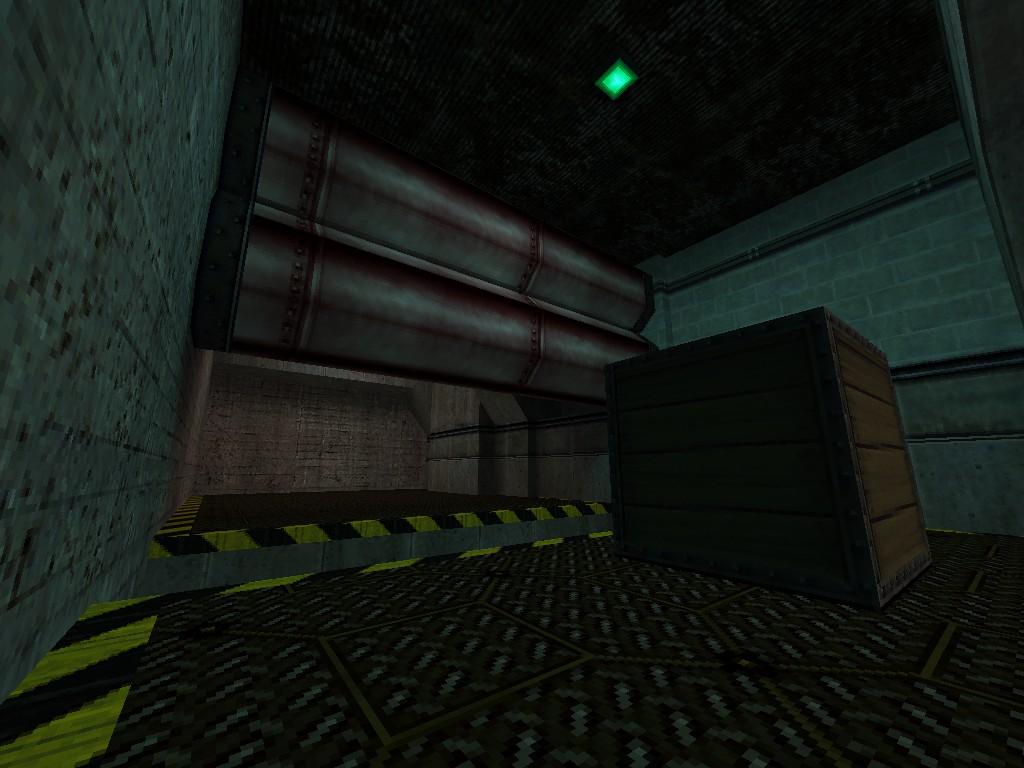
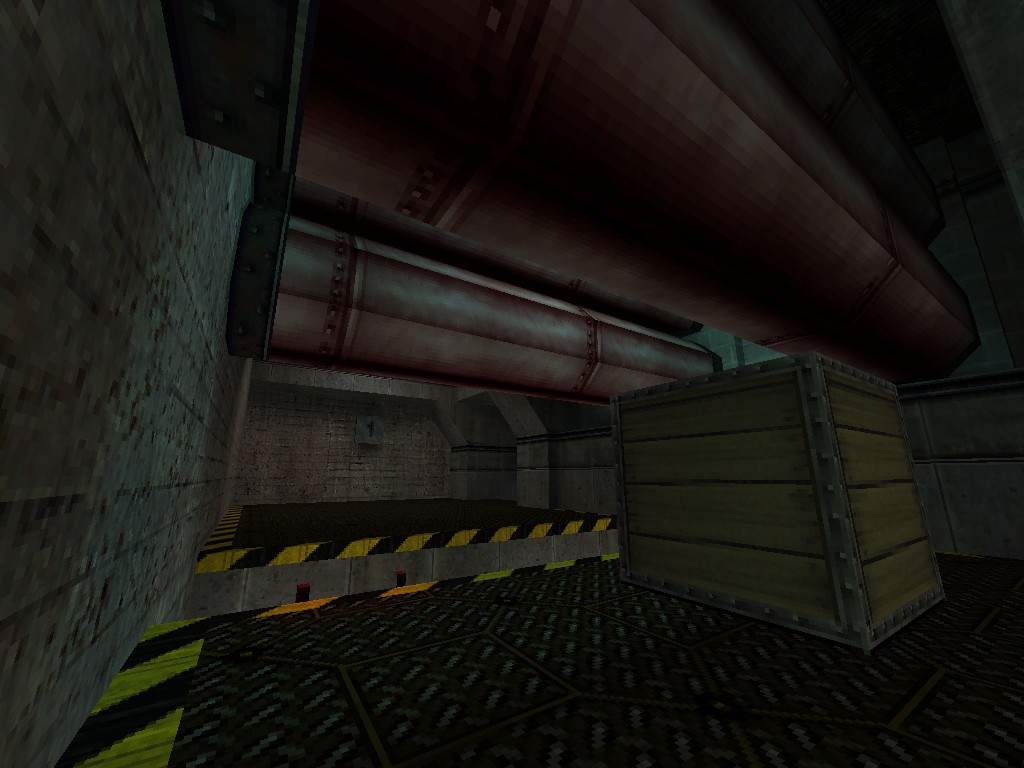
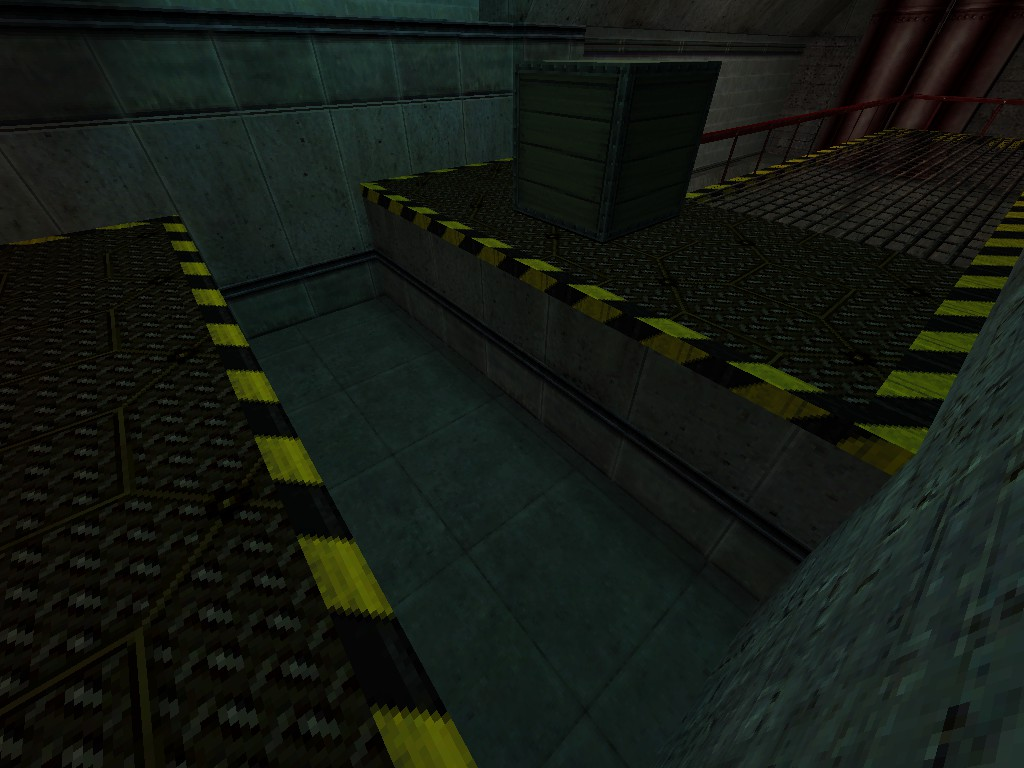
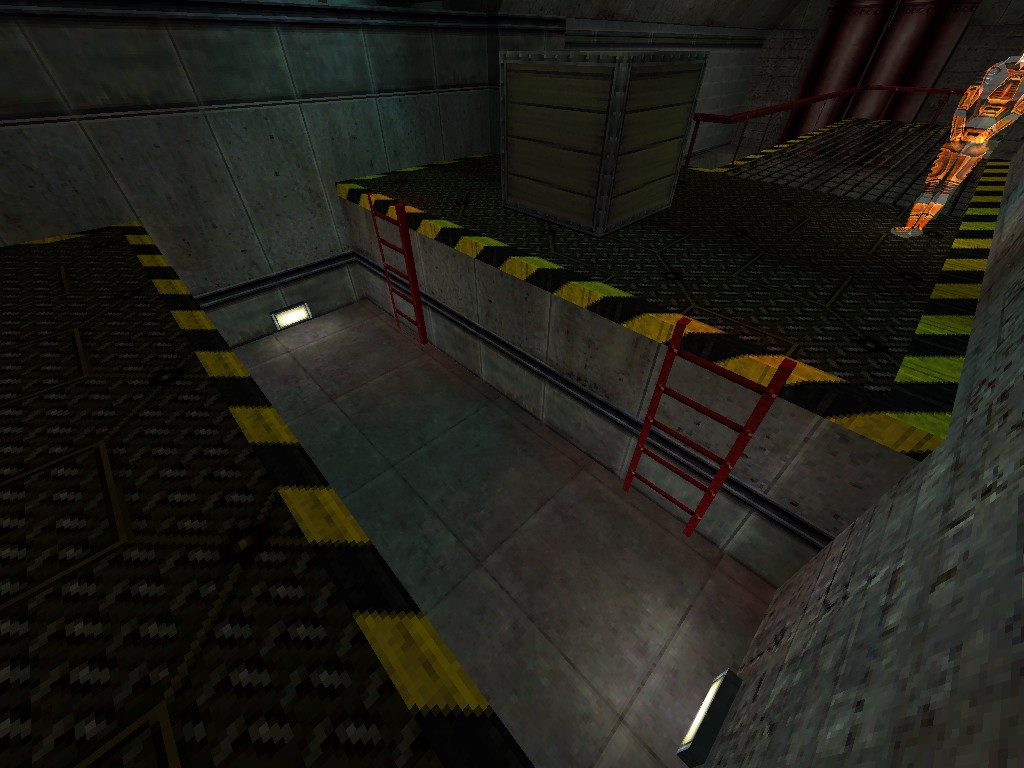
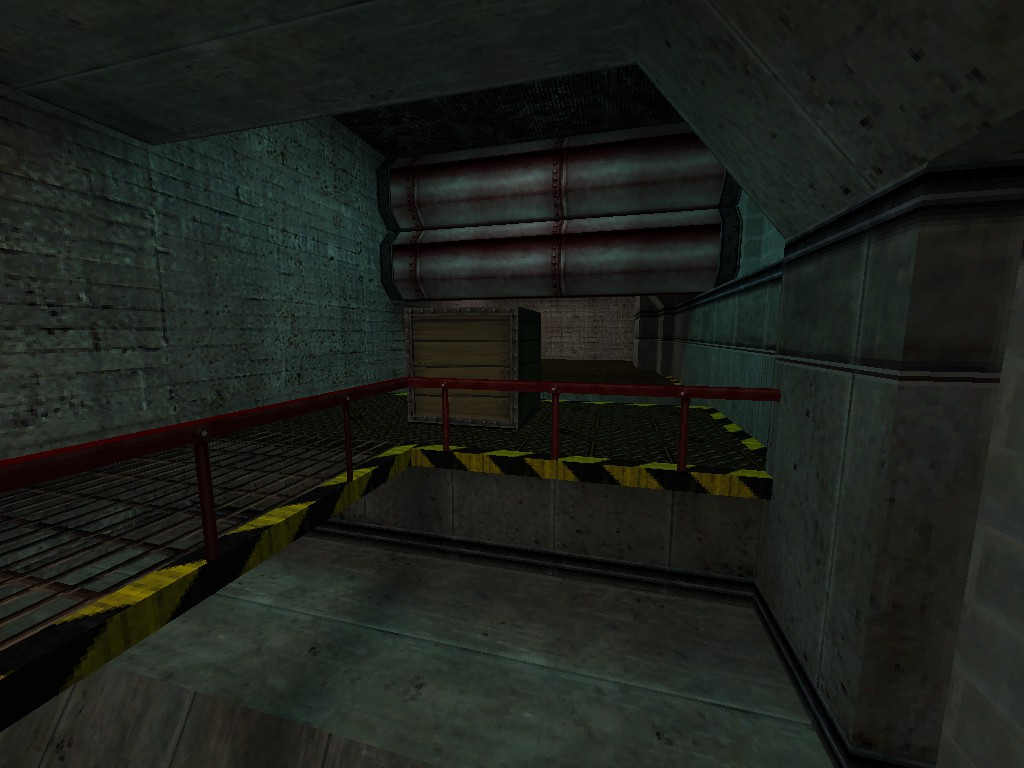
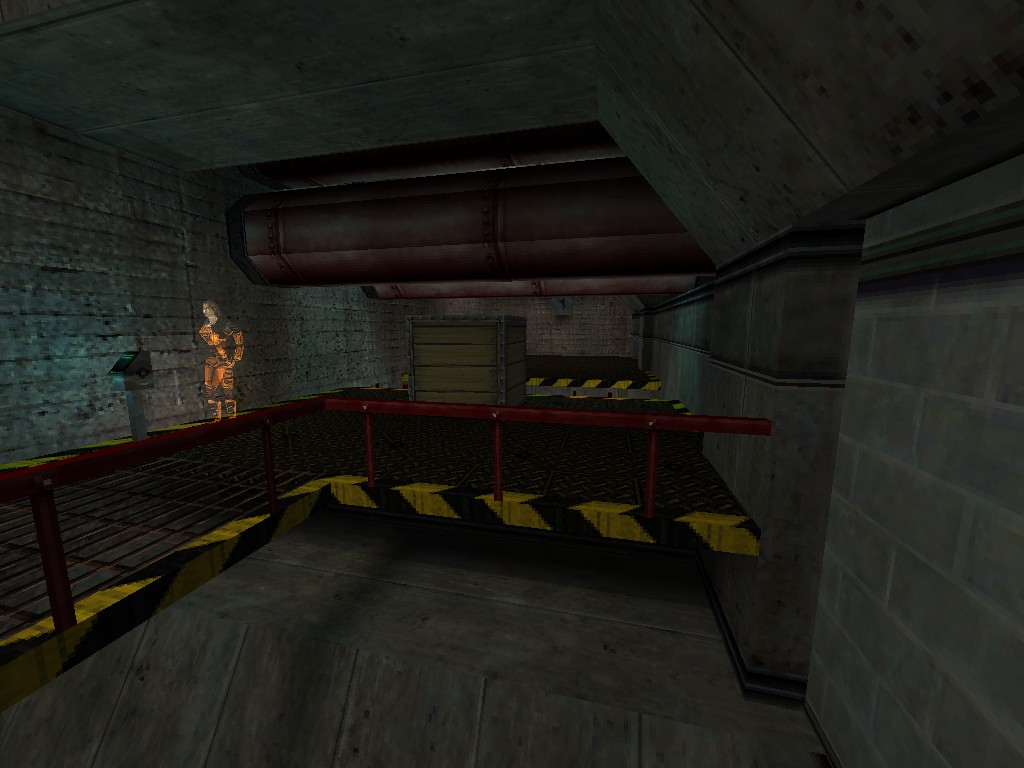
The exit to t0a0b1 contains an earlier version of the box pushing tutorial, with one less set of pipes above the pit. This was very likely added to make jumping over the pit without pushing the box into it more difficult. The pit itself also lacks the lights it normally has in t0a0b1. Lastly, the platform the box starts on is shorter in this version of the geometry. It was likely extended to make room for the hologram and pedestal.
|
t0a0a |
t0a0b1 |
|---|---|
|
|
|
t0a0a |
t0a0b1 |
|---|---|
|
|
|
t0a0a |
t0a0b1 |
|---|---|
|
|
t0a0b1#
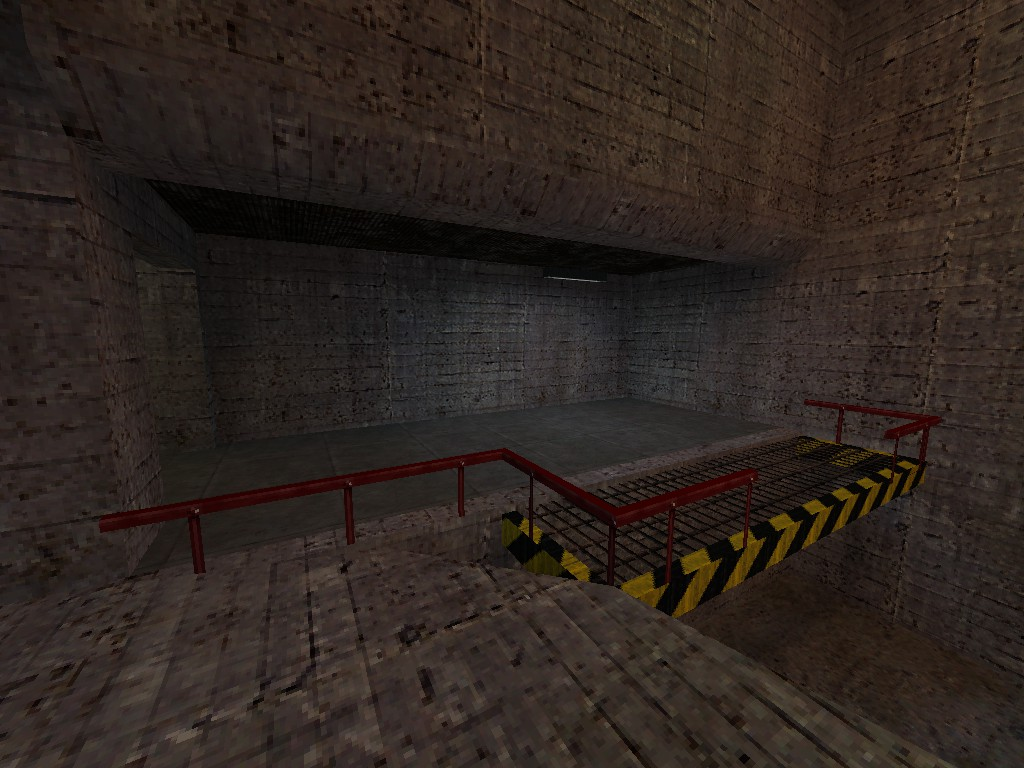
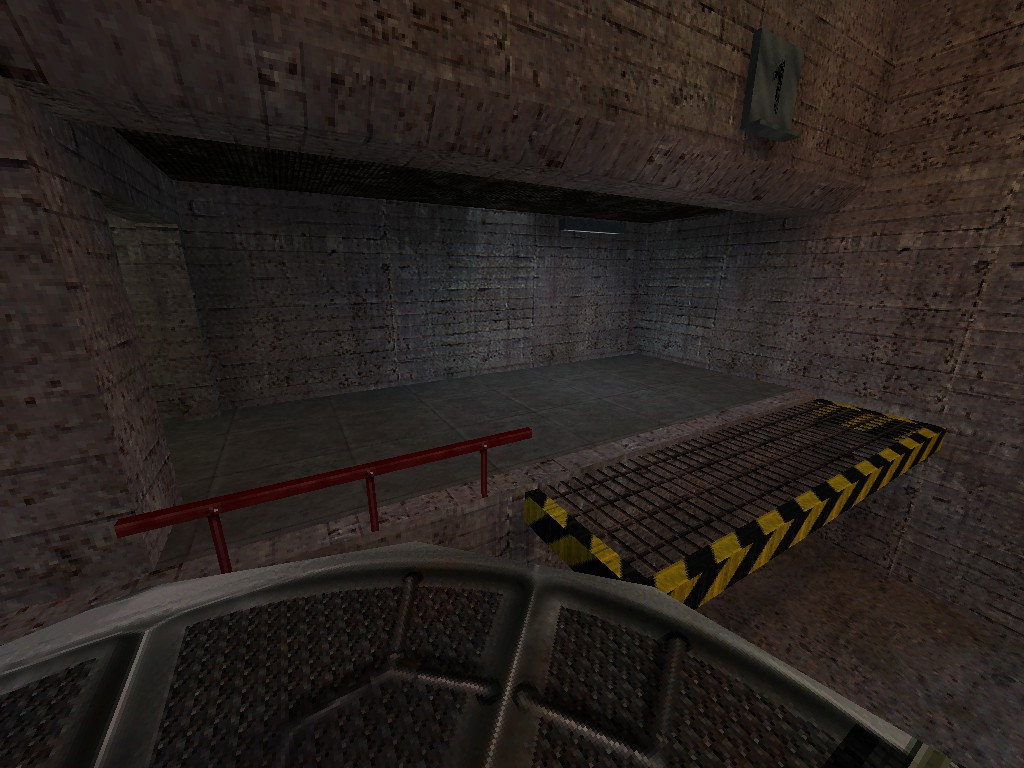
The entrance from t0a0a has additional fencing around the end platform of the spinning bridge tutorial.
|
t0a0b1 |
t0a0a |
|---|---|
|
|
t0a0c#
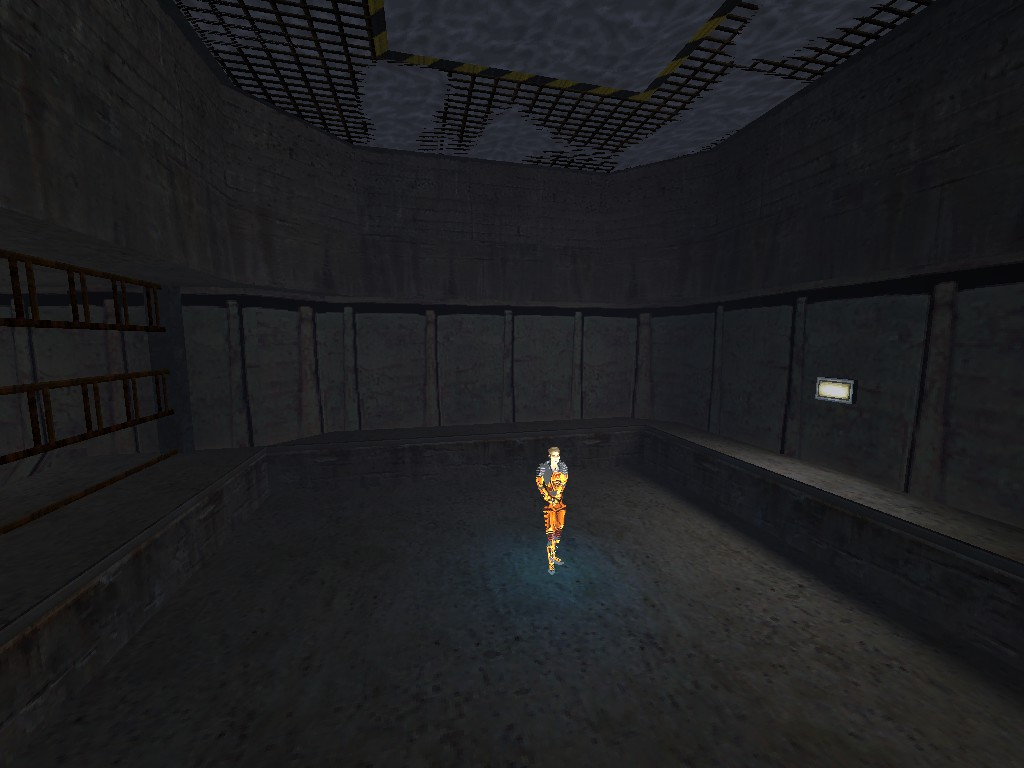
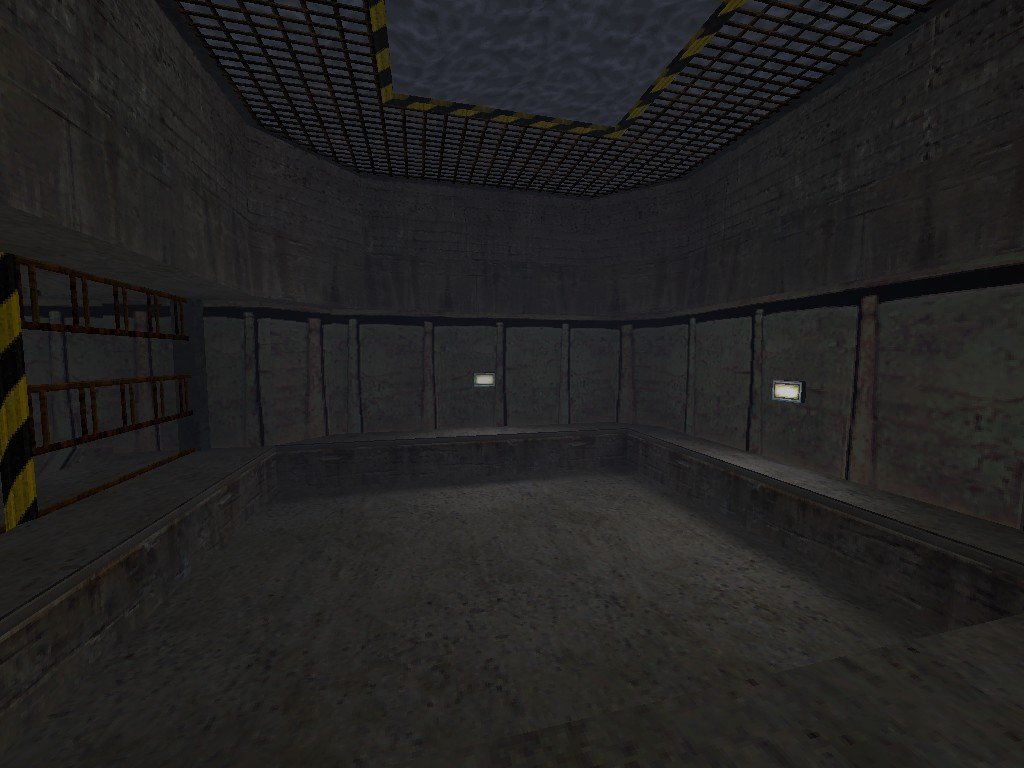
The second chamber of the swimming tutorial is missing a second light in t0a0c.
|
t0a0c |
t0ab2 |
|---|---|
|
|
Black Mesa Inbound#
c0a0c#
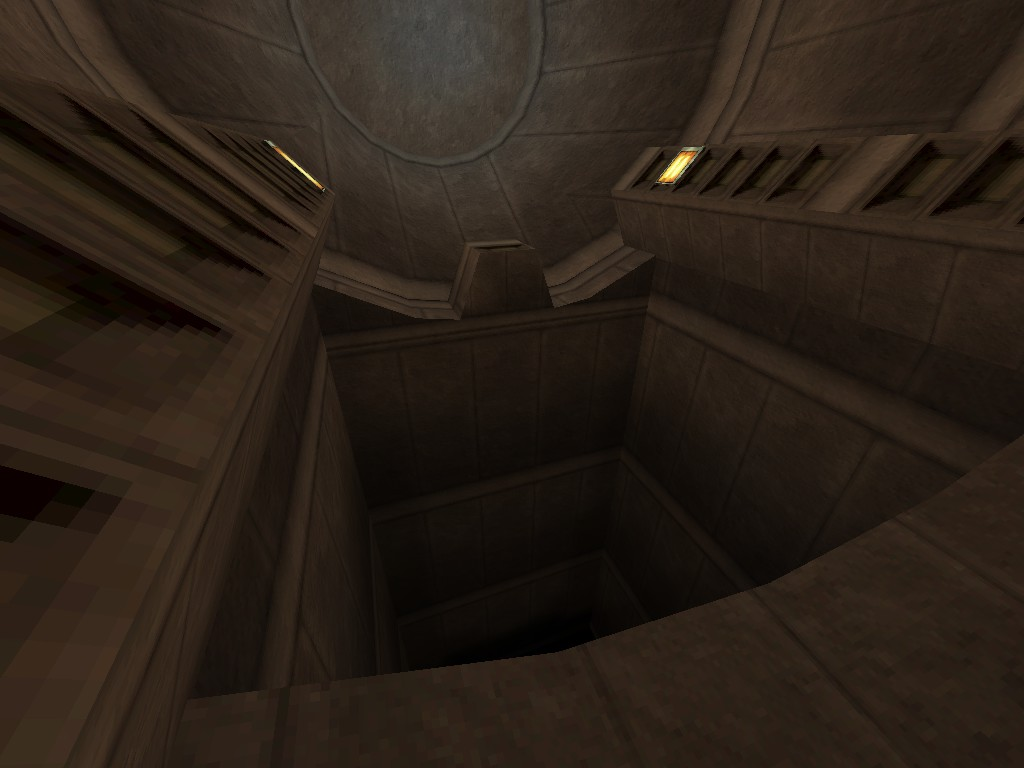
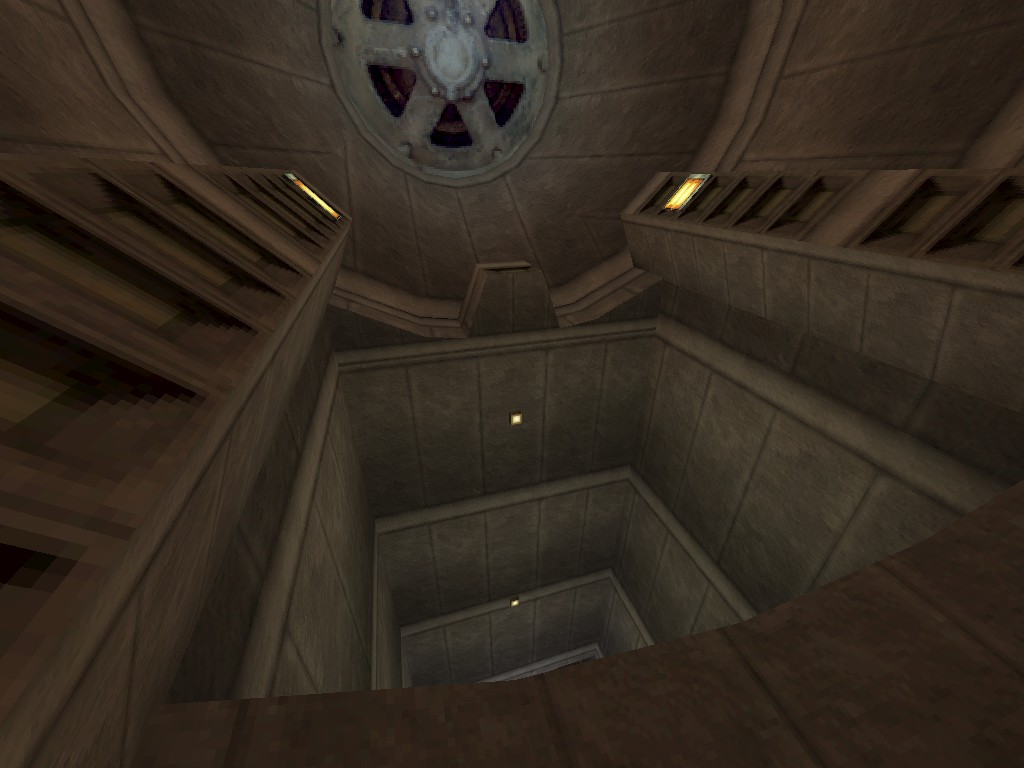
The exit to c0a0d is missing lights in the vertical shaft.
|
c0a0c |
c0a0d |
|---|---|
|
|
c0a0d#
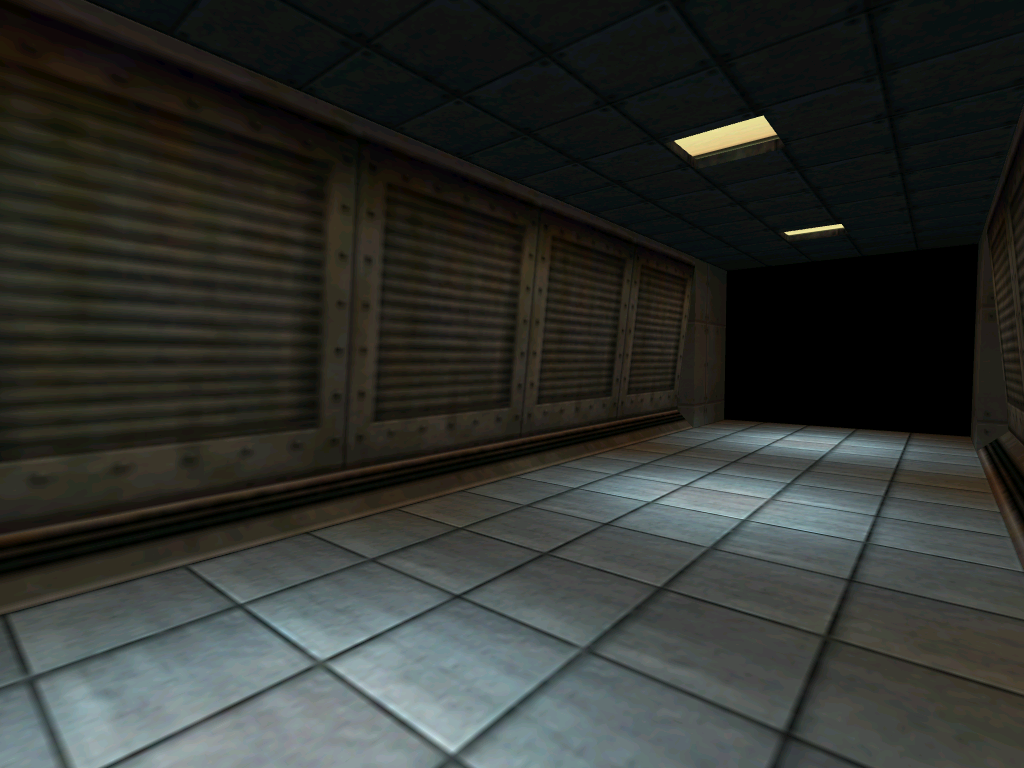
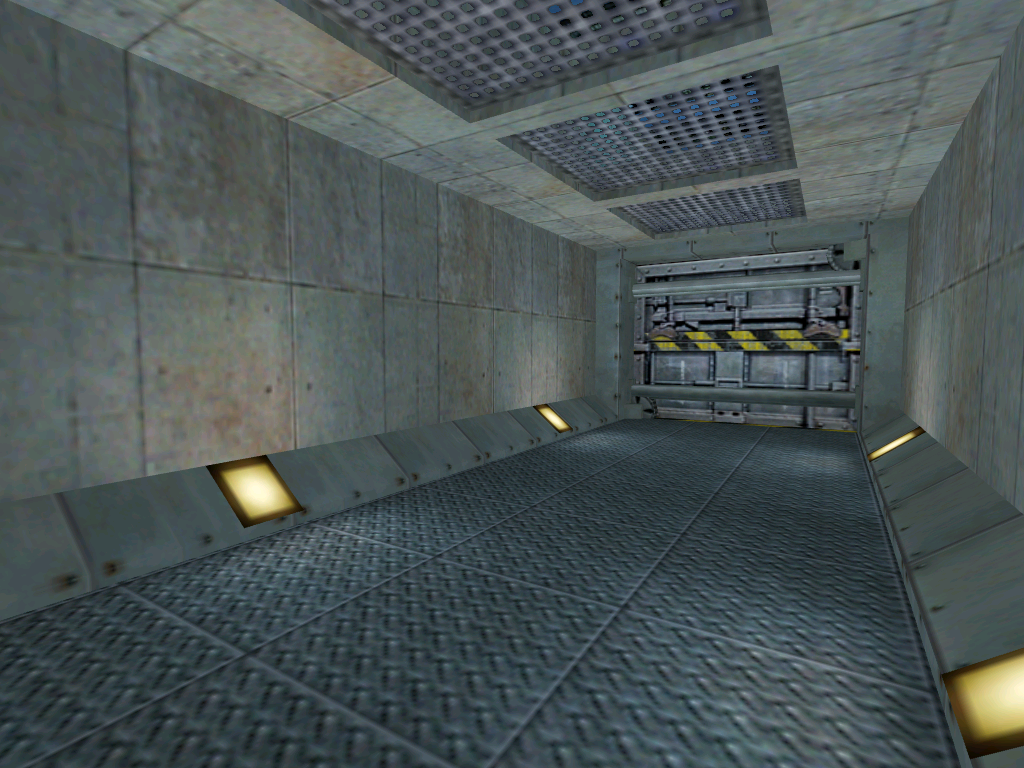
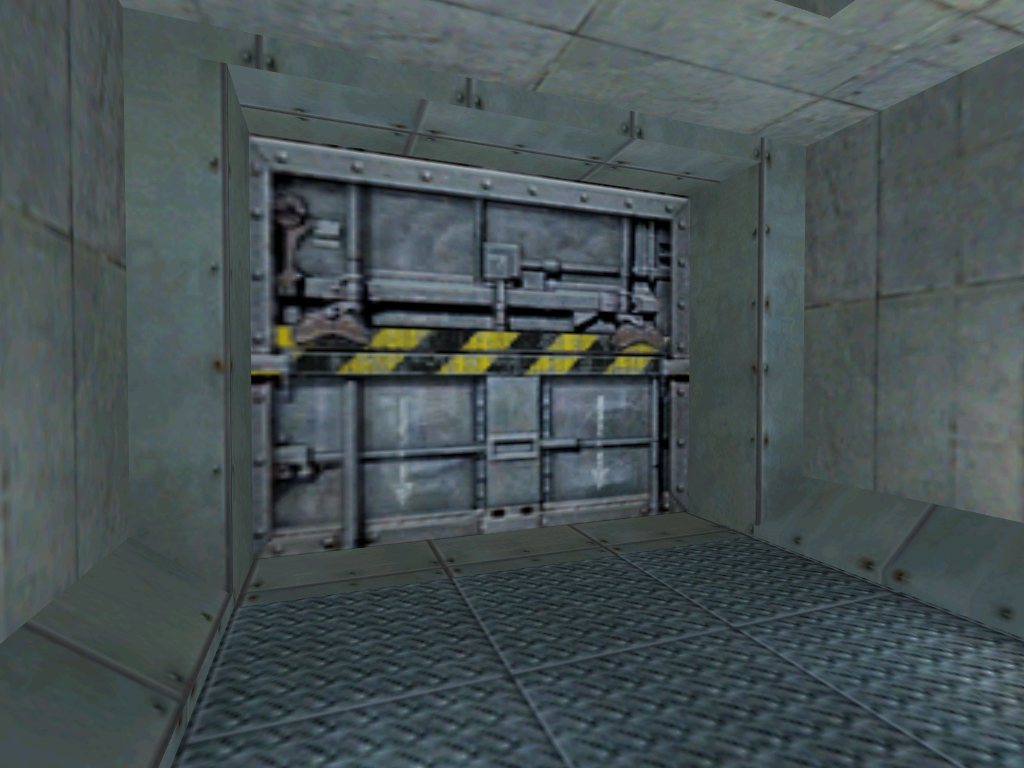
The map c0a0d contains an earlier version of the Anomalous Materials lab entrance airlock. This features early geometry, much more industrial texture work, and has brown airlock doors. Interestingly, the brown airlock doors are still used for the entrance to the airlock in c0a0e, which contains the final airlock, and this map exits to.
|
c0a0d |
c0a0e and c1a0 |
|---|---|
|
|
|
c0a0d |
c0a0e and c1a0 |
|---|---|

|
|
Anomalous Materials#
c1a0#
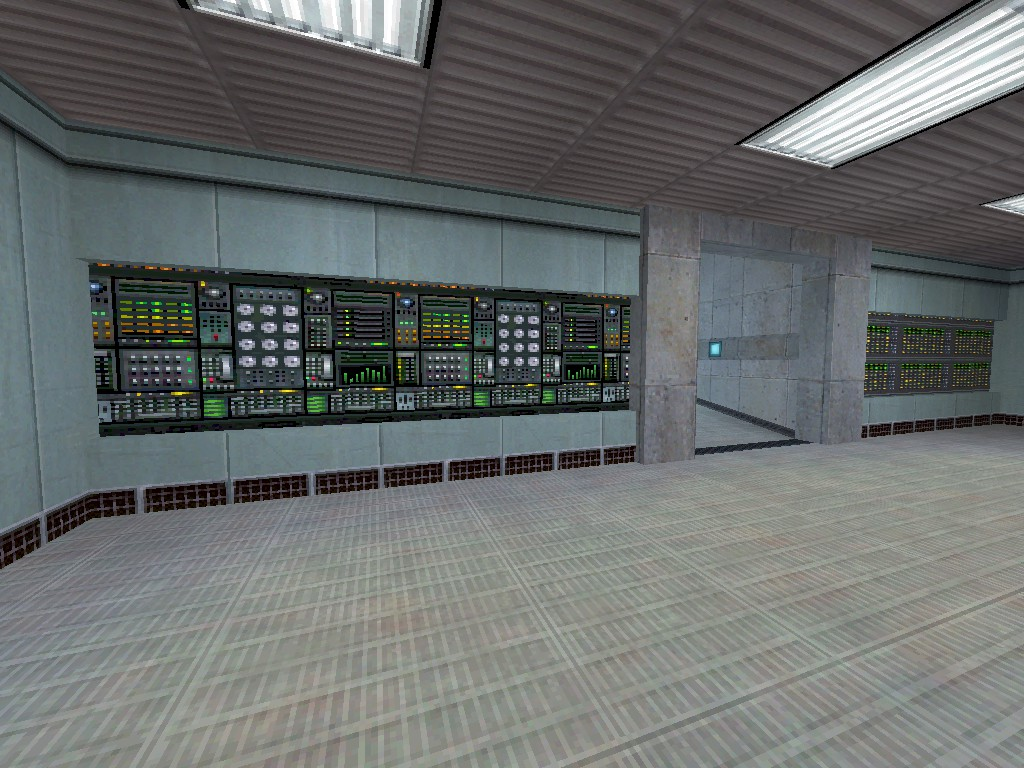
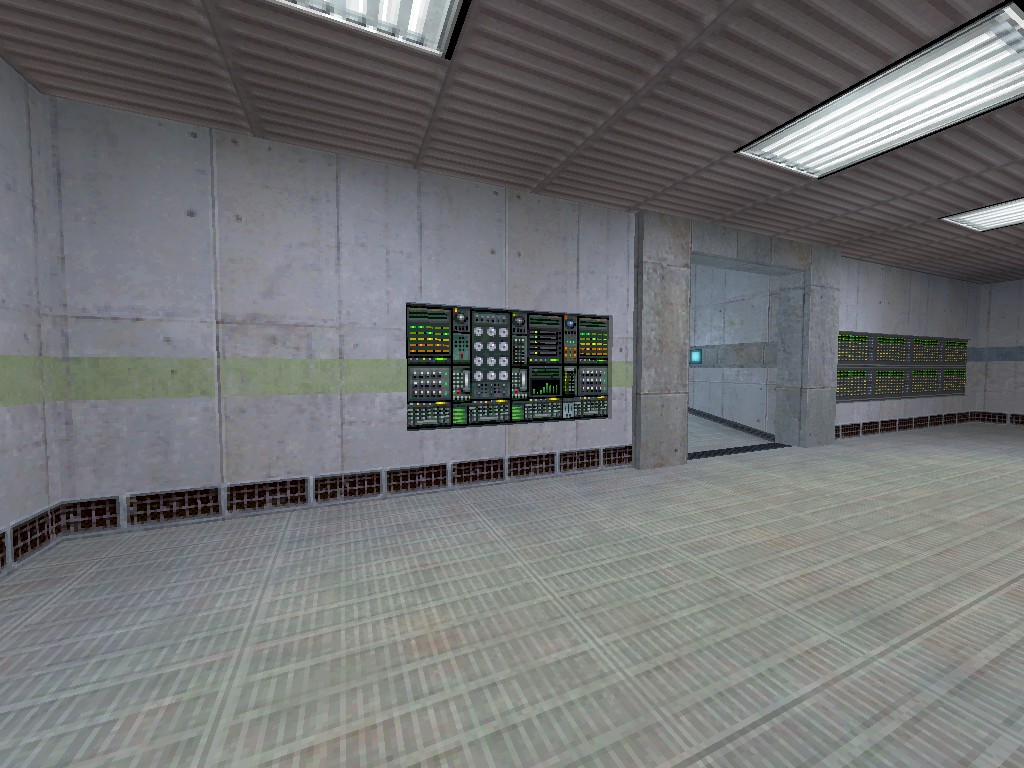
The exit to c1a0d features some early geometry, with two of the wall computers being taller and extending the full length of the walls.
|
c1a0 |
c1a0d |
|---|---|
|
|
c1a0d#
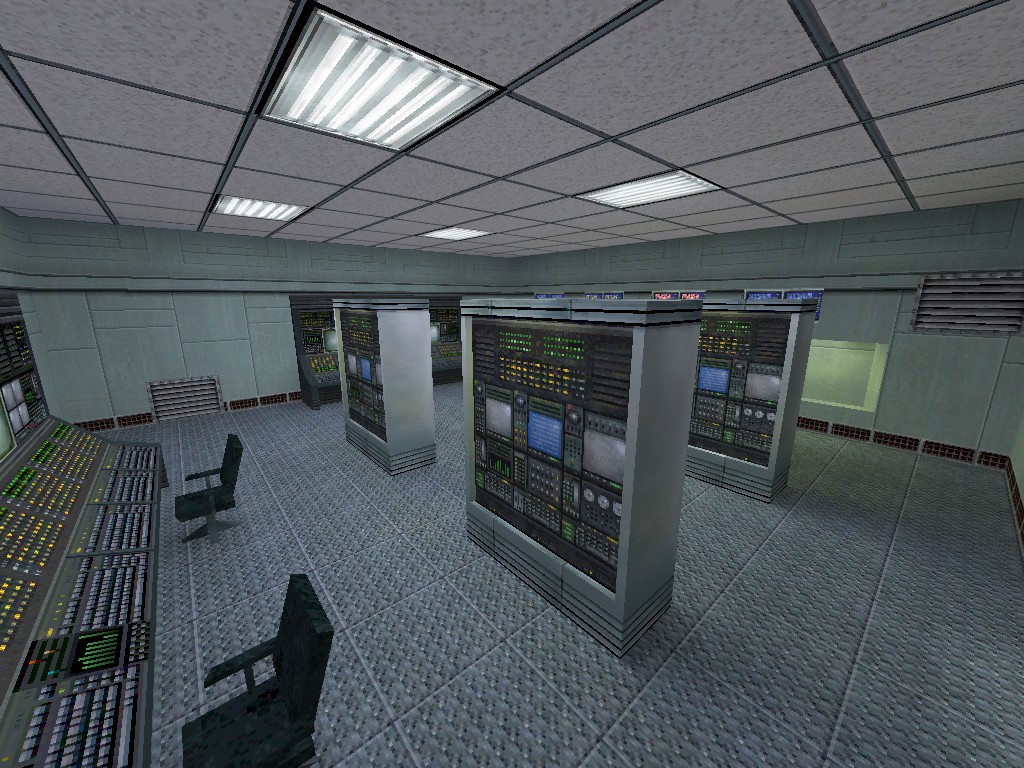
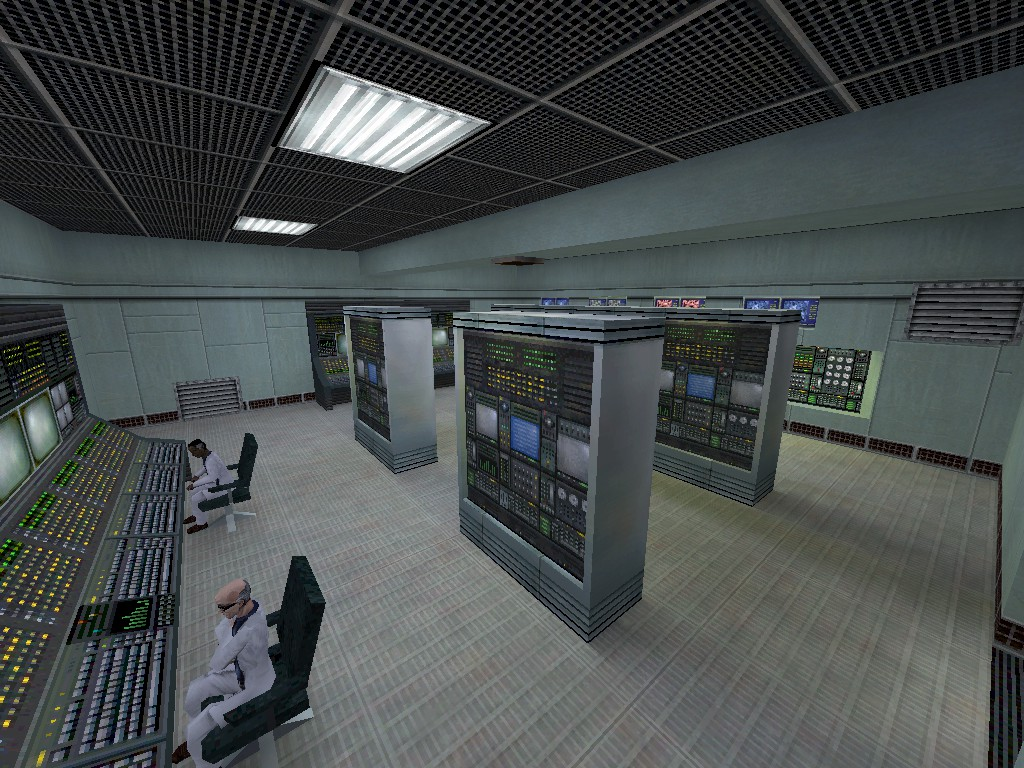
The entrance from c1a0 contains an earlier version of the computer room, featuring different floor and ceiling textures, and lacking the support beam across the top middle of the room. Strangely, one of the wall computers is also missing.
|
c1a0d |
c1a0 |
|---|---|
|
|
c1a0a#
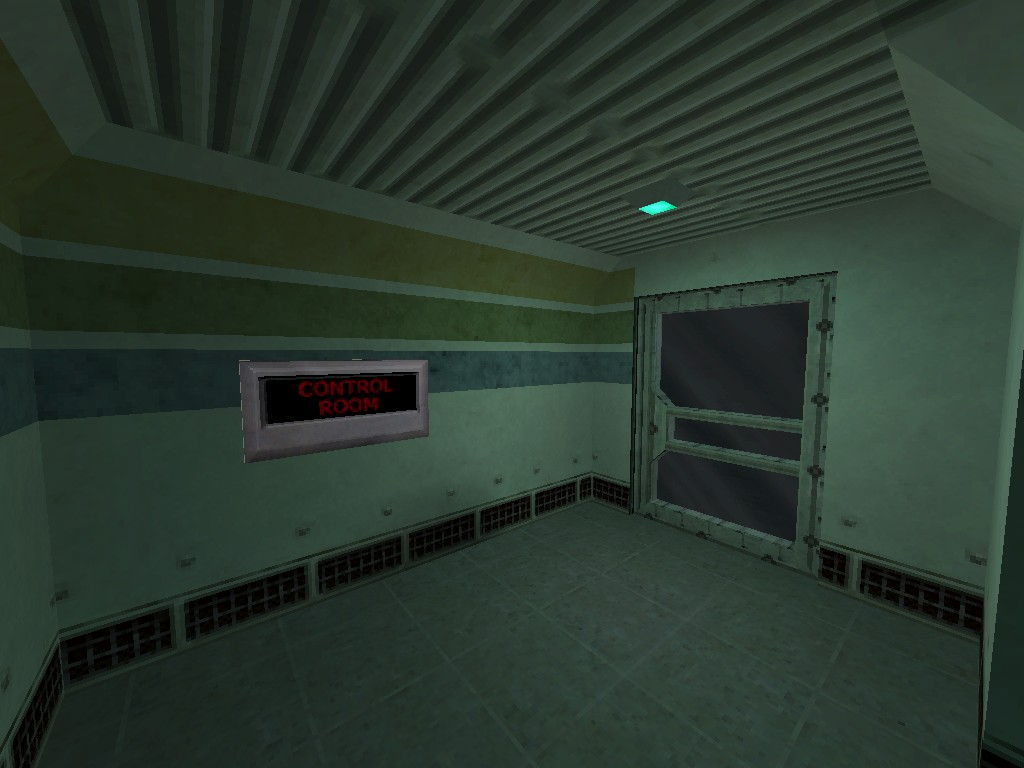
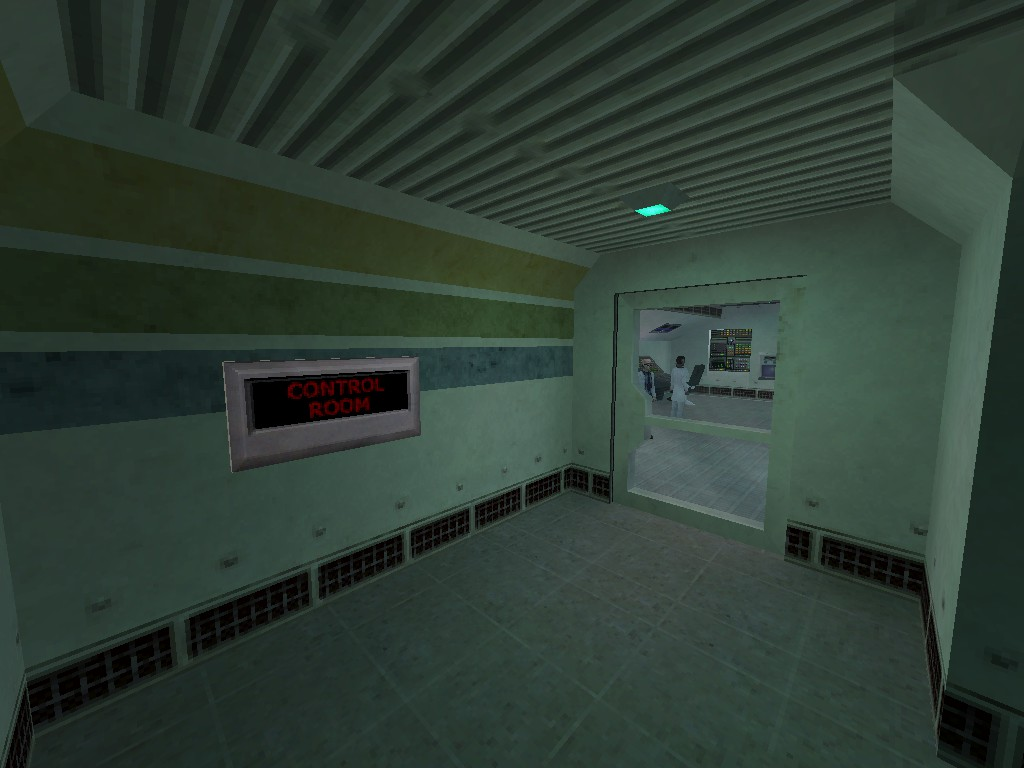
The exit to c1a0b has door textures from an earlier treatment for the Anti-Mass Spectrometer Observation room. This texture treatment is also present in nearly its entirety in c1a1, behind the entrance from c1a0c. In addition, the coloured lines end earlier in c1a0b.
|
c1a0a |
c1a0b |
|---|---|
|
|
c1a0e#
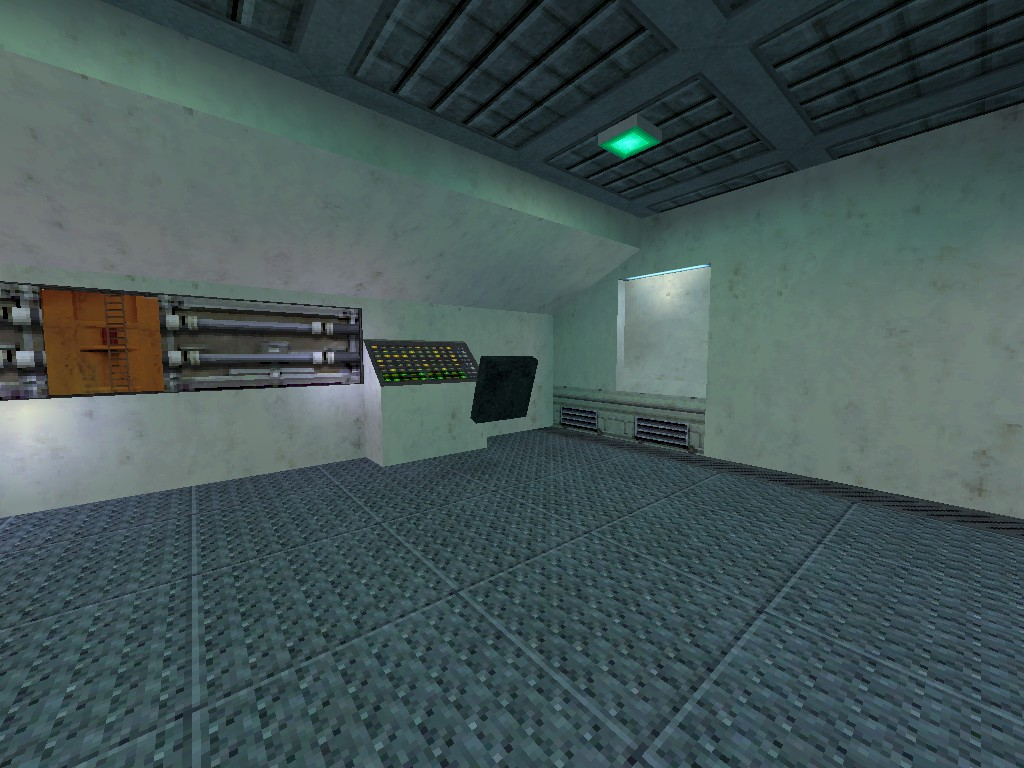
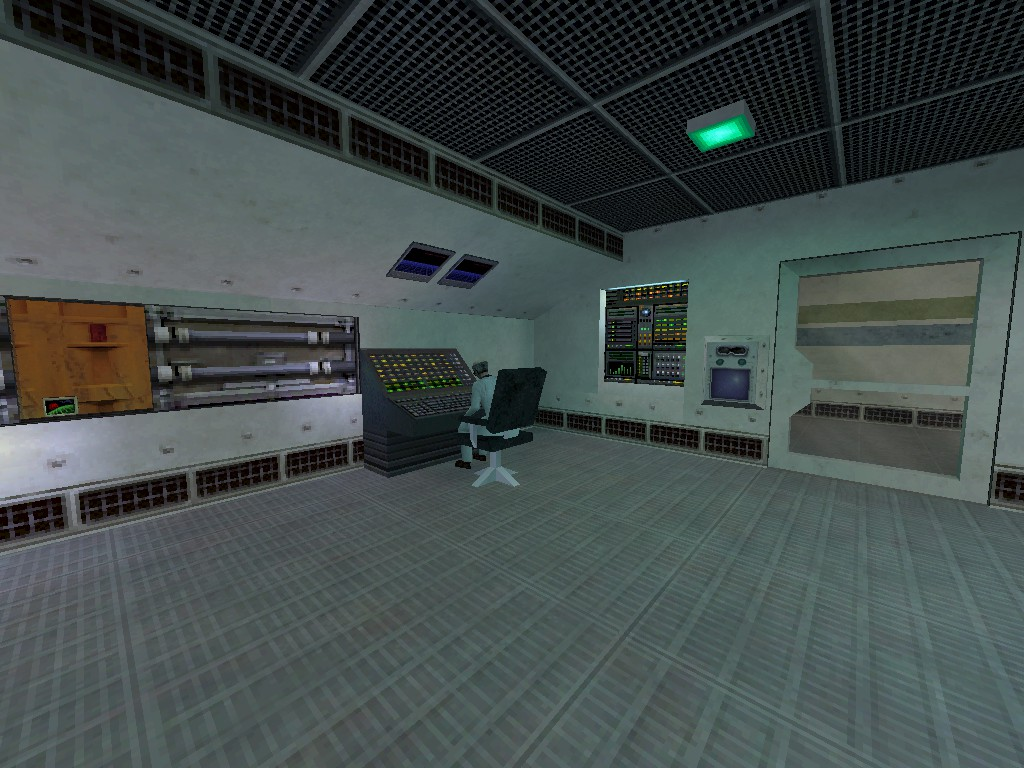
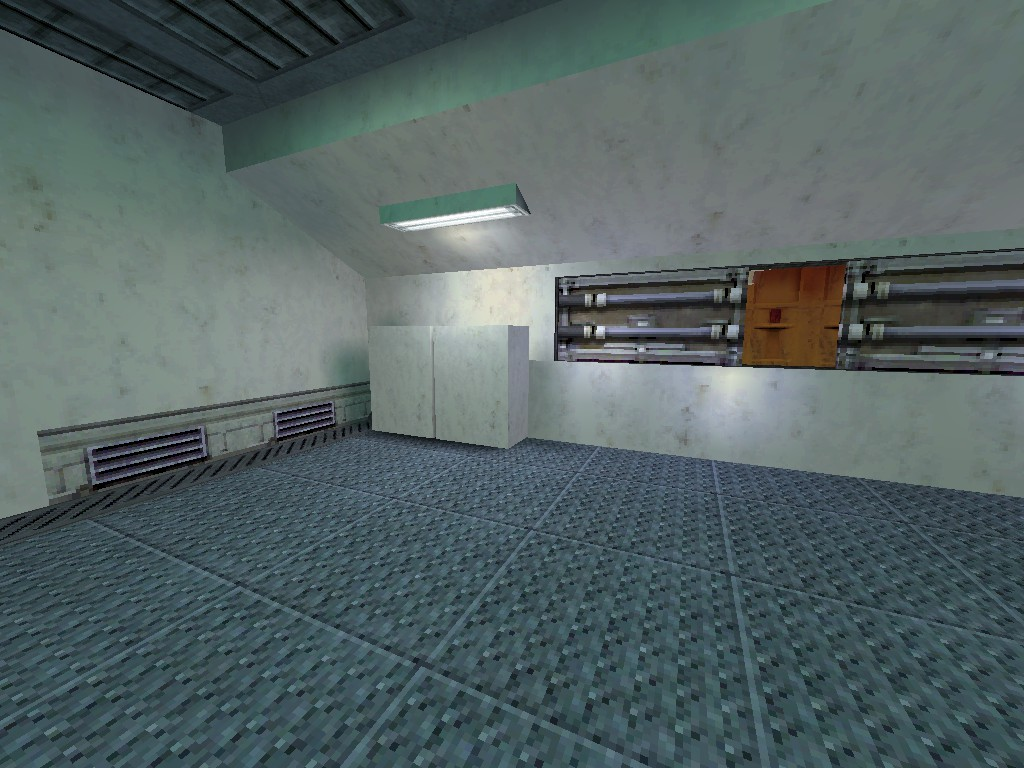
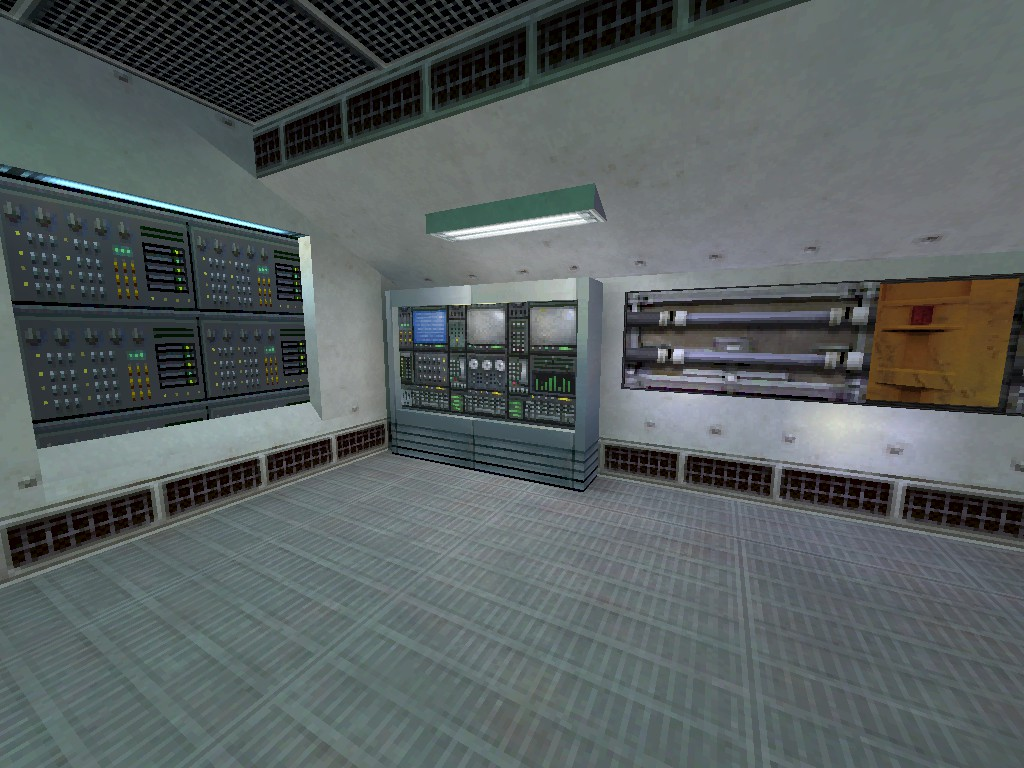
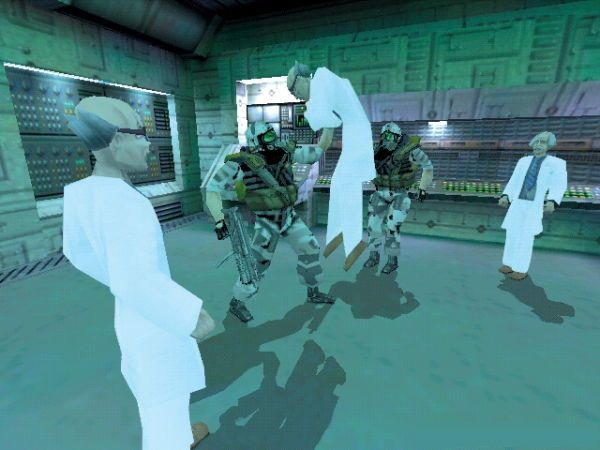
c1a0e contains some leftover details copied from an earlier version of the Anti-Mass Spectrometer Observation room just out of view from inside the test chamber. This includes leftover textures from an older texture treatment for this room, as seen in pre-release media. The room also has different ceiling lights and other minor geometry differences.
|
c1a0e |
c1a0b |
|---|---|
|
|
The computer equipment in this corner is different, and the light above it is shorter.
|
c1a0a |
c1a0b |
|---|---|
|
|
|
c1a0a |
Pre-Release Screenshot |
|---|---|
|
|
|
Unforeseen Consequences#
c1a1#
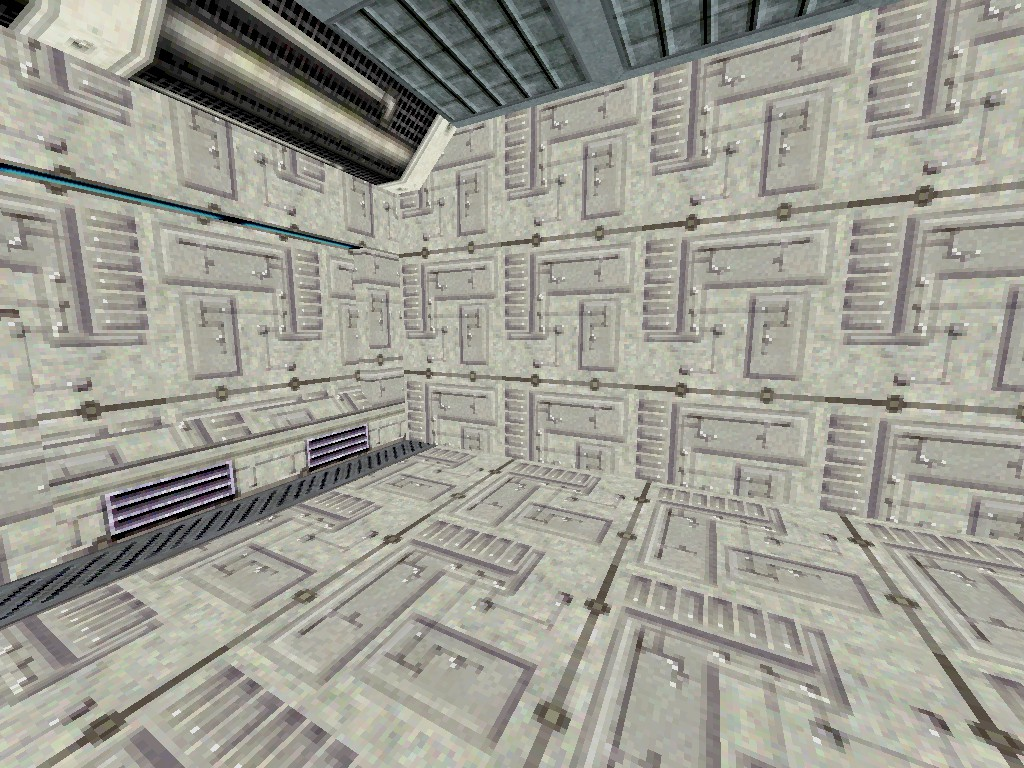
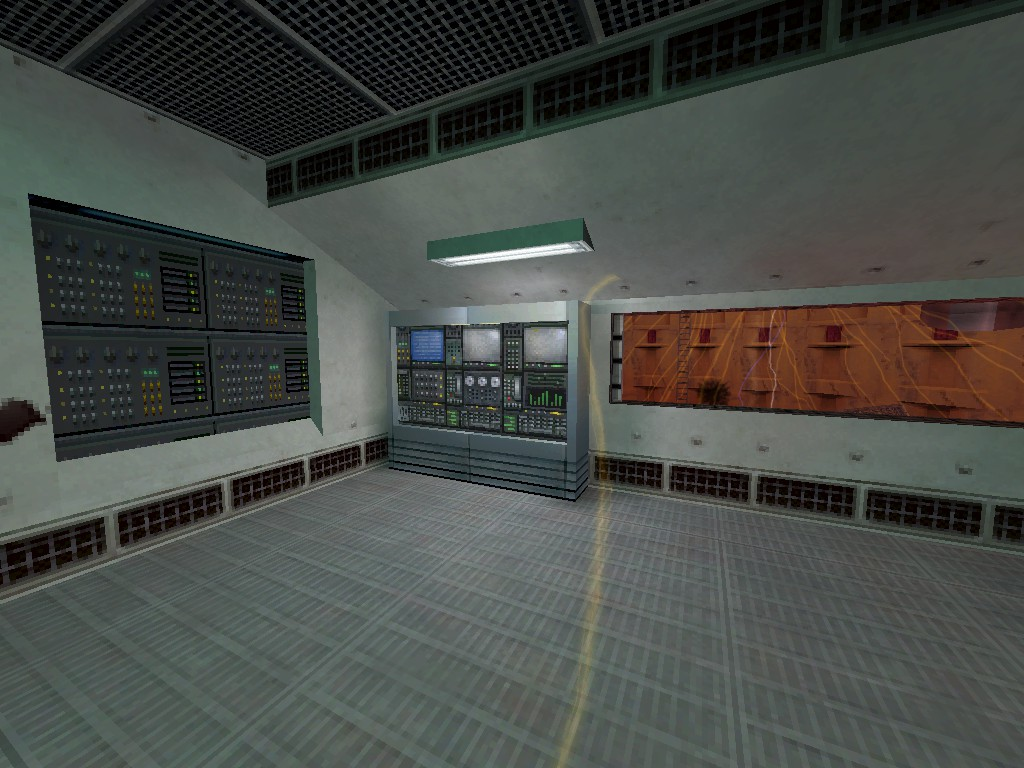
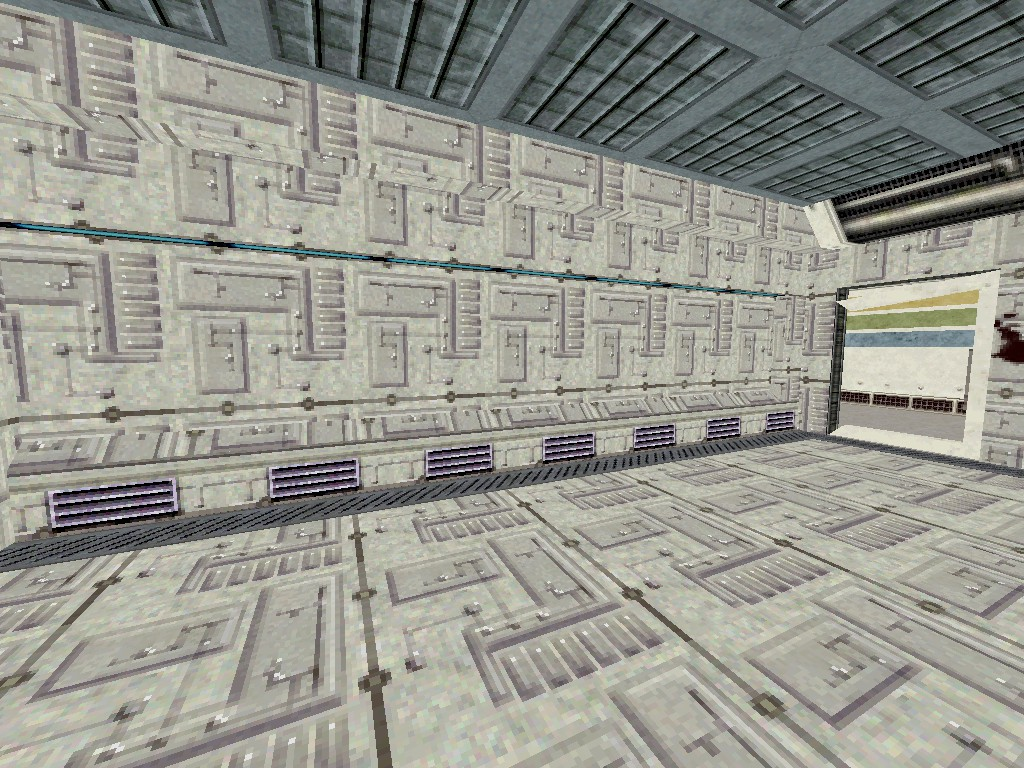
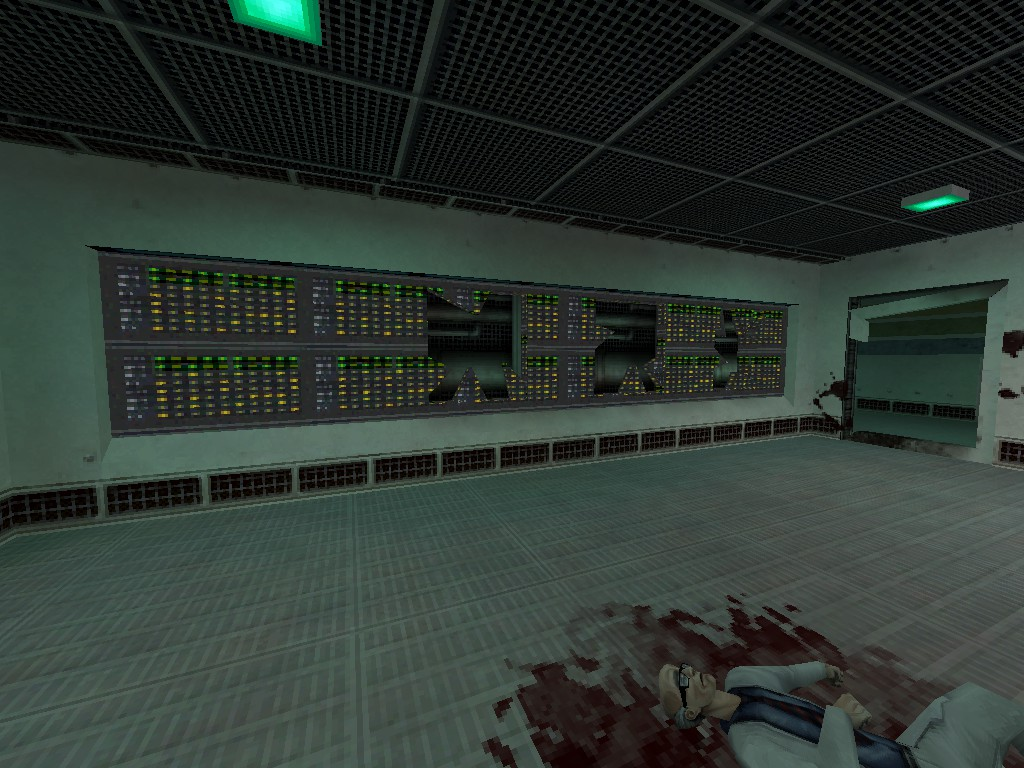
c1a1 contains an early version of the Anti-Mass Spectrometer Observation room, complete with a completely different texture treatment, which can be seen in pre-release screenshots. It also features a higher ceiling and differently shaped walls.
|
c1a1 |
c1a0c |
|---|---|
|
|
|
c1a1 |
c1a0c |
|---|---|
|
|
|
c1a1 |
Pre-Release Screenshot |
|---|---|
|
|
|
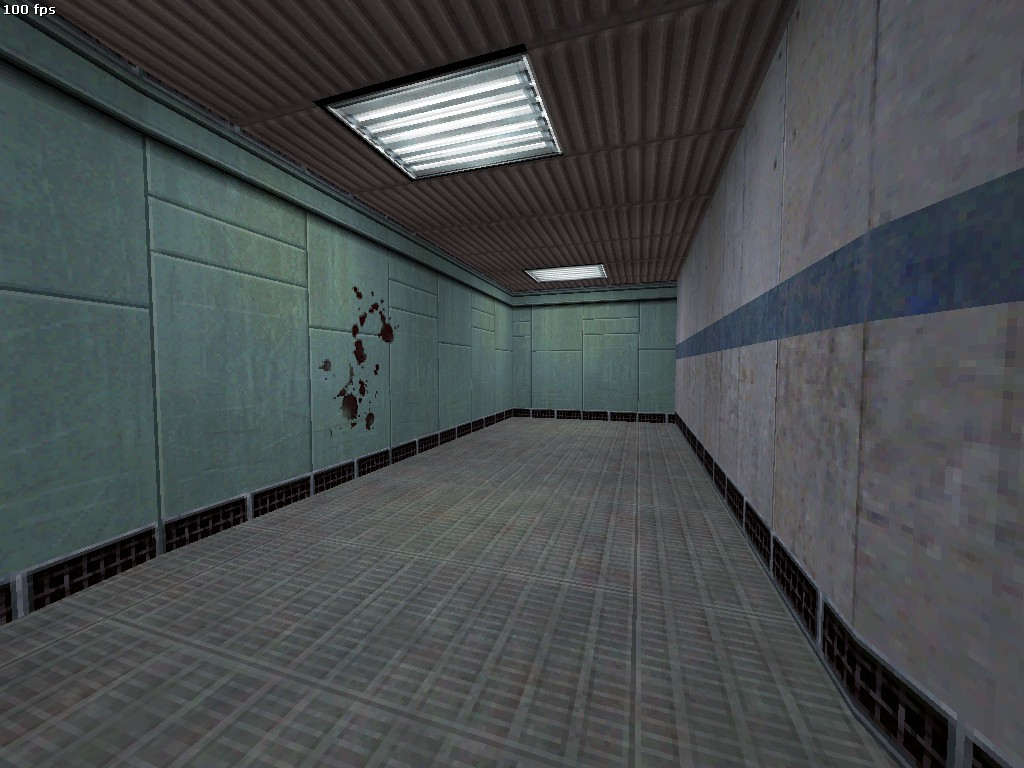
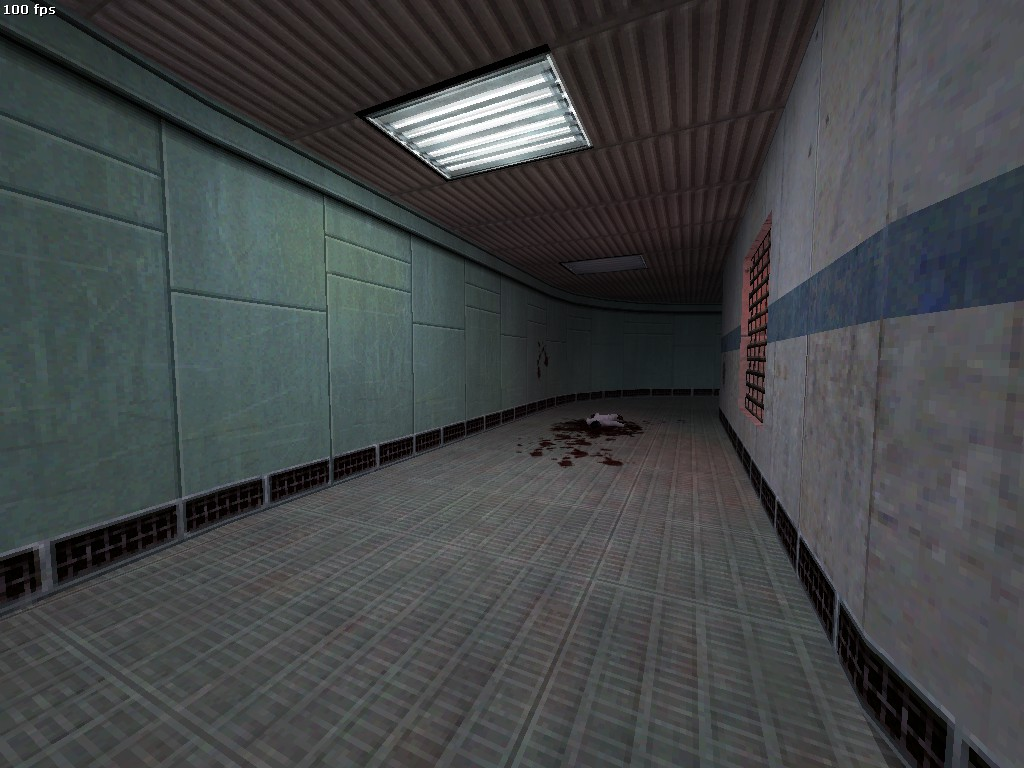
The exit to c1a1a has blood decals on the wall, instead of on the floor. Also notable that the last light in the hallway isn't burnt out in this version.
|
c1a1 |
c1a1a |
|---|---|
|
|
c1a1a#
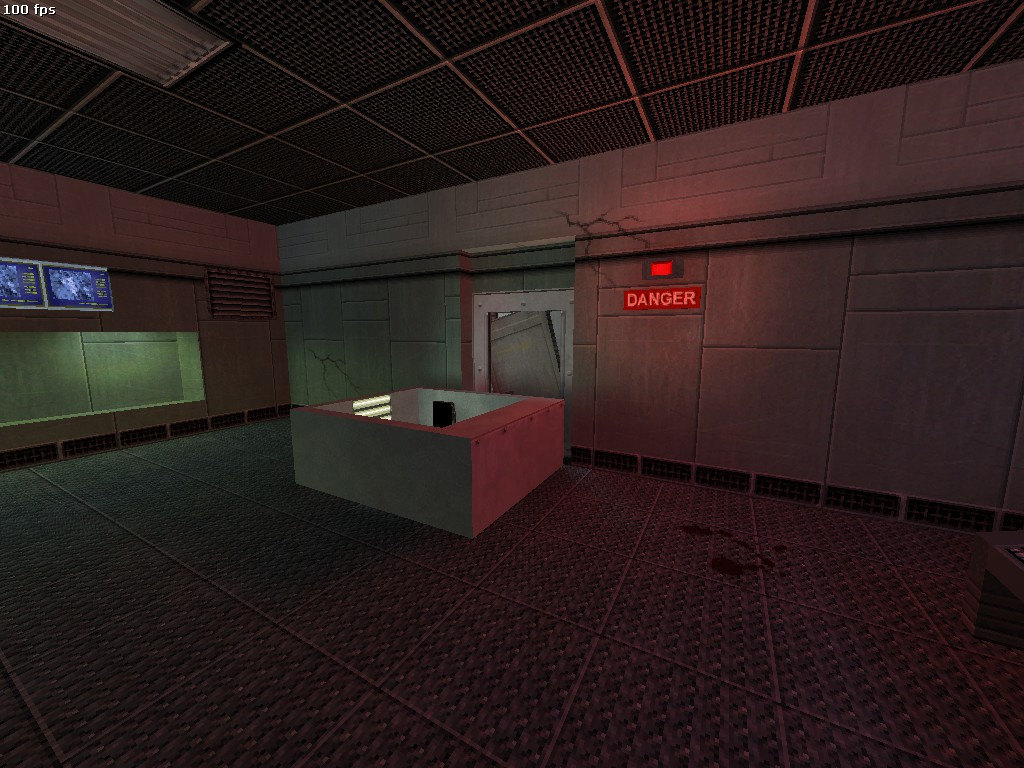
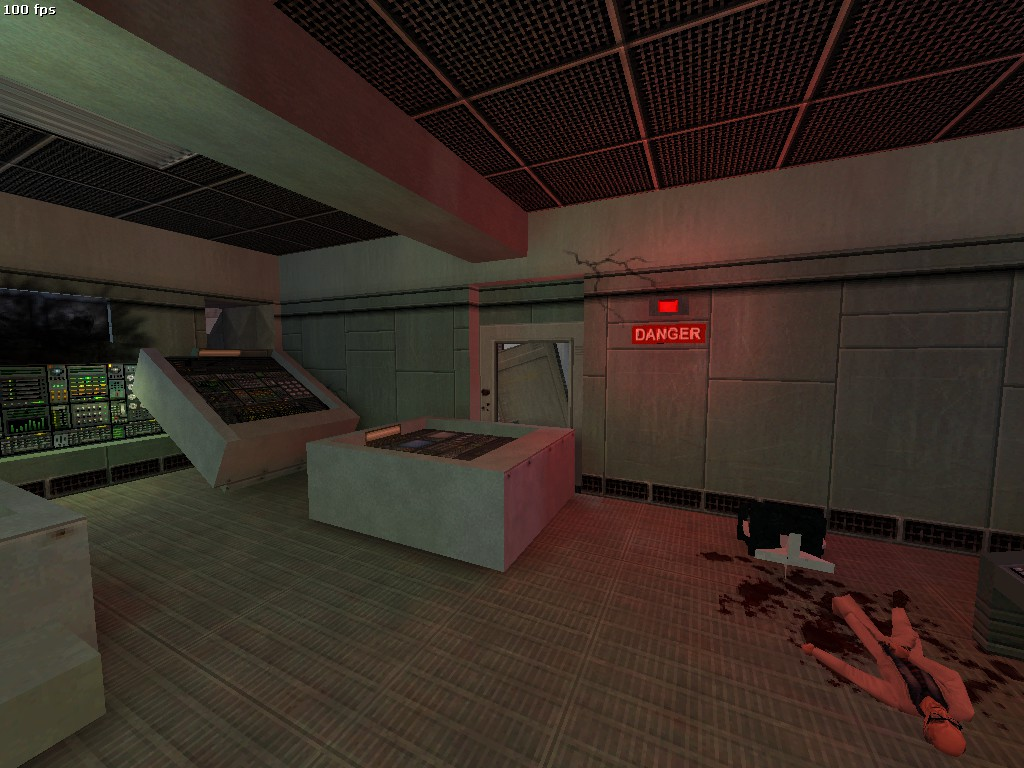
The exit to c1a1f has some elements from an earlier version of the computer room. This includes a different floor texture, door frame, and the lack of a support beam on the ceiling.
|
c1a1a |
c1a1f |
|---|---|
|
|
c1a1f#
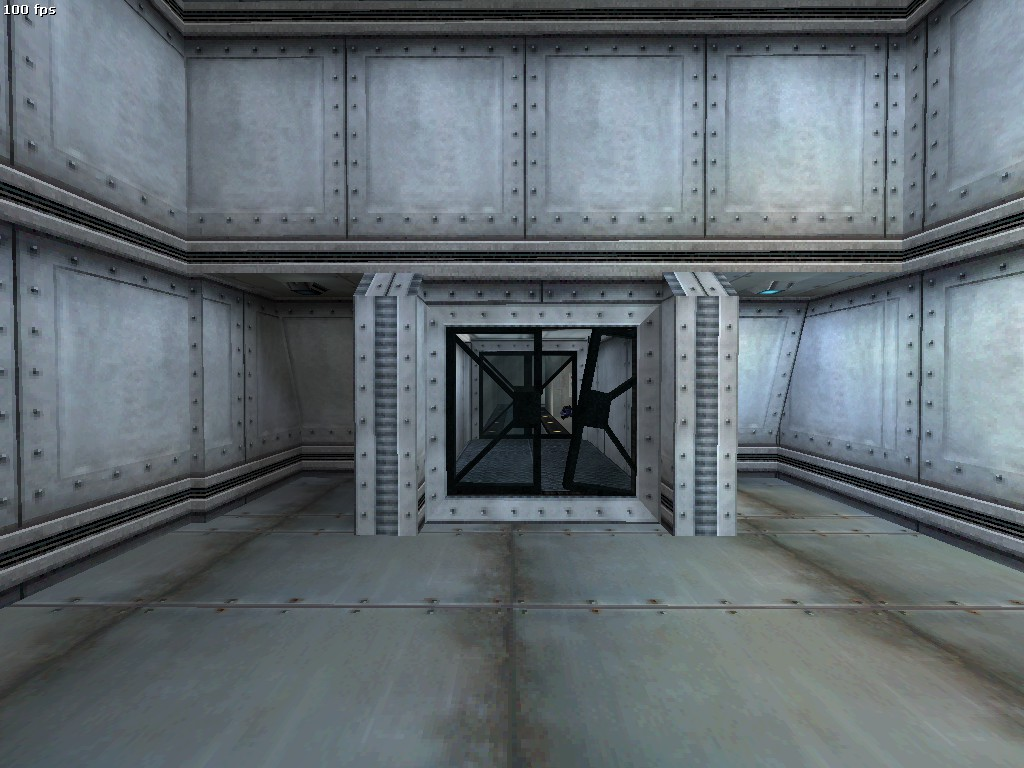
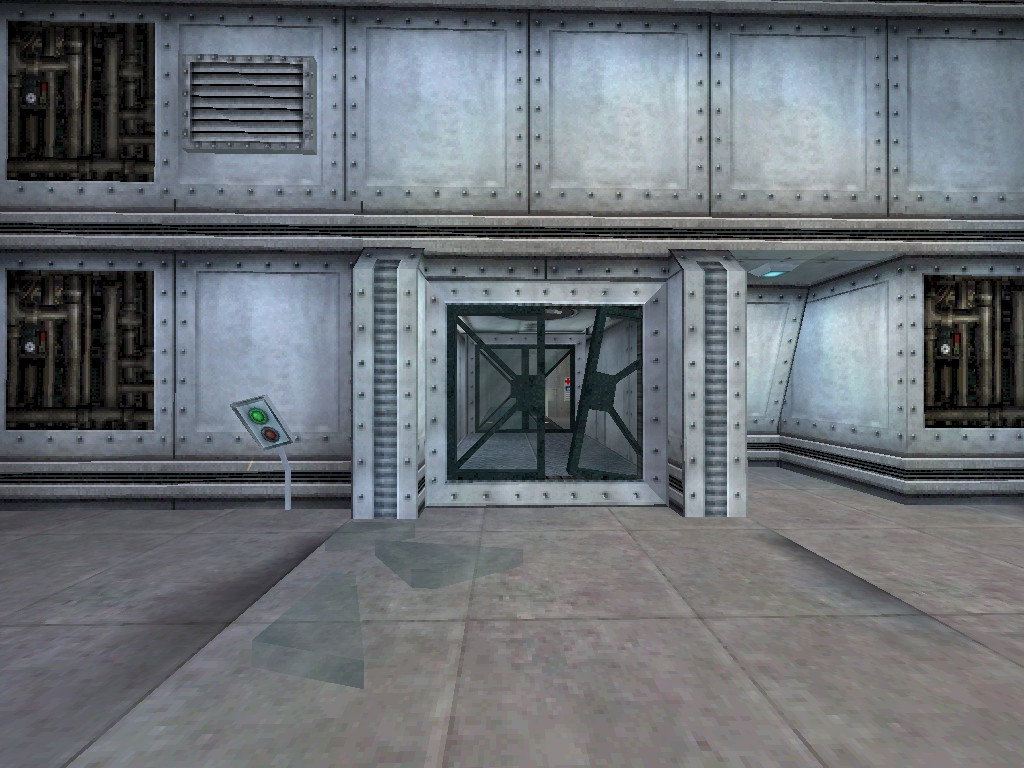
The exit to c1a1b is a chopped section from an earlier version of c1a1b. This notably includes an extra indented section next to the airlock, with an additional ceiling light.
|
c1a1f |
c1a1b |
|---|---|
|
|
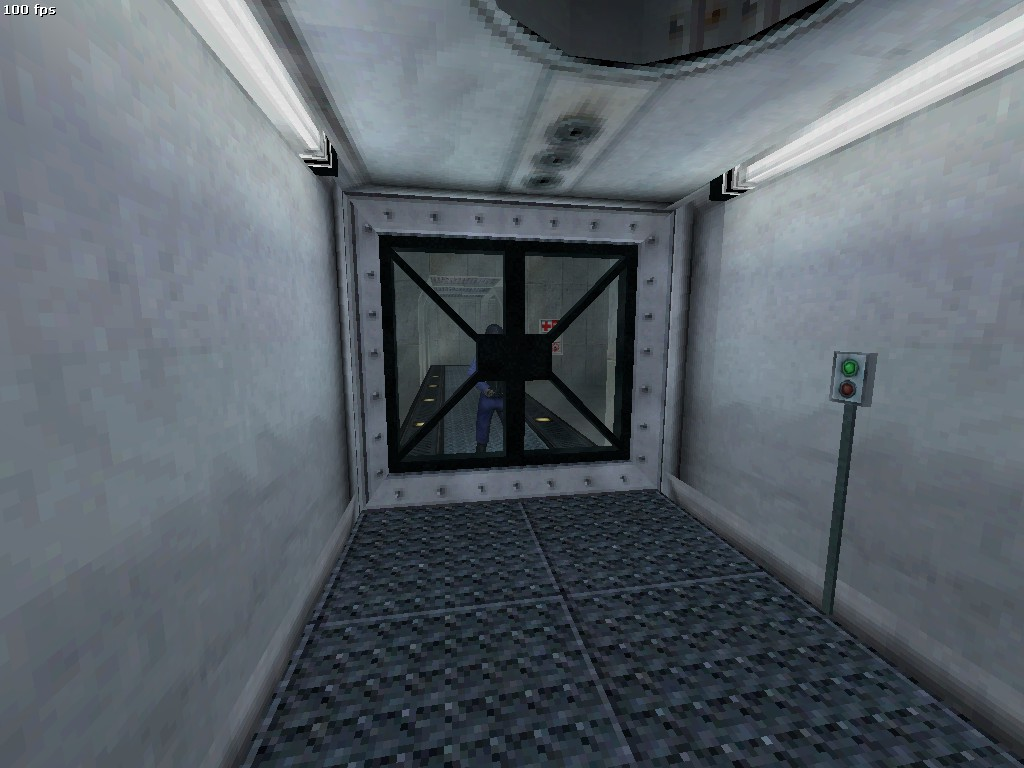
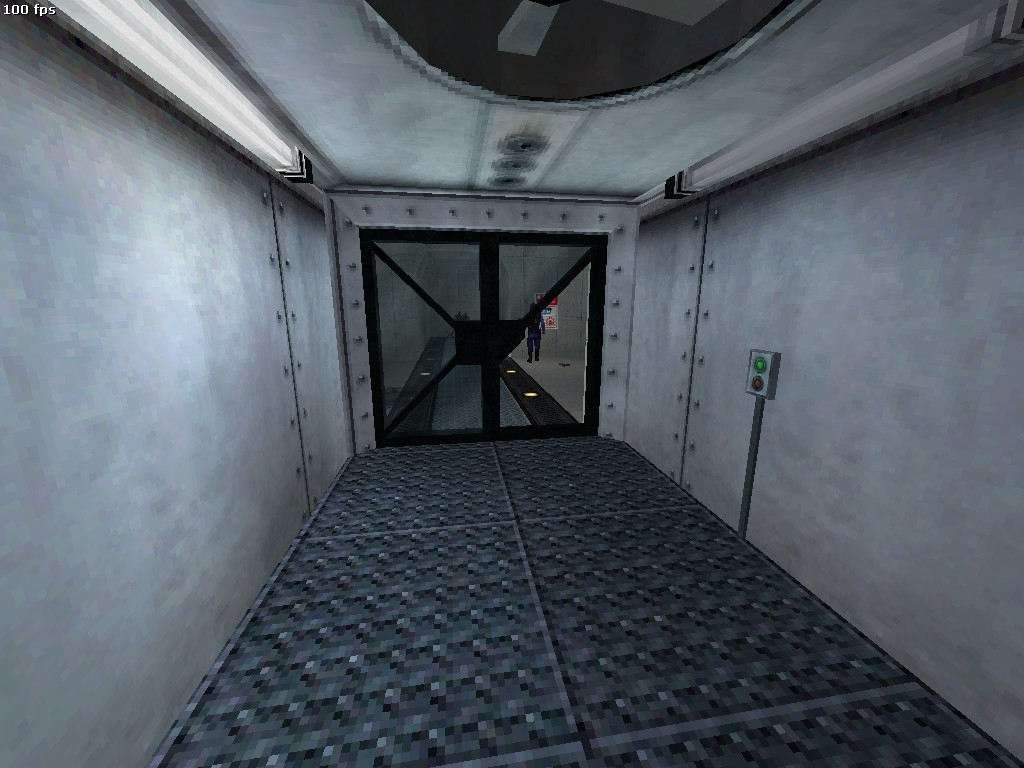
This same chopped portion can also be found behind the guard at the "wrong airlock" in the map c1a0, with the only difference being in the airlock itself. The floor of the inaccessible airlock in c1a0 is unique in that it's actually lower, and would've made you walk up a ramp through each door of the airlock.
|
c1a0 |
c1a1f |
|---|---|
|
|
c1a1c#
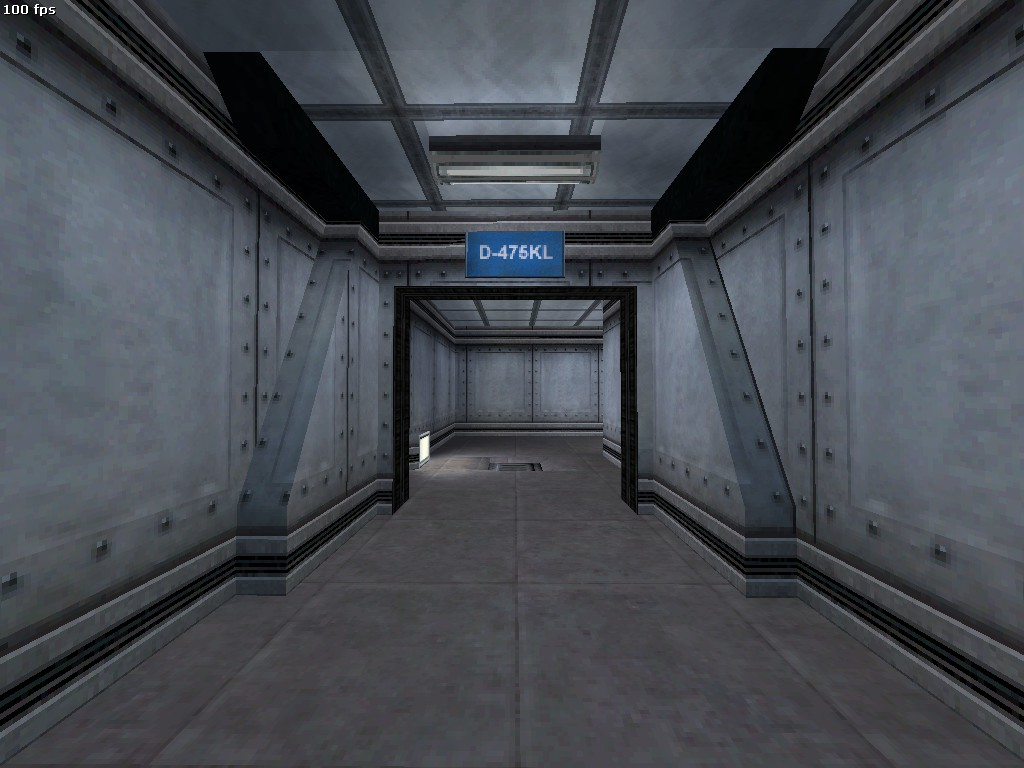
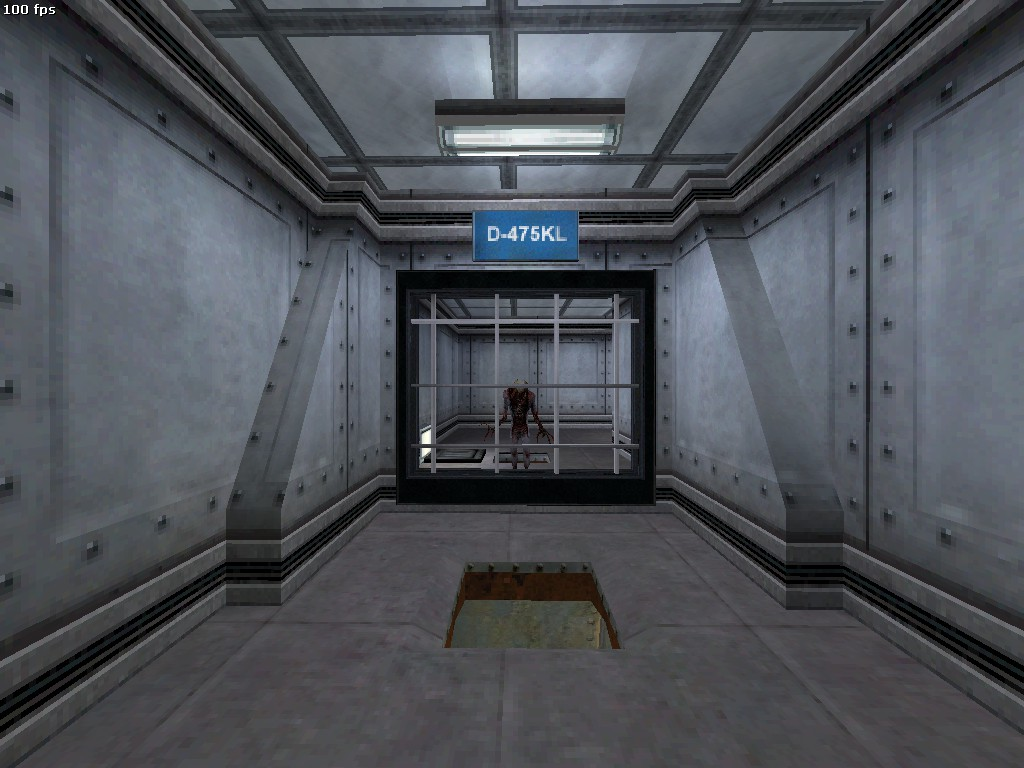
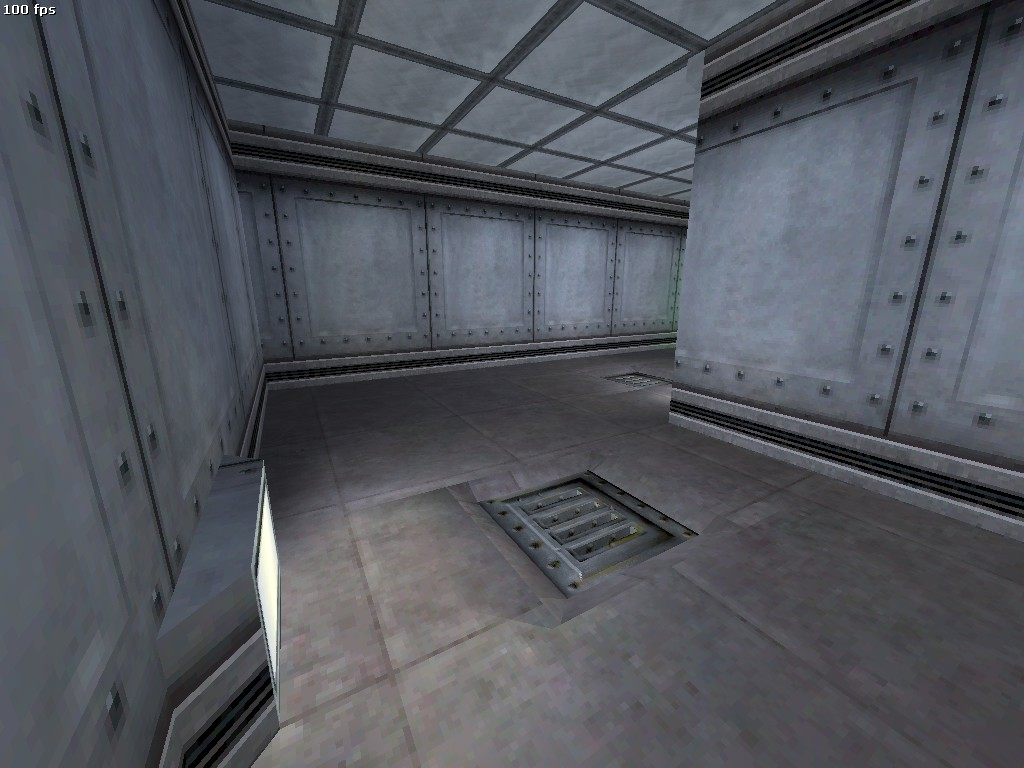
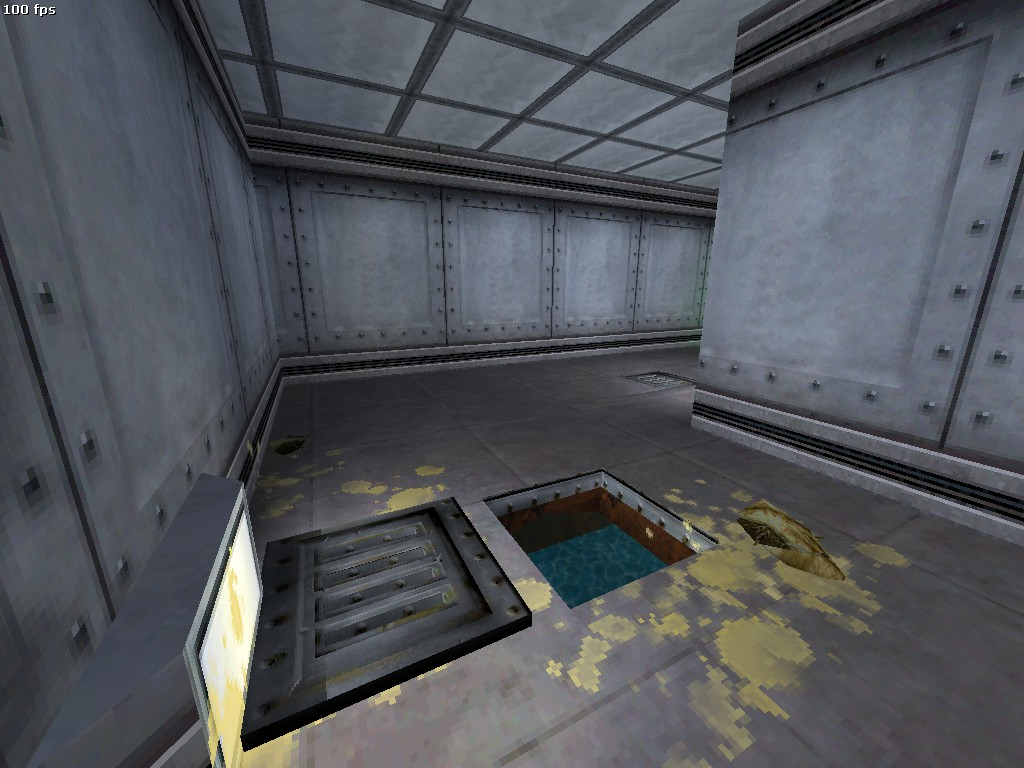
The entrance from c1a1b has an earlier version of the gated hallway, which you normally bypass with the sewer entrance. In this version, the gated section is open, with the bottom of the passage being flush with the floor. The entrance to the sewer is absent in this version, with the grate for the exit being indented like the entrance normally is. There's also some odd geometry at the top corners of the doorway.
|
c1a1c |
c1a1b |
|---|---|
|
|
|
c1a1c |
c1a1b |
|---|---|
|
|
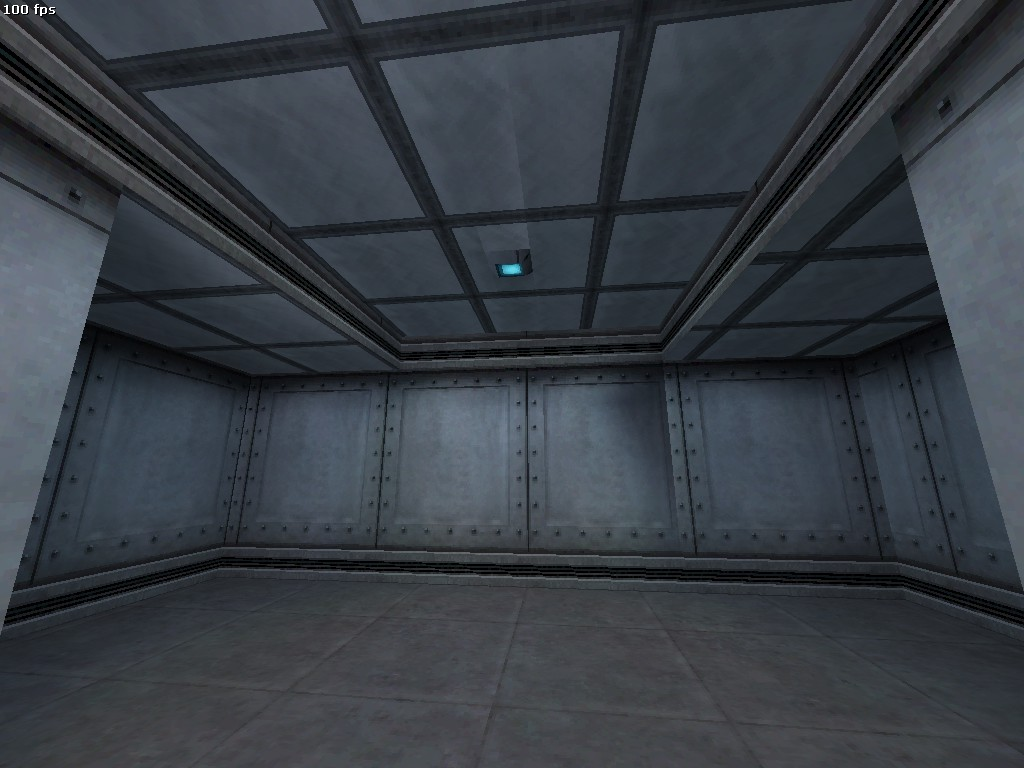
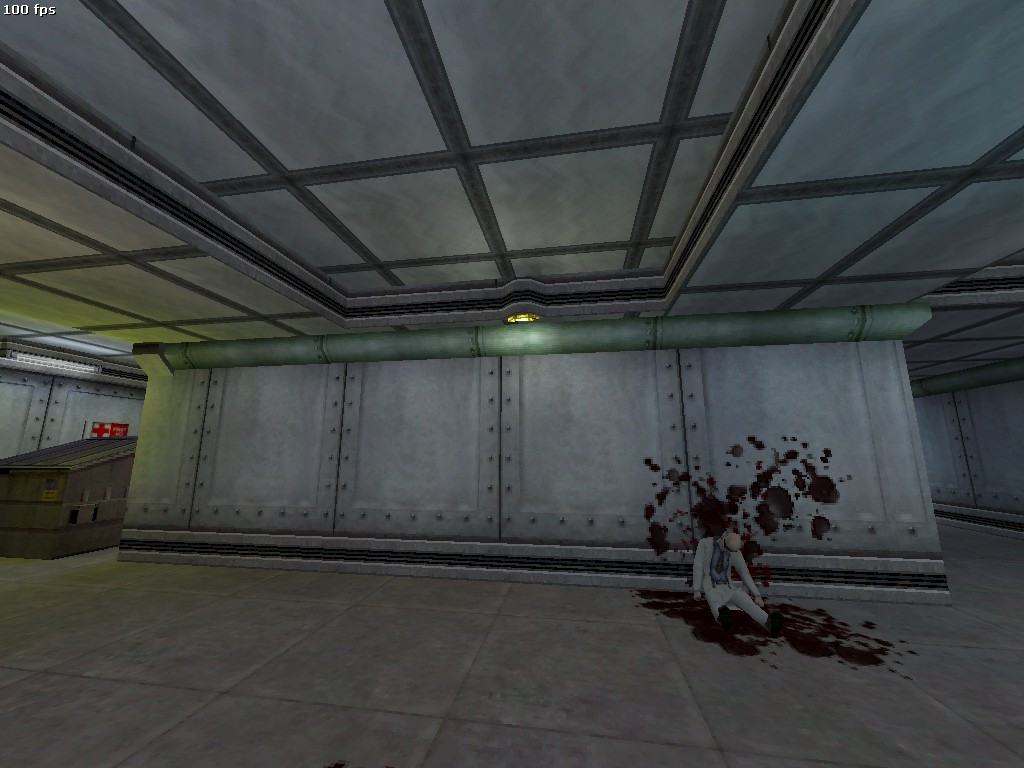
The room before the gate is also different, with a more generic blue ceiling light, a plain square trim on the ceiling indent, and no pipes along the wall.
|
c1a1c |
c1a1b |
|---|---|
|
|
c1a1d#
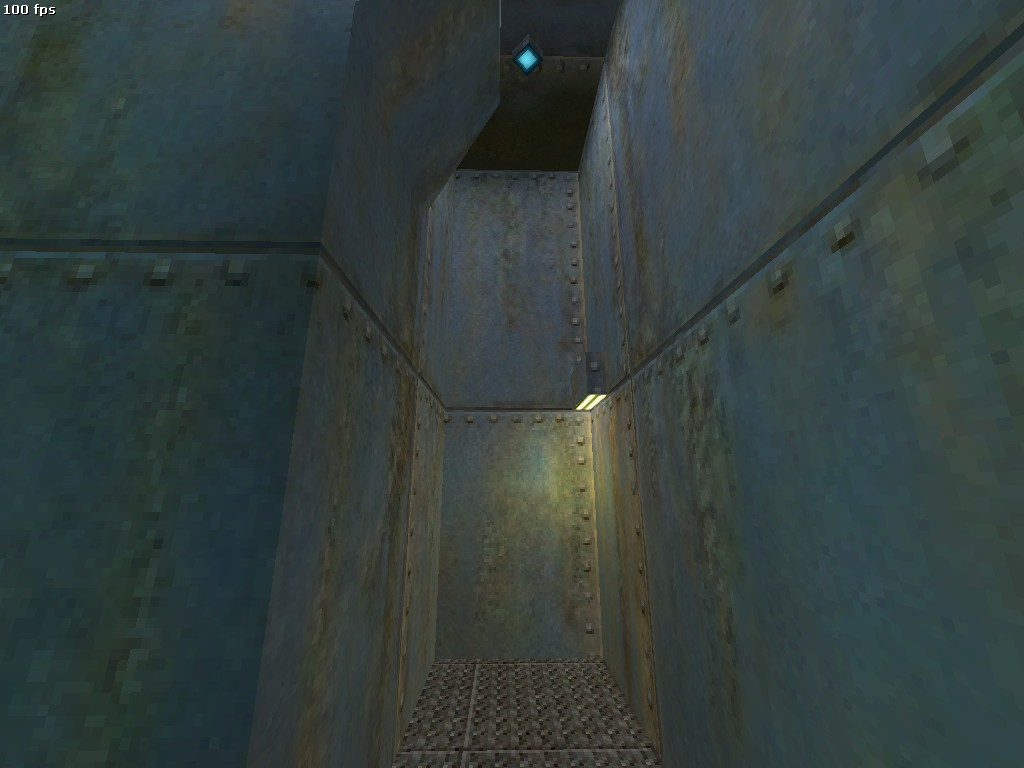
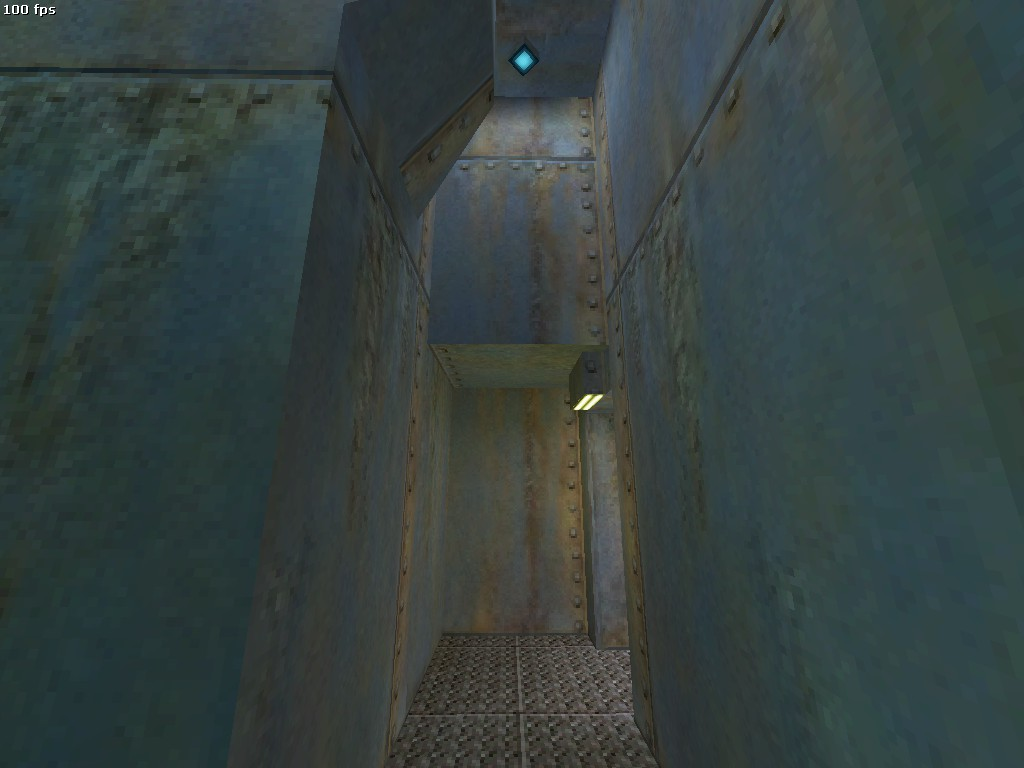
The entrance from c1a1c doesn't have the lowered ceiling above the doorway.
|
c1a1d |
c1a1c |
|---|---|
|
|
Office Complex#
c1a2 & c1a2a#
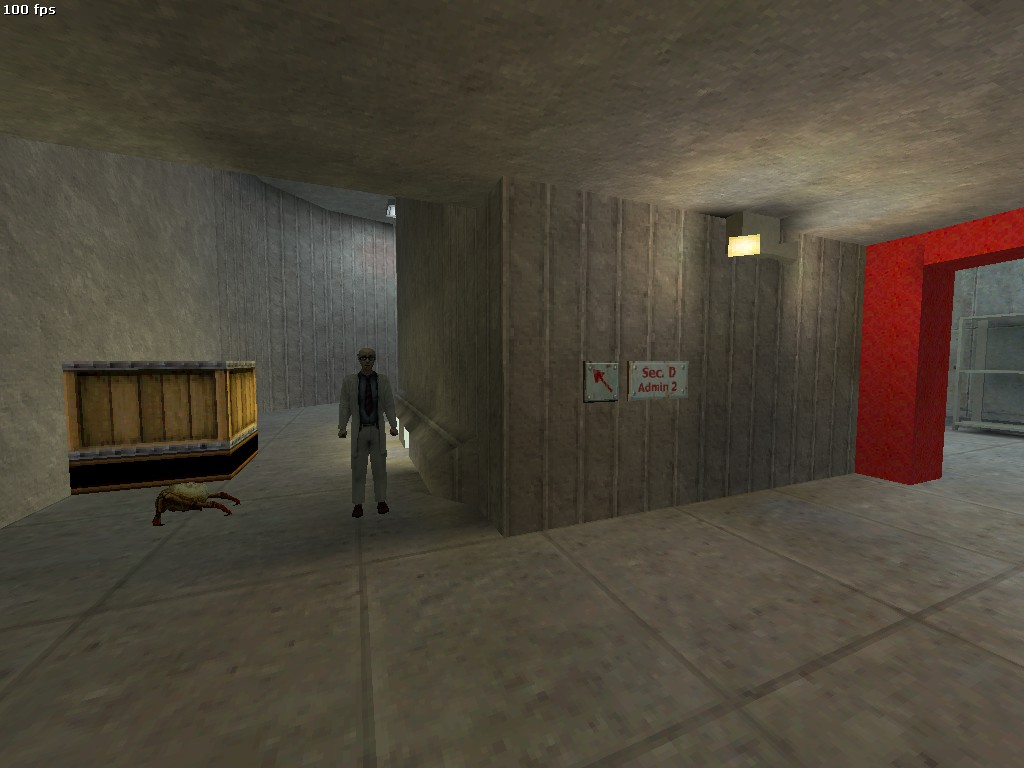
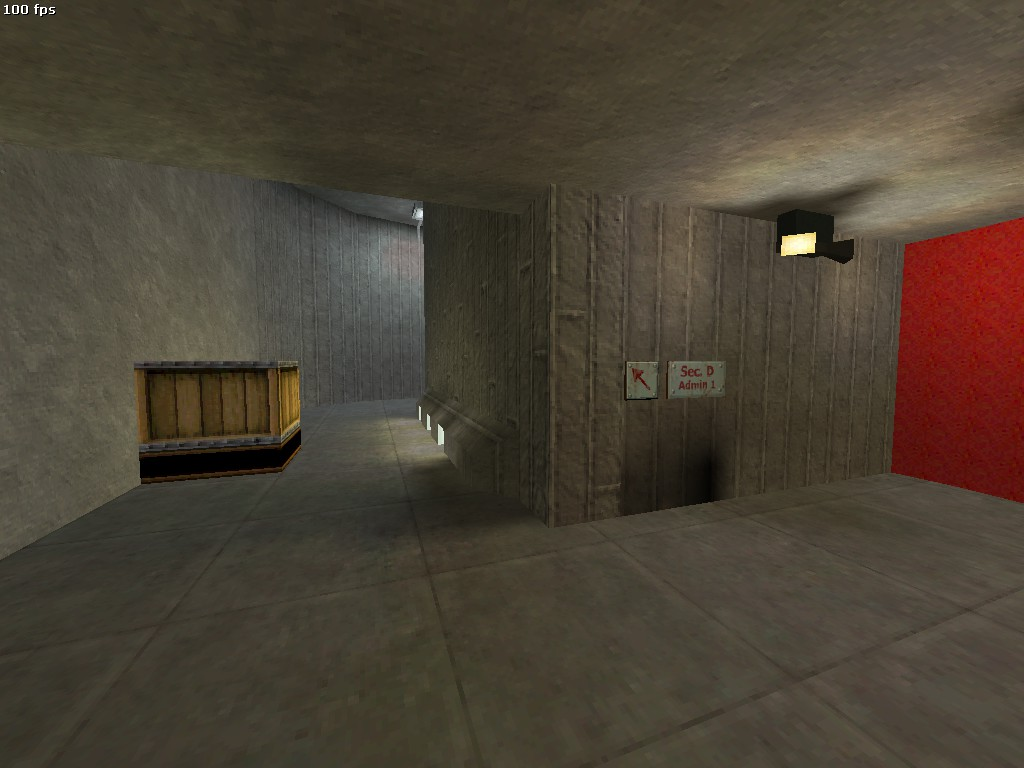
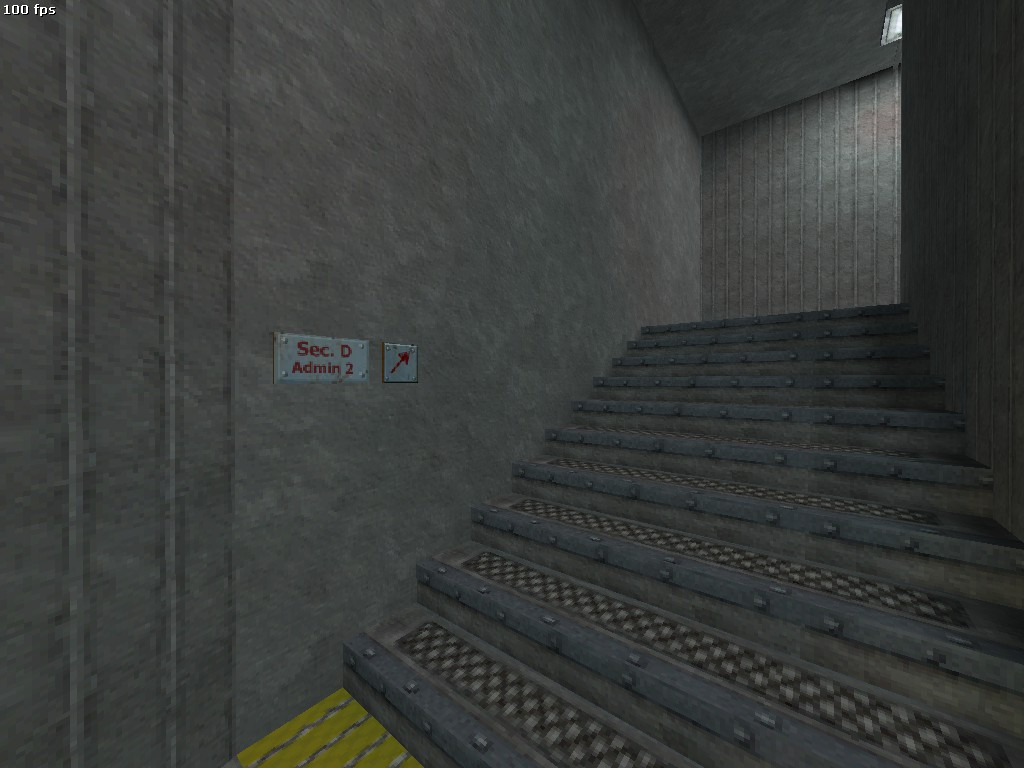
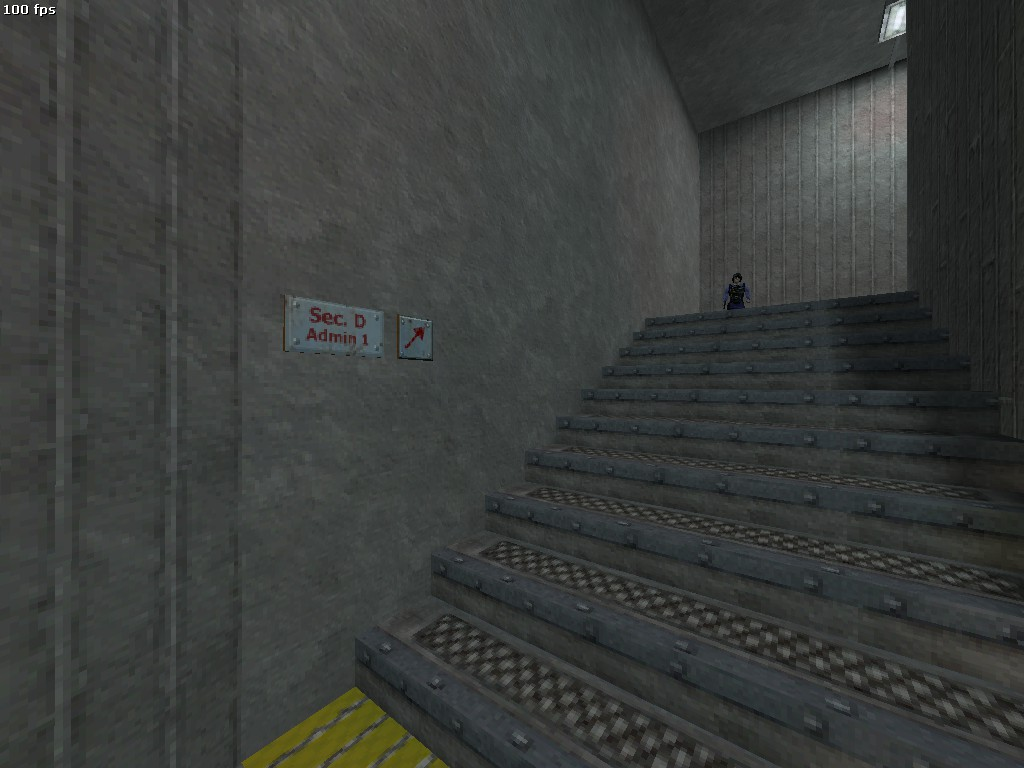
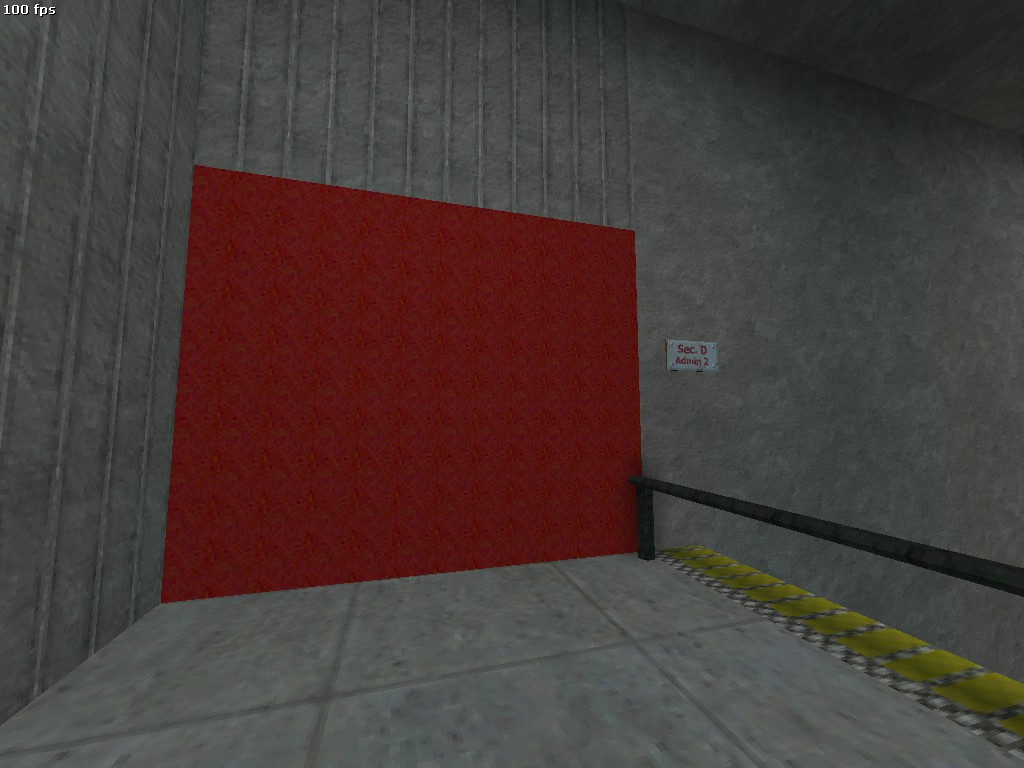
The map c1a2's exit to and the entrance to c1a2a have different signage. In c1a2a, both signs read "Sec D. Admin 1", which is the correct location. However, in c1a2, both signs read "Sec D. Admin 2", which is incorrect. Amusingly, the correct first sign in c1a2a can not be seen in normal gameplay, meaning that this area's signage is contradicted immediately during intended play. This first area also has different textures on the hazard lights.
|
c1a2 |
c1a2a |
|---|---|
|
|
|
c1a2 |
c1a2a |
|---|---|
|
|
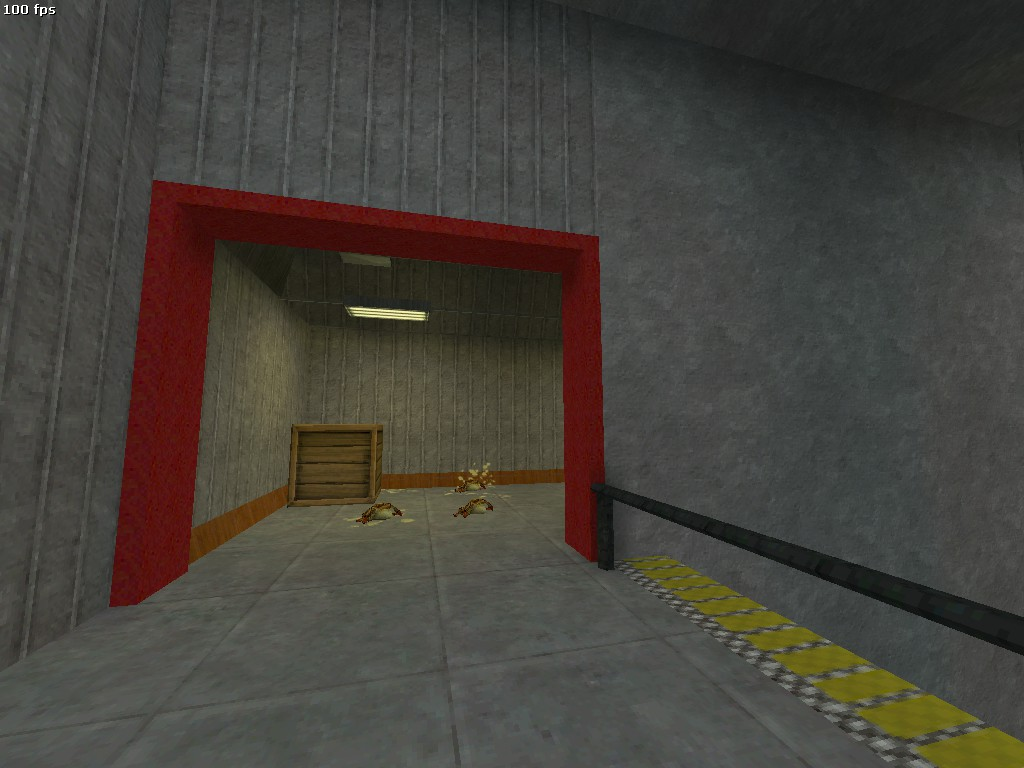
The top of the stairwell also has an additional sign in c1a2.
|
c1a2 |
c1a2a |
|---|---|
|
|
c1a2b#
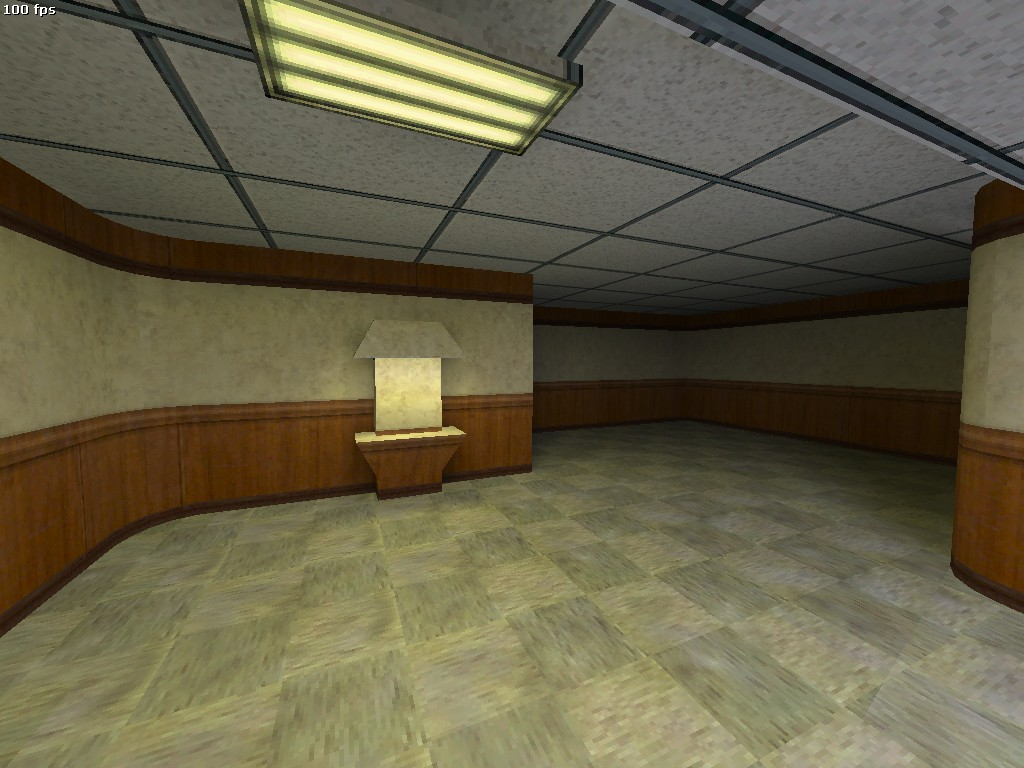
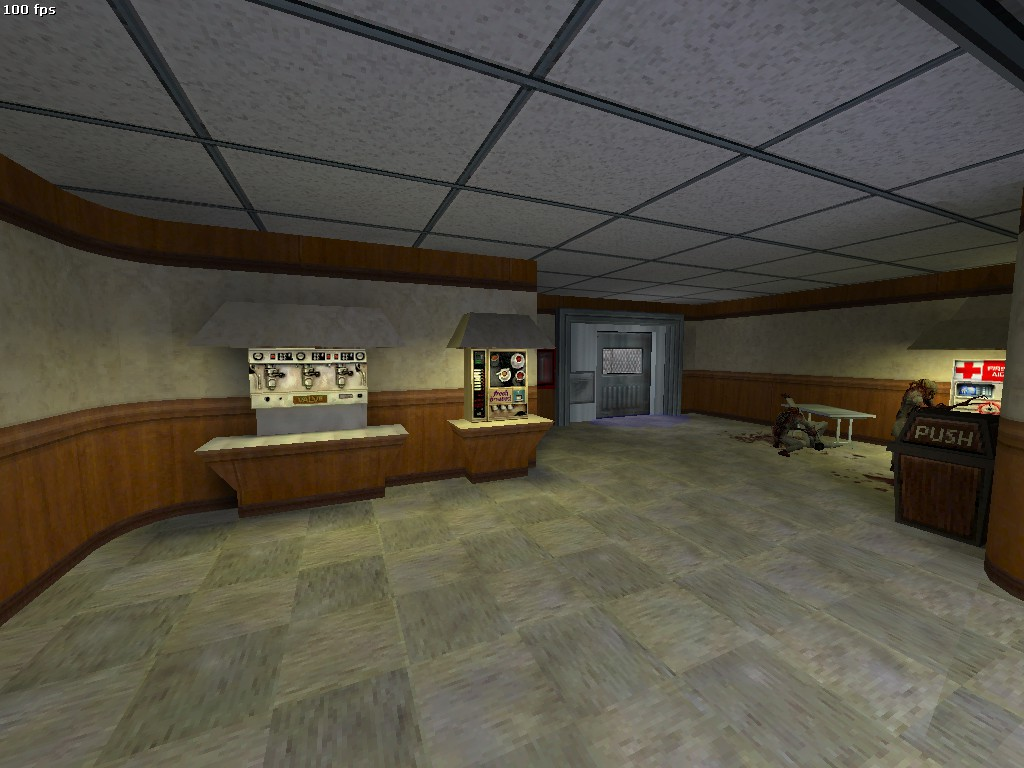
The exit to c1a2c has only one of the two coffee machines and an additional ceiling light.
|
c1a2b |
c1a2c |
|---|---|
|
|
"We've Got Hostiles"#
c1a3d#
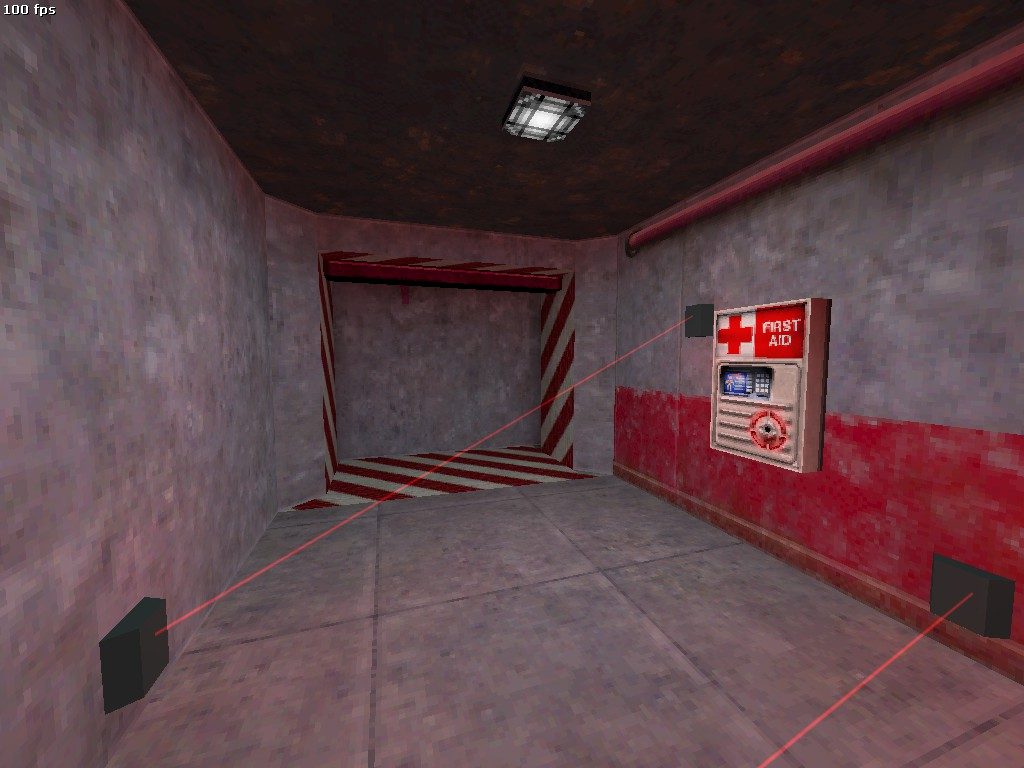
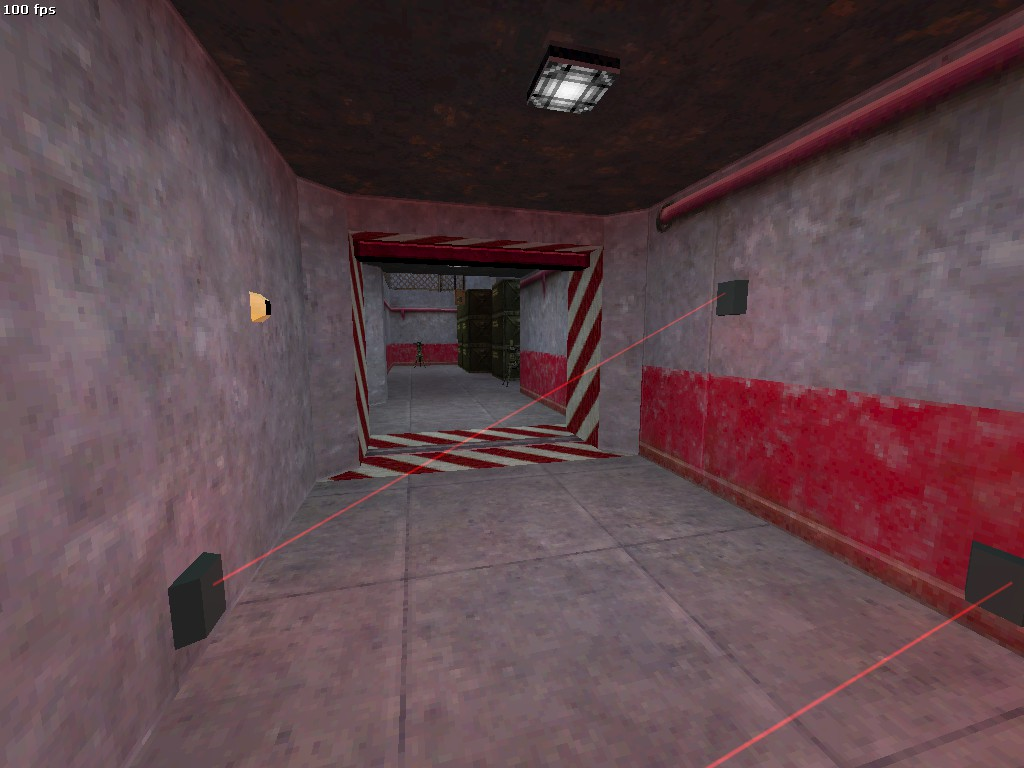
The entrance from c1a3 has a normally inaccessible, fully-functional health charger.
|
c1a3d |
c1a3 |
|---|---|
|
|
Blast Pit#
c1a4d#
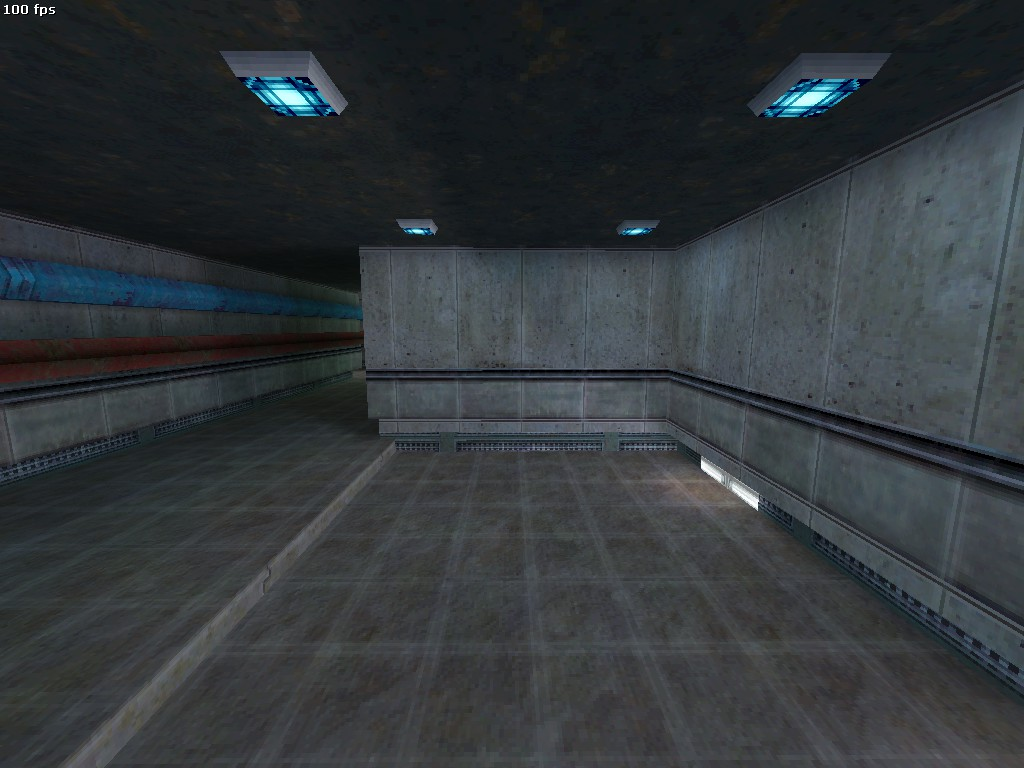
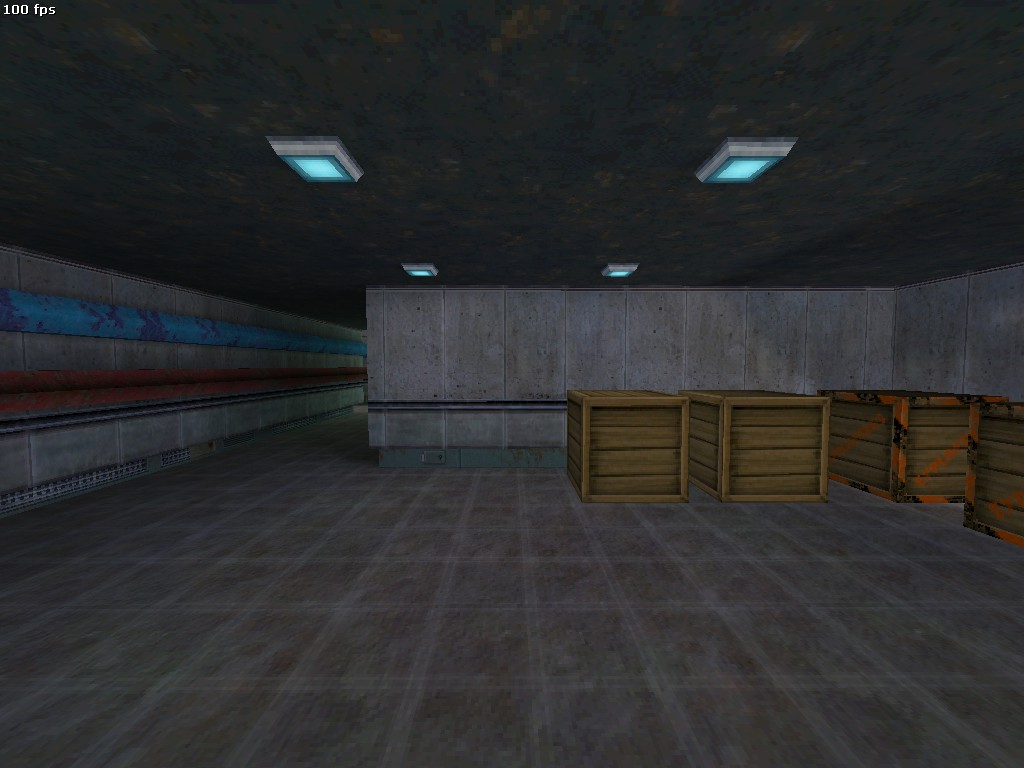
The entrance from c1a4b is a shorter room with a step down a level. The four ceiling lights also use a different texture.
|
c1a4d |
c1a4b |
|---|---|
|
|
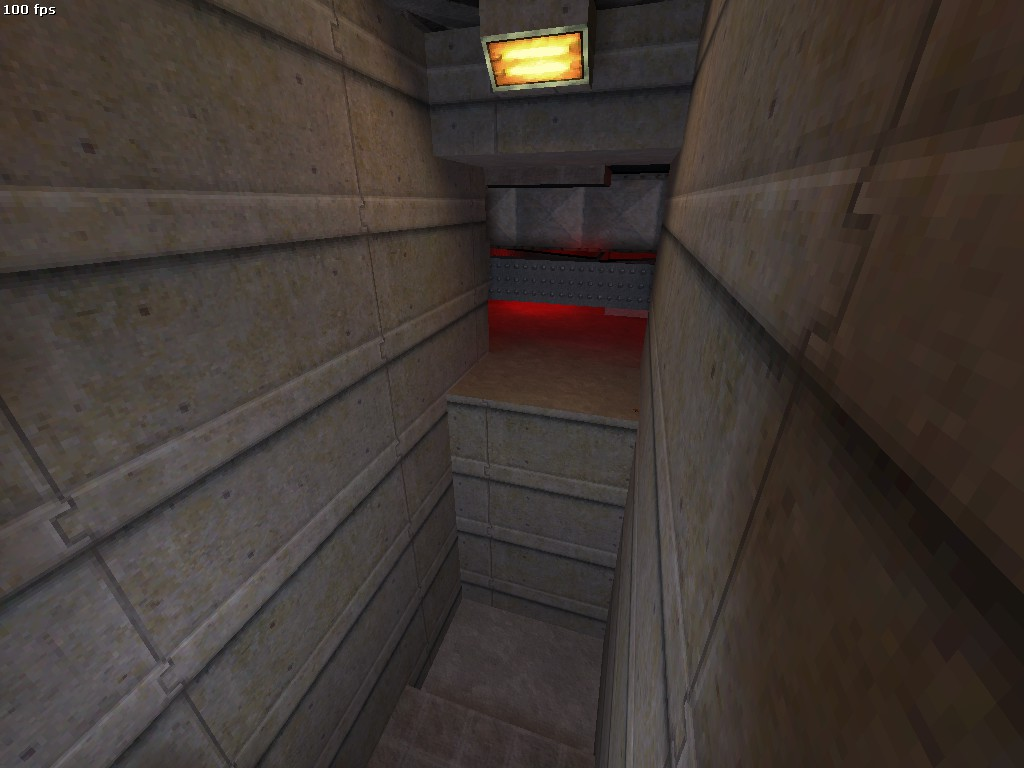
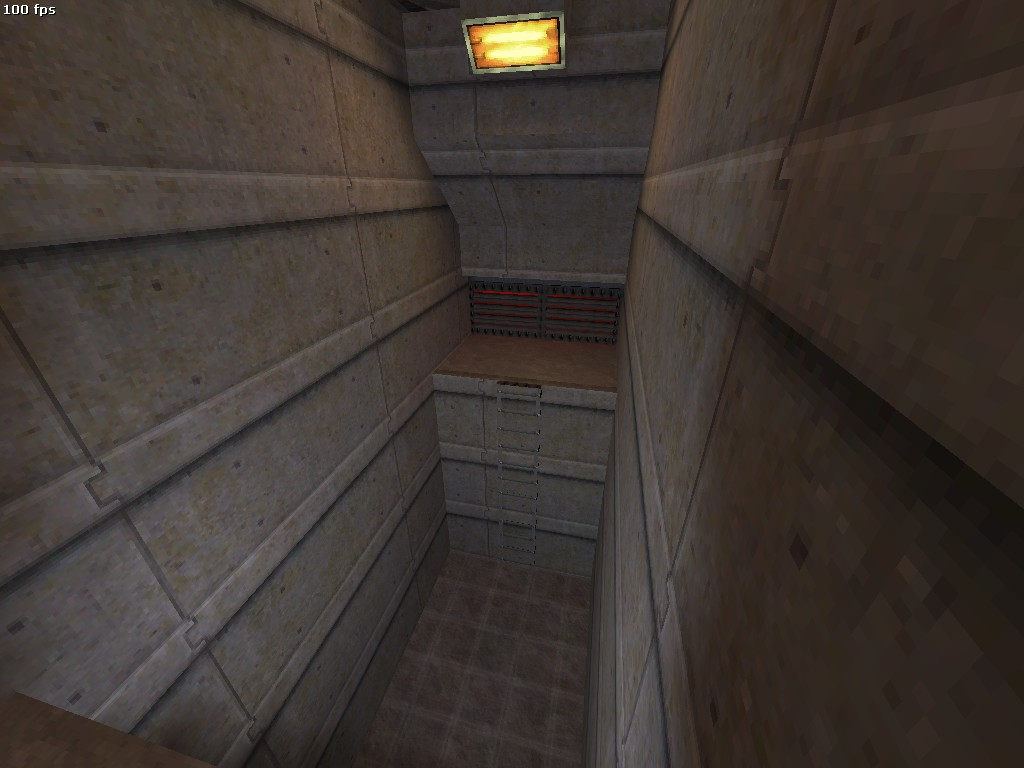
c1a4e#
The exit to c1a4d is strangely missing the wall above the end of the crawlspace. There's also an indent in the floor below where the ladder normally is, maybe hinting that an elevator used to be here instead.
|
c1a4e |
c1a4d |
|---|---|
|
|
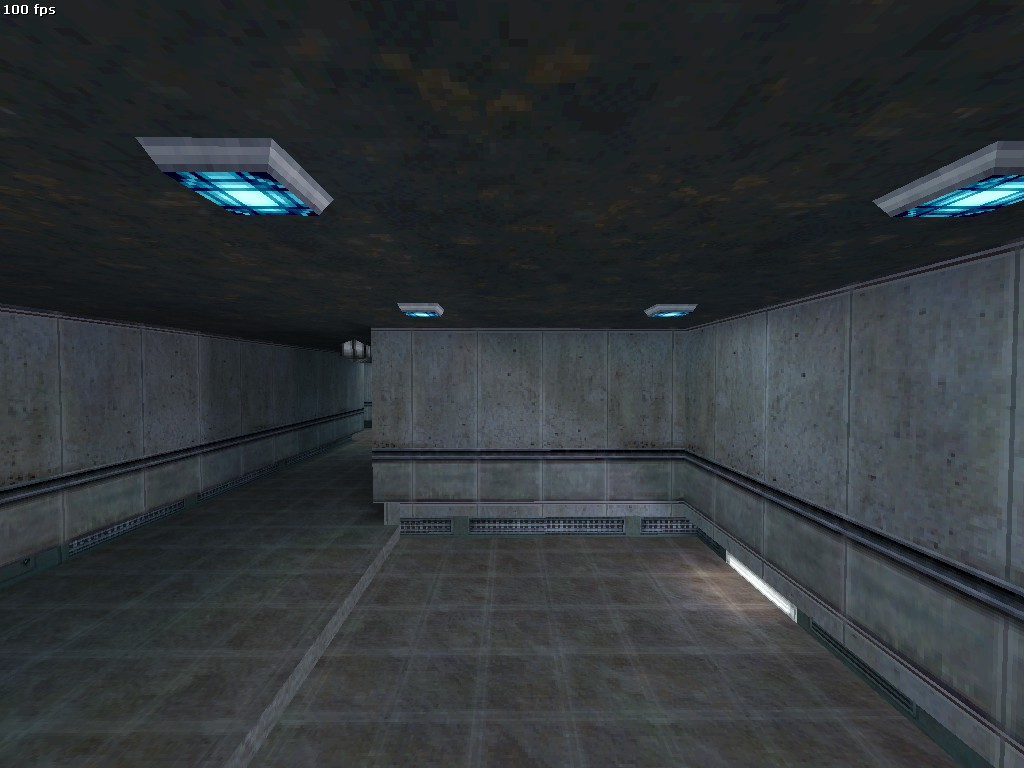
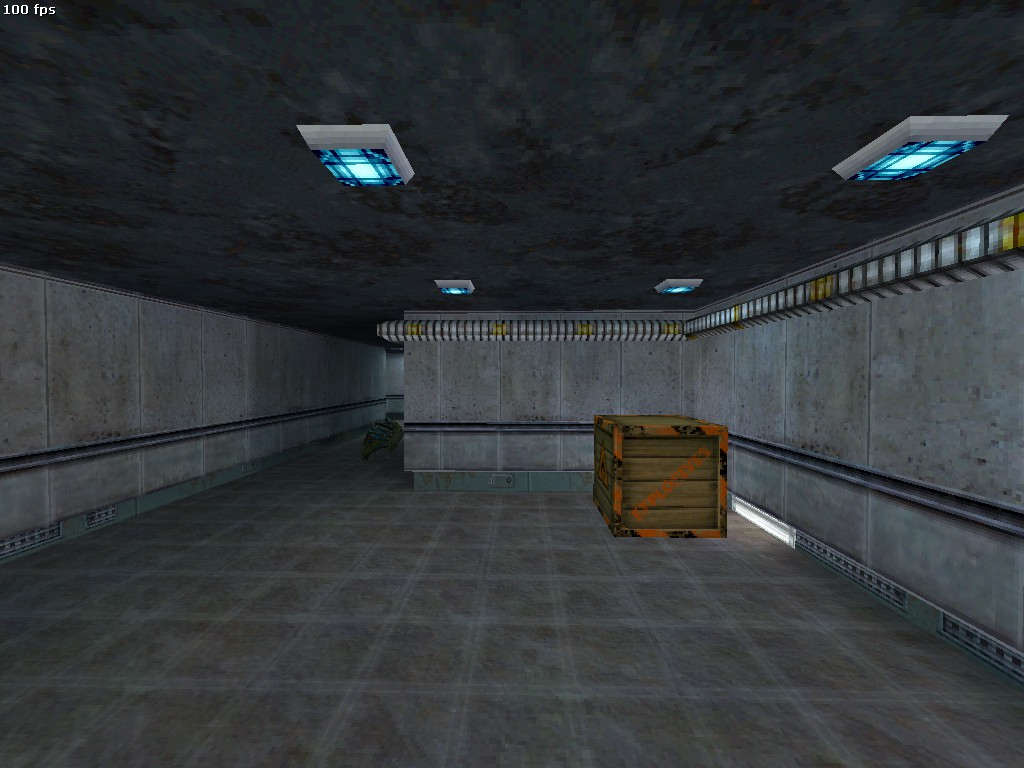
c1a4f#
The entrance from c1a4b has a step down a level.
|
c1a4f |
c1a4b |
|---|---|
|
|
On A Rail#
c2a2b2#
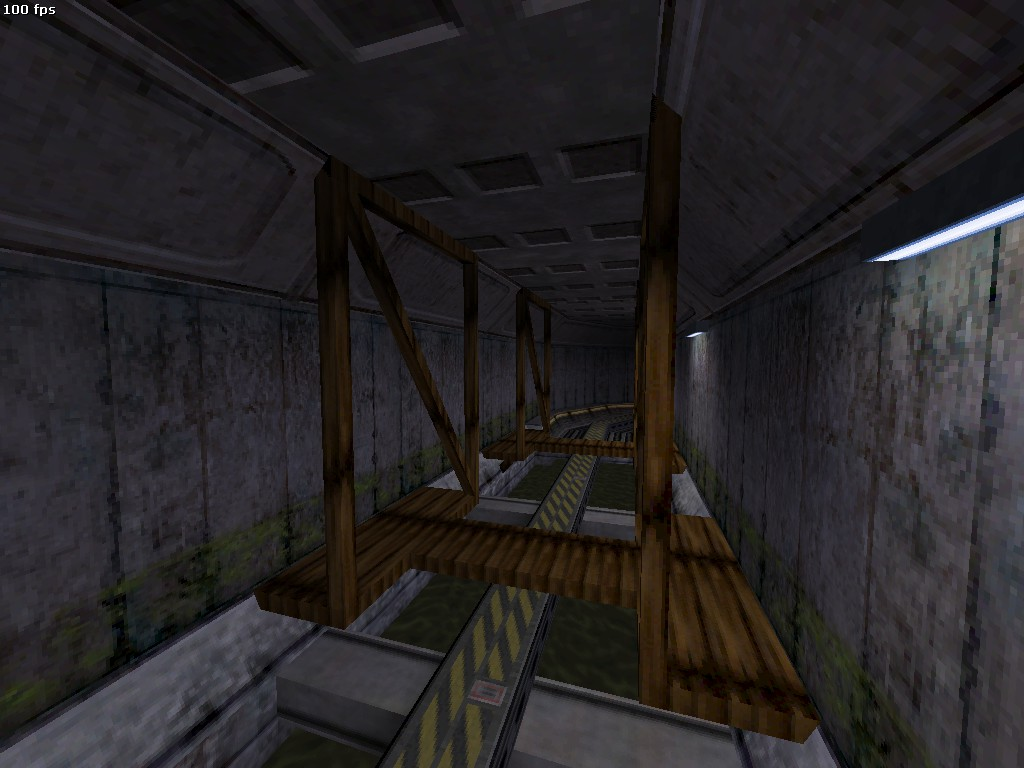
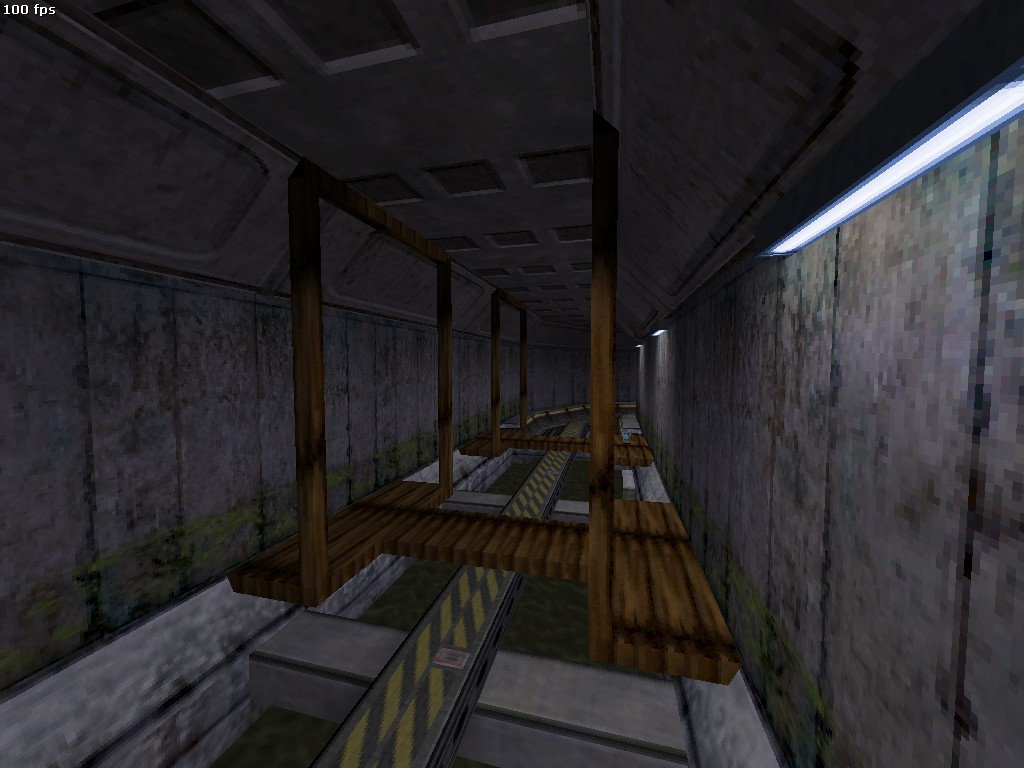
The entrance from c2a2a has an additional diagonal crossbar on the scaffolding over the track. Some of the blue lights in the tunnel are also positioned differently.
|
c2a2b2 |
c2a2a |
|---|---|
|
|
c2a2b1#
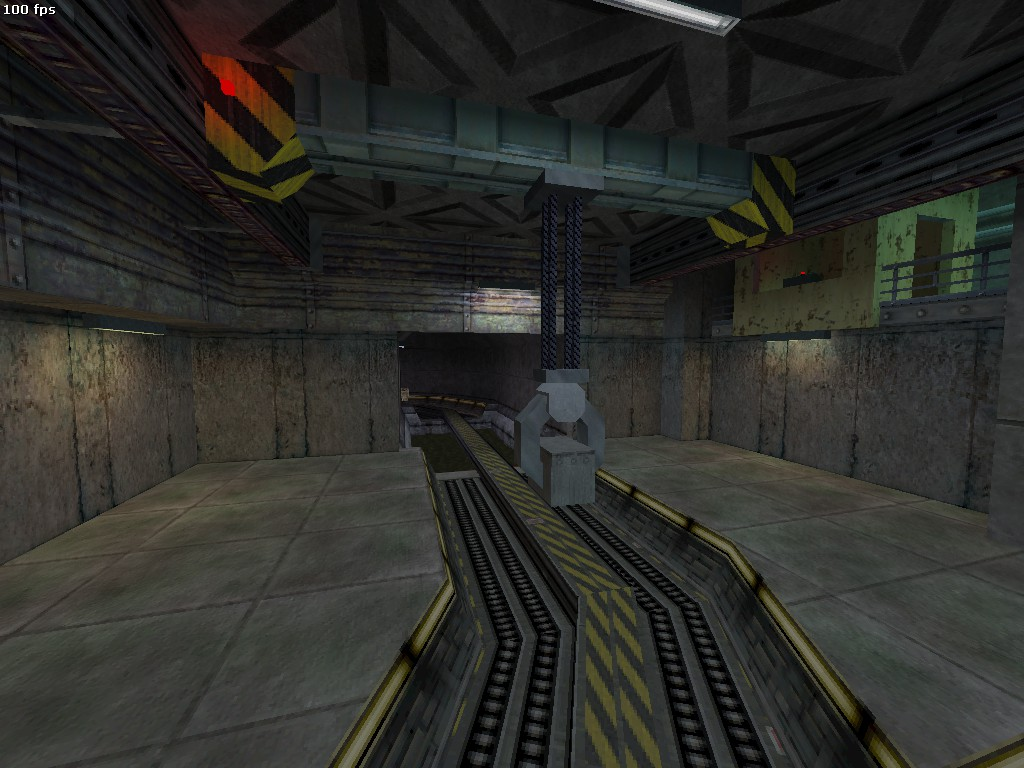
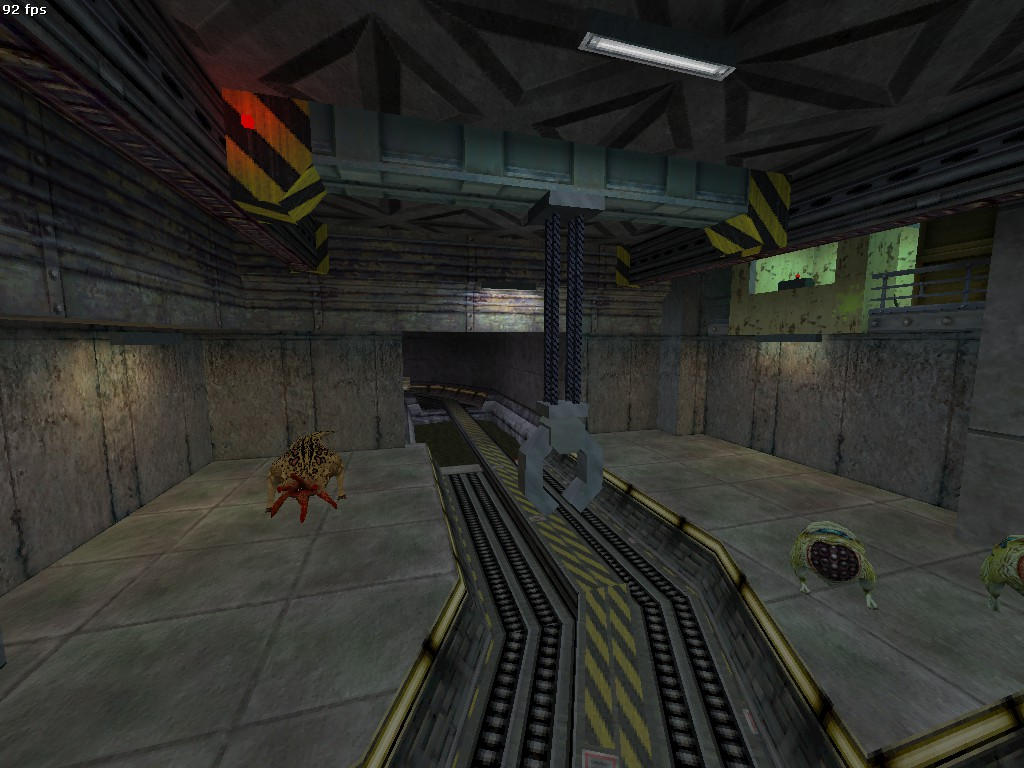
The entrance from c2a2a has a slightly different crane brush, with a cube in the claw and slightly different texturing.
|
c2a2b1 |
c2a2a |
|---|---|
|
|
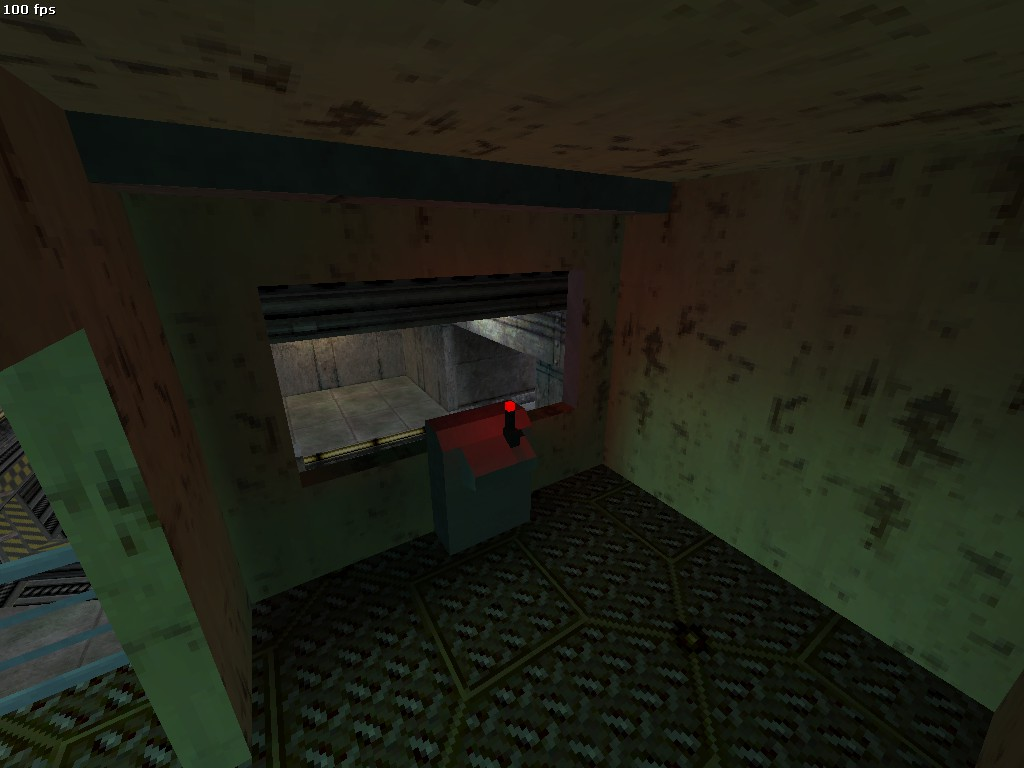
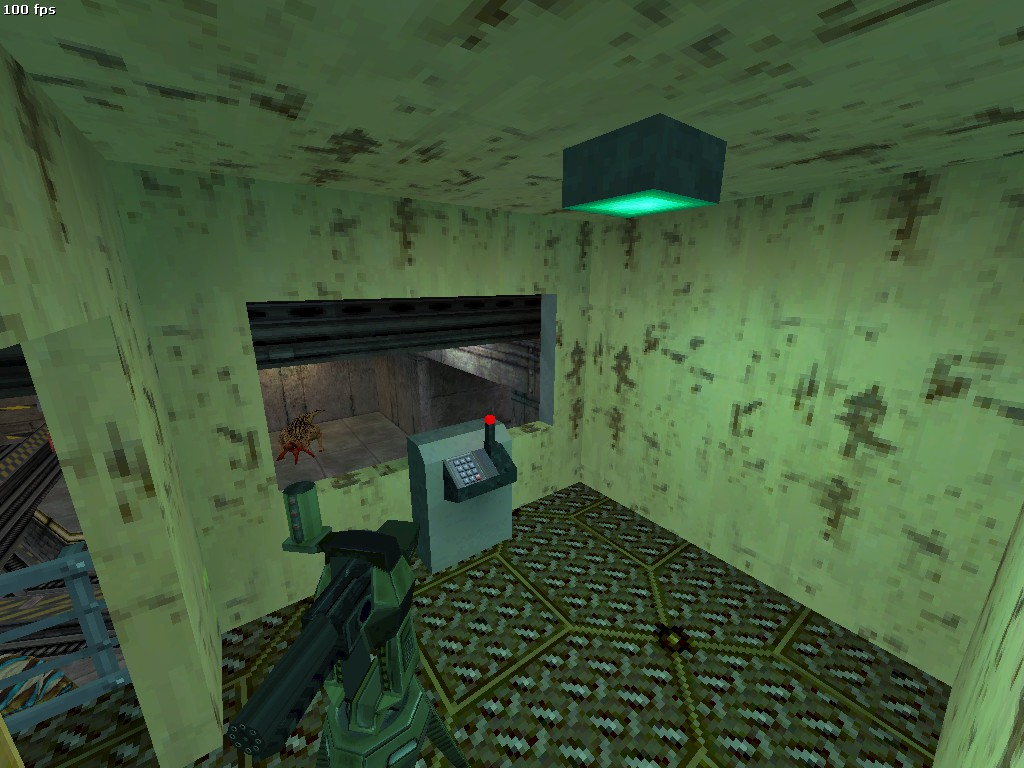
The crane control room is missing the blue ceiling light, has some additional geometry on the roof, and has an earlier design for the joystick/control panel. Some scripting for the joystick is present in this map and is set to be repeatable, has no linked light entity, and has a different range of motion.
|
c2a2b1 |
c2a2a |
|---|---|
|
|
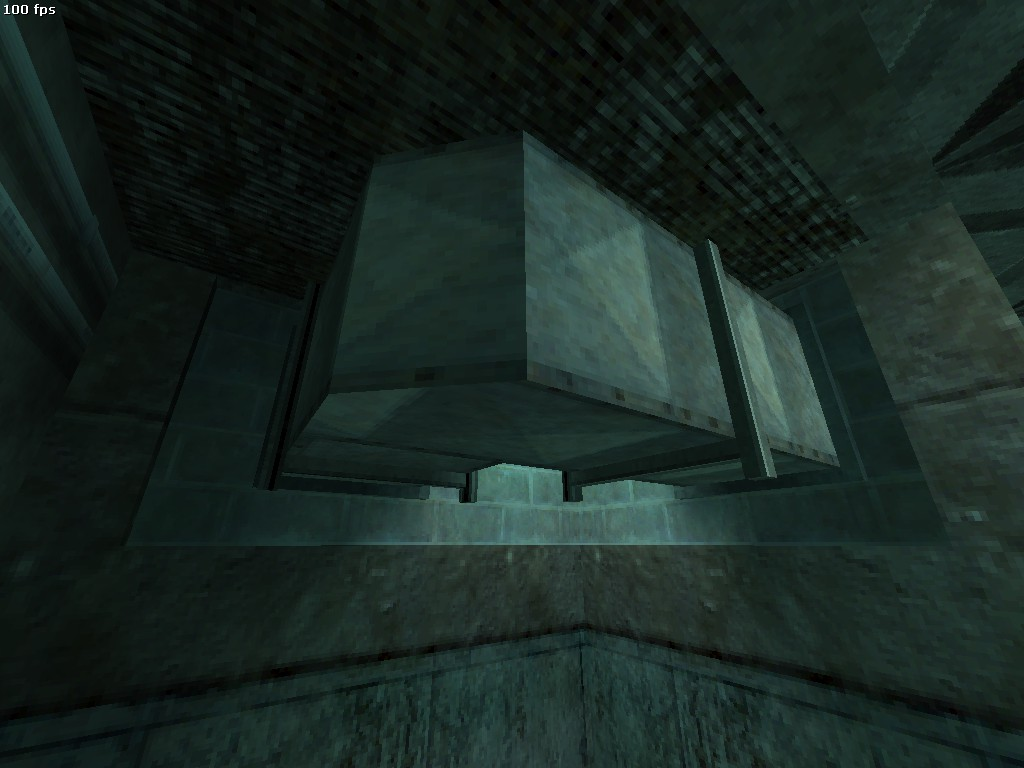
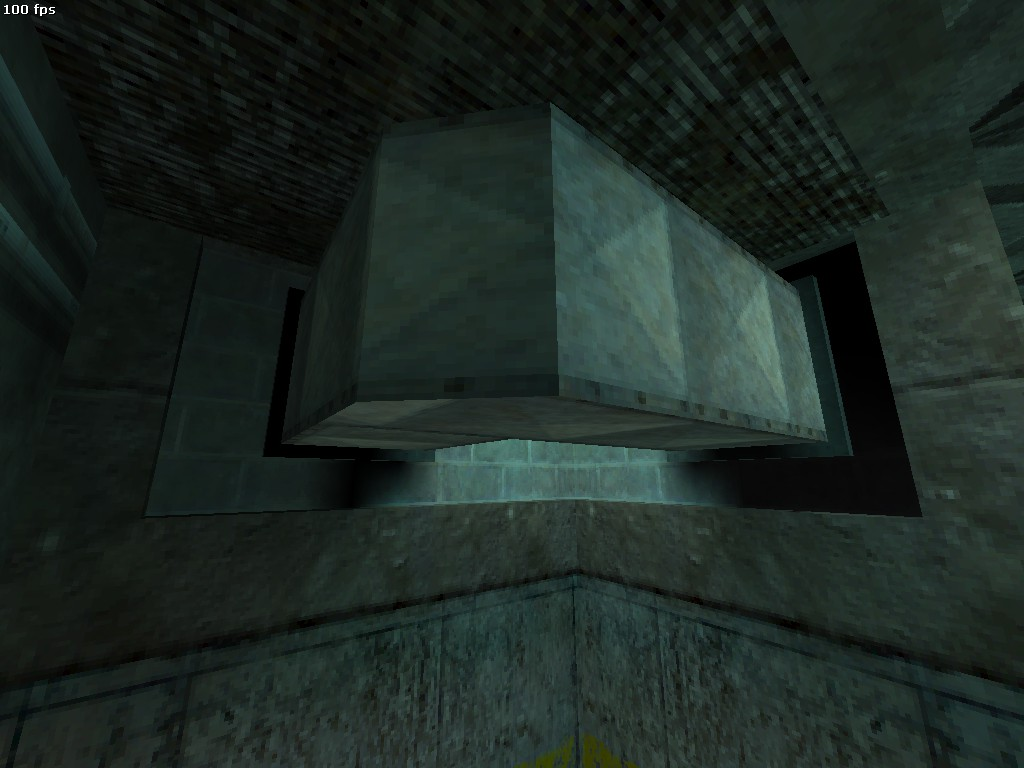
This vent near the crane control room has additional brush supports.
|
c2a2b1 |
c2a2a |
|---|---|
|
|
c2a2c#
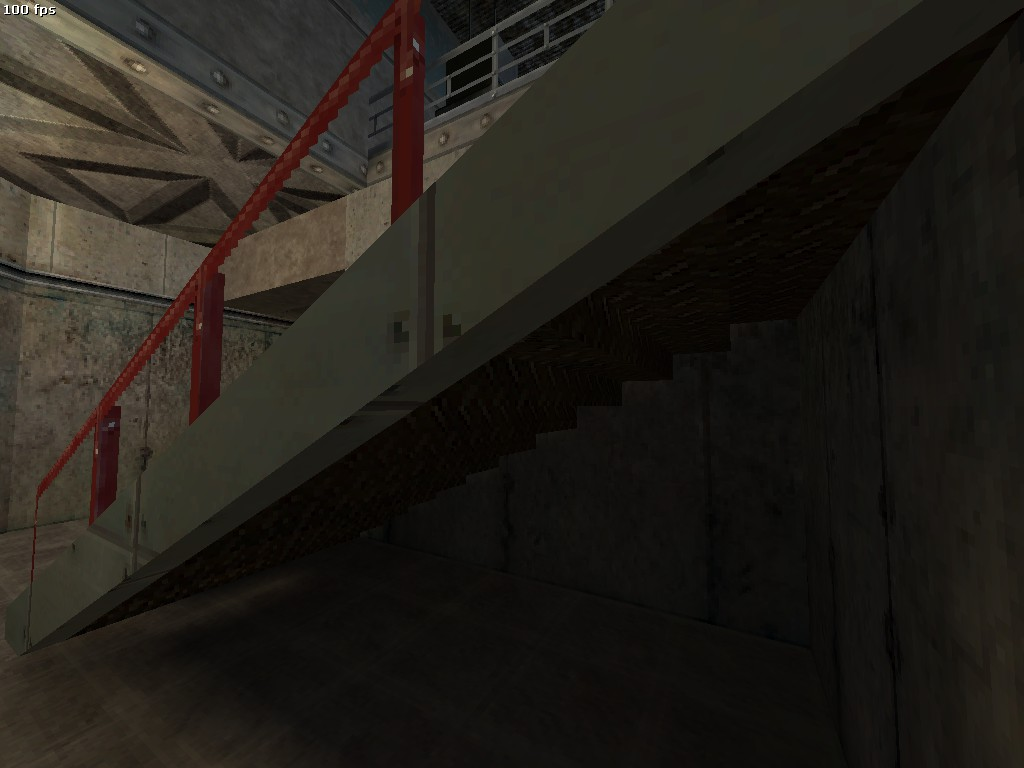
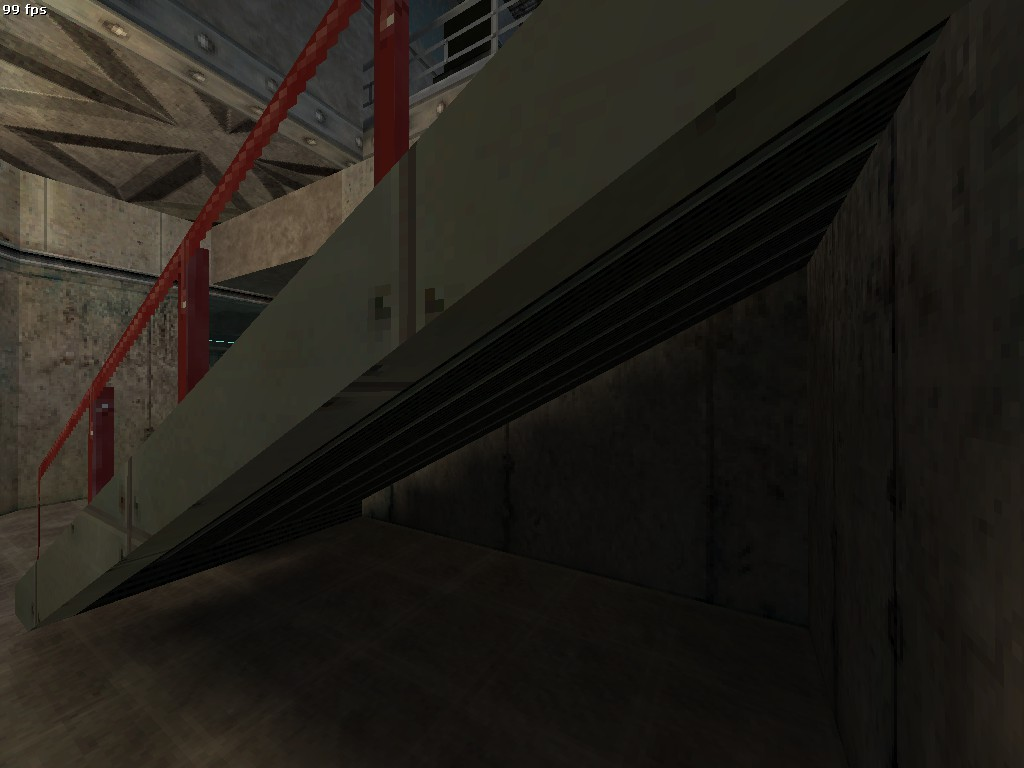
A couple staircases at the entrances from c2a2b1 don't have the flat bottoms, instead having the same design as the other staircases in both maps.
|
c2a2c |
c2a2b1 |
|---|---|
|
|
c2a2f#
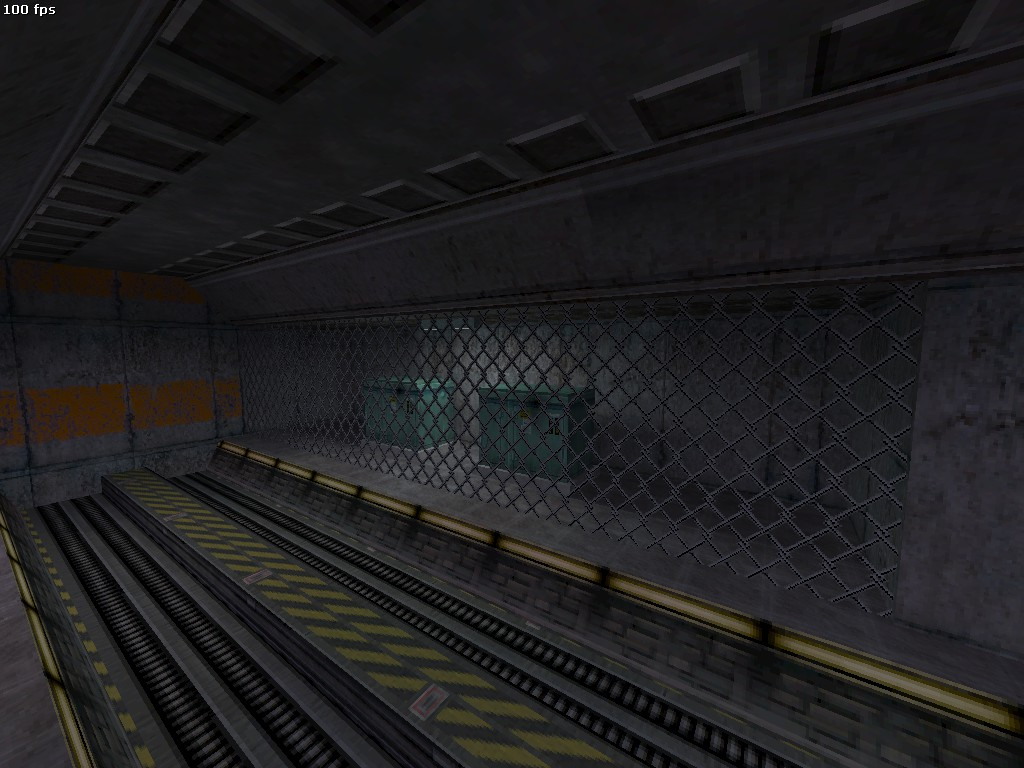
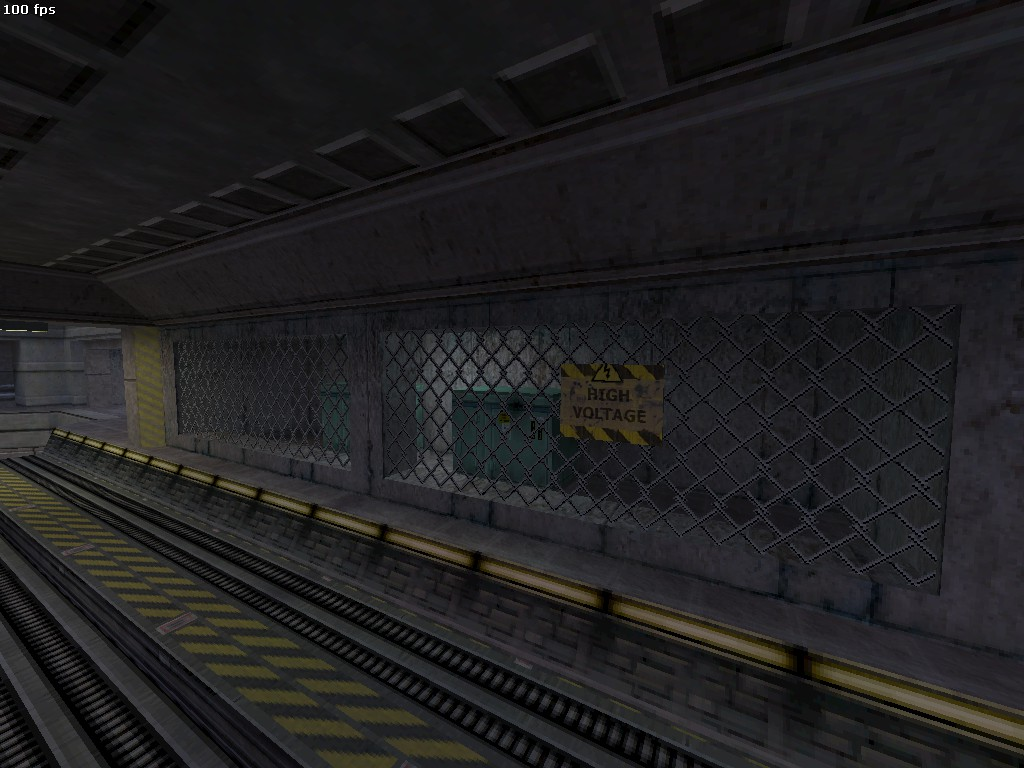
The entrance from c2a2e has an earlier design for the electrical boxes, with the fence in front of them being one piece and connecting from floor to ceiling. The fence also lacks the high voltage signage.
|
c2a2f |
c2a2e |
|---|---|
|
|
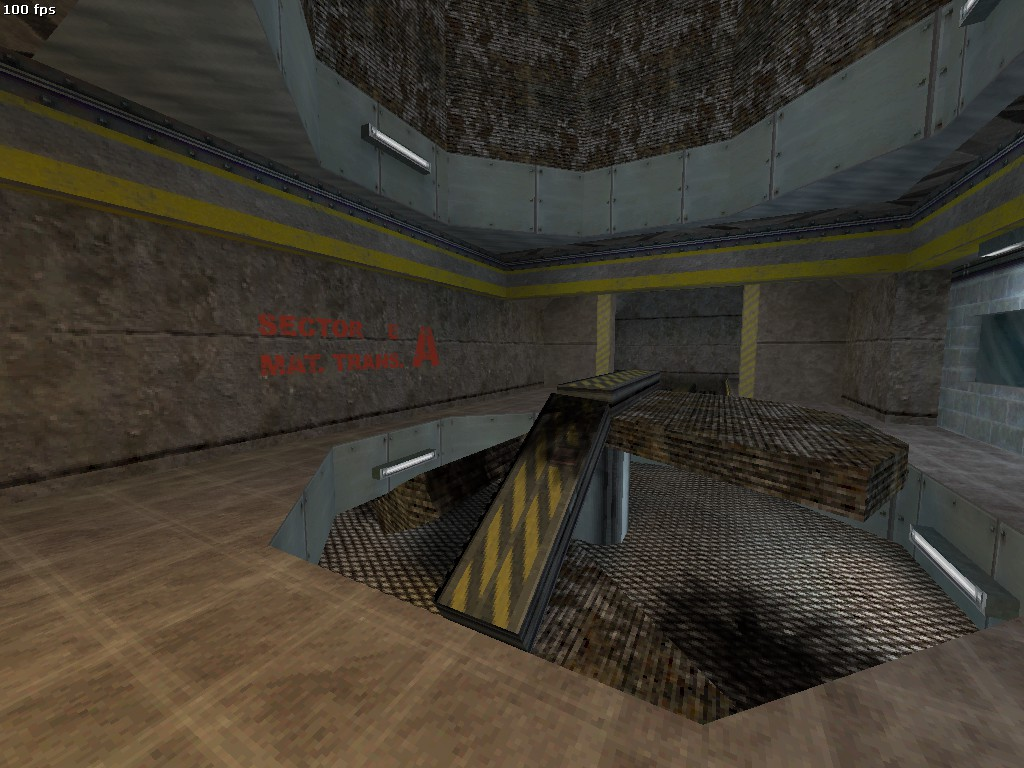
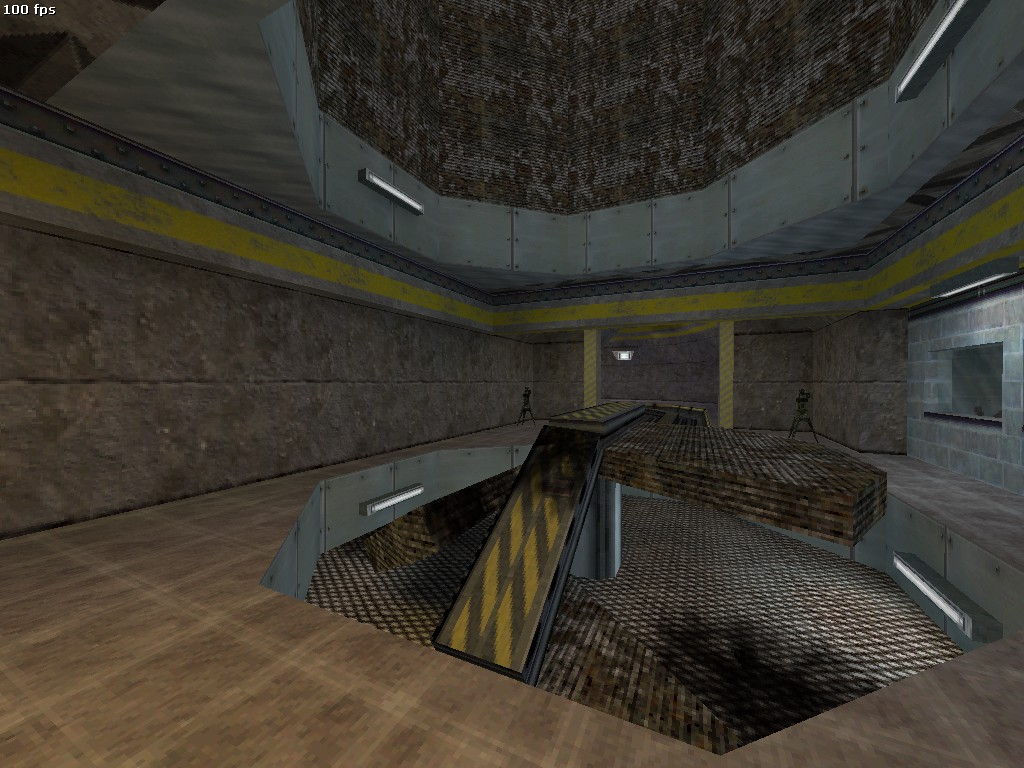
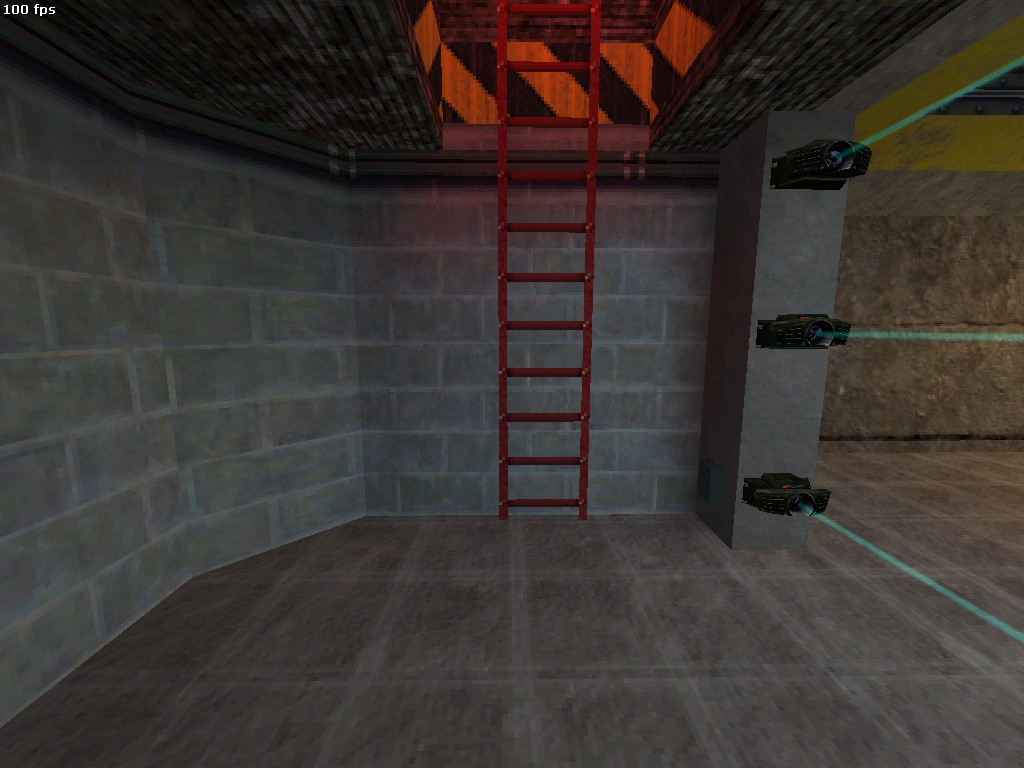
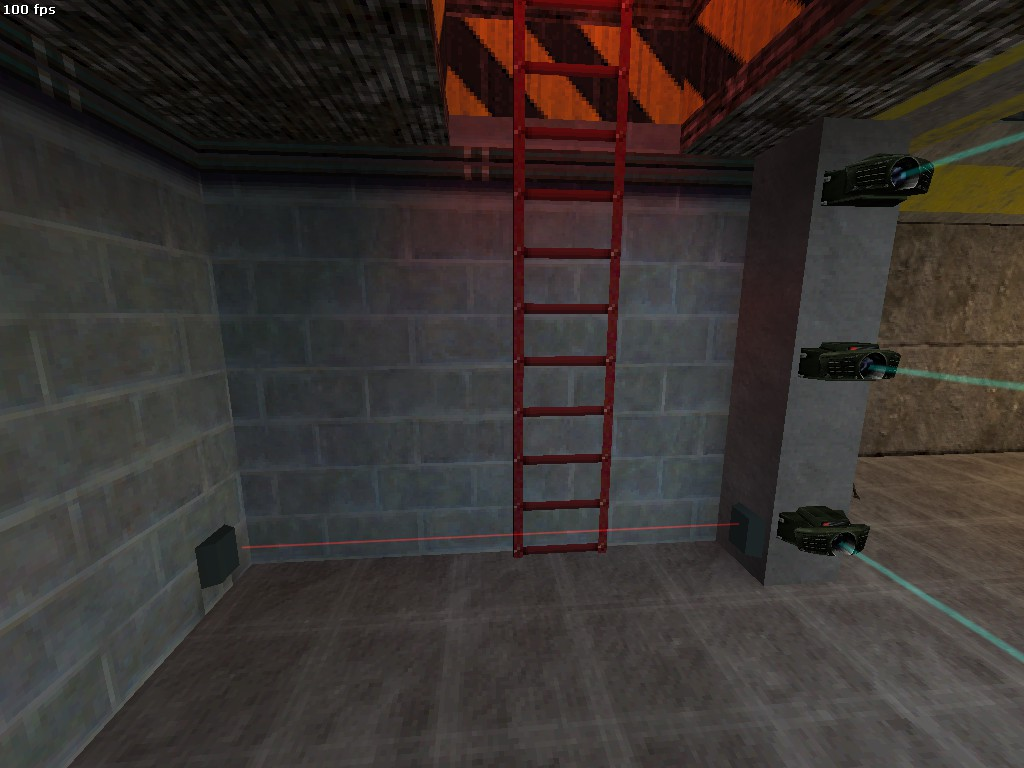
The exit to c2a2g has an additional decal on the wall. Additionally, there is only one motion sensor pad at the bottom of the ladder, as the wall the second one would be on is angled.
|
c2a2f |
c2a2g |
|---|---|
|
|
|
c2a2f |
c2a2g |
|---|---|
|
|
Residue Processing#
c2a4b#
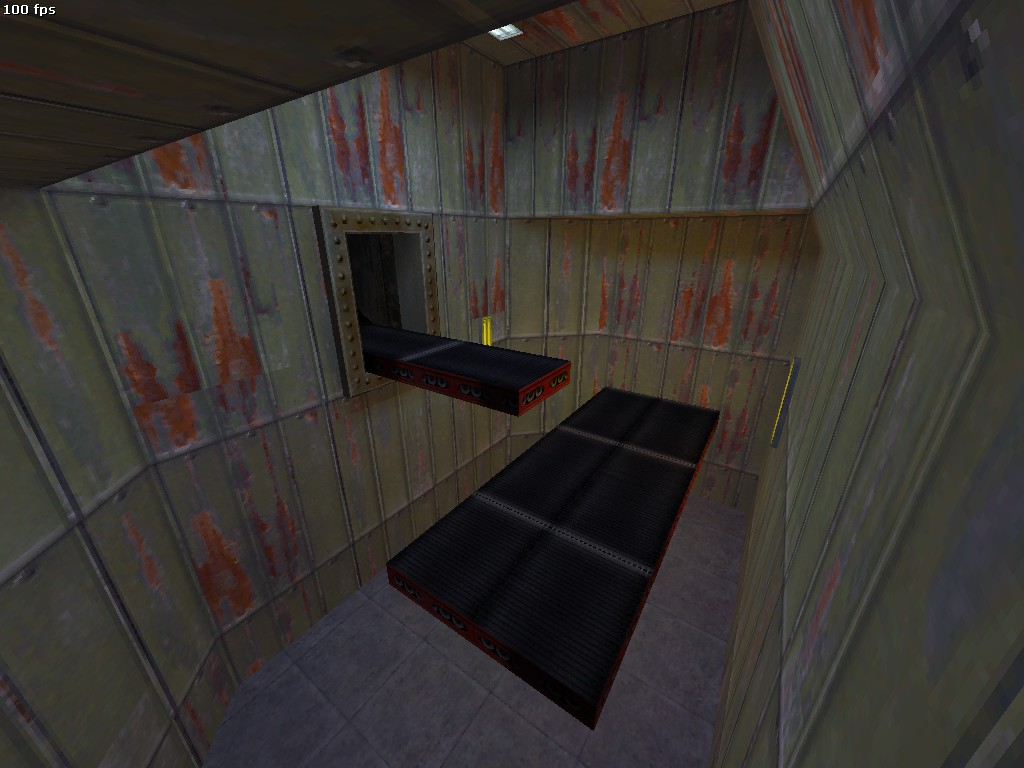
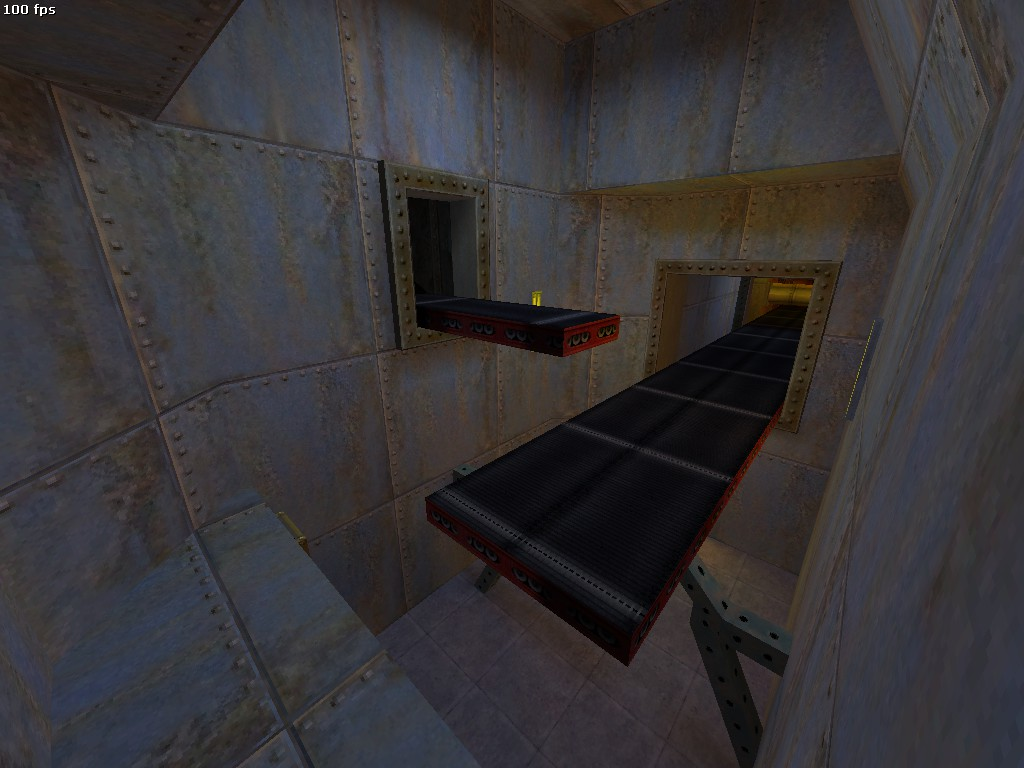
The exit to c2a4c uses a different texture. Since the texture used in this room in c2a4c is present in c2a4b, it's likely this is the original texture for this room.
|
c2a4b |
c2a4c |
|---|---|
|
|
c2a4c#
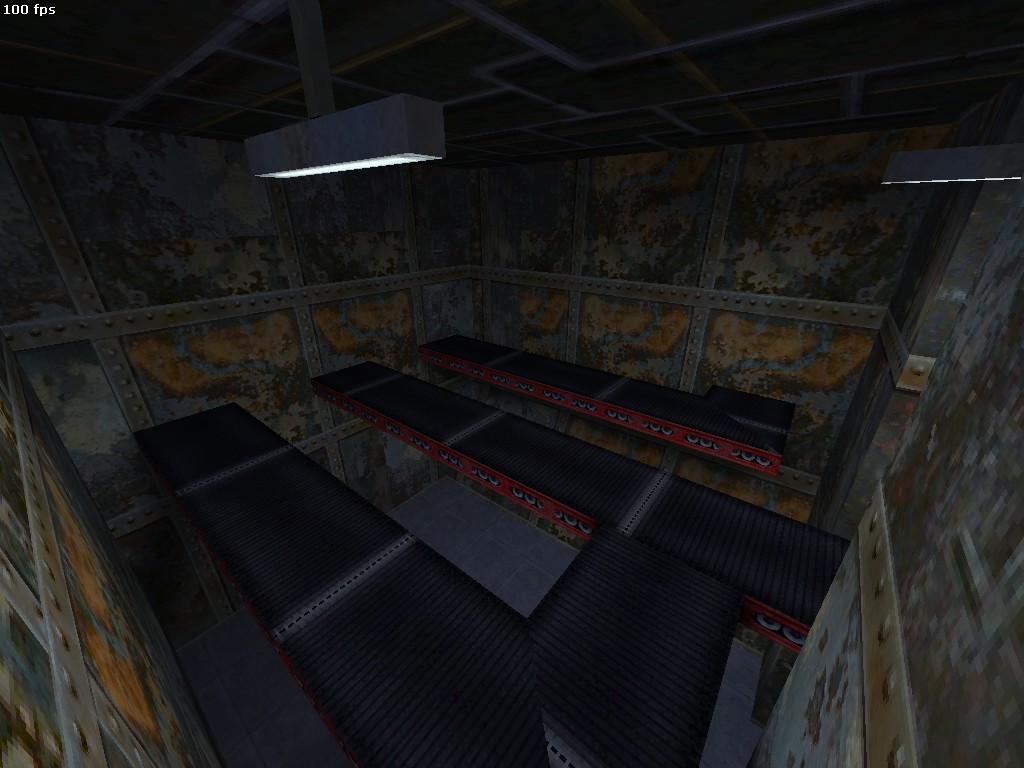
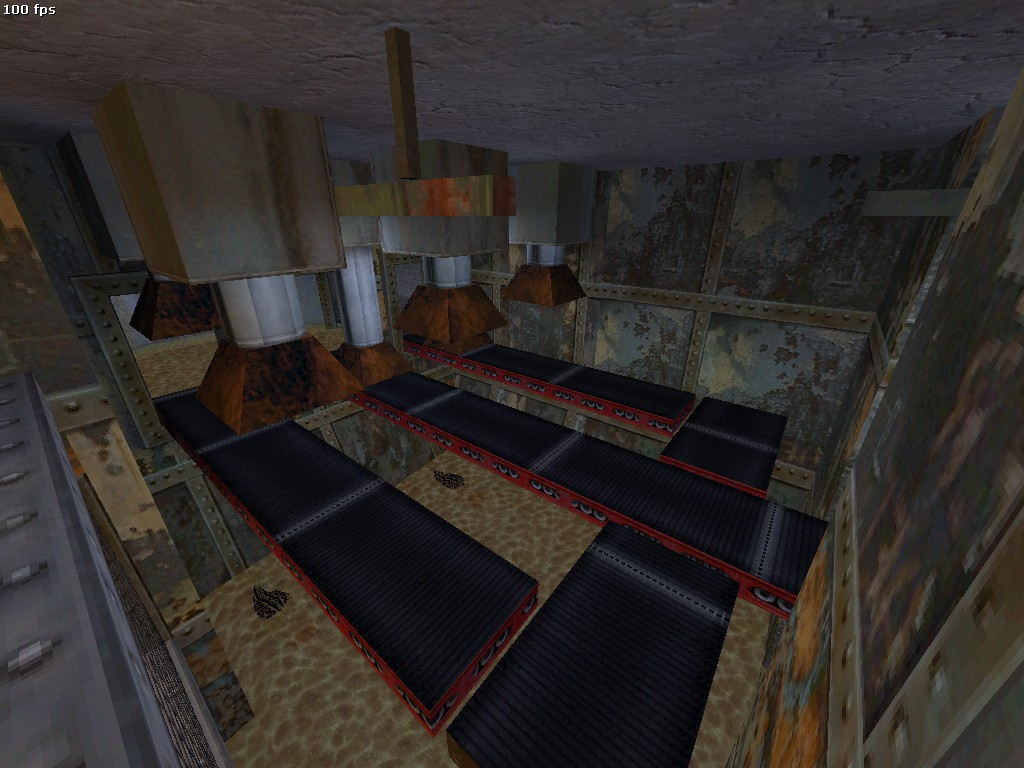
The entrance from c2a4b has an earlier version of the stomper room, with a different conveyor belt layout, no water, and less ceiling lights.
|
c2a4c |
c2a4b |
|---|---|
|
|
Questionable Ethics#
c2a4f#
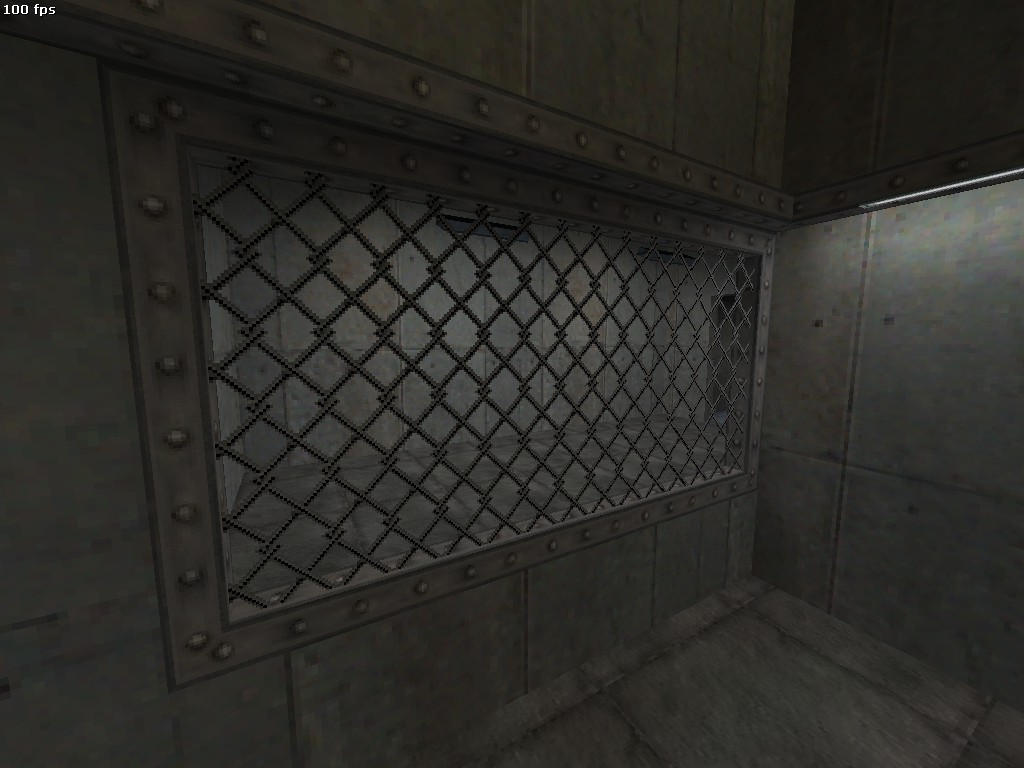
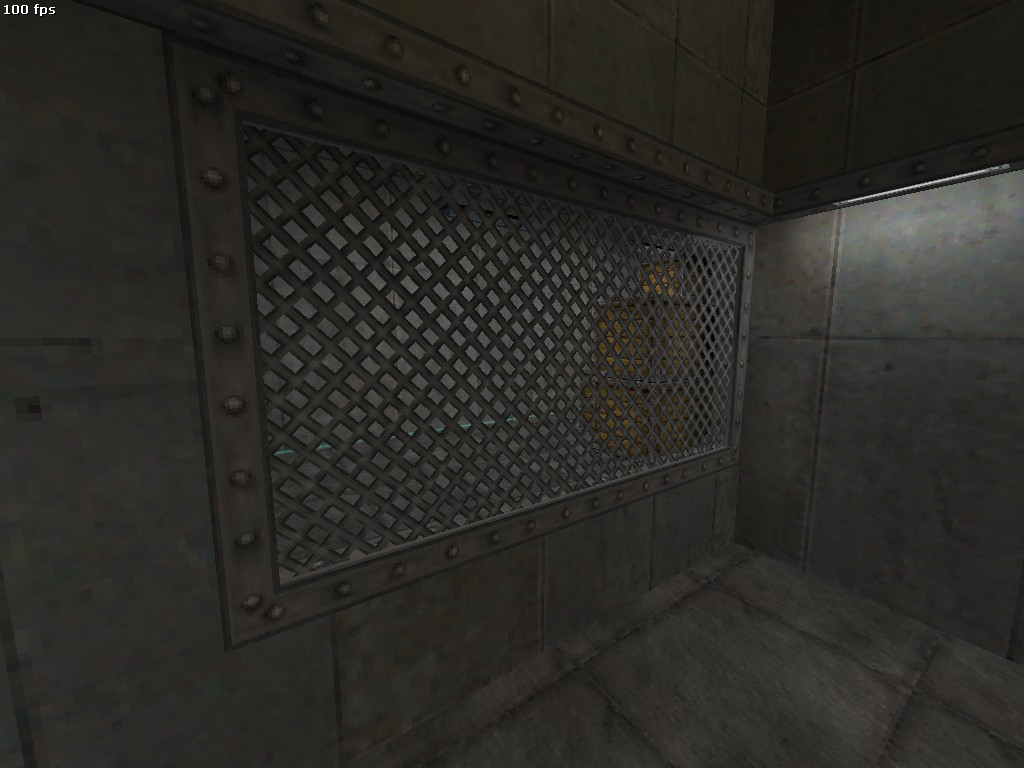
The exit to c2a4e contains a slightly differently textured version of the big room, with a different fence texture, and minor texture differences on the pipes and stairs.
|
c2a4f |
c2a4e |
|---|---|
|
|
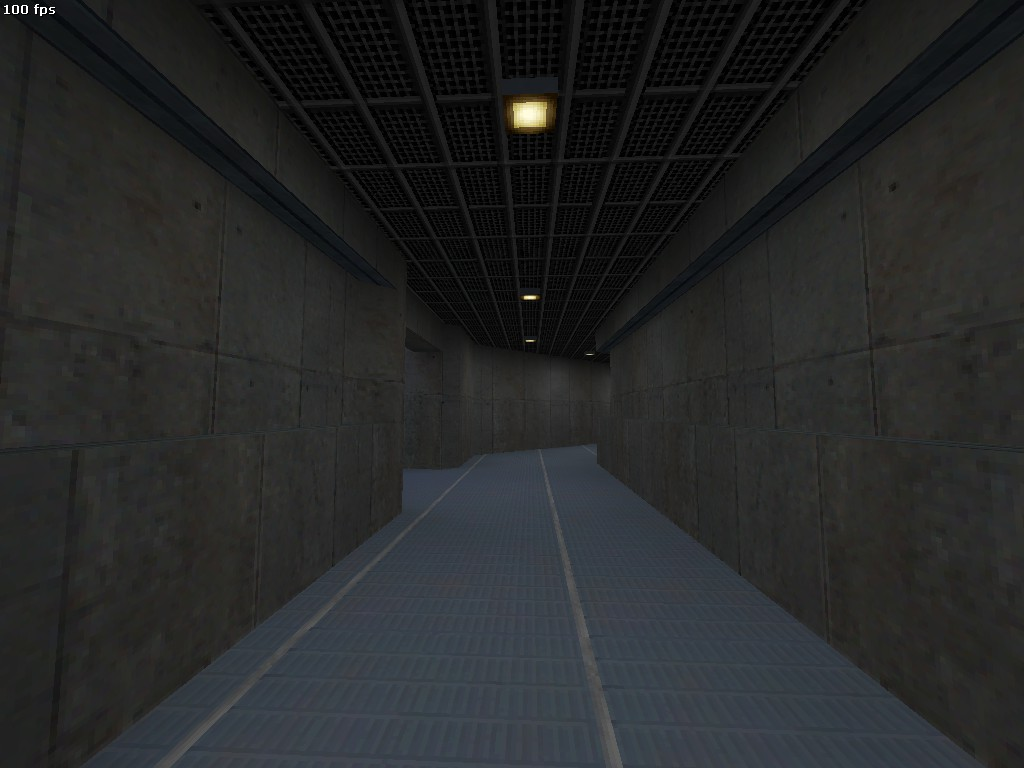
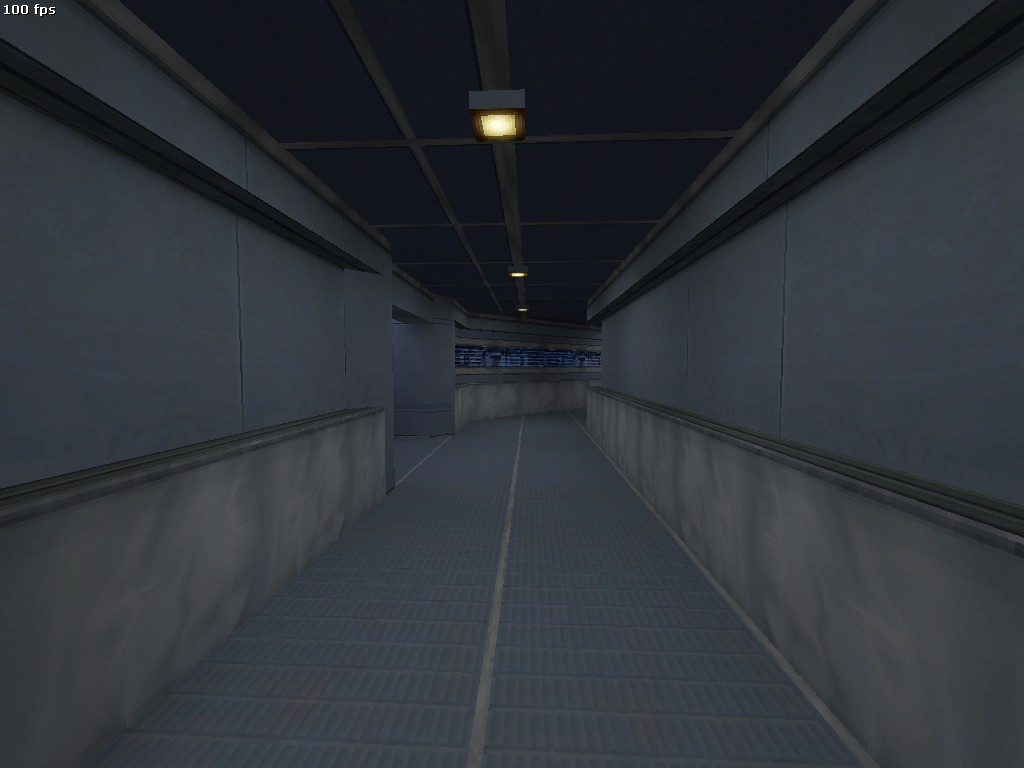
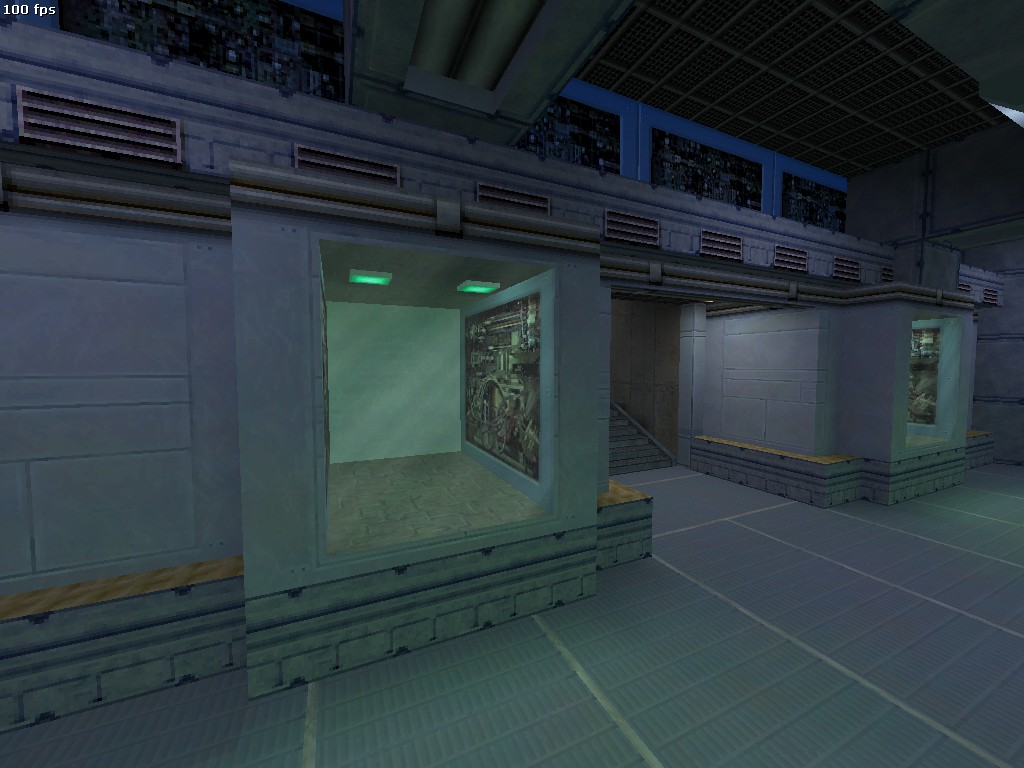
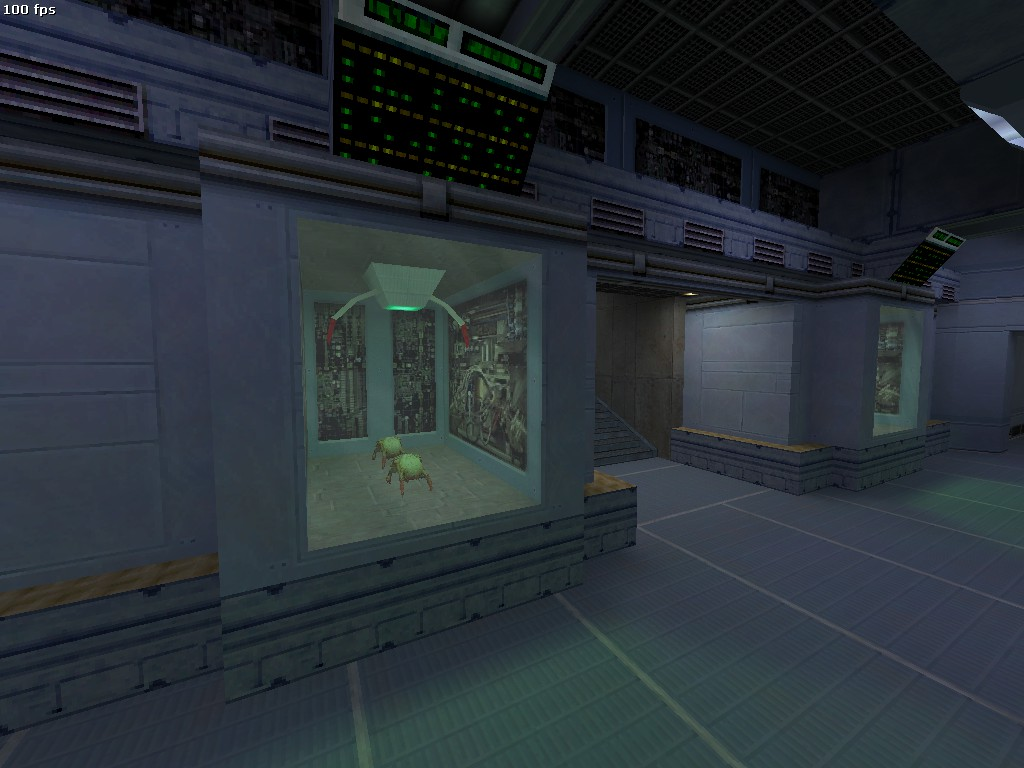
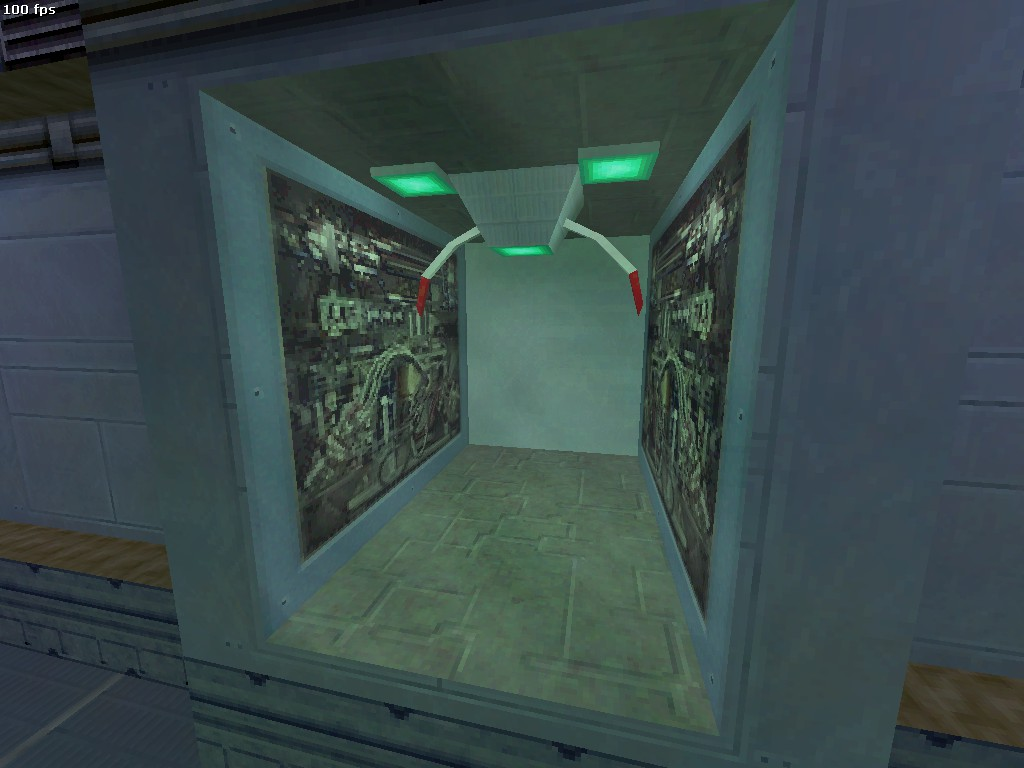
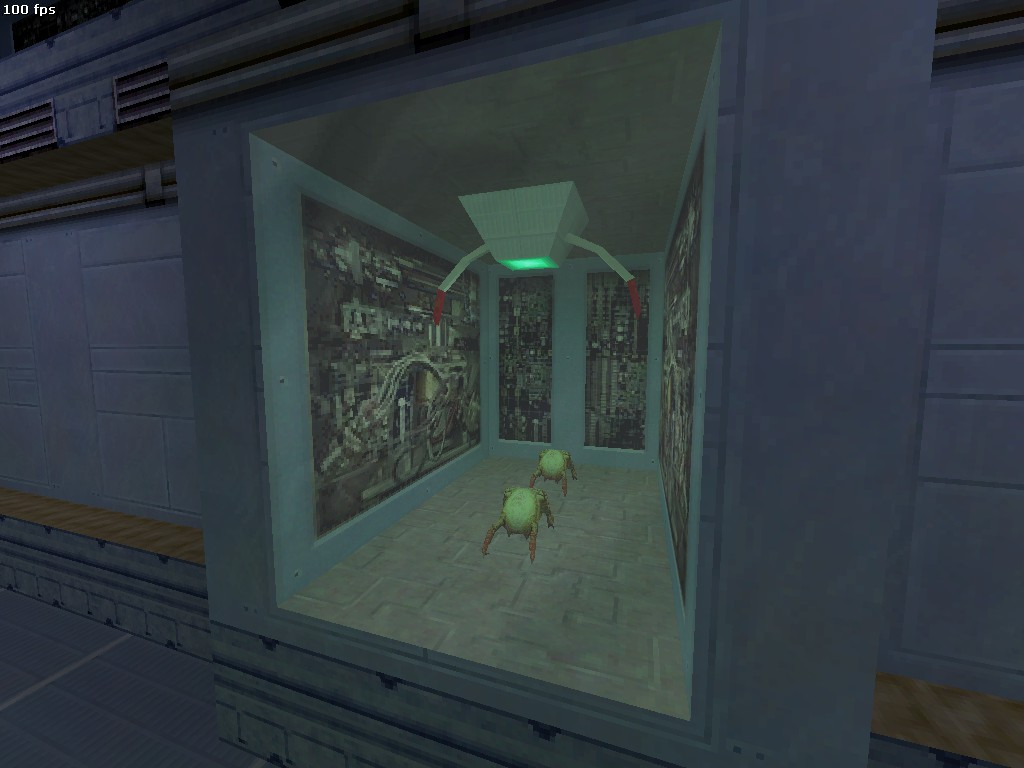
This exit also has an early version of the headcrab pod room and the connecting hallways. The hallways are textured much differently, and feature less wall details. The headcrab pod room itself has different geometry in and on the pods.
|
c2a4f |
c2a4e |
|---|---|
|
|
|
c2a4f |
c2a4e |
|---|---|
|
|
|
c2a4f |
c2a4e |
|---|---|
|
|
c2a4e#
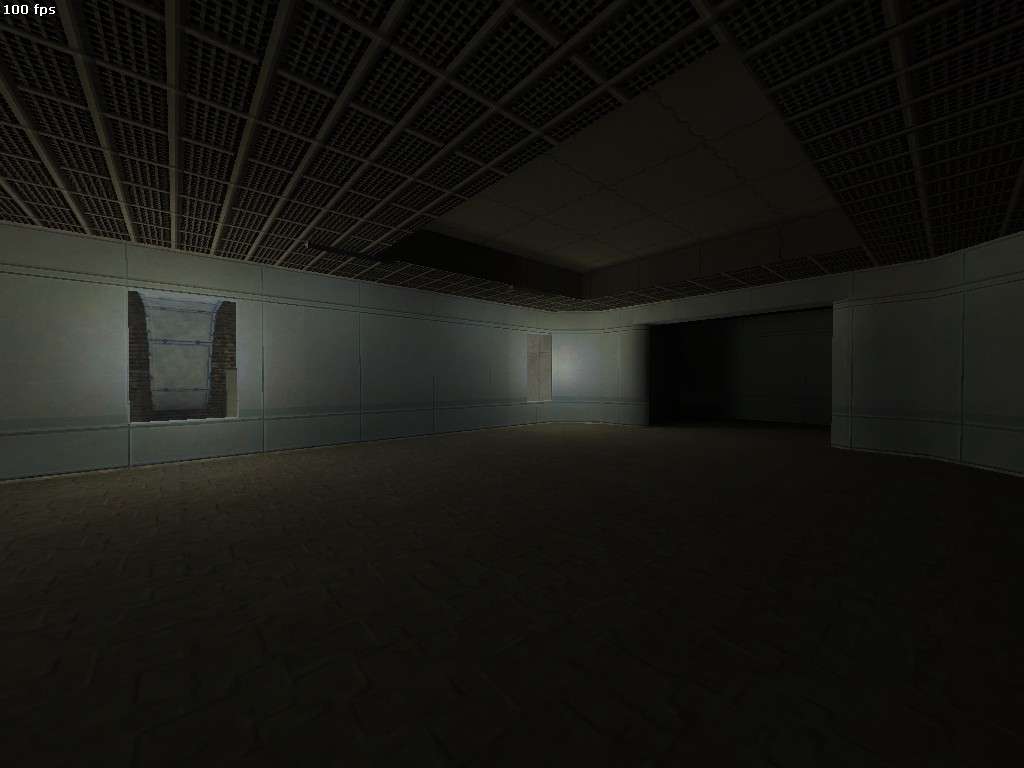
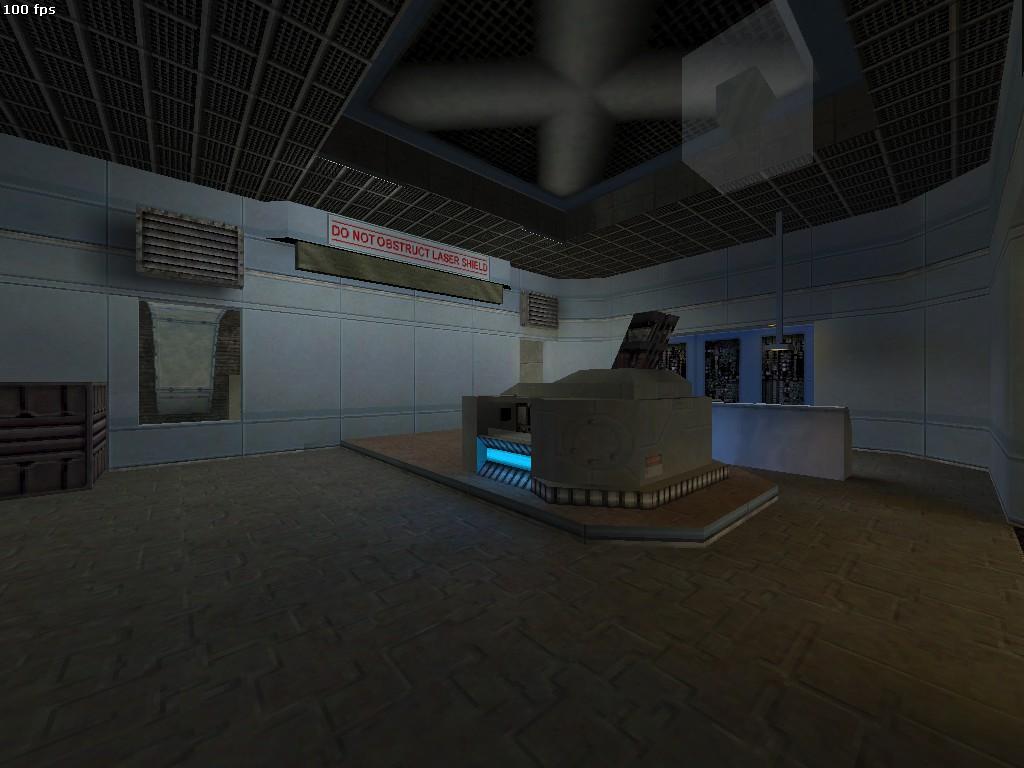
The entrance from c2a4f has leftovers from an earlier version of the laser room, with a lower ceiling with a differently positioned indent. This version of the room is missing the sections on the side of the room for the large standing computers, and has an empty room in place of one of them.
|
c2a4e |
c2a4f |
|---|---|
|
|
c2a5g#
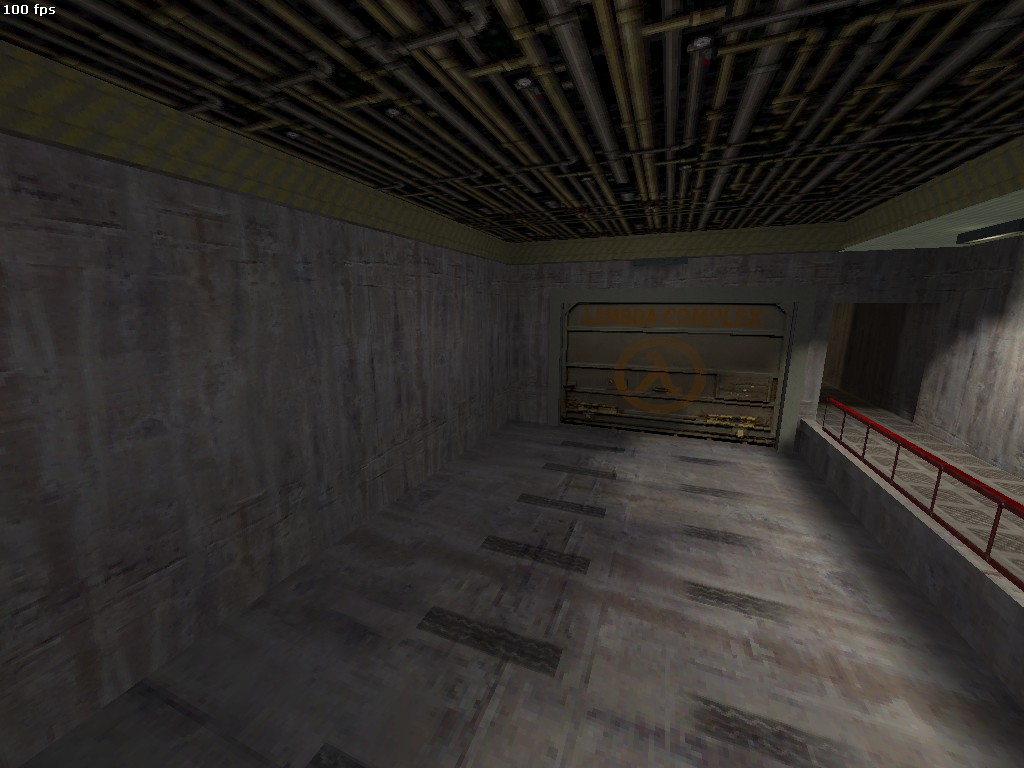
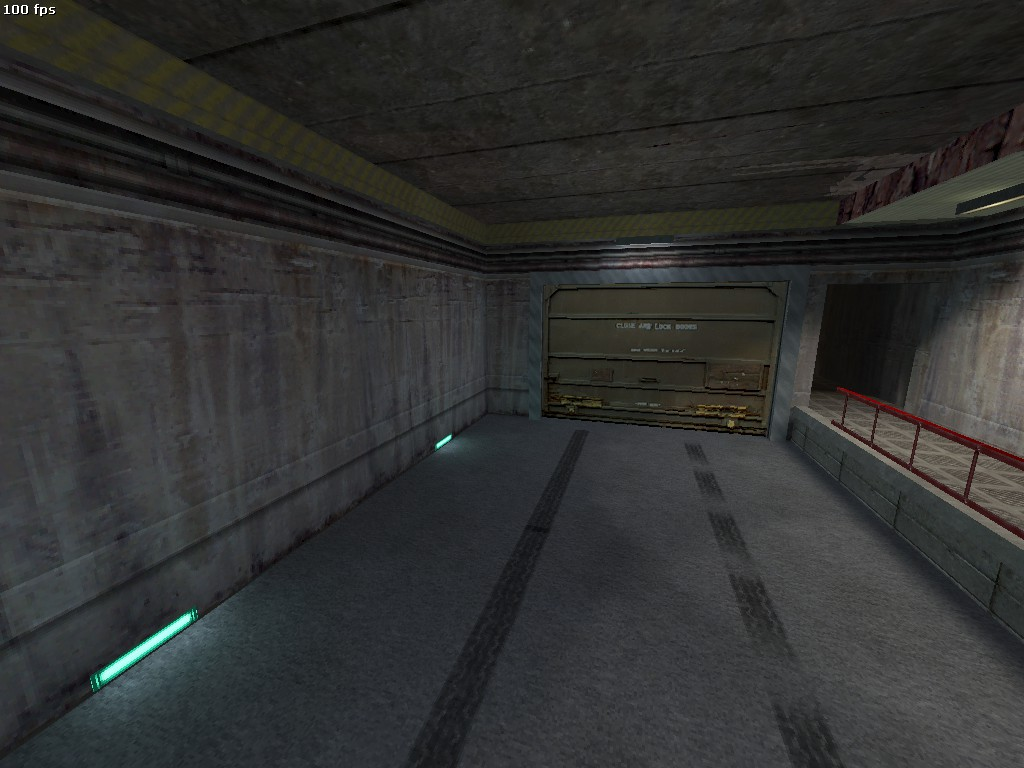
The exit to c3a1 has an early version of the collapsing ceiling room, with different texture work and no lights on the wall.
|
c2a5g |
c3a1 |
|---|---|
|
|
Forget About Freeman!#
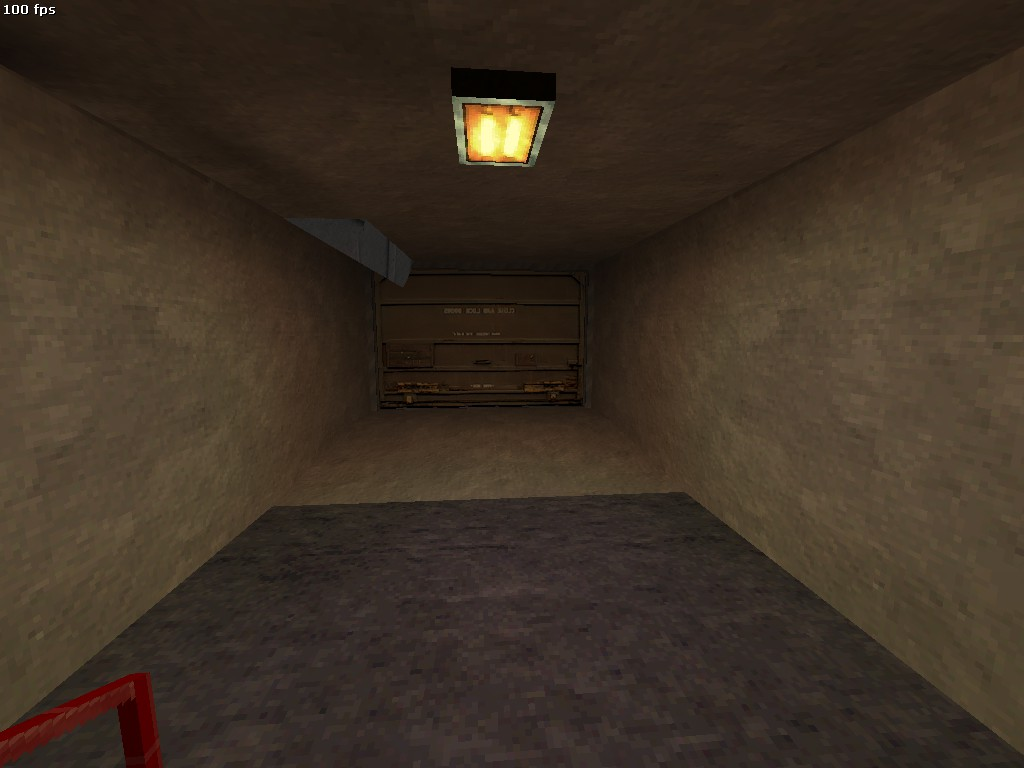
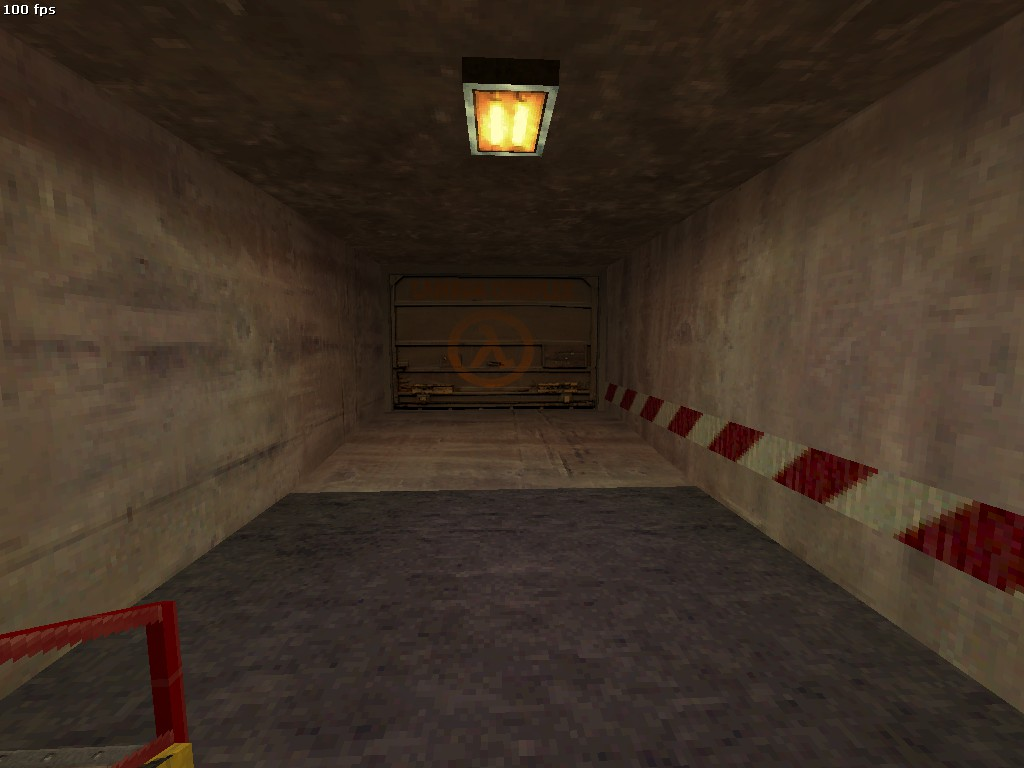
c3a1#
The entrance from c2a5g has some different textures.
|
c3a1 |
c2a5g |
|---|---|
|
|
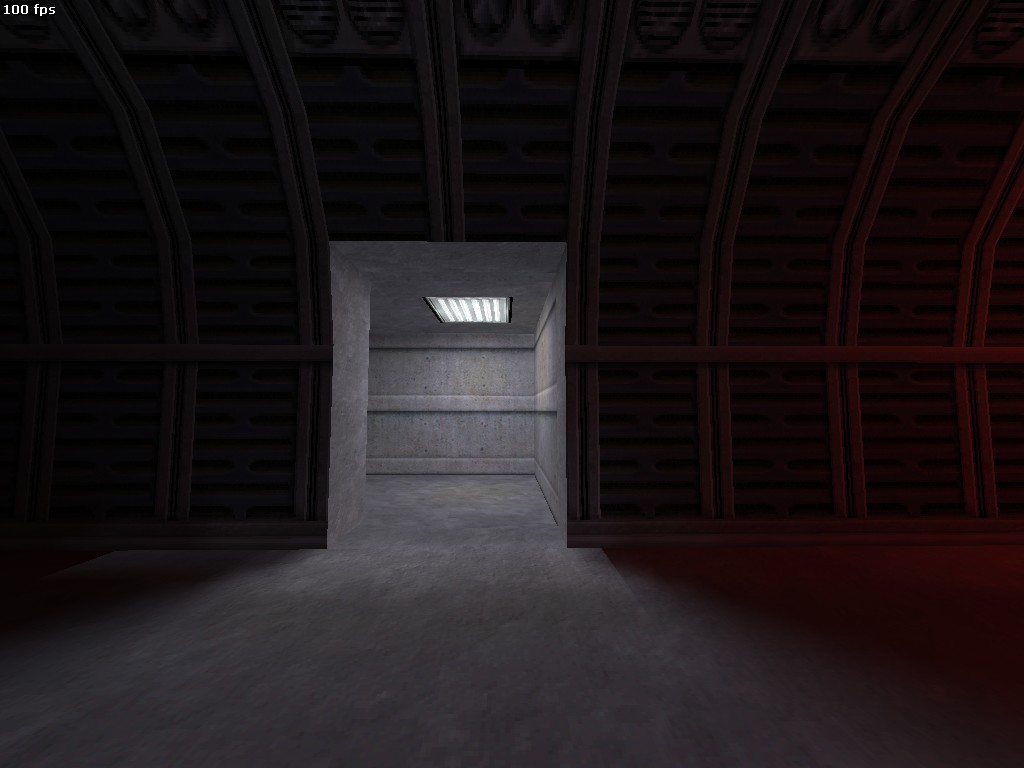
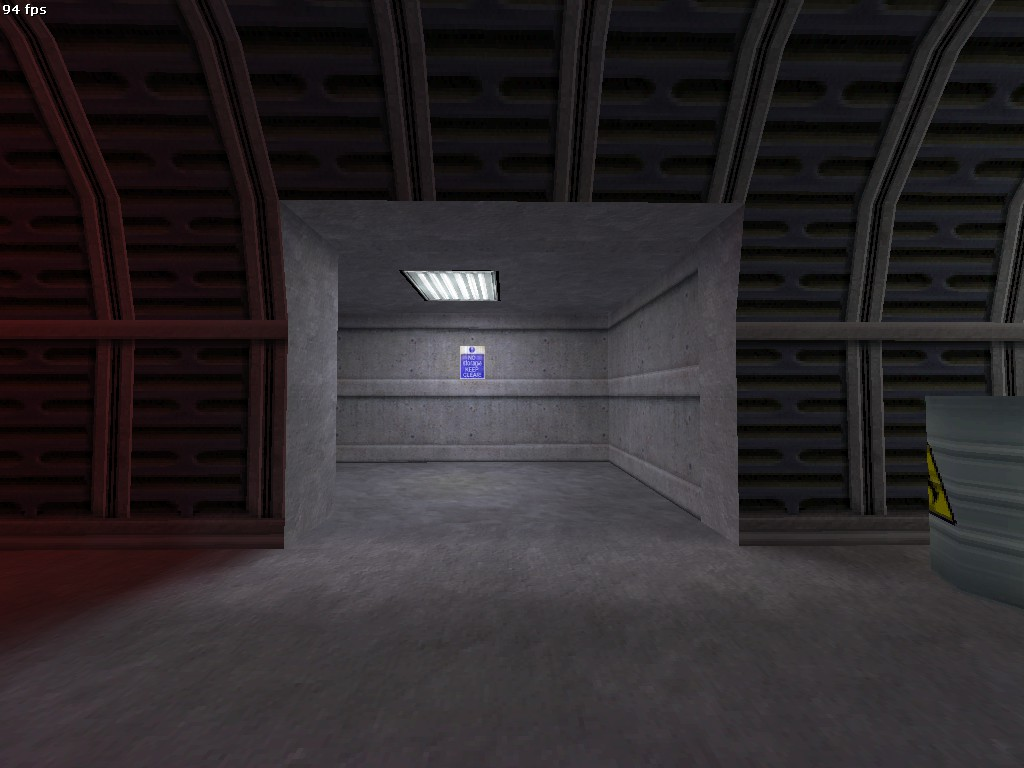
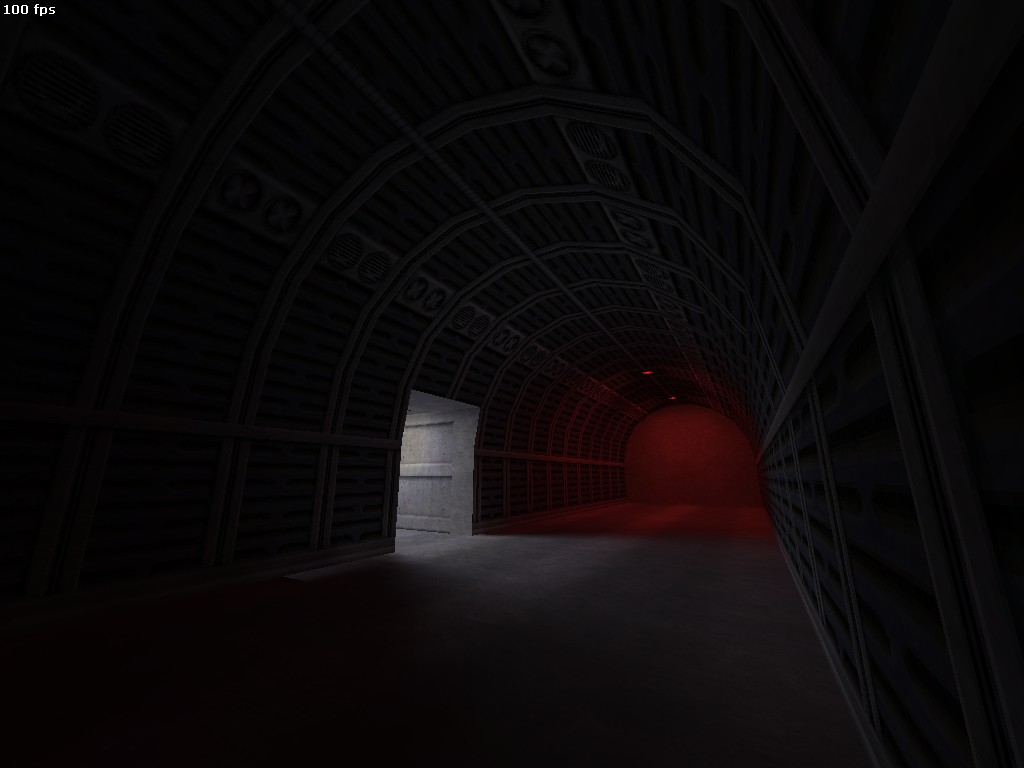
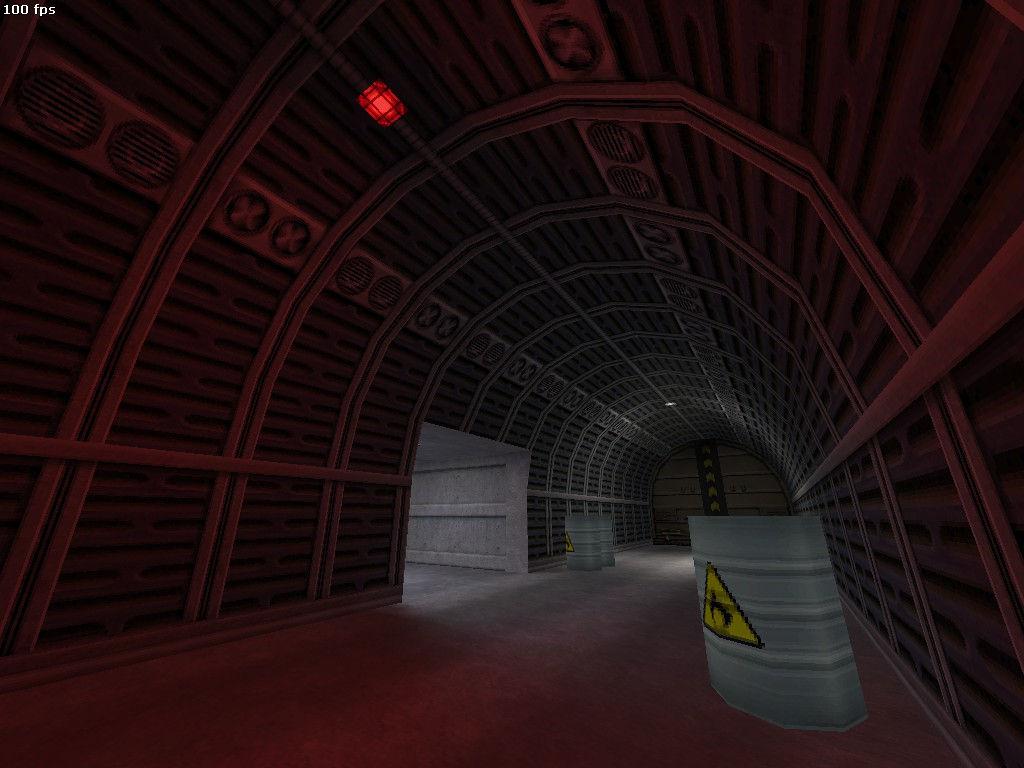
c3a2e#
The exit to c3a2 has an earlier version of this tunnel, with a smaller opening from the elevator hallway, and different ceiling lights.
|
c3a2e |
c3a2 |
|---|---|
|
|
|
c3a2e |
c3a2 |
|---|---|
|
|
Lambda Core#
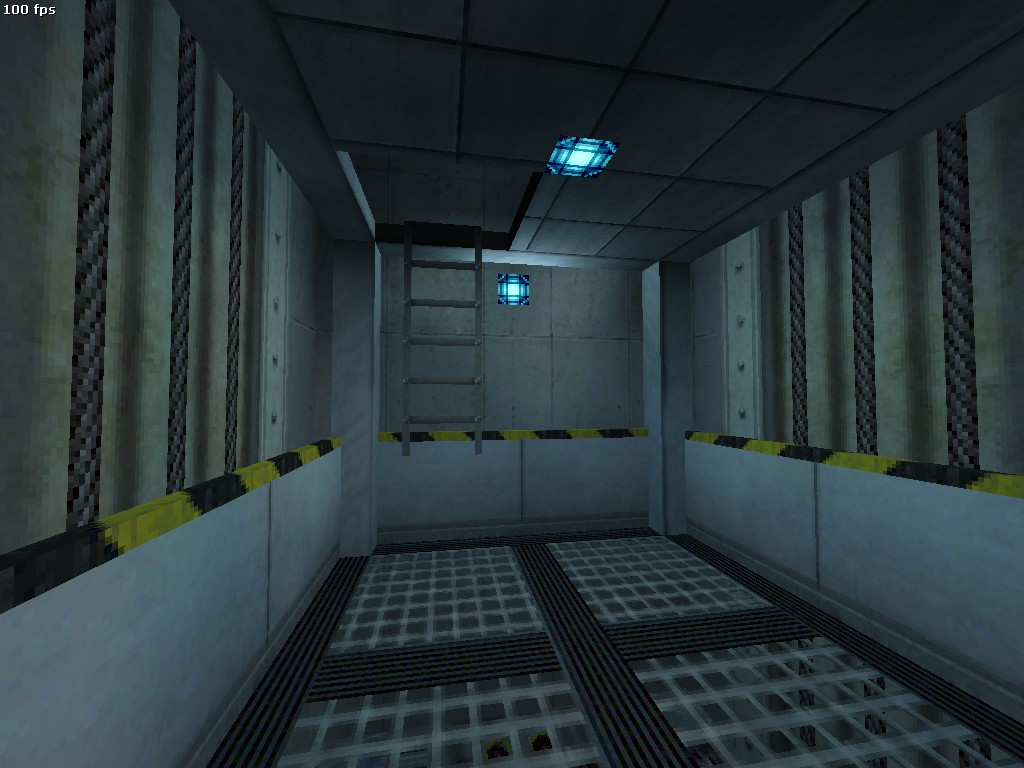
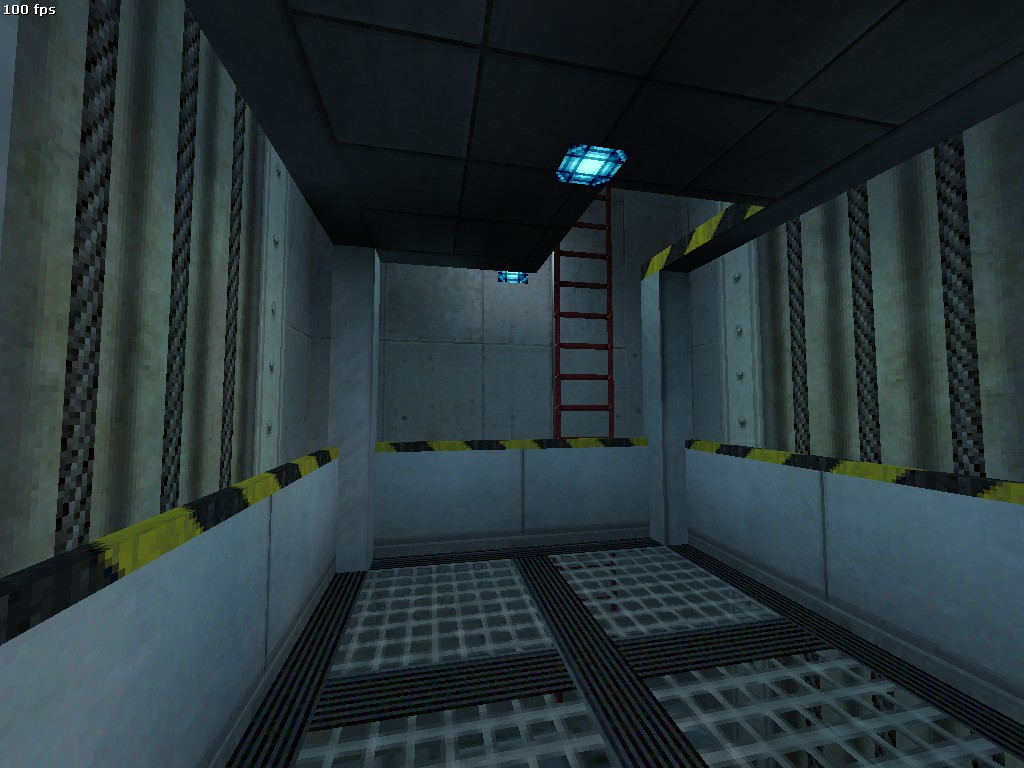
c3a2b#
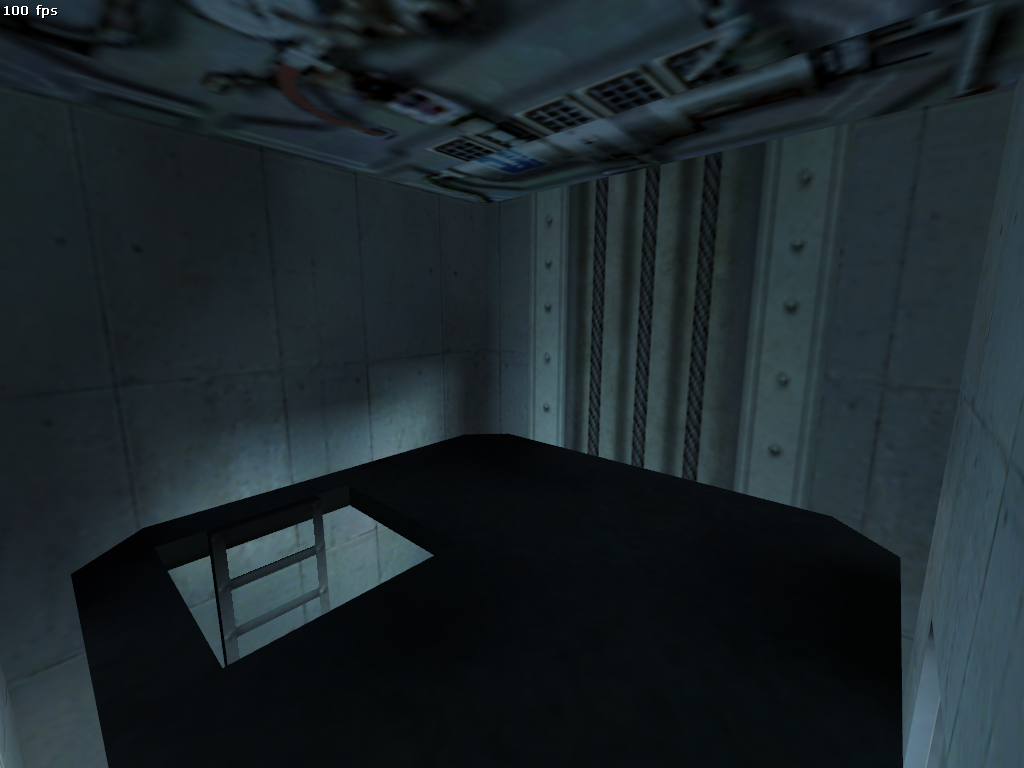
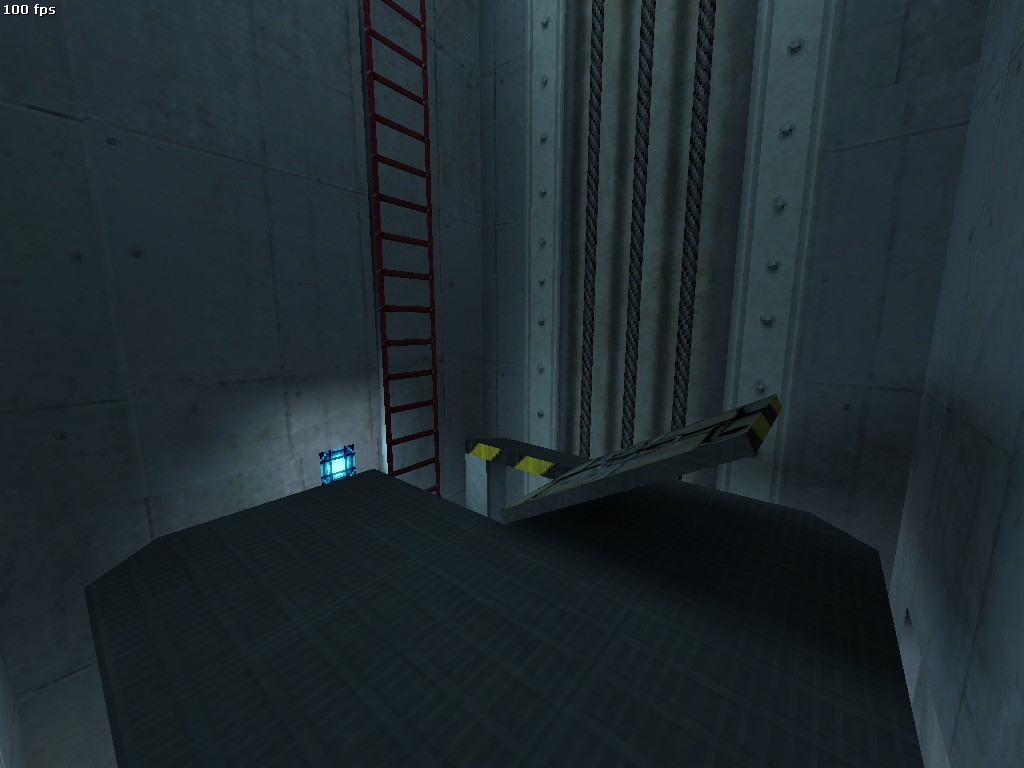
The exit to c3a2c has an earlier version of the elevator shaft. This version has a different ladder, positioned on the opposite side, and that only goes up to the top of the car. The hole in the elevator car itself has a different design than in c3a2c, and lacks the hatch.
|
c3a2b |
c3a2c |
|---|---|
|
|
|
c3a2b |
c3a2c |
|---|---|
|
|
c3a2c#
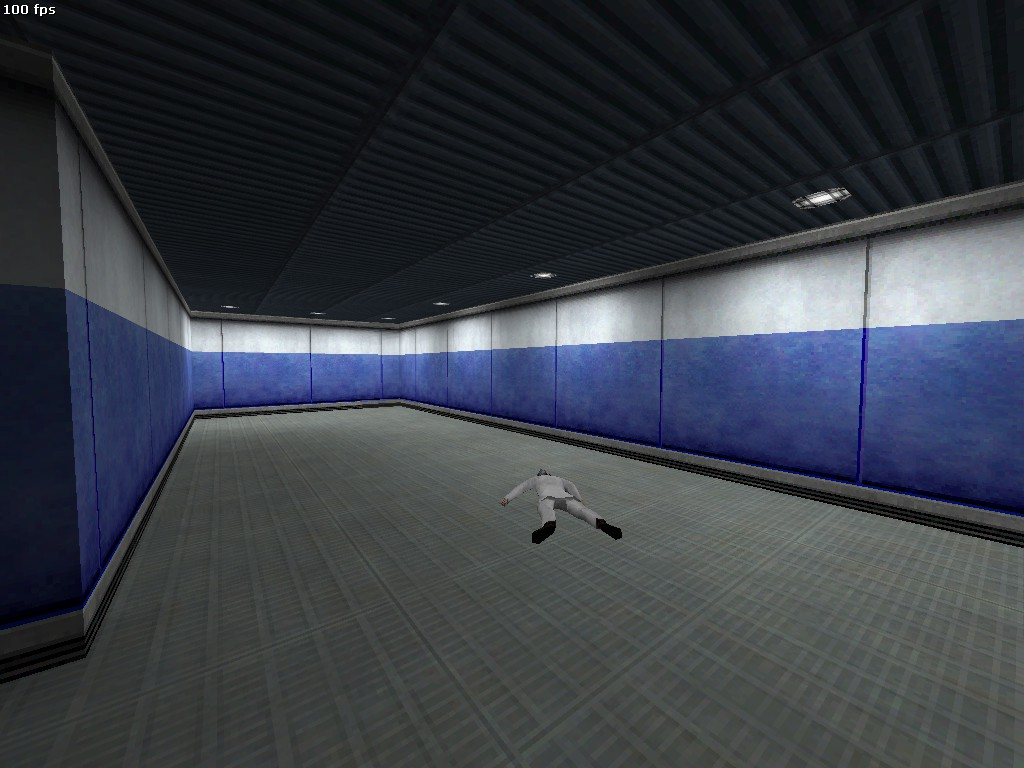
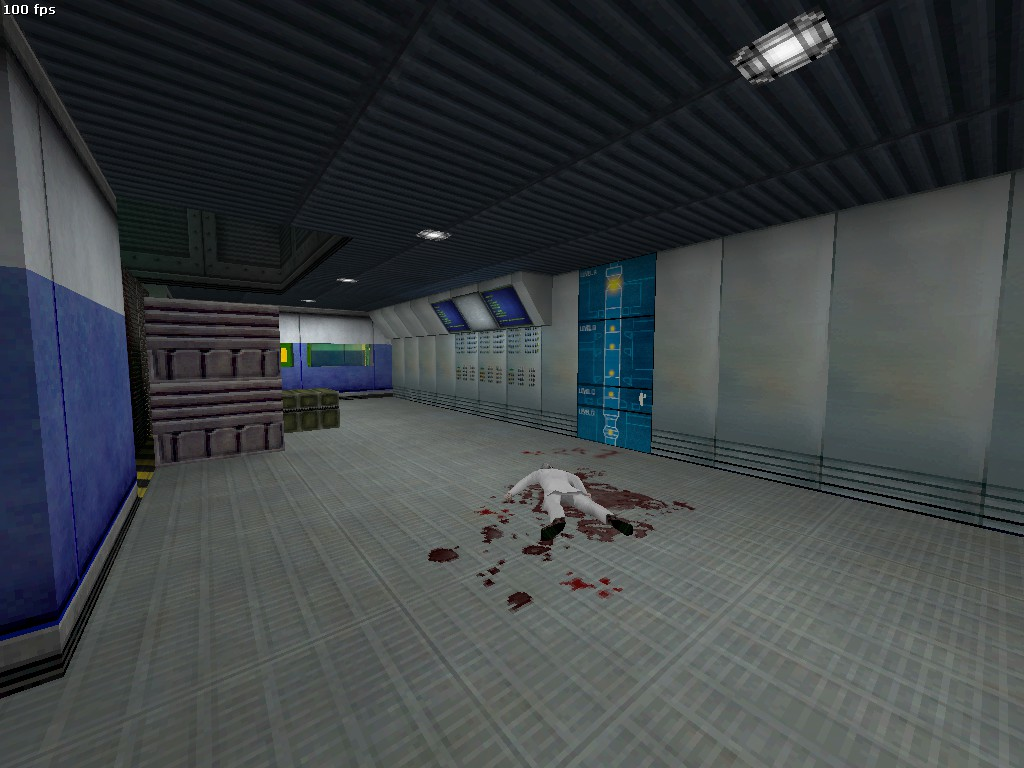
The exit to c3a2f has differently plotted ceiling lights in this room.
|
c3a2c |
c3a2f |
|---|---|
|
|
Xen#
c4a1c#
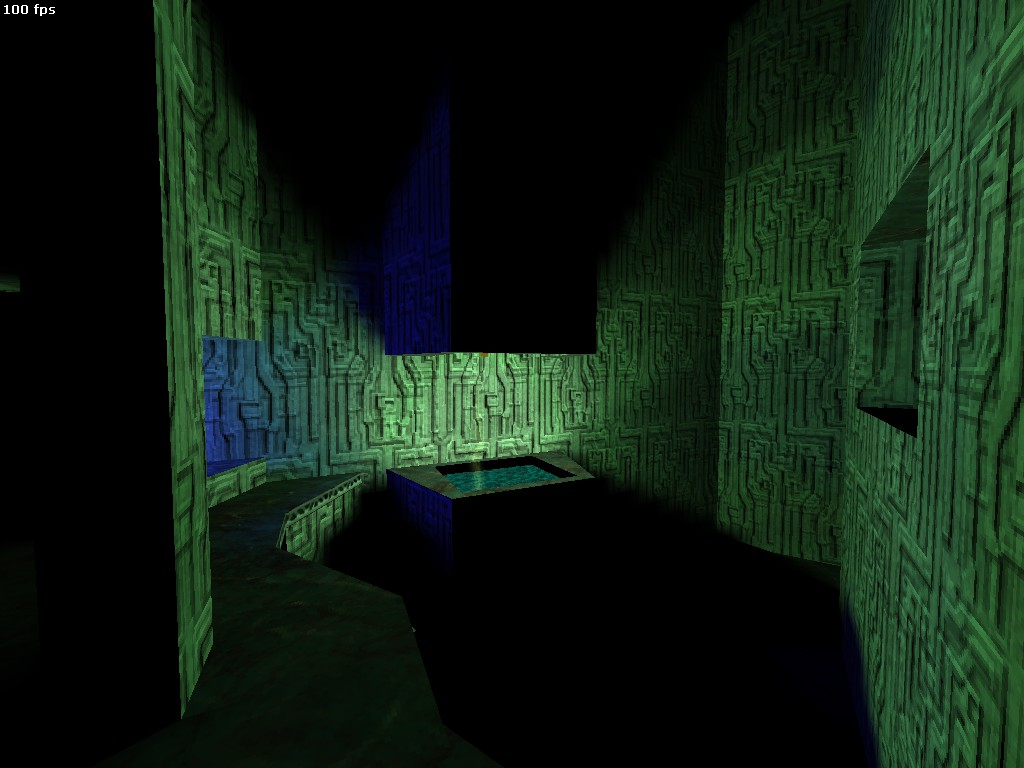
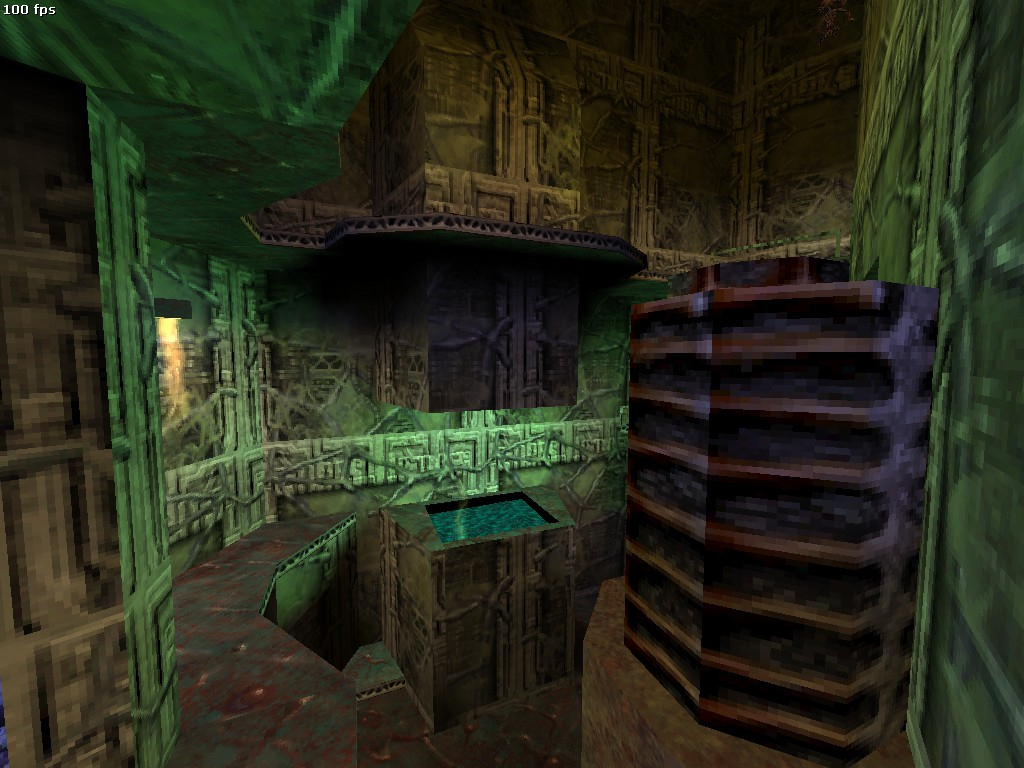
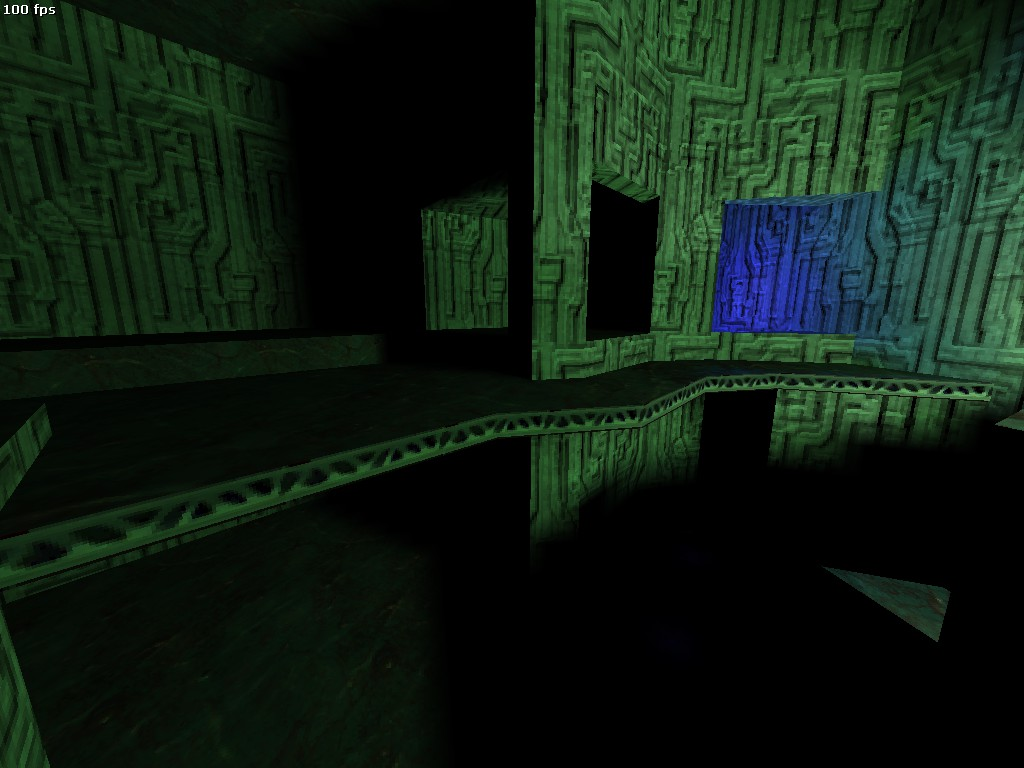
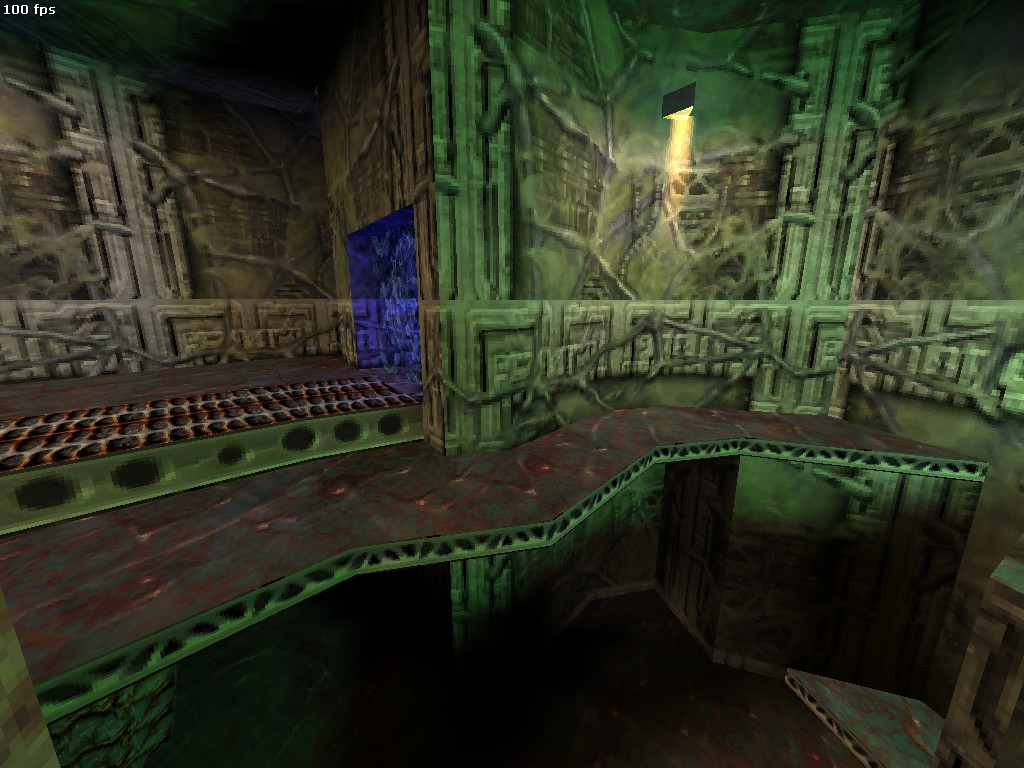
The exit to c4a1d has a mostly intact incomplete early layout for this room.
|
c4a1c |
c4a1d |
|---|---|
|
|
|
c4a1c |
c4a1d |
|---|---|
|
|