 This article has a talk page!
This is a sub-page of Castlevania: Curse of Darkness (PlayStation 2).
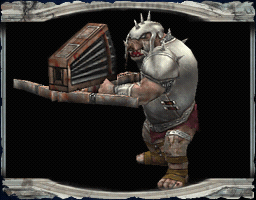
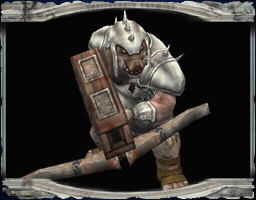
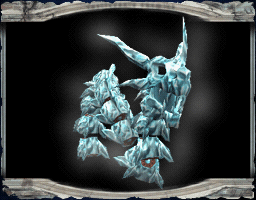
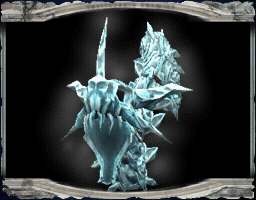
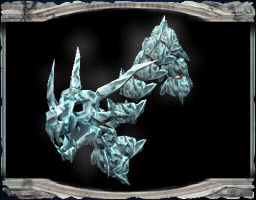
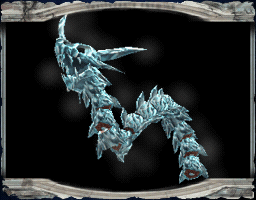
The player is allowed to encounter every enemy type there is, minus "Dummy" and the empty placeholders for enemy entries. However, multiple boss targets are never added to the in-game Bestiary book. There are also dummied versions of common foes, typically at Level 0, that are never encountered. Many of these enemy entries also have unused enemy pictures.
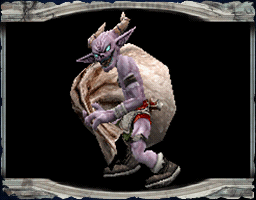
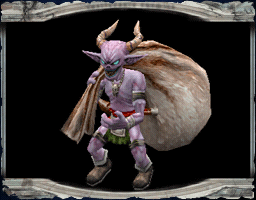
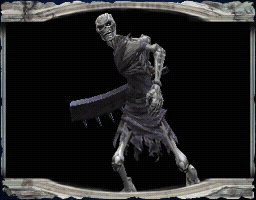
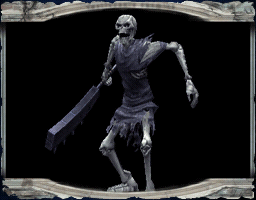
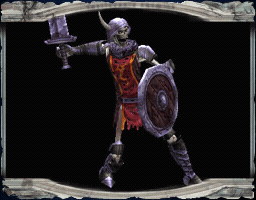
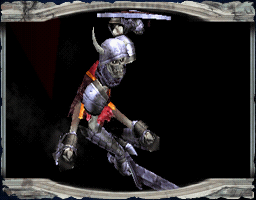
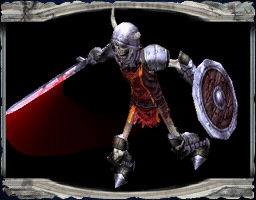
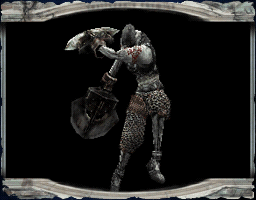
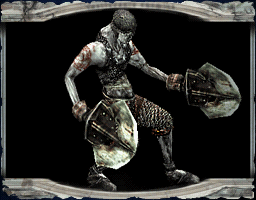
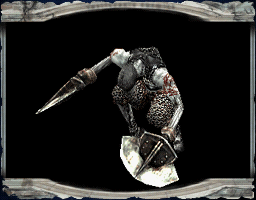
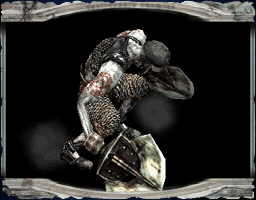
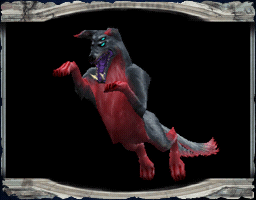
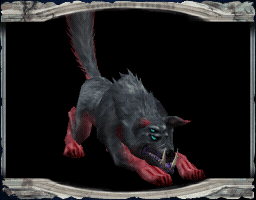
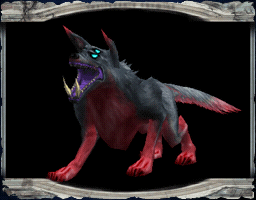
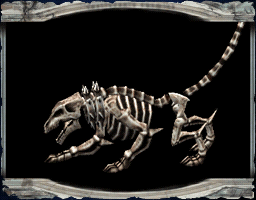
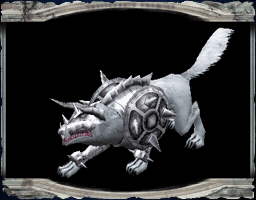
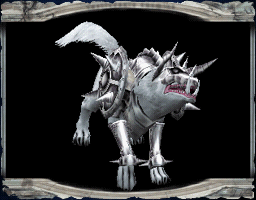
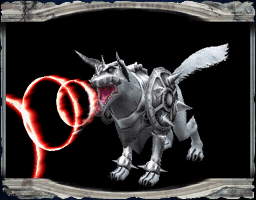
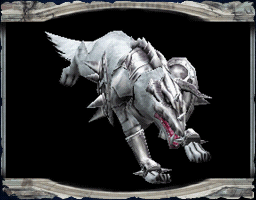
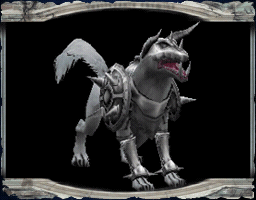
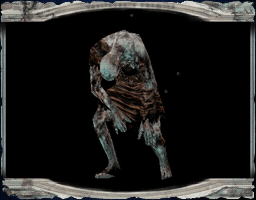
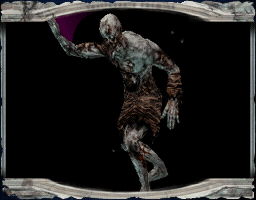
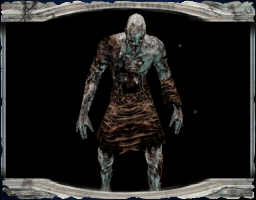
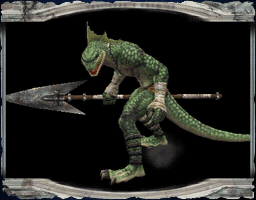
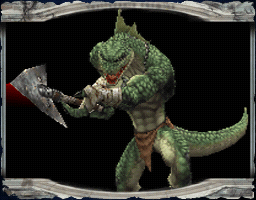
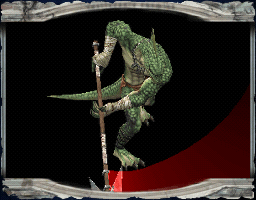
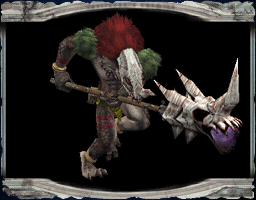
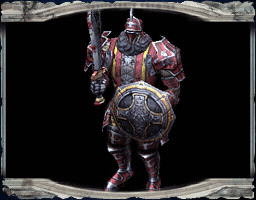
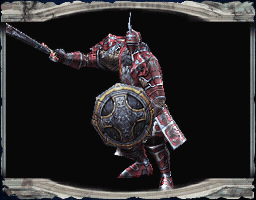
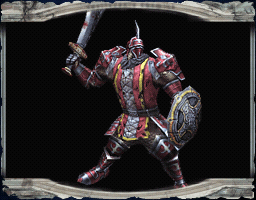
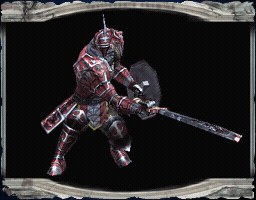
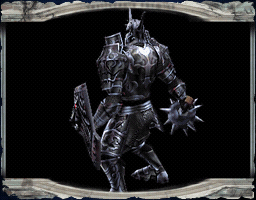
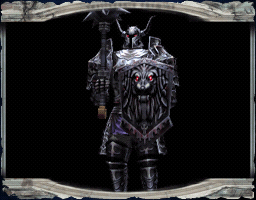
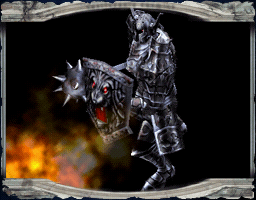
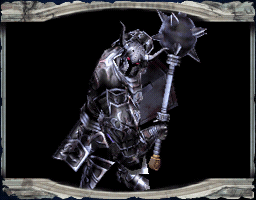
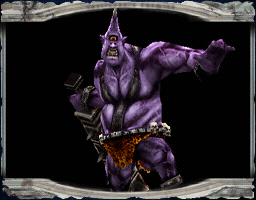
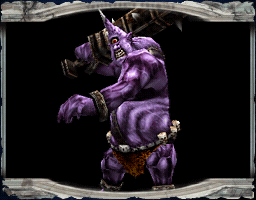
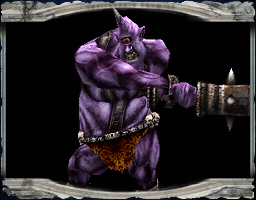
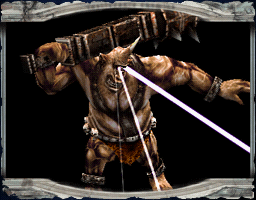
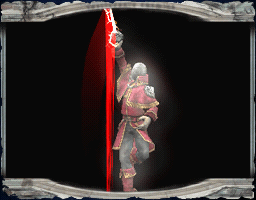
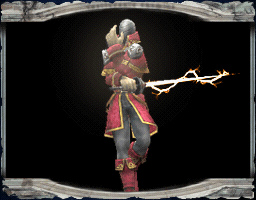
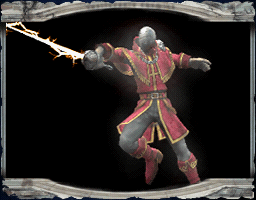
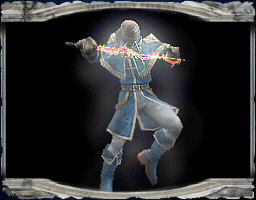
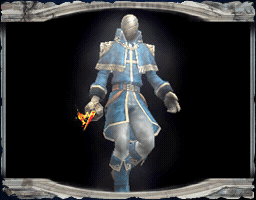
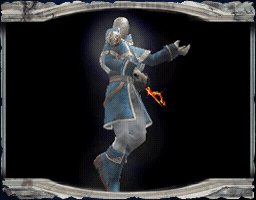
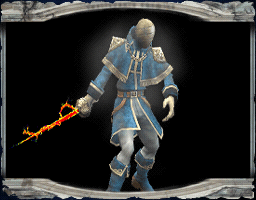
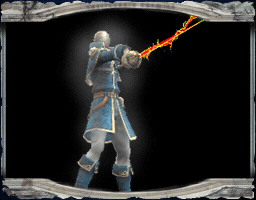
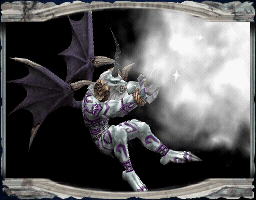
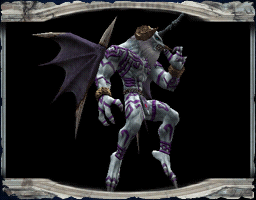
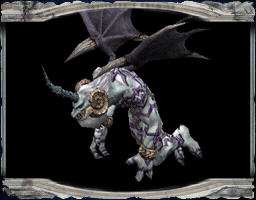
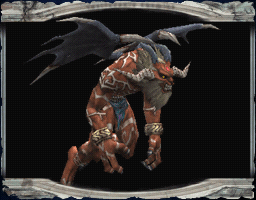
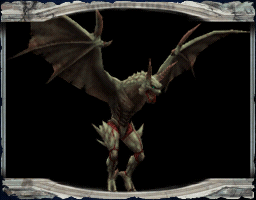
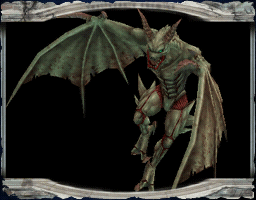
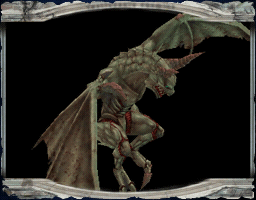
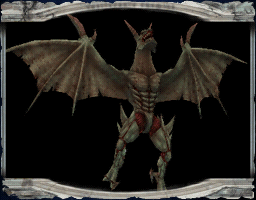
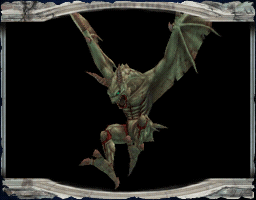
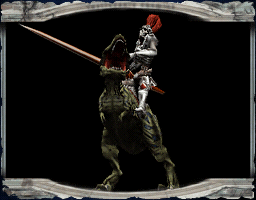
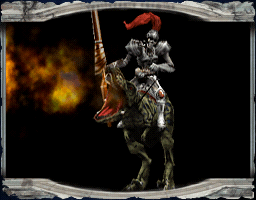
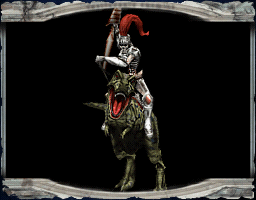
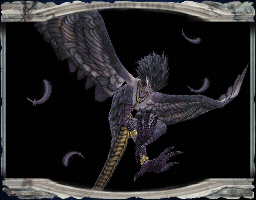
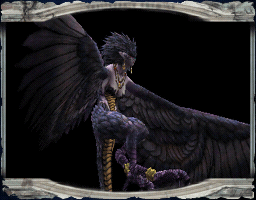
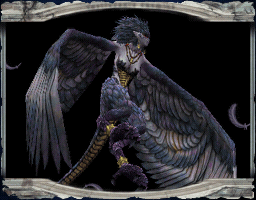
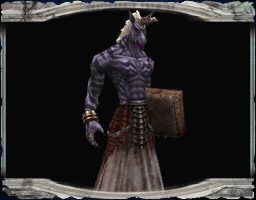
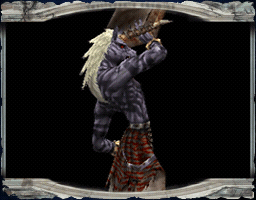
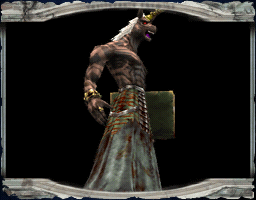
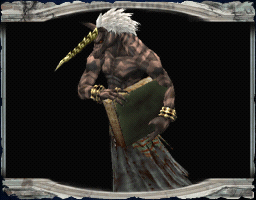
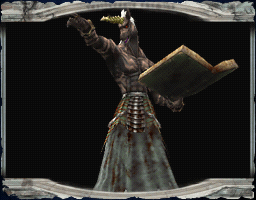
On top of that, there are 306 unused enemy pictures that are not linked to any specific enemy entry. While a few hidden enemy pictures have unique elements to them, most only show the enemy at an alternate angle and/or pose.
Below are the unused enemy entries as they are unlocked into the in-game Bestiary book. The enemy number (No.XXX) is arbitrary and doesn't reflect any actual number attached to the enemy.
Dummies#
Dummy#
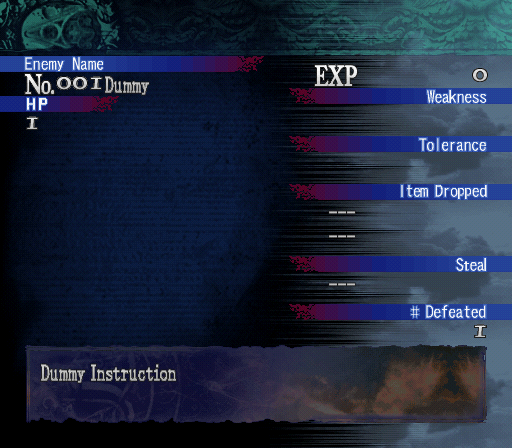
An enemy's HP and EXP is only revealed when at least one foe has been defeated. For this reason the kill count has been edited to be 1, rather than 0, for this and the following hidden enemy entries.
Some enemies have their Level hidden by default and this is true for Dummy. Editing the right value will reveal that Dummy's Level is always 0. 
Placeholders#
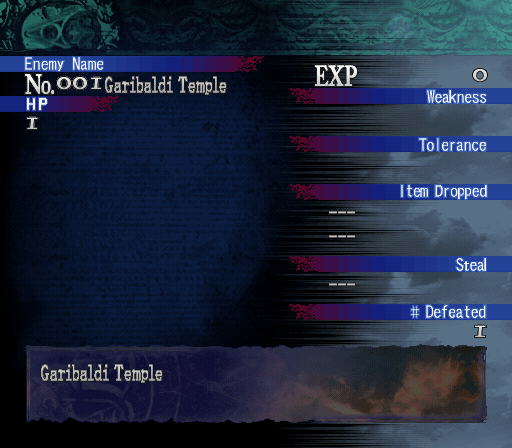
There are a total of 47 empty placeholders for enemy entries. All of these have "Garibaldi Temple" as their name and description due to this being the content of the 0th text entry in the game's text table.
Boss Encounters & Boss Targets#
Crazy Armor (First Phase)#
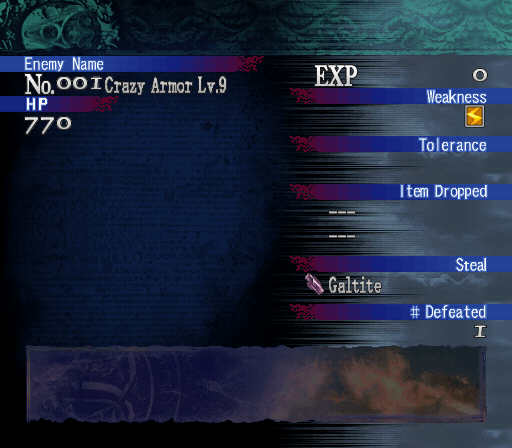
The used entry for Crazy Armor, No.020, is for the battle's second phase. The hidden entry for the first phase lacks a boss picture. While both entries for Crazy Armor show Galtite as the item you can steal, it is in fact only the first phase of Crazy Armor that you can steal from.
An enemy's level changes depending on the game mode, which in turn changes the enemy's HP and the EXP it grants. There are in total four modes:
- Normal difficulty as Hector or Trevor.
- Boss Rush Mode on Normal Difficulty as Hector or Trevor.
- Crazy Difficulty [@CRAZY], only available as Hector.
- Boss Rush Mode on Crazy Difficulty [@CRAZY], only available as Hector.
With the exception of two unused common foes, only bosses have their level changed when you enter Boss Rush Mode, though all enemies have addresses and values assigned for all four modes.
Here is how the stats for Crazy Armor (First Phase) changes depending on the current game mode.
Game Mode |
Crazy Armor Level |
Crazy Armor HP |
Crazy Armor EXP |
|---|---|---|---|
Normal |
9 |
770 |
0 |
Normal, Boss Rush |
45 |
3025 |
0 |
Crazy |
29 |
1870 |
0 |
Crazy, Boss Rush |
65 |
5225 |
0 |
The HP displayed for the used Crazy Armor entry, enemy No.020, is actually the sum of the HP for both phases of Crazy Armor.
Trevor (Garibaldi Temple)#
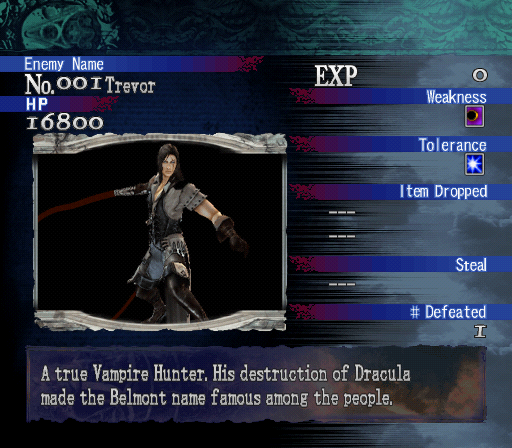
The enemy description for this unused entry is slightly different from the used entry for Trevor (No.112), which is unlocked when battling him in the Abandoned Castle.
Unused entry description:
A true Vampire Hunter. His destruction of Dracula
made the Belmont name famous among the people.
Used entry description, No.112:
A true Vampire Hunter and hero of the Belmont family.
Agrees to lend his strength to Hector.
The level of the Garibaldi Temple version of Trevor is usually hidden. Changing the value of the right address can reveal the level in the Bestiary entry.
Game Mode |
Trevor Level |
Displayed HP |
"Actual" HP |
Trevor EXP |
|---|---|---|---|---|
Normal |
16 |
16800 |
1700-ish |
0 |
Normal, Boss Rush |
47 |
47200 |
5900 |
0 |
Crazy |
36 |
32800 |
3300-ish |
0 |
Crazy, Boss Rush |
67 |
79200 |
9900 |
0 |
The extremely high HP values displayed have to do with how the first encounter with Trevor is programmed. The HP values in Boss Rush Mode are less complicated, though the programming from that first encounter still carry over into the Bestiary.
One common element across all 160 used bestiary entries is that each enemy has an item that can be stolen. With the Trevor encounter in Garibaldi Temple, and other enemies on this list, there is no item to steal.
Trevor Doppelganger (Garibaldi Temple)#
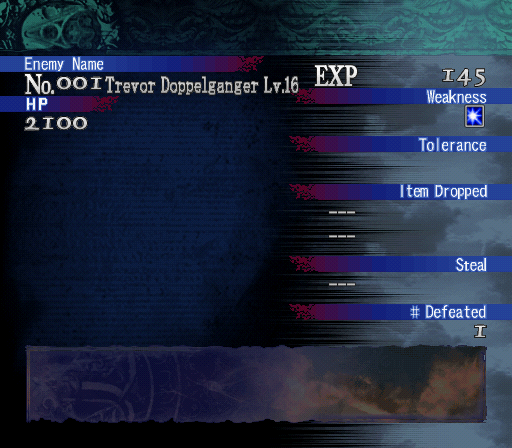
Game Mode |
Trevor Doppelganger Level |
Trevor Doppelganger HP |
Trevor Doppelganger EXP |
|---|---|---|---|
Normal |
16 |
2100 |
145 |
Normal, Boss Rush |
47 |
5900 |
145 |
Crazy |
36 |
4100 |
145 |
Crazy, Boss Rush |
67 |
9900 |
145 |
Trevor Doppelganger is only encountered in Trevor mode, where the Bestiary menu is not available. Ergo, both enemy entries for Trevor Doppelganger become unused.
Because Crazy difficulty isn't available while playing as Trevor, the versions of Trevor Doppelganger for Crazy Mode and Crazy Boss Rush Mode become unused.
Trevor Doppelganger (Abandoned Castle)#
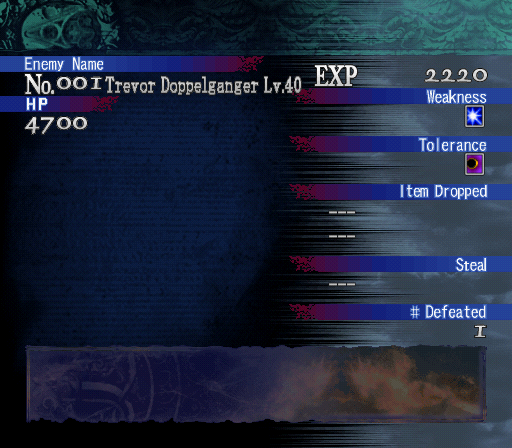
Game Mode |
Trevor Doppelganger Level |
Trevor Doppelganger HP |
Trevor Doppelganger EXP |
|---|---|---|---|
Normal |
40 |
4700 |
2220 |
Normal, Boss Rush |
52 |
6900 |
2220 |
Crazy |
60 |
8500 |
2220 |
Crazy, Boss Rush |
72 |
10900 |
2220 |
EXP remains the same between all levels of both Trevor Doppelganger encounters. While Trevor does invisibly accrue EXP, he never levels up and so EXP is never used for anything.
Skull Fish#
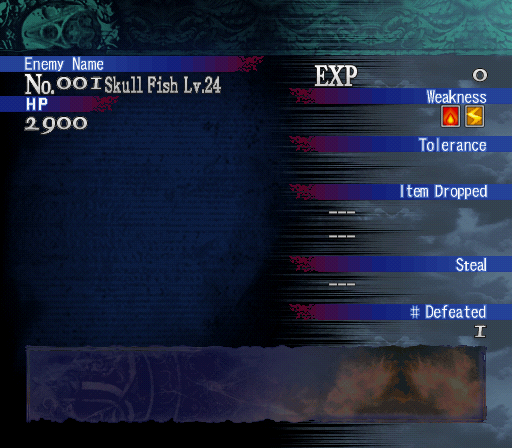
The boss of Mortvia Aqueduct, Skeleton Diver, rides on the giant Skull Fish whose name is never shown in-game. Skeleton Diver and Skull Fish are two separate targets but their HP bars are linked in the boss battle.
No matter how you defeat the Skeleton Diver boss, the number of defeated Skull Fish remains at zero.
Game Mode |
Skull Fish Level |
Skull Fish HP |
Skull Fish EXP |
|---|---|---|---|
Normal |
24 |
2900 |
0 |
Normal, Boss Rush |
48 |
6100 |
0 |
Crazy |
44 |
5300 |
0 |
Crazy, Boss Rush |
68 |
10100 |
0 |
Abel#
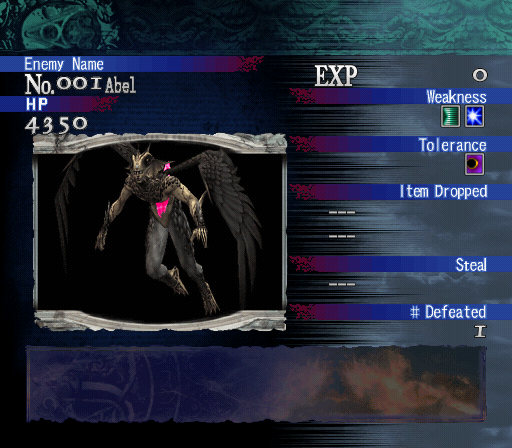
Battled during your encounter with Isaac in Cordova Town, this enemy's name is never shown in battle though Isaac calls out Abel's name in a cutscene. All of Isaac's summoned creatures, with the exception of Black Rasetz, have their level hidden by default.
Game Mode |
Abel Level |
Abel HP |
Abel EXP |
|---|---|---|---|
Normal |
24 |
4350 |
0 |
Normal, Boss Rush |
45 |
8250 |
0 |
Crazy |
44 |
7950 |
0 |
Crazy, Boss Rush |
65 |
14250 |
0 |
Because of Abel's ludicrously high defense, where hits will typically cause no more than 1-3 in damage, defeating Abel would take hours, added with the challenge of not defeating Isaac too soon. Defeating an enemy is what unlocks the data for their HP and EXP so it's fortunate that this challenge is not imposed on the player when it comes to Abel.
The enemy picture for Abel is unused and it is the only one out of all Isaac's devils to have their own enemy picture.
Black Dragon#
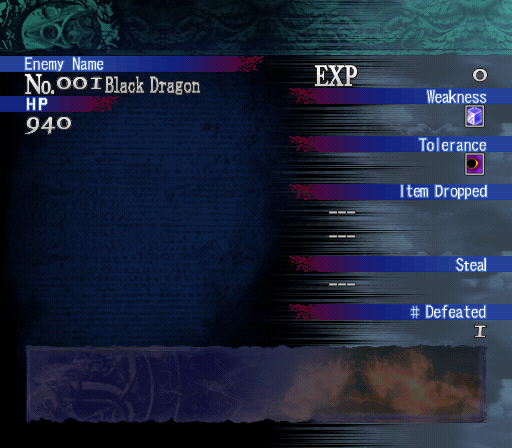
The dark version of Hector's Innocent Devil "Crimson", Black Dragon is the first devil summoned by Isaac in your battle against him in Dracula's Castle. Isaac summons a total of three devils in this battle and none of them have their names revealed in-game.
Game Mode |
Black Dragon Level |
Black Dragon HP |
Black Dragon EXP |
|---|---|---|---|
Normal |
40 |
940 |
0 |
Normal, Boss Rush |
44 |
1060 |
0 |
Crazy |
60 |
1700 |
0 |
Crazy, Boss Rush |
64 |
1860 |
0 |
Black Yeti#
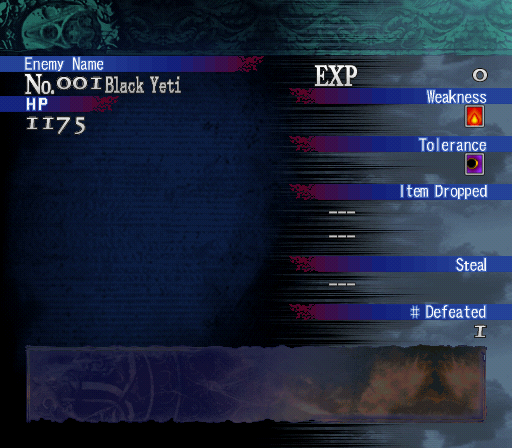
The black version of Hector's "Iytei" Innocent Devil, Black Yeti is the second devil summoned by Isaac during your battle against him in Dracula's Castle. Its name is never shown in battle or anywhere else.
Game Mode |
Black Yeti Level |
Black Yeti HP |
Black Yeti EXP |
|---|---|---|---|
Normal |
40 |
1175 |
0 |
Normal, Boss Rush |
44 |
1325 |
0 |
Crazy |
60 |
2125 |
0 |
Crazy, Boss Rush |
64 |
2325 |
0 |
Black Rasetz#
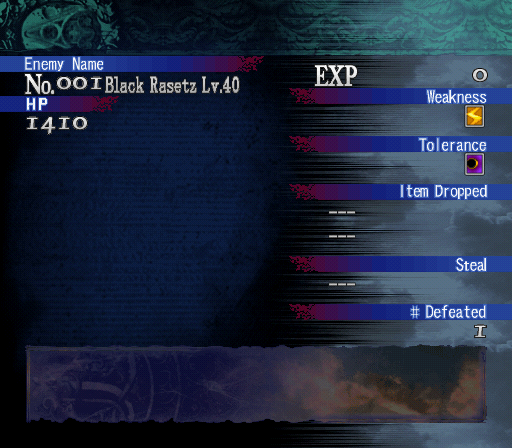
The final devil summoned by Isaac in your battle against him in Dracula's Castle, its name is never shown in battle. Black Rasetz is the only one of Isaac's devils to not have its level hidden by default in the enemy entry data.
Game Mode |
Black Rasetz Level |
Black Rasetz HP |
Black Rasetz EXP |
|---|---|---|---|
Normal |
40 |
1410 |
0 |
Normal, Boss Rush |
44 |
1590 |
0 |
Crazy |
60 |
2550 |
0 |
Crazy, Boss Rush |
64 |
2790 |
0 |
Legion Zombie#
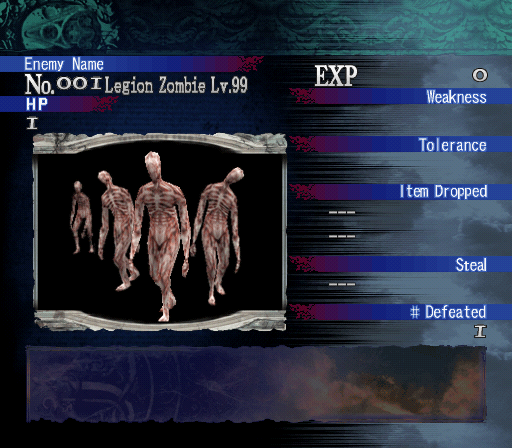
This enemy name is never shown in-game and the enemy picture is wholly unique.
Though the Bestiary page will always display Legion Zombie's Level as Lv.99, in Crazy difficulty (and its Boss Rush mode) they are actually at Lv.119. In other words, Legion Zombies have the highest level of any enemy in the game regardless of mode.
Heal Zone#
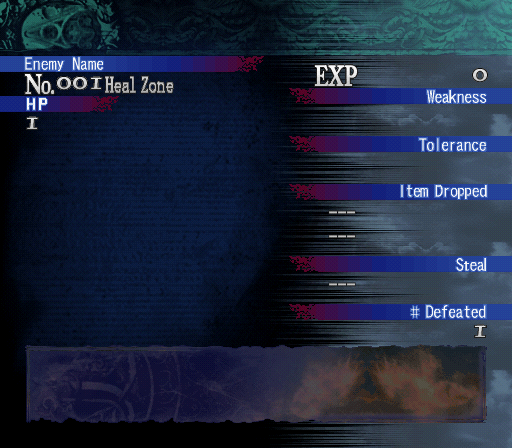
Heal Zone might be referring to the healing blue pillar of light that may appear after a boss is defeated. It is unknown why this Heal Zone has its own enemy entry. The name "Heal Zone" is never shown in-game.
Common Encounters#
There are a total of 34 unused enemy entries for common foes. These are all familiar encounters, with each entry recycling data such as elemental affinities, item drops and steals. For this reason, the full-size screenshots of their unlocked Bestiary pages will not always be shown due to the superfluous data.
Unless anything else is specified, the unused common encounter is a Level 0 enemy with max HP at 1 and an EXP reward of 0. These low stats will also be the same across all four game modes.
Skeleton#
The Skeleton has two unused enemy entries and these are their pictures.
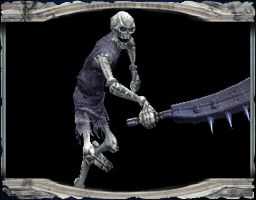
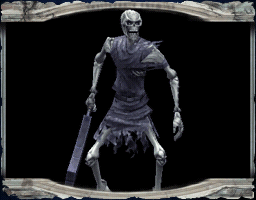
The second picture is almost identical to the used picture for enemy No.001 in the Bestiary. The only difference is that the unused picture is a little more zoomed in.
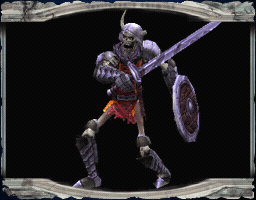
Every unused enemy picture has some discrepancy with the used variants even if the differences at times are small.
Bone Soldier |
Ghost |
|---|---|
 |
 |
Wight#
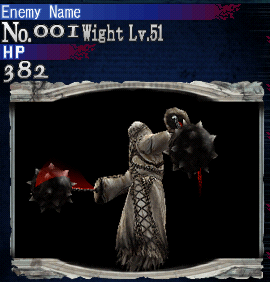
The unused Wight, and the unused Skeleton Trooper, are unique among the common foes category in that their stats change for Normal Boss Rush Mode.
Game Mode |
Wight Level |
Wight HP |
Wight EXP |
|---|---|---|---|
Normal |
0 |
1 |
0 |
Normal, Boss Rush |
41 |
276 |
0 |
Crazy |
51 |
382 |
0 |
Crazy, Boss Rush |
51 |
382 |
0 |
To the player, the highest-level Wight at Normal mode is at Lv.36 and the highest-level Wight at Crazy mode is at Lv.46.
Skeleton Blaze#
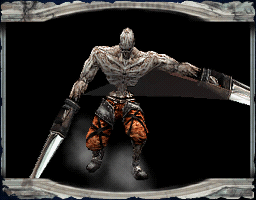
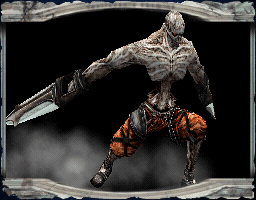
Two unused enemy entries for the Skeleton Blaze.
Blaze Master#
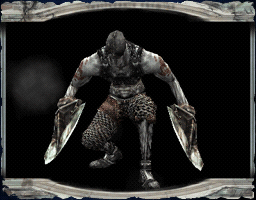
Two unused enemy entries for the Blaze Master. Here are their unused enemy pictures.
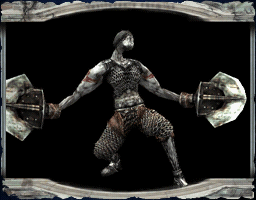
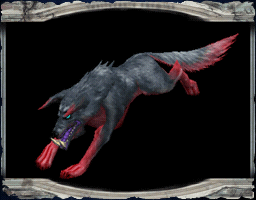
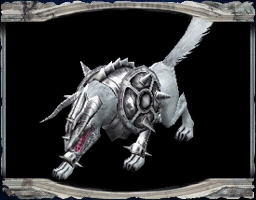
Fenrir |
Wolf Skeleton |
Armored Sprinter |
|---|---|---|
 |
 |
 |
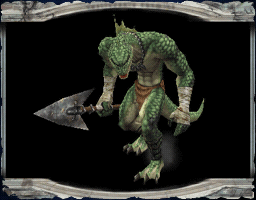
Lizardman |
Wizard |
|---|---|
 |
 |
Dark Warlock#
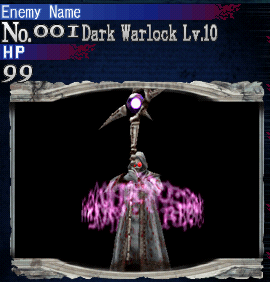
Game Mode |
Dark Warlock Level |
Dark Warlock HP |
Dark Warlock EXP |
|---|---|---|---|
Normal |
0 |
1 |
0 |
Normal, Boss Rush |
0 |
1 |
0 |
Crazy |
10 |
99 |
0 |
Crazy, Boss Rush |
10 |
99 |
0 |
The lowest-level Dark Warlock encountered in the final game is at Lv.17 on Normal mode. At Crazy mode this Dark Warlock (No.040) is at Lv.27.
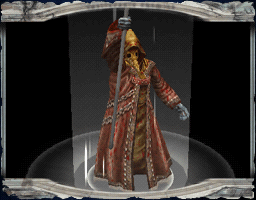
Necromancer#
Orc#
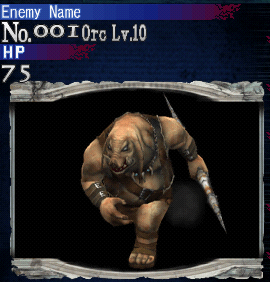
Game Mode |
Orc Level |
Orc HP |
Orc EXP |
|---|---|---|---|
Normal |
0 |
1 |
0 |
Normal, Boss Rush |
0 |
1 |
0 |
Crazy |
10 |
75 |
0 |
Crazy, Boss Rush |
10 |
75 |
0 |
The lowest-level Orc encountered on Crazy mode is at Lv.17. On Normal mode its level is 7.
Sniper Orc#
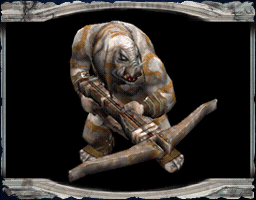
Armor Knight#
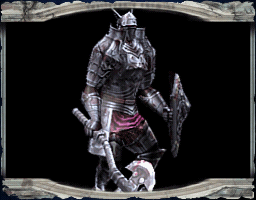
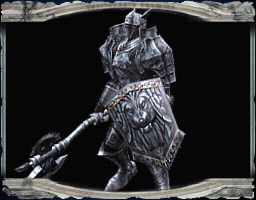
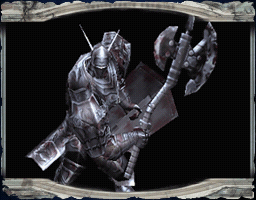
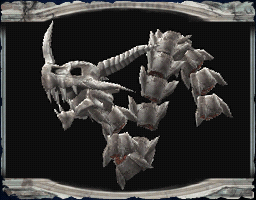
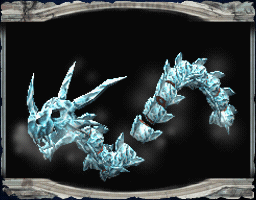
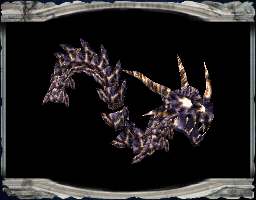
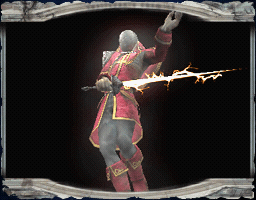
There are three unused enemy entries for the Armor Knight. Here are their corresponding, hidden enemy pictures.
White Dragon |
Frost Dragon |
Thunder Dragon |
|---|---|---|
 |
 |
 |
Dead Fencer |
Dead Baron |
Lesser Demon |
|---|---|---|
 |
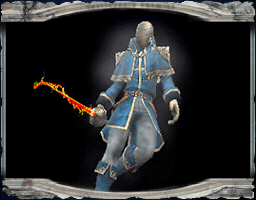 |
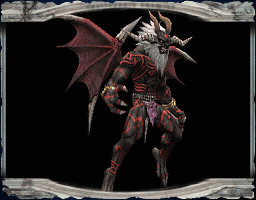 |
Phantom Sword#
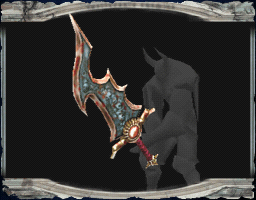
Two unused enemy entries for the Phantom Sword. The final game only employs one entry for Phantom Sword in the Bestiary: No.034.

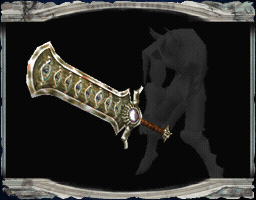
Spectral Sword#
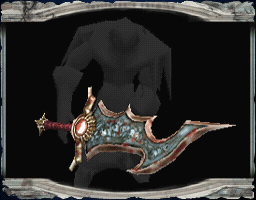
Gi-Lee#
There are two unused enemy entries for Gi-Lee. In the final Bestiary, Gi-Lee only appears as enemy No.076.
Skeleton Trooper#
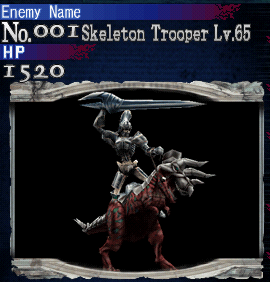
Like the unused Wight, this Skeleton Trooper is special in that despite being a non-boss it changes its level for Normal Boss Rush Mode.
Game Mode |
Skeleton Trooper Level |
Skeleton Trooper HP |
Skeleton Trooper EXP |
|---|---|---|---|
Normal |
0 |
1 |
0 |
Normal, Boss Rush |
45 |
880 |
0 |
Crazy |
65 |
1520 |
0 |
Crazy, Boss Rush |
65 |
1520 |
0 |
Skeleton Trooper's only used Bestiary entry is No.091, where Normal mode pins it at Lv.35 and Crazy mode sets it at Lv.55.
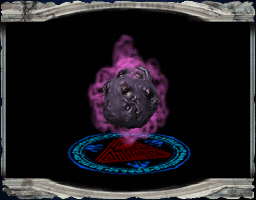
Evil Core#

Unreferenced Enemy Pictures#
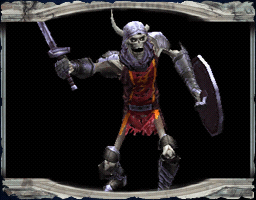
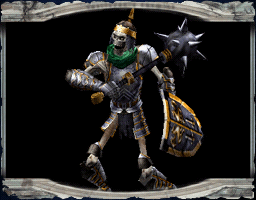
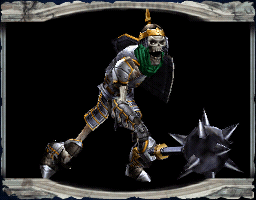
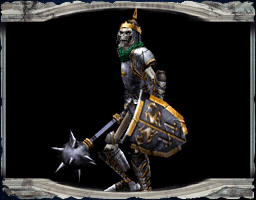
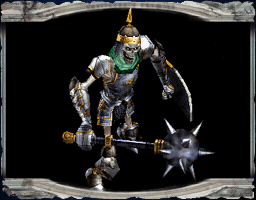
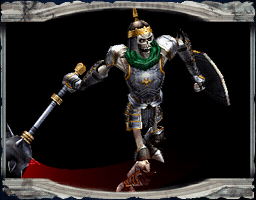
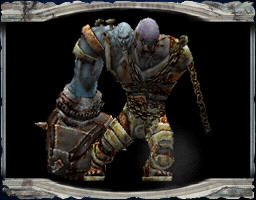
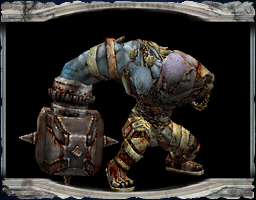
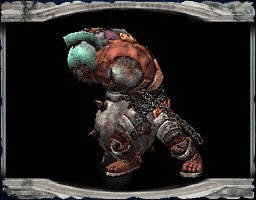
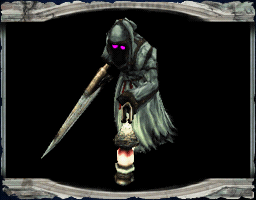
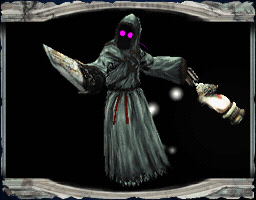
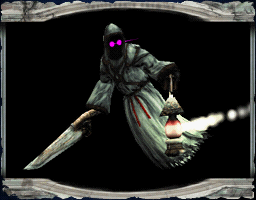
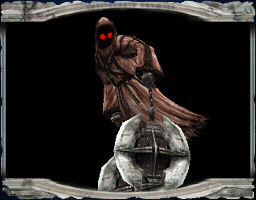
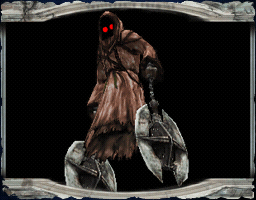
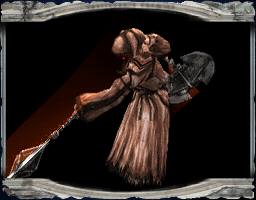
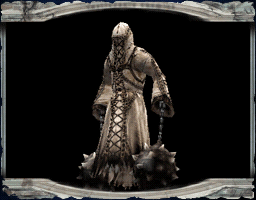
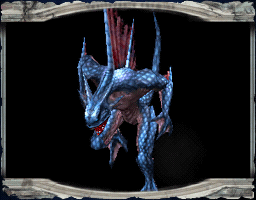
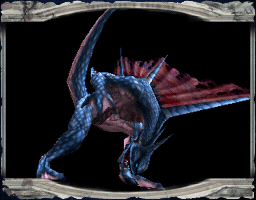
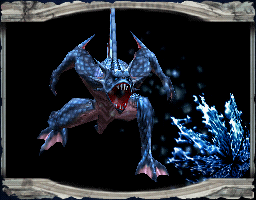
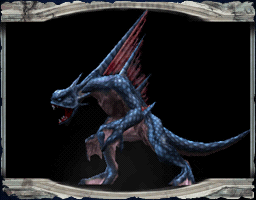
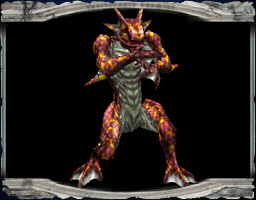
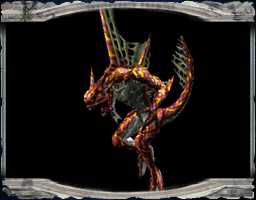
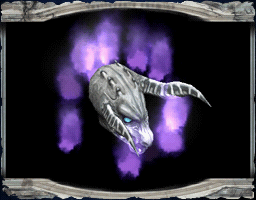
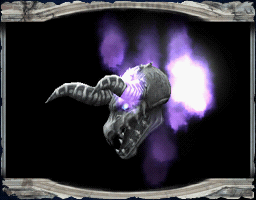
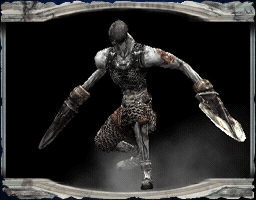
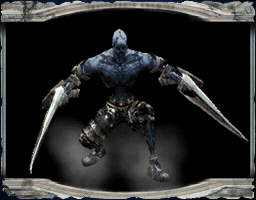
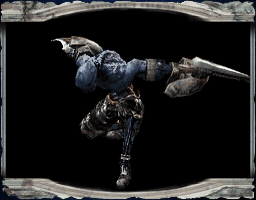
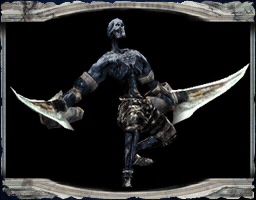
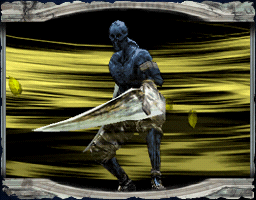
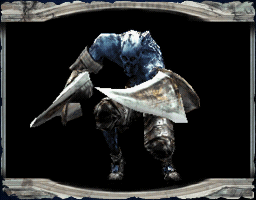
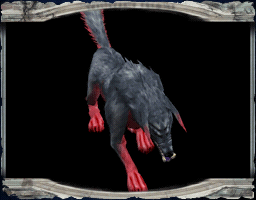
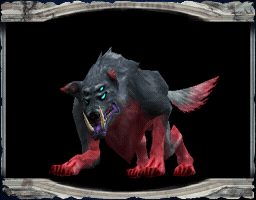
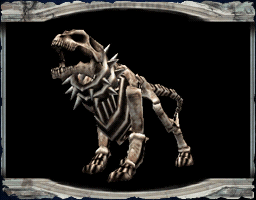
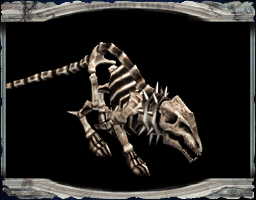
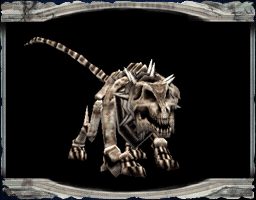
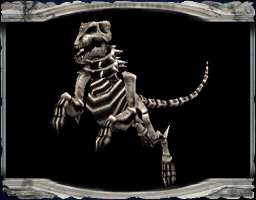
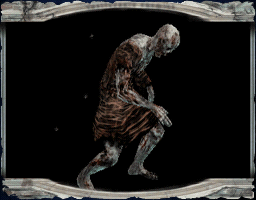
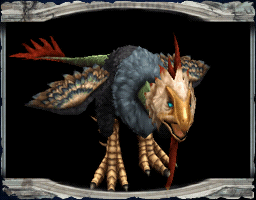
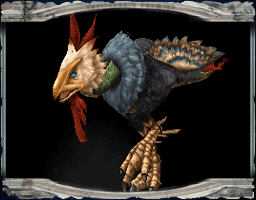
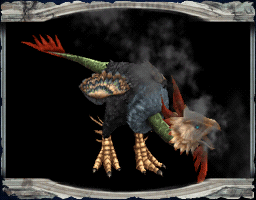
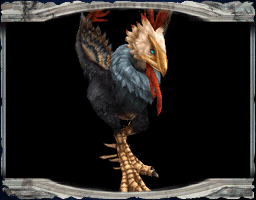
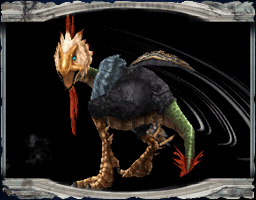
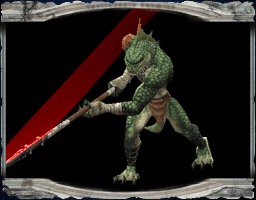
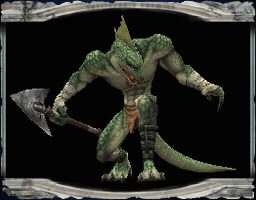
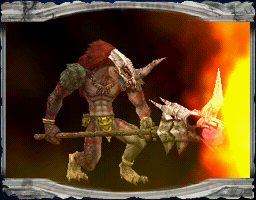
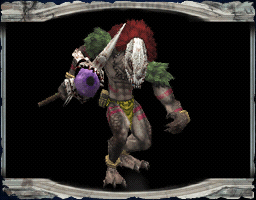
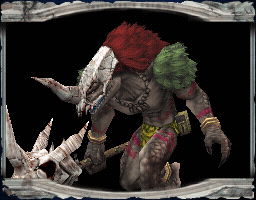
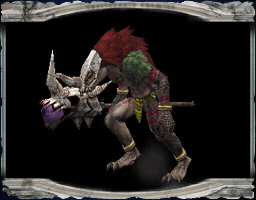
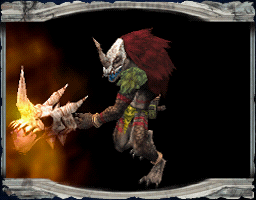
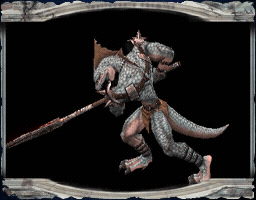
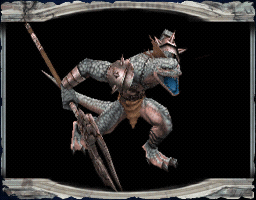
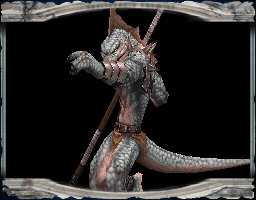
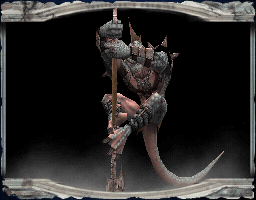
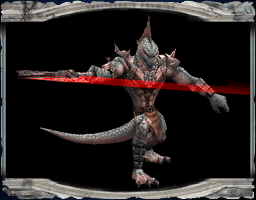
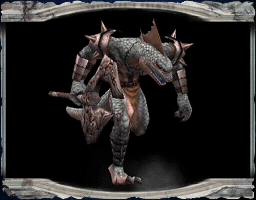
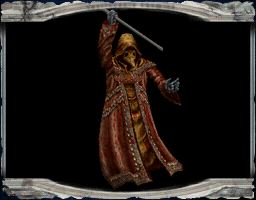
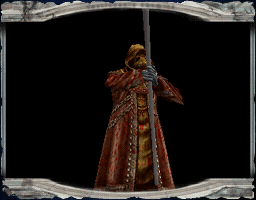
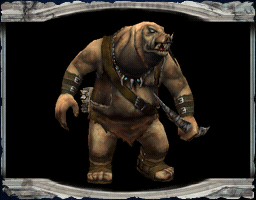
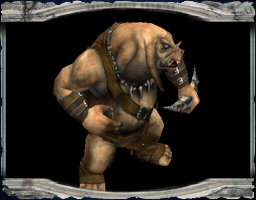
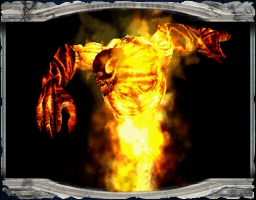
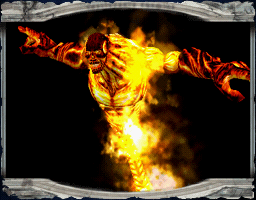
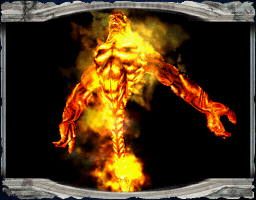
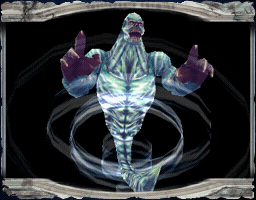
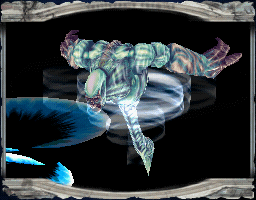
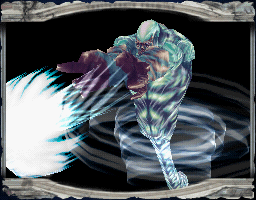
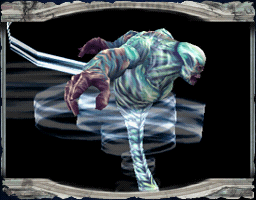
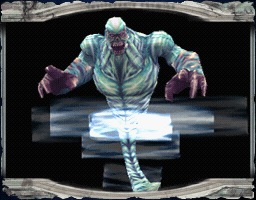
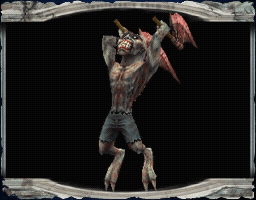
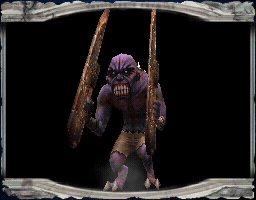
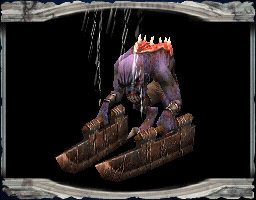
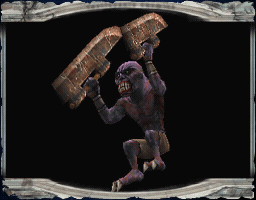
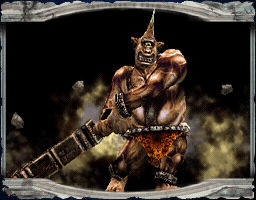
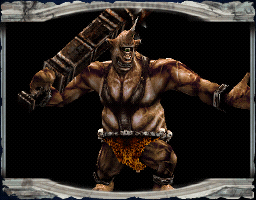
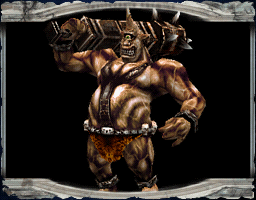
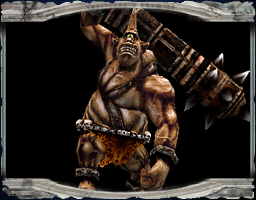
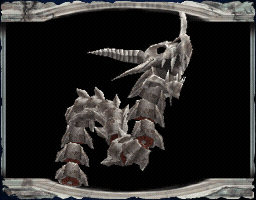
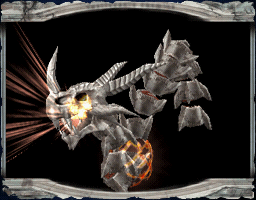
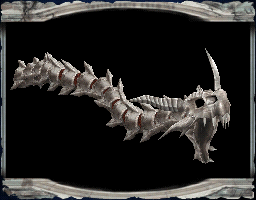
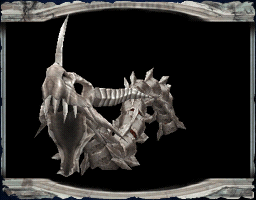
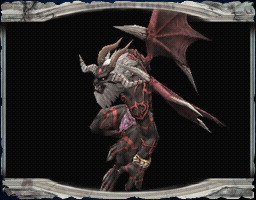
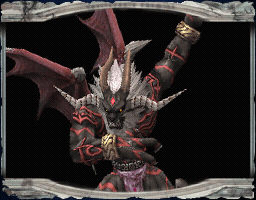
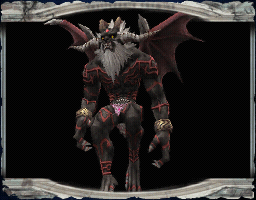
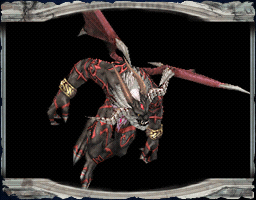
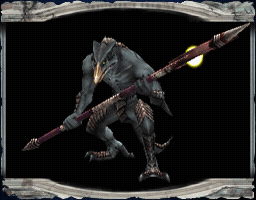
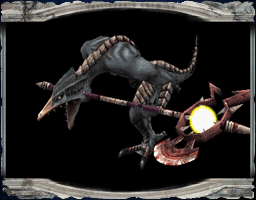
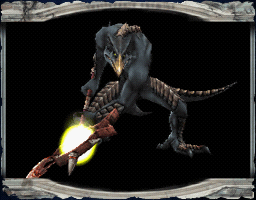
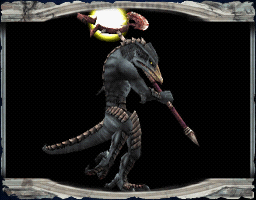
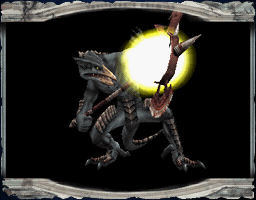
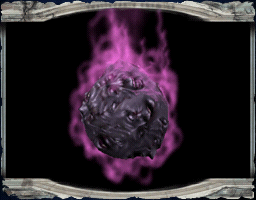
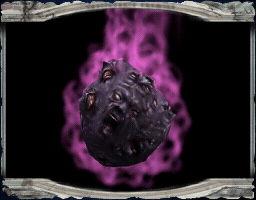
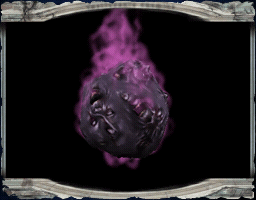
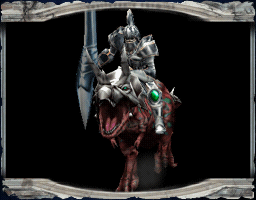
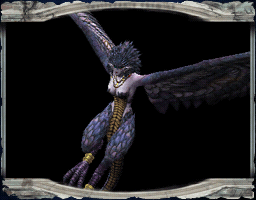
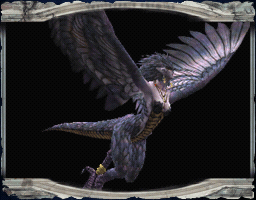
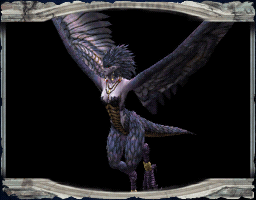
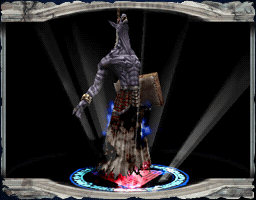
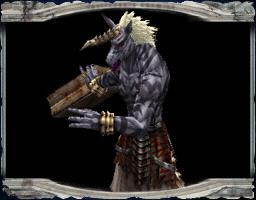
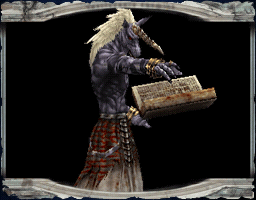
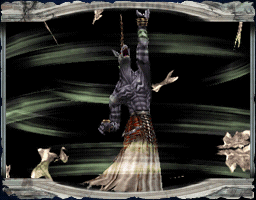
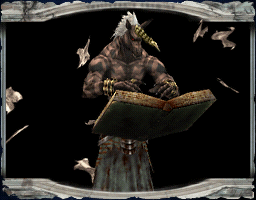
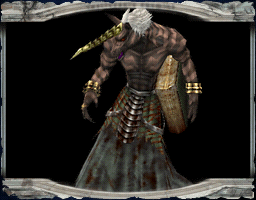
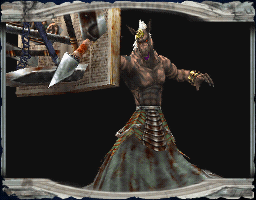
There are 306 hidden enemy pictures that are not linked to any enemy data. With three exceptions where the developers have added text to the pictures, these images only show the enemies at alternate angles and poses. Another picture stands out because its frame has been mirrored which has not been done for any other enemy picture, used or unused.
Skeleton#

Bone Soldier#
Undead Lord#
Executioner#
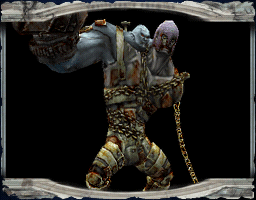
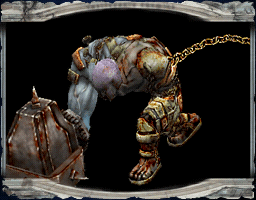
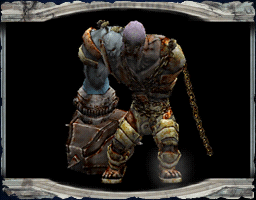
Iron Gladiator#
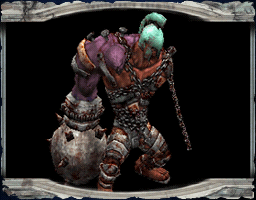
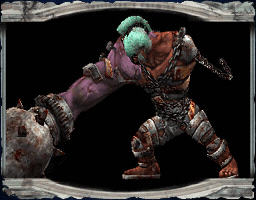
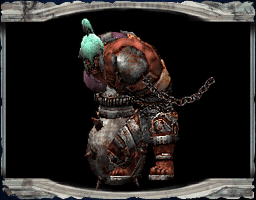
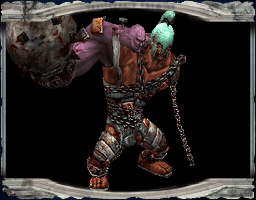
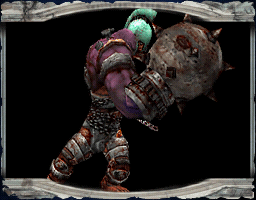
Ghost#
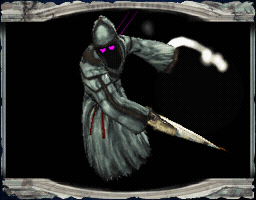
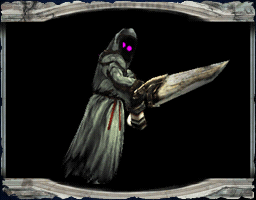
Vassago#
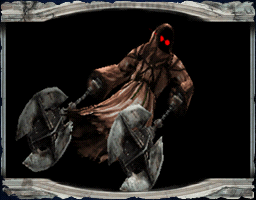
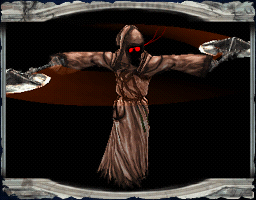
Wight#
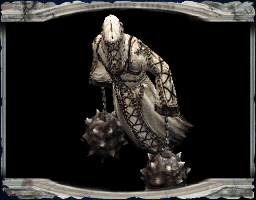
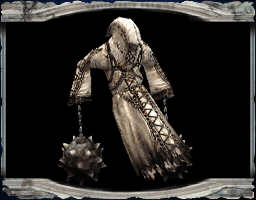
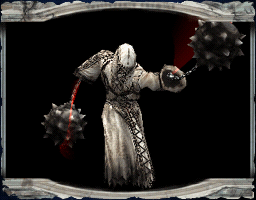
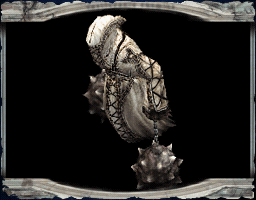
Merman#
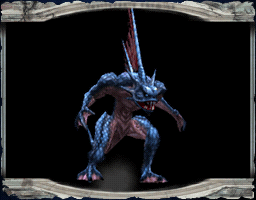
Fishman#
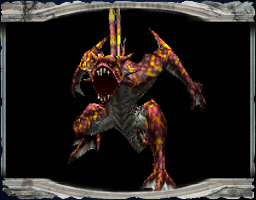
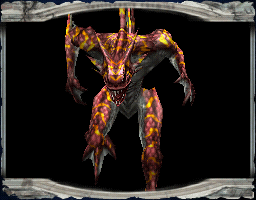
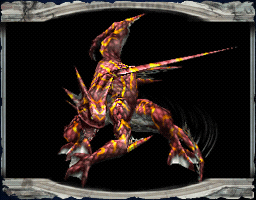
Spirit#
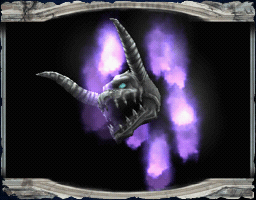
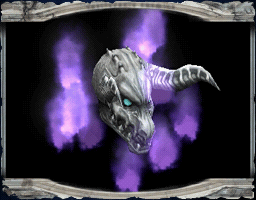
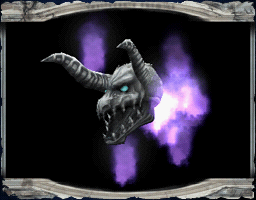
Skeleton Blaze#
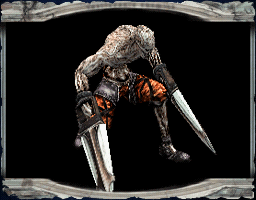
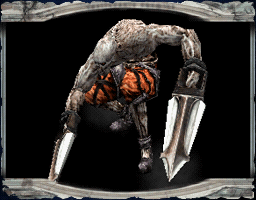
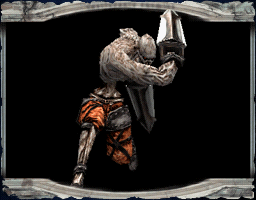
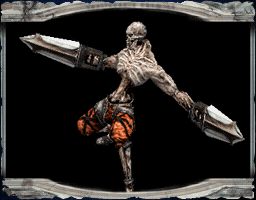
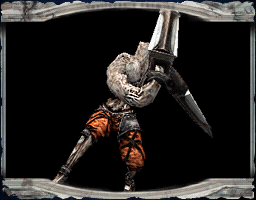
Blaze Master#
Blaze Phantom#

Fenrir#
Wolf Skeleton#
Armored Sprinter#
Zombie#

Cockatrice#
Lizardman#
Lizard Shaman#
White Gravial#
Wizard#
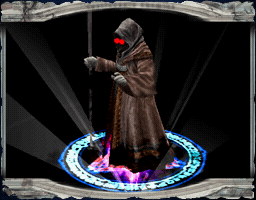
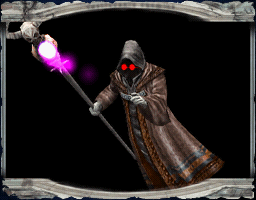
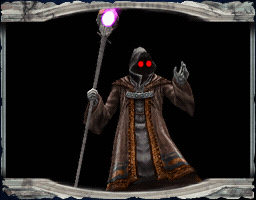
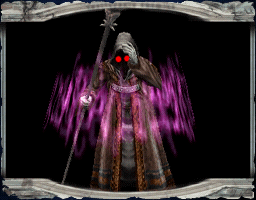
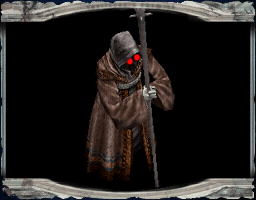
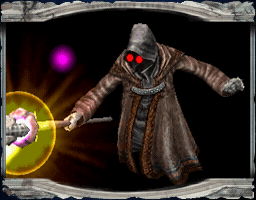
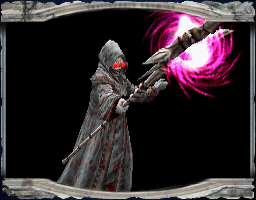
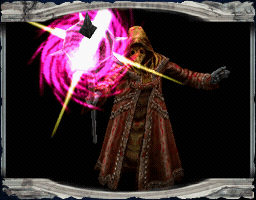
The crest below the Wizard in the first picture is the symbol that appears whenever an enemy is spawning on the field. Only one enemy picture in the final game, for the No.087 Necromancer, shows this crest.
Dark Warlock#
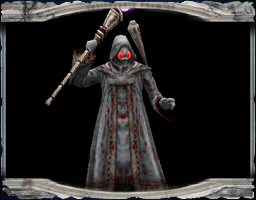
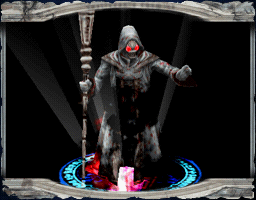
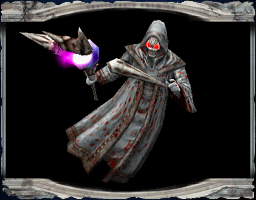
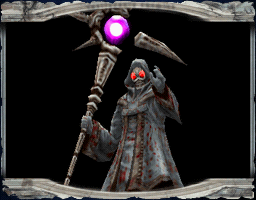
Necromancer#
Orc#
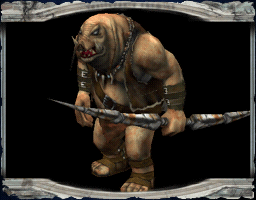
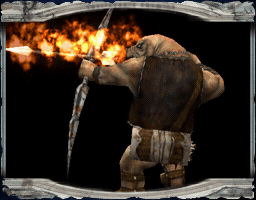
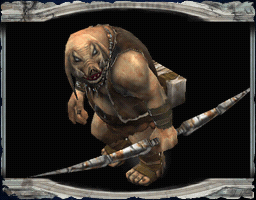
Sniper Orc#
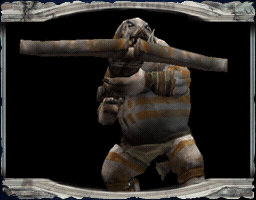
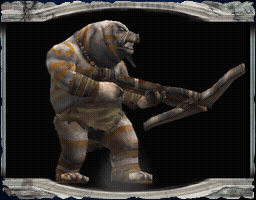
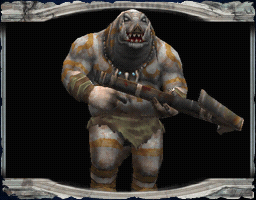
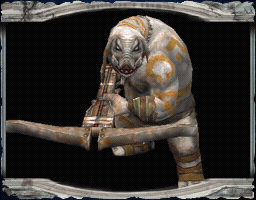
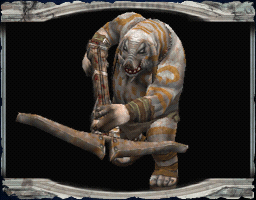
Rapid Sniper#
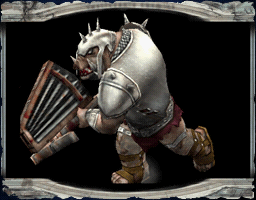
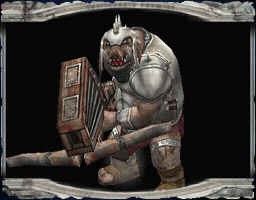
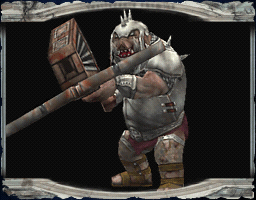
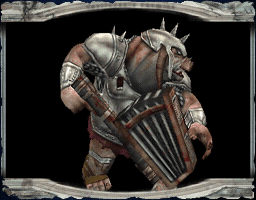
Armor Knight#
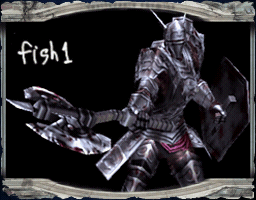
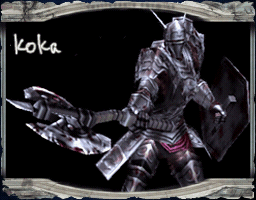
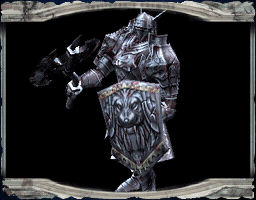
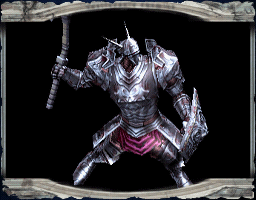
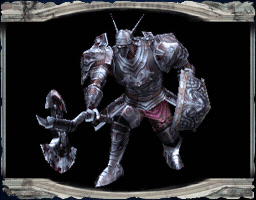
The scribble "figh1" might be a silly way of writing "fight". Another possible interpretation is that it stands for "fighter 1".
The meaning of "koka" is unknown.
Great Armor#
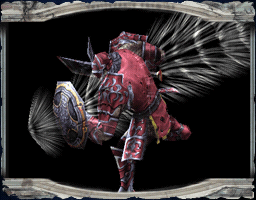
Final Guard#
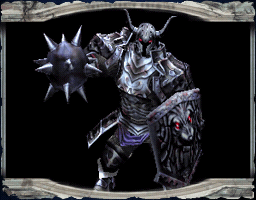
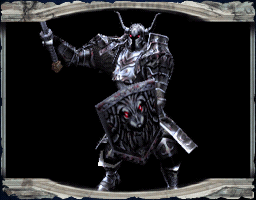
Efreet#
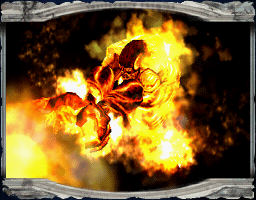
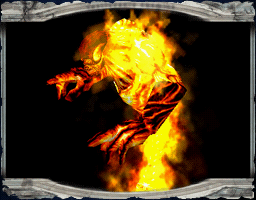
Jin#
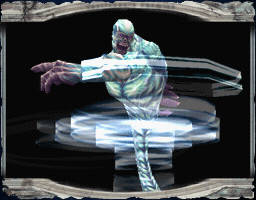
Flea Man#
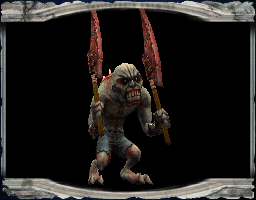
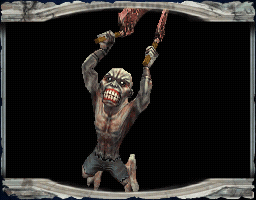
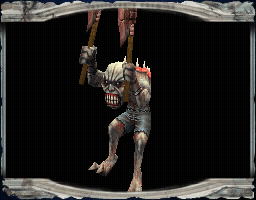

Death Ripper#
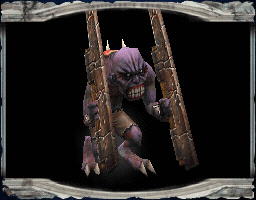
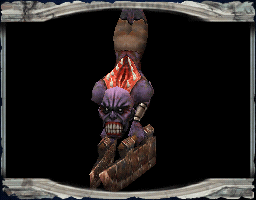
Cyclops#
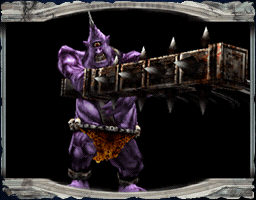
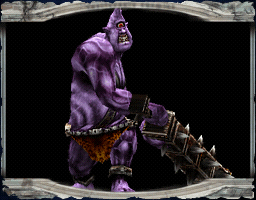
Red Ogre#
White Dragon#

Frost Dragon#
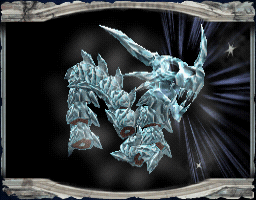
Thunder Dragon#
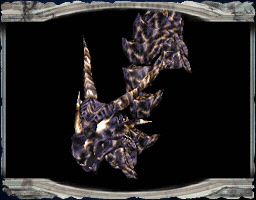
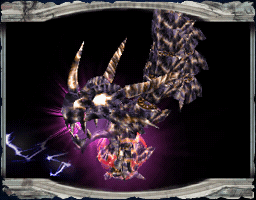
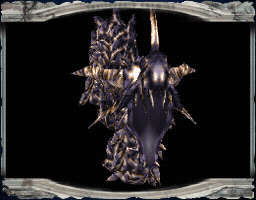
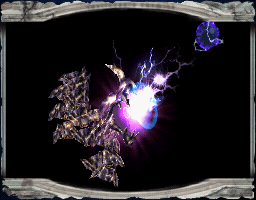
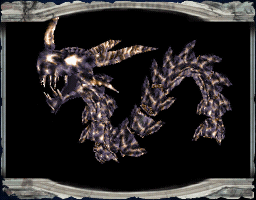
Dead Fencer#
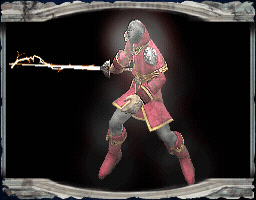
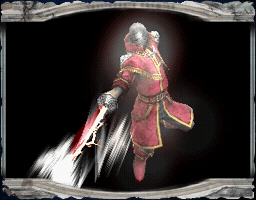
Dead Baron#
Lesser Demon#
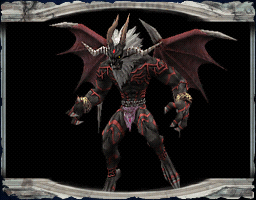
Thunder Demon#
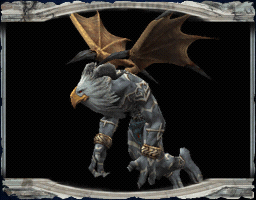
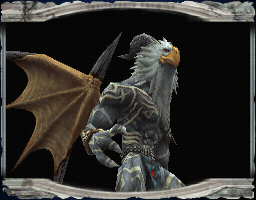
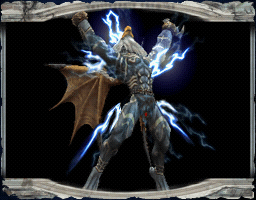
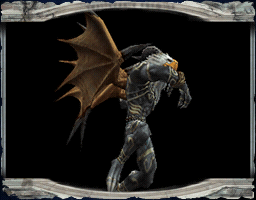
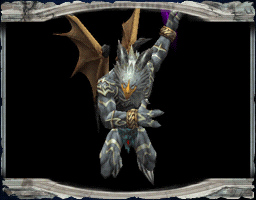
Frost Demon#
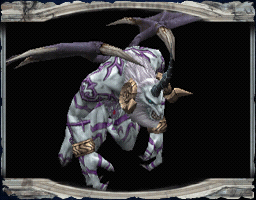
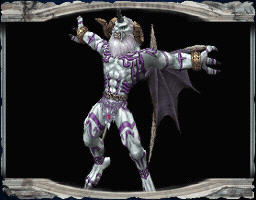
Flame Demon#
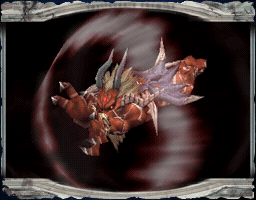
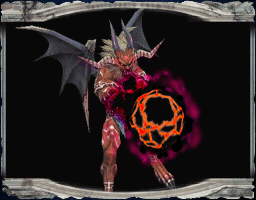
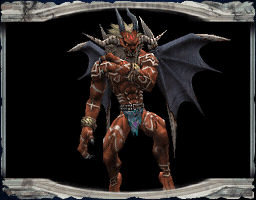
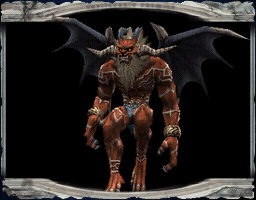
Slogra#
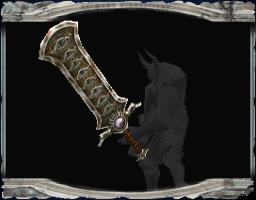
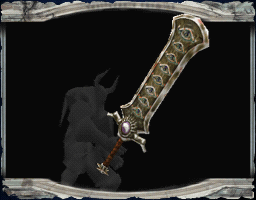
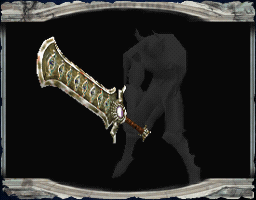
Phantom Sword#
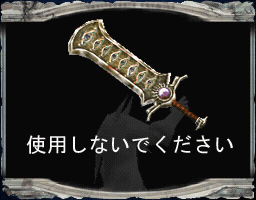
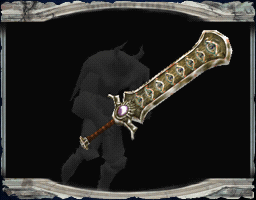
Japanese Transcription |
English Translation |
|---|---|
使用しないでください |
Please Do Not Use |
The first Phantom Sword image (top left) is unique in that the picture frame has been mirrored! This has not been done for any of the other enemy pictures.
Spectral Sword#


Thief#
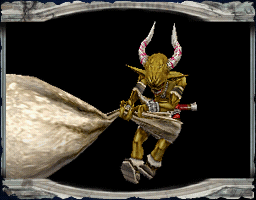
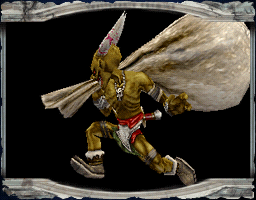

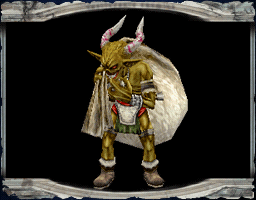
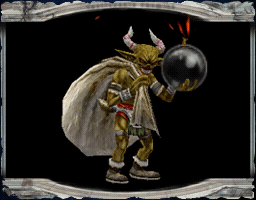
Thief and Gi-Lee enemies use a bomb to escape the field after they have stolen an item from the player. The example above is the only enemy picture to show this bomb.
Ectoplasm#
Gaibon#
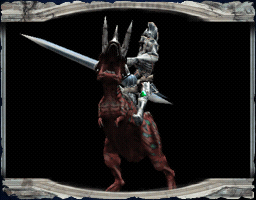
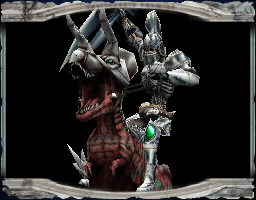
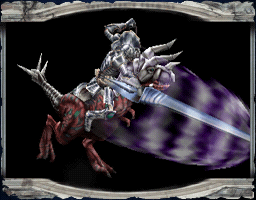
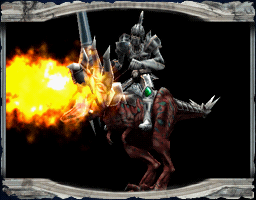
Skeleton Rider#
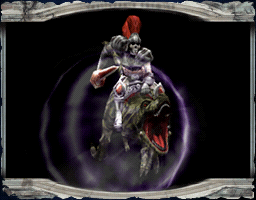
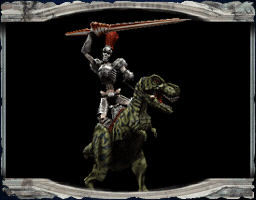
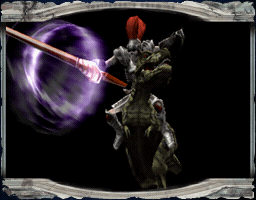
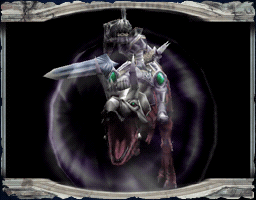
Skeleton Trooper#
Harpy#
Unicorn#
Amduscias#
Evil Core#


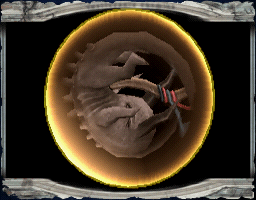

The fifth picture is unusual in that it is the only enemy picture for Evil Core that is zoomed in to such a high degree.