 This article has a talk page!
This is a sub-page of Proto:Clock Tower (PlayStation)/HYPER PlayStation Re-mix Demo.
Aside from the castle's entrance, pantry, bathroom, the outside area where you hang onto the door as well as its connecting hallway, all other rooms differ visually from the final version to varying degrees. The doors to the master bedroom and the garden have been made unselectable and even though you can encounter Beth, the mansion key she gives you is never registered, so everything behind the iron gate is off limits as well. Cheats will be required to explore the entire castle.
Expand for instructions on how to explore freely.
First, use this GameShark code to halt the countdown:
30072F98 0095Then, use this to obtain the Mansion Key that Beth is supposed to give you:
300954EB 0001And finally, use this code to restore the missing door hotspots:
300A8B16 0020
300A9002 0020
300A9BB6 0020
A common occurrence in many rooms is that the black wall outside the door is missing. This wall is meant to cover Scissorman or the player when the camera is showing spaces outside the room that they can walk through.
|
Demo |
Final |
|---|---|
|
|
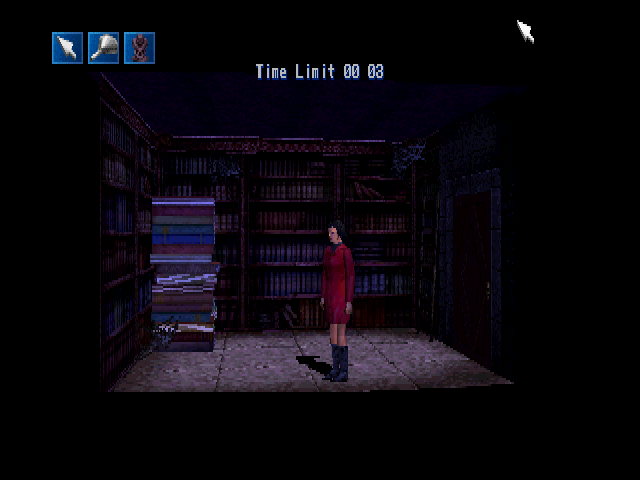
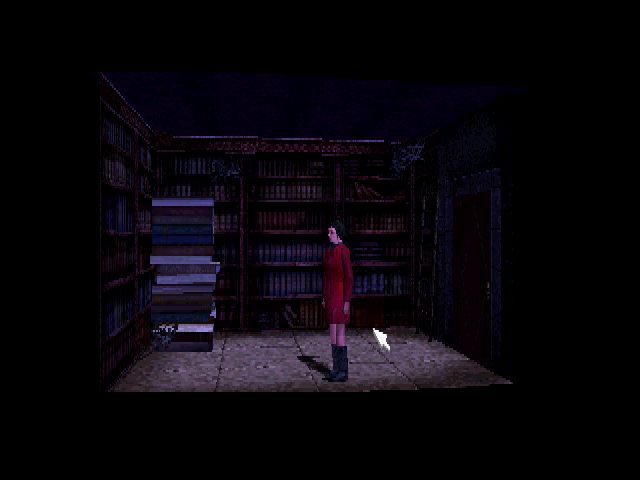
The demo starts in this room, skipping the opening cutscene for obvious spoiler reasons. You start out with the oil can and demon idol, all you'd need to have a chance at getting ending A, if not for the restrictions imposed here. The room is quite similar to the final except the stack of books are a bit brighter in this version and some of them appear with glitchy textures.
|
Demo |
Final |
|---|---|
|
|
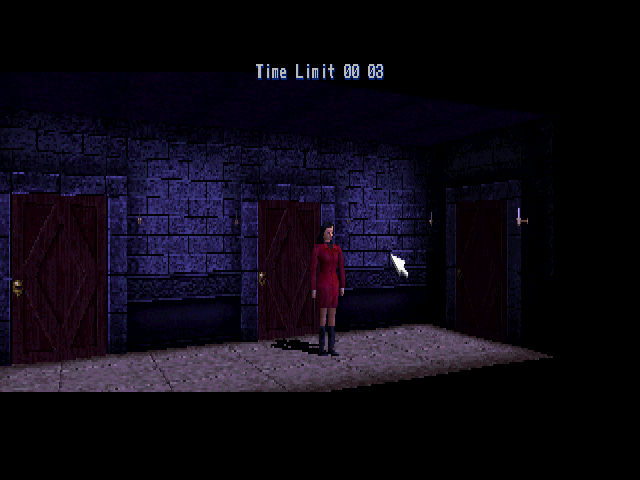
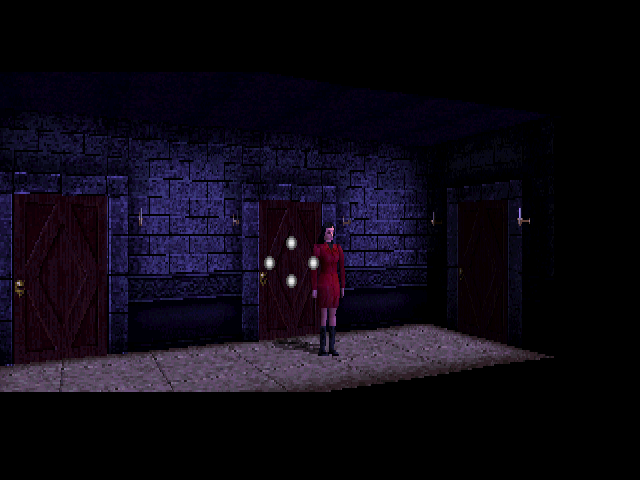
The only difference in this room is that the part of the candle holders that connect to the wall were extended upwards and downwards along the wall.
|
Demo |
Final |
|---|---|
|
|
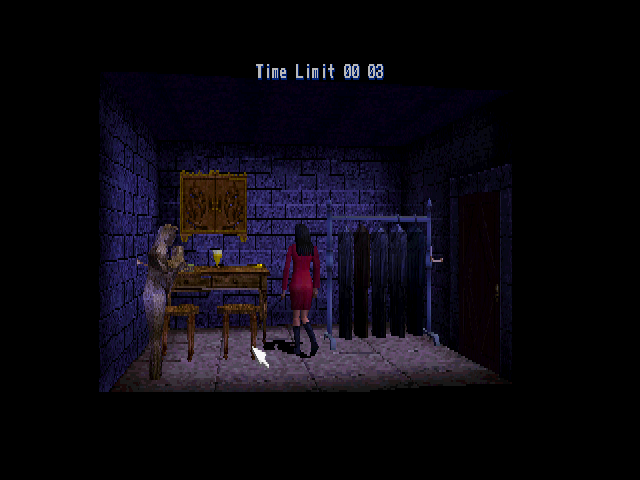
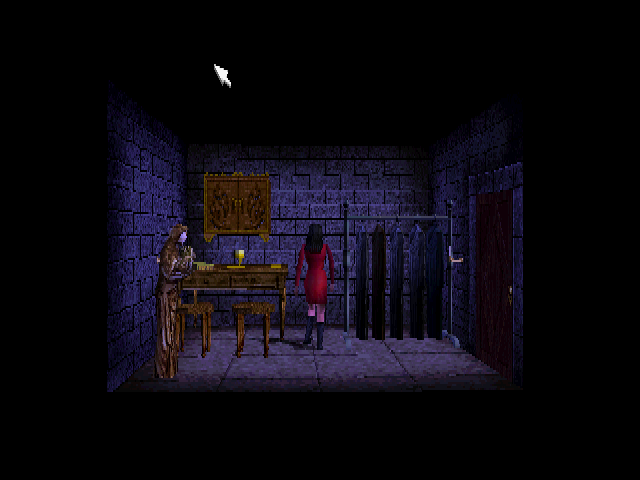
The design of the statue was changed for the final version.
|
Demo |
Final |
|---|---|
|
|
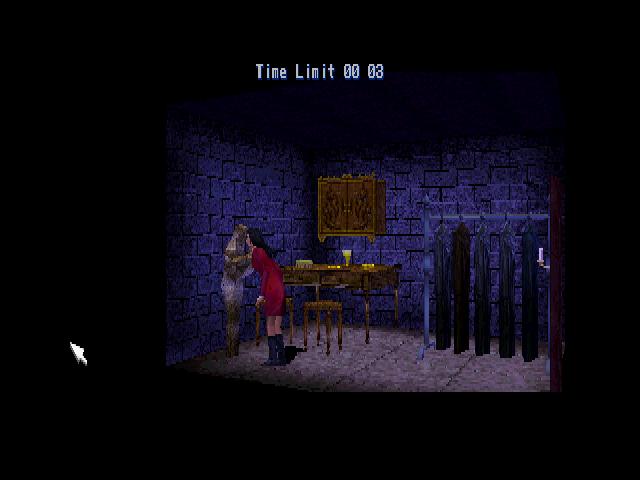
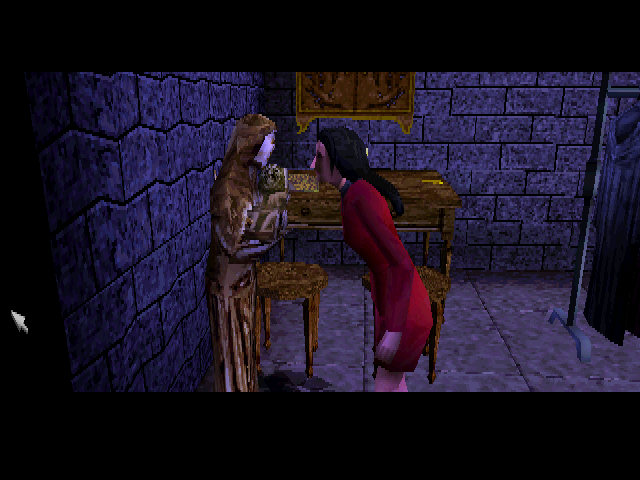
When inspecting the statue, the camera doesn't move up close in this version.
The statue suddenly crying blood is implemented. The facial textures are completely different and quite low-res though.
|
Demo |
Final |
|---|---|
|
|
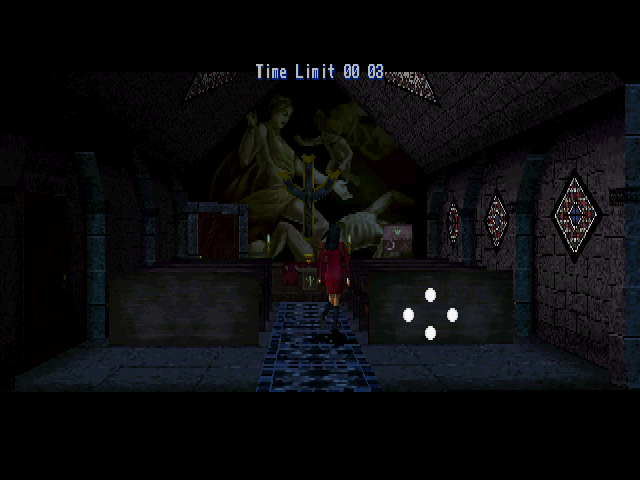
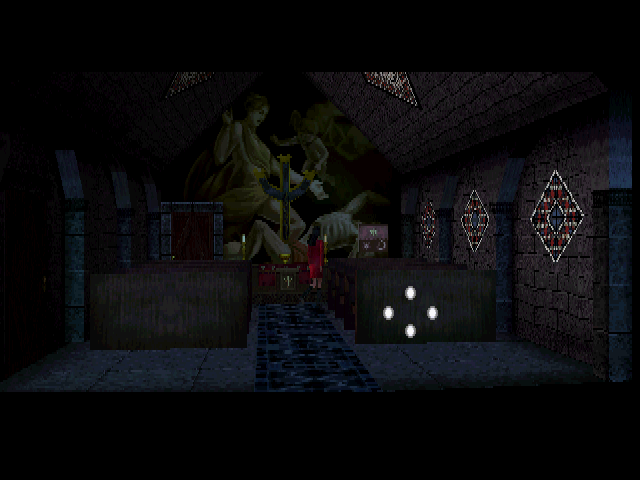
- The lightning is implemented, but no audio plays to accompany it.
- The pews, carpet and windows were changed.
- The rightmost pillar appears to have been made a little darker.
- In this version, Jennifer can't walk on the floor on the right side, closest to the camera.
Demo |
Final |
|---|---|
 |
 |
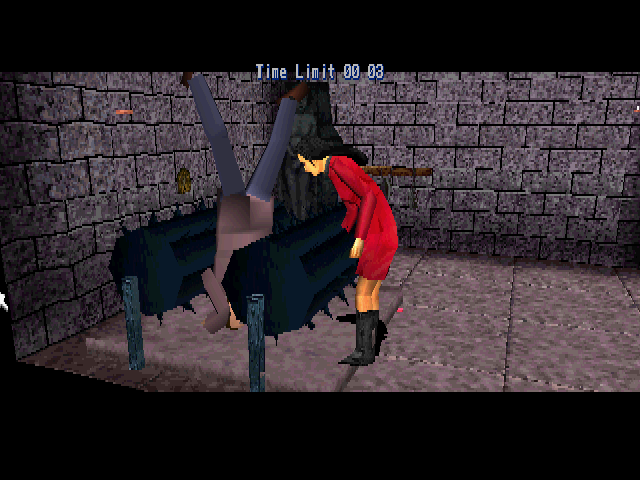 |
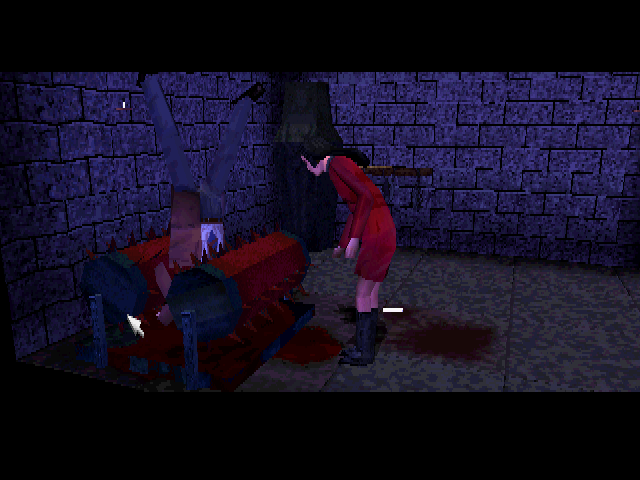 |
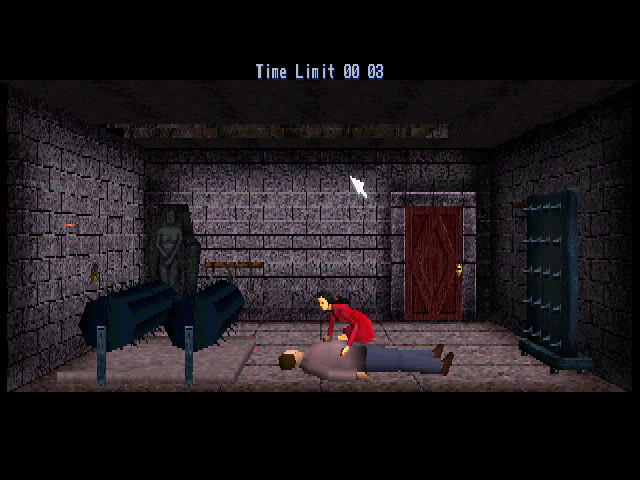
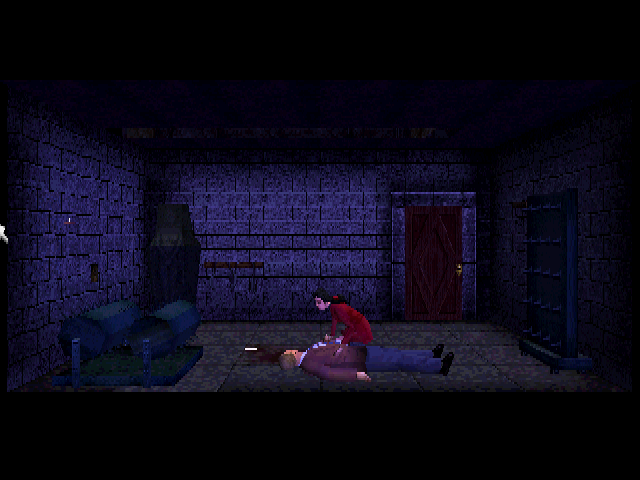
- The room lacks the blue tint.
- Gotts lacks all textures, as is the case with all other allies.
- A textureless candle lies besides him.
- If you attack Scissorman with the wall of spikes and Gotts was found dead, the camera will clip into Gotts's legs for a moment.
- The head of the woman on the iron maiden can be seen more clearly in this version. A better view can be achieved by looking at the textures below.
Demo |
|---|
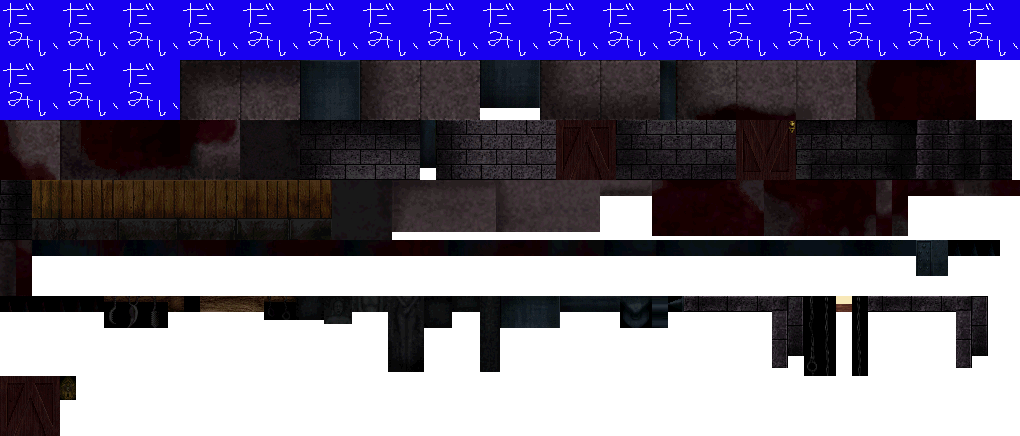 |
Final |
|---|
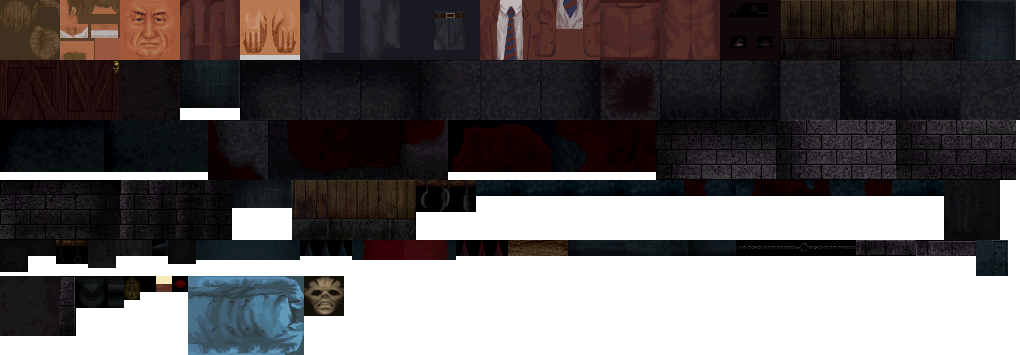 |
These also show how the blood textures were changed up for the final release.
|
Demo |
Final |
|---|---|
|
|
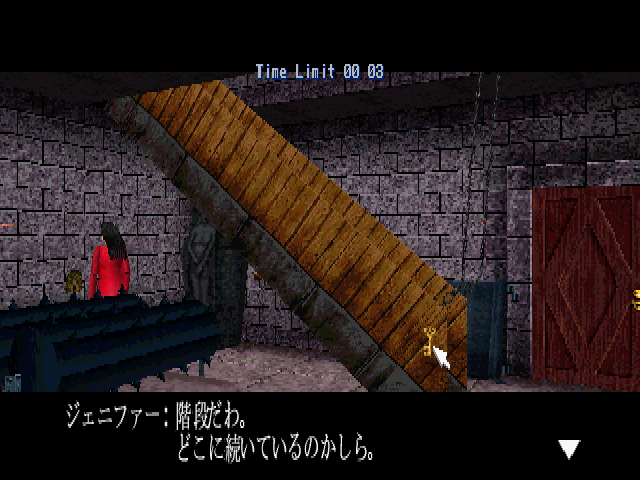
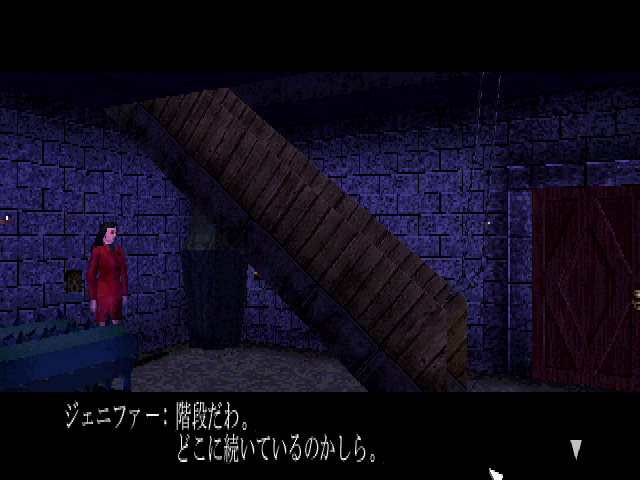
- The stairs are a bit more saturated, and without the tint appear extra bright.
- The texturing is different on the door frame and the stone sections of the stairs.
- Jennifer turns back towards the wall at the end here, but will keep facing the stairs in the final version.
|
Demo |
Final |
|---|---|

|
|
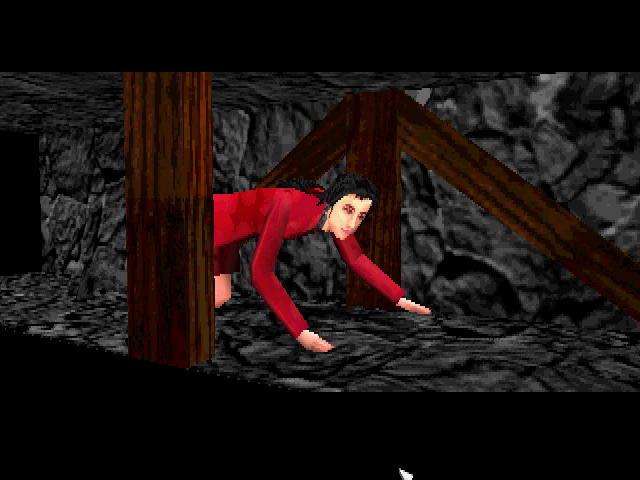
All the textures in this space were updated.
|
Demo |
Final |
|---|---|
|
|
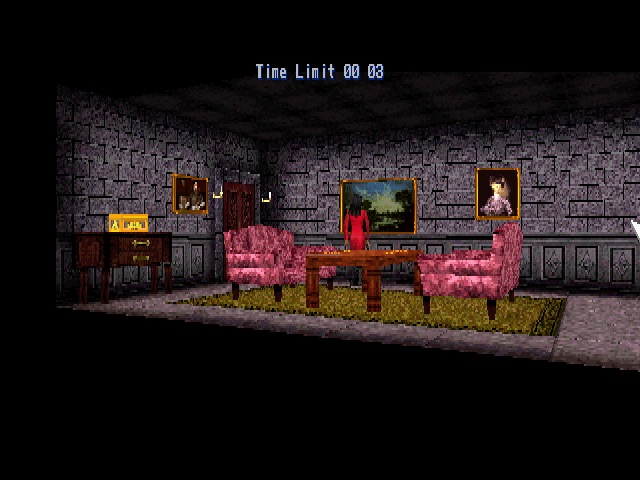
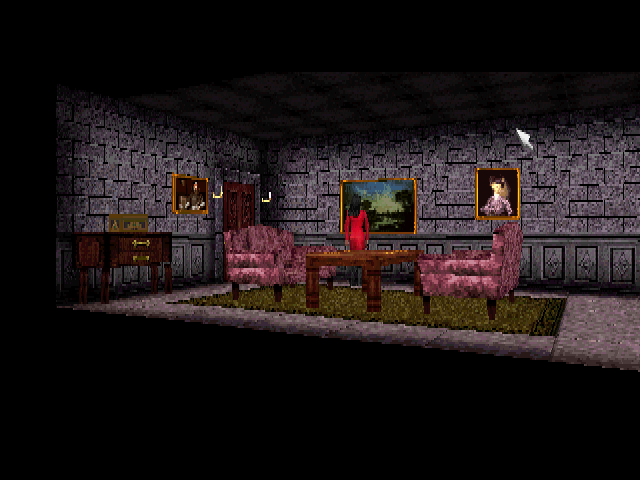
This room looks identical to the final version except for a brighter box, carpet and the furniture on it as well as the fireplace.
|
Demo |
Final |
|---|---|
|
|
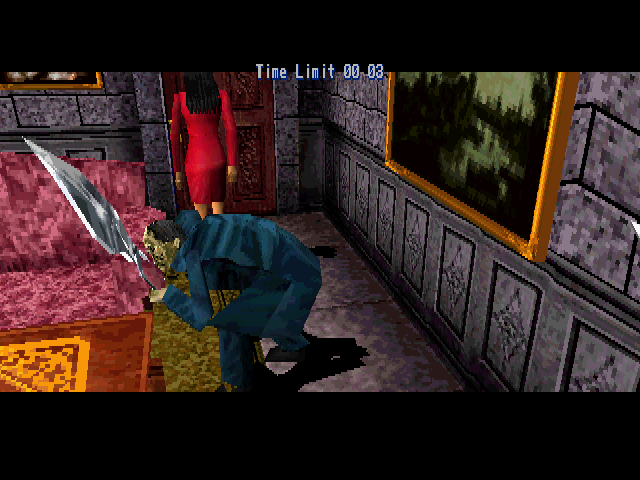
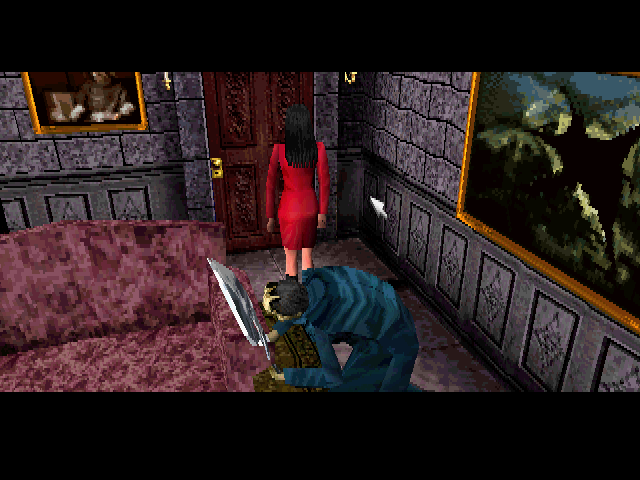
- The painting only has one texture and as such doesn't break when Scissorman pops out.
- The camera stops at a different angle.
|
Demo |
Final |
|---|---|
|
|
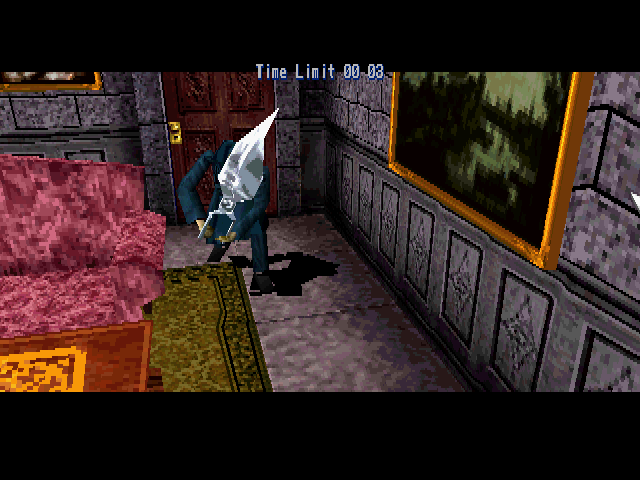
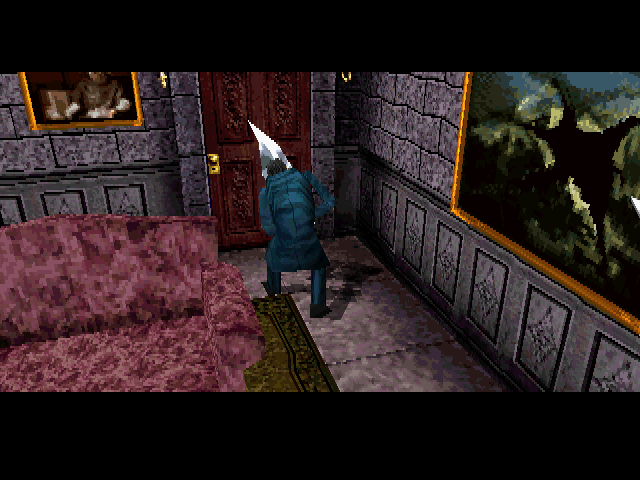
Scissorman gets close enough to Jennifer to clip through the door for a moment. You'll also see him reach his stopping point. This is true in the final version as well, but here he'll finish with a 180-degree turn.
|
Demo |
Final |
|---|---|
|
|
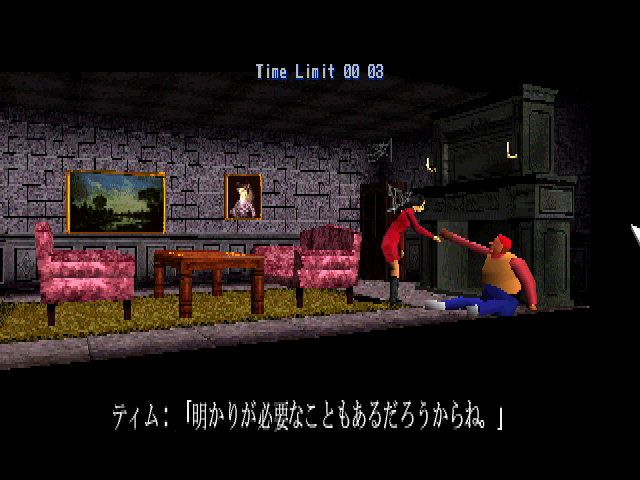
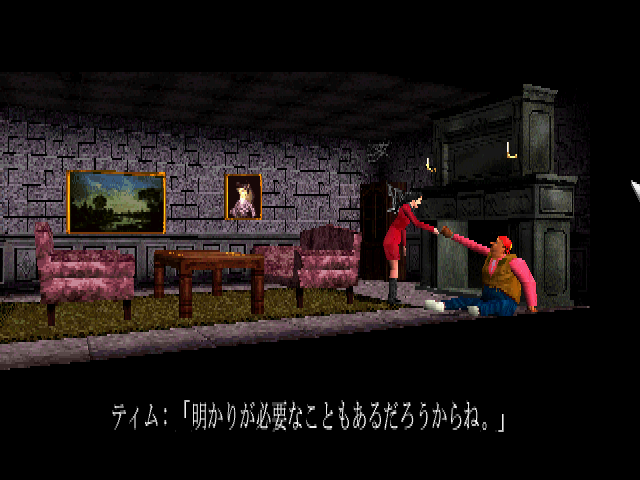
Tim without his textures. Not much else to this scene.
|
Demo |
Final |
|---|---|
|
|
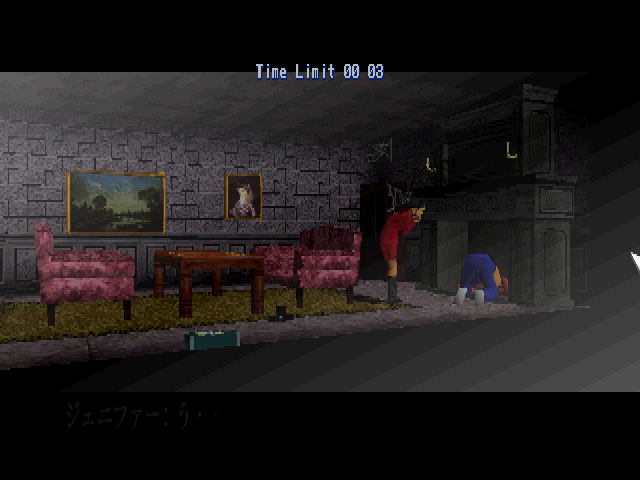
This one, however...
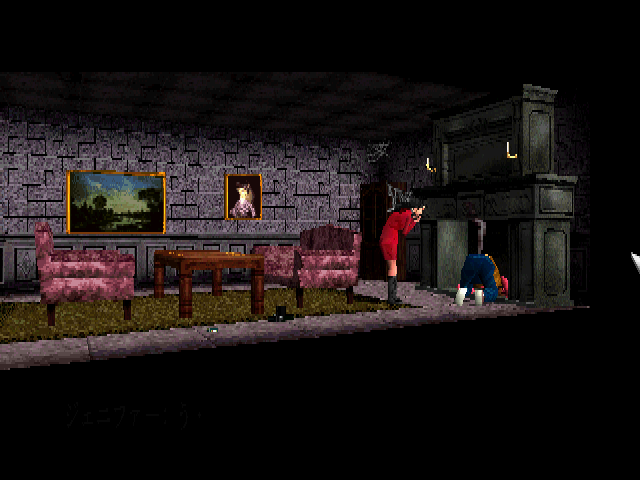
- A shimmering effect is used to (kind of) simulate smoke. It changes depending on the camera's position.
- The matchbox on the floor is gigantic. Not only that, but the text and actions are swapped around here, so you have to pick up Tim's camera in order to get a match.

The fireplace screen from Helen's scenario is in the files of this demo.
Demo |
Final |
|---|---|
 |
 |
 |
 |
 |
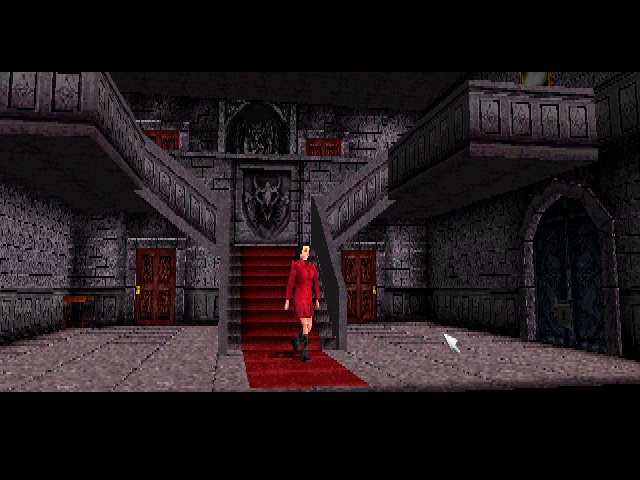 |
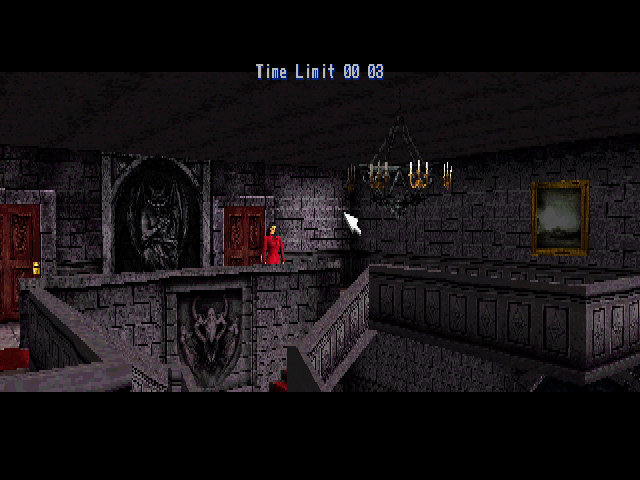
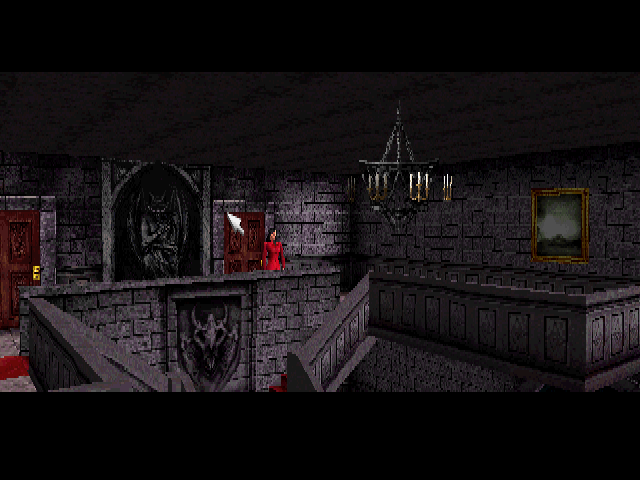
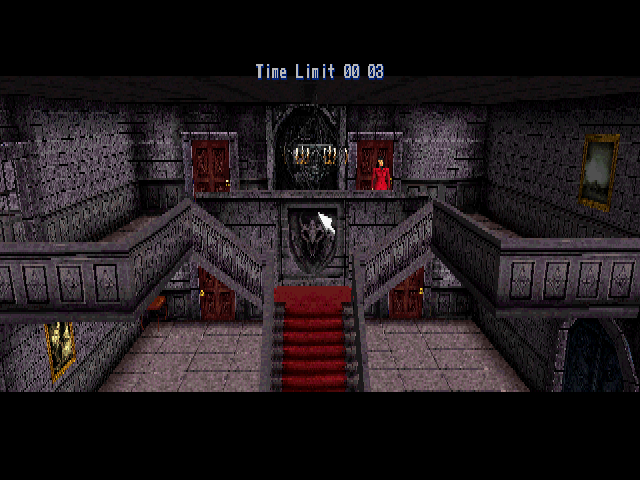
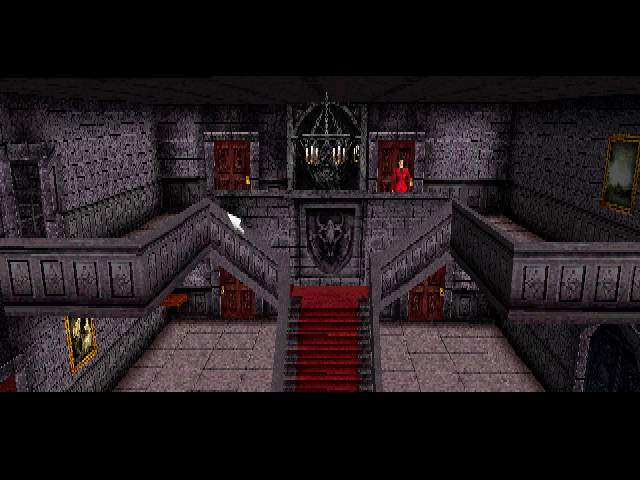
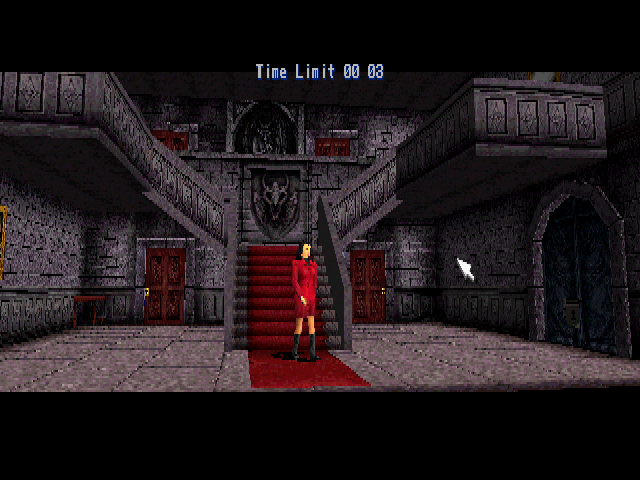
- The shadows were adjusted above the rightmost second floor door, above the stairs on the right side and behind the locked gate.
- The chandelier has a different shape.
- The carpet was changed to have a more sectioned look.
Demo |
Final |
|---|---|
 |
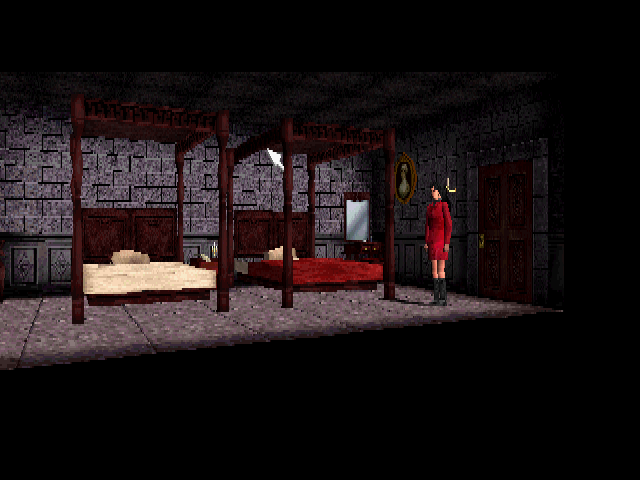 |
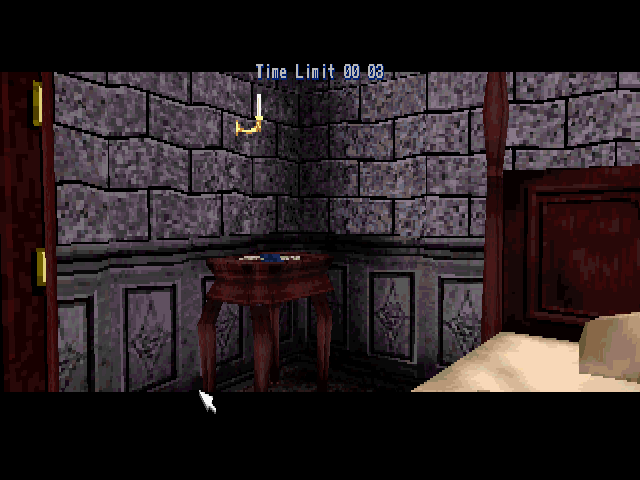 |
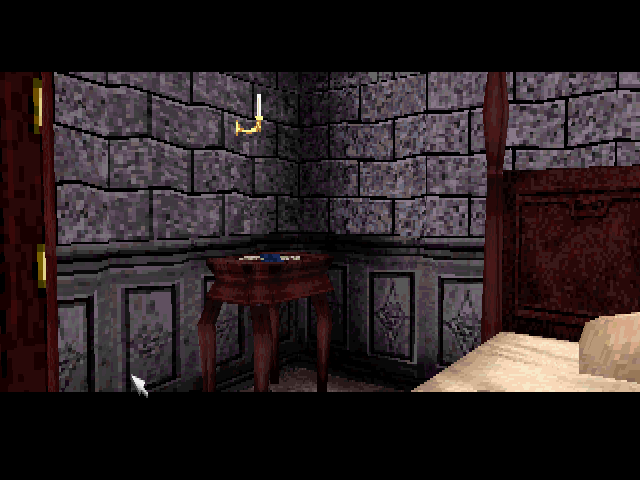 |
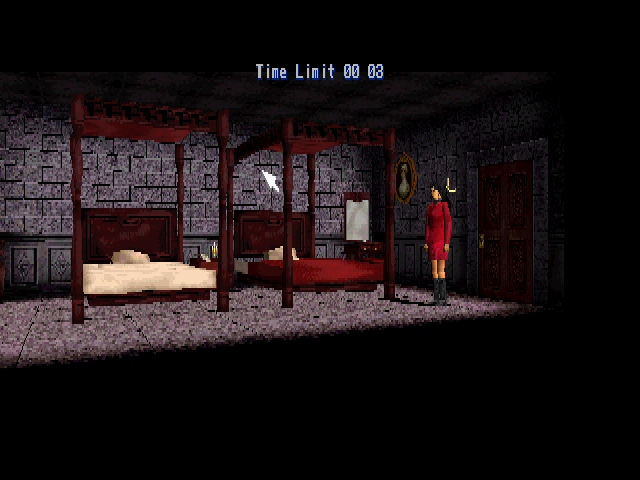
- The floor was changed.
- Shadows were adjusted above the door and in the mouse hole corner.
- The texturing of the beds were changed.
|
Demo |
Final |
|---|---|

|

|
The mirror is using the old texture also found in the final. As it's a single texture, the spooky mirror animation does not exist in this version.
|
Demo |
Final |
|---|---|
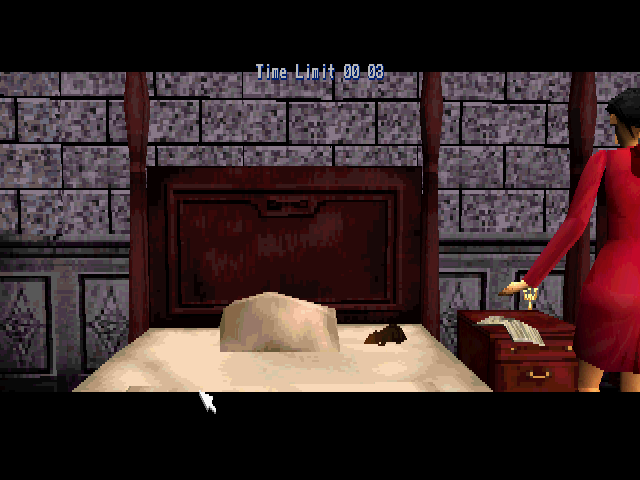
|
|
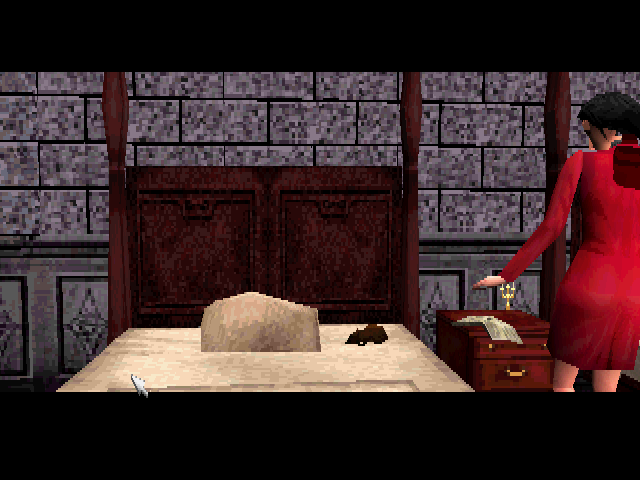
The mouse was changed to be brighter on top and darker at the bottom.
|
Demo |
Final |
|---|---|
|
|
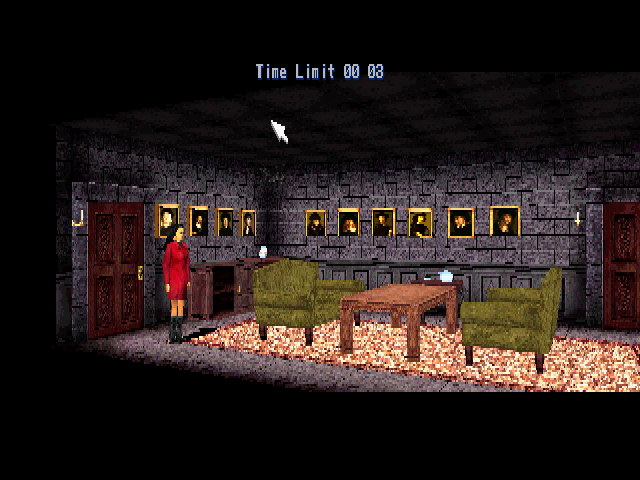
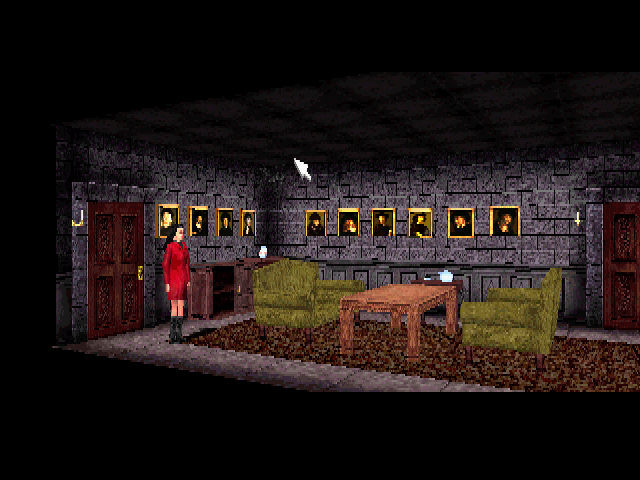
- The carpet and floor is different.
- No sound when Scissorman comes out of the fireplace.
|
Demo |
Final |
|---|---|
|
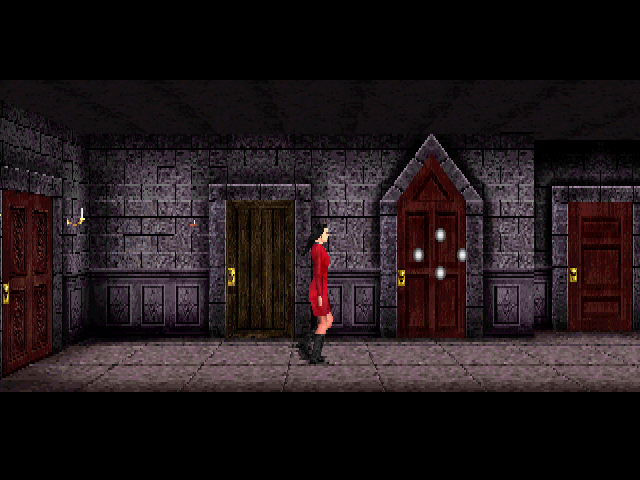
|
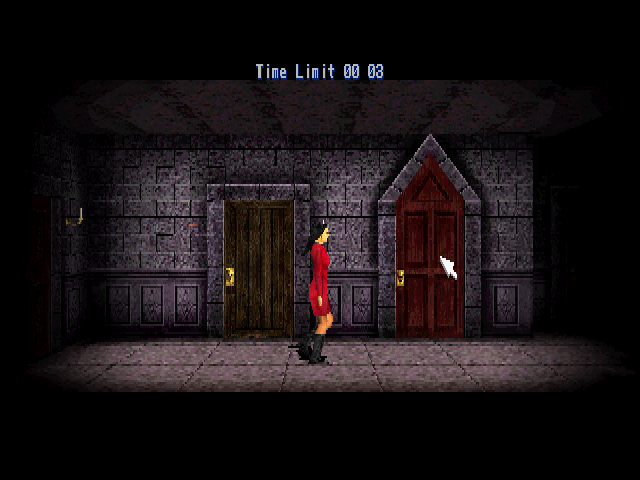
- This hallway uses the darkness effect in the demo.
- Notice how you cannot highlight the courtyard door.
|
Demo |
Final |
|---|---|

|
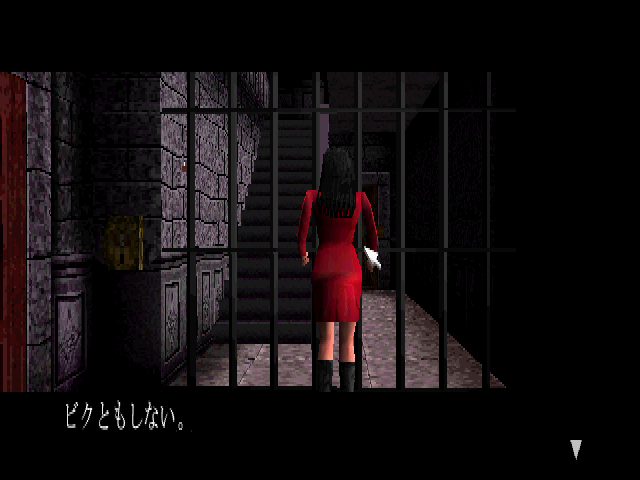
|
- Again, much darker here.
- The game lags pretty badly whenever you're near the gate.
|
Demo |
Final |
|---|---|
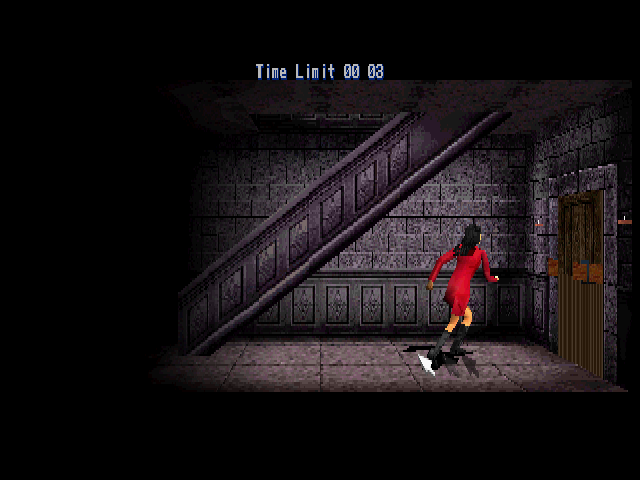
|
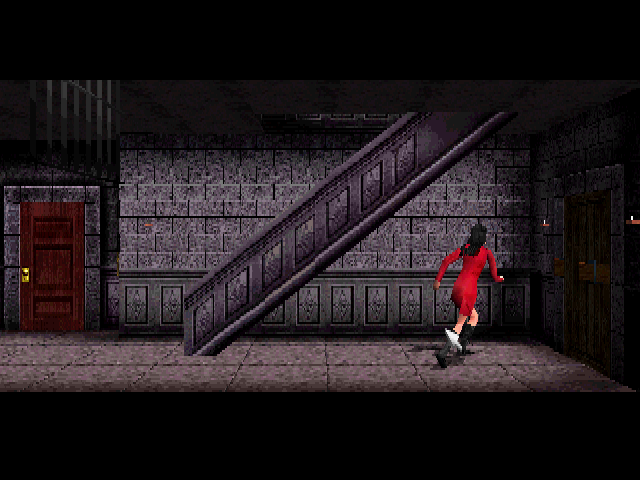
|
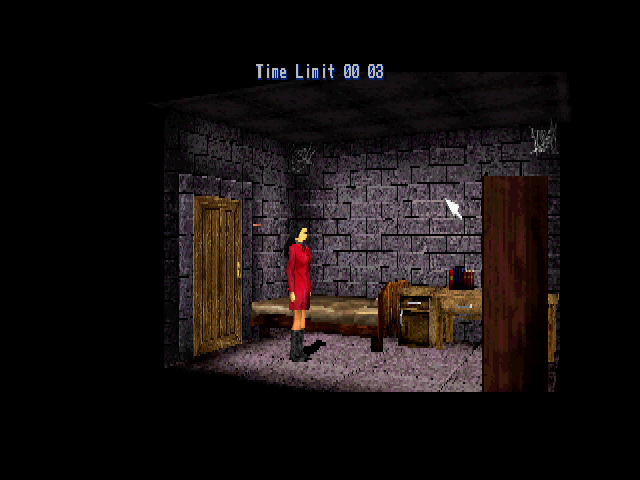
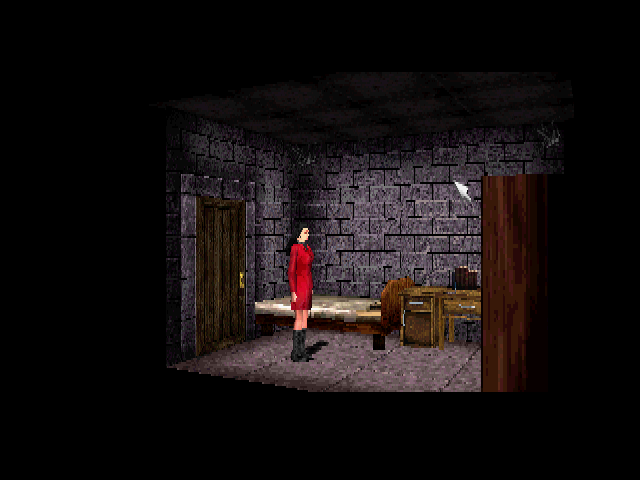
- The lower half of the door isn't textured correctly.
- The oil can works as expected, granting you access to the storage.
Demo |
Final |
|---|---|
 |
 |
 |
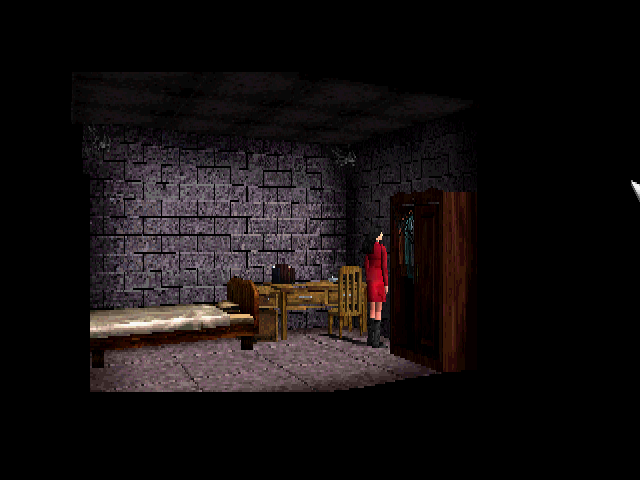 |
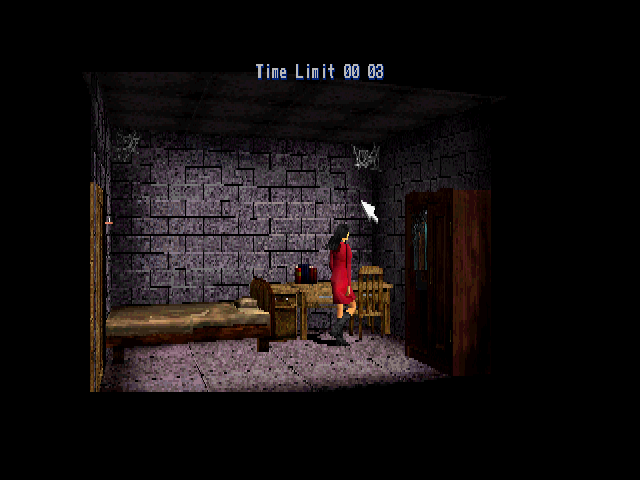
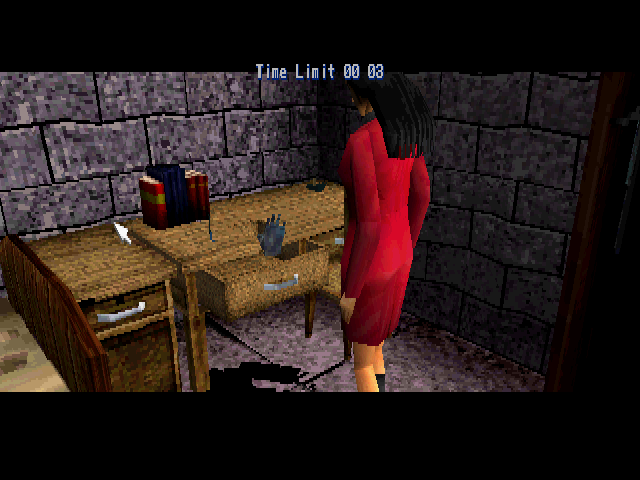
The door, floor and all the furniture was changed in this room.
|
Demo |
Final |
|---|---|
|
|
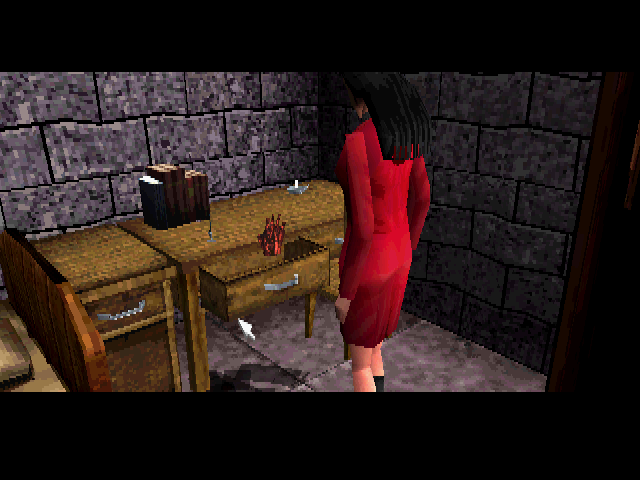
The possessed hand is gray/blue since it has no texture here. In the final version a red texture is applied to it.
|
Demo |
Final |
|---|---|

|
|
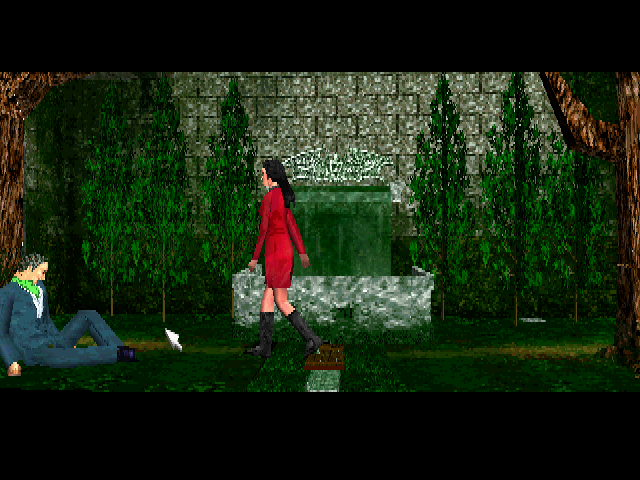
Pretty obvious why this area was blocked off. The only textures here are those of Jennifer. However, pictures of this simplistic version of the garden were actually printed in a couple of Japanese gaming magazines.
- The trees in the back are flat rectangles.
- There is a table next to the fountain.
- The camera is more zoomed out.
|
Demo |
Final |
|---|---|

|
|
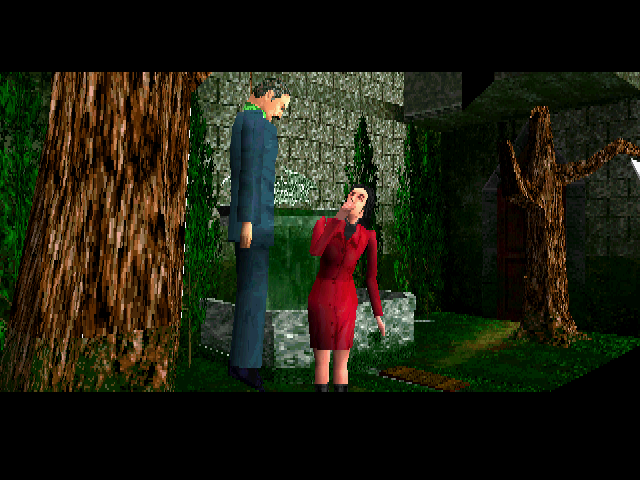
- Barton is turning slowy when hanged like in the final version, but without sound for now.
- Scissorman jumping down when you look at Barton's dead body has been implemented.
|
Demo |
Final |
|---|---|

|
|
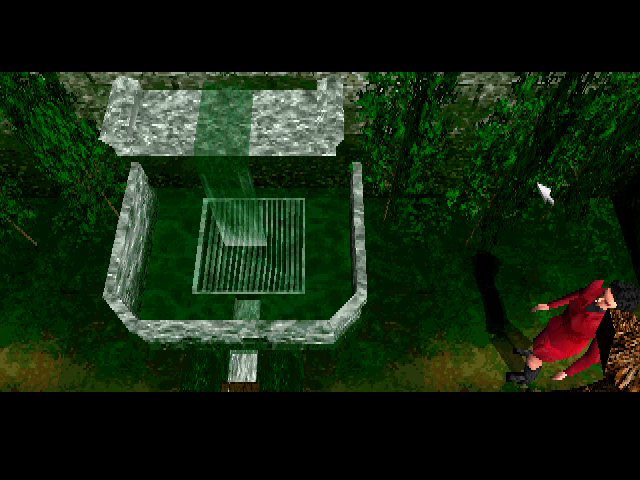
The entire fountain draining animation is implemented, with water being thinned and lowered.
|
Demo |
Final |
|---|---|

|
|
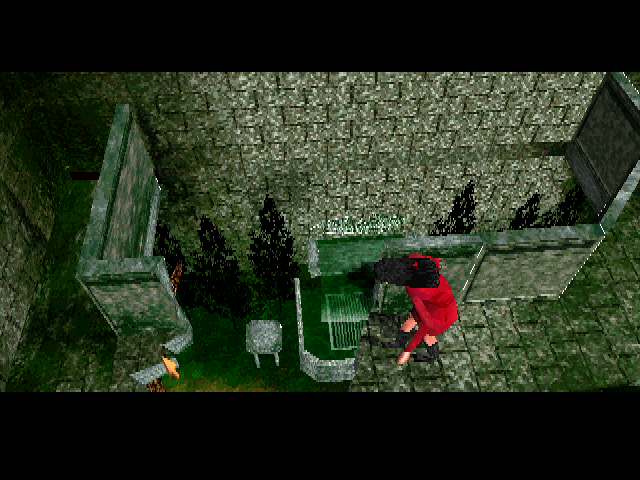
For the upper section of the garden, a comletely separate model is used.
- Several trees are missing
- The table is now white. Speaking of which, the final game suddenly has the table when you're up here!
- When clicking on the gap, the camera moves into position to look down and then moves back in this version. In the final, it warps instantly back and forth.
Demo |
|---|
 |
Final |
|---|
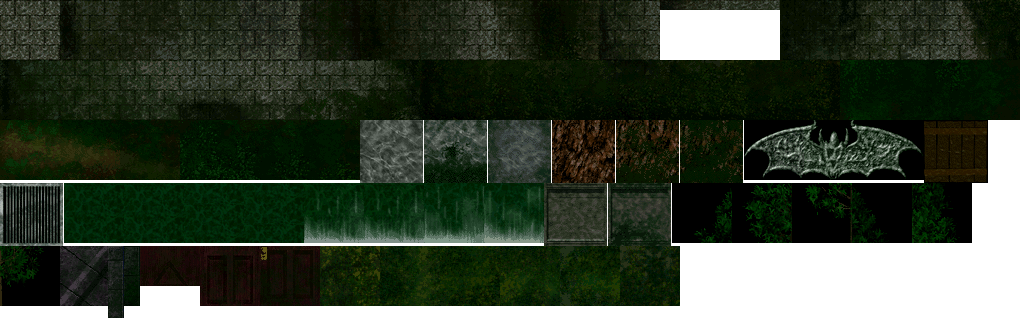 |
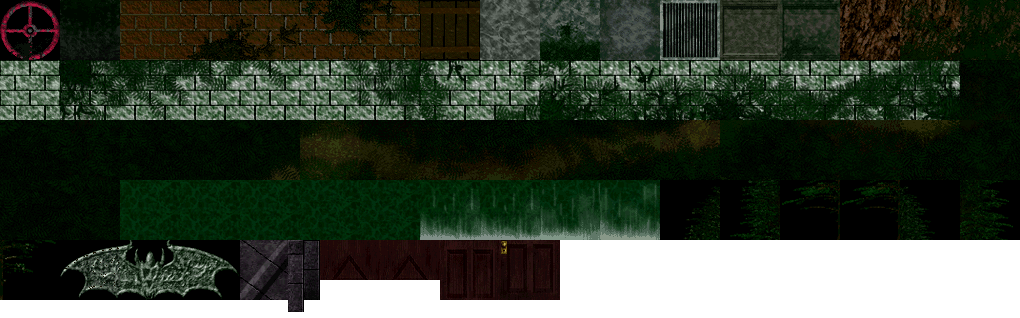
Textures exist for this area and they've got various differences.
- The valve that's mysteriously never shown or even kept in the final version is here.
- The trees are different.
- The doors have the clean indoor look.
- The walls are much brighter.
- There are even some red brick wall textures meant for some part of the area.
|
Demo |
Final |
|---|---|

|
|
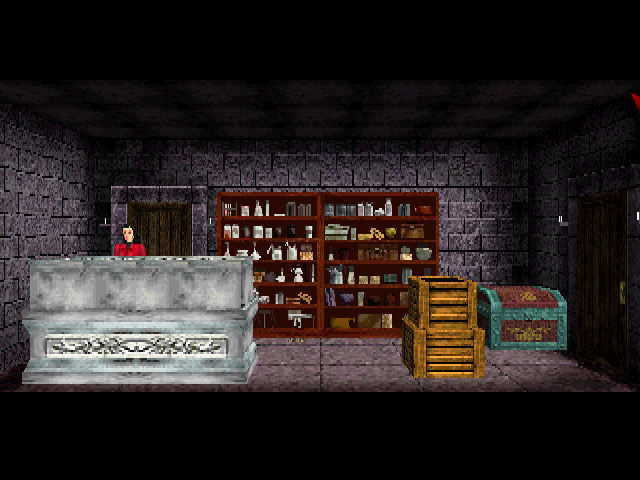
- No textures in here either.
- The rope is what looks like a shadow beneath the shelves.
- The chest jumping as Helen struggles inside it is implemented, but without any audio.
Demo |
Final |
|---|---|
 |
 |
 |
 |
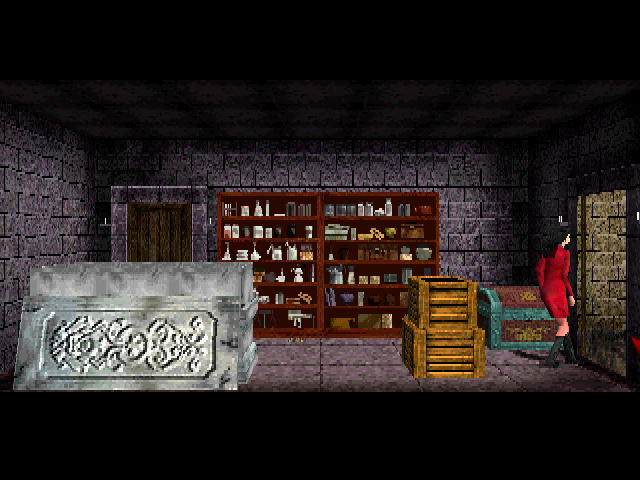
- The camera isn't locked here in this version.
- Opening the door will start a loud wind sound that keeps looping, even when exiting the room.
|
Demo |
Final |
|---|---|

|

|
- Nothing in the coffin that we get to see.
- The camera angle is different compared to the final version.
|
Demo |
Final |
|---|---|

|
|
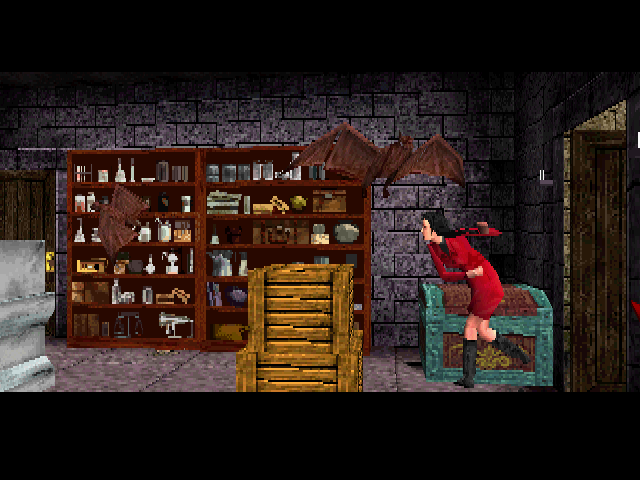
The bats are of course also untextured.
|
Demo |
Final |
|---|---|

|
|
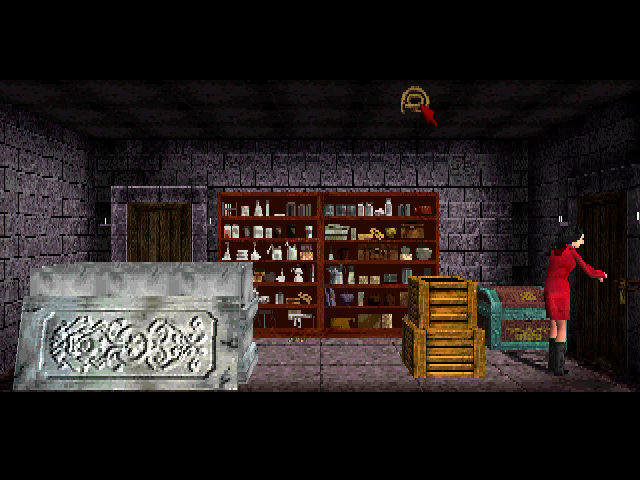
When used on the door, the rope appears as two gray boxes.
|
Demo |
Final |
|---|---|

|
|
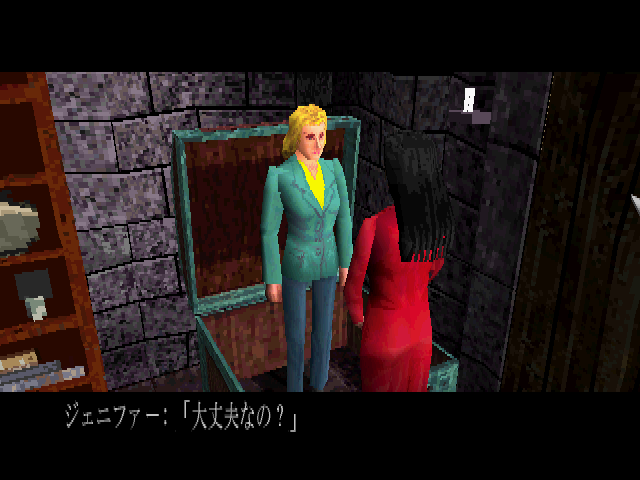
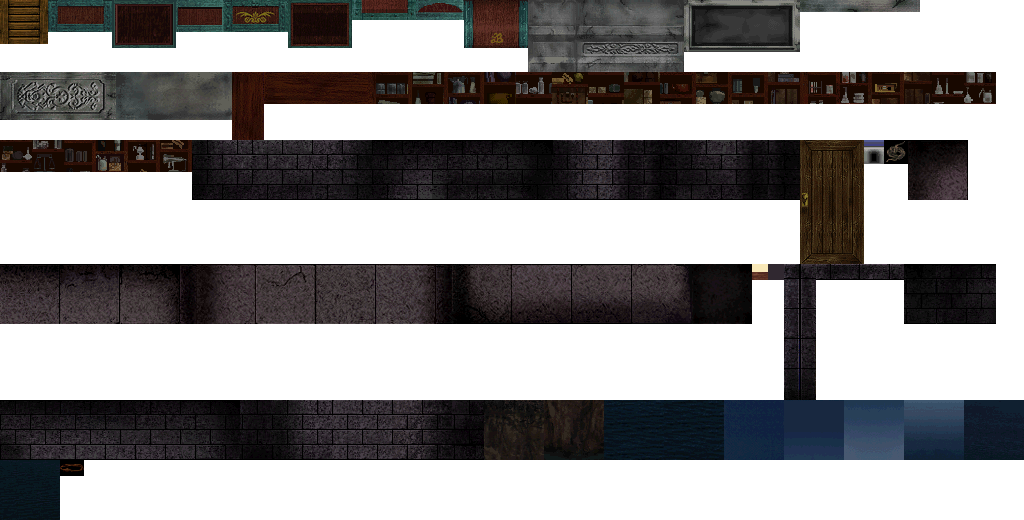
As Helen isn't textured, she's not dressed in the colors reserved for scenario 3.
Demo |
|---|
 |
Final |
|---|
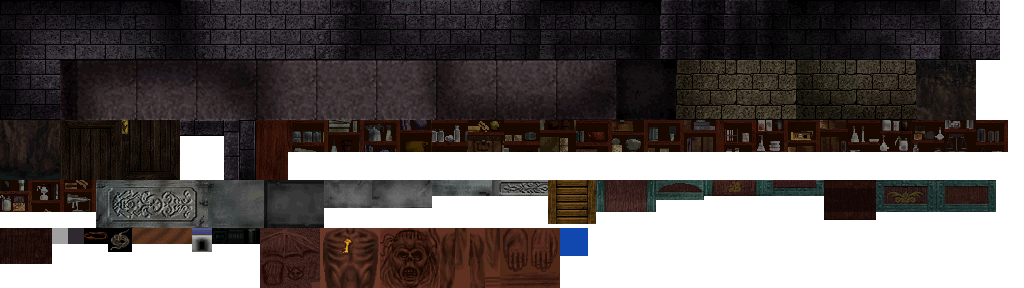 |
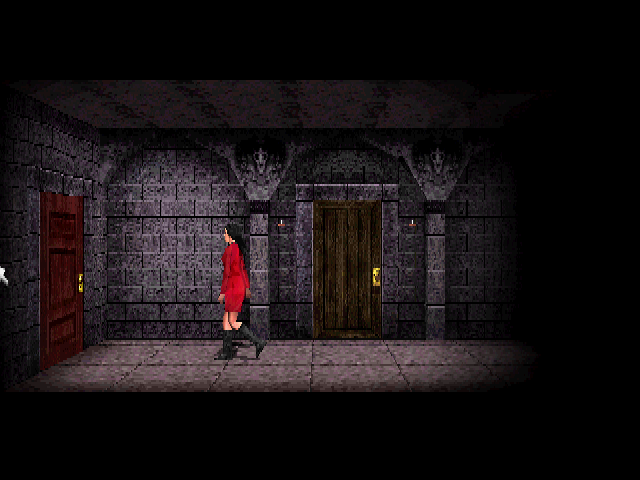
Again, we do have textures meant for this room.
- The door, floor and chest are brighter.
- Detailed water for the outside view is included.
- The textures for the chest and the coffin were cut down a bit in the final version.
|
Demo |
Final |
|---|---|
|
|
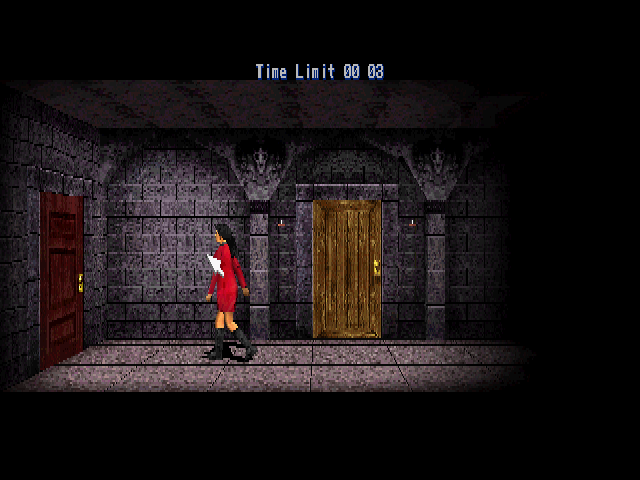
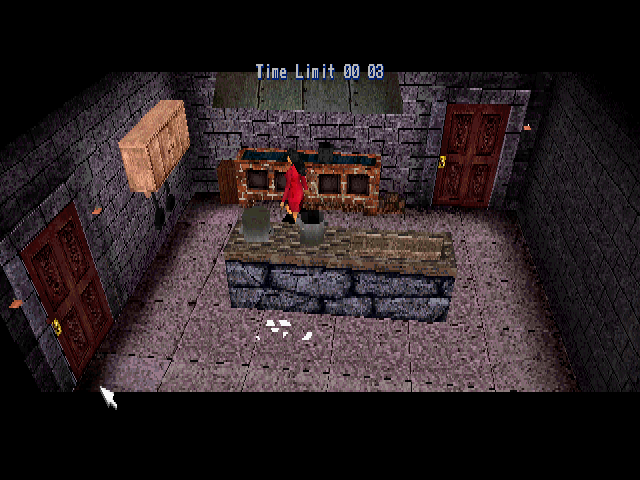
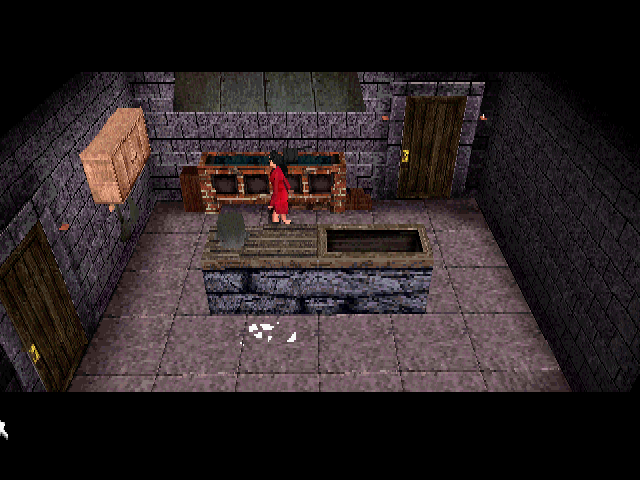
- The door to the kitchen is brighter.
- Floor textures are different.
|
Demo |
Final |
|---|---|
|
|
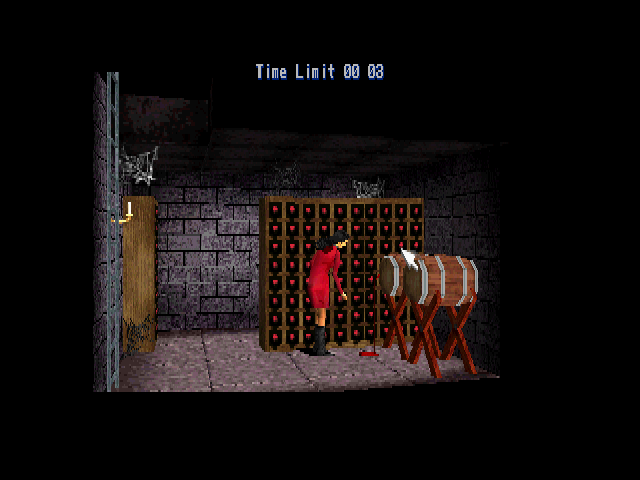
- The doors and floors are different.
- An additional pot is placed on the middle bench.
- The sink is brighter and the frying pans are darker.
- The object by the door in the back is textured differently.
|
Demo |
Final |
|---|---|
|
|
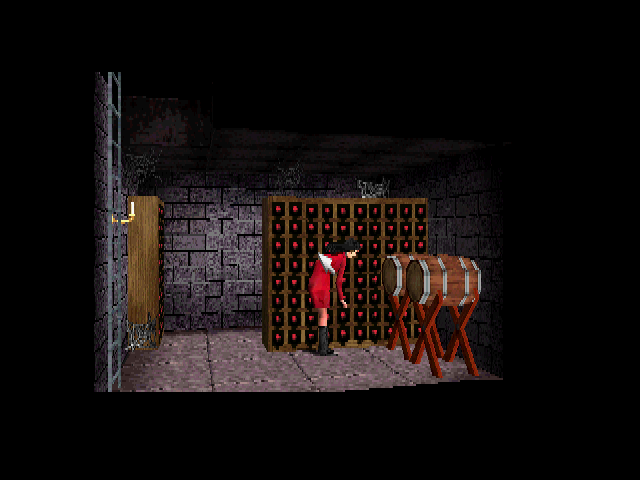
The leftmost spider webs traded style and the blood from the barrel is always present.
|
Demo |
Final |
|---|---|
|
|
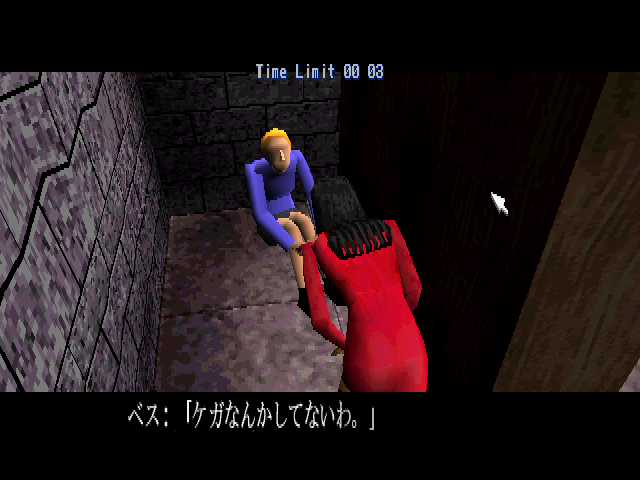
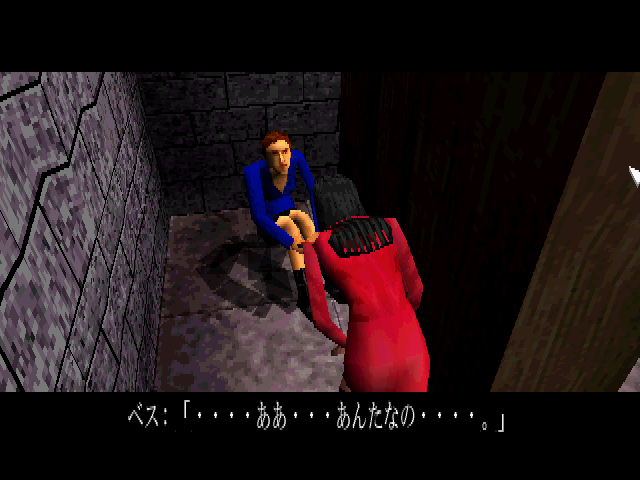
No textures and no shadow either for poor Beth.
|
Demo |
Final |
|---|---|
|
|
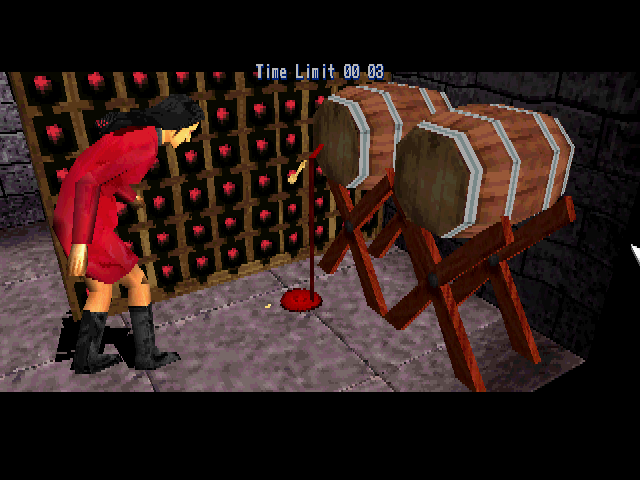
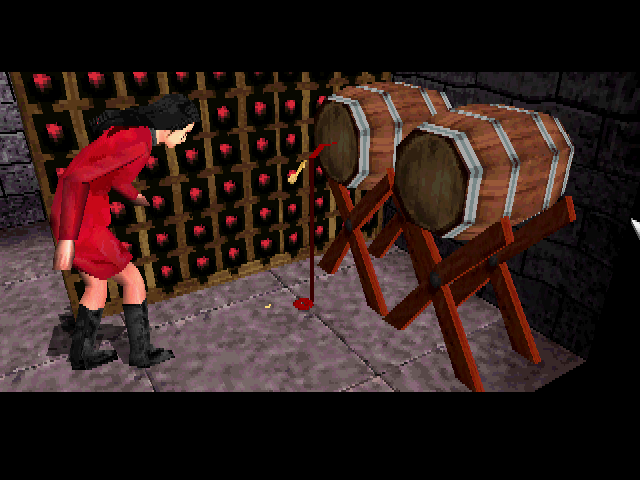
A worse fate yet... The blood doesn't flow or expand in this version, but Beth's finger and the key will pop out as expected if she wasn't saved.
Demo |
Final |
|---|---|
 |
 |
There are actually more textures made to show the blood expanding in stages. The final version instead uses four animation frames that grow in real time.
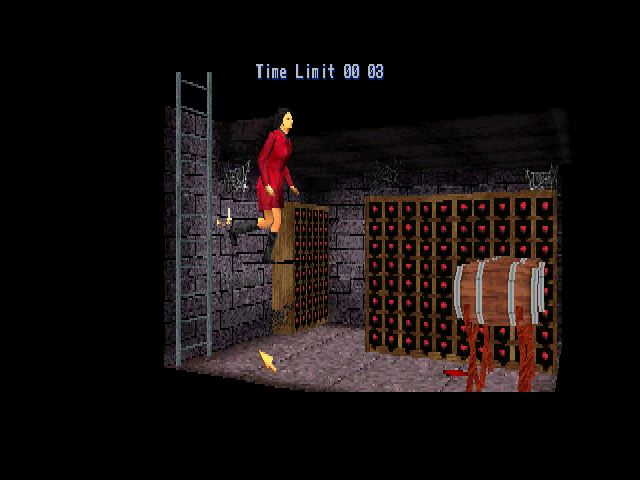
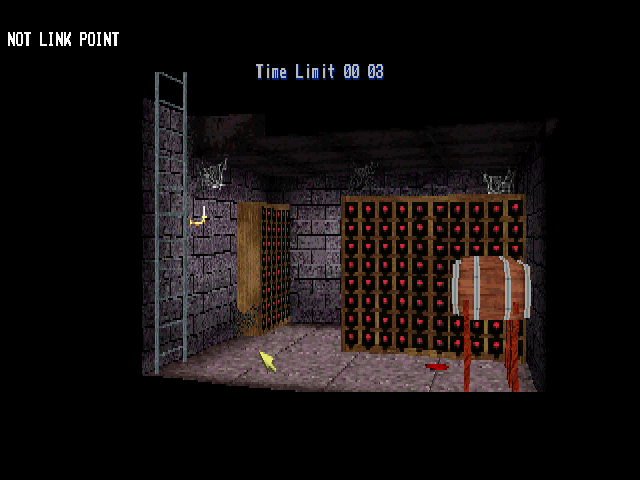
There's a bug in this room in this version of the game. To trigger it, go up into the pantry and wait for Scissorman to start chasing. Once you hear the chase music starting, hurry back down into the cellar. Scissorman will now be down there, albeit invisible. Once you clear the panic event, Jennifer will start running around and eventually run up in the air where she either gets stuck or disappears somewhere, running in place with a "NOT LINK POINT" error showing in the corner.
|
Demo |
Final |
|---|---|
|
|
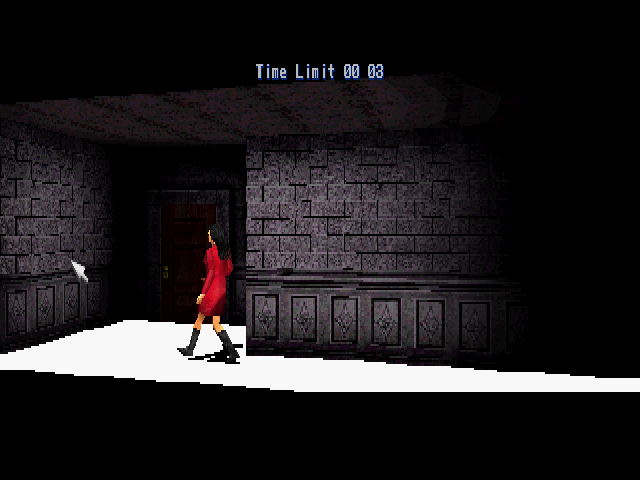
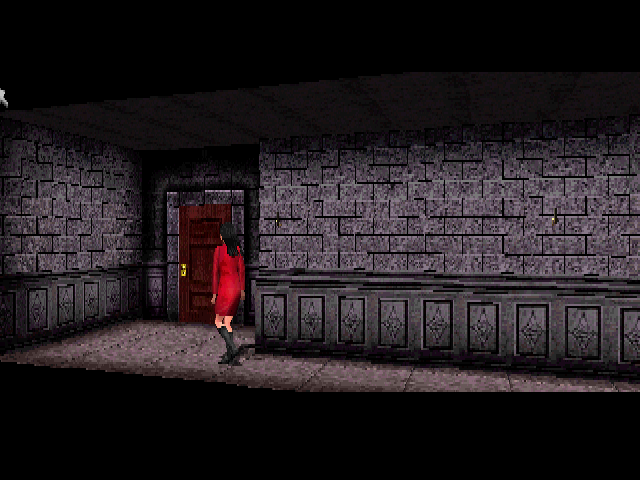
For some reason the floor is a solid white color in here.
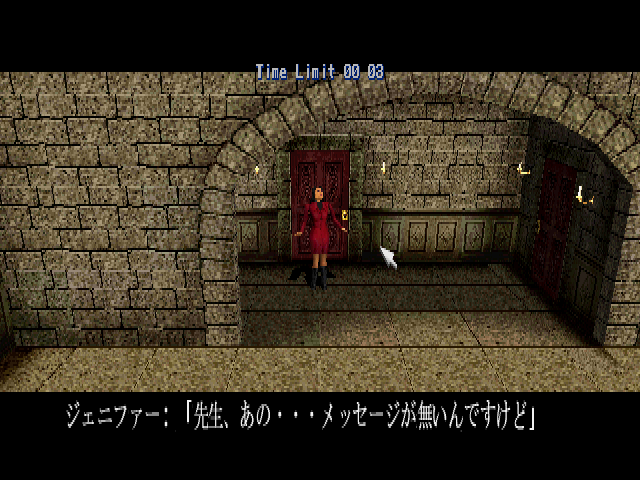
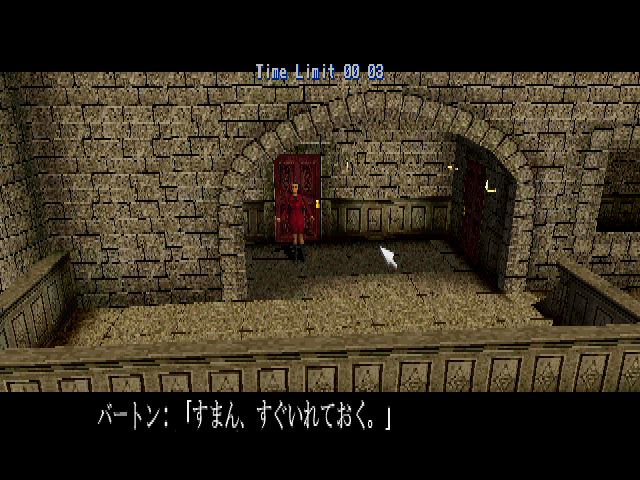
The text during the balcony's intro cutscene reads:
Jennifer: "Professor, uh... I don't have a message."
Barton: Sorry, "I'll put one in soon."
An amusing error message or placeholder. True to his character, Barton could not be trusted as no message appears here in the final version.
|
Demo |
Final |
|---|---|
|
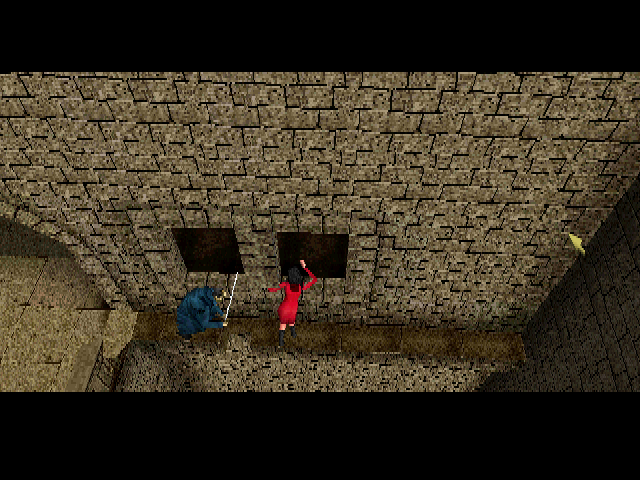
|
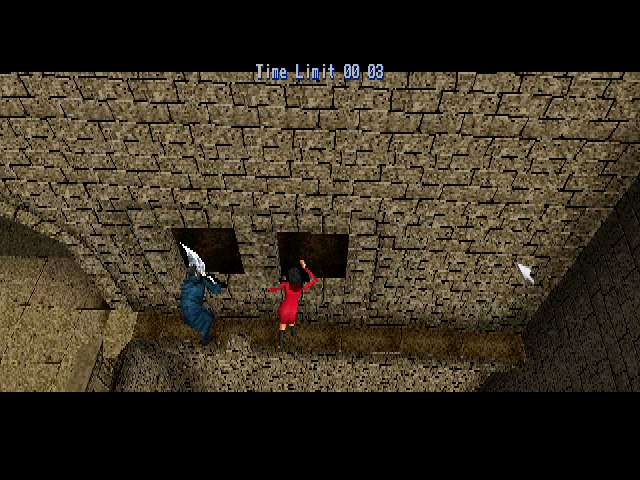
Scissorman's position during this part (which depends on when the climb is started) can be so close to Jennifer that his scissors visibly clip her torso. At the end he'll stop and turn 90 degrees to the left. In the final version, he won't turn when stopping.
Demo |
Final |
Final (Helen's Scenario) |
|---|---|---|
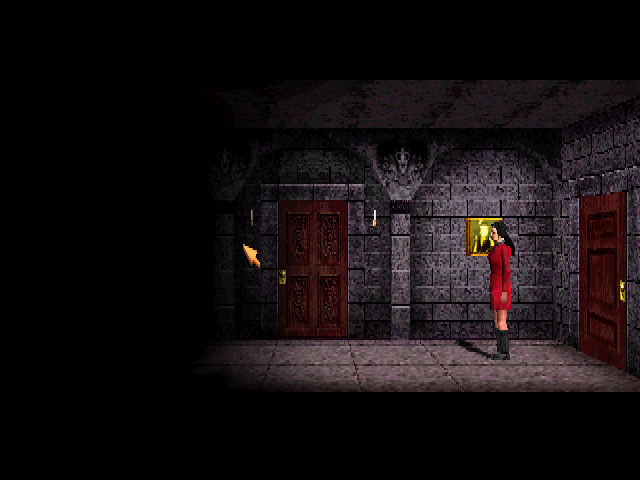
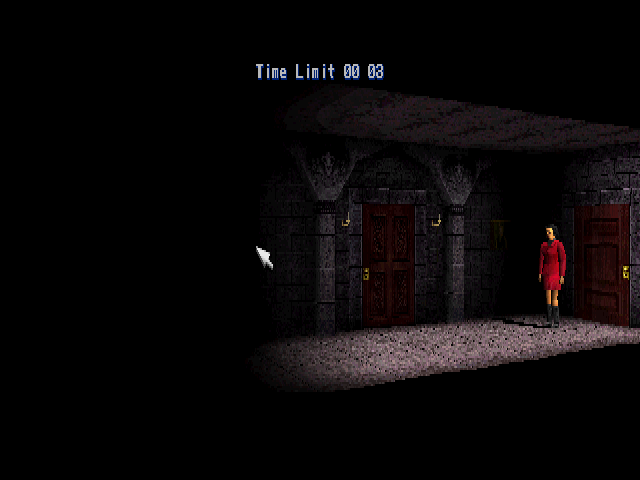 |
 |
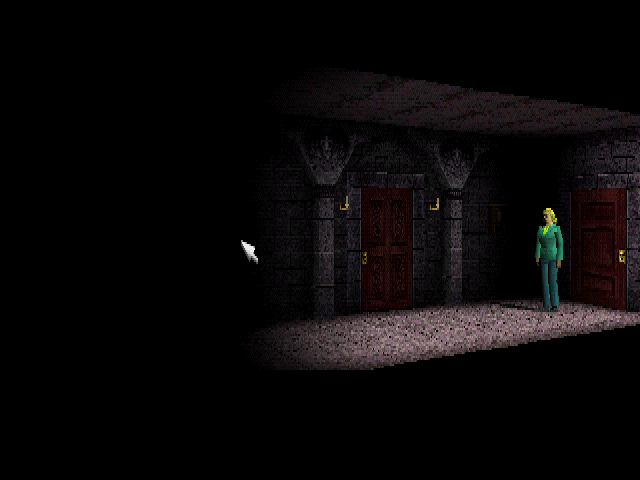 |
The camera angle here is completely different in this version. While replaced for Jennifer in the final version, this angle was reused (or kept) for Helen's scenario, which has differing angles in other rooms as well.
|
Demo |
Final |
|---|---|
|
|
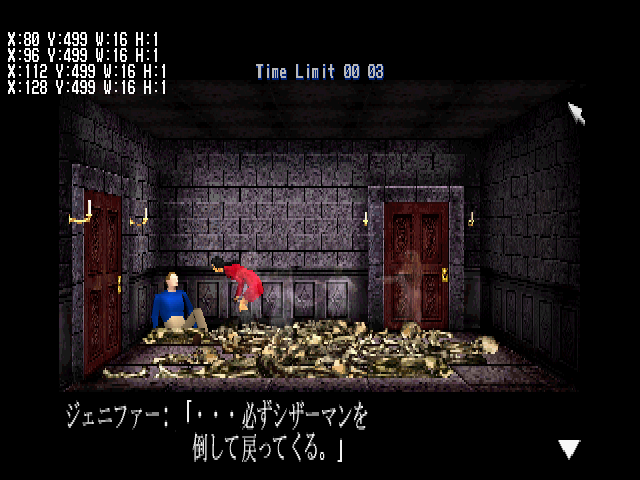
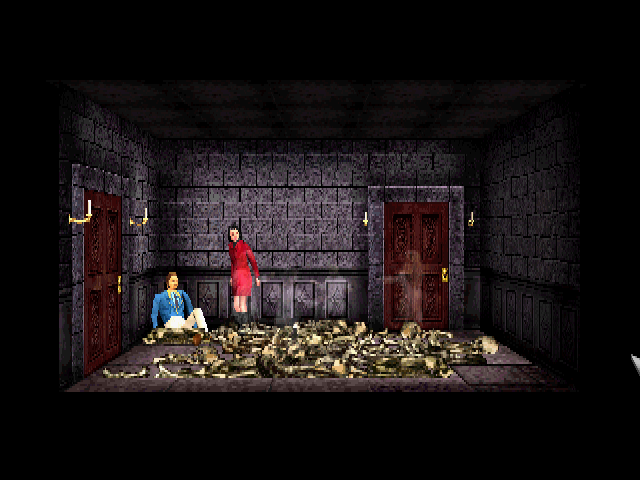
- The chase music will keep playing until the next loop point when you climb in here.
- Mashing through the text will skip the ghost sequence and you'll need to speak with Nolan again for another chance.
- Debugging information appears in the corner while the ghost are active. The four lines are repeated just before the ghosts disappear, totaling 8 lines for a very short while.
- Jennifer and Nolan are a bit slow to react, waiting until the ghosts are gone before looking in their direction.
- The floor shadows were adjusted in the final version.
|
Demo |
Final |
|---|---|
|
|
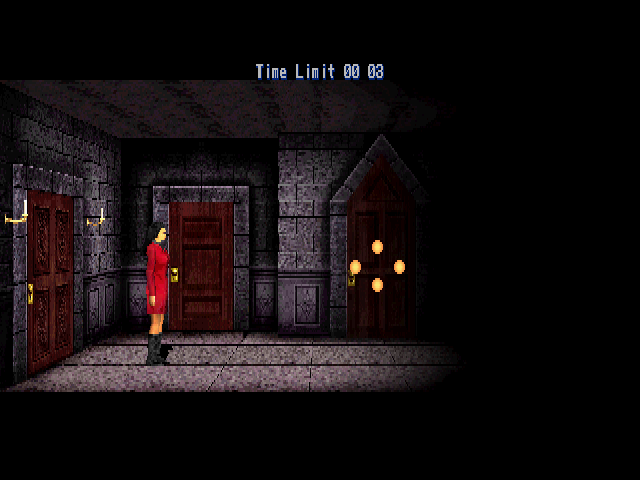
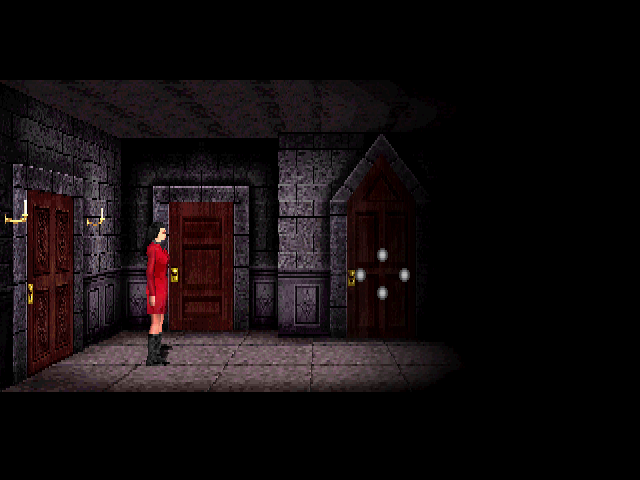
- This hallway also has the old floor textures. This was not the case on the floor below.
- Here you can enter the garden, since the entire hallway is sealed off anyway.
|
Demo |
Final |
|---|---|
|
|
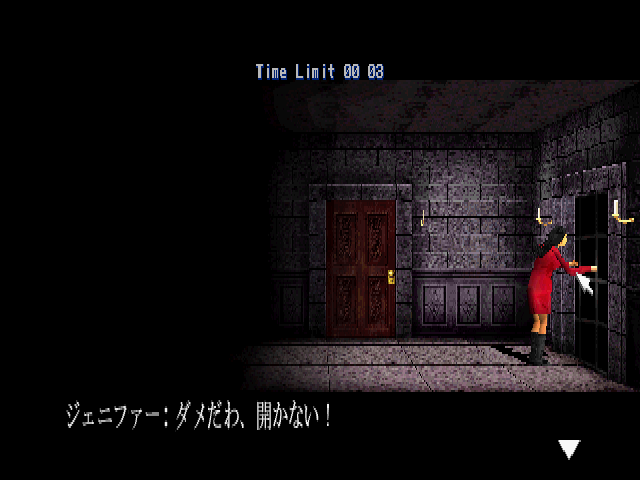
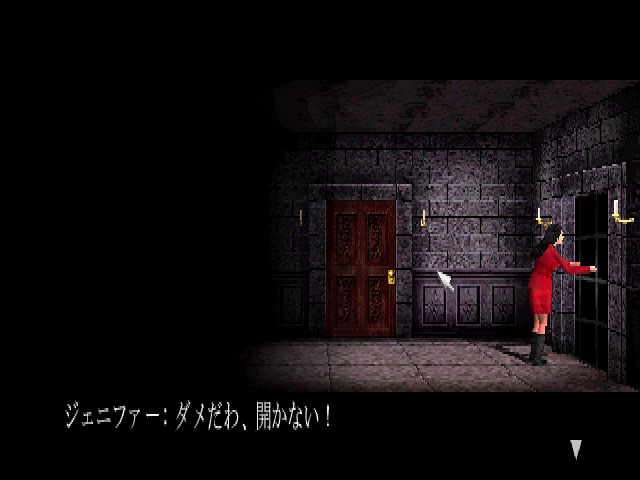
This event is normally impossible to encounter from this side, in both the demo and in the finished game. If you have the mansion key, you can unlock the gate from here. Since we don't, we get the shaking bars animation instead.
|
Demo |
Final |
|---|---|
|
|
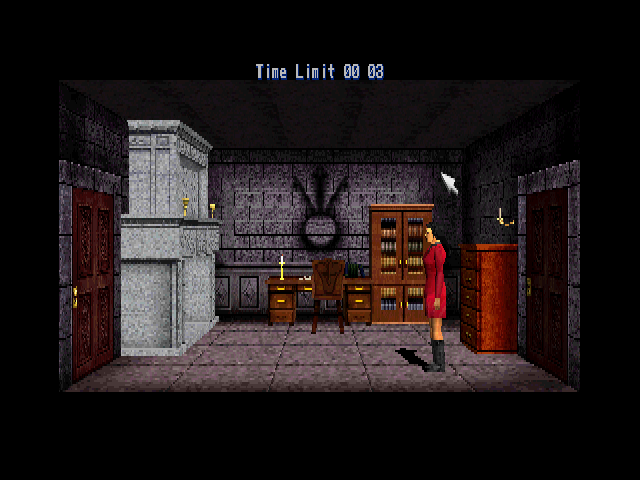
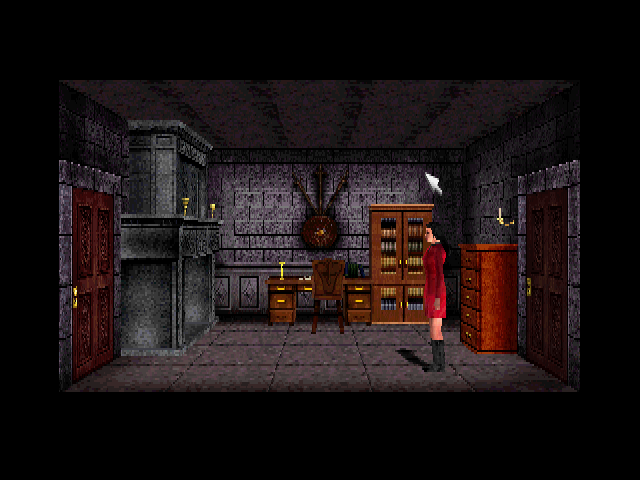
- The fireplace is much brighter.
- The terror theme plays when Jennifer gets dragged into the chimney, but no scream is played.
- No text is shown when you find the map, but the picture of it is shown.

The symbol in the back is missing. Except for its shadow. The texture exists in the files though.
|
Demo |
Final |
|---|---|
|
|
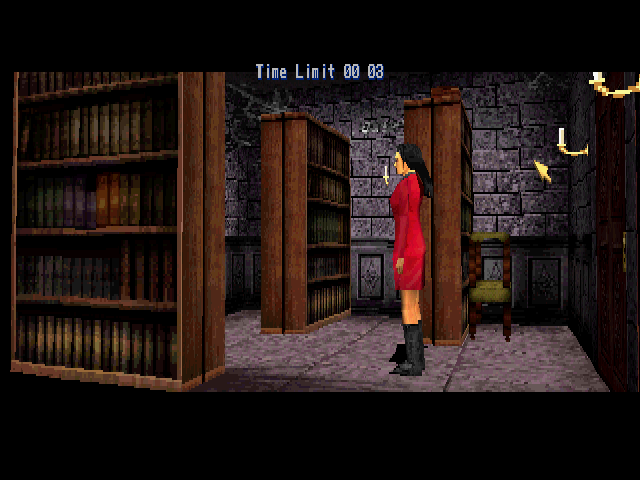
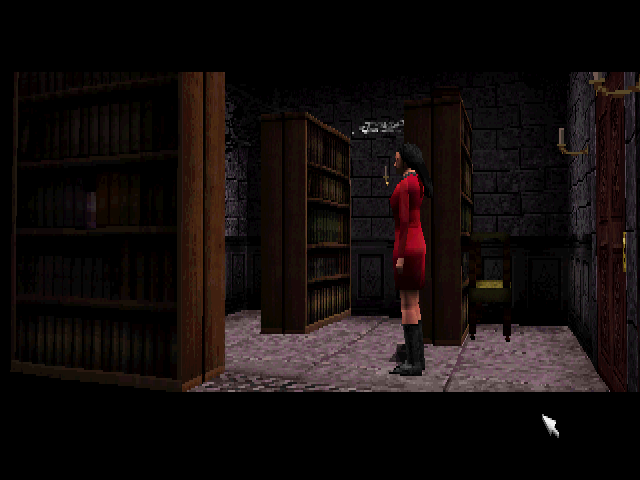
- The room is much more lit up.
- The scratch marks on the floor look more like a shadow.
- There's no black wall outside the door, but that's not as noticeable in this angle as in other rooms since the door is pretty close to the edge of the screen anyway.
|
Demo |
Final |
|---|---|
|
|
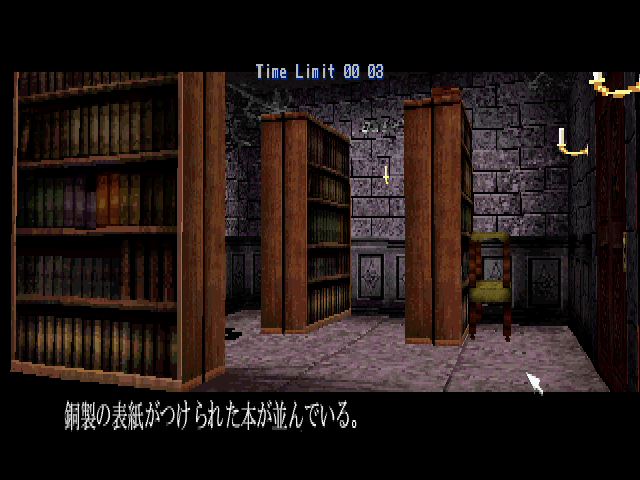
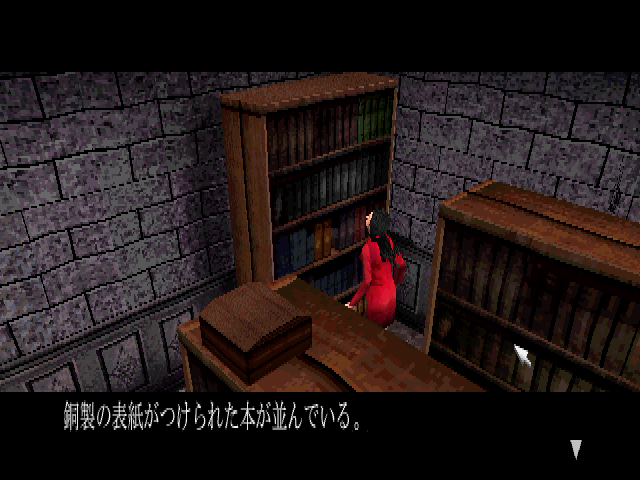
The camera stays in place when the shelf is inspected.
|
Demo |
Final |
|---|---|
|
|
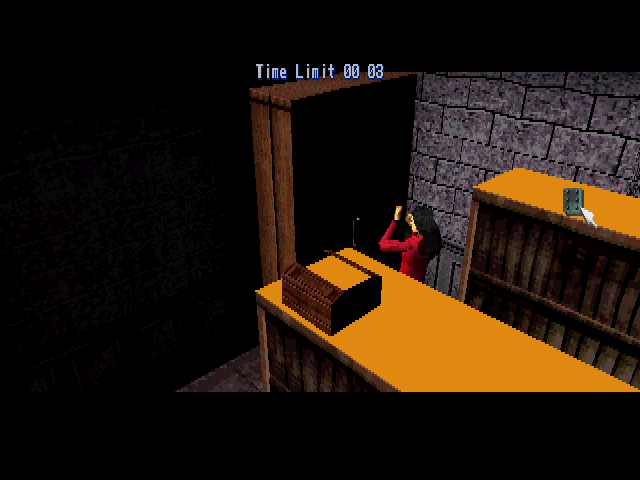
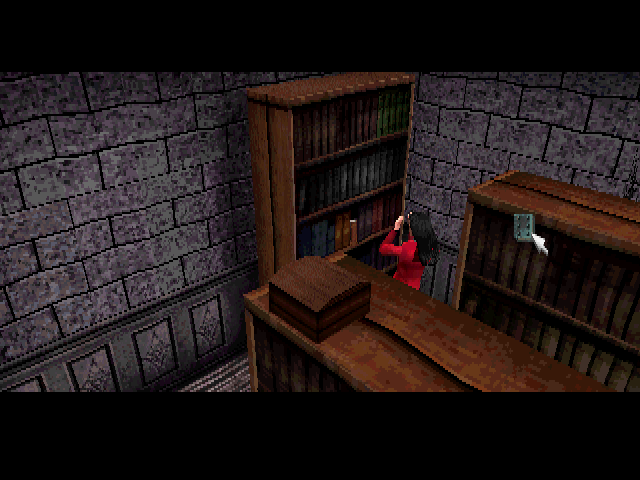
- You can't see much of the shelf here because of the lighting.
- The top of the other shelves aren't textured.
|
Demo |
Final |
|---|---|
|
|
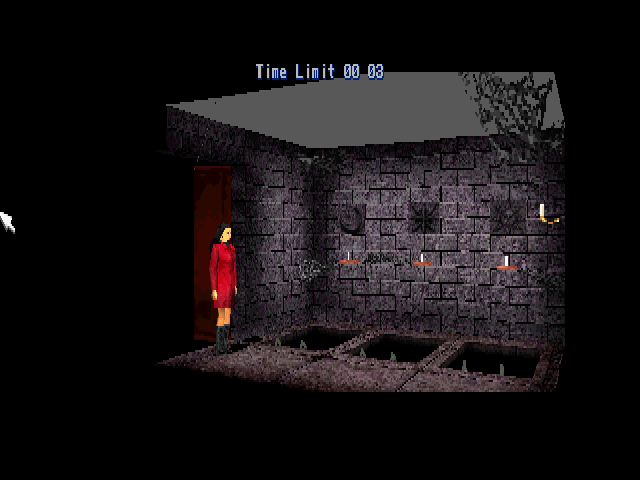
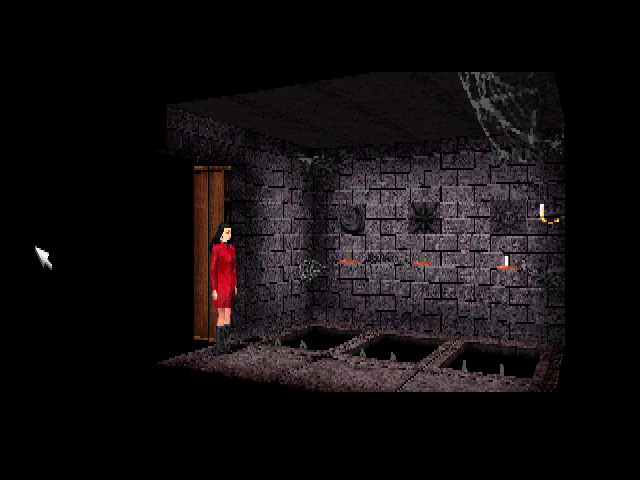
- The ceiling lacks textures.
- The bookshelf is darker.
- There's a seam in the wall right next to the star symbol.
- Jennifer's foot can be seen below the floor as she climbs down.
|
Demo |
Final |
|---|---|

|

|
- The ladder isn't textured.
- The ladder was moved a bit towards Jennifer in the final version.
|
Demo |
Final |
|---|---|

|

|
- Same differences as the other holes along with an untextured door here.
- A chase can start while down here.
|
Demo |
Final |
|---|---|
|
|
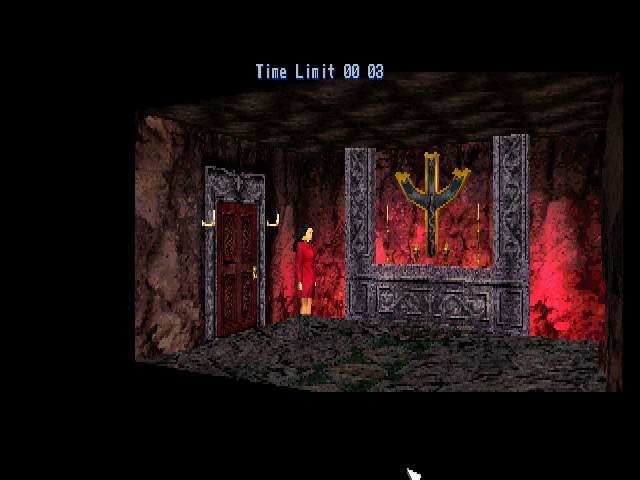
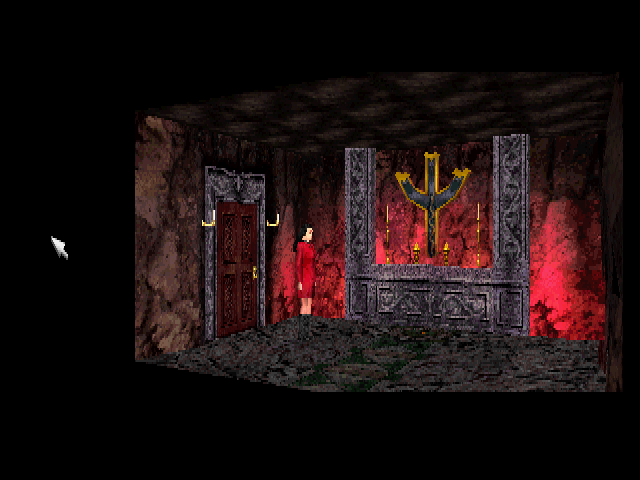
- The candles and dagger were made brighter to increase visibility in the final version.
- The dagger can be picked up during a chase.
|
Demo |
Final |
|---|---|
|
|
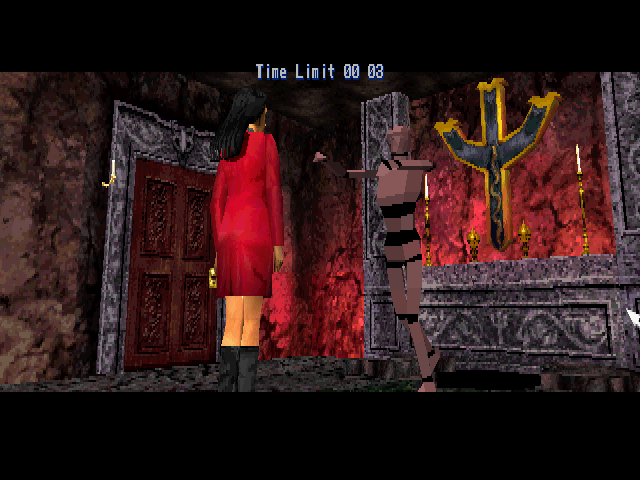
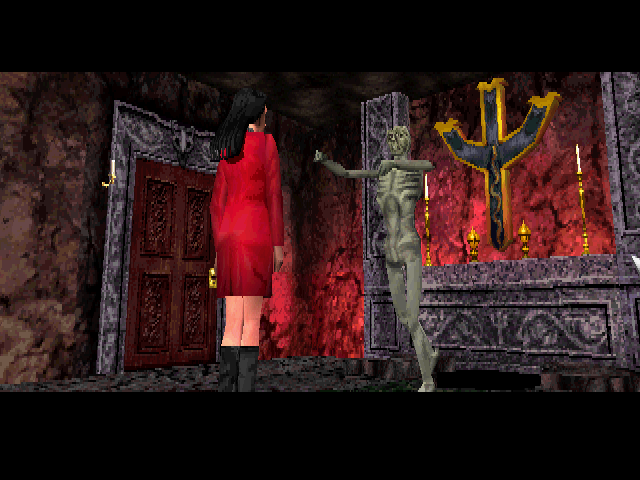
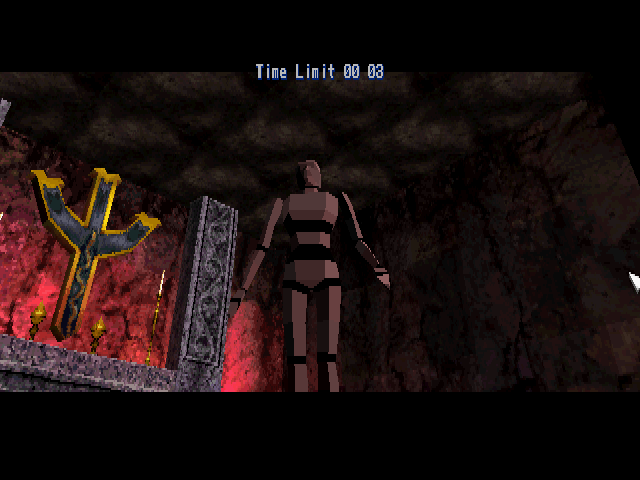
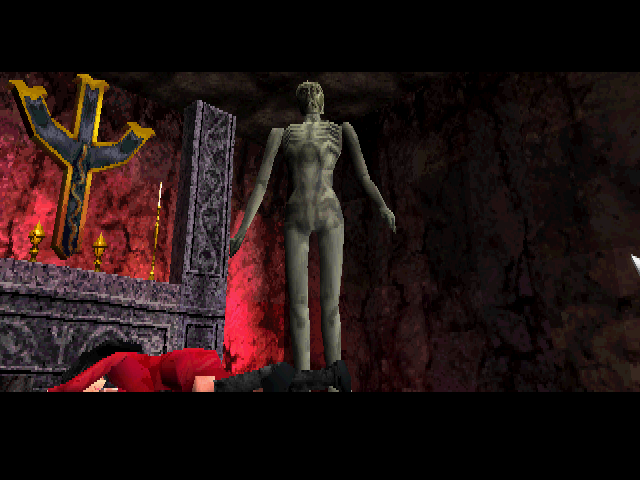
The zombie lacks textures and its vertices are kind of pink instead of green.
|
Demo |
Final |
|---|---|
|
|
The zombie's kill scene ends at a different angle.
|
Demo |
Final |
|---|---|

|

|
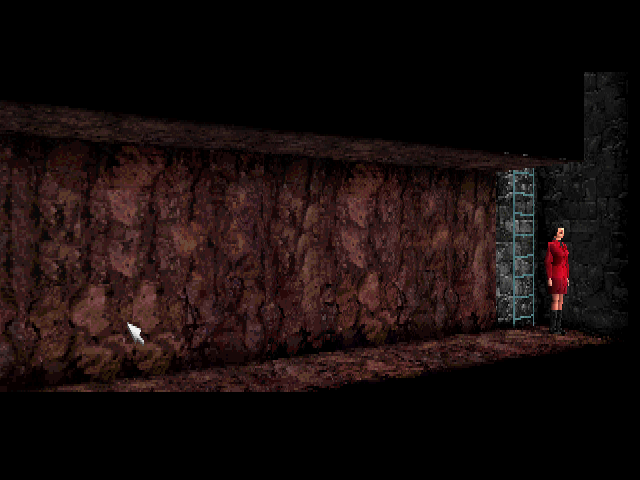
- No textures here
- Jennifer can't be seen while climbing in this version. Seems like she's covered up somehow.
|
Demo |
Final |
|---|---|

|
|
At least we get this pattern along the wall.
|
Demo |
Final |
|---|---|

|
|
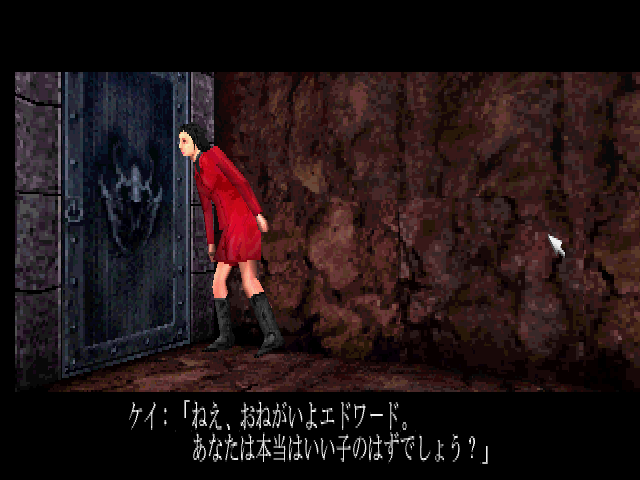
- No matter which ending conditions are met, Jennifer will always go near the door and listen.
- Edward will not appear.
- No dialogue is actually started, but after the animation, you can enter the door.
|
Demo |
Final |
|---|---|
|
|
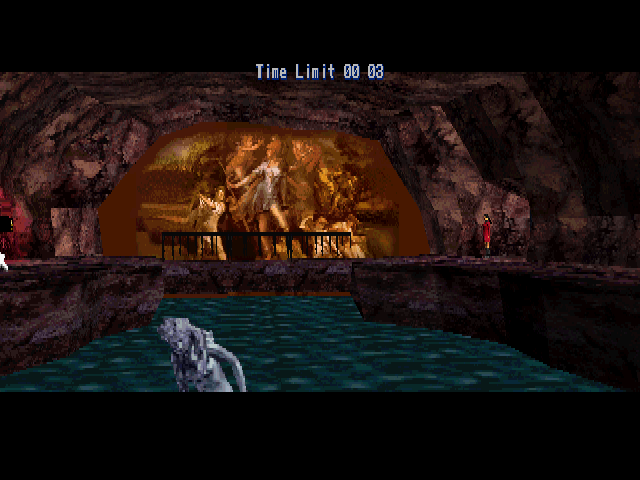
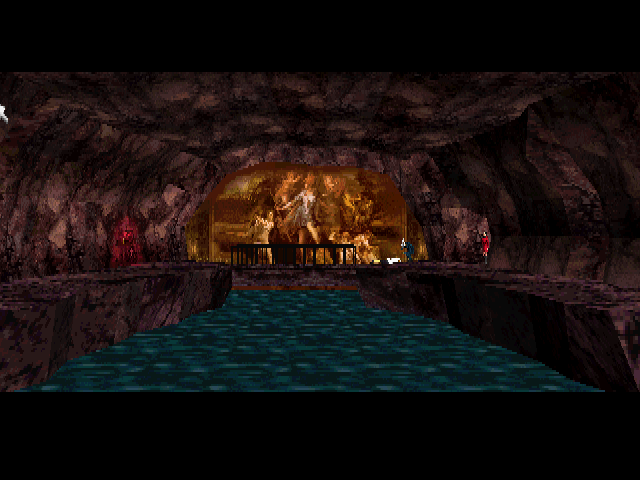
Sadly, no ending plays out in here. Instead, you get to walk around freely.
- One of the statues are actually used here. Only the textures remain in the final.
- You can walk across pretty much the entire pathways on the sides of the room. You can't leave though.
- The shrine to the left has a black space that is supposed to be textured.
- A chase can be started while in here, but Scissorman can't enter. "NOT LINK POINT" will be displayed on the frame where he should be spawned. At this point you have reached the peak of what the demo has to offer.

The statue textures, identical to the final version.